HOLIDAY DONATION DRIVE - SUPPORT MSW - DO YOUR PART TO KEEP THIS GREAT FORUM GOING! (Only 27 donations so far out of 49,000 members - C'mon guys!)
×

Beakerboy123
-
Posts
52 -
Joined
-
Last visited
Content Type
Profiles
Forums
Gallery
Events
Everything posted by Beakerboy123
-
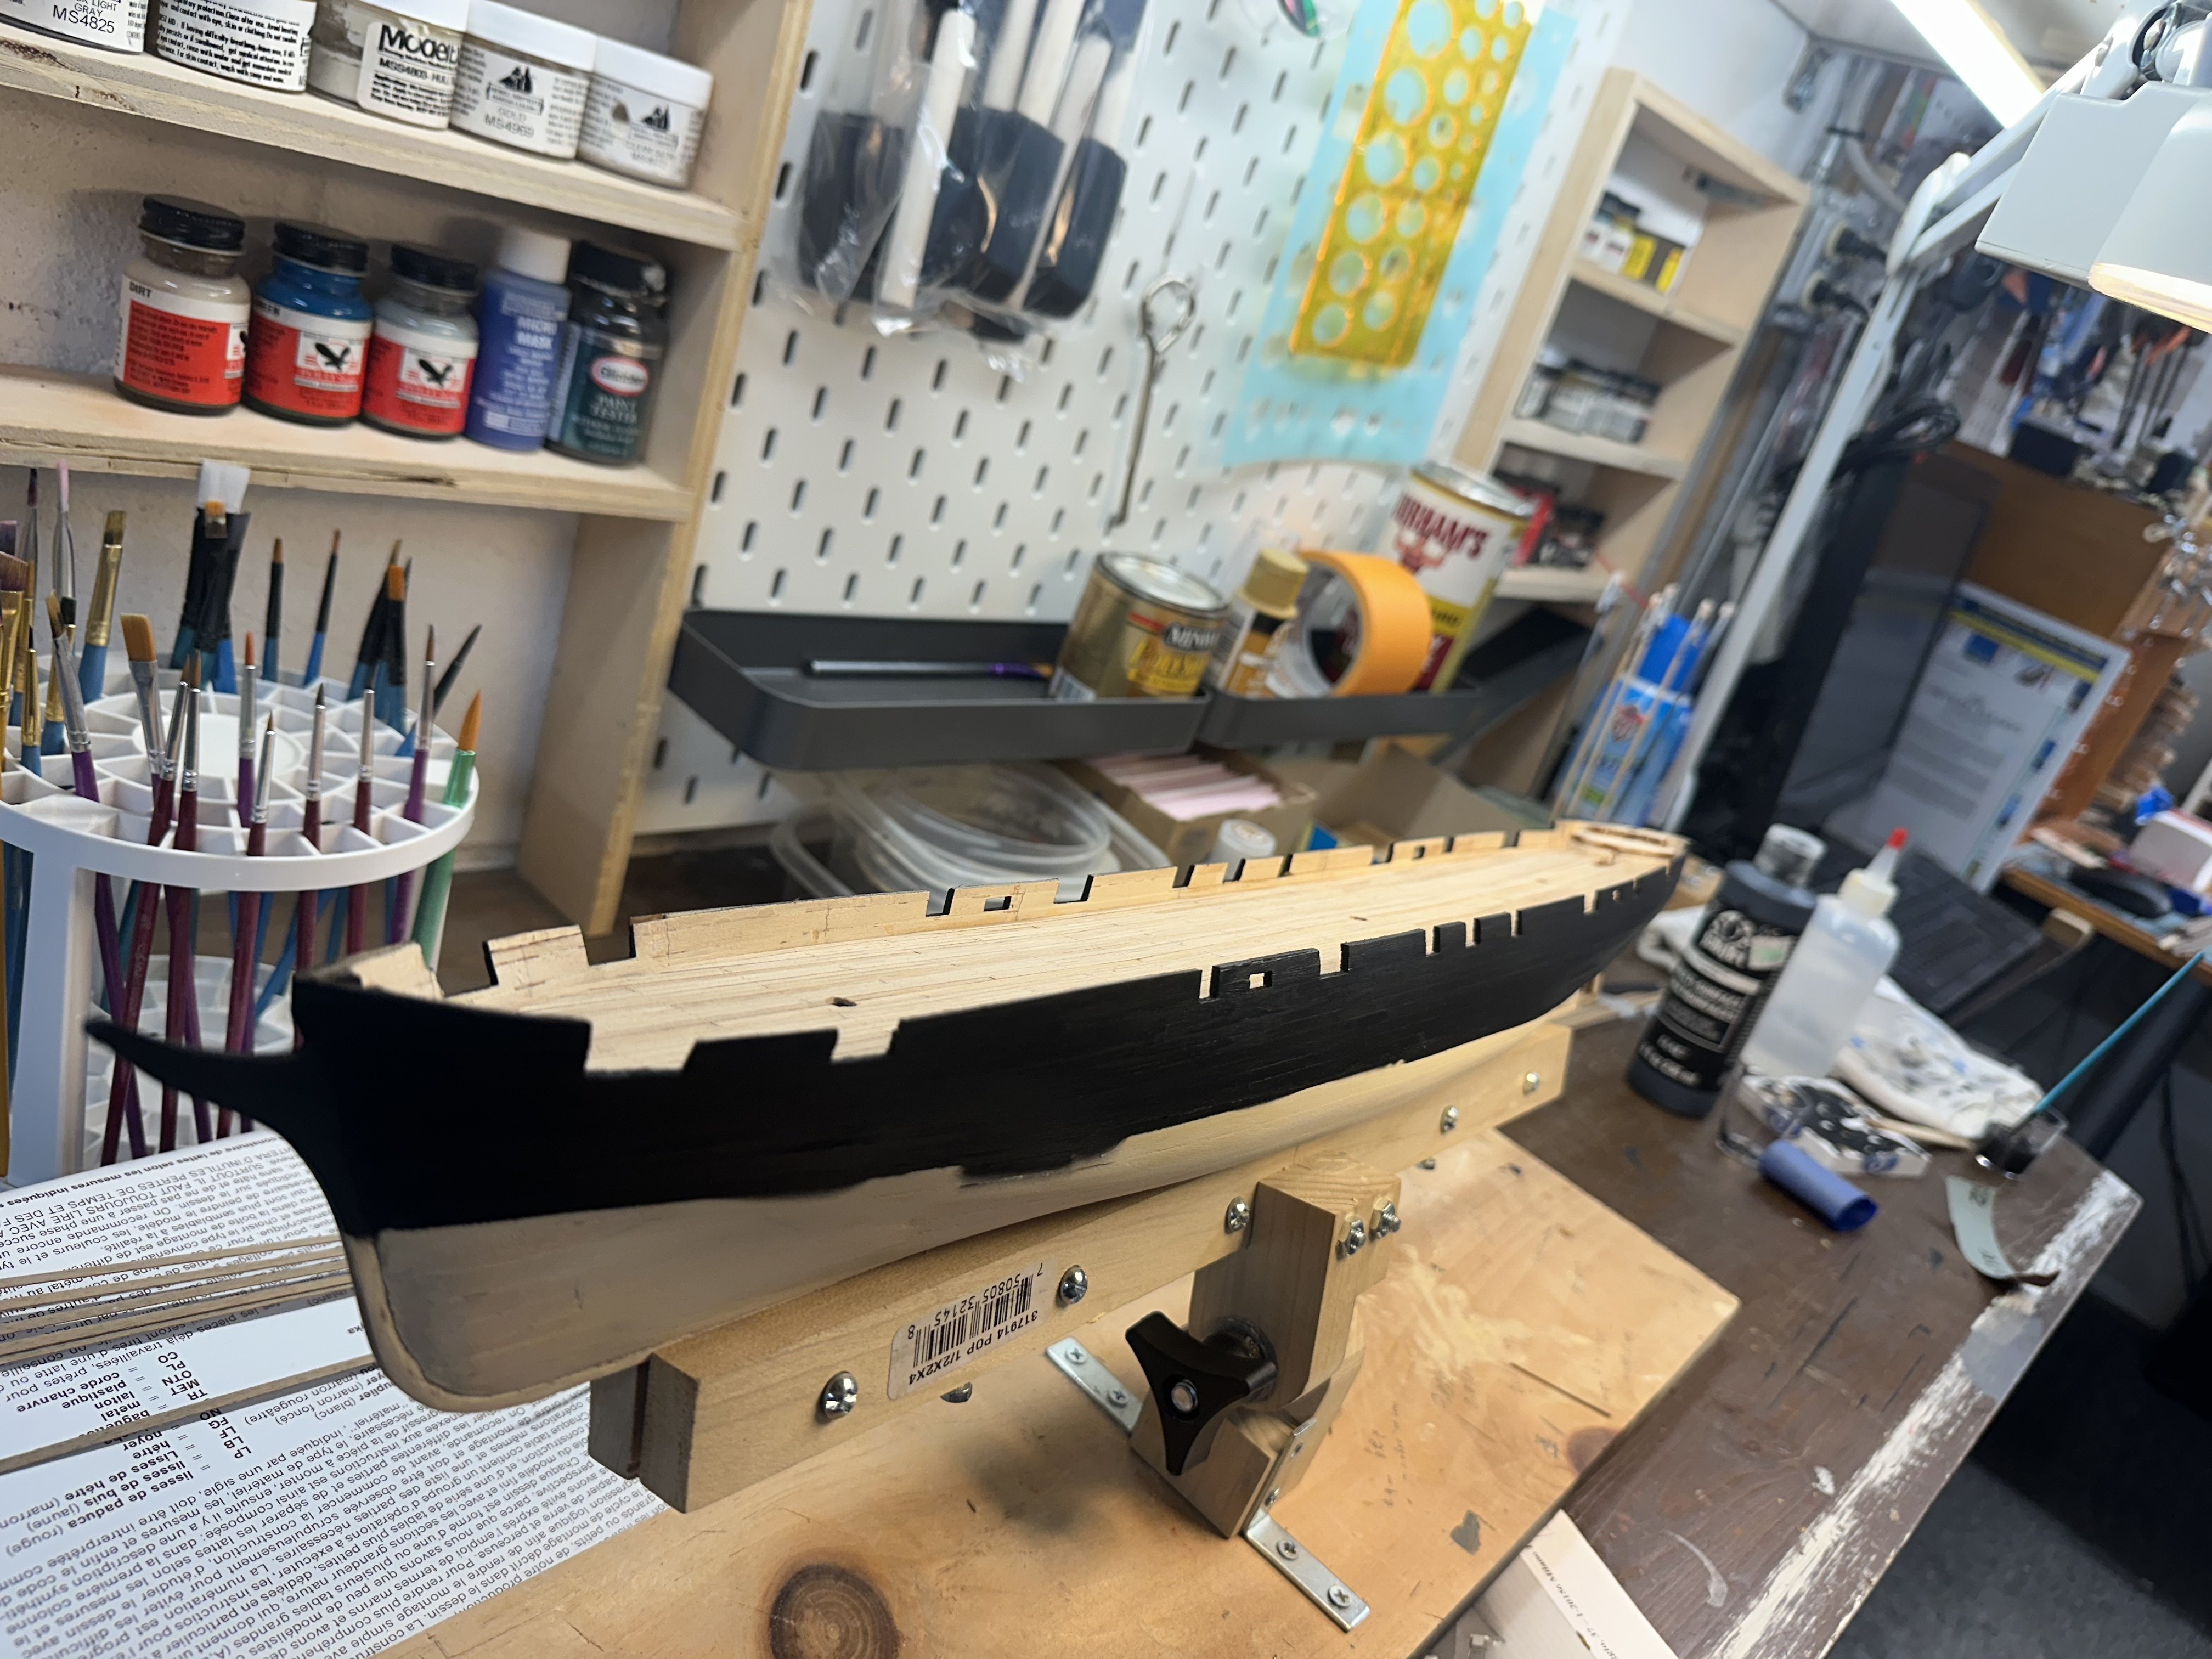
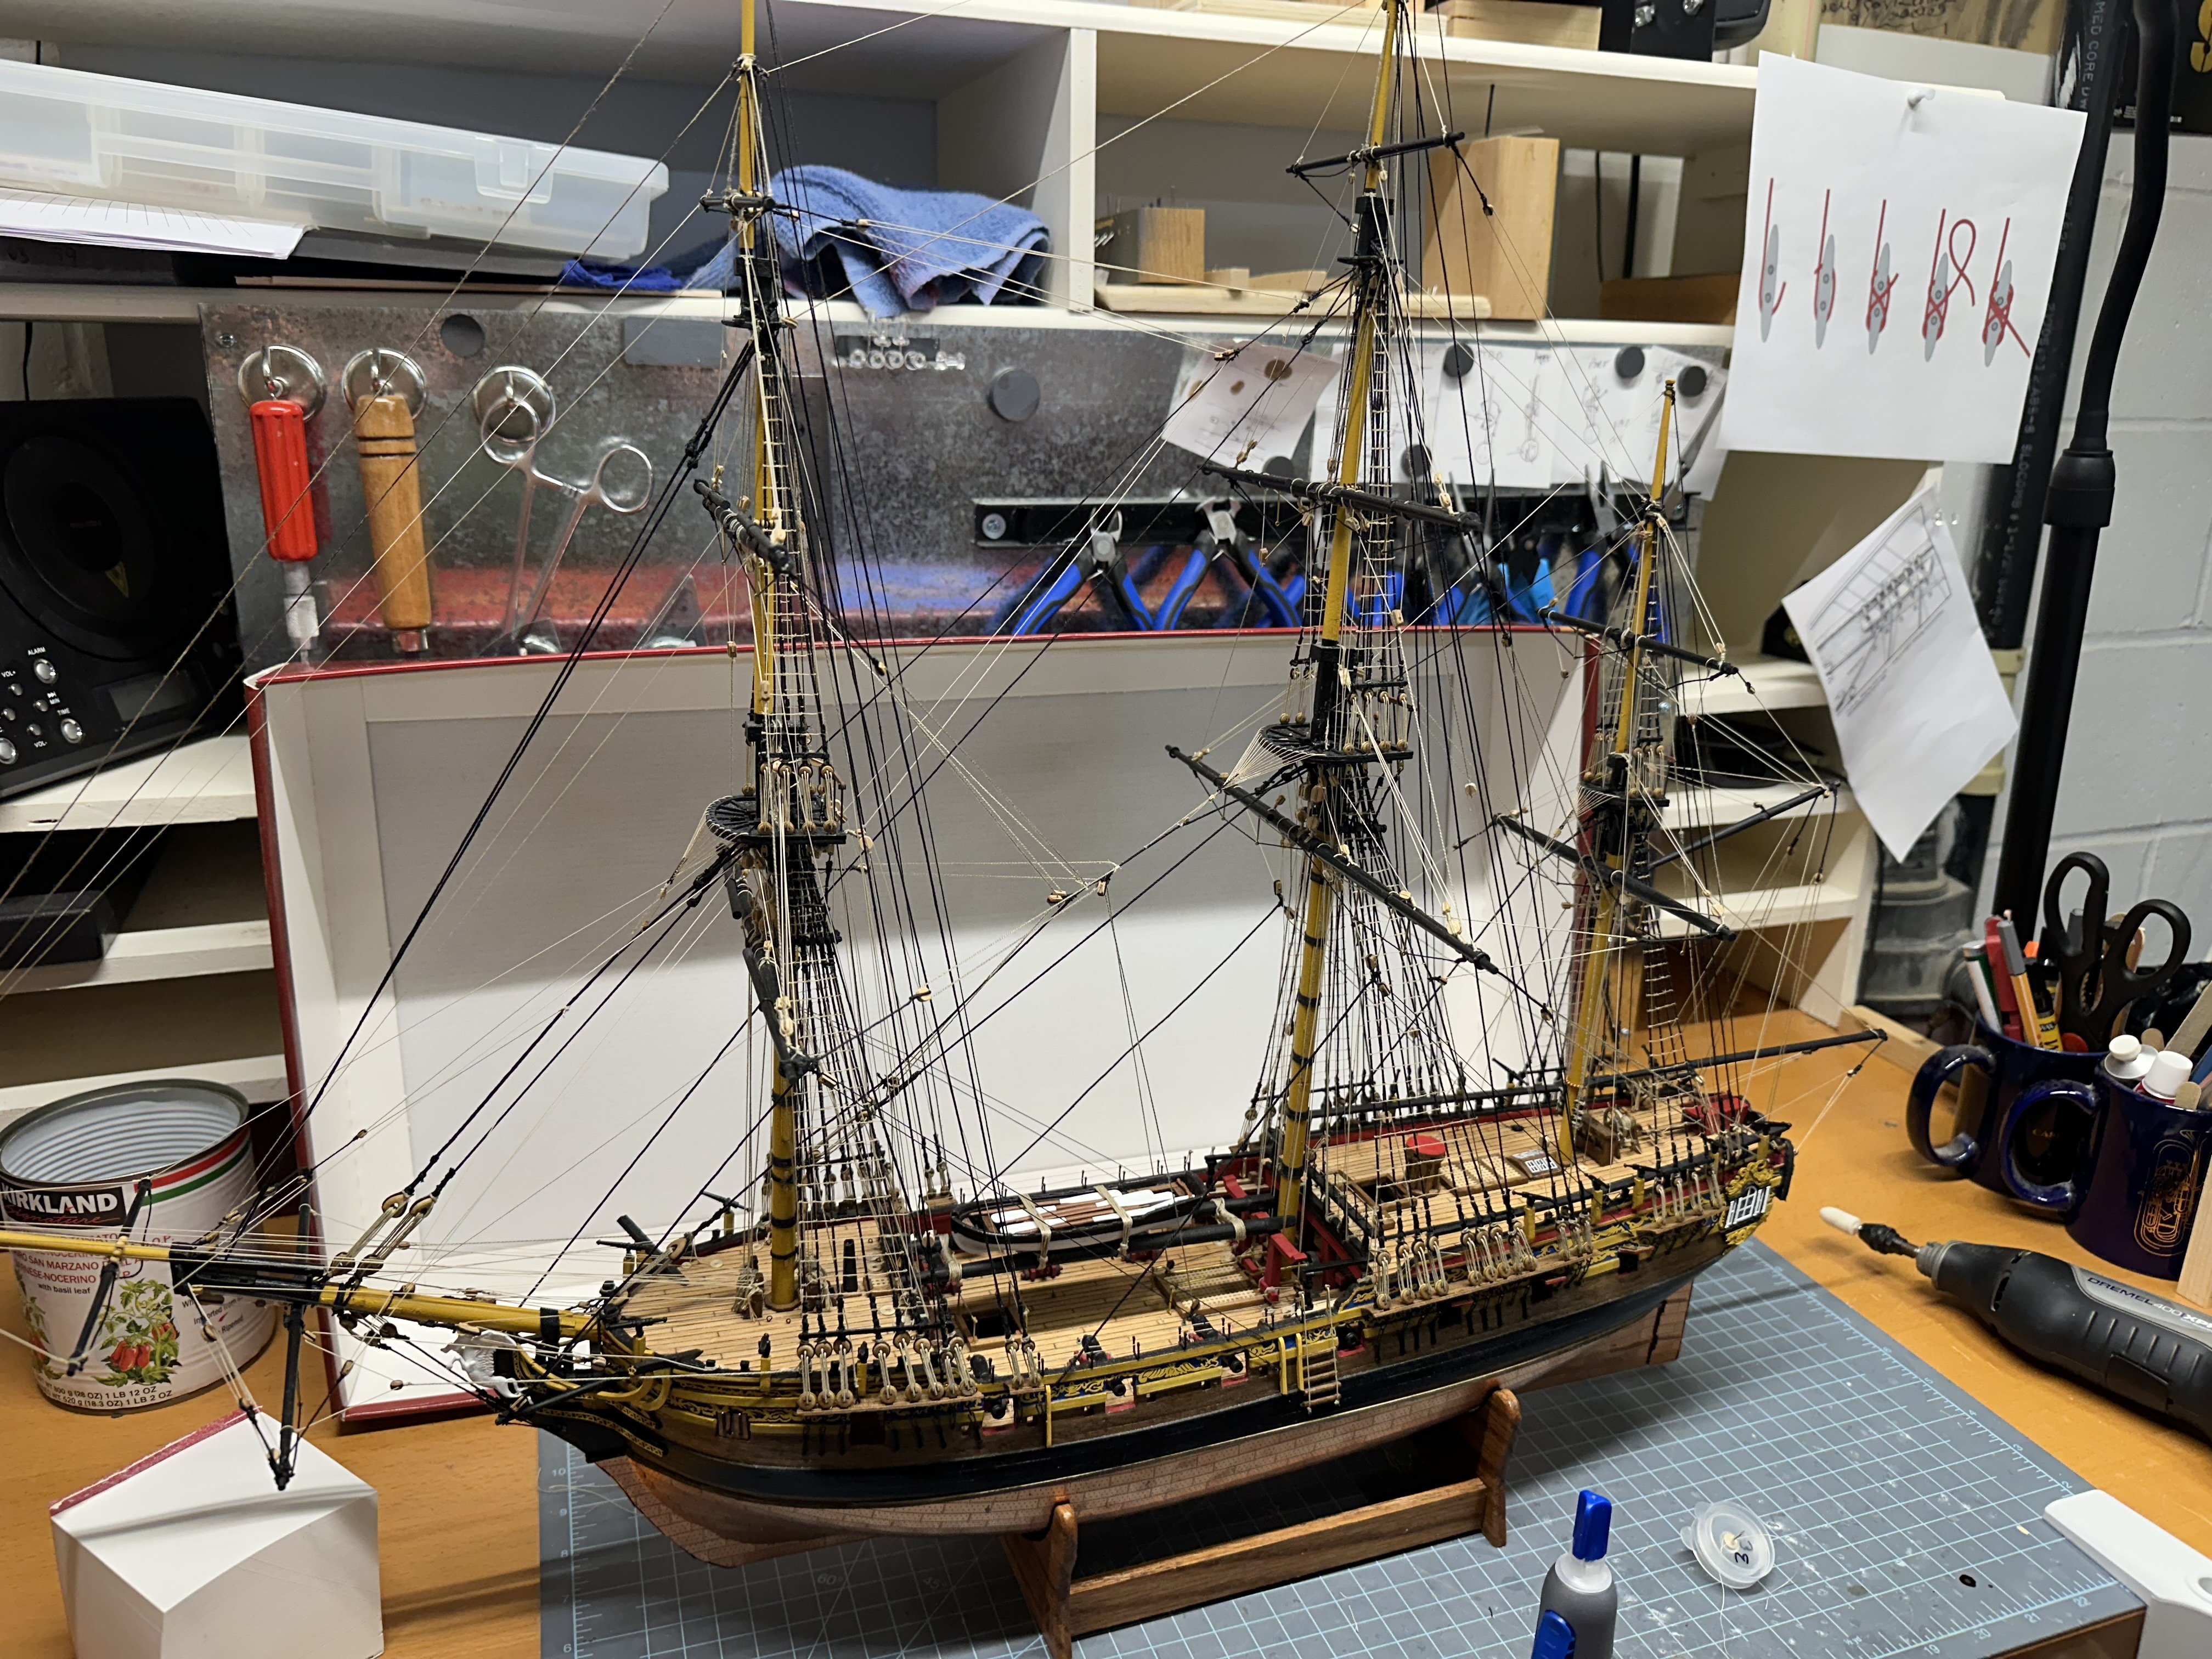
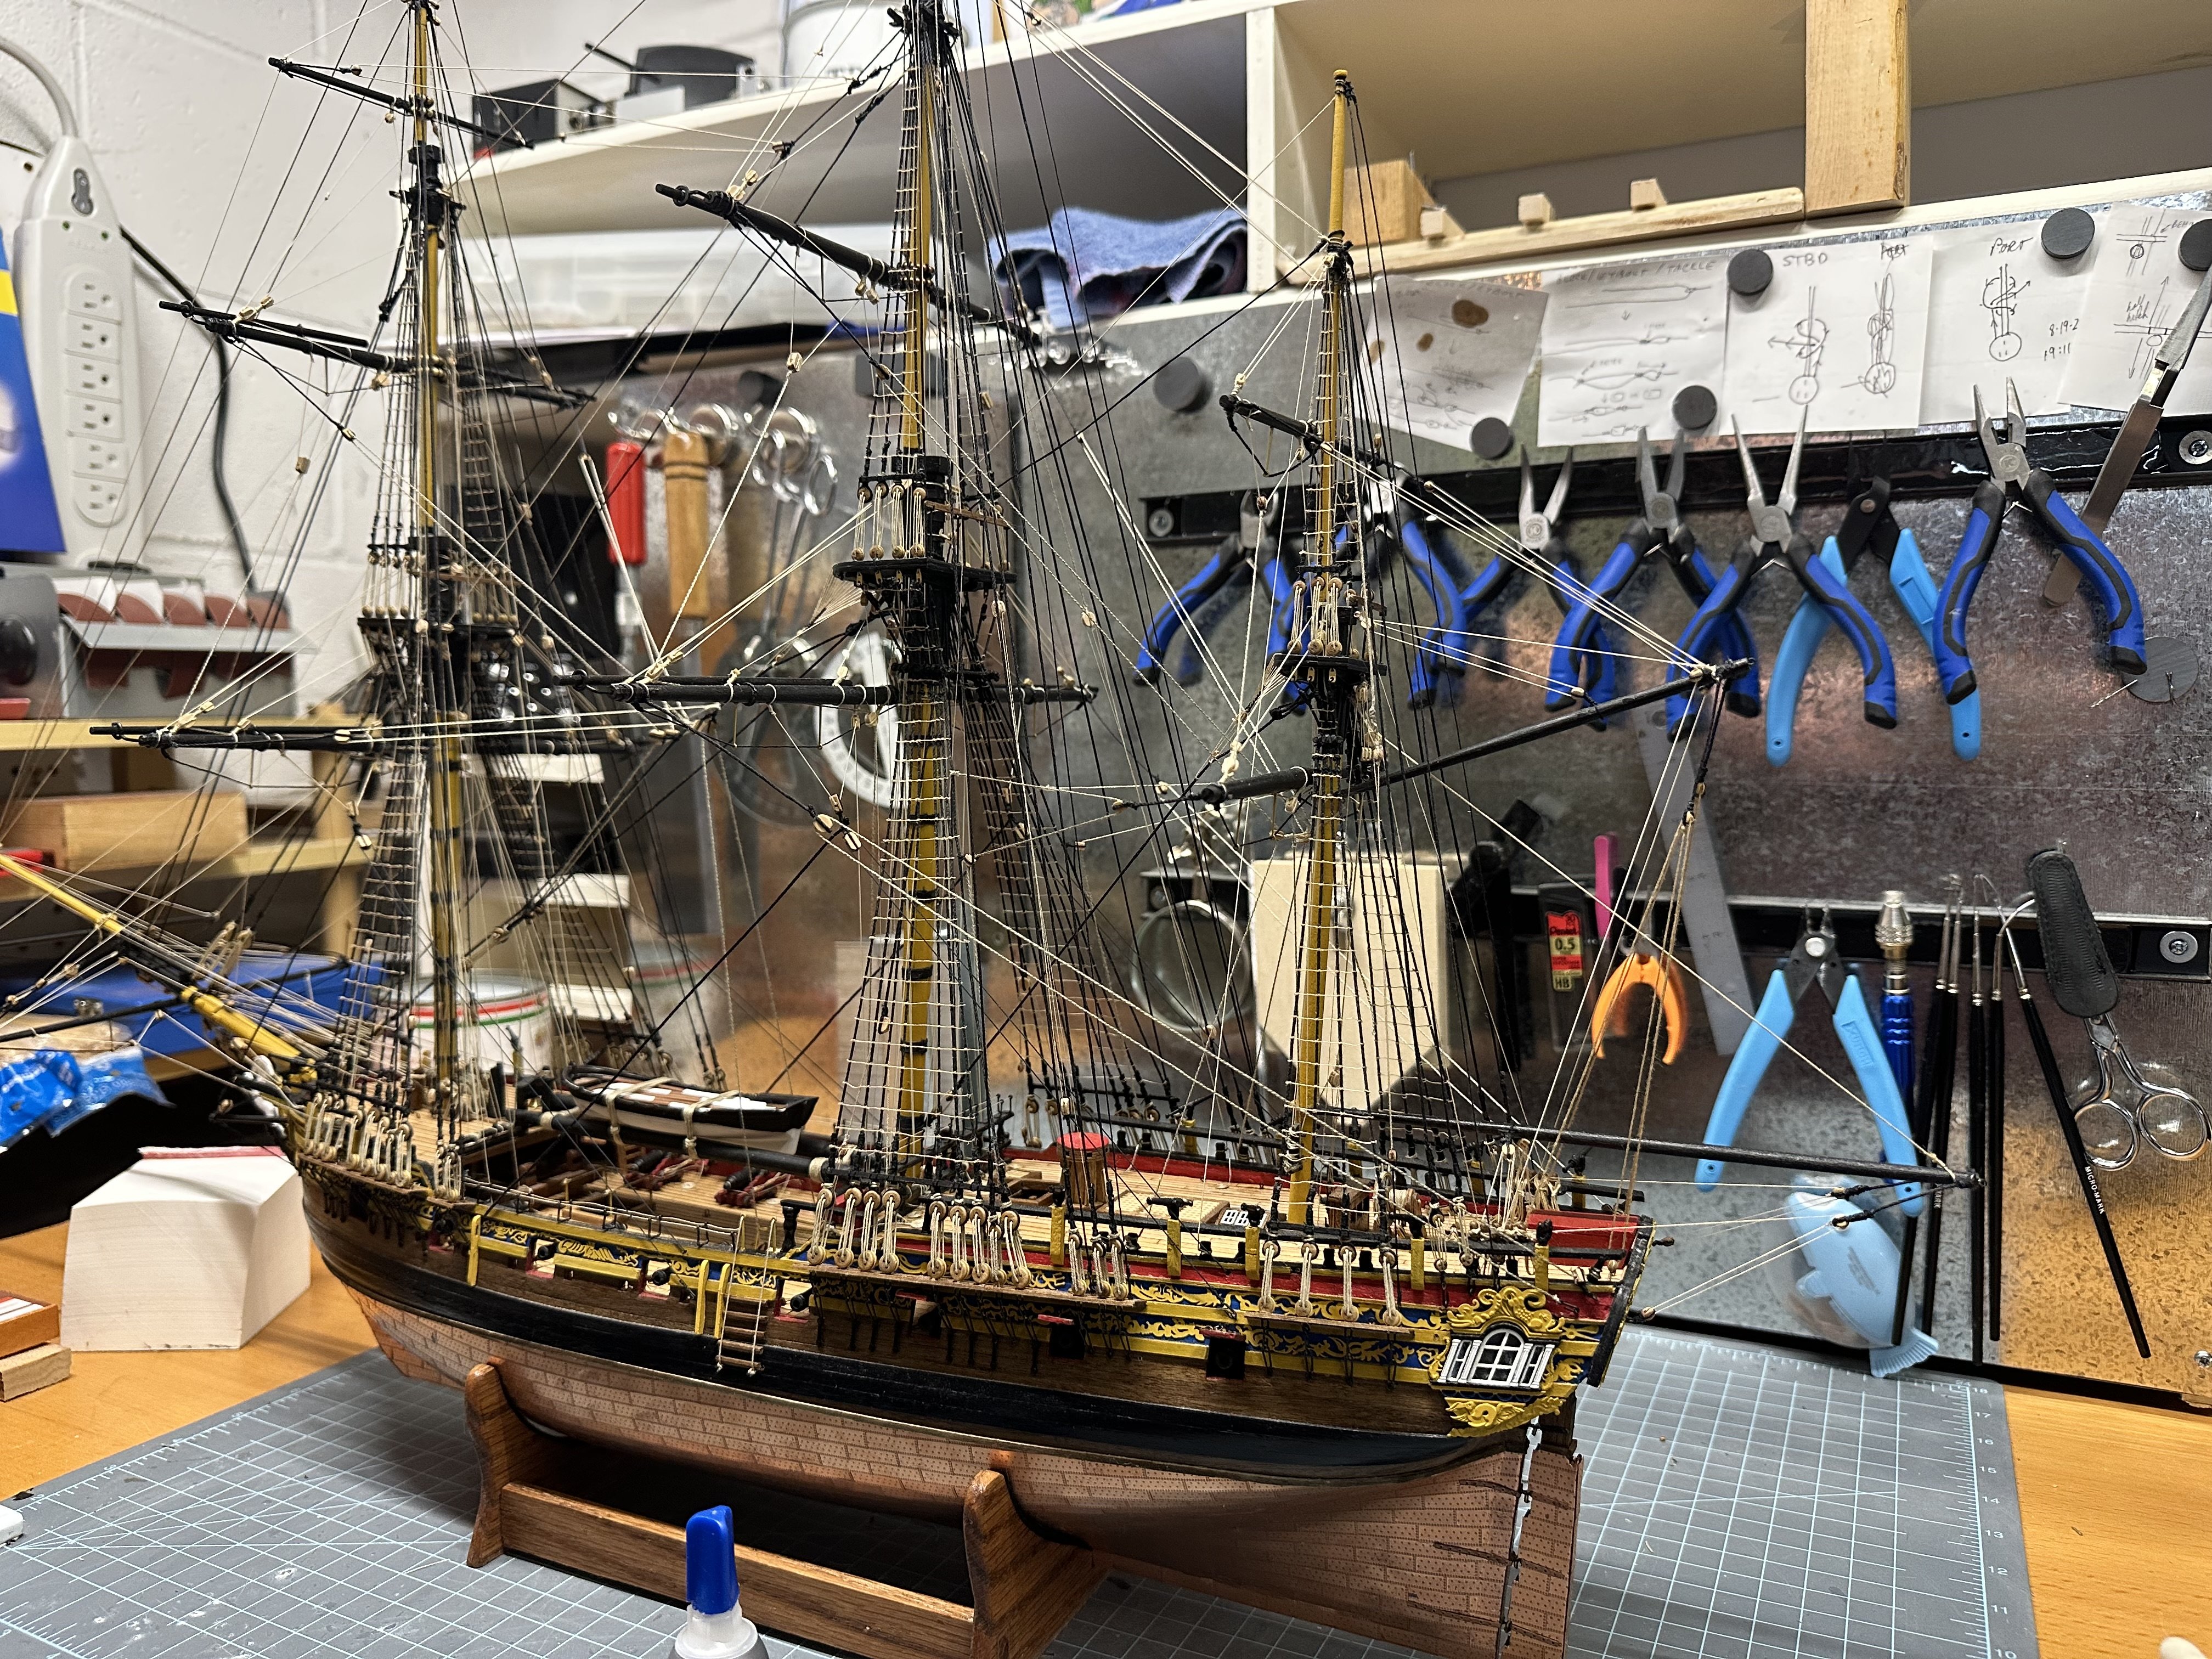
 The upper hull is painted with two coats of airbrushed Folkart waterbased black from Hobby Lobby. The paint alone is too thick to go through the airbrush. An expensive Tamiya airbrush solvent or similar could be used, but I’ve found that mixing the paint about 1:1 by volume with regular ordinary windshield washer fluid from the dollar store (now $1.25 store) then running it thru a paint strainer does the trick quite well. There is the right amount of alcohols, surfactant, etc to really let that paint wet out nicely and form a very even coat on the wood. It sprays like a dream, no streaks or drips, and I’ve not noticed that the blue has any affect the color. Maybe because I’m using dollar store quality fluid? I’ve sprayed yellow and white doing this mixture and didn’t see any blue shade. The finish is matte, very matte. So if gloss is desired, either spray over it with gloss coat or buy the more expensive paints.
-
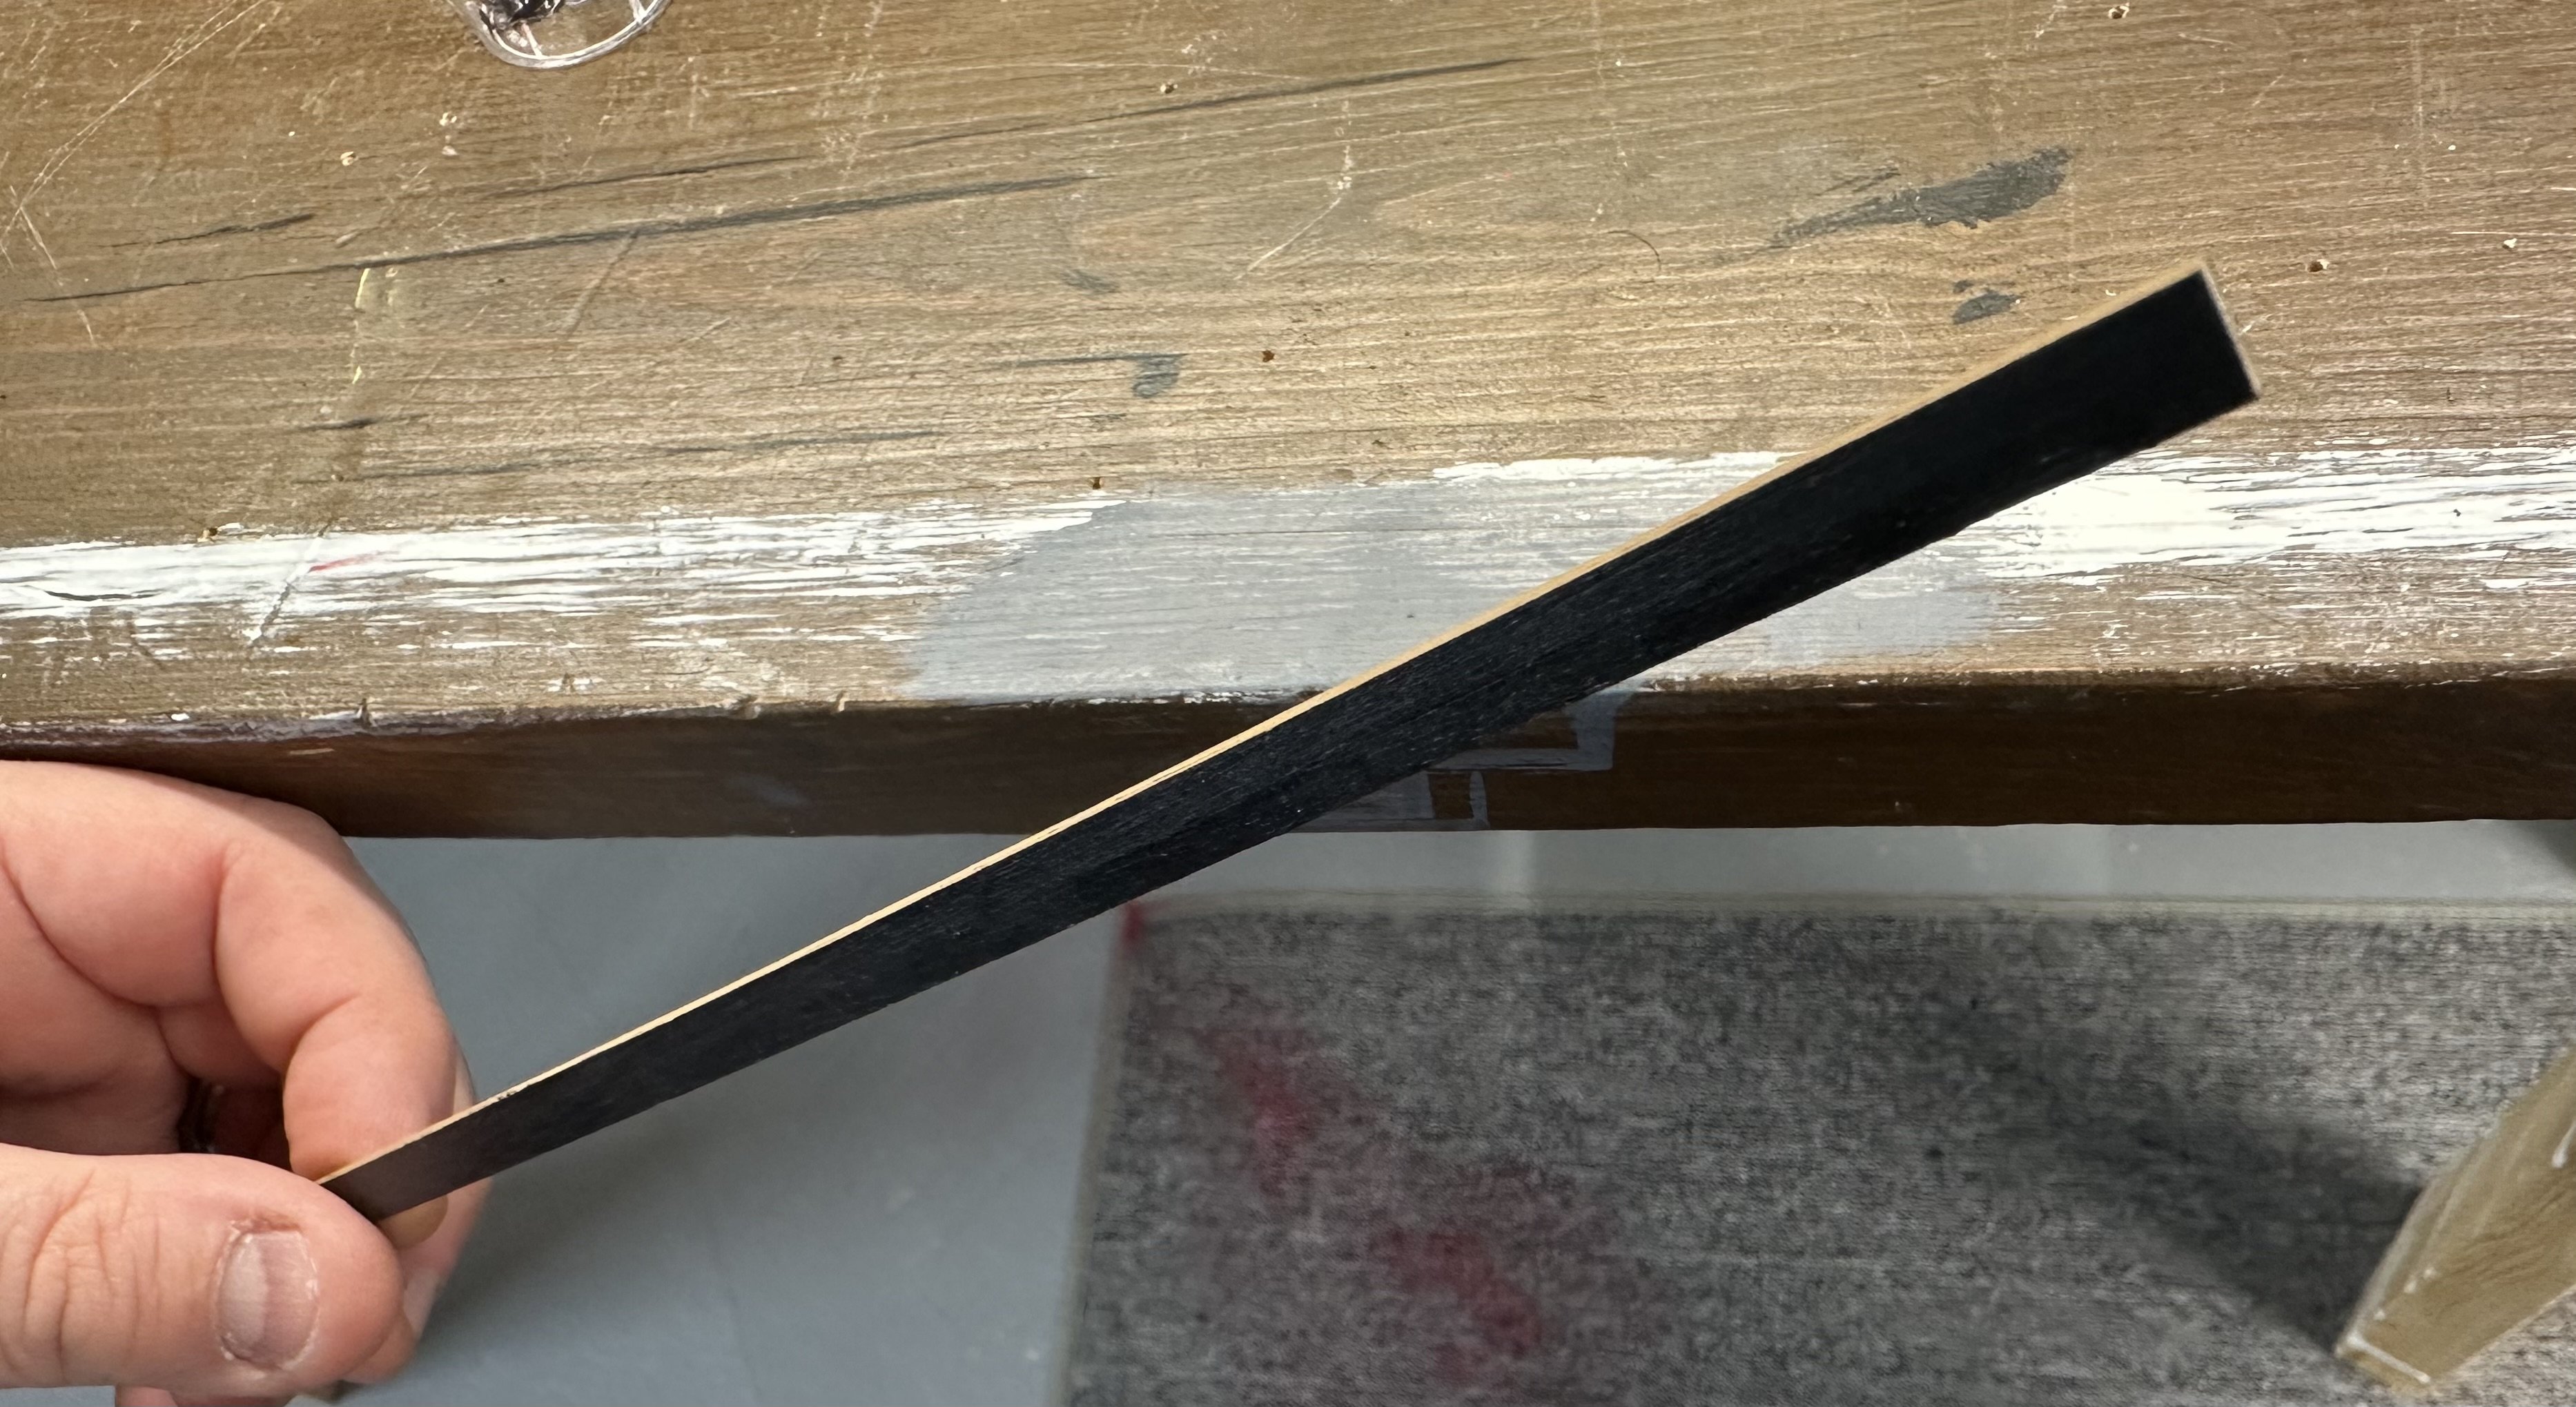
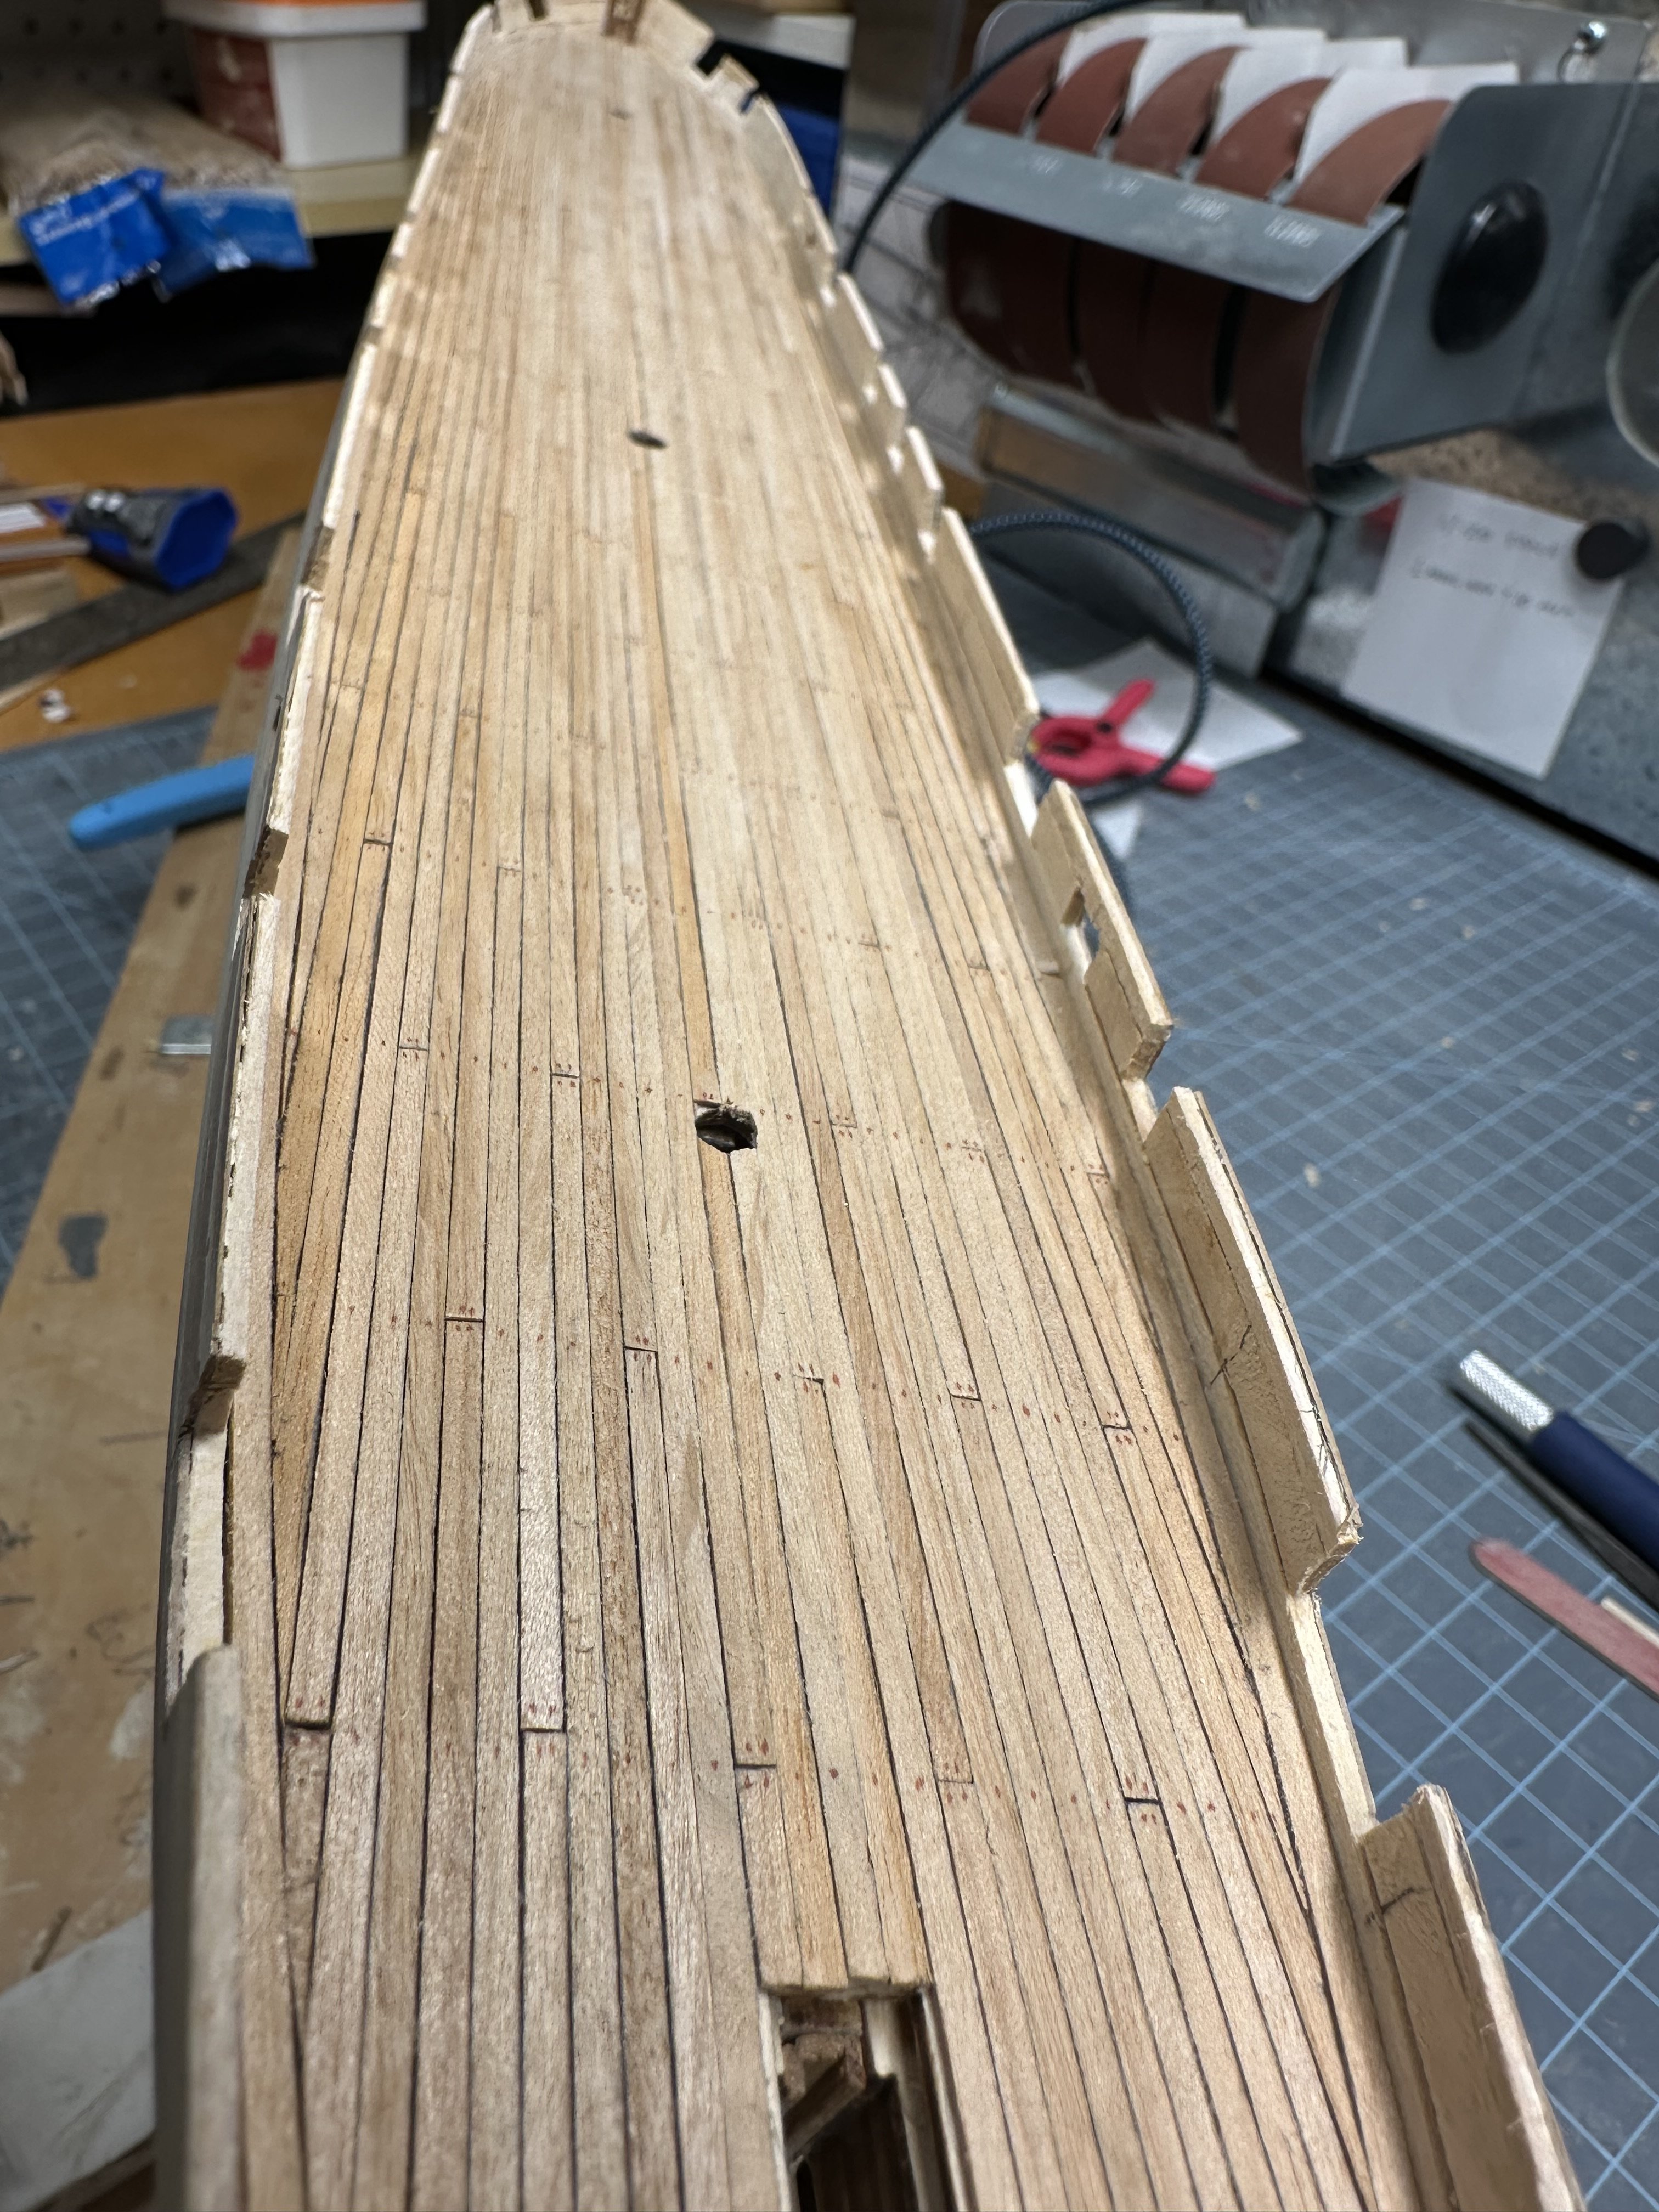
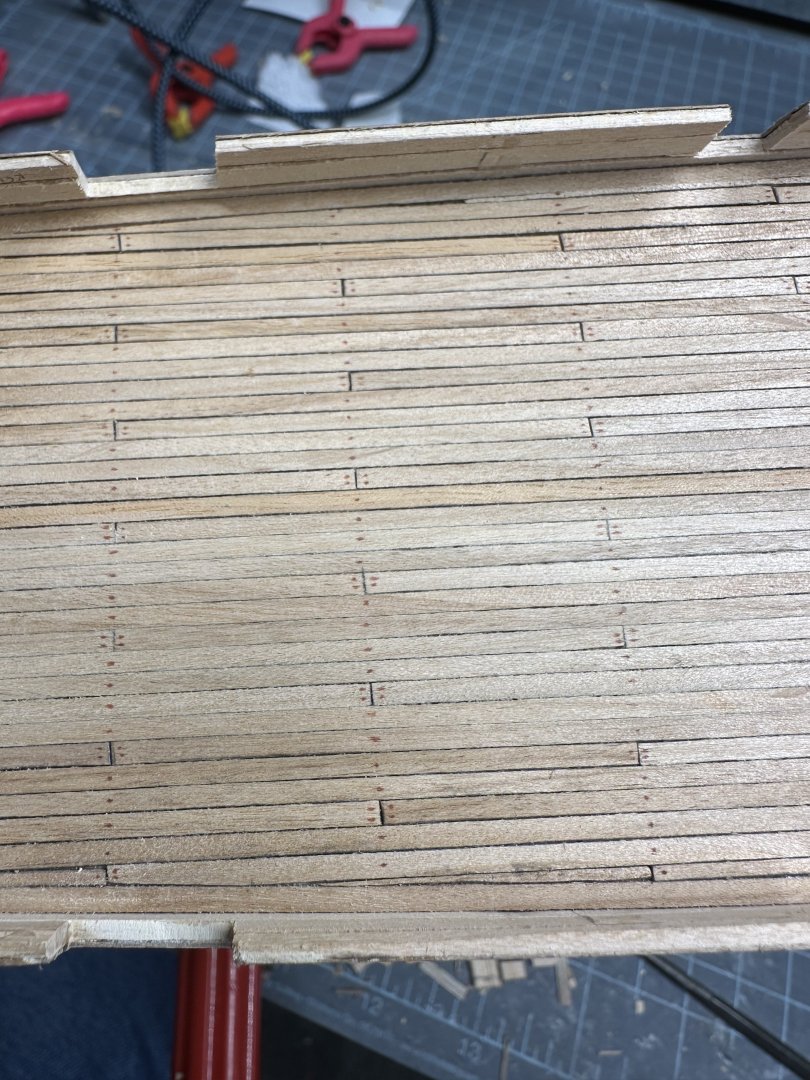
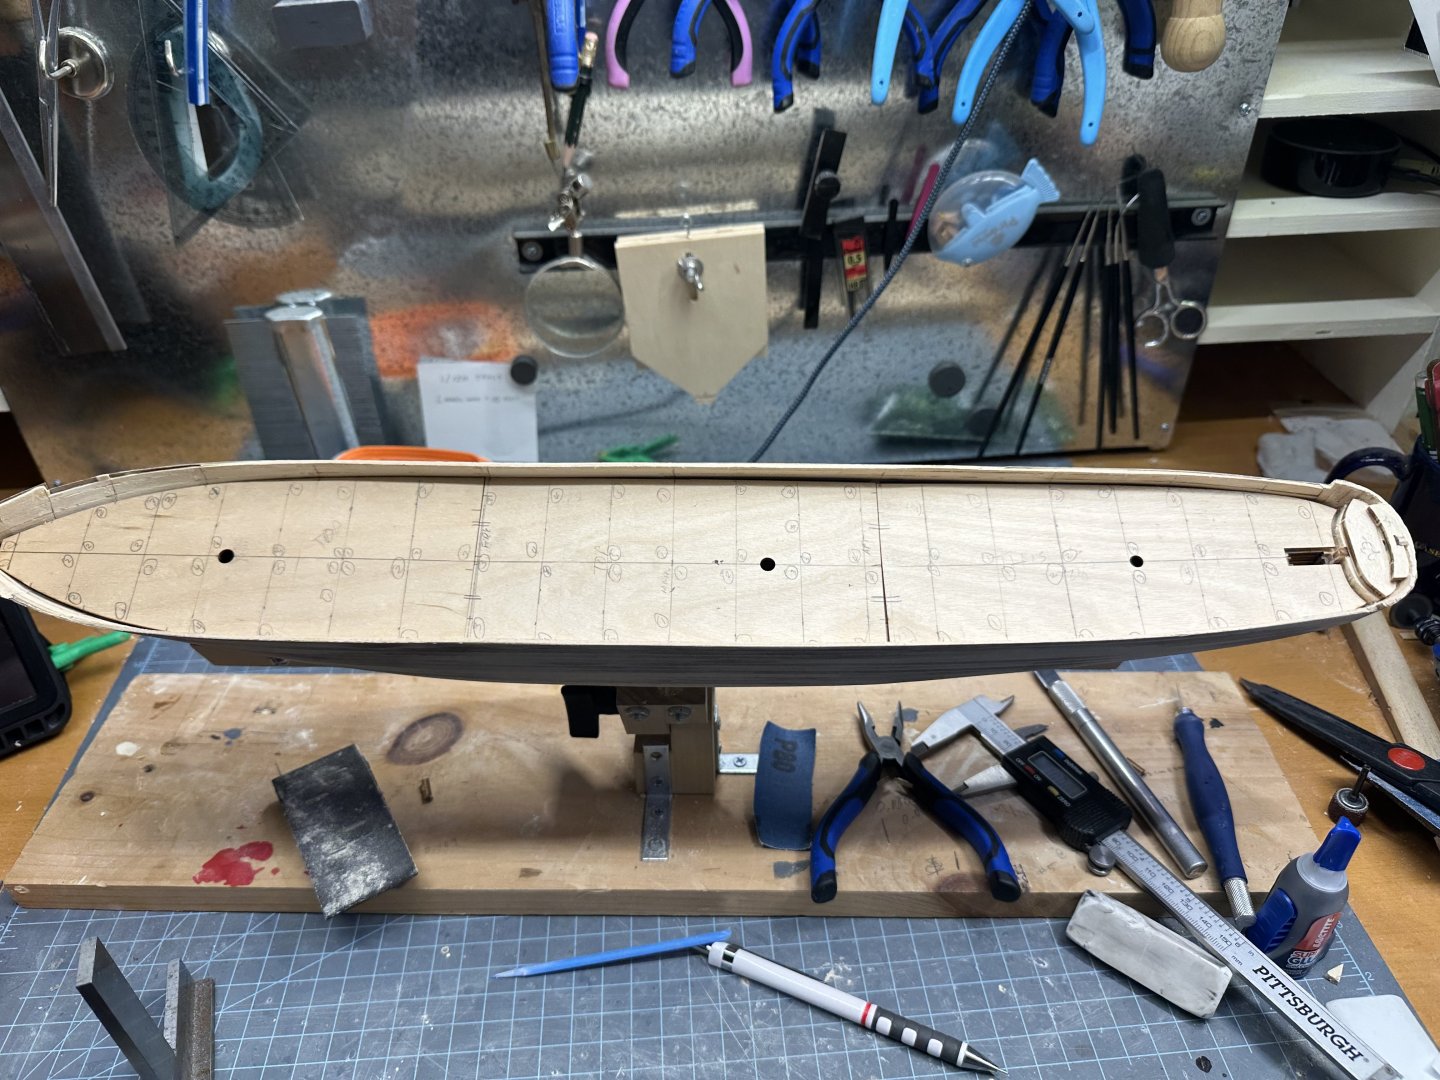
I decided to make tree nail “holes” using a 005 (0.2 mm) micro point pen. These pens are really nice because they don’t bleed. I decided to do a sepia brown to get as subtle as possible. I have an even smaller point pen, a 003 (0.15 mm) in black, but I felt that black would have been too abrupt especially at this scale. The scale of this ship is 1:120 but I still wanted to have that detail in there. My next big build I’m going to try to use the real thing. Next will be to get some clear coat onto the deck. But first, I cut out the gun ports. For the gun port doors, I made a sandwich assembly of one long piece of the 1 mm walnut interior plank, the 1mm basswood “guts” and the 0.5mm walnut exterior and painted them black (exterior) and “drab” (more on that interior color when I paint the interior bulwark). I’ll just slice off my gun port doors from this stock piece. With that done, I think it’s time to finally put a coat of black paint on the upper outer hull.


-
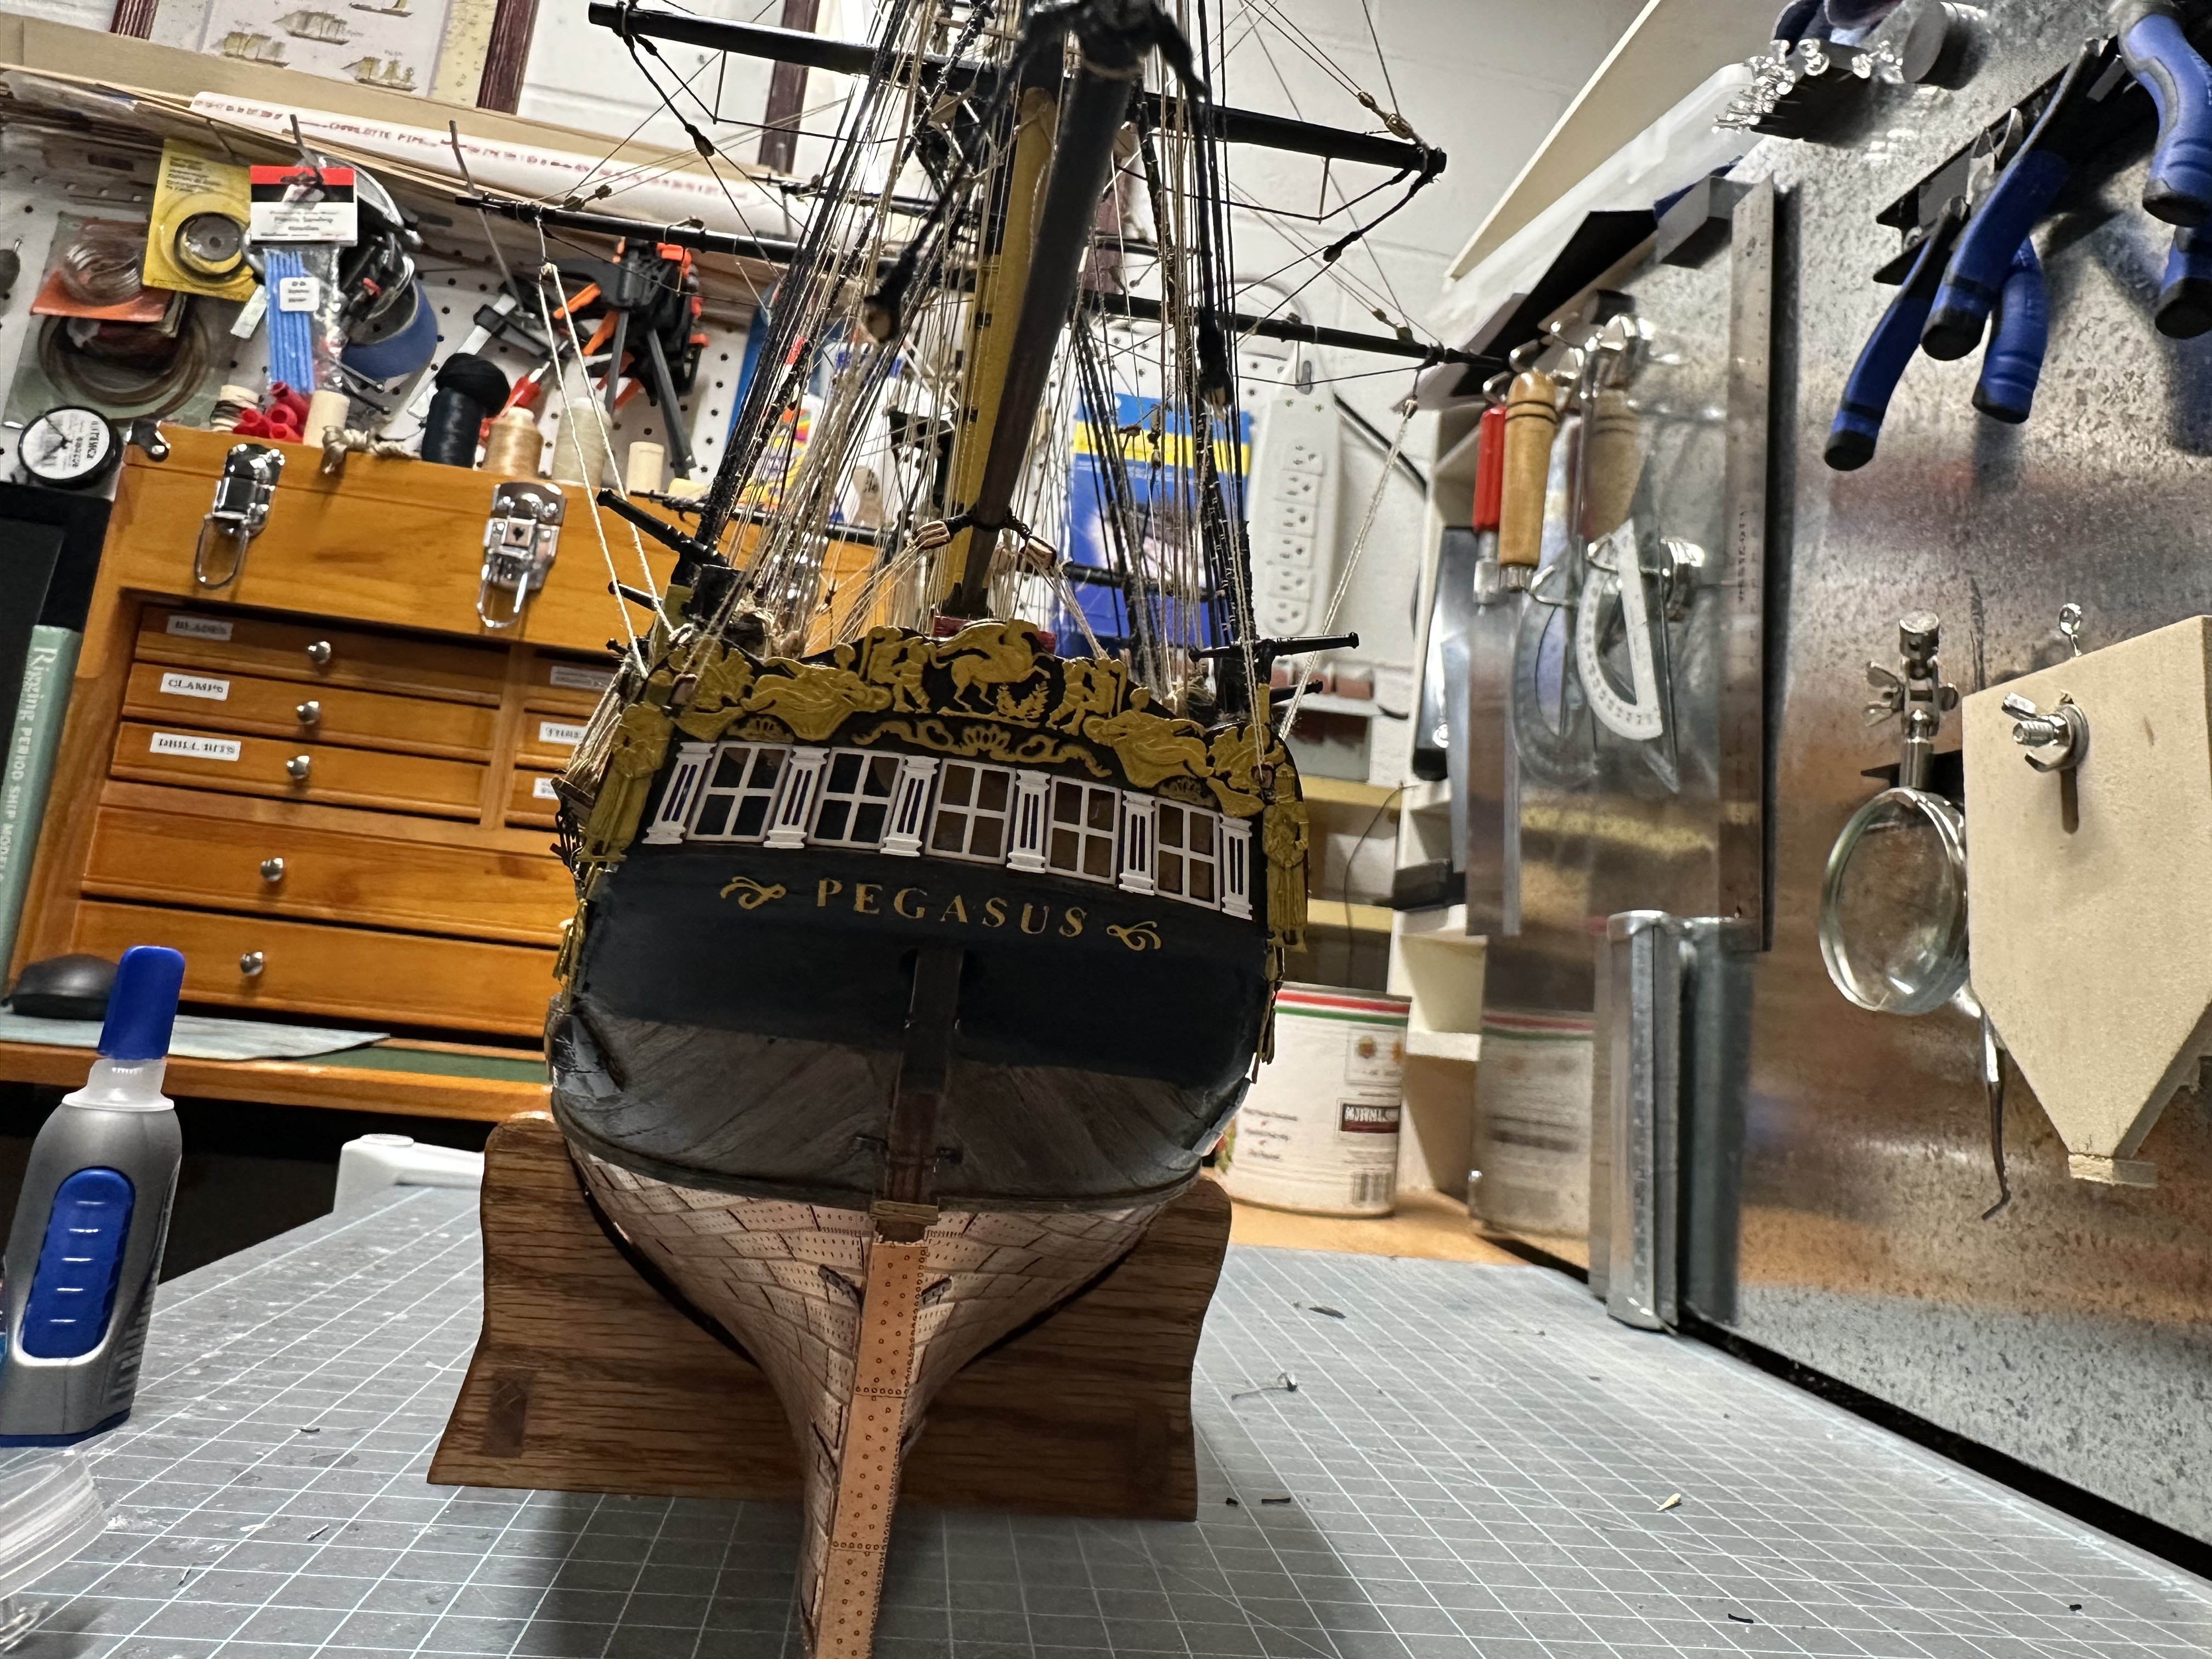
The planks are on. For the seams I used a #2 Ticonderoga pencil, just shaded one long and short edge per panel. I like the effect. By contrast, my last model (Pegasus) I shaded all of the edges and at the time was fine with it but the difference reminds me of a lady with way much mascara. I saw posts here that said to just shade only one edge. Much more subtle. I’ve also decided to add the tree nail effect using an ultra-fine no bleed pen. That’s the next post.


-
Yeah, I feel the Mamoli one assumes you’ve built a few. The Alabama was my first model and I only started it after a few kits that had detailed instructions written about them (Bob Hunt’s practicums). Even now I just use the visuals in the plans, not the written ones. Like the idea of the Bluejackets plans for clarity. And you’ll probably get much more detail.
-
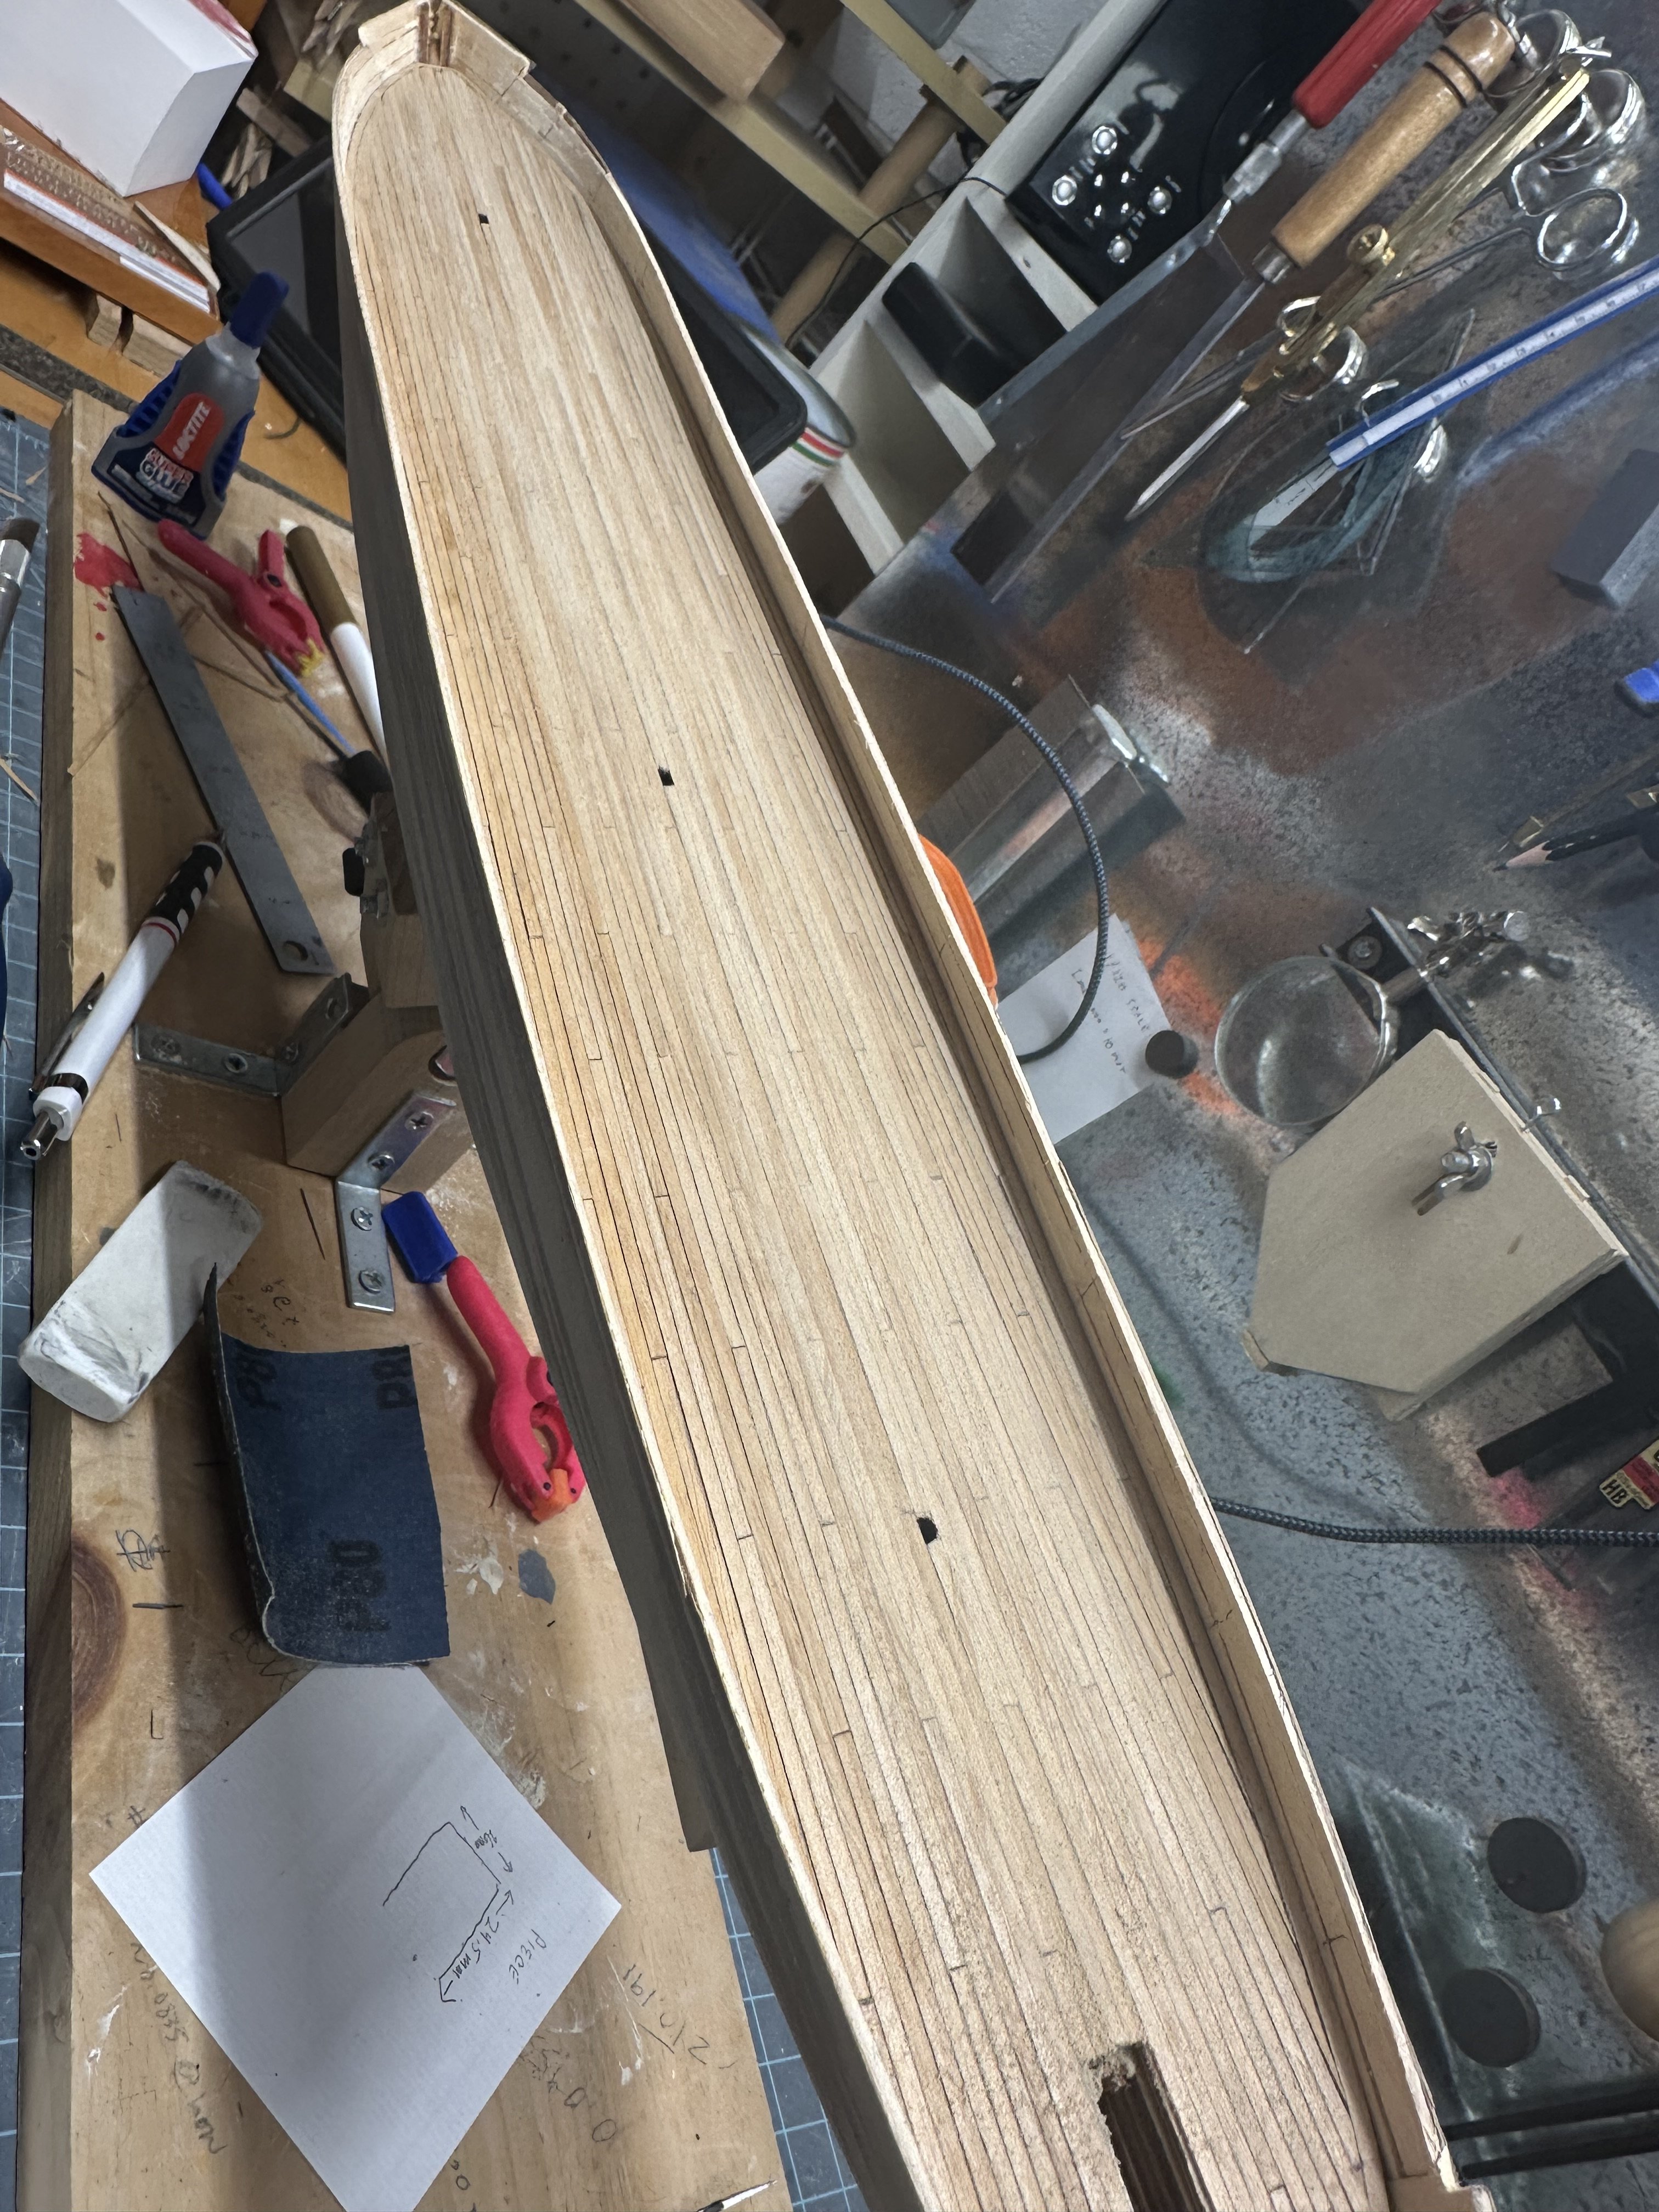
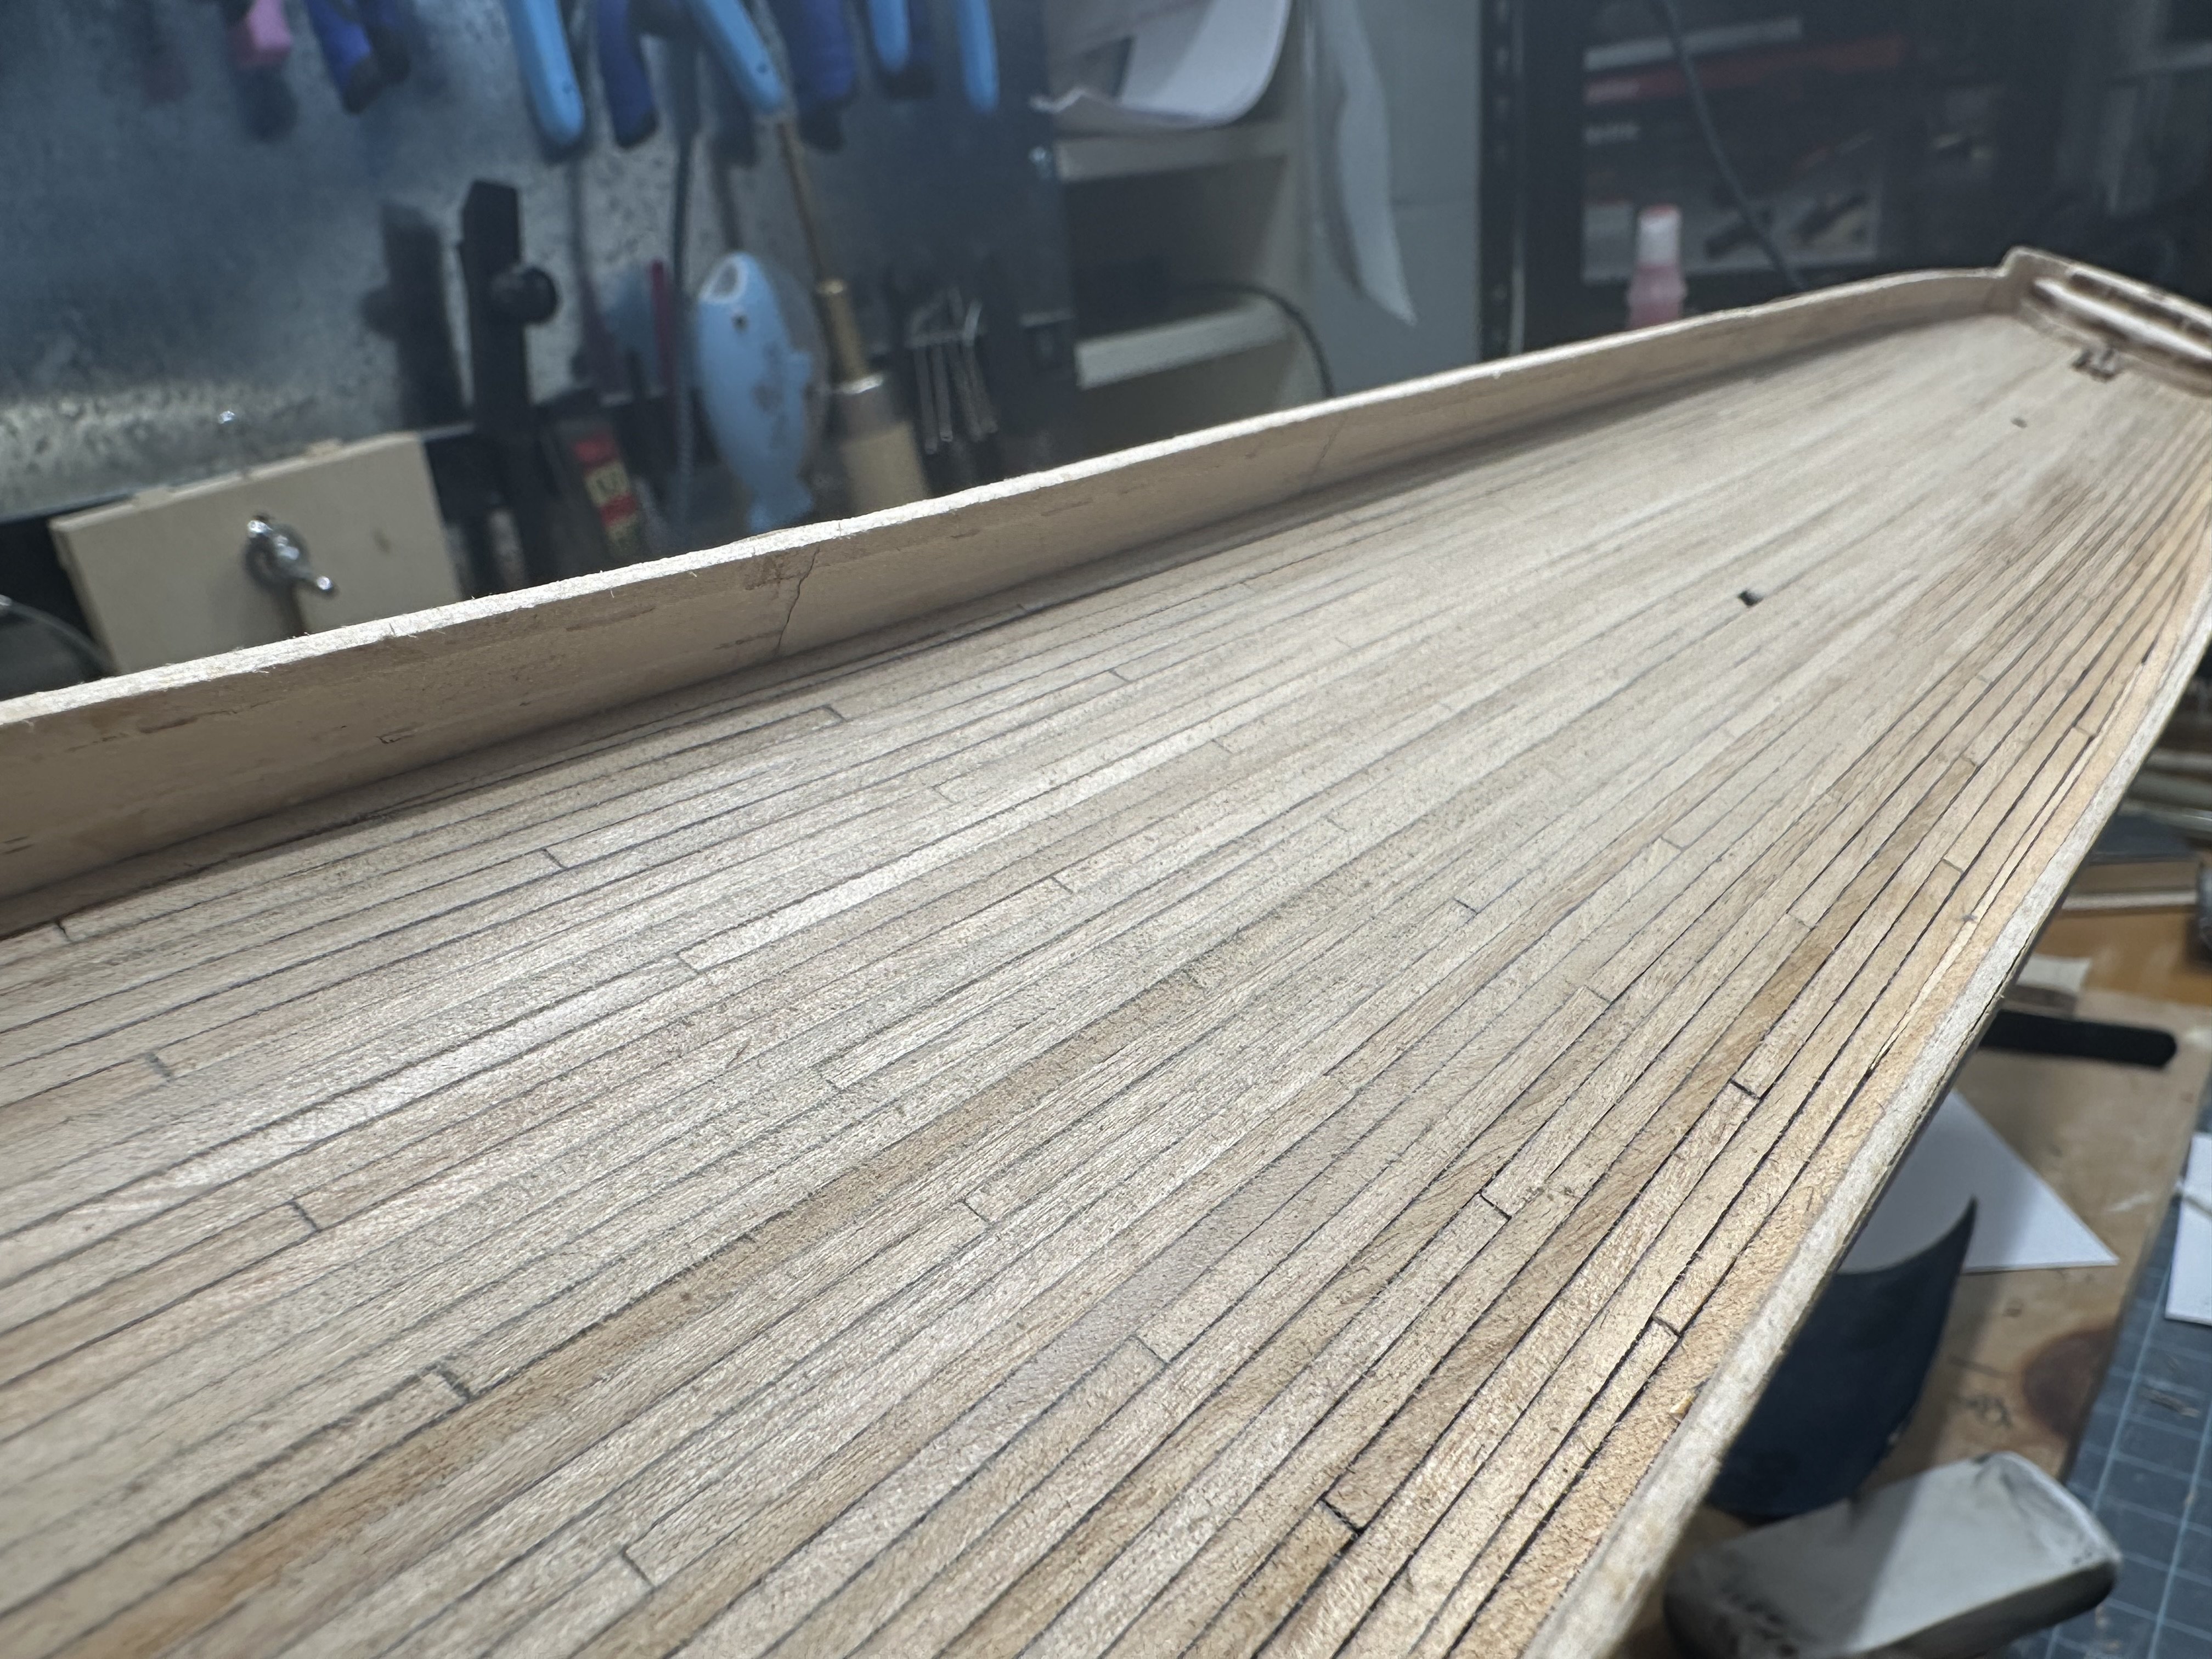
Next I’m installing the deck subfloor. I marked out a four butt shift deck pattern.
-
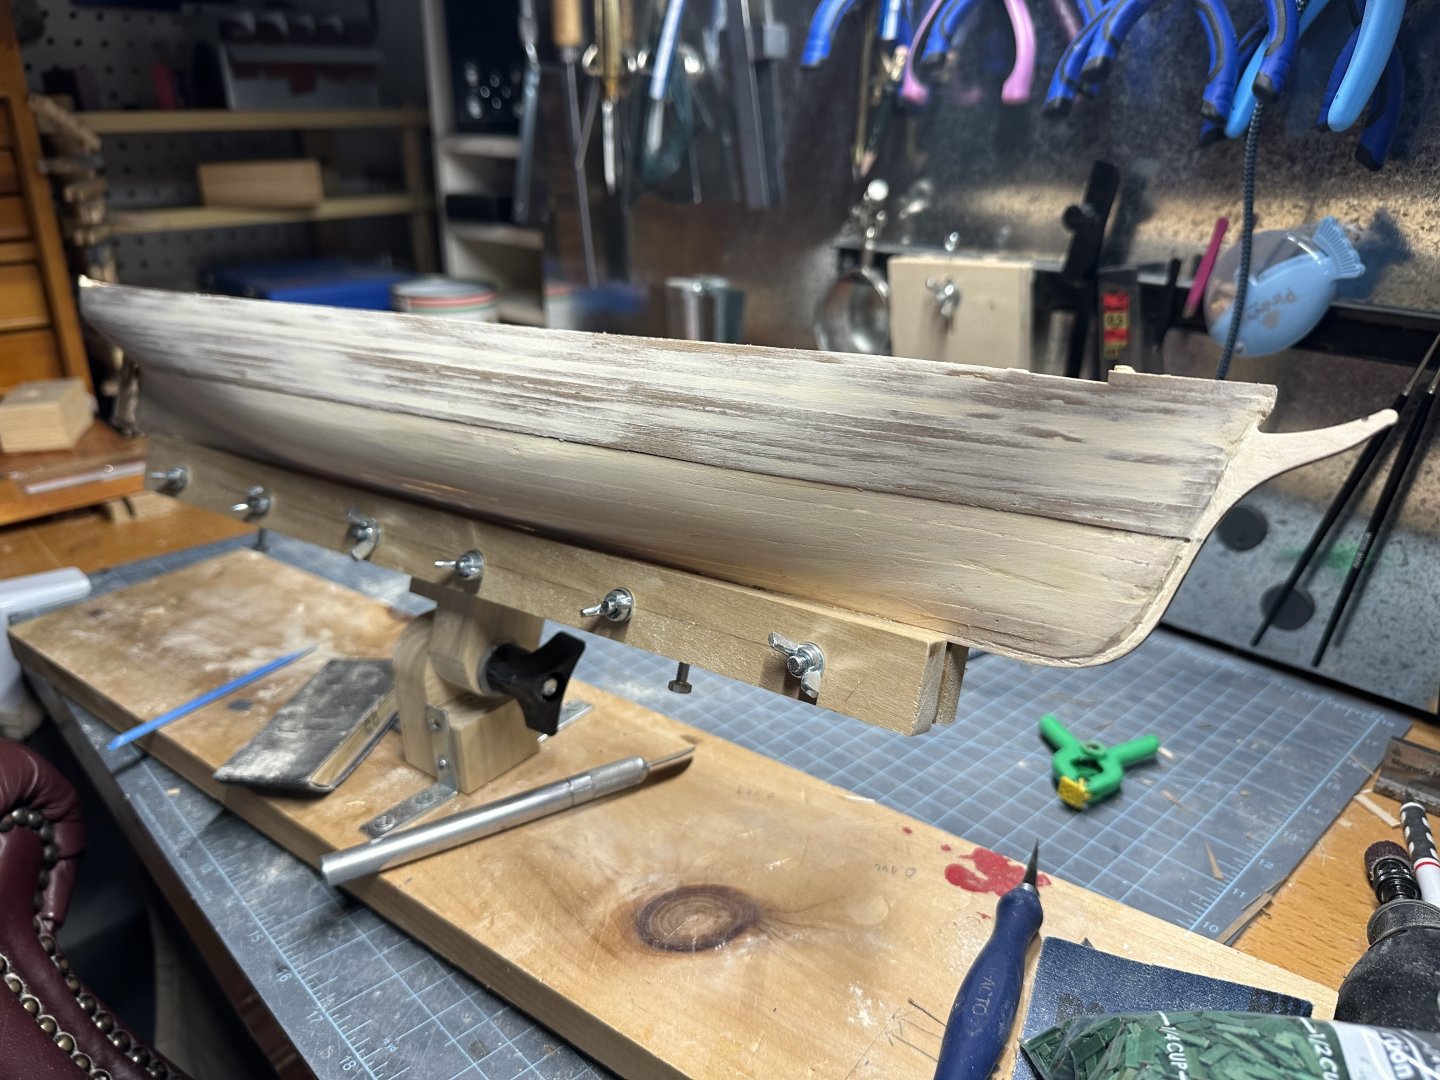
The second planking is on and I am going to paint it black. So another few layers of Elmers wood putty in the low spots. Standing between layers.

-
Hey thanks.
-
Applied the Elmers wood putty in a few layers and sanded smooth. I’m happy enough with the profile now. I added the waterline on each side and stem and stern look aligned when looking head on at them. Next is the second plank layer starting with the wale to establish a reference point.


-
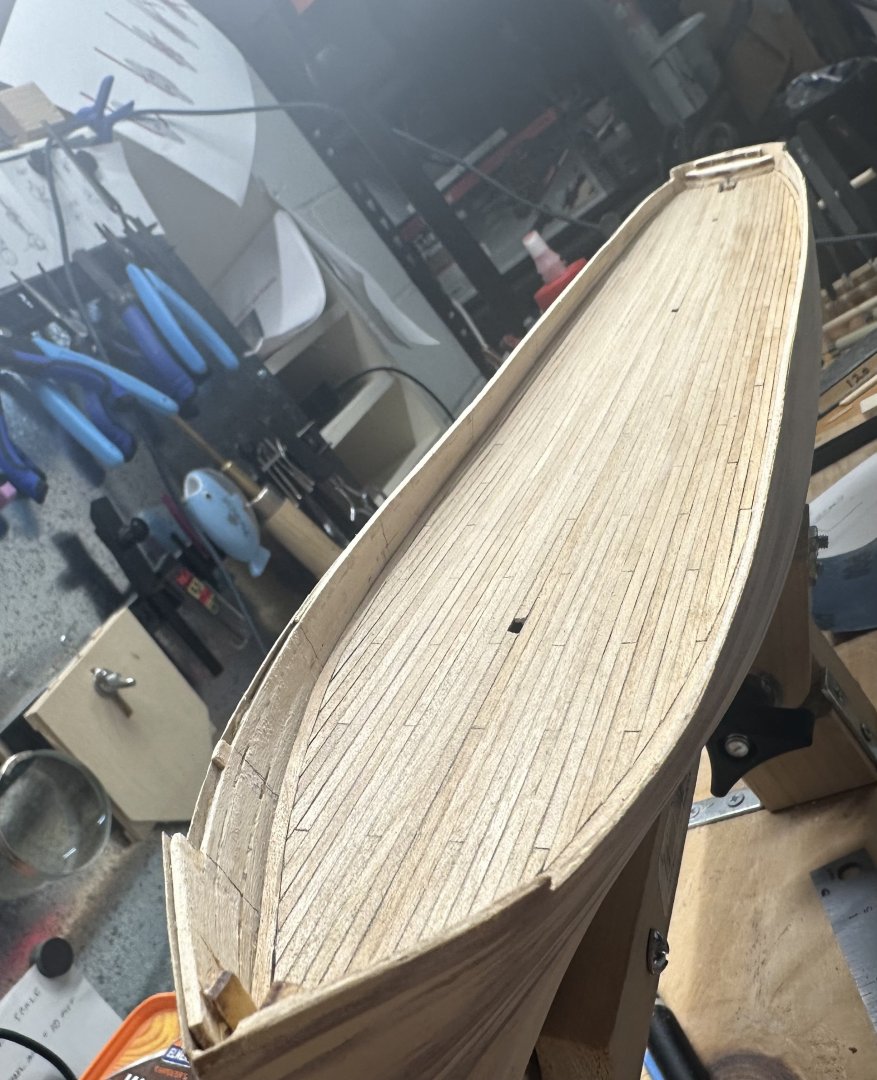
The last plank of the first planking layer was put in place…finally. I’ll start sanding down high spots and filling the gaps in with Elmers Wood Filler. The majority of the posts here say the Elmer’s works fine and is easy to sand. I’ve done some random spots on the hull already and I concur - MUCH easier to sand vs the Durhams filler. And since I happen to have a container of the Elmer's filler in my shop, money saved! I’m very pleased how the hull in general has turned out so far and wished “2009 me” would’ve taken a pic of my first go-around with this hull I when I had less of a clue than I do now. I know I didn’t do half the things I’m doing this time around. Funny what just a few ship models do for one’s experience level.
-
Cool. Makes sense to me. I’ll give it a shot. Thanks for the suggestion. This is the wood working Bondo right? I’ve watched the 2 part Bondo for auto body work used, but I’d think that’d be pretty hard.
-
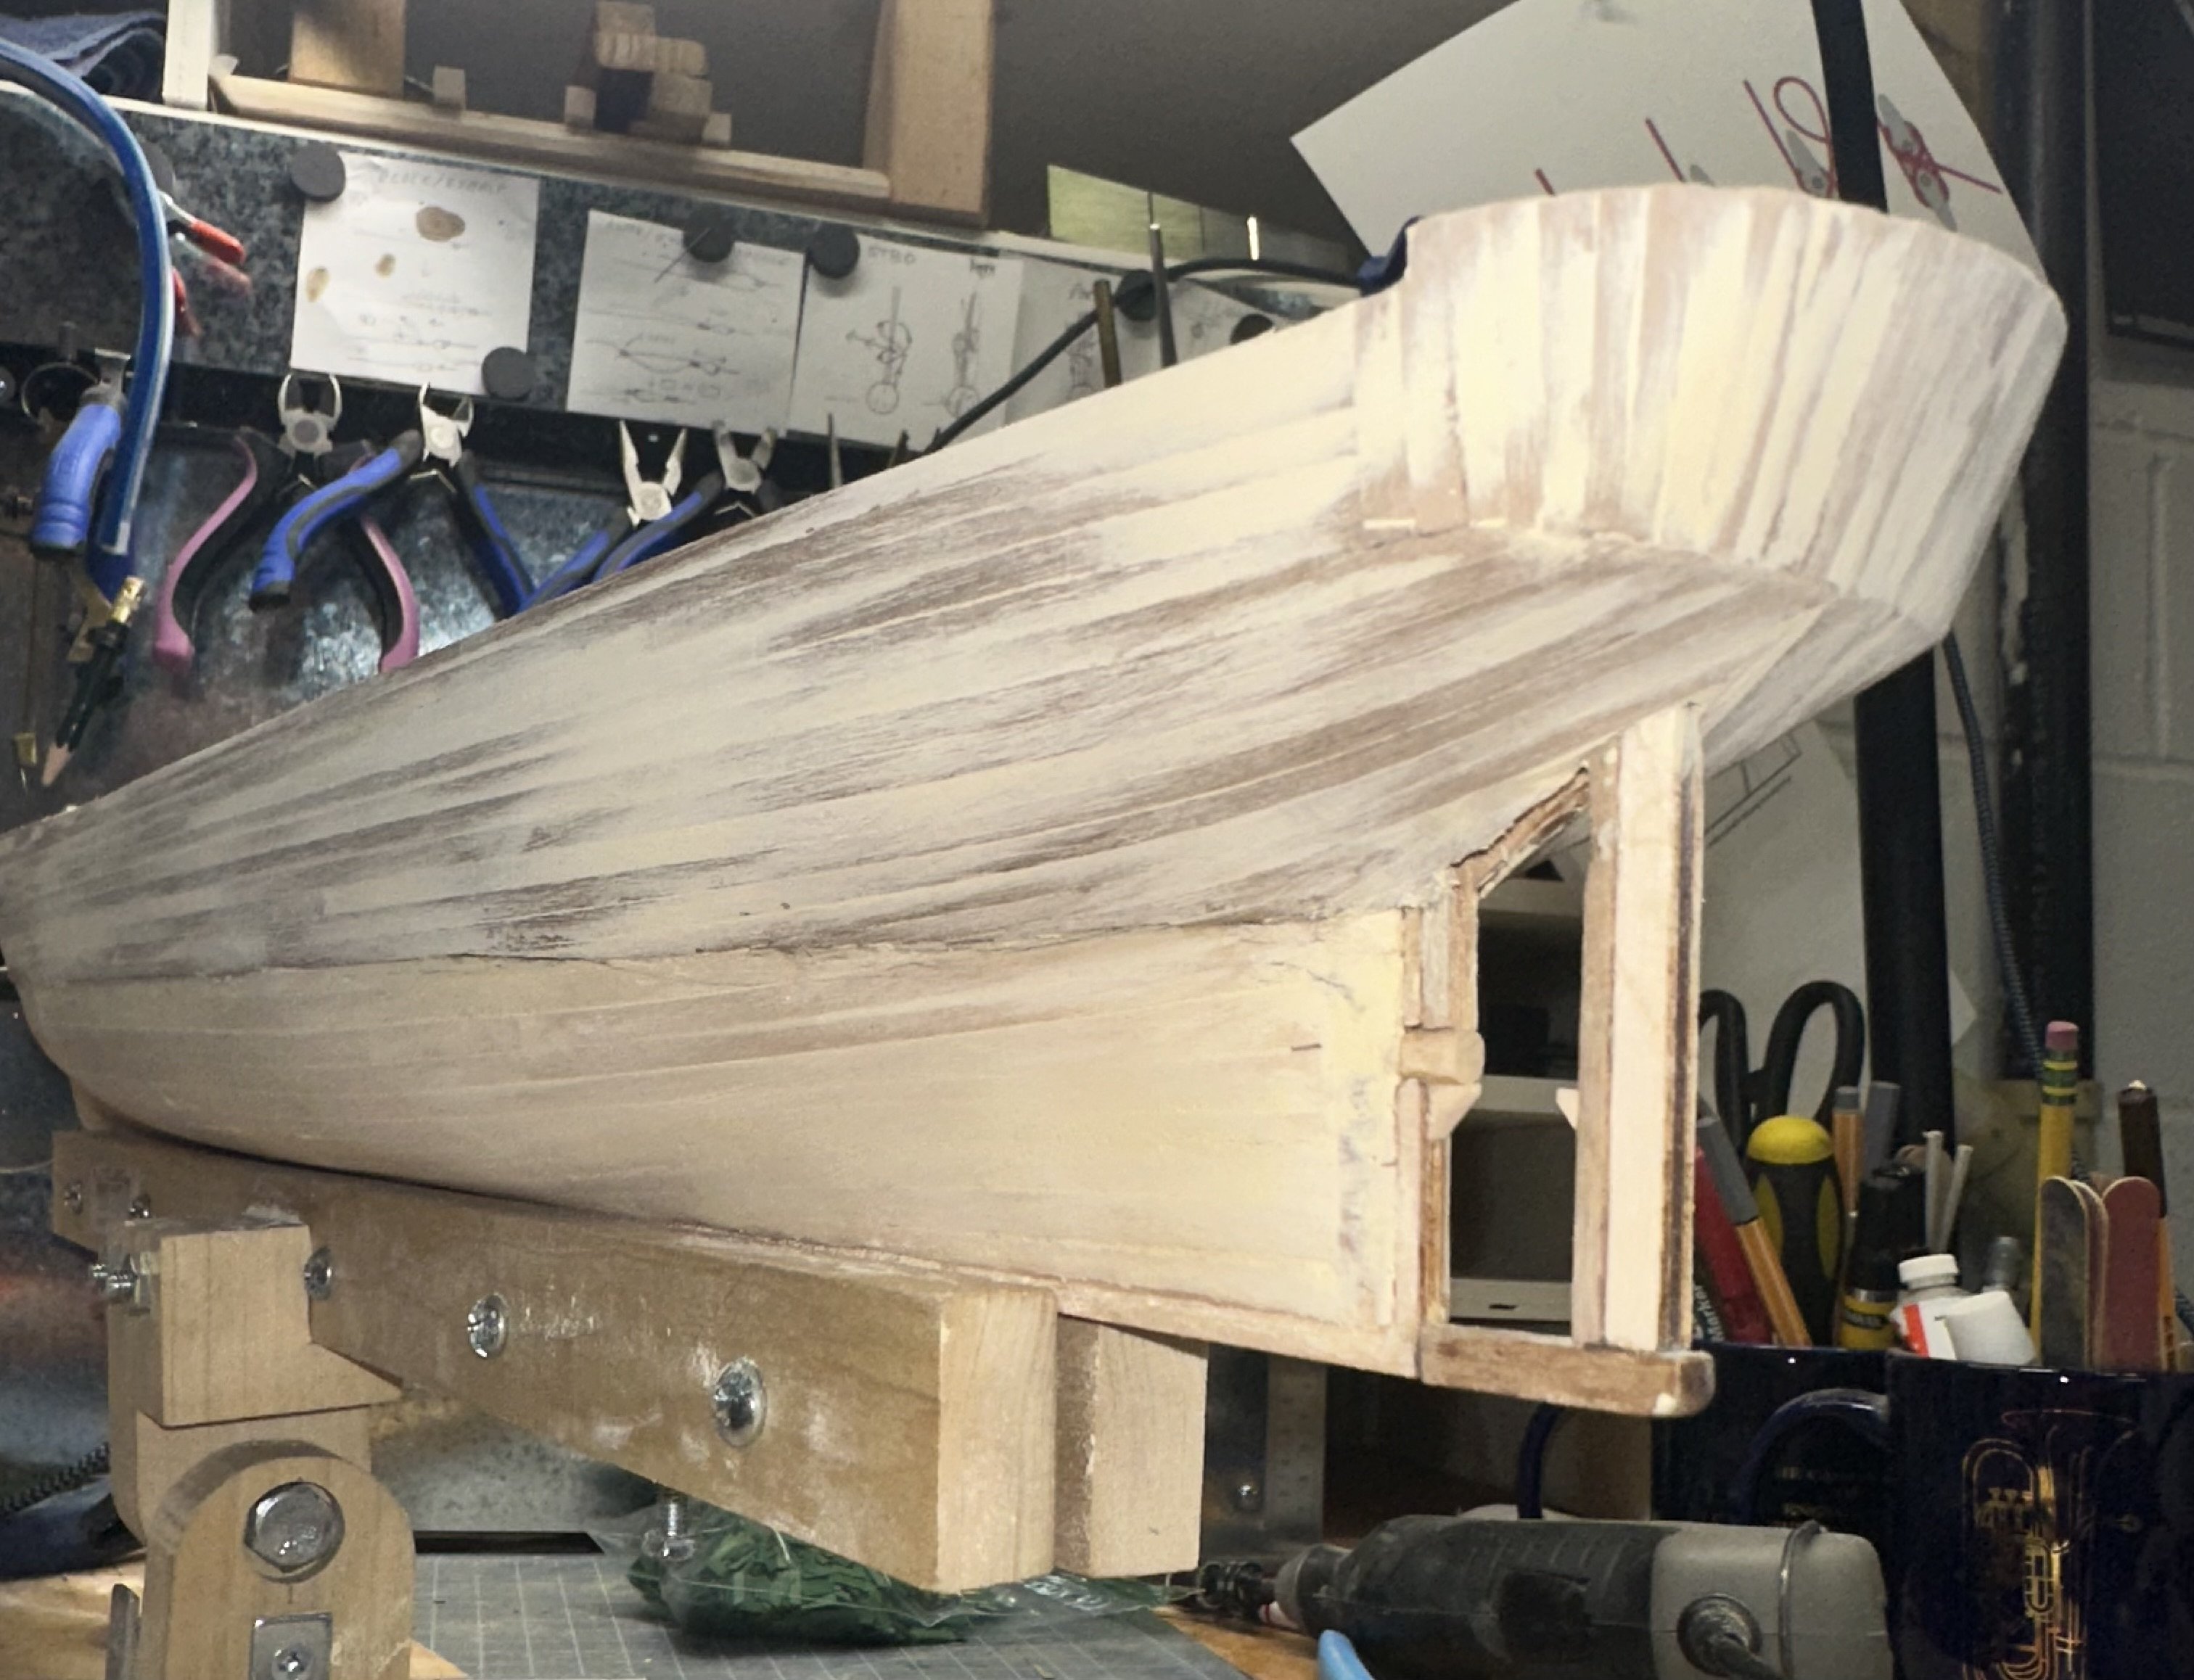
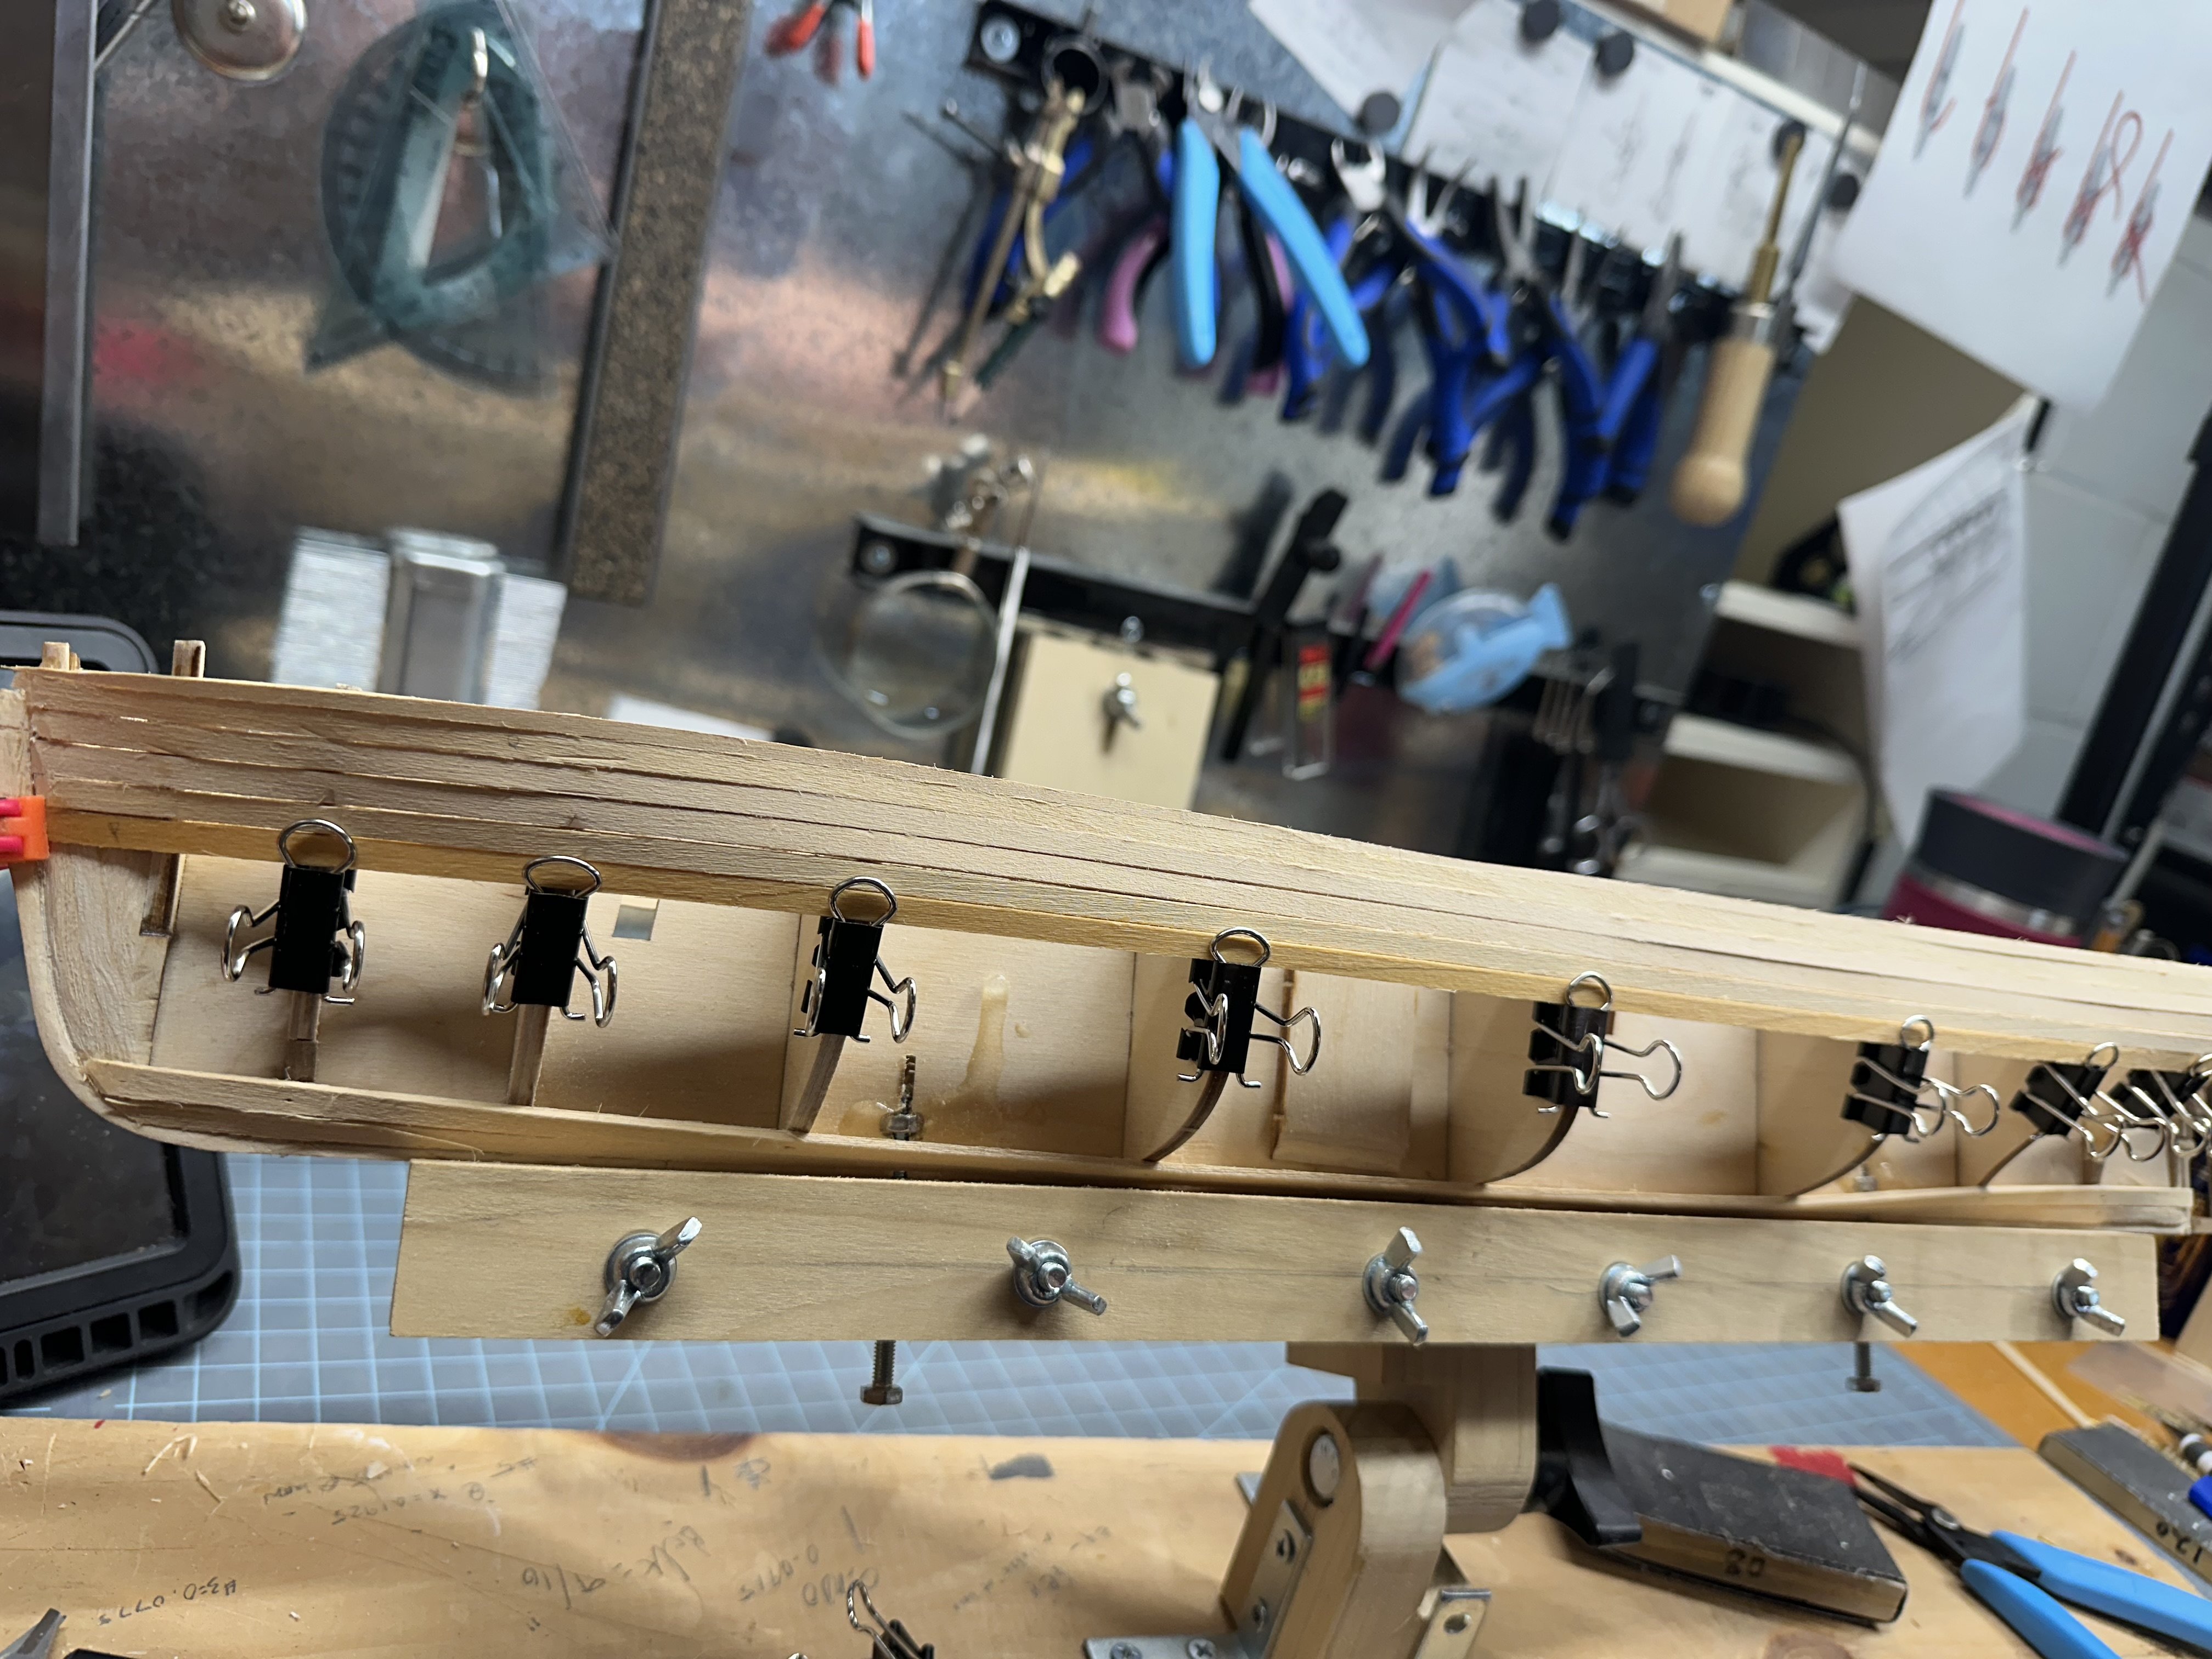
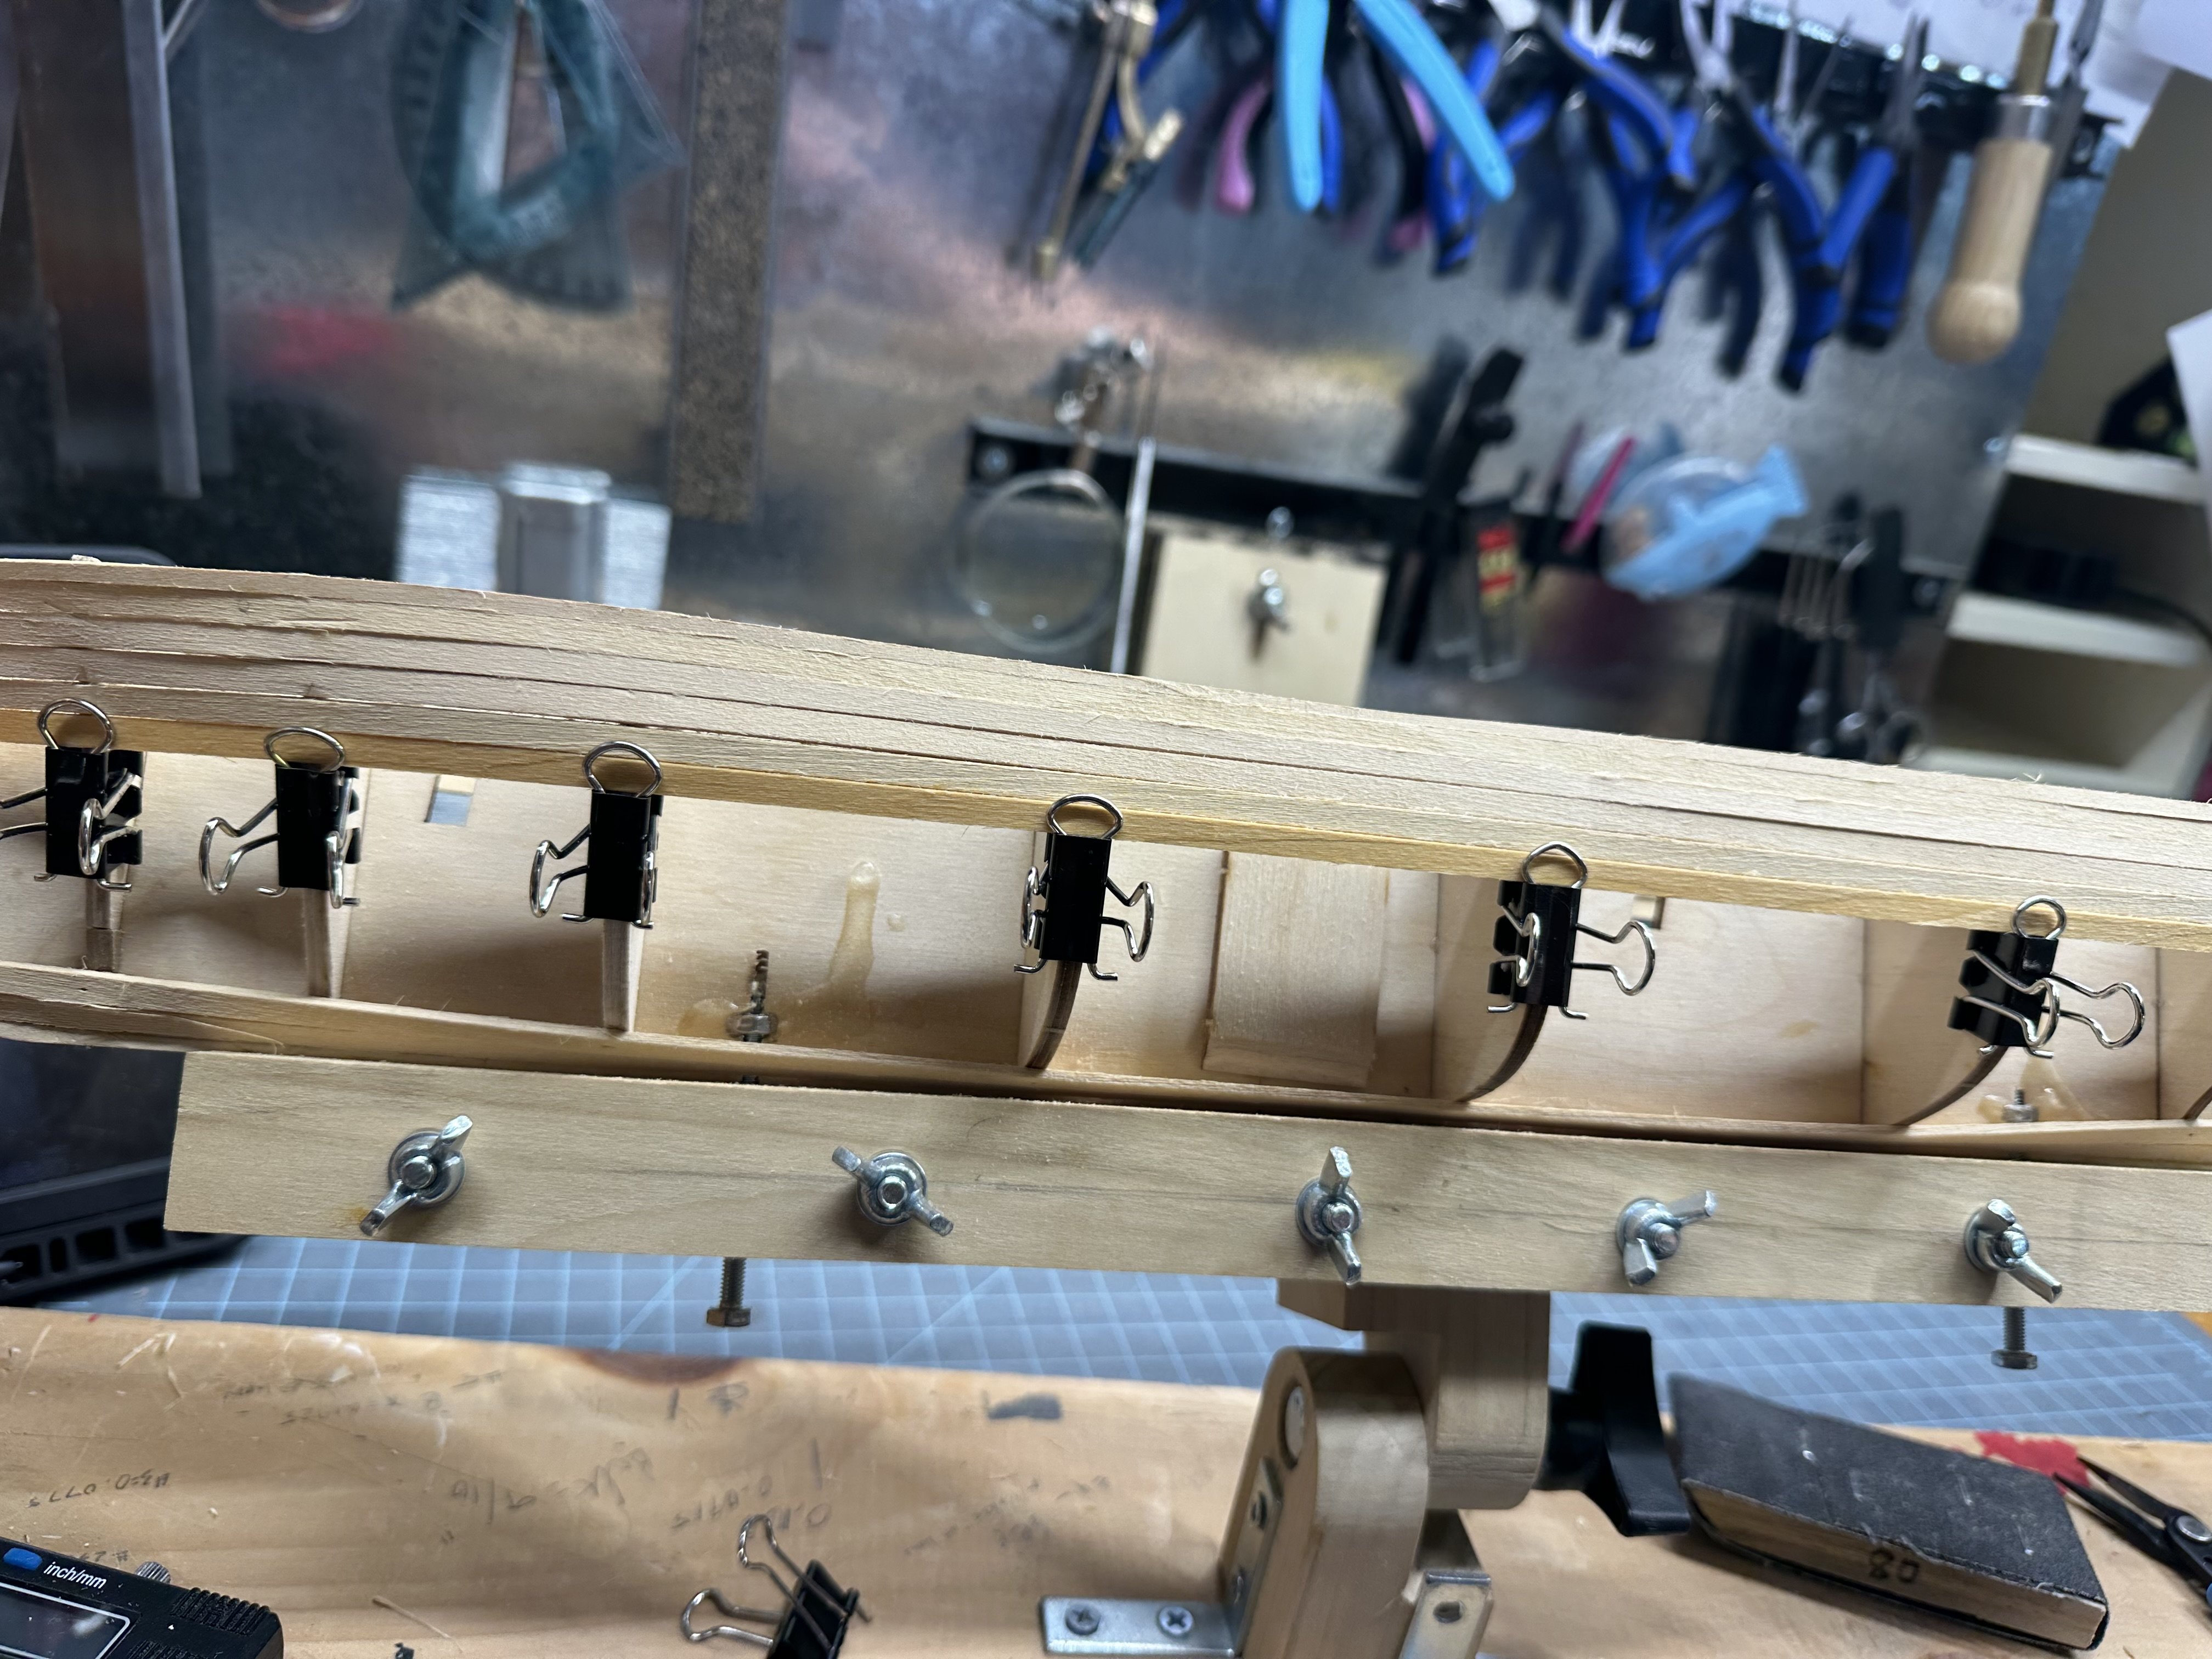
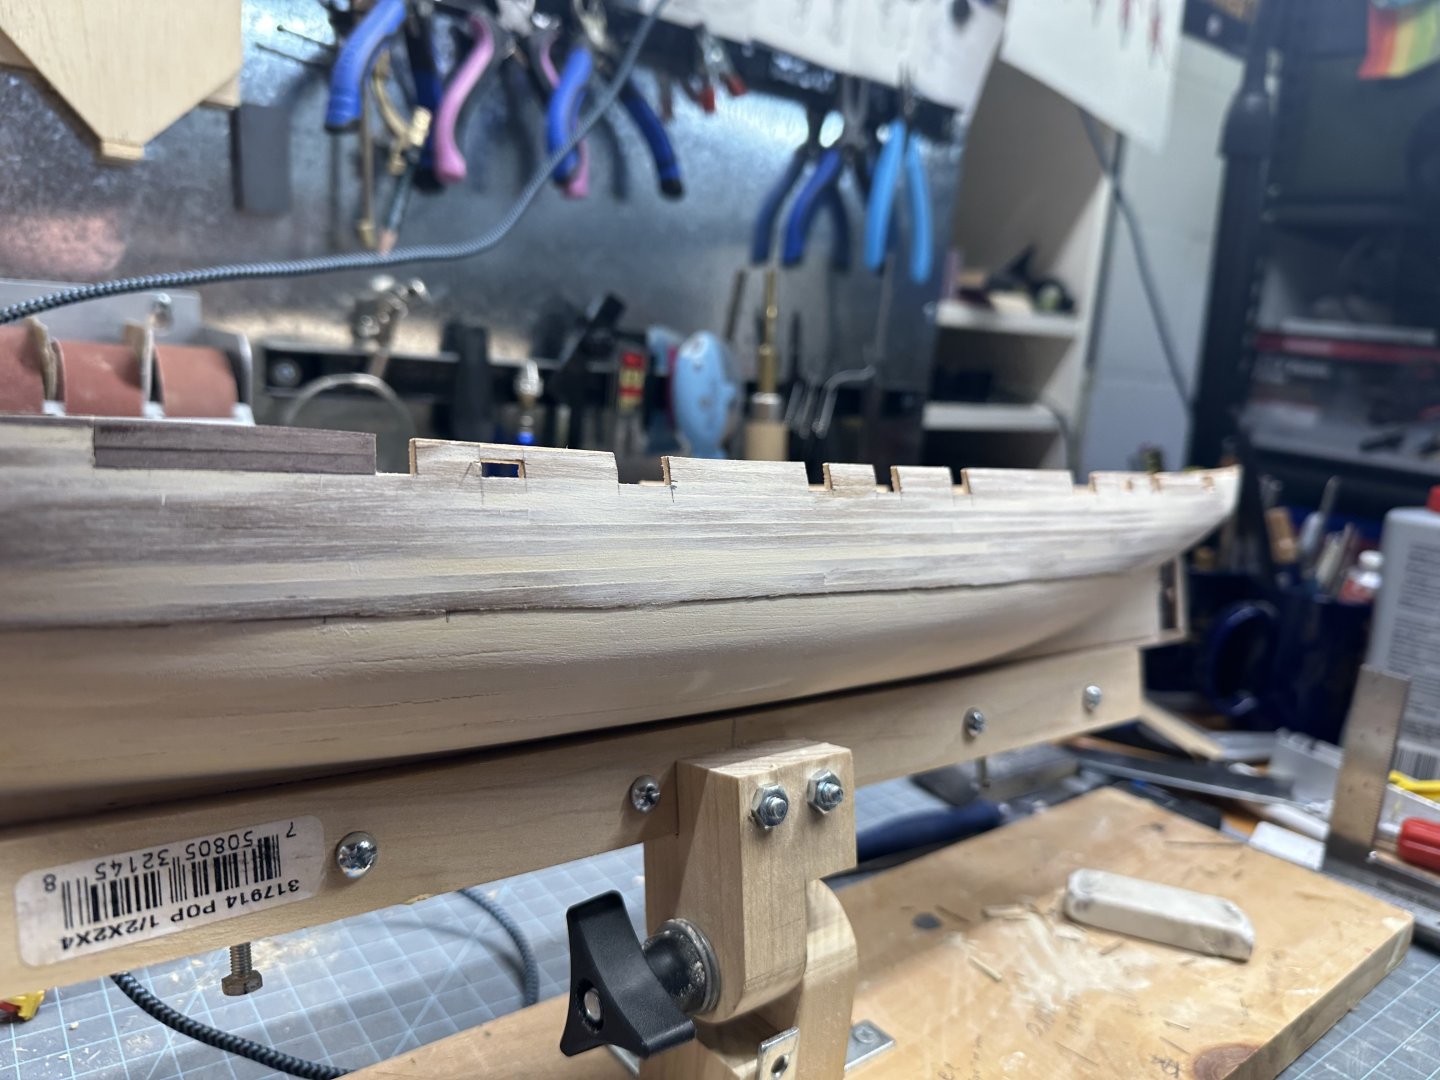
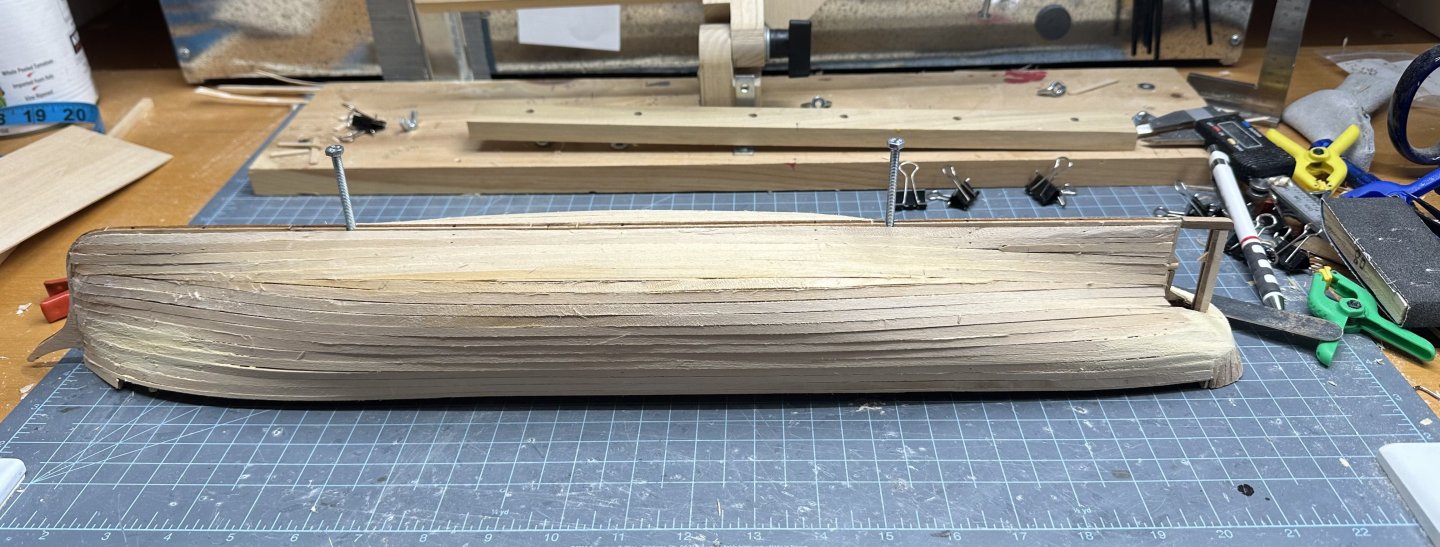
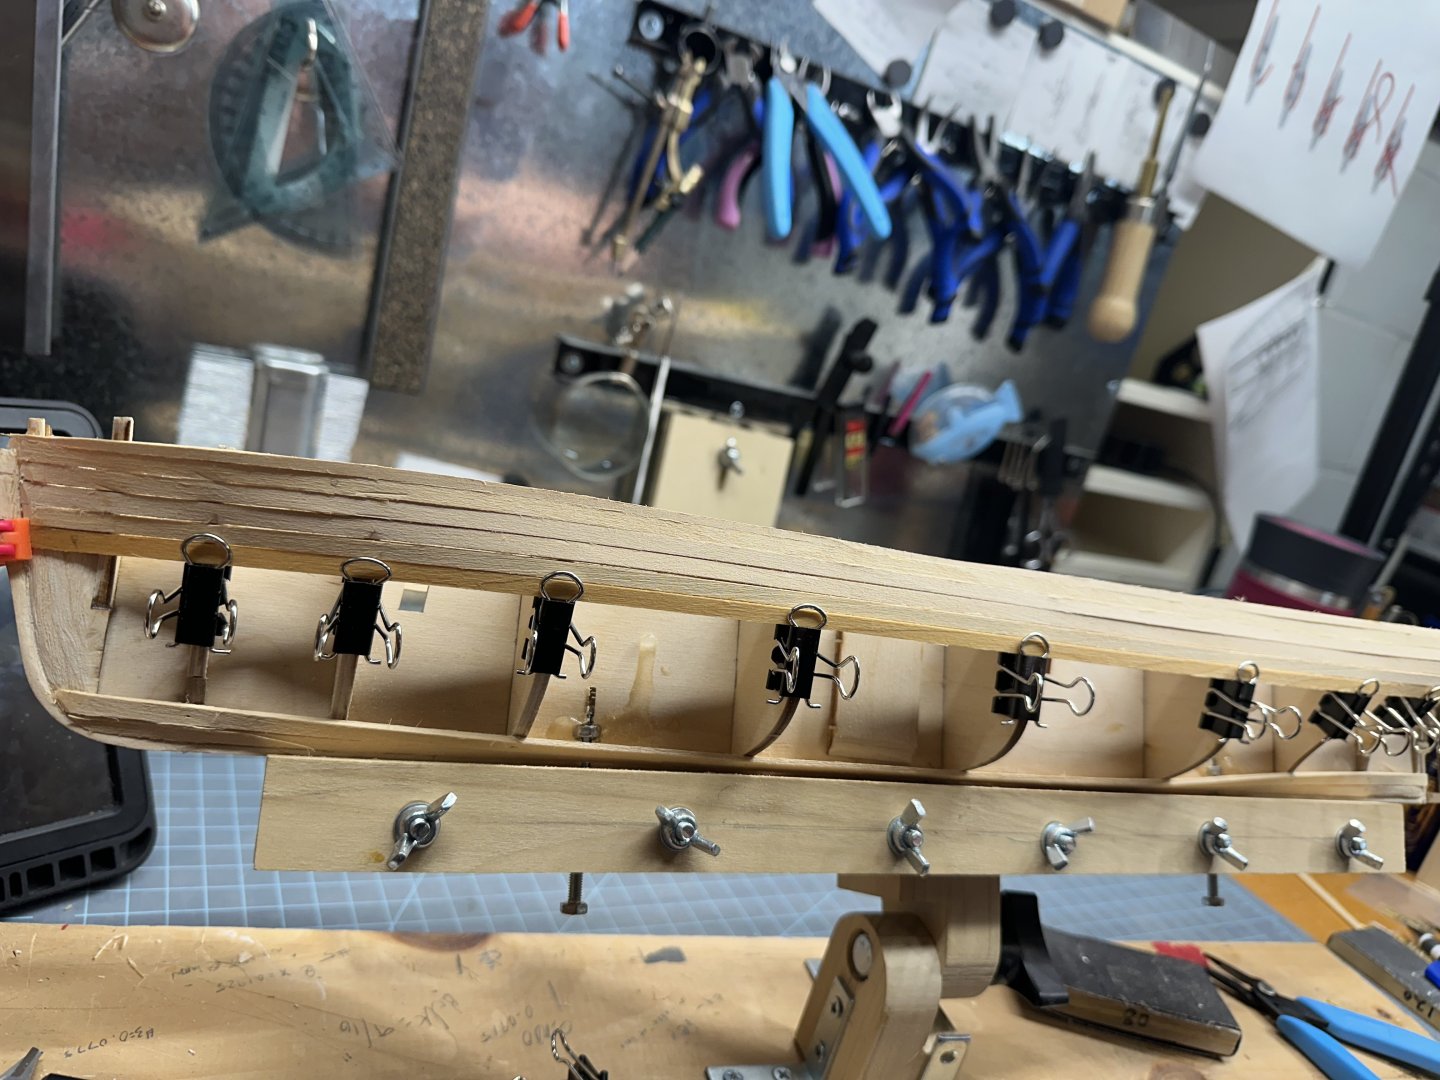
I realized quickly that when I tore the old hull down that I hadn’t replenished my wood strips to finish the first layer of planking, so I got new ones cut by the Lumberyard for Model Shipwrights (Link), which it turns out, is literally right down the road from me. David and Ev hooked me right up, and his wood supply is very impressive. So I was back on track. The new wood was 0.5mm thicker than the OG, so I decided to restart everything, no worries. It’s summer so I get to the shop when I can, usually in snippets, enough at this point to lay on a few strakes. So it is slow going. I did make those cool binder clip clamps out of mini clips. And I’m very glad I pre-fitted the keel bottom with screws for brass pedestals as I have something sturdy for my keel clamp to bite onto (see the two screws poking out from the bottom of the clamp). That’s it. After laying on the 1st layer, it’ll be a coat of Durham’s Rock Hard wood filler and sand sand sand. It’s early days, but it’s got the shape of a ship now.

-
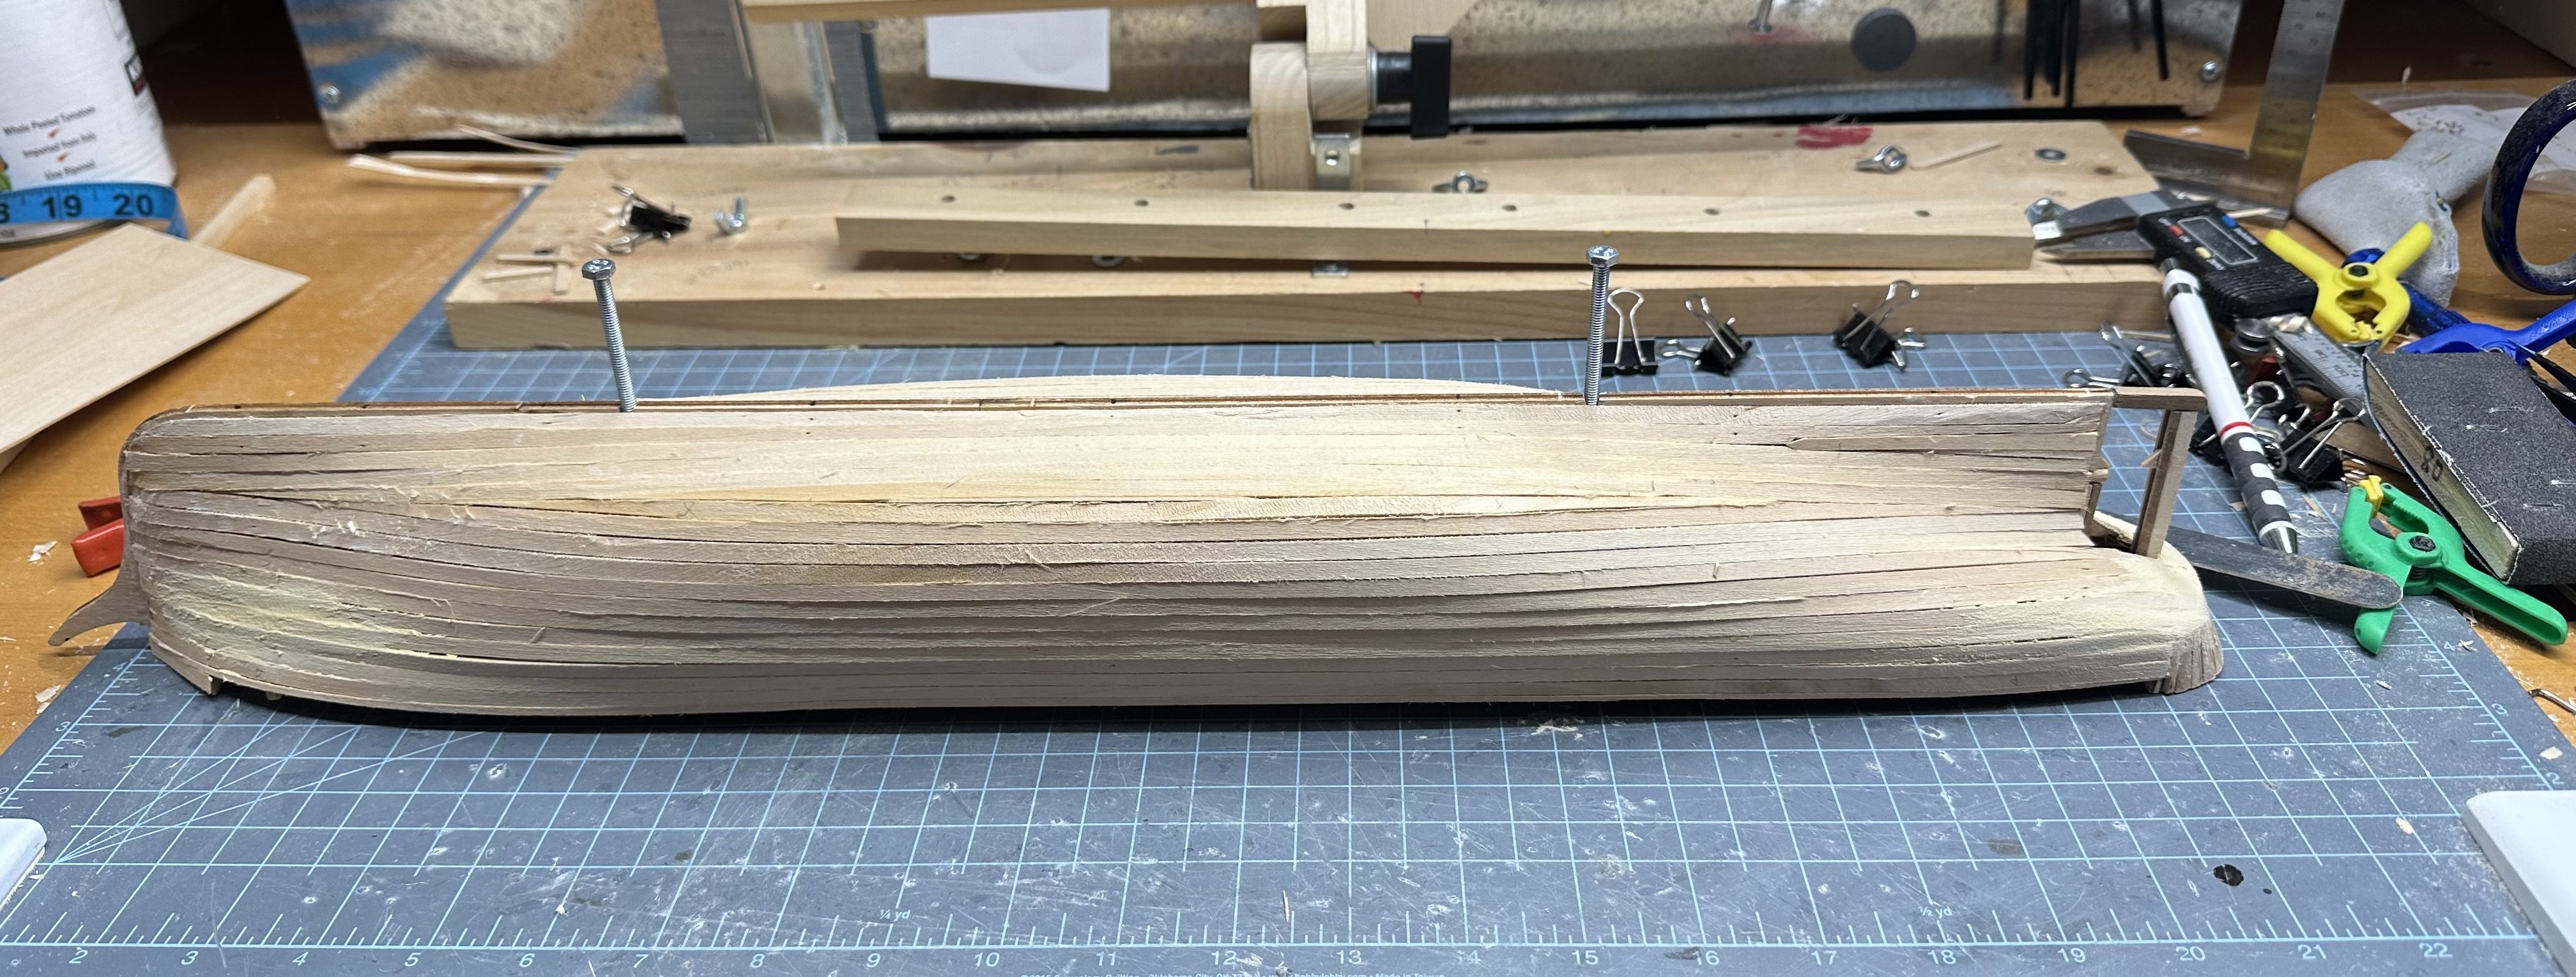
First plank of the first layer of planking is in place, this Mamoli kit is weird (to me at least) because I’ve always started with the wale as the first plank. They have you starting at a reference mark on the sides of the transom. The top of the plank runs flush along the very top of the bulkheads up to 6 and 5, which stick up higher. The way the instructions look, the remainder of the first layer of planks run based on this first one. Referring to the Bowcock book, the hull is very sheer, no protruding wale plank below the gun ports.


-
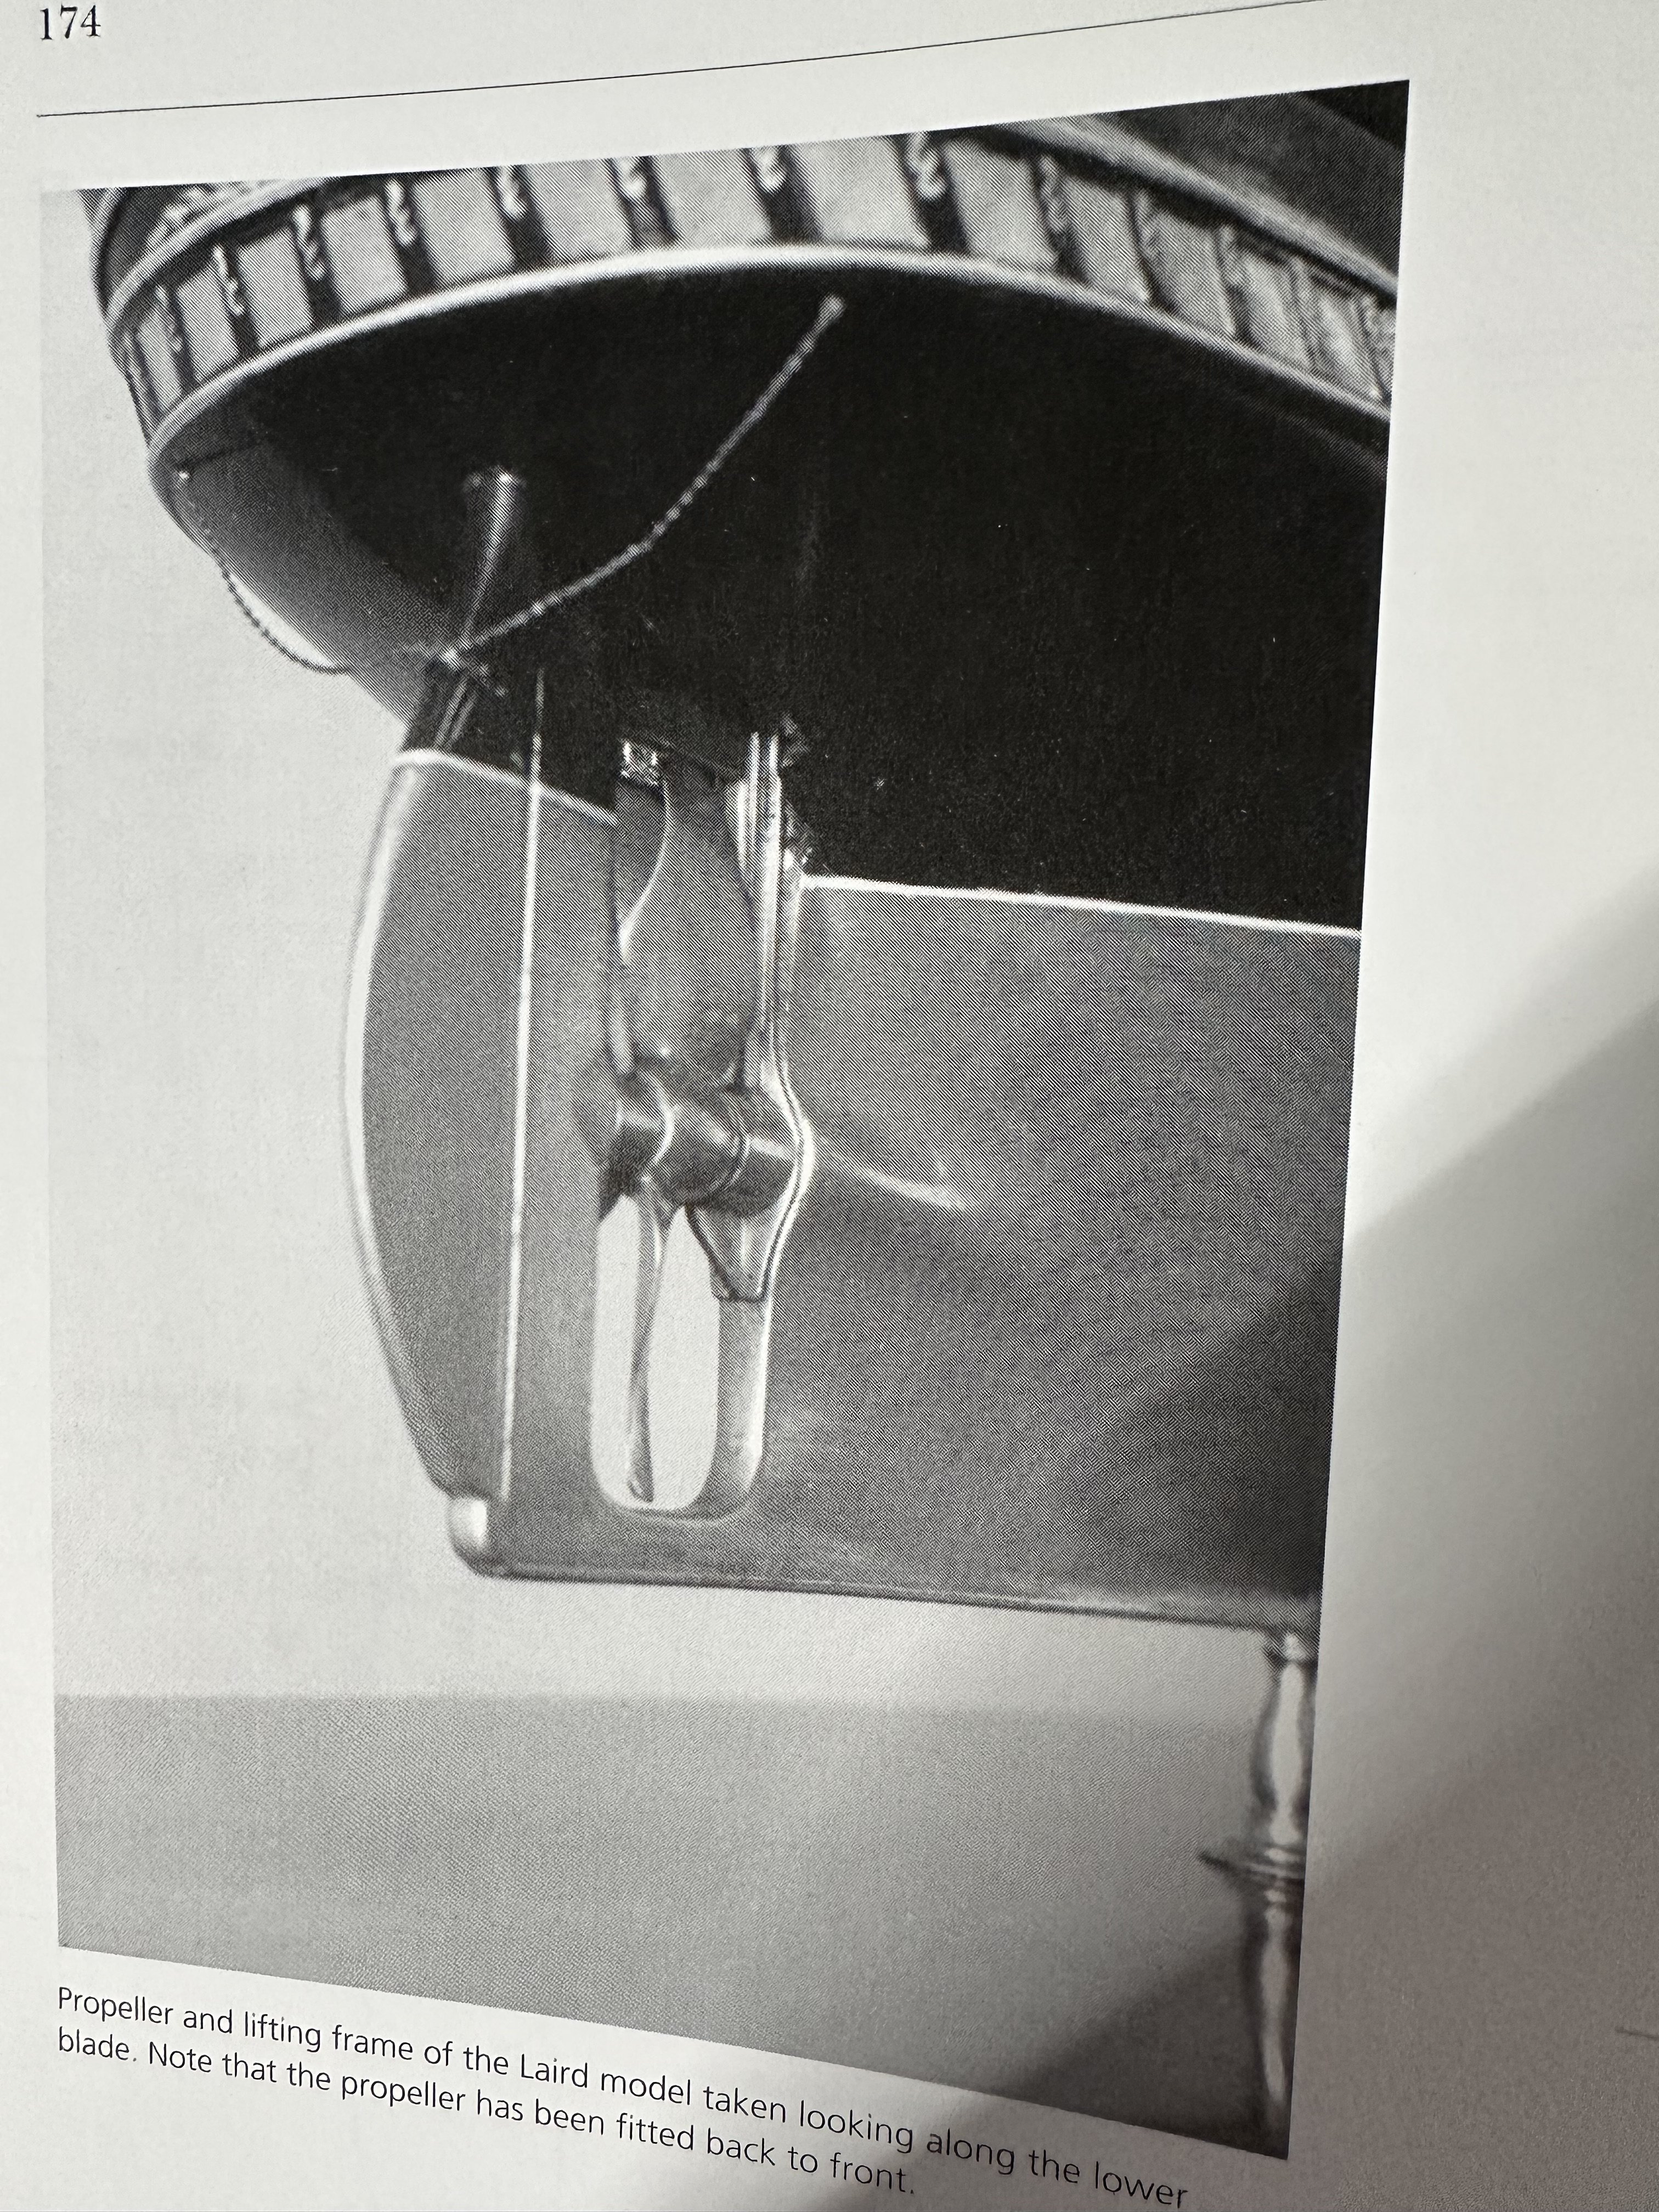
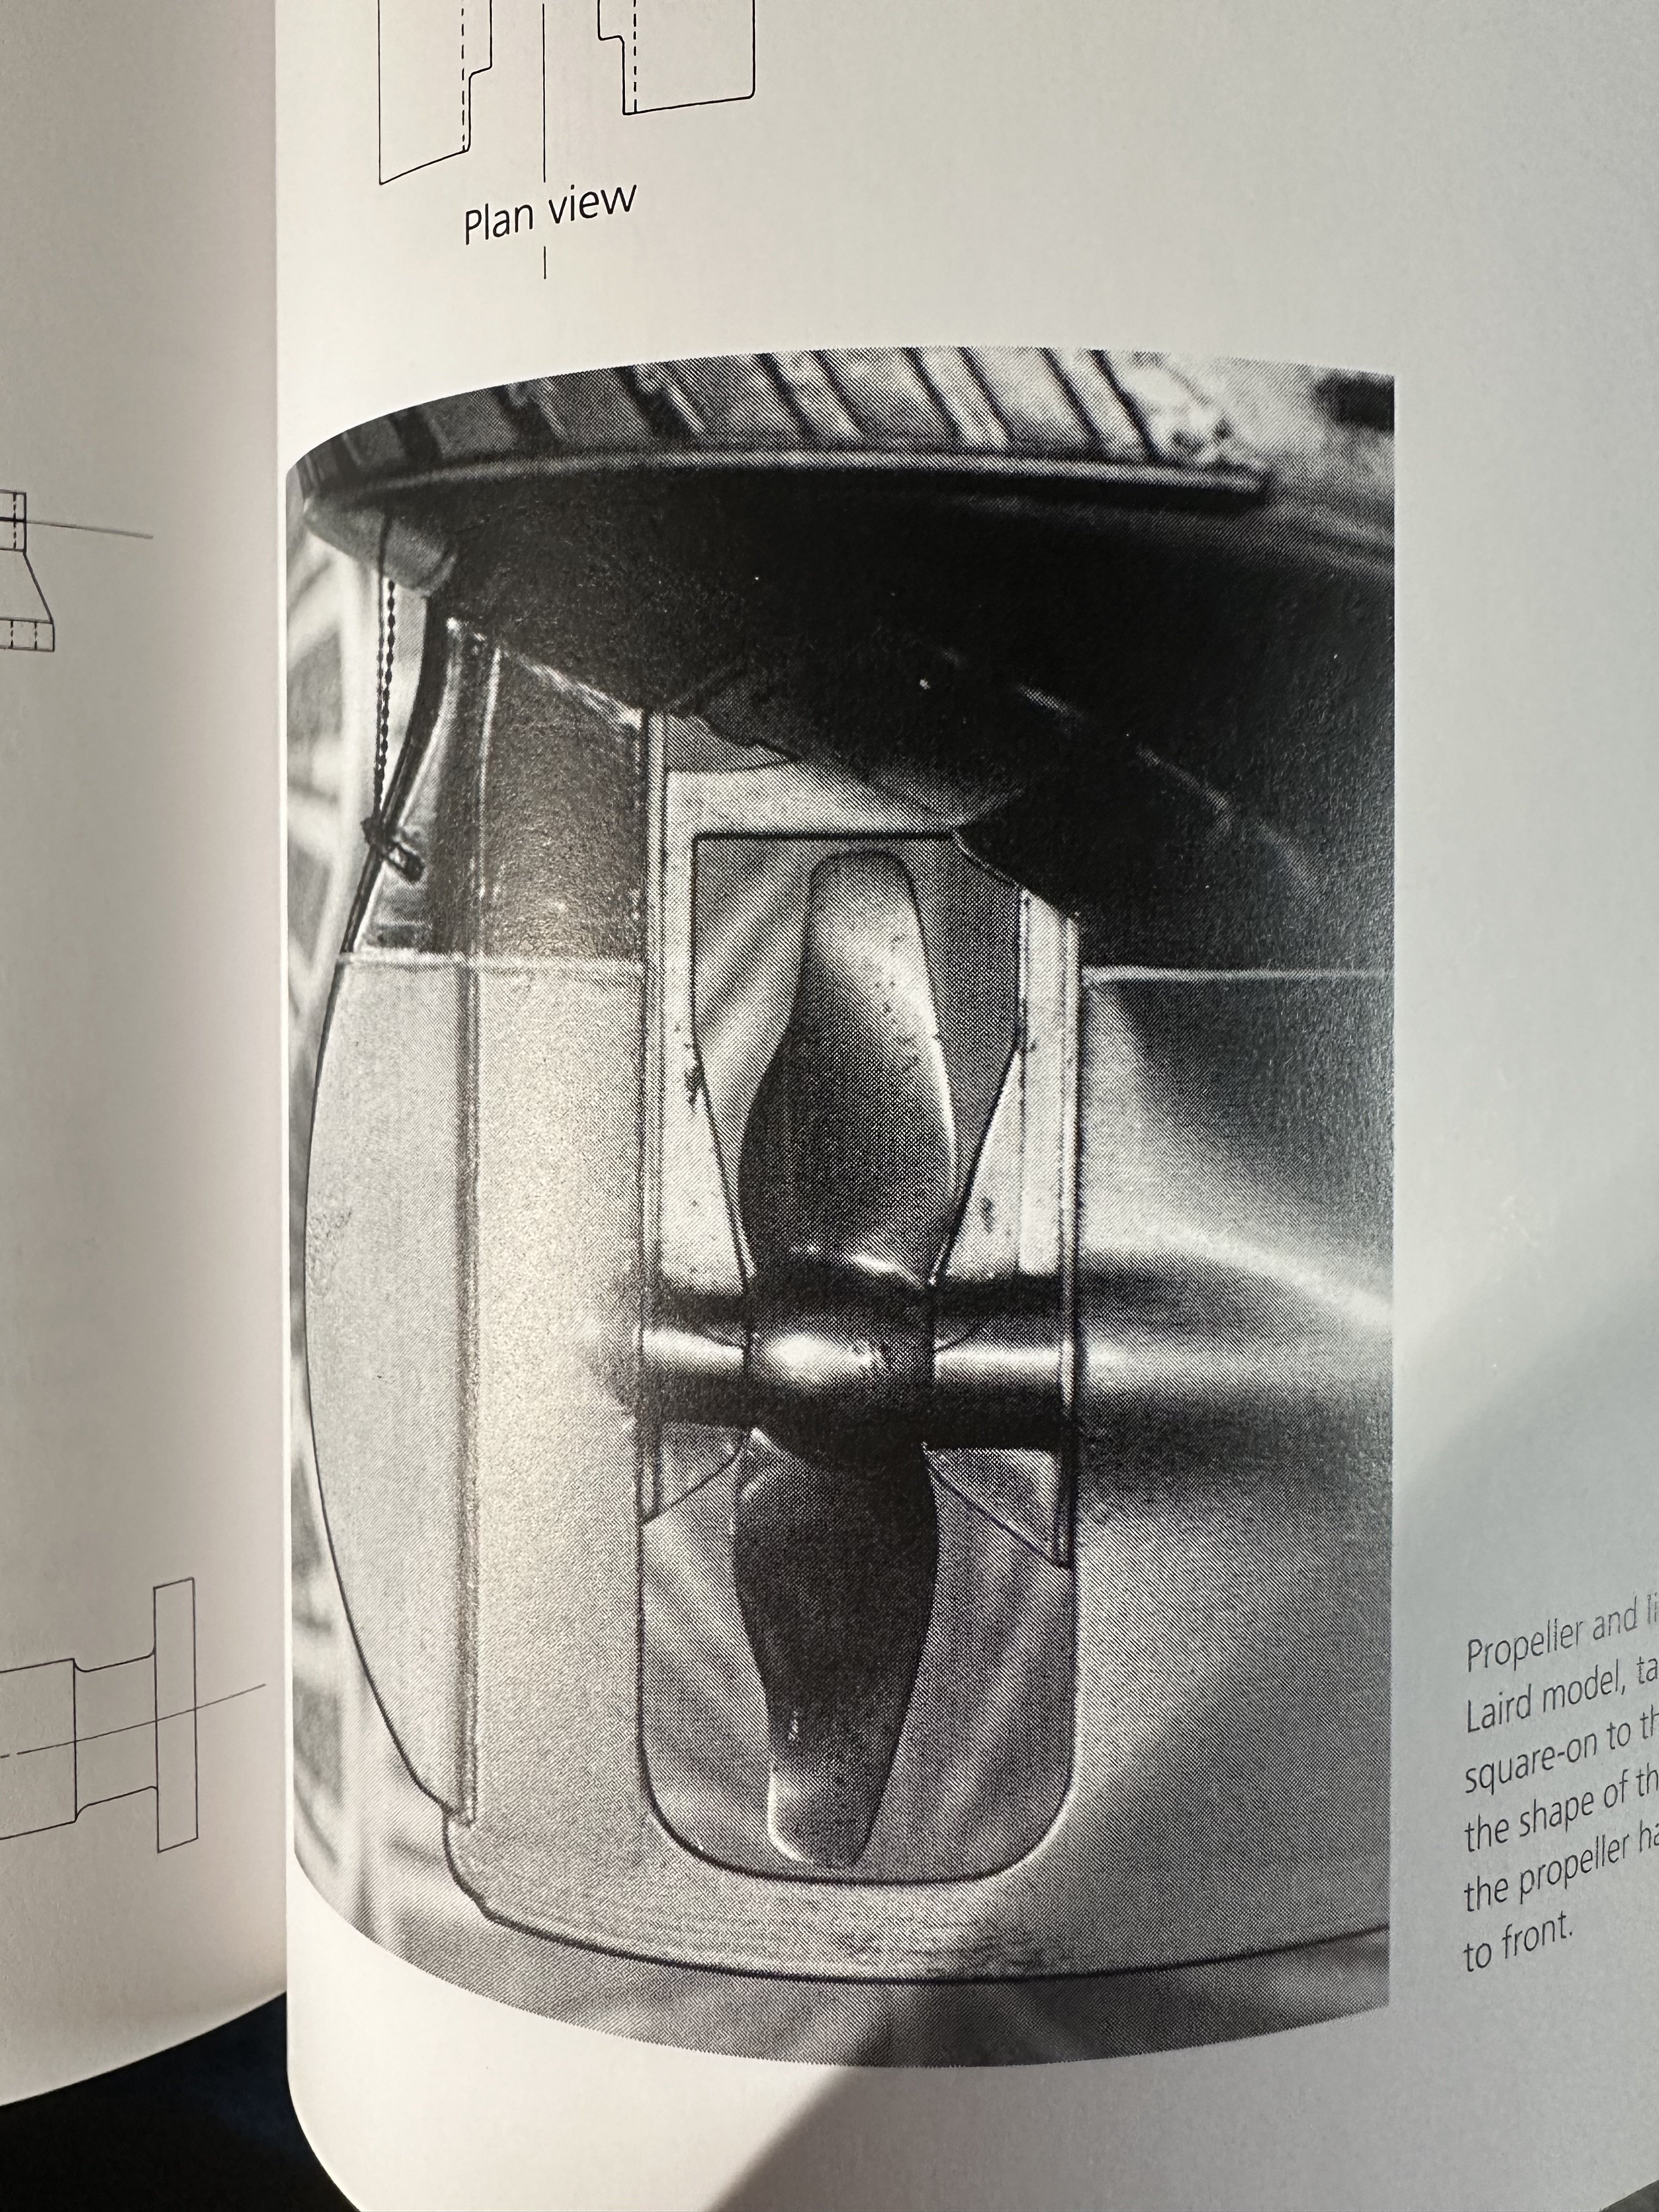
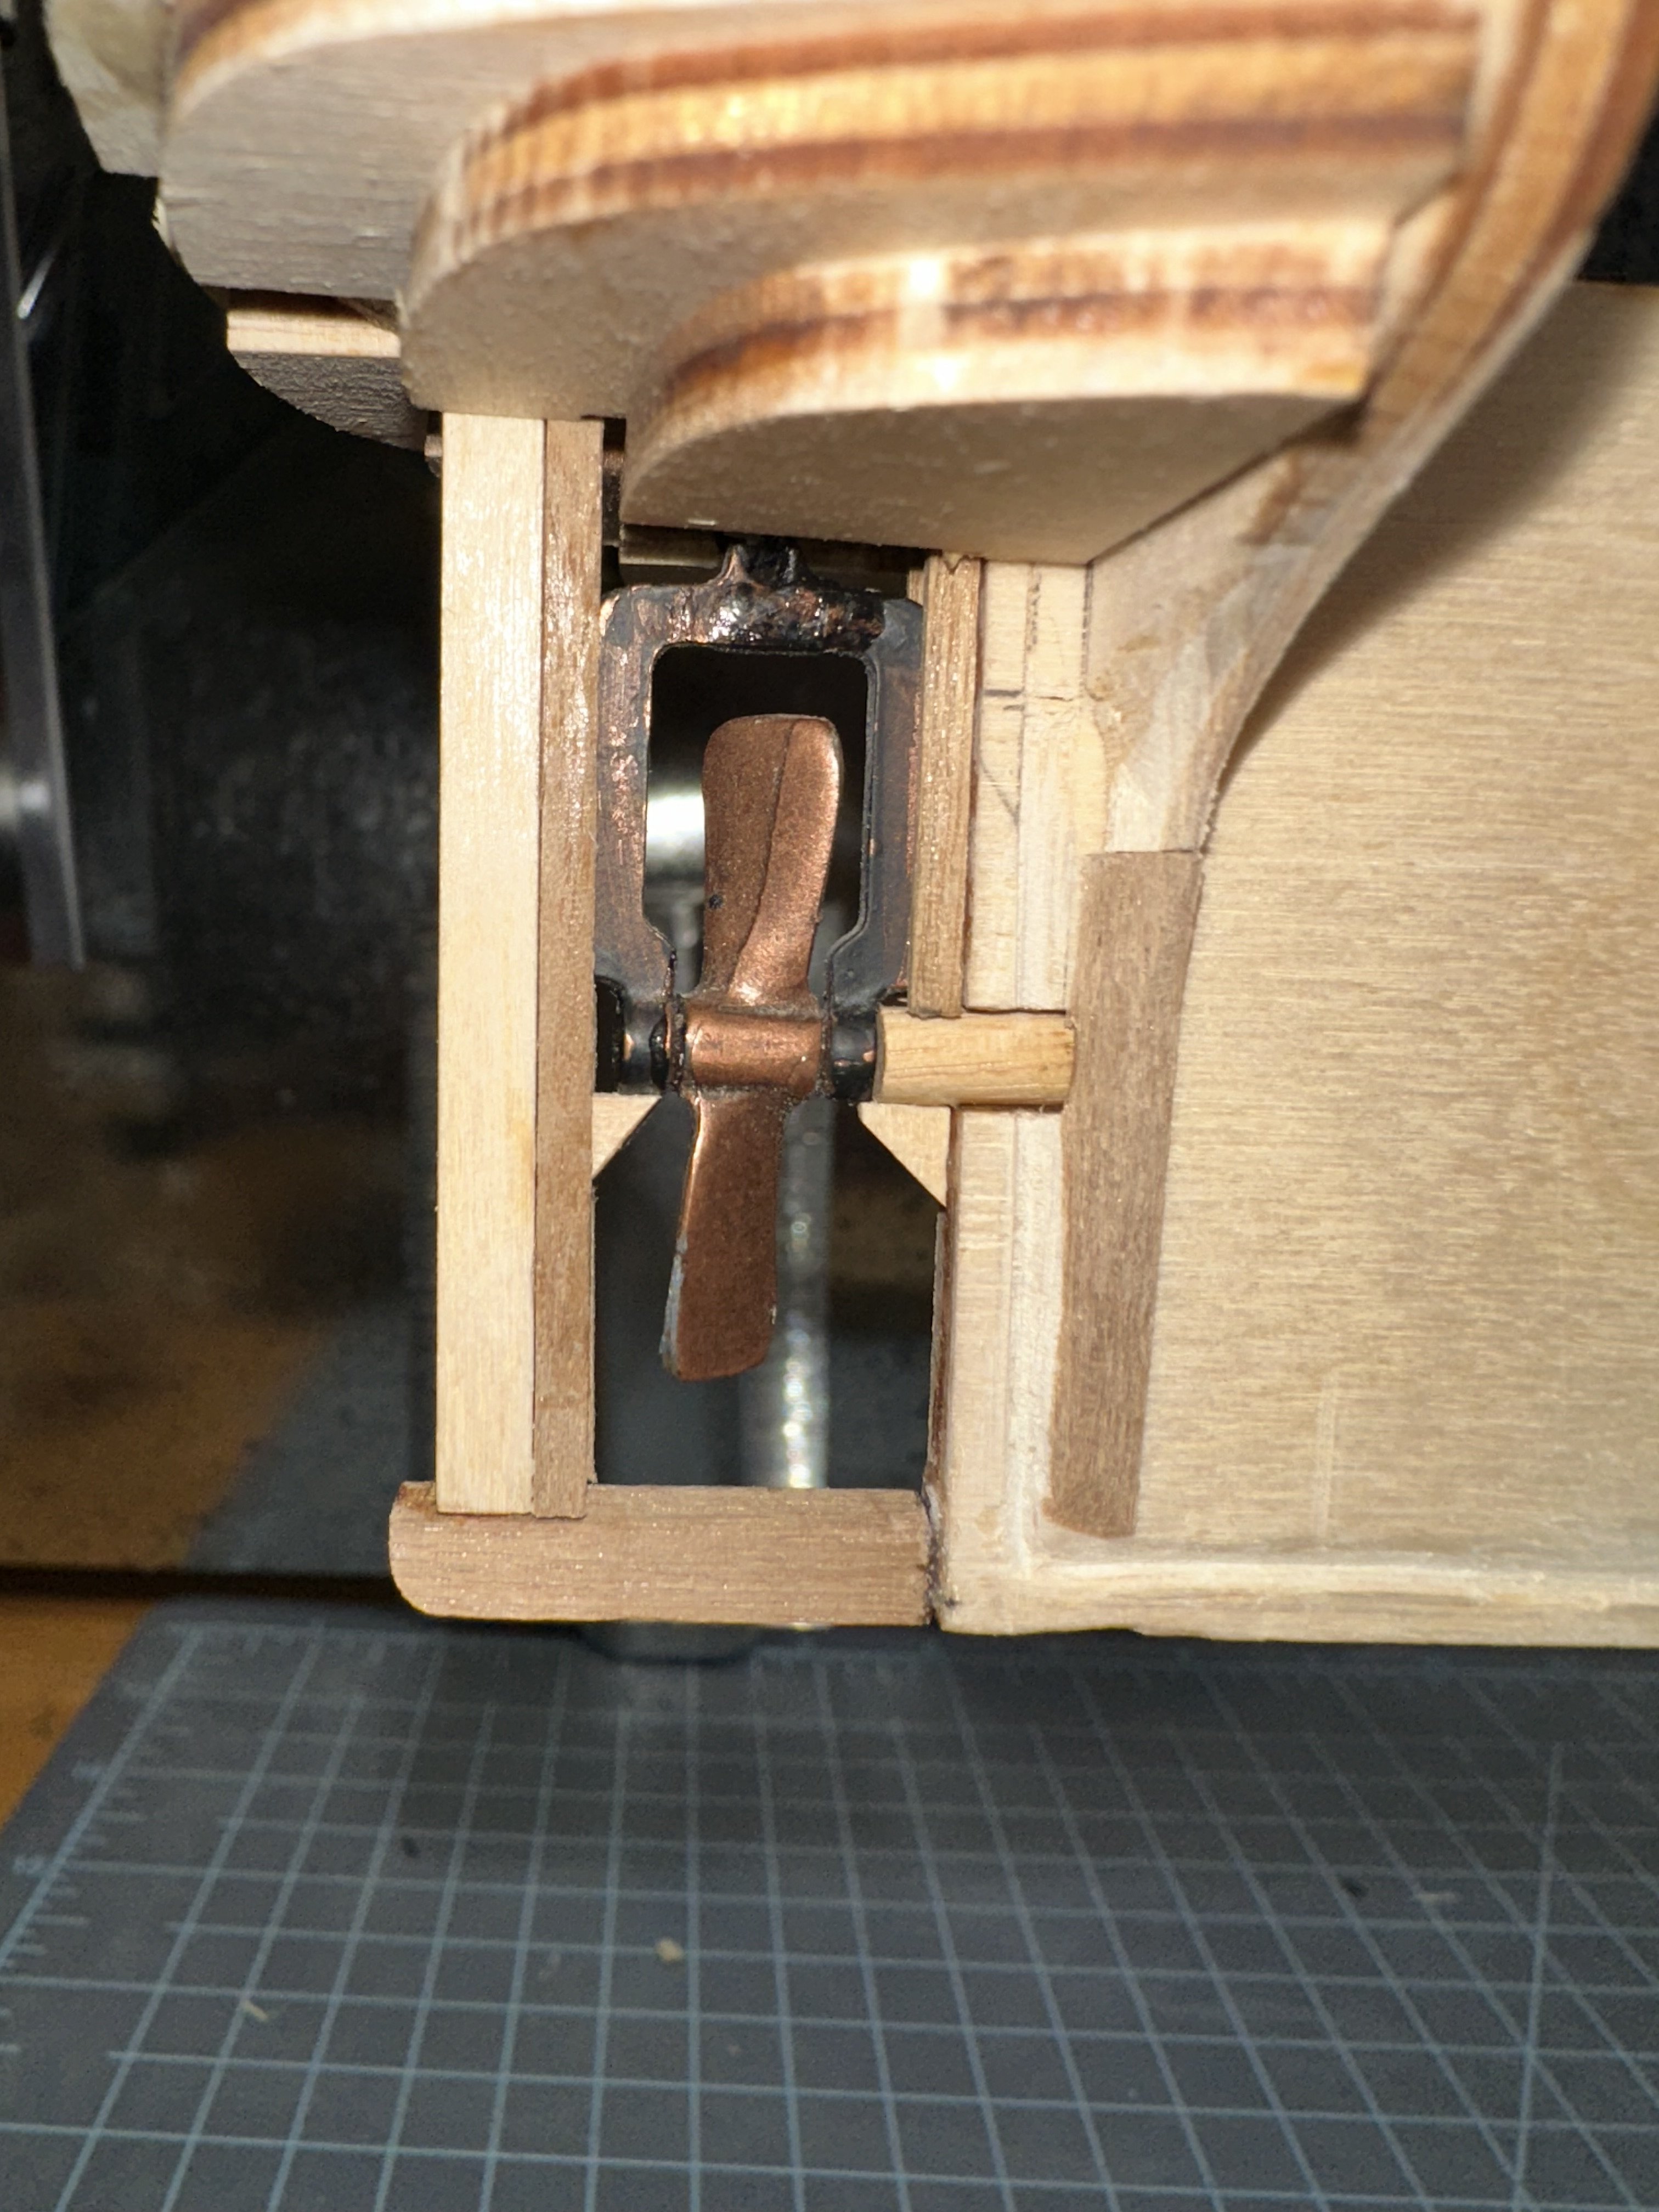
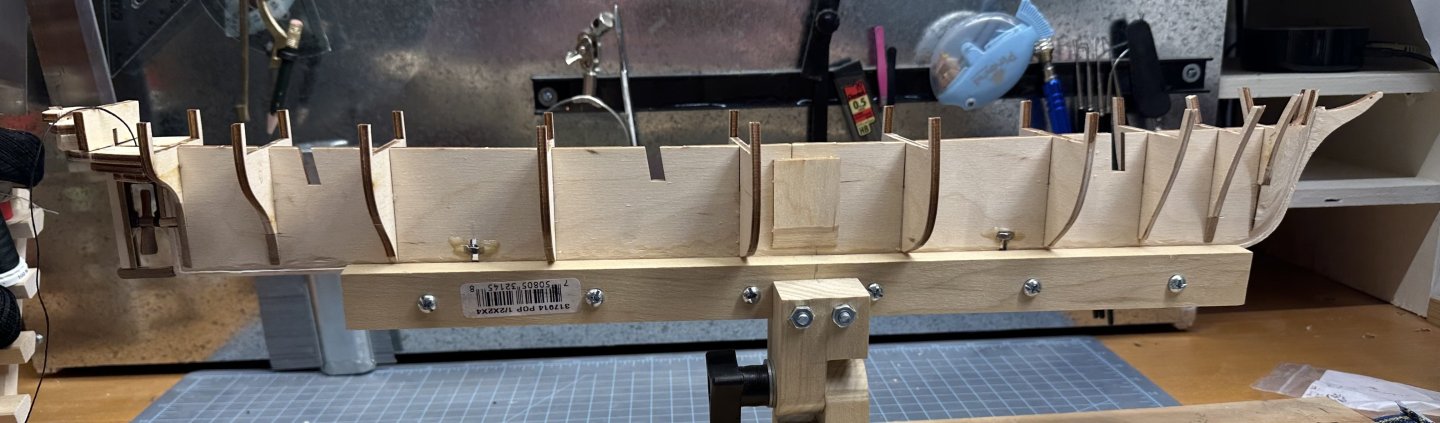
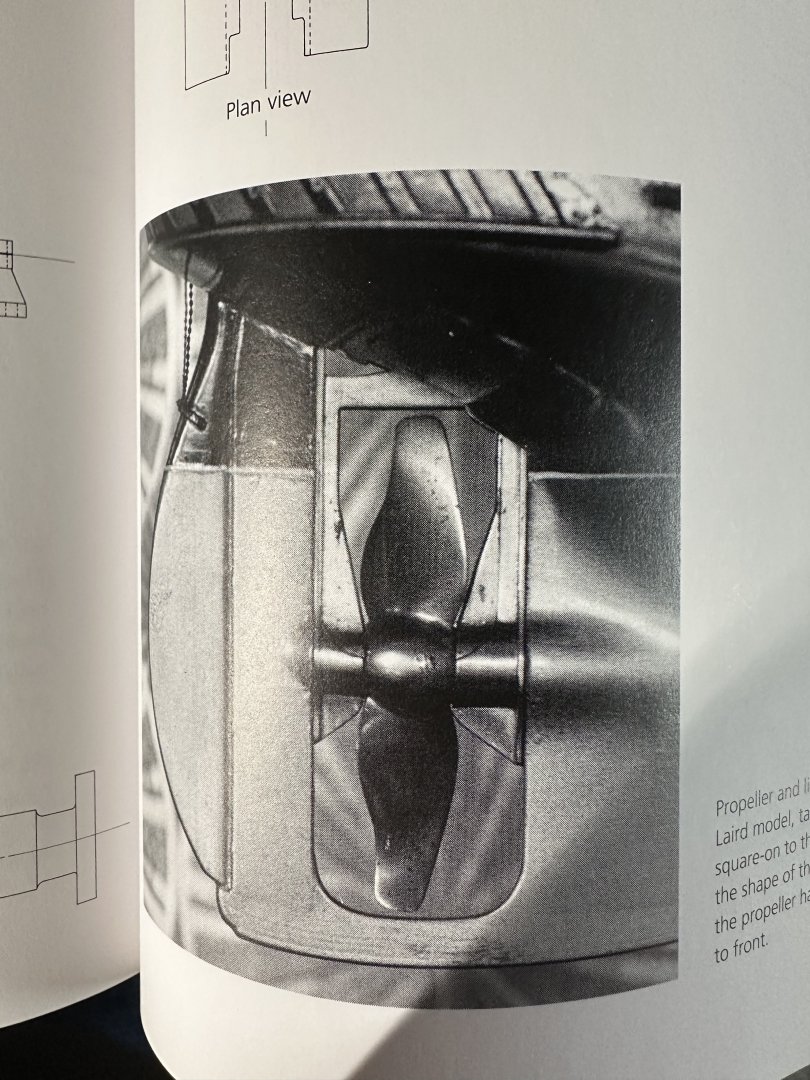
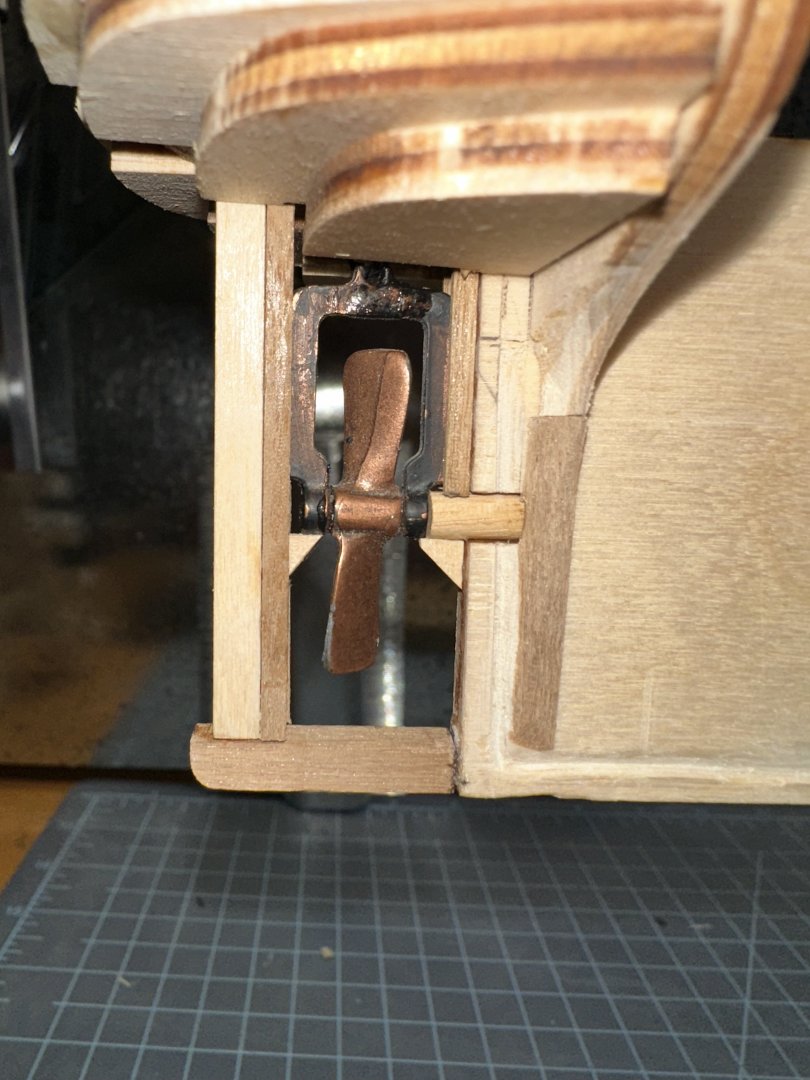
Tore he old hull down to the “studs”. Dusek Models sent me a new laser cut panel and replacement wood to start over. Shipping actually cost more than the wood. I’d do things differently now but I didn’t want complicated so I paid for convenience. Here’s the blank canvas in my homemade keel vice. I installed the lifting frame and propeller. using as my guide the Bowcock book, which bases its measurements and drawings on original builders blueprints as well as two models that are also based on those blueprints, one is on display in an art gallery in the town the Alabama was built (Laird Model), the other is on display at the Mariner’s Museum at Newport News (Bolloch Model). I’ll take the prop out to sand down the aft section around the stern cabin.

-
Re-starting this Mamoli CSS Alabama that I got as a Christmas present in 2009 when I didn’t know squazine about how to build. Then I got some practicums and built their kits and decided to strip my Alabama down to the bulkheads and start over. Duczec Models sent me replacement wood and I finally got done with my previous ship. Now I’m ready to build this one. A friend from the Model Shipwrights of Ohio loaned me his CSS Alabama: Anatomy of a Confederate Raider (Bowcock) to guide me along. Let’s see how this turns out. I’ll be adding some pics next.
-
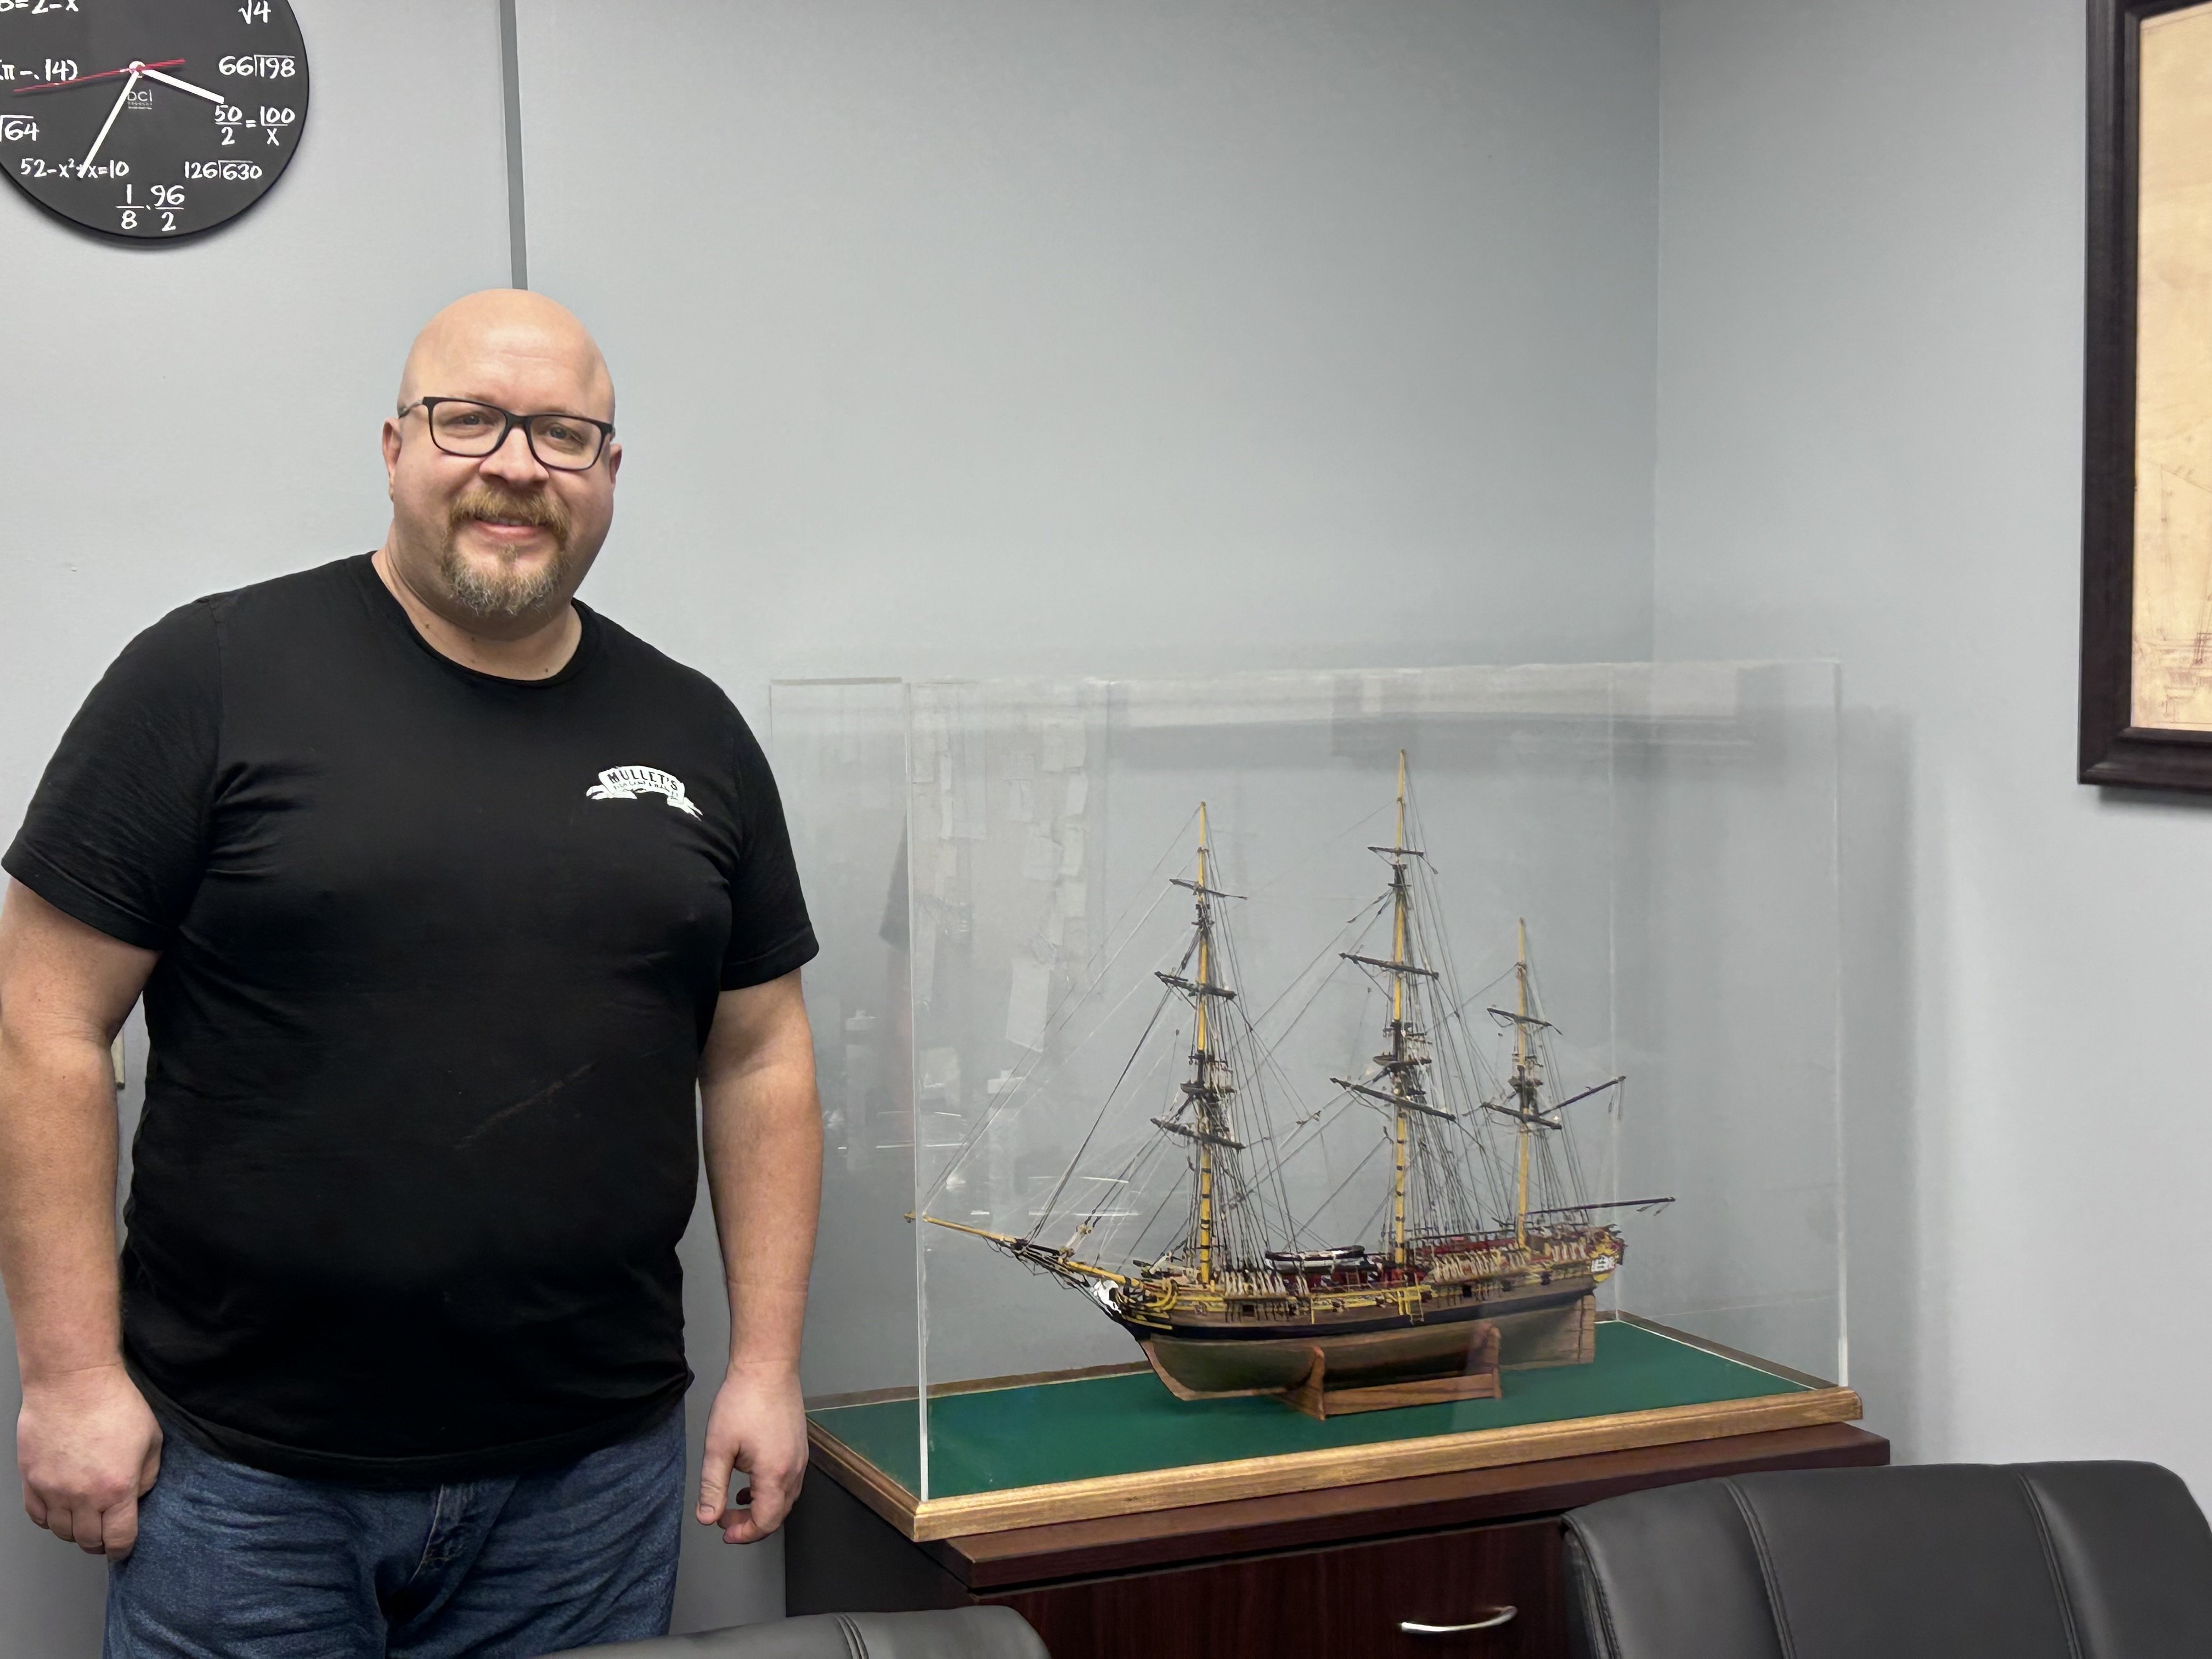
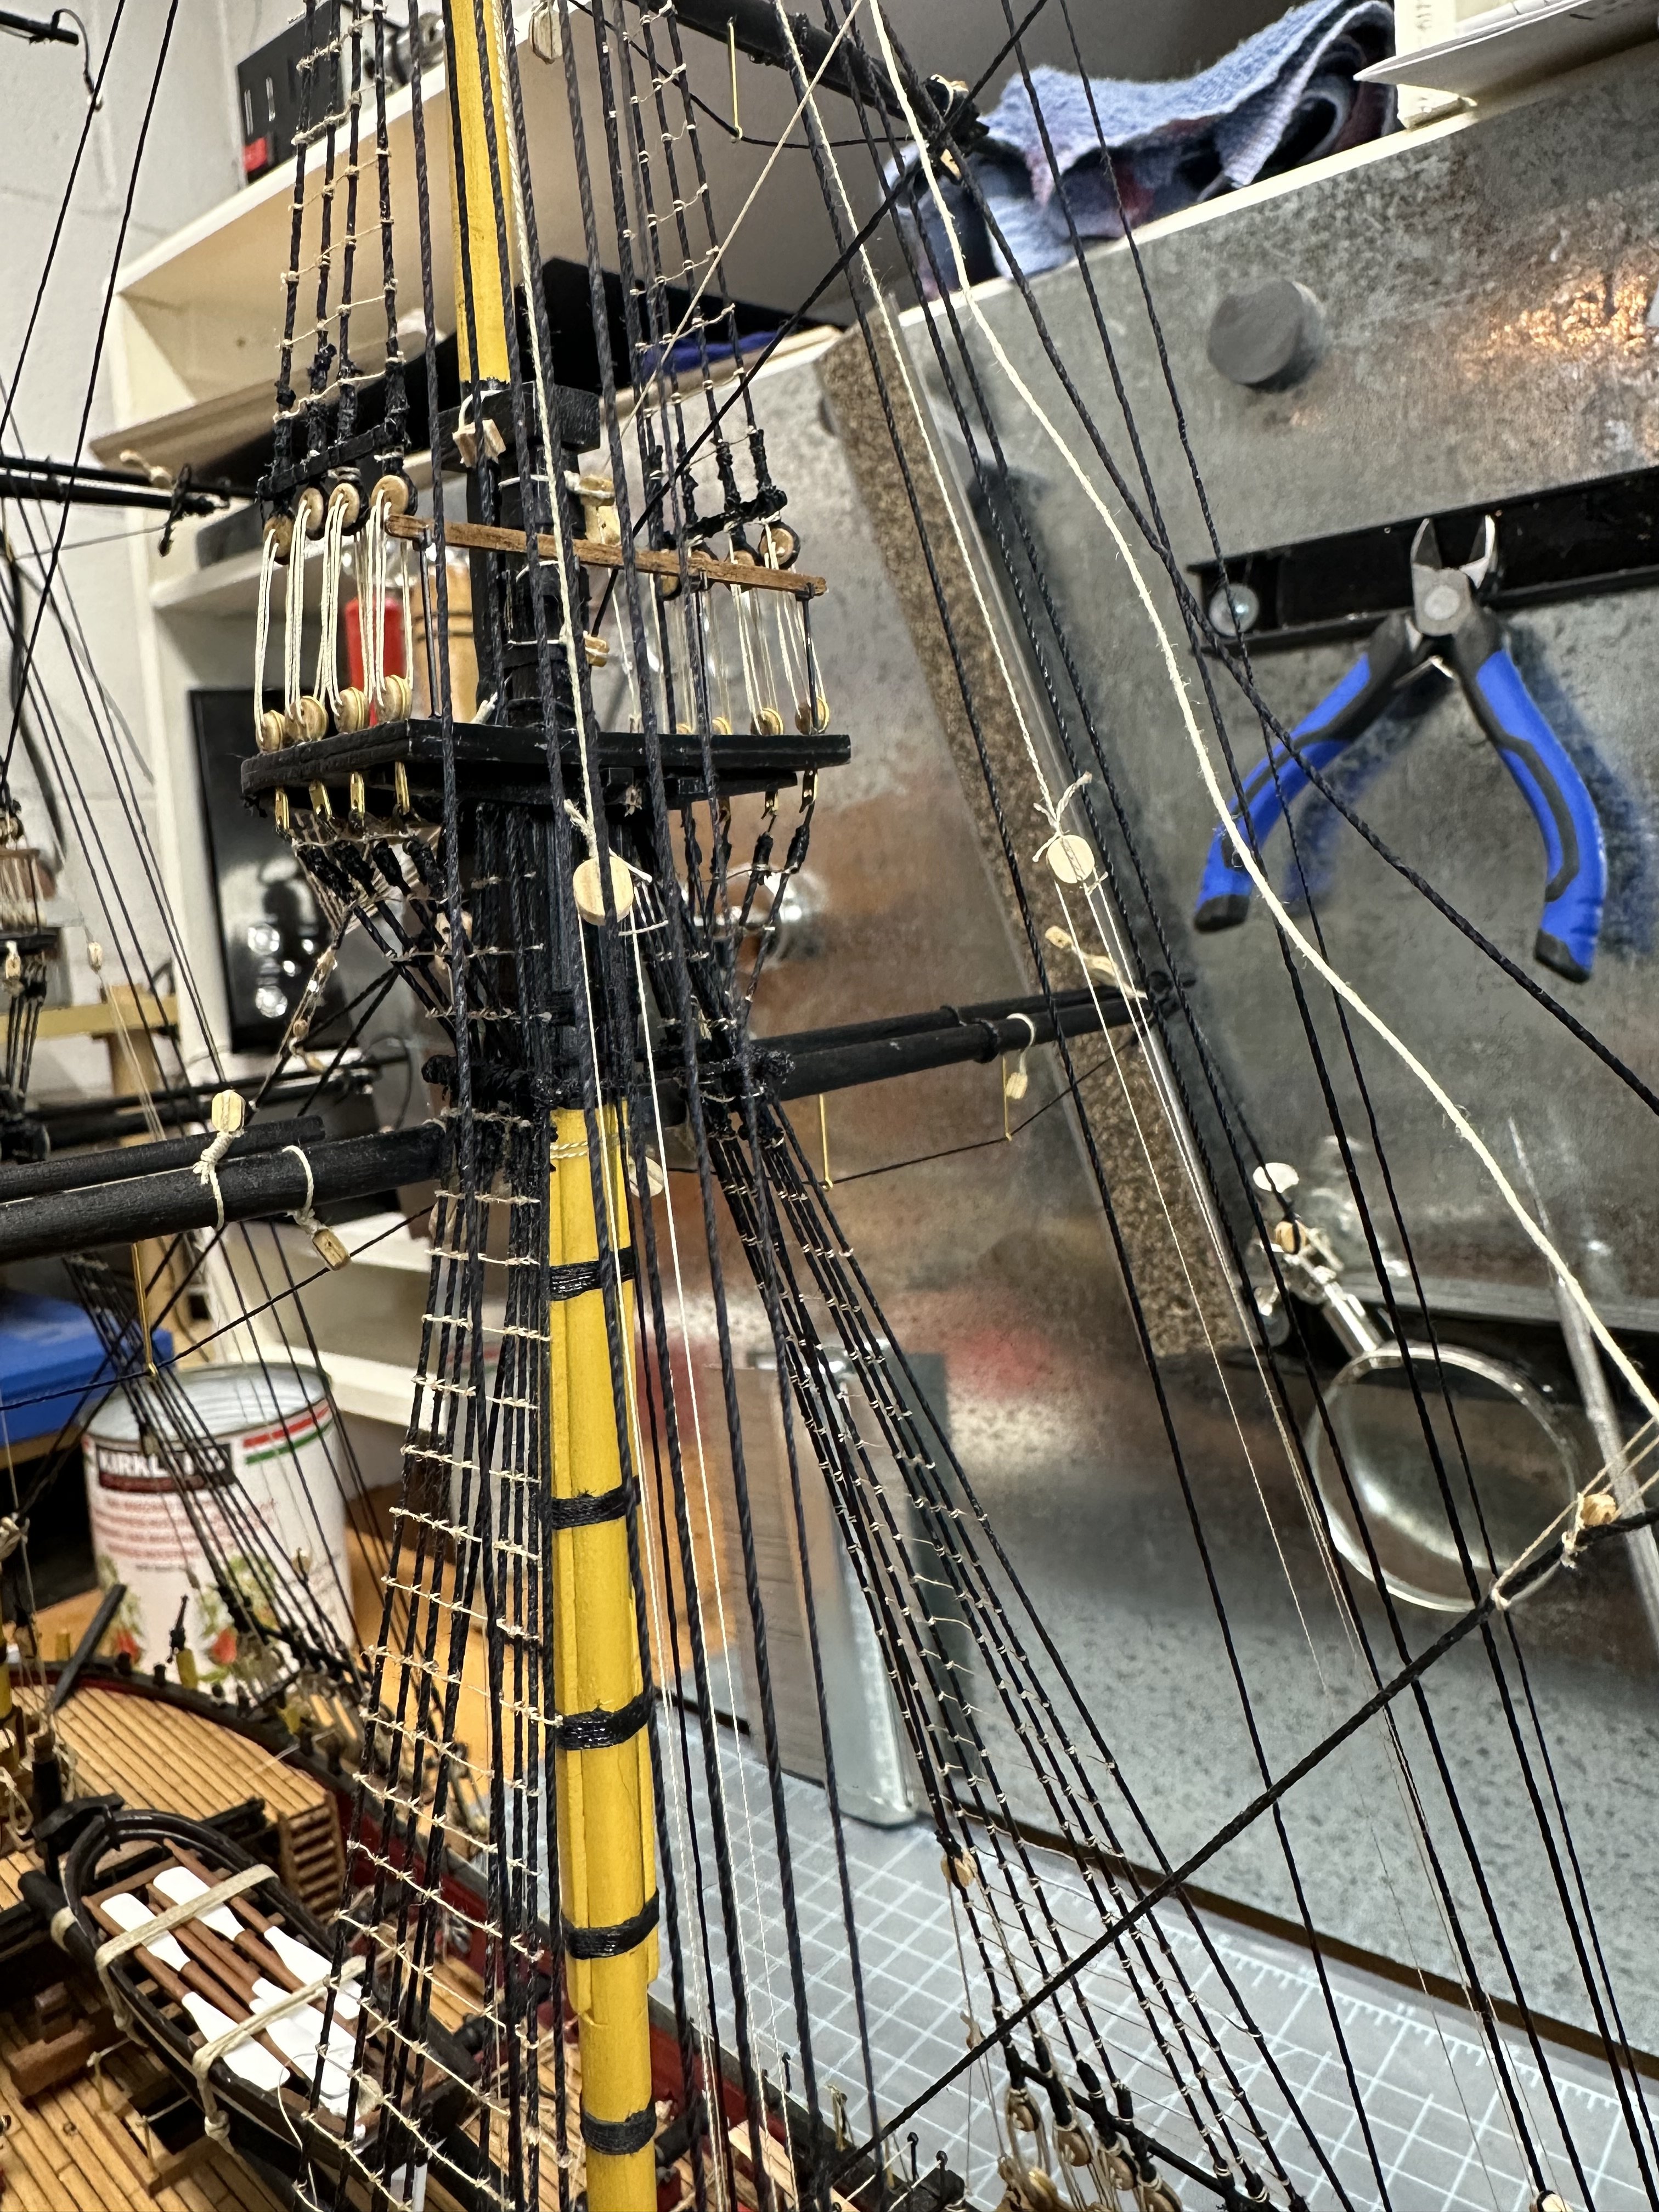
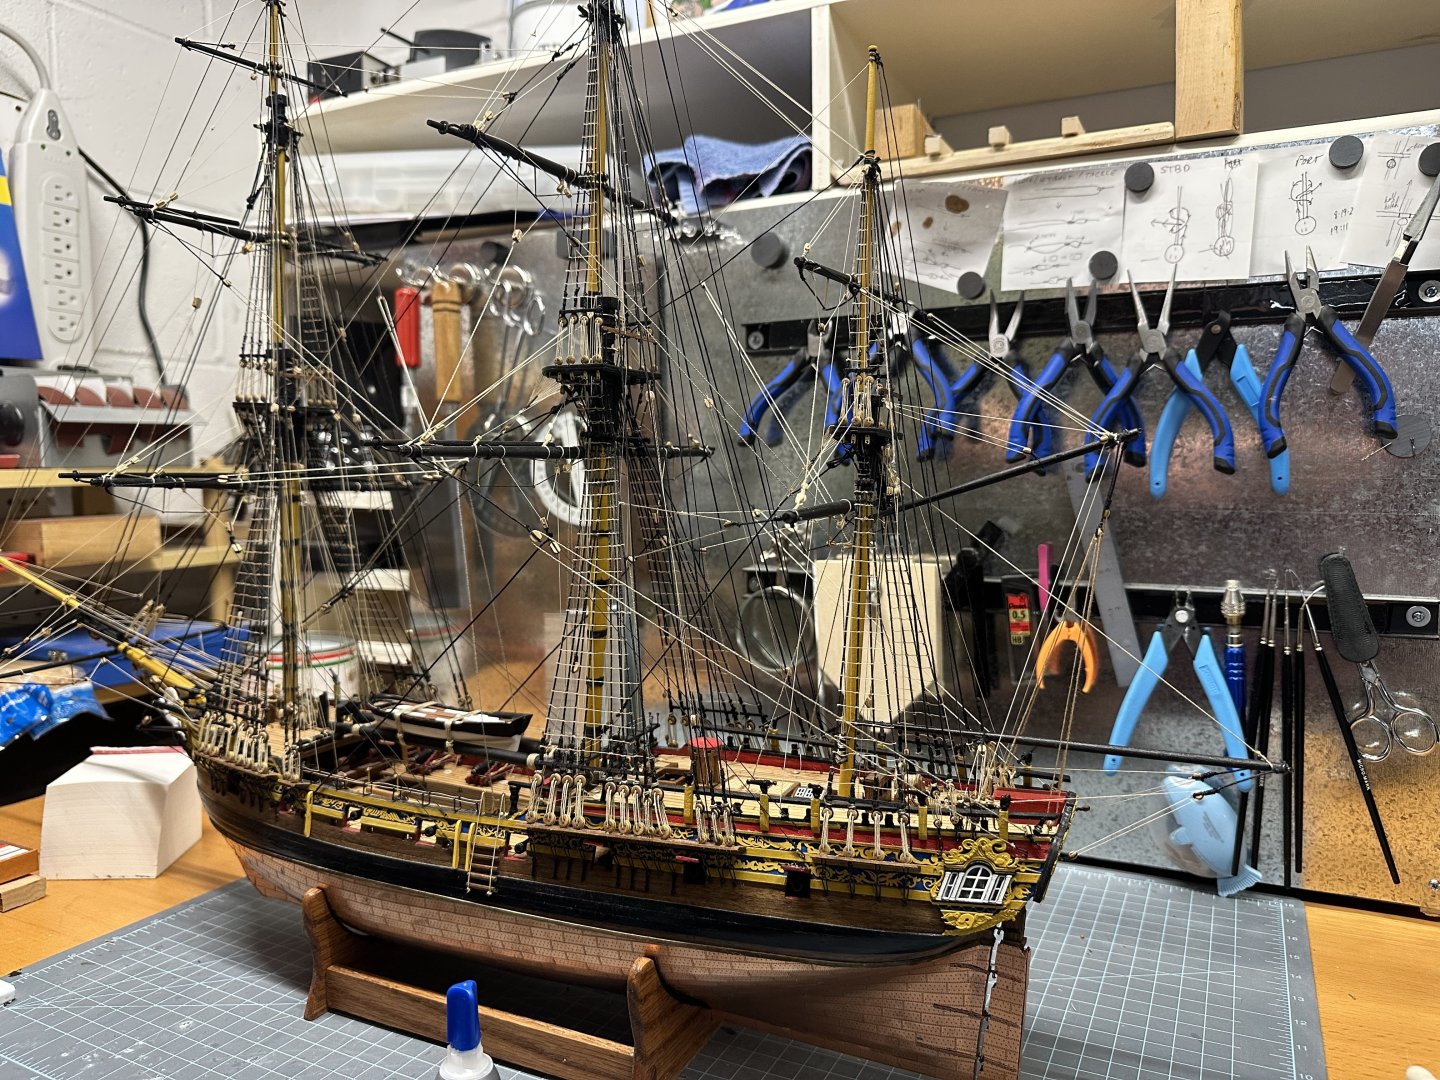
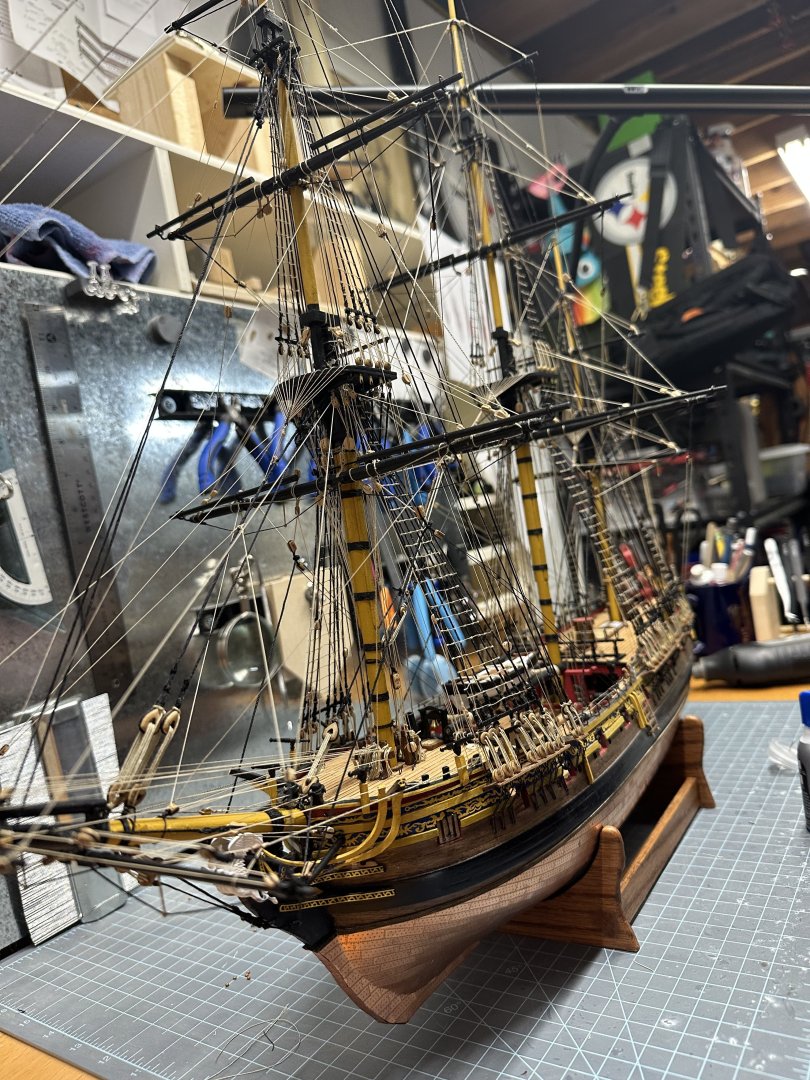
She’s finished. Thank God for Christmas vacation time! Logged hours: 678h over a 4 year period. The rigging took the lion share of the time overall. What a project. I’m sticking to single masted jobs for a while. Sheesh. Next up is the case. I’m going acrylic. I made my one and only glass one last year and said no more.


-
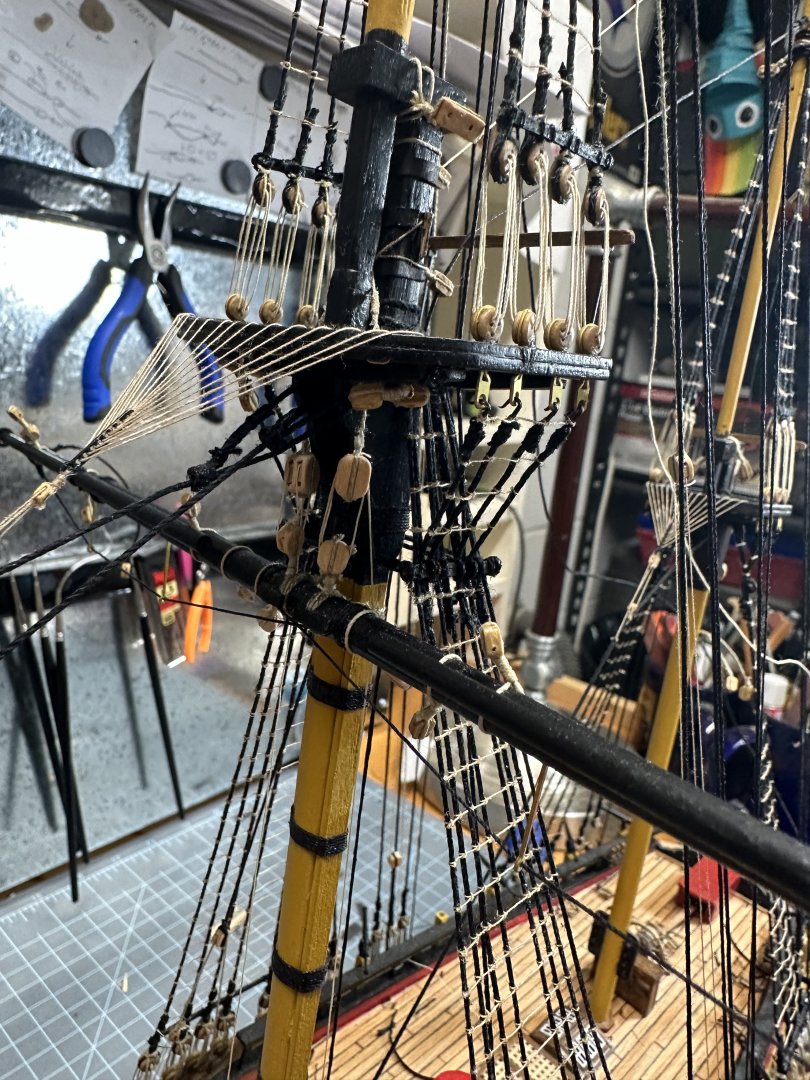
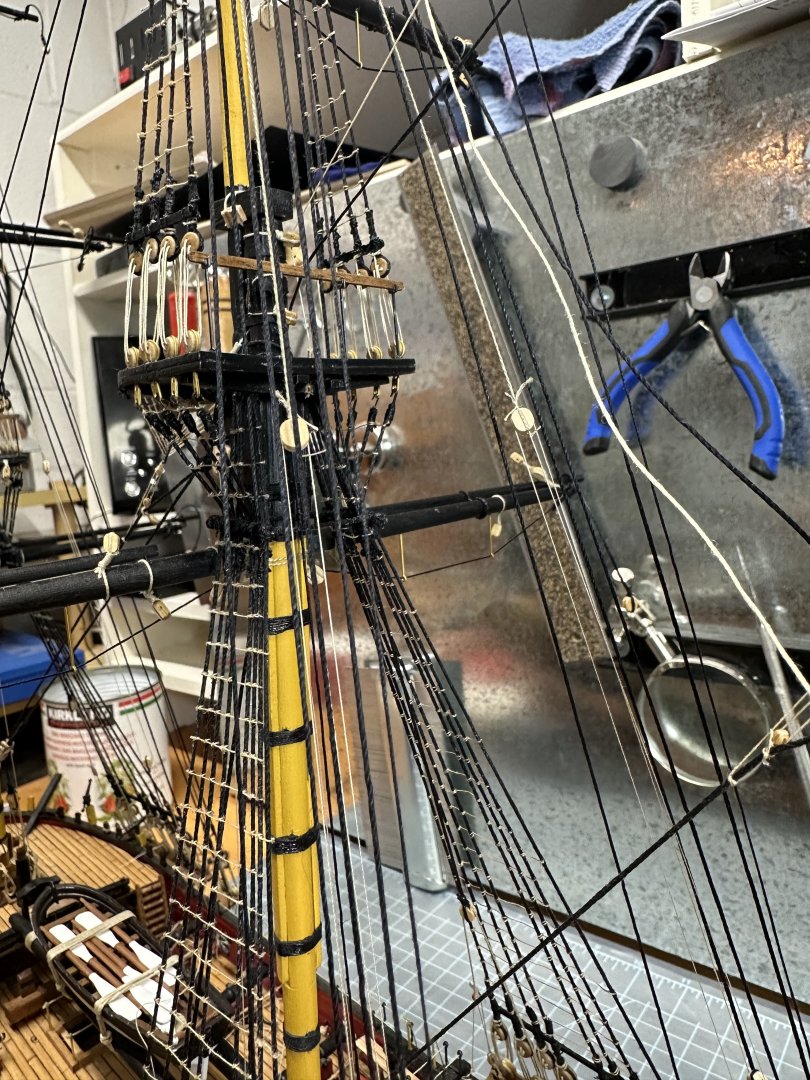
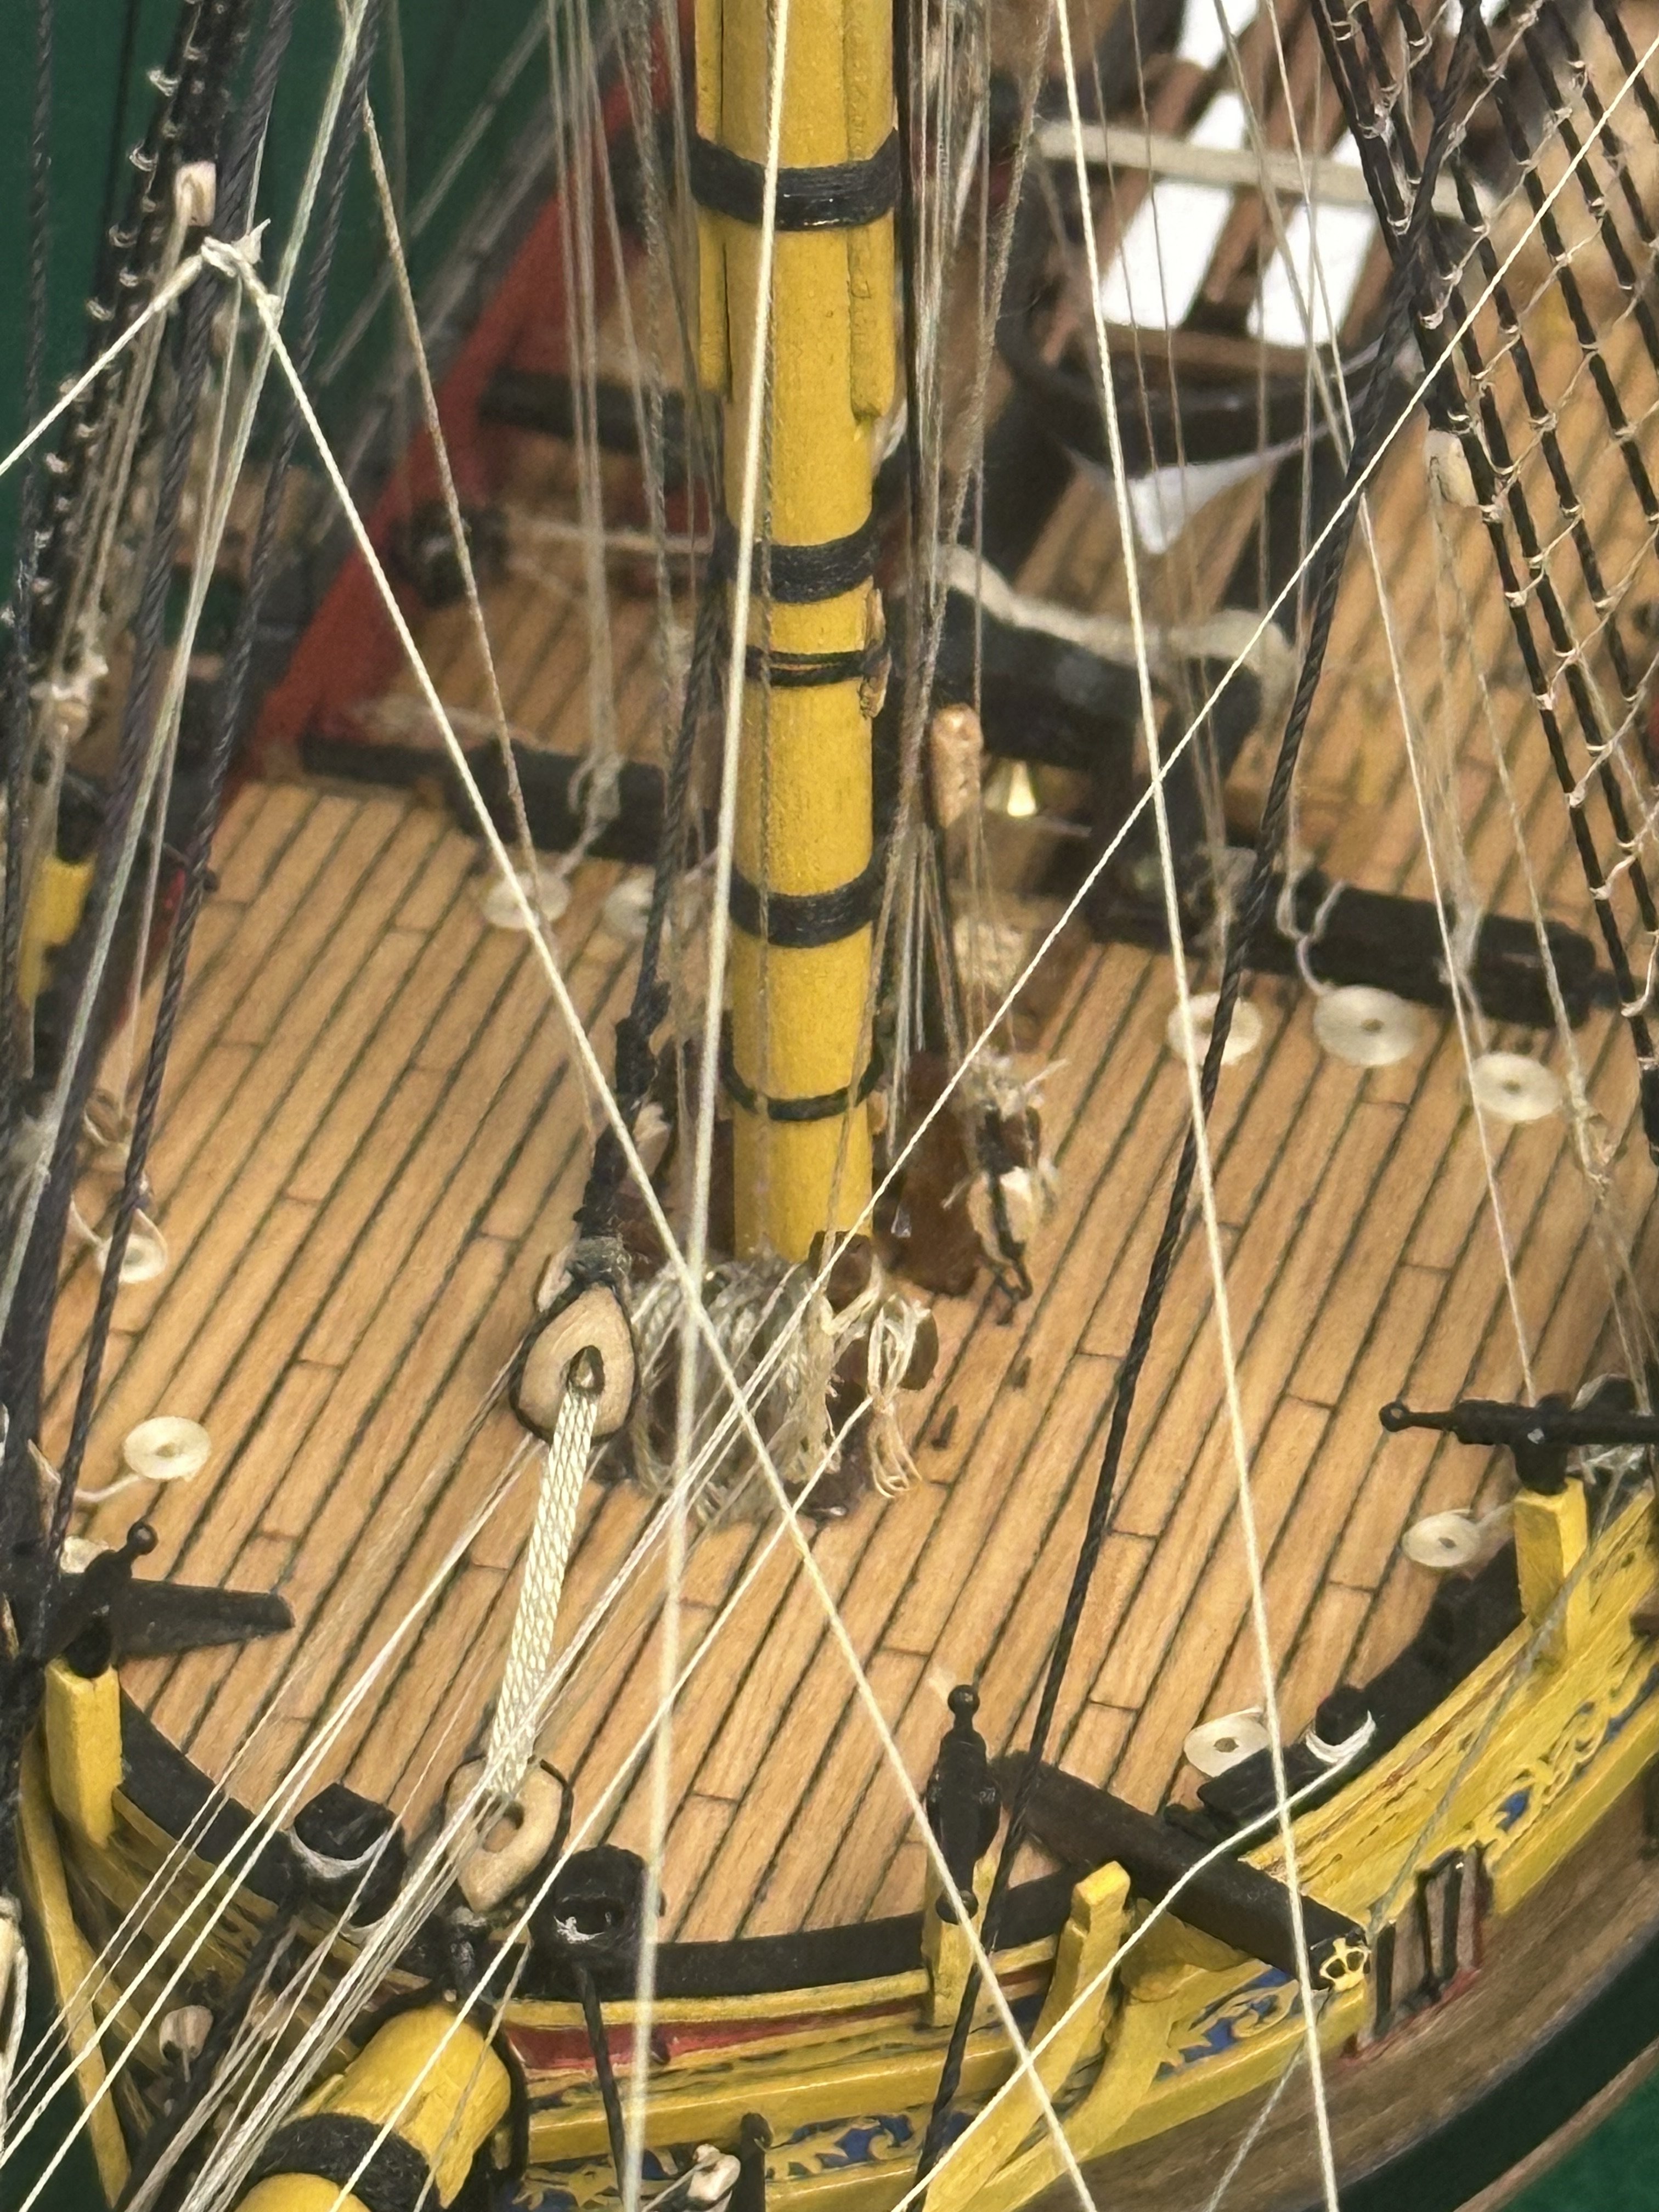
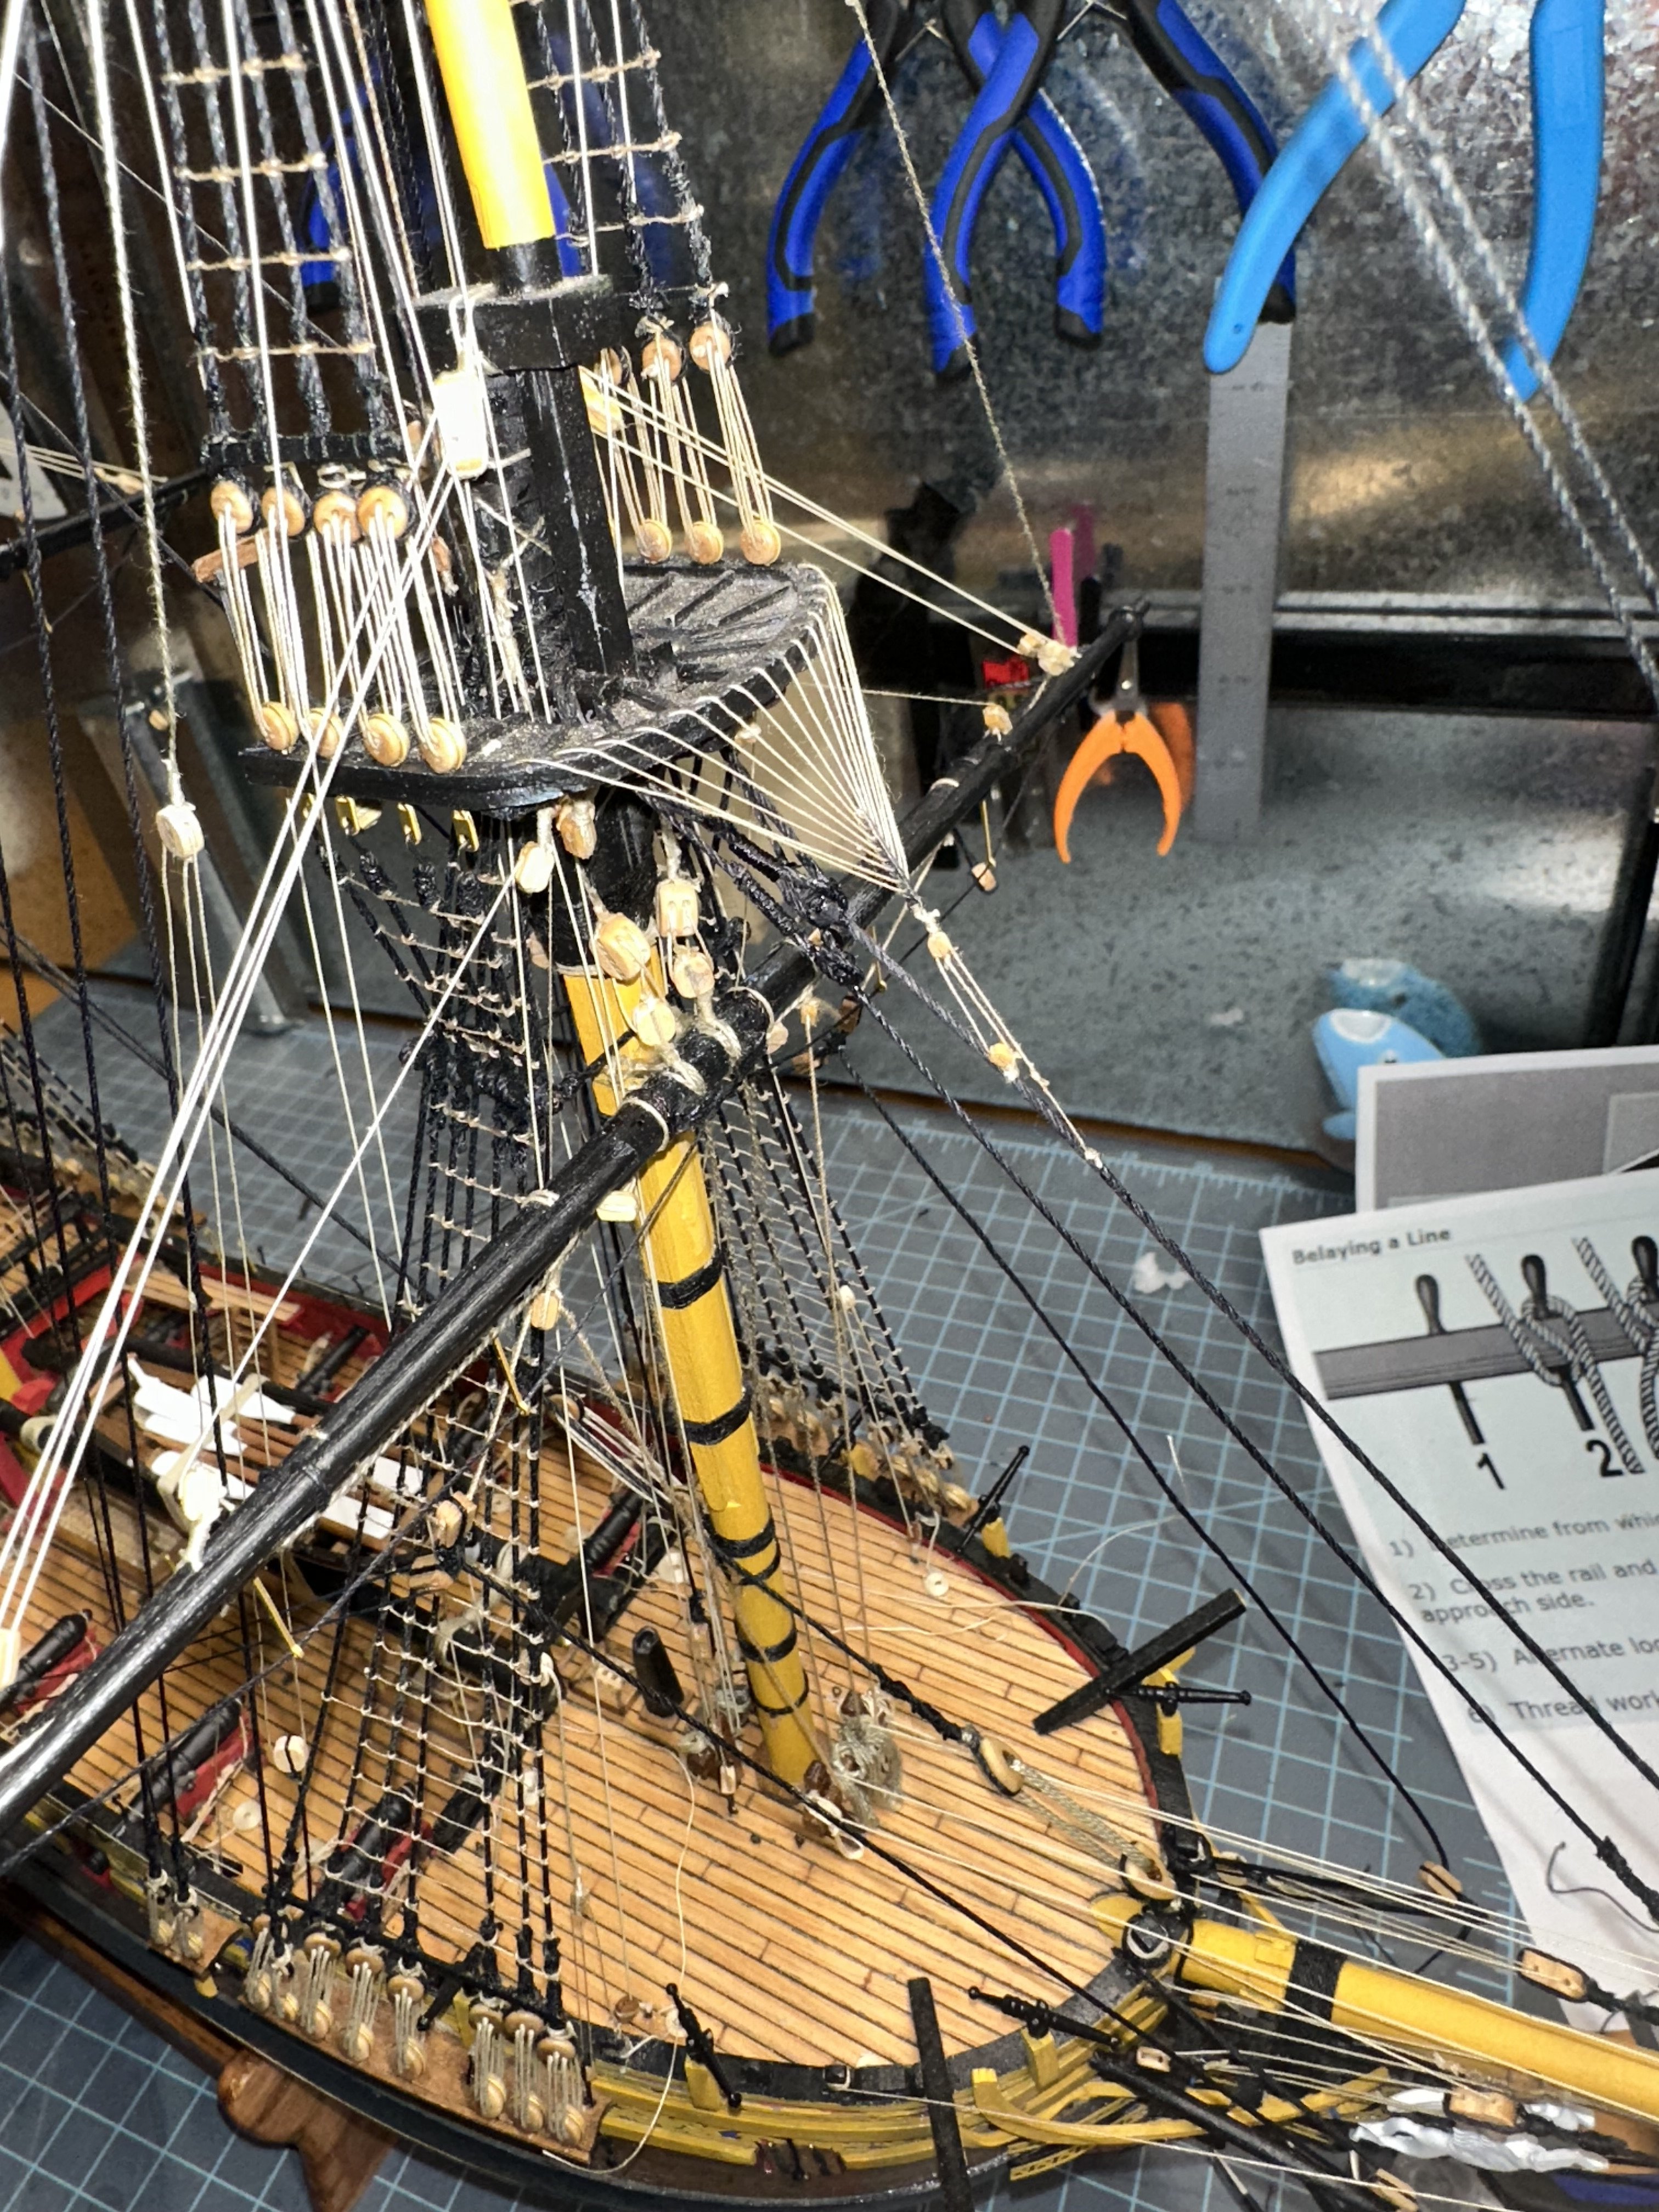
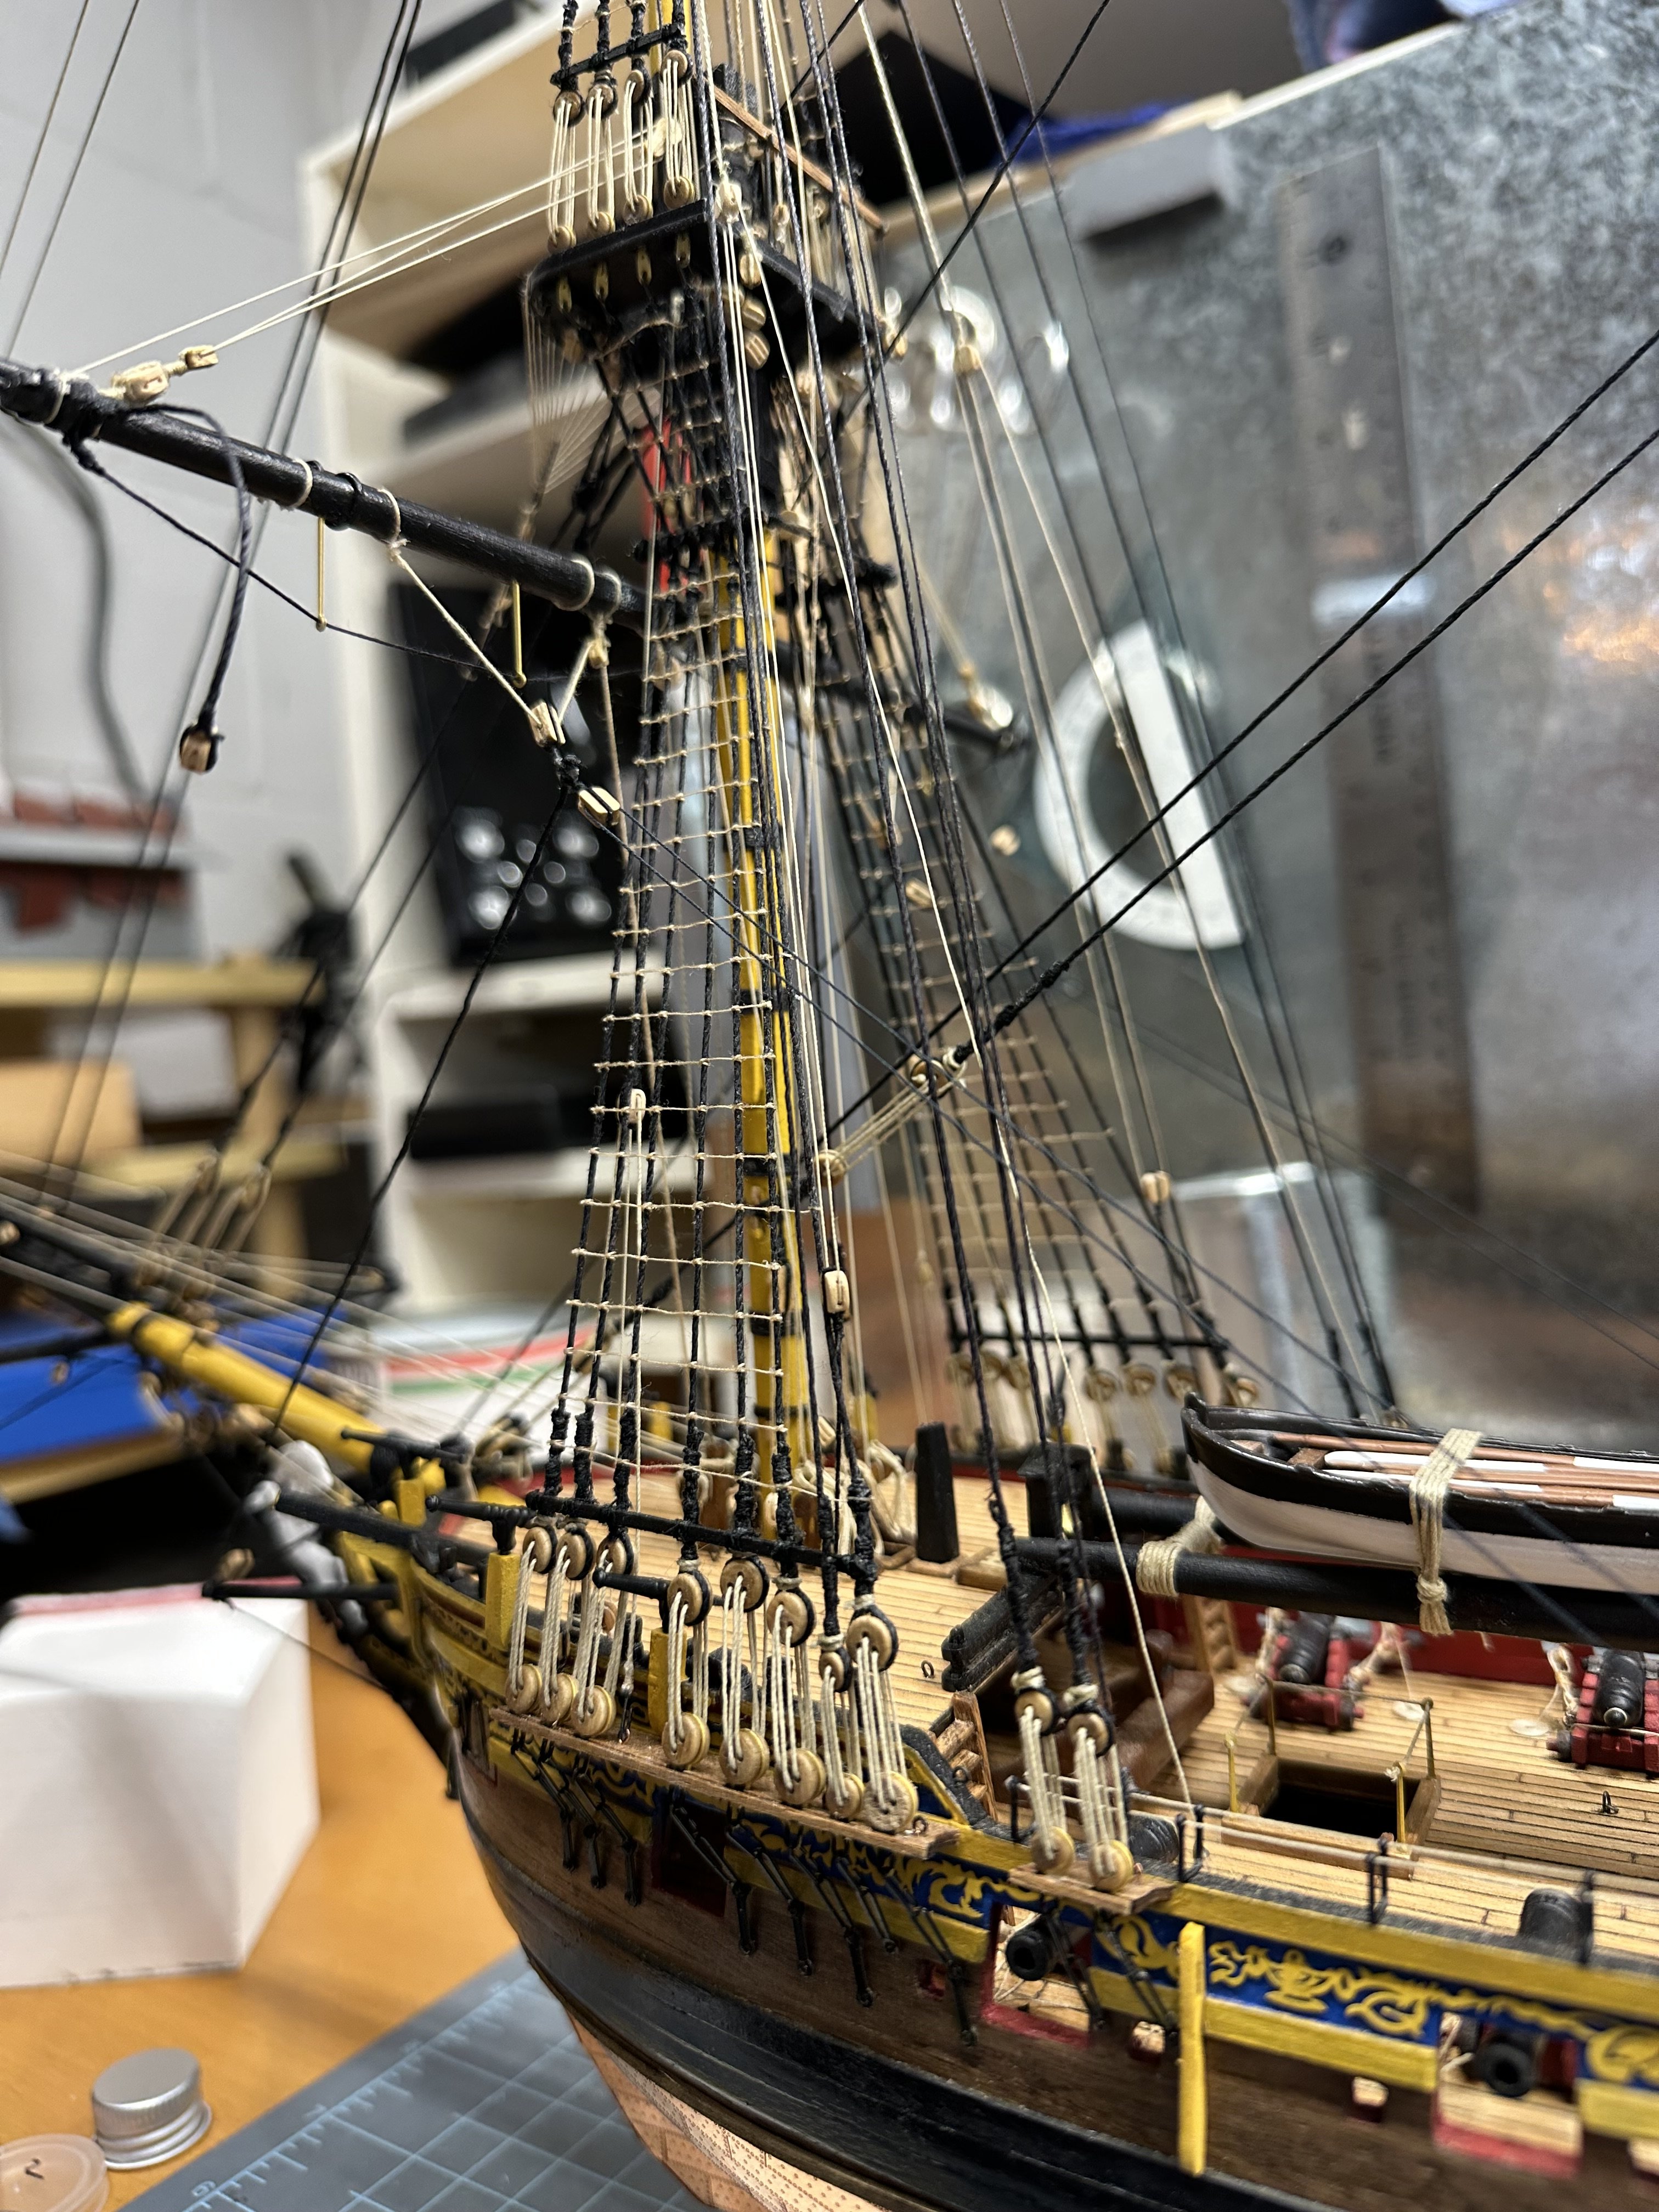
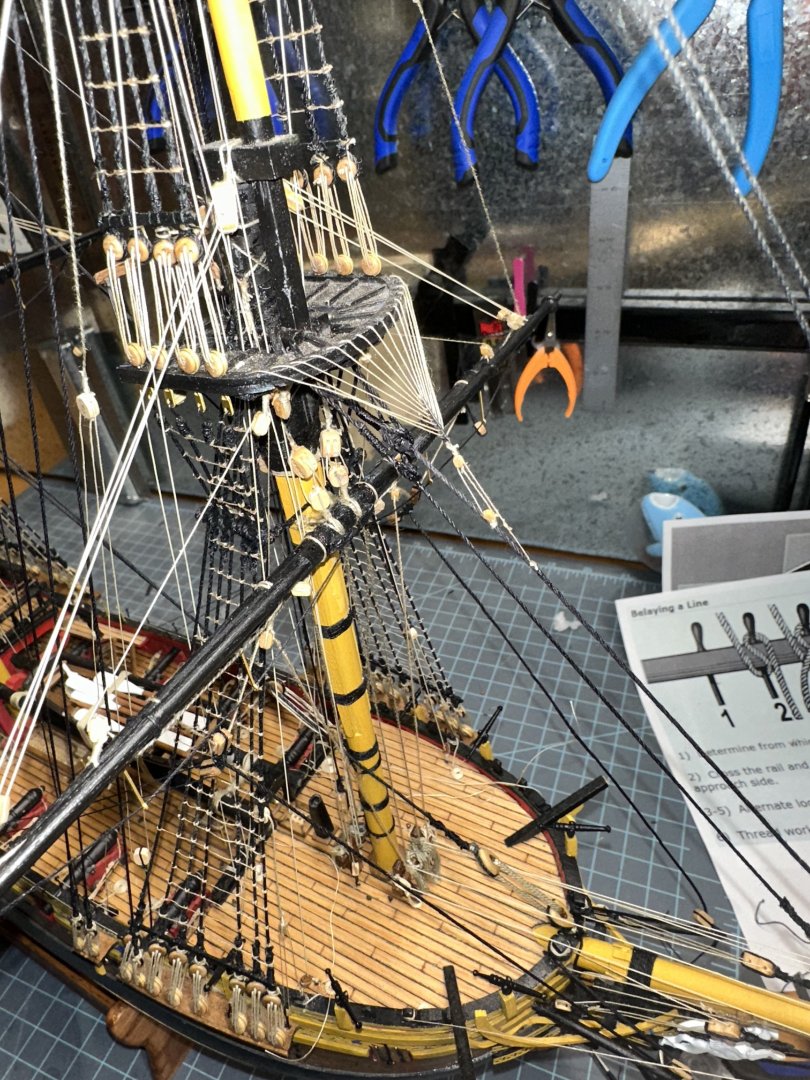
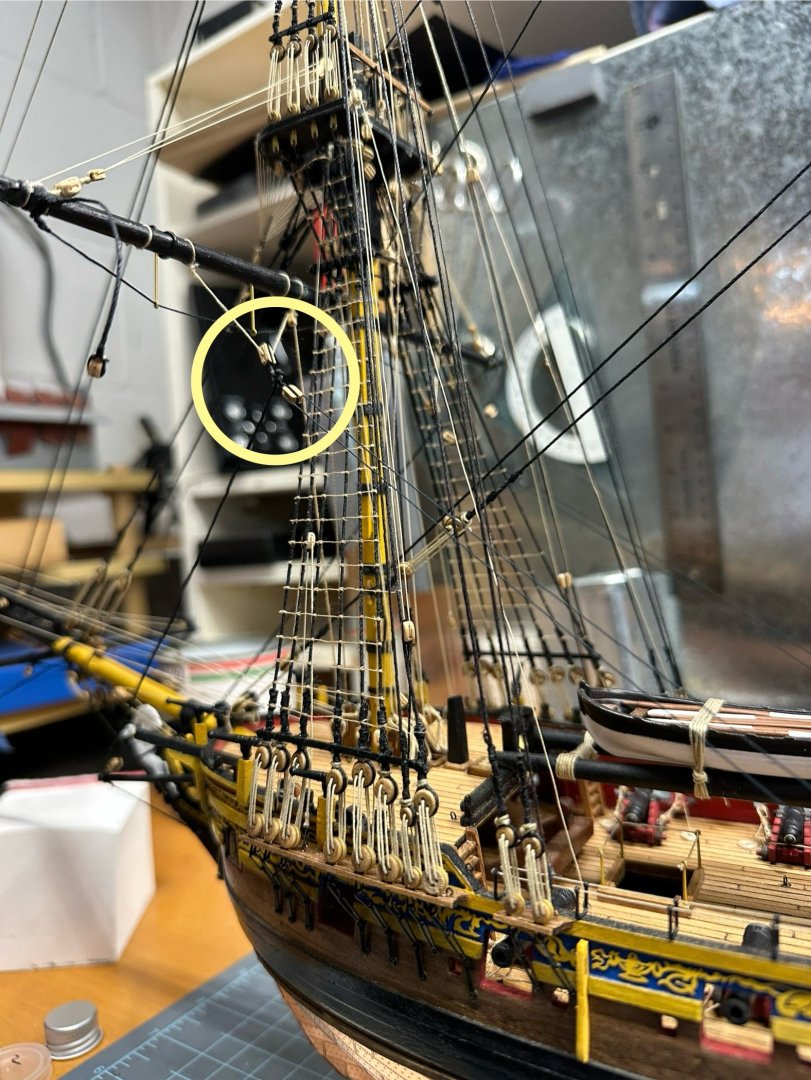
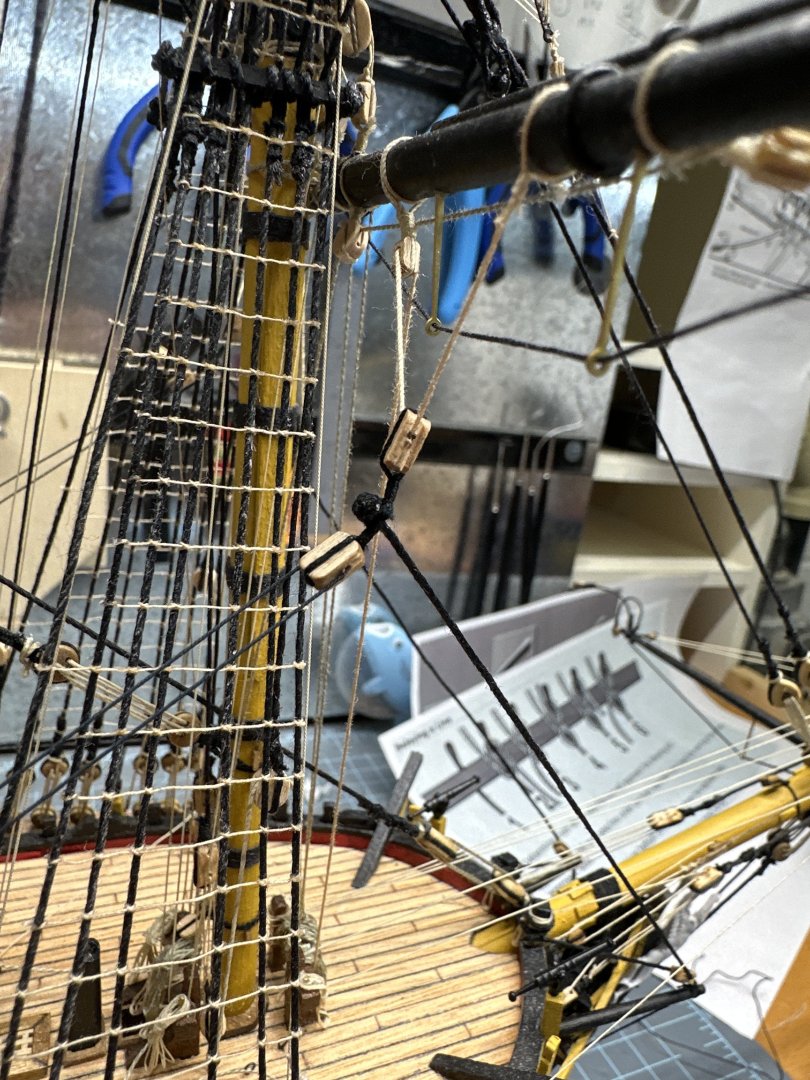
More eye candy. Foremast buntlines. and more of the weird knots in the middle of the line. like the tack knot. I seized the top line and grabbed the knotted end of the lower line. more progress pics


-
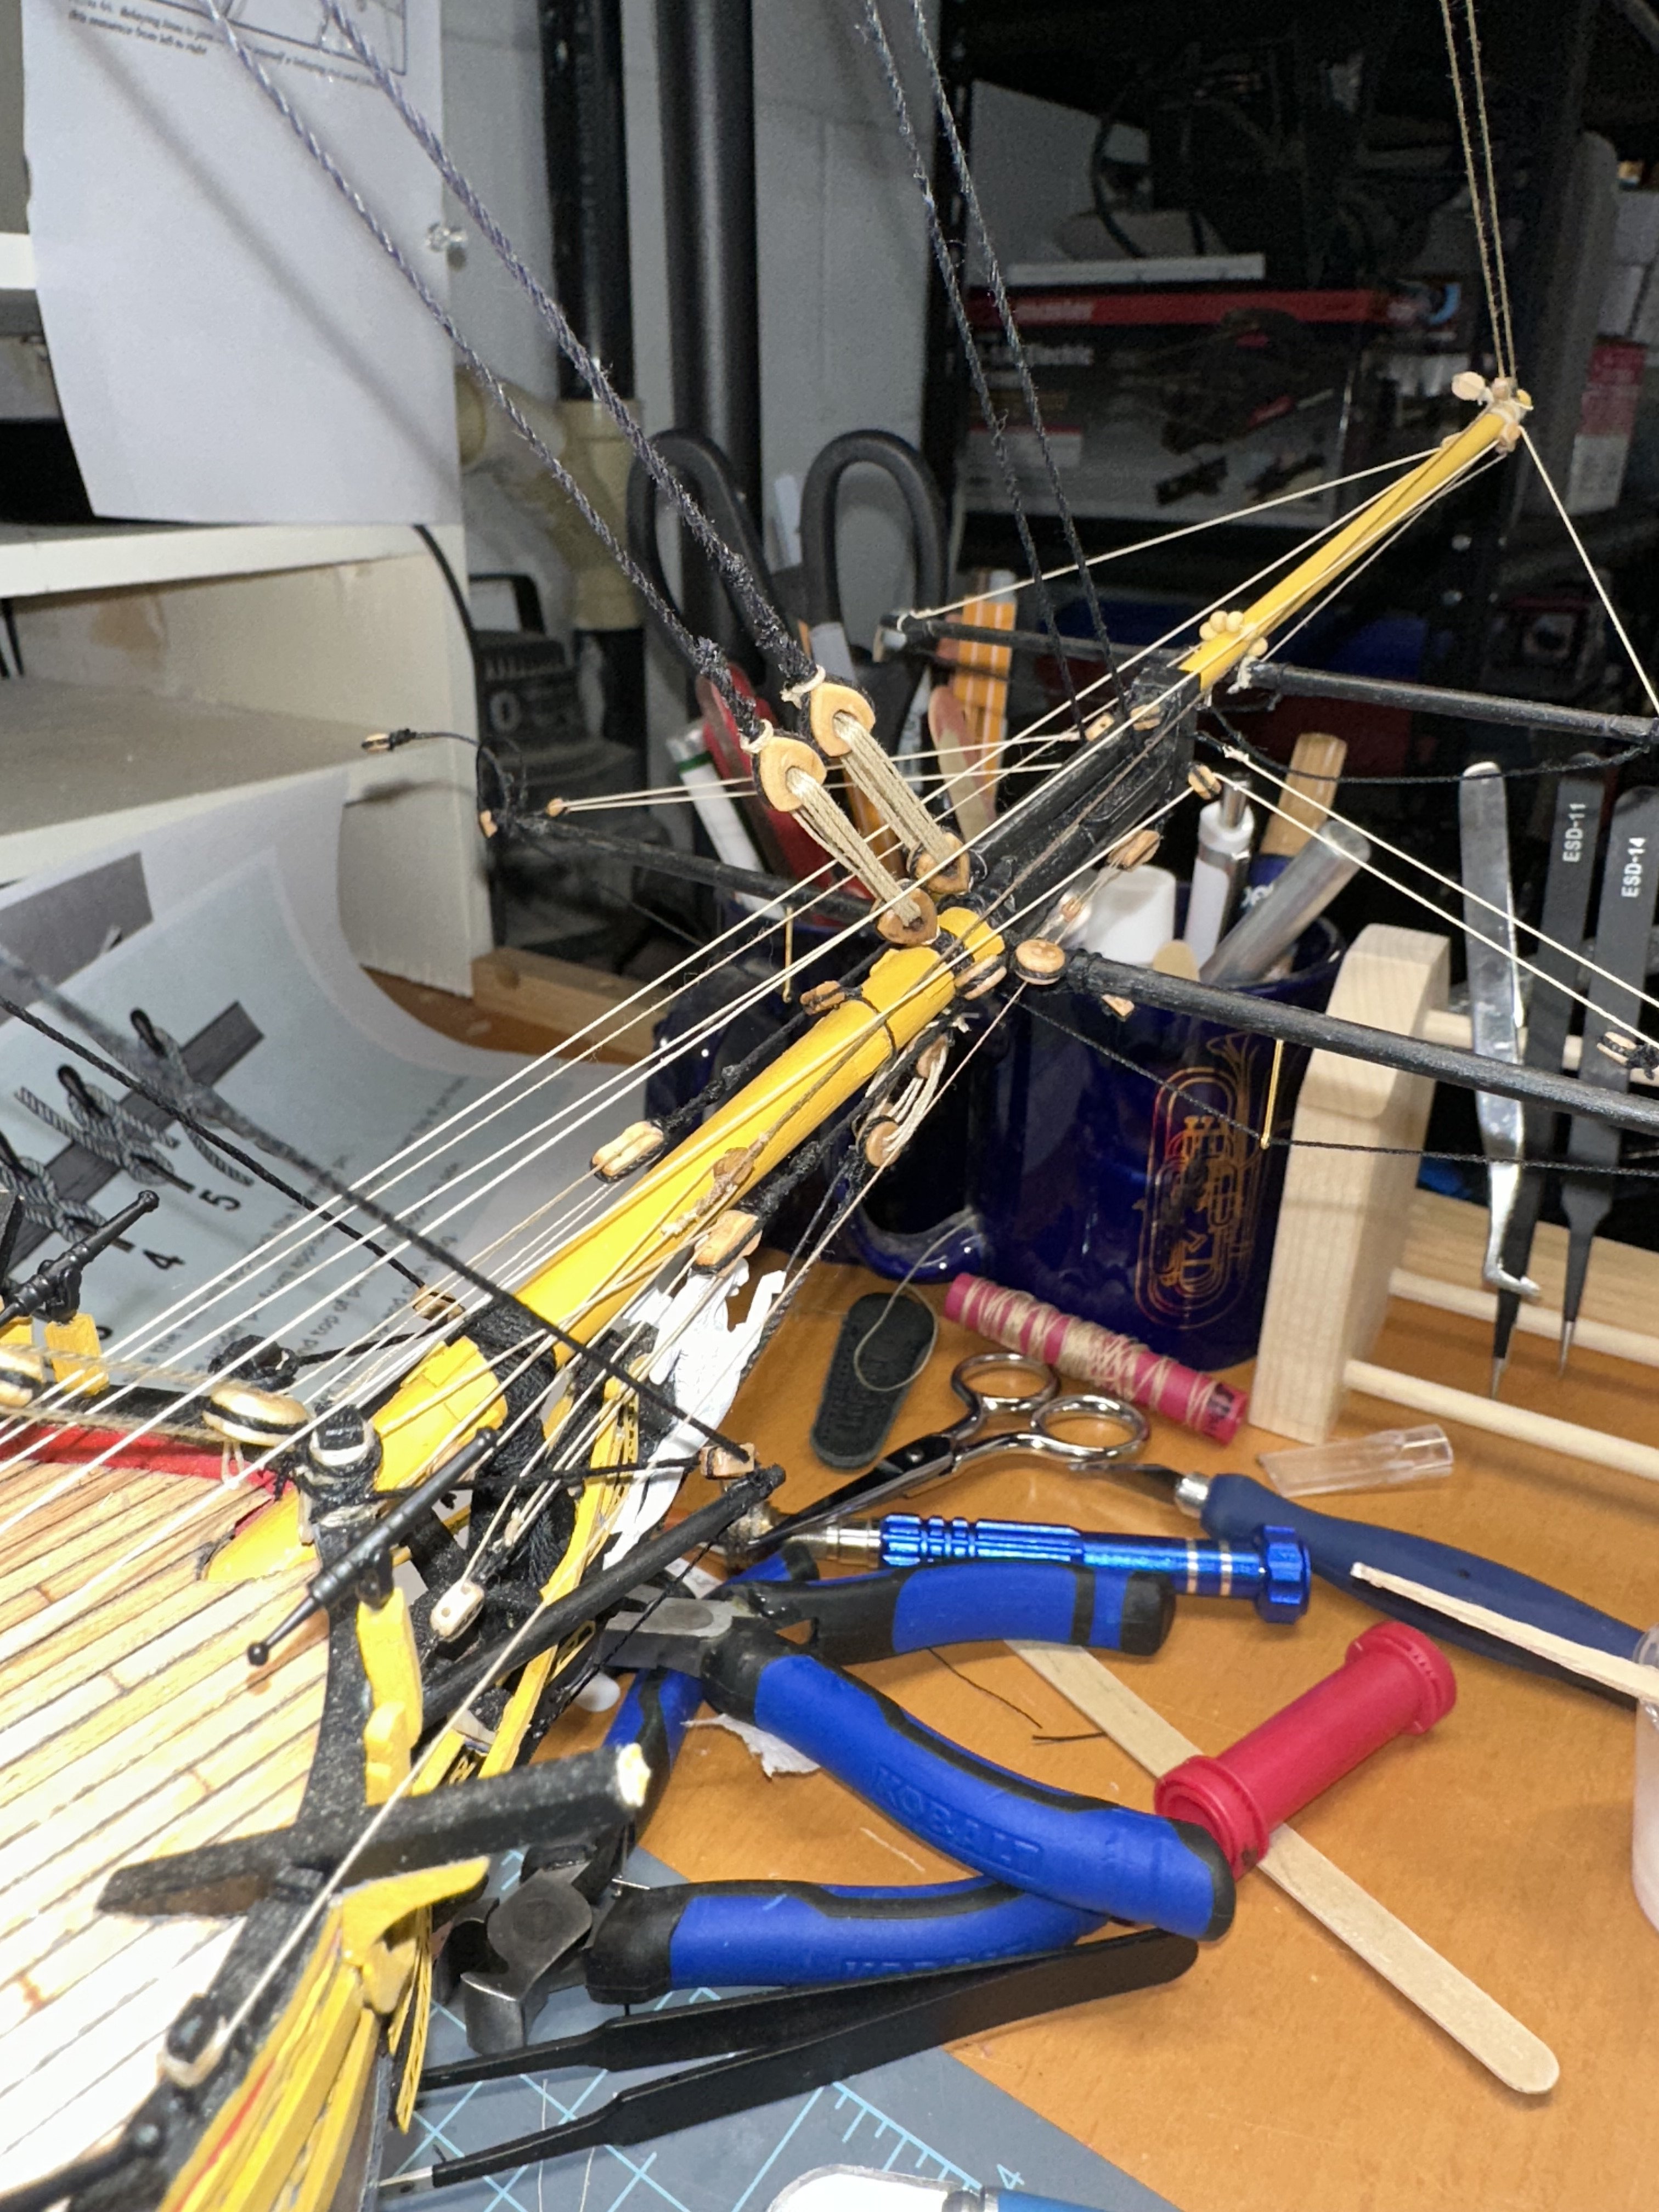
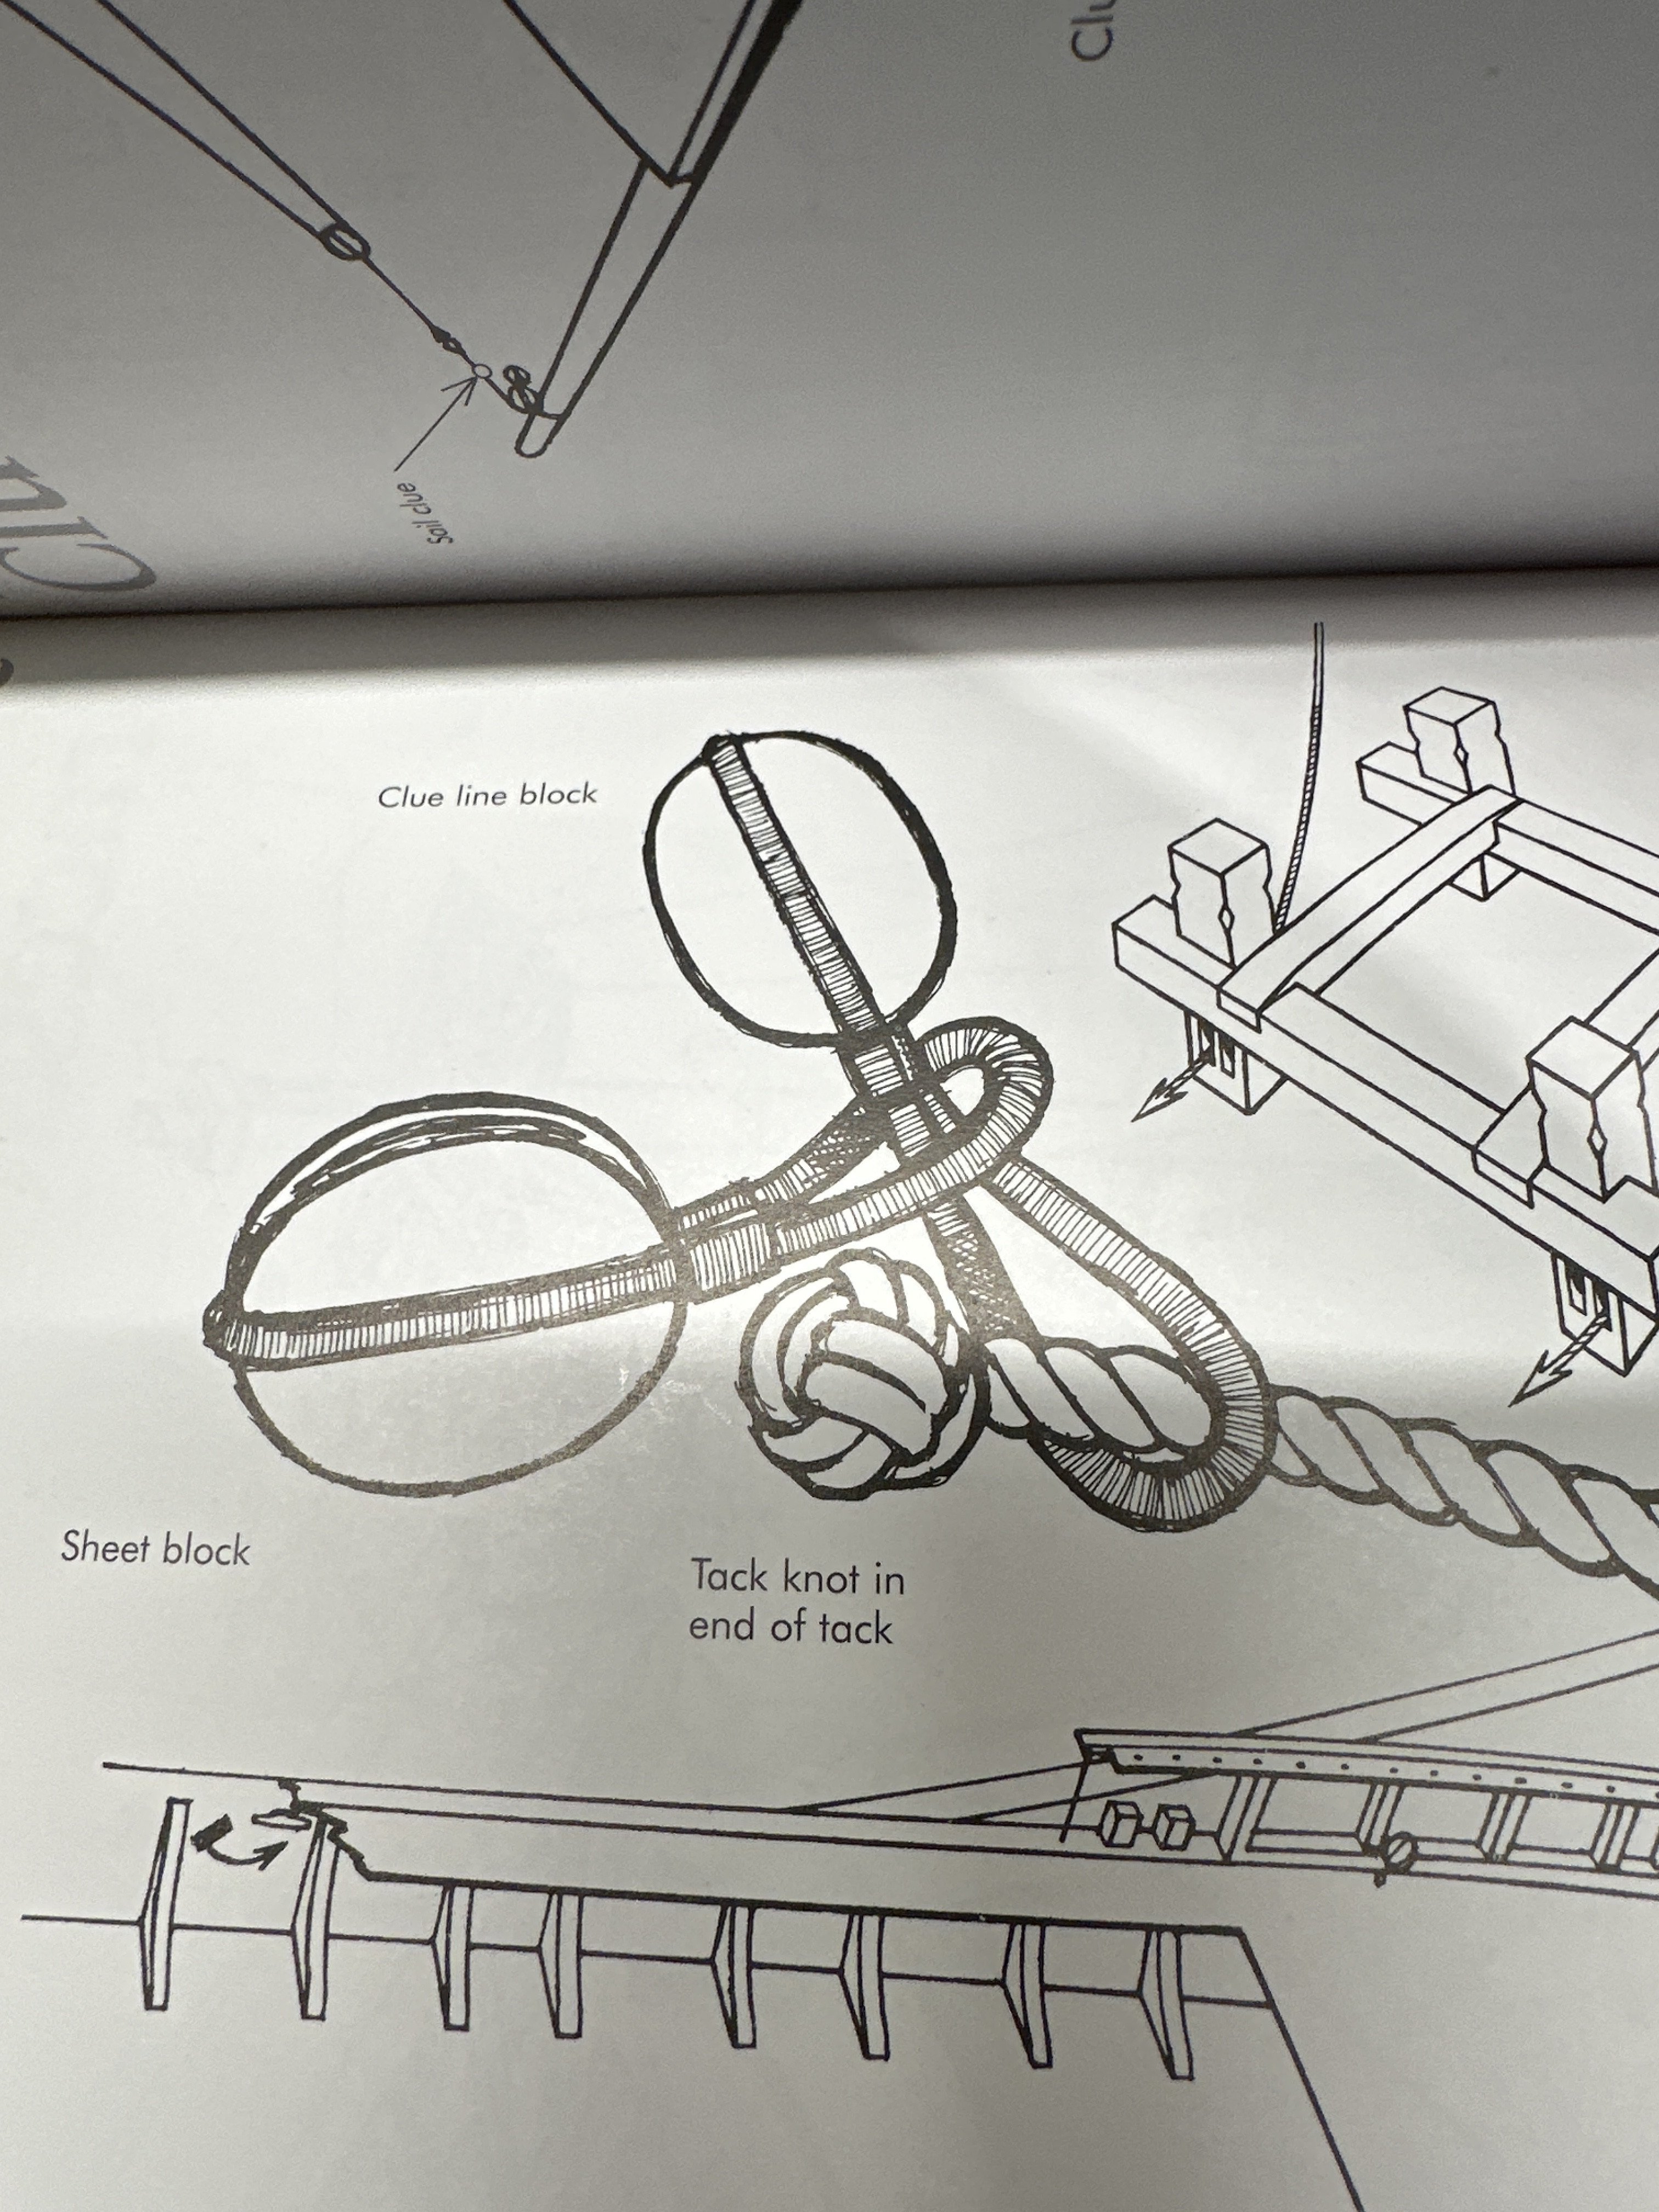
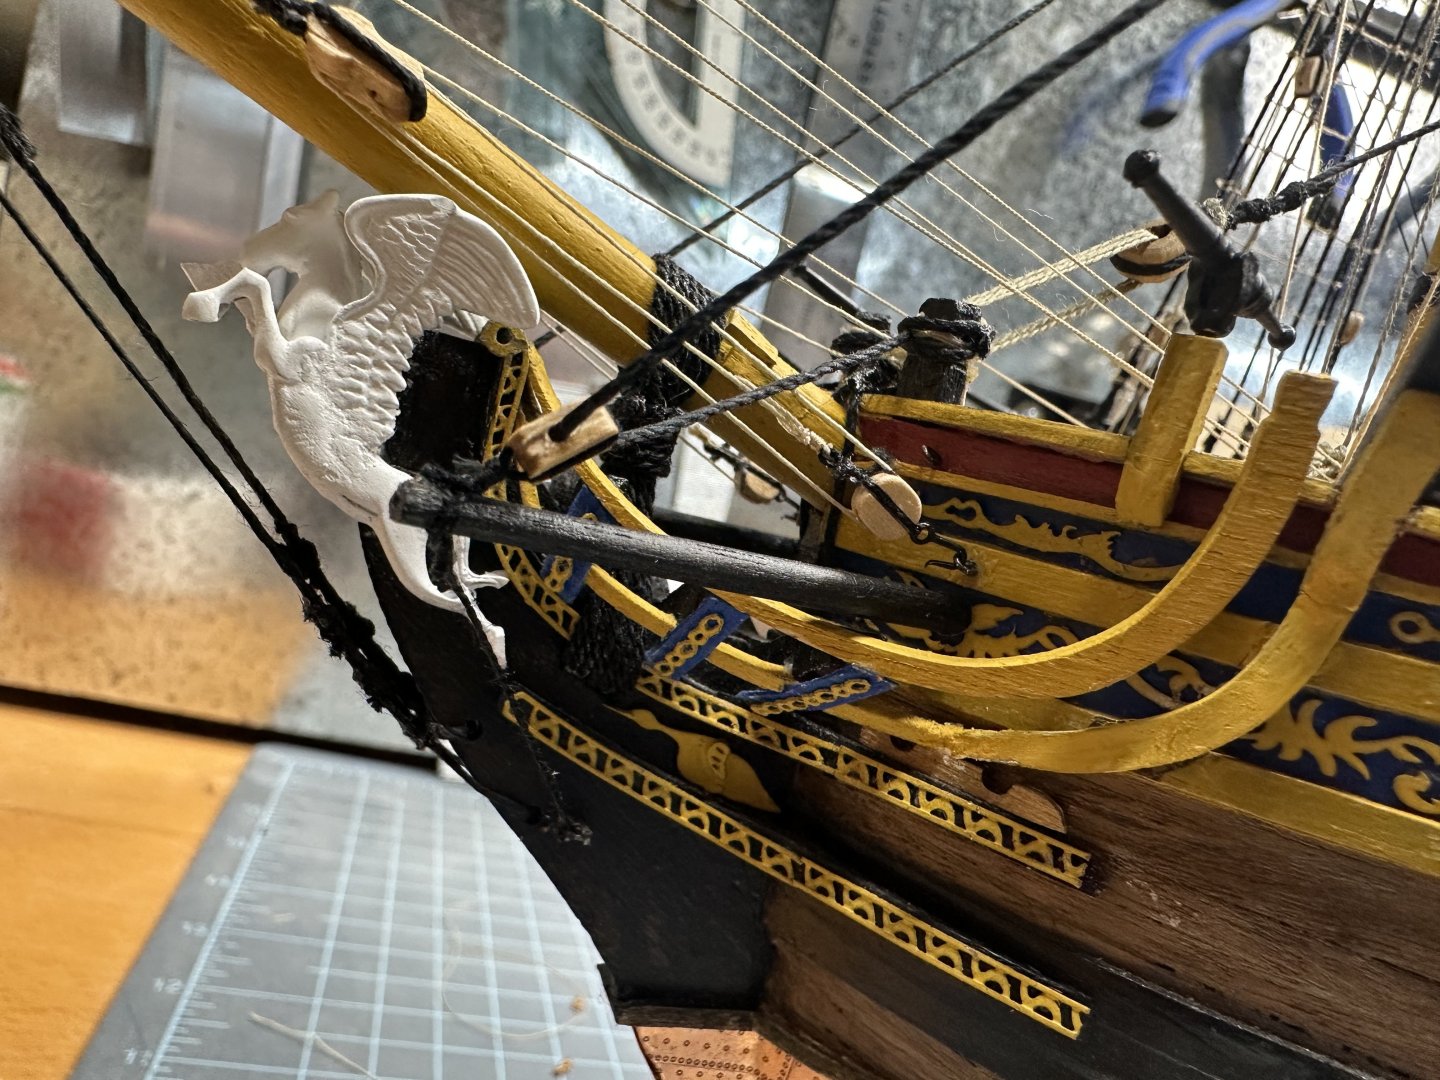
The topsail cluelines (or clewlines?). Last year I bought Syren’s Rope Rocket Ropewalk and man, does it make nice rope. I bought some high end embroidery thread in tan and black and my lines don’t kink like the kit rope does. The foremast tacks are done also. There’s a cool but fiddly knot sequence to make the tacks that join the sheet block and clue line block with a tack block. See pic from “Rigging Period Model Ship” The tack block is tied down through a block on the boomkin and back thru to the knightshead. I’m beginning to see the light at the end of the tunnel.


-
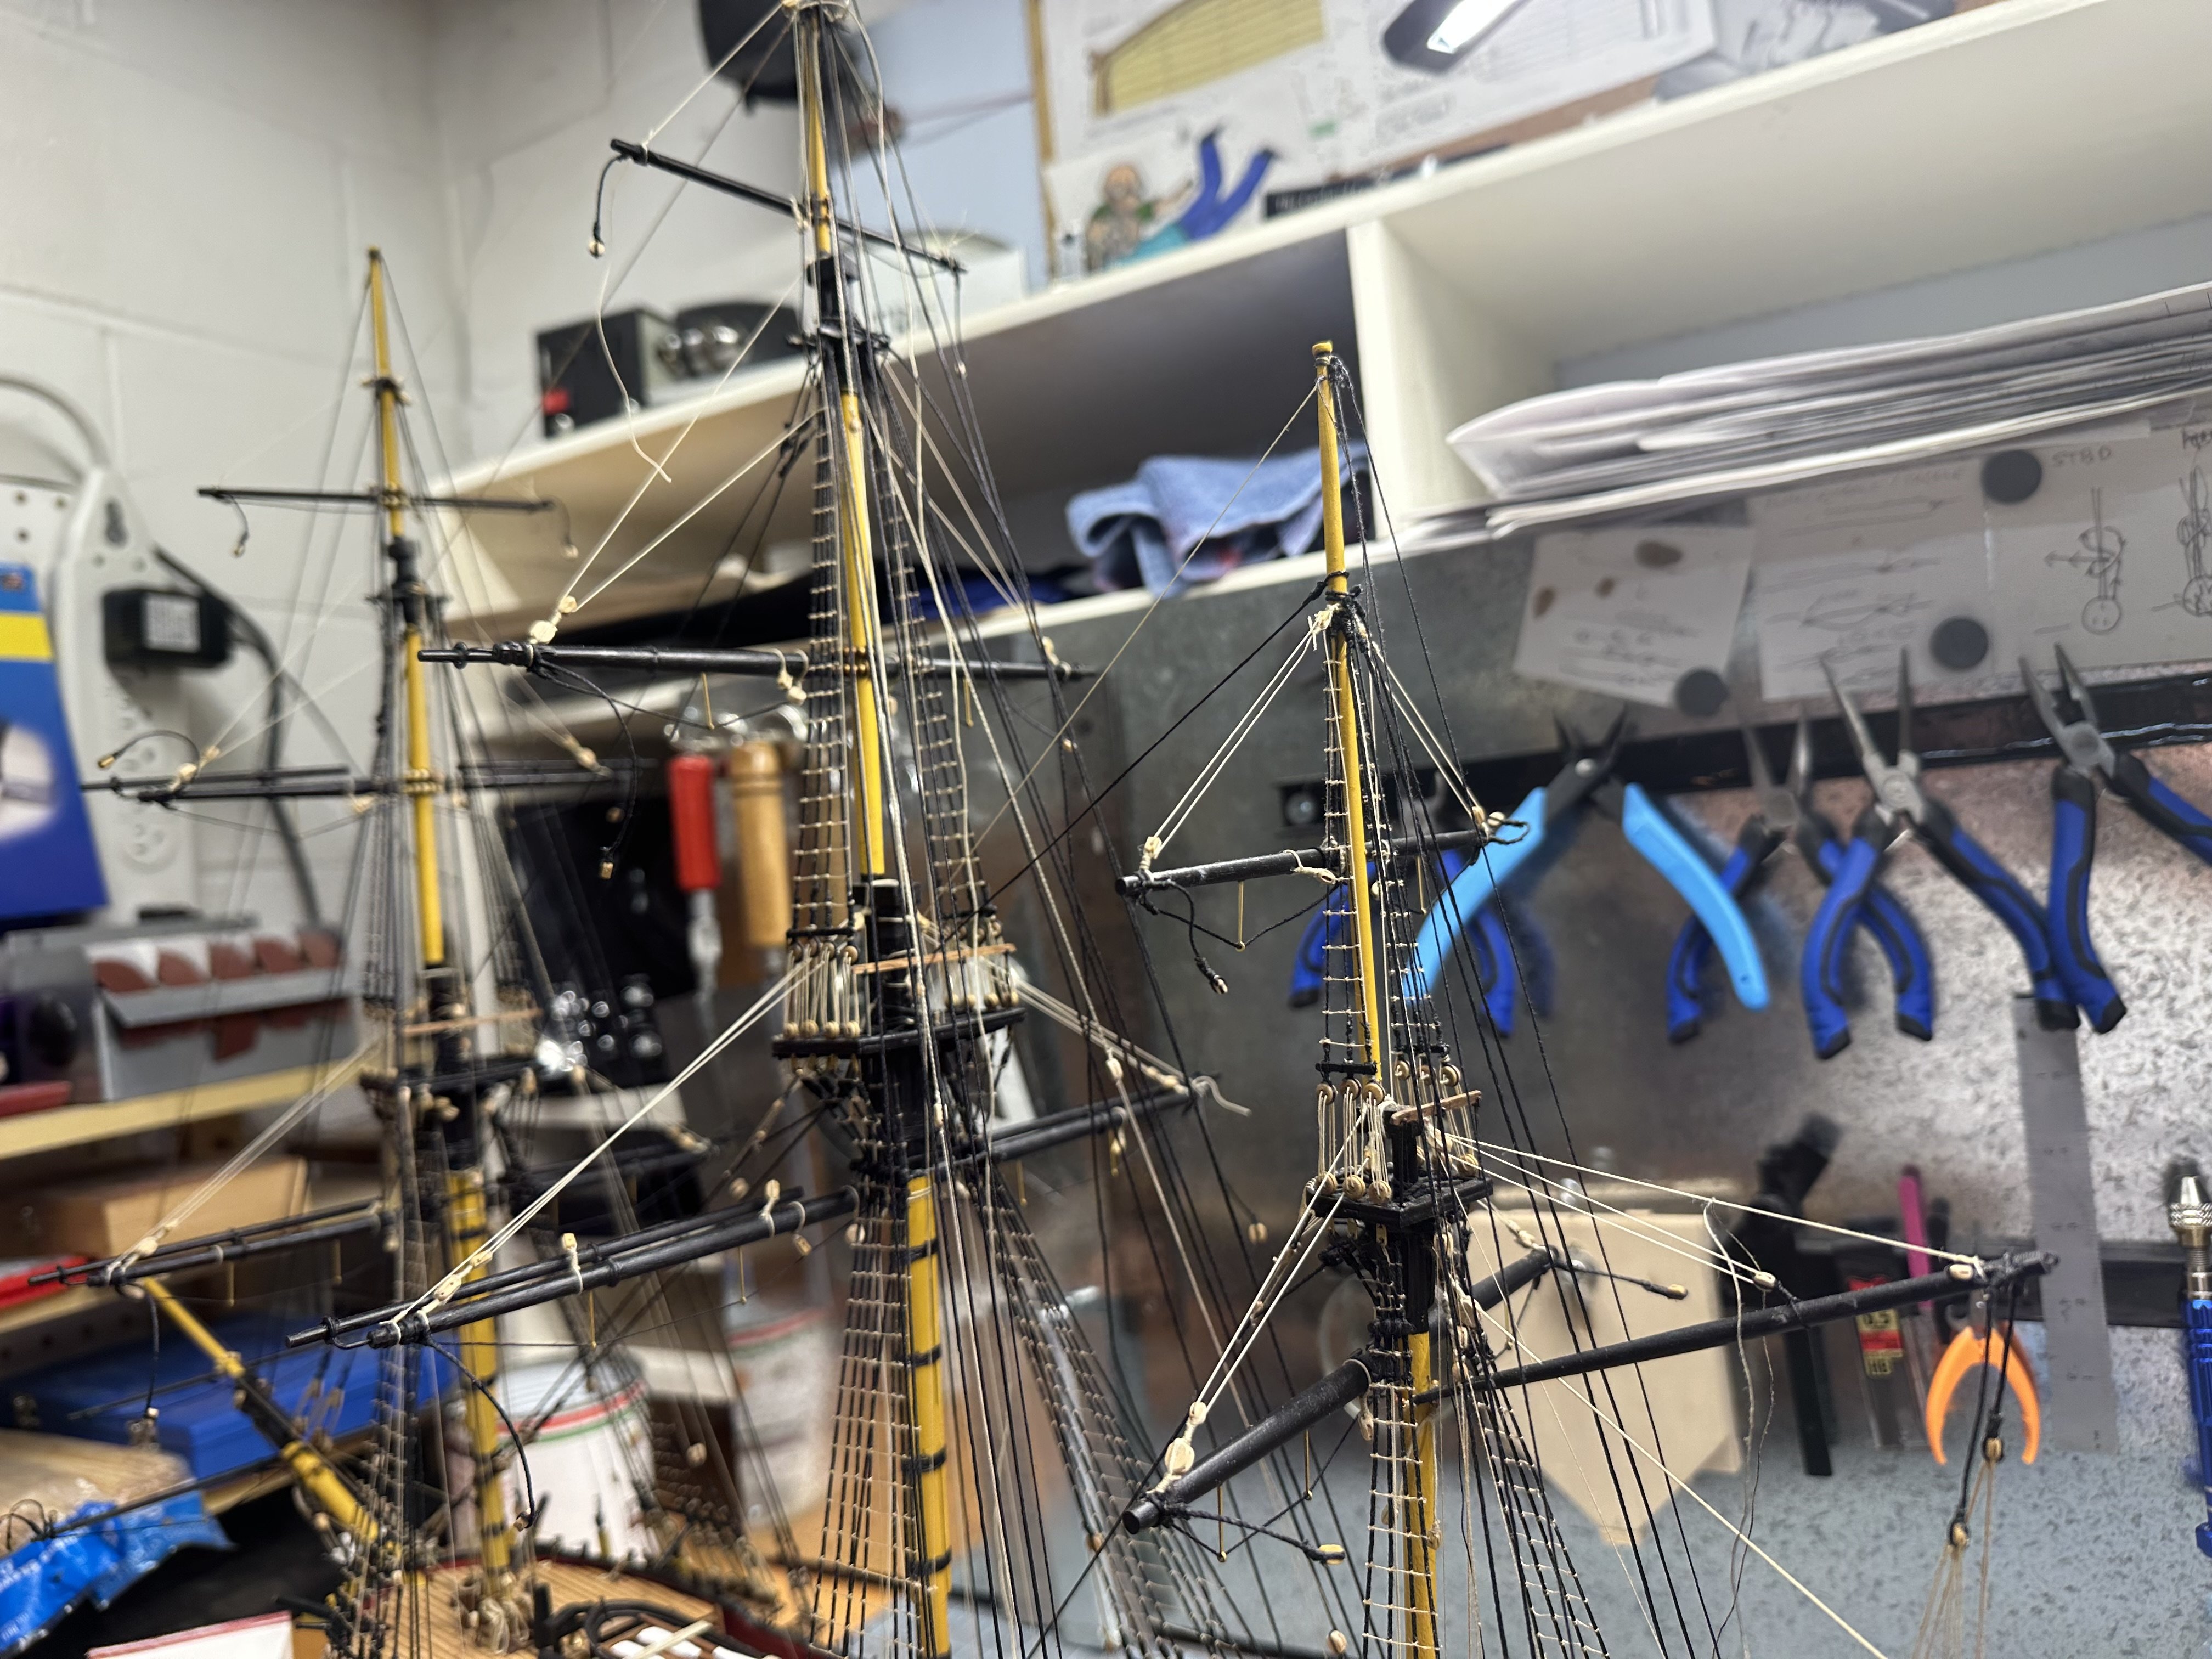
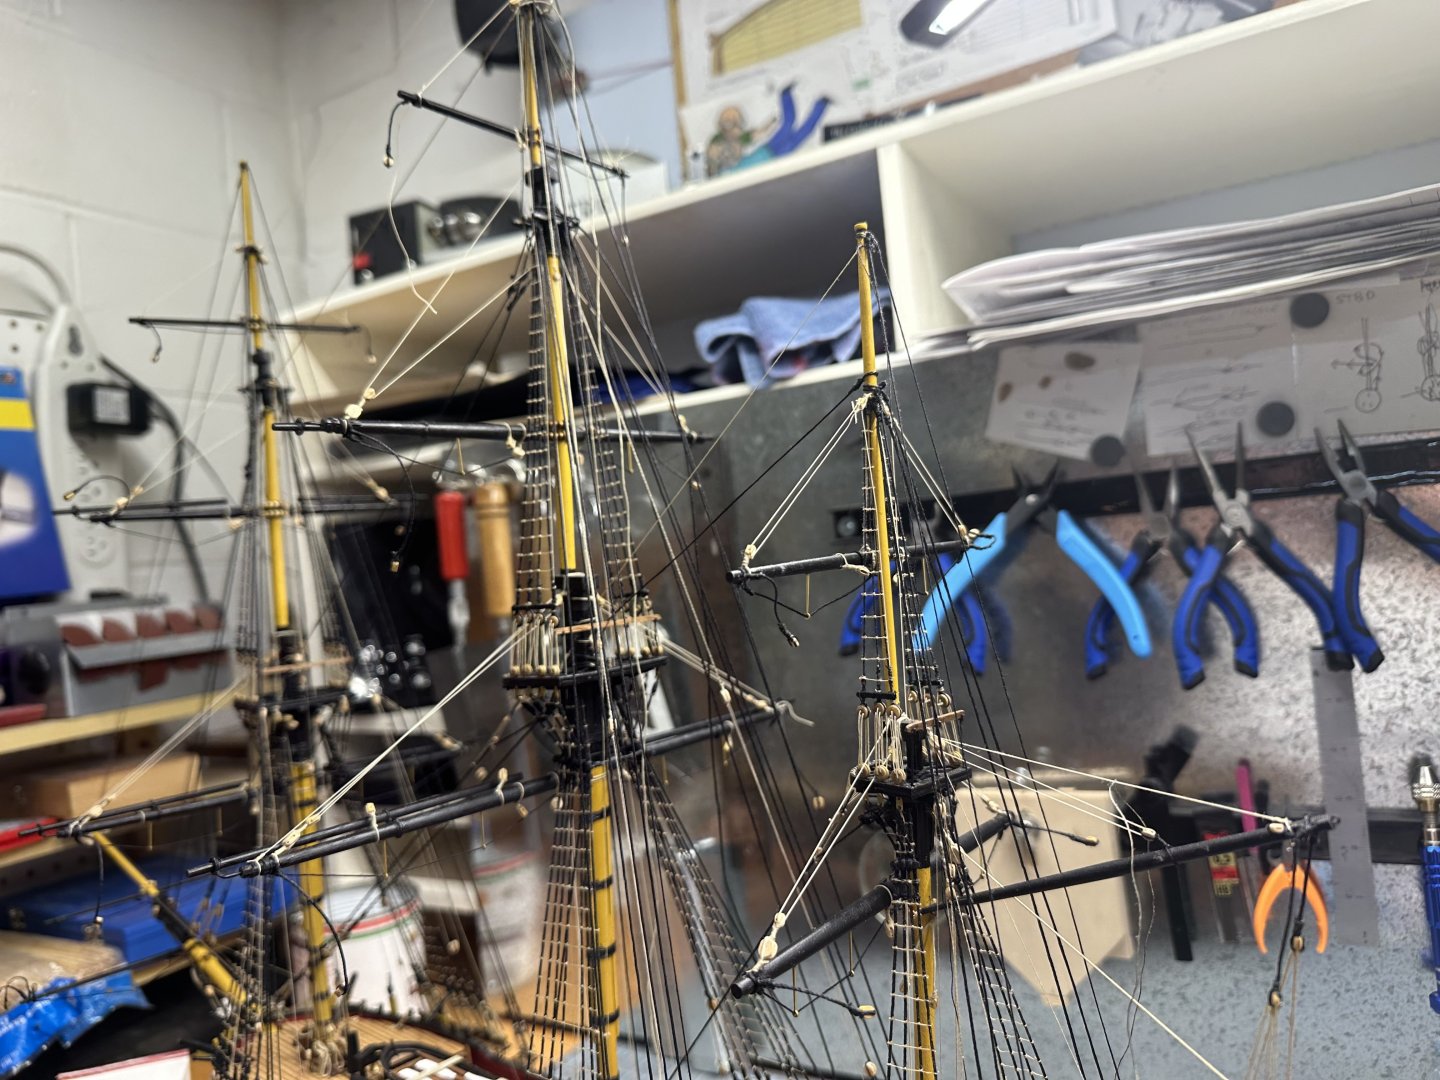
Looks good. Glad to hear you are recovering from Covid. I’ve been staring at a mass and tangle of lines for so long that those masts look all bare! We’ve all been there!
- 207 replies
-
- 4
-

-
- vanguard models
- Duchess of Kingston
- (and 1 more)
-
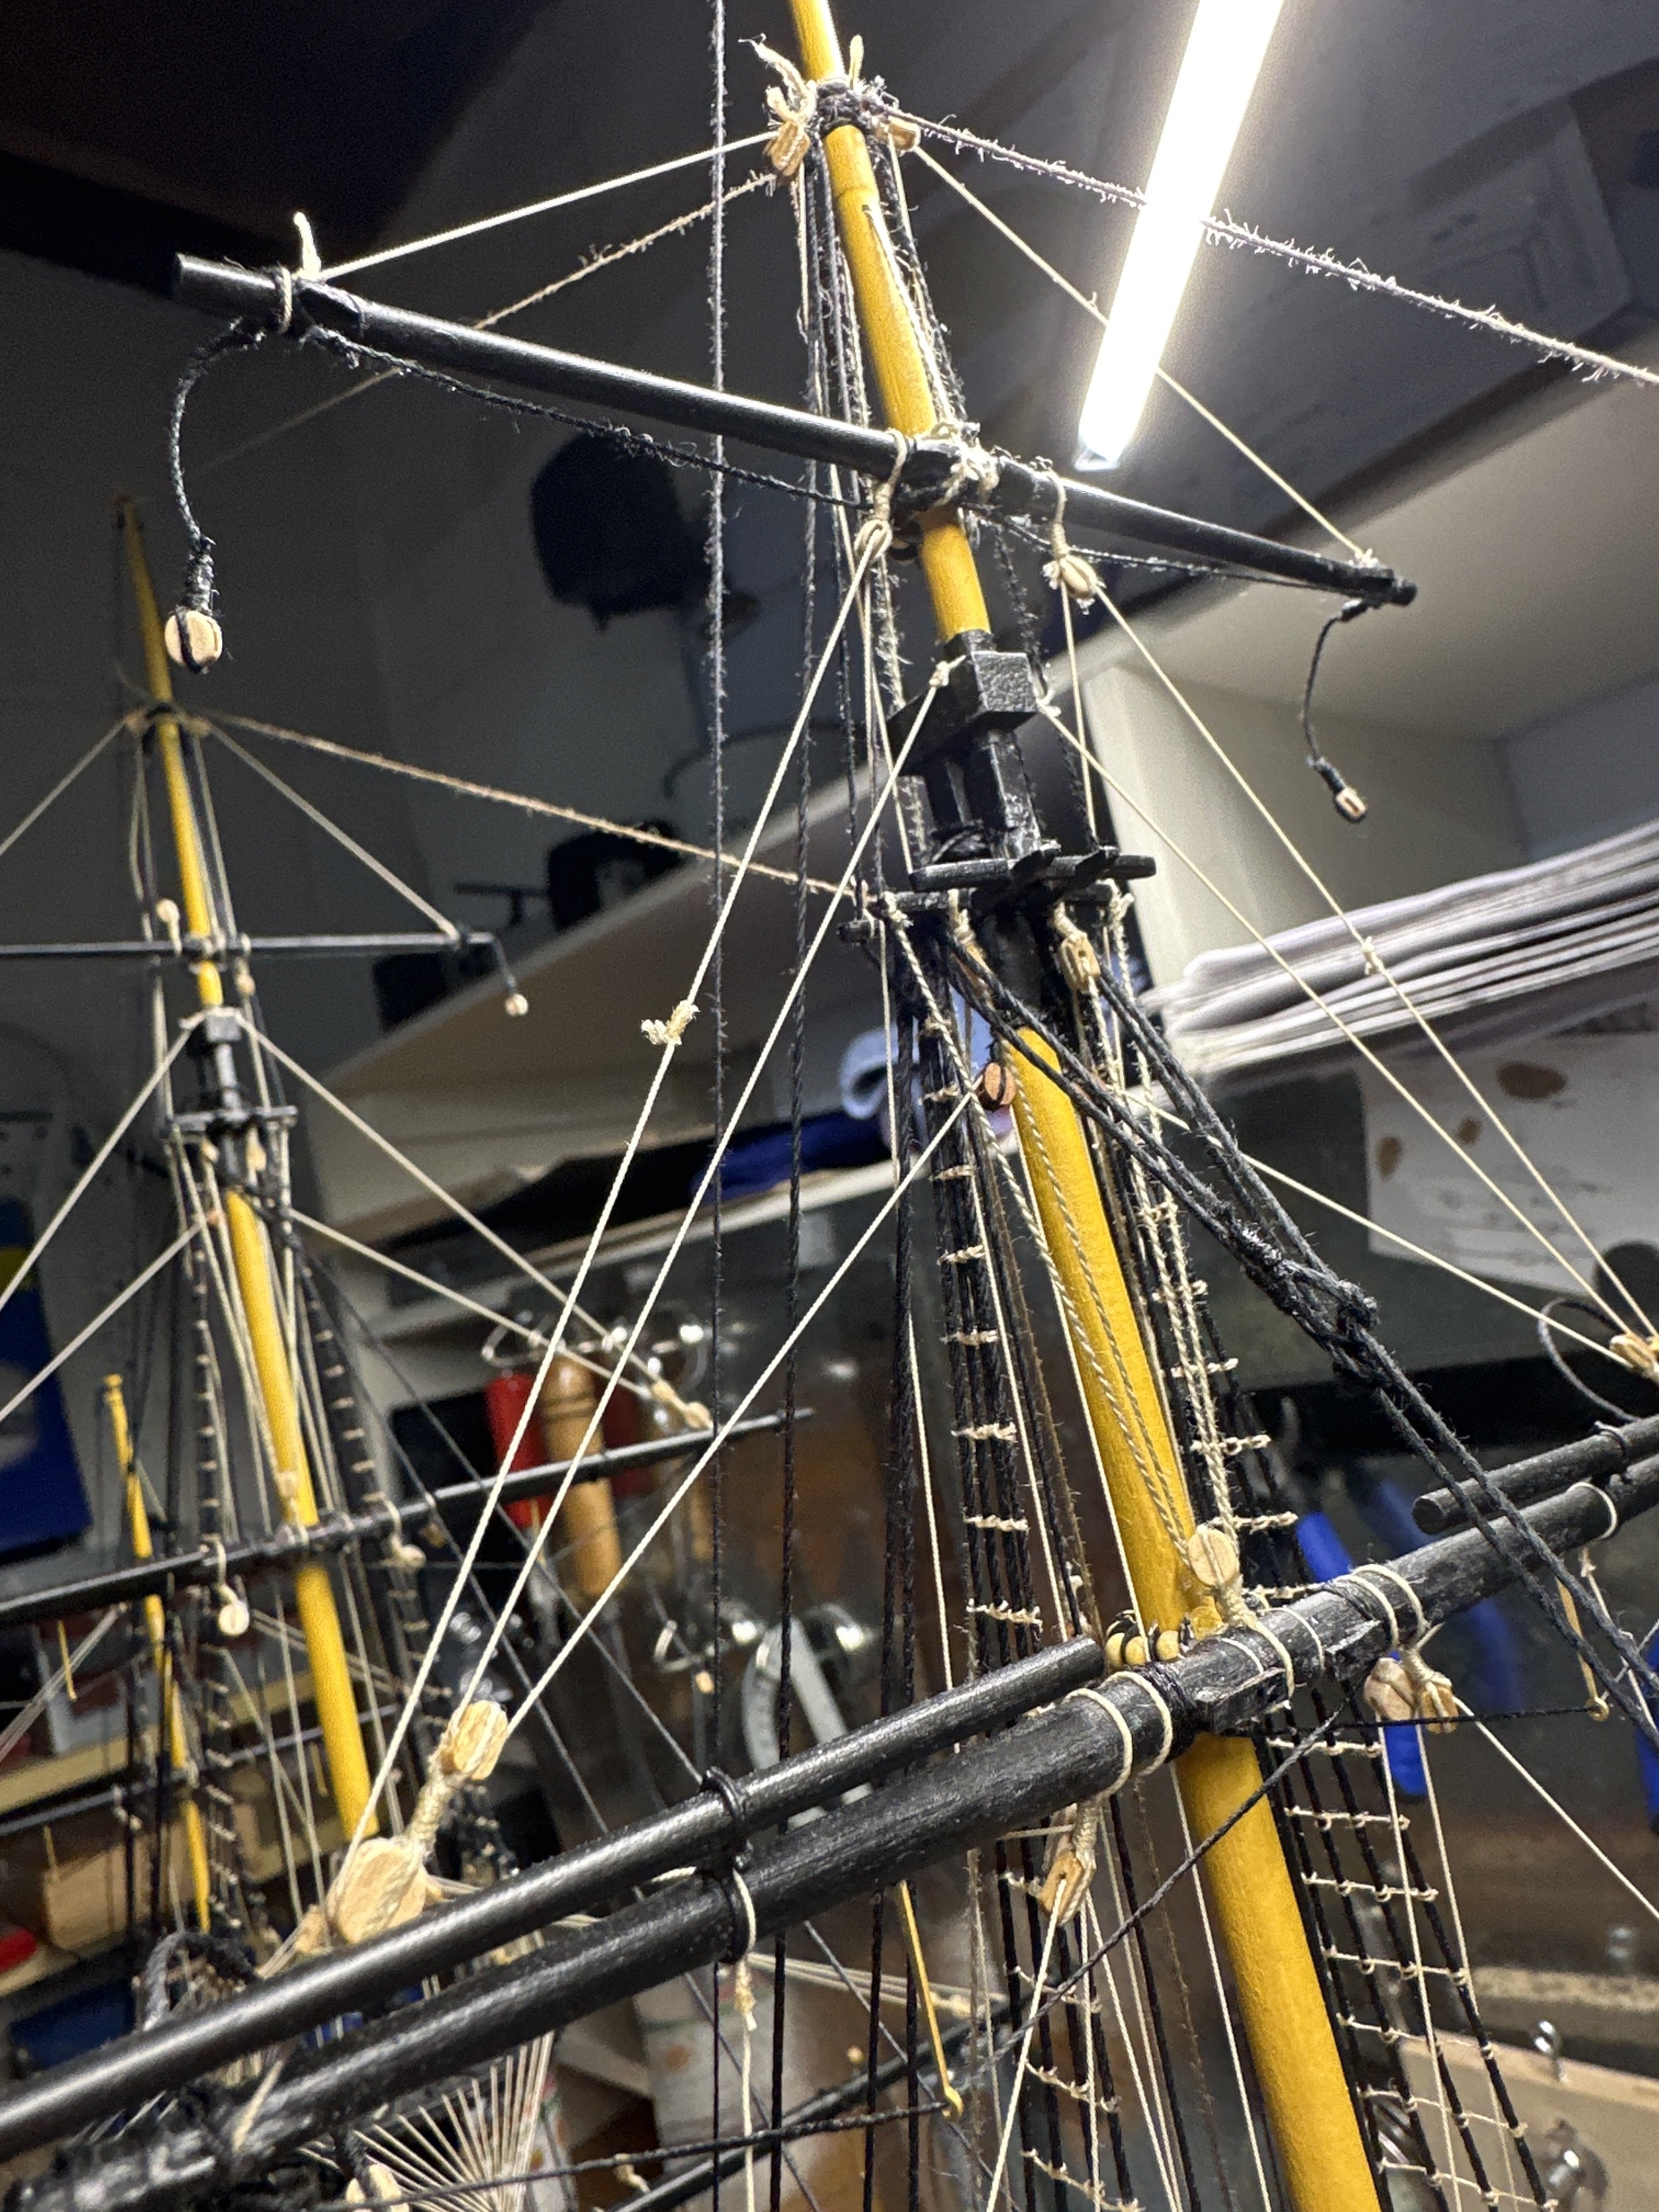
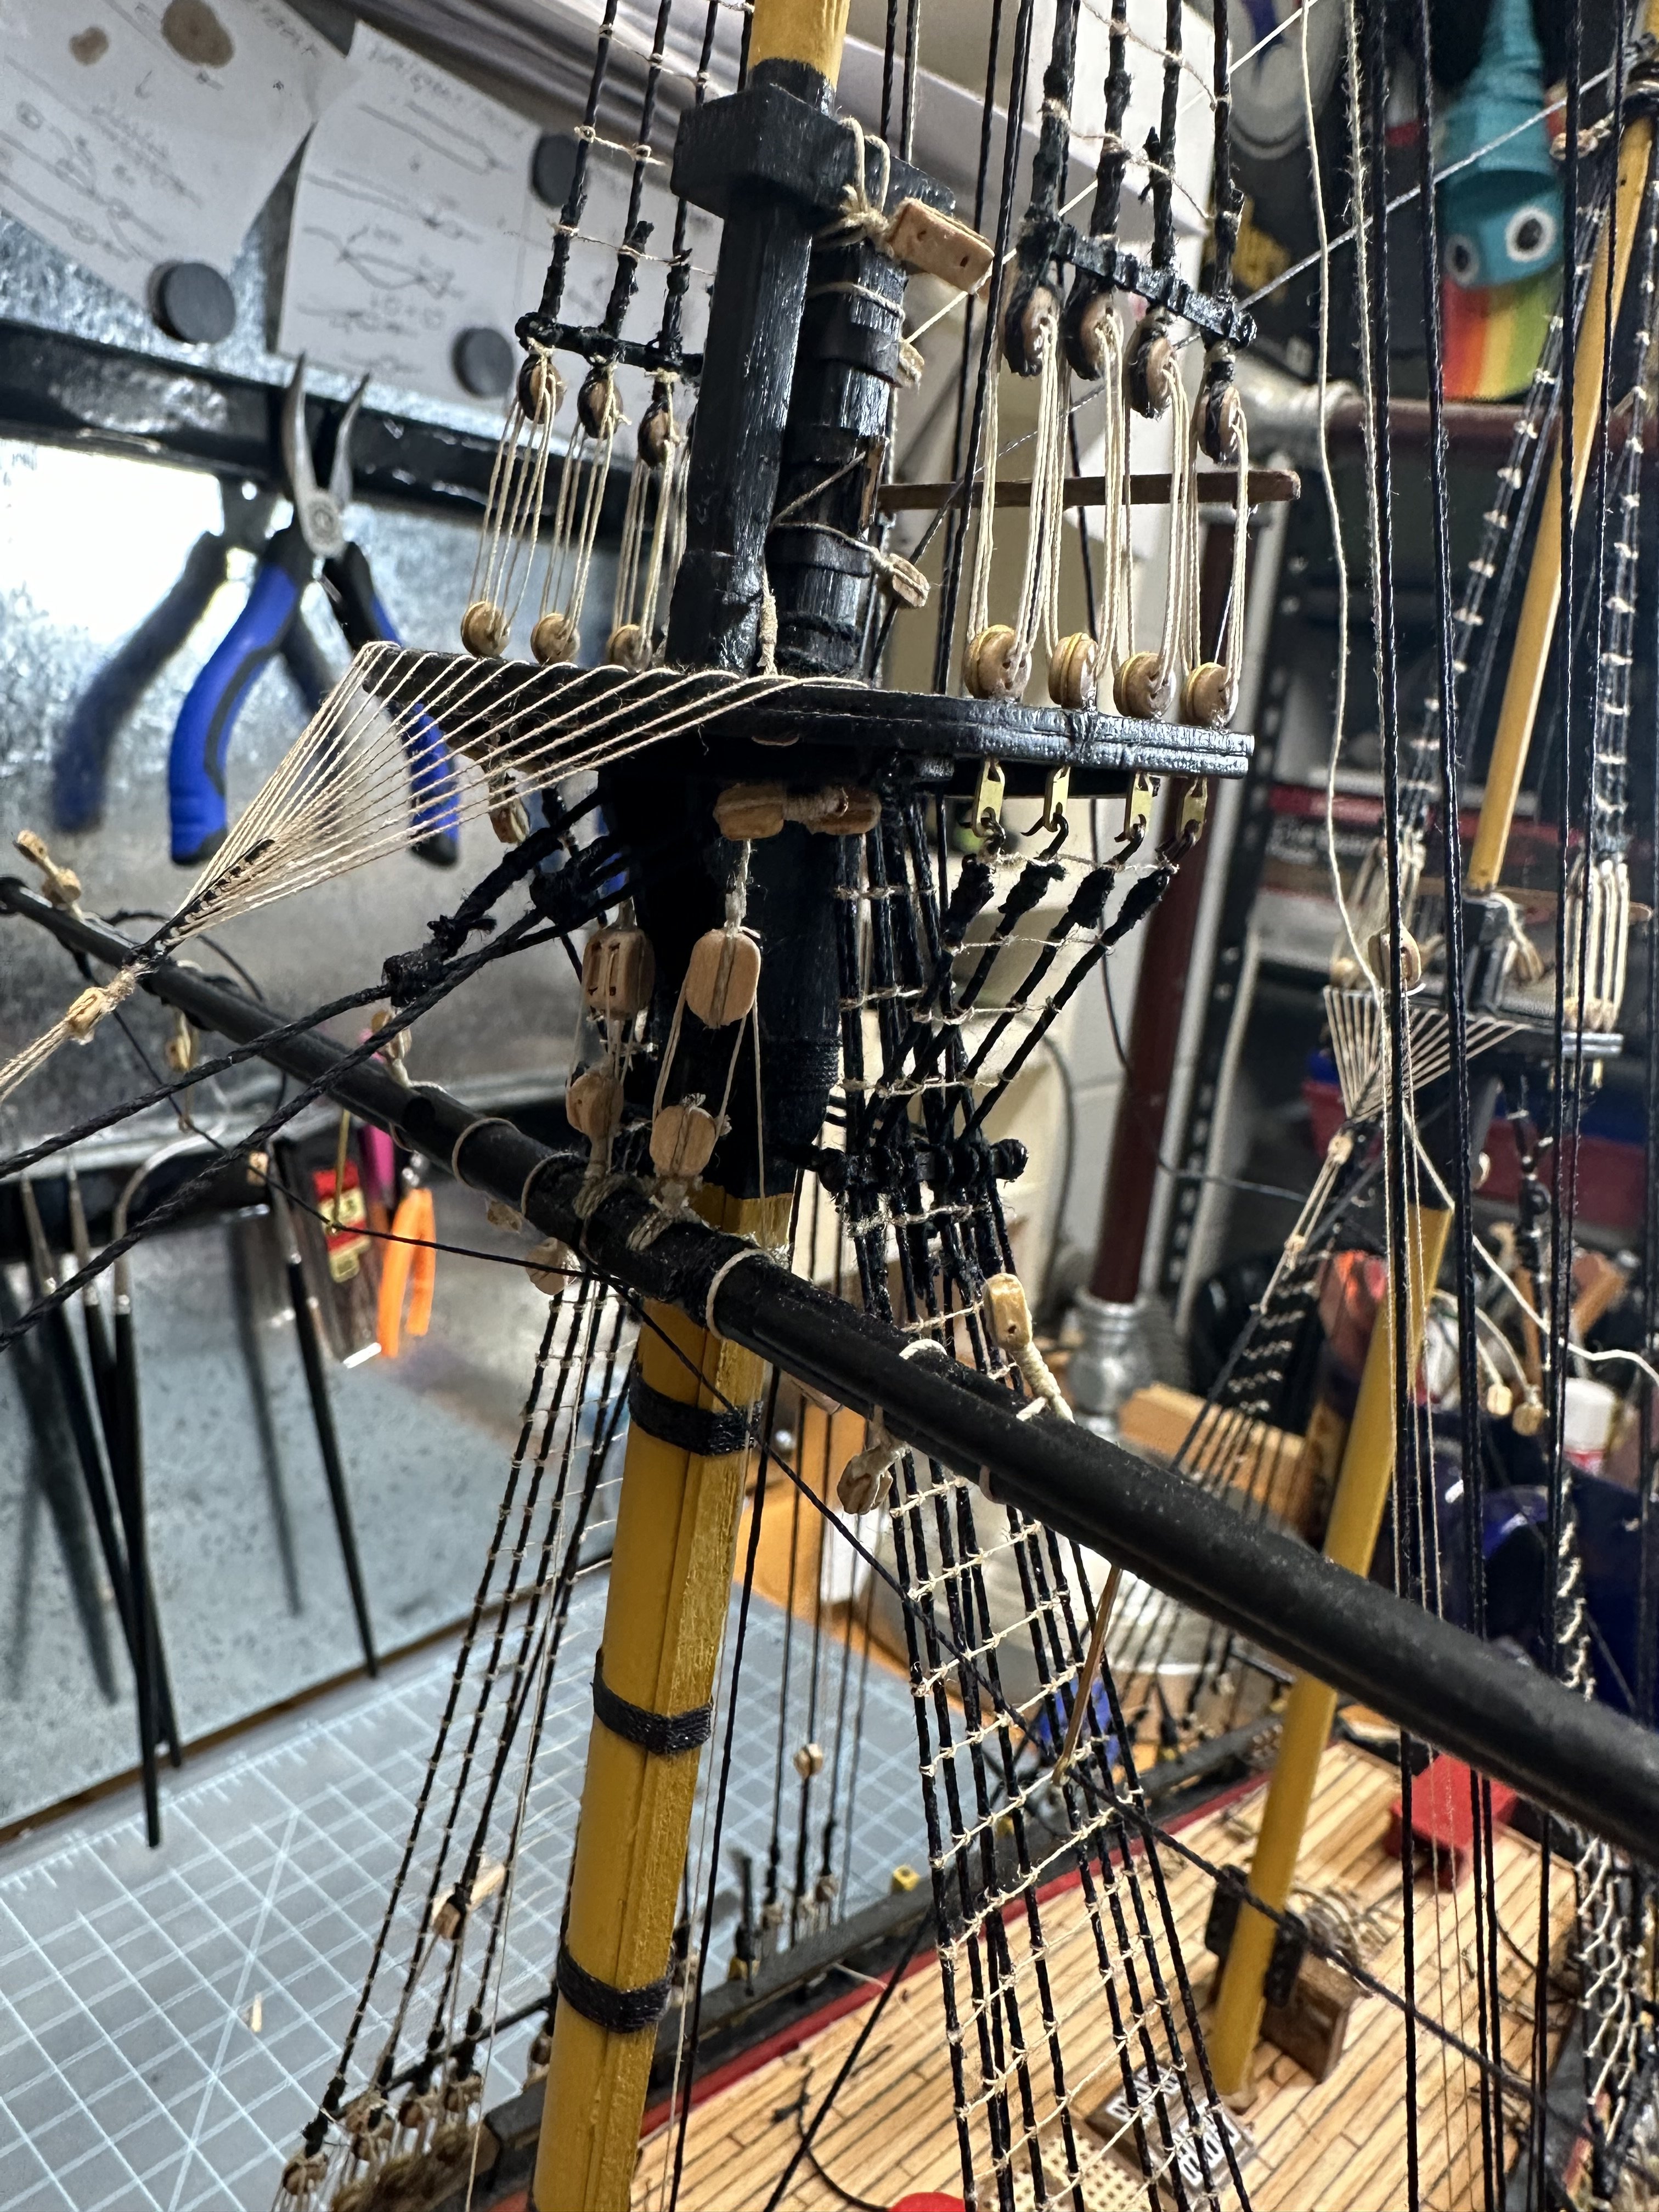
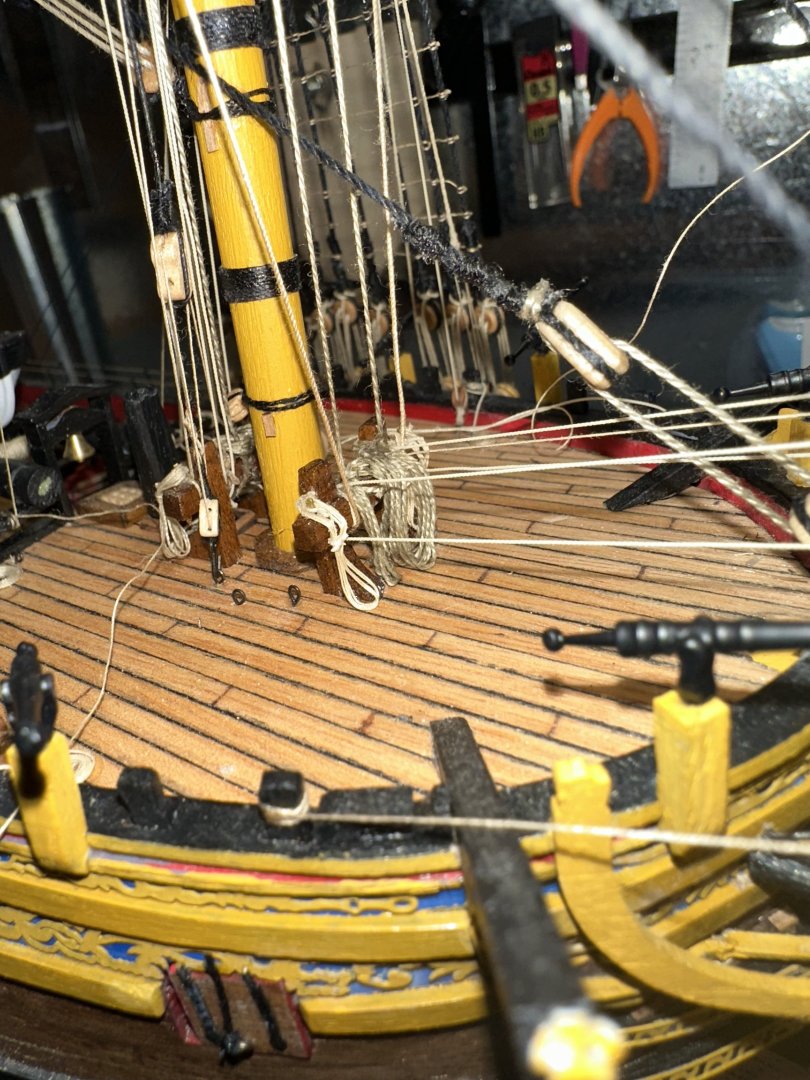
Lots done since last post. Finally finished the fore, main, and mizzen mast lifts. Just need to trim tag ends off once the glue dries. Overall I’m happy how they turned out. Took nearly 15 hrs to do. This hobby is certainly not for someone looking for instant gratification… I tied them to their prescribed belay point and affixed rope hanks and coils as I felt were appropriate. The coils may be incorrect but I’m happy with it. It looks “ship-ish”, besides, the directions said to tie to the rail, and I didn’t know what to do with the rope end. It looked kind of awkward hanging there. I have one more set of lifts to do (spritsail yardarms) and then the clewlines and buntlines. Then I’m done.
-
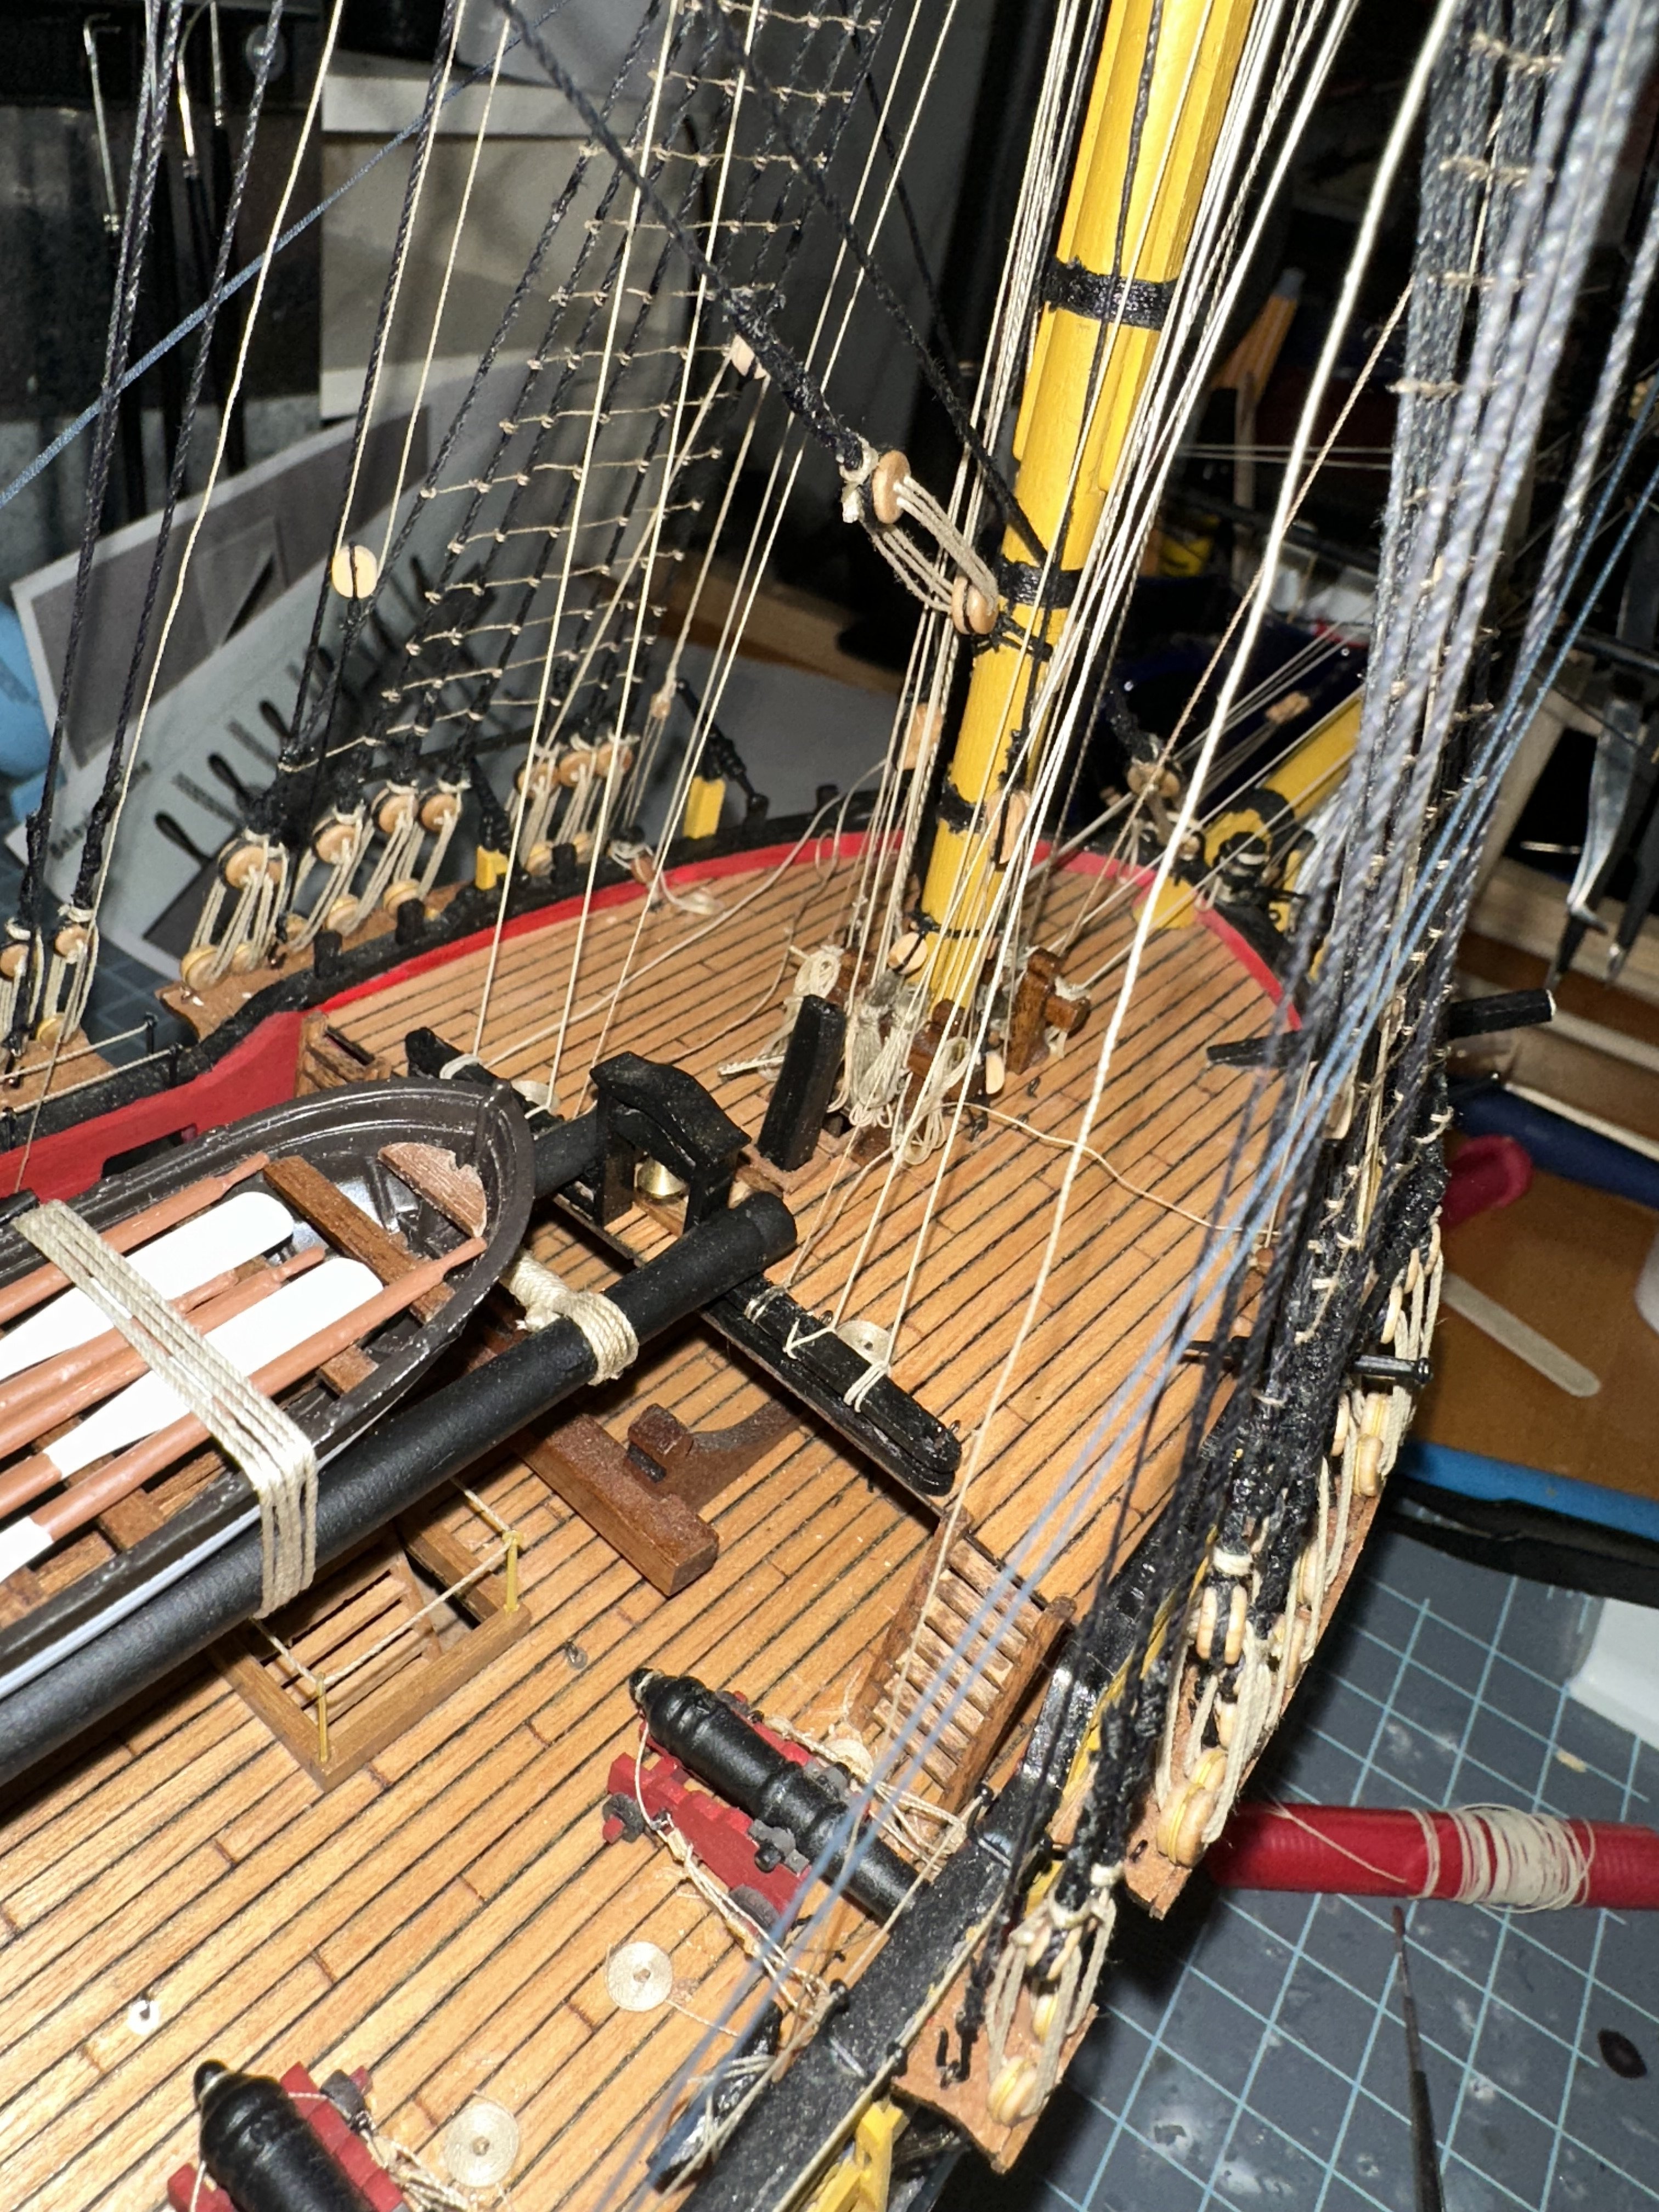
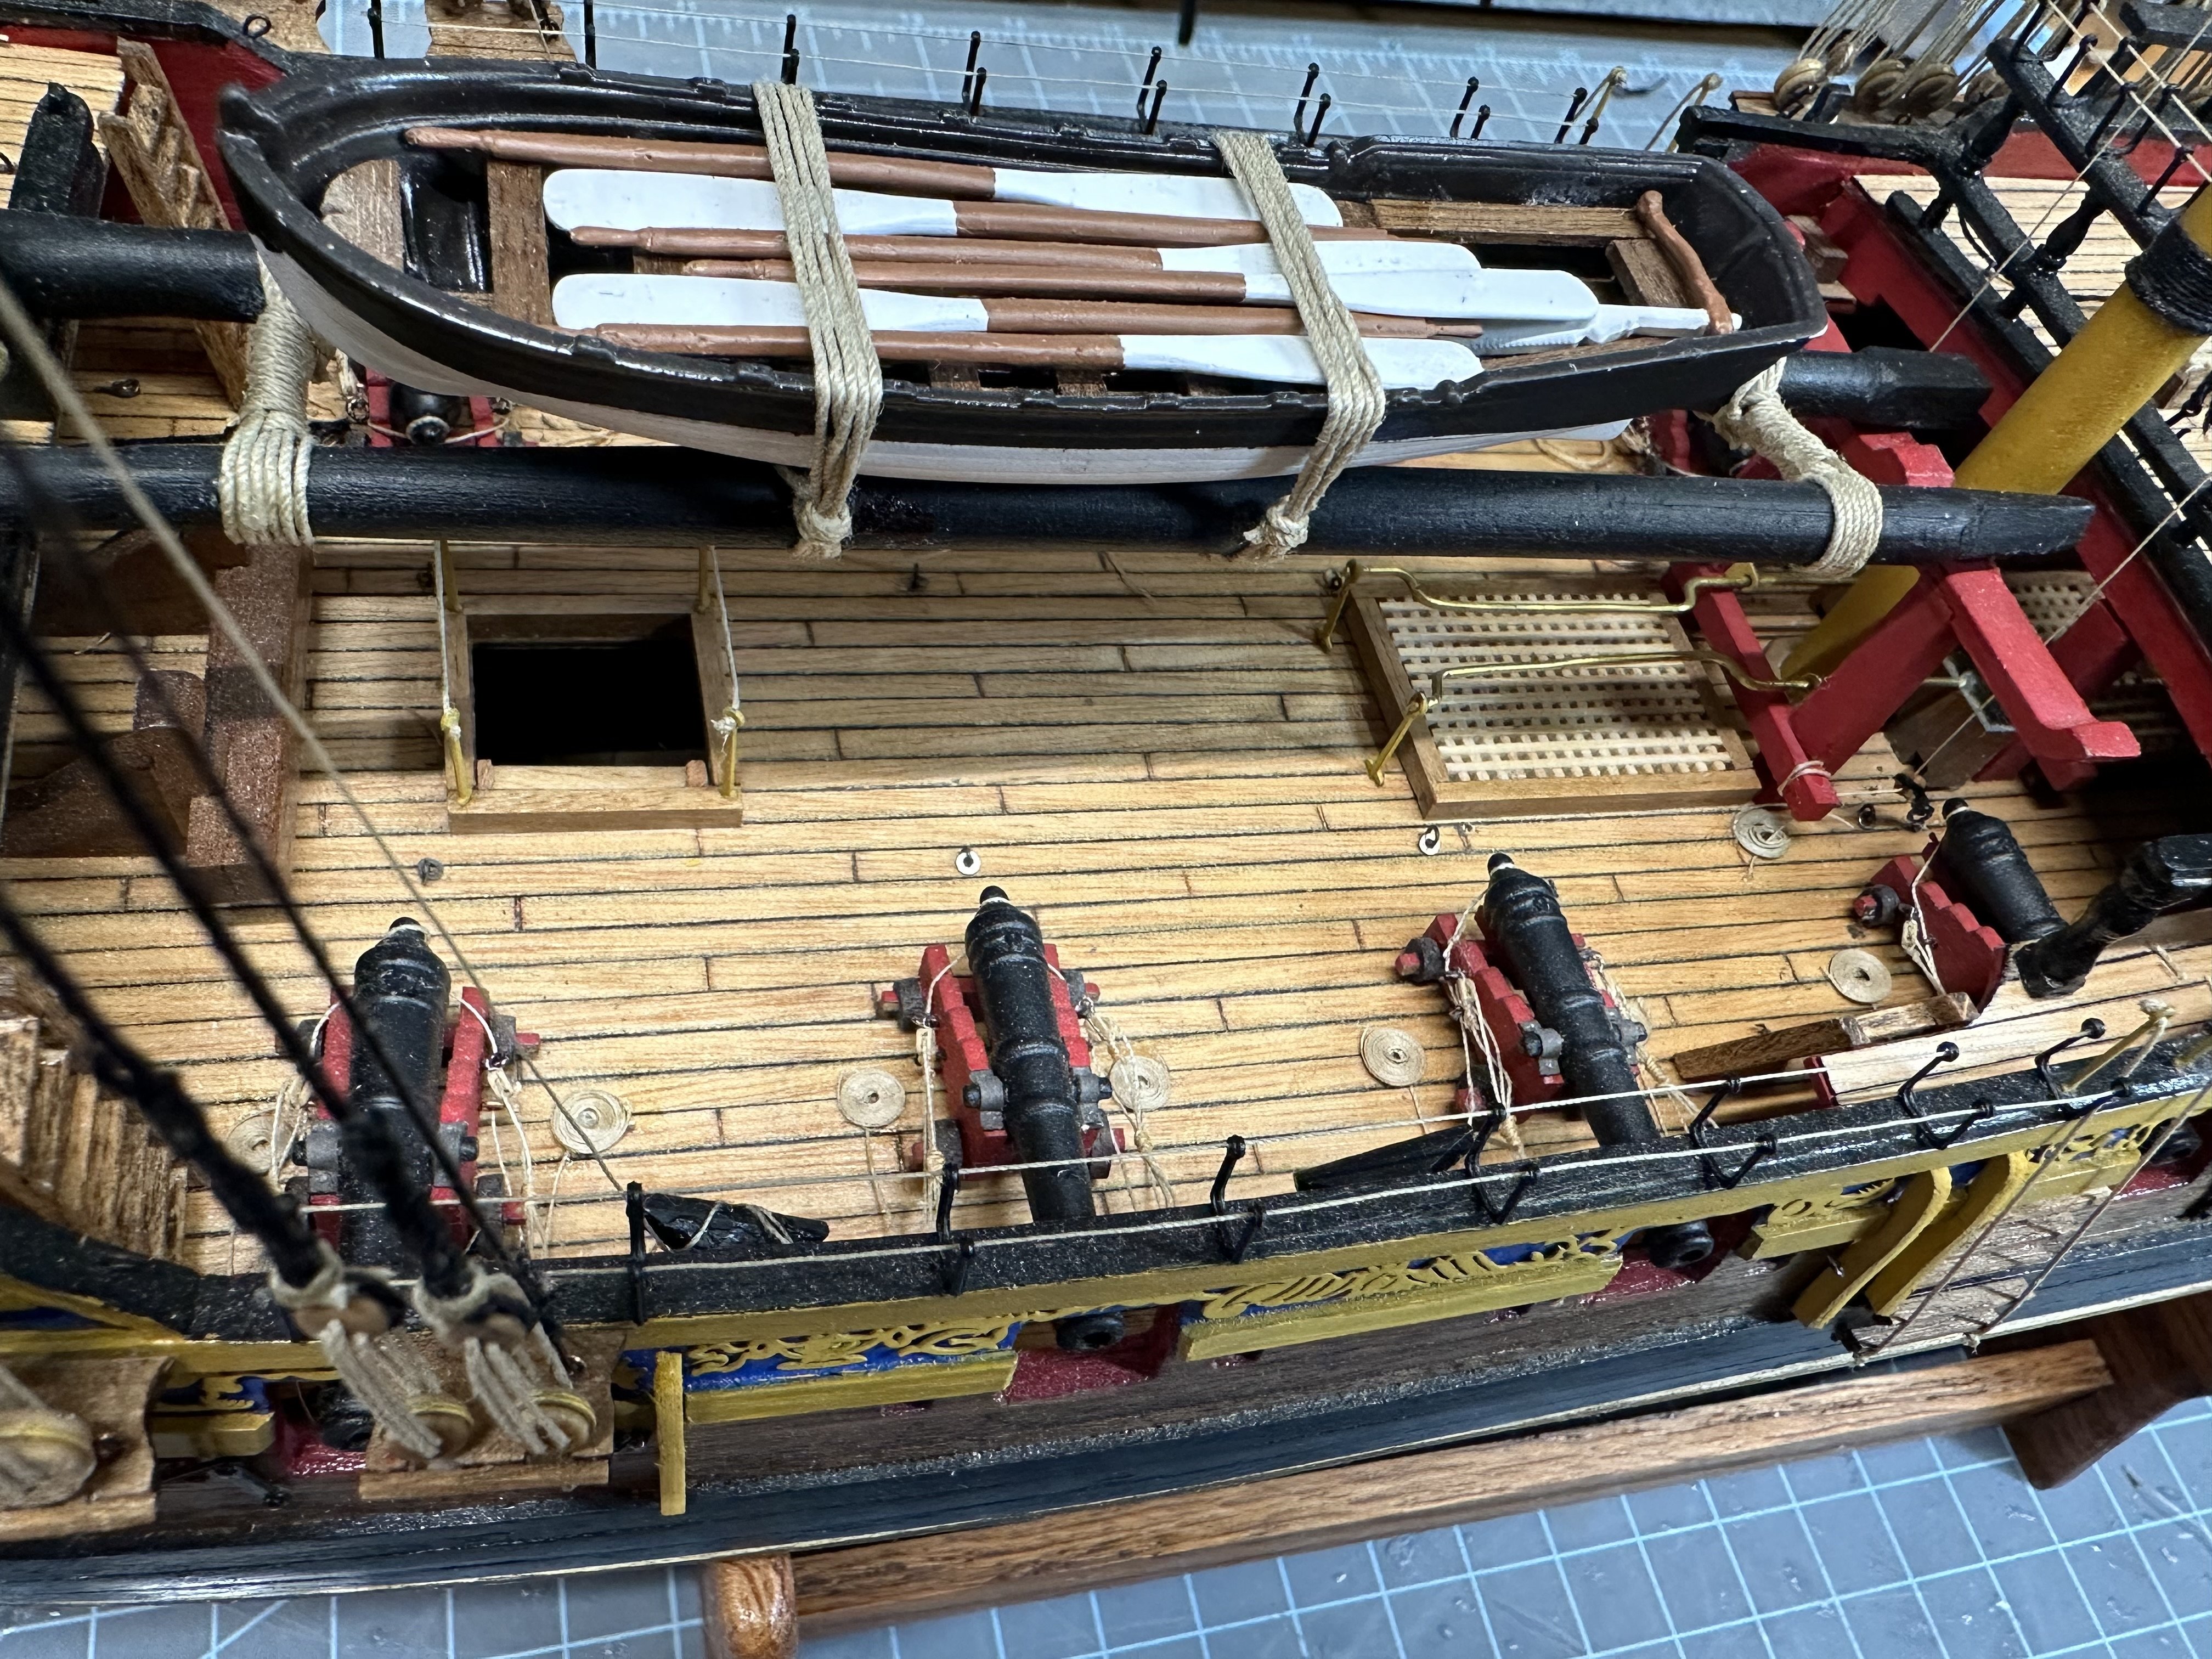
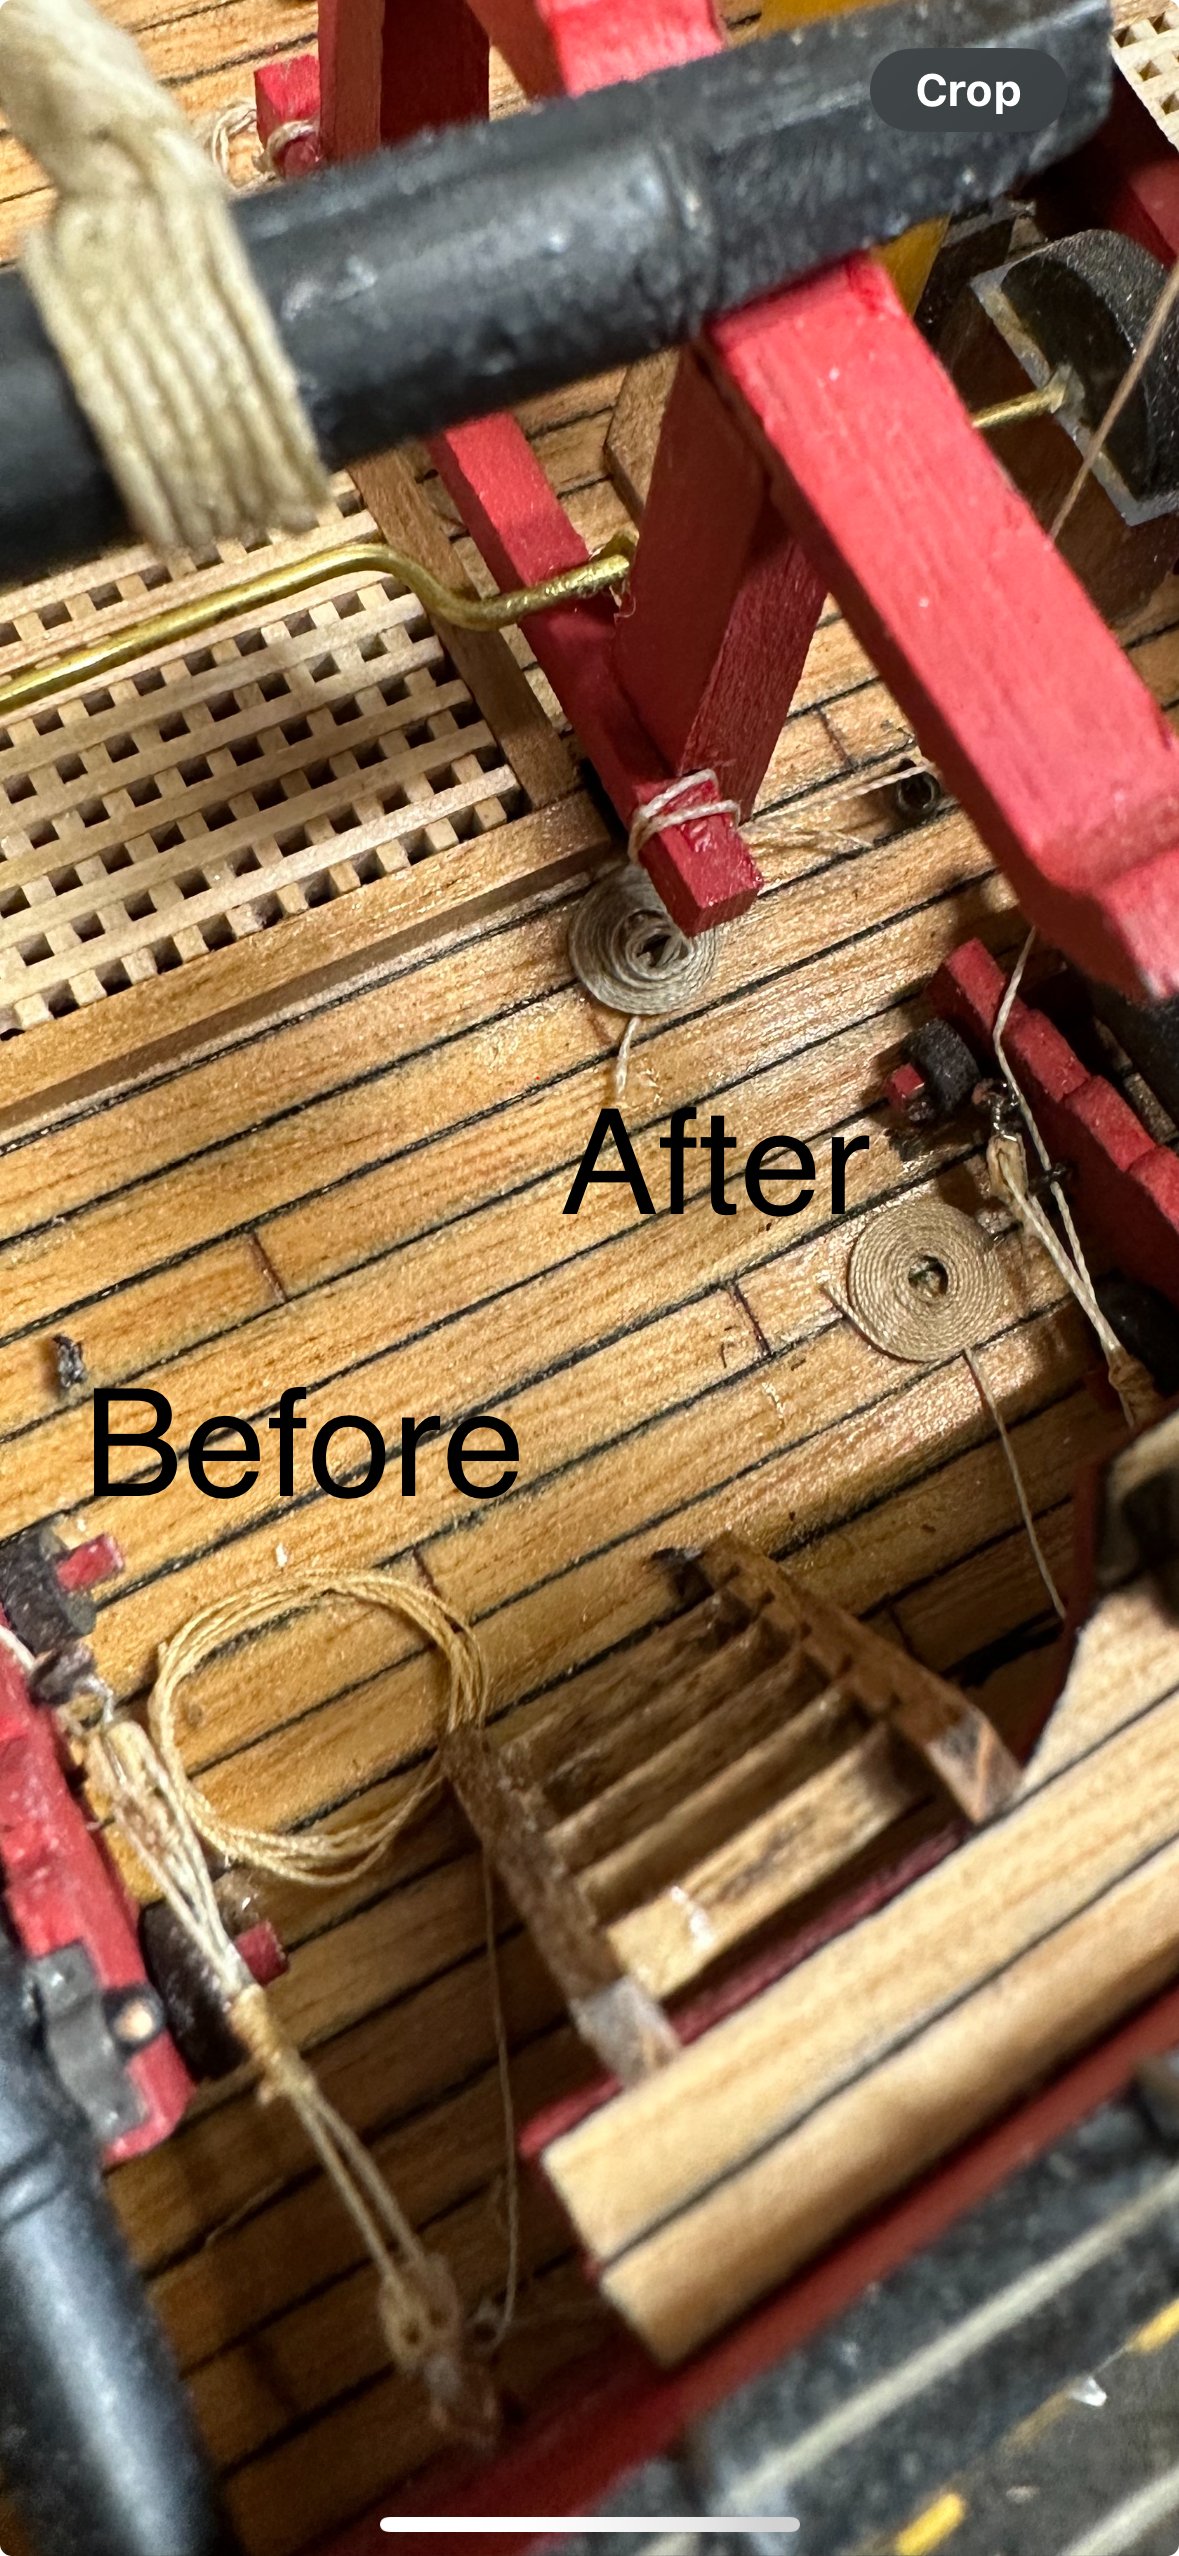
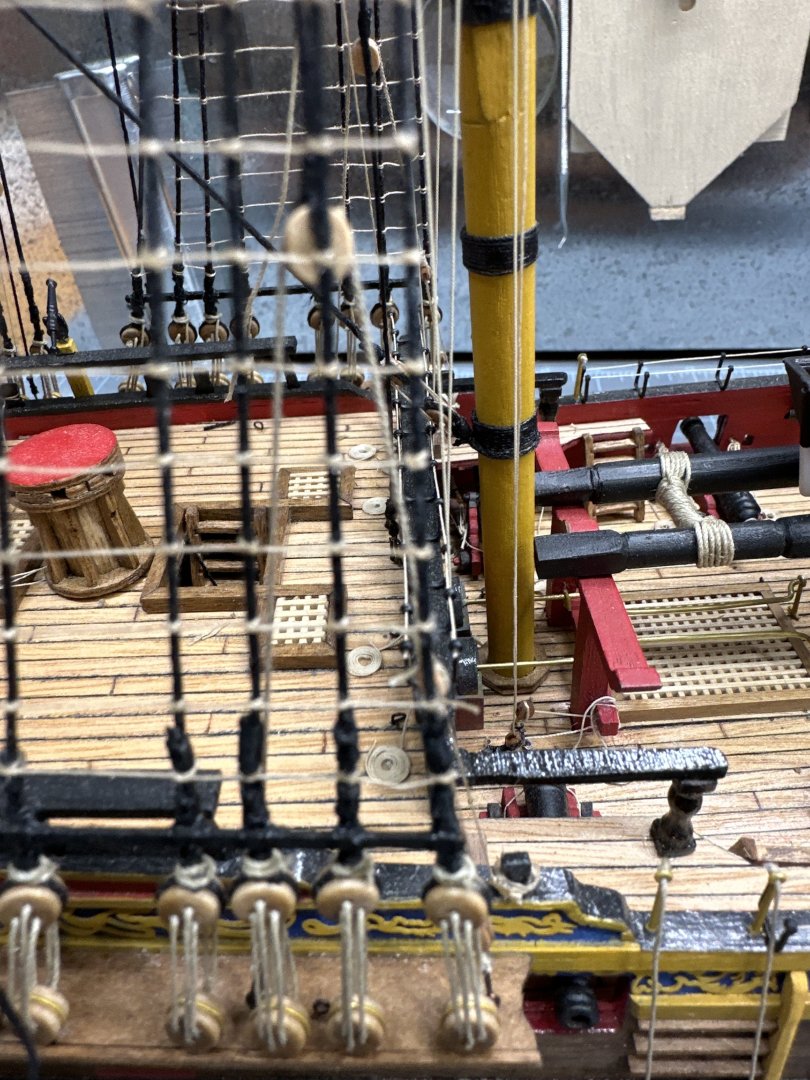
Took advantage of the day off to do something I should’ve done a while ago and that is to fix the rope coils astride my guns. The pic shows before and after. I did these coils a few years ago and was never happy with them. This weekend I was looking thru the modelshipworld.com site and came across jigs for rope coils and $3 at the Dollar Store later I have rope coils. I pulled off the old ratty coils and started replacing with clean neat ones. Very happy with the results.

-
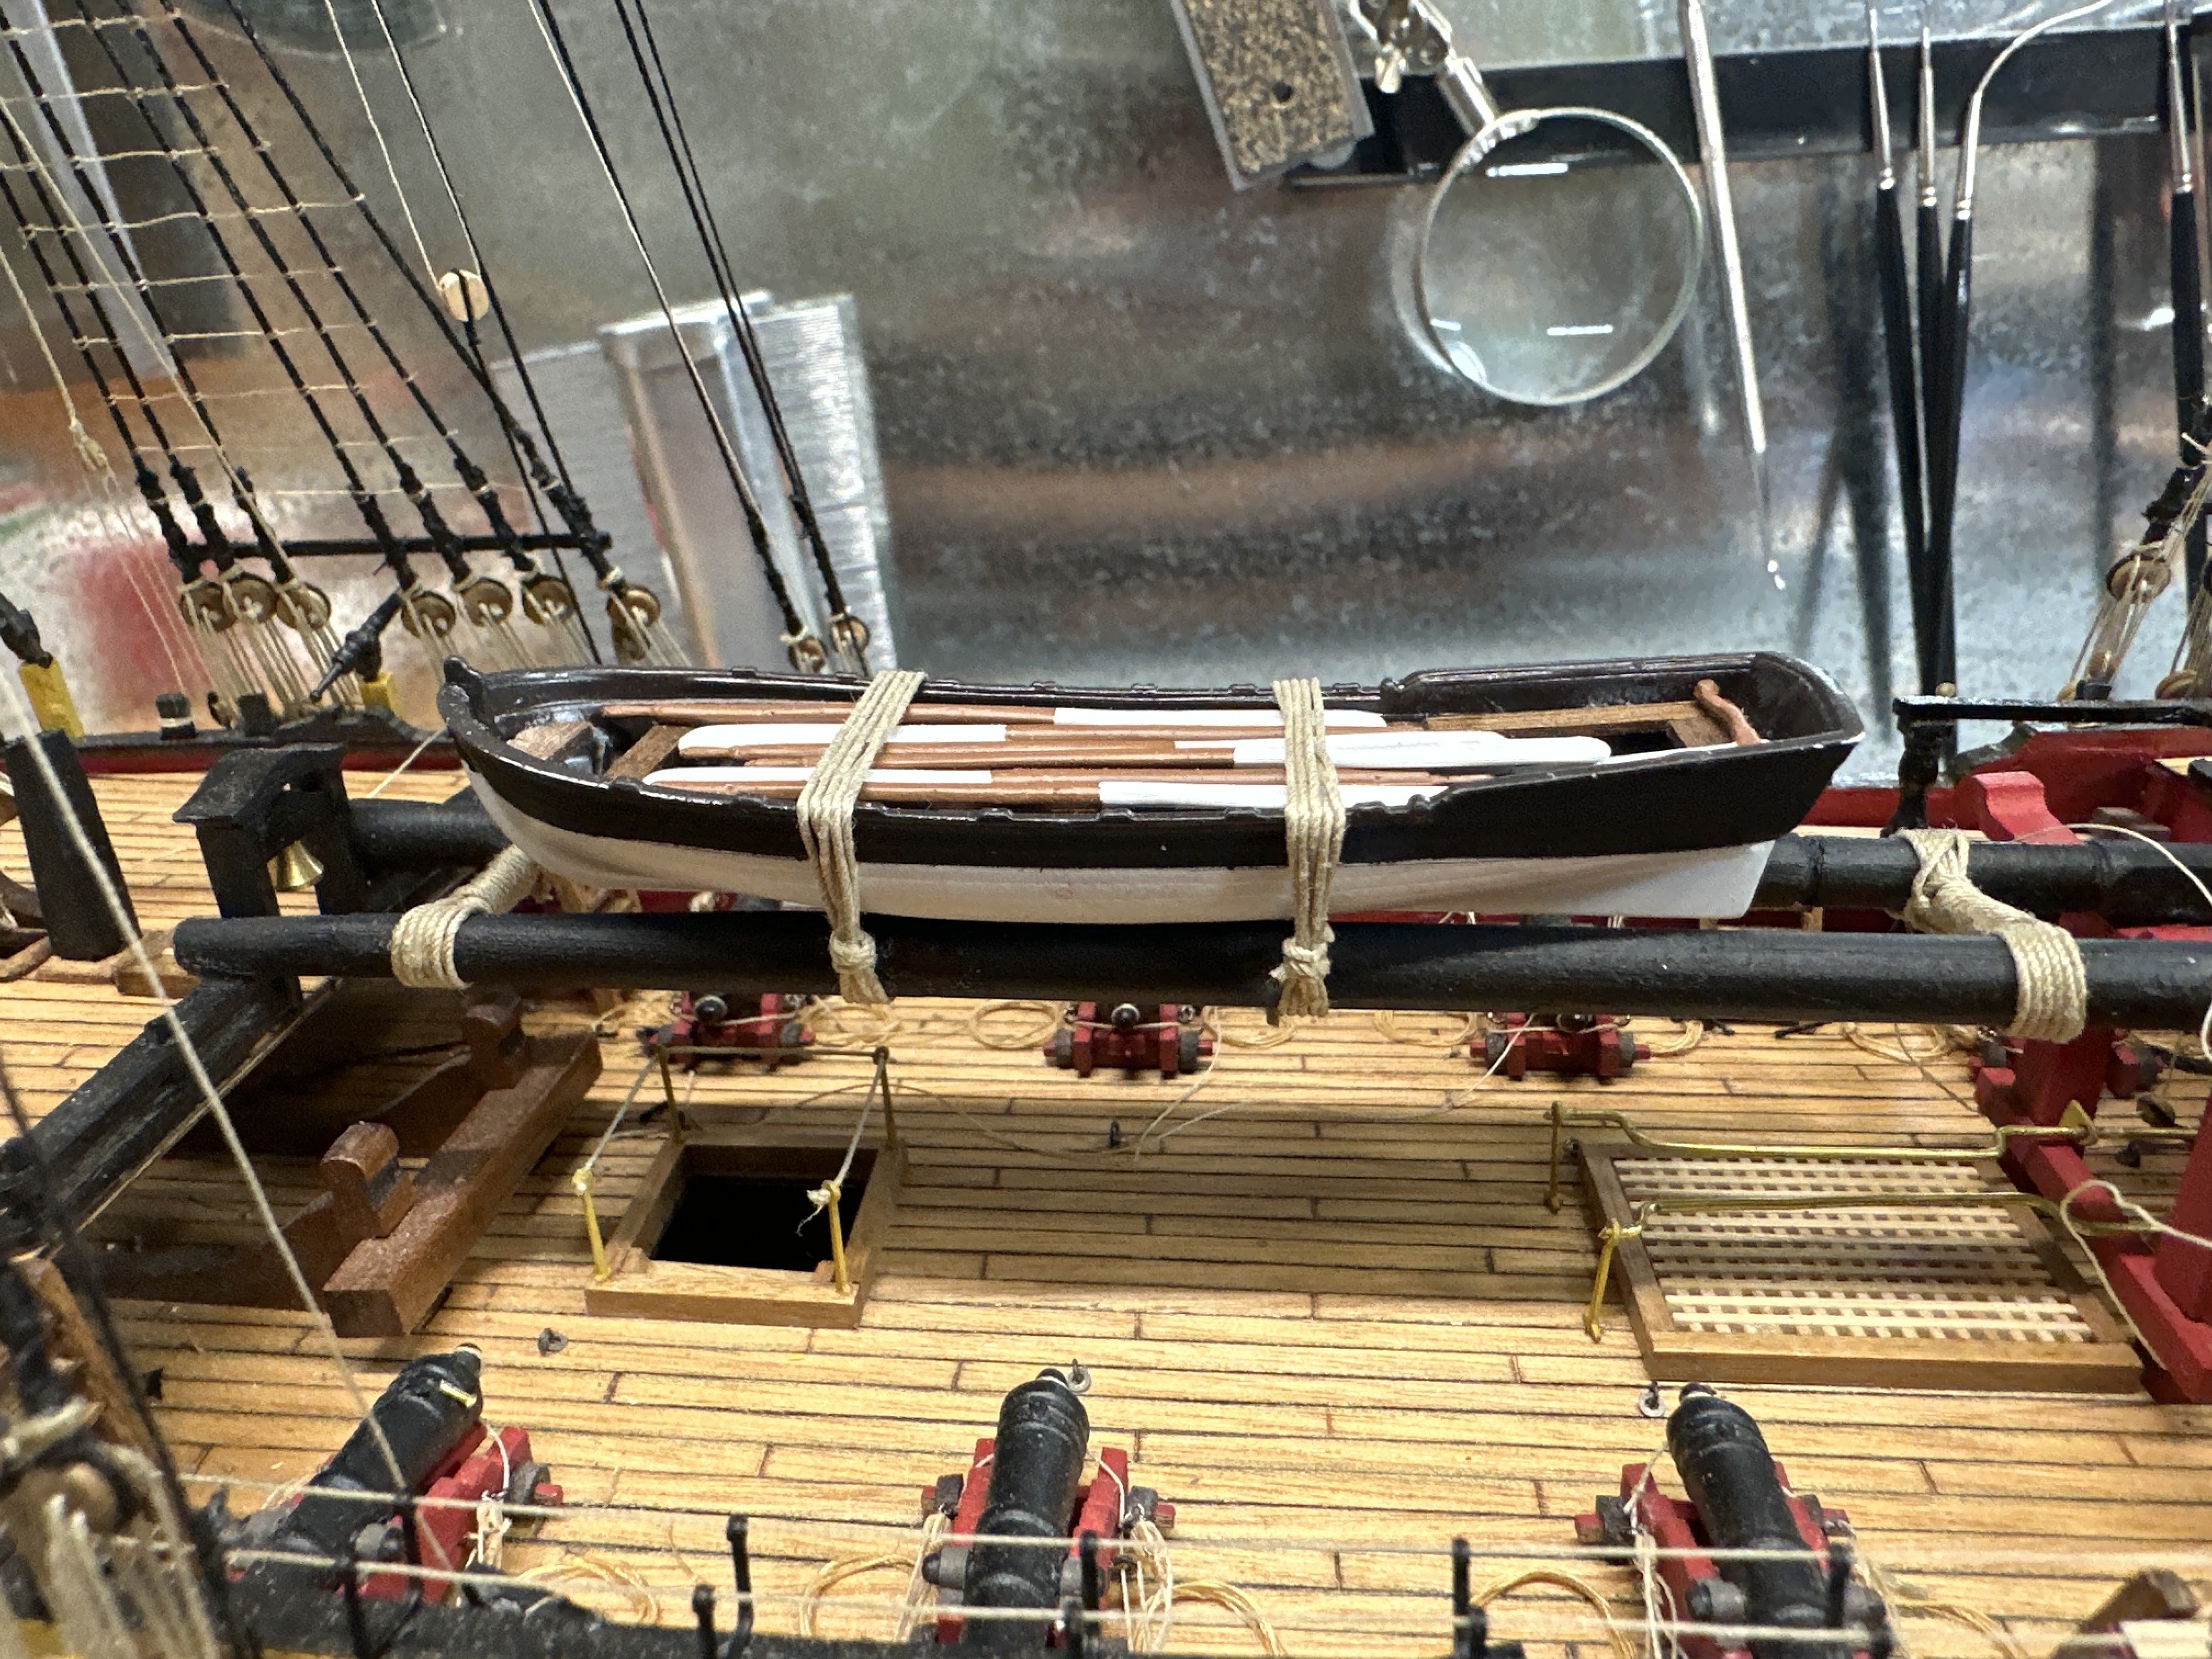
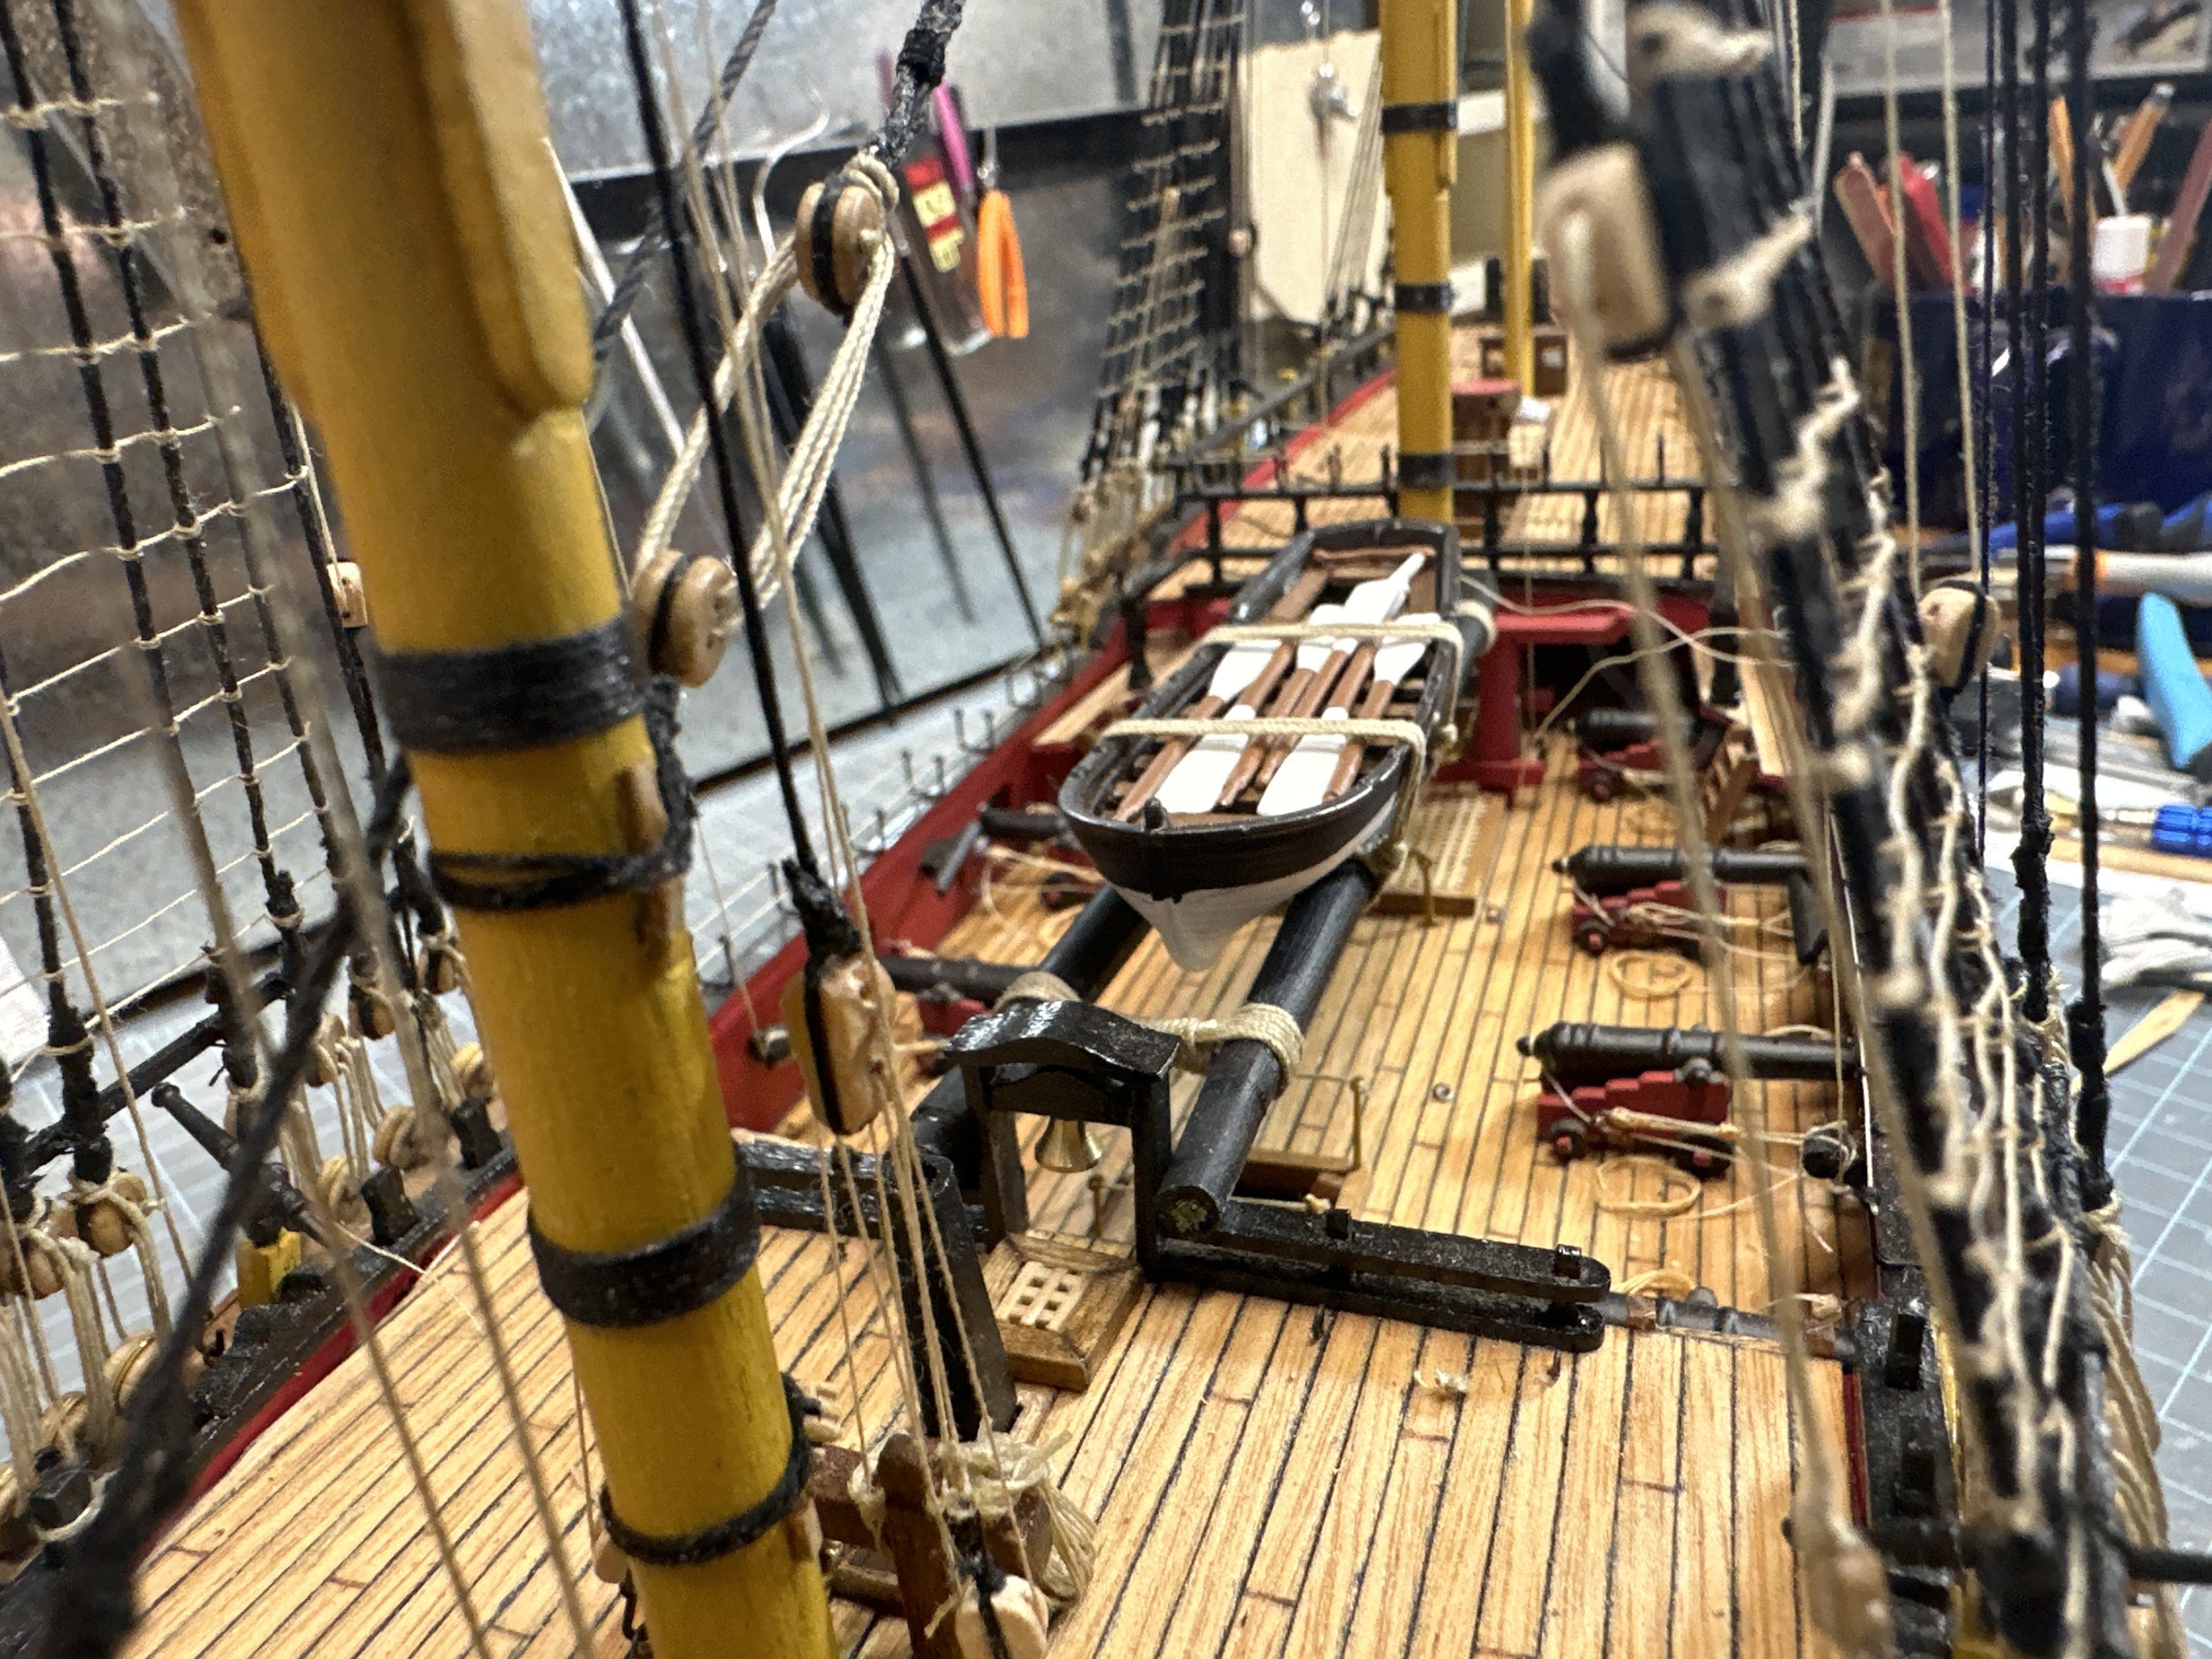
Here’s another detail Amati really didn’t cover well, the ships boat. I did this some time ago but forgot to post. I had to do some digging on what they looked like but eventually I put on the ship’s boat, at least one of the one it came with. I bought the oars aftermarket. The planks are walnut. I’m pleased how it turned out.


-
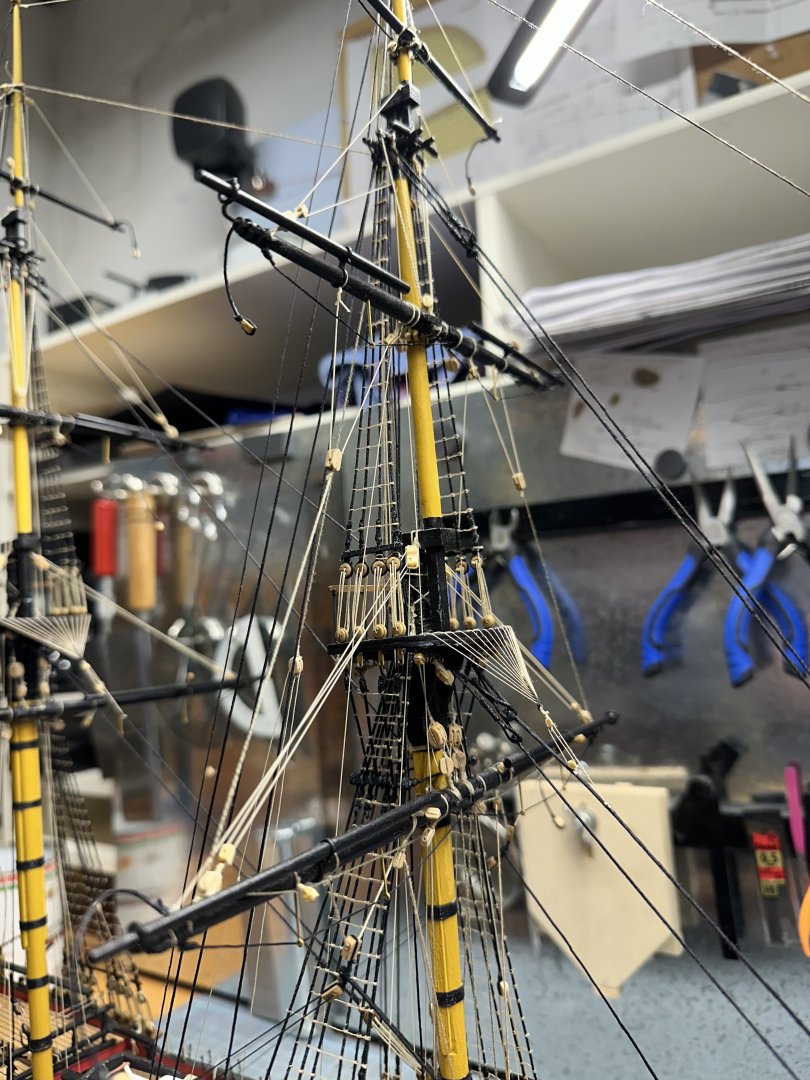
Foremast yards have their tyes. Now adding tyes to main yards. These are the main jeers and main topsail yard tyes. Looks just like the foremast ones. Next will be the main topgallant tye and halliard. Still not done tho. Mizzen and bowsprit and also all my lifts. Still a bunch to do.