Beakerboy123
-
Posts
27 -
Joined
-
Last visited
Content Type
Profiles
Forums
Gallery
Events
Everything posted by Beakerboy123
-
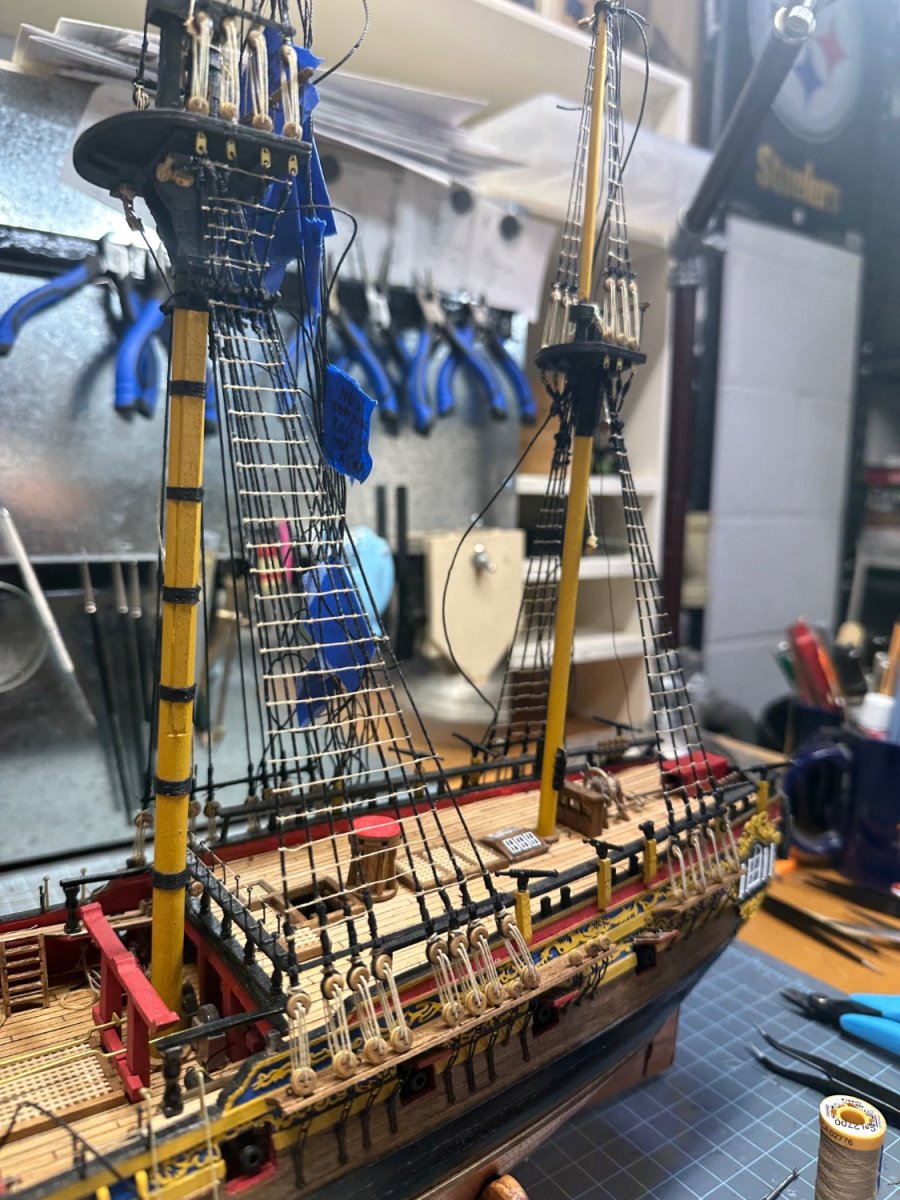
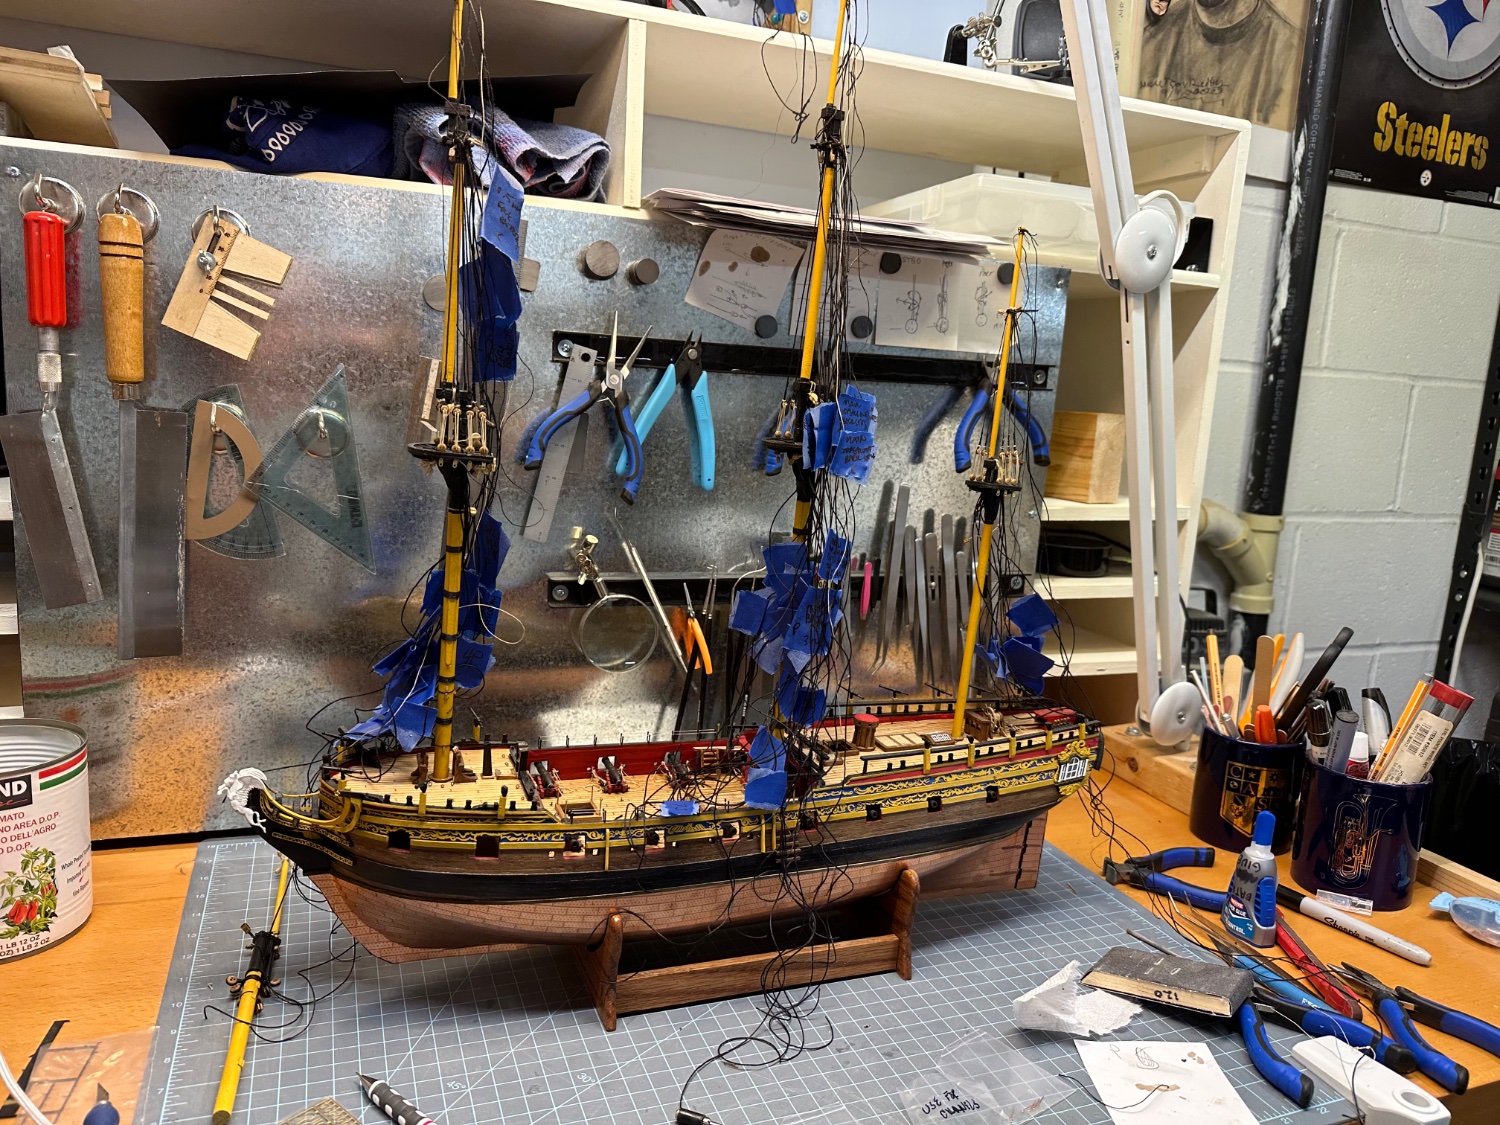
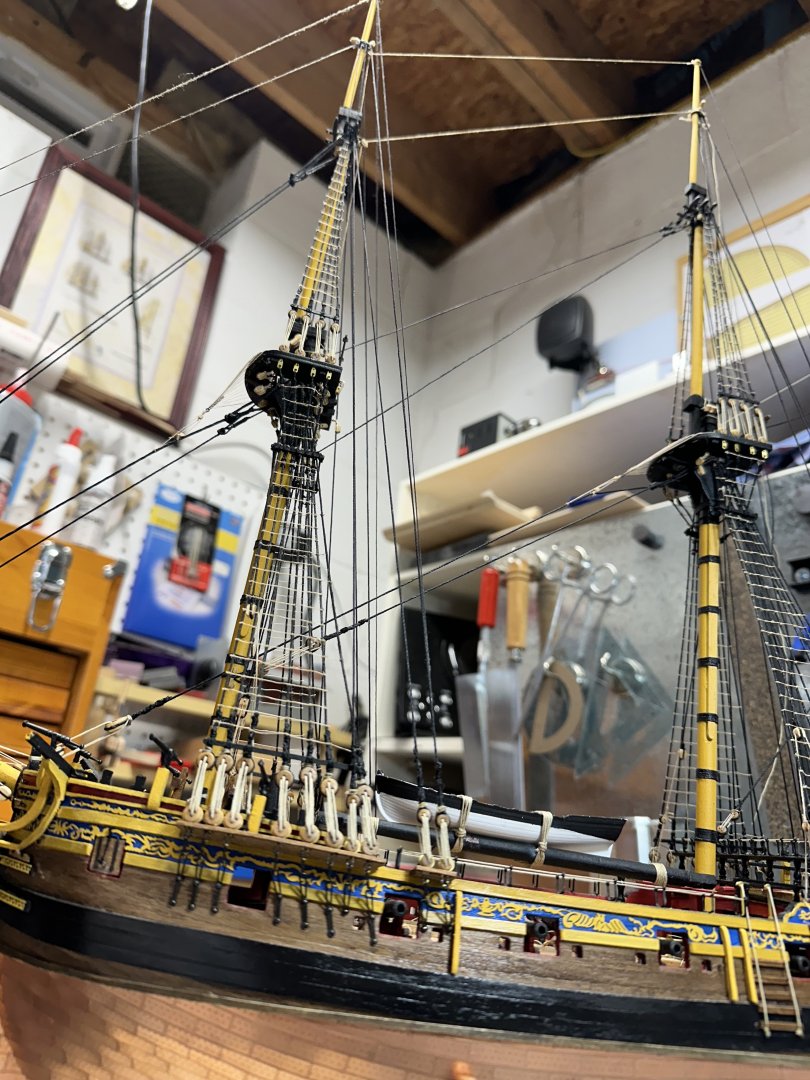
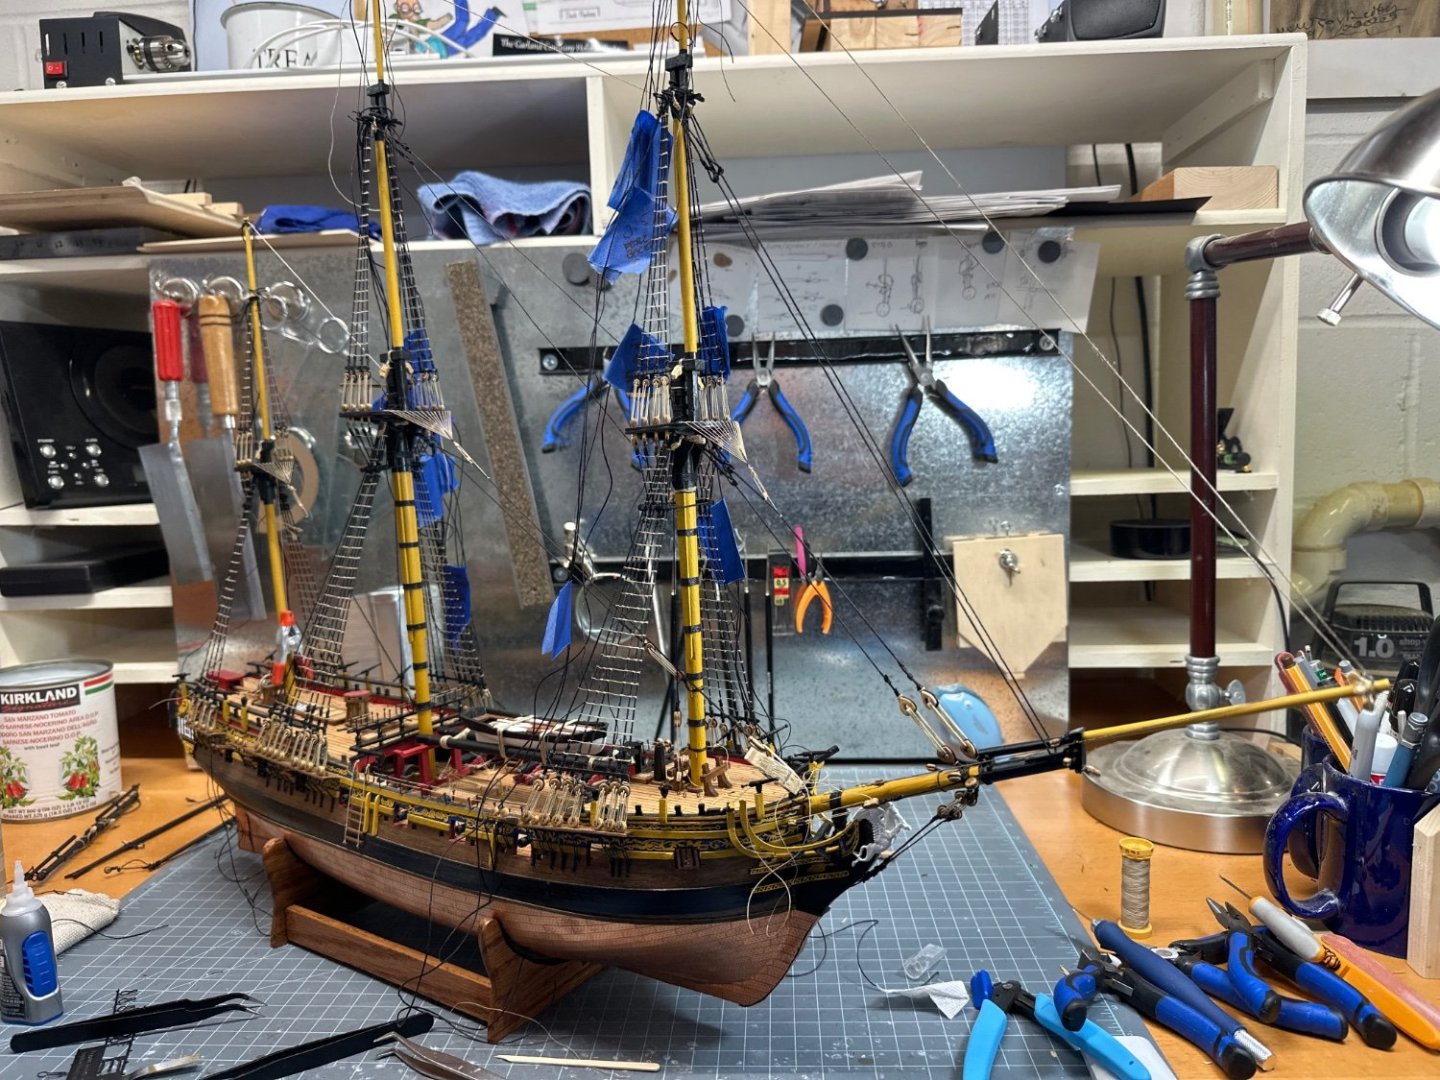
 Finally done with the stays and backstays. Yards are next. I’m seeing the light at the end of the tunnel.
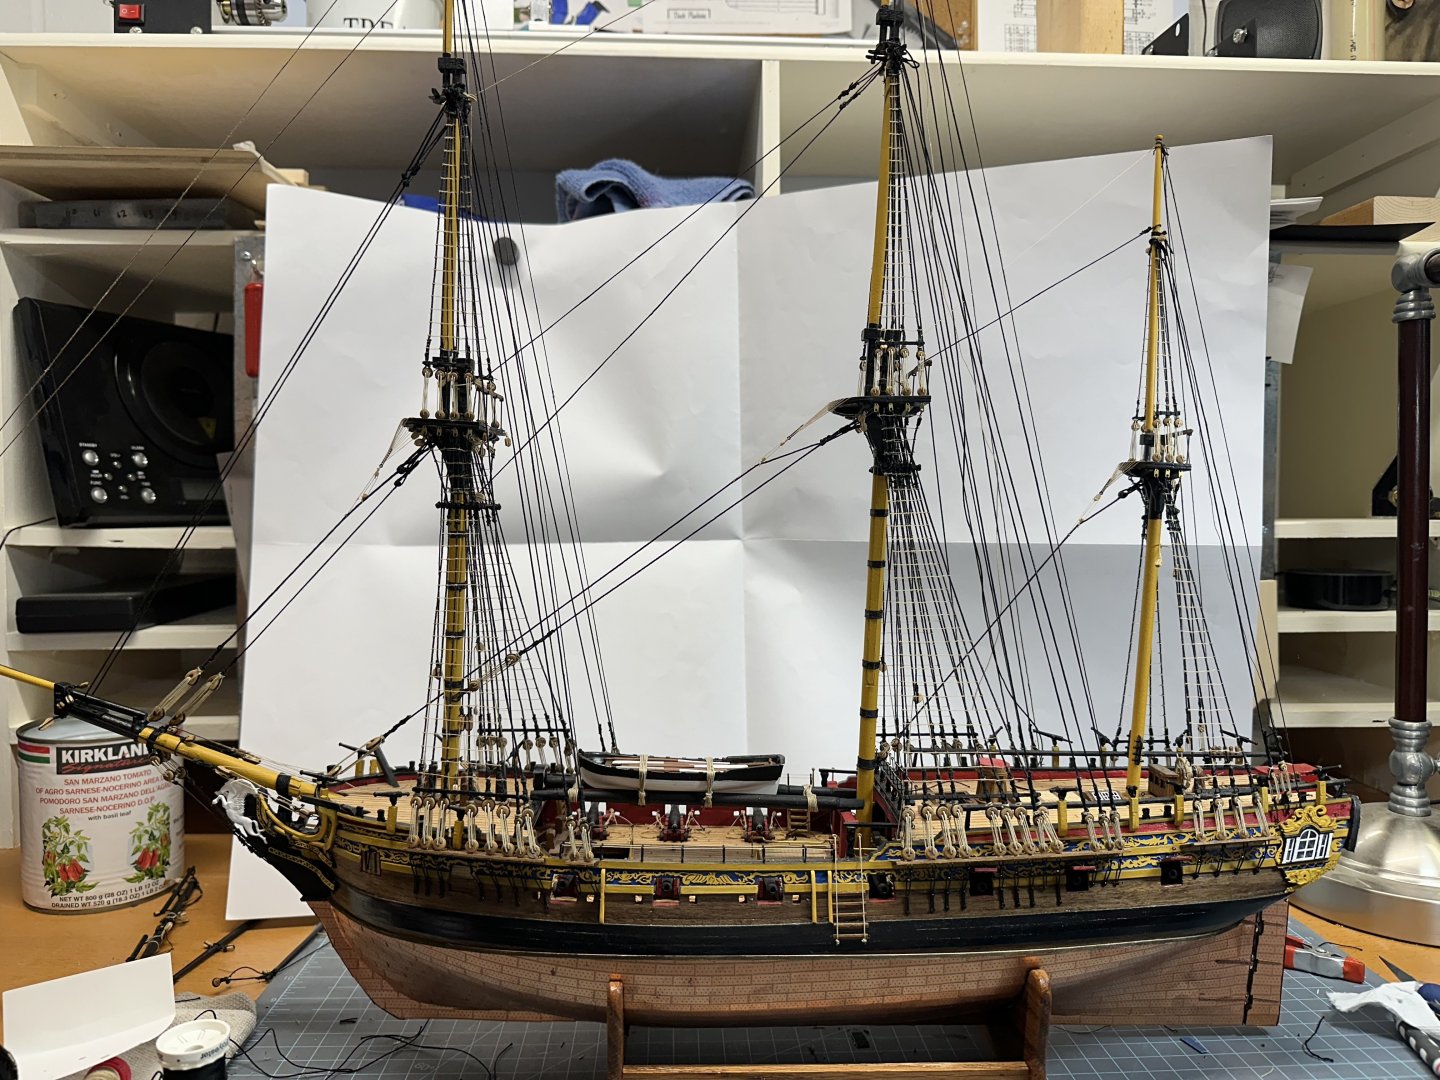

-
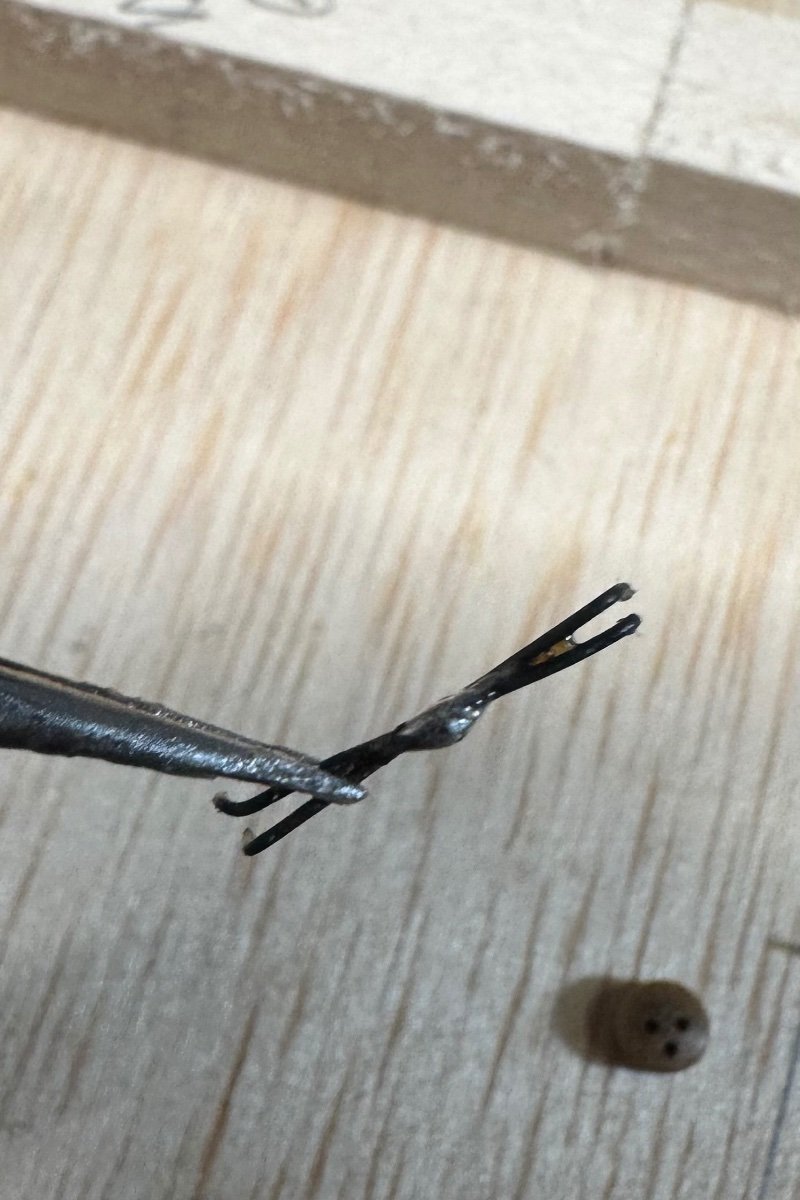
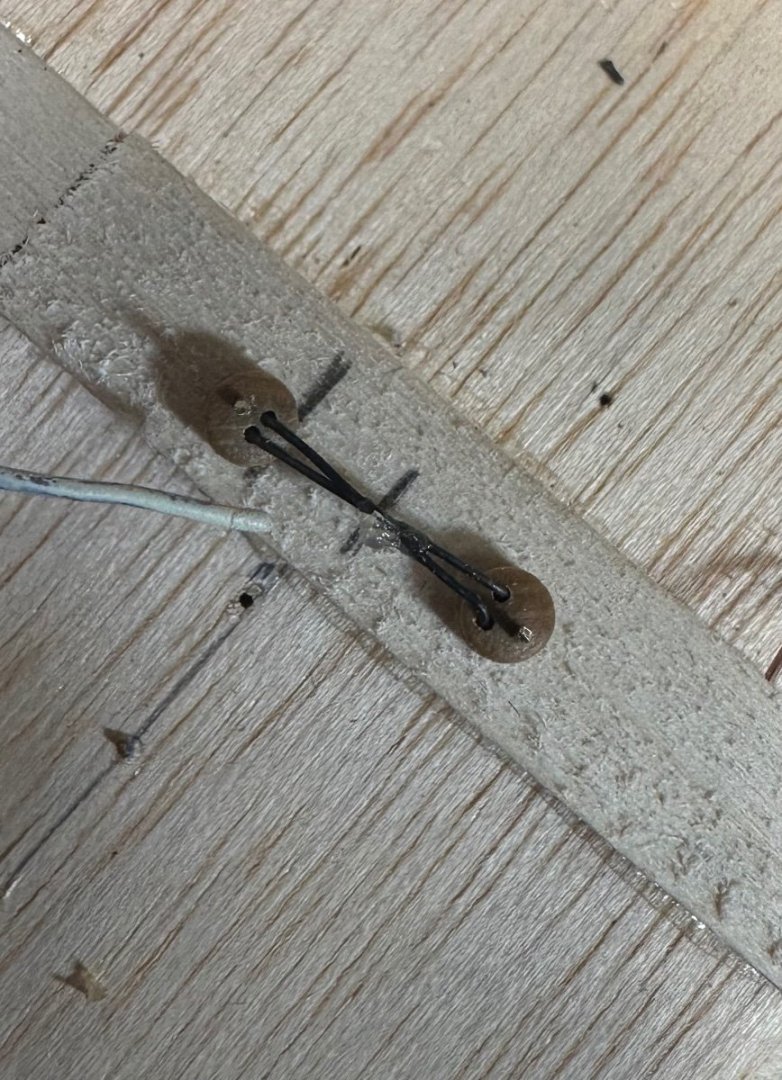
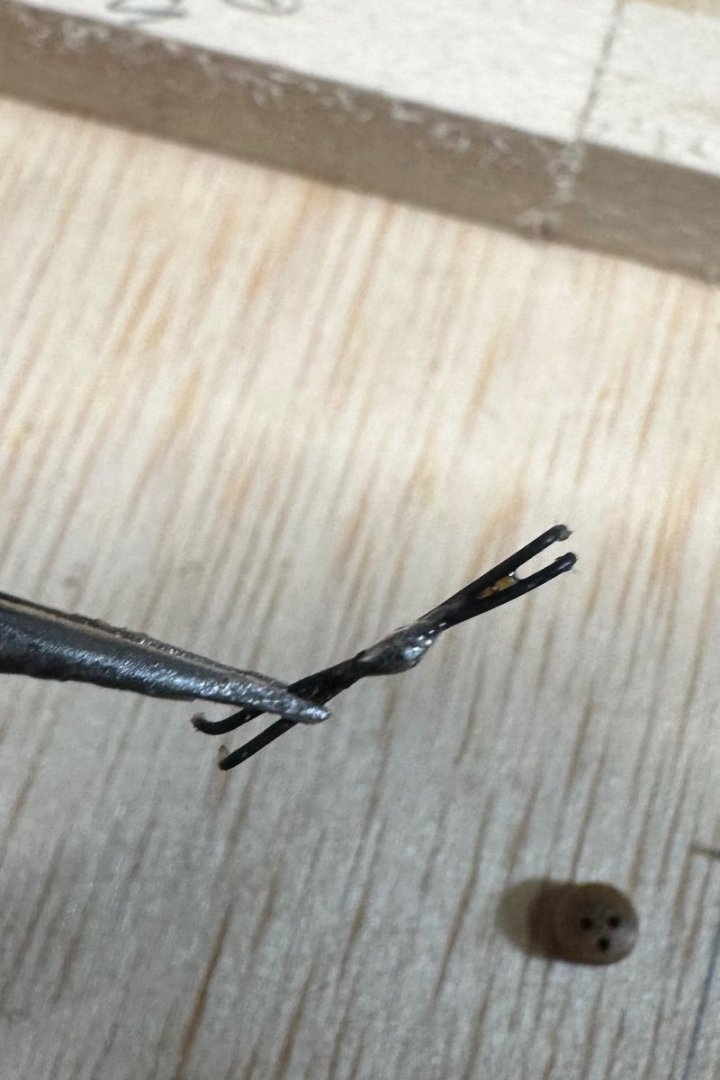
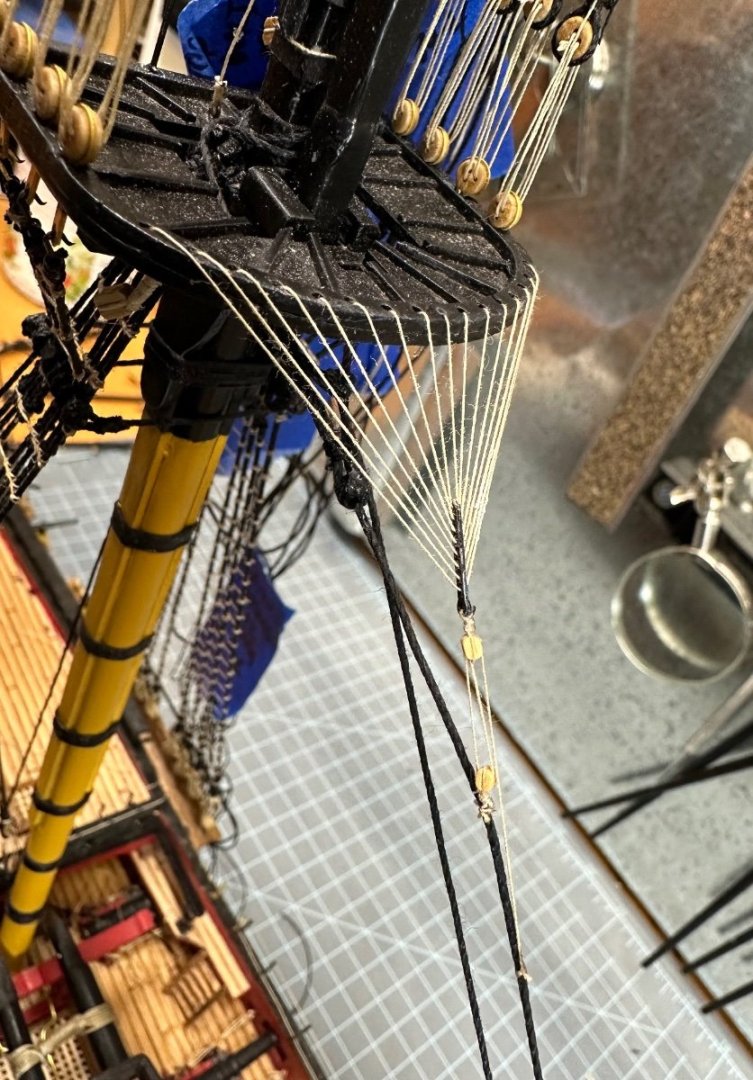
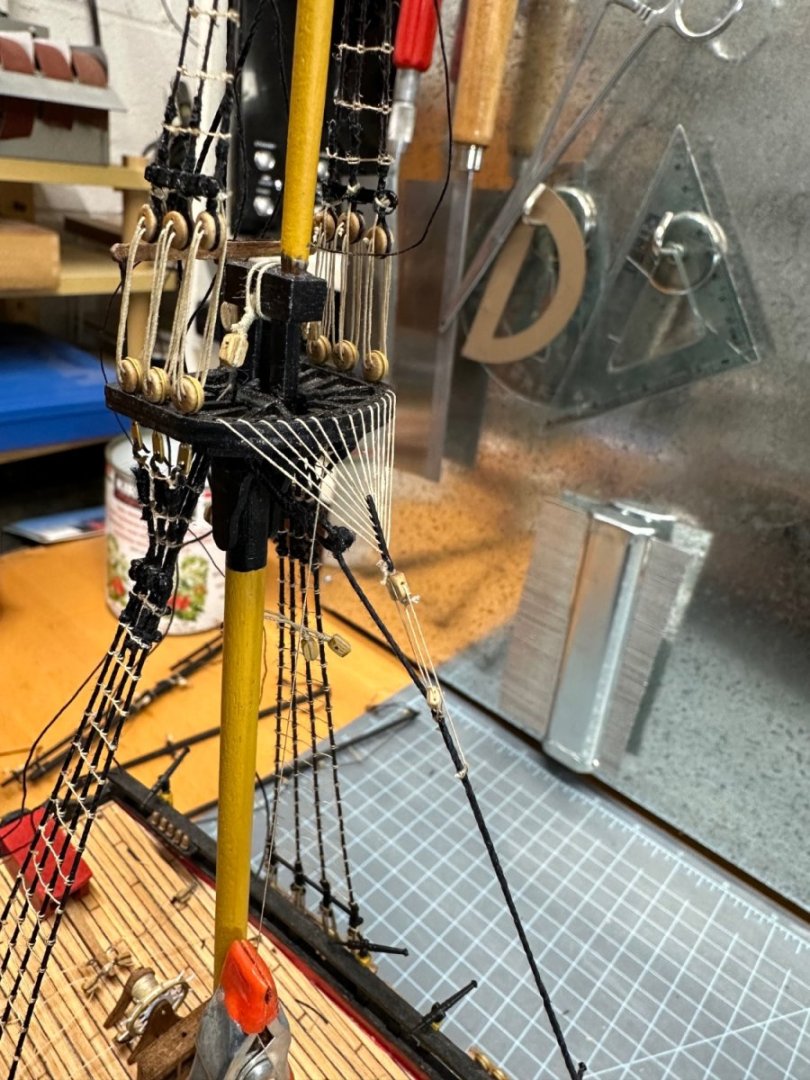
Was starting the foremast backstays, which are just smaller versions of the shroud deadeyes. Using the same (2 x diameter) + radius relation between top and bottom, I decided to use another wire criss-cross jig so that all of the distances were more or less equal. The two crossed wire was so fiddly that I soldered the wires at the intersection. Now it’s easy to insert. before soldering I used a small nail to hold the tops of the deadeye in place, then bent the wires to go into the two lower holes. a little flux, and some solder… Hopefully that’ll work.
-
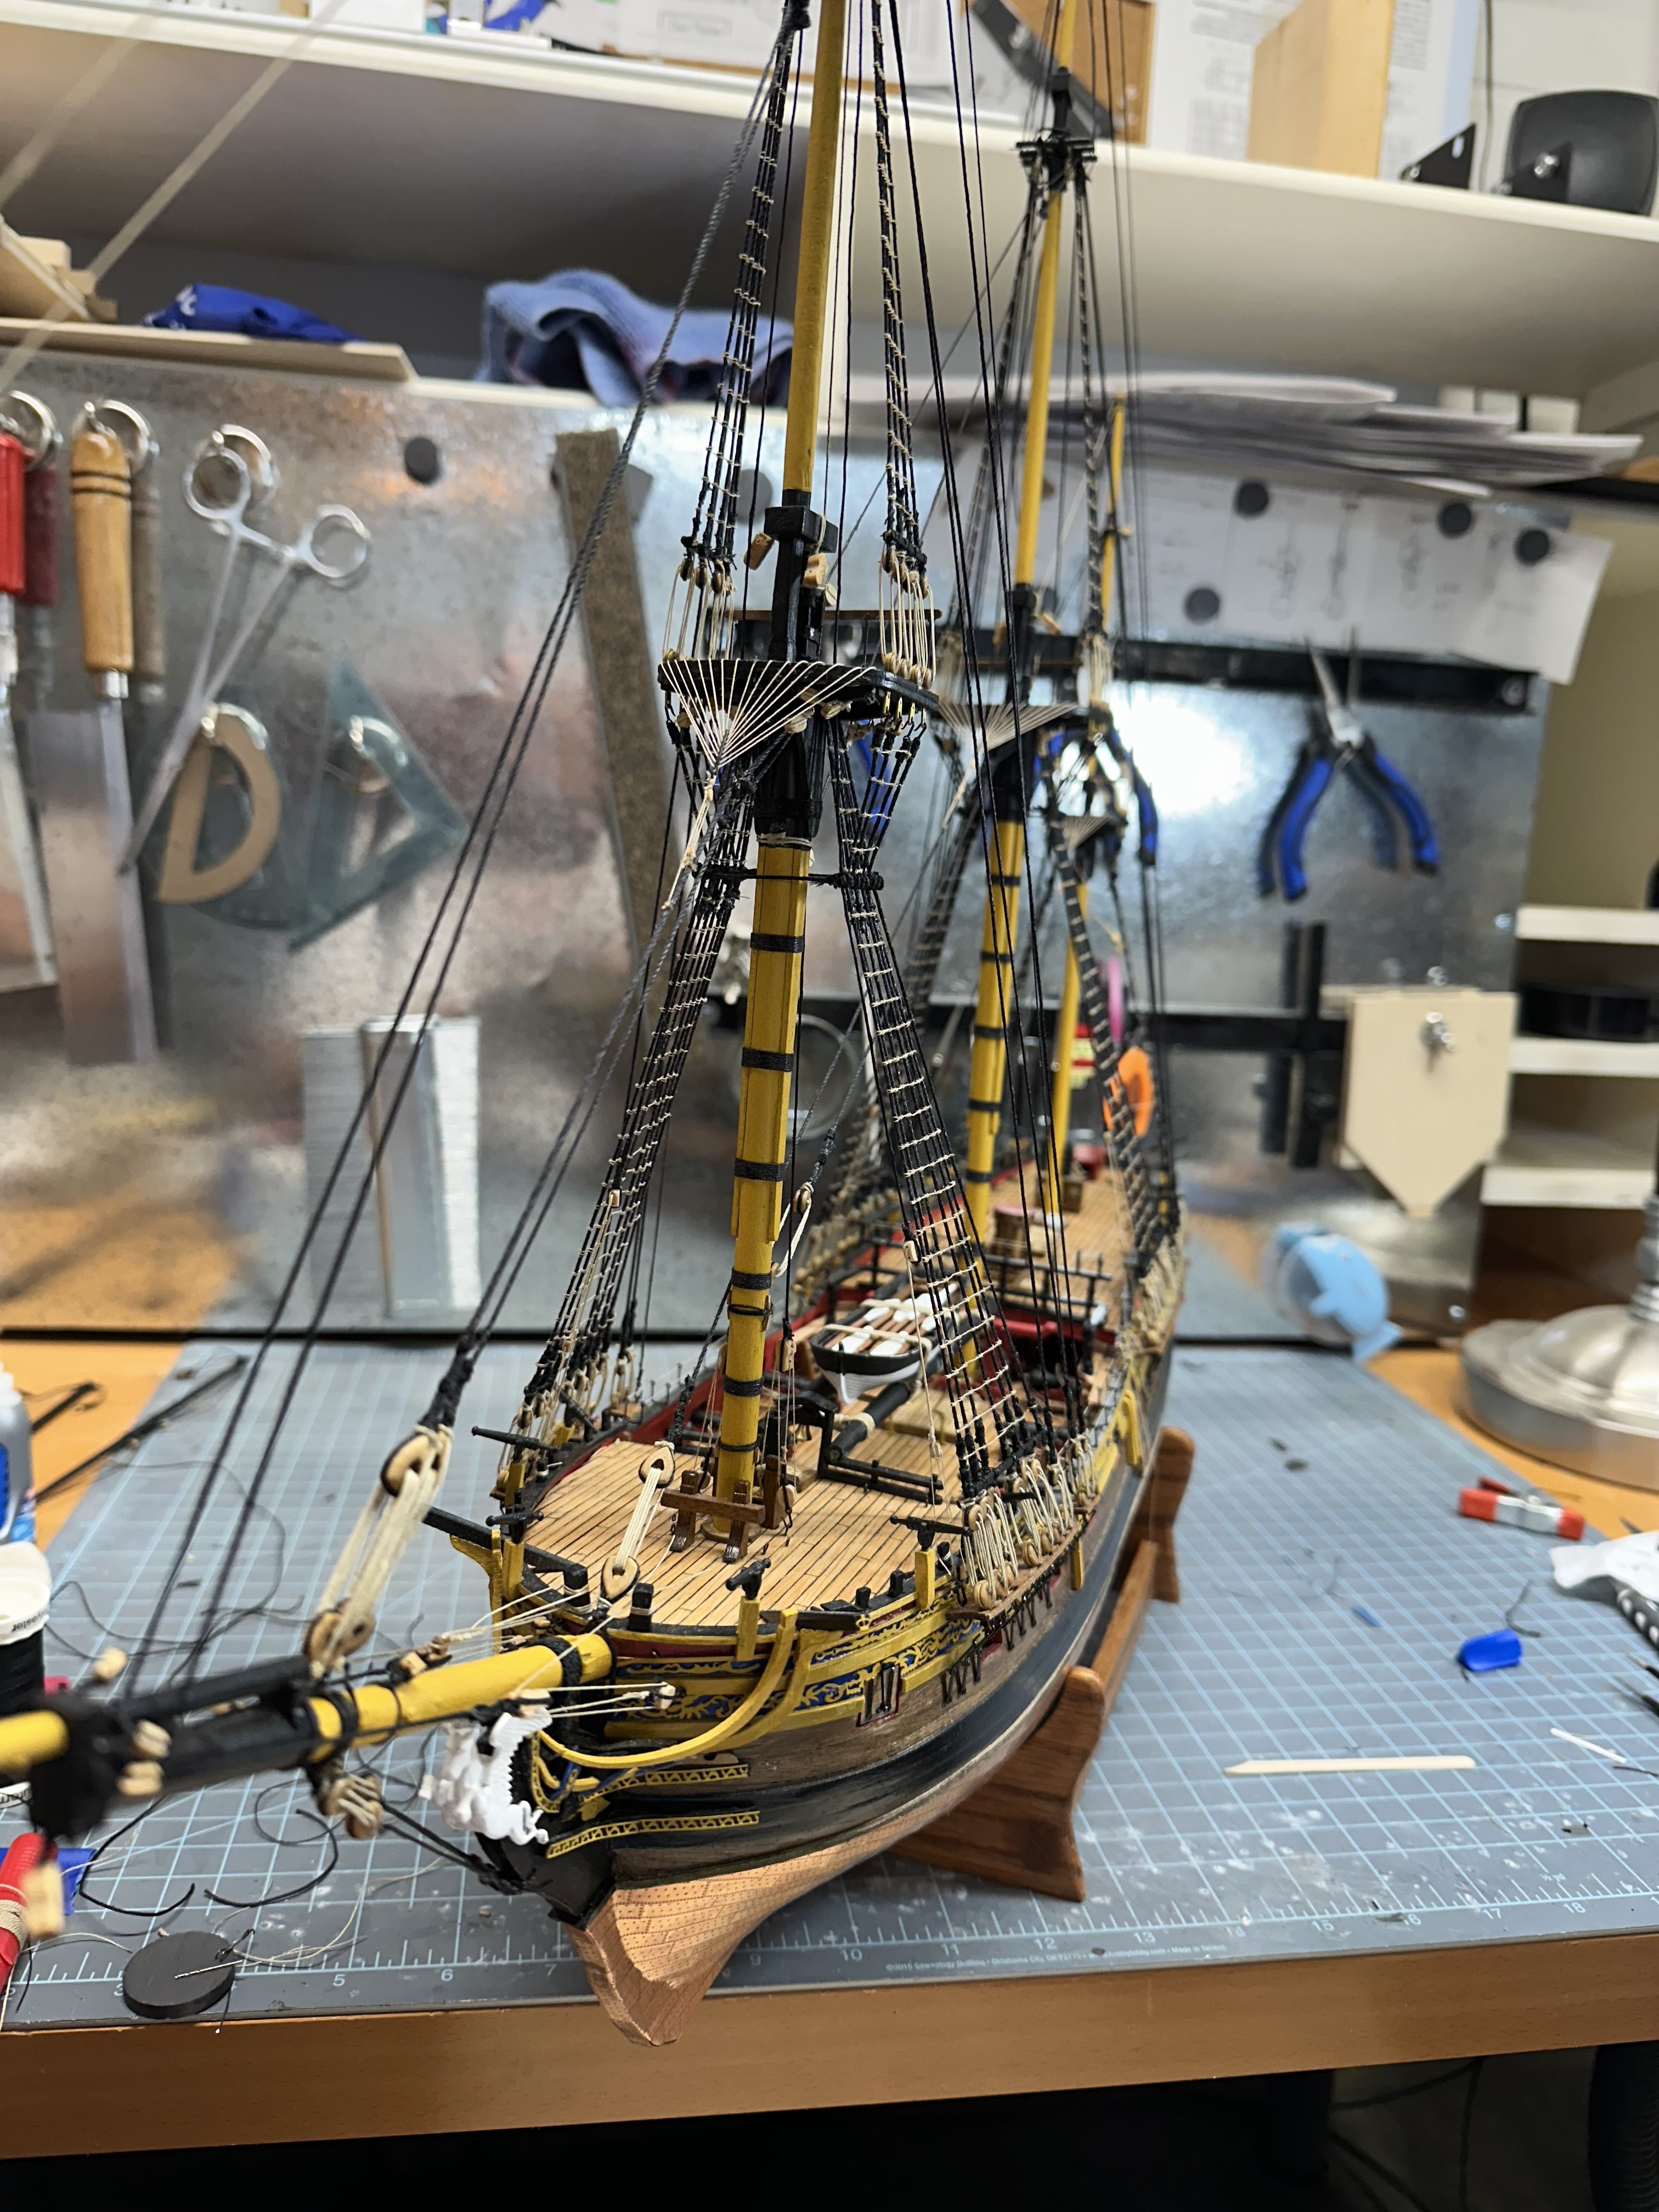
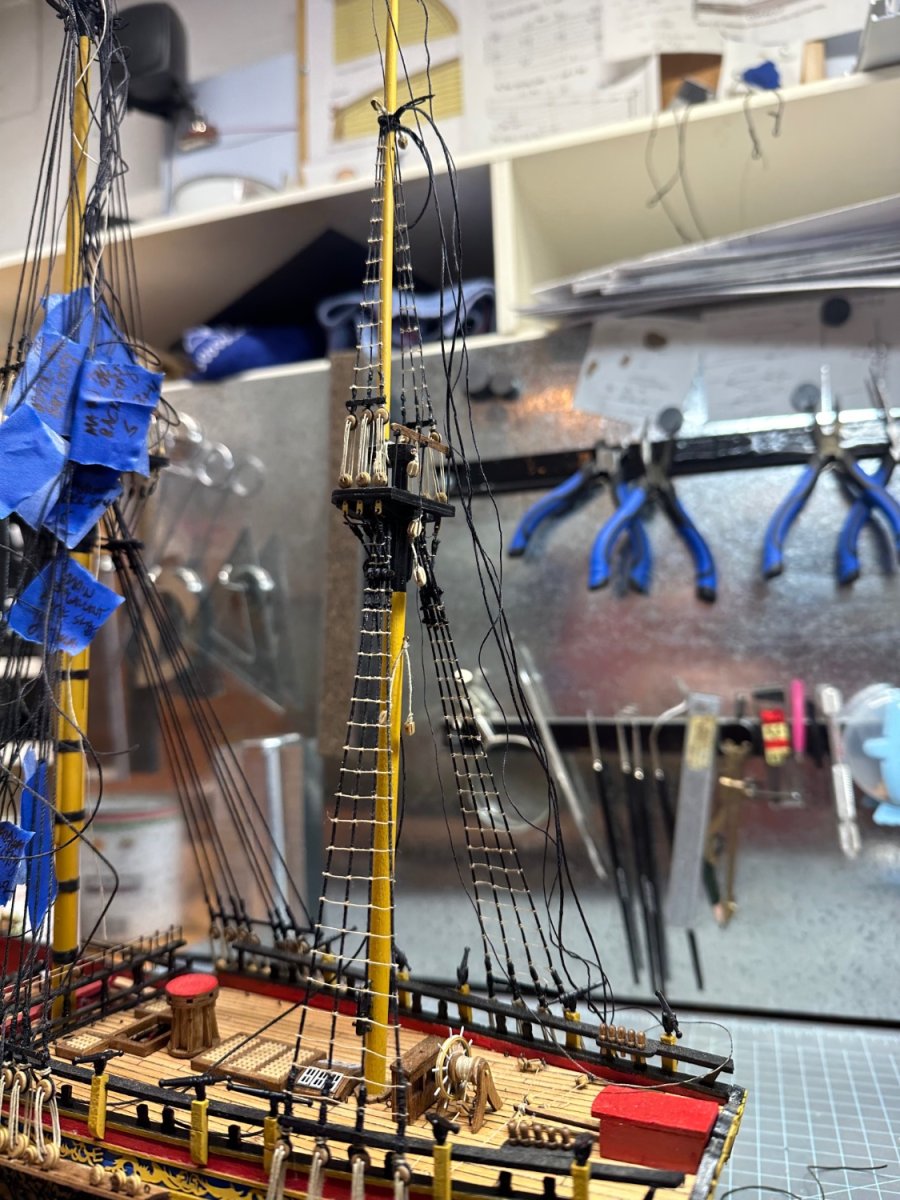
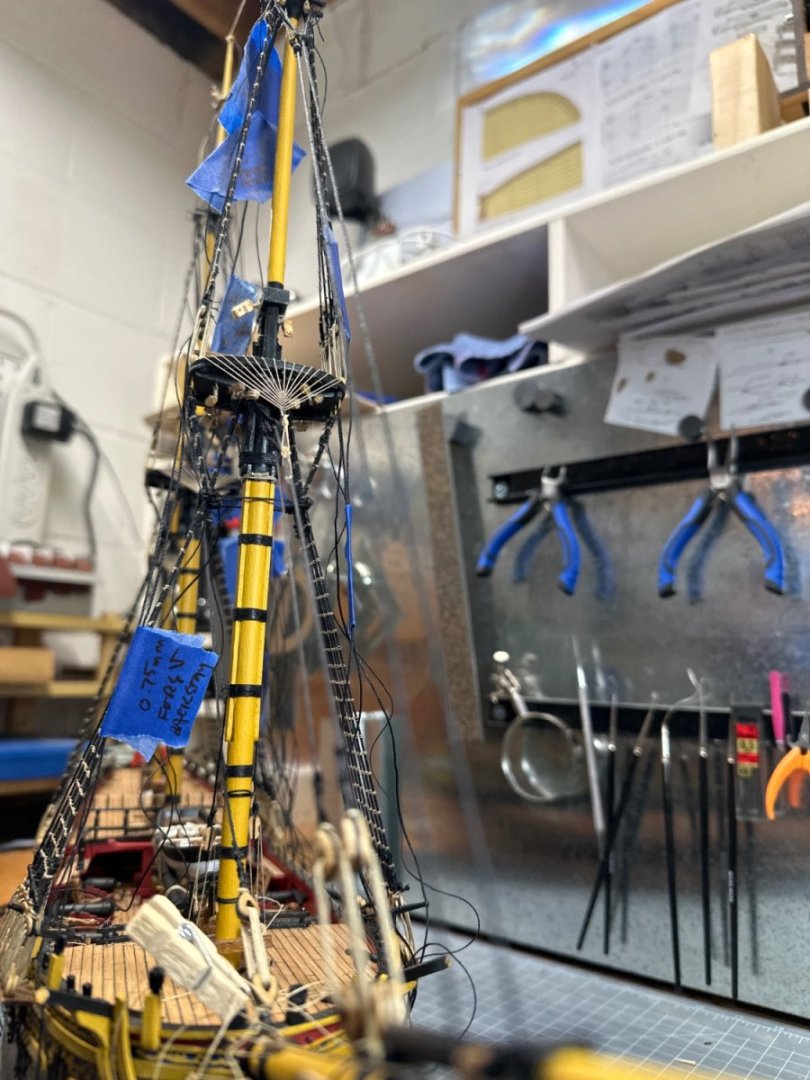
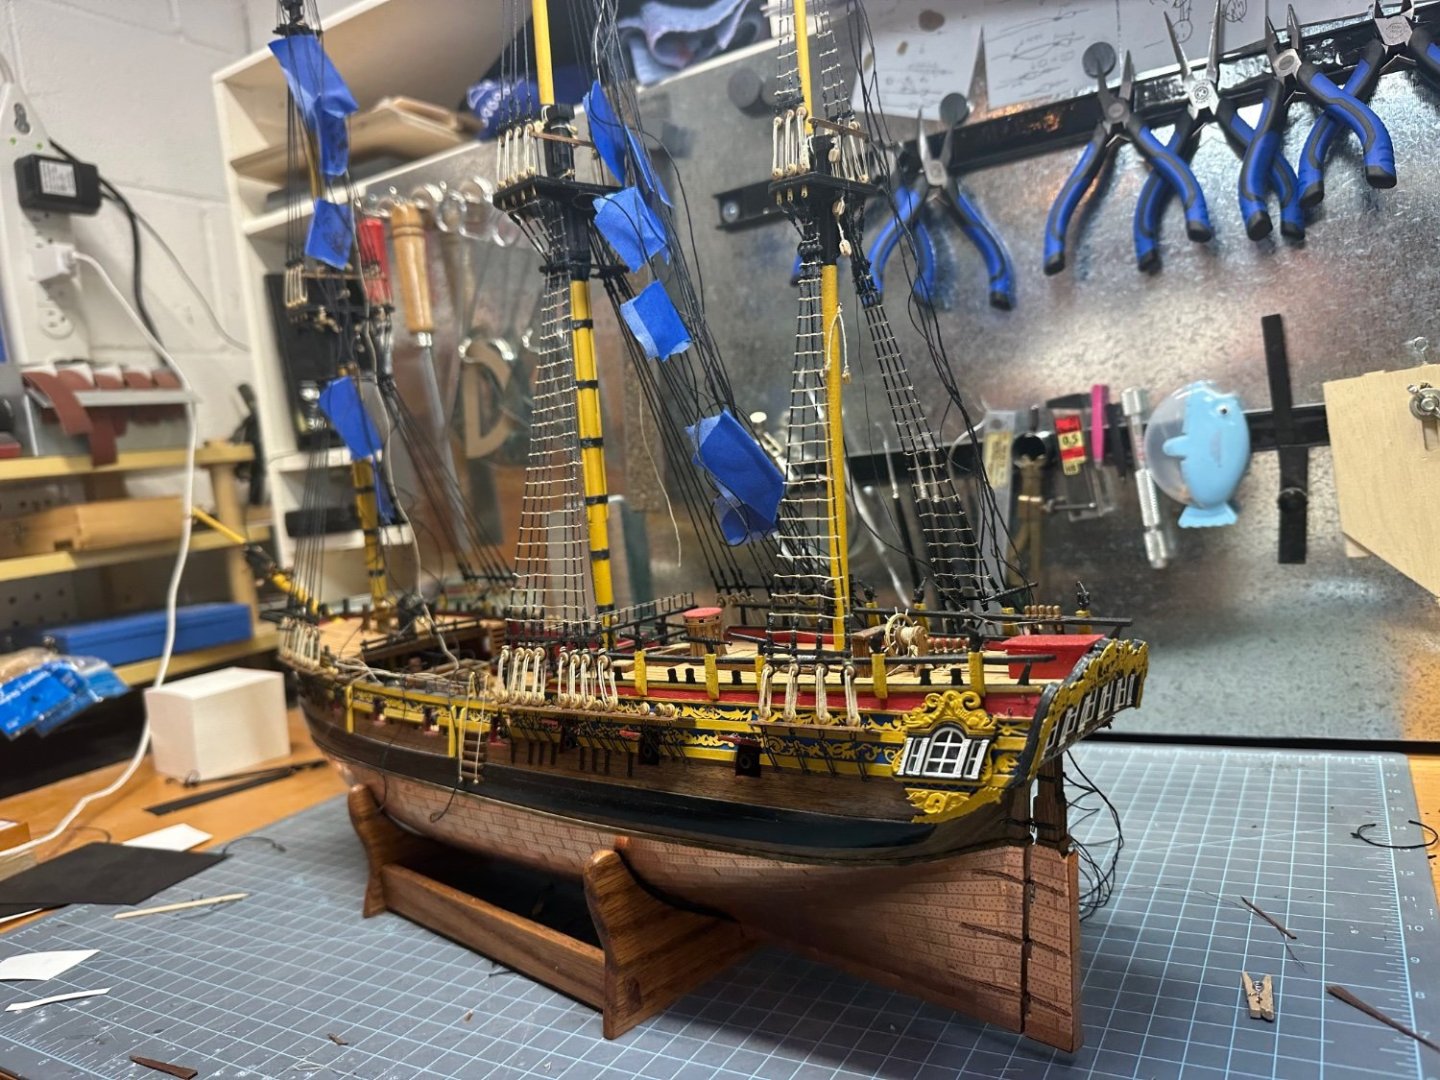
All of the crowsfeet are done. And my stays look to be done. Ready to begin backstays. Here’s the full view so far. The blue tape is there to keep tabs on the back stays that remain. I tied those on before I stepped the masts. I’m actually logging my time on Excel, so each time I sit down and work, I “punch in”. It’s interesting to see how long it takes to do these features, and I try to improve that time if there are multiple of the same, like the guns or masts. I averaged about two and a half hours for each crowsfeet.
-
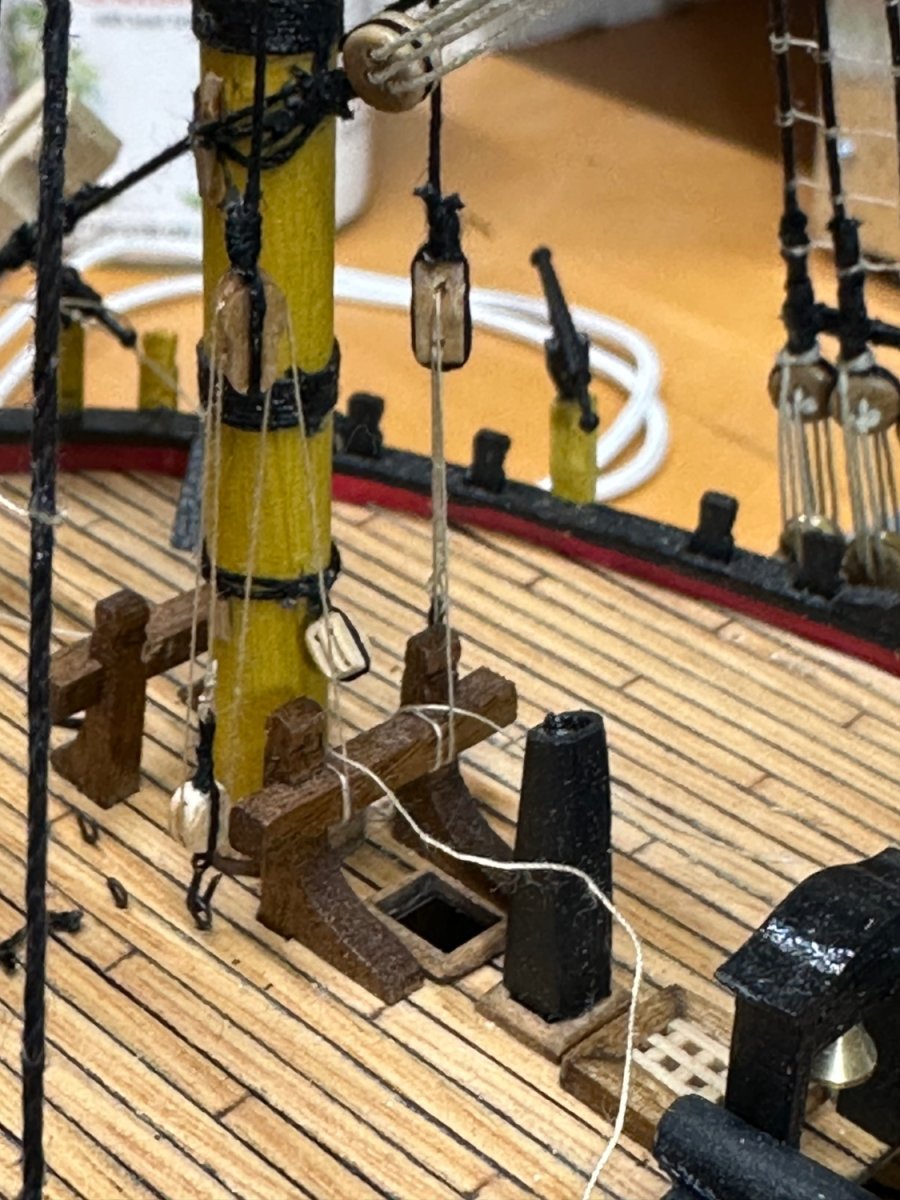
Fore mast stays are done. Rounding off my 3rd Christmas time off with this ship tying (and retying, and re-retying) the maintop stay and maintop preventer stays and hooking them into the deck. I’ll trim some more of the pennants off when the glue dries. Also, I’ll use a jig to create rope hanks and place them on the pin rail. The tie off is temporary.

-
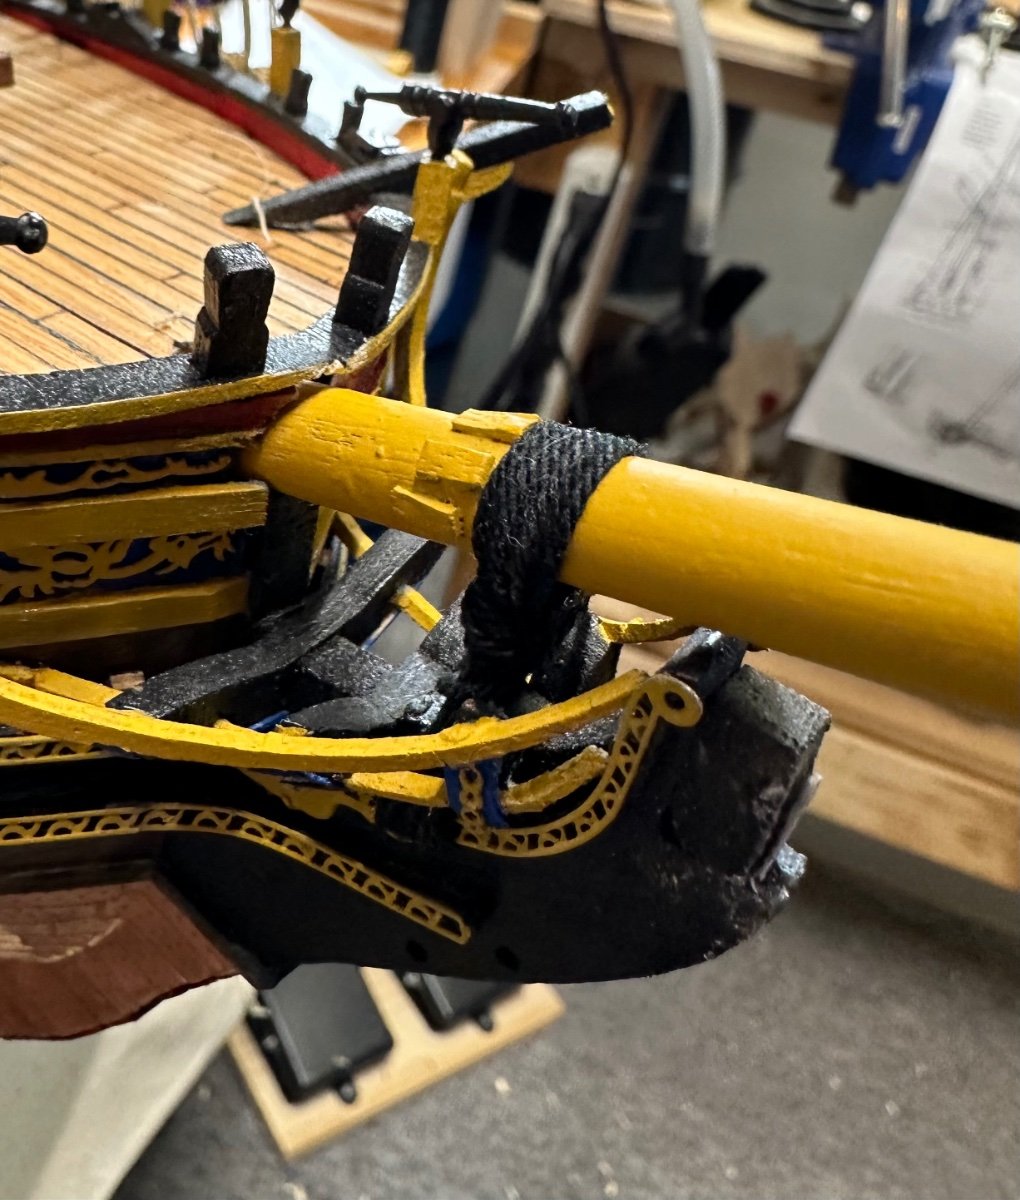
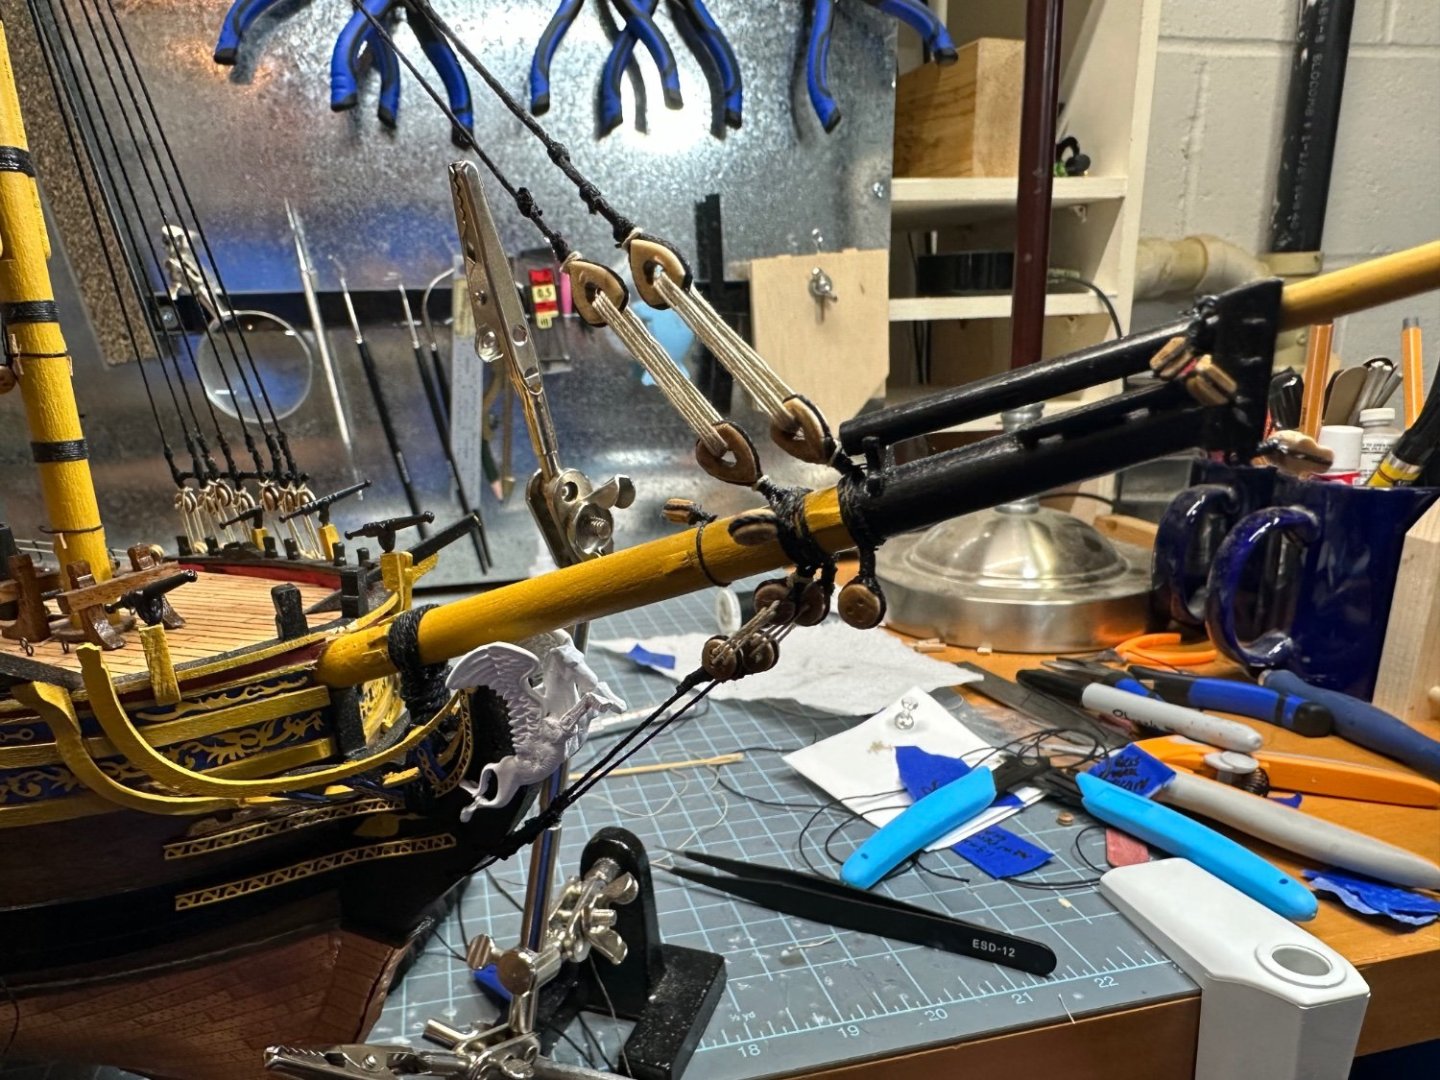
Focused on the bowsprit today. Bobstays, fore stays and fore preventer stays attached. Also with touched up Pegasus figurehead. More tomorrow.
-
I’m tired of ratlines and I have only the port foremast ones to do, so I thought I’d work with the bowsprit today. Got the gammoning attached. I removed the Pegasus figurehead to touch it up in the booth.

-
Took advantage of some time on Sunday to get the mainmast ratlines finished up to the main top. That’ll be it for this week unfortunately.

-
Gallbladder surgery allowed me to get out of doing fall chores and cleaning! My wife suggested to go and build my ship because it allowed me to just sit and heal. Got all of the sheerpoles tied off and the mizzen ratlines completed-both sides.

-
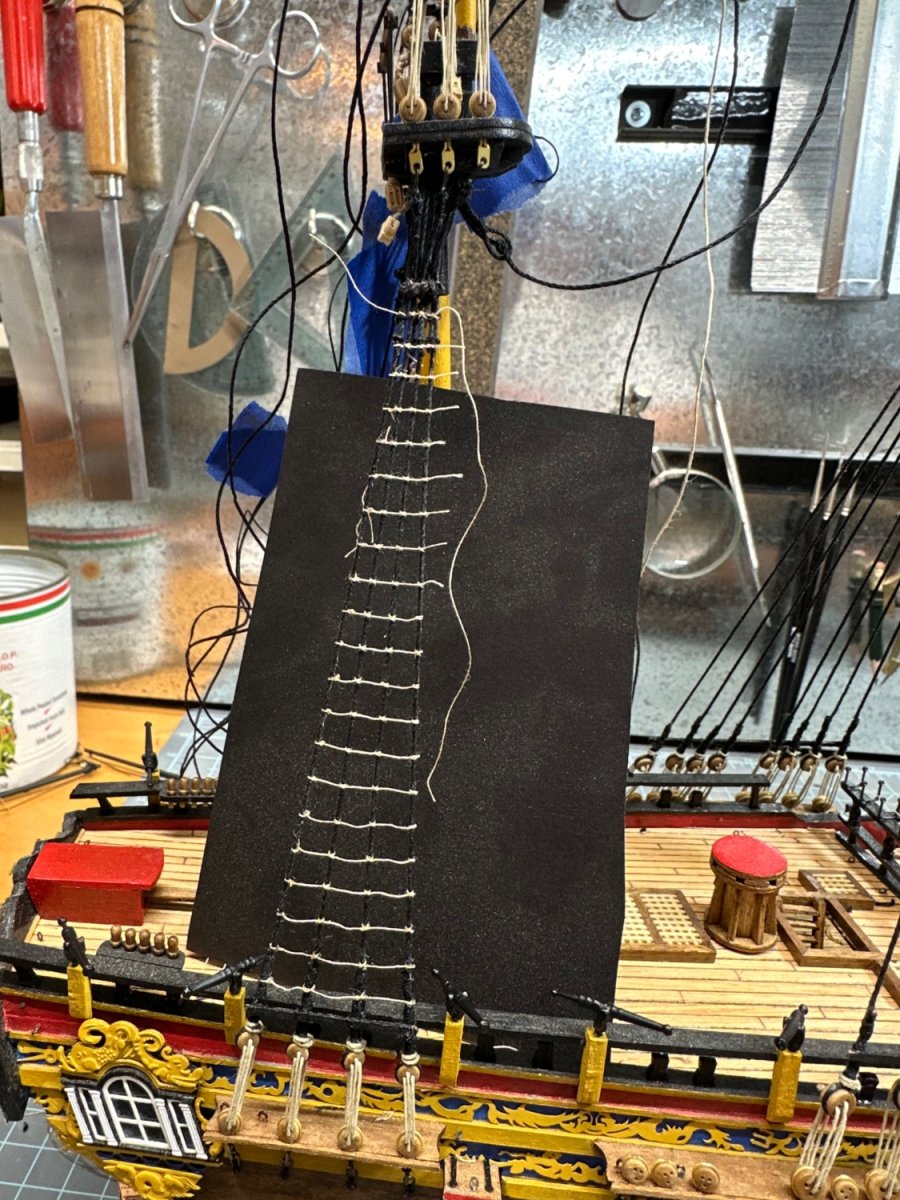
Added sheerpoles. I tied them to the shrouds with a simple double knot, one in each side of the shroud. Then started the daunting task of the ratlines. I made a width gauge out of card stock to keep the distance the same and more or less keep the lines level. I also cut a black card stock shape to add some relief to the light color thread I was using. This is the stbd side mizzen done.


-
The mainmast shrouds are finally done. A few more things and I start the tedious task of the ratlines.
-
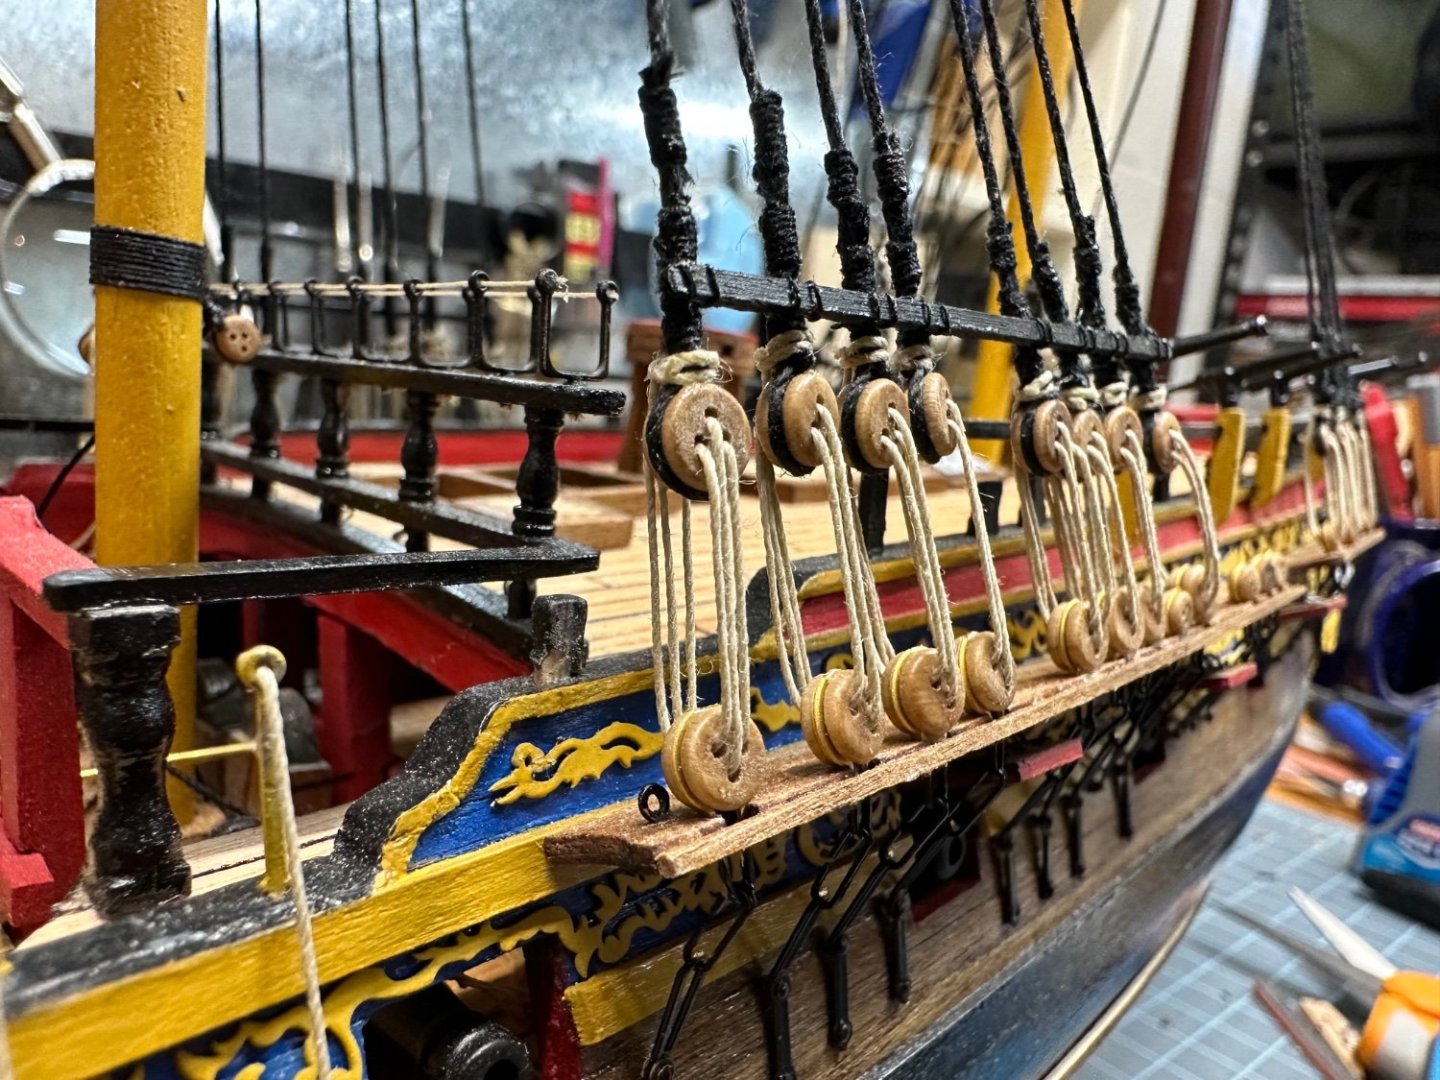
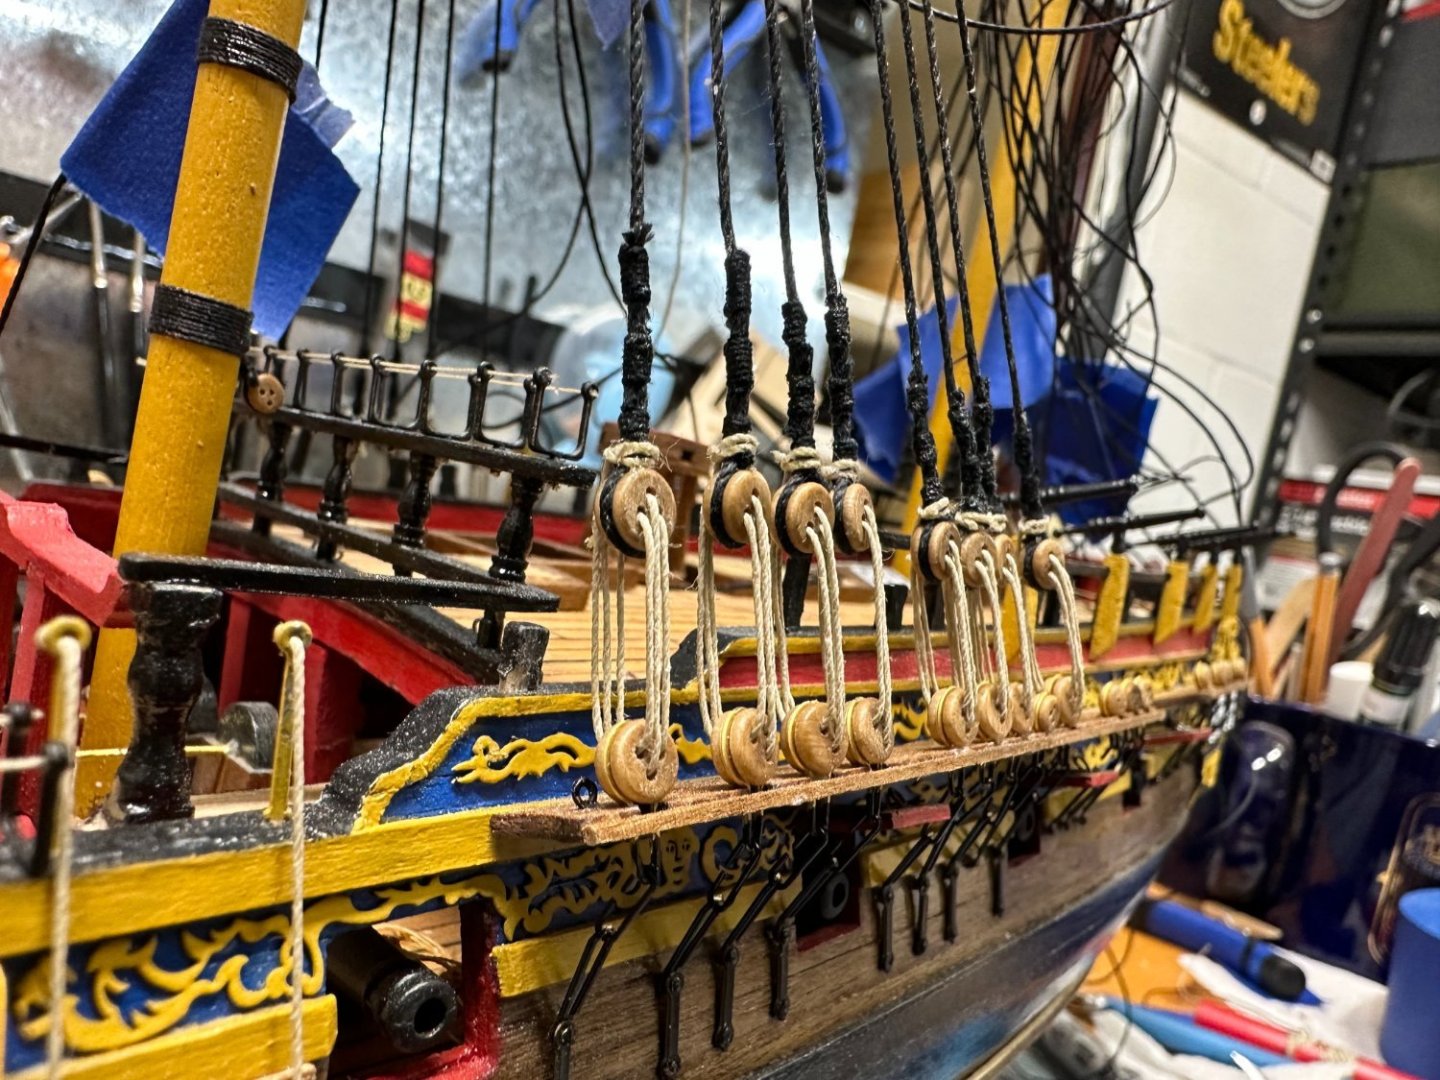
The foremast shrouds are attached. I found on a youtube how to video that the general rule on deadeyes was (2 x deadeye diameter)+deadeye radius. When I find the link I’ll reference it. I like the height. It “looks” right. I used a wire guide for height that hooked into the lower and upper holes to keep the distance relatively the same height. I saw some deadeyes that had contrasting tan ropes seizing the shroud to the top deadeye, but I decided to make three equidistant seizings of the smaller diameter black line to kind of blend in. Now for the main and mizzen deadeyes. Ugh.

-
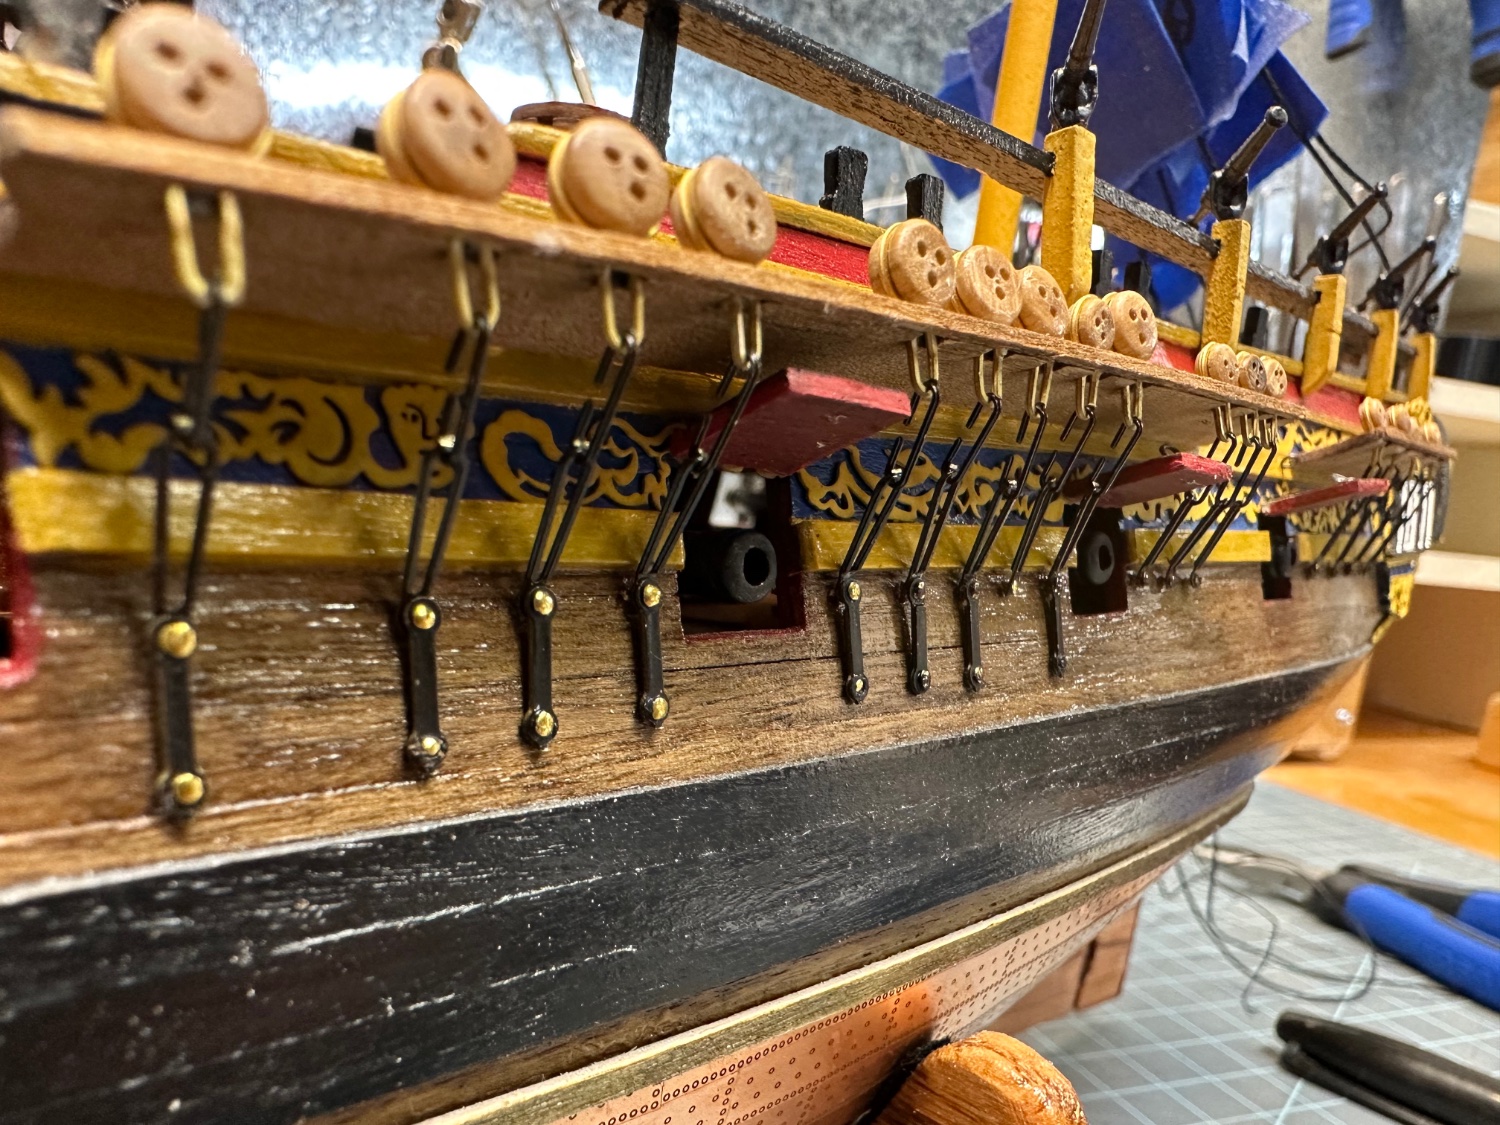
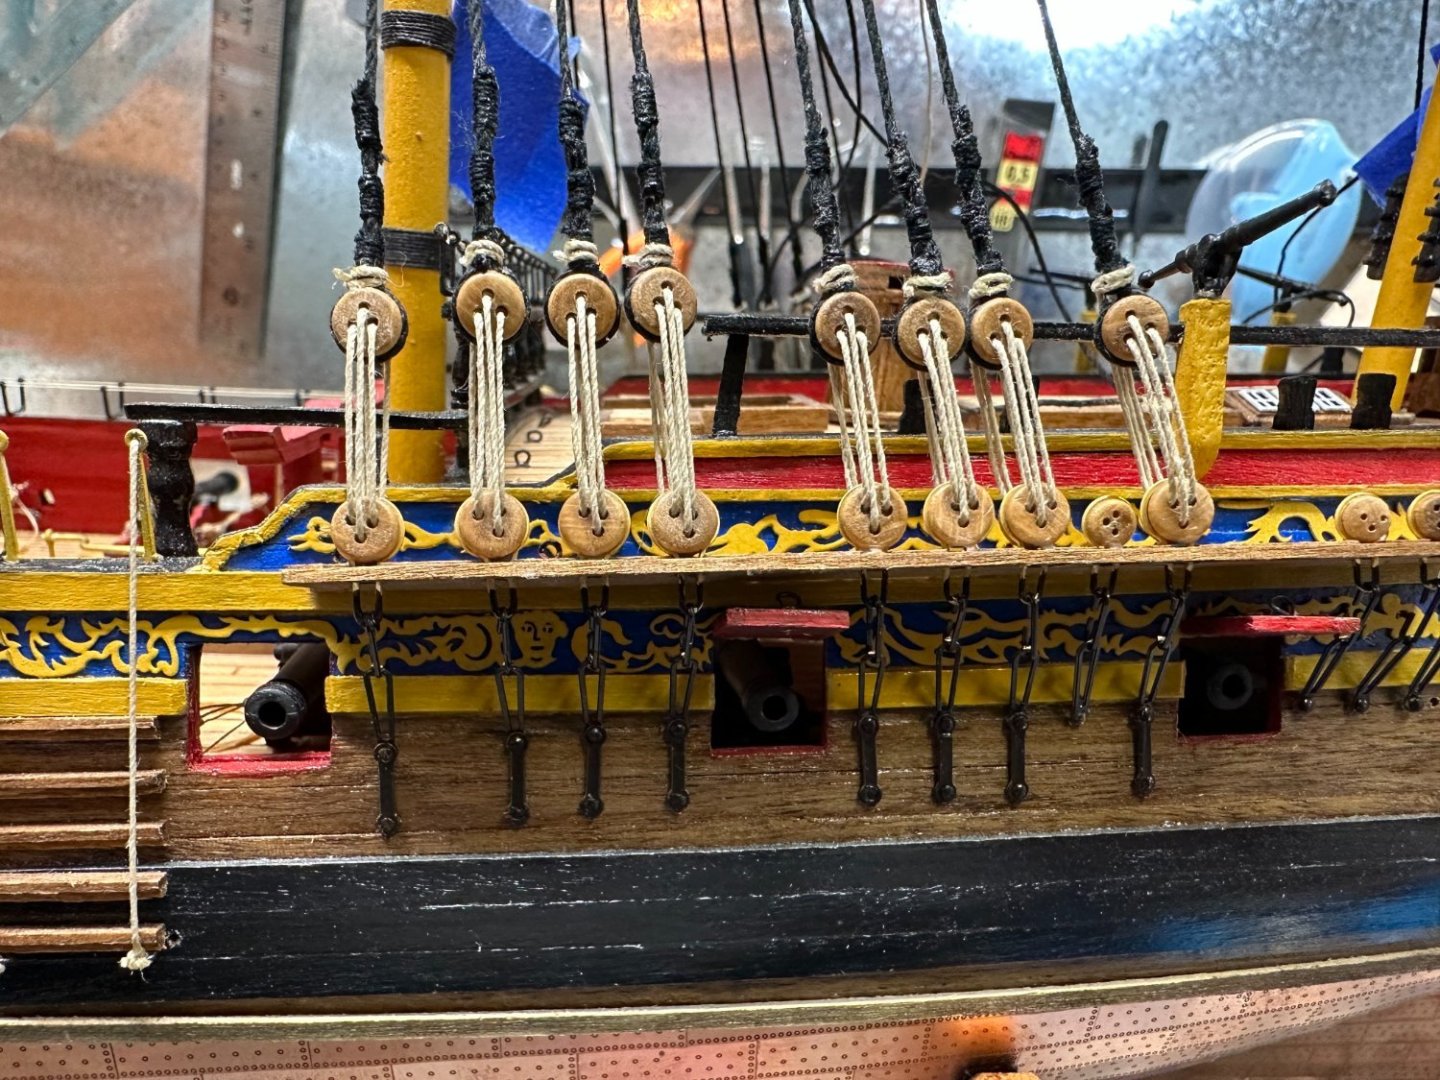
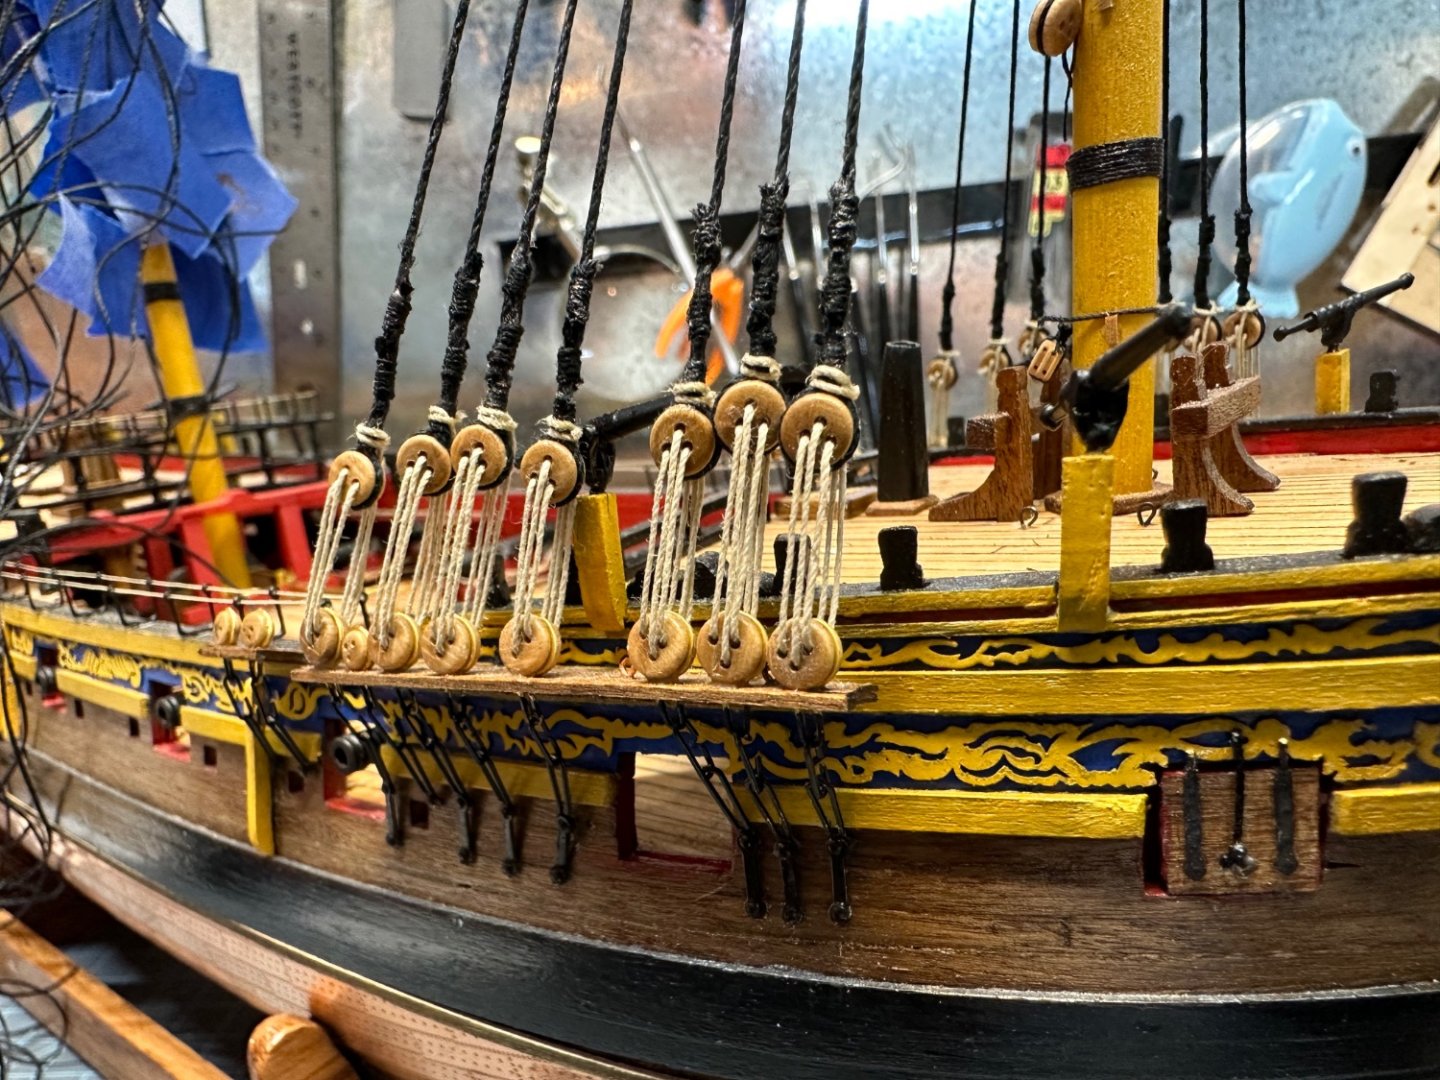
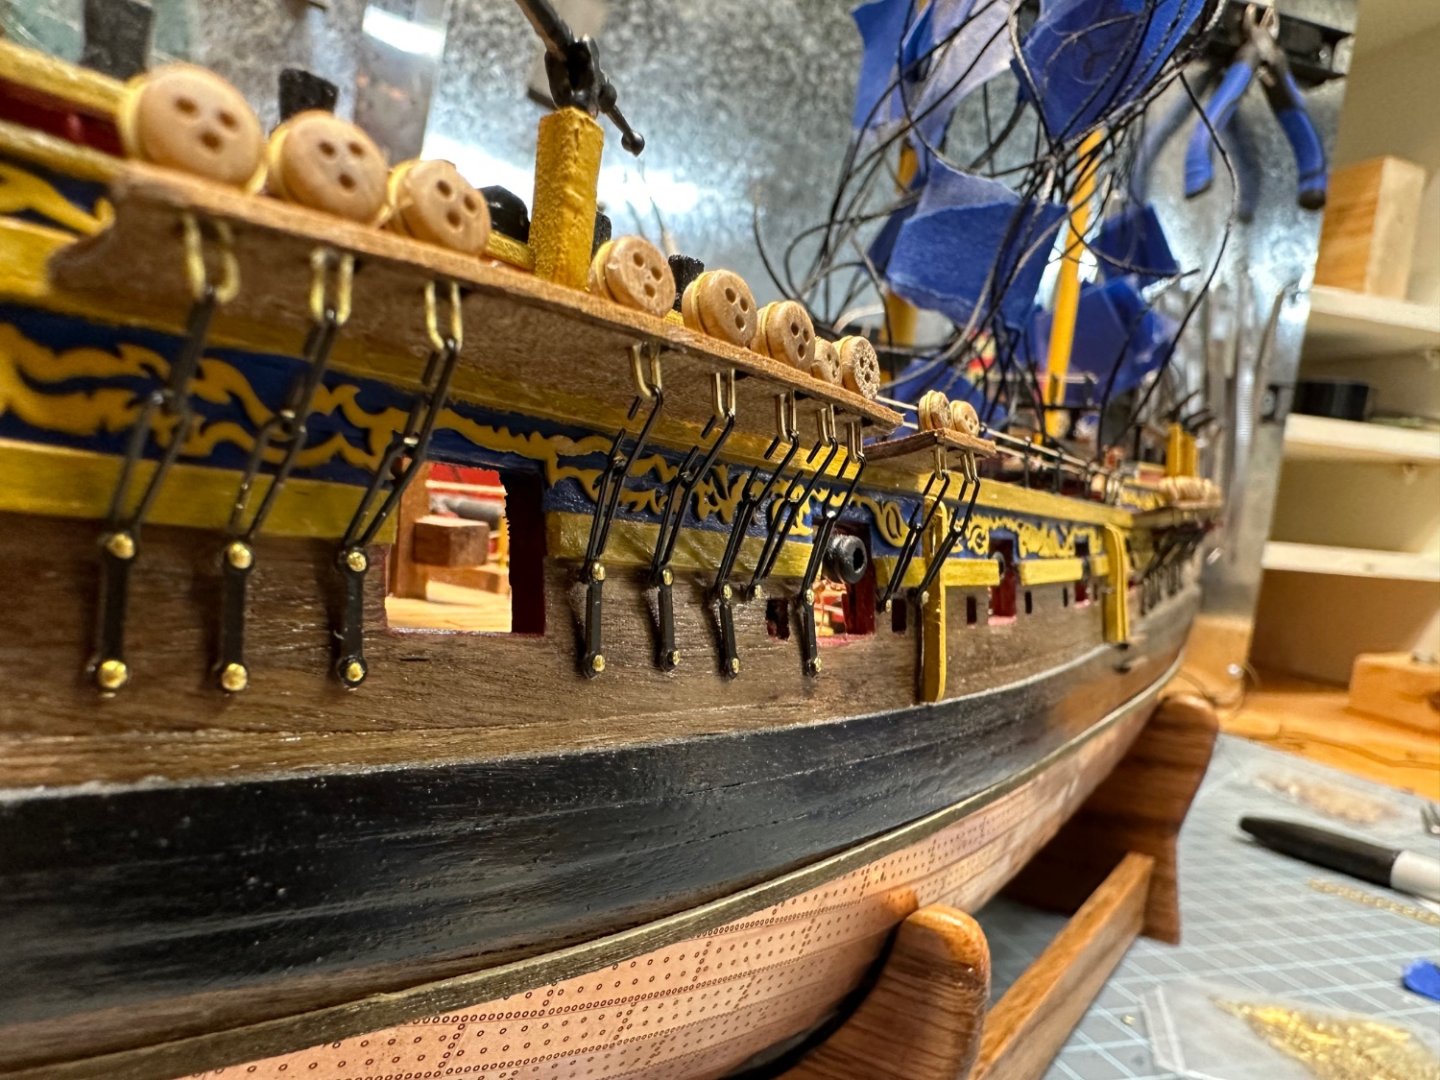
Port side chain plates are installed. That’ll do it for the time I have over this break (such as it was, having the flu). I’m happy with how they turned out. I think I’ll go over the brass tack heads with black to unify the color of the ironworks. I’m going to add some details to the gunports like lanyards and spans.


-
All of the mast rigging and yards are ready. I’ve stepped the masts and am working on the channels. Also started the eight gun ports. Finally started looking like a ship. Each of the blue tapes is labeled to show what side and what number line goes to their corresponding deadeye in the channel.

-
All of the topmast and topgallant shrouds are complete. I’ll get pictures later today. Working now on the getting the lower shrouds tied. I’ve got a few more items to tie on before I attach the masts to the ship. I’m definitely loads better at seizing lines. I could do it in my sleep. I feel like I’ve been staring at masts for months. I am sure others have experienced this but I find that summertime is always difficult for boat building for me because there’s ALWAYS something that needs doing around the house and outside. Now the garden is finally shut down, grass is not being mowed every week, and I can get back into the workshop on weekends. So hopefully things will start to move. I’ve got a general question for members that I’ll post off of this thread.
-
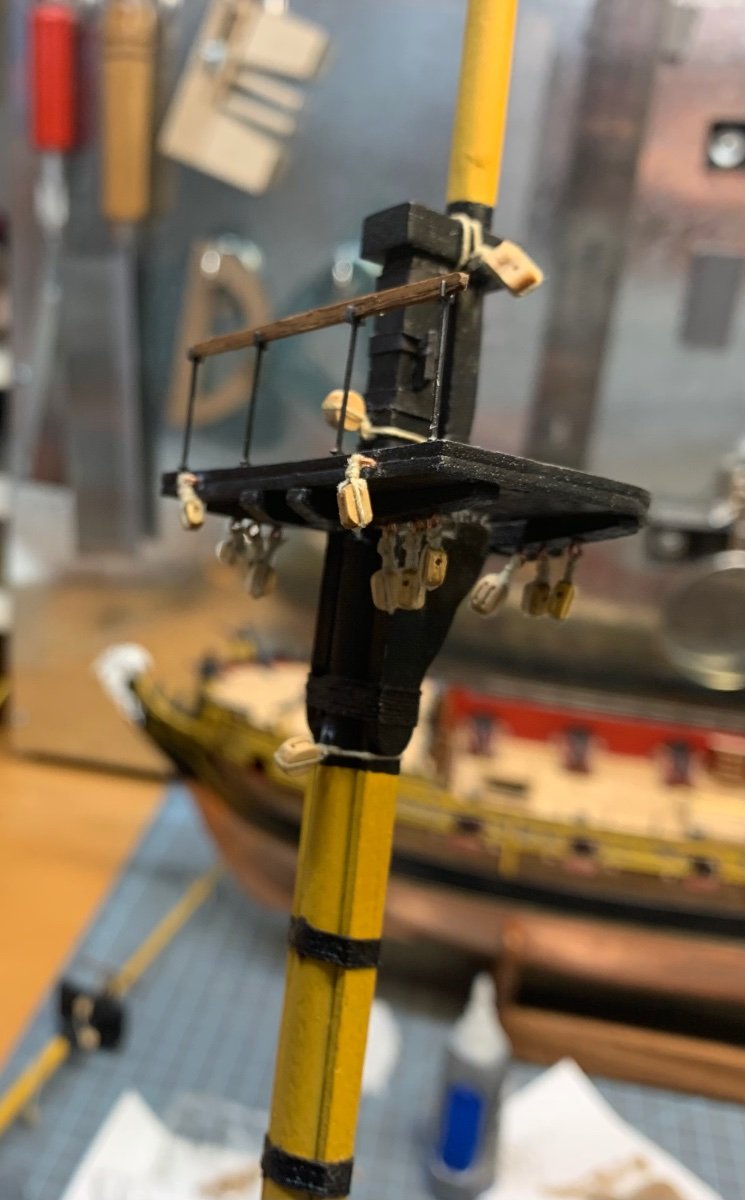
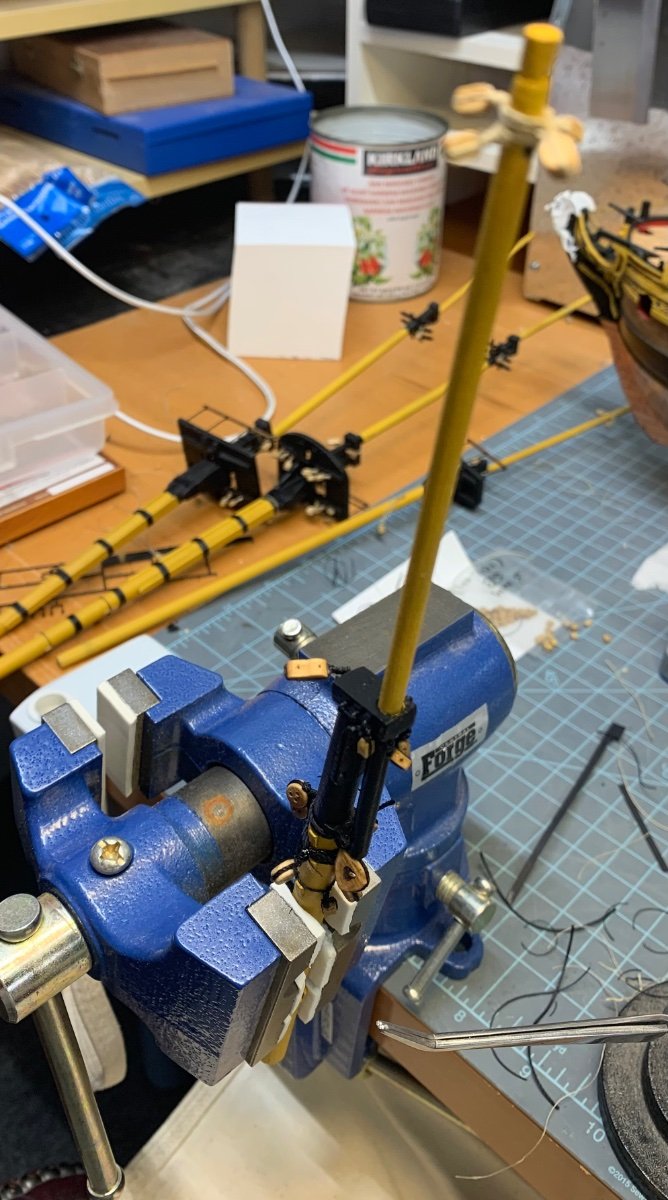
Moving along with the masts, yards, and bowsprit. Just finishing attaching the blocks to the masts and bowsprit. I believe the yardarms are next.


-
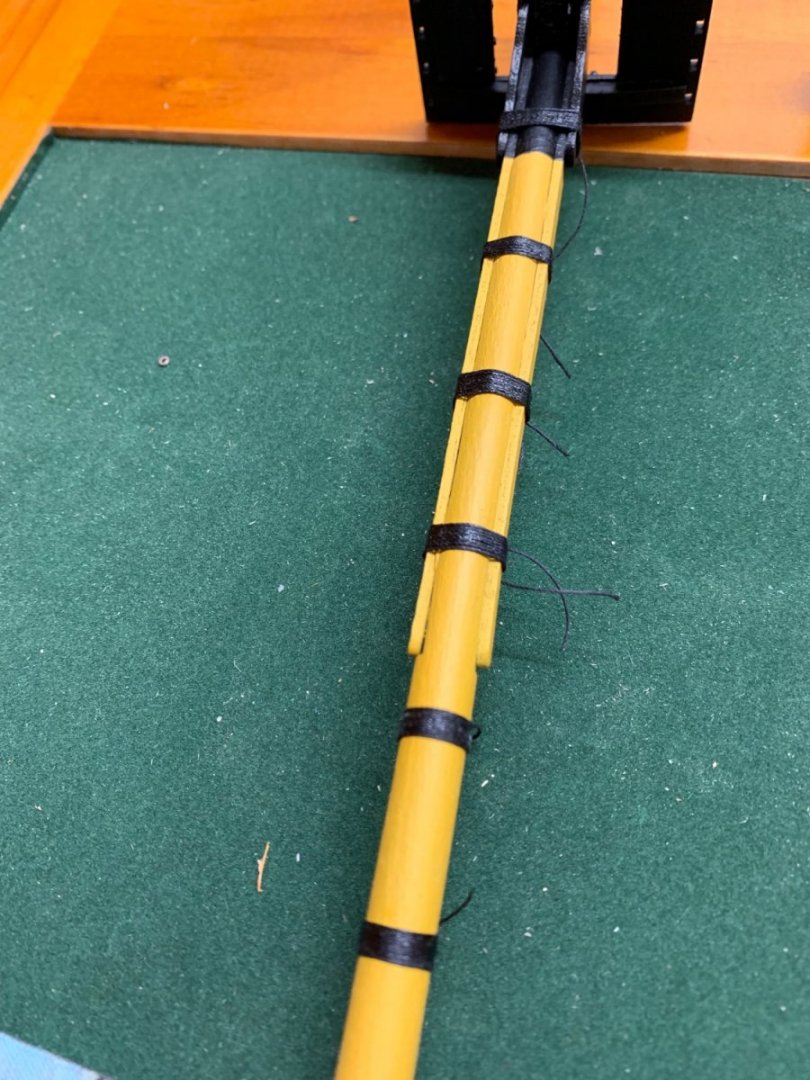
The wooldings are on the main and foremast. Once I got the technique right they went on easily. Nice and tight. I gave it a wash of dilute white glue, but after it dried, I decided to give it a wipe of CA glue. Now they’re REALLY on there. I’ll trim once everything cures.
-
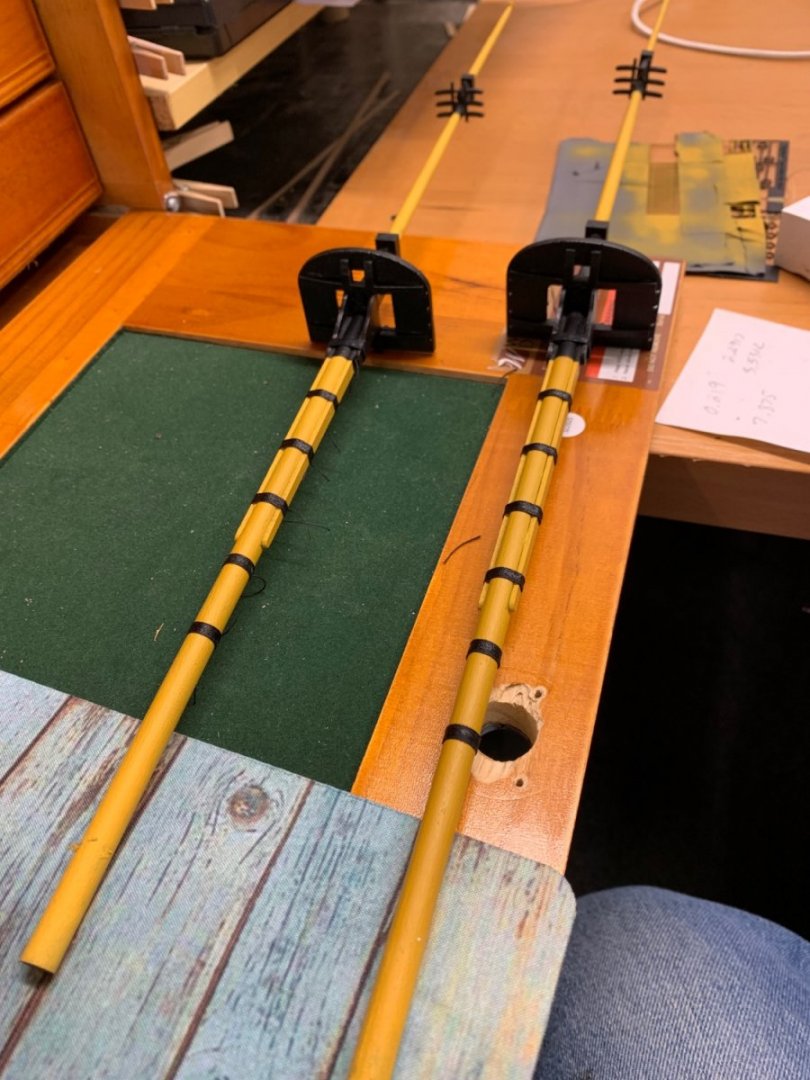
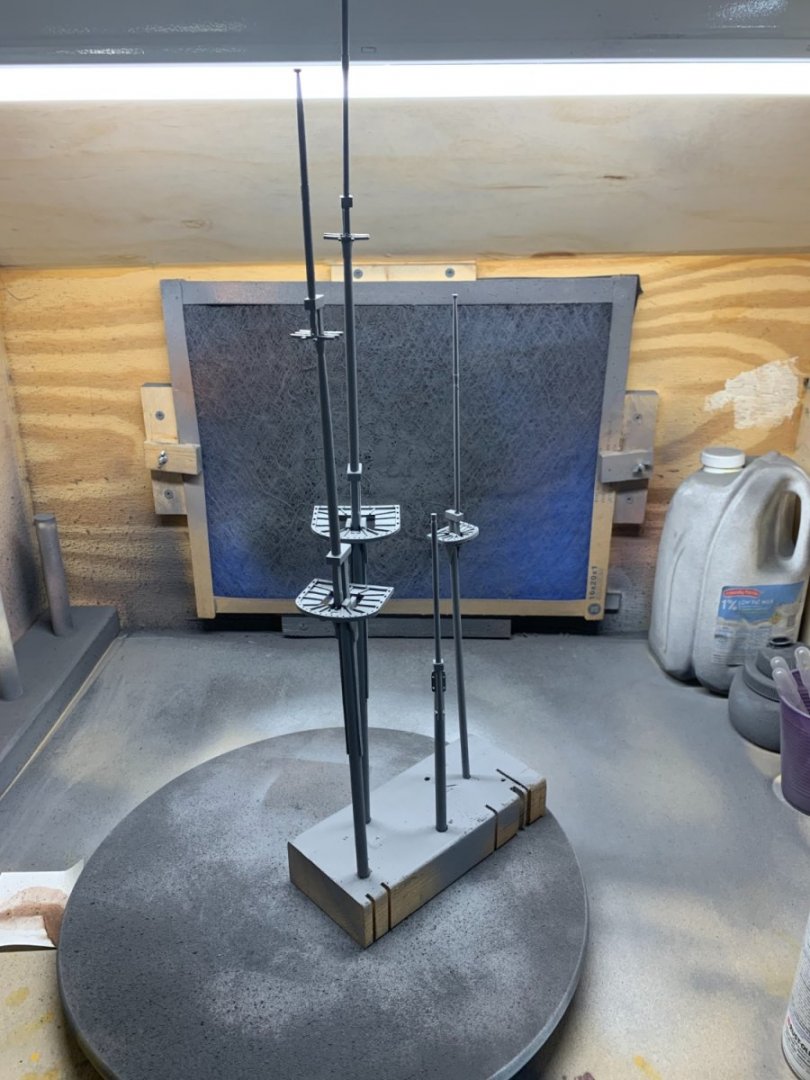
My staycation over Christmas turned into quarantine for an additional 10 days because a family member got the Ronas and my work said for me to keep away. Non-serious (thankfully), and she’s doing just fine, and it hasn’t spread, but it gave me ample extra time to construct the masts and bowsprit. This them primed in my paint booth. Next will be yardarms. I’m a fan of priming. It’s an extra step, but it helps the next layer really stick well rather than soak into the wood.
-
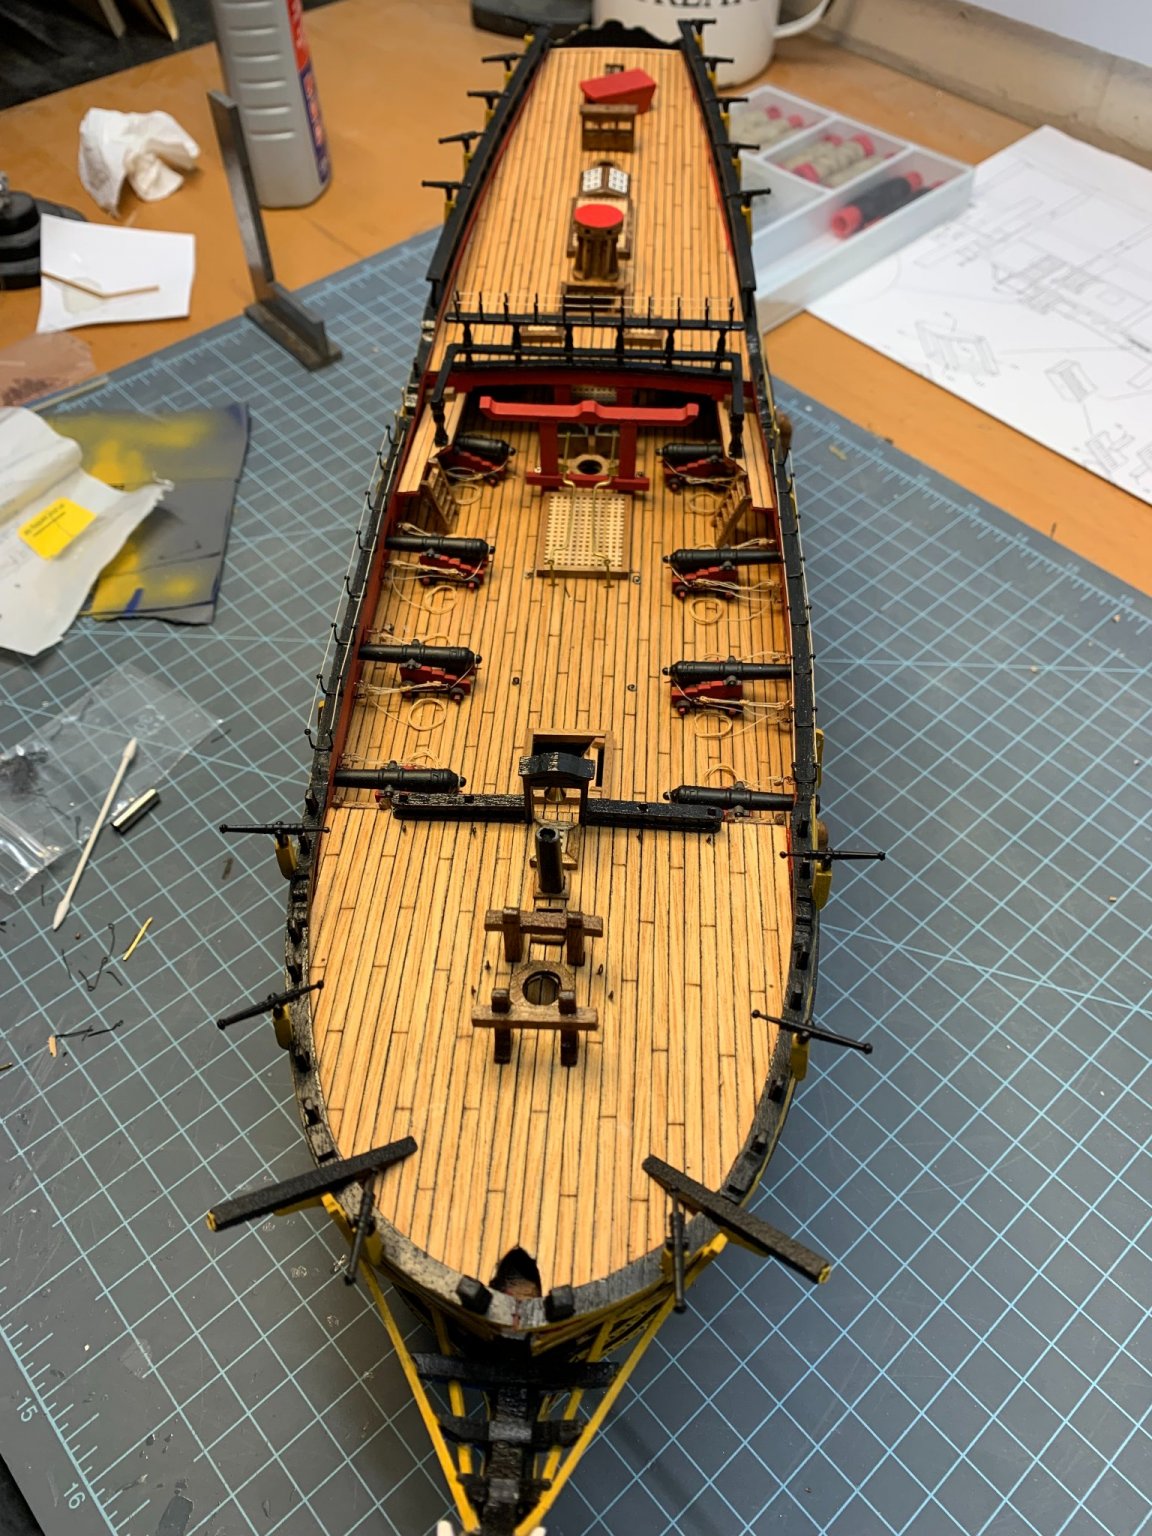
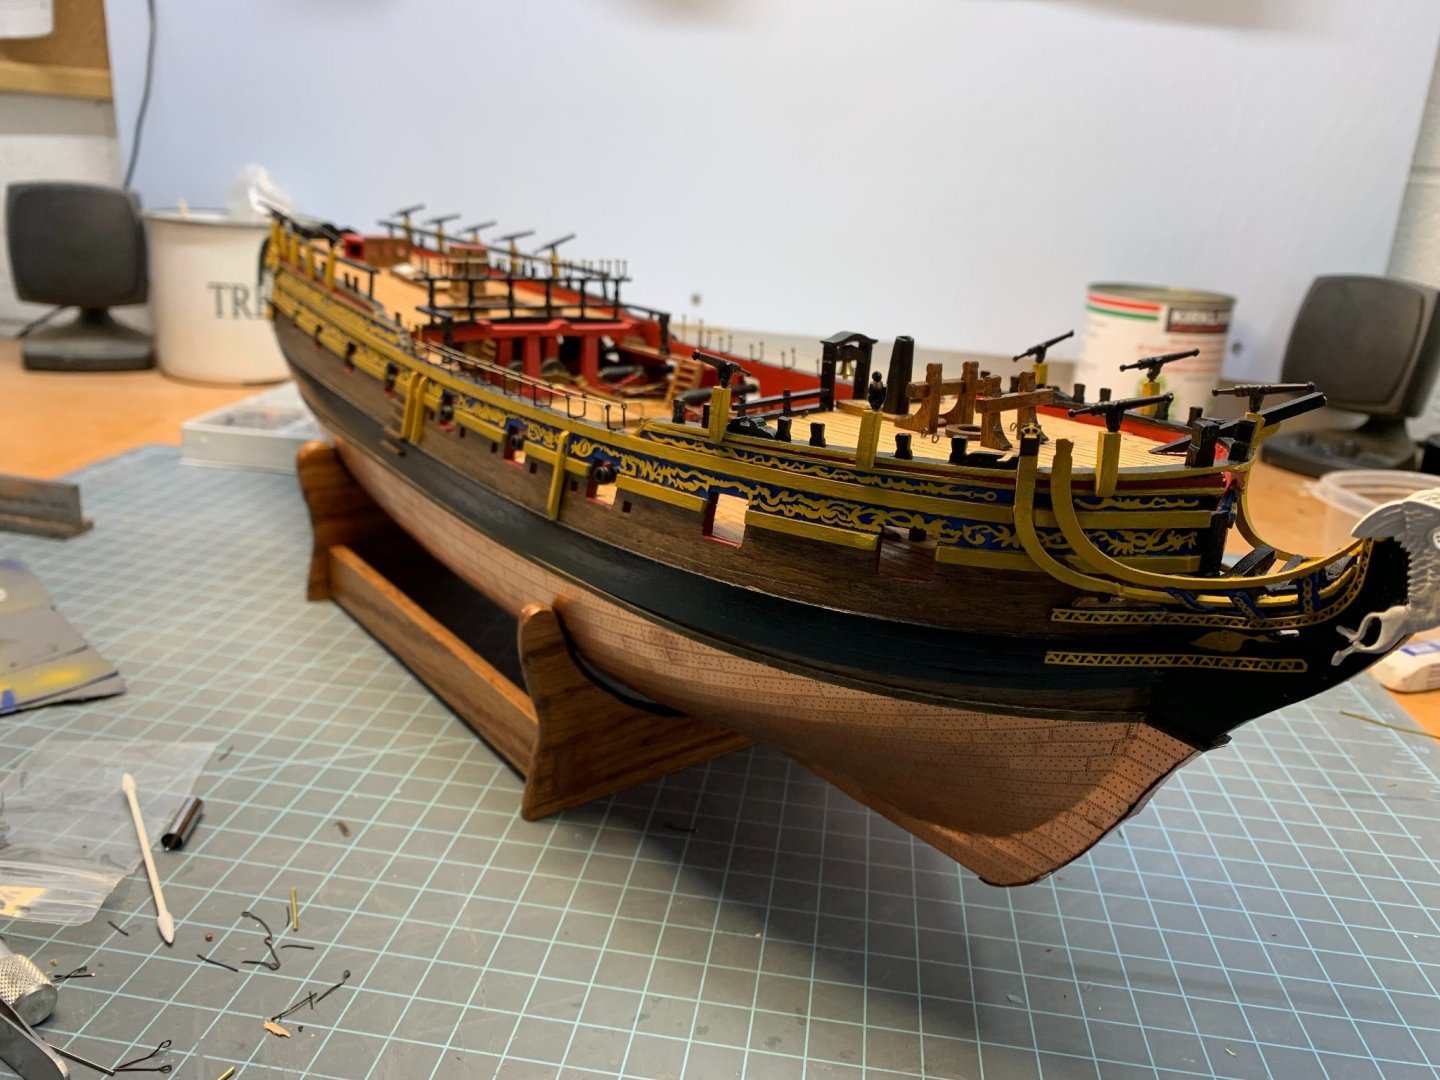
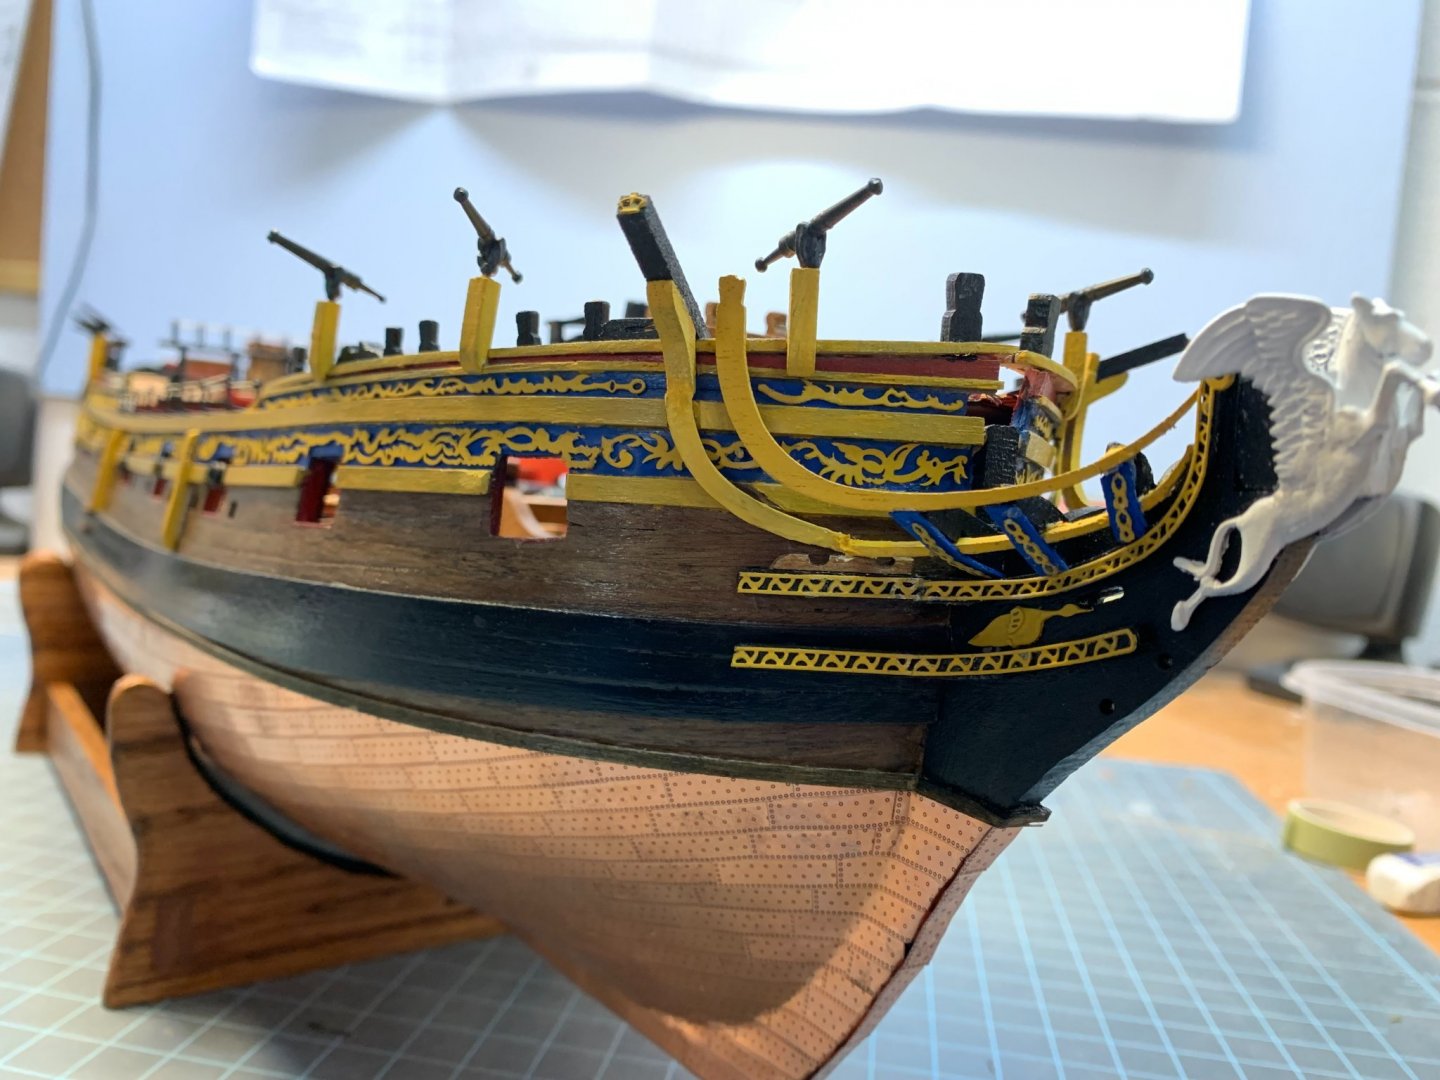
I'm preparing for my long staycation that will hopefully include some sufficient ship building time on the masts. So finishing up the odds and end of the deck, the swivel guns, the gingerbread and touching up some areas with paint. For the inhaul ringbolt behind the guns I had some very small dull metal washers that I decided to use. I really don't like using the brass rings the kit supplies - ditto with the eyelets. I'll do a search on this forum, but would anyone that happens to be reading this have a good jig design to make their own eyebolts? I made one using a block of wood and two small pins just the right distance apart. I bent a piece of annealed wire of near about the right gauge around them and made passable eyelets. But if there's a better way to do it, this is the place to ask.

-
For a good rivet effect you can use what's called a pounce wheel, which is used in the leather industry to put dimple designs into the leather. It looks like a cowboy spur. Micro-Mark sells them at difference scales to give the effect of rivets. Link: https://www.micromark.com/3-piece-Pounce-Wheel-Set The pain is keeping the line straight and not bending your copper. Other model sites sell the individual copper plates if you can find the right scale. What you did works for you, more power to you.
-
@Moonbug, where exactly does that little cupola go on the aft deck? Could you show it in place? I’m on the last bits of the deck railings on my Pegasus and if I like it I may copy off of your design.
- 323 replies
-
- 1
-

-
- Victory Models
- Pegasus
- (and 3 more)
-
@CoscoH, yeah, I have an old build log that is being shut down soon, so I wanted to load that content before it’s permanently deleted and I lose it all. To accent the plank seams I used the side of a Sharpie marker along all of the edges. Works like a charm.