HOLIDAY DONATION DRIVE - SUPPORT MSW - DO YOUR PART TO KEEP THIS GREAT FORUM GOING! (Only 13 donations so far - C'mon guys!)
×


Riotvan88
-
Posts
120 -
Joined
-
Last visited
Content Type
Profiles
Forums
Gallery
Events
Everything posted by Riotvan88
-
Thanks for the Info. I'm in the UK and unfortunately it is much more expensive. A 2x6 inch 8 foot long piece of wood here is around £35 and upwards. Roughly $40 US. That makes an expensive build.
-
I think wood must be more expensive in the UK. This model is about 1 meter long. Even at £30 a sheet your likely to only get one WL out of each sheet and need about 5 to 10 WLs depending on hull. Stil very expensive. I'm going to search for a local yard and ask around. As a bread and butter looks less tedious than building a structure and planking it.
-
Thanks for the help. This is certainly true. Quotes for 1 inch thick boards sized appropriately to cut full WL as single pieces are in excess of £1000 using English cedar or Douglas fir. I had decided to give the bread and butter method a go but not at prices like that.
-
Looking online it appears impossible to buy large boards of basswood in the UK that would be wide and long enough to cut out the WLs..... Also pricing this up with something like pine it's going to cost 100s.. Anyone in UK know a supplier?
-
After some consideration I'm going to attempt a bread and butter build. I'm going to create the WLs using tracing paper and Mark them off over the original plans. I plan to use 1inch thick basswood. I'll see how it goes. Whilst not in a rush it looks to be a quicker build method than planking an internal support structure.
-
I do appreciate the advice, just out of interest how thick would the lifts be for a typical bread and butter build? Wouldn't it require a huge amount of shaping and sanding to go from a blocky form to the final smooth hull form unless one made many thin lifts?
-
Thanks for the advice. I do have some experience and not a total beginner. I've built a Billings smit Rotterdam. Along with a couple of caldercaft models and a scratch built albeit basic model I built some years ago. For the Rotterdam I replaced most of the fittings with ones I made. So creating the detail parts is no problem. What I'm mostly asking here is what wood is best for the moulds/bulkhead. I've no idea what is used in kits but they didn't involve doubles with joints. Which is why I'm asking simply because whatever wood the kits use seemingly allows one to eliminate that process. I don't want to incur unessesary expense on fine decorative wood and don't want something that isn't up to the task. So hopfully that explains why I'm asking these questions. I've not been very clear but the plans I have are complete, what I meant by more work was that to do a bread and butter method I'd have to measure each cross section at various heights and record that data to create the waterlines either in drawing form or a list of points to work from. Otherwise I can just cut directly from my plans as is. The reason I don't want to buy the kit is because it is 1/100 and I want this to be 1/75 and I want to scratch build it.
-
Would Birch modelling ply be any good? Is that the high quality type ply? https://www.hobbies.co.uk/quality-birch-plywood Otherwise it'll be 3mm mahogany sheets from the model shop and done Hahn style. I'm just cautious of buying expensive finishing/decorative wood unnecessarily for something that's going to be used for hidden internal structure
-
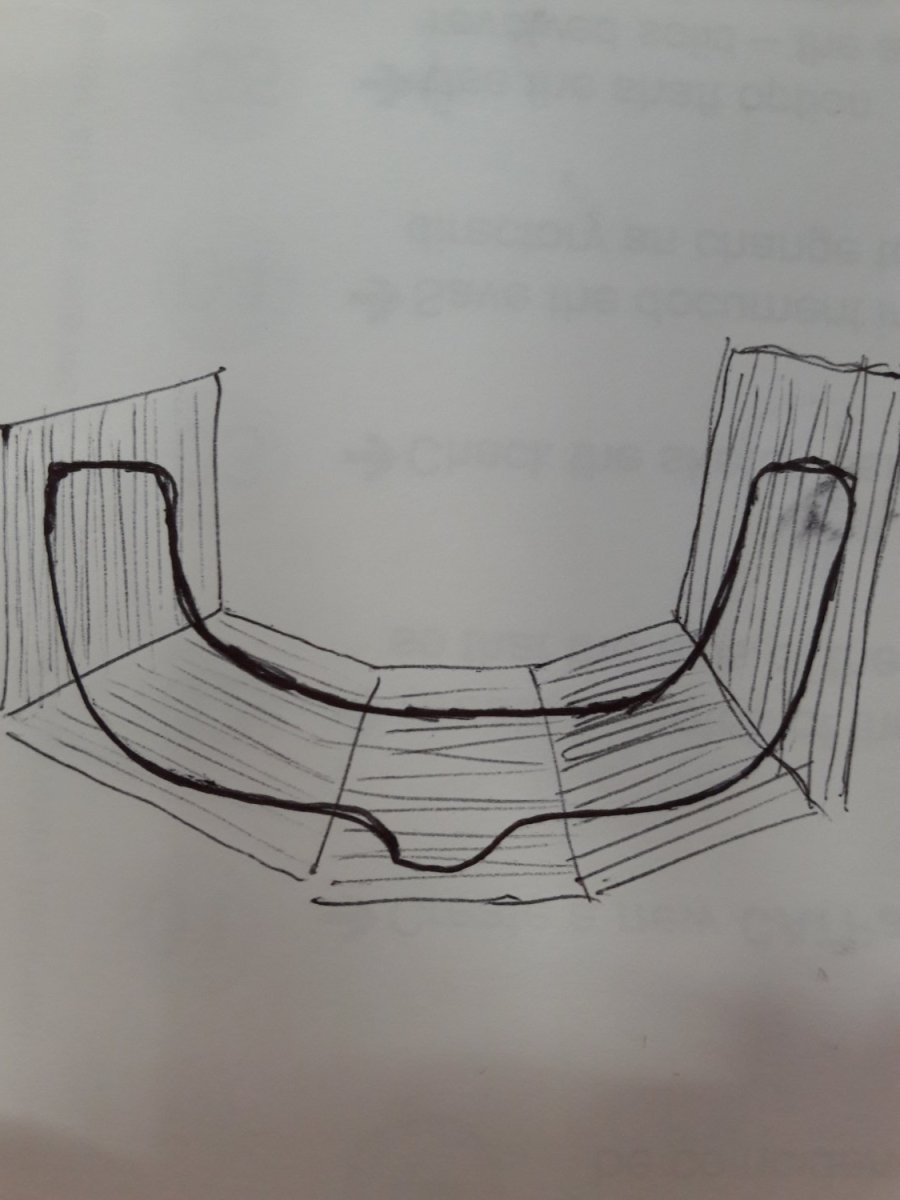
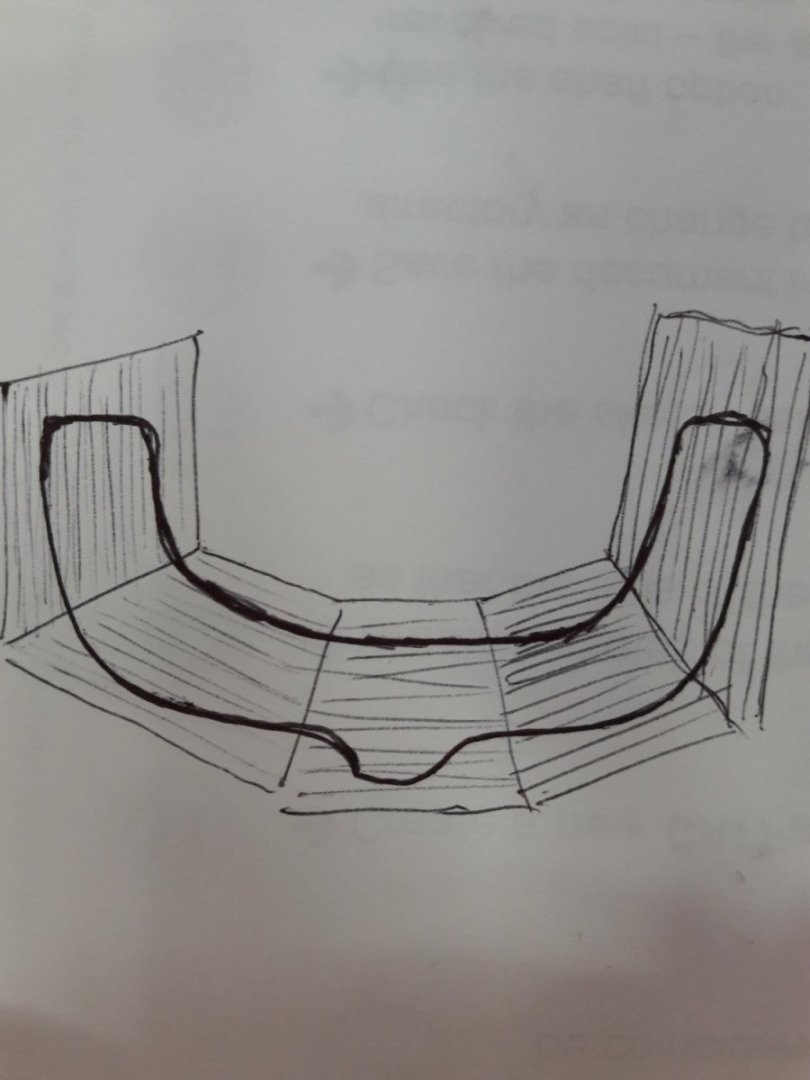
Ok thanks again. My understanding is that I need to create a frame from pieces arranged such that the grain does not run out at the outside edges where the planks will attach. Something like the image attached? And done in pairs with the joints overlapping.
-
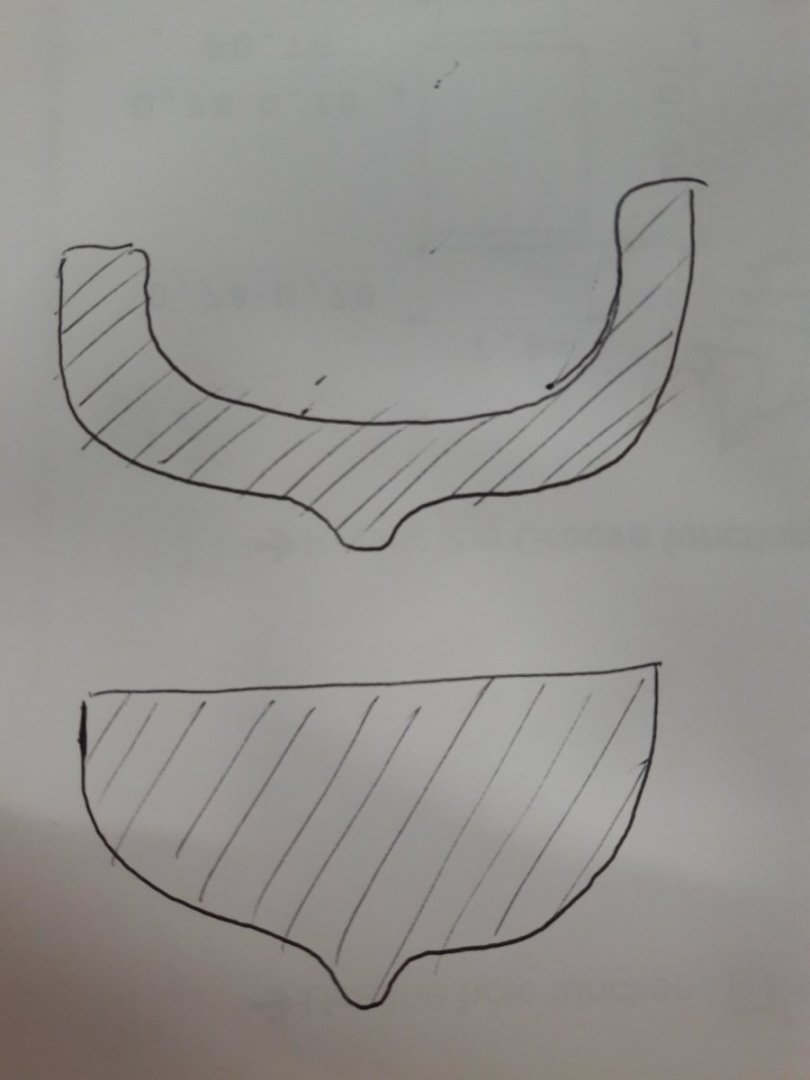
Isn't a mould a solid cross section like the bottom image whilst a frame is a curved structural member as seen in the top image? That was my understanding. Which if correct my model will indeed be POF.
-
Thanks again. Is there any wood type that would allow the whole frame to be cut without doing them in pieces? If I remember correctly the kits I've done were cut in single pieces?
-
Ok thanks. Would 6mm mahogany sheets be any good for frames? I'm going to use POF simply because that's what I know and the plans are done in that format. It's more work to derive waterlines from my plans. The hull will be finished inside with resin and outside with resin & cloth so I've no concerns it won't be strong enough.
-
I plan to built POF as that's what the plans I have done as and that's how I've built all previous models. Am I correct in thinking the method you are discussing creates a hull from several thick layers of wood, each one a cross section through the vertical plane? The only data I have is in my plans is decks and frames.
-
I'm in the UK. Have access to a scroll saw and plan to use that cut the frames. The model is planned to be RC if that makes a difference. As others have suggested I'm looking for quality but don't need decorative planking type wood as the ship is steel hull.
-
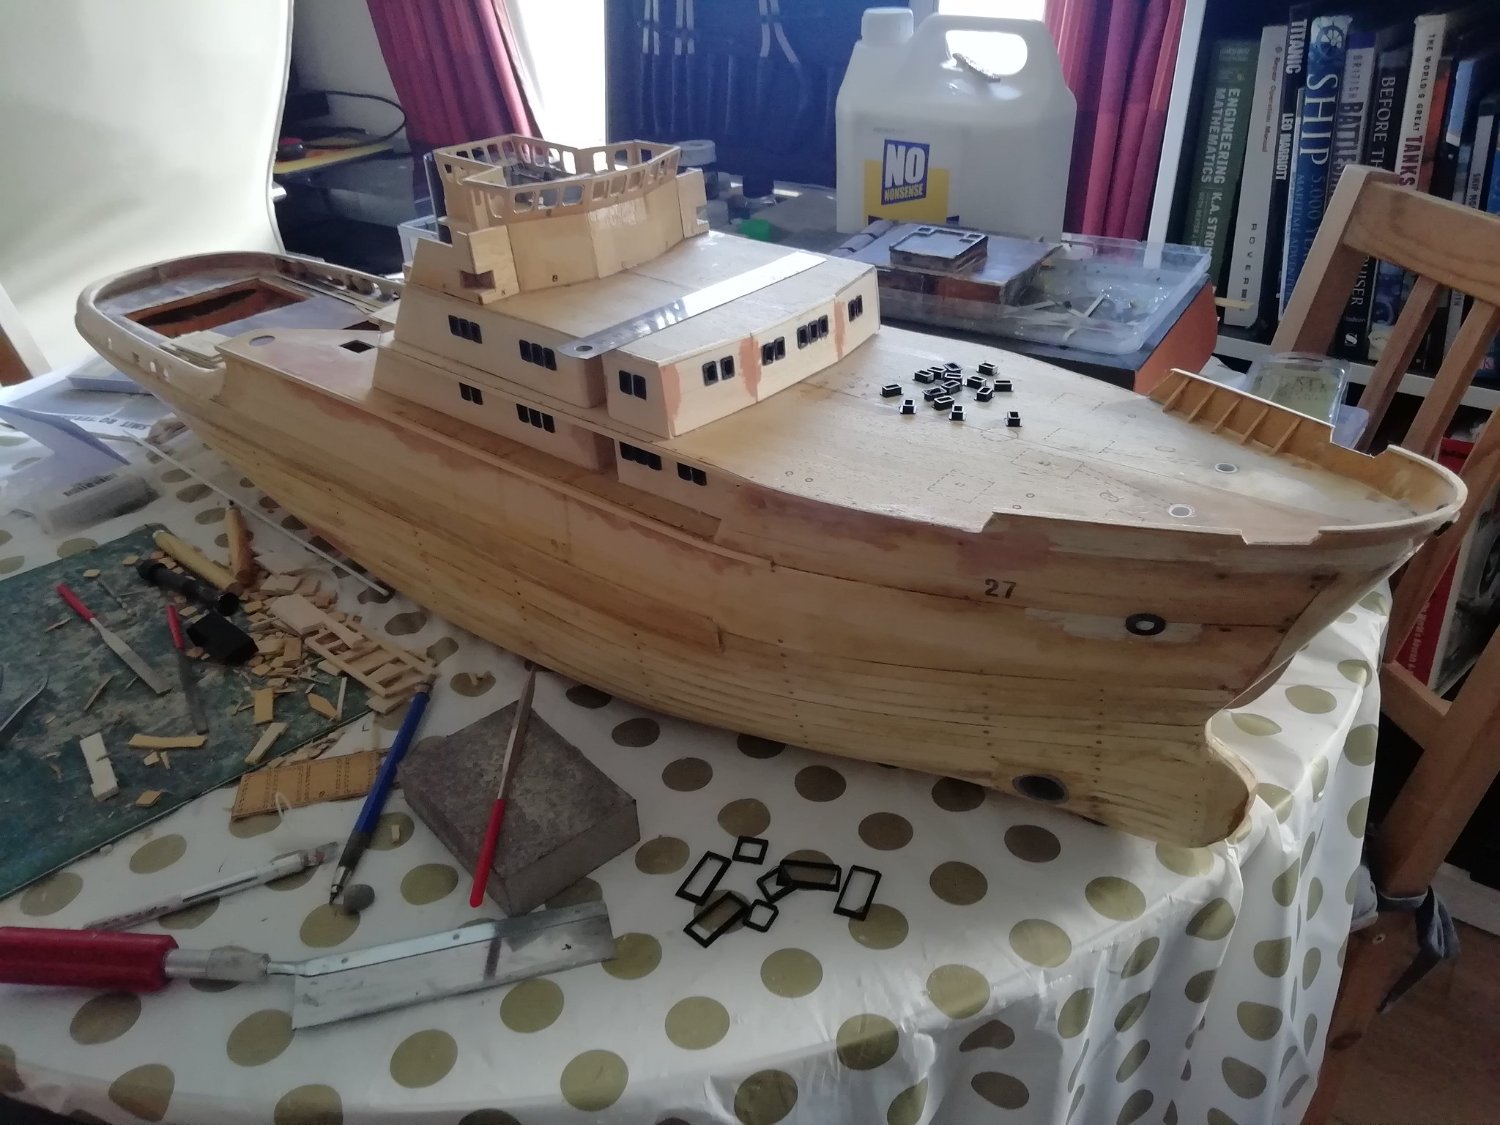
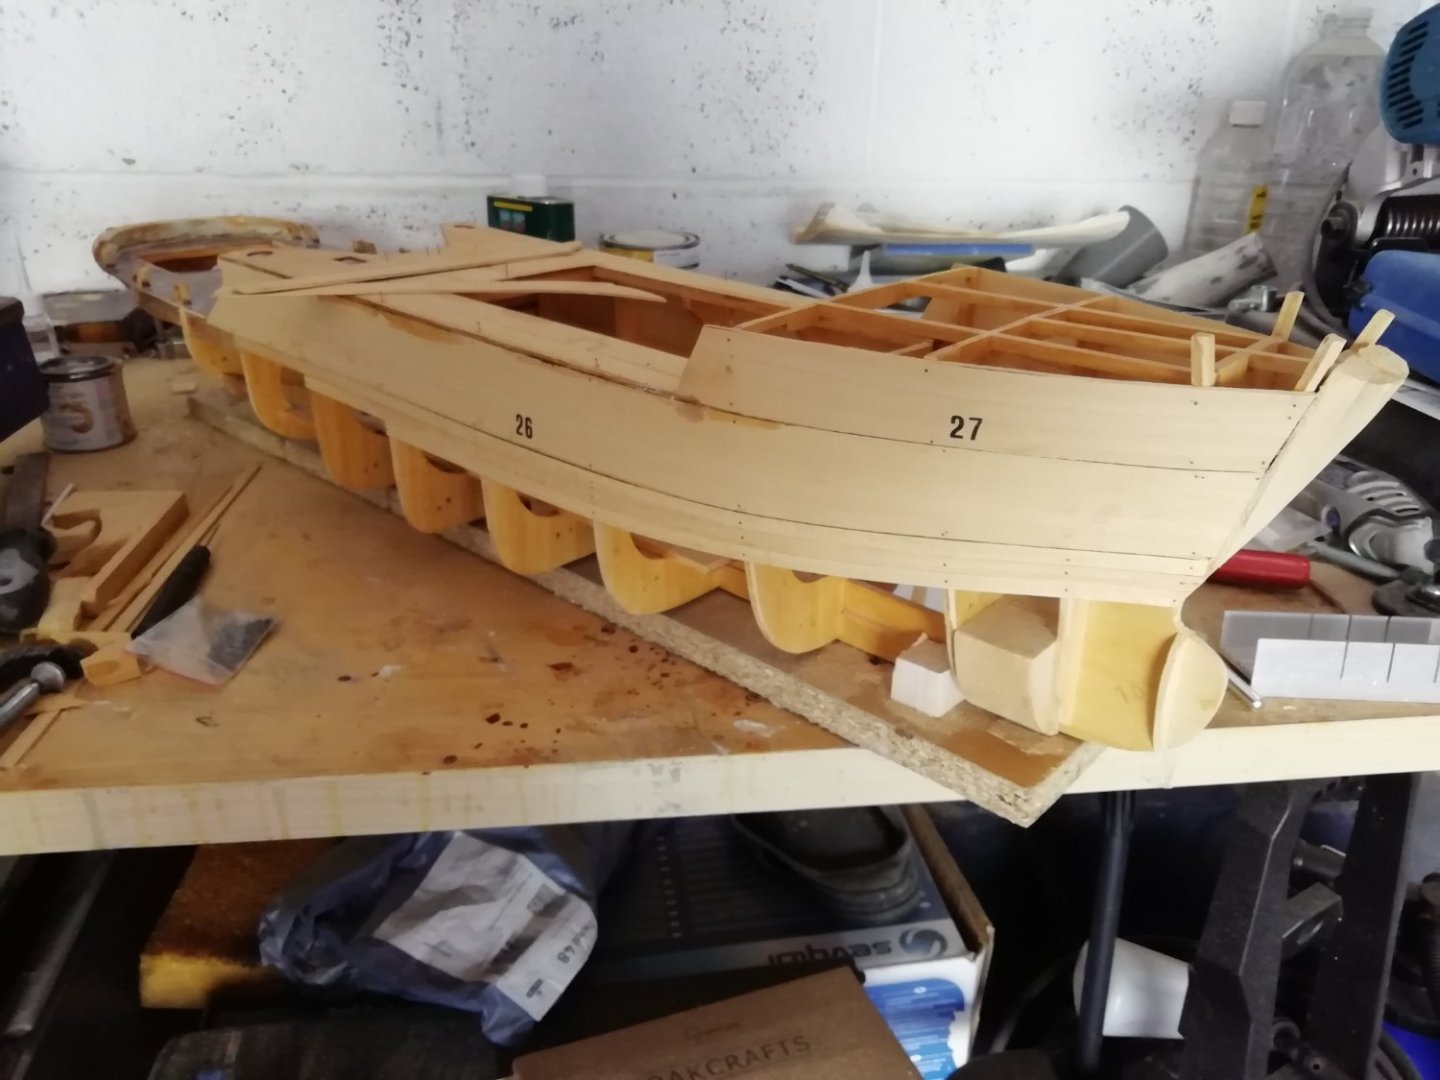
Hi guys I'm doing my first scratch build of Zwarte zee tug. I'm guessing the frames should be 5mm plywood? I've noticed many different woods available on Cornwall model boats site. Is ply sufficient for frame or should they be hardwood? Also for planking what should be used considering the planking won't be visable like a period ship. Cheap strip wood or walnut/cherry? I'm guessing the expensive strip wood would be used for a period ship where the planks are decorative? Cheers Guys
-
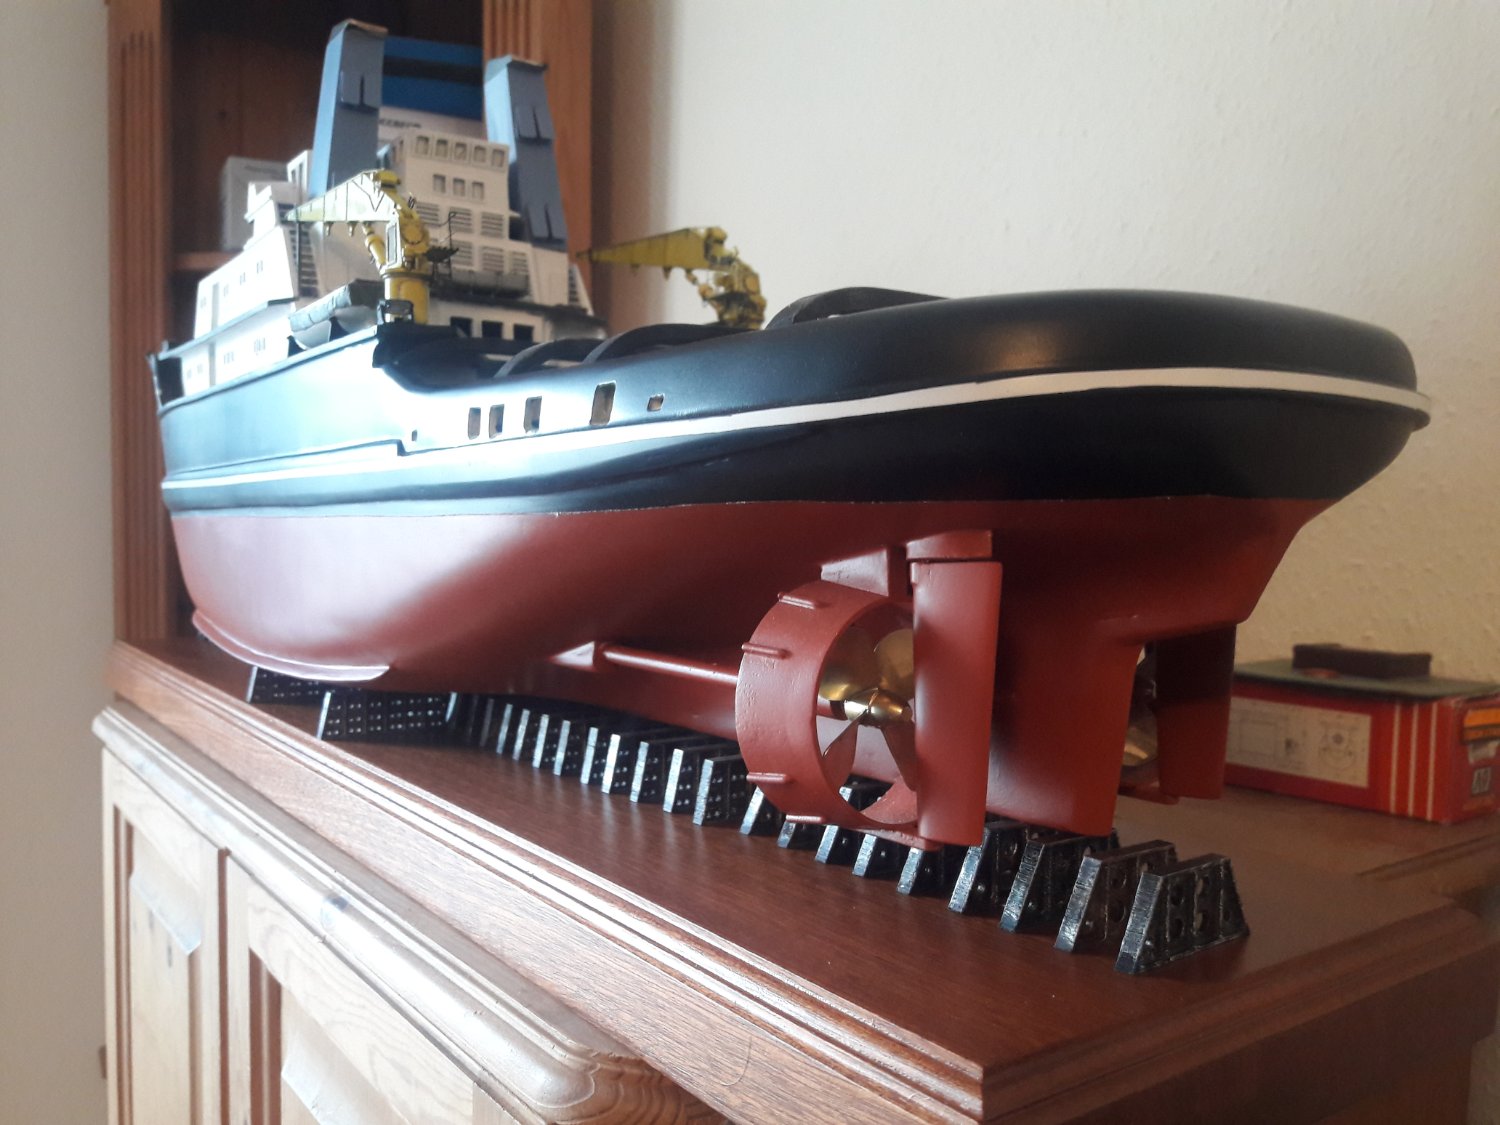
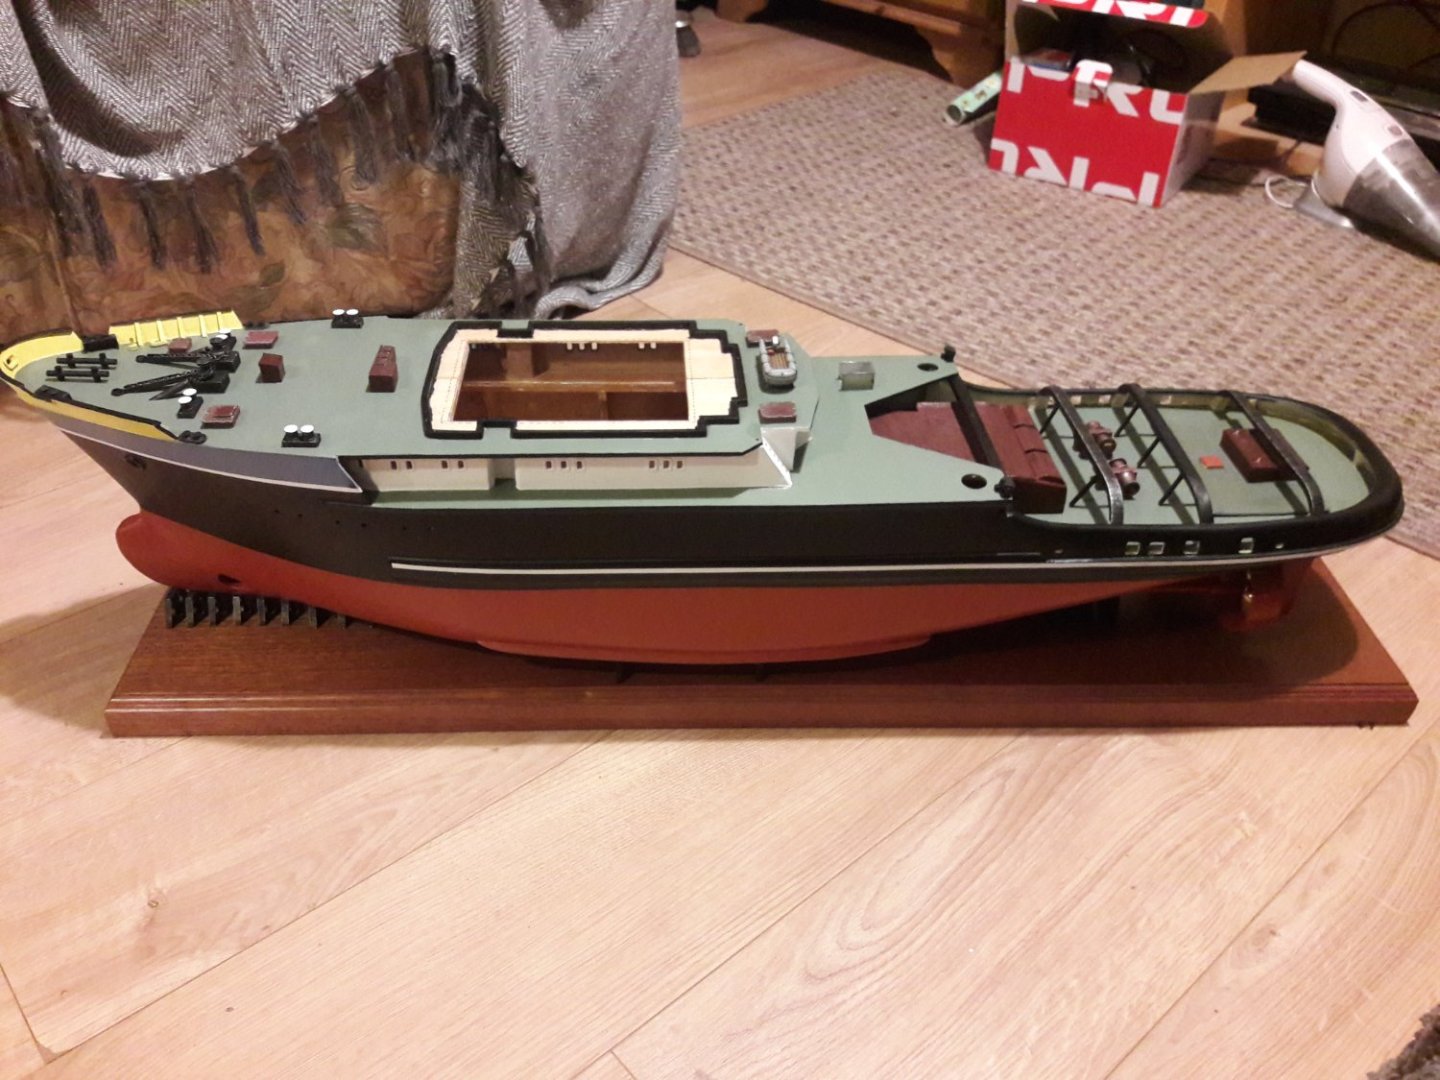
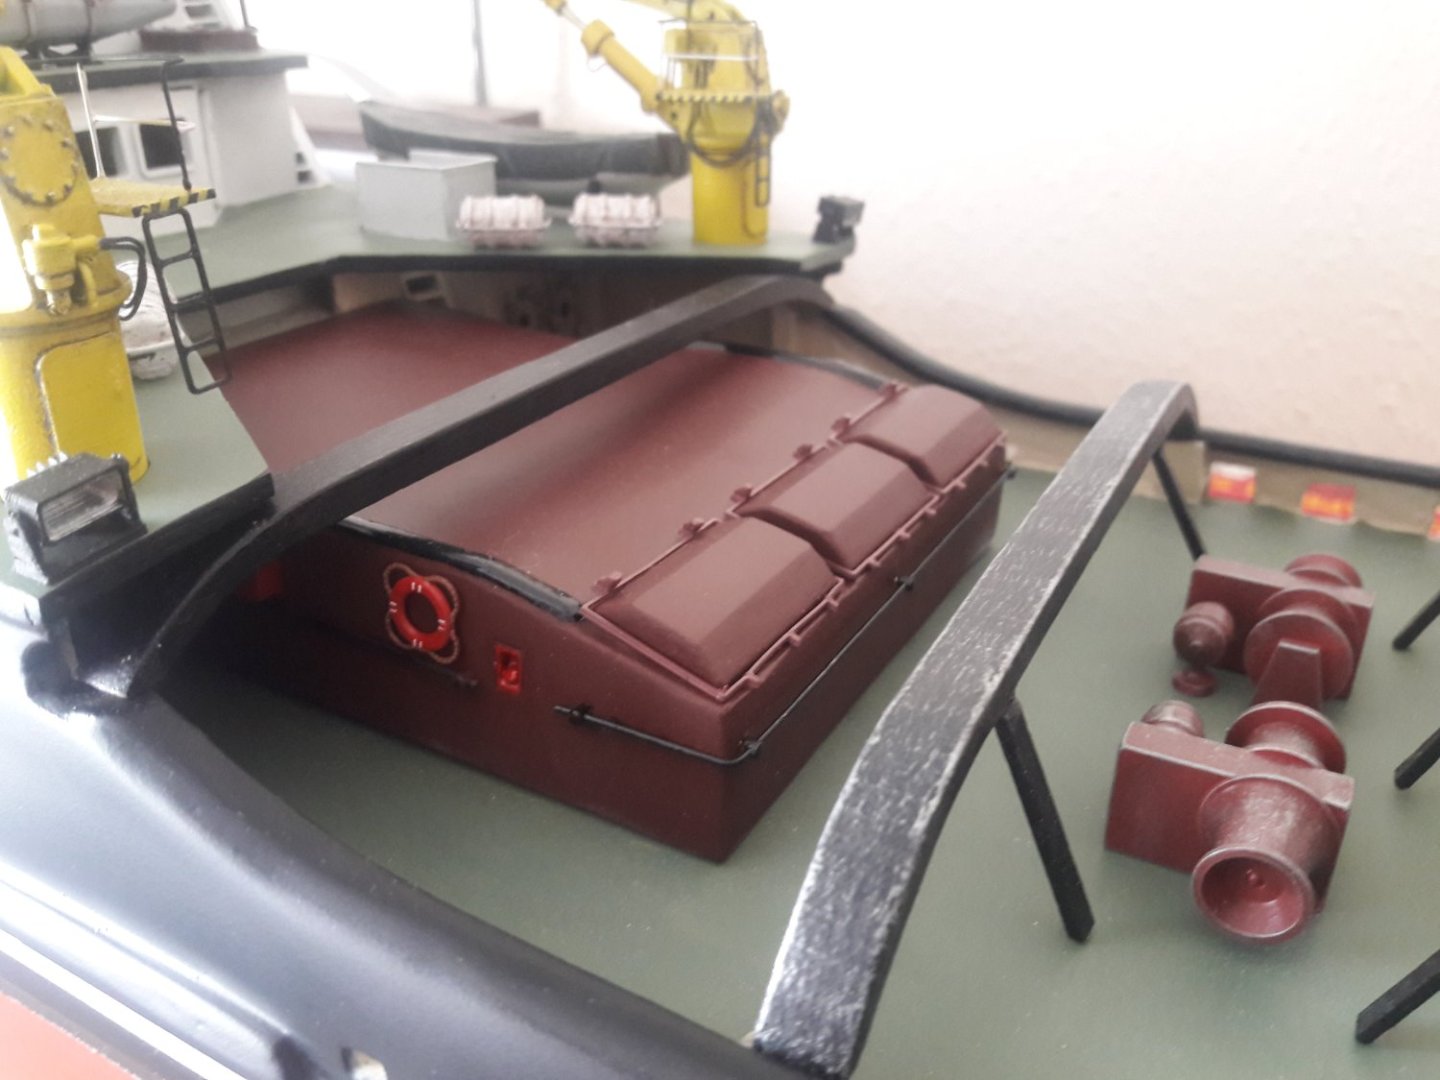
Dry dock Keel blocks

-
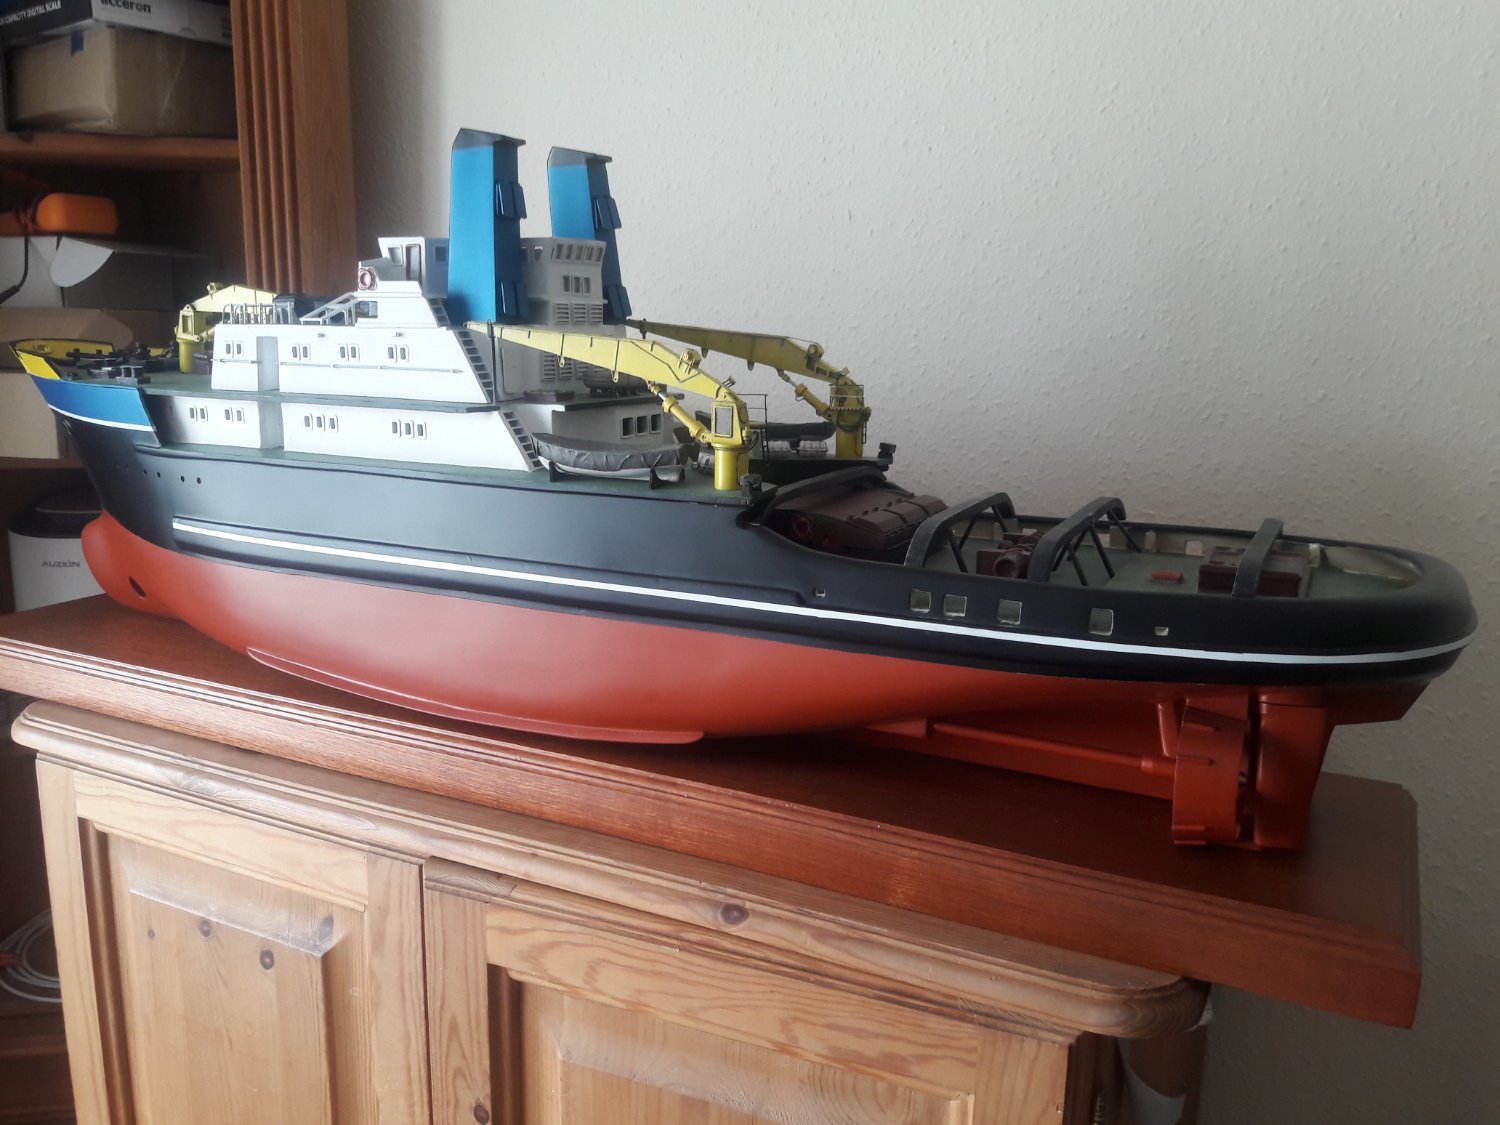
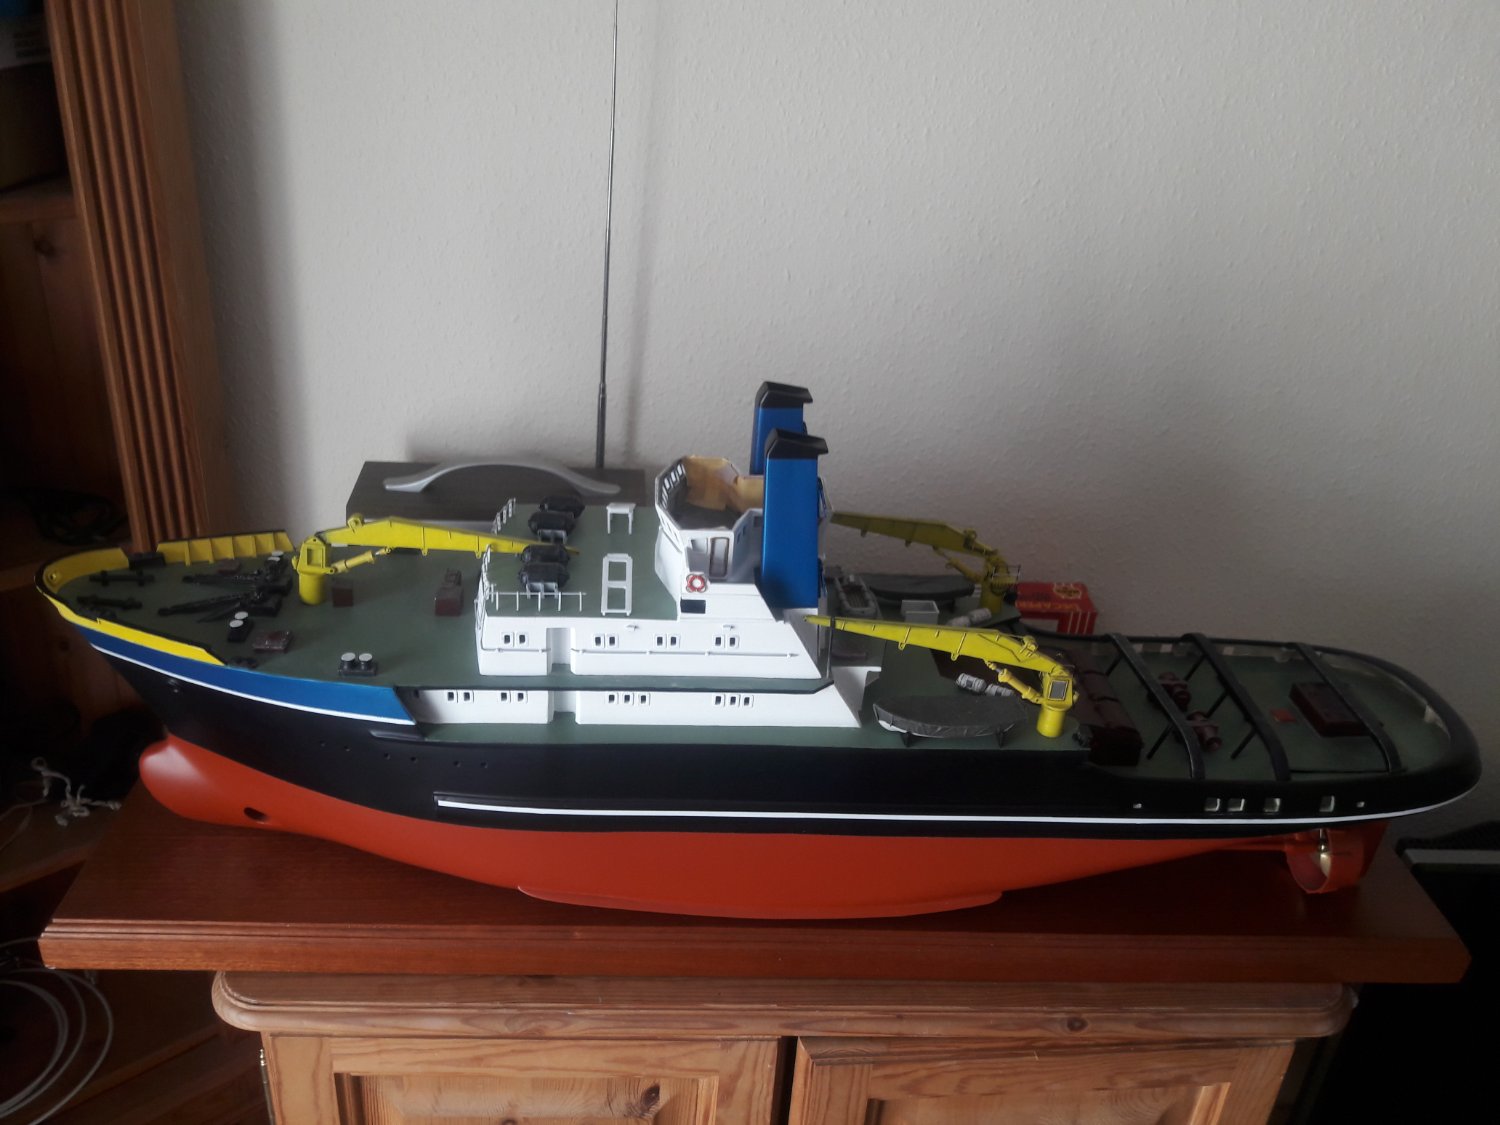
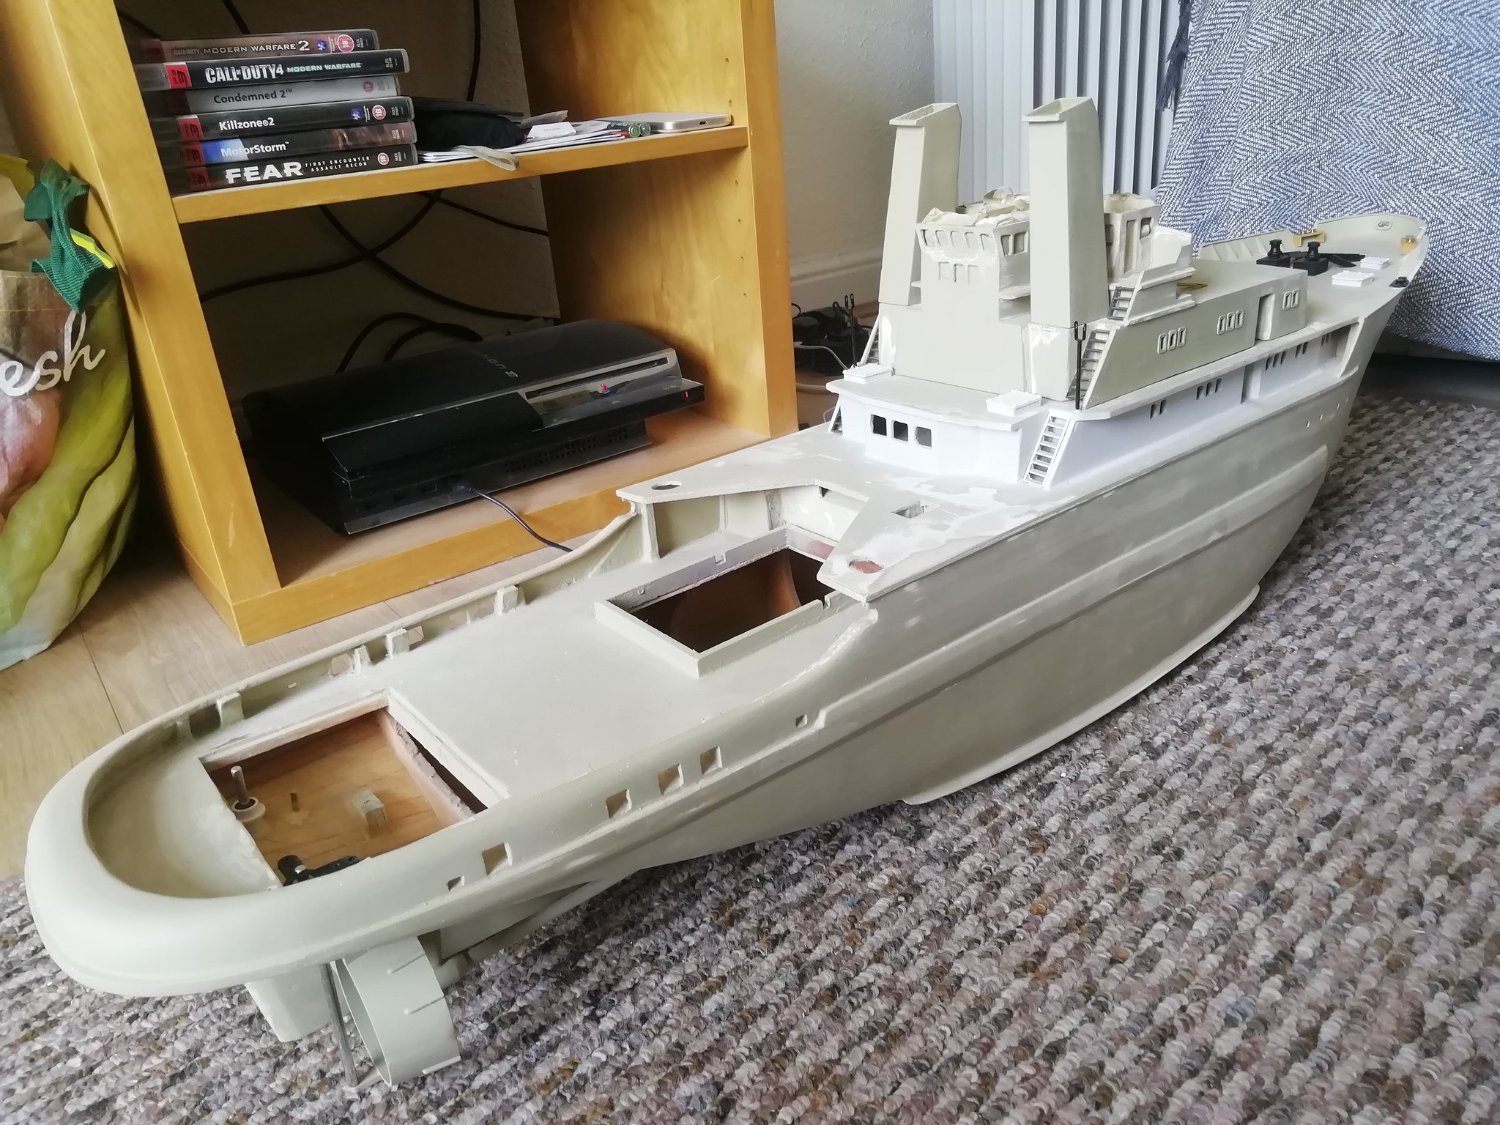
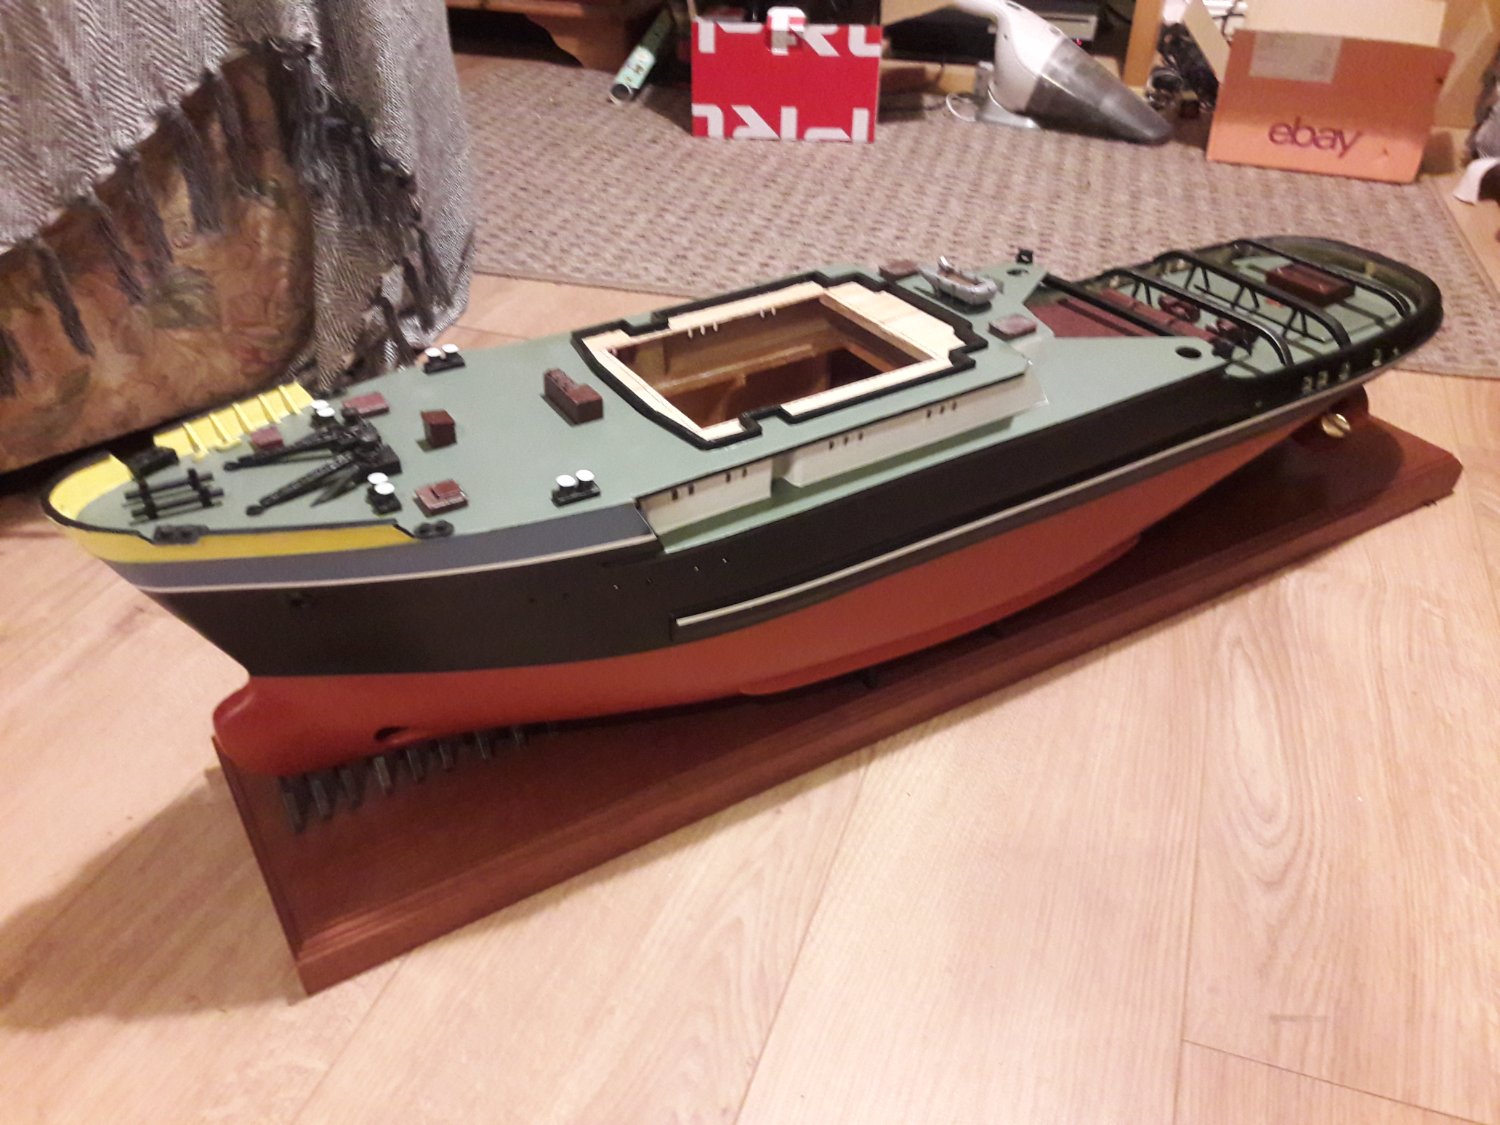
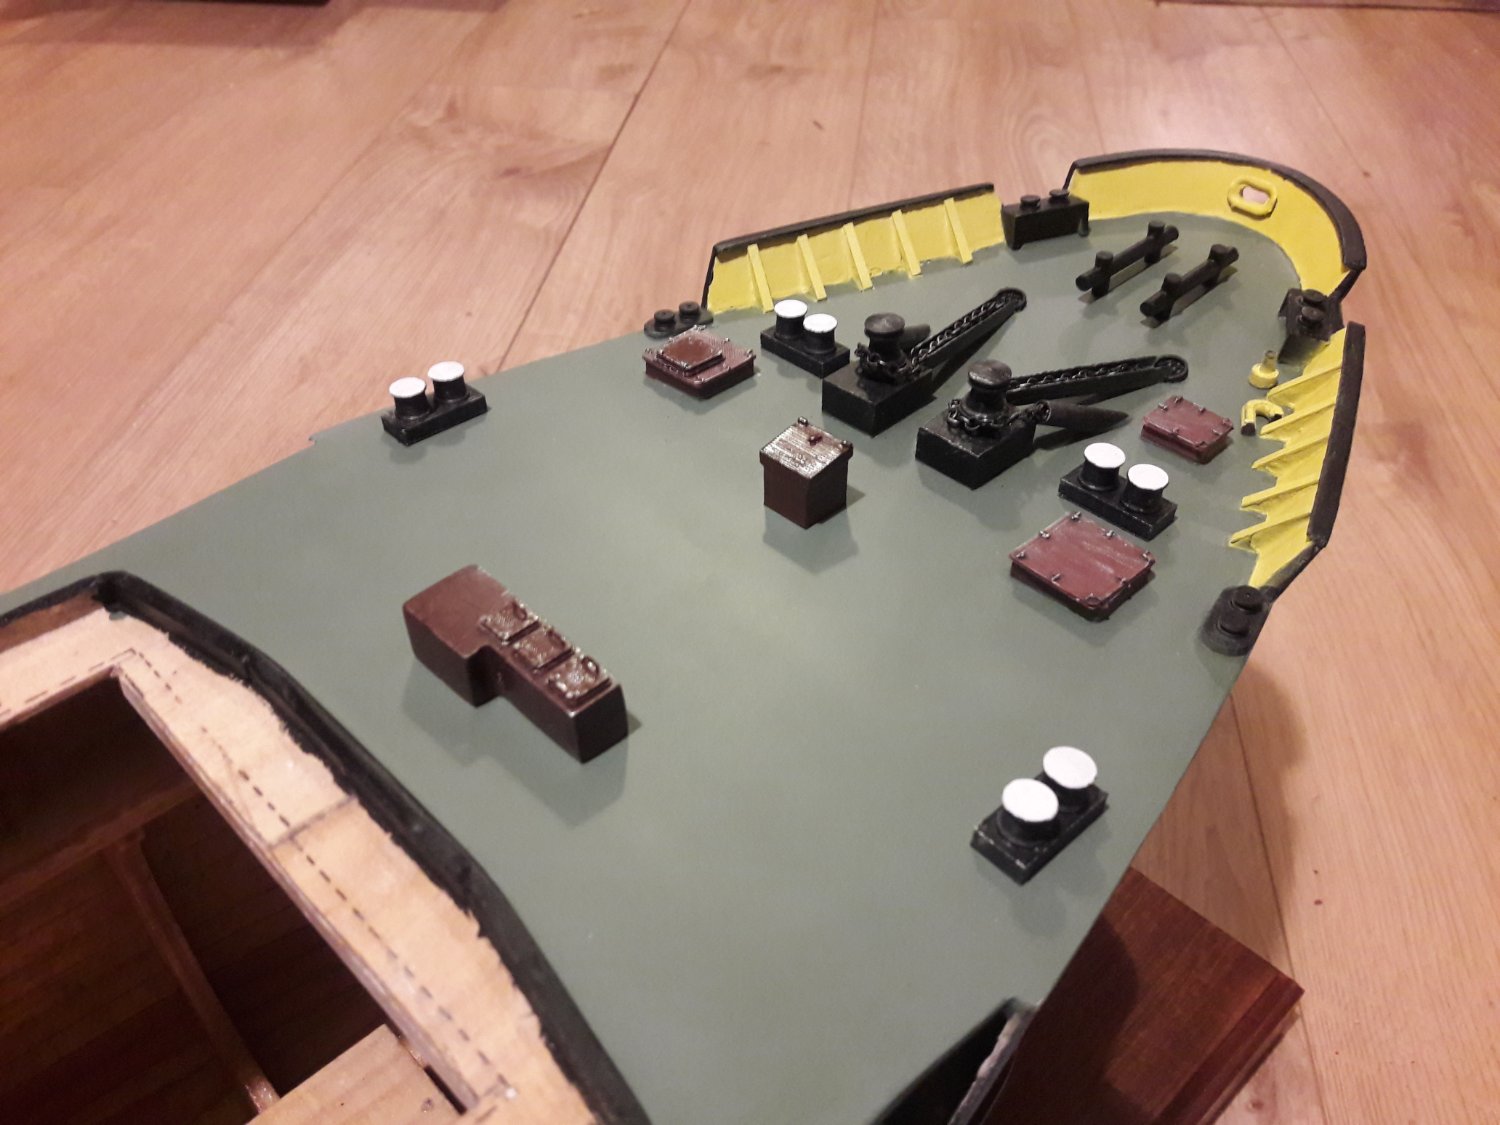
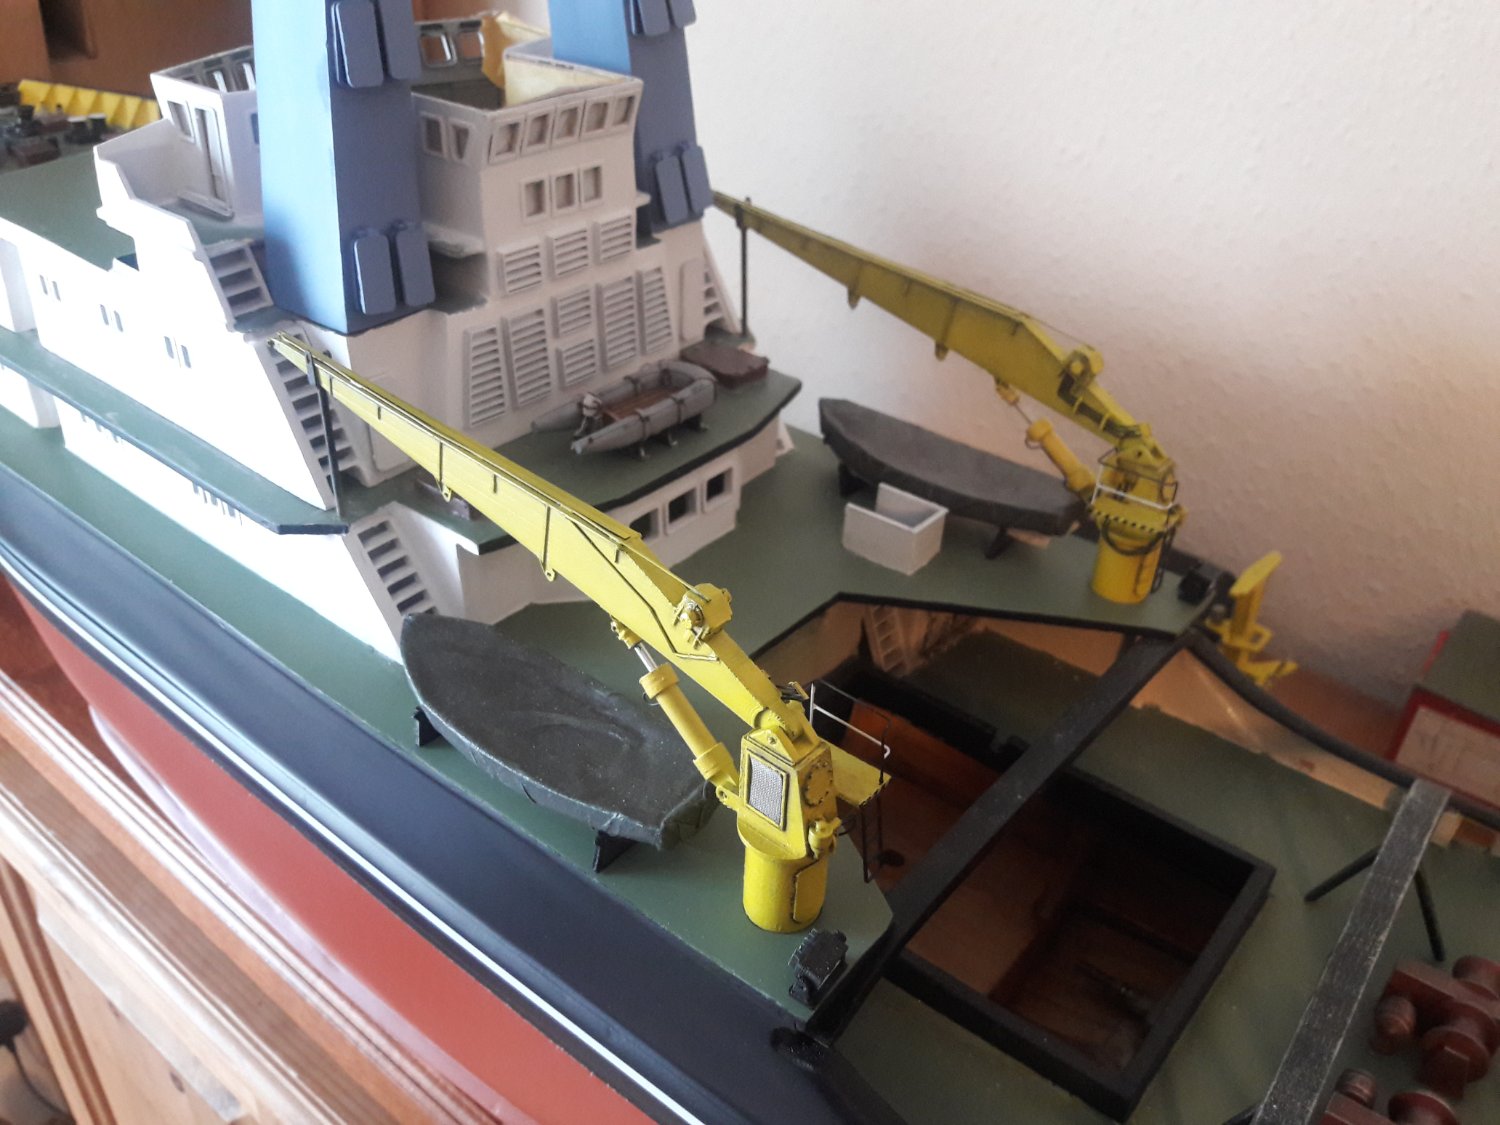
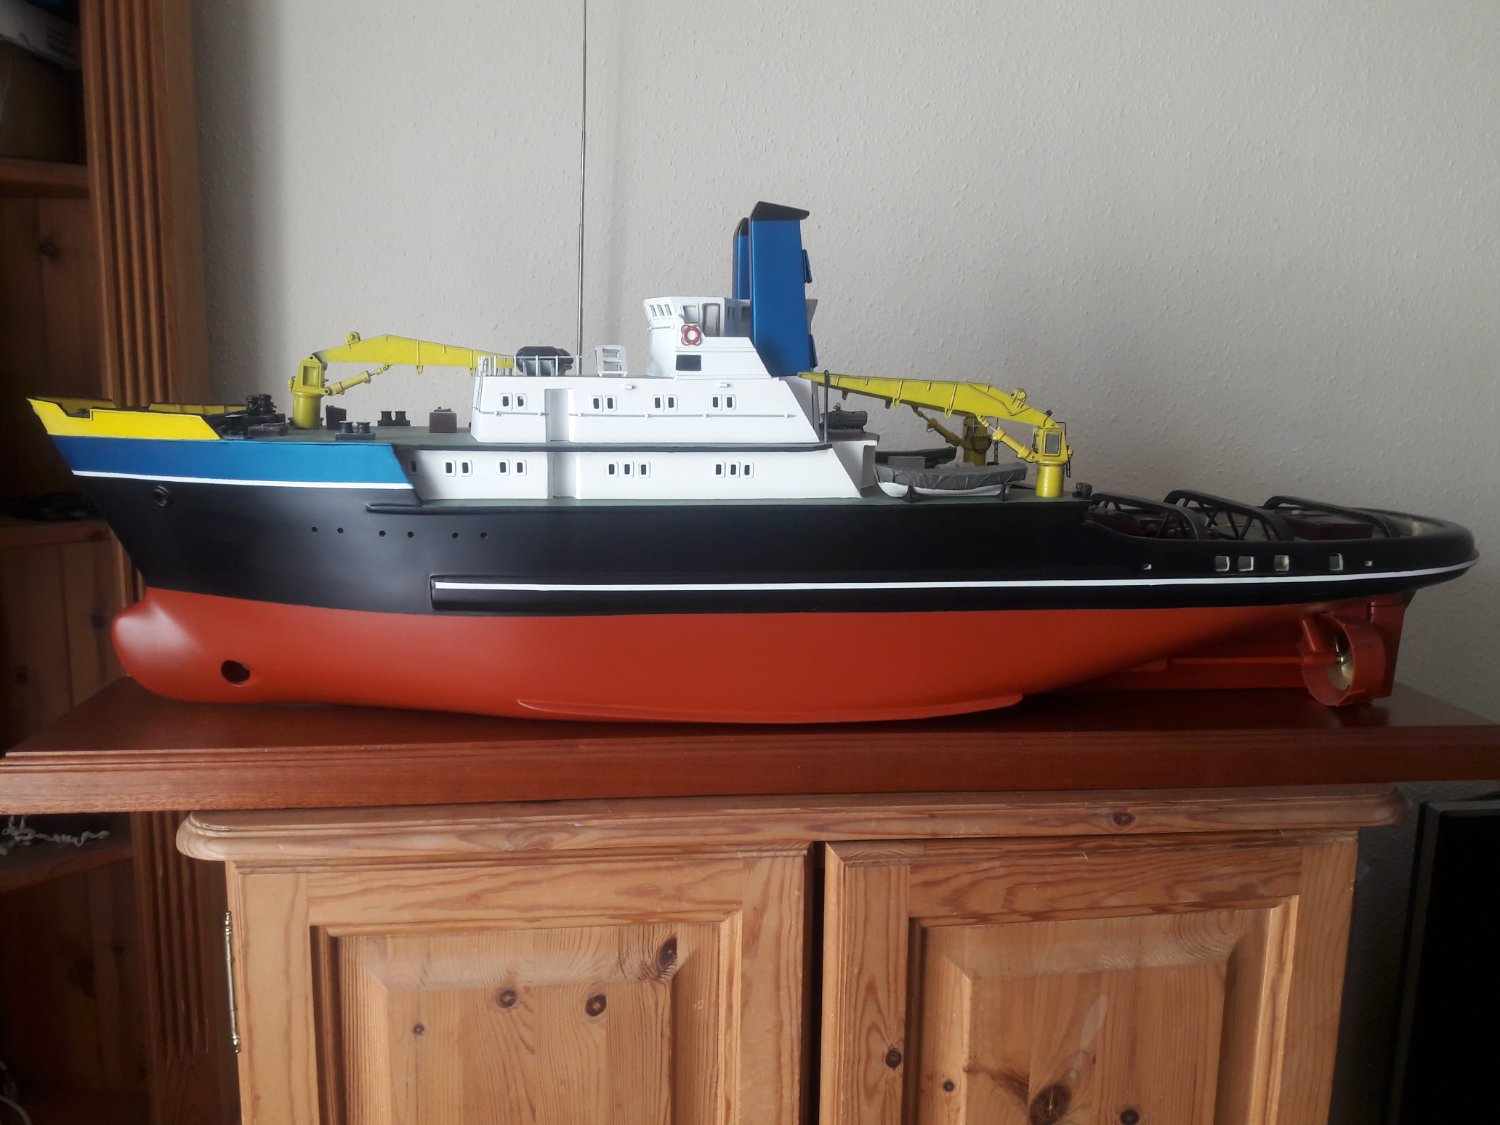
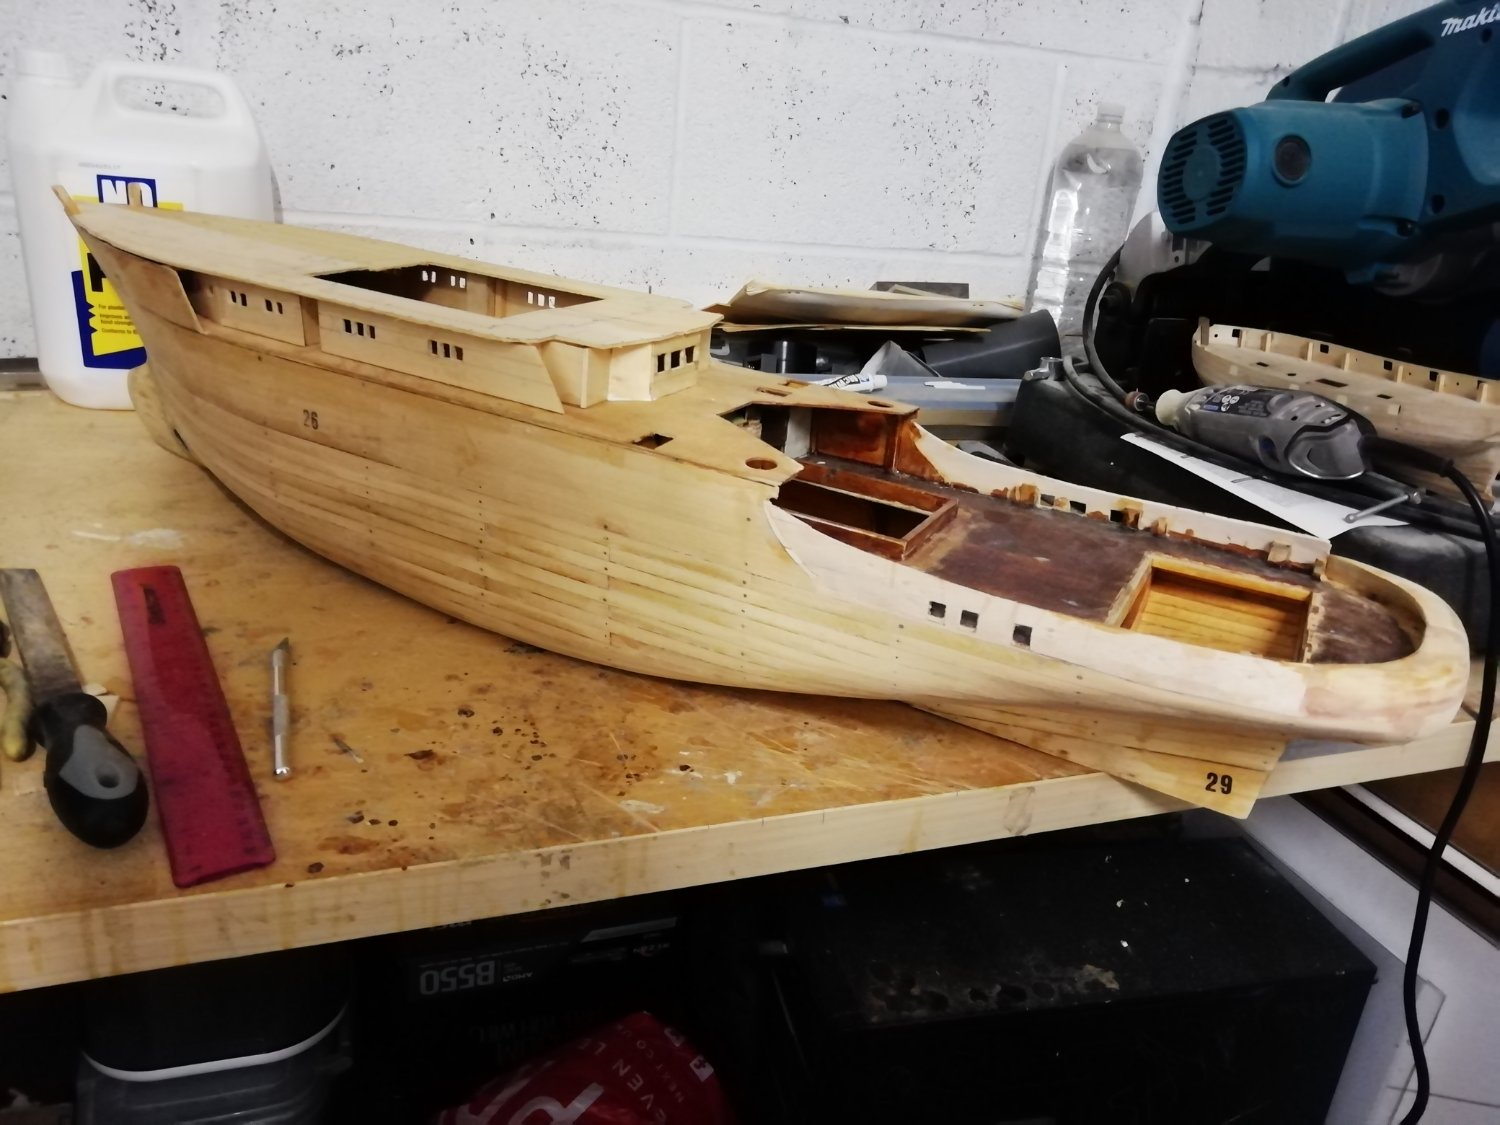
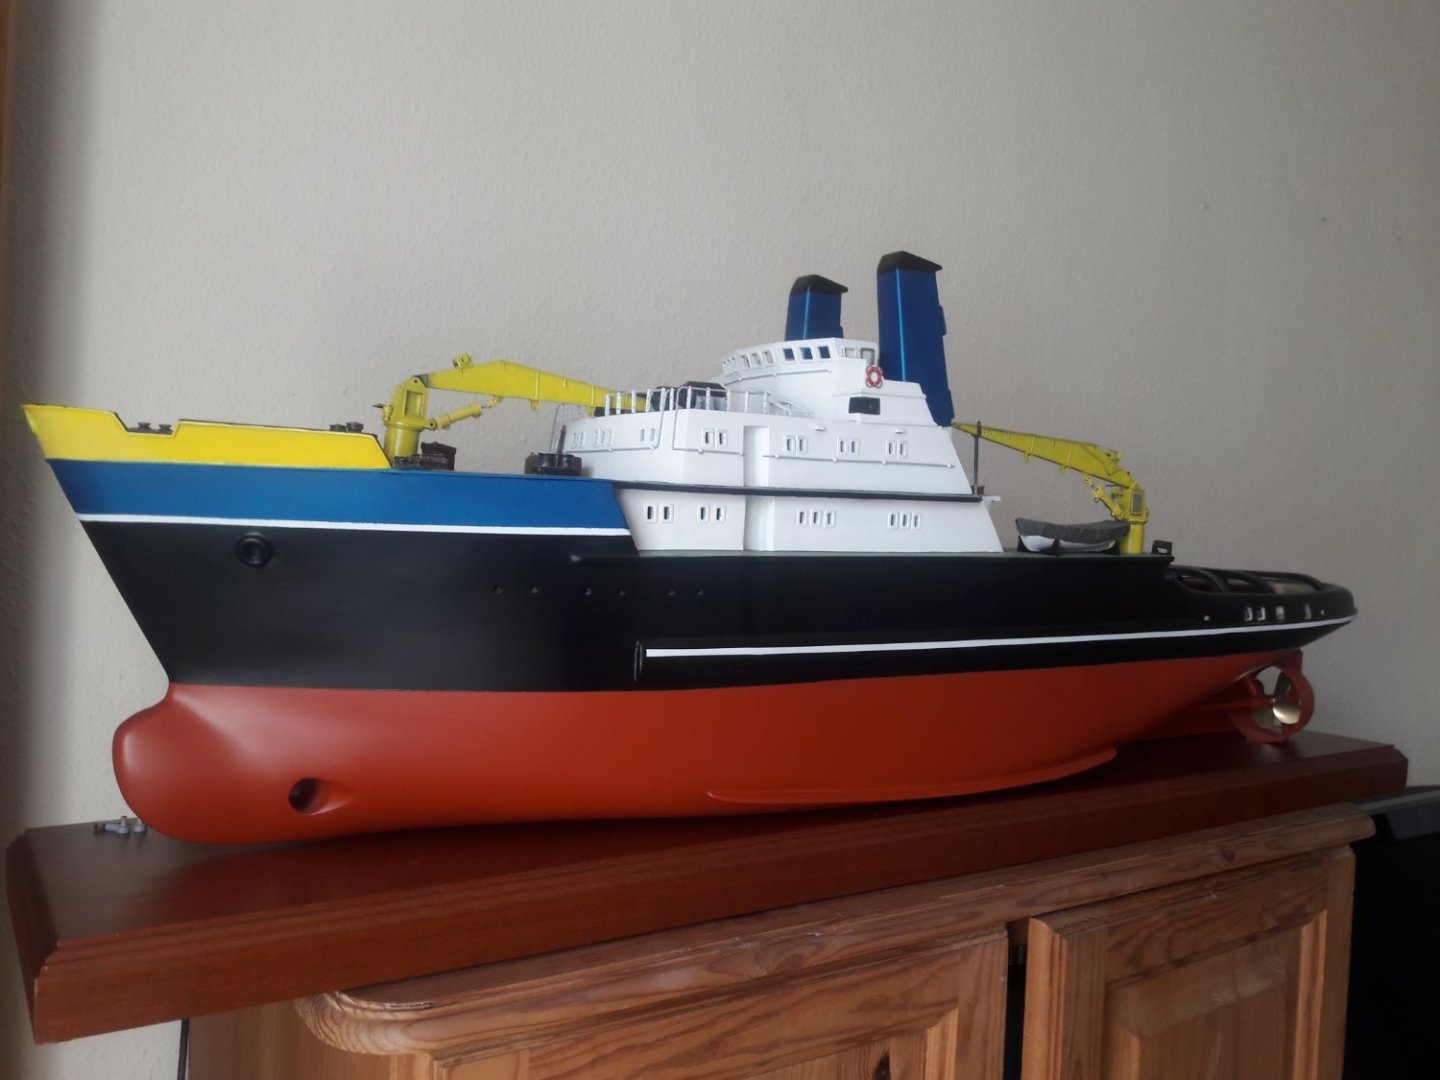
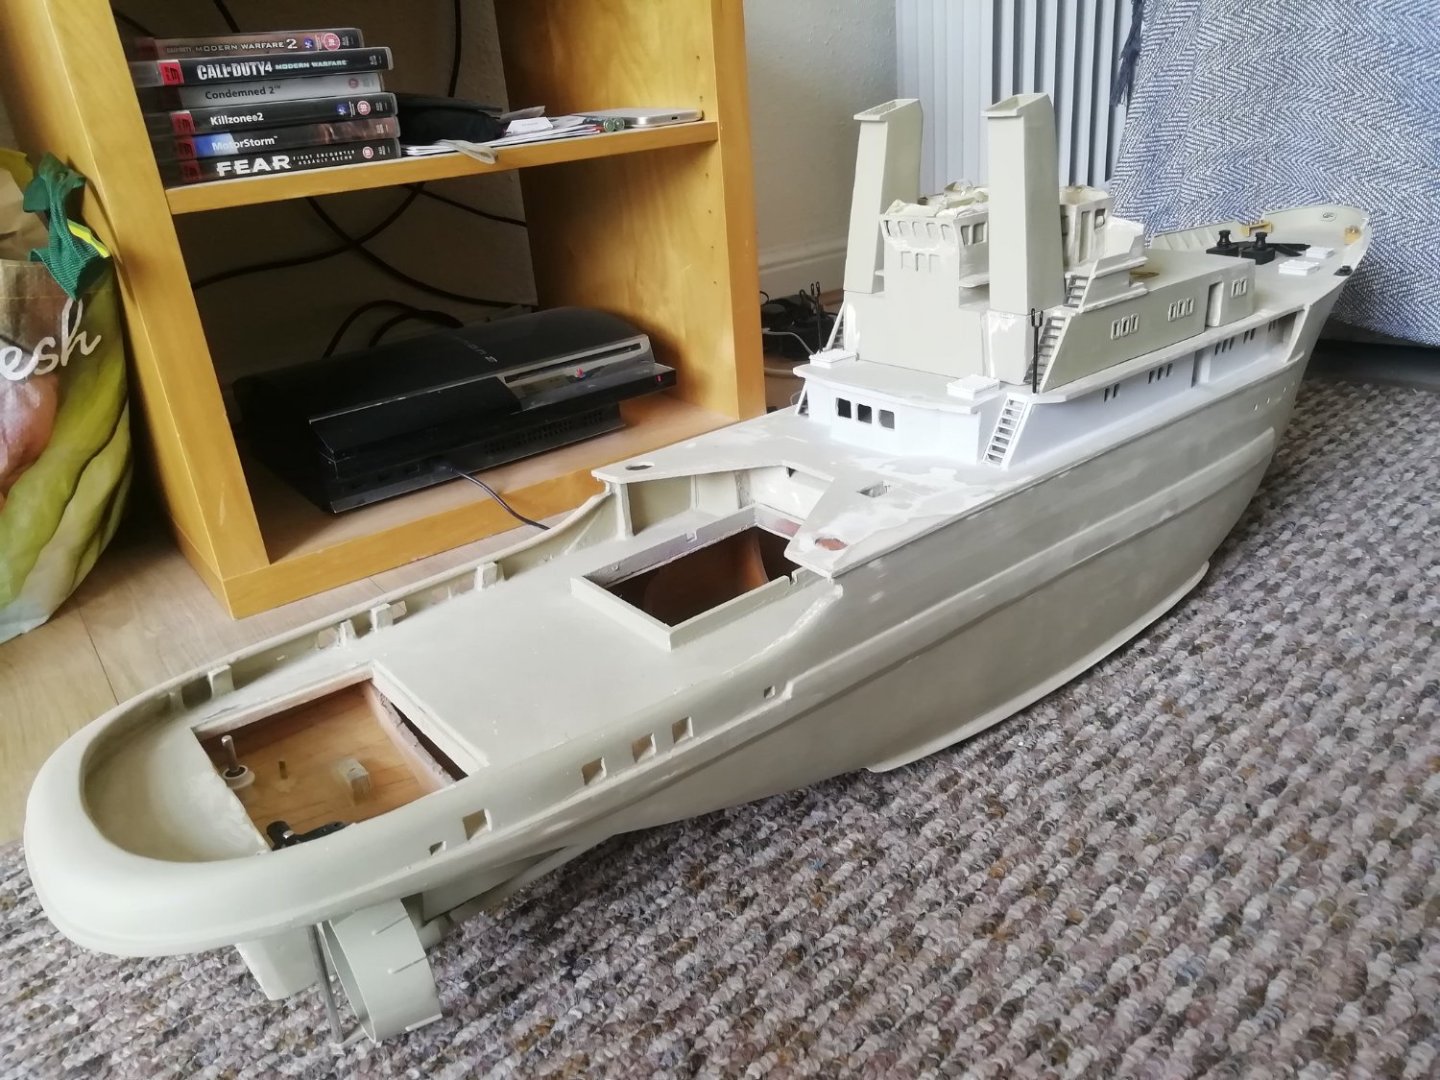
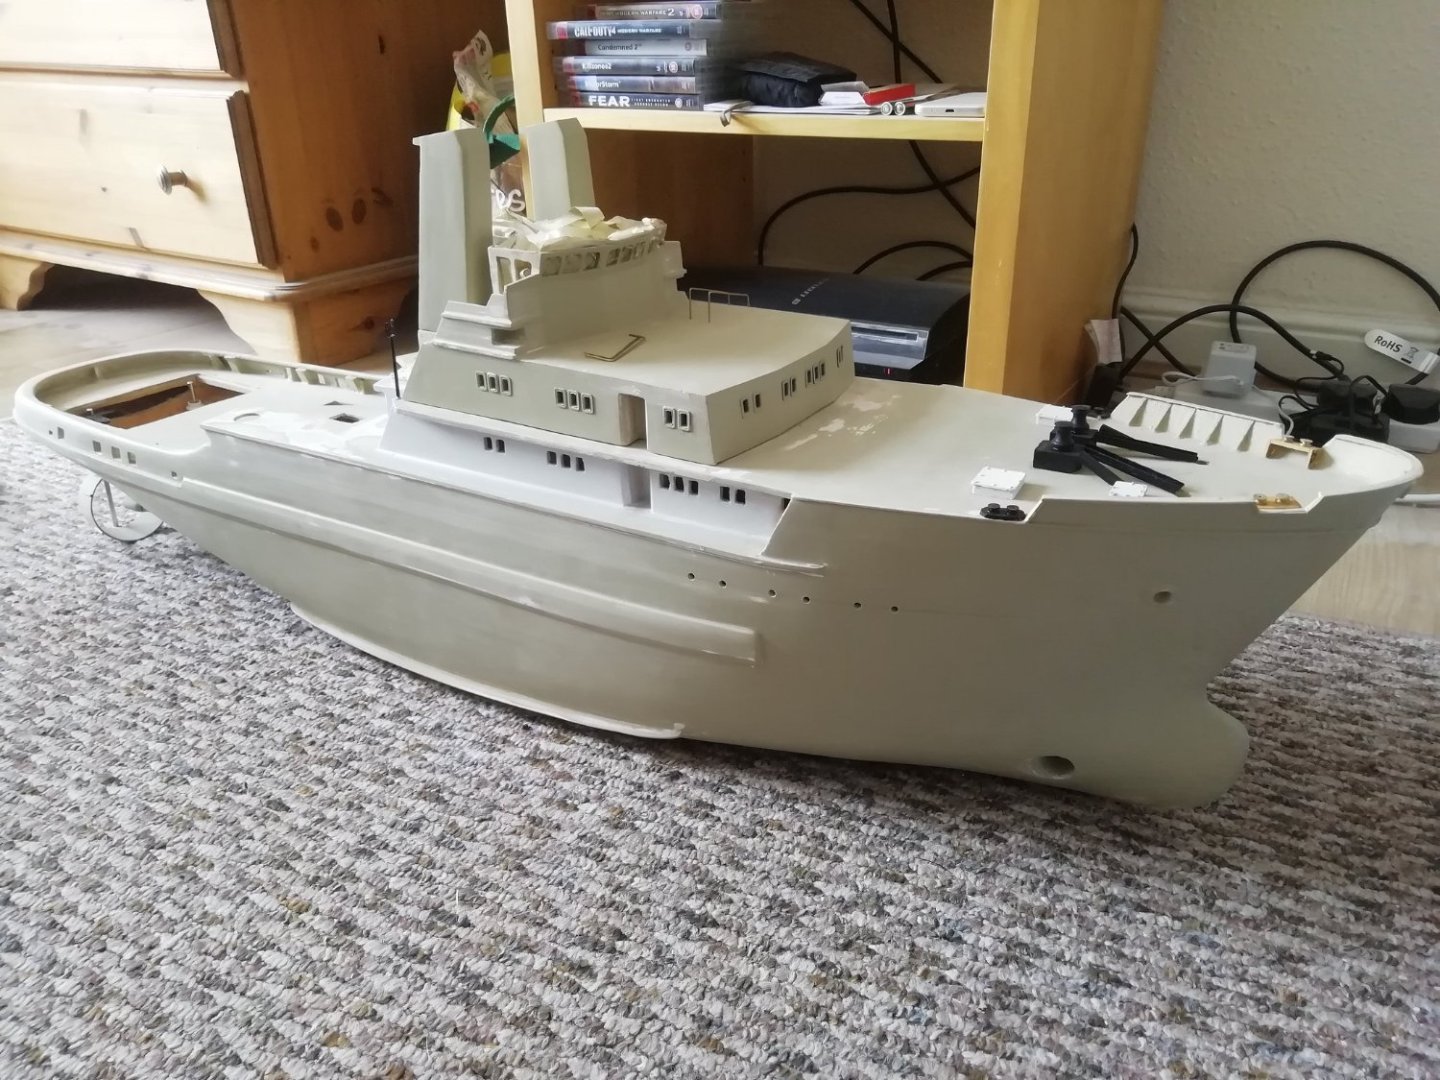
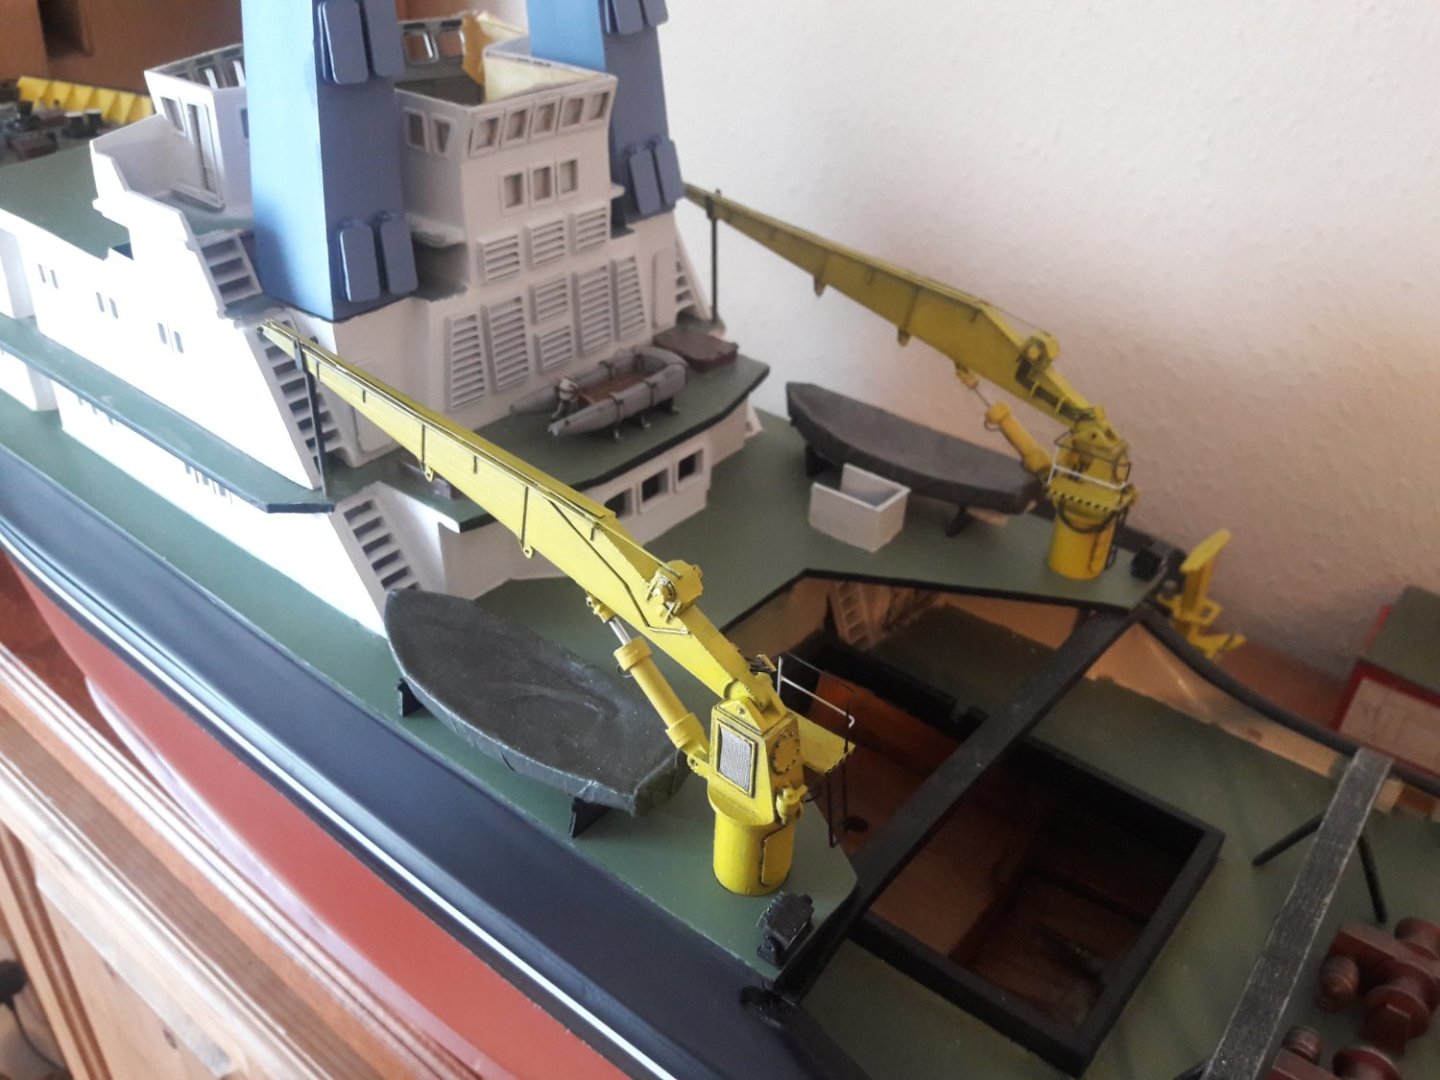
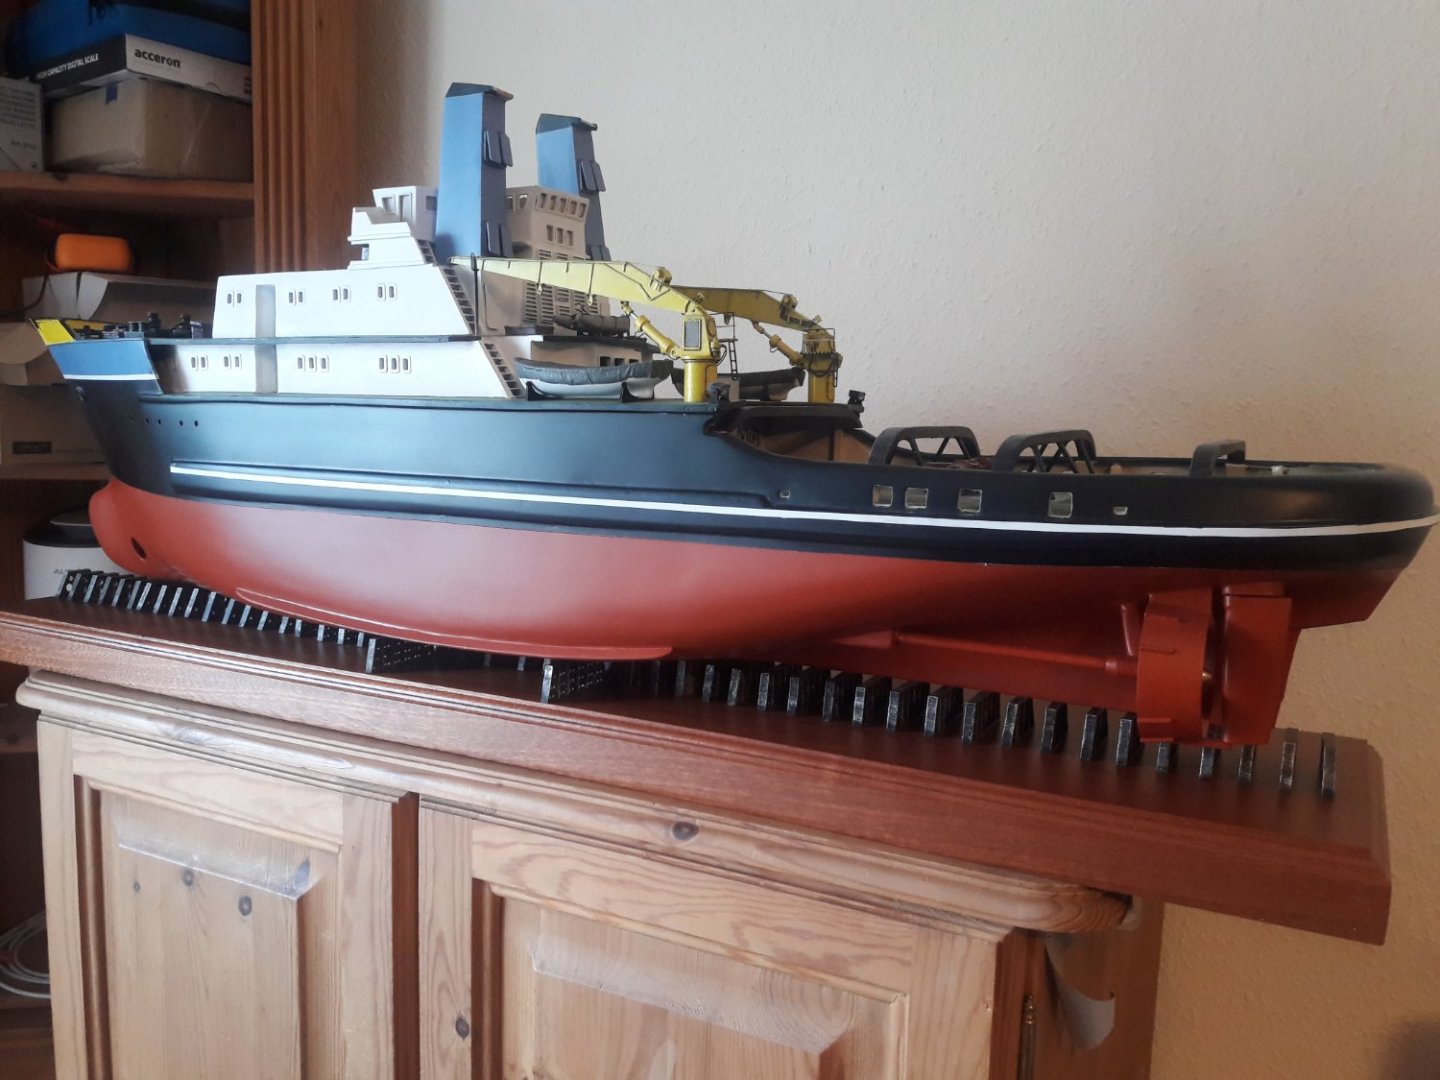
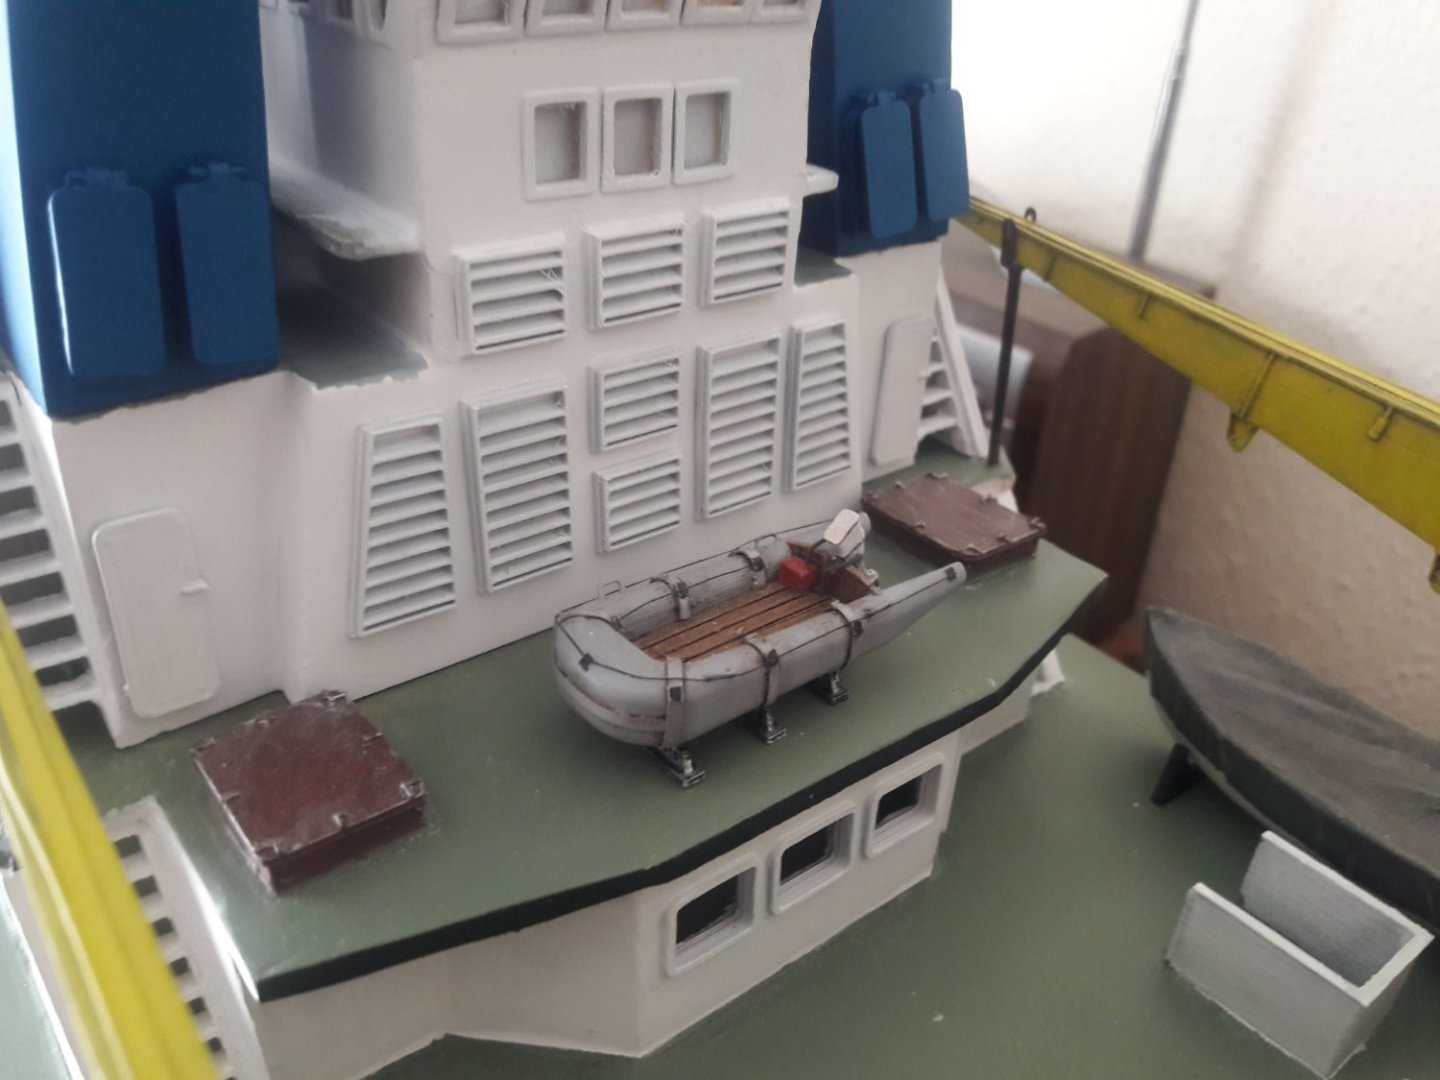
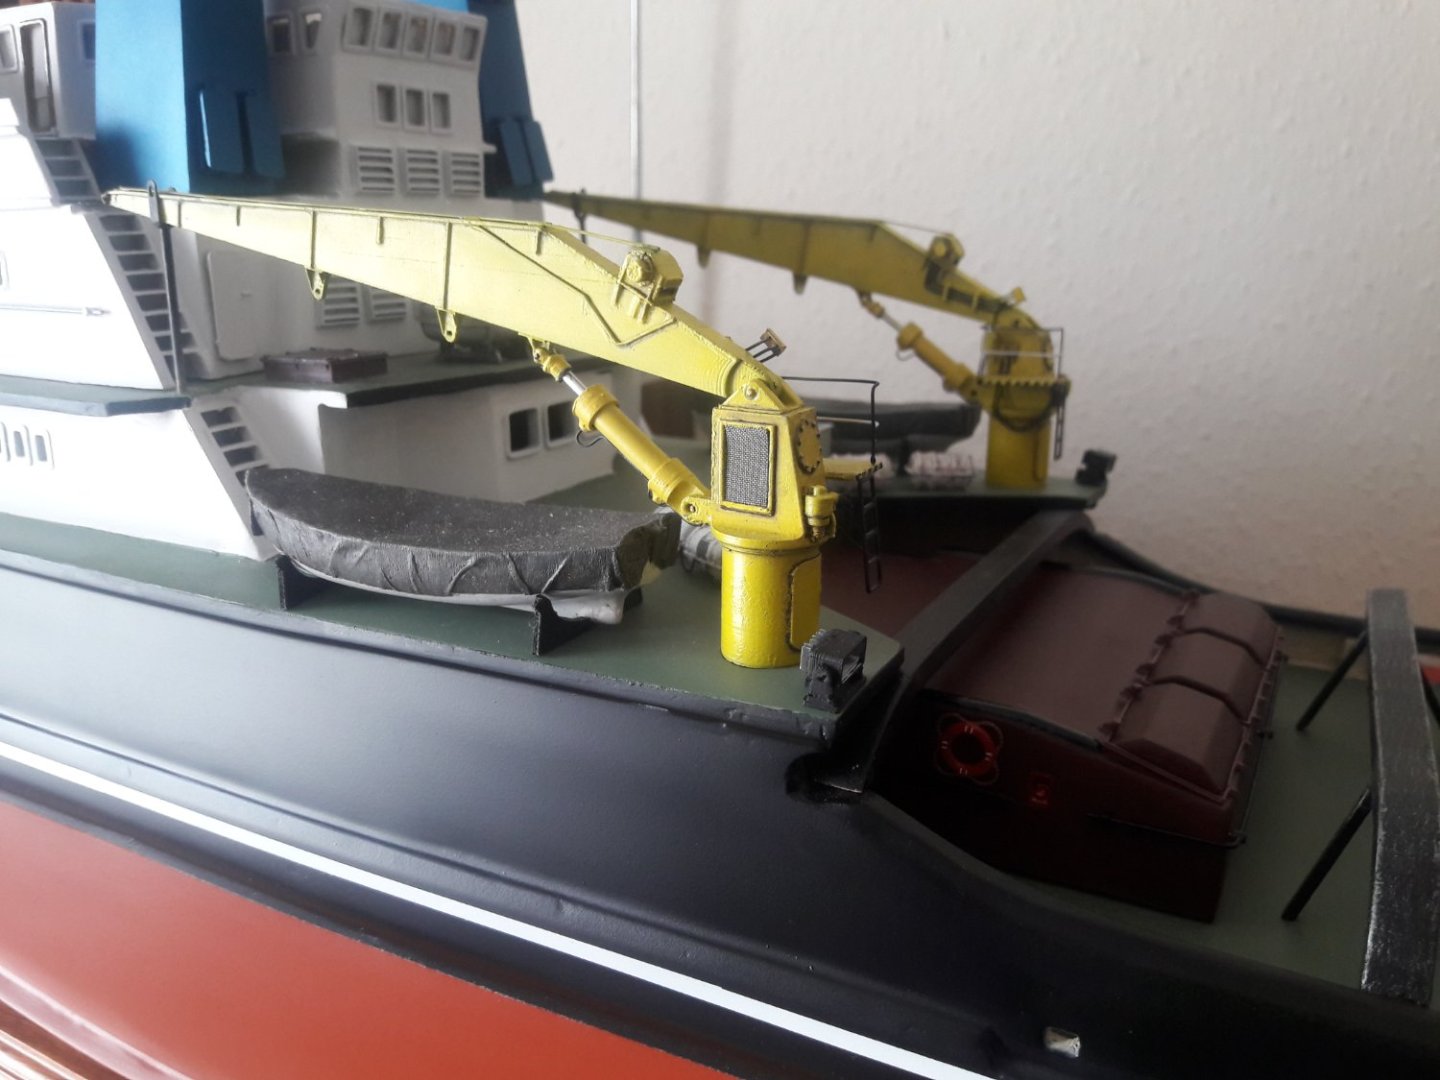
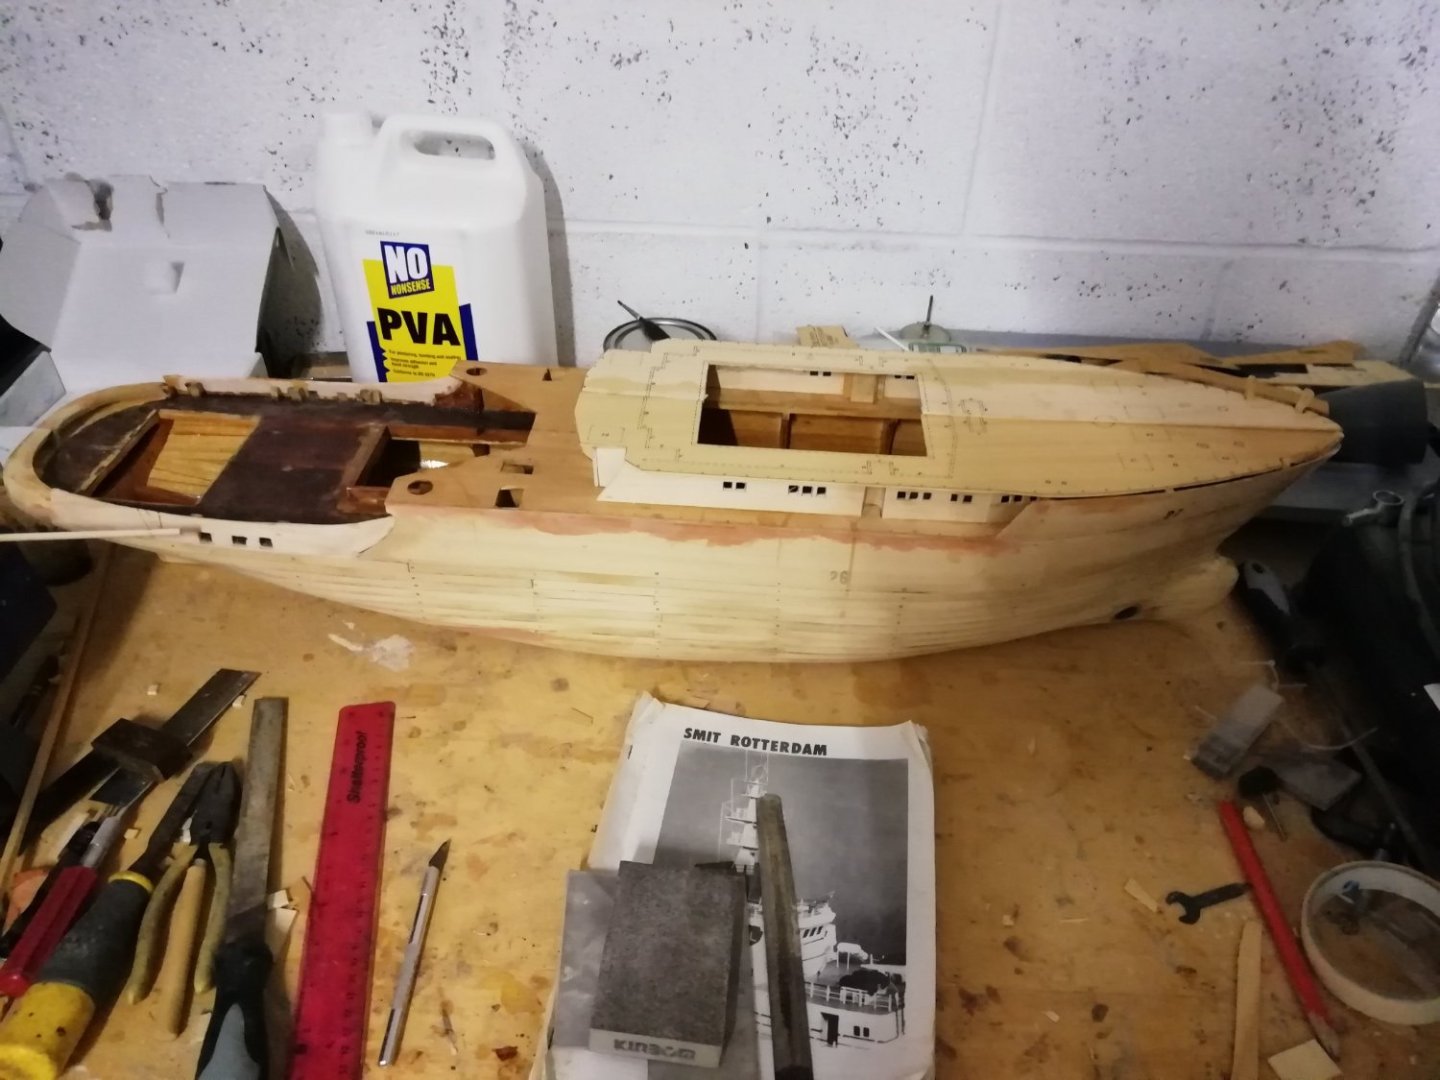
Progress so far as of Feb 2023. Most details such as funnels and cranes not glued on yet. Stand is not finished, still need to glue on the Keel blocks to make dry dock look.


-
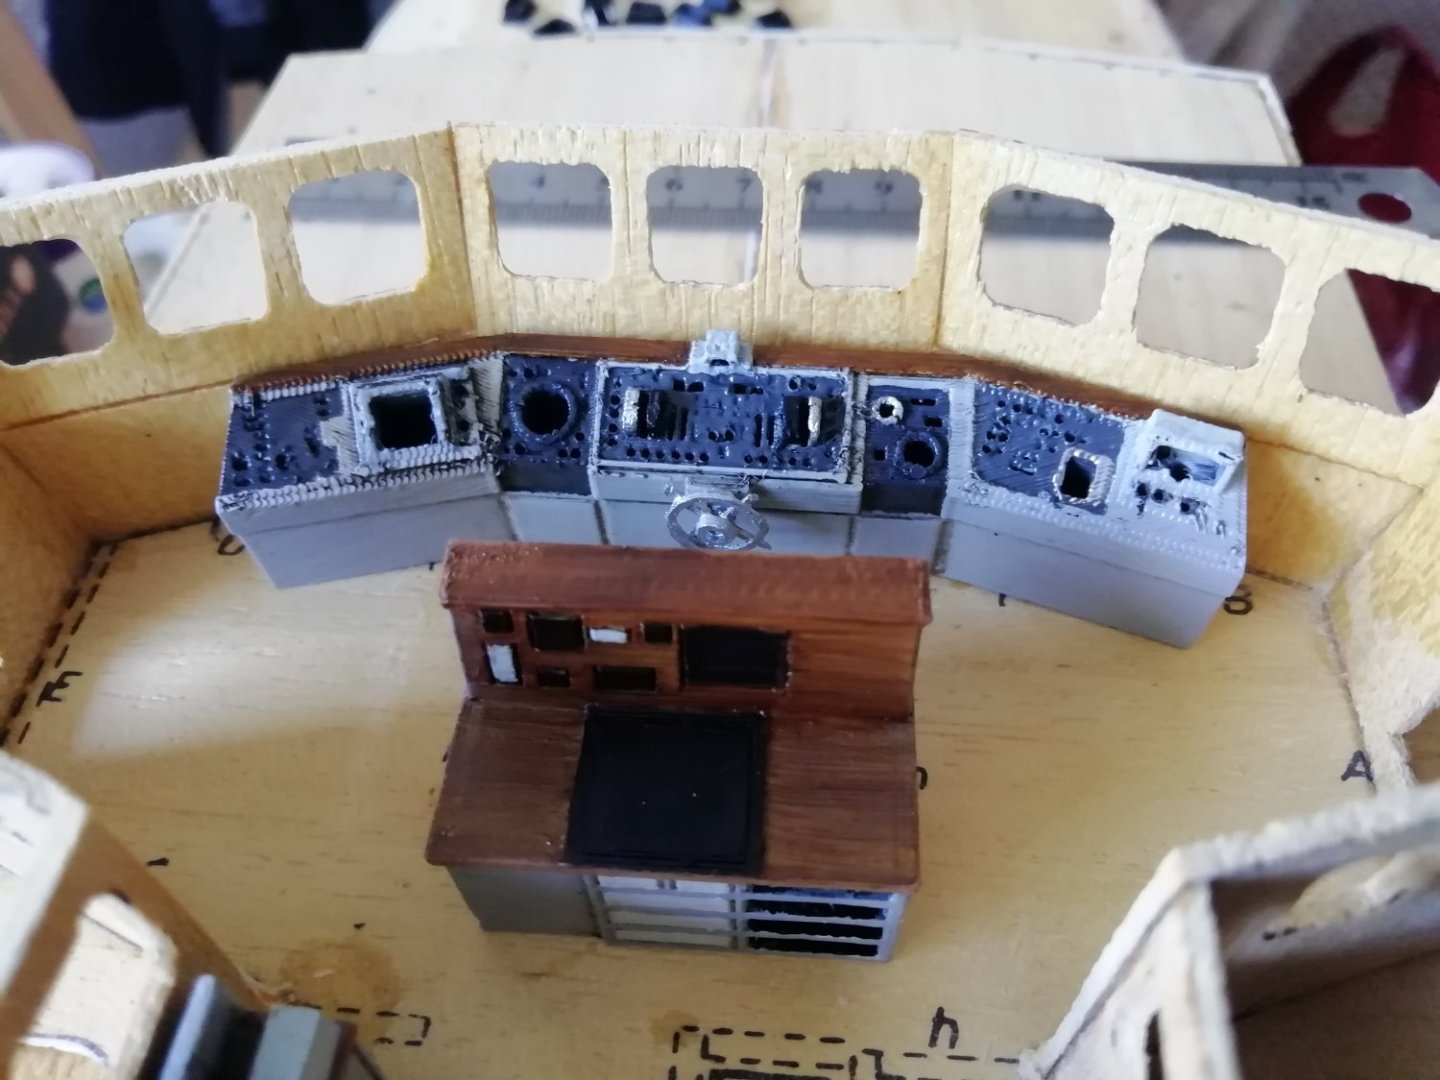
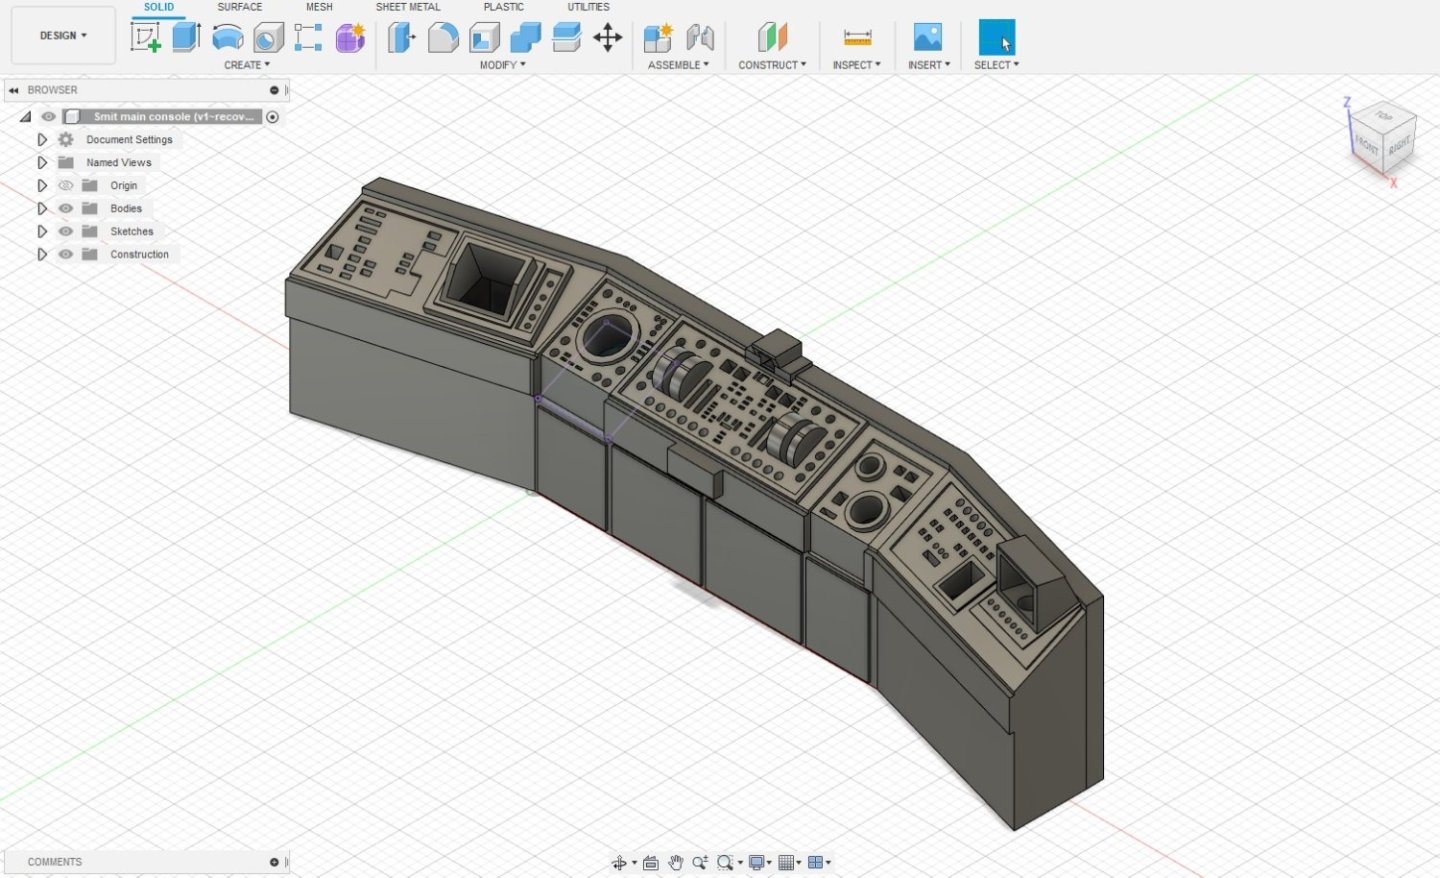
Bridge interior 3D printed. Dry dock Keel blocks 3D printed Still some paint imperfections to sort out. Repainted the blue to a darker metallic blue as I didn't like the light baby blue color so much


-
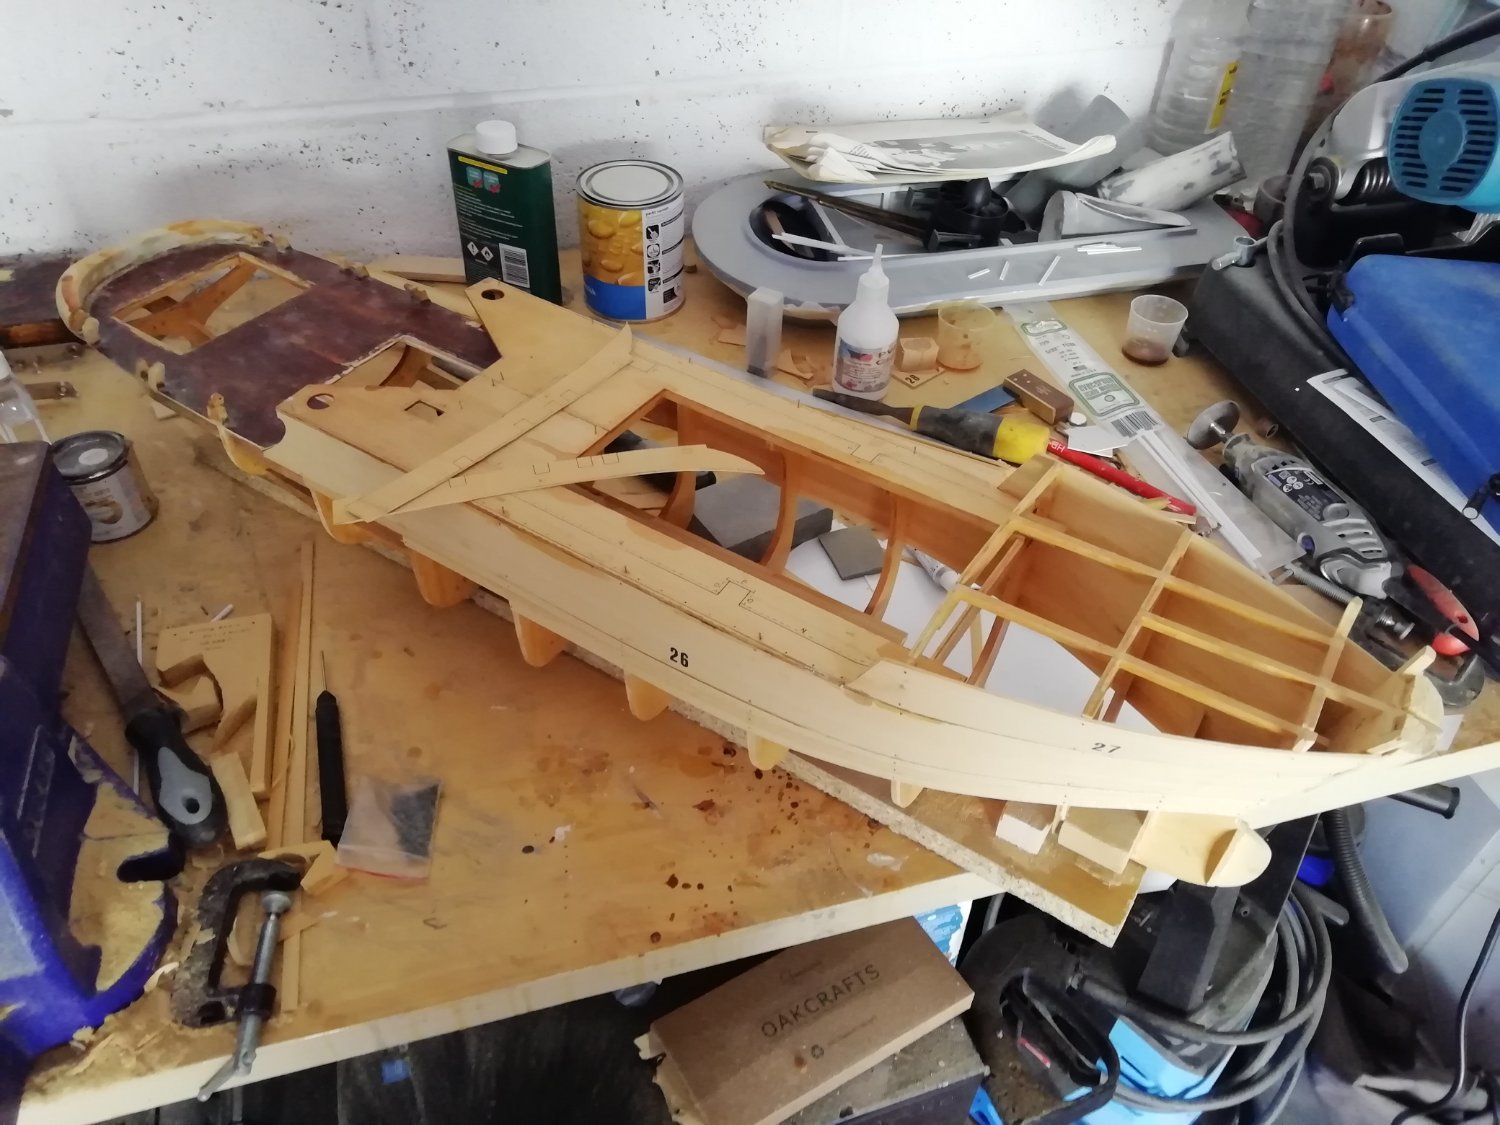
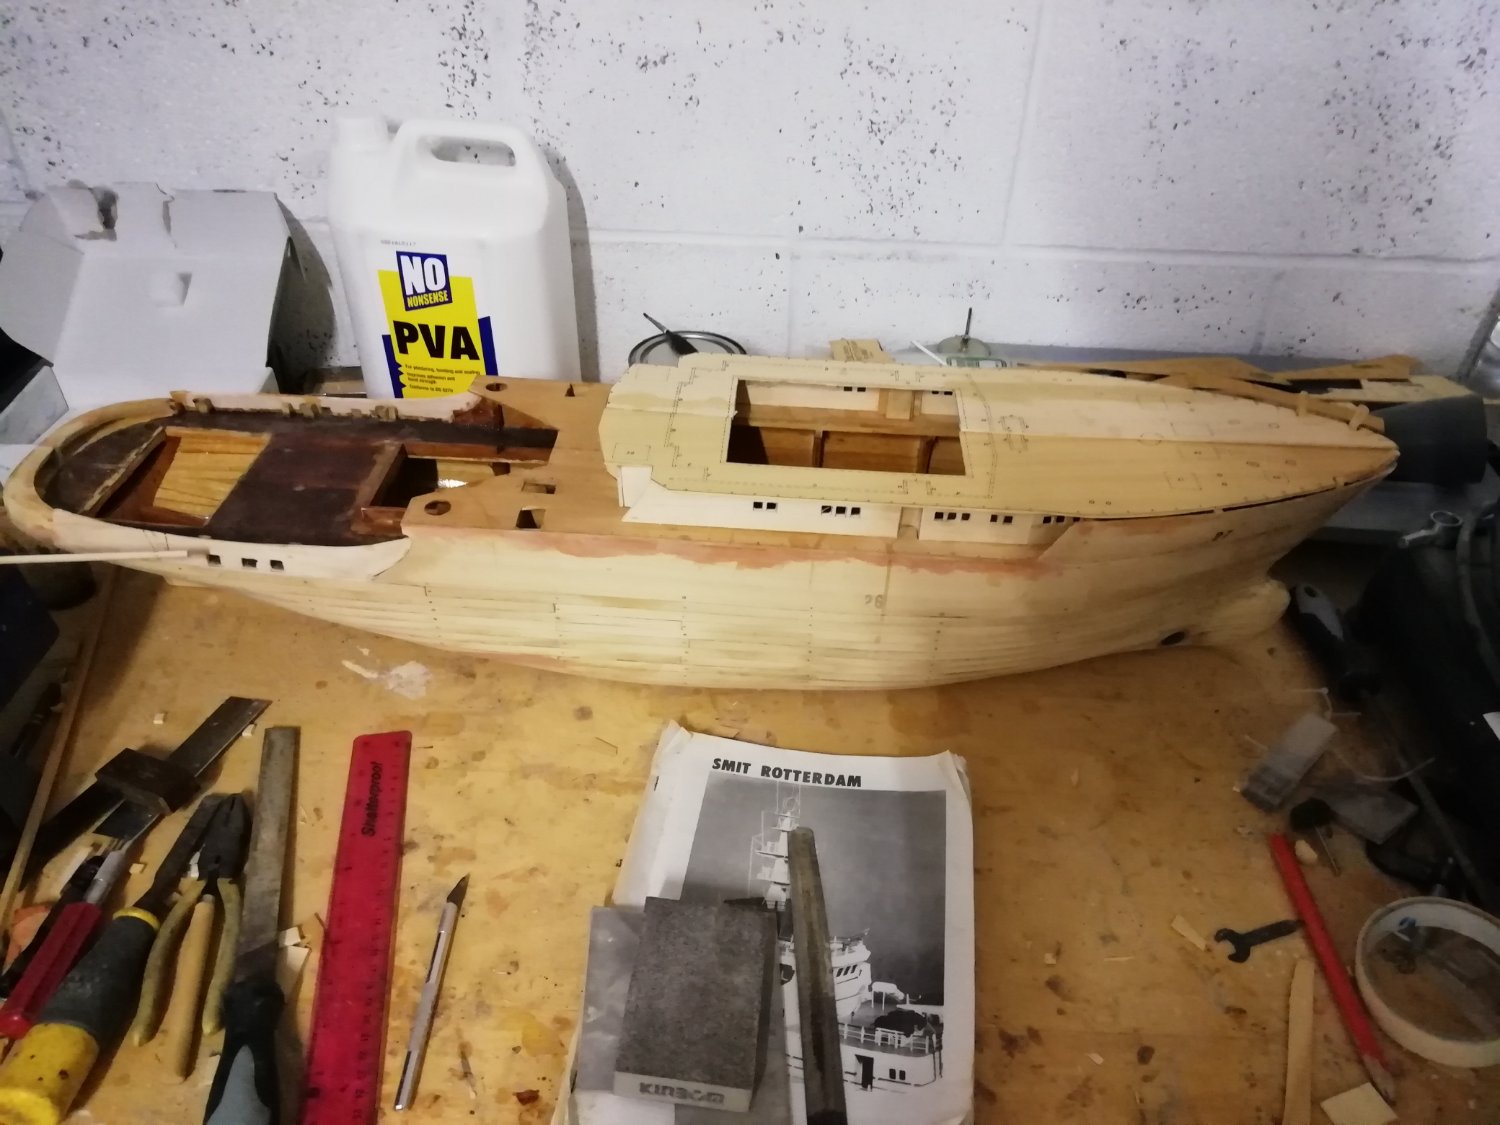
Here's my Smit Rotterdam kit started in May 2021


-
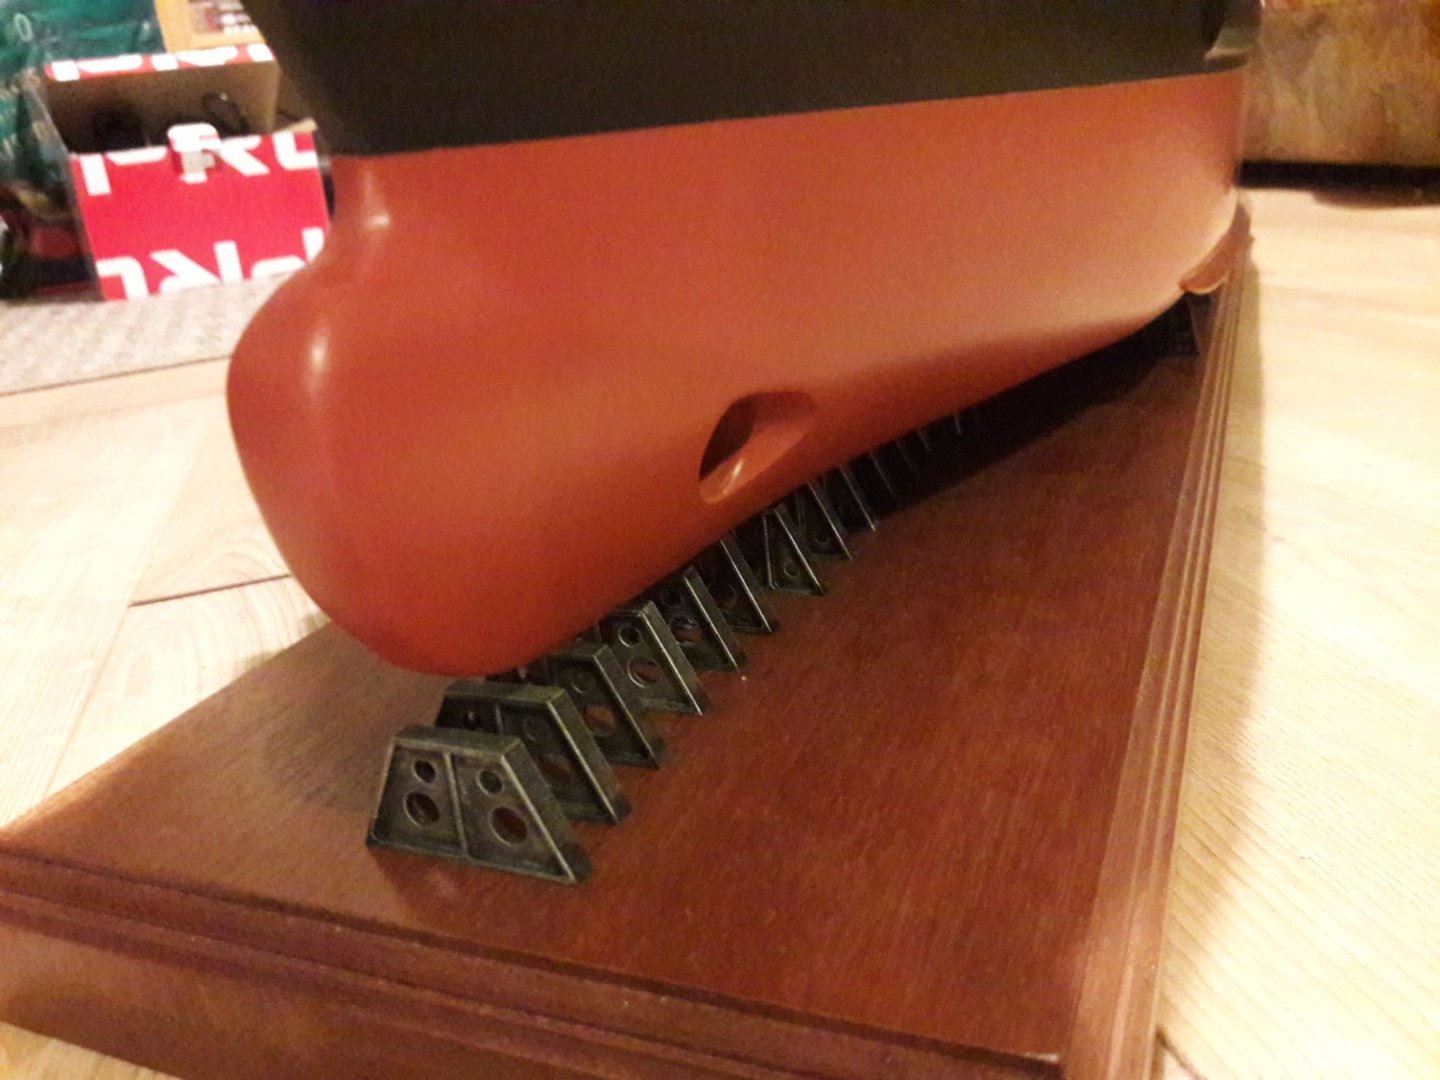
Did you say it and a clamp or food to hold the workpiece? I'll need to fabricate the missing cover for the arm as that's what the foot mounts to. Looks like a simple U profile sleeve that screws on. I need to check with my work place tomorrow and see if they have the equipment to fabricate that cover. If so I'll be willing to make you an offer.
-
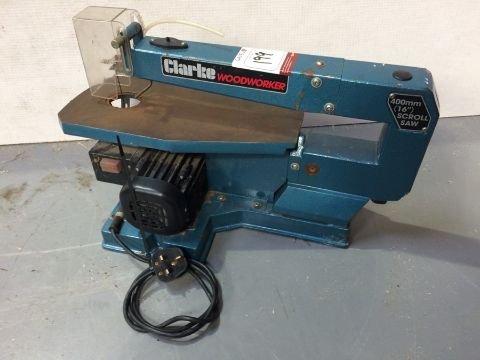
Ok thanks I've had a look online and by the looks it it appears to be a Clarke CSS400 with part of the arm cover missing, the missing part has the make and model stickers.
-
Ok thanks does the bed tilt at all? Are there no marking or numbers in it at all?
-
Hi Tim I've just had a look at scroll saws and it seems to be the way to go. Where are you in the UK? I'm also in the UK, South west. I may be interested in the saw your club has for sale
-
Thanks for this advice I should have put this in my profile or provided this information. I'm located in Bristol United kingdom. I have found a local firm but would definitely be interested if anyone near me has recommendations.
-
Yes your correct I don't have a saw that would allow me to cut 5mm ply accurate. I previously build a smit Rotterdam kit in 1/75 scale. I want its running mate in the same scale. So the plan is to resize my zwarte zee plans from 1/100 to 1/75 scale then trace them in a vector drawing program. I can then send the resulting drawing to be laser cut. I have found a local firm but will get a quote once they see the drawings. I'll post my progress and how this goes on here