mehdi.bj19
-
Posts
22 -
Joined
-
Last visited
Content Type
Profiles
Forums
Gallery
Events
Everything posted by mehdi.bj19
-
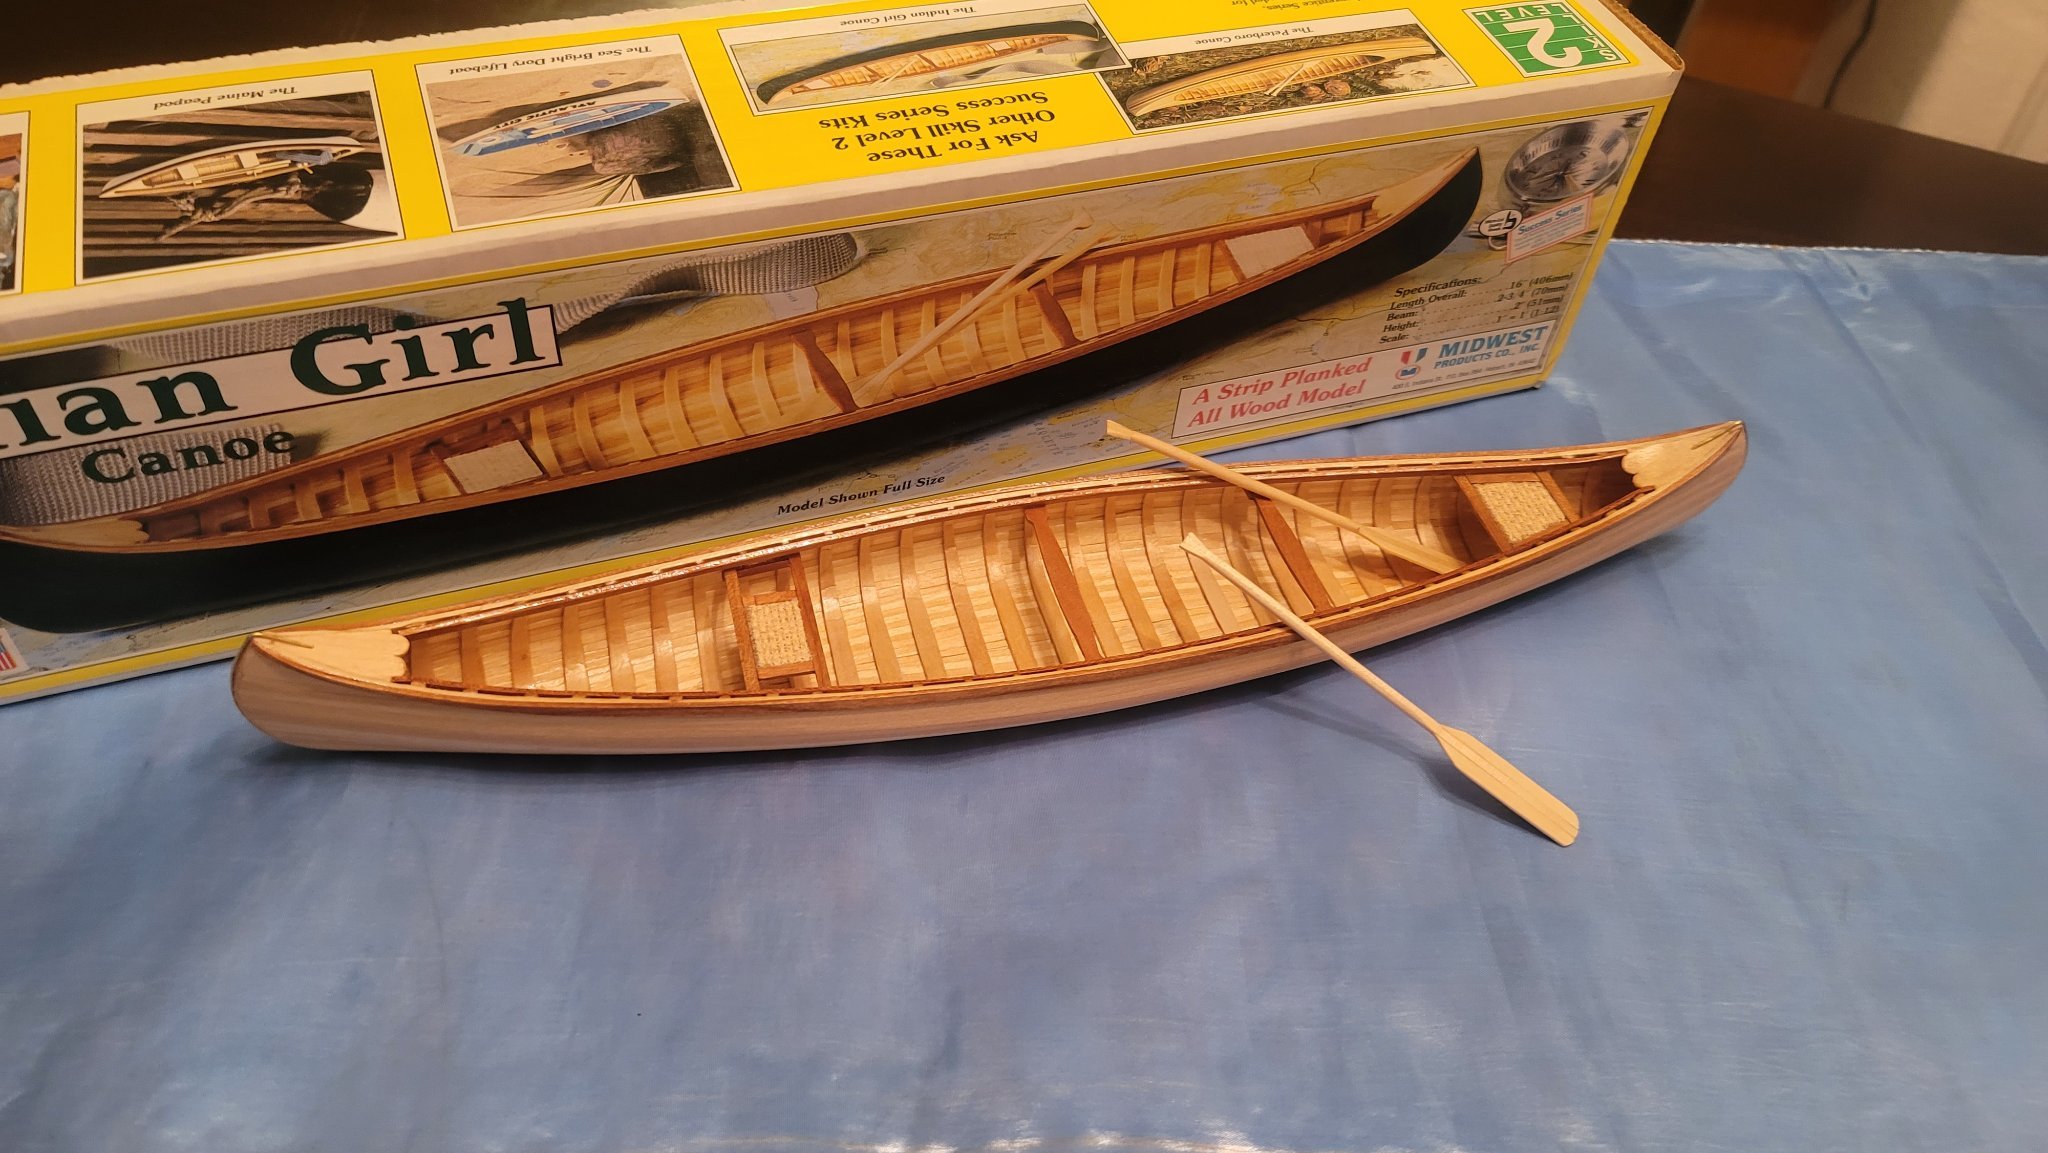
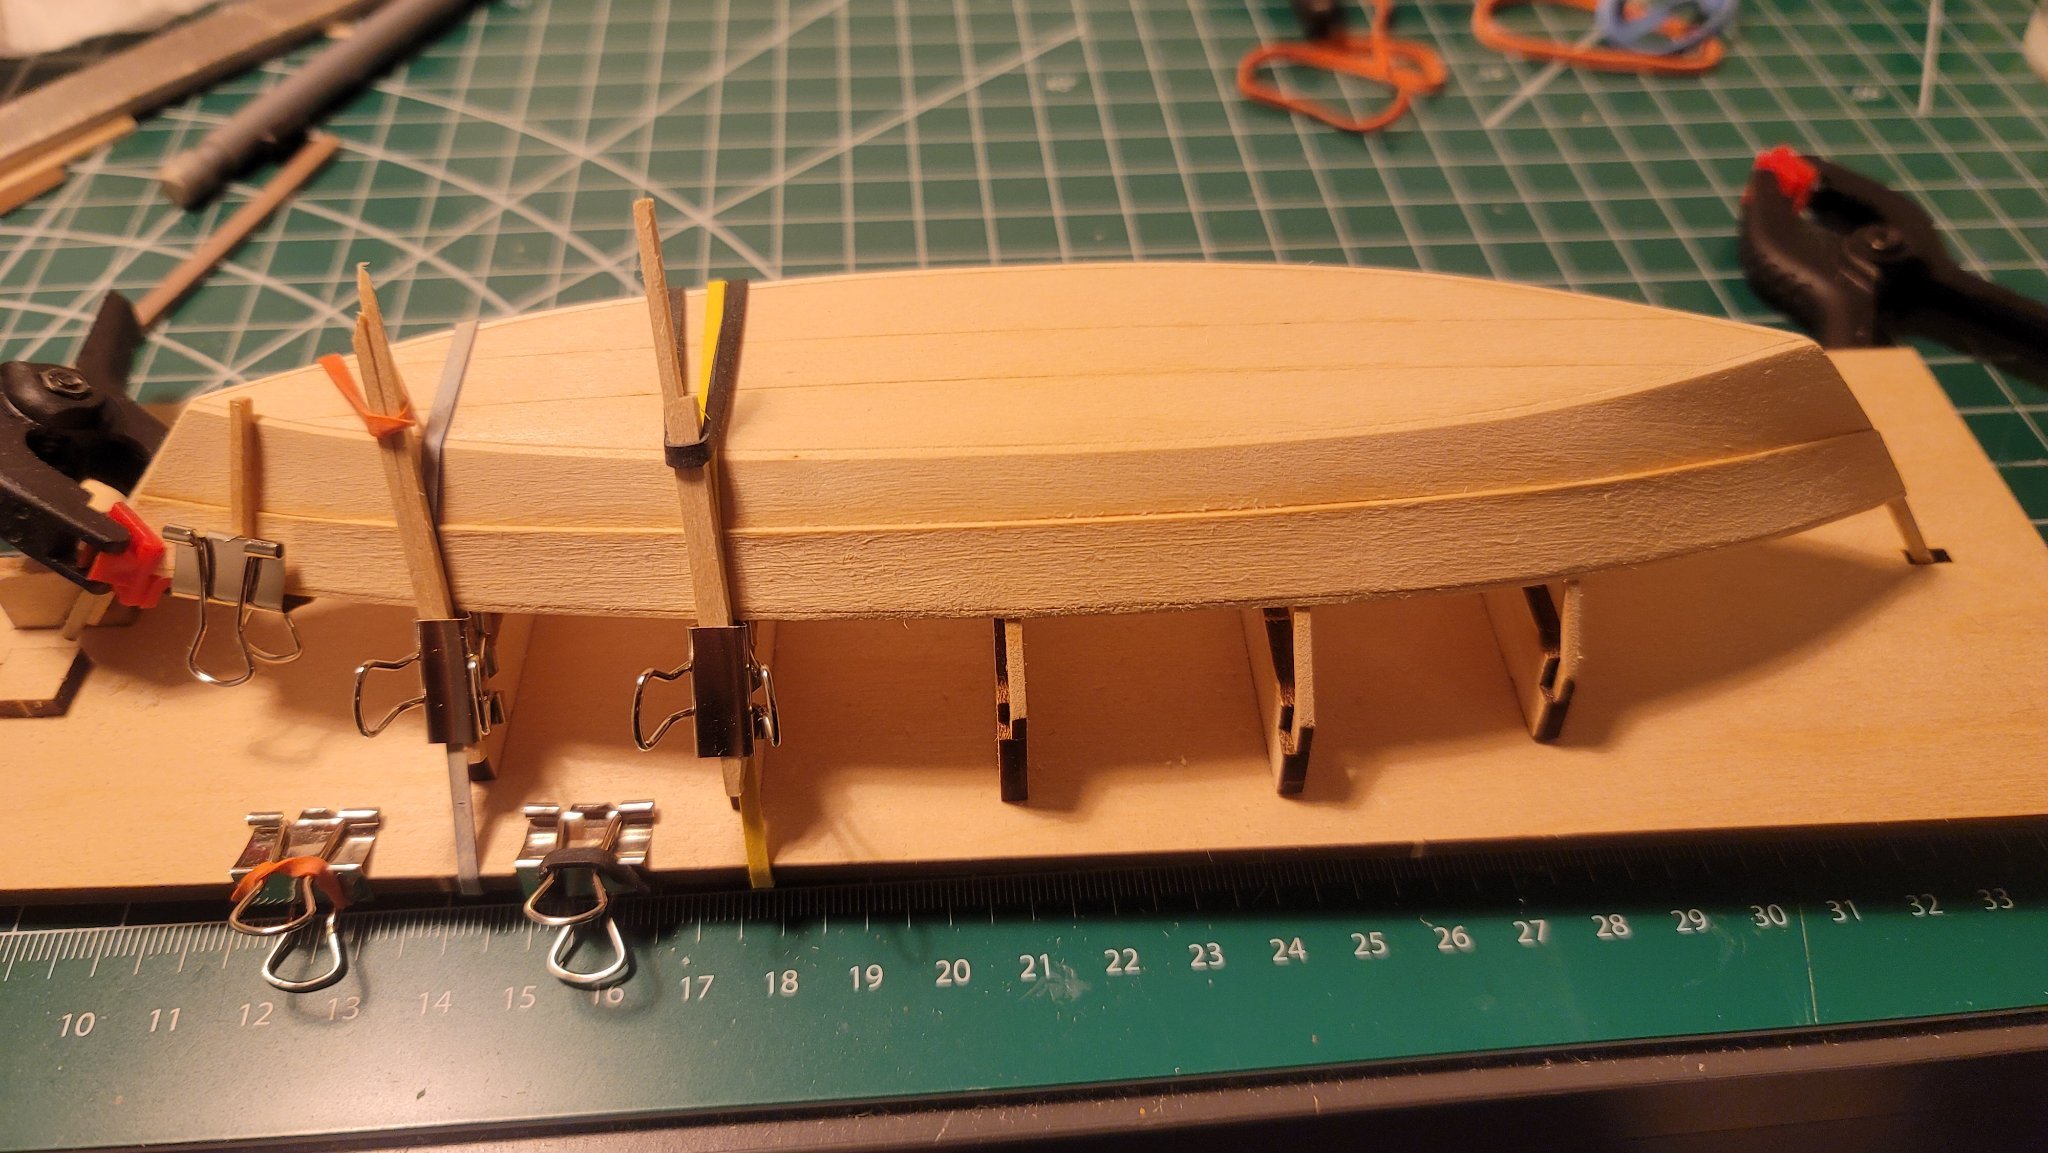
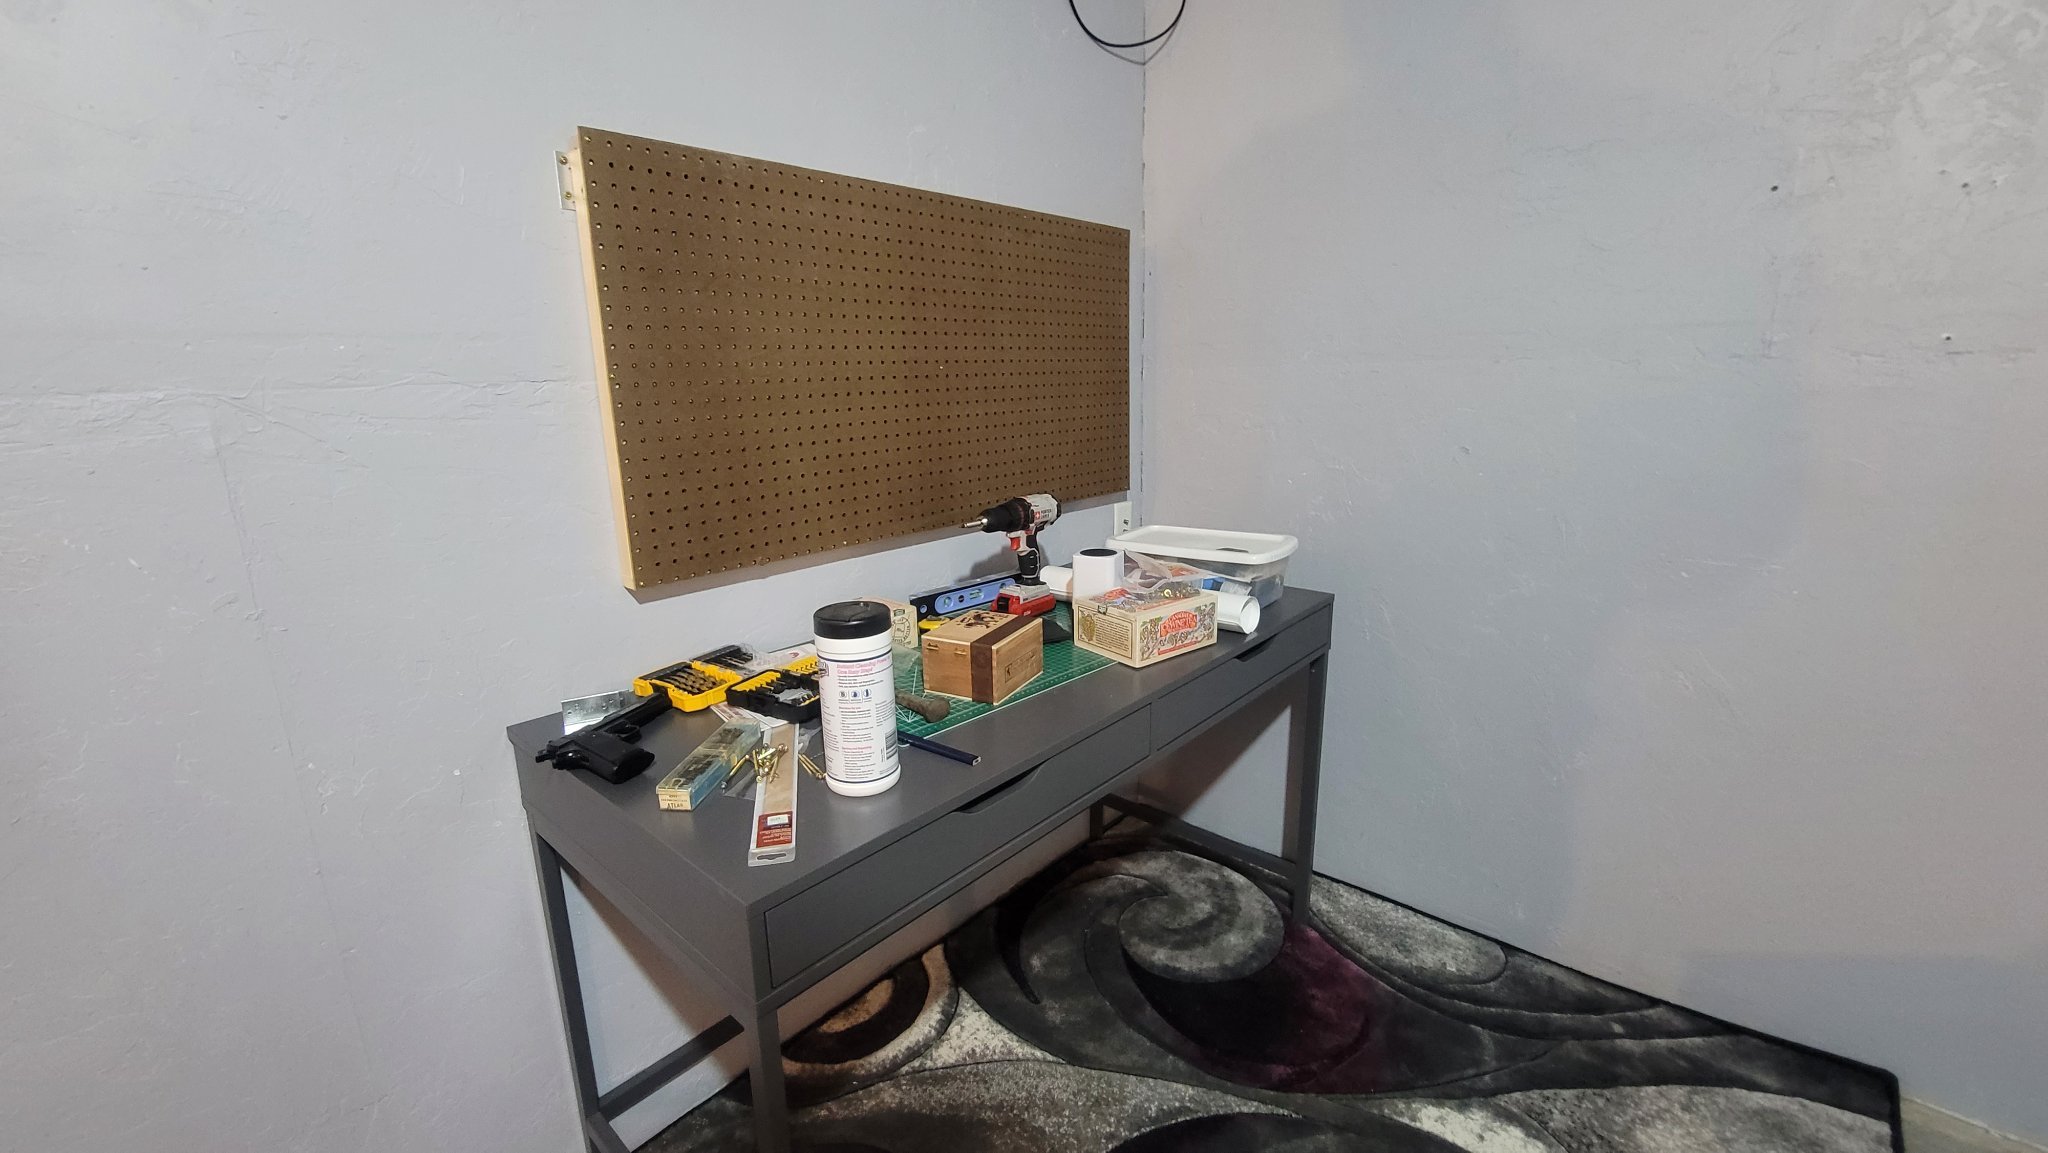
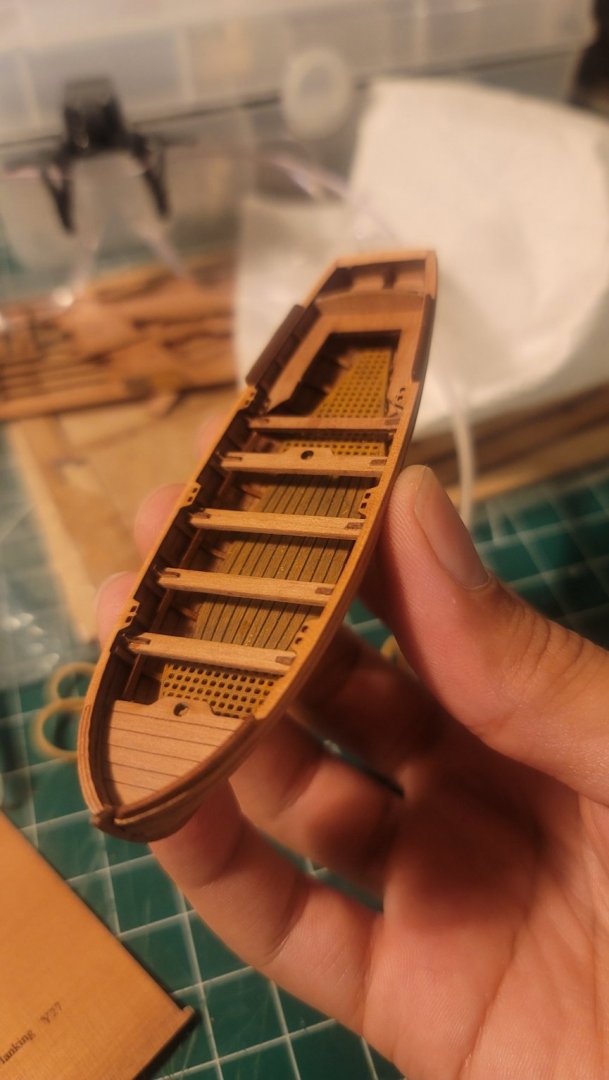
I wanted to update this build log since I have not done so in a while. Been really busy since the last post, moved into our house and it been project after project..... New paint, removed popcorn ceiling, and fixing electrical issues. But since then I have also made a few small model kits. This is yawl kit from vanguard I worked on: This here is from an old kit given to me by a friend I met recently, the Indian girl: This kit is one from model shipways shipwright series, Lowell bank dory: these were all done done since the last post, I wanted to do the small projects since I had less time and less energy to put into models, plus they were easy kits and helped me with my skills, that's the biggest thing, keeping the skills in motion.... update on my man cave: I started with just one pegboard wall and decided to do a second one: Turned out pretty nice, hoping to put some shelves above them and have strip led lights shine down onto the pegboard. Eventually I'm going to purchase an L shaped desk and build a workshop bench for the power tools like the belt sander and saws. Also I MIGHT be purchasing a lazer and 3d printer. If my lady will allow it. But for now I continue on with my improvements so I can get back to the FLY. Also I've decided not to finish the planking with walnut. I've seen some builds made with boxwood and love how clean it looks, so I plan to order some strips and sheets.


- 16 replies
-
- 2
-

-
- Swan Class Sloop
- fly
- (and 2 more)
-
Will do! Thank you and I'll be keeping an eye on your build log, love your work!
-
Thanks Richard, That's what I figured they were from. I know there are quite a few volumes of that series. What book is it exactly? Looking to pick one up.
-
Hello Richard44, your planking looks great! What plans are you using for the planking that I see in the 2nd to last photo in your most recent post? I myself have been trying to plank my Fly similar to the way you are.
-
I probably won't be updating this log for a while, as we are experiencing a bit of a busy summer, 2 weddings and a move!! bought a place and really excited to get out of this crammed apartment and I'll finally have my own space to work. Very excited for this!
-
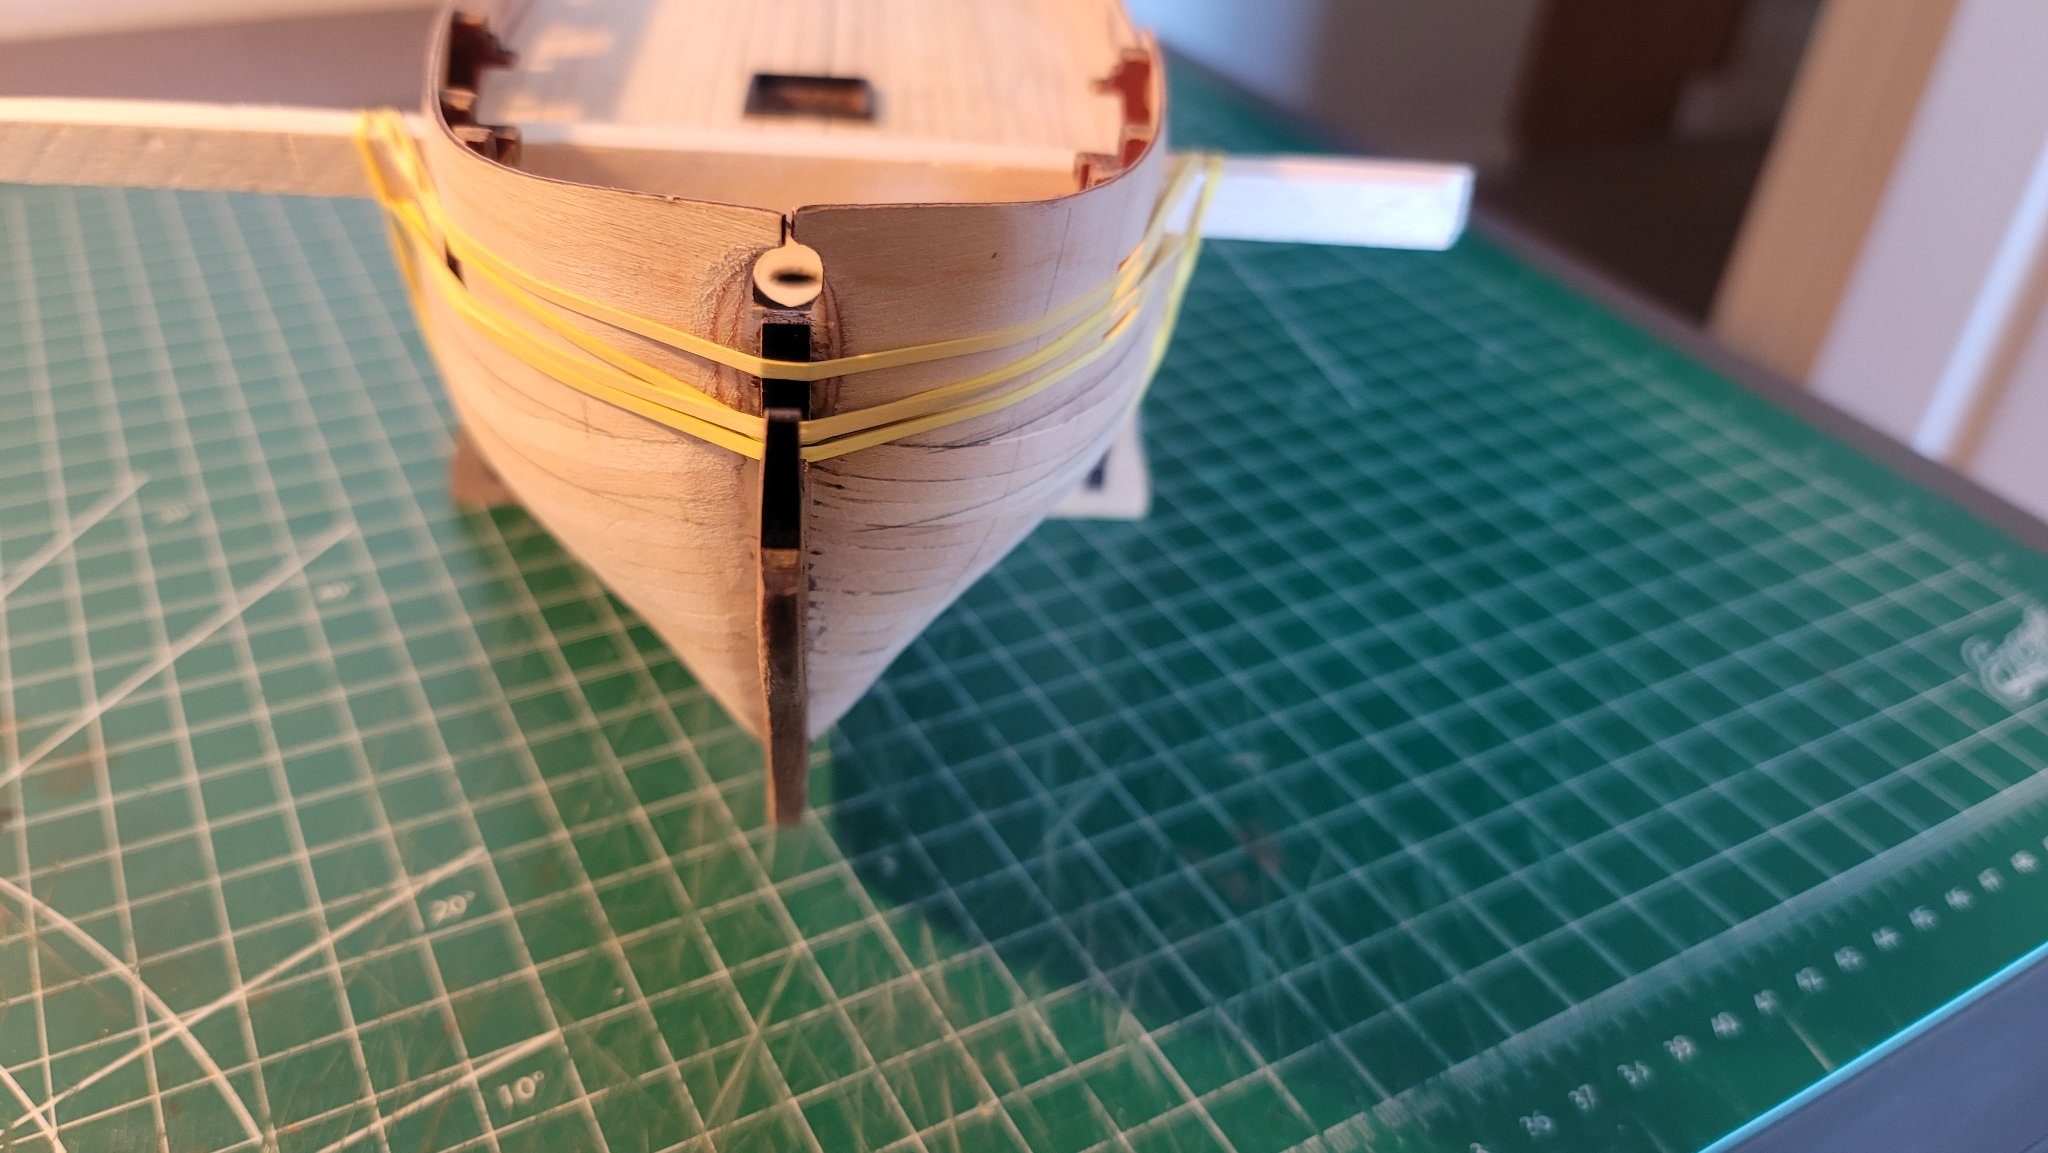
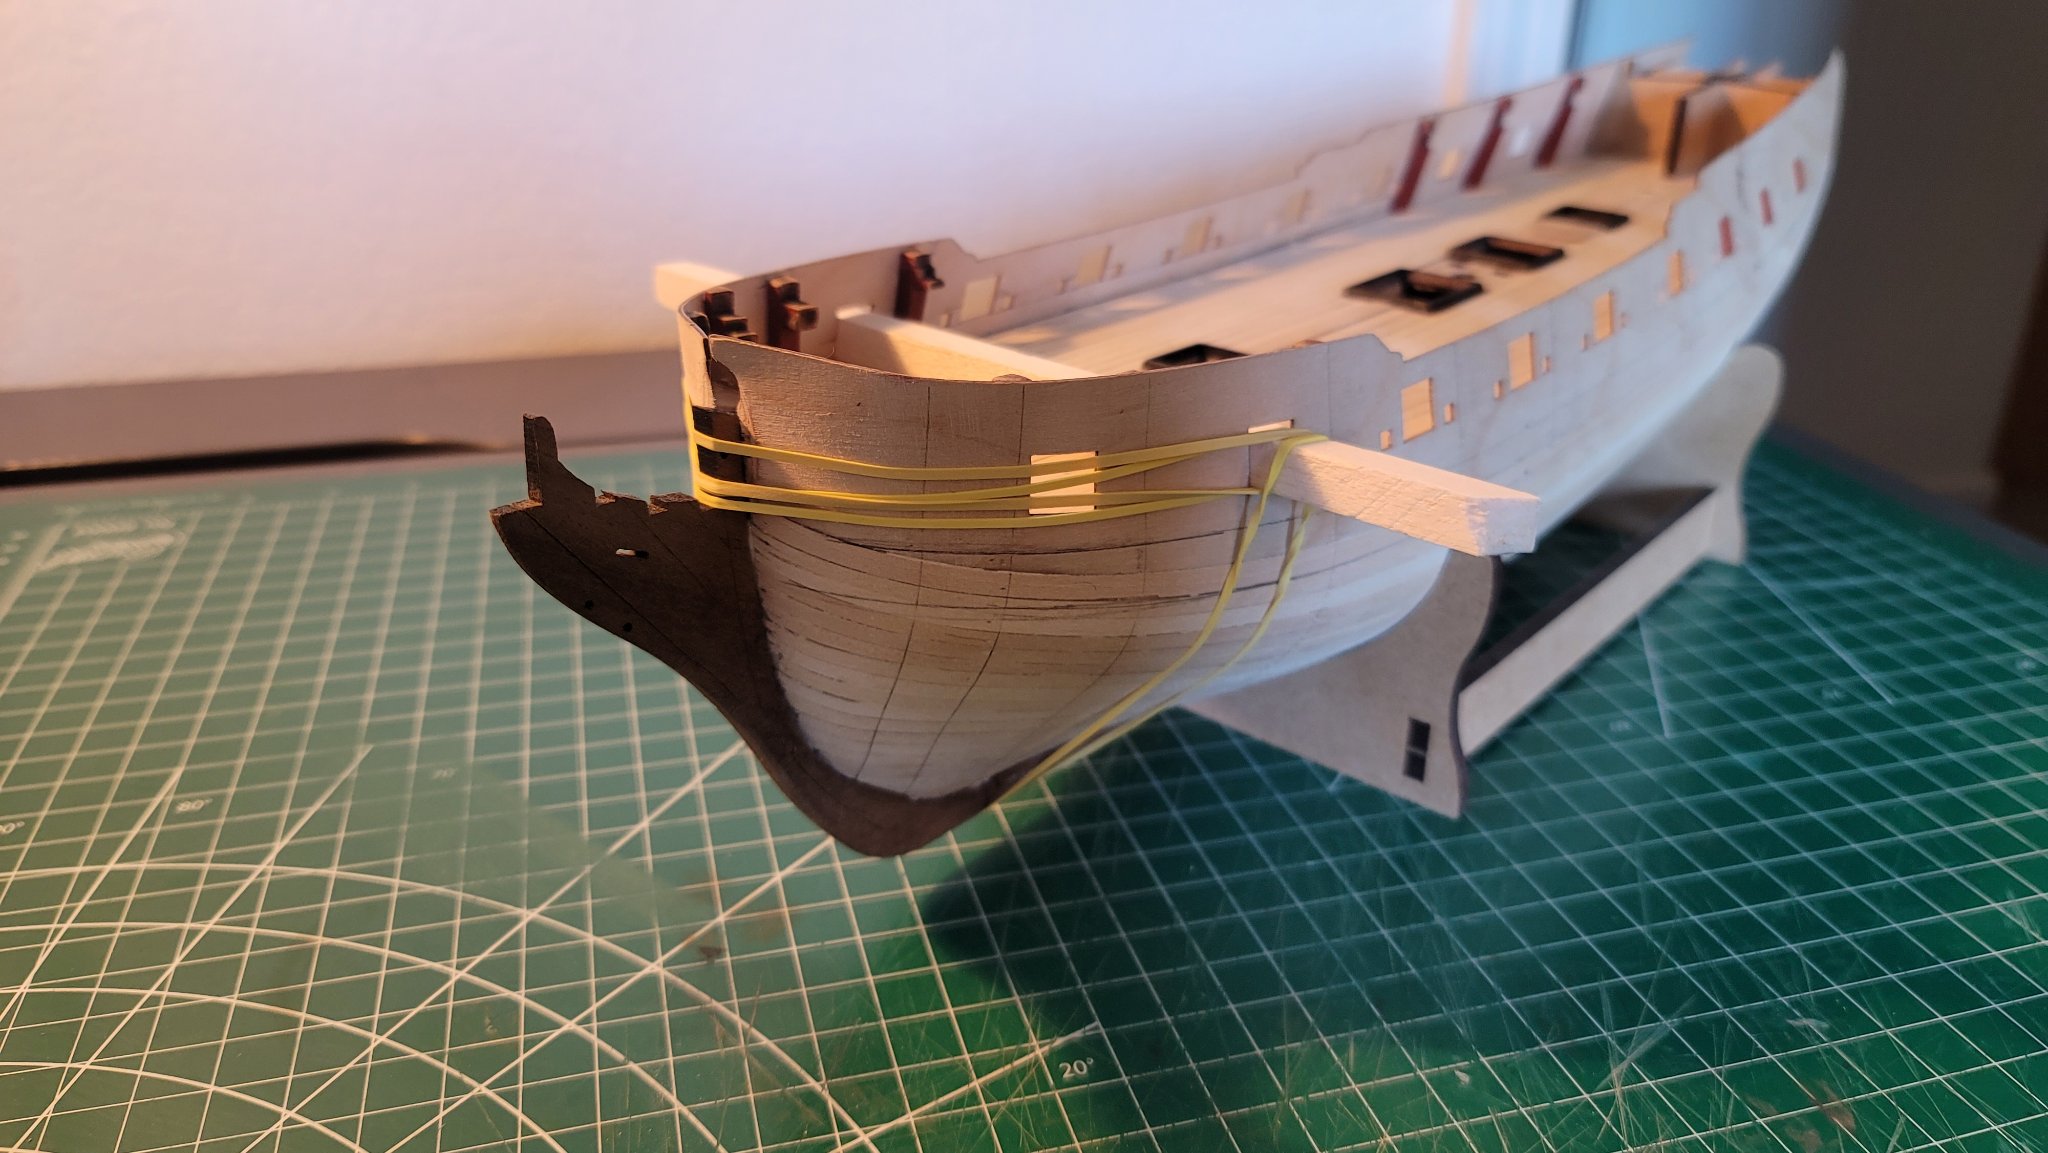
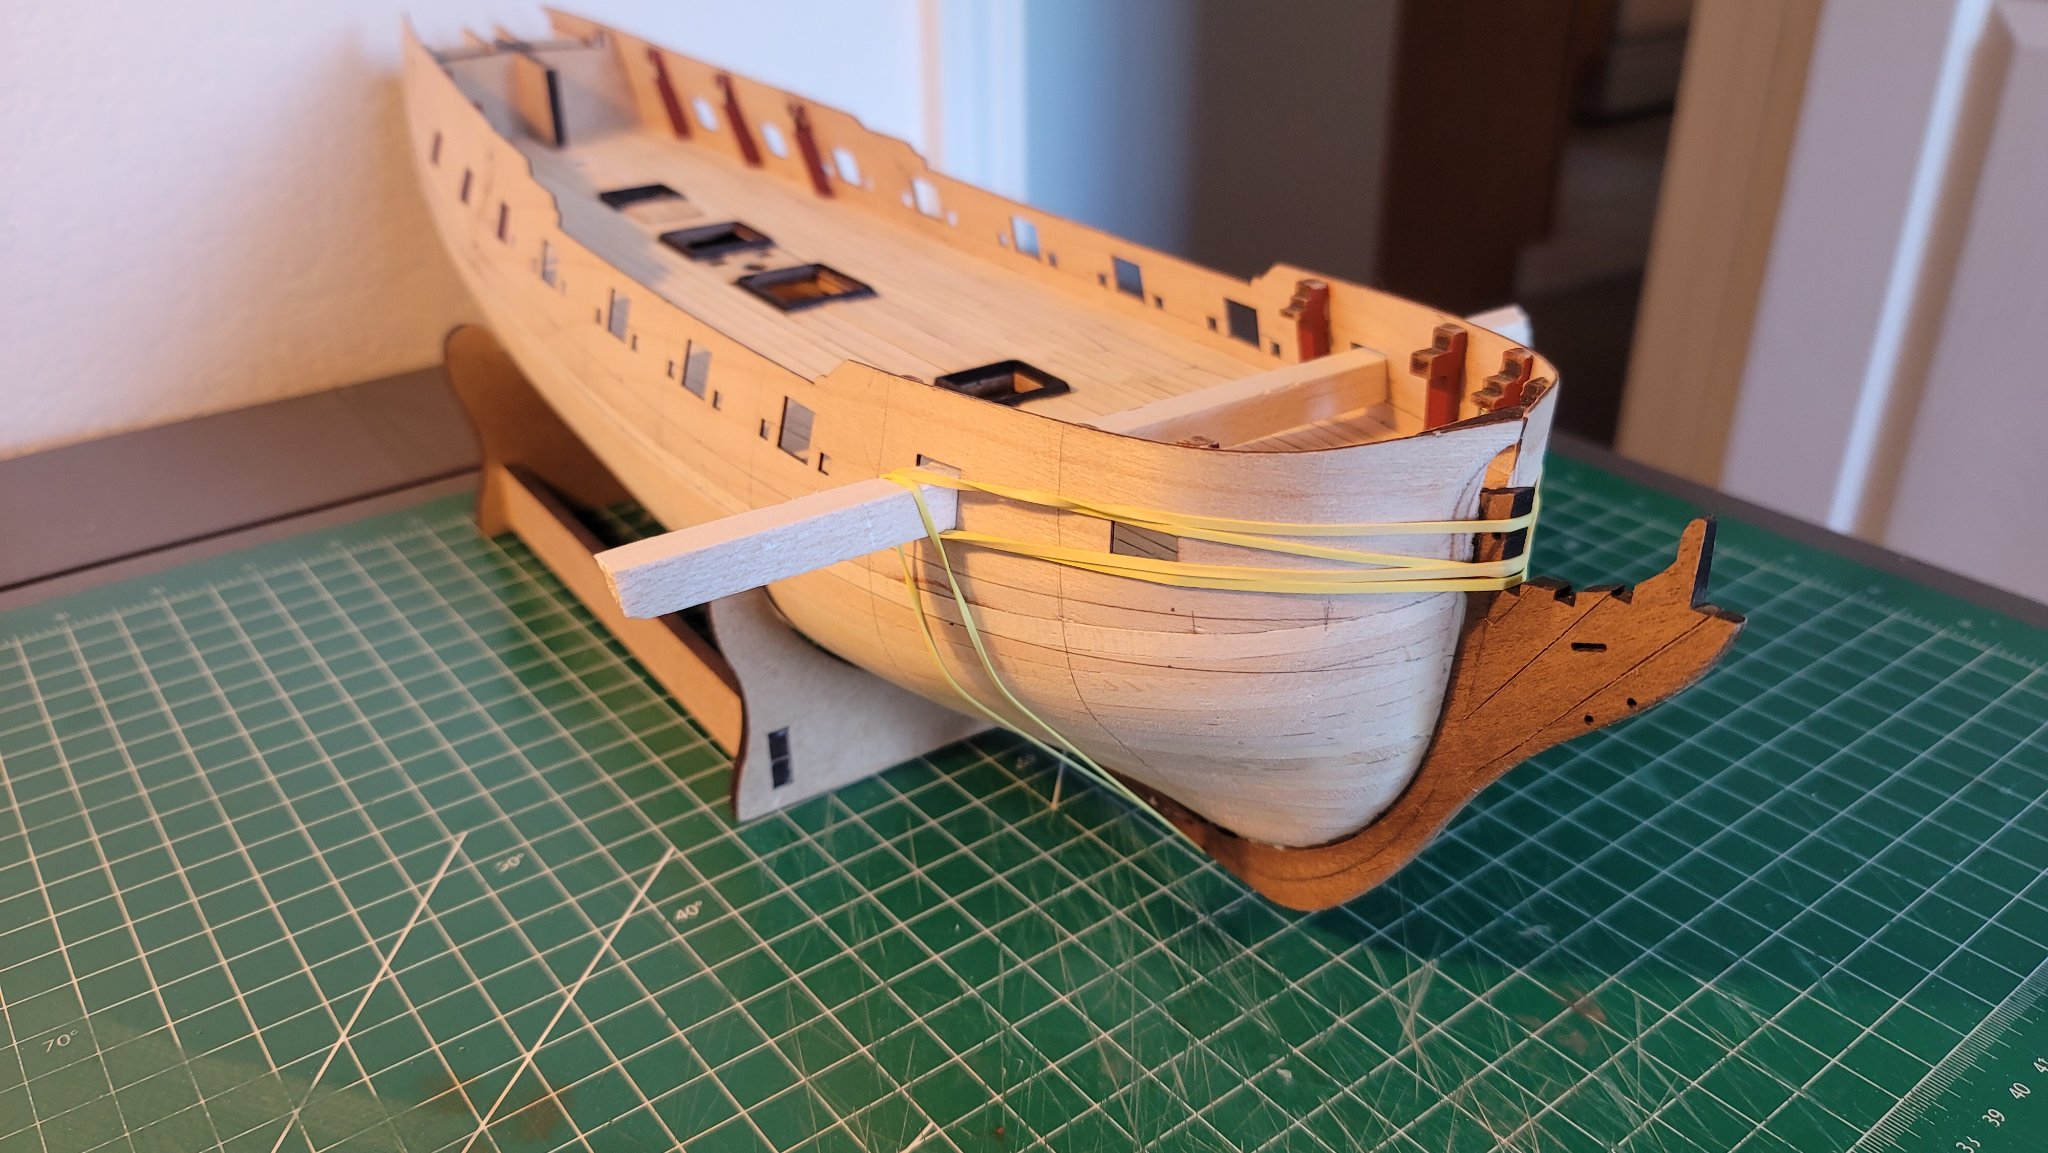
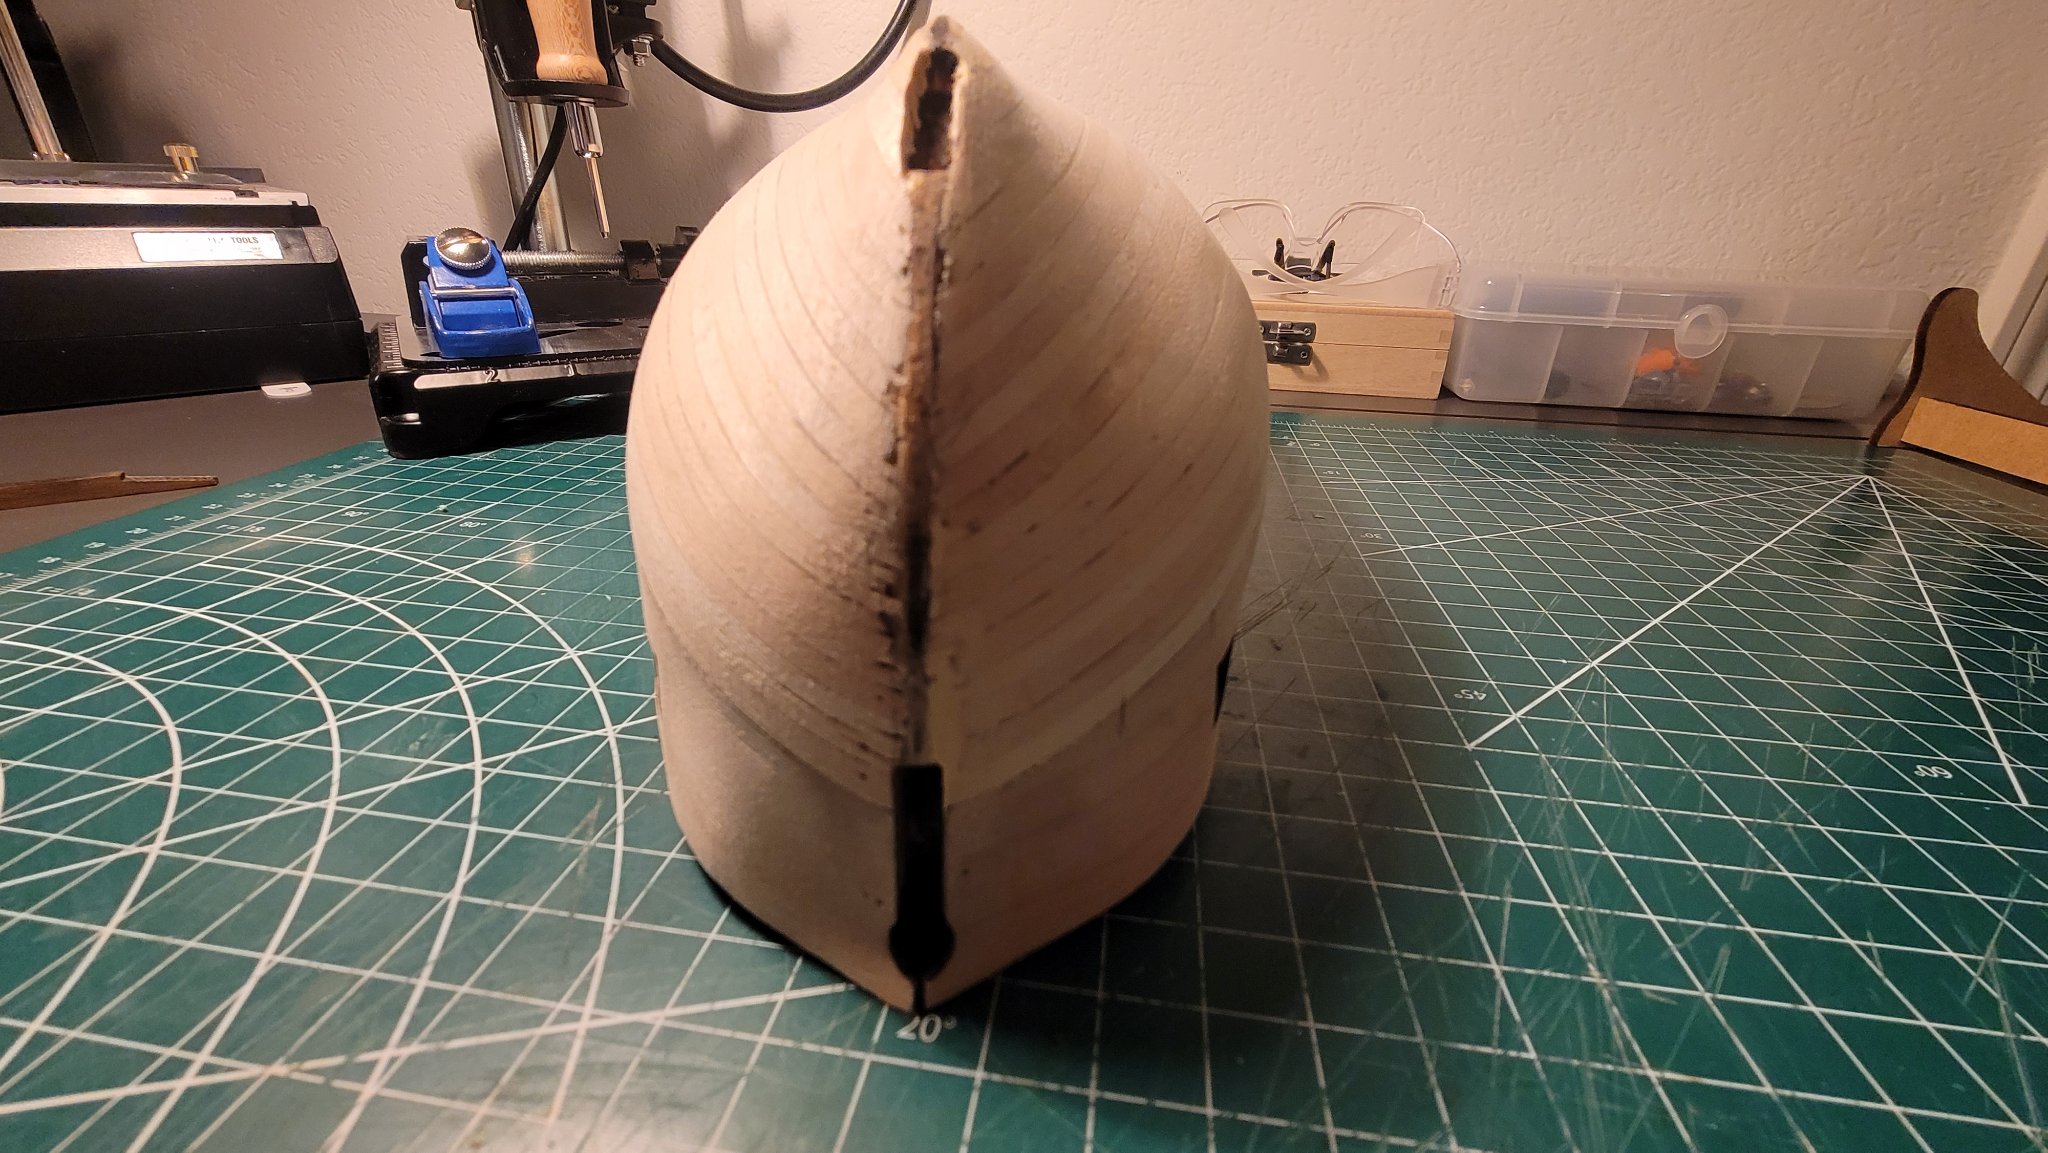
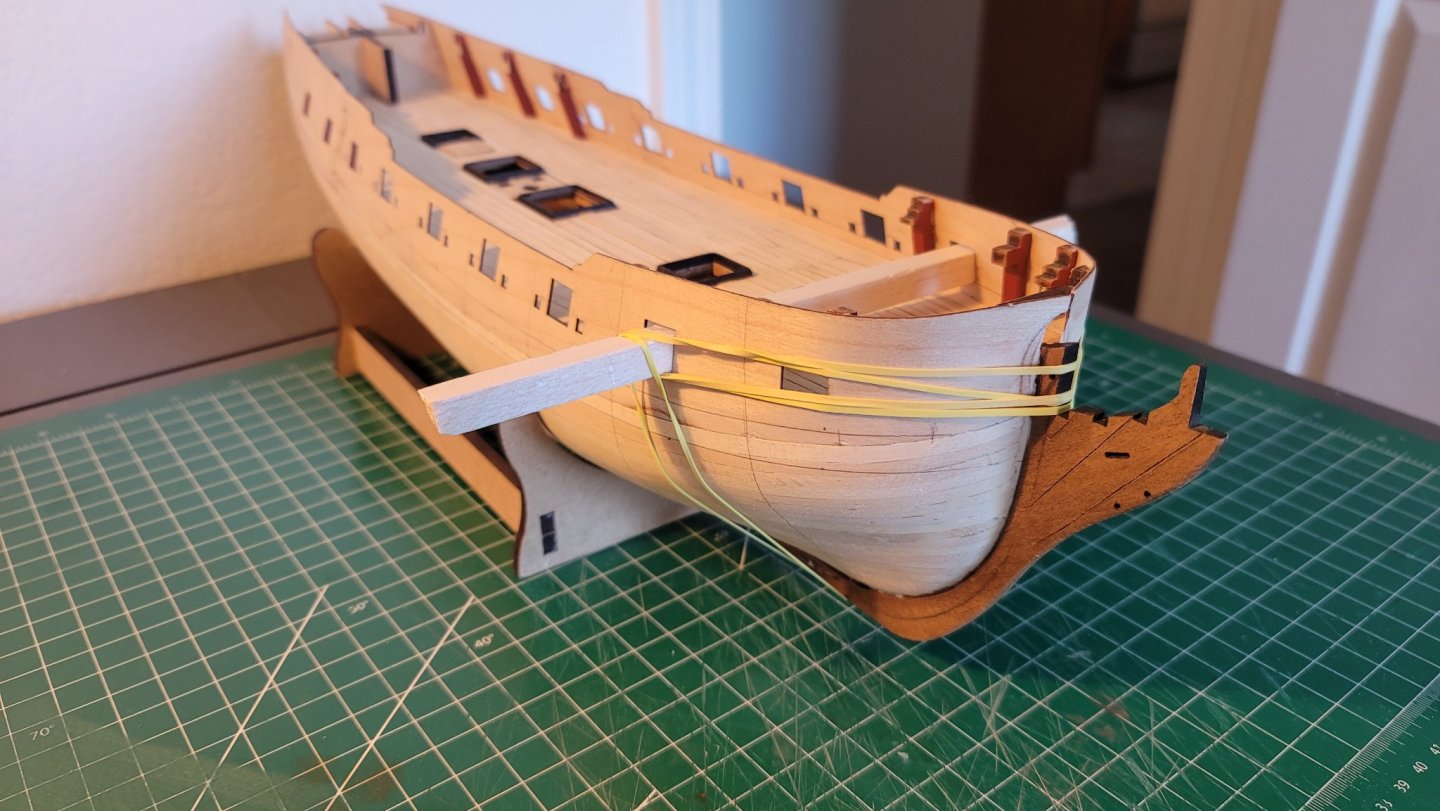
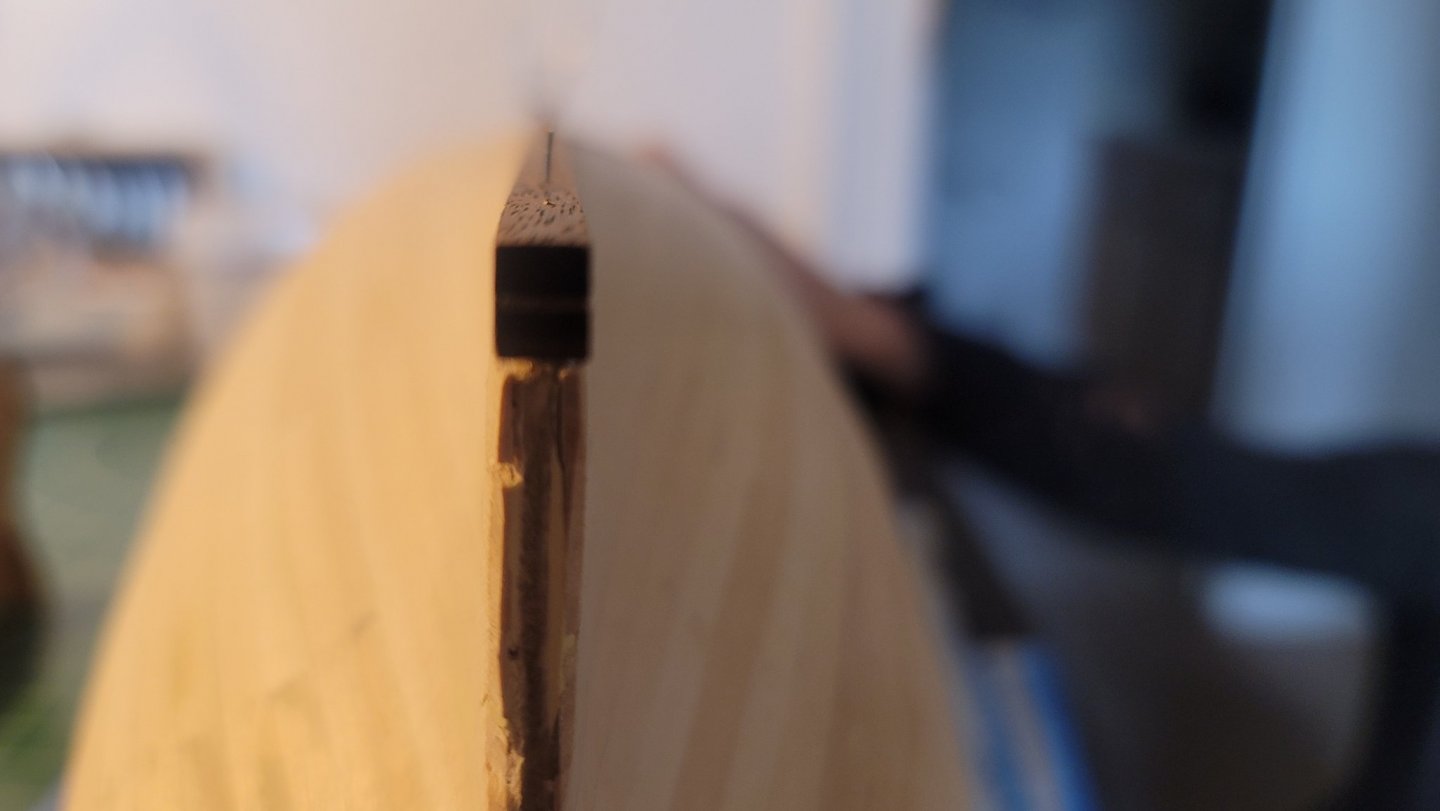
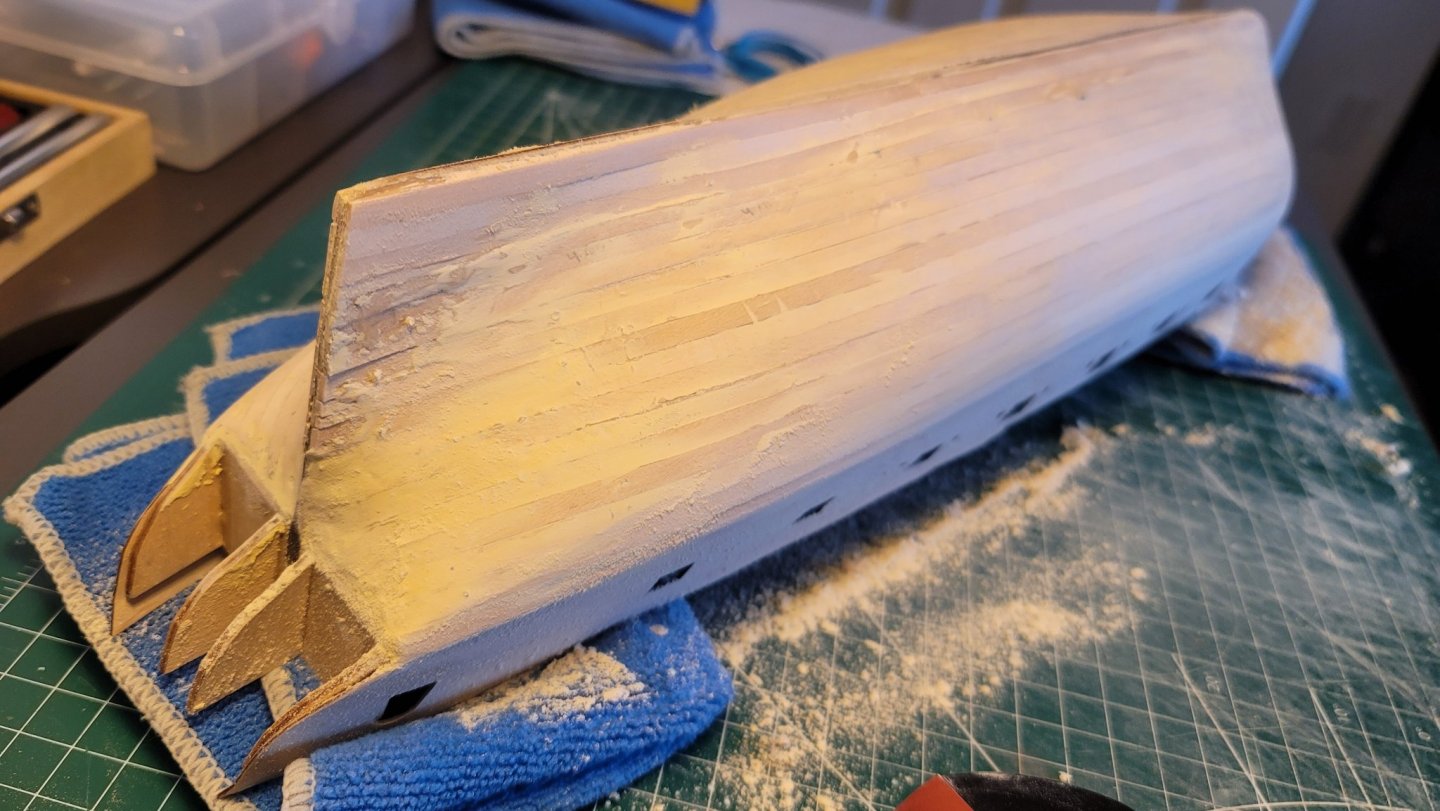
I installed the keel and stem after a bit, I prepped it by drilling .5mm through holes into the keel, taking some pin nails and cutting off the head to use them for strengthening the keel. After the install I took sand paper fine grit and finished off the entire length. But I found this little trick to hold the stem into place after I had applied the glue


- 16 replies
-
- 4
-
-
- Swan Class Sloop
- fly
- (and 2 more)
-
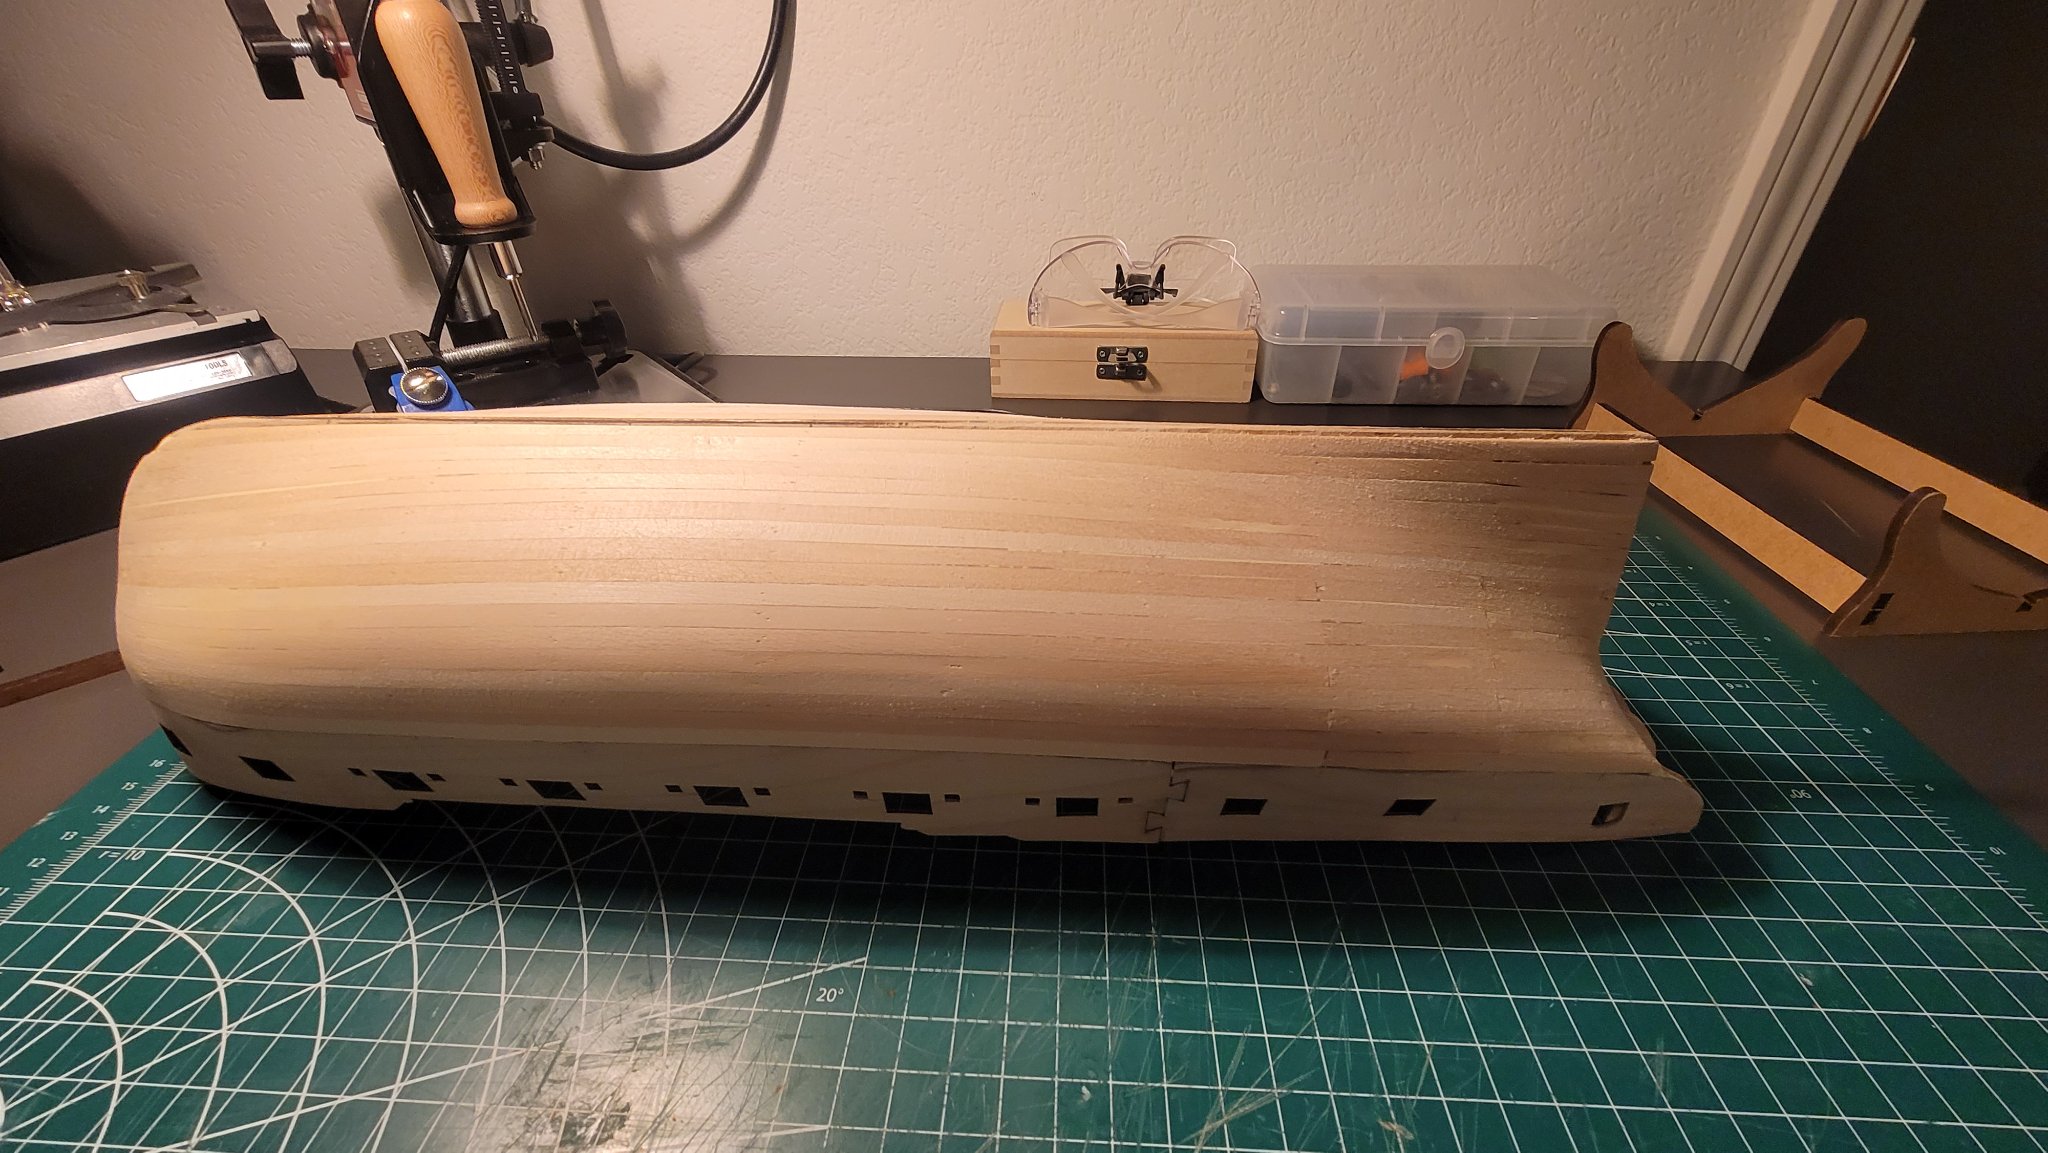
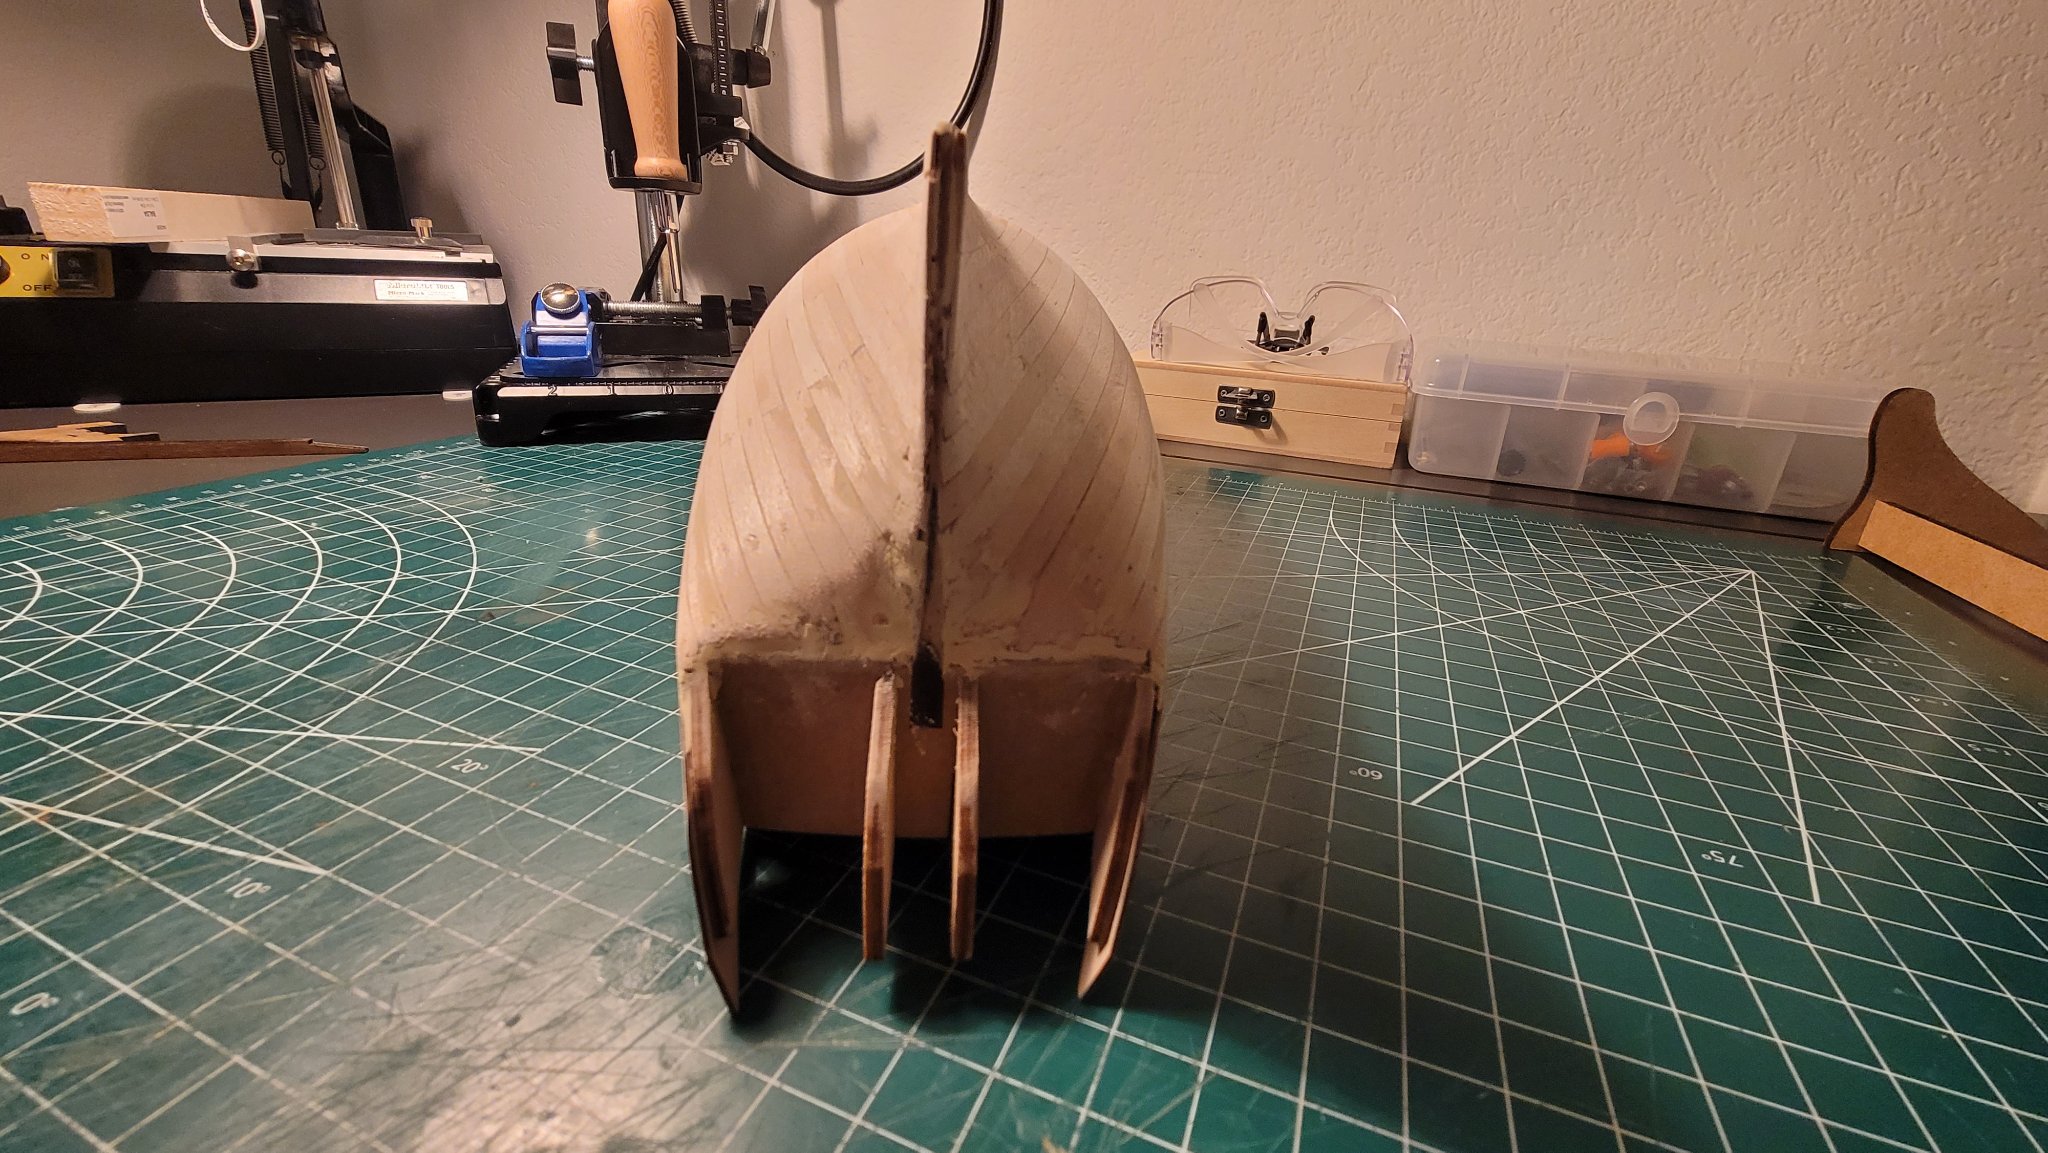
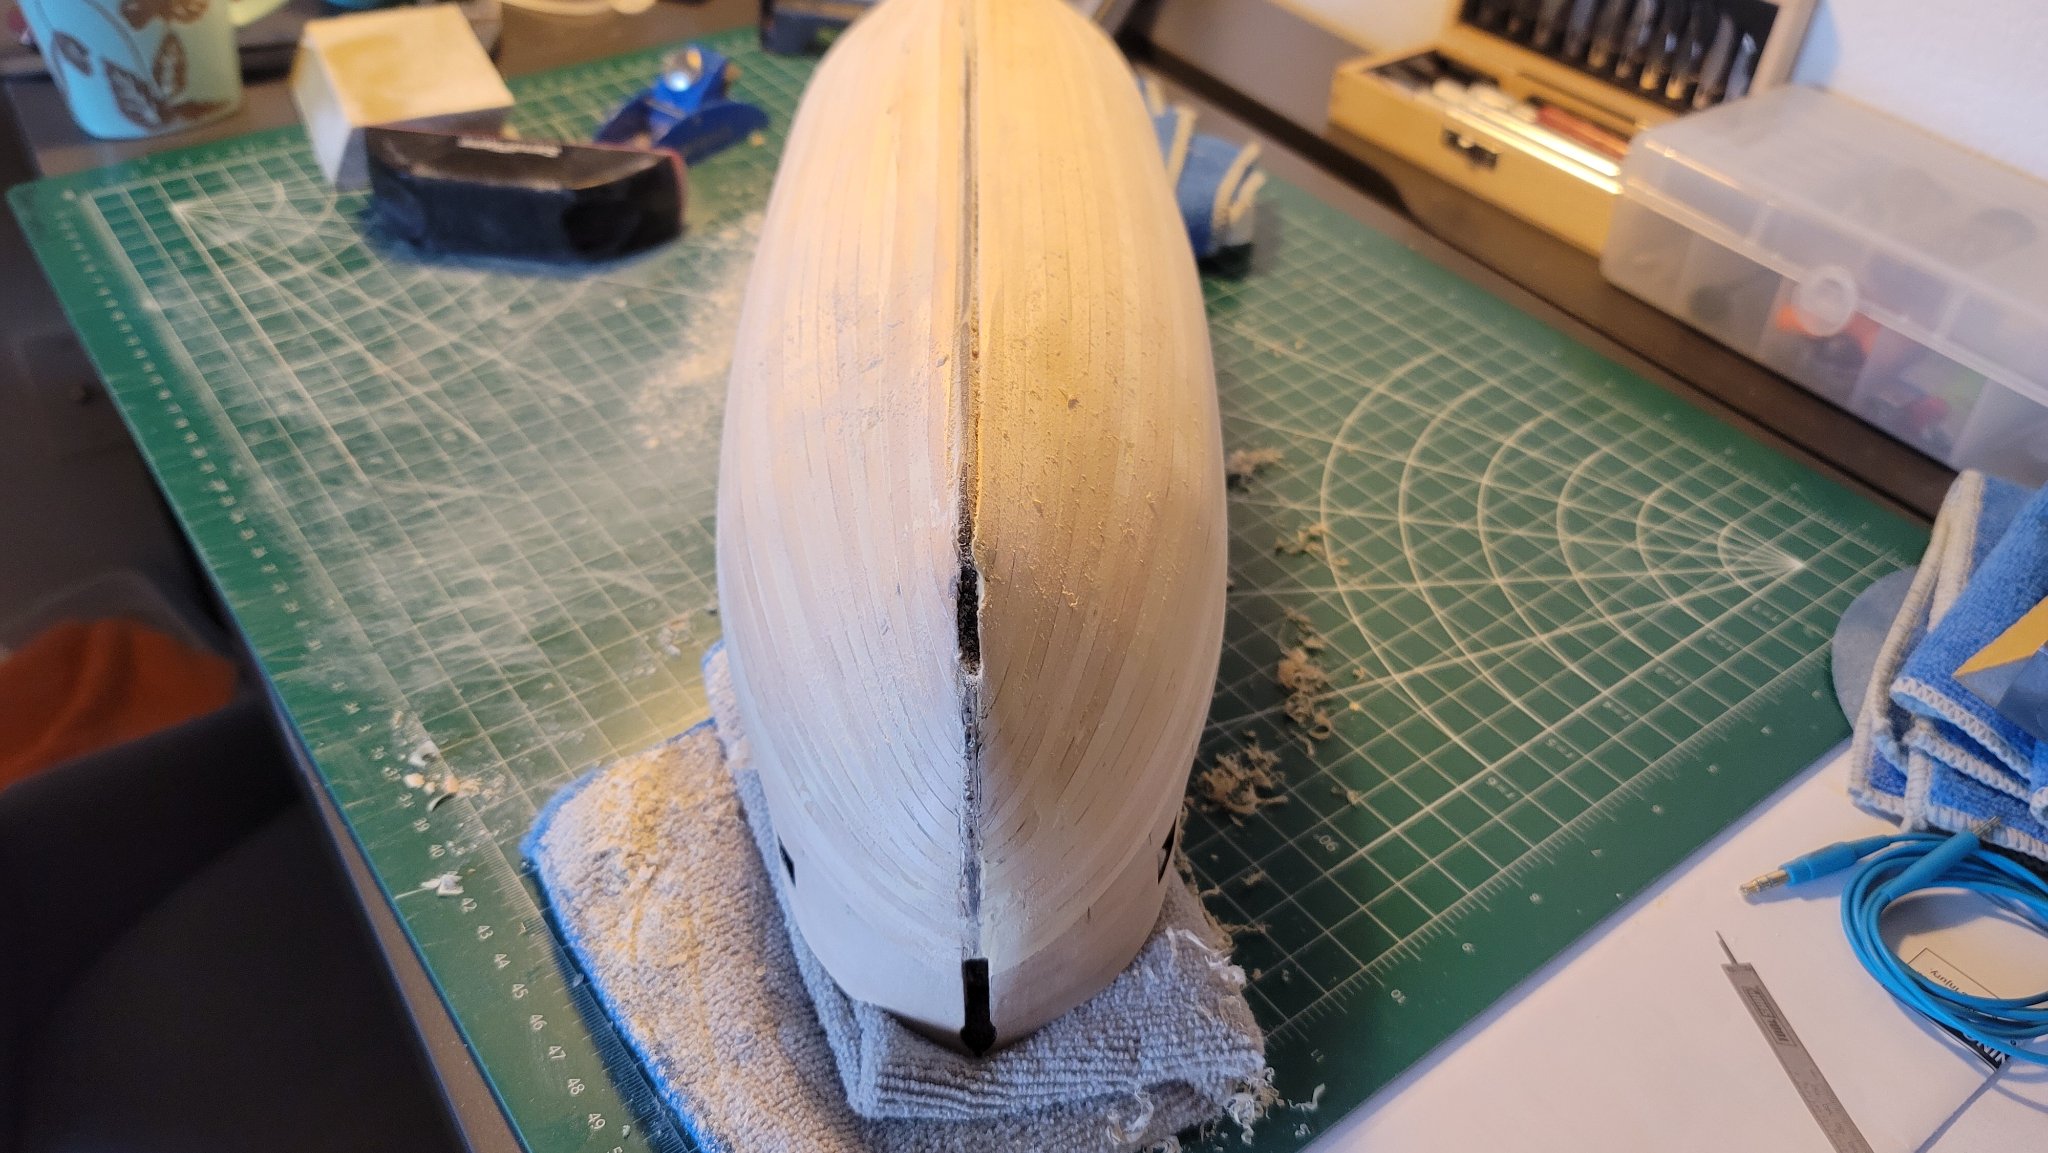
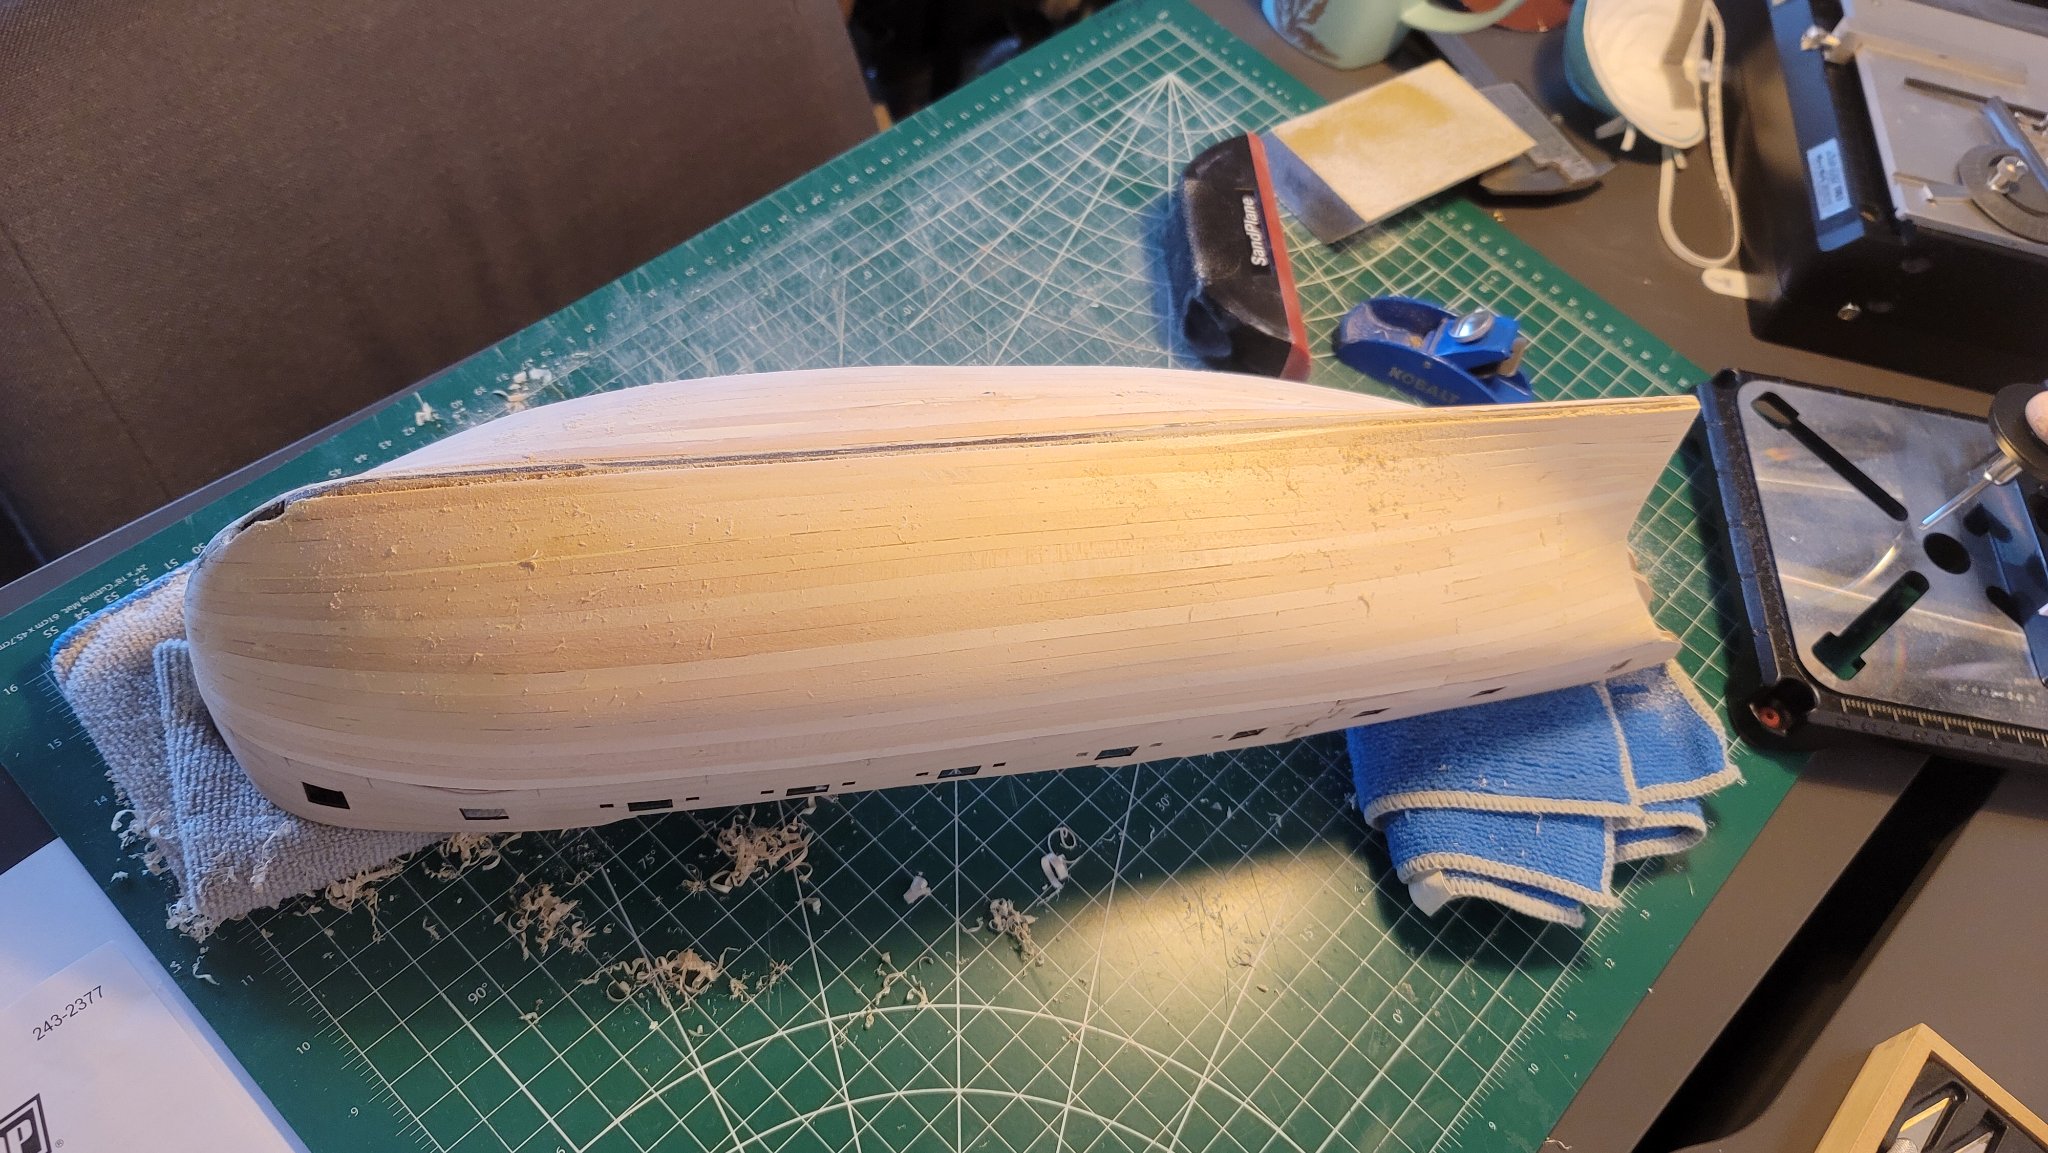
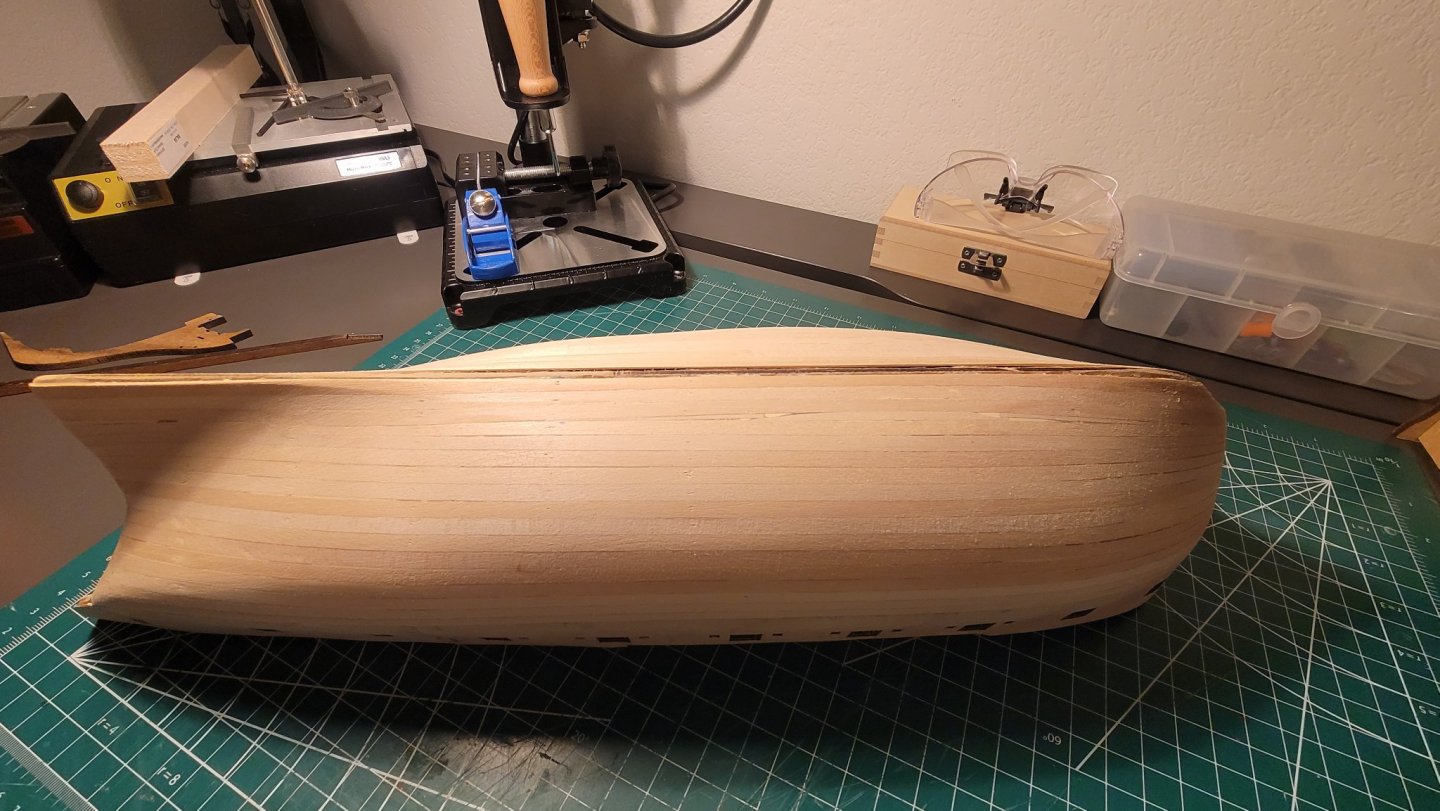
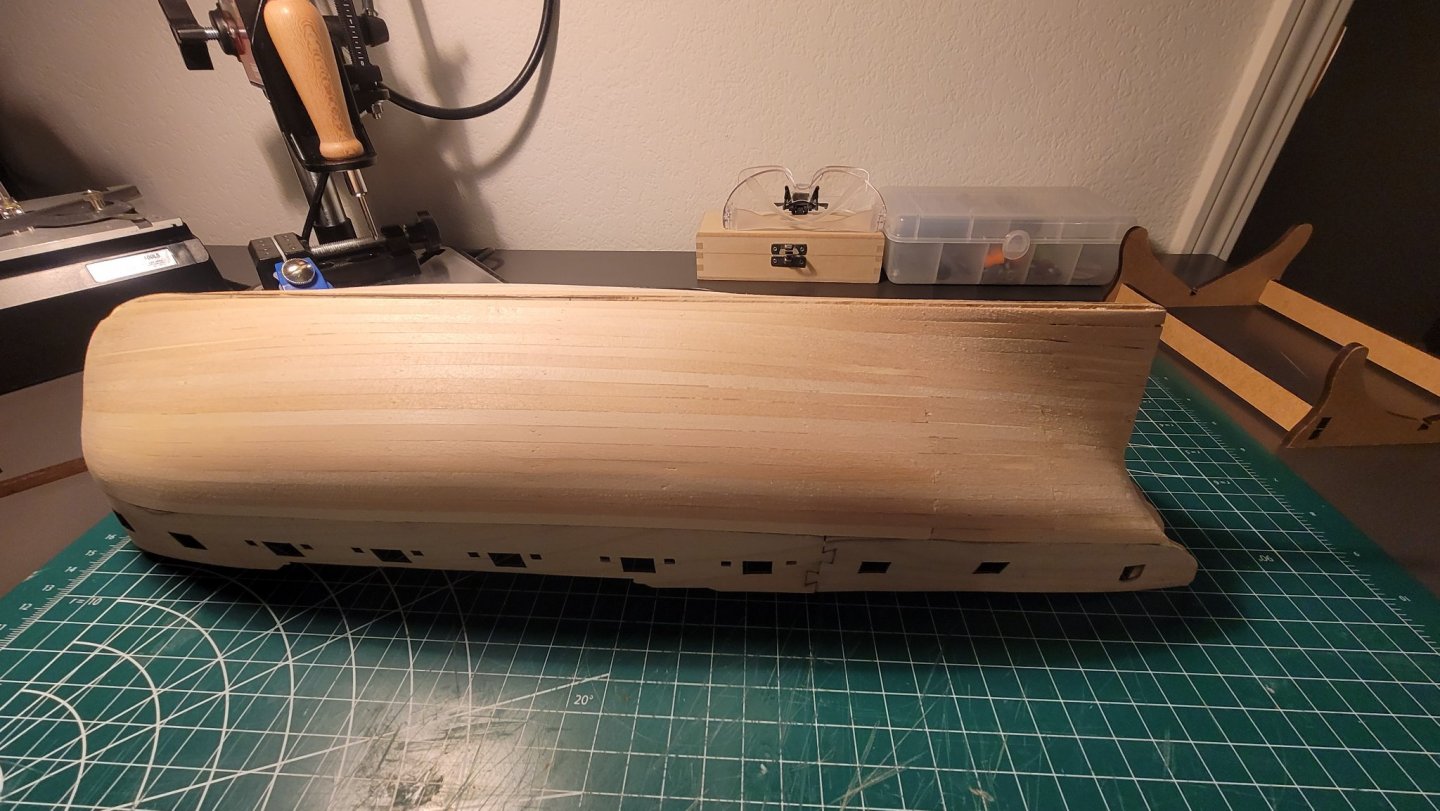
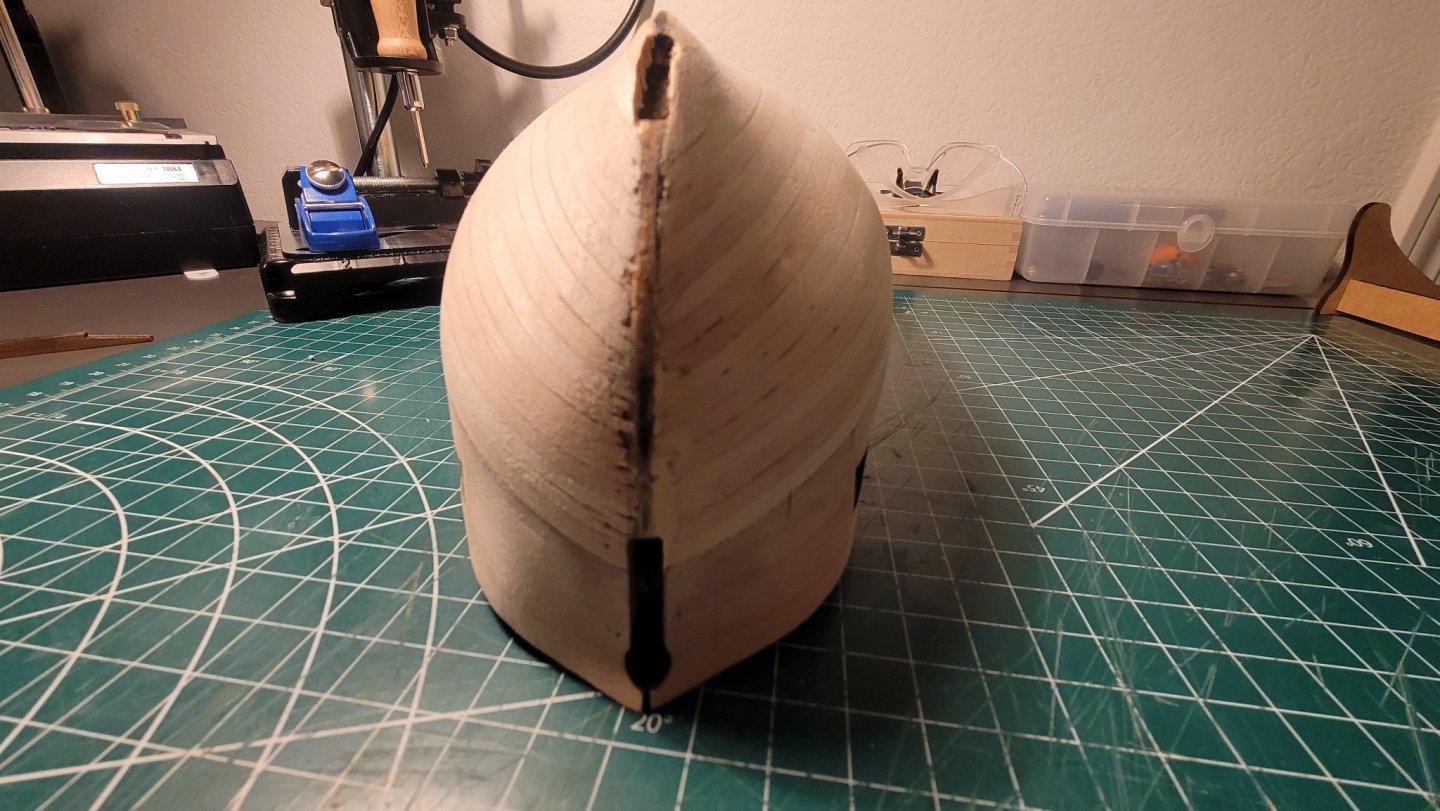
Hello all, Just a small update to what has been going on with the model, and progress made thus far... Sand was 95% completed and I have to say am I glad that's over... I still had to refine the bow and stern and along where the Keel will be placed.

- 16 replies
-
- 3
-
-
- Swan Class Sloop
- fly
- (and 2 more)
-
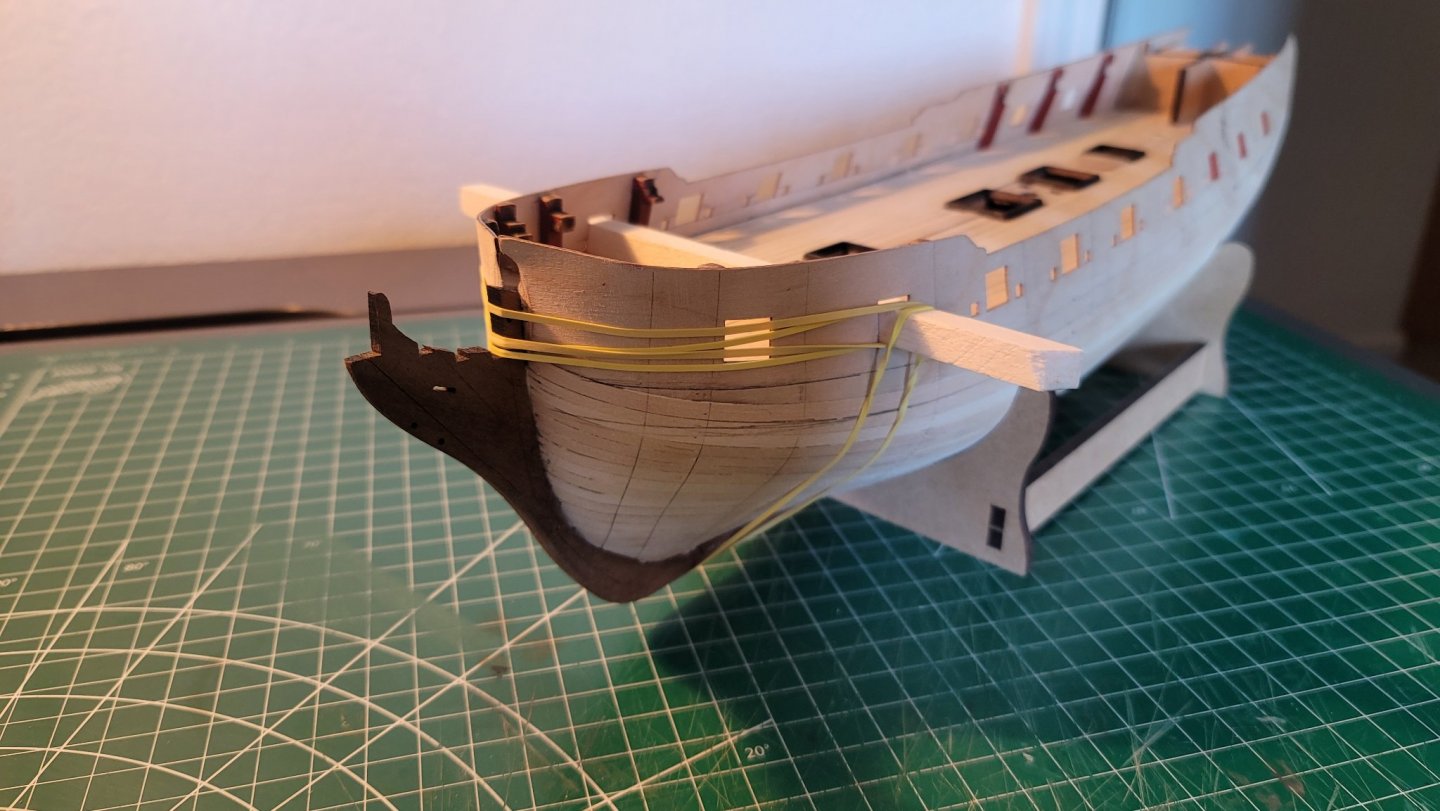
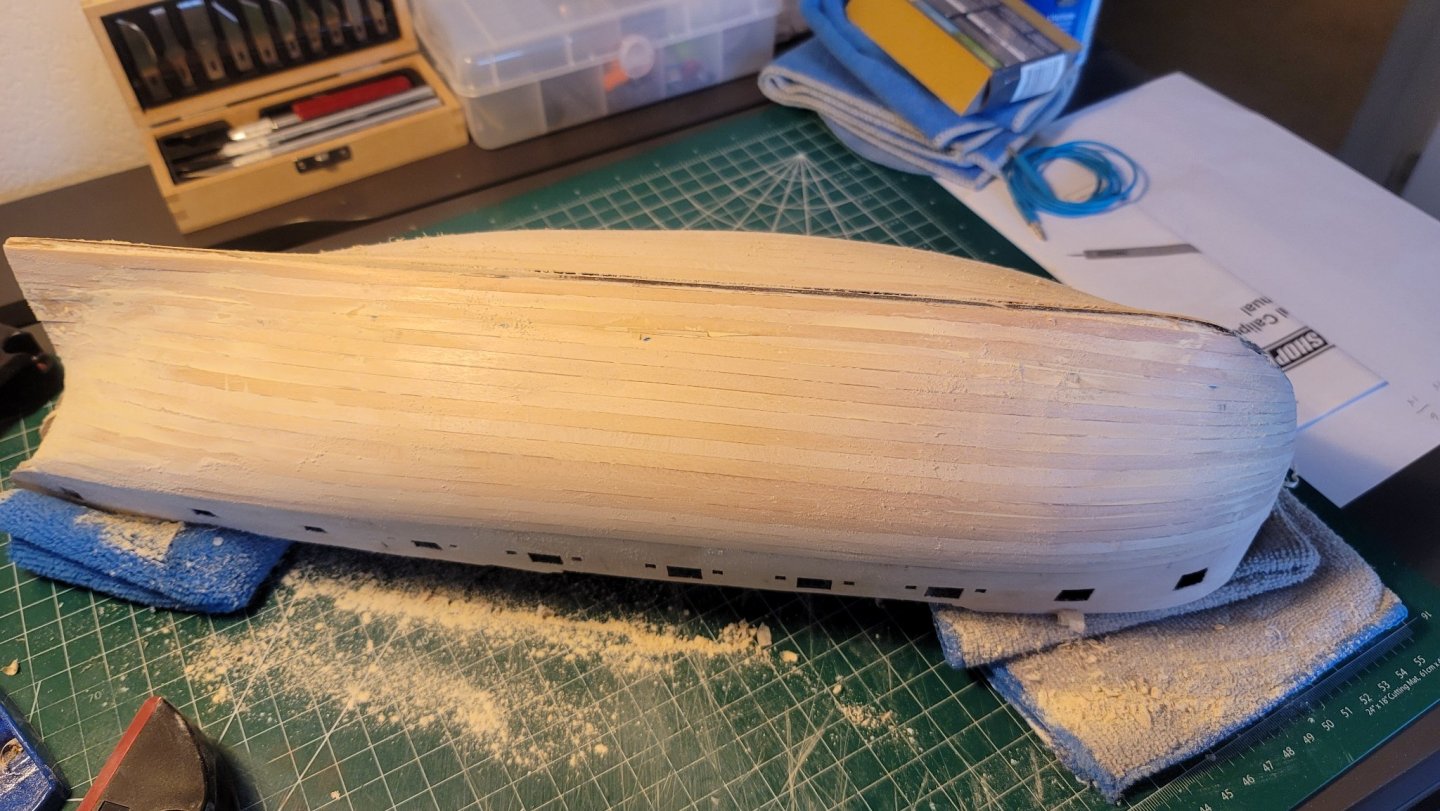
Thanks for all the positivity everyone! Blue Ensign, I have went through your build log multiple times and you, along with a few others have kept me going on this journey to completion. So I thank you! So next up I had done the lining out for the first layer of planking, kind of as a practice. I think I got okay results. I definitely don't think that I needed to because the second side I didn't do any lining out and just free handed it and got almost identical results. I used a resource from the NRG site to line out. Here are the completed first planking photos along with some sanding, I have been waiting on sand paper to show up. My local hardware store has like nothing in stock when it comes to sand paper so I decided to just order from amazon. I did end up with a few 1mm gaps from planking which I had filled in with some wood filler. But a few weeks ago I got an upgrade to the work station! I asked my lady if I could turn our guest bedroom into a work place with the promise that if we had guest I'd clean up (which I was doing already when I was using the kitchen table). She agreed and now I have a nice office table and saved some money to buy a table lamp and a saw from micro lux which I picked up from my local hobby shop! pretty happy with the setup. next up will be my post of the cannons. Thanks again for all of your replies!


- 16 replies
-
- 7
-
-
- Swan Class Sloop
- fly
- (and 2 more)
-
in the morning I will post 1 or 2 more times to catch up where I am currently with the build
-
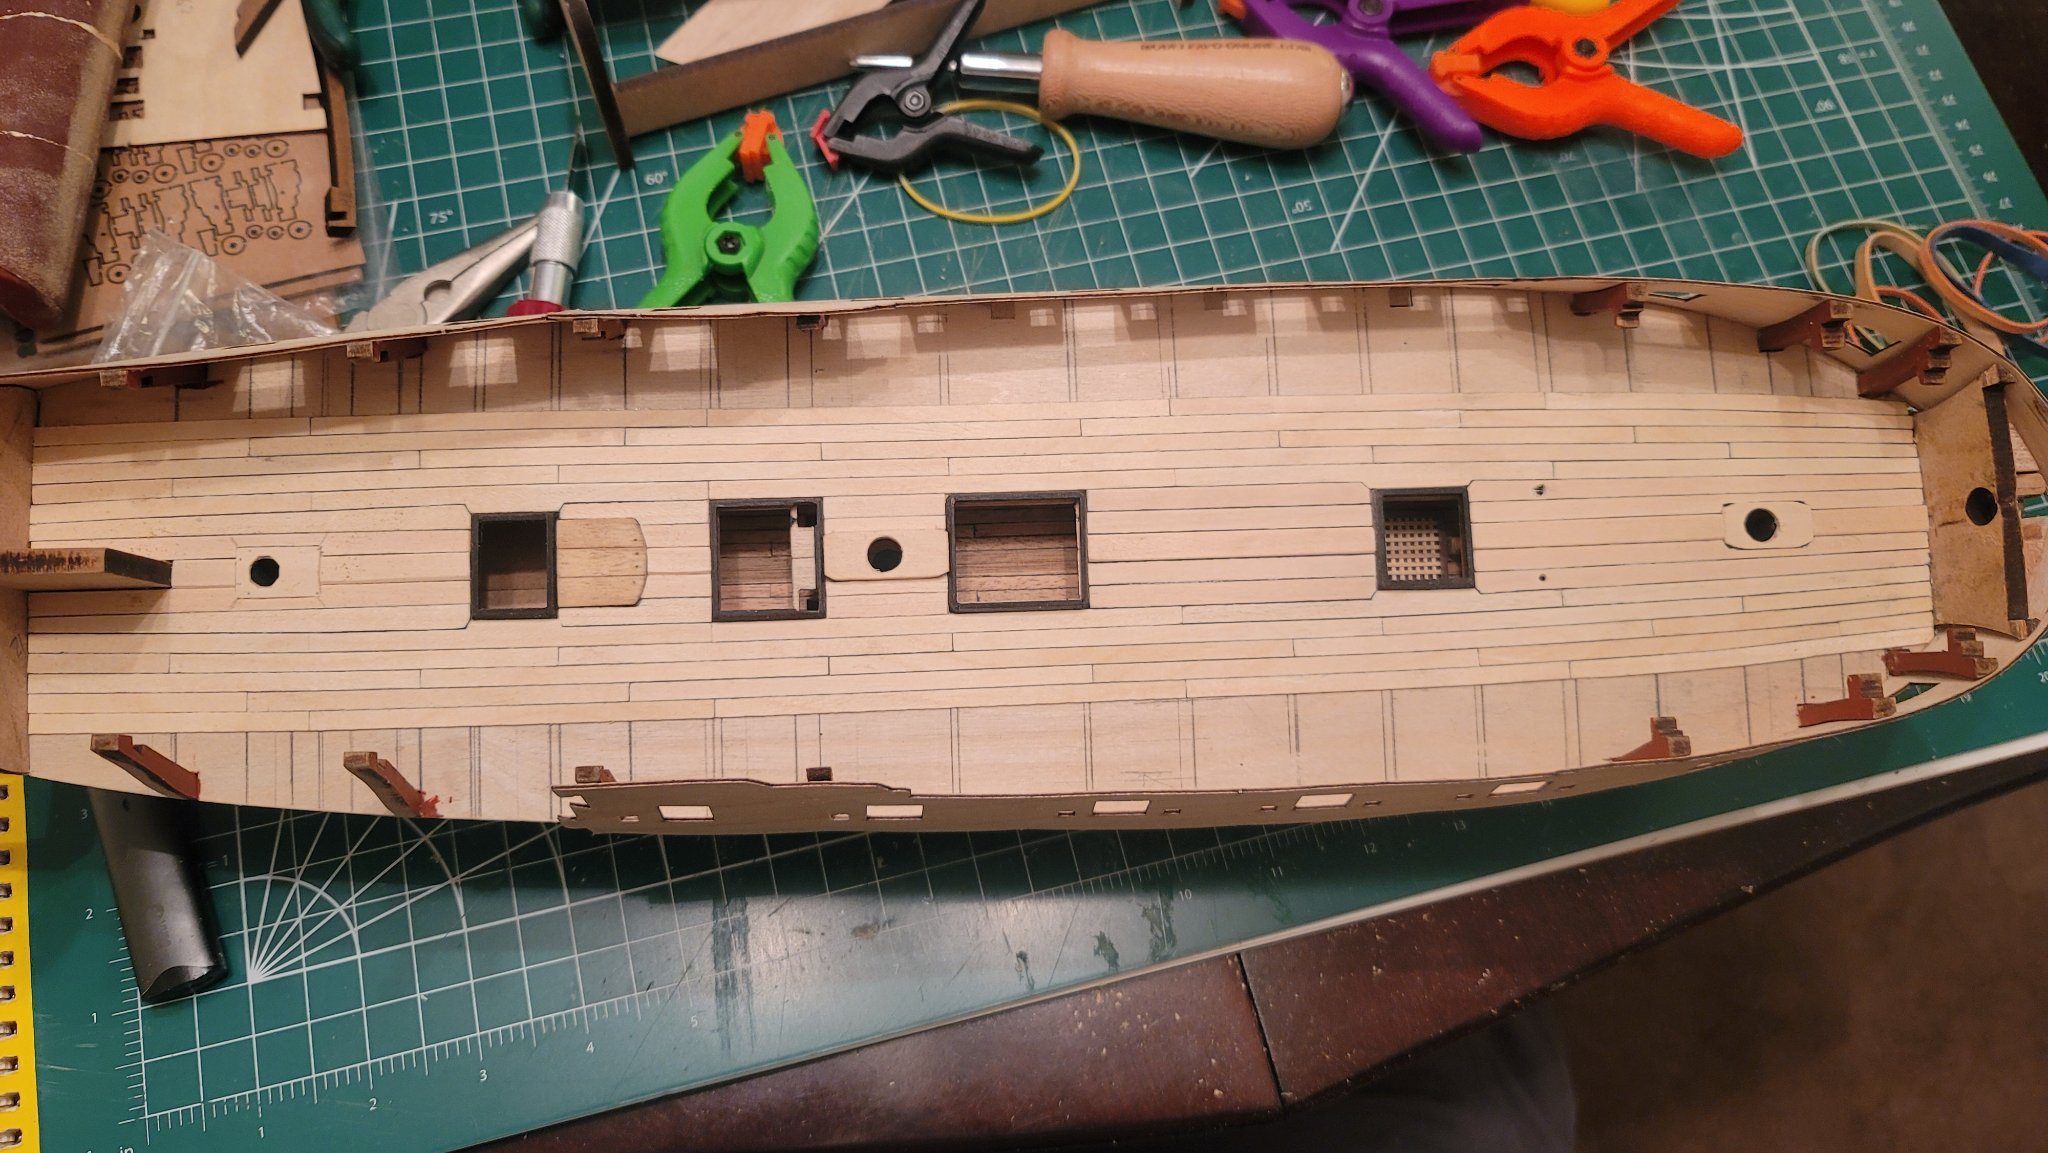
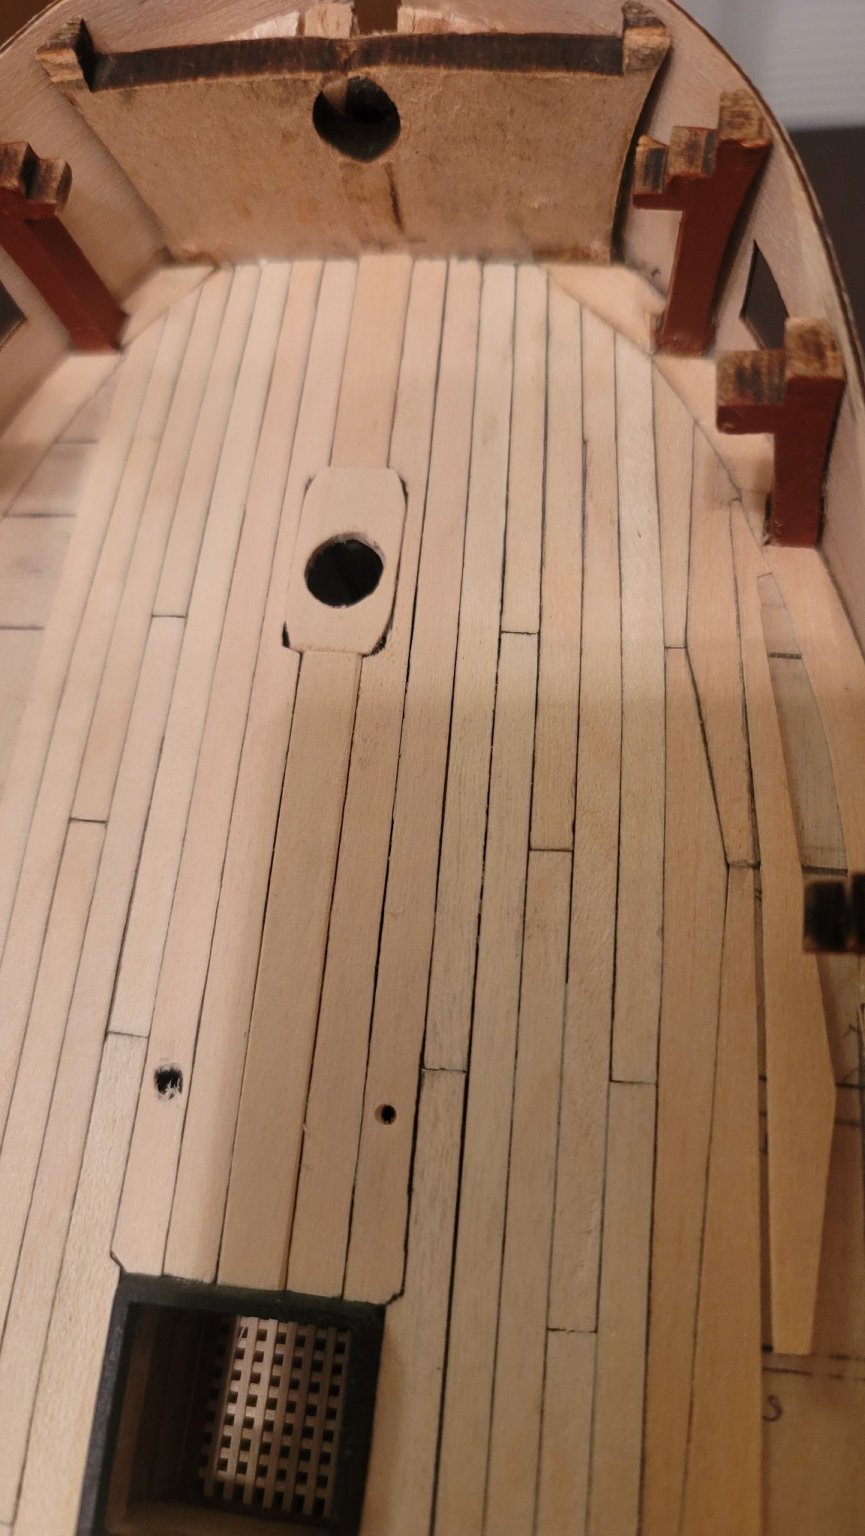
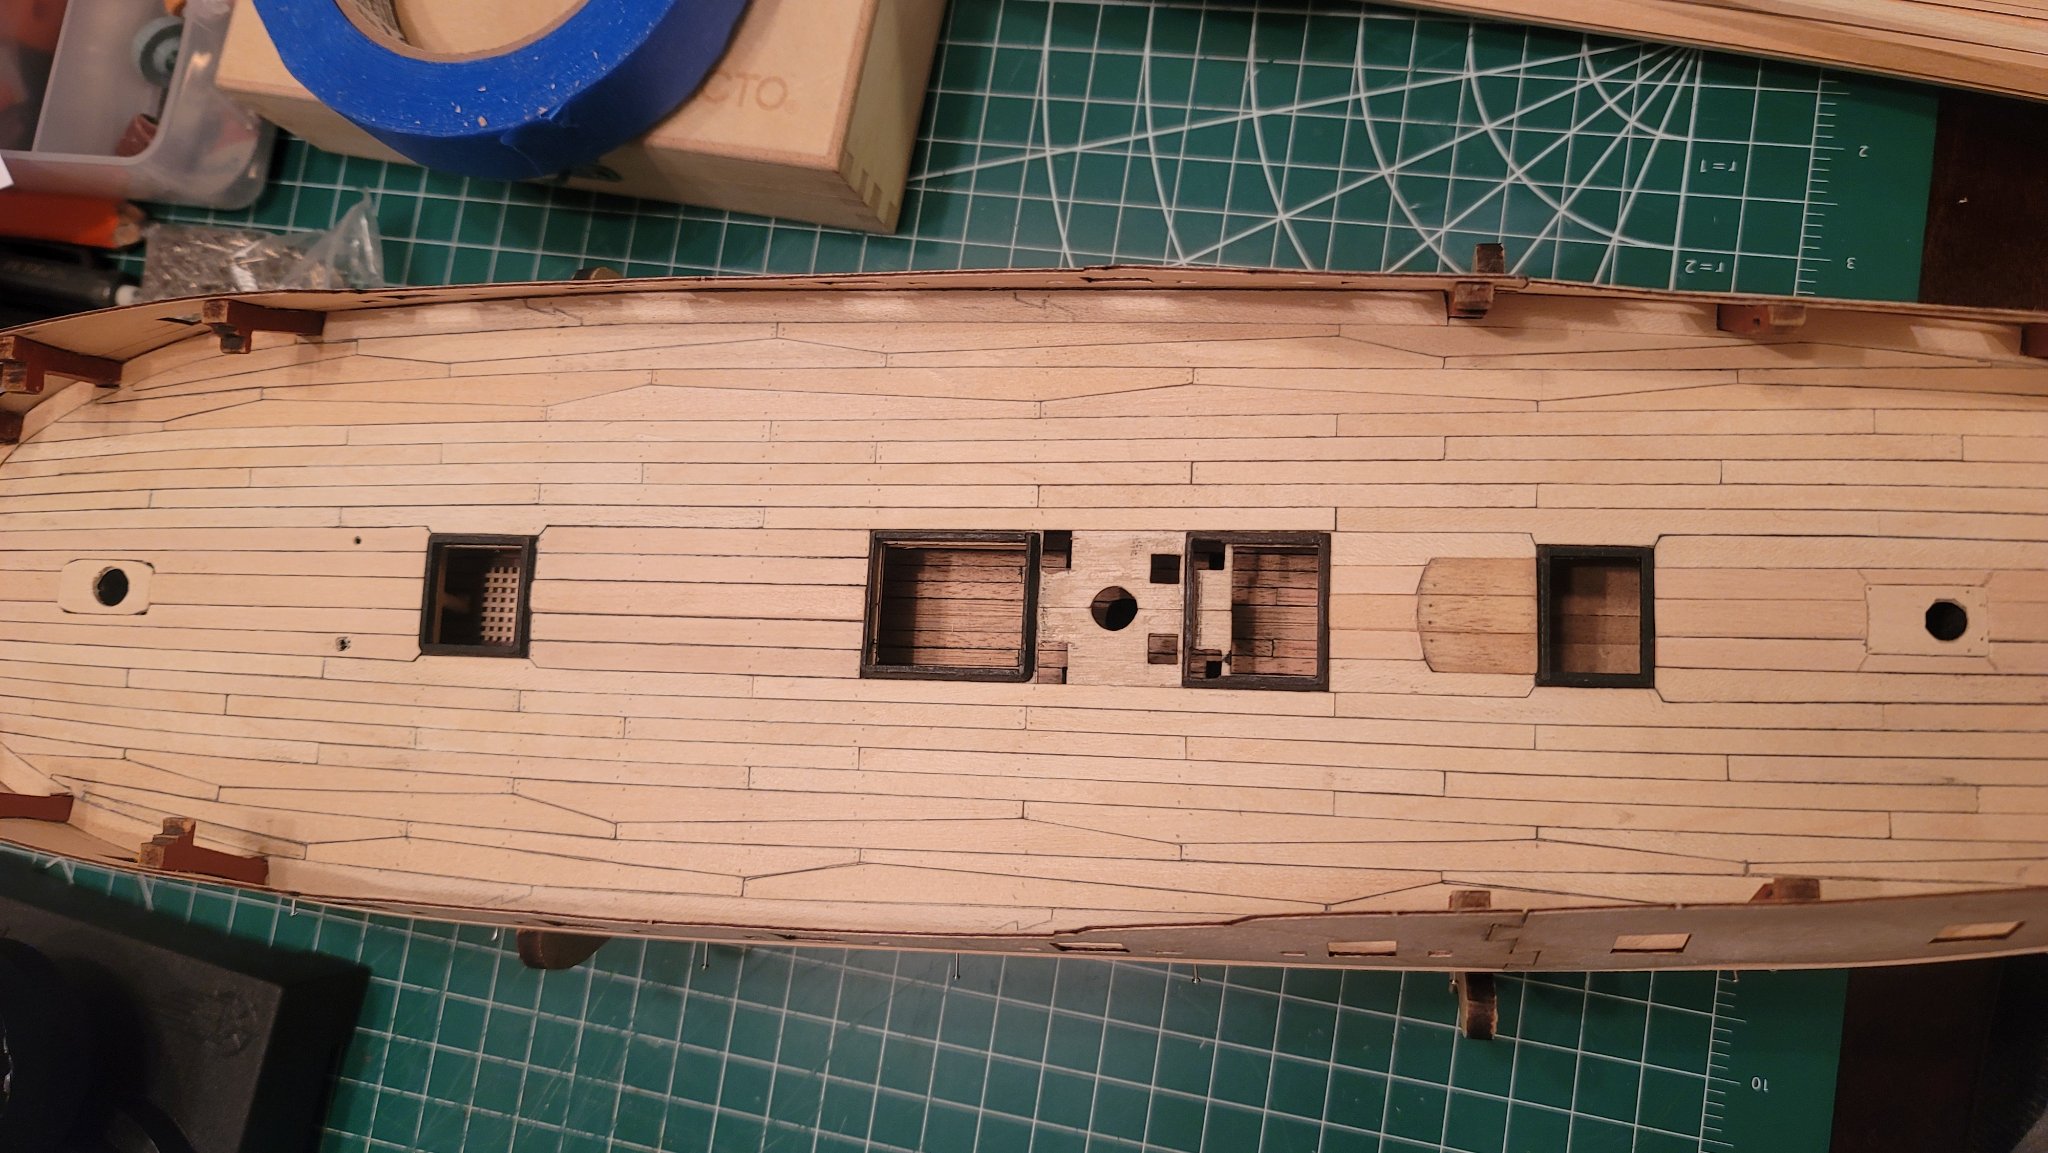
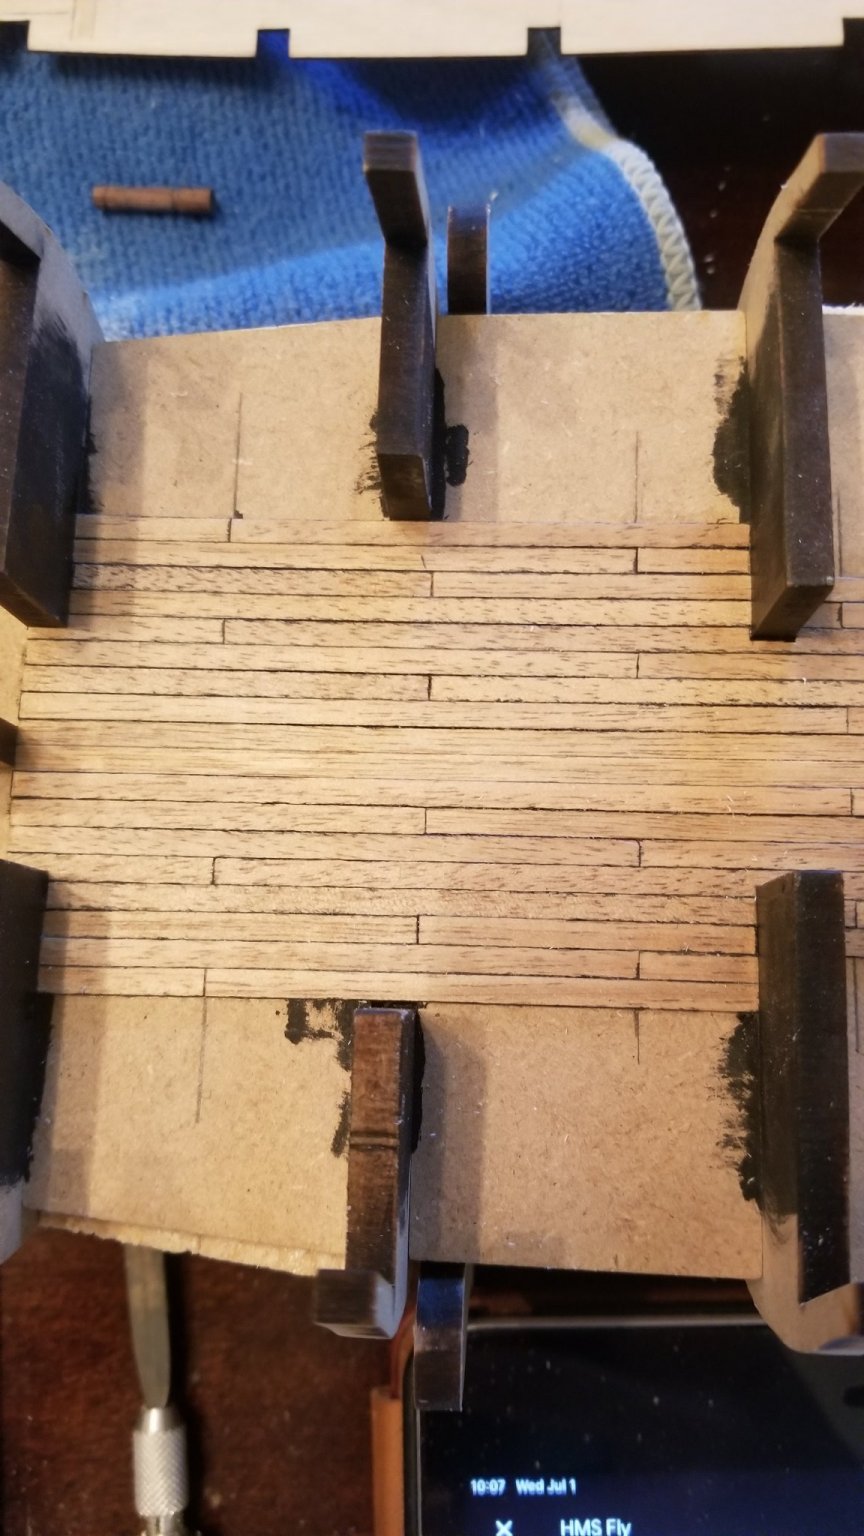
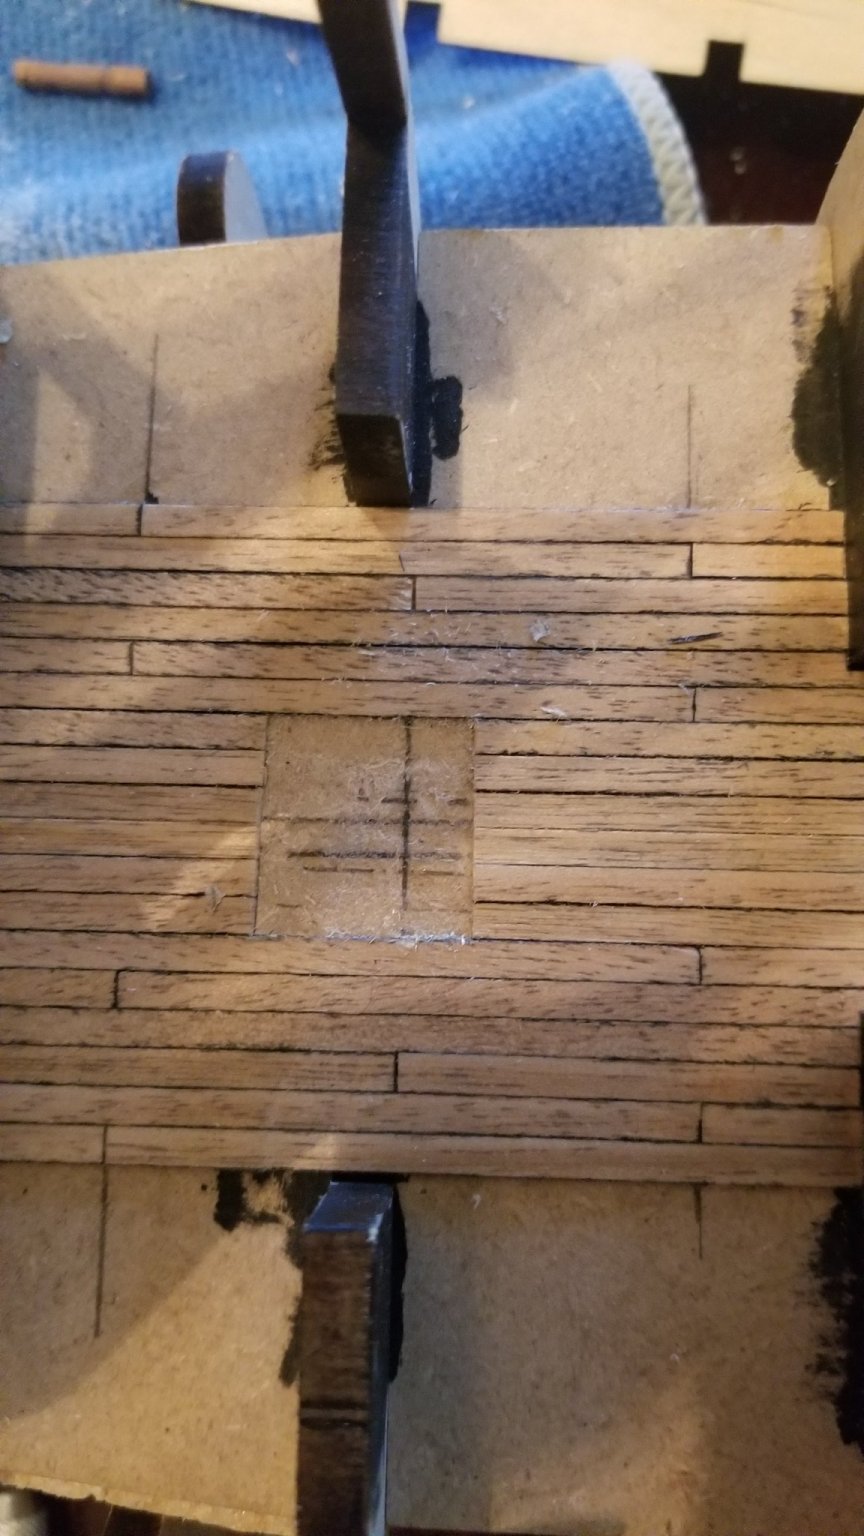
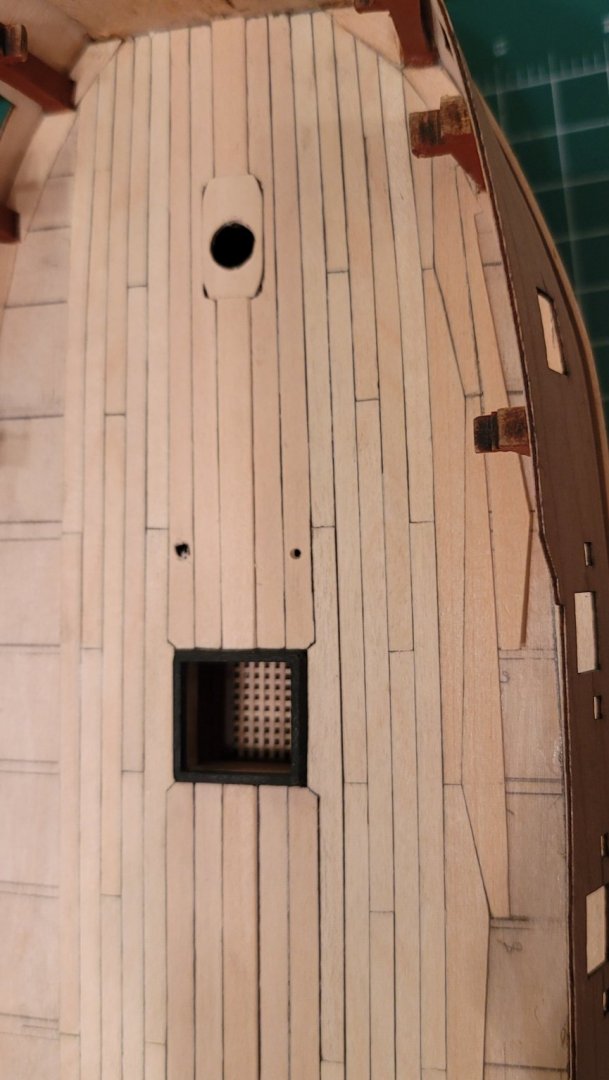
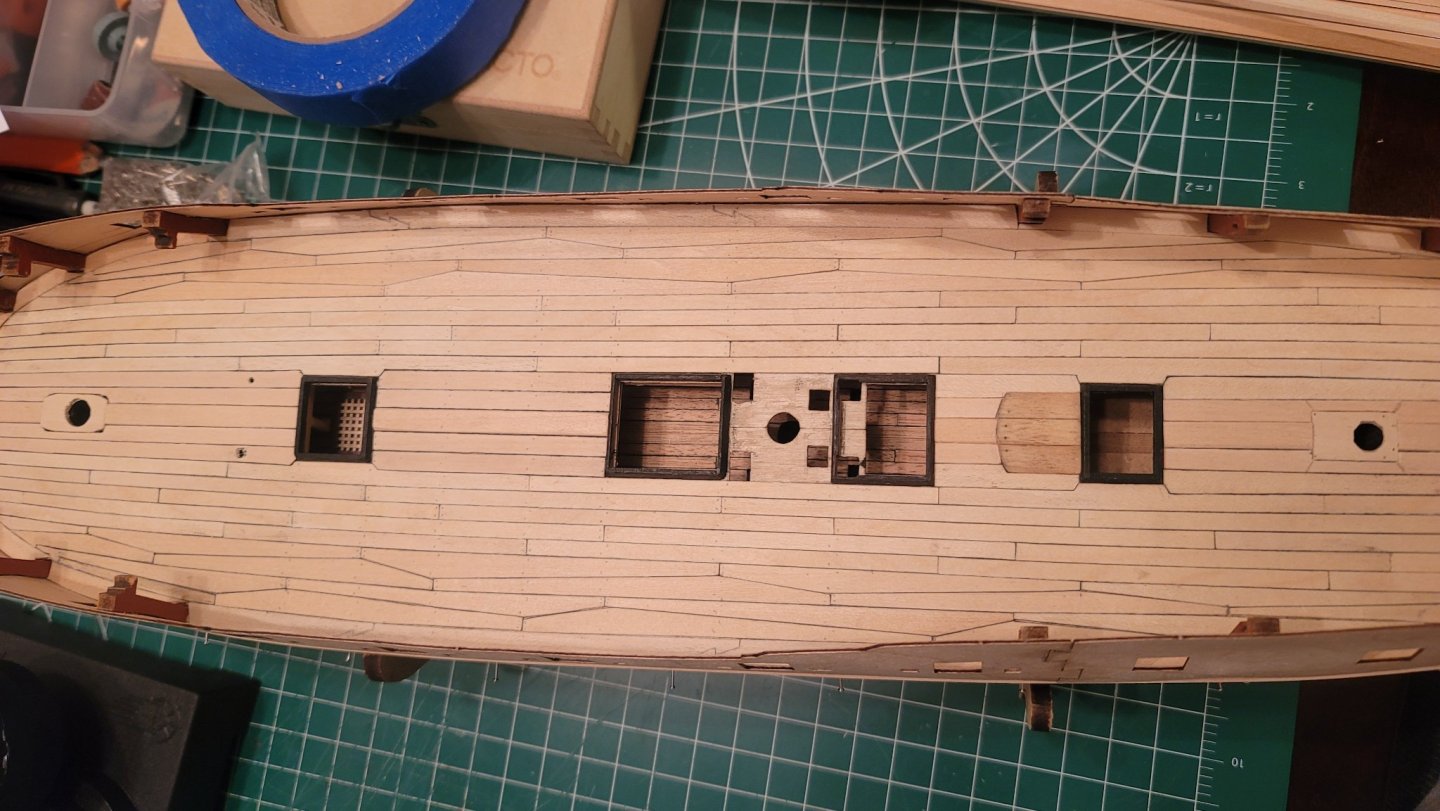
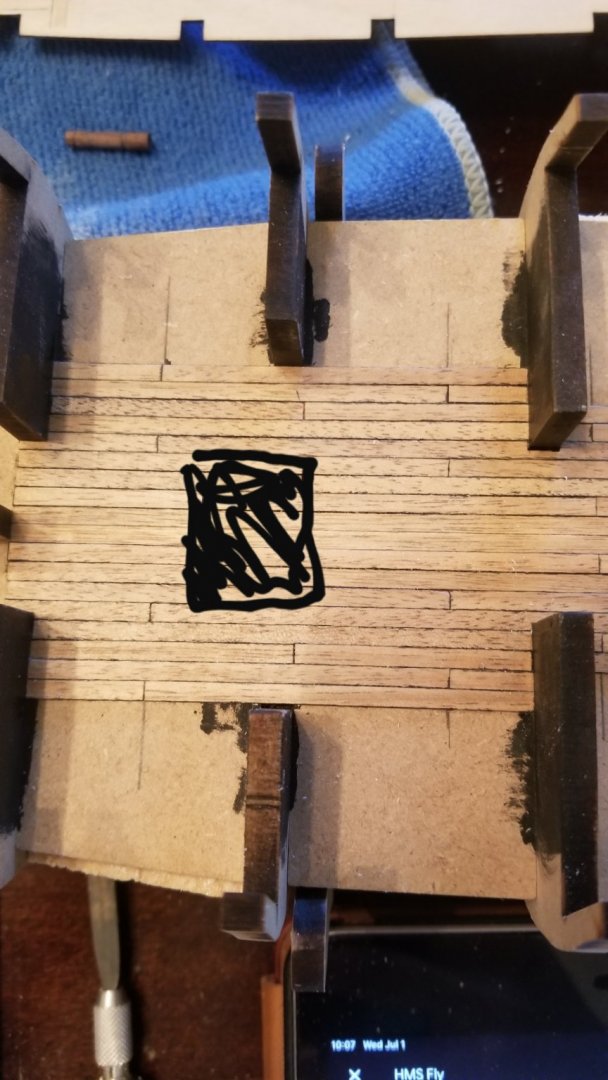
So when it came to the deck planking, this the point at which I came to a stopping point in my build, before I got the results as you'll see below, I had very high ambitions with little to no skill to grant me the results i was looking for.... I took about 6 months off and had the model packed away, I didn't want to look at it, think about it, all I wanted to do was throw it away because I felt I was not good enough to ever make something of this scale or complexity. (my hats off to those who build scratch models.) In the photos you'll see the deck at about 95% completion. when I finally grabbed the model again, I decided that I wouldn't be so hard on myself. yes there is definitely room for improvement but I have to say, with the exception of the curvature of the planks at the bow and stern i say did a pretty fine job for my 3RD attempt at deck planking per TFFM. I decided I liked the look and id soon get over the fact that I didn't curve the planks properly but they will be hidden under. Last picture was when i had finally completed the deck planking and moved forward to installing the first layer of hull planking. Cheers!


- 16 replies
-
- 5
-
-
- Swan Class Sloop
- fly
- (and 2 more)
-
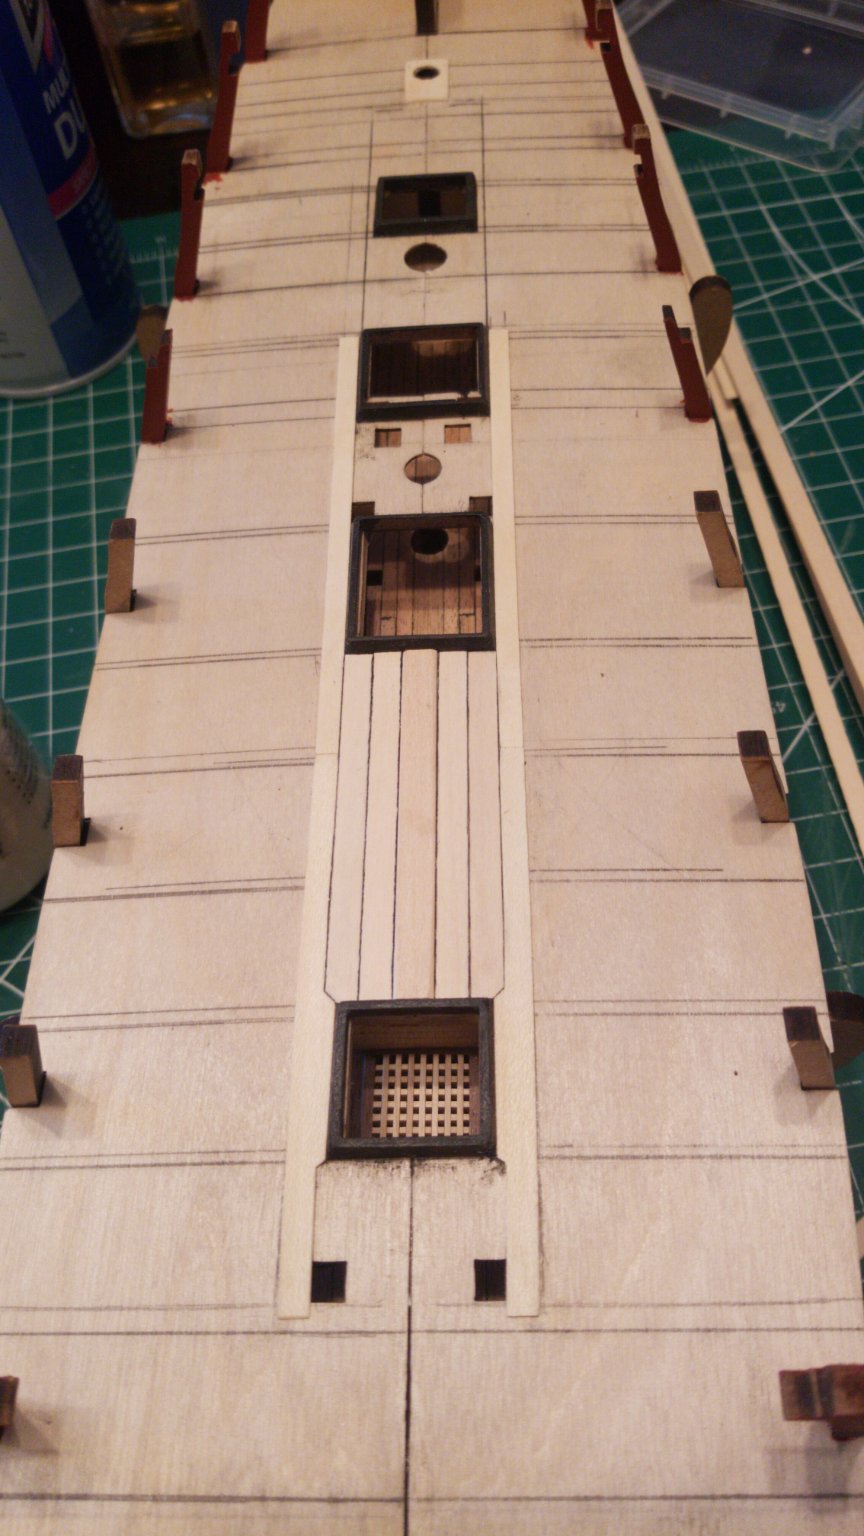
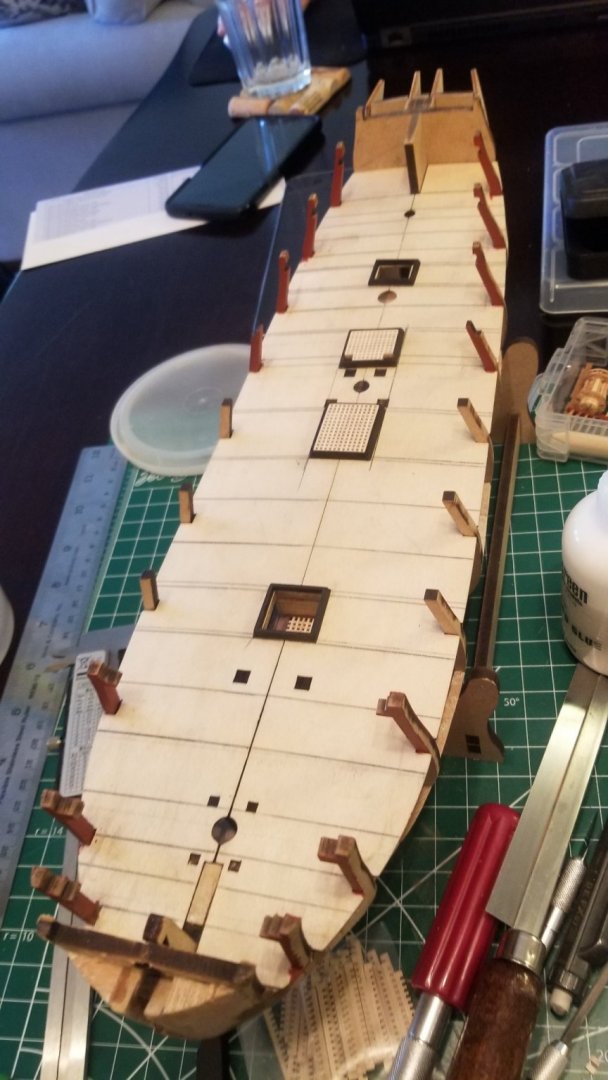
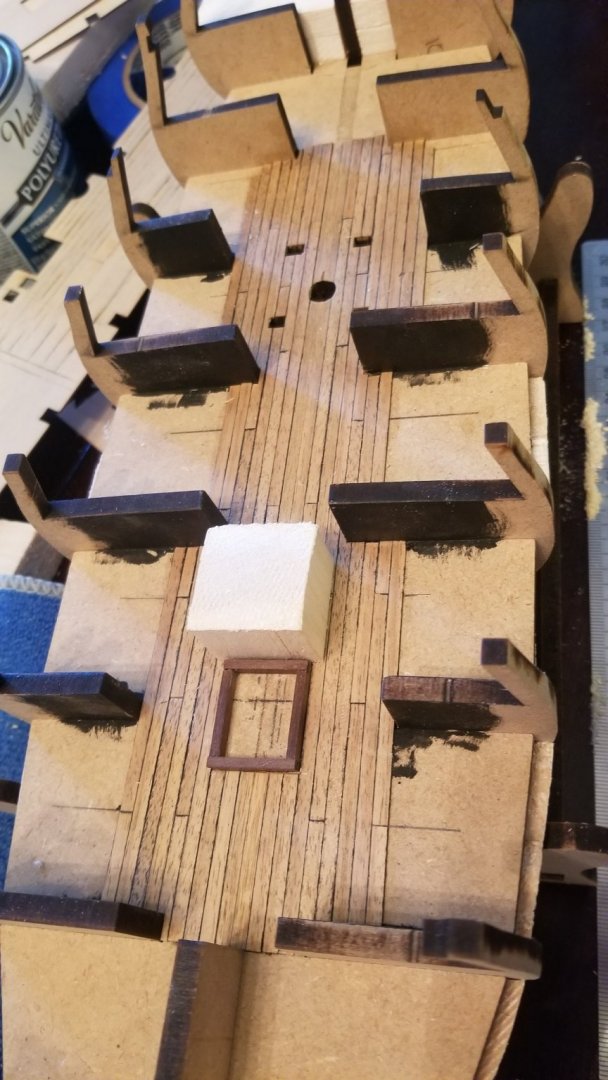
I then put some support under the false deck and also to simulate deck beams for the hatches. I completed the deck hatches and fixed them into place along with gluing down the false deck.

- 16 replies
-
- 4
-
-
- Swan Class Sloop
- fly
- (and 2 more)
-
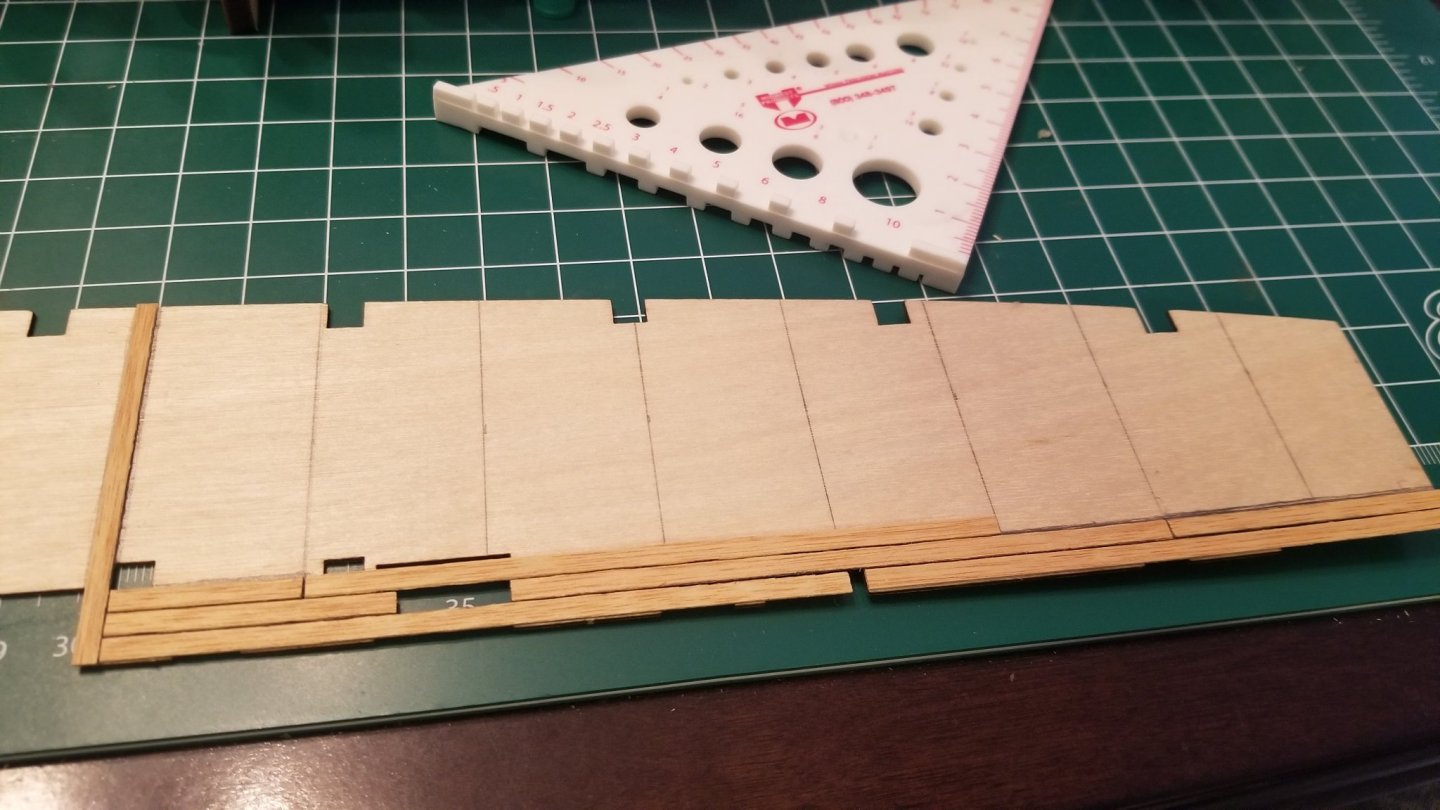
At some point as I recall, I decided to scrape off the tanganyika from the false deck and started to plank the deck per TFFM and I cant tell you how many times I scraped the wood and started over. By this point I had ordered some Limewood strips for the deck planking and ditched the Tanganyika all together.

- 16 replies
-
- 1
-
-
- Swan Class Sloop
- fly
- (and 2 more)
-
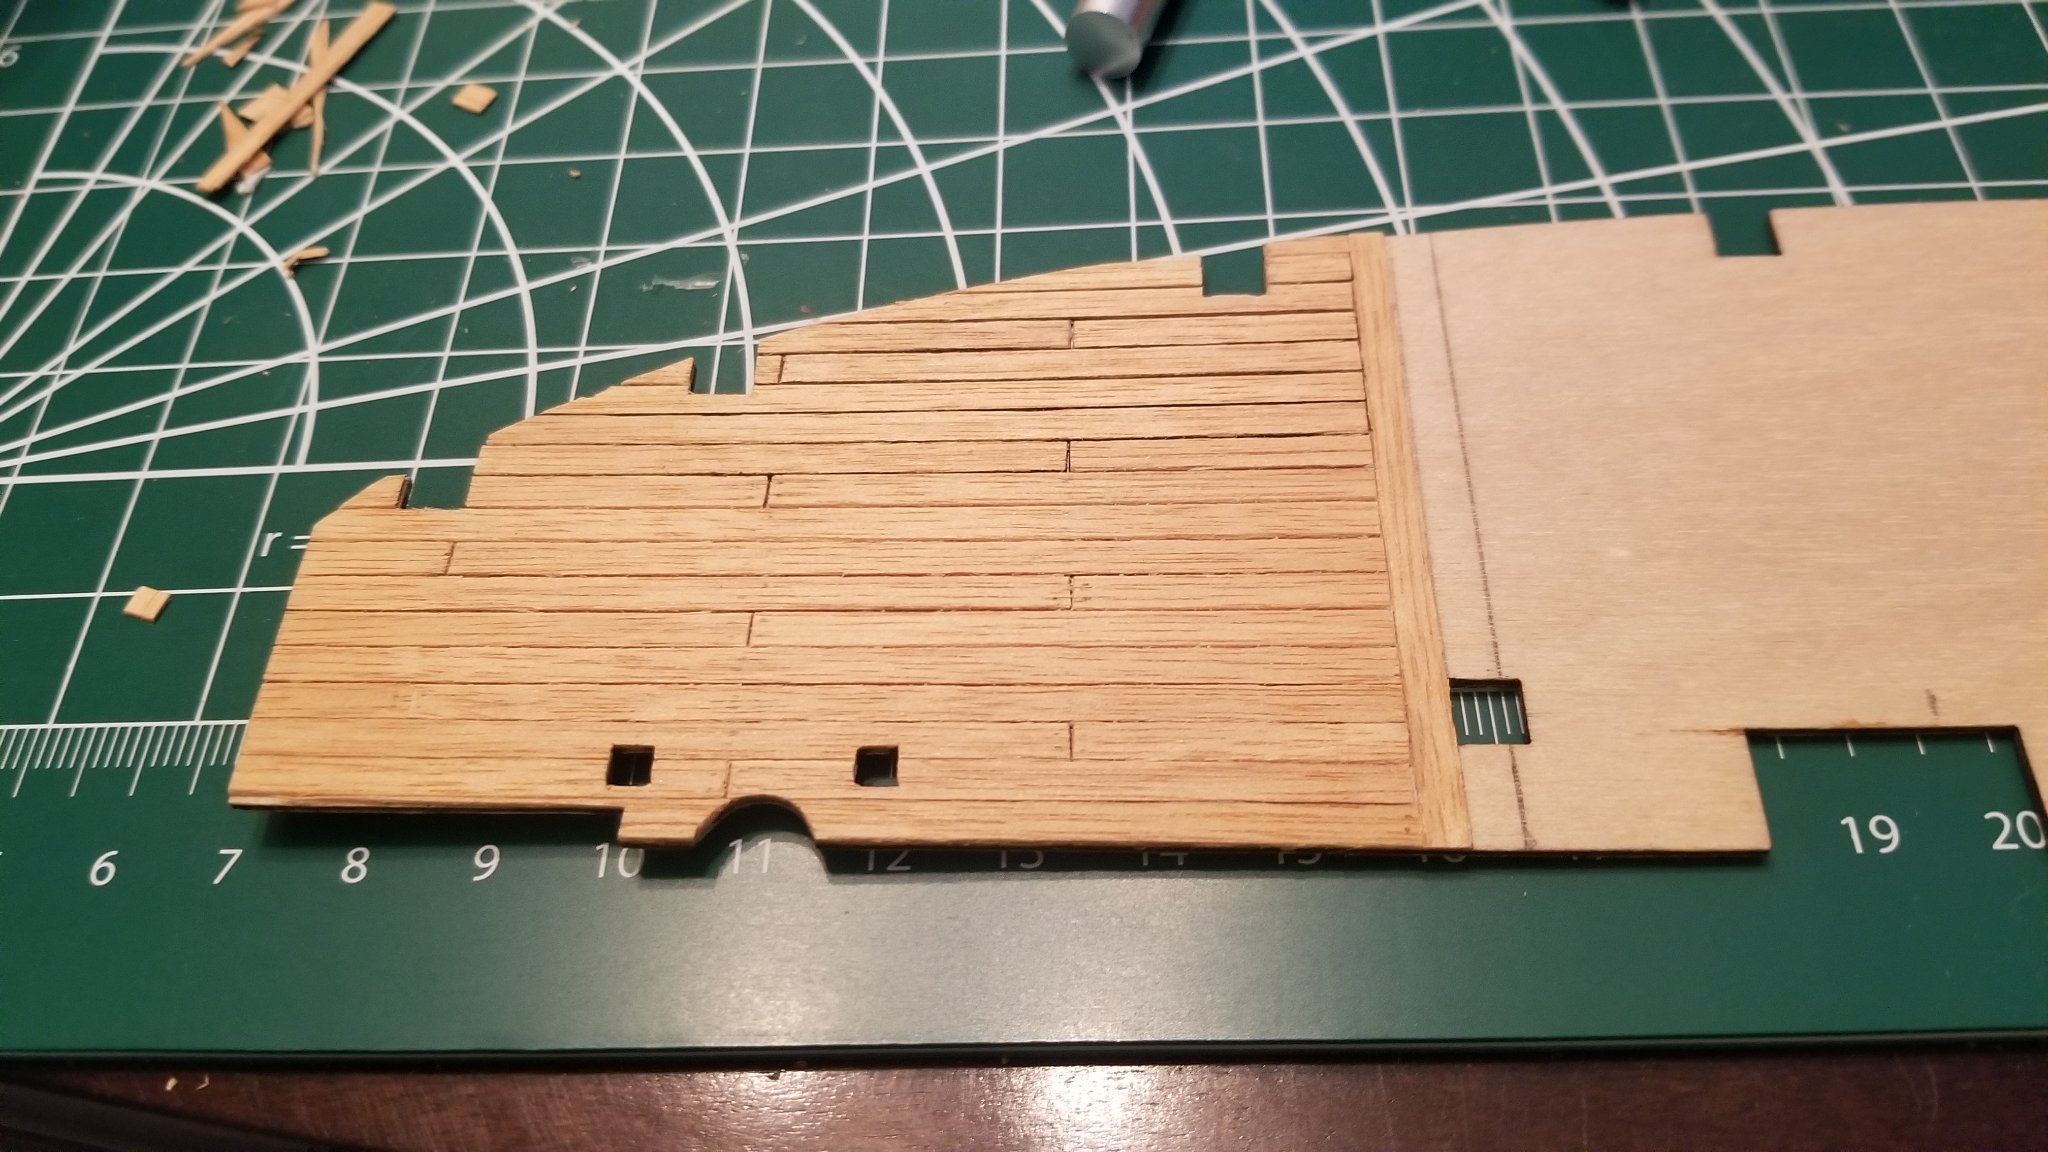
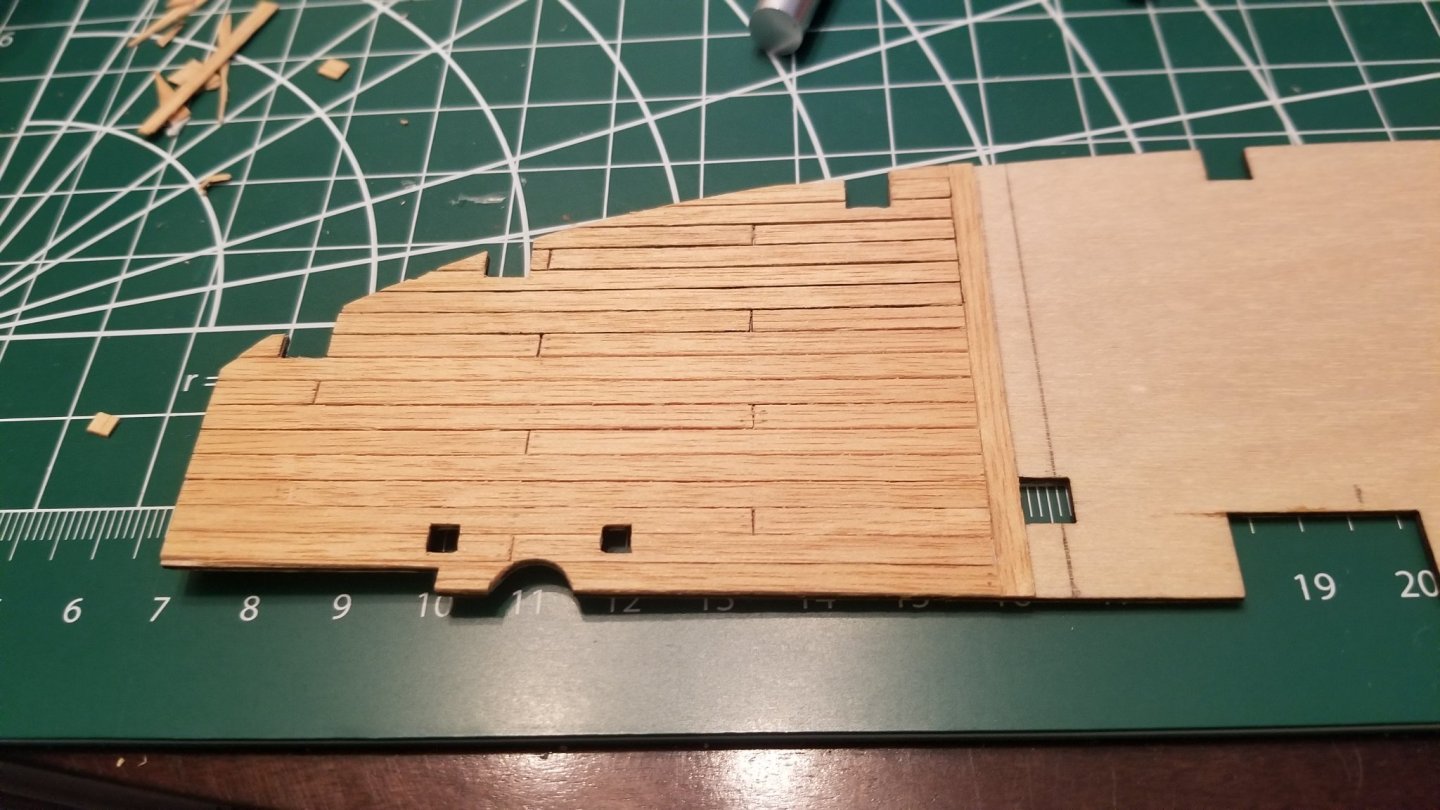
I then planked the lower deck with the kit supplied tanganyika and cut out a slot for the hatch that would be under the stairs.


- 16 replies
-
- 3
-
-
- Swan Class Sloop
- fly
- (and 2 more)
-
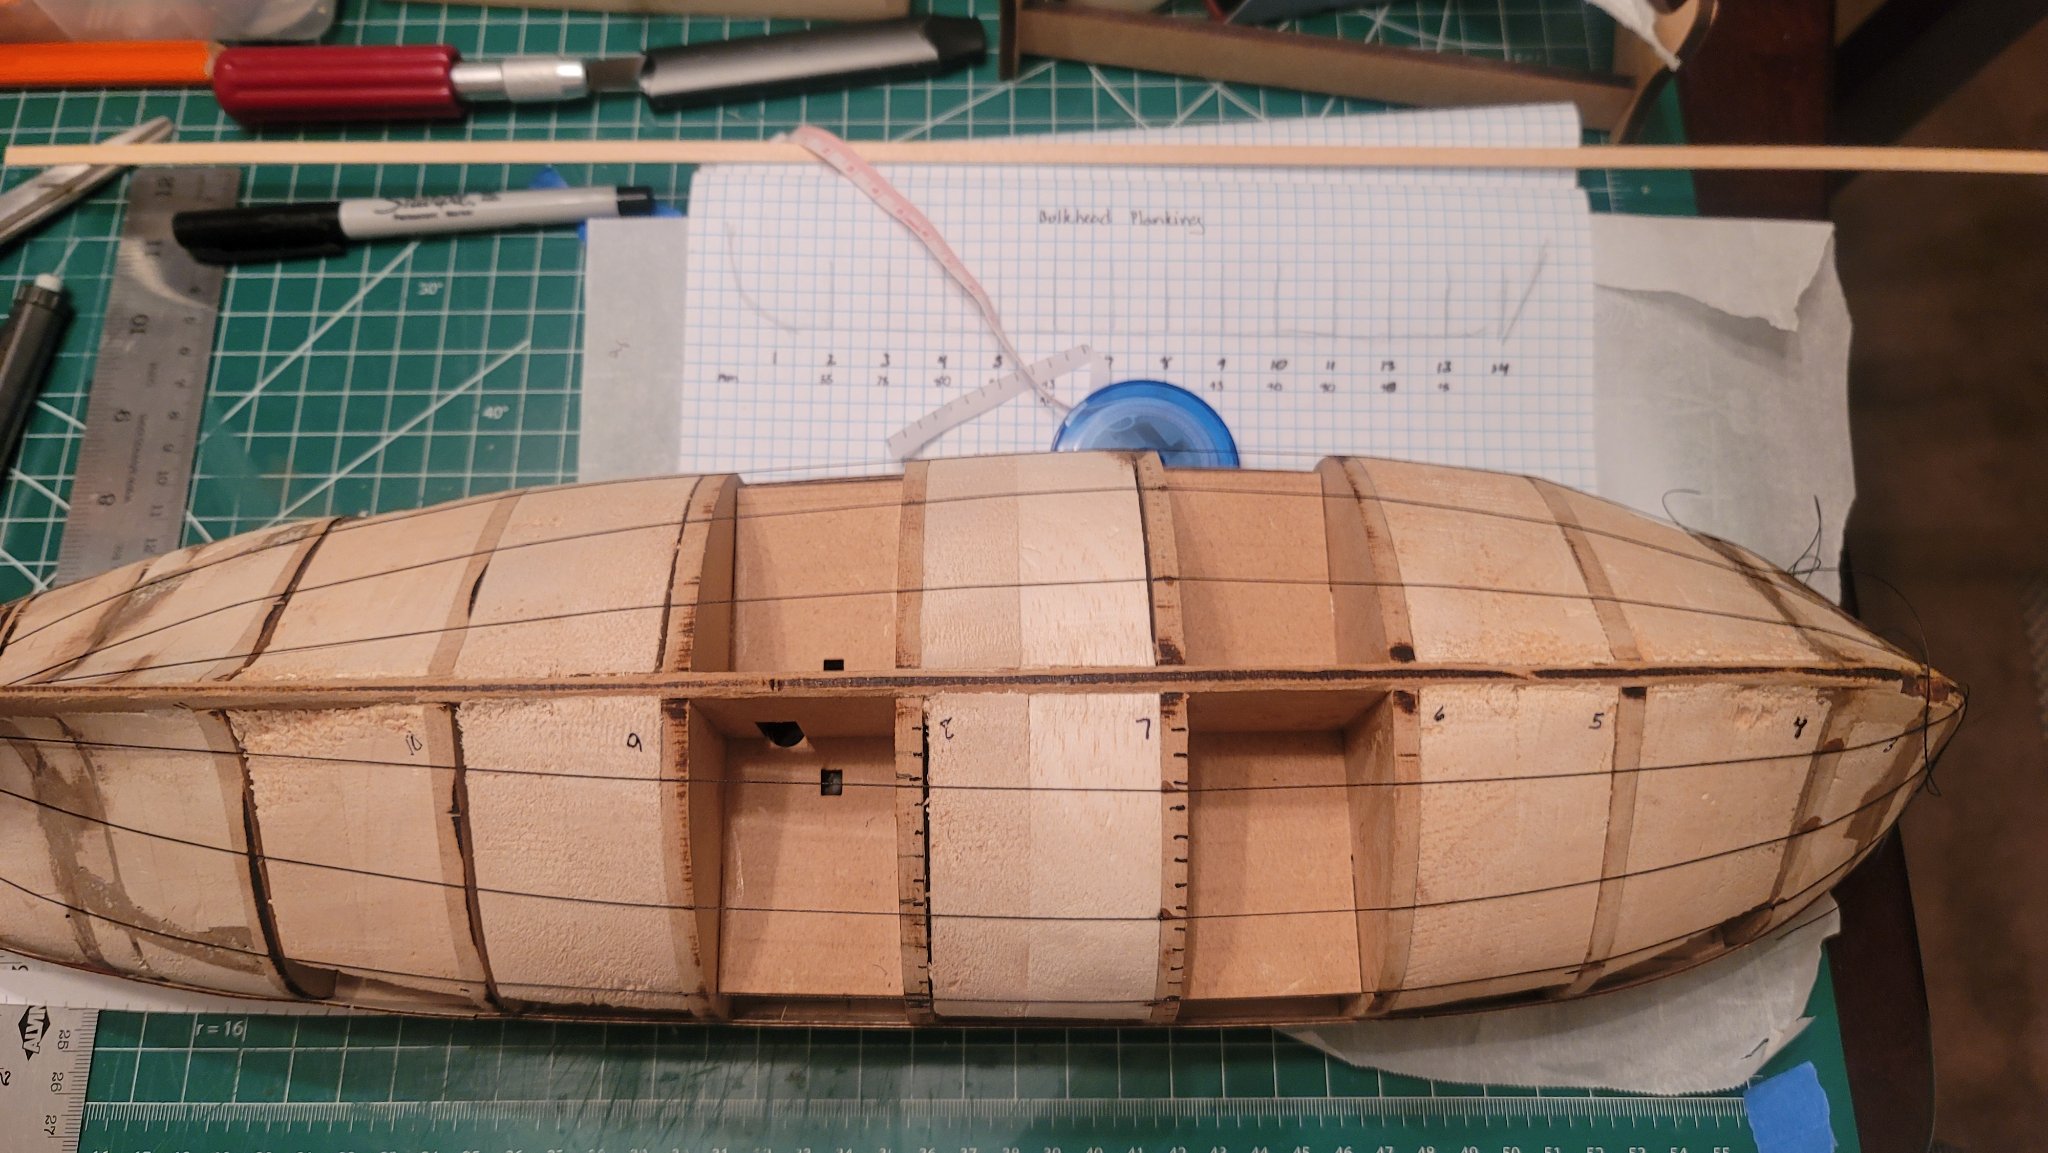
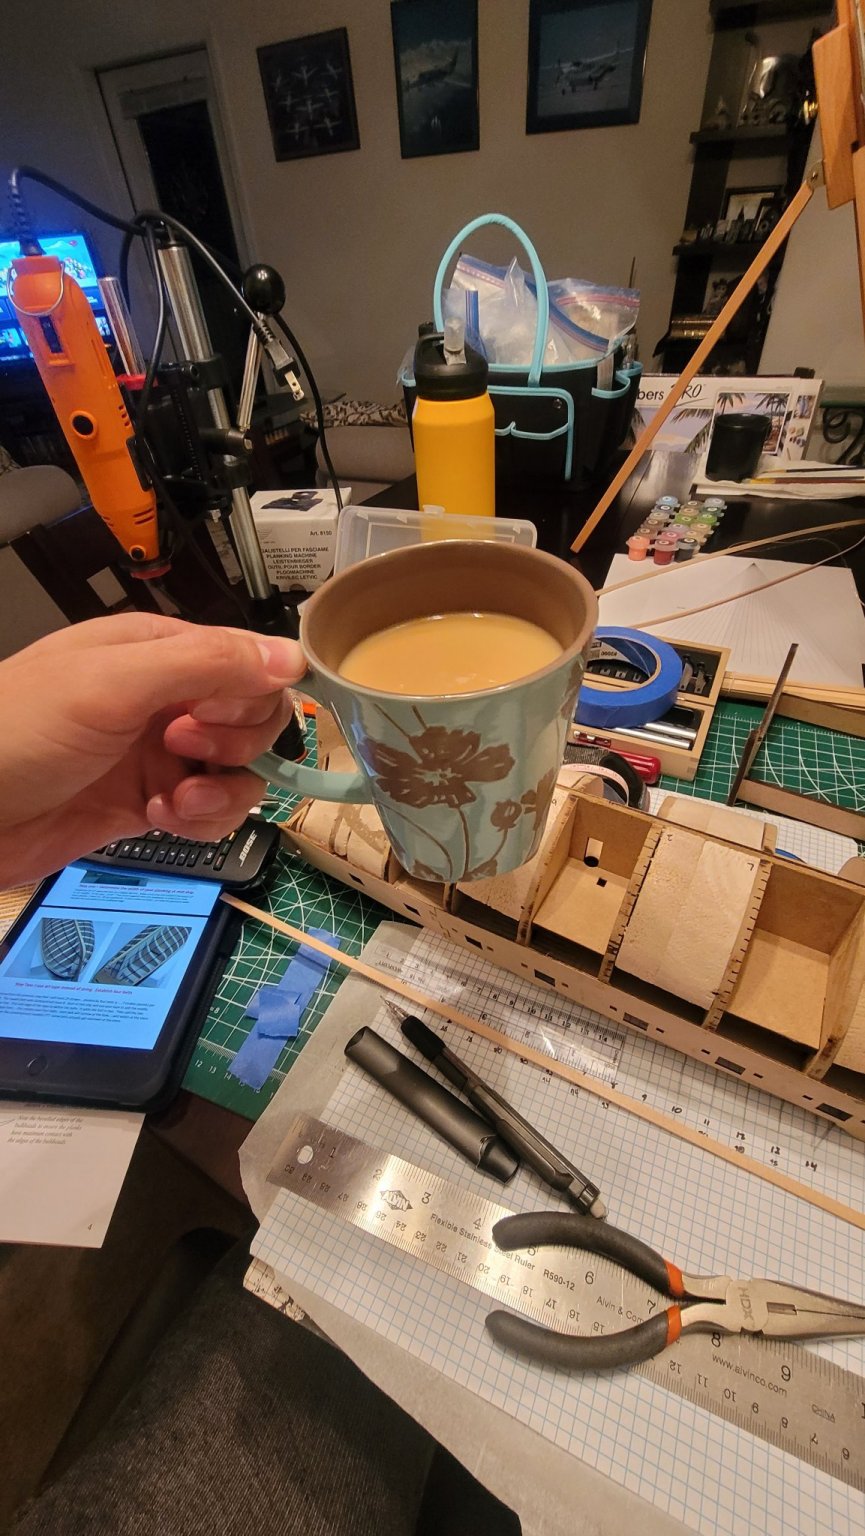
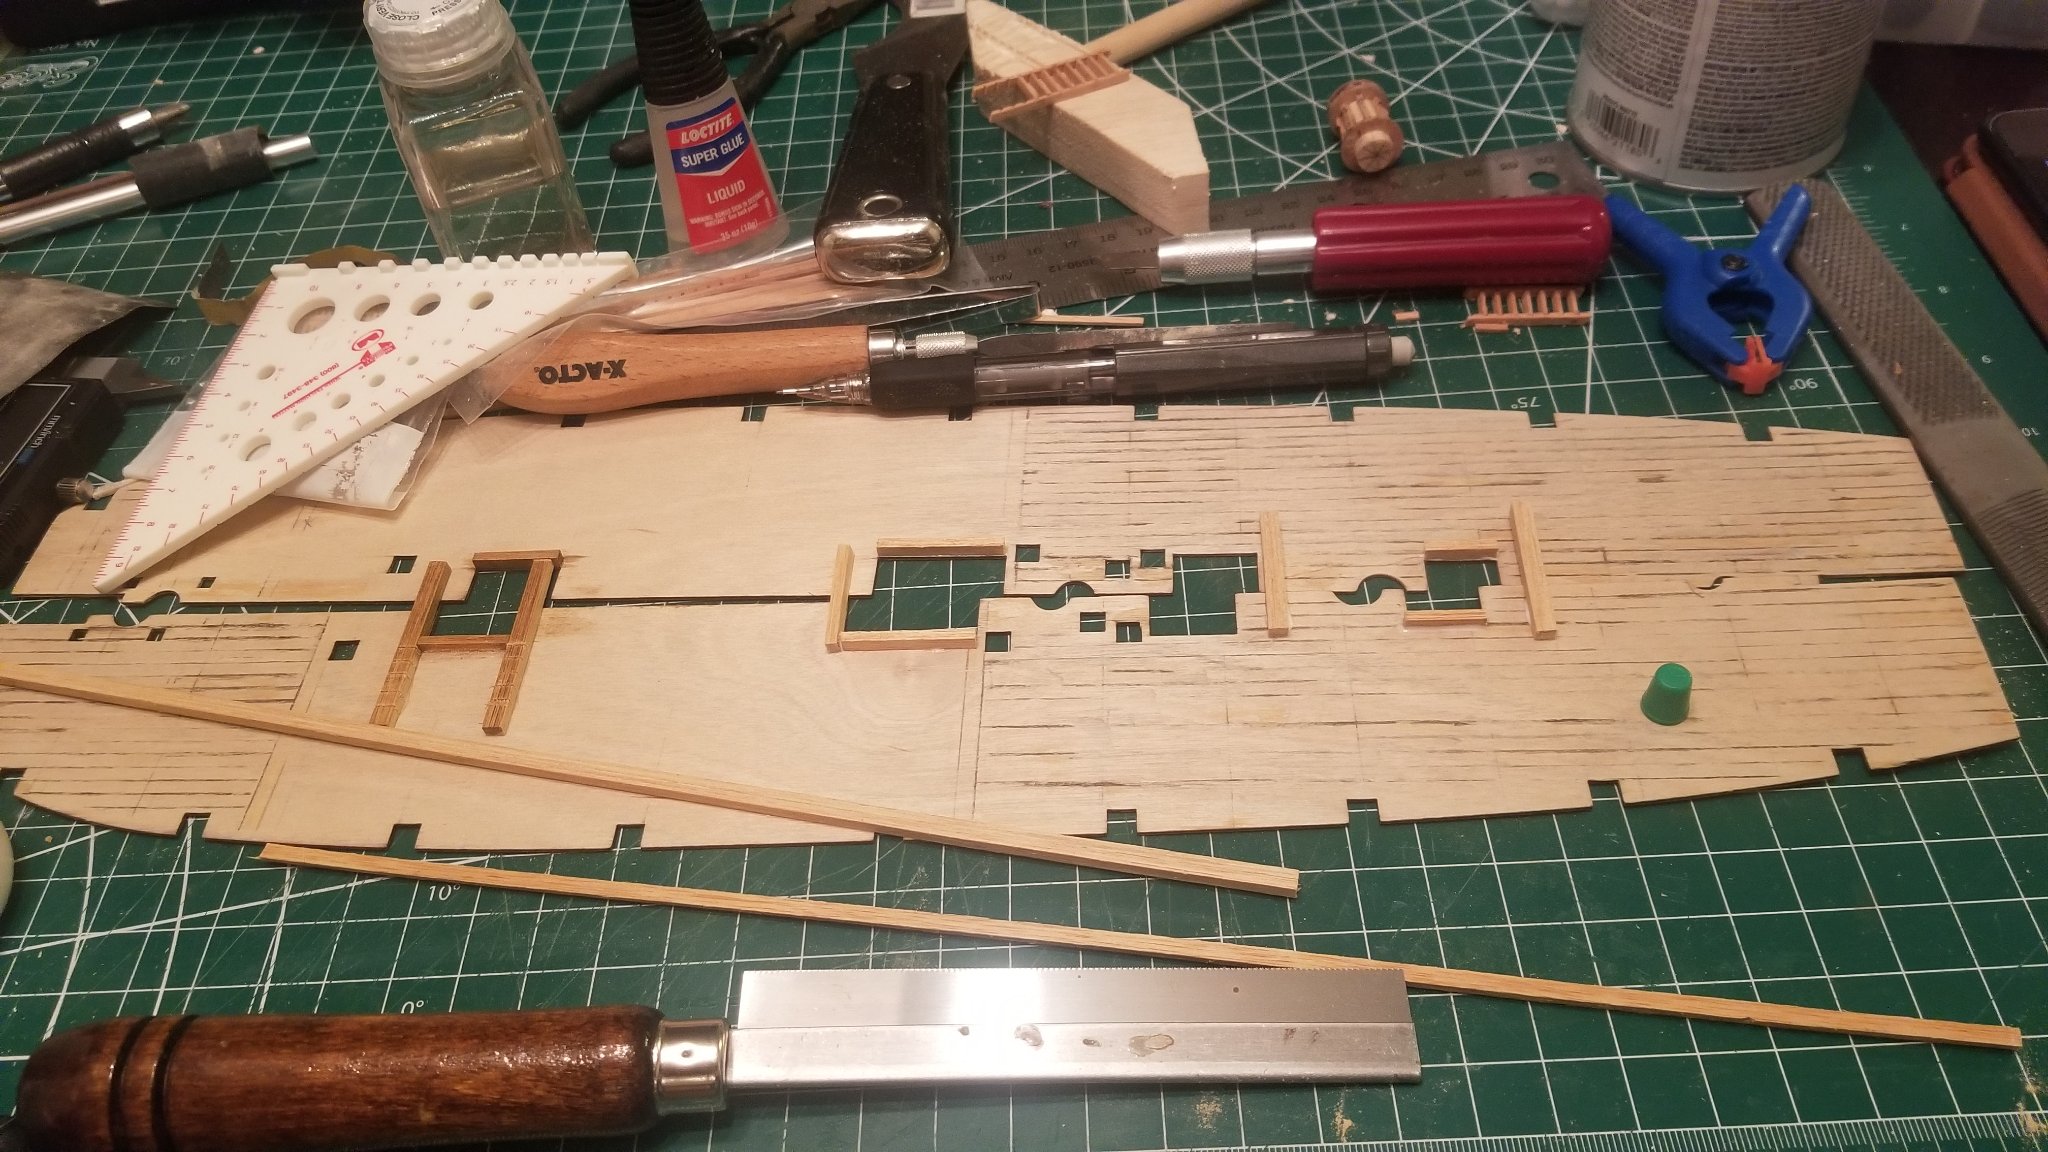
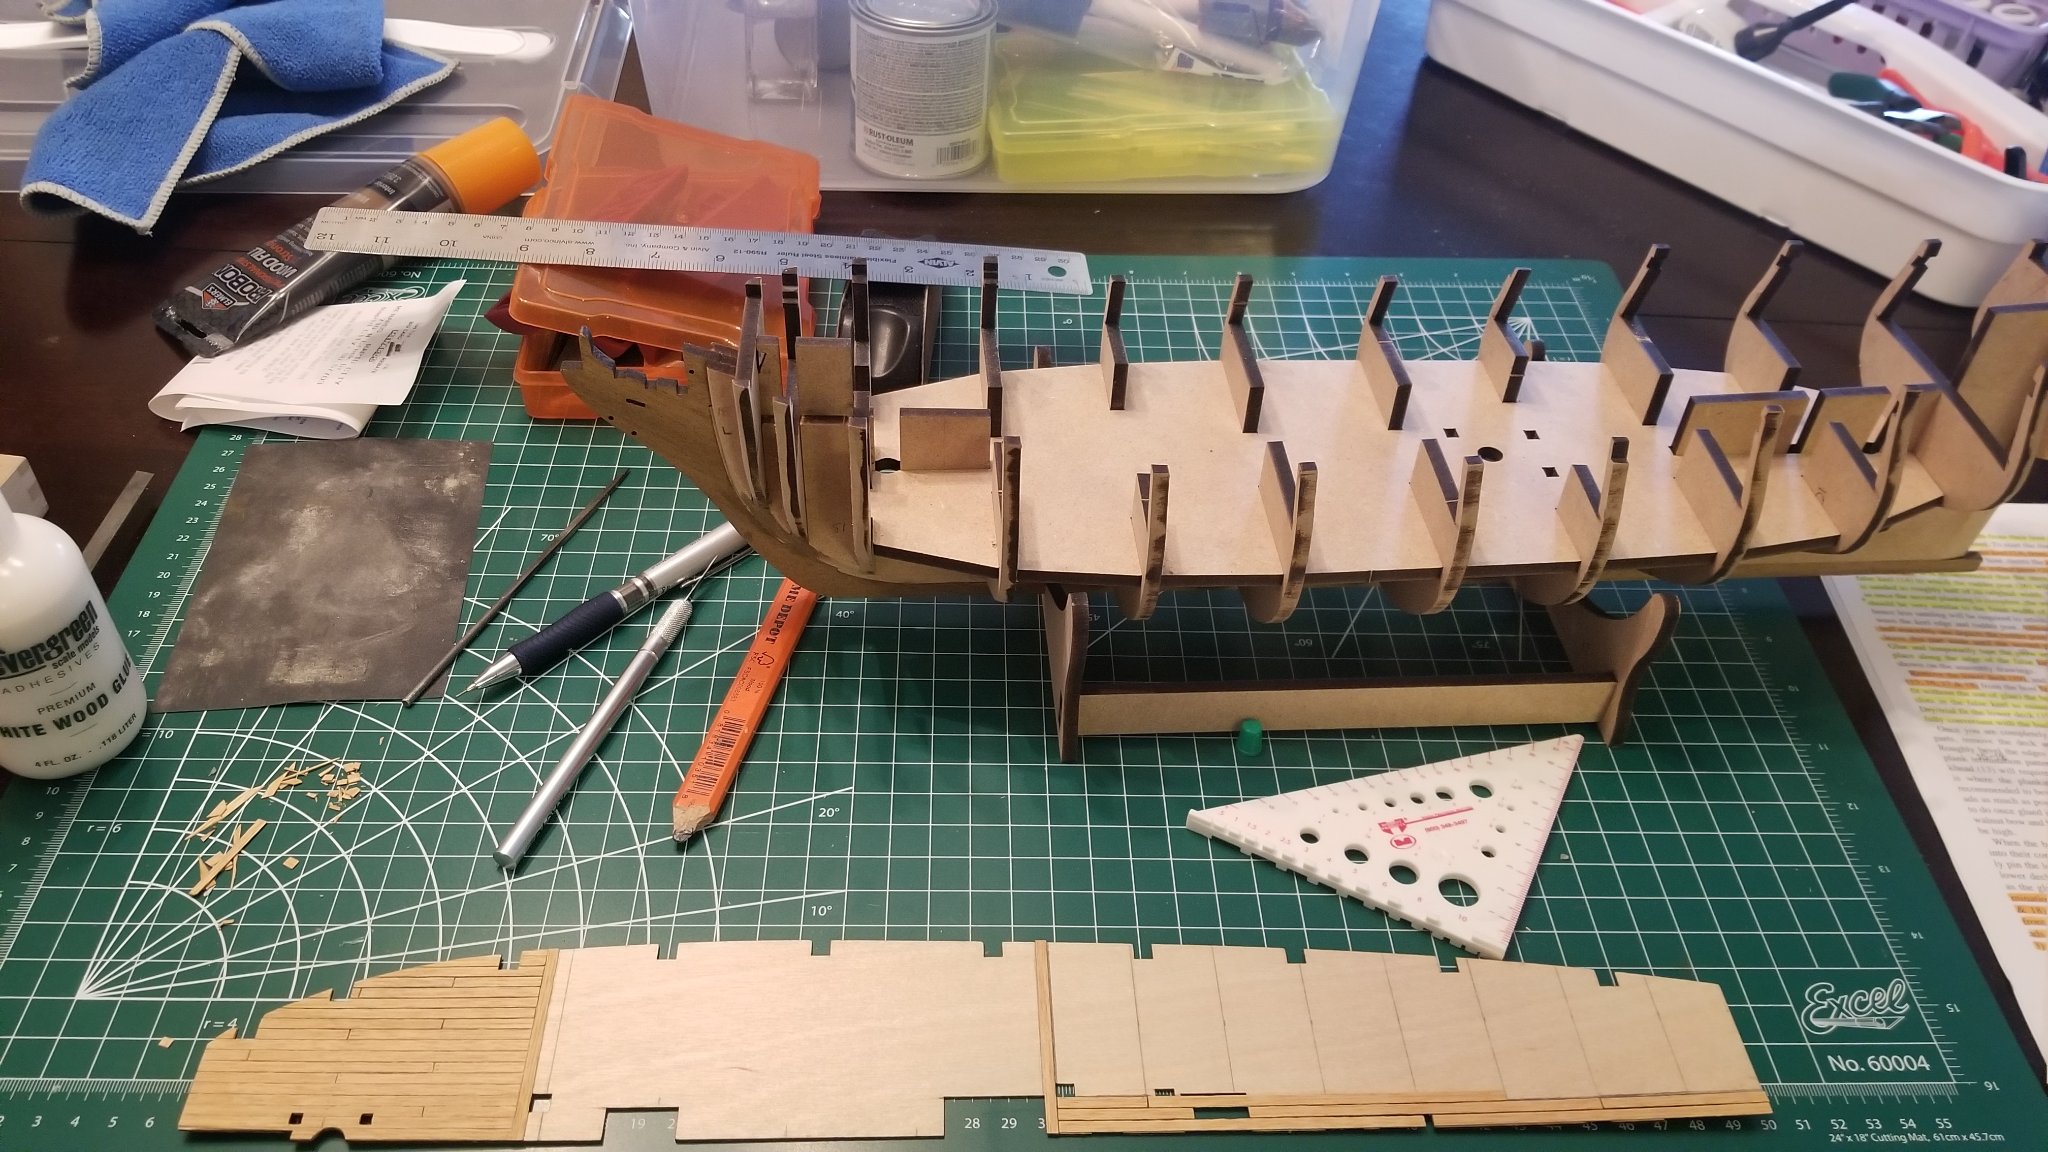
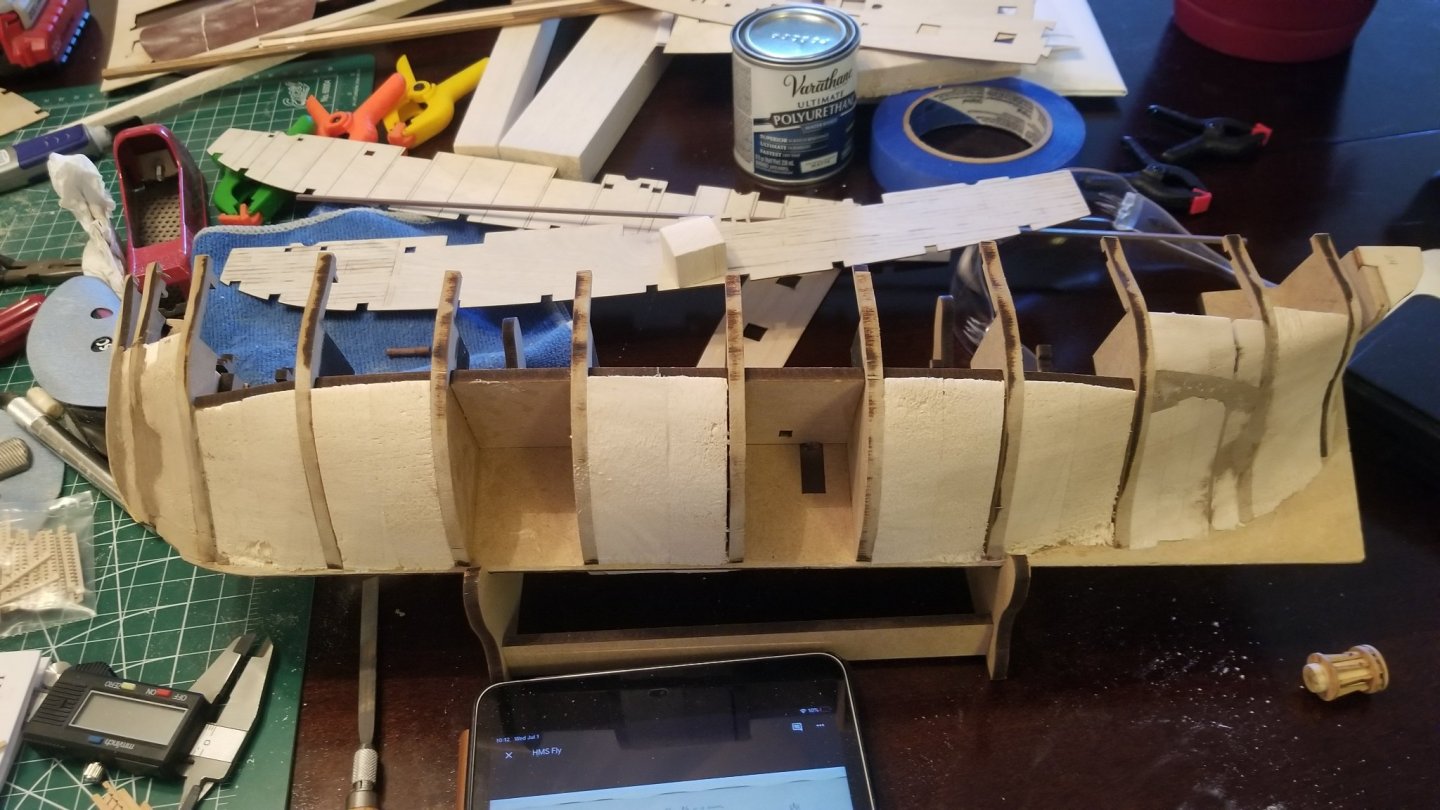
So at this point I had built the initial frame and filled in between the ribs with balsa. I had noticed that this technique has been used by many who have built the Swan Class. I also had started the initial main gun deck planking the way the plans had instructed. I had also found a great resource 3D renderings by Denis Rakaric of the The Fully Framed Ship Model books by David Antscherl and Greg Herbert. As you can see from the photos, I'm not the most organized and I also don't have a true work space at the moment, so most of my modeling had been done from a kitchen table. (thankfully the GF doesn't mind)

- 16 replies
-
- 5
-
-
- Swan Class Sloop
- fly
- (and 2 more)
-
Hi all, So I've already worked on this kit model for some time now. I started this kit back in 2020 and have made some really good progress. I have done my first layer of planking for the hull but I will post my progress up to this point so far. A little back story of myself first, I have been modeling since I was 14y, mostly on plastic car and airplane kits, but I have always wanted to build a wooden ship kit but never really had the funds for it. This being my first ship kit I have worked on I am really looking for some guidance and input so please feel free to give your "2 cents" so to speak. So lets start this build log!
- 16 replies
-
- 2
-
-
- Swan Class Sloop
- fly
- (and 2 more)
-
Ship's launch kits for 18th century ships - 1/60 or 1/64
mehdi.bj19 replied to peterbrowne's topic in Wood ship model kits
Hi James, I'm in the same situation as Peter, looking for launch boats in 1:64 scale for an Amati Fly kit. Was wondering about the status of the vanguard kits?