.JPG.14dd3818b8e6a2fd9f5fca8960da3ce3.JPG)

goemon
-
Posts
41 -
Joined
-
Last visited
-
 goemon reacted to a post in a topic:
HMS Granado by ir3 - CAF - 1:48 - POF
goemon reacted to a post in a topic:
HMS Granado by ir3 - CAF - 1:48 - POF
-
goemon reacted to a post in a topic:
Le Coureur 1776 by captain_hook - CAF - Scale 1:48
-
goemon reacted to a post in a topic:
Le Coureur 1776 by captain_hook - CAF - Scale 1:48
-
goemon reacted to a post in a topic:
Le Coureur 1776 by captain_hook - CAF - Scale 1:48
-
goemon reacted to a post in a topic:
Le Coureur 1776 by captain_hook - CAF - Scale 1:48
-
BenD reacted to a post in a topic:
Hermione by goemon - FINISHED - Artesania Latina - 1/89
-
BenD reacted to a post in a topic:
Hermione by goemon - FINISHED - Artesania Latina - 1/89
-
BenD reacted to a post in a topic:
Hermione by goemon - FINISHED - Artesania Latina - 1/89
-
 BenD reacted to a post in a topic:
Hermione by goemon - FINISHED - Artesania Latina - 1/89
BenD reacted to a post in a topic:
Hermione by goemon - FINISHED - Artesania Latina - 1/89
-
Dave_E reacted to a post in a topic:
Hermione by goemon - FINISHED - Artesania Latina - 1/89
-
goemon reacted to a post in a topic:
Le Coureur 1776 by Tobias - CAF - 1:48
-
goemon reacted to a post in a topic:
Le Coureur 1776 by Tobias - CAF - 1:48
-
Rudolf reacted to a post in a topic:
Golden Hind 1577 by goemon - 1:150
-
Rudolf reacted to a post in a topic:
Golden Hind 1577 by goemon - 1:150
-
Dougthedesigner reacted to a post in a topic:
Golden Hind 1577 by goemon - 1:150
-
Dougthedesigner reacted to a post in a topic:
Golden Hind 1577 by goemon - 1:150
-
goemon reacted to a post in a topic:
HMS Beagle by Krupi - OcCre - 1:60
-
goemon reacted to a post in a topic:
HMS Beagle by Pete D - FINISHED - OcCre - 1:60 Scale
-
goemon reacted to a post in a topic:
HMS Beagle by The Gimps Chimp - FINISHED - OcCre - 1:60
-
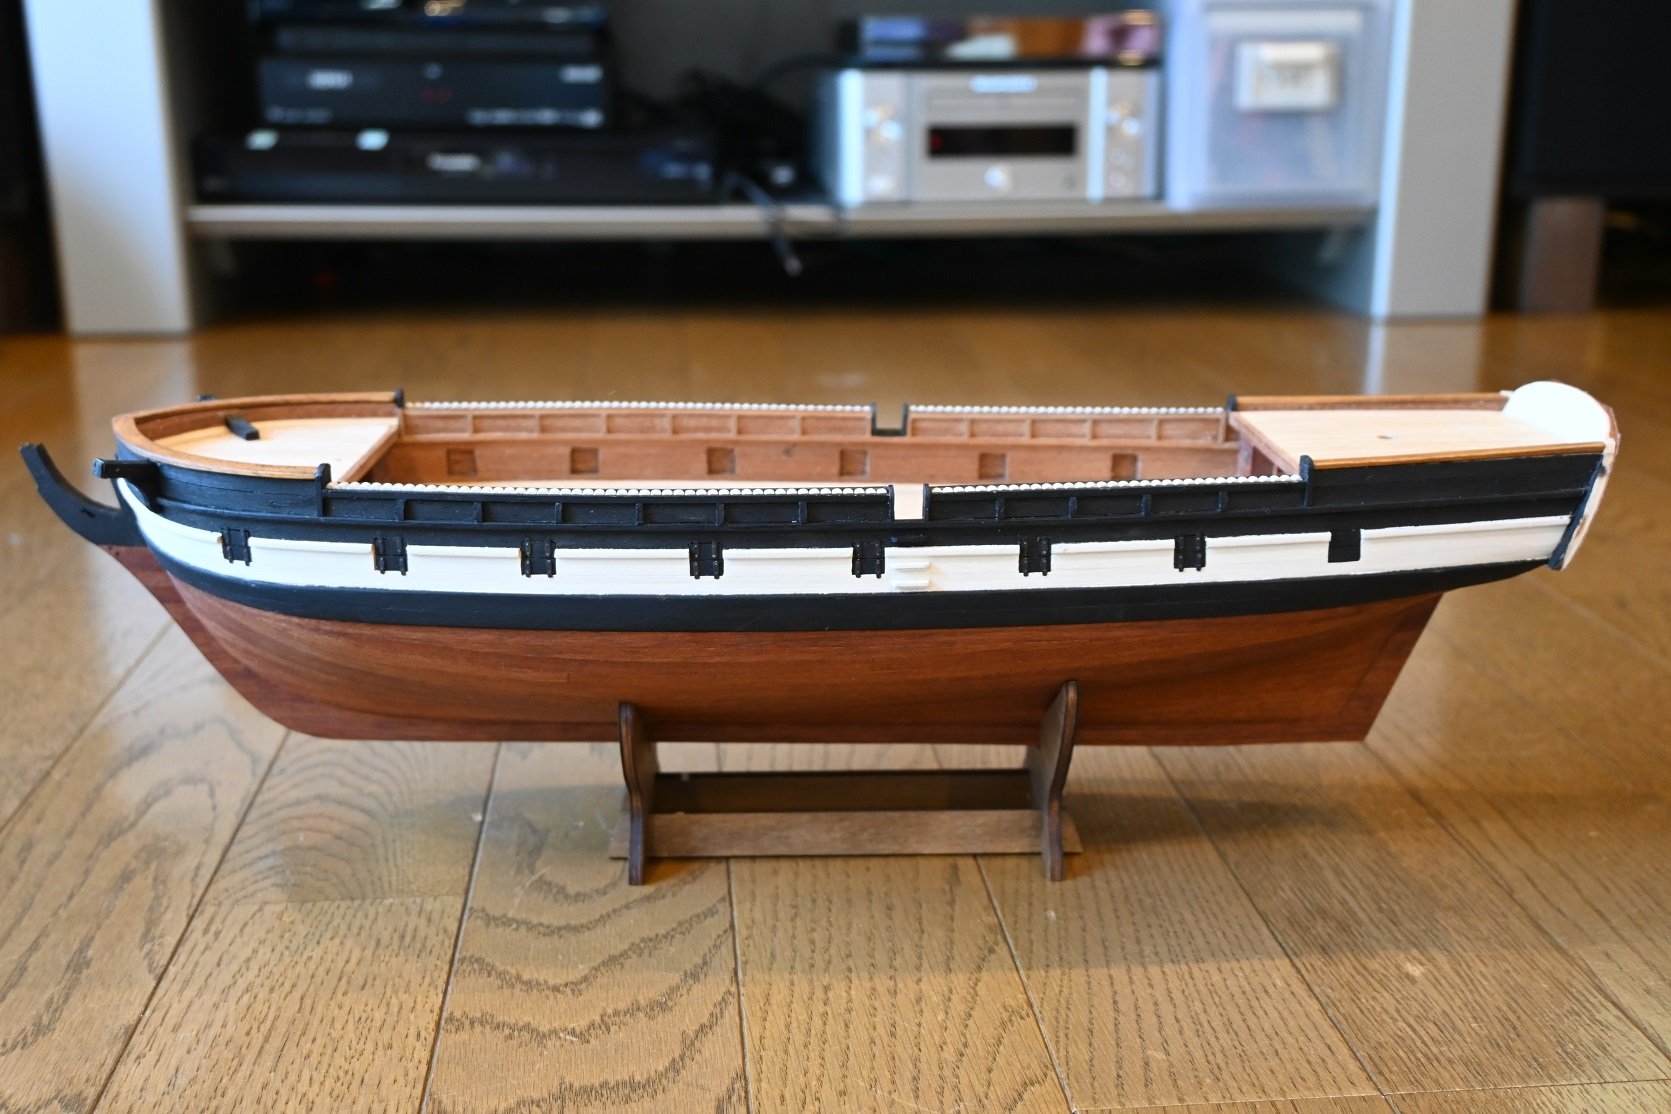
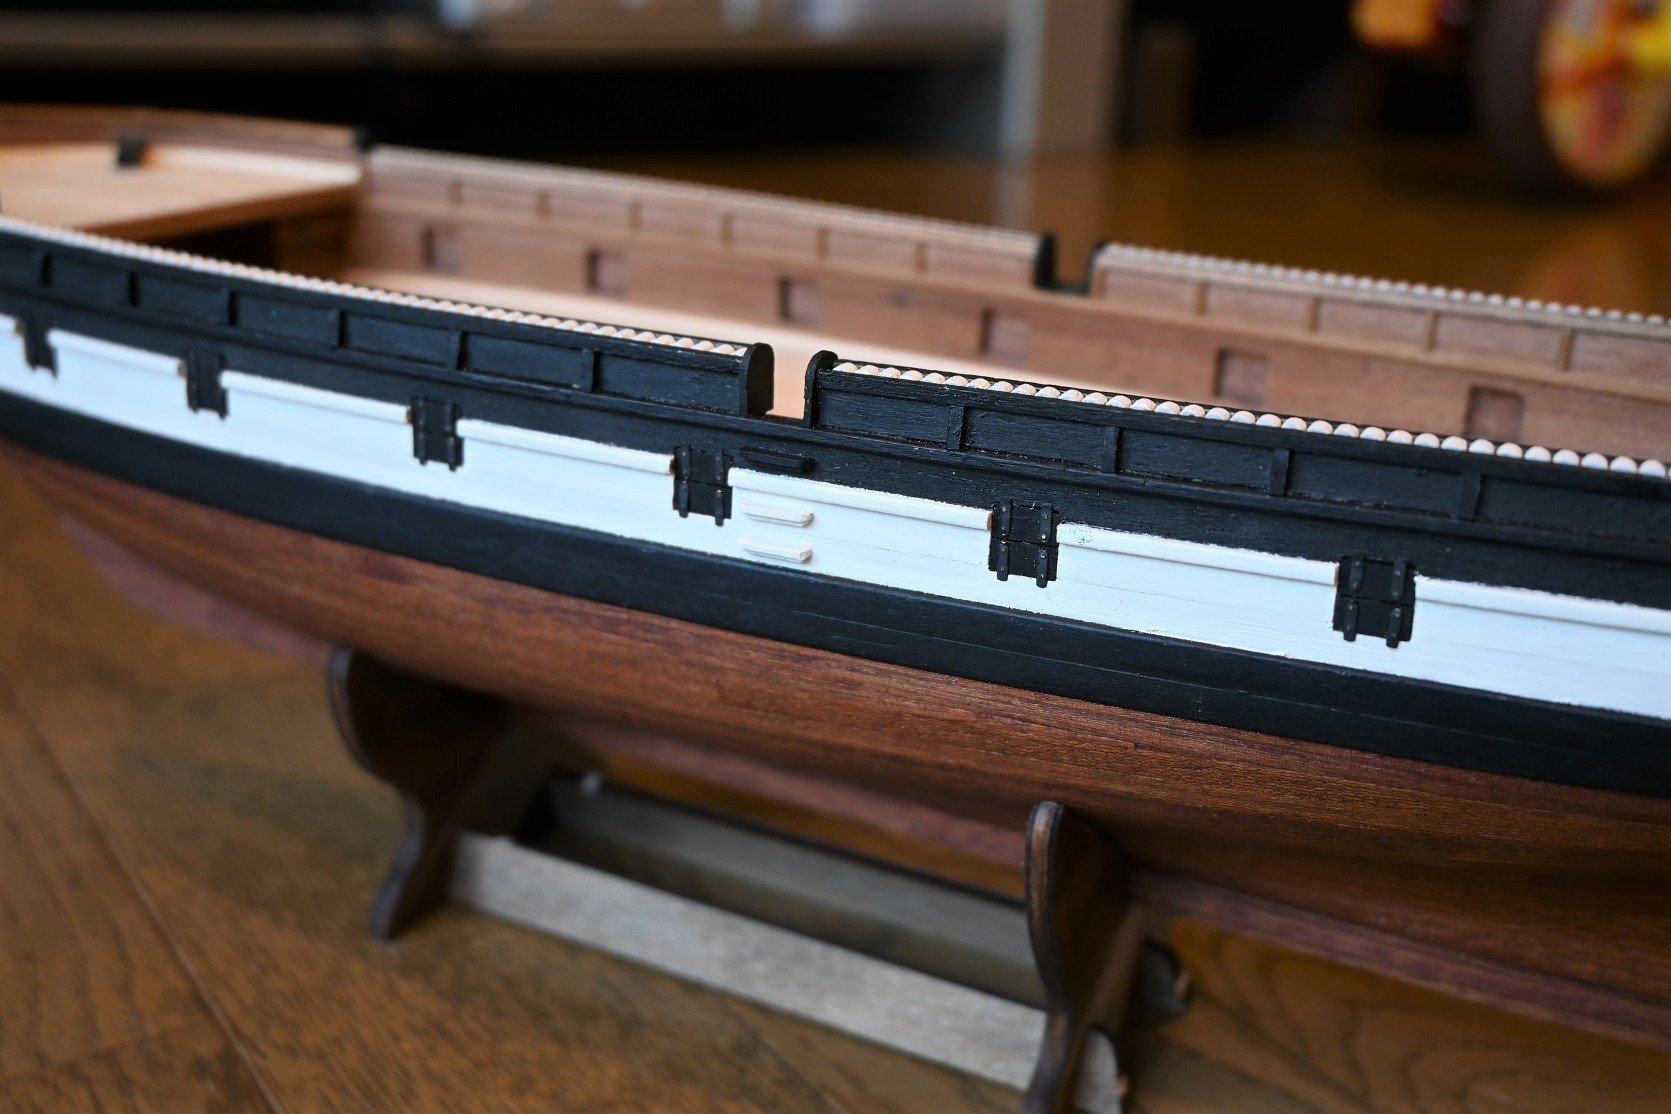
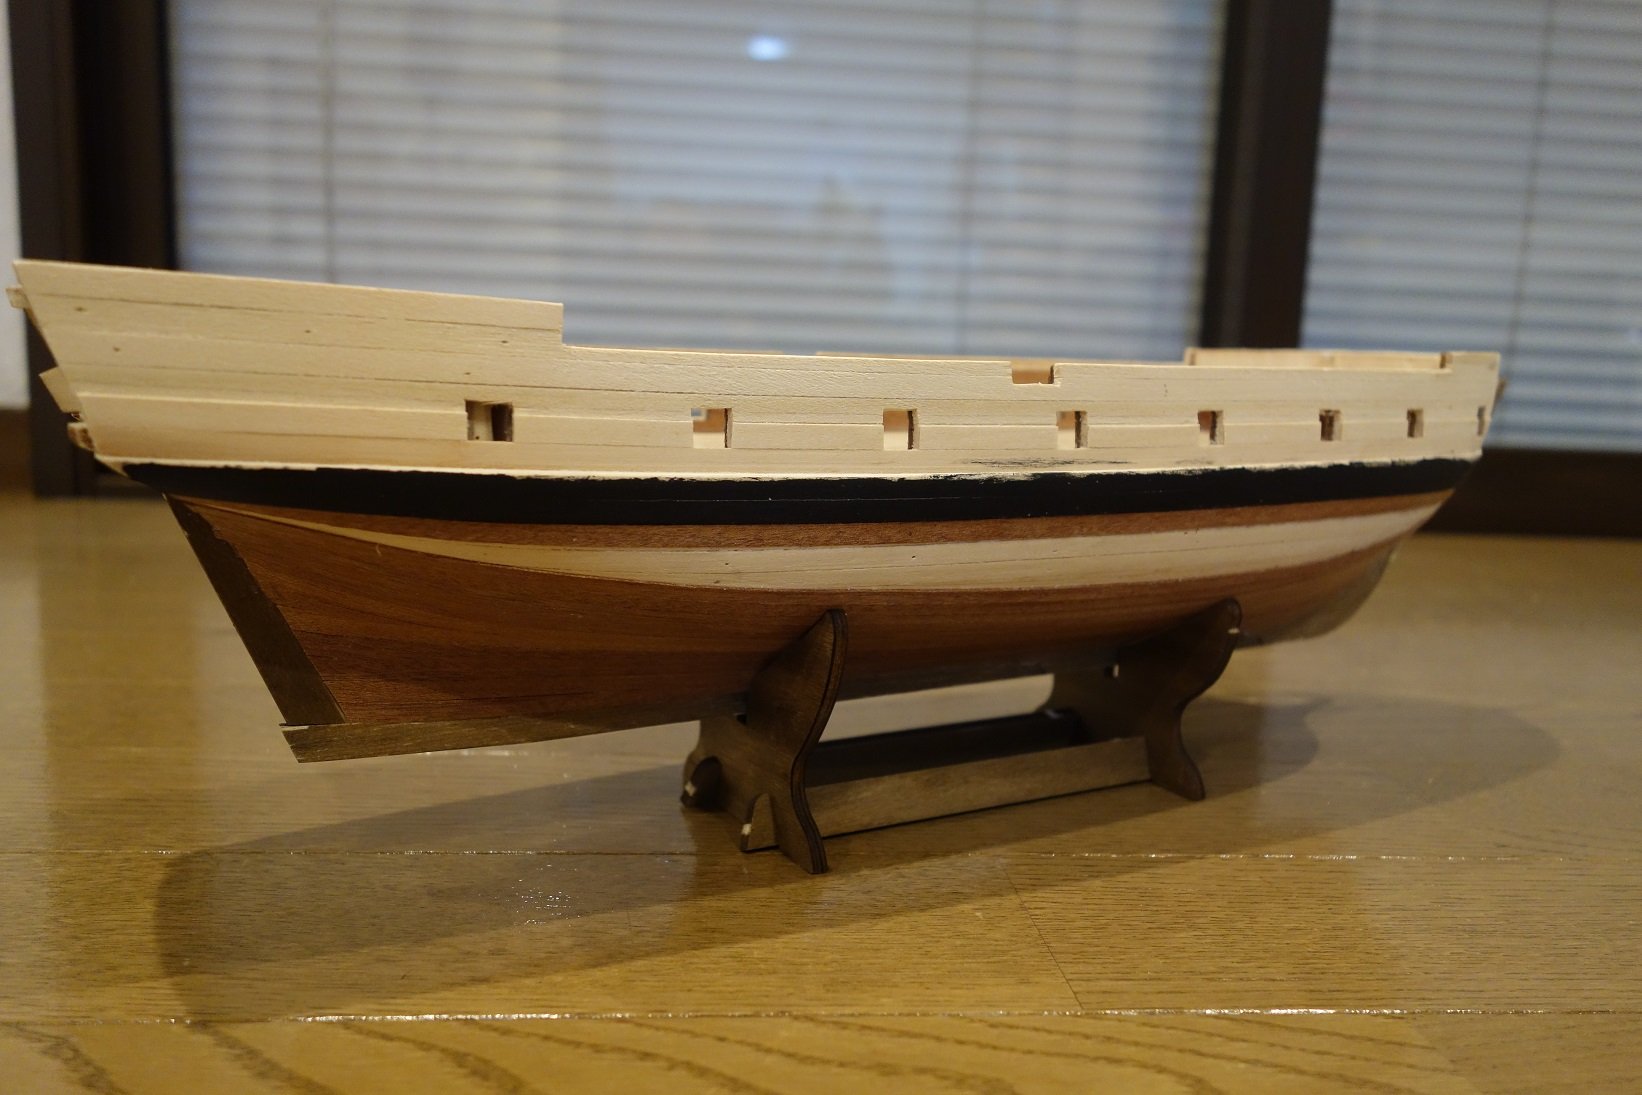
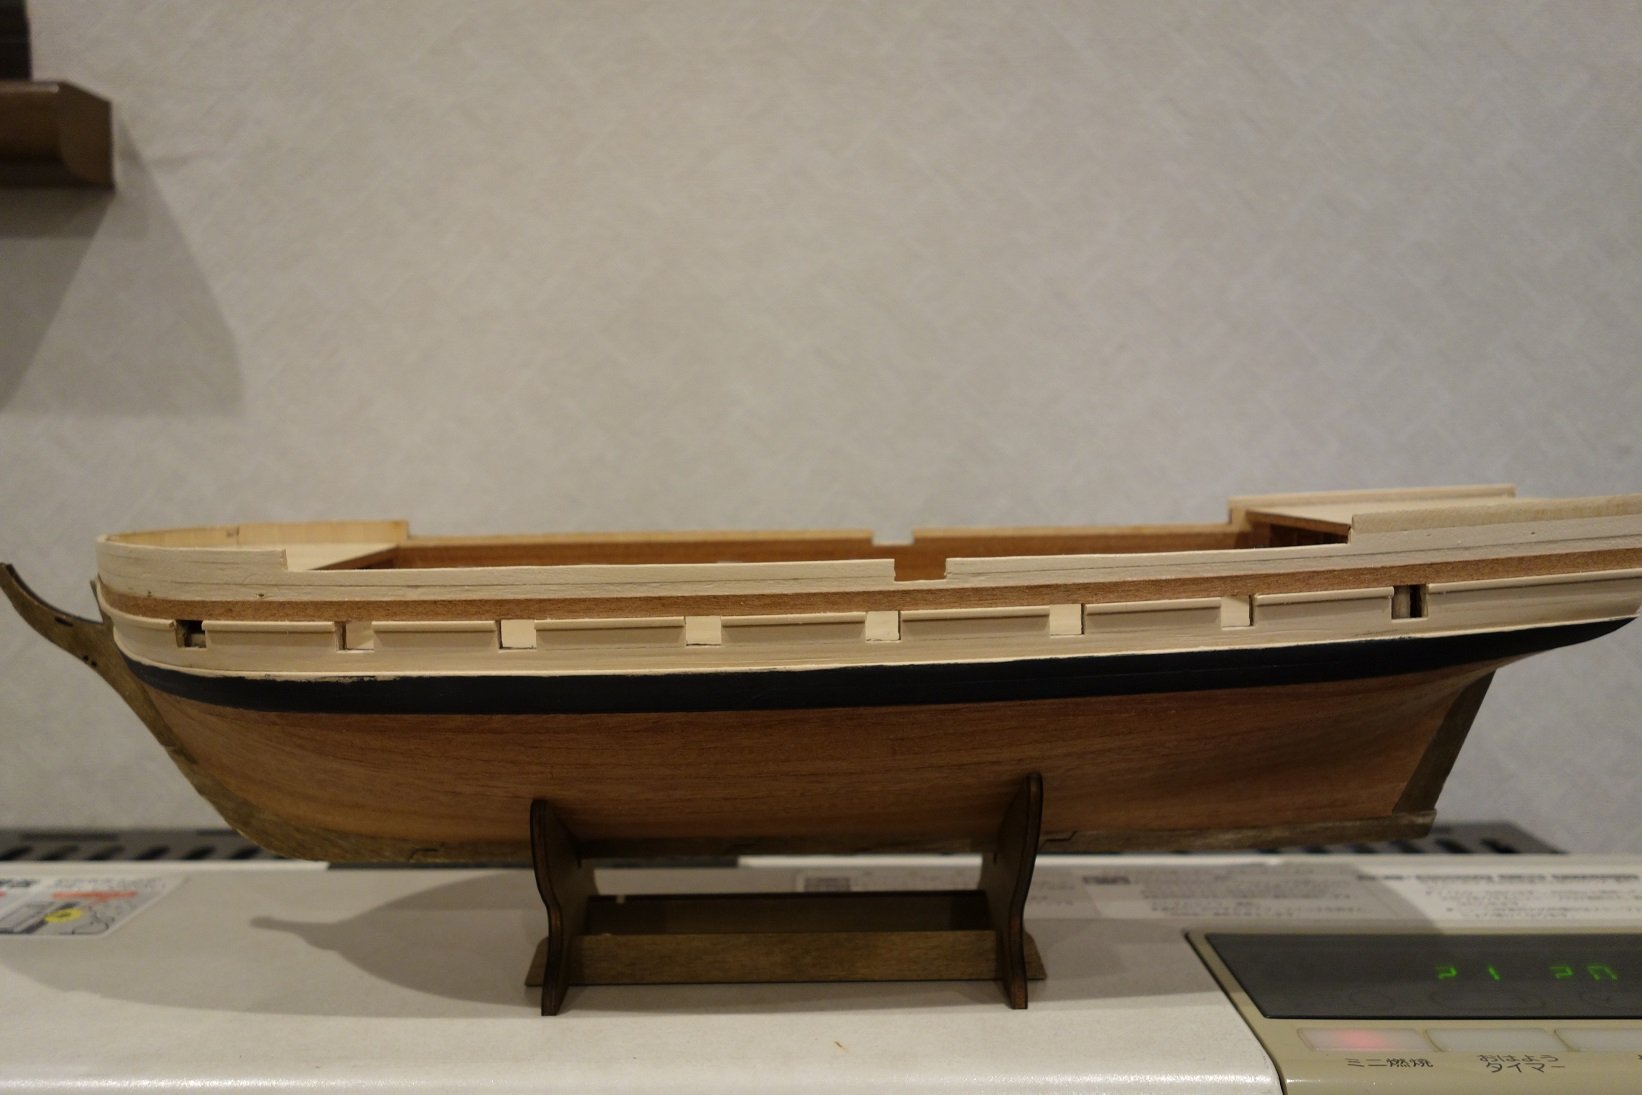
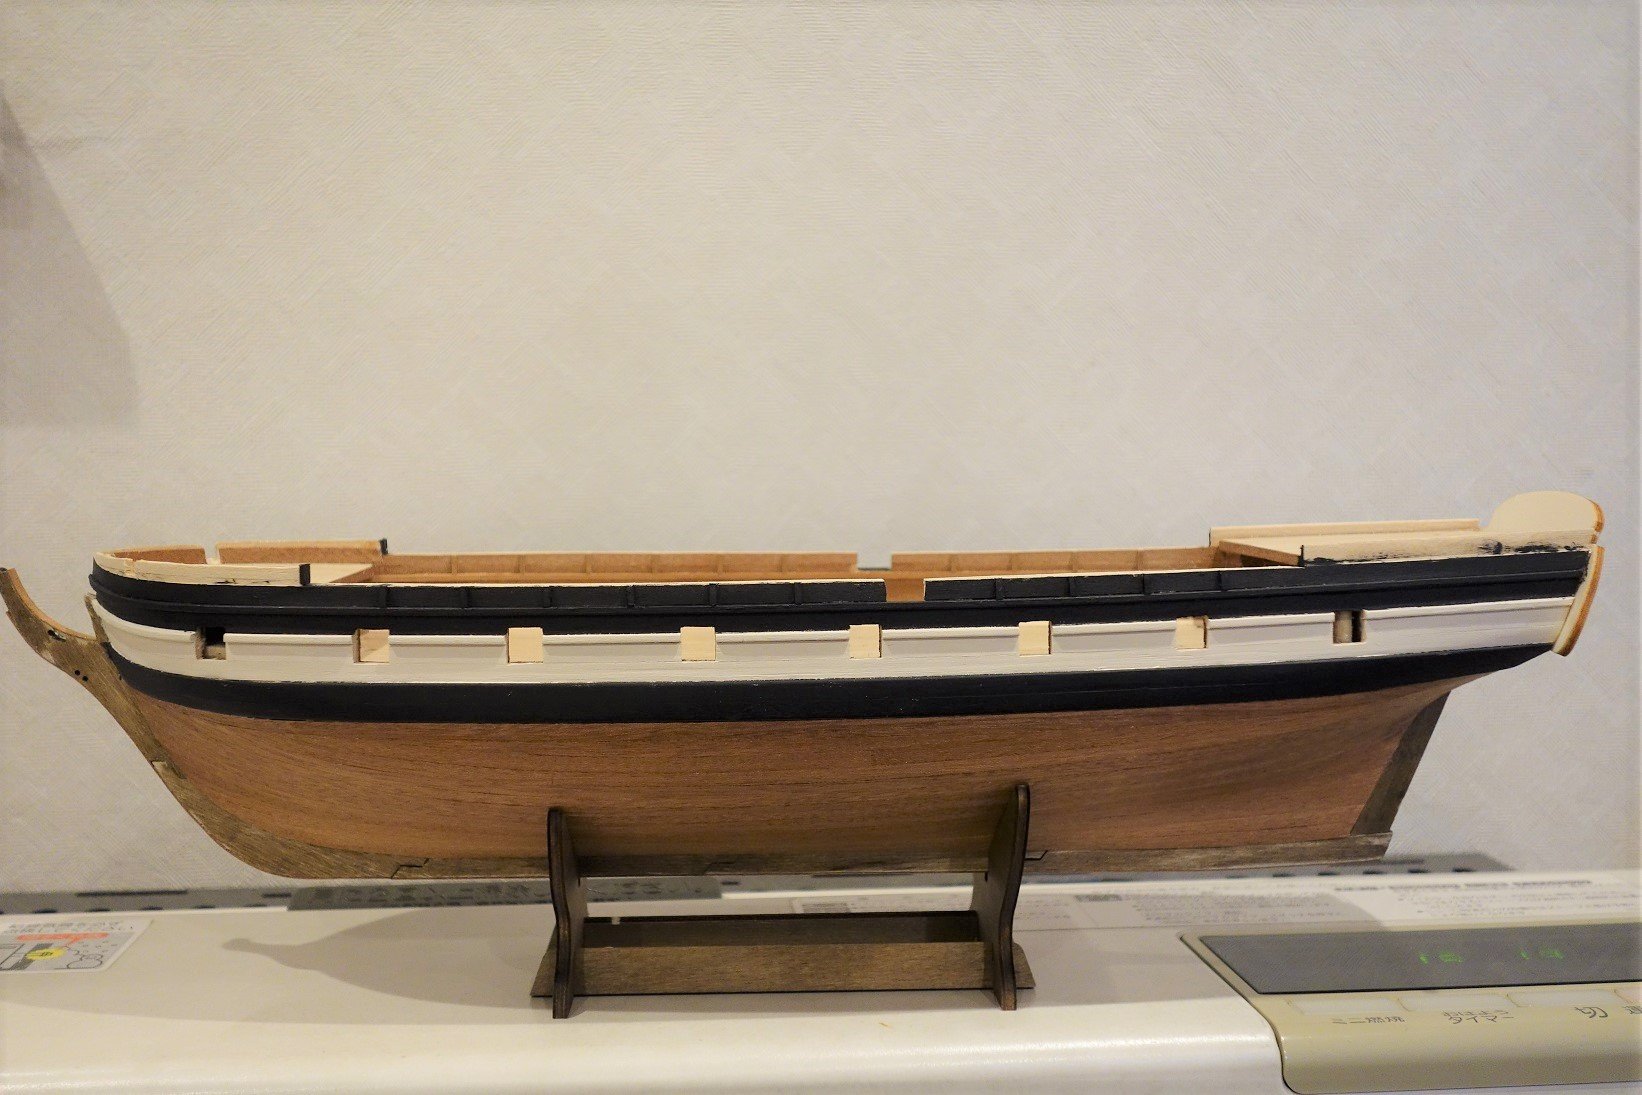
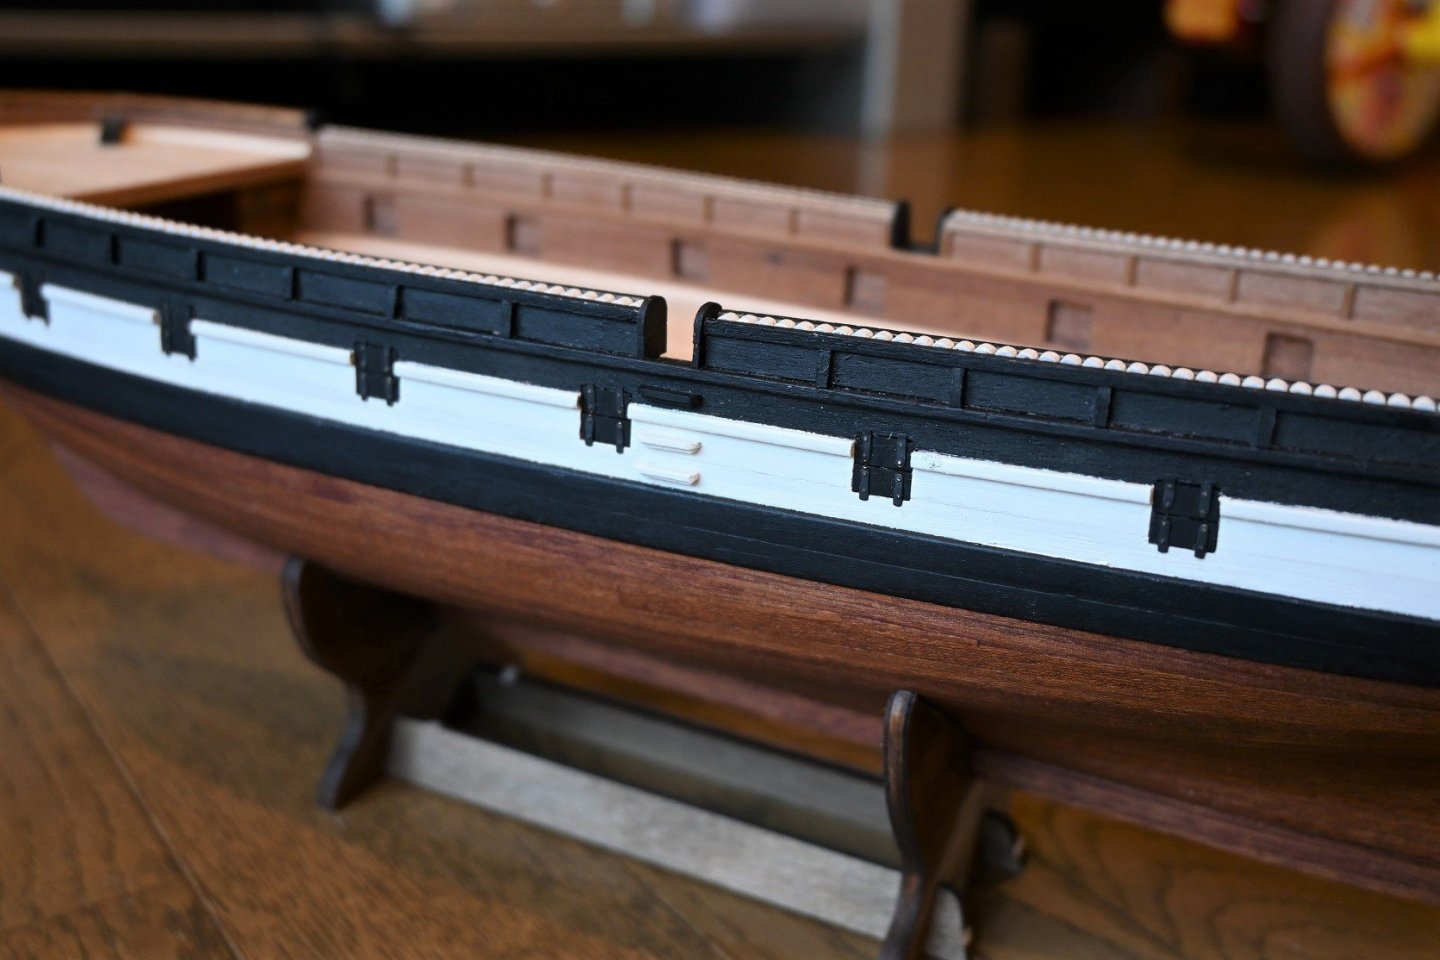
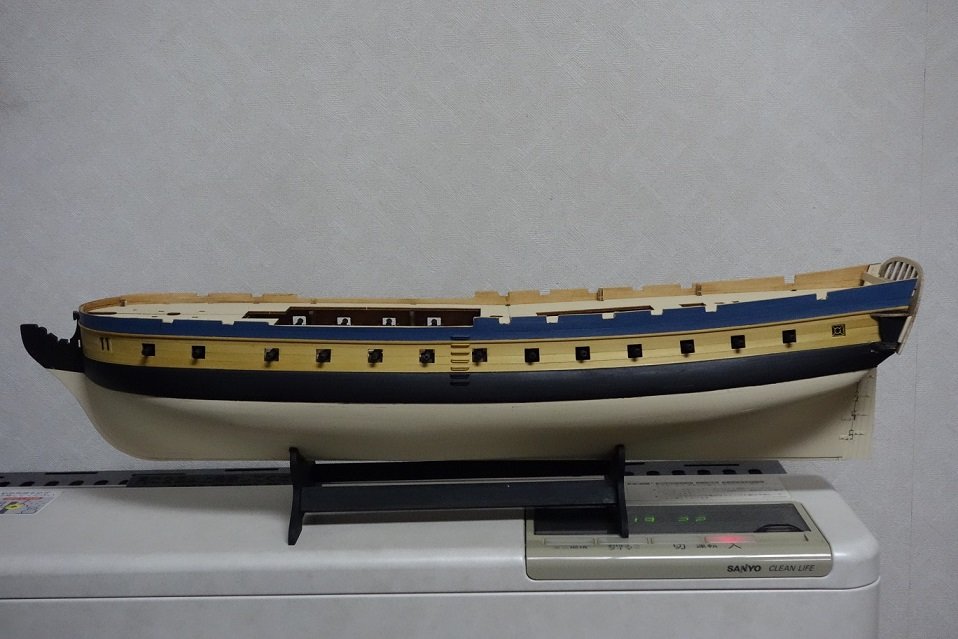
 This is an image of the current Beagle. I also put Sapelli material on the keel part. The hinge part of the gun gate metal fittings is not reproduced. The bottom of the ship is coated with flaxseed oil, which is easier to use than varnish. The handrail has been cut from 7mm width to 5-6mm width. The diamond-shaped hollow of the part where the hammock is inserted cannot be reproduced. Since there is an exhibition, we need to complete HMS FLY by the end of June, so we may not be able to make Beagle for a while.

-
Thanks Gixli,Cathead,Uncarina,Kevin,Brainpie and Pete. I don't really like the copper plate on the bottom of the ship. If I were to scratch build, I would stick a copper plate, but I didn't intend to stick this kit from the beginning.
-
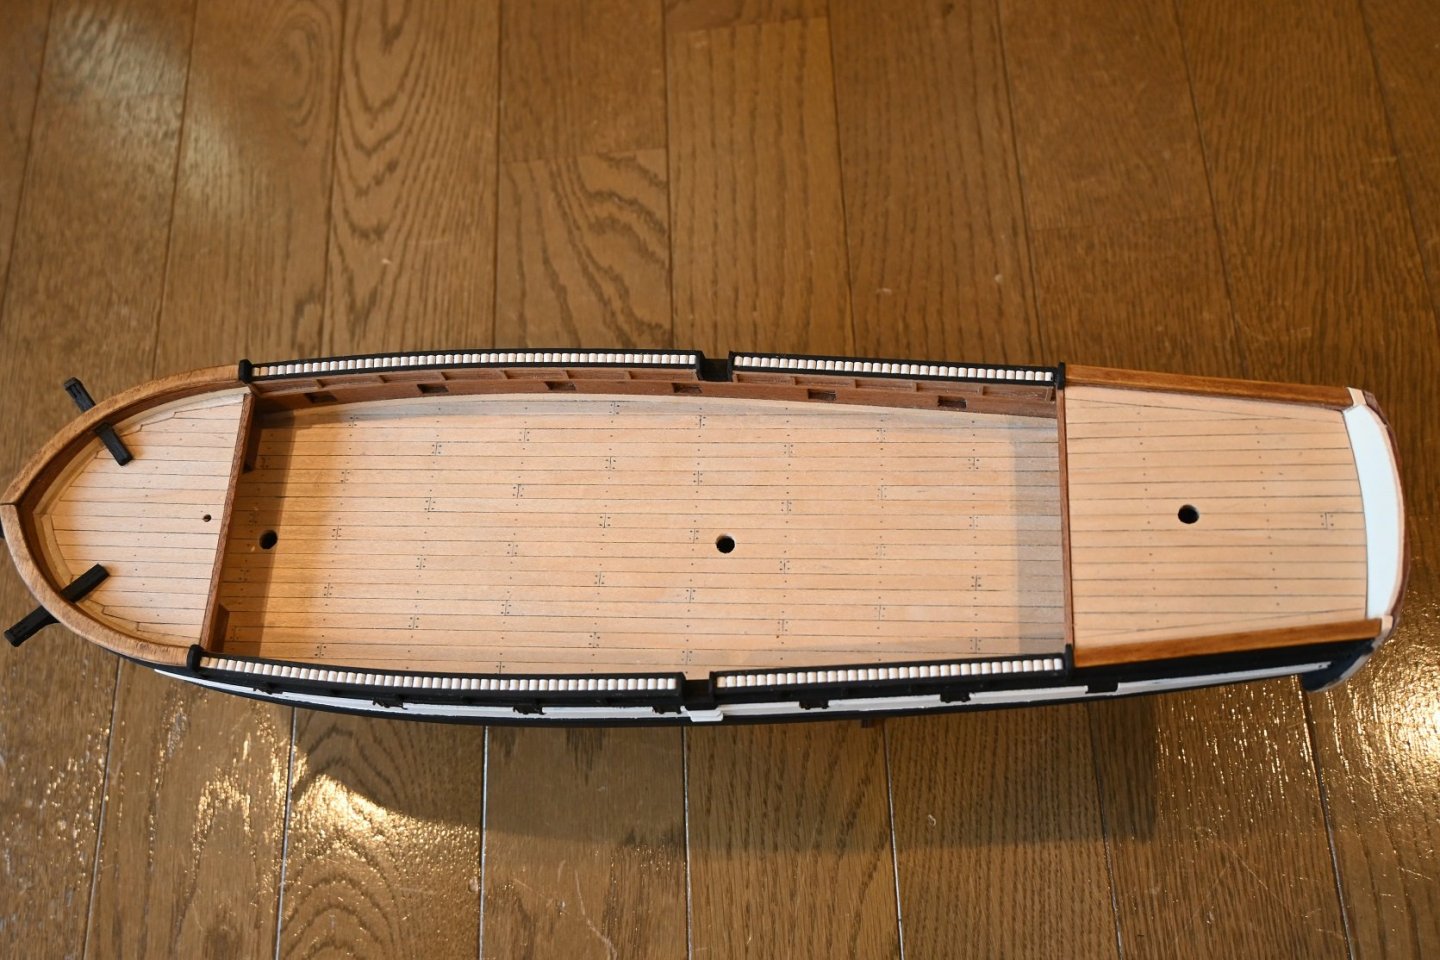
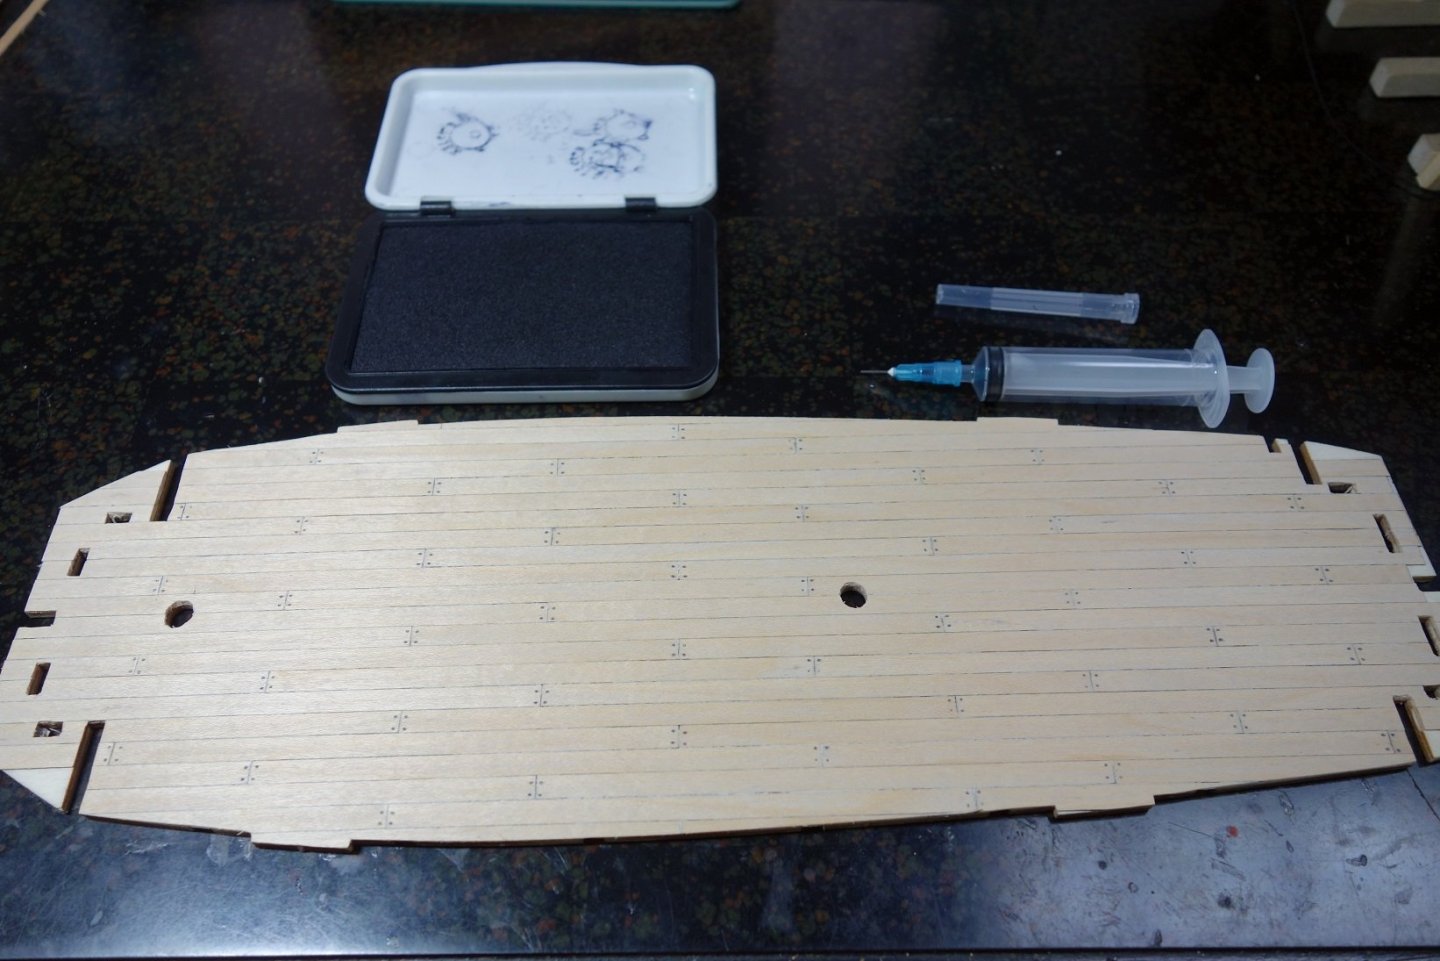
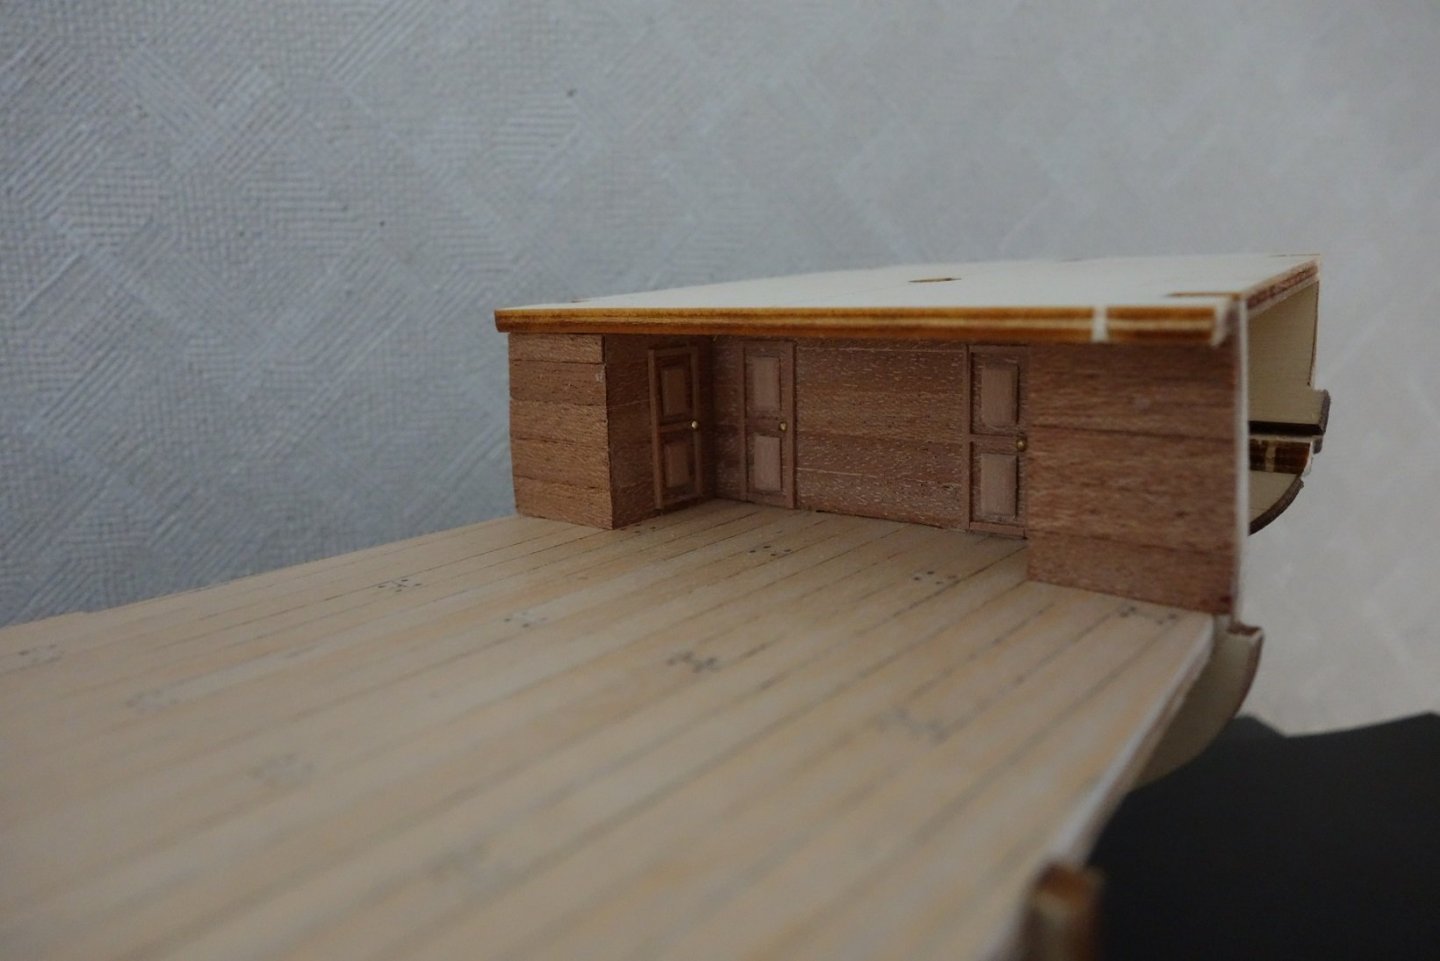
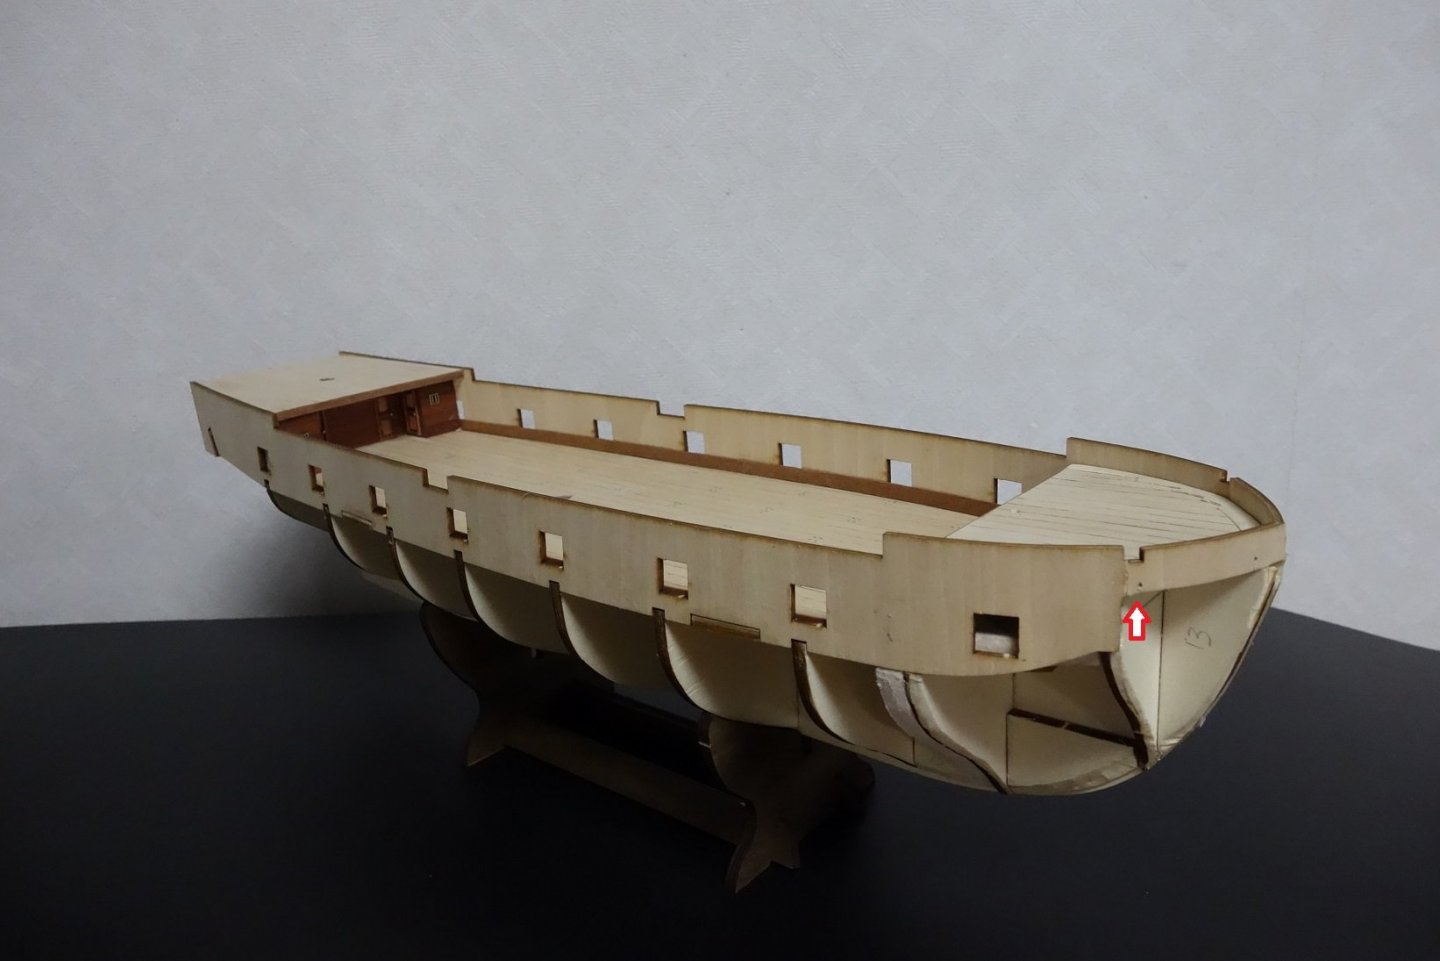
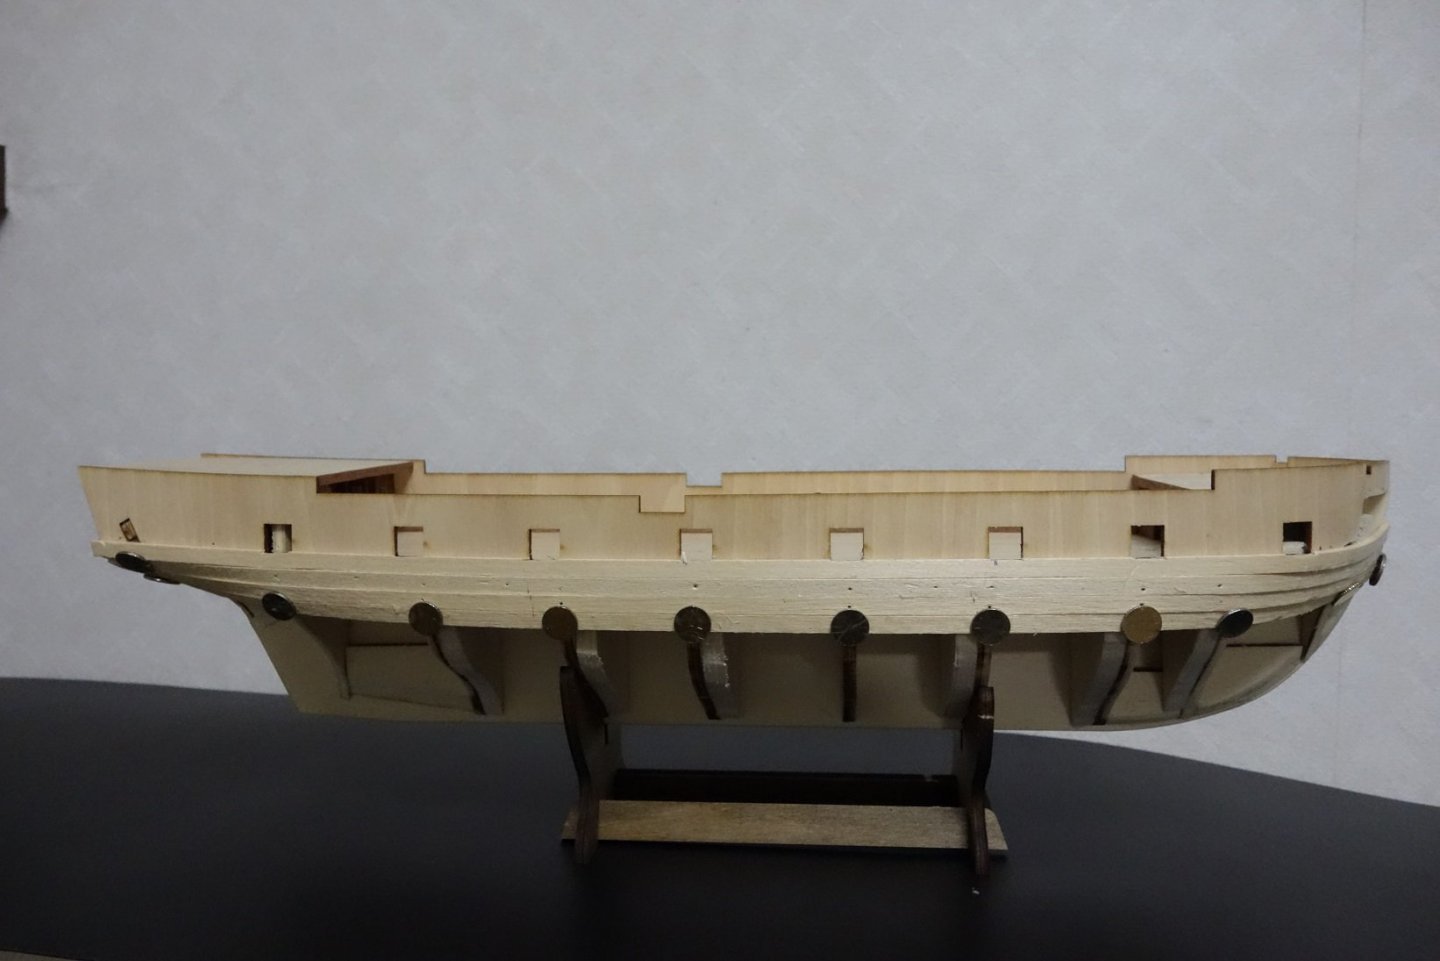
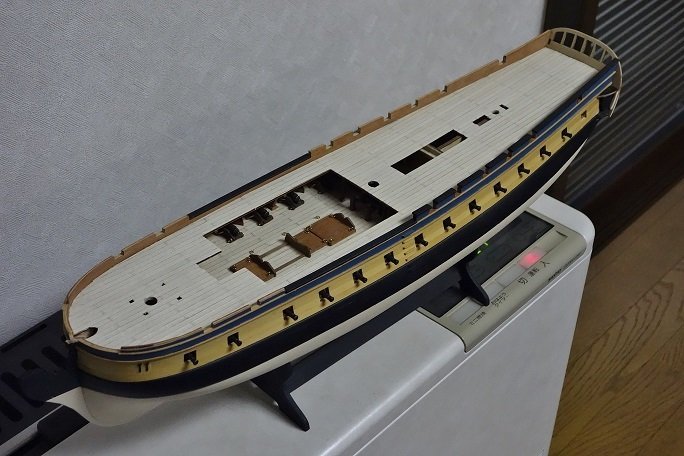
Two months ago, I started making OccCre HMS Beagle. The Beagle is a famous ship used for exploration by Darwin, who discovered the theory of evolution. The kit is a production manual only, no drawings A detailed production video from the manufacturer is available on YouTuber. The material of the kit is rough in a nutshell, but the laser cut is accurate. As for the deck, I felt that the 60mm designation was too short, so I put up a 120mm long board. The sides of the board are painted black with a 6B pencil. I cut a 23g needle and attached a stamp with a nail mark. The inside of the blue work has been changed to Sapelli. There is no camber on the deck and it is flat, but it is difficult to change, so I will make it as it is. The door was made of wood. I bent it after getting it wet, but it broke. Falcata filler has been added to the bulkhead to make it easier to fix the wood with a thumbtack. The first outer panel has been pasted. I glued the keel before sticking the second tree. For the overlay, I pasted one gun gate and then two 2x5mm boards. I painted the wales black, stuck one Sapelli underneath, and then stuck it upwards from the bottom of the ship. The sheer rail 2x2mm was a little too thick. I painted it with natural milk paint. The white paint on the gun gate has been changed so that the lower part is about 5mm above the specified position.


-
Thank you for the nice comments and the likes. And every best wish to any who are setting out to build this wonderful model!
-
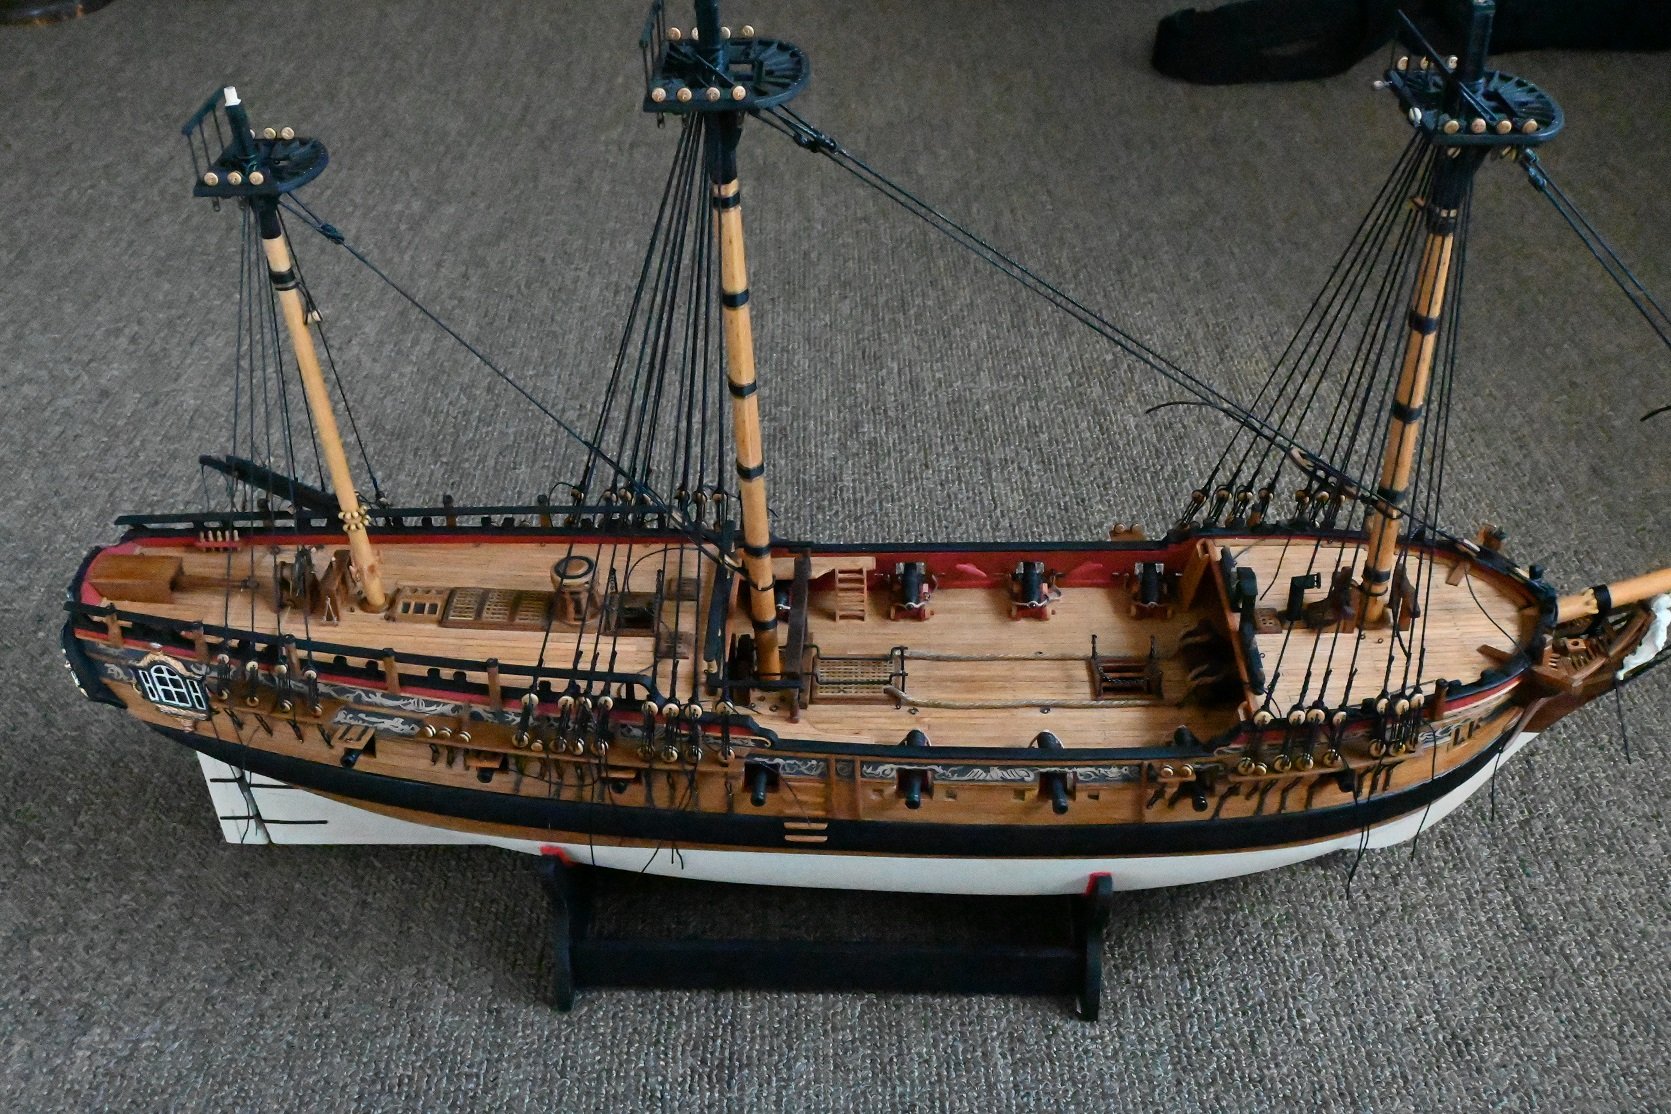
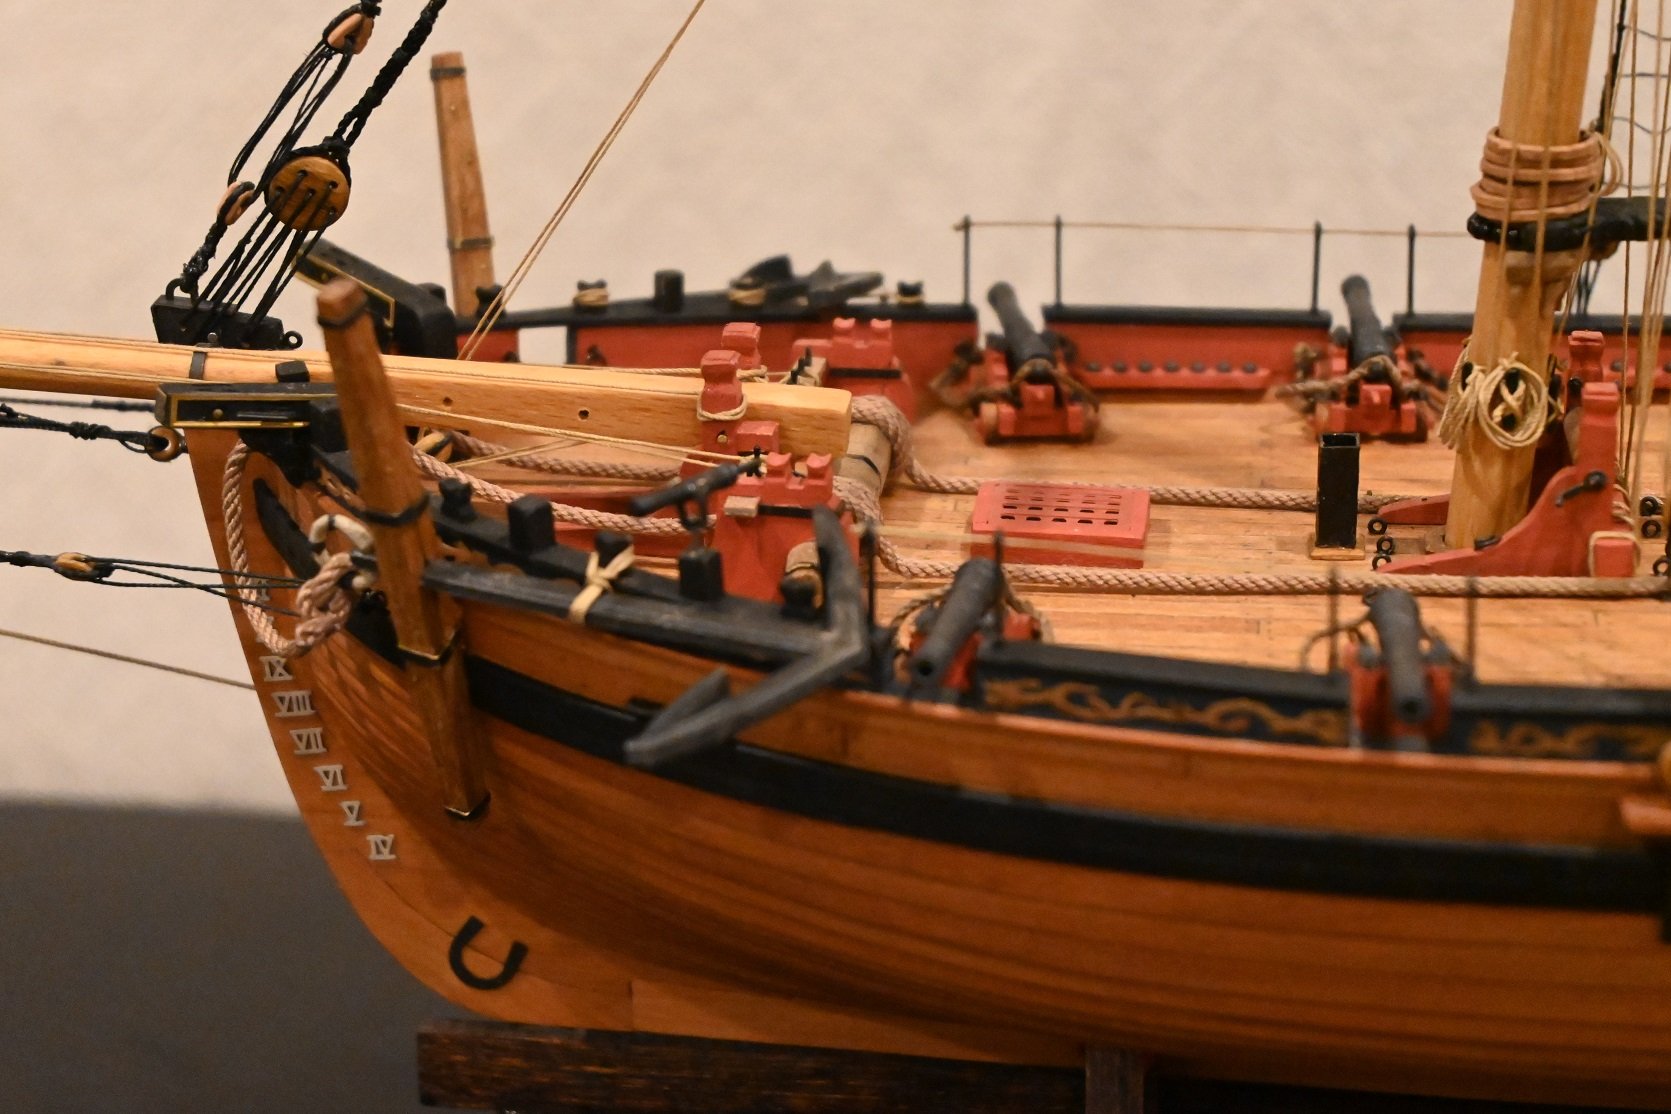
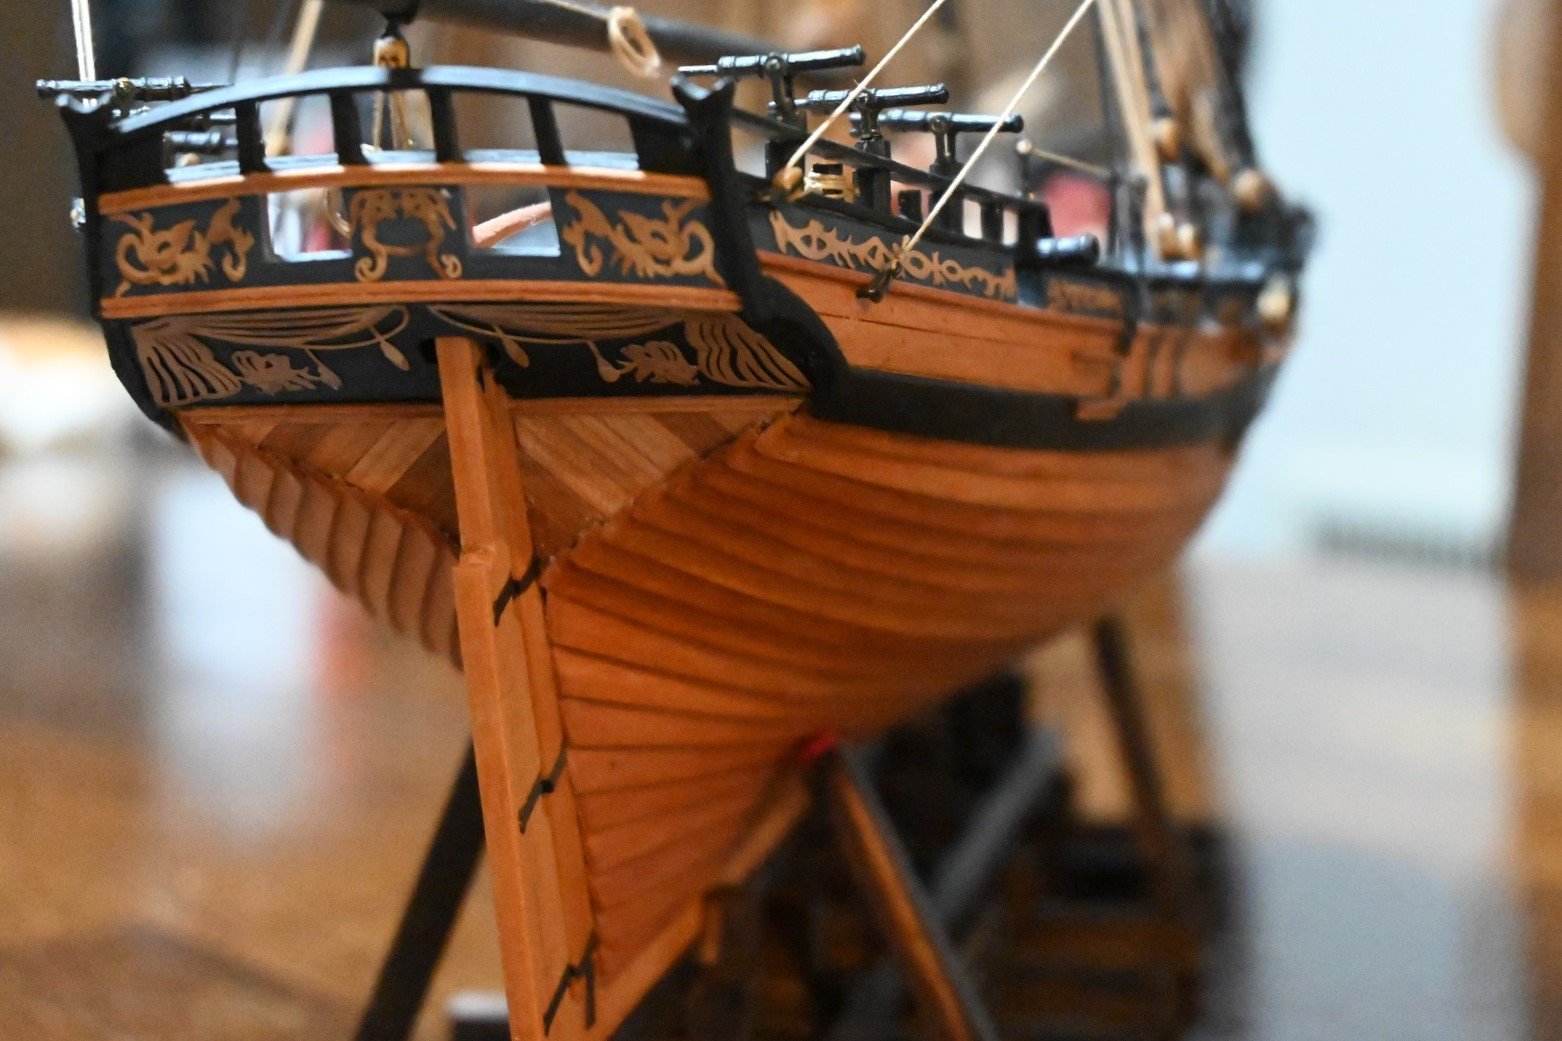
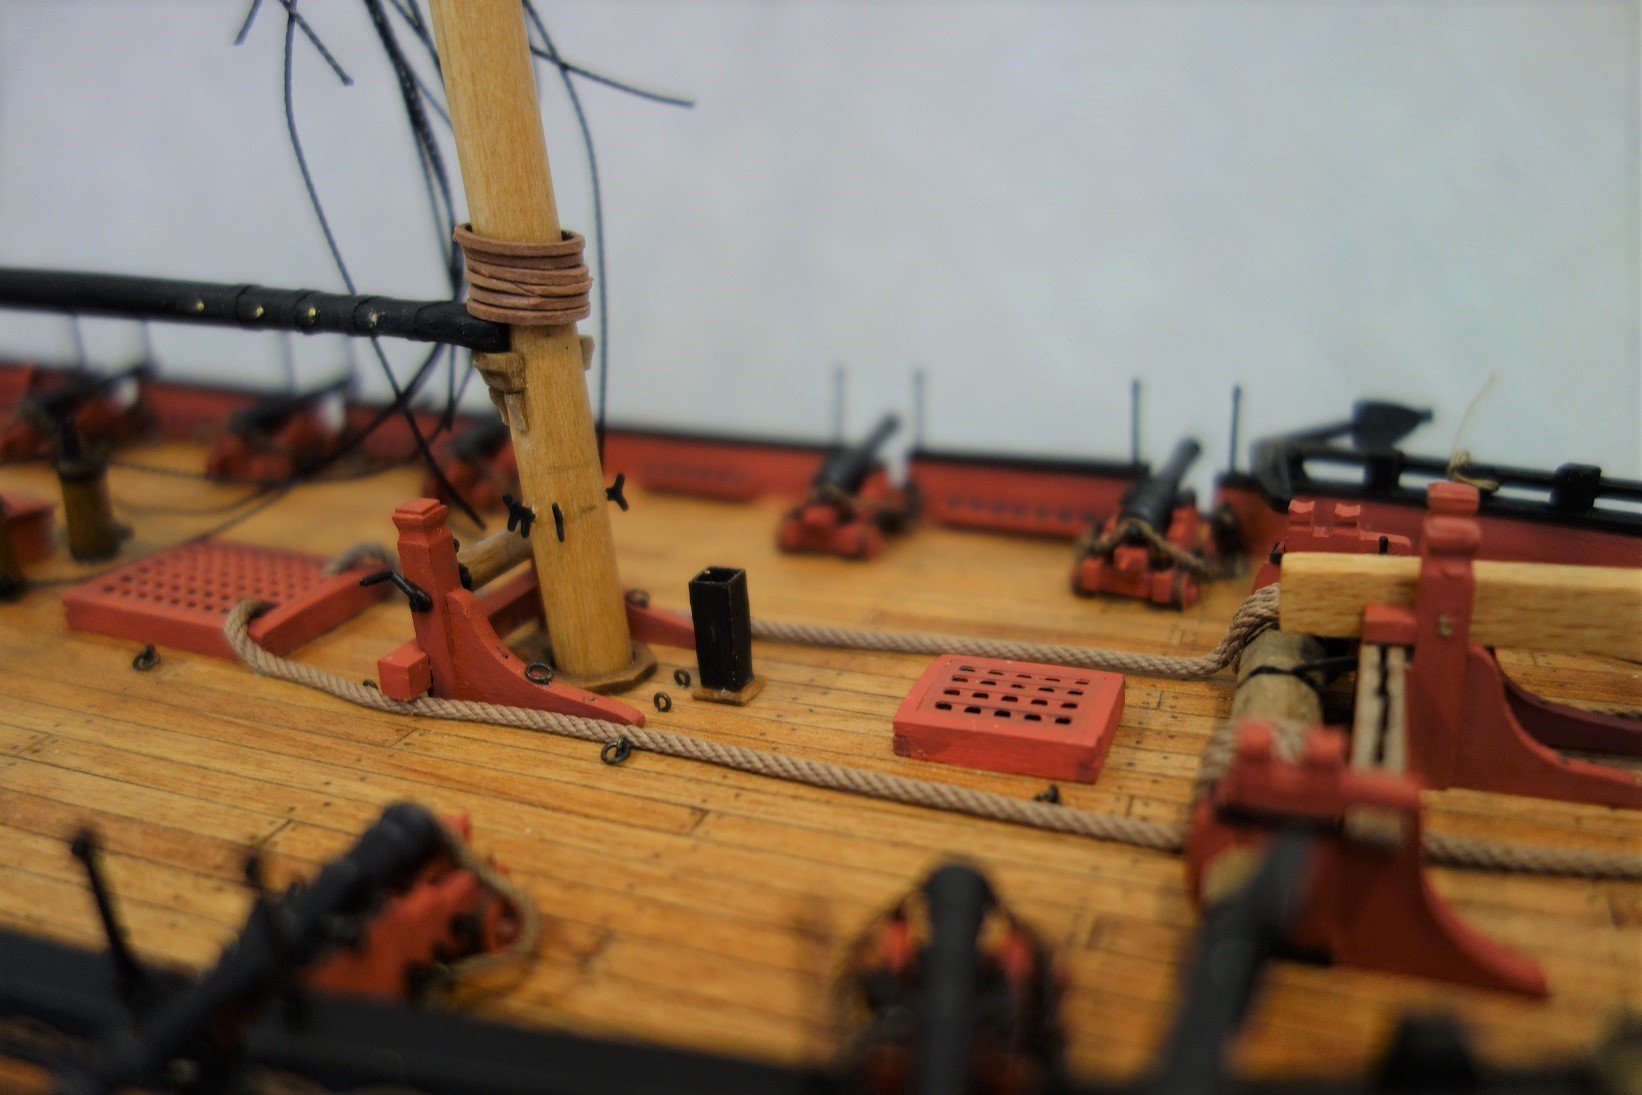
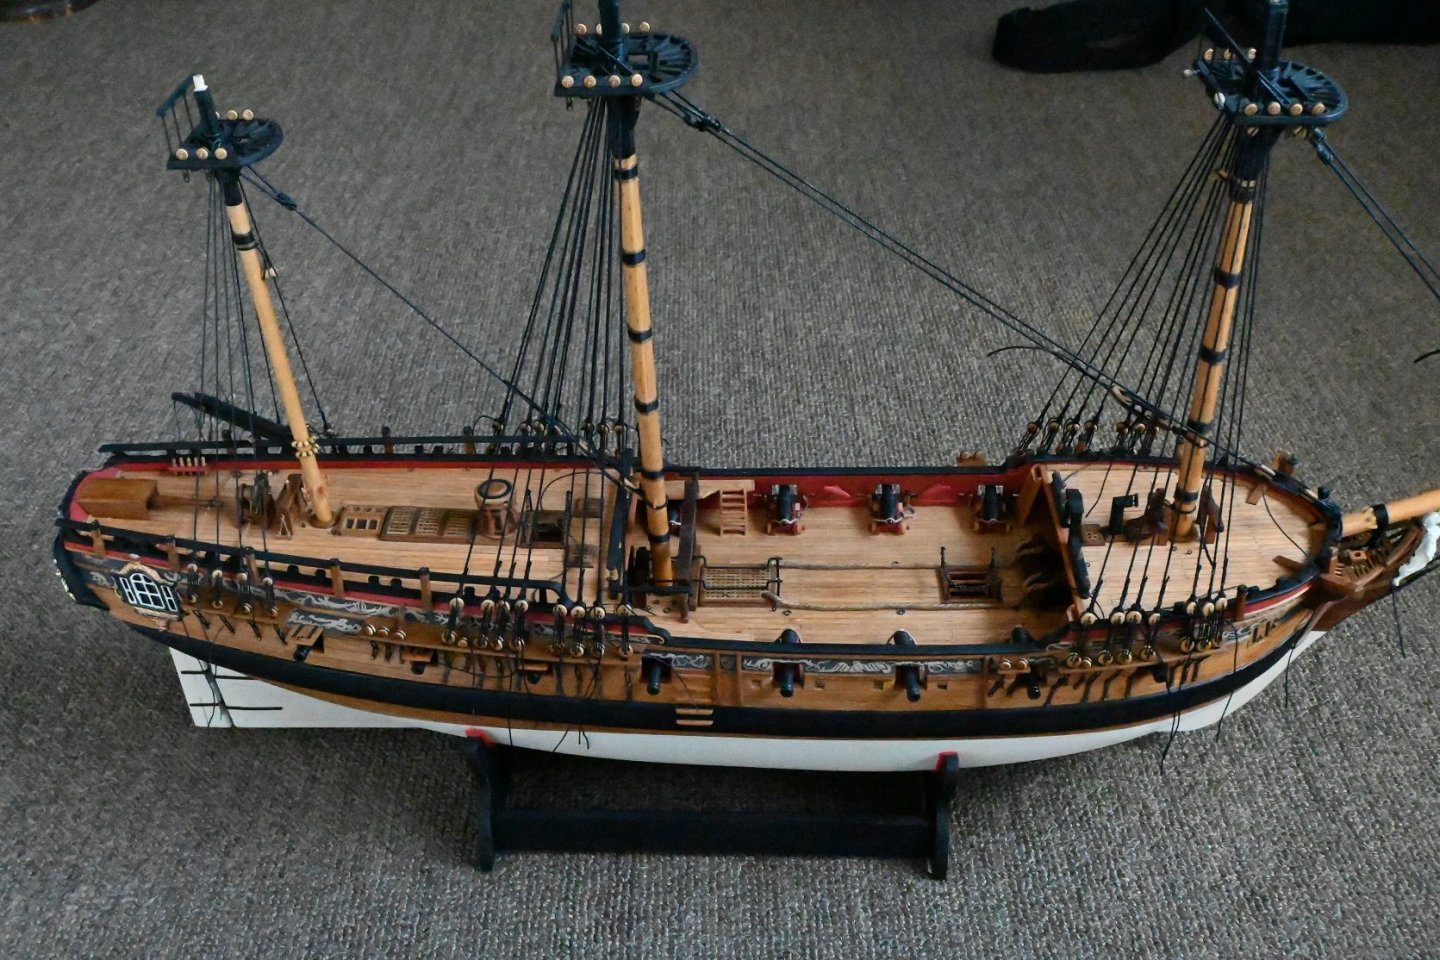
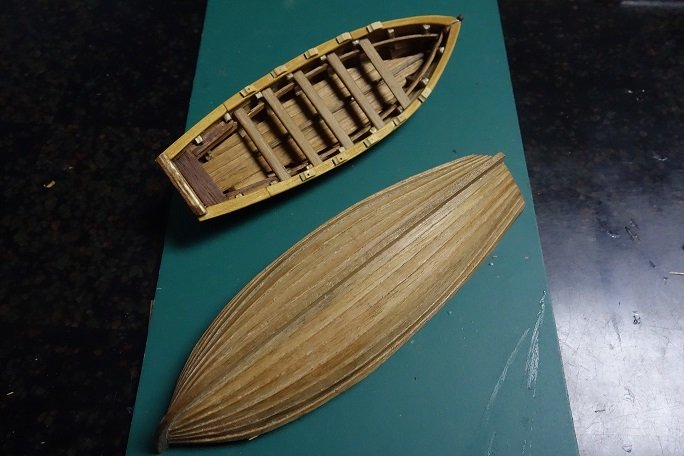
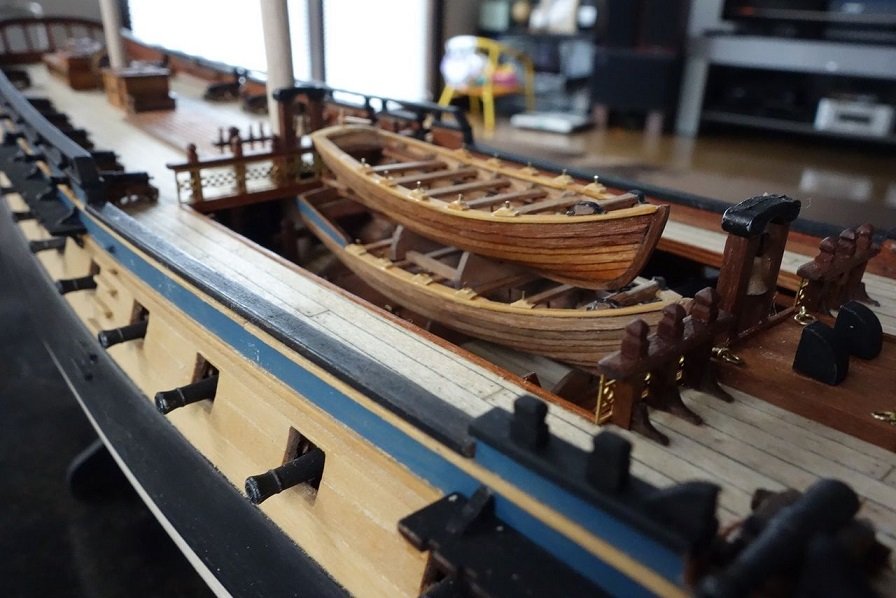
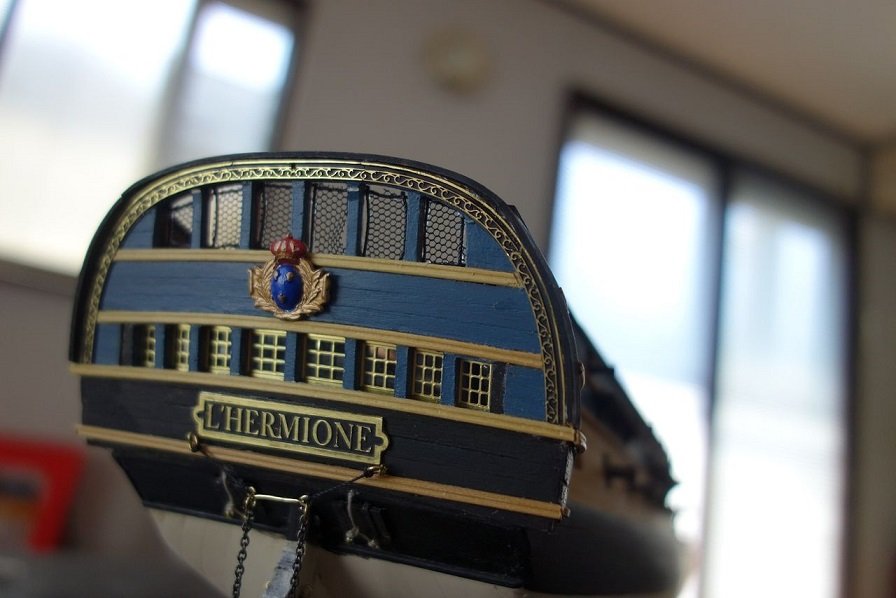
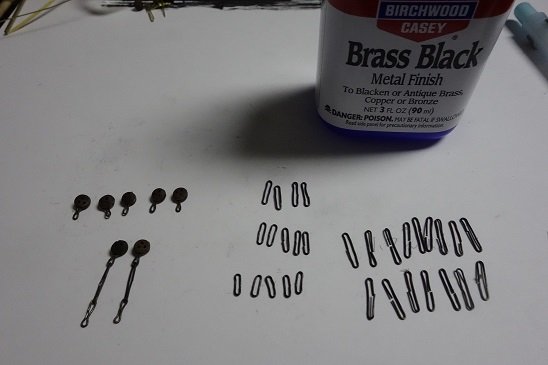
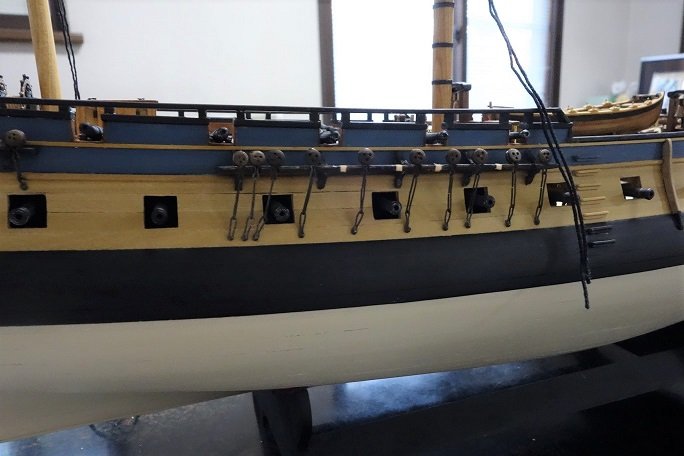
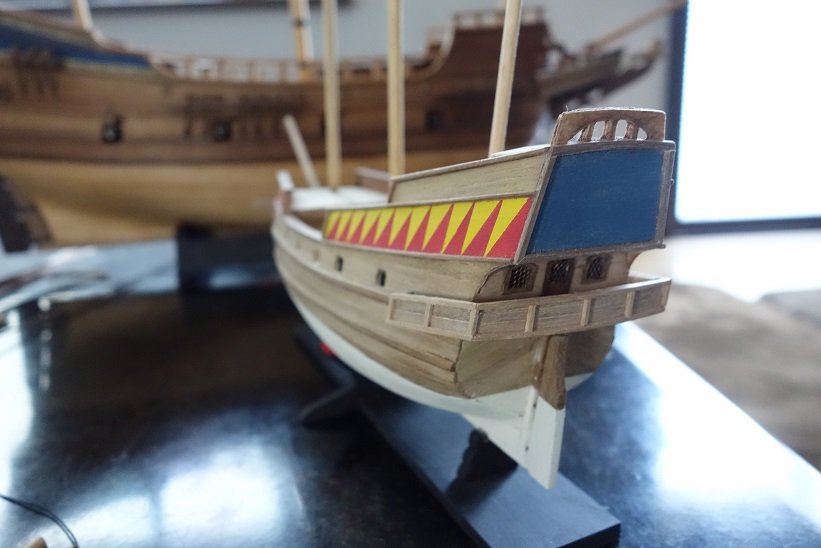
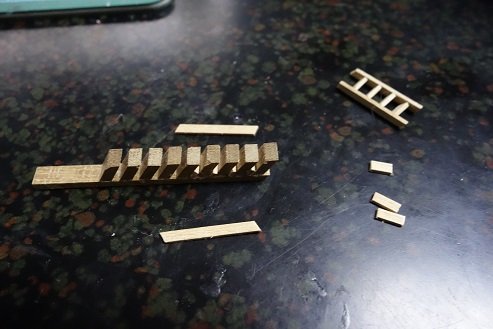
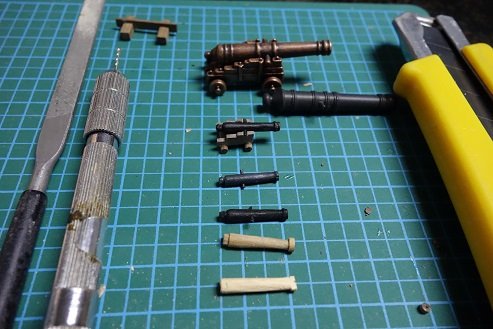
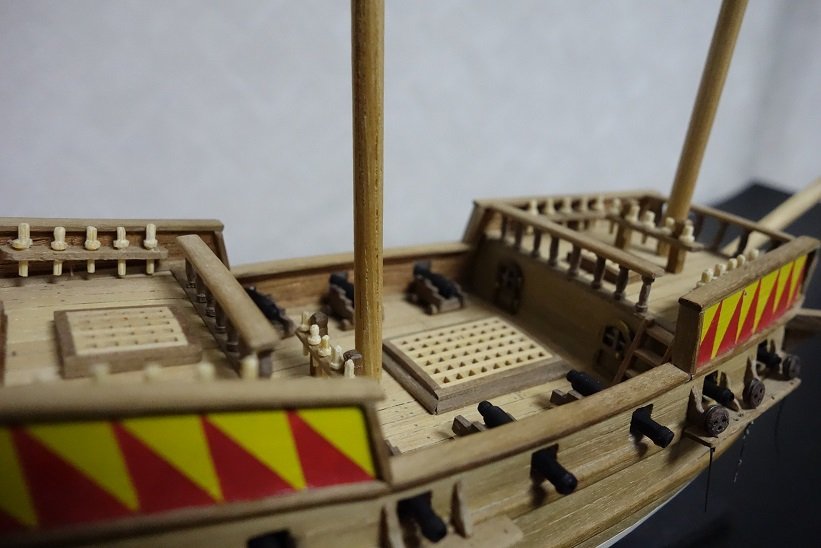
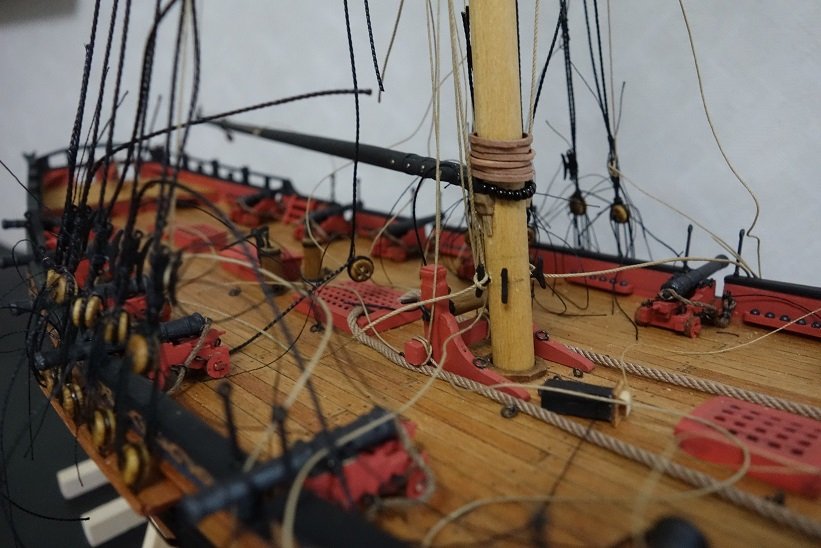
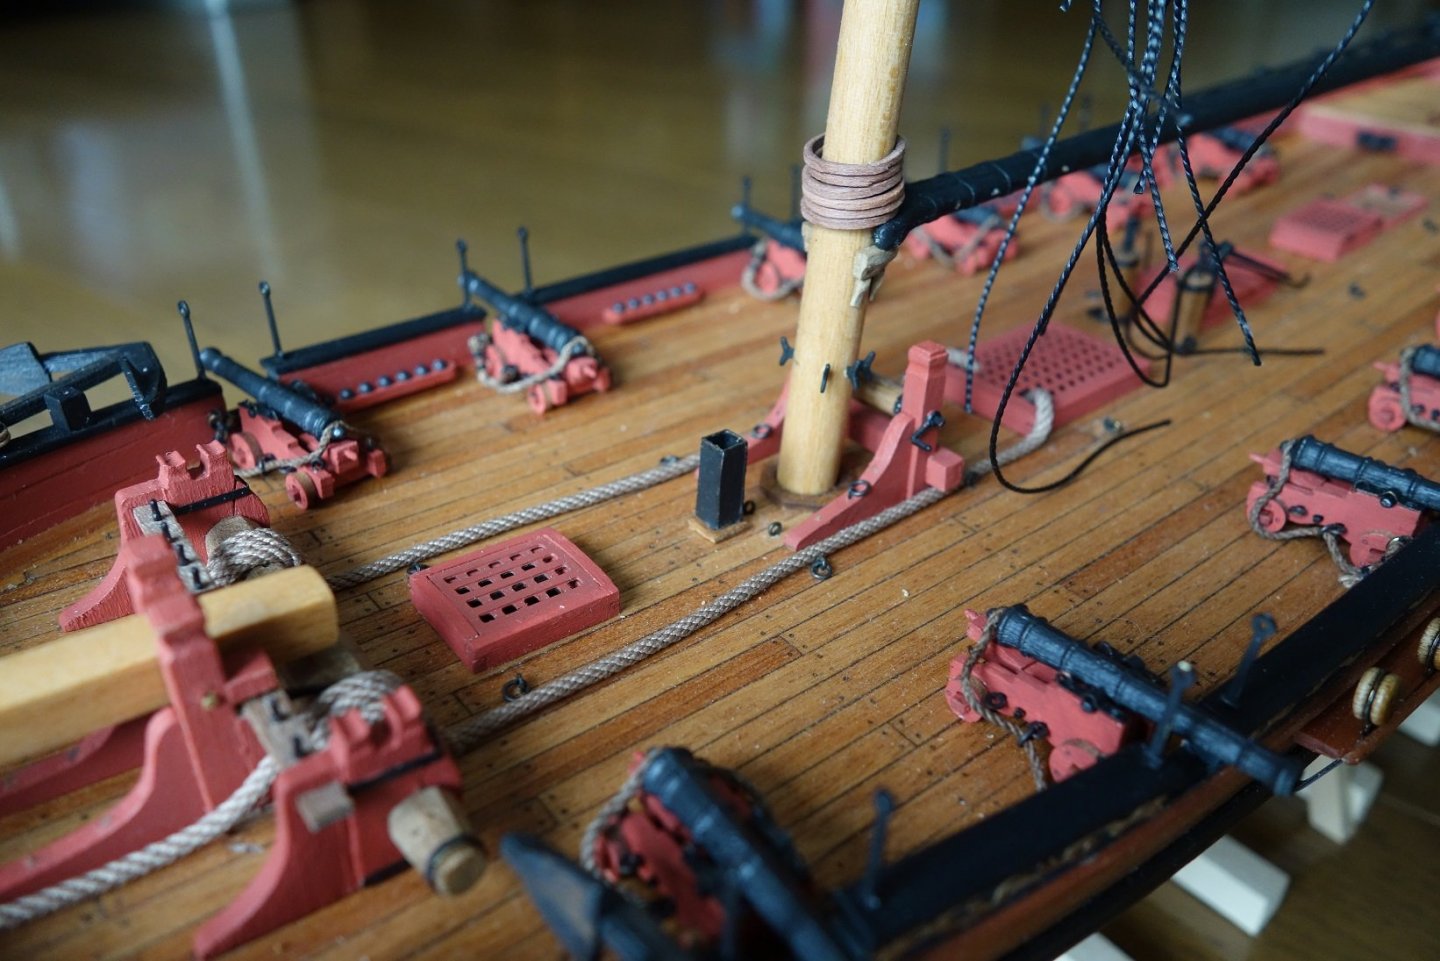
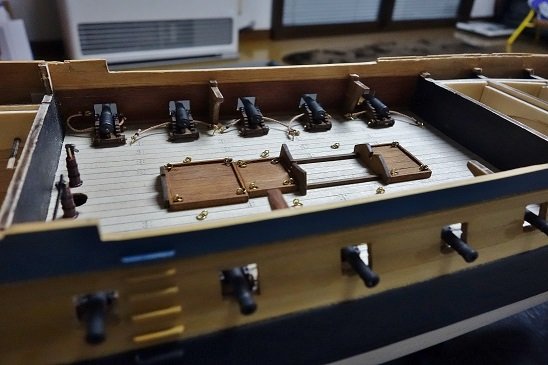
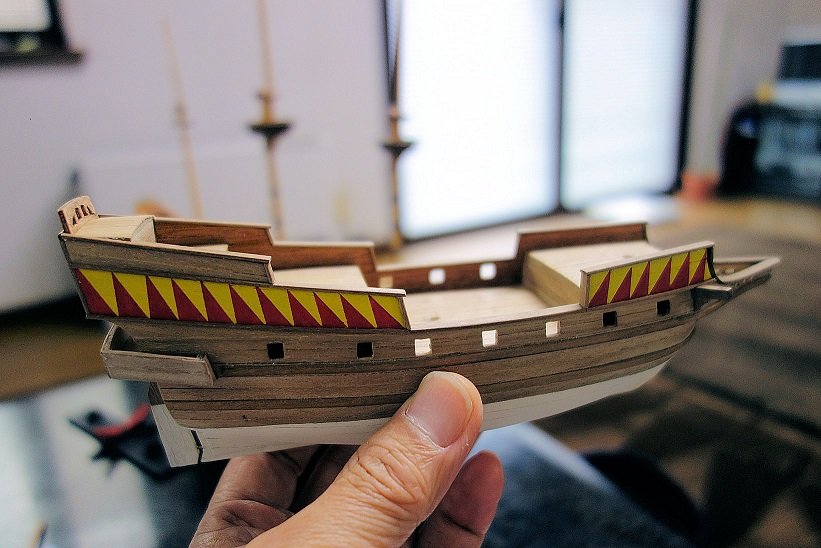
Thank you everyone for your compliment. Image of handrail and rig production. I didn't know the height of the railing on the upper back deck and the size of the notch in the gun because there is no drawing and no size entry. Since the size of the grating was as large as a 2 mm grid, I changed it to a corel 1.5 mm grid. The inside of the gun port is made of mahogany, and the outfit is made of walnut. Two years ago, I didn't have the astringent red color, but if I make it now, I will paint it in the same red color as the alert I'm working on. The head rail is lightly grooved and painted. In the quarter gallery, the metal parts at the bottom did not fit, so I did not use it and made the bottom from wood. The window frame of the stern gallery was glued from the inside to make it uneven. I think it would have been better to make it as shown in the drawing and add the columns between the windows. The boat was pasted with clinker. Framed boats are well made as a kit accessory. The channel chain was remade by silver wax welding. The position was changed because the channel chain passes in front of the cannon. It is difficult because there is no design drawing.
- 7 replies
-
- 6
-
-
- hermione
- artesania latina
- (and 1 more)
-
Golden Hind 1577 by goemon - 1:150
goemon replied to goemon's topic in - Build logs for subjects built 1501 - 1750
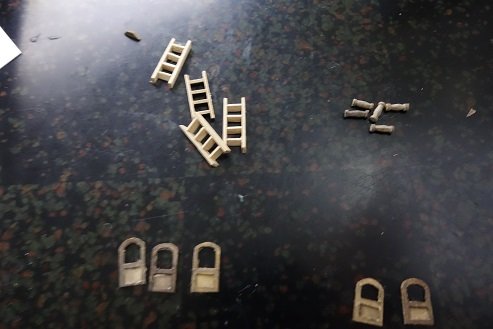
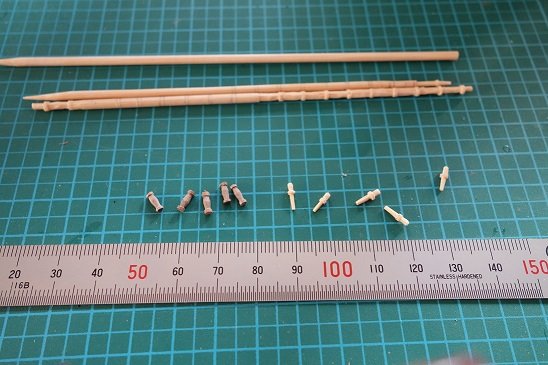
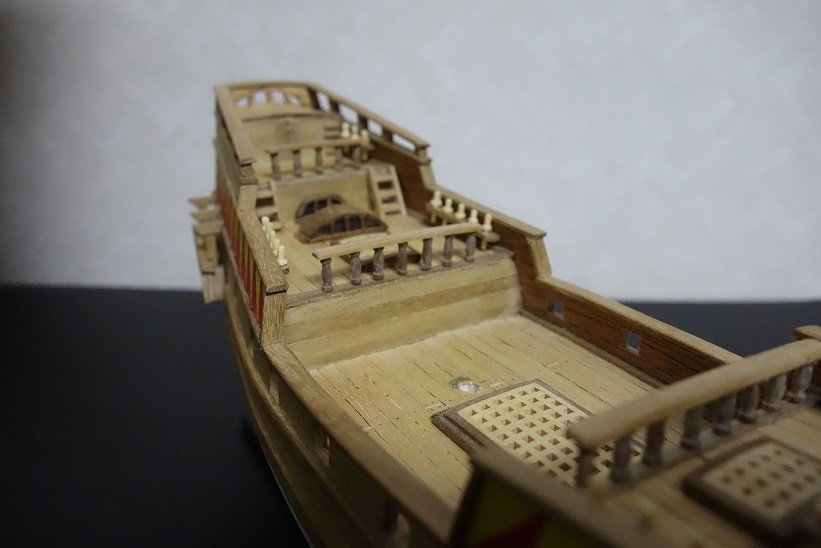
Thank you Patrick and Steven. I'm a Japanese who is not good at English, so it's been a while since I last updated. The grating is a surplus of other kits The back window frame is paper. The back window frame is paper. The door frame is paper. Belaying Pin is bamboo skewers. The handrail and belay pin are oversized. The barrel is wooden.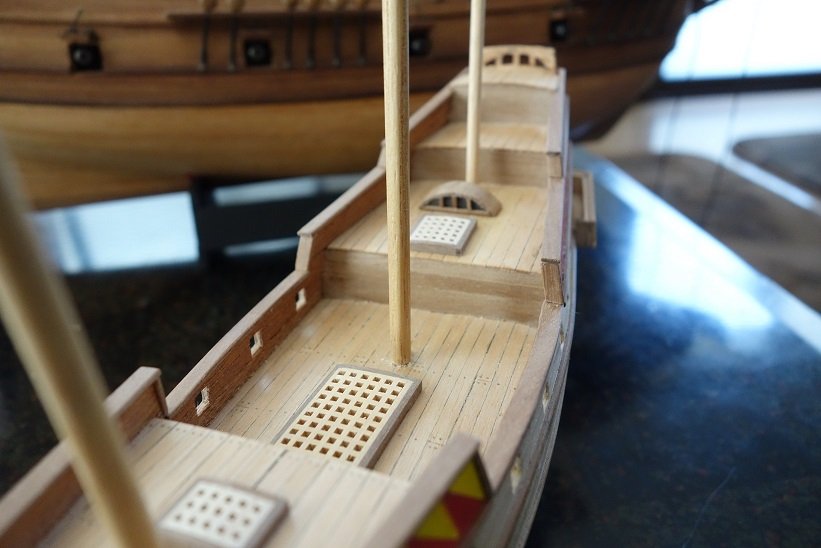


-
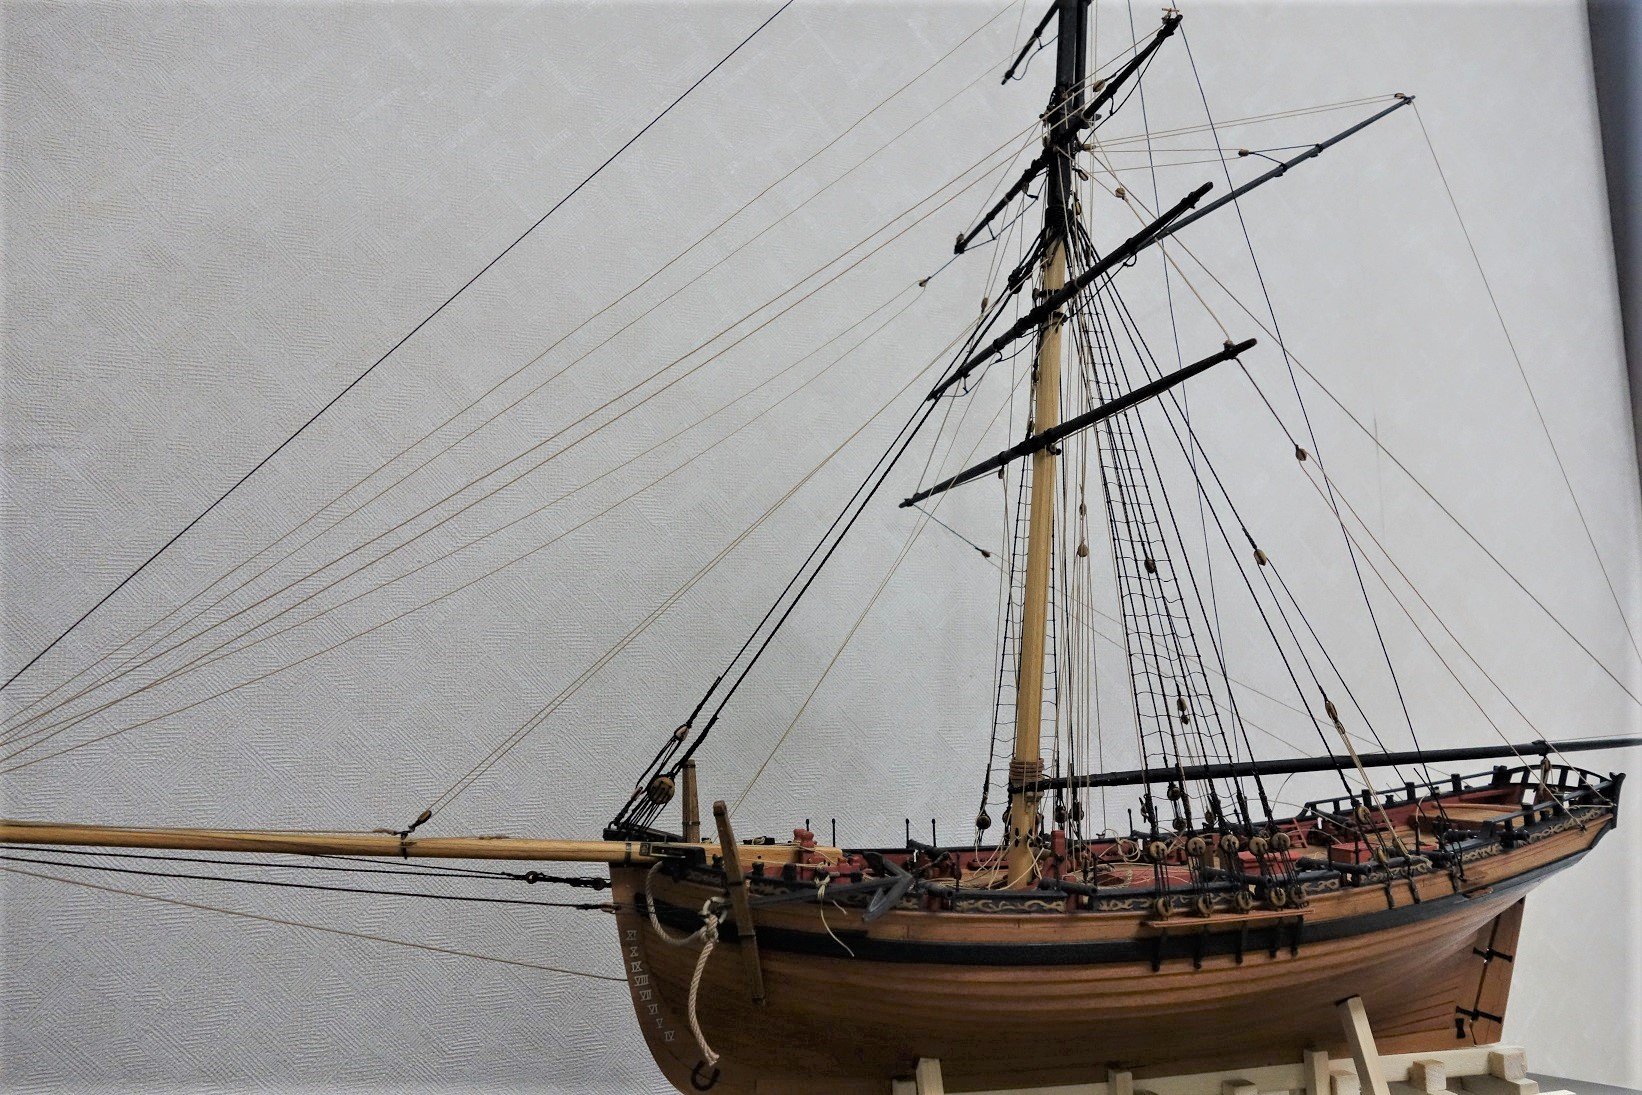
My rigging is slow and time consuming, but it's almost over. I didn't like rigging, so I thought the cutter ship would end easily, but it's difficult.


- 23 replies
-
- 6
-
-
- vanguard models
- alert
- (and 1 more)
-
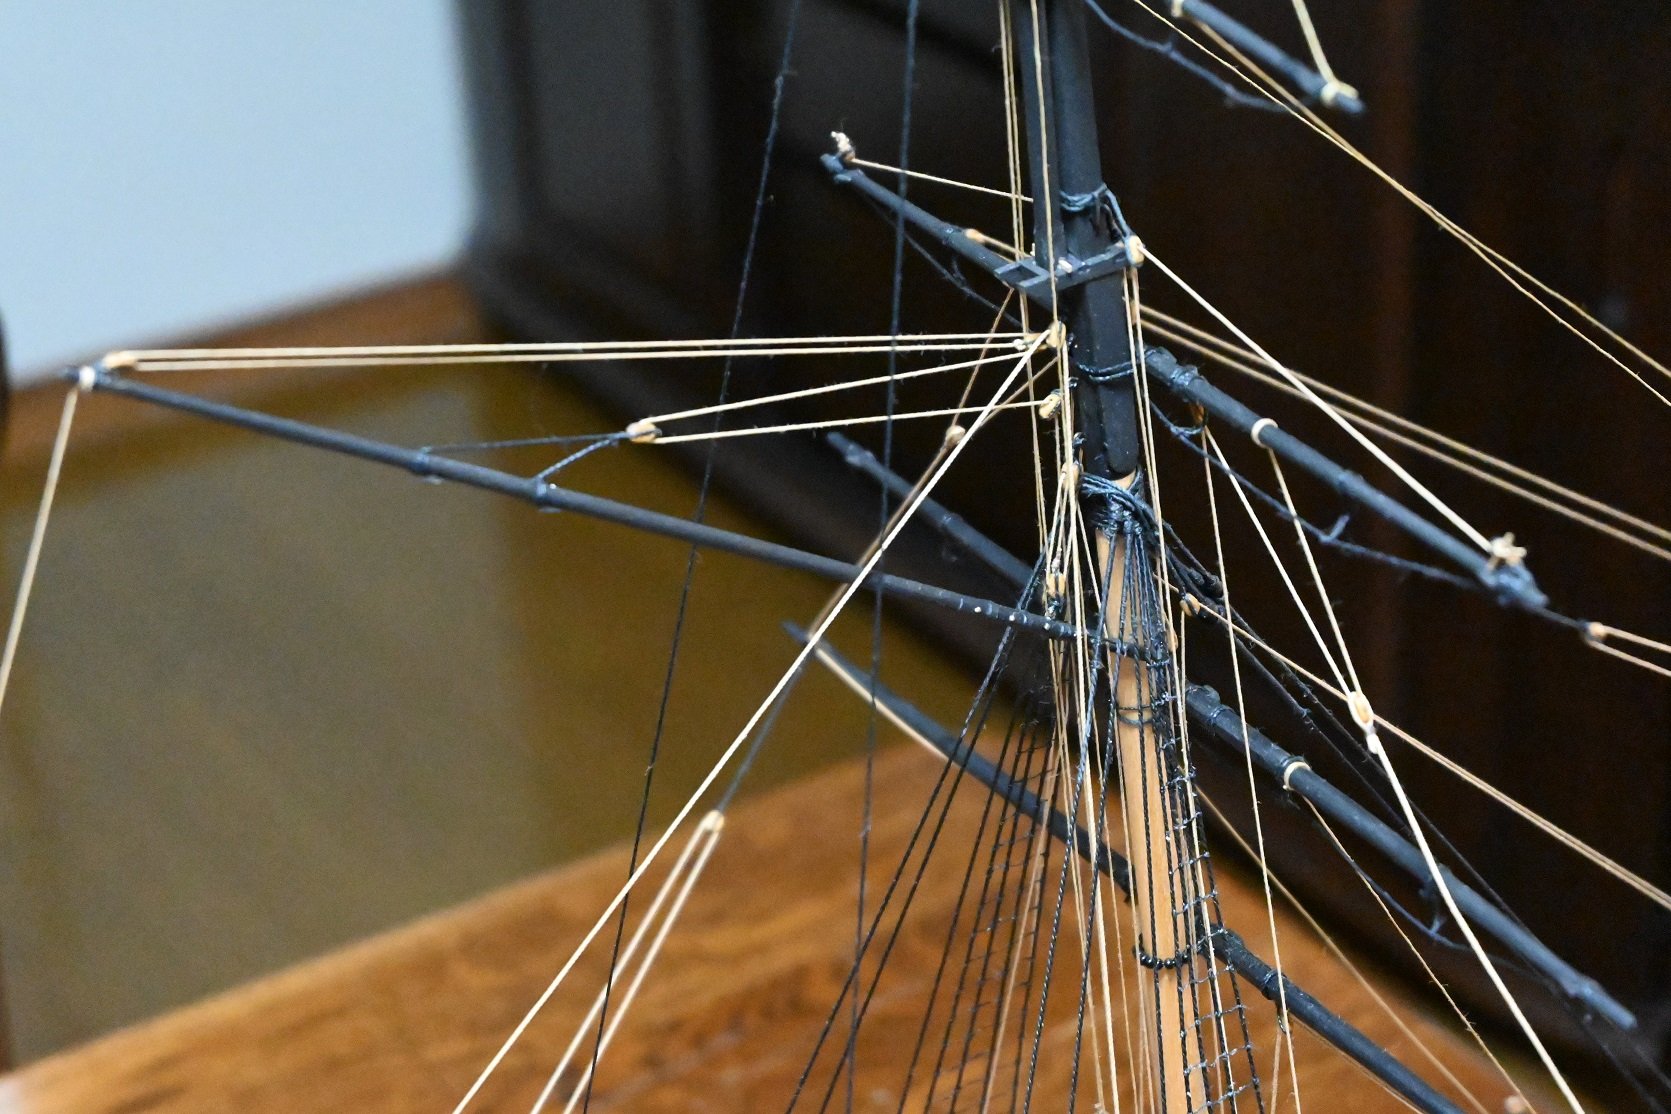
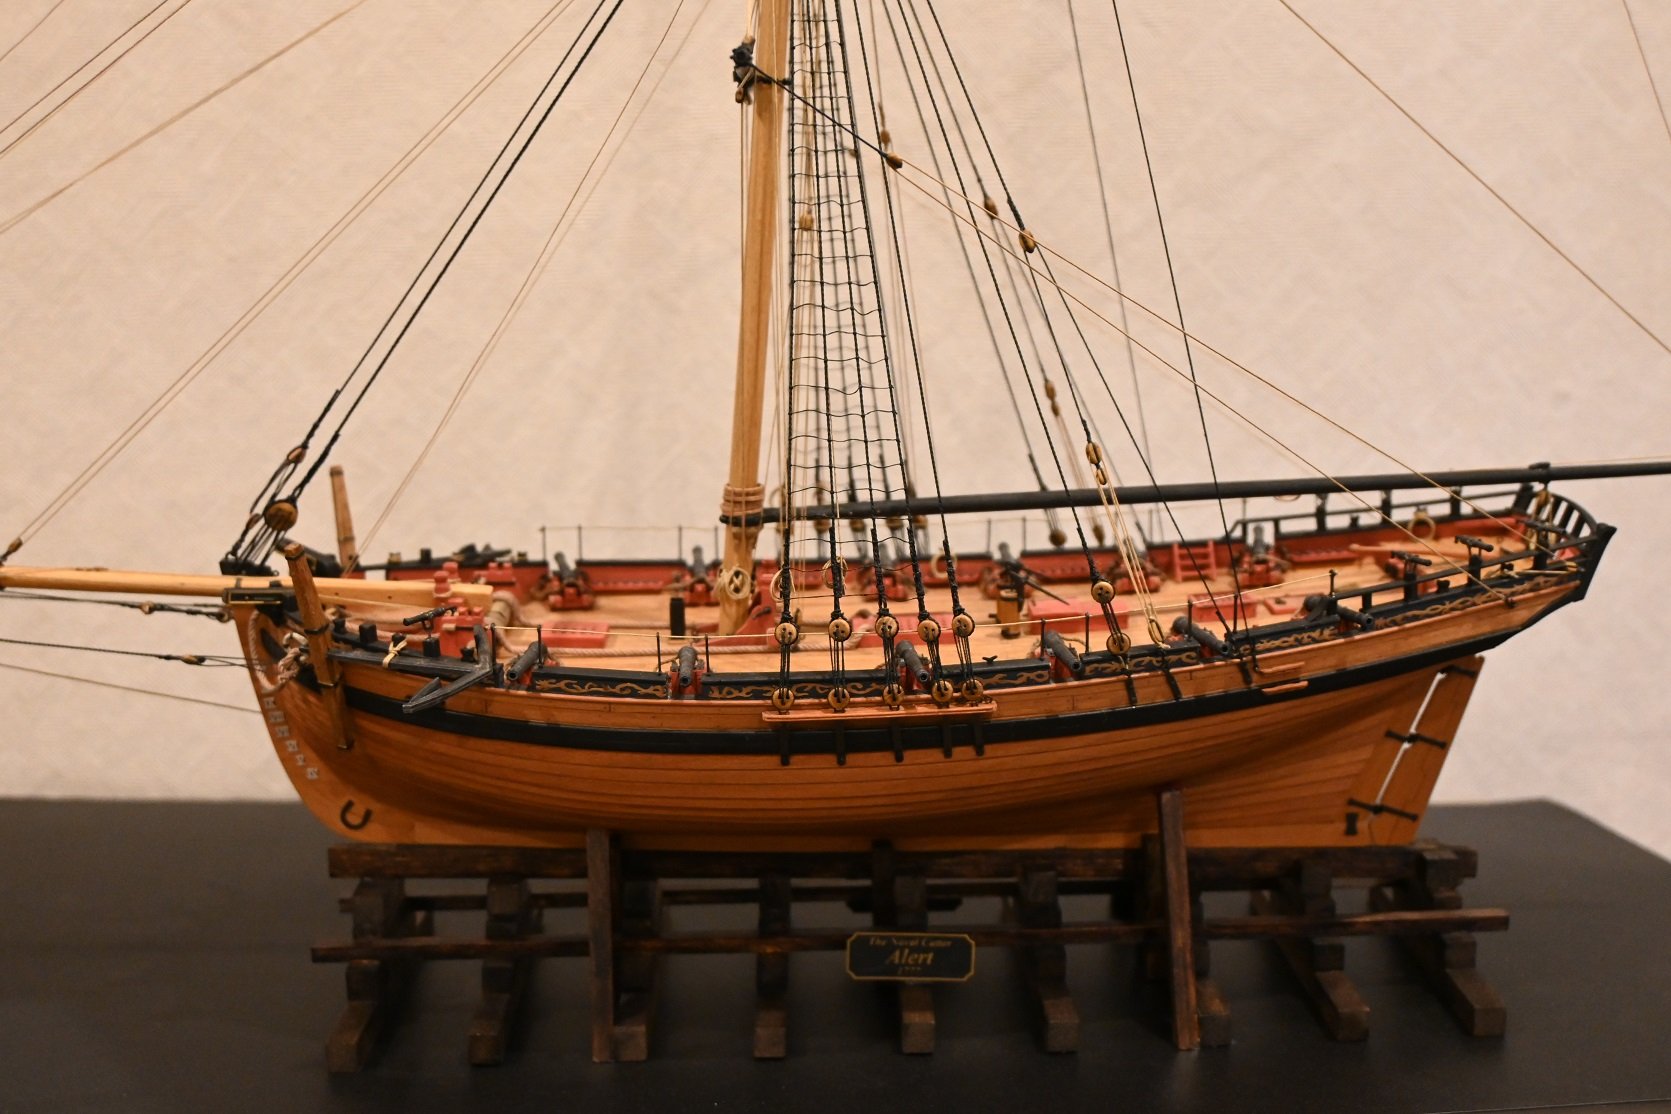
Thanks ErnieL and KingDavid and also thanks for the likes everyone. This is the first time the rigging a cutter ship. I attached it to the bottom of the mast by increasing the size of the small cleat in the kit. The cleat is an etched piece that is too thin to attach to the shroud rope. I dug and stuck a 1x1 tree into the kit's cleat to tie it securely to the rope. My rigging work is not completed one by one, but by adjusting the whole. The foot rope is not included in the drawing to prevent the sailors from falling from the yard, but I added it.😁

- 23 replies
-
- 6
-
-
- vanguard models
- alert
- (and 1 more)
-
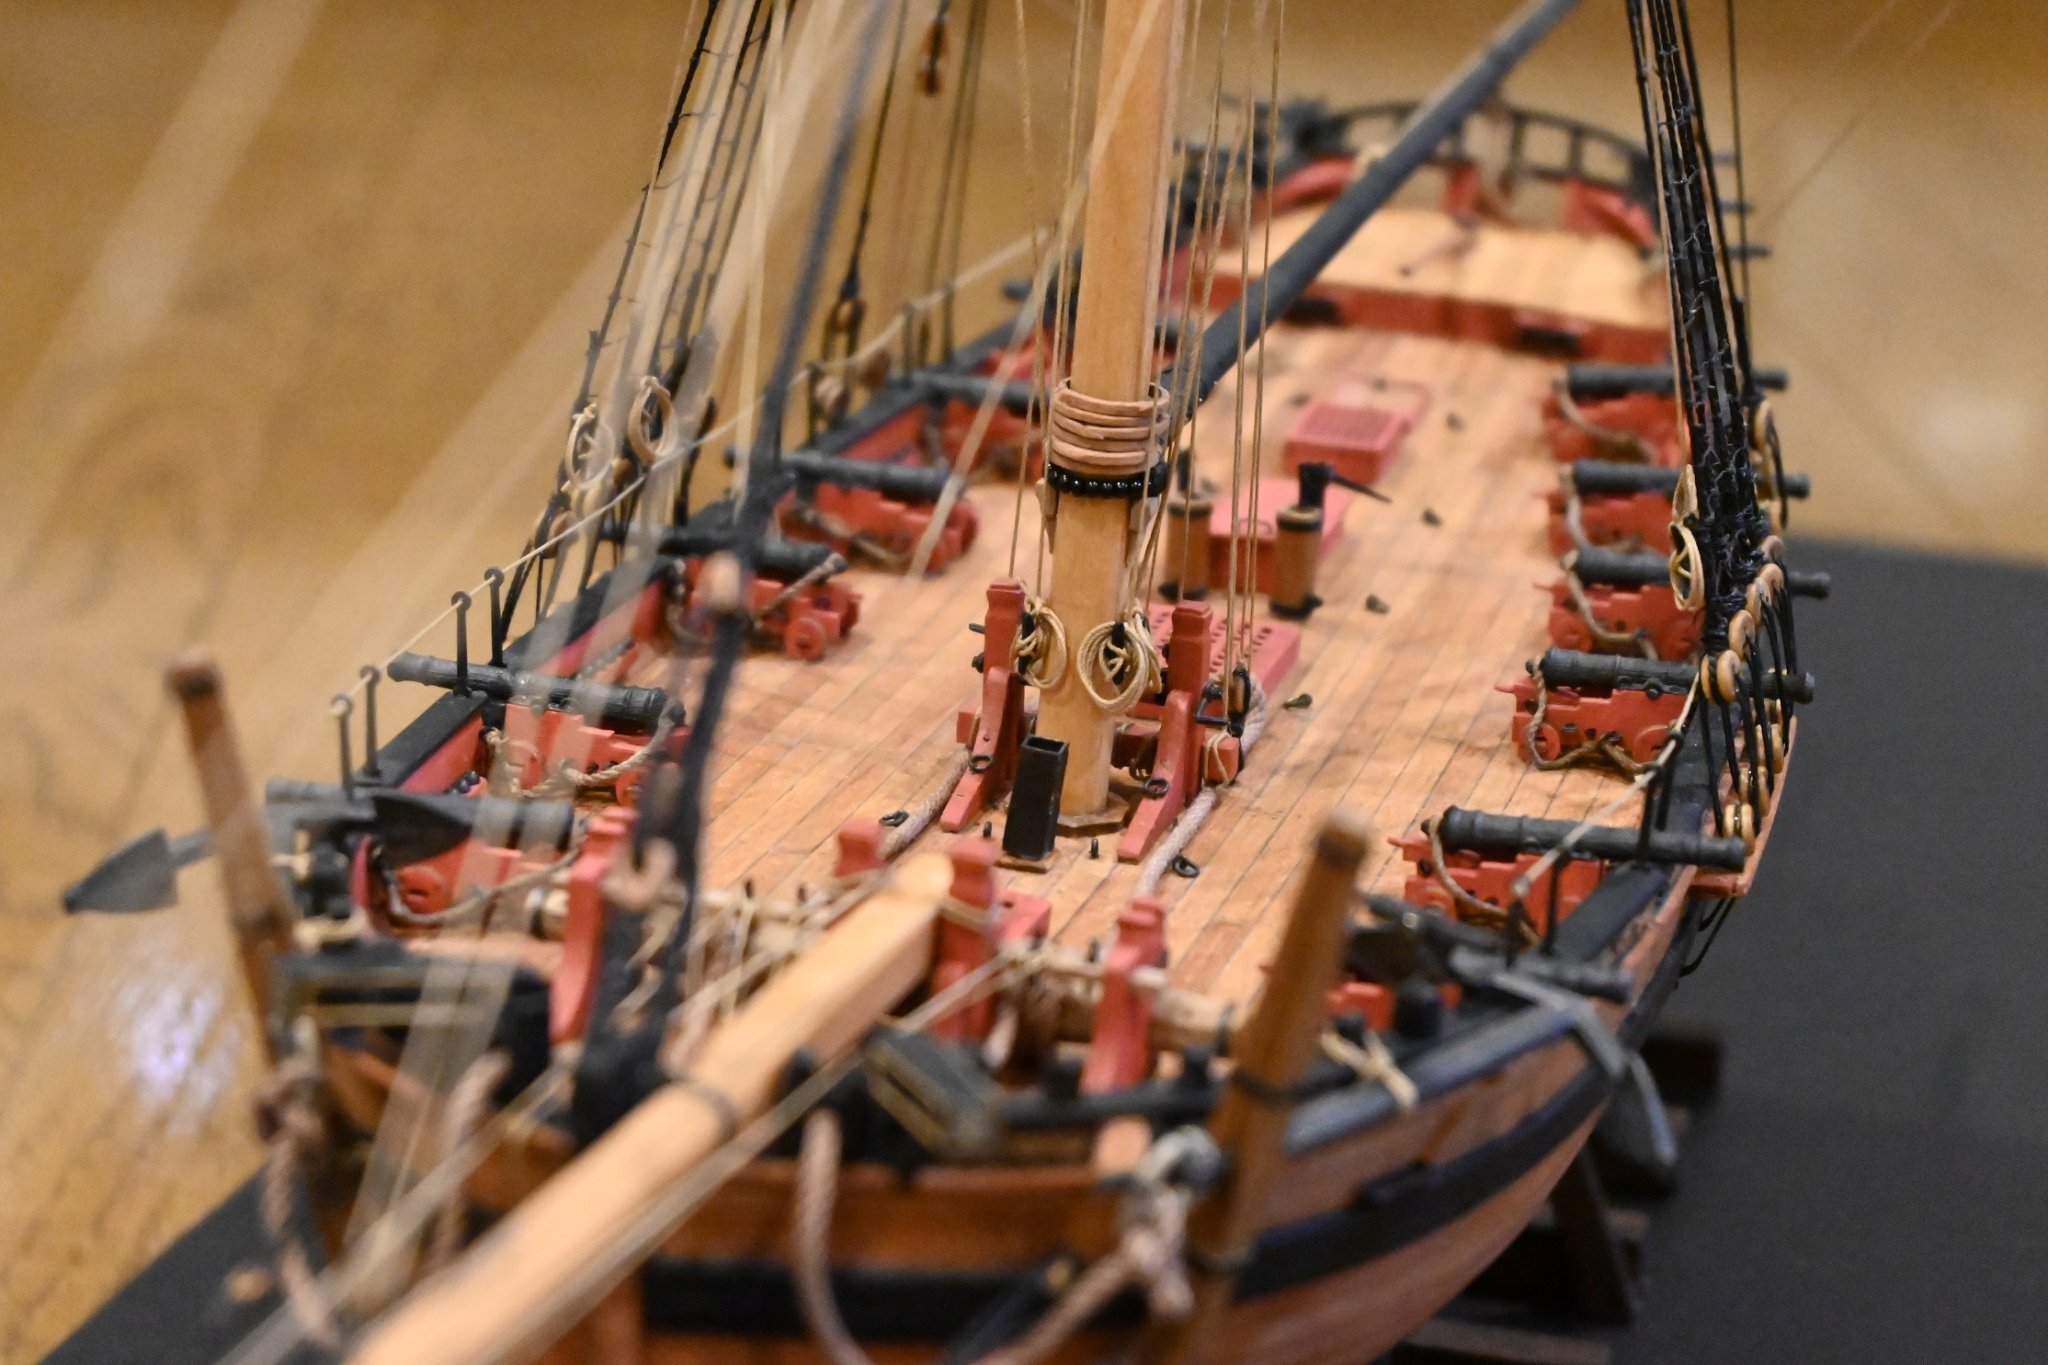
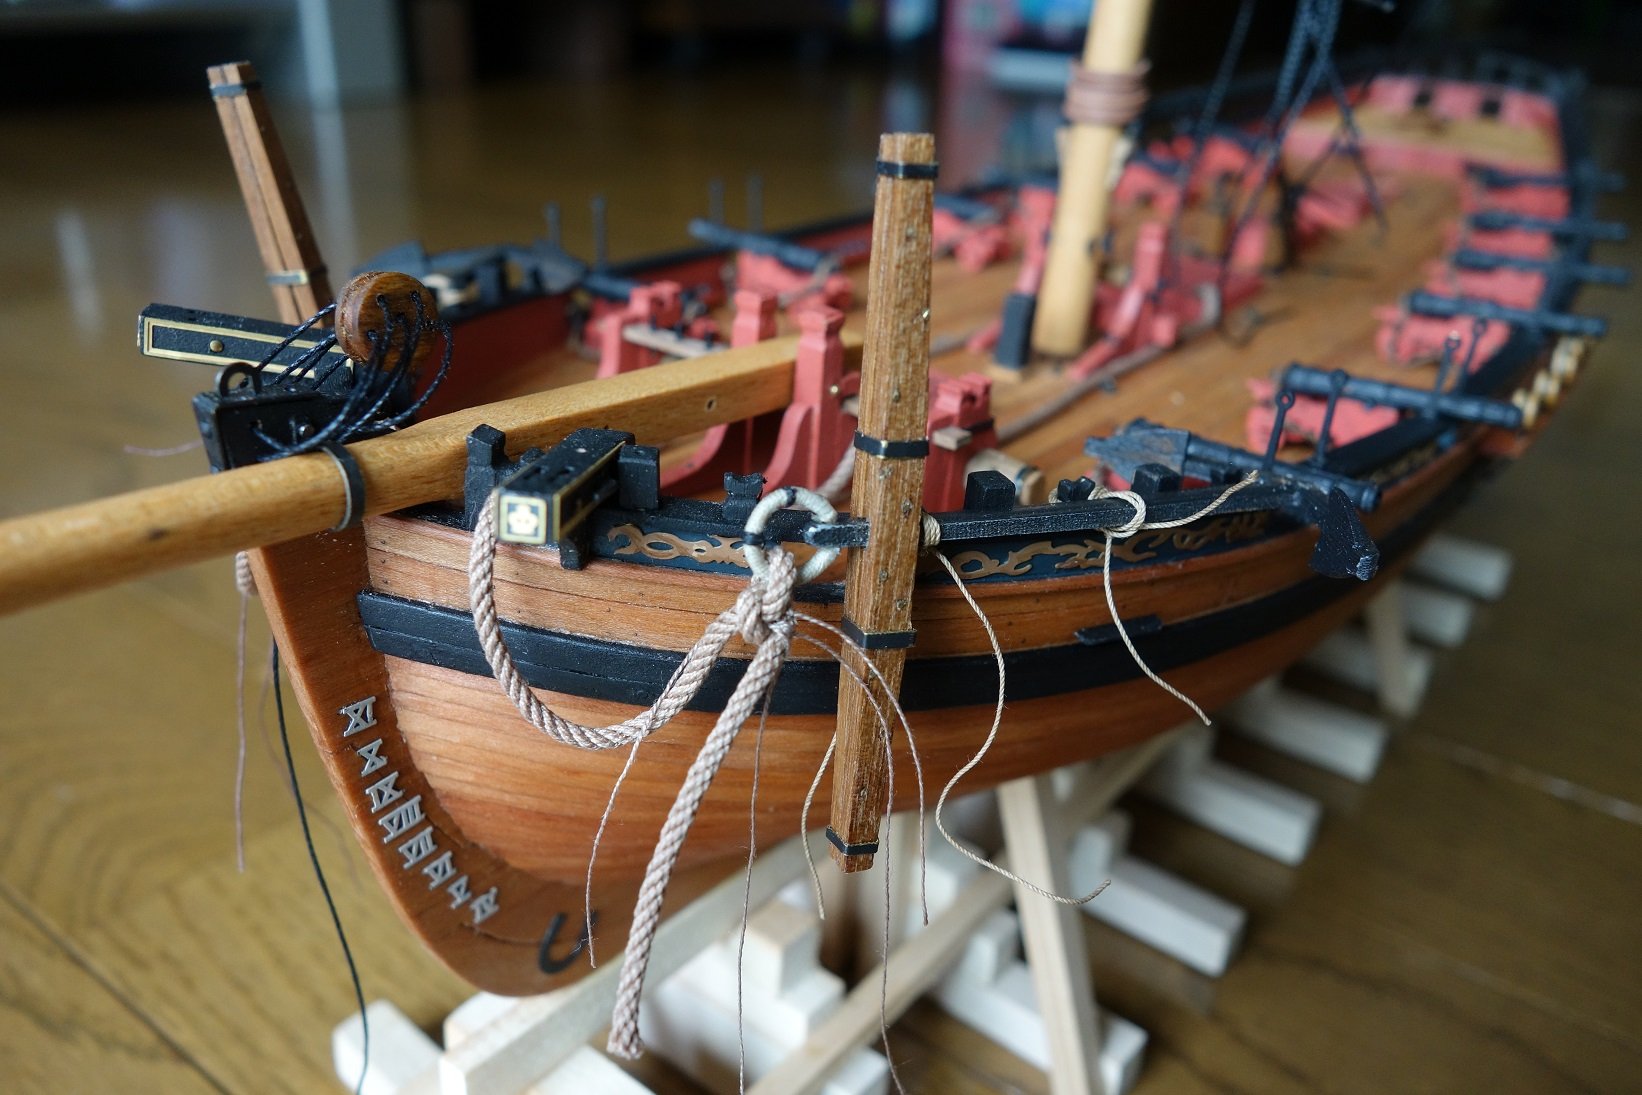
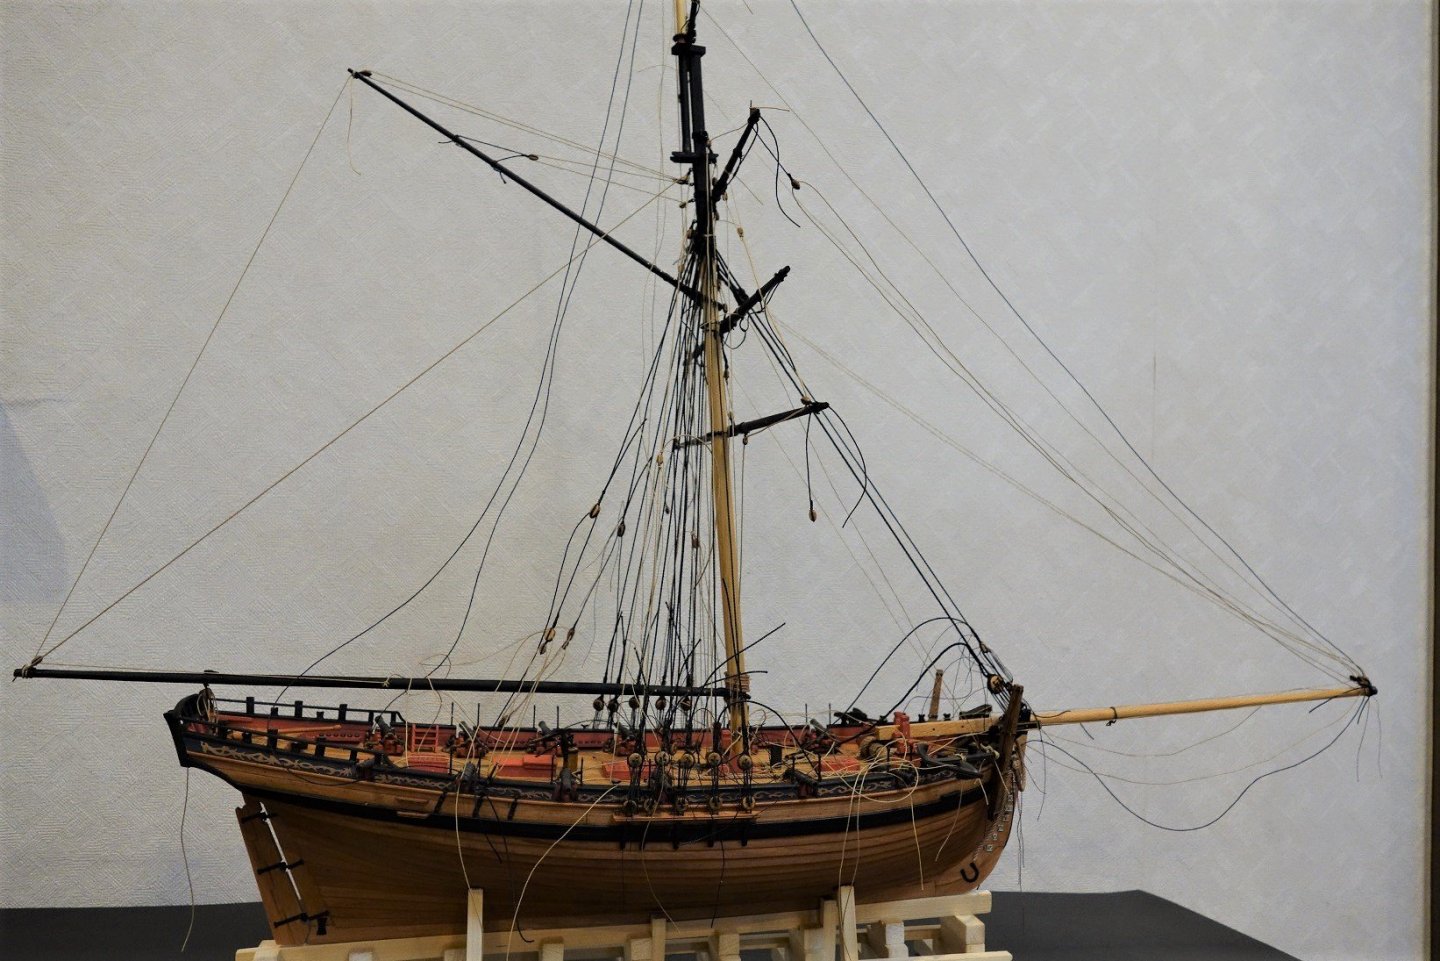
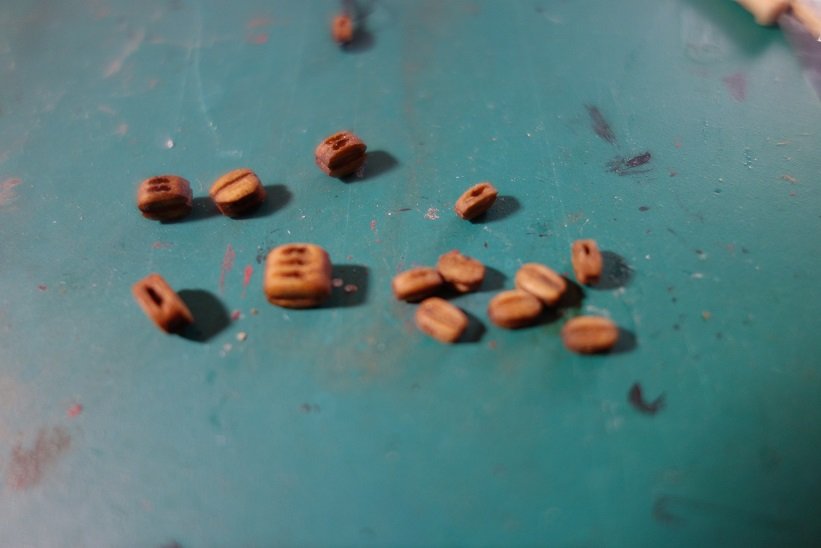
Hello to all !! Thank you all for your likes and for visiting my build log. I attached a rope to the anchor. I want to express the weight of the rope... Belaying pin is coated with a highly viscous adhesive to give it roundness. Each block was dyed with a piece of paper with its corners rounded. I was not good at rigging and the production speed decreased. The main sail ring was made by immersing 1x1mm pear wood in water and forming a ring with heat.


- 23 replies
-
- 8
-
-
- vanguard models
- alert
- (and 1 more)
-
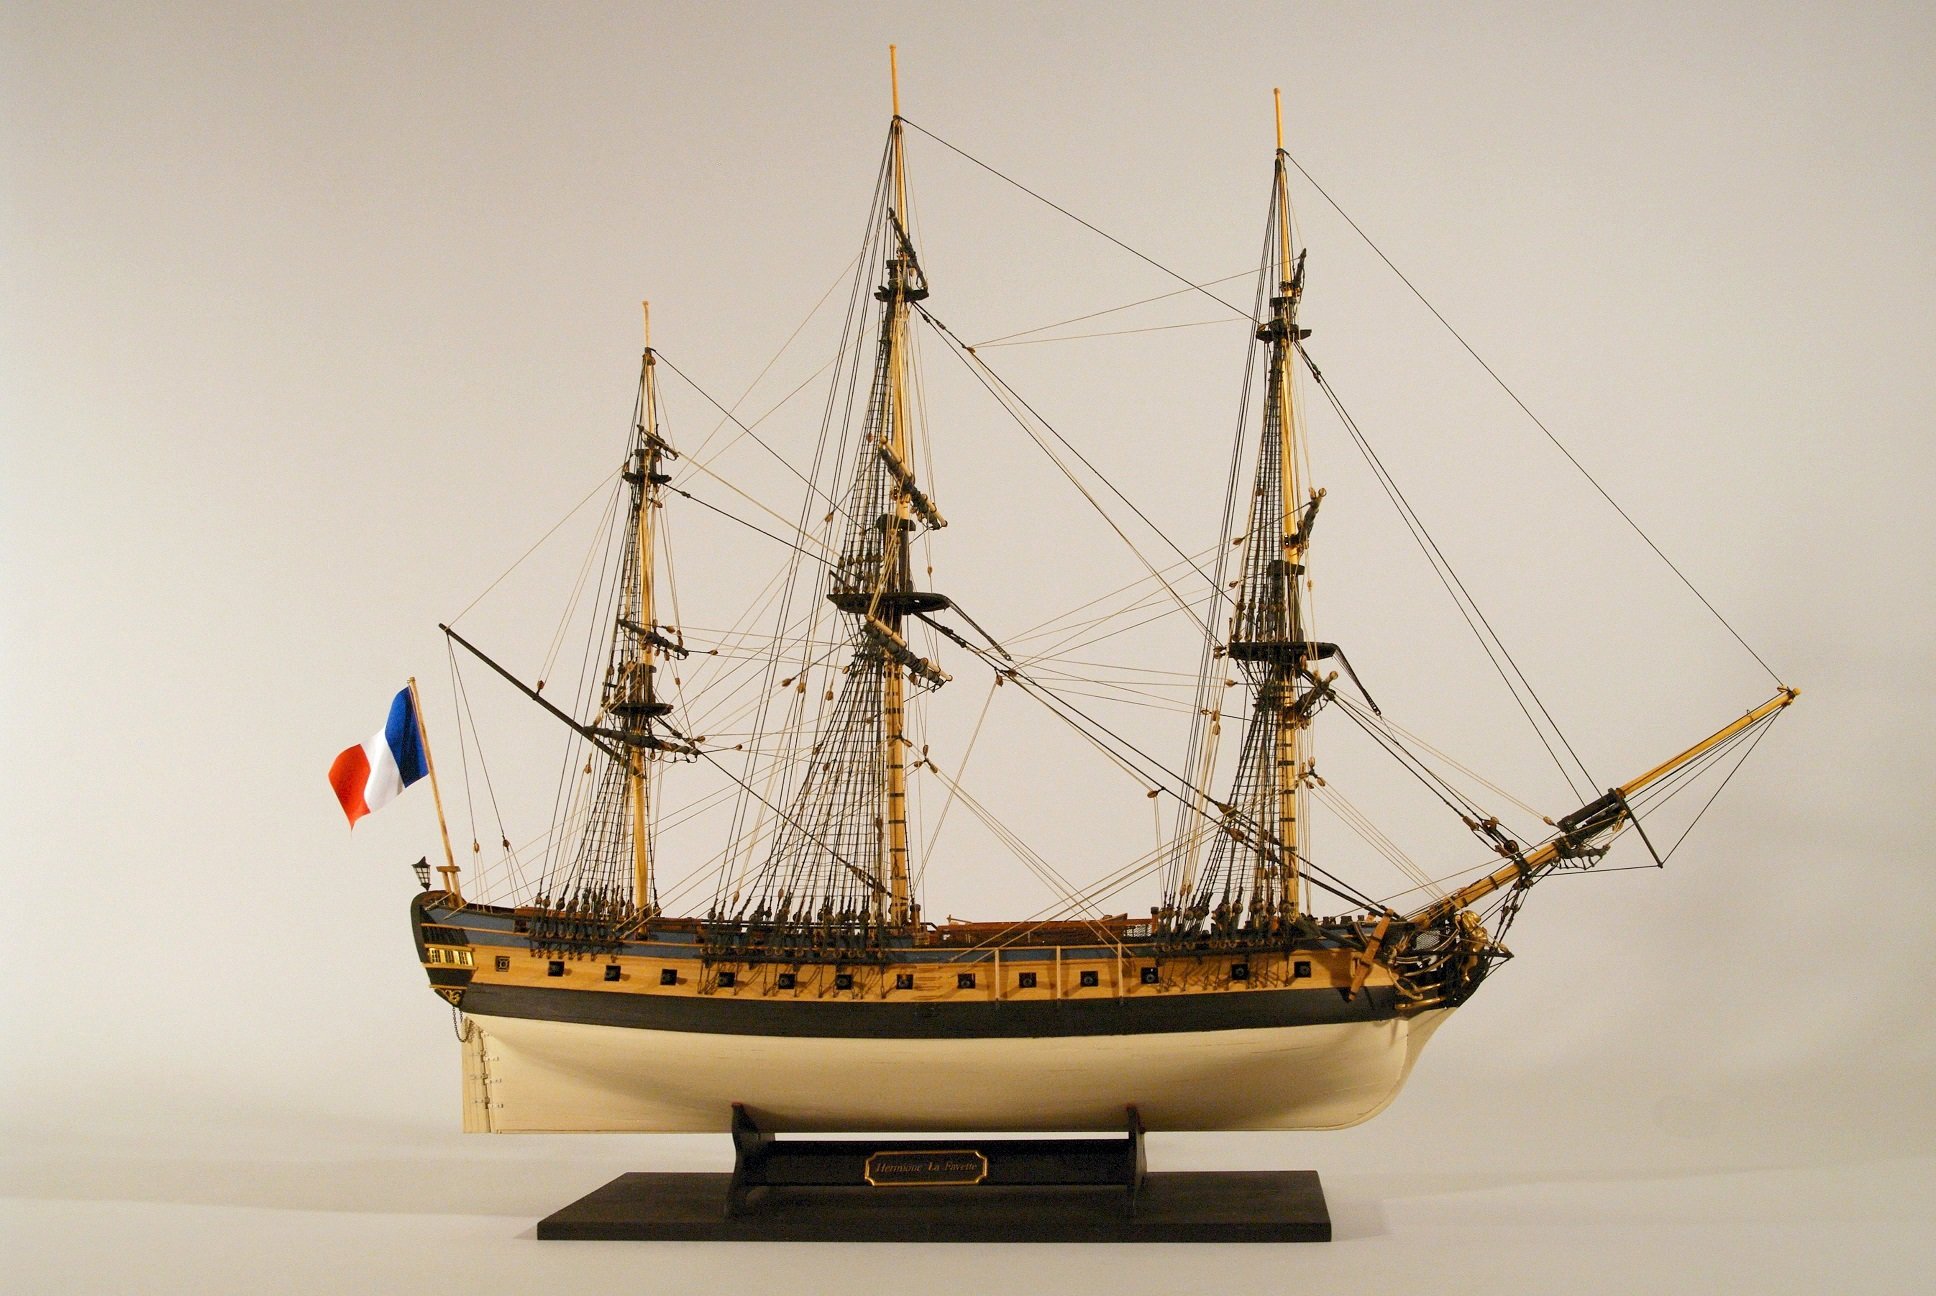
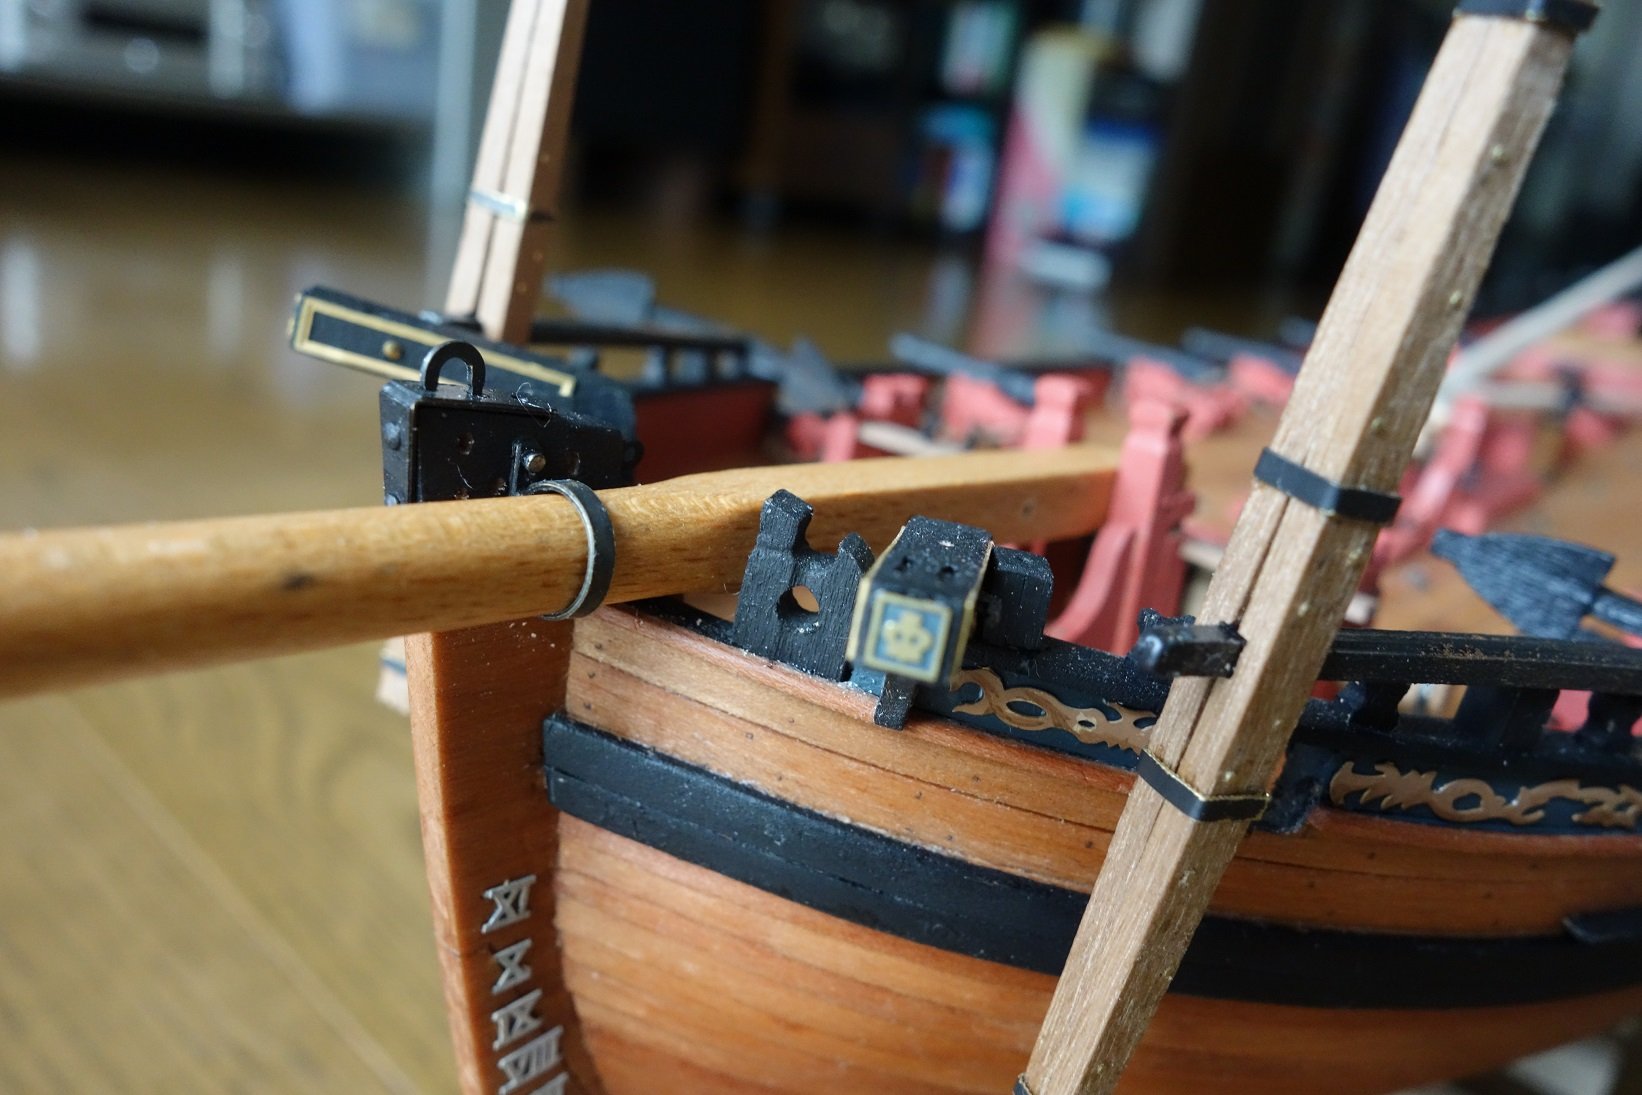
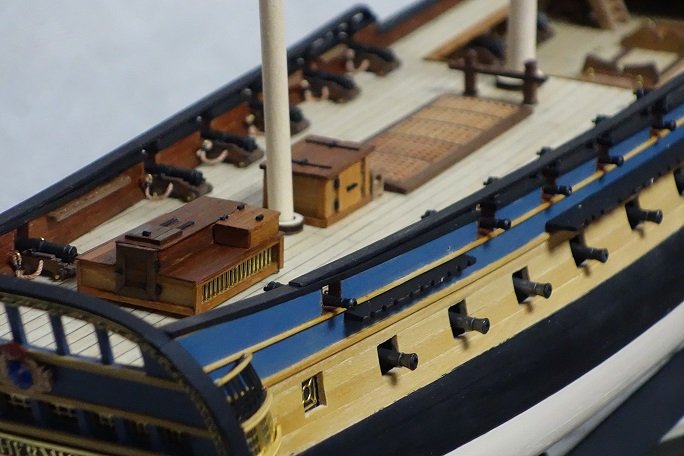
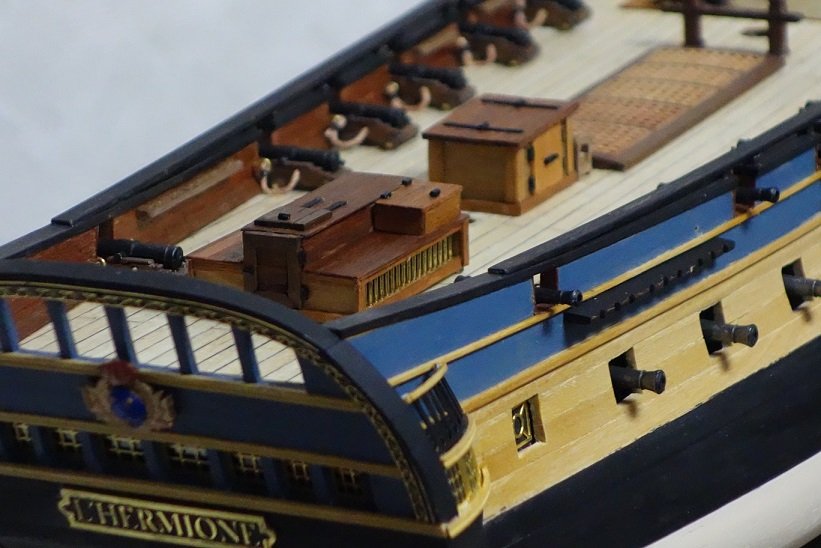
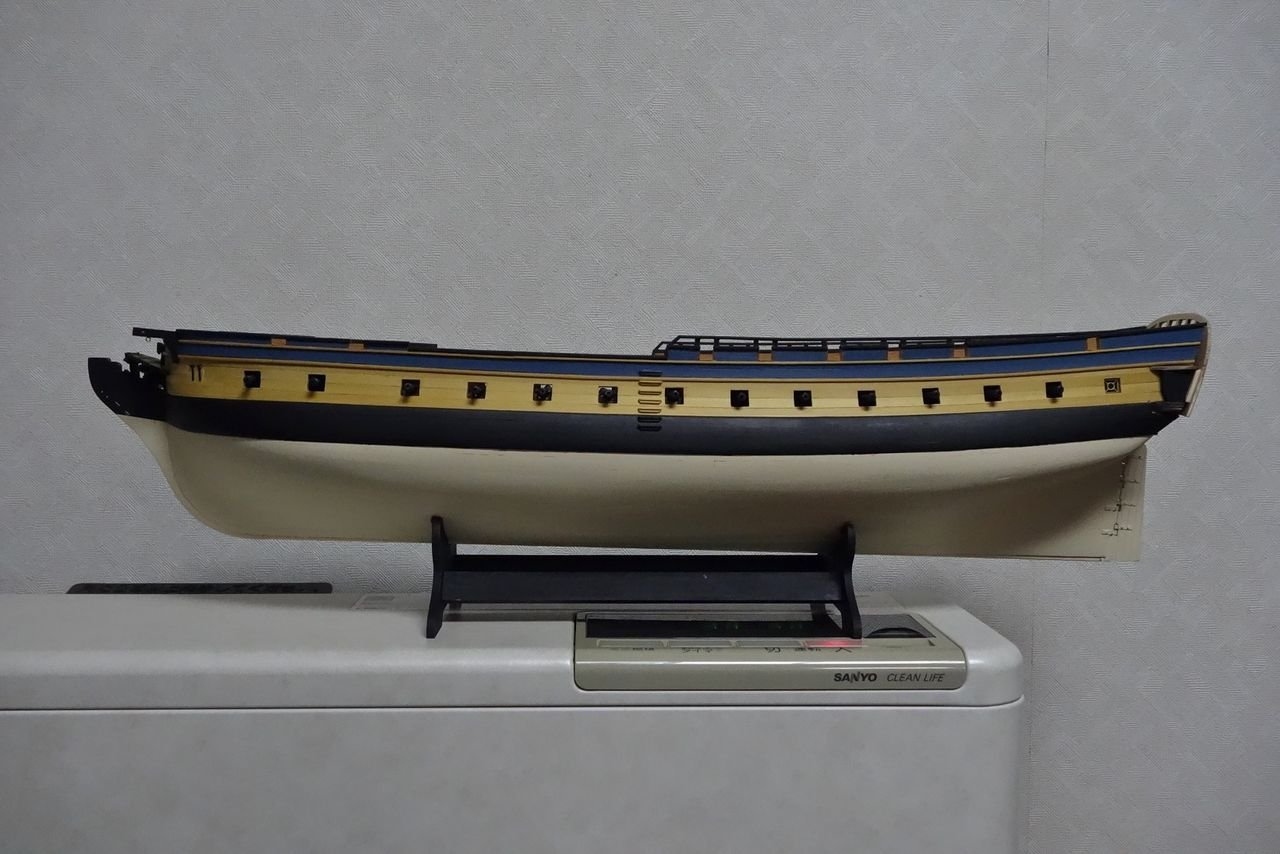
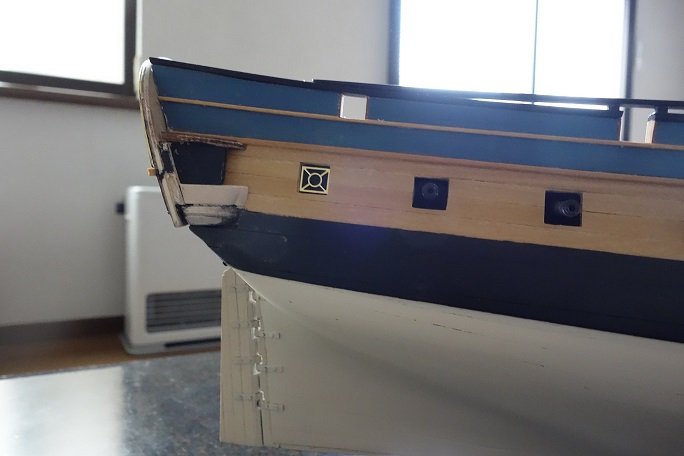
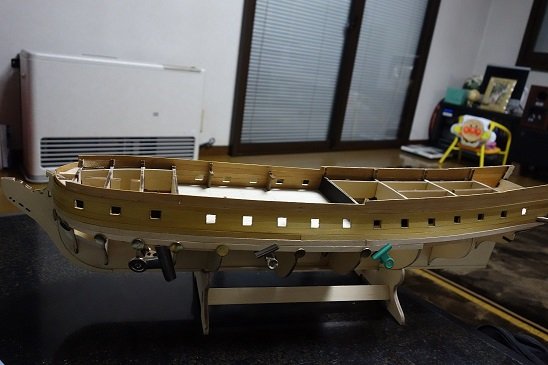
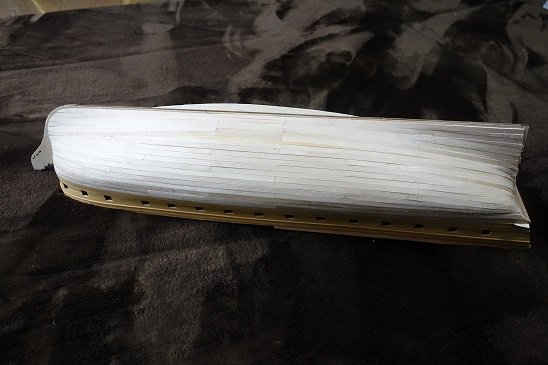
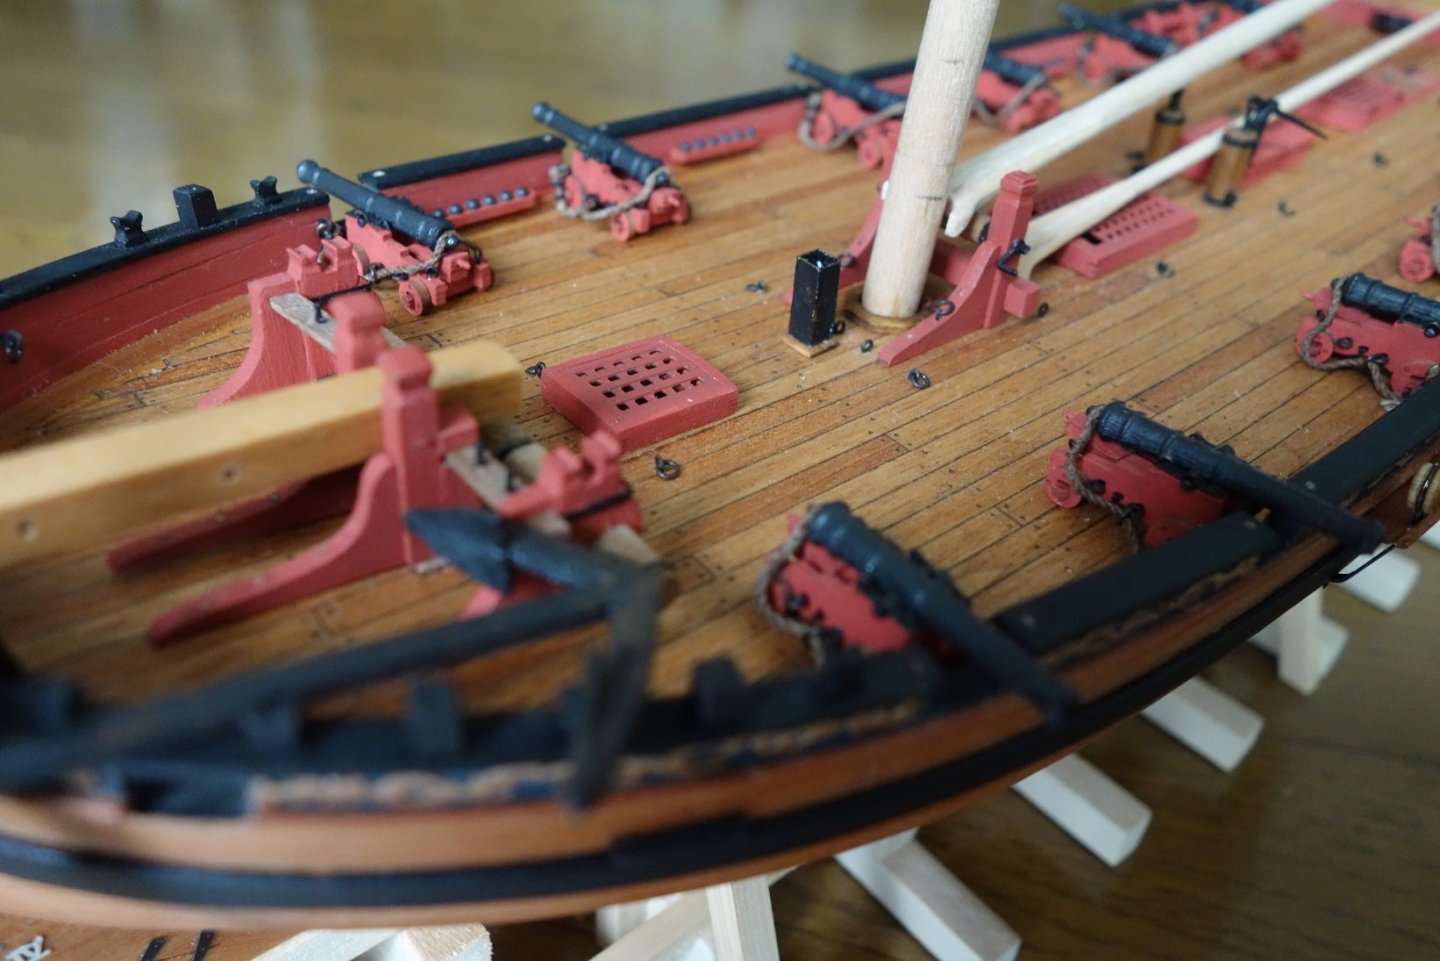
I added wale because it is flat and the tumble foam is loose. The metal parts of Lower Teakney and Lower Gallery no longer fit. In the assembly manual, the upper hull will be added after trimming. It is easier to make it all at once. The bottom of the ship was painted by mixing white and sail color at a ratio of 50%. Since attaching the upper deck makes it difficult to manufacture, complete all outfitting before attaching. The French ship noticed that the deck was curved according to the hull, but the plate attached to the kit could not reproduce the curve.
- 7 replies
-
- 5
-
-
- hermione
- artesania latina
- (and 1 more)
-
goemon changed their profile photo
-
Golden Hind 1577 by goemon - 1:150
goemon replied to goemon's topic in - Build logs for subjects built 1501 - 1750
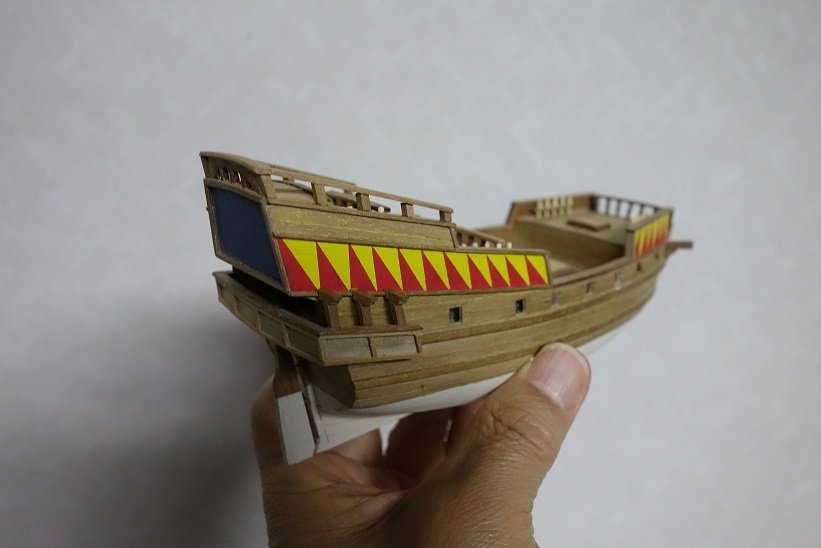
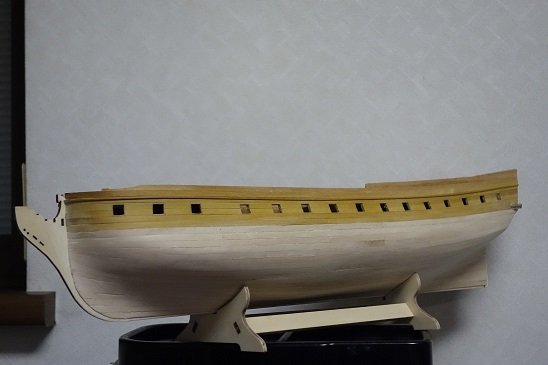
I painted it with a brush. In my case, paints with low hiding power, such as white and yellow, are painted with an airbrush, but since the range of painting is small, it is best to paint with a brush.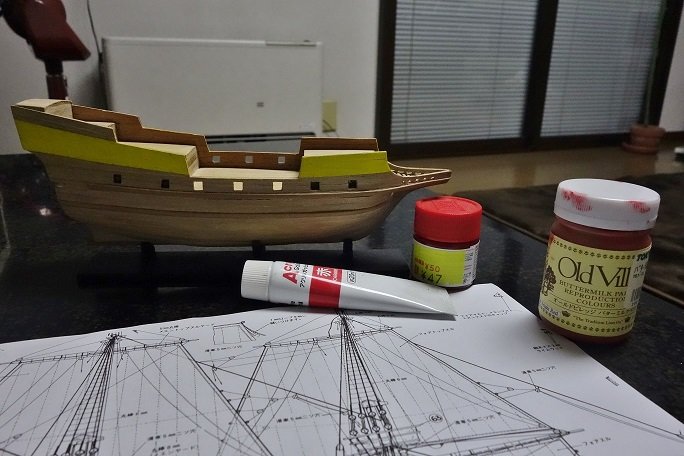
-
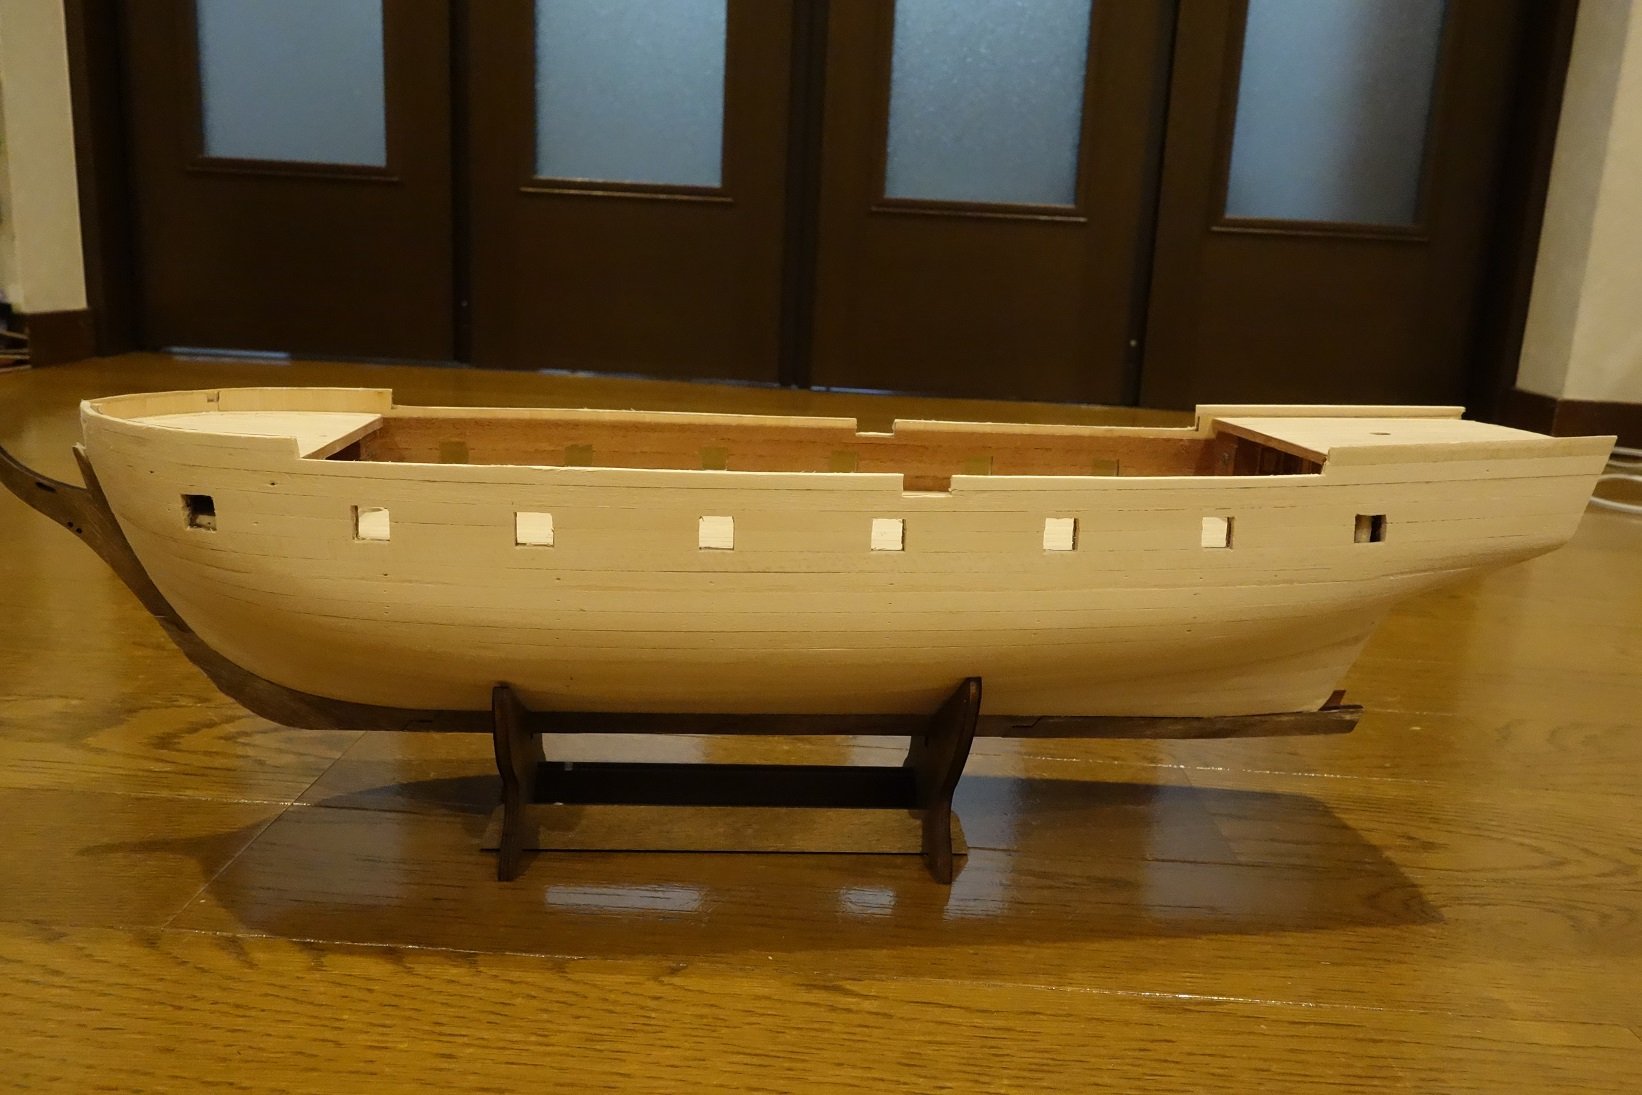
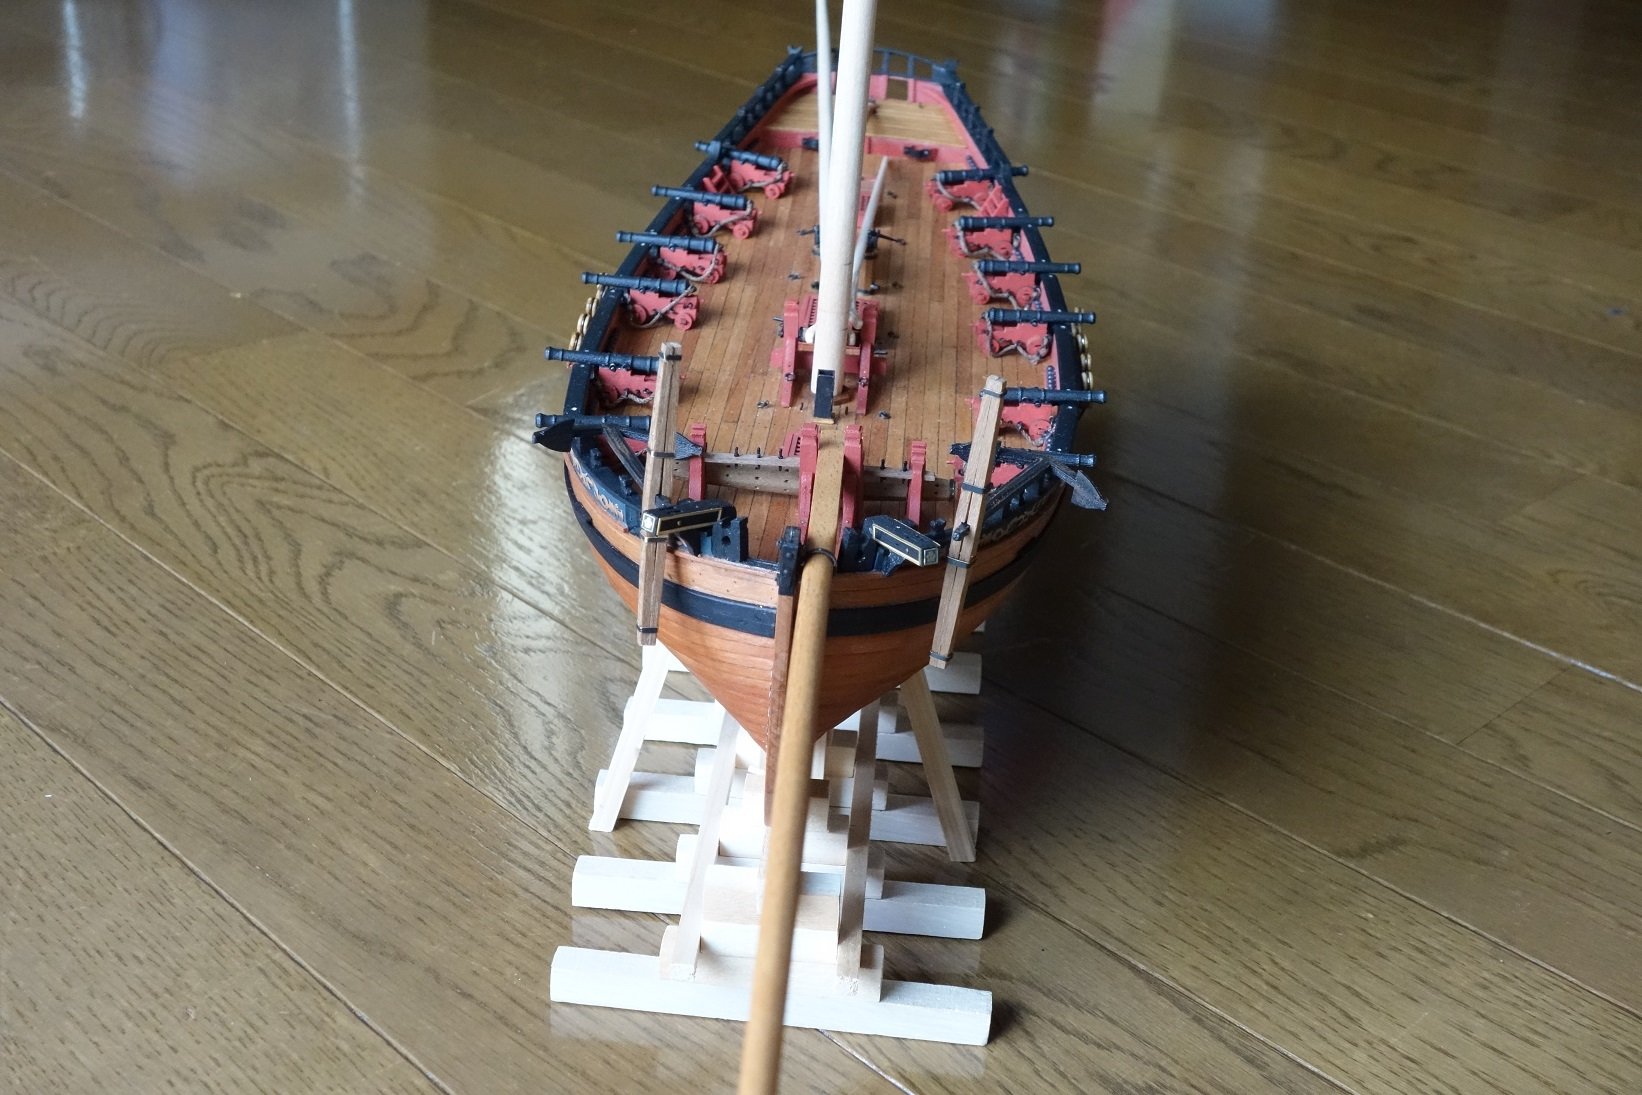
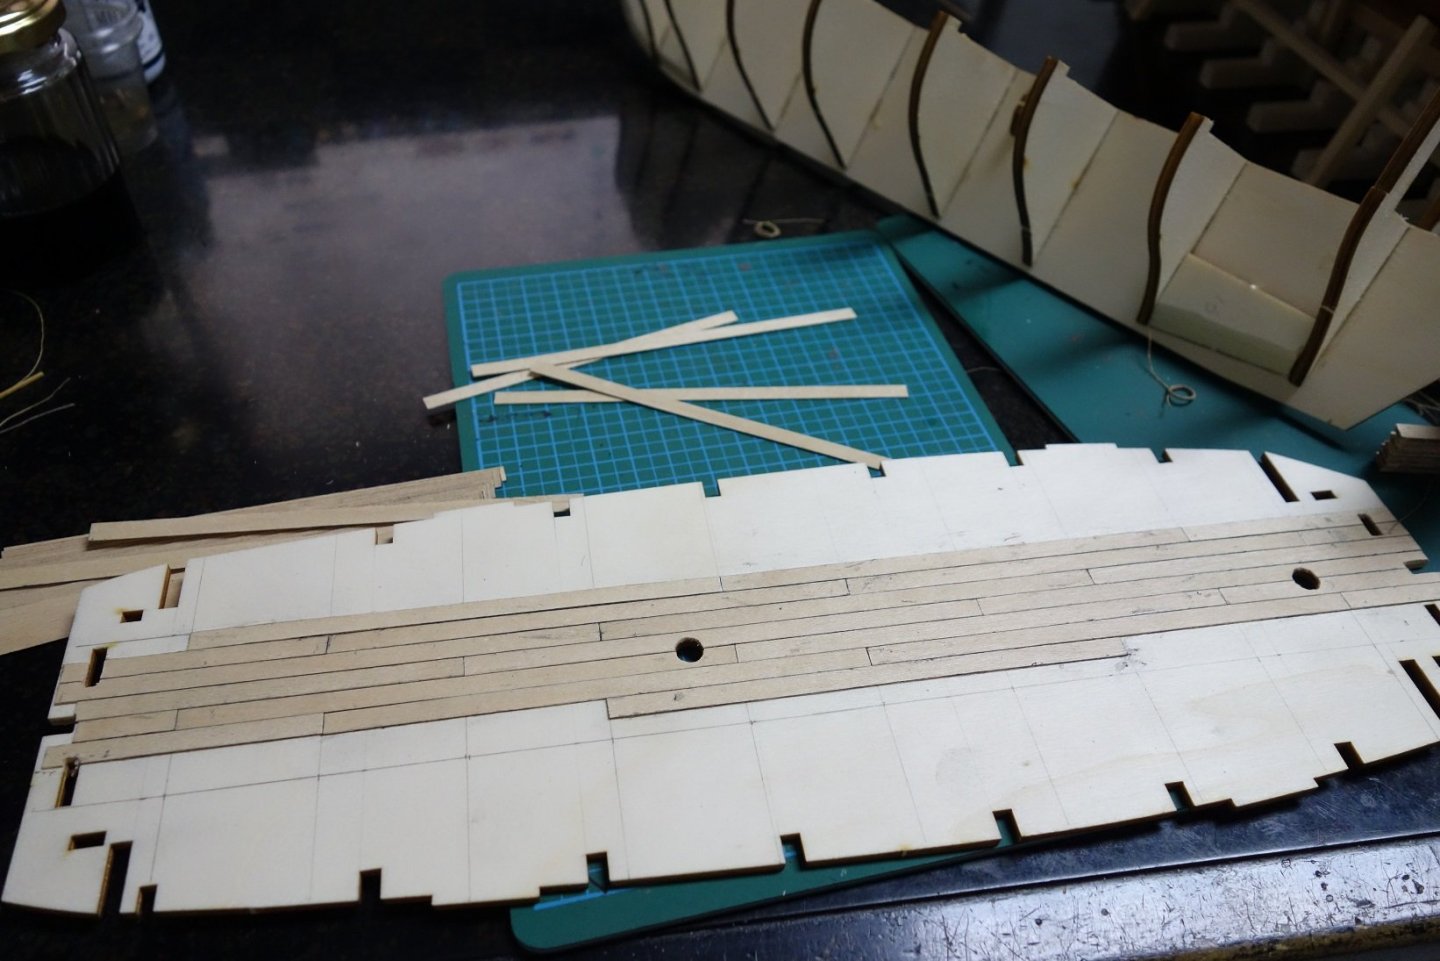
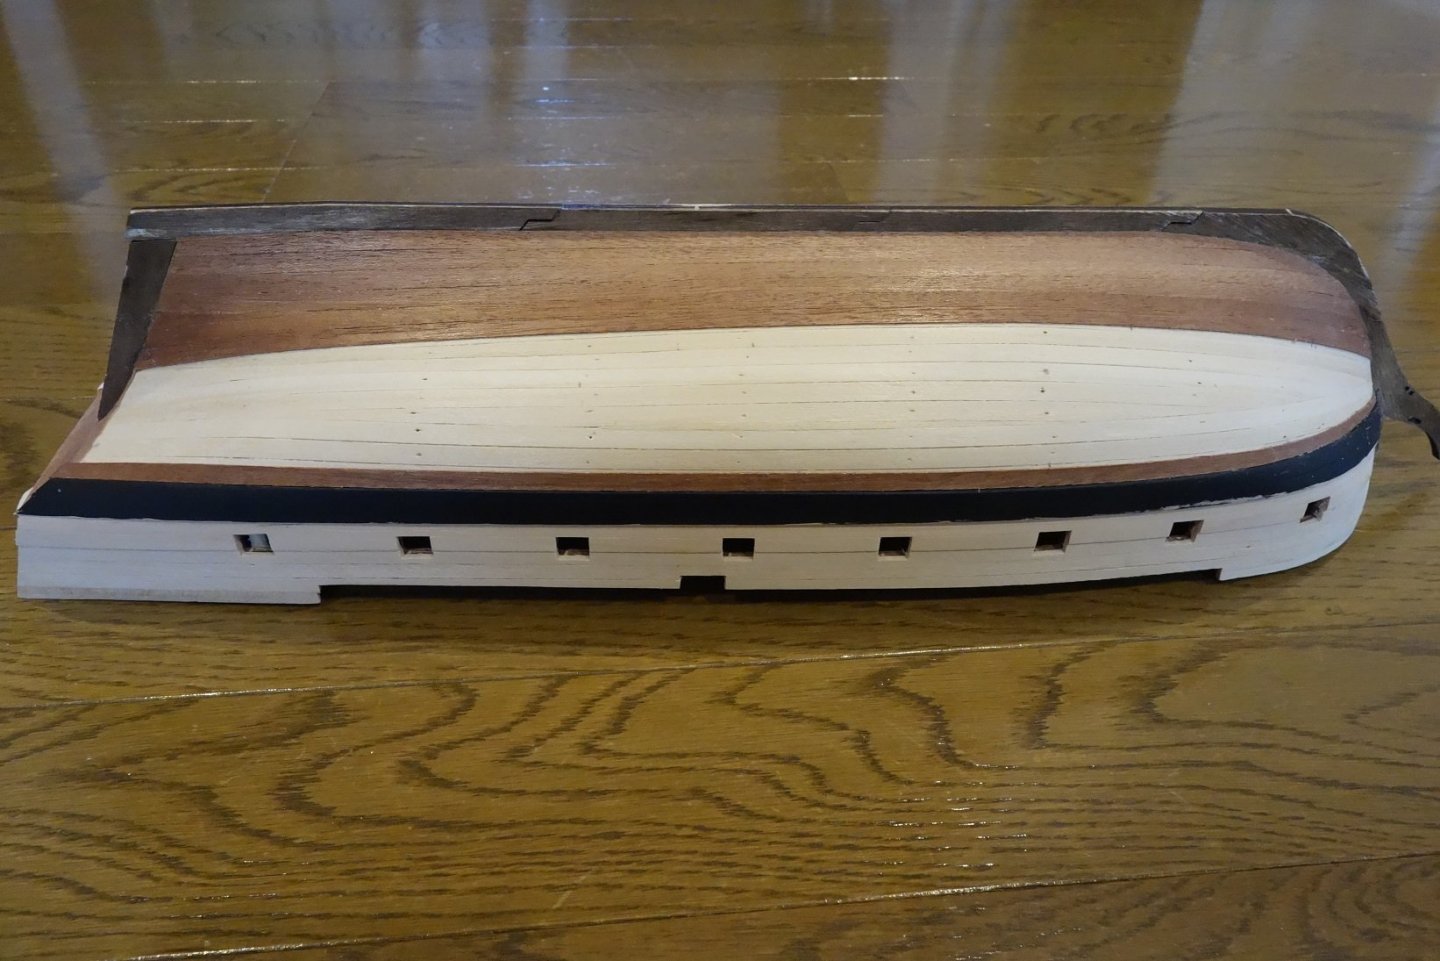
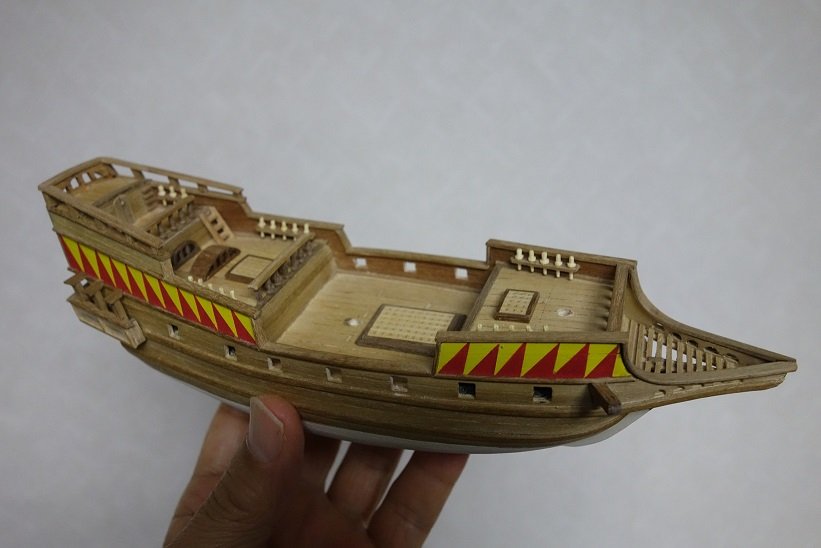
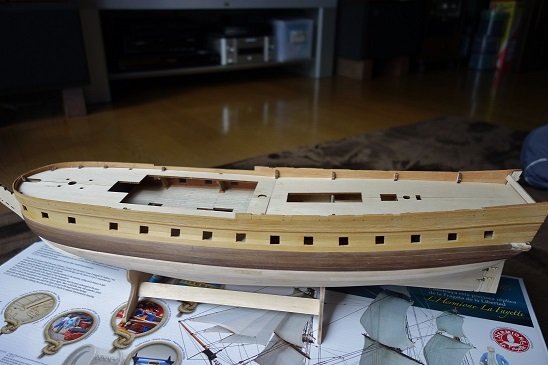
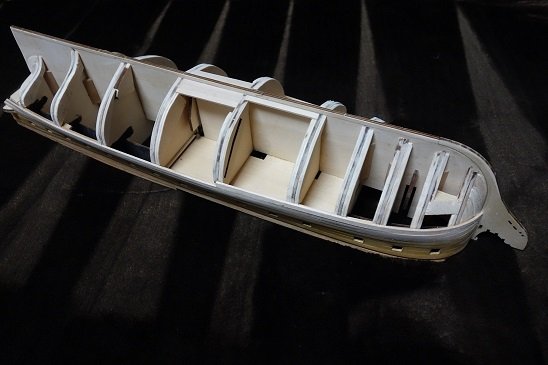
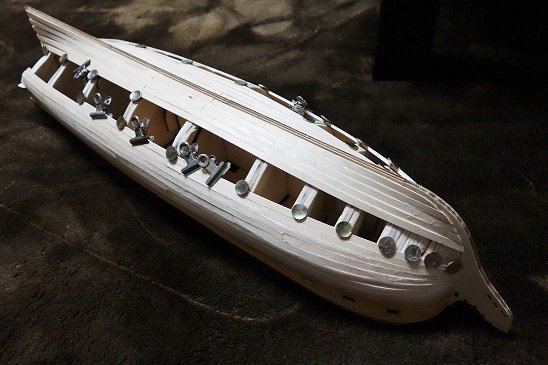
This kit took 9 months to complete. I think the production time for one day was 3-4 hours. The hull was built in 3 months, and the mast and rigging took 9 months. Box wood is used for the upper part of the hull. The lower part of the hull uses wood from the kit. The thickness of the bulkhead was as thin as 3mm, so I couldn't continue to make the bottom from here. I cut and glued the remaining veneer board of the kit to the bulkhead . At this time, I knew only balsa wood as the filler. I didn't like balsa because the thumbtack doesn't work to planking. Currently I use Absolute Falcata for the filler.
- 7 replies
-
- 4
-
-
- hermione
- artesania latina
- (and 1 more)
-
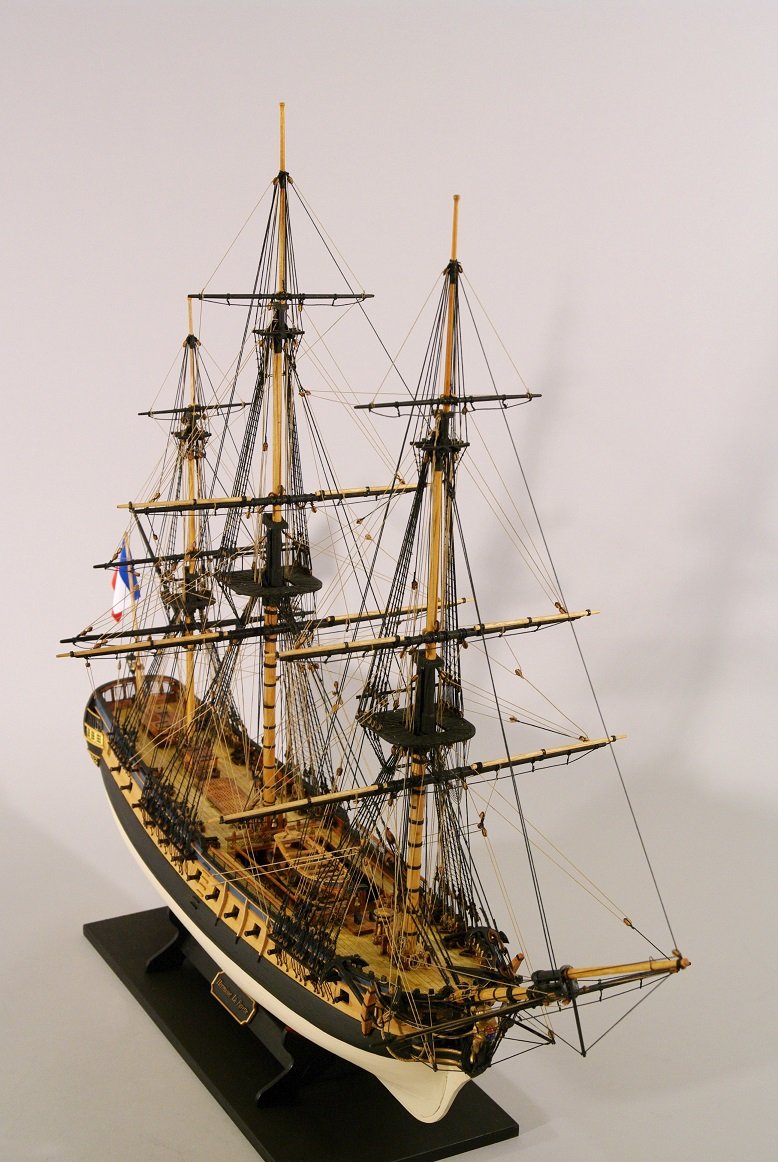
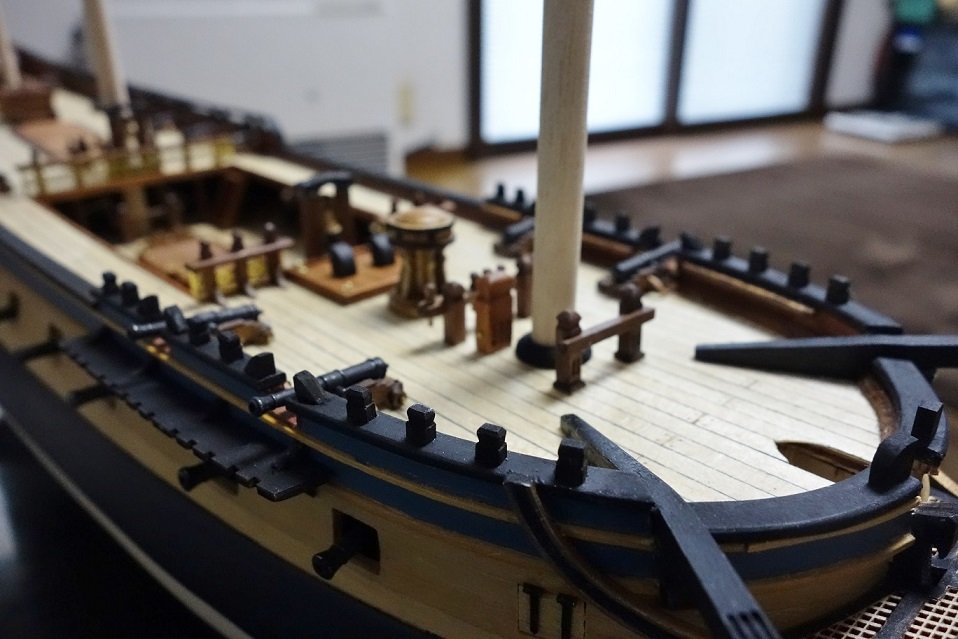
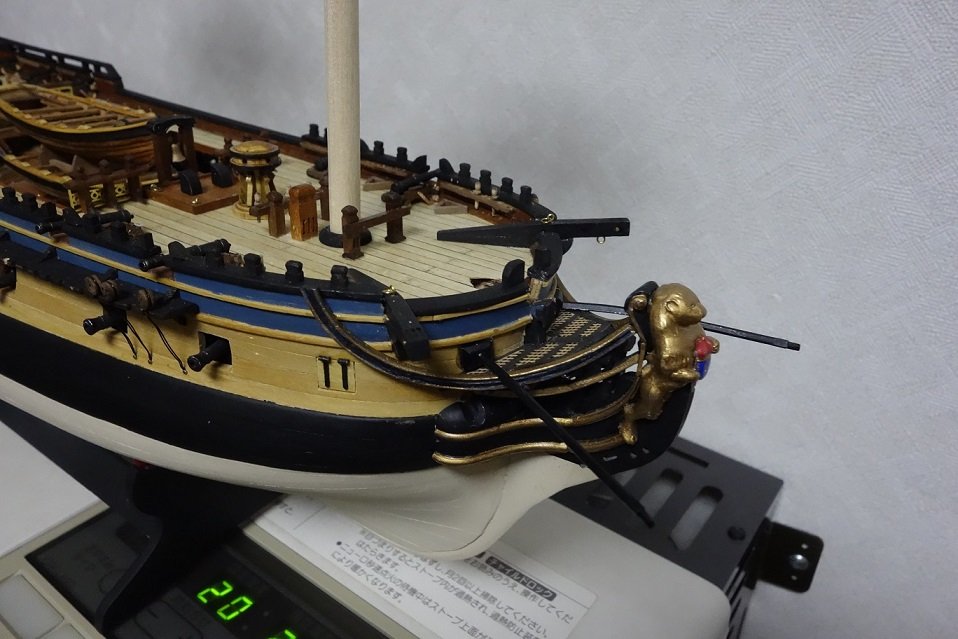
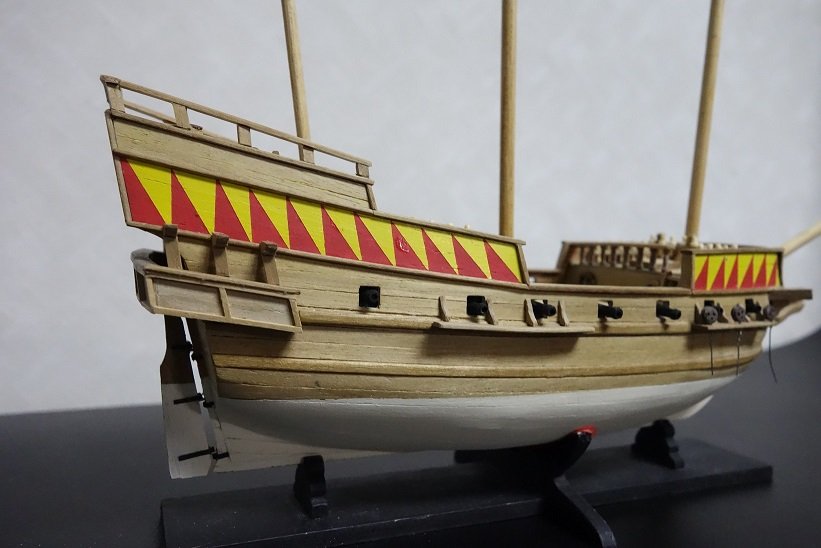
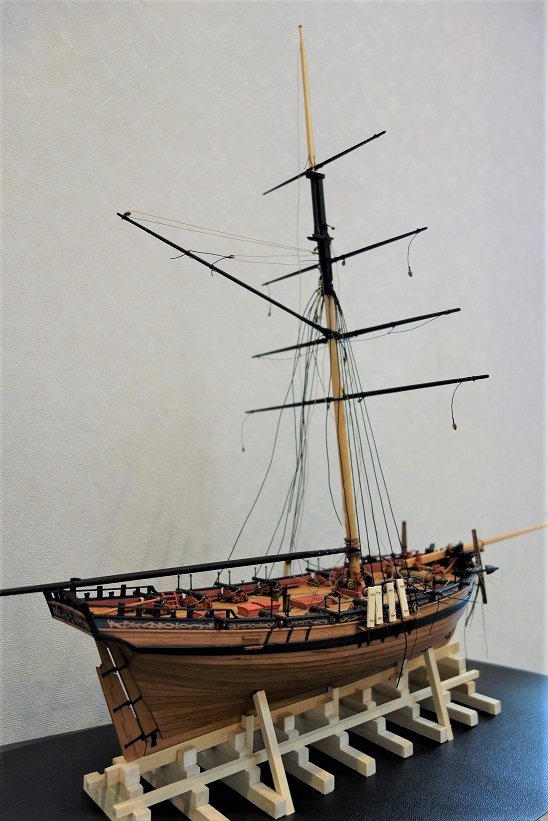
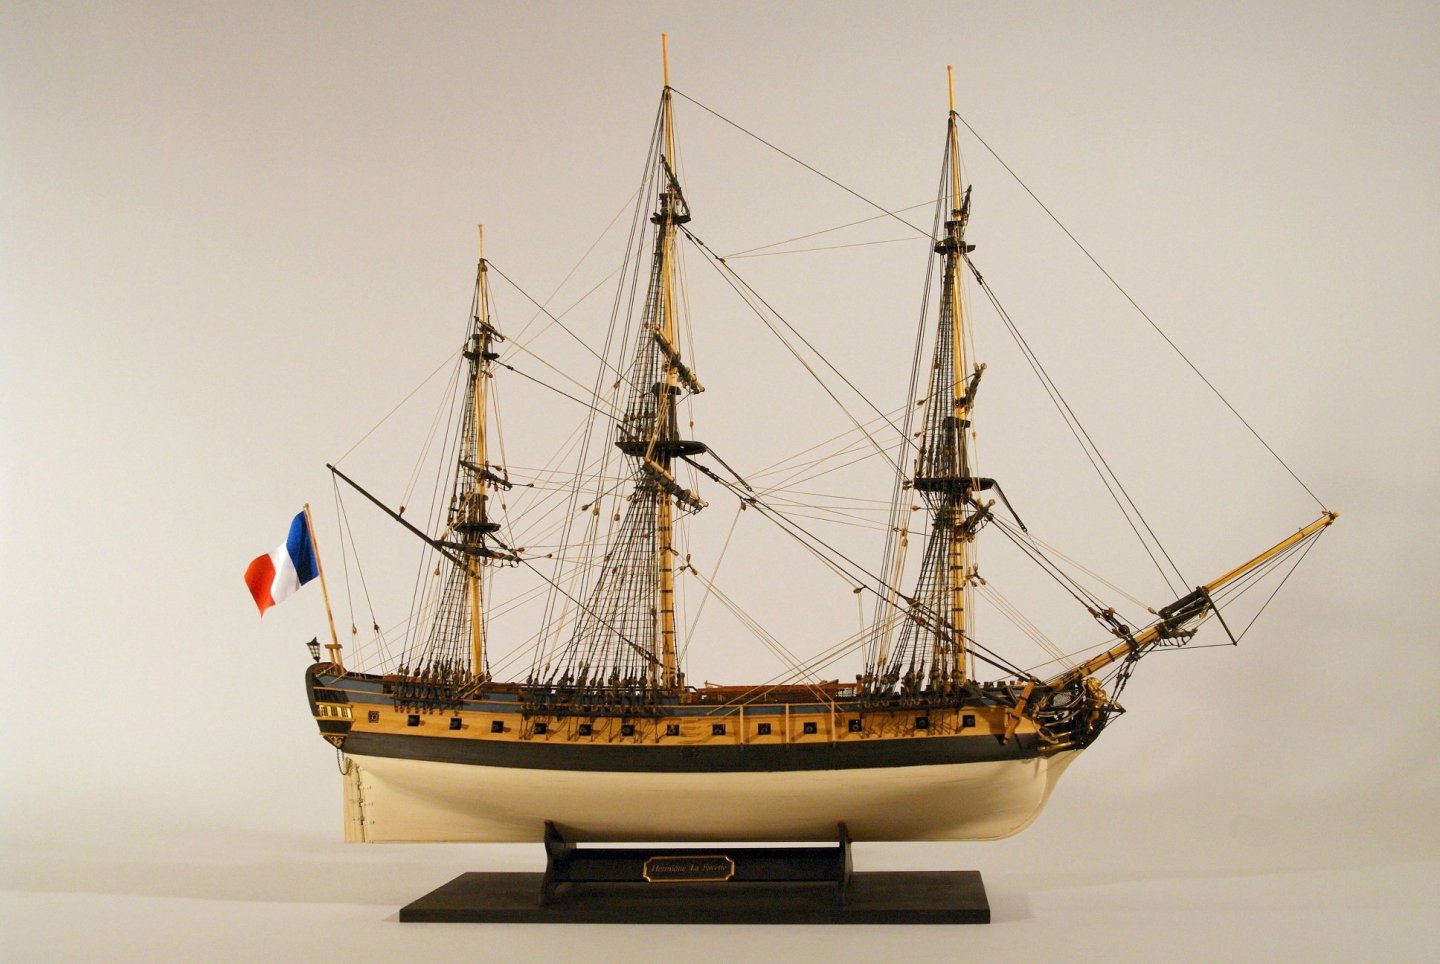
Hello all, This kit was made two years ago. First, the image I love French freegate ships such as La Flore and La Renome beautifully. This kit is modified according to my taste. I think there are some mistakes. I will also write a record of the production.
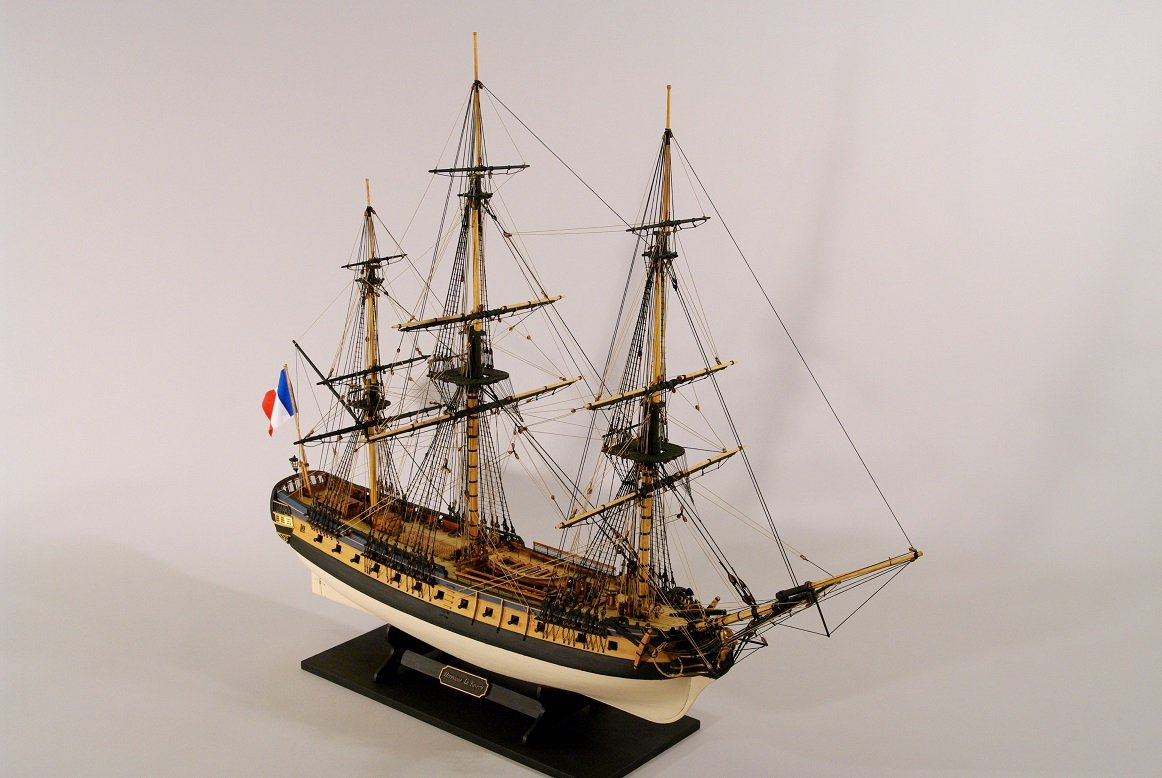

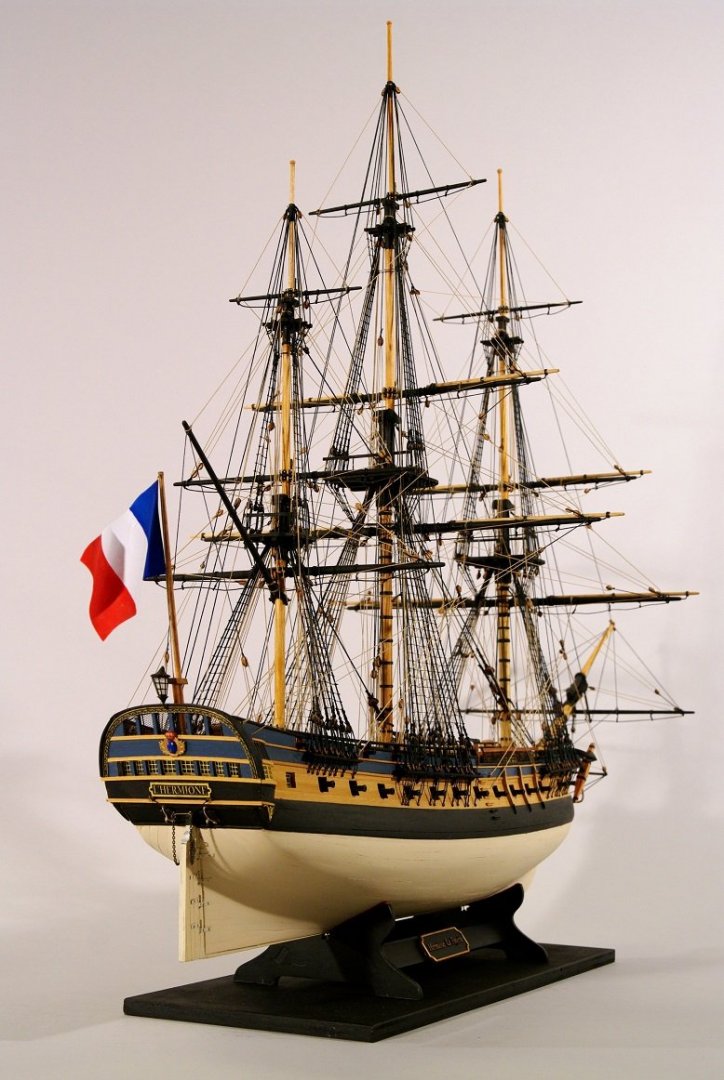
- 7 replies
-
- 9
-
-
-
- hermione
- artesania latina
- (and 1 more)
-
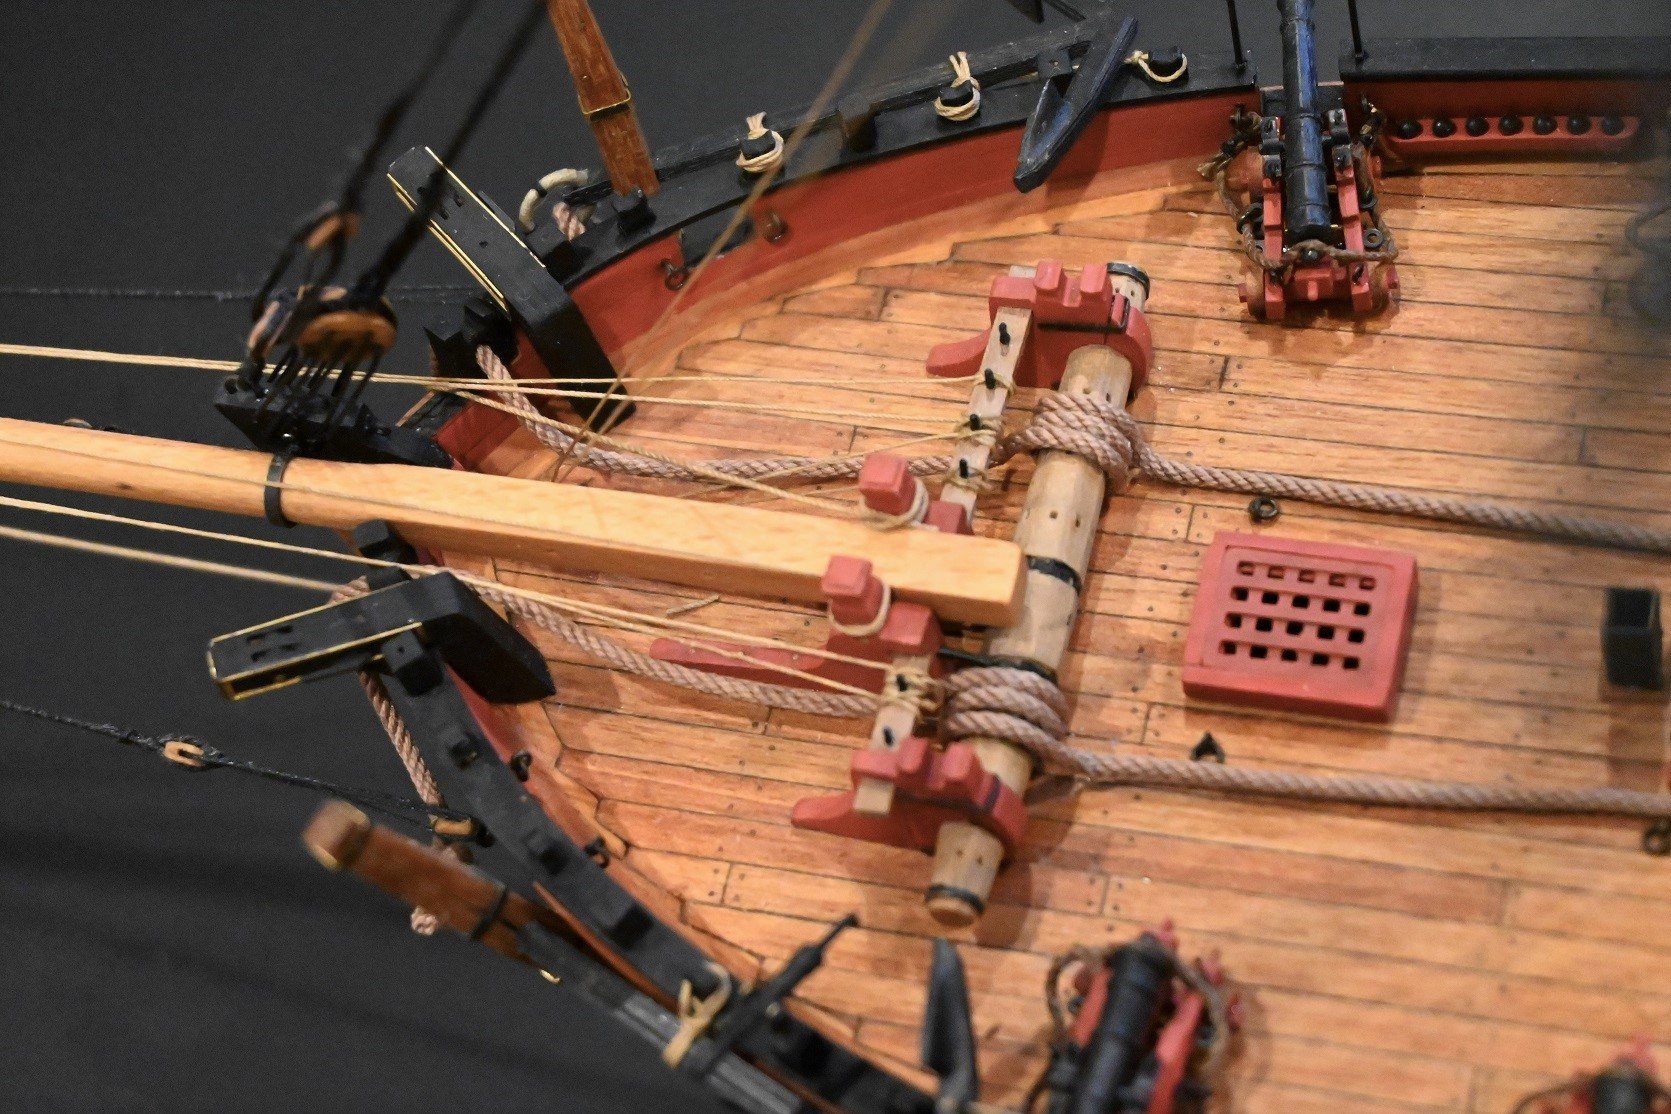
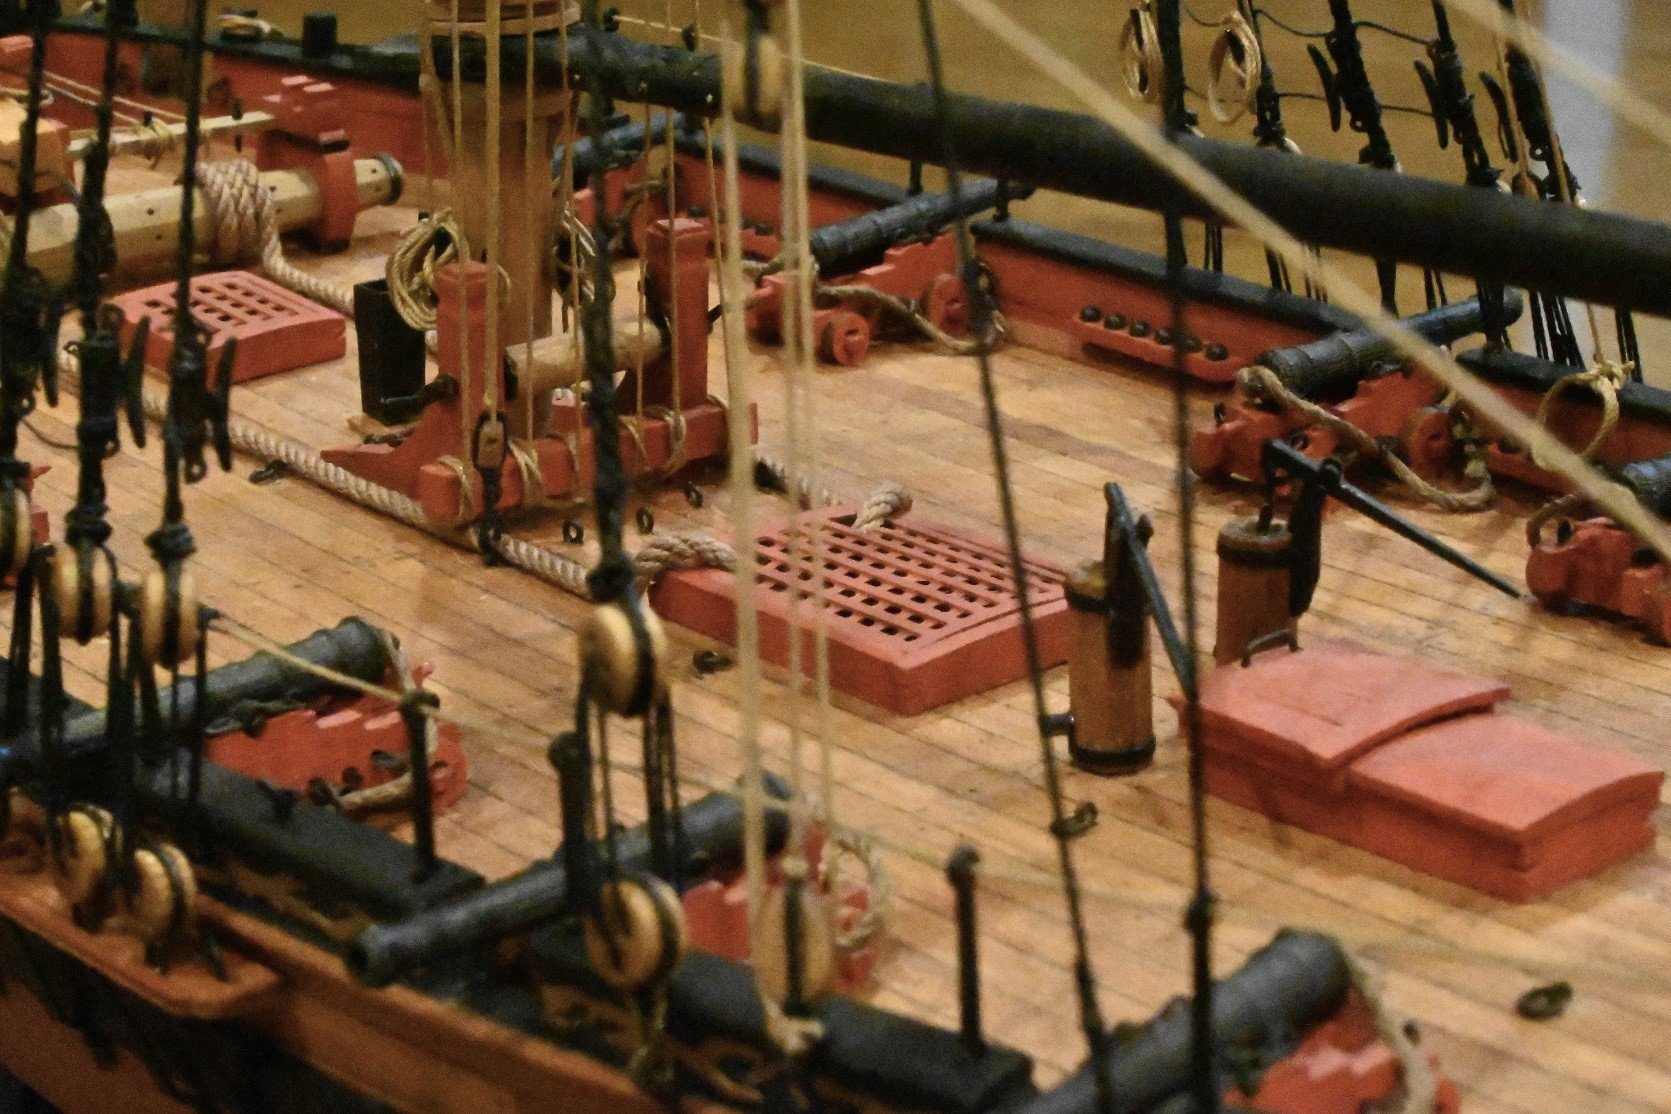
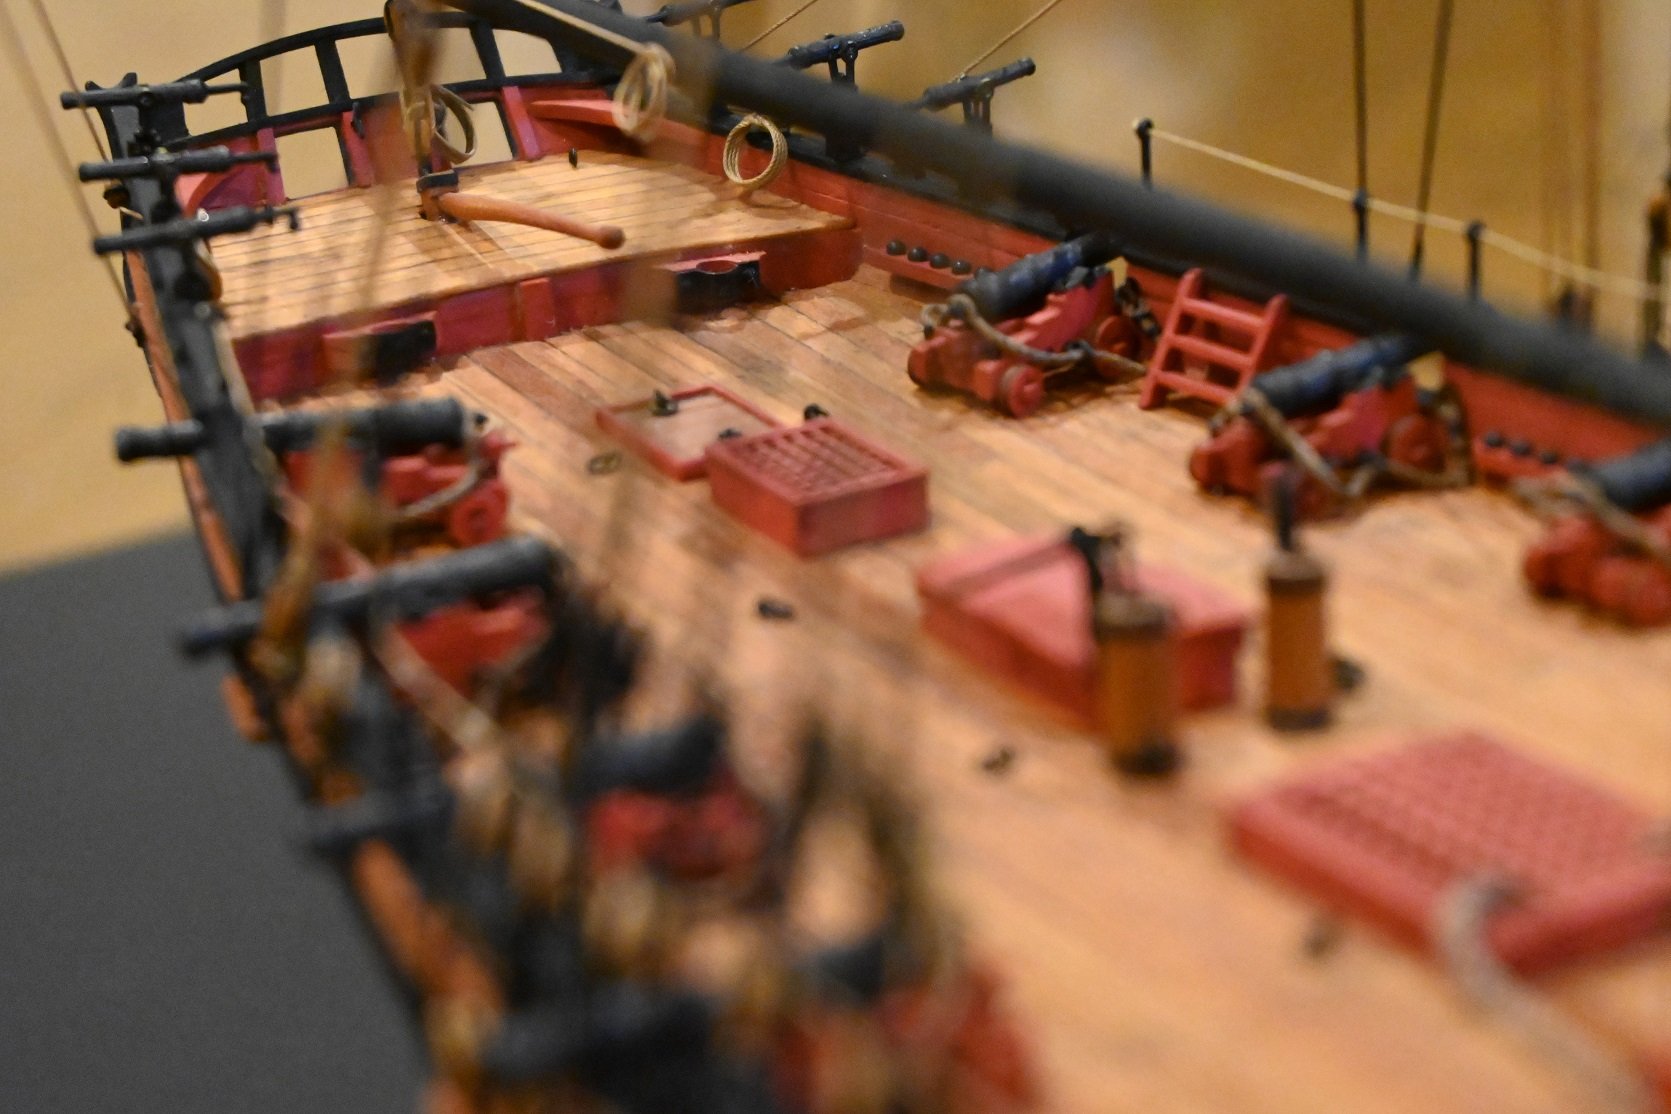
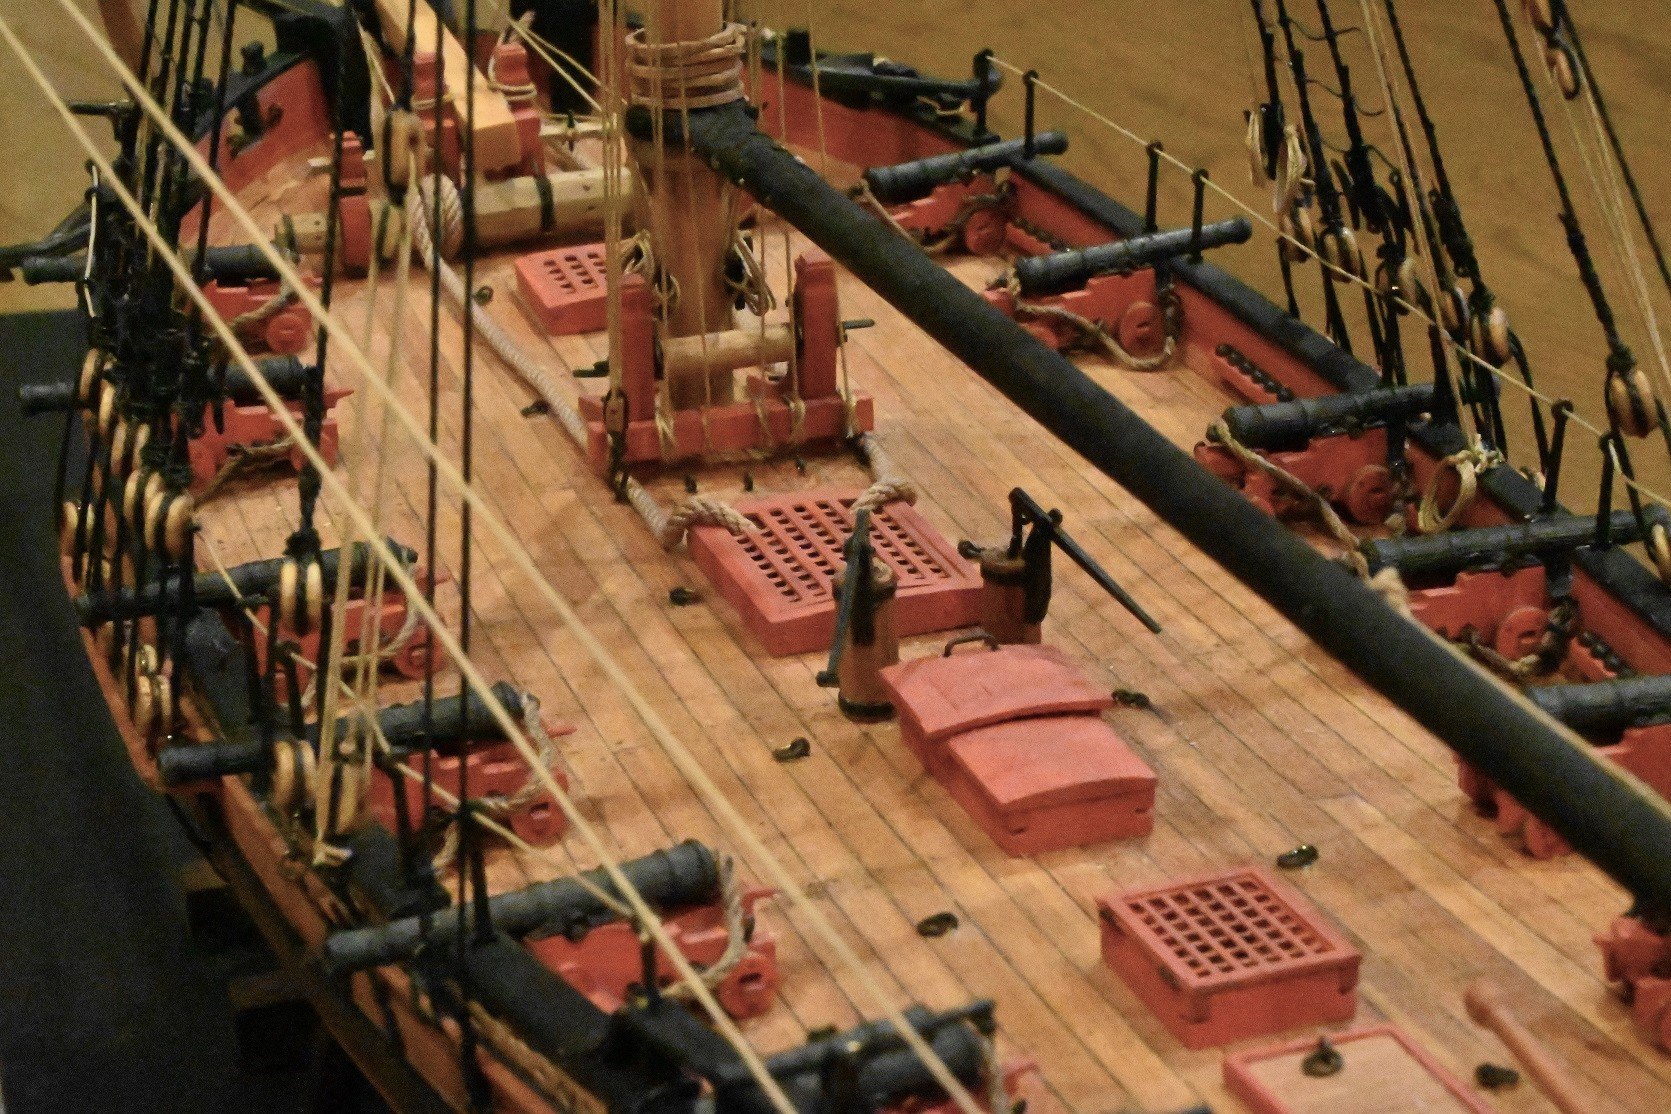
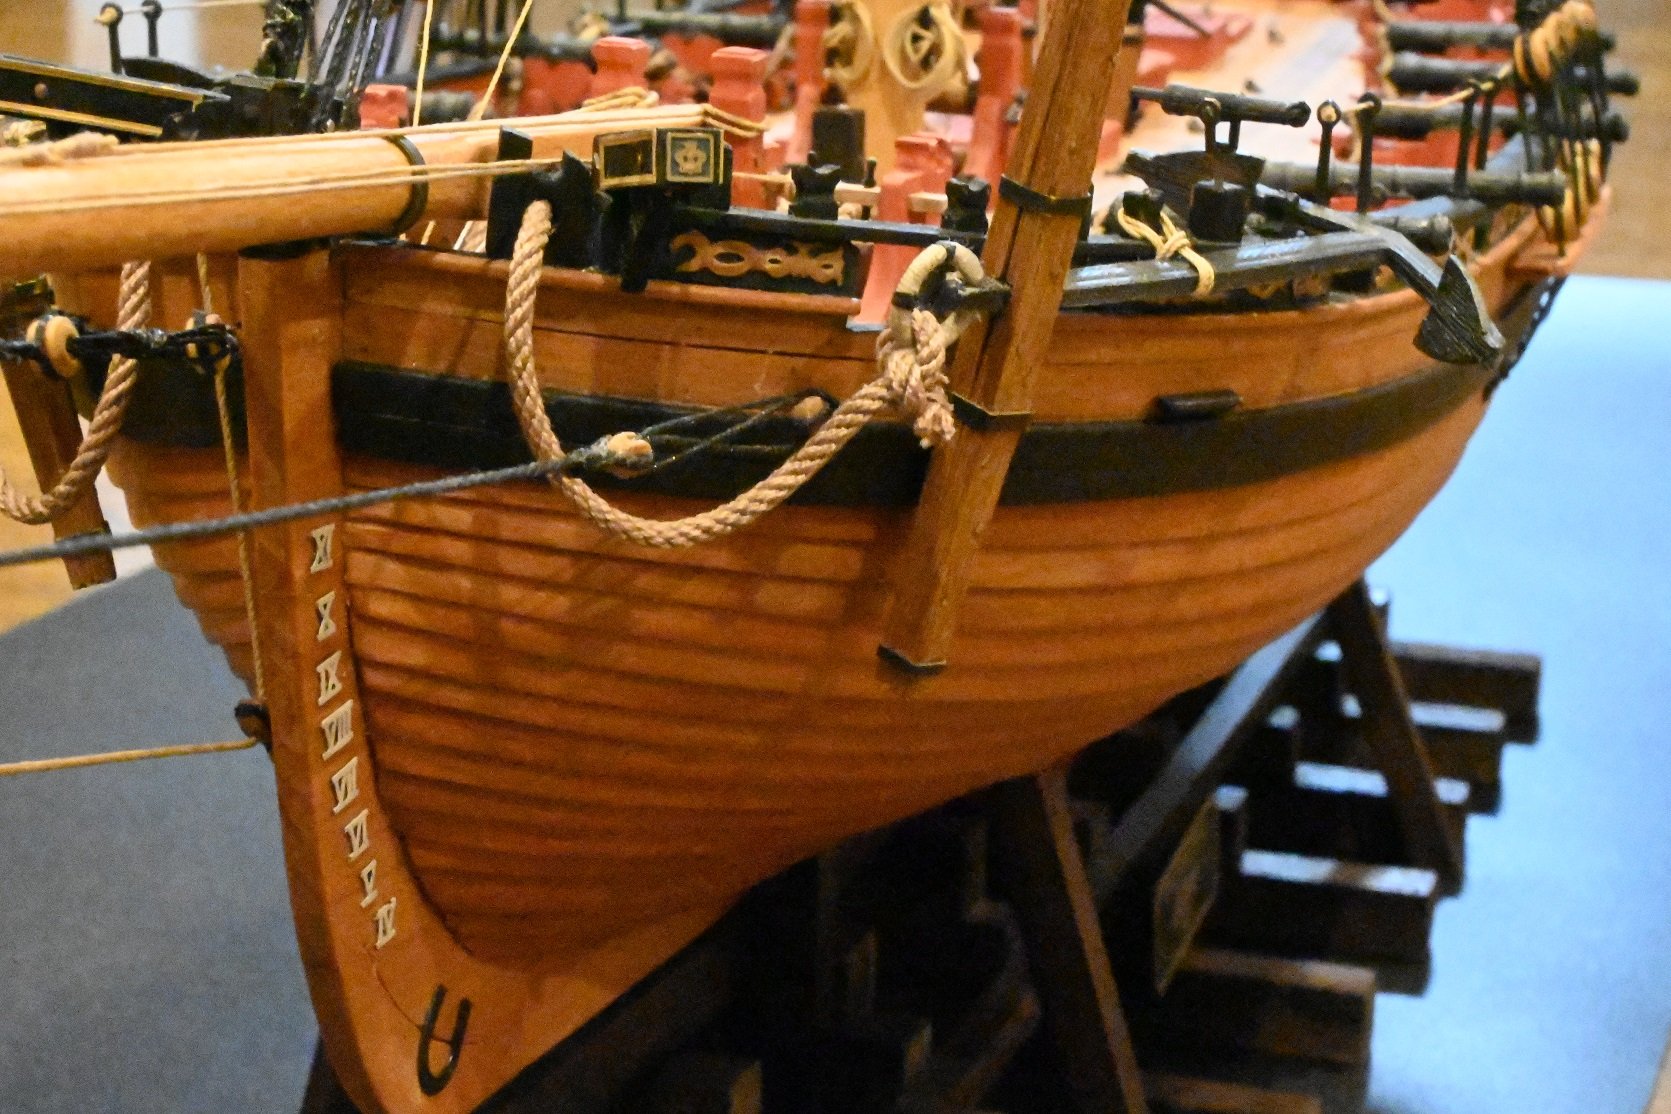
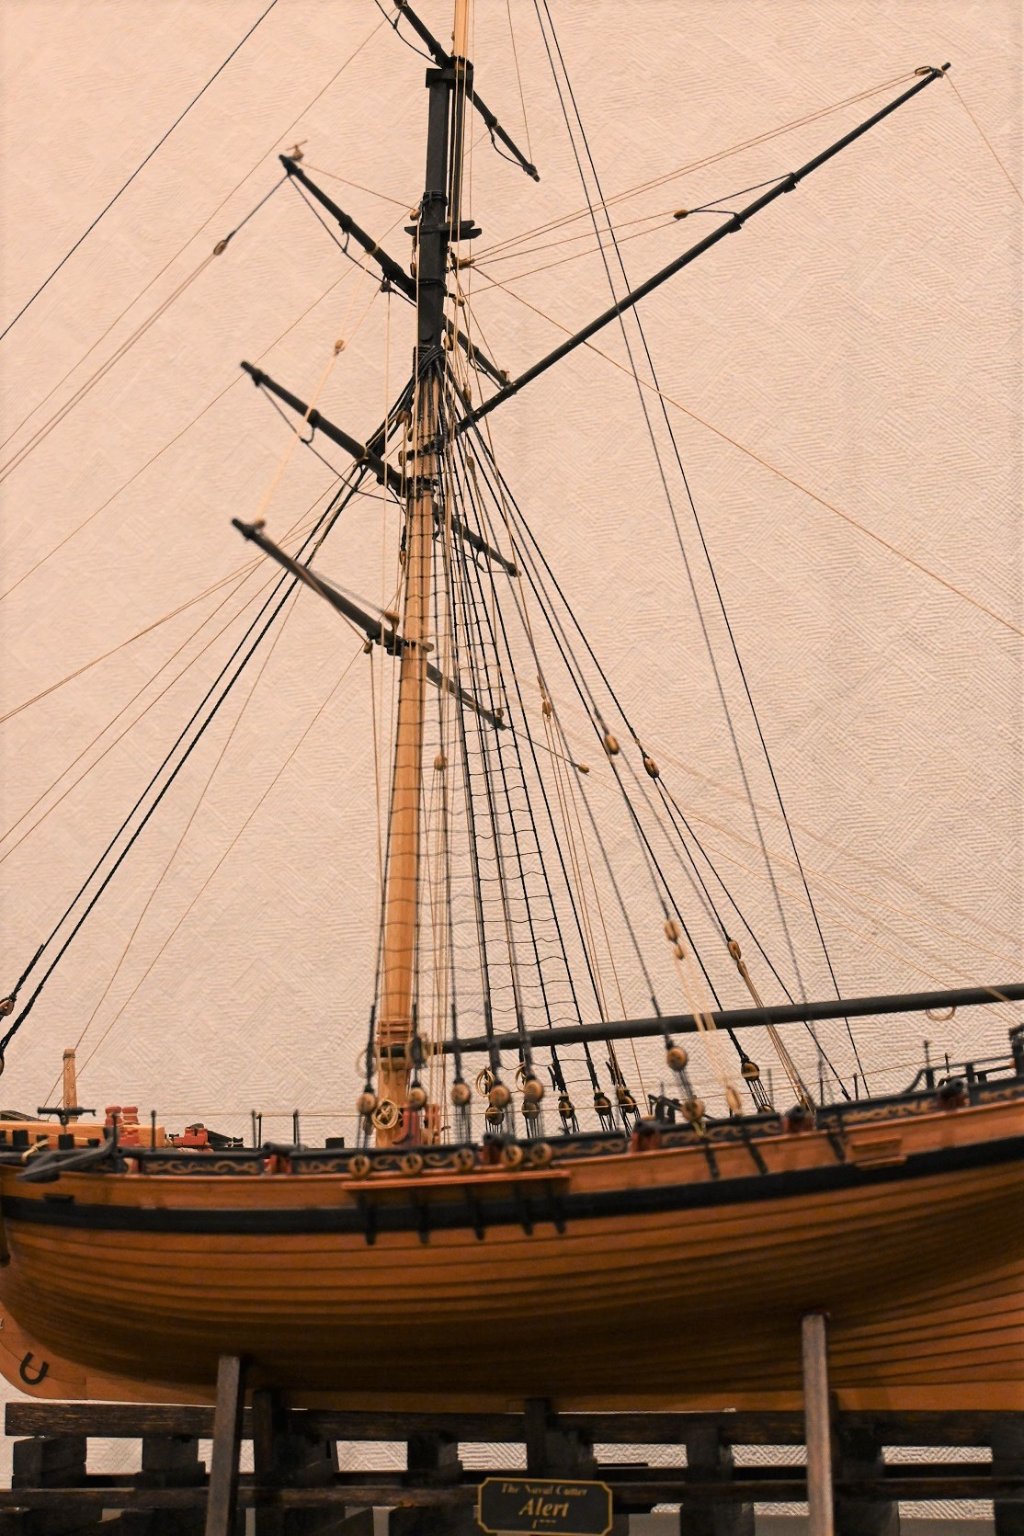
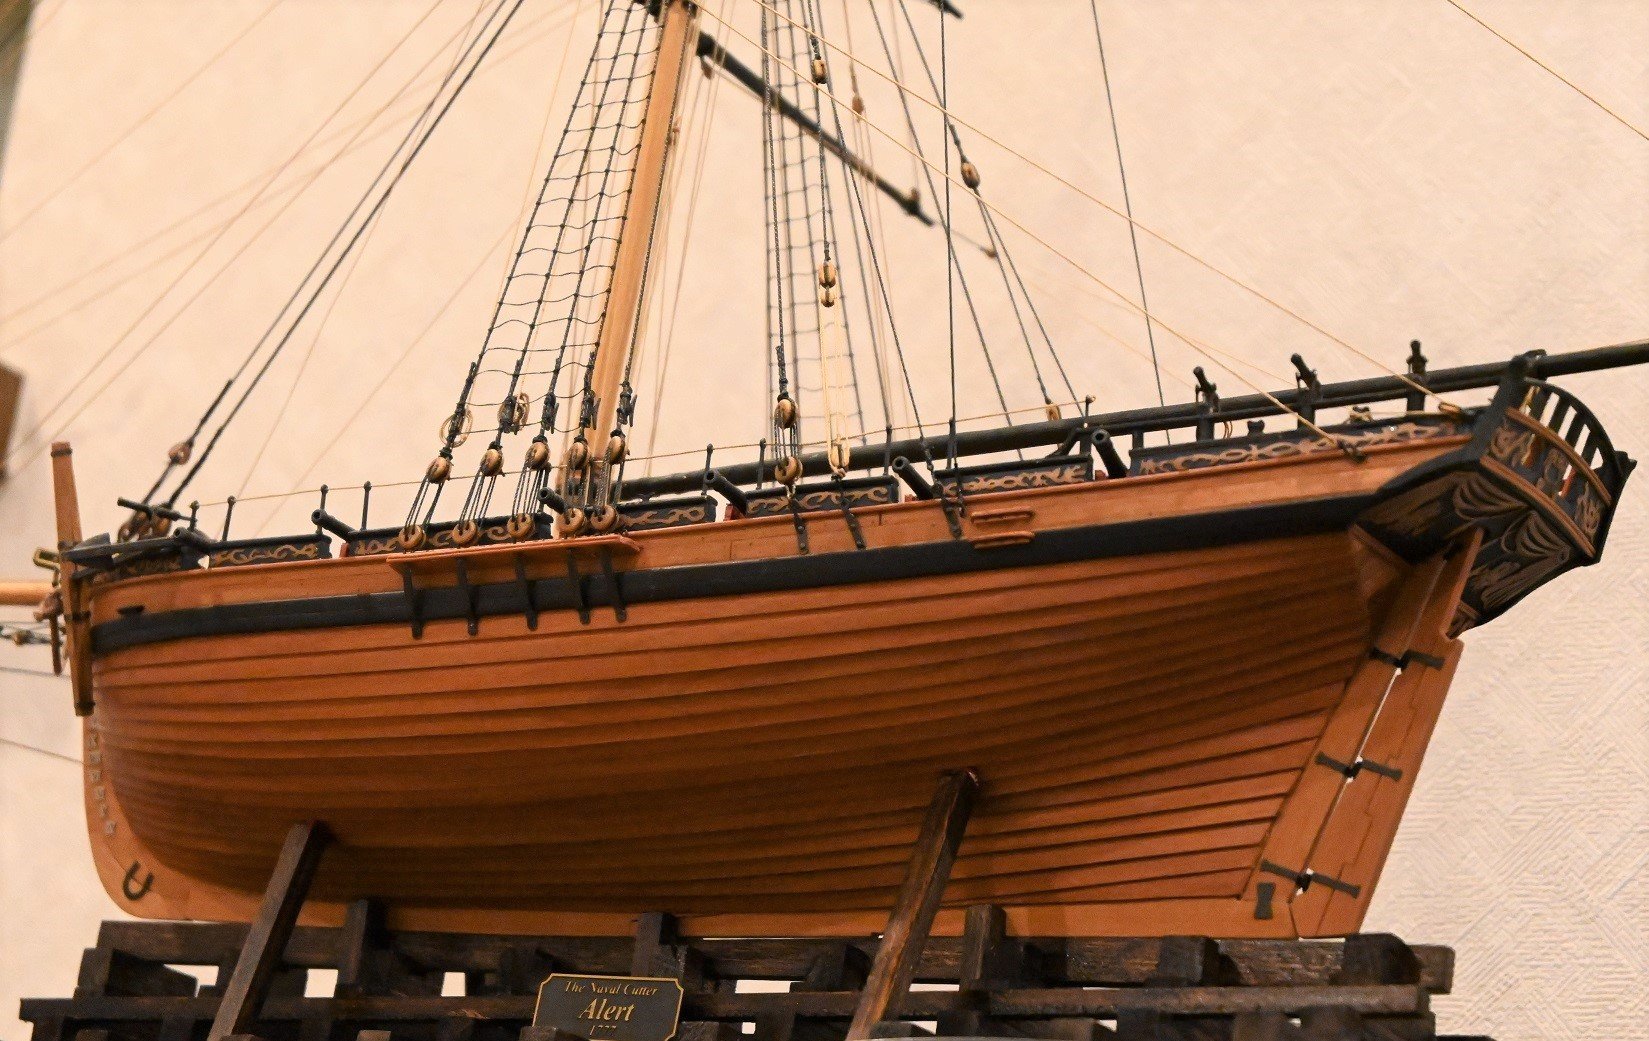
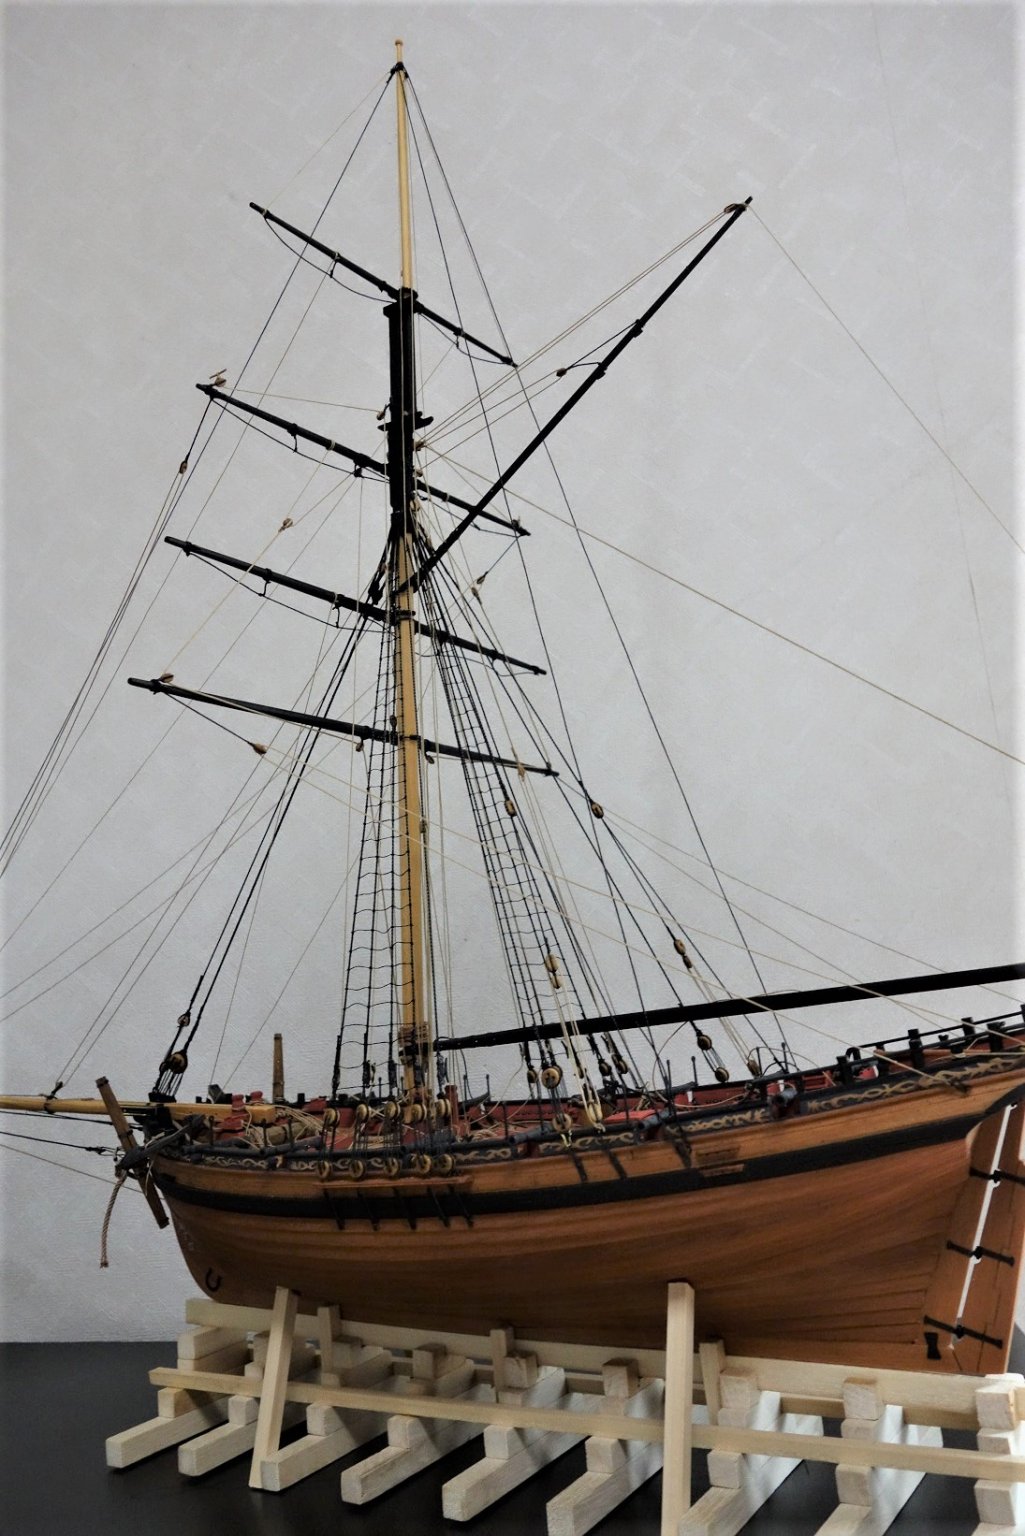
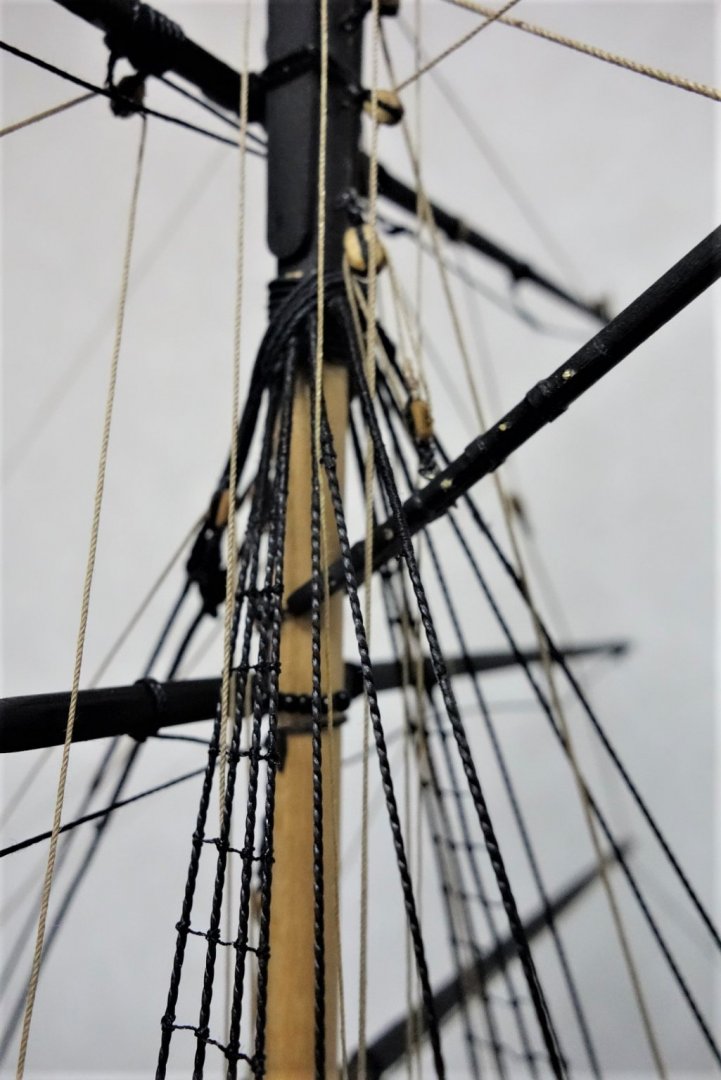
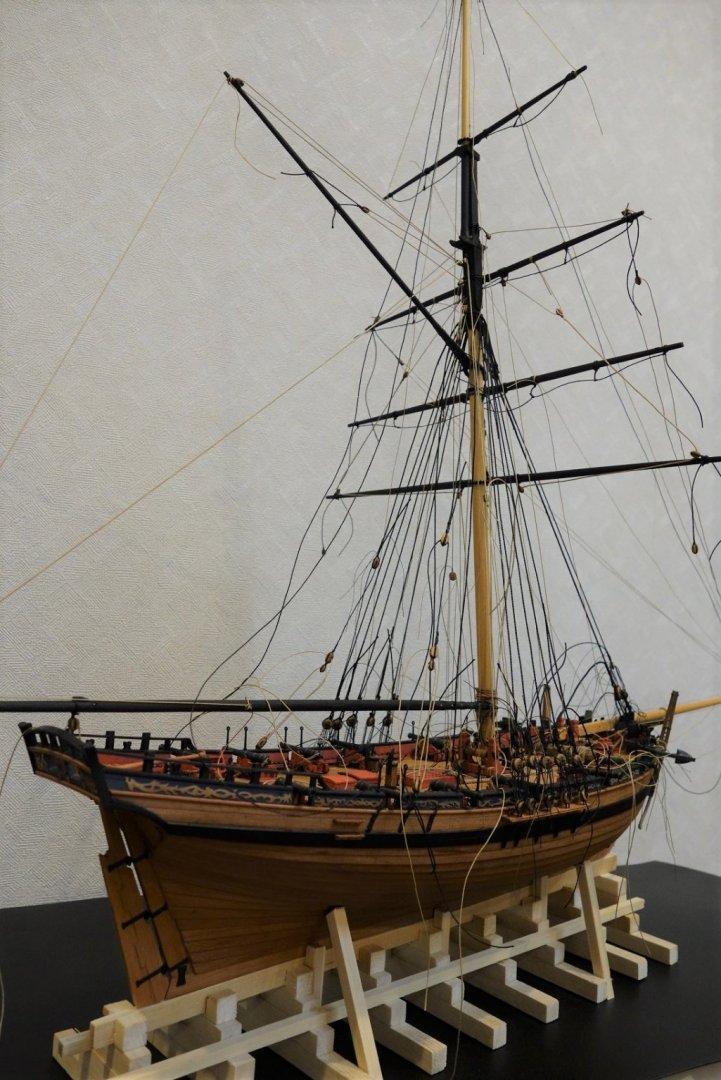
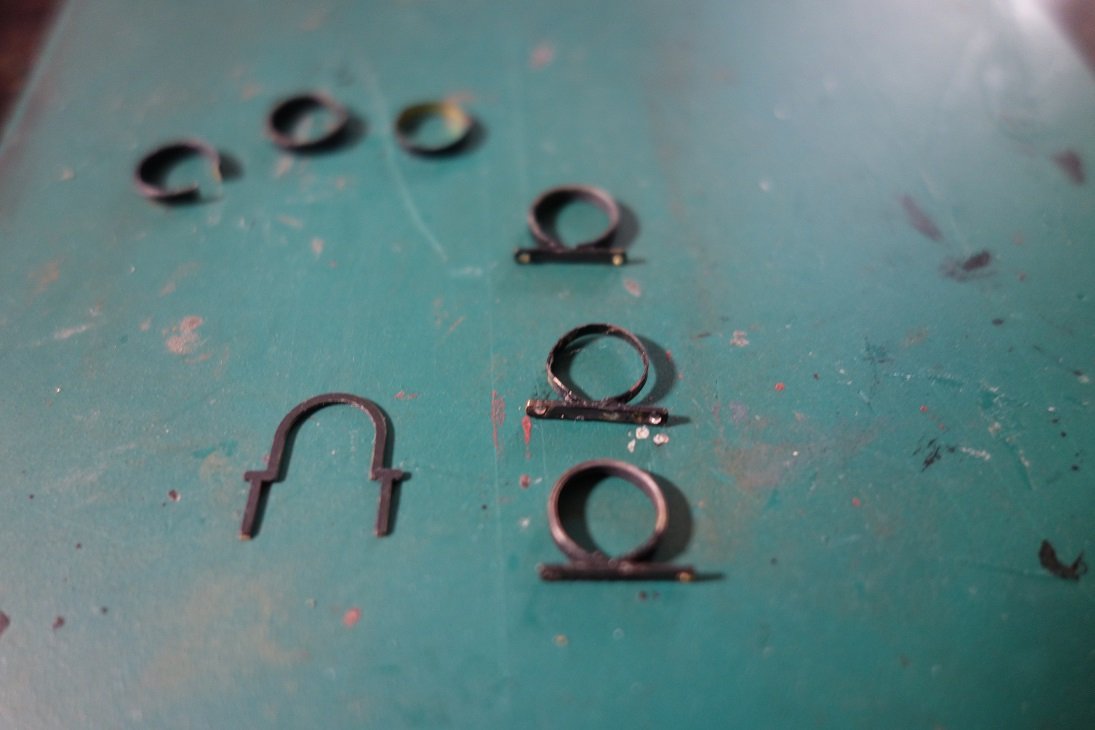
Hello to everybody! I don't have anything other than the instruction manual for the alert material, so I will refer to the works of Blue Ensign and Dubz. Thanks! After all, I remade iron hoop to secure bow sprit. The brass material was used by removing the etching parts of the kit and cutting the remaining frame part. It is a silver brazing using the easiest brazing wax. Bowsprit alignment is also my loose tolerance. 😉 And I dyed it lightly with cherry blossom dye. The stock of the anchor was remade. The bottom part of stove flue is made of wood, and it is made of Kent paper. Should I rebuild the mast ring or omit it? Cut a thin piece of wood, roll it up, glue it in, and cut it into slices... It's tough, so let's omit it!


- 23 replies
-
- 6
-
-
- vanguard models
- alert
- (and 1 more)