HOLIDAY DONATION DRIVE - SUPPORT MSW - DO YOUR PART TO KEEP THIS GREAT FORUM GOING! (Only 20 donations so far - C'mon guys!)
×

ChrisSC
-
Posts
163 -
Joined
-
Last visited
Content Type
Profiles
Forums
Gallery
Events
Everything posted by ChrisSC
-
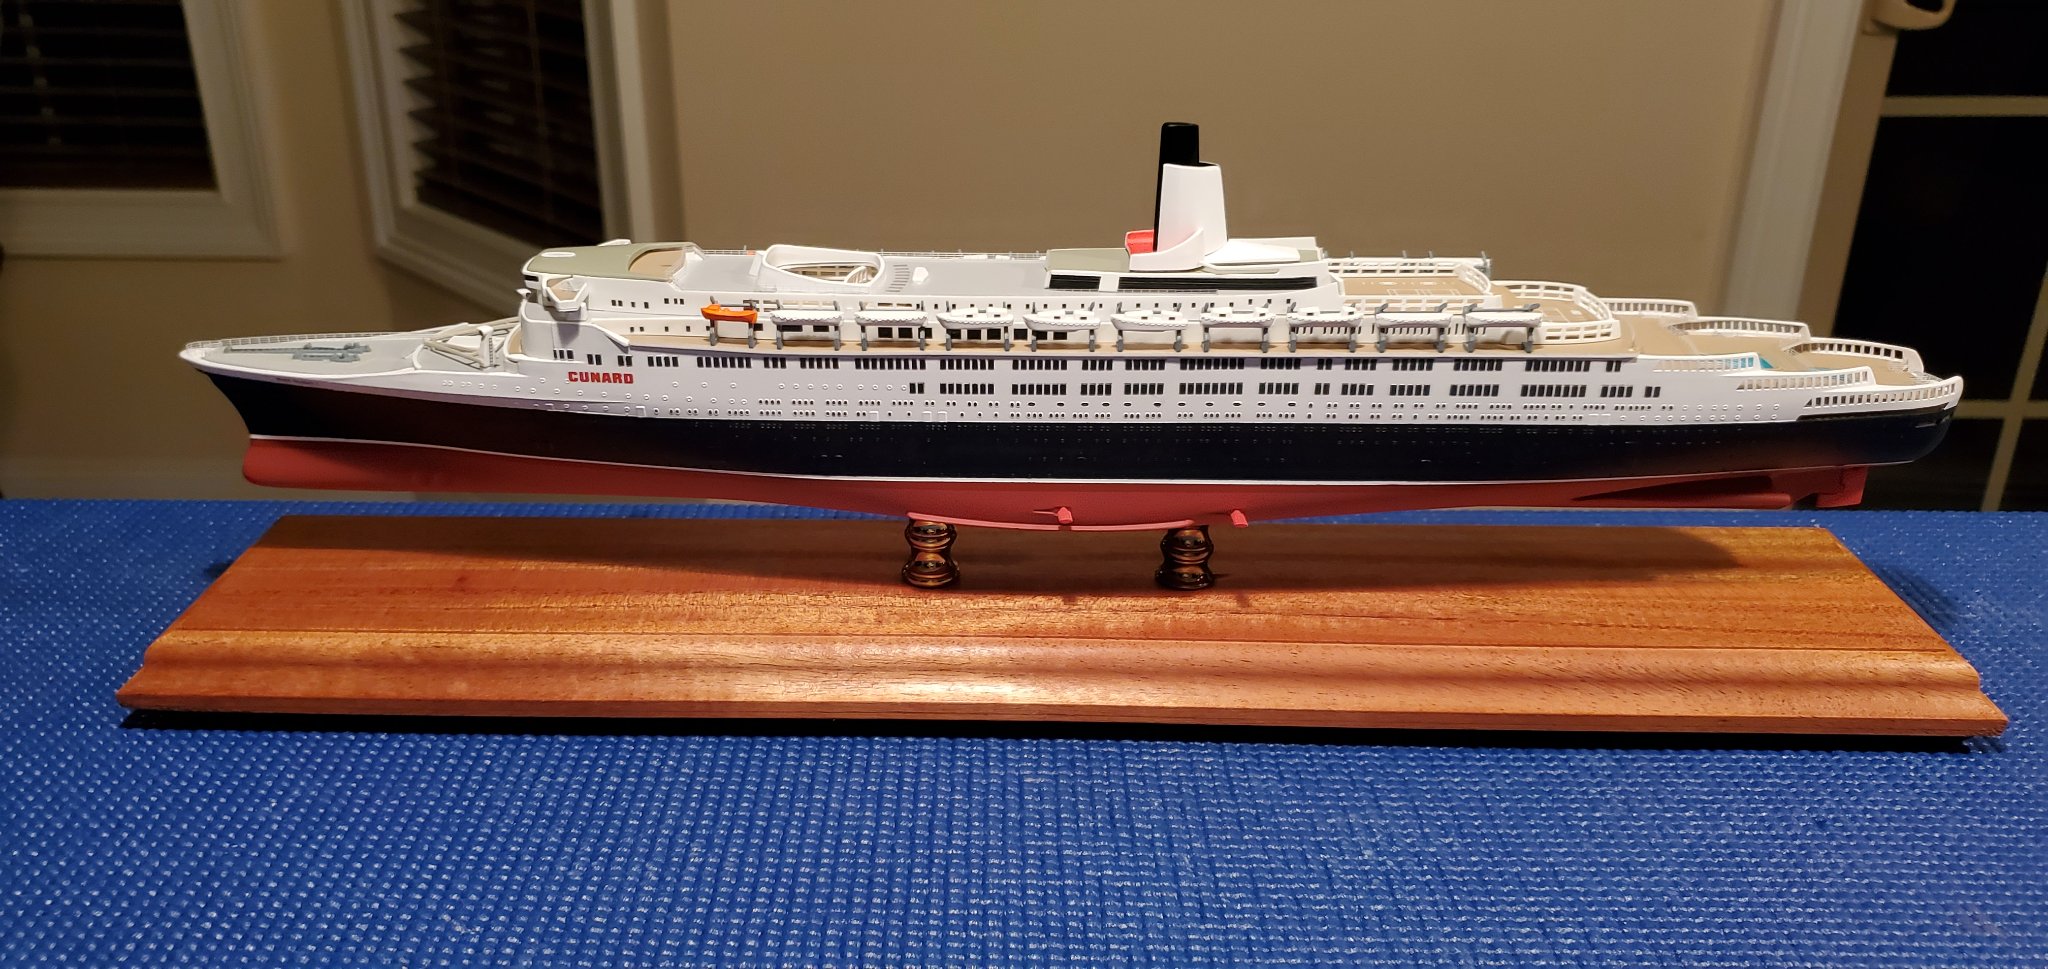
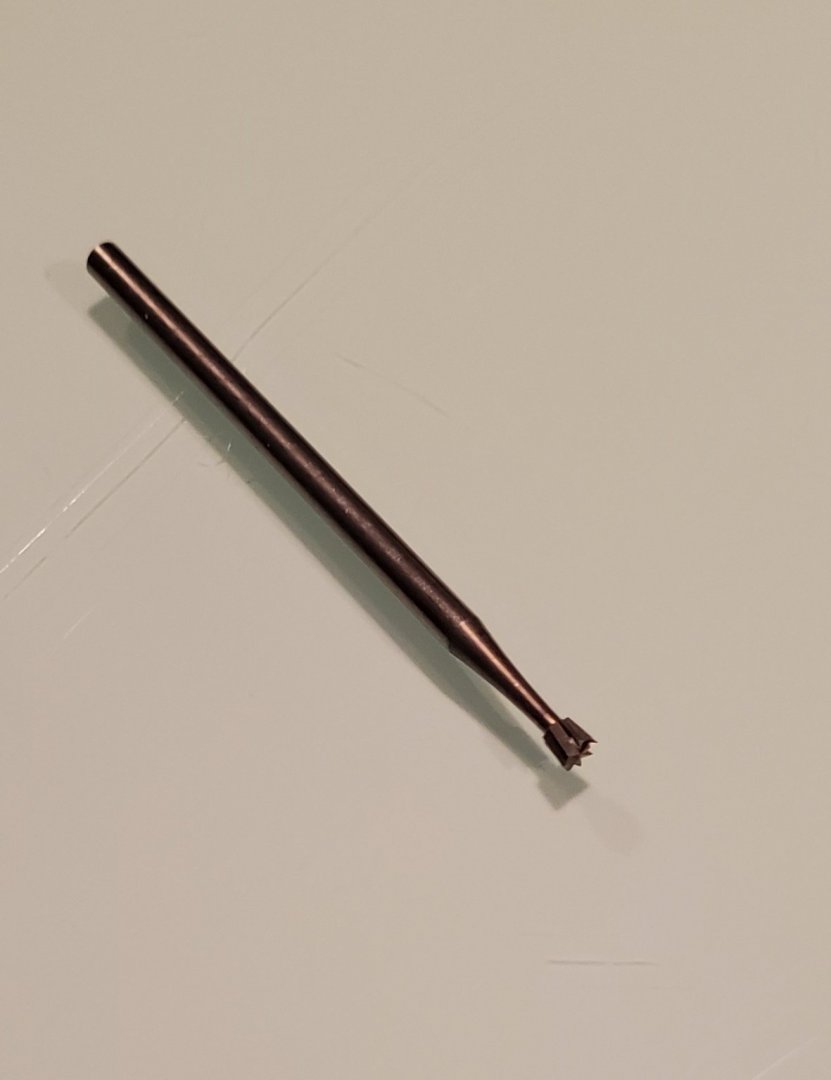
Thanks. Sorry I didn't see this post until tonight. The attached photo is the bit I used. I only used it on the second class railing area, and only to make enough room to get a small file in there. I wouldn't suggest using it on the hull as it jumps around too much. As far as any advice it would depend upon whether you are going to paint the decks or use wood decks. If using wood let me know because that is where all the trouble really is lol. I would just advise to be very careful with the sections of railing with the stanchions, they're very delicate. Also test fit. The main mast is very close where it emerges from the decks and positioning the decks correctly is critical for clearance. For the hull I used Tamiya gloss black just so I could get the decals on better, then after that was complete I sprayed over it with a flat clear. On the lower hull I used Tamiya XF-9 Hull Red mixed with Tamiya XF-7 Flat Red. The XF-9 is almost brown right out of the bottle so I would mix enough flat red with it to suit your preference. I have been using Tamiya TS-33 Dull Red out of a spray can for the lower hulls on a few 1/600 liners I've built and have been pretty happy with that also. The funnels were two parts Tamiya XF-7 Flat Red and one part Tamiya X-6 Orange. I did an RMS Queen Elizabeth and reversed that mixture on the funnels to two parts orange and one part red. That model is here on the forum so you can compare which combination you prefer if you like. If you have any specific questions please feel free to ask. Good luck!
- 49 replies
-
- 2
-

-
- Lusitania
- Gunze Sangyo
- (and 2 more)
-
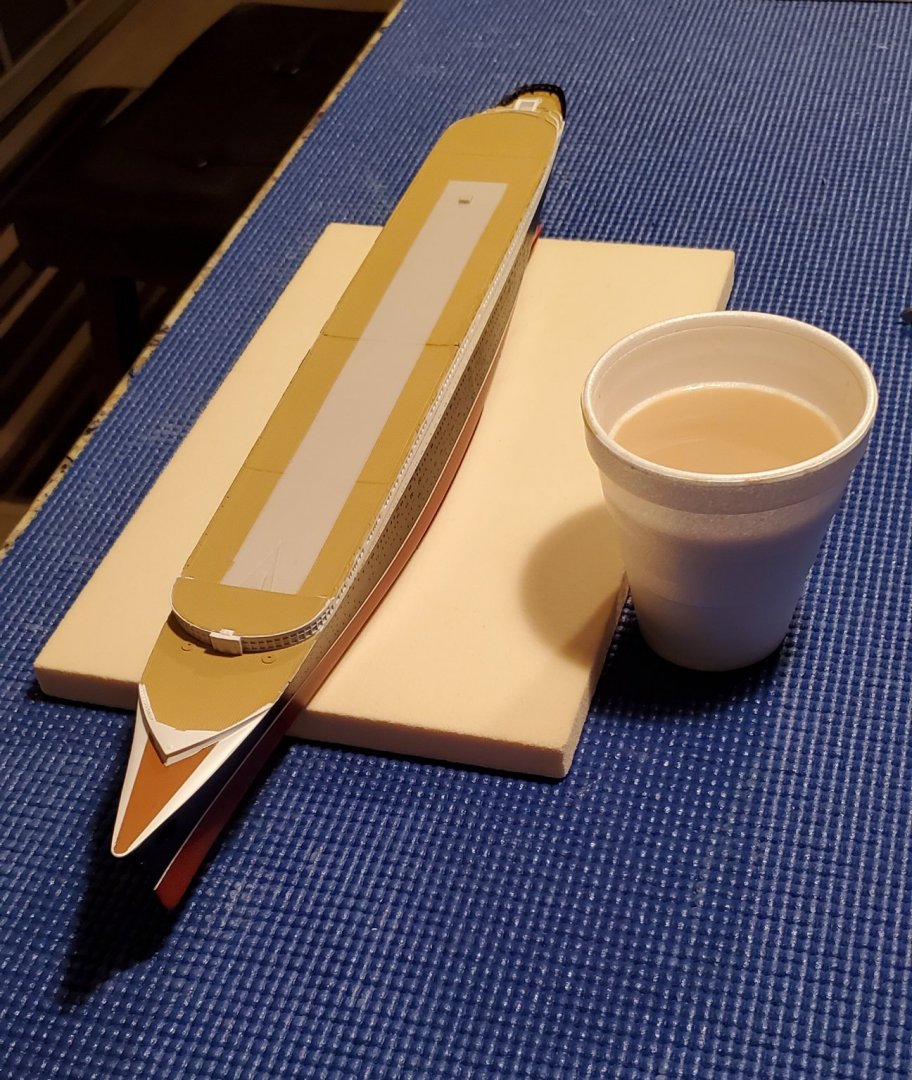
Thanks Roger. The Normandie was a huge ship but in this scale a cup of coffee looks gigantic next to it lol!
- 55 replies
-
- 5
-
-
- Blue Ridge Models
- Normandie
- (and 2 more)
-
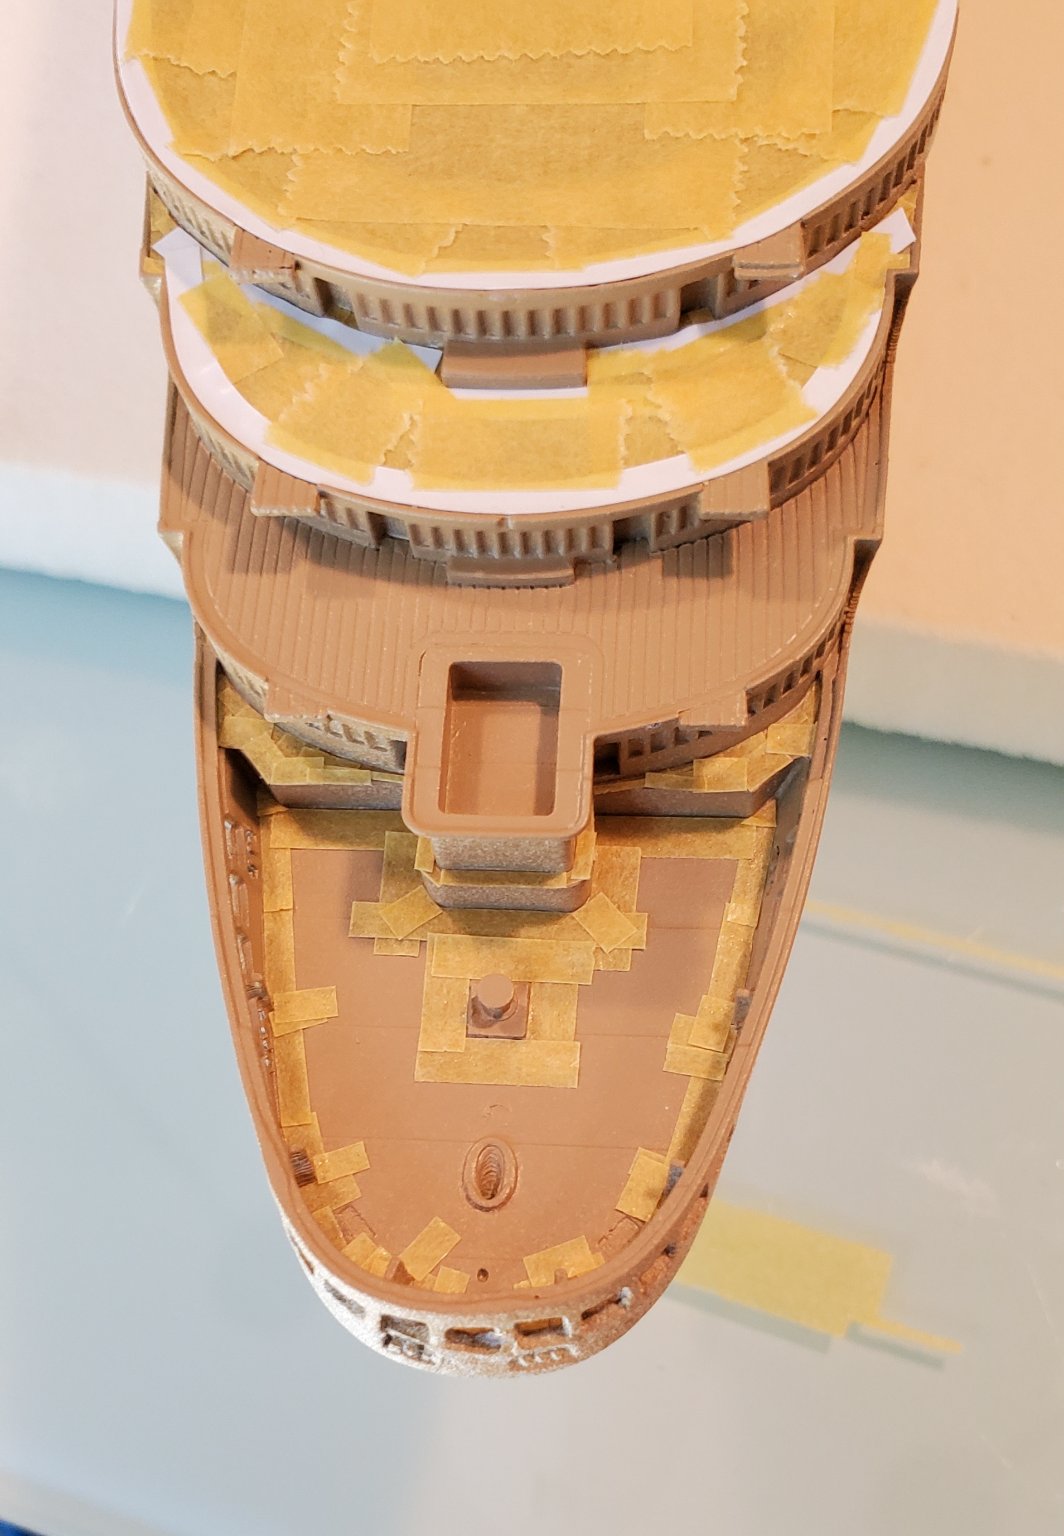
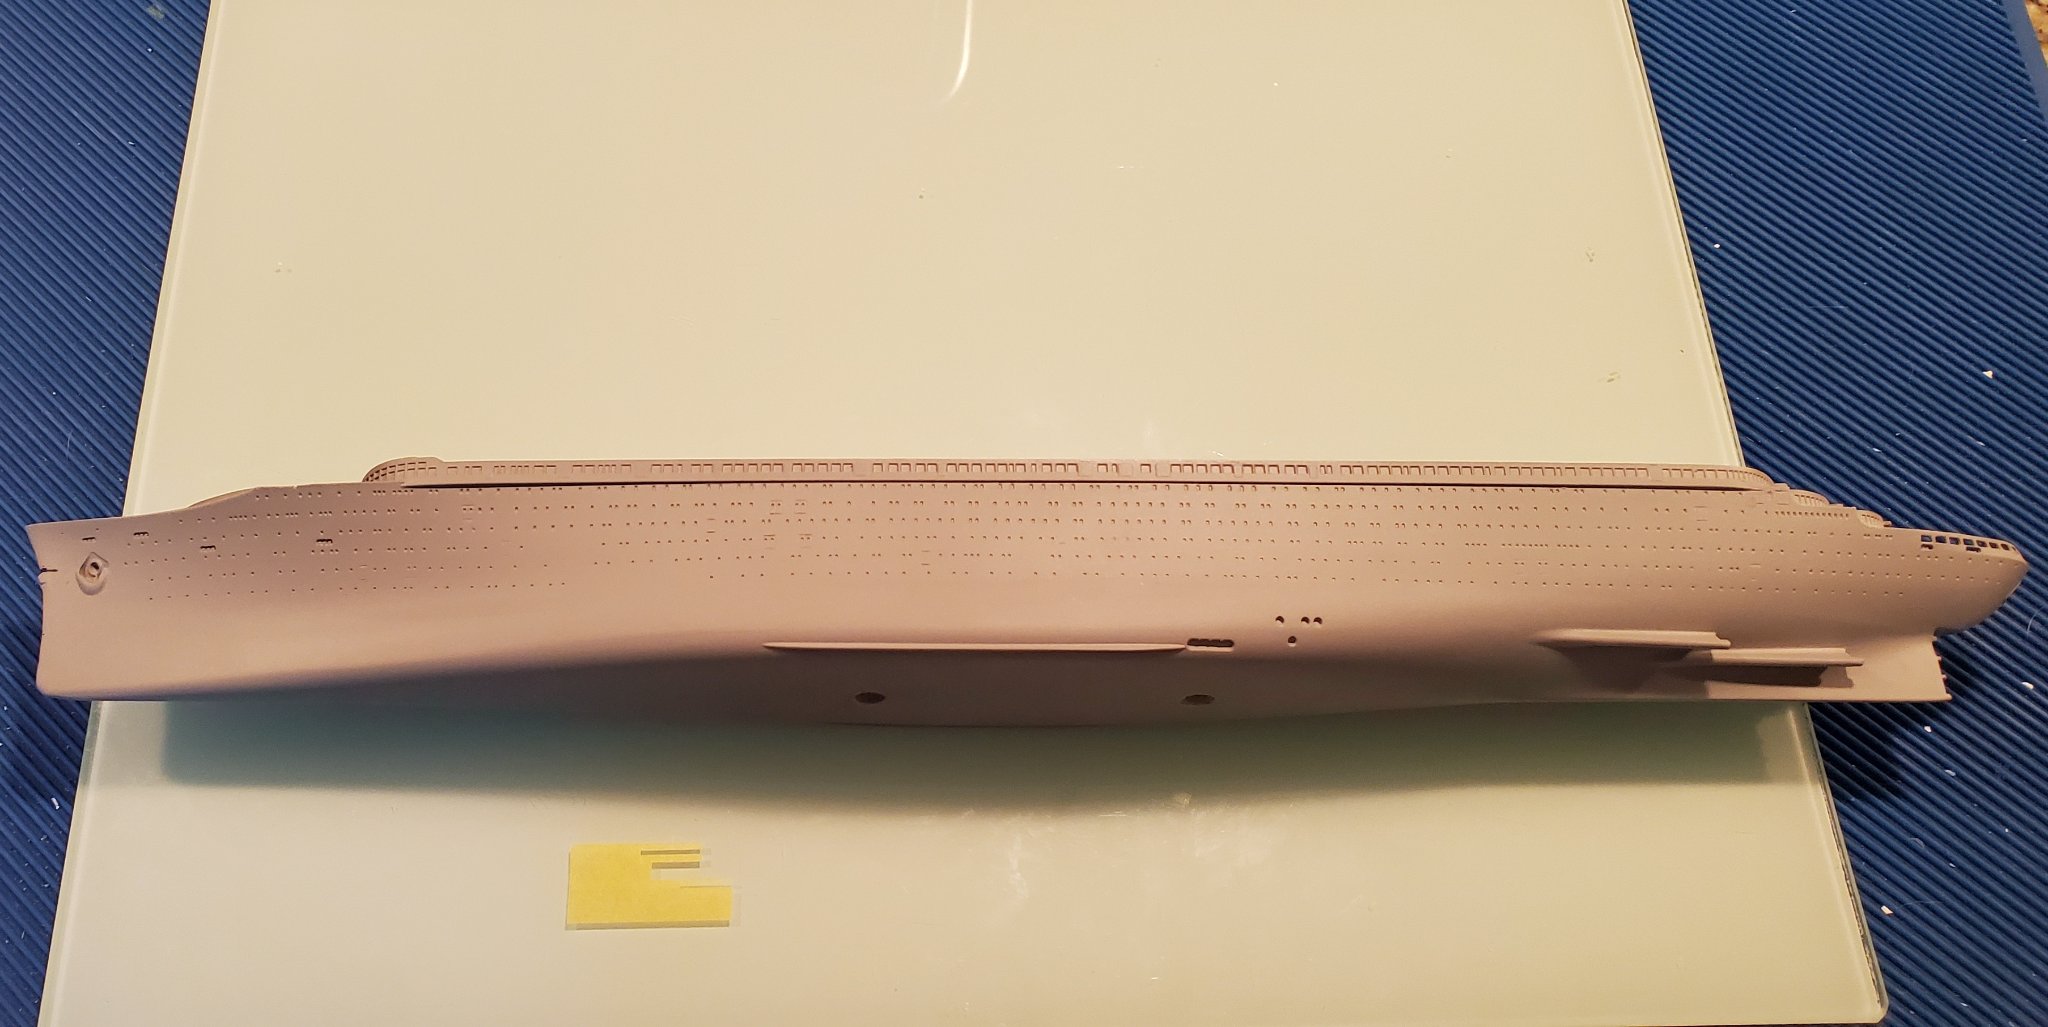
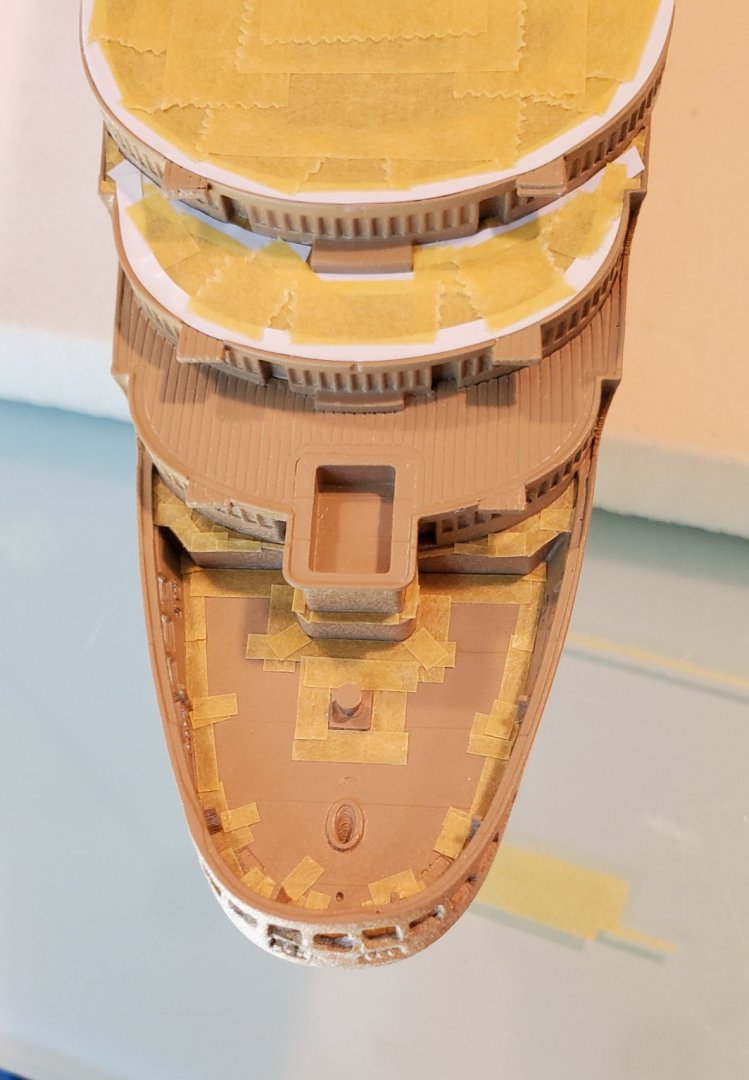
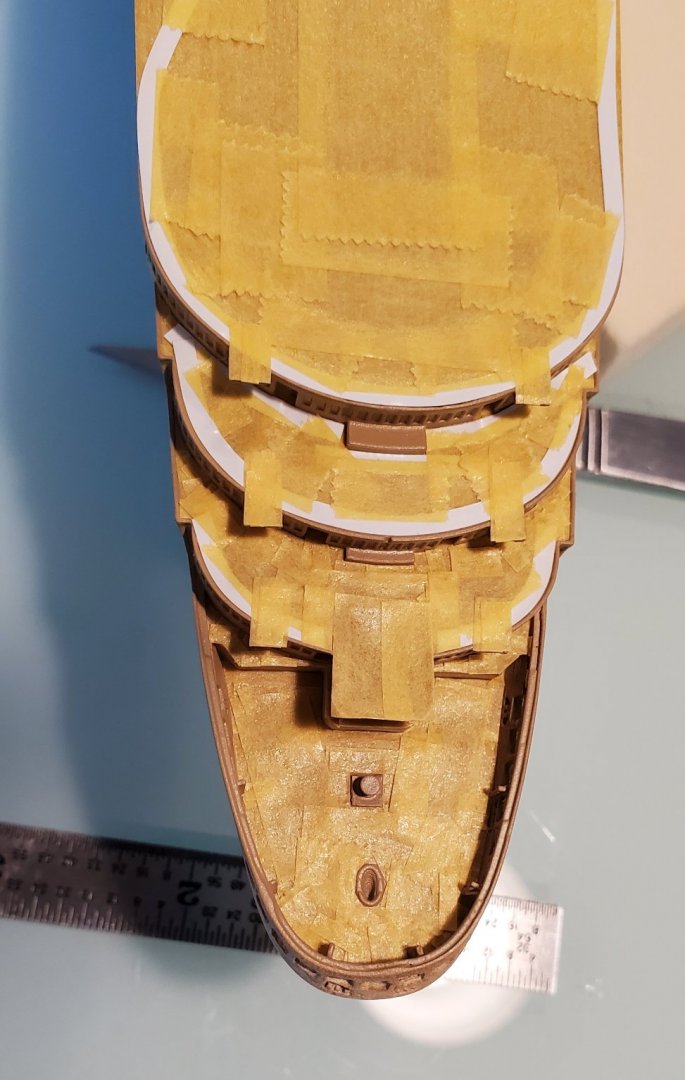
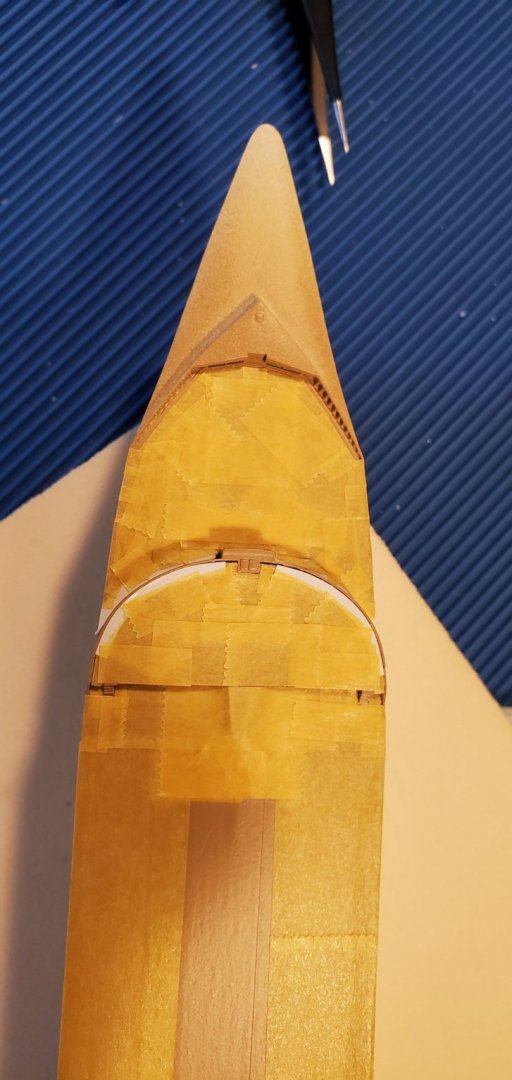
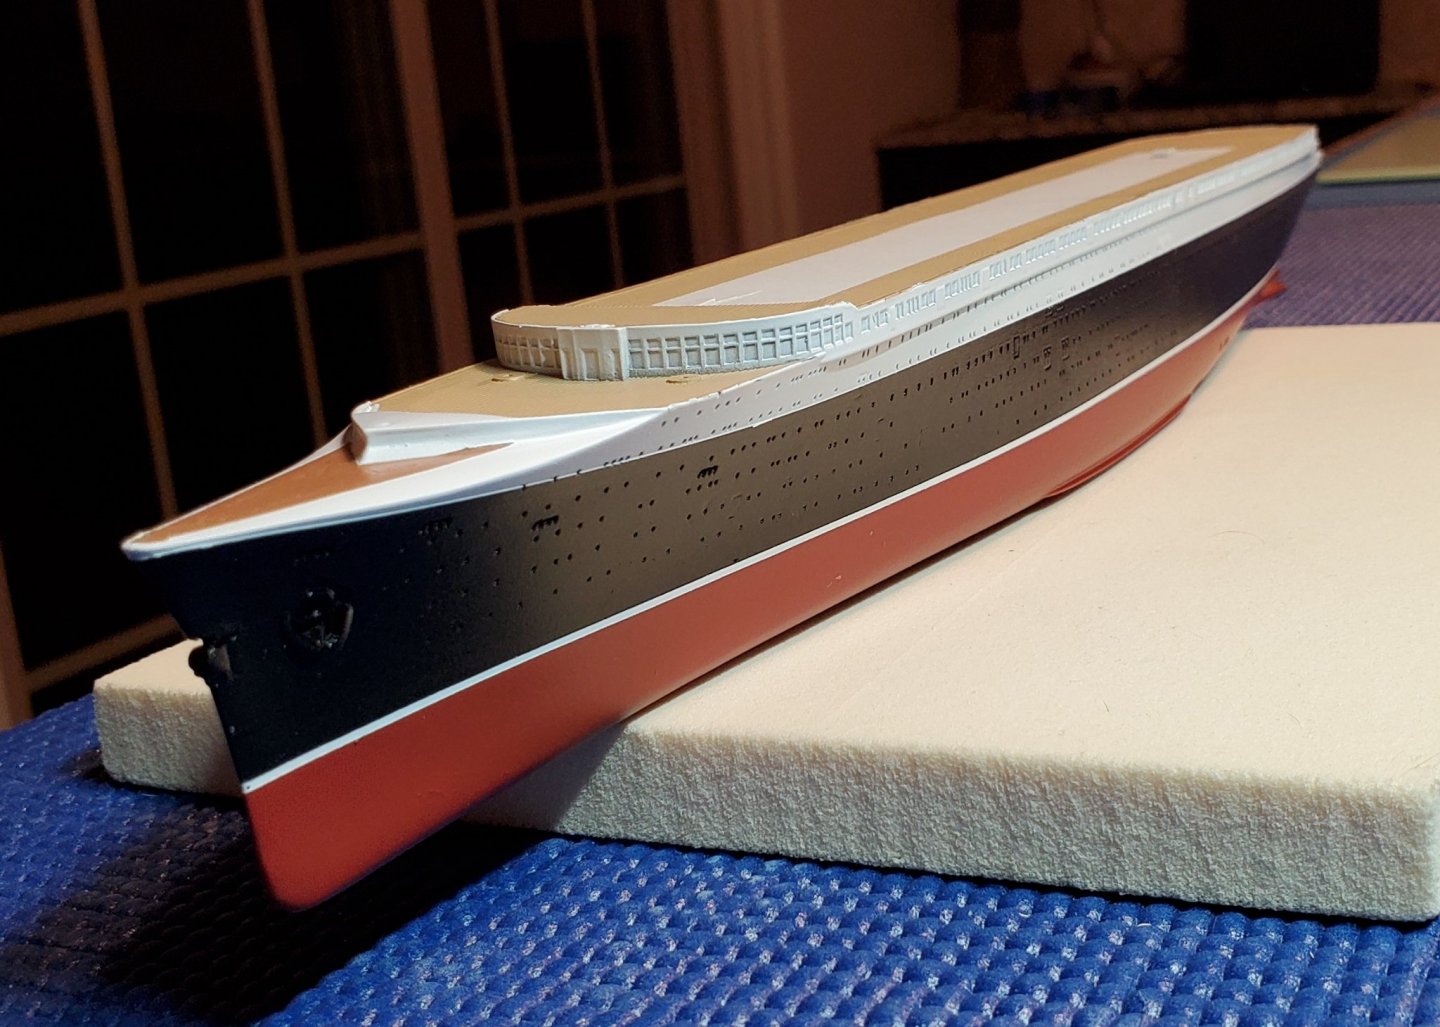
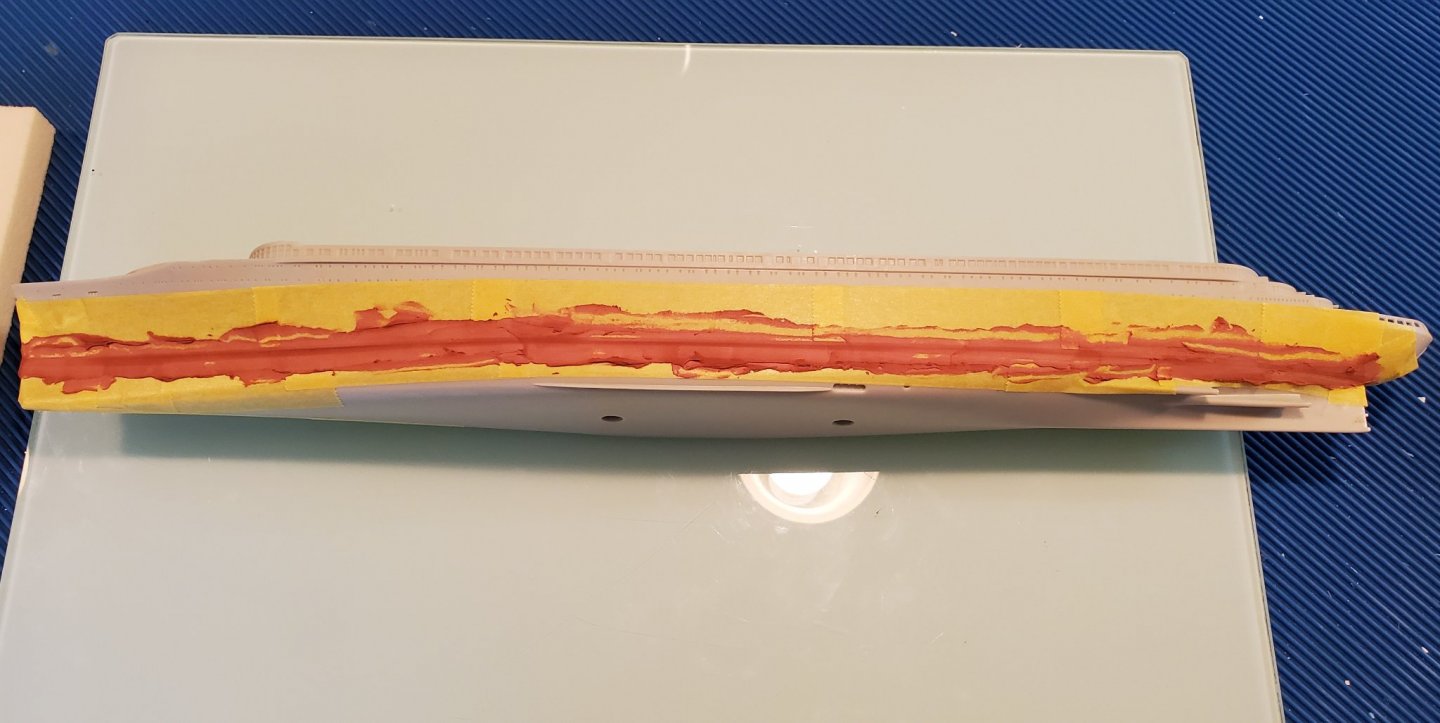
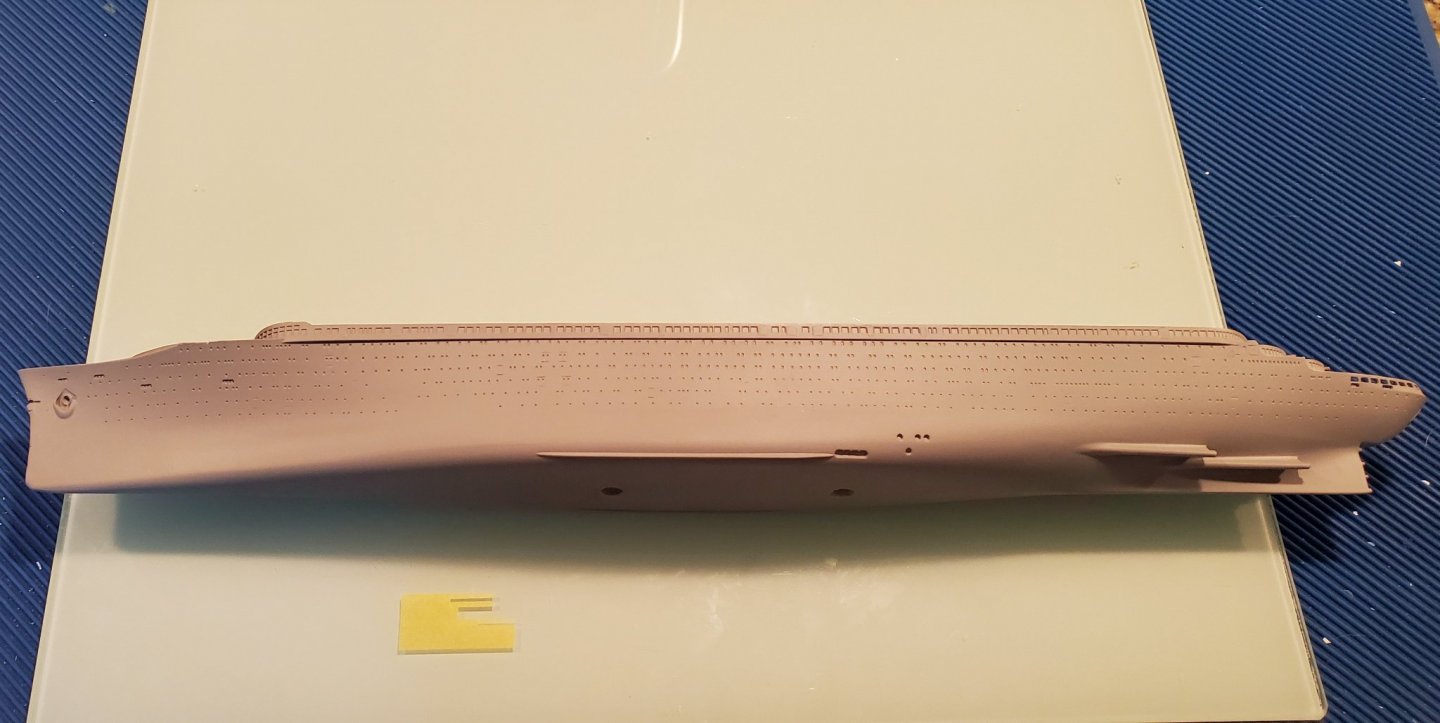
Thank you. I did some masking and painting. Between the resin and the scale I'm finding it very hard to do a decent paint job. Being basically one big piece there is way too much masking. This is definitely a challenge for me. I'm not sure how I'm going to paint the windows...they are TINY! The black is in gloss now until I get the decals on, then I will tone it down with some flat clear. I prefer styrene lol.


- 55 replies
-
- 11
-
-
- Blue Ridge Models
- Normandie
- (and 2 more)
-
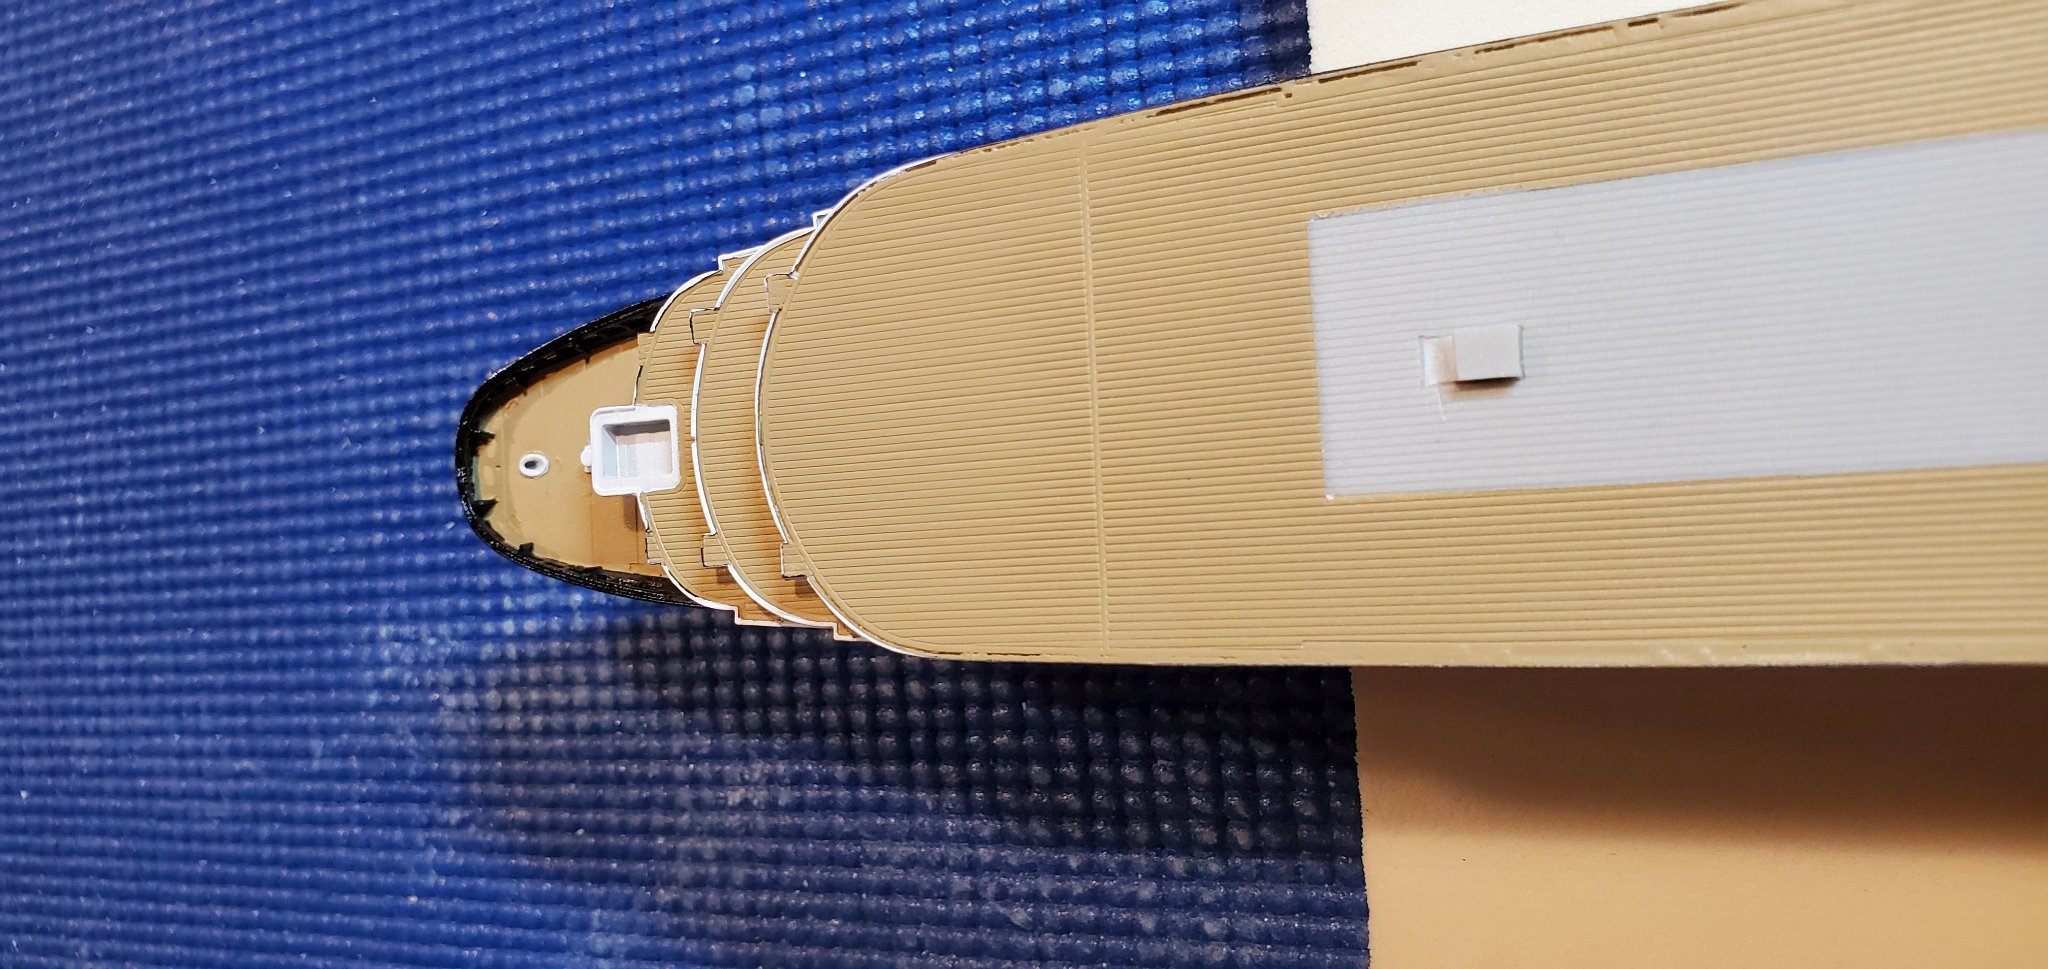
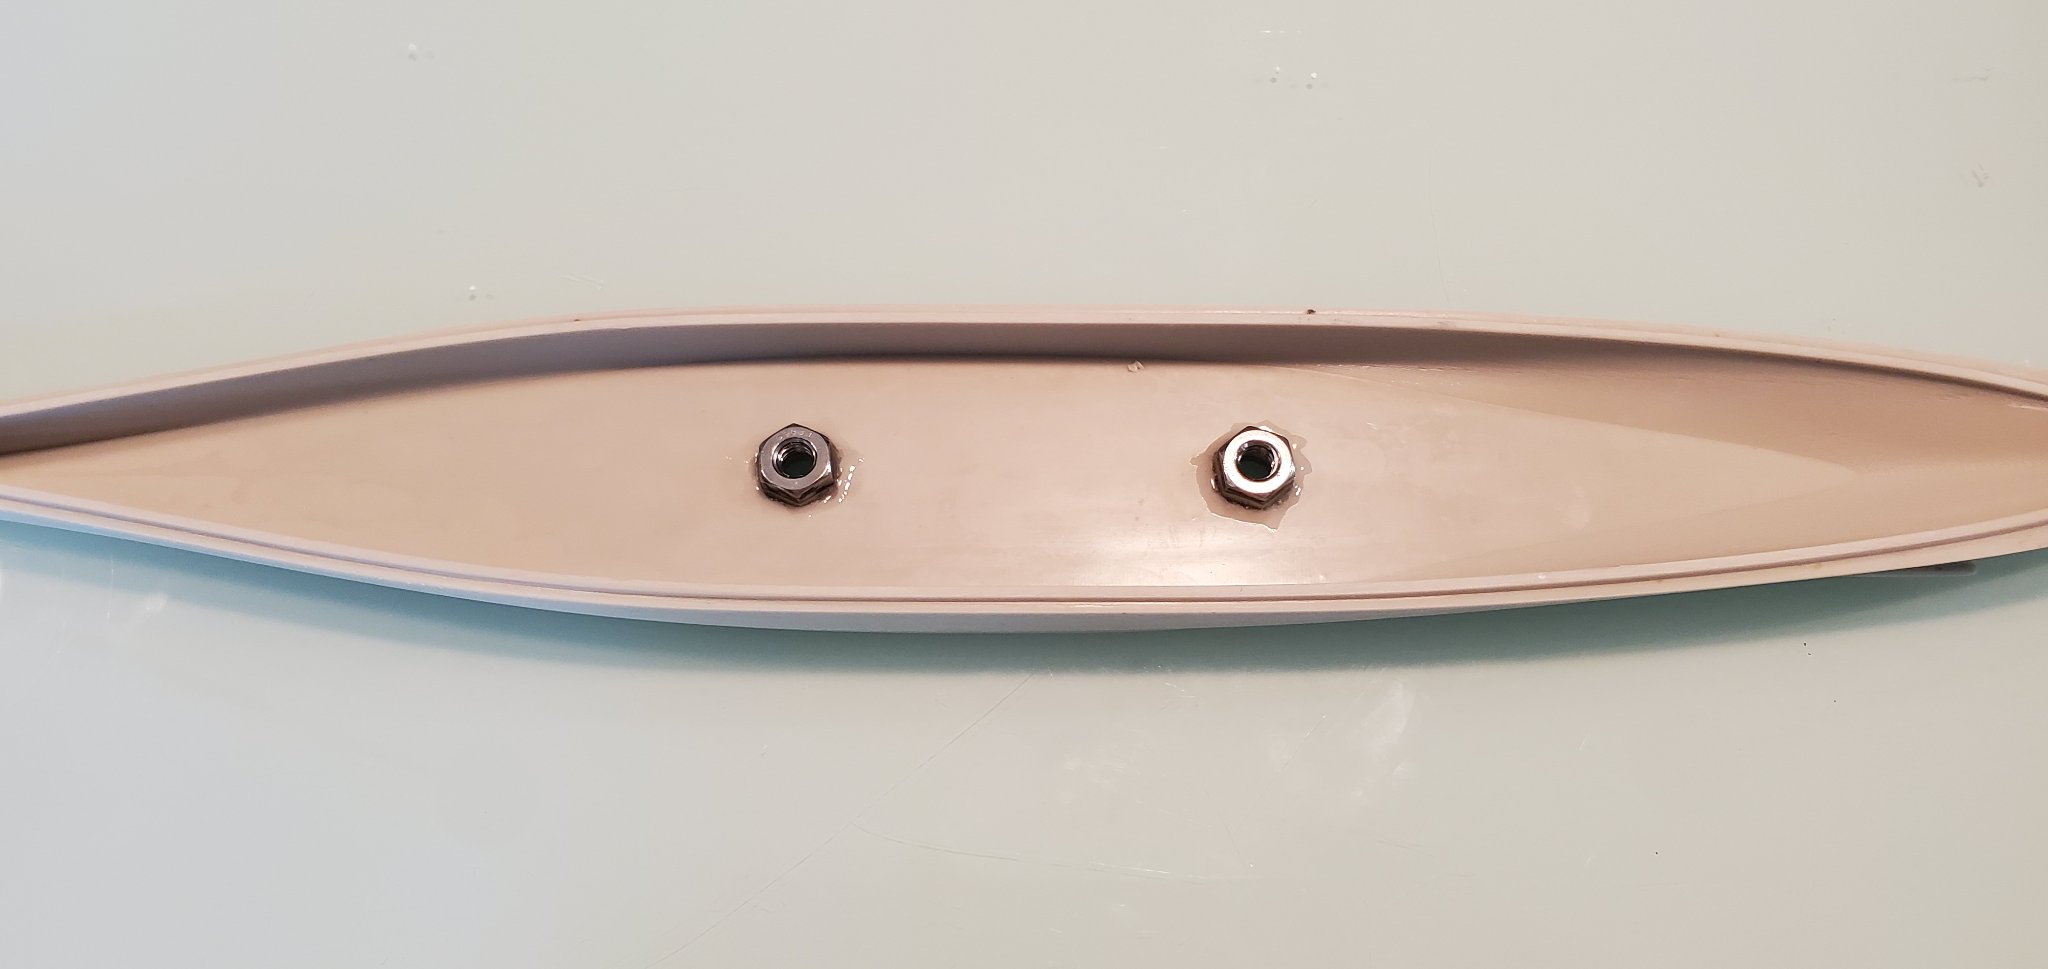
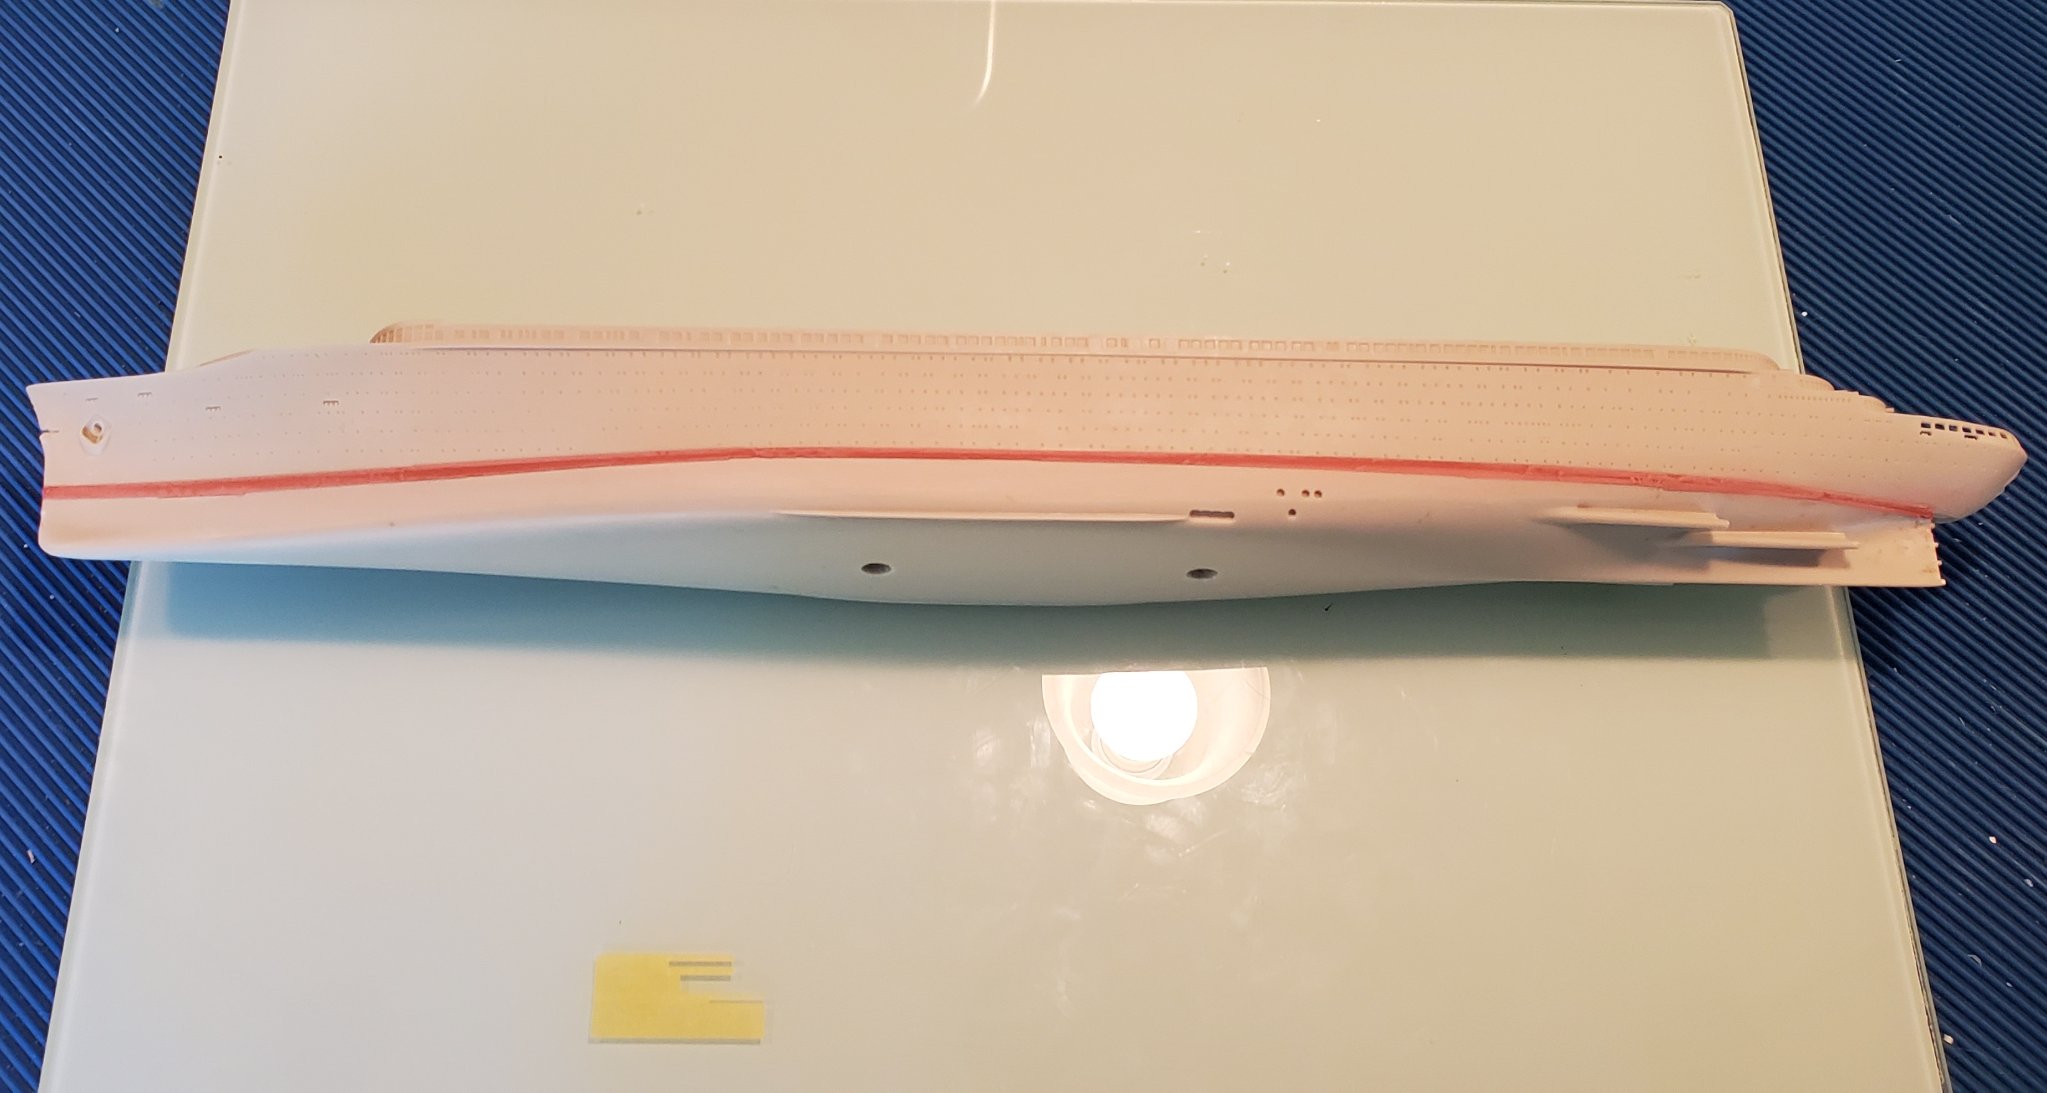
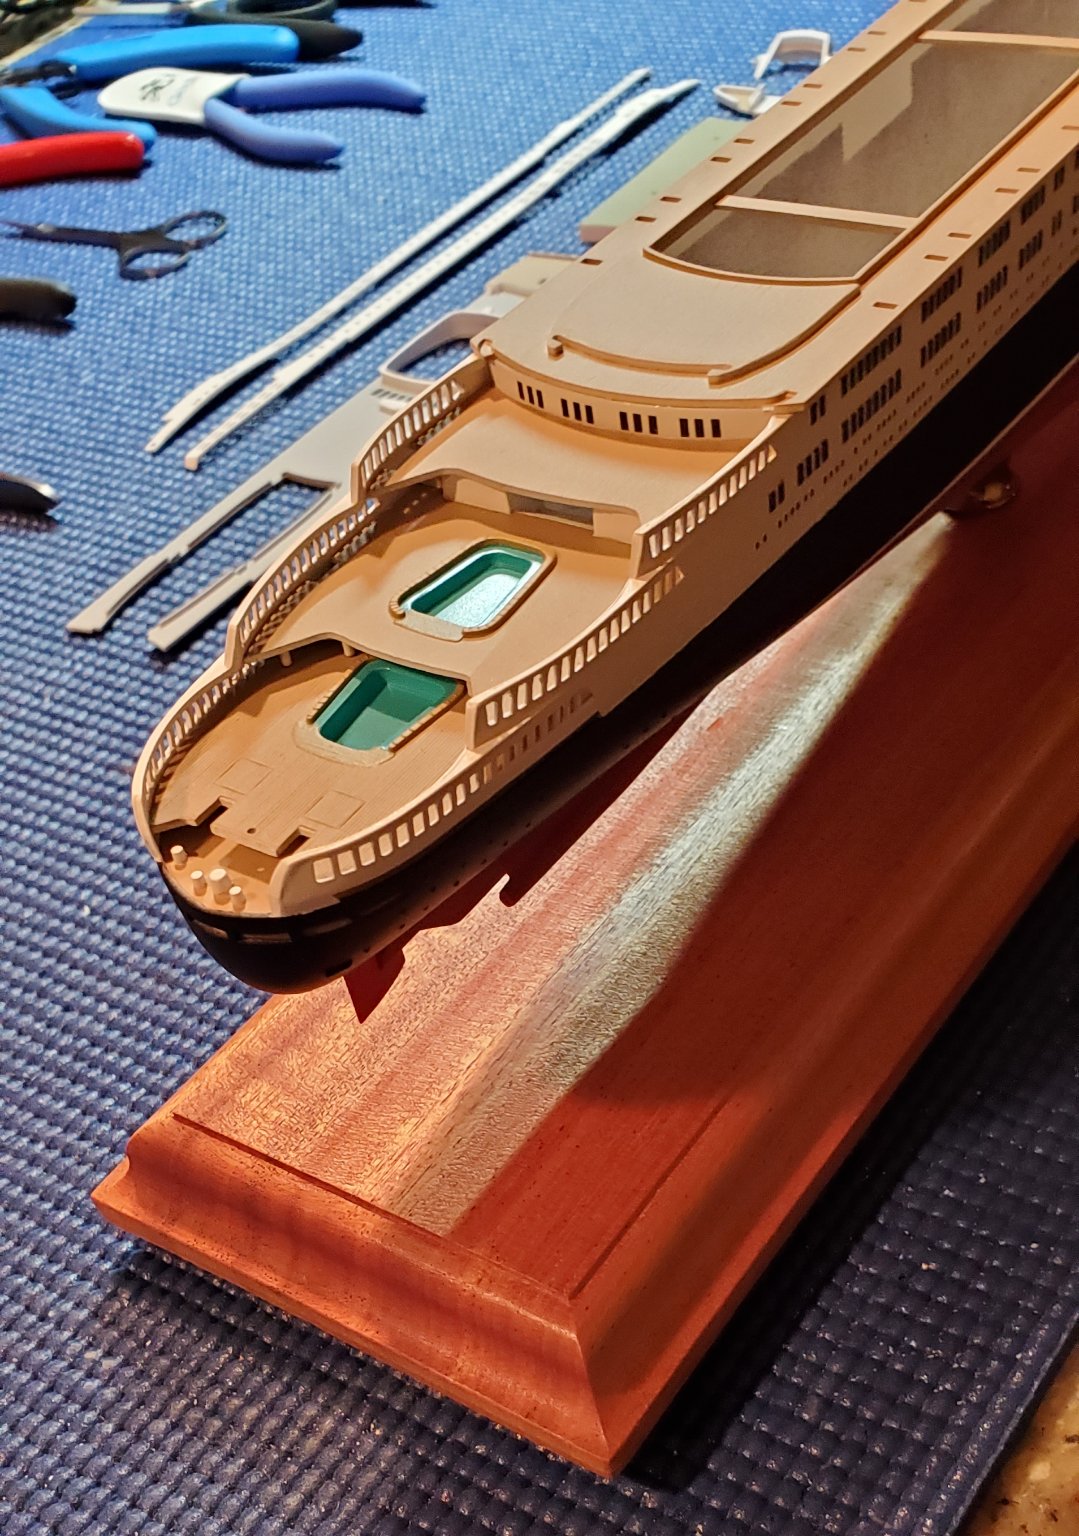
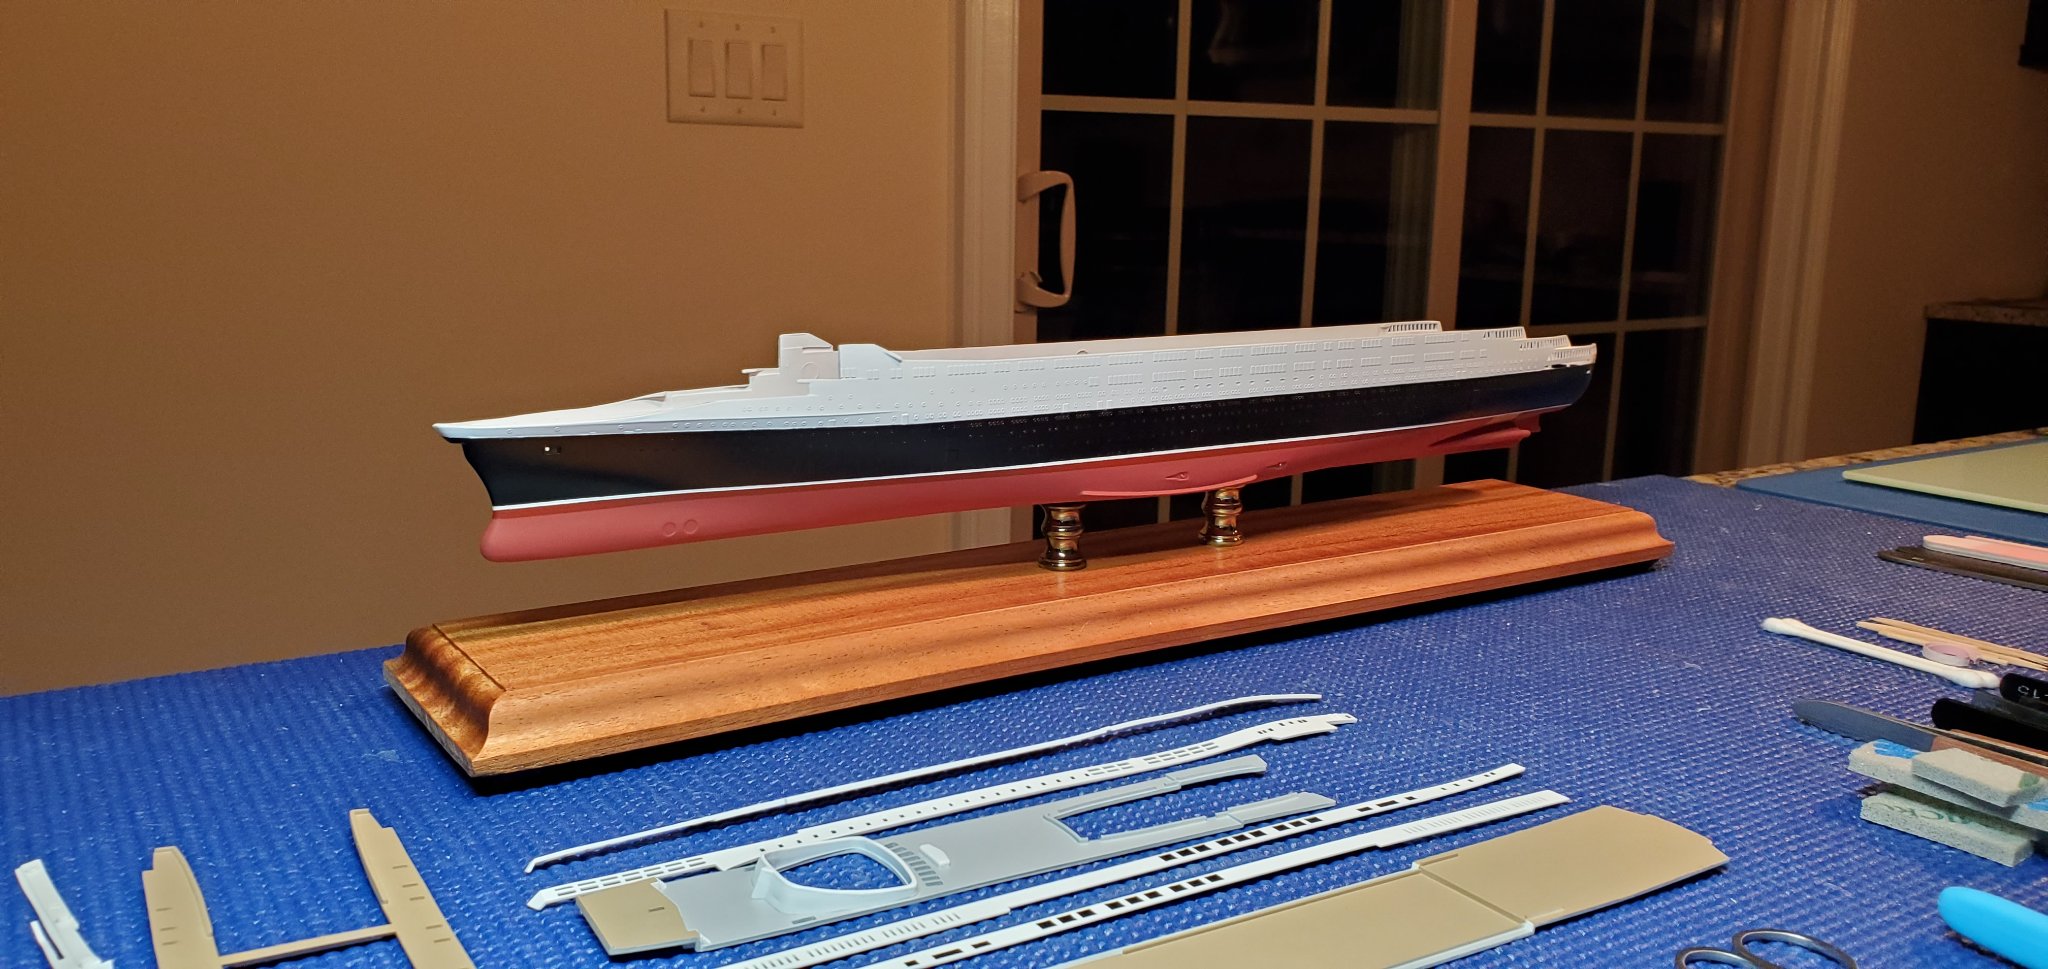
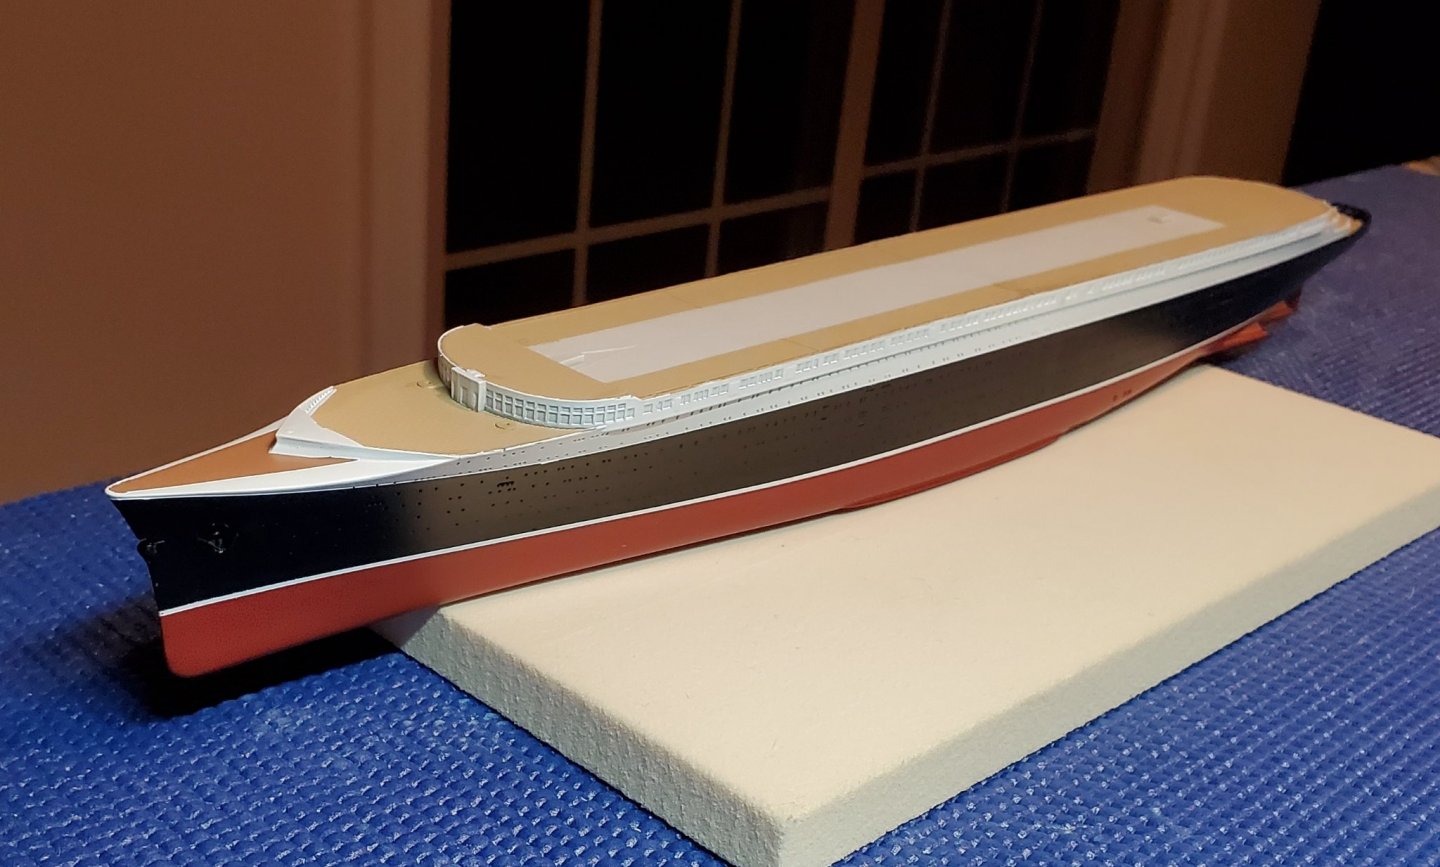
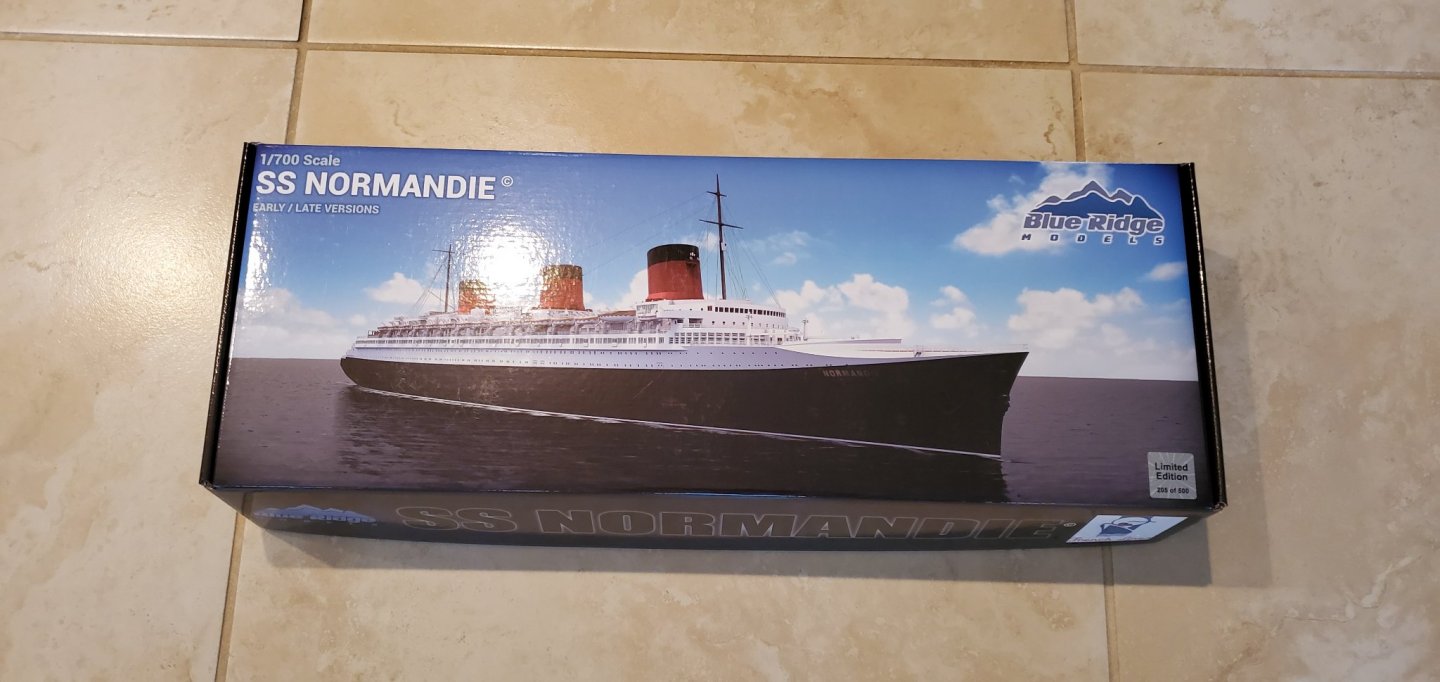
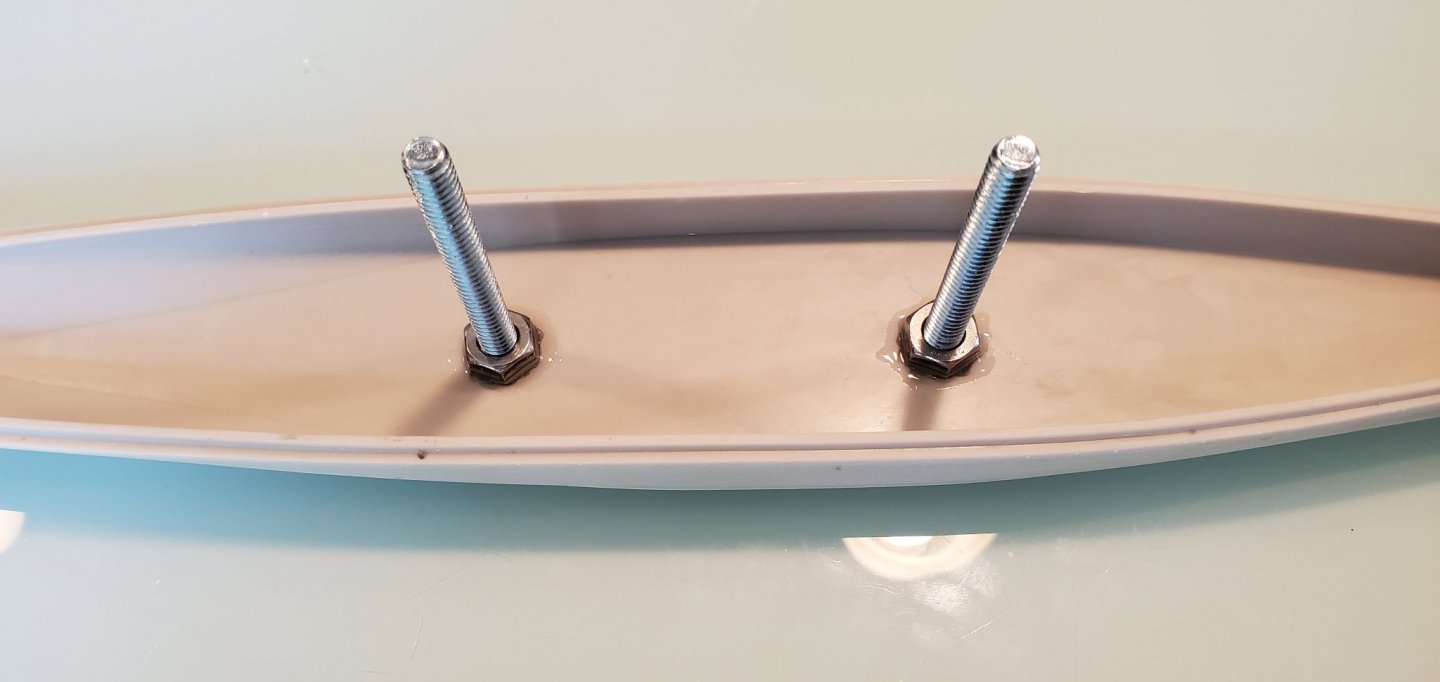
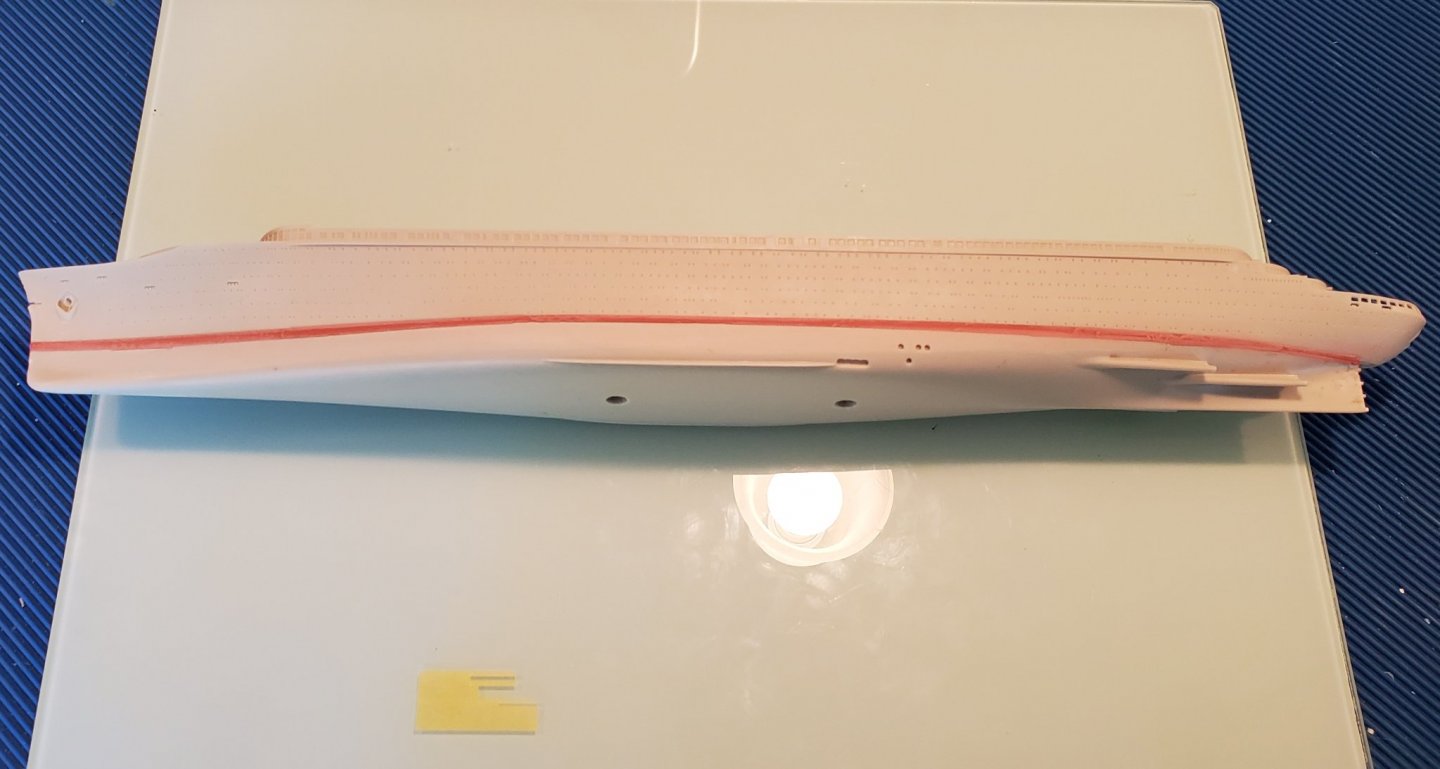
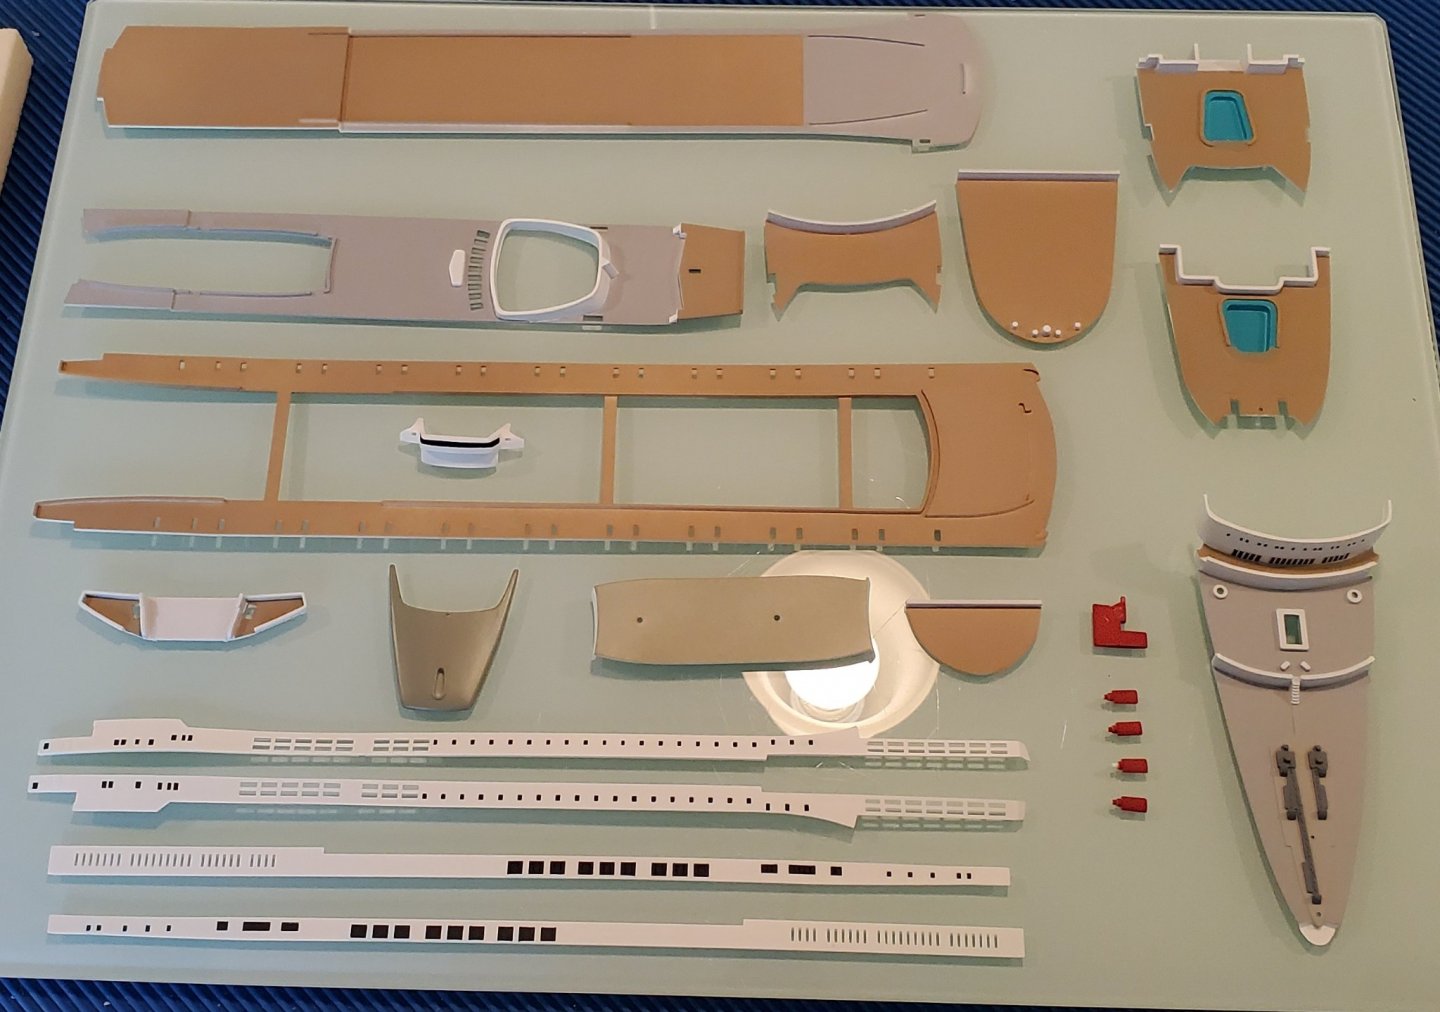
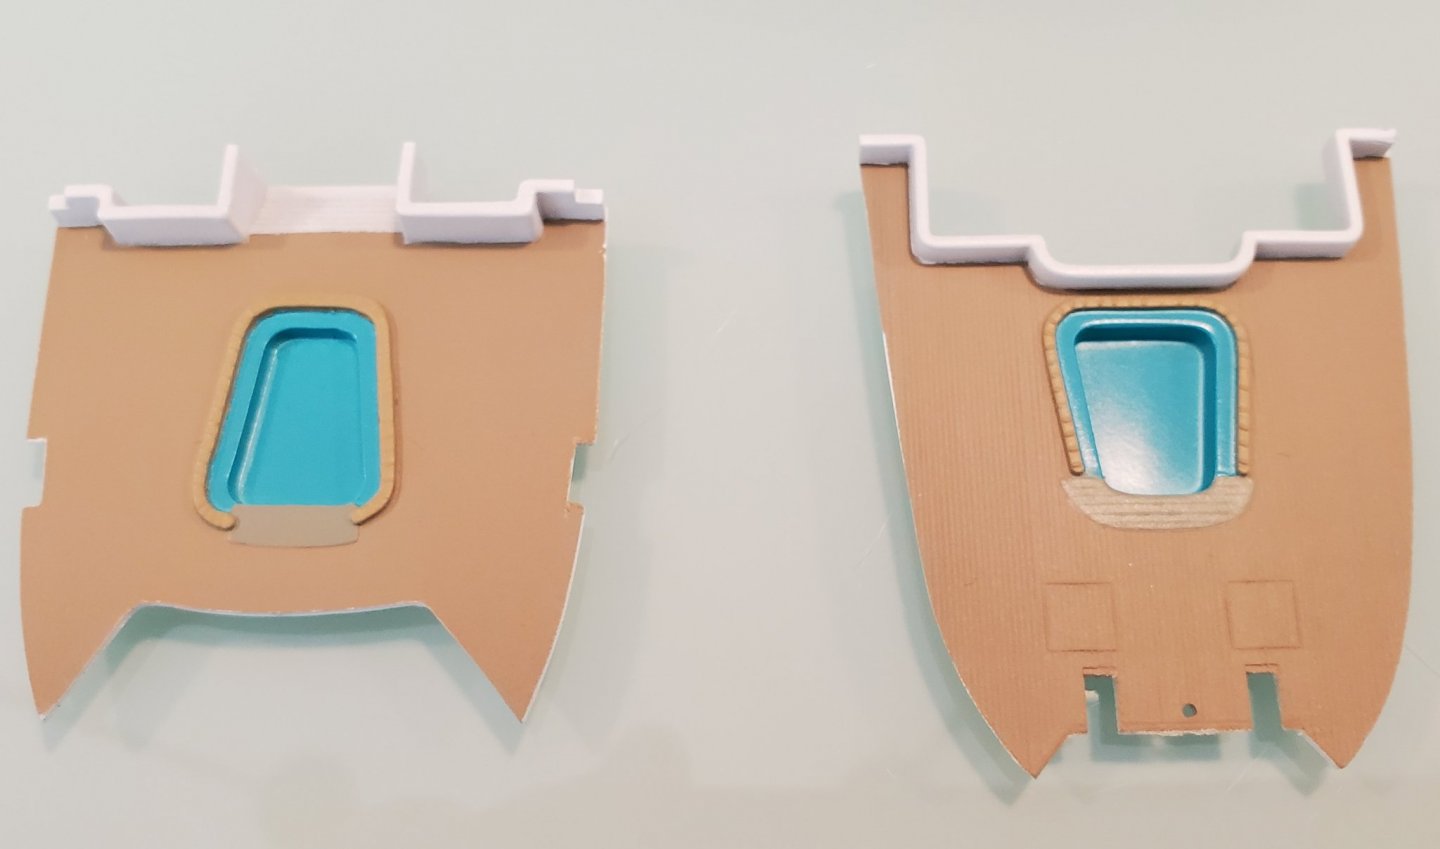
I’m giving my first resin model a try, a 1/700 SS Normandie. Unfortunately, the bottom half of the hull was considerably wider than the top. This has taken a bunch of time and aggravation to join but it seems like it looks reasonable enough to proceed. I epoxied some nuts to the inside of the hull so I can mount it to a display stand.


- 55 replies
-
- 9
-
-
- Blue Ridge Models
- Normandie
- (and 2 more)
-
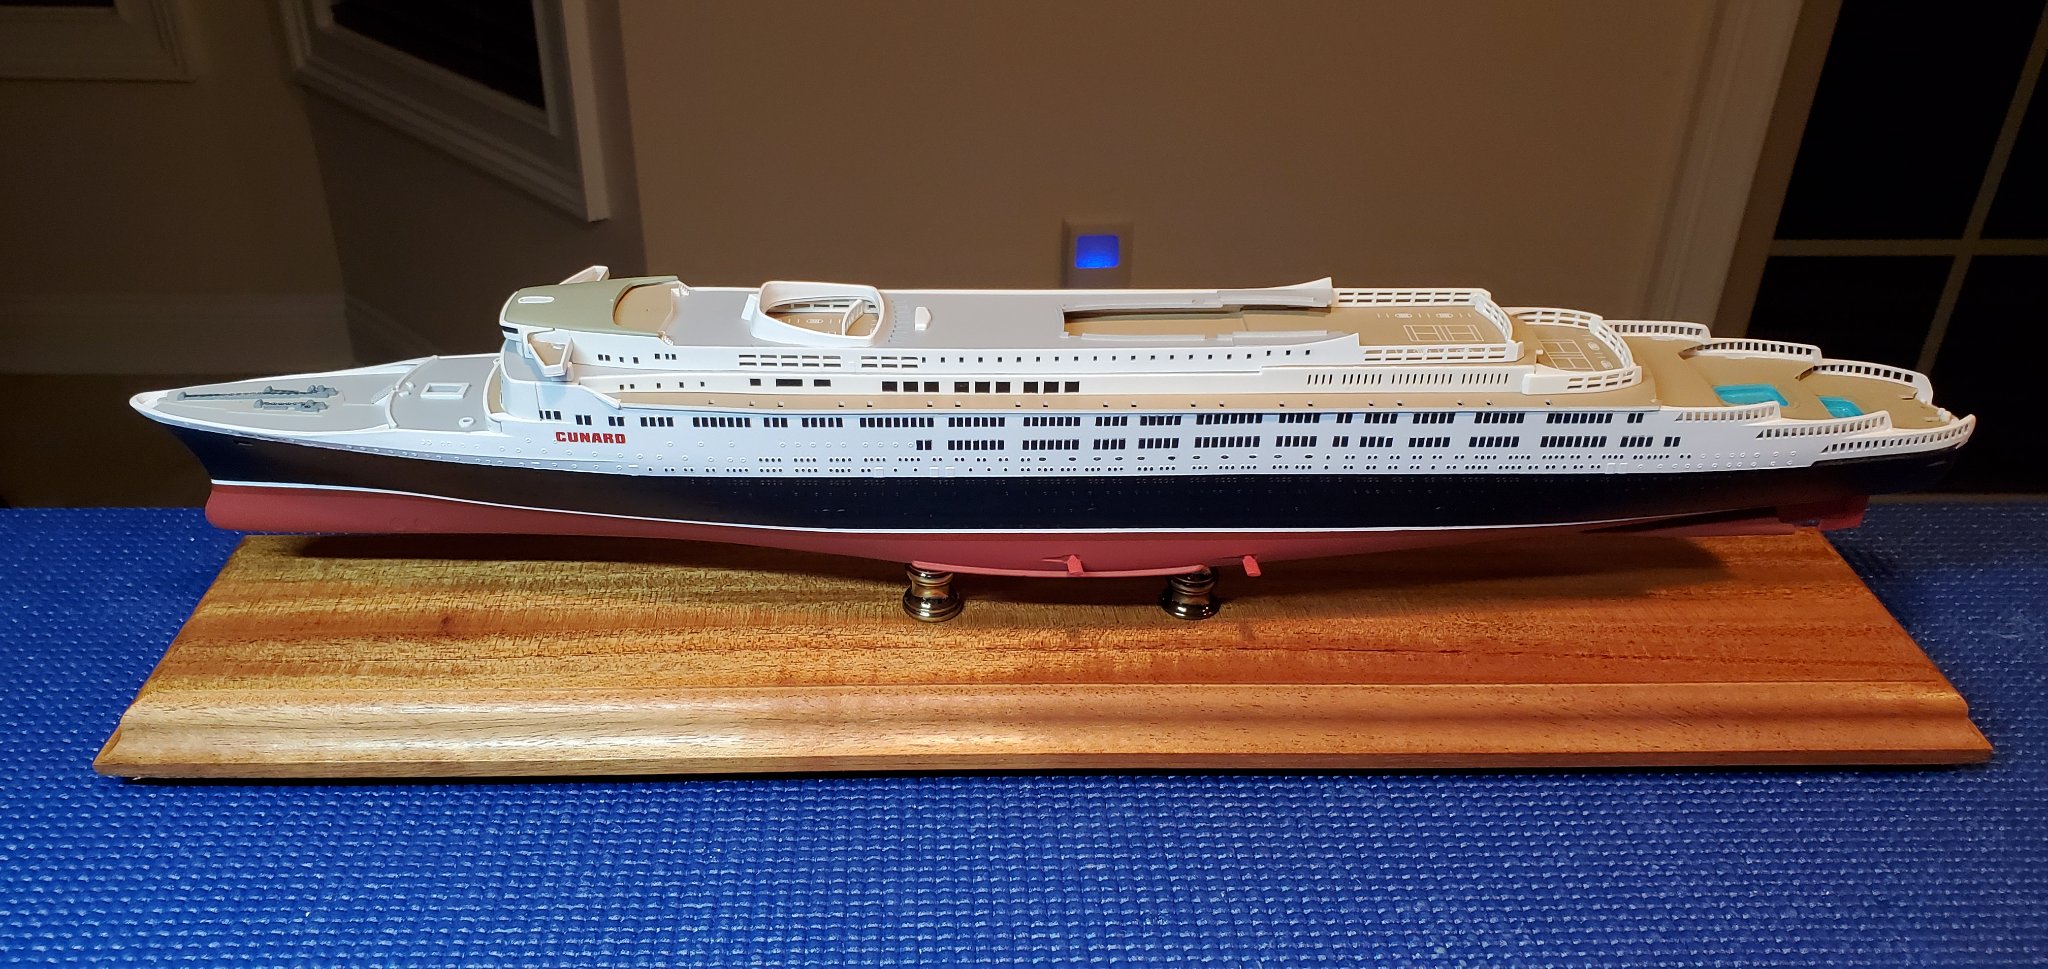
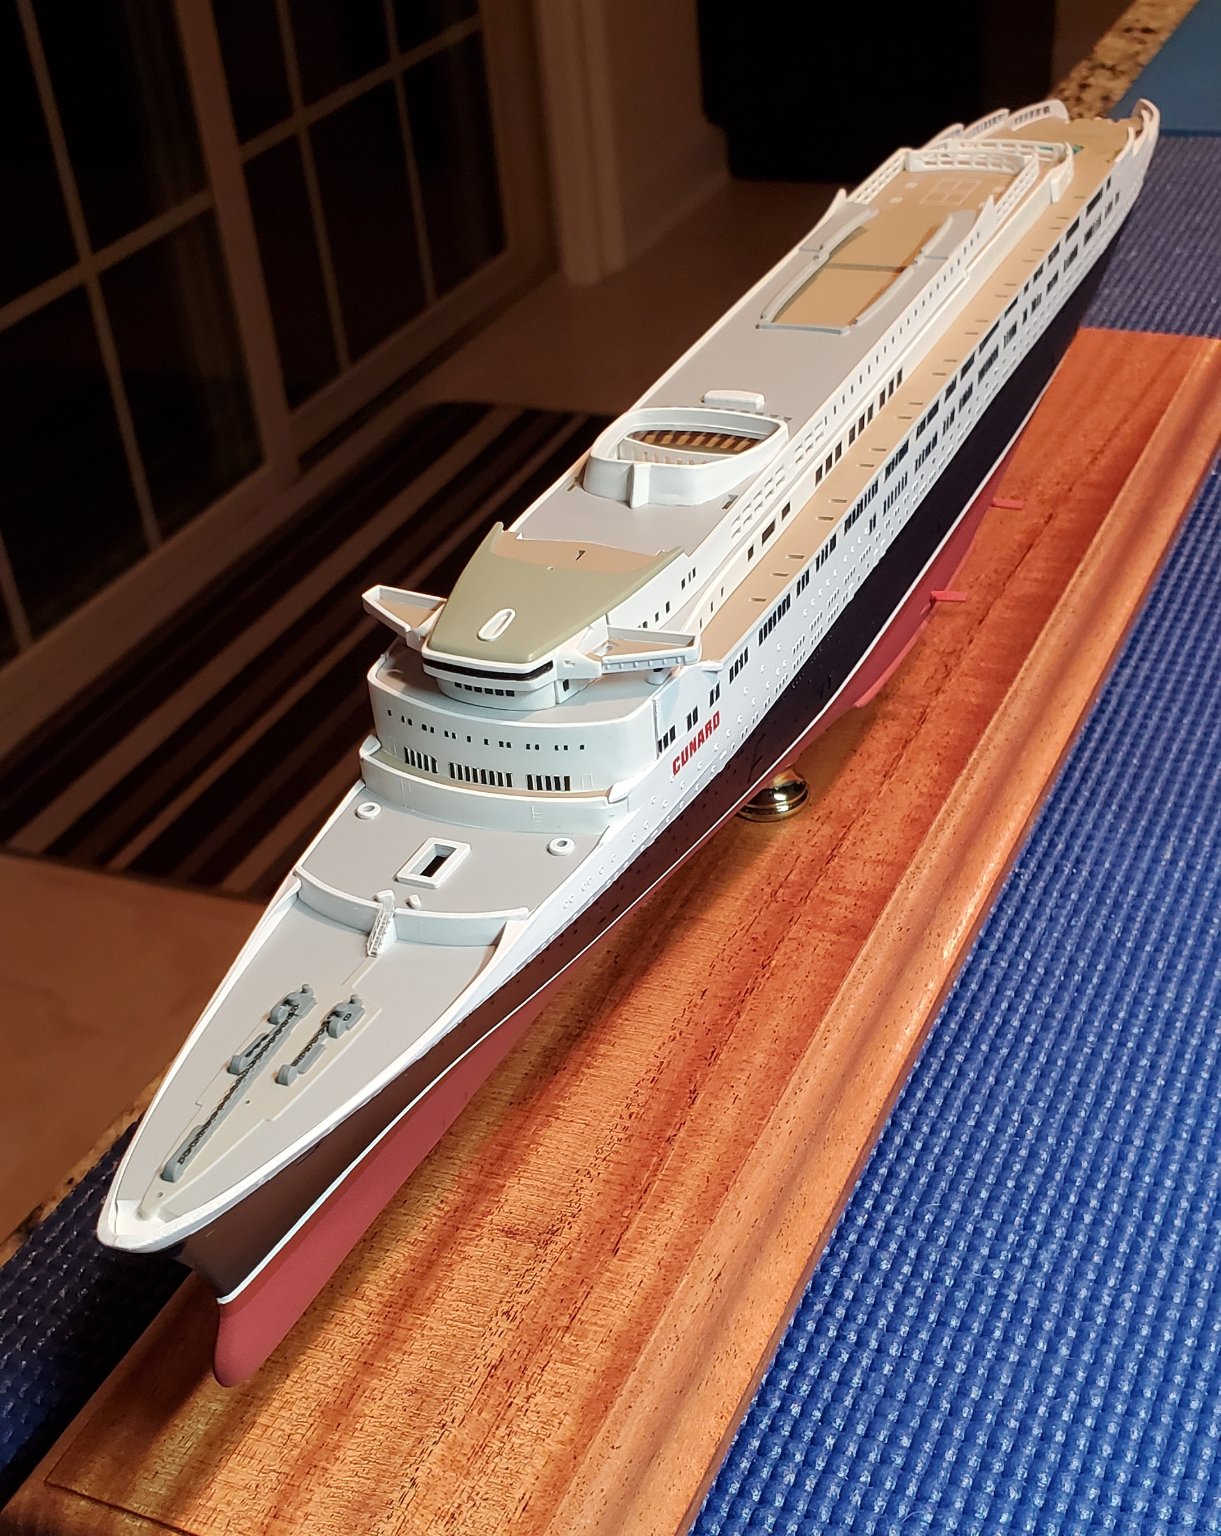
Thanks. I used a mix of Tamiya paints to get that color. I experimented until I thought it looked right. The following is what I did which includes the amount of drops and that number broken down to its lowest denominator in parts. XF-15 Flat Flesh-168 drops-42 parts XF-3 Flat Yellow-84 drops-21 parts XF-64 Red Brown-12 drops-3 parts XF-57 Buff-32 drops-8 parts XF-2 Flat White-228 drops-57 parts
-
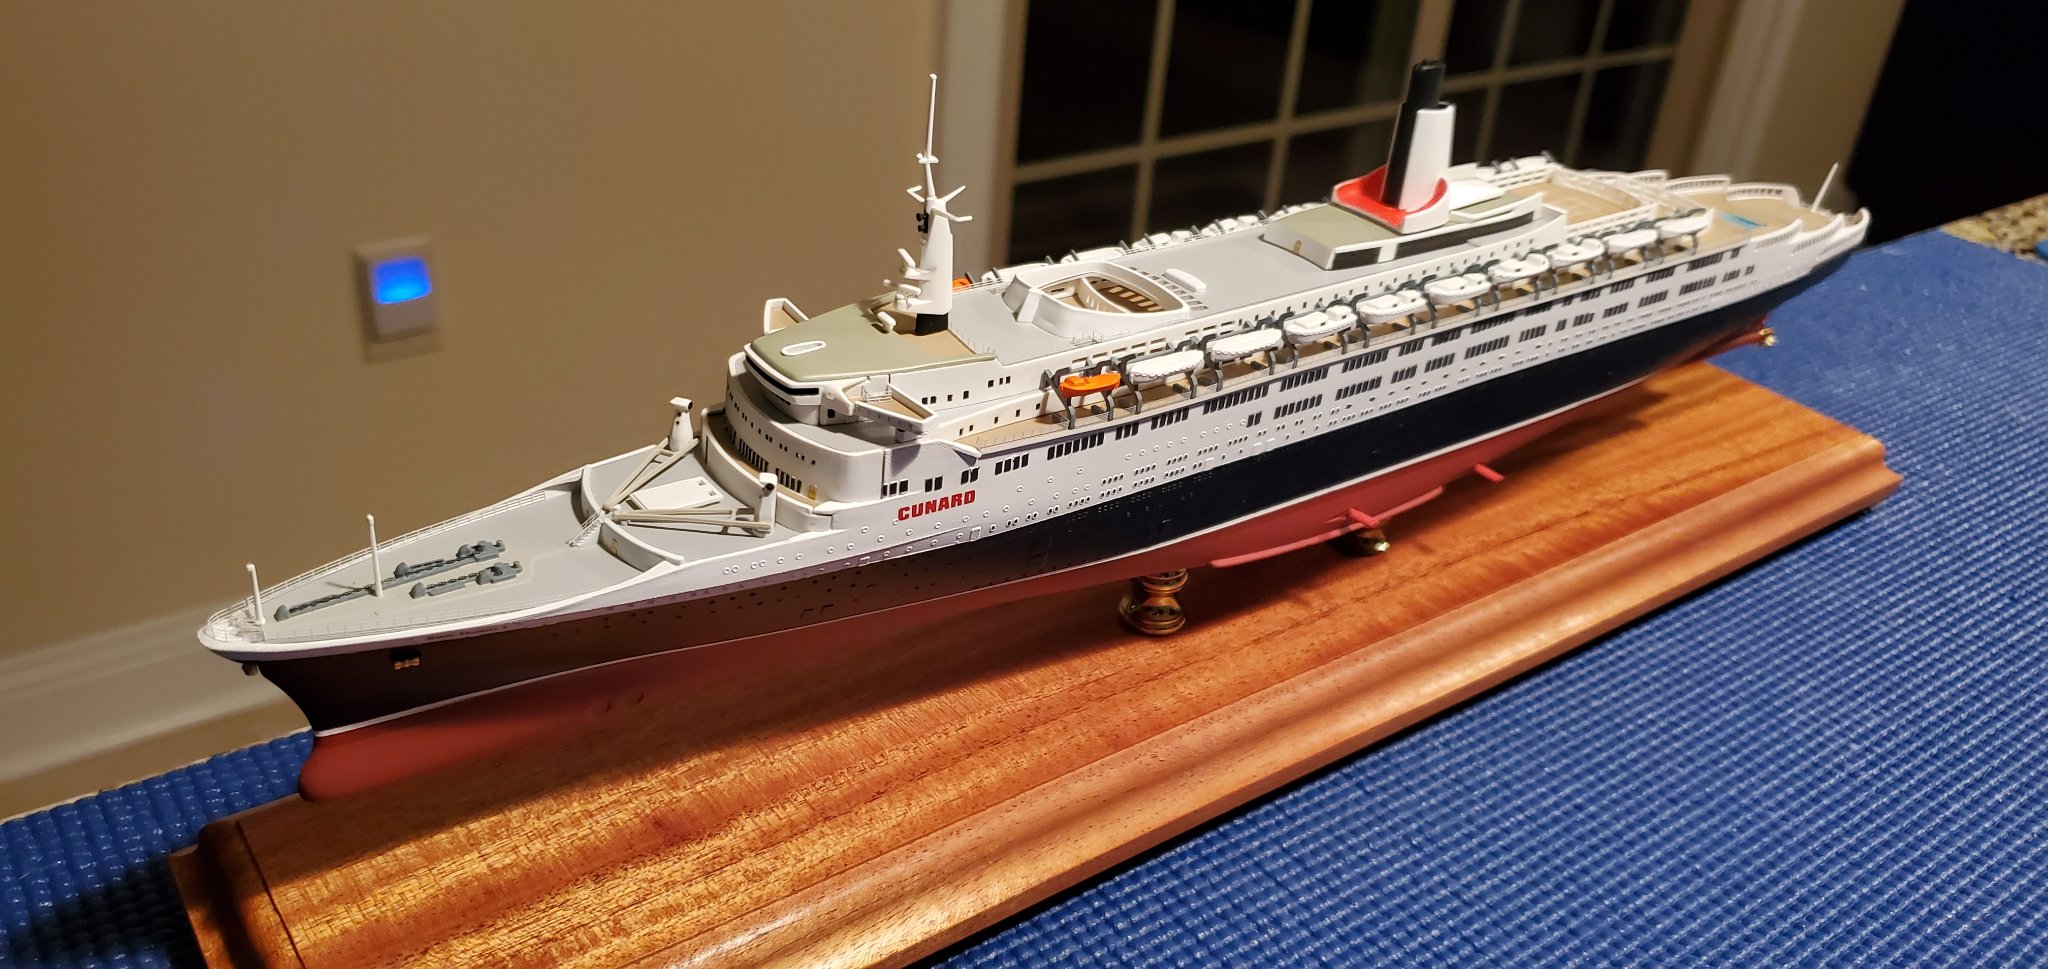
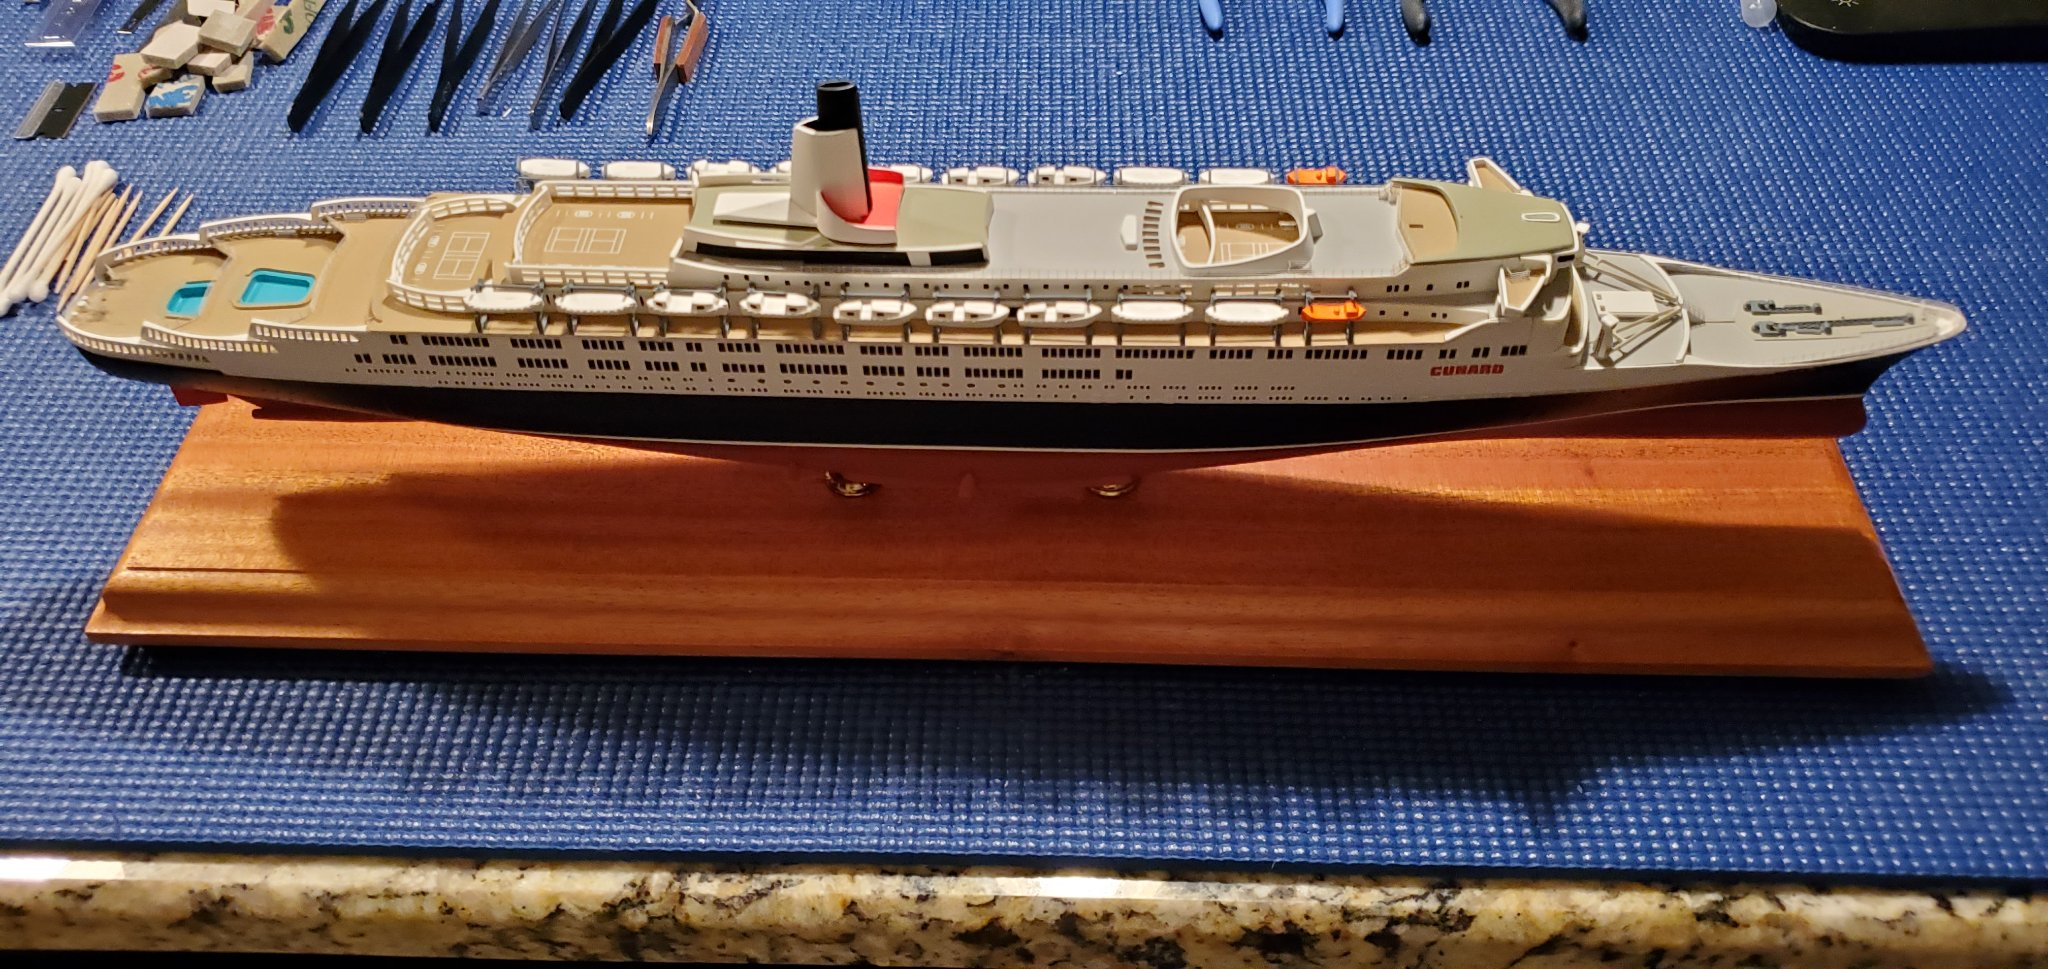
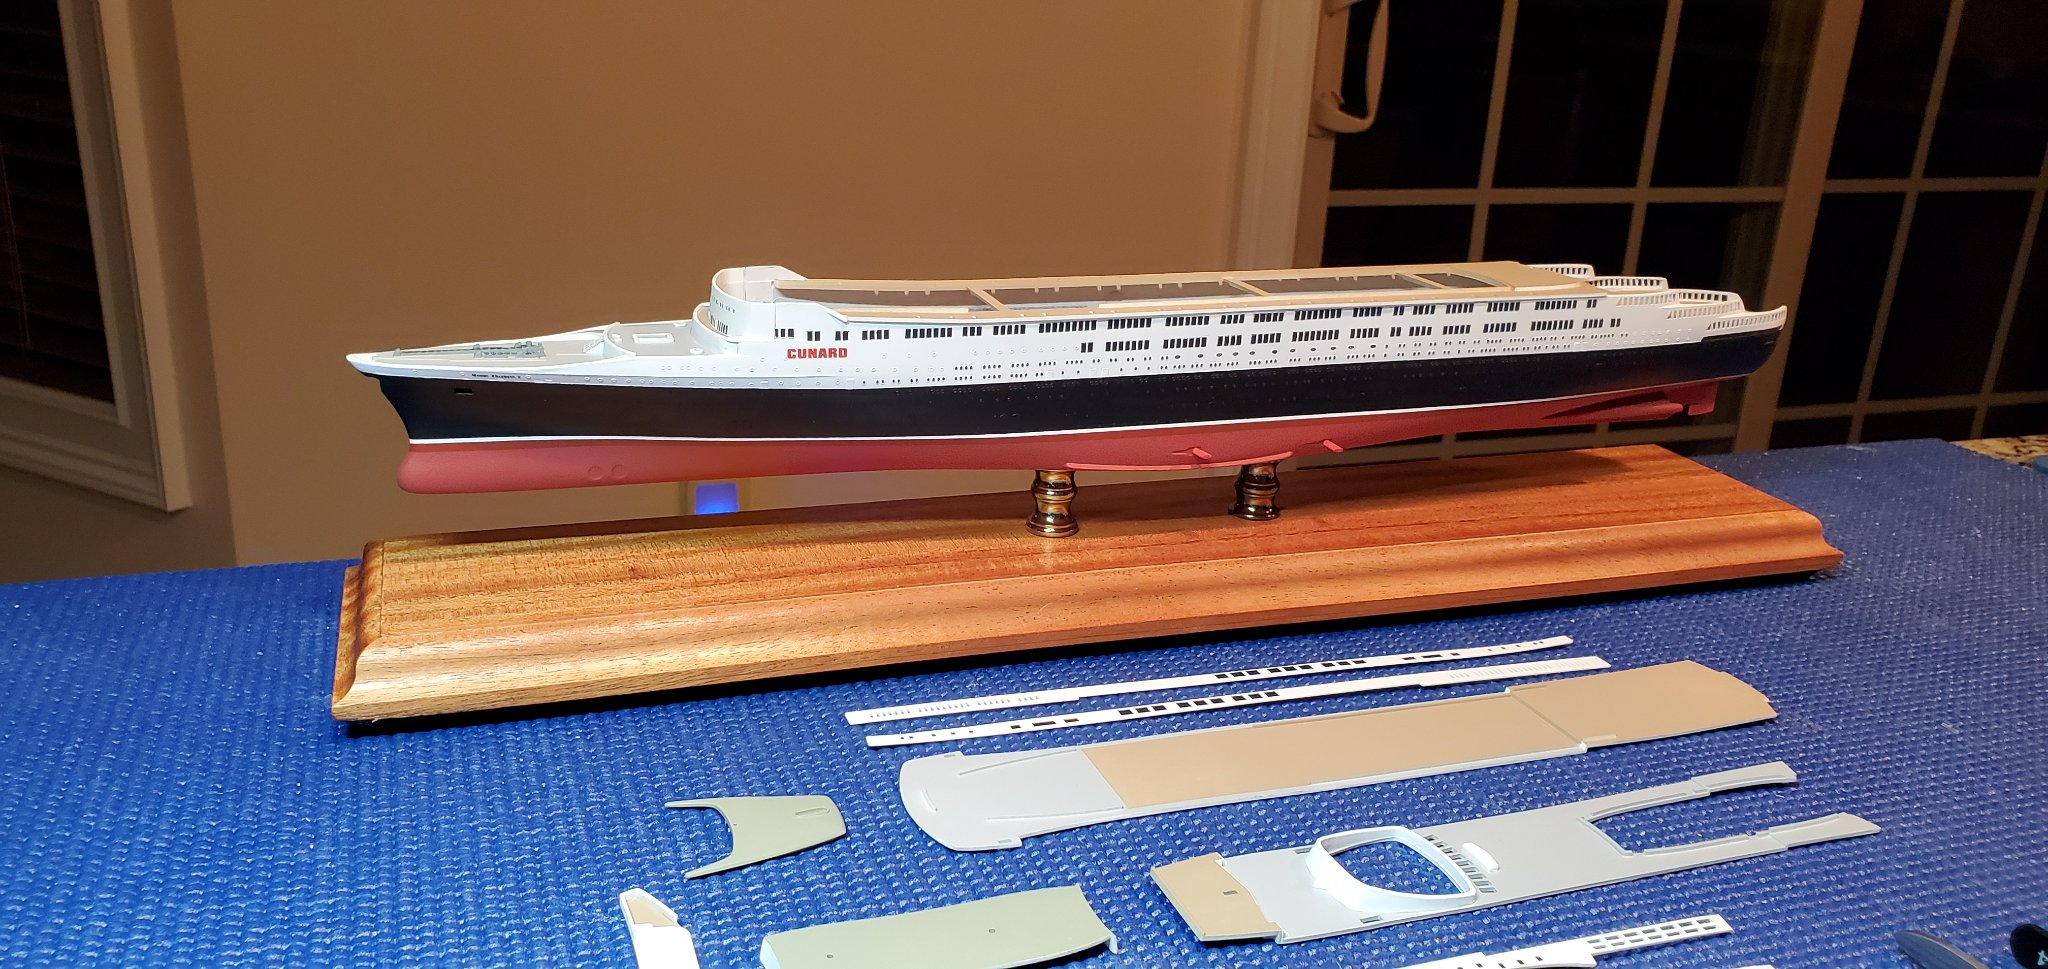
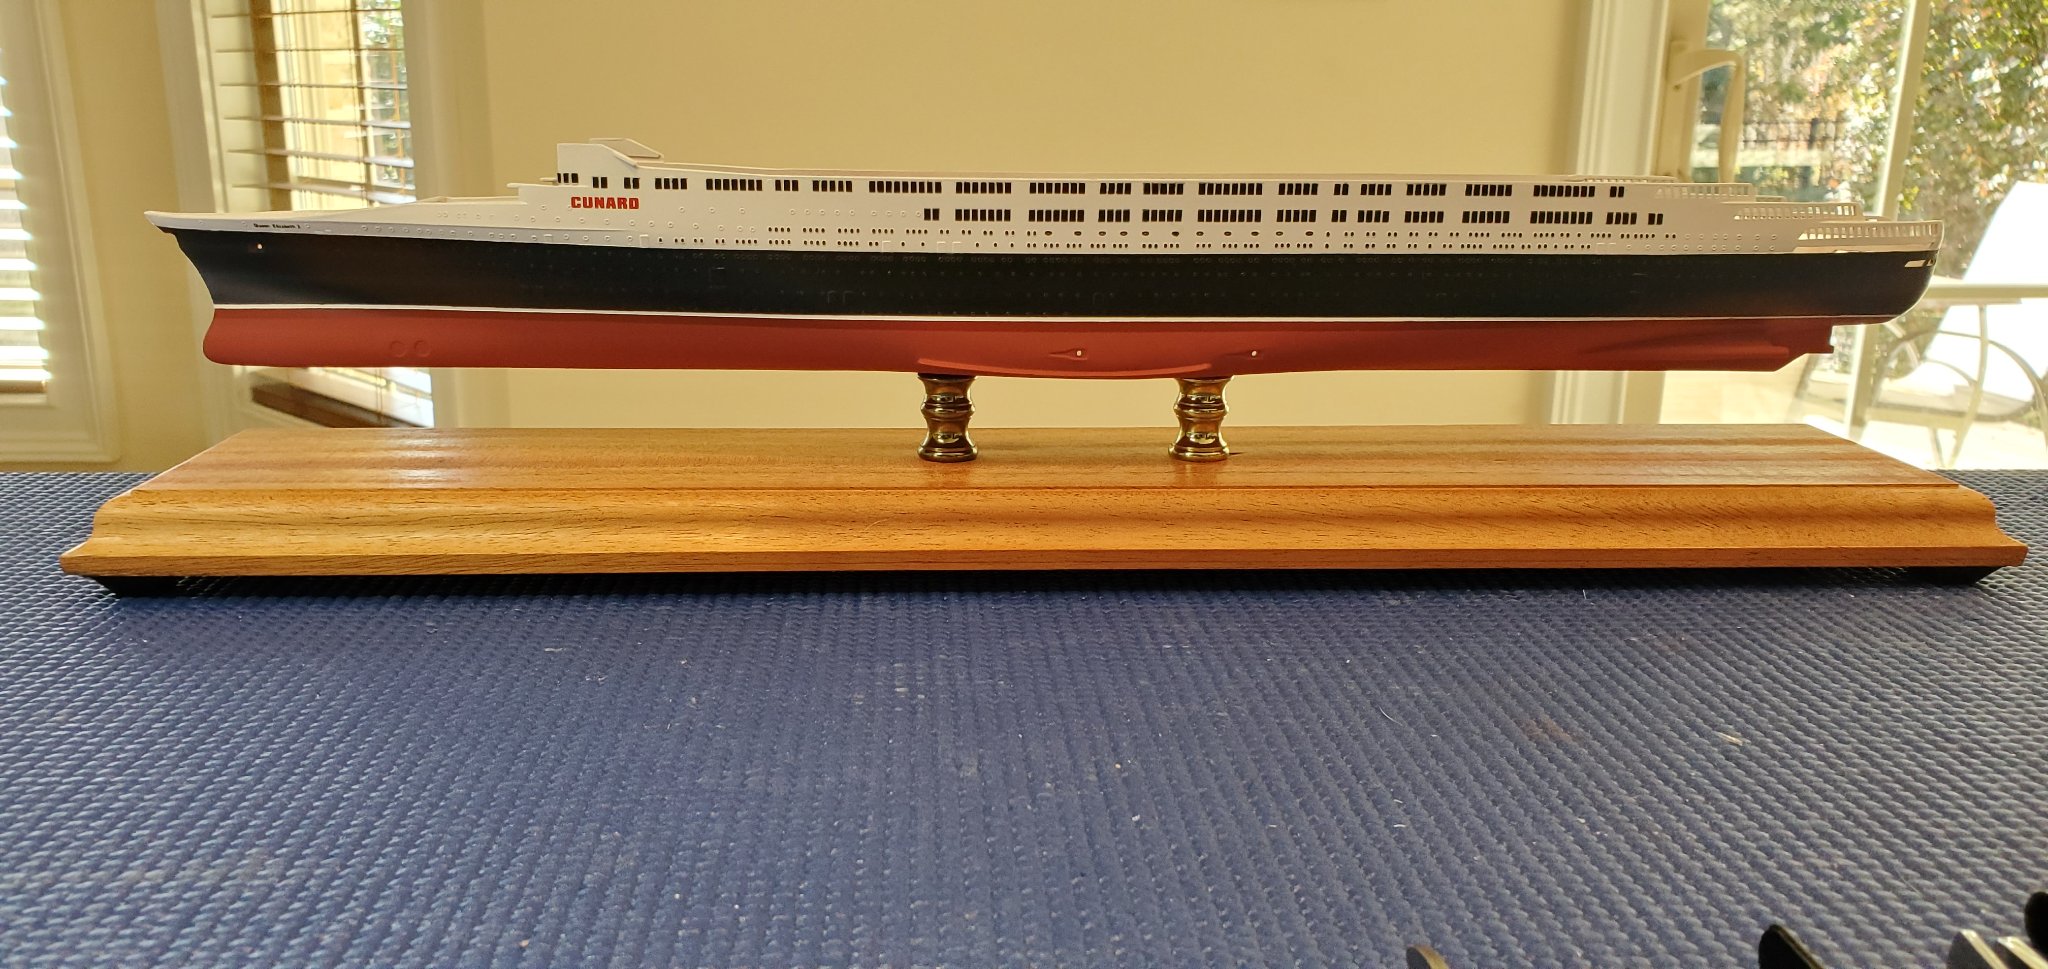
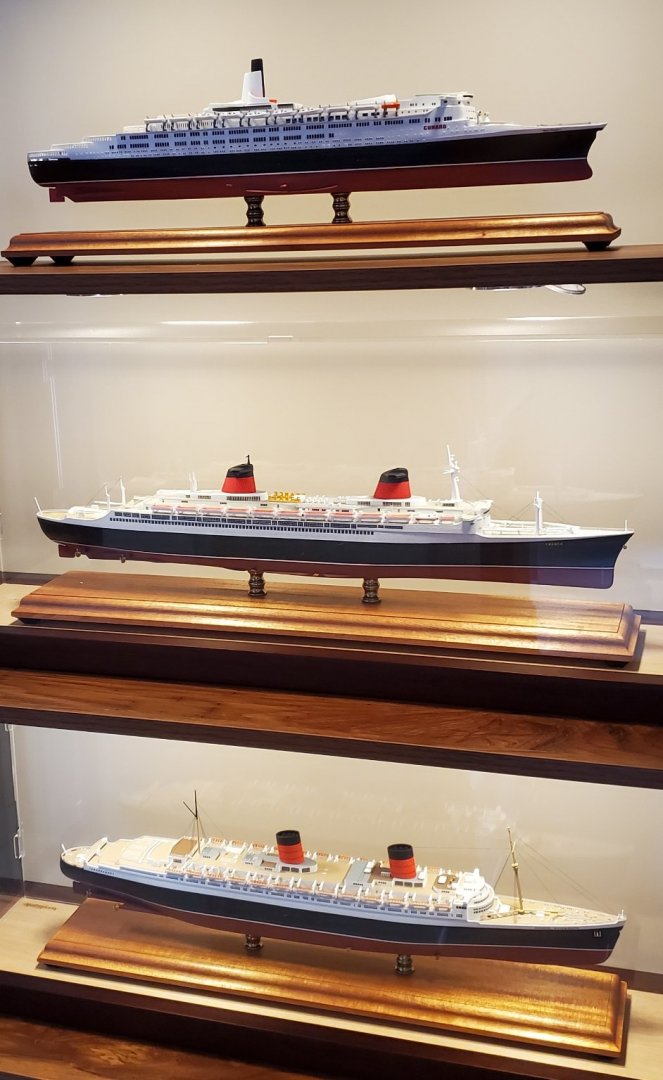
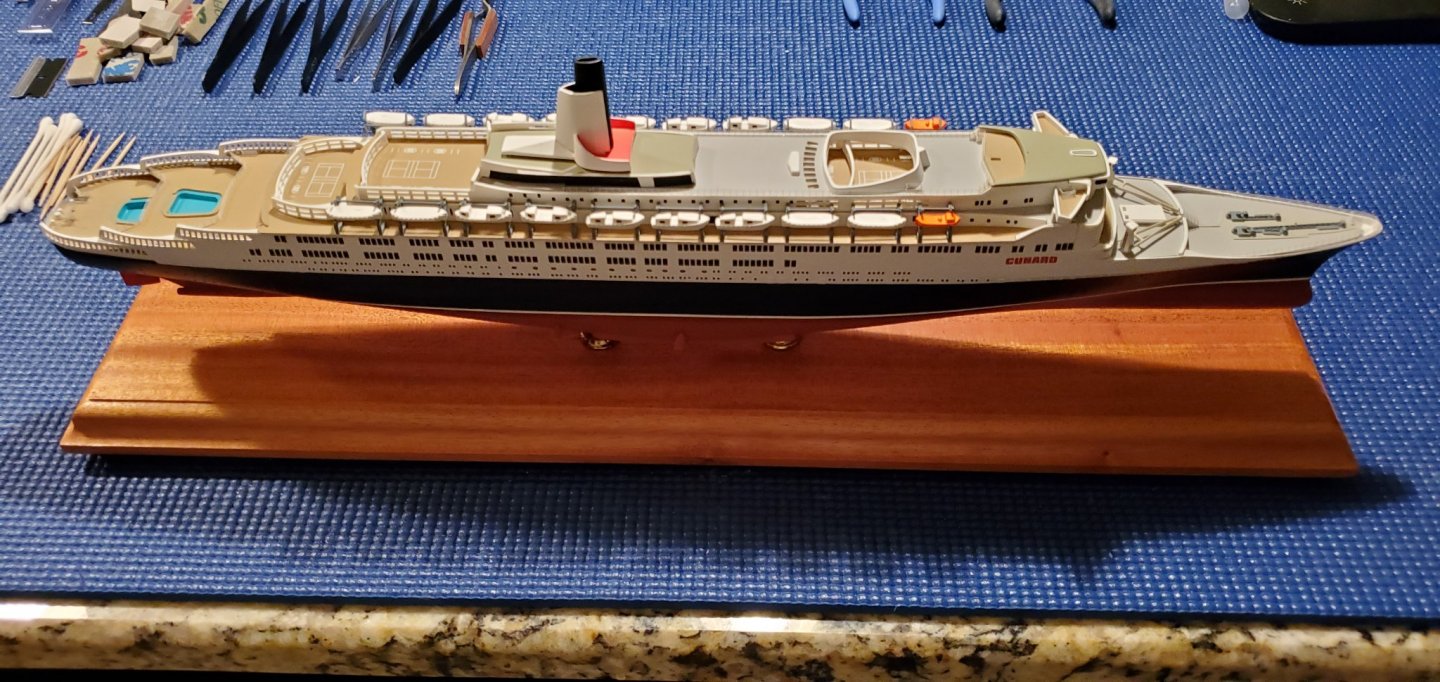
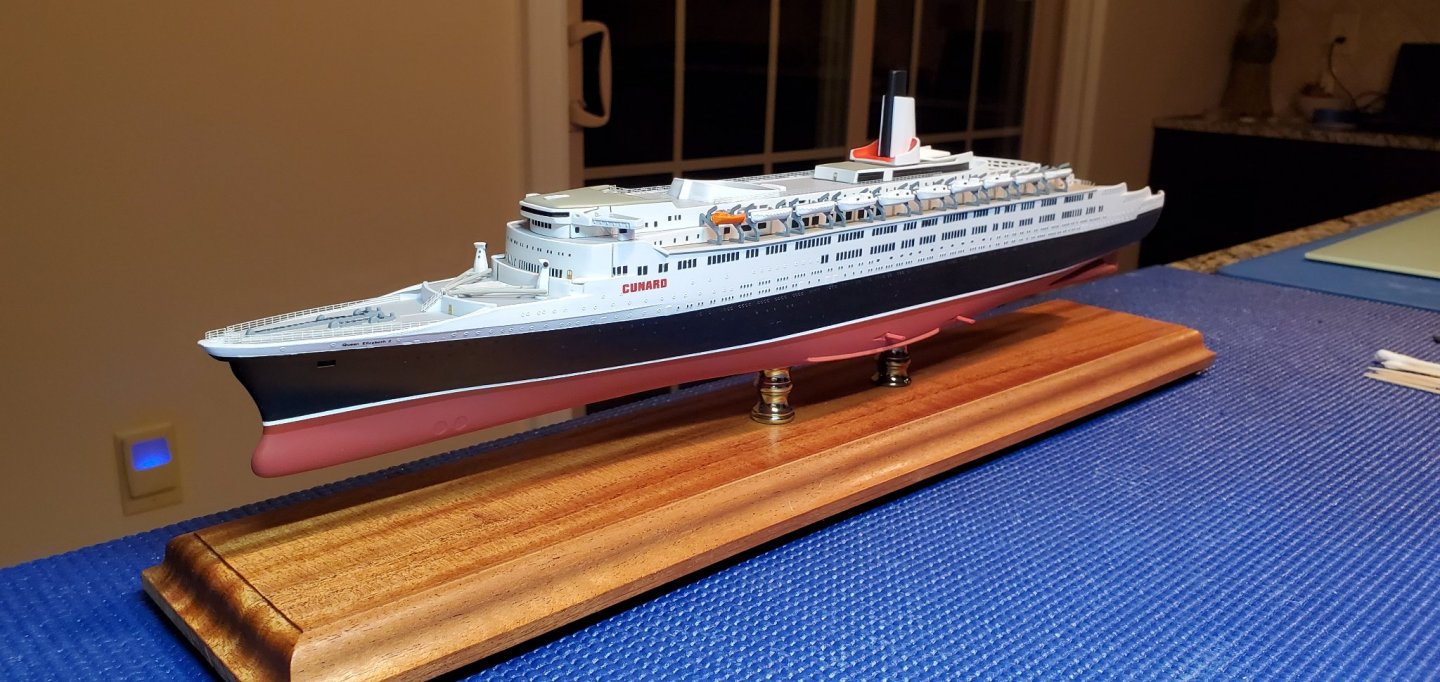
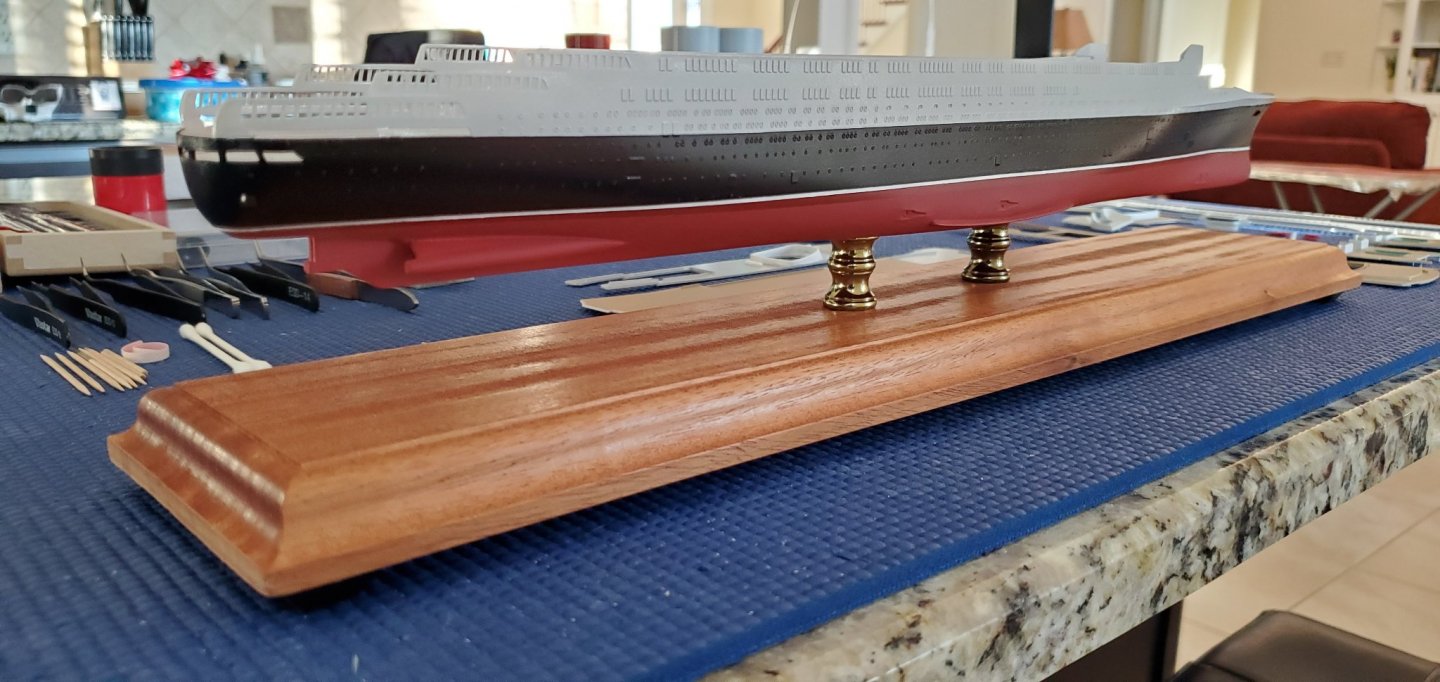
Thank You. Yves, here are my three 1/600's with the QE2 not complete or in a display case yet.
- 32 replies
-
- 5
-
-
- Queen Elizabeth 2
- Airfix
- (and 2 more)
-
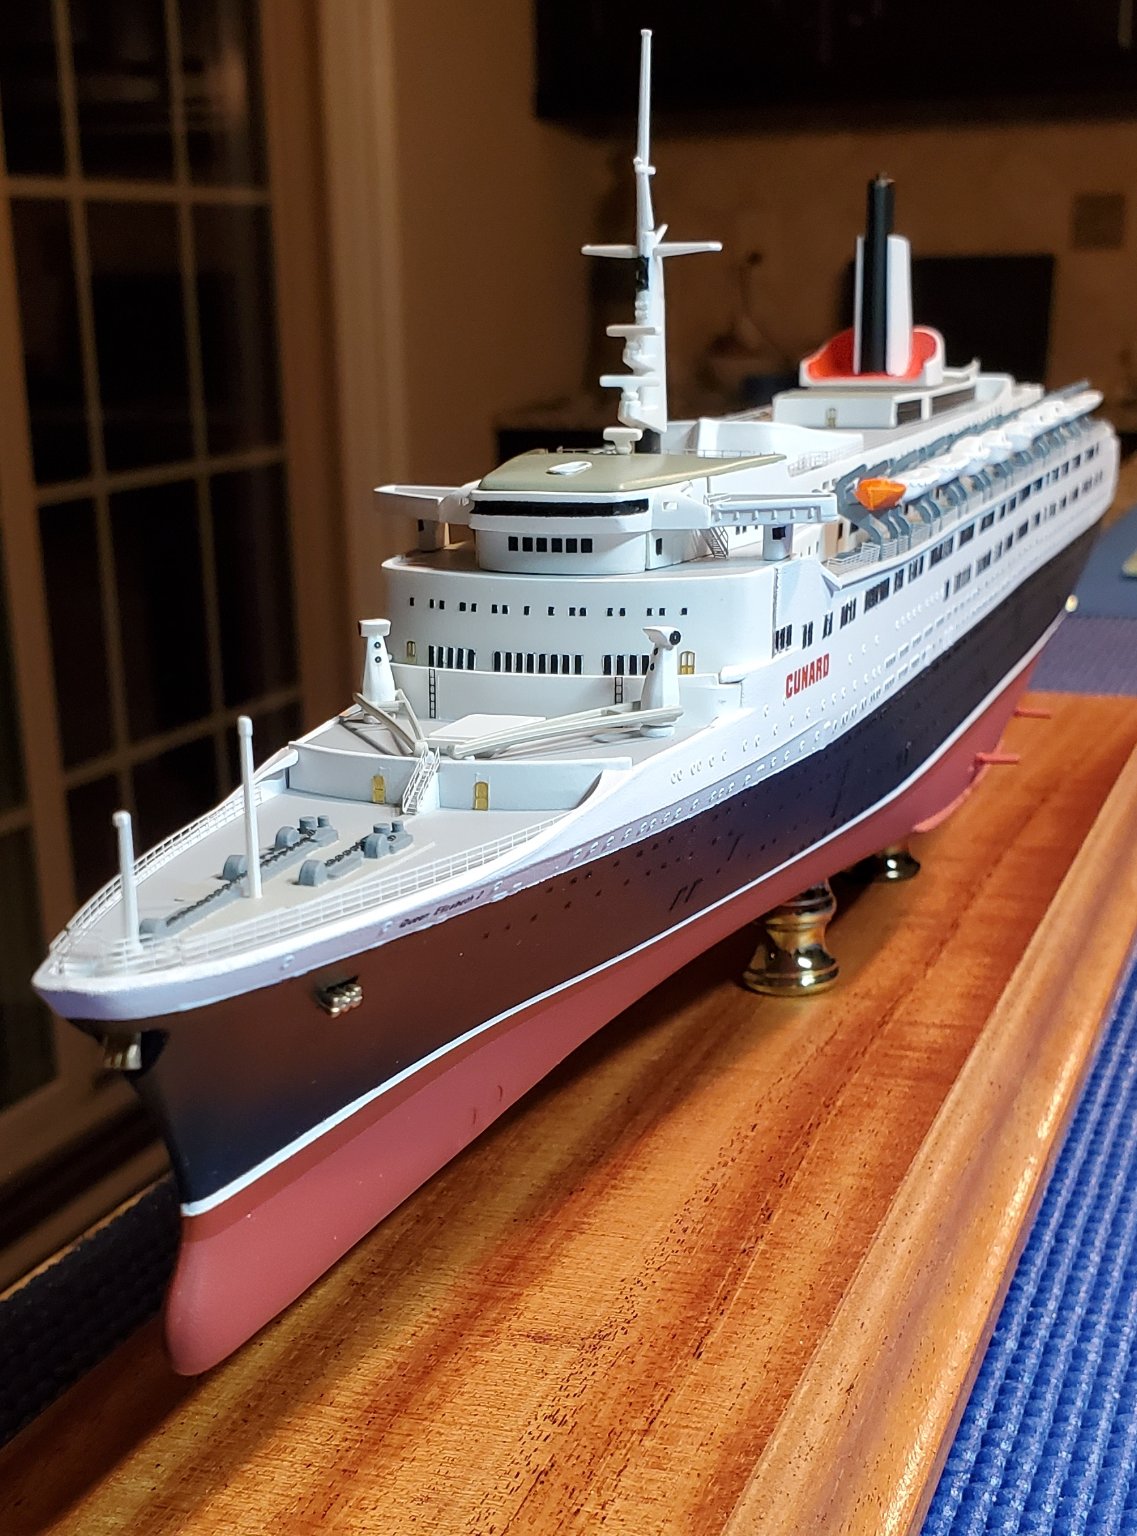
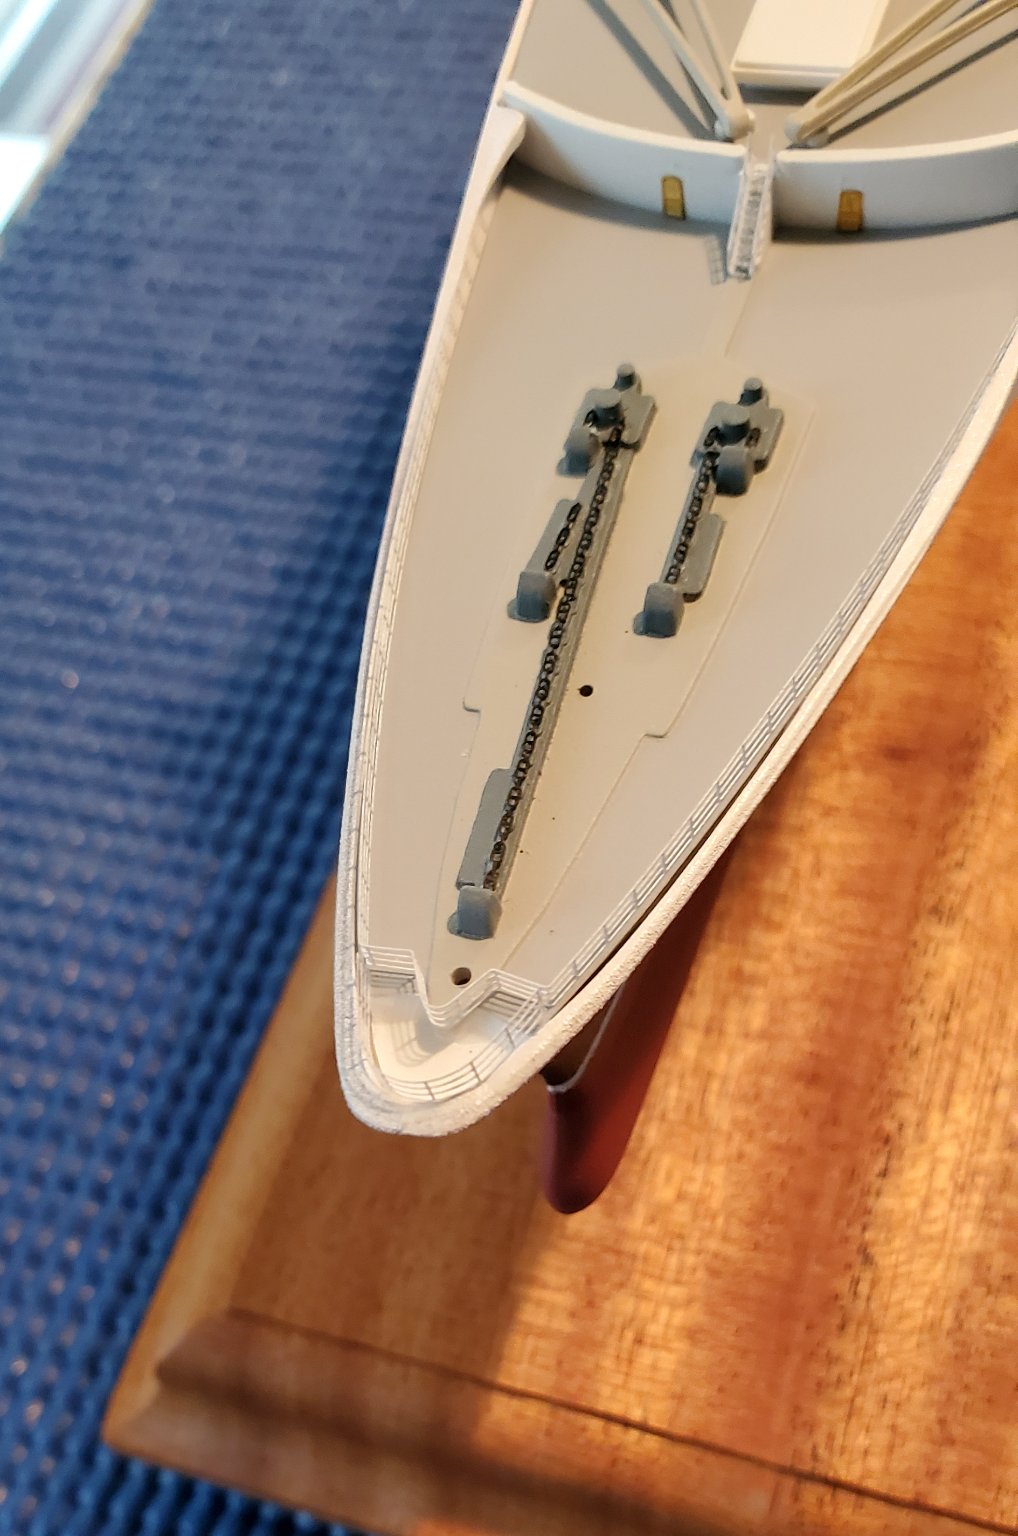
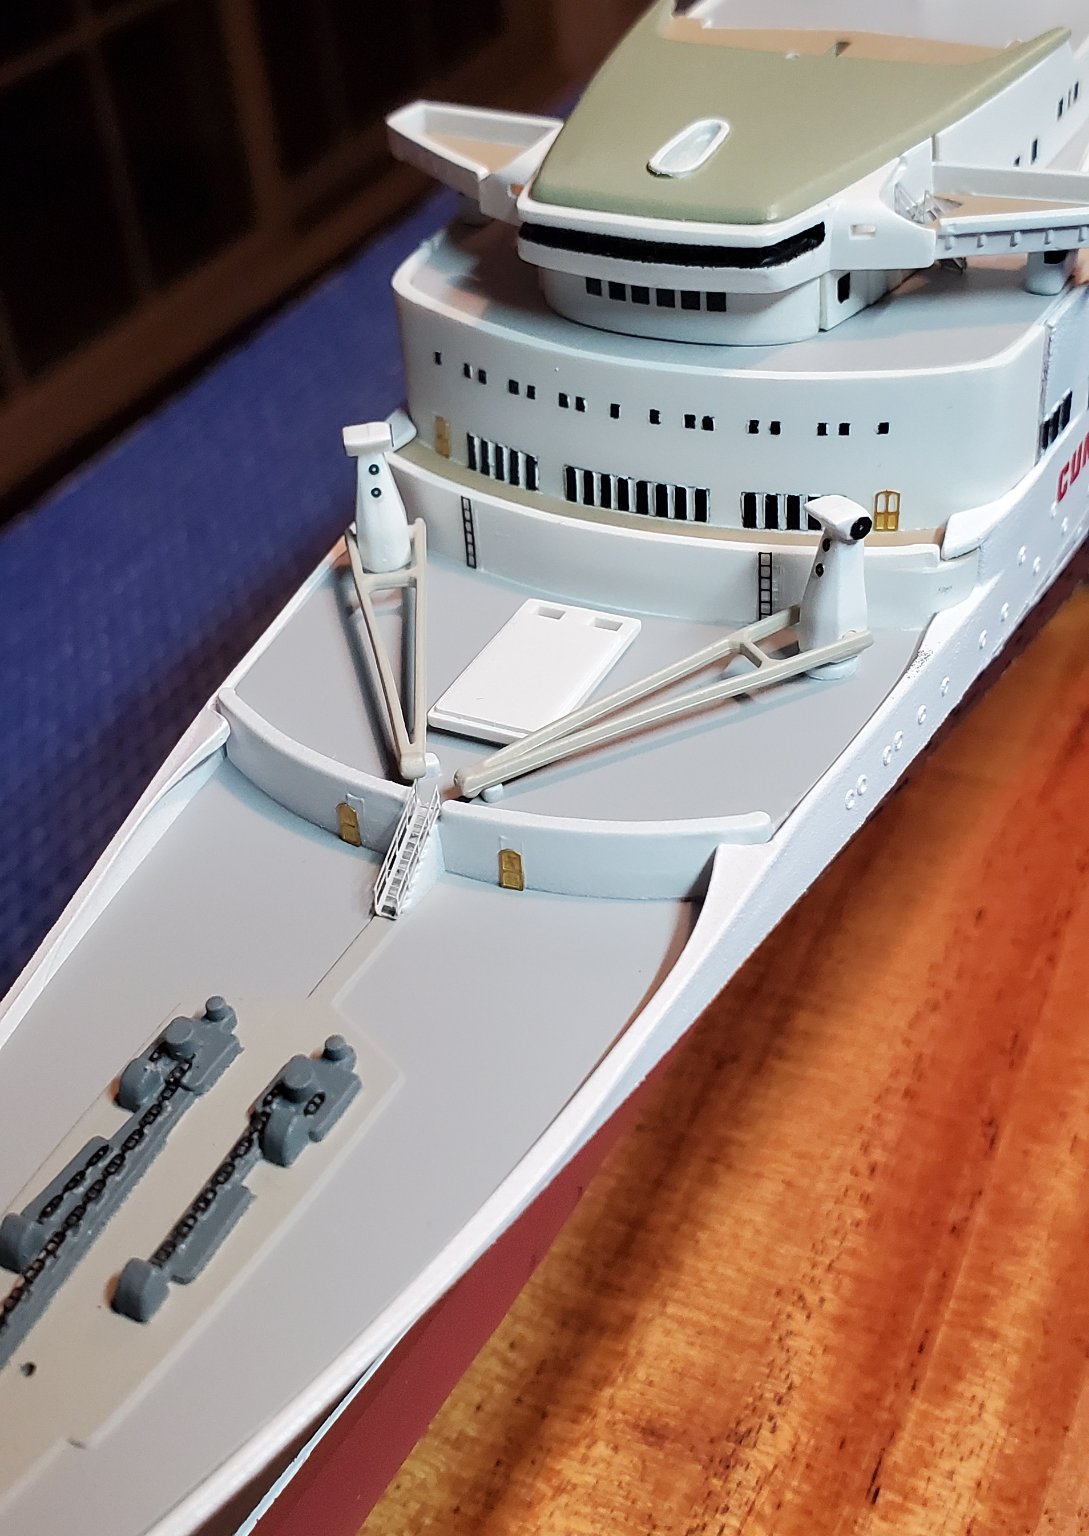
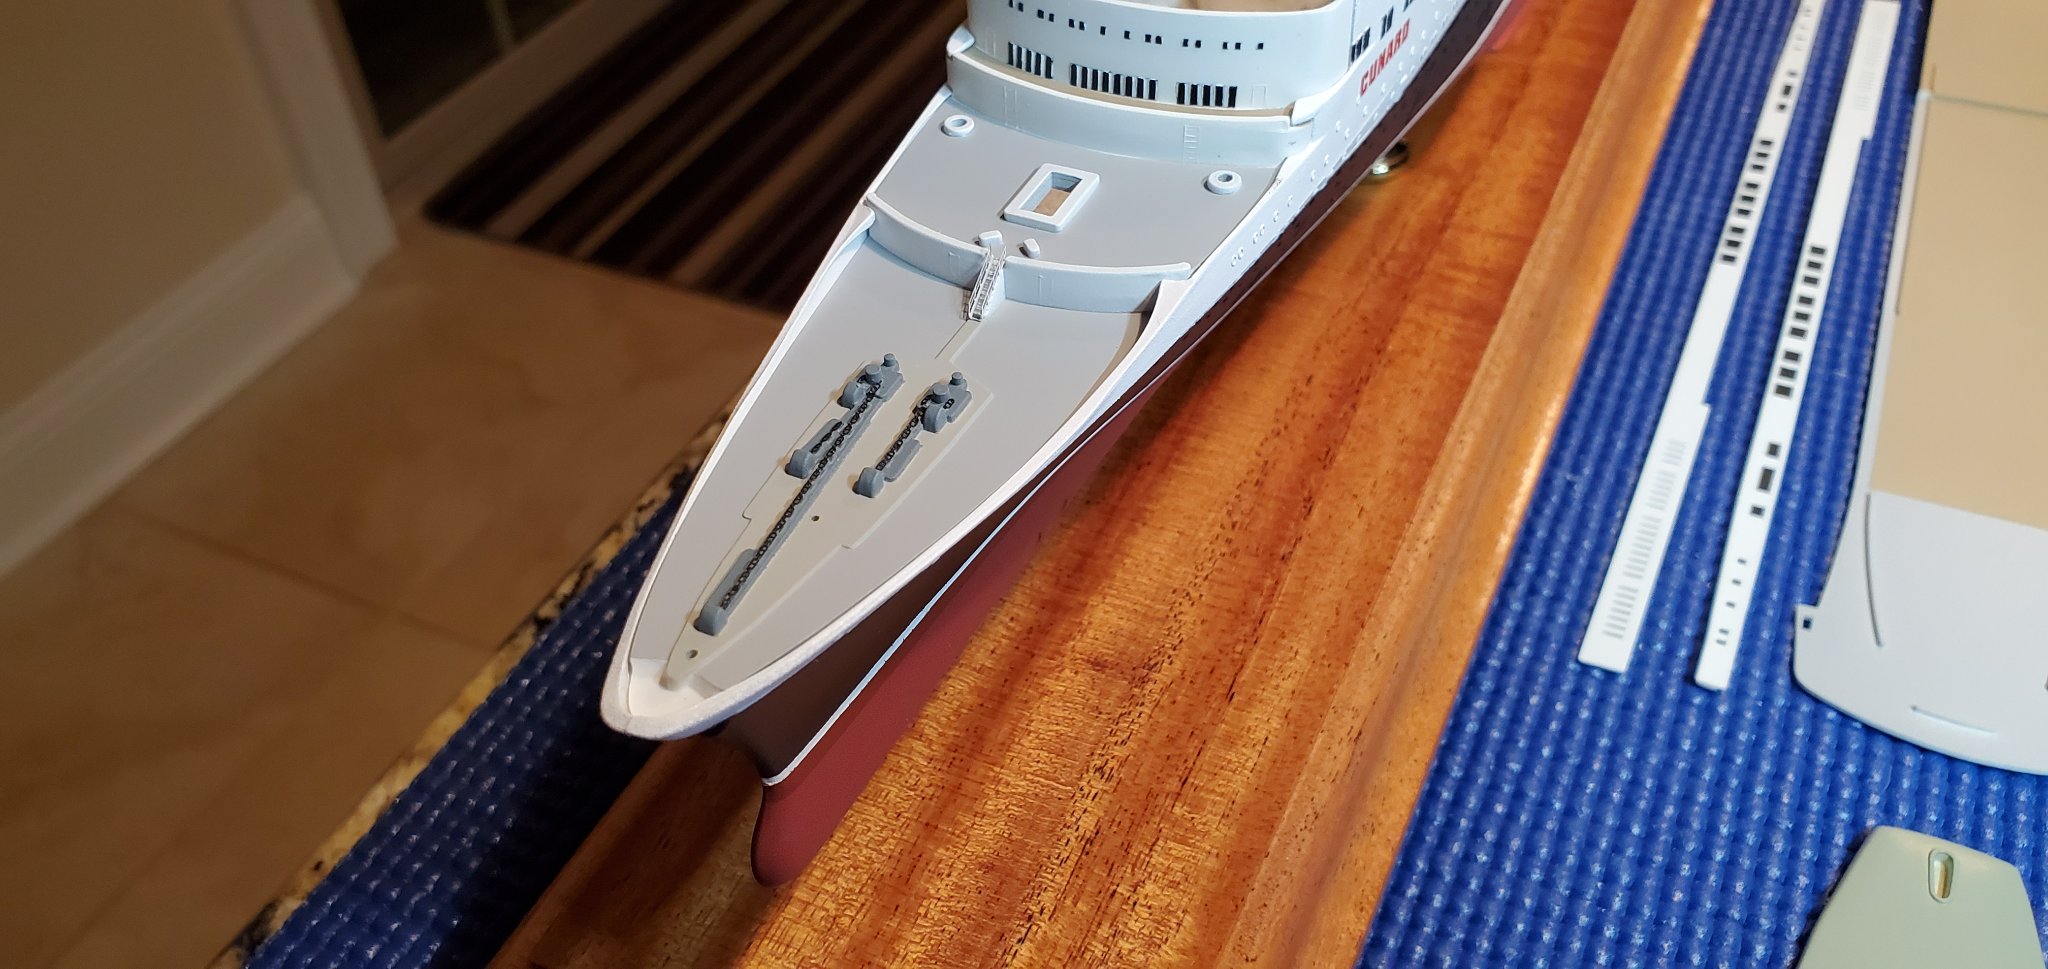
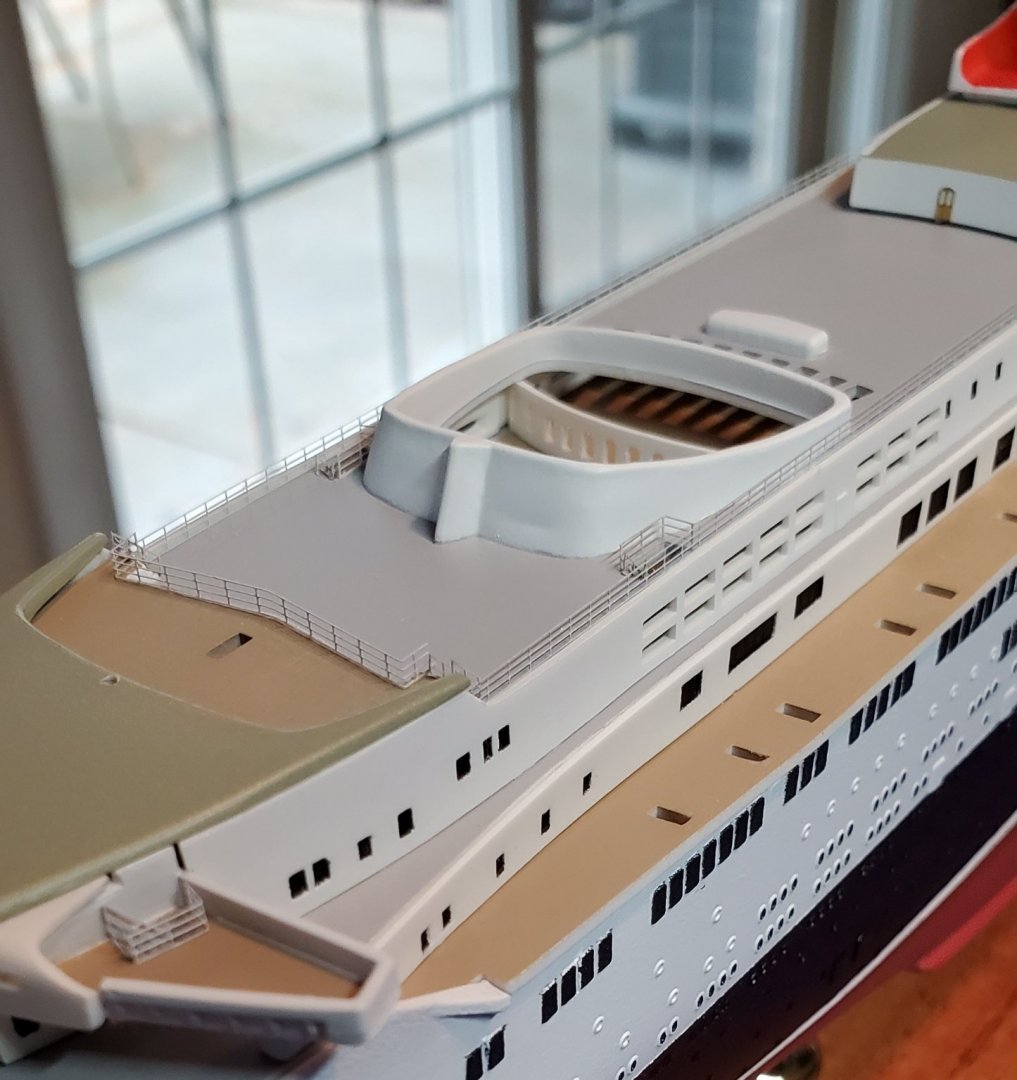
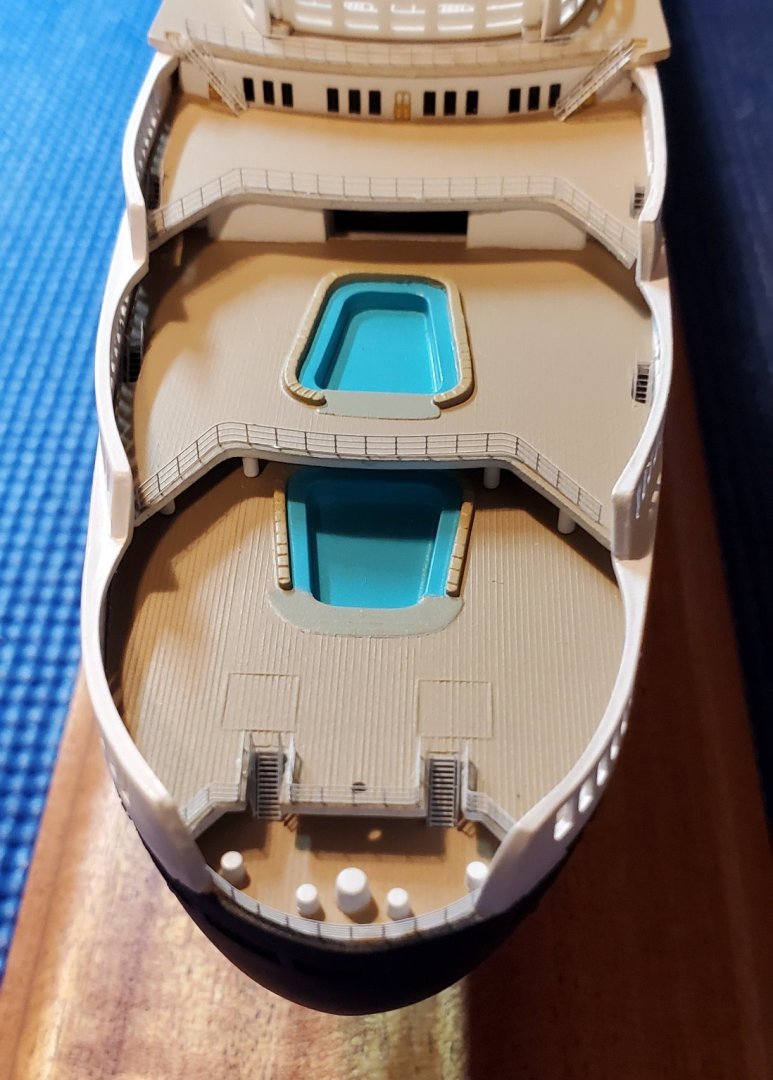
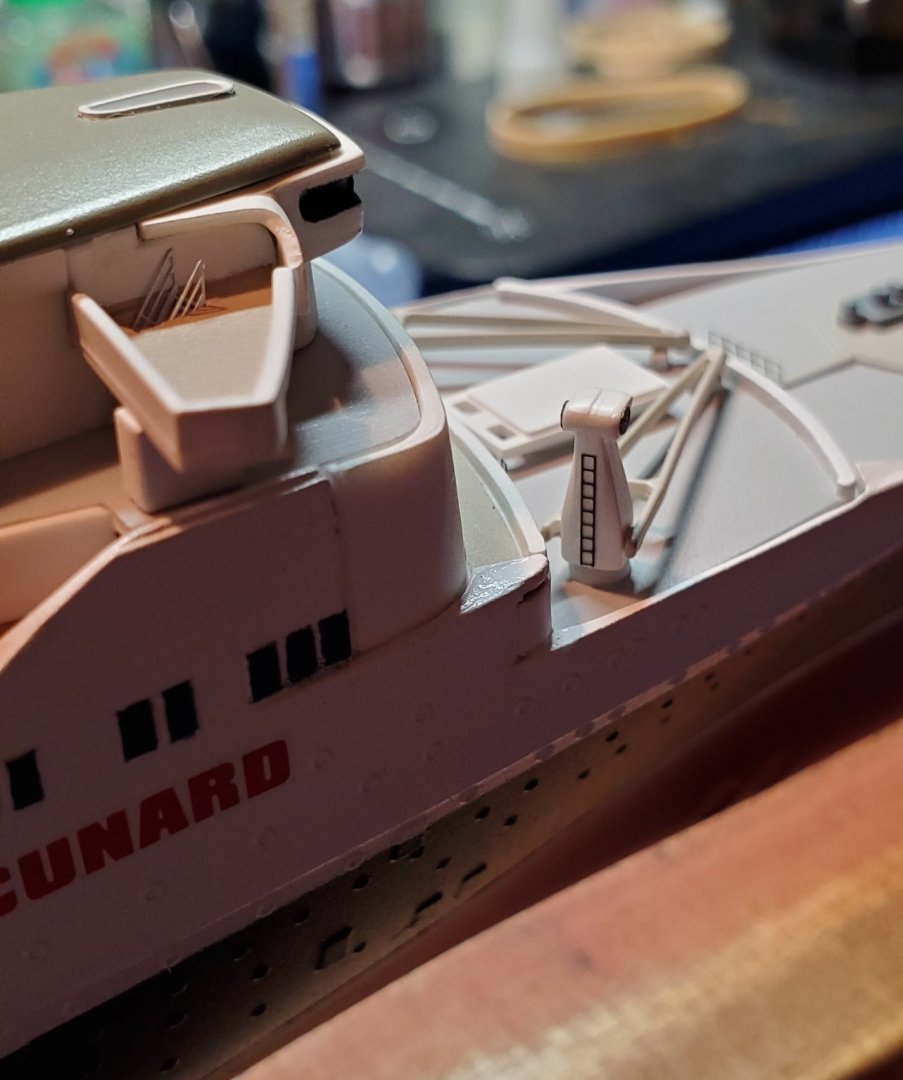
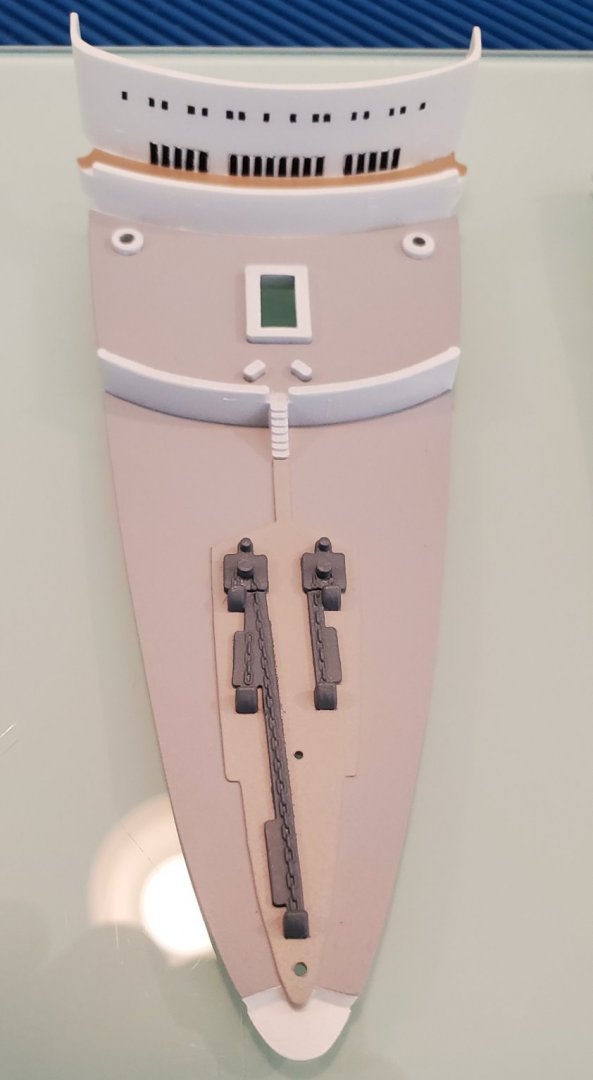
Thanks OC. I installed the lifeboats and davits today. Next things to do will be the mast, props, anchors, and lots of railings around the davits.

- 32 replies
-
- 7
-
-
- Queen Elizabeth 2
- Airfix
- (and 2 more)
-
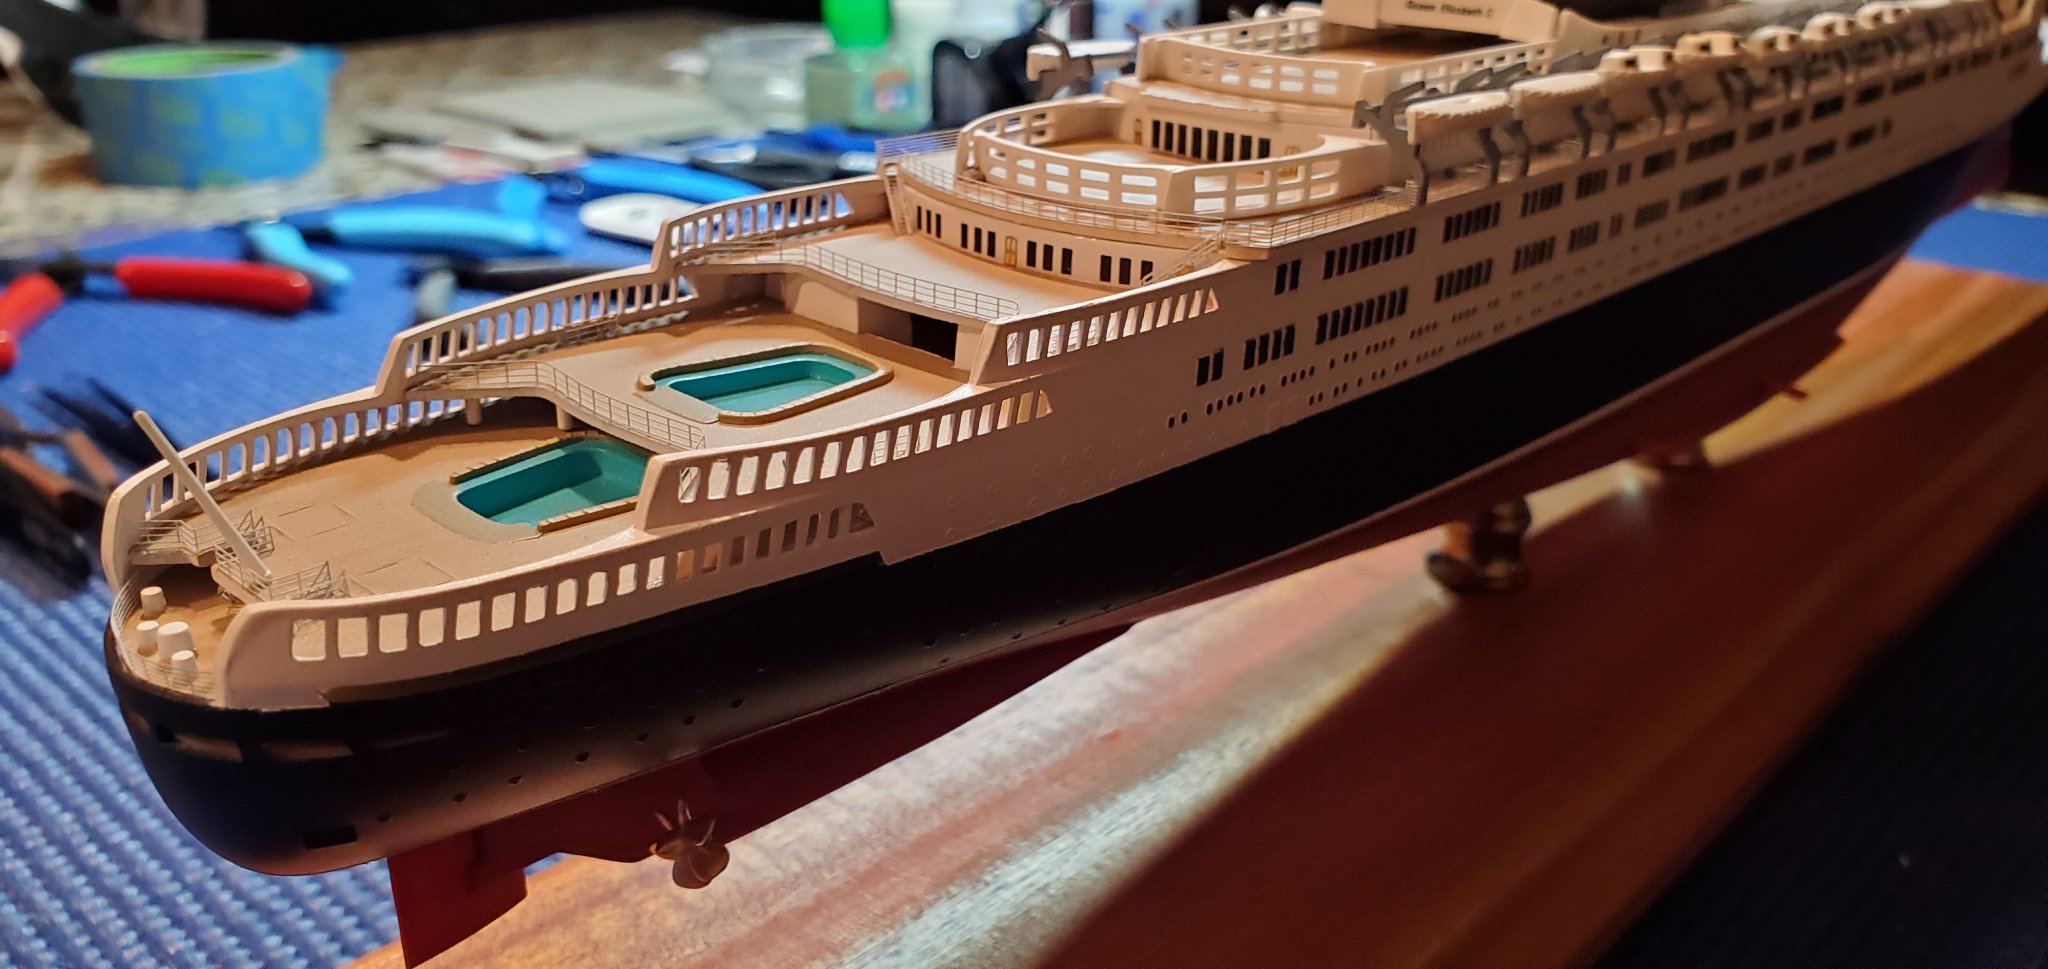
I added more railings for 1/600 QE2. Next onto lifeboats and their davits and railings.

- 32 replies
-
- 5
-
-
- Queen Elizabeth 2
- Airfix
- (and 2 more)
-
I tried bending Gold Medal treads and there isn't any relief for the tread to bend, the whole thing gets distorted. I posted about this on some forums and was told Gold Medal treads are not meant to be bent. I don't know if that's true but I no longer even attempt to bend them. Tom's treads will bend but I have a hard time doing it.
- 32 replies
-
- 2
-
-
- Queen Elizabeth 2
- Airfix
- (and 2 more)
-
Thanks OC. I have found the different brands of PE have their pluses and minuses. The Gold Medal is very tough and has a lot of spring to it. It's better for straight runs. The Tom's stuff is easier for me to use when I need to make curves as it's softer and holds its shape better without the need to anneal it. I also like the Gold medal stairs better. None of them have the correct scale of stairs for a lot of these 1/600 Airfix kits so I use White Ensign walkways which are much thinner in a pinch to use as stairs when the others won't fit.
- 32 replies
-
- 2
-
-
- Queen Elizabeth 2
- Airfix
- (and 2 more)
-
I have started to add some photo etch to QE2. Mostly railings and some odds and ends. Railings are challenging for me when they have curves and angles on the same piece.

- 32 replies
-
- 5
-
-
- Queen Elizabeth 2
- Airfix
- (and 2 more)
-
Thanks Yves. I may try that on one of the larger scale ships I have yet to build. I have a 1/450 QE2 that I'll eventually get to and that may be a candidate.
- 32 replies
-
- 3
-
-
- Queen Elizabeth 2
- Airfix
- (and 2 more)
-
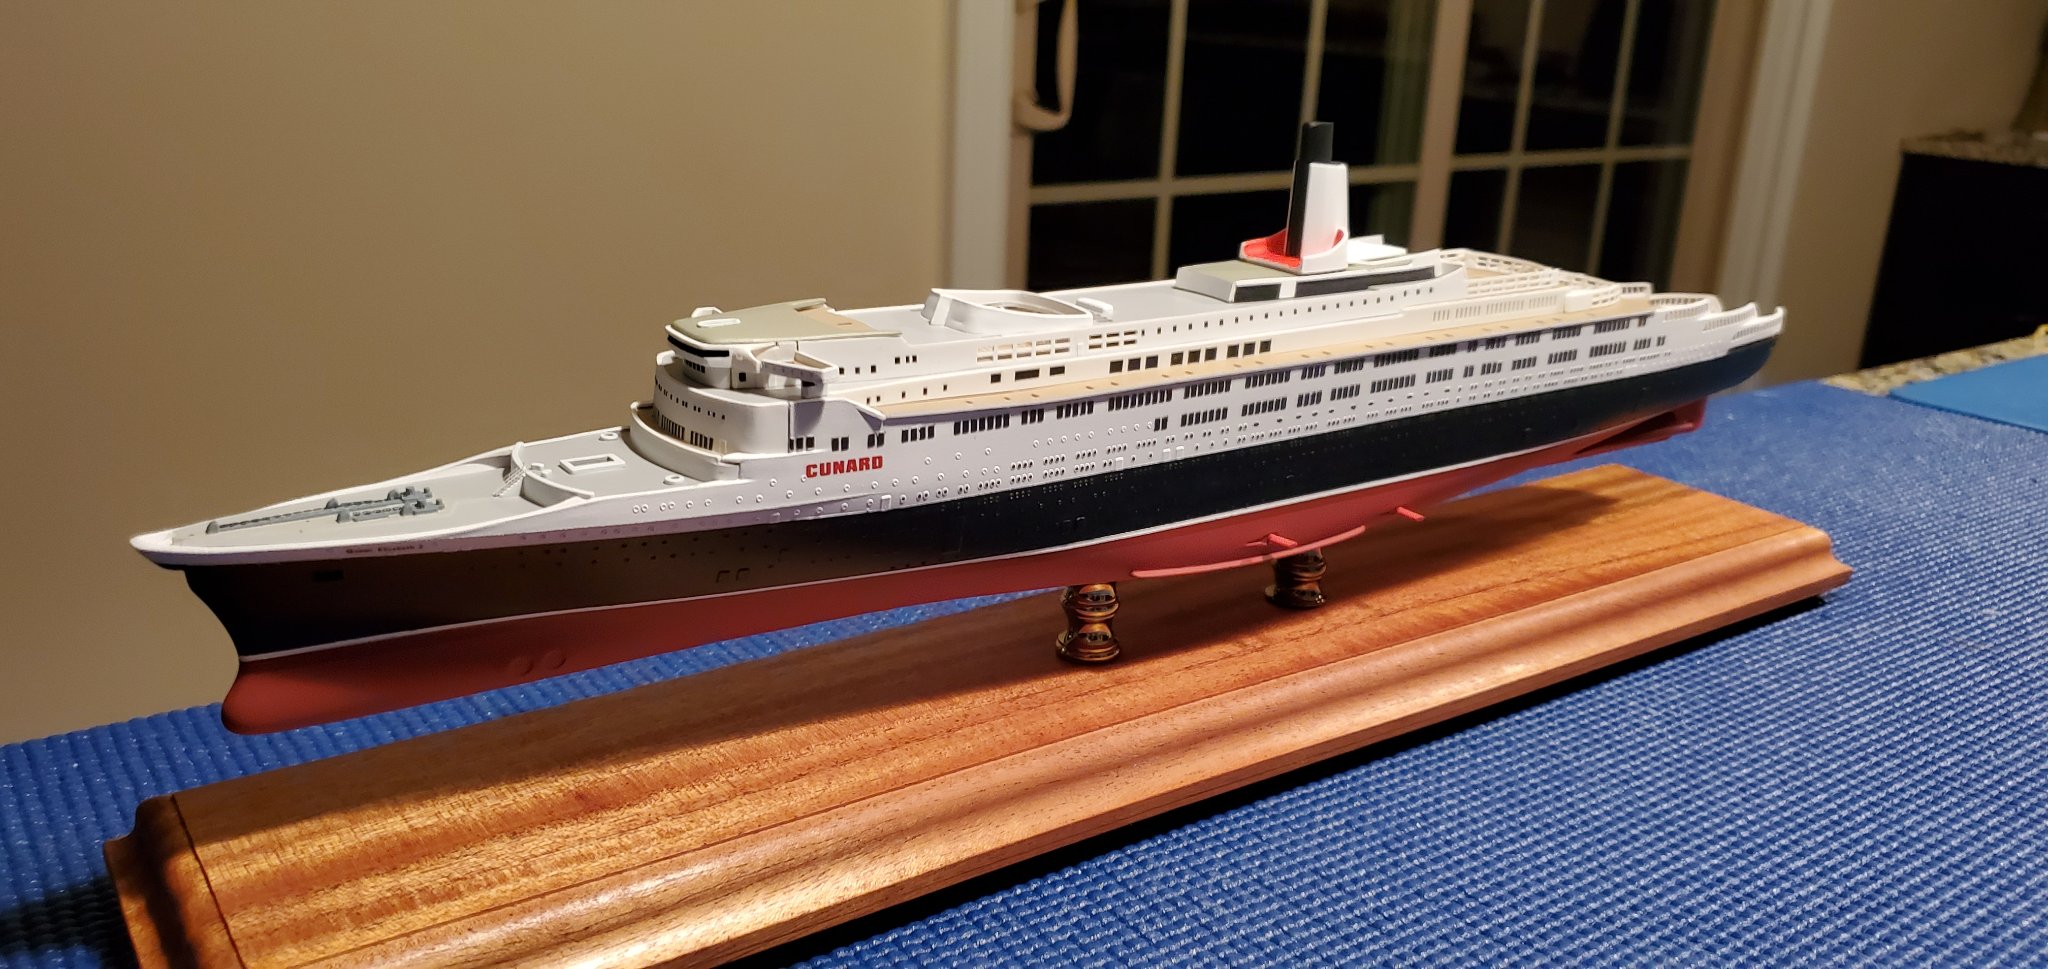
I installed the original white and black funnel today.

- 32 replies
-
- 6
-
-
- Queen Elizabeth 2
- Airfix
- (and 2 more)
-
Thanks OC and ameteur. Bob Fraser your recollection reminds me a bit of QM2. I remember talk about her fitting under the Verrazano bridge to enter NY harbor. I looked it up and came up with this. "That is, assuming the Queen Mary 2 makes it under the Verrazano-Narrows Bridge. If the Queen Mary 2 were to sail under at high tide, the clearance would be only 13 feet. Indeed, the bridge influenced the shape of the ship. ''It looks squat and a little bit dumpy, and that's because of the Verrazano,'' Mr. Miller said. ''The funnel is flatter than it should be.'' From keel to black-and-red funnel is 236 feet." The Queen Mary 2 is cool but I still consider RMS Queen Elizabeth 2 the last true purpose built liner. She looks the part, no hint of a cruise ship in her looks as originally configured in my opinion.
- 32 replies
-
- 3
-
-
- Queen Elizabeth 2
- Airfix
- (and 2 more)
-
Thanks OC. I painted the windows and applied the decals to QE2.

- 32 replies
-
- 5
-
-
- Queen Elizabeth 2
- Airfix
- (and 2 more)
-
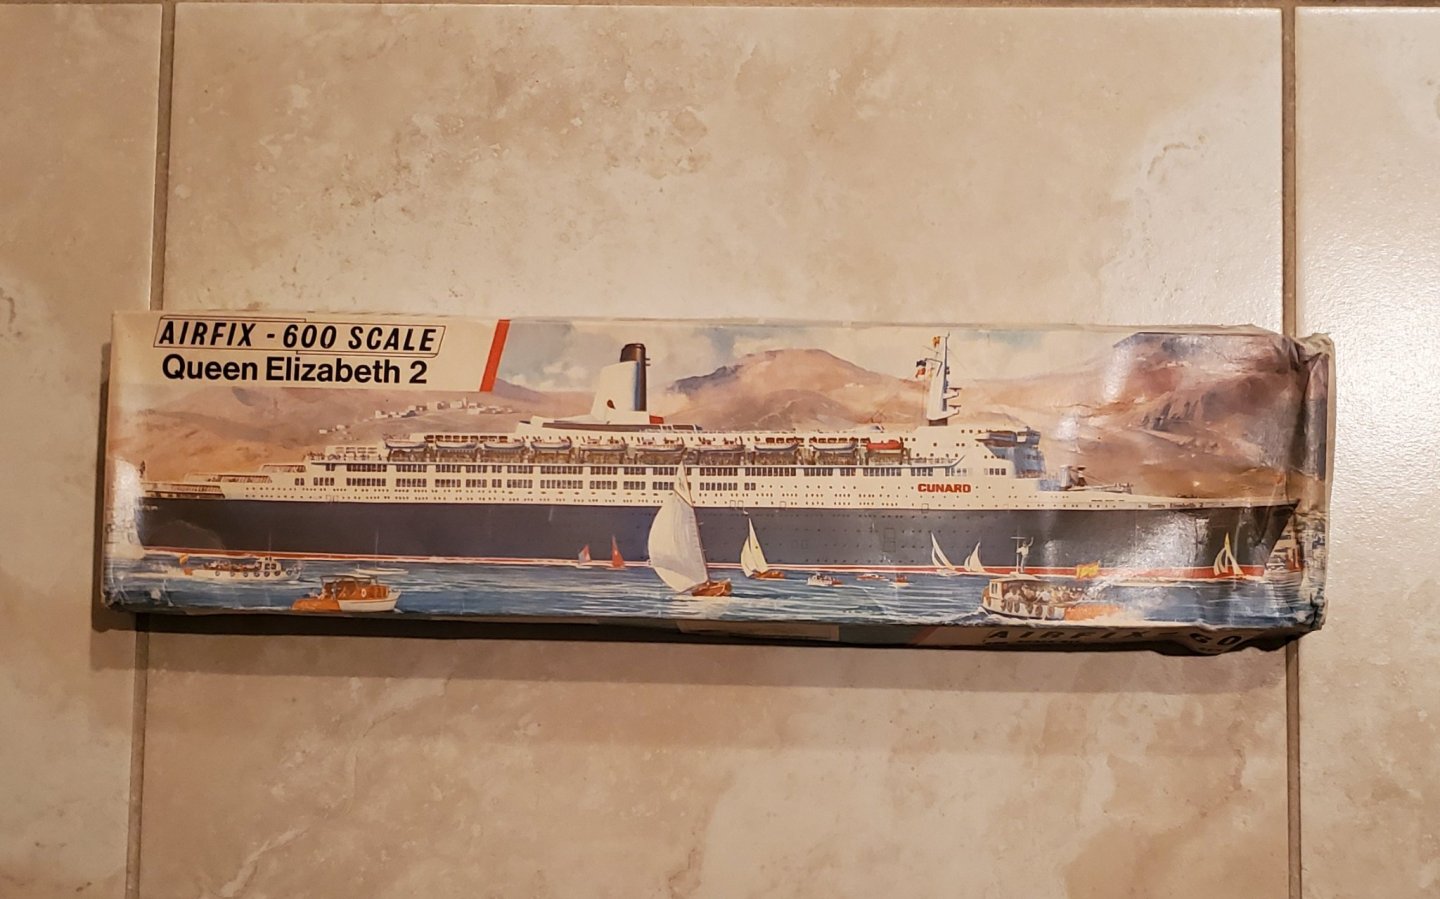
I decided to build another 1/600 Airfix kit, RMS Queen Elizabeth 2. This kit is also kind of hard to find and a bit pricey. The box is a little messy but the kit is complete and in good condition.

- 32 replies
-
- 5
-
-
- Queen Elizabeth 2
- Airfix
- (and 2 more)
-
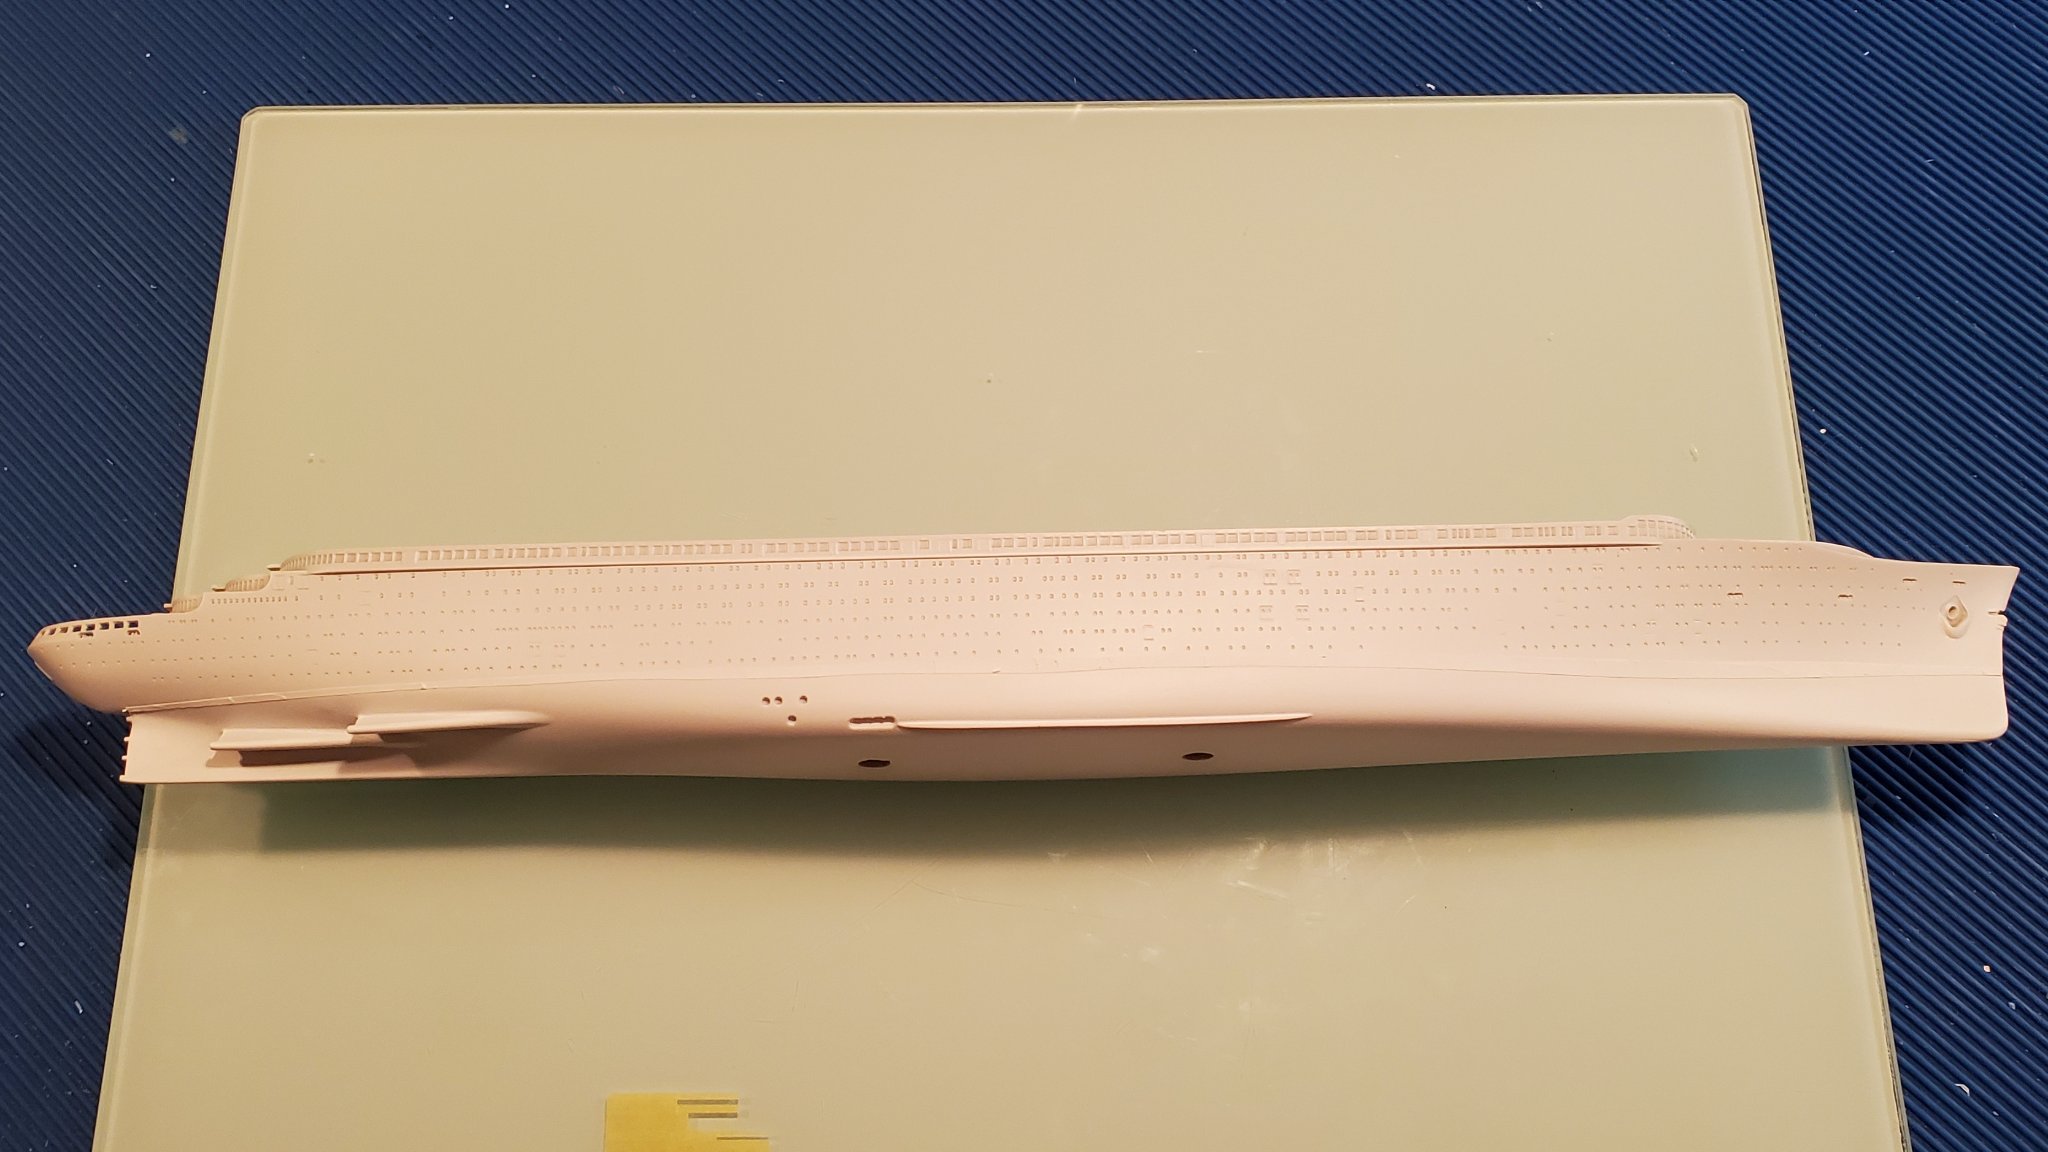
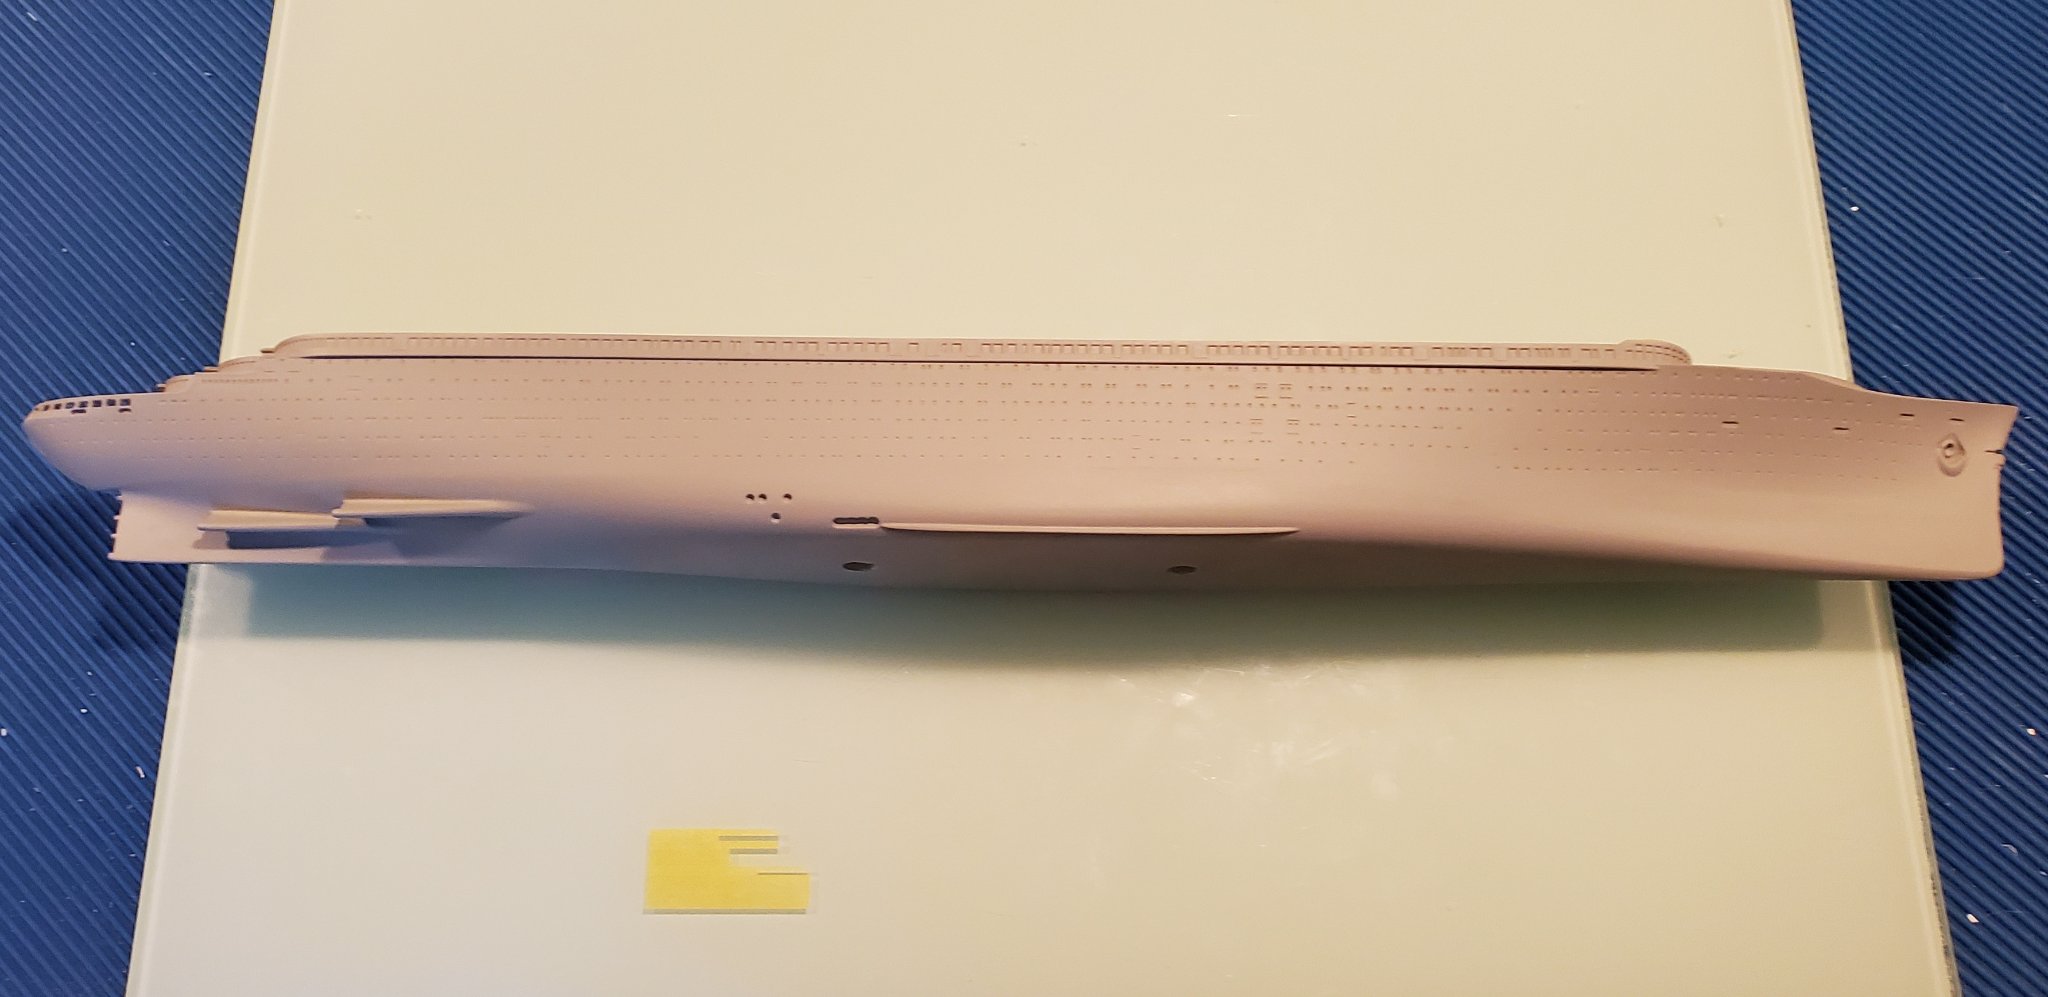
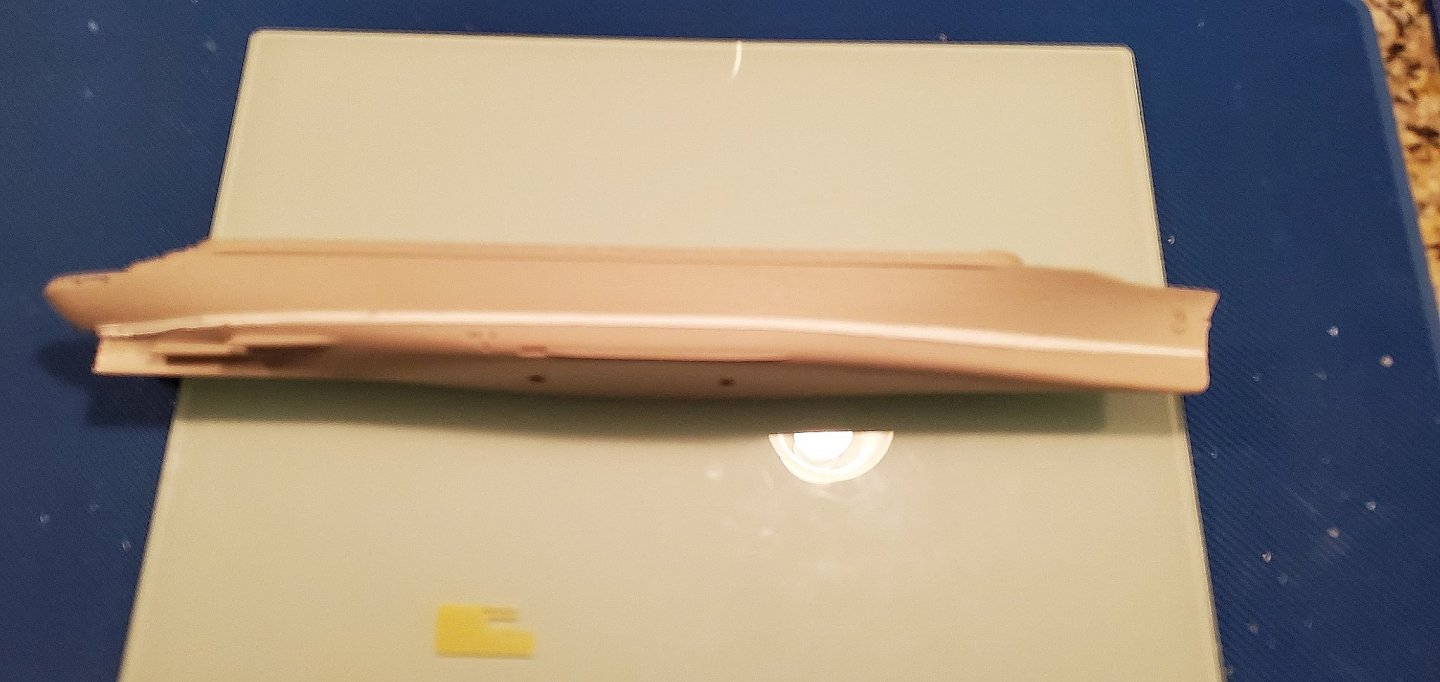
Thanks Imagna. I was experimenting with a few things today. I wound up putting the lower hull in a vise with soft jaws and squeezing it tighter. While it was under pressure I used a heat gun to heat up the resin and then cooled it off with compressed air. I did this all along the hull. It's much better than it was and if it holds its current shape then I think I can manage to make it look OK.

-
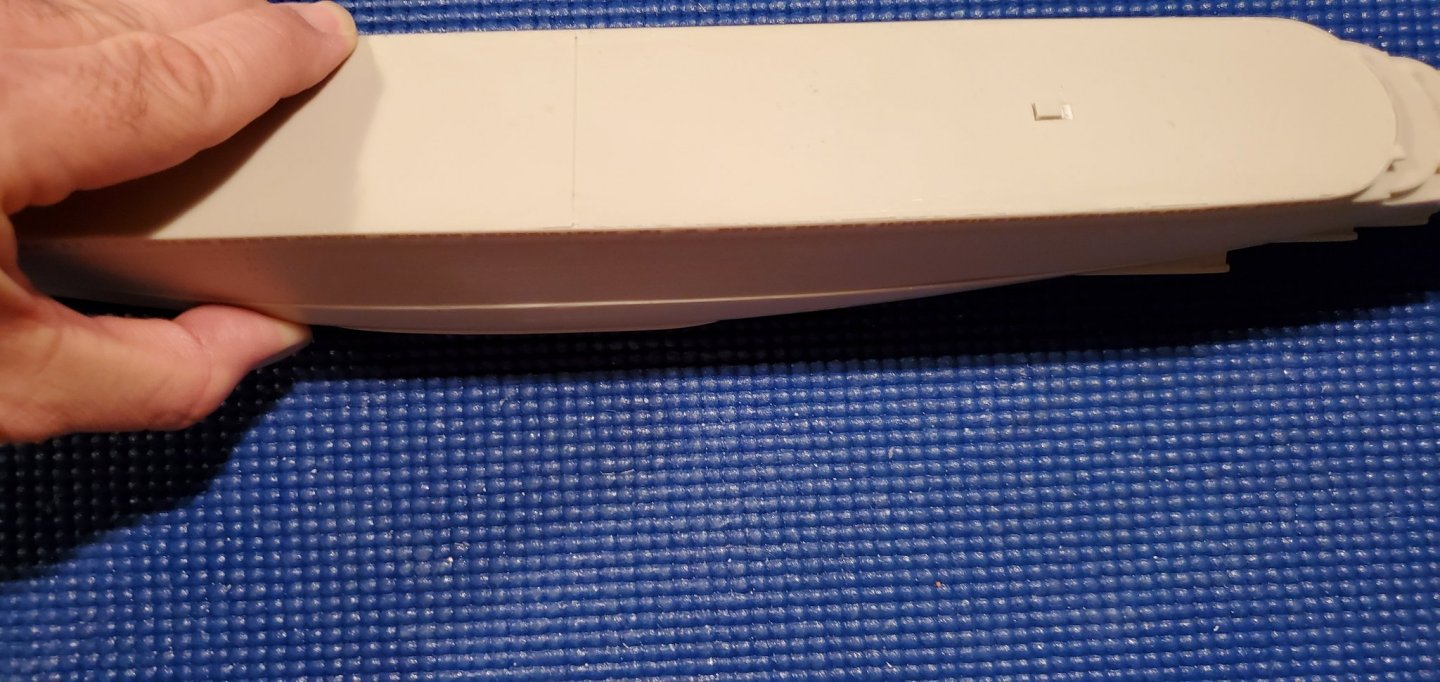
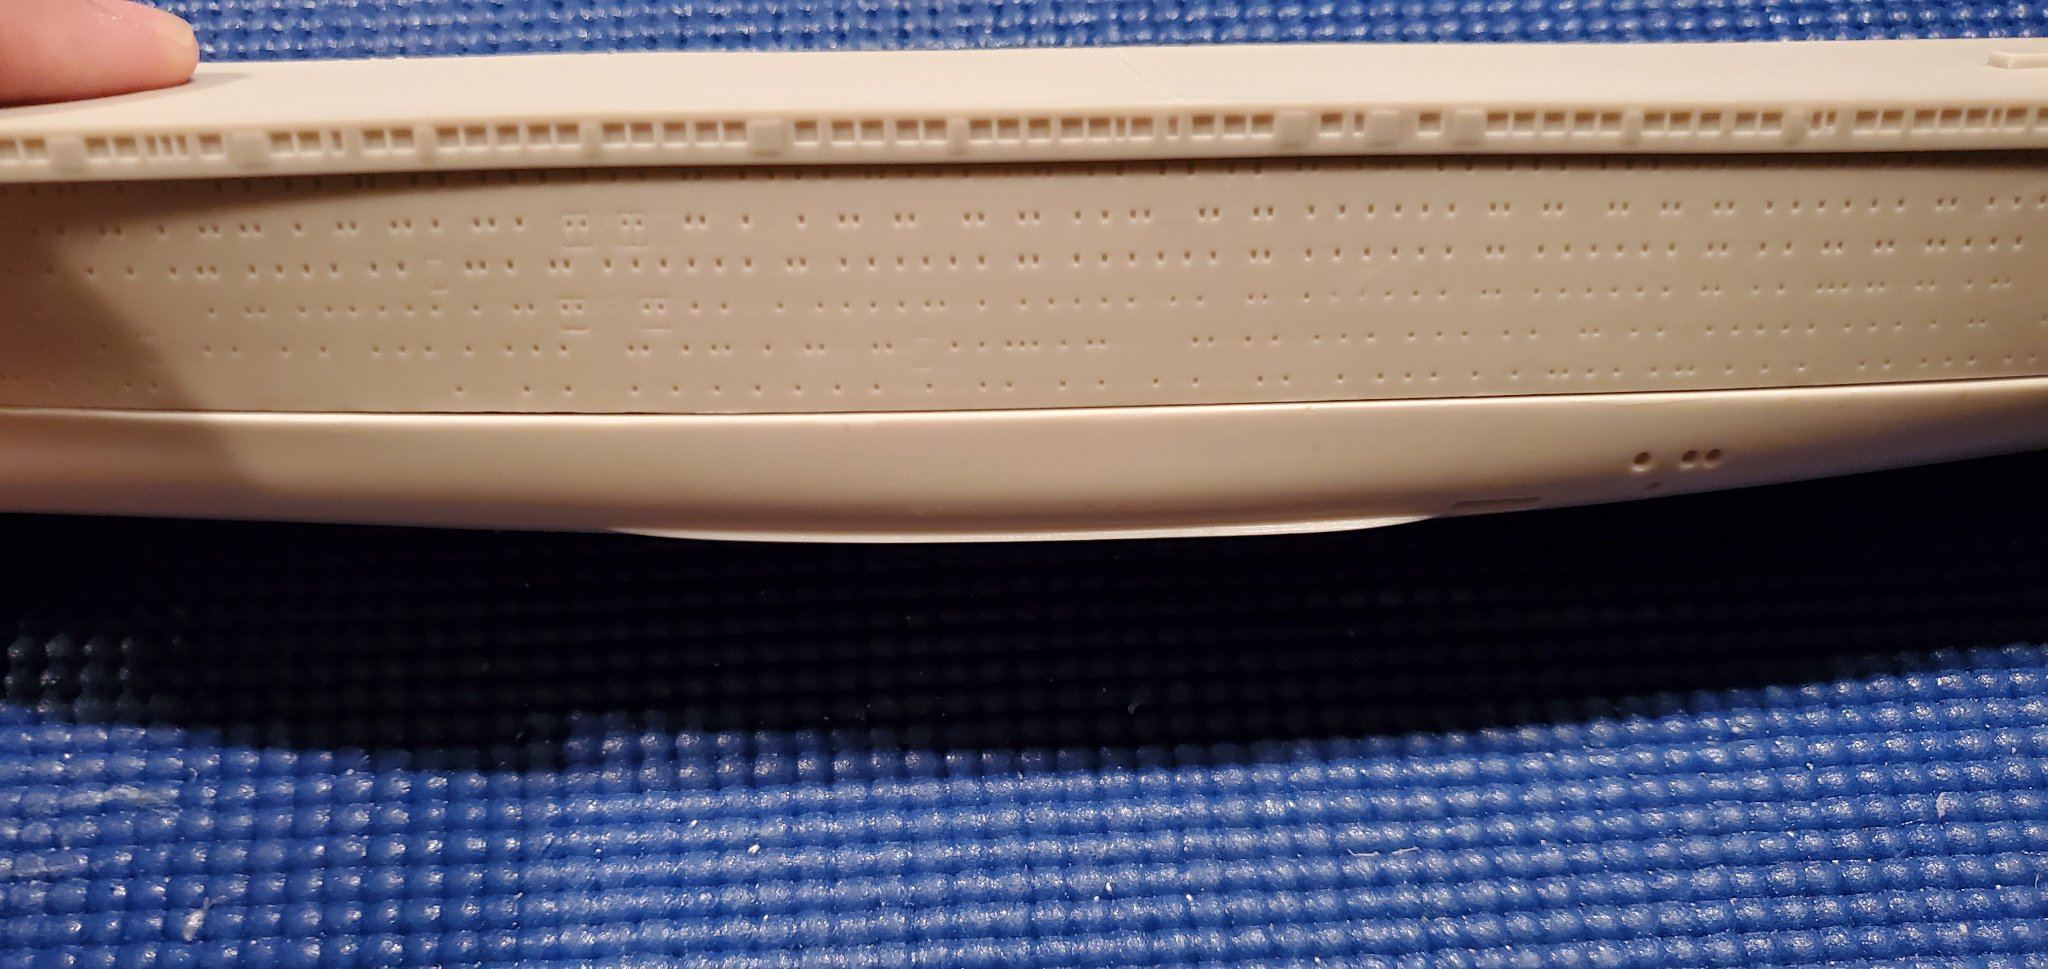
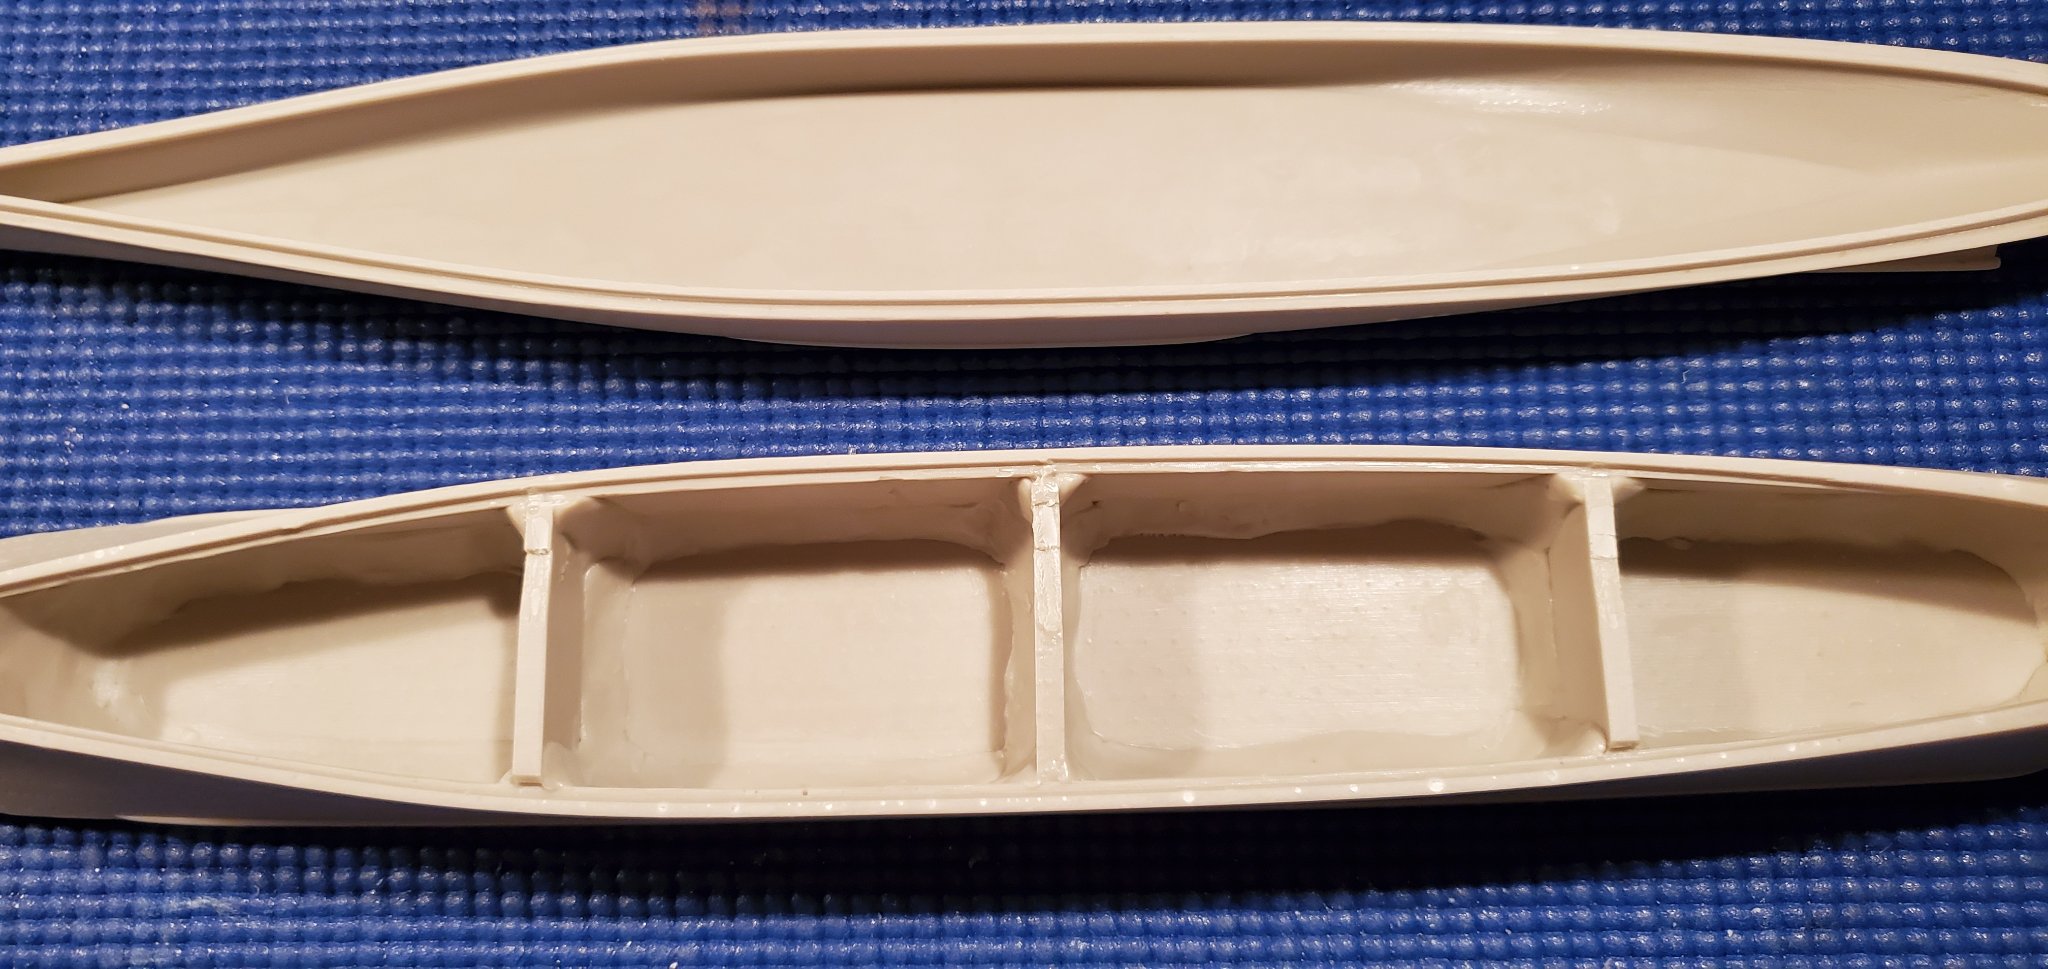
Hi All. I hope I am posting this in the right place. I am attempting to figure out how to build my first resin ship kit and am hoping for some help/advice with an issue I have. The kit hull is 1/700 scale and two part. There is a joint at the waterline that gives you the option of building either a waterline or full hull version. Both halves are keyed to supposedly give you a better fit. I want to build it full hull. The issue I have is the lower half of the hull is wider than the top along most of the point they join together. This is especially true amidship. There is no movement in either, they are solid as a rock. How would I go about making a seamless joining here? I have thought of three ways, two of which do not appeal to me and of which I am pretty certain would not end well. 1. Saw down the middle of the supports in the upper hull and put something inside and across to hopefully force the upper hull to widen at the joint slightly. 2. Use filler to blend the overhang of the lower hull in. 3. Sand down the lower hull half to the width of the top half. I do not have confidence in either numbers 2, or 3. If I try number 2, trying to use filler for this, I feel the scale and area is too small and I will wind up sanding away portholes and any other detail trying to blend this step out in the hull in. If I try number 3 I feel I will not be able sand and fill well enough to recreate the subtle curvature and contours of the molded hull, thus ruining it. Number 1 is what I would prefer to work, giving me the best chance of it joining correctly but the two halves are keyed and I also don’t know if the upper hull will stretch without breaking. I was hoping with the small scale and the long length of this joint that the halves would line up better but unfortunately they don’t. I do realize I obviously need to use some filler on the seem to fill in the space between upper and lower halves, but was not expecting to have to widen or narrow one half of the hull. Hopefully this is a common issue with resin and some with experience here can advise me on the correct way to make this joint invisible when the model is complete. Thanks in advance for any input I may receive. Chris