AdamA
-
Posts
178 -
Joined
-
Last visited
Content Type
Profiles
Forums
Gallery
Events
Everything posted by AdamA
-
HMS Bounty by AdamA - 1:48
AdamA replied to AdamA's topic in - Build logs for subjects built 1751 - 1800
More rebuilding.... I'm constantly confused about angles and shapes and tapers and lengths and widths when it comes to these cant frames. They are 95% curved and they connect to 9 other non-standard, curved shaped pieces. It's slow going.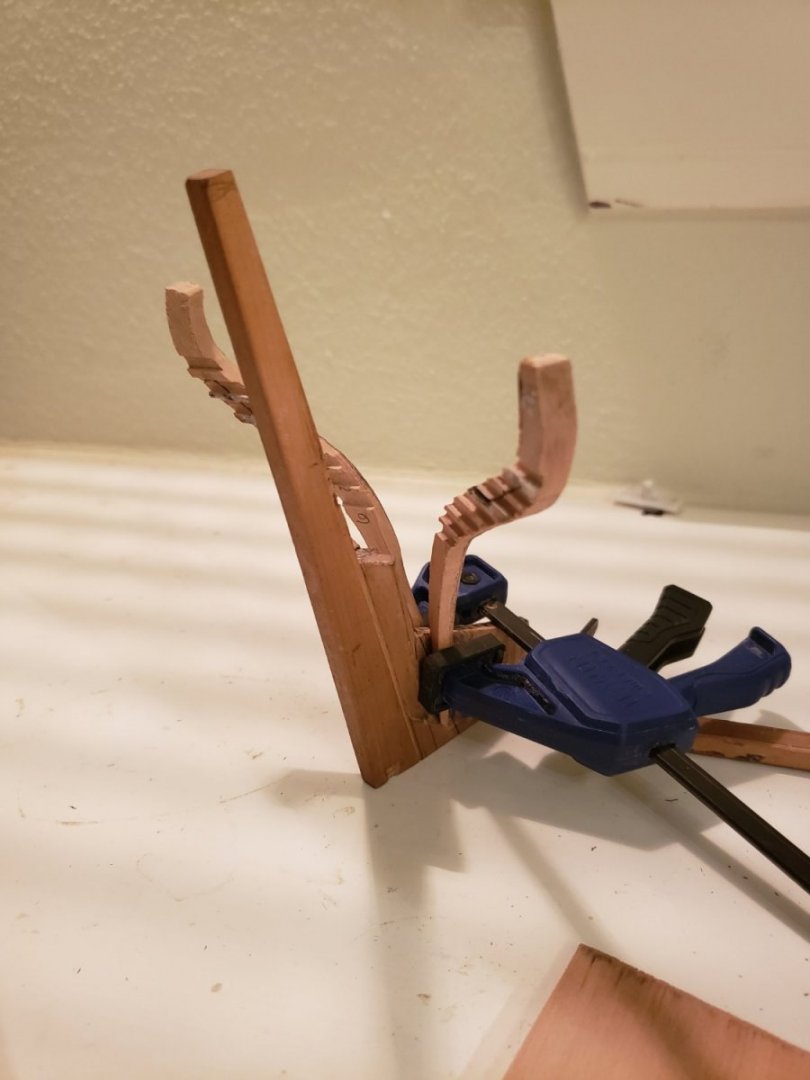
-
HMS Bounty by AdamA - 1:48
AdamA replied to AdamA's topic in - Build logs for subjects built 1751 - 1800
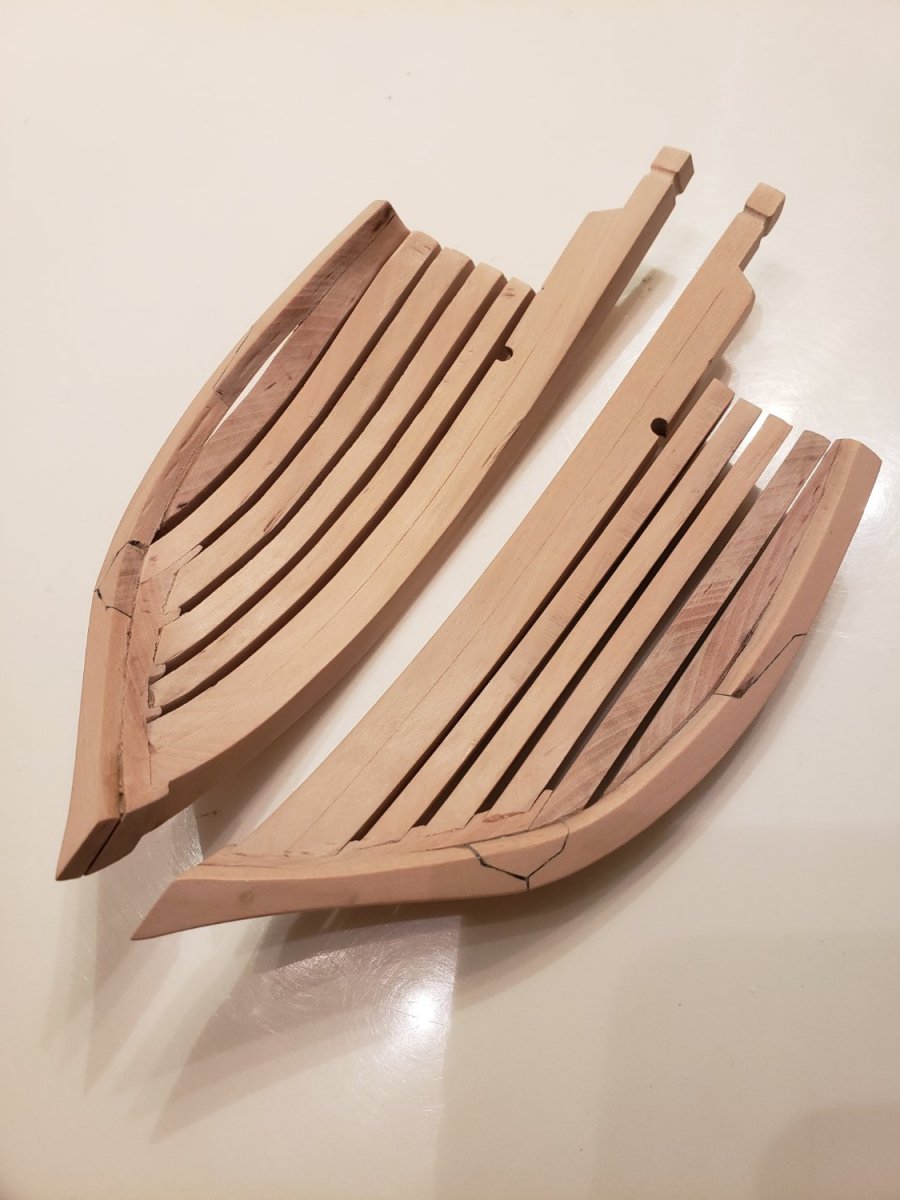
The transoms will be the same style as the bow: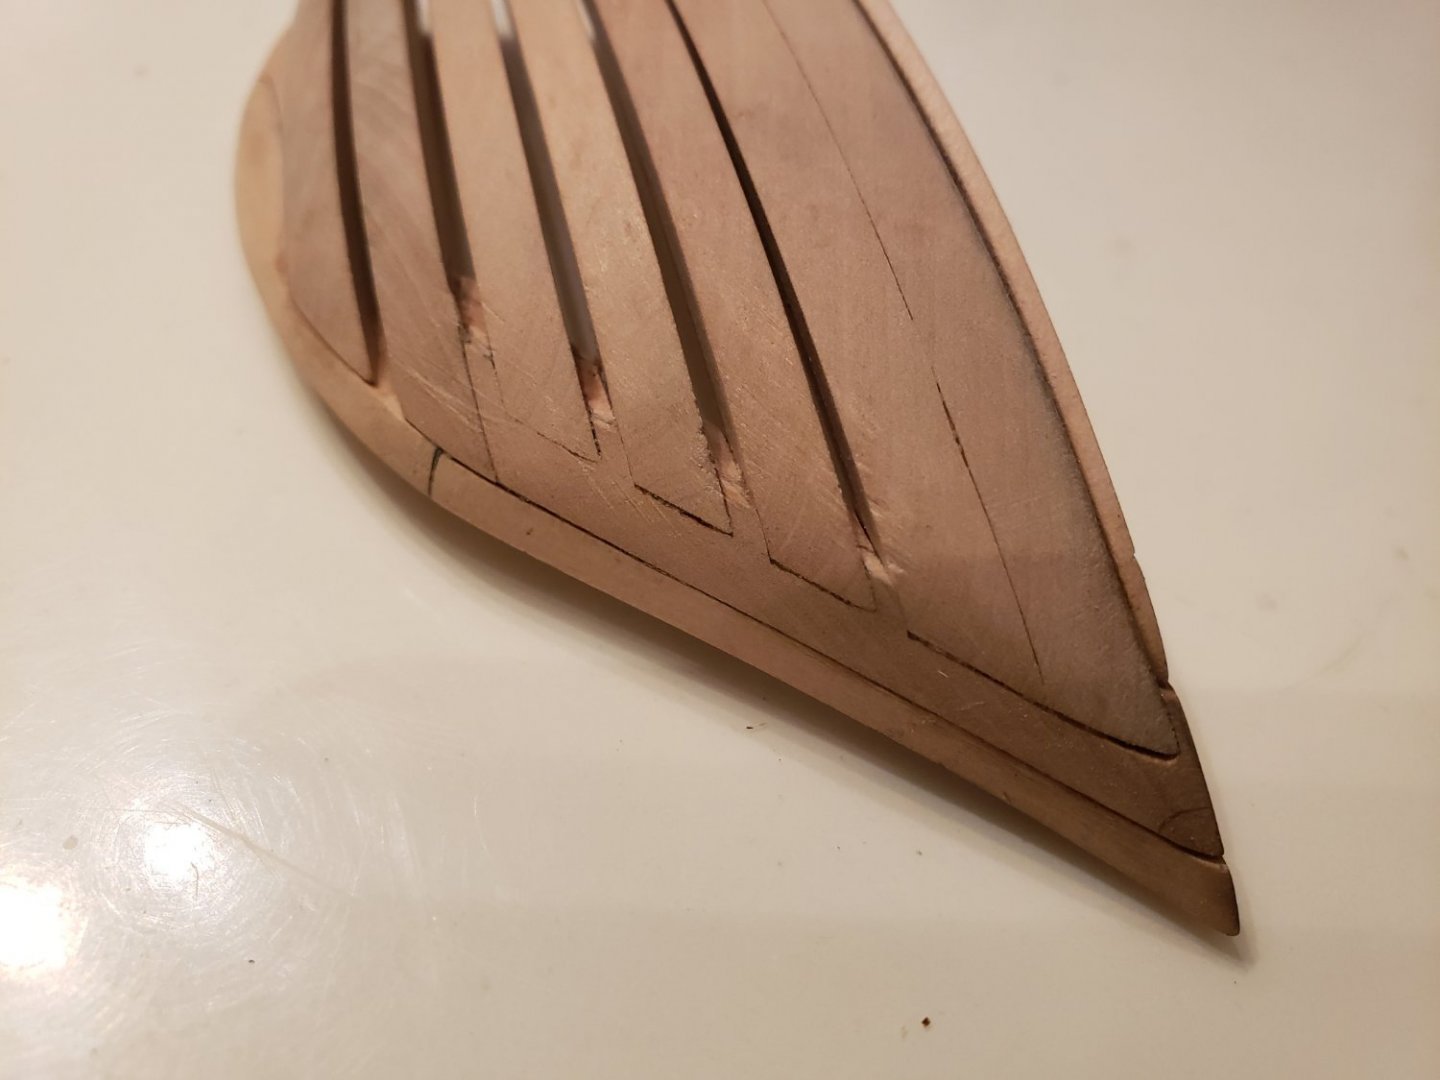
-
HMS Bounty by AdamA - 1:48
AdamA replied to AdamA's topic in - Build logs for subjects built 1751 - 1800
I cut these grooves in the last frames to accept the ends of the seven transoms. I marked them on the front. The blade needed a 6° tilt.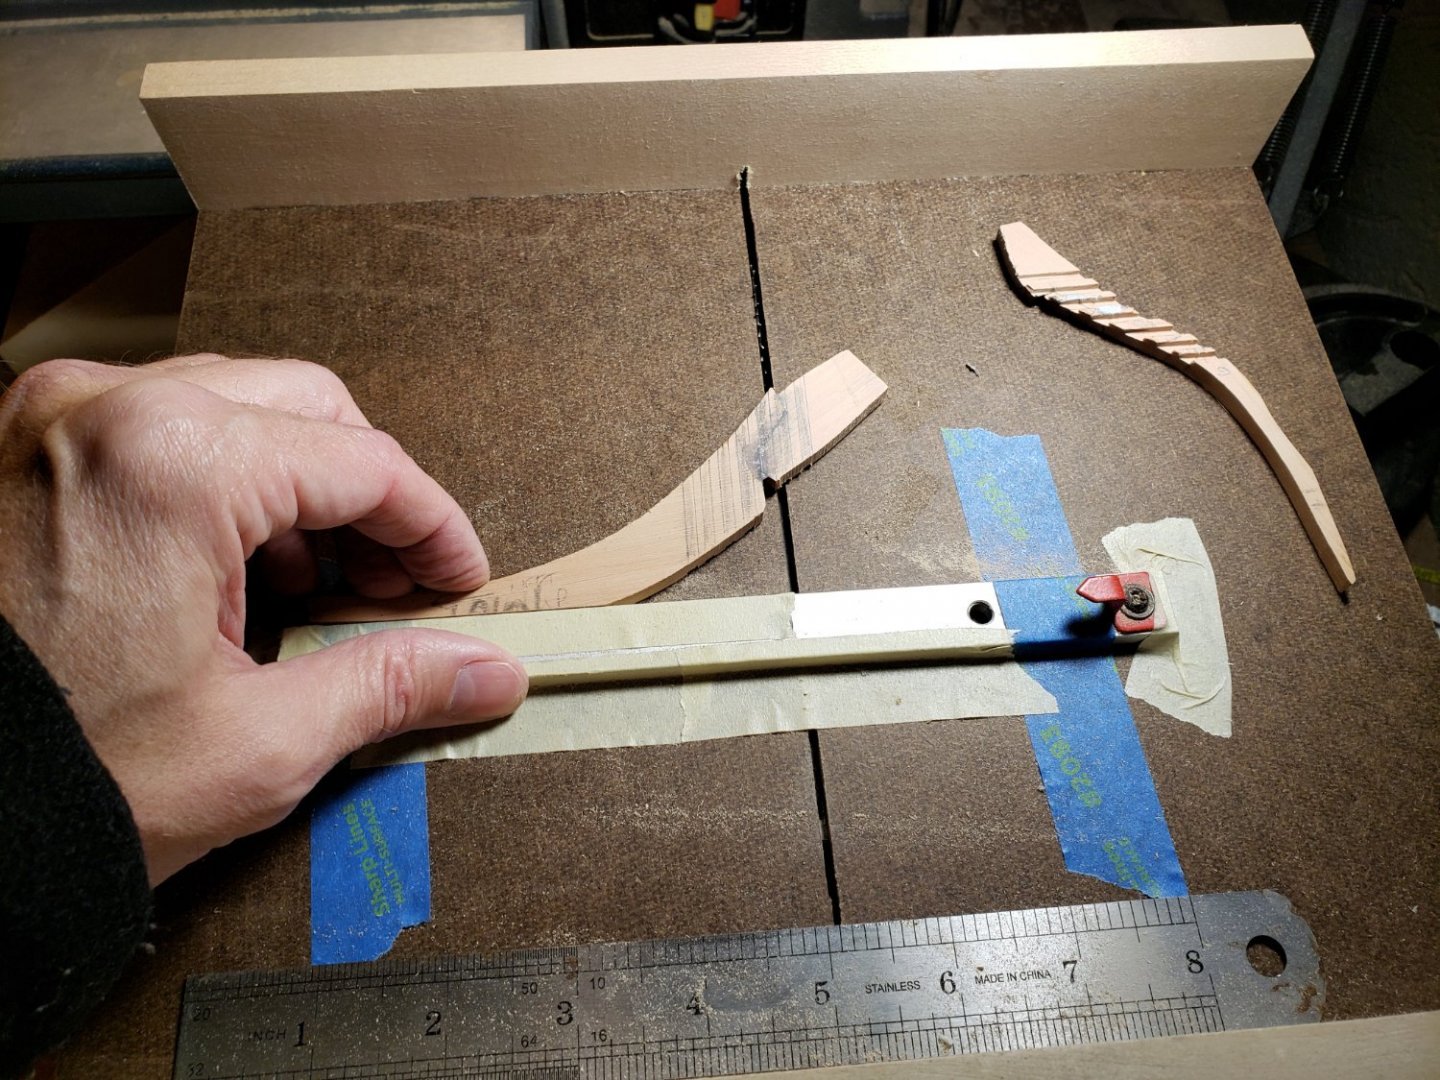
-
HMS Bounty by AdamA - 1:48
AdamA replied to AdamA's topic in - Build logs for subjects built 1751 - 1800
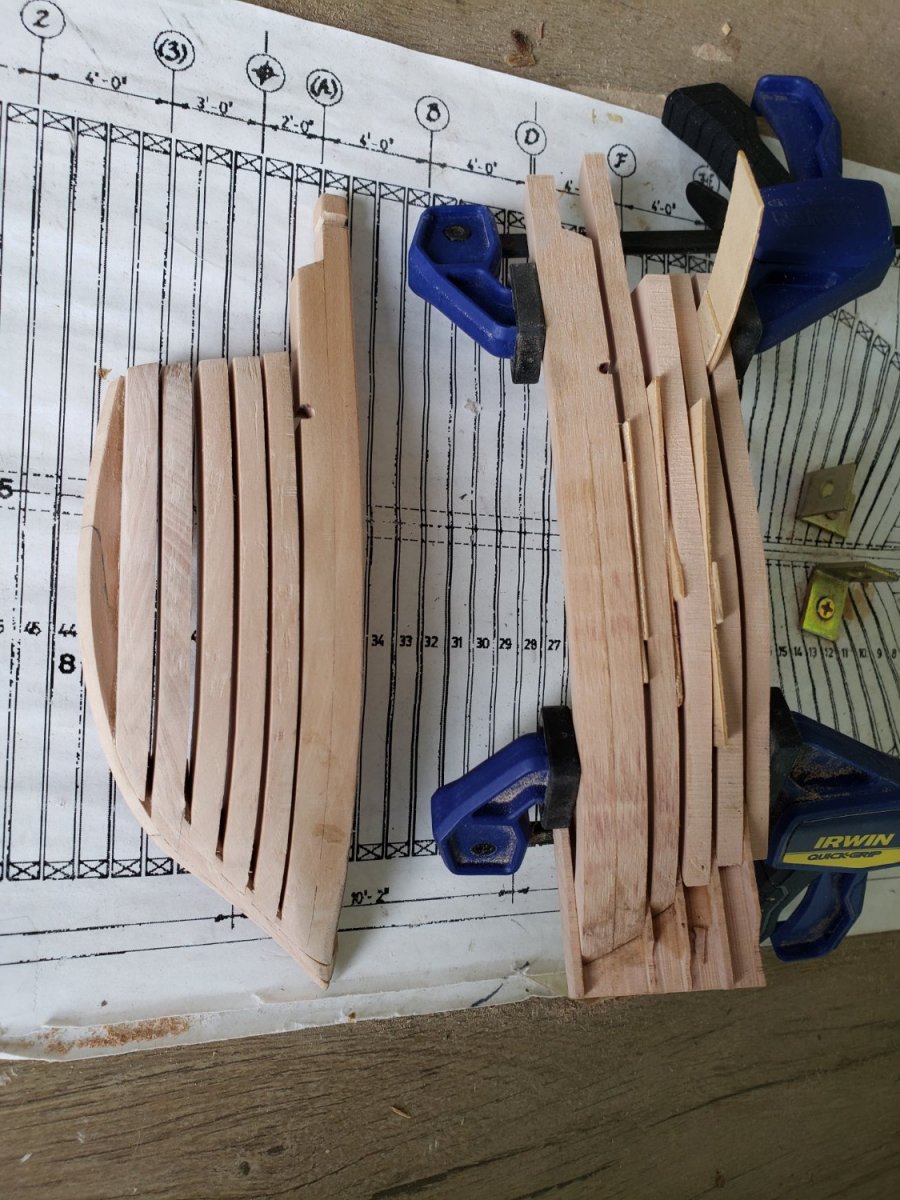
The keel and false keel need to dry then I can link it back up with the fore half of the keel assembly.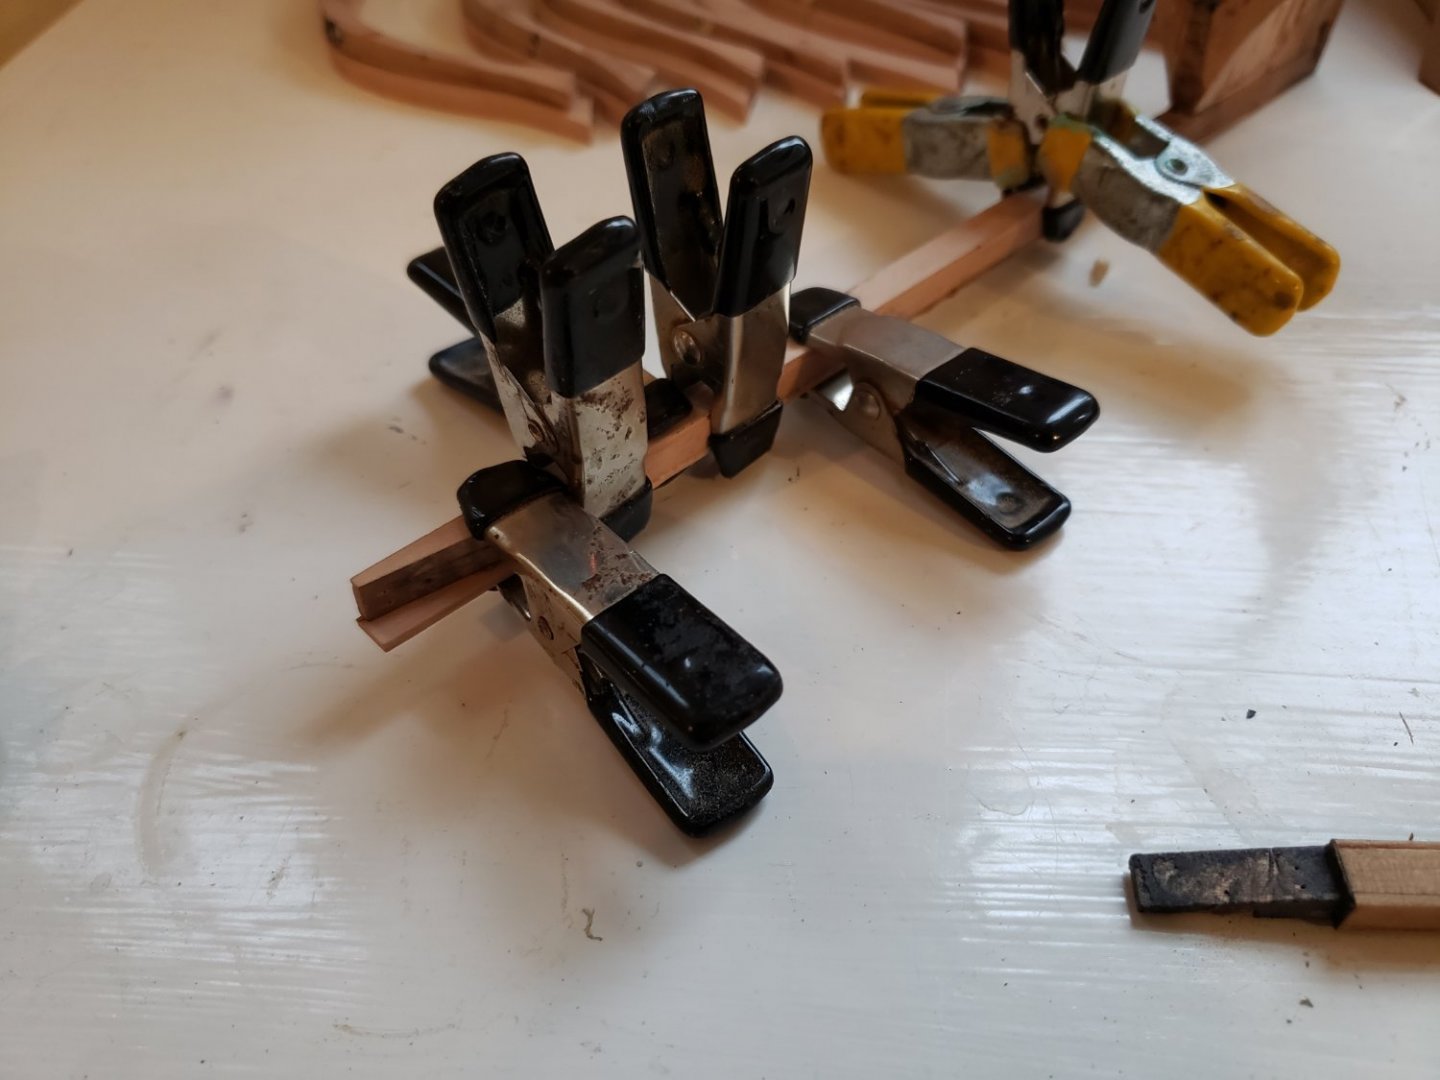
-
HMS Bounty by AdamA - 1:48
AdamA replied to AdamA's topic in - Build logs for subjects built 1751 - 1800
I decided to correct the length of the keel by 10 inches. I disassembled the keel and made a slightly longer third section.
-
HMS Bounty by AdamA - 1:48
AdamA replied to AdamA's topic in - Build logs for subjects built 1751 - 1800
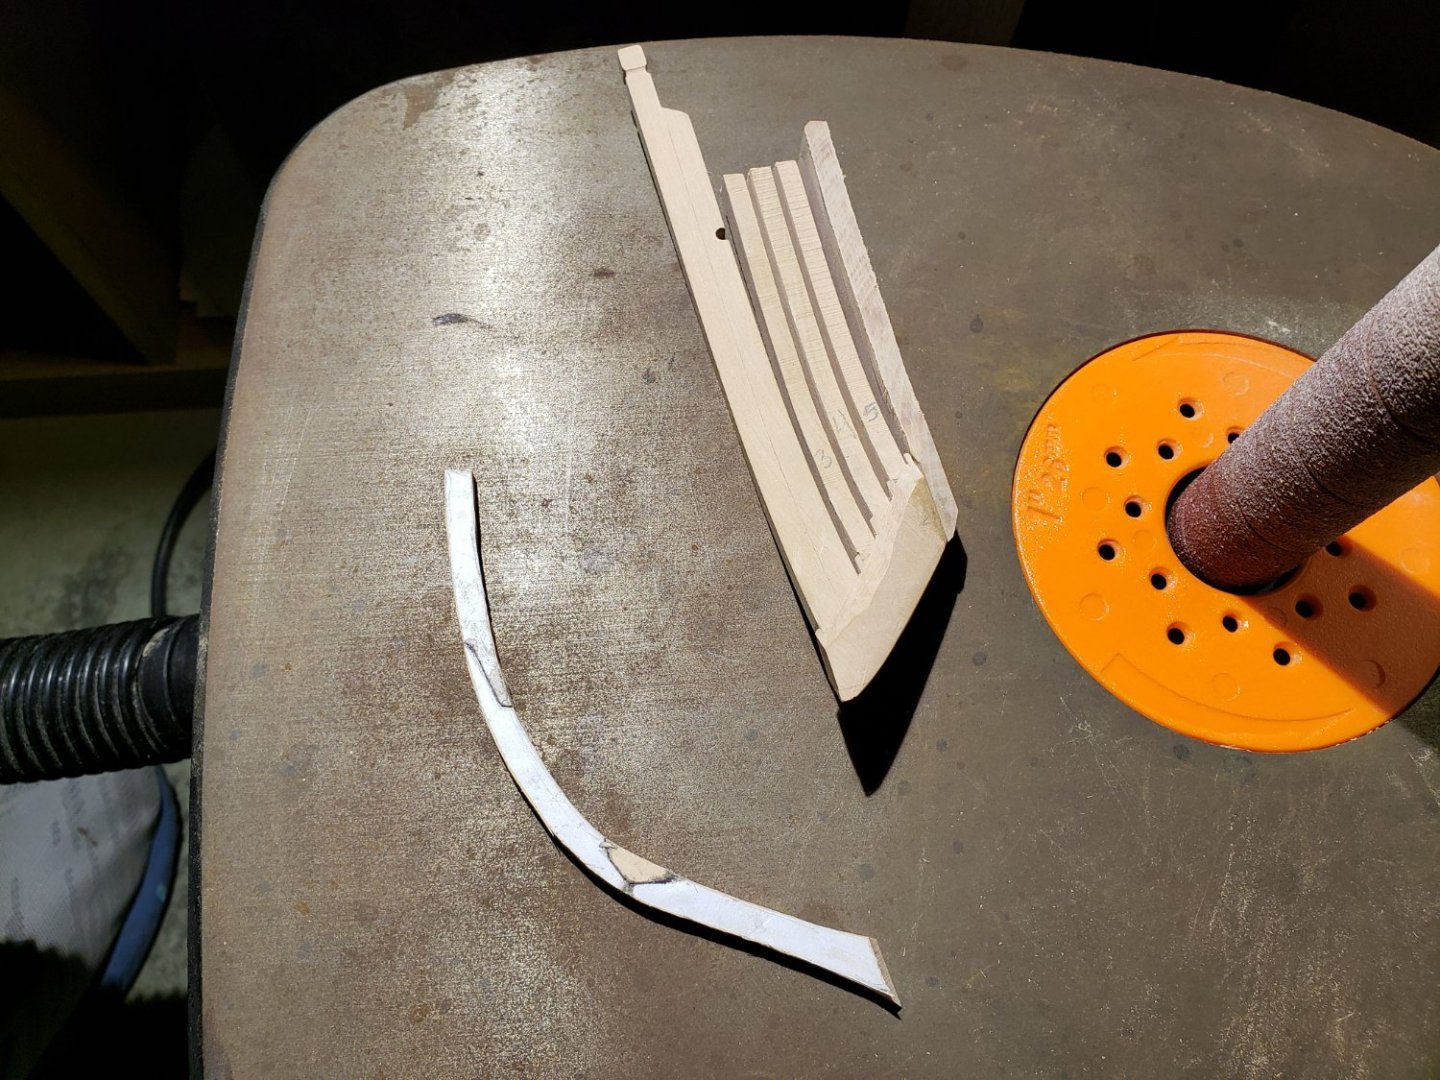
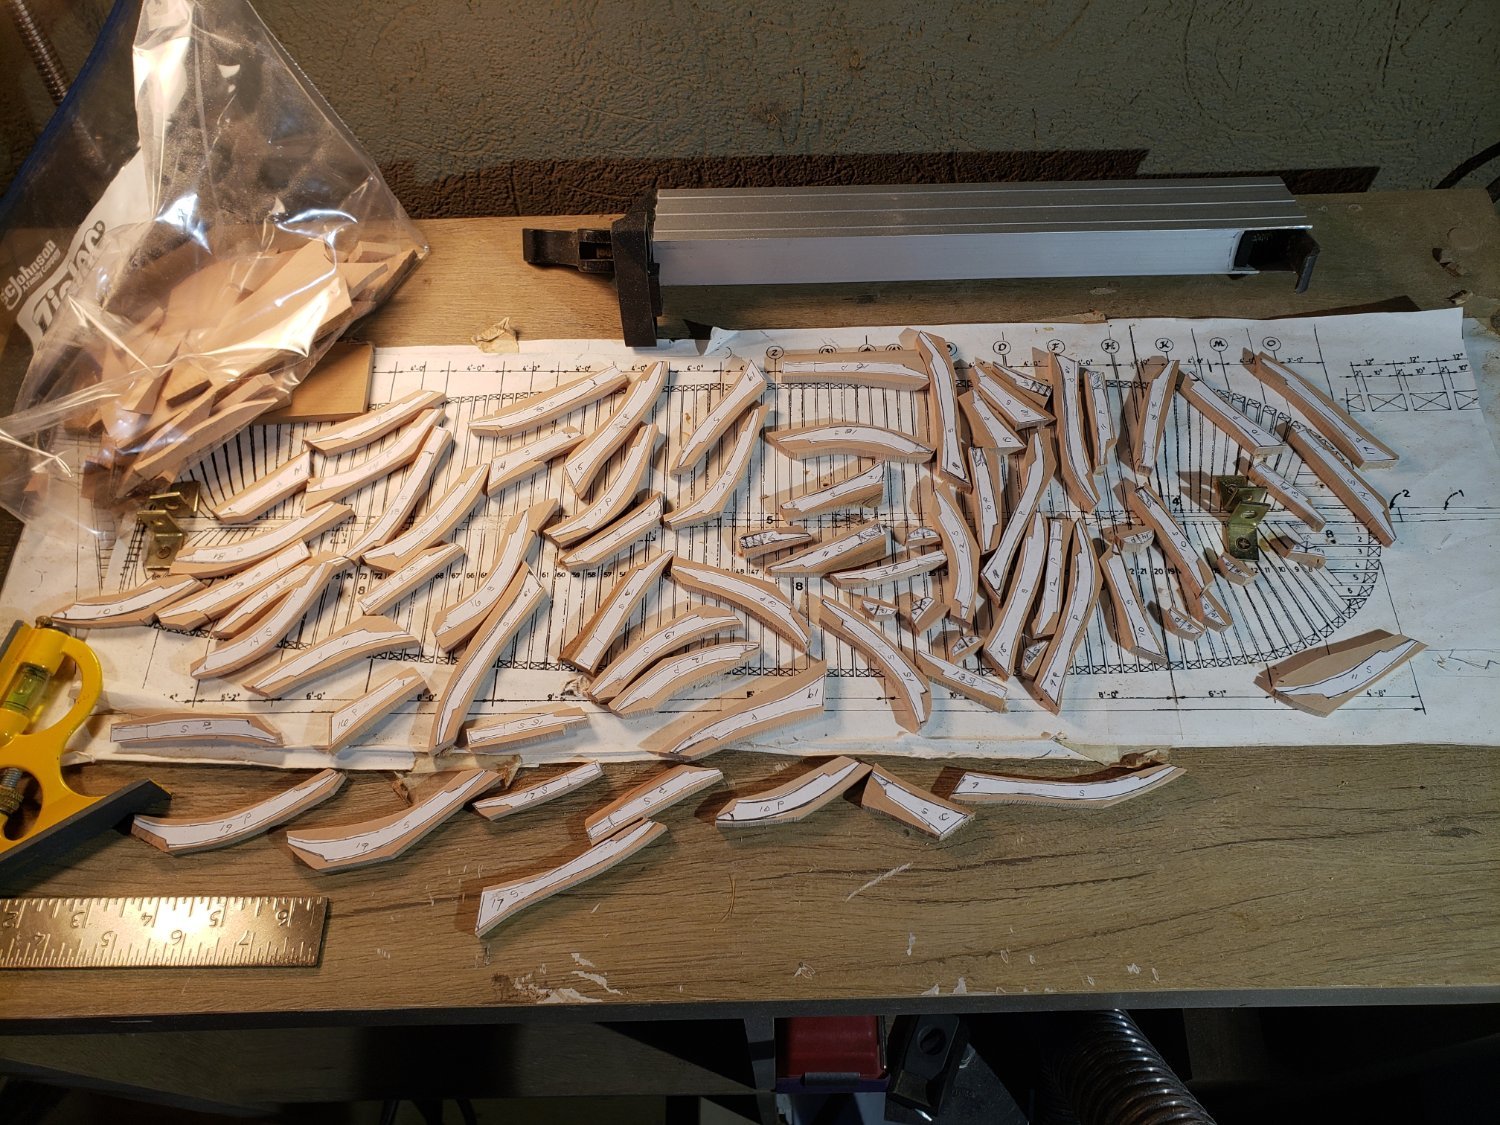
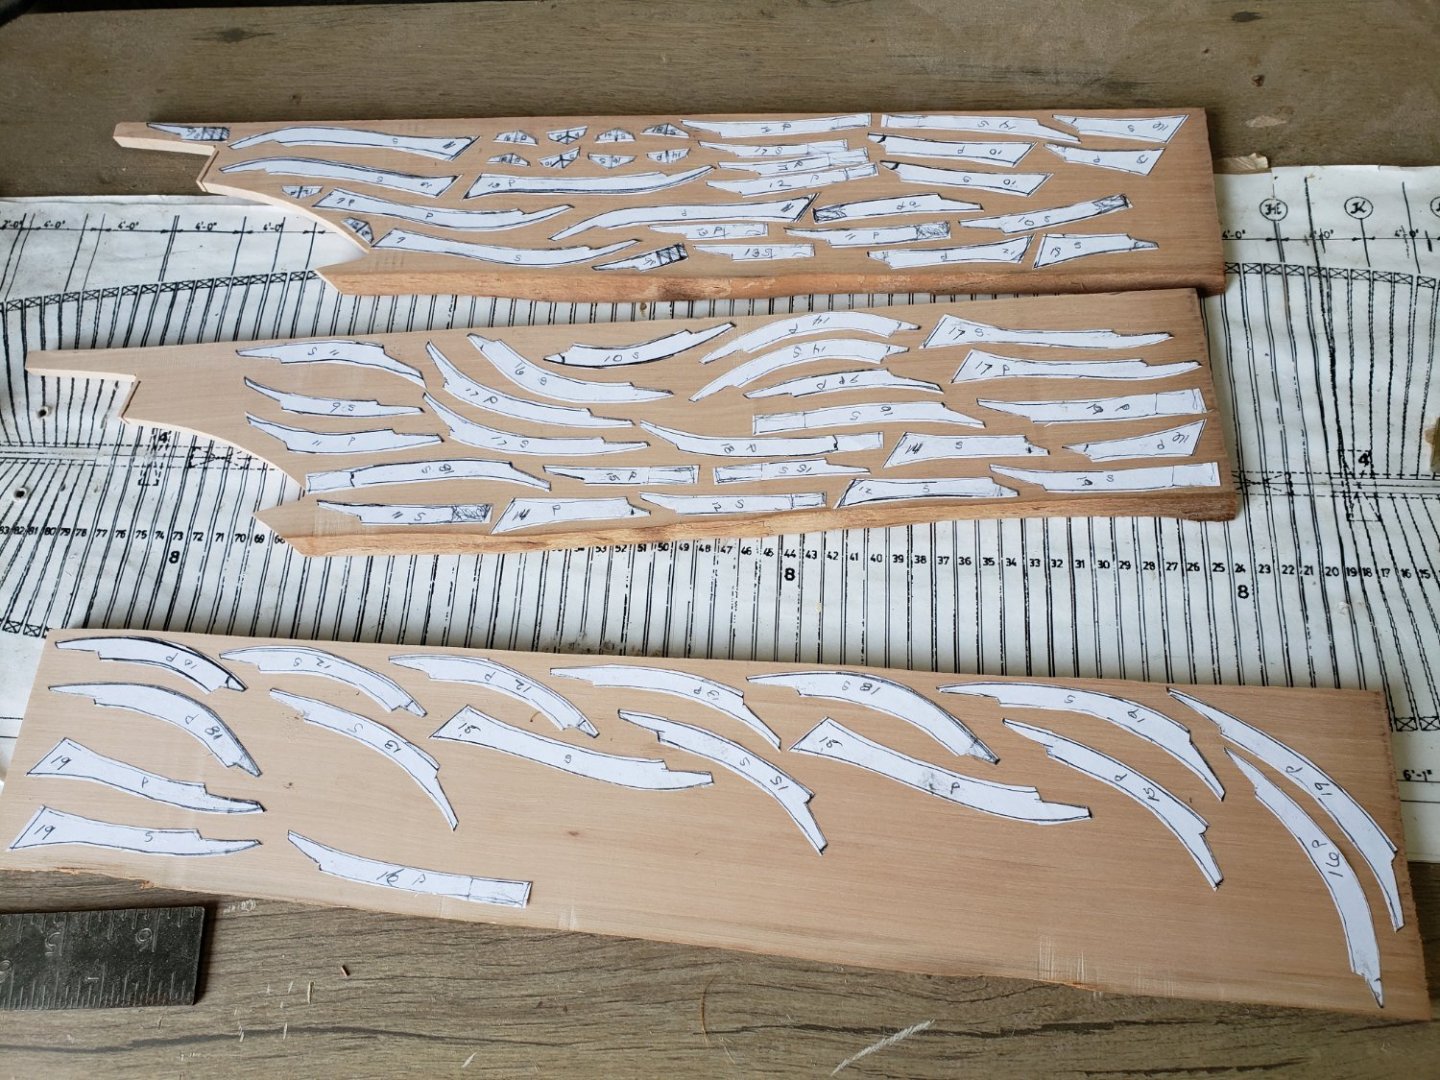
They will all be much thinner by half. These were sanded with a course drum first. Here's a few more.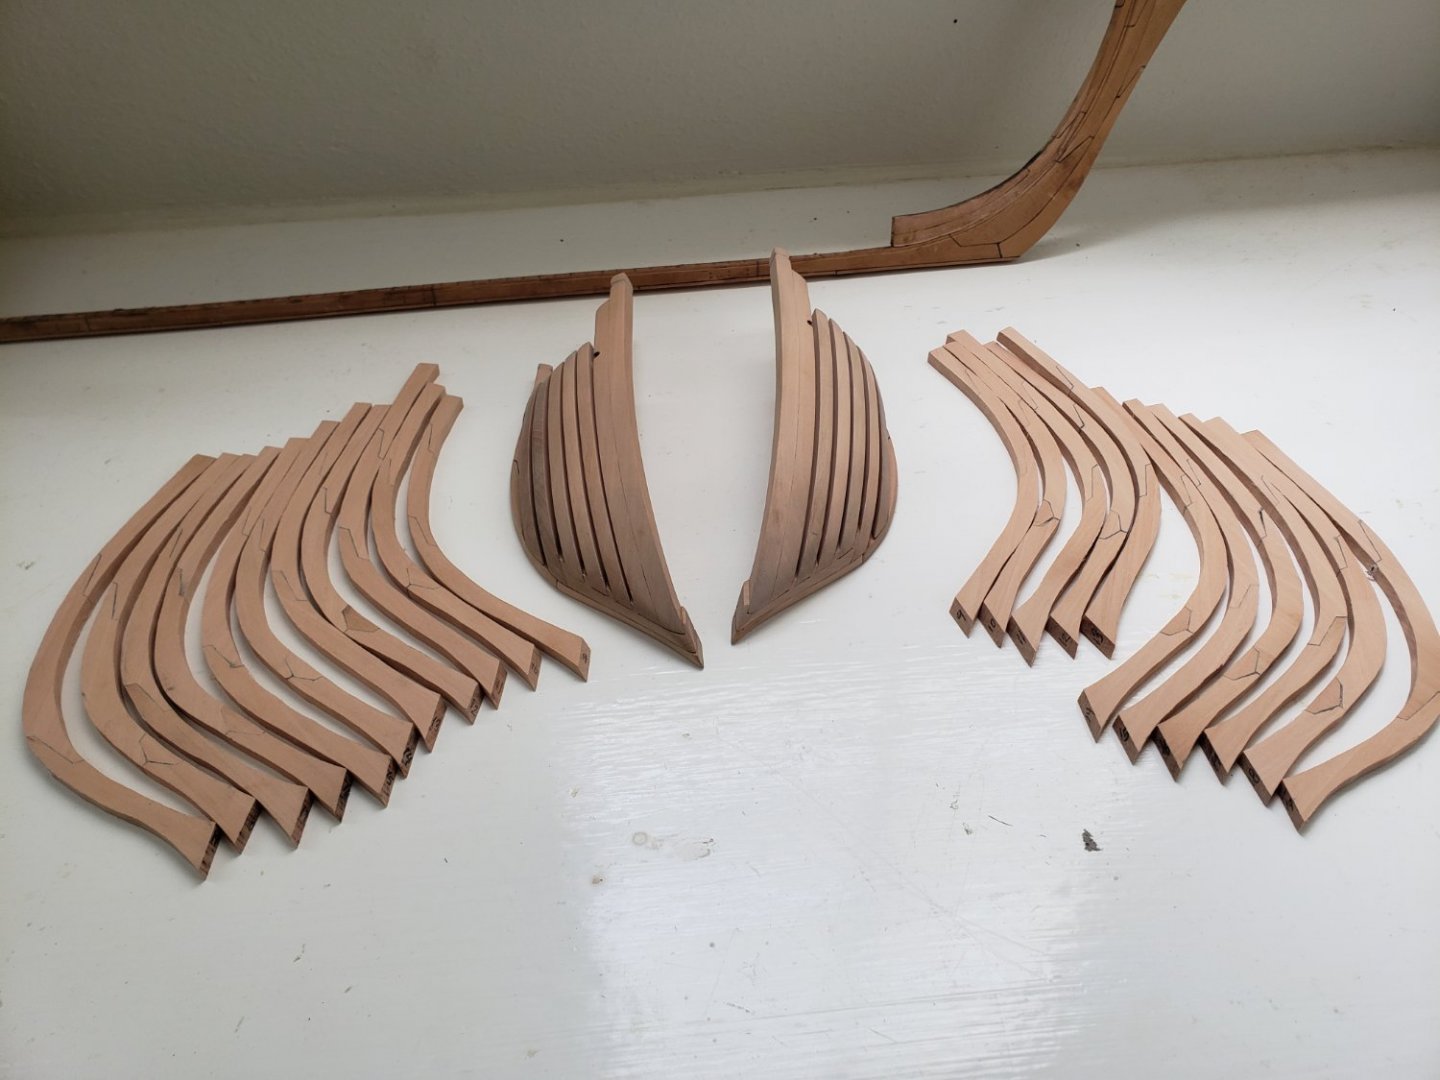
-
HMS Bounty by AdamA - 1:48
AdamA replied to AdamA's topic in - Build logs for subjects built 1751 - 1800

-
HMS Bounty by AdamA - 1:48
AdamA replied to AdamA's topic in - Build logs for subjects built 1751 - 1800
Frame 9.

-
HMS Bounty by AdamA - 1:48
AdamA replied to AdamA's topic in - Build logs for subjects built 1751 - 1800
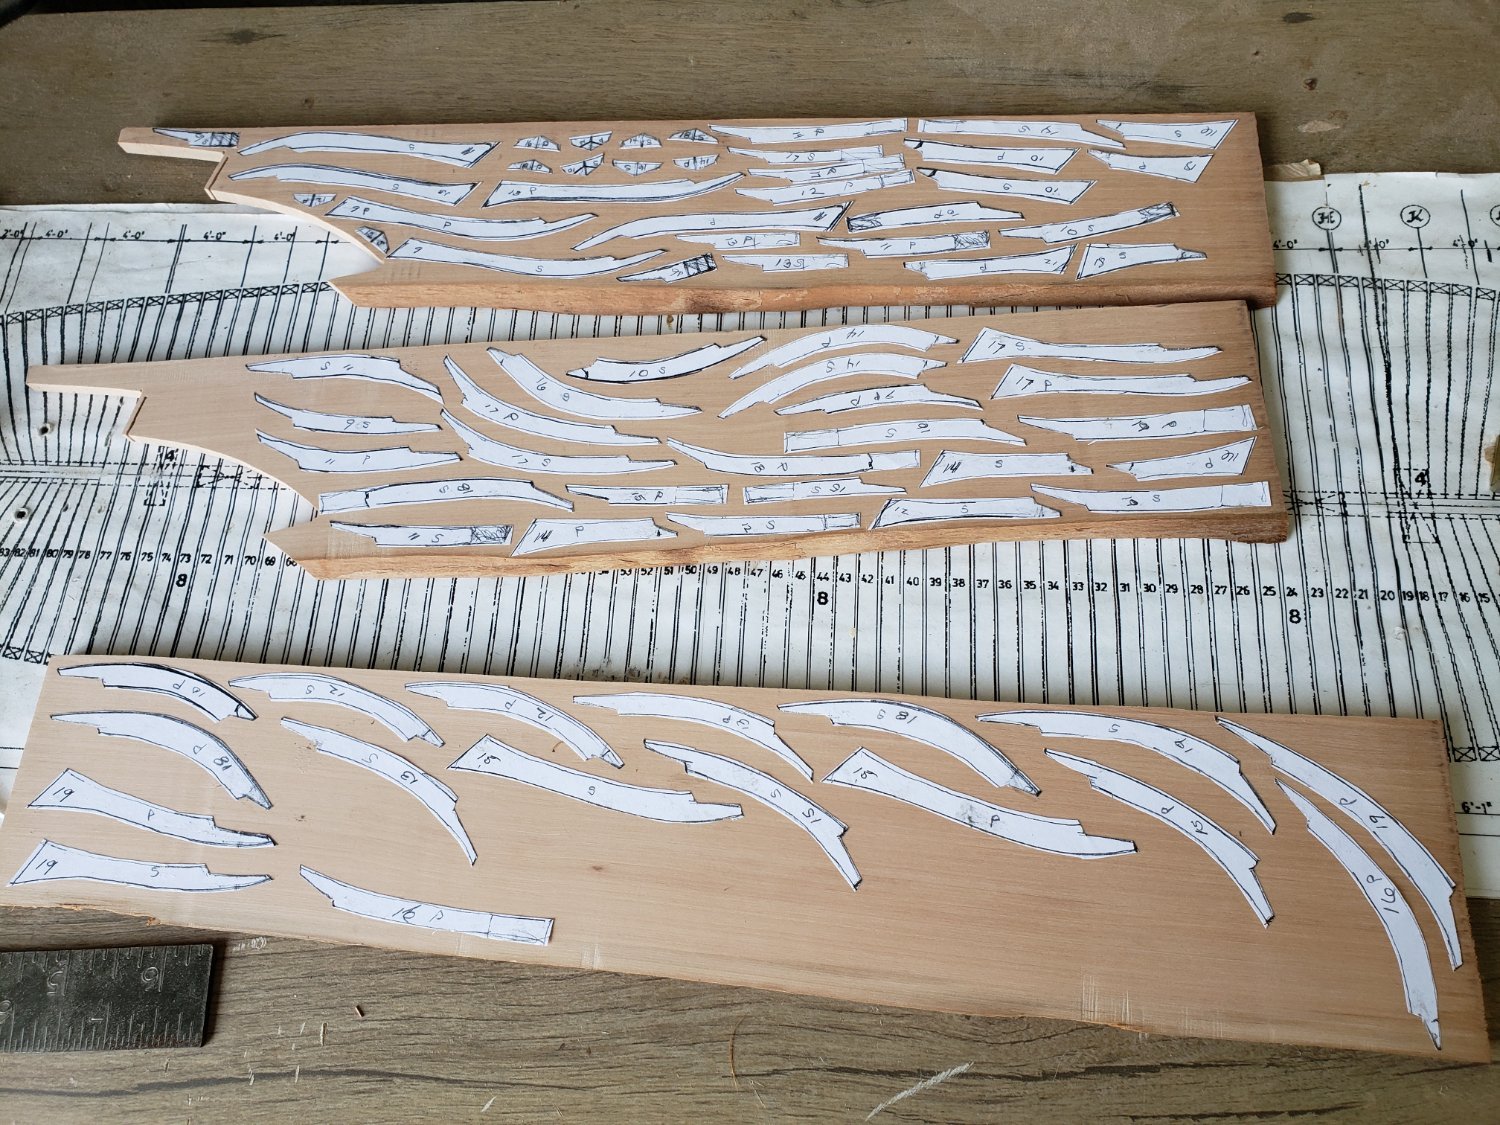
I rough cut the scarf joints and chock joints on the band saw, careful not to get too close to the paper. I take each one to the bench vice for making the final cuts with my chisels and sanding block and razor saw.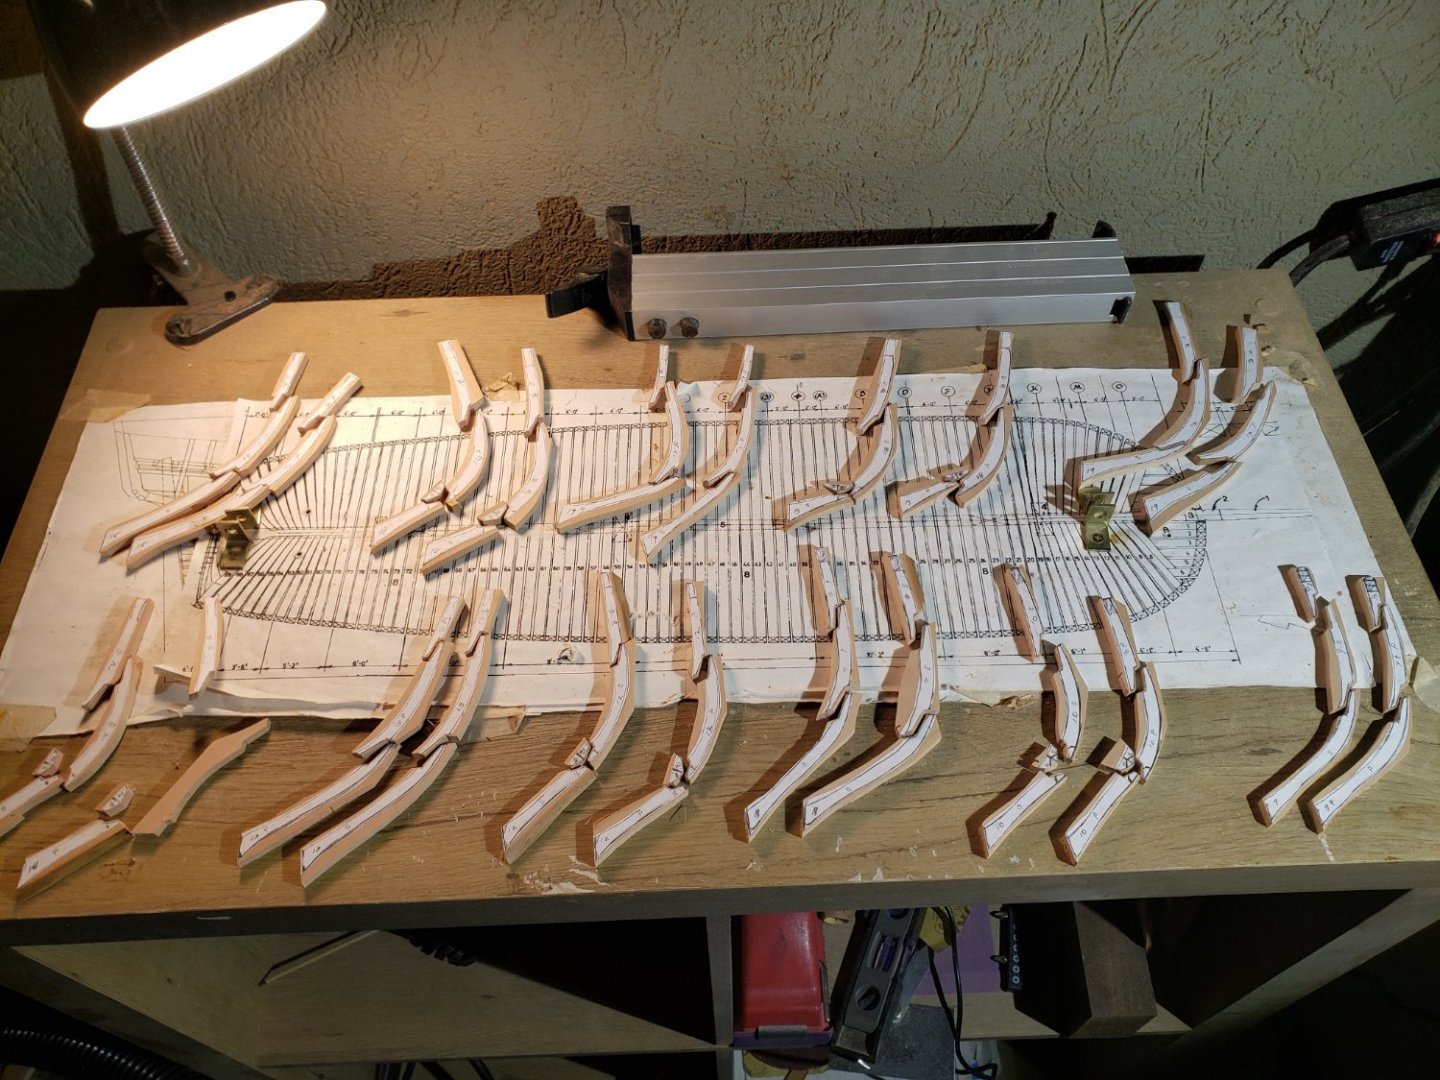
-
HMS Bounty by AdamA - 1:48
AdamA replied to AdamA's topic in - Build logs for subjects built 1751 - 1800
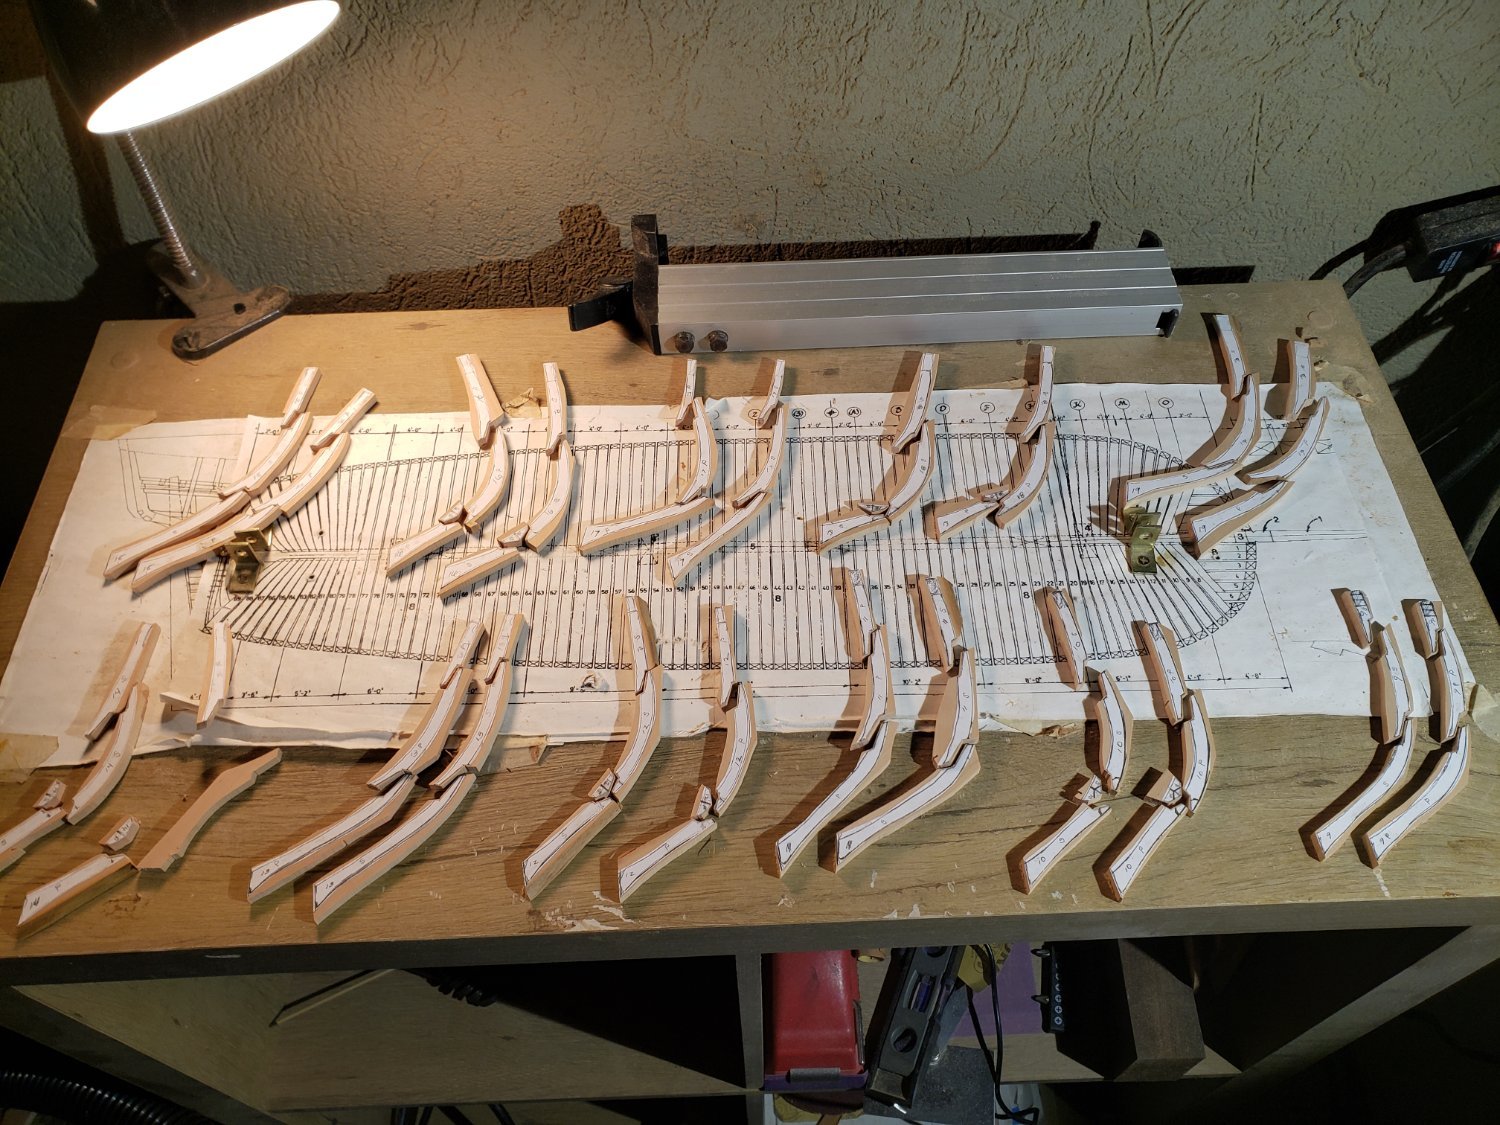
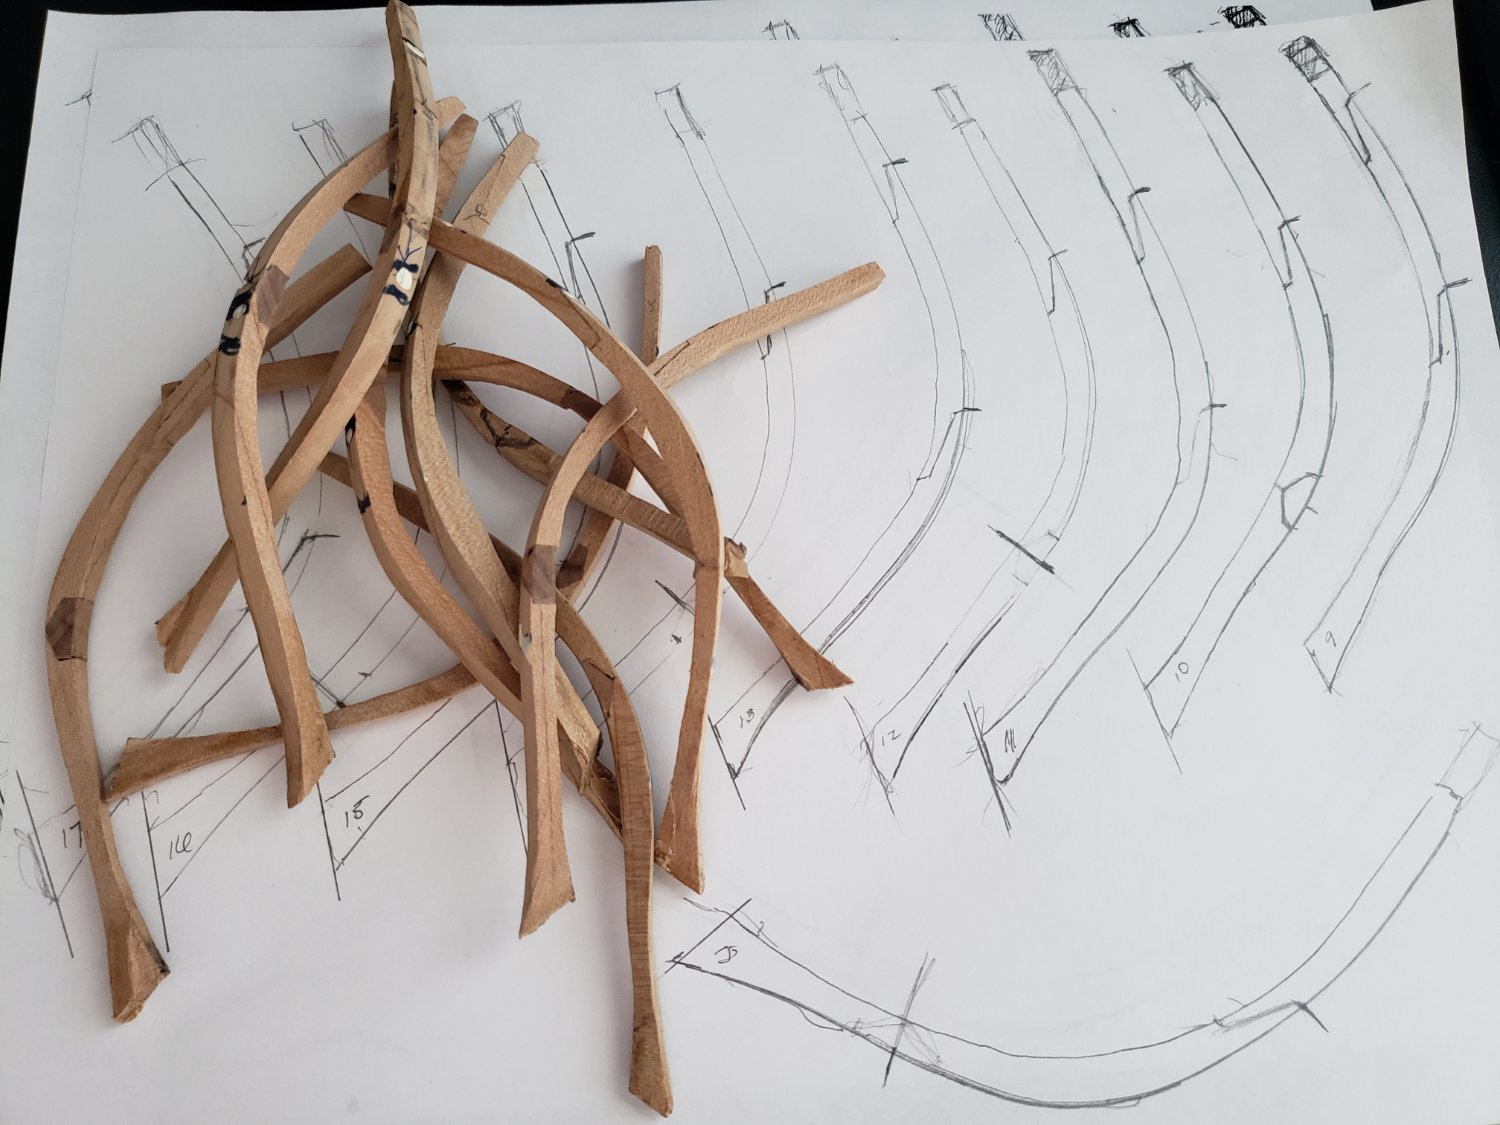
The cant frame pieces are roughed out.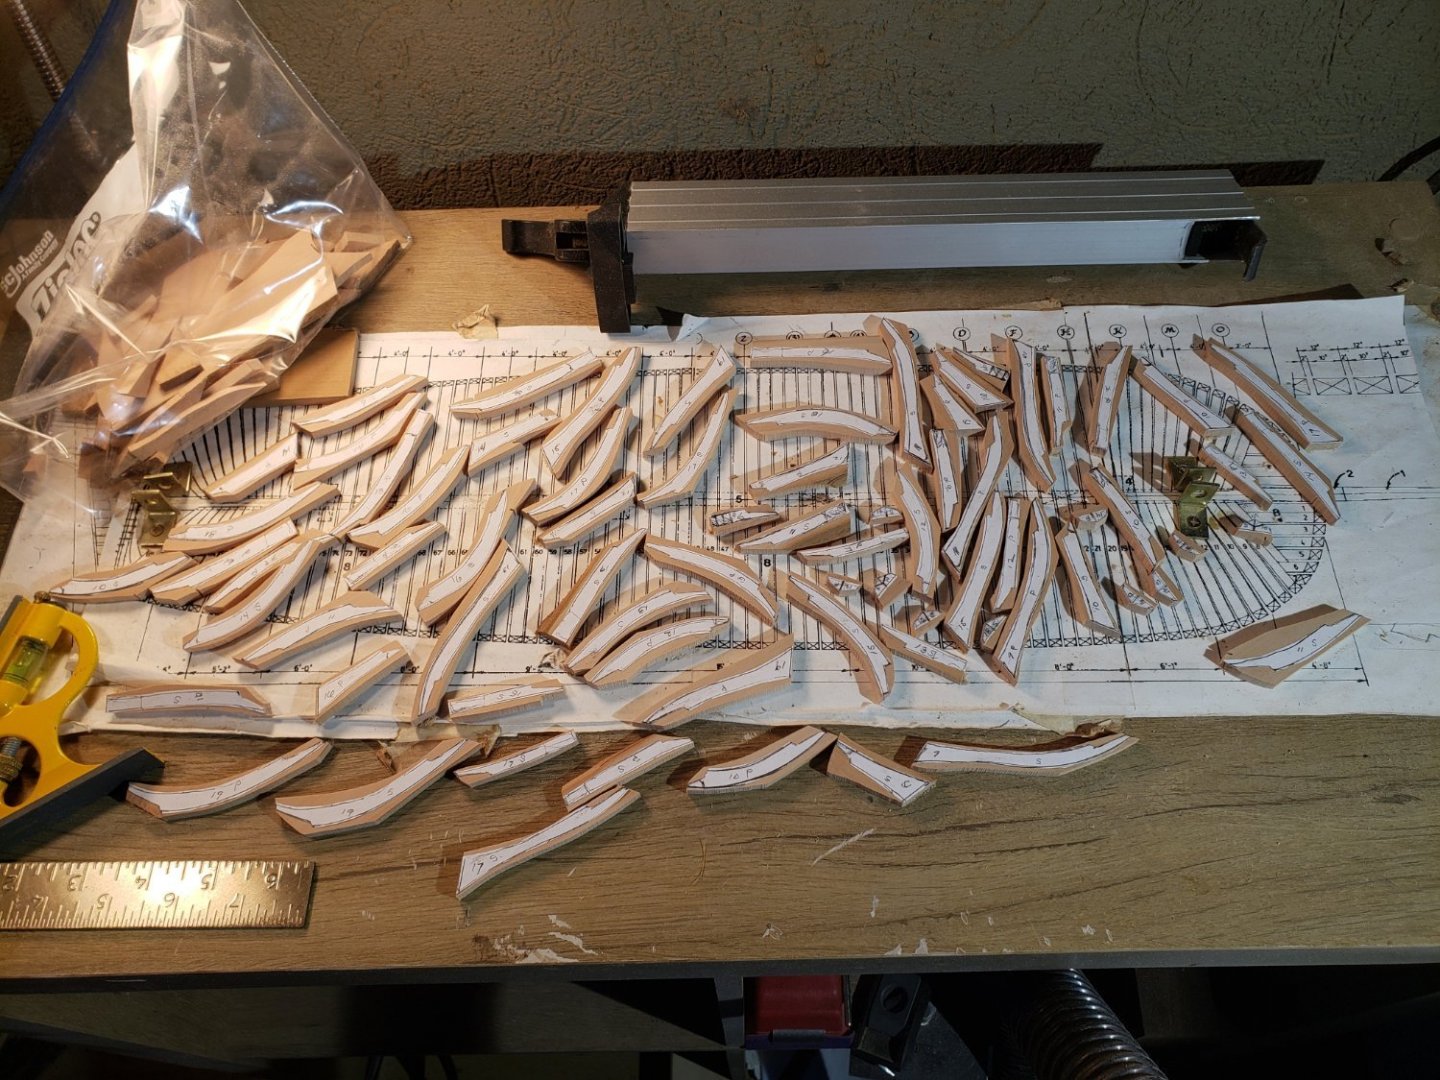
-
HMS Bounty by AdamA - 1:48
AdamA replied to AdamA's topic in - Build logs for subjects built 1751 - 1800
-
HMS Bounty by AdamA - 1:48
AdamA replied to AdamA's topic in - Build logs for subjects built 1751 - 1800
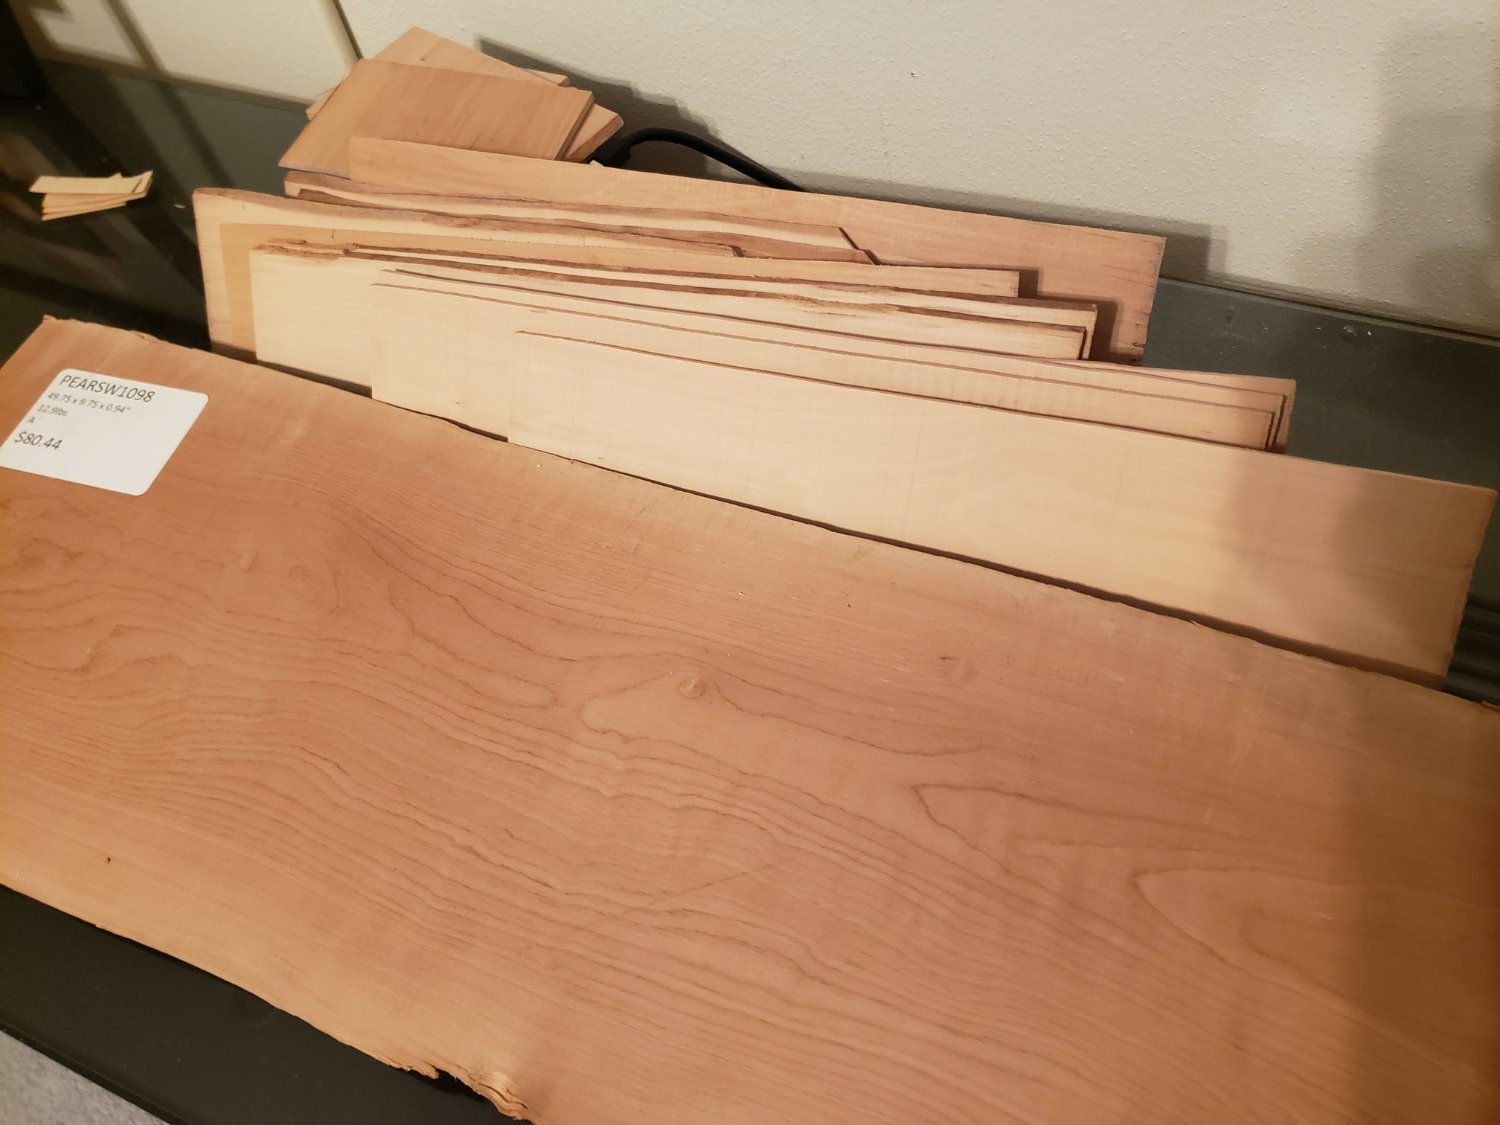
I ripped all the rest of my first big board into quite a few thin boards for the frames. I have one big board of Swiss Pear drying.
-
HMS Bounty by AdamA - 1:48
AdamA replied to AdamA's topic in - Build logs for subjects built 1751 - 1800
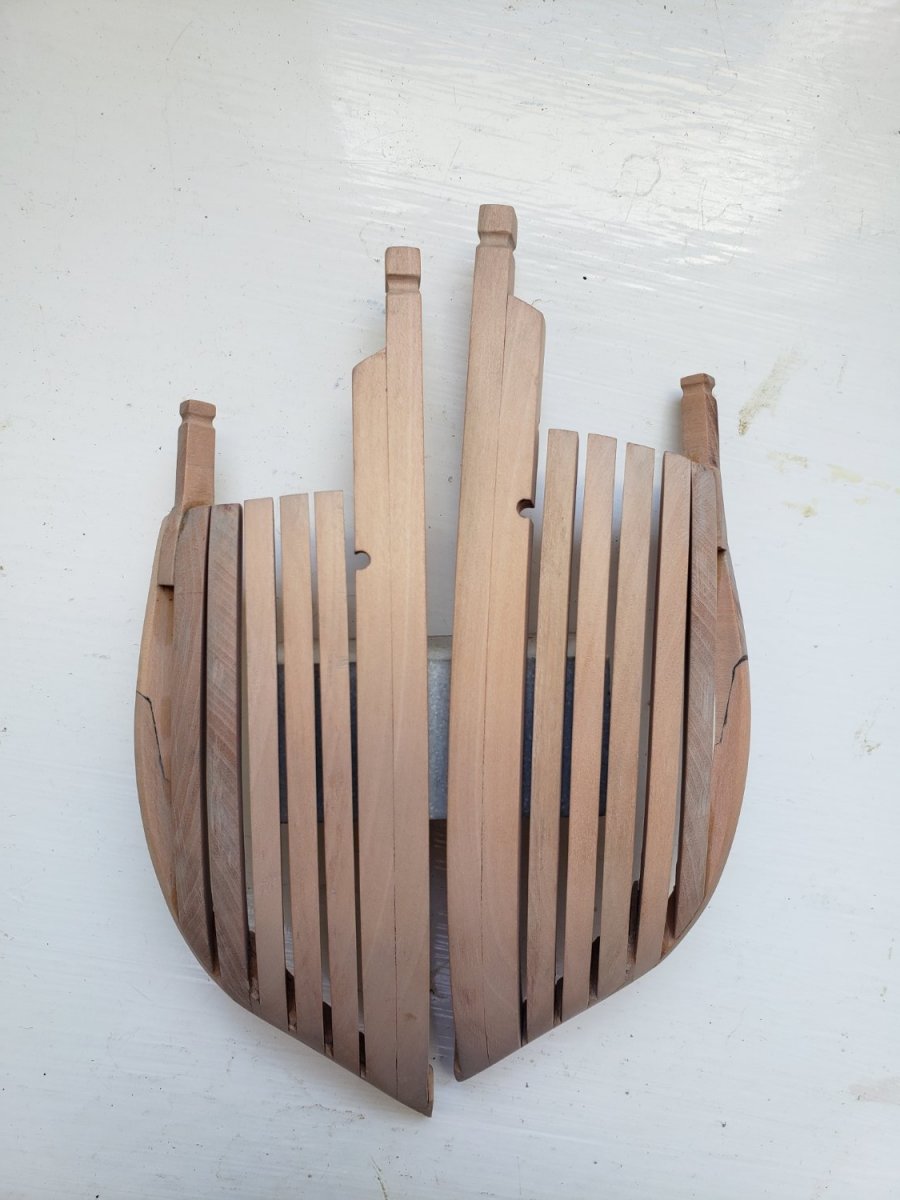
I added the two tall stanchions to the hawse timbers.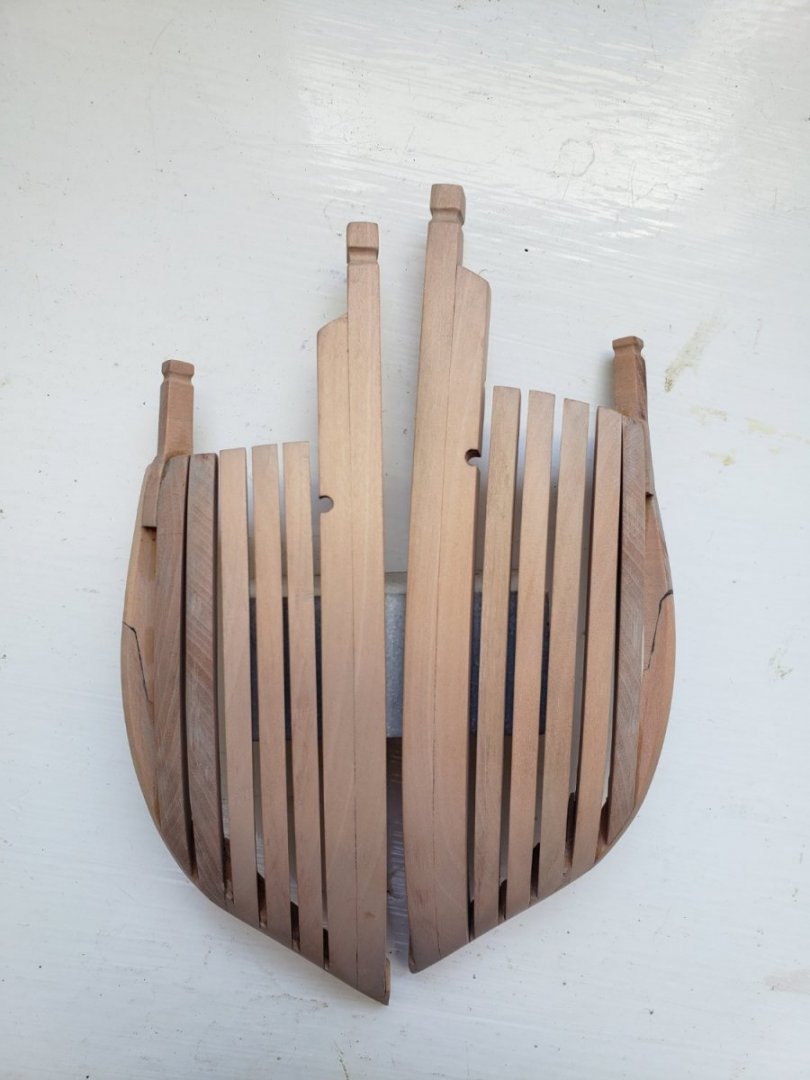
-
HMS Bounty by AdamA - 1:48
AdamA replied to AdamA's topic in - Build logs for subjects built 1751 - 1800
I absolutely this Japanese pull saw. It is extremely easy to make straight cuts down into frames for stanchions.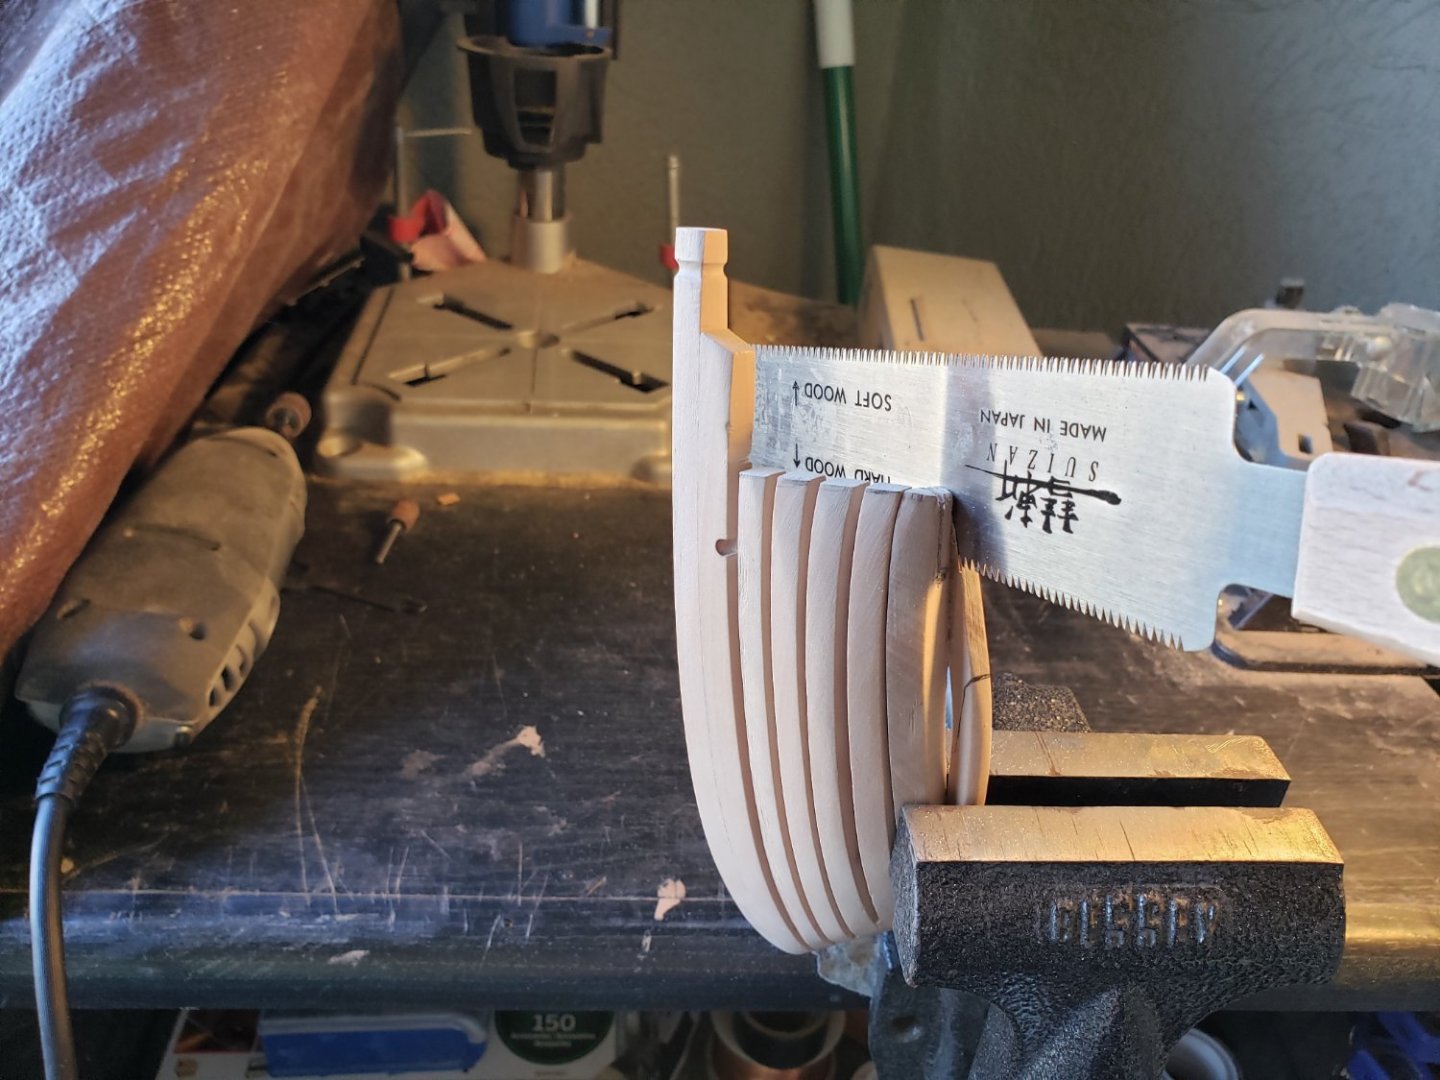
-
HMS Bounty by AdamA - 1:48
AdamA replied to AdamA's topic in - Build logs for subjects built 1751 - 1800
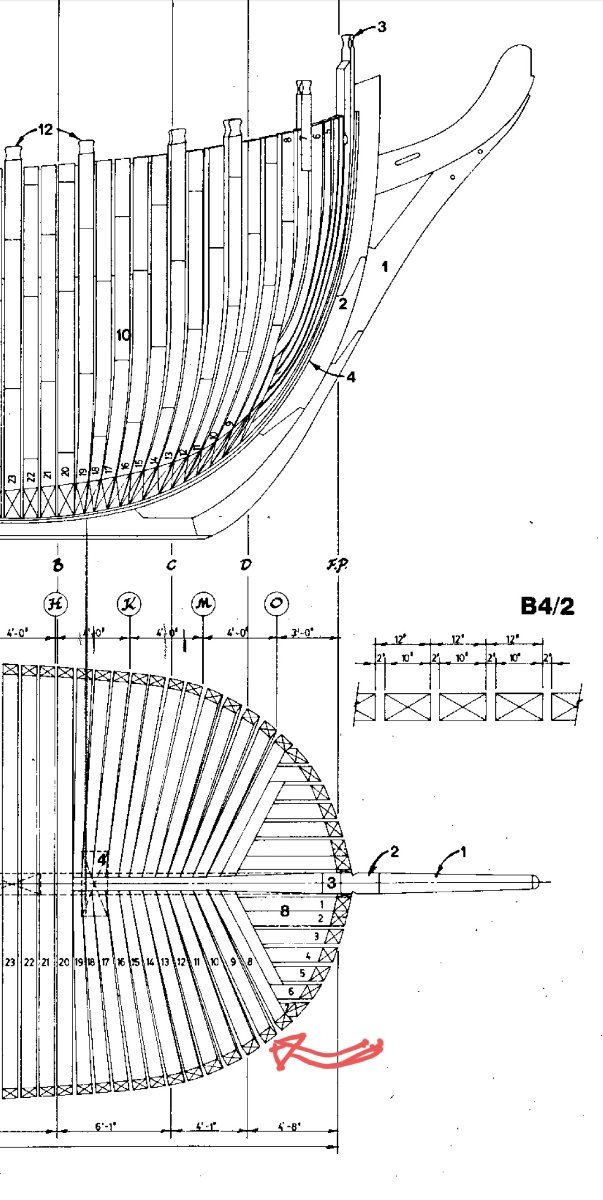
I used this page of McKay as well as the overhead view of the frames for the angles.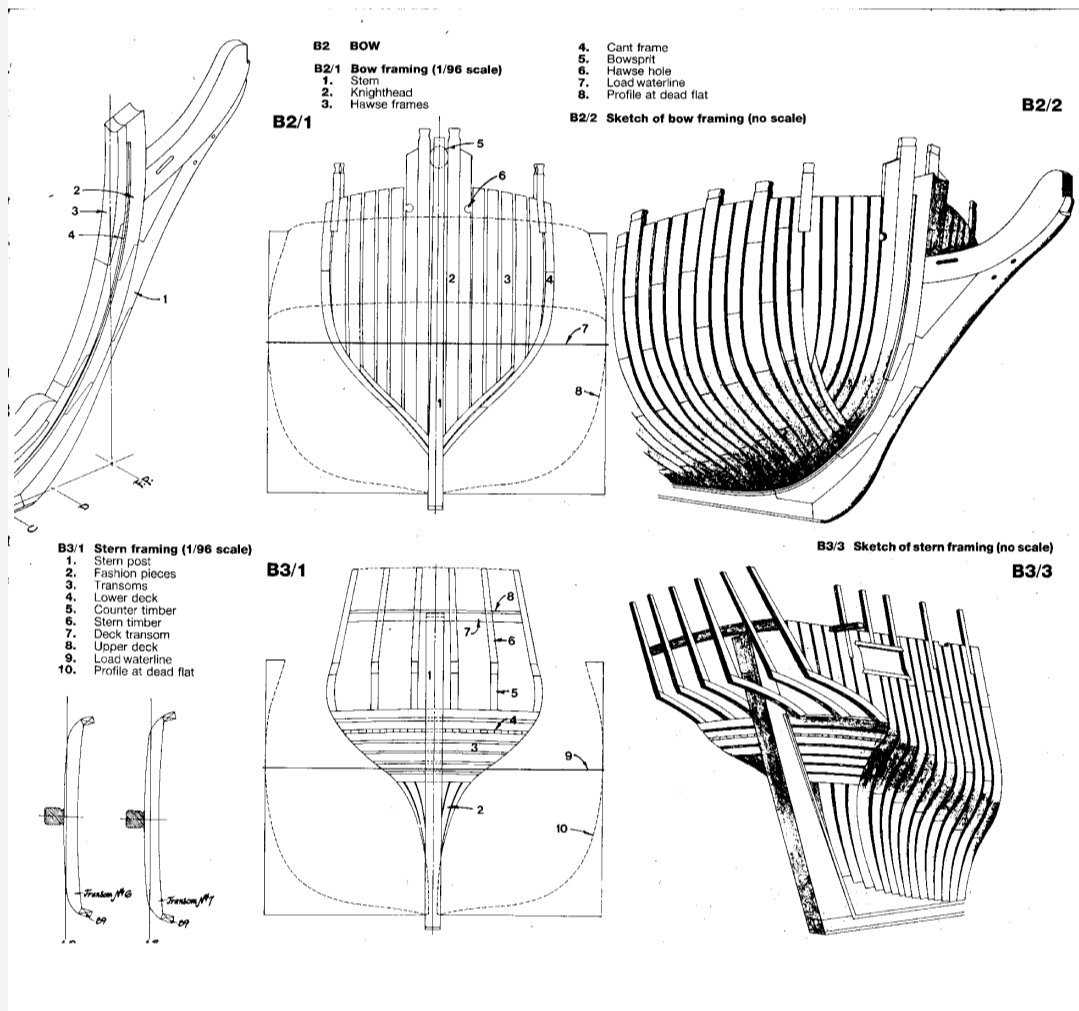
-
HMS Bounty by AdamA - 1:48
AdamA replied to AdamA's topic in - Build logs for subjects built 1751 - 1800
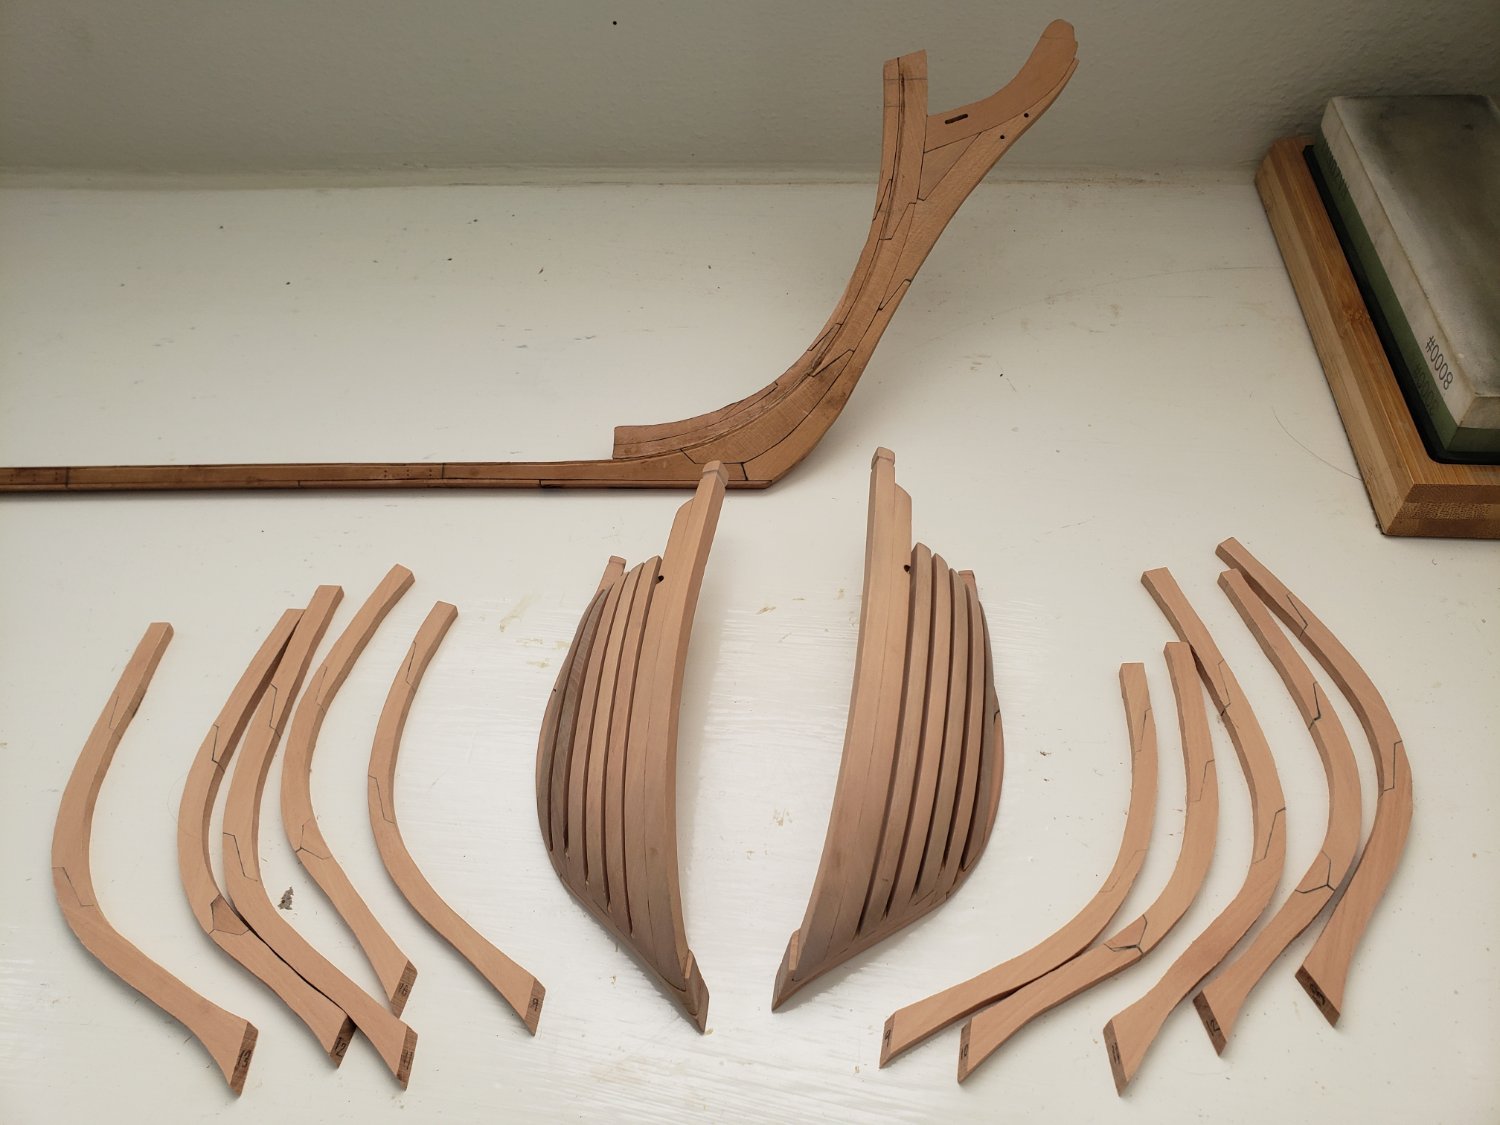
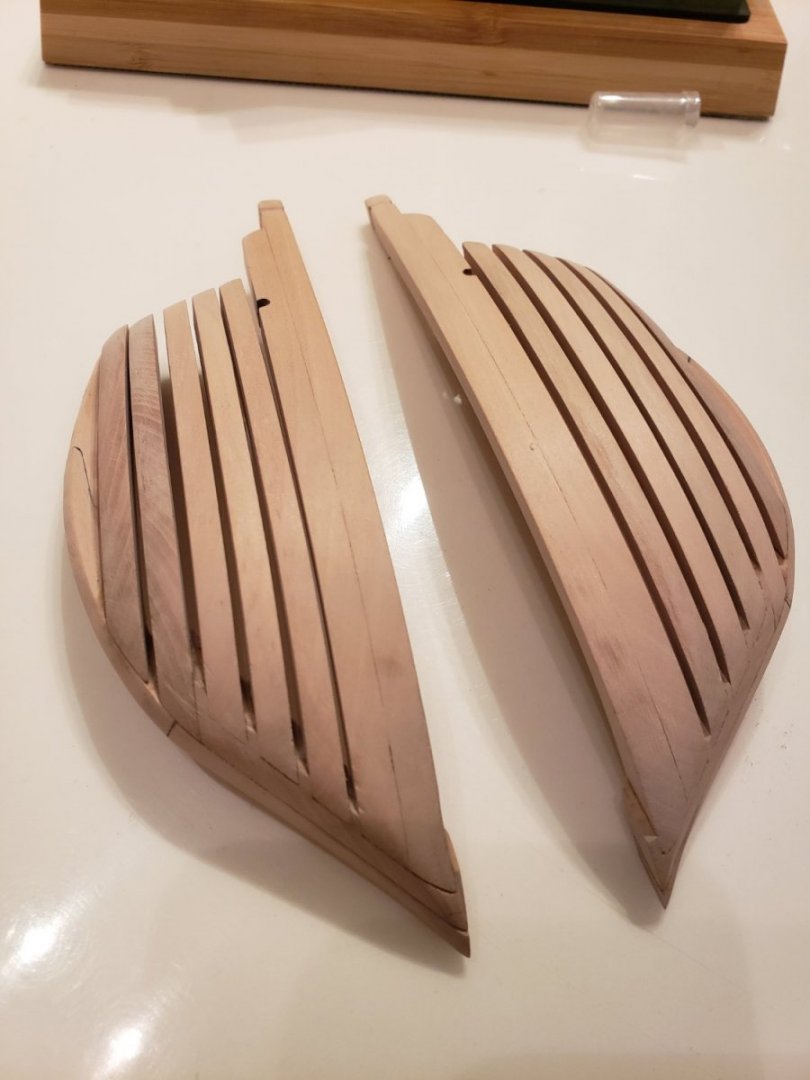
There are a few minor scratches I'm going to fix but otherwise these are much cleaner than the first set.
-
HMS Bounty by AdamA - 1:48
AdamA replied to AdamA's topic in - Build logs for subjects built 1751 - 1800
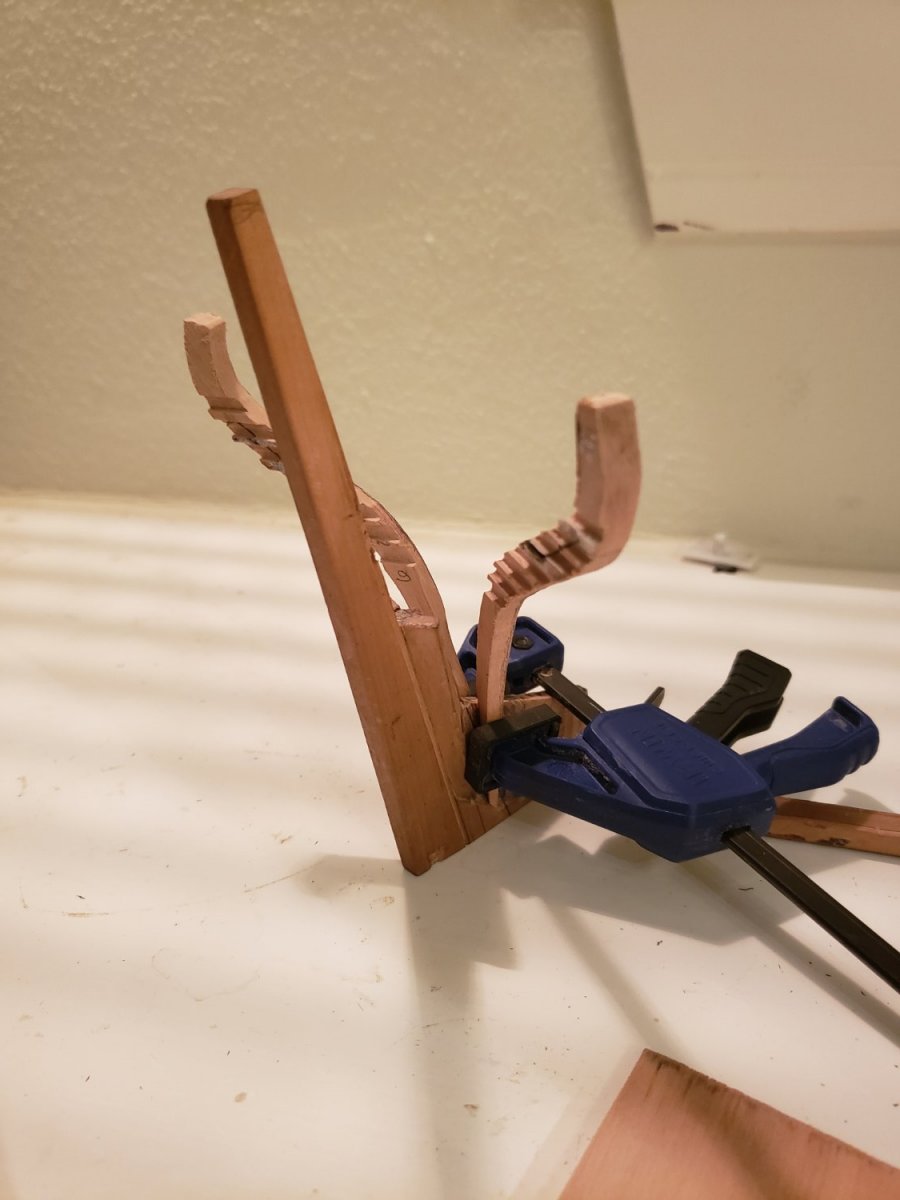
You can see the port side frame that i had to clamp overnight glued onto the aft side of those unsanded hawse frames I posted. -
HMS Bounty by AdamA - 1:48
AdamA replied to AdamA's topic in - Build logs for subjects built 1751 - 1800
I'm using the faired sacrificial first set of frames to give me the correct shape for the new frames. Since I'm doing this all with pencil and paper, instead of with computer aided design, most of my original frames had the chocks and scarfs either off centered or faired away altogether. This time they should all end up pretty close to perfectly centered. Also, all the joint lines will flow down the hull correctly from frame to frame this time. I might have to start using a computer for my next ship.
-
HMS Bounty by AdamA - 1:48
AdamA replied to AdamA's topic in - Build logs for subjects built 1751 - 1800
Funny you should mention it because the frame I made in the picture above came out all wrong lol. It had too much curve somehow. I straightened it overnight in a vice. I'm going to use your method on the next one. -
HMS Bounty by AdamA - 1:48
AdamA replied to AdamA's topic in - Build logs for subjects built 1751 - 1800
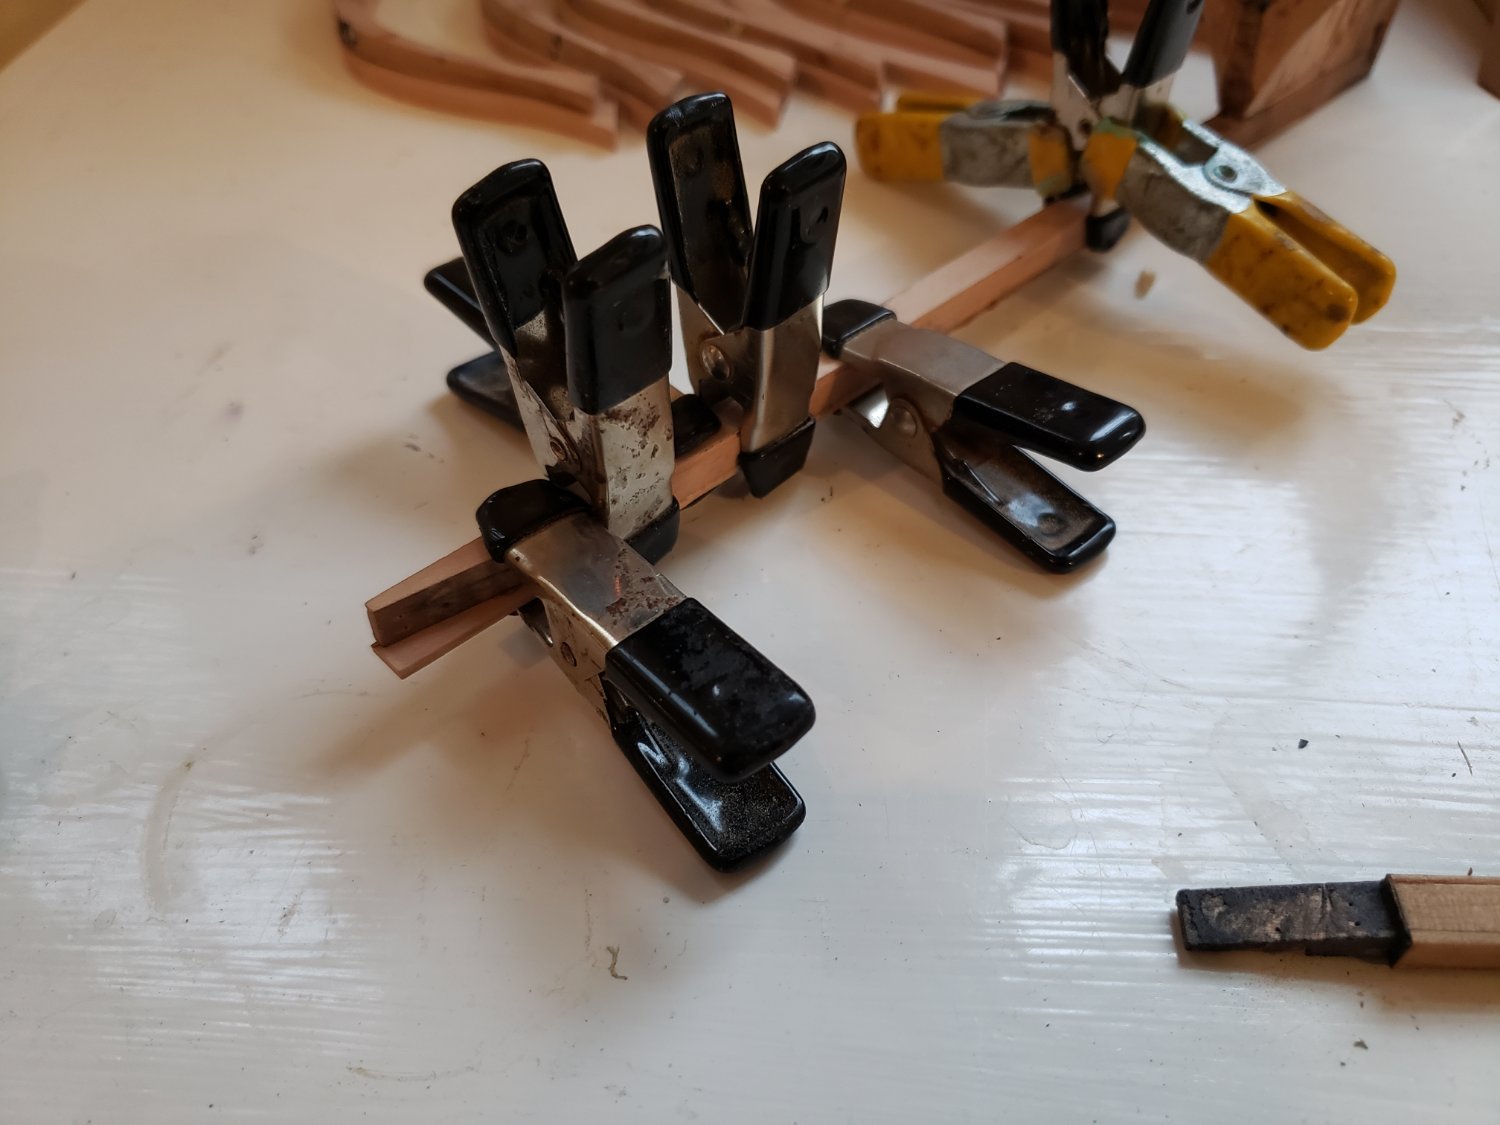
Here's another progress pic of the aft of the hawse frames. I see a lot of people prefer to build them on the stem but I found it easier to get the angles to meet on all the joints if I can place them on my tools.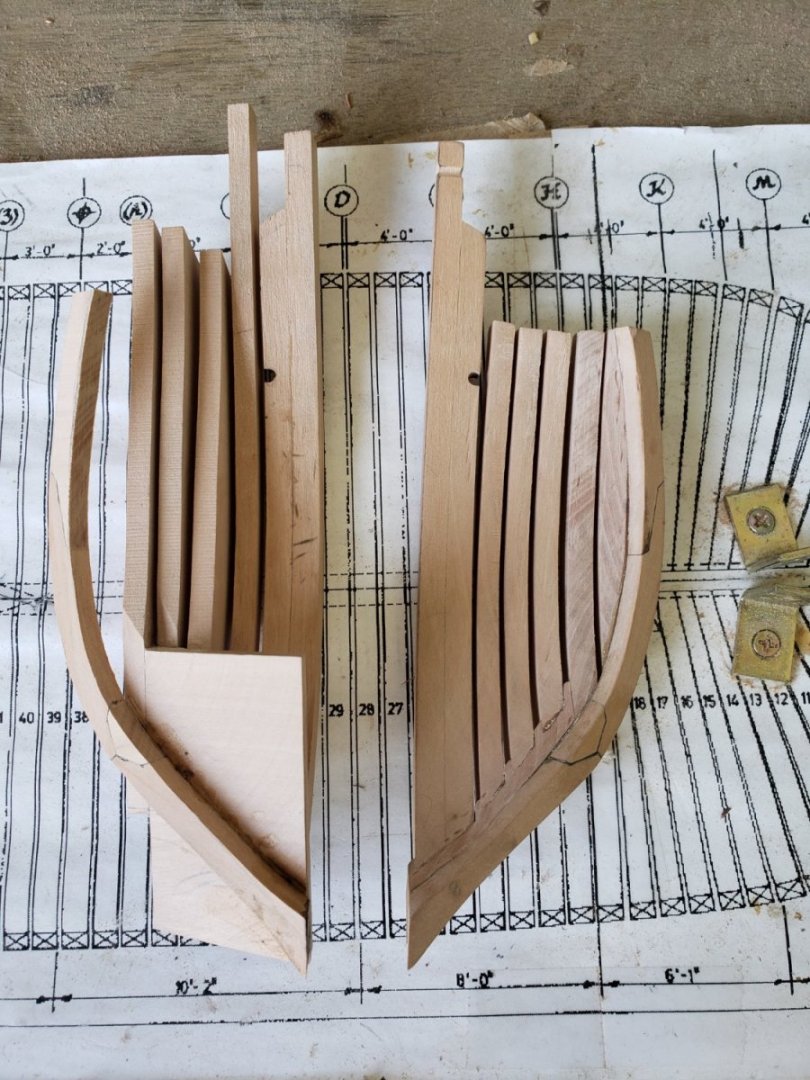
-
HMS Bounty by AdamA - 1:48
AdamA replied to AdamA's topic in - Build logs for subjects built 1751 - 1800
This will be frame 8 port side.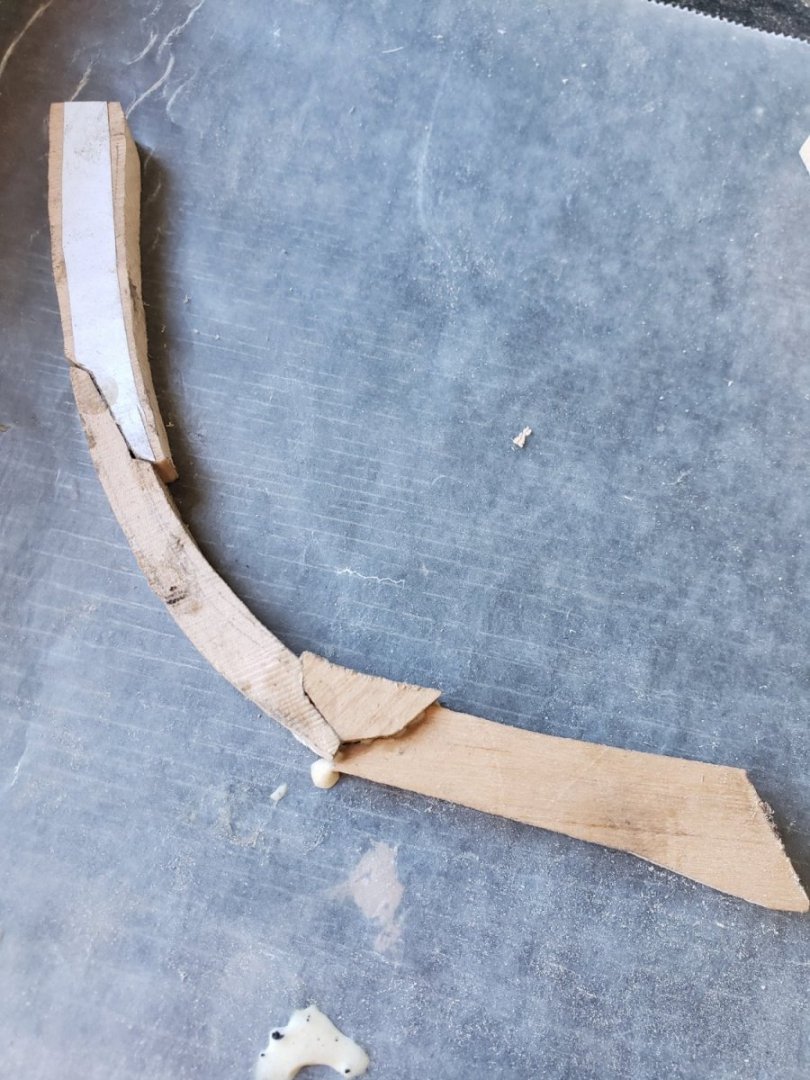
-
HMS Bounty by AdamA - 1:48
AdamA replied to AdamA's topic in - Build logs for subjects built 1751 - 1800
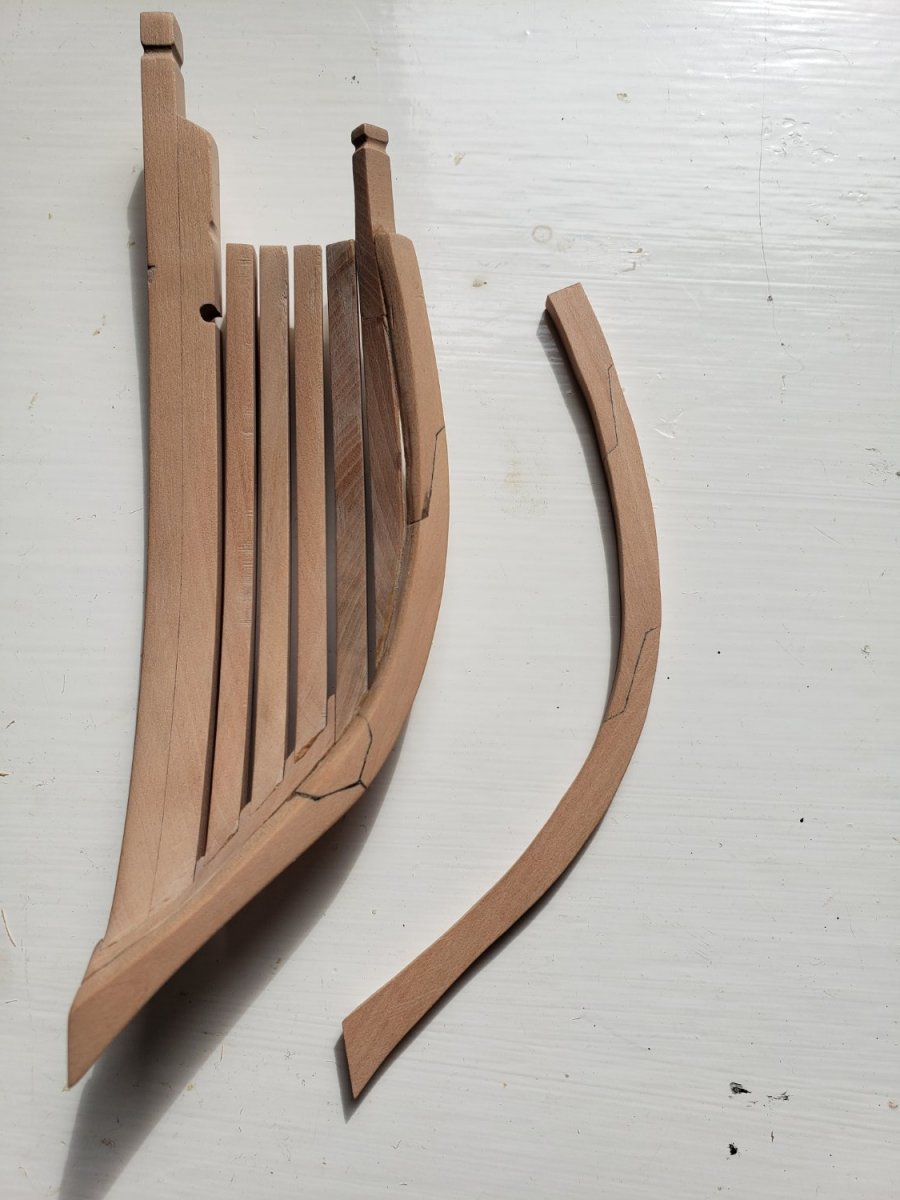
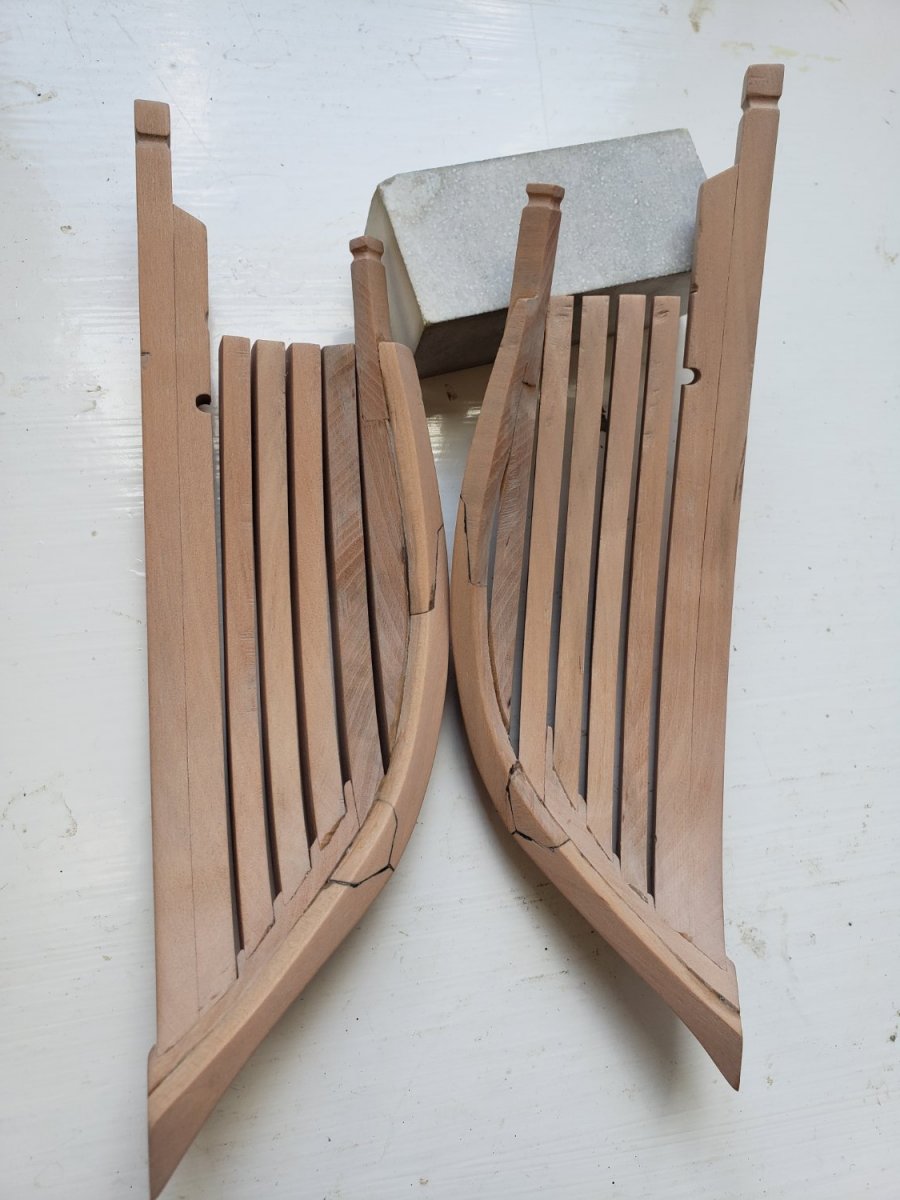
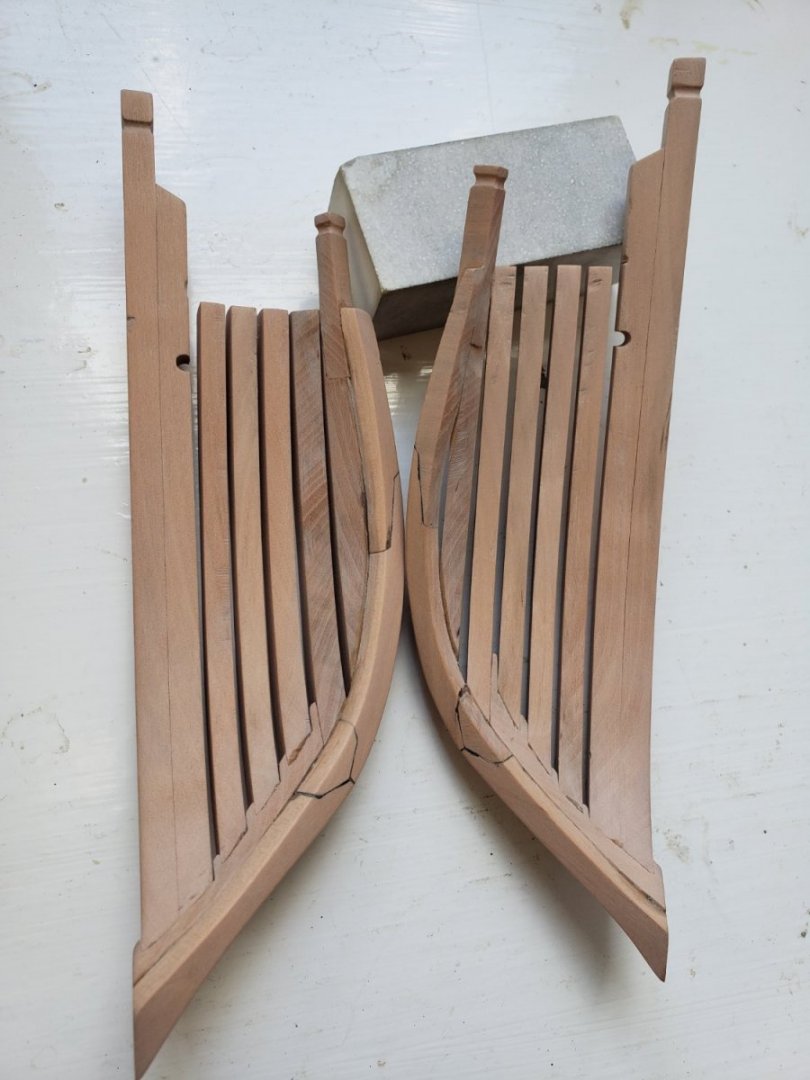
The starboard hawse frames are mostly finished. The port side is just starting to come together. I used a Microlux table saw with the blade at the proper angle to cut four parallel slots into the block that will eventually be sanded down to the first cant frames. Its not pretty at the beginning but it guarantees a proper fit in those joints.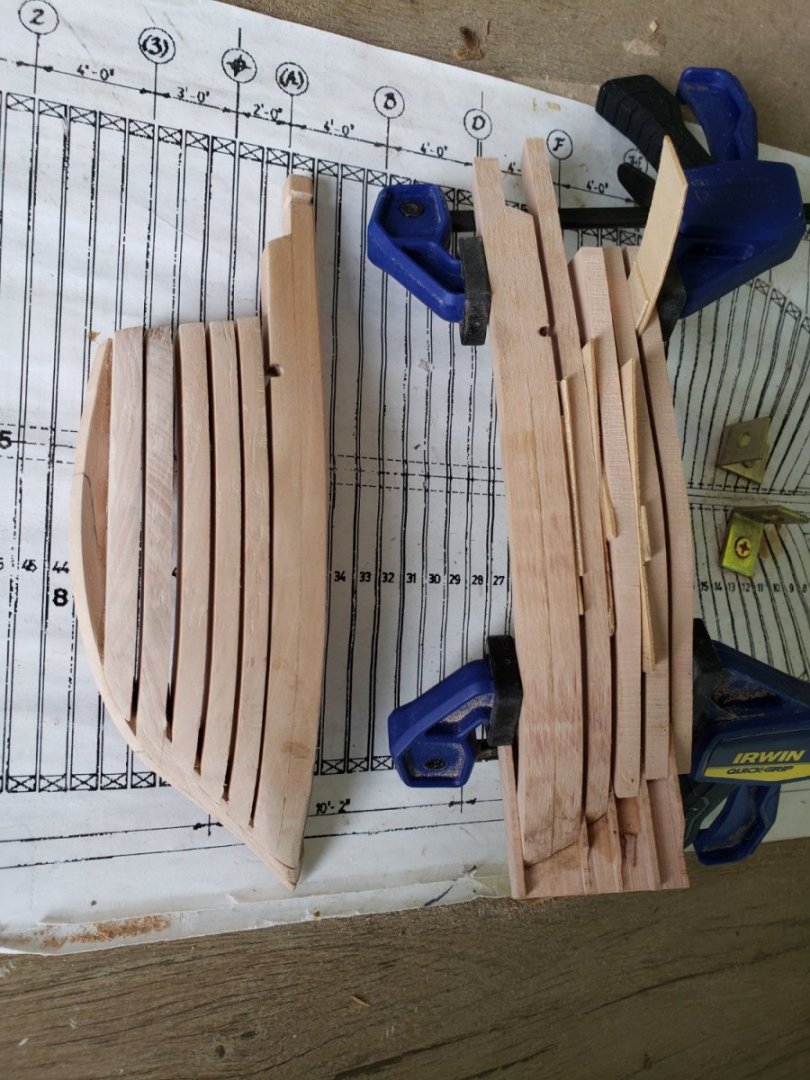
-
HMS Bounty by AdamA - 1:48
AdamA replied to AdamA's topic in - Build logs for subjects built 1751 - 1800
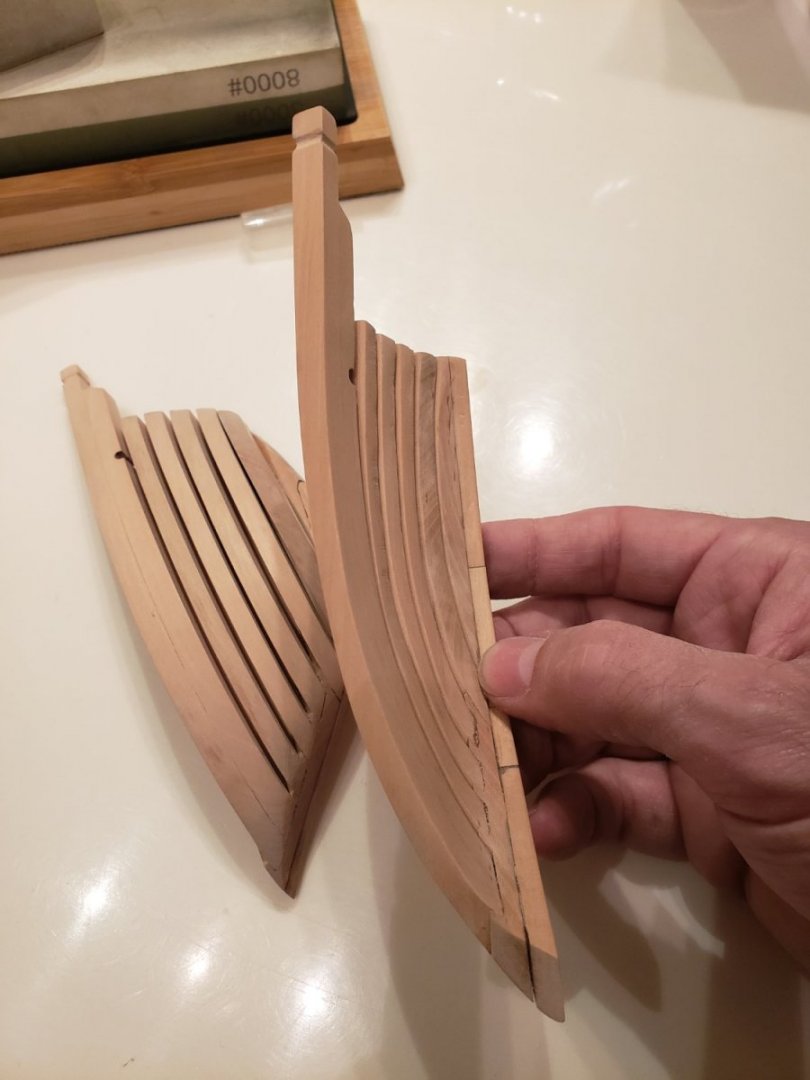
A bit more sanding is needed but these hawse frames are much better than the original set I built.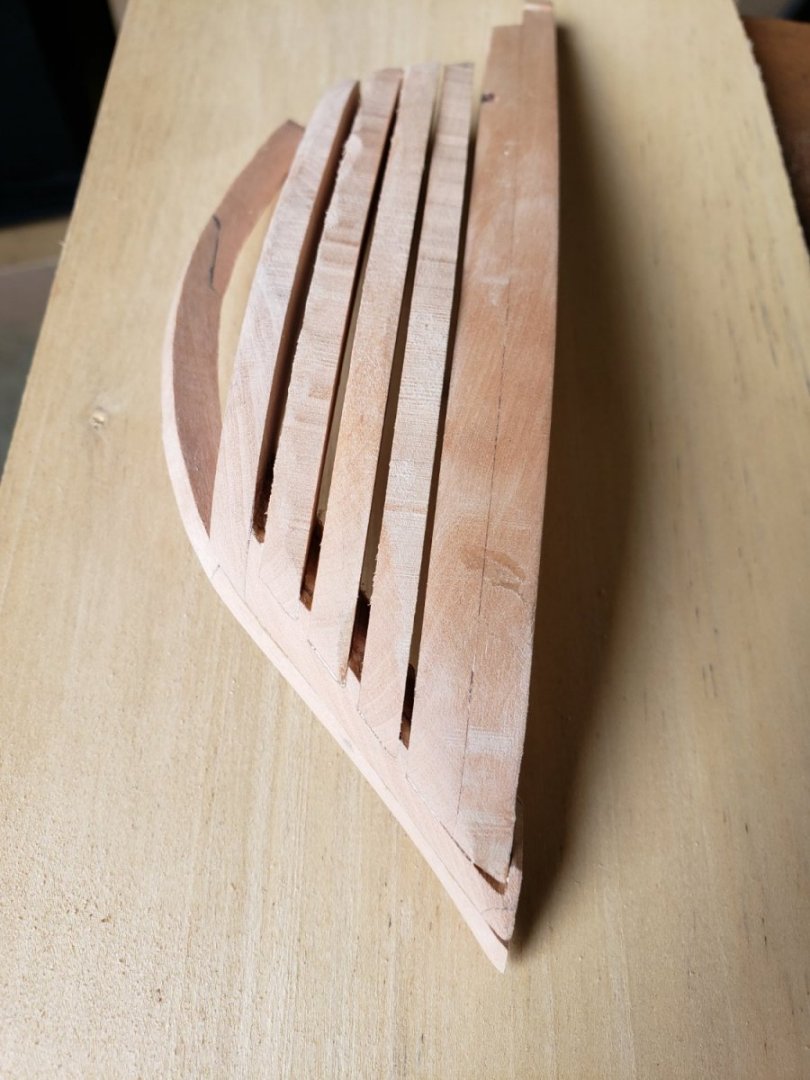
-
HMS Bounty by AdamA - 1:48
AdamA replied to AdamA's topic in - Build logs for subjects built 1751 - 1800
The "practice frames" were both frustrating and great. I hated tearing down all that work. But, without using a computer, I will end up with the frames' scarf joints exactly centered and in line with the other frames' joint lines. -
HMS Bounty by AdamA - 1:48
AdamA replied to AdamA's topic in - Build logs for subjects built 1751 - 1800
Here we go. Cant frame 8 will go against all the hawse frames.