Ron B
-
Posts
55 -
Joined
-
Last visited
Content Type
Profiles
Forums
Gallery
Events
Everything posted by Ron B
-
 good to hear. Here's a weird question, When I see close up pics of the tiny wood pieces they're hairy, as in small wood fibers have been raised up and even after sanding the paint never lays flat. I'm thinking of running a wide soft flame over them to burn them off...I'll do a test and let you know.
 -
Boy those metal castings are a sorry looking lot. Since I have no recourse I am going to have get creative in retouching them, filing, maybe use some plastic metal filler. Mine are just as bad. I also contacted MSW with a list of missing wood strips and blocks...all the metal was there....I hear they're quite responsive and customer oriented when it comes to this type of thing.
-
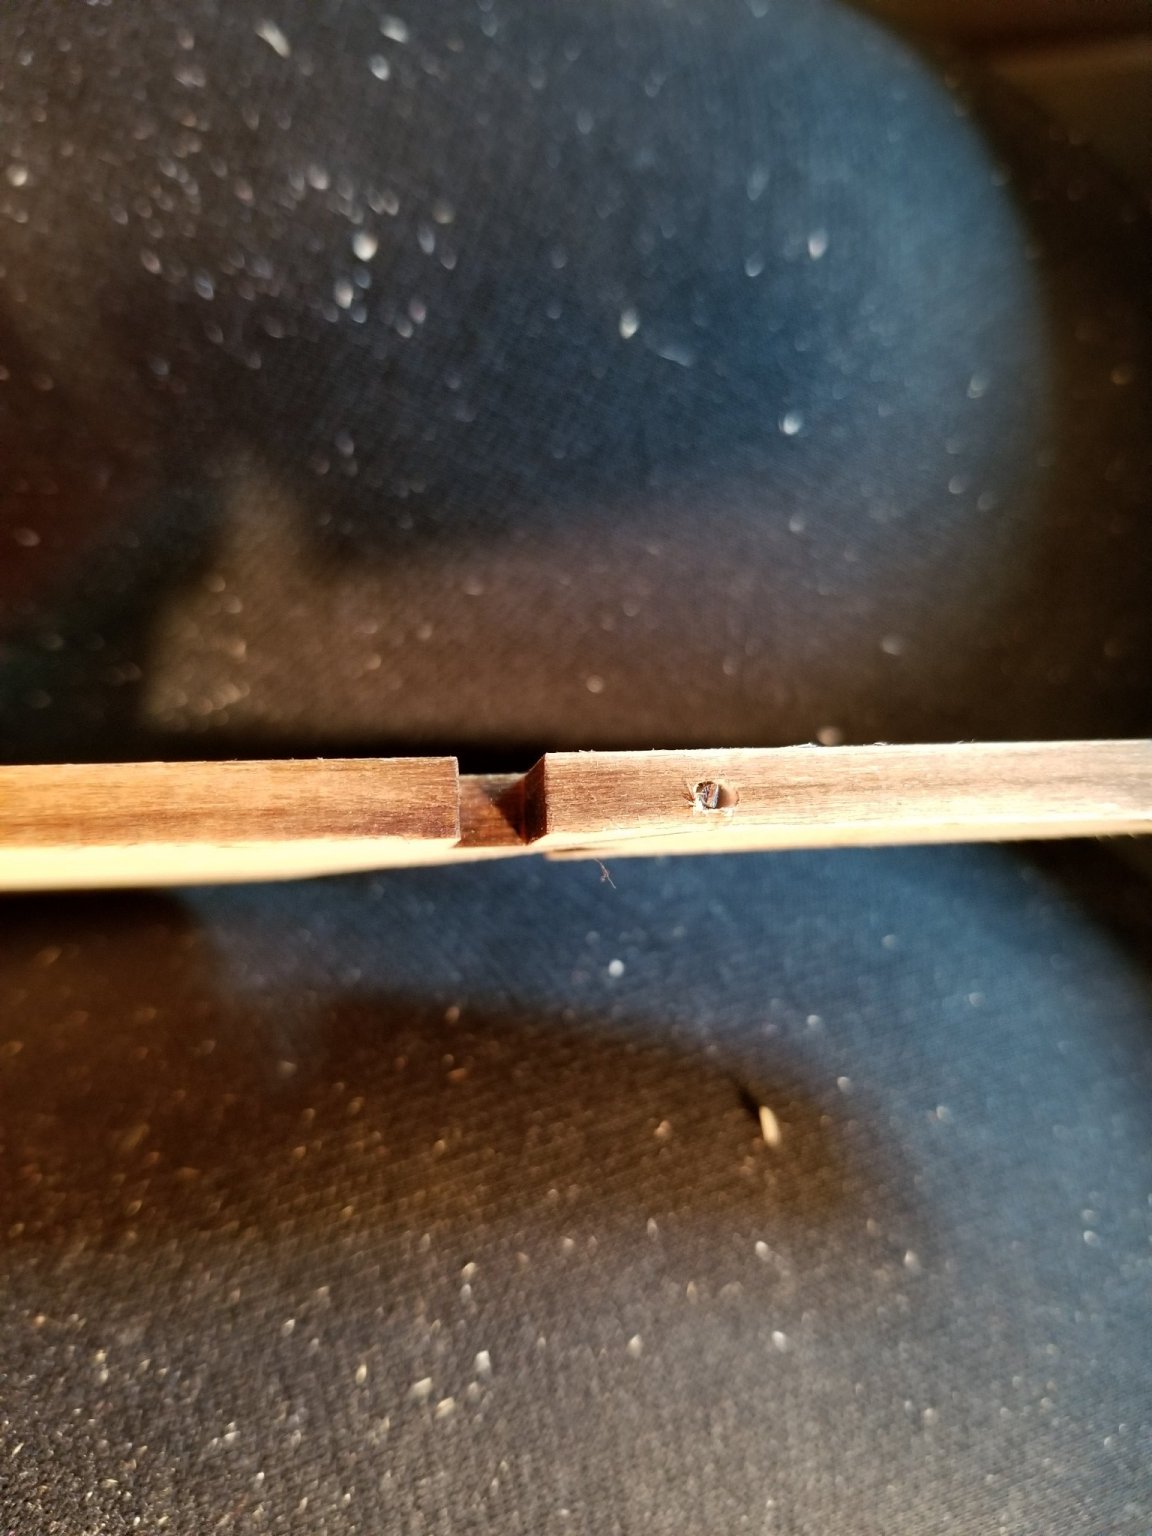
I keep reading where many have accidentally broken the tail off the stern keel of their Bluenose model where it really gets narrow. So I found my box of bits, took a 1/16 and lo and behold the collet in my new dremel drill press is too large....so stuck it in my cordless drill and said some prayers, sacrificed a goat, clamped it between my knees , and .....it worked!! I took a small brad, cut the head off, and slid it into the hole with just enough resistance that I had to tap it in with a tiny little hammer I bought. Figure it will impart enough strength if I accidentally catch it on something, hit it, etc.

-
Hey Dave Ron here...I have lost your email address and wondered if you could em me as I'd like to go offline to ask some questions that go way back to the keel assembly?
-
I did a dry fit of the keel and bulwarks tonight.....sooty little devils. Wiped everything down with old rag and lightly touched with sanding stick. Bulwark A took a lot of sanding to get it to sit. B to D moderate, but the rest went smoothly. Noticed a small out of alignment with the bottom 1 of the keel pieces...about 1/32 longer than its mate, so I'll check against the plans and fix. Couple of bulwarks actually sit down a little below top of keel so will need to adjust those. Overall , no big surprises. Looking at that narrow area where the stern post will go, has anyone tried drilling parallel to the plywood surface with a Dremel then inserting a metal rod (paperclip piece maybe). So next need to have copies made of plans, cut them up, and draw out beard/rabbet . Also, make paper tracings of each bulwark, do the folding exercise and see if any are not symmetrical. My Packers are done, but my Habs are rockin'
-
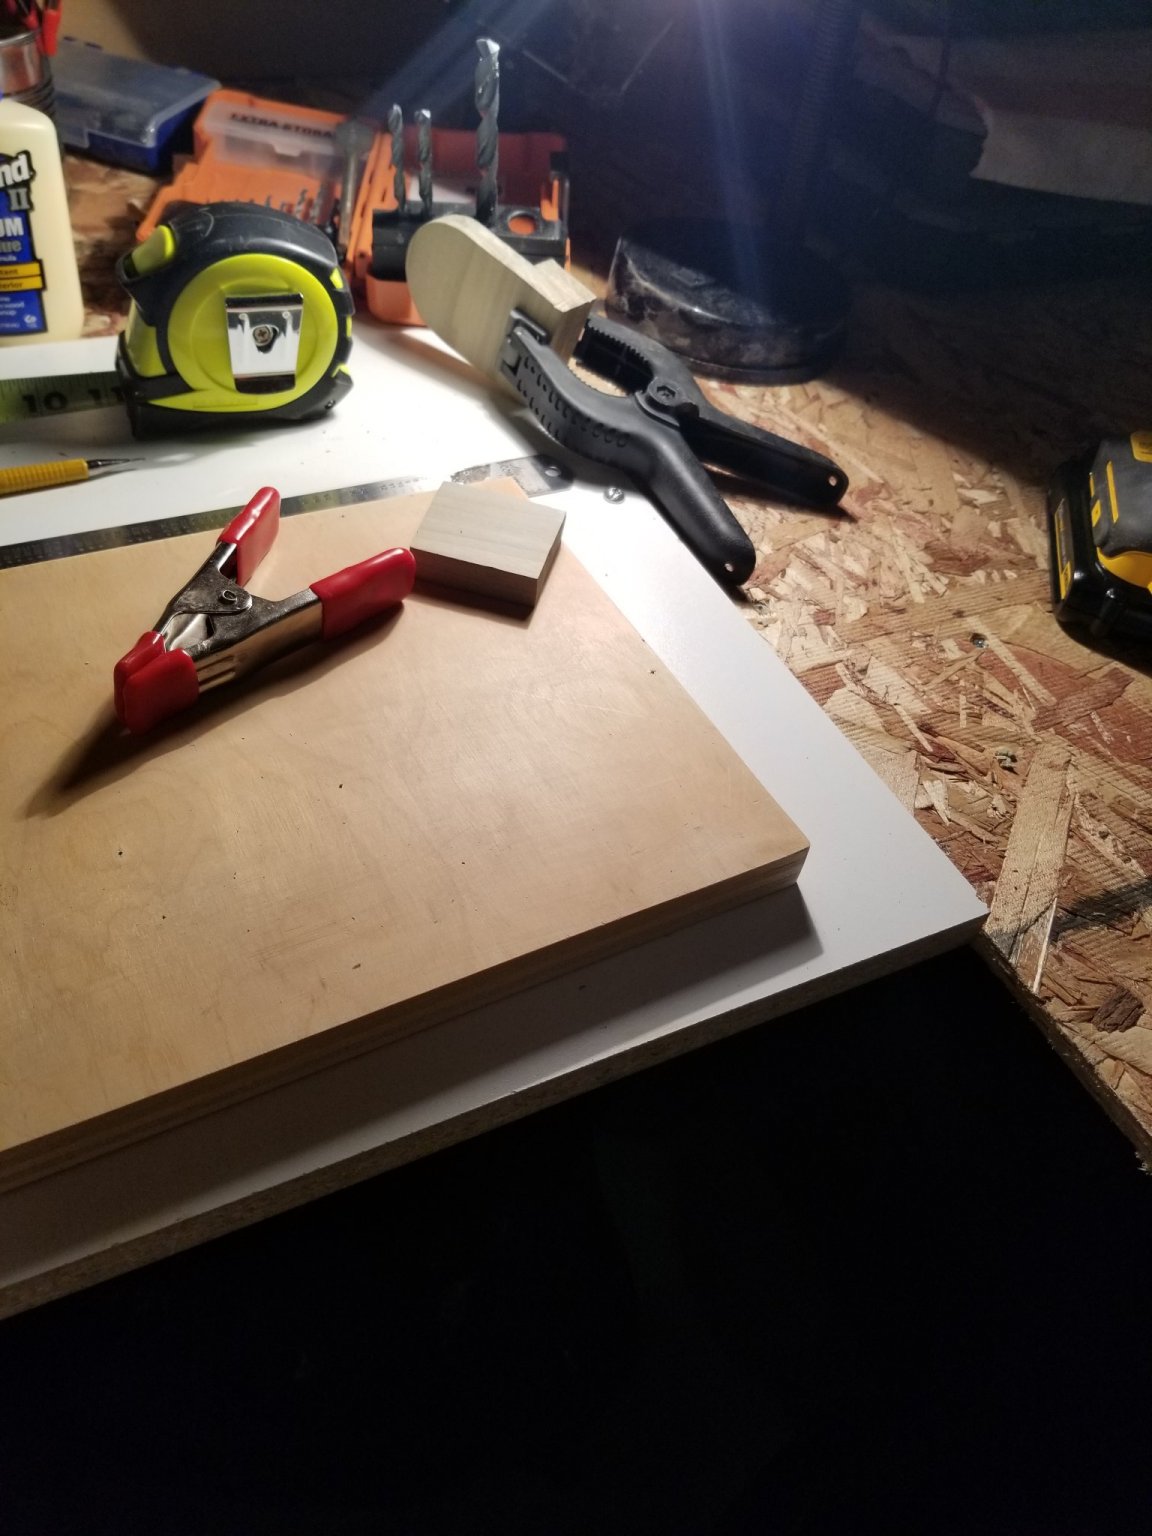
Great sandpaper block tip. Keep on ...patience seems to be the common byword through all the blogs. I'm right behind you as I just started on the keel last night....fun times Ron
-
Hey Dave Did you get the Sherline? With no recent posts thought maybe you're hunkered down practicing. Ron
-
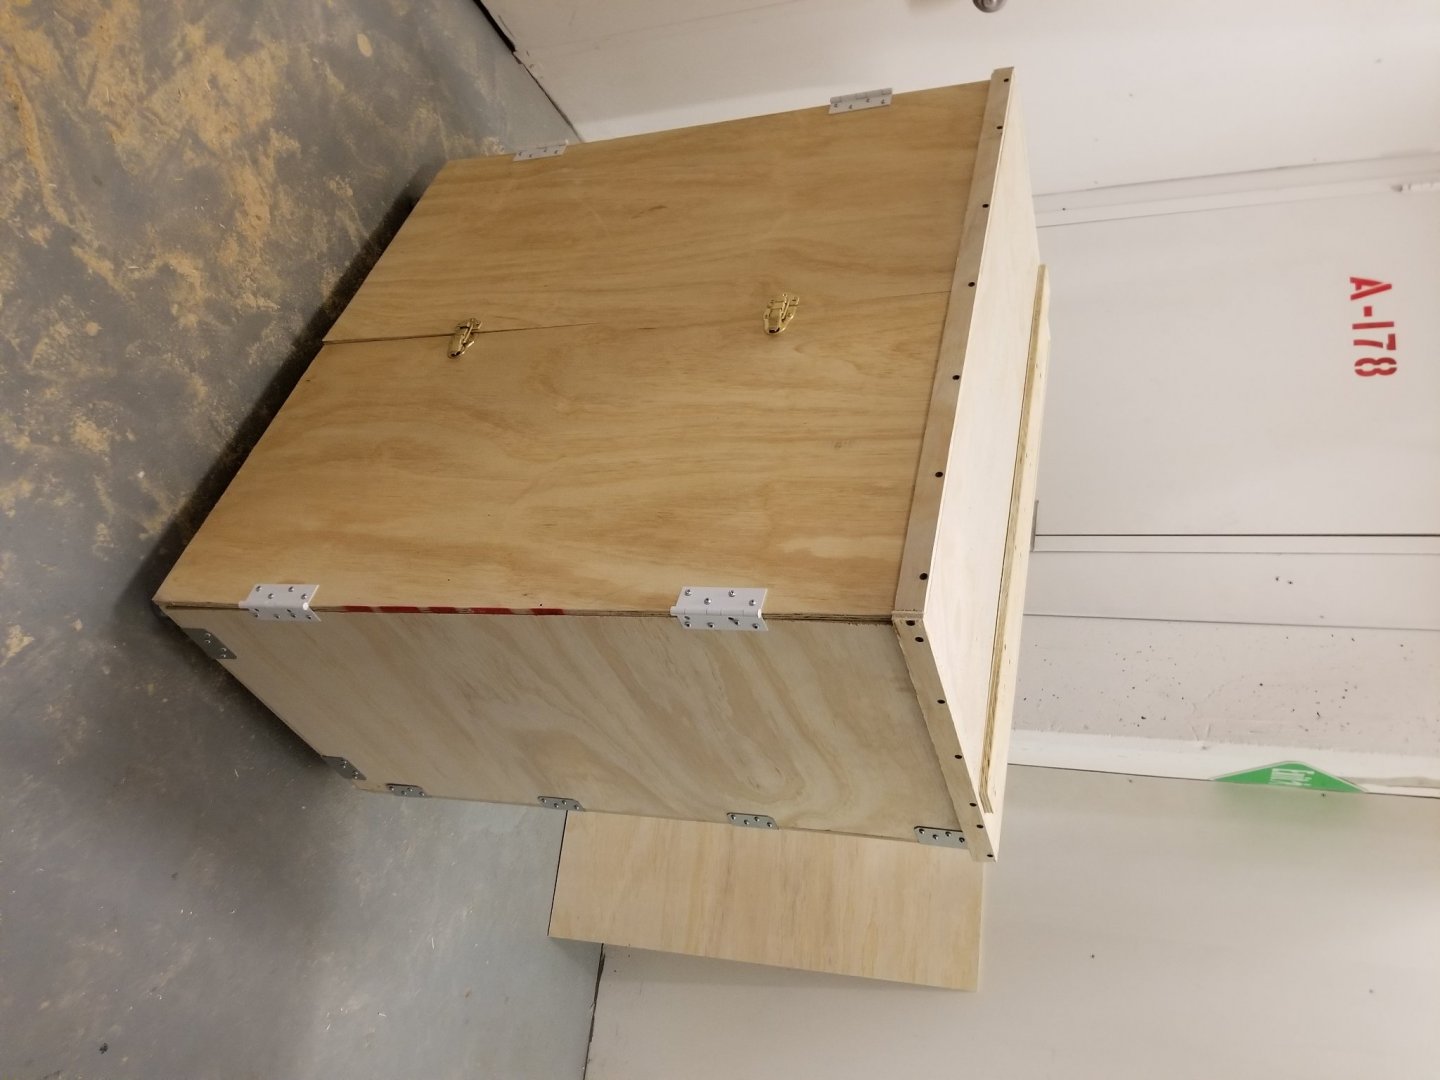
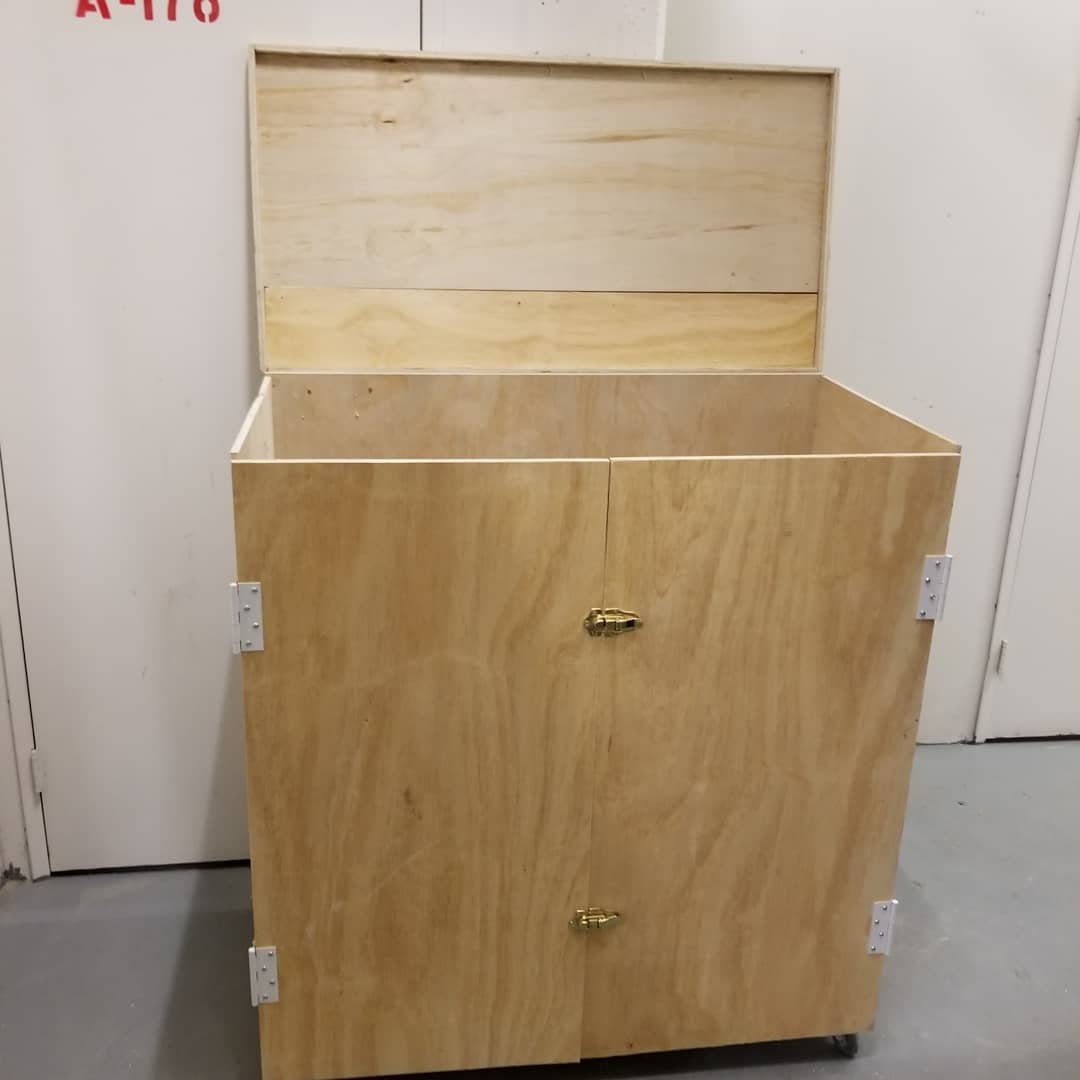
Har har...I keep reading how e gets in the way....you'd think after 70+ years on this planet I'd remember that...anyway, the mobile shipyard with removable jig is done....on to building....think I found a local print house that will be able to copy the plans so that i cut them up as many of you have recommended. and....even tho' Im a Canuck....go Packers!!
-
Coming along nicely and I can tell you've done your research. Ron
-
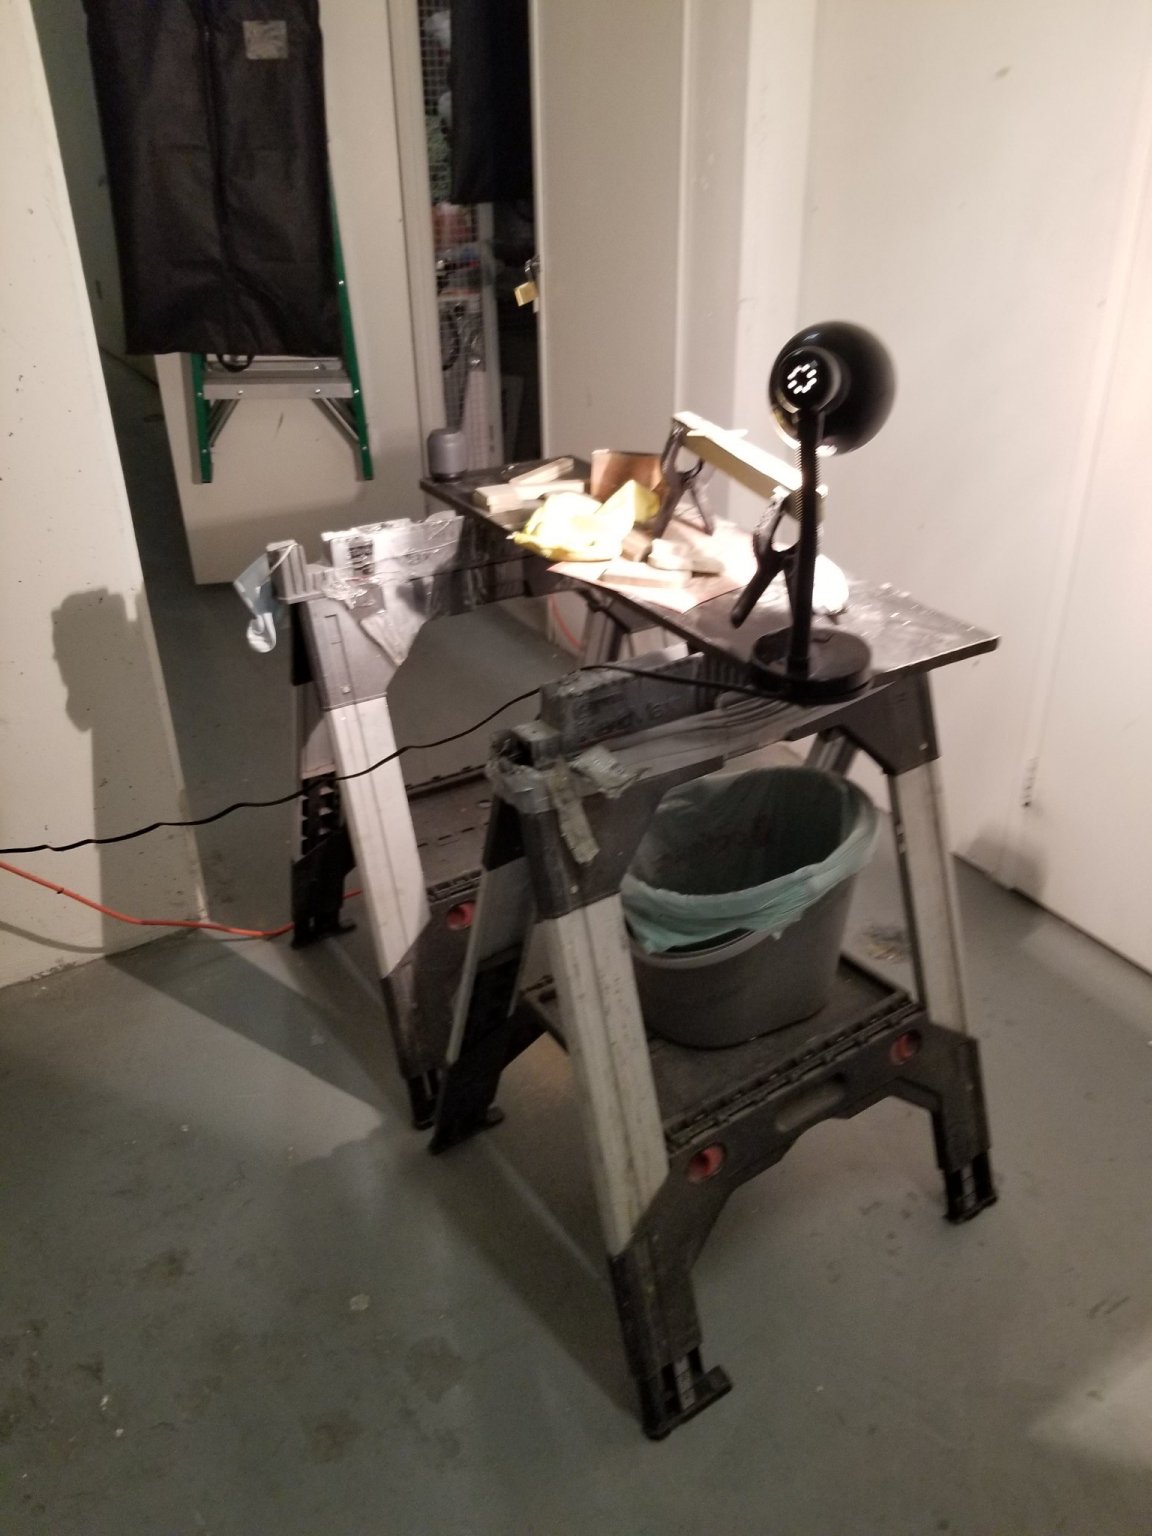
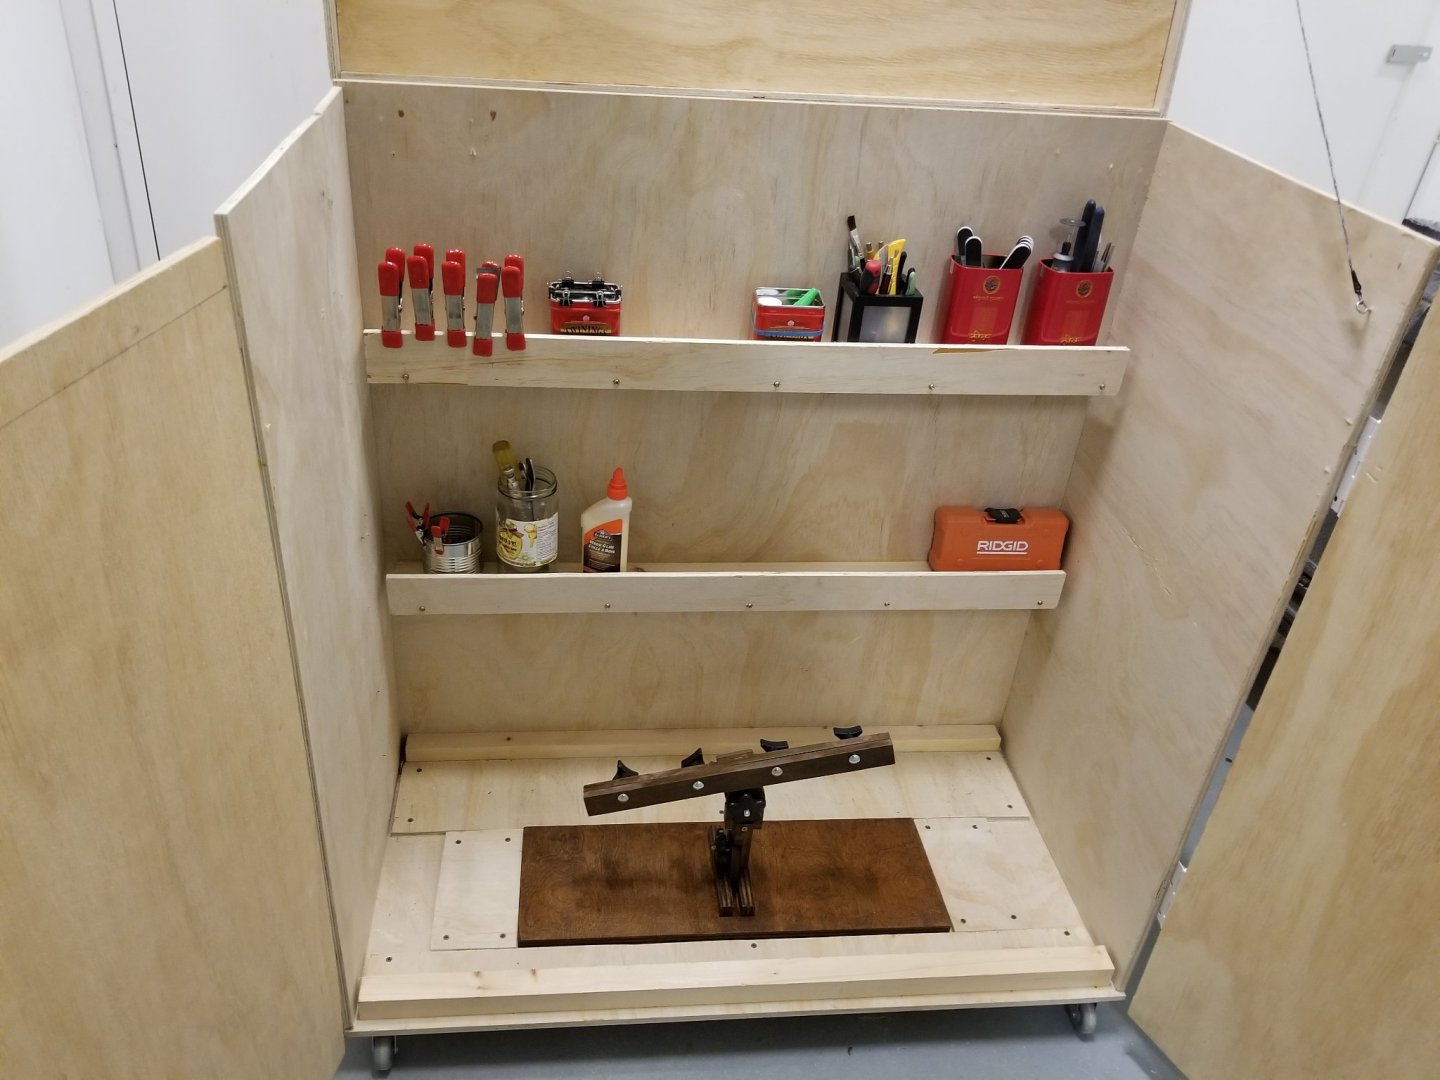
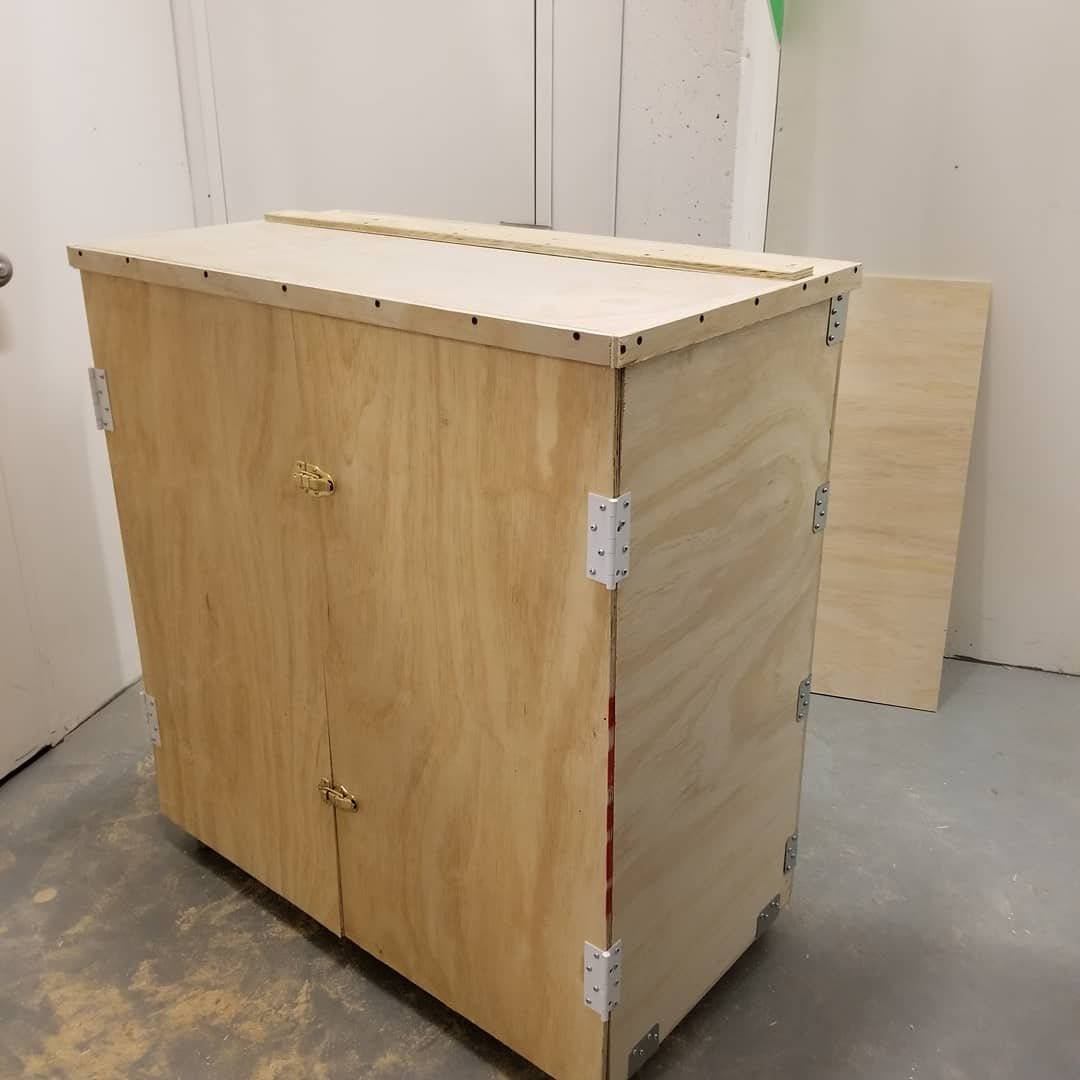
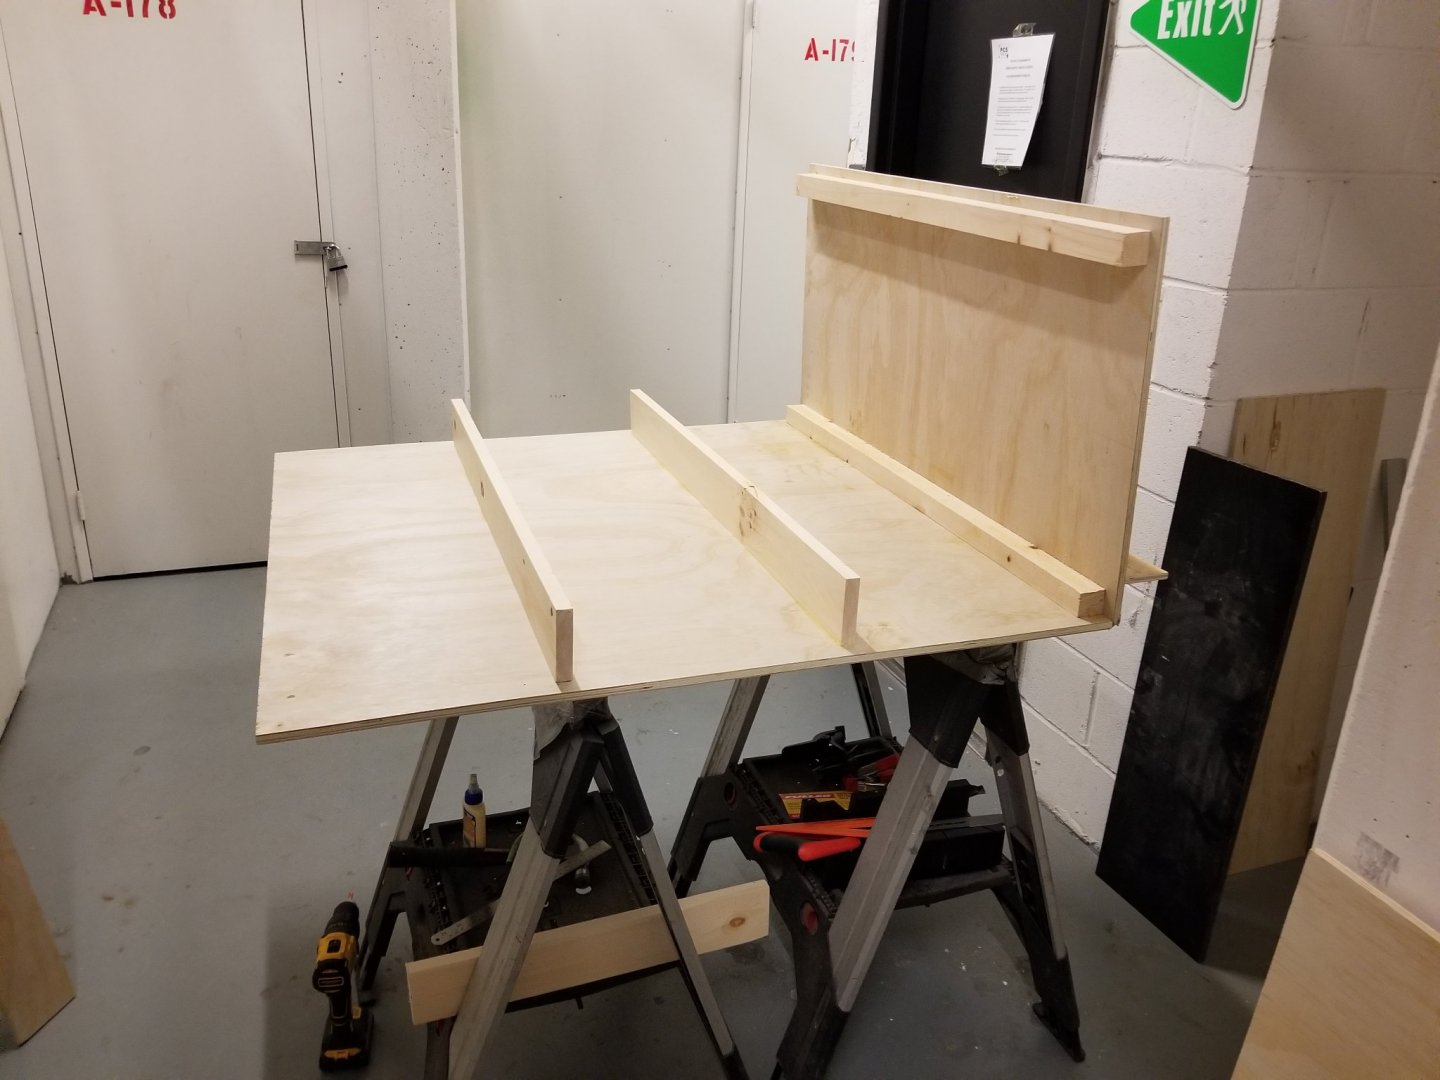
The mobile shipyard...not pretty but functional...just some shelving fornts and a lid restaint to be added/

-
oops...should read Doc's keel
-
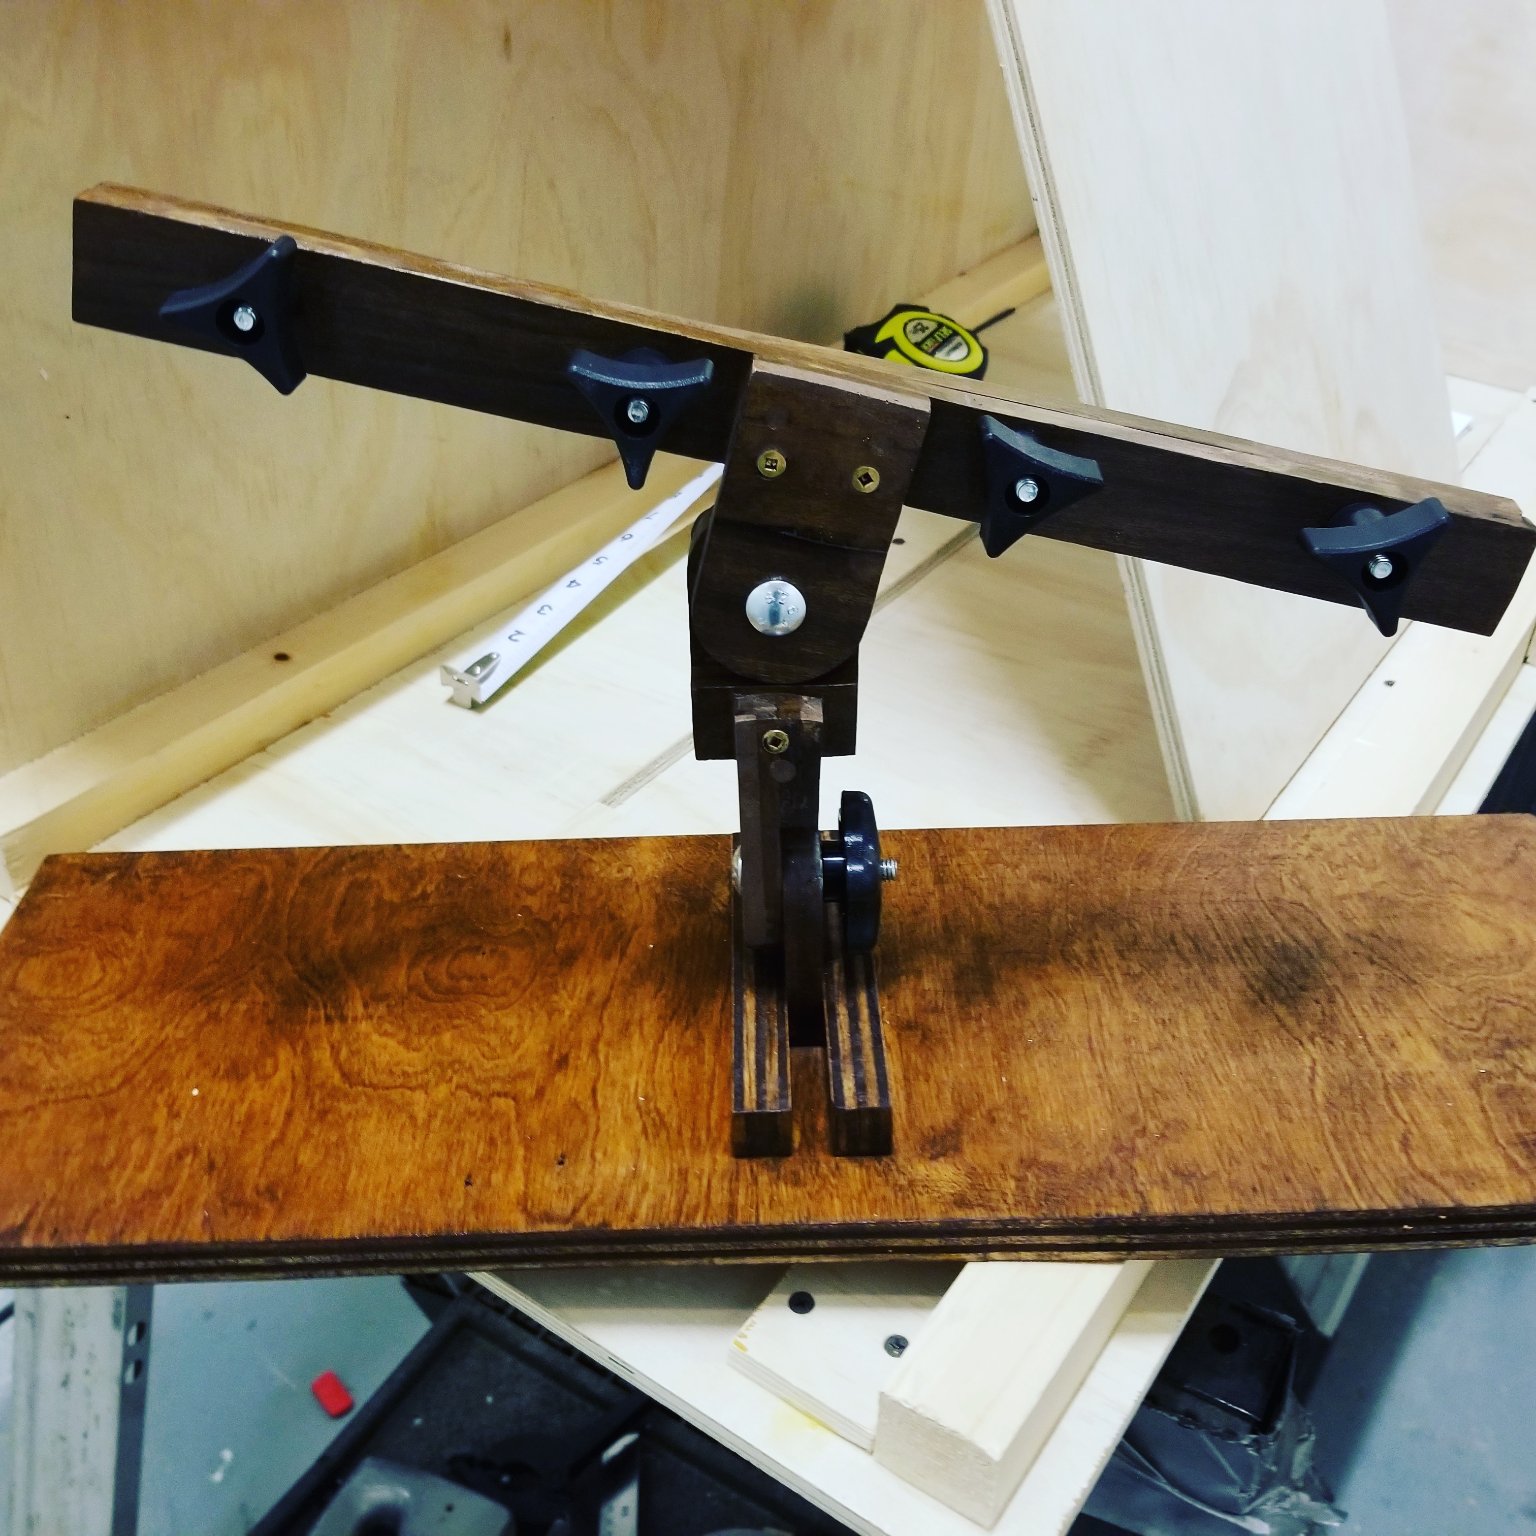
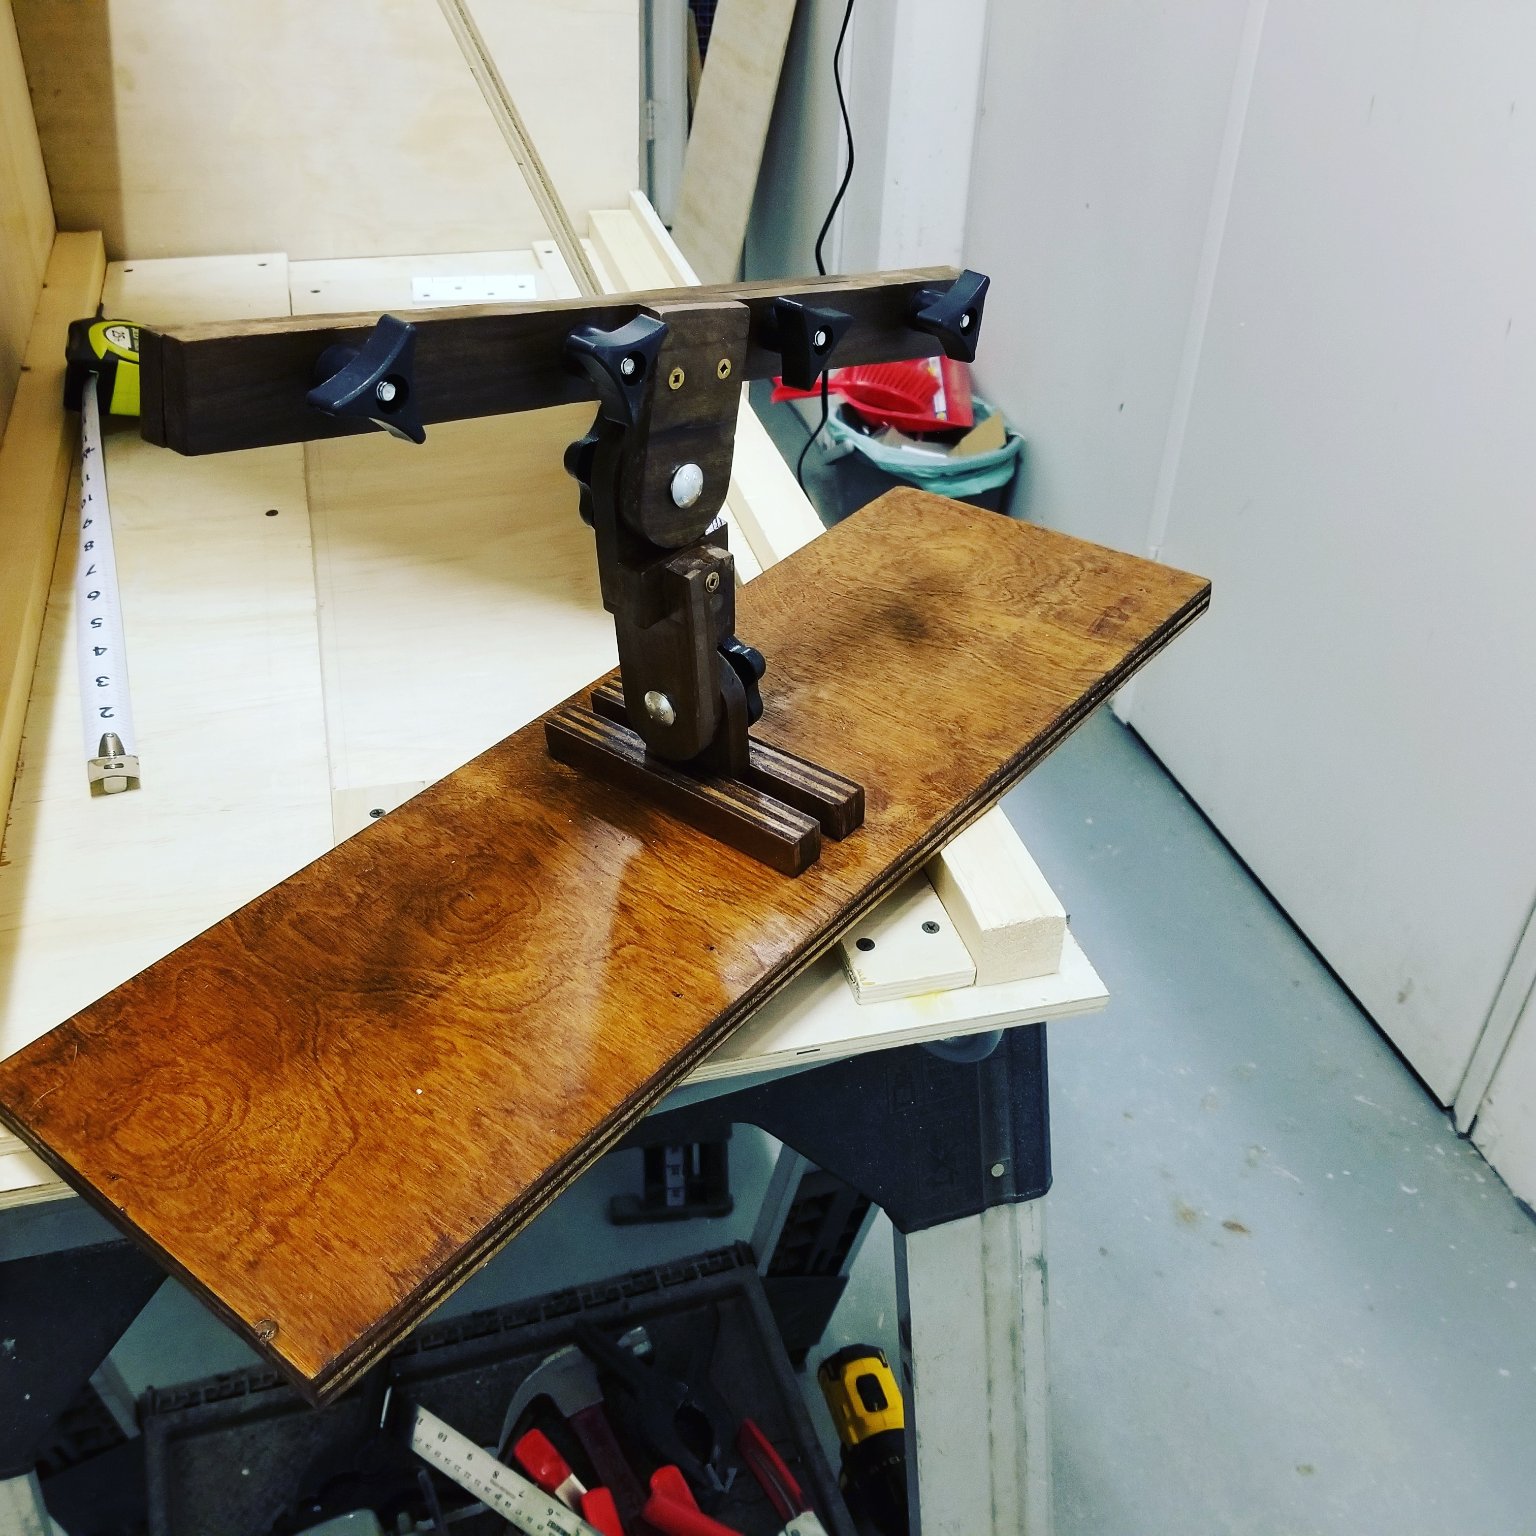
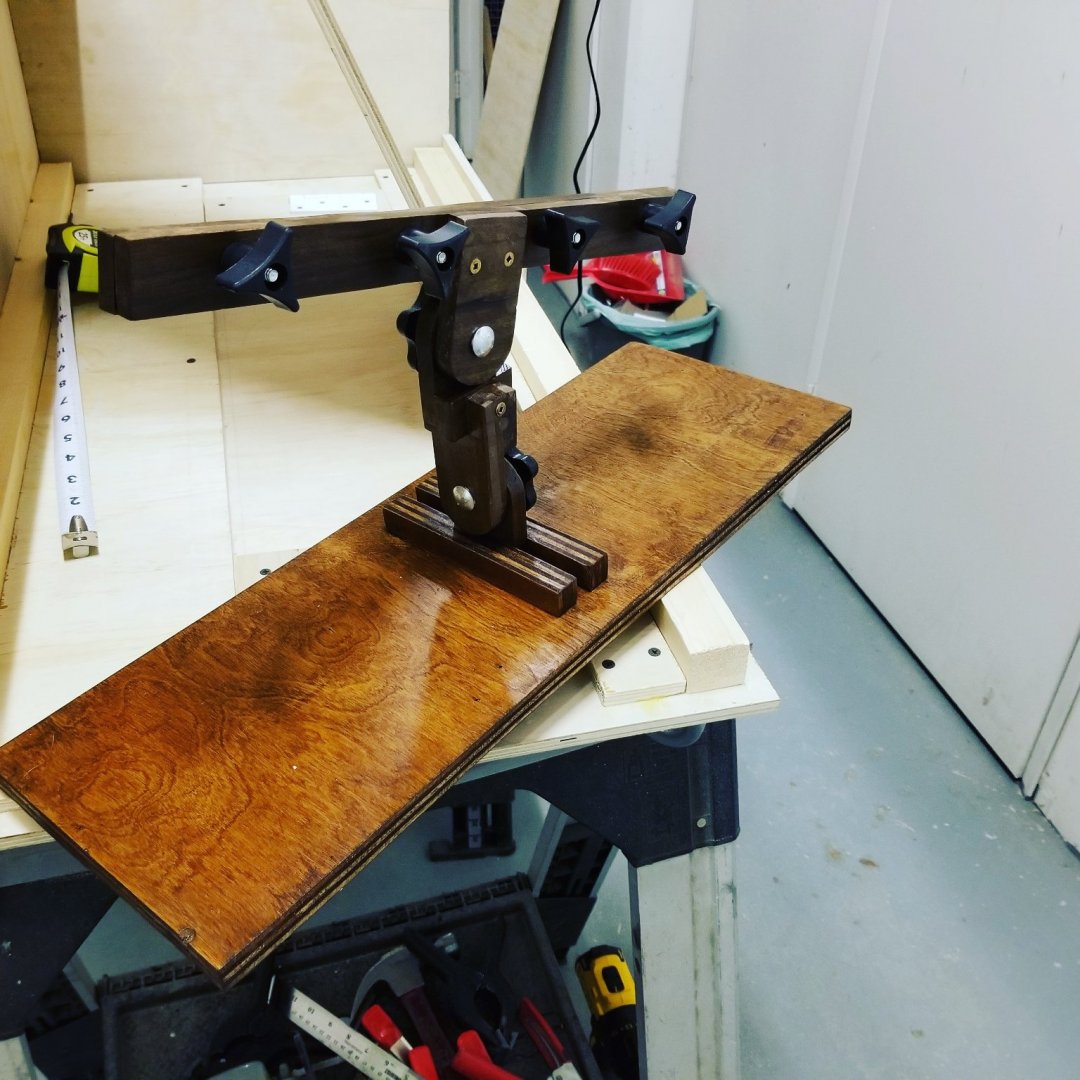
Well, finally got Doc's keel jig done...fun project

-
Started on the carcass of the mobile shipyard while waiting for jig parts to dry....getting closer each day
-
Stained and now on to some varnish, then assemble....for the record , don'ttry laminating thinner pieces to make 1/2" slab...not worth the trouble...shop shop shop, and don't rush like I did. I also find poplar has a lot of inherant faults.....well, better to learn on jigs

-
thanks for that Gunther
-
I meant to say "compress" About 75% done on Doc's jig
-
OK....sorry to bore you to tears, but think I have this figured out...Chromebooks are a bit differnet than laptops and require special apps.So I got one to WiFi pics from phone to CBk, and another to cpmree/resize pics....so here goes...my little shipyard

-
Quote
this is better...using an app to compress pics....just need to figure out how to put comments in there...maybe do comments first then add pic...hmmmm
-
well,I'm using Airdroid to transfer pics from phone to Chromebook, and then downloading to here...but pics too large and couldn't get comments inserted.....back to the drawing board....thanks for your patience
-
My kit just arrived, so I need to get keel jig finished, then my mobile shipyard...glad 've booked off till jan
-
think it was because I was trying to copy my Instagram images...need to load from phone....will repost...thanks for the heads up.
-
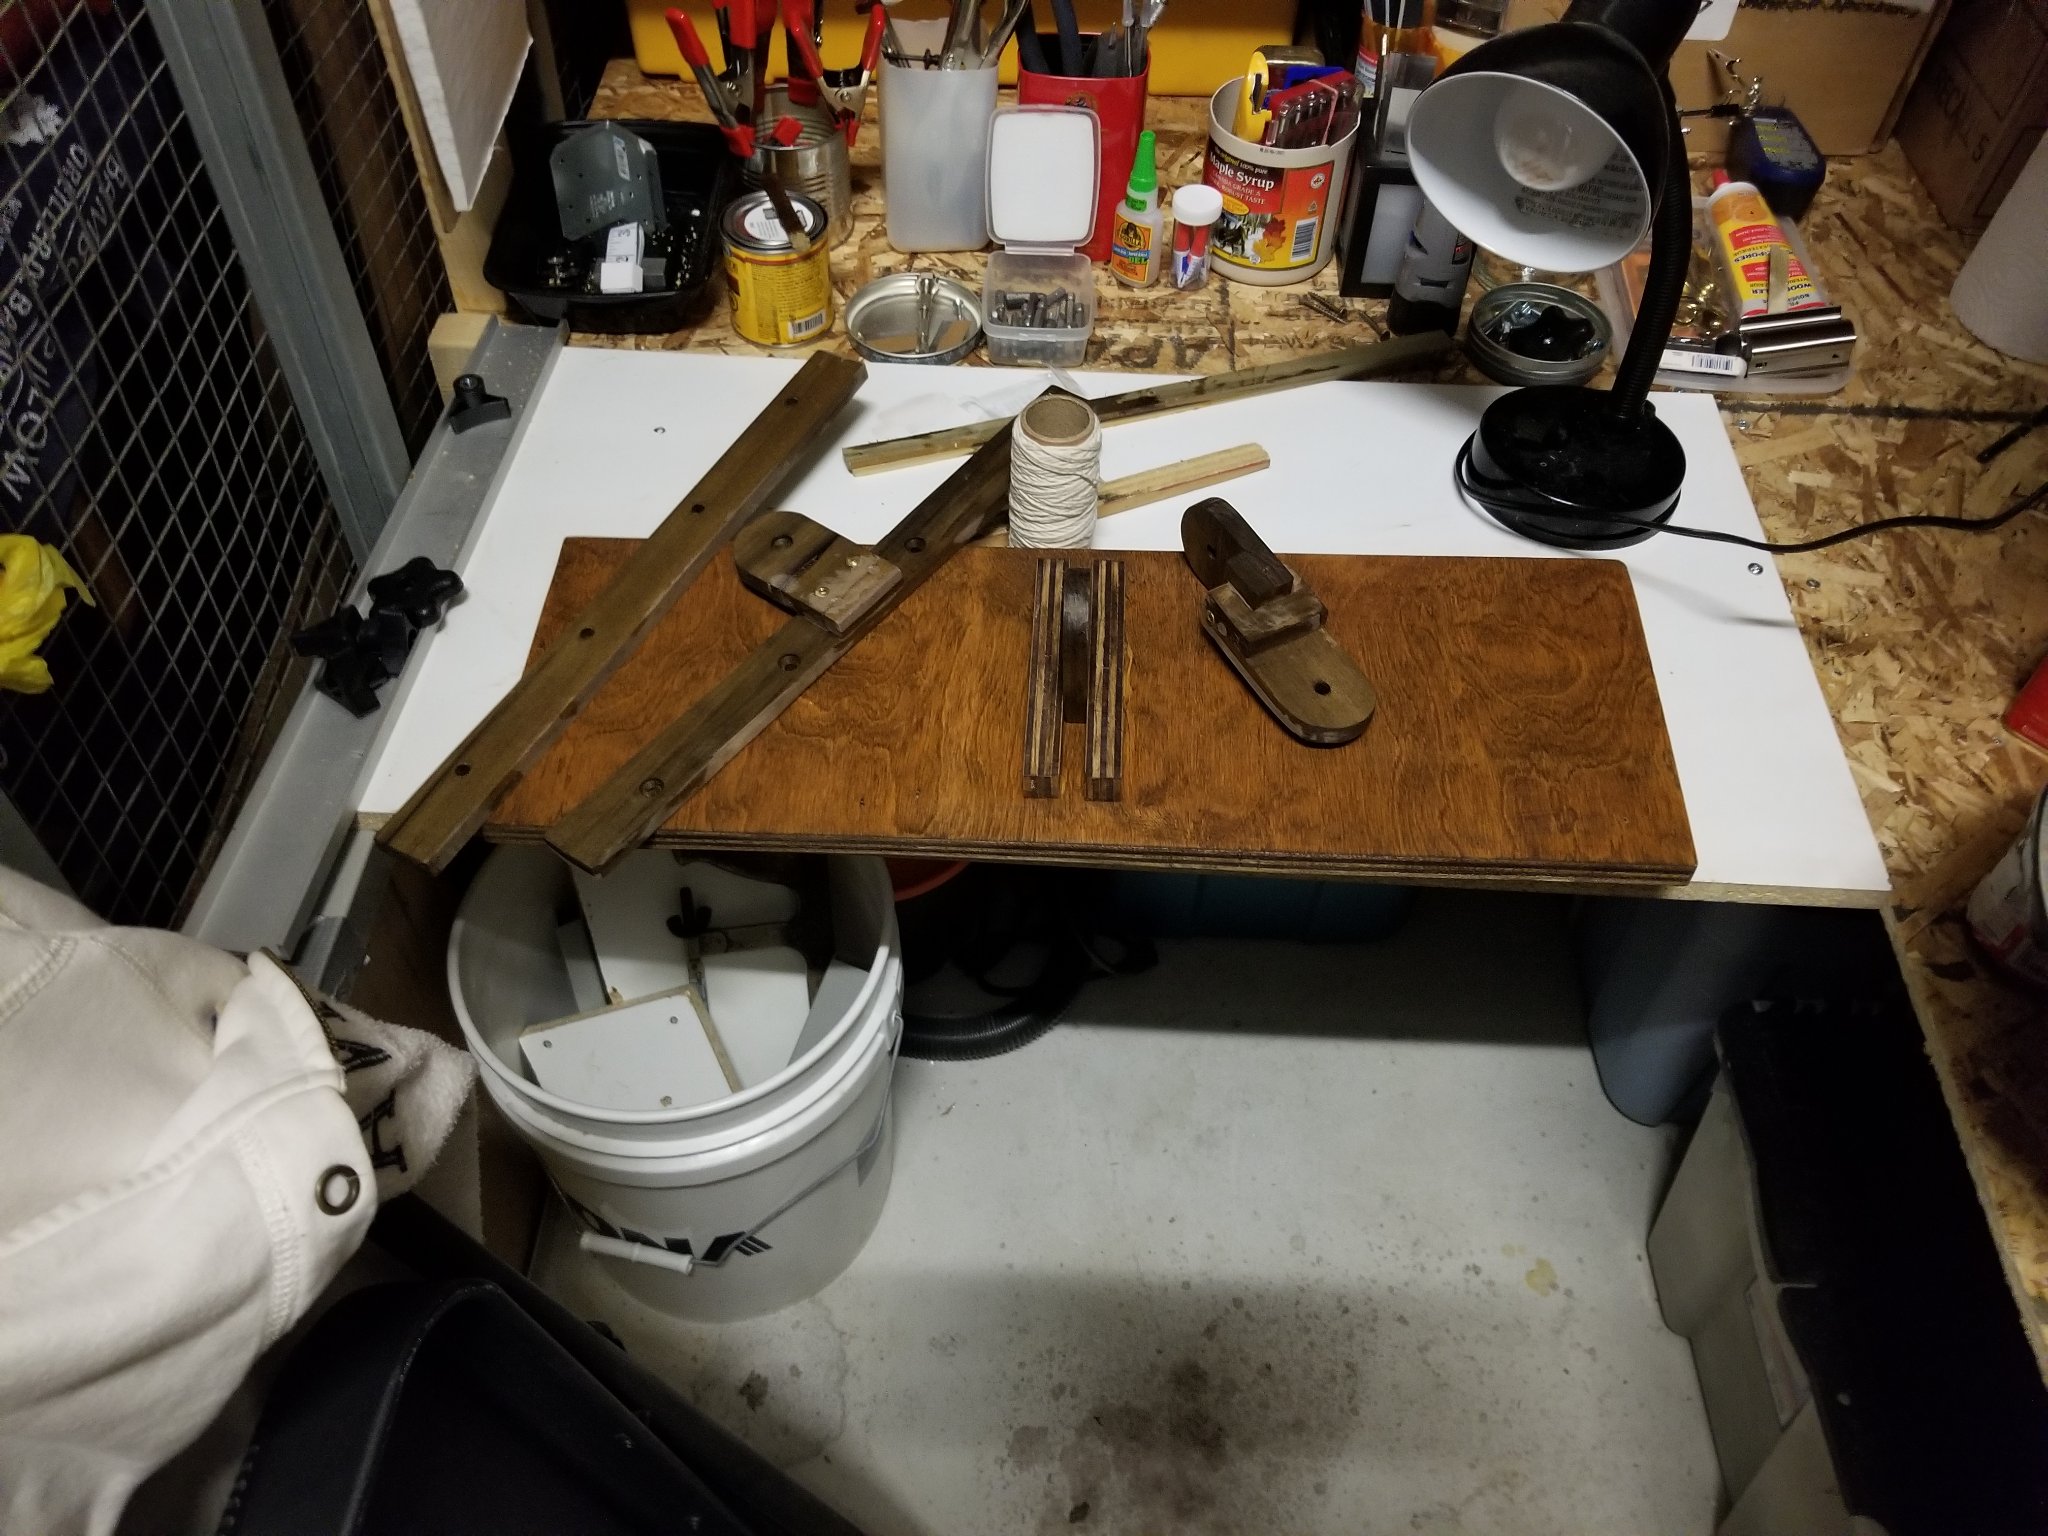
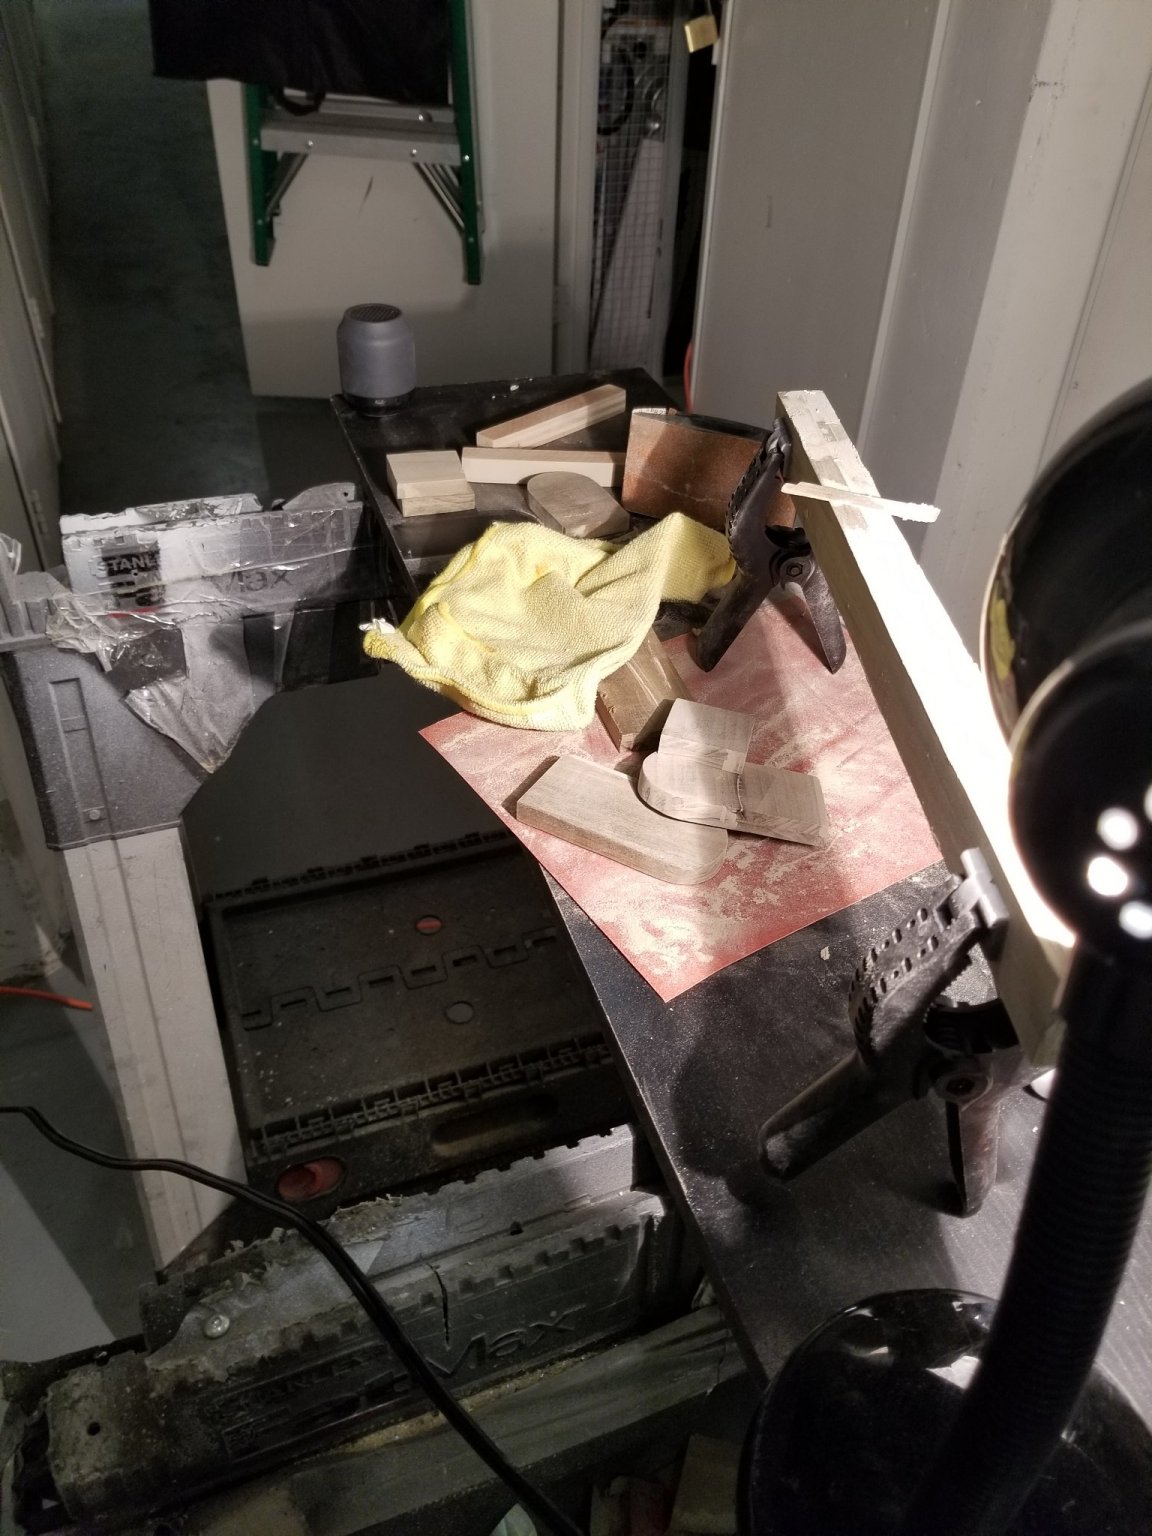
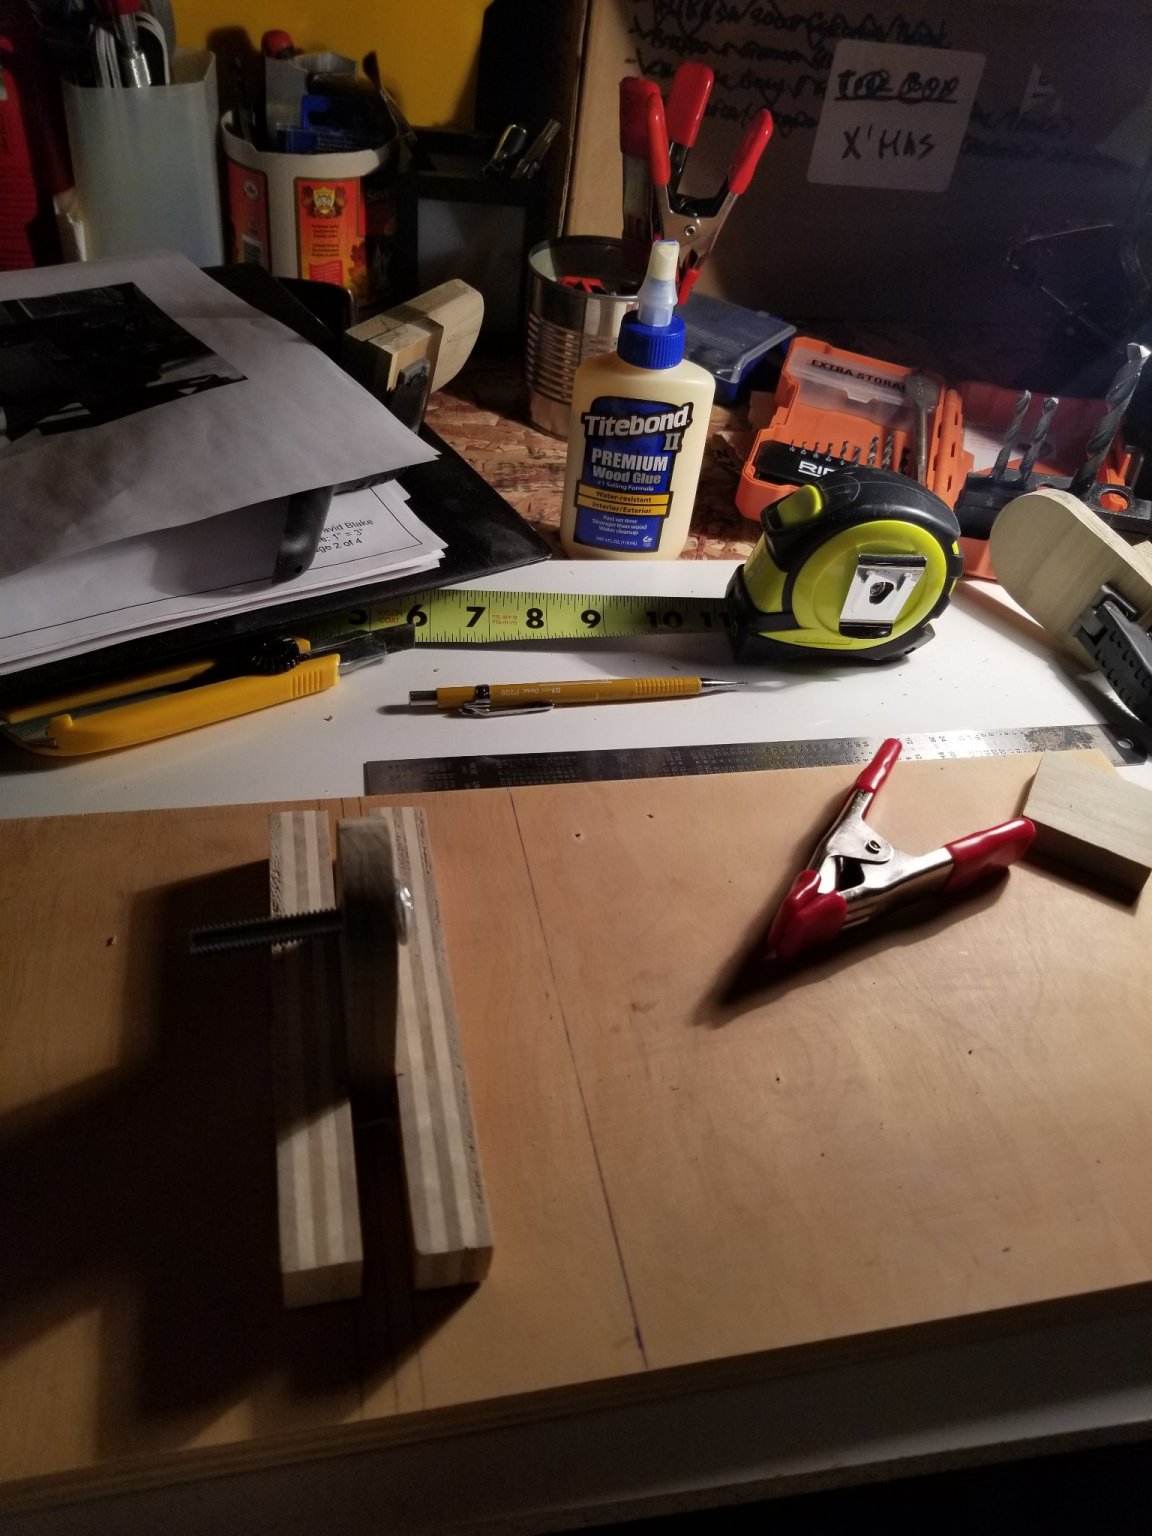
plans ,tools , glue .....have to stay neat in small spaces
-
anyone know why I get these large blank spaces under posts?
-
this is the hall area outside my condo locker....I do all my "dirty" work out here,sweep and vacuum. I'm lucky that I'm right across from the only electric outlet in the locker room