


CPDDET
-
Posts
1,098 -
Joined
-
Last visited
4 Followers


About CPDDET

Recent Profile Visitors
3,685 profile views


-
 CPDDET reacted to a post in a topic:
Martindale blades for Byrnes saw...
CPDDET reacted to a post in a topic:
Martindale blades for Byrnes saw...
-
Gregory reacted to a post in a topic:
Martindale blades for Byrnes saw...
-

Martindale blades for Byrnes saw...
CPDDET replied to CPDDET's topic in Modeling tools and Workshop Equipment
I did order thru Malco, but Malco filled the order thru Martindale. Greg at Malco supplied the 2 names at Martindale for future orders. -
Martindale blades for Byrnes saw...
CPDDET replied to CPDDET's topic in Modeling tools and Workshop Equipment
I ordered thru Malco but it seems Malco filled the order thru Martindale. Greg, at Malco, supplied the two contact names at Martindale to be used for future orders. Malco had a 3 or 4 blade minimum. Not sure if that will hold true at Martindale. -
CPDDET reacted to a post in a topic:
Bluenose by Retired guy - Model Shipways - scale 1:64
-
catopower reacted to a post in a topic:
Staining basswood and wood filler
-
Can you give us a size ?
-
Ryland Craze reacted to a post in a topic:
Martindale blades for Byrnes saw...
-
Finally received saw blades from Malco after a long wait. After thanking them I received this email. "Dave ,You’re welcome. Martindale deserves the credit on this one. On future quotes contact Bill Pavlik or Mike Jensen at Martindale Electric for pricing and delivery. Thanks, Greg"
-
kgstakes reacted to a post in a topic:
Pretty cool tool: drilling positioner
-
Nirvana reacted to a post in a topic:
New sailor on deck
-
Keith Black reacted to a post in a topic:
New sailor on deck
-
Nice work! Welcome aboard.
-
Pretty cool tool: drilling positioner
CPDDET replied to CPDDET's topic in Modeling tools and Workshop Equipment
True. It may work best for builds at a certain scale. Larger dowel drilling can be done in various other ways. But for some it may be a big time saver. -
thibaultron reacted to a post in a topic:
Pretty cool tool: drilling positioner
-
thibaultron reacted to a post in a topic:
Pretty cool tool: drilling positioner
-
thibaultron reacted to a post in a topic:
Pretty cool tool: drilling positioner
-
thibaultron reacted to a post in a topic:
Pretty cool tool: drilling positioner
-
Pretty cool tool: drilling positioner
CPDDET replied to CPDDET's topic in Modeling tools and Workshop Equipment
Keep the rest of us mill owners posted on your efforts. -
Pretty cool tool: drilling positioner
CPDDET replied to CPDDET's topic in Modeling tools and Workshop Equipment
I'm sure there are examples on youtube. -
Pretty cool tool: drilling positioner
CPDDET replied to CPDDET's topic in Modeling tools and Workshop Equipment
Would have to use a dowel plate first to assure the correct diameter. -
 CPDDET reacted to a post in a topic:
Pretty cool tool: drilling positioner
CPDDET reacted to a post in a topic:
Pretty cool tool: drilling positioner
-
Pretty cool tool: drilling positioner
CPDDET replied to CPDDET's topic in Modeling tools and Workshop Equipment
Hard to resist, isn't it? I'm a tool addict. -
Pretty cool tool: drilling positioner
CPDDET posted a topic in Modeling tools and Workshop Equipment
https://hobbyisthaven.com/products/locator-for-coaxial-and-through-holes-drilling -
Agreed! I used the NRG half hull model to gain experience. Had to do it twice but now feel pretty confident.
-
CPDDET reacted to a post in a topic:
Painting (and Staining) Basswood and Dealing with "Fuzz"
-
CPDDET reacted to a post in a topic:
New to wooden ships
-
CPDDET reacted to a post in a topic:
NRG half-hull planking project by CPDDET - 18th century merchant ship
-
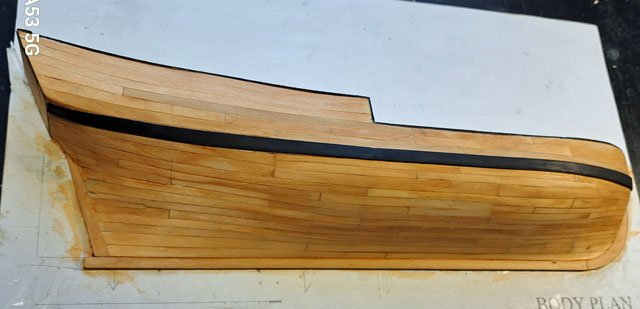
Well, I finally finished up. Mistakes made? many! But more knowledge was gained than mistakes made. I now feel much more confident in my next build which will be a bit of a change. I'm going to attempt my first scratch build. This will be Hemingway's fishing boat Pilar. But first it's off to Alaska for a weeks vacation. When I return Ill get started on that. I can highly recommend this Nautical Research Guild kit to learn proper hull planking. Dave
-
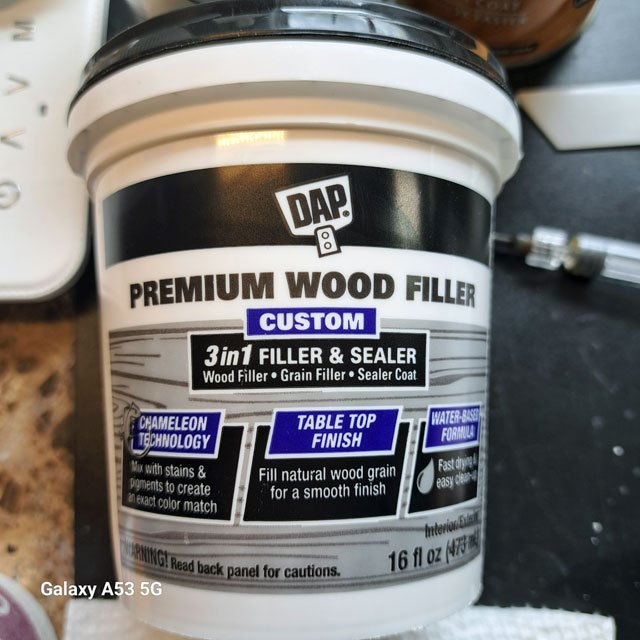
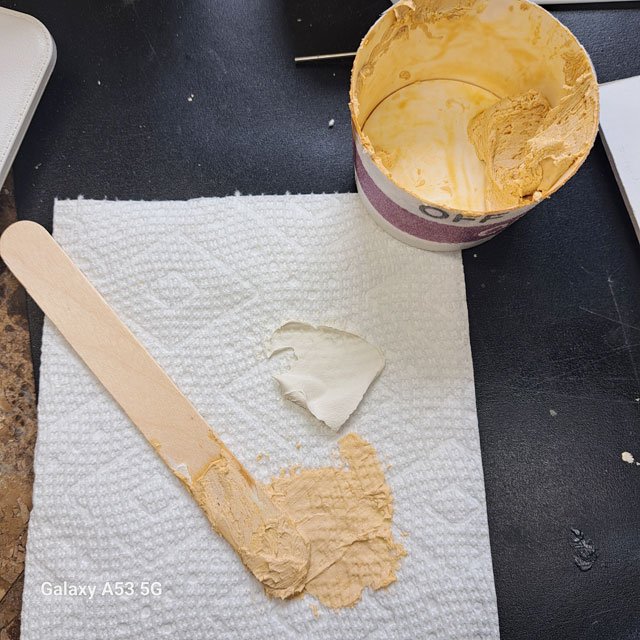
Plan is to stain the hull a warm oak. I had a few small gaps in the hull strakes that needed filling before staining. In order to make these as invisible as possible I did the following: Using this filler that can be tinted with either oil or water base stains. Placed some in a paper cup and, using a pipet, added my stain and mixed until I was happy with the color. A few hours to dry and then sand and stain.

-
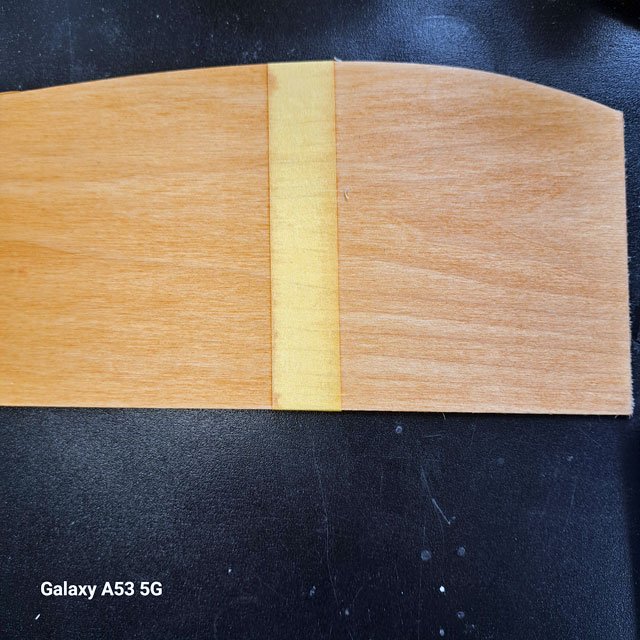
Thought I would pass along a few new techniques, at least new to me. First is this pre-stain which is very convenient as you sand before using, apply pre-stain, wipe off excess and then stain without further sanding. The only drawback is that you are limited to oil base stains. Here is a piece of basswood, sanded and pre-stain applied to the right side. While the right side is a bit lighter, a second coat could be applied. But much nicer looking grain. I also discovered this wood filler that can be tinted with either oil or water base stains. I'm using a warm oak oil stain to fill some small gaps on my hull. Placed some filler in a paper cup and used a pipet to add the stain and mixed well before using. While this wood fill will take stain as it comes, I find the tinting works even better. The filler is pure white.


-
- 5
-
-
