


Ron B
-
Posts
55 -
Joined
-
Last visited
Content Type
Profiles
Forums
Gallery
Events
Everything posted by Ron B
-
 Fantastic job....I've been languishing but you gave me impetus to get back to the old girl now that I am retired. Congratulations.....btw, are you covering with a case, and where are you going to display her? Ron
- 96 replies
-
- 1
-

-
- model shipways
- bluenose
- (and 1 more)
-
Waterways
Ron B replied to Ron B's topic in Building, Framing, Planking and plating a ships hull and deck
THANKS GUYS......as usual a fount of knowledge -
Can anyone explain why the waterways are above the deck.....wouldn't that serve to prevent water running out the scuppers efficiently? Ron B
-
Glad to see you're recovered....sinus infections can be nasty
-
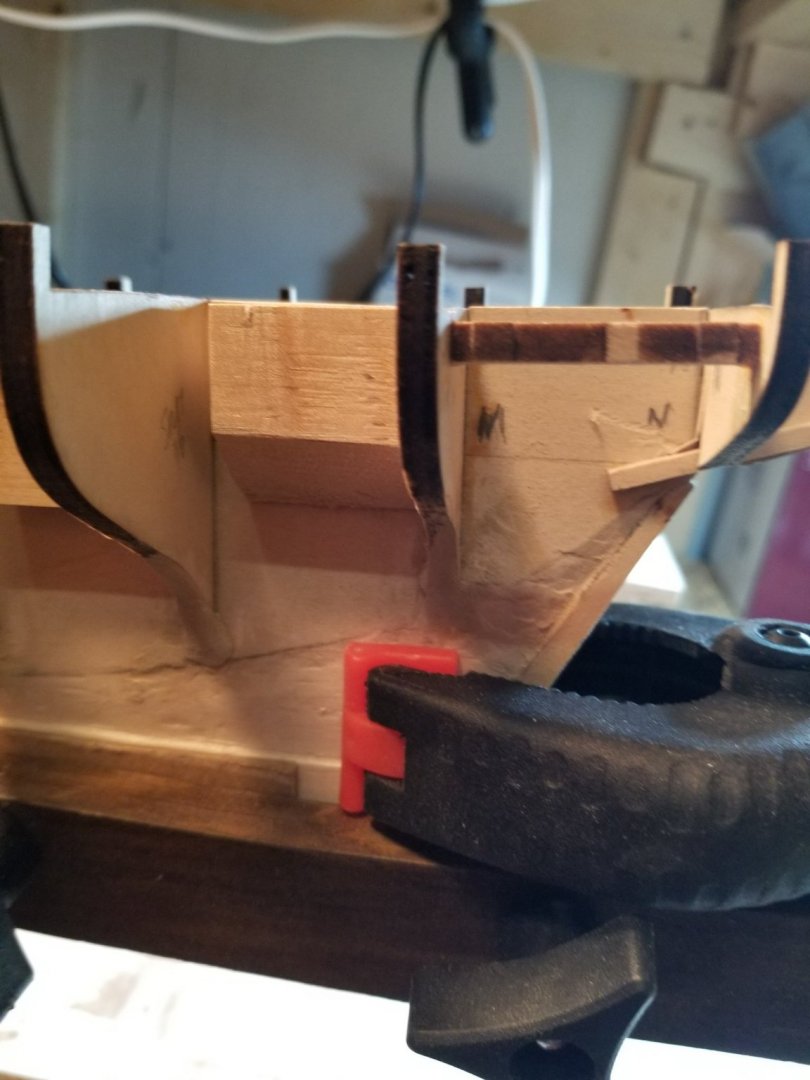
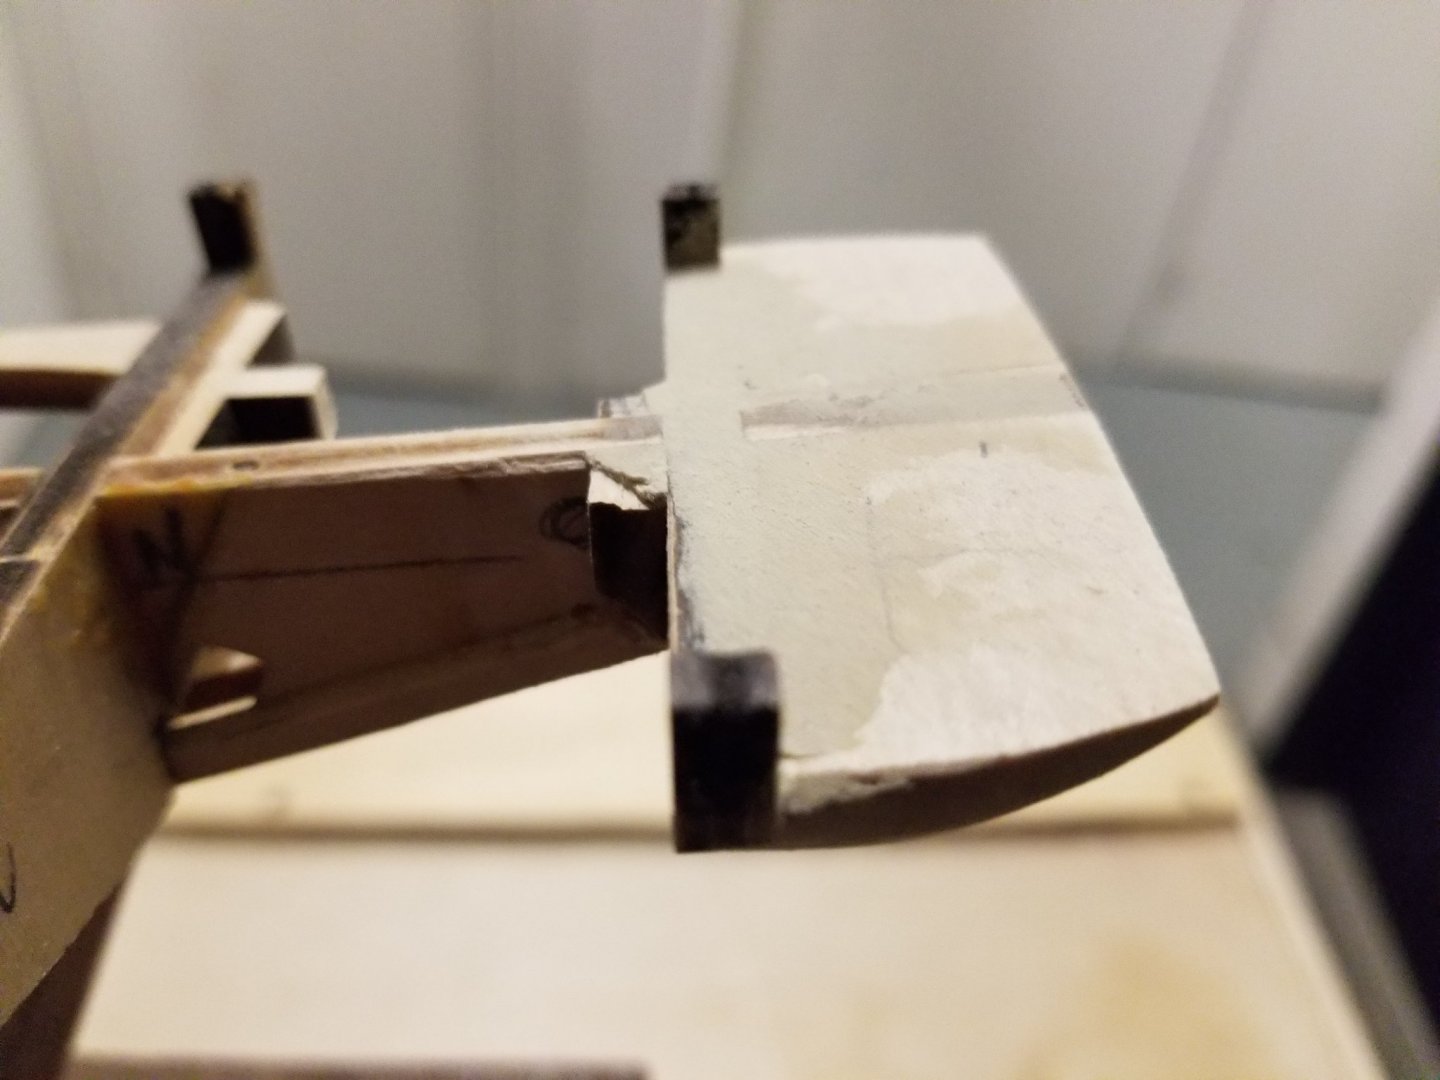
starboard all done....not nearly the nasty job I envisioned...all but one went smooth...that one literally disintegrated when I touched it....so trimmed as best I could and made a form around it,filled with plastic wood and will sand tomorrow....luckily its at the very back on N so buried anyway.
-
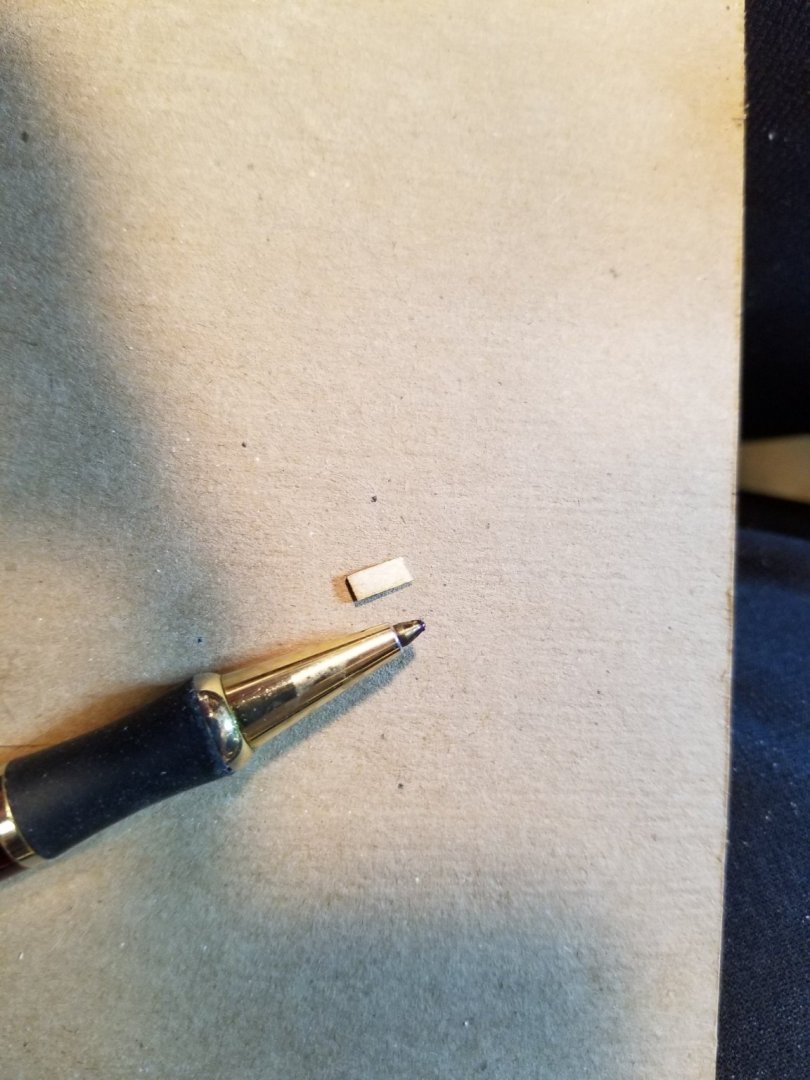
So, I got all the stanchions on port side trimmed...after 1st one which I agonized over, the rest went easy and accurate....no clamping or measuring after 1st.....just ran knife blade to create saw line, soaped edge of razor saw (old carpenter trick), and zoom zoom...all neat clean cuts, leaving 1/8" square posts behind.
-
Dave, As usual you're a fount of knowledge Ron
-
Thought I would skip to stanchion trimming...oh boy, now this is interesting. I need to go buy some magnifying glasses as these 73 year old eyes can't see the posts well.....arghhh, getting old ain't for sissies . Once this done will add the strake supports between them , and then the strake pieces.


-
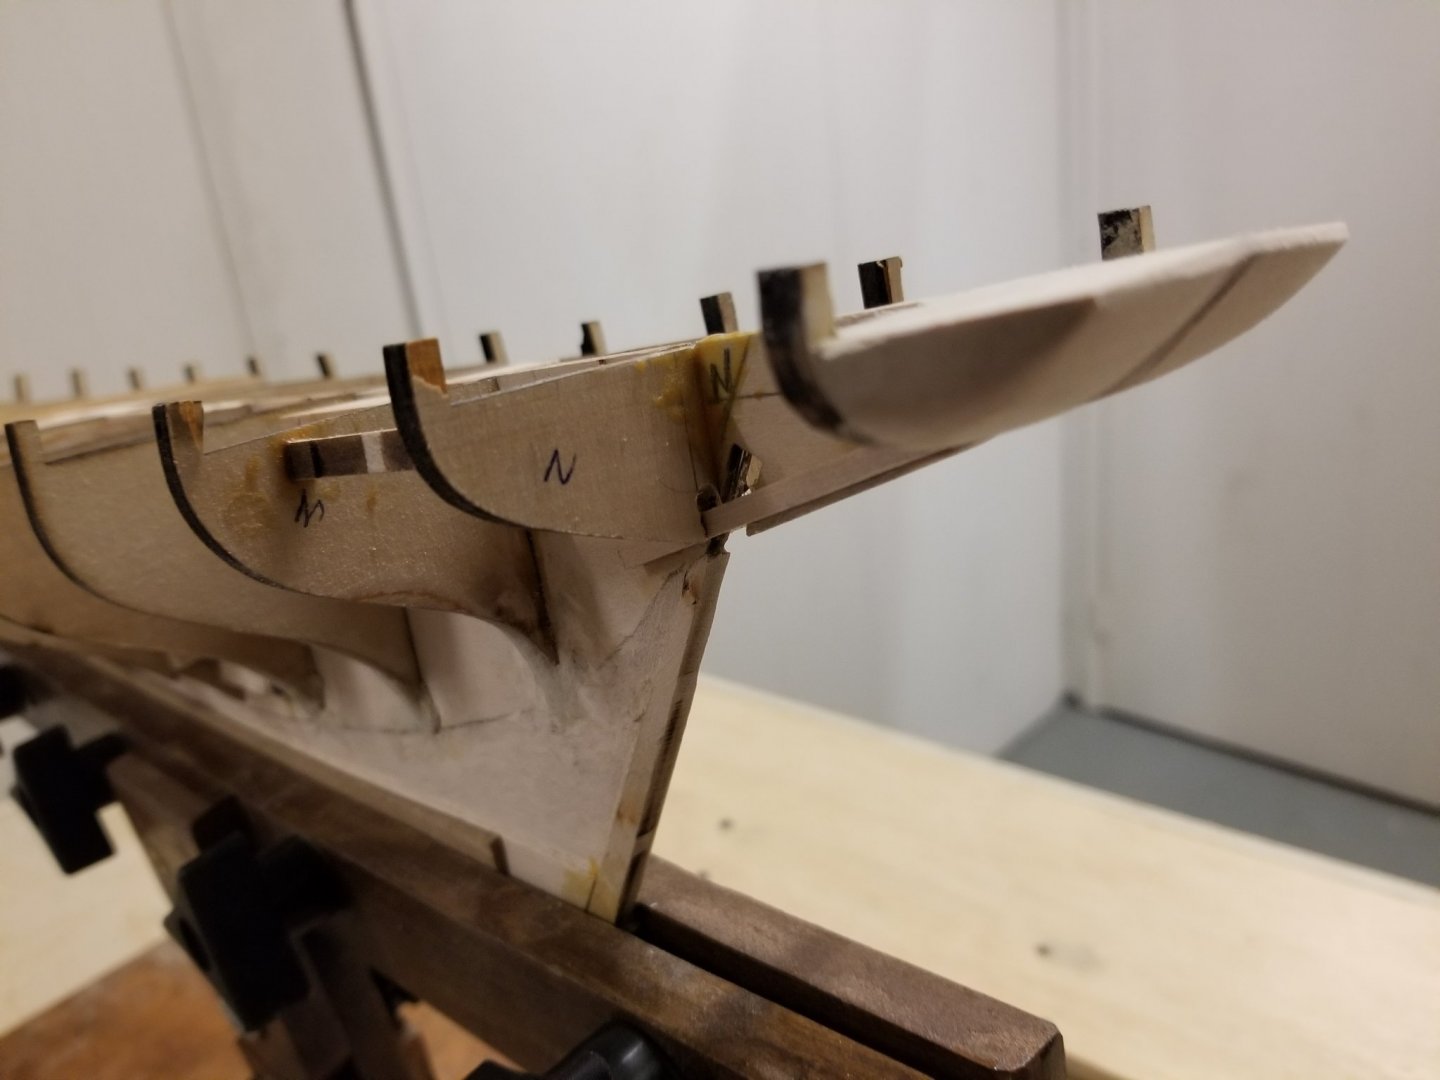
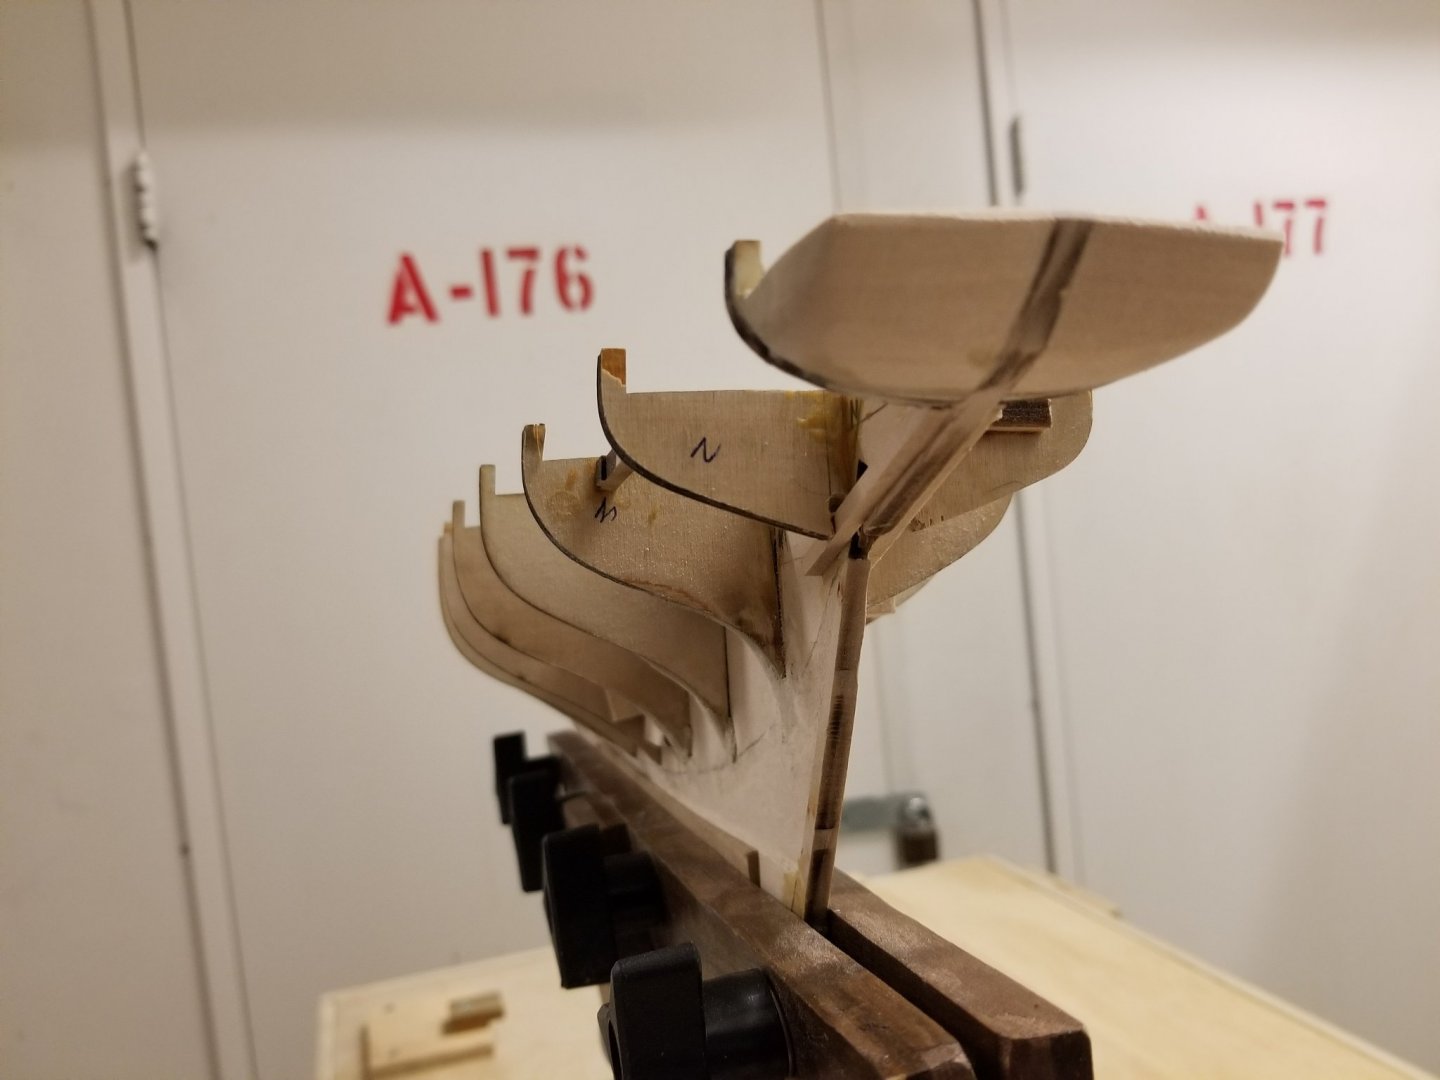
Getting back to to it. Got the transom done with a minimum of fuss.
Think I'll wait to add qtr panels, upright strips, and figure out how to make tumbles, though Nirvana had some really good pics of his efforts that I am studying and will use as a guide (thanks for this,pal). Where does the wood for this come fromas wasn't in my inventory....visit nearby hobby shop?
-
Really nice clean lines and finishes...lots of patience, and inventiveness at work.....good on you, Dave.
- 389 replies
-
- 1
-
-
- bluenose
- model shipways
- (and 1 more)
-
Hi all,
I took a lot of time away from Bluenose as we got crazy busy at work. Seems Covid sparked a lot of riots and crime...as in break and enters at retail stores, and that's my biz...preventing that very thing.
However my uber executive daughter said I was "languishing" , not depressed, but not motivated...kick in the butt did me good.
Back to shipyard.
Some updates (no pics yet)
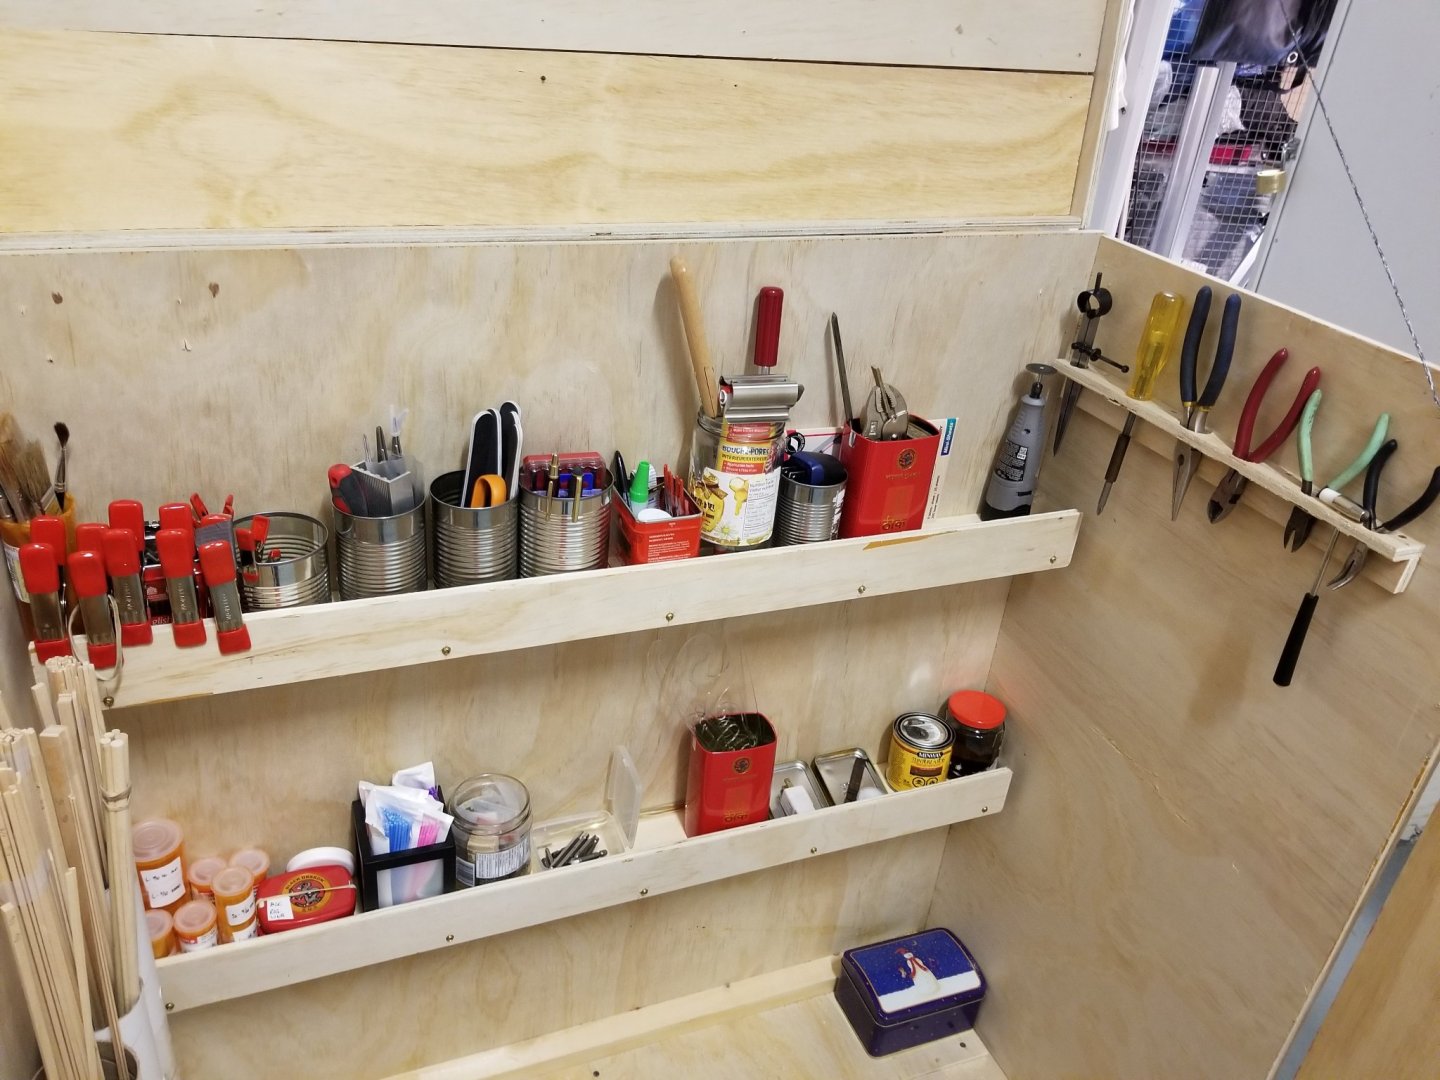
Upgraded my shipyard which you may remember I built in my condo locker...more logical set up now, with some added shelving.
The internal pin I inserted at that weak spot in the stern part of keel has paid off in spades
I also bought a bunch of wood cubes on Amazon , about 1" cubed, and cut in half and used to true up bulkhead/keel ...worked like a charm...all at perfect 90° and all equidistant....but I over did it as not too neat looking, but admittedly all below decks.Oh well, lesson learned.
Tonight made a bunch of paper templates from the plans so can start working on stern blocks...looks like fun. Only disparity I see when I look at all your great builds is that some blocks are flush with top of keel and "O" bulkhead....others have a "groove" separating the blocks as though the bulkhead is higher than the keel, but might just be photographic shadow as it makes no sense to be like that.
I'll take some pics tomorrow night and post.
Hope everyone came through pandemic OK ( is it over, or even close to being over?)....going for my 3rd shot soon as over 70 and don't want to take any chances. We seem to have it under control here in Toronto ,with almost 90% vaccinated.
And snow flakes this week mixed with rain...yikes.
Have a good night, and talk with you soon.
Ron
-
I think that is what I will do. I will cut to shape whenever possible , but sometimes a little sanding is necessary...at least I'm expecting it will be. Thanks, everyone for your feedback Ron
-
Thanks, I appreciate the feedback. I have seen these and need 1/8 shank, and always try to avoid China...I buy Canada 1st ( rare), US 2nd (mostly), and then offshore....never used Alibaba Ron
-
Has anyone made a 2 or 3"diameter home made disc in order to fashion a decent size sander for shaping pieces.
-
I switched to Excel and like the Xacto the knurled collars tend to loosen so I'm going to use some plumber's silicone tape ( super thin to stop plumbing joints from leaking) figuring that will stop the threads from slipping. I bought an Xacto mitre box...way too wide slots. Not sure if I should buy a better brand or just use harwoodd jig. My Xacto saw dulled very quickly....anyone use Excel and get longer life , or opt for Tamiya or Zona?
-
My granddaughter still plays with hers...but we have a firm and true carcass now. Haven't got to bulkheads ( mistakenly referred to as bulwarks earlier) being trimmed or built up yet. Opted to install horn timbers. Had to do some notching as my cube strengtheners were in the way. Glad I built Doc's jig....even though I could feel the weakness of the keel at the rabbet, a couple of healthy sized clamps took care of that, and I was able to lay the ship on its side and notch away to install the horn beam. The after effect was amazing once both in place....a very firm keel at the rudder area. So, now I either work on bulkheads or install the rear transom.
-
Well, I saw somewhere that instead of using wood strips and pins to keep all the keel/bulwarks true to use cubic blocks or LEGO. Kids are married so no LEGO...opted for cubic hardwood blocks...worked like a dream...keel is straight as as a pin, and bulwarks not only at 90 degrees, but solid as all get out...nothing even hints at moving or bending...started out a bit rough but better as I proceeded....all hidden anyway once planking starts. Also got the great beam done. I read, reread, watched videos, read some more ...sweating the details. No real detail anywhere it seems.... then it all sort came to me, and I jumped in and it went fast and easy. So,now onto shortening or lengthening bulwarks where the bearding line is concerned, and installing the 2 pcs of strip at the rudder ( can't remember name) that afford support for lower aft planking to end. Think I my have some work to do there. I keep my locker swept and clean so no complaints from other locker owners, mostly interest, and therefore no issues with condo board....so far. My mobile shipyard has really been a boon as well. Not only stores tools and stock but works as a stand up tool bench when my back has had enough hunching over the mini bench in my locker. Happy end of winter to all. Ron
-
Egads man, That's some skill you're learning/demonstrating ....those gears look "boss" (I think that's a pun) I agree about the blacking nice shiny brass and painting wood where maybe not necessary....your wood skills are very detailed so the pieces look refined not just cobbled together. I know where of you speak about working in garage...back when I lived in Montreal used to do automobile rebuilds in a sub zero weather...cut a hole in roof and installed drip kerosene heater...that almost got me divorced, but it at least ensured the Snap-On tools didn't stick to my skin...and the beer stayed cold...real cold. Ron
- 389 replies
-
- 1
-
-
- bluenose
- model shipways
- (and 1 more)
-
1. dental picks aces for applying glue. 2. In Montreal where I grew up we also called them clothes pins 3. We also made guns using clothes pins and broken hockey sticks....weird but true. 4. love the spirit of all of you...inventiveness and glee
-
Not my idea but one I am using to great success...using dental picks (toothpick shaped plastic with a little tuft of "hair"on one end..very cheap....use once and toss...as they have a small head they are very easy to position in really tight spots. I mentioned in my own log that Japanese saws are Xacto saws on steroids...they are very fine toothed but cut through hard woods much faster. I also have cut manicurist's files into pointed wedges....find them handy to sand narrow spaces like when cutting/shaping the rabbet on keel. Nothing terribly original but thought I'd share. Ron
- 30 replies
-
- 13
-
-

-
Hi John, Looking at your log and it's Feb2021....I had previous experience from y teen years with razor saws, but recently purchased a Japanese saw ( slightly bigger and longer) that rips through basswood and plywood like the proverbial hot knife through butter...especially good for jig making as I am in a condo and have no real shop or power tools. You have/had a lot of interesting construction techniques. Ron
-
always another shelf to add....more tools...sorted the wood
-
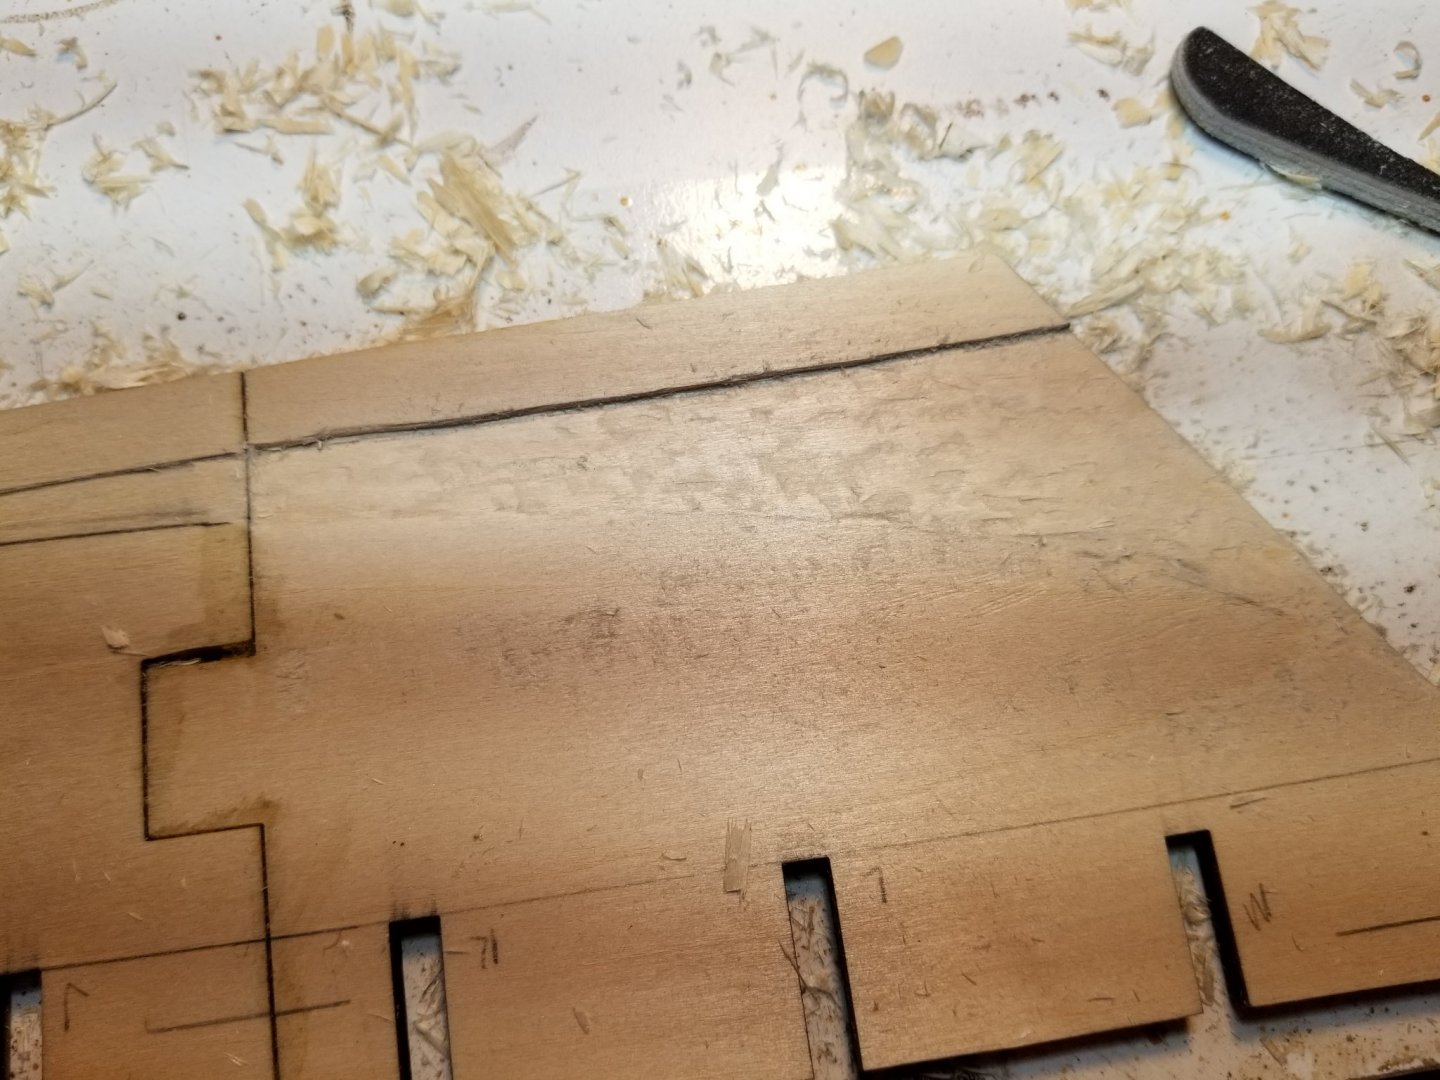
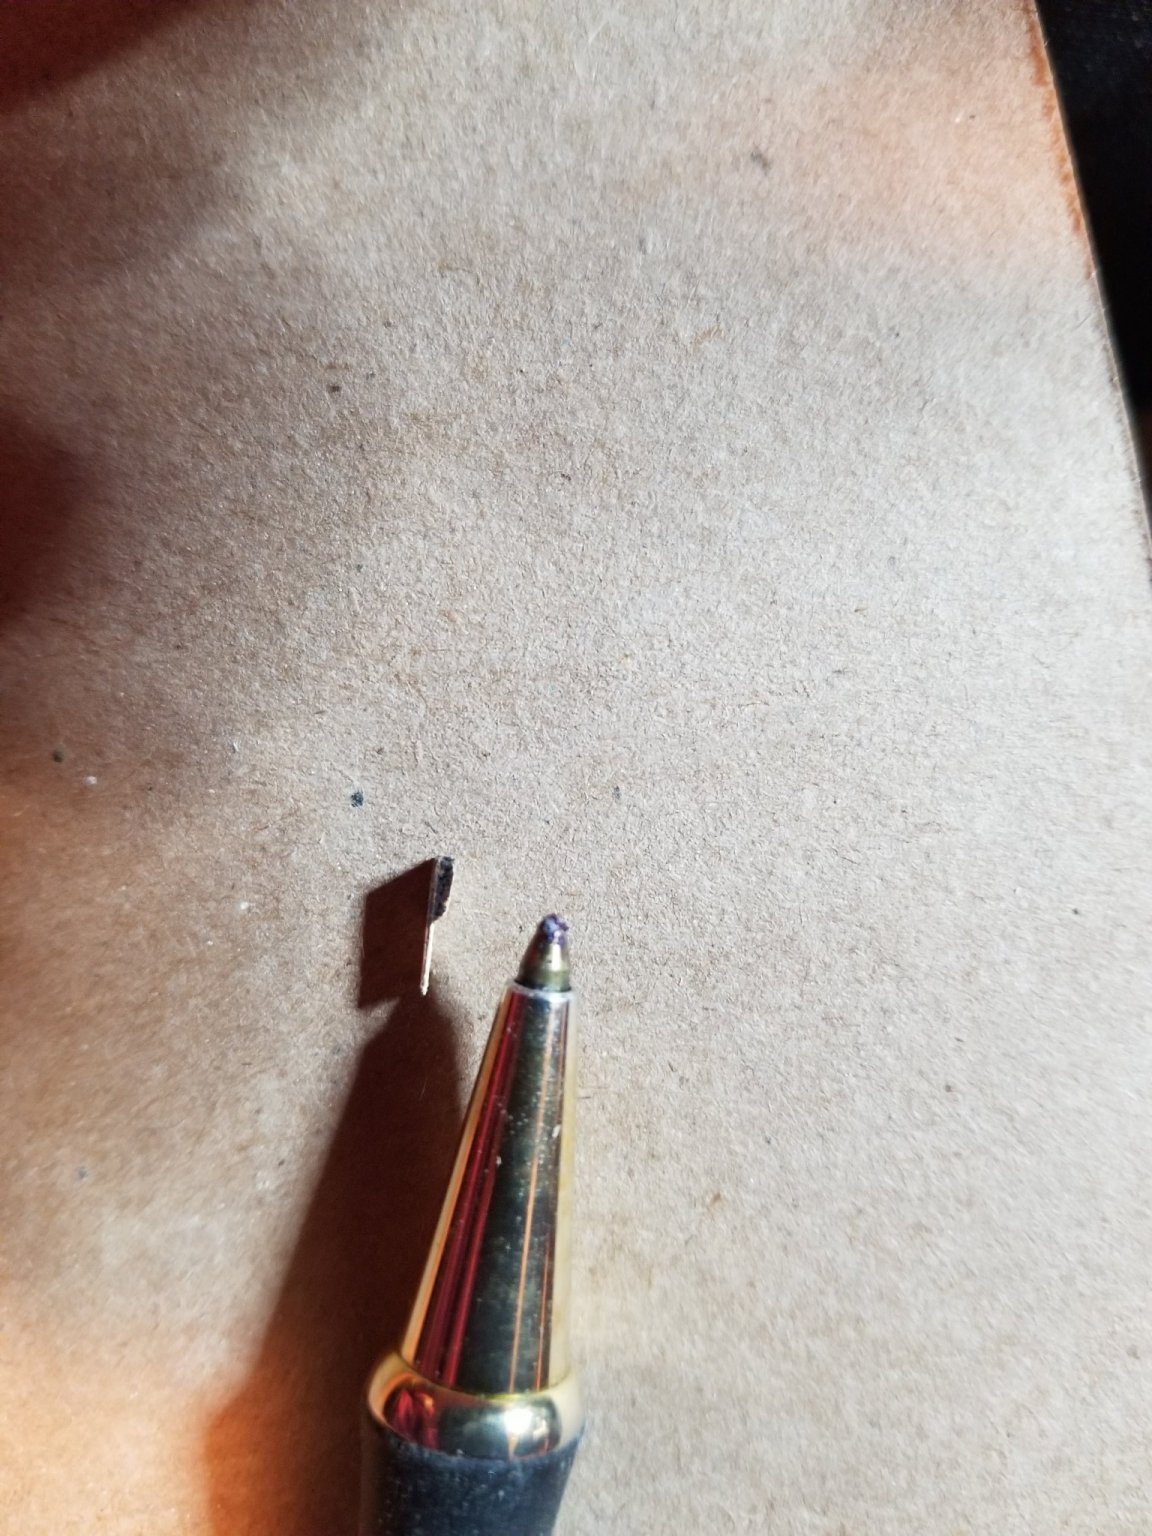
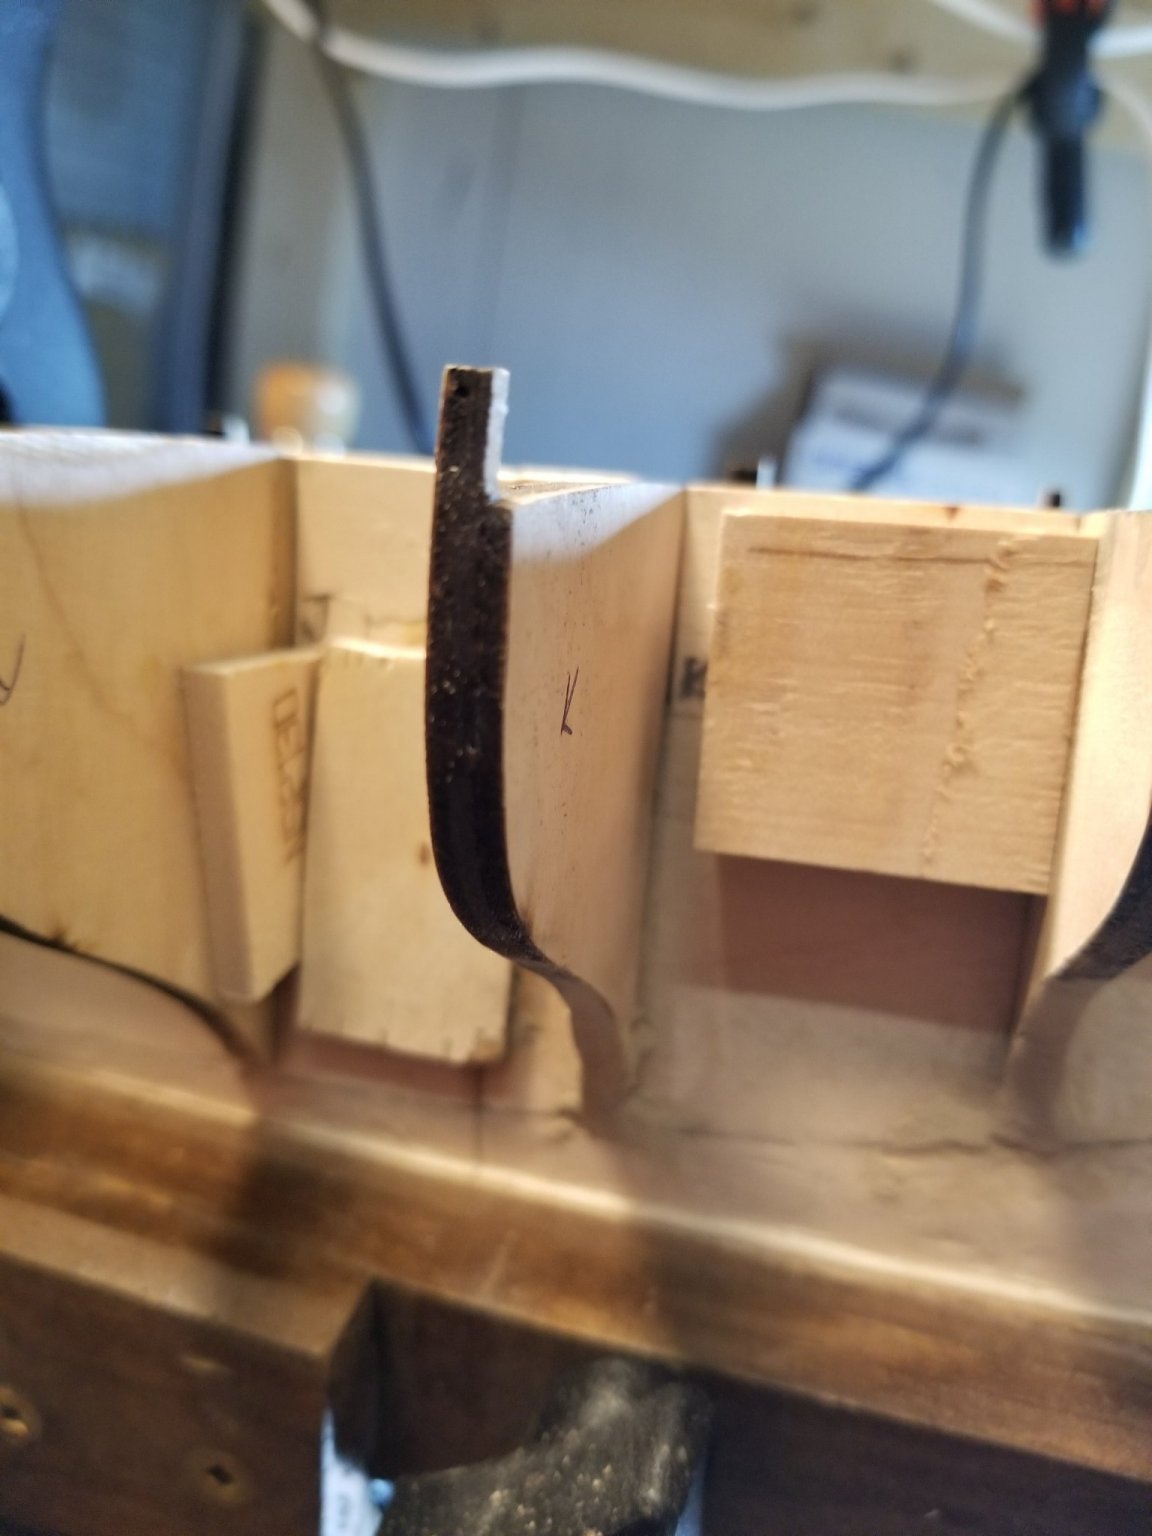
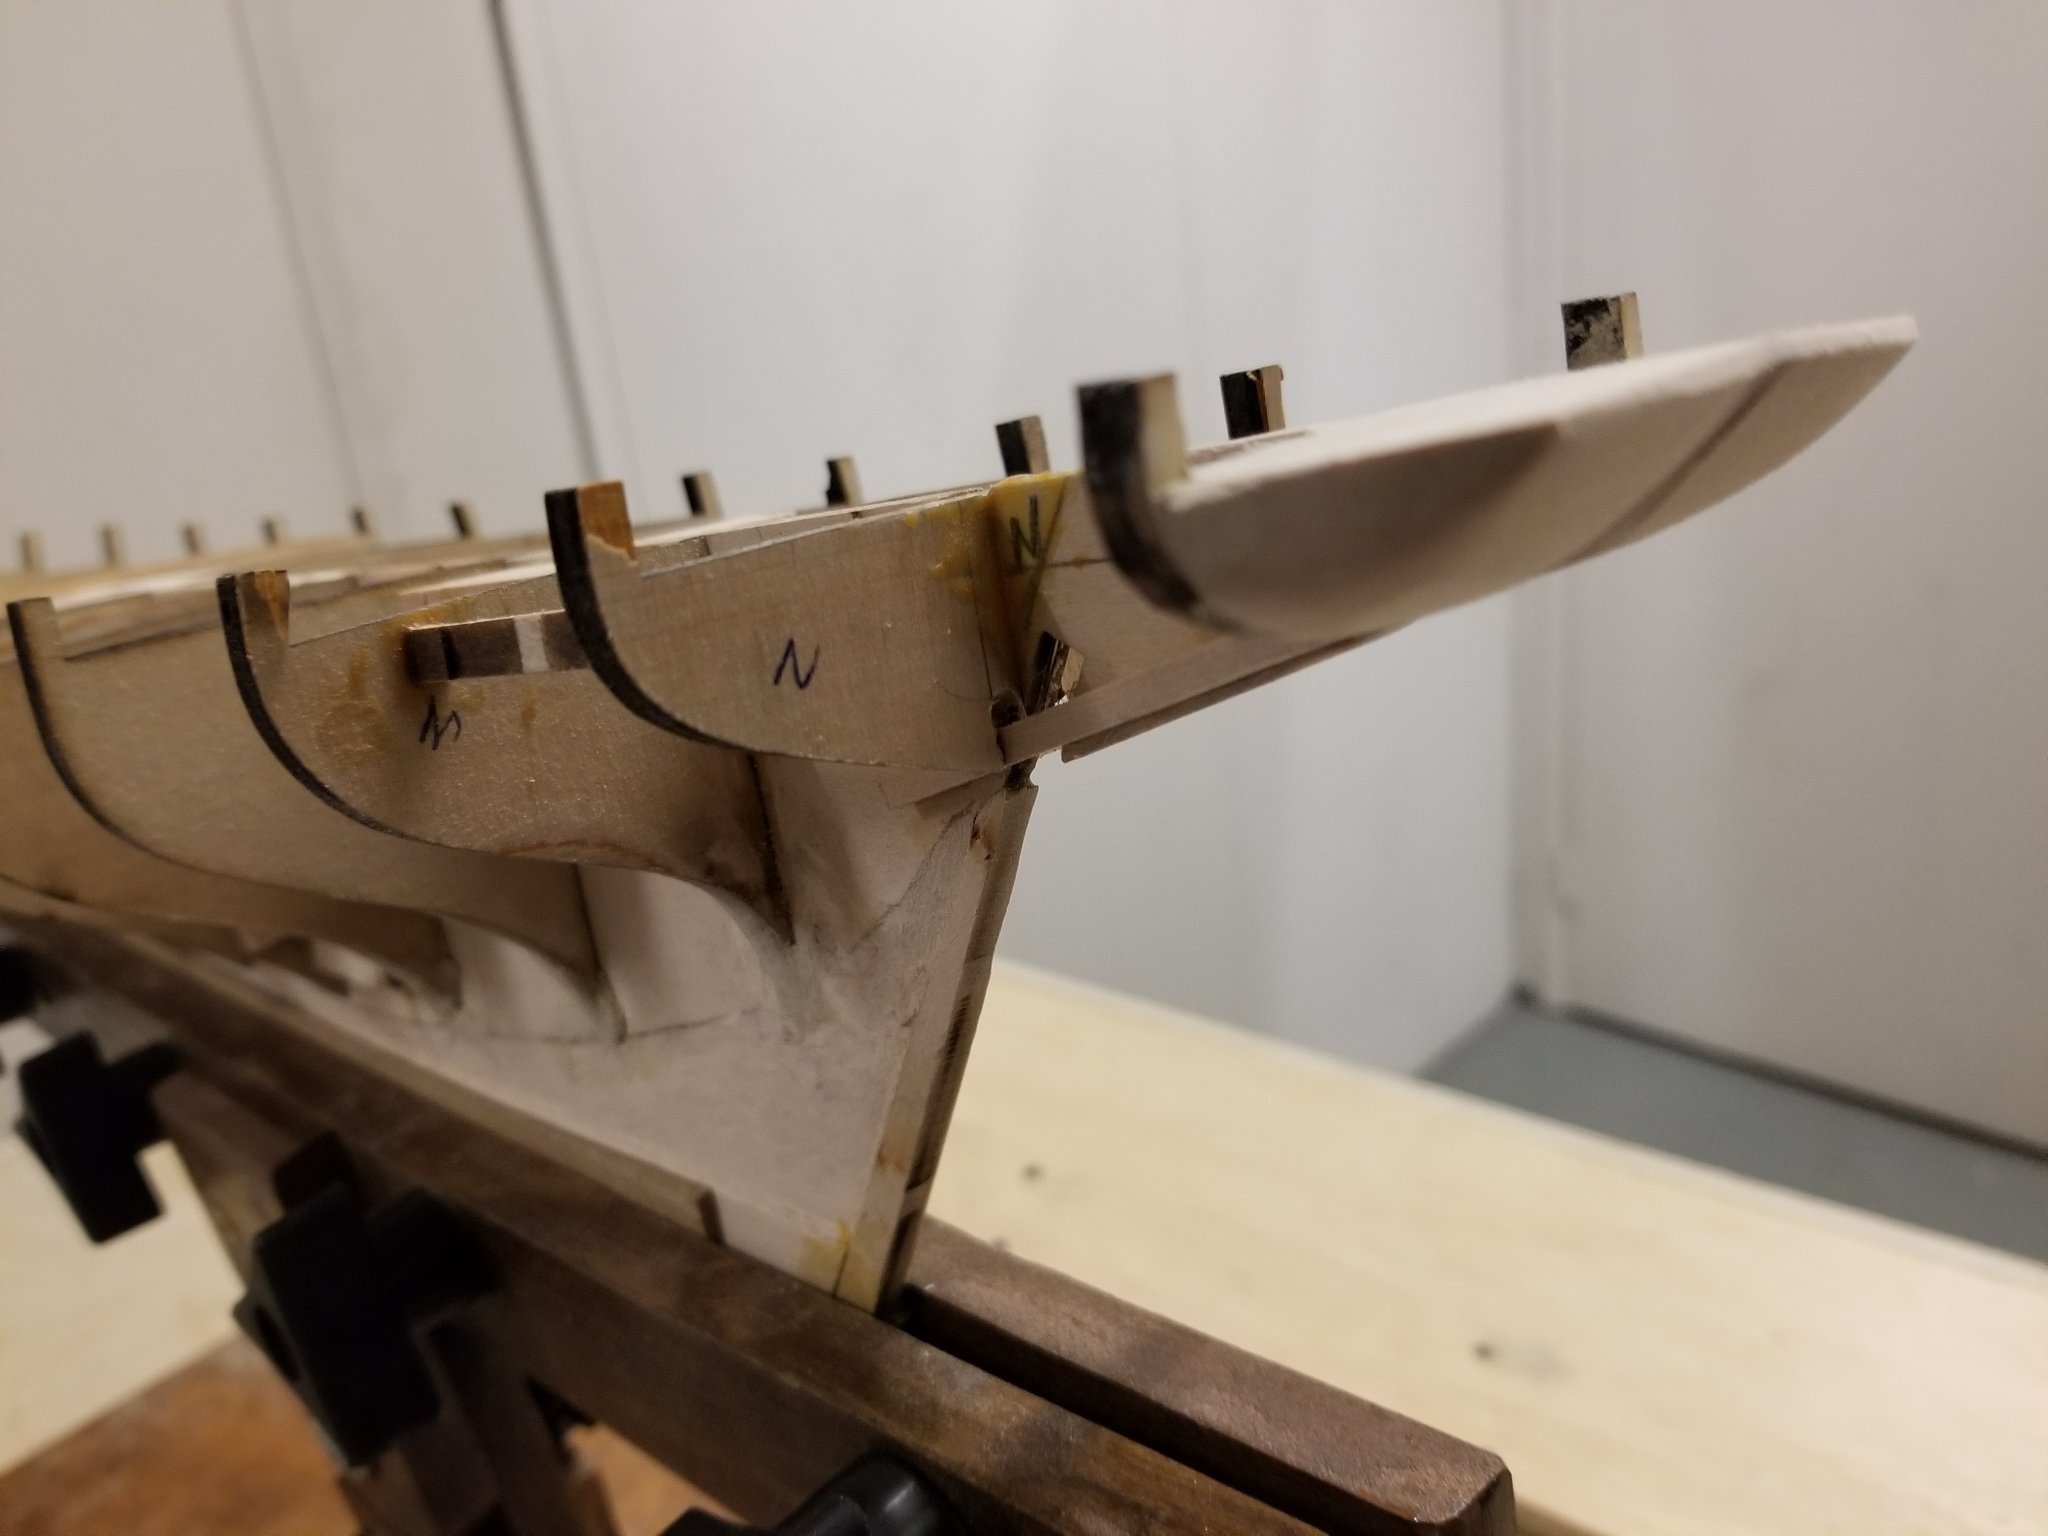
So I drew the rabbet and beard lines by caliper and ruler....took a while but ended up true to the plans. Just didn't feel right to cut and trace,but that's just me. When it came time to cut I used a tip from CPDDET and put some green painters tape on tip of knife blade leaving just 1/16" exposed, so wouldn't accidentally cut the rabbet too deep....worked a charm. Then I put a 1/4" chisel blade in knife and instead of going N/S or E/W I gently shaved on a 45° and avoided the blade digging in and gouging the surface of the keel. Took the thinnest of savings and everything stayed true...took a while though. Lastly, took a sanding stick and cut a little wedge out of one just to smooth out the bevel with the merest hint of sanding. Oh, by the way, I have used Xacto my whole life, but read many kudos about Xcel, so bought a set...beauty I must say....I won't be going Xacto again. Here's 2 pics, 1st when I started to shave and then finished product ( only did the aft section so far)
.thumb.jpg.382b360cbe5ca25b2e2f1dc8a615678c.jpg)
-
Thanks for the tips on painting. Wow, that is one cool looking piece of machine and I'm sure you'll be turning out some nice parts. Looking forward to seeing your progress. Ron
-
I opted not to do the cut and paste of the plans to trace the bearding./rabbet lines....did it all with draughtman's calipers , assorted French curves, and rulers....turned out well. Hopefully tomorrow cut the rabbets. The metal pin I inserted down the throat of that dangerous narrows by the stern post turned the trick too. did some more upgrading to my mobile shop...need to post some pics,maybe tomorrow.


.jpg.178f3549eebaf750127522805abb7b52.jpg)
