
dantist905
-
Posts
37 -
Joined
-
Last visited
1 Follower

Recent Profile Visitors
575 profile views


-
 GrandpaPhil reacted to a post in a topic:
SOLEIL ROYAL by dantist905 - De Agostini (version 2.0)
GrandpaPhil reacted to a post in a topic:
SOLEIL ROYAL by dantist905 - De Agostini (version 2.0)
-
md1400cs reacted to a post in a topic:
SOLEIL ROYAL by dantist905 - De Agostini (version 2.0)
-
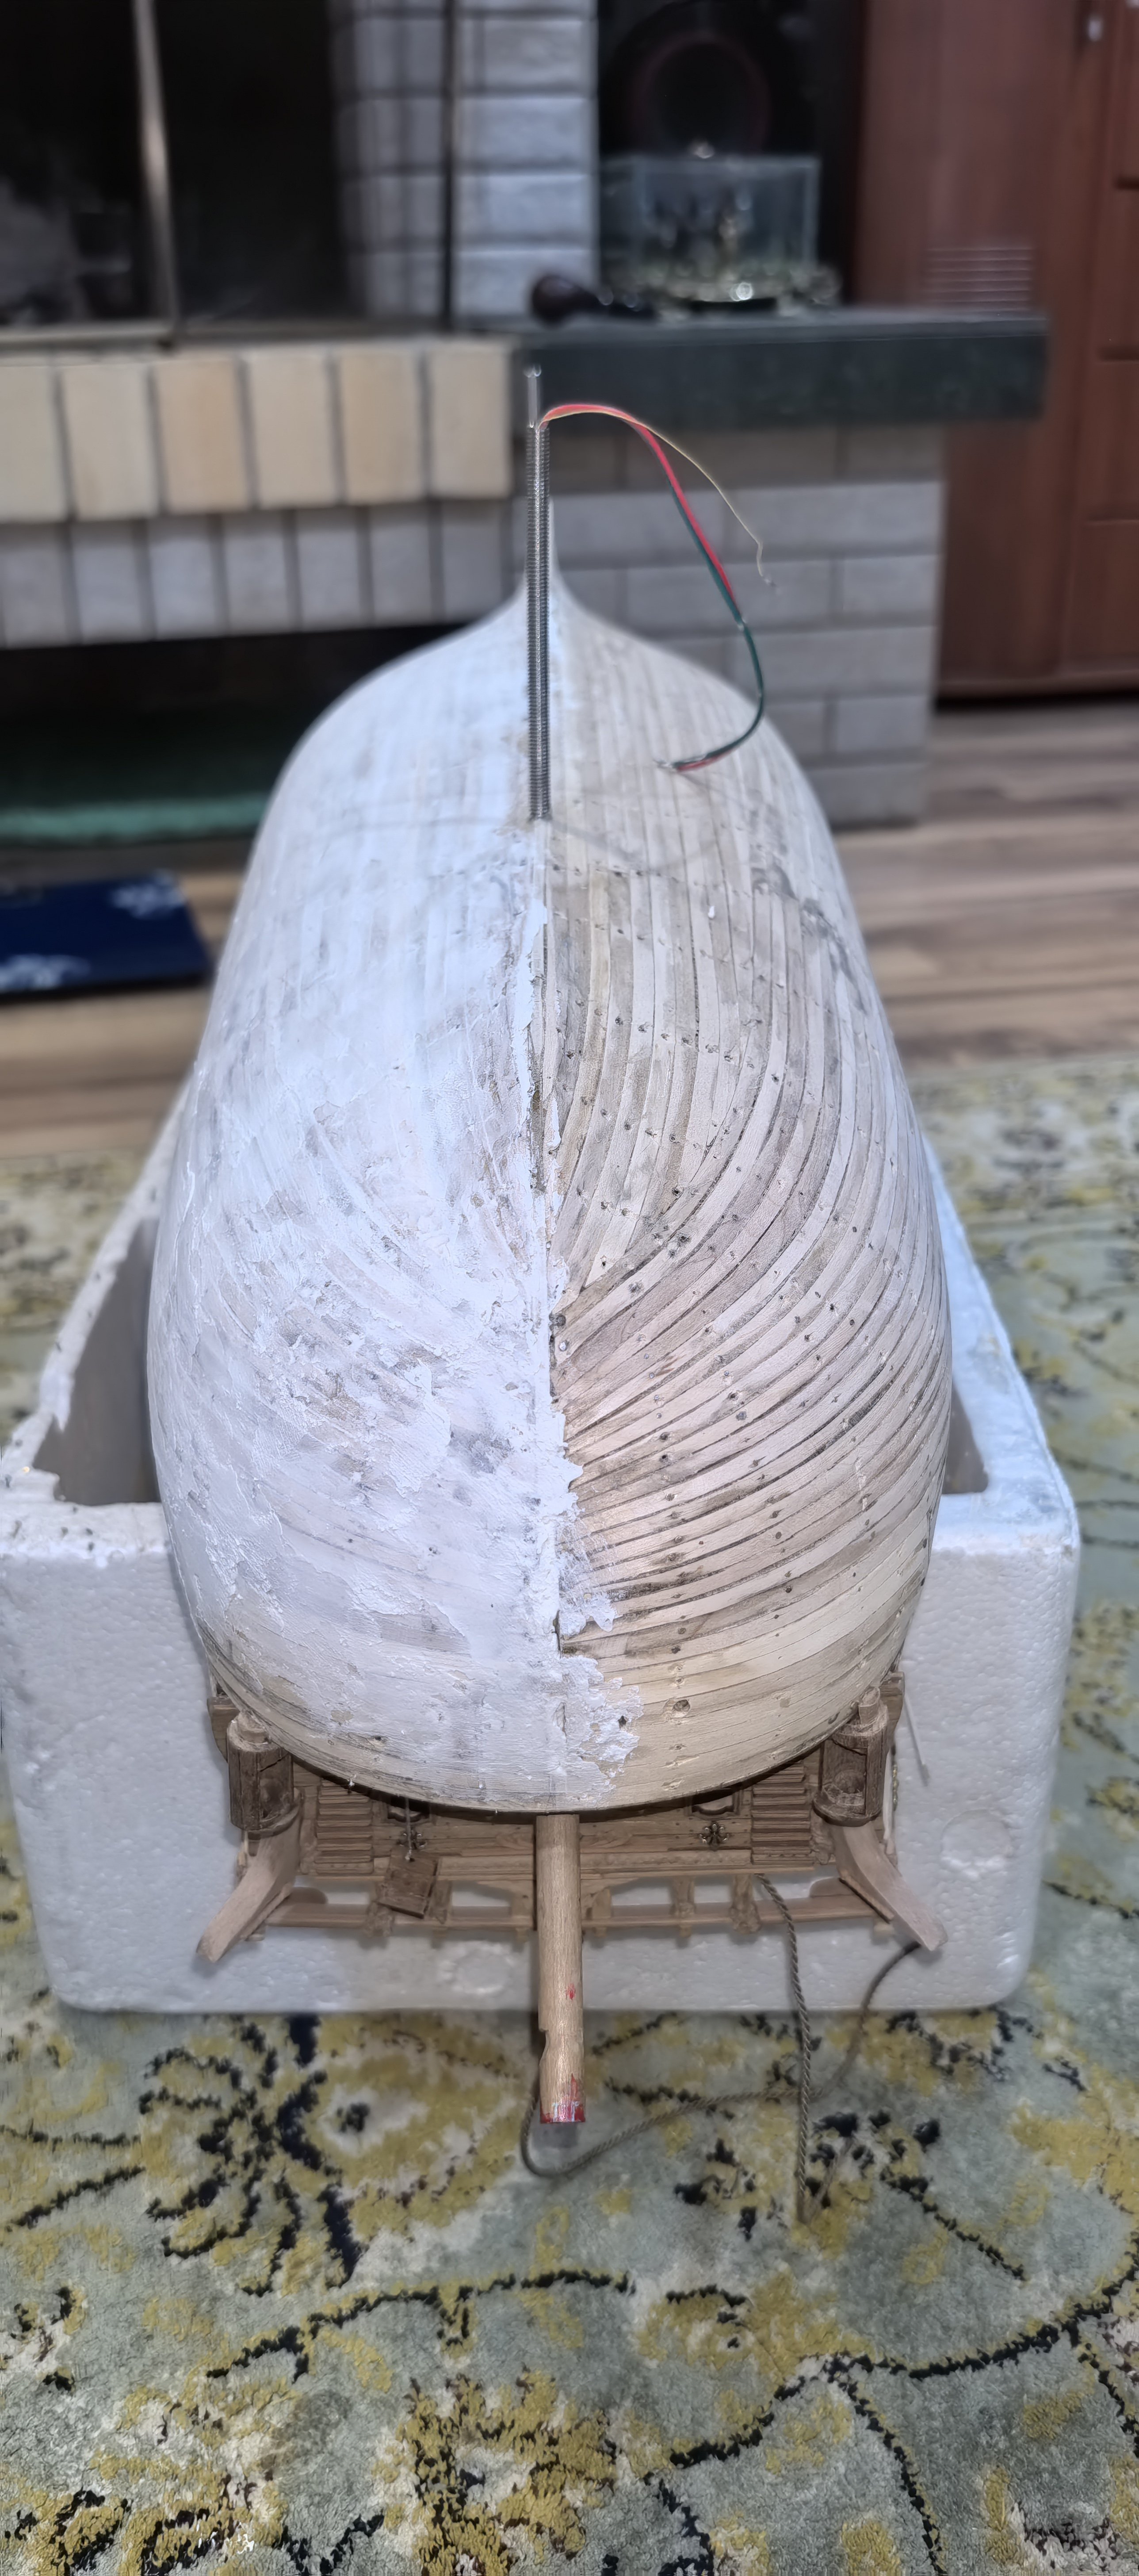
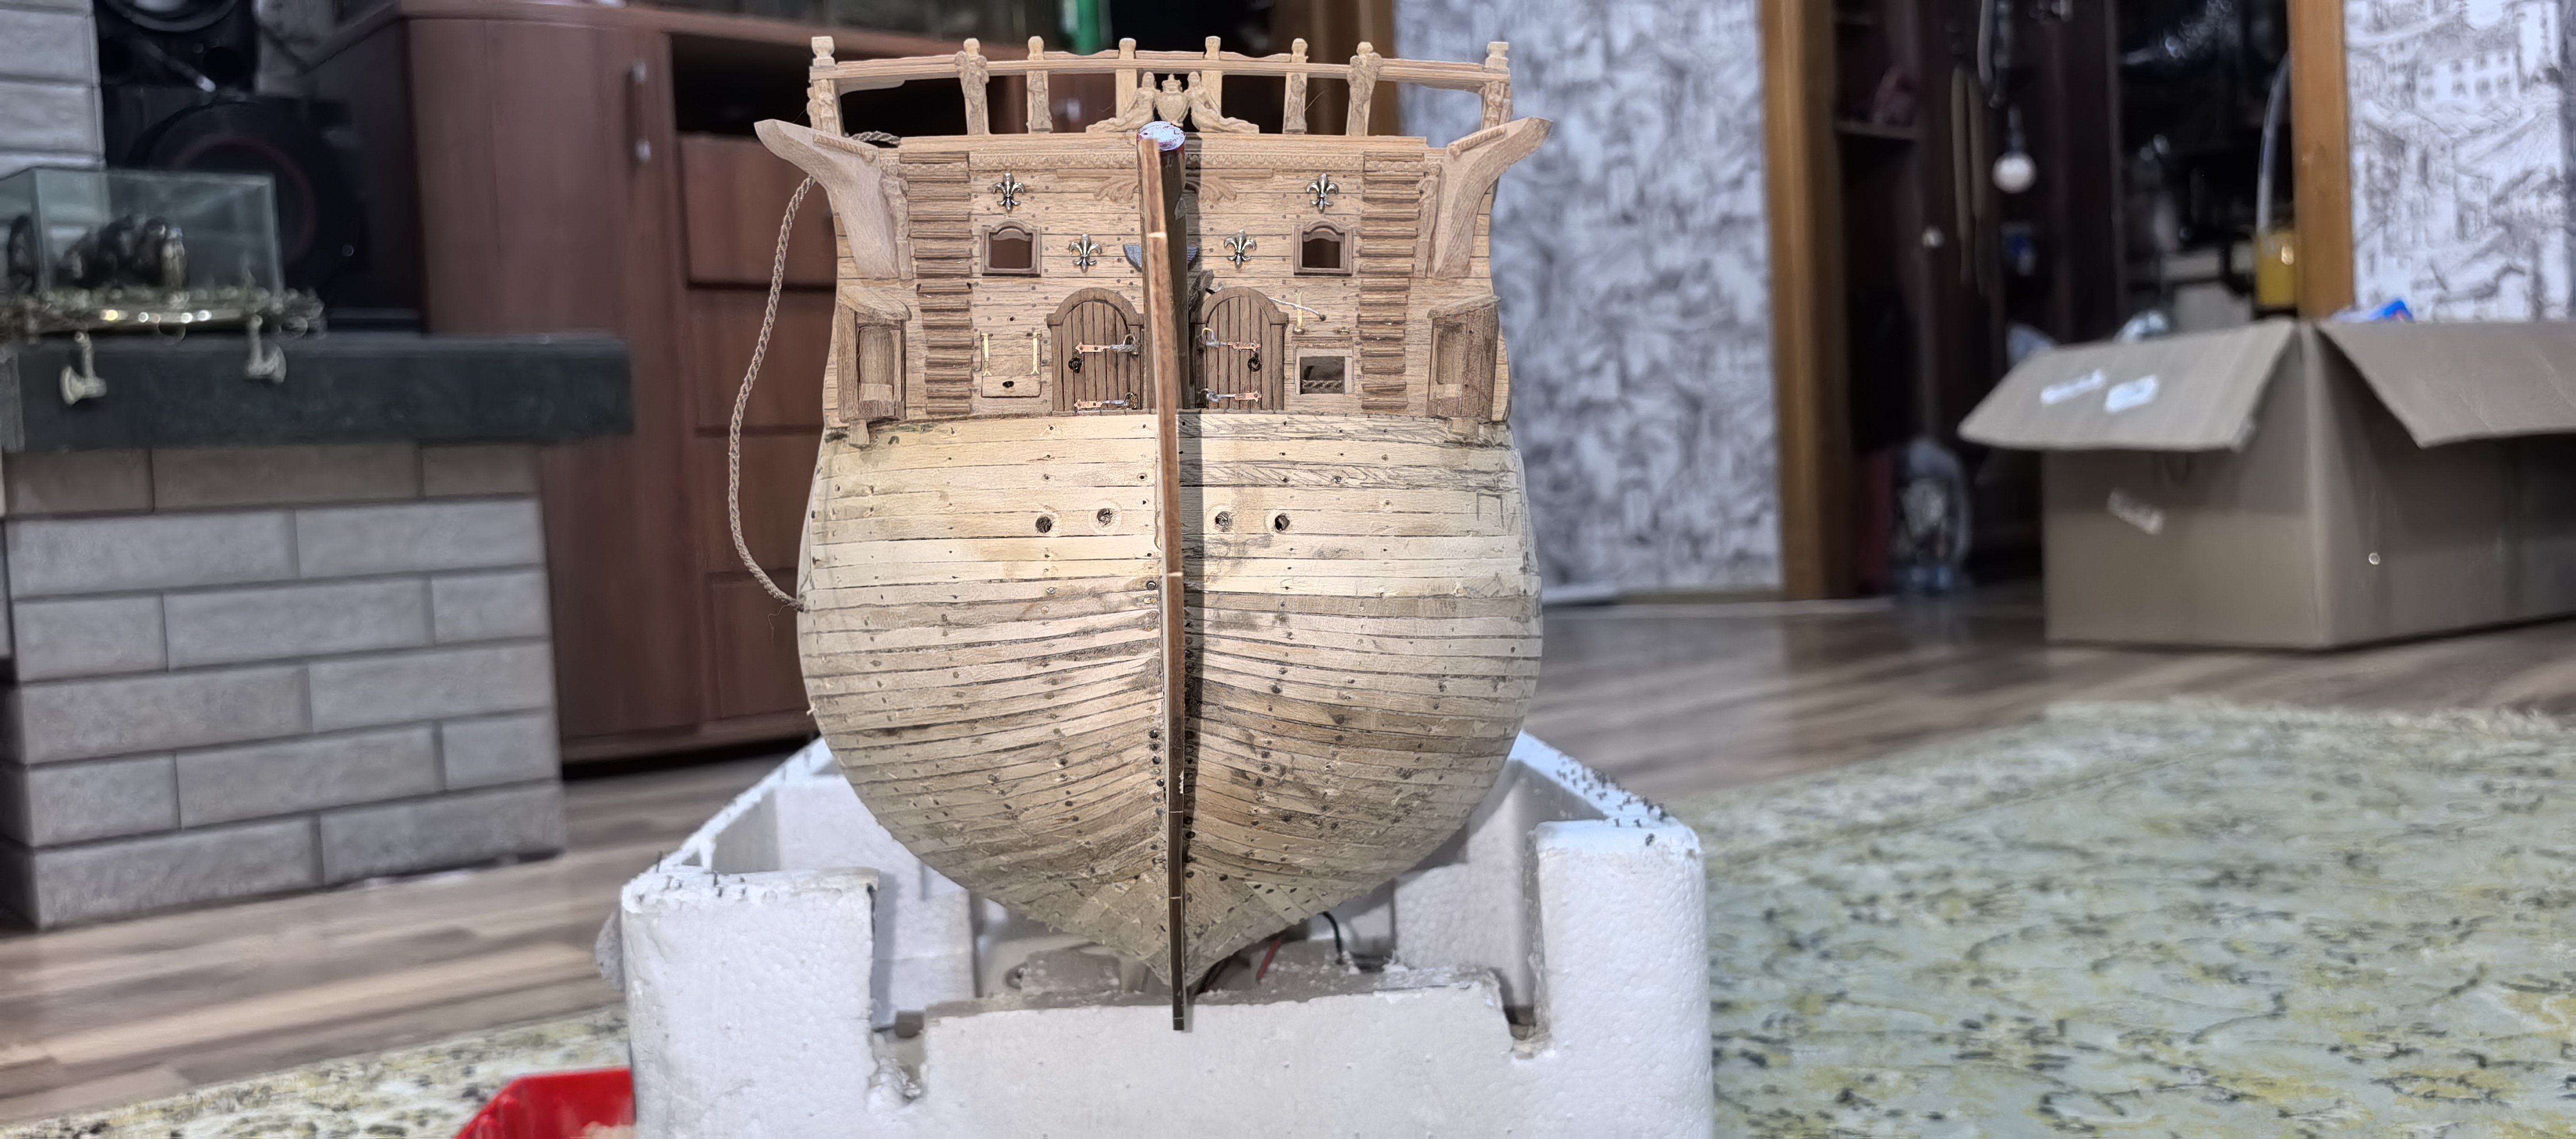
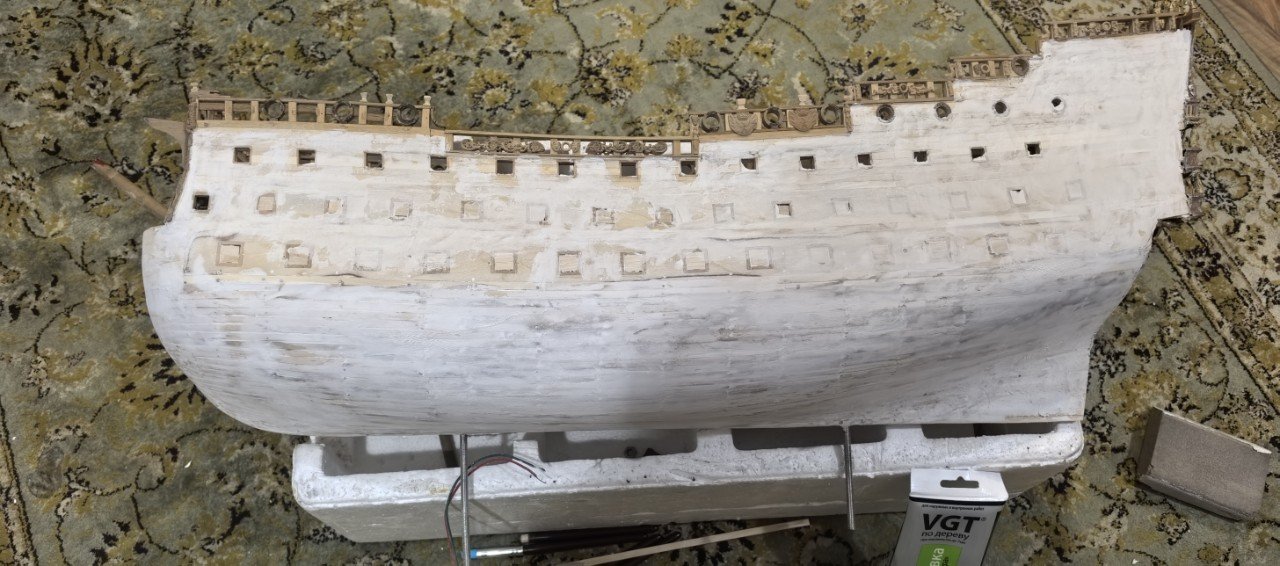
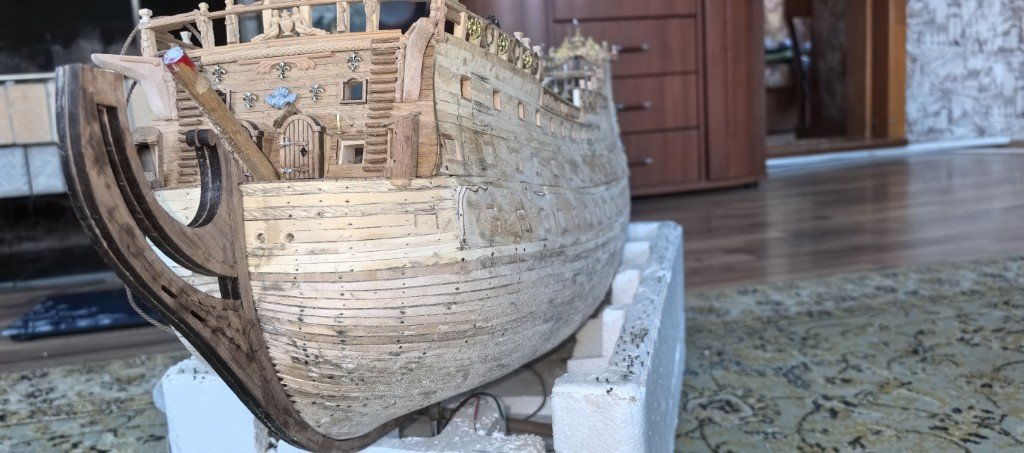
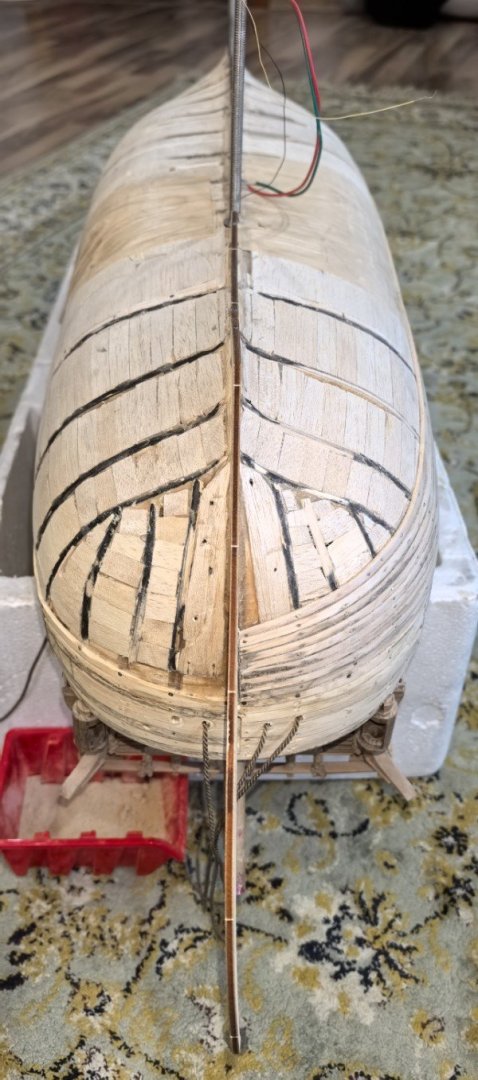
I continue to work on the hull of the ship, I moved on board. I polish and putty. I'm polishing it again
-
GrandpaPhil reacted to a post in a topic:
SOLEIL ROYAL by dantist905 - De Agostini (version 2.0)
-
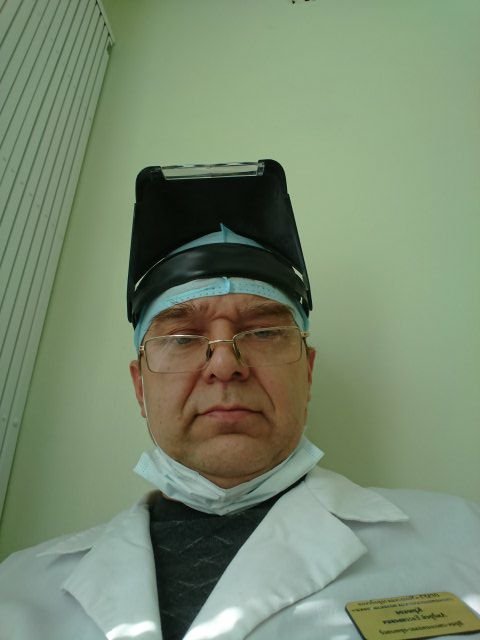
I picked up sandpaper of different grain sizes (from coarse to fine). I have prepared the grinding machines and will use the manual method using wooden bars. I have prepared protective glasses and a mask to avoid dust getting into my eyes and respiratory tract. I started sanding with coarse-grained sandpaper. I removed all the irregularities, burrs and rough defects on the surface of the case. I worked in one direction to avoid unnecessary scratches. I picked up an acrylic putty suitable for use on wood. It has good adhesion to wood, is easy to grind and provides a durable coating. https://youtu.be/0xMPAo4J9DI?si=6ztQR6pjON6bqnHV


-
GrandpaPhil reacted to a post in a topic:
SOLEIL ROYAL by dantist905 - De Agostini (version 2.0)
-
A rather difficult and lengthy process loomed in front of us - the finishing of the hull. All belts and contours should be smooth. Pits and mounds are unacceptable. Even a small break will spoil the impression, so we must strive for perfection. Now I'm caulking nails, preparing tools for grinding. And at the same time I am correcting log errors. It can be called the backbone of the ship, it is the keel. Insistently, the keel was built up from several massive beams, the reason is obvious - the large size of the ships. And I make it composite, like an adult modeler.
-
md1400cs reacted to a post in a topic:
SOLEIL ROYAL by dantist905 - De Agostini (version 2.0)
-
ccoyle reacted to a post in a topic:
SOLEIL ROYAL by dantist905 - De Agostini (version 2.0)
-
Knocklouder reacted to a post in a topic:
SOLEIL ROYAL by dantist905 - De Agostini (version 2.0)
-
GrandpaPhil reacted to a post in a topic:
SOLEIL ROYAL by dantist905 - De Agostini (version 2.0)
-
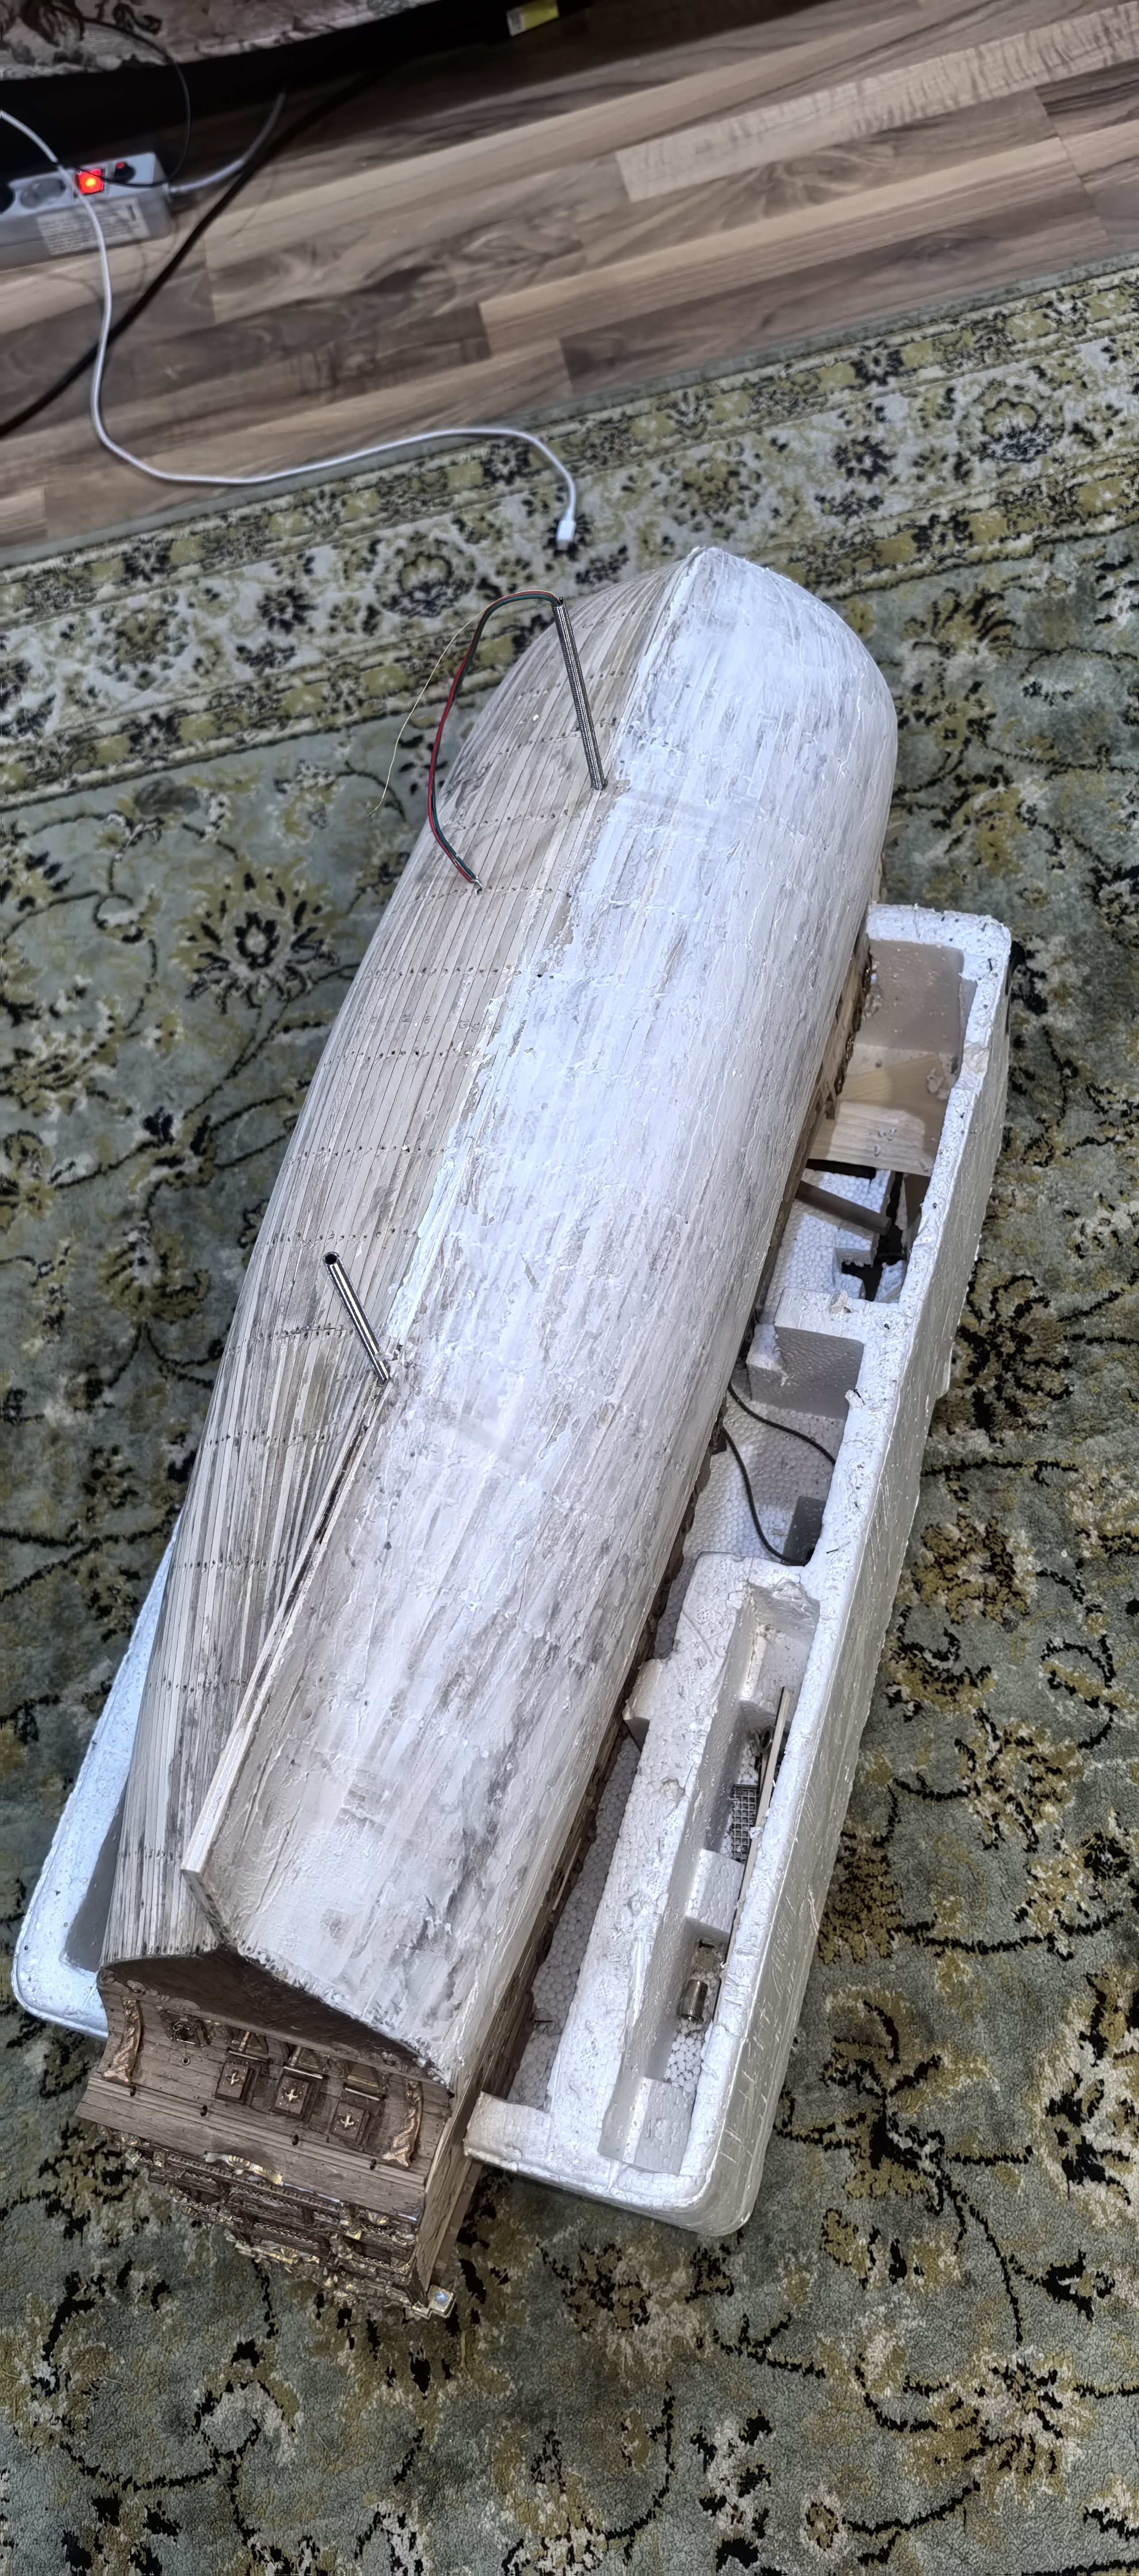
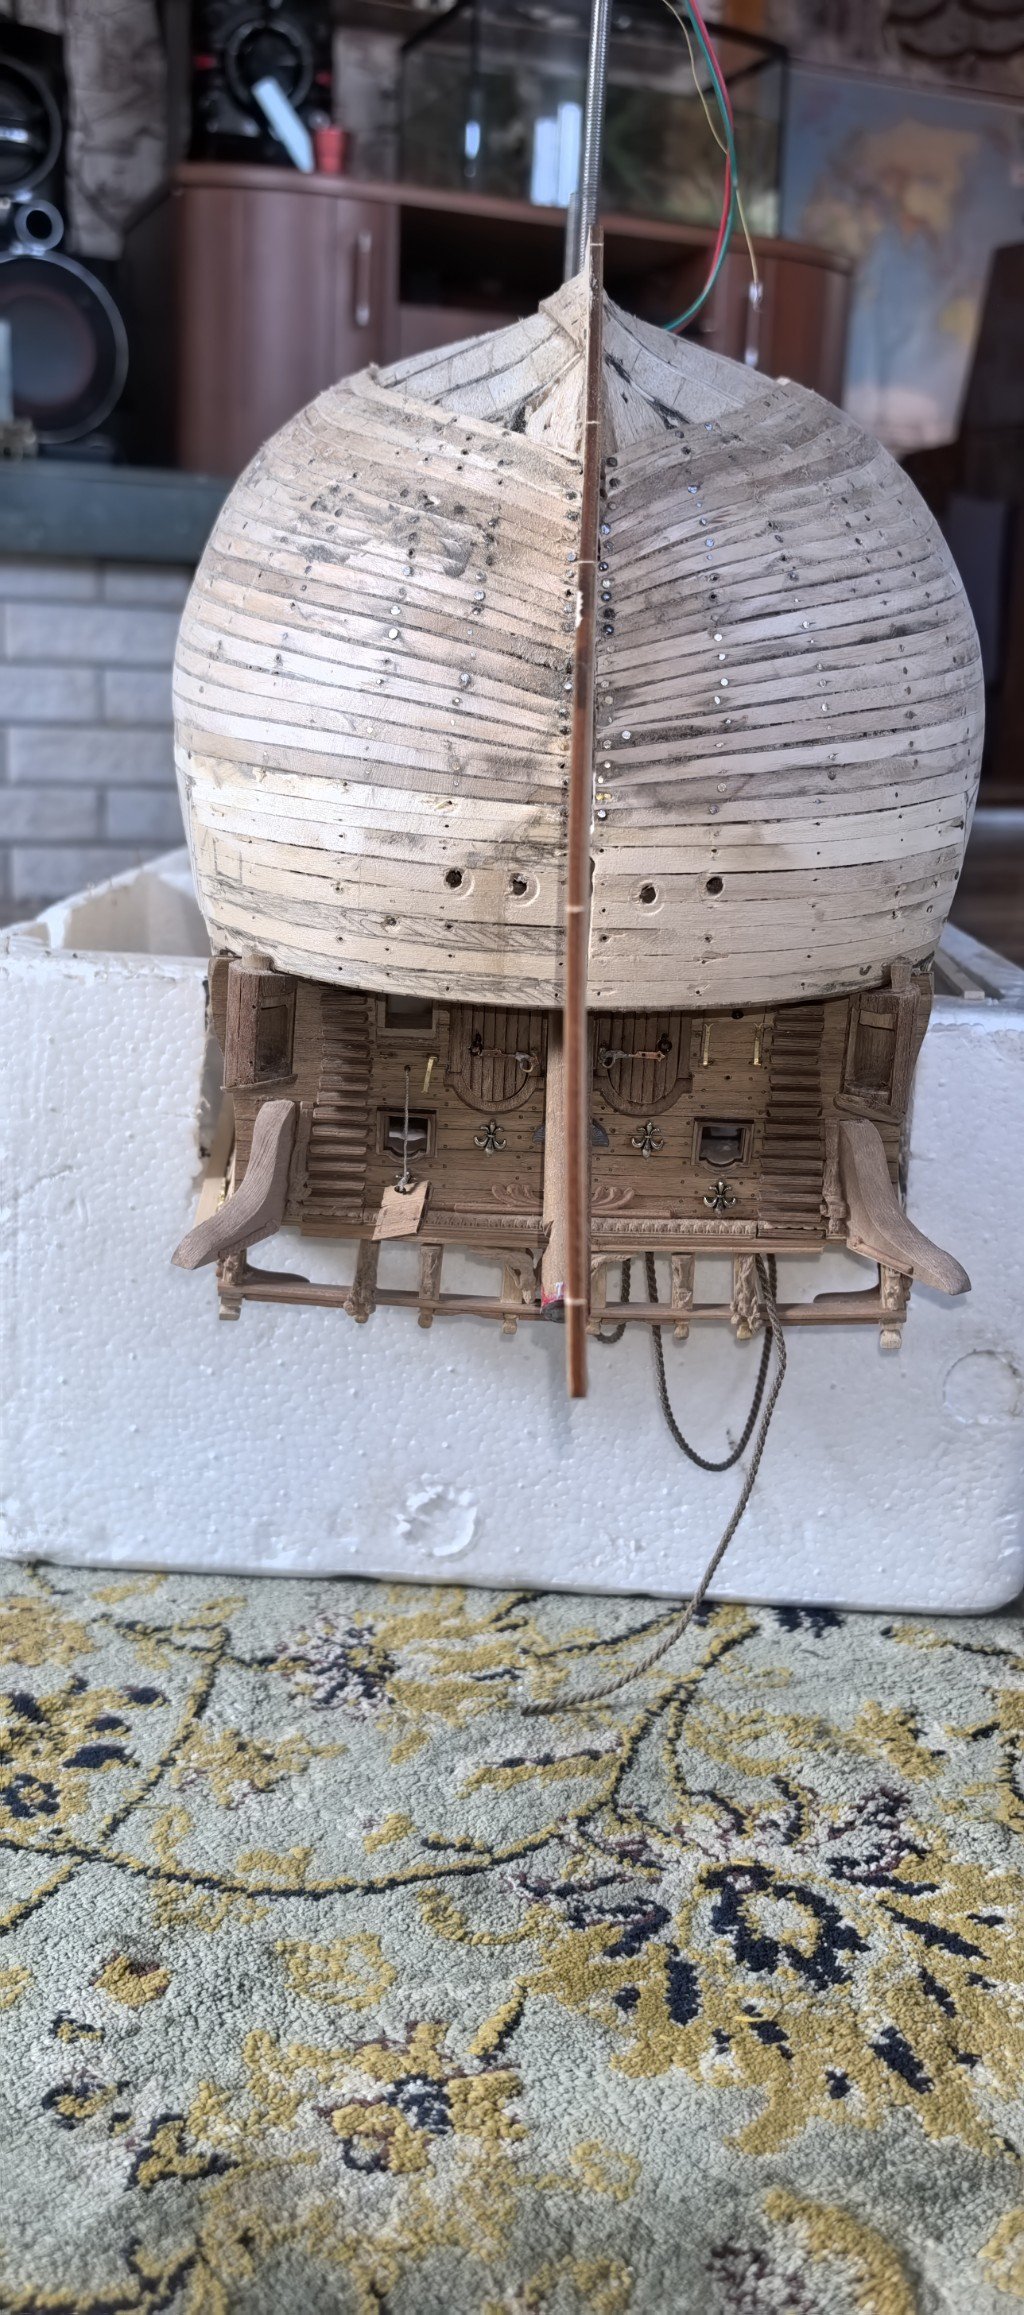
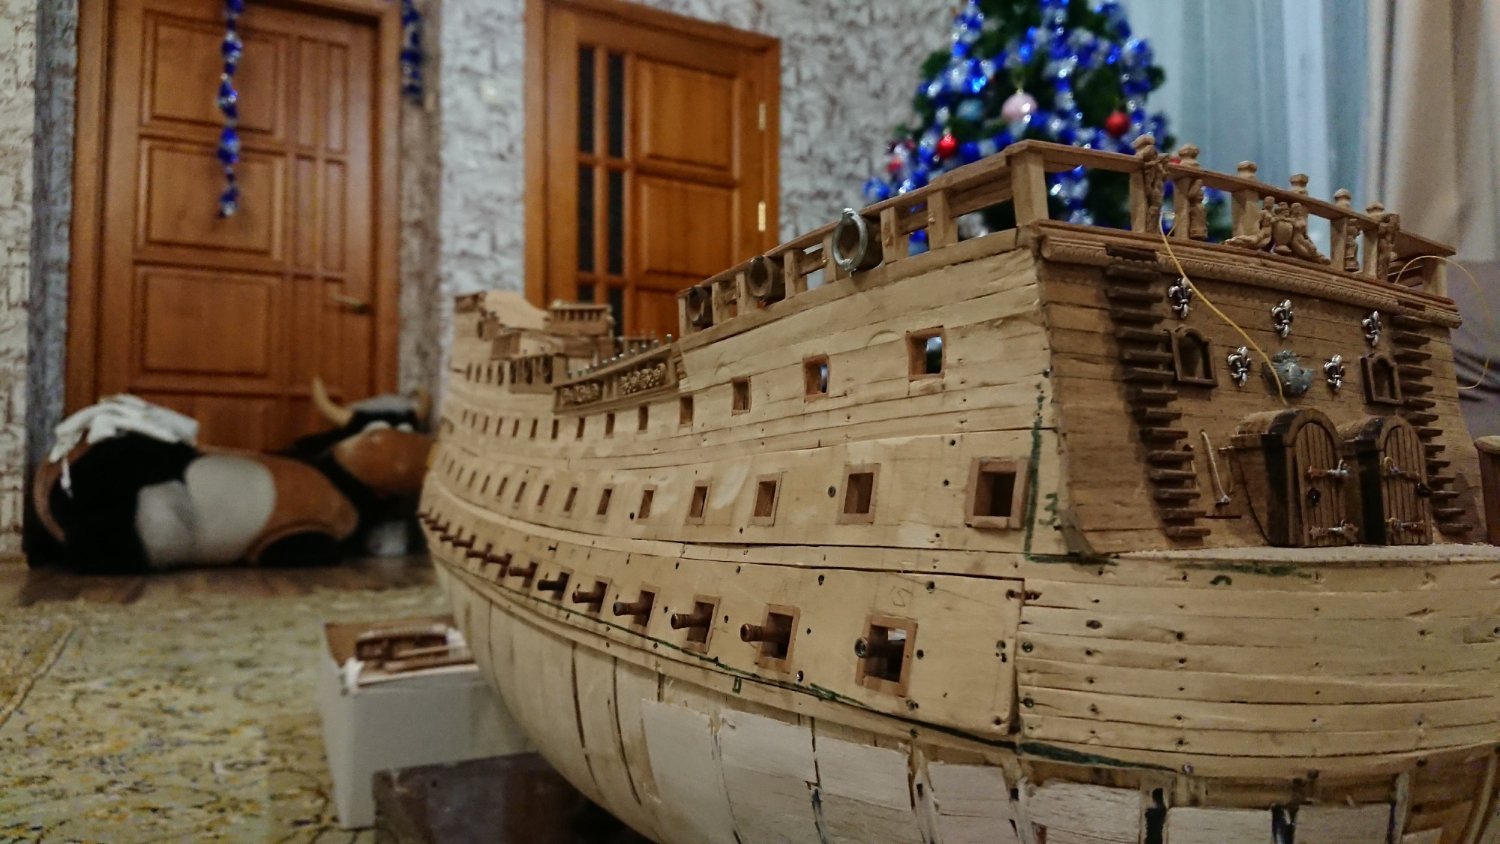
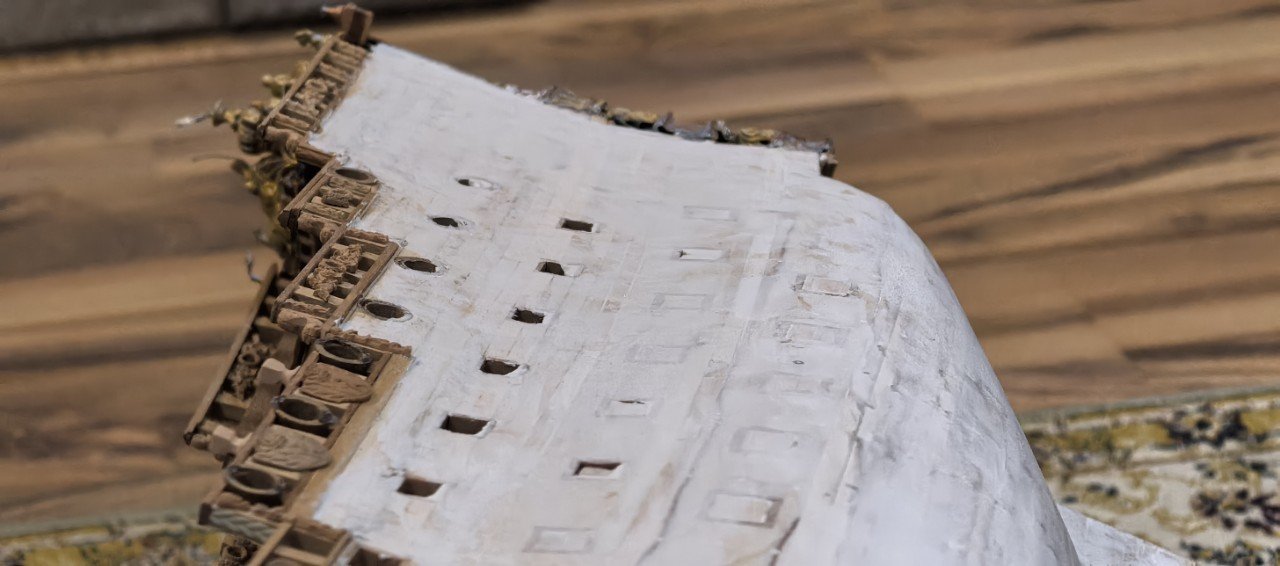
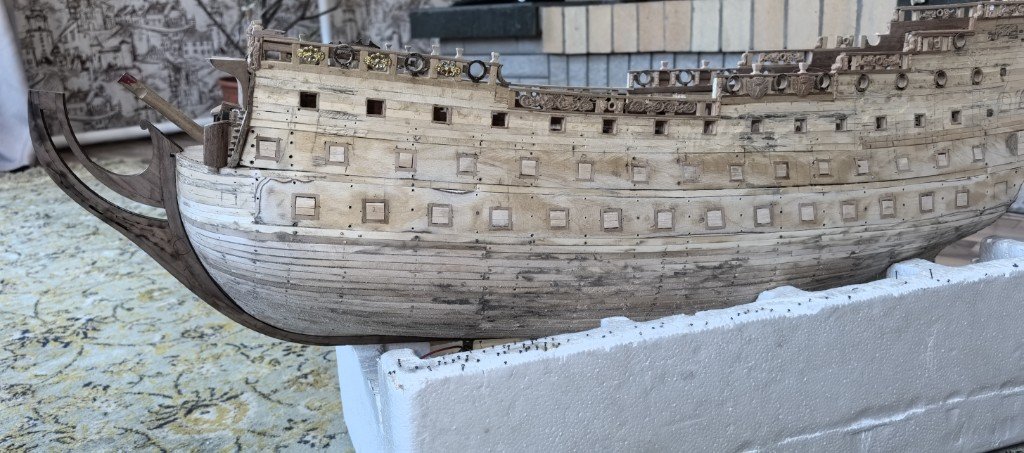
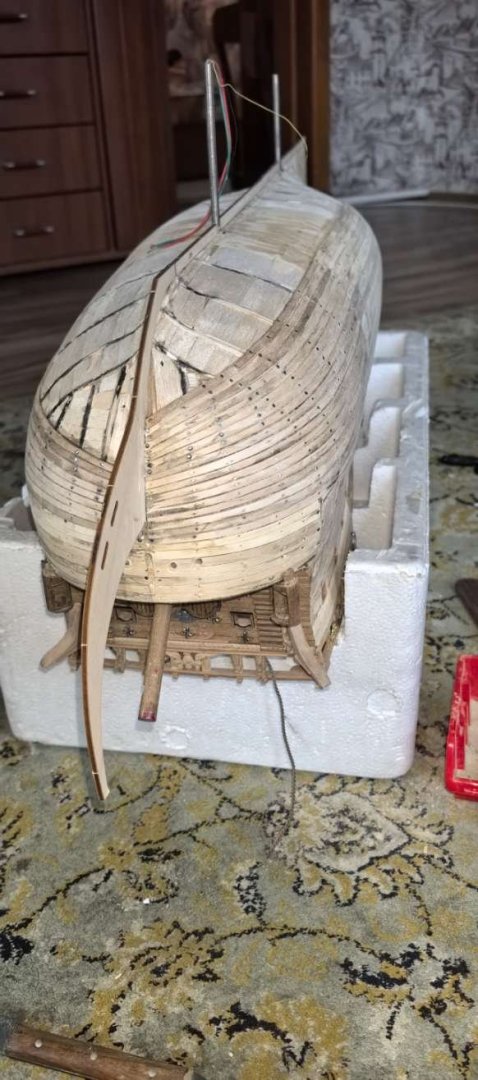
He completed the roughing of the hull of the Soley Royal ship from Diagostini, which means that the outer shell of the hull is formed from primary slats. This is the main stage of construction, after which the processing of the hull begins (sanding, putty) and the transition to finishing and other work.


-
GrandpaPhil reacted to a post in a topic:
SOLEIL ROYAL by dantist905 - De Agostini (version 2.0)
-
Hello, dear colleagues - model shipbuilders! My "Shipyard is working. My main concern is the construction of a model of the French sailing ship Soley Royal. I must say that over the years of construction, I have departed from the Soley Royal model developed by Deagostini. I have completed the twentieth row of rough planking. I am starting the thirtieth row of planking from the keel. -due to the fact that the soaked rail lay on the nails very easily, I just joined the rails one to one without making wedges. In principle, the rails lay normally, not taking into account the pattern on the front. But I decided that it was not important for the rough sheathing.


-
GrandpaPhil reacted to a post in a topic:
SOLEIL ROYAL by dantist905 - De Agostini (version 2.0)
-
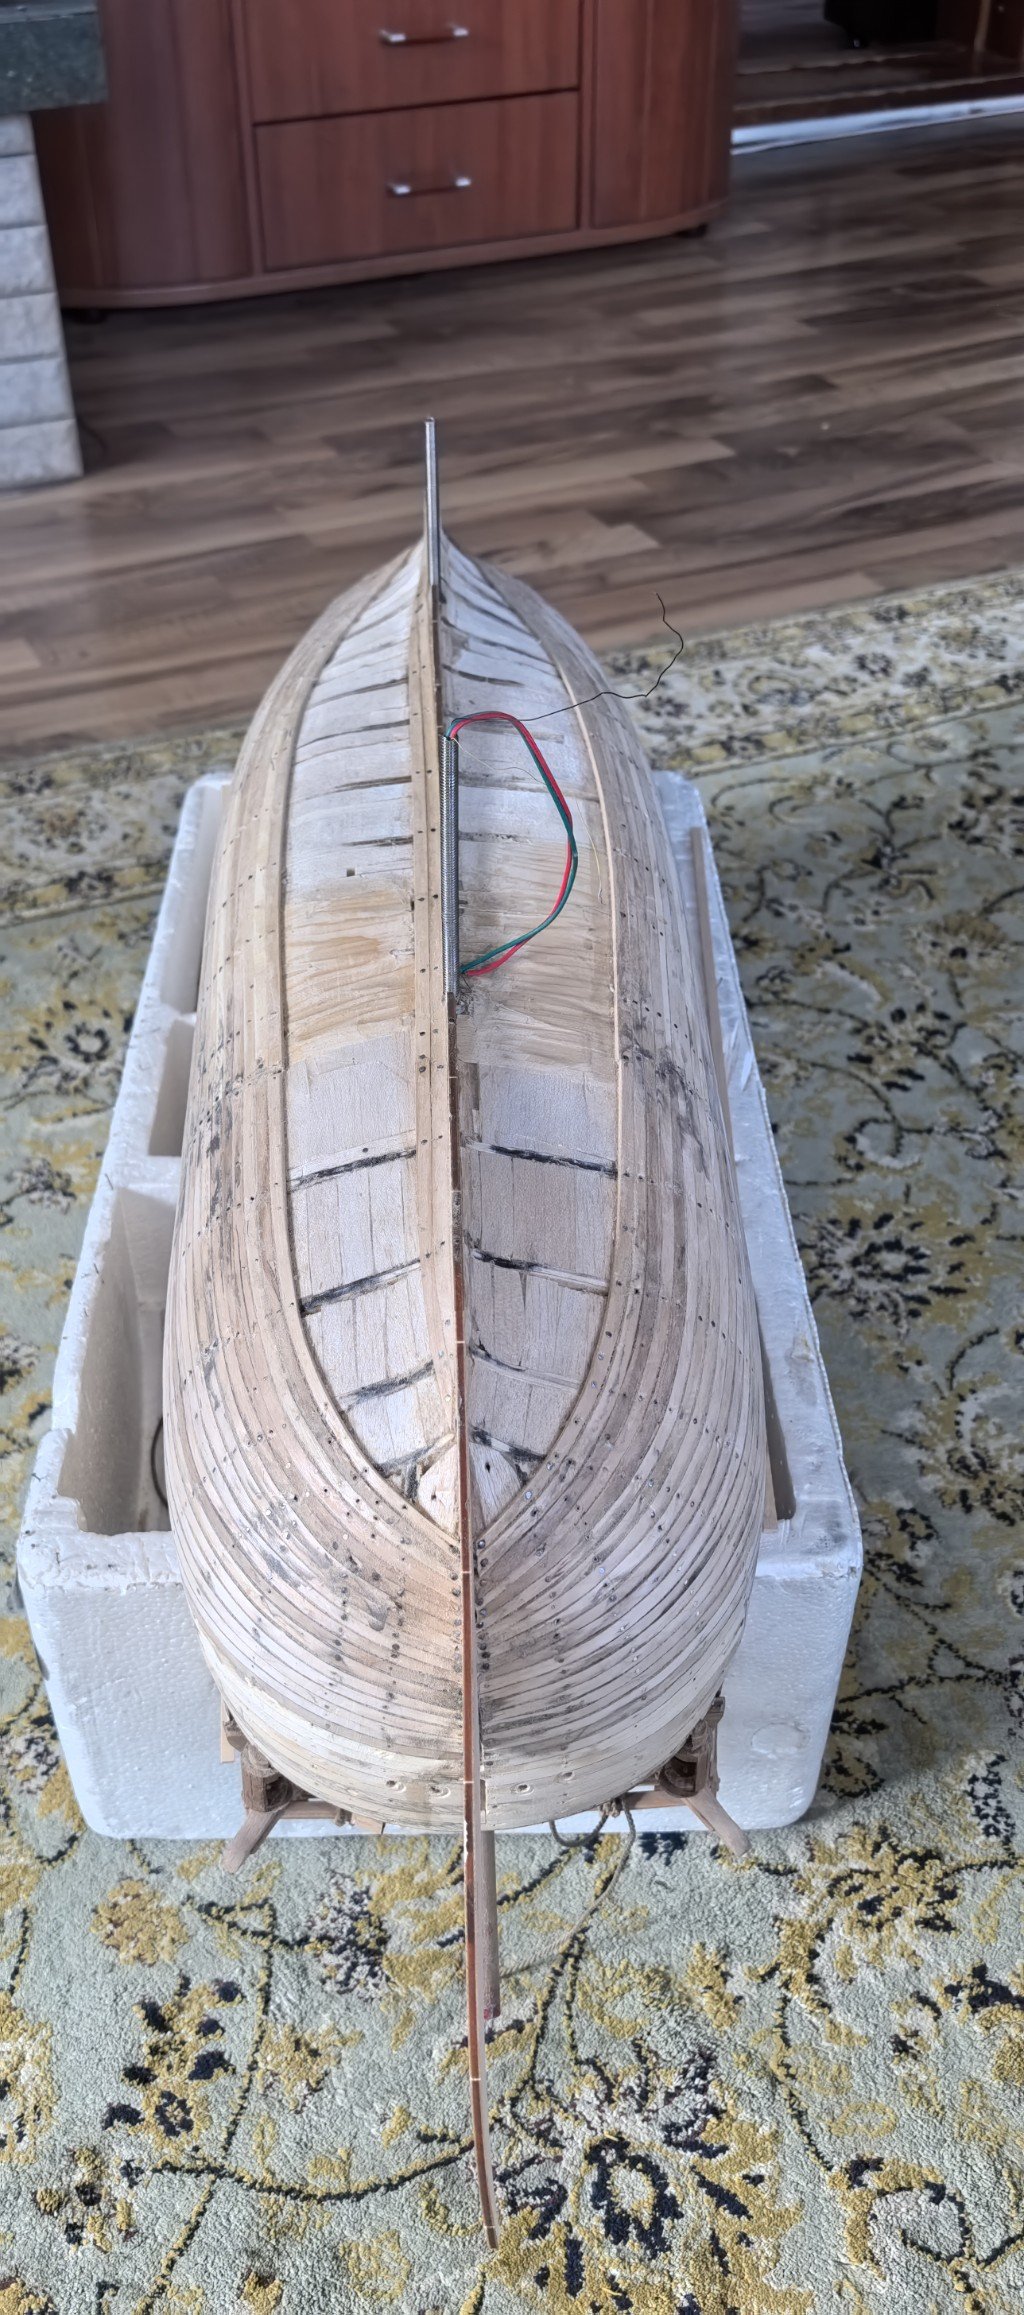
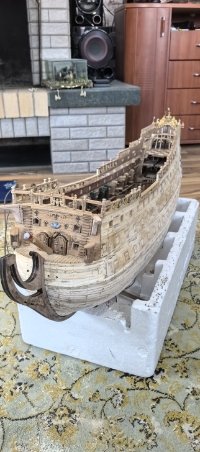
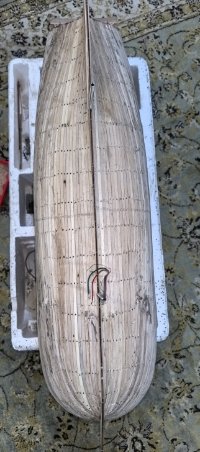
Good afternoon to all. For a long time, I didn't have the opportunity to continue what I started, but now things are moving forward:). Colleagues! On this quiet and not-yet-late evening, I have decided on the next steps in my shipbuilding project. The next step is the rough sheathing of the ship's hull. Due to the lack of free time, the speed of the ship's assembly has slowed down. Before starting work, I dismantled the ship's hull from the display stand. It has become inconvenient to firmly attach the model, so I suggest building it in a foam box. It's relatively soft so as not to spoil the model. All the preparatory work is completed, it's time to start. Before starting the cladding, we arm ourselves with… Wood material linden rail 5x2x50mm. Wood material birch rail 5x2x30mm. from the magazine set from Diagostini. Tools and consumables Nails 10x0.7mm Nailing tool Mini drill + 0.7mm drill bit PVA glue (red) Wood flour Iron Rack soaking bottle Shlivmashina + renovator Sandpaper, sponge, bar. A knife for cutting rails. The motor for narrowing the slats. I started roughing the hull. A) Fitting the slats on the model body, marking with a pencil from where the rail needs to be narrowed. Marking with a pencil the location of the nails in the projection of the frames. Next, I made holes with a 0.7 mm drill bit and narrowed the rail on a sandpaper. C) Soak in hot water for 10' - 15' When soaking the rails, there is a problem that there is no container in which you can place the rail completely, but in my case, it is not necessary to soak the rail completely, in this case, I soak in a glass bottle from under beer. In order to avoid cracking and breaking of the rail in places of sharp bends. You can also bend over steam. G) Once again, I try it out how it fits on the body, and if everything is satisfactory, I apply PVA glue to the rail and immediately attach it with nails. Since the nails are very small and it is inconvenient to hammer them in, it is best to use a nailer. I have such a tool in my arsenal. After that, the work went much faster. However, a small hammer should always be on hand, as it may be necessary to finish the nail. D) I remove the excess glue, especially on the end of the attached rail, using a cloth and then a knife. If there is a gap between the slats, it must be filled with glue and wood flour. And so 10 rows are made. I cleaned the body a little from the glue, but I haven't polished it properly yet. I used sandpaper, a block, a grinder, and finally an emery sponge. This manipulation allows you to evaluate the work more accurately. After that, I move to the other side and do the same. The most difficult part is bending the front slats, as they require careful attention. The middle and rear slats are much easier to bend. I am confident that our model will last a long time. The model is not cheap. Each modeler invests a lot of time, money, and effort into it. It is primarily a reminder of the present, which is unfortunately fleeting.


-
dantist905 reacted to a post in a topic:
La Renommee 1744 by cafmodel - CAF - 1:48
-
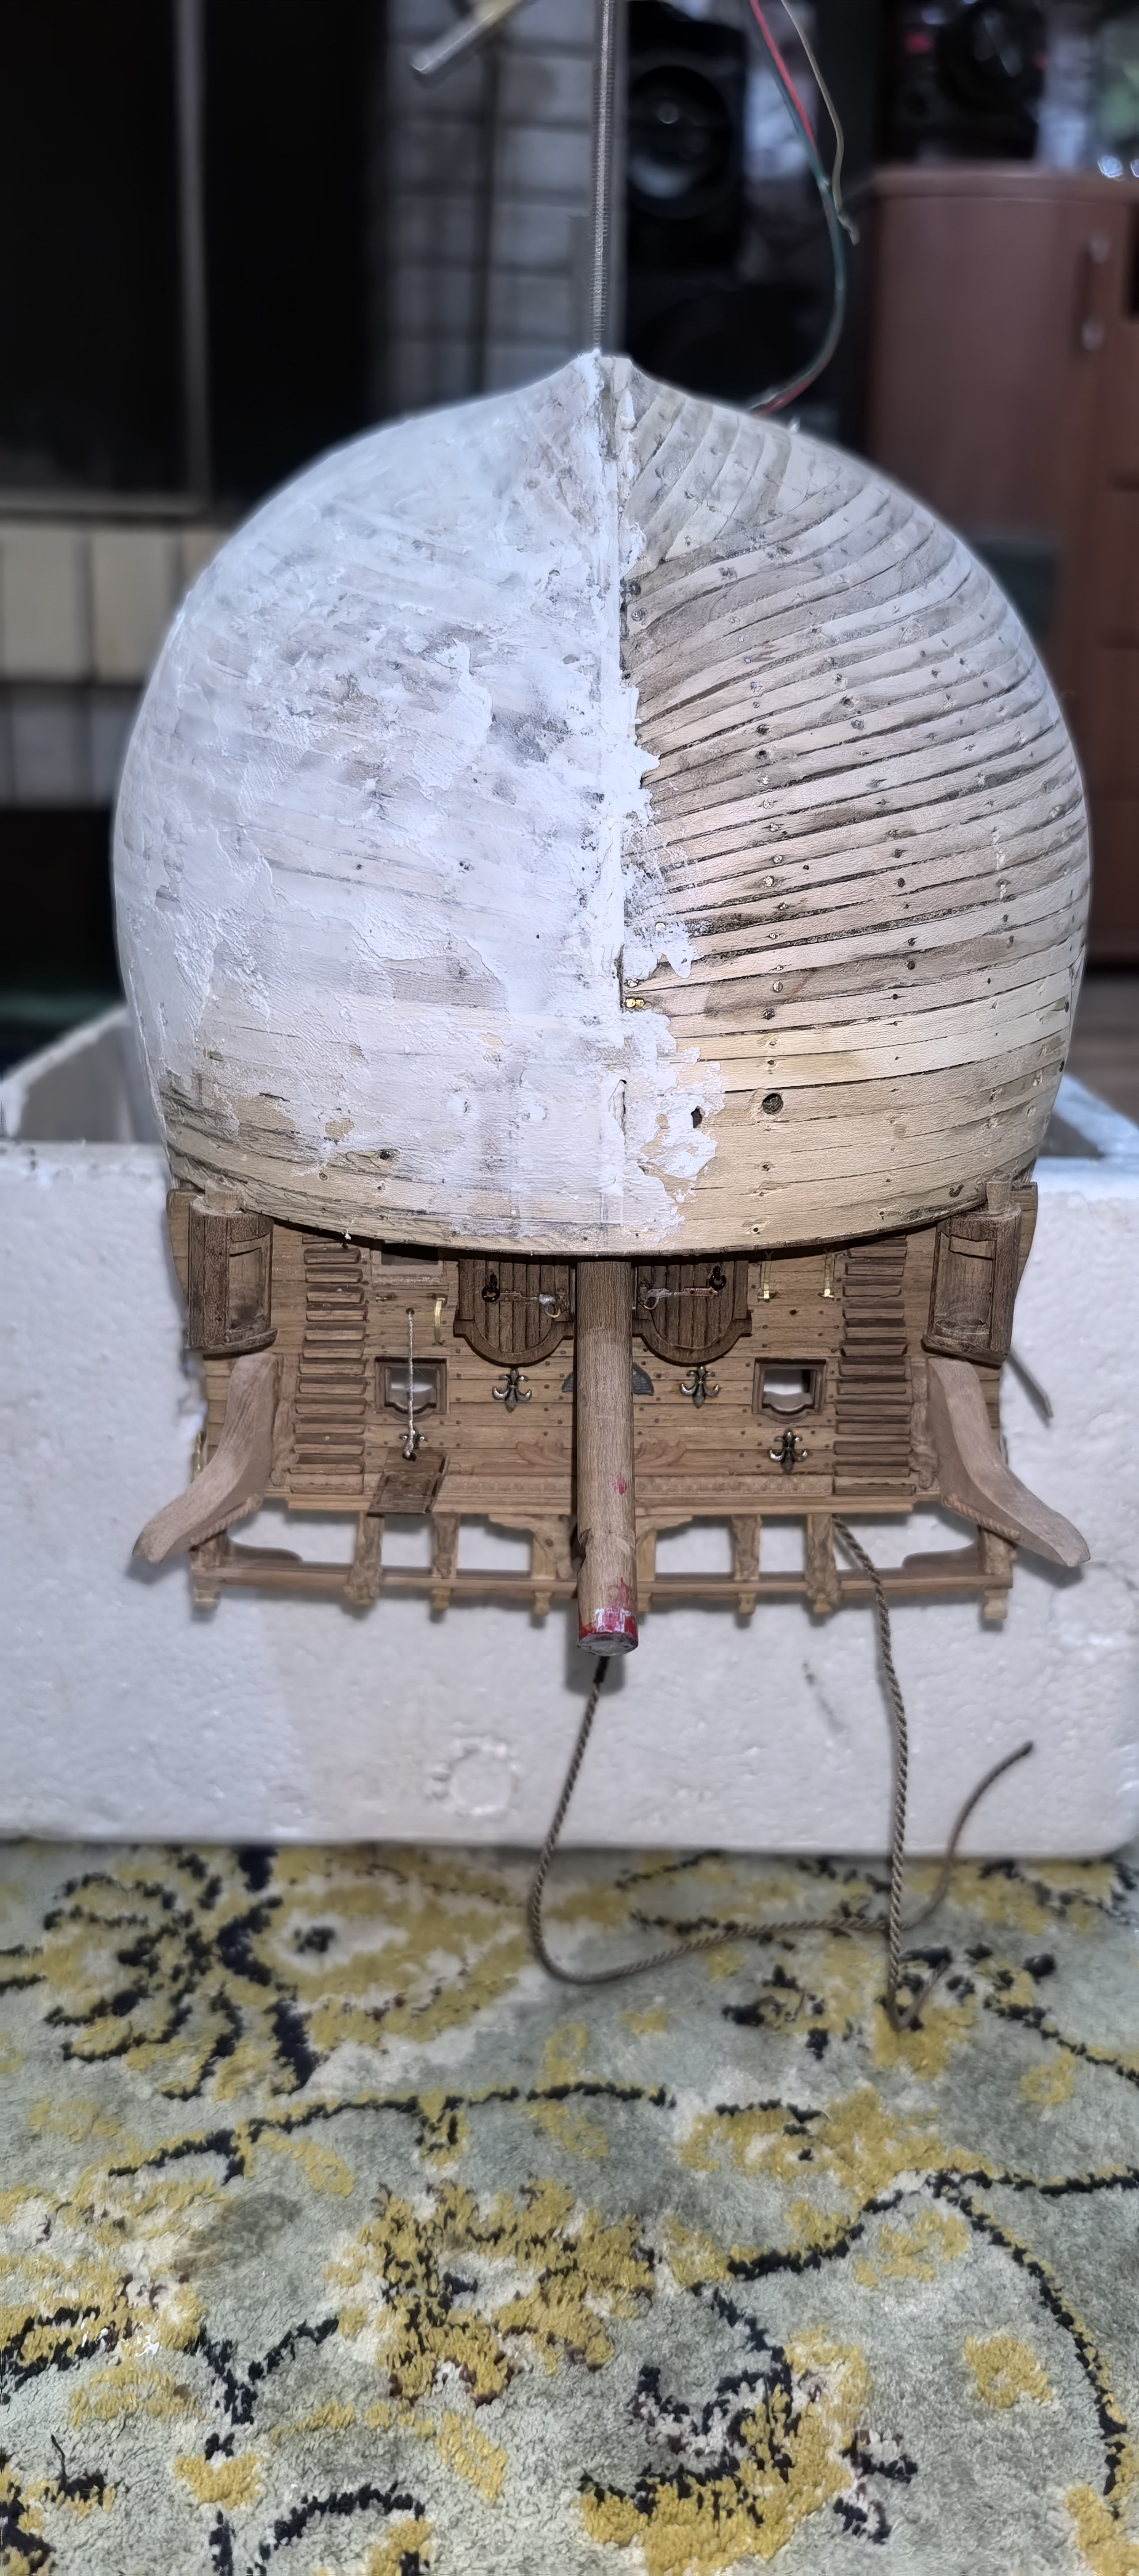
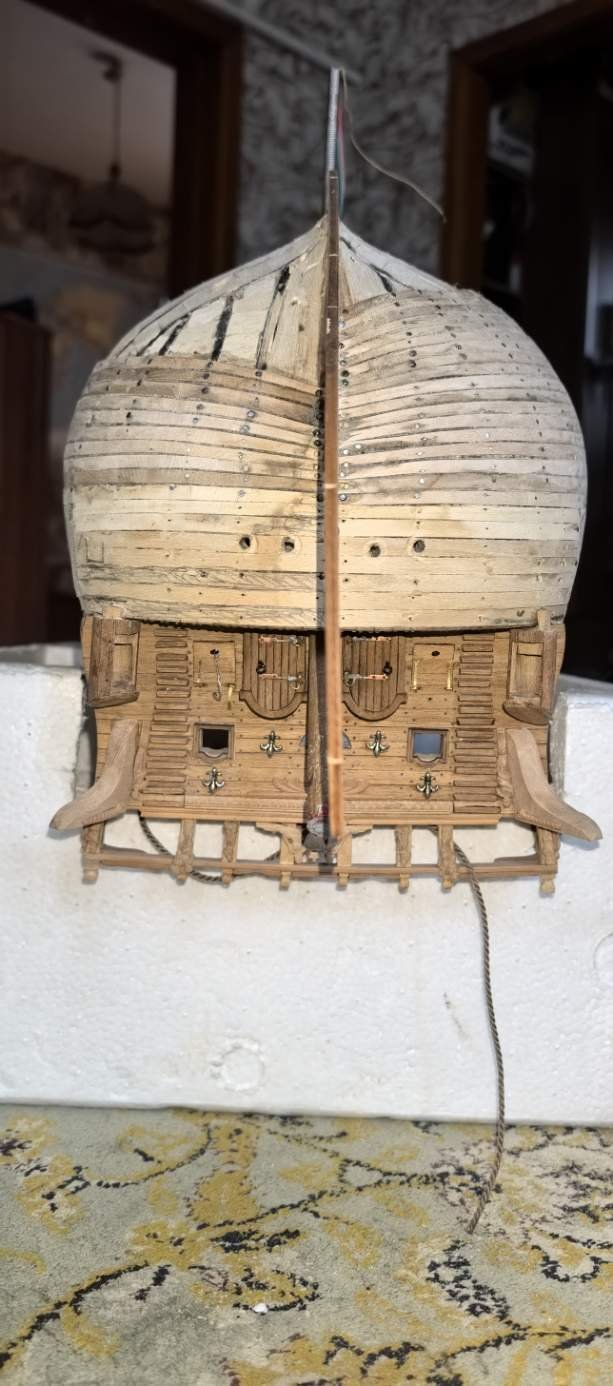
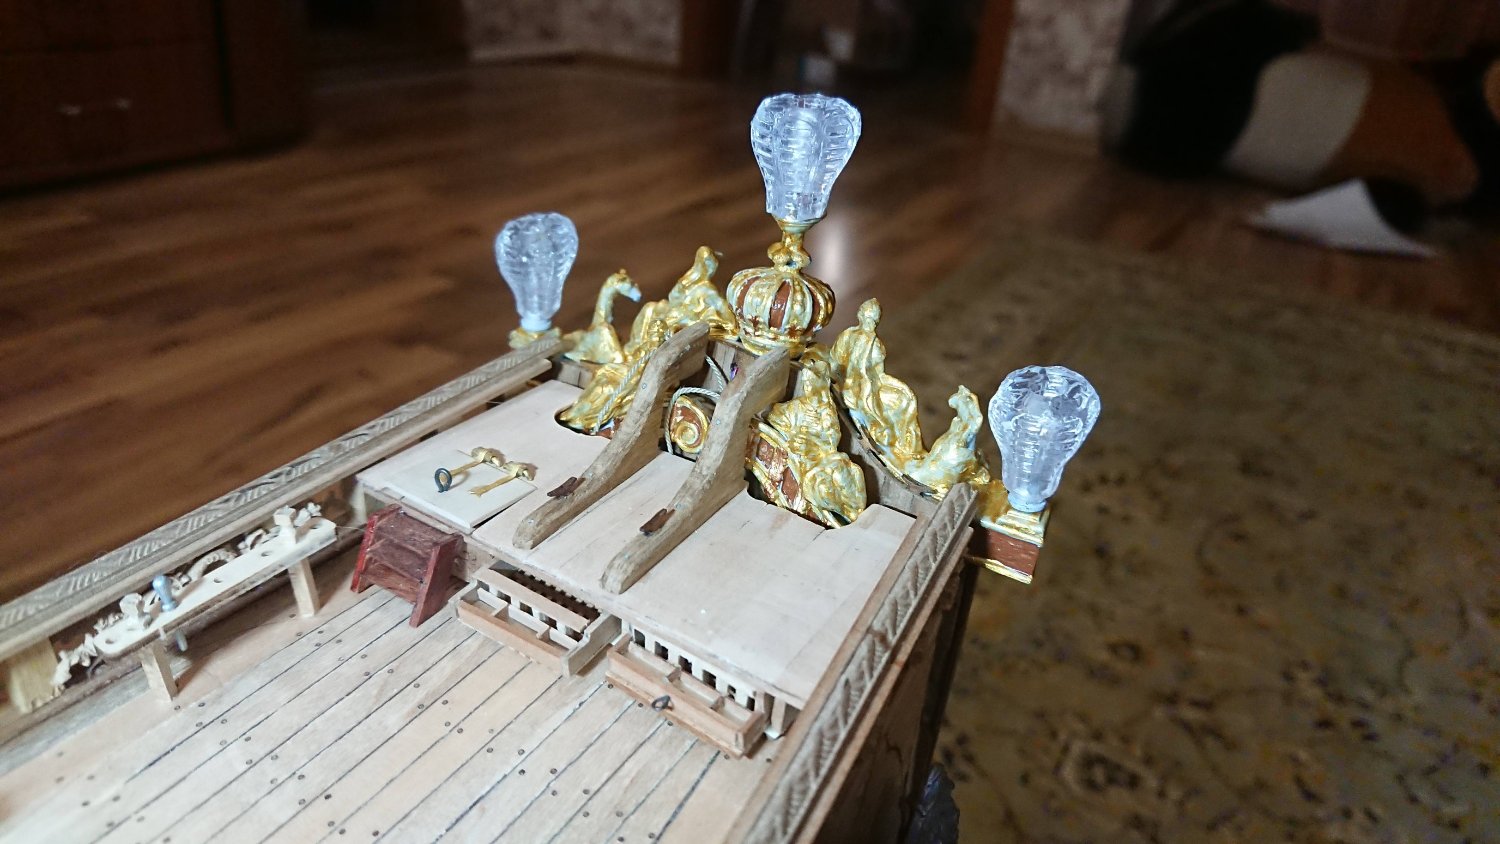
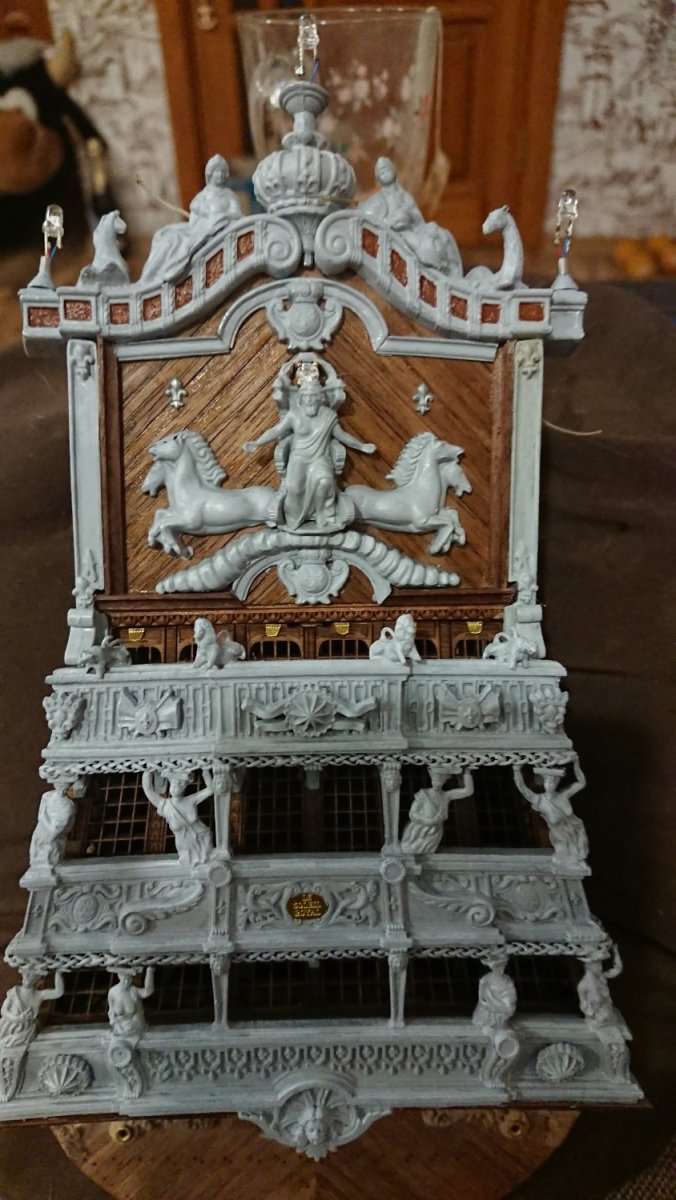
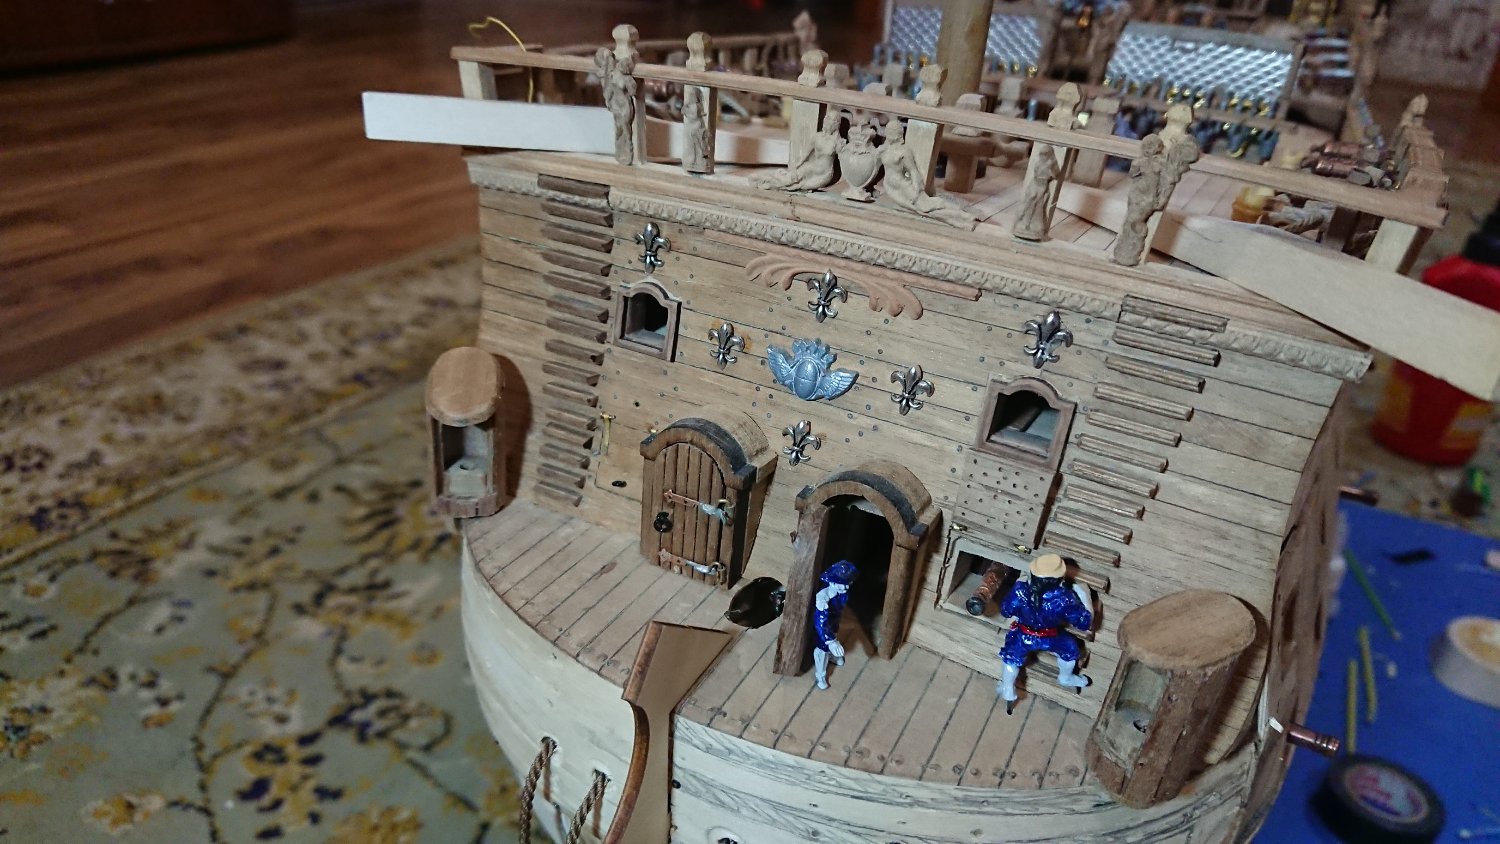
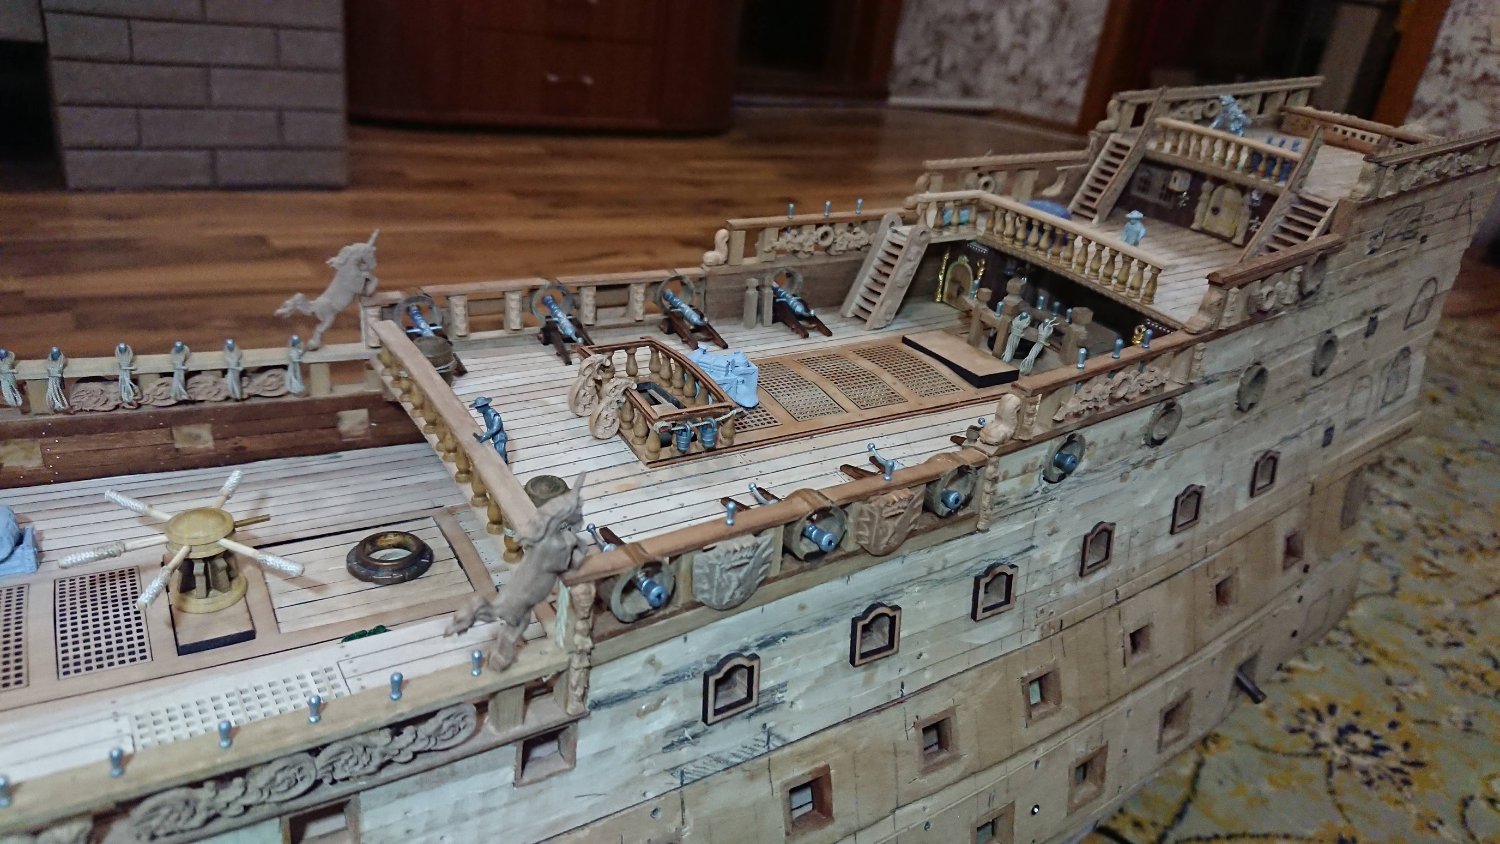
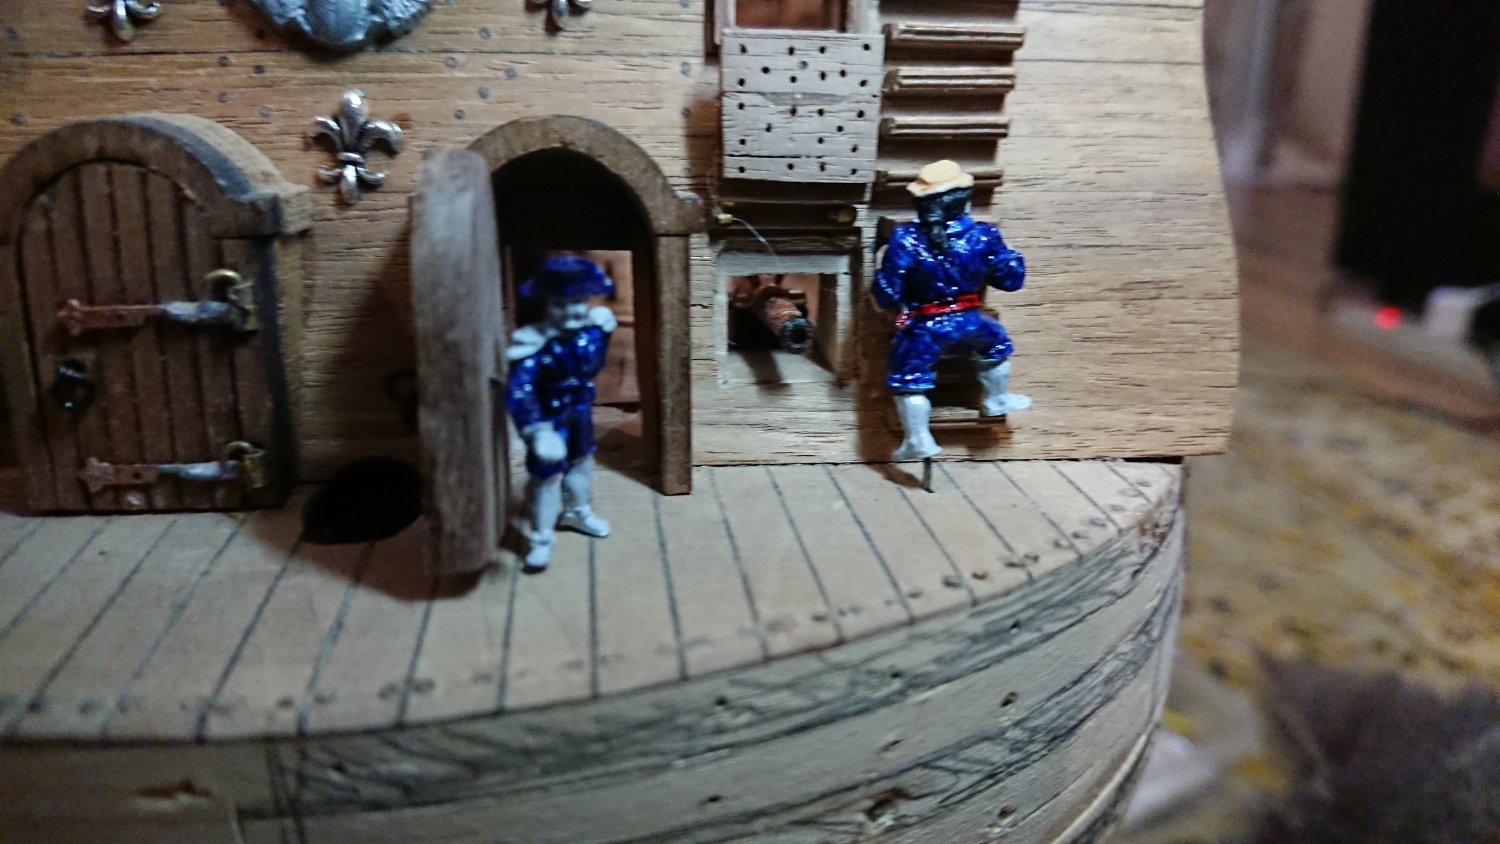
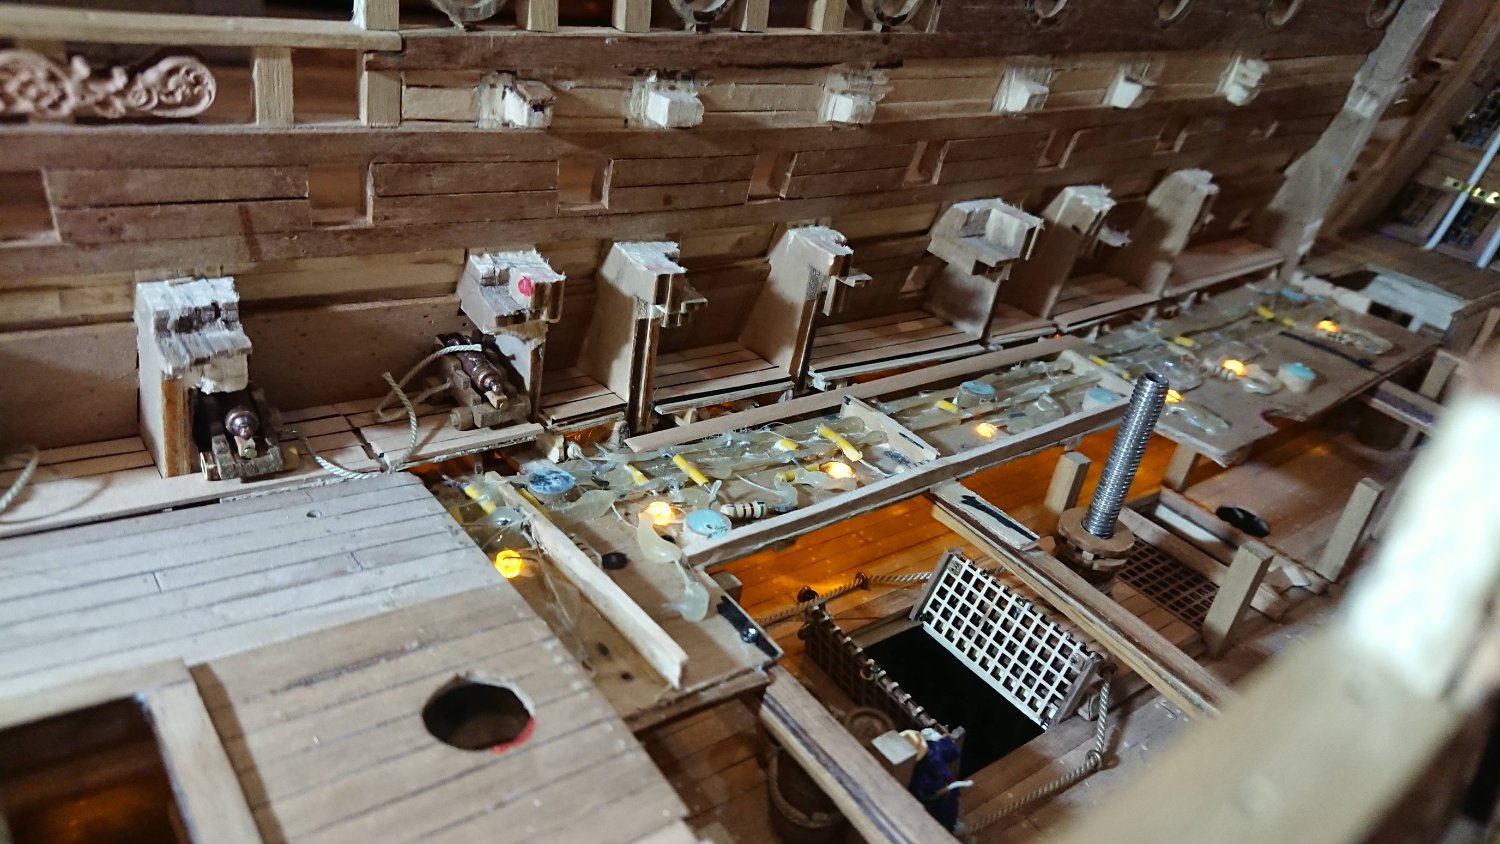
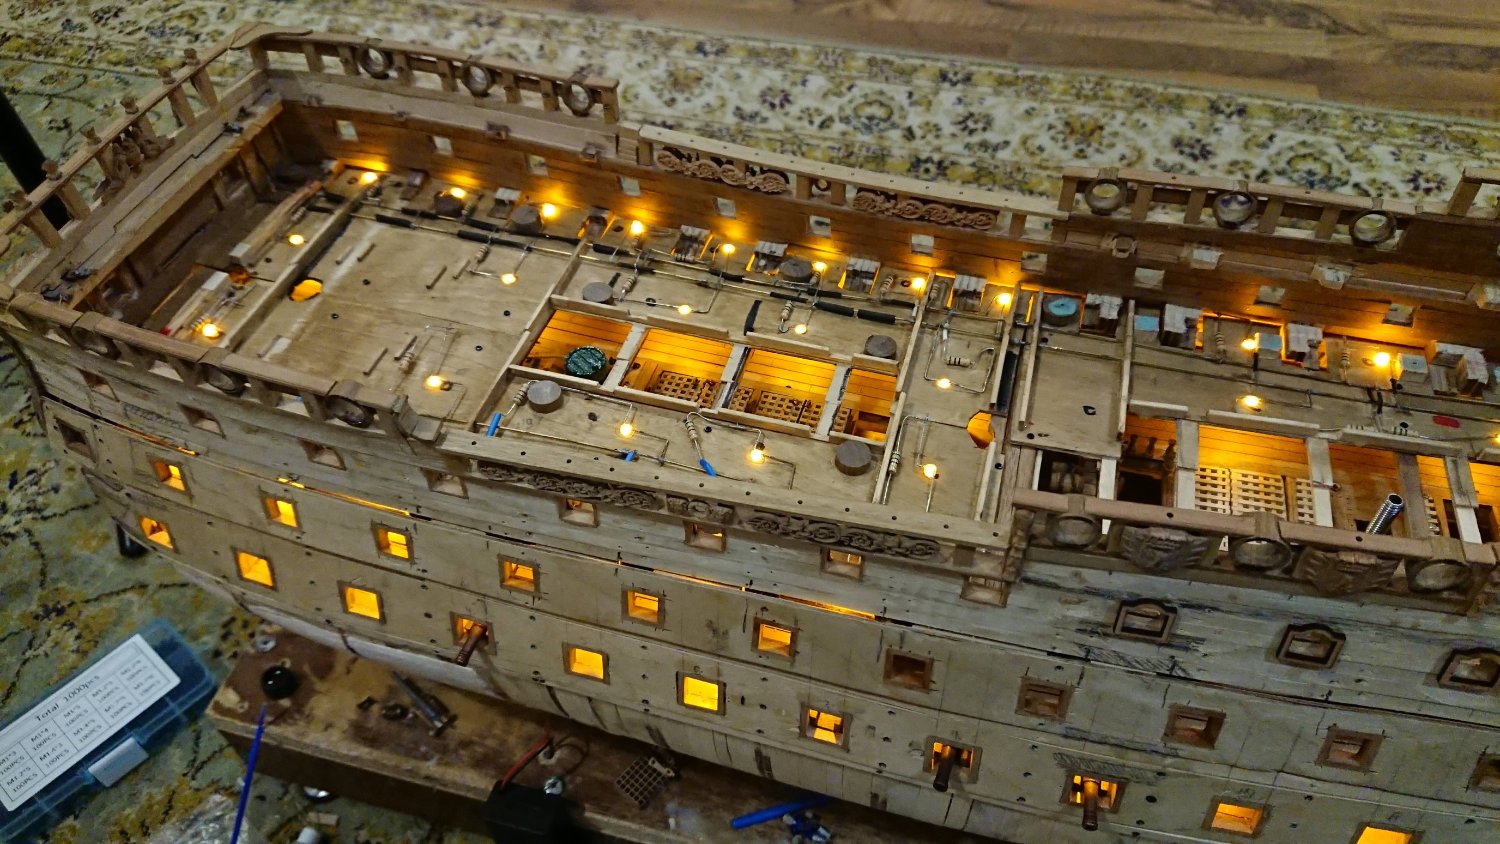
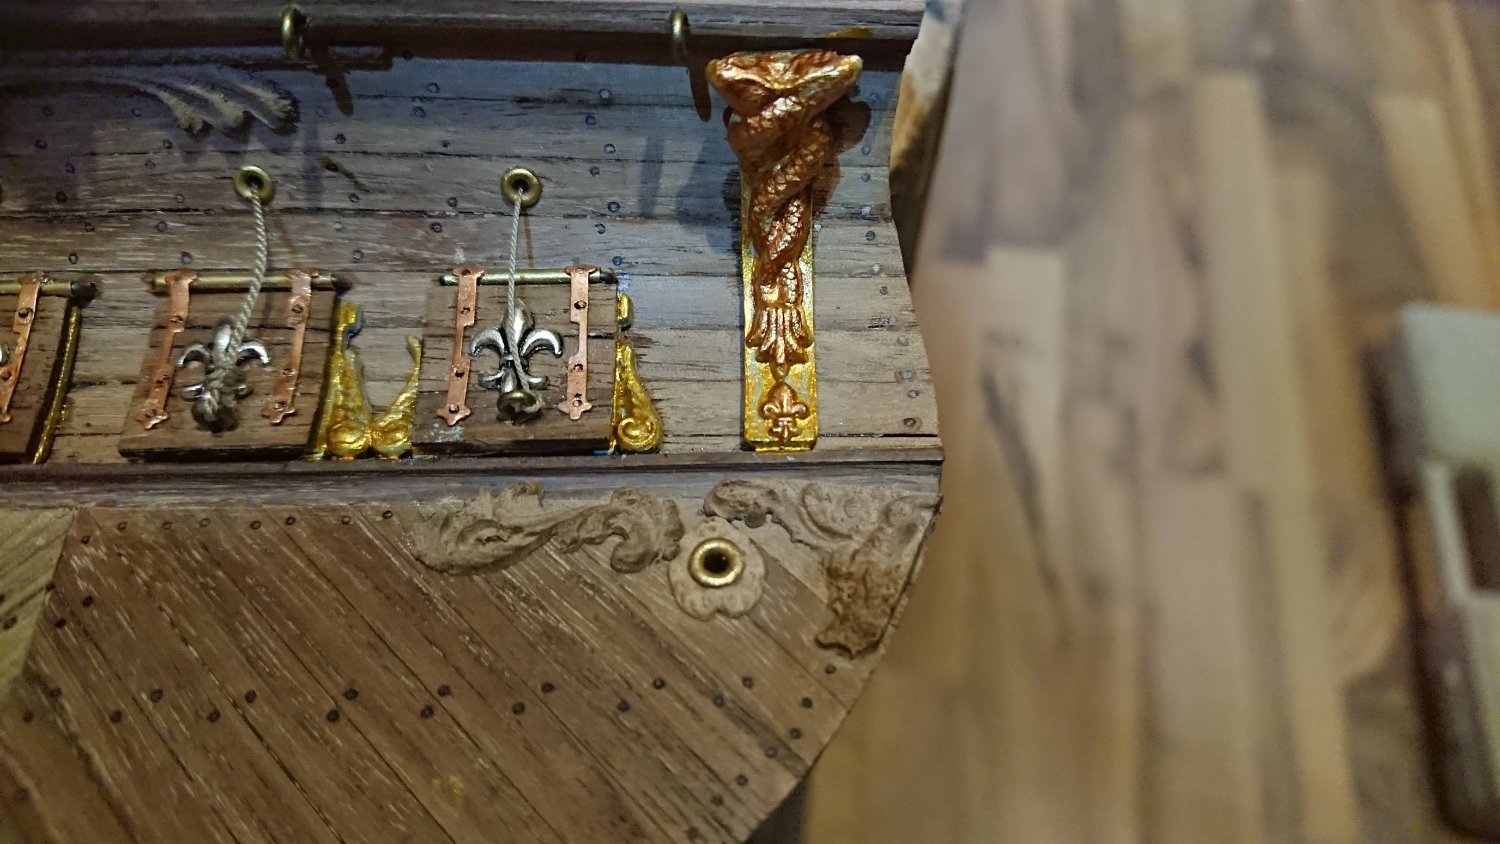
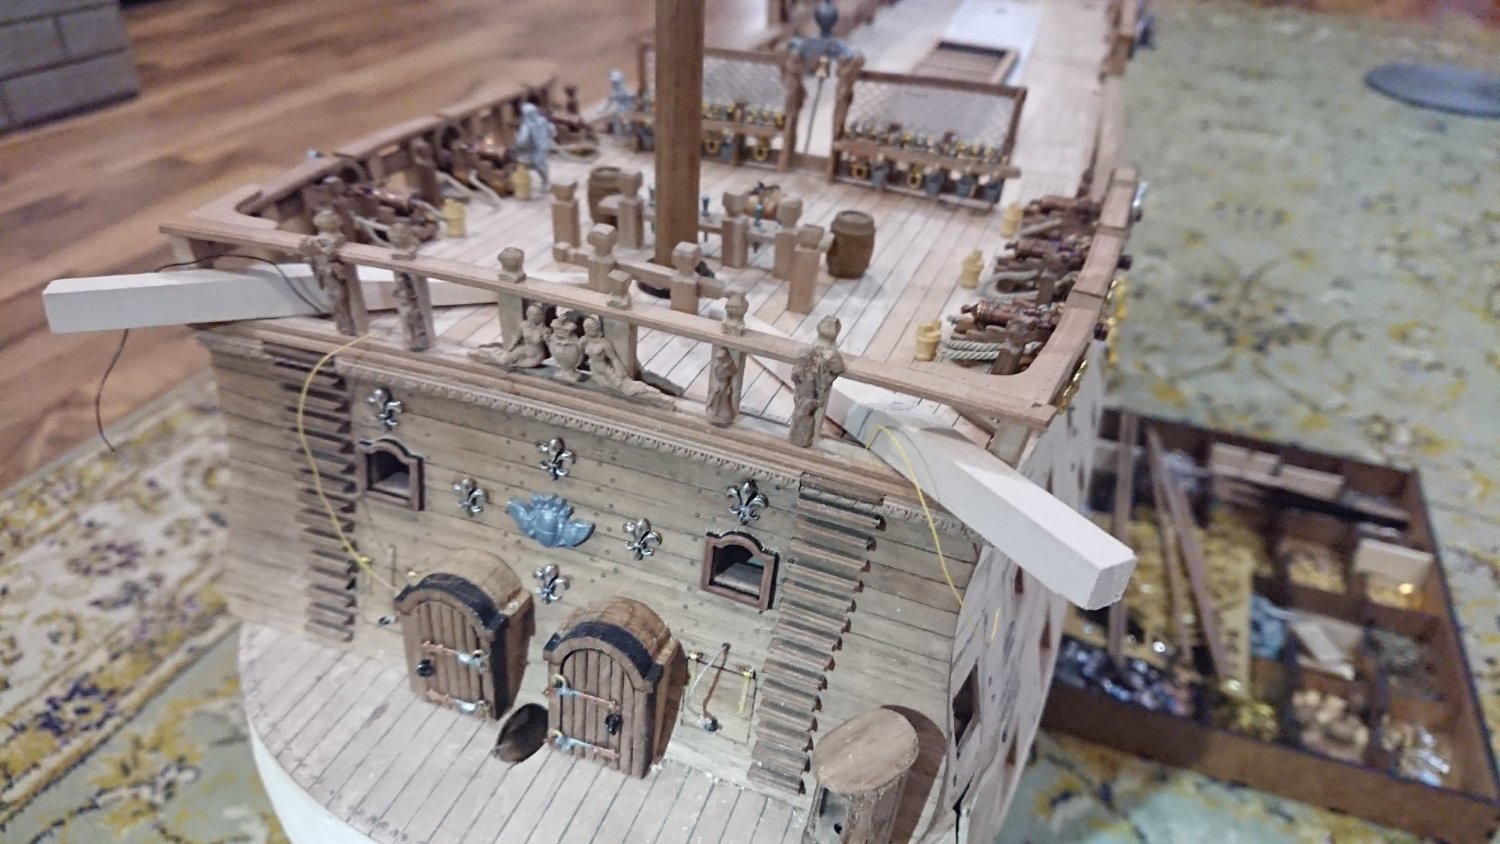
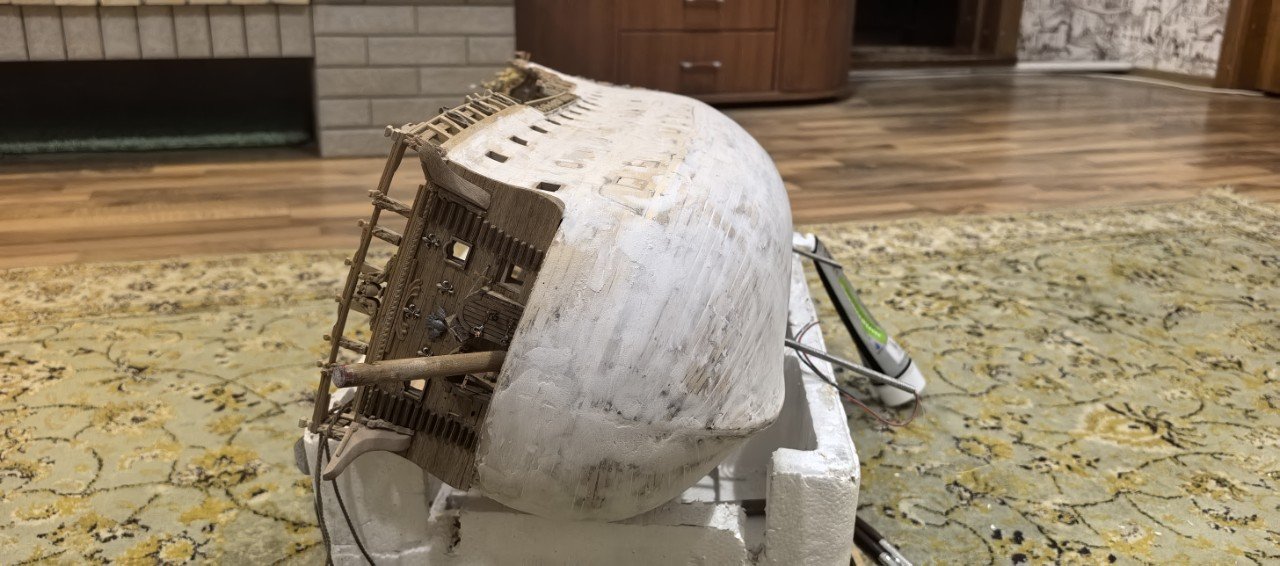
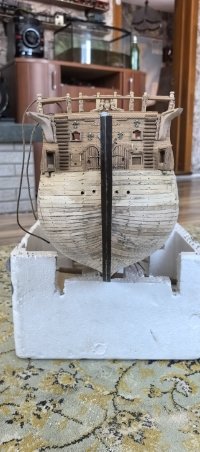
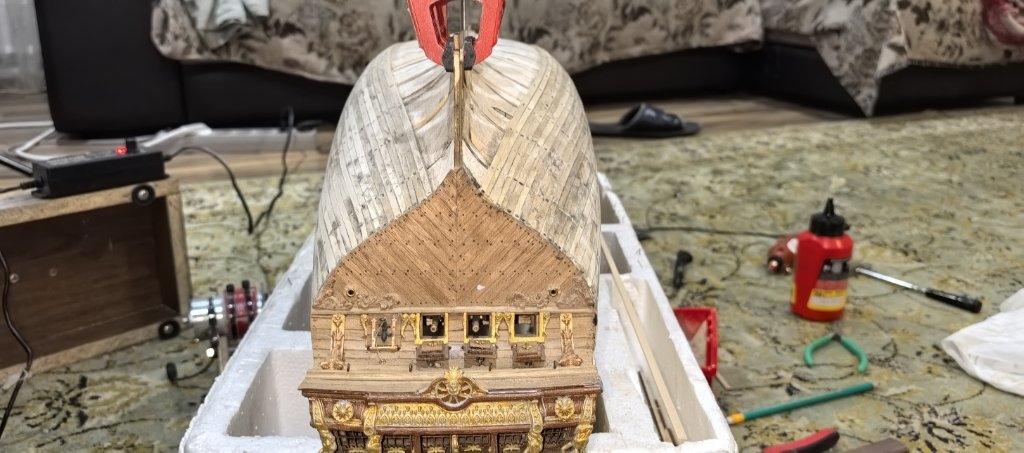
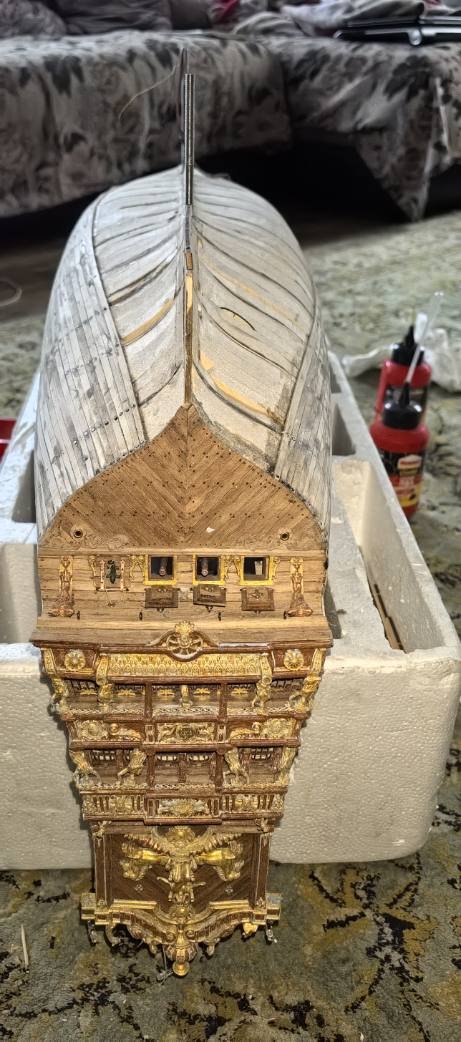
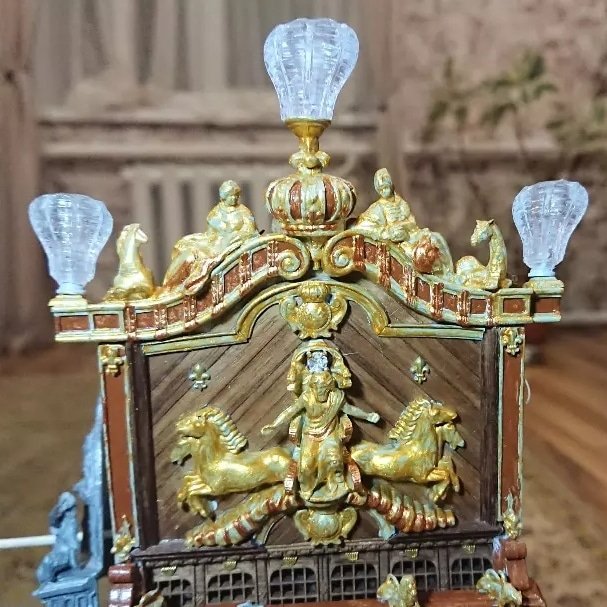
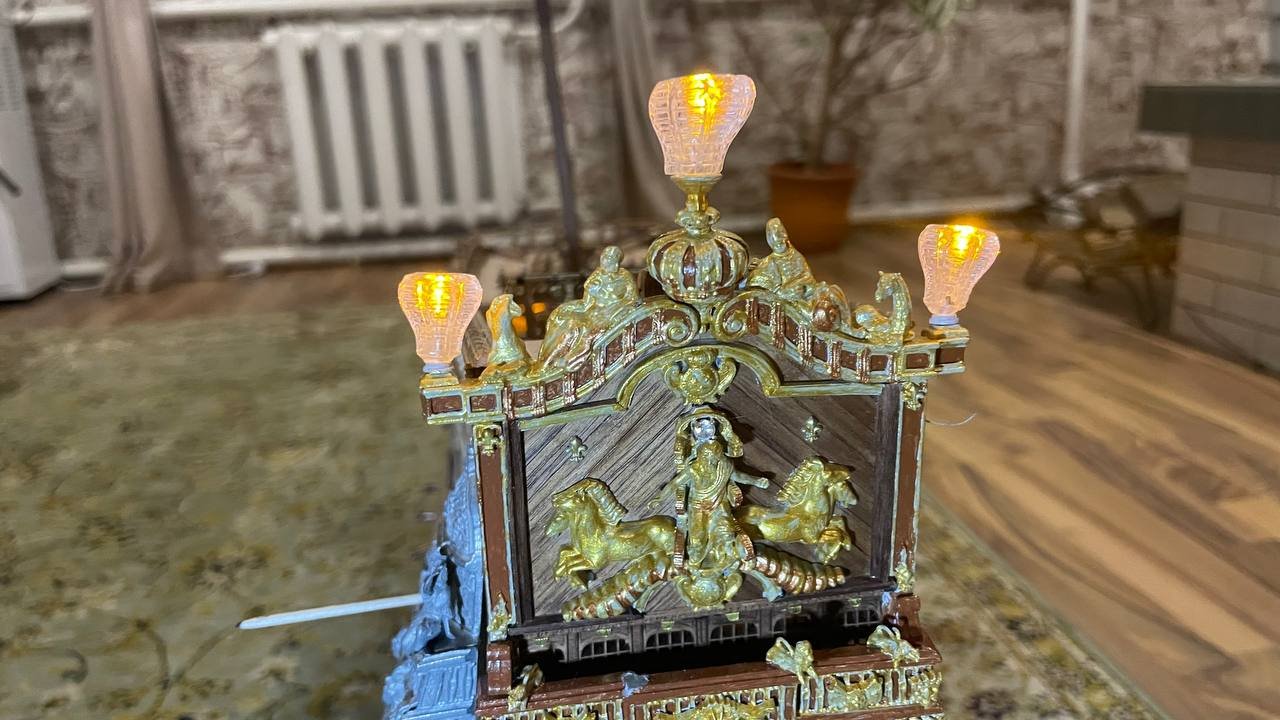
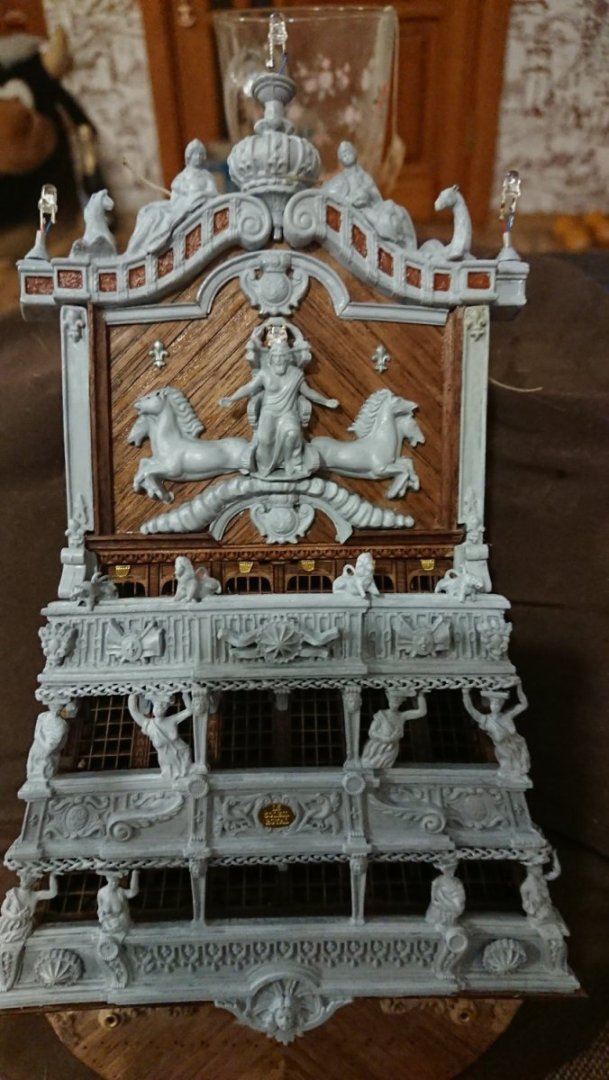
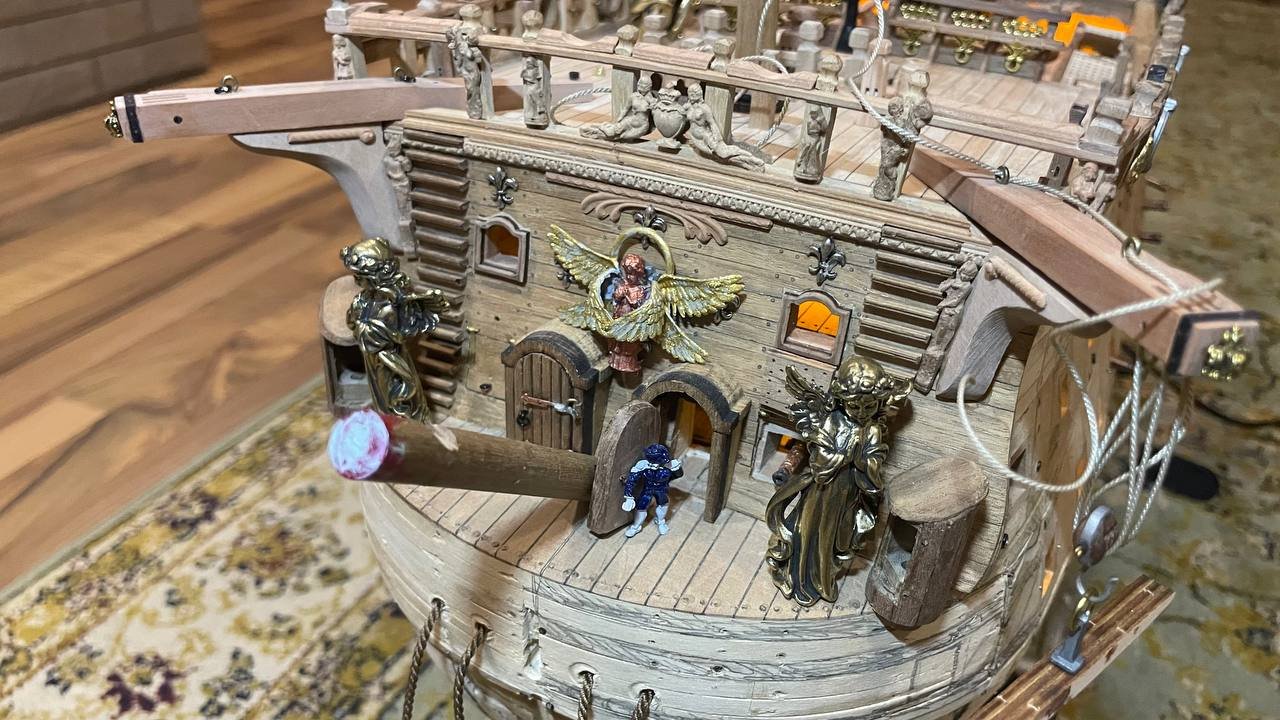
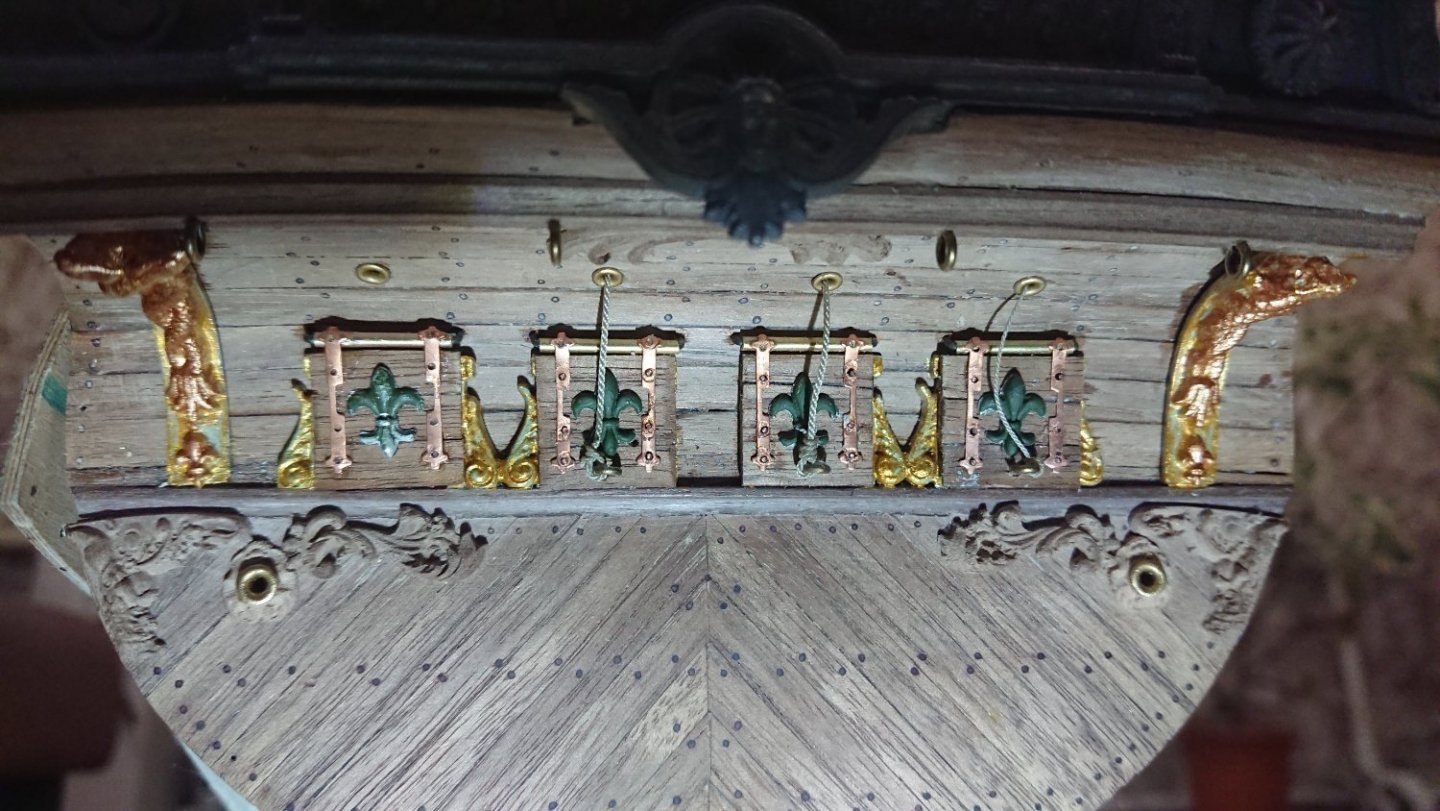
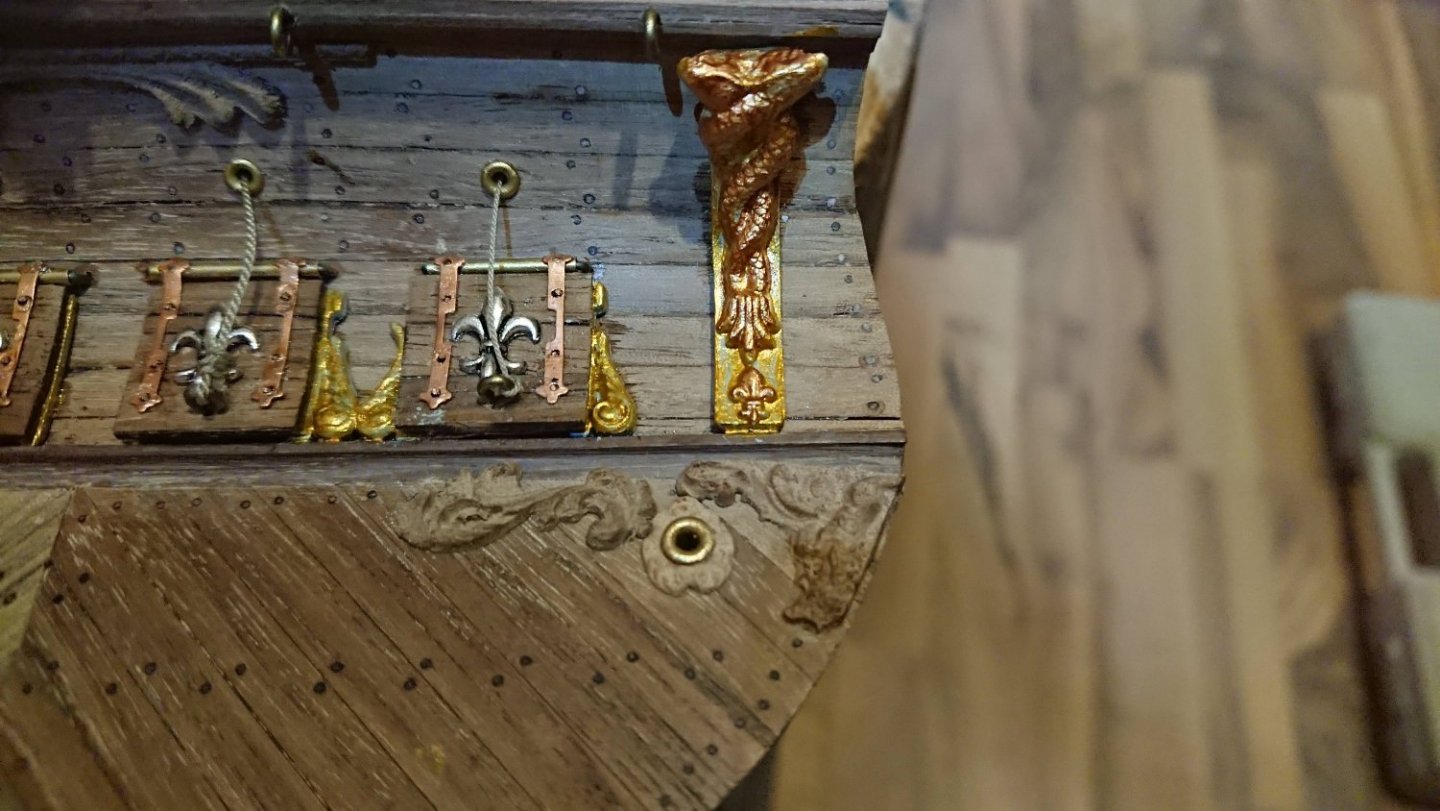
Hello colleagues. Recently I 've been working on the stern of the ship .In parallel, he worked on the illumination of superstructures and aft lanterns. I put the stern on glue .now there is nothing that does not slow me down and I will be engaged in roughing .

-
dantist905 reacted to a post in a topic:
SOLEIL ROYAL by dantist905 - De Agostini (version 2.0)
-
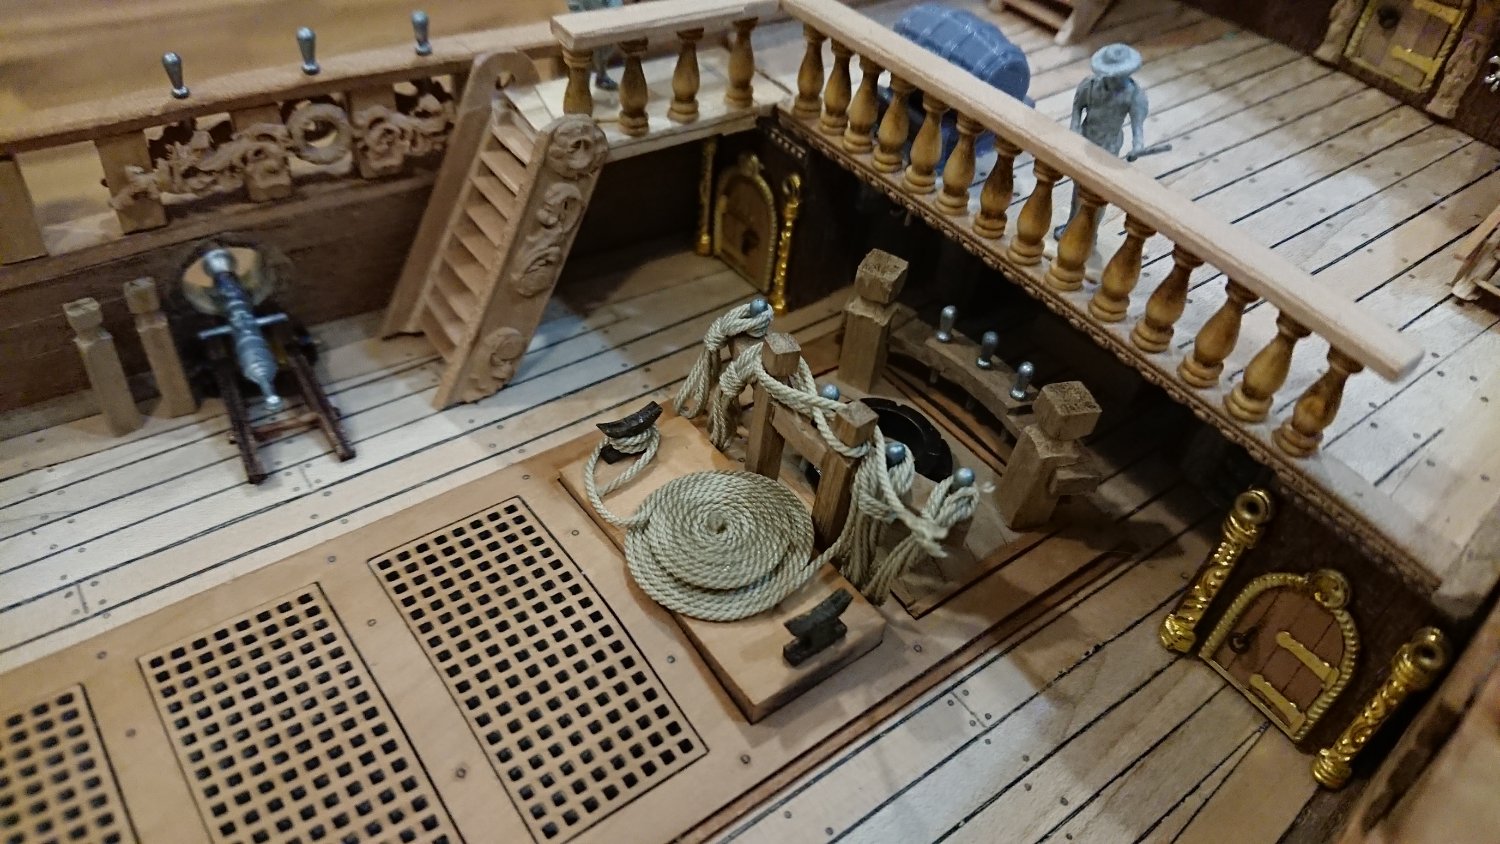
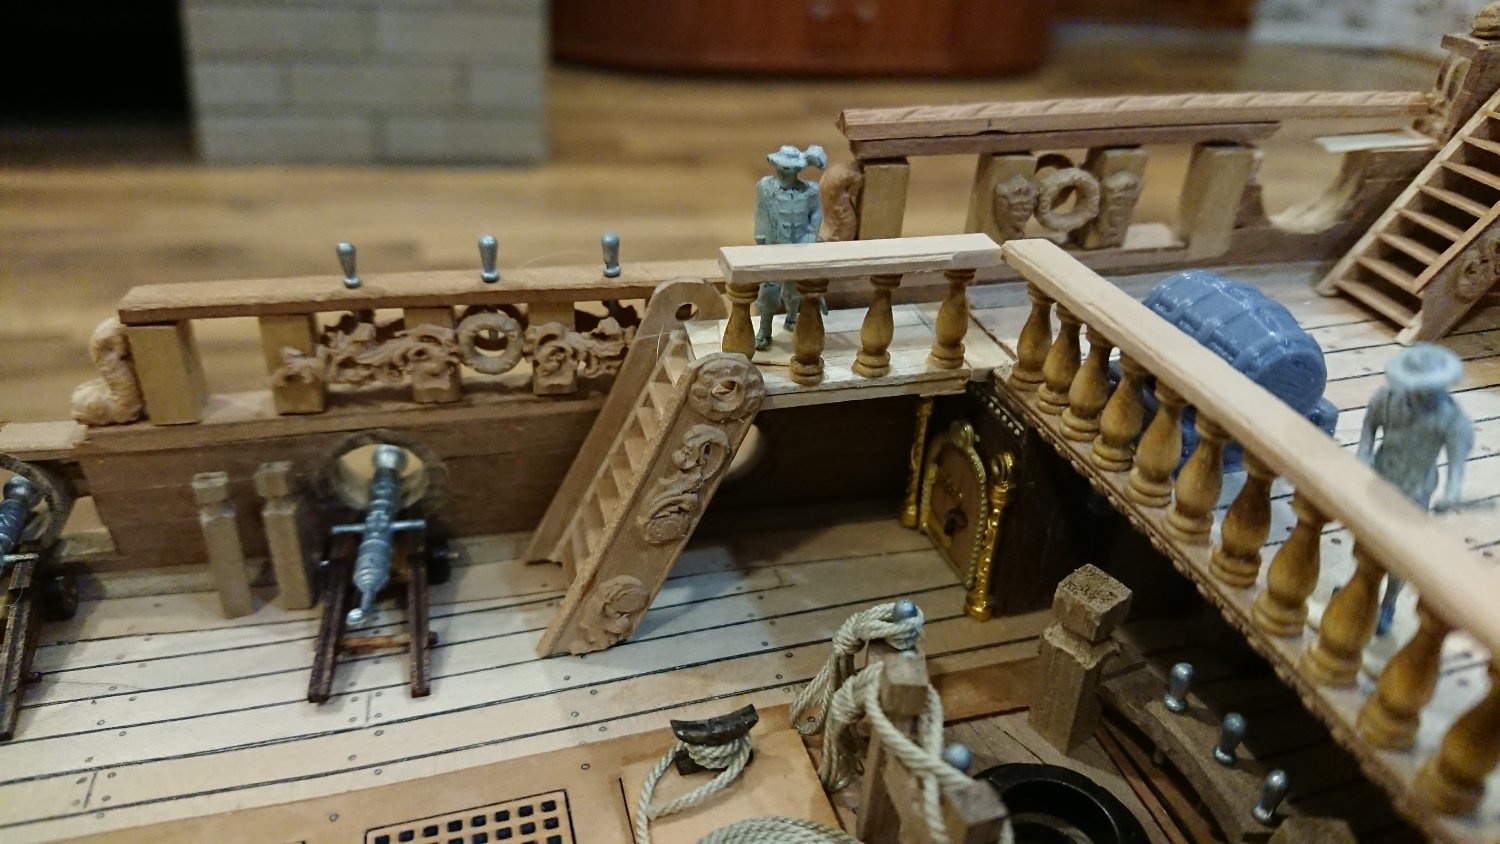
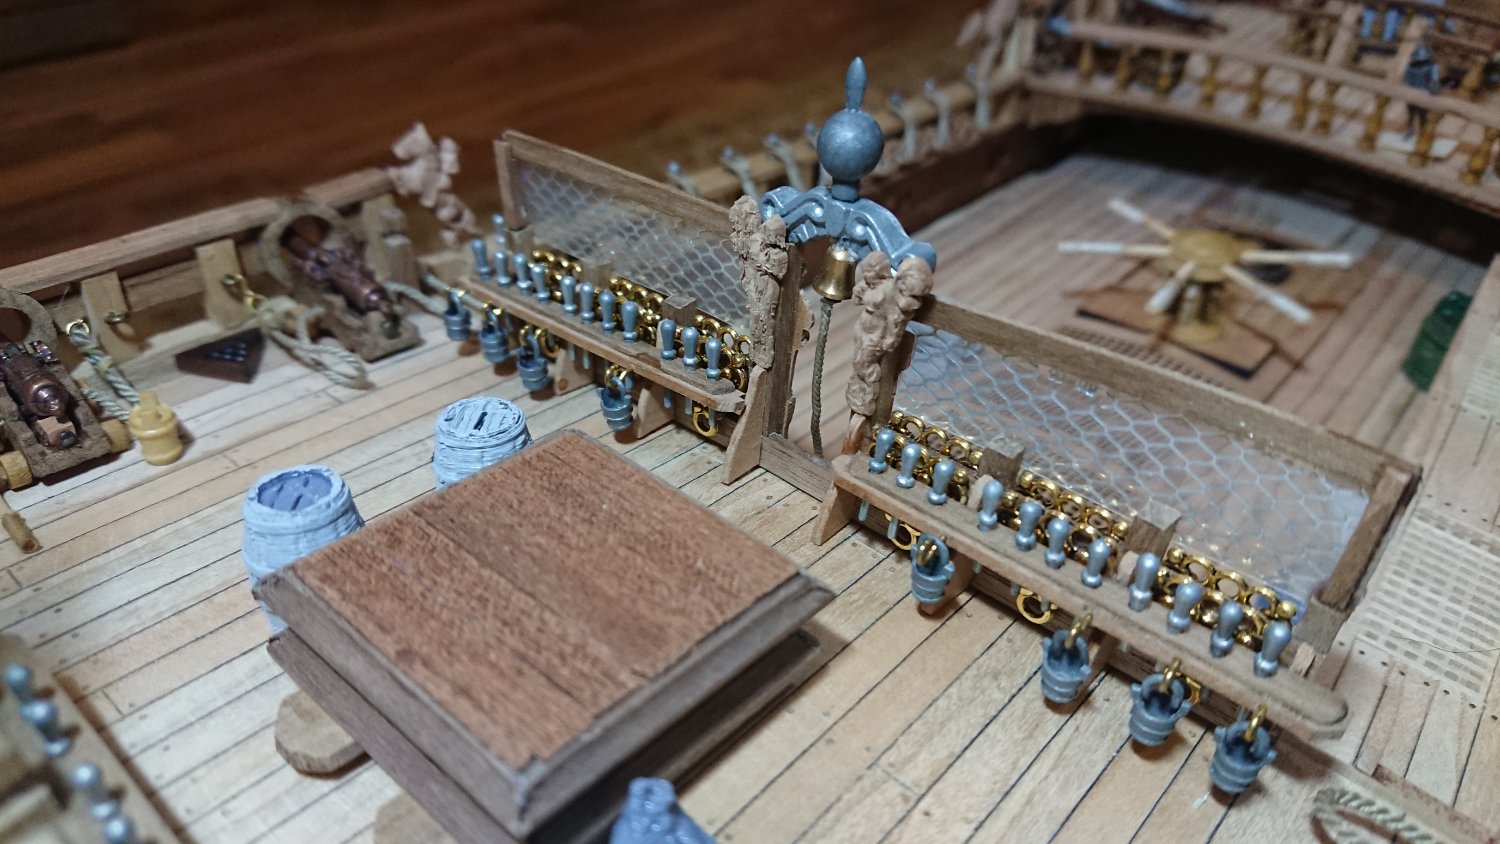
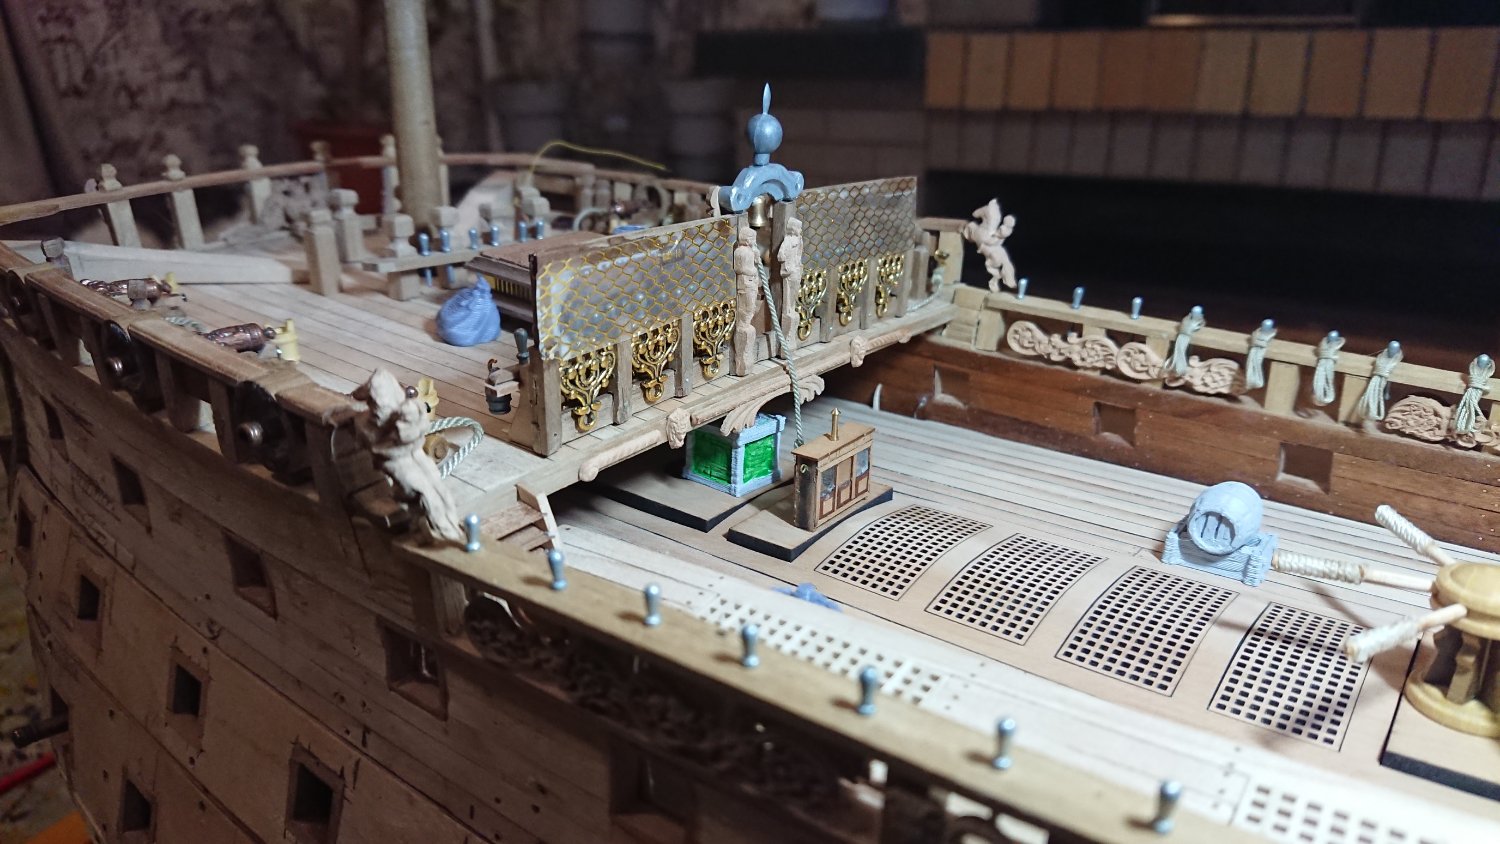
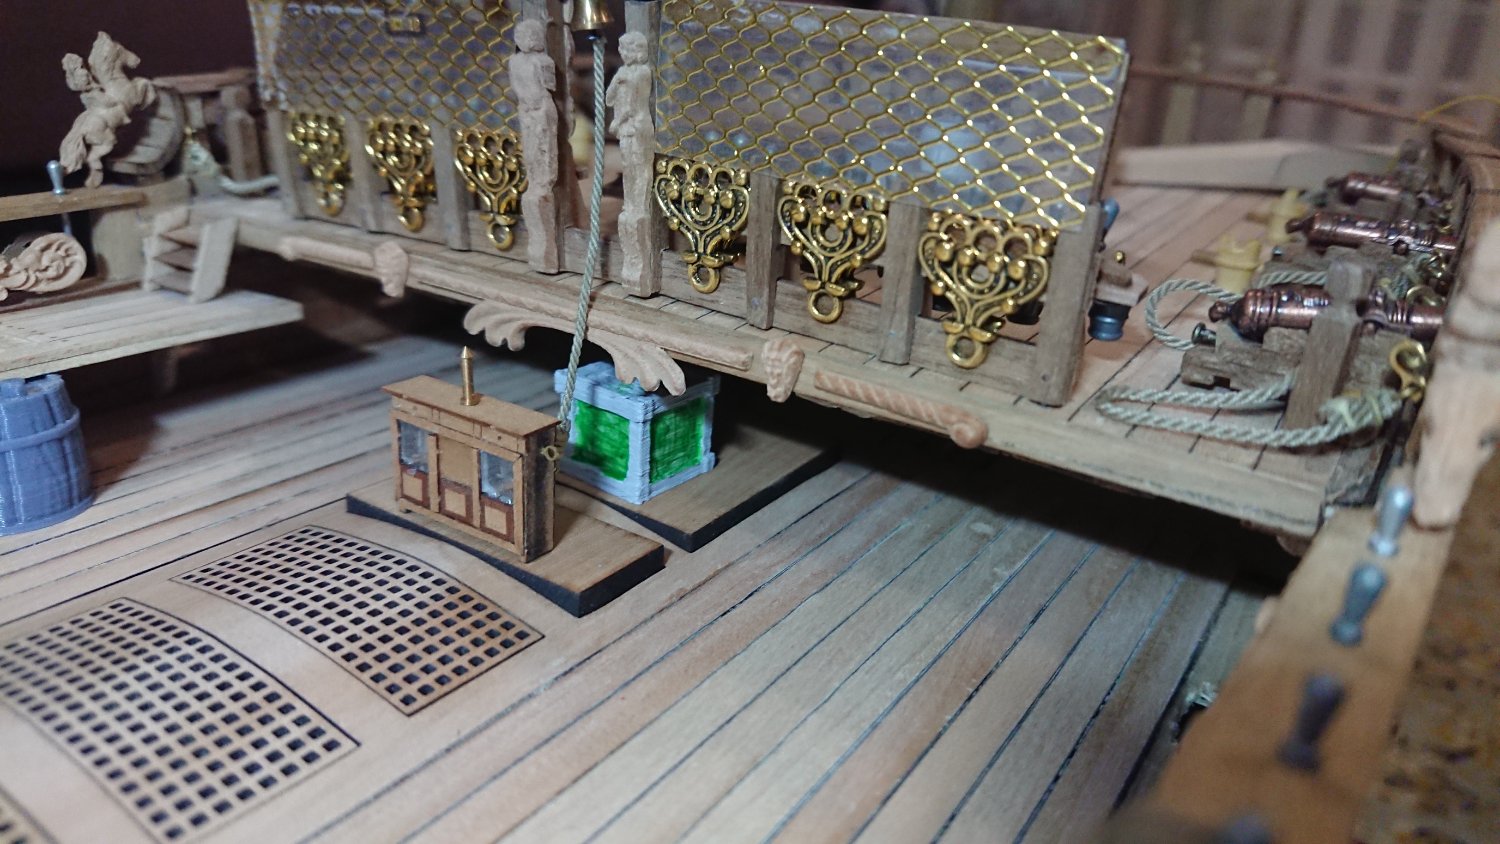
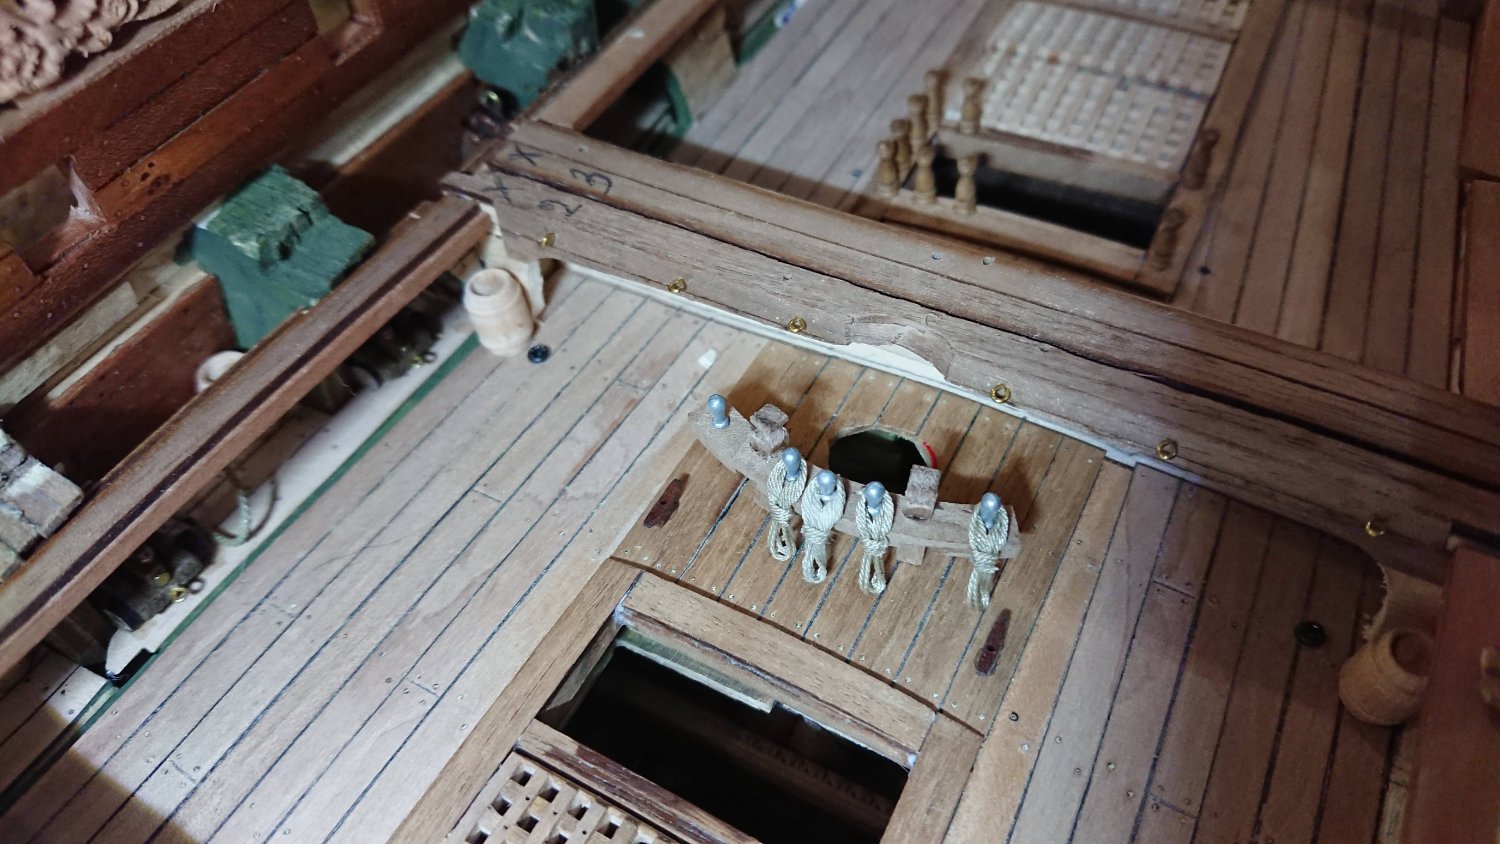
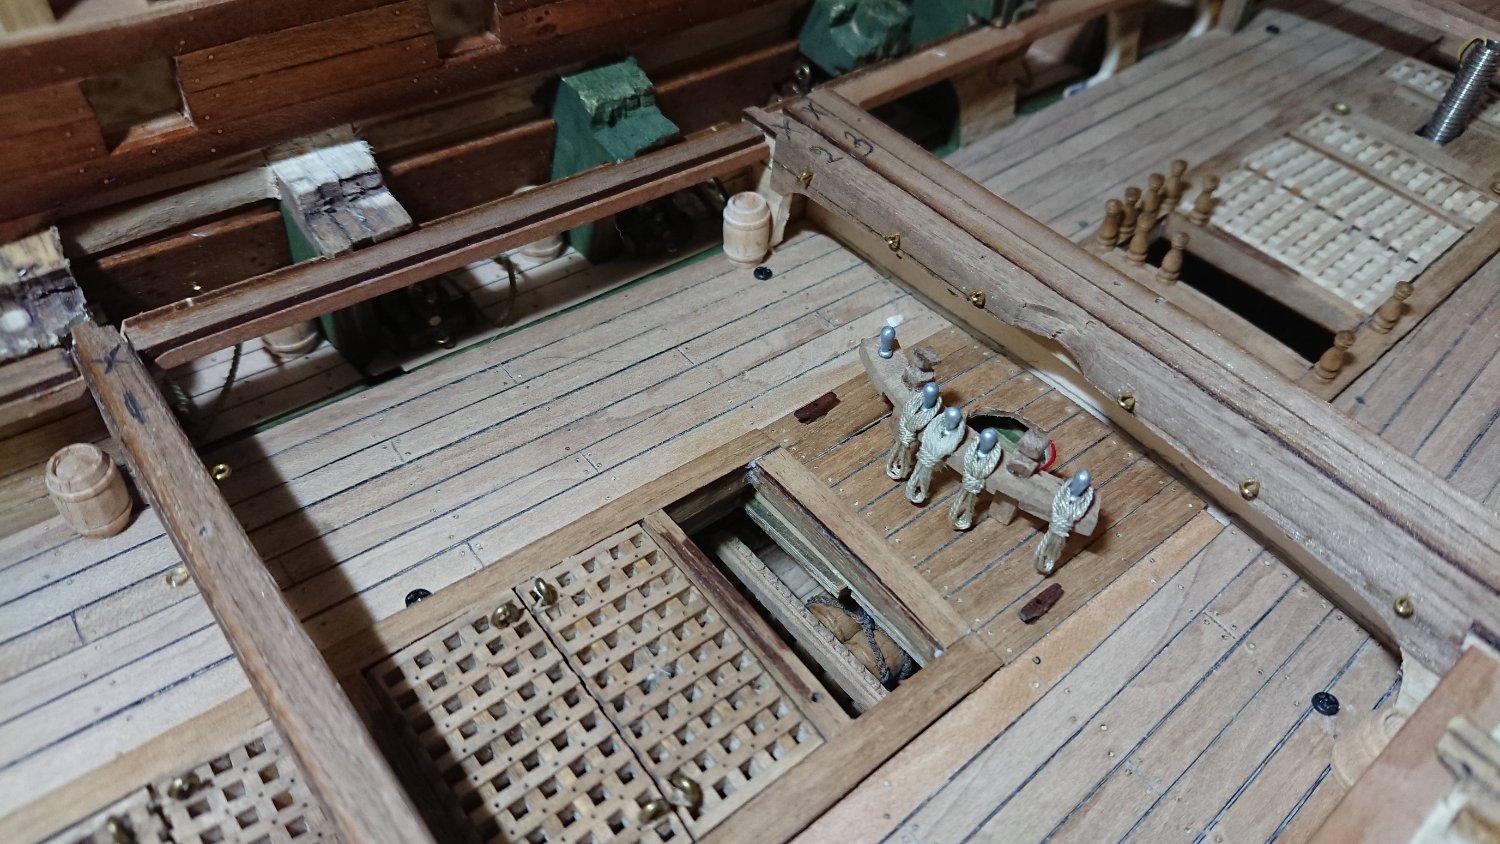
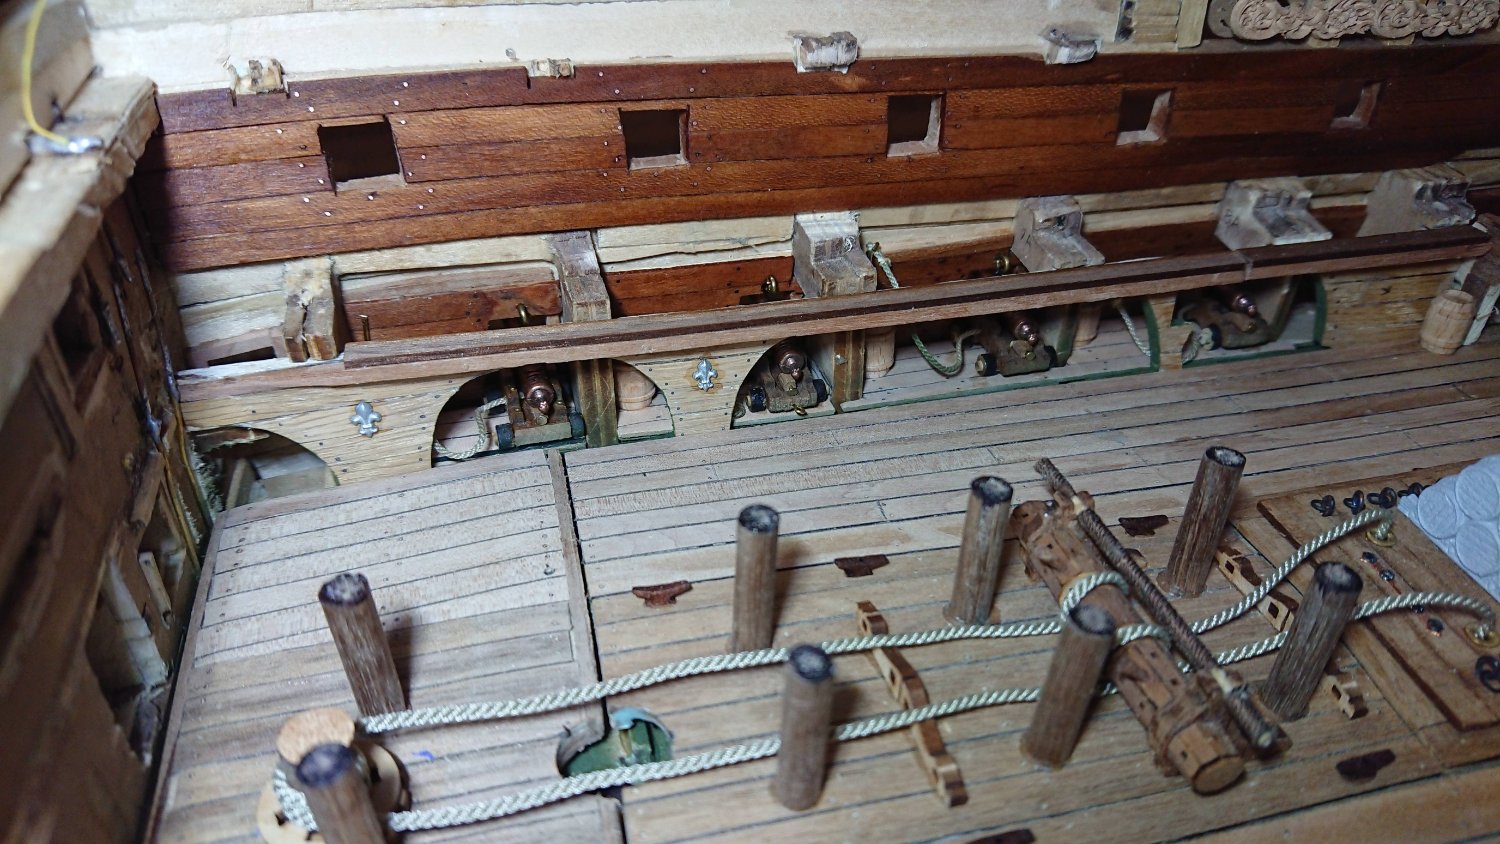
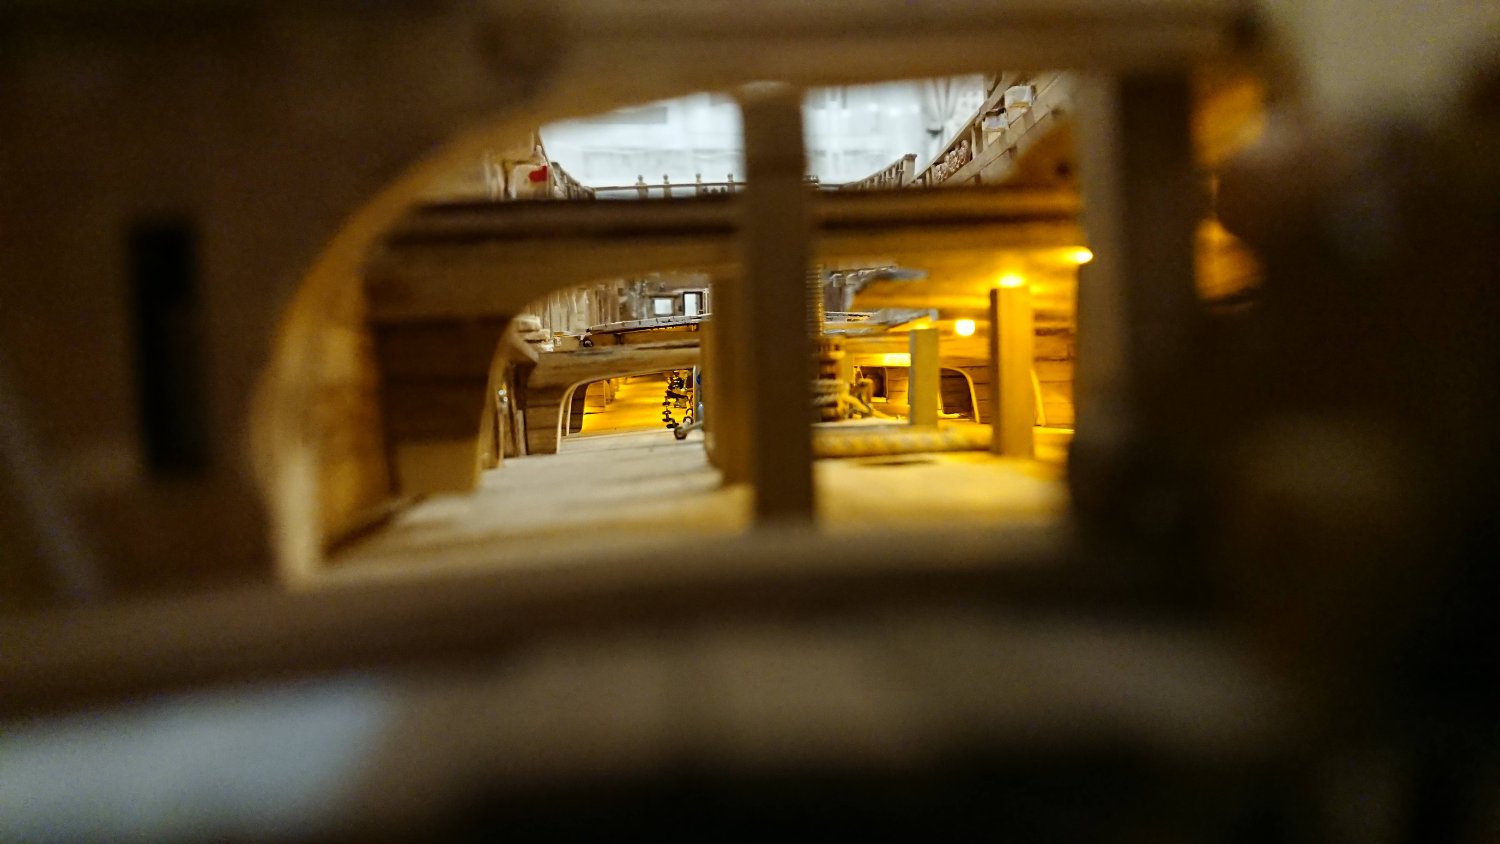
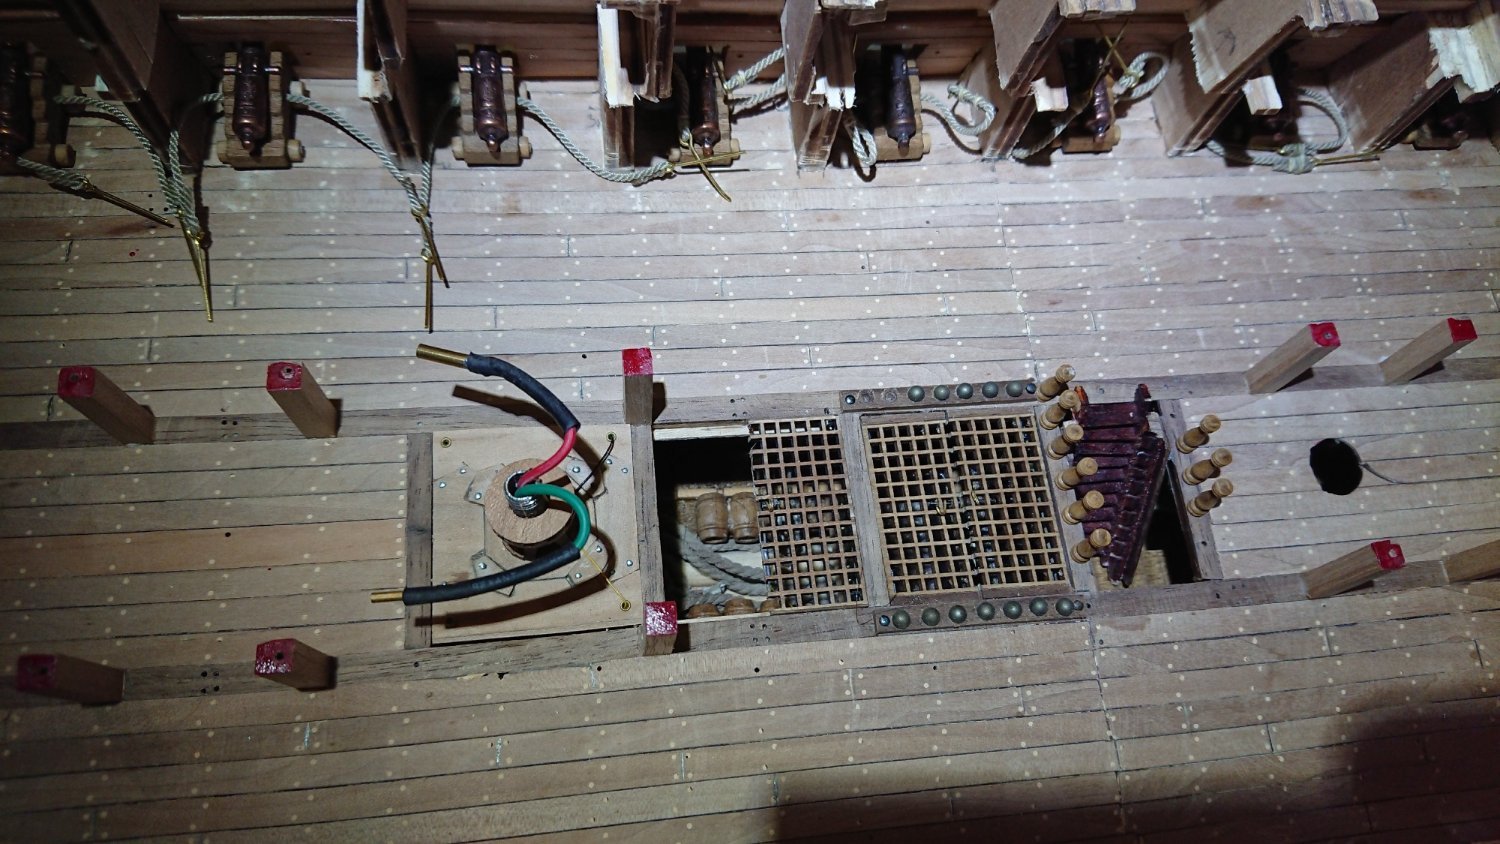
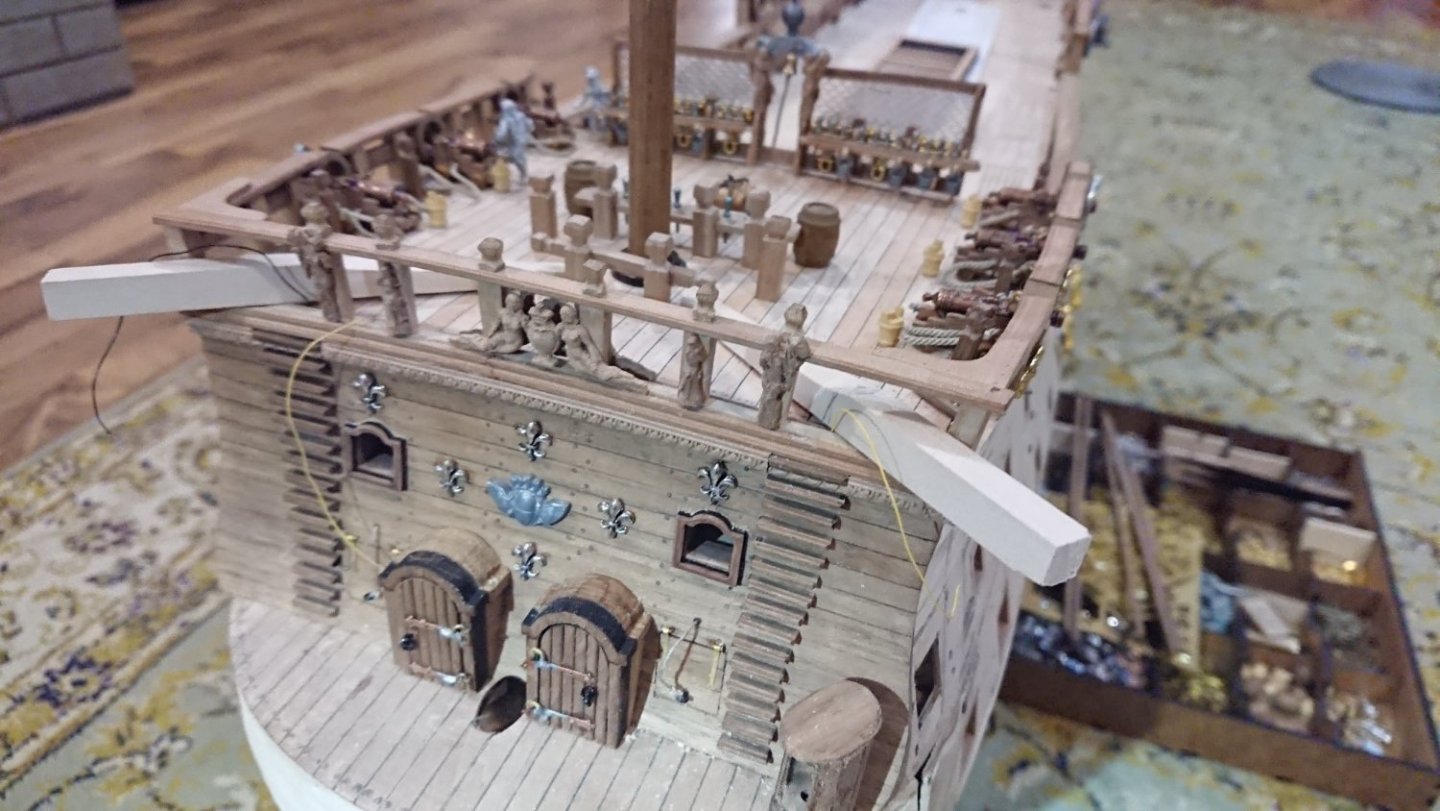
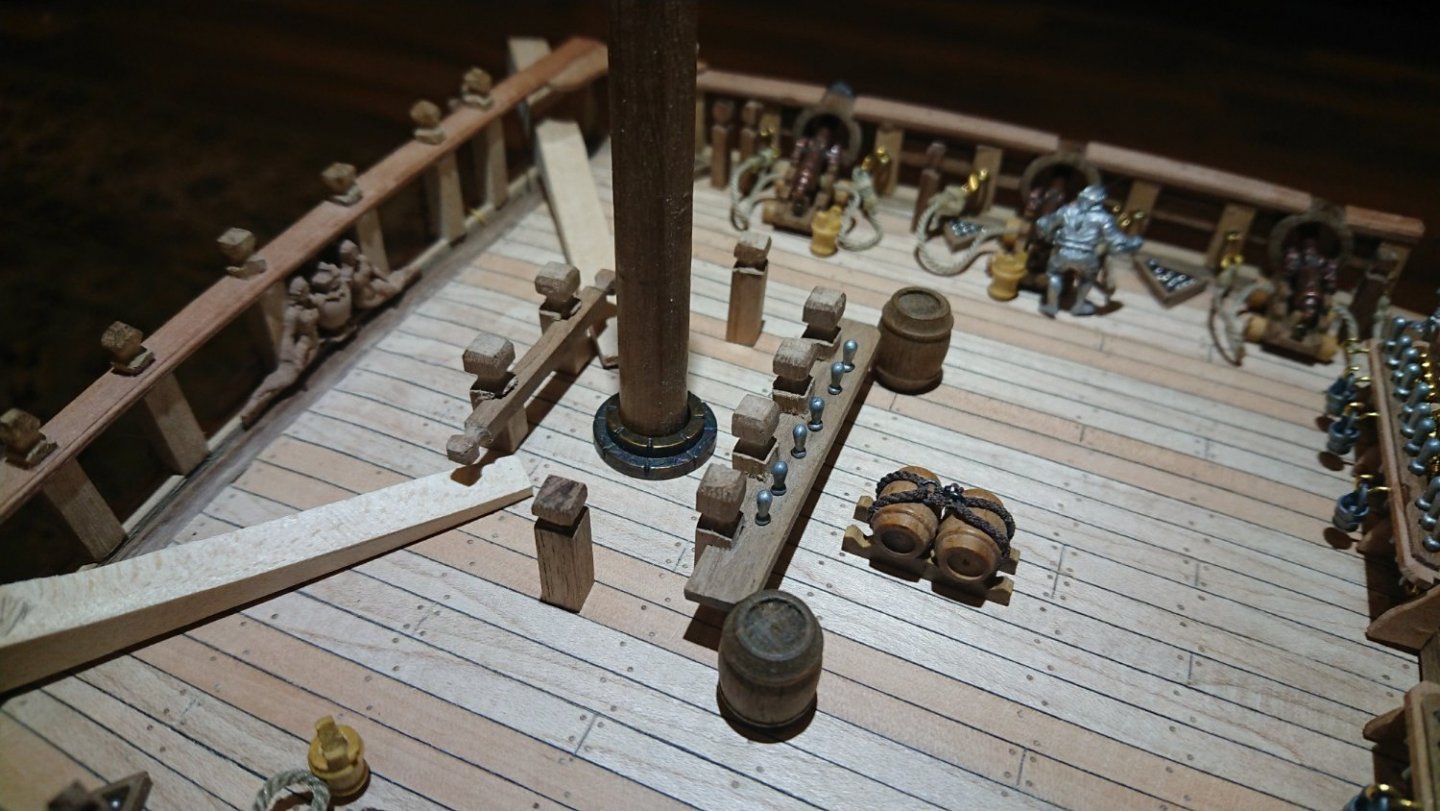
Interior trim, midship deck carriages-dec. I installed pass-through compartments on the nagel on the coffel-nagel bar.
-
Working on the stern
-
dantist905 reacted to a post in a topic:
Artesania Latina's Soleil Royal
-
dantist905 reacted to a post in a topic:
Le Soleil Royal by Nek0 - 1/72 - Marc Yeu
-
dantist905 reacted to a post in a topic:
HMS Tiger 1747 by Siggi52 - 1:48 - 60 gun ship from NMM plans
-
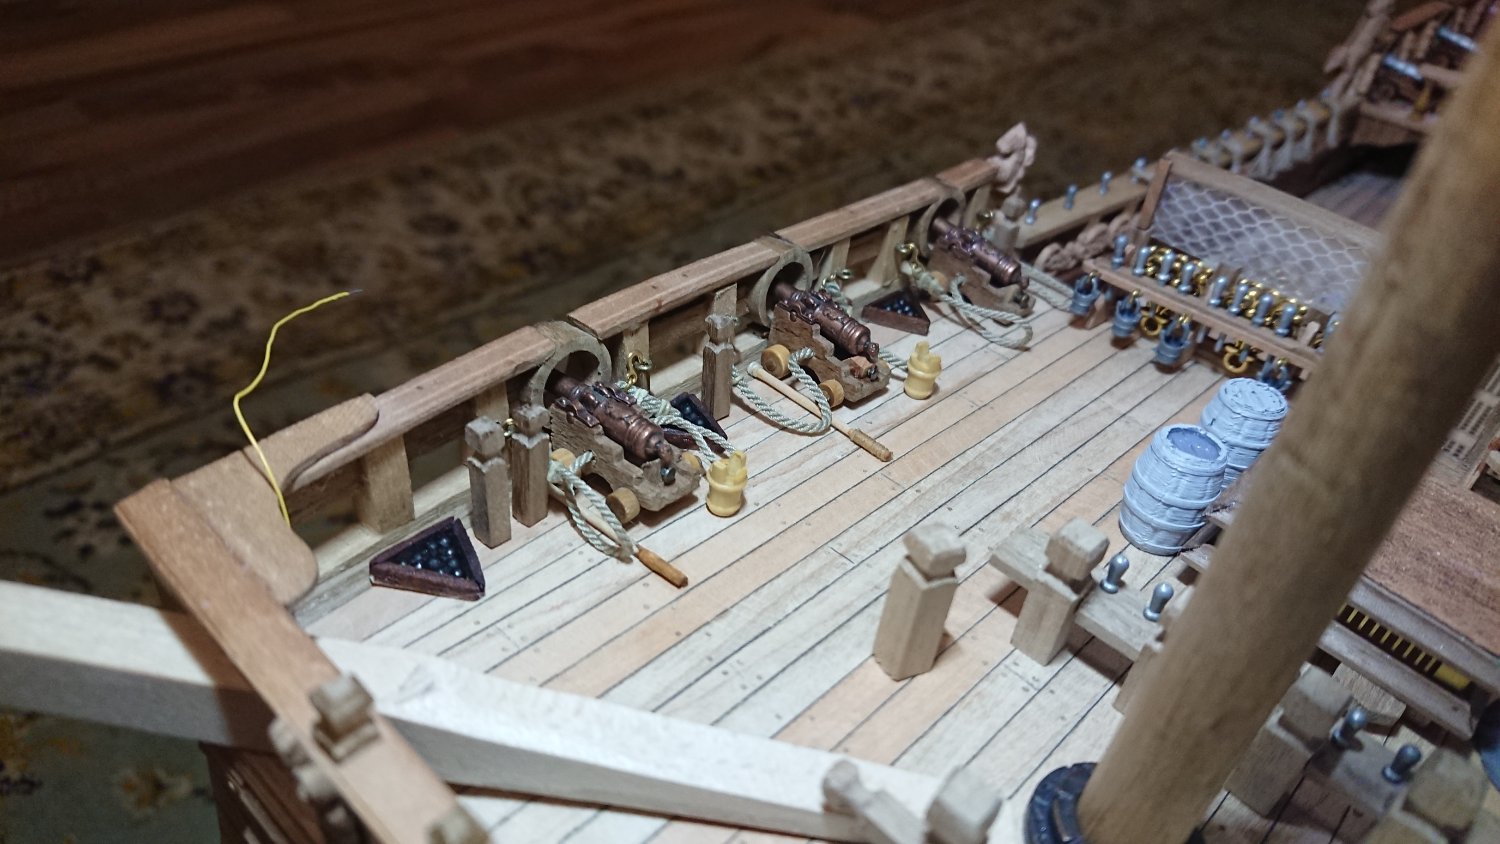
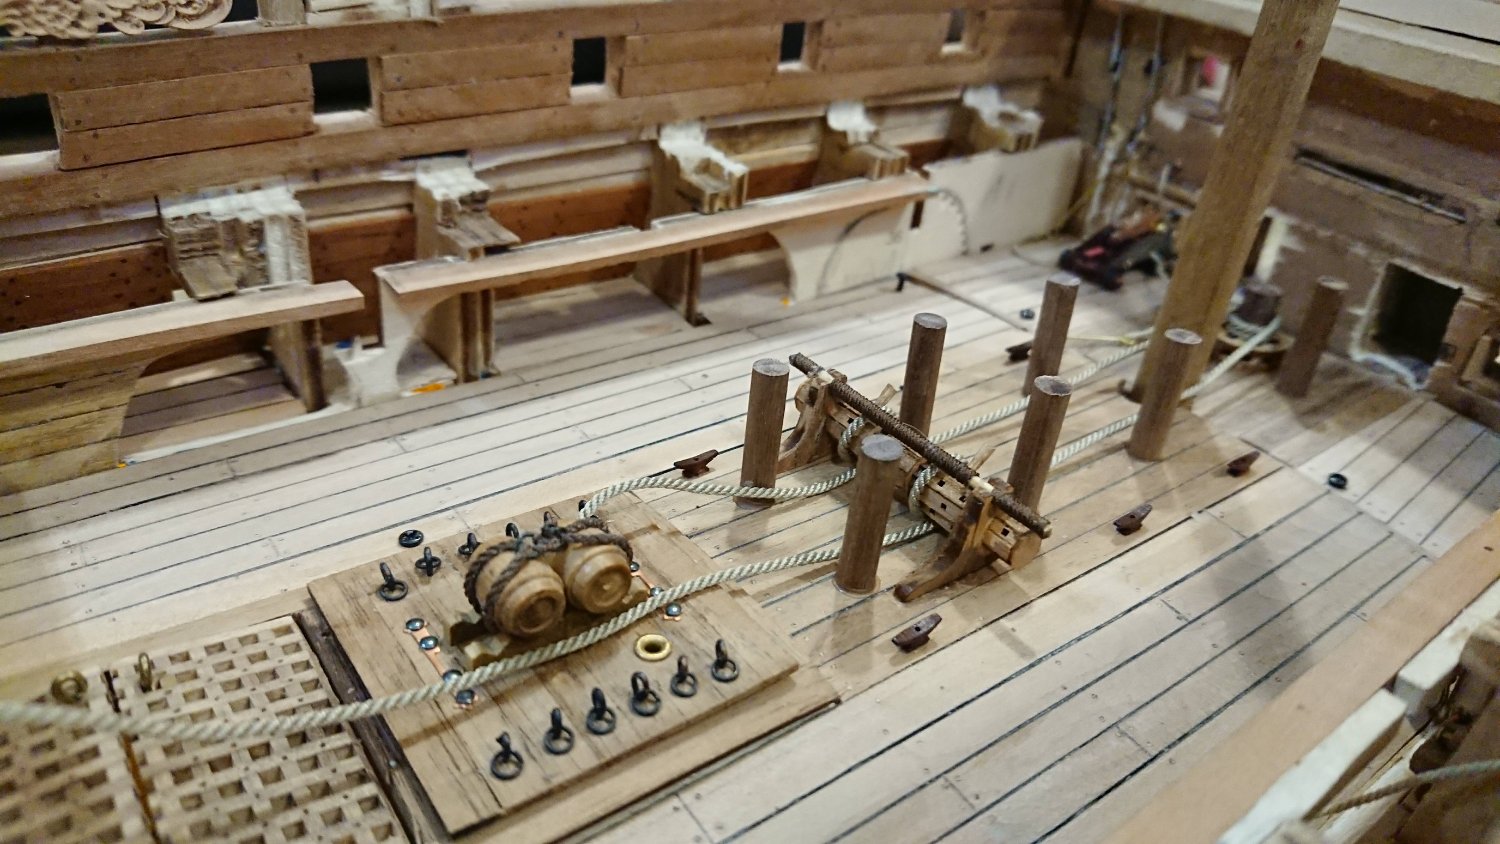
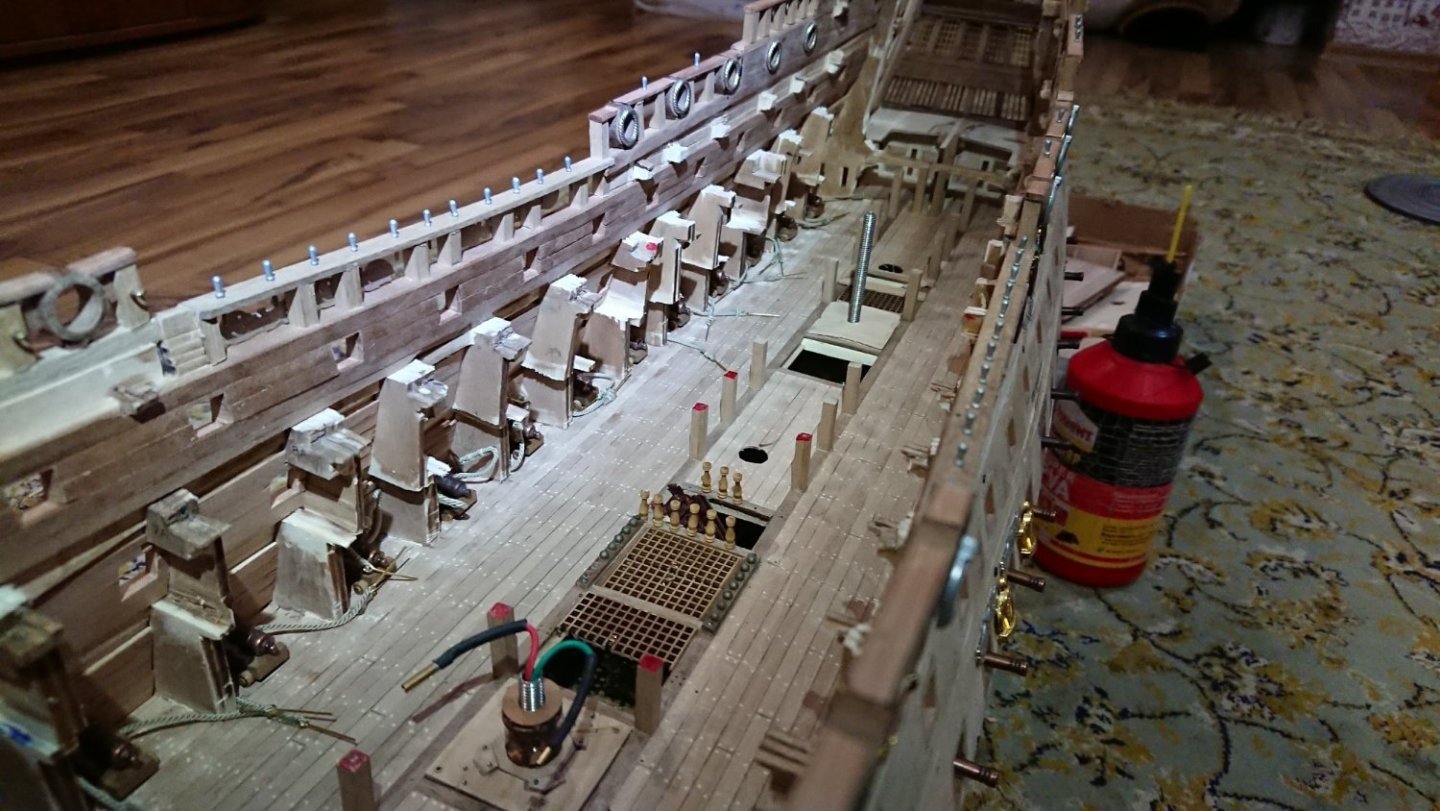
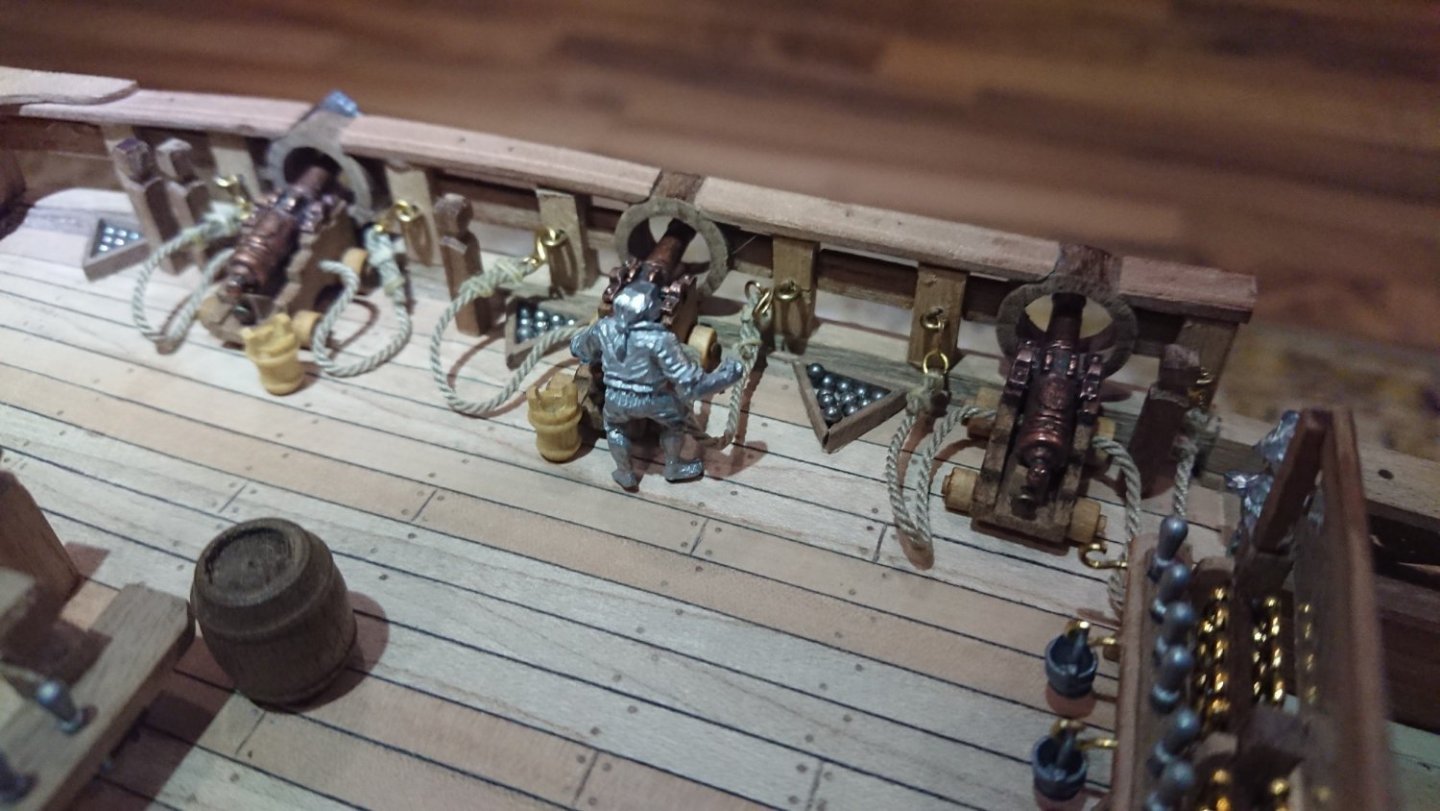
Installation of gun carriages on the deck of the gon-dec.


-
 dantist905 reacted to a post in a topic:
SOLEIL ROYAL by dantist905 - De Agostini (version 2.0)
dantist905 reacted to a post in a topic:
SOLEIL ROYAL by dantist905 - De Agostini (version 2.0)
-
dantist905 reacted to a post in a topic:
Soleil Royal by dziadek4444 - FINISHED - DeAgostini (Poland) - 1:70
-
dantist905 reacted to a post in a topic:
Le Soleil Royal by John Clements - Heller - 1/100
-
dantist905 reacted to a post in a topic:
Soleil Royal by AiDi - DeAgostini - 1:70
-
Yo-ho, rookies! Here is our old vessel 2021, finally caught up with this new shining ship with a tiger on the flag! And let Neptune urinate on the one who misses him! We have run out of grog for a long time, and the holds of 2022 are full and waiting for looting! It's time to gut him in search of profit and let everyone find everything he needs: dating, travel, credits and awards, new achievements and, most importantly, time to achieve all his goals! And there's plenty of time in these holds, by the Dutchman's anchor! A thousand devils, put aside the talk, it's time to capture this frigate. Hey, crew! On board! Hang the rats on the yards! No one will leave us in the ocean of Life! Happy New Year! 😁
-
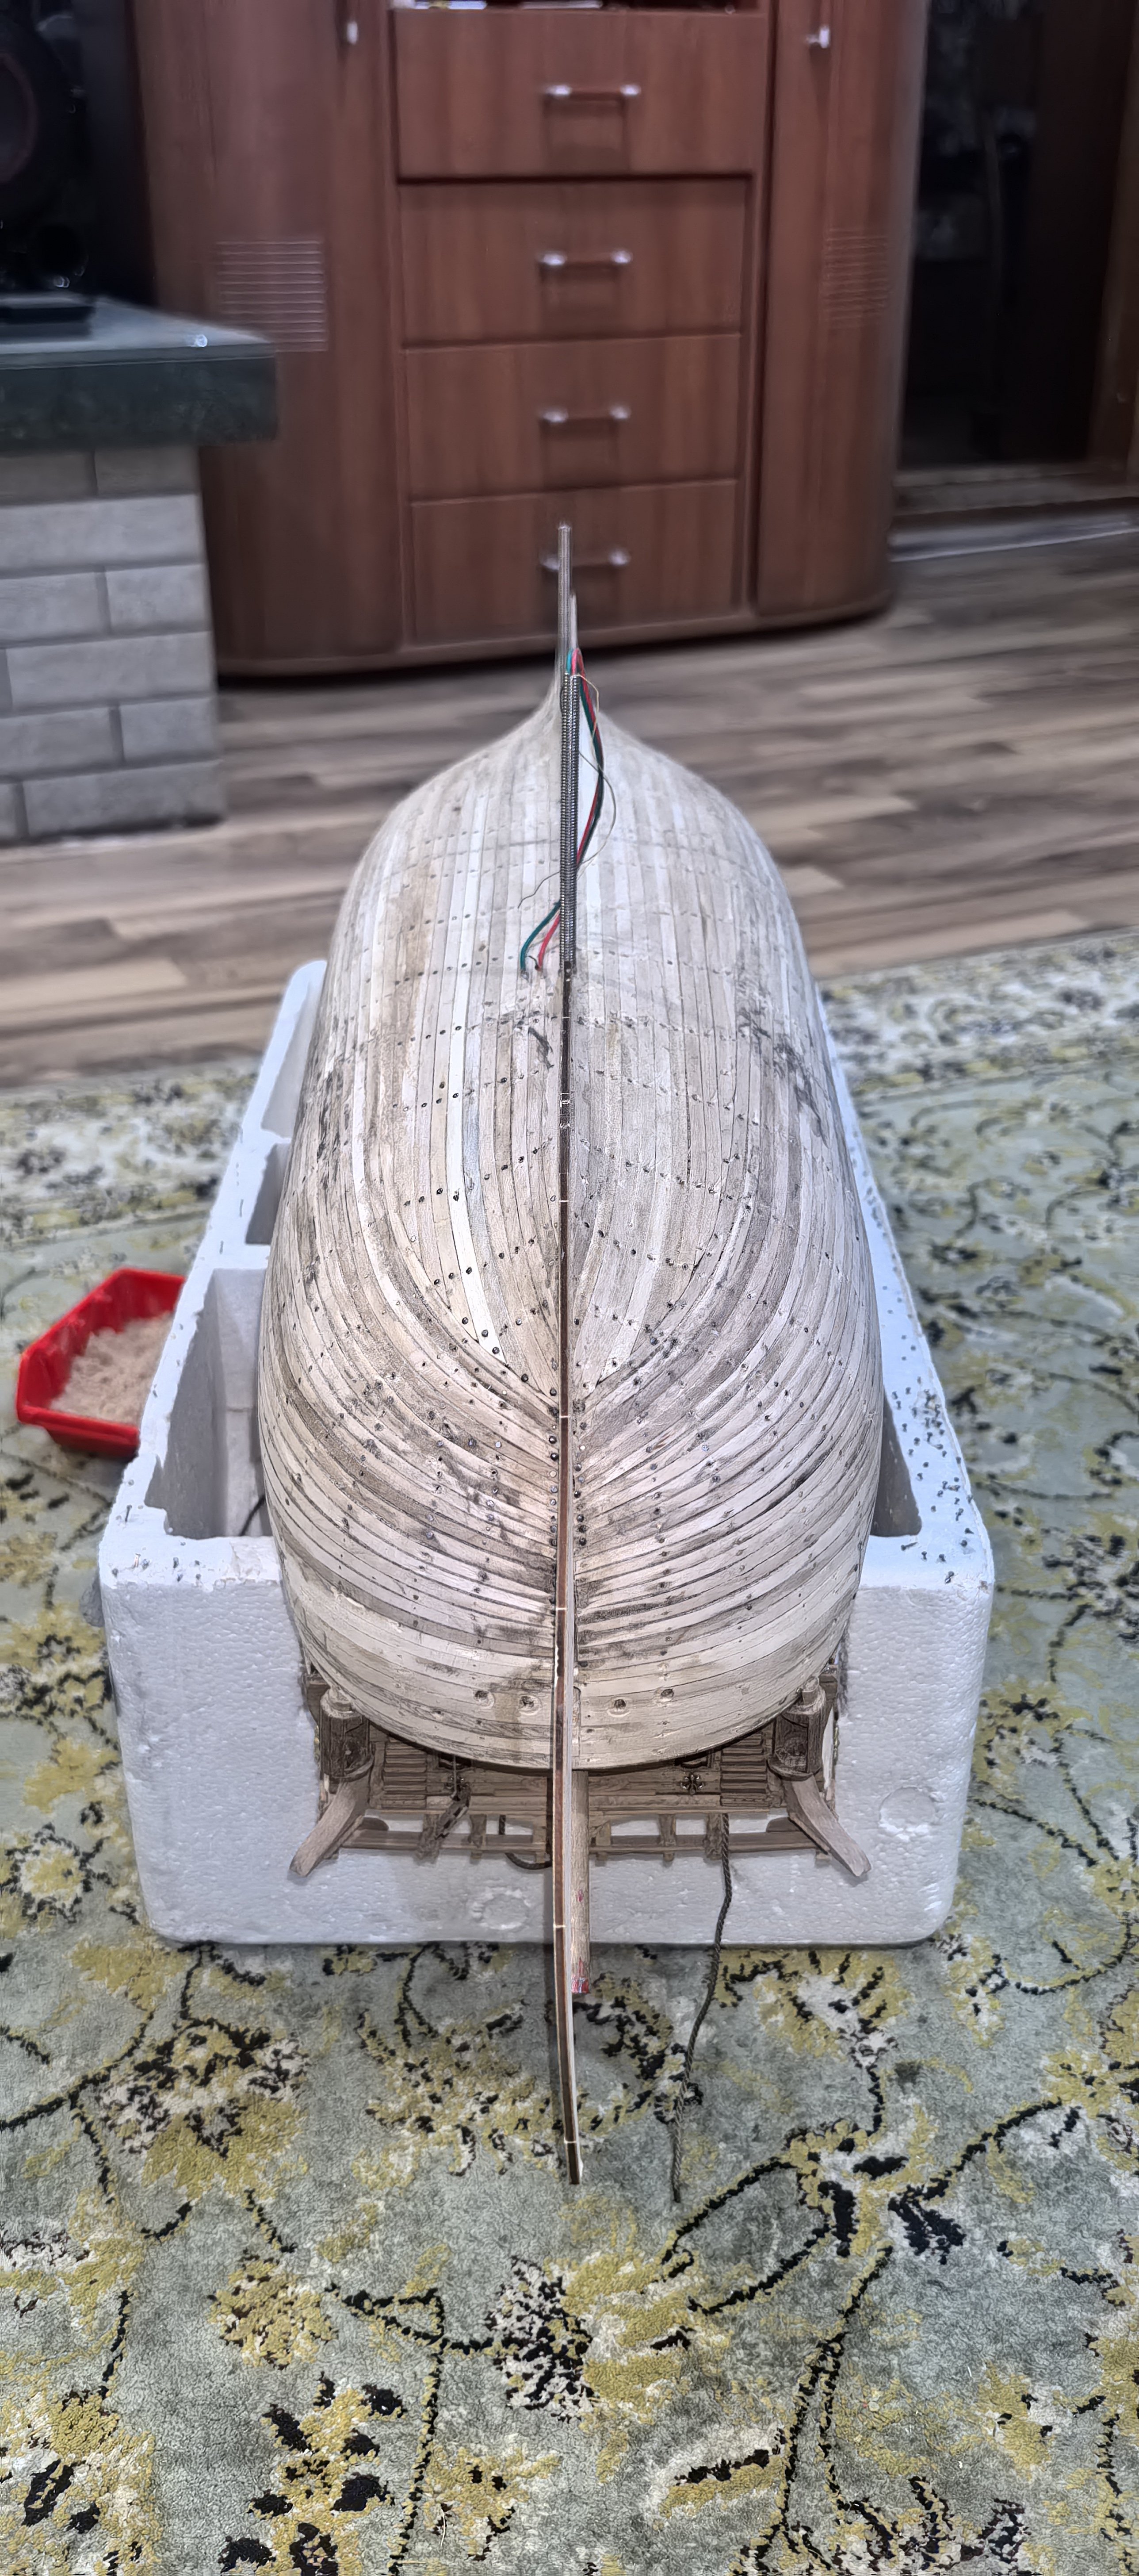
Today I polished the case. The work is dusty, so I used a protective agent.