
Supplies of the Ship Modeler's Handbook are running out. Get your copy NOW before they are gone! Click on photo to order.
×


Avi
-
Posts
323 -
Joined
-
Last visited
Content Type
Profiles
Forums
Gallery
Events
Everything posted by Avi
-
So before mounting the cannon, drill a hole through the quoin and crossbar? Or did you mean just on the bottom, ie not all the way through? And then the pin can be put in after cannon is mounted, wedged between bottom of cannon and into the deck? So if deck to crossbar is, eg 1cm, then drill a ¼ cm hole in deck and bottom of crossbar, and put pin in?
-
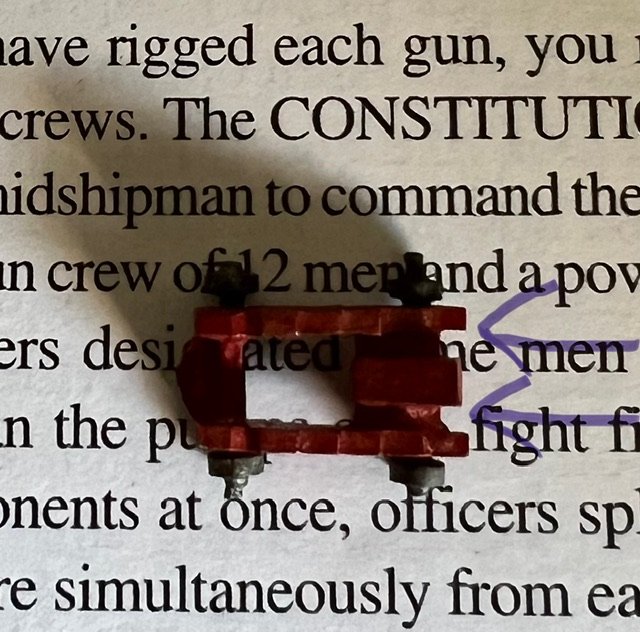
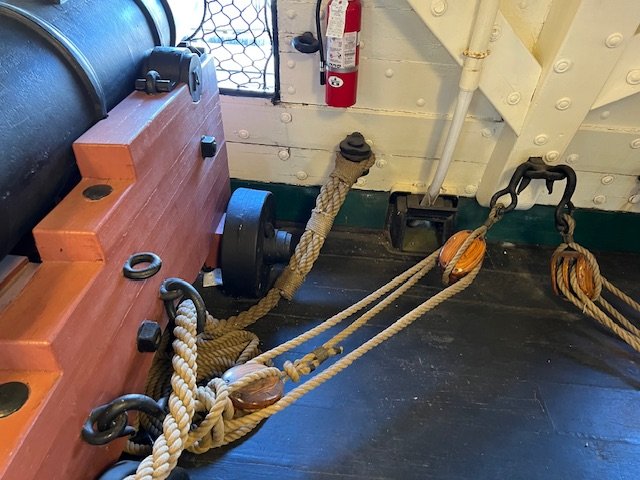
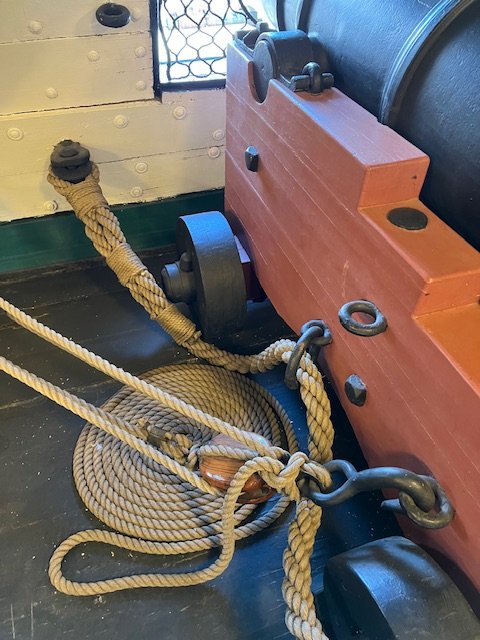
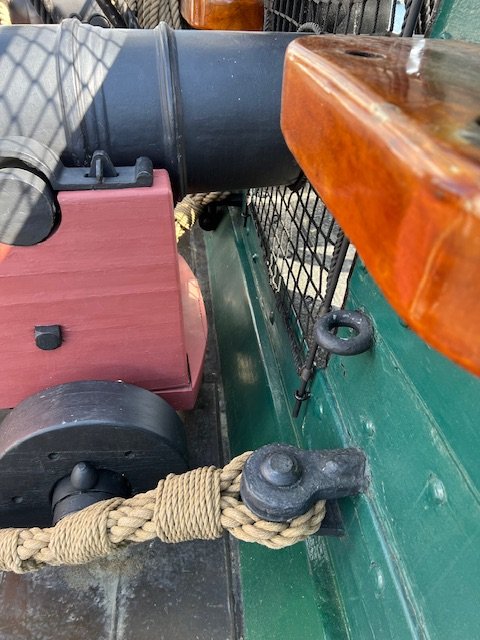
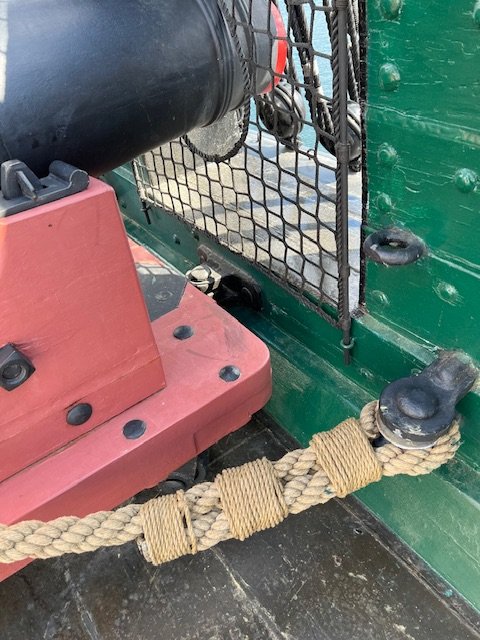
The quoin is permanently attached to the carriage, single piece of metal. Do you mean to the right or left of it? See the pic, here?
-
Anyone understand about the pins through the carriages? @MrBlueJacket perhaps?
-
I don’t think I’ll be doing historically accurate paint, then. We can stick with the blackening toner or acrylic paint. 😂 Any thoughts on the pins, @MrBlueJacket ?
-
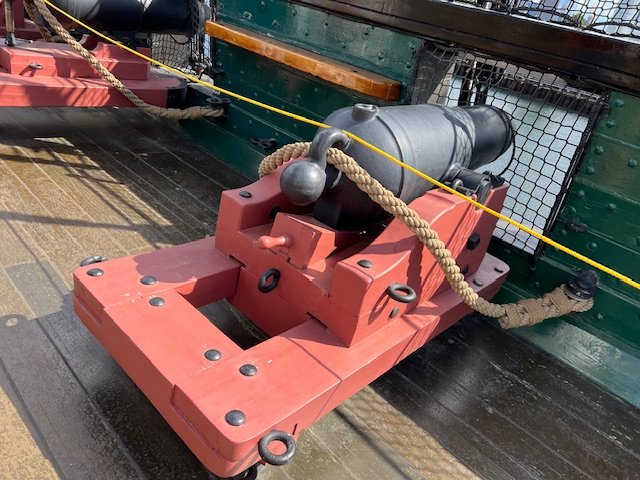
Margherita at the Navy Historical Command responded to me. Here is her response: I am receipt of your message from last Thursday concerning USS Constitution’s guns and the “color” of the barrels. I’m not certain where your group received information that the gun tubes may have been grey in color, but that is incorrect. The barrels/tubes were black in the era of the War of 1812 and they are black today. In fact, the term for the protective surface coating applied to gun tubes was “blacking” the guns. You can find a list of ingredients and instructions of how ‘blacking’ was made and applied in Marshall’s Practical Marine Gunnery…In the Gunner’s Department, in the Navy of the United States by George Marshall, 1822: https://books.google.com/books?id=lHcNBLcgVSQC&newbks=1&newbks_redir=0&dq=Marshall's%20Practical%20Marine%20Gunnery&pg=PR5#v=onepage&q=Marshall's%20Practical%20Marine%20Gunnery&f=false – look at pages 94-95 for the information. I trust this information is of use to you and your fellow modelers. Good luck with your projects!
-
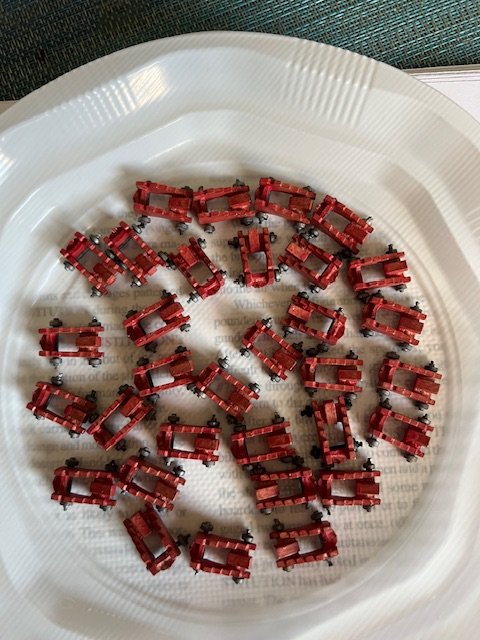
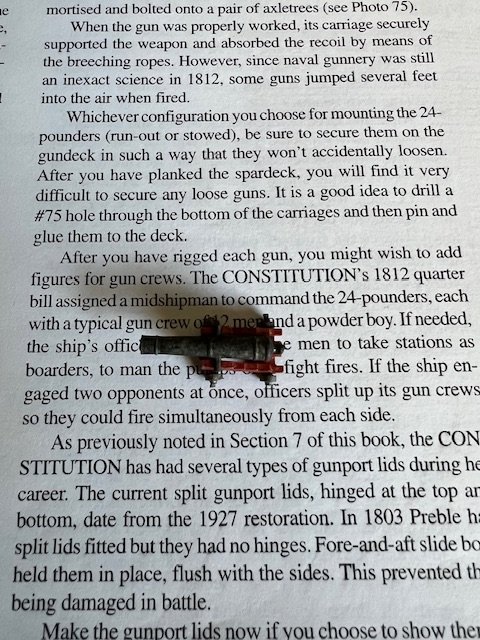
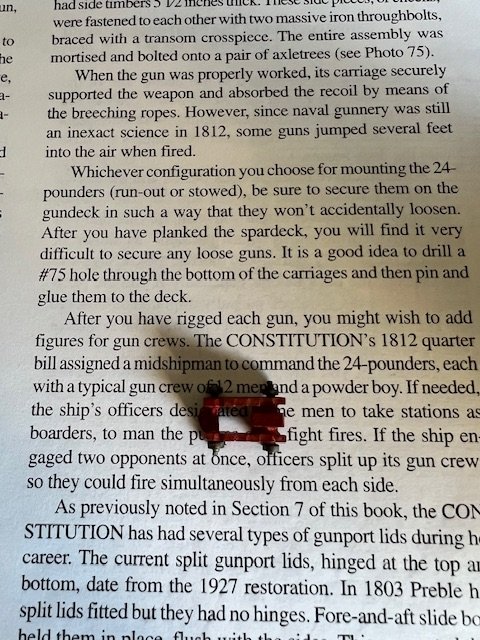
Glued the trucks to the carriages, picture below. I’ll glue on the cannon piece next. There’s a picture below with a single without the cannon piece and with it on top (but not glued into place yet). I took the picture on top of the manual. It says (section in the picture) that it’s really hard to secure them onto the gundeck after planking the spardeck (which makes sense), so it recommends drilling a #75 hole through the carriages and pinning them to the gundeck, in addition to gluing (of course). I can see how that makes sense. The only contact surface between the cannon and deck is the four points of the wheels, which are minimal. What I do not understand is where on the carriage they are recommending the drilled hole and pin. 🤷♂️ I am missing one truck (set of wheels). I couldn’t honestly tell if it was missing from the set, or I lost it along the way. Either way, I’m not bothering to order just one. I’ll construct something close from wood stock (I’ve lots of planking, including wales), paint it grey/black, and put it on one of the cannon which is not as visible.
-
That’s a rant? Clearly you haven’t spent time on social media and made a political point in the last few years! 😂 I am privileged to have your input, keep it coming.
-
@ERS Rich what is that plastic container you’ve got the cannons in, for protection until you’re ready to install on deck?
-
I painted one set of wheels black. On the gundeck, no one can see if one set of wheels is a little darker than the rest, unlike cannon. It looked good, but not enough of a difference. So I left the rest of the wheels and the cannons, and varnished the whole thing. Waiting for a few things to dry, and hopefully next week construct a few cannon. Then I can use those to measure out my gundeck planking height.
-
I actually called the museum to ask. My wife is laughing at me right now. 😂 It won’t change much, but once we are discussing it, I want to know. No matter what I do. The people at the museum thought it was more black. But they suggested I call Margherita Desy, historian at Historical Command and ask her. She wasn’t in, but I left a message. As for my ship? I’ll probably leave it. Looks good enough, too much of a headache to paint it too. Maybe I’ll do one set of wheels just to see. Once installed, you cannot tell if one of those is different without a microscope.
-
Good philosophy, @ERS Rich thanks. 😃
-
I’m not sure what your thumbs up means @ERS Rich? That it’s fine the way it is, or that the guns do look blacker on the real ship, or that it’s a modern thing?
-
Are the current guns blacker? Or is that a modern change? from my visit there a few years back.
-
Thanks Nic. Just some varnish and good to go?
-
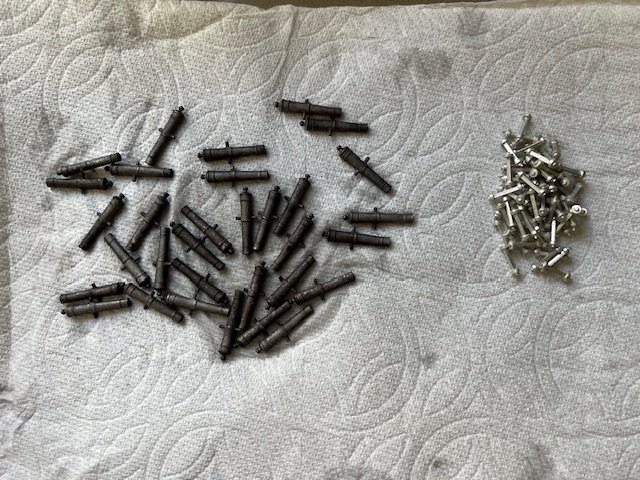
I set up a 10:1 water:toner mix, and then soaked the cannon for five mins. And then 3 more. And then 2 more. Finally took them out, rinsed well and patted dry. Here’s a picture, with the to-be-toned wheels next to them, for before/after contrast. I have matte varnish to protect them. However, I’m not sure if they’re black enough. I’m trying to decide if I should put a single layer of black paint on them first.
-
Hi @MrBlueJacket 👋 Rinsing and drying? So what do I do? Create a 10:1 solution, dunk the cannon in there and leave for 5 mins, then take them out and rinse them and dry them gently with paper towel? I didn’t expect to rinse; with paint and primer and such, you wait for it to dry, not rinse it. I have read of people using matte varnish after applying blackener. If I like the toning results, I’ll do that. I’ve got a shipment of matte varnish due any day.
-
Thanks @KurtH maybe I will hold on the aft most gundeck long guns until I see what happens elsewhere. for the colours, I spent a lot of time in the first few months matching up various colours. I couldn’t tell you now why Vallejo flat red was right, but I trust my work from back then. Of course, I looked back at those notes over the weekend, and the list shows that that was the one paint that was out of stock then and “don’t forget to buy it.” Oops. 😂 Apparently, I was missing matte varnish too. I just put it in an order, along with lacquer thinner for the Mr Metal, and a few other things. now to wait until someone (Nic? 😉) tells me how if the toner would work for the guns and how to use it.
-
Getting ready to do some painting. I’m not dealing with spardeck guns for now, just the gundeck long guns. I won’t really need them painted for months, but I might as well prime and paint and construct them, so I can use them for measurements. I opened the bag with the gundeck lids a while ago to measure the gunports, so might as well prime and paint them too. As far as I can tell, between my pics from the ship and the guide: - cannons black - wheels black - truck carriages red (sort of, kind of a wine red?) The gunport lids are listed in the guide as white interior (which makes sense, keep it as light as possible inside when closed), exterior not listed. I could do black, or white to keep with the stripe on the ship. My pictures from the real ship show a *black* interior, and exterior split 50/50: upper half white, lower half black. I’m thinking just white interior and exterior, so it aligns with the stripe when closed, and shows light when opened. Of course, mine will be fixed in place, but might as well get it right. Also, I cannot figure out how many long guns on the gundeck. There are 16 ports to a side, and there are 32 cannon provided, but the guide at times suggests 30 on gundeck, although this may just be historical information. If I mount 32 on the gundeck, I only have the 24 carronades for the spardeck. Counted the ports again. There are 16 per side (including the bridle port). There are 12 on the spardeck (plus the opening to the head, I don’t think that counts). AotS shows 22 carronades on the spardeck and 2 long guns. Confusing. EDIT: I just remembered, I bought a bottle of the BlueJacket Pewter Black toner a while ago. Would that be better (for the cannon and wheels) than prime+paint? It looks like it is 10:1 water:toner, is that right? What are your thoughts @MrBlueJacket?
-
Haha! You’re right, I’d forgotten that it’s called “Mr metal primer”. Hopefully I’ll find an early morning this week to do the guns.
-
I probably am months away from installing guns, but thank you again. Very helpful indeed. the Mr Metal showed up, so time to figure out how to use it. I understand it’s got quite the fumes, so outdoors only. Unfortunately August here is brutally hot and humid, so maybe I’ll get up early one morning. My understanding is: 1. wash the metal (guns) with soap and water and dry them 2. apply a coat of Mr Metal and let dry 3. apply regular primer and let dry 4. usual two coats of paint is that correct? Or does Mr Metal function as a primer, and I don’t need step 3?
-
Yup I see it. Thank you
-
They aren’t quite installed yet - if I had used a closer hires pic you’d see it - but getting there. A little more adjusting to do, but I ran out of time for the day. oh I did not know that about the guns. That’s really really helpful. Thank you @KurtH! I wonder, should the guns be mounted higher - giving them an ability to shoot higher - or lower - an ability to angle downwards more? Obviously these are not shooting, but I’m quite curious as to what would be realistic.
-
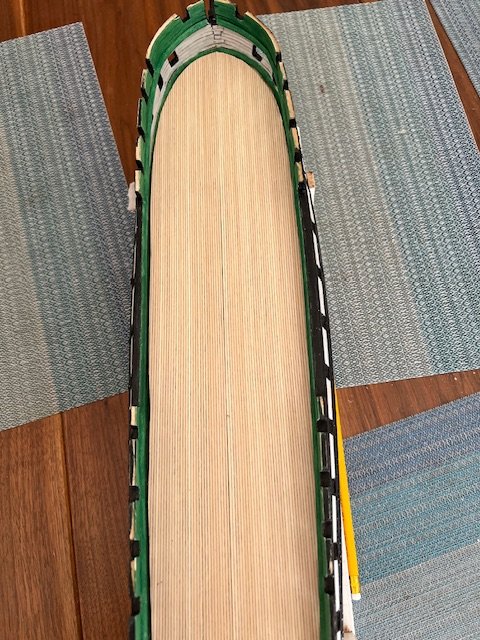
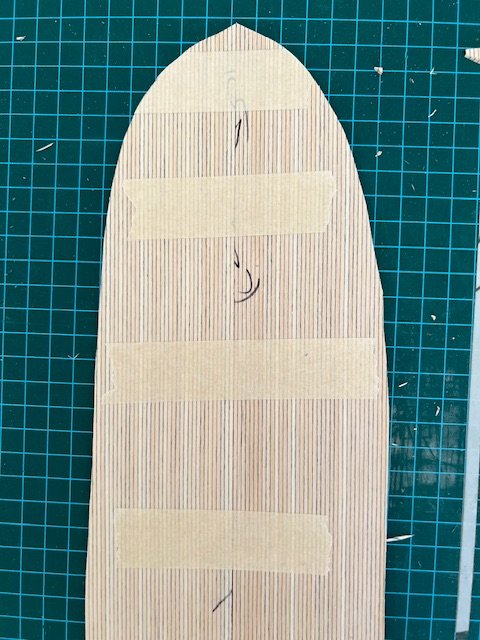
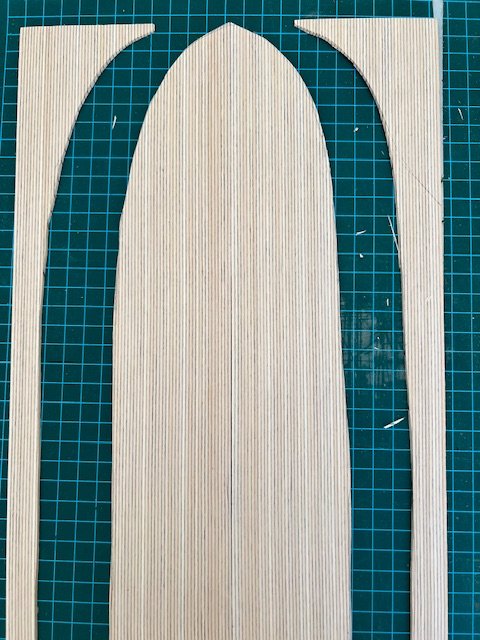
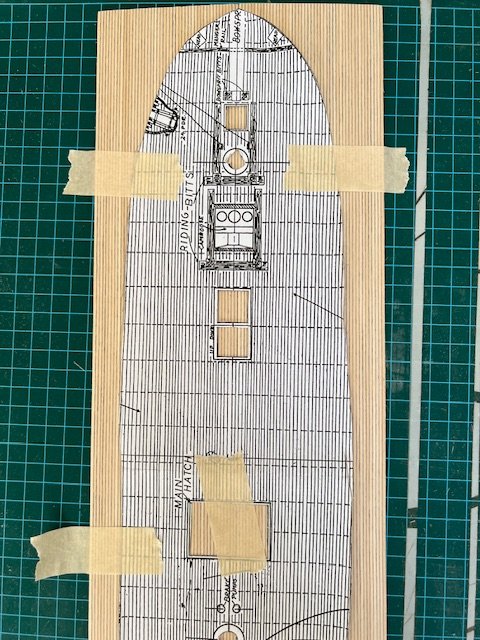
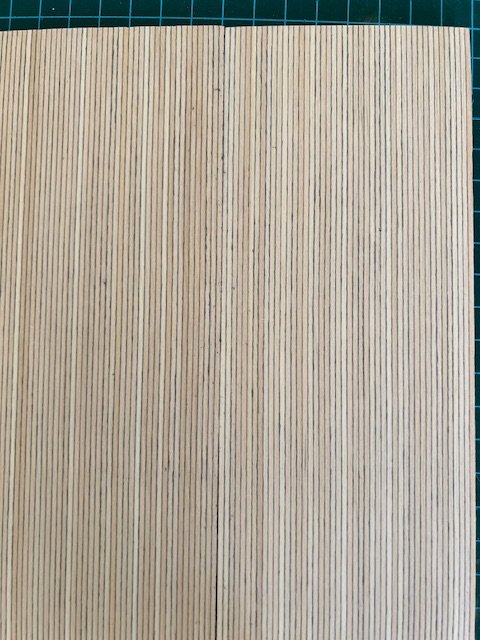
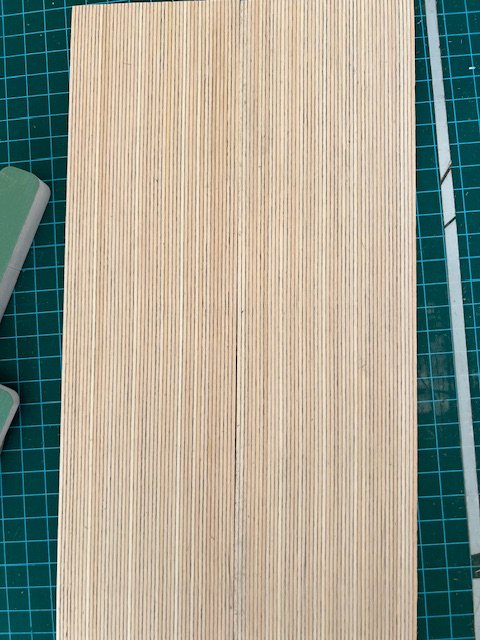
In the meantime I started in the deck planking. I took the two half sheets, lay them side by side, and saw they don’t exactly align. I sanded them down to get them much closer. Then I used a permanent black marker along the border where they meet. I was extra careful on the top, but slipped a few times on the bottom; who cares? I taped the two sheets together with masking tape on the underside. I lay the paper cutout on top, taped it down, marked with a pencil, and then cut around it. I intentionally cut too big. I then slowly trimmed it down with a sharp blade, and then sanding sticks for finer control. It’s not done yet, but close.
-
actually just stumbled across Mr Metal last night. Couldn’t find anyone here who carries it, or any online seller who ships it. On a lark, checked aliexpress… and they have it! Two bottles here in two weeks
-
Actually, maybe I will paint the cannon. That way I can glue them together and be done with it. does anyone have recommendations as to how to paint this metal? I assume it is the same stuff as the gudgeons and pintles; I wasn’t so impressed with how the paint stuck to it. With the wood, the primer sinks into it. With the metal, it sort of attaches. Kind of.
