HOLIDAY DONATION DRIVE - SUPPORT MSW - DO YOUR PART TO KEEP THIS GREAT FORUM GOING! (Only 20 donations so far - C'mon guys!)
×


Keith B
-
Posts
202 -
Joined
-
Last visited
Content Type
Profiles
Forums
Gallery
Events
Everything posted by Keith B
-
Hi Shihawk, I think that will be 3 of us making this kit now.I look forward to your log. New workshop arrives today,so Victory will be on hold for a couple of weeks while I kit it all out.Mind you,I might be able to squeeze an hour or so in the evenings!
-
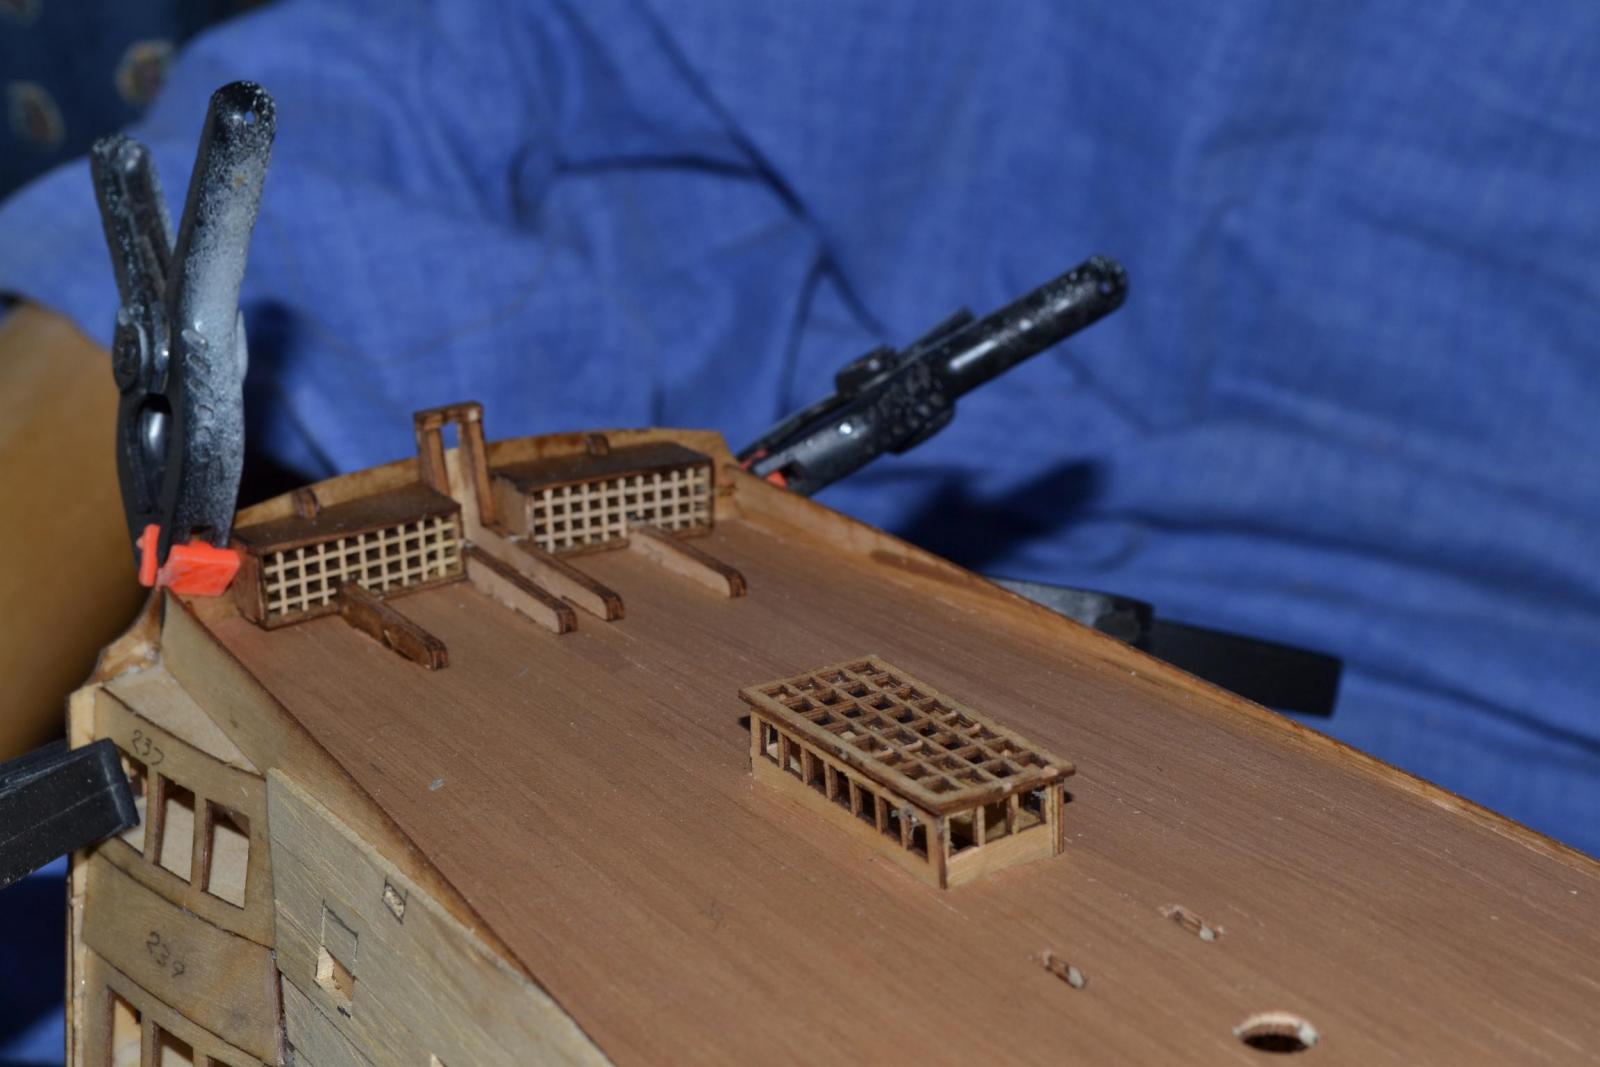
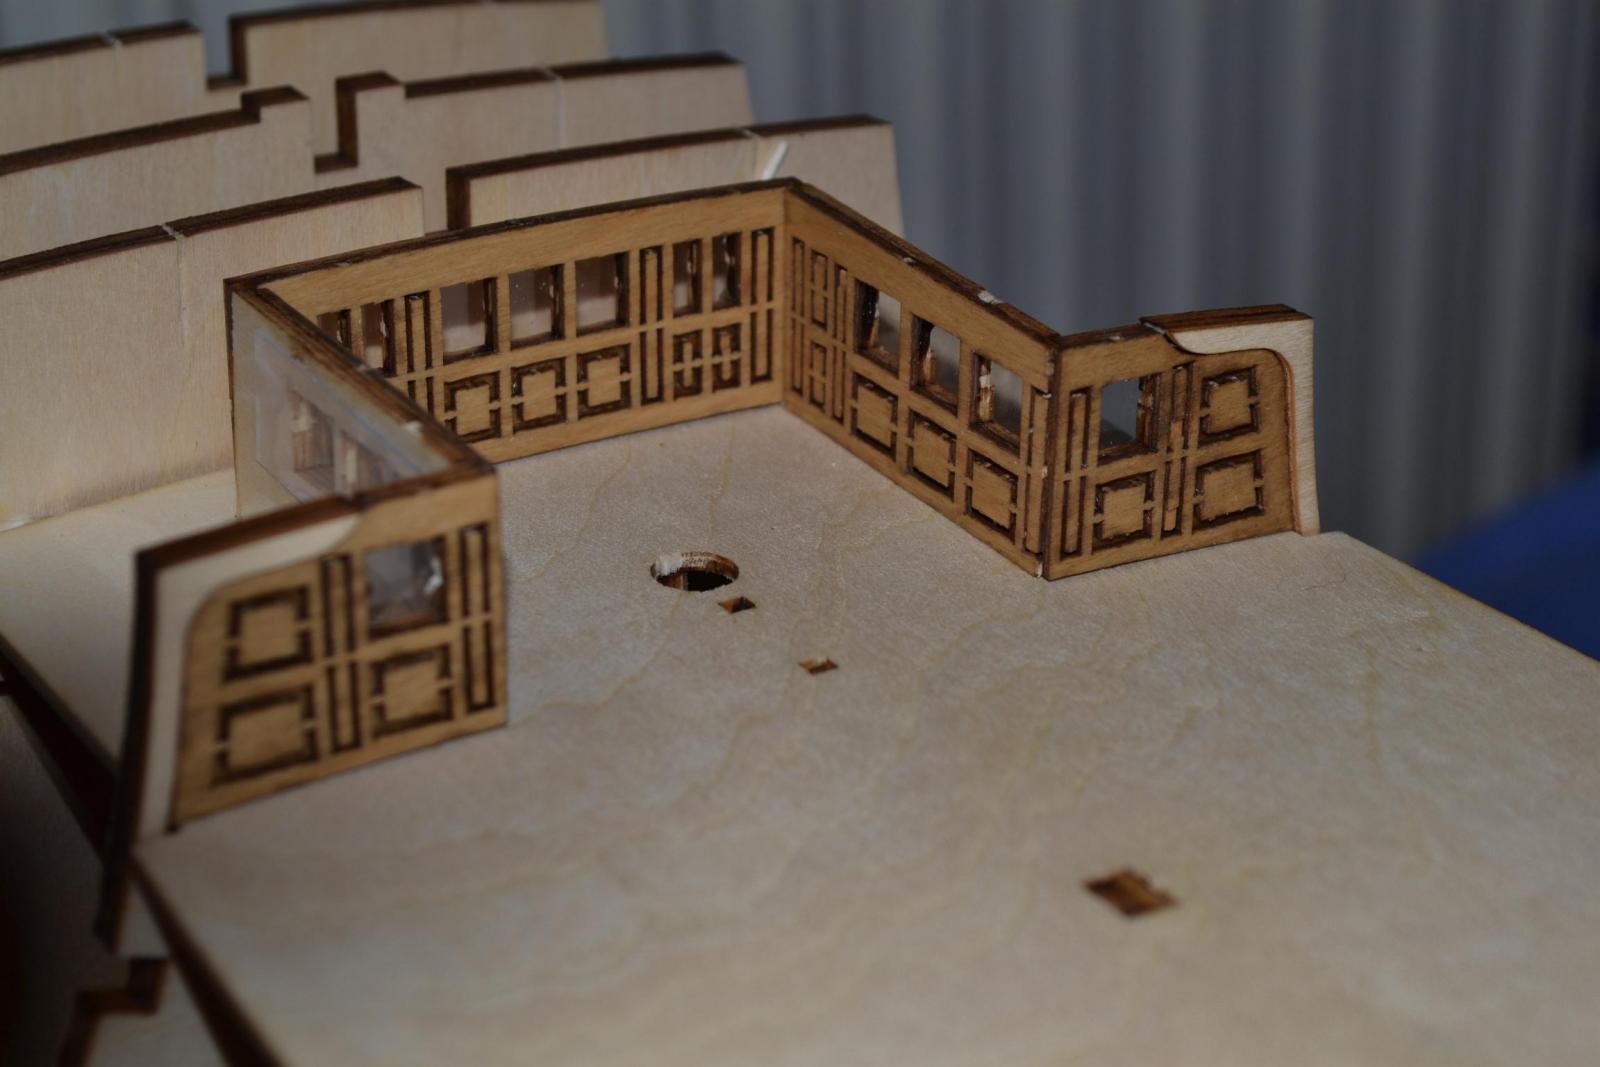
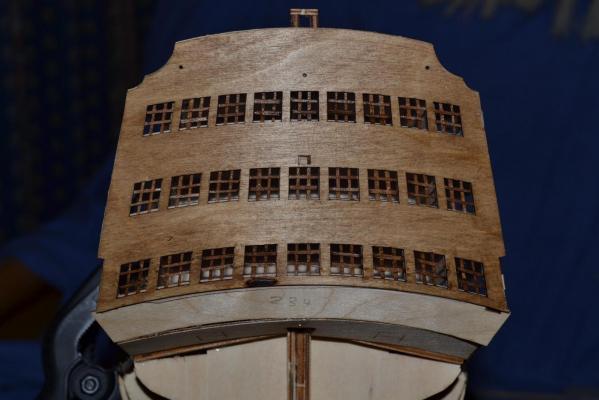
Rear windows done.The acetate is in there,but doesn't show up in the picture,and a couple of bits added to the rear deck.
- 104 replies
-
- 1
-

-
- victory
- billing boats
- (and 1 more)
-
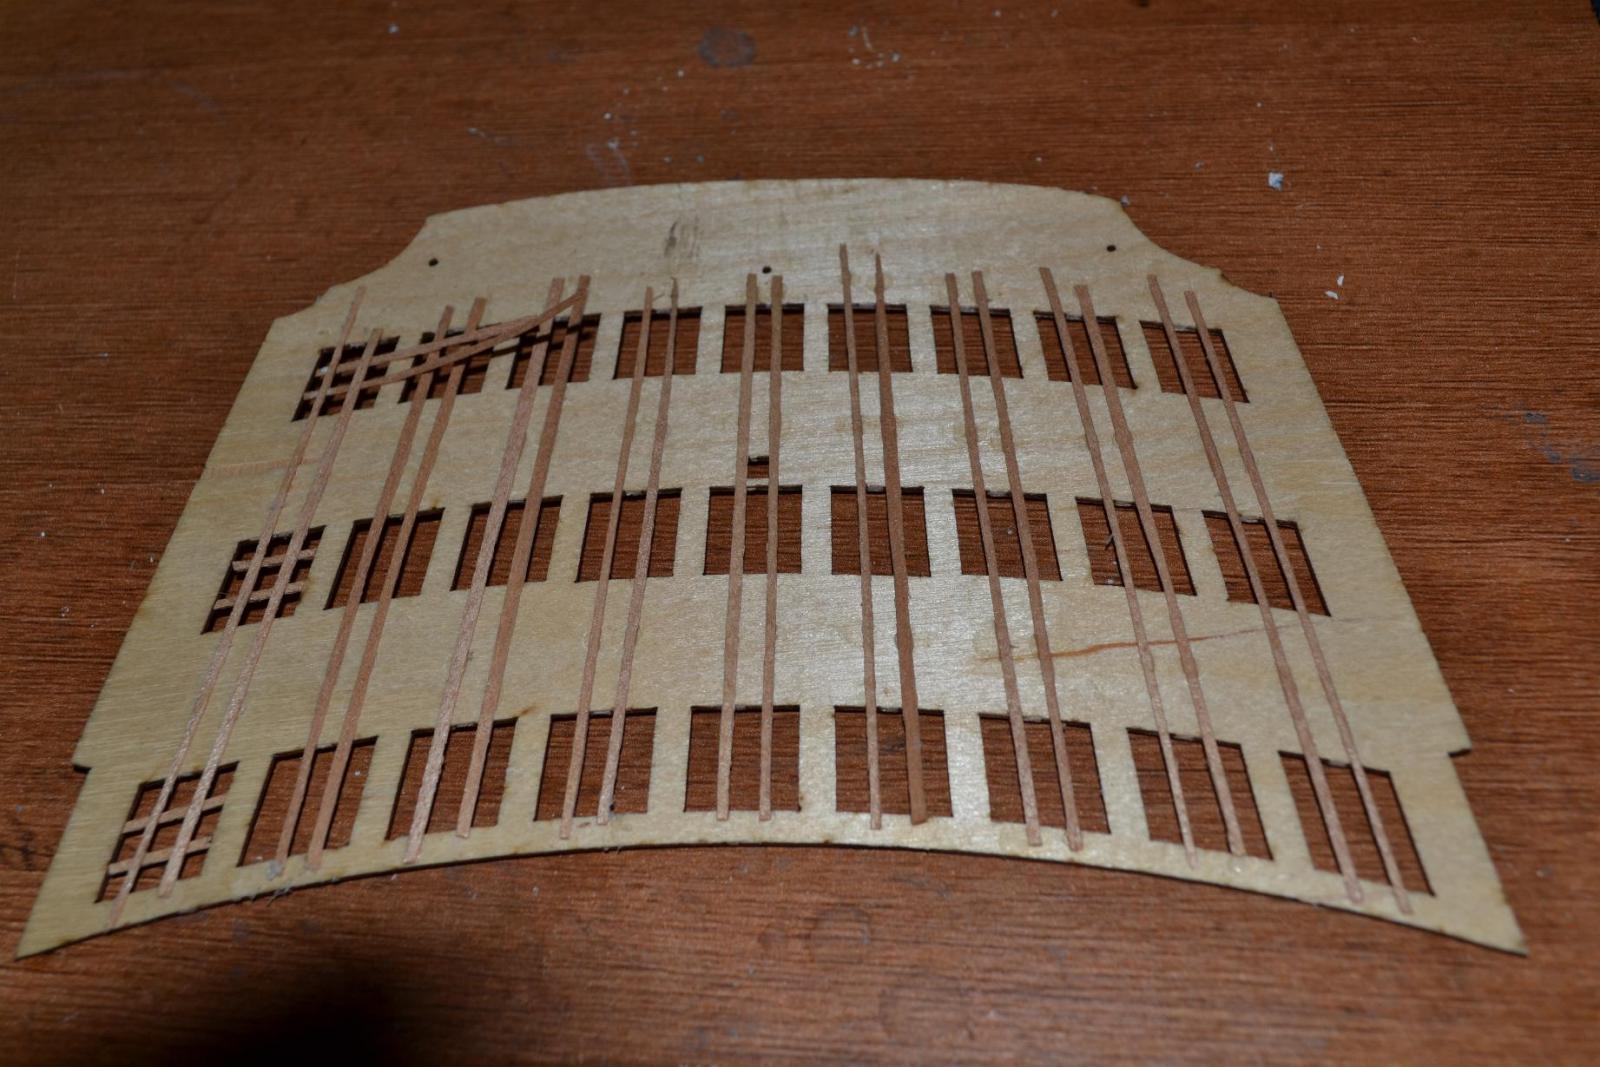
Hi David, I'm fitting the uprights on the rear face,and just the cross pieces in. The wood strip actually cuts quite easily with a pair of scissors! Thanks for the input though,and I'll keep the styrene strip in mind for my next build. Cheers, Keith.
- 104 replies
-
- 1
-
-
- victory
- billing boats
- (and 1 more)
-
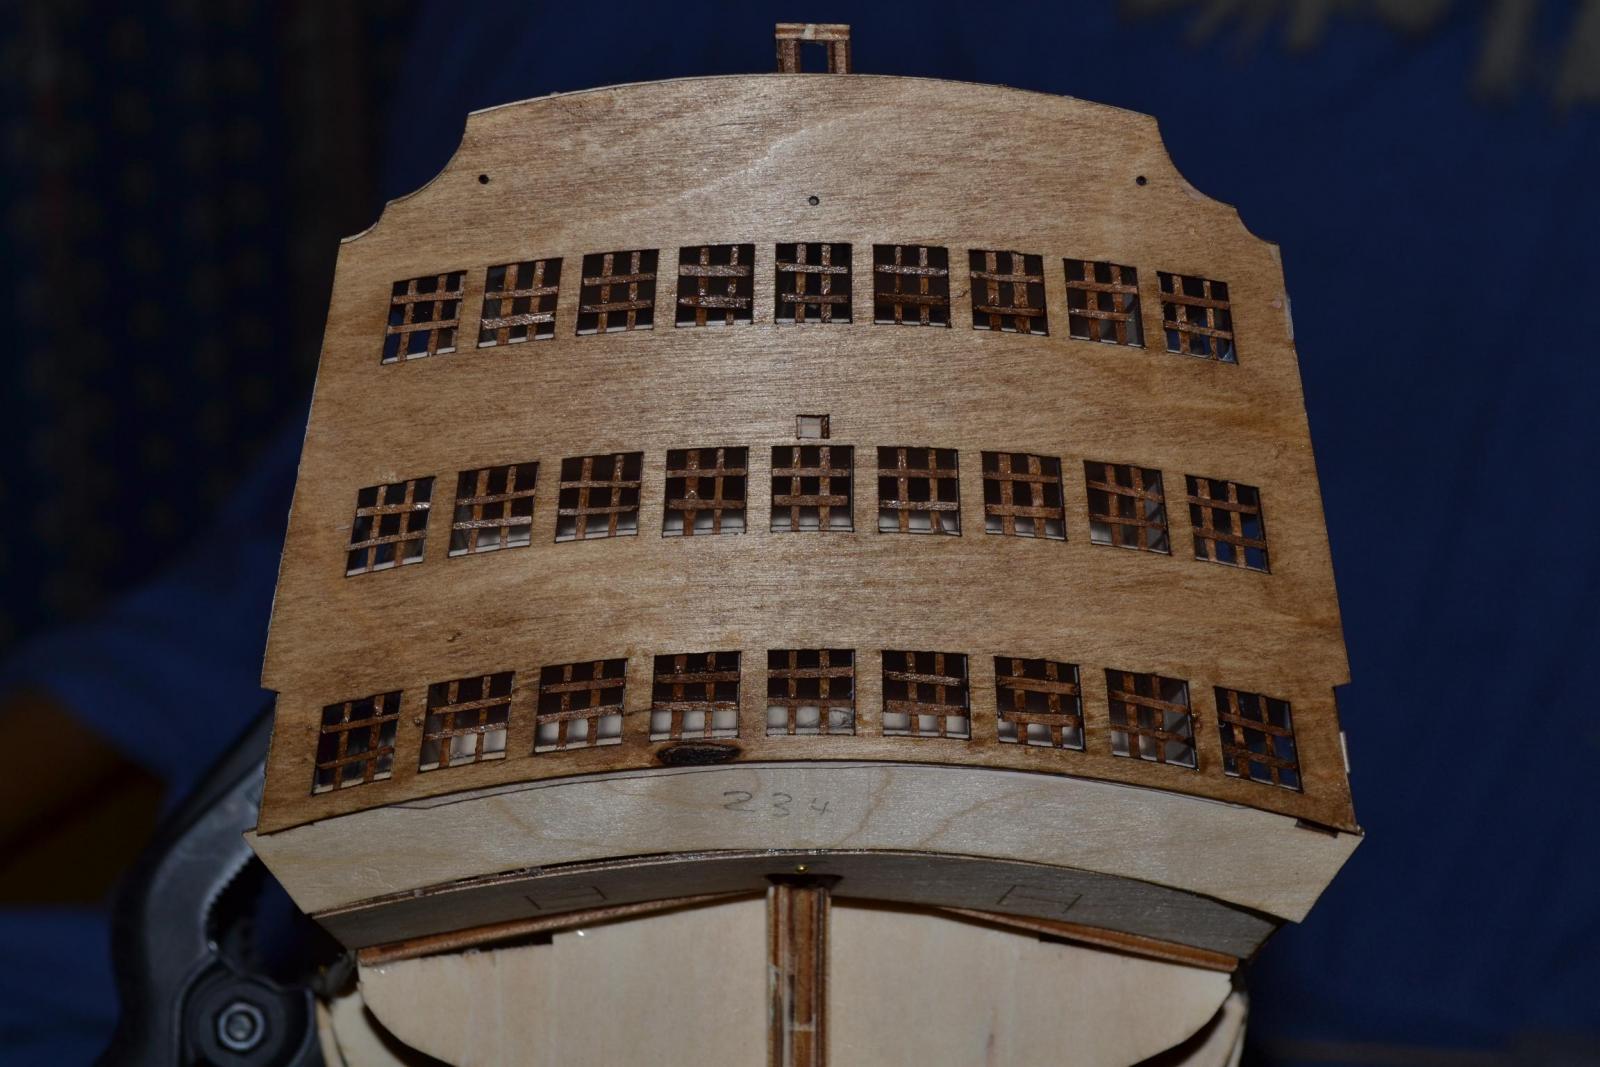
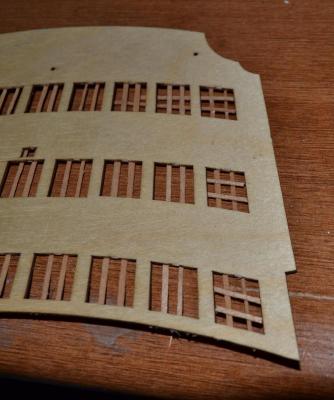
Good old Billings don't give you any window framing,and as far as I can see from the "instructions",you're supposed to just draw or paint them on to the acetate.I thought this wouldn't look very good,so I'm making my own by slicing some thin strips off some 1/2mm planking,and putting them in the frames. A bit tedious,but one of those jobs which can be done a bit at a time while you're waiting for something else to dry!

- 104 replies
-
- 2
-
-
- victory
- billing boats
- (and 1 more)
-
Hi David, Yes,I'm really enjoying it so far,even if the instructions are barely understandable! Still,half the fun is working things out. Unfortunately,Billings don't supply the copper plates. I wasn't really expecting to find them in the box seeing as this kit is priced so reasonably. Looks like I'm going to have to do a bit of shopping around for them.From what I've seen so far they're quite expensive! Cheers, Keith.
- 104 replies
-
- 1
-
-
- victory
- billing boats
- (and 1 more)
-
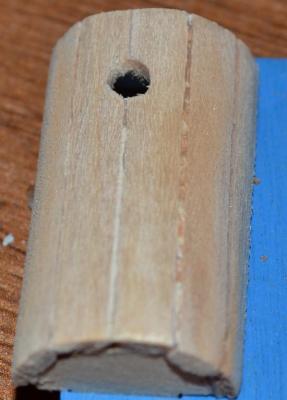
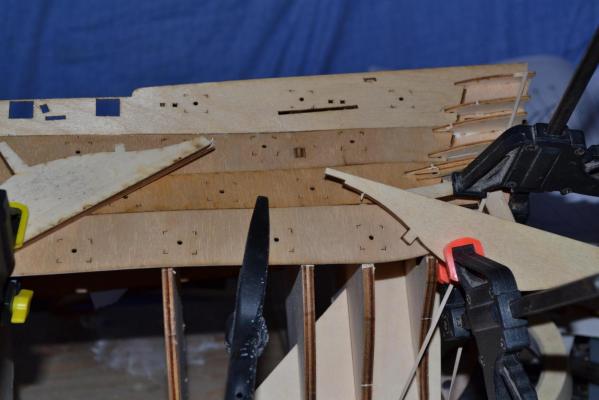
The front columns in this kit are plywood,and after many attempts to bend it round the formers,I've decided that it's easier if I make them out of some planking instead.A bit more filling and sanding should do the trick. So far,this is the first bit of this kit that I've had to alter,but I'm sure it won't be the last!

-
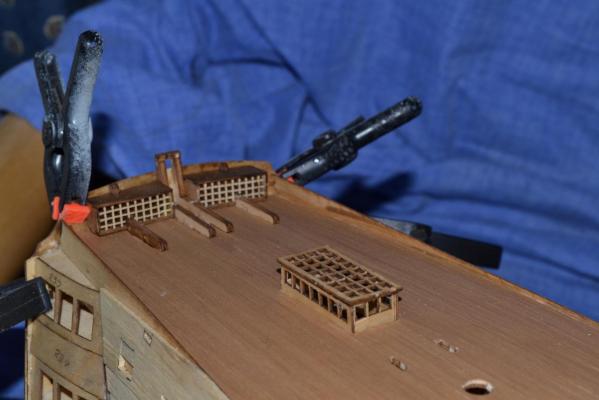
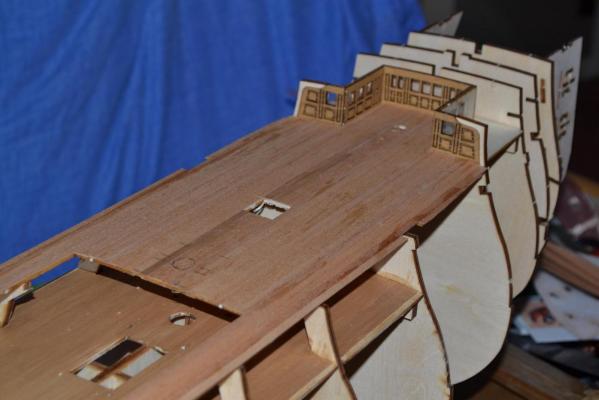
Rear deck planked,and side panels going on.Never throw the scrap wood away,it comes in handy for clamping!!
-
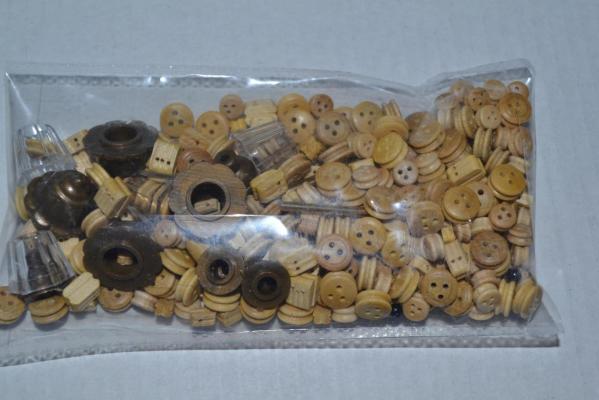
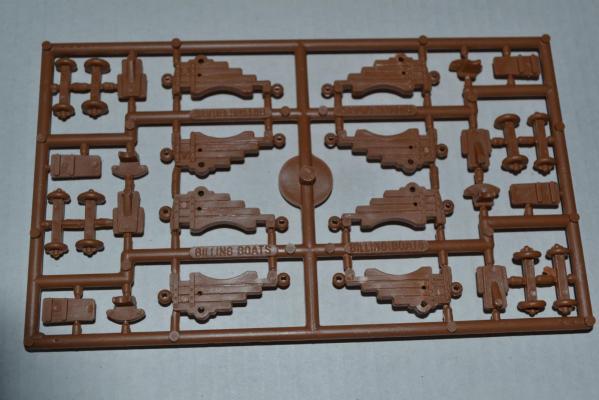
Here's a few photo's of some fittings.I'm not going to take them out of their bags yet,as I'll probably end up losing some of them! The figurehead is a particularly nice,heavy,well detailed casting. Guns,and all other metal parts seem to be very good quality as well. All the deadeyes and blocks are wood,not plastic. The gun trolleys,although plastic,are very sturdy and well detailed.I think they will look good when painted.


-
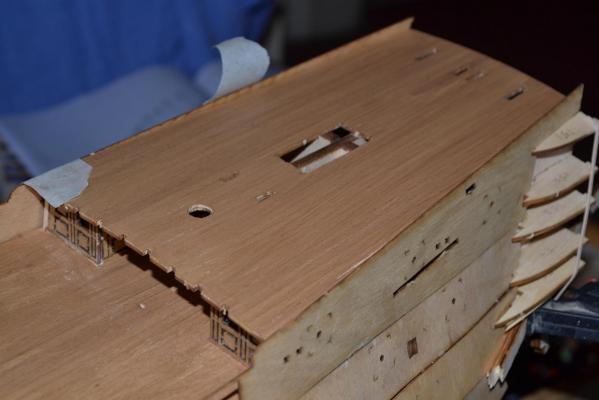
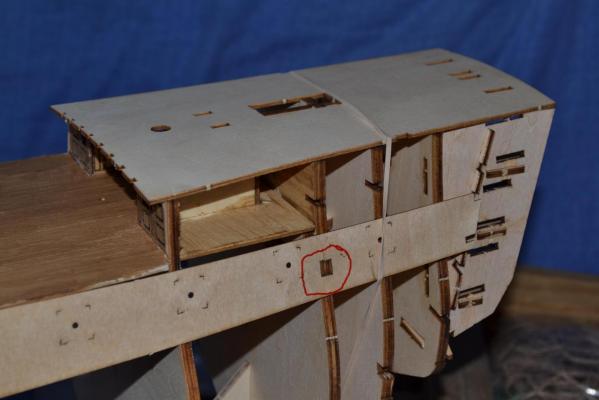
Rear deck in place ready for planking. First of the side pieces in position.There are a couple of locating pegs on 2 of the bulkheads for this,so it is crucial that the bulkheads are built perfectly square,or this panel won't fit. I've marked the locating pegs.

-
I'll put some photo's of some of the fittings on later.I haven't opened the packet yet,but there are lots of metal parts,and it looks like all the gun trolleys are plastic,but I'm sure they'll be okay when painted up.
-
Day 3,and things seem to be going well at the moment. Only got another week before my new workshop arrives,so the ship building will come to a halt for a couple of weeks while I get it all kitted out. Here's a couple more photo's. I'm using a natural oak stain for the window frames,with a dark oak on the backing to set them off a bit. Will also use natural oak colour on the decking.Just got to cut a few holes in it then sand it down ready for staining. Already got the next project- a Billings Cutty Sark that has had the hull partially built,then the chap got fed up with it,so I bought it off him for a quarter of the price of a new one,with fitting kit as well!

-
Hi Kevin, Just had a look at your build,(I'm green with envy!) If mine turns out to be half as good as that I'll be well pleased! Cheers, Keith.
-
Thanks Don. I've just had a look at your Bounty,and I think you've done a really nice job on it. Cheers, Keith.
-
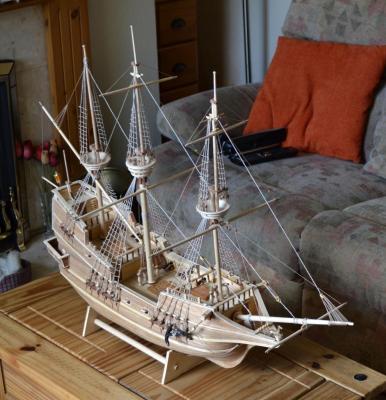
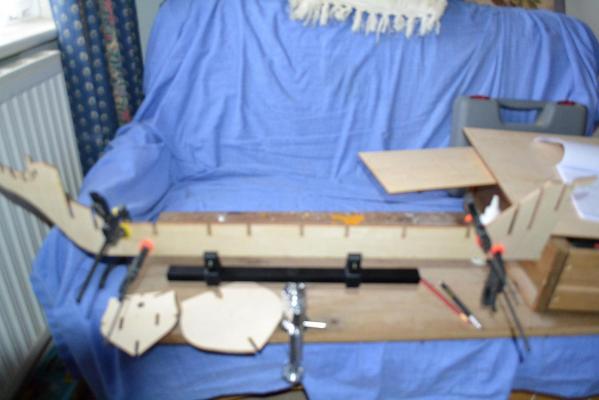
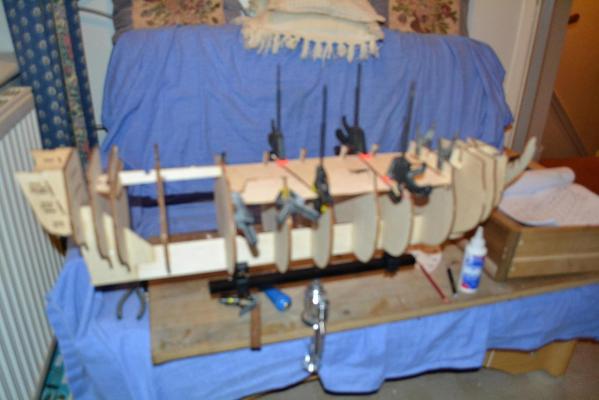
Well,the big box arrived yesterday,and,although I'm not supposed to start this model before I've got my new workshop,I just couldn't resist making a start! This kit may not be the best as far as some people are concerned,but a 1:75 scale Victory for £260 is worth a try! Instructions are a bit vague,but you just have to sit down and study the pictures for a while. The wooden parts all seem to be very good quality,and fit together nicely so far. After the first day I had the main bulkheads in place,and also the lower deck,which I am planking today. First 2 pictures are a bit blurred,as I've just realised I still had my camera set up for taking photo's of the moon through my telescope,but it's all sorted now! I haven't got a building slip,but have purchased a keel clamp which is already proving to be very helpful in turning the ship round easily. More pics to follow as I progress,and I would welcome any input from anyone who has built this model.

-
Hi Michael, I have just taken delivery of the same model. However,you have a good start on me as I have to build myself a new shed/workshop first,which will set me back on the ship a few weeks! I'm so tempted to start it in the spare bedroom,but if I do I'll never get the workshop built! I'll keep an eye on your build log as I might be able to pick up some pointers off you! All the best, Keith.
-
Next deck and cabins added,and work started on 3rd deck cabins.Oh,and threw some more paint at it! It all seems to be going well,the parts are all very precise,and a good fit.
- 8 replies
-
- 1
-
-
- titanic
- parts work
- (and 1 more)
-
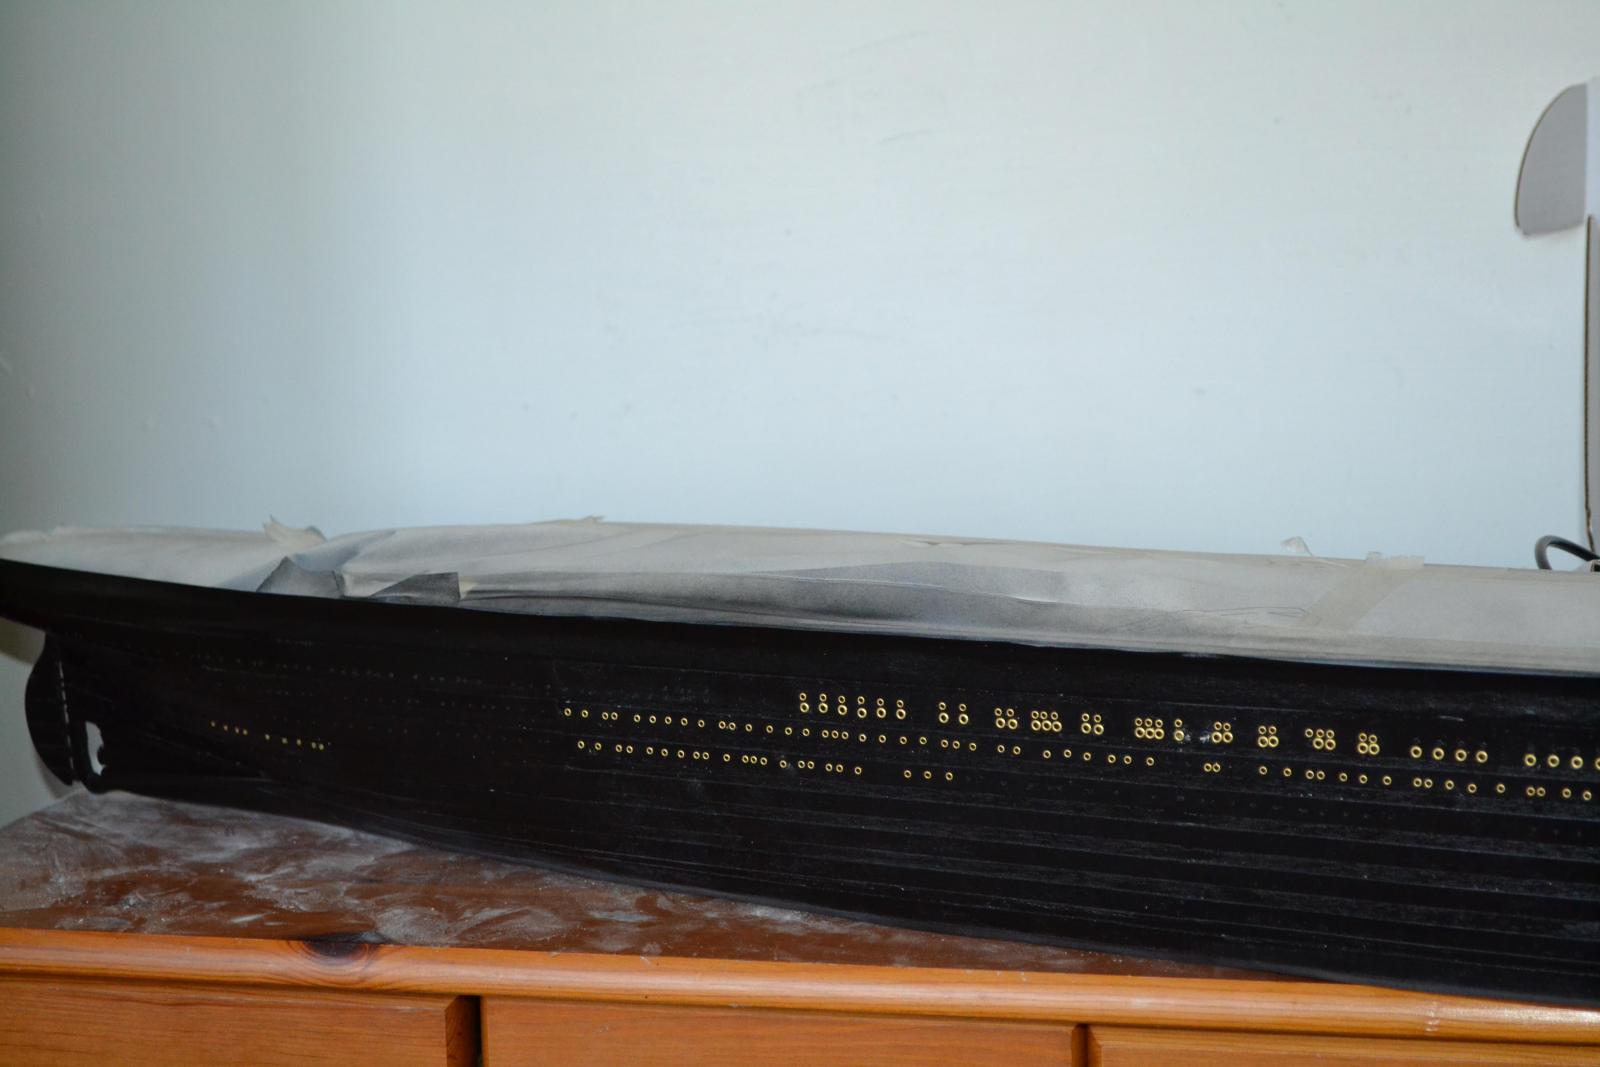
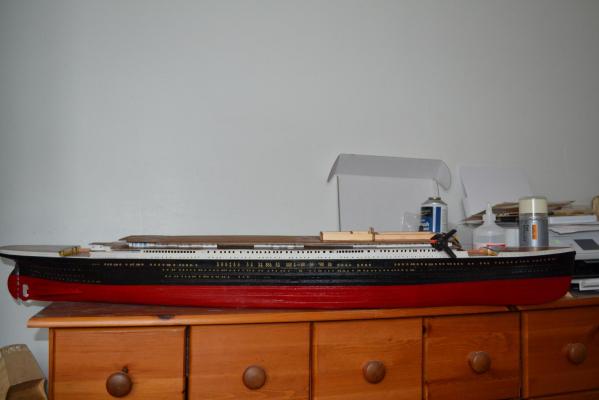
Black coat on ,then started to fix the portholes.
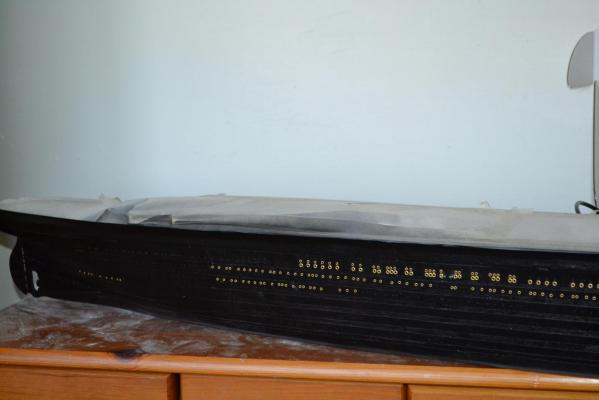
-
All the holes drilled,only about 1,200 altogether!
-
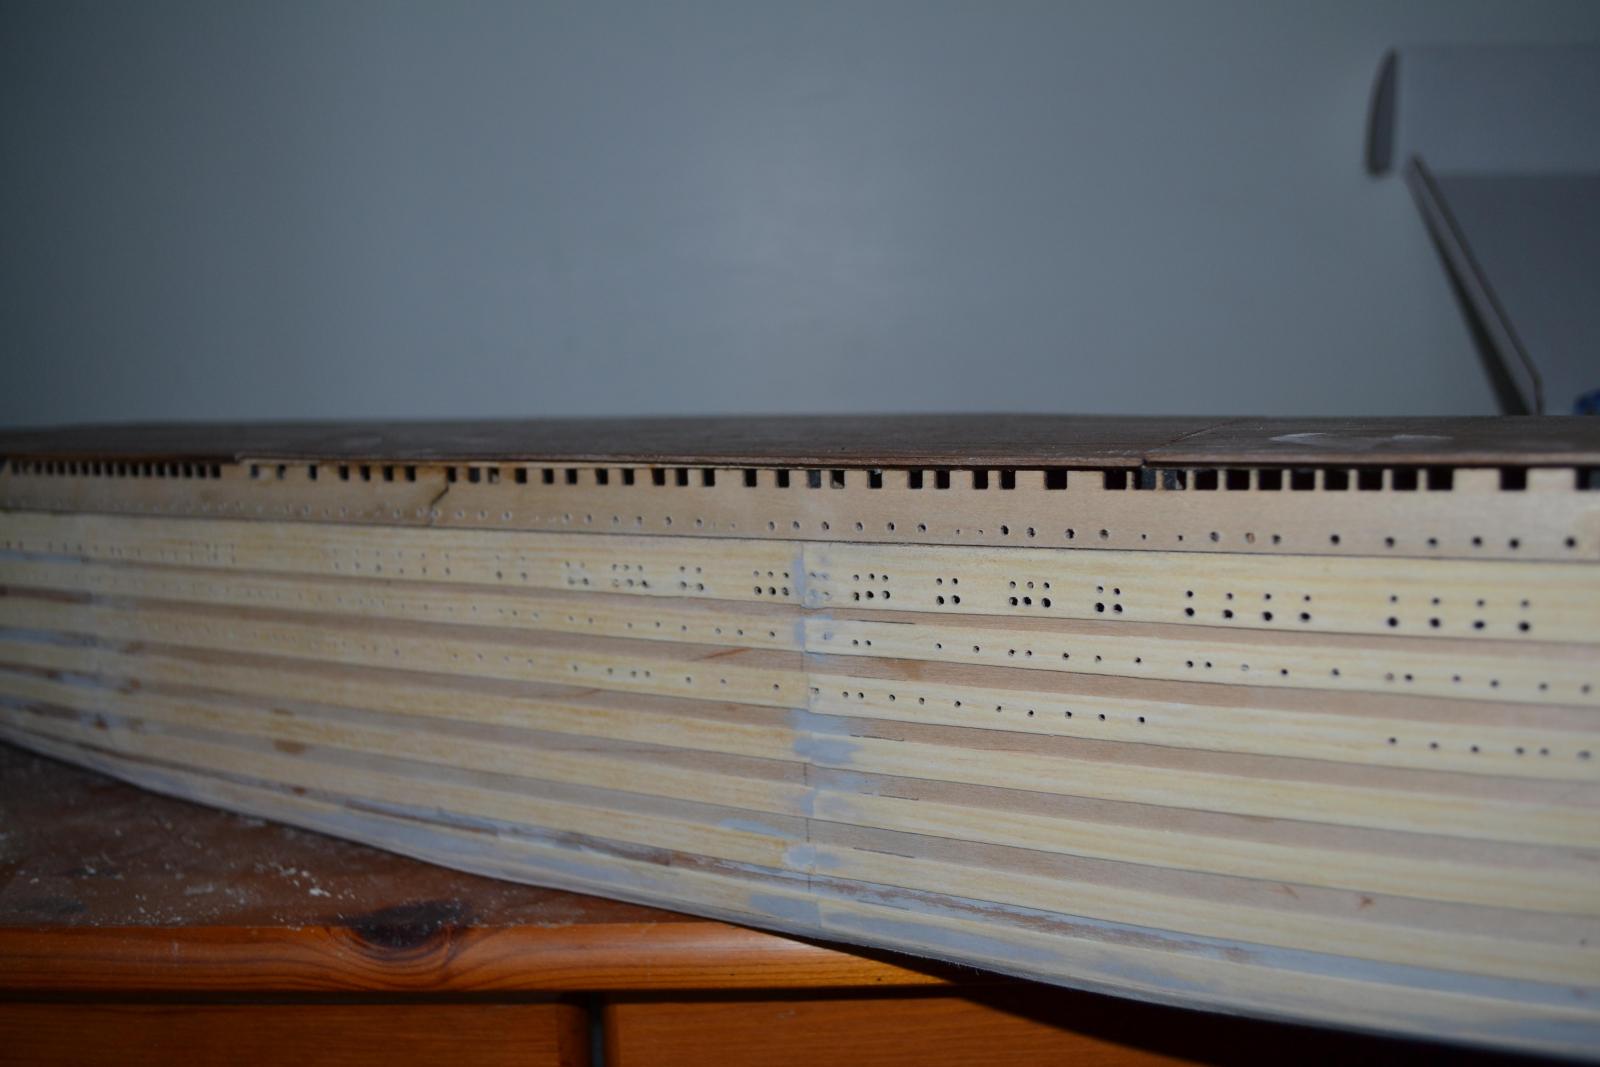
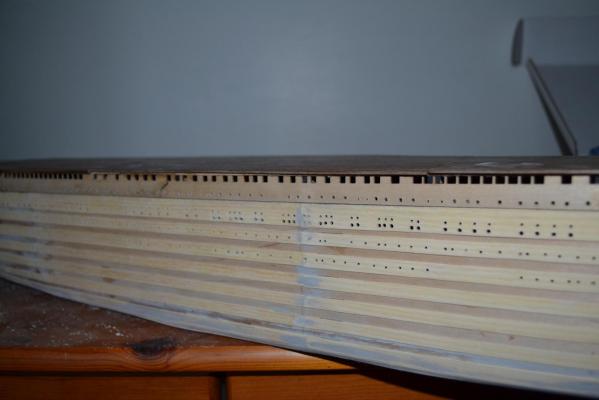
That's one side with second planking on,also 1st row of windows.Note the liberal use of elastic bands,they come in really handy!!

-
Done a bit more. Some planking,filling and decking.


-
Hello David, The trouble is-the ones on e-bay aren't the ones I need! I'll keep looking though,as it will take me some time to get to when I need them. I've built plastic models of this ship before,but have always wanted to tackle this wooden version. Cheers, Keith.
-
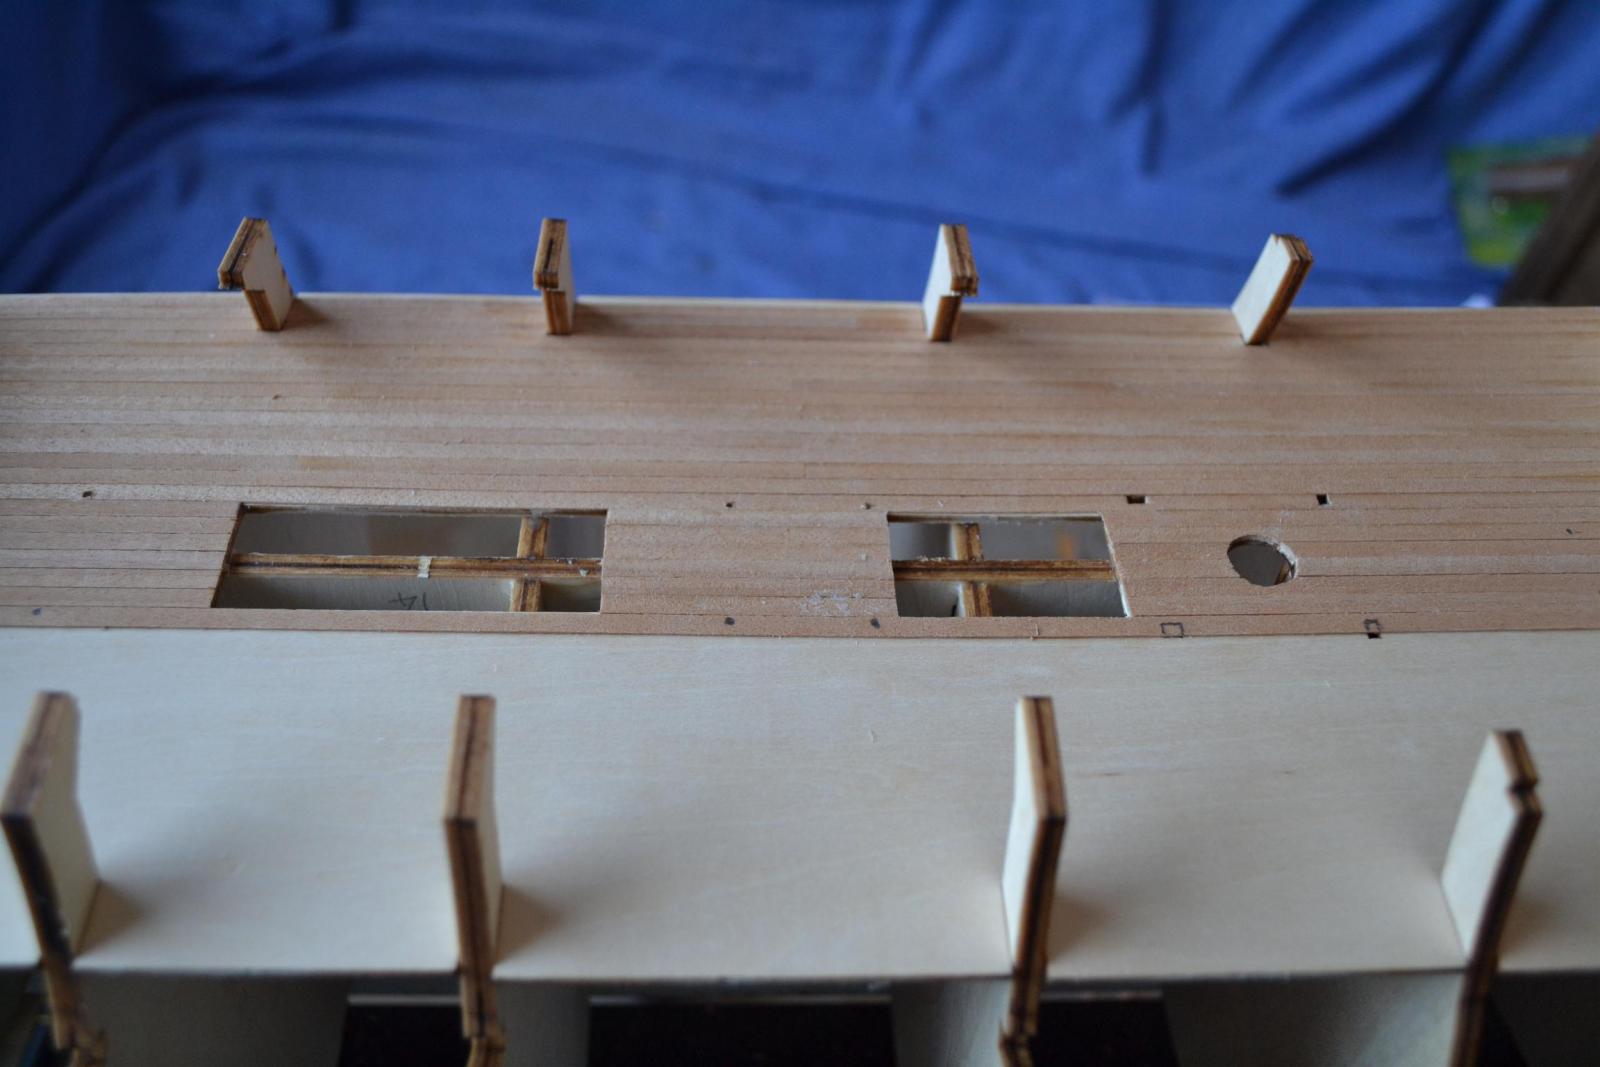
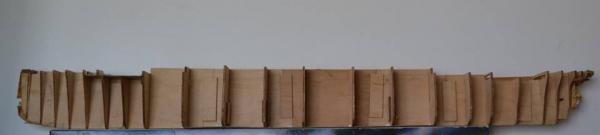
Just bought this off a chap who had this up in his loft for the past 4 years.He admitted that model-making wasn't for him! It's the "Build the Titanic"magazine collection. Nearly complete collection,except for issues 93-100.I hope I can get hold of them over the coming months. Most of the planks are falling off or broken.Don't know what glue he used but it didn't work very well! Have stripped off the one side,and am just waiting for my order of new ones. Can't strip the other side off yet,as I have to make a template off it to drill the portholes,etc. Wish me luck!!


-
It's a long way off,but I'm dreading coppering my Victory,and they're so expensive! Does anybody know where to get the best bargains for the copper?
-
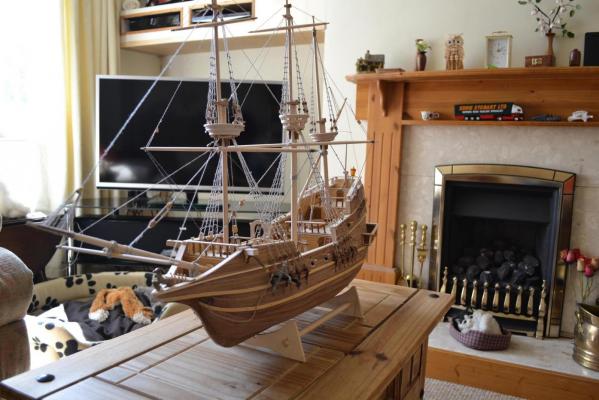
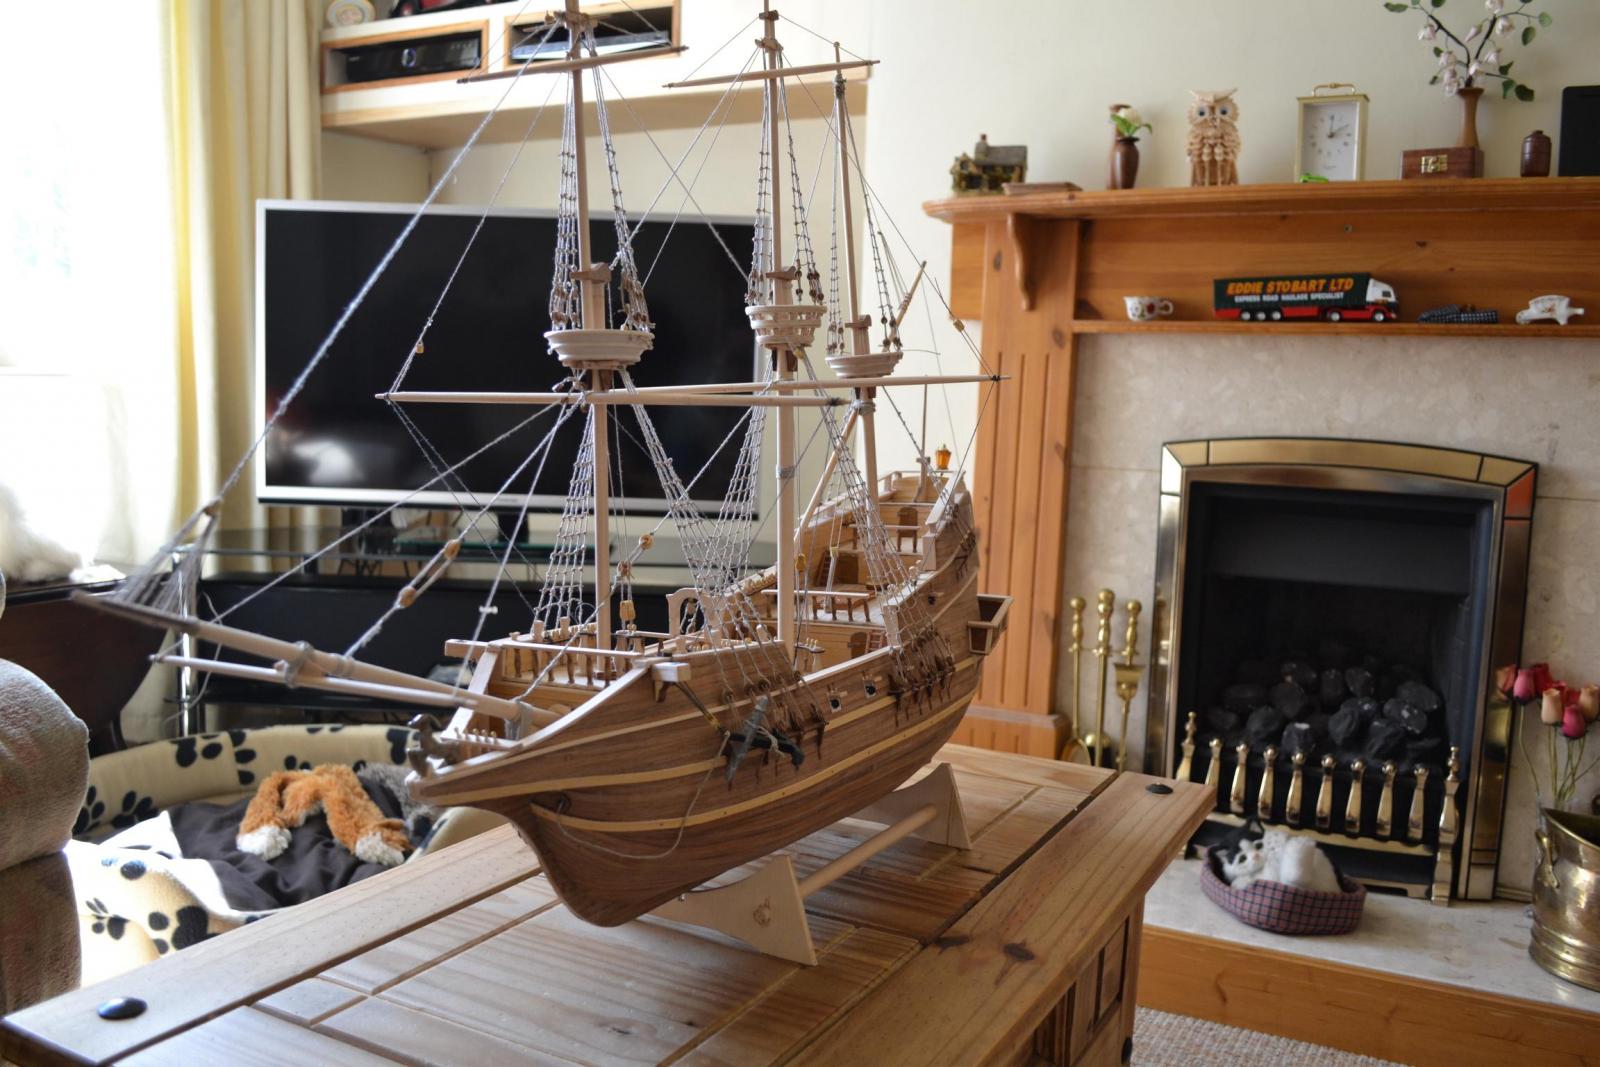
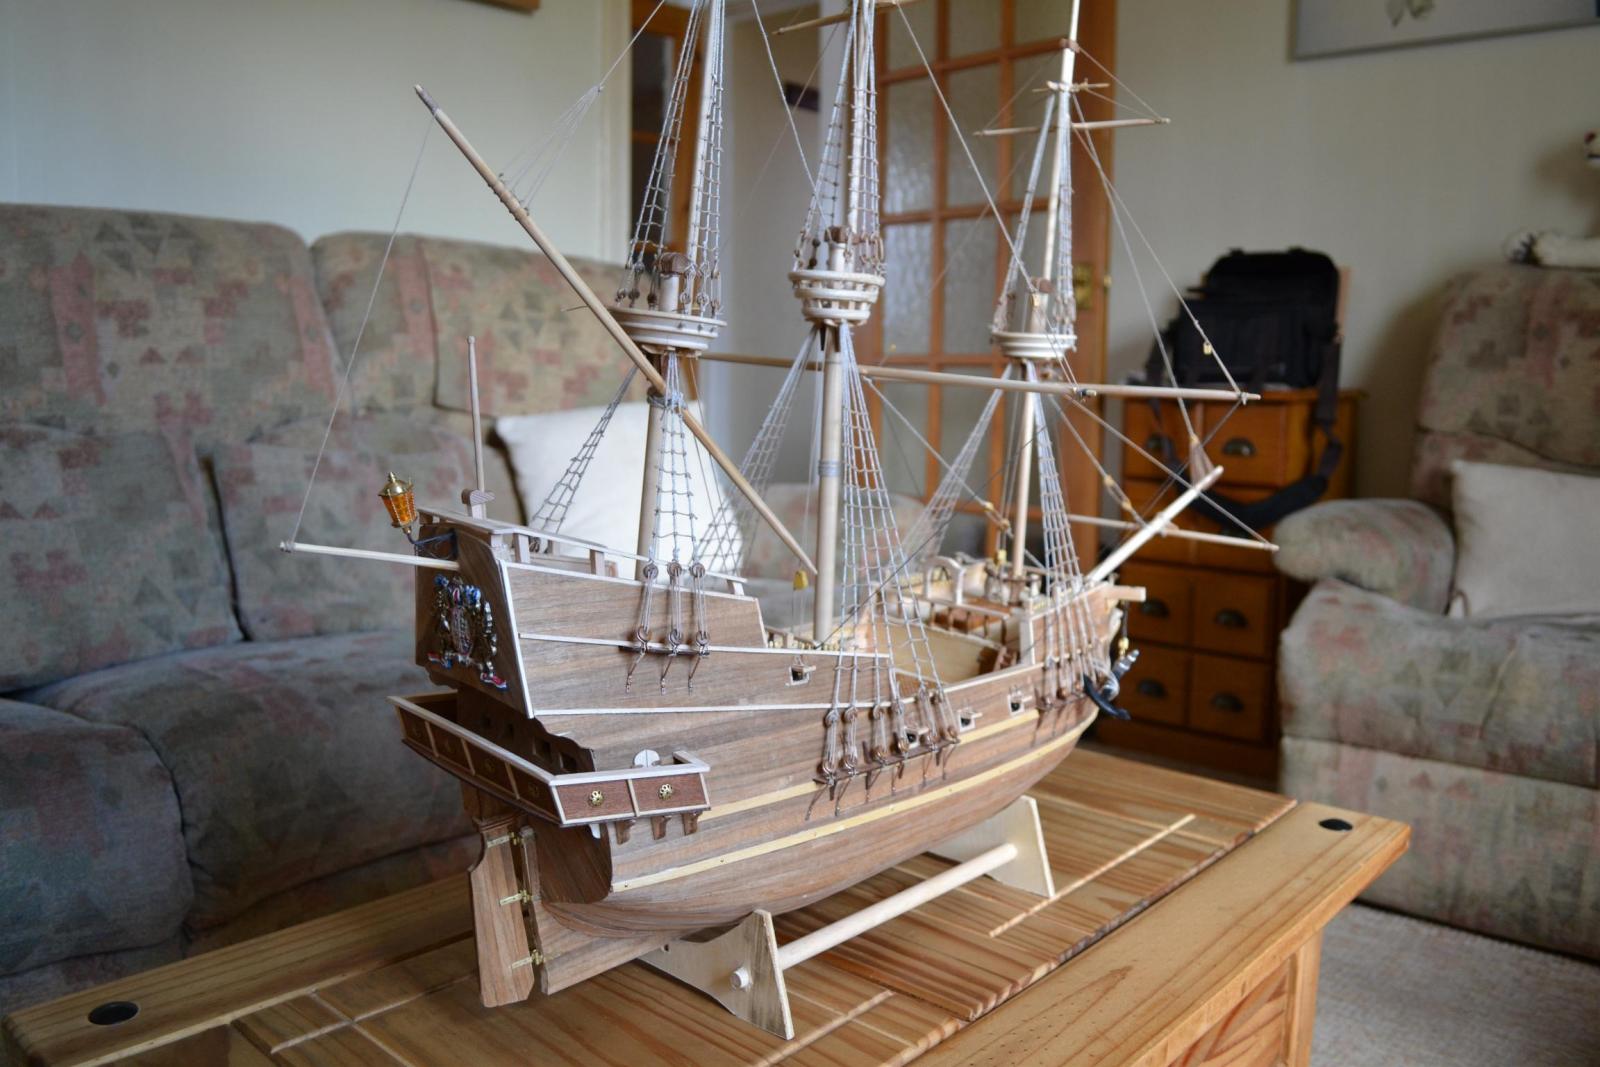
Golden Hind by Keith B - FINISHED
Keith B replied to Keith B's topic in - Build logs for subjects built 1501 - 1750
Haven't got a clue! There's no scale on the plans. -
Golden Hind by Keith B - FINISHED
Keith B replied to Keith B's topic in - Build logs for subjects built 1501 - 1750
Well,it's just about finished,and as far as my first ever build goes,I'm fairly pleased with it.There are a lot more details I could do,but this was really just a model to have a practice on doing the basics. I've now well and truly got the building bug,and have managed to aquire a set of plans for the Mantua Victory,scale 1:78,and also plans for the Mamoli version,same scale. The only trouble with the plans is that there are no materials lists,and the plans don't tell me what thickness and type of wood,so if anybody can give me a rough rundown of basic wood material I will need,I will be extremely grateful !!