HOLIDAY DONATION DRIVE - SUPPORT MSW - DO YOUR PART TO KEEP THIS GREAT FORUM GOING! (Only 36 donations so far out of 49,000 members - C'mon guys!)
×


Wreck1919
-
Posts
82 -
Joined
-
Last visited
Content Type
Profiles
Forums
Gallery
Events
Everything posted by Wreck1919
-
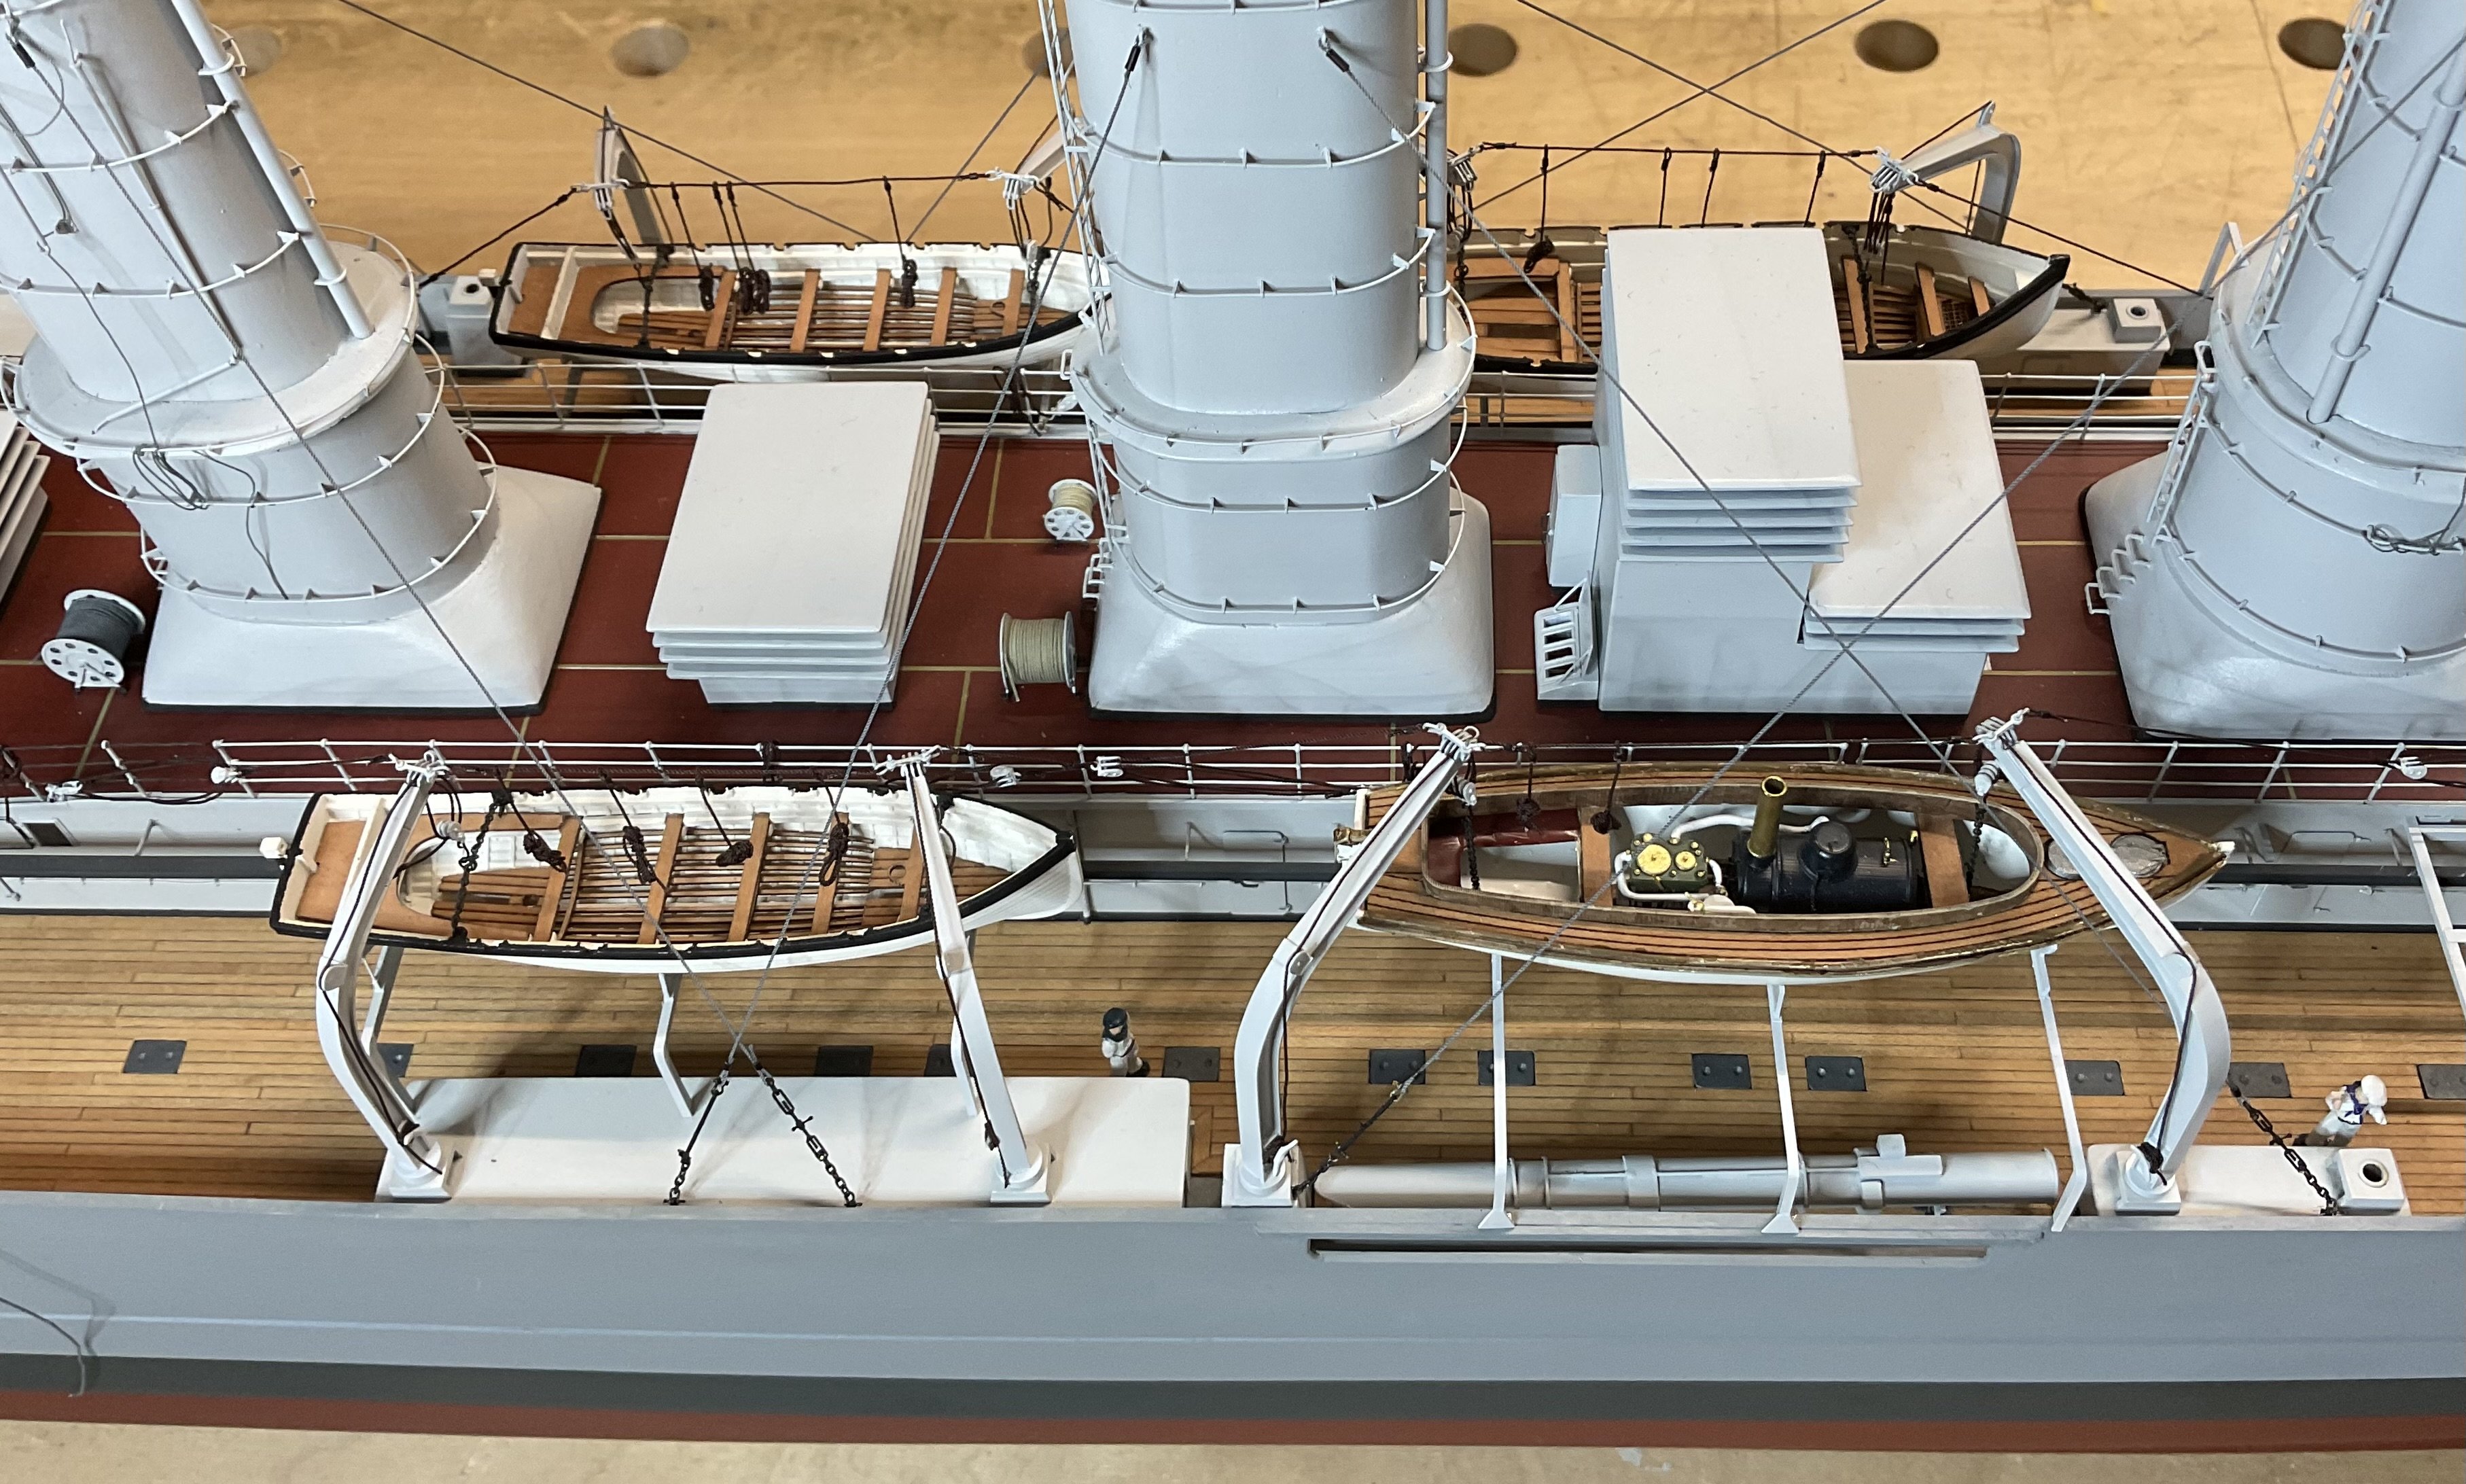
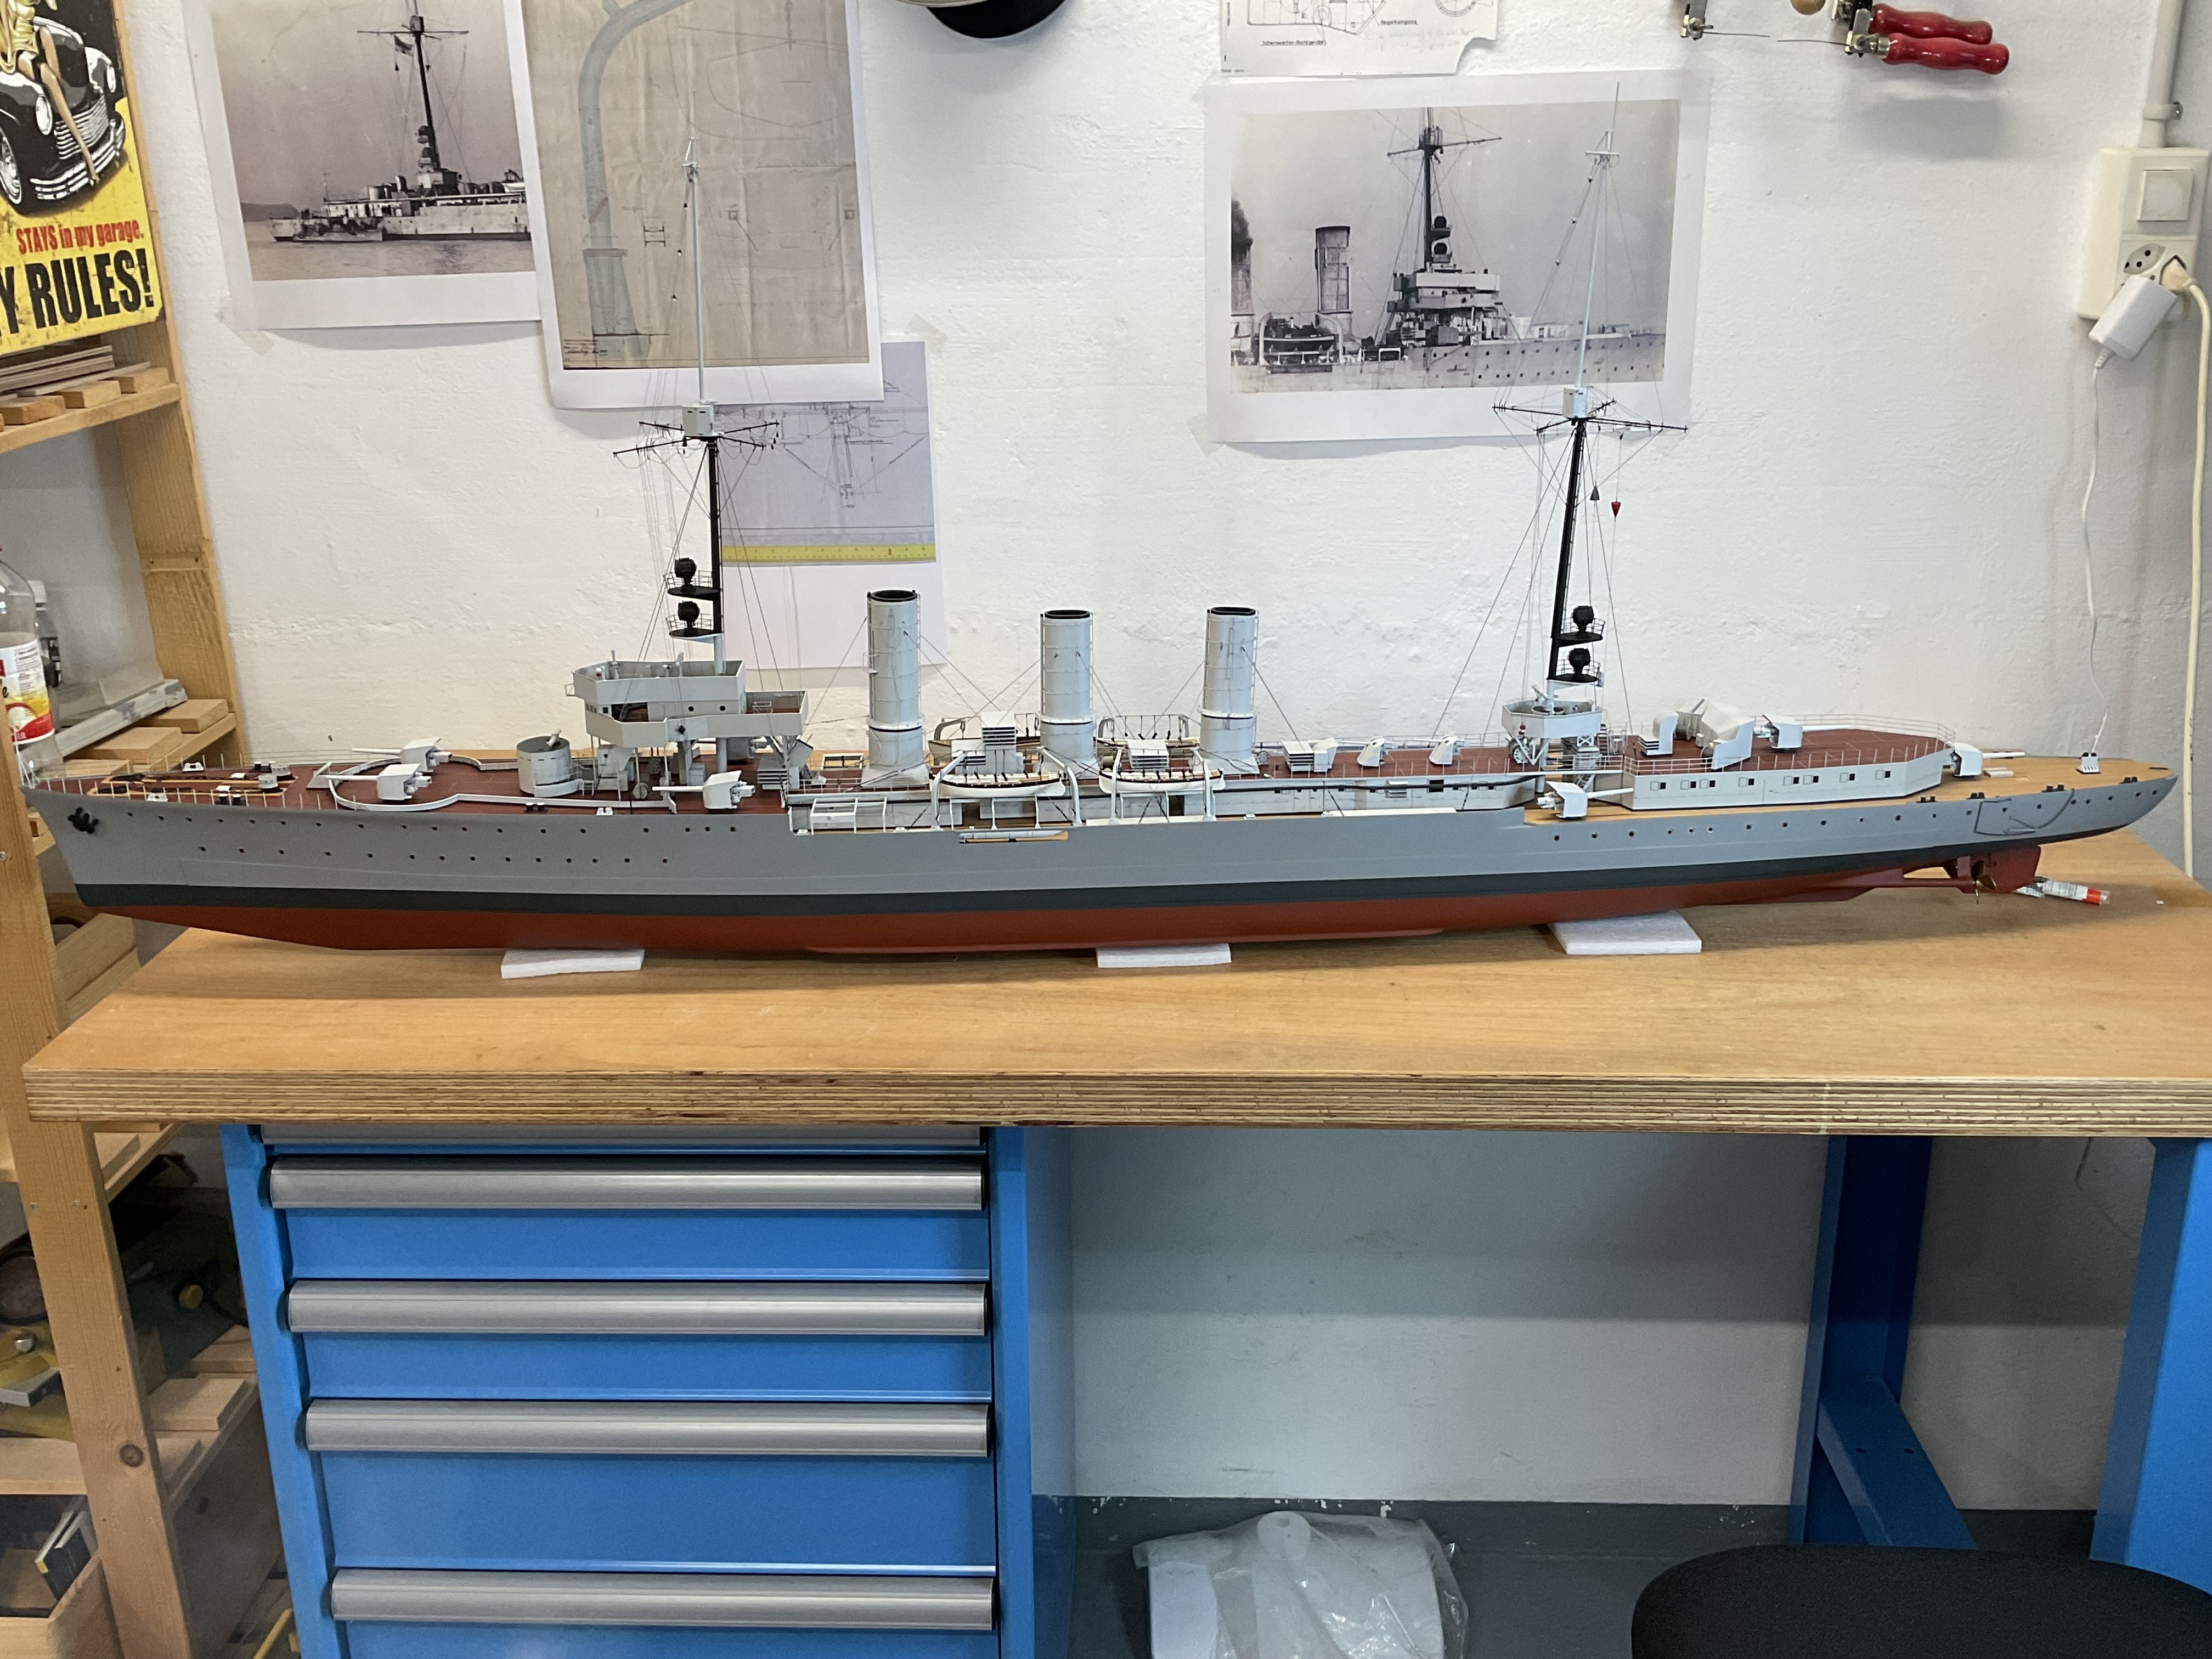
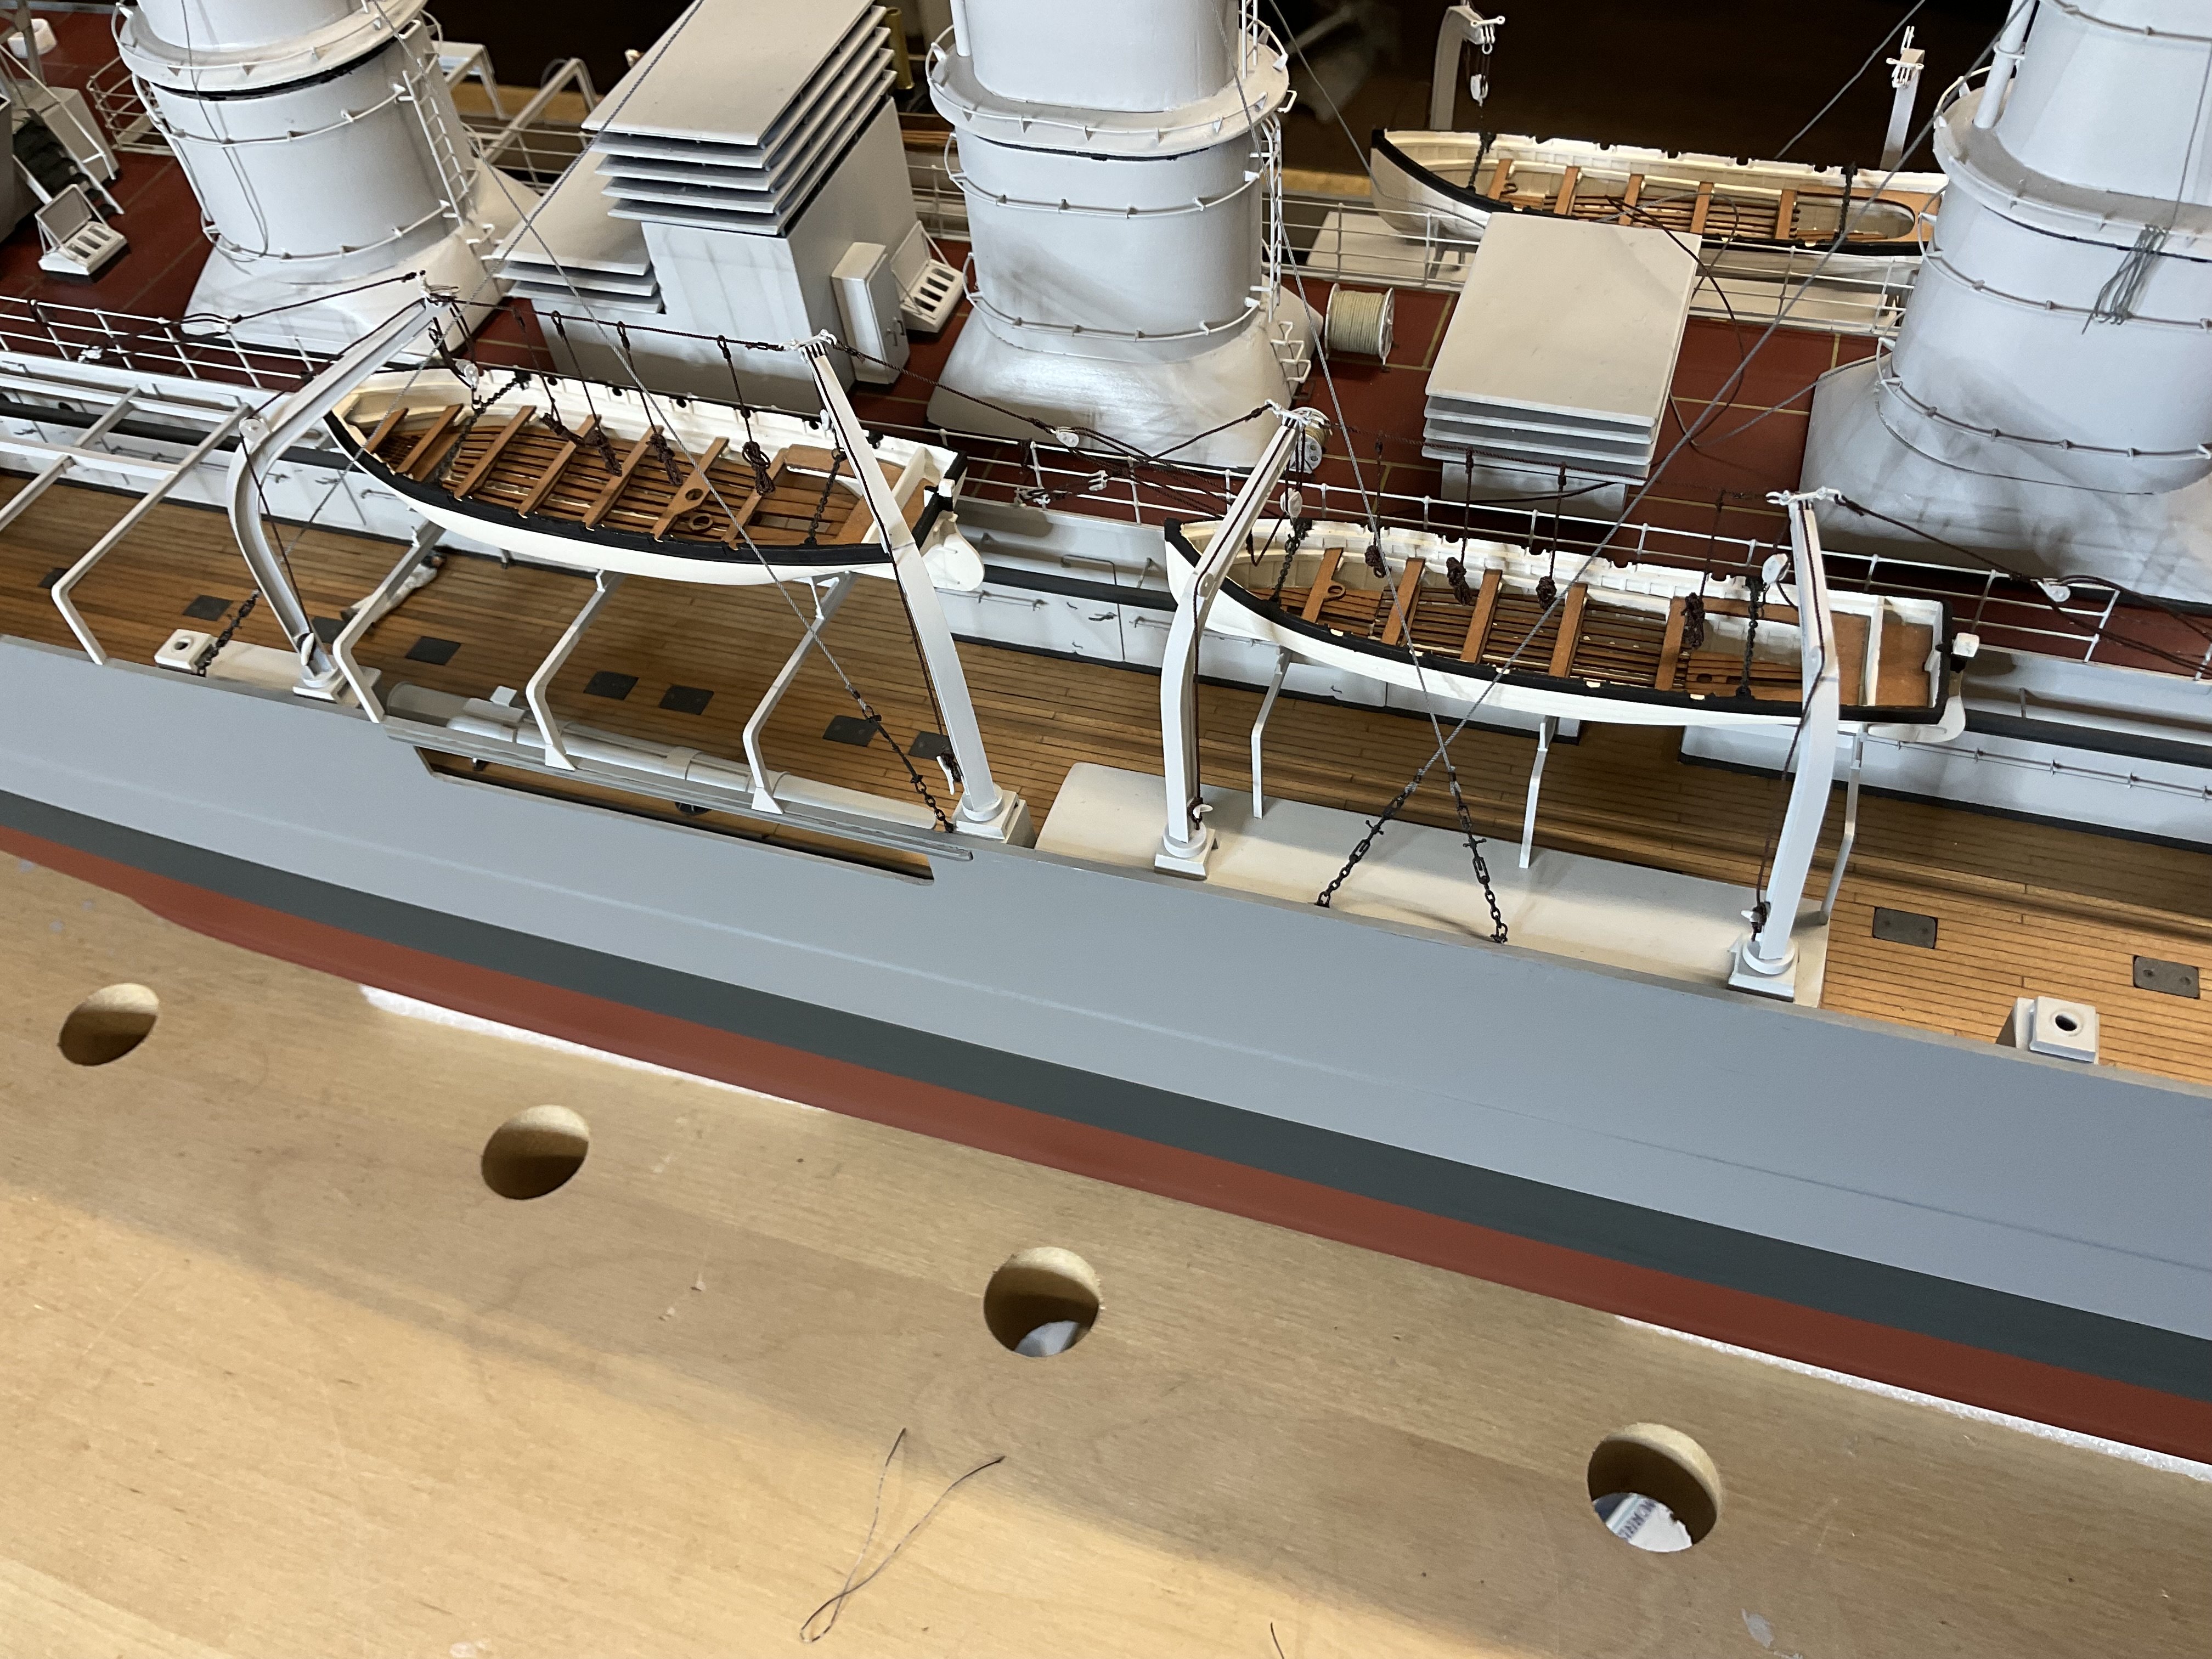
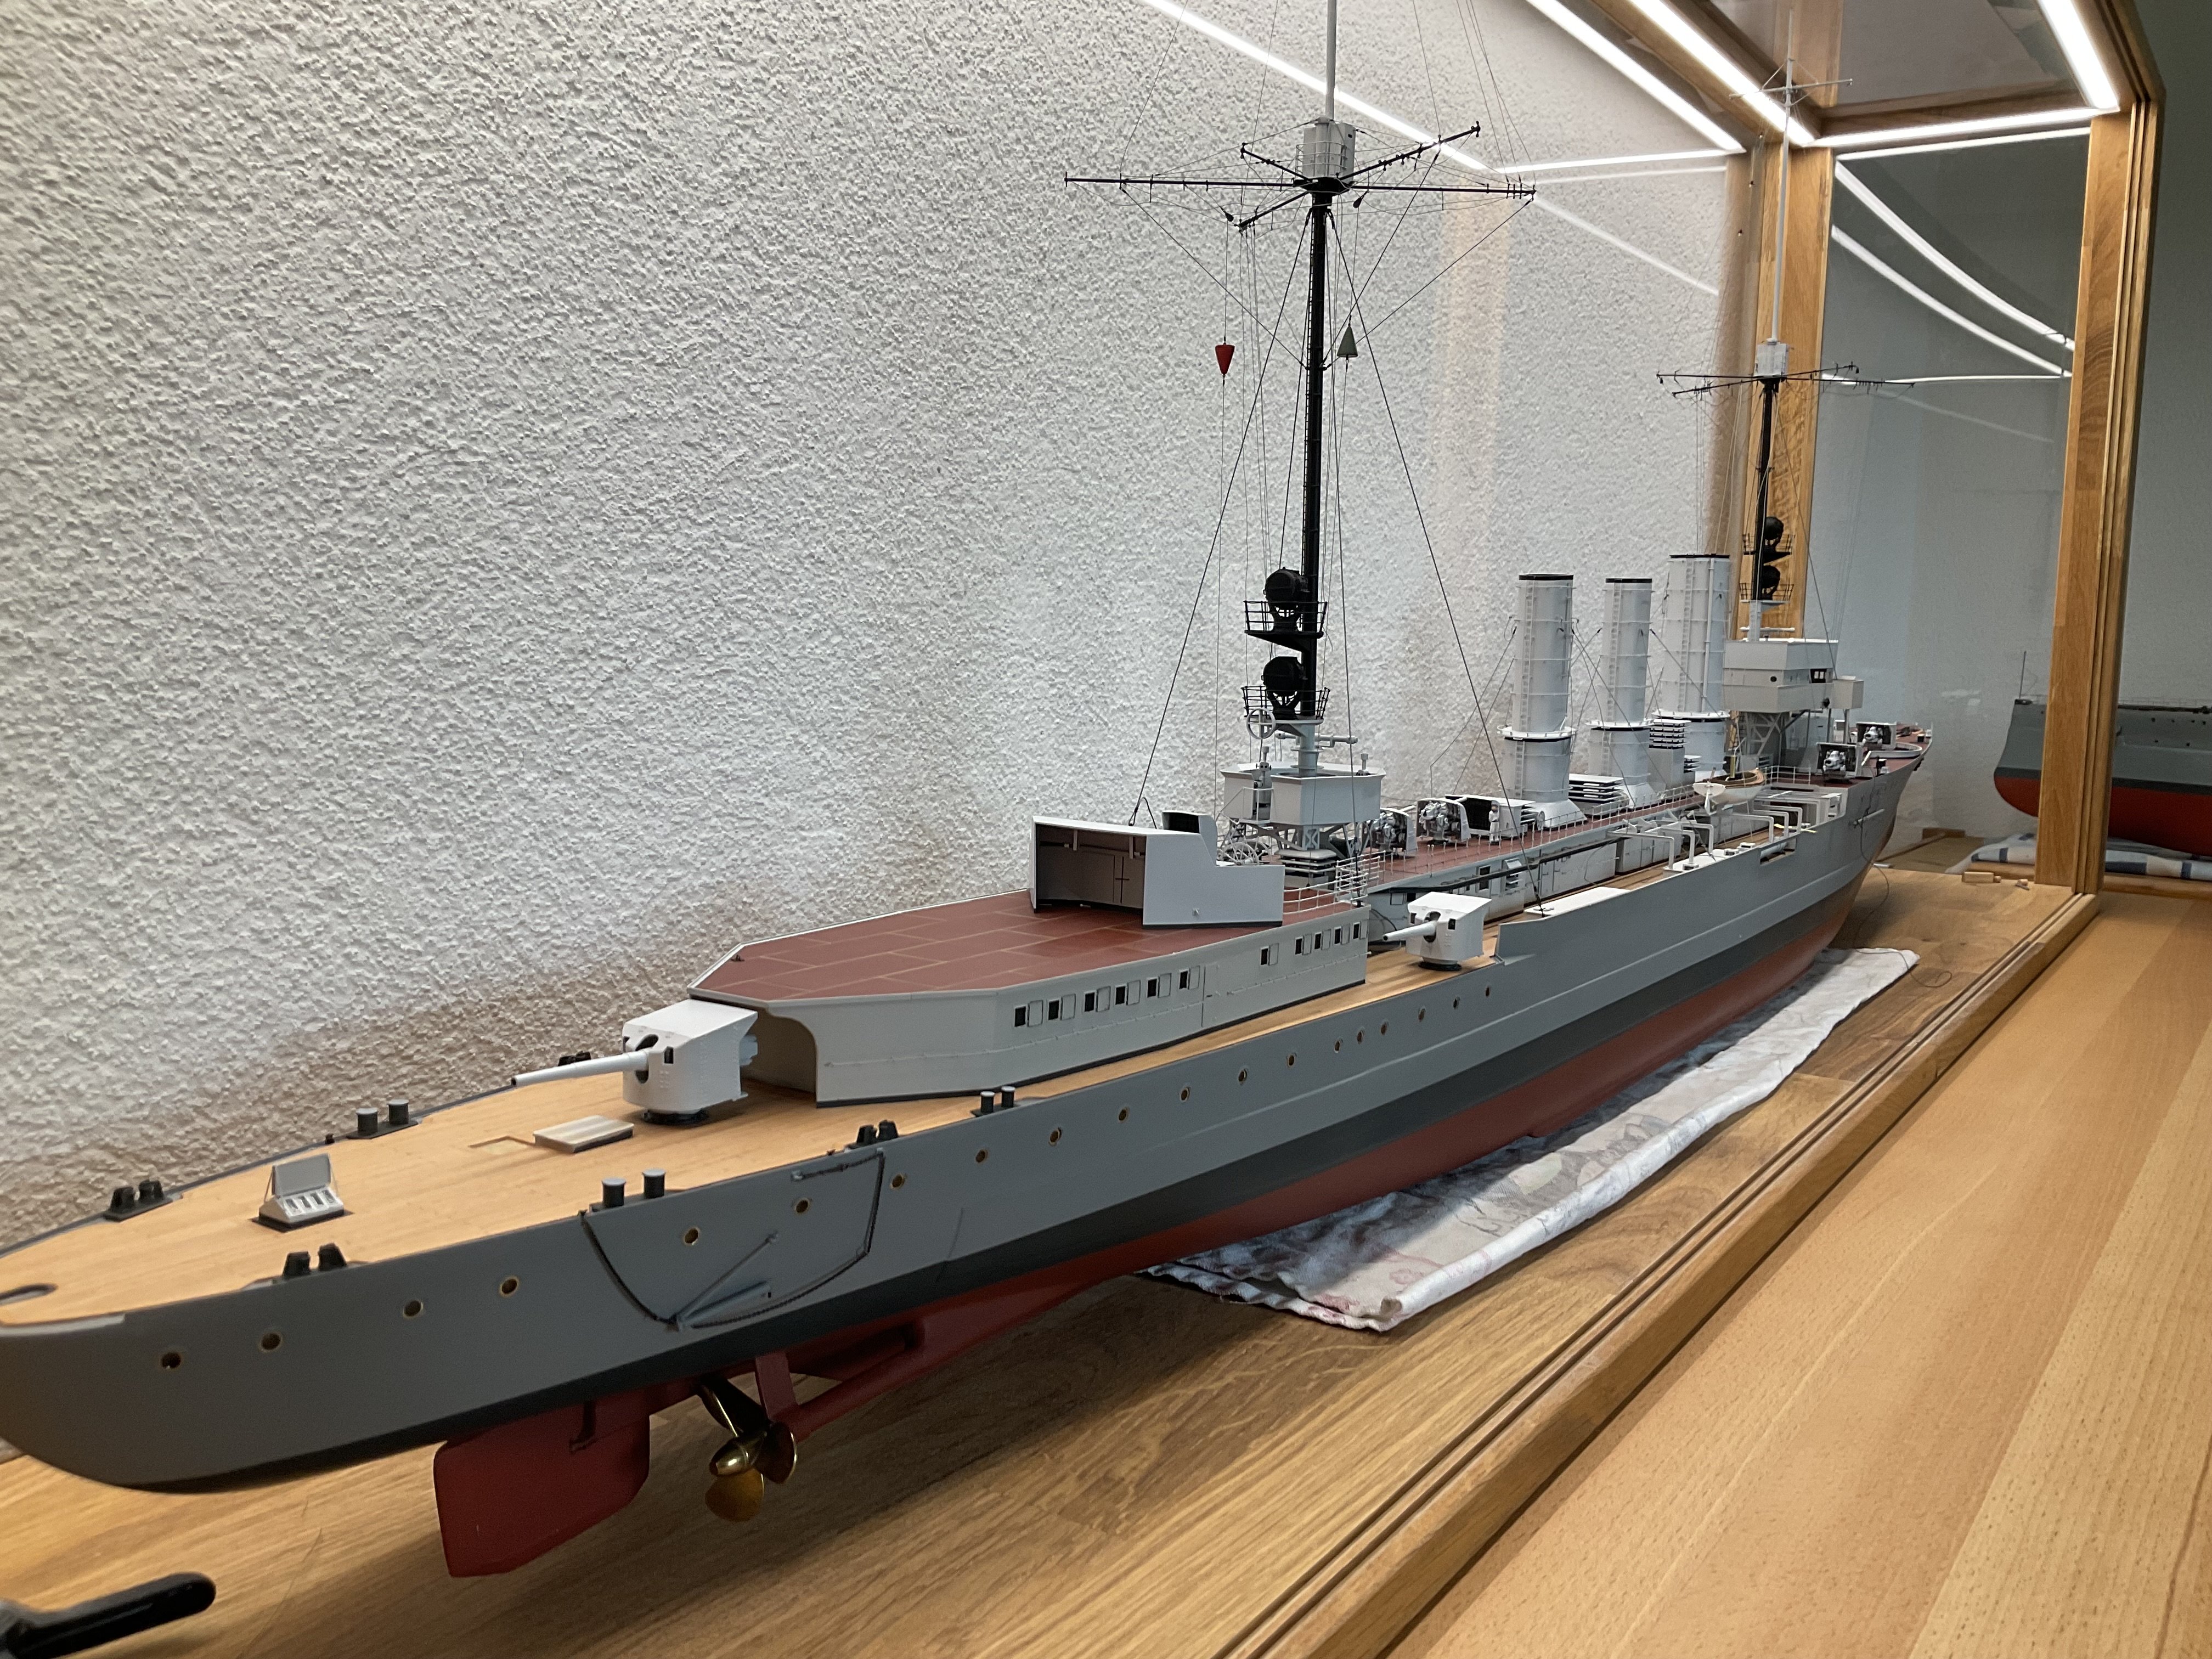
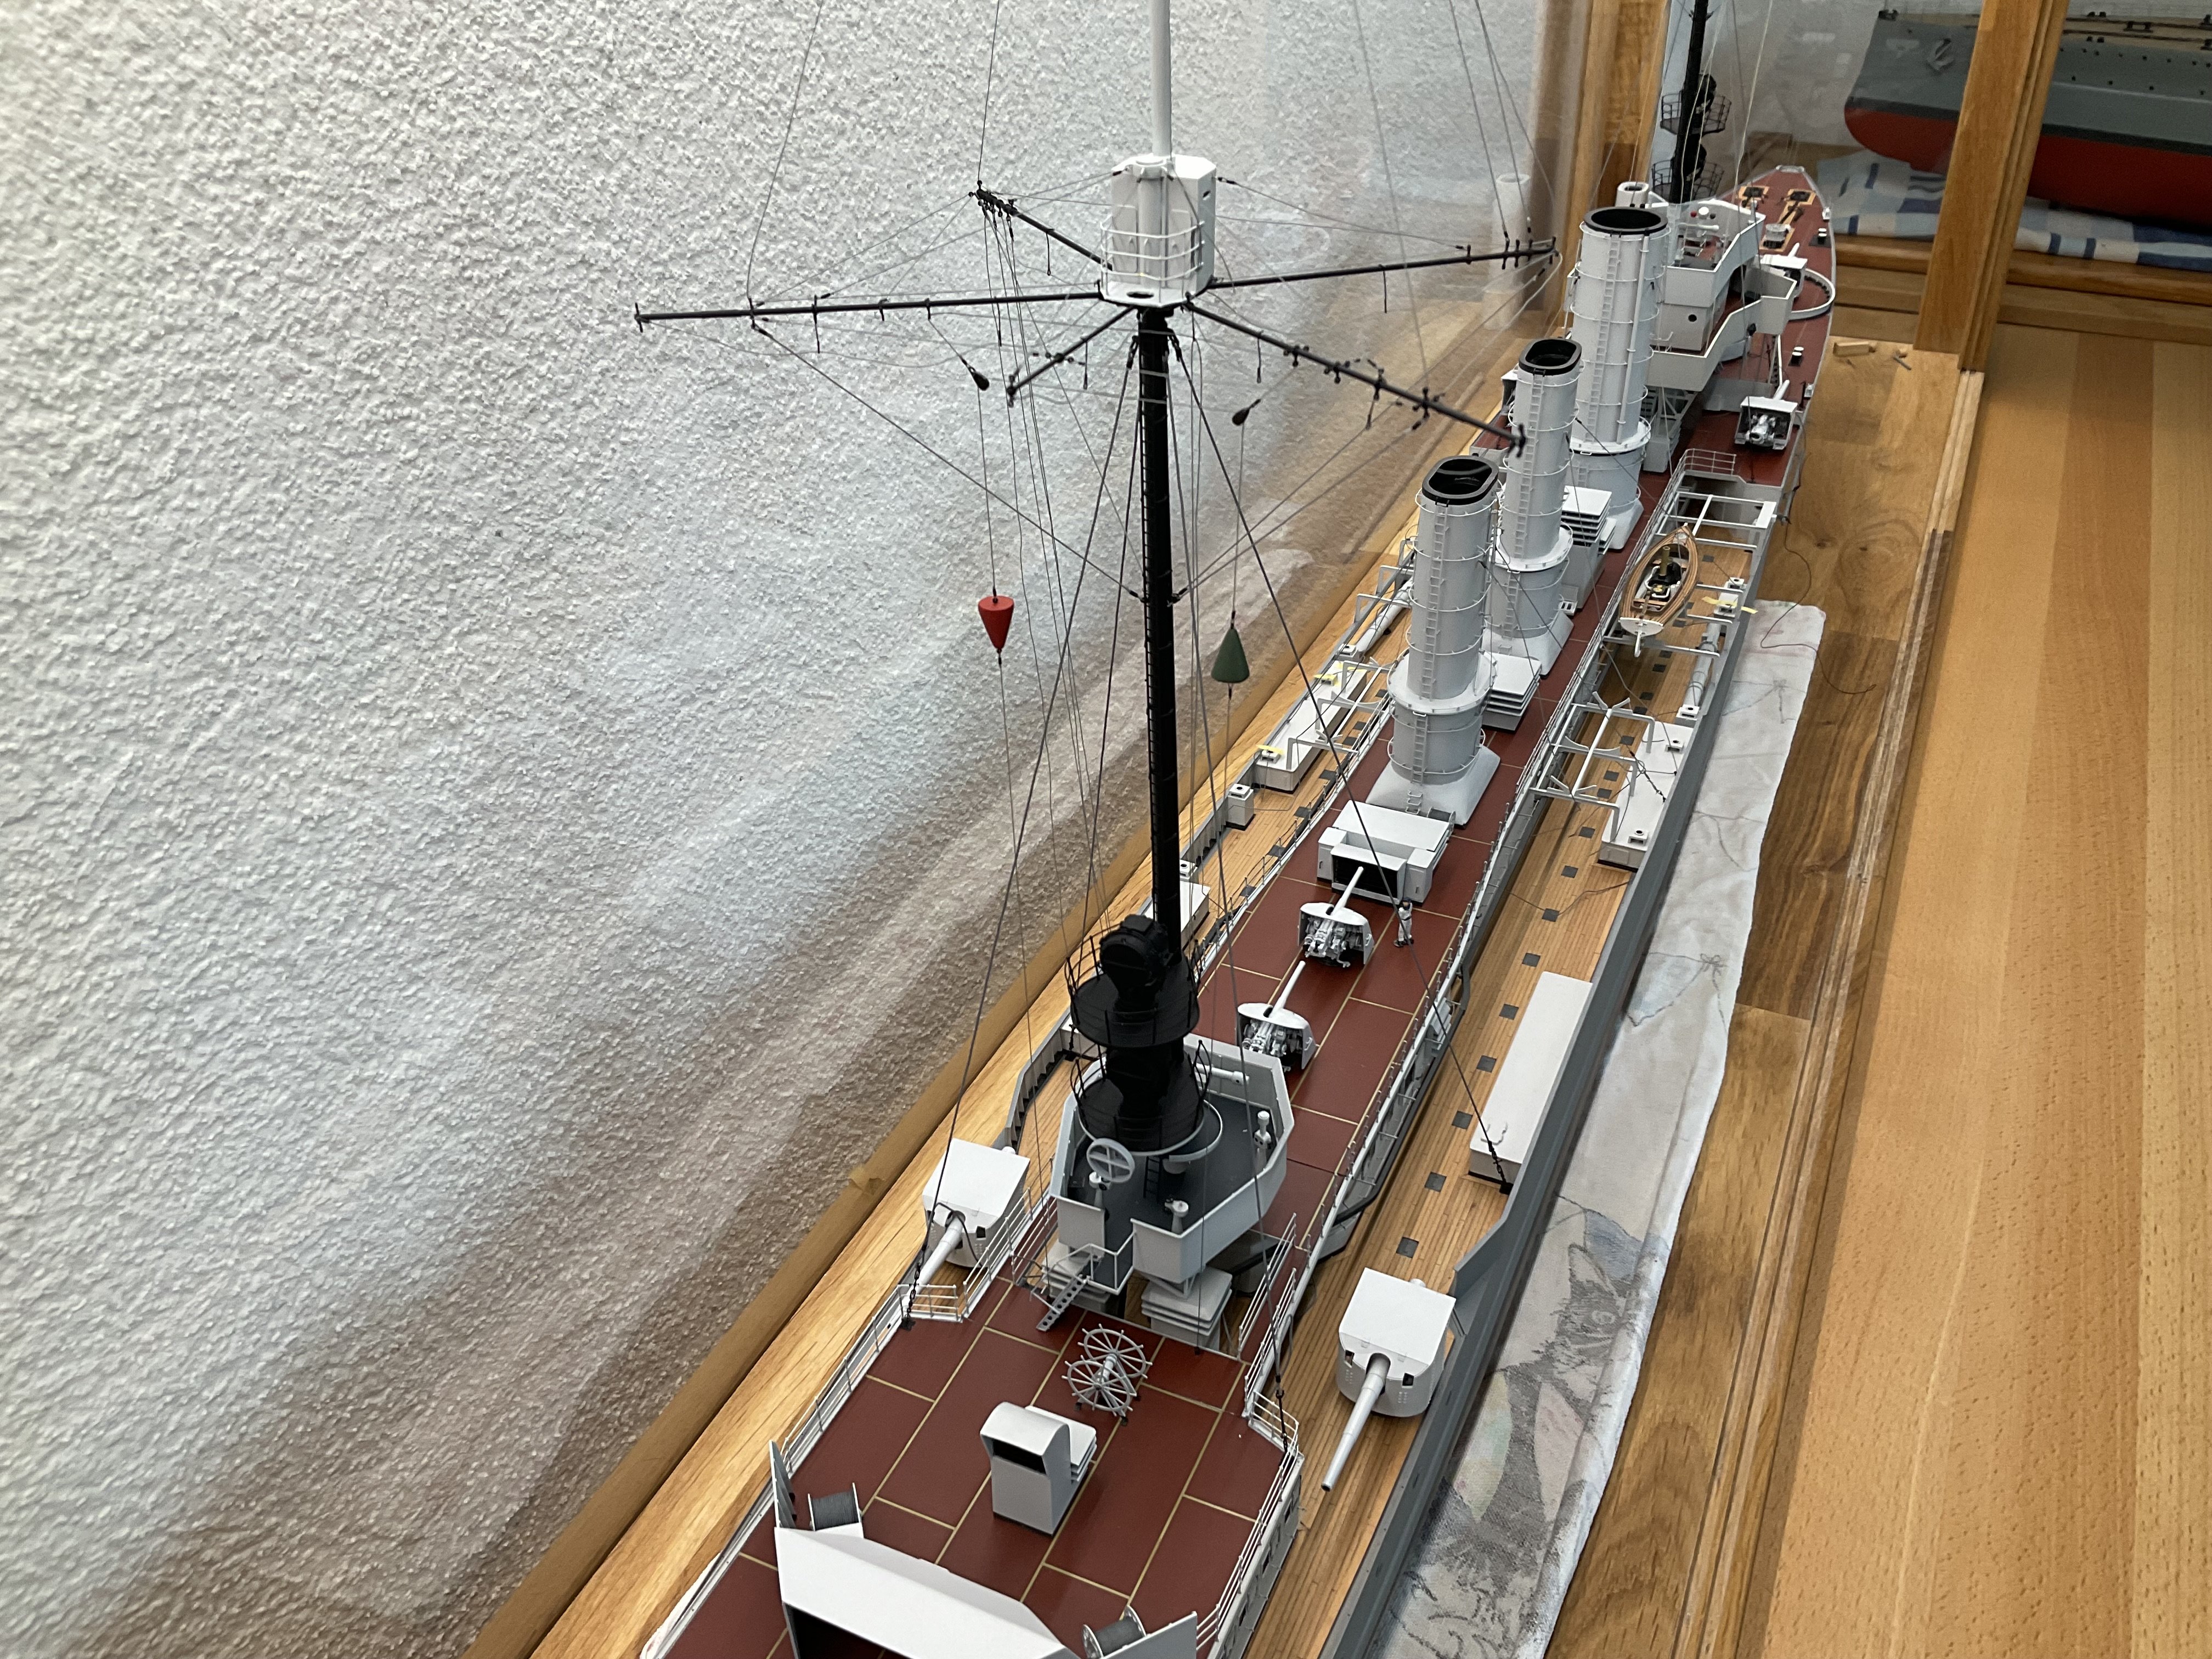
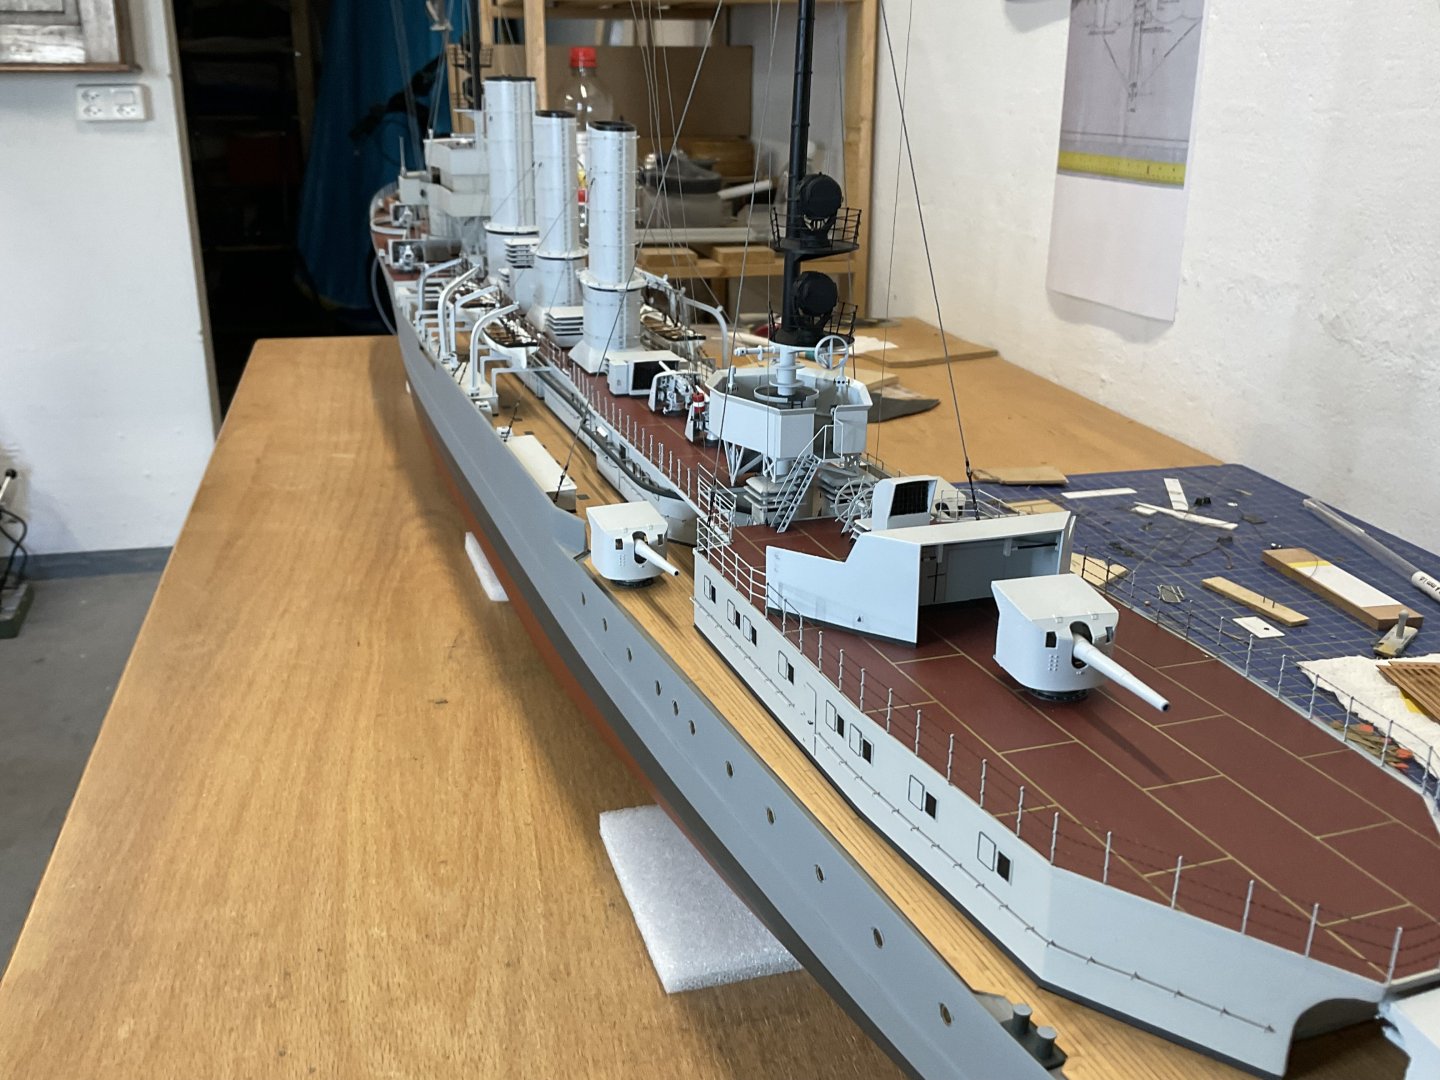
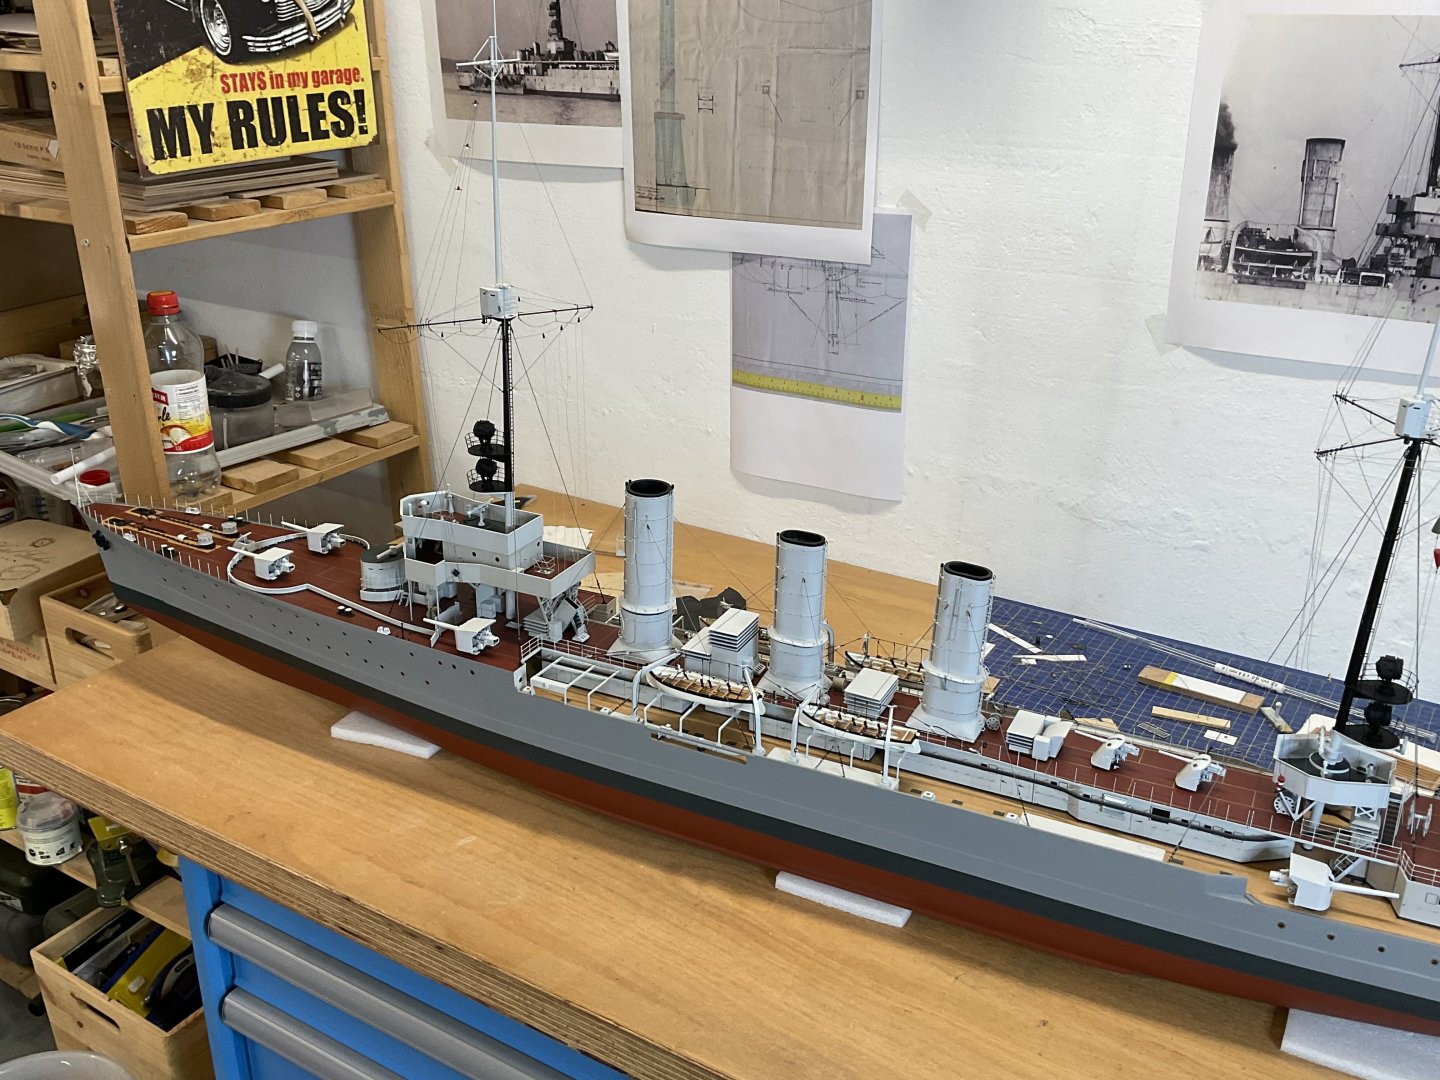
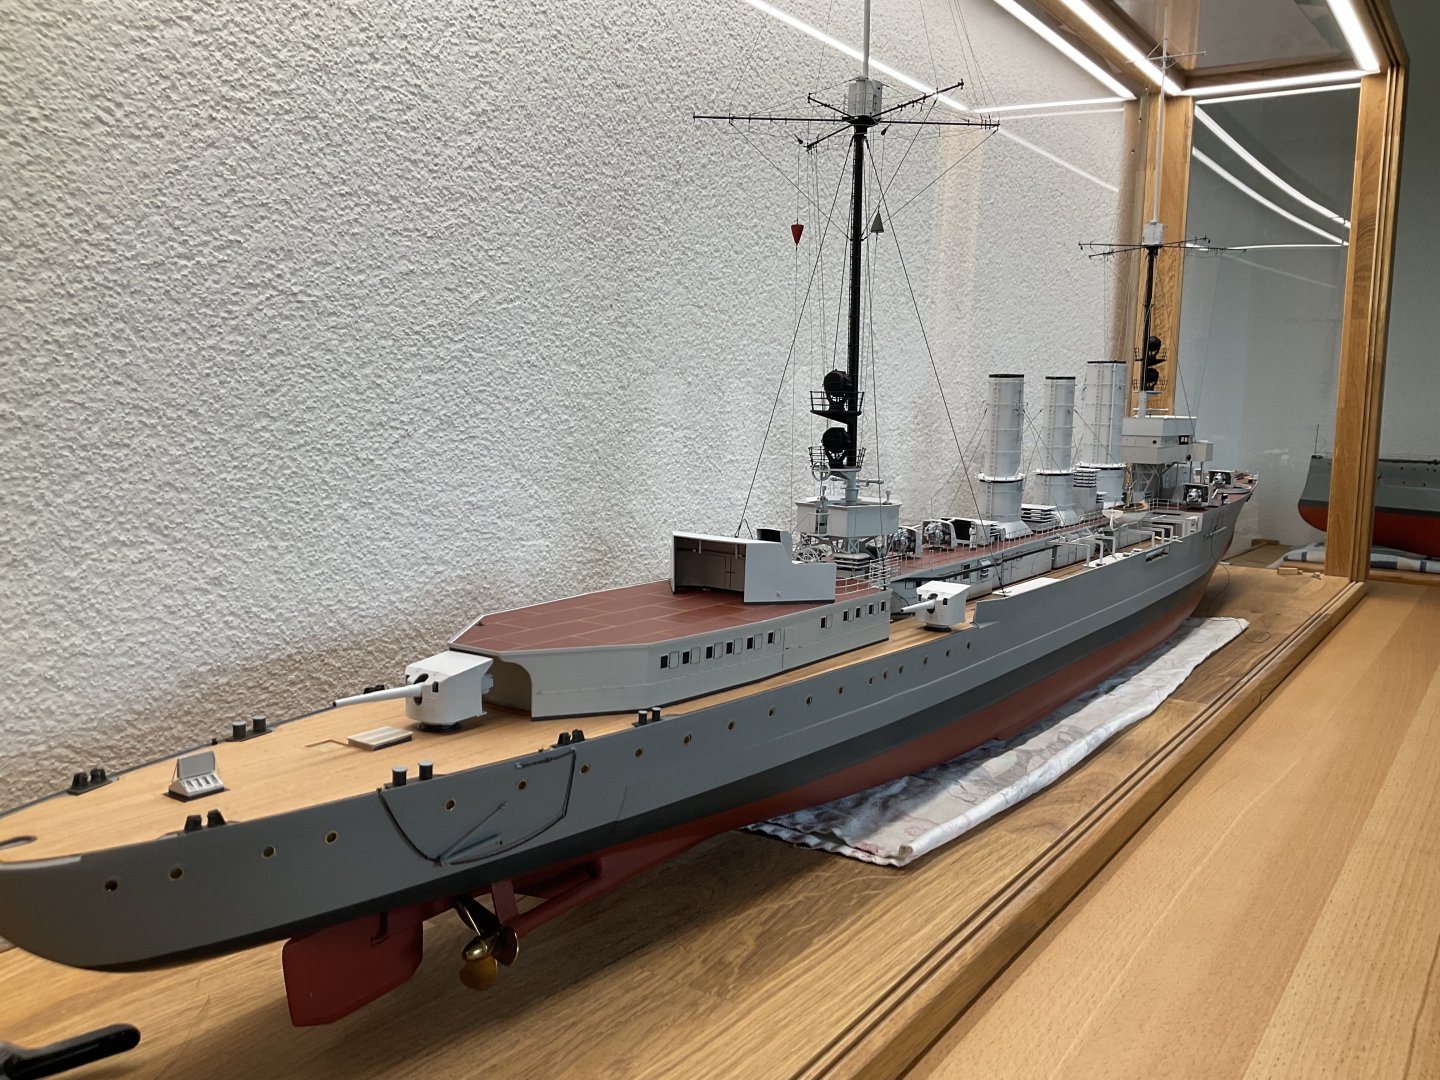
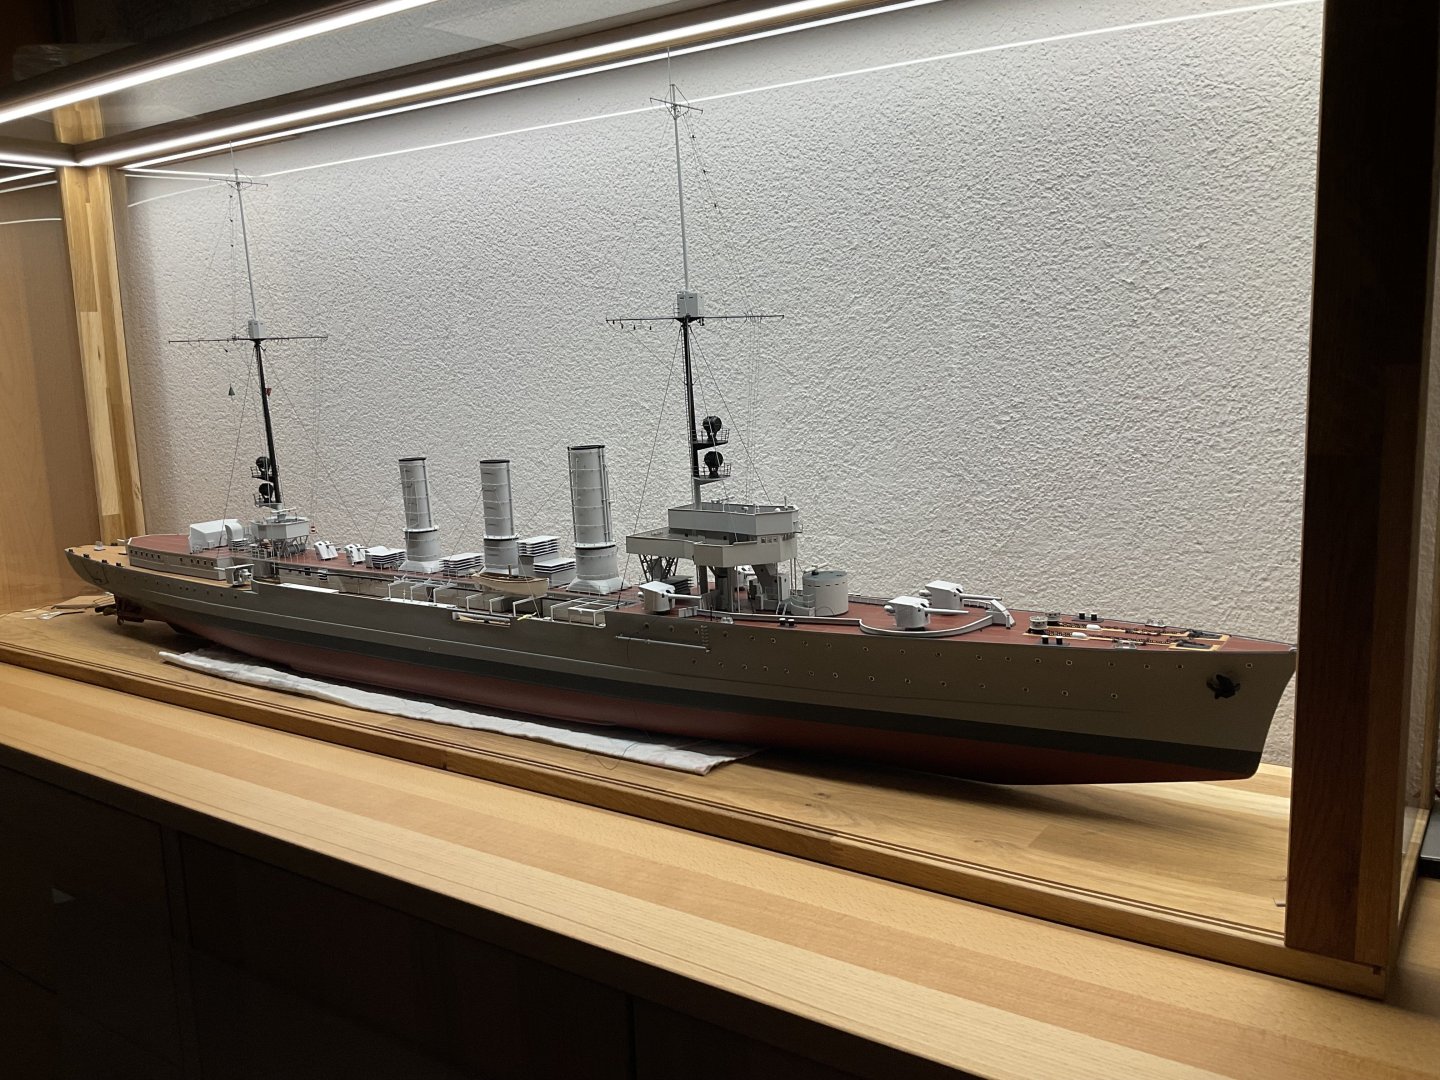
Thanks for all your nice comments. Getting close to completion. Boats etc done. Few bits and pieces missing still,but that will have to wait. Now making a box for a 850km (550mls) - one way - roadtrip, taking the model to meet some friends. I hope it will get there and back in one piece. So heres a few pictures of the current state of affairs. cheers sascha


-
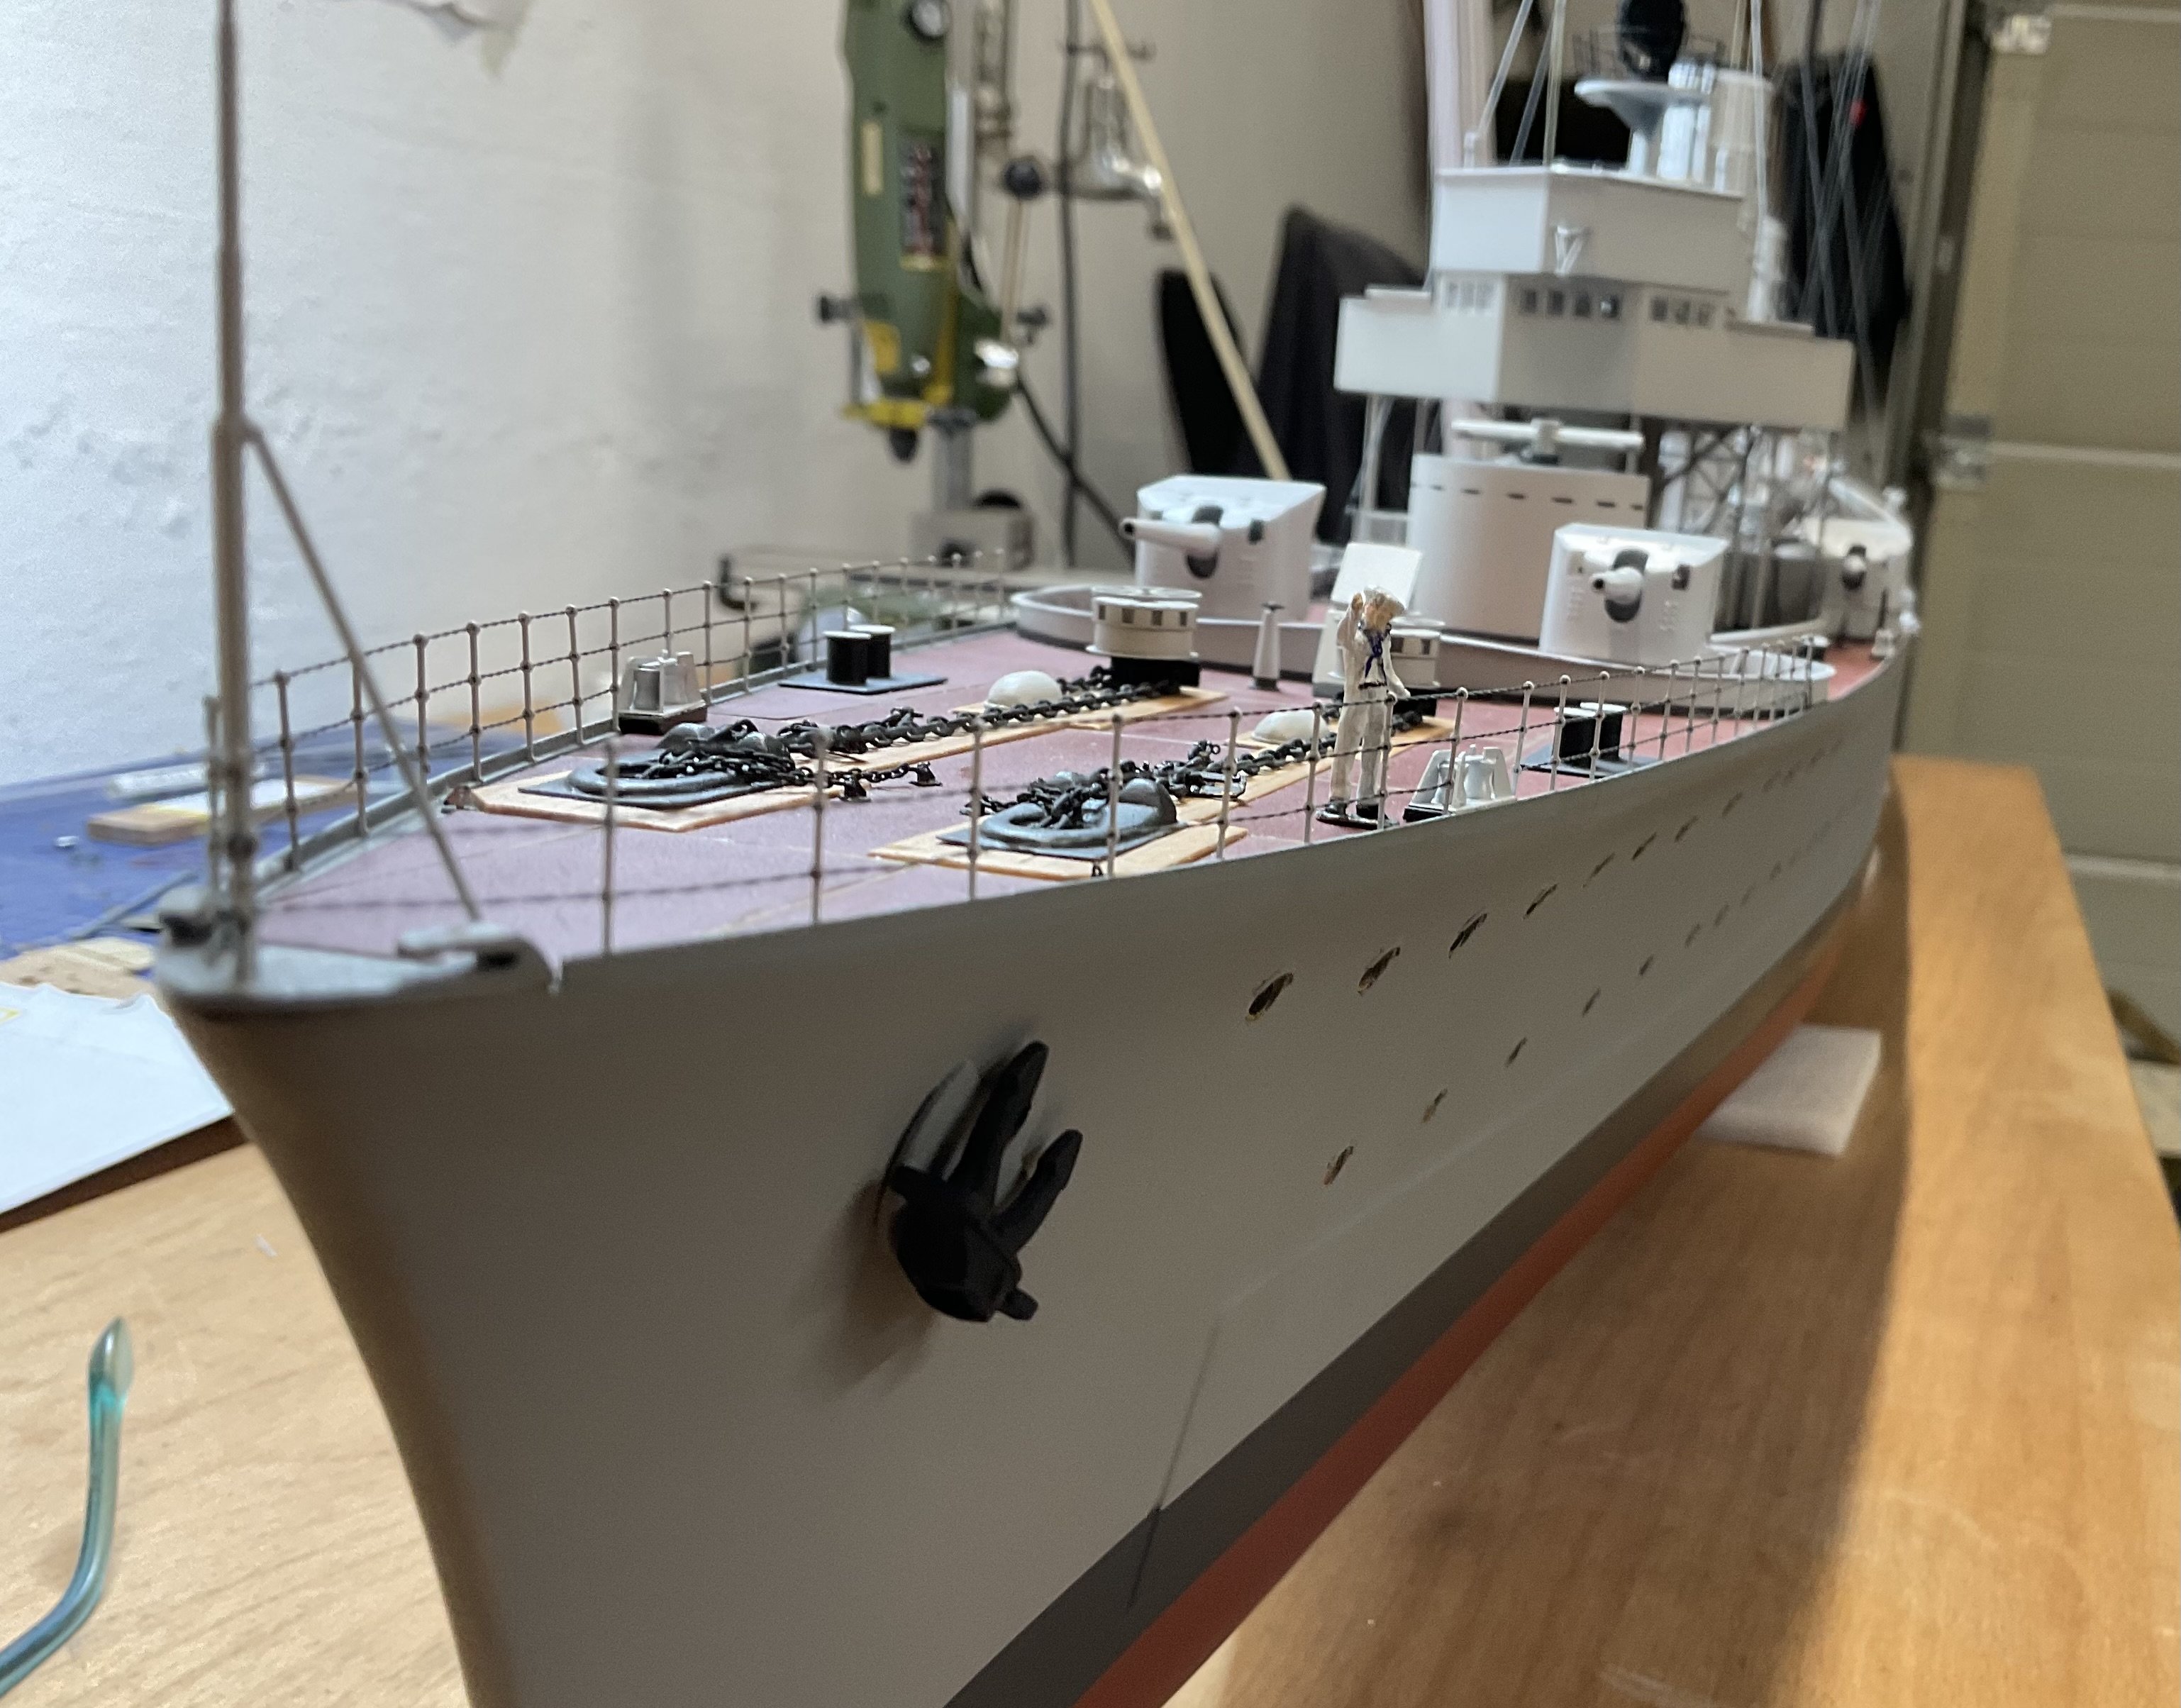
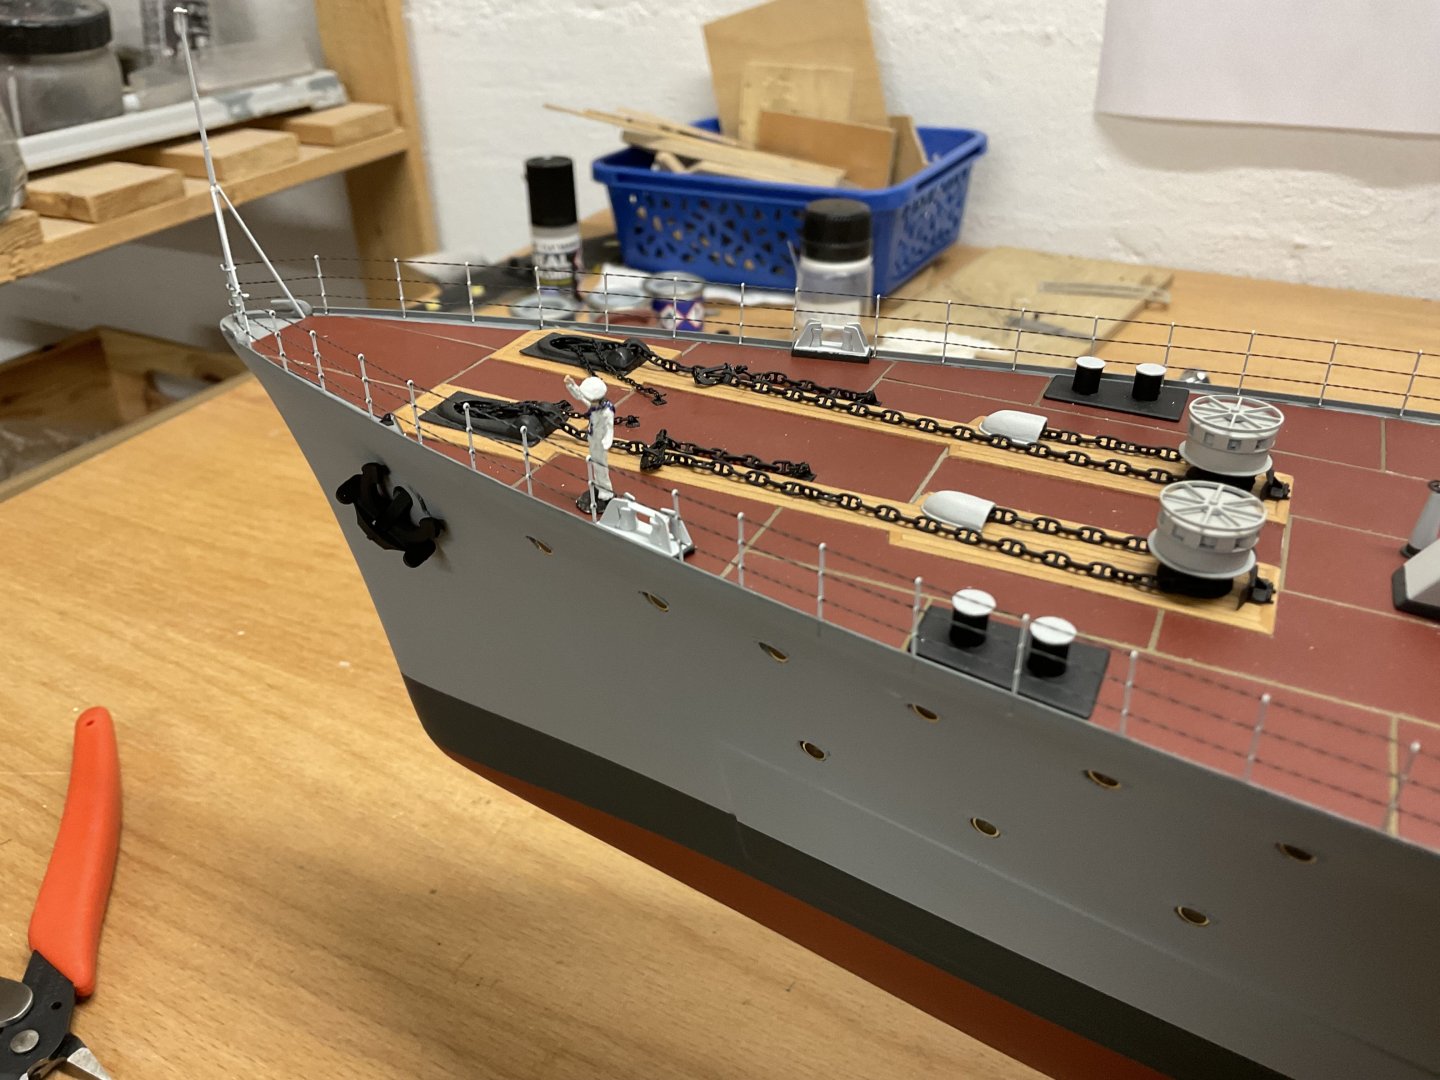
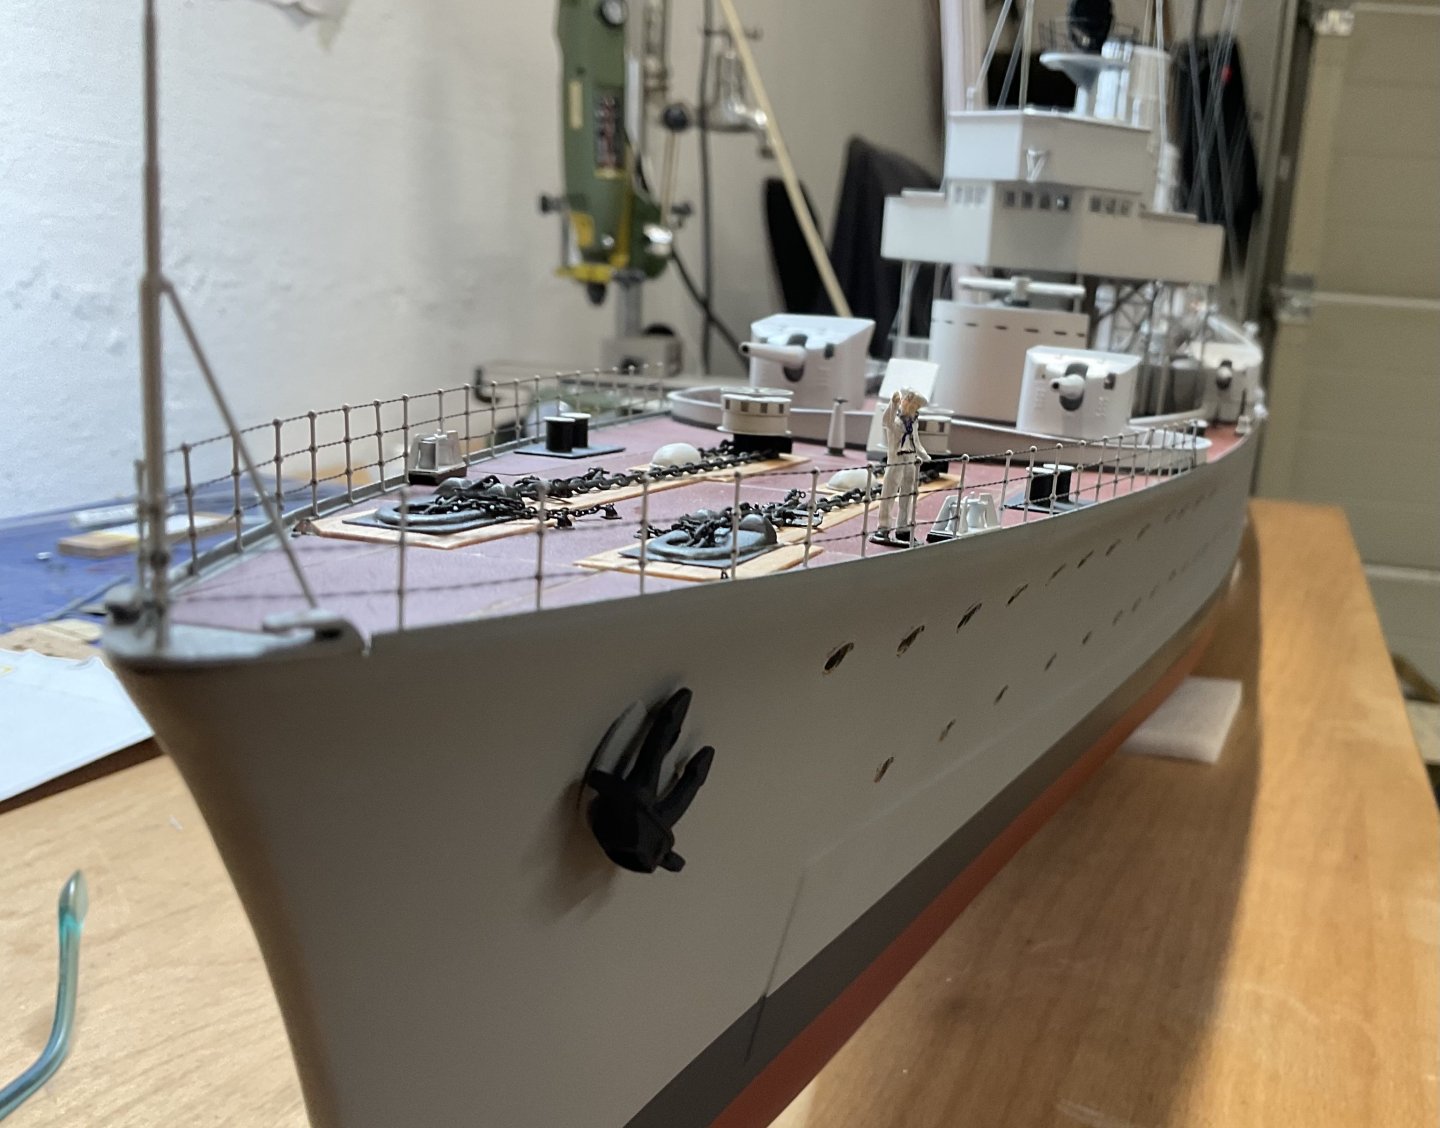
Evening all, port boat rigging is done and i didnt haven the patience to do the other side right away. So switched to the bow…flagstaff and railing. cheers sascha
-
Your shipyard is producing at full capacity Valeriy 💪💪. i look forward to following this one . cheers sascha
-
Hello all, after a longer break, some progress. The first boat/davit assembly is done. 3 more to go. cheers sascha

-
Happy New Year to you too VAleriy. Nearing completion. Looks great (and clean 😬) 👍🏻
-
Good Morning Eberhard, the boats were drawn on cad from builders plans and then 3d printed. The wooden interior is from pear wood.
-
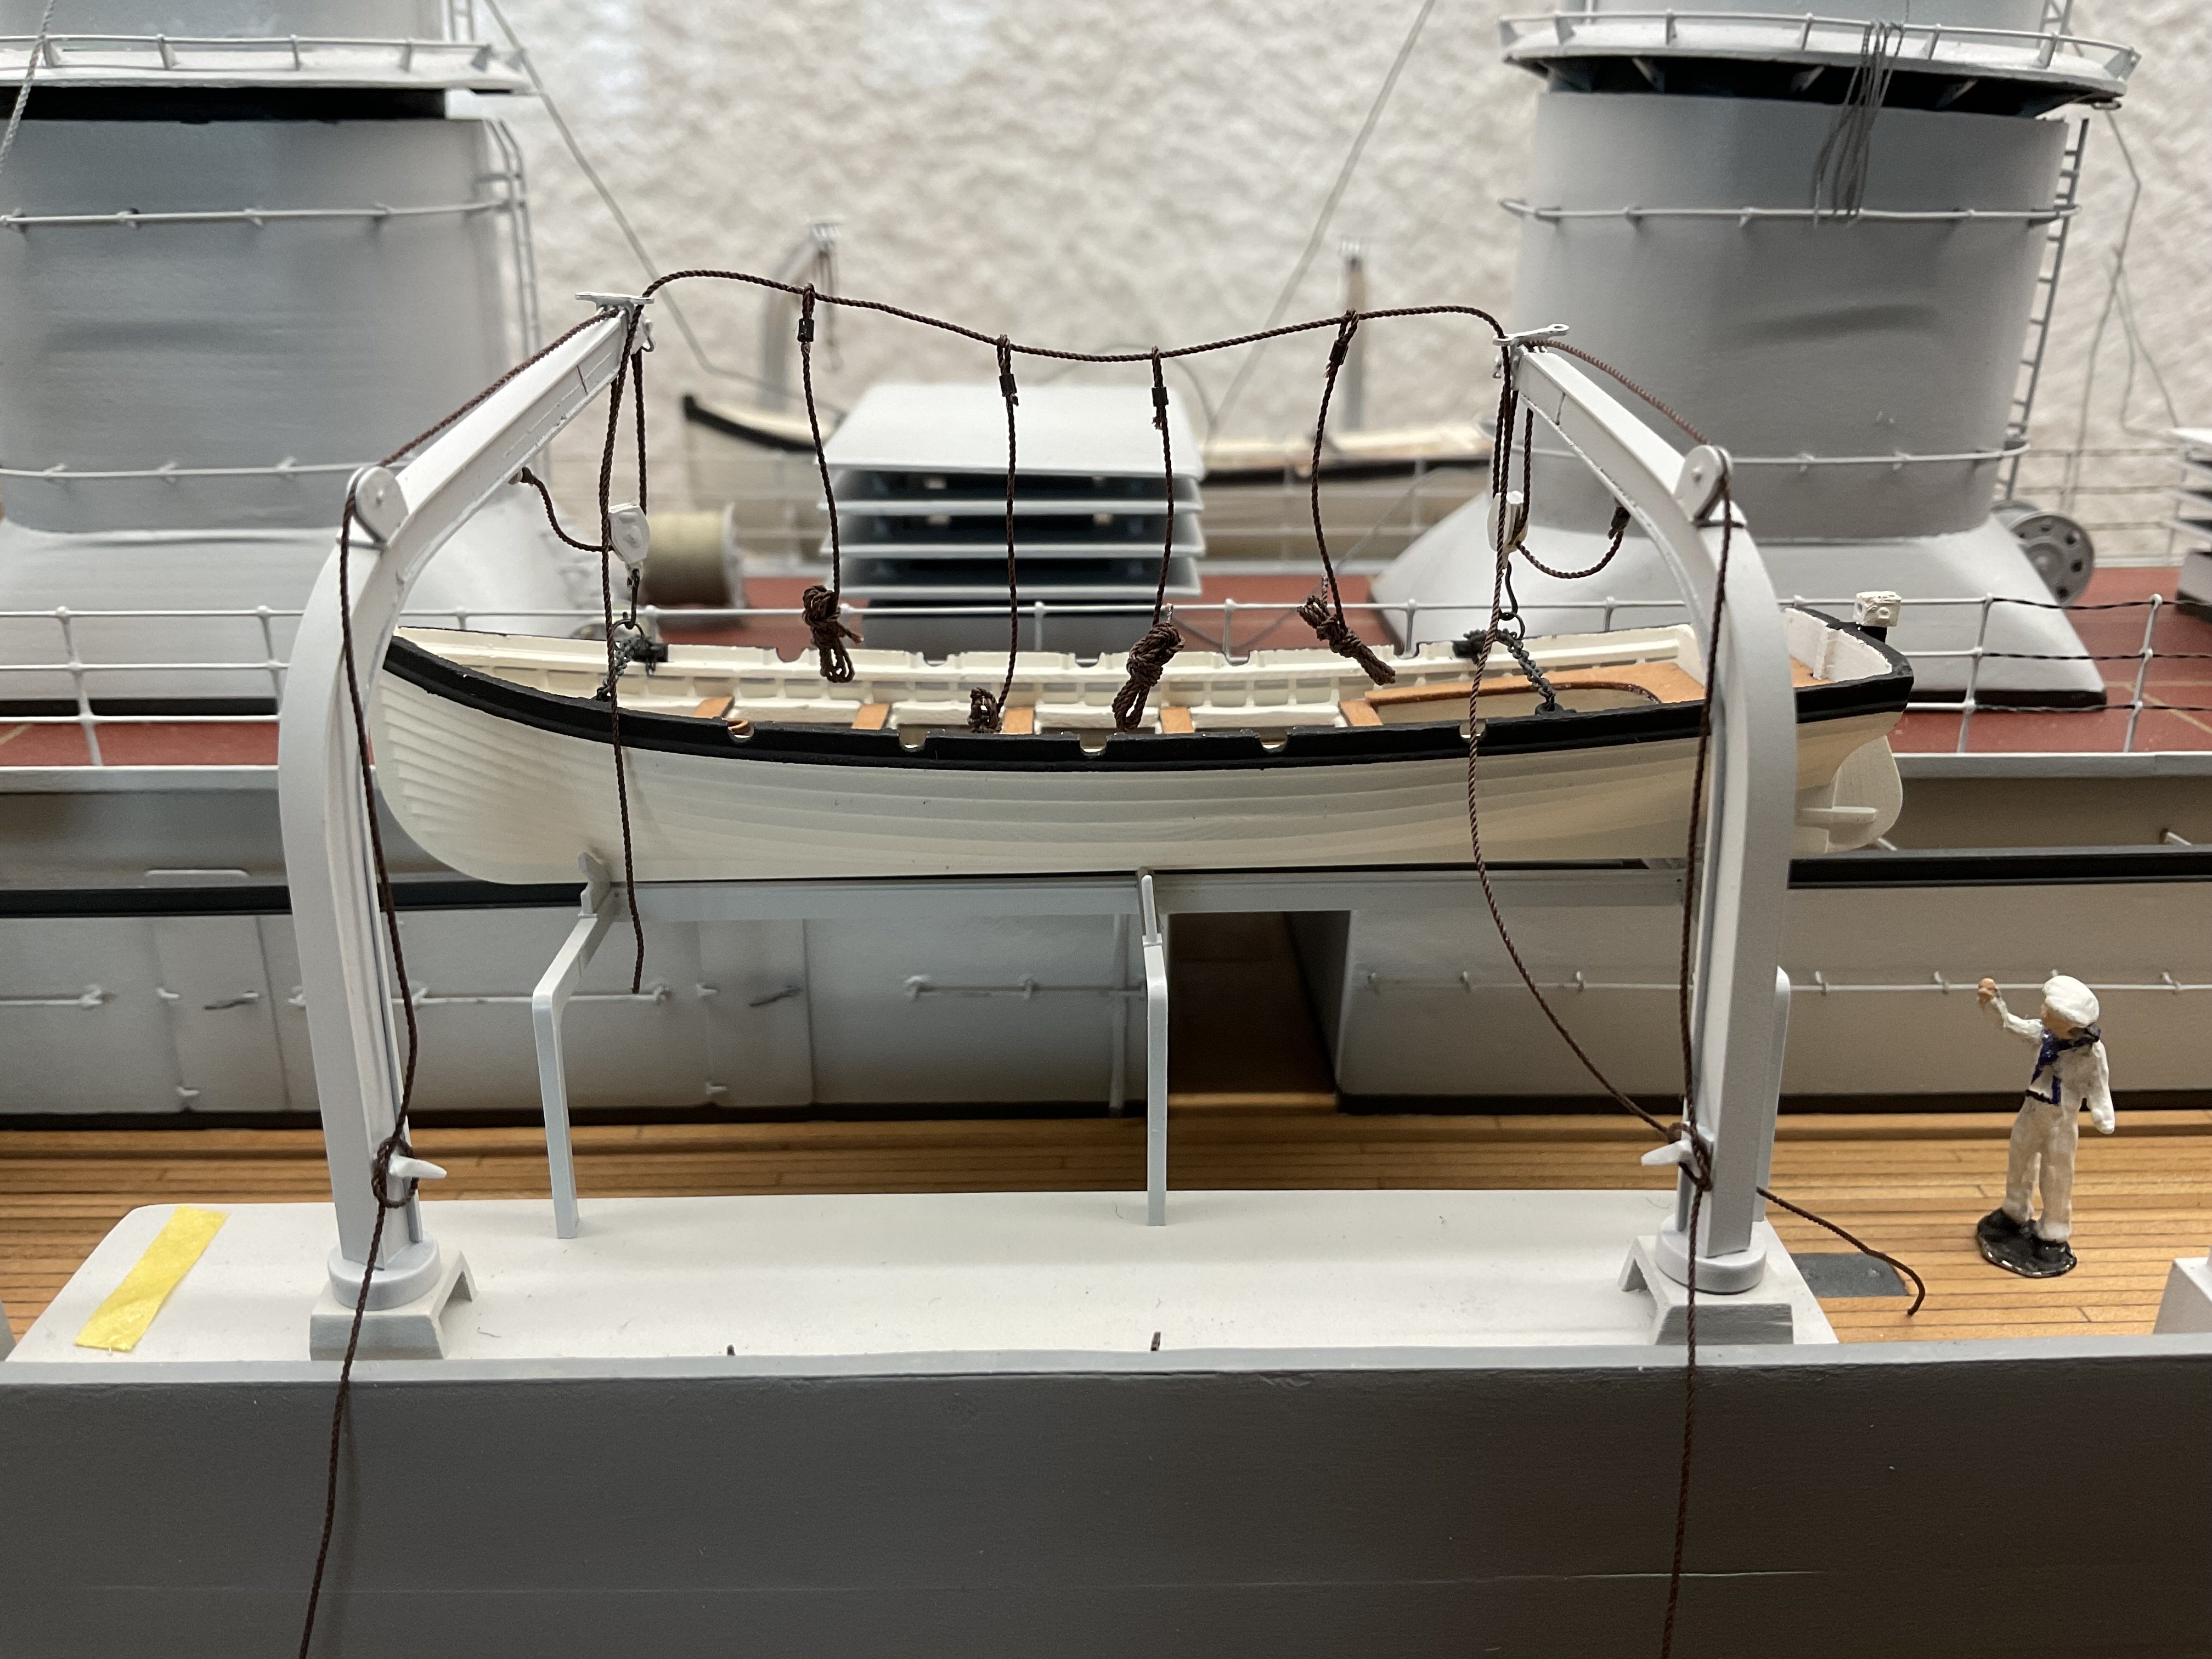
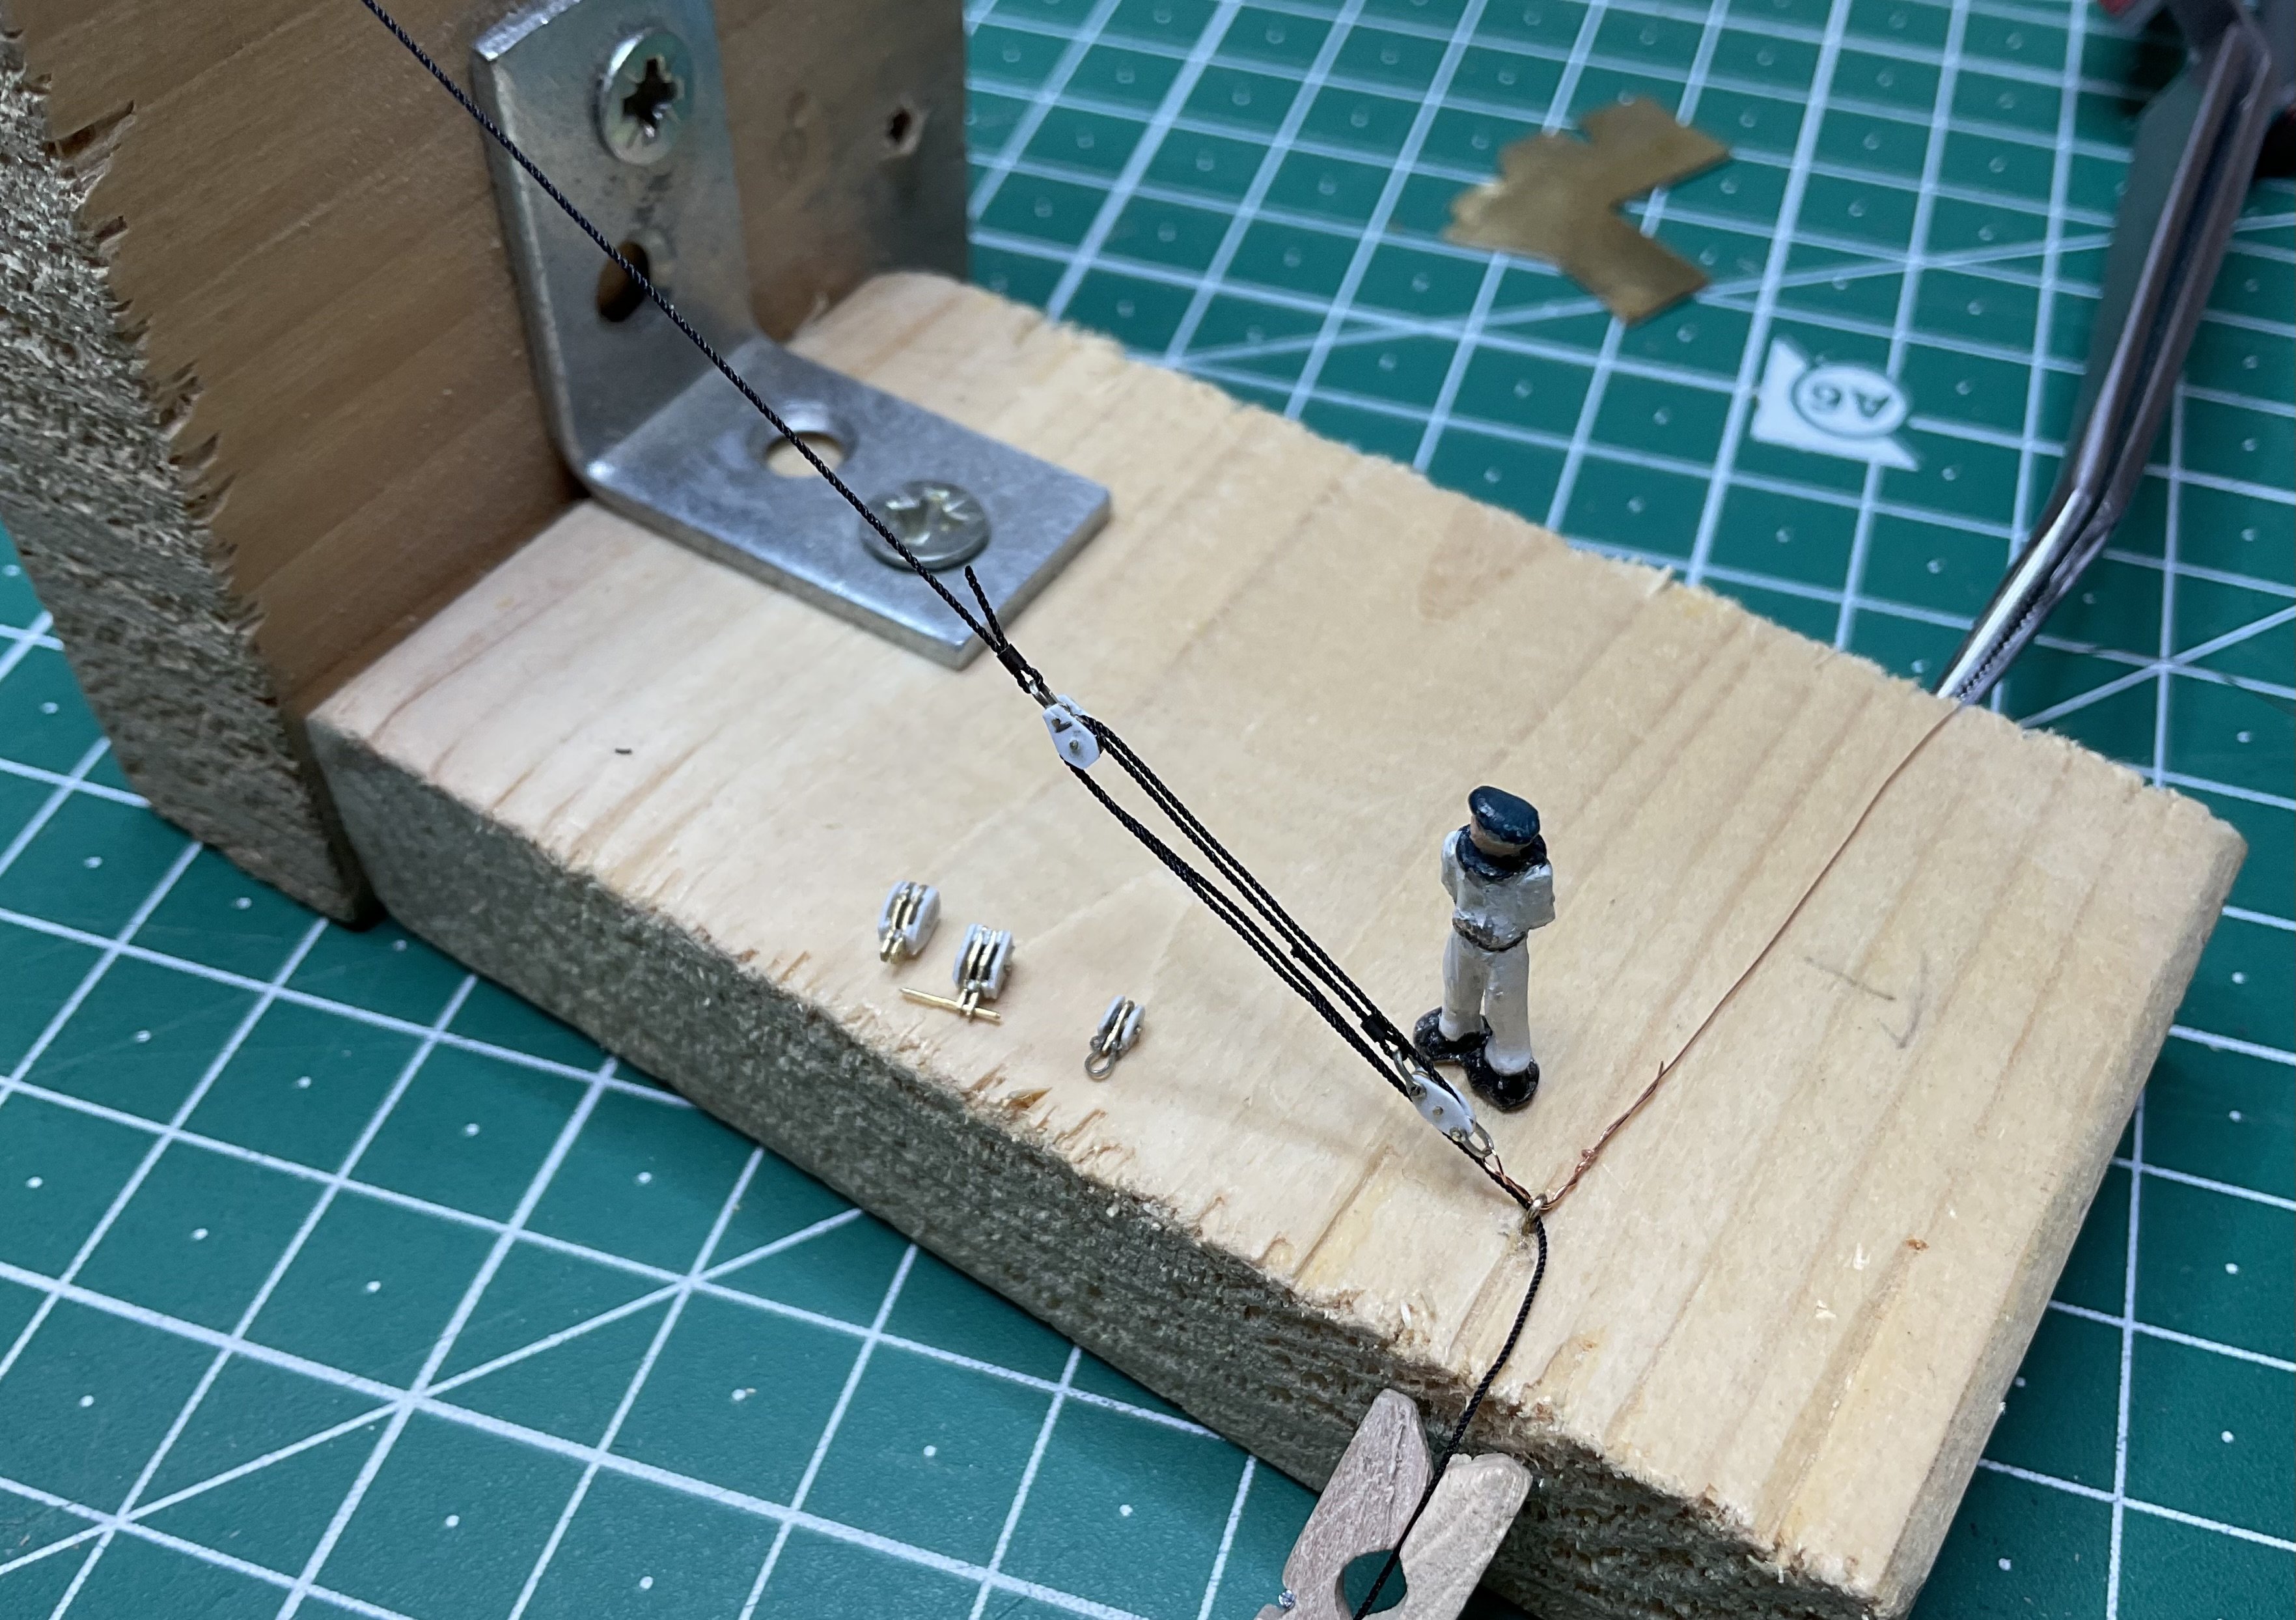
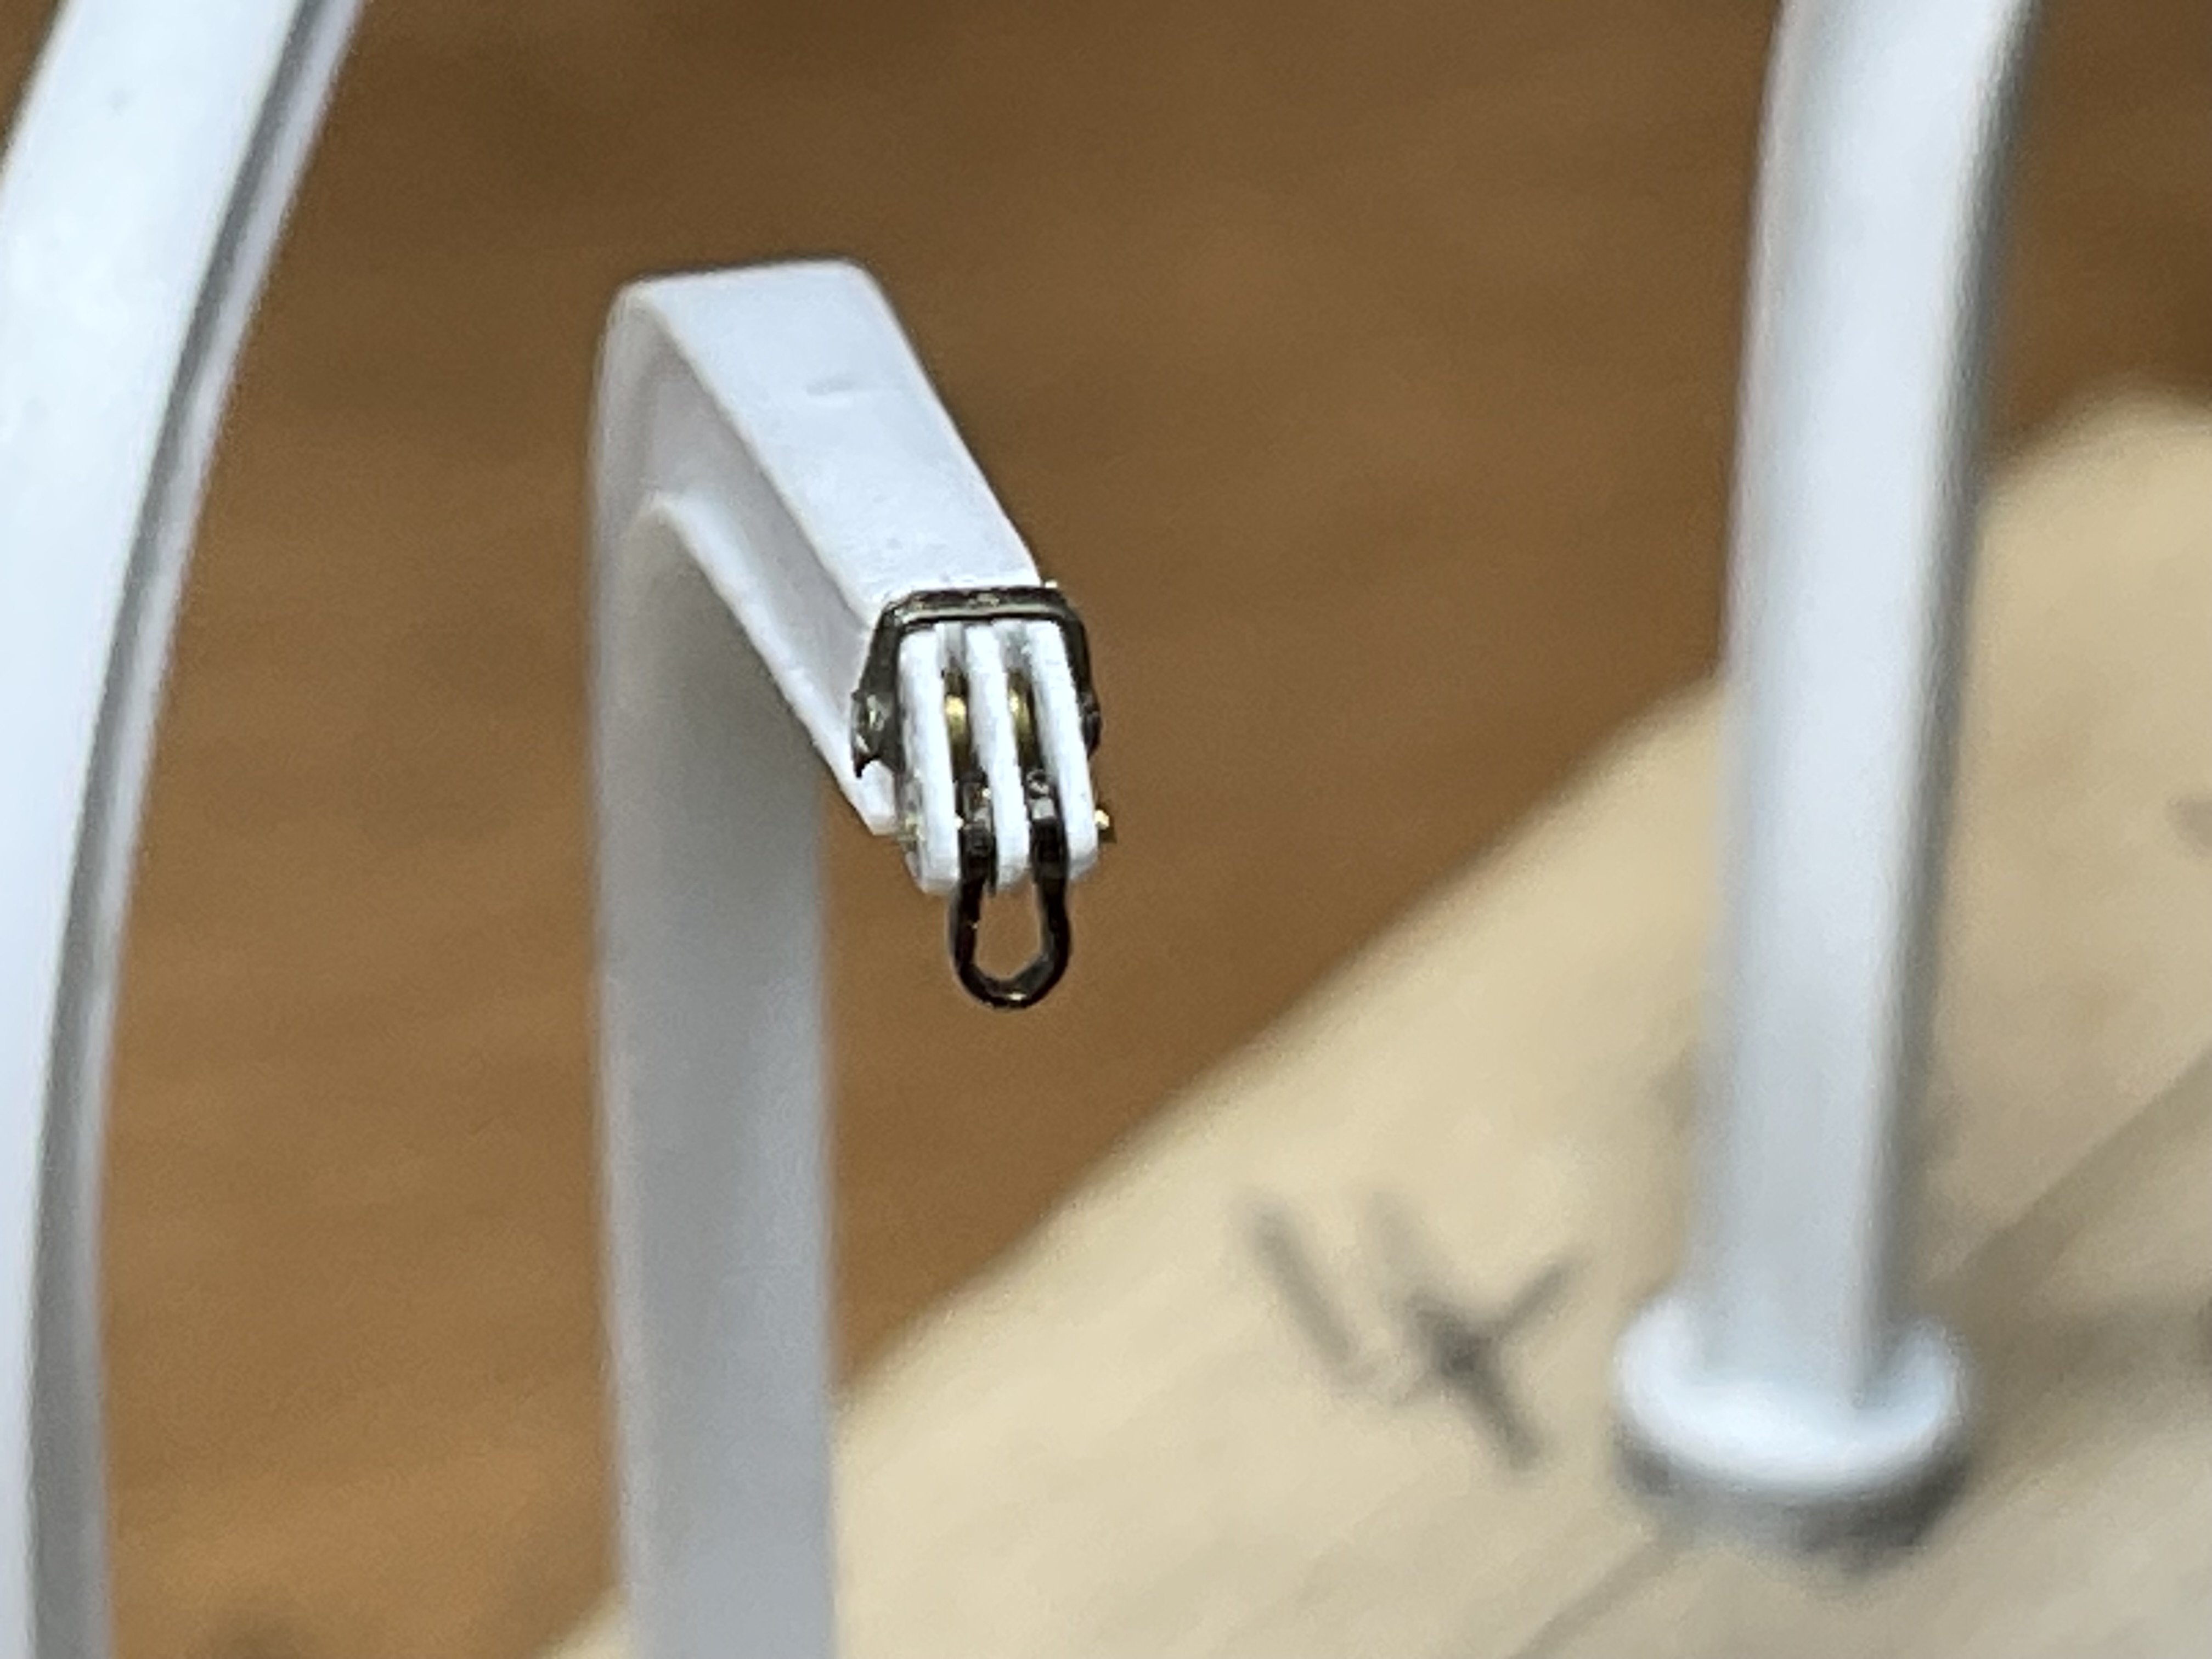
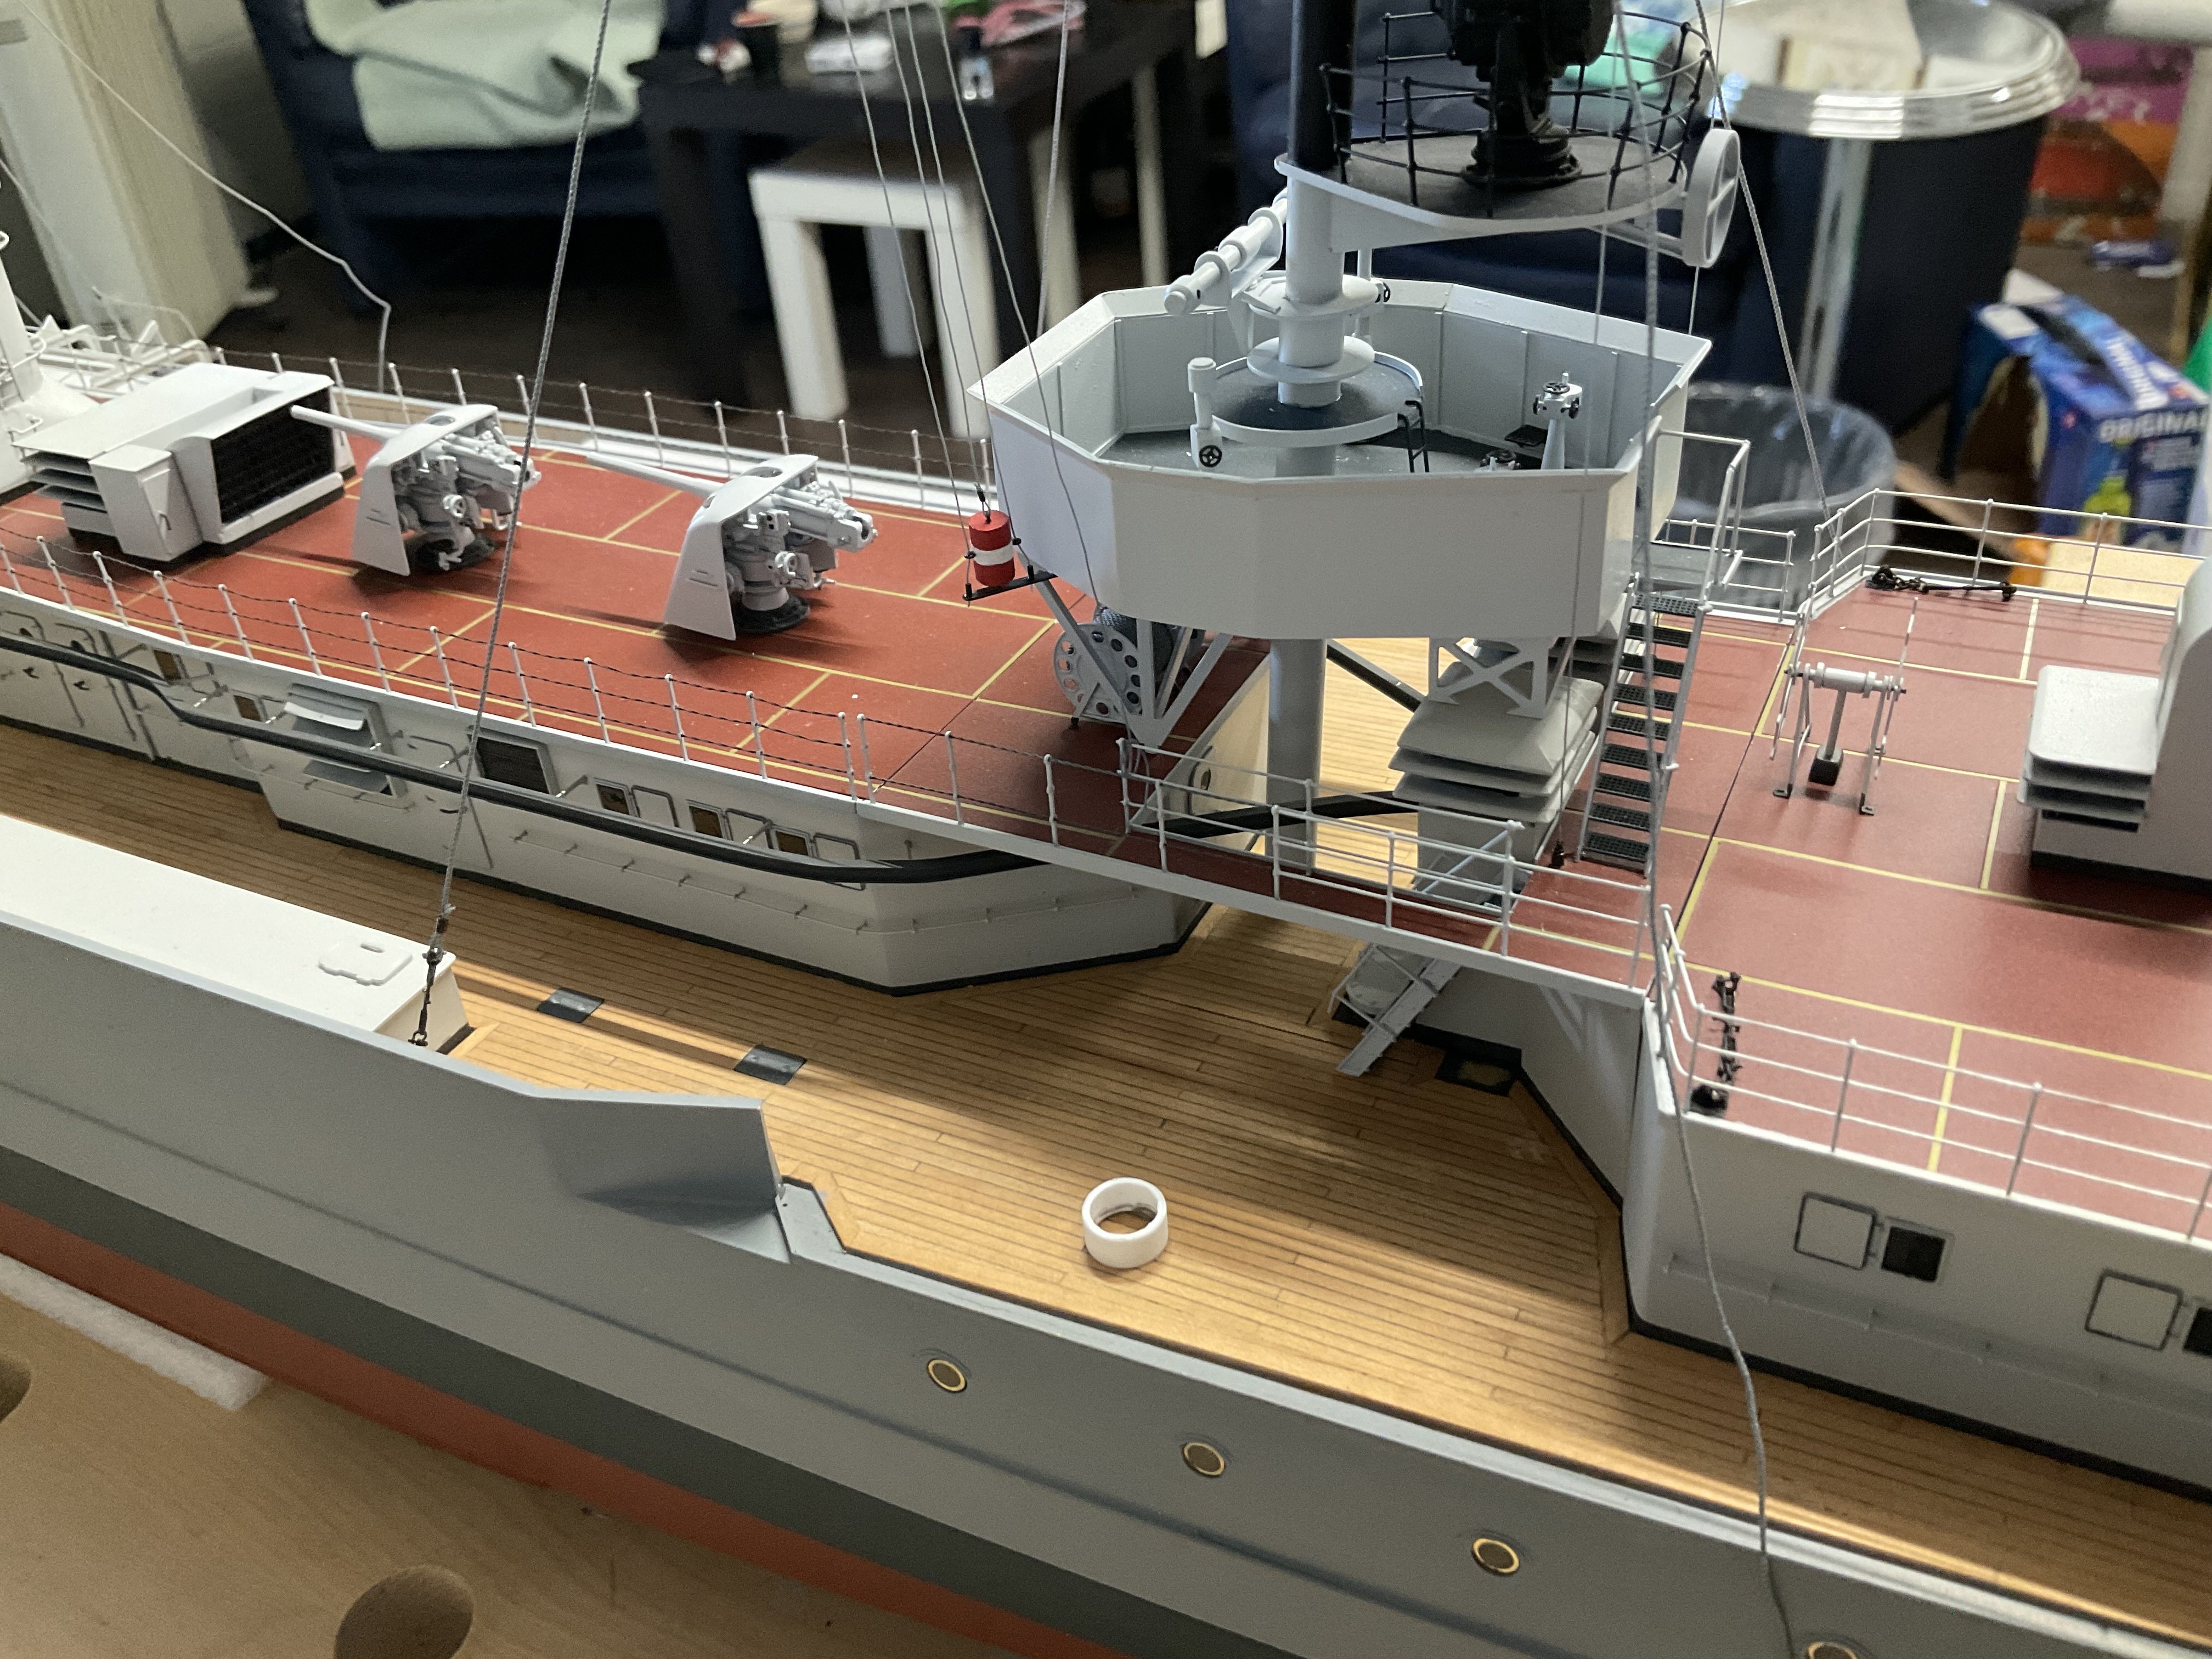
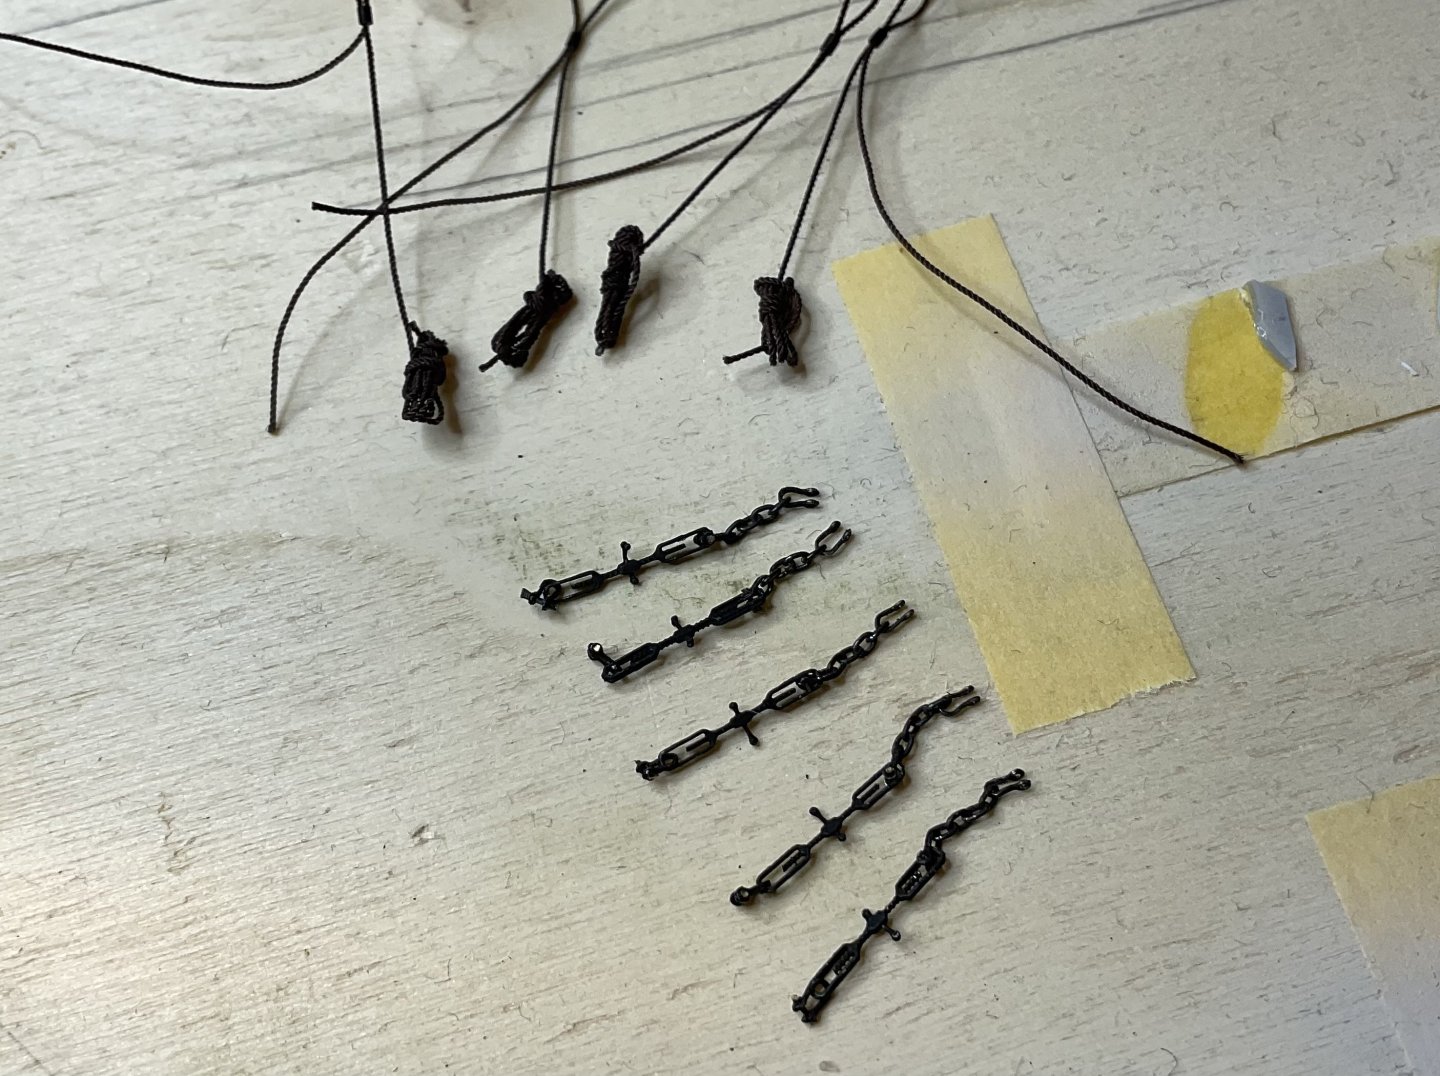
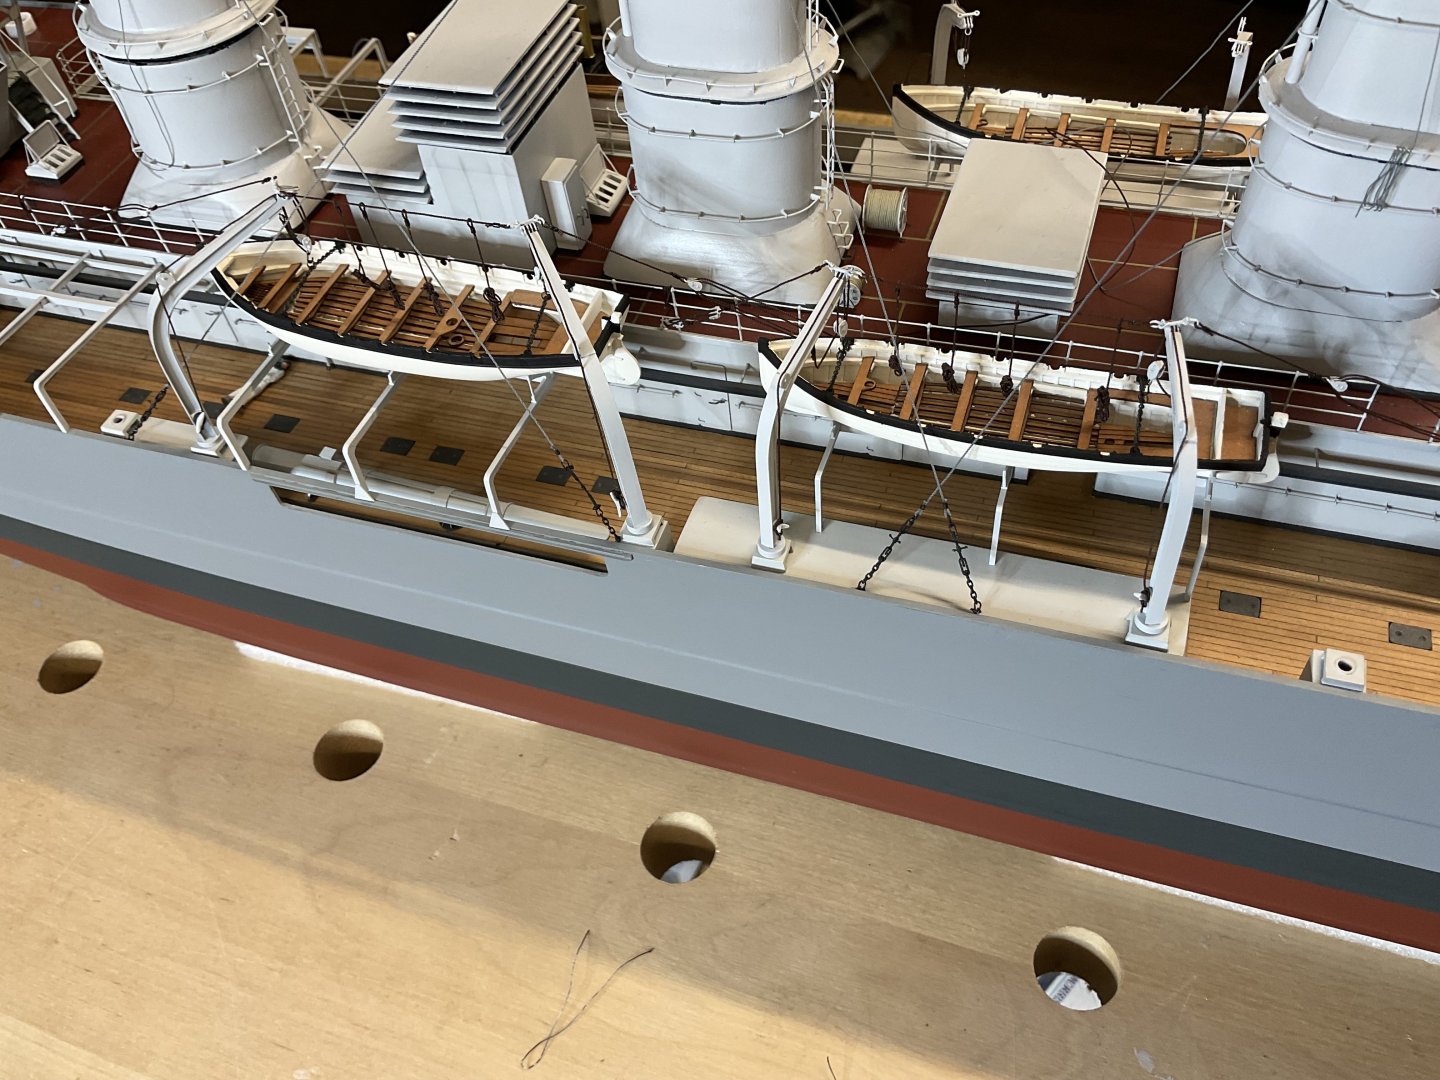
Hello all, last update of the year. I finished the „chain“ railing on the aft deckhouse earlier bit forgot to report. More work continued on the davits - i didnt expect all those ropes really… tried google for translation but no adequate englsih version came up, sorry. Maybe eberhardt knows😜. Did the „vorstander/achterstander“ including their blocke/pulley (talje und läufer?) and ropes („manntaue“) suspended from the „mittelstander“(rope between inner sides of davits) on which crewmen held on when the boat was lowered. All loosely assembled to try the fit. The heads of davits still need the shackles each to attach the ropes/pulleys properly. But thats for next year. Anyway, here‘s the pictures. happy new year to you cheers sascha


-
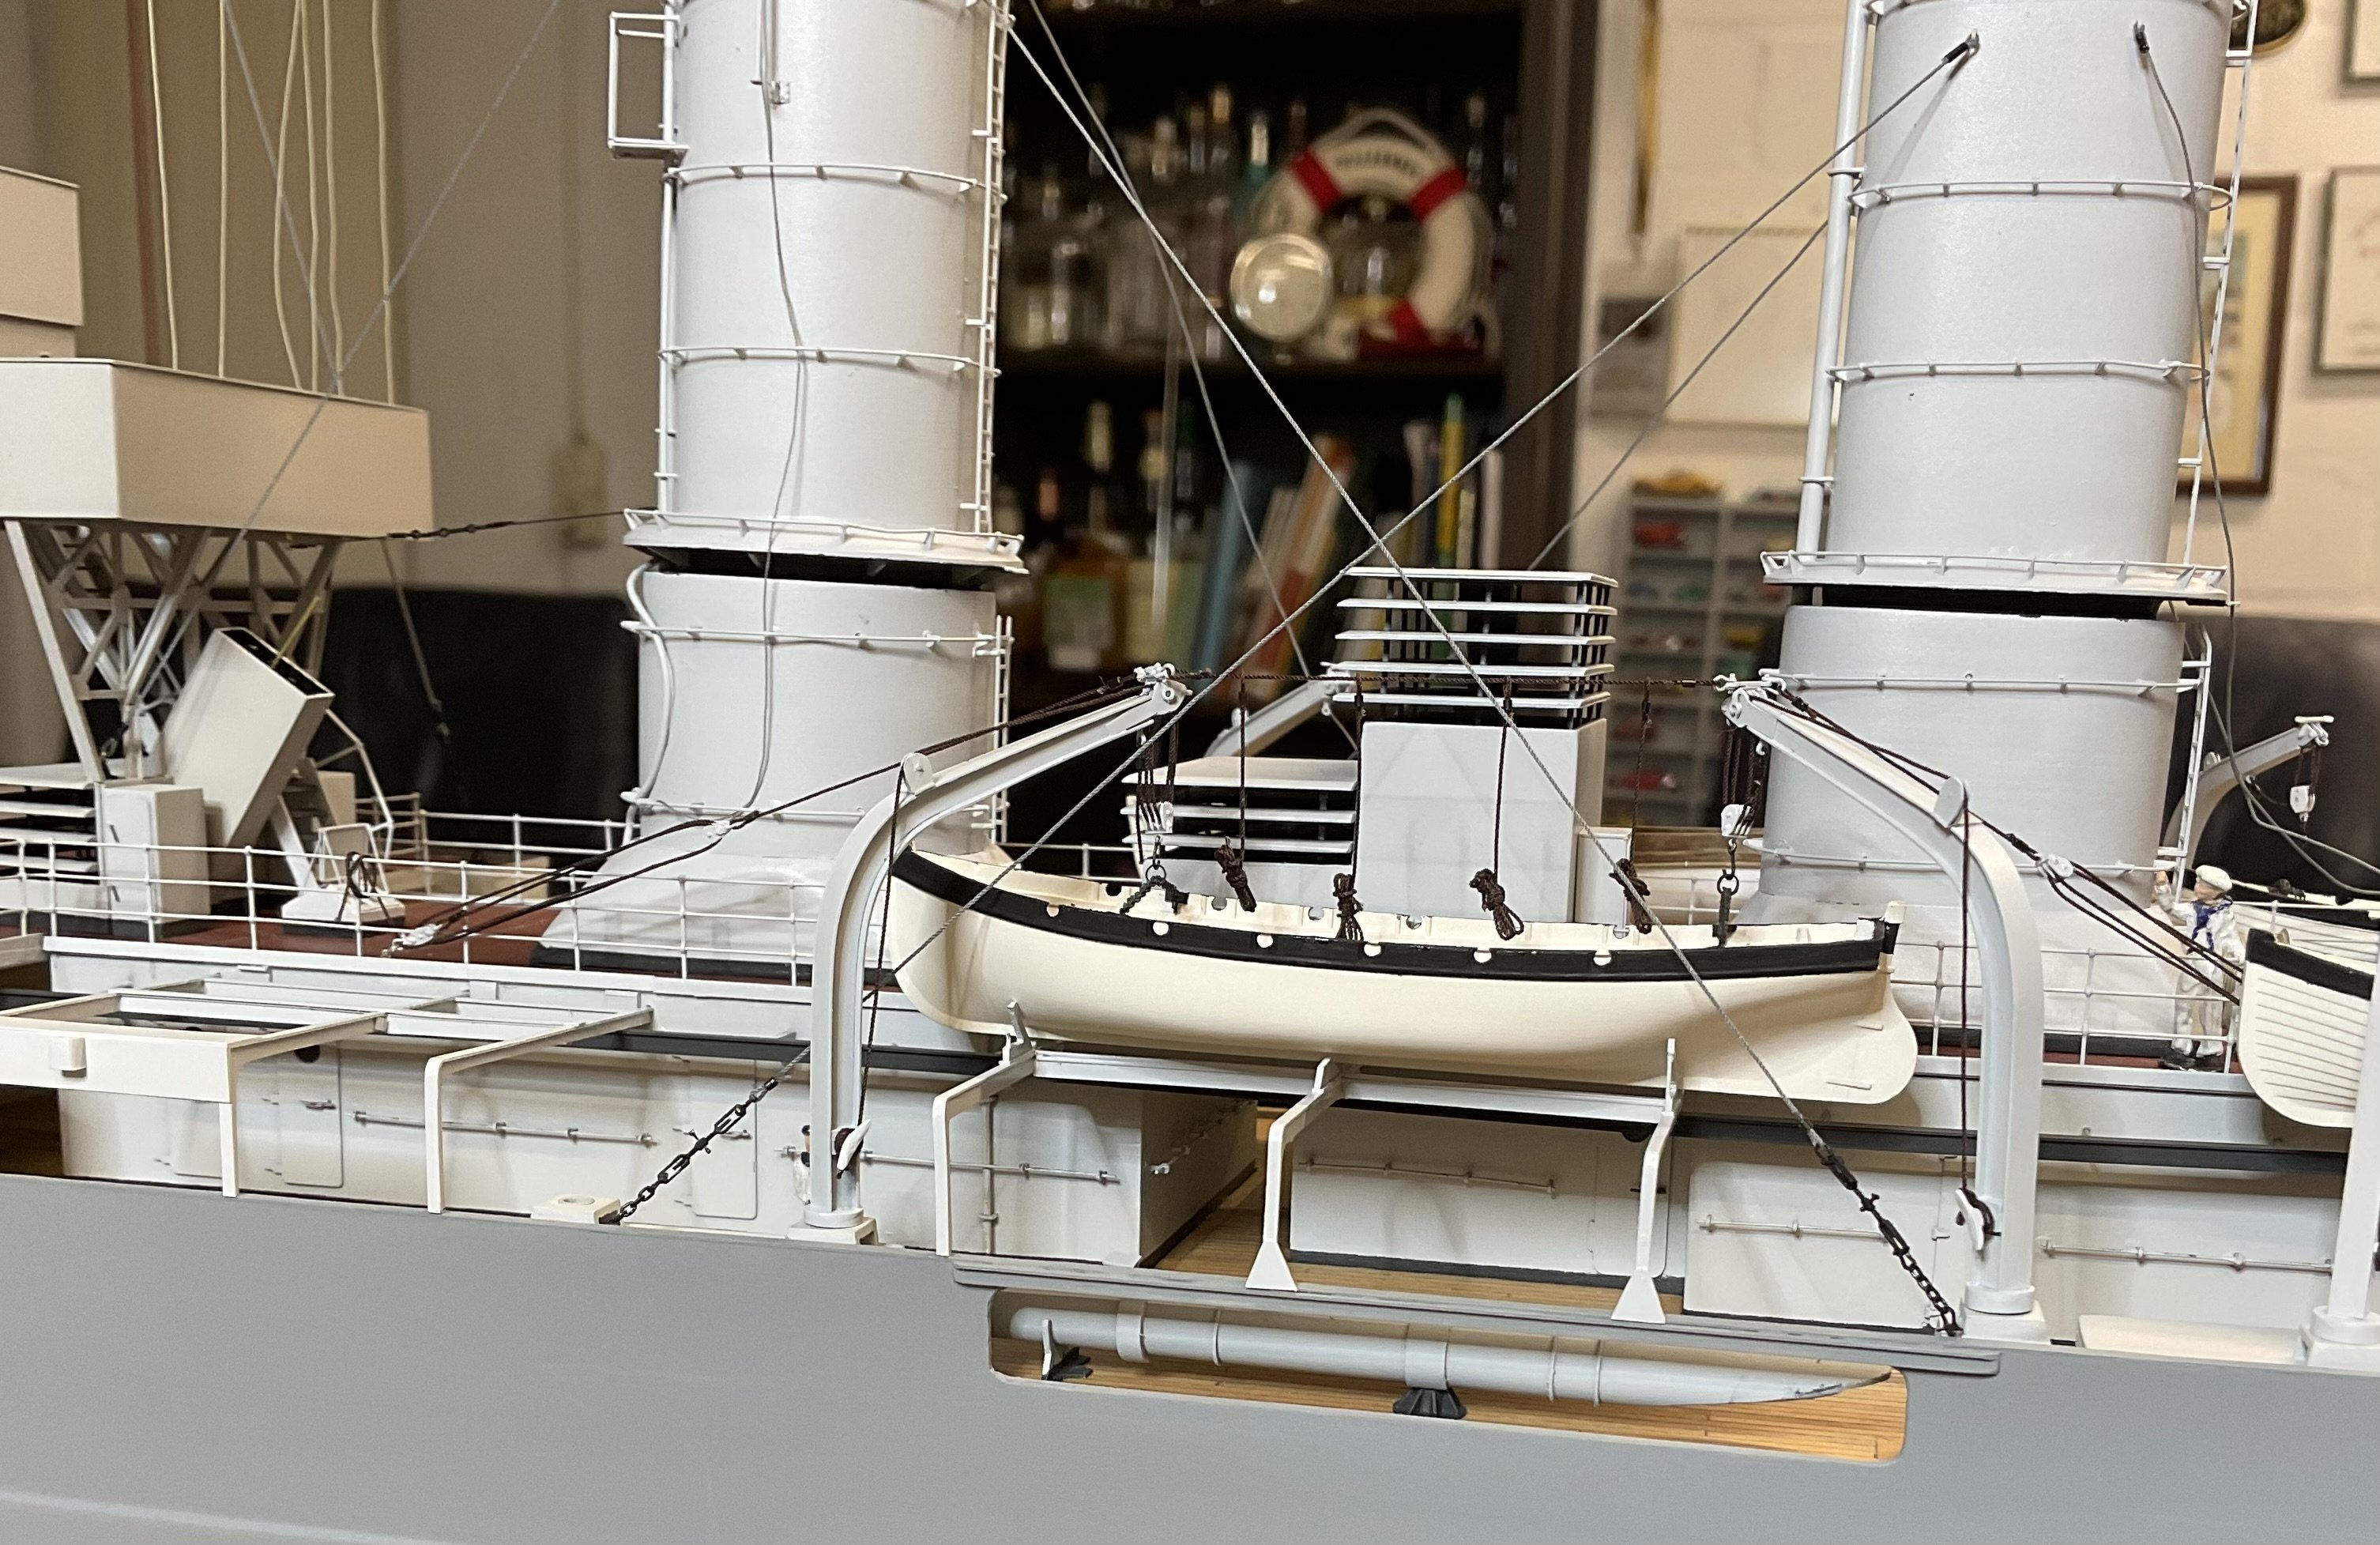
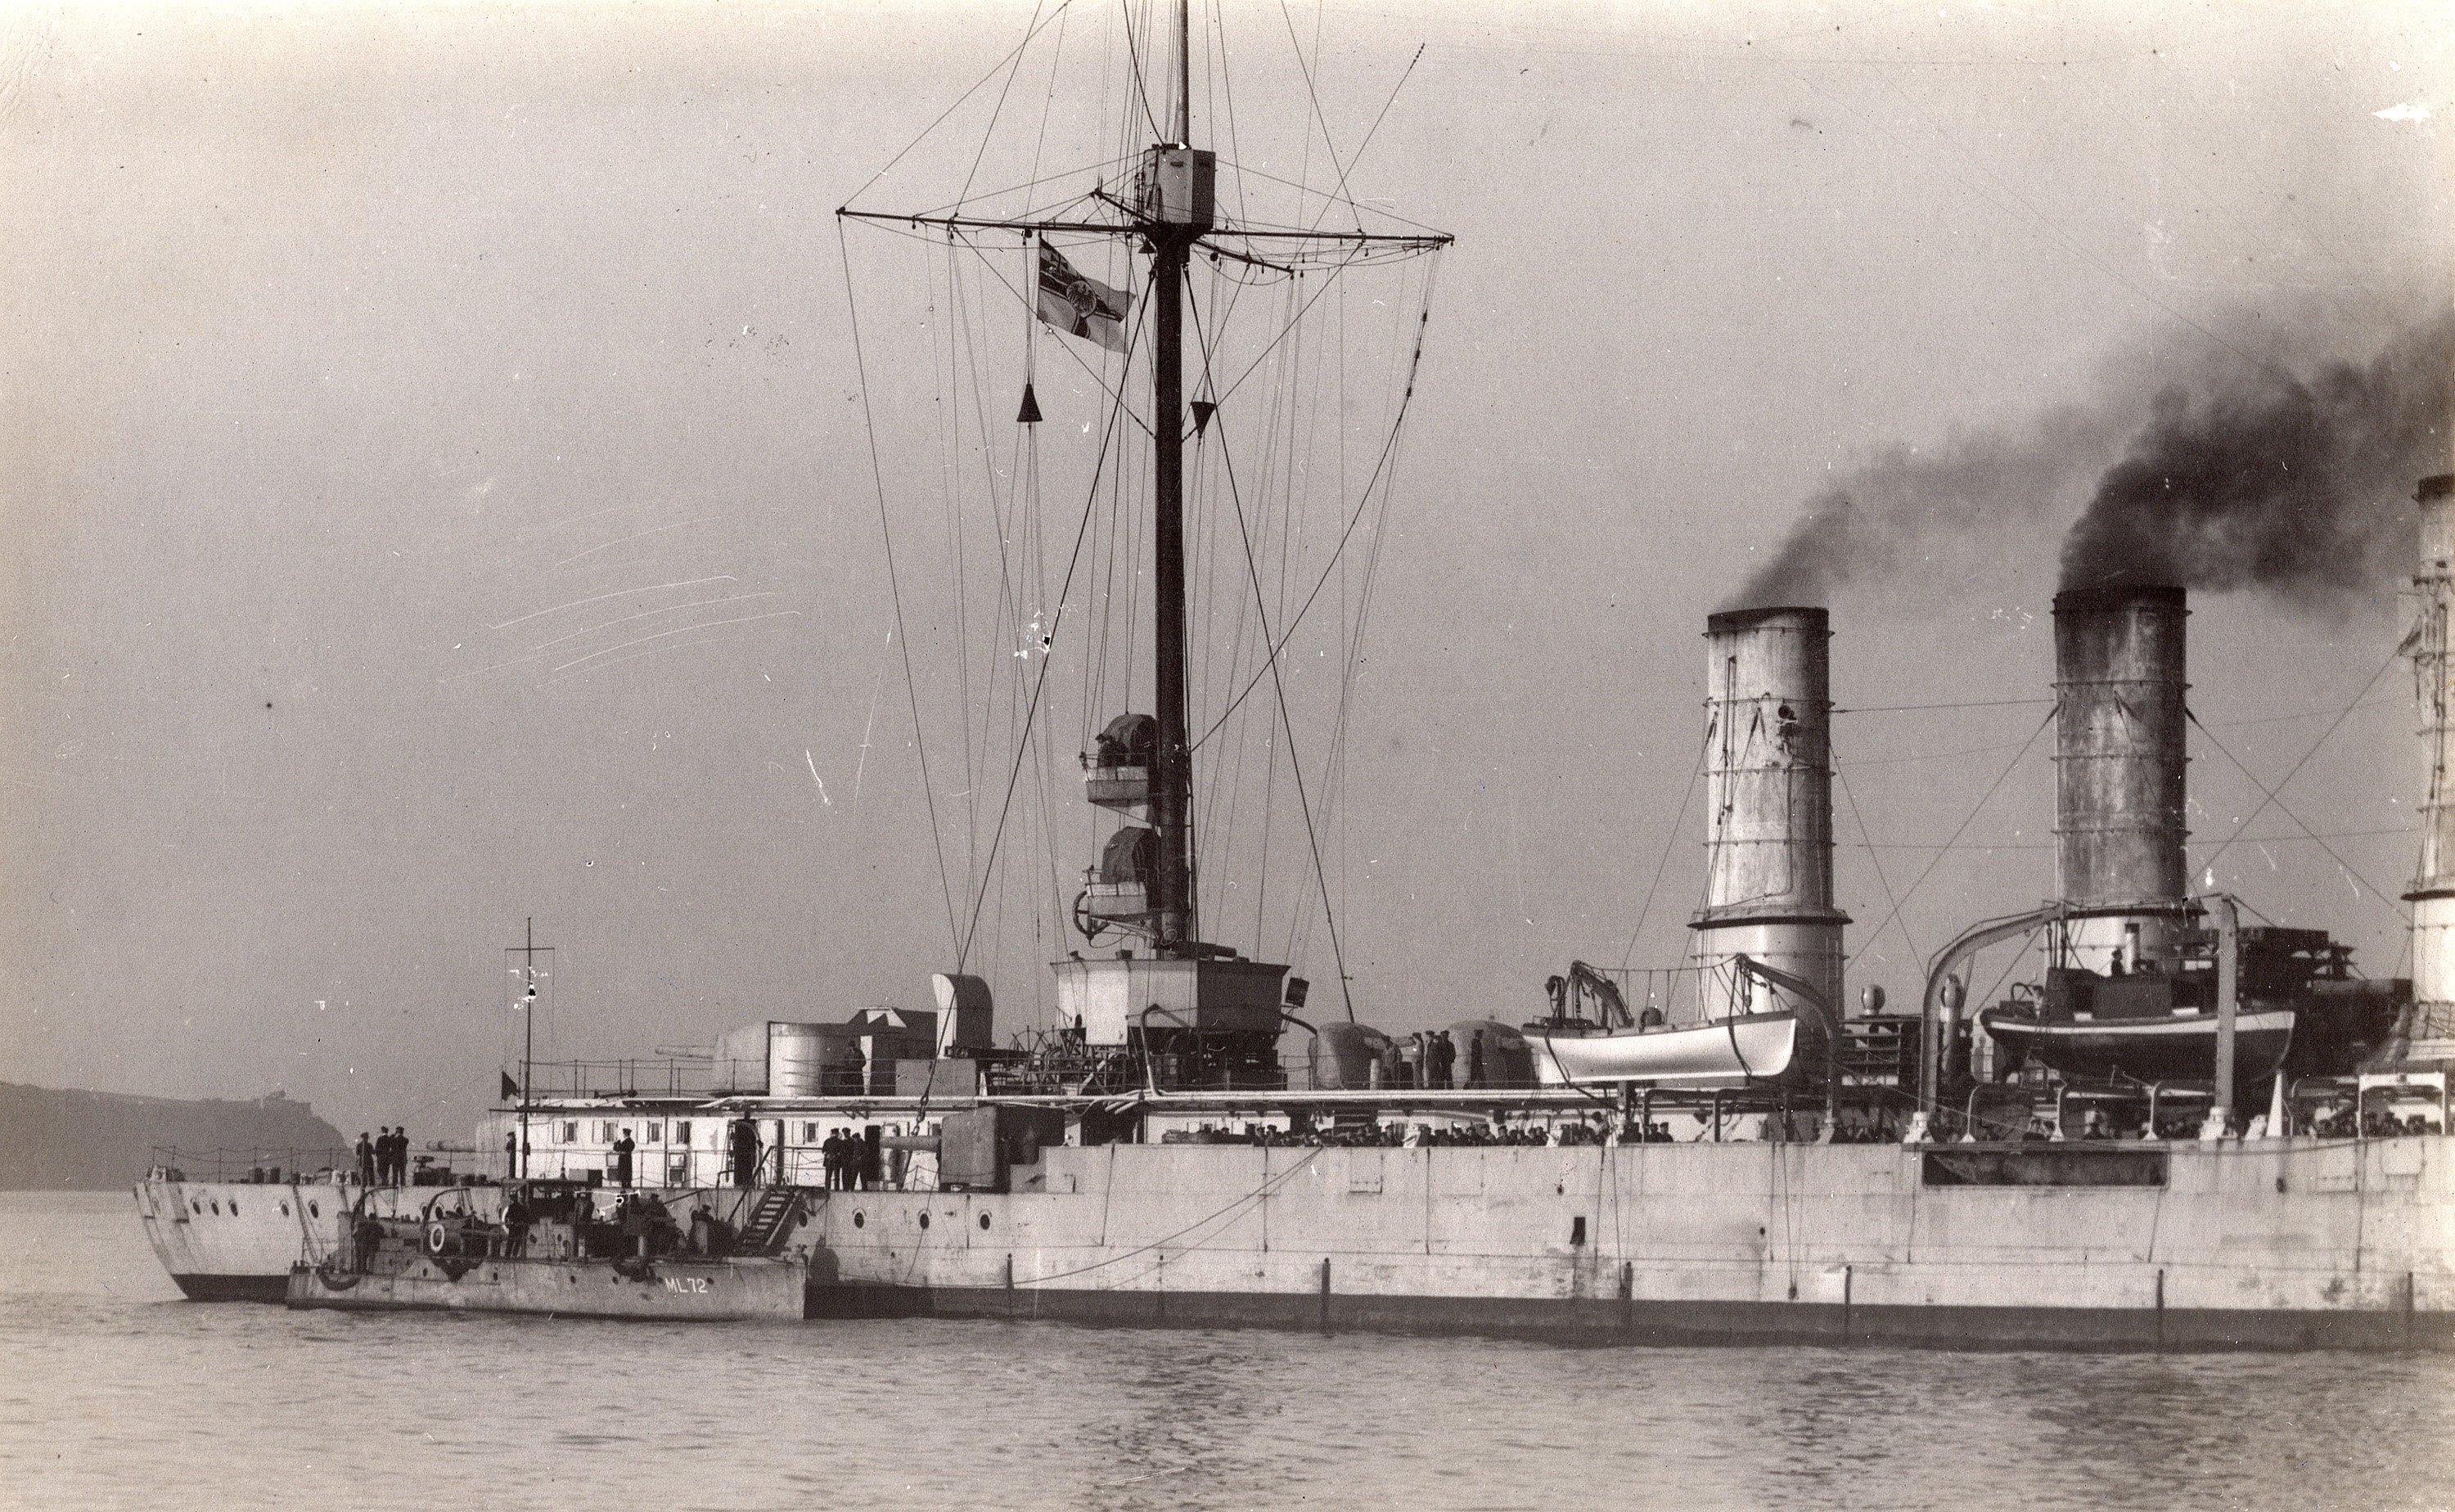
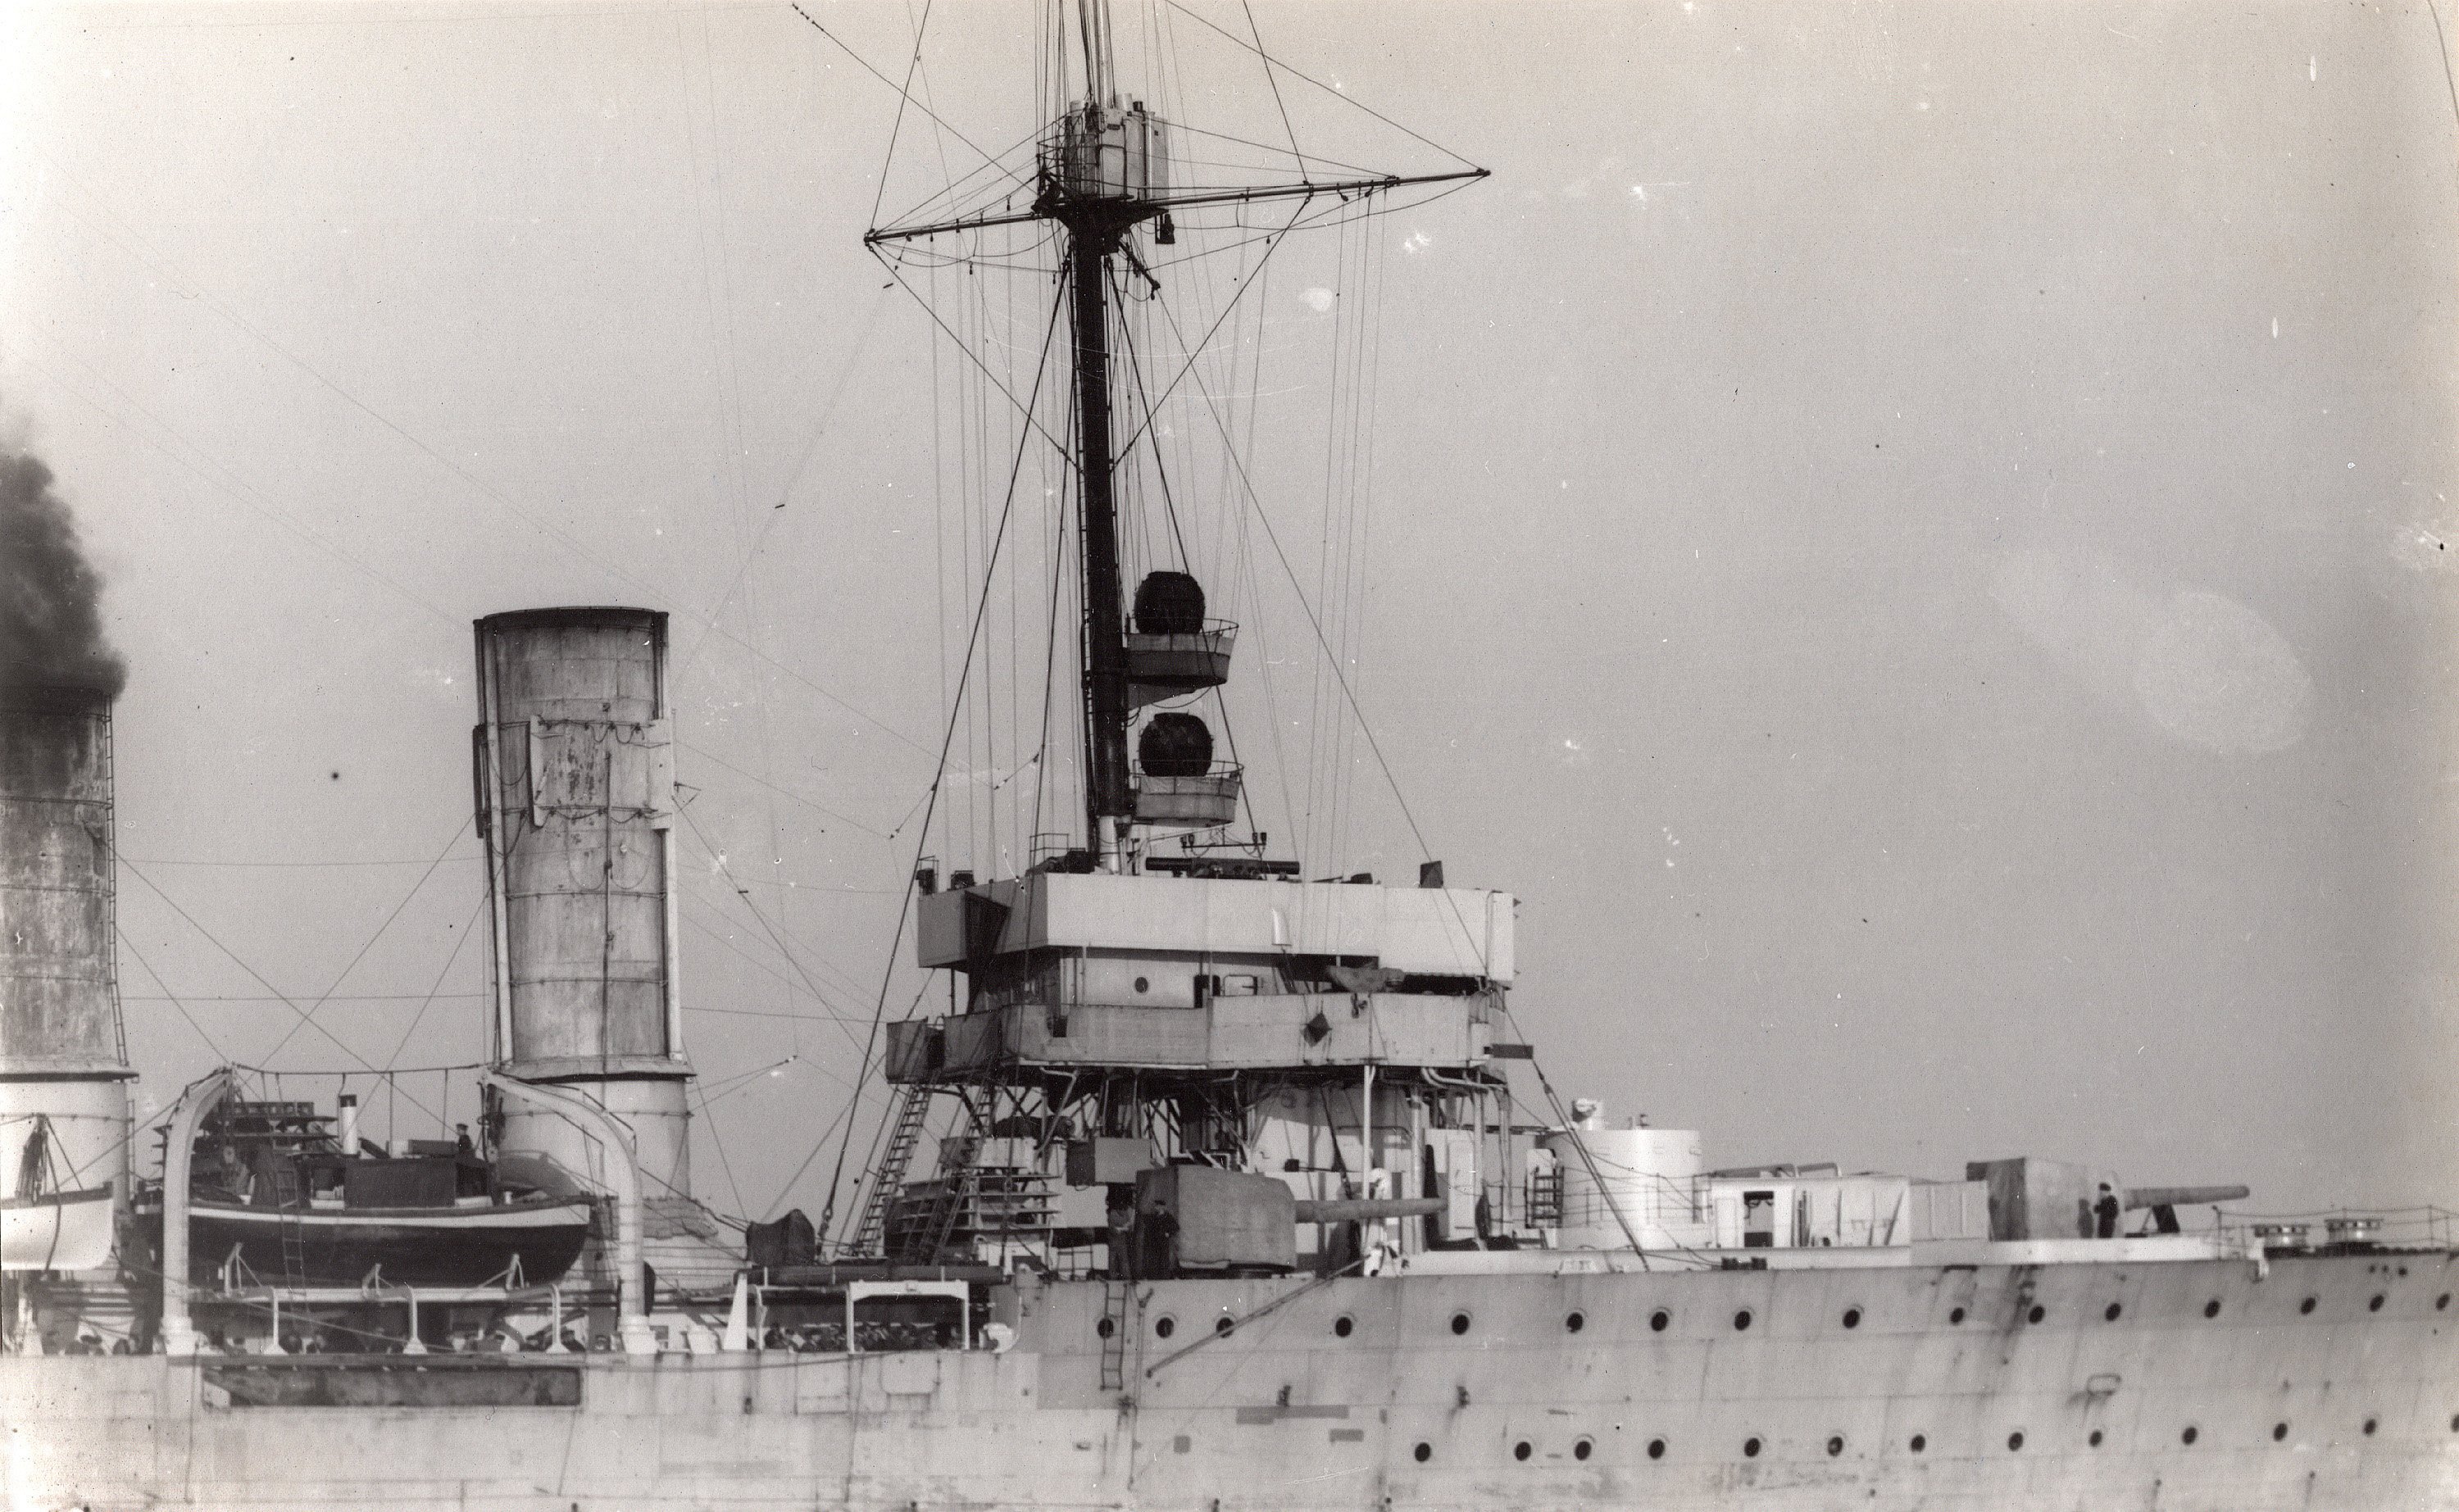
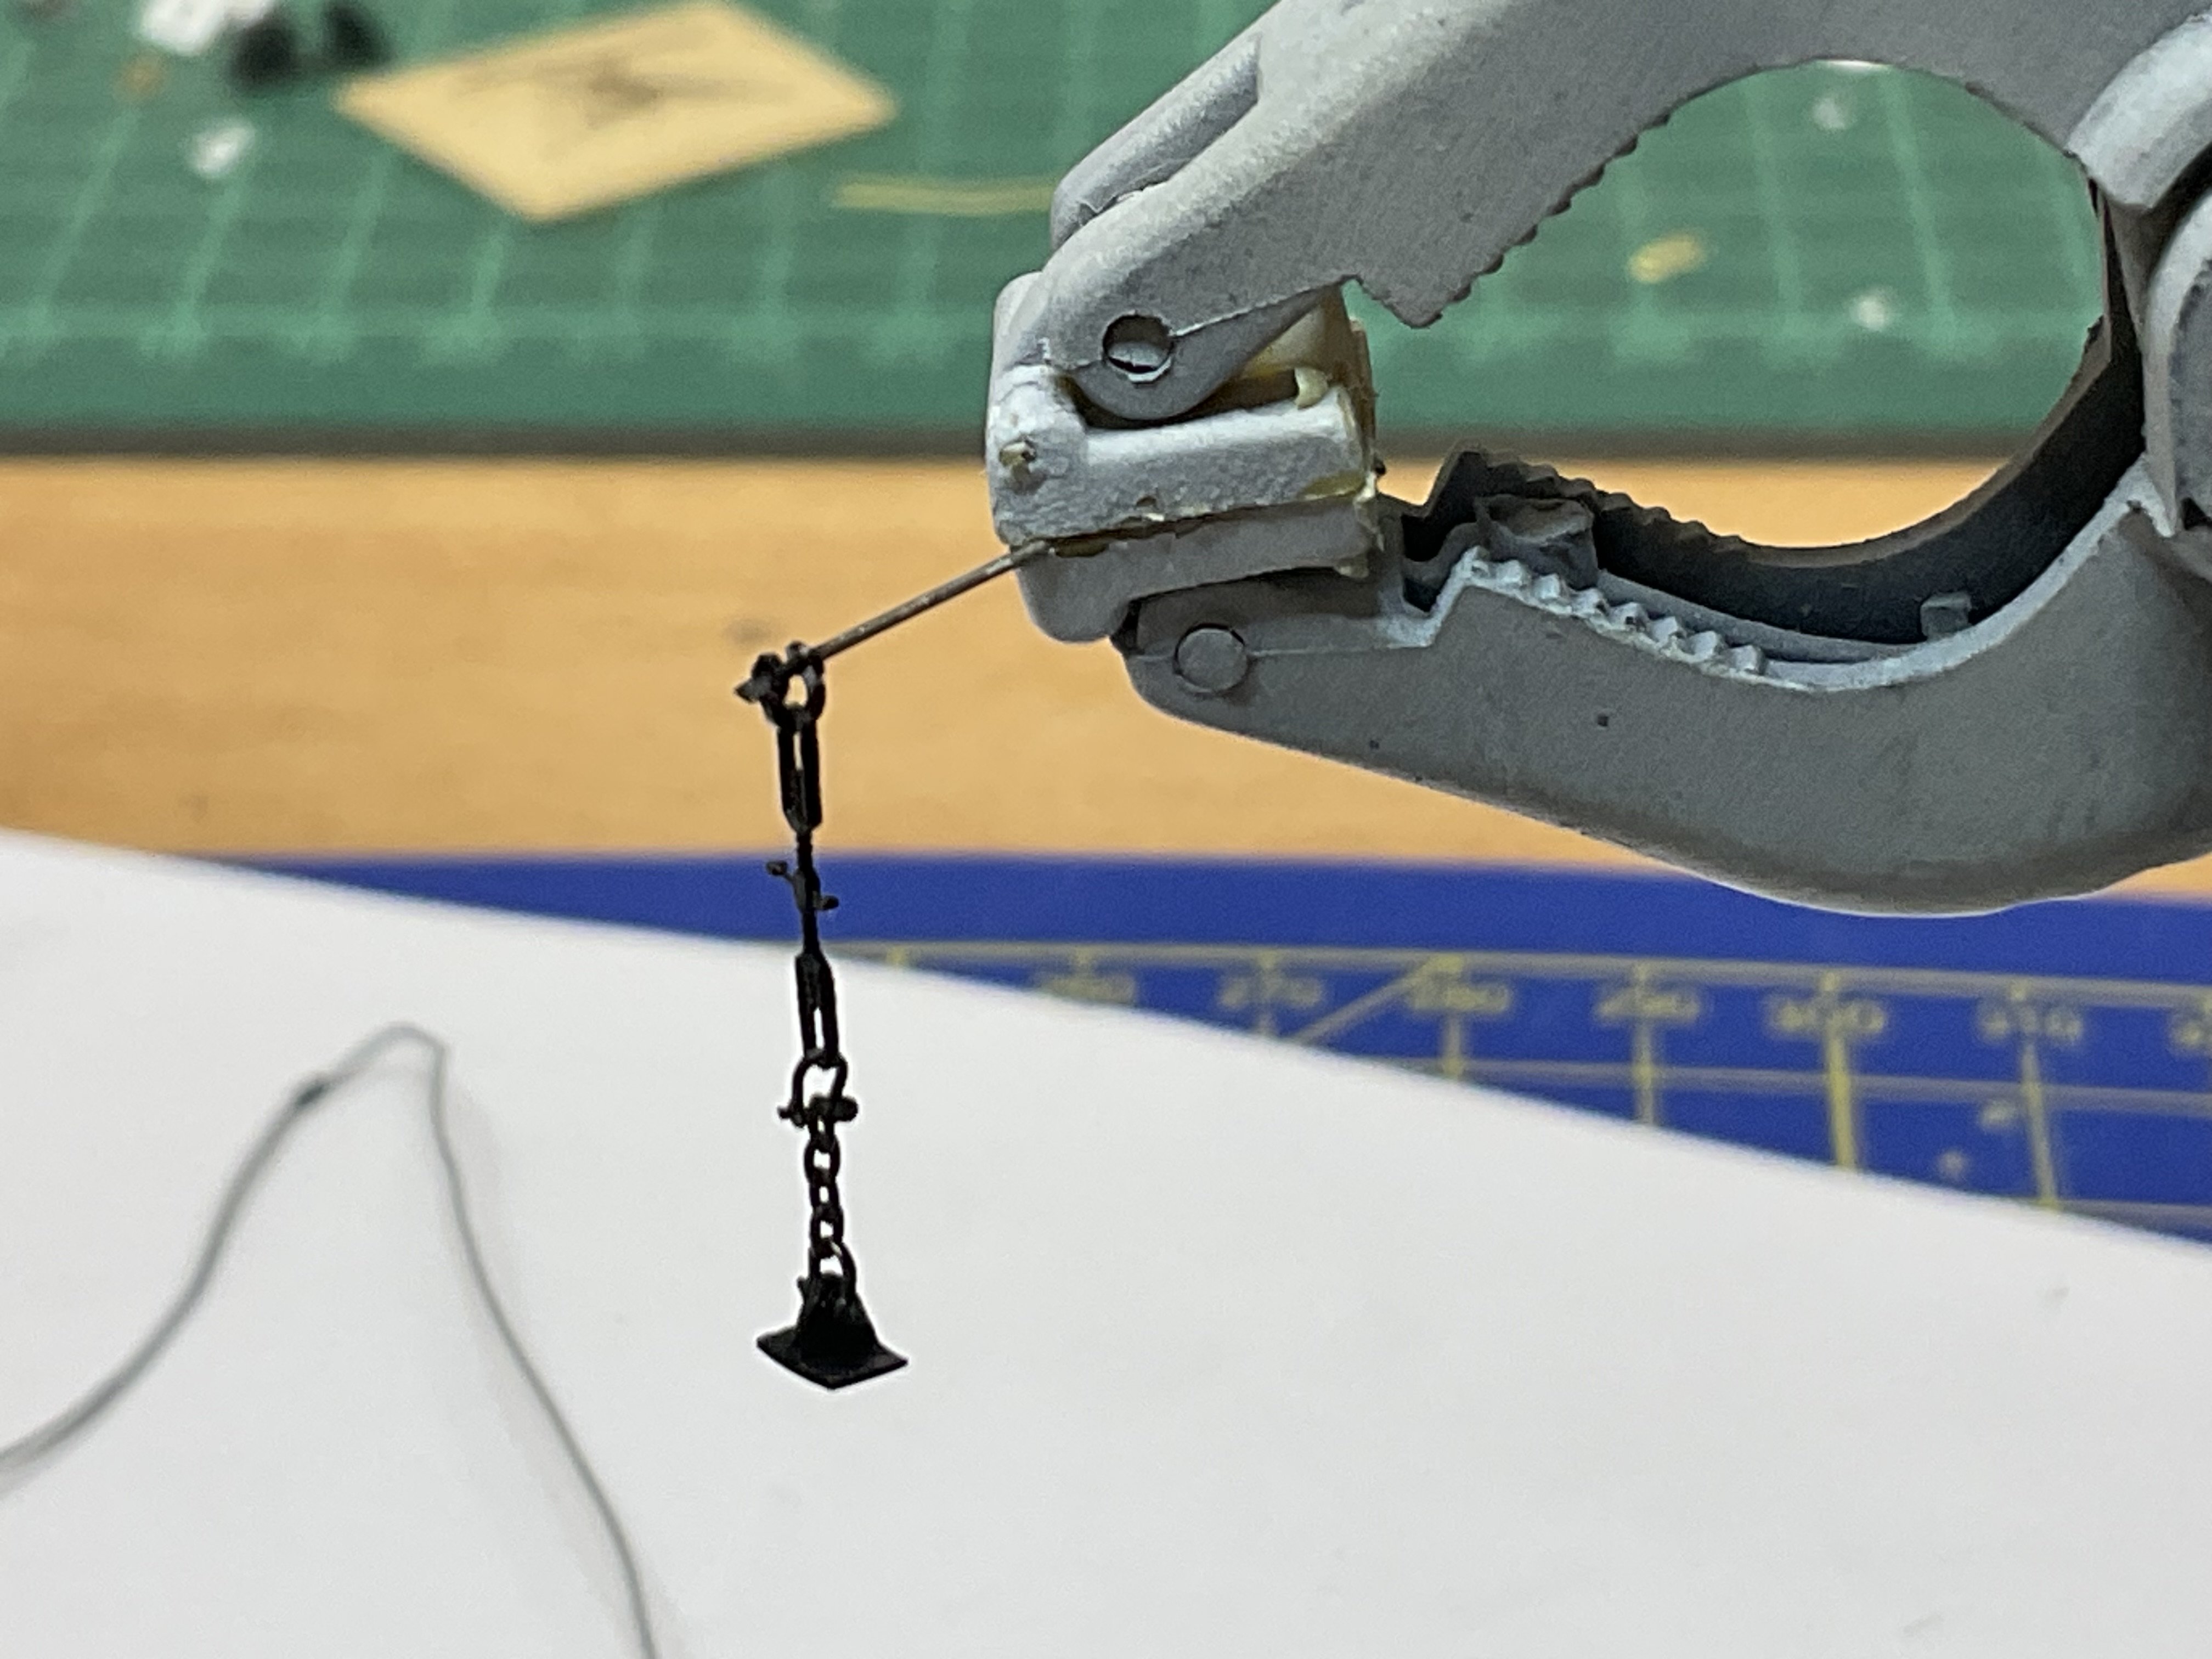
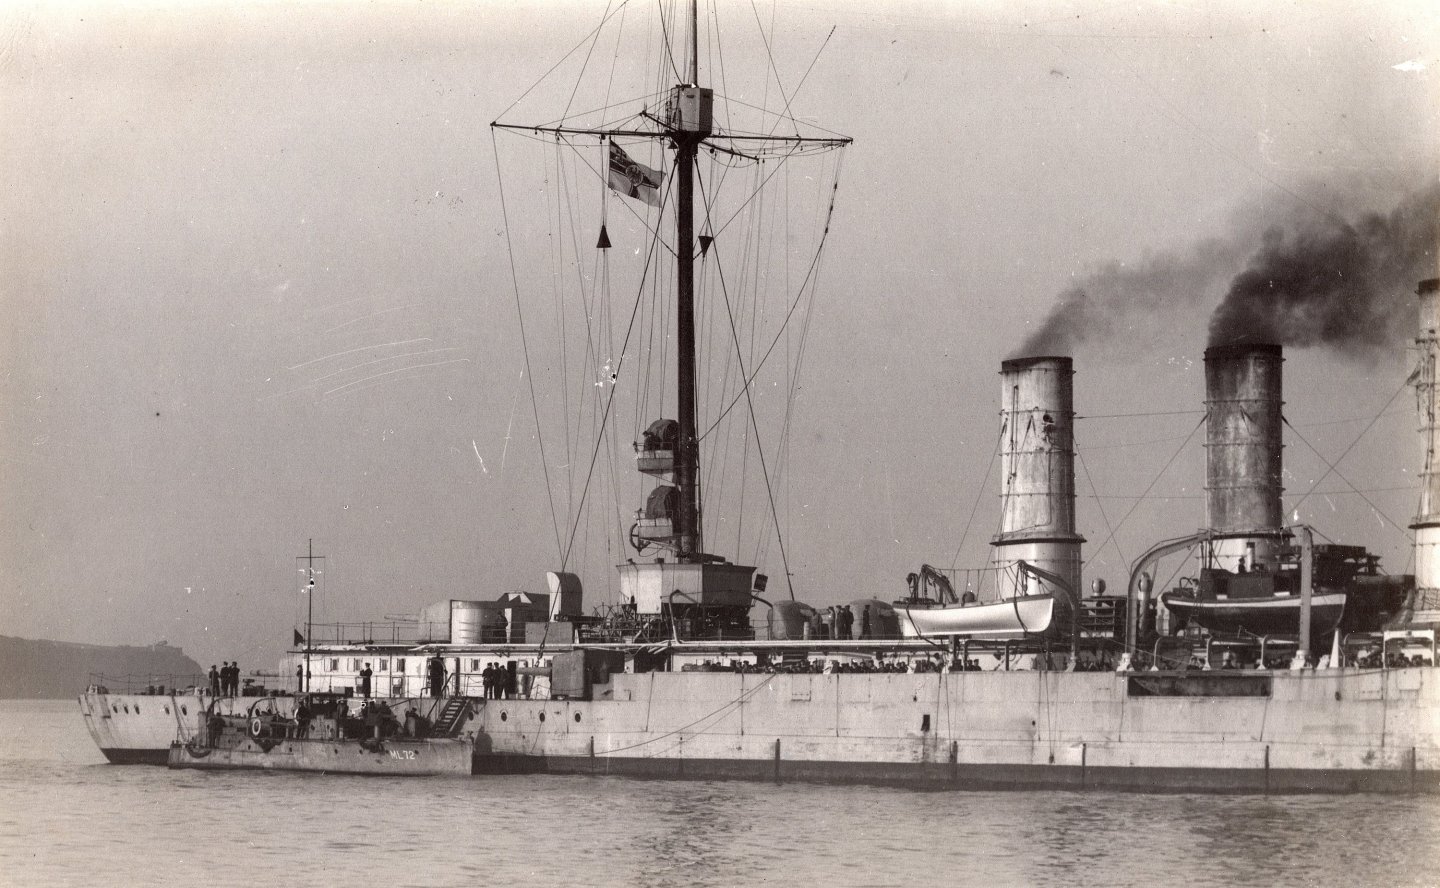
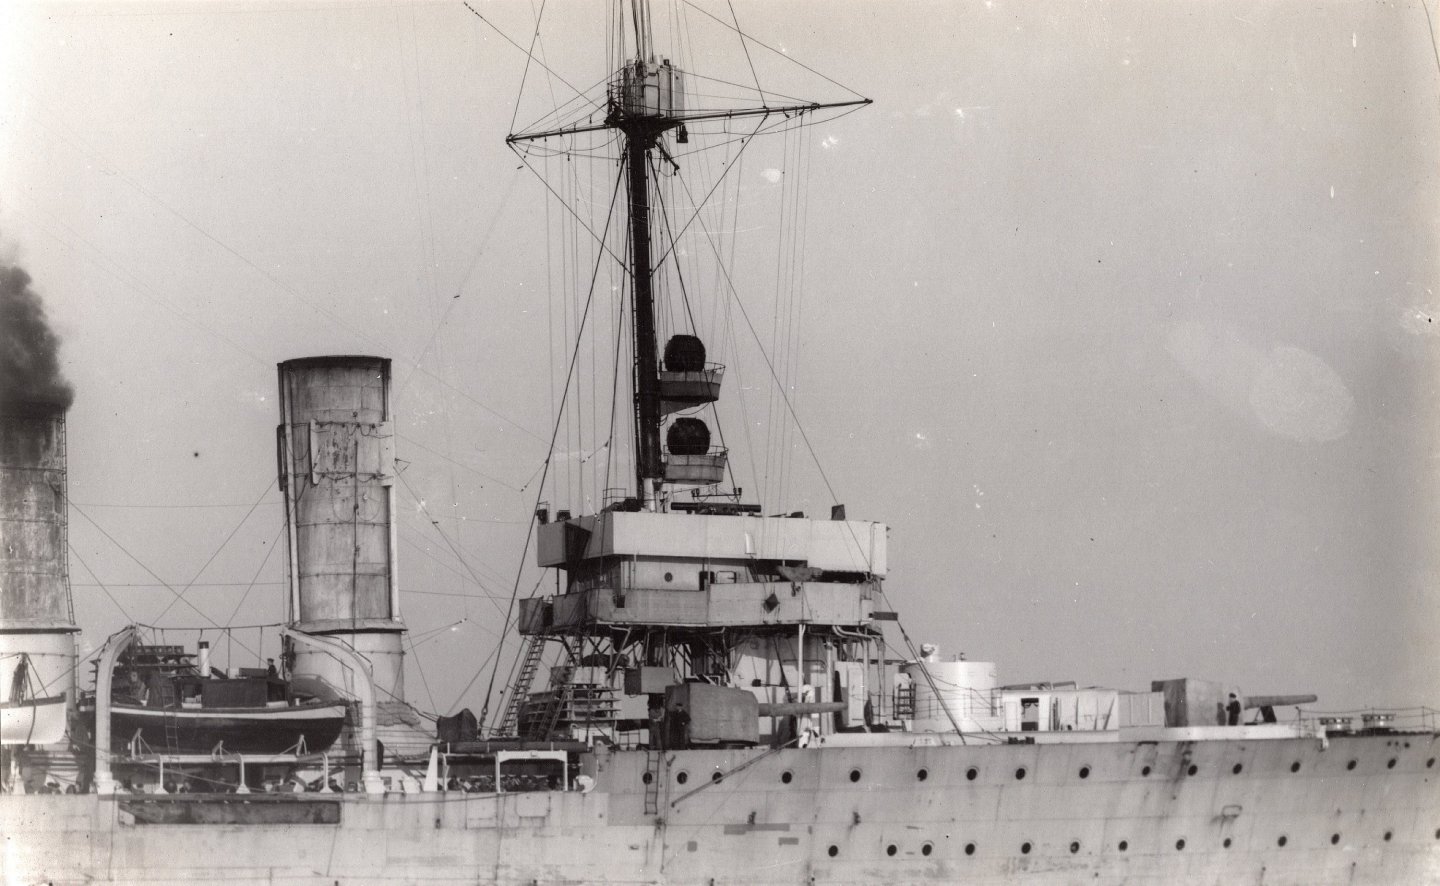
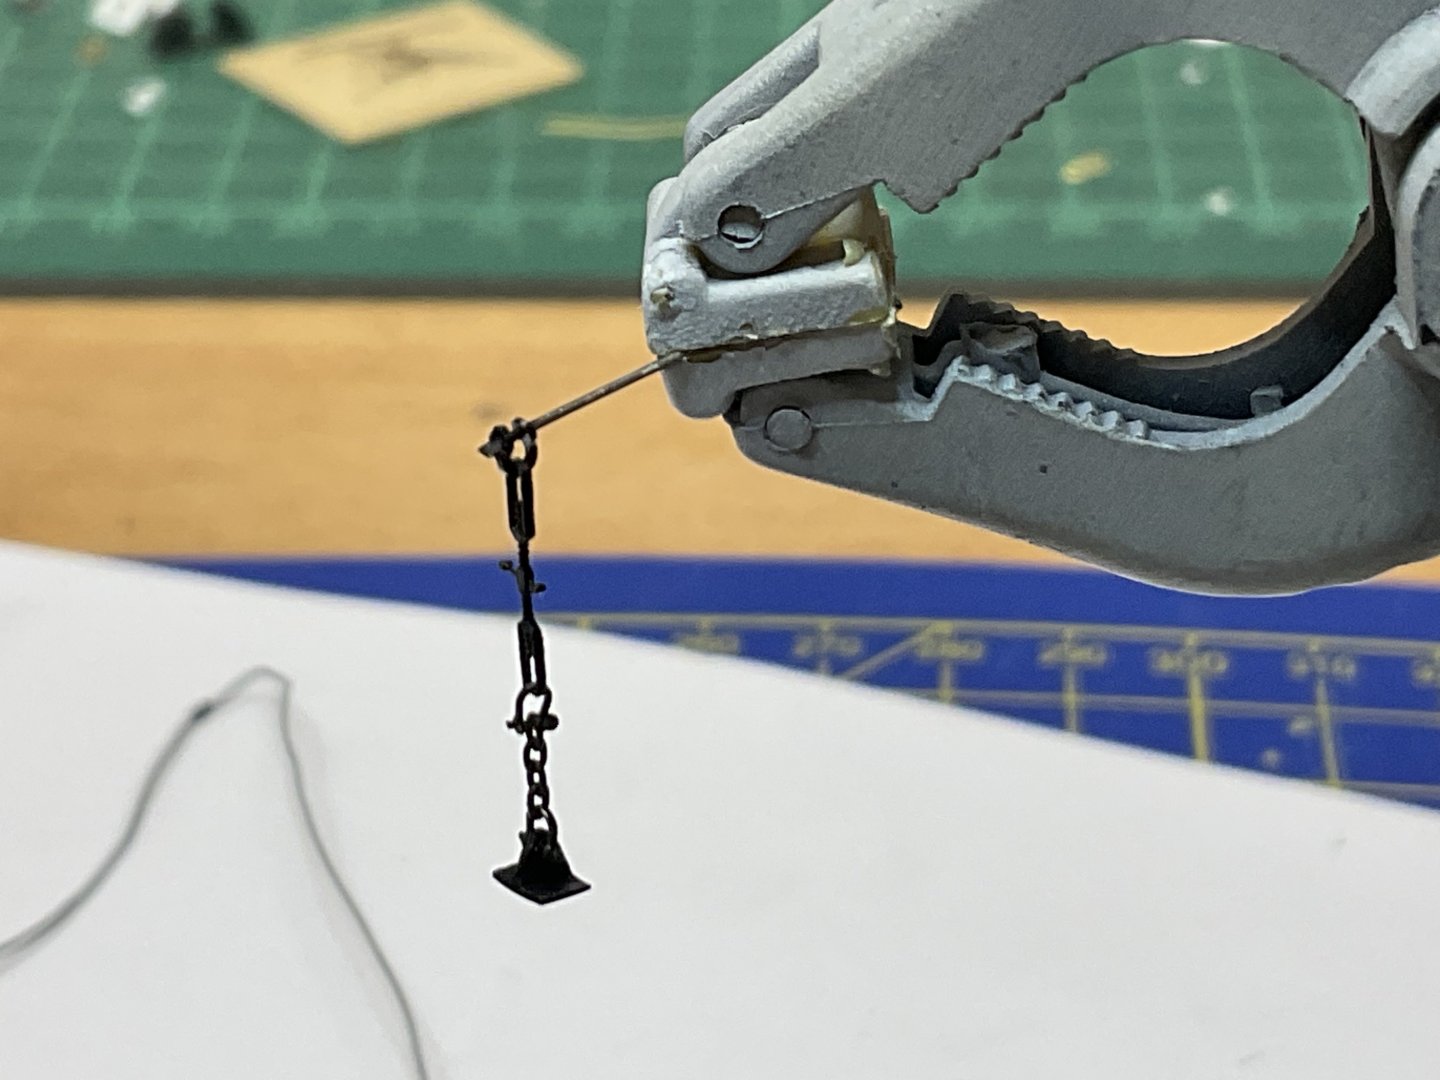
Hi eberhard (and all), on the picture with the swung out boat is the assembly that you mentioned (blue circle). You can (??😎) see the slip hook at the bottom , the „Spannschraube“ and chain. But only if you know what you are looking for. the second photo of the steamboat „shows“ no 3rd chain - this should go towards the bow if it were there. Maybe its there but it was taken off before the photo was taken. If thats so, then my model shows that status. Hows that for an excuse .😜? cheers sascha just noticed that my markings dont show up in the photos. No idea why. SorrY.
-
Moin Eberhard, yes i saw many drawings with 3 chains,… but no photograph. So i decided to take a shortcut 😎. Also the hook should be the other way round (upside down) but that was too difficult for me to make. on the sliphook: absolutely correct . There was a chain assembly with a „spannschraube“(cant think of translation now) and sliphook to fix all in position. This assembly was attached to the side of the davit head(upper) and side of the block (lower). The problems here (for me) were: cannot reliably attach upper end to davit head(too small) and distance between head and block when boat is on barrings is short, so the whole „spannschraube“+chain+sliphook assy would need to be very tiny. On top of that - at least off model - i can adjust the height of the block/tension of chain so that the ropes are (almost) straight. If i wanted to build the aforementioned assembly with the sliphook, then that would not only be tiny, but also have to be pretty precise in lenght which i dont believe i can do. i have yet to be brave enough to install the whole thing on the model…🤪. lg sascha Ps: yes i have the Brix 😎
-
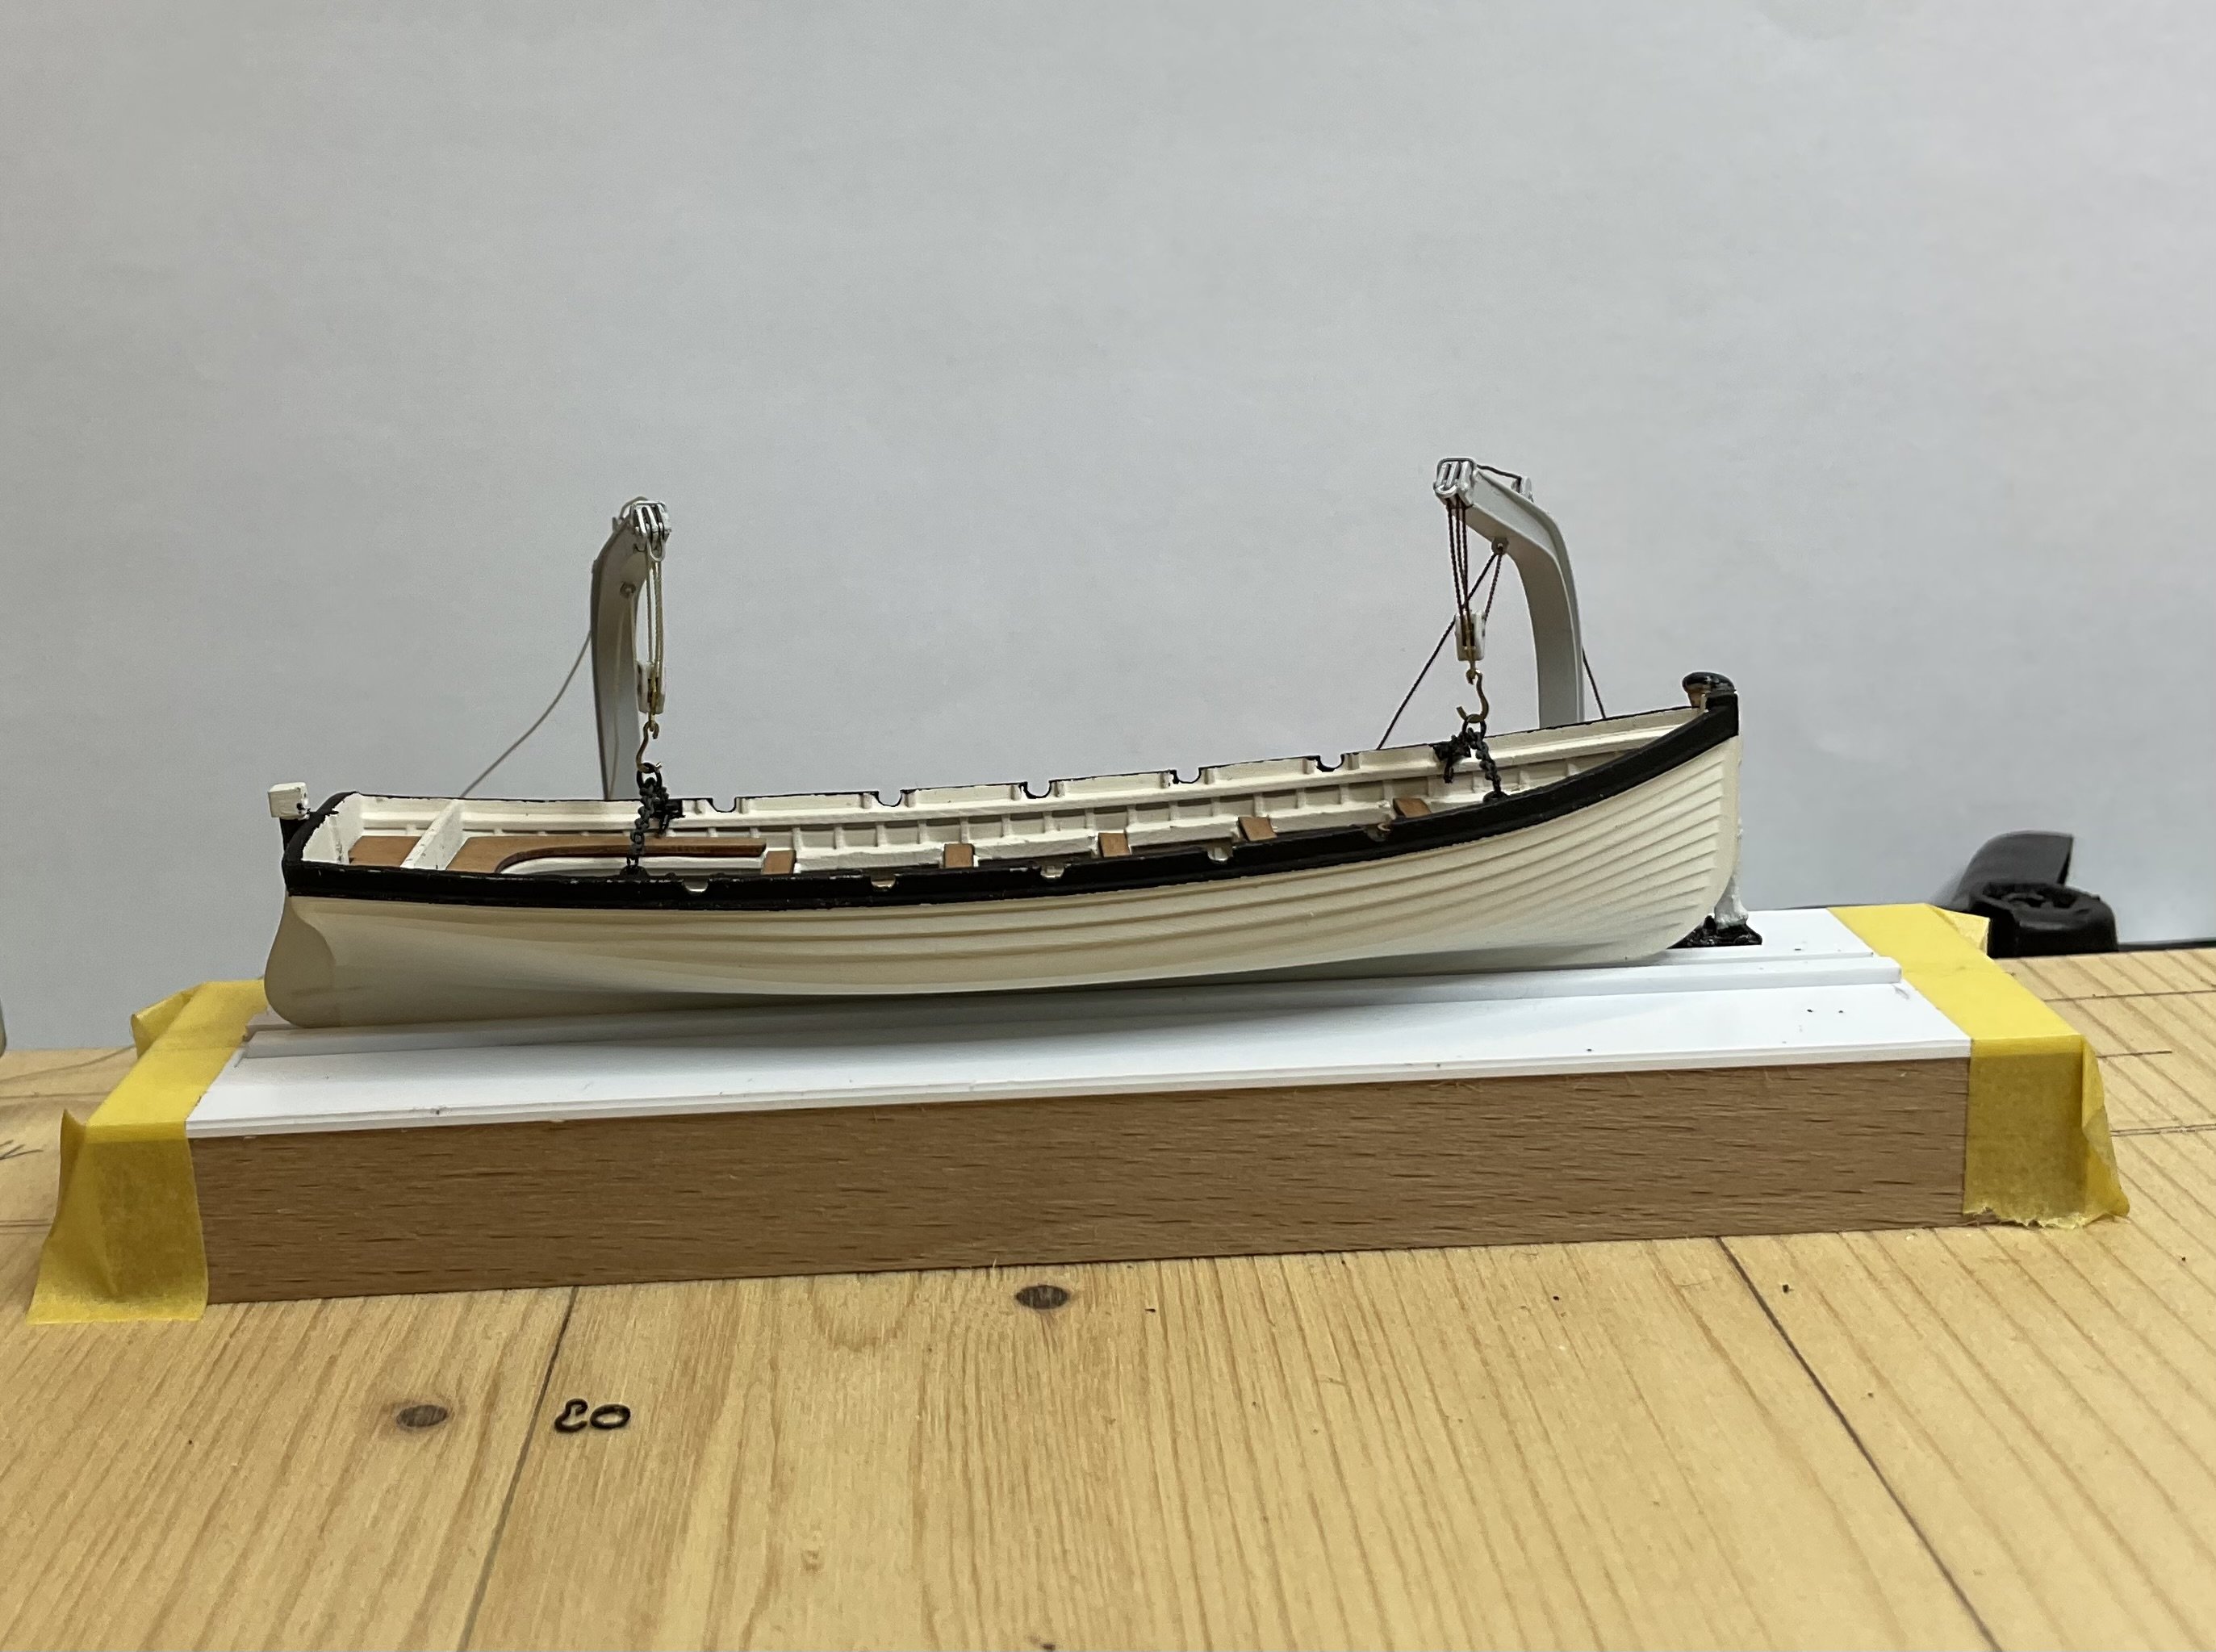
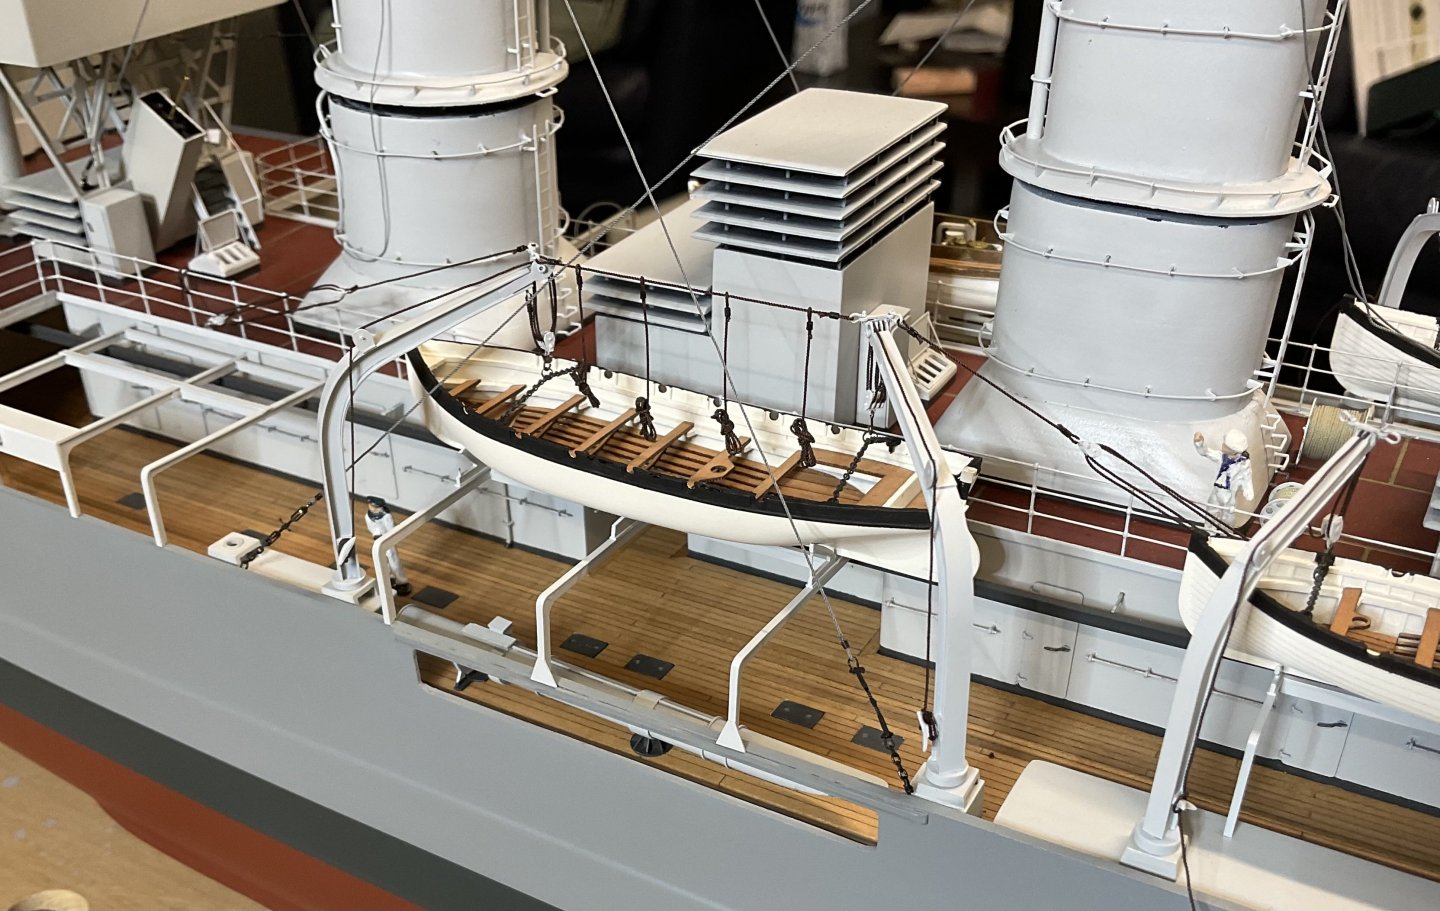
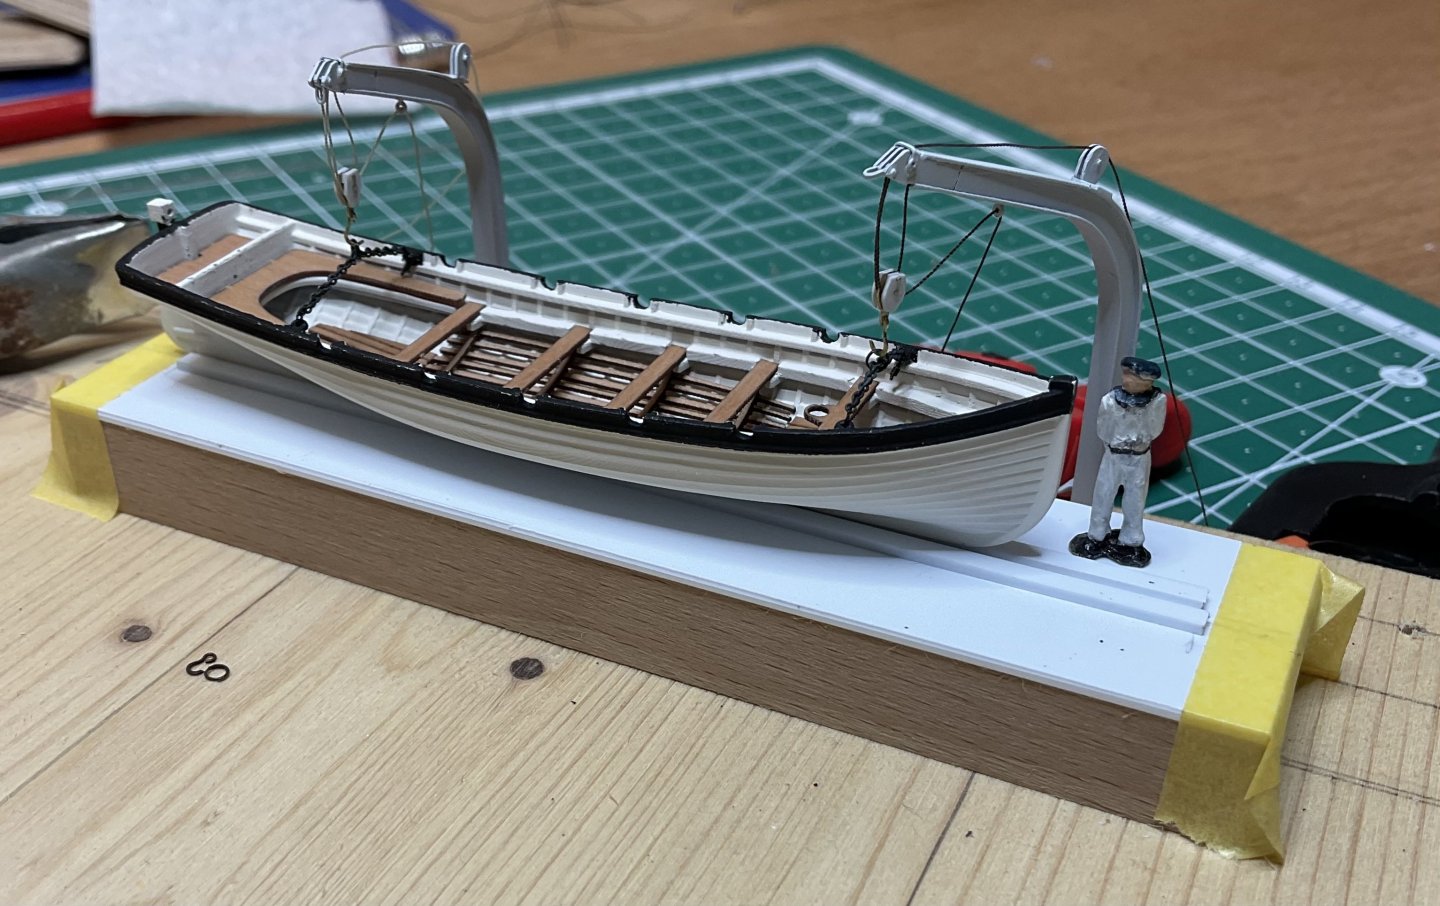
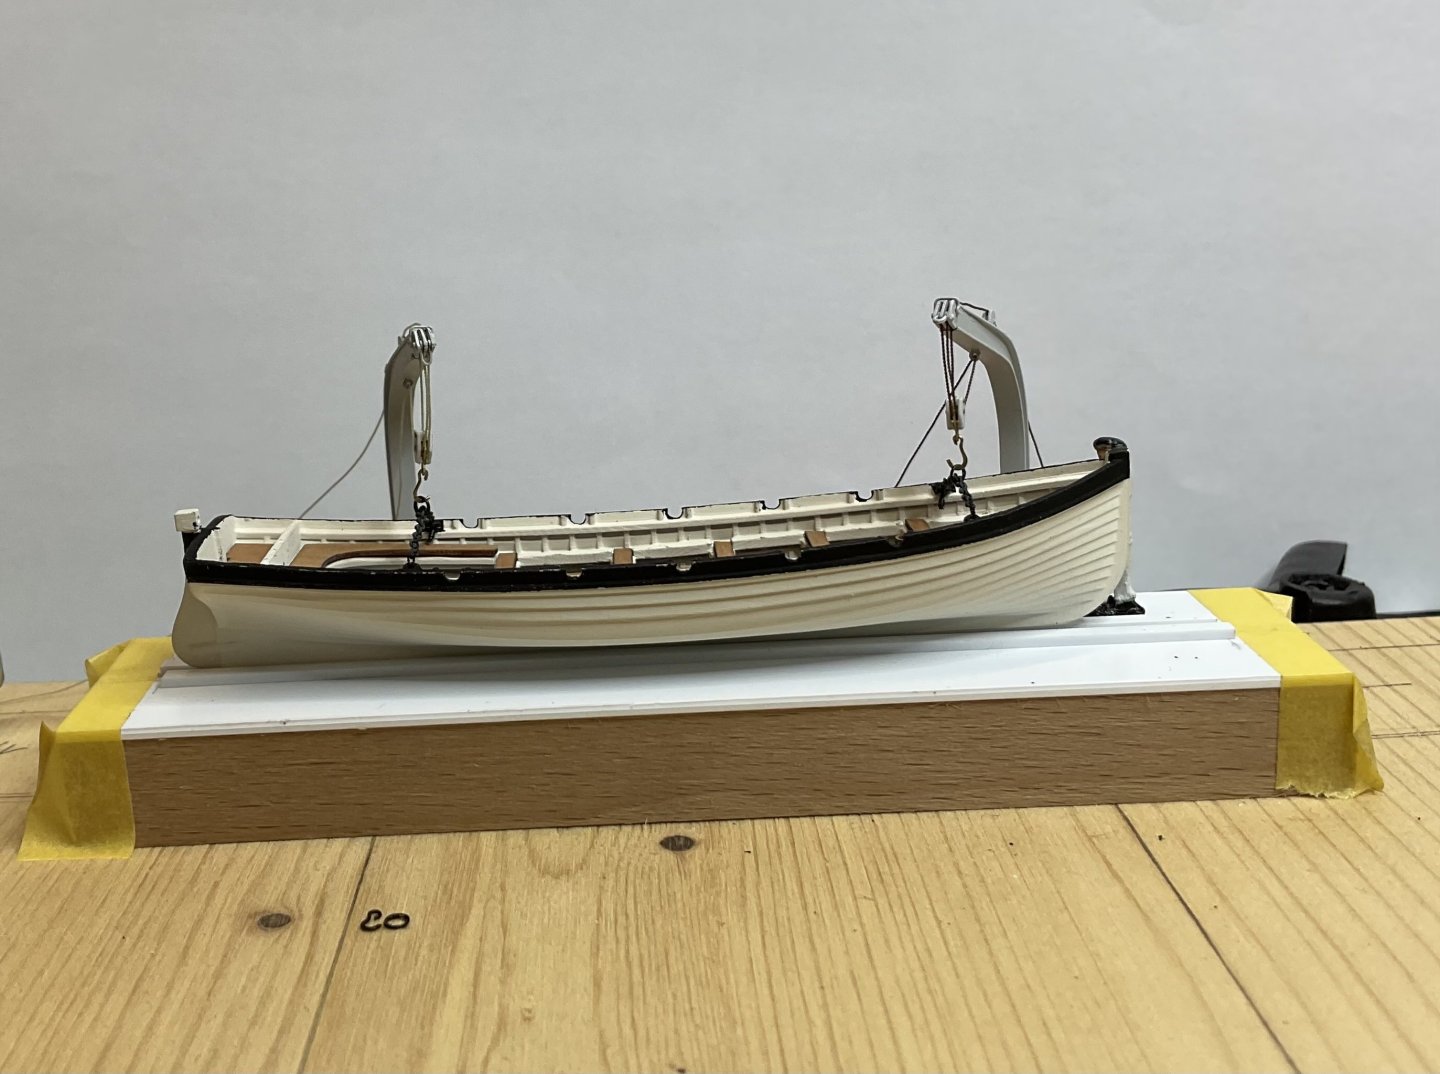
Hi all, made the blocks (for pulley) for the smaller davits and completed a cutter plus rigging. The boat itself is from the workshop of a friend and is amazing , note the clinker planking . I just assembled it,added a few things and painted. cheers sascha

-
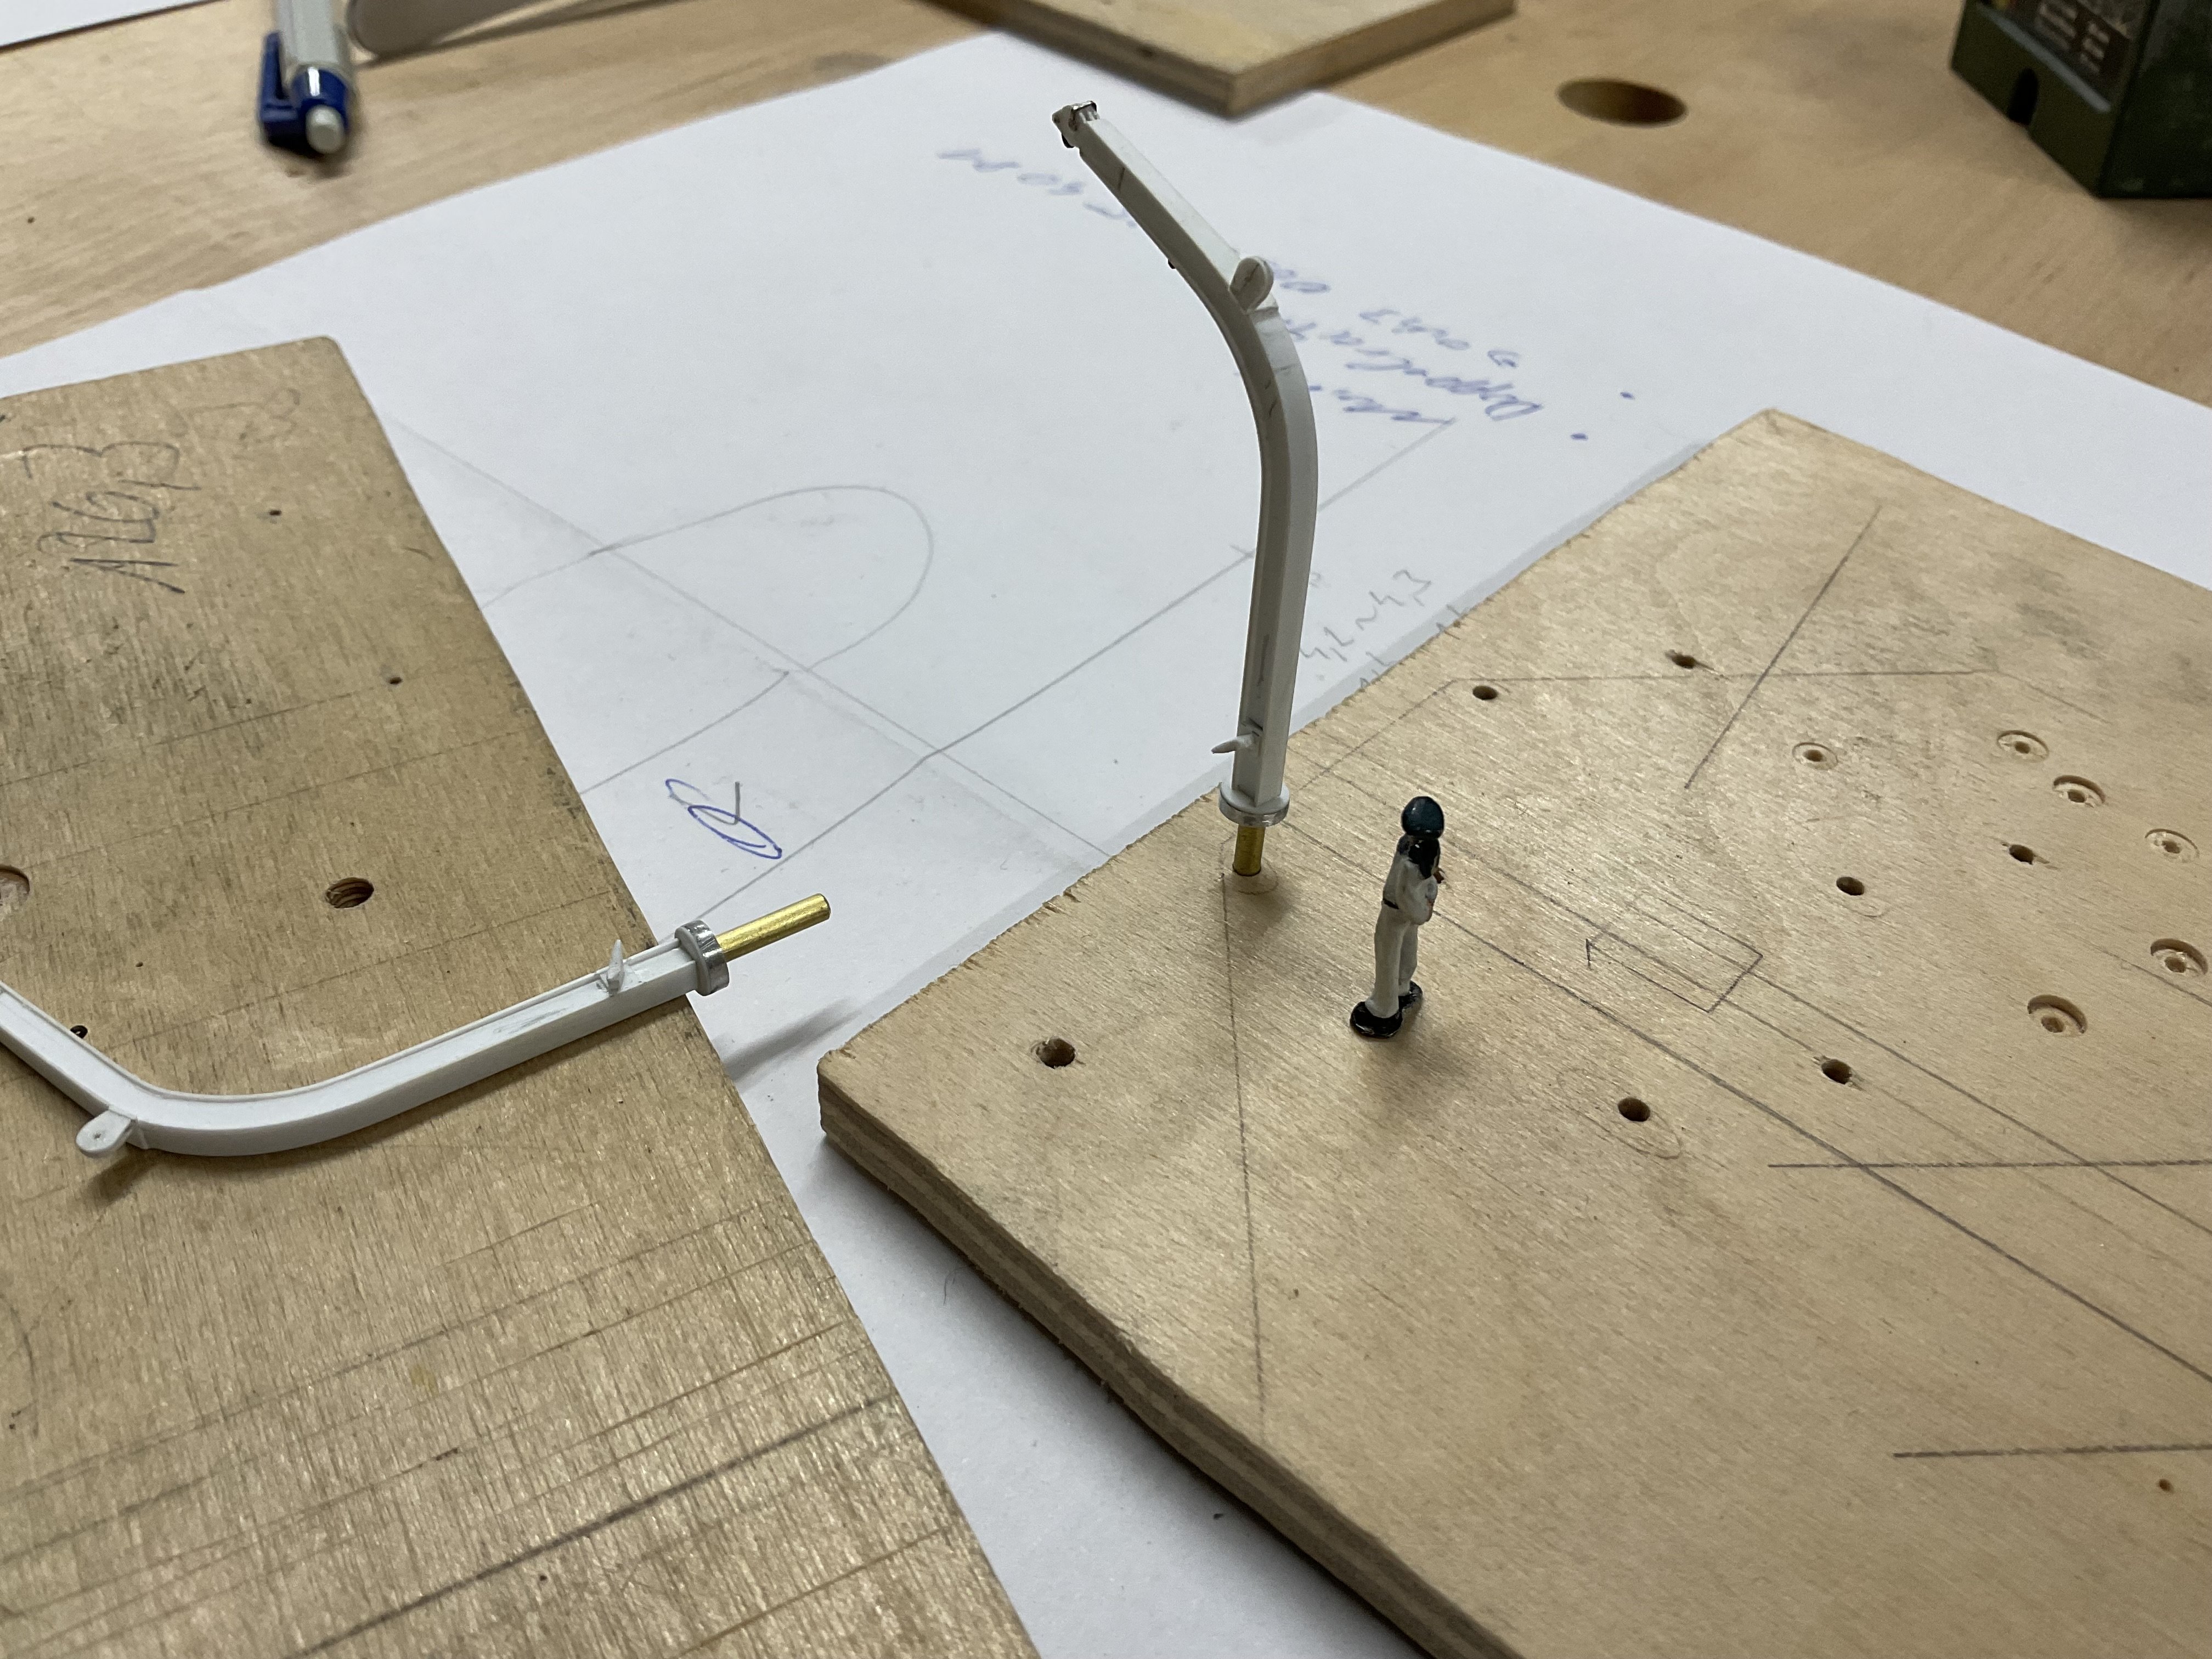
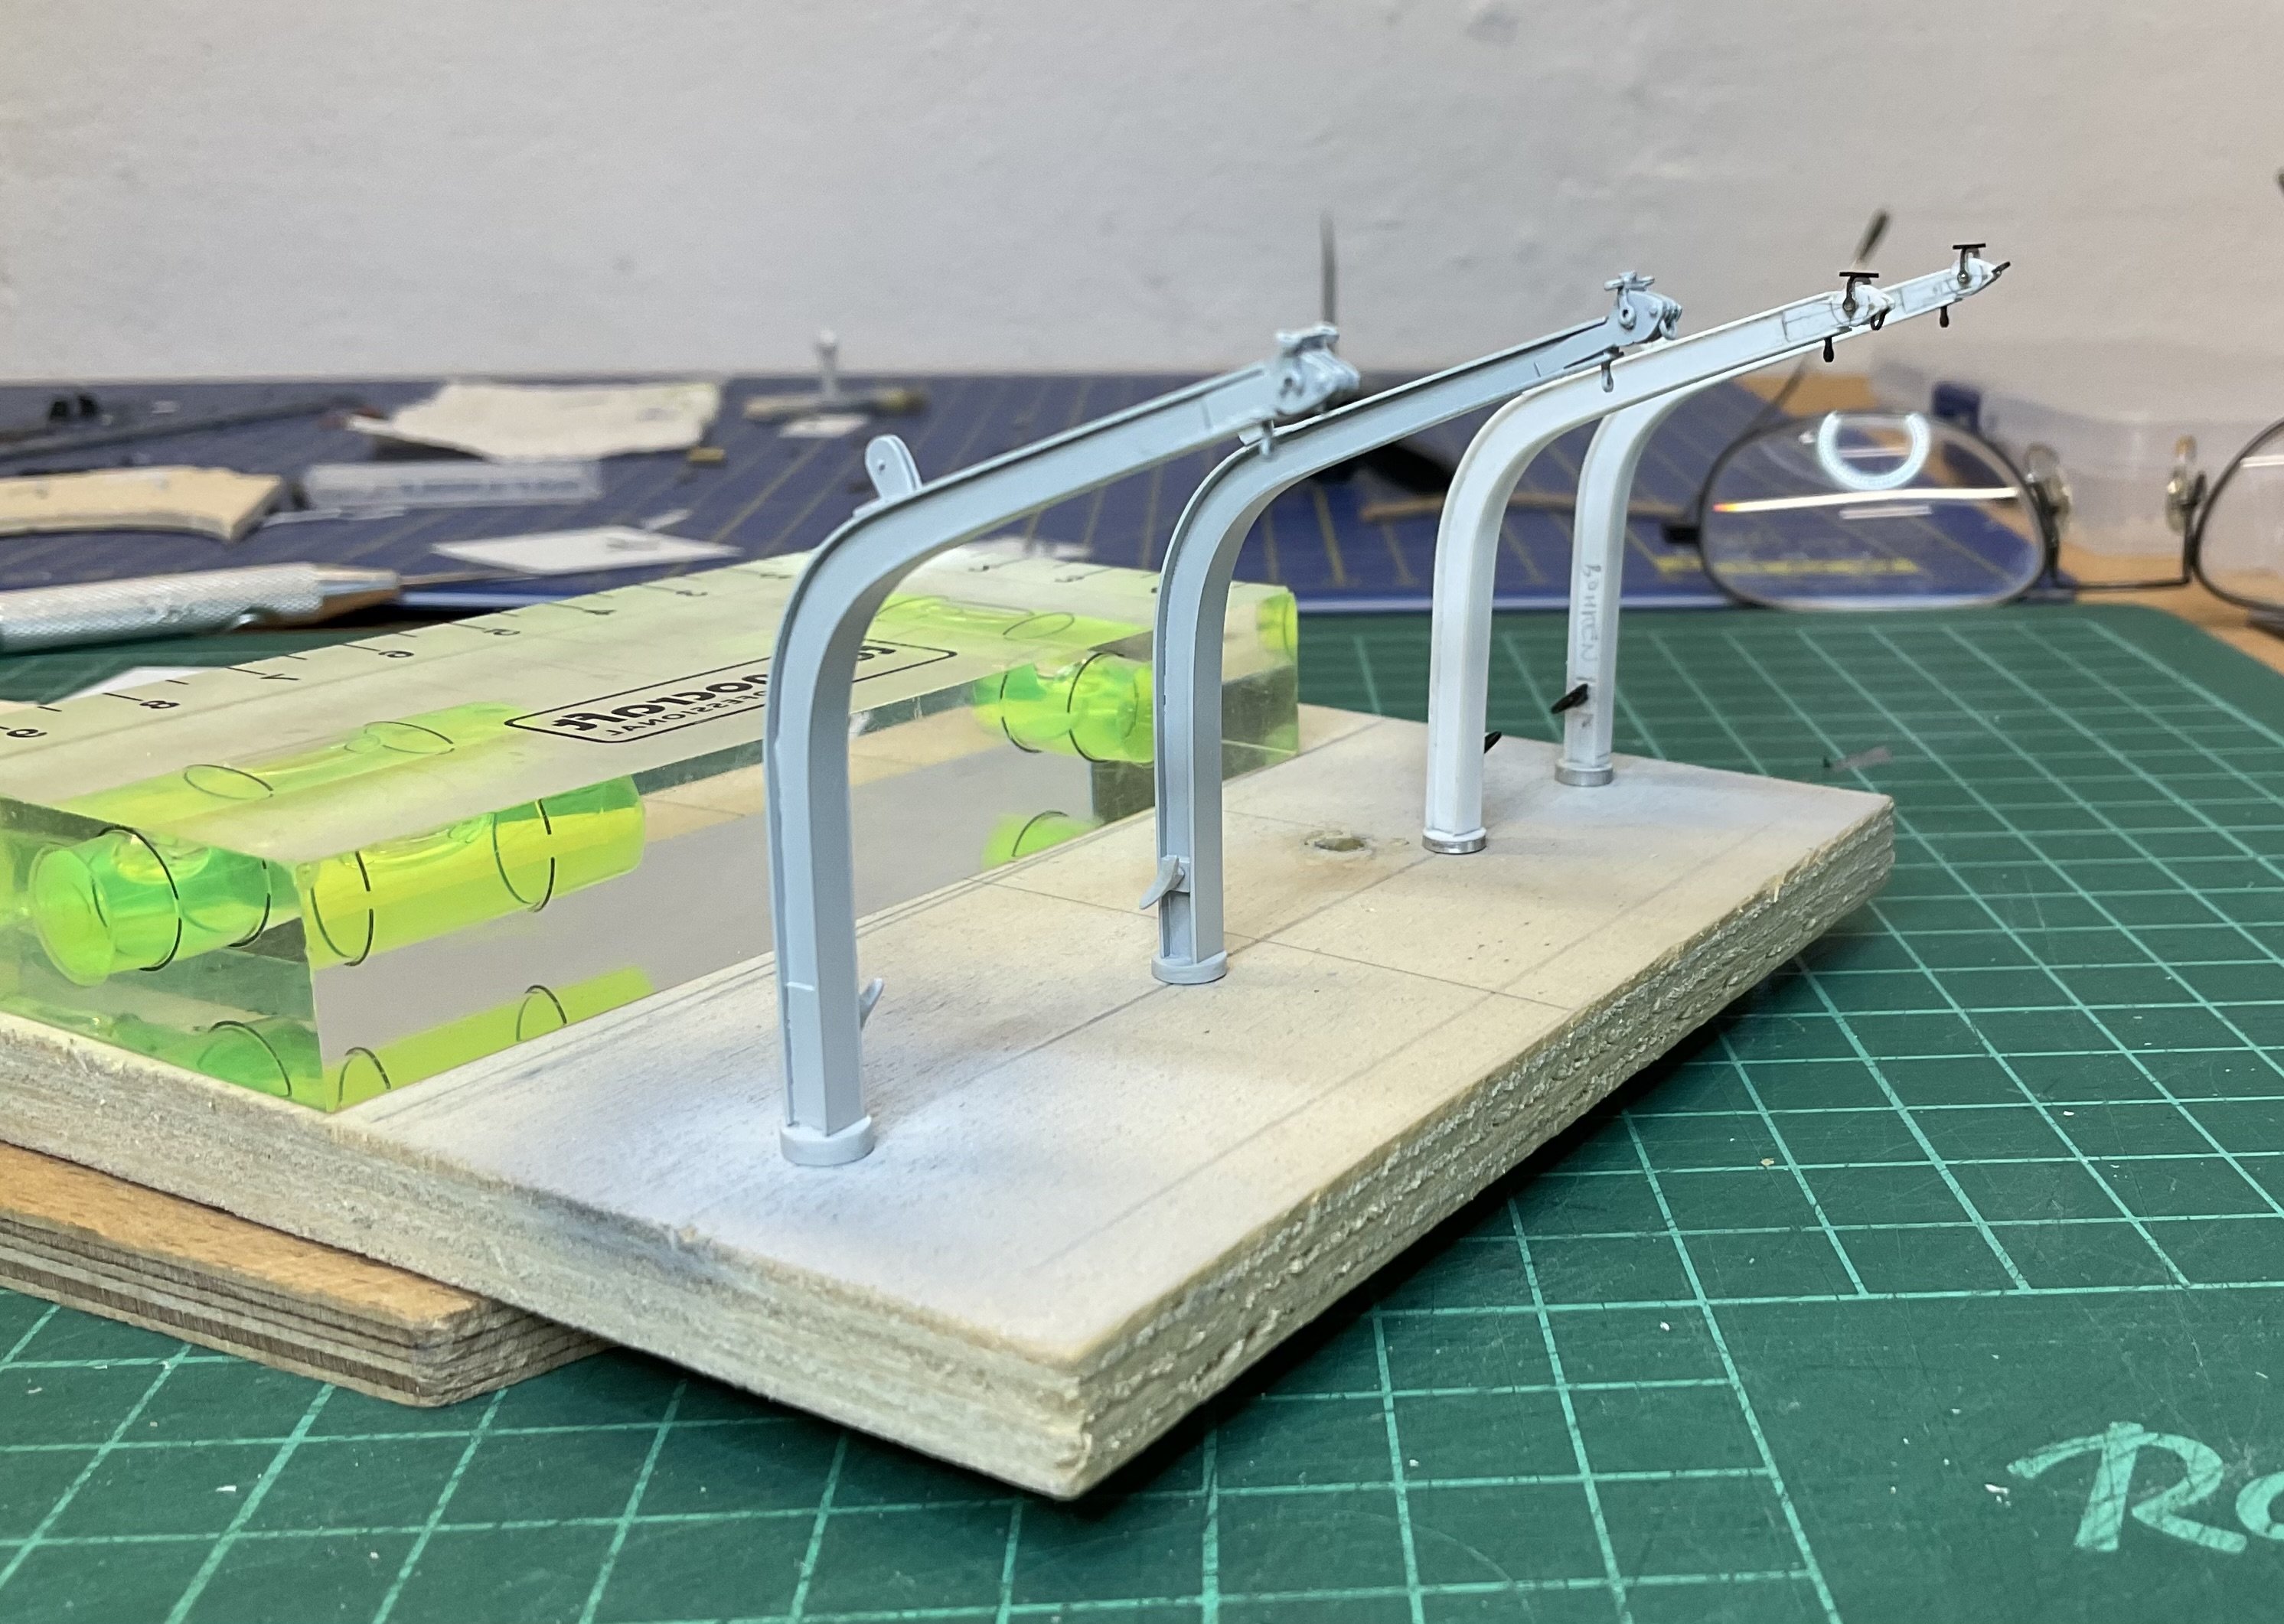
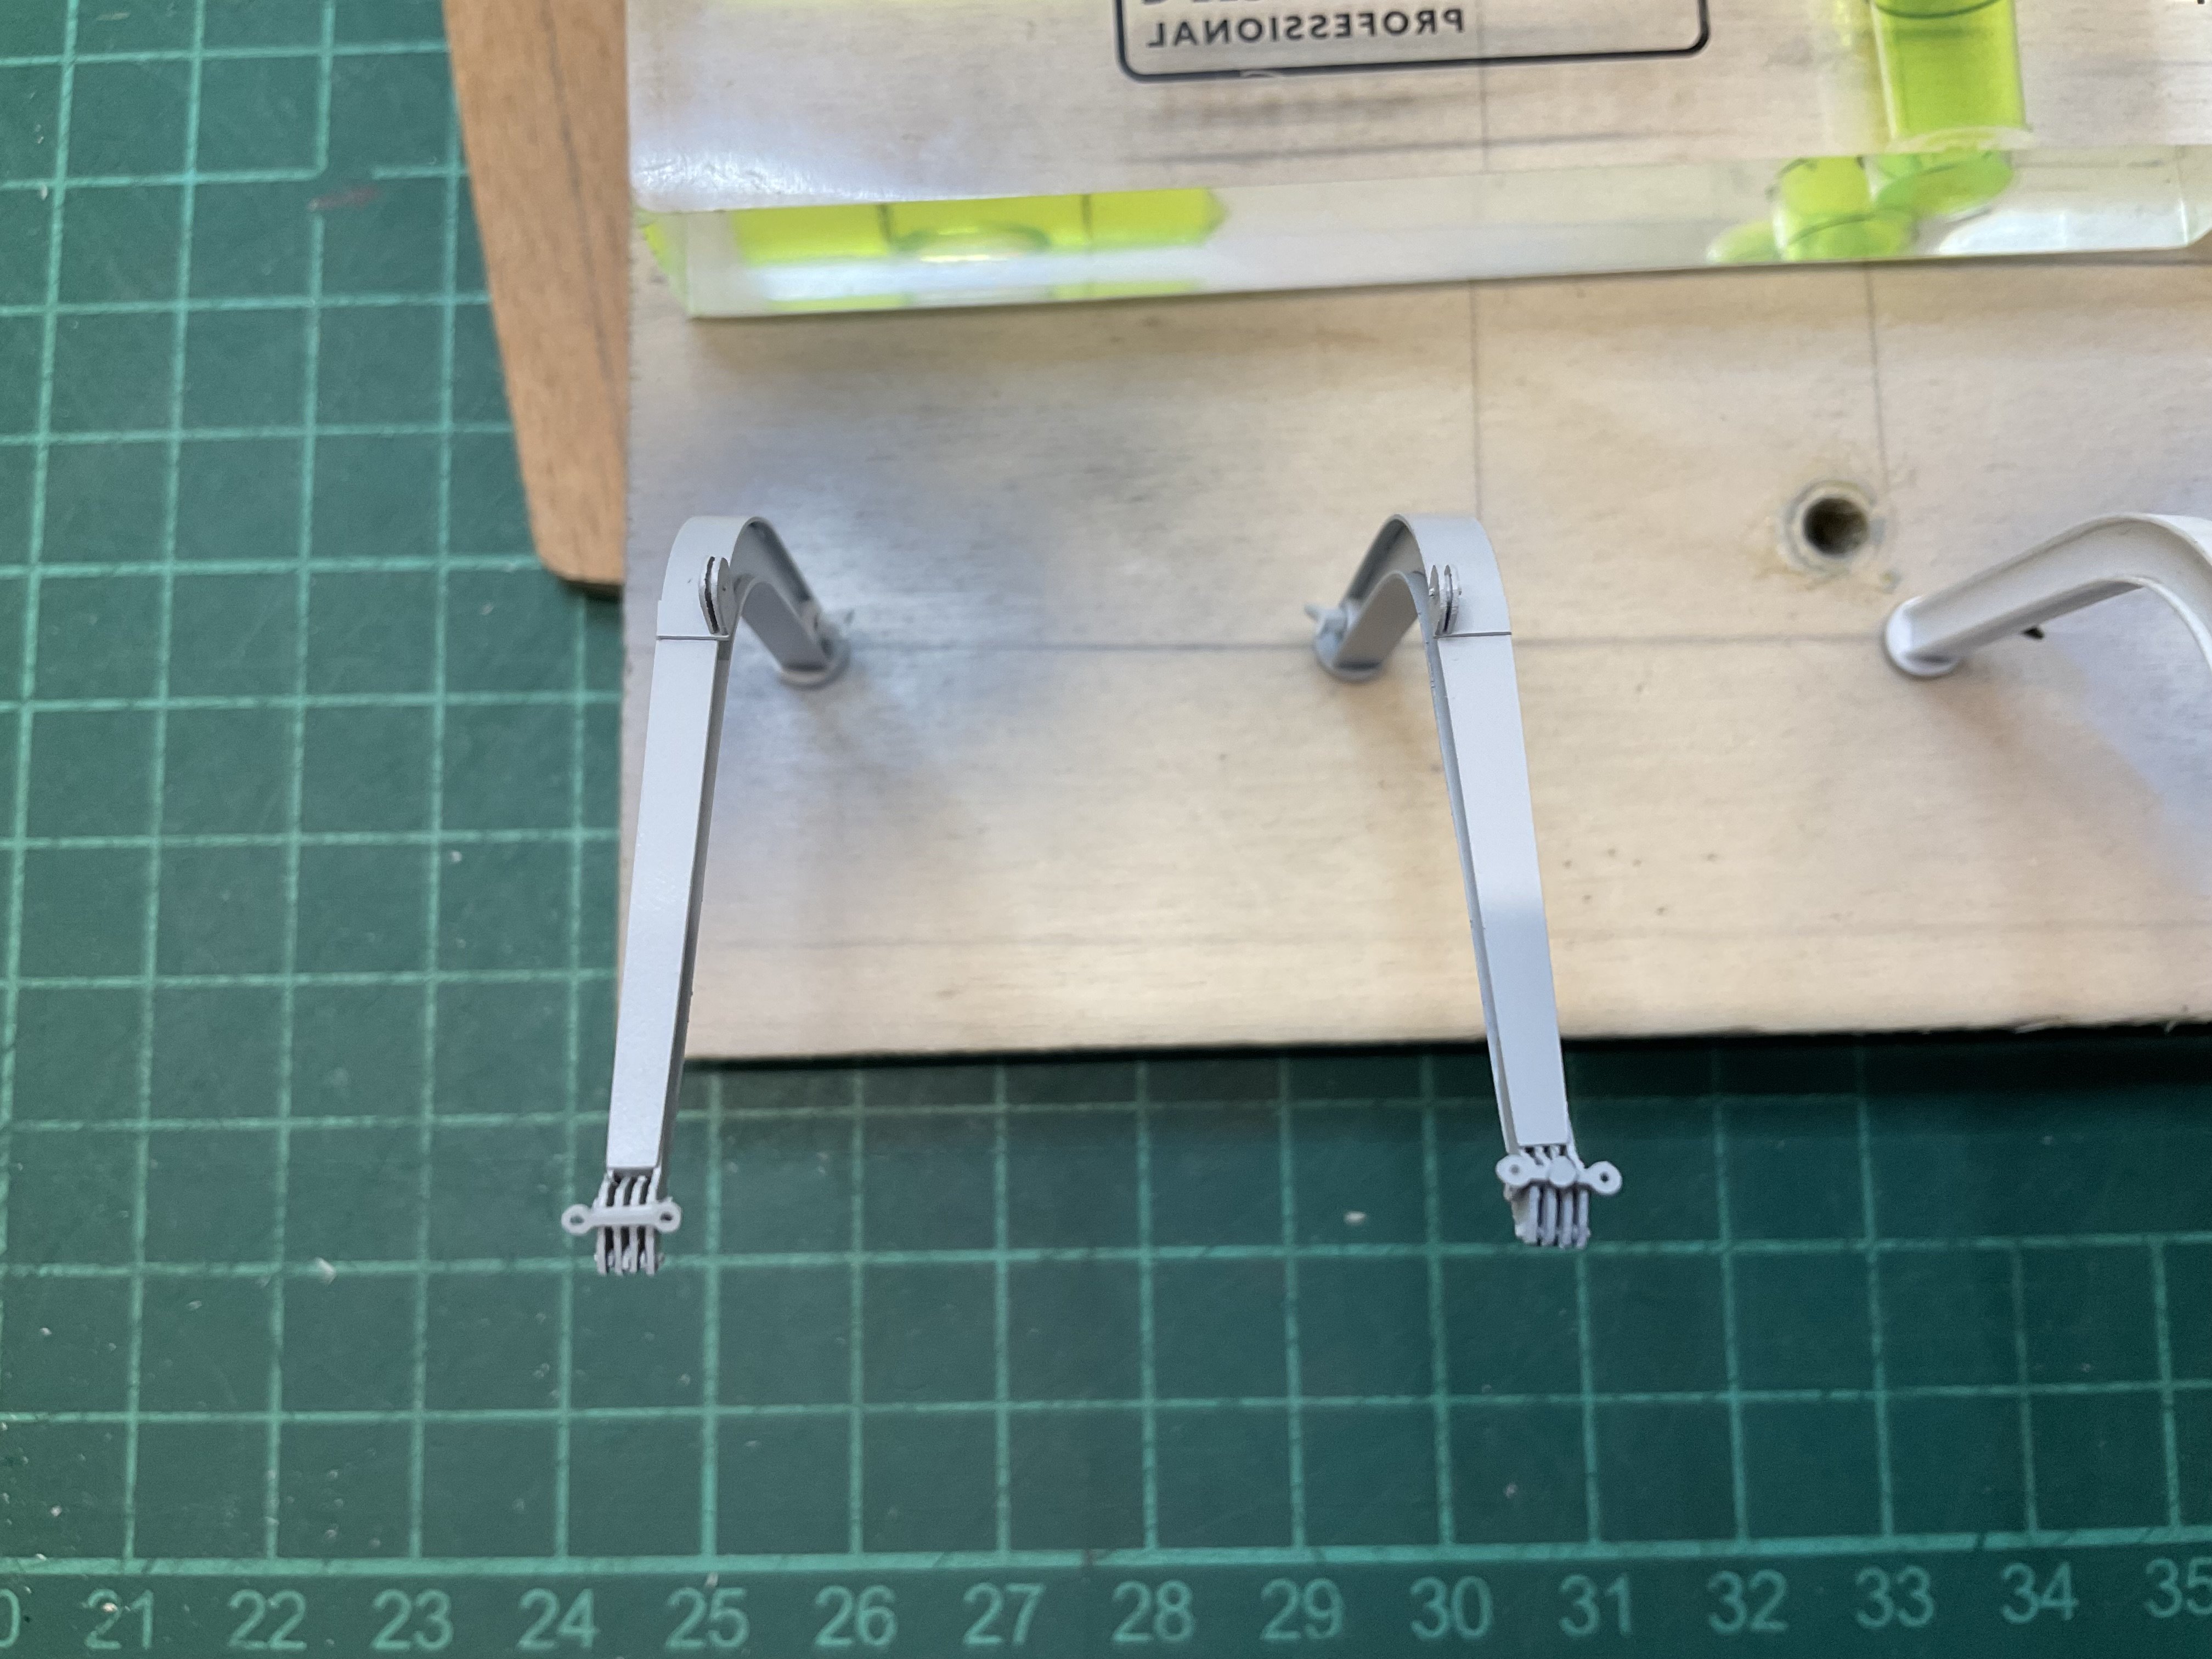
Hello all, the break was longer than i thought. First a restauration project (ww1 battleship) and then the job got in the way of continuing on Karlsruhe. finally davits are finished. The two missing pairs are of course of different size than the ones i had already made, so new construction. This time i wanted the „head“ to be flush with the rest so the H-profile now consists of 5 parts so the head can be slipped on rather than „over“ the thing. Easier to see on the photograph than explained. So until am done with the boats, no more talk of davits 😎. cheers sascha


-
Morning all, just a short update : four davits are ready (2 minus the colour). Shipyard now closed due to vacation. Have a great summer ! cheers sascha


-
„Small details“ 👍🏻, yes, give me more 😎. Looking forward to that Valeriy. саша
-
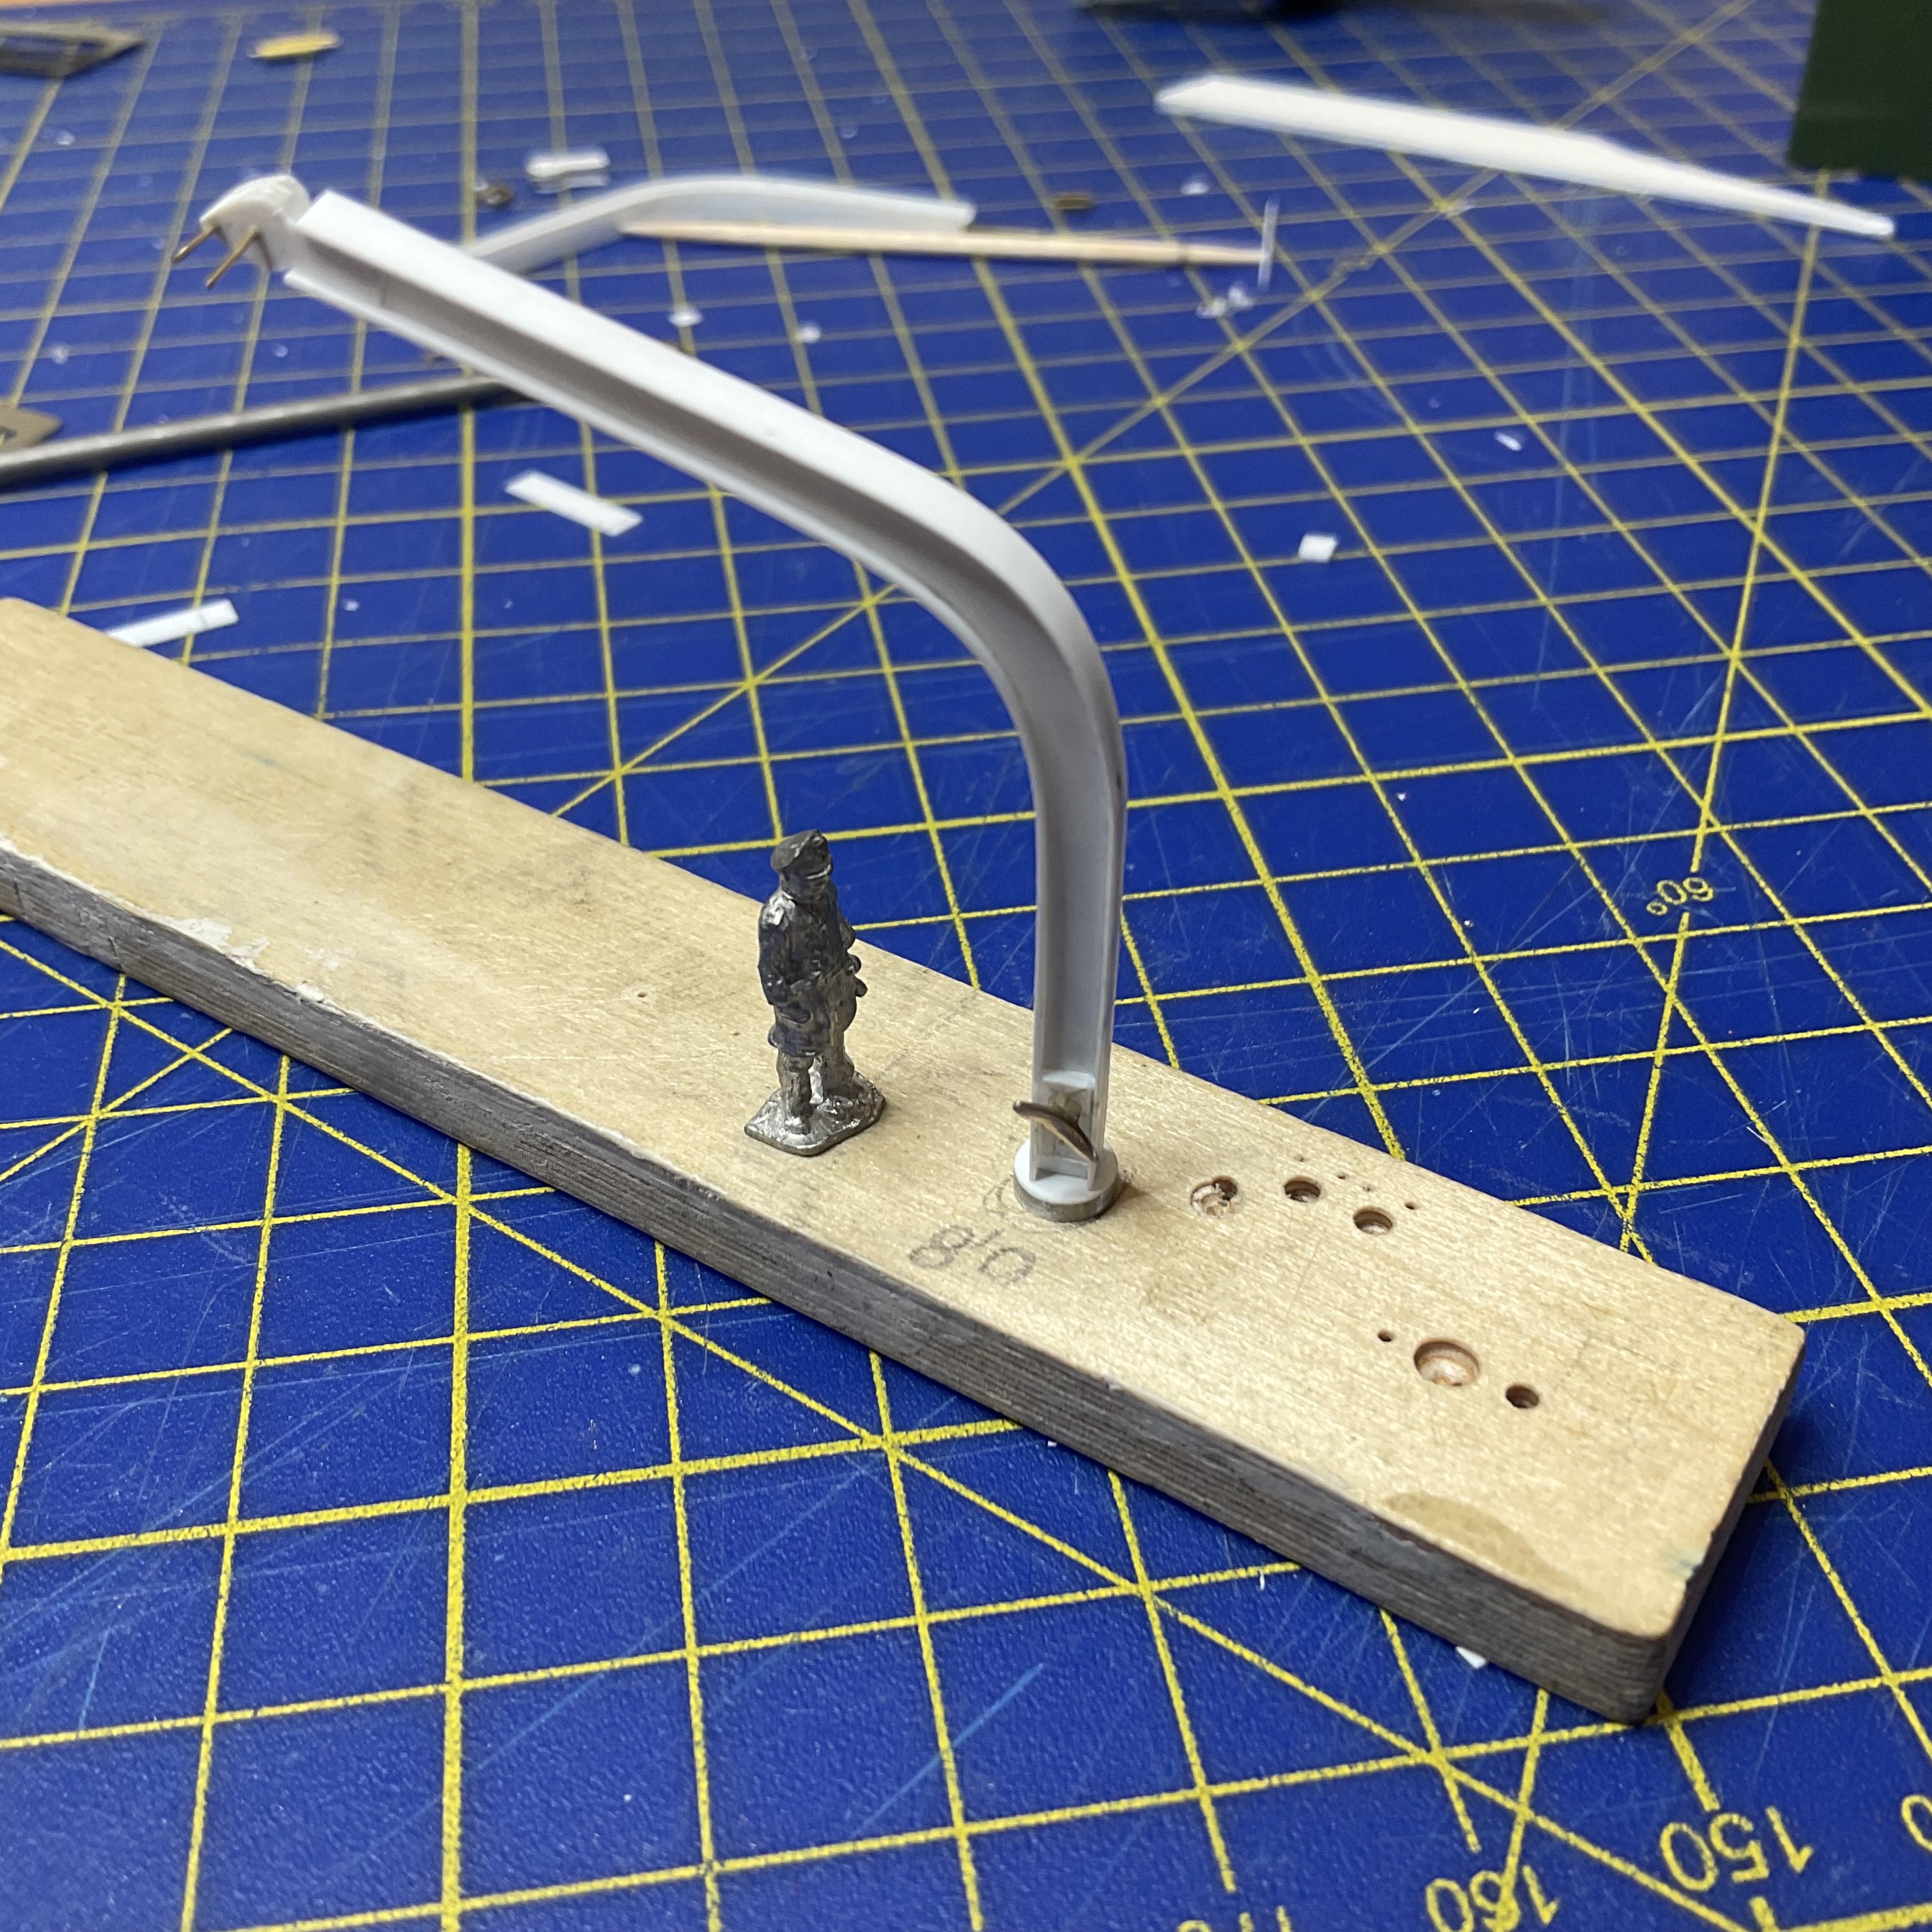
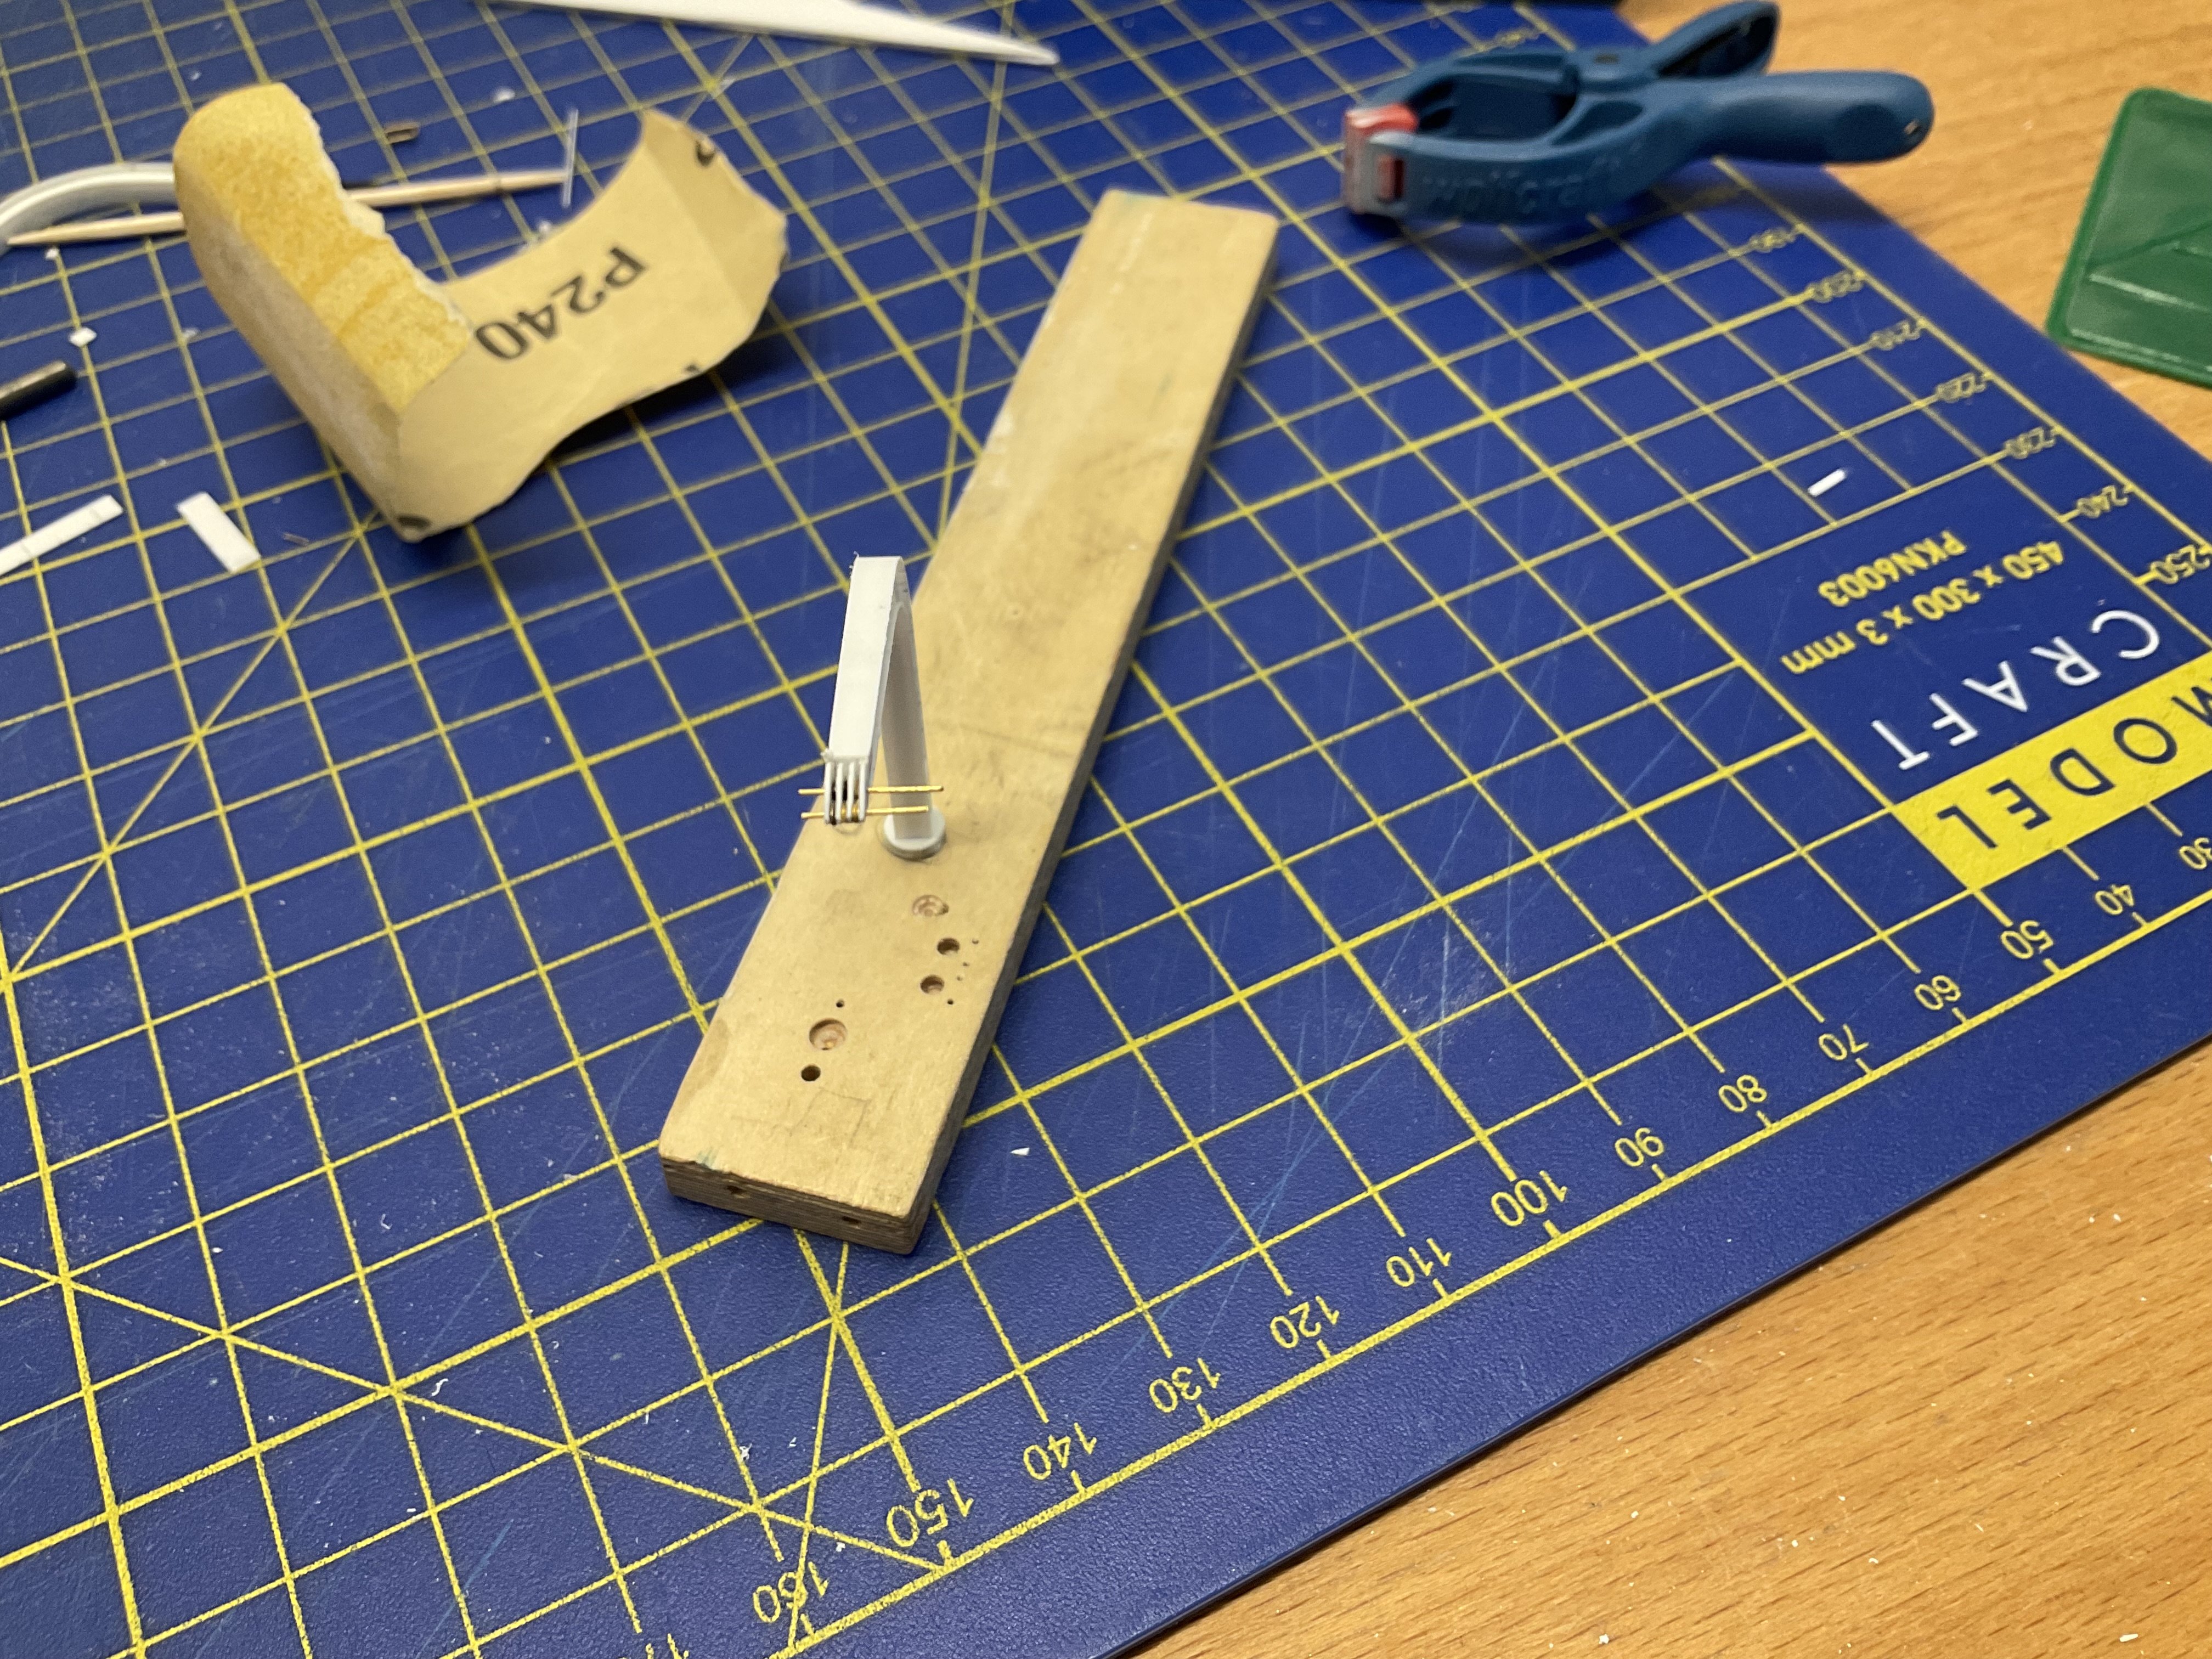
Hi all, work continues. Now prototyping the davits. Most parts davit head, cleat,…not glued yet. Experimenting with best way to make them. Davits themselves still need cleaning and a bit more tapering towards the head. cheers sascha


-
Thanks Phil (and others for their thumbs up 😎). I must admit to be a bit narrow minded when it comes to modelling🤪, so i didnt look into any sailing boat - sorry for that term if it isnt correct - builds. Mistake. I did check your albatros thread phil and while i dont get half of the specifics , it makes for a great read and explains your journey well. Thank god ww1 ships dont have visible wooden planking 😬. cheers sascha
-
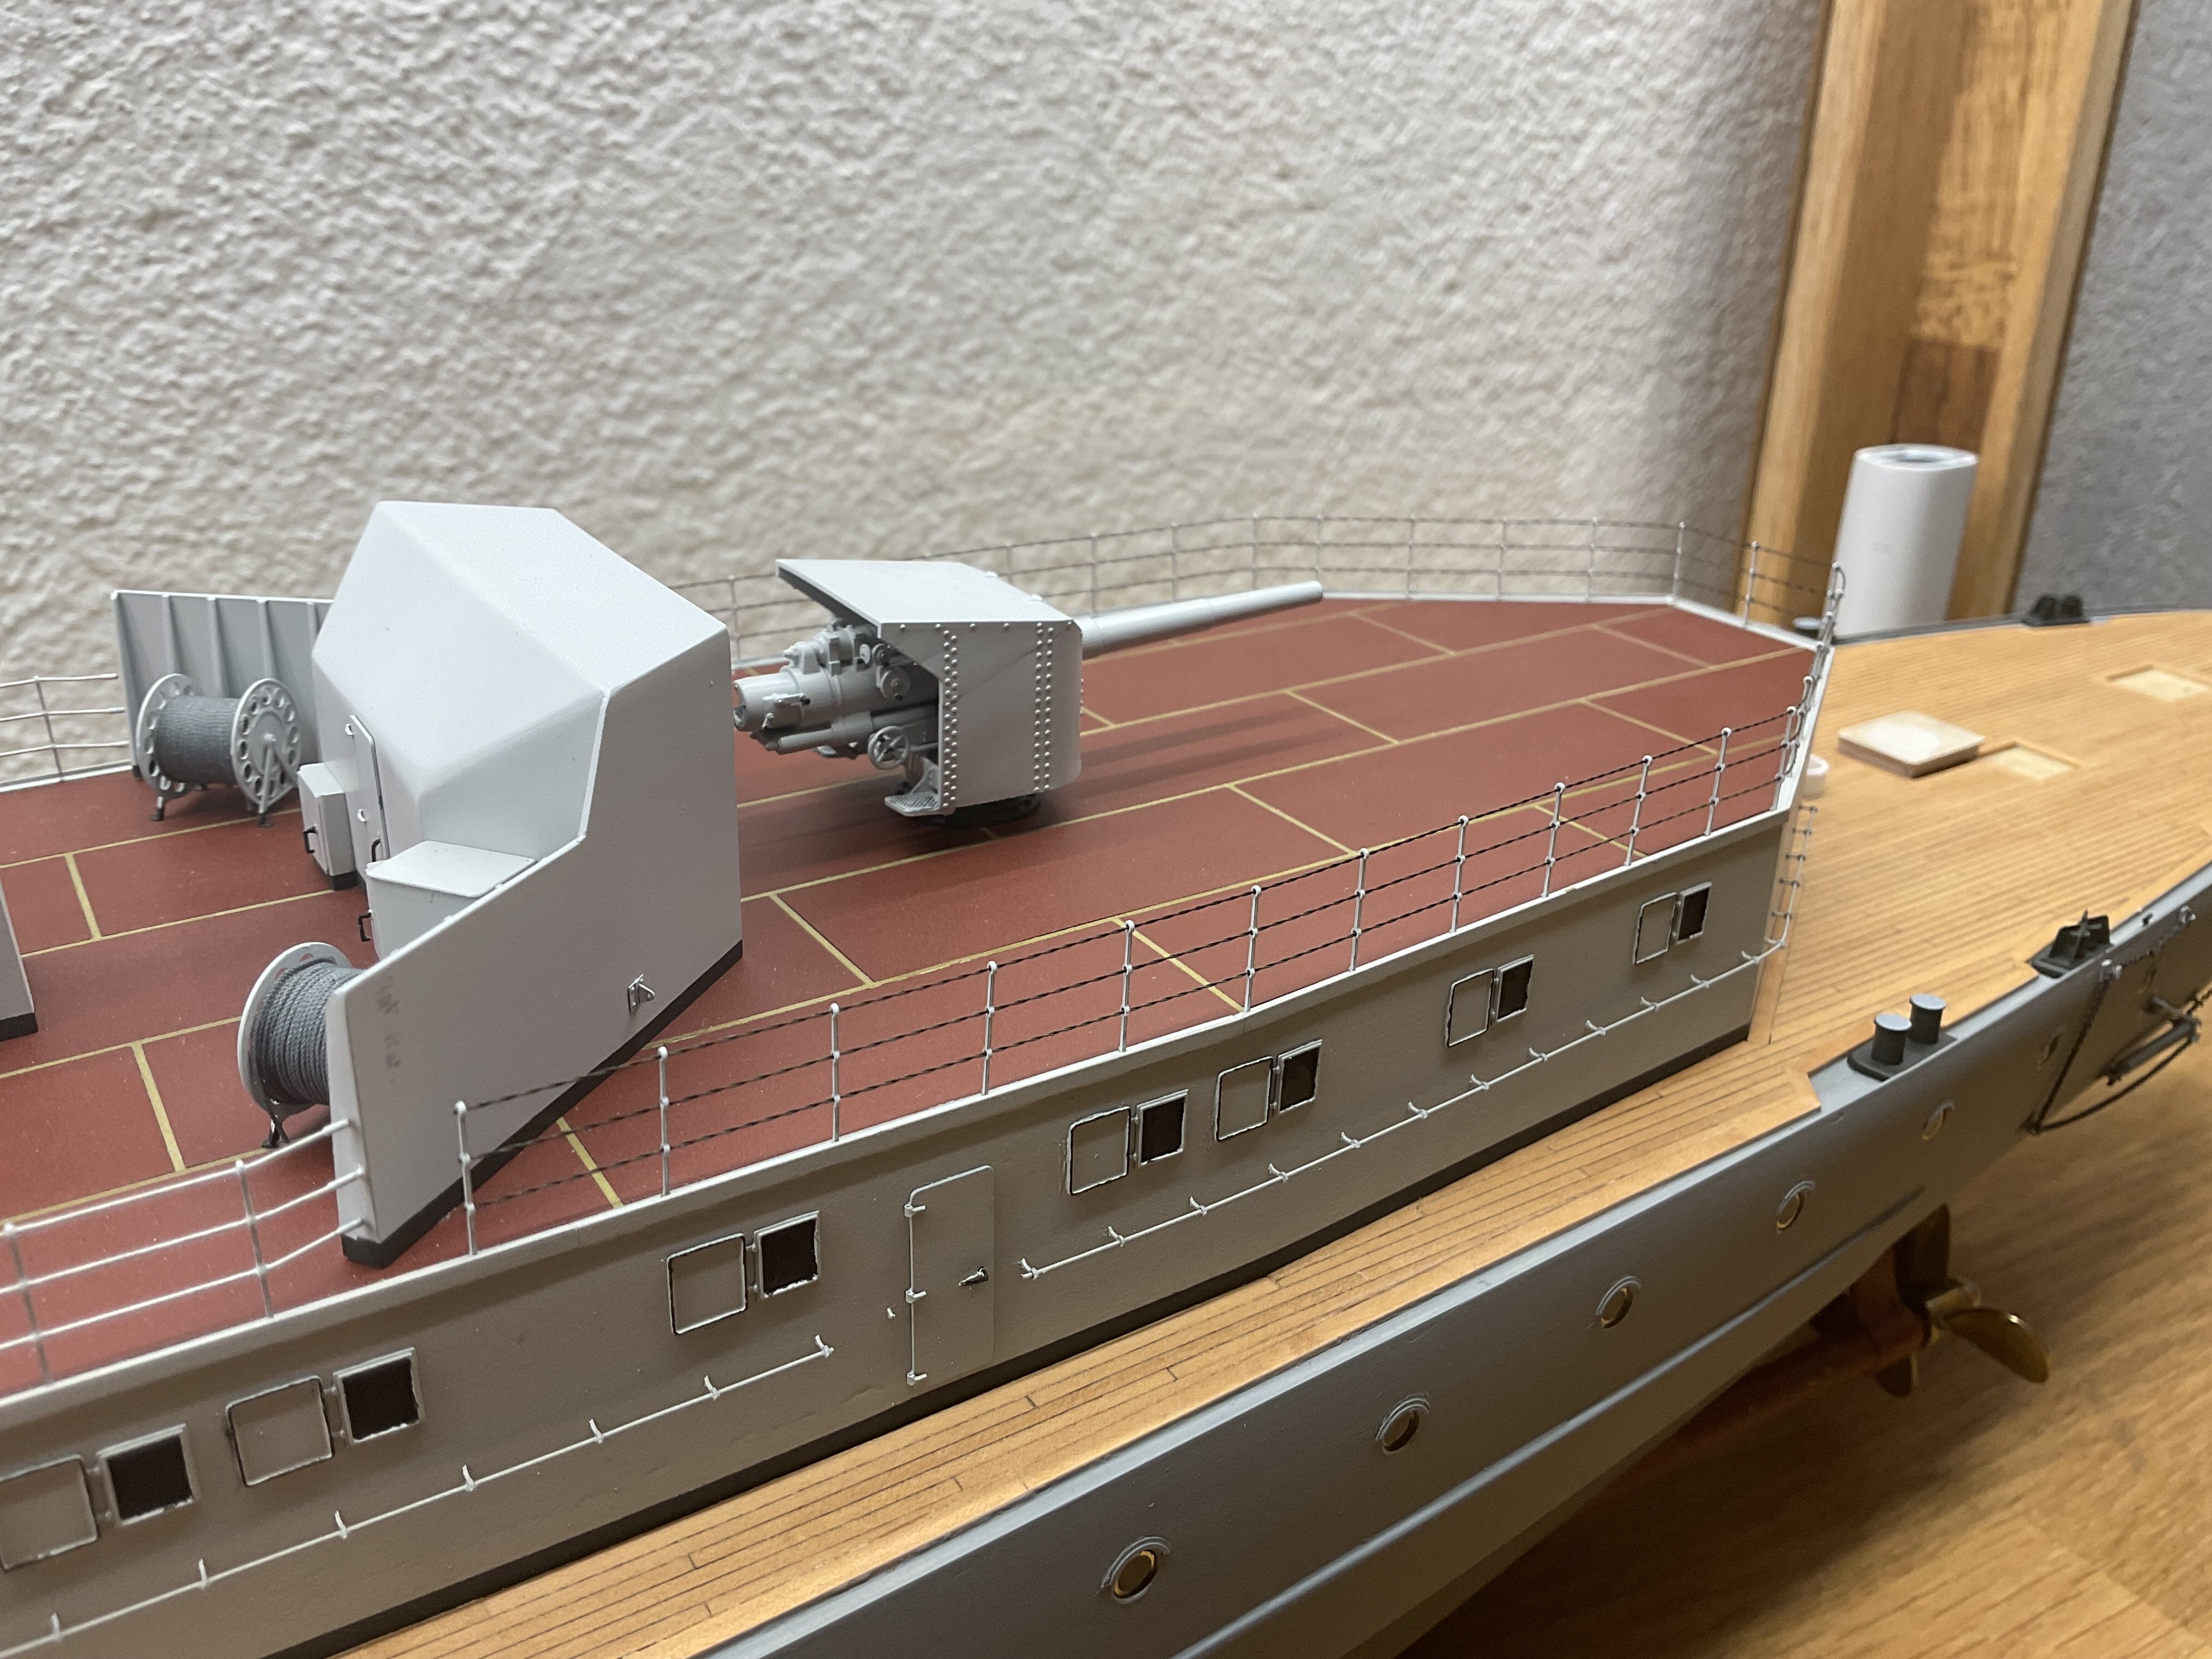
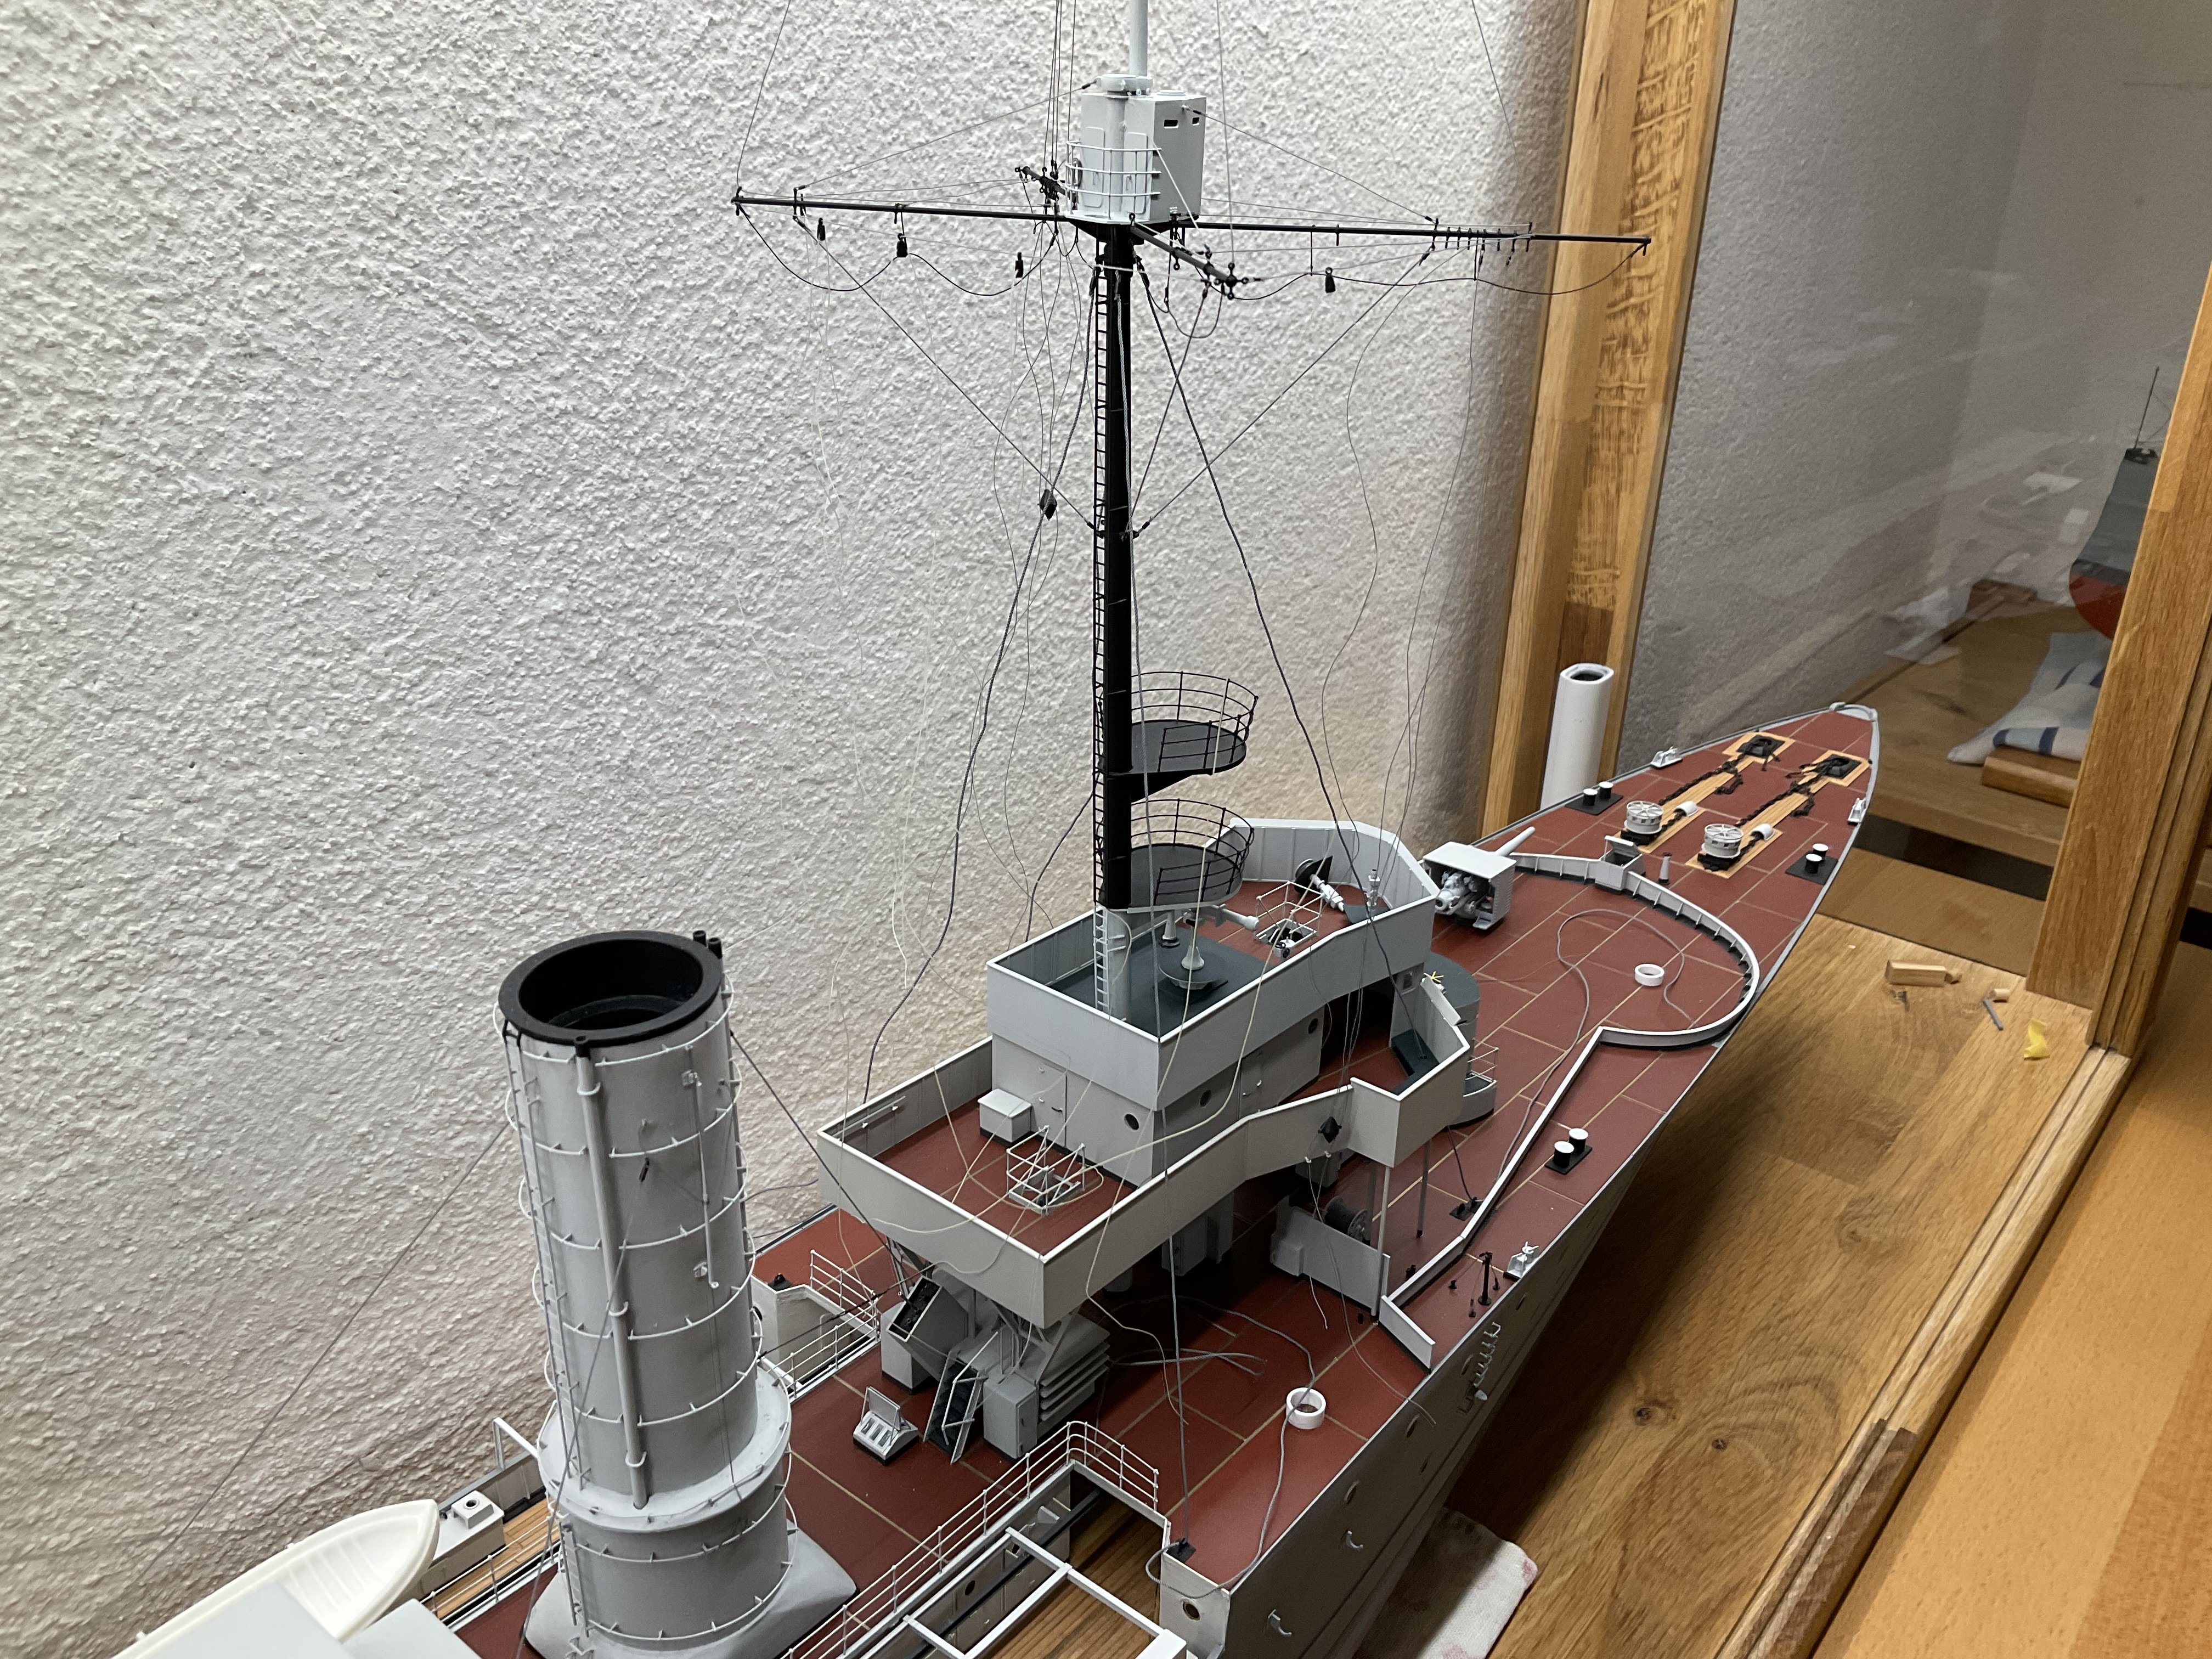
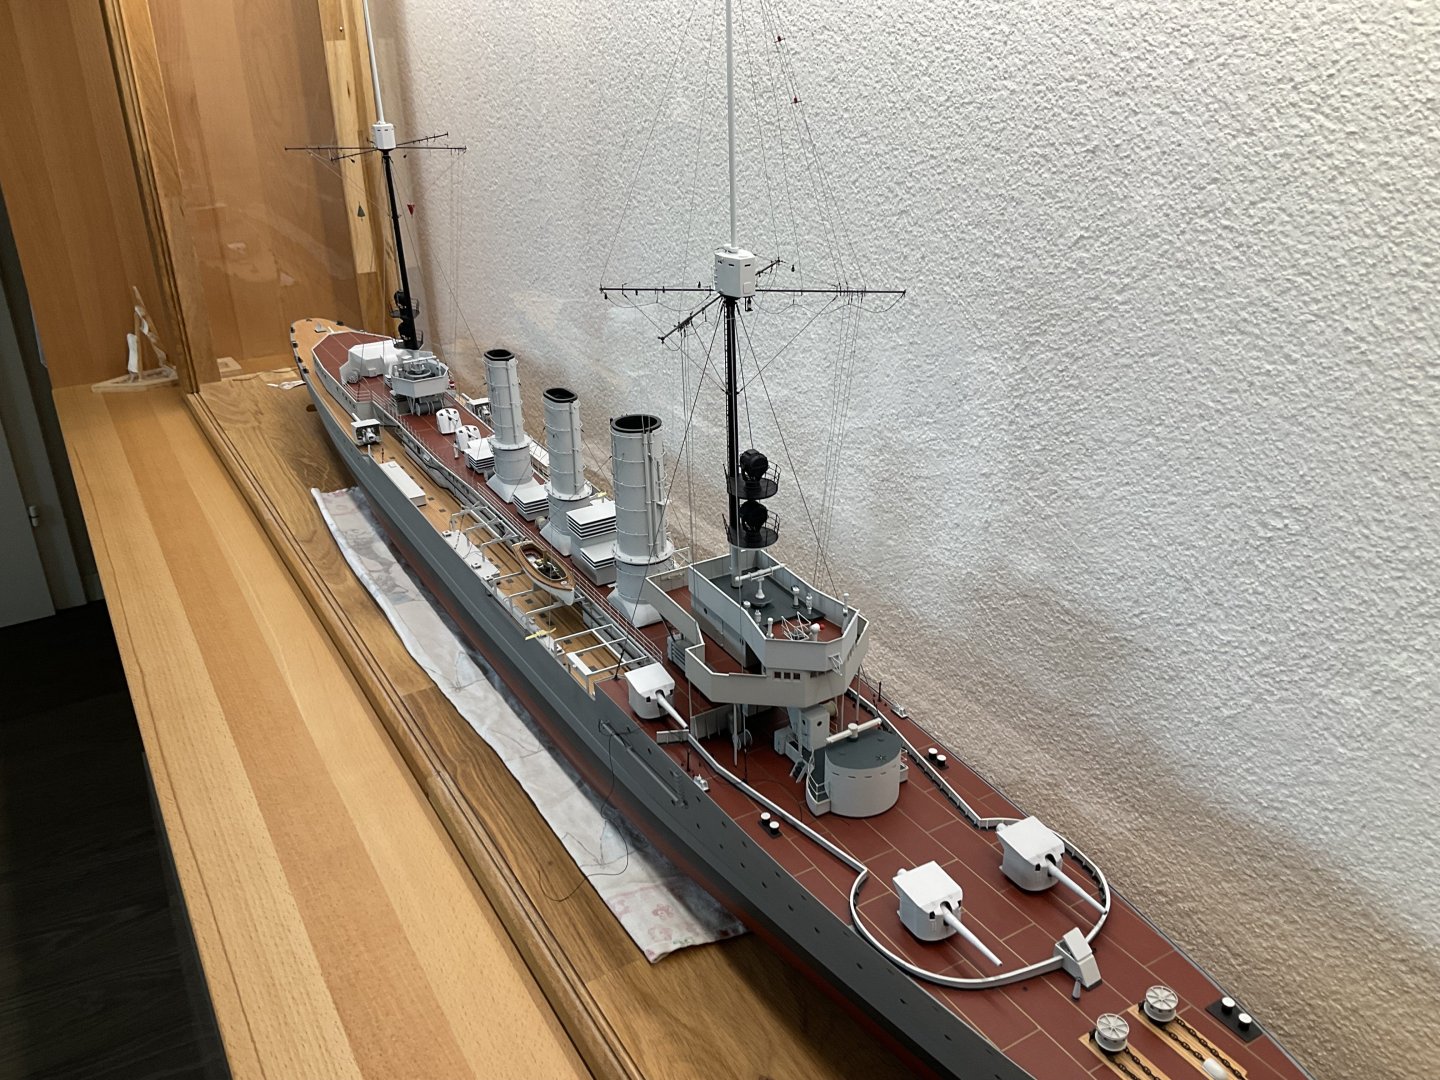
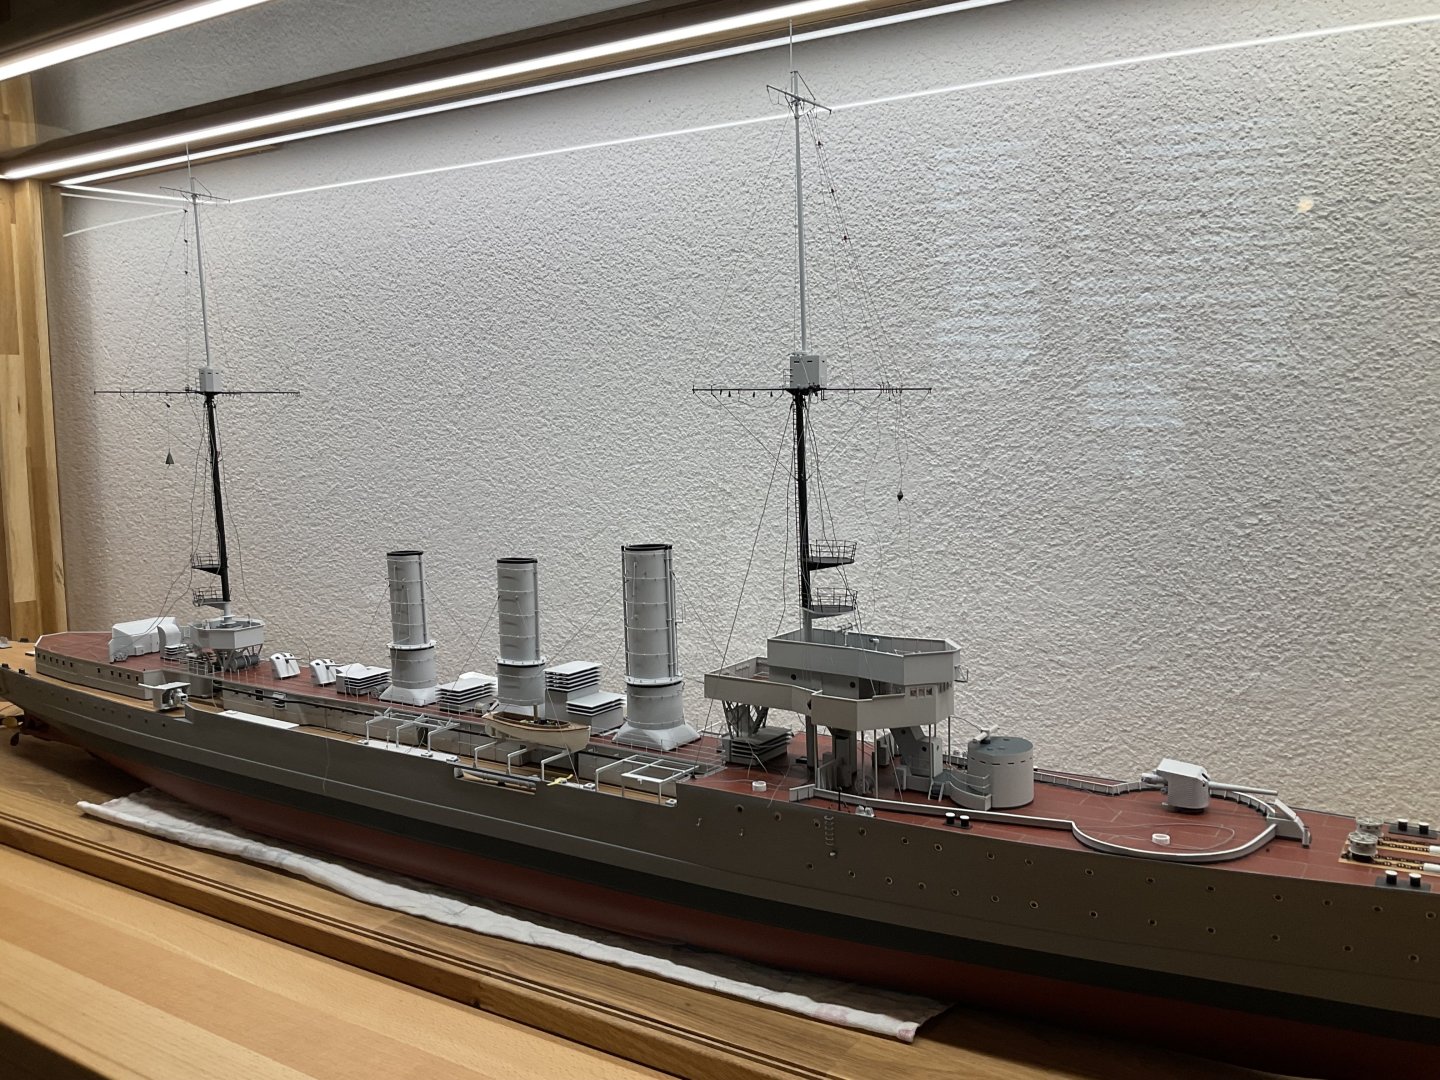
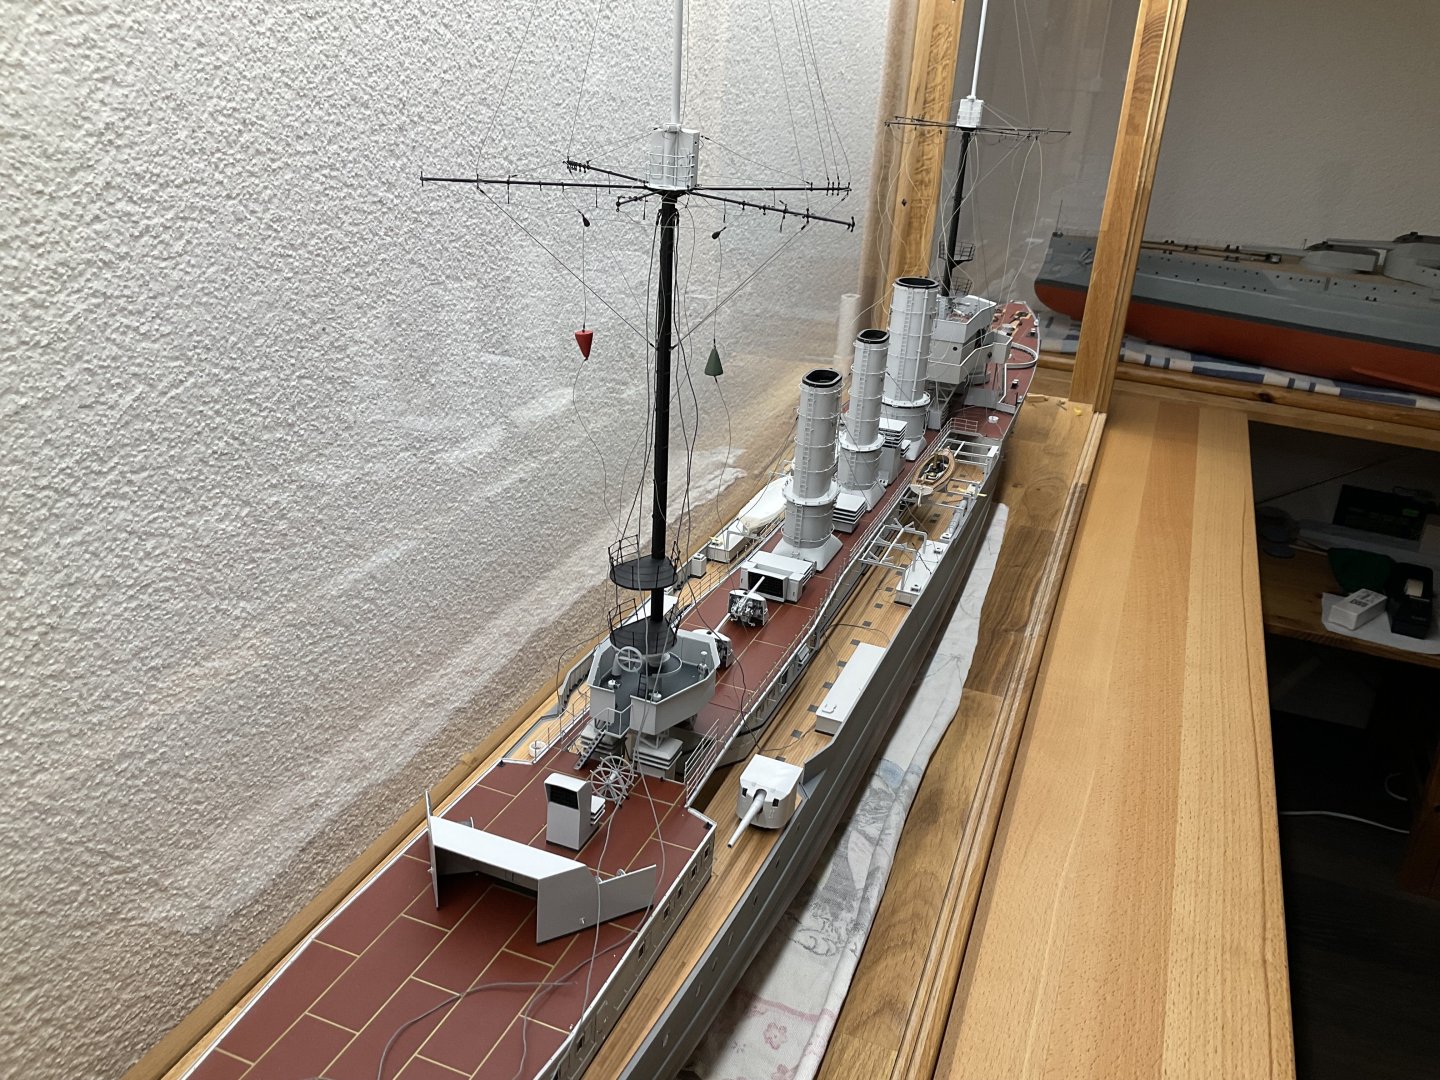
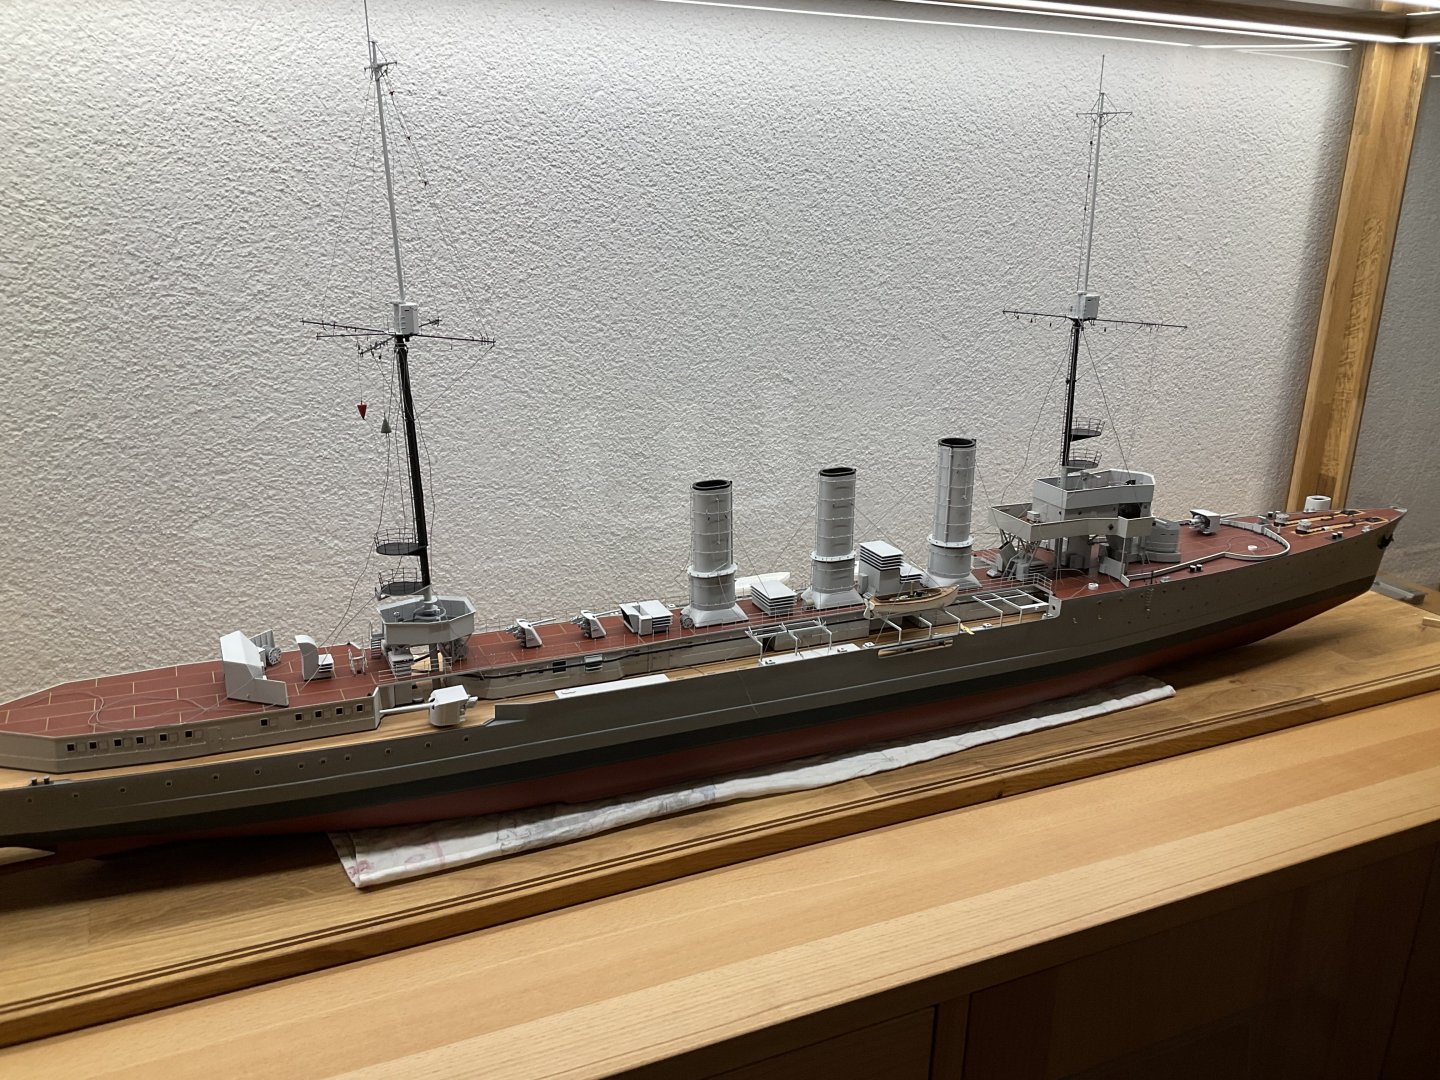
Hello all, here a few pictures of the current state of affairs. Nearing completion. The big things missing are Davits, stretches of railing, antennae and pieces of equipment on the stern and hull. Stuff on the hull is an issue because the paint i used is discontinued and any trials to match with a new supplier were so far „not phantastic“ cheers sascha

-
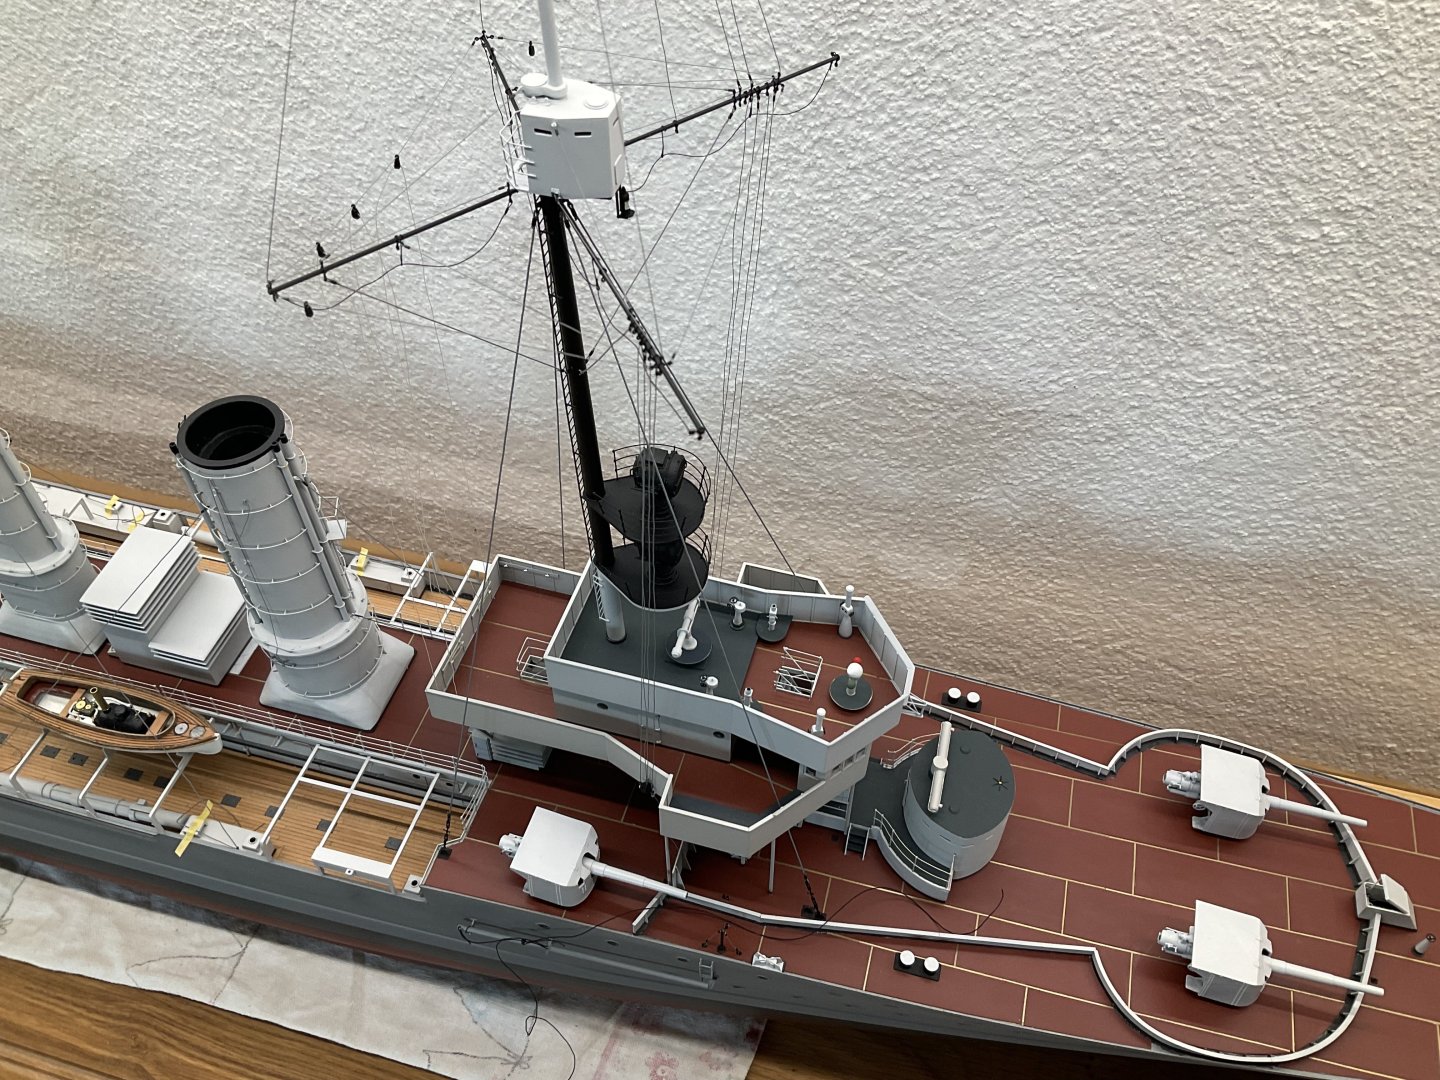
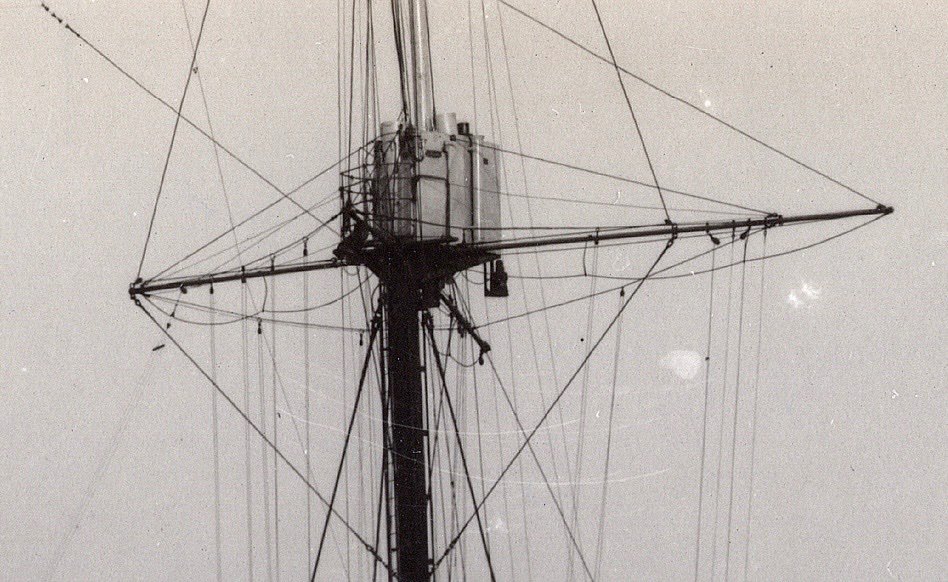
Another update gents. Lower attachment assemblies were made. The rangefinder was mounted and the main mast ist now glued in place and two of the holding cables attached. The others will havE to wait a bit as i want to finish to aft deckhouse off model before. happy sunday sascha

-
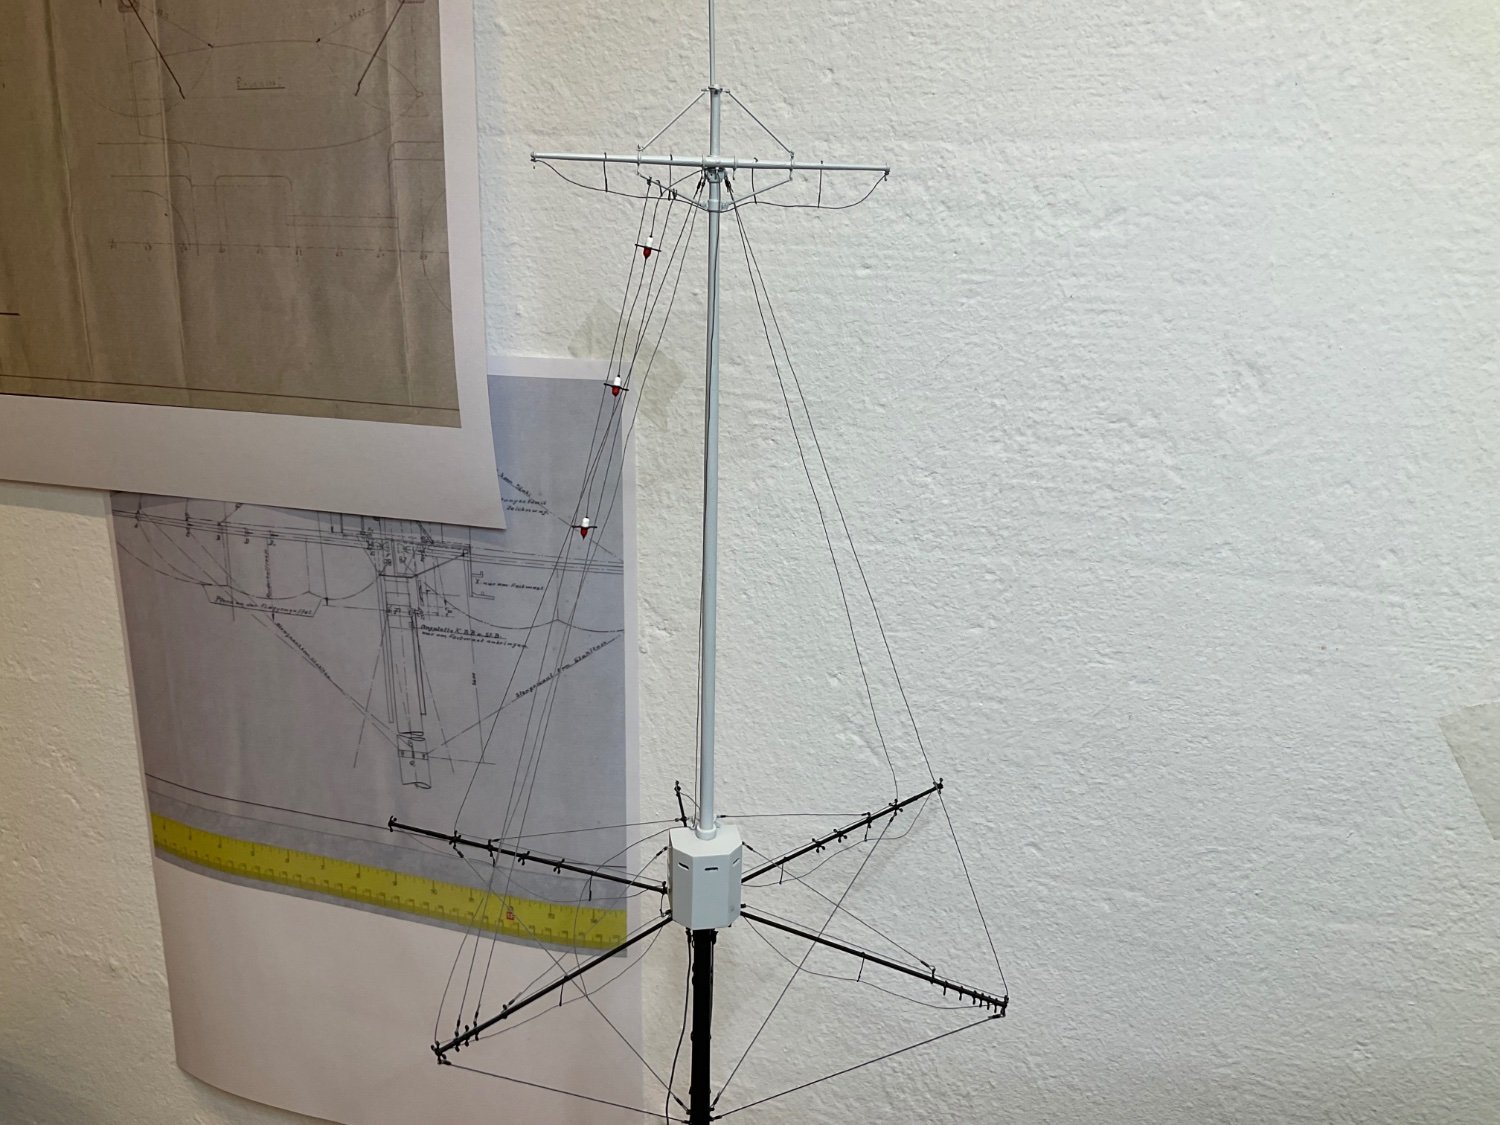
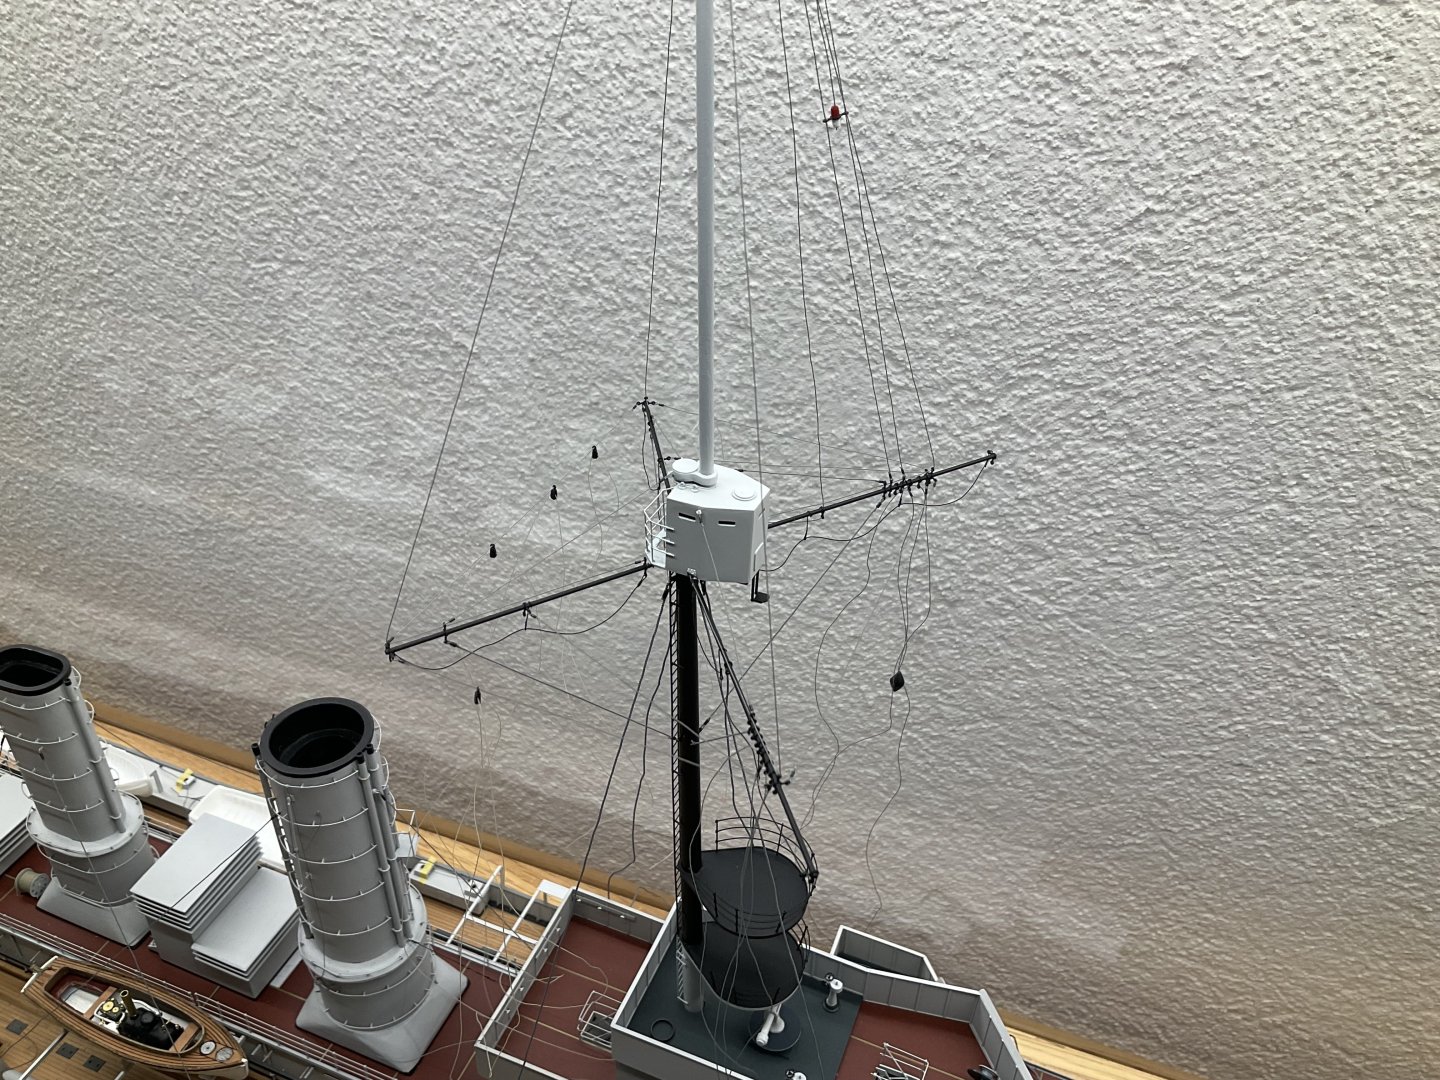
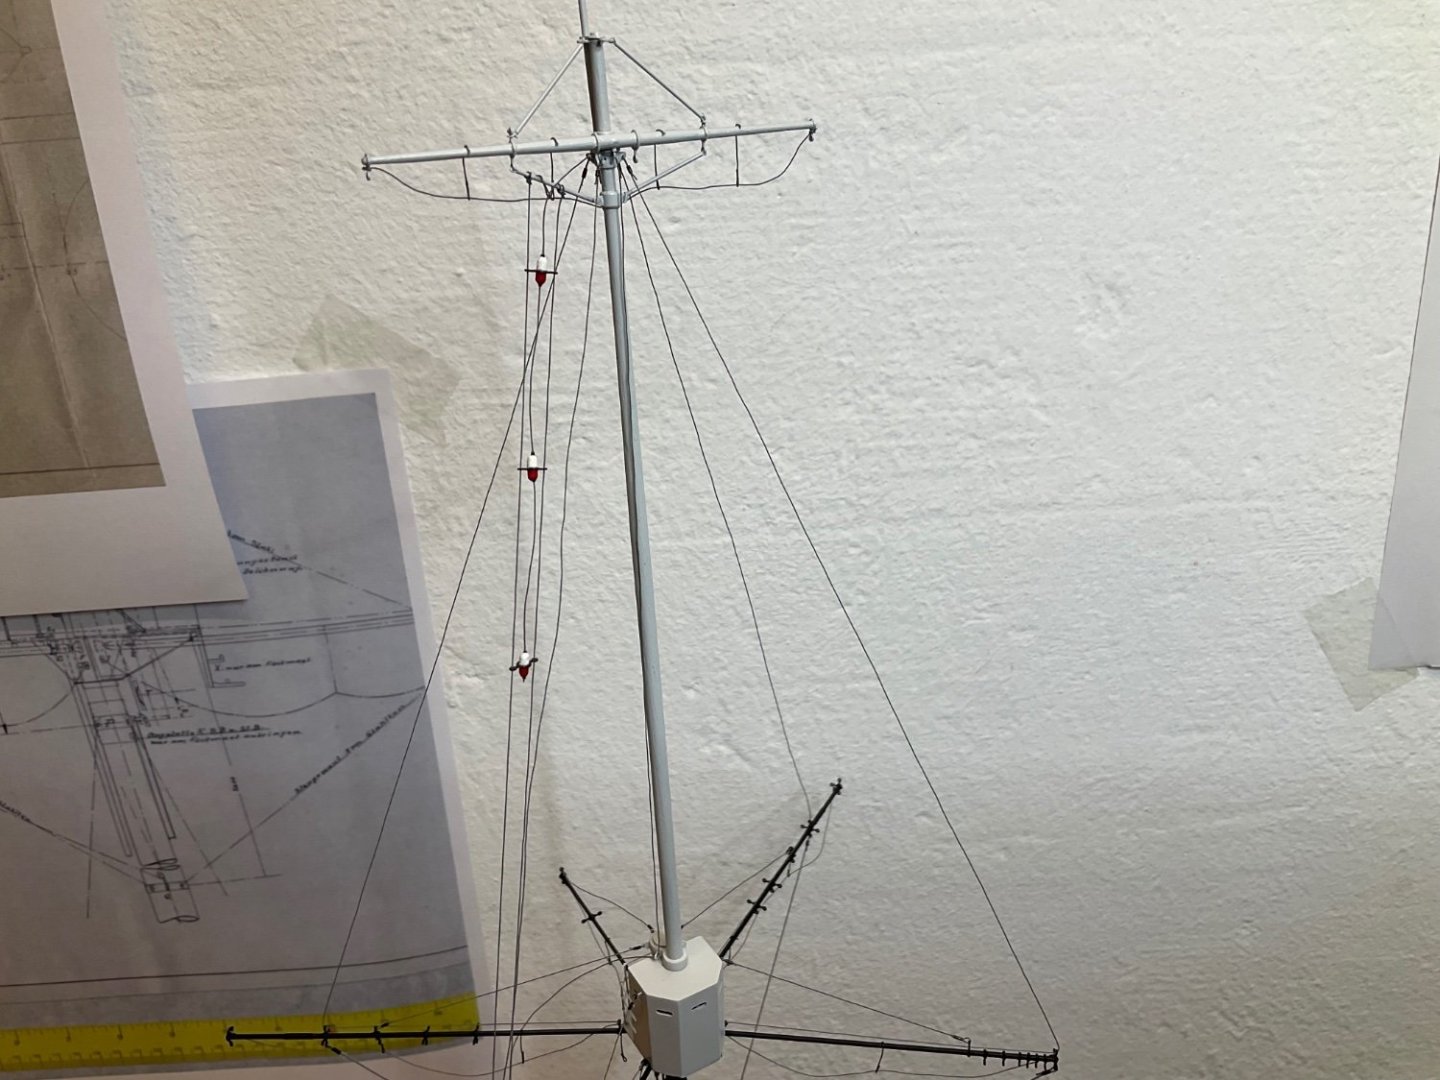
Another update: rigging is almost done. All that can be attached to the masts off model is finished. Remains „only“ to do the lower attachment points on deck. How to attach the signal lines on the foremast to the bridge without tearing everything apart is still a mystery to me though…🤪. Looks a bit wild now but once straigthened out it should be ok,..i hope. cheers sascha

-
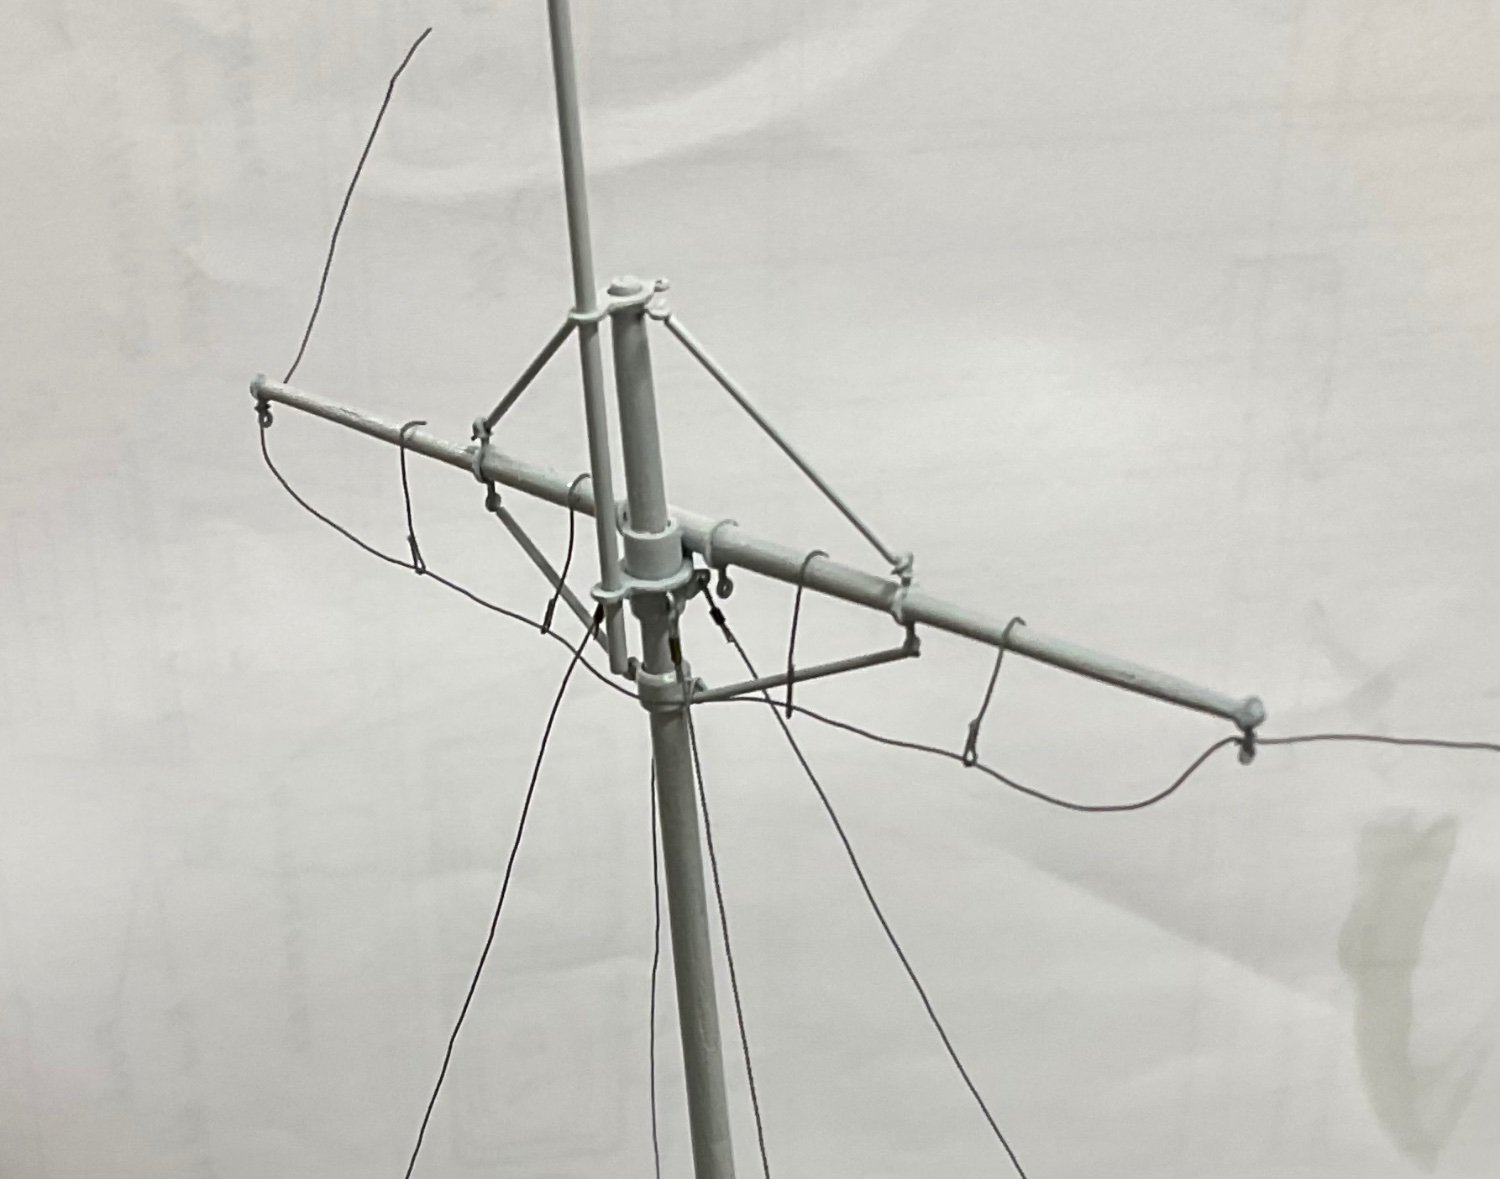
Rigging continues with upper signal lights. I didnt think about those when building the mast, so they too have no upper attachment points (cheat with knot and spare stirrup) , something to remember for the next model 🤪.

-
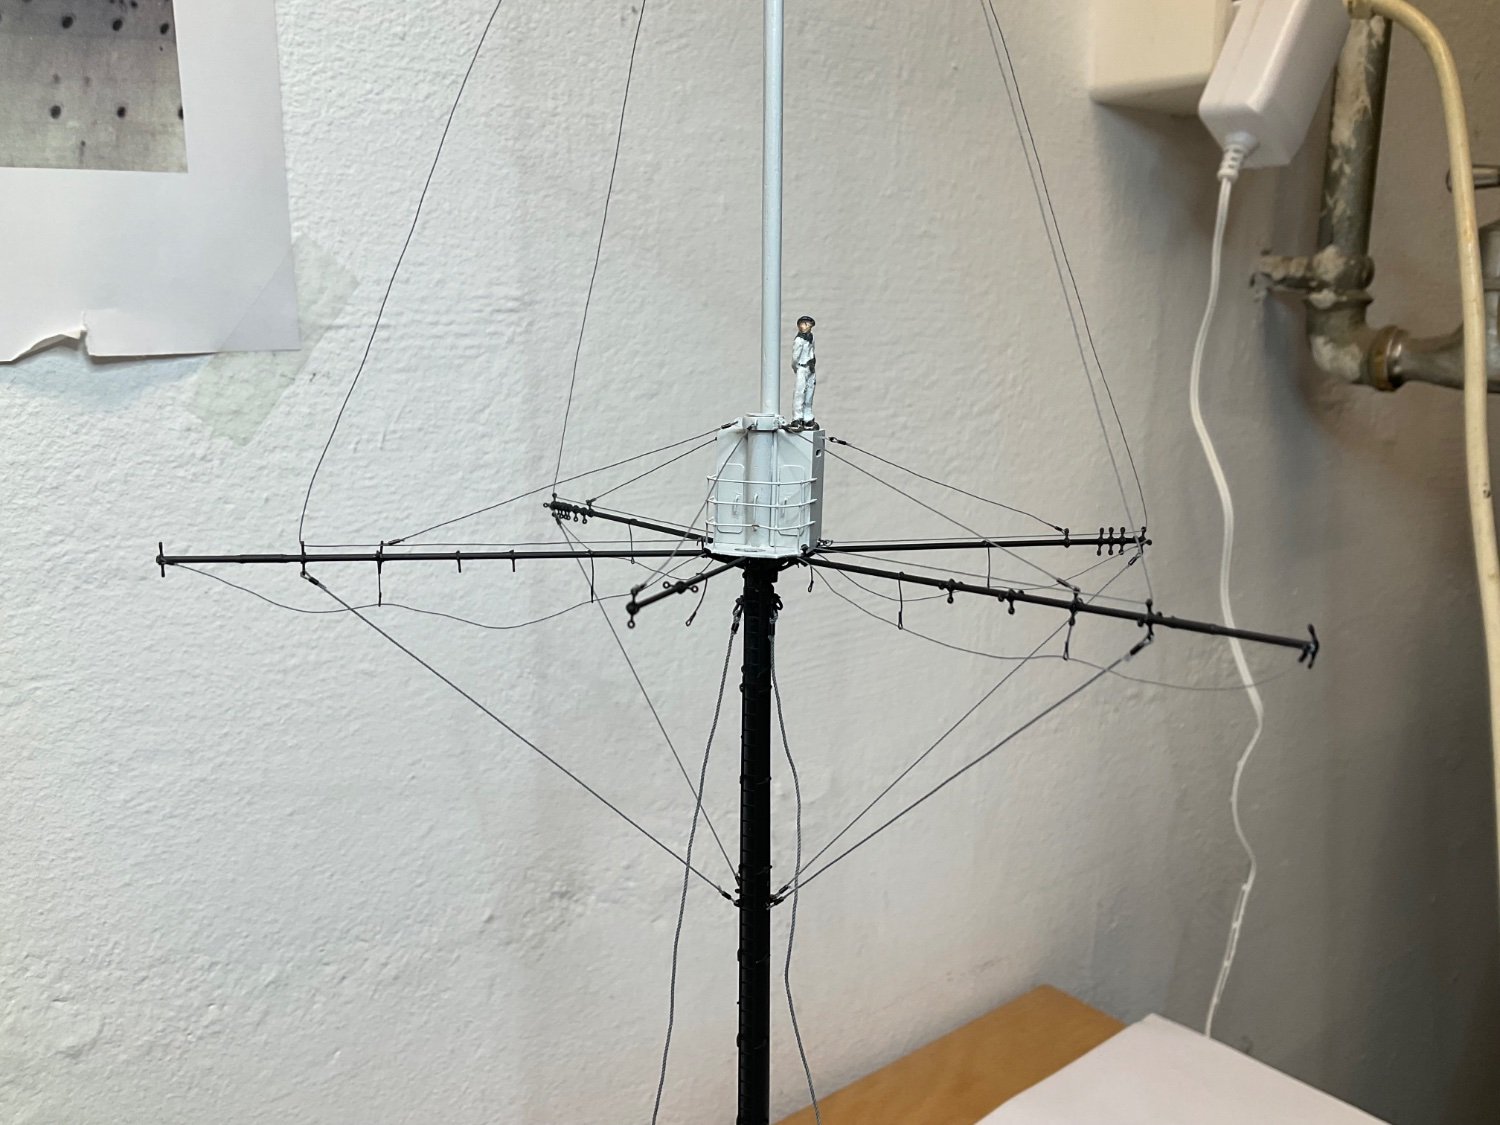
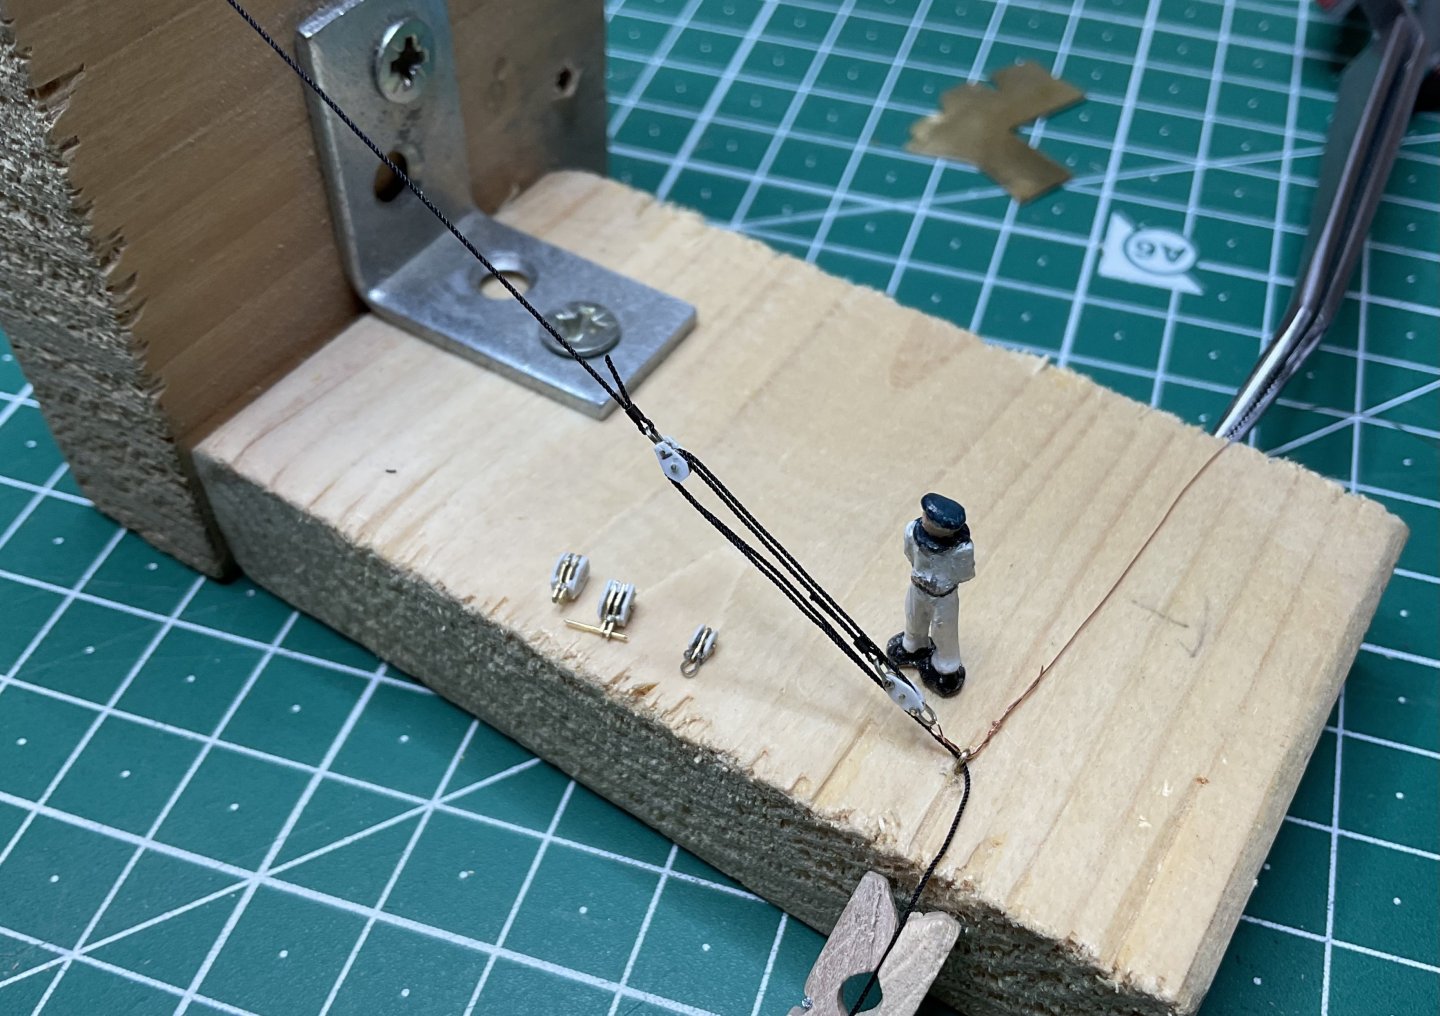
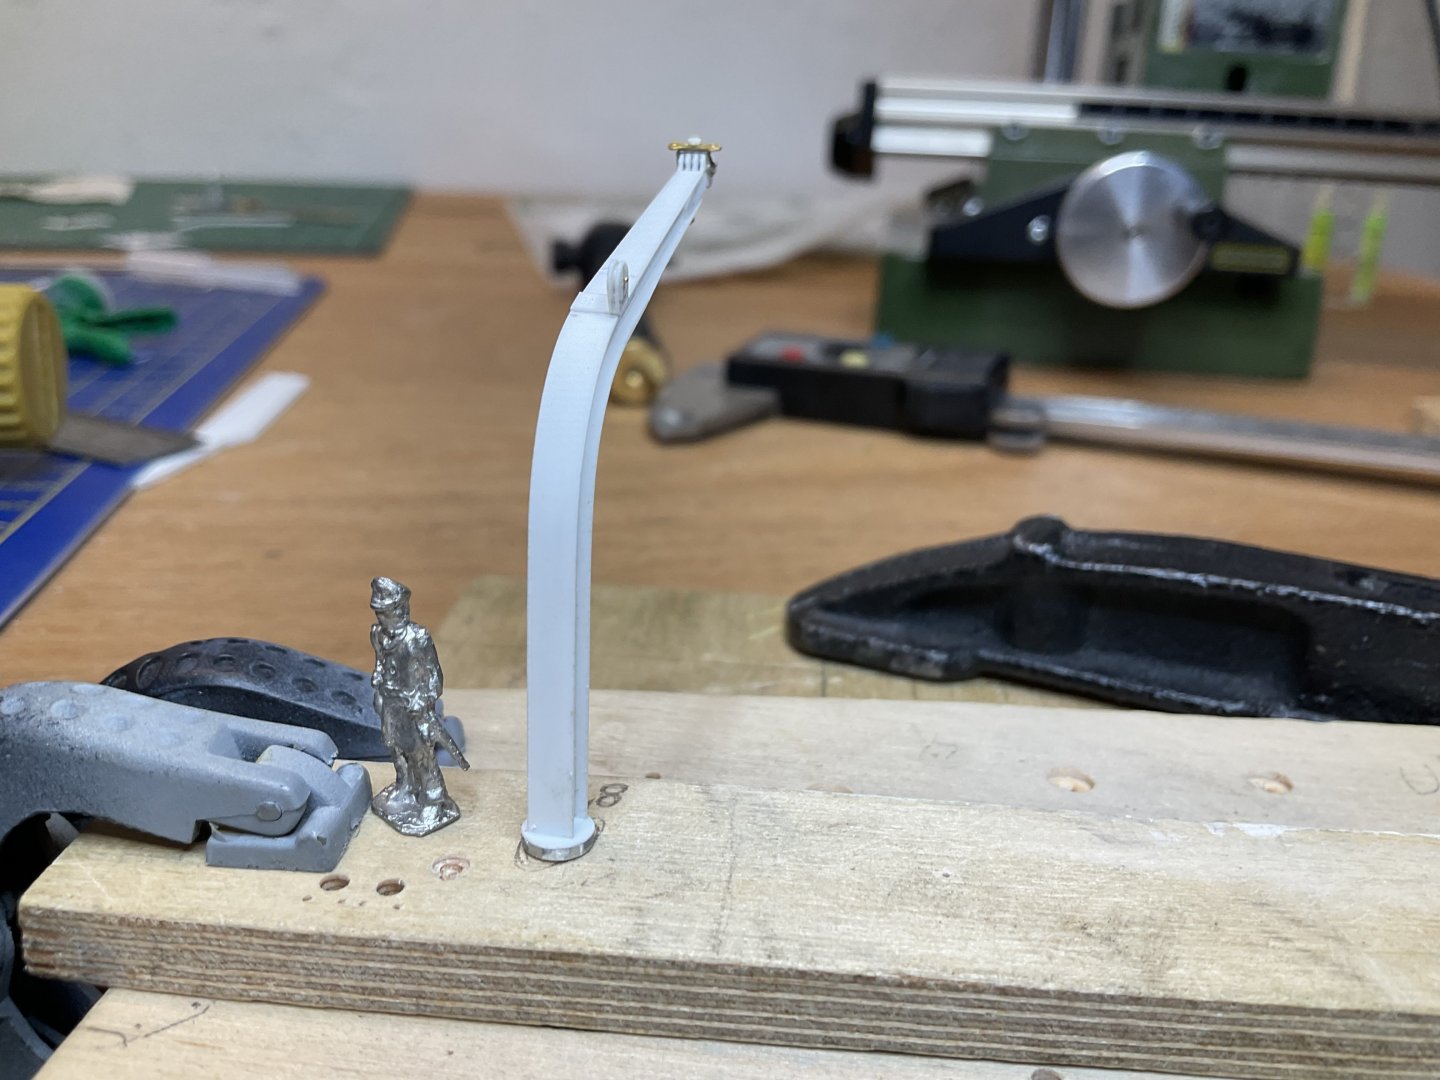
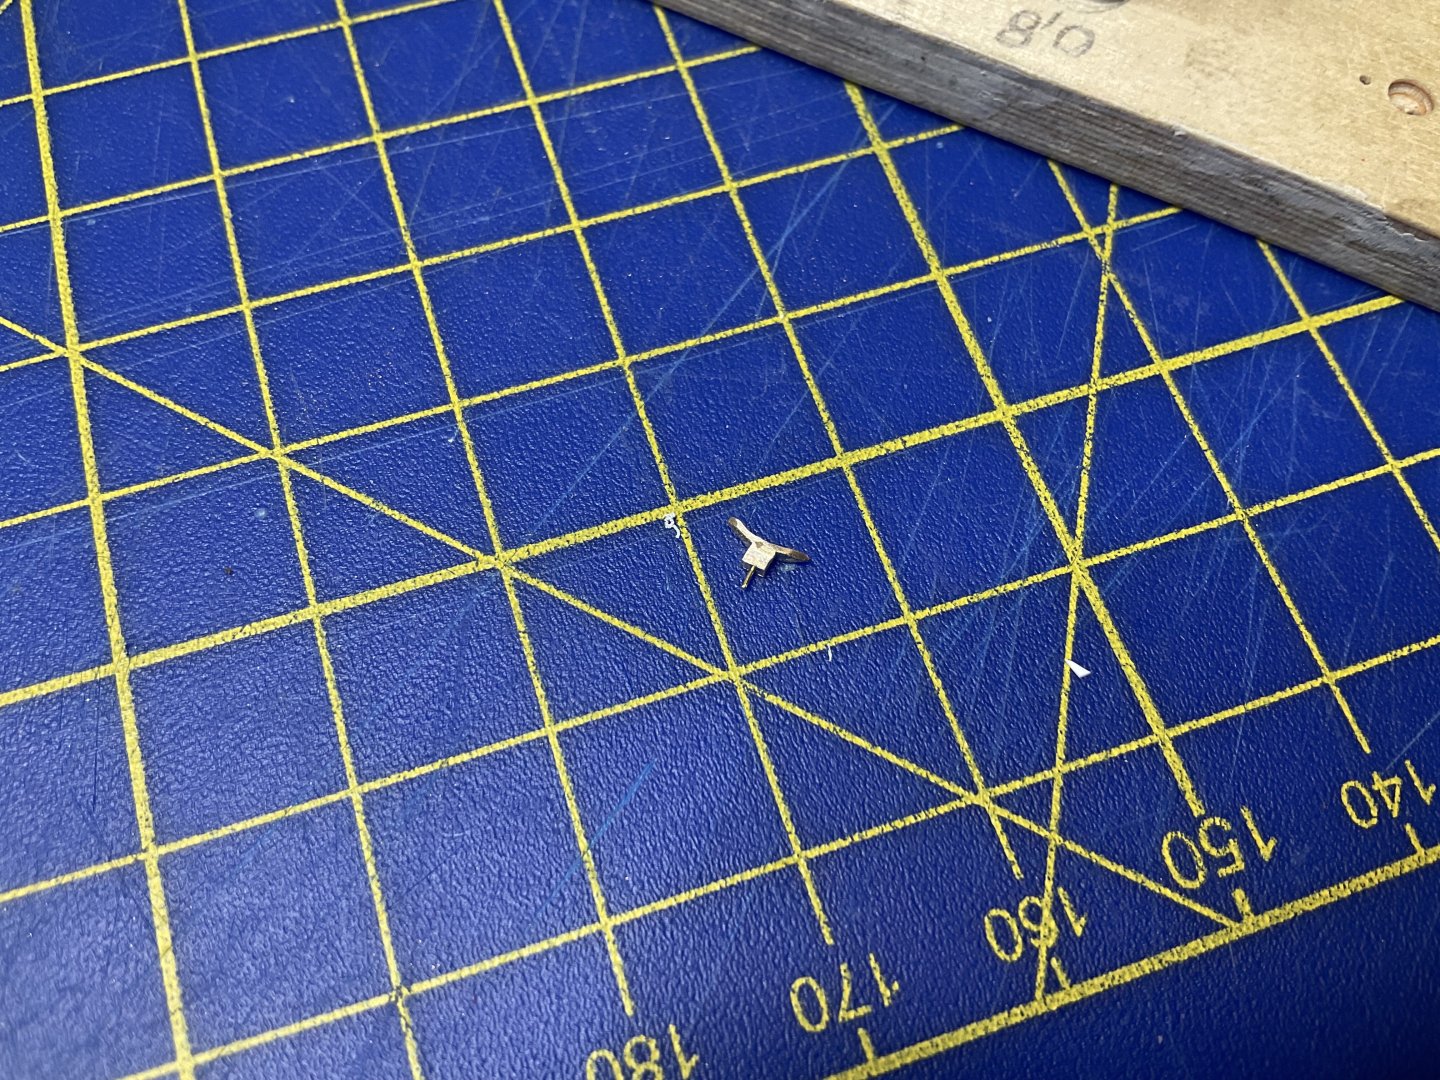
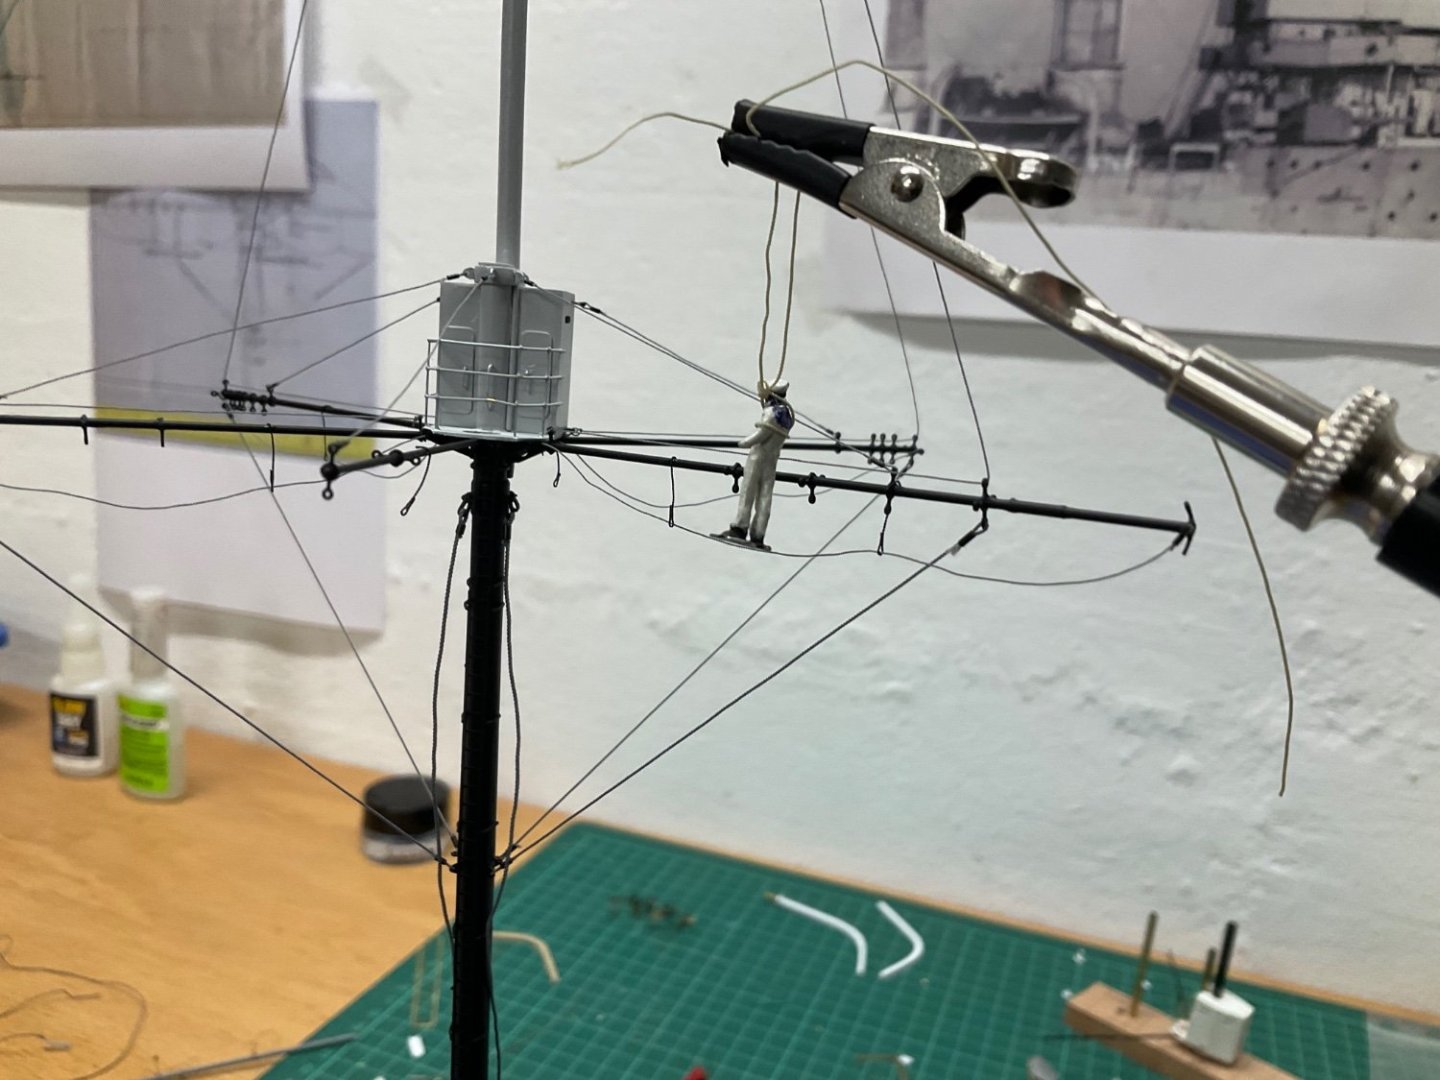
Morning(?😎) Keith. Yes, of course you may👍🏻. the stirrups are 6.5mm(0.25“??) so maybe the picture wasnt good. So here is another one where my inspector is being hoisted up. Note that i tied the rope under his arms and not around the neck since his services will still be required 😎. The shape of the ropes is work in progress, am still experimenting (off model) with varnish. Edit: and i did cheat with the attachment points for the ropes under the platform, because i forgot to include them when building. Now its too late.

-
Progress… nothing broken yet. Missing the varnish/„natural“ slack still, but will experiment. Halfway done. Unbelievable how many lines/ropes are on that mast given its not a sailing ship. Oh and thanks eberhard/valeriy for the comments about the position of the footropes. The are shown to be „aft“ /behind the spar/yardarm on the plan, but i totally missed that detail. cheers sascha

-
Hi, so here is the first one. I hope to improve execution for the remaining spars/yardarms. Getting the vertical ropes (stirrups) to the same lenght and position is tricky for me.guess i will find a method by the time the last ones a made. Fortunately a photograph shows footropes/stirrups as also not being straight. Thats my excuse 😎. cheers sascha

-
Moin Nils, nice to see another one starting from the keel up (or rather down😎). Please keep up the detailed reporting. Sascha
- 300 replies
-
- 5
-

-
- lightship
- Feuerschiff Elbe 1
- (and 1 more)
-
Hi both, thanks. Will do away with the rings. Sadly i didnt think ahead enough to make some attachment points on the spar. So i now have to attach on the spar (knot) and at the bottom (splice?) for the foot rope. And all on the assembled mast. Its a very short lenght of rope too. Thats why i thought a ring would be easier than making a loop at the lower end. Lets see what comes out. Will report. cheers sascha
-
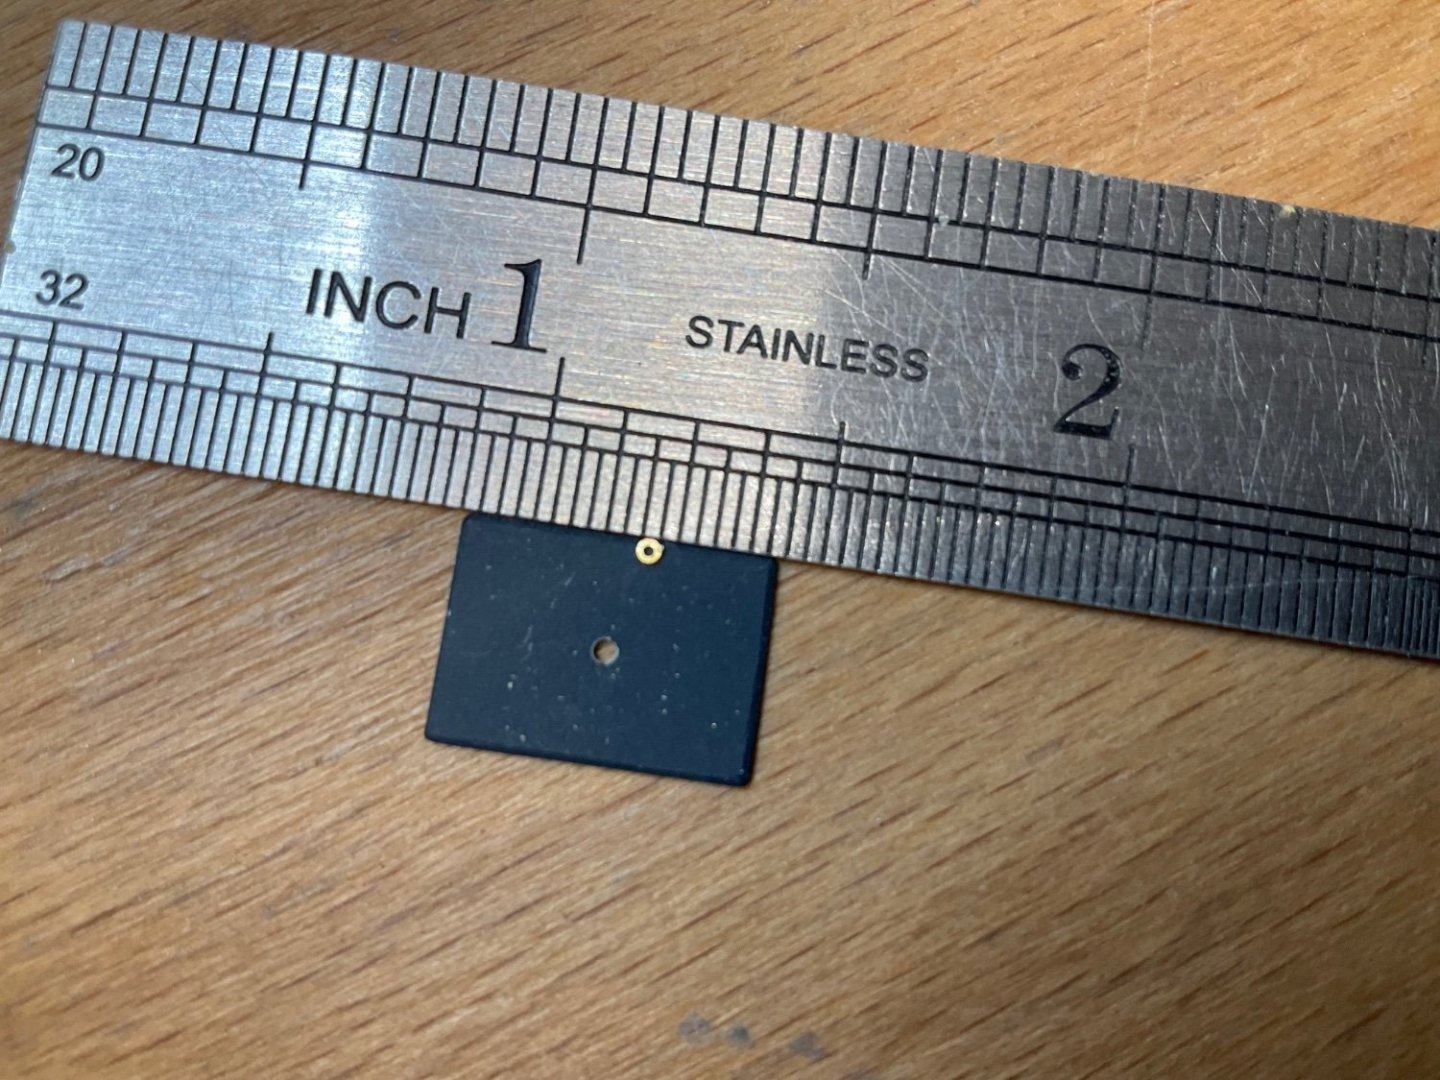
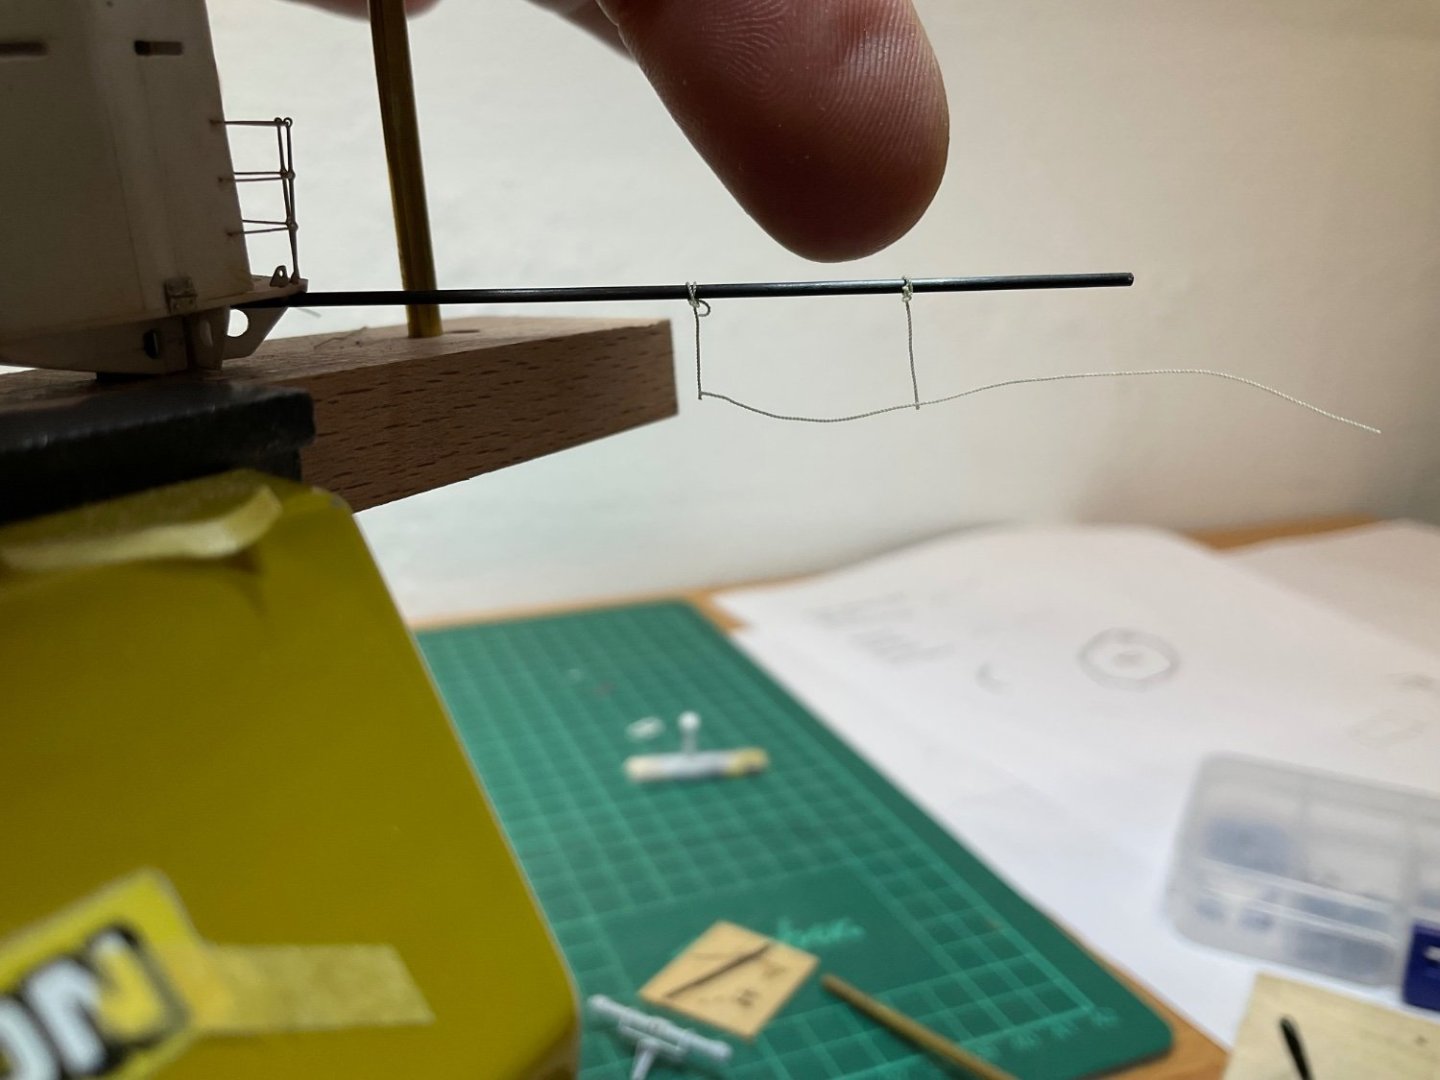
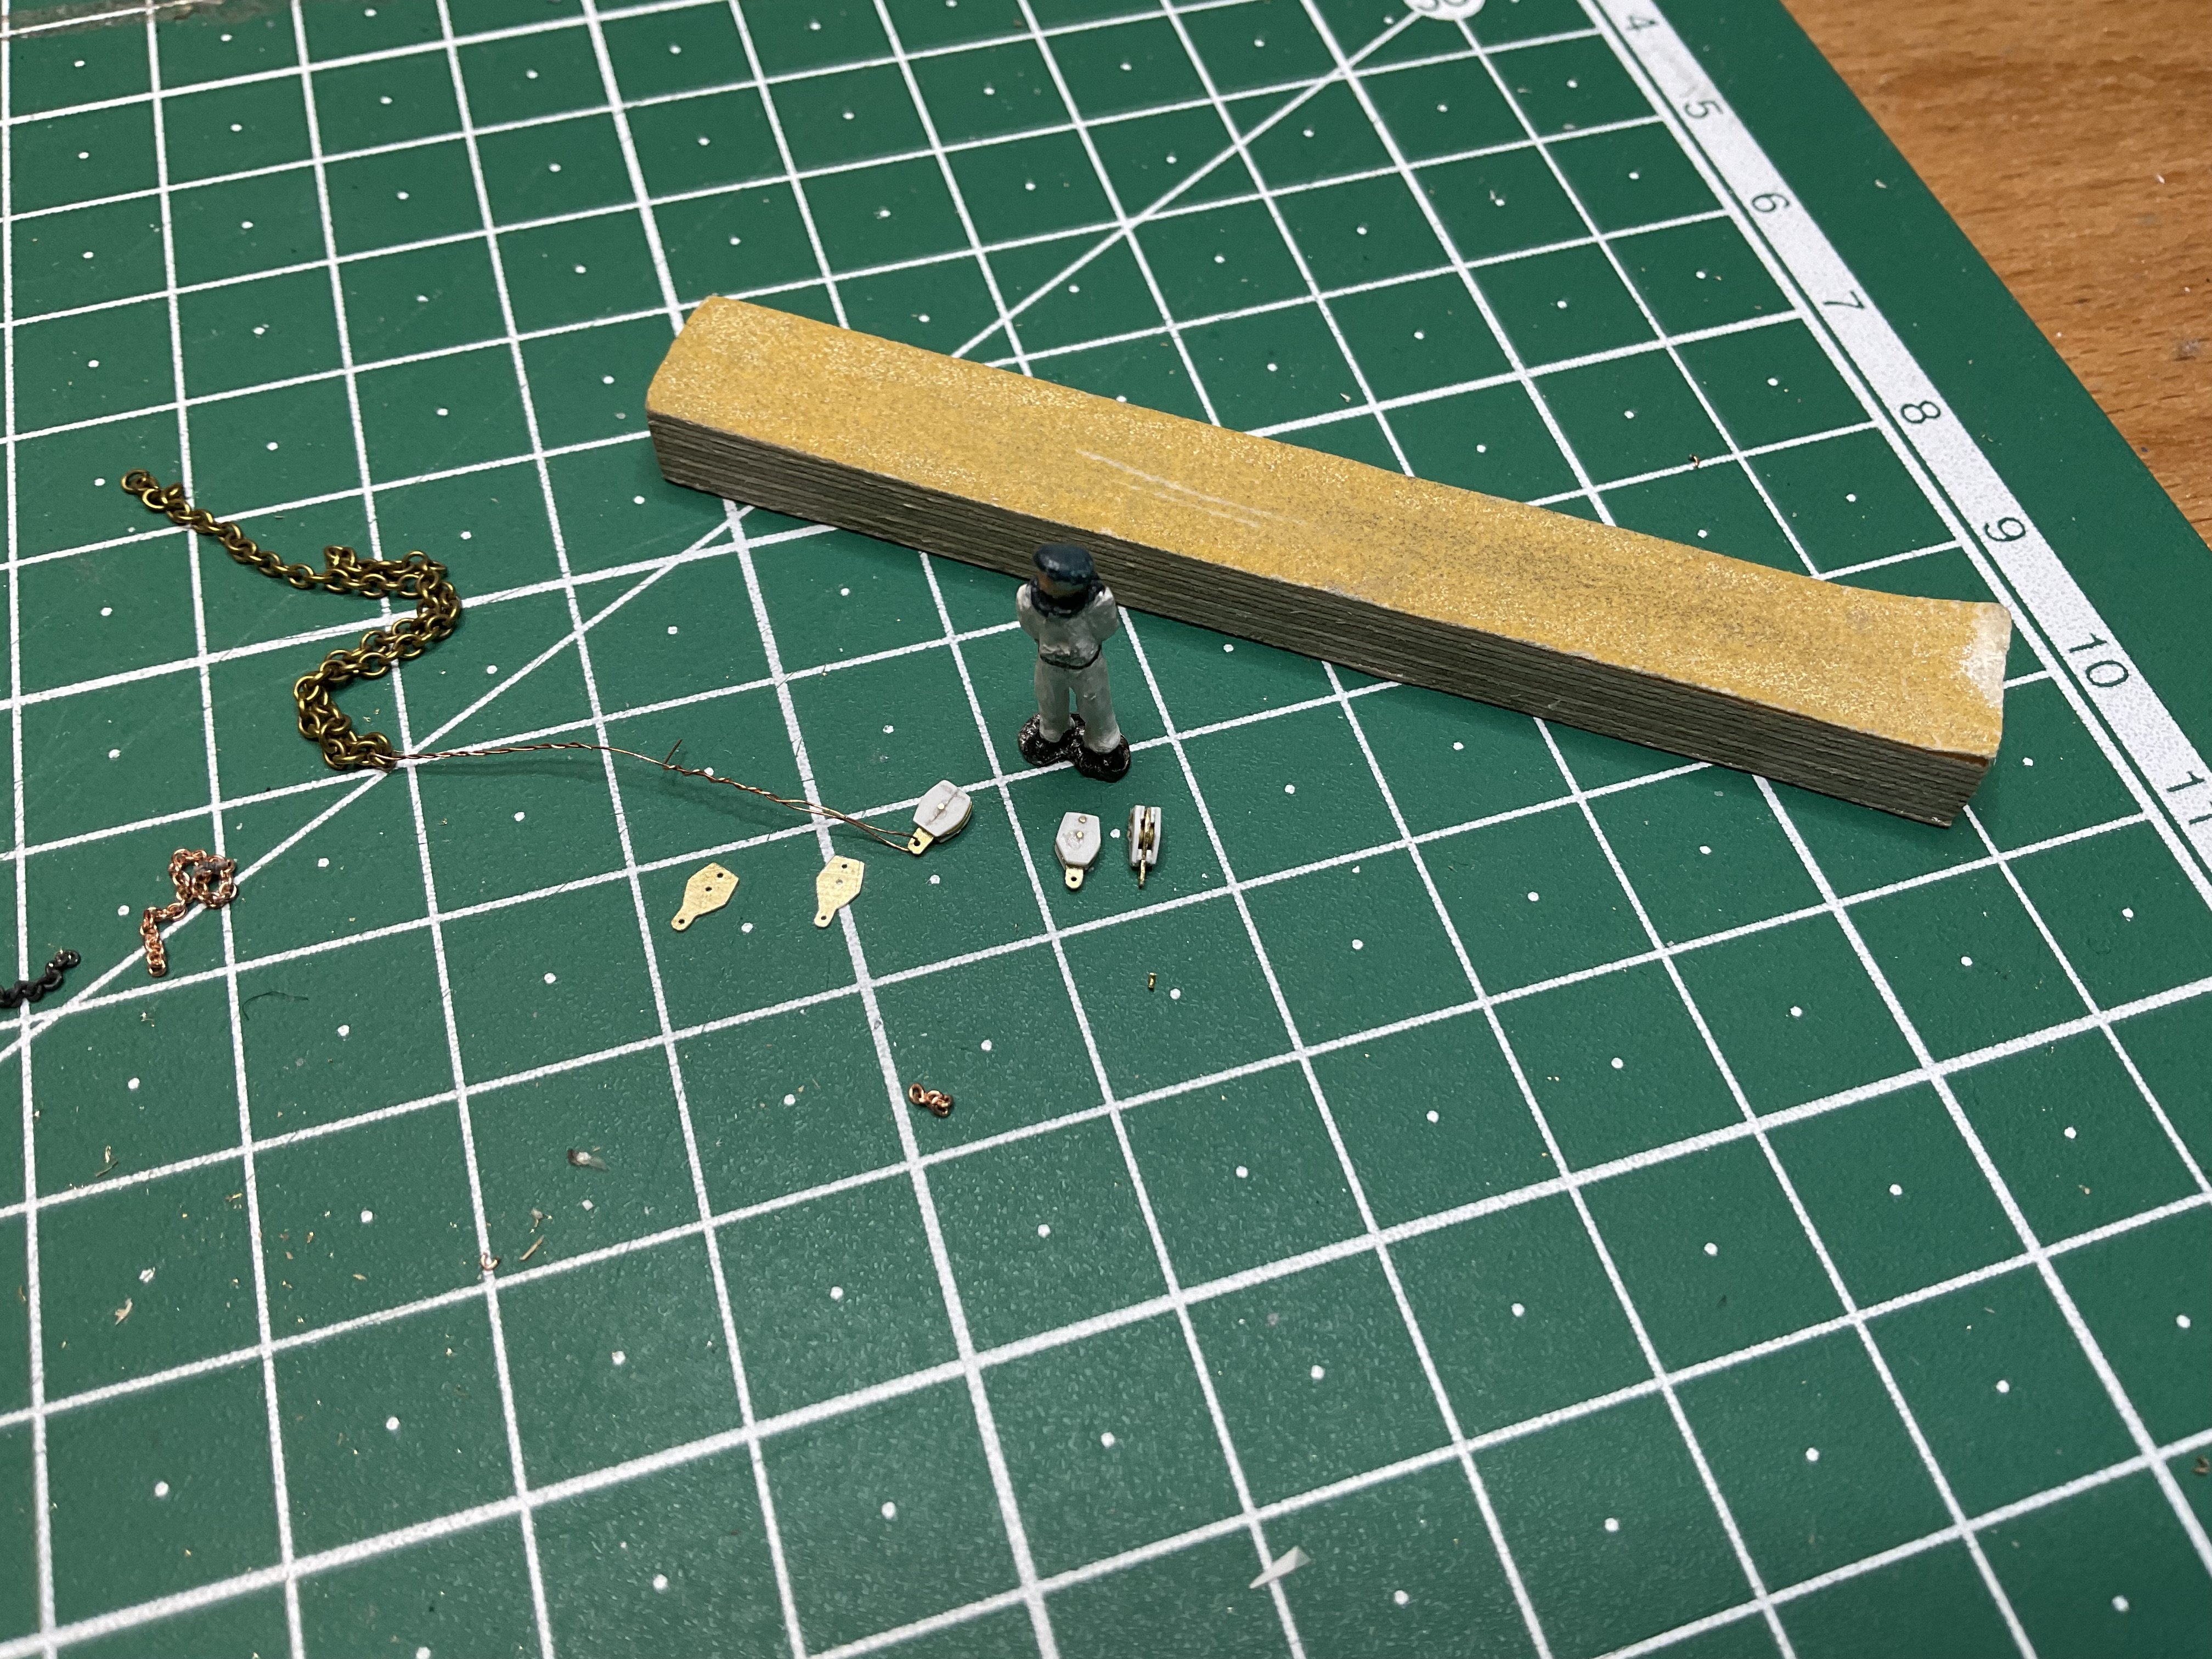
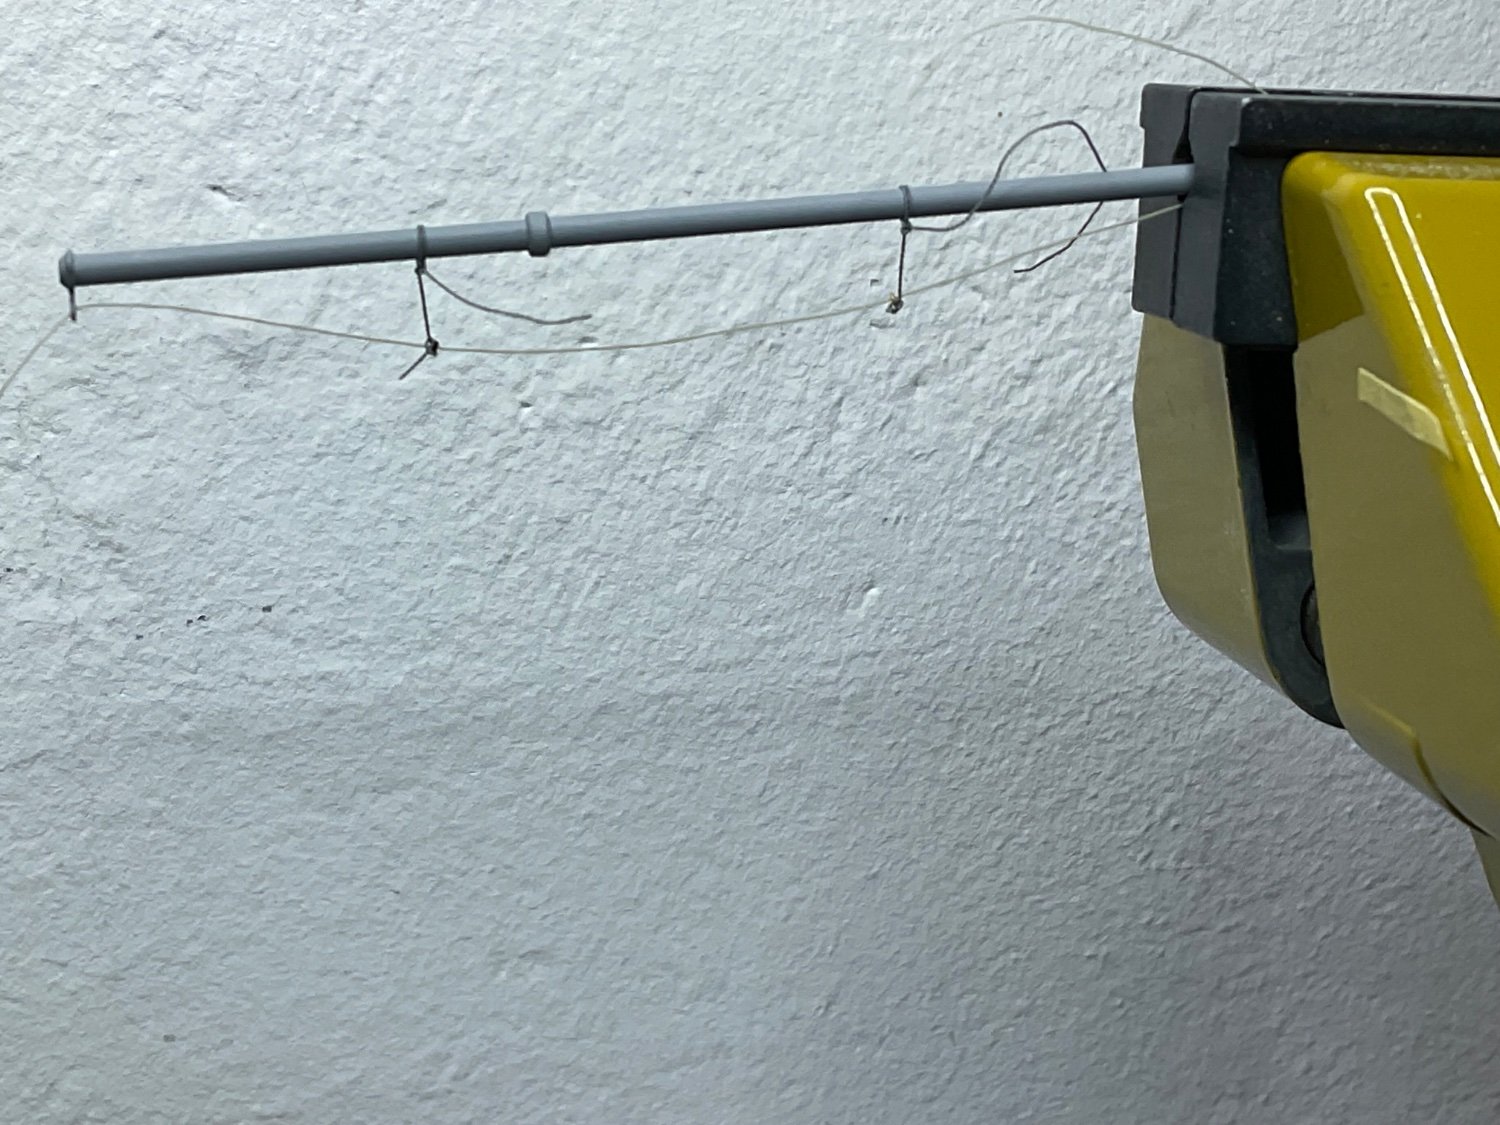
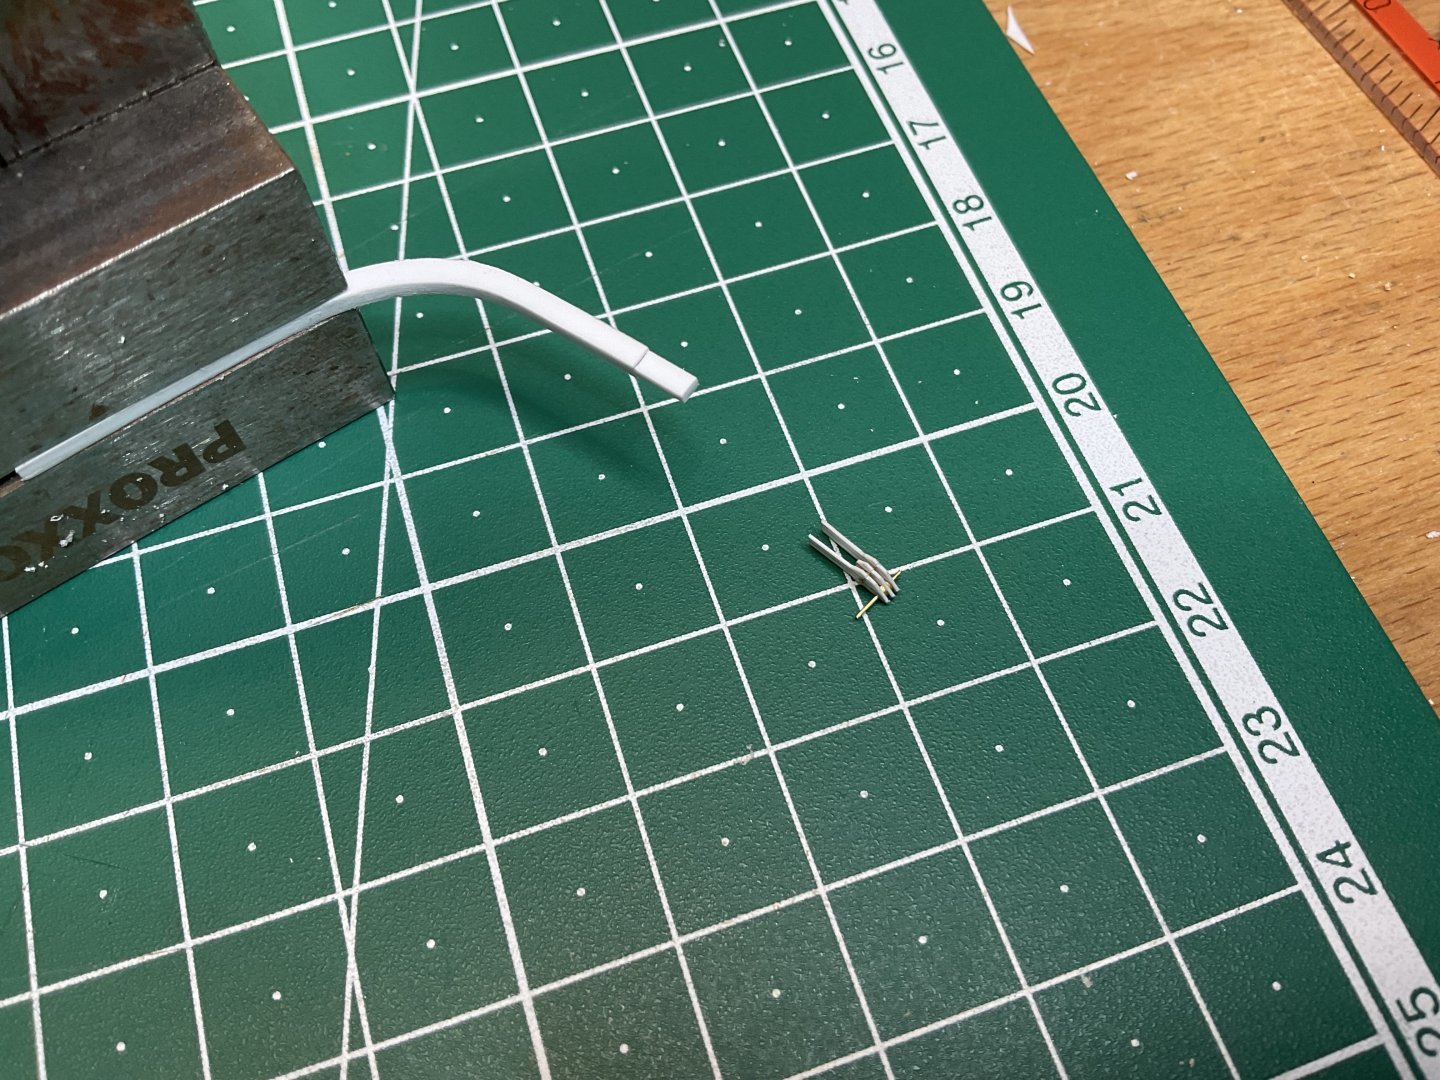
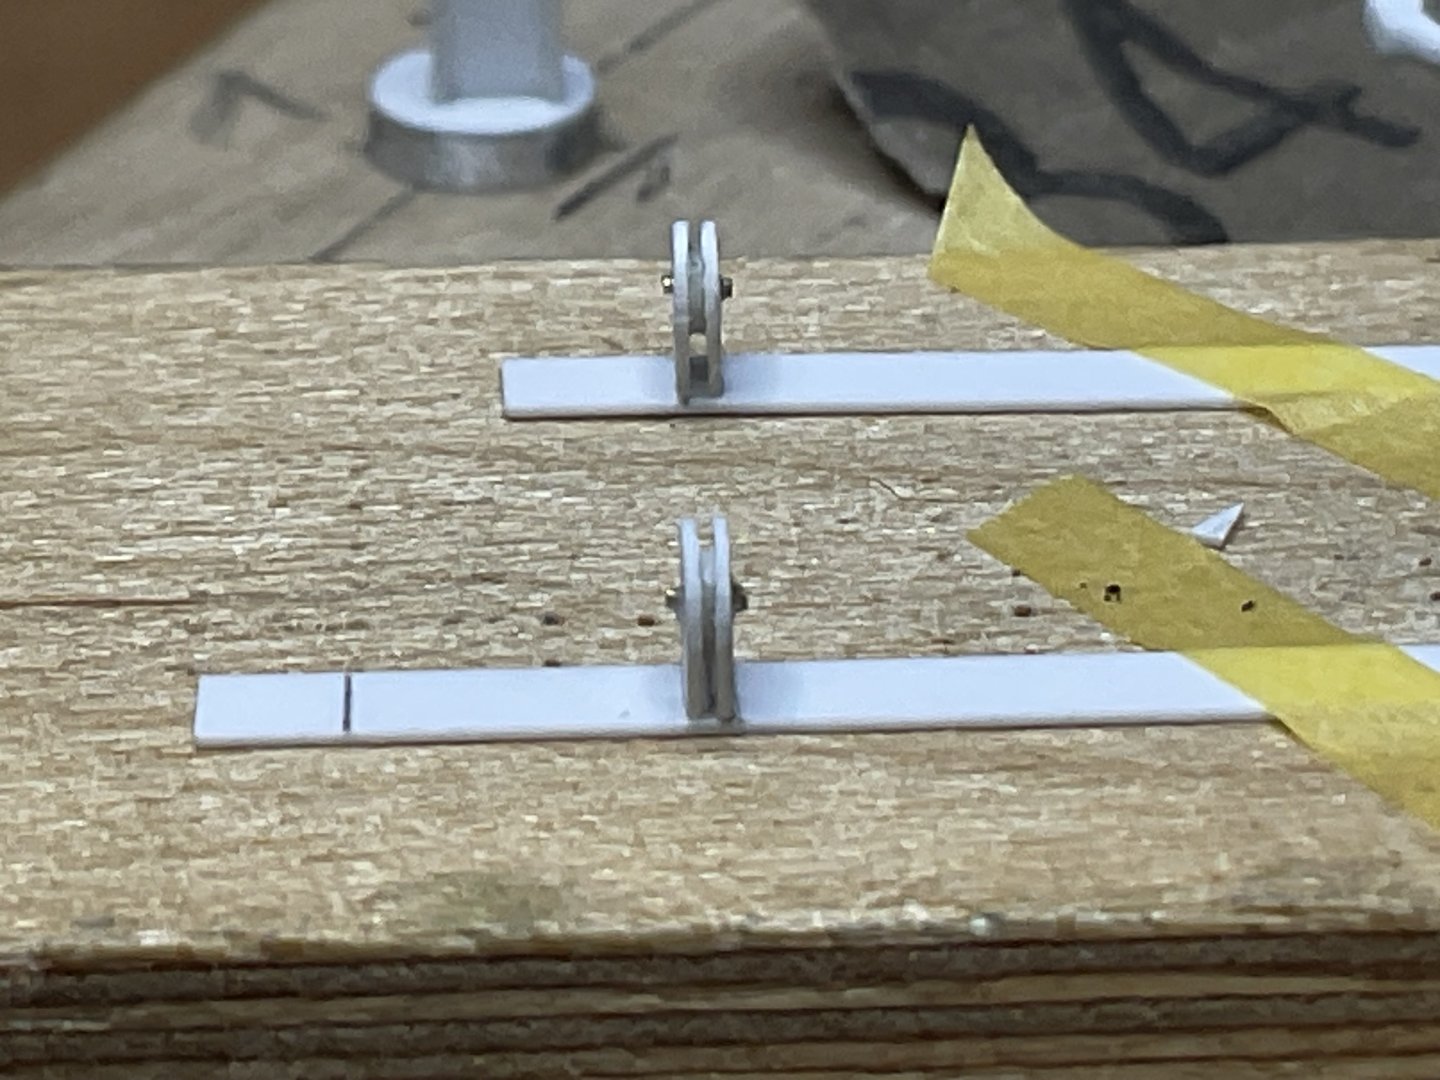
Hi all and thanks for picutres (valeriy) , translation for the fusspferde (eberhard) and tips to make the thing. I fear that the scale surpasses my abilities eberhard 🤪. Here‘s some result of trials. i made some small rings to thread the rope through (picture with inch measure for our imperial friends 😬). However when attached they always want to turn in the wrong direction making the whole thing bend. Thats the picture with the grey spar - it being a random 2mm diameter piece. The third picture is a using valeriys method (i believe) on a prototype with actual dimensions (1 mm diameter spar and 0,1mm rope. The huge shadow is the tip of my finger… on the upside i did manage to tie a correct knot,.. kind of. i will continue experimenting because i would have destroyed the mast had i done the experiments on the actual piece. further tips are pf course welcome. Cheers sascha