HOLIDAY DONATION DRIVE - SUPPORT MSW - DO YOUR PART TO KEEP THIS GREAT FORUM GOING!
×


Norwegian Plastic
-
Posts
126 -
Joined
-
Last visited
Content Type
Profiles
Forums
Gallery
Events
Everything posted by Norwegian Plastic
-
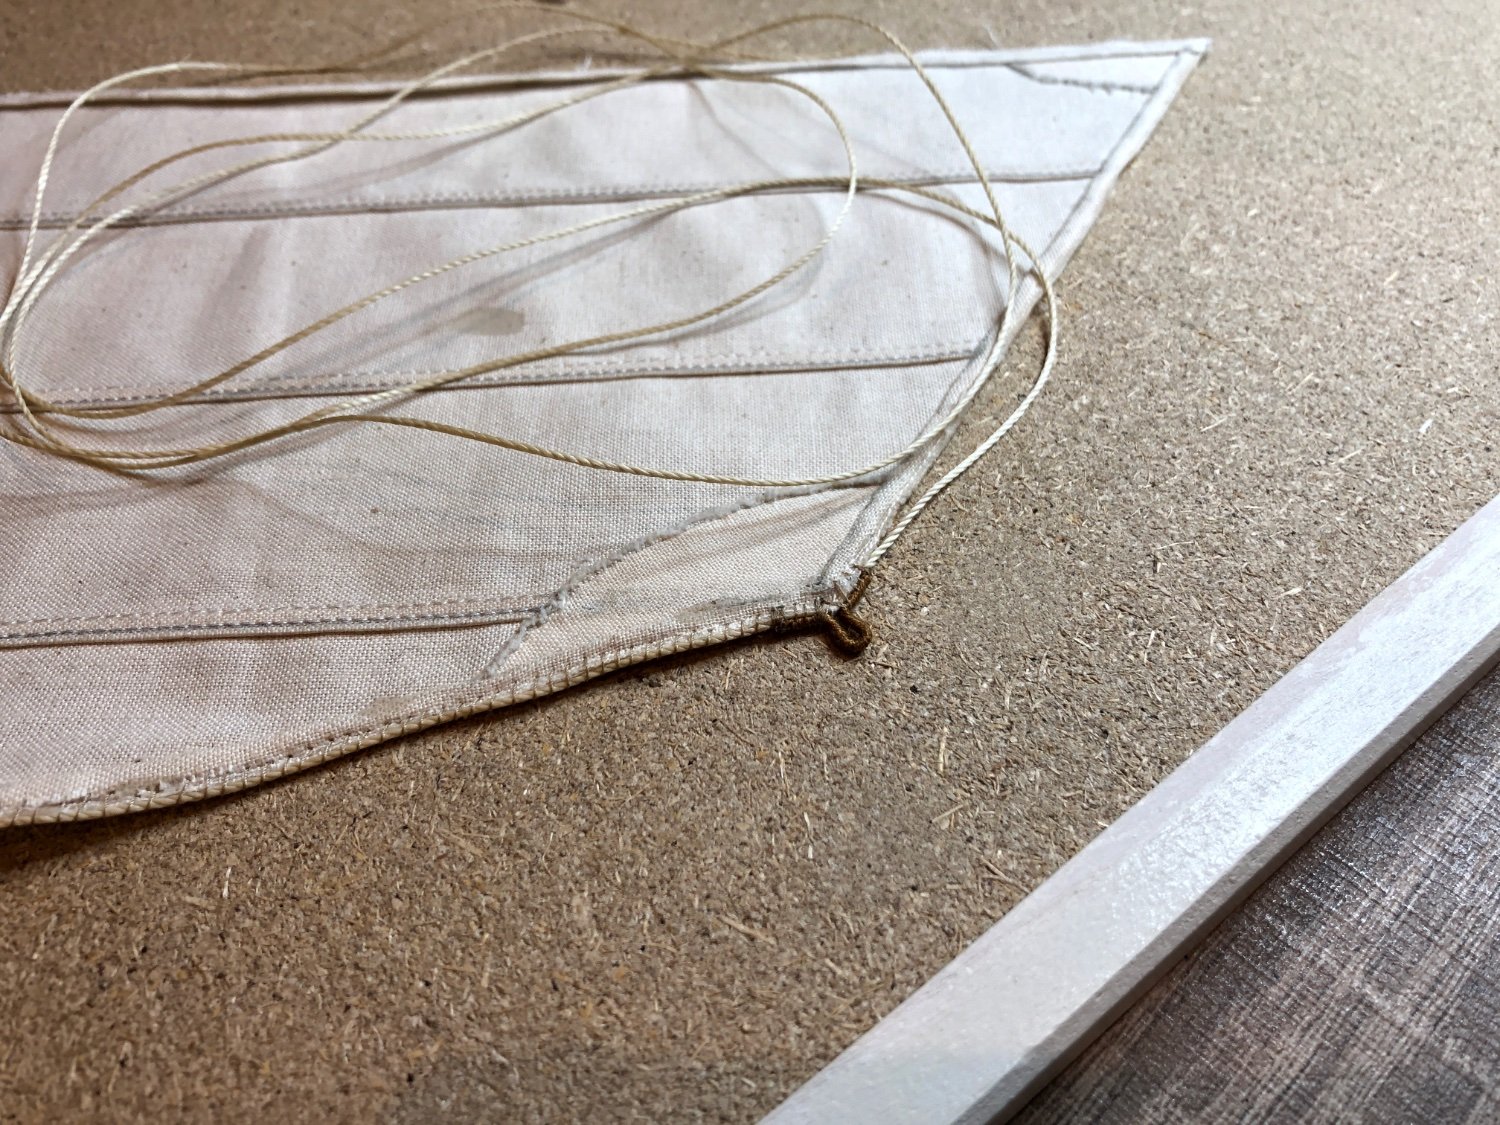
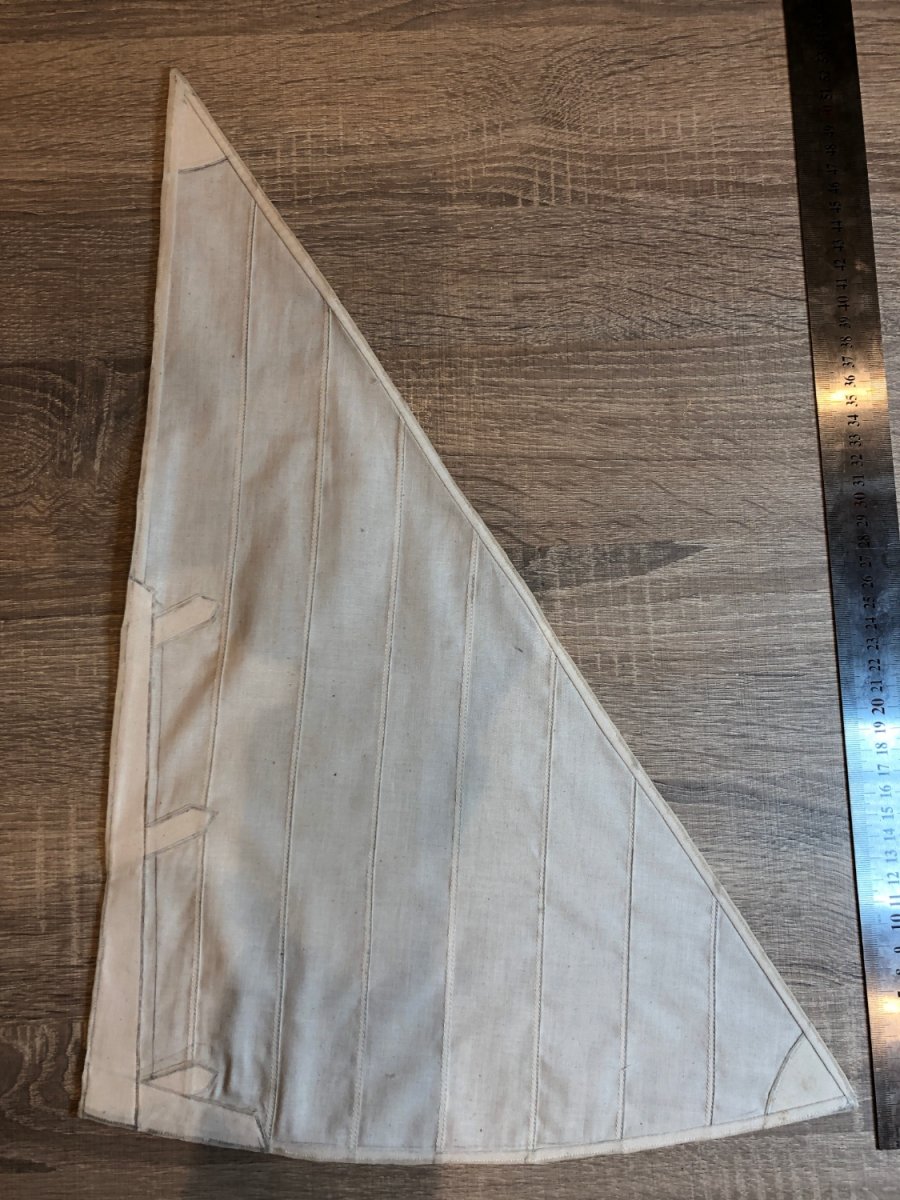
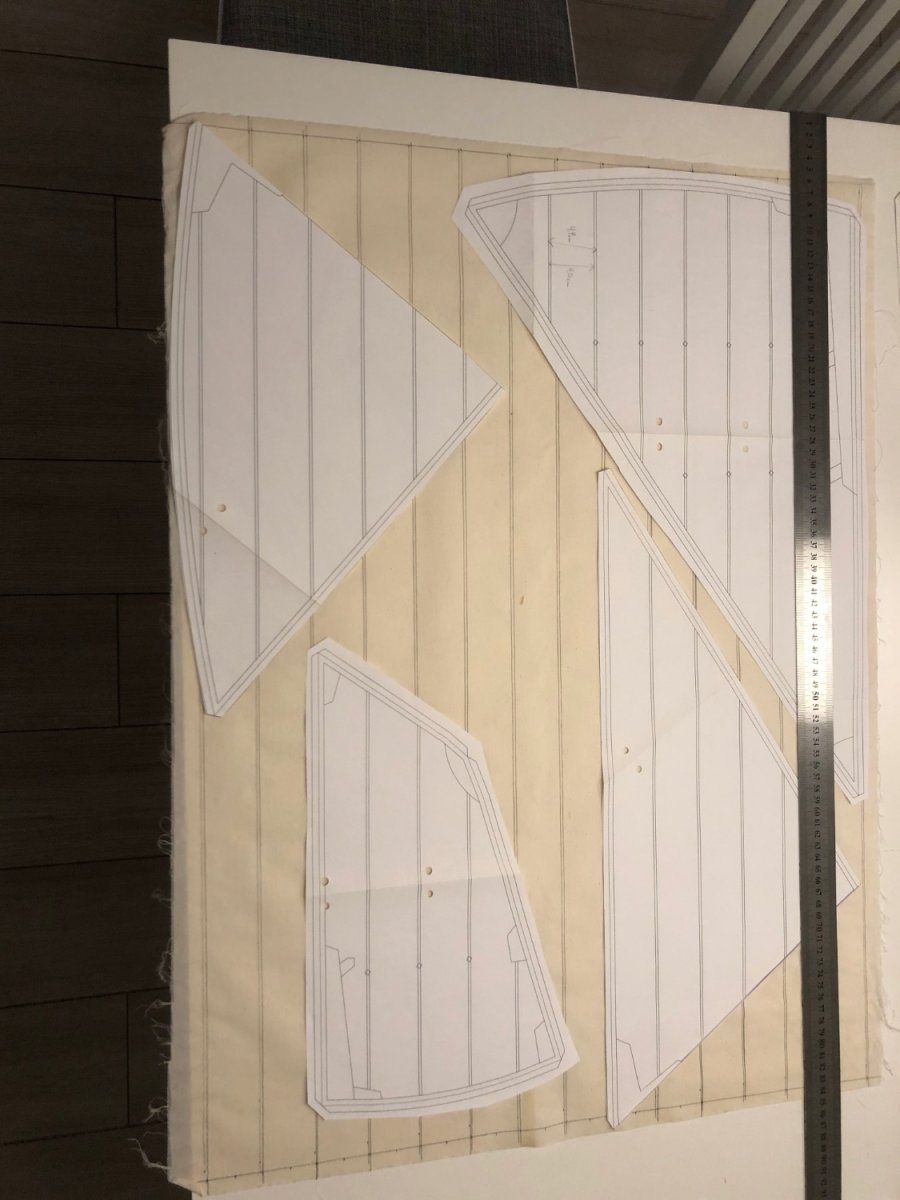
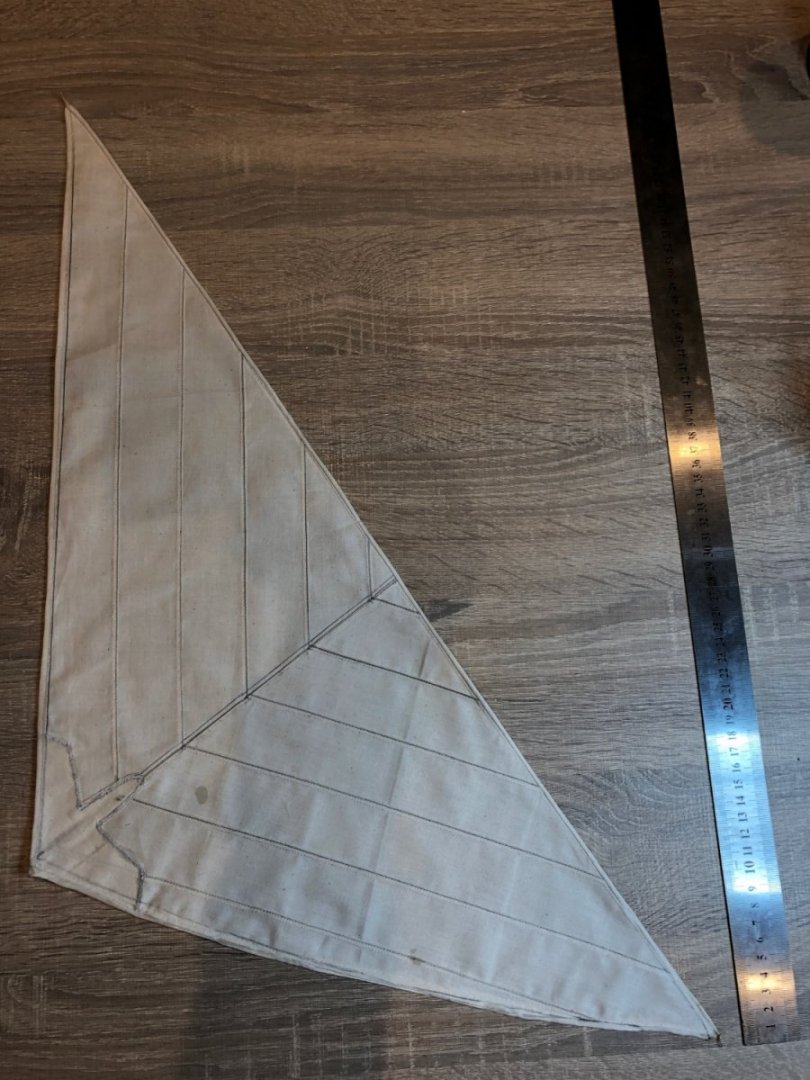
Started with the Mizzen. It shall have boltropes, some eyes and the threads showing the wind in the sails. What are those called?

-
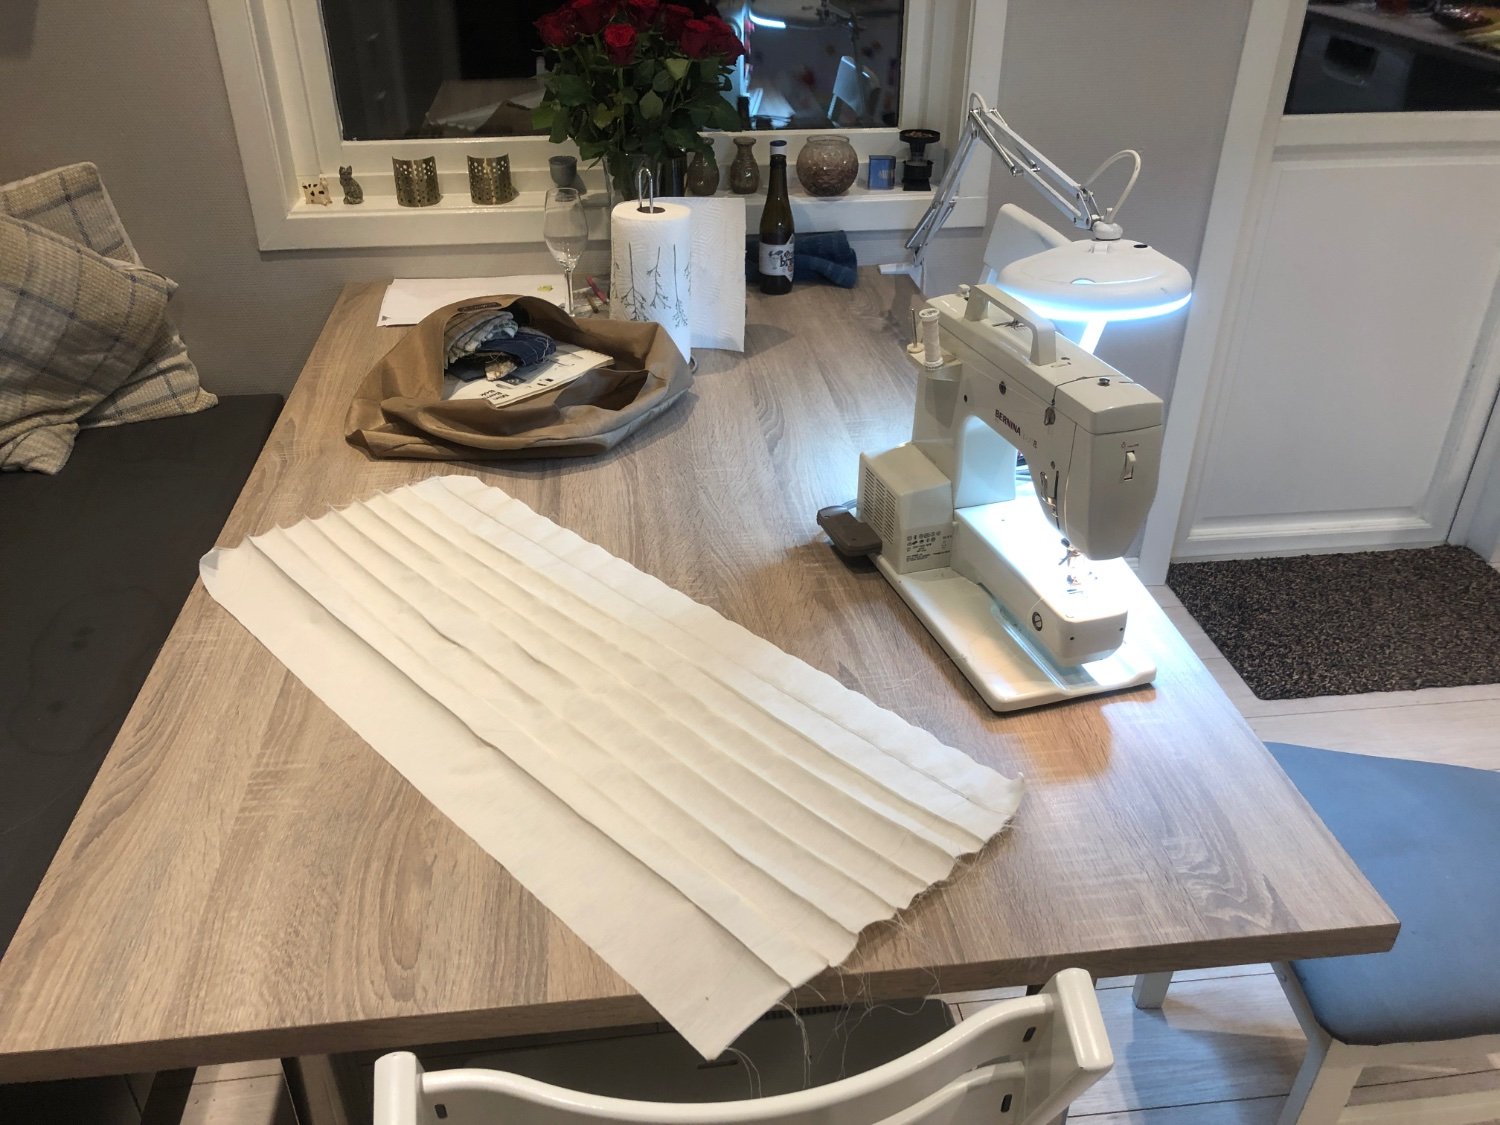
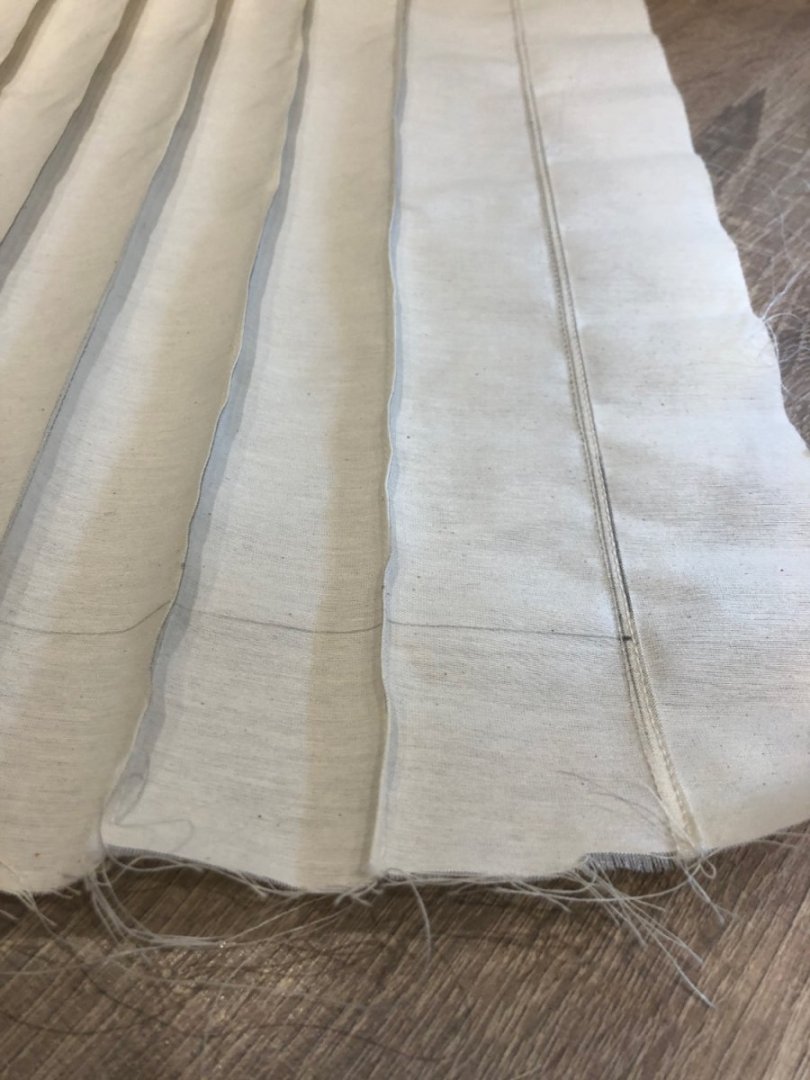
Milestone reached! All sails are done concerning machine sewing. Next up is boltropes👍🏻


-
A little more work on the Staysail before I have some well deserved beer and food with friends. Lazy day coming up tomorrow, hope to finsh the machine sewing of all sails during the weekend🙈

-
I have an idea💡In this scale it is possible to make the jib and flyer from spinnaker fabric? With taped panels and zig-zag seams? Hmmmm.
-
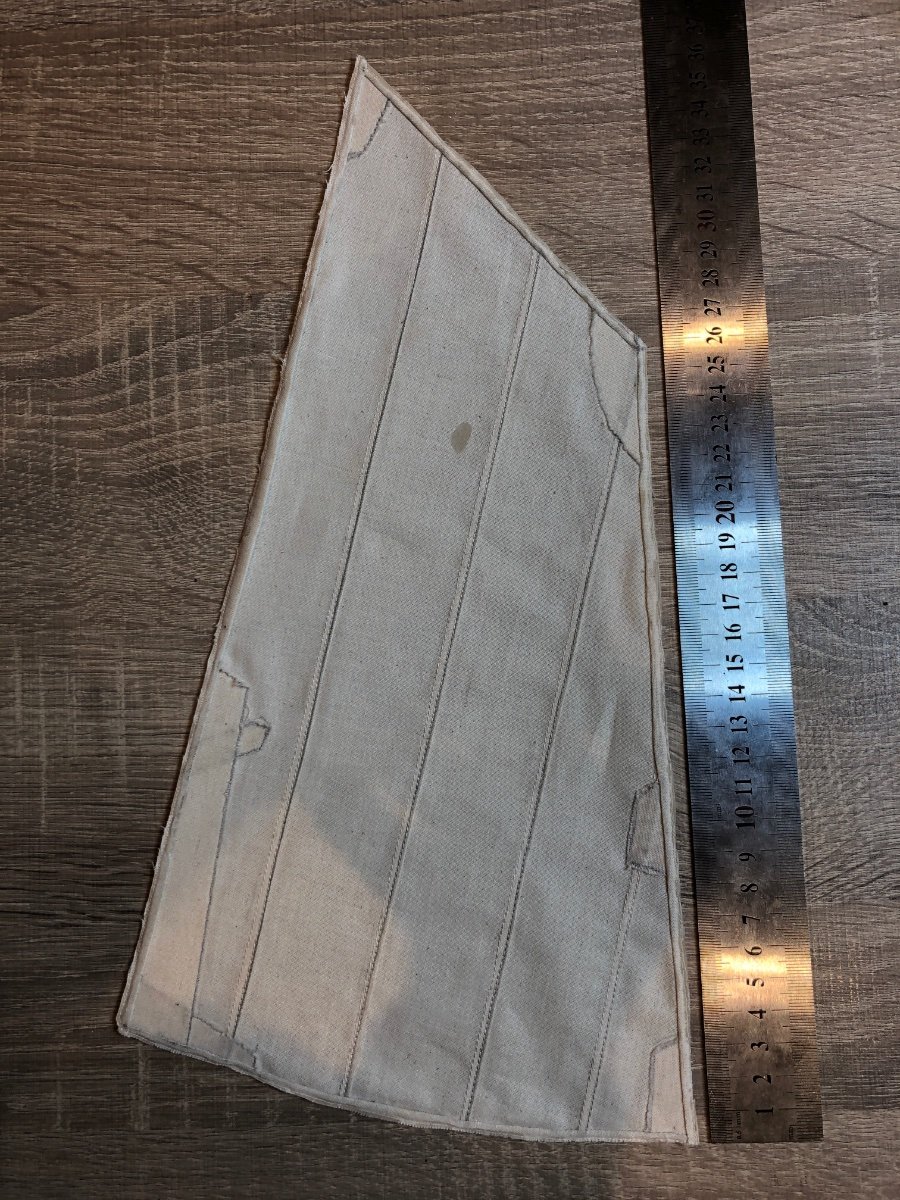
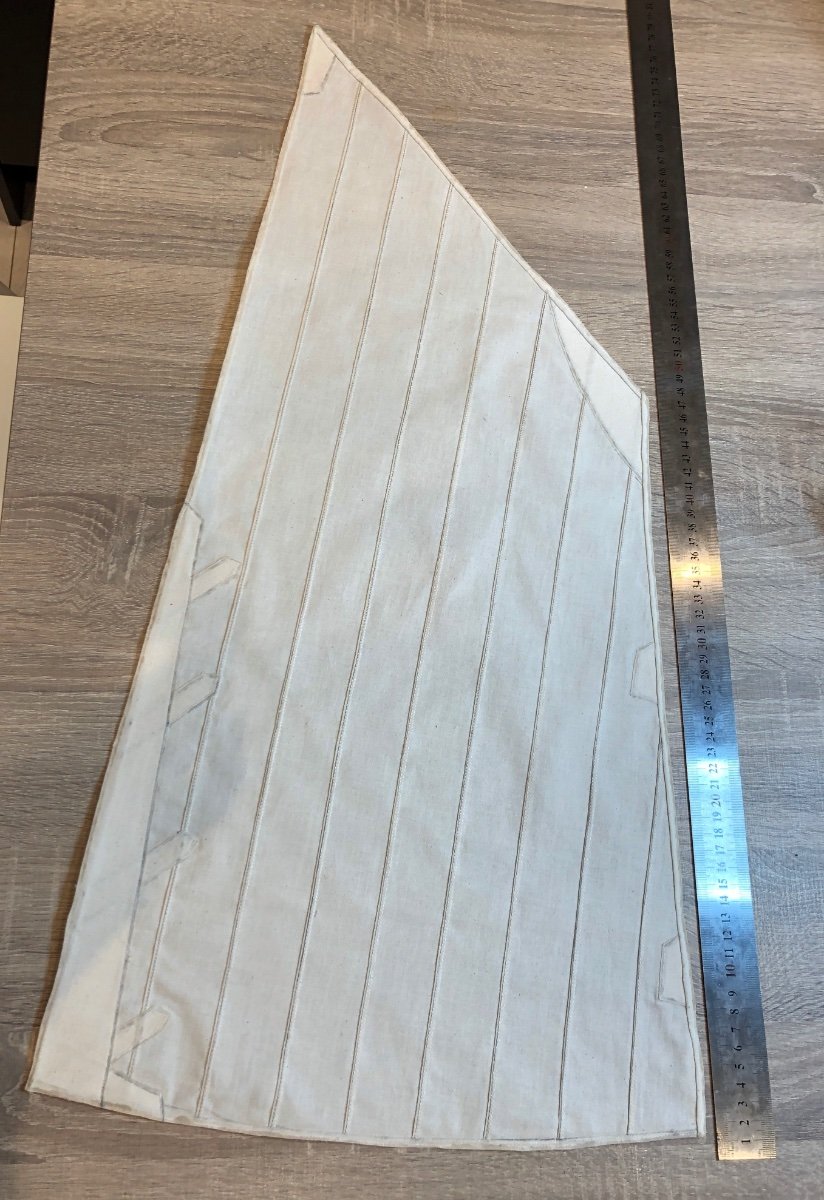
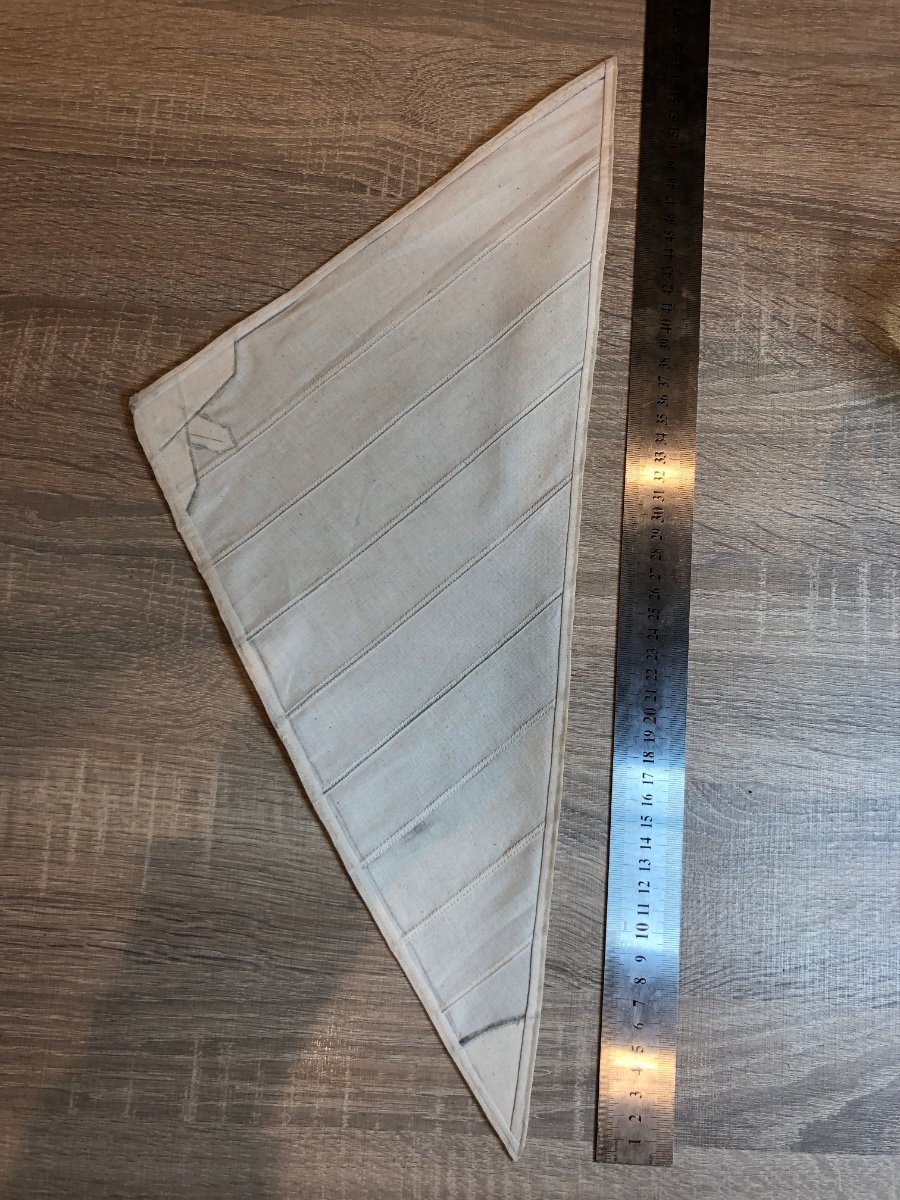
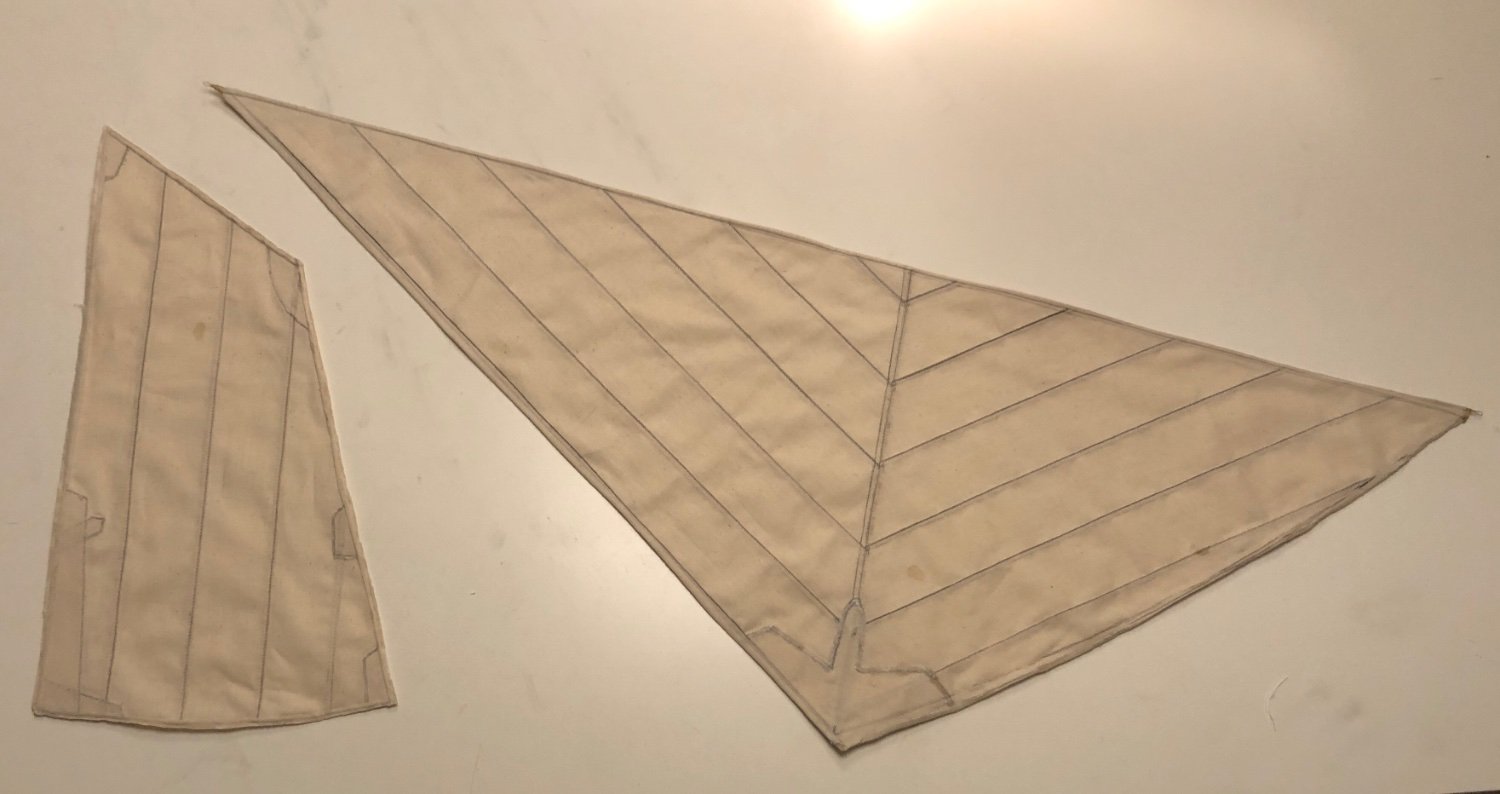
Tonight i finished sewing the mizzen an the flyer. Mainsail, topsail and jib up next👍🏻

-
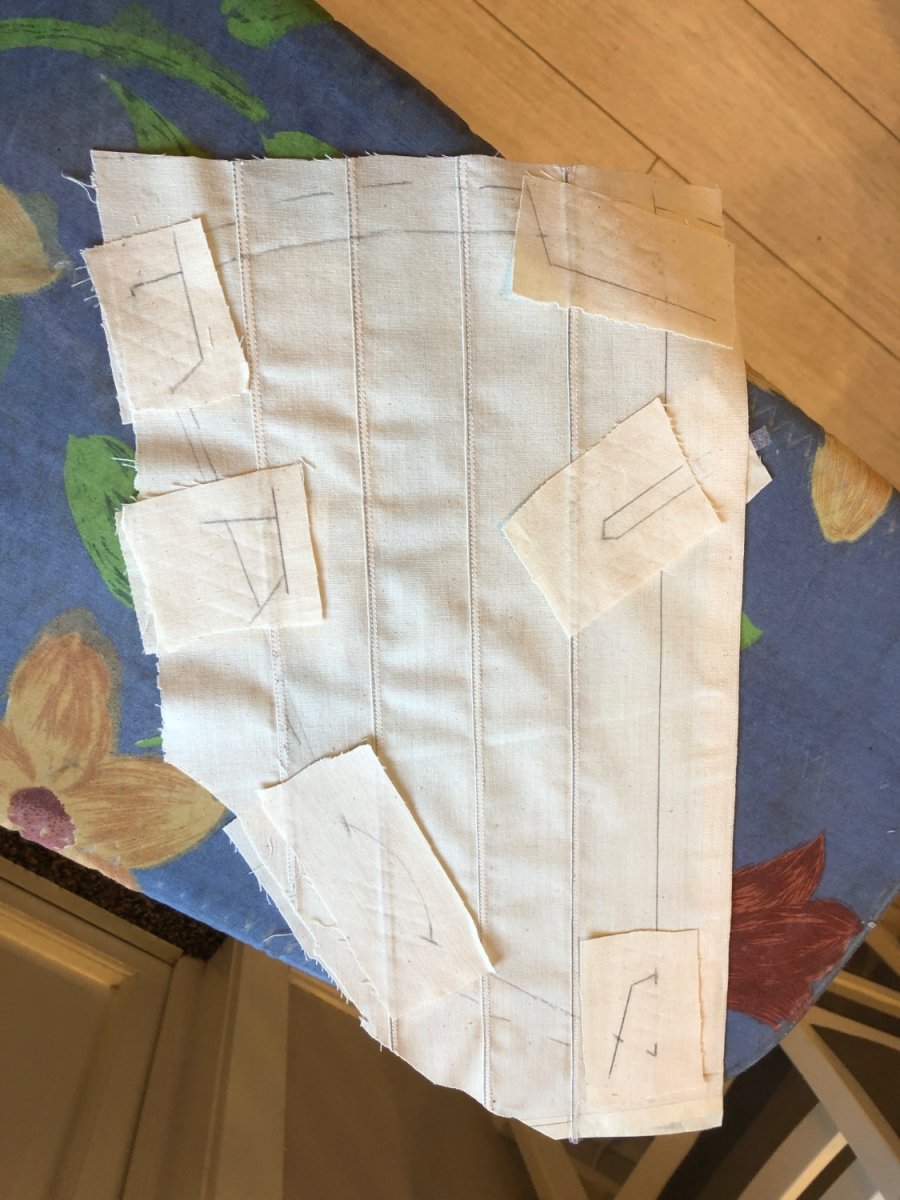
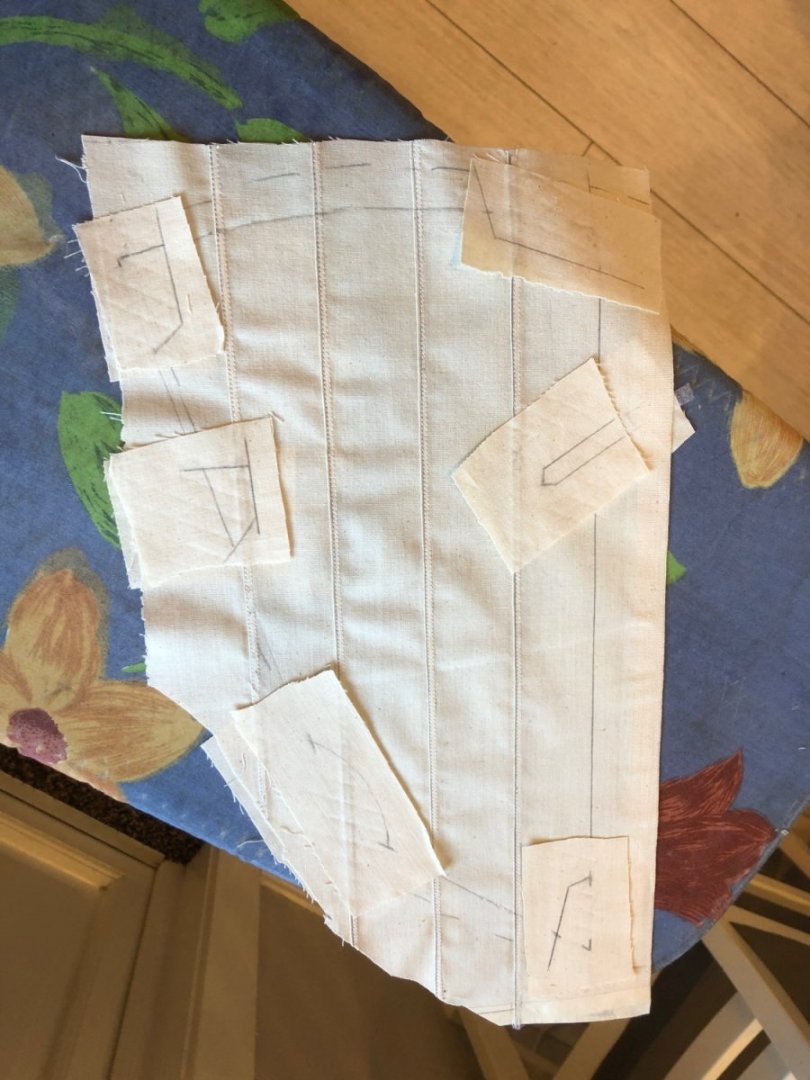
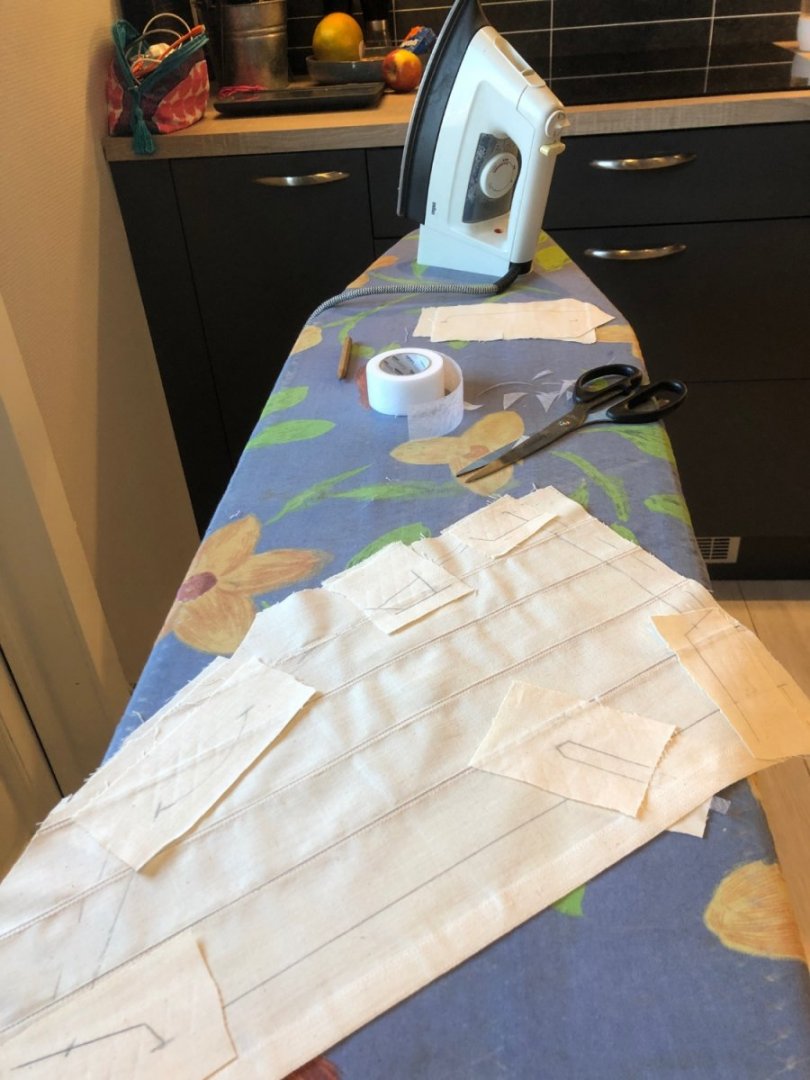
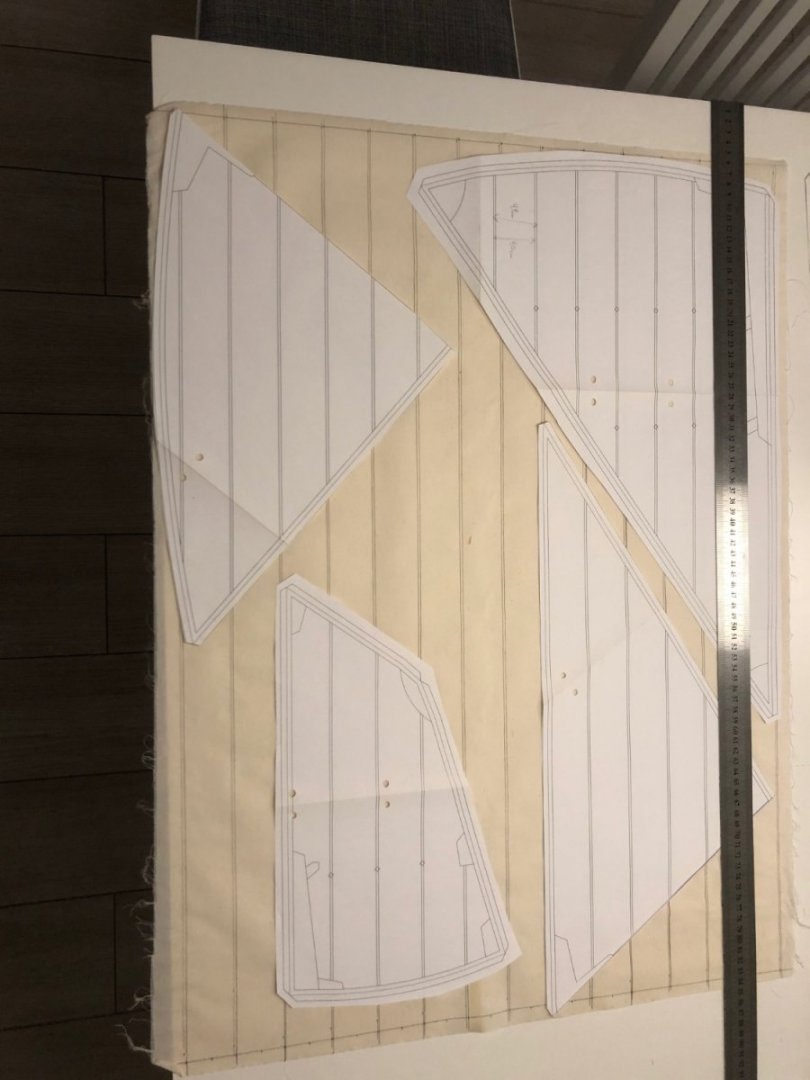
It is a lot more easy to iron the pieces with hemming web. Found this out the hard way… Long story short, I started all over again and made new sails from a better fabric then started to add the reinforcement panels.
-
So far, so good. There is not more fabric than needed supplied with the kit so I need to buy some for reinforcements and edges. If it is not excactly the same fabric I think it is a good thing because it will make details stand out. Maybe…

-
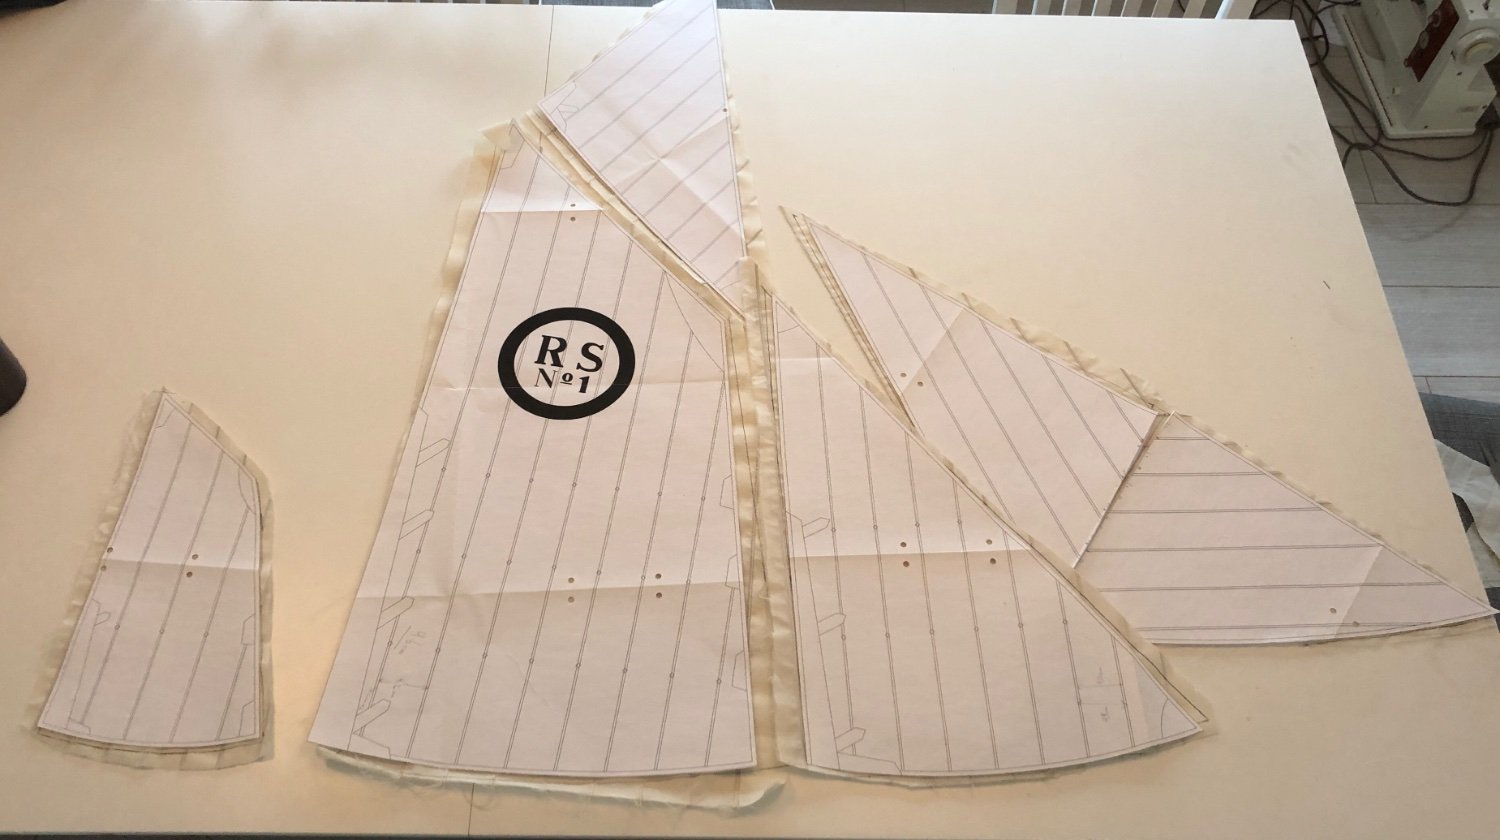
I could not wait… One free moment and I started on the sails😂😂😂

-
Well, it looks good but is 50% to big😫. Must have had to many beers when I made the scale calculations and I did not check during the build.… Looking for a shrinking machine now👍🏻
-
Calling it done. It will hardly be seen anyway😂
-
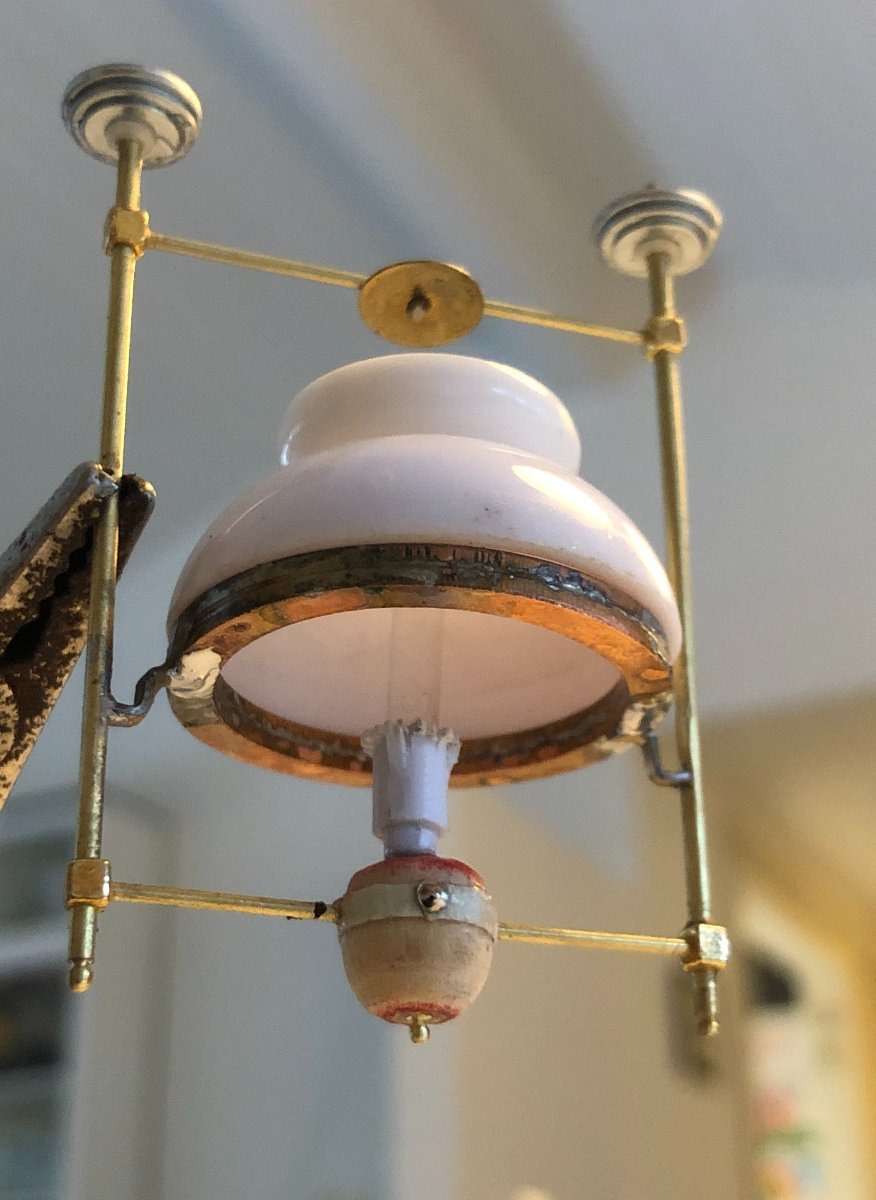
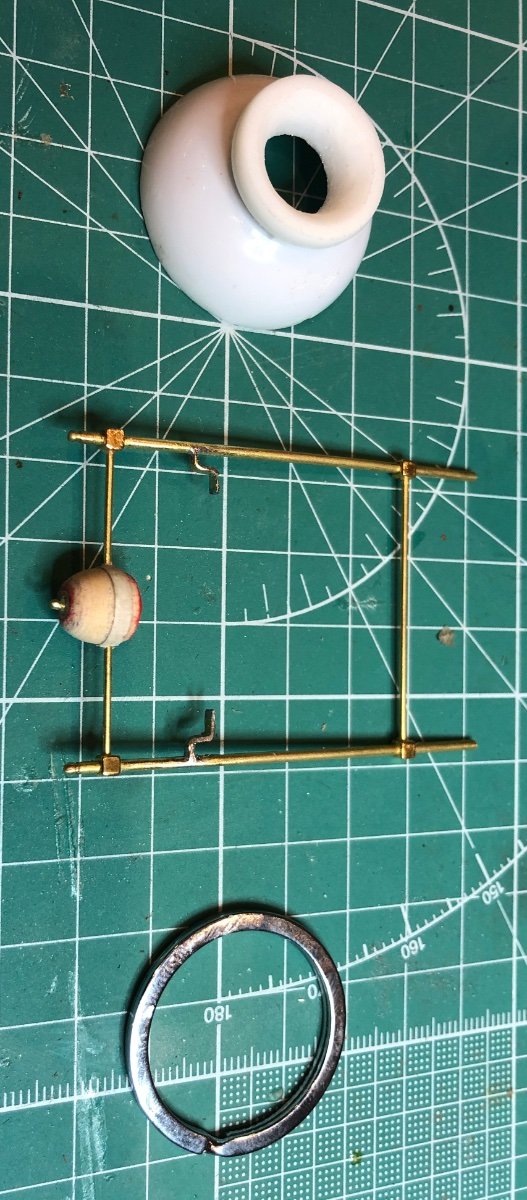
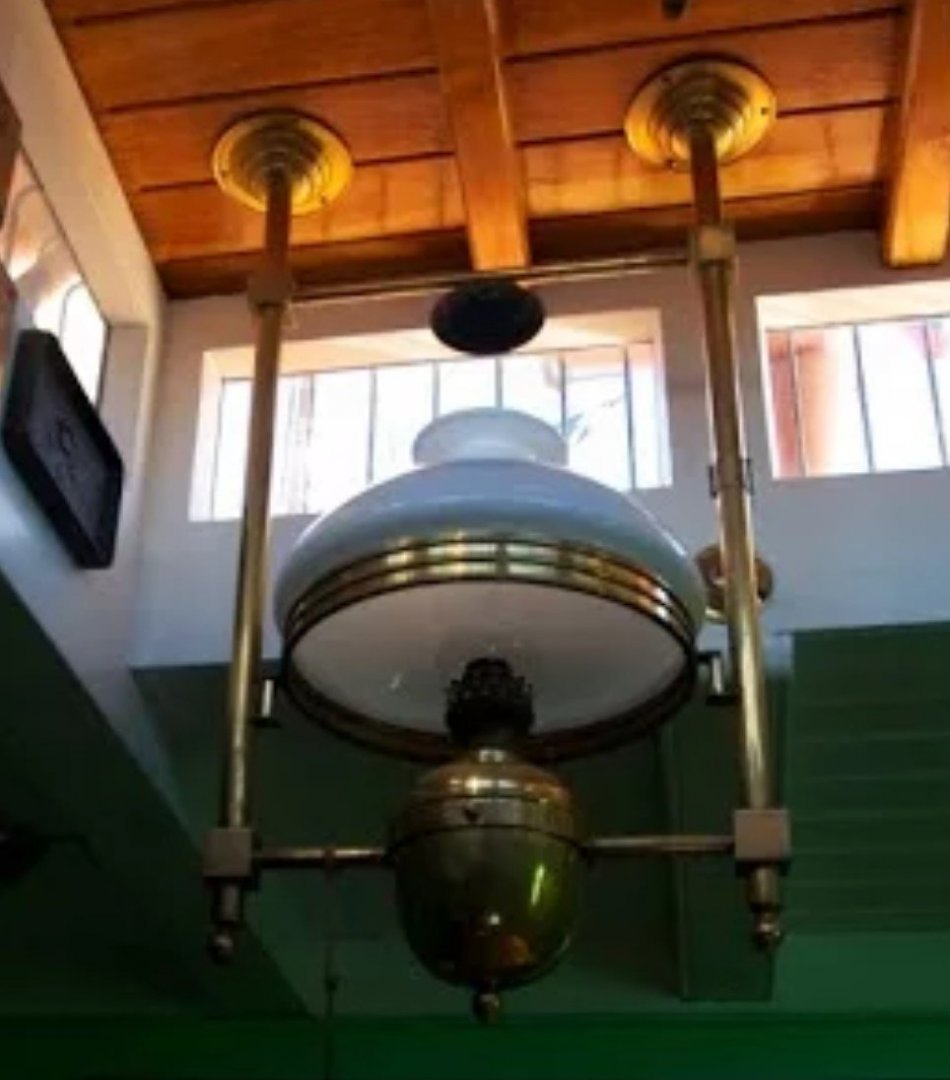
I replaced the kerosine holder with a bigger one and did some adjustments. The lamp is now primed and ready for paint. I have had problems in earlier builds with paint/primer not adhering to brass very well, so this time I tried automotive silicone cleaner before priming with automotive grey etch primer. It is an experiment…

-
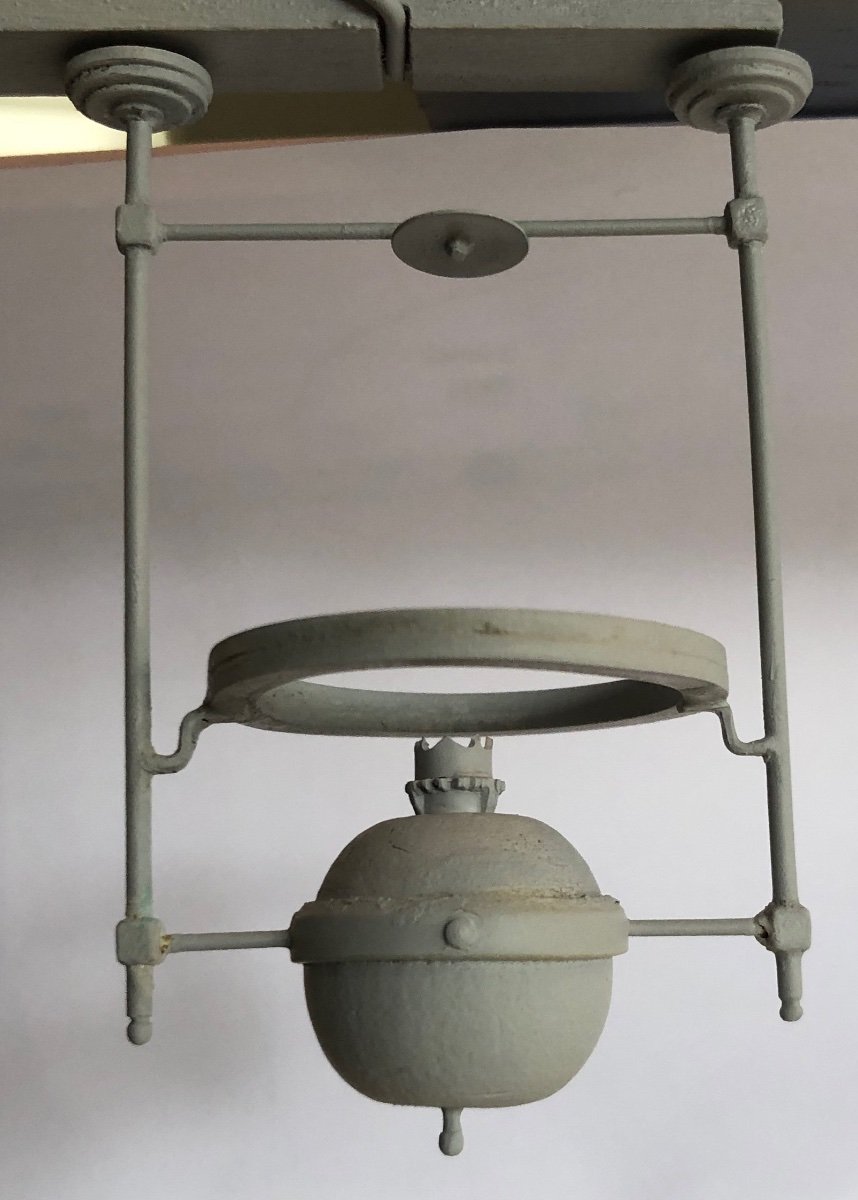
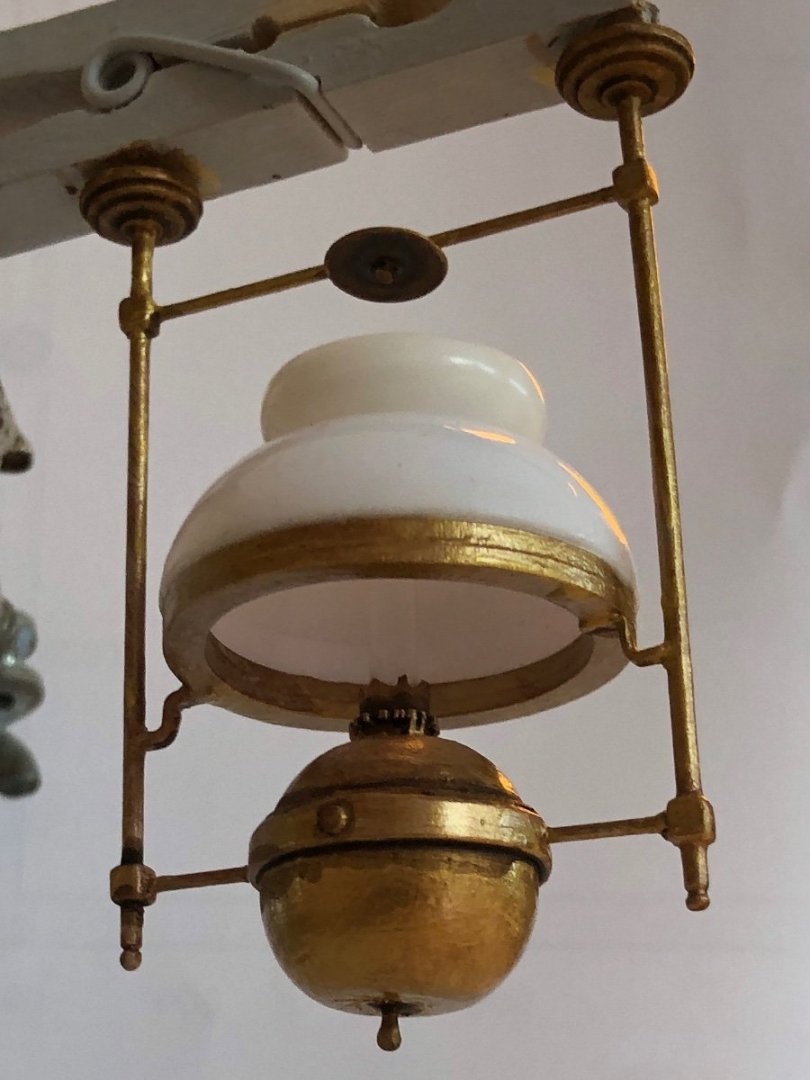
A little more work on the lamp. Need spme more dryfitting before it is finally assembled and primed. A picture of the real lamp wich i used as a model is added .

-
Tonight i started to scratch build the lamp inside, think I have all the parts now…

-
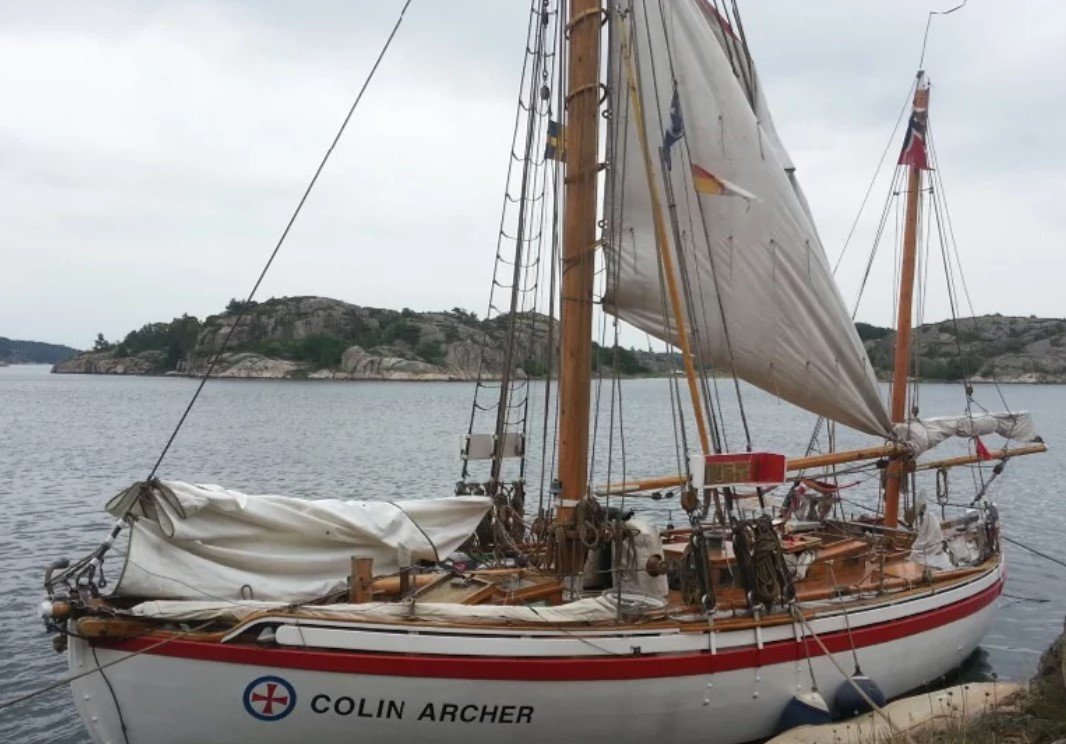
This video is beautiful and show all details of how to set the sails on the Colin Archer RS1:
-
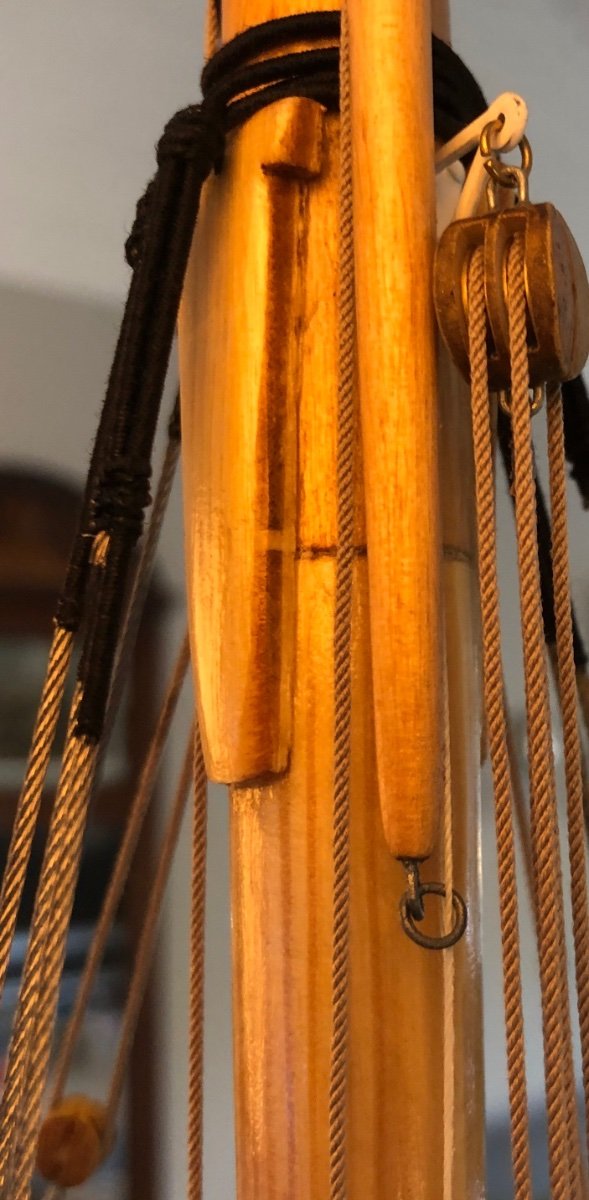
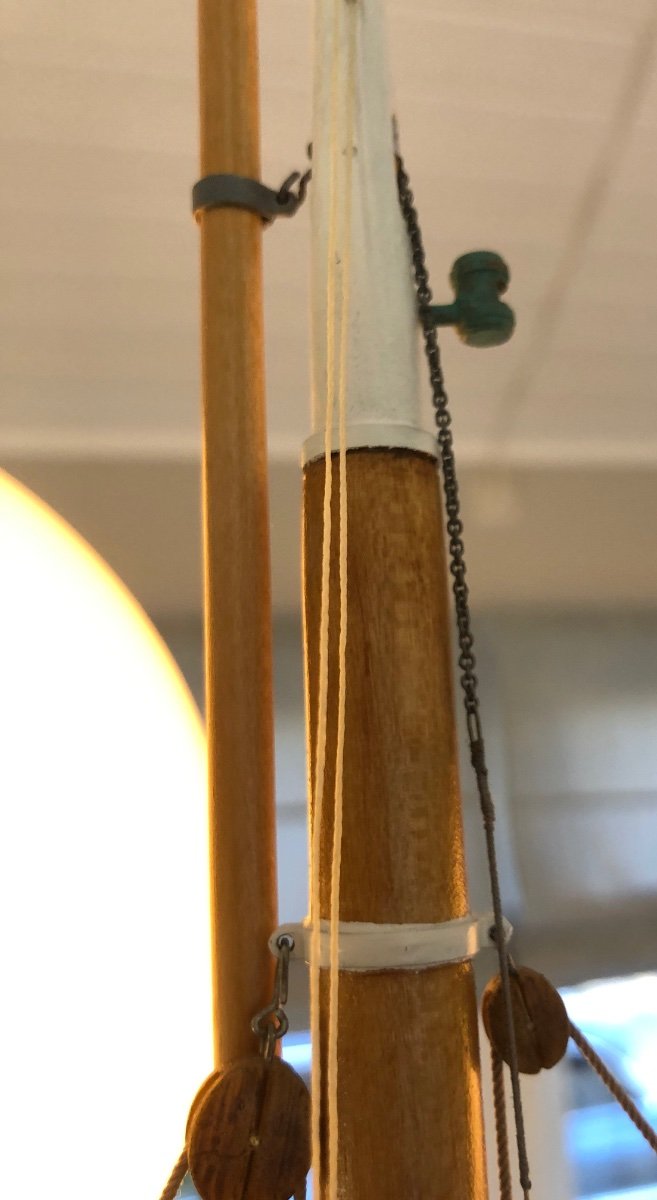
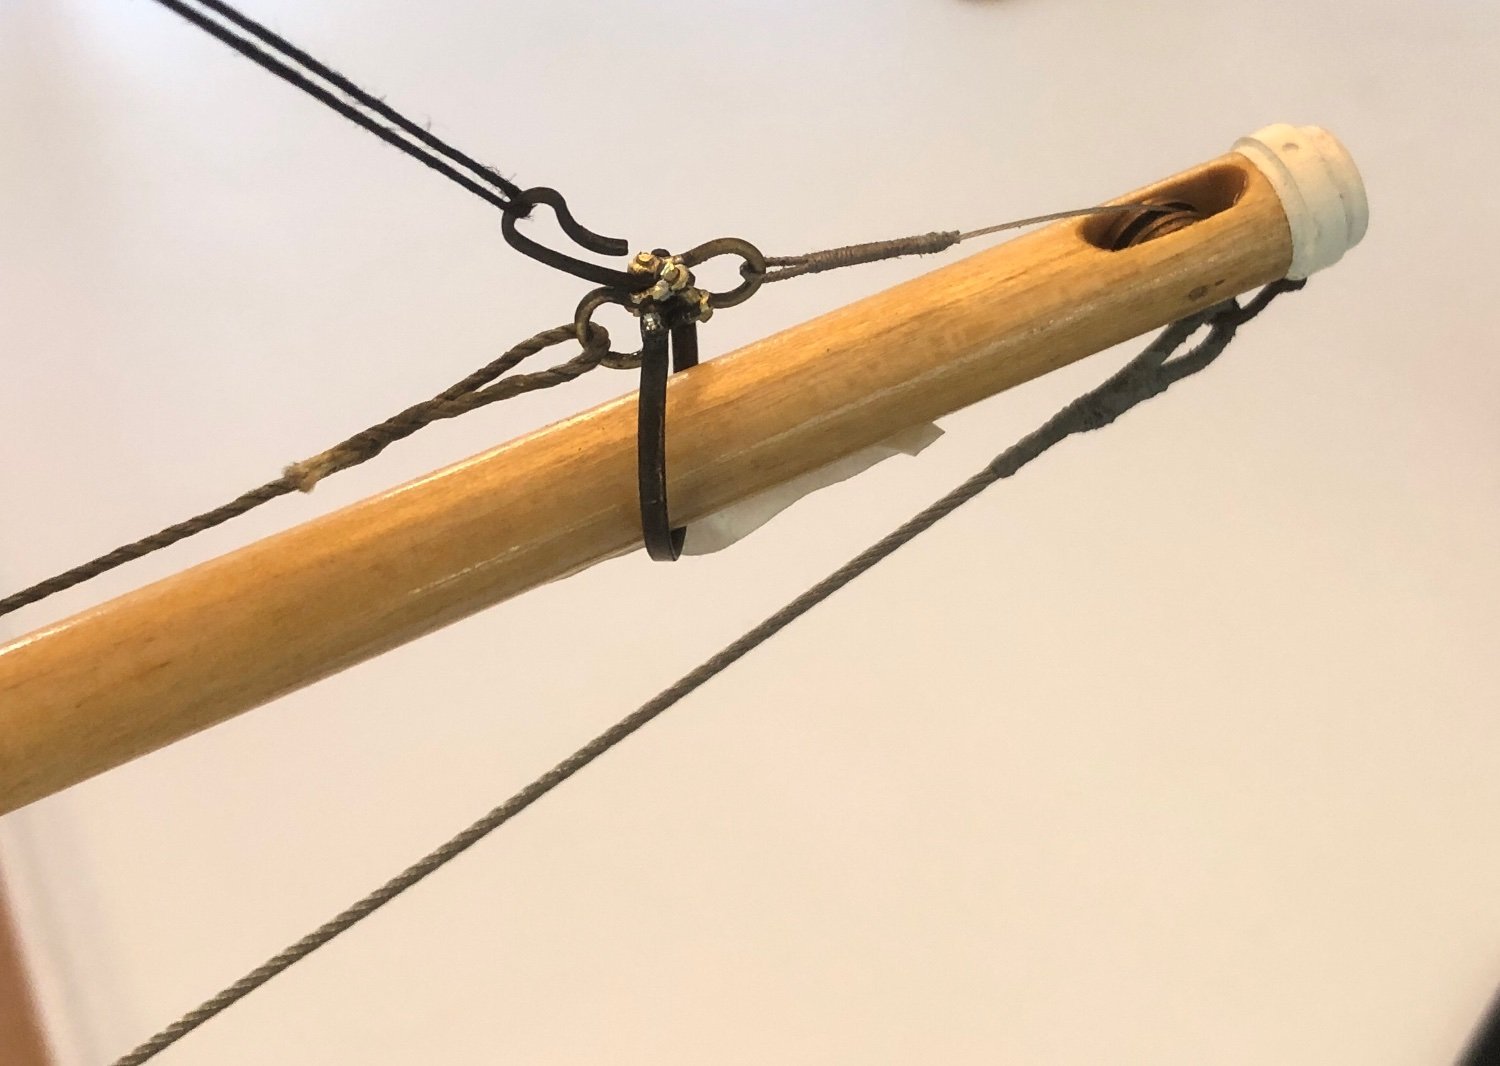
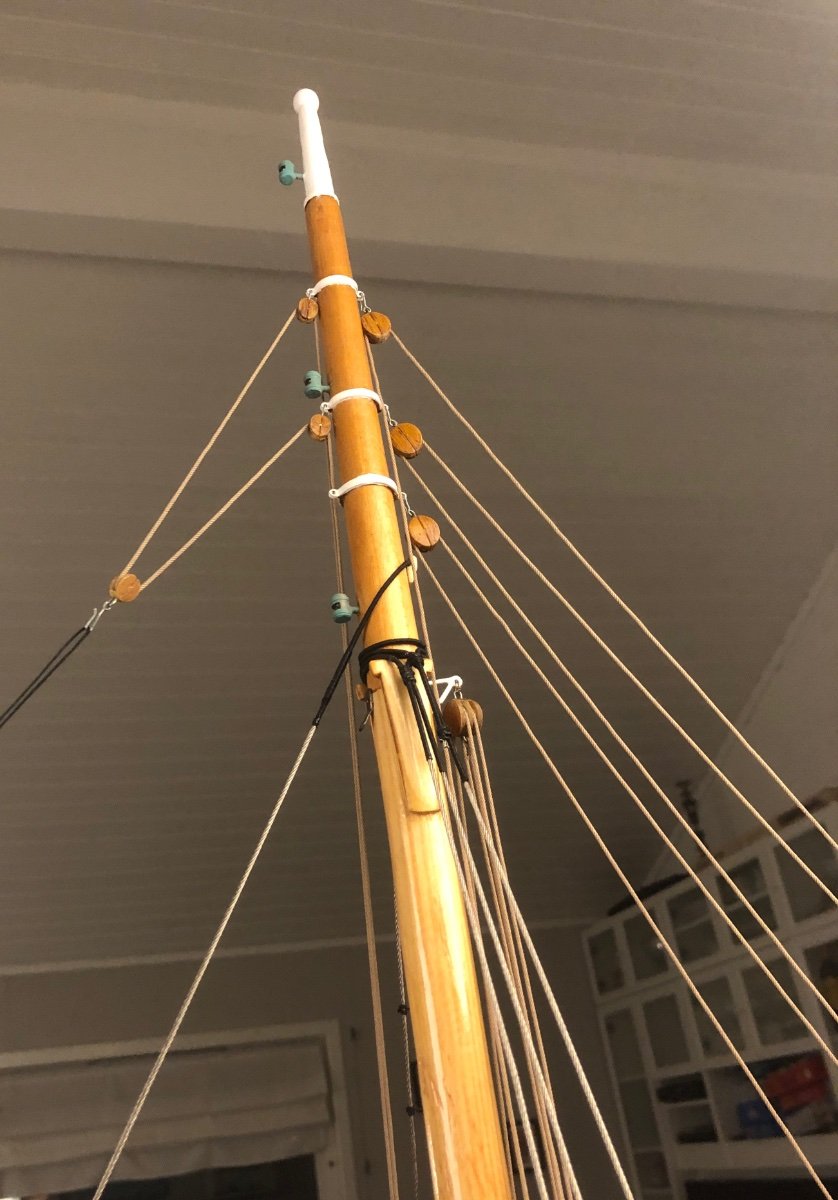
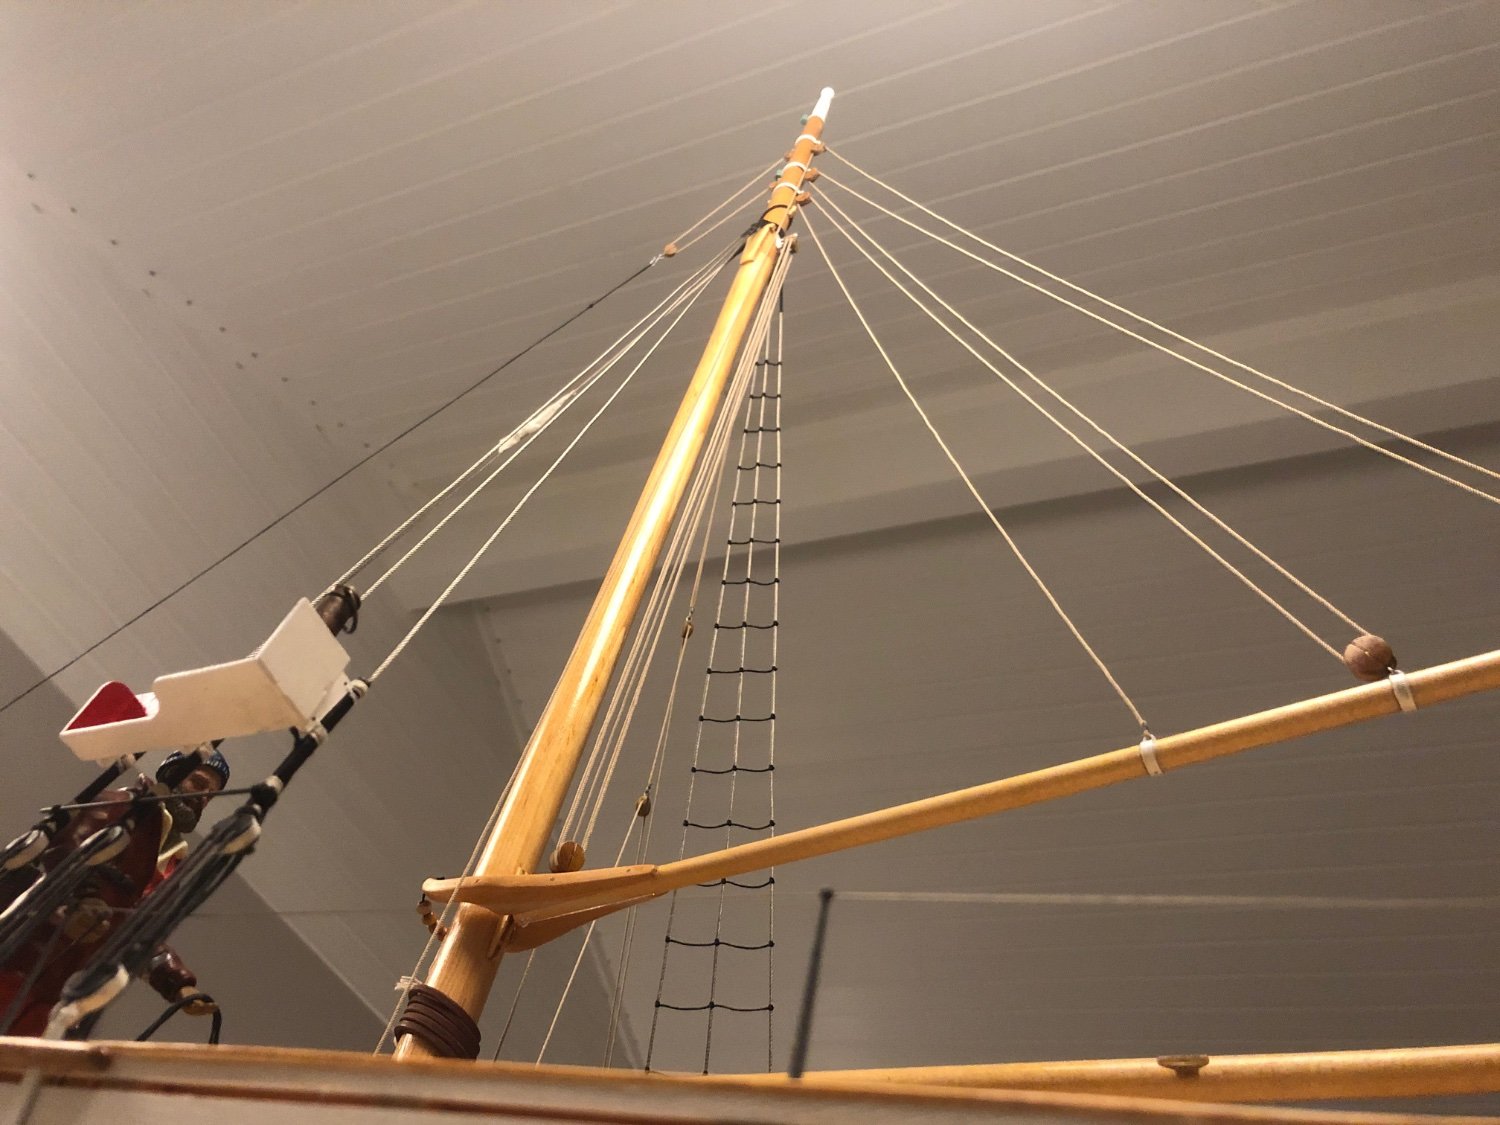
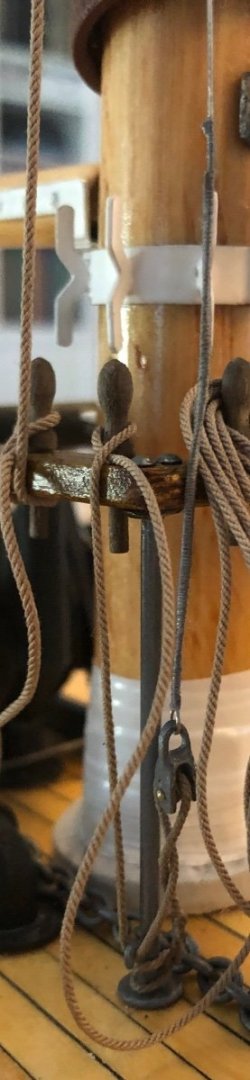
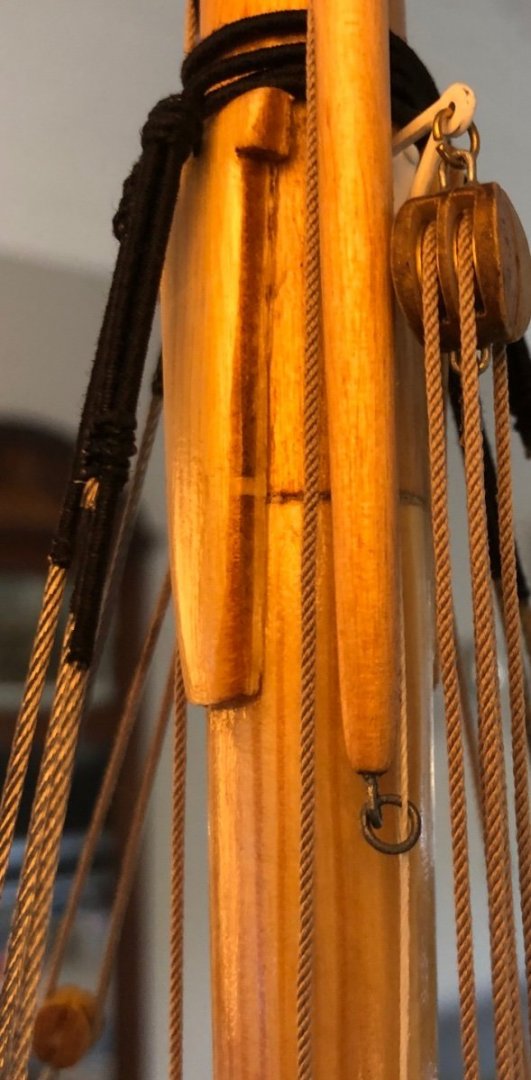
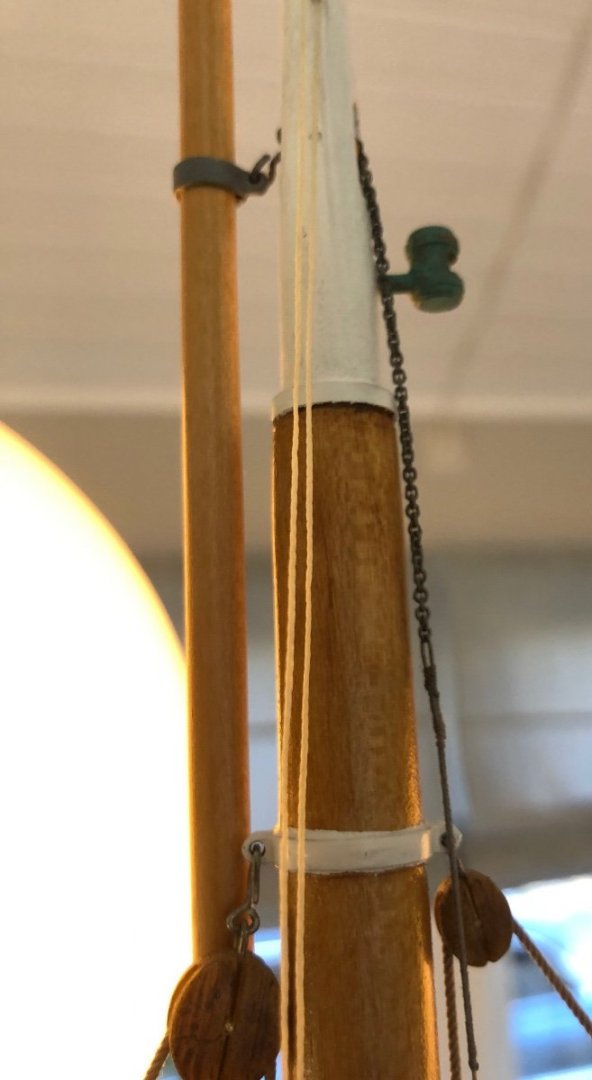
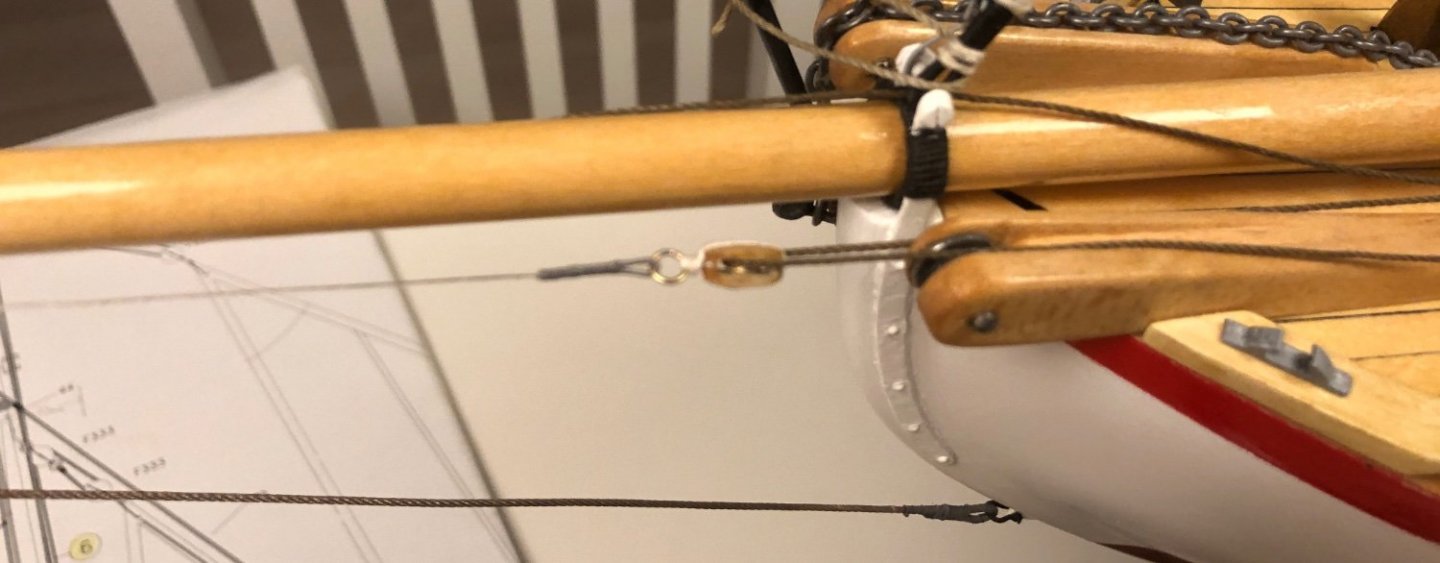
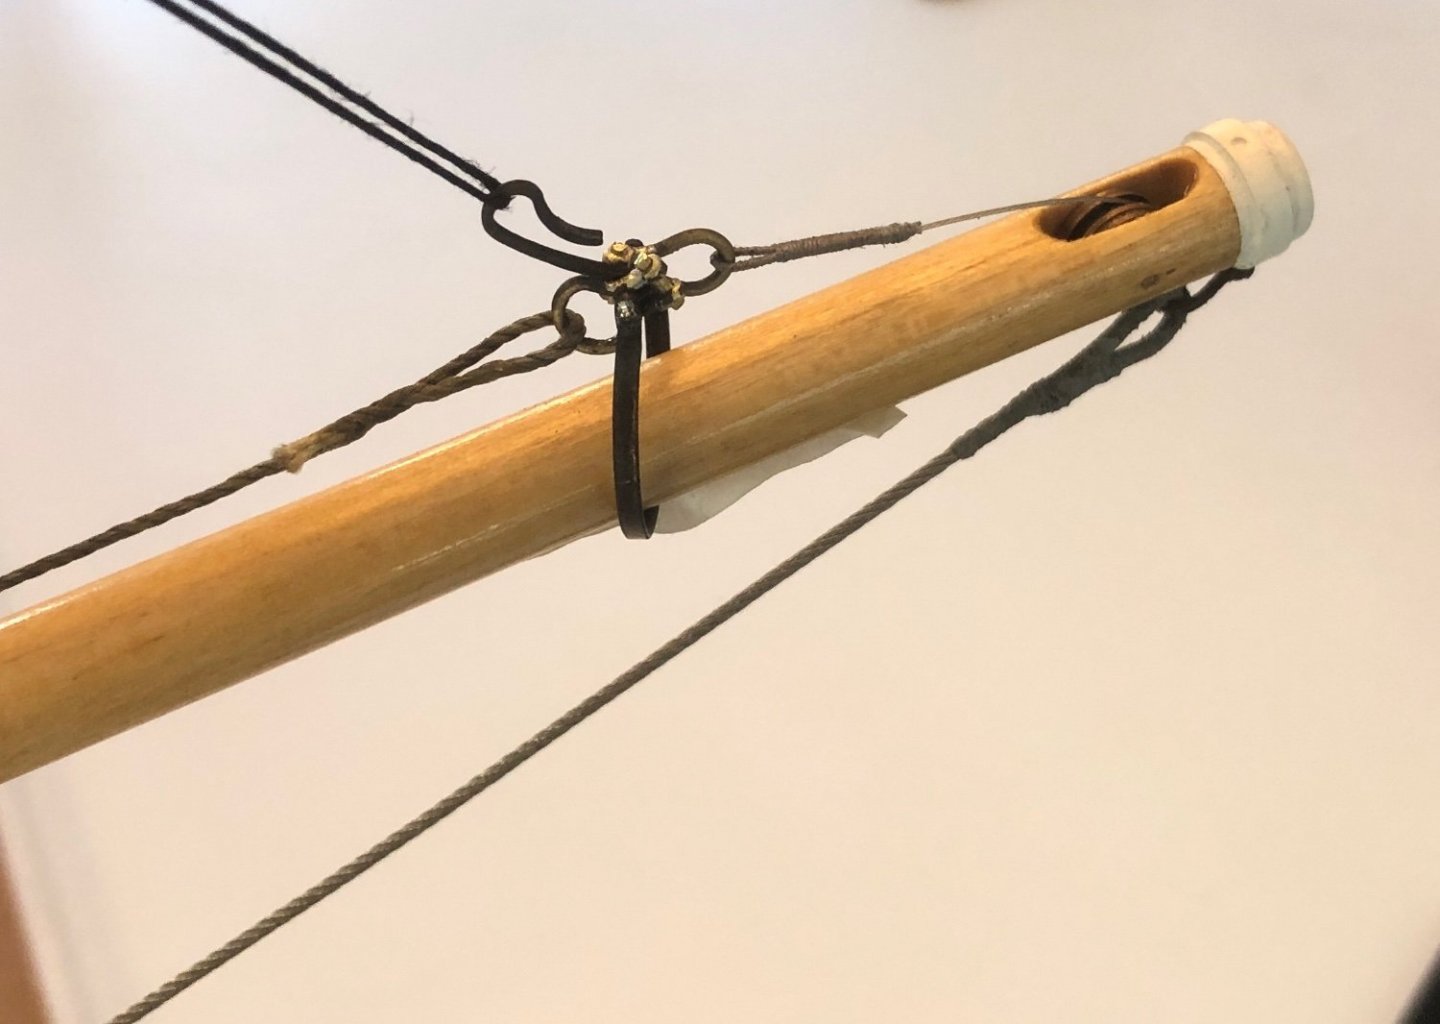
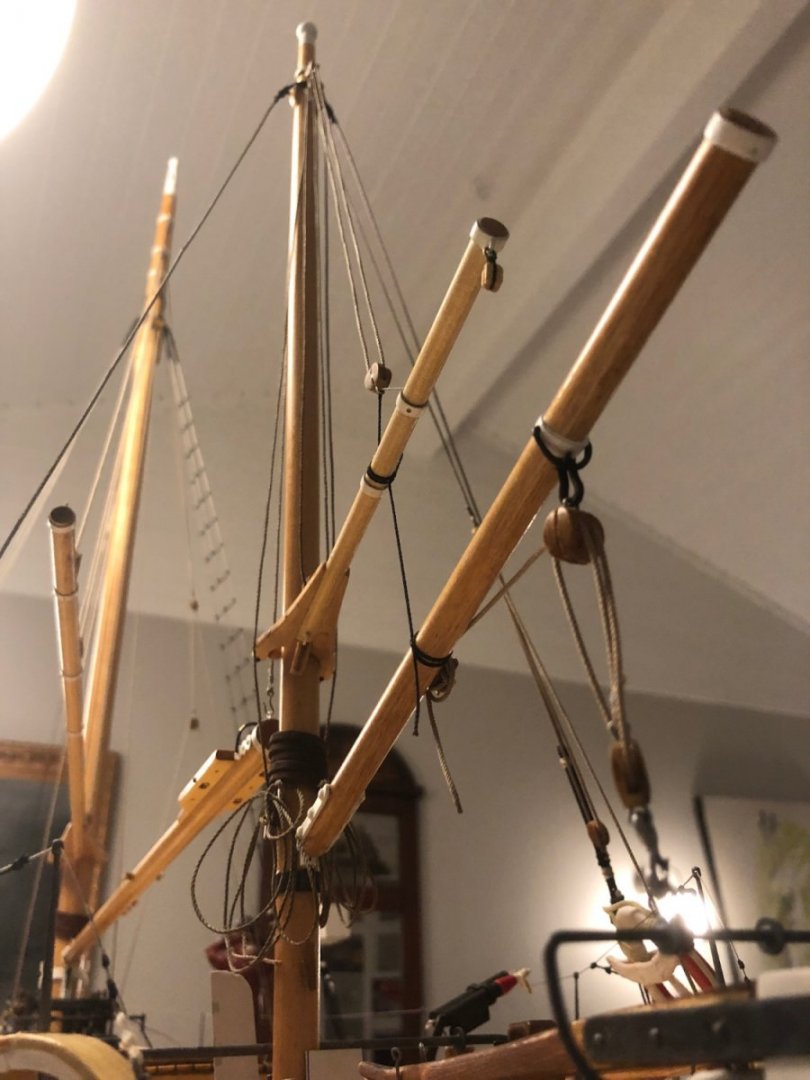
Last night I build the topsail yard with hailyard, guideline, and block. I have tapered the yard to recemble the real measures (8 cm at the middle and 5,5 cm at the ends) and made a hook at the front lower starboard leg of the pinboard for the hailyard. The hailyard is made from bead wire with a chain (1 meter - 6,6 cm in scale) at the top. I also made a hook and the fitting around the yard to connect the chain. None of this was included in the kit. I have also found that the different hailyards are going on the pinboard at other pins than in the manual.

-
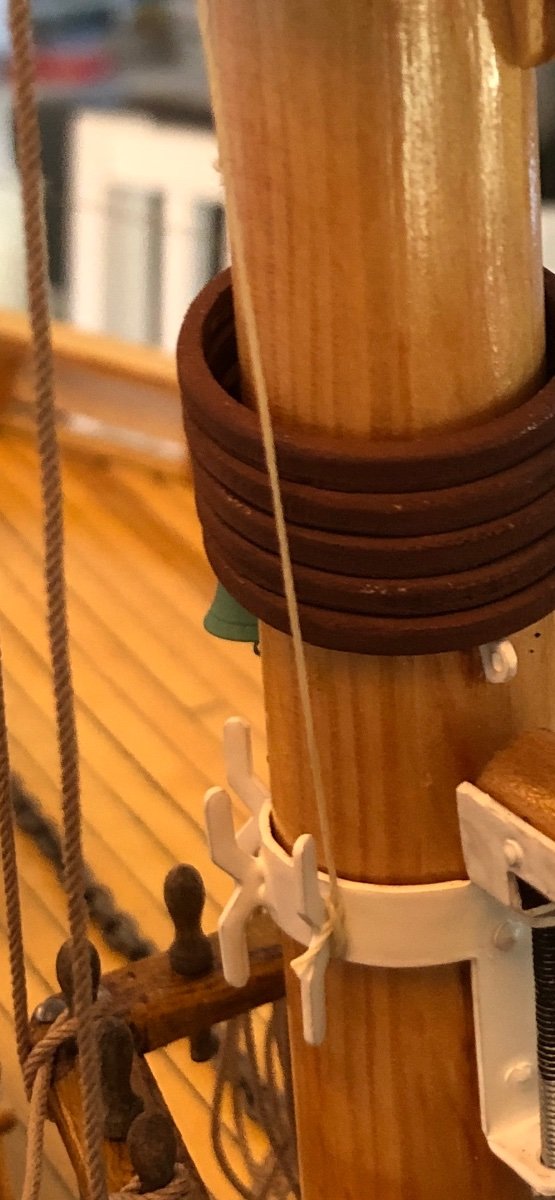
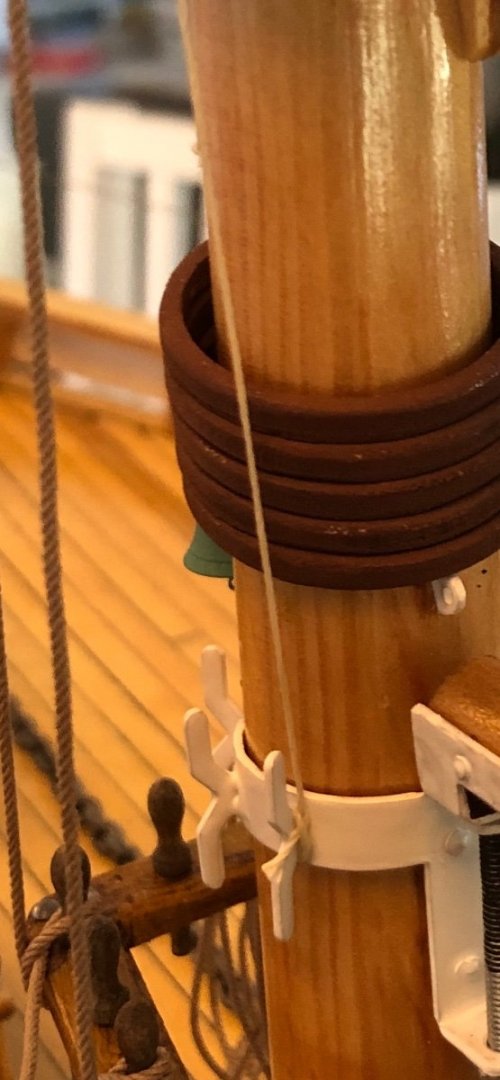
I forgot to mention that I use stainless steel wire for the stays and shrouds. It is 1,2 mm from Biltema. The wire for the railing and inhaul for the flyer boom is bead wire from the hobby shop. I used bead wire to tie the ring at the bottom of the mizen mast as well.
-
It is nice to have some activity in the building log and I only know of you, Sundt and Arjan building this kit so let us share ideas and solutions. No need to remove the pictures of your beautiful interior! Regarding the dinghy, I have no plan at the moment. When the house is done in July I will start making the sails, my wife has forbidden it until she has a batroom and kitchen in the new house....
-
Hi George! I do not use any of the rope suplied with the kit. I ordered some ropes from Syren and some from Ebay and they are brown as in the pictures. Those that I have stained I used Vallejo brown wash, I do not think wood stain is a good idea, the ropes would be very stiff when it hardens? https://syrenshipmodelcompany.com/miniature-rope.php
-
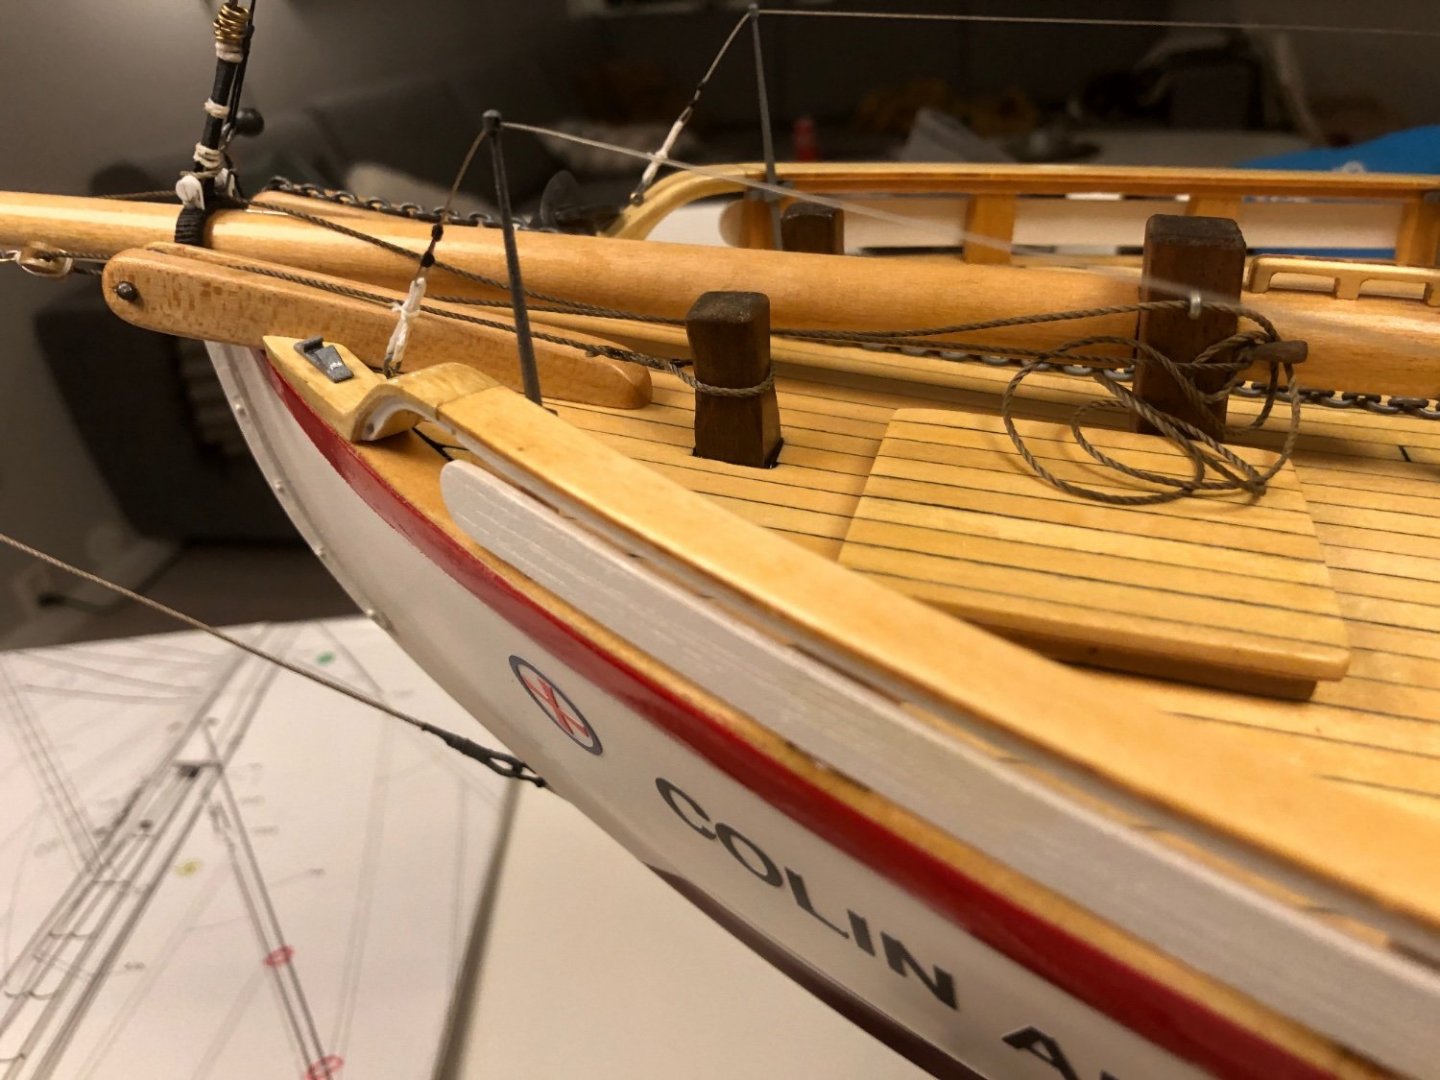
Tonight i have changed 4 windows in my new house and started to build the lines that haul the flyer boom in/out. The house is built the same year as the boat and the plan is to move there in july-with a finished boat🙈

-
Oooops! How do you plan to fix that?
-
Tonight, and it got late because it was great fun, i started to add some of the ropes for the running rig.
-
Thank you George! As I have said earlier it is my first boat and first wood kit so I make a lot of mistakes. The goal is to make it look interesting, not correct… I really admire the patience you have on building the interior, I could hardly wait to put the masts on🙈
-
I found them all I think. Thank you, great source for details👍🏻
-
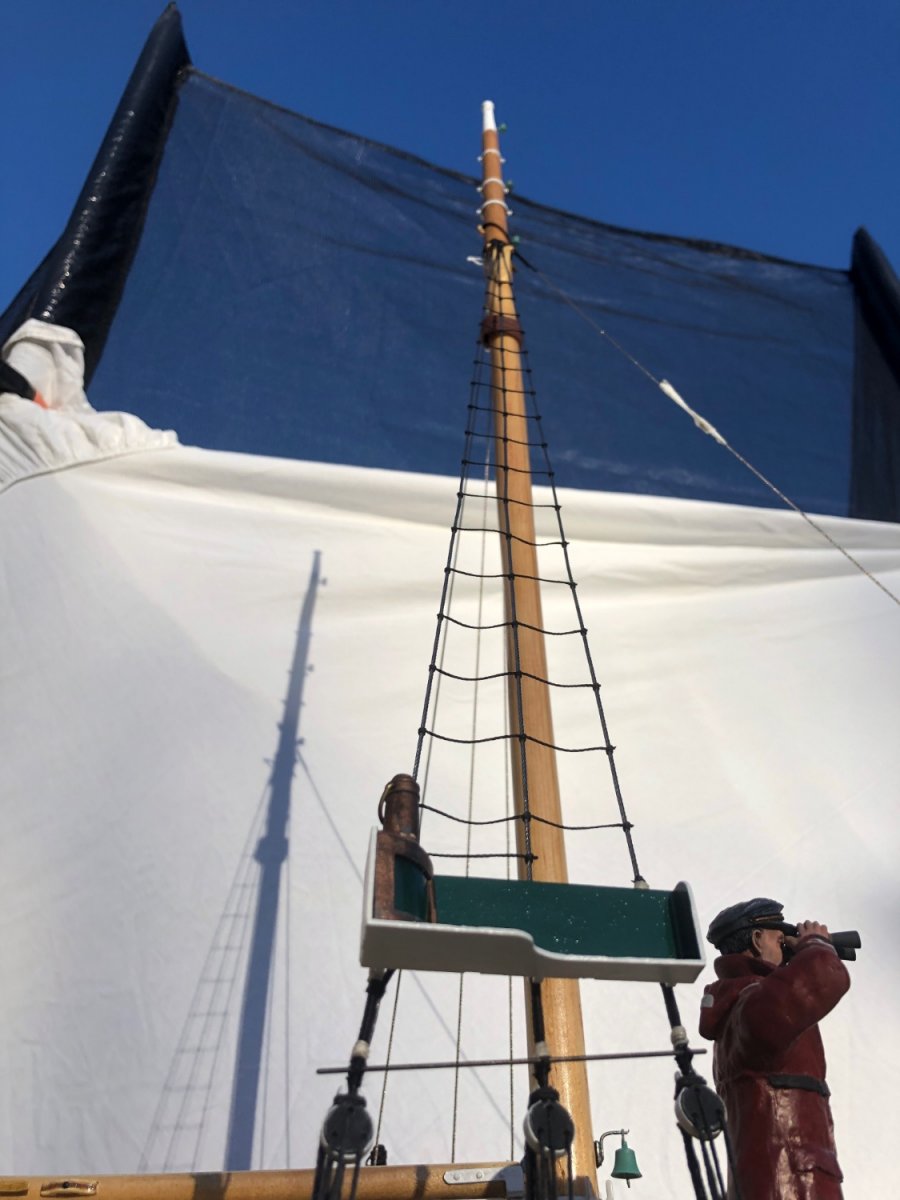
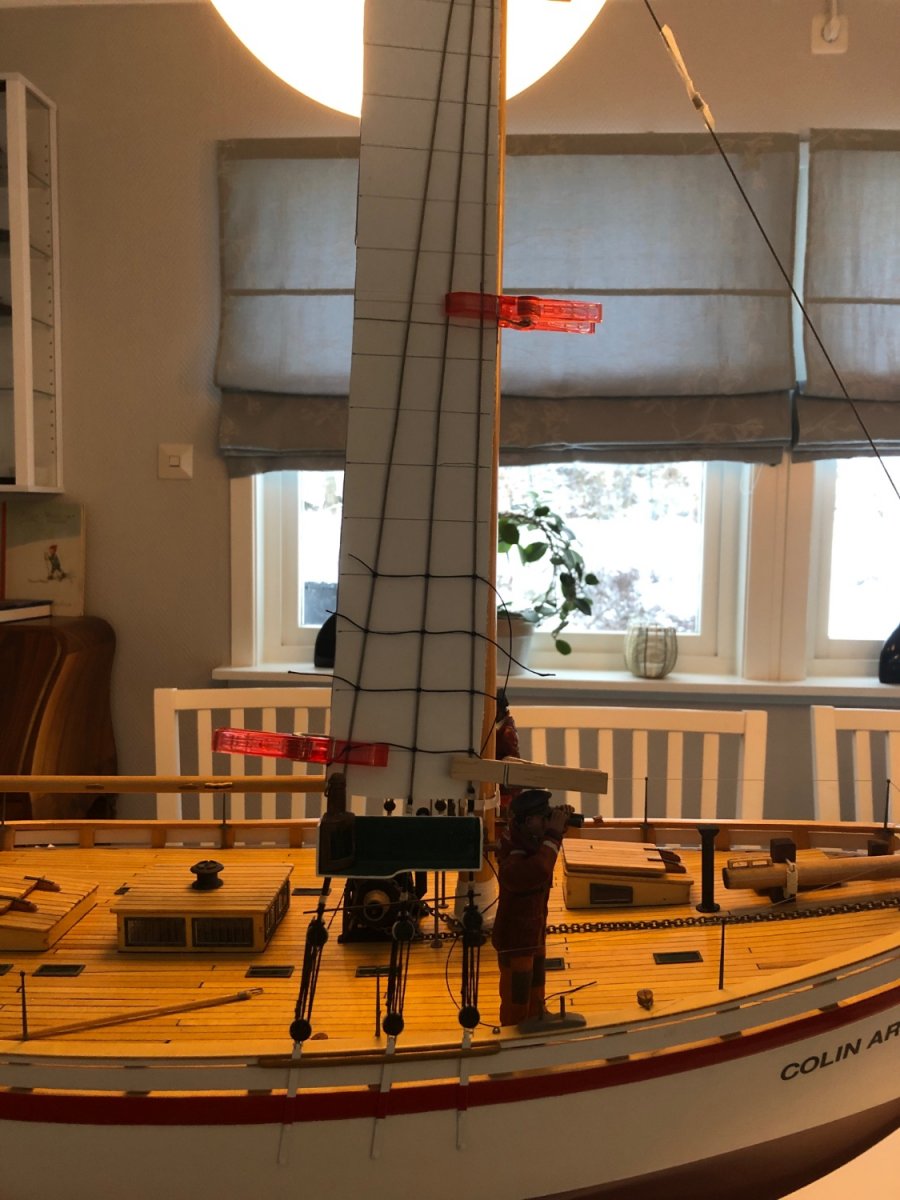
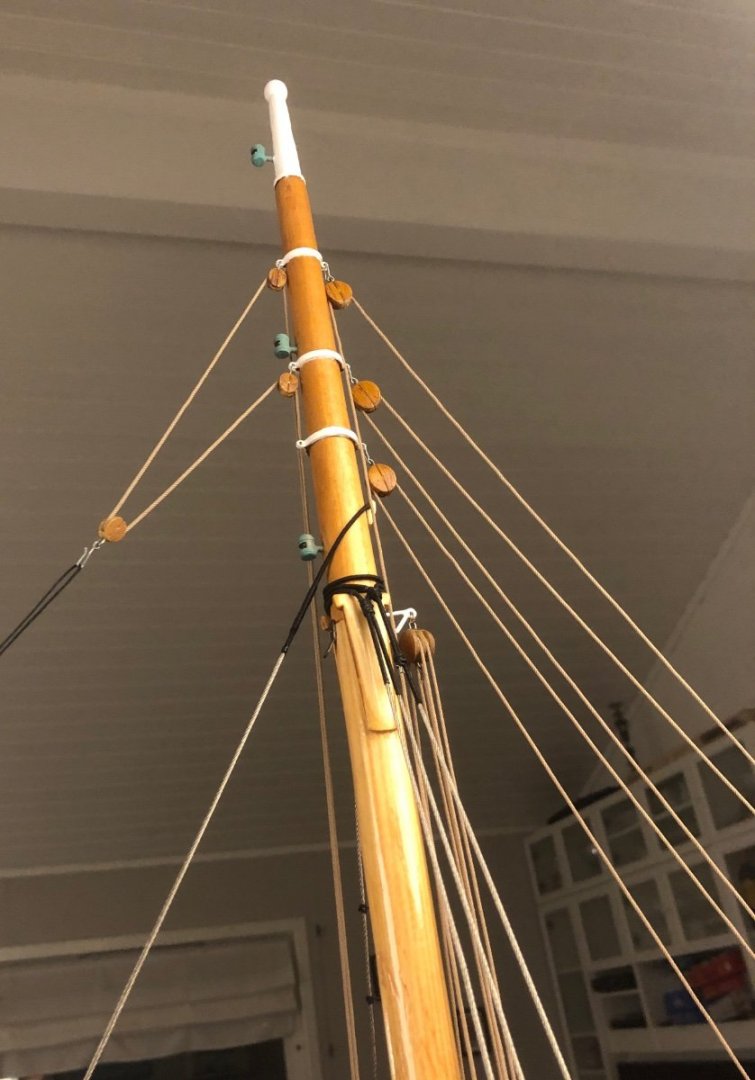
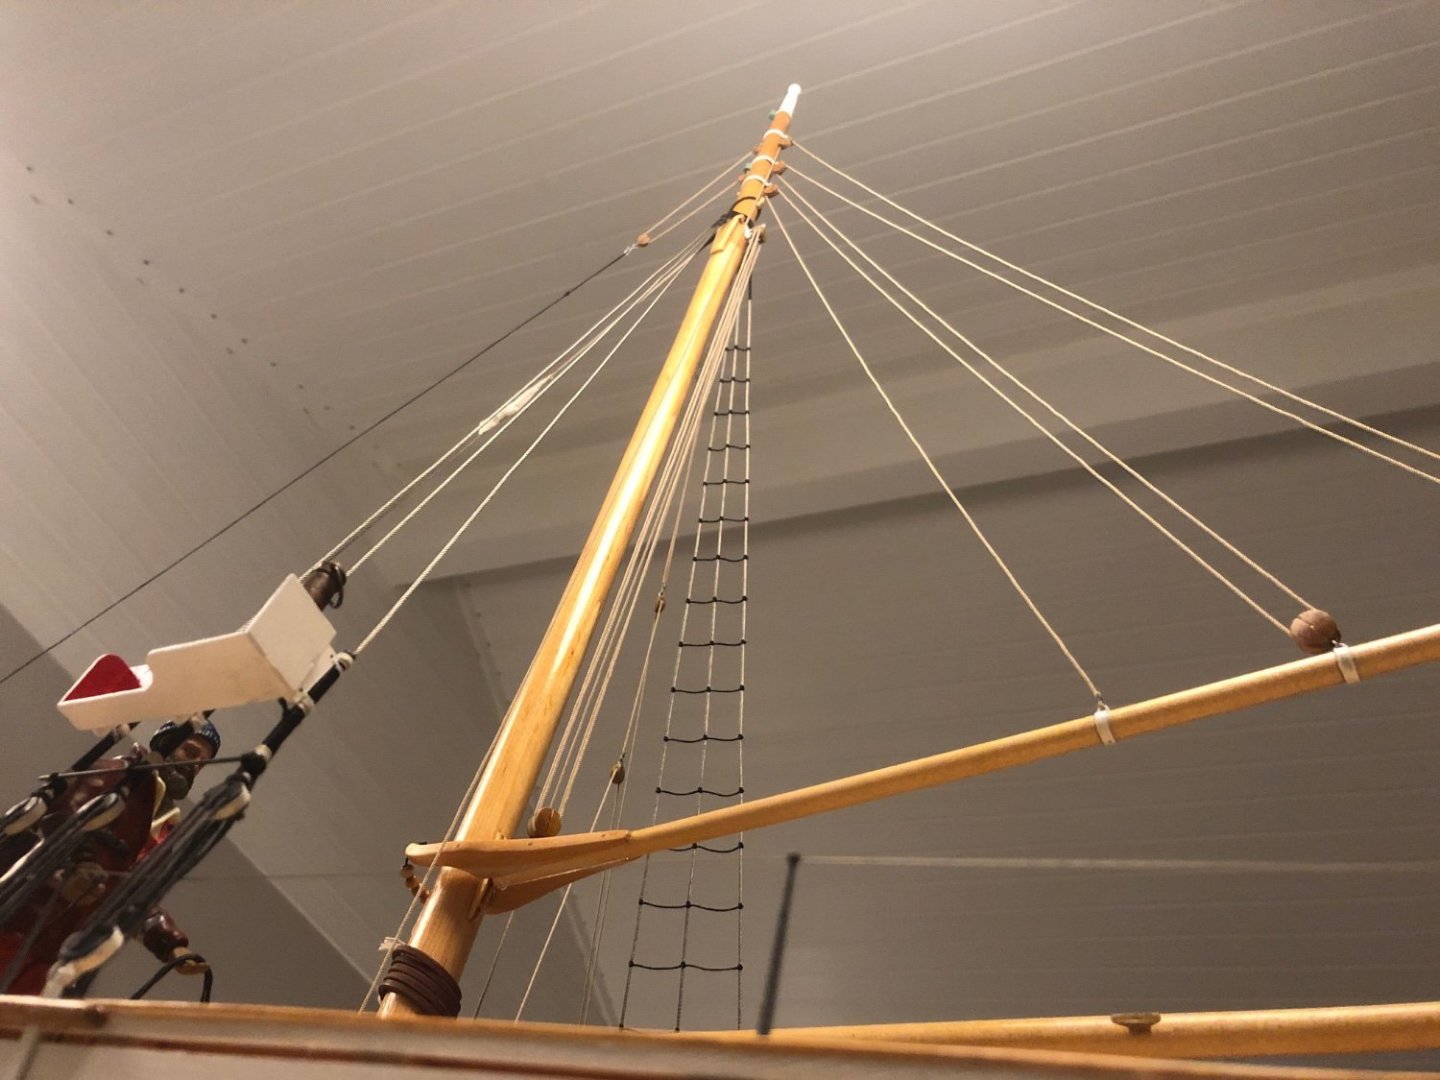
Yesterday I finished the rat-lines. Instructions says to put these on both sides but she actually have them only on the starboard side.
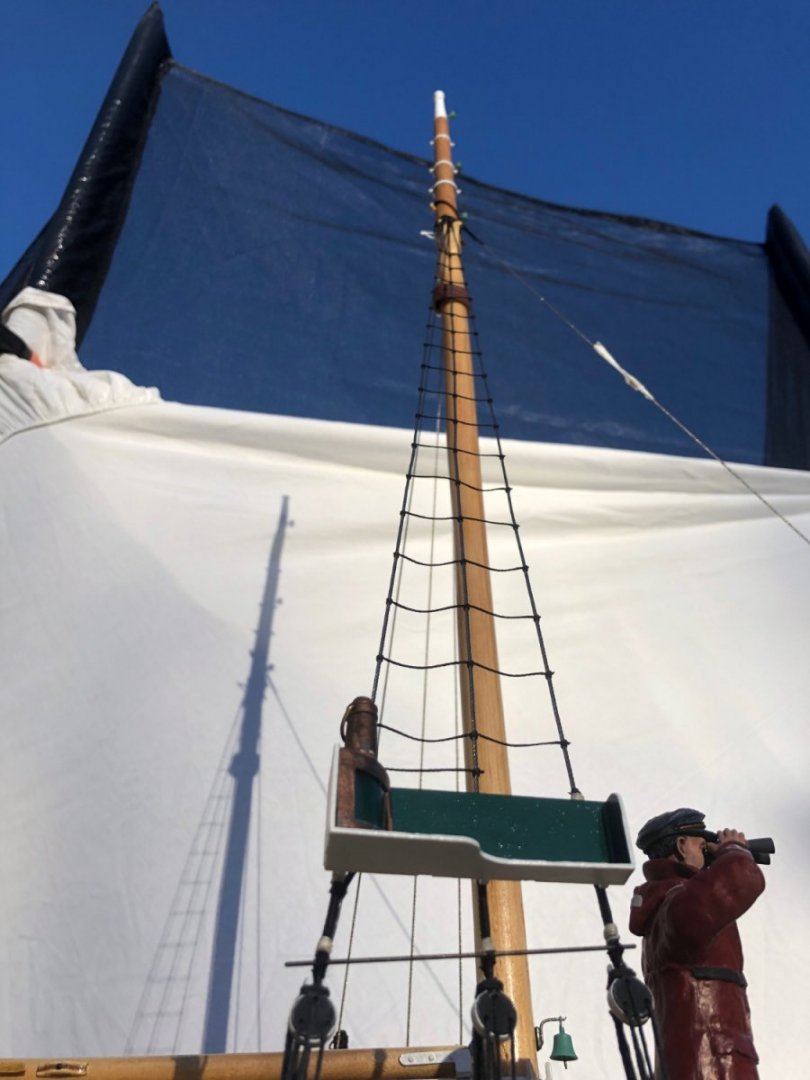
-
Started on the ratlines last night. In this scale it is easy-peasy😃