SUBaron
-
Posts
197 -
Joined
-
Last visited
Content Type
Profiles
Forums
Gallery
Events
Everything posted by SUBaron
-
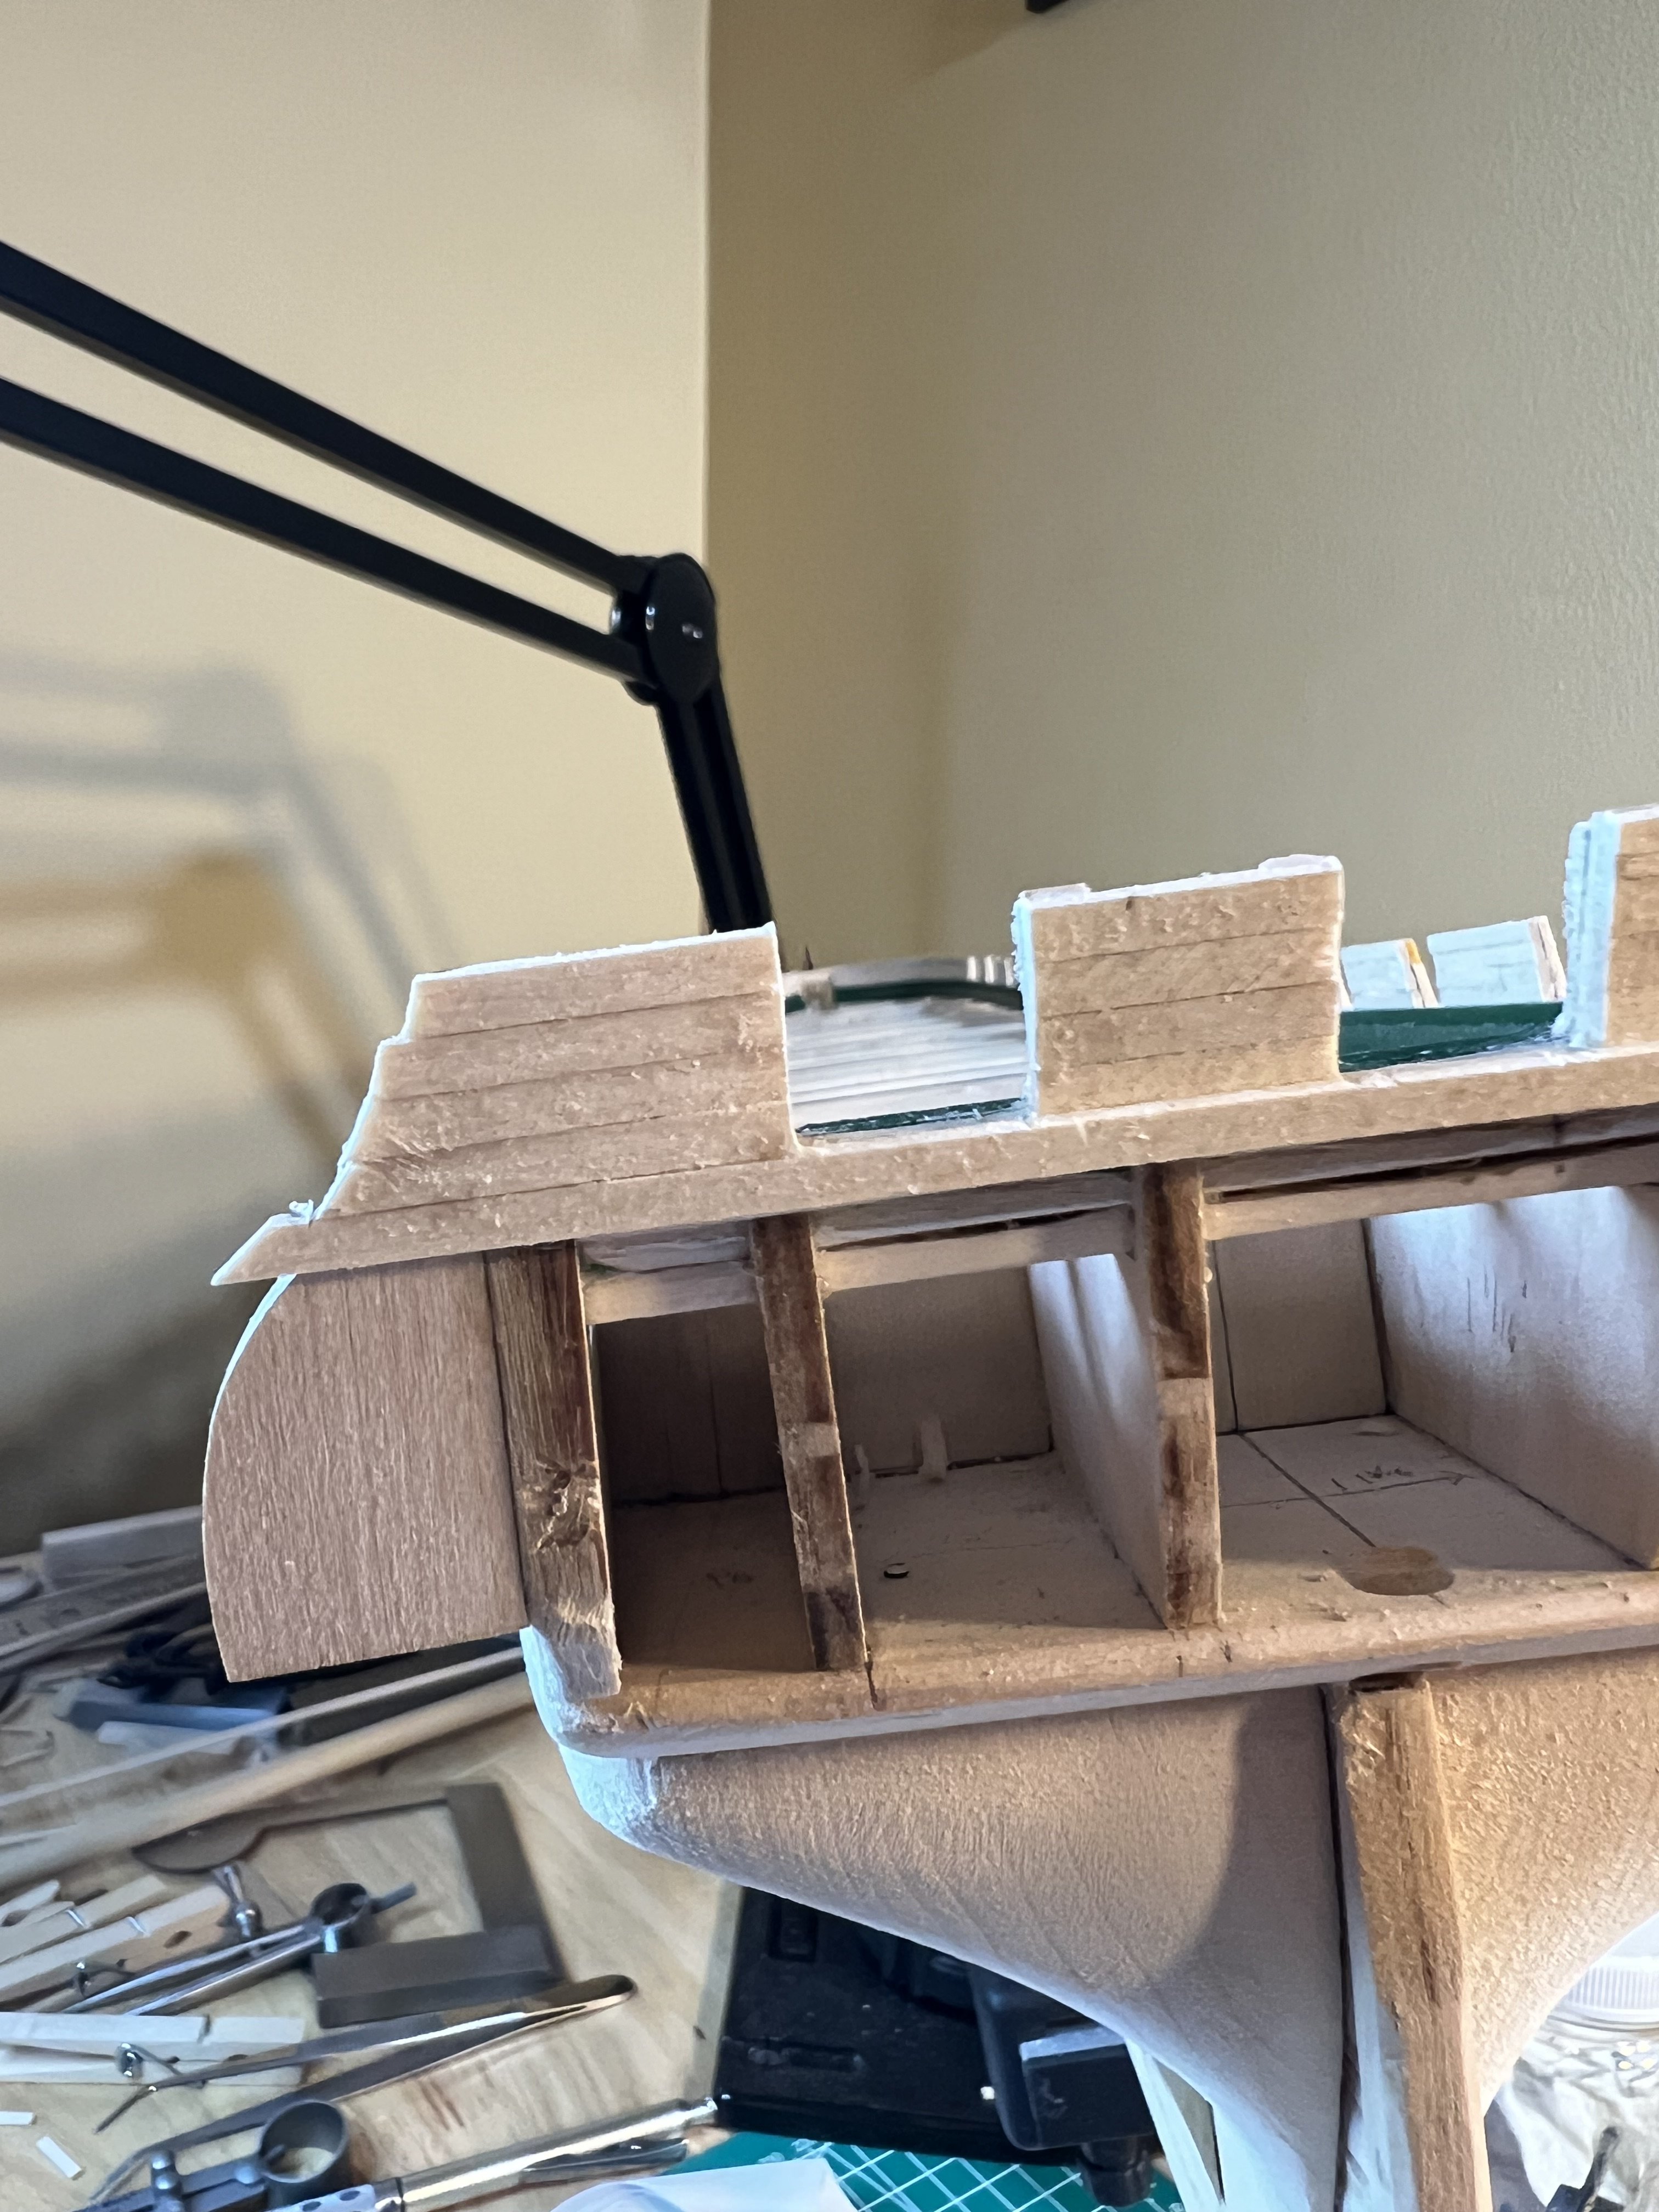
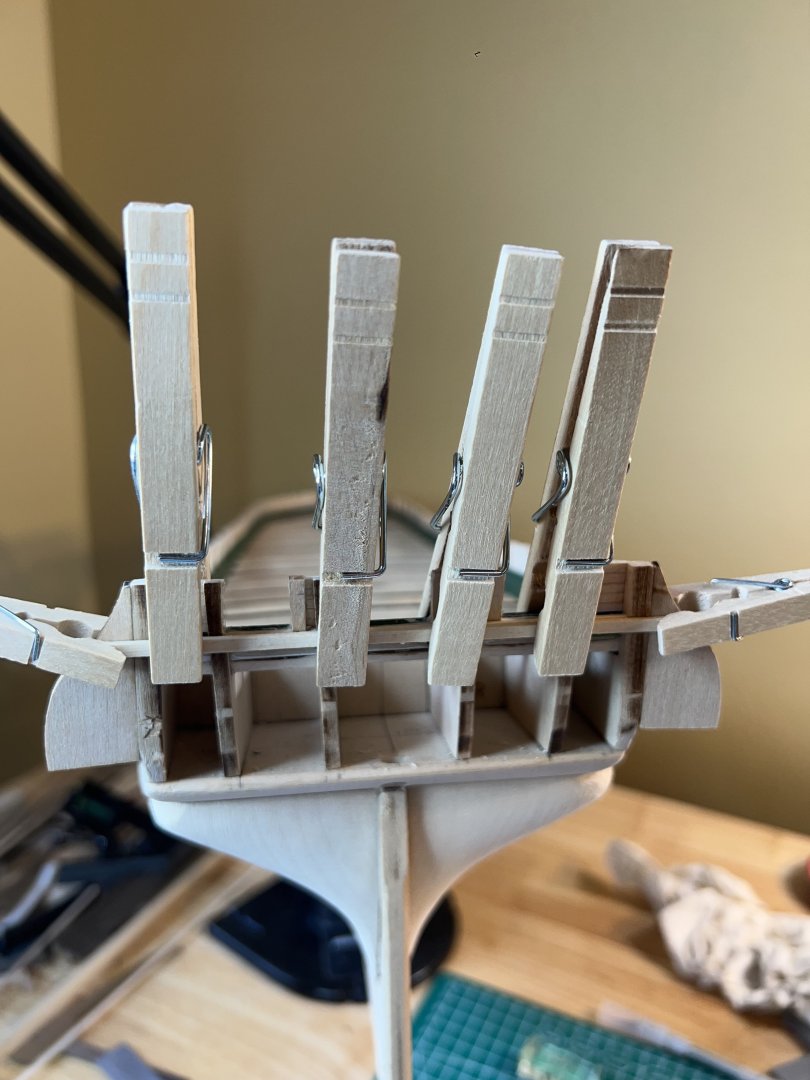
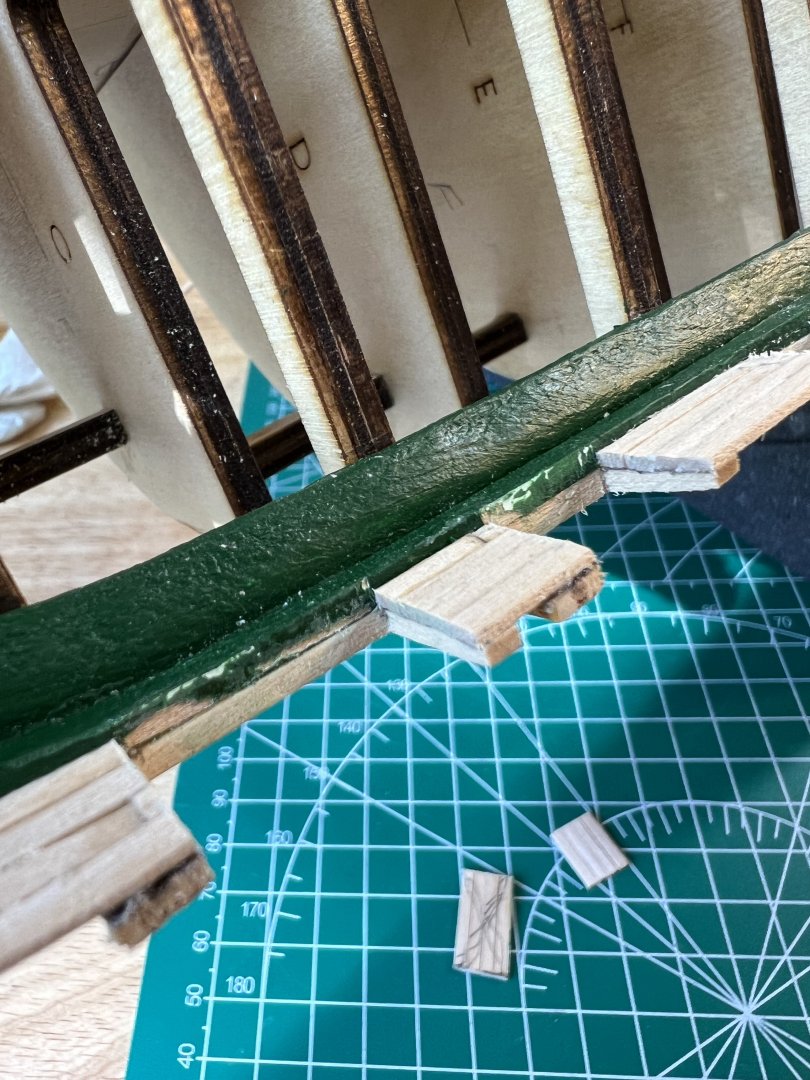
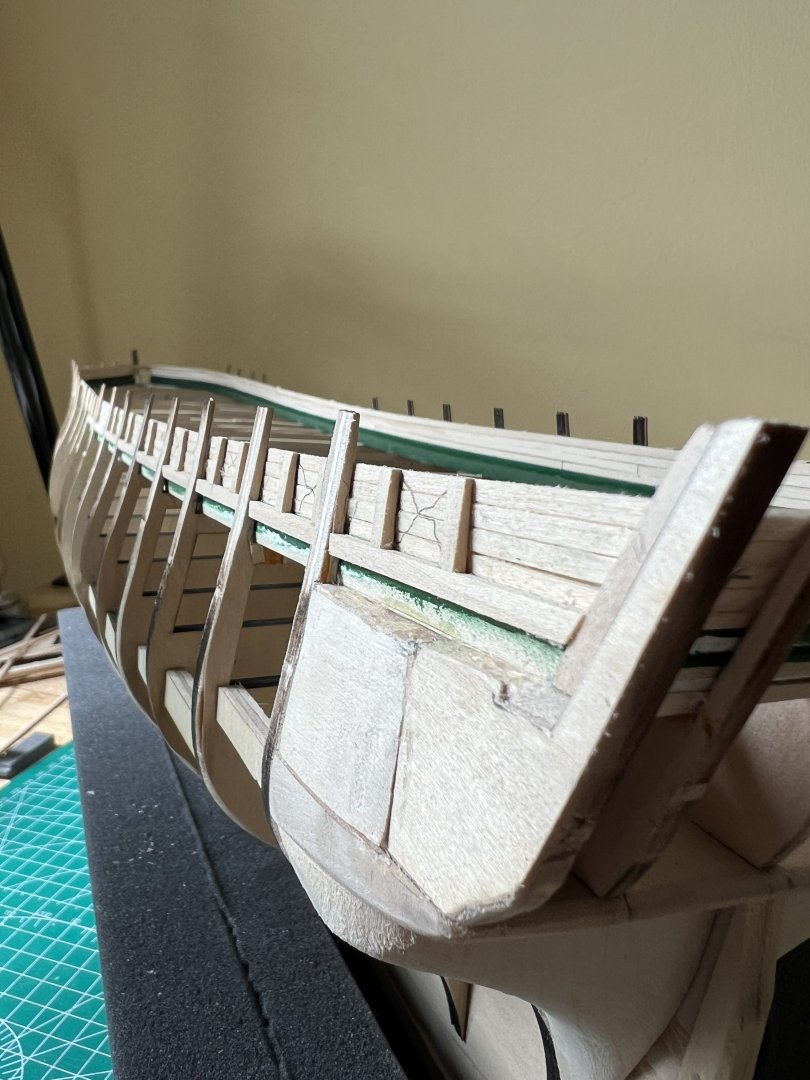
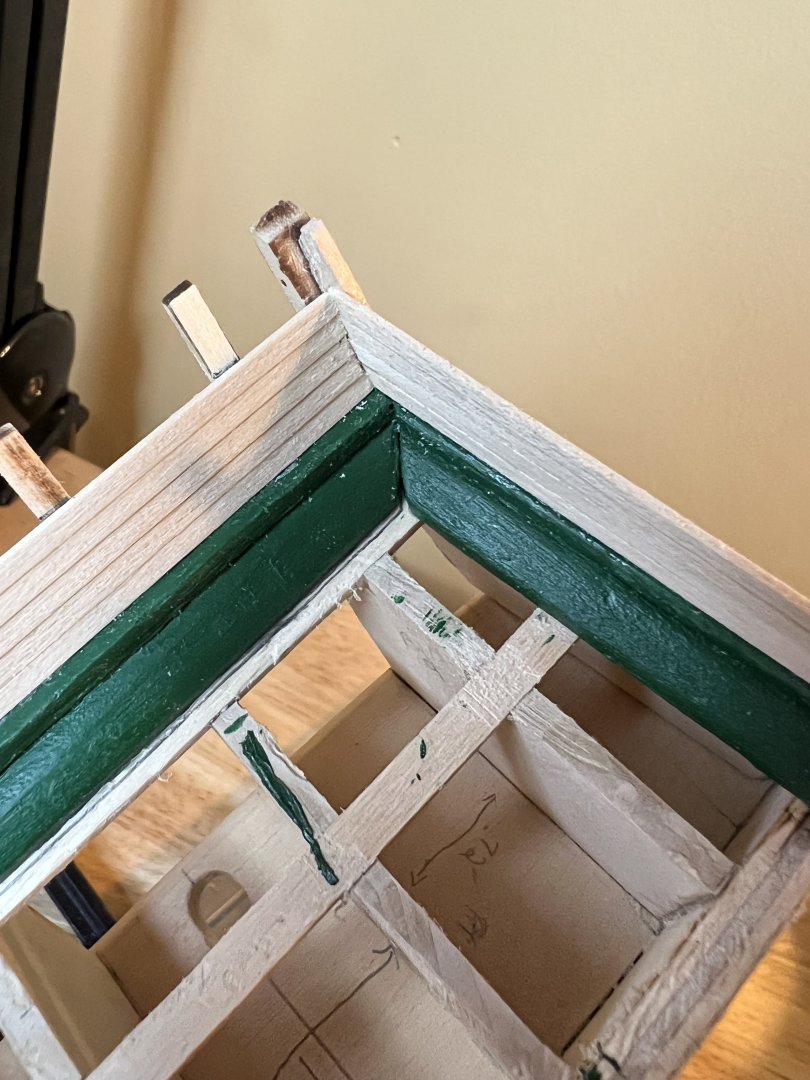
Transom Found some time to work on the transoms. Nothing unusual here - measure, fit, sand, glue. I used a knife and finished with a sander to trim the overage on the edges. I have to work another Planksheer on due to some uneven fit. It may require fashioning two “end” pieces, then sanding them flush with the middle, which fits well. I may do this after the cathead when I add the port & starboard planksheer.


-
Thanks JJ! I appreciate the compliment. I wouldn’t have made it this far without the utilizing lessons learned/demonstrated from others here. It makes me happy that I’m able to help! Cheers! Andre
-
That’s a really solid looking Black. I was wondering if using black dye would work on the cannons? I’ve read all the tales of woe attempting to use chemical blackening and I had some issues using primer and black paint. Generally- Do you recommend applying the poly, then primer, then paint? Or does the poly negate the need for primer? cheers!
-
Jon - yours came to mind. I actually got so wrapped up in your boat build that I almost began mine that way too. I decided it was like a nice appetizer that’ll be eaten during the main course 🙂
-
First, congratulations on an excellent job of planking - it looks fantastic. Second - why not work on the ship's boats next? Those look like a lot of fun. Some folks actually started with those.
-
I’ll be following your log intently when it’s time to plank. I know a lot of planking issues can be covered with sanding, wood filler and even paint - but I would like my planking to look as close to yours as possible. I know some of my rabbet (aka “terrible”) needs work. I plan to drop some bulwark fillers and I have a great wood carving tool I had forgotten about that will make a crisp deep channel. Your planking is artful and I’m thankful for your advice before I even start mine!
-
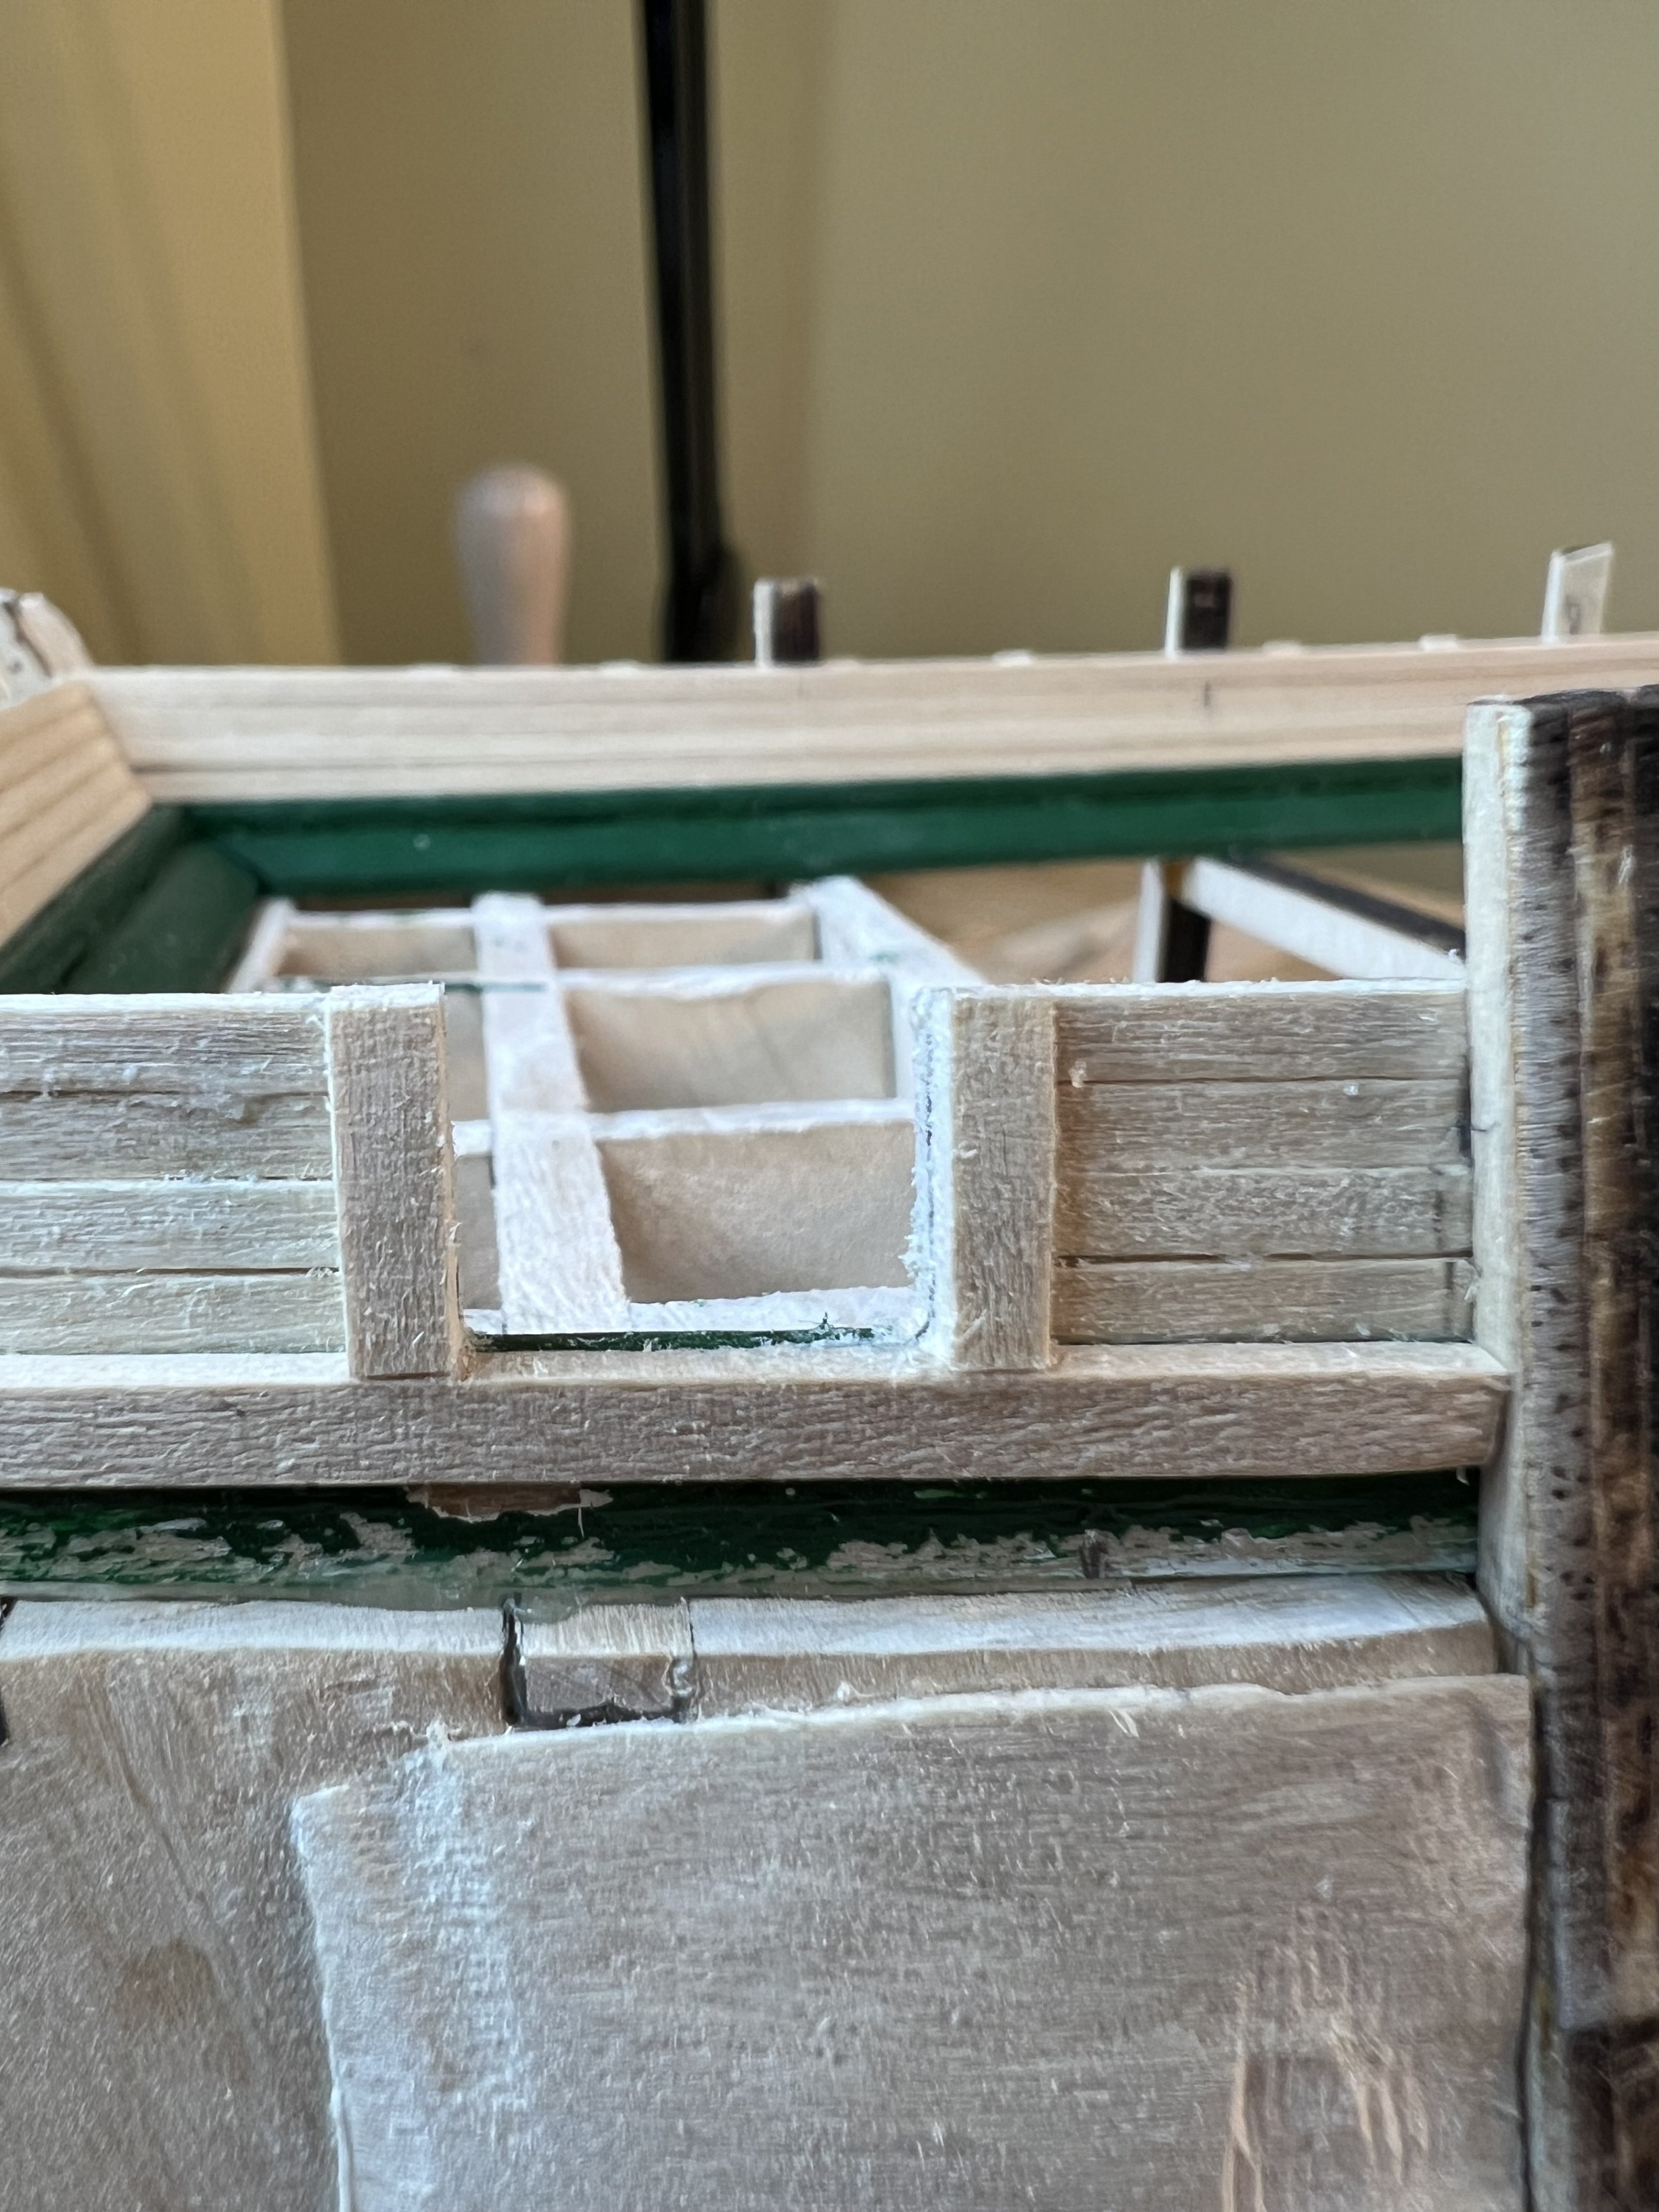
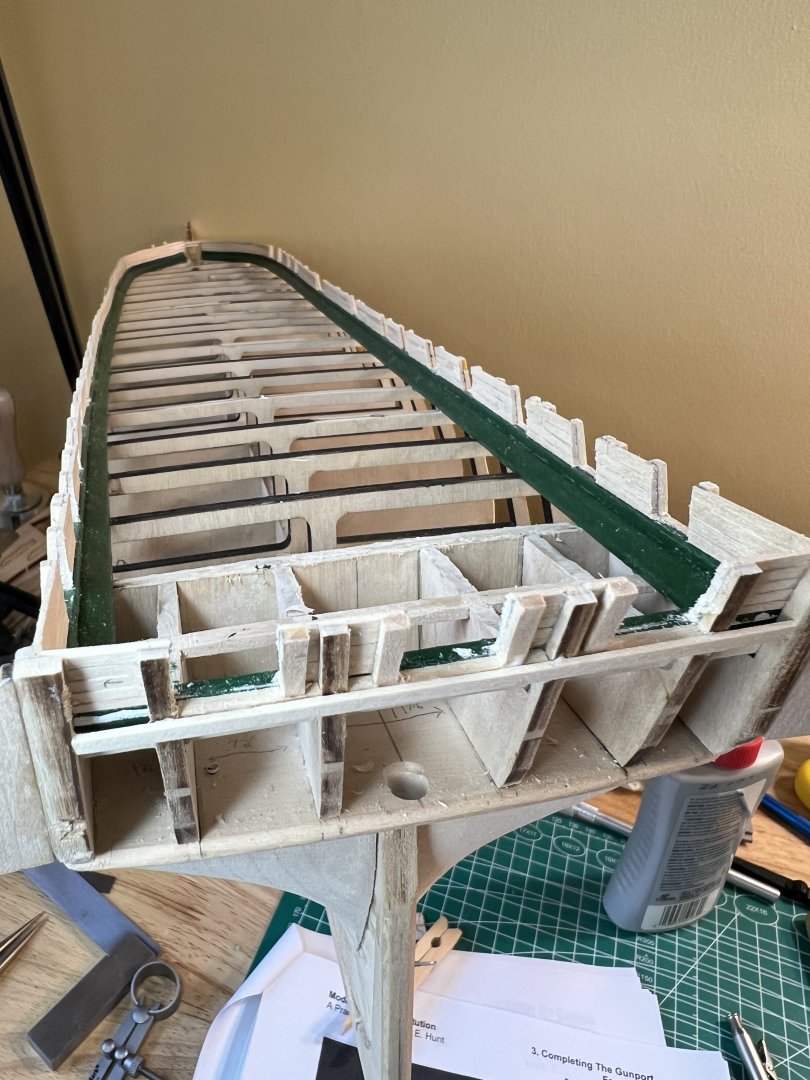
The last of the port cutouts - of course - I nearly cut into the planksheer on my last section. I’ll have some painting to redo on my interior planksheer sections. I’m not convinced that early painting of the waterway & planksheer was either a good or bad idea. There’s a lot of sanding to be done to prep for the rail and painting but for now - I’ll leave that for later. On to the transom gunports.

-
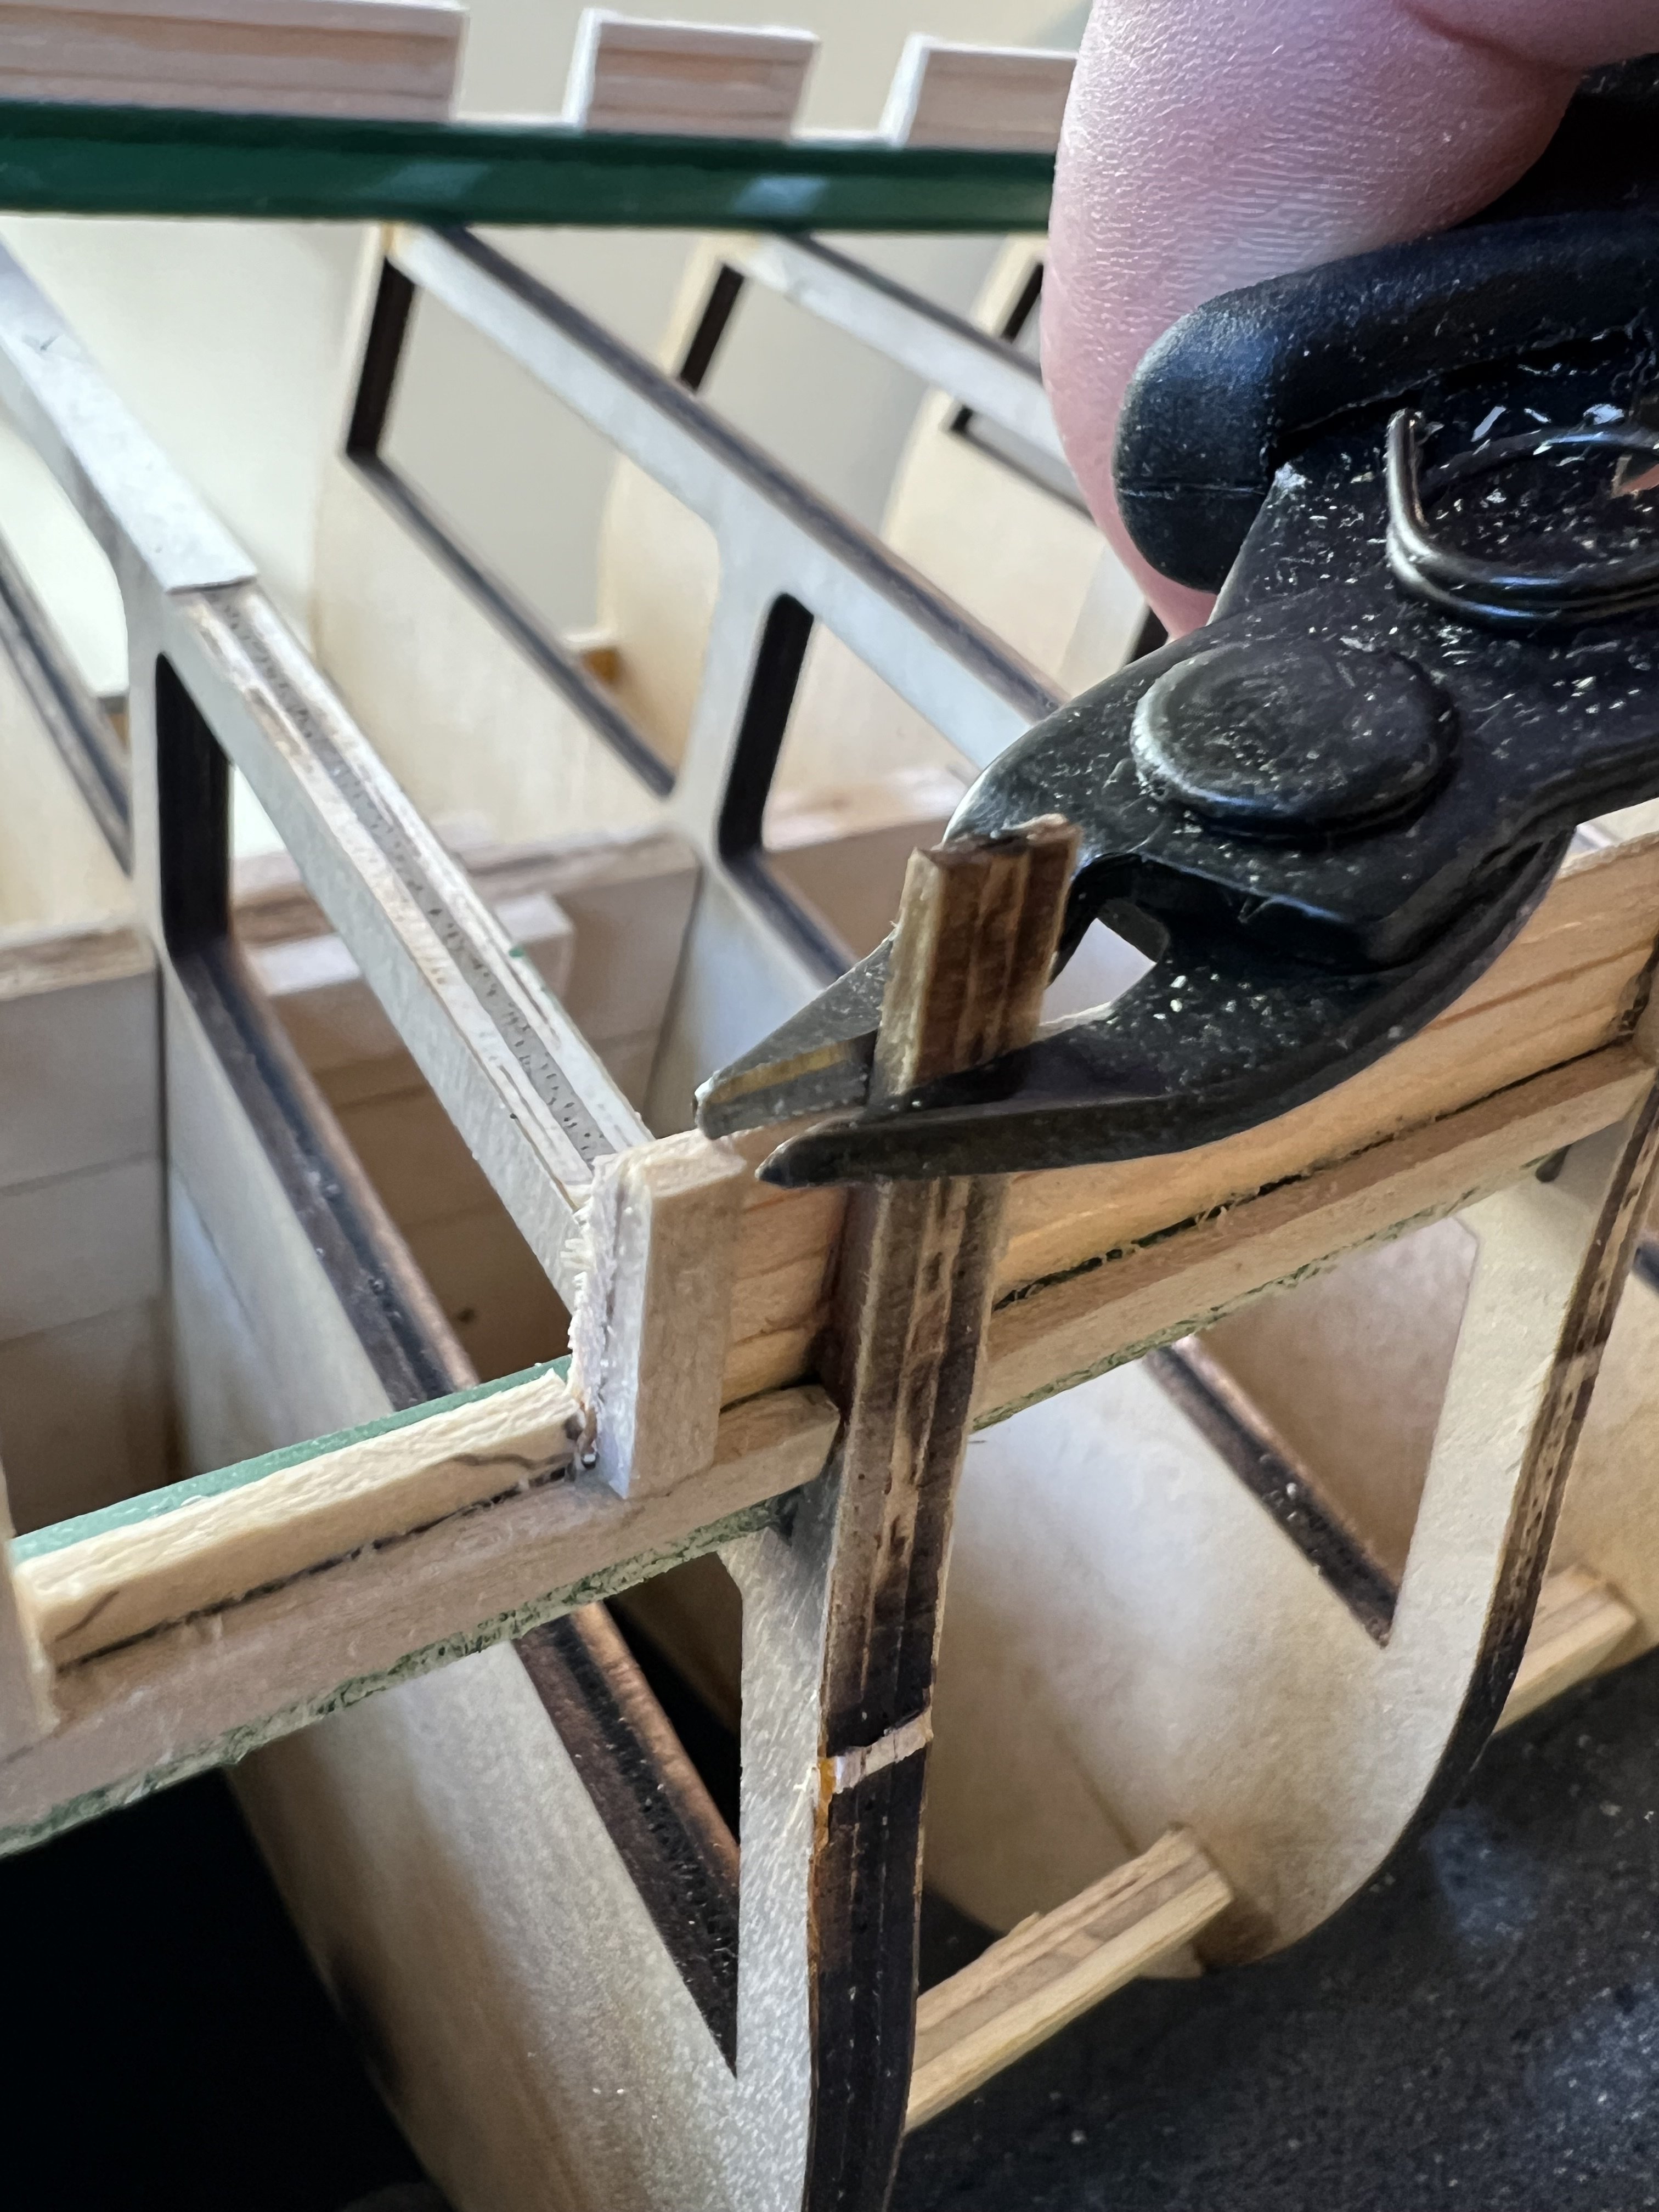
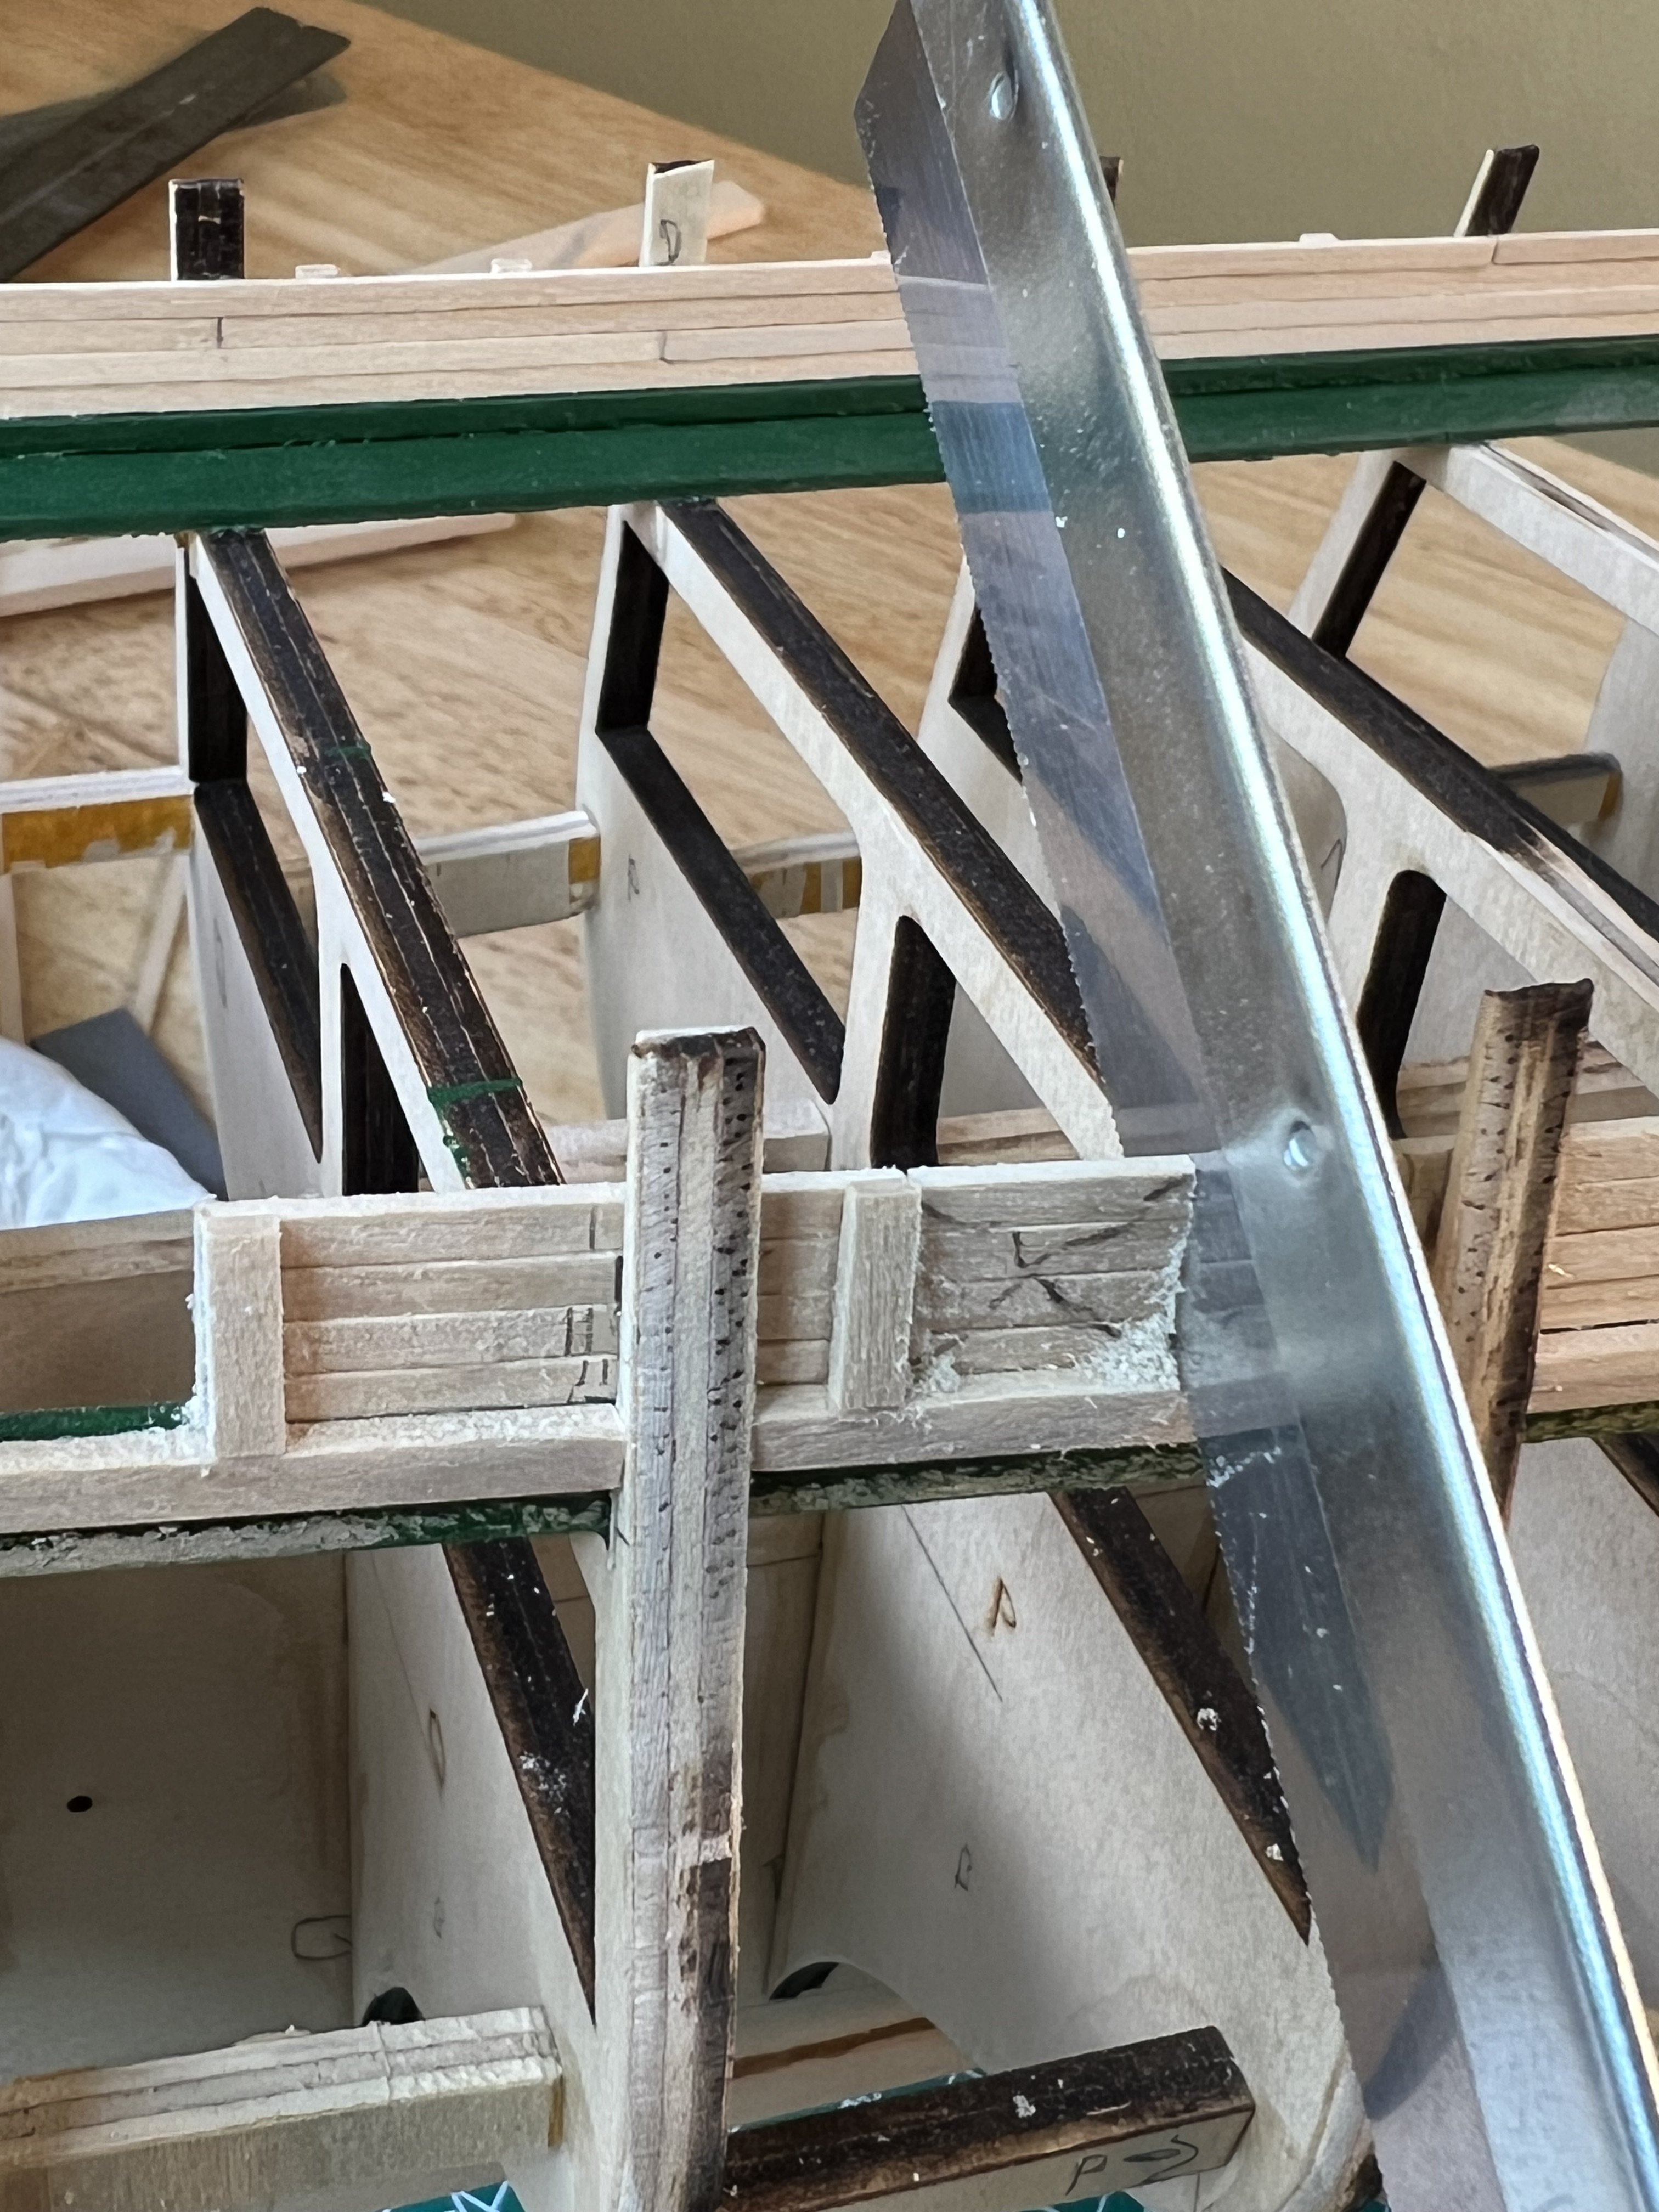
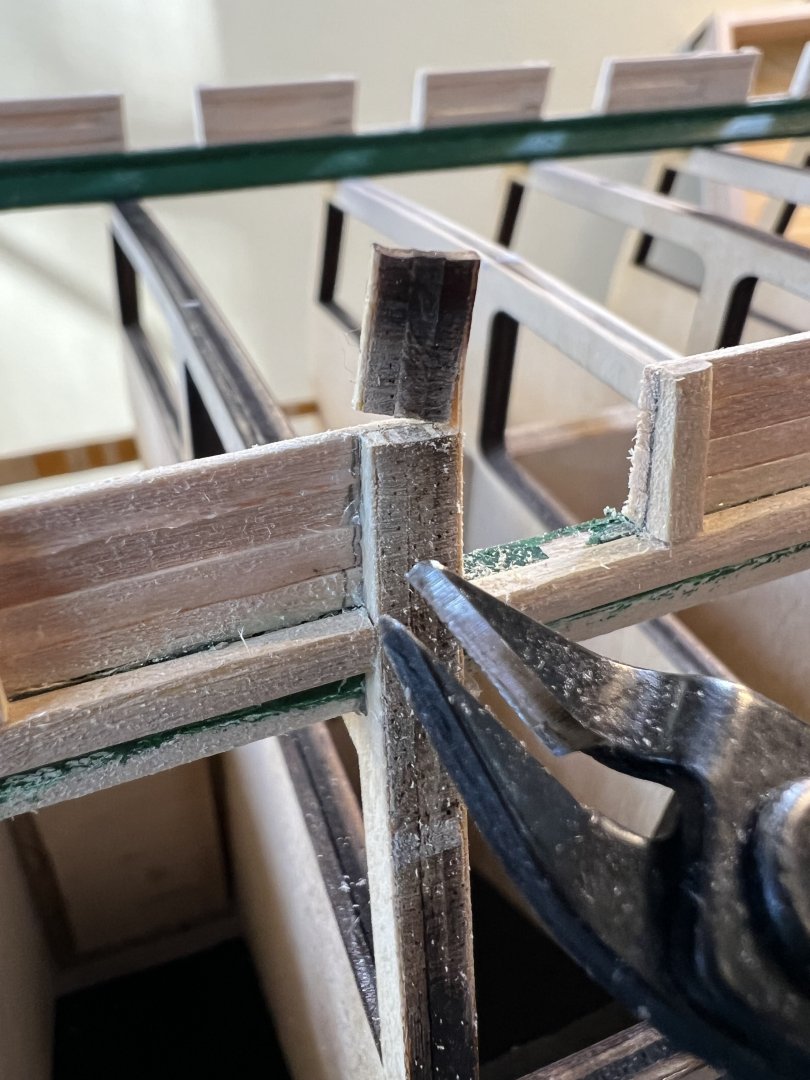
Due to the deteriorating condition of the upper bulwarks (the compressed layers have been separating- I needed to peel off and re-glue some of the layers on the main bulwark sections earlier on), it’s better to snip them than to saw them.

-
Still cutting the port side gunports. This time I’m cutting the bulwarks tops as I go. For some odd reason - trimming the rear transom was particularly satisfying.

-
Gunports and other openings were cut using a micro-saw and #11 blade. I also used the saw blade to cut the tops of the bulkheads. I did some minor sanding to the bulkhead tops to be even with the planking. I noticed a few minor issues resulting from odd shaped bulkheads that I’ll tackle when it’s time to install the rail.


-
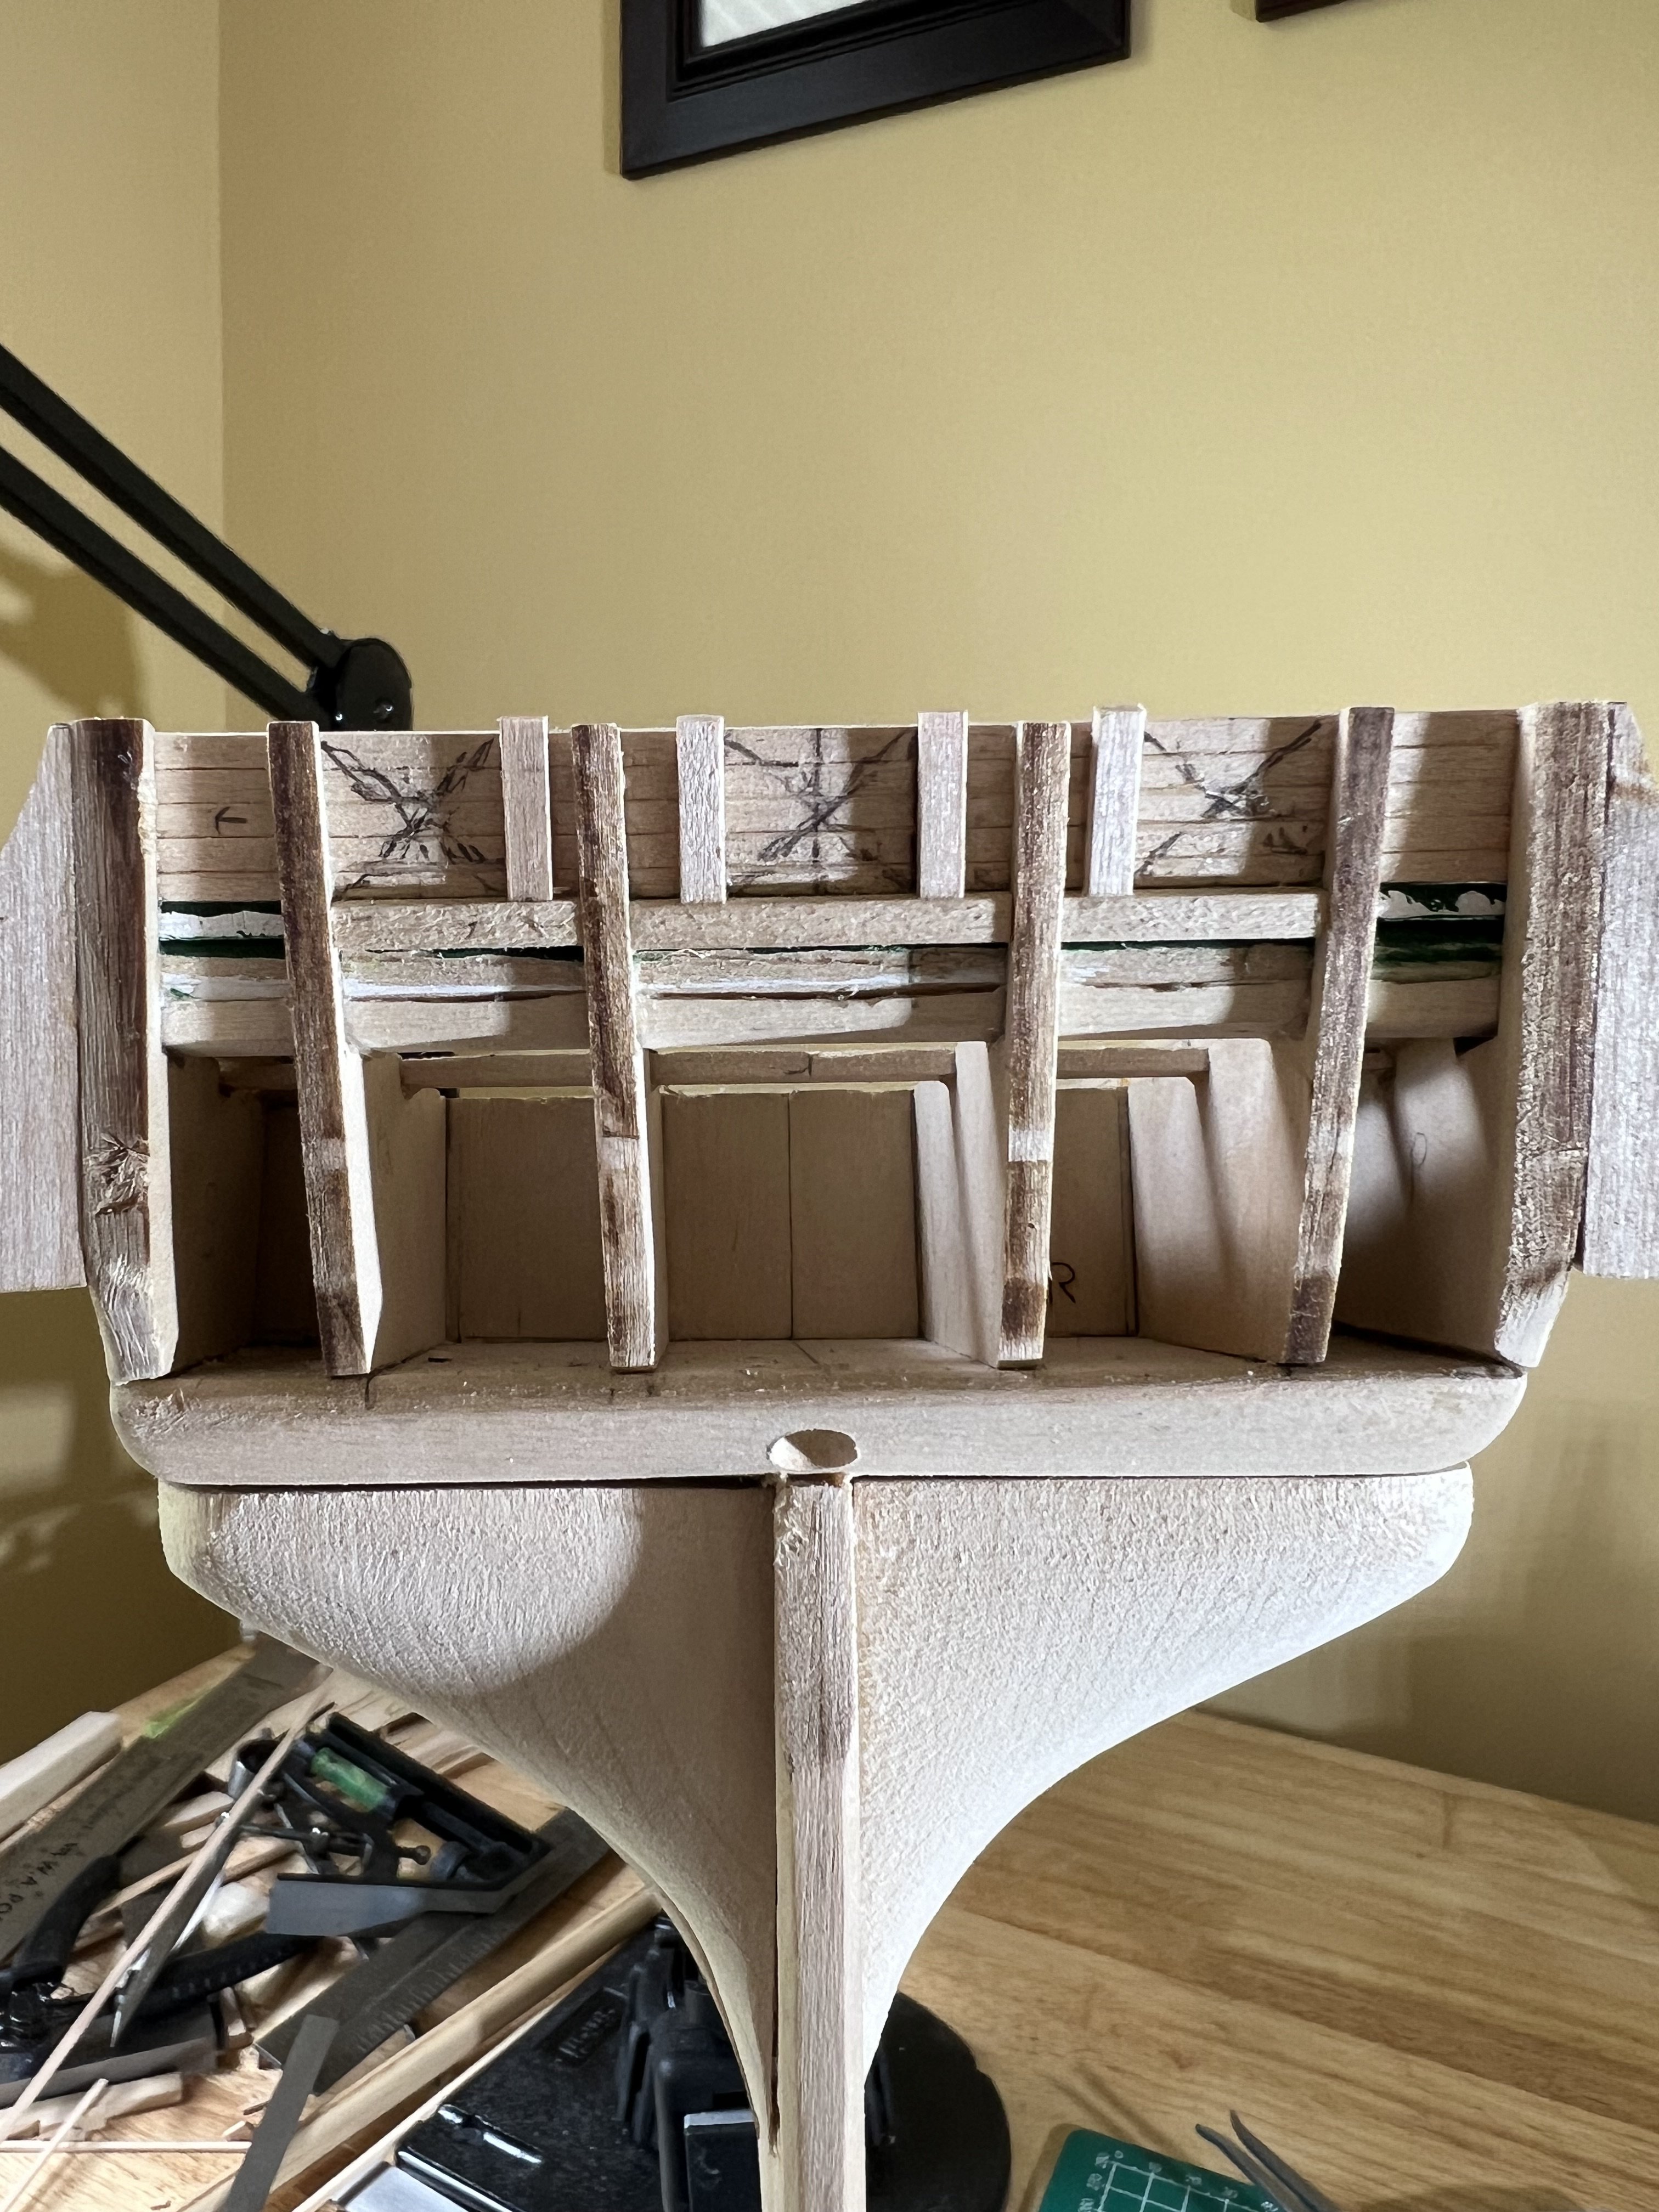
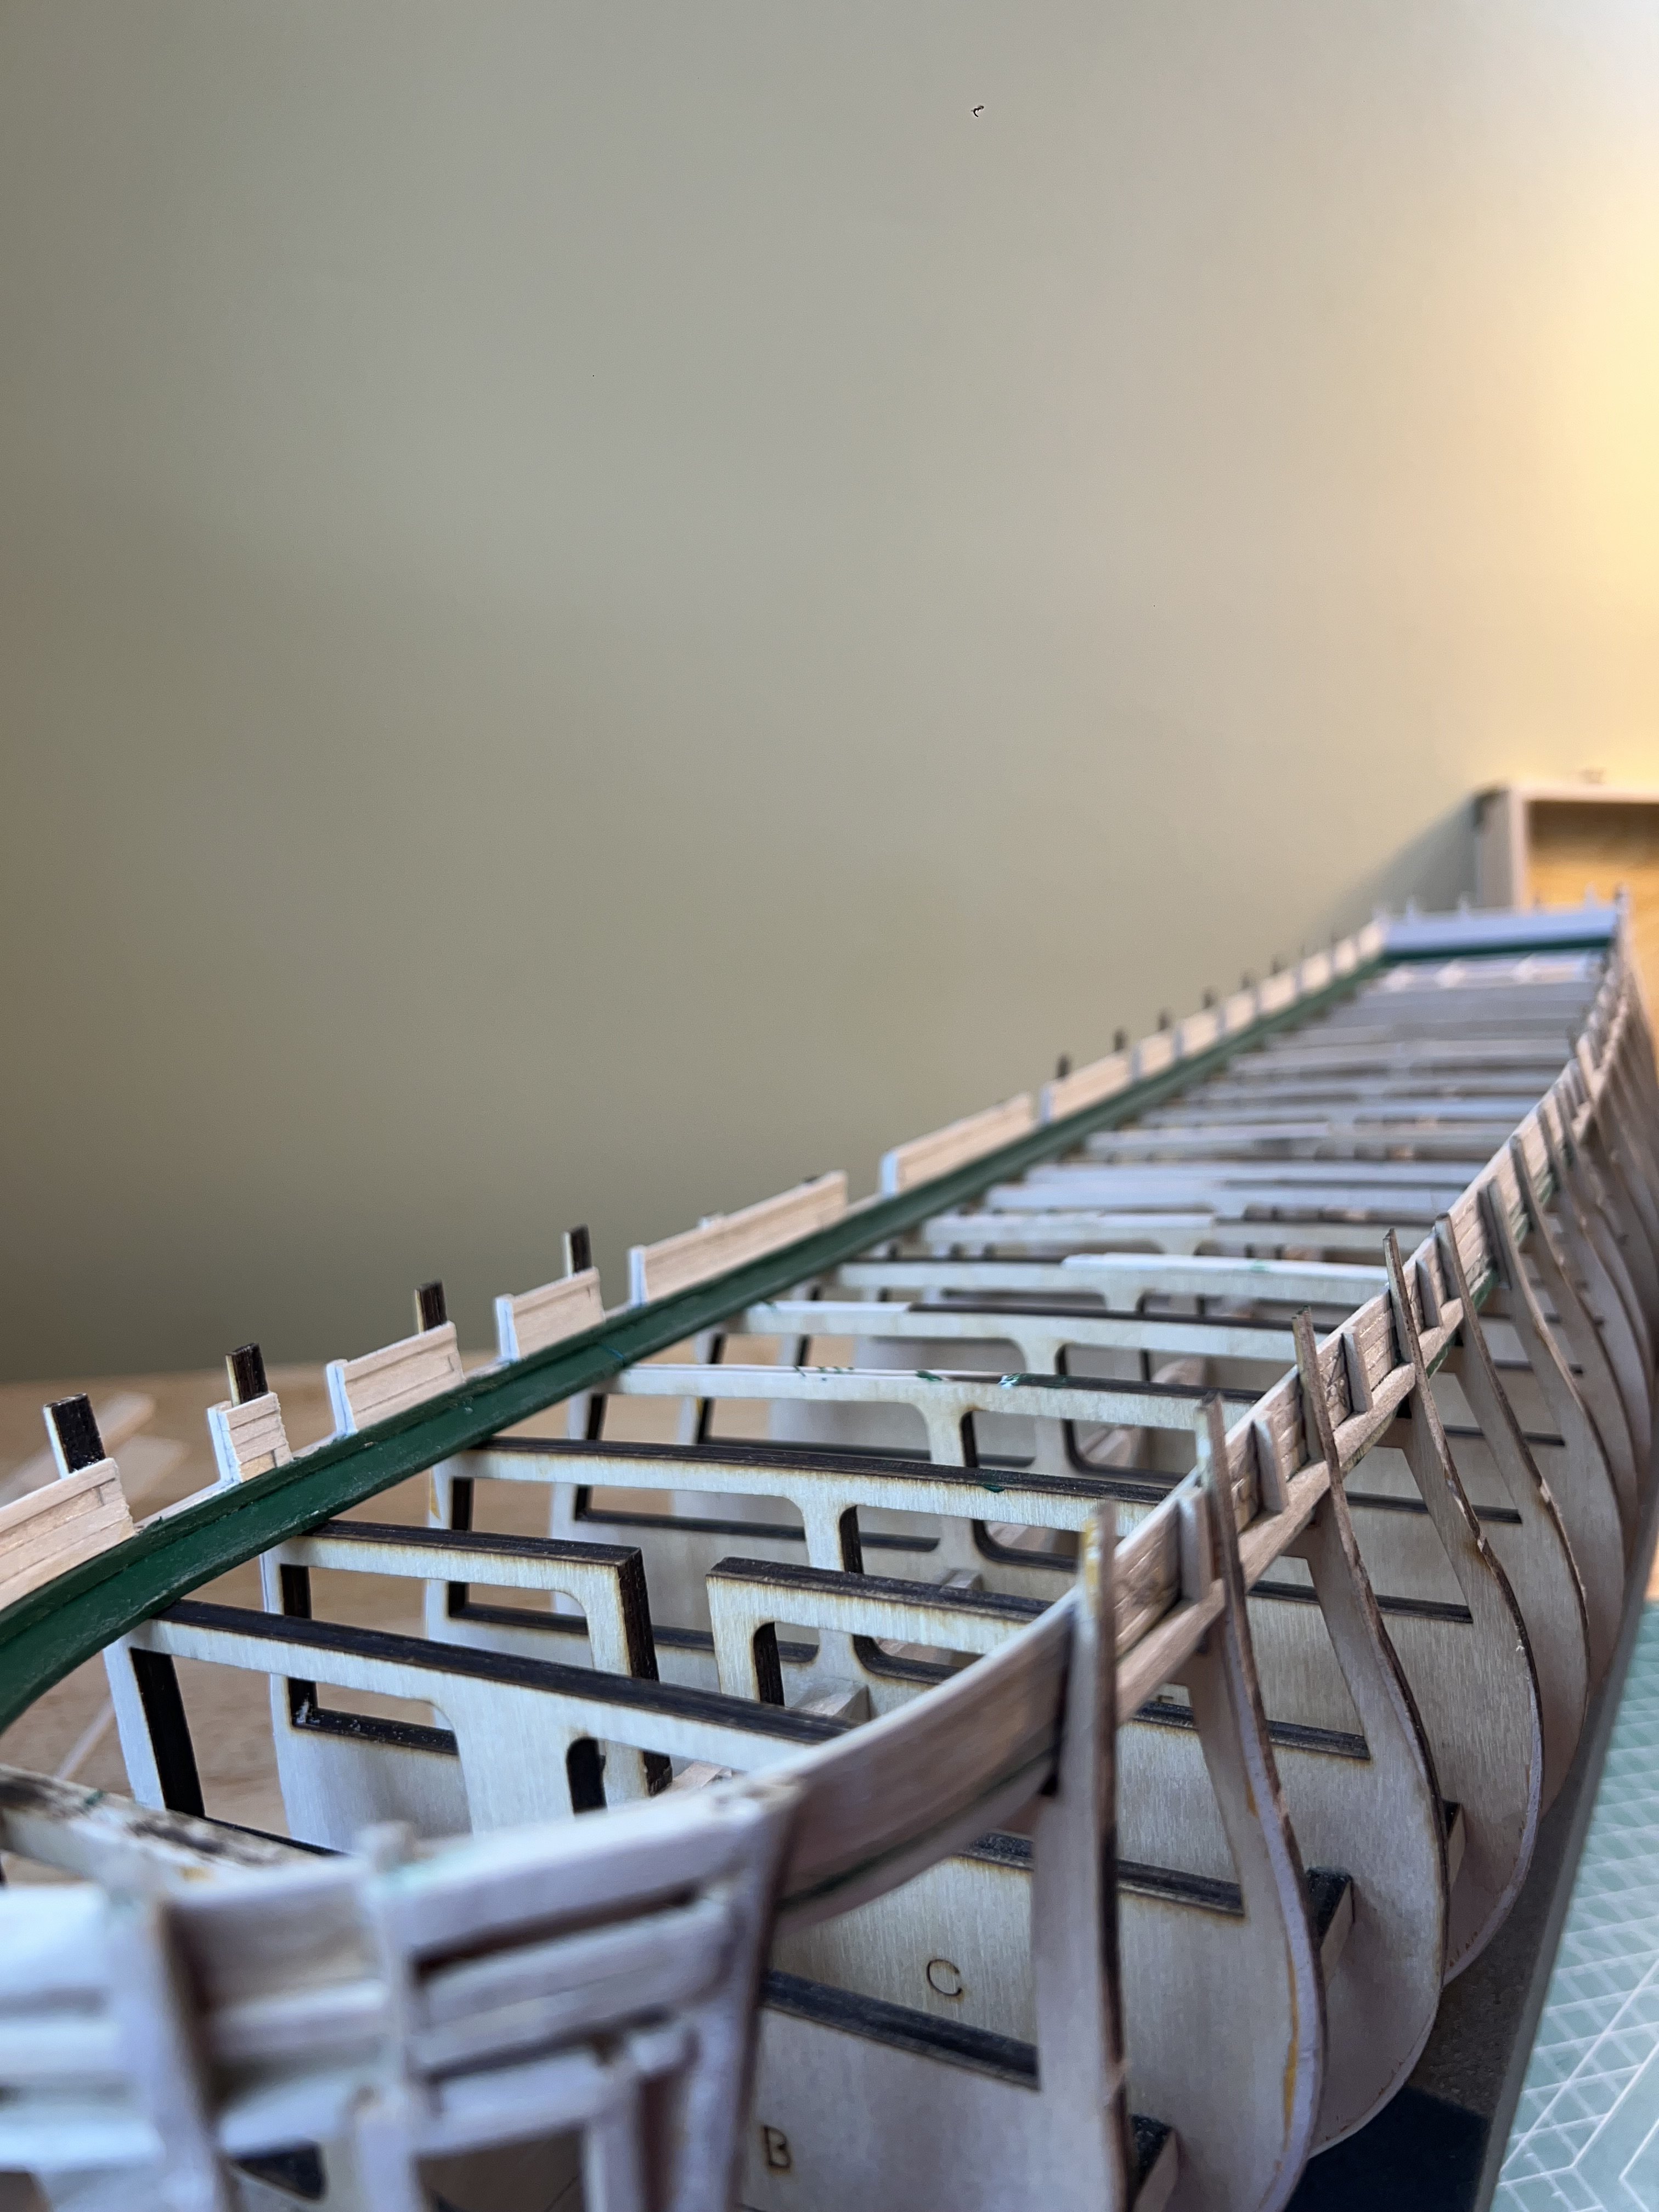
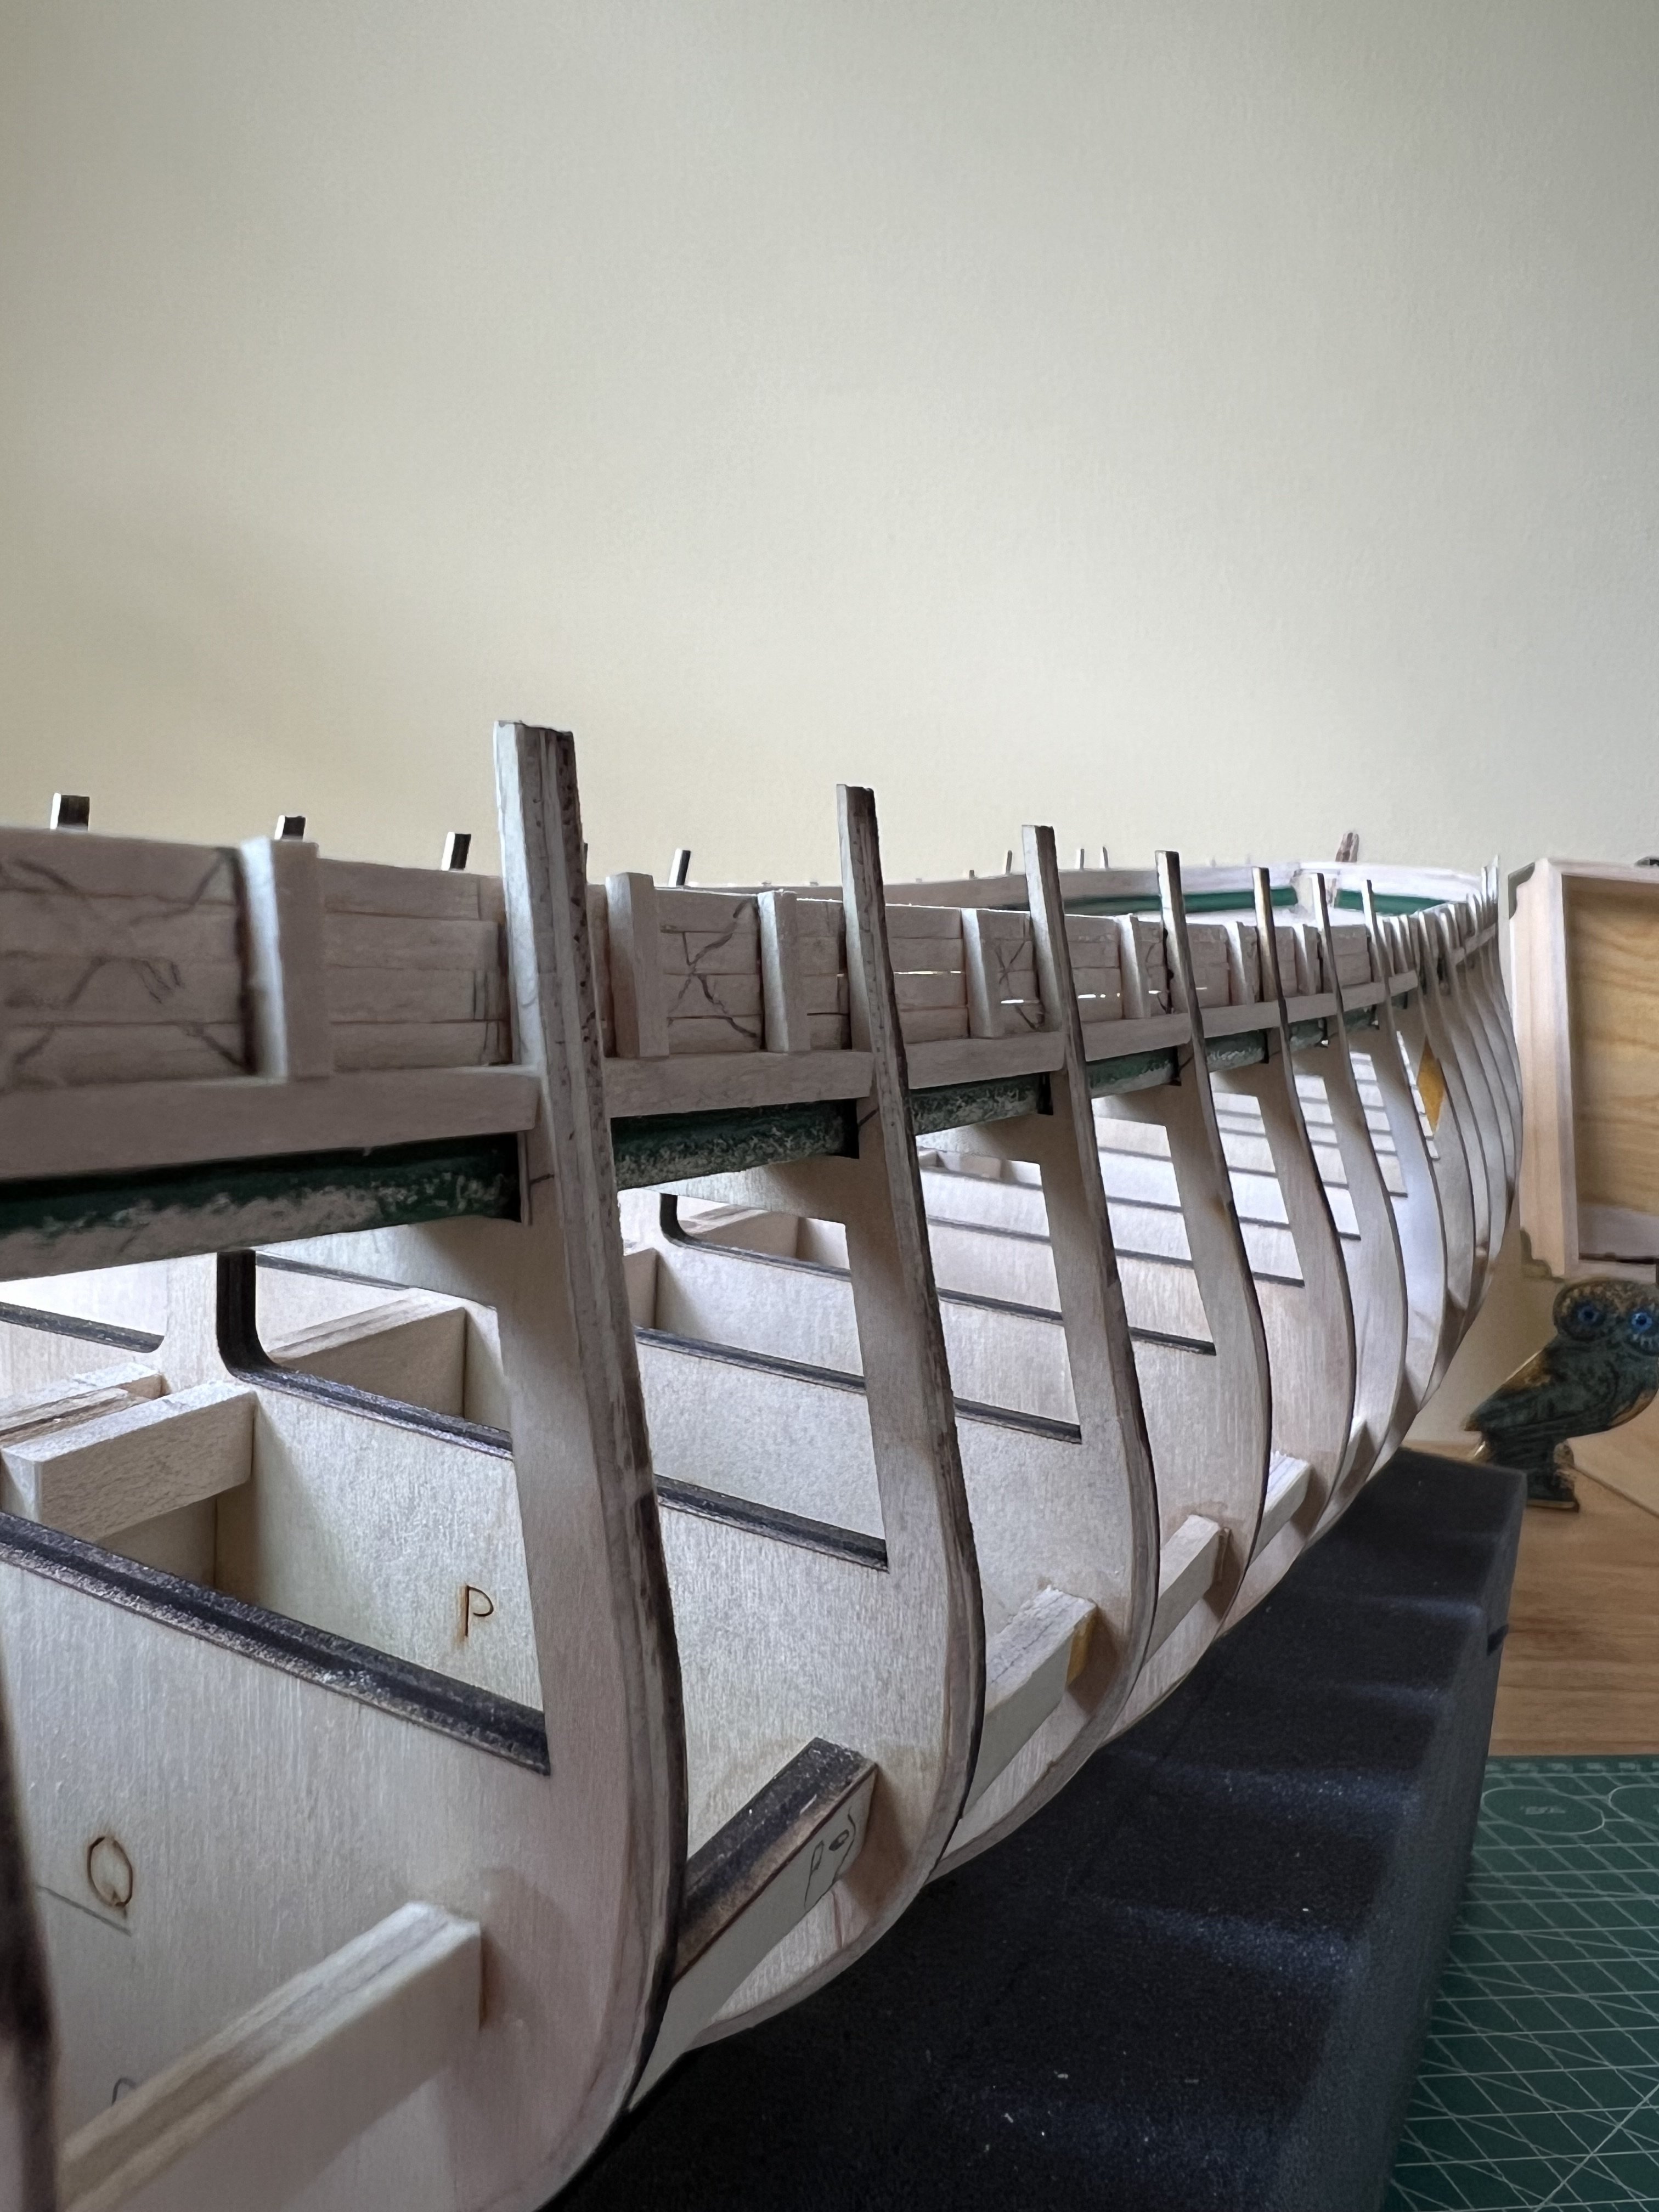
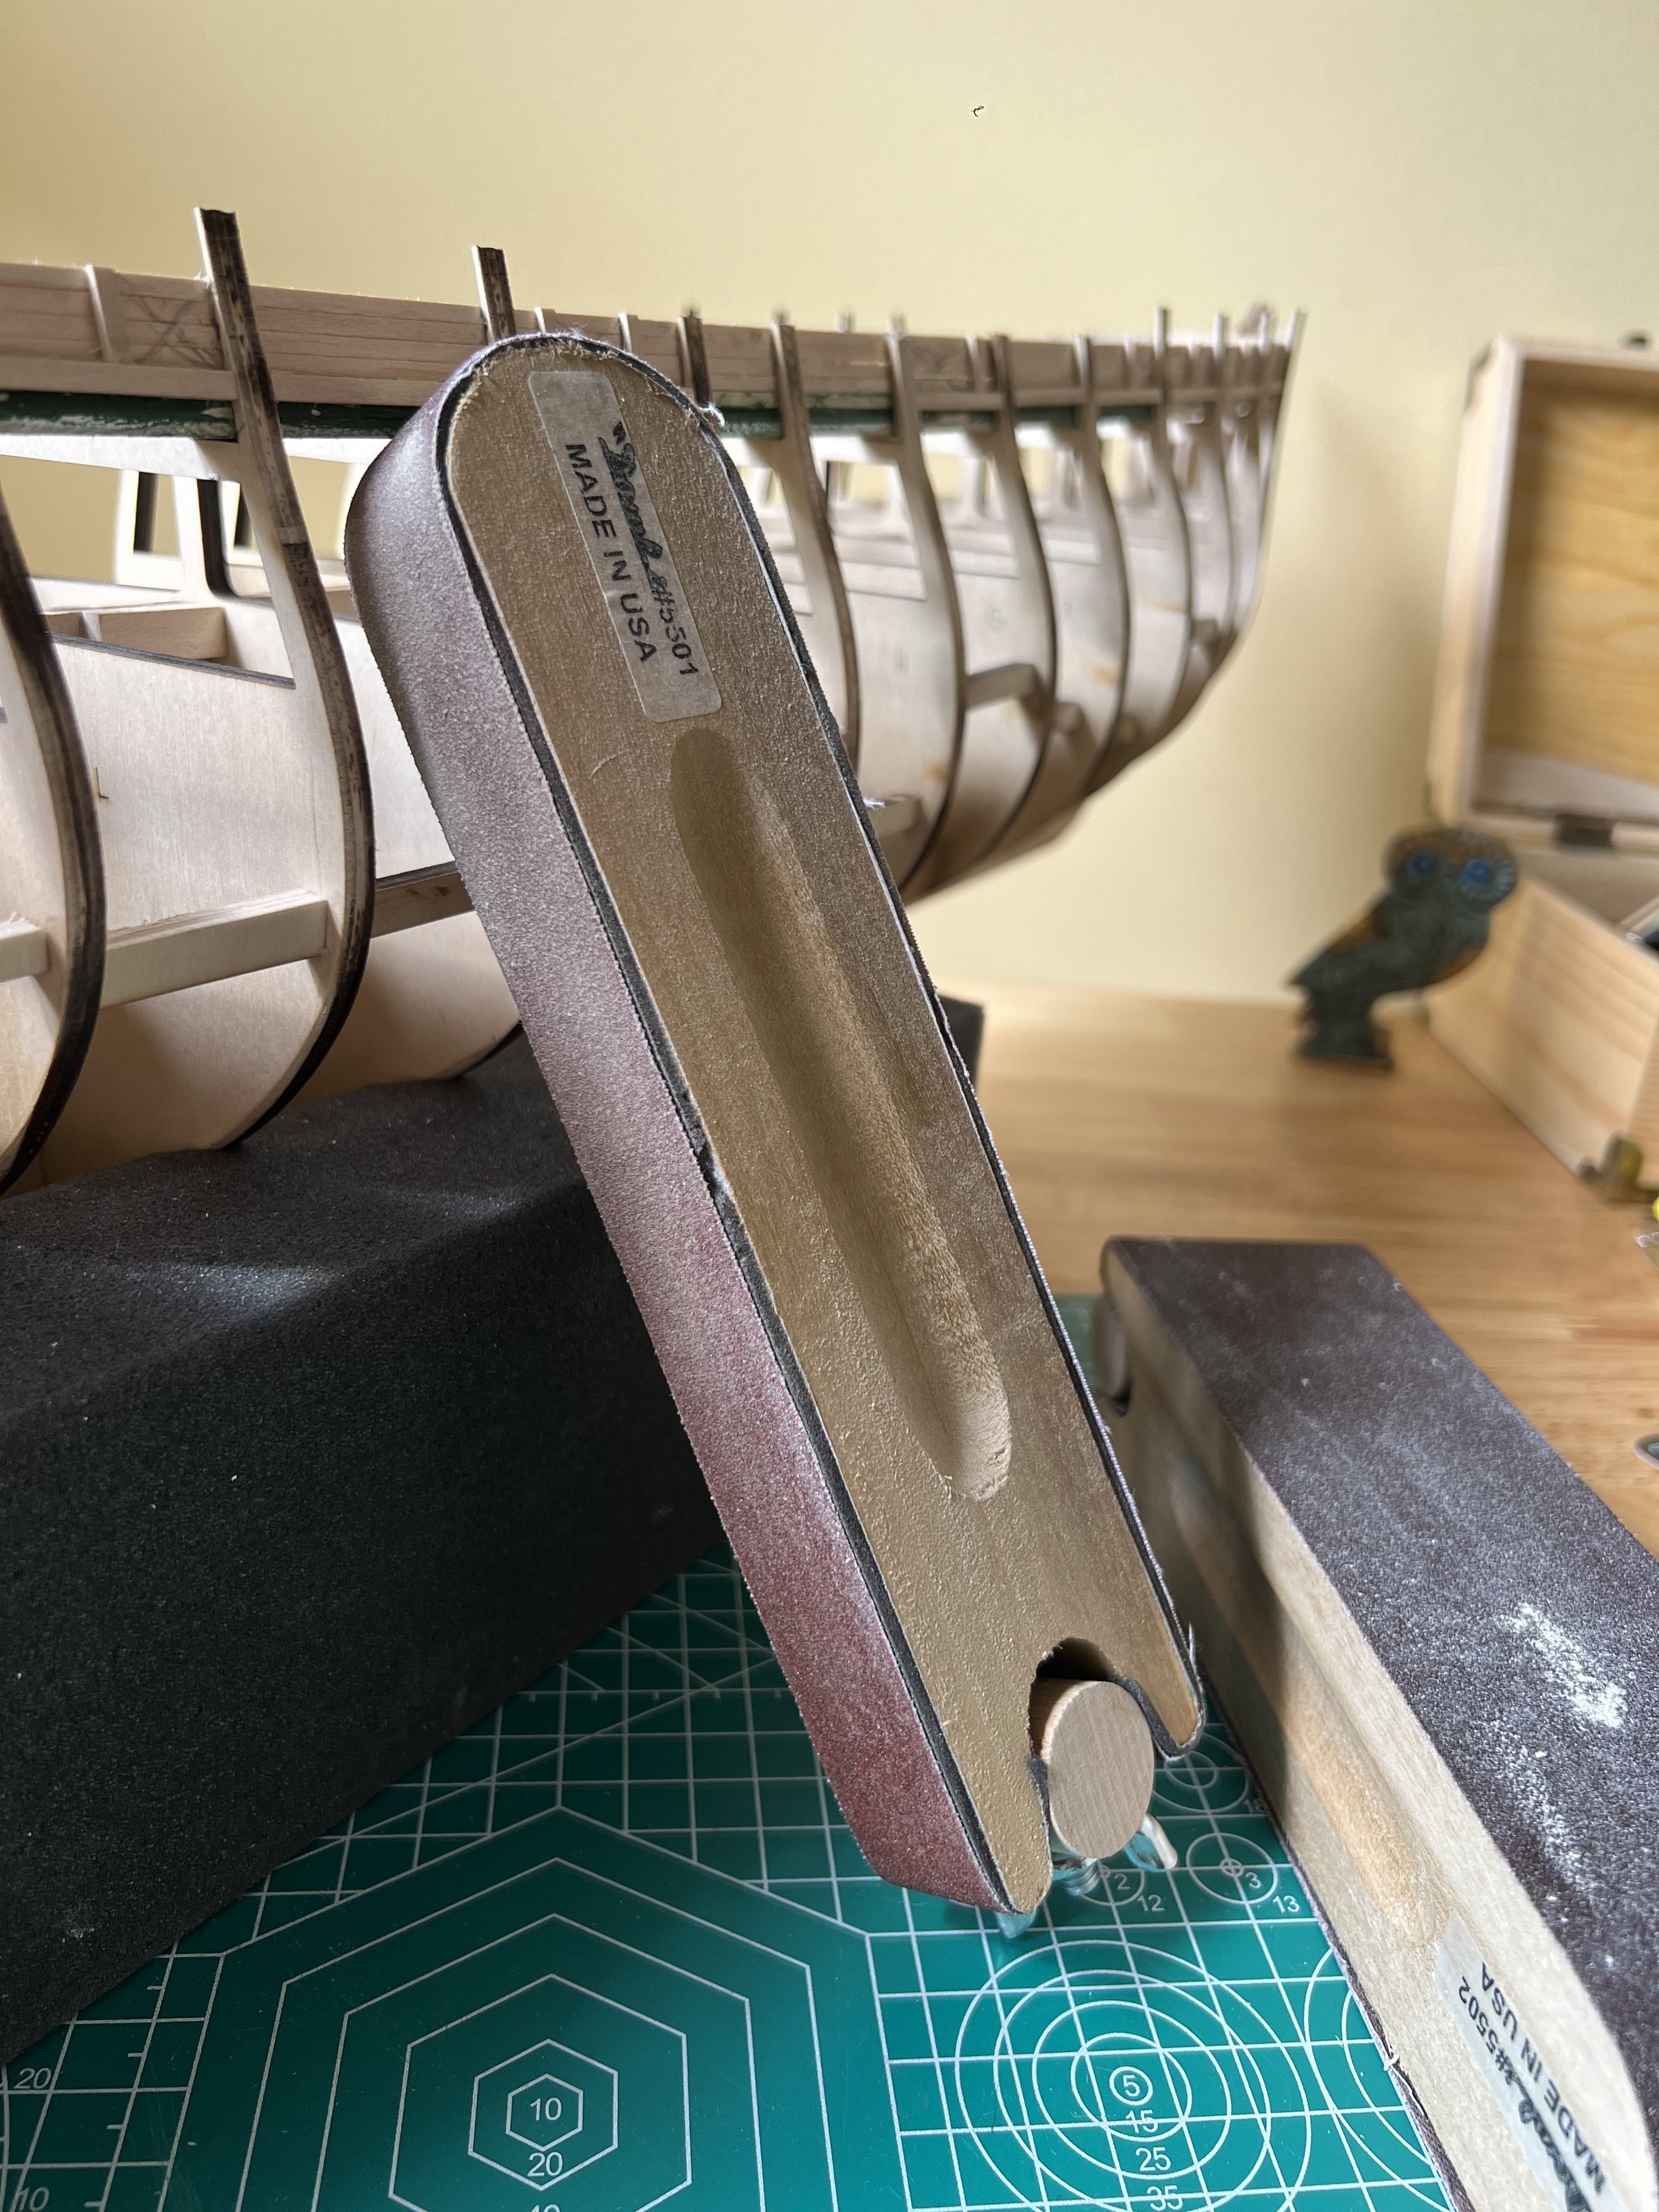
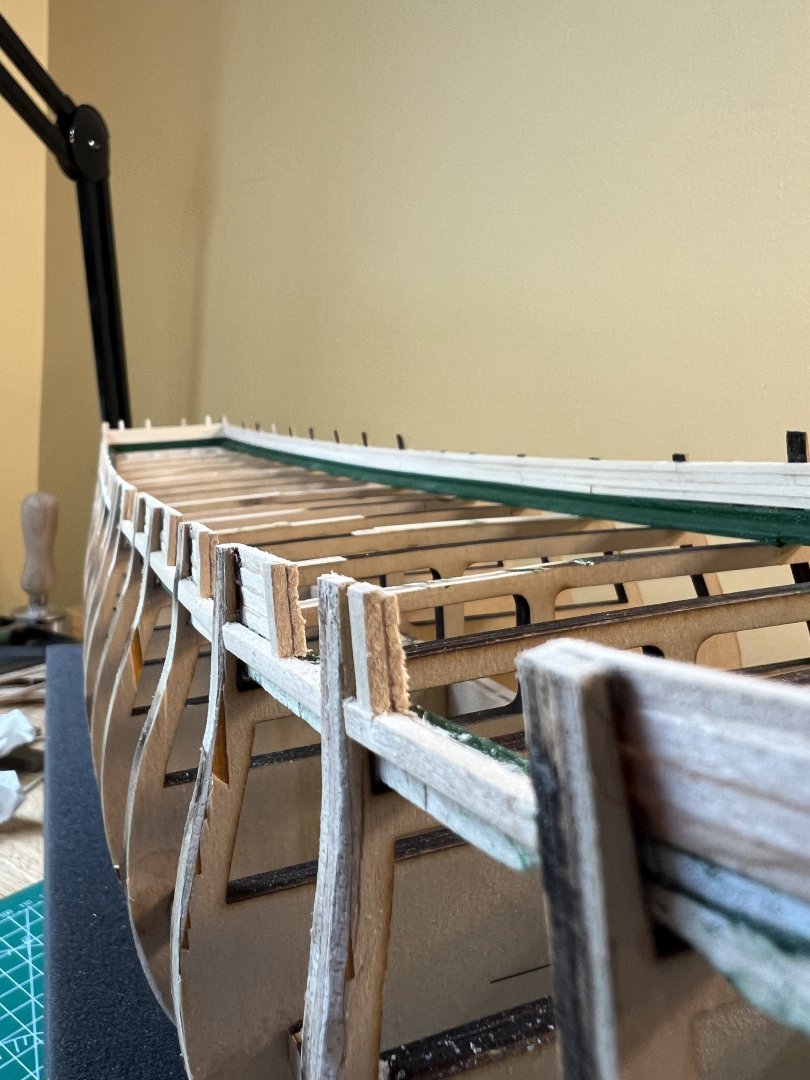
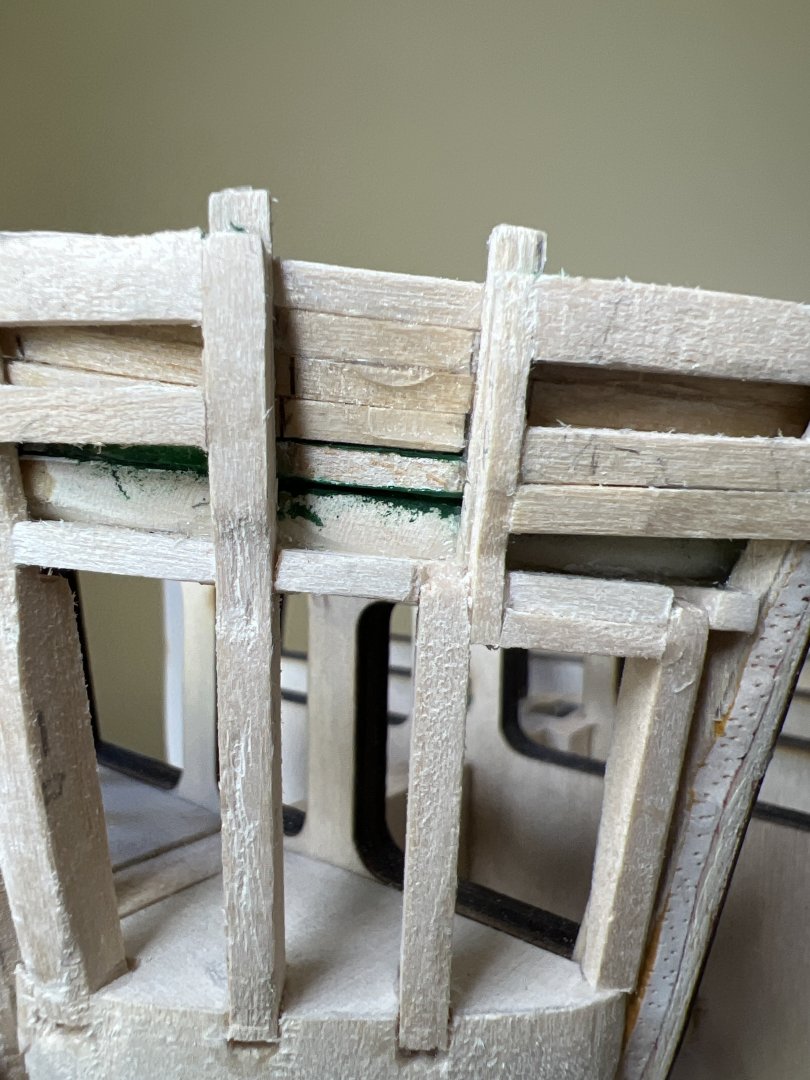
I sanded across the upper bulwarks so that the bulwark, gun port framing and planksheer fillers were flush. The guide cautioned to just remove the outer layer of char (from the laser) - do not over sand. There are several bulwarks that were oversized and do need to be sanded considerably or they will cause a visible bump in the spar deck bulwarks planking. The idea is to form the inner and outer rail planking to a uniform thickness. In an effort to not oversand - I left some minor areas to be spot sanded with a small sanding stick when planking. The 1” sanding block with 120 grit was a good choice here.


-
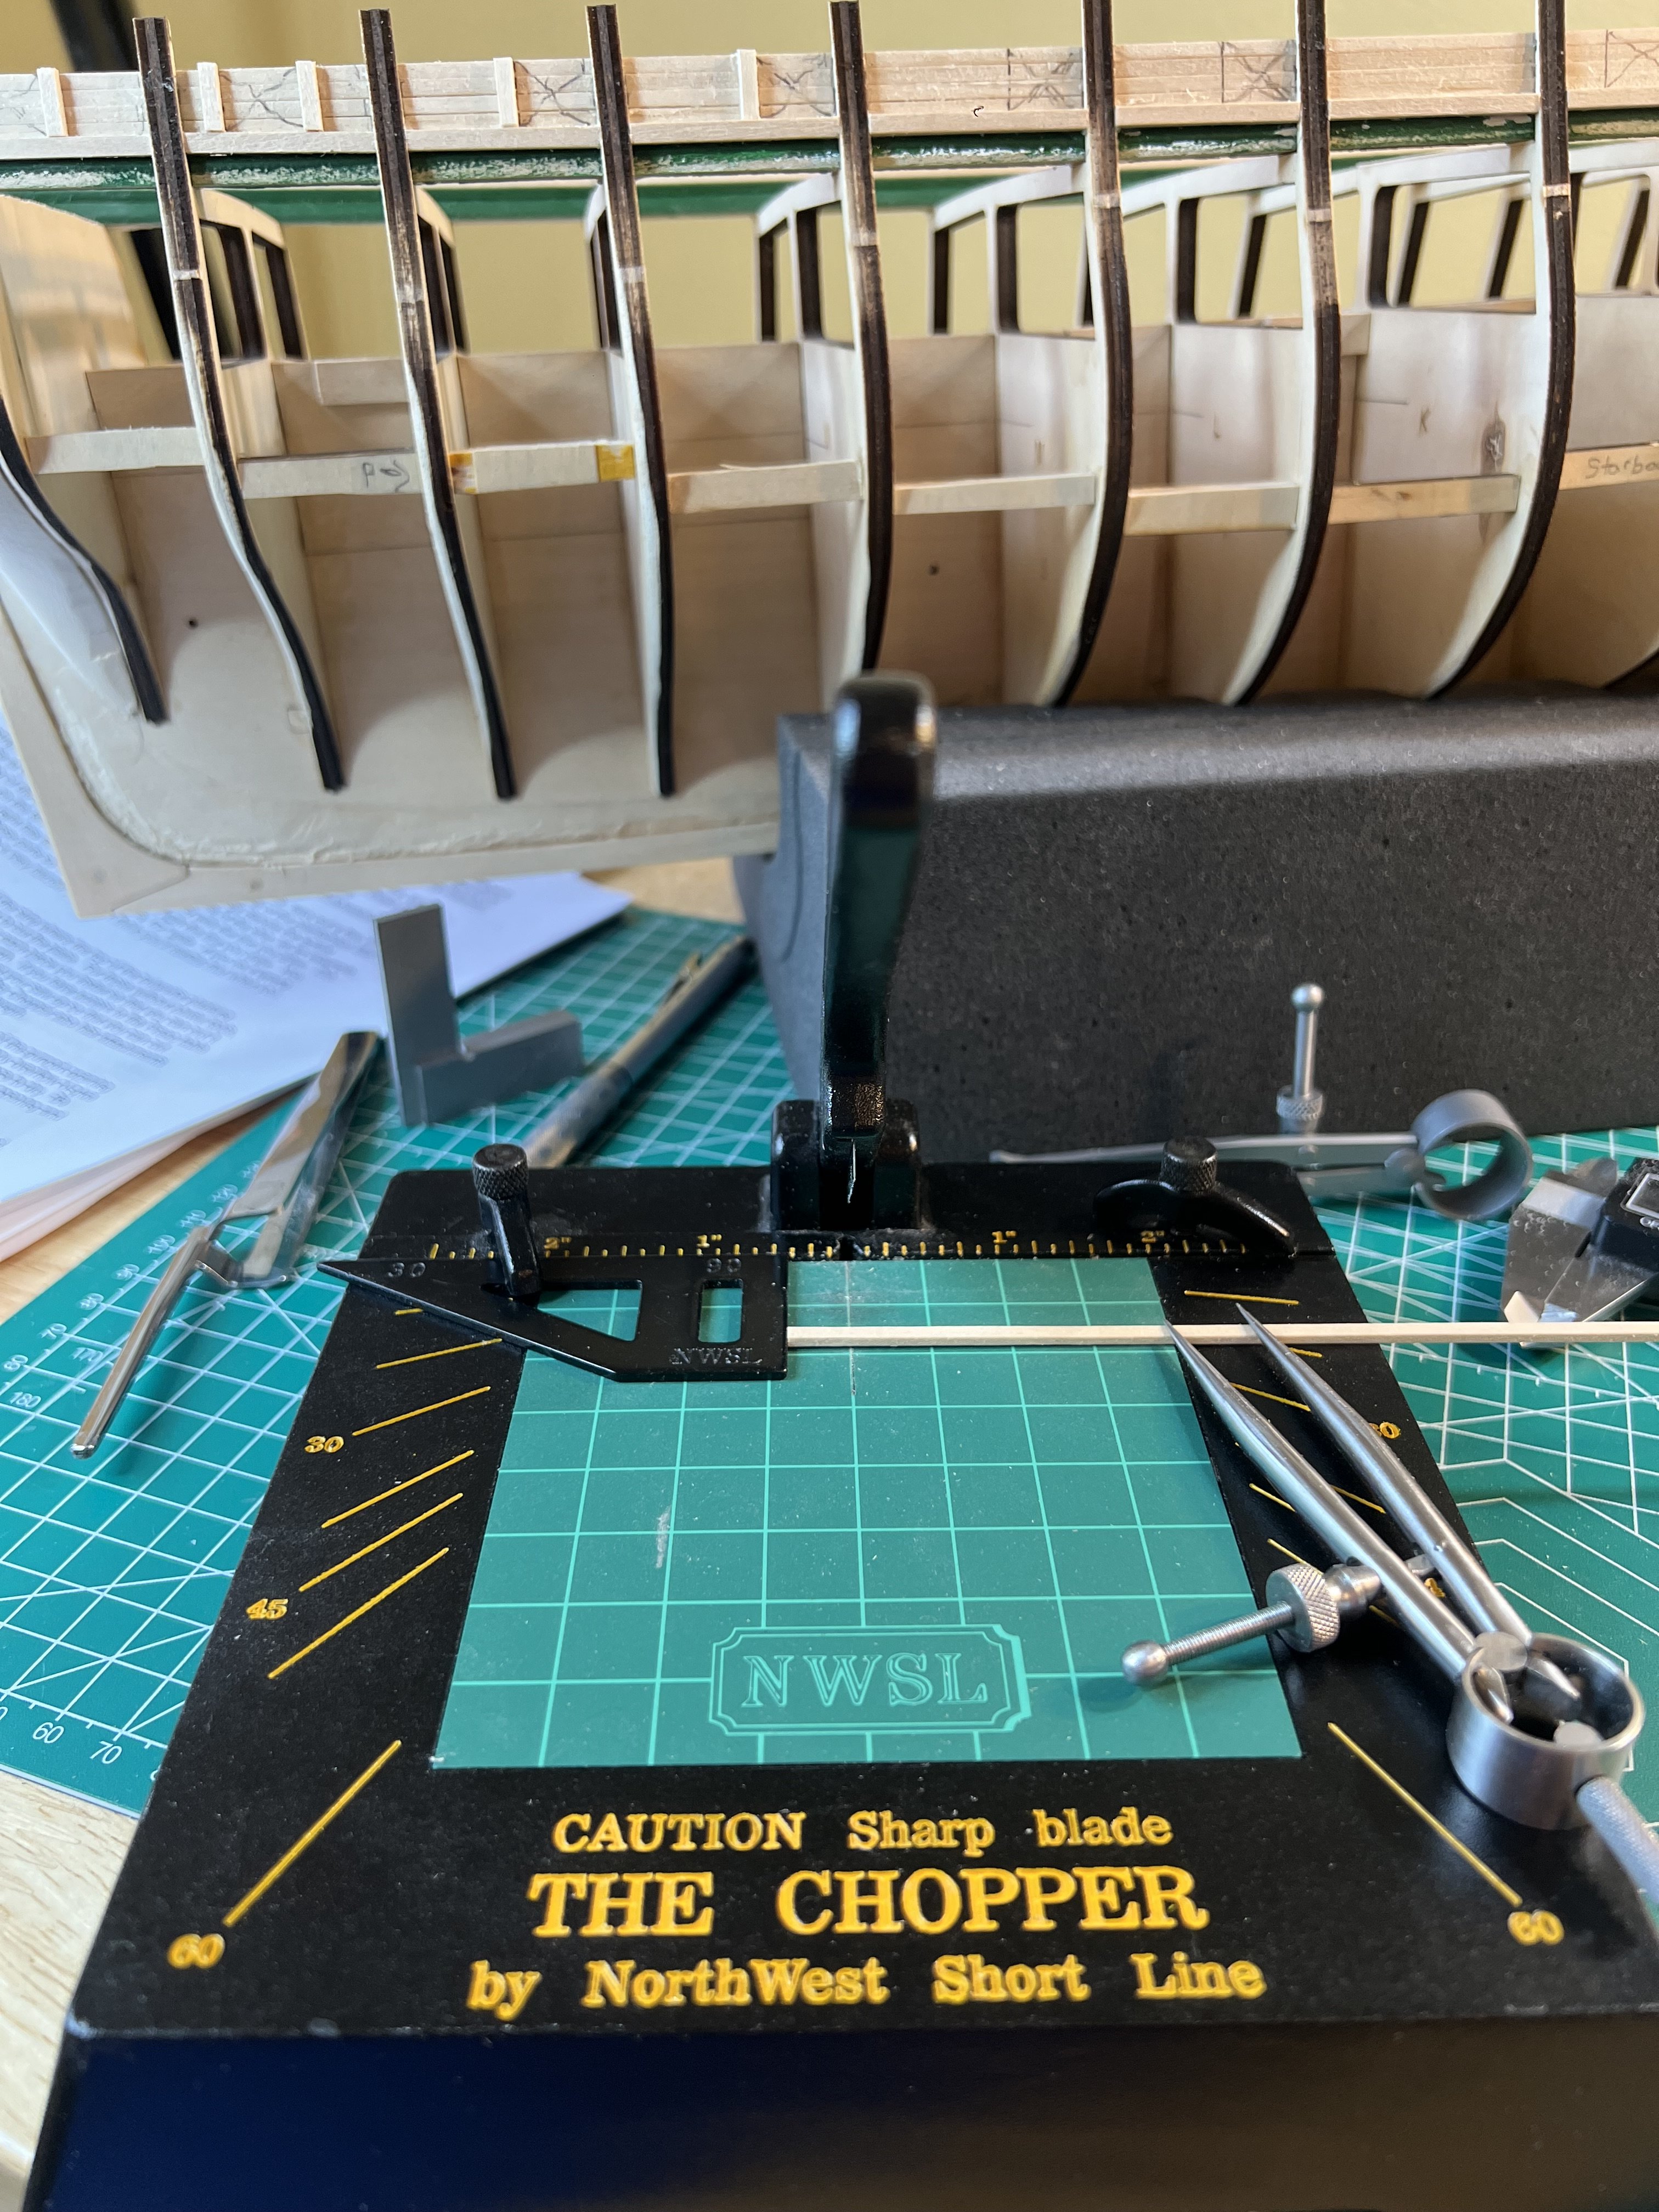
@GGibson Gregg - thanks for the wood supply referral - I may need to utilize this. I’m not sure what version of the Chopper I have - but IMHO it’s one of the most important tools I have. Especially for anything related to cutting planks or related parts. The reference lines are very useful. I bought this after following a discussion while working on my AL Swift model. -Cheers! Andre
-
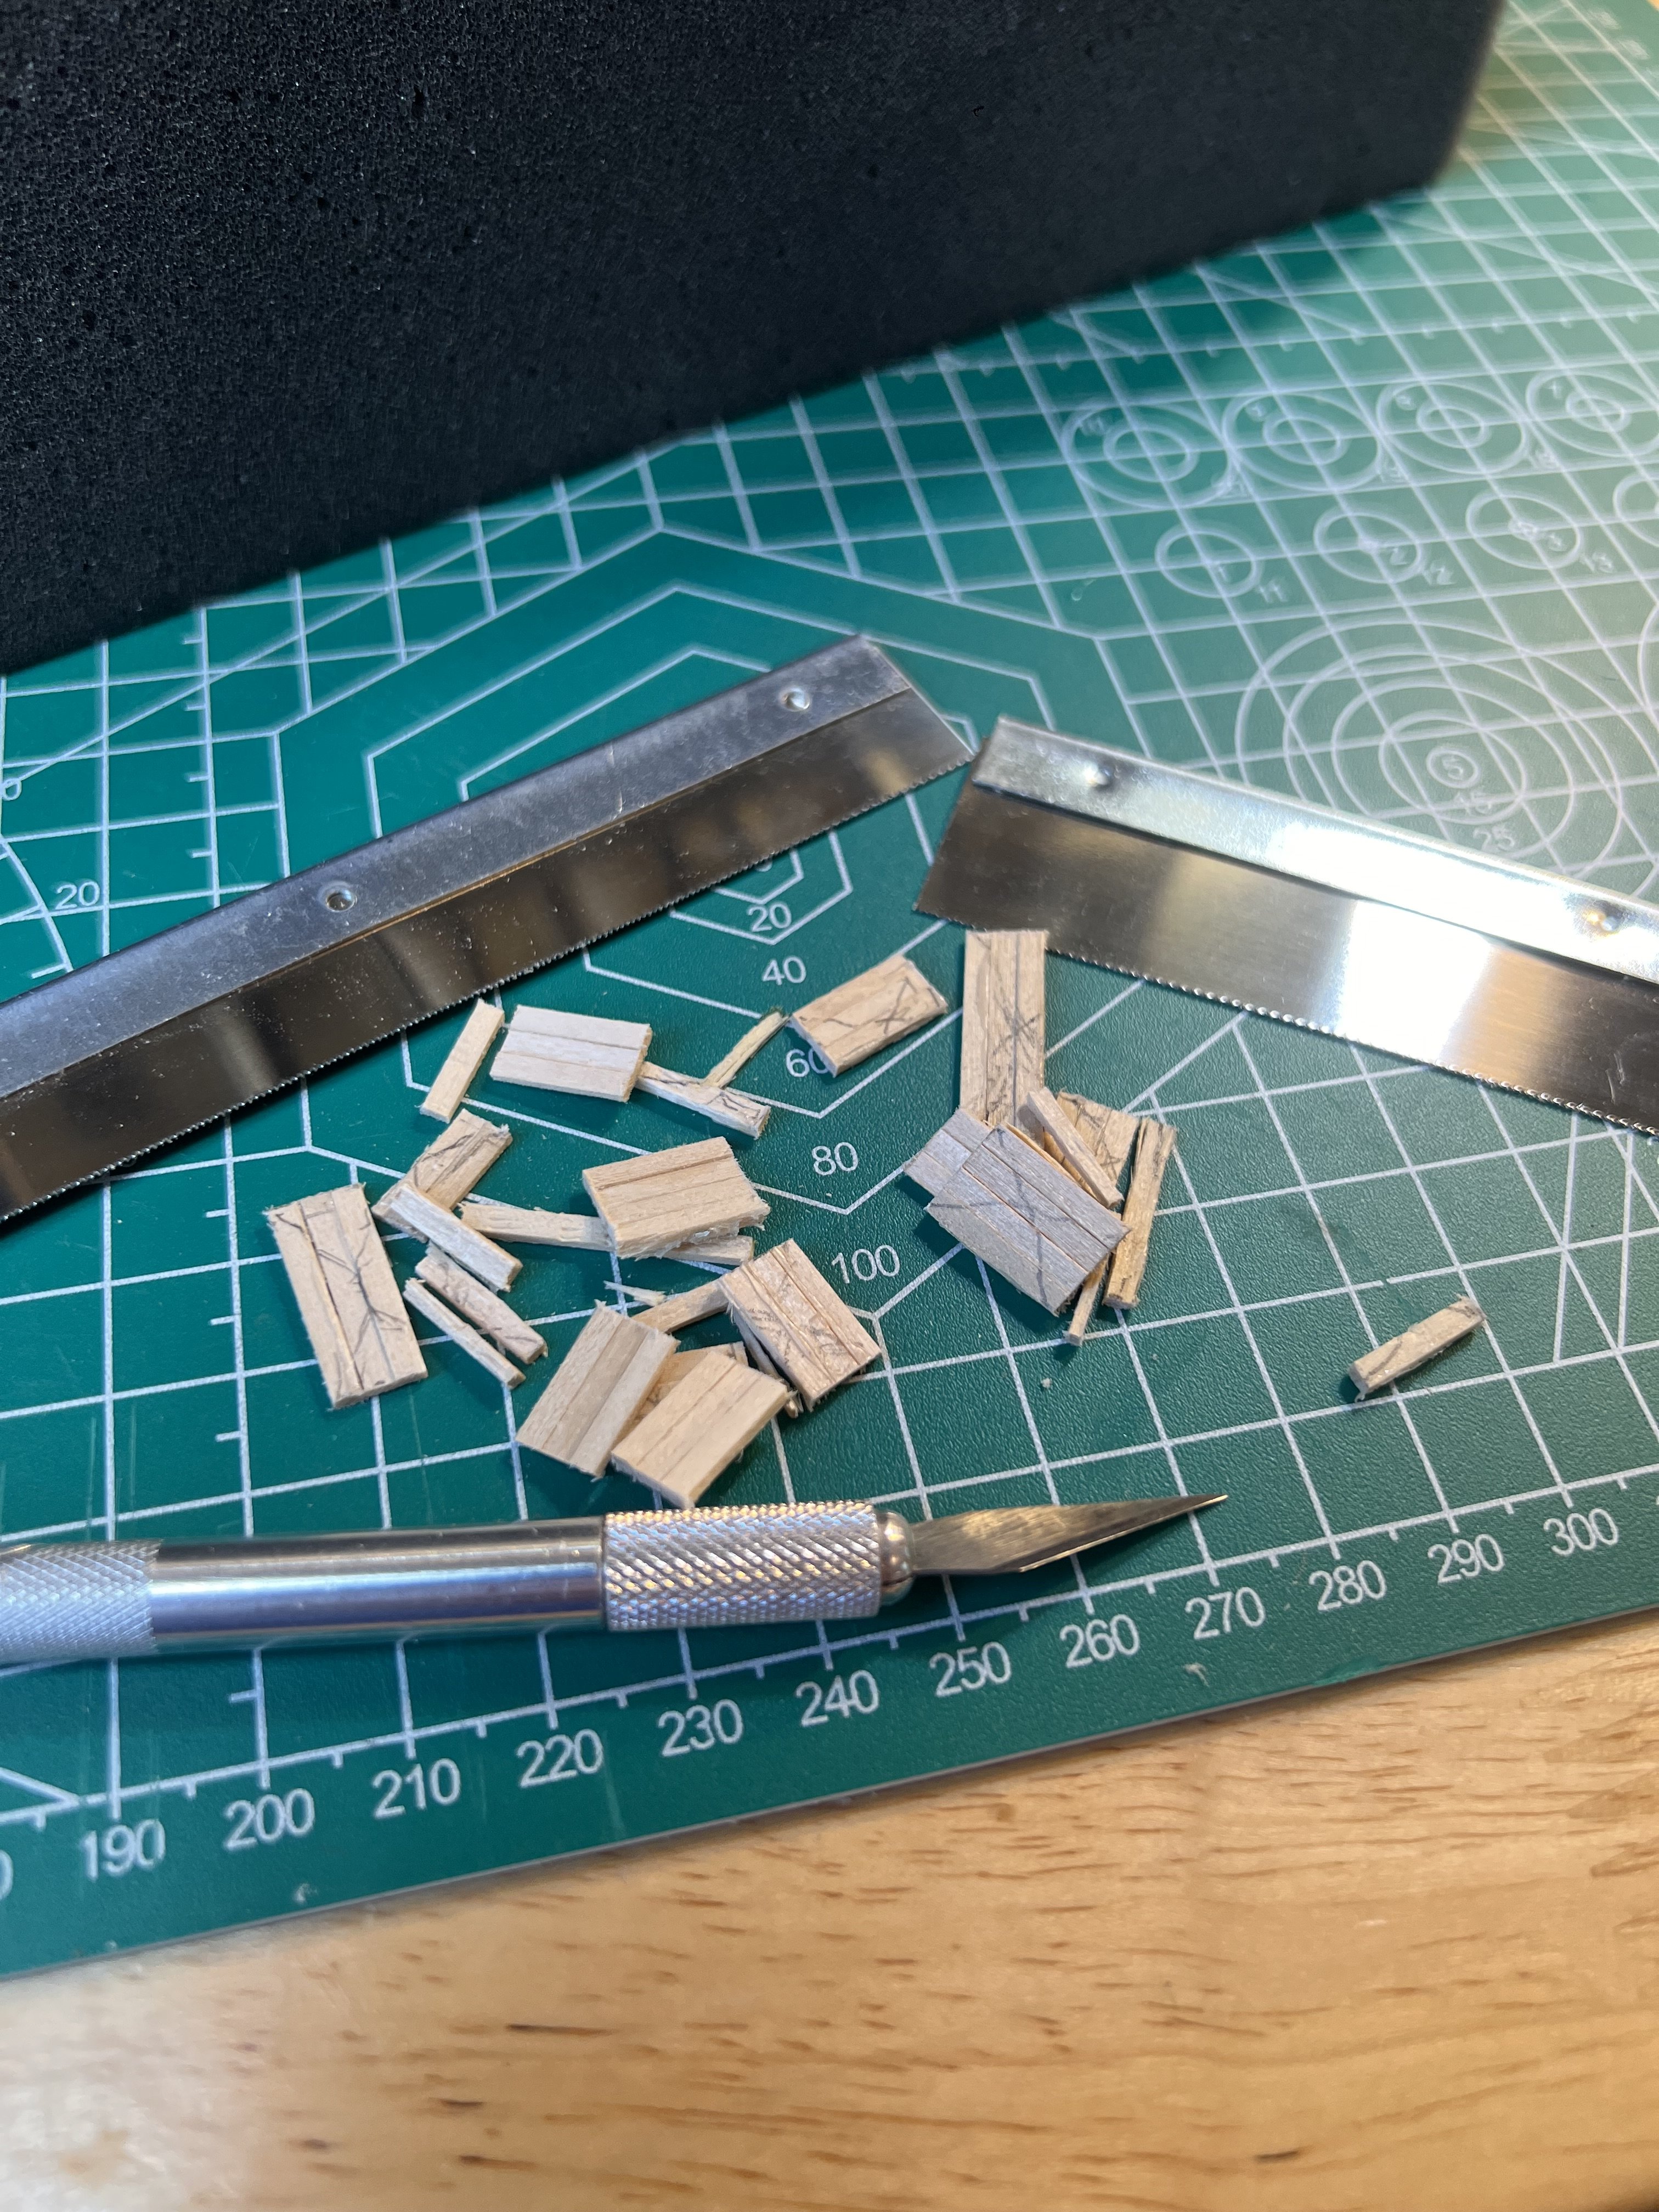
“The Chopper” is great for cutting identical gunport frames. The metal attachments and reference lines can provide repeatable cuts. The unit is well built - very solid. The blades are single edged razor blades and are easily replaced. The provide a clean cut on the 1/8” basswood. I haven’t tried it yet on anything much thicker.

-
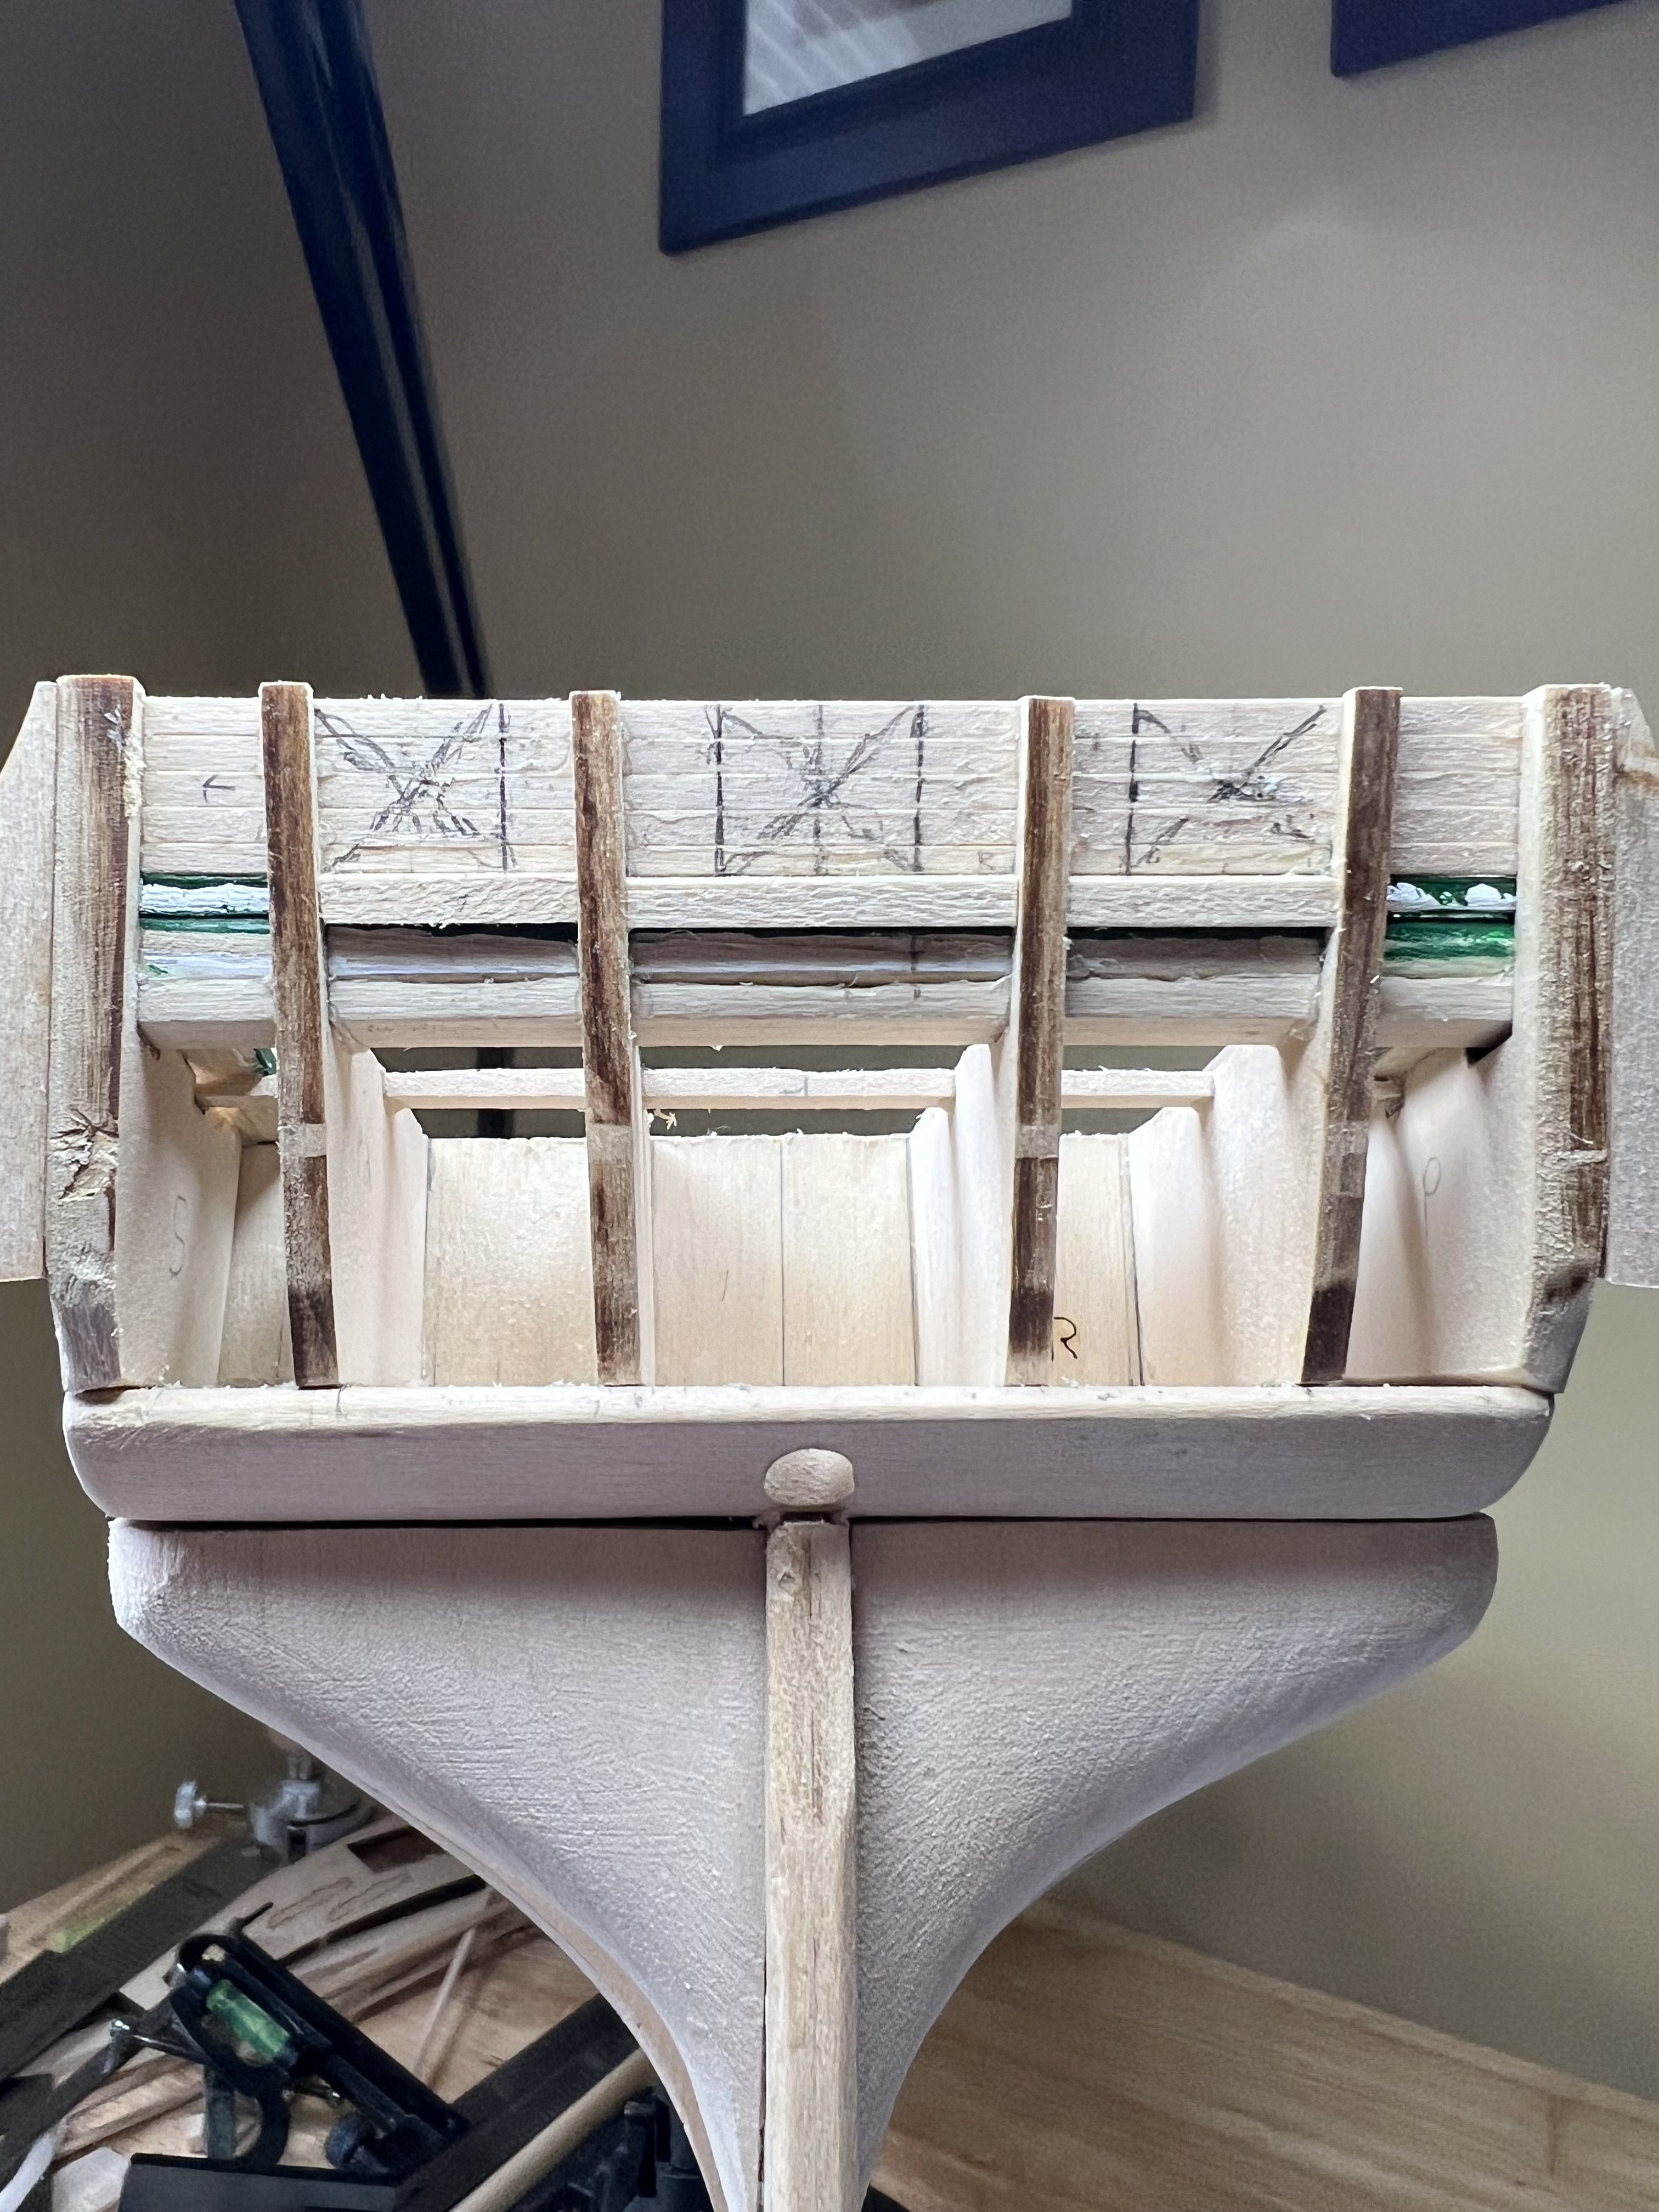
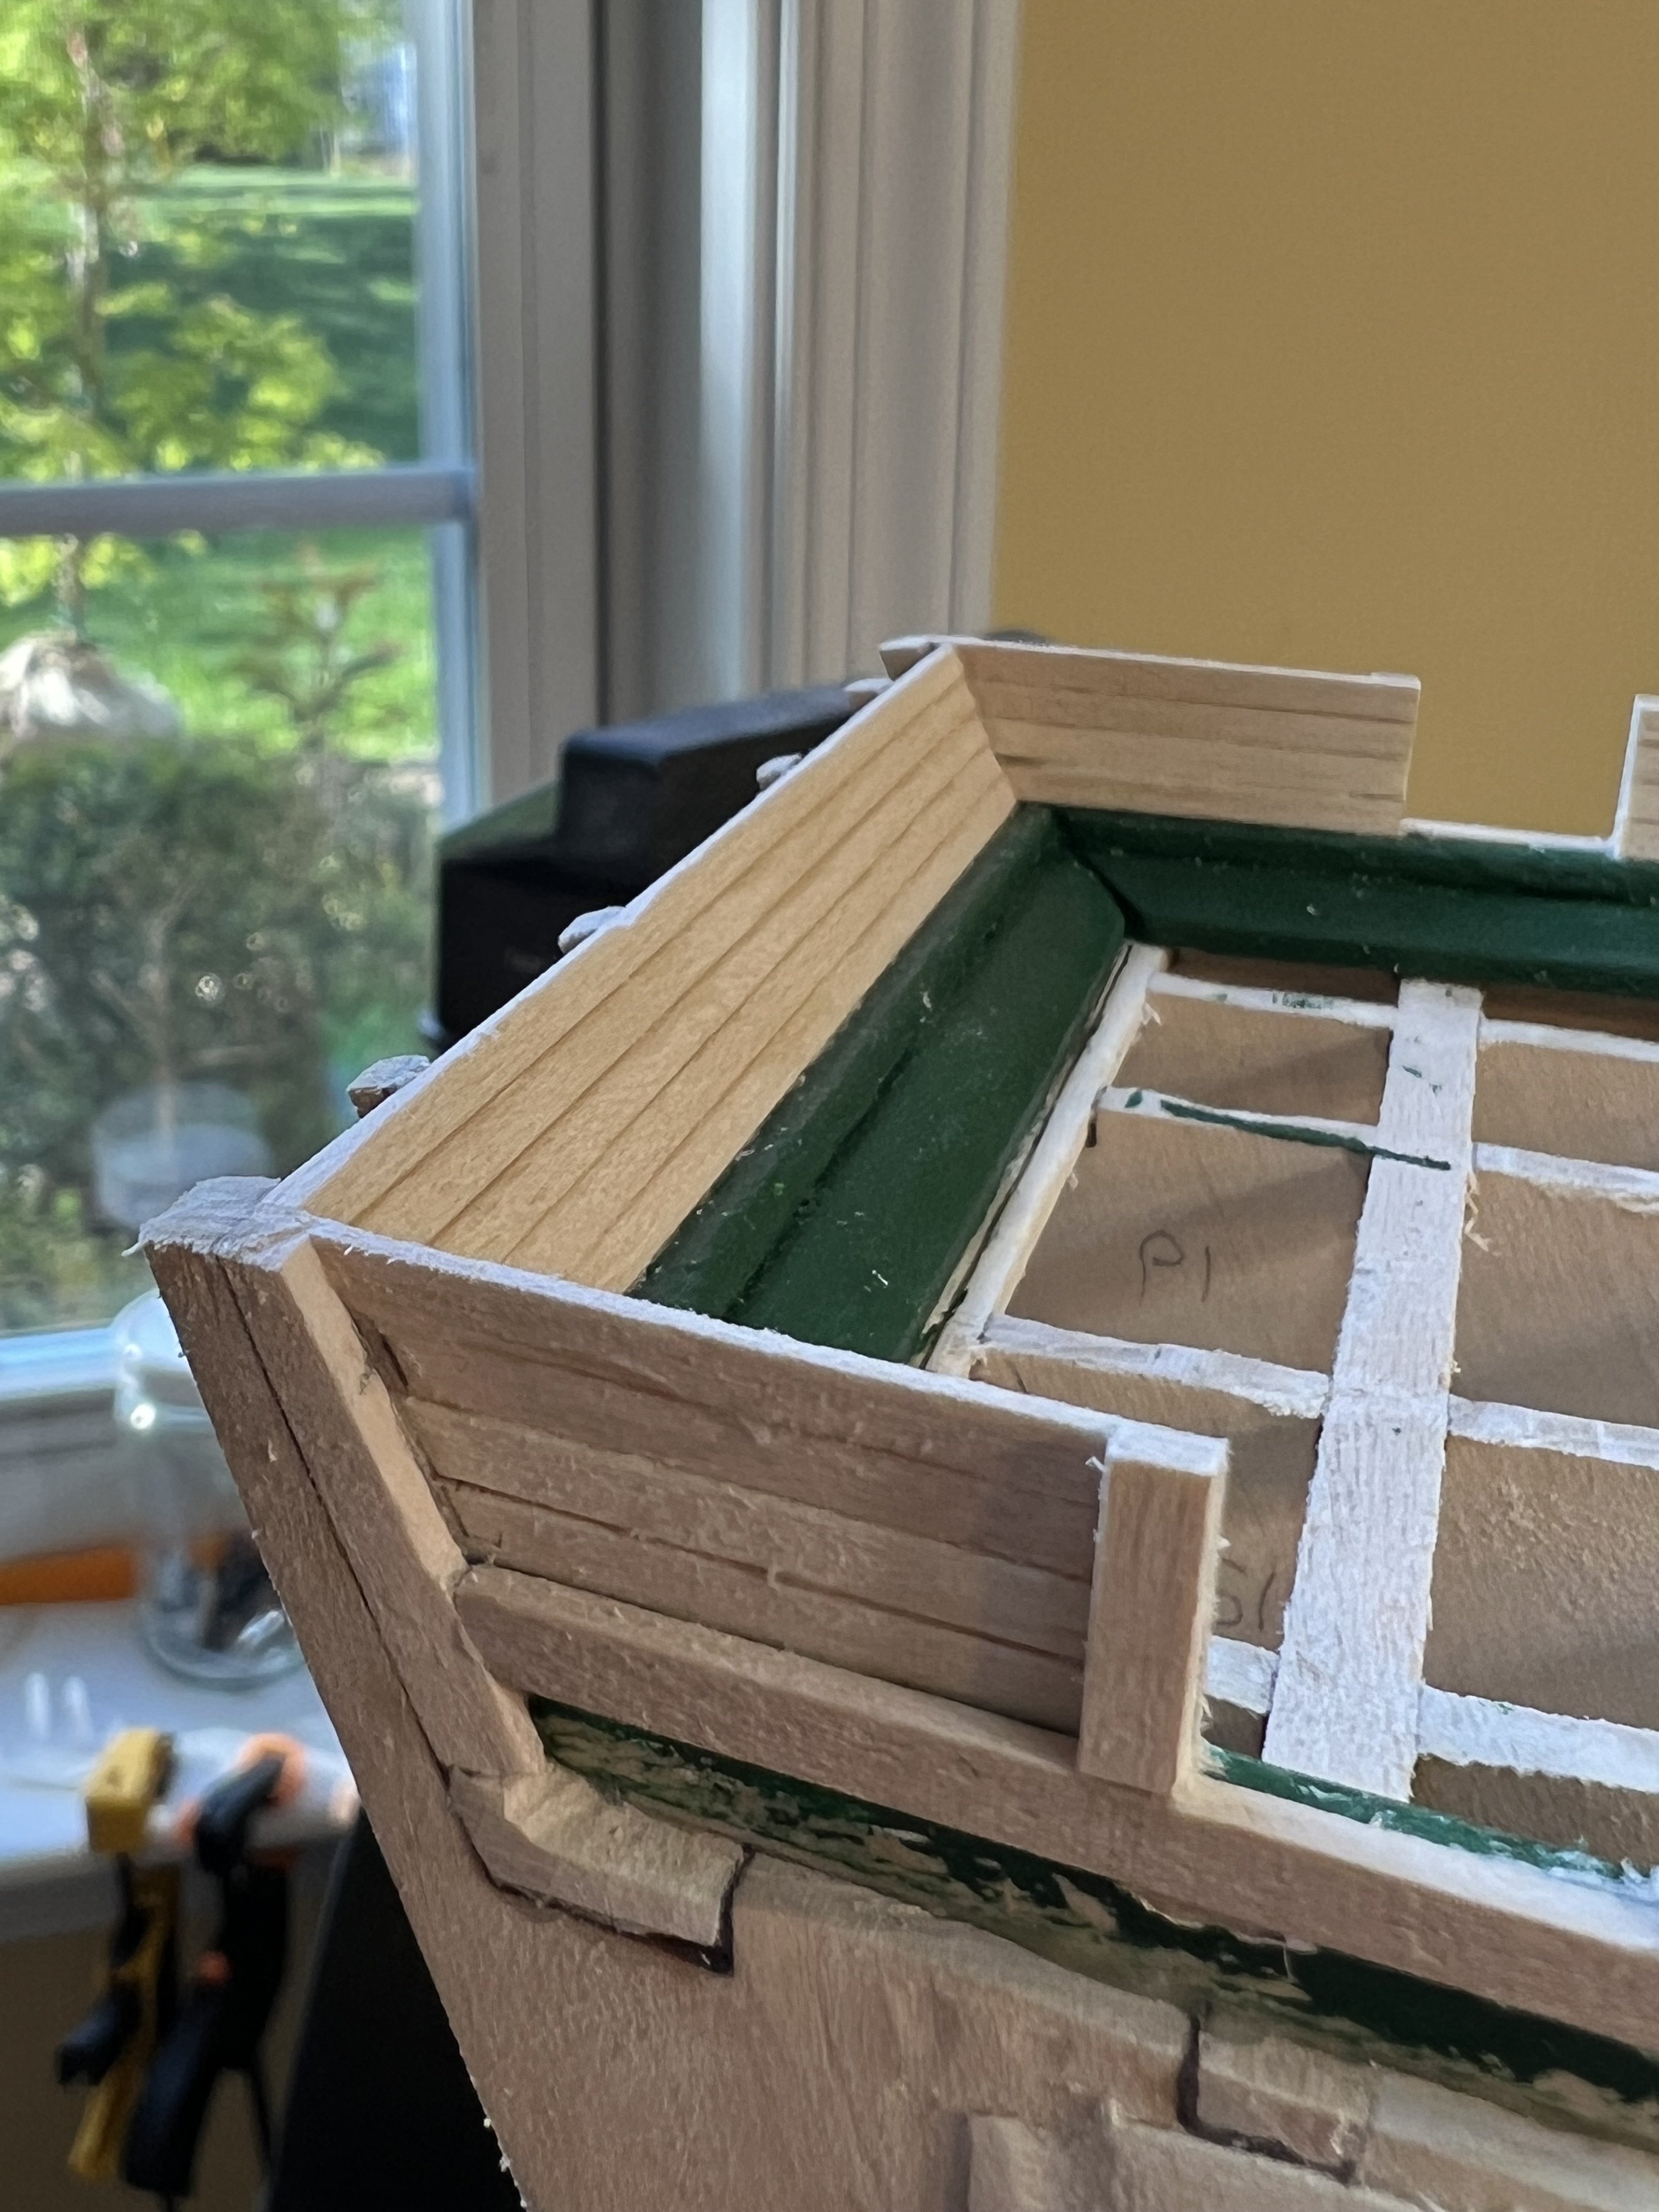
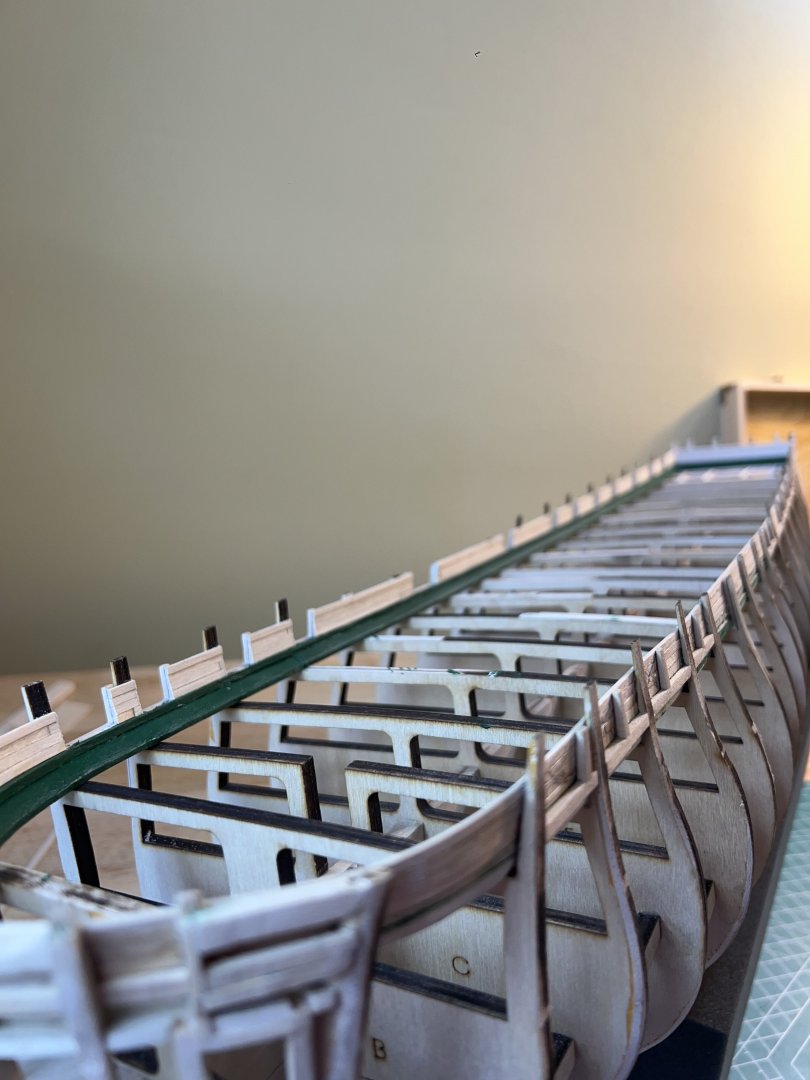
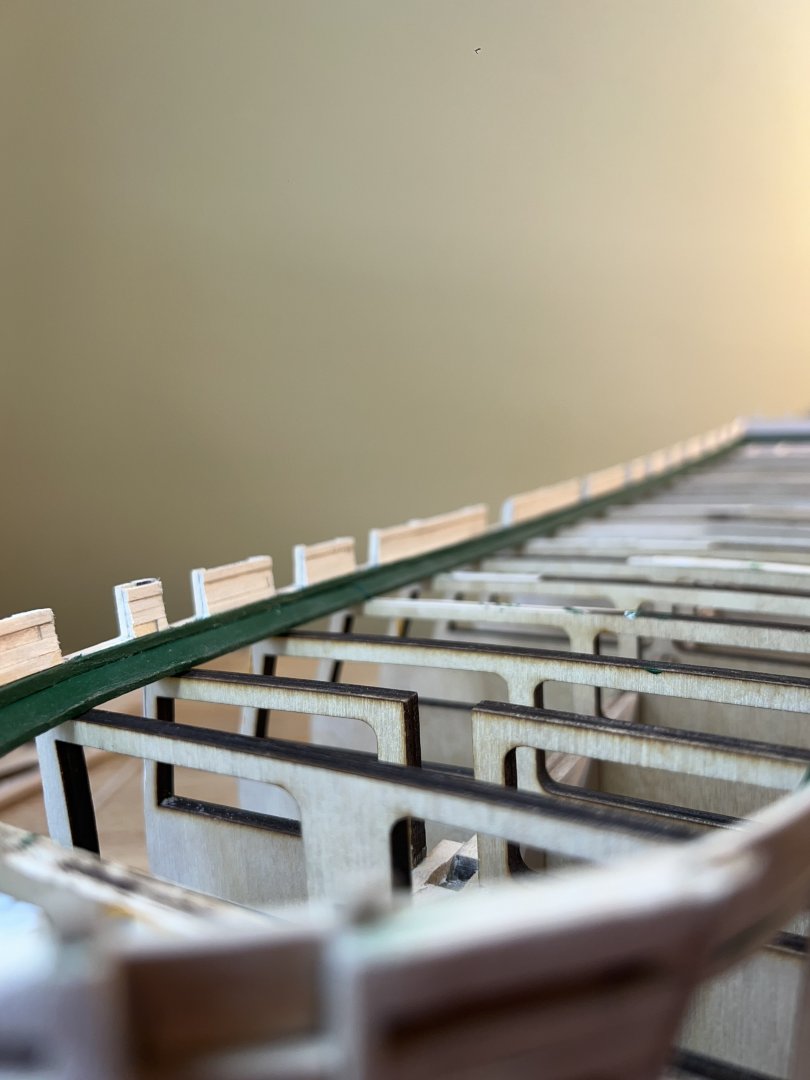
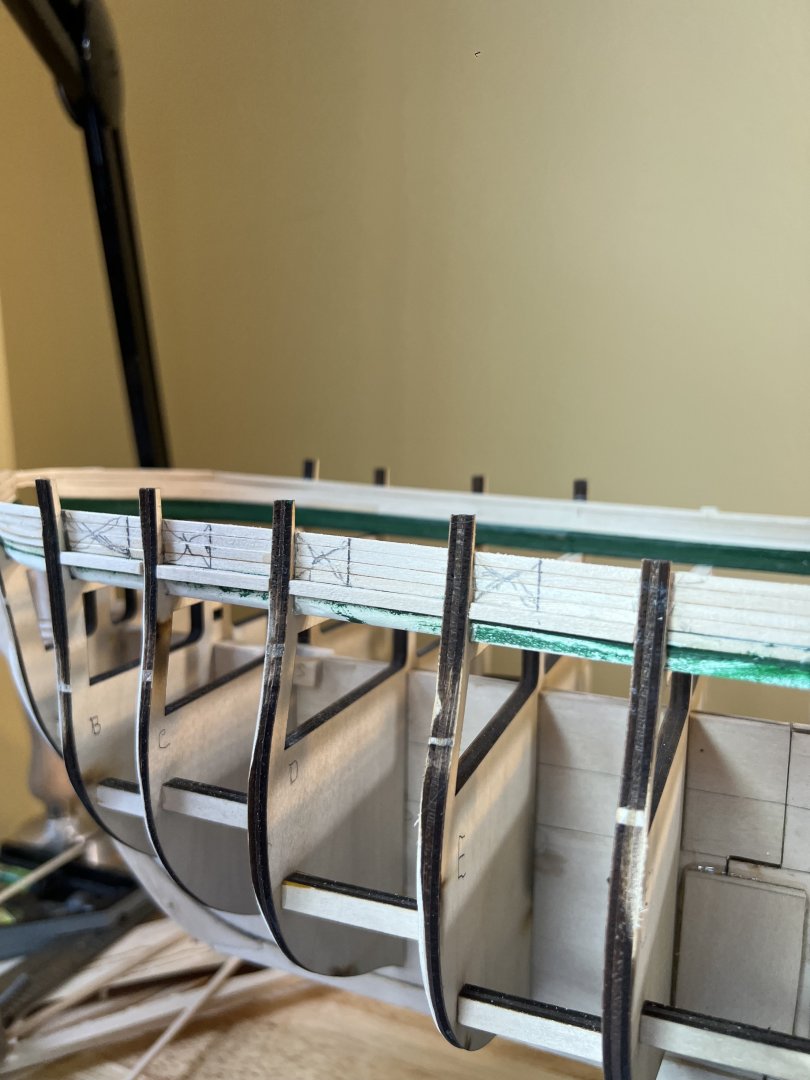
Gunport Framework I’ve measured out the gunports according to the guide. A few points - remember that no cutout exists on the Port side between bulwarks g&h. Be sure to put the line for your “X” to the correct bulwark (the one you measured from). I’ve noticed that the kit supplied 1/8” x 3/32” basswood stripes are not all uniform. Some are thicker - even within a strip. I keep fishing out the better ones from my pile. Hoping I don’t run out of the good ones b/c it’ll be a PIA to thin a bunch of these by hand.
-
Welcome aboard - and especially to another USS Constitution build! I’ve heard good things about the Mamoli kits. There are several active Consitution builds going on - in quite different phases. They could still be of help. Regardless of the maker - the builders here can share great technical skill and help you kill your budget with tool ideas 🙂 Have a great journey - and have fun!! -Andre
-
Great planking - and thanks for the new clamp 🗜️ idea - always looking for new tools!!
-
At this point in the guide though- we are adding “fillers” to represent the outer part of the planksheer. So why would you have one between 3&5 - this area won’t be opened up so that filler (aka planksheer) will never be seen (perhaps I’m mistaken about this). The one that seems it will be opened is between 2&3. I added filler between 3&5 because- why not? But the area between 2&3 will be opened later - the plan sheet 2 shows it as an opening access to the Head - I won’t add the timber until I know it’s needed but it just seems a bit odd. My pic may not look familiar because I added a filler or two “off plan” just for strength.
-
I still haven’t found out what the problem was. Everything seems to have worked out so far - I like the way the lines look. Thanks for checking back in.
-
Jon - I was thinking the same thing. At worst - you have to carve it back out. Better than trying to surgically implant the fillers 8 steps later. I already added them between the 3&5, but as I ponder them - they’ll add purchase area for planking. So I’ll leave them and take the (short) time to add the fillers between 2&3. This hobby is tough in the Spring. Ground’s maintenance is screaming for attention - but these cannon slots are finally appealing work vs all this previous substrate (unseen) stuff 😂 🤣 Hopefully my summer shipwright work won’t get too sloppy between the competing priorities (vacations, swim meets, golf, etc!). I love this hobby but don’t want this taking 15 years. As my young daughter watches, I’m trying to impart so many lessons. Patience, yet knowing when to cut bait (vis-a-vis research)…perfect is the enemy of progress, magnification must be tempered by reality, jumping into the deep end is OK (after gauging the risk) - and of course- not letting her see dad get pissed off at a wooden ship model. In retrospect- this model was over my current abilities (after only completing the Swift), but not my skill - if that makes sense. Nothing I have encountered is beyond my skill - my greatest weakness so far is in not looking 3,5, 10 steps ahead. My relative failures so far have been when I said “this is good enough”, but didn’t realize the future implications. Jon - sorry for the somewhat of a ranting reply to your comment. But I suspect there are several folks who are just lurking and biding their time to begin their USS Constitution build (which has been hiding in a closet like a bottle of Pappy Van Winkle awaiting “that moment”). I just want them to jump in and carpe diem! Dont wait until your age or patience betray you. Thanks Jon!
-
Practicum question - Hunt’s guide states to add an outer Planksheer (filler) between bow framework timbers 3&5. Shouldn’t that be 2&3?
-
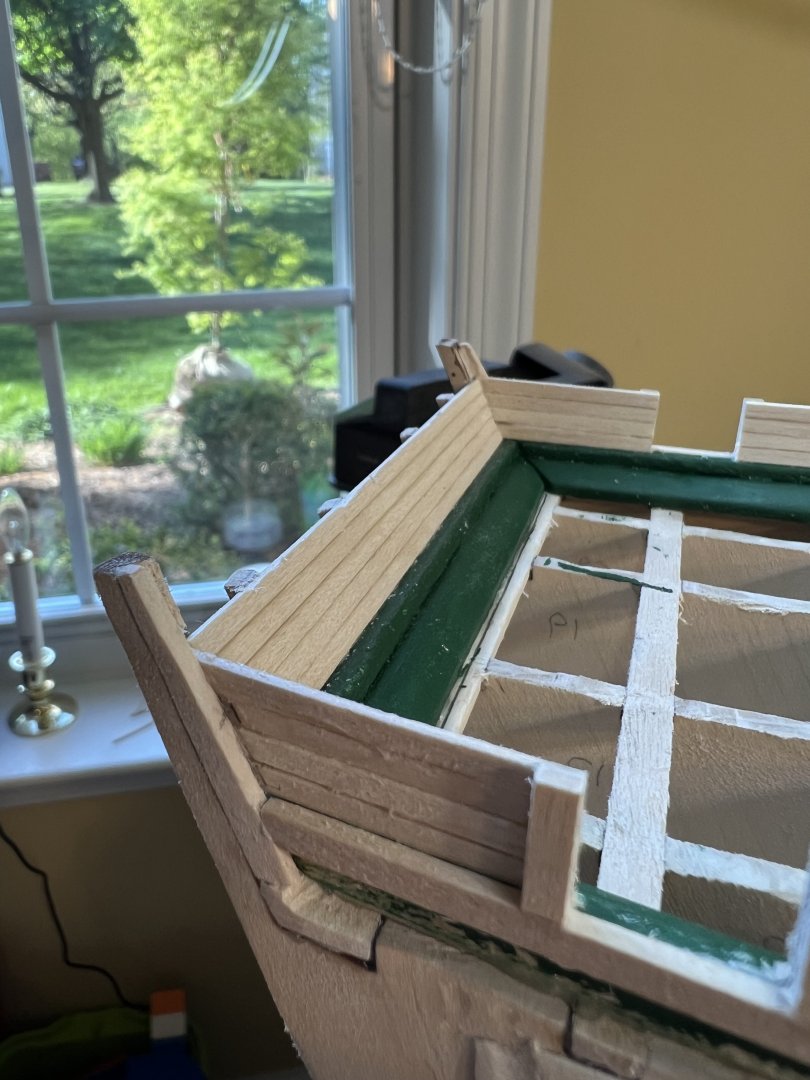
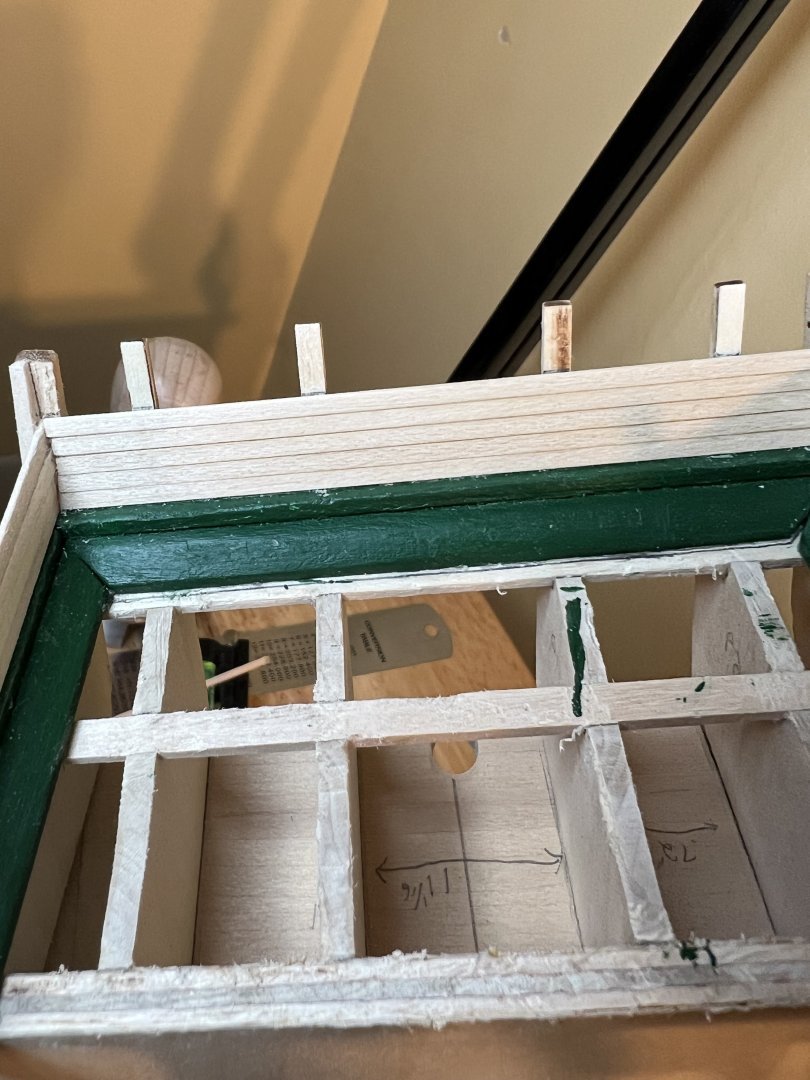
I made quick work of the 5 stern inner bulwarks planks. I may have over beveled my first plank - according to the practicum (I’m going to call it “the guide” from now on) - I would need to shave the 5th plank a bit to match the 4 Stbd and port planks. Mine however- fit almost perfectly. I had a minor heart palpitation when I realized I still had a full half inch of rear transom risers after laying the 5th plank. I recalled seeing someone’s blog where they were flush with the last plank. Of course - that’s a step coming up soon to prep for the rail. 🙄 Every once in a while I get those moments when I think I totally screwed something up. Probably a hangover from Bob Hunt telling me I should start from scratch and that my rabbet was “terrible”. 😂
-
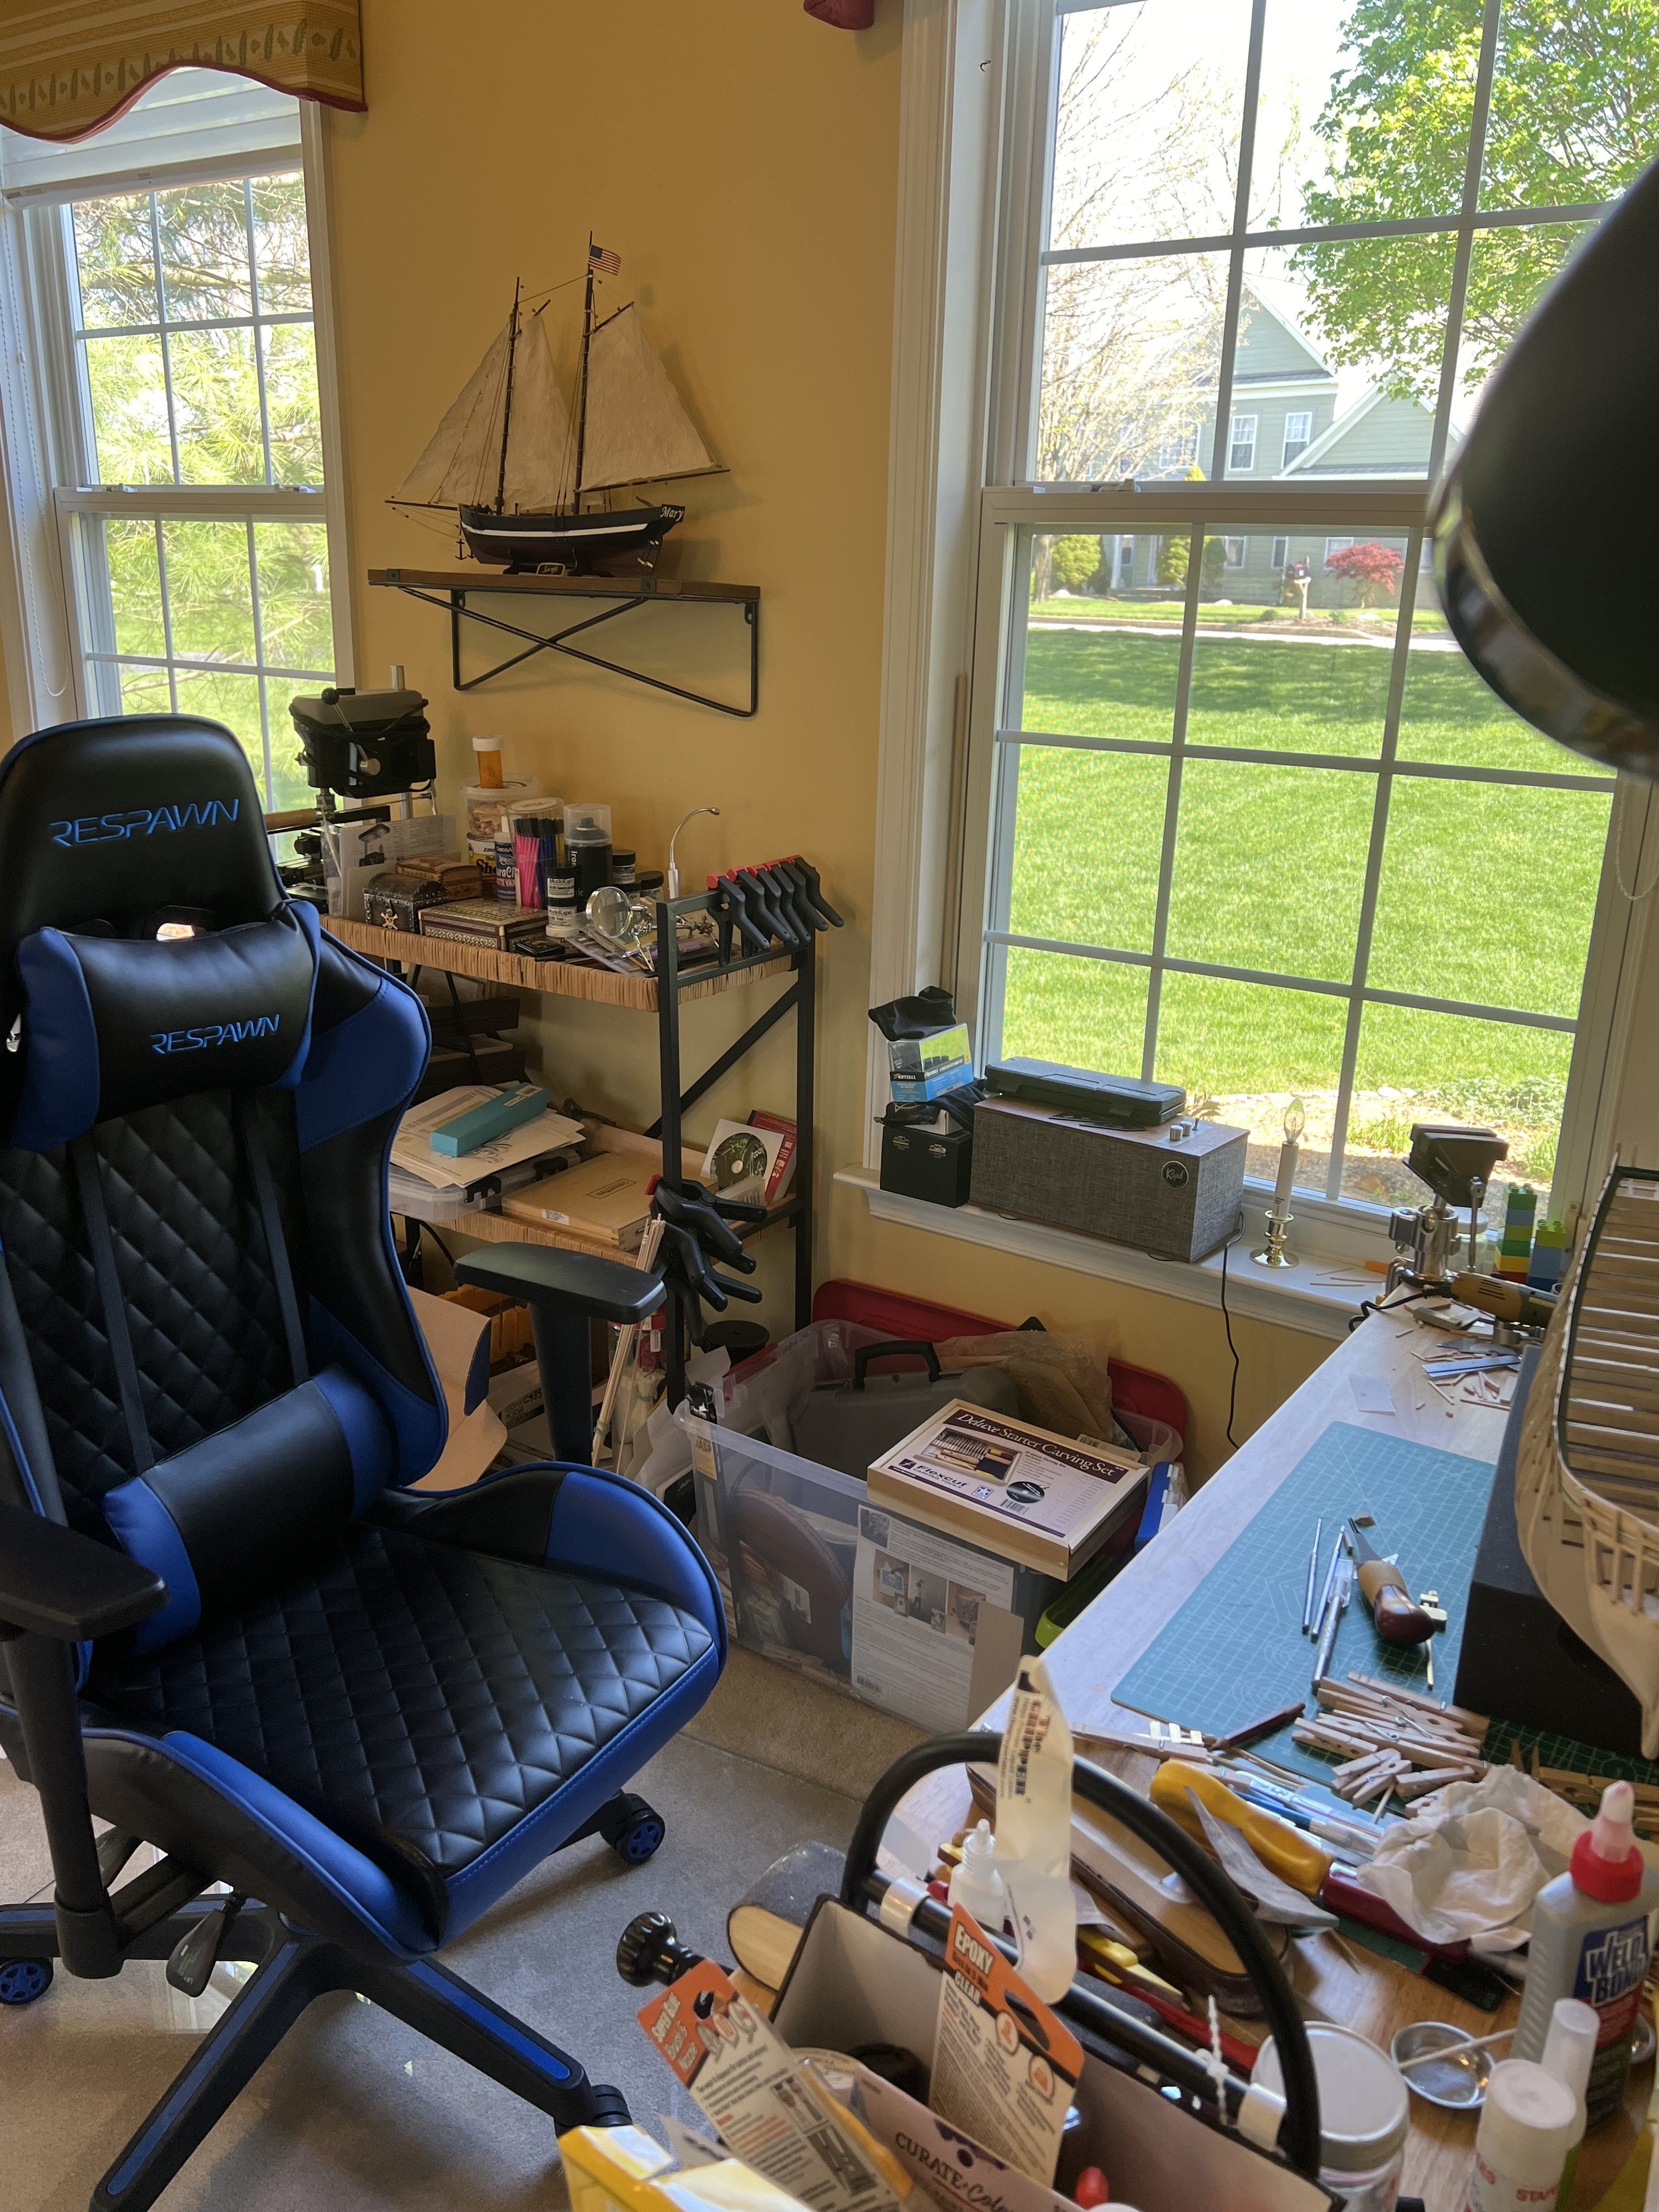
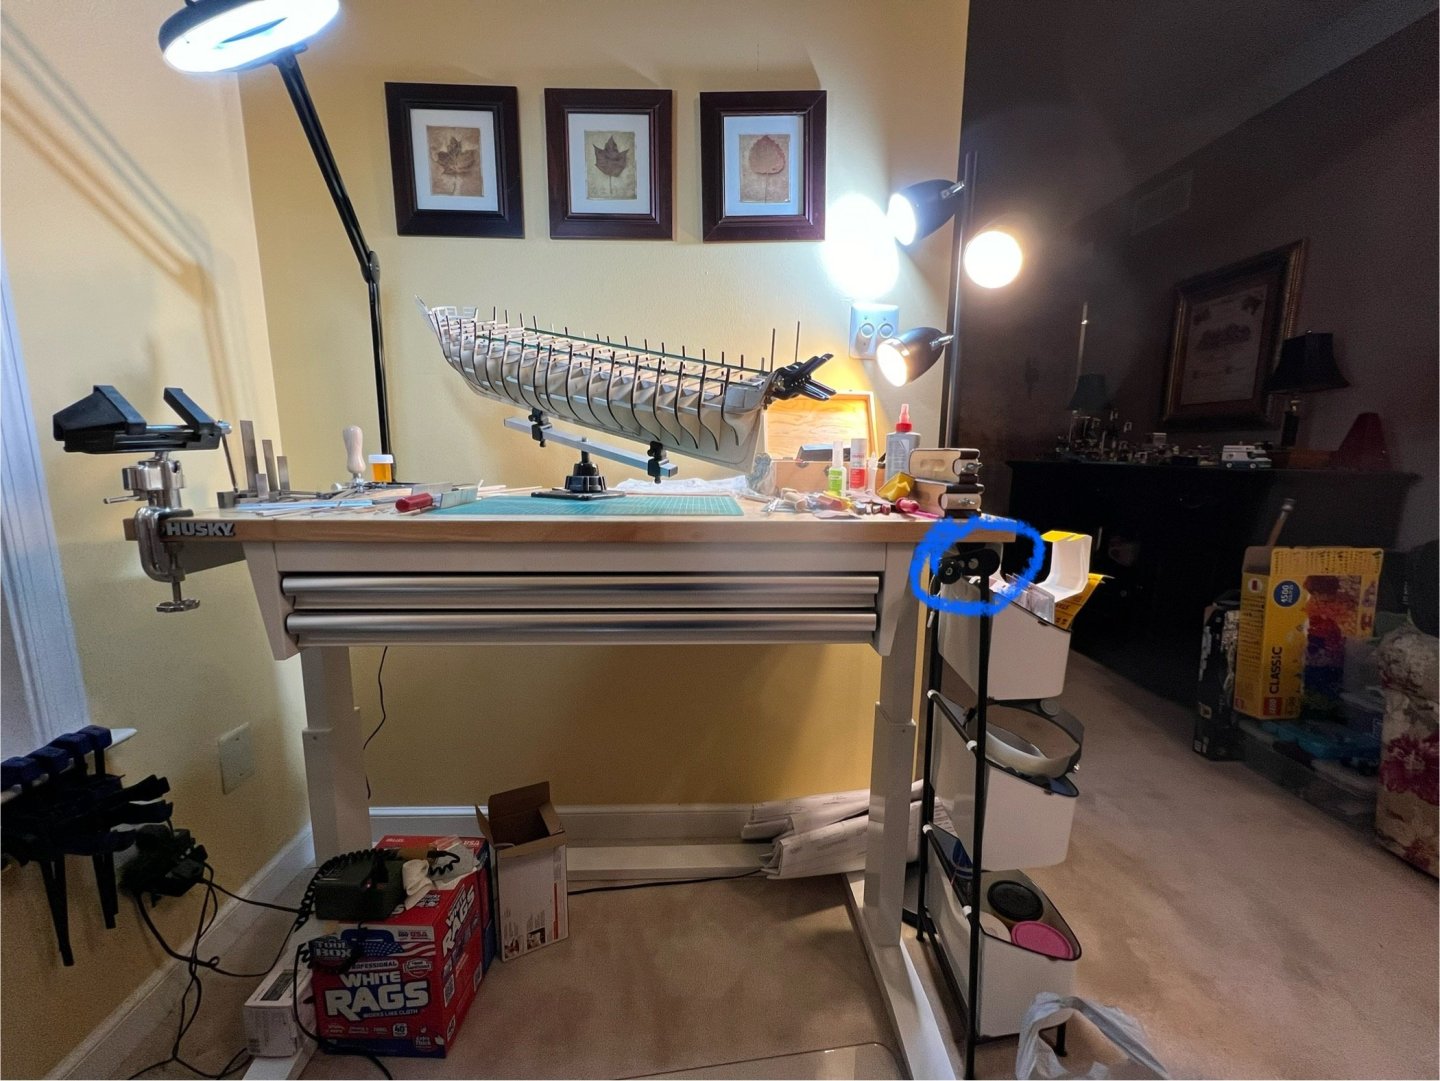
It’s great to see those set-ups - thanks all for sharing! I like to see the shops/spaces you all have - feels like it’s a little bit of getting to know you. My goal when I retire (in New England) is to have a full workshop, possibly in a barn - with a stove and ocean view - for all the power tools I can handle and I can play music as loud as I want Cheers! Andre
-
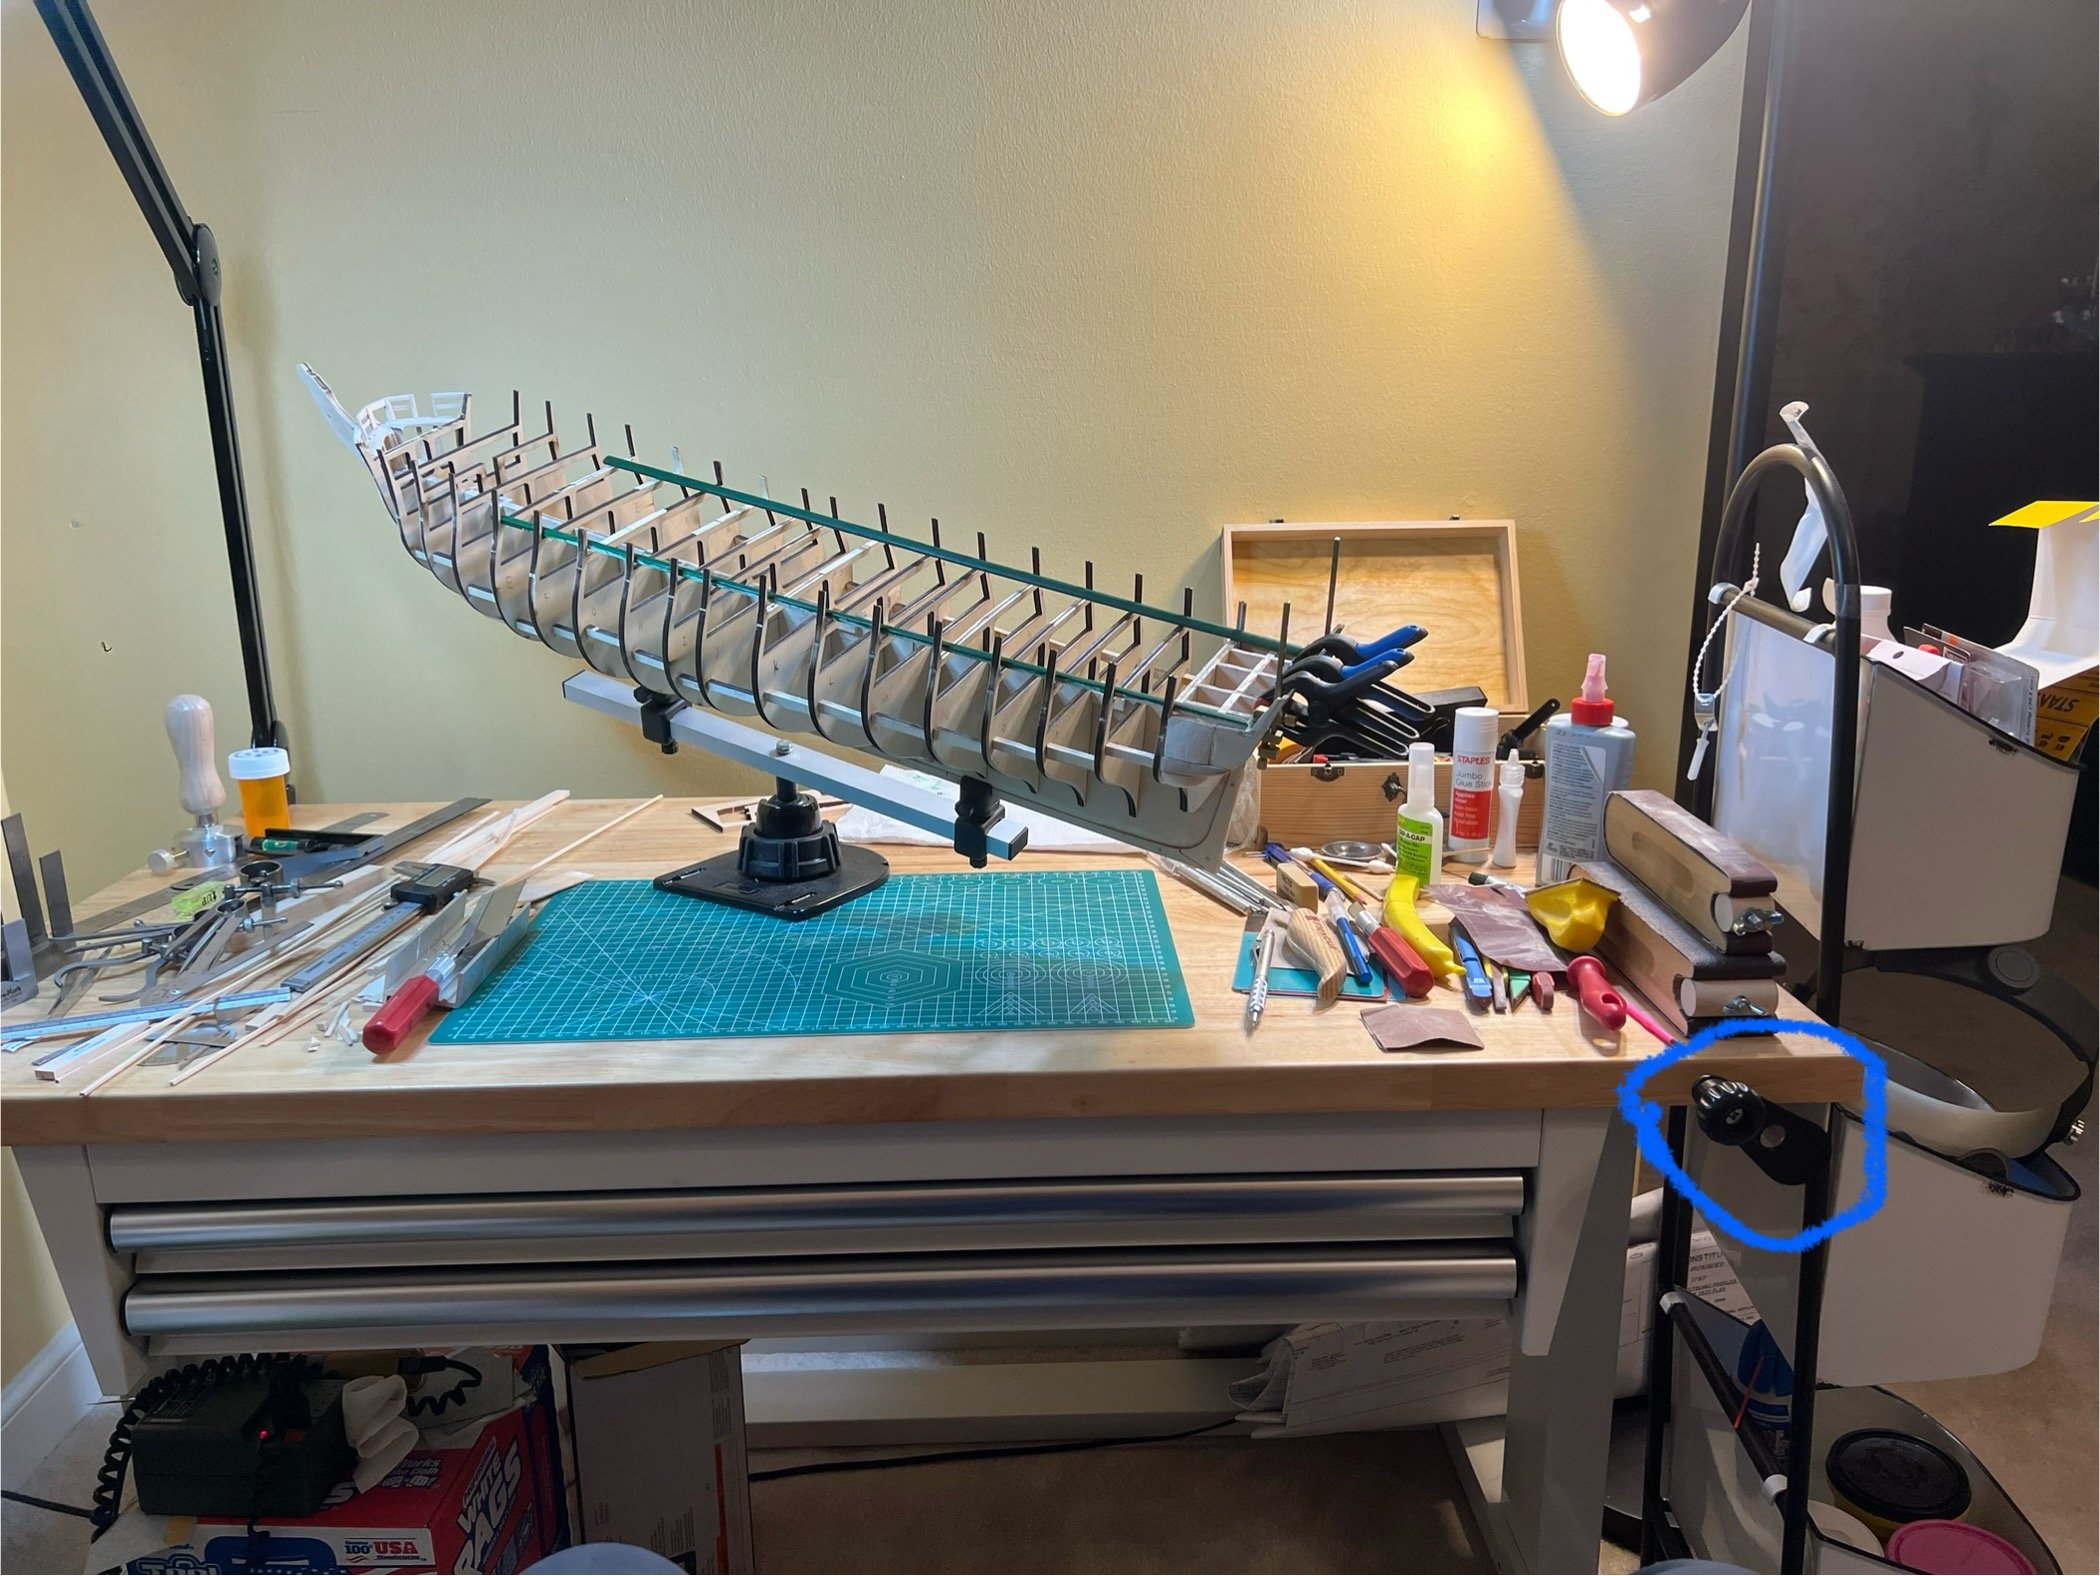
Workspace I’m curious about the work/hobby stations folks use. I’m fortunate to have a workspace in the sunroom - it allows me to work and still be sociable. I suspect folks probably like getting some Q/T in a remote shop/space - but I prefer it this way. I do have a vacuum “wand” that I use regularly after whittling and sanding. My garage has the few power tools capable of being utilized for this hobby; Scrollsaw, lathe and an old Central Machinery combo 6” belt & disk sander. One of my favorite “tools” is my work desk. Can be raised or lowered with a hand crank. I circled the crank and the range of movement can be gauged by the white bucket shelves to the right.


-
Peter - Thanks for your suggestion regarding the filler blocks. What's the reason behind your suggestion? And from your experience, would it make a difference if I made them out of hardwood or balsa? Do you feel that a full block is needed to fill the bulwark space? Would just an inch or two thick work? Making these things mostly with hand tools is a bit of a PIA, so I'm hesitant to do it, especially with no plans to work off of. But I know if you suggested it, it's likely worth the time! My guess is that without them, the planks began to buckle a bit at the bend and/or the markings for the planks was more difficult? Regards, Andre
-
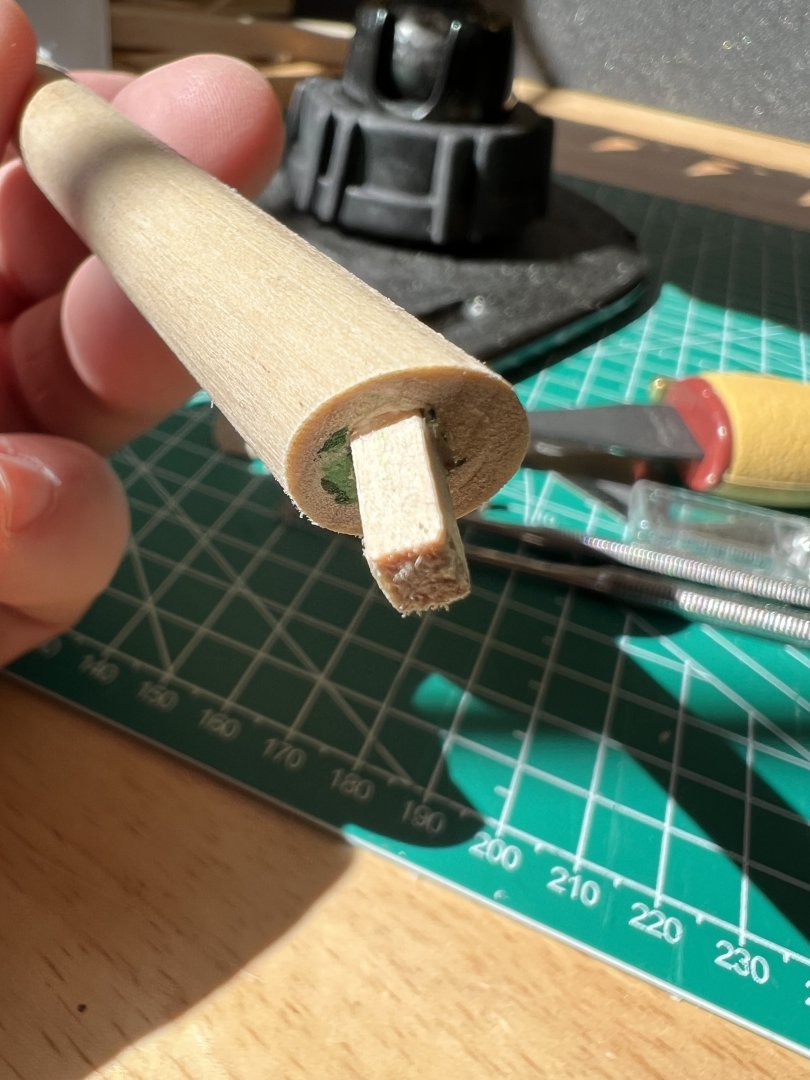
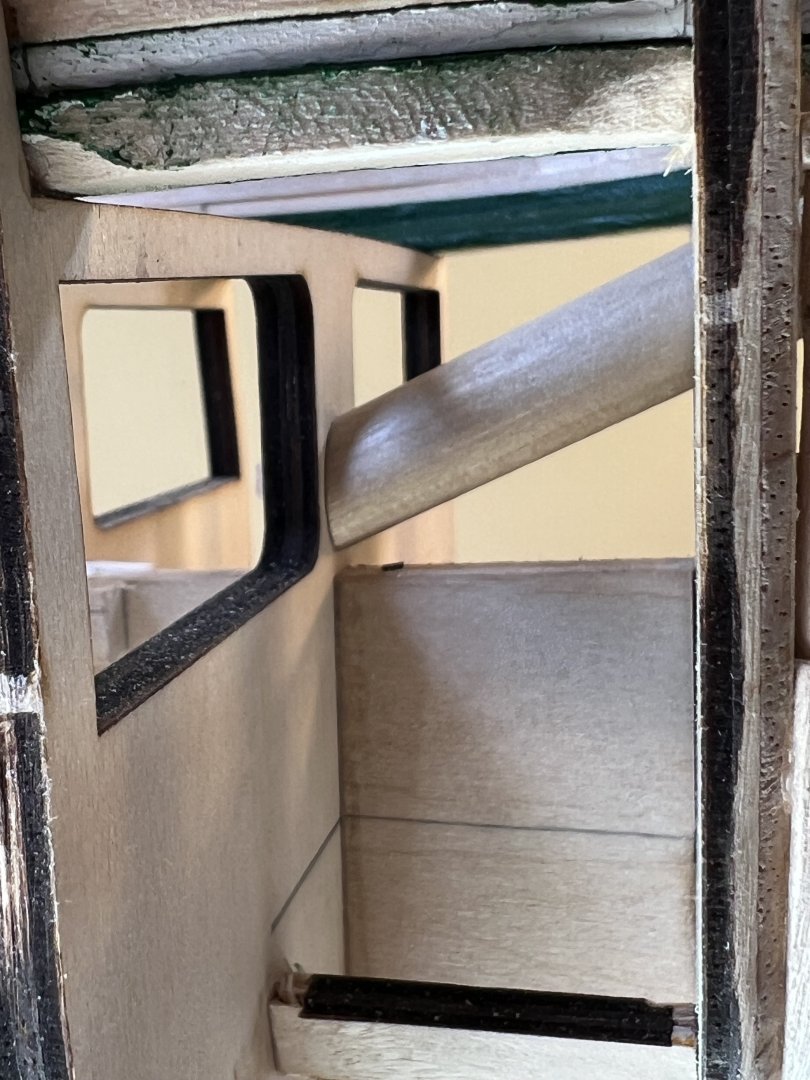
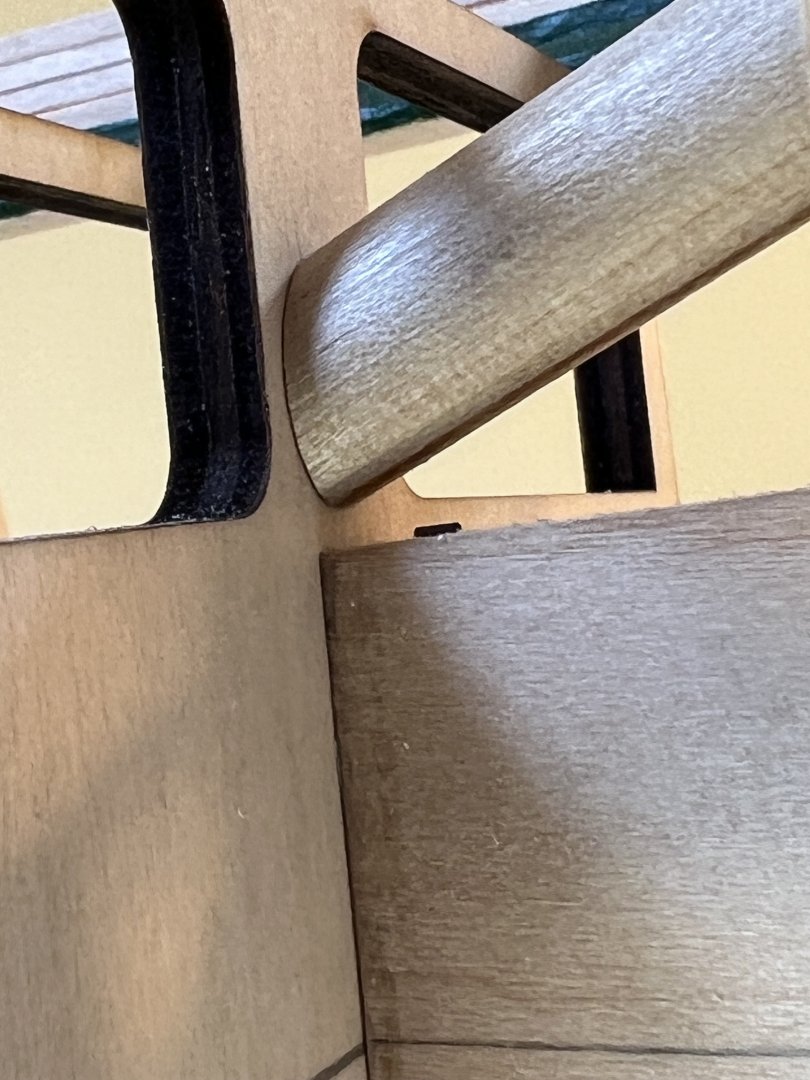
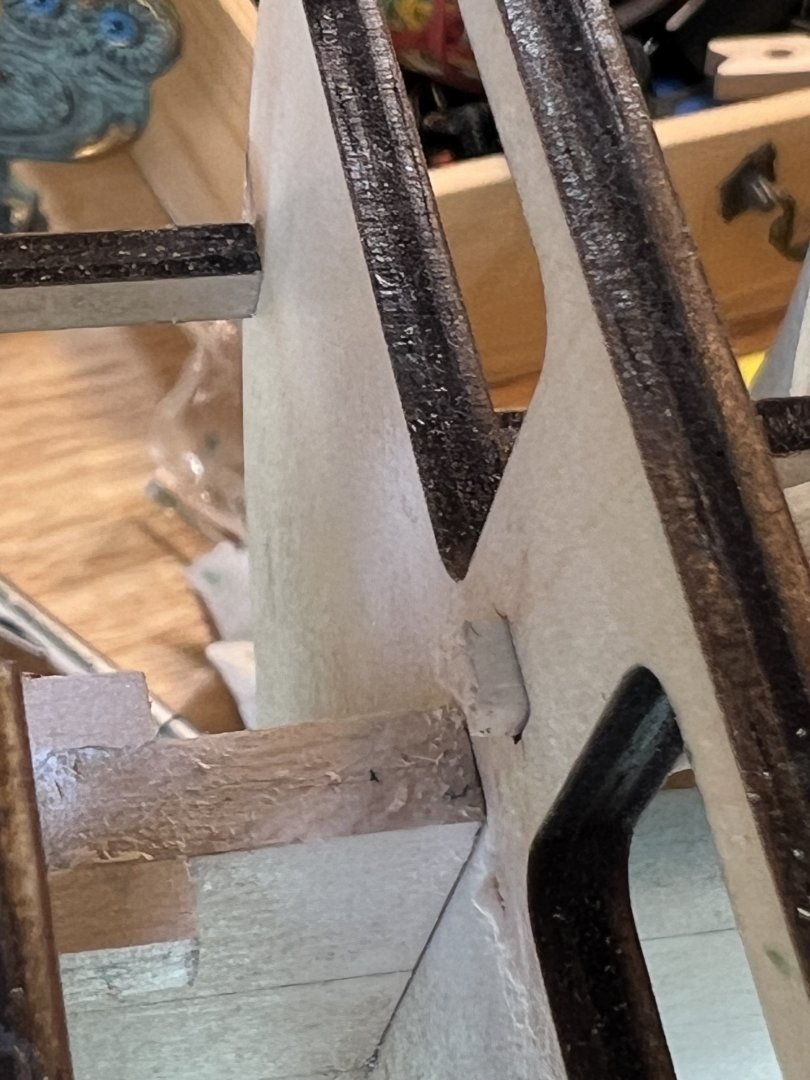
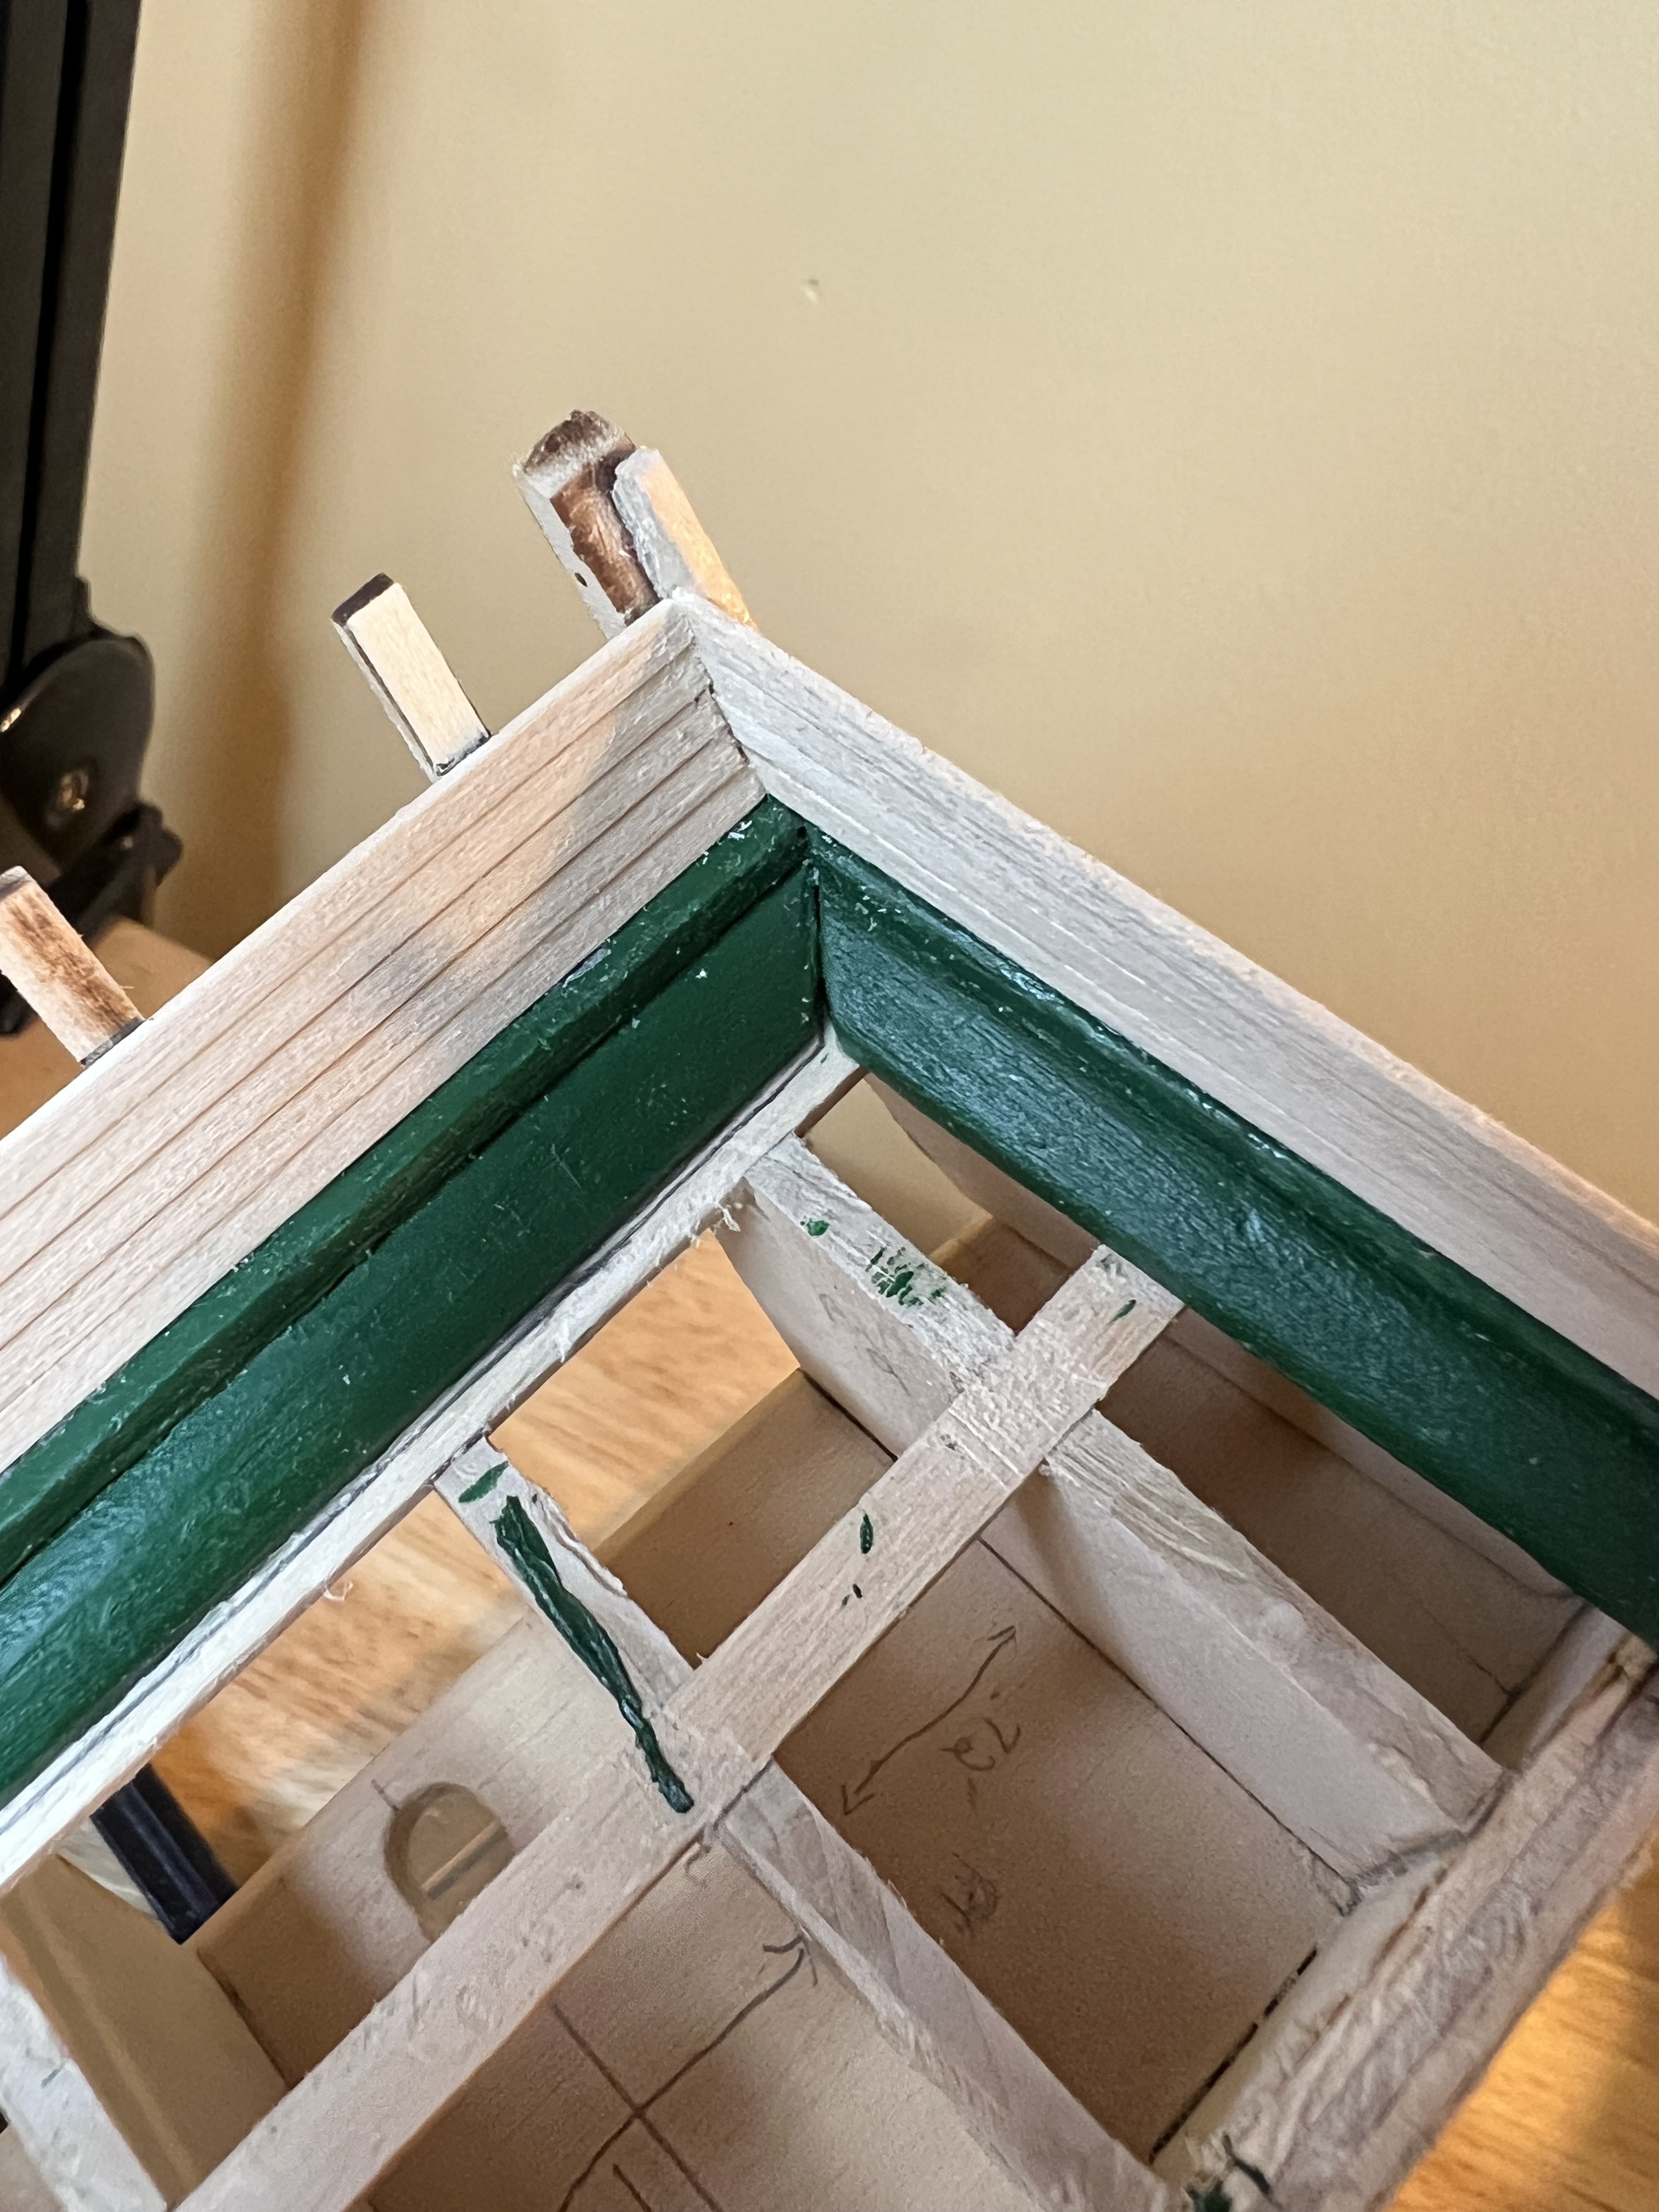
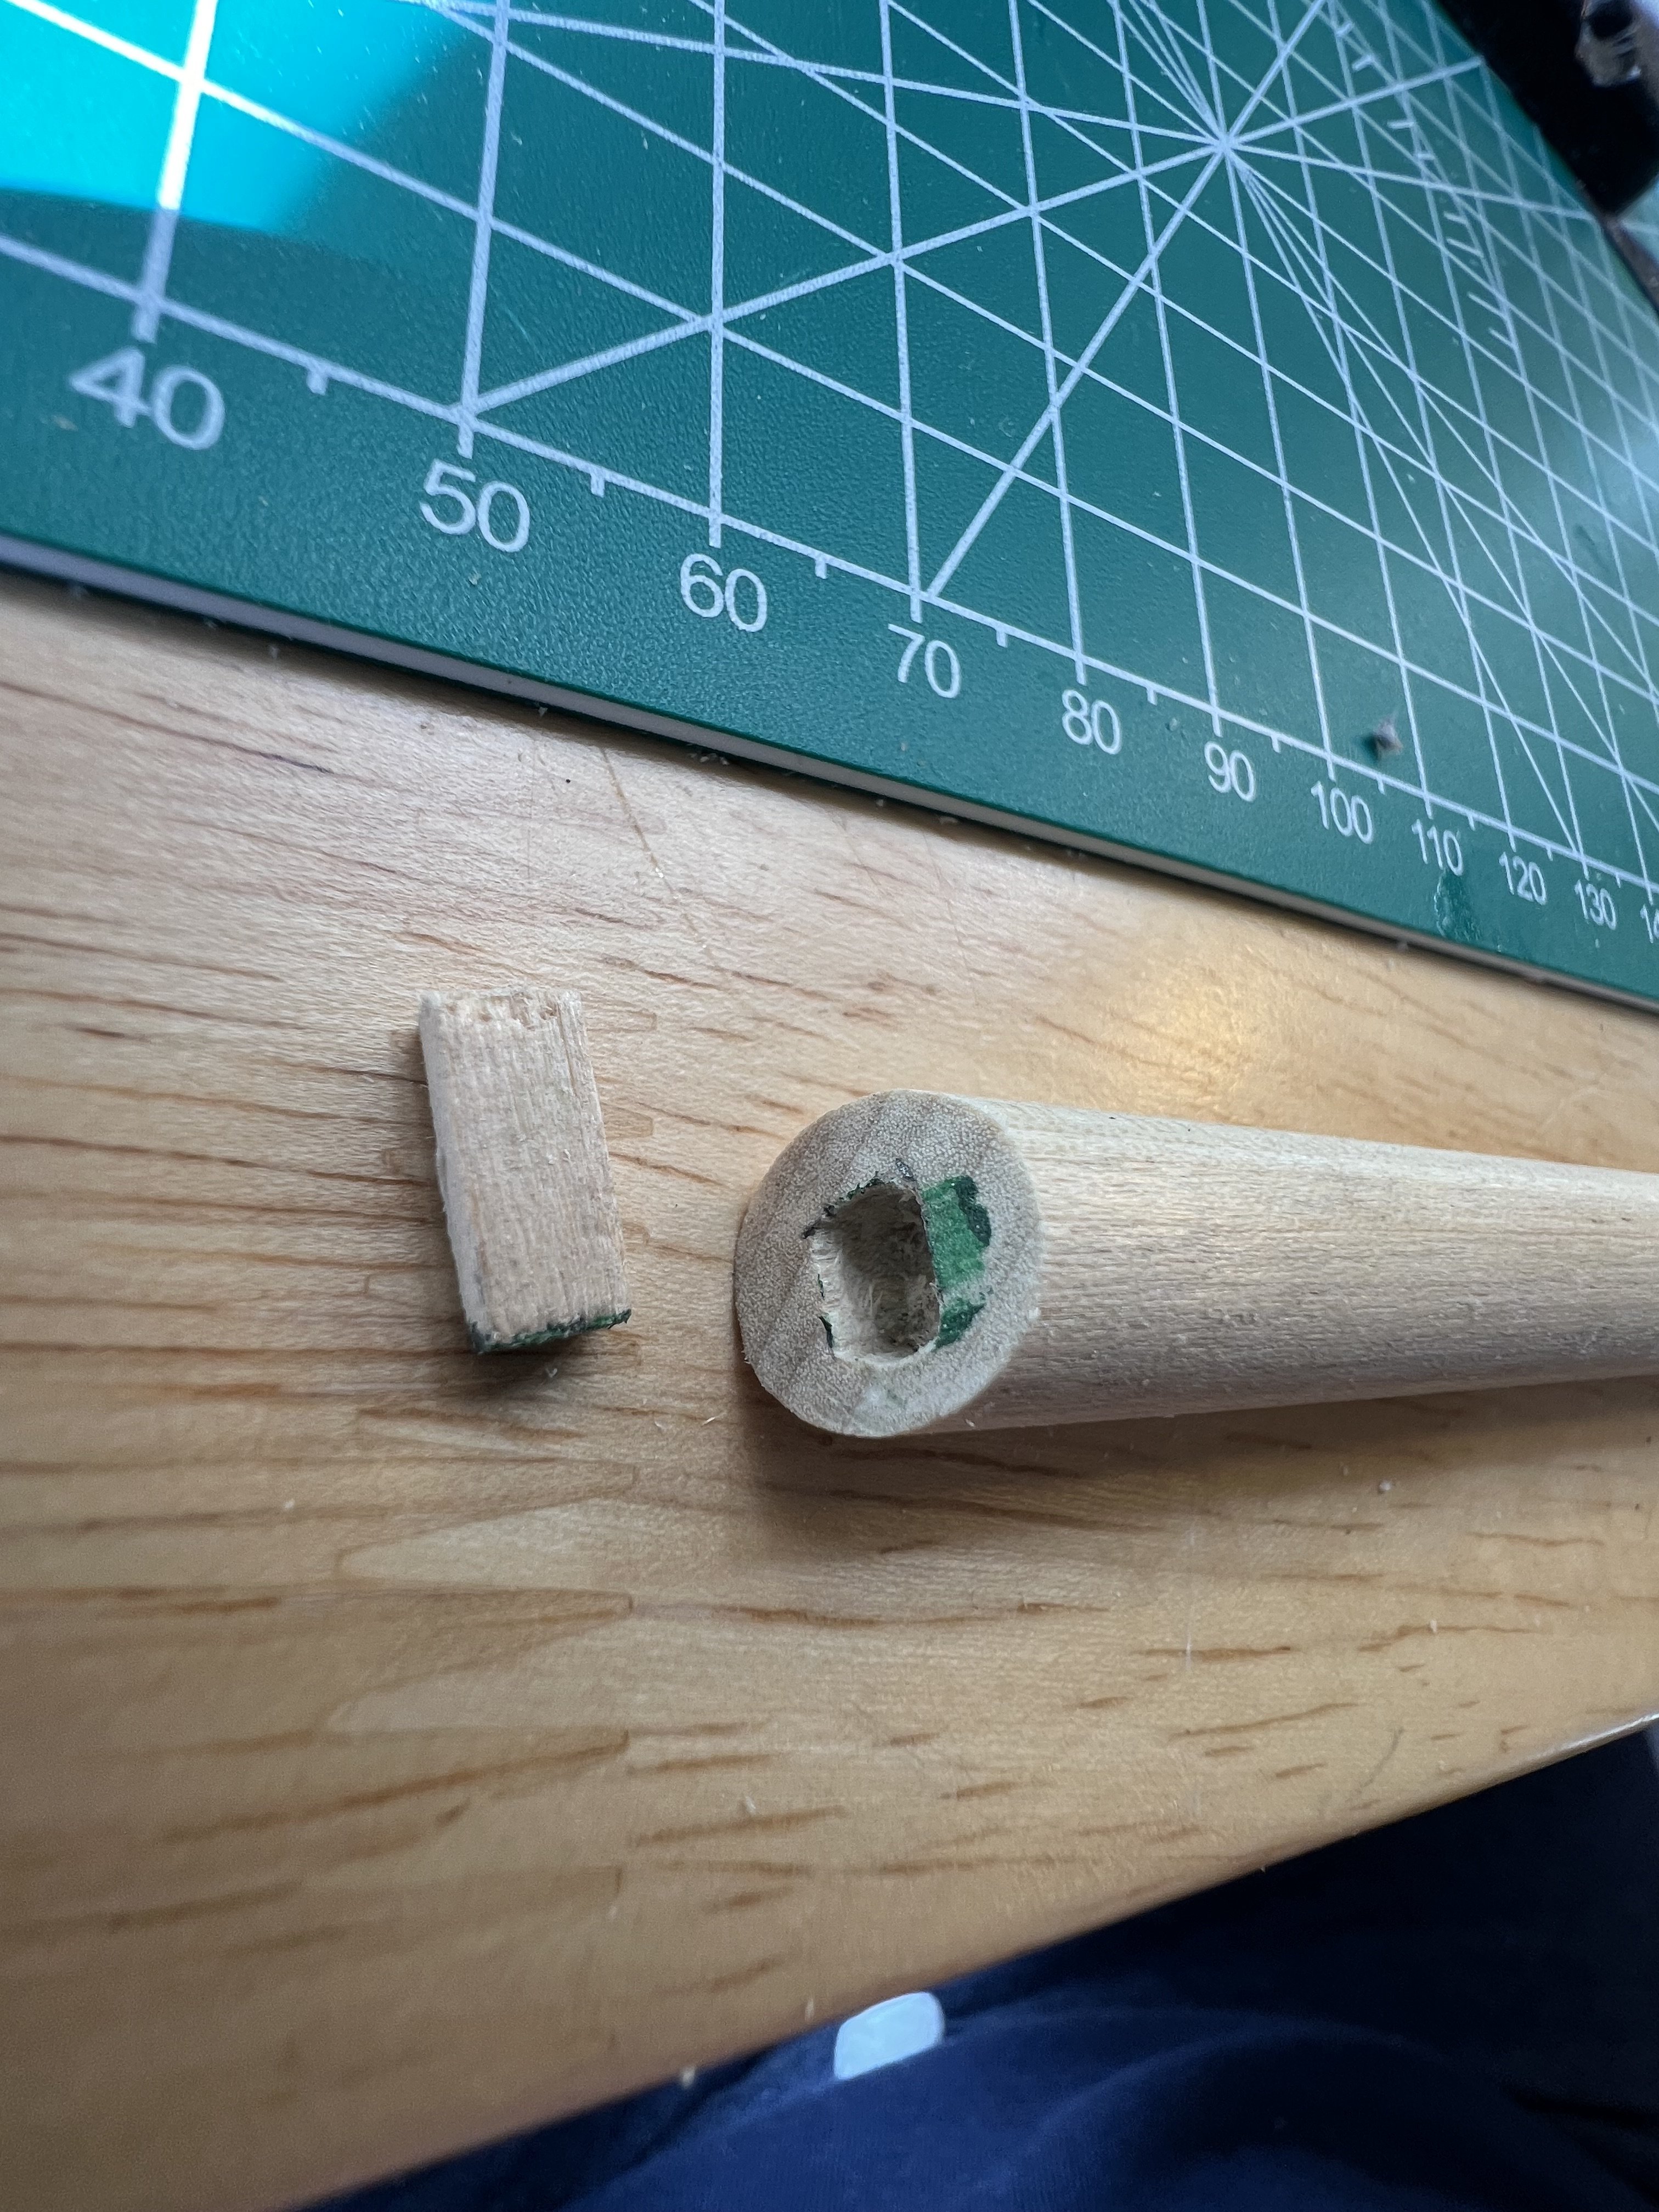
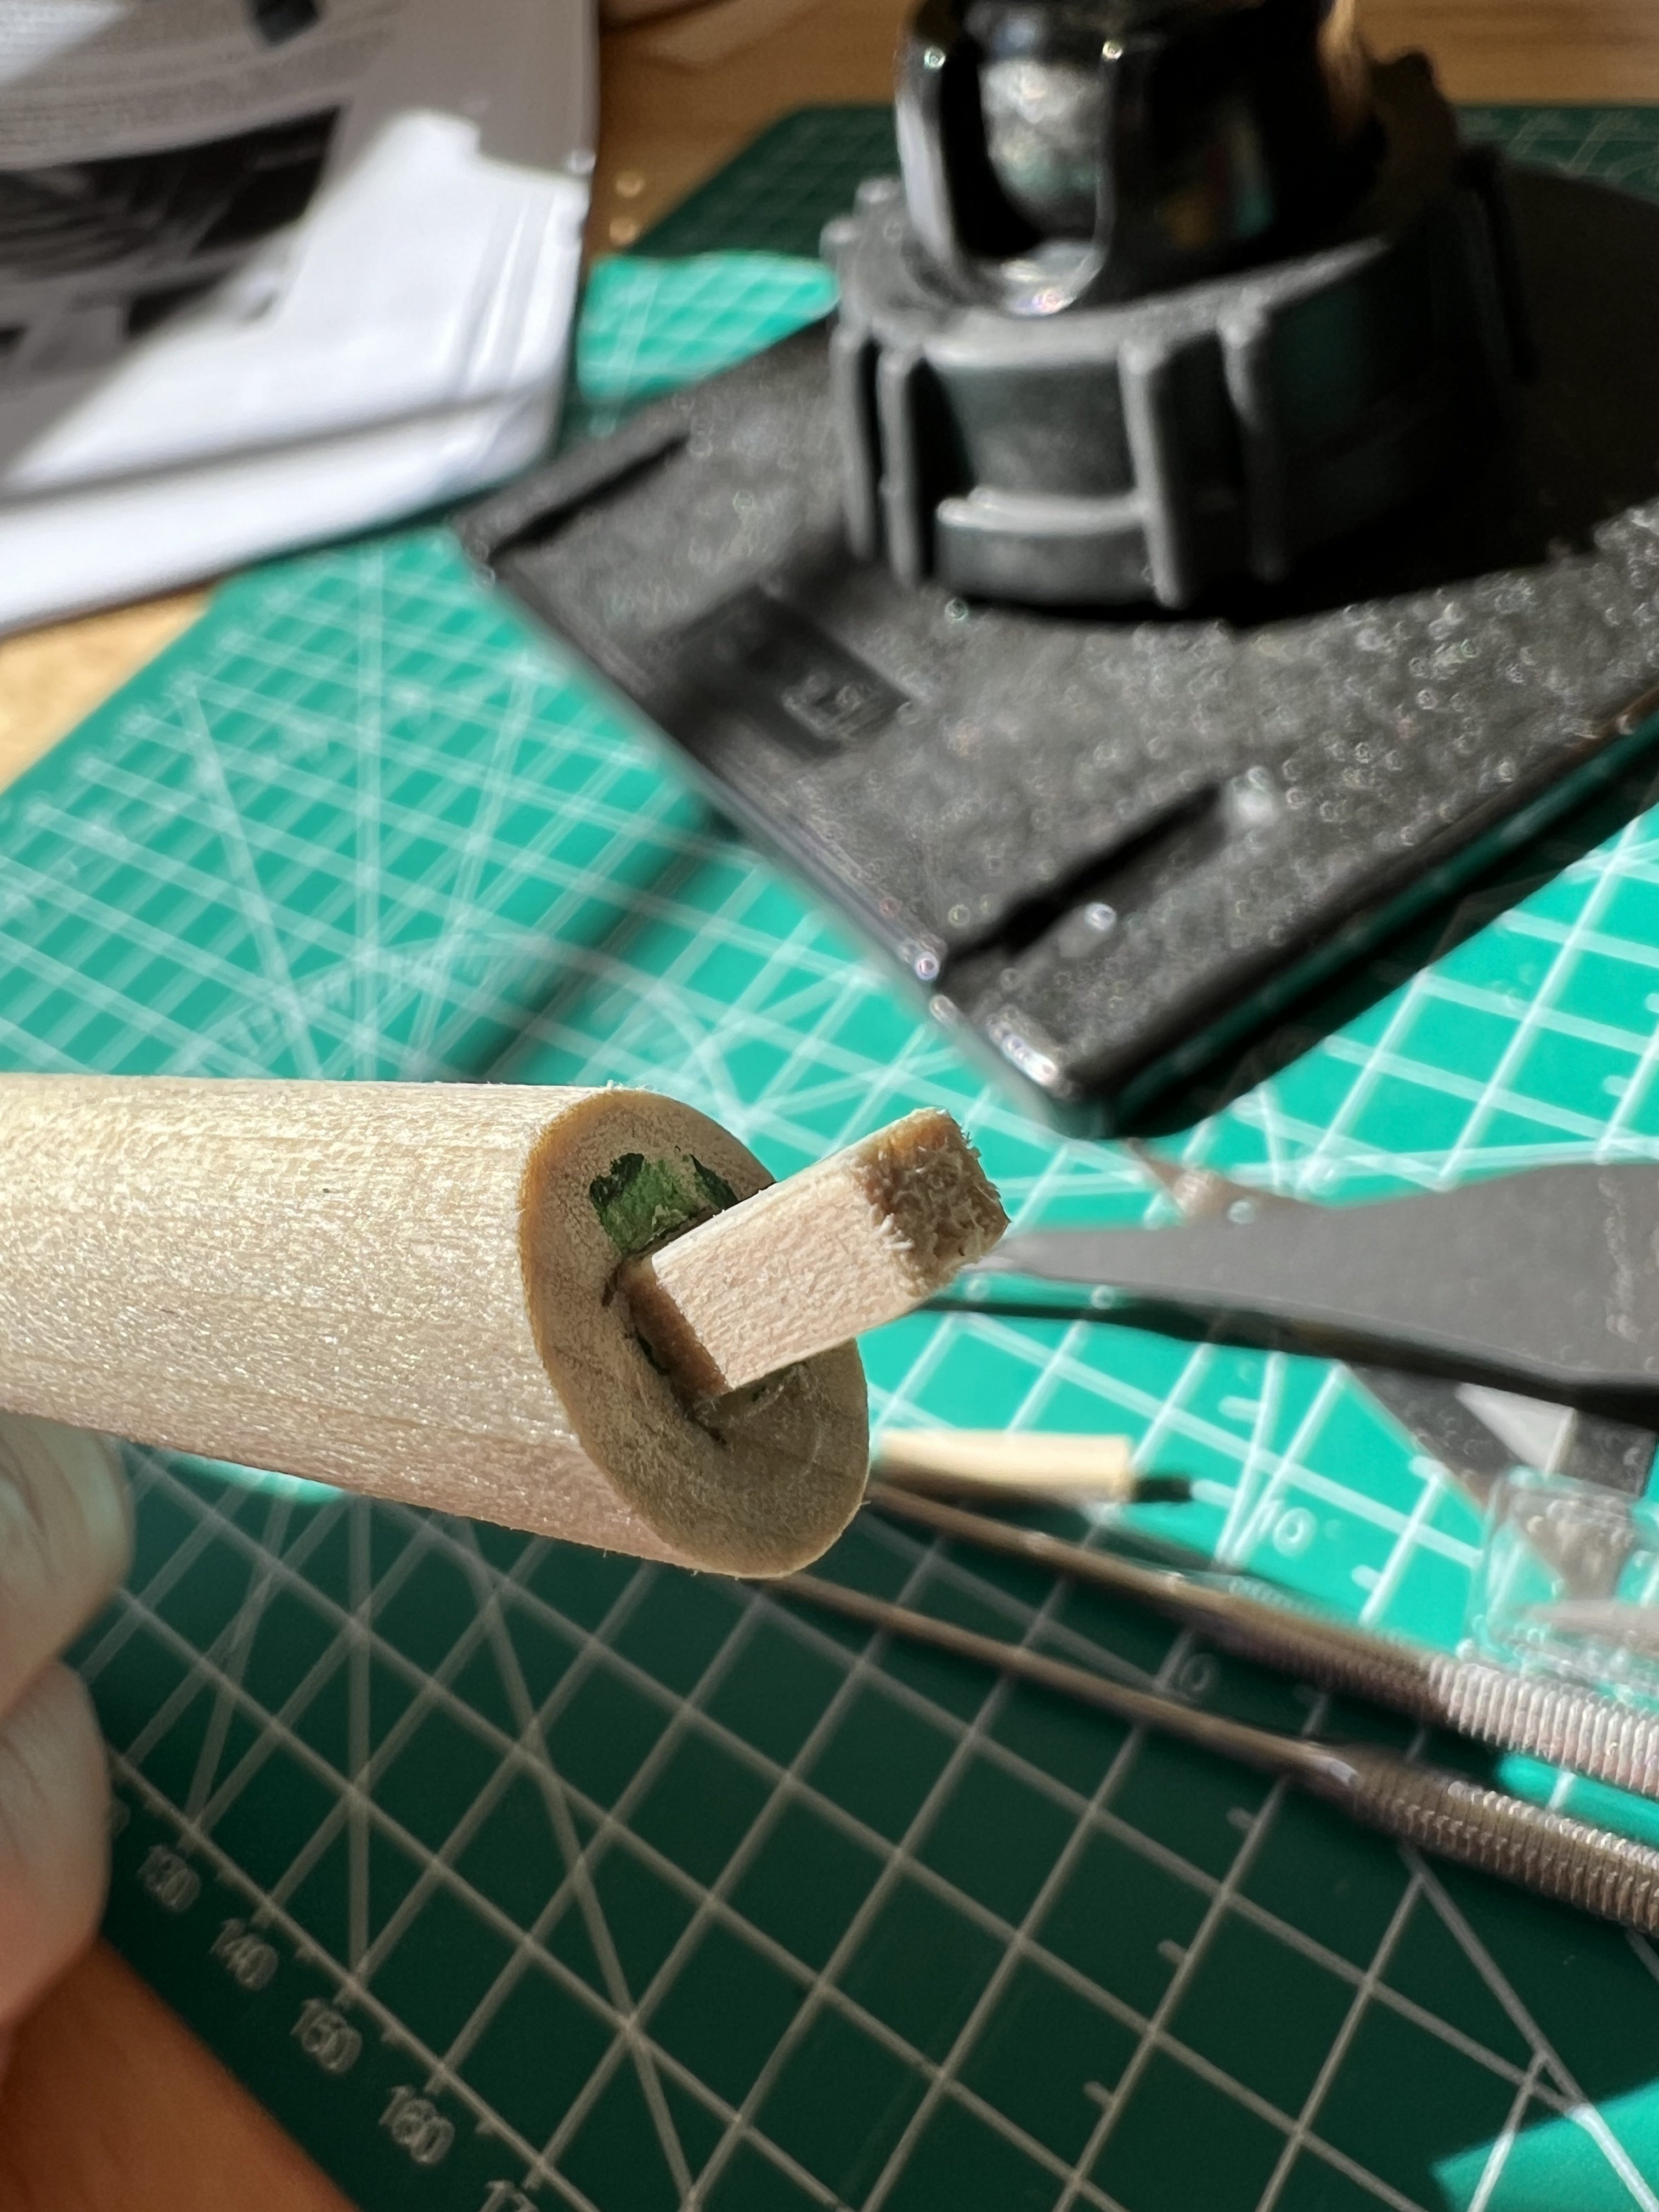
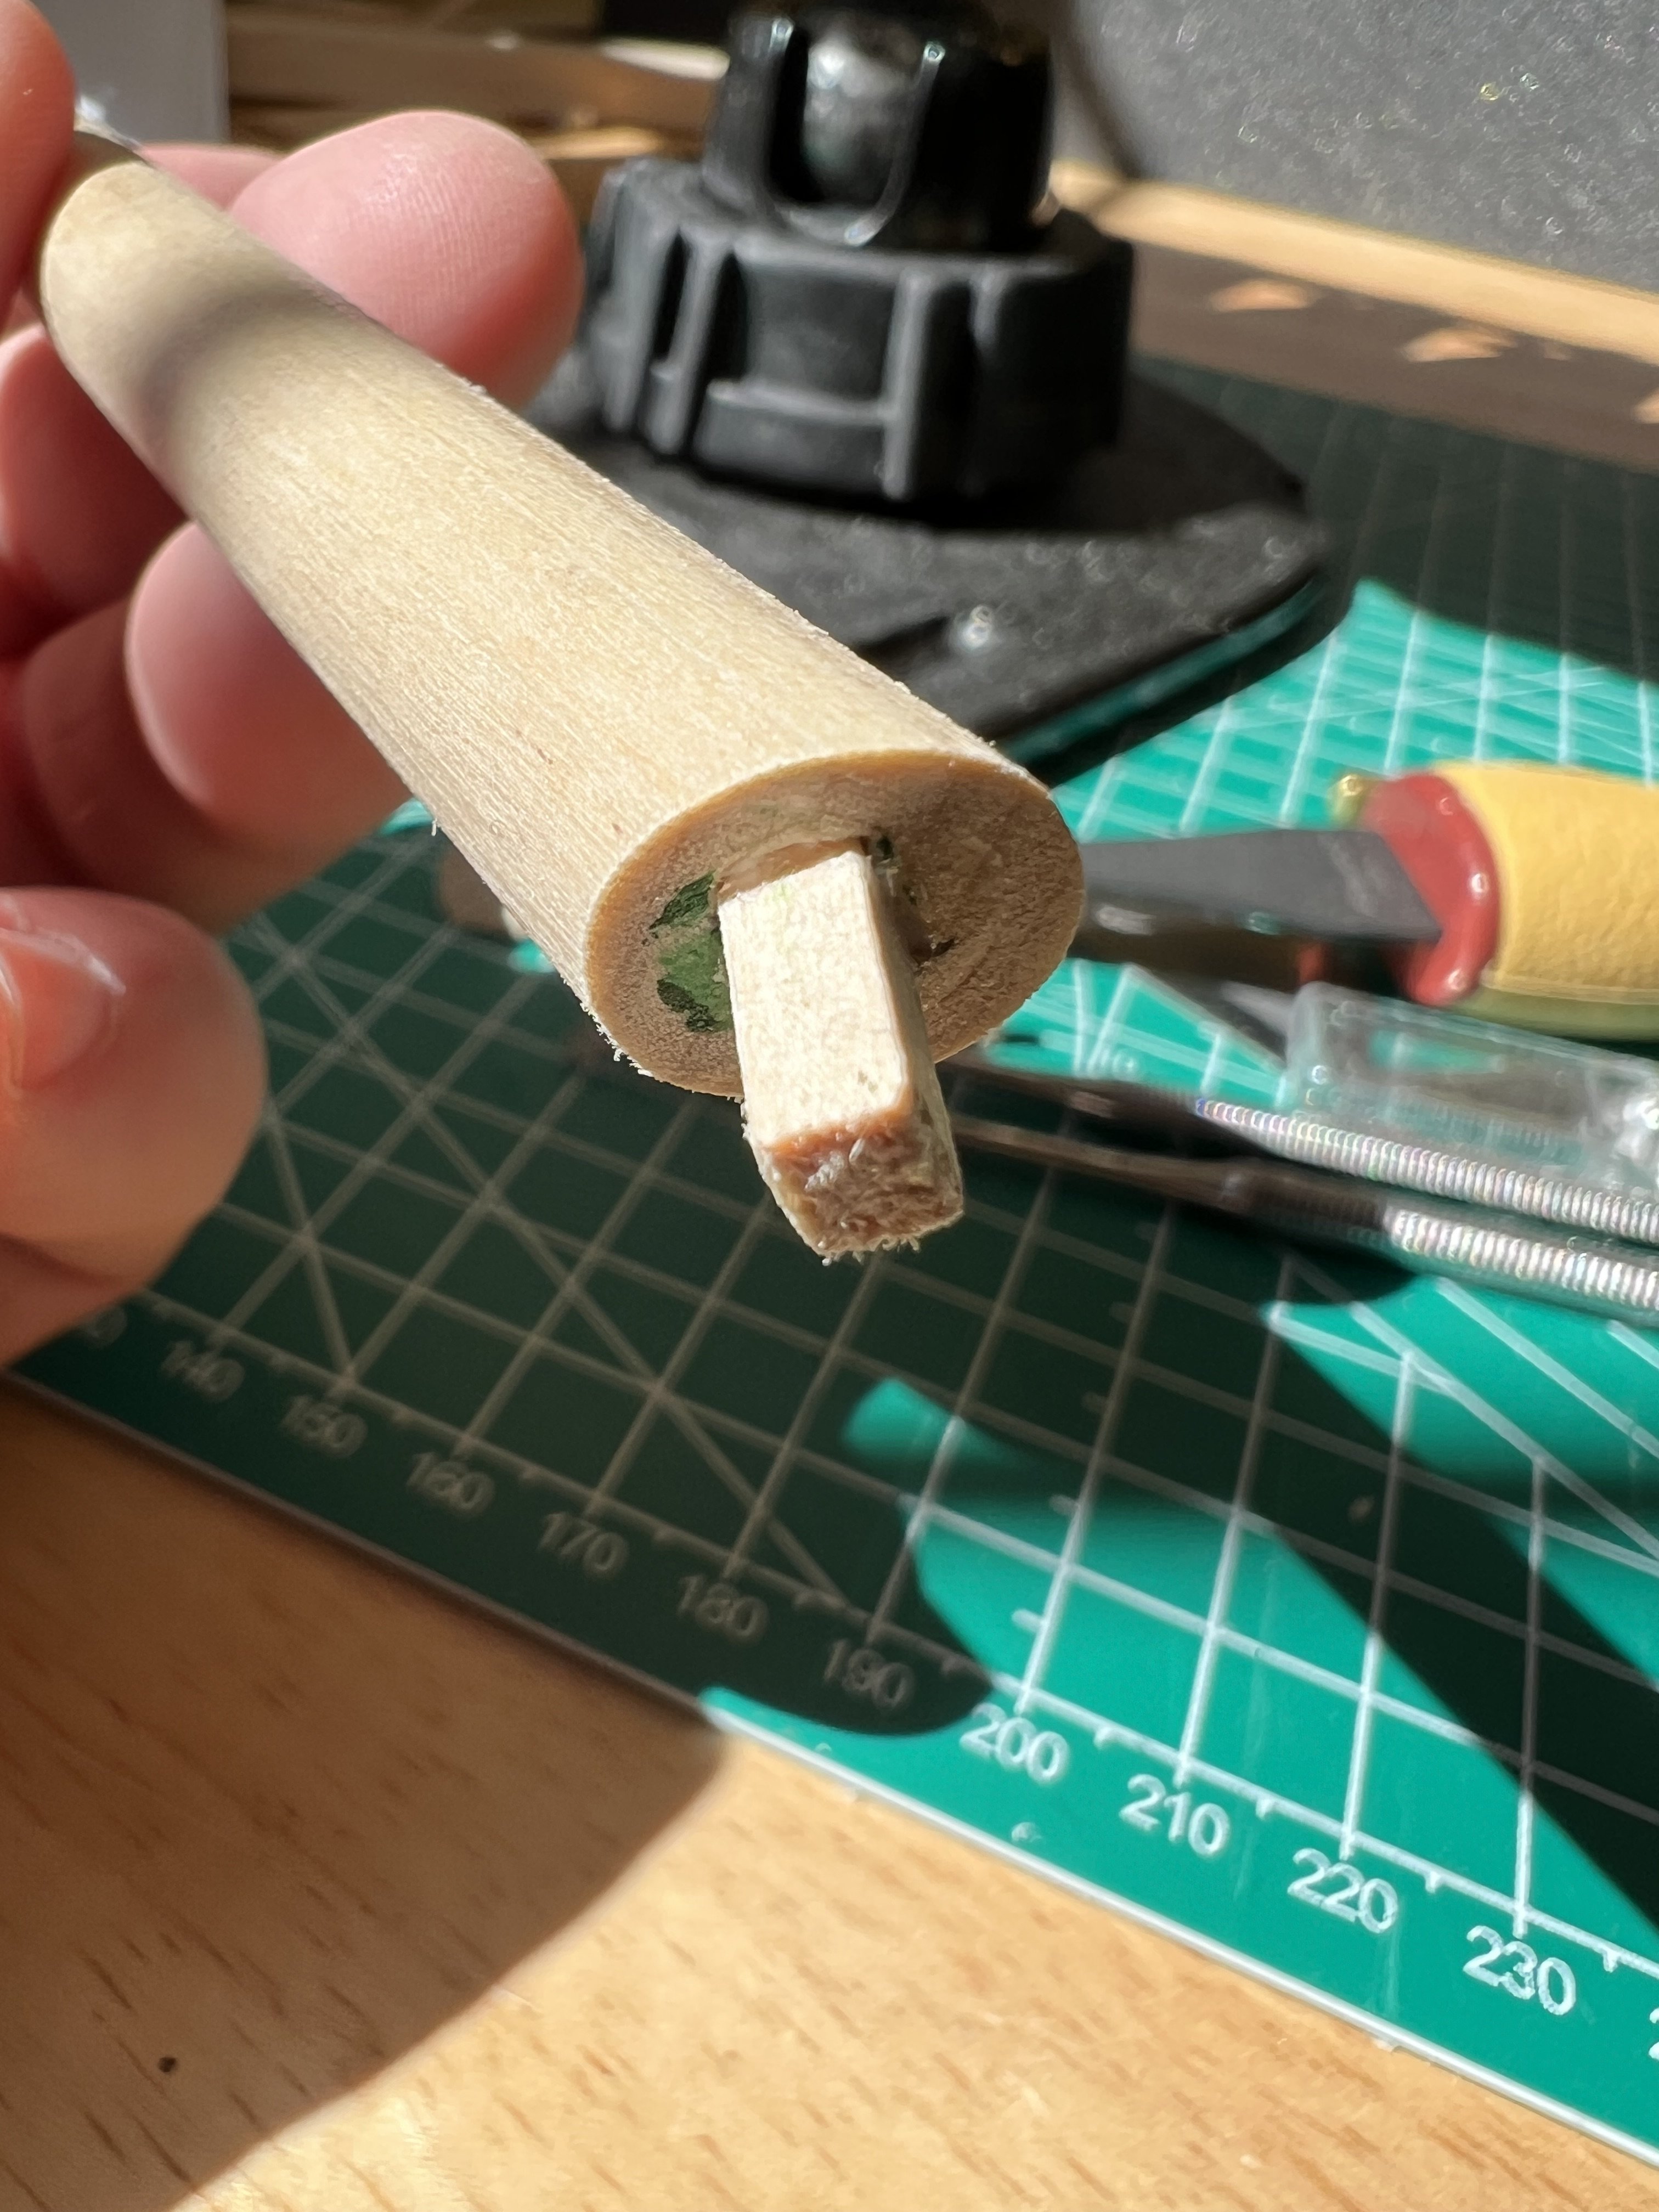
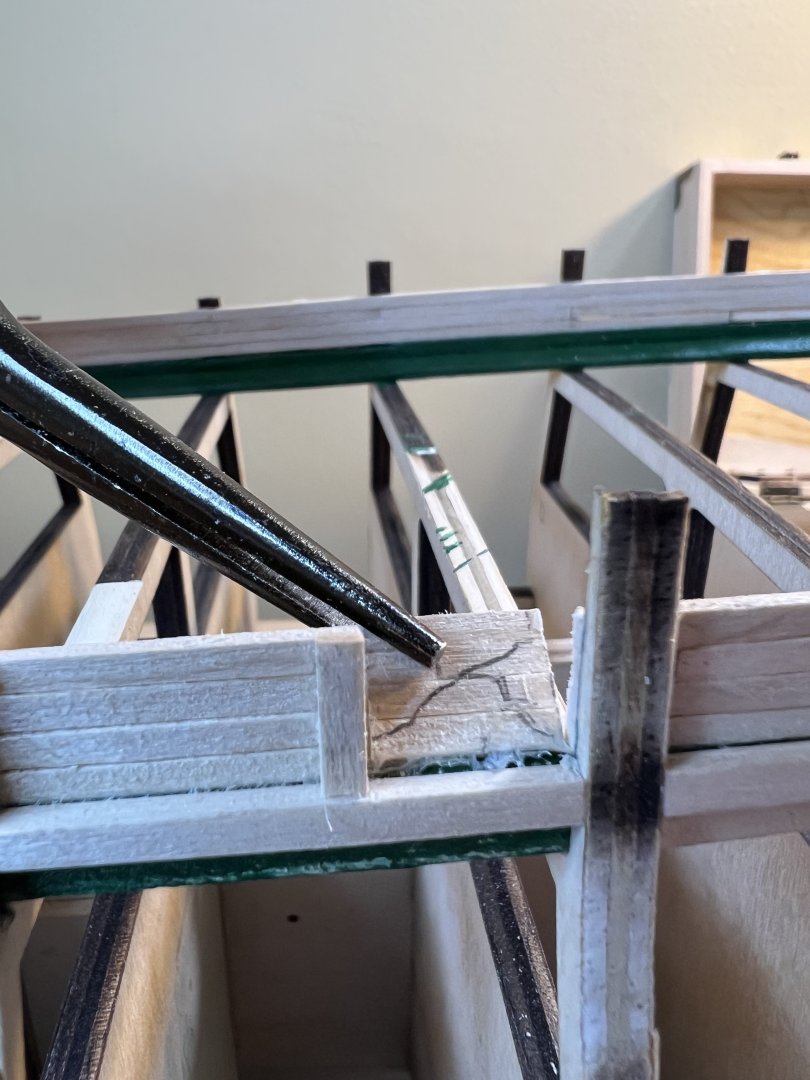
Bowsprit Tenon After some thought, I decided to make a tenon separate from the bowsprit. It’s fitted tightly to the laser cut bulkhead mortise and feeds through it into a mortise I cut into the bowsprit. For some reason - my brain preferred this method - it was quick, easy and sturdy.