SUBaron
-
Posts
197 -
Joined
-
Last visited
Content Type
Profiles
Forums
Gallery
Events
Everything posted by SUBaron
-
@Keith Black Isnt it amazing how far those little beasties can bounce? I have an HVAC register near the wall that likes to eat bits 😂
- 111 replies
-
- 1
-

-
- Swift
- Artesania Latina
- (and 3 more)
-
Thanks @Dave_E I’ve been following your work on the Lady Nelson - great job!
- 111 replies
-
- 2
-

-

-
- Swift
- Artesania Latina
- (and 3 more)
-
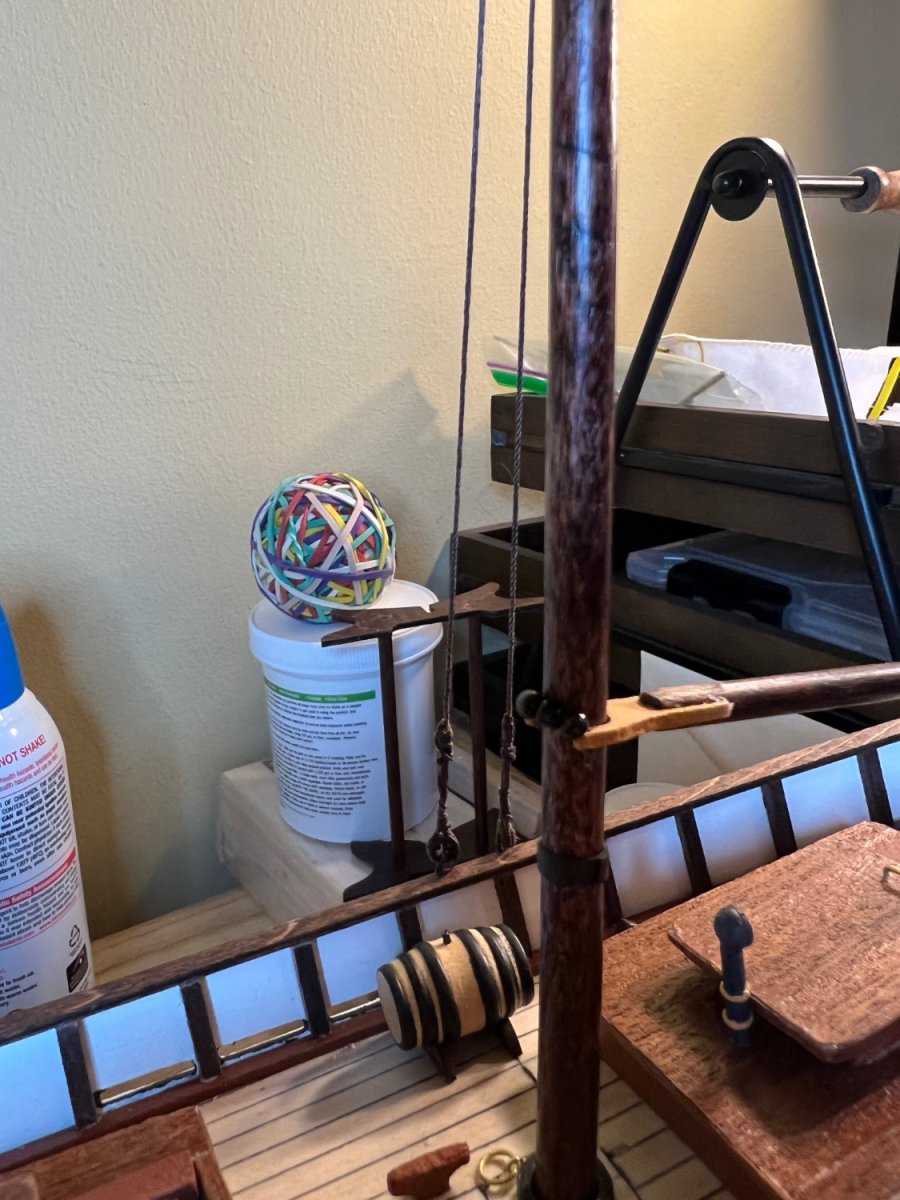
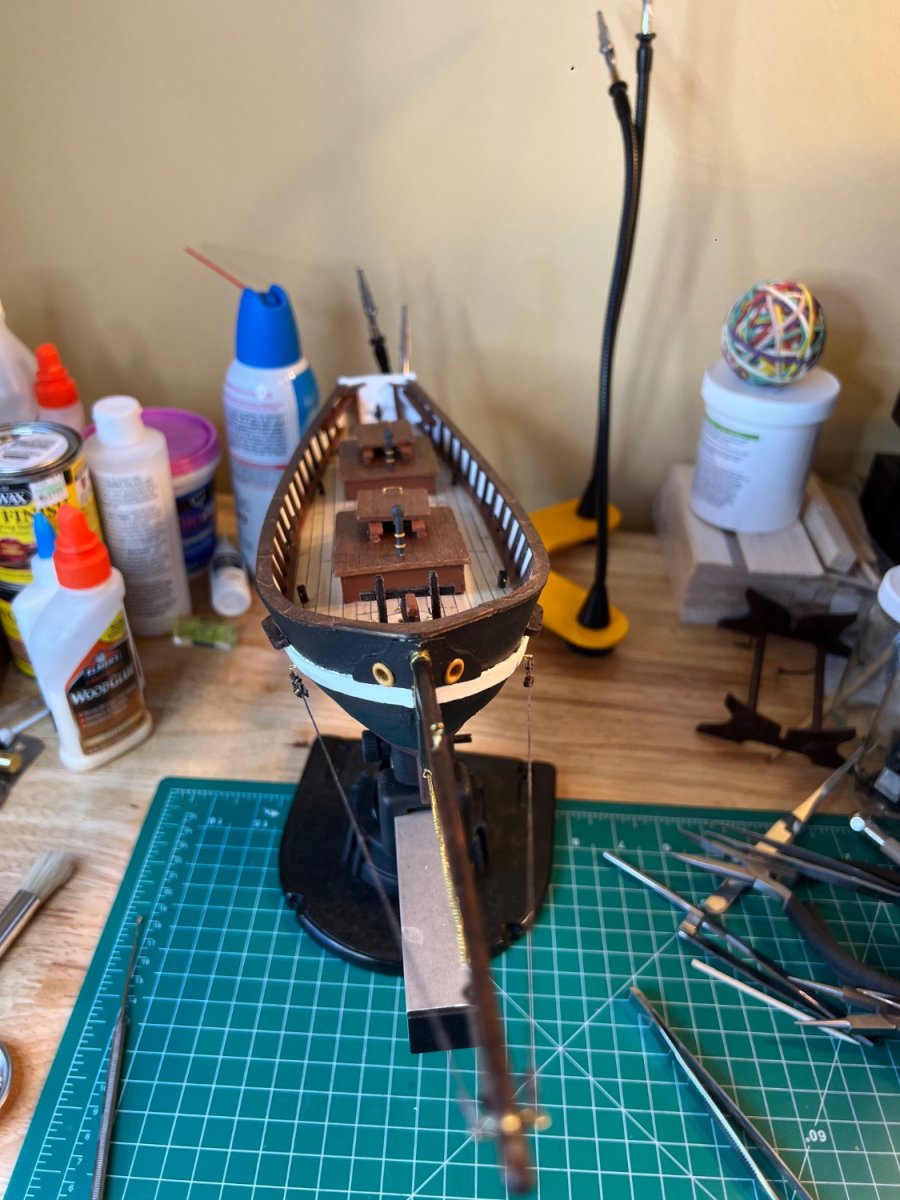
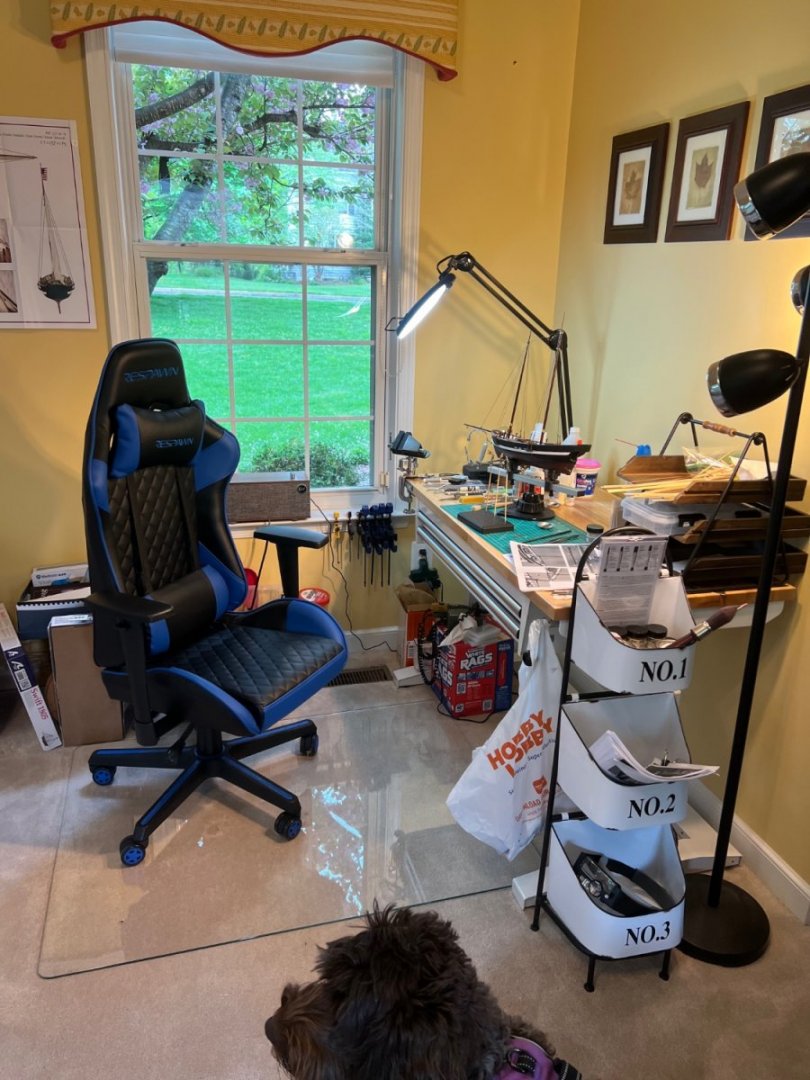
Thoughts on Build Space Having begun in mid December, I’m 3/4 of the way through with this build. Before opening the box, I gave a lot of thought to my build space. I bought a Husky hobby desk (height adjustable via simple hand crank and 2 deep drawers) that fit by a window in a nook of the room my daughter likes to play in. I also purchased a comfortable video game chair and glass mat (the mat came after a major failure of a traditional plastic mat). I also set up a Klipsch wireless speaker for ambience (usually classical or country). I believe that at least 50% of my progress and enjoyment of this hobby is due to the convenience and accessibility of my build location. Being able to add a quick plank before dinner, or finishing a dead-eye with my daughter and dog playing next to me is fabulous. If I had to retreat to some dark, dank basement closet, I probably wouldn’t have made it past the Keel.
- 111 replies
-
- 6
-
-
- Swift
- Artesania Latina
- (and 3 more)
-
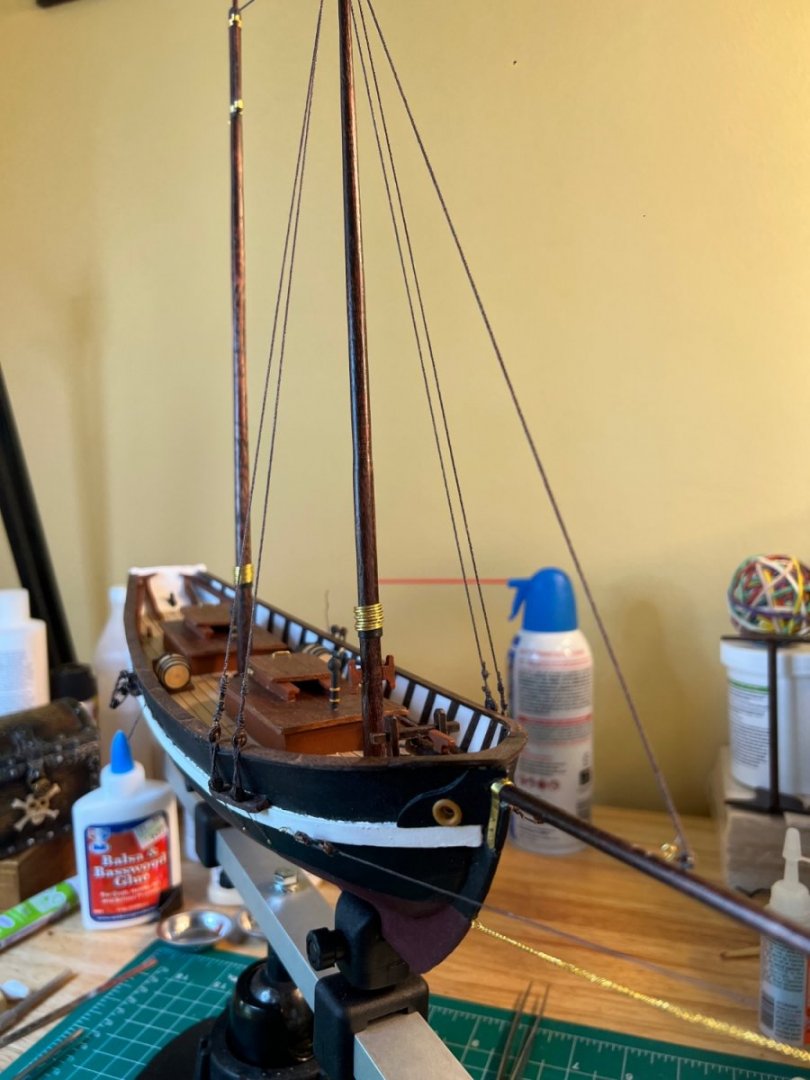
Finished the Shrouds. Everything went downhill after the Gin. At least I’m now aware of what I did wrong. Most of my issues are still a lack of patience- trying to squeeze bits in when I can, and not wanting to adopt my usual standards for lack of time. My daughter wins out every time ❤️


- 111 replies
-
- 6
-
-
- Swift
- Artesania Latina
- (and 3 more)
-
Thank You @Oldsalt1950
-
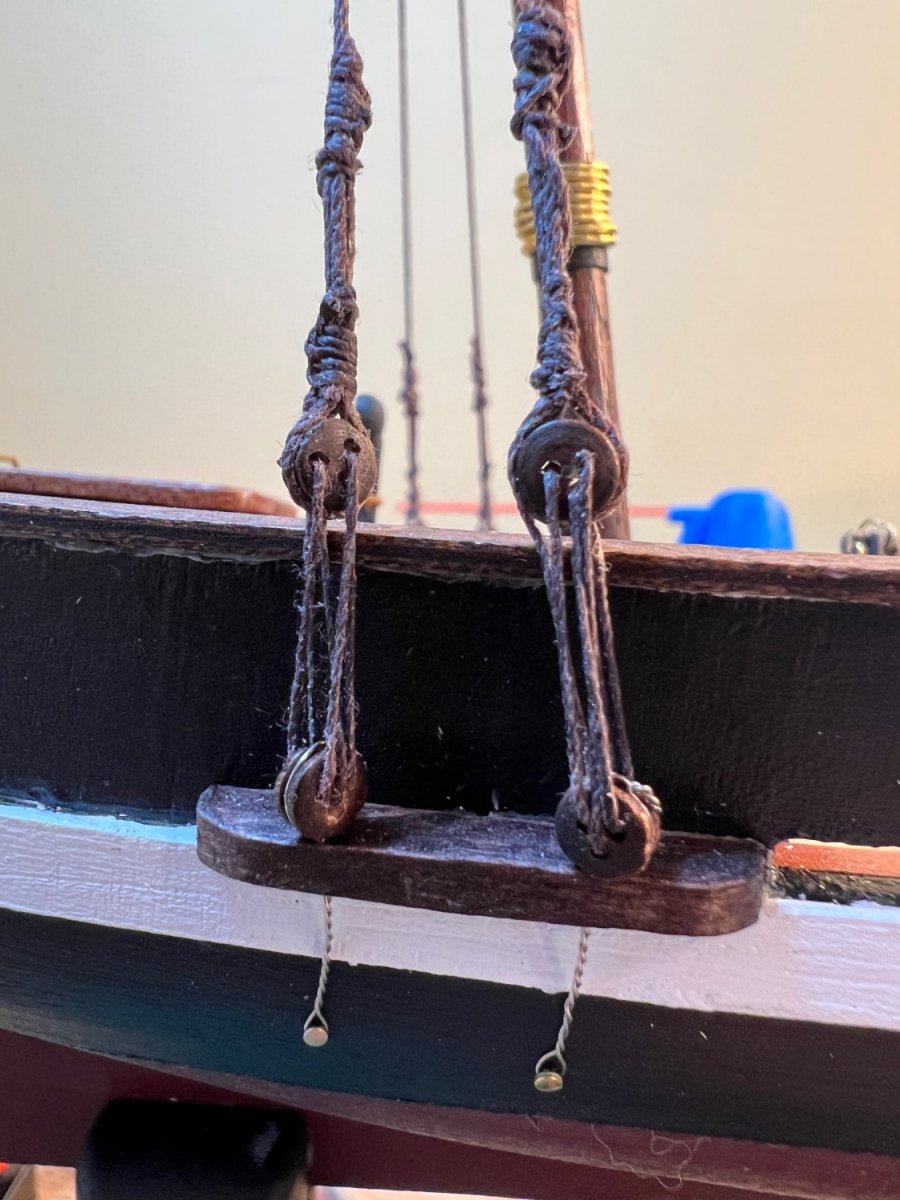
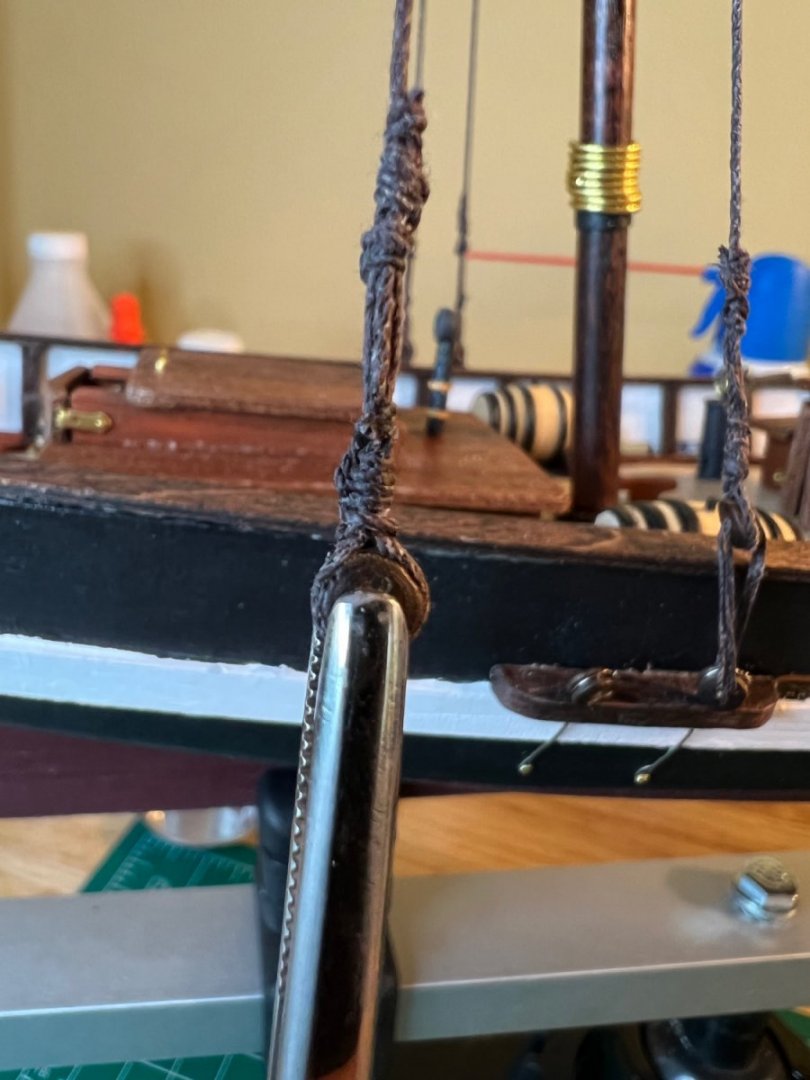
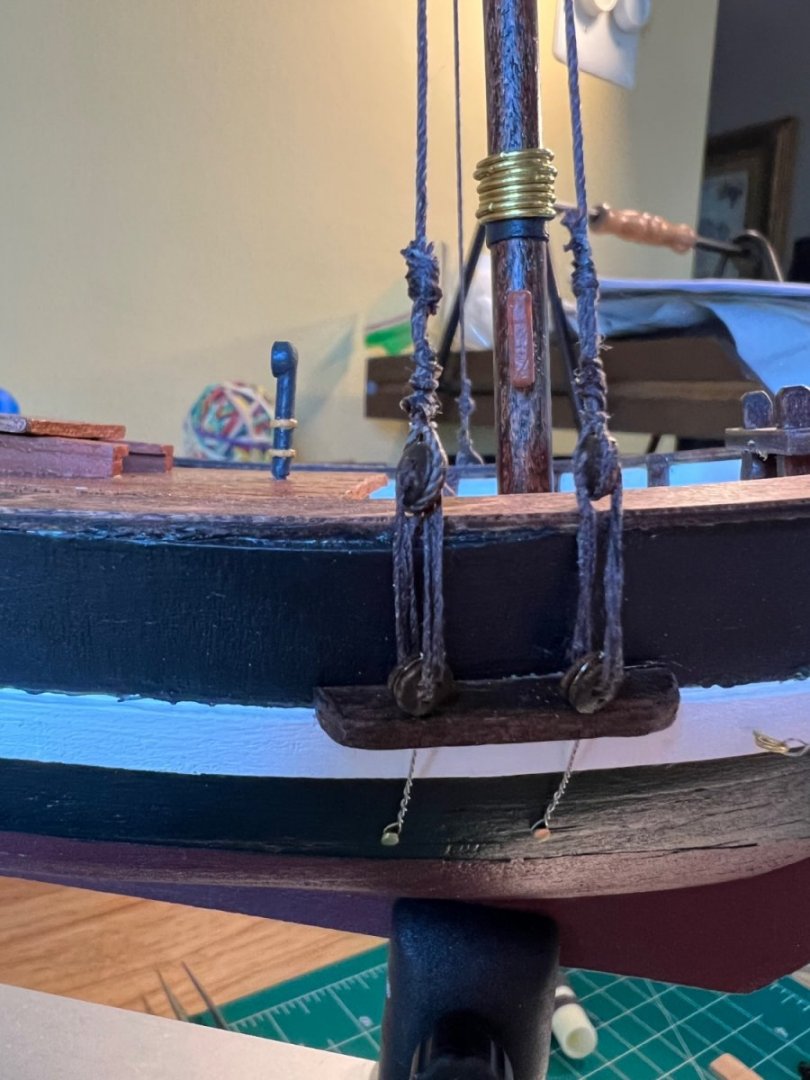
Shrouds - I’m not upset with them for a first ever effort, but there’s room for improvement for sure. Like last call at the local pub, they look incrementally better from a distance 🙂
- 111 replies
-
- 4
-
-
- Swift
- Artesania Latina
- (and 3 more)
-
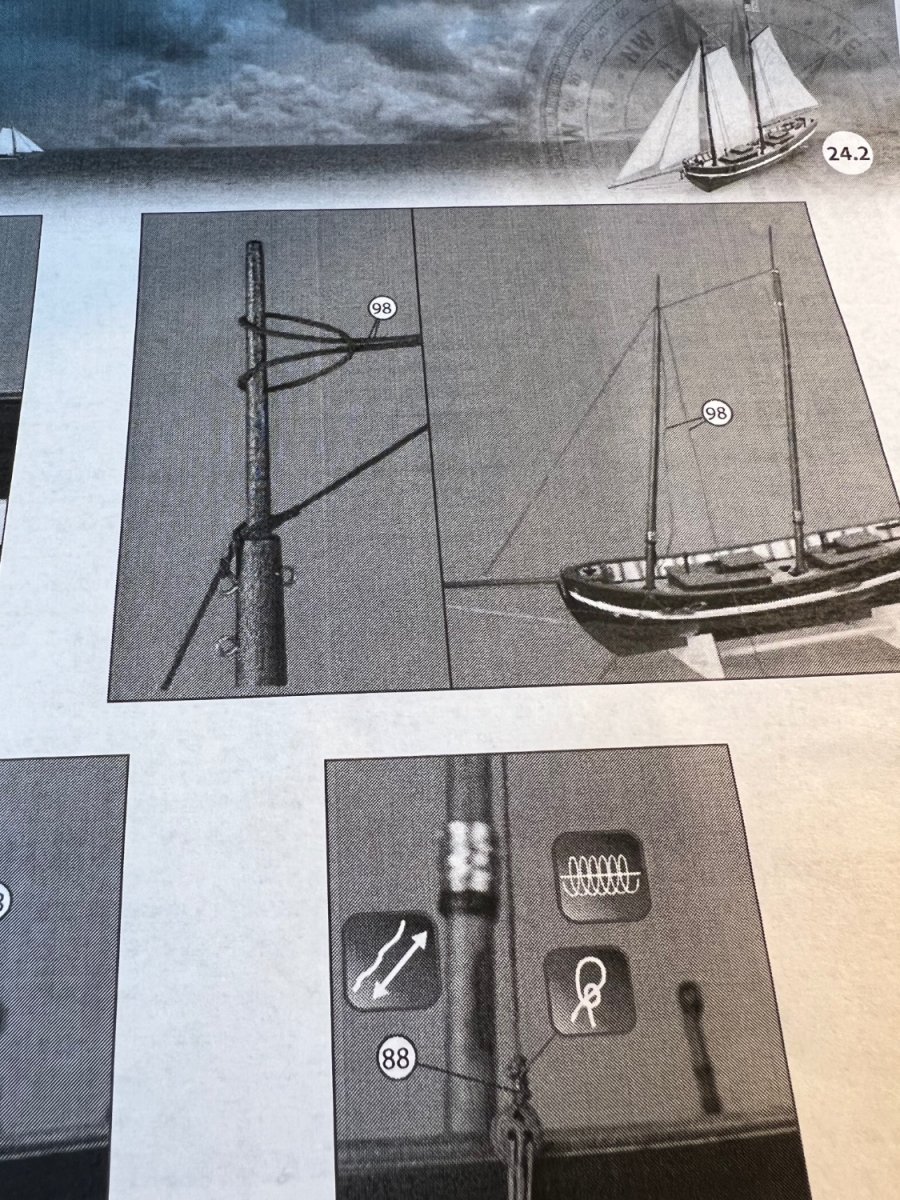
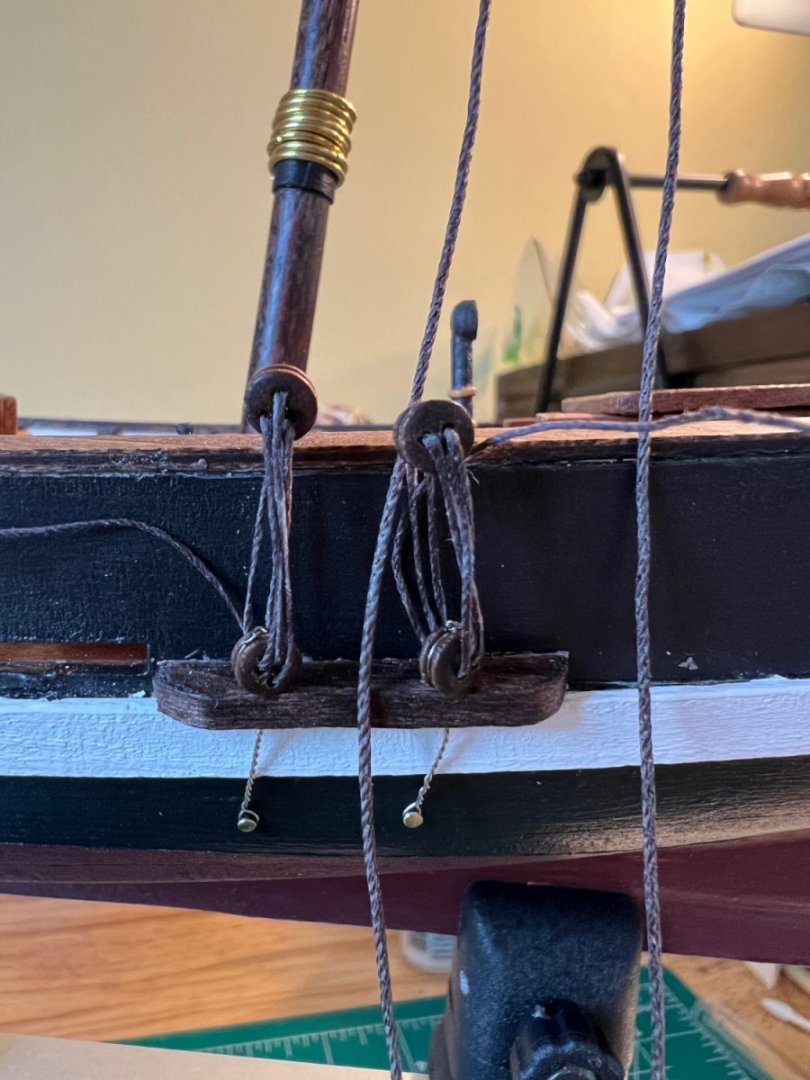
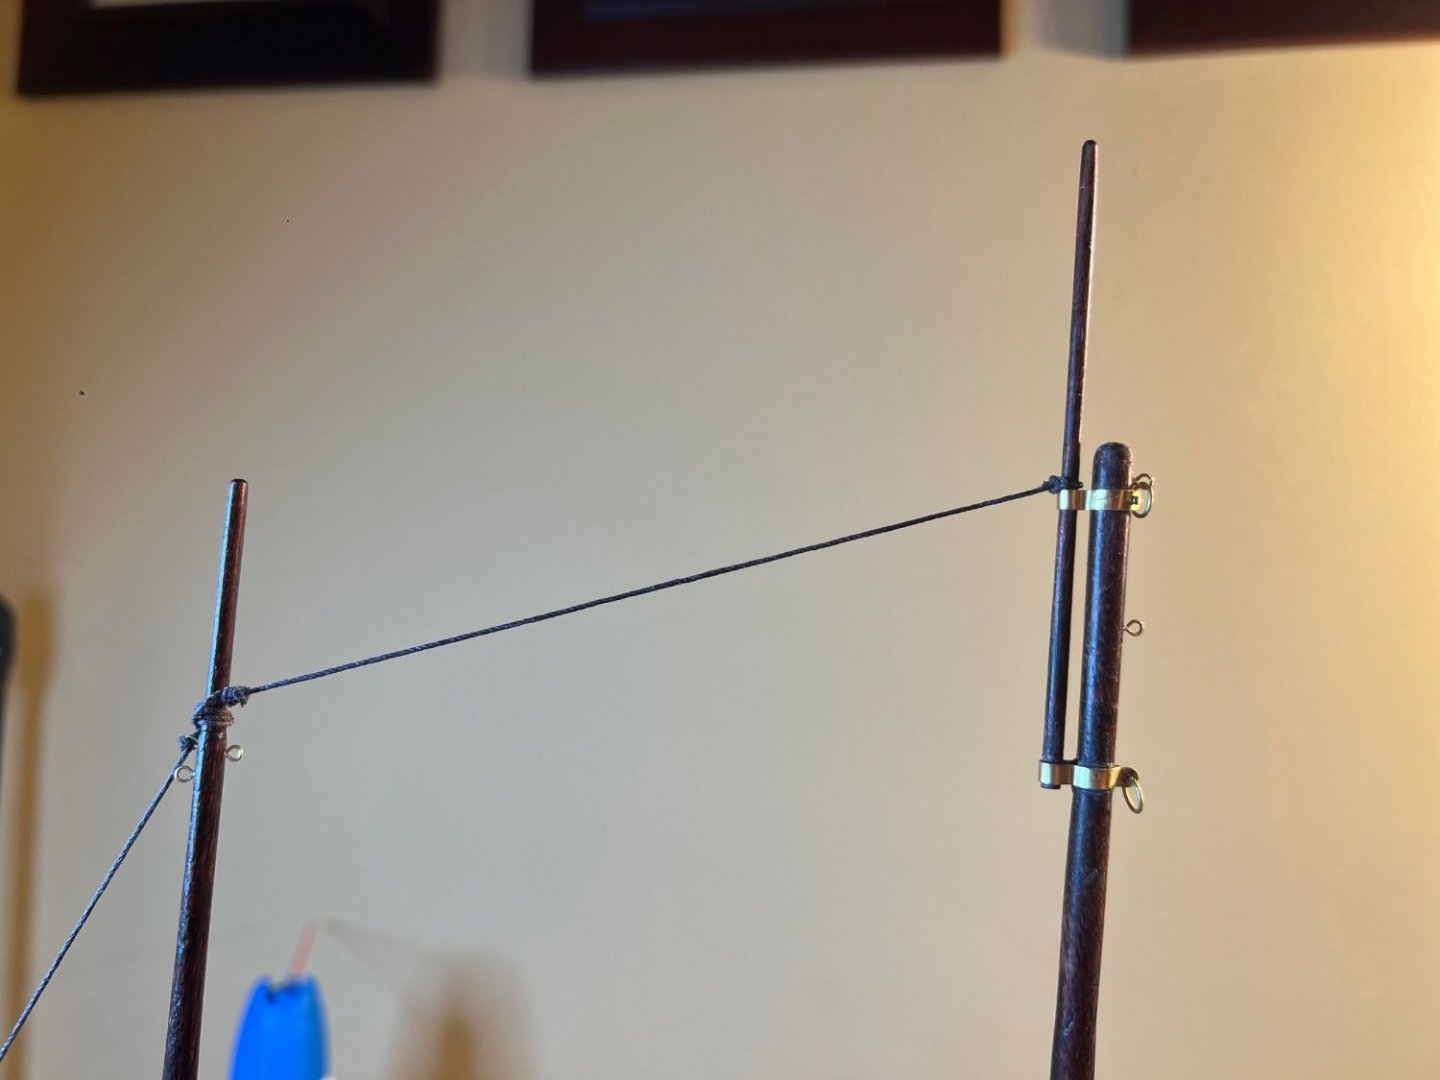
This is a case where paying attention to the instructions was the smart move. AL’s solution to use a single line for both shrouds makes it much easier to tension - by securing one end of a single line, the tensioning job is reduced by half. I’m a little concerned about what the lines will look like at the top of the main since both sets of back shrouds will be secured by a simple double loop at the top. It has the potential to look like a rat’s nest.


- 111 replies
-
- 1
-
-
- Swift
- Artesania Latina
- (and 3 more)
-
@allanyedHi Allan - yes, it really is beautiful around here, especially so in the Spring. The area also has a strong historical presence for such a young country. I shop at the Costco next to your kids 🙂 I was actually in your relative area recently at Anna Marie Island. Small world. Cheers! Andre
- 111 replies
-
- 2
-
-
- Swift
- Artesania Latina
- (and 3 more)
-
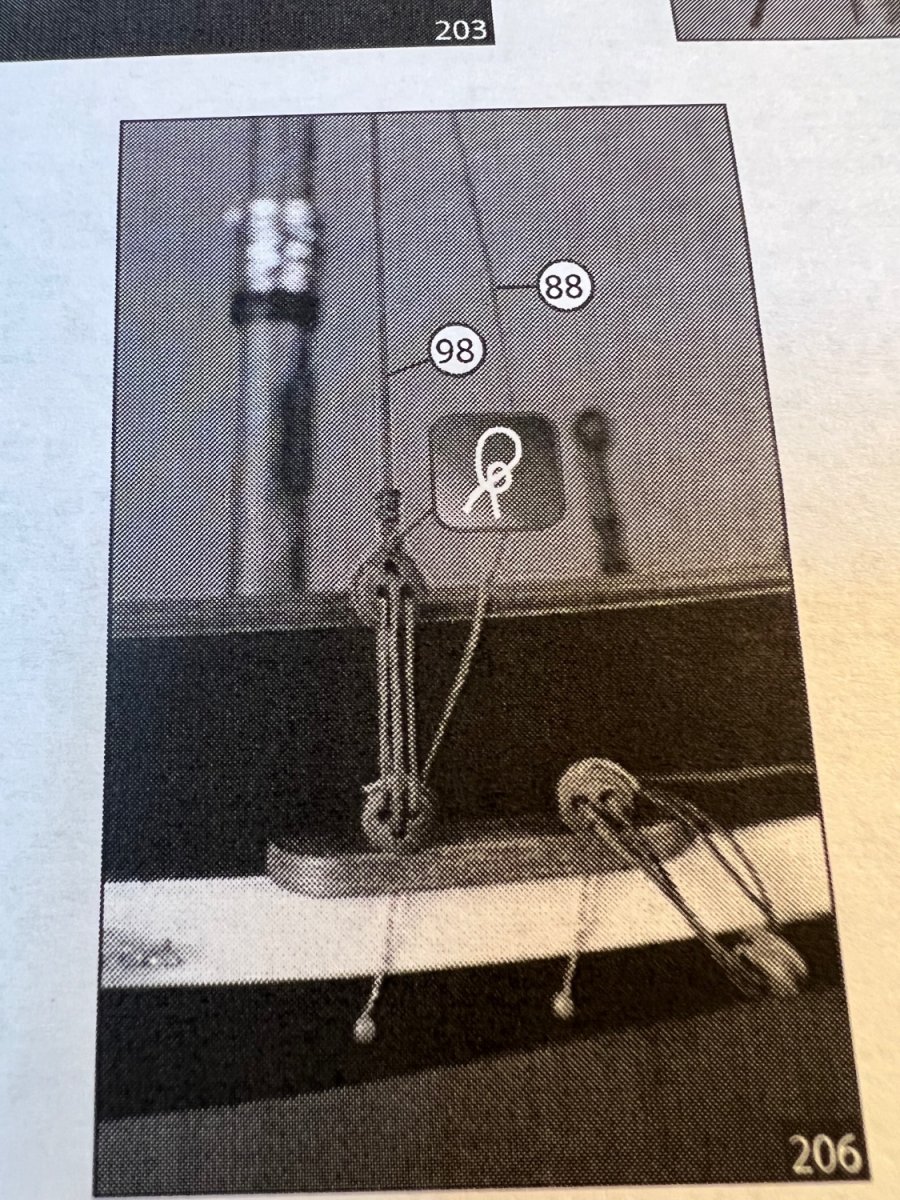
@allanyed I suspected it was a cost cutting issue at first. This model version by AL has done away with numerous features, such as a hold, and double planked hull. Other versions I found on MS included “chain plates” consisting of a metal rod. This kit offered thin gauge wire. However, it’s hard to believe that wire is cheaper than thread. As this is my first attempt at ship modeling, I haven’t felt comfortable deviating much from the instructions or materials provided. I do agree that it looks a bit off - even as I believe this is an example of a ship class, and not an historical replica. As I gain confidence with this build, I find there are numerous things that I would do differently if starting over. I’ll definitely utilize these changes in my next build, the Connie (MS2040). In the end, I’d like to believe it was a necessary feature to bare the load of the bowsprit as it crashed through the waves on the Chesapeake in a January Nor’Easter cheers!
- 111 replies
-
- 2
-
-
- Swift
- Artesania Latina
- (and 3 more)
-
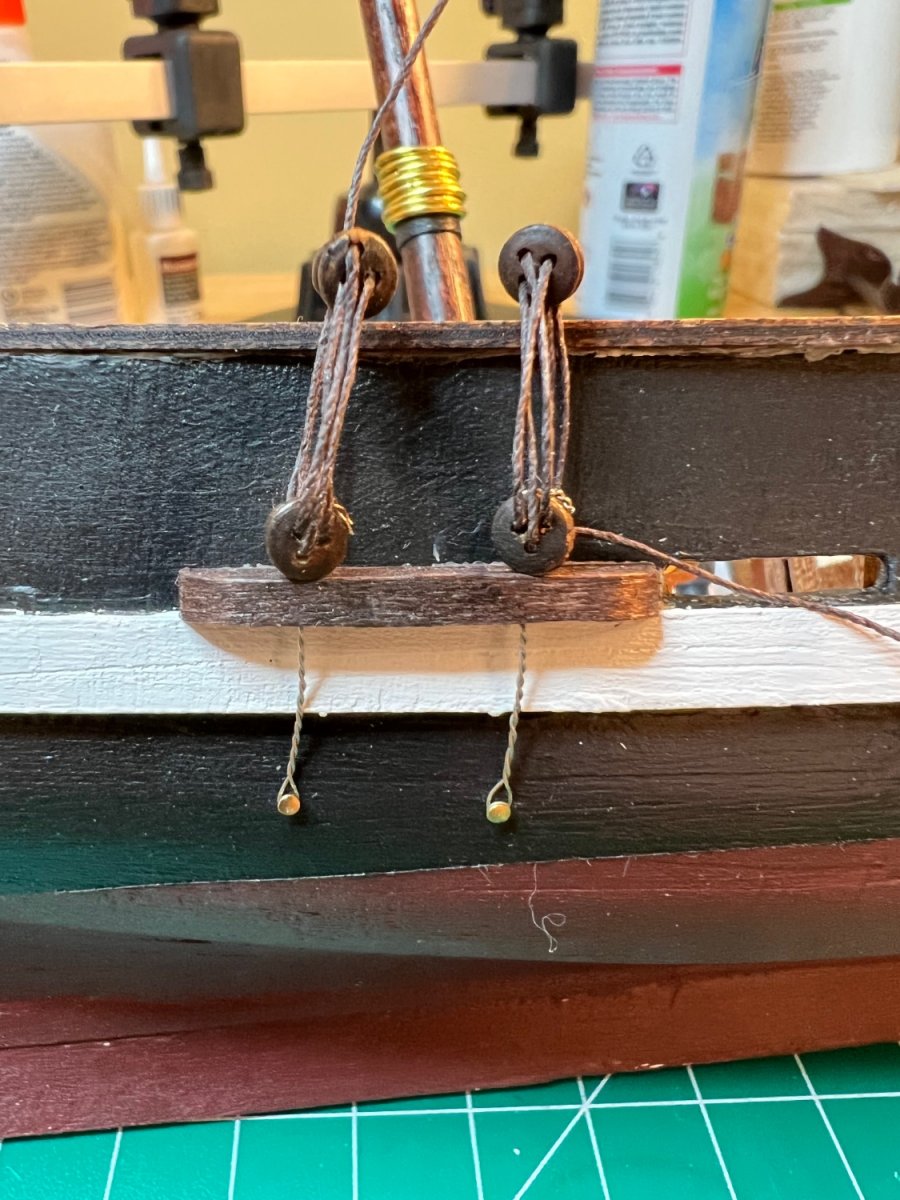
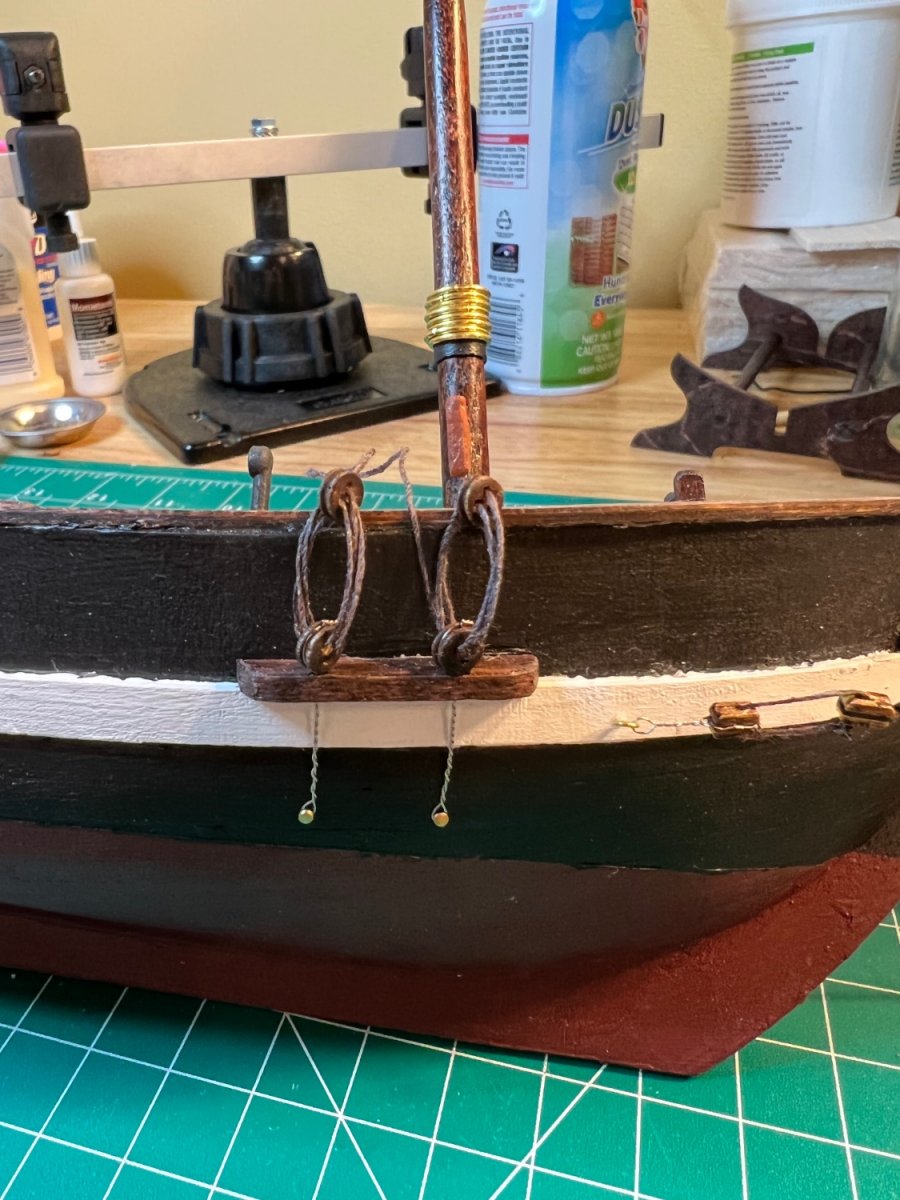
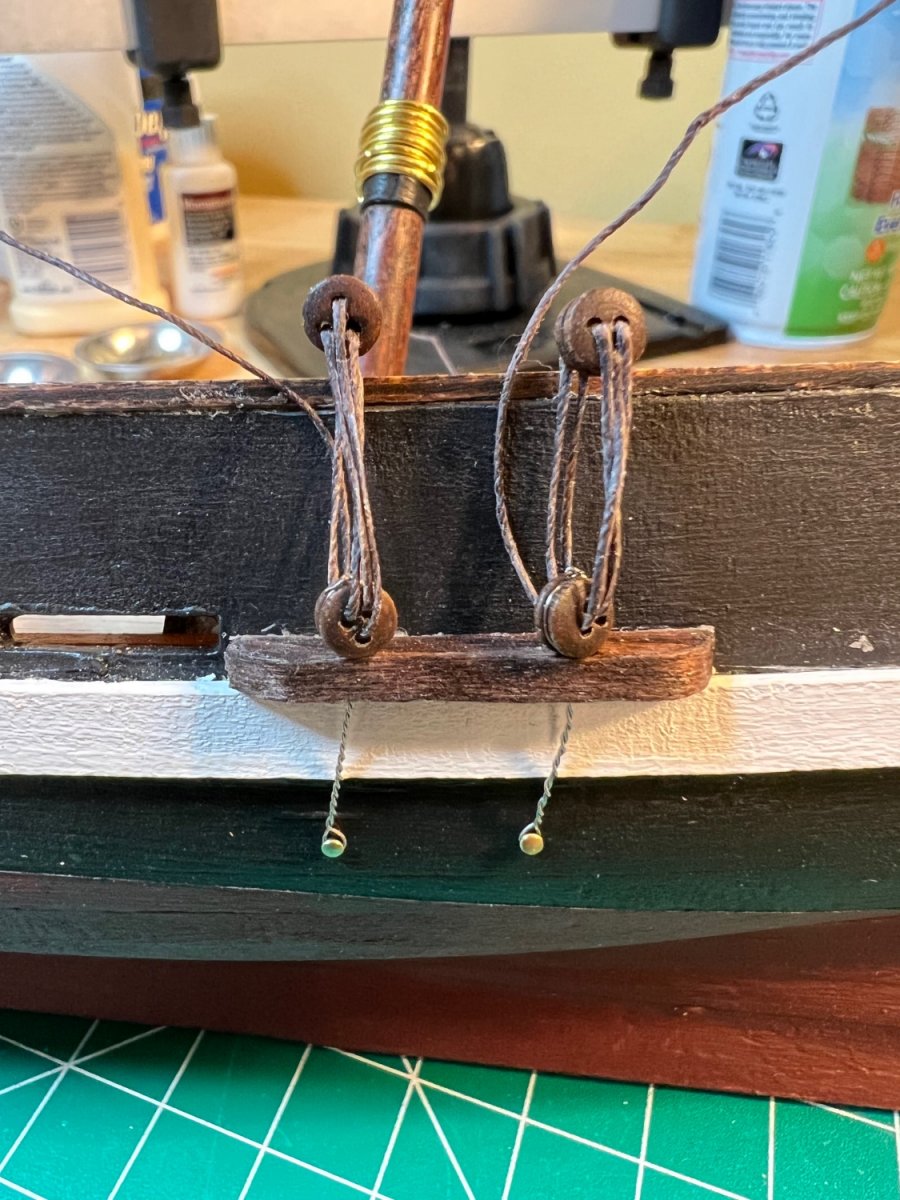
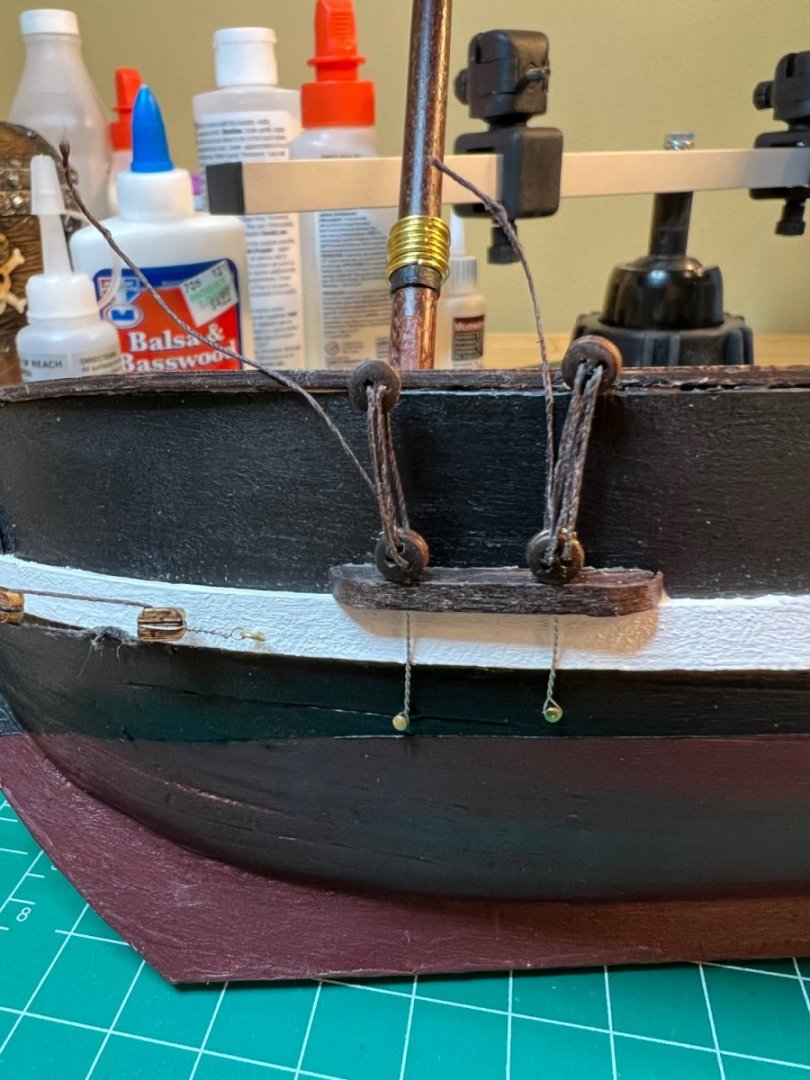
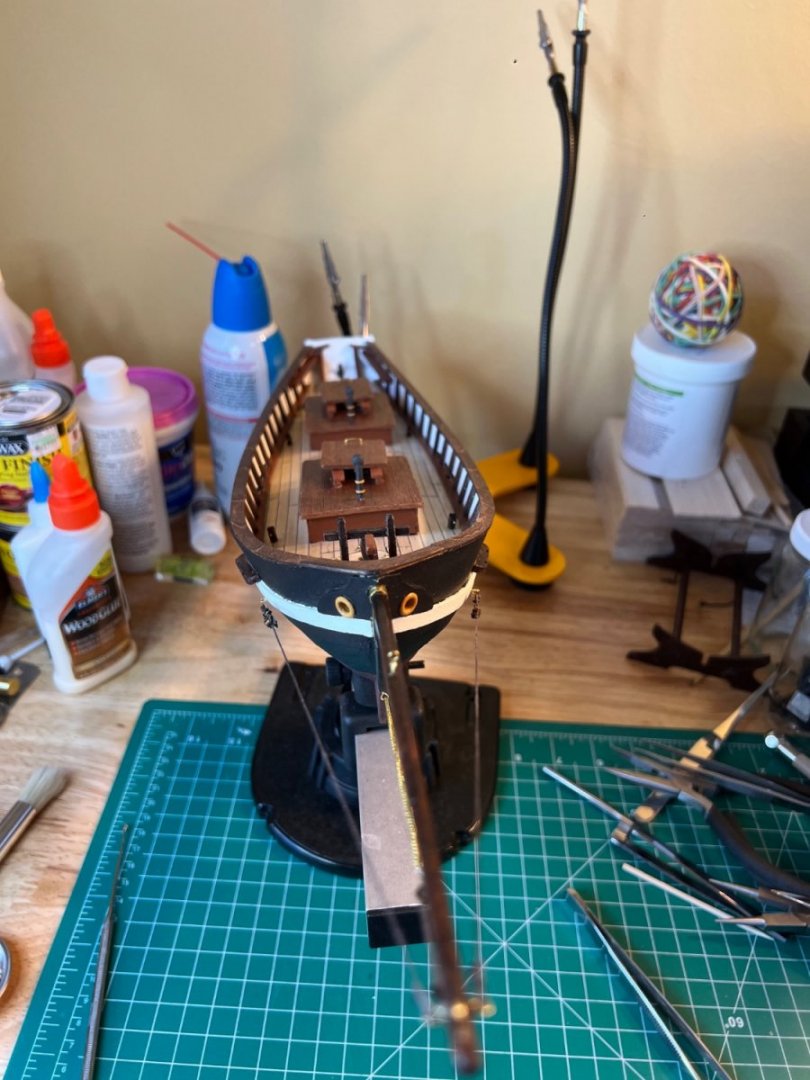
Deadeyes attached. I nearly broke both the rudder and the bowsprit getting the nails in. I probably should’ve pre-drilled them, but I wanted them to hold without glue. Does anyone have a build log, or ideas they can share on how to attach the Shroud (or are they back stays?) lines to the deadeyes, keeping tension? I have a set of Quad Hands thanks to @hollowneck. Maybe weighted clothes pins?


- 111 replies
-
- 4
-
-
- Swift
- Artesania Latina
- (and 3 more)
-
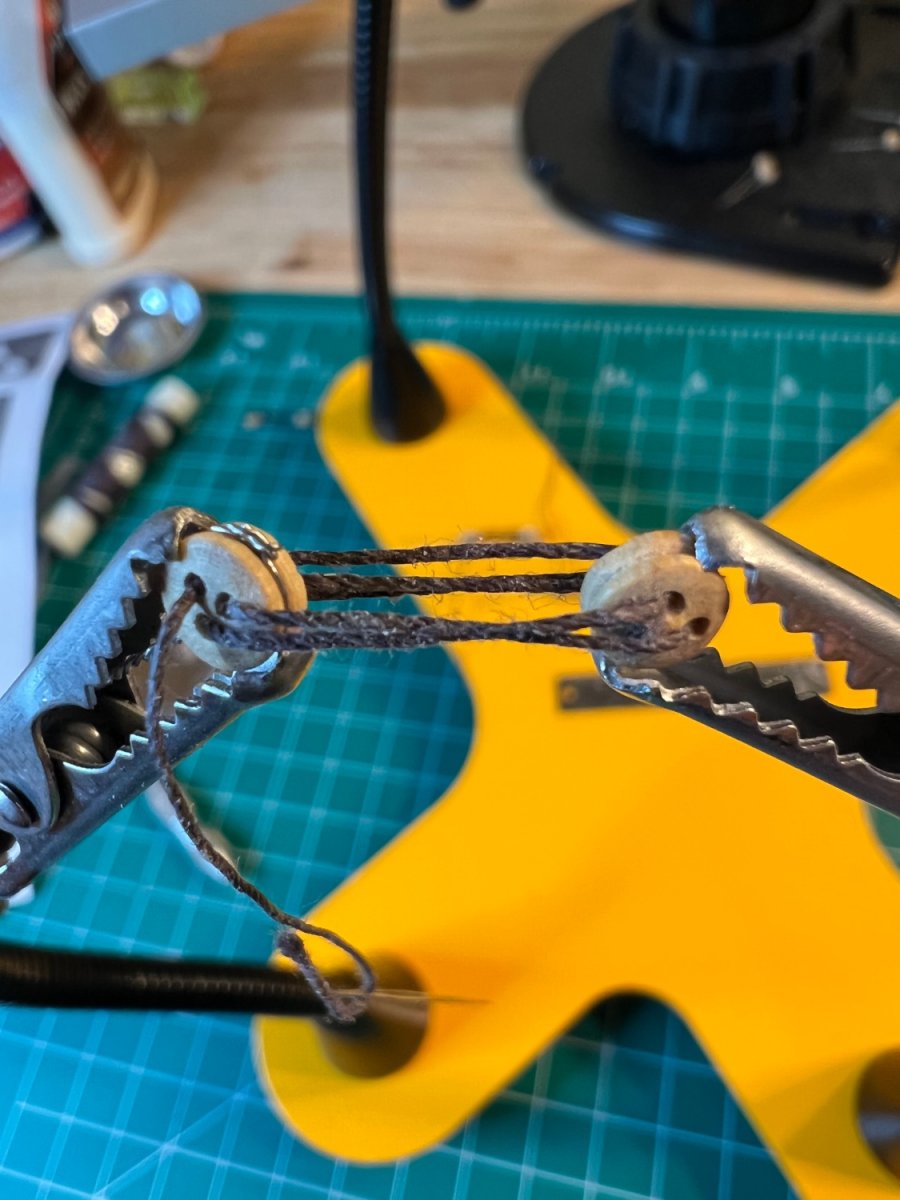
Nice job! I have to admit that one of my favorite pics subjects is the unique methods modelers employ to engage their clamps!
-
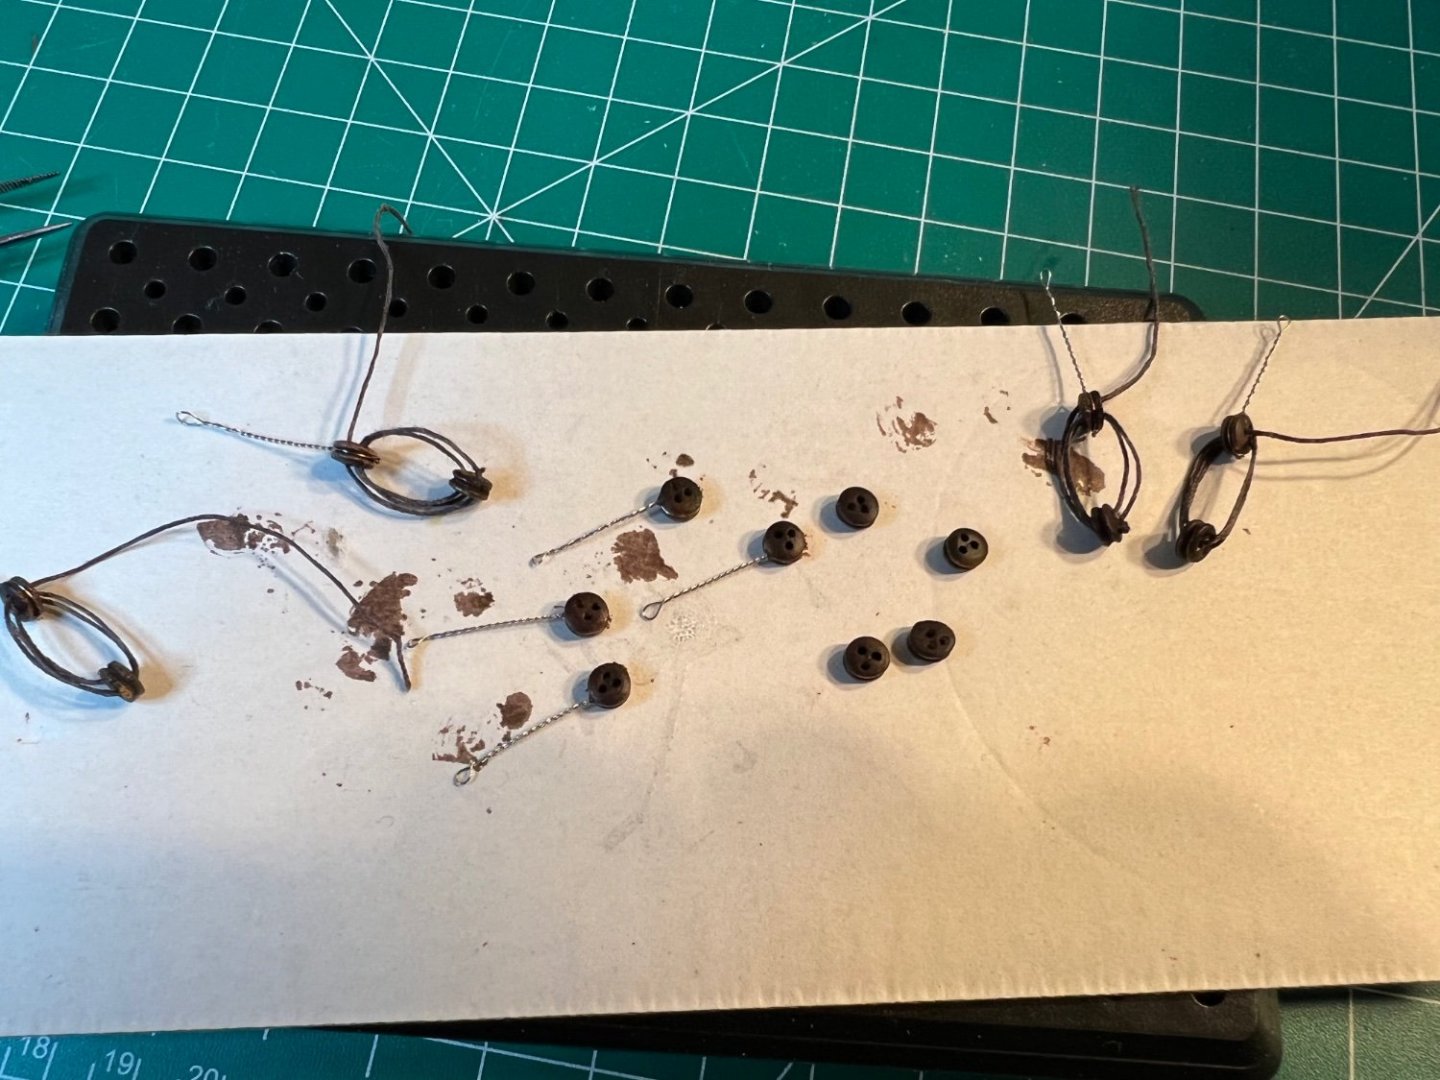
Learned my lesson from the masts. Always let the stain fully set before proceeding. New lesson - stain all the dead eyes prior to rigging the lanyards. After pre-cutting all the lines - I noticed that the wax application wasn’t enough to tamper the line fuzzies. I tried adding more but it gave the line an unnatural looking stiffness. I like them being a little loose, then getting a more natural look when pulled taught. Hopefully I’ll be able to achieve this on these shrouds using an initial slip knot. This will be it for the day - Draft Report due for the Inspector General today.

- 111 replies
-
- 4
-
-
- Swift
- Artesania Latina
- (and 3 more)
-
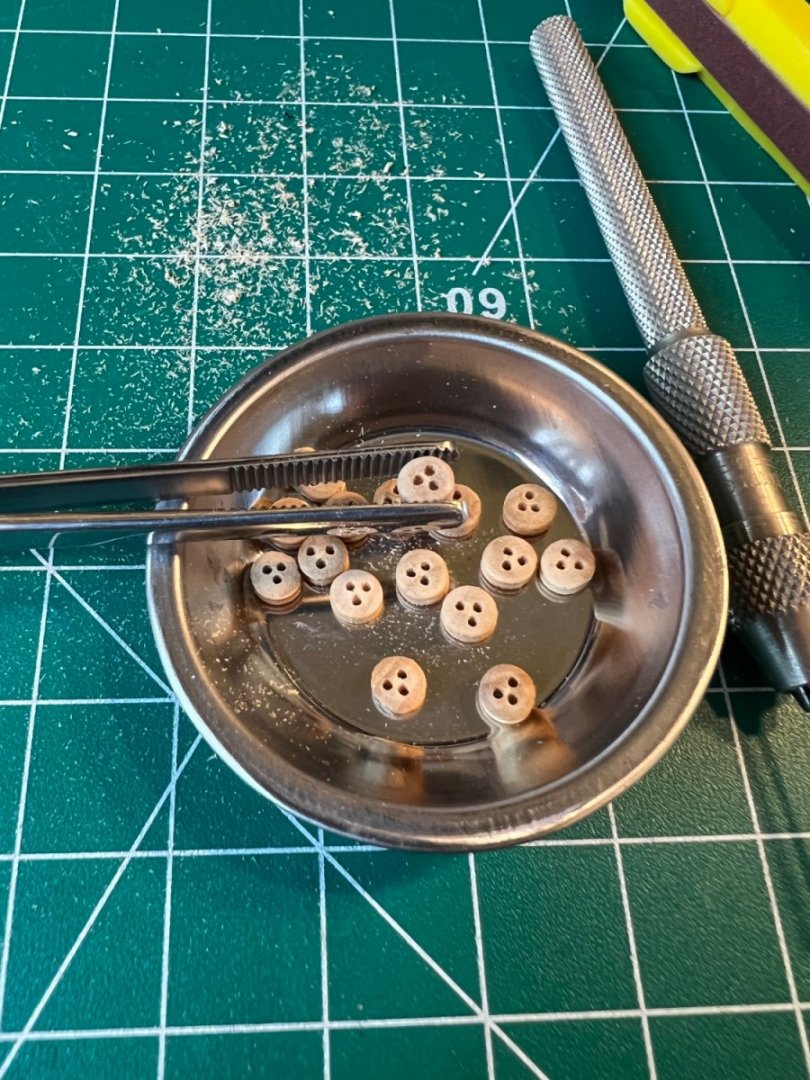
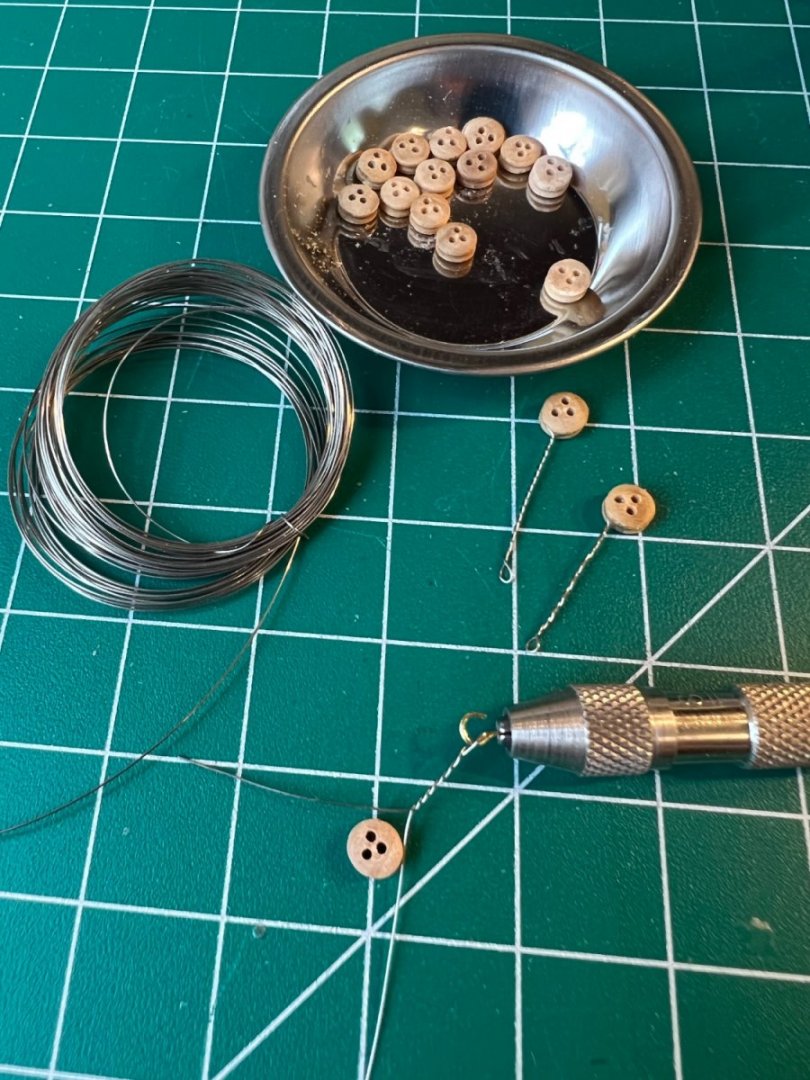
Back from Easter Break in Aruba. Up next - Shrouds. Preparing dead eyes 👀
- 111 replies
-
- 5
-
-
- Swift
- Artesania Latina
- (and 3 more)
-
Nice job! I’ll be building the full Connie (MS2040) and will likely be referring to your build for some ideas - cheers!
- 27 replies
-
- 1
-
-
- Constitution
- Model Shipways
- (and 1 more)
-
Early Swift, Virginia Pilot Boat ,1805 model
SUBaron replied to Keith Black's topic in Wood ship model kits
Keith - great refurb! You've inspired me to attempt a lantern. I'll likely try it when I complete my Swift and am taking a break from starting on the Connie. I had the same feeling as you, but regarding planking. It was a relief to complete it, and I too have a lot yet to learn... I find though, that I have much less trepidation towards rigging. I think this is because I've been fishing since I was about 8, and I see rigging to be quite similar to rigging a fly rod; rod->fly line->leader->tippet->fly. I also spent a lot of youth time untangling line from trees so as to acquire a new lure (or saving my own). Model ship rigging line (especially waxed!) is so much more forgiving than fishing line (I rarely work with 200lb test line though). So far my limited rigging on the Swift has had a very familiar feel. What I do need to brush up on is the presentation. Though trout can be a finicky bunch, they don't typically care what type of knot you used, or if it presents well visually (so long as it's neat). The trout rig equivalent of a shoddily stropped block can still catch fish 😁 Cheers! -Andre -
Welcome! Fyi, I am also building the Swift. I noticed that you added the Keel prior to planking - this may have been purposeful. I did the same (I jumped ahead in the directions), but found that it made the shaping of the Garboard and associated planks a little more difficult. I bring it up simply for your awareness- it’s a fun little ship, and a great 1st model. I hope you enjoy your build!
- 8 replies
-
- 3
-
-
- first build
- Artesania Latina
- (and 1 more)
-
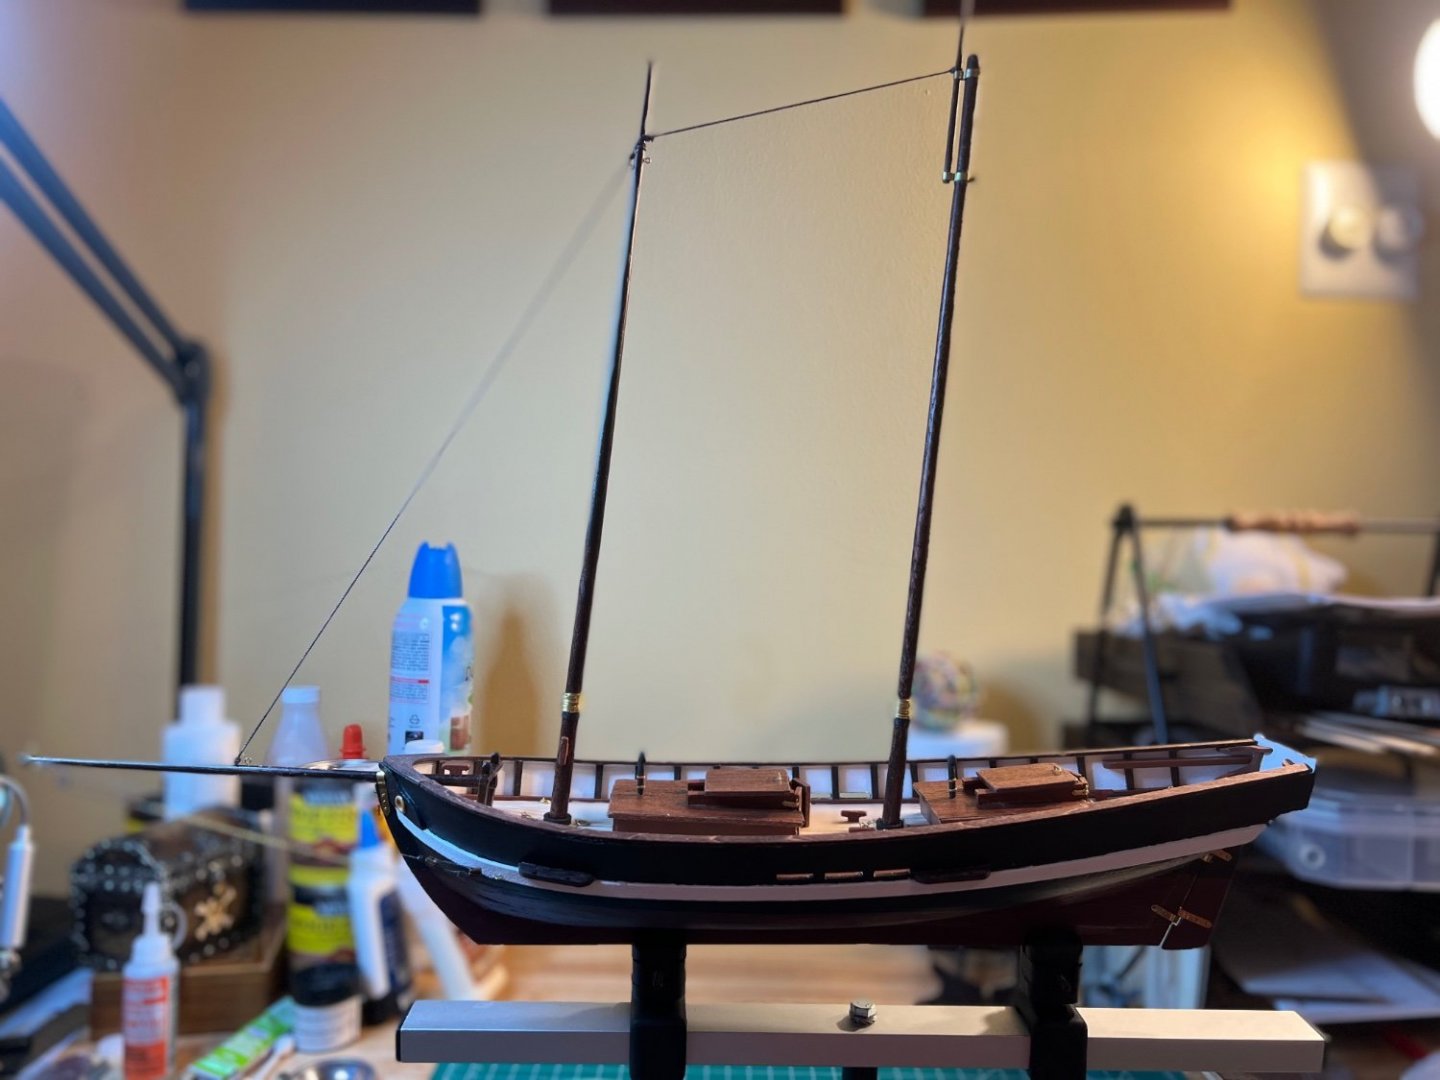
Yes - sails came with the kit and I’ll be adding them at the end of the build to keep from any accidents with glue, paint or stain touch ups. I’m currently hanging the sails with small weights to remove the perma-crease from packing. It’s worked a bit, but I’ll likely steam them later.
- 111 replies
-
- 2
-
-
- Swift
- Artesania Latina
- (and 3 more)
-
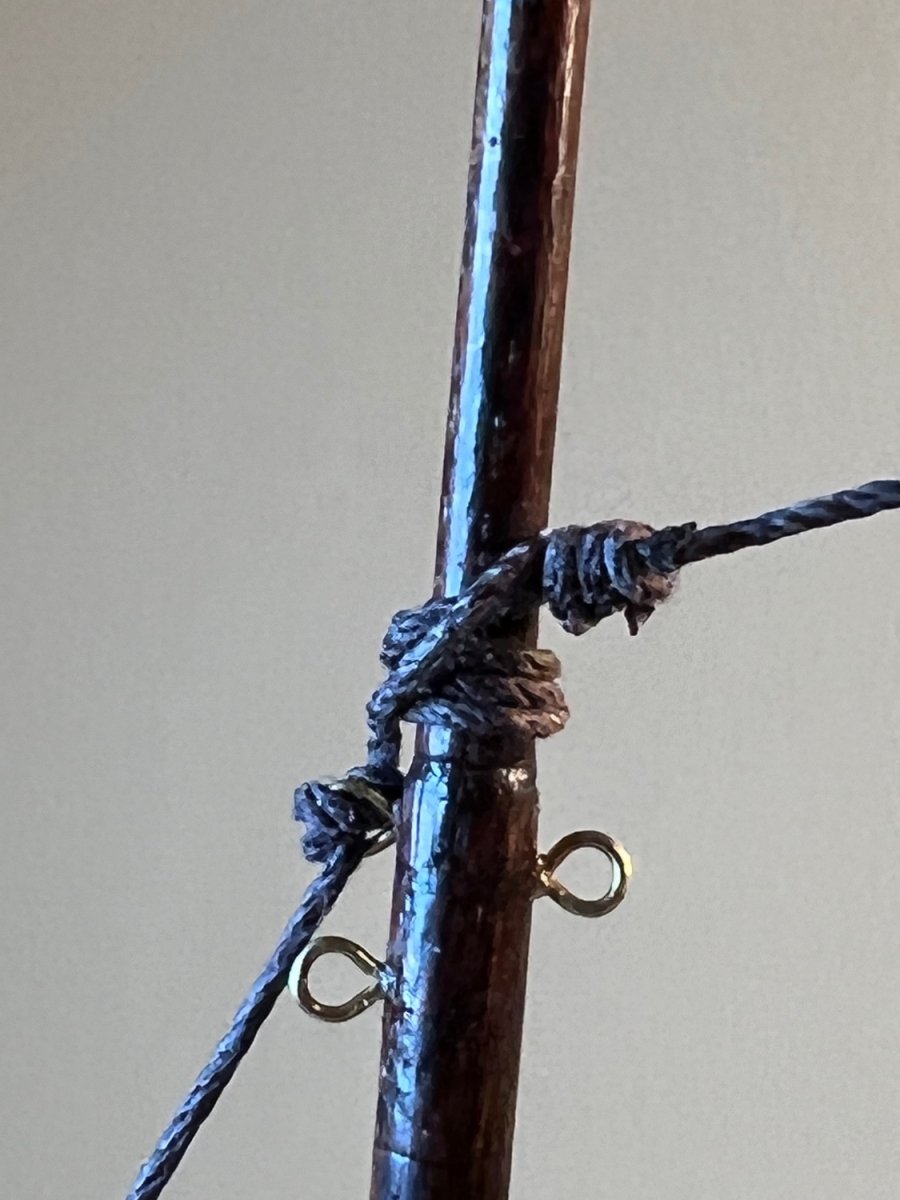
I was a little nervous about installing the masts as there are no do overs there. I was happy with the results. whenever feasible, I try to use appropriate nautical knots. I have a great app called “Knots 3D”. It features a complete set of knots (sailing, camping, fishing, fire & rescue, etc), with explanations and 3D motion controlled graphic simulations of the knot being formed.


- 111 replies
-
- 4
-
-
- Swift
- Artesania Latina
- (and 3 more)
-
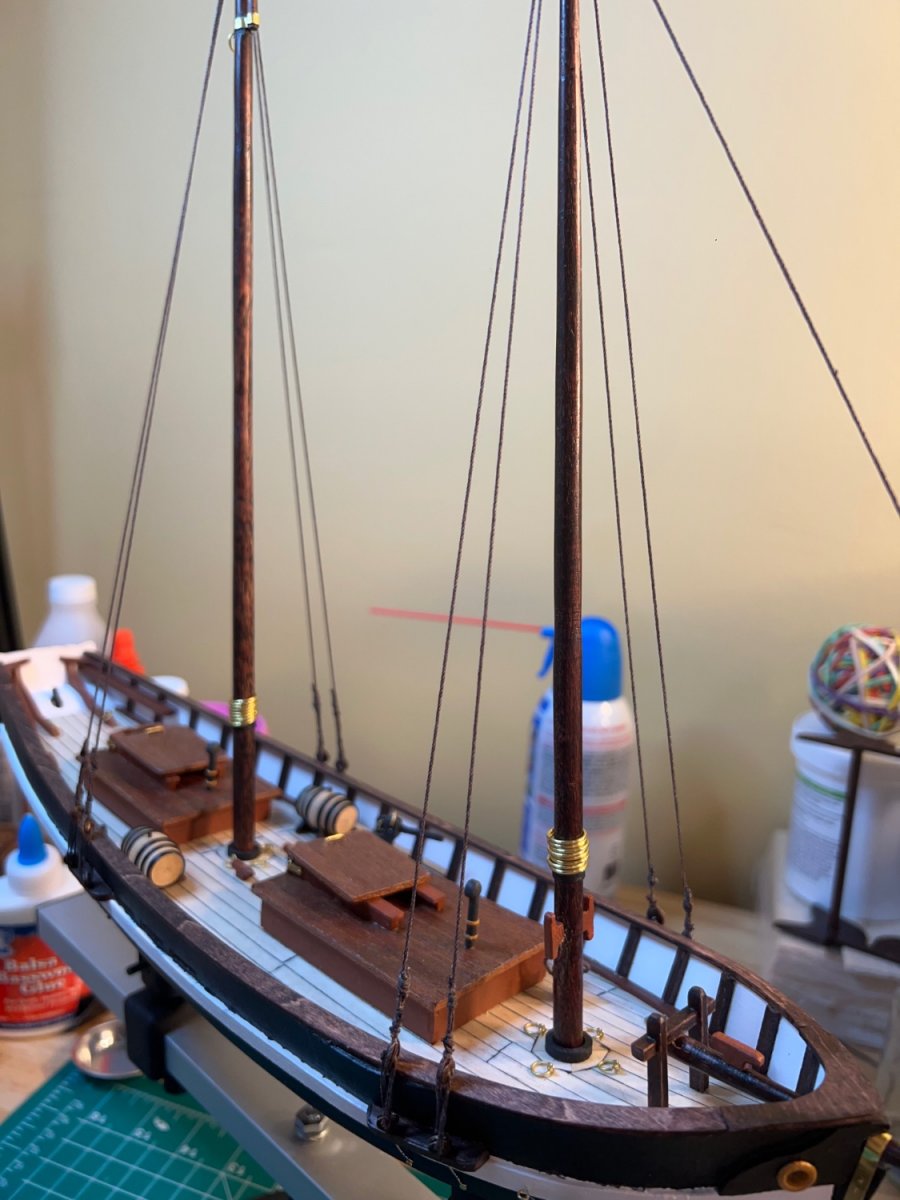
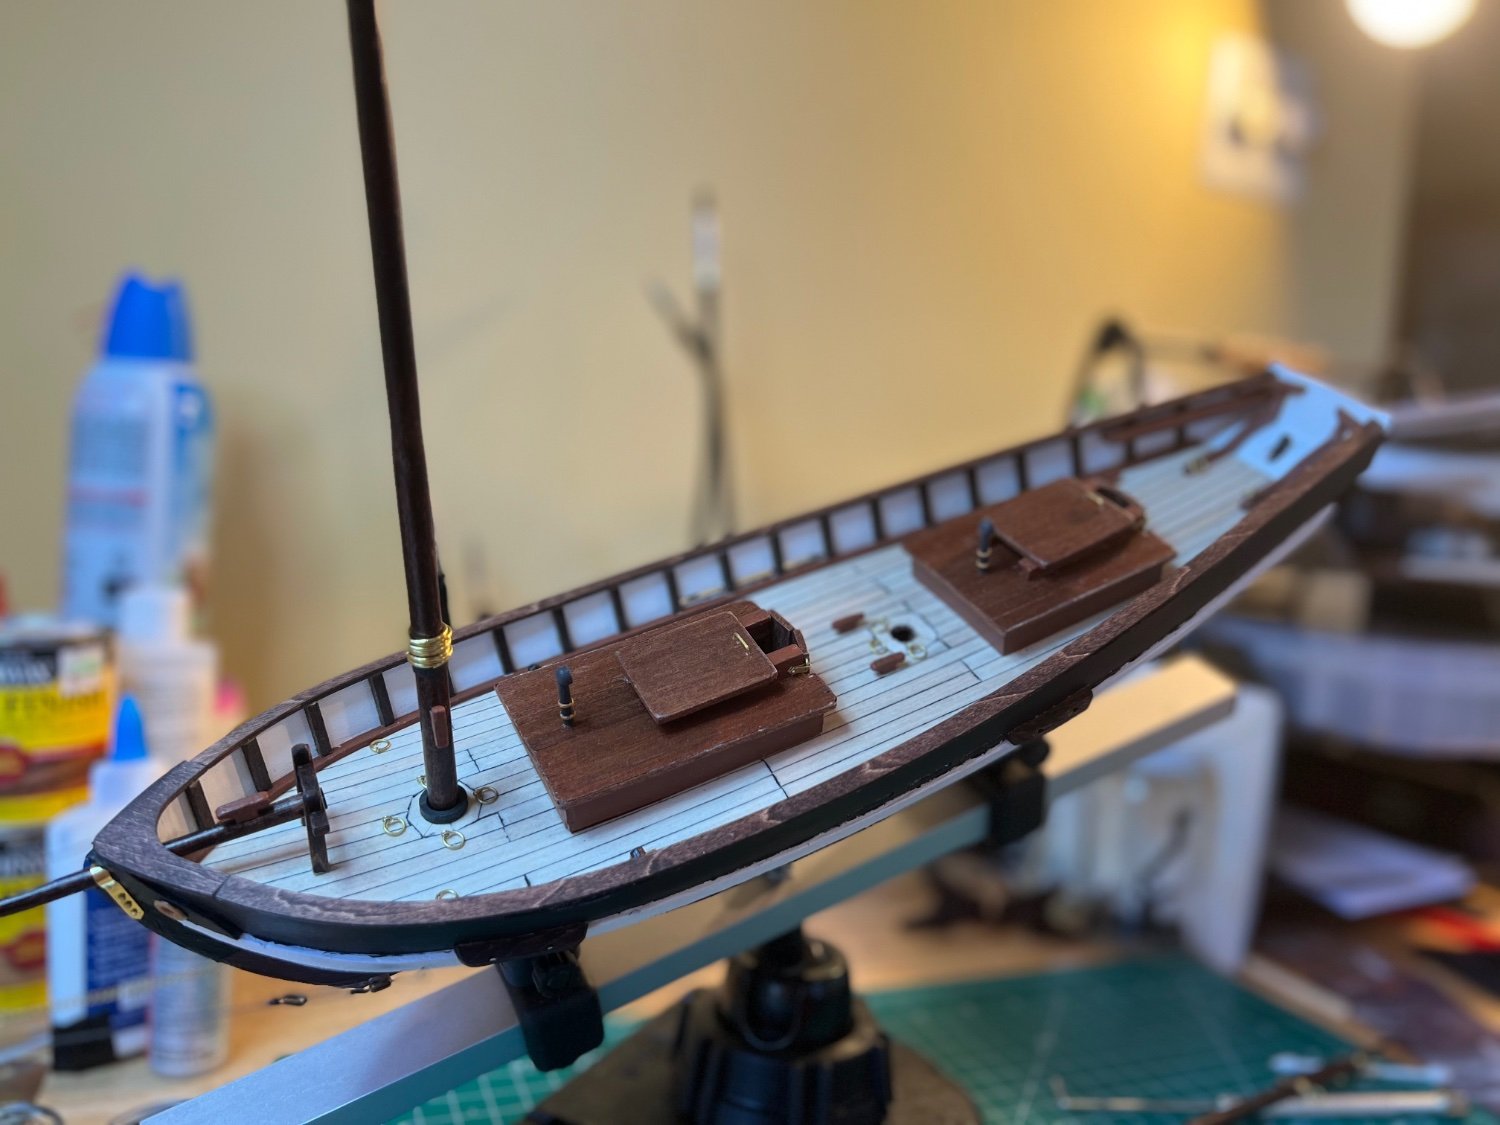
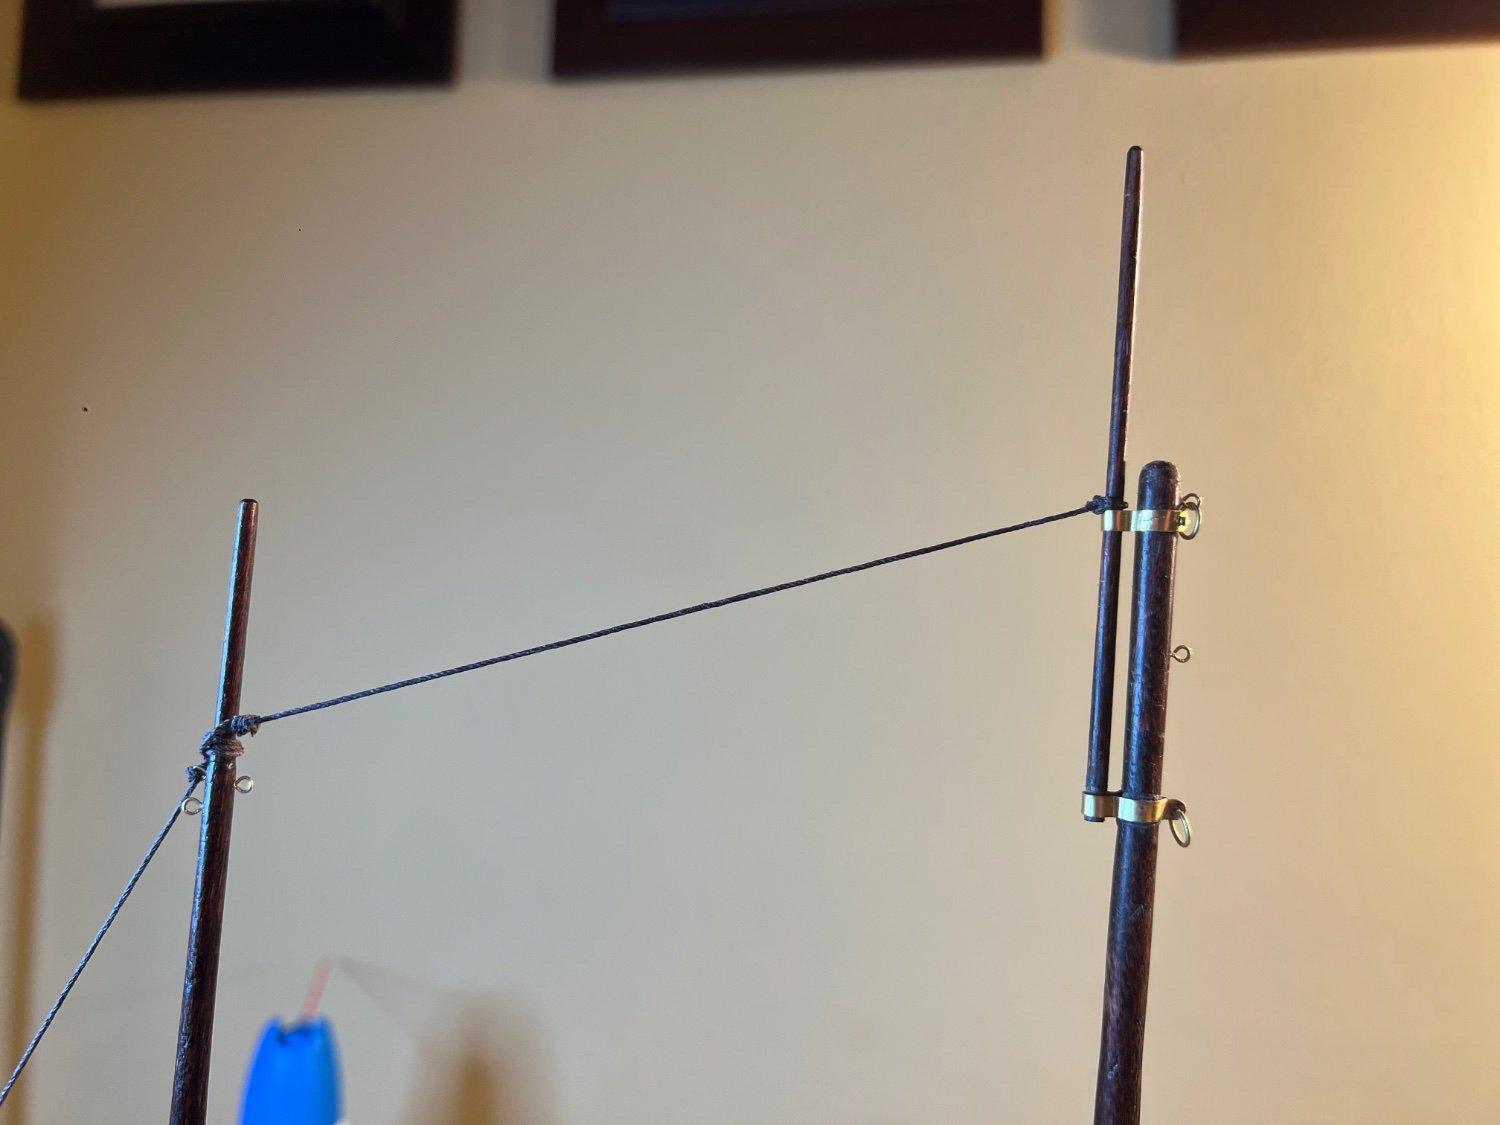
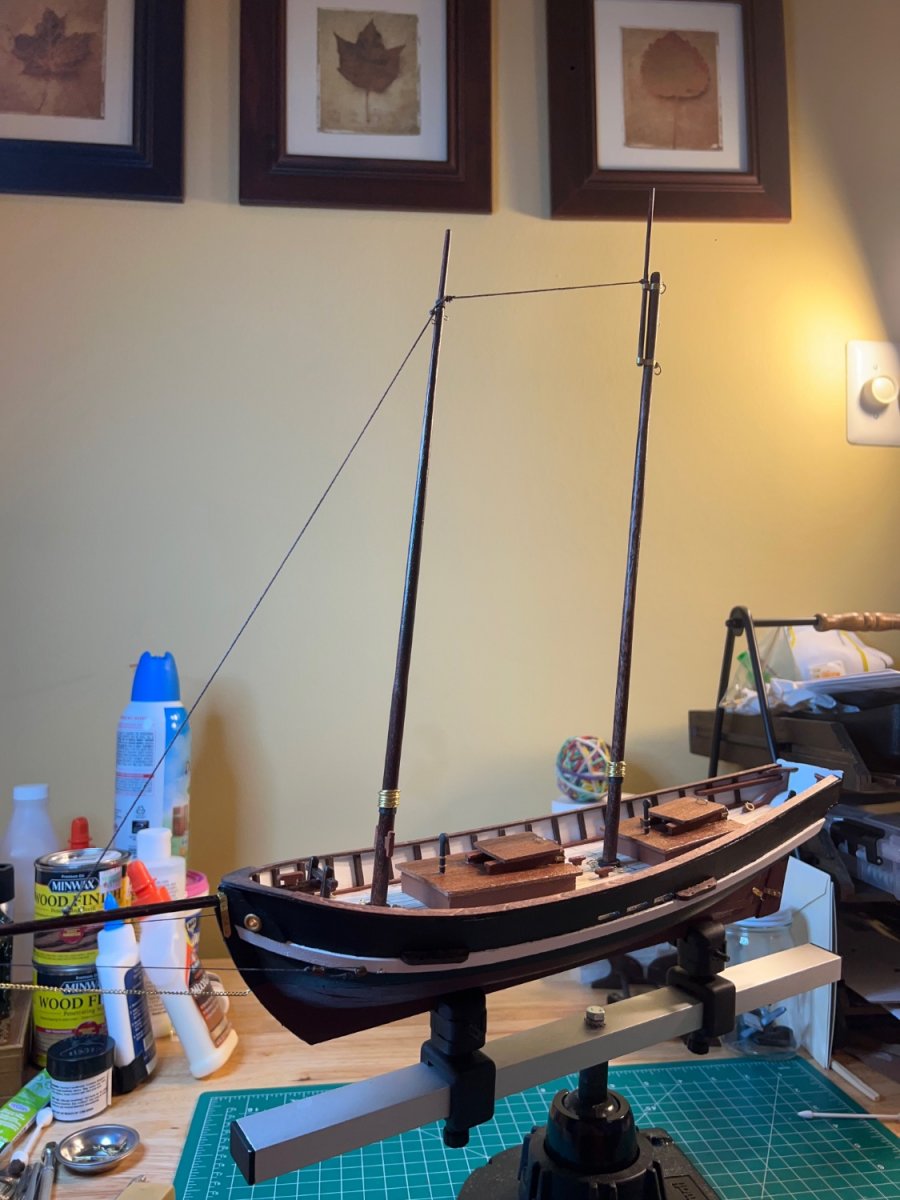
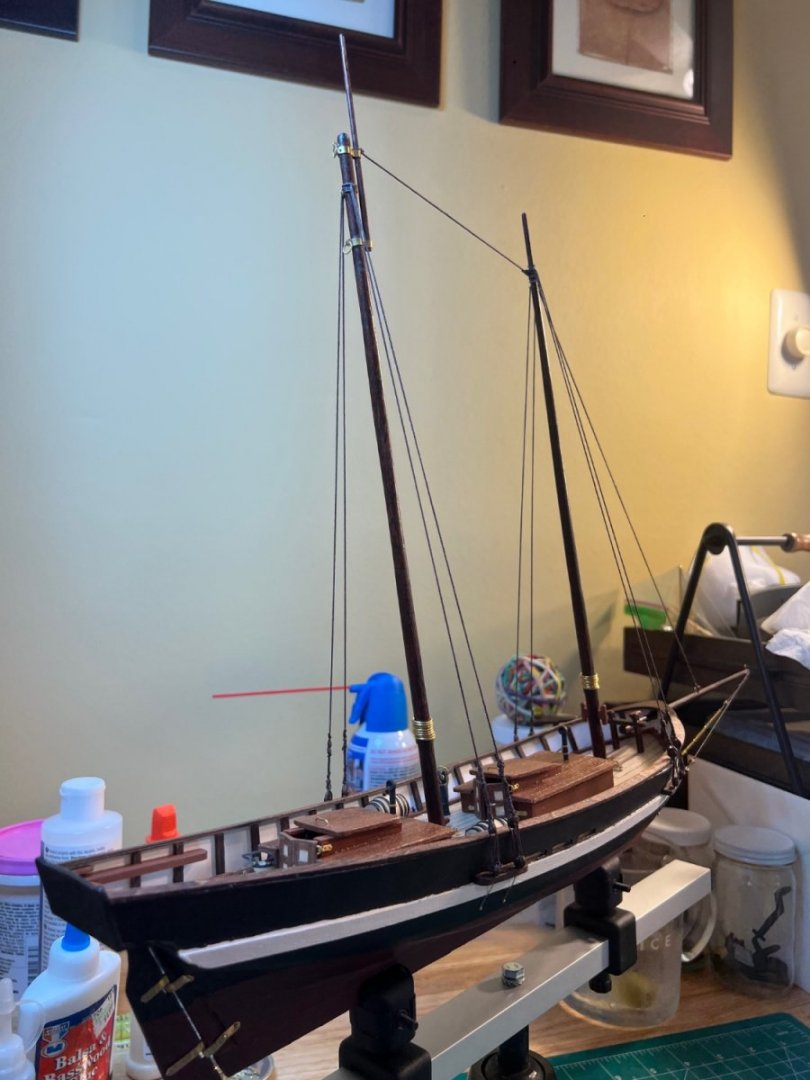
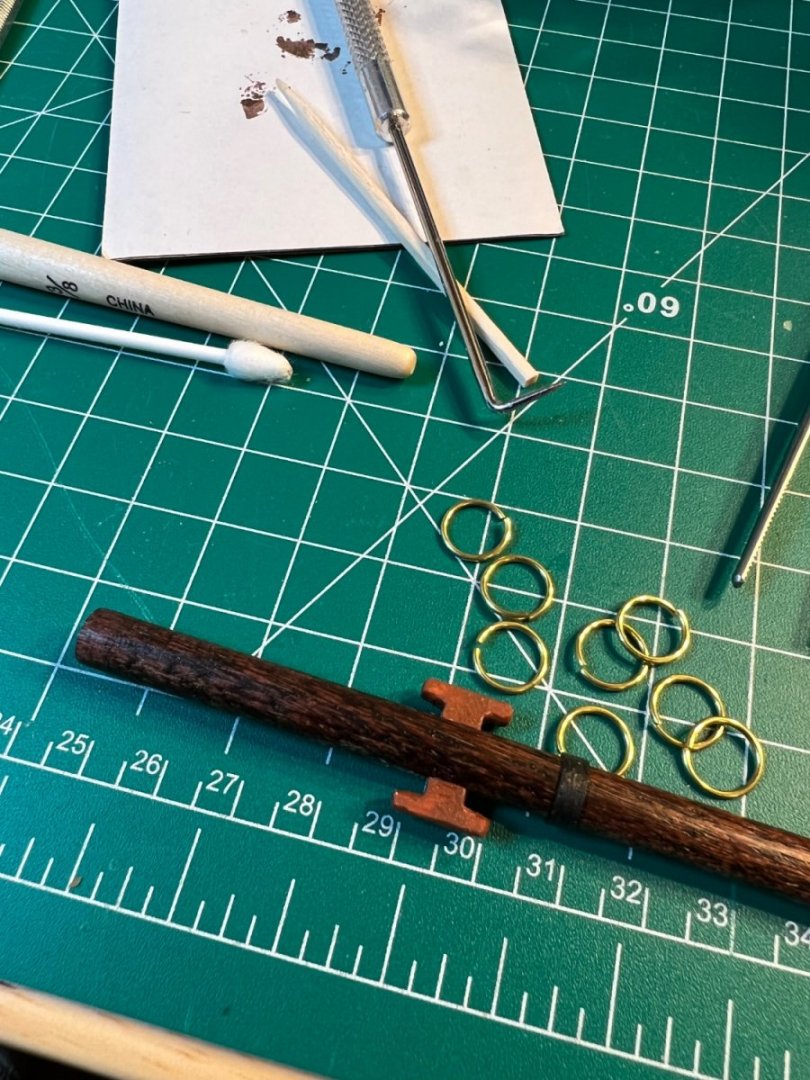
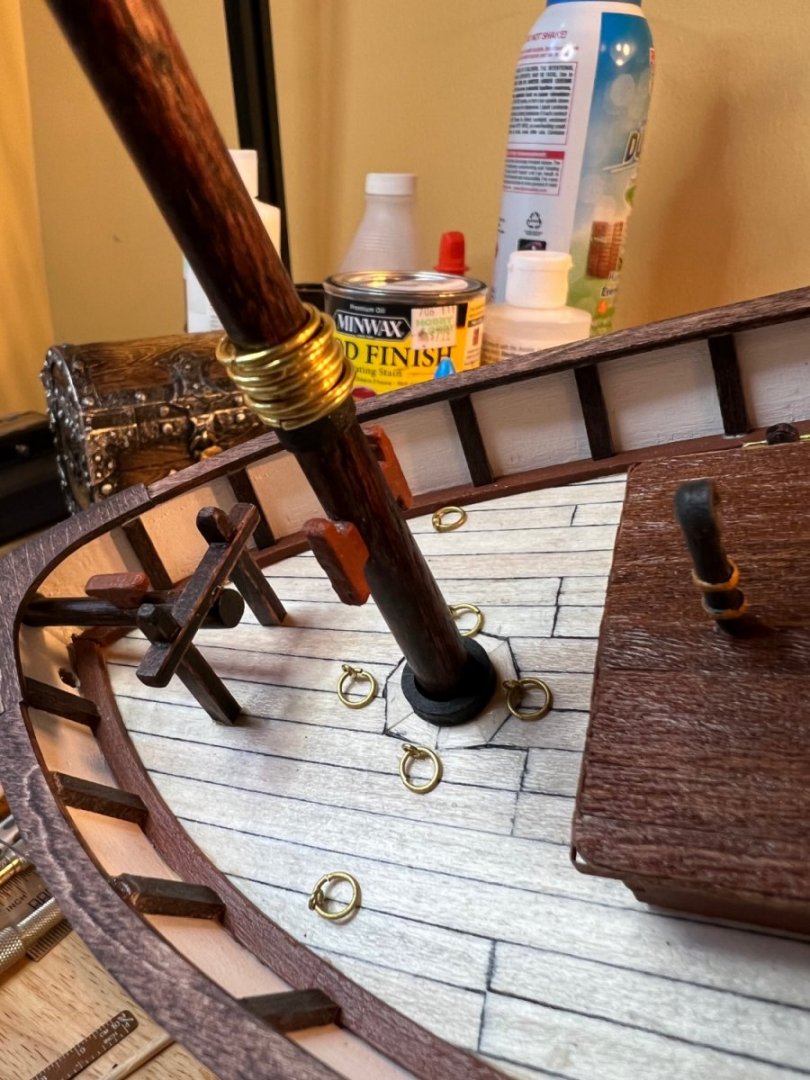
Big day - fore and main mast installation! The main top mast was difficult. According to the plans connection to the main mast wasn’t supposed to require glue. However, I intentionally shaped both the fore and main masts about 1.5mm thicker than the instructions (they seemed too thin to scale). However, as usual, such deviation had consequences further in the build. The increased mast width was too large for the brass connections. I ended up needing to create a very strong bond that would stick brass to varnished mast, so I used epoxy and instead of having the brass ends connect, I nailed them into the top mast. I think it ended up looking okay considering my backup was to order more brass and fashion new parts (I need a few more years under my belt to acquire that much patience).
- 111 replies
-
- 2
-
-
- Swift
- Artesania Latina
- (and 3 more)
-
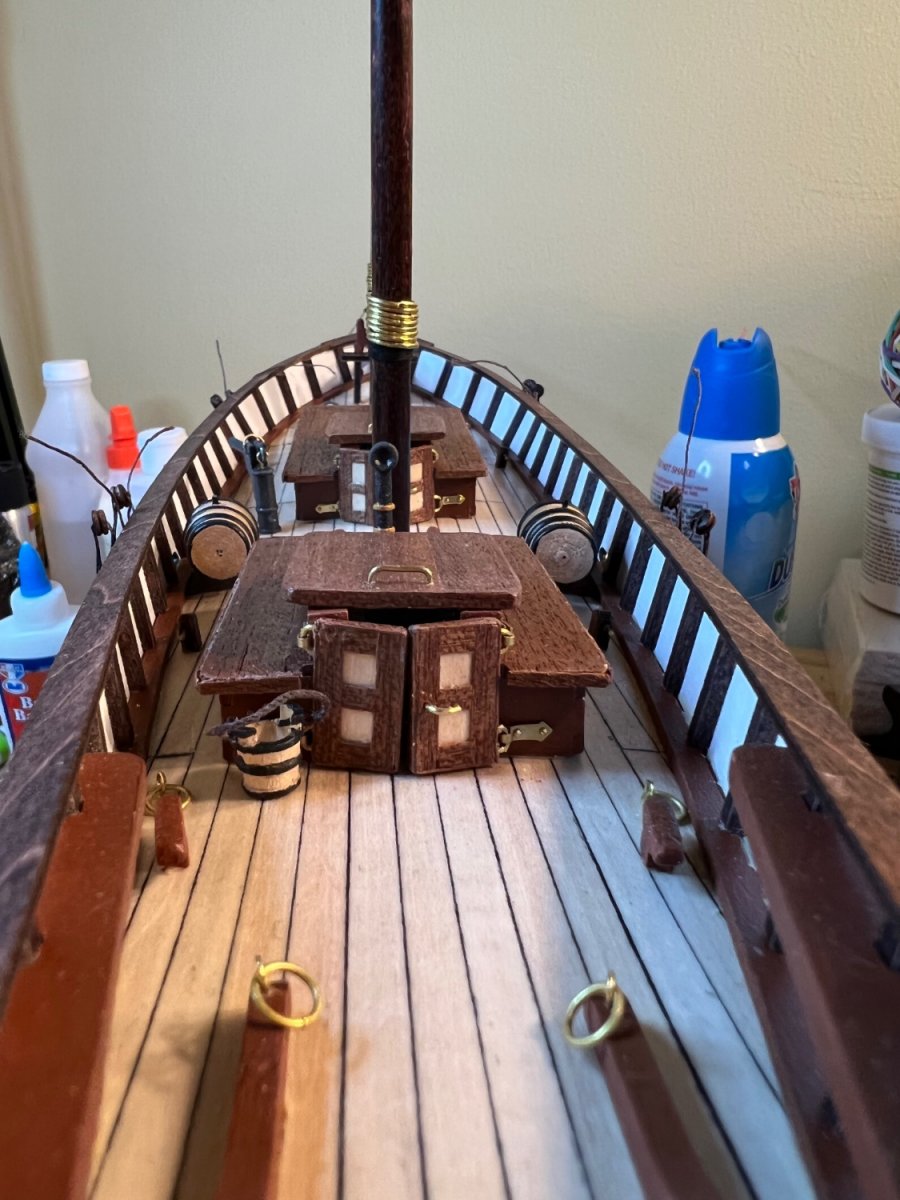
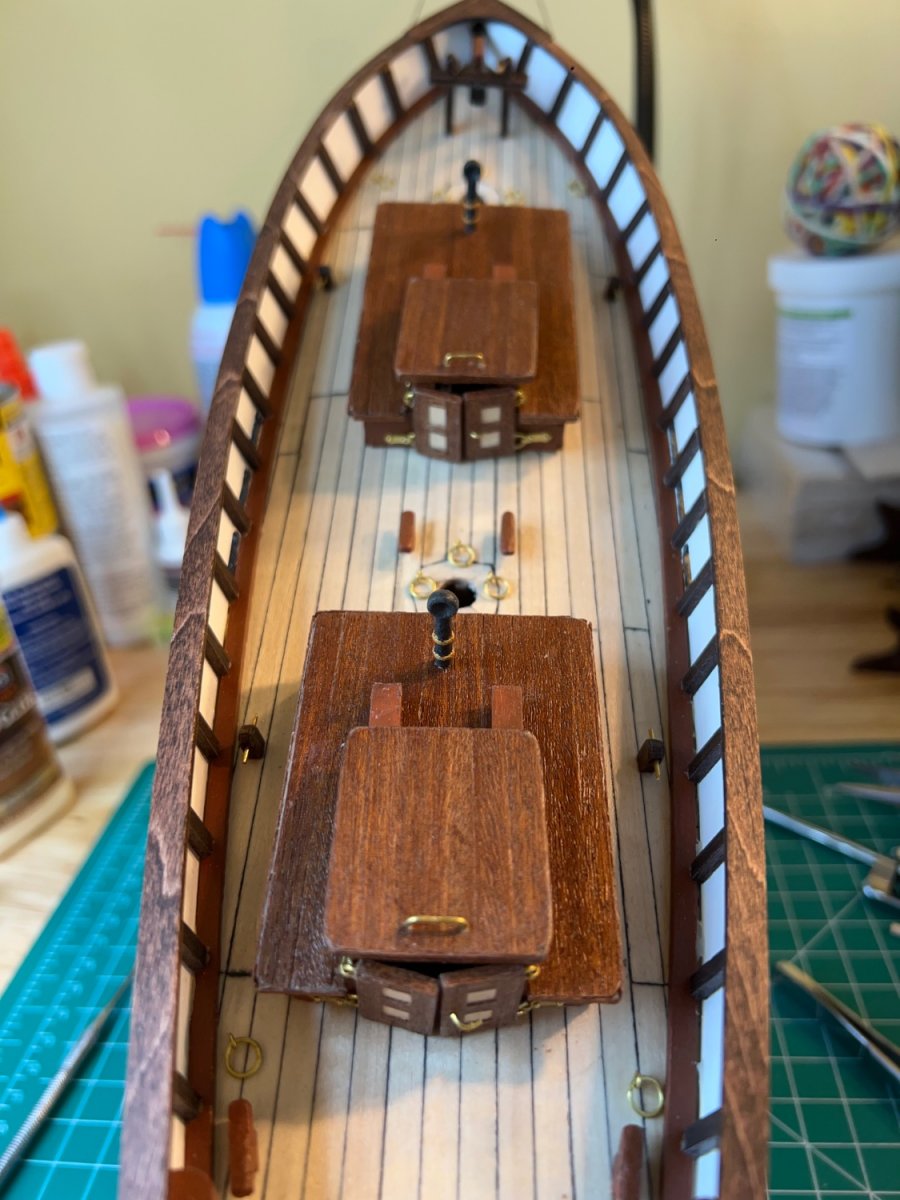
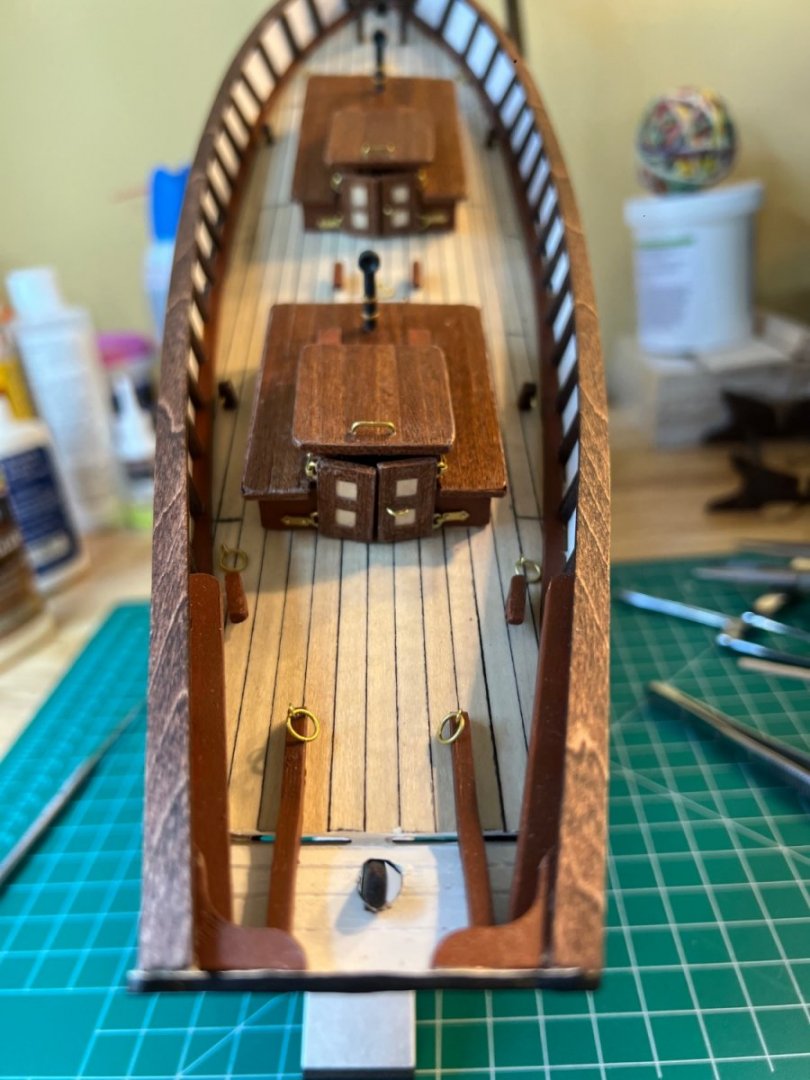
Attached the out structures today. The model design leaves a gap between the deck and stern. I’ll likely try and shape something to fill the gap.

- 111 replies
-
- 4
-
-
- Swift
- Artesania Latina
- (and 3 more)
-
For some reason, twenty years doesn’t seem to be long enough to completely rot out thread that is subjected to little or no torque or tension. I wonder how much of the deterioration is exacerbated by sunlight, smoking (cigarettes, pipe, even fireplace/stove), the environment (home humidity levels, variable swings in AC/Heating temps), and others (including the wax?)?
- 111 replies
-
- 2
-
-
- Swift
- Artesania Latina
- (and 3 more)