
BrianK
-
Posts
169 -
Joined
-
Last visited
Content Type
Profiles
Forums
Gallery
Events
Everything posted by BrianK
-
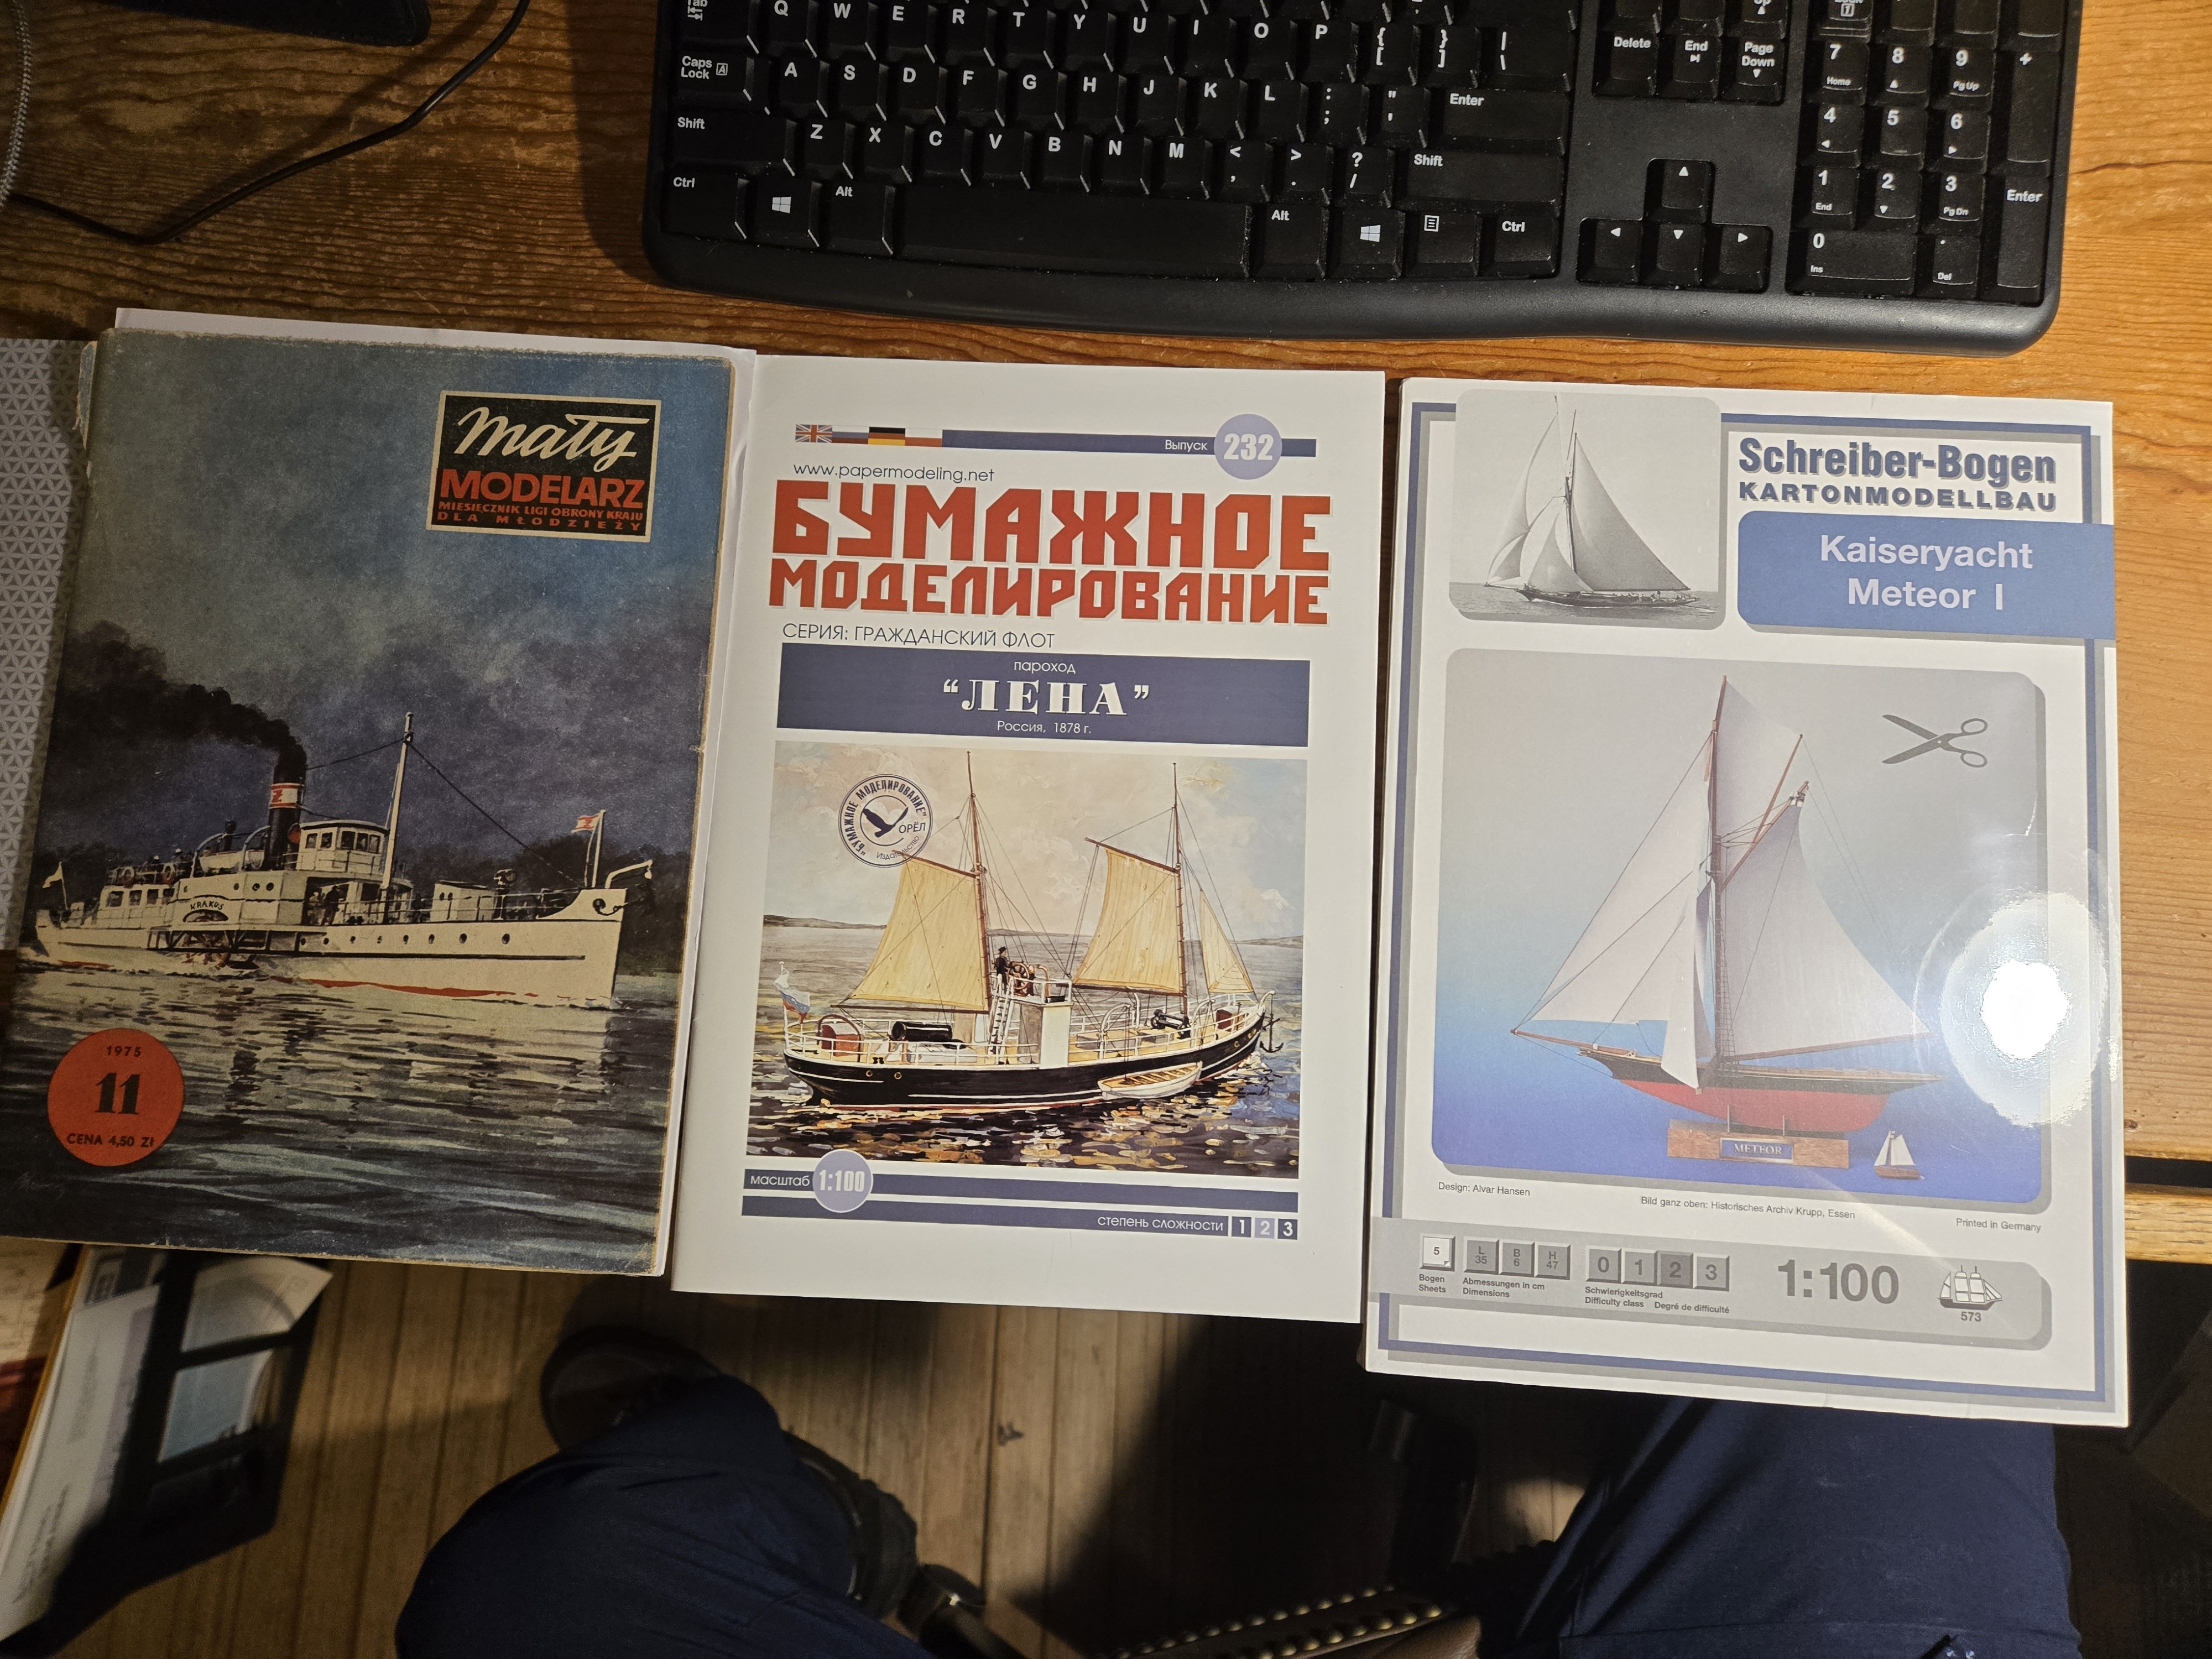
 Thanks for all the thumbs up guys. Chris none of the three kits below have butt joints that I am aware of. 😃 I will put one in the suitcase this spring to have something to do at the farm outside Bangkok. Regards, Brian
-
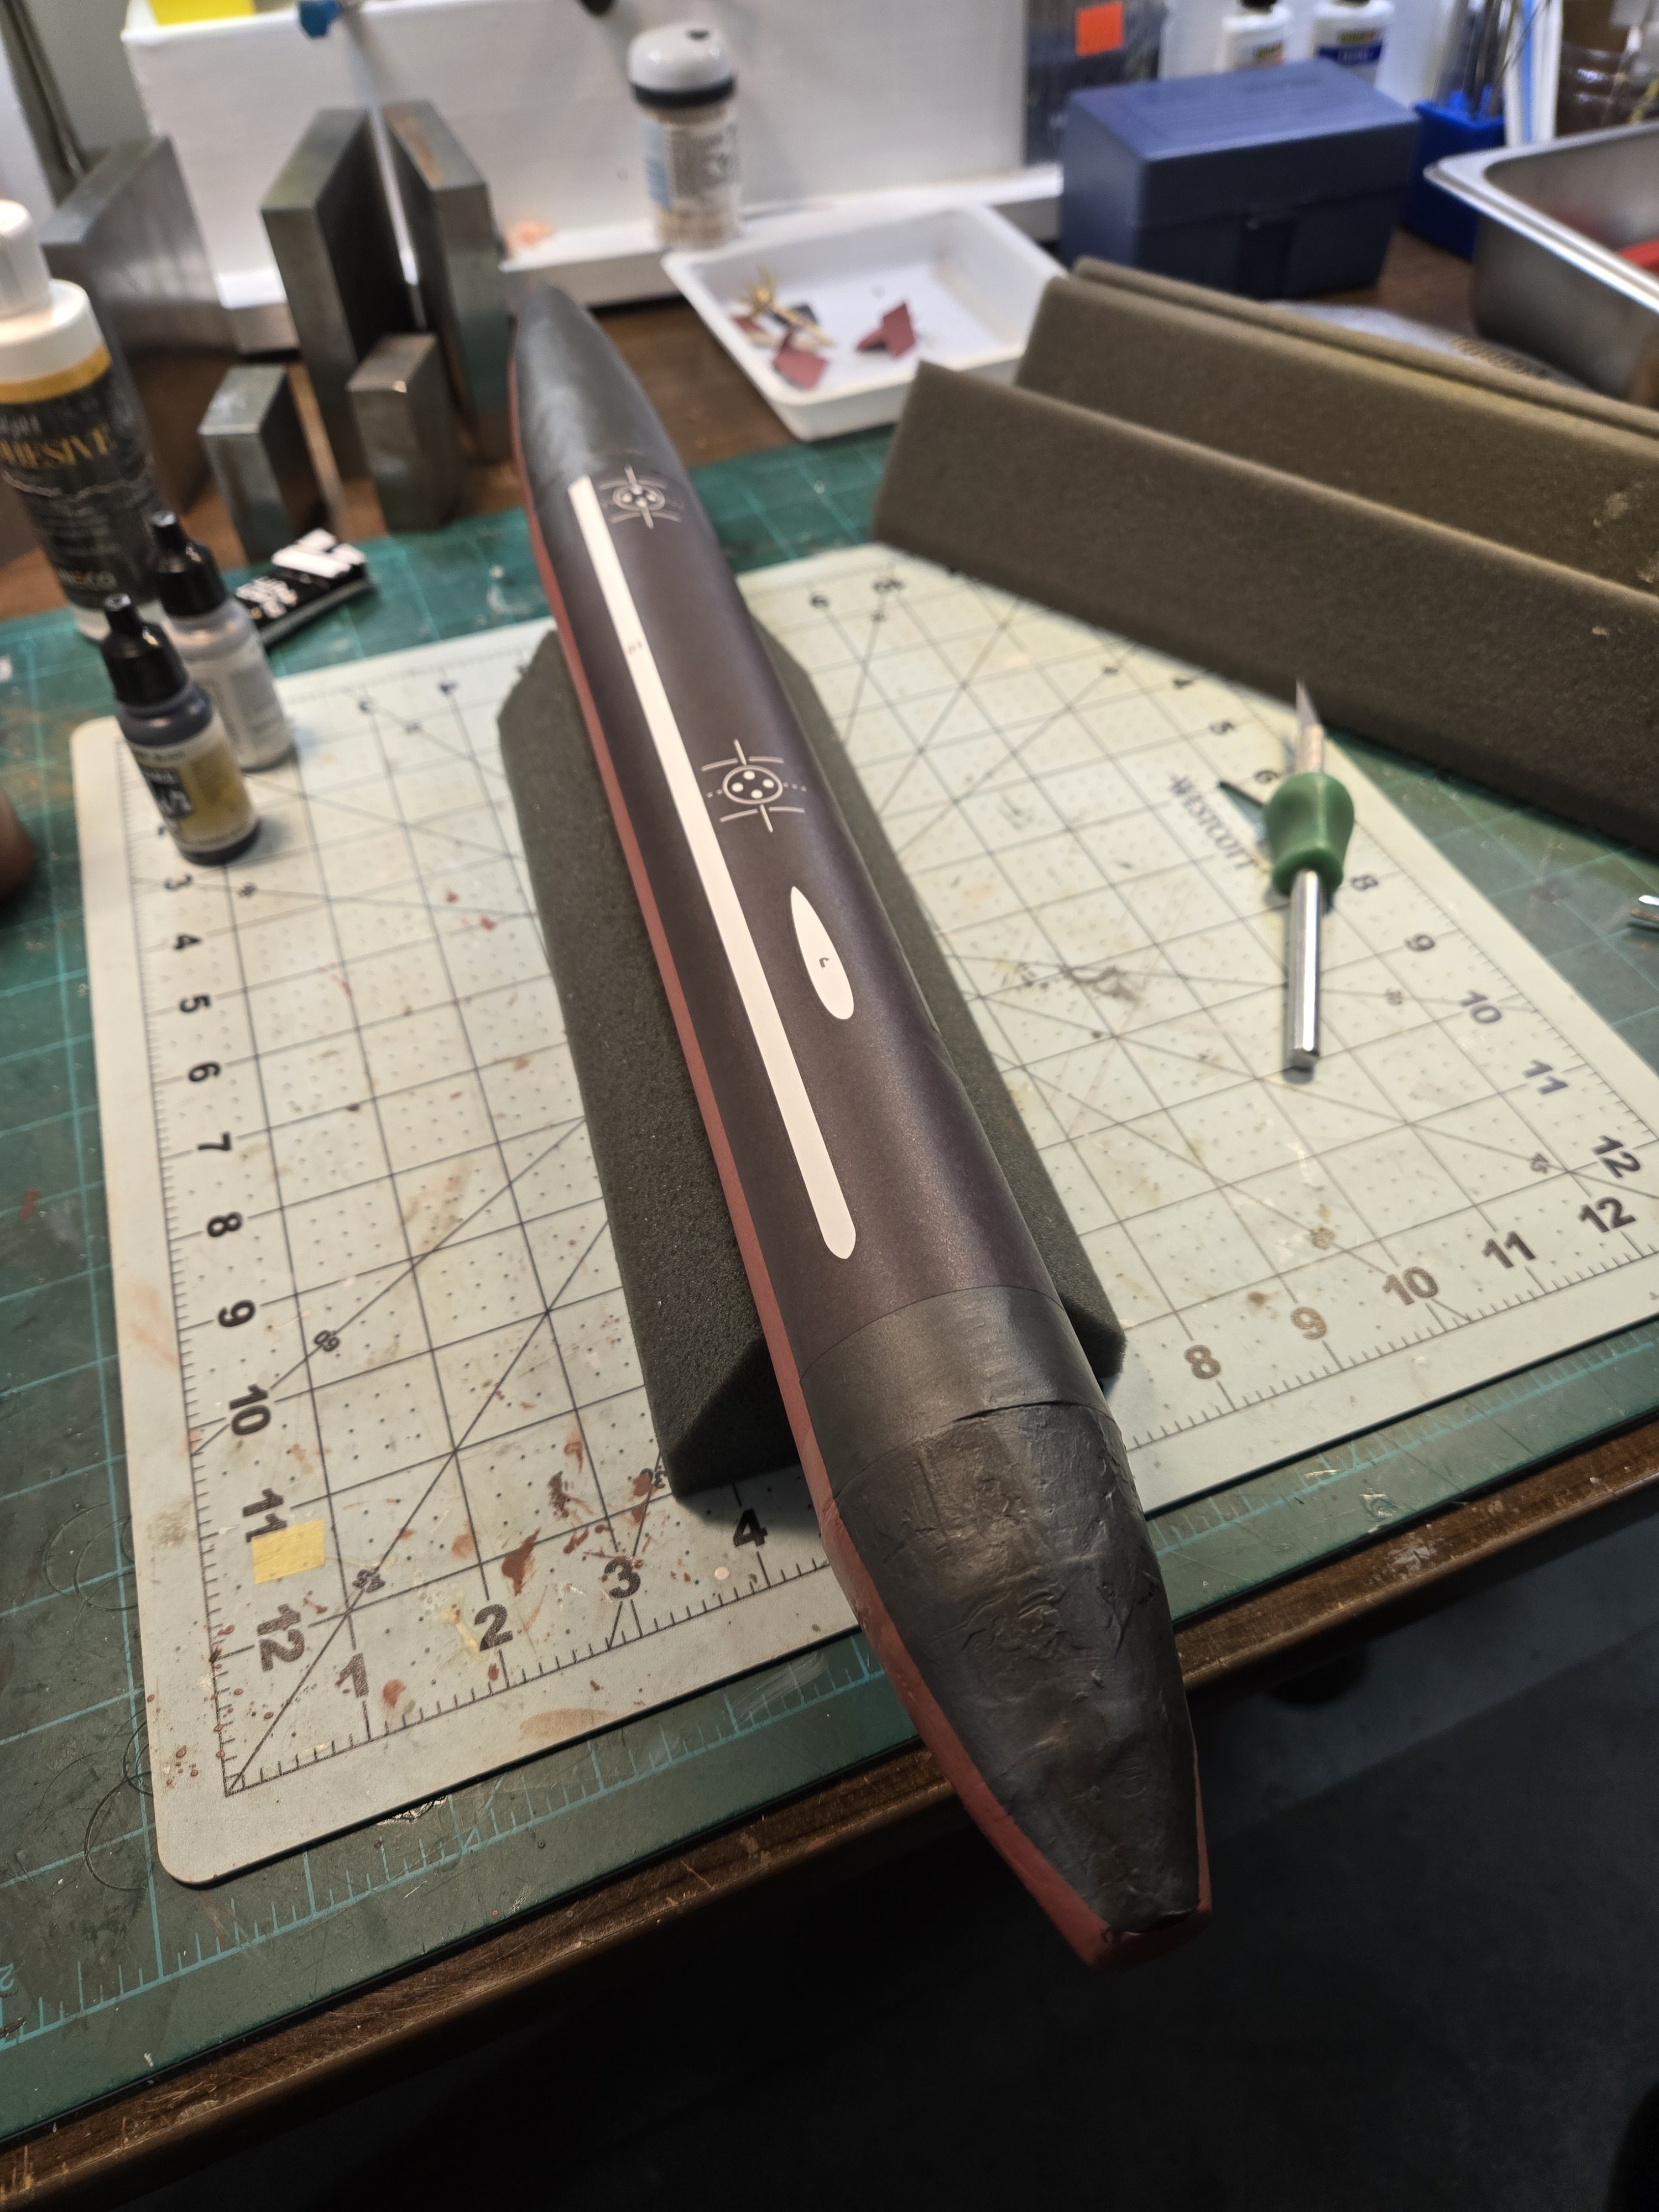
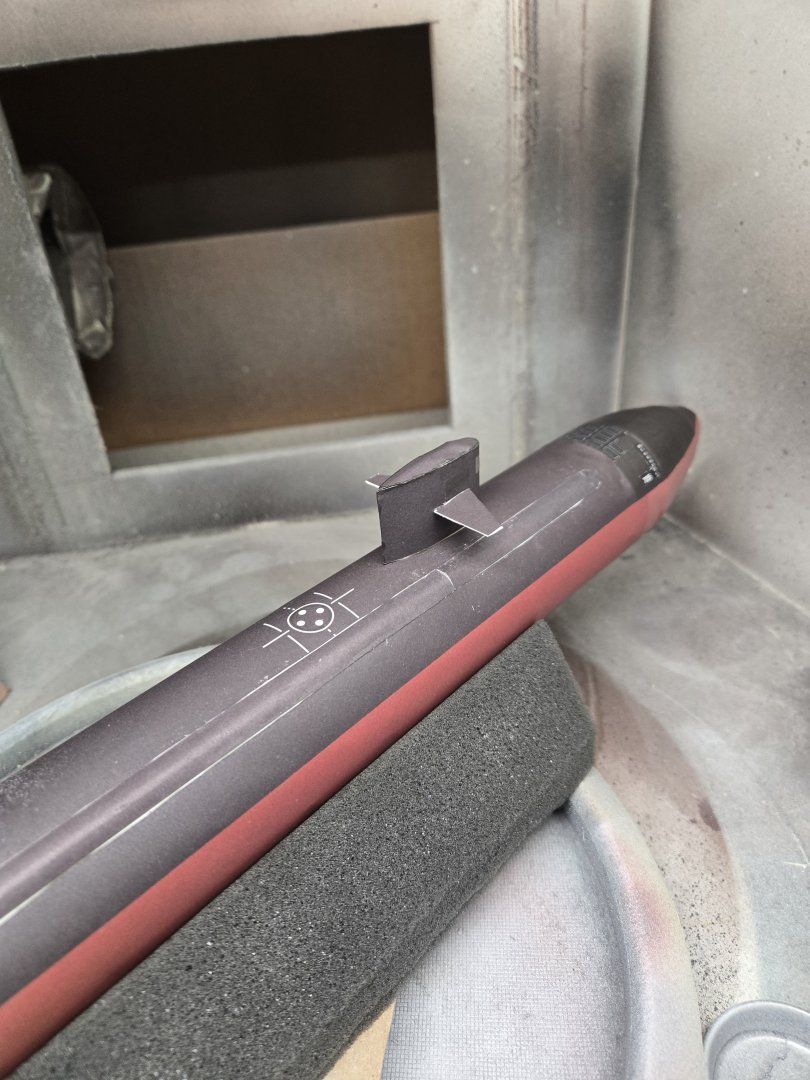
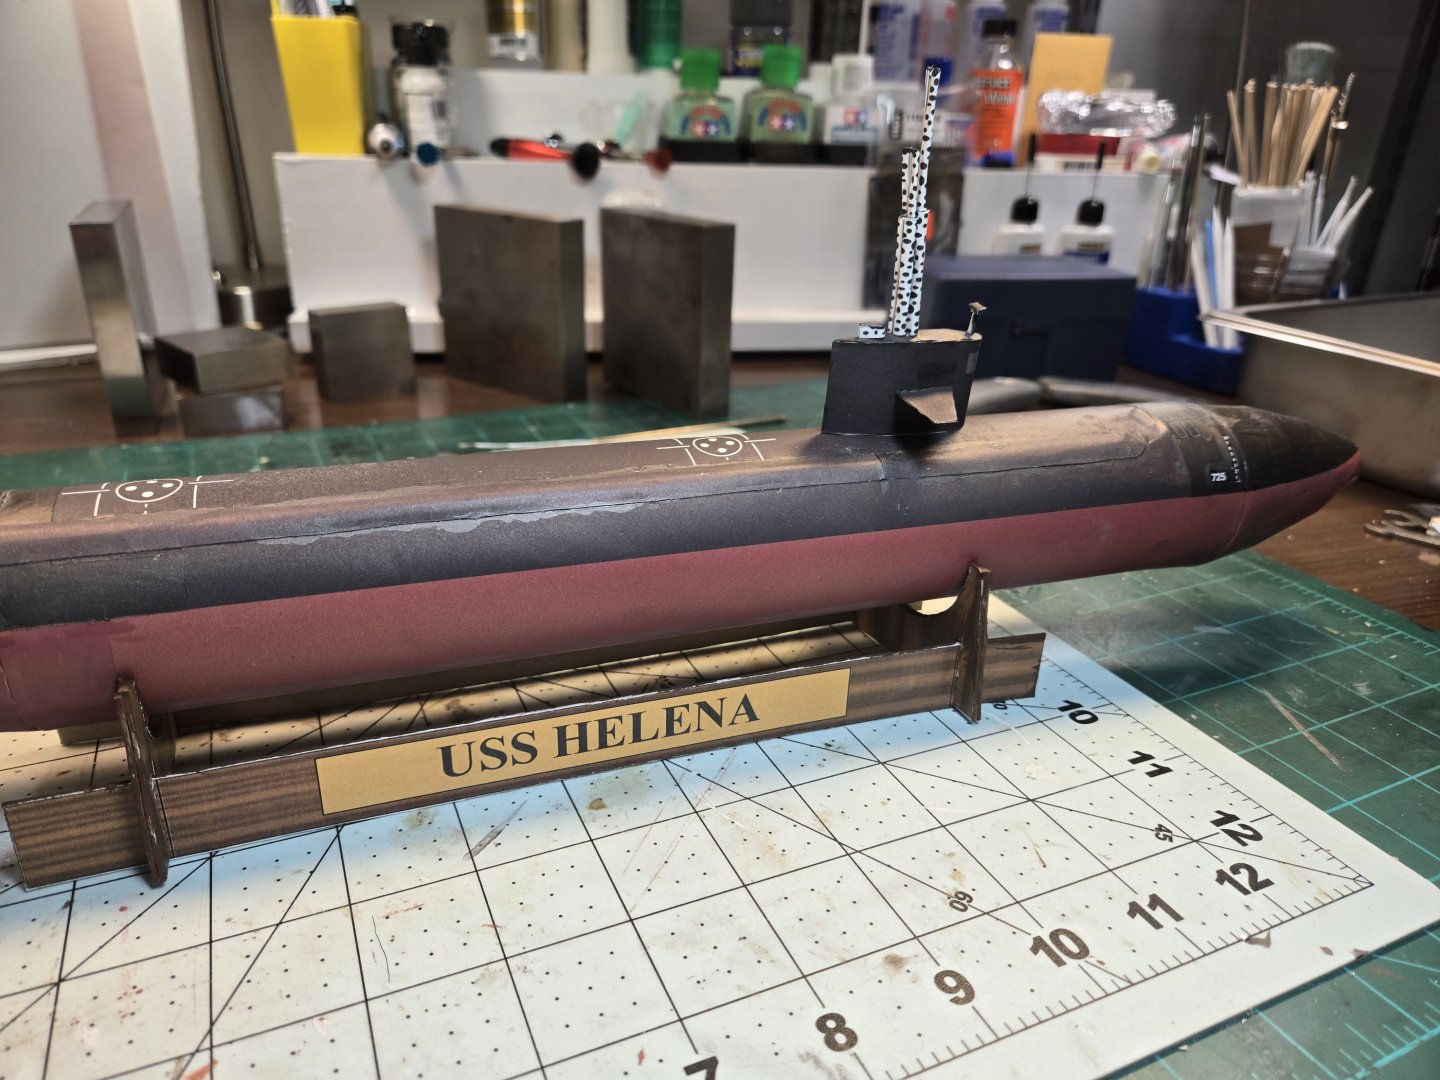
The sail was next with final touch up painting to hide glue lines and fix the masking tape leak throughs. So its finished. I am not sure which skills need more improving, my bulkhead seams or my putty work. I will say I thought this would be an easier model but it turned out to be hard. Any deviation from symmetry in a model like this shows up easily (I reattached the planes several times) and there are not a lot of details to distract the eye and hide the flaws! 😃 I did learn a lot and this kind of project is humbling and inspiring. I am taking at least one card model to Thailand in May and will have 3 months there to work on it. 😃 BTW, former USS Helena Captain Paul Dinius, (mentioned above) was kind when I showed him the model. He said there is no way he would have the patience to tackle something like this. When I complained about the dents and poor putty job. He said it looks about right for a working boat that has been in service for over 40 years.....
-
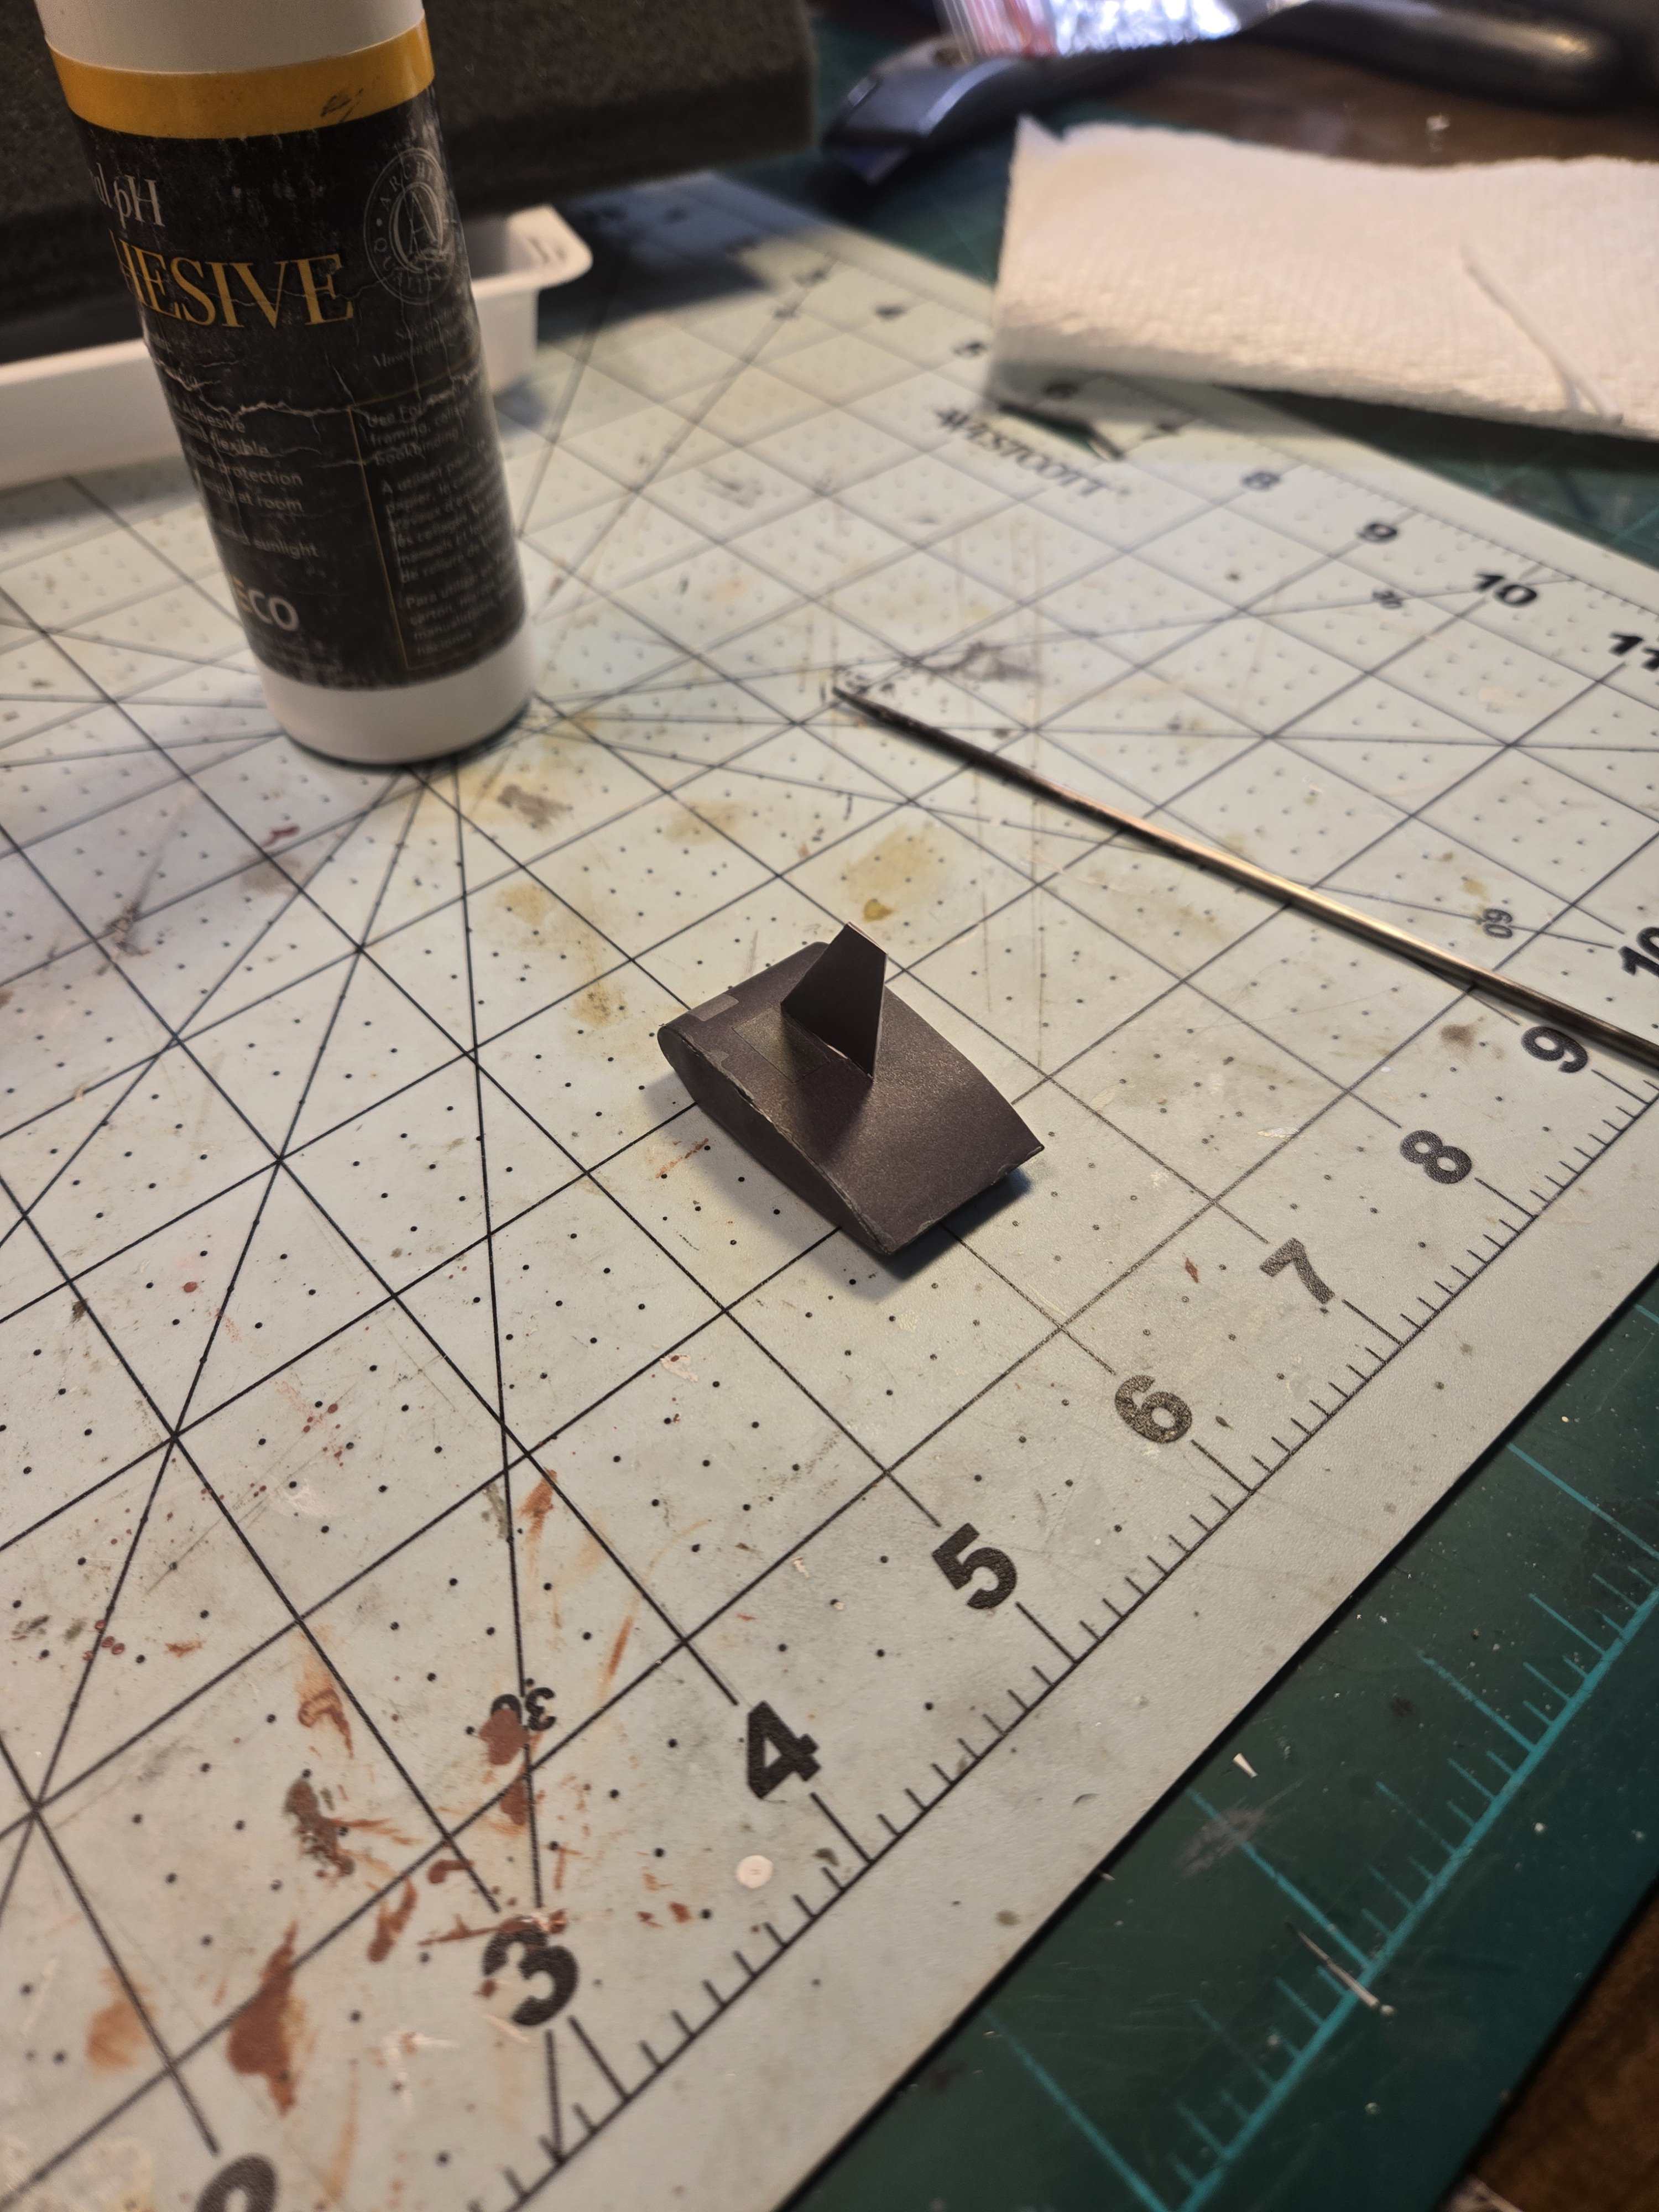
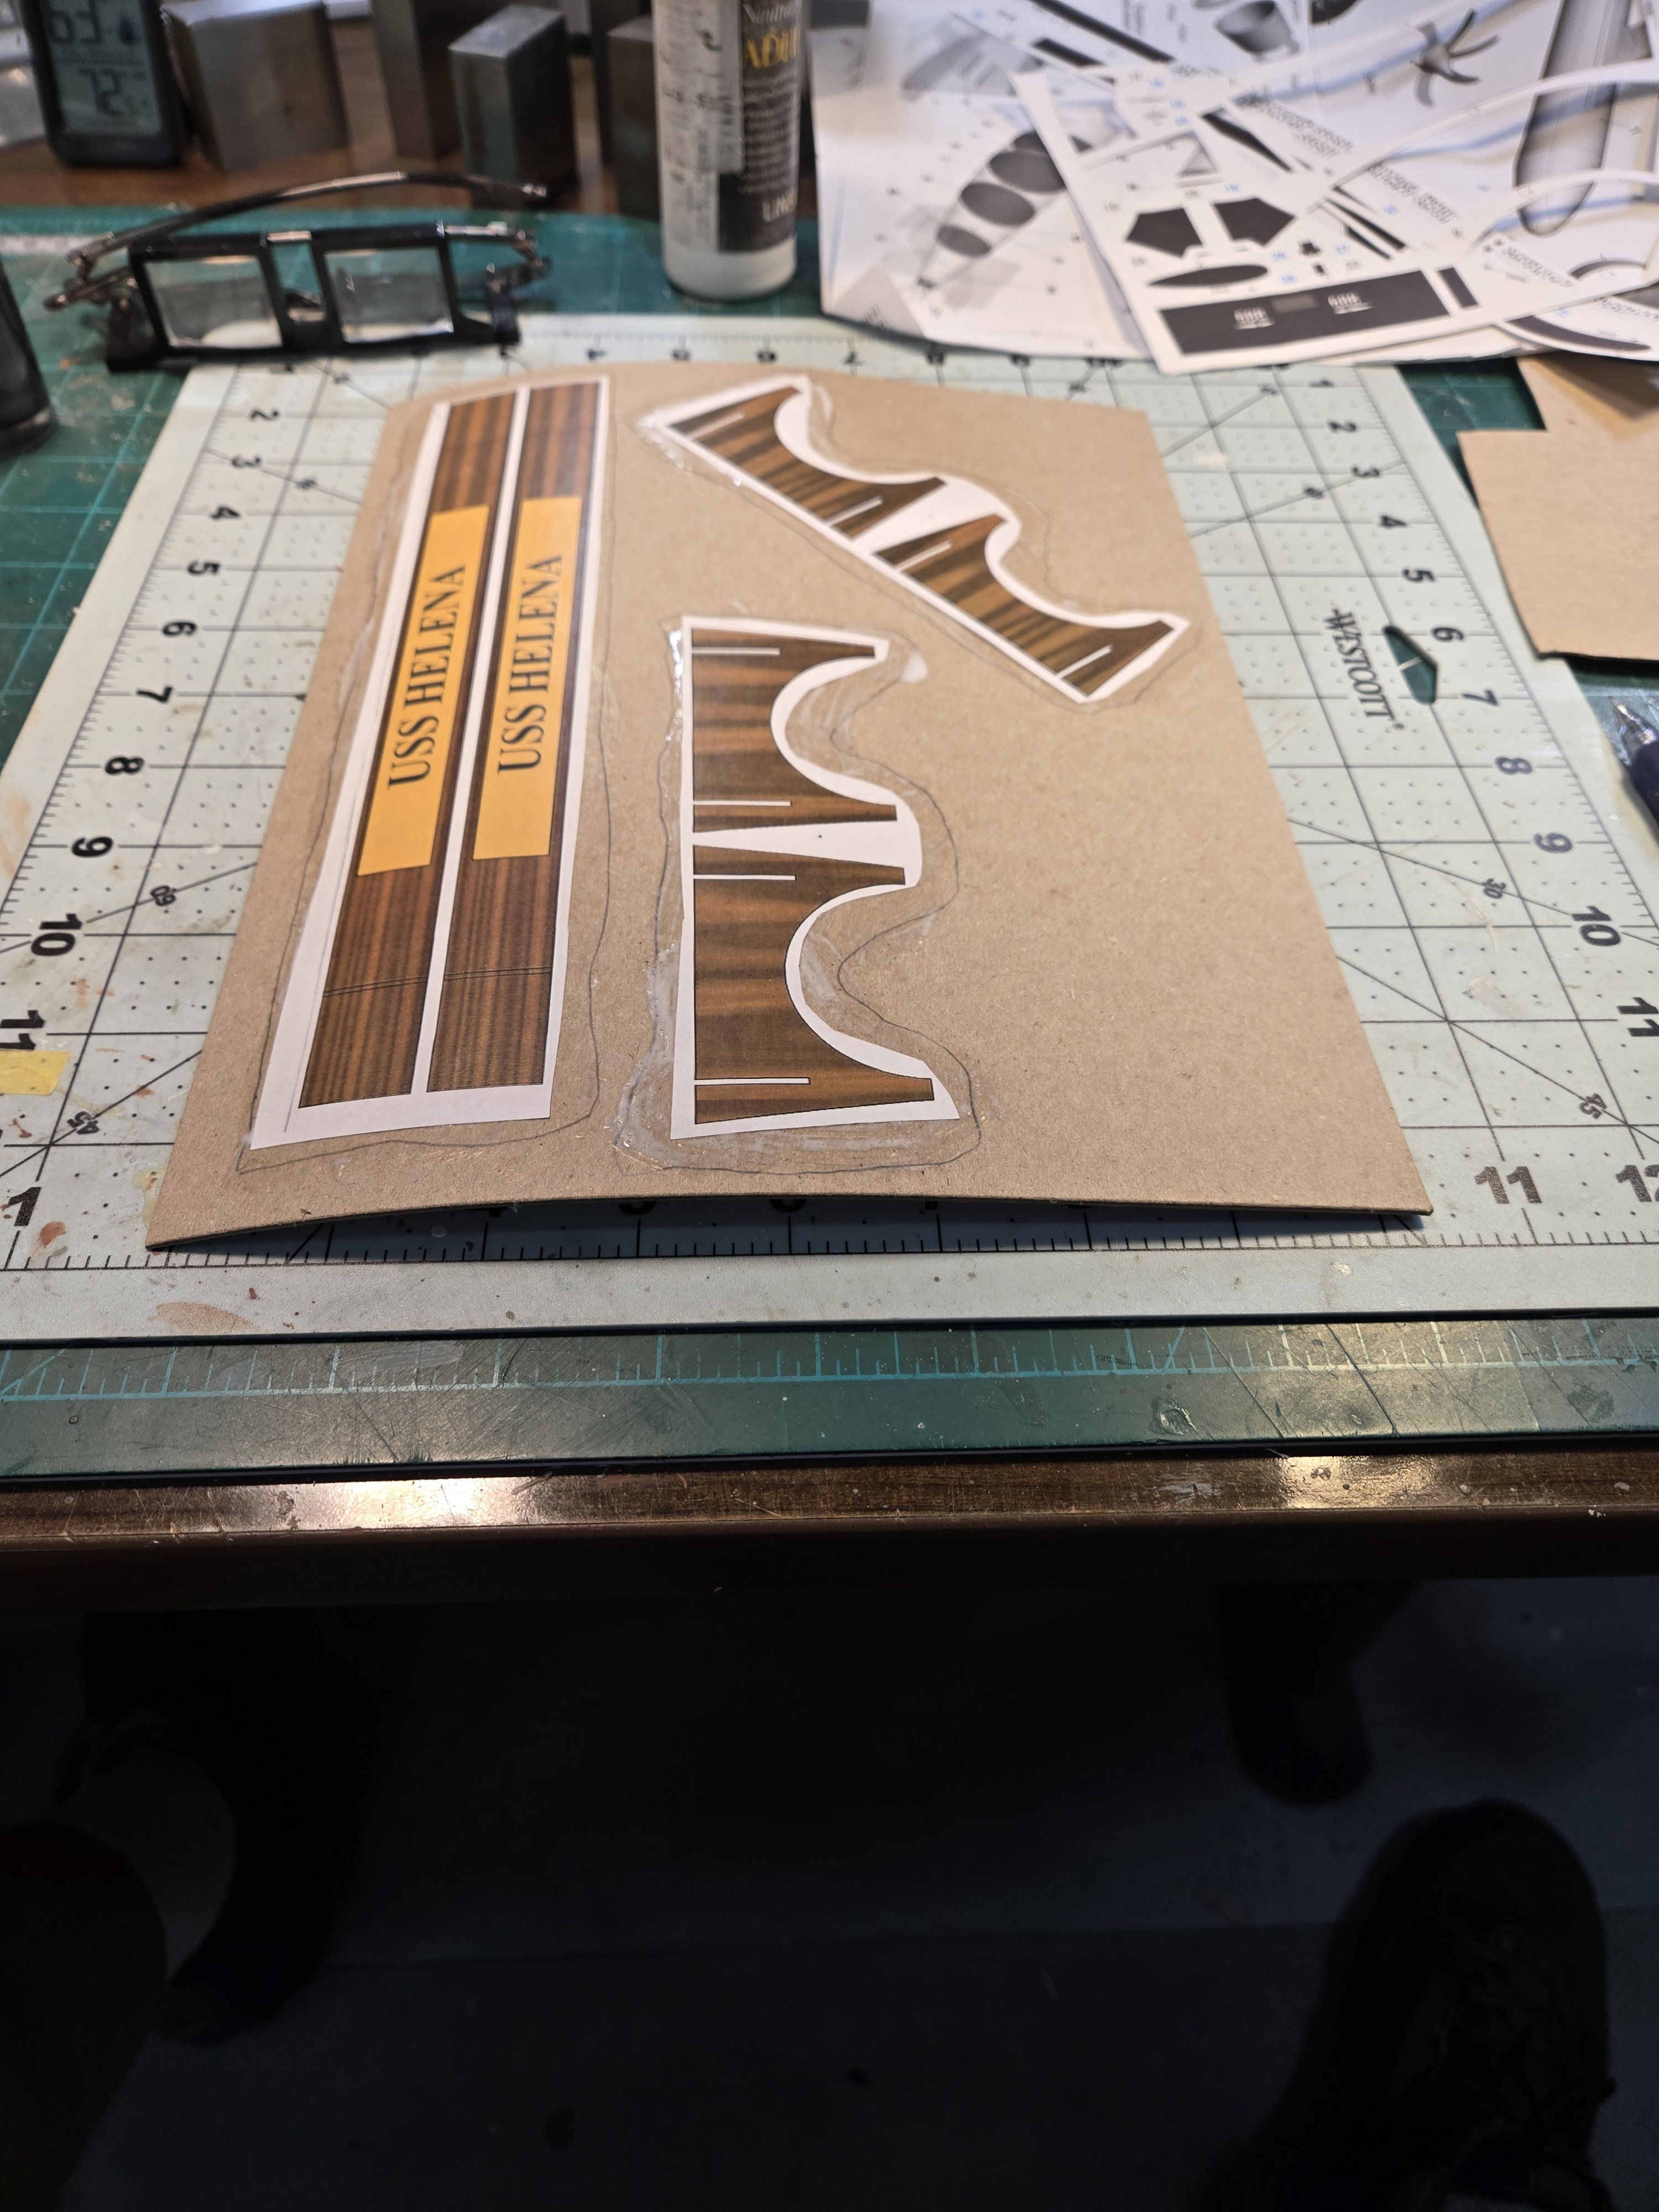
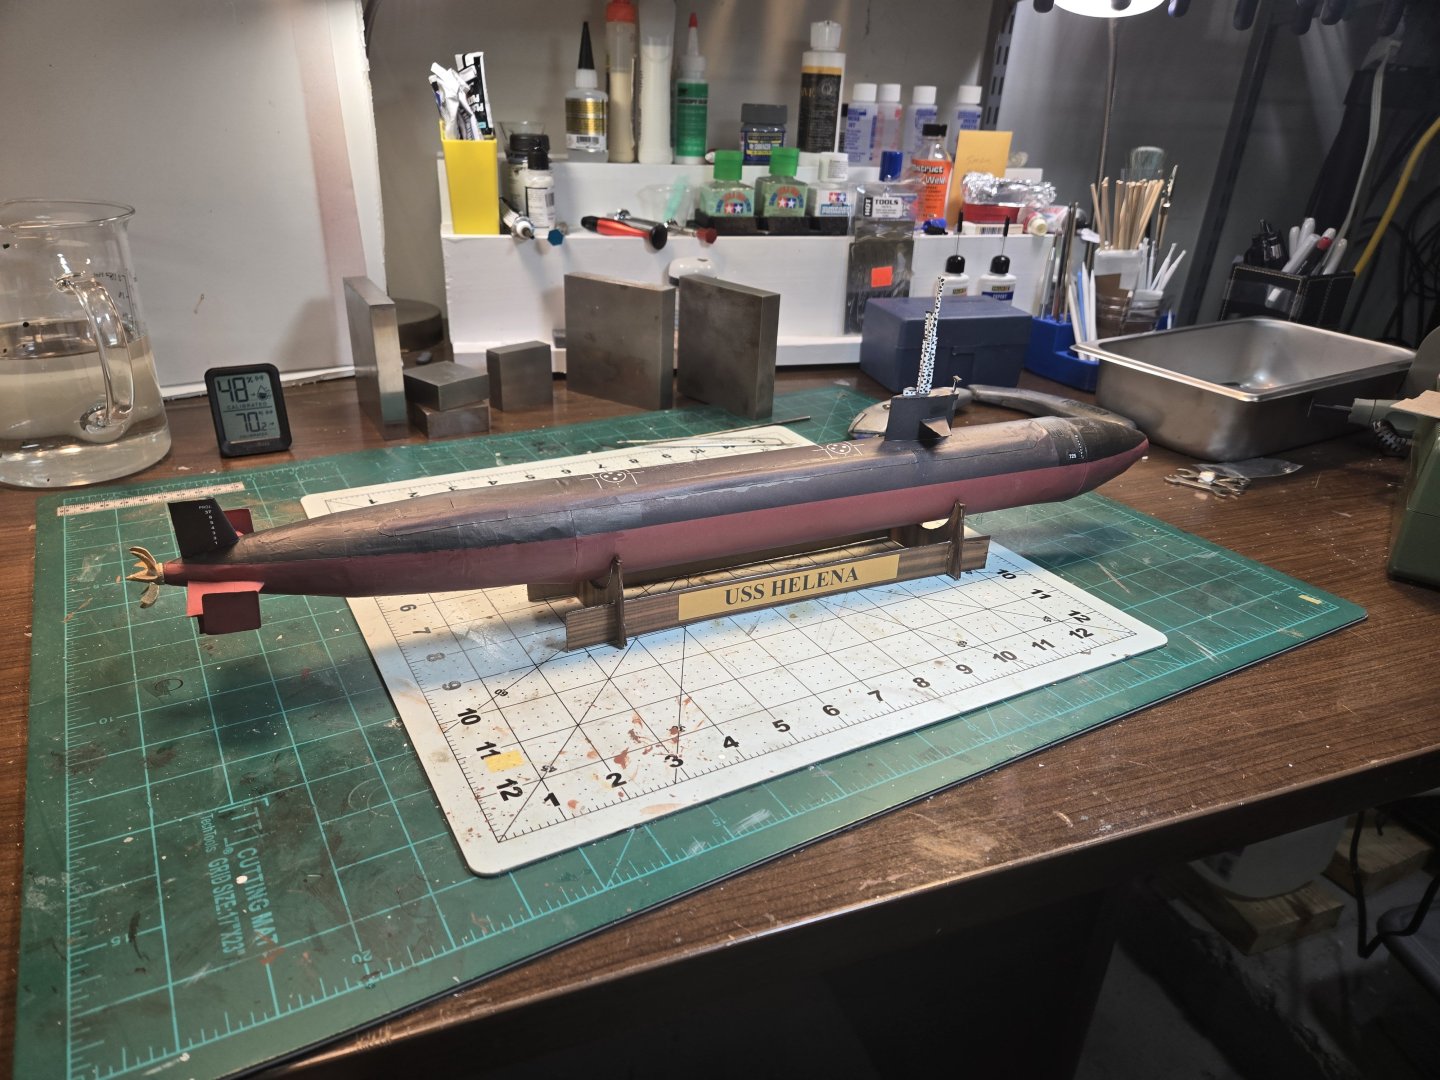
or some reason I did the display stand here using 1mm cardstock and redid the name plate changing from Los Angeles to Helena.

-
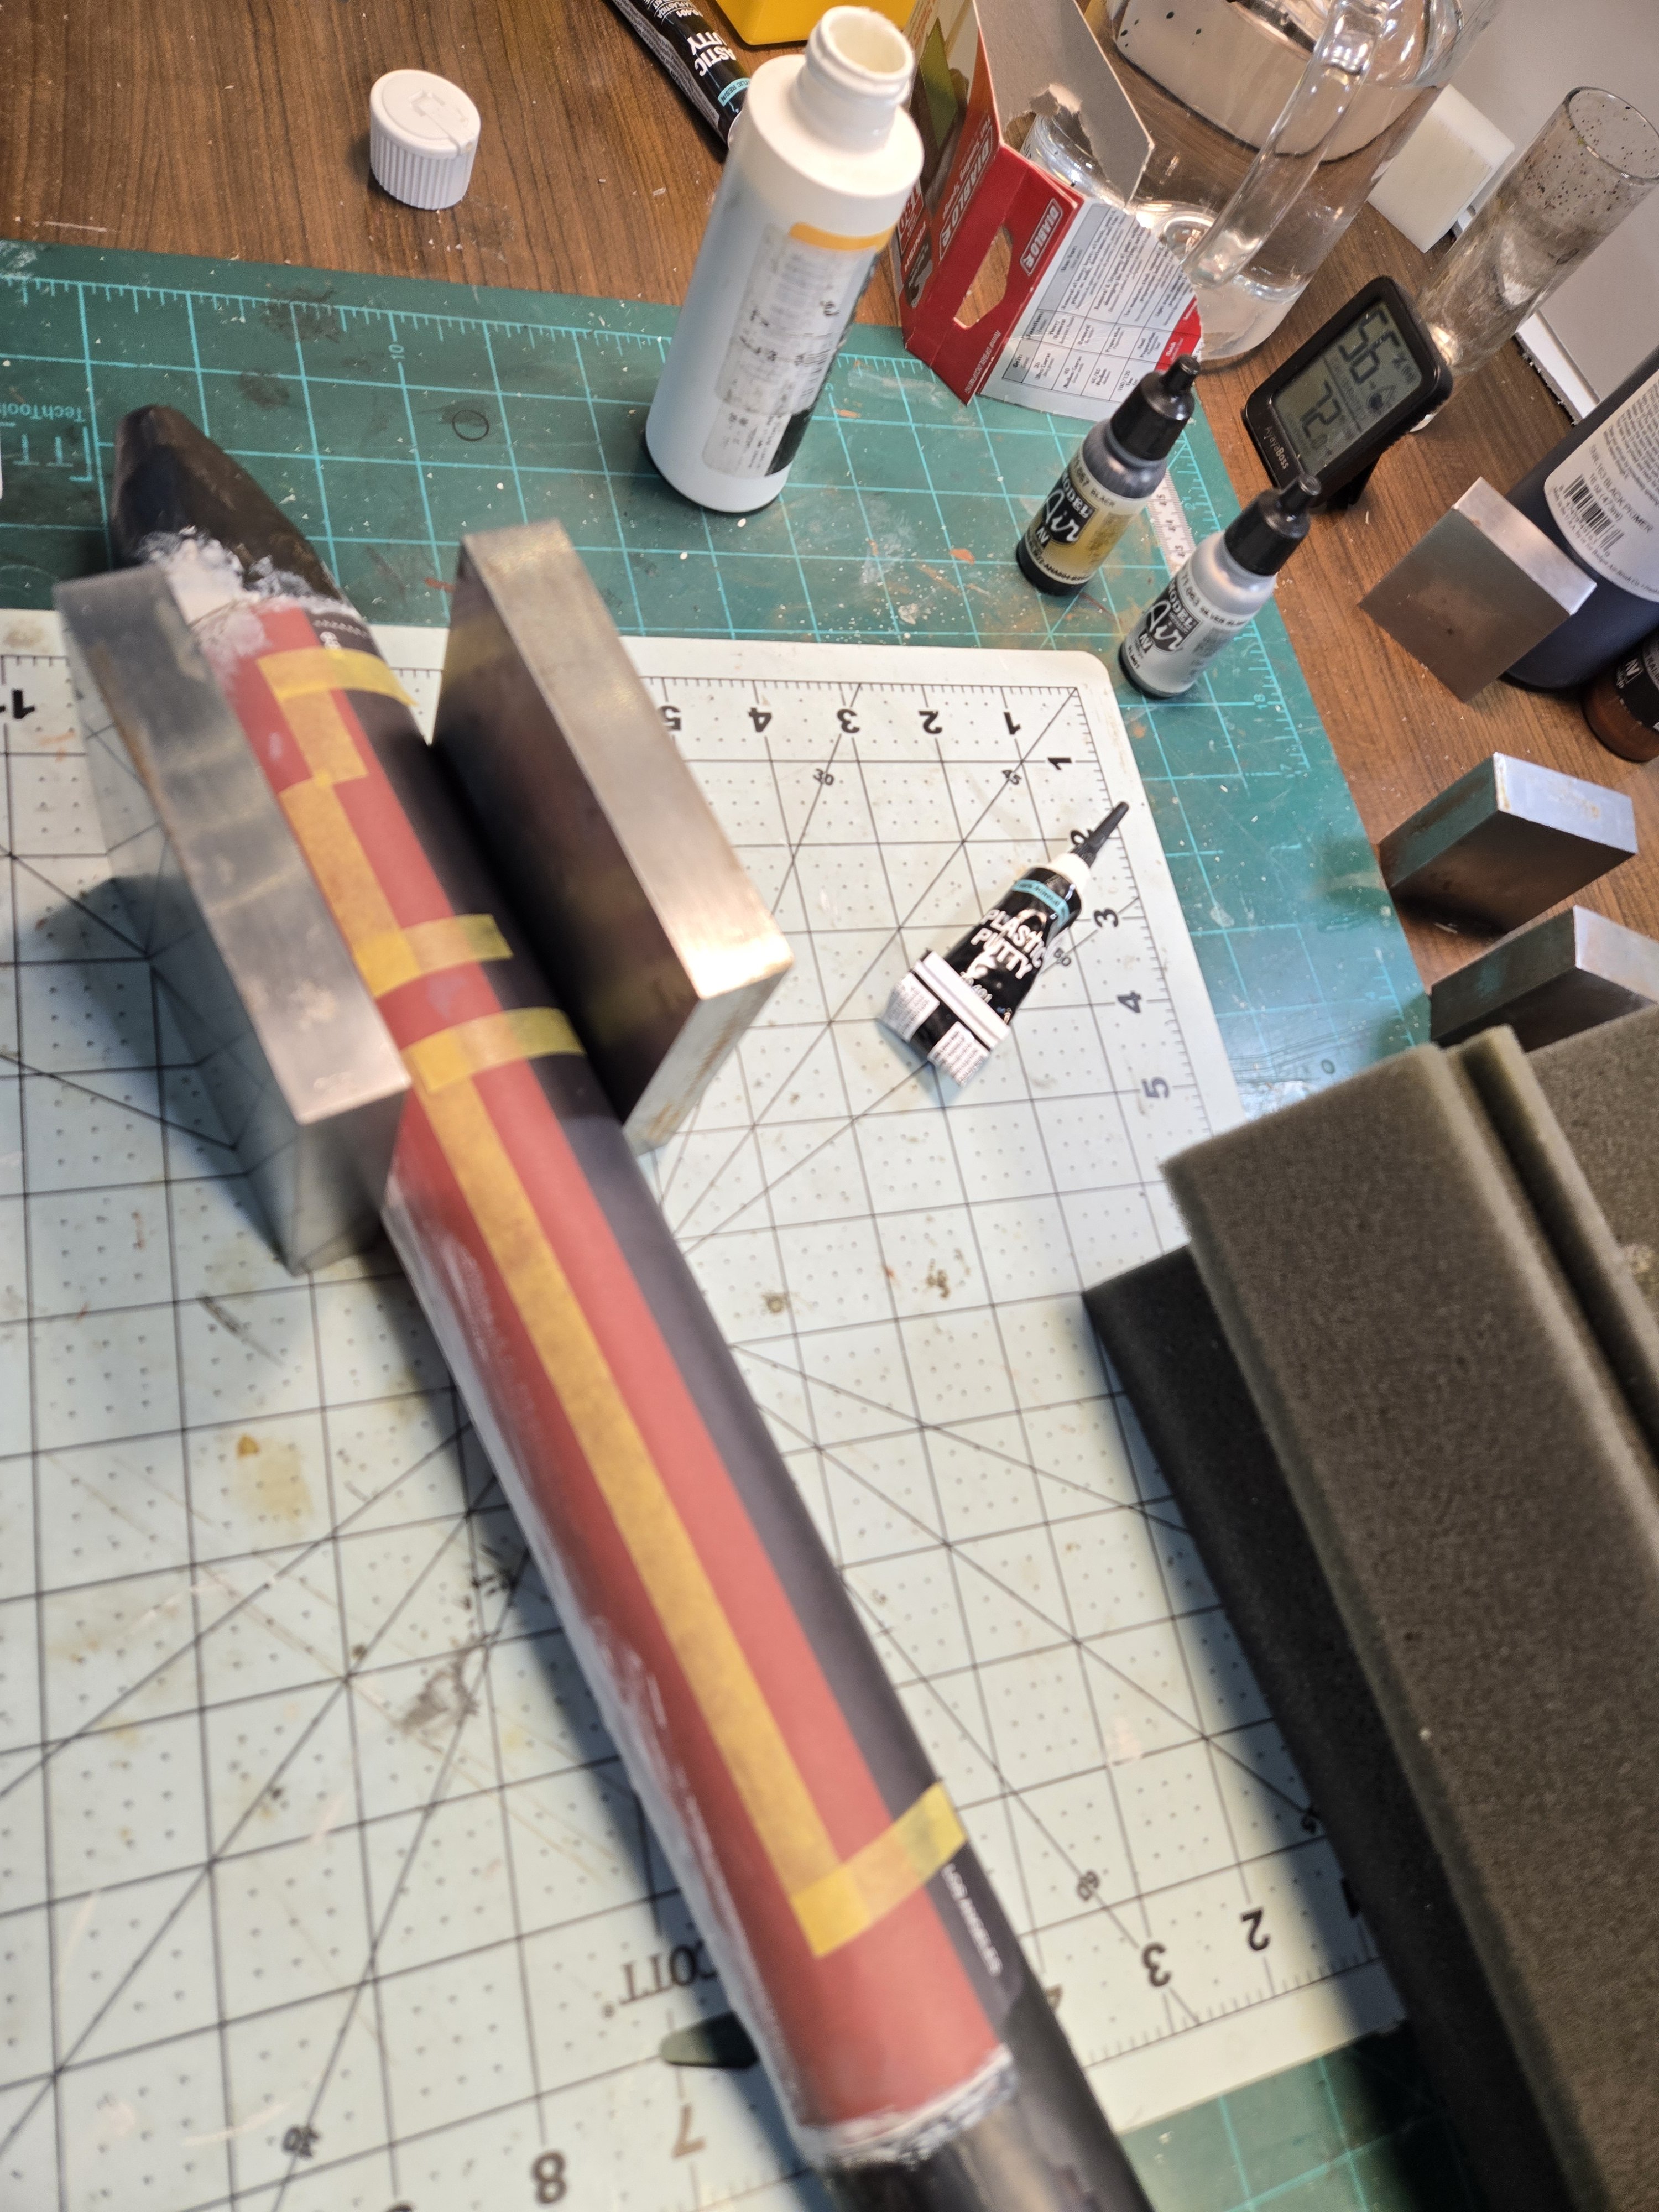
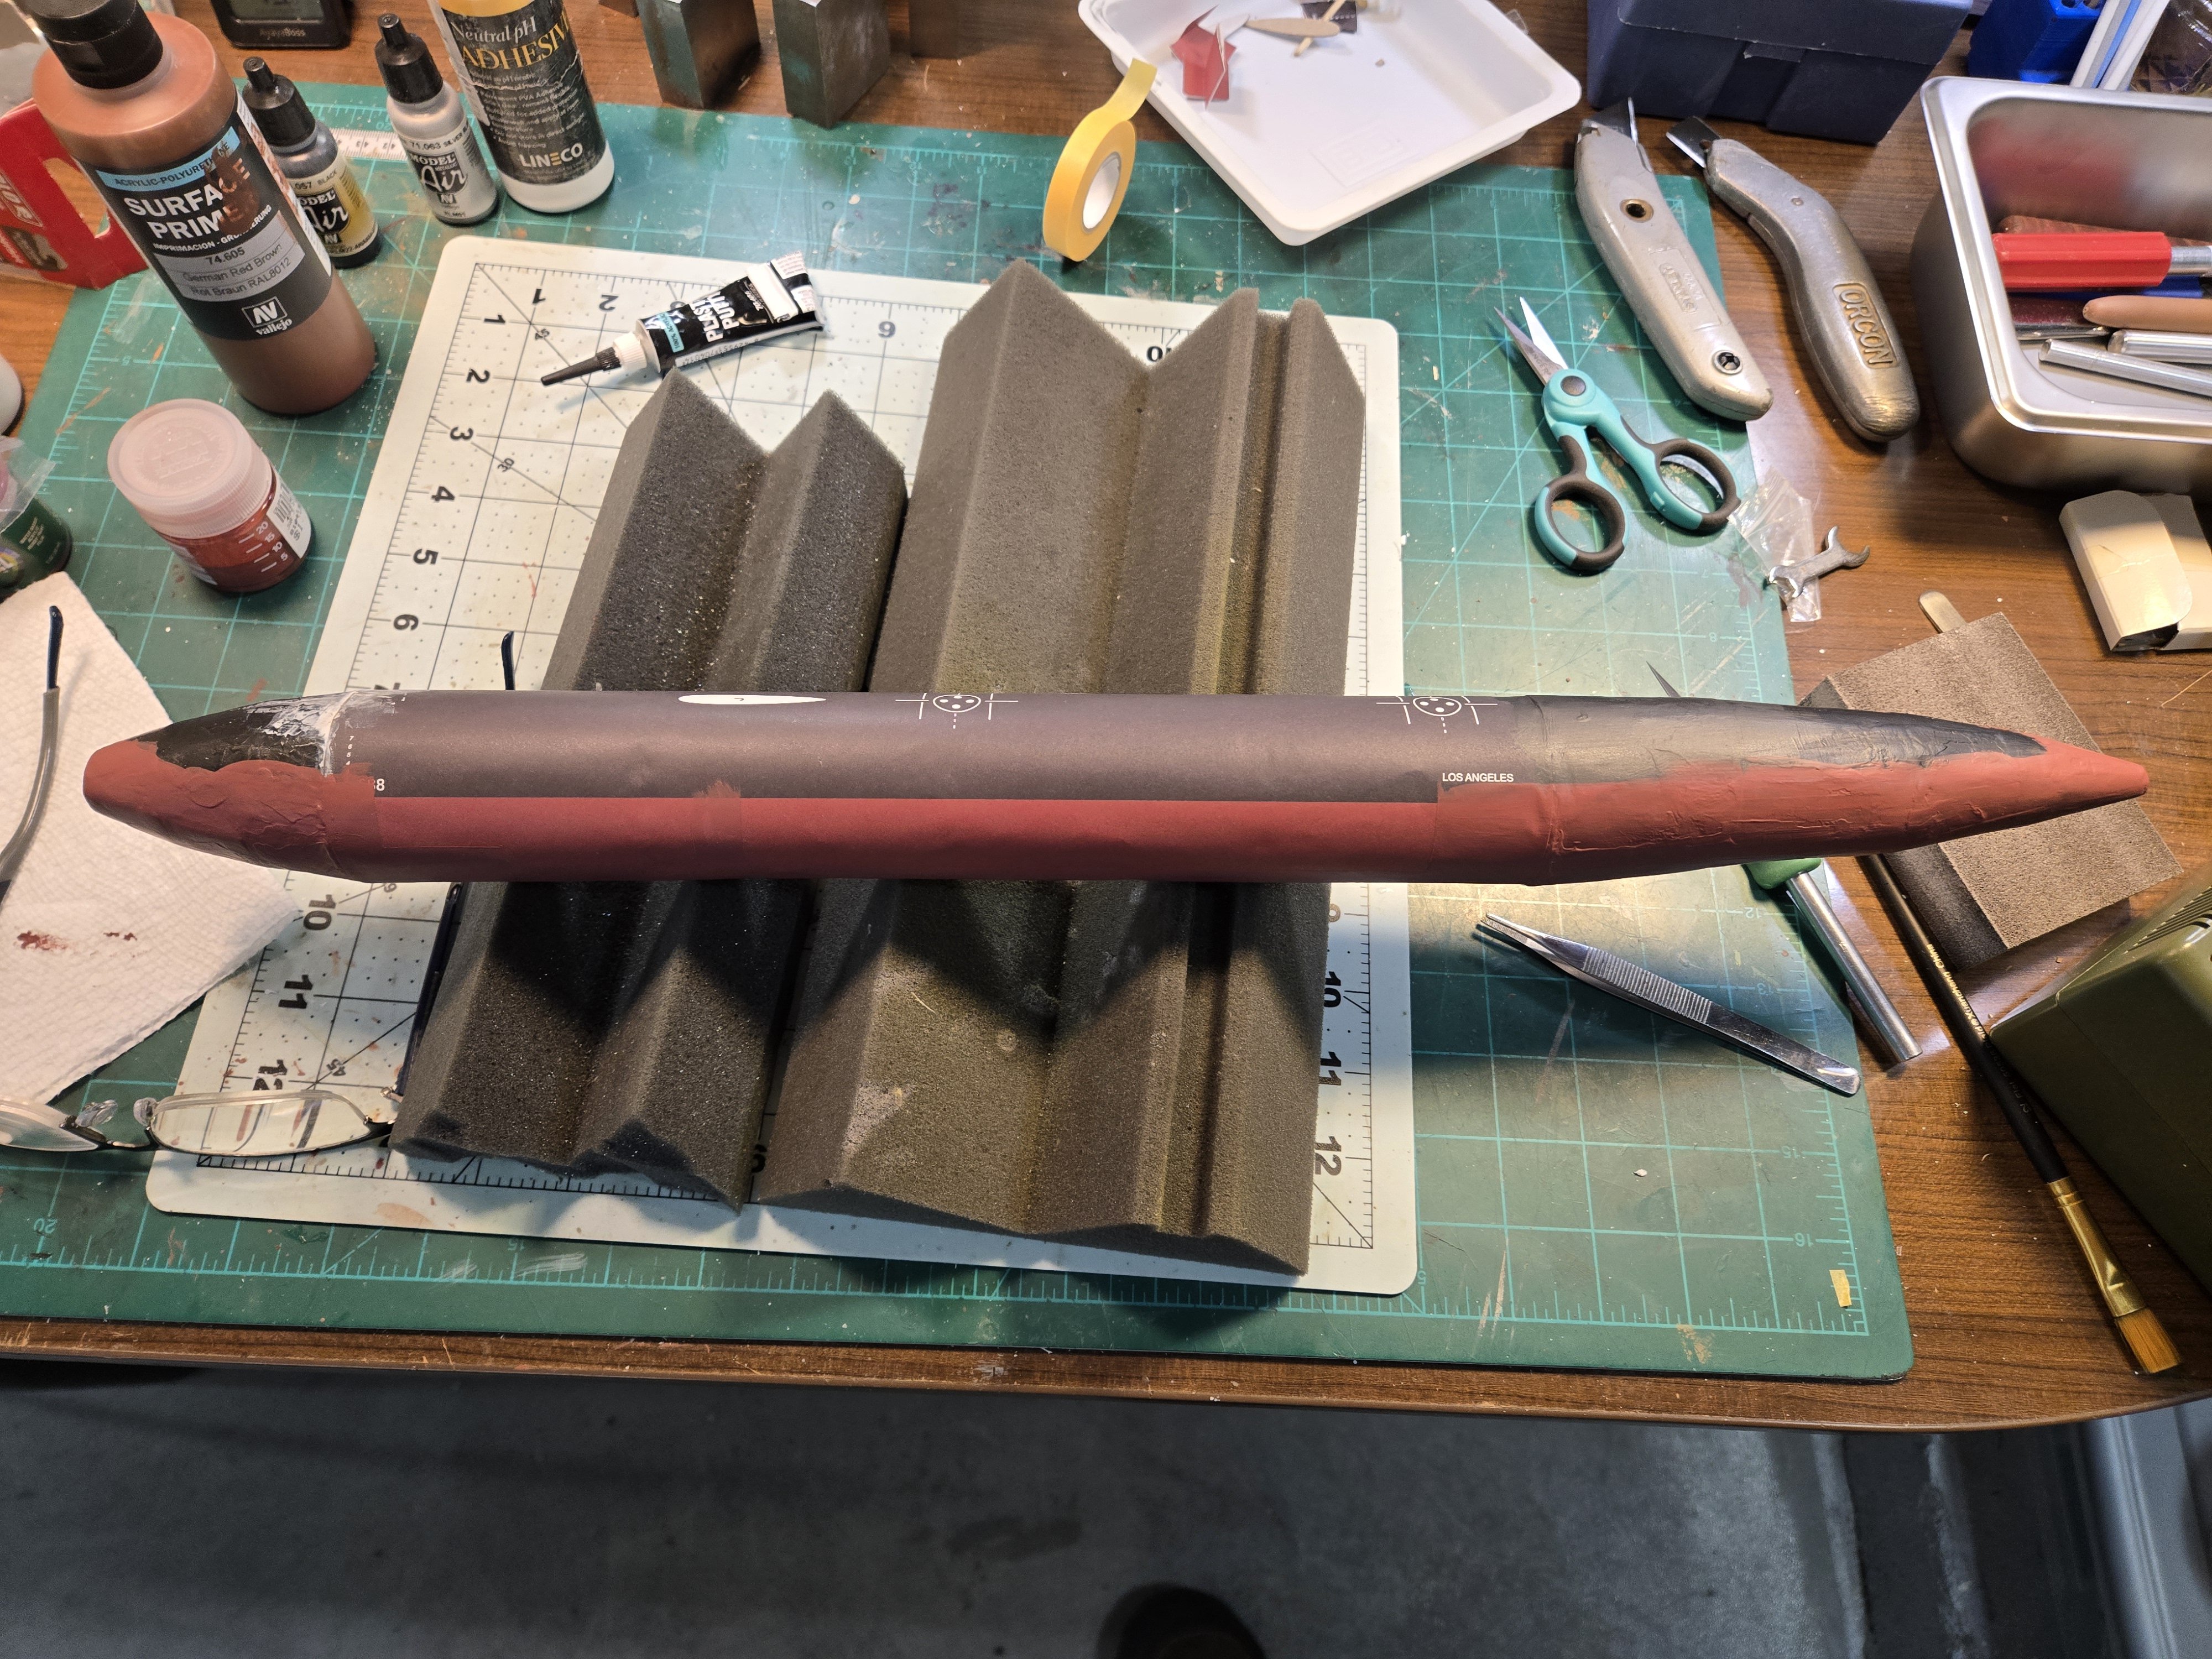
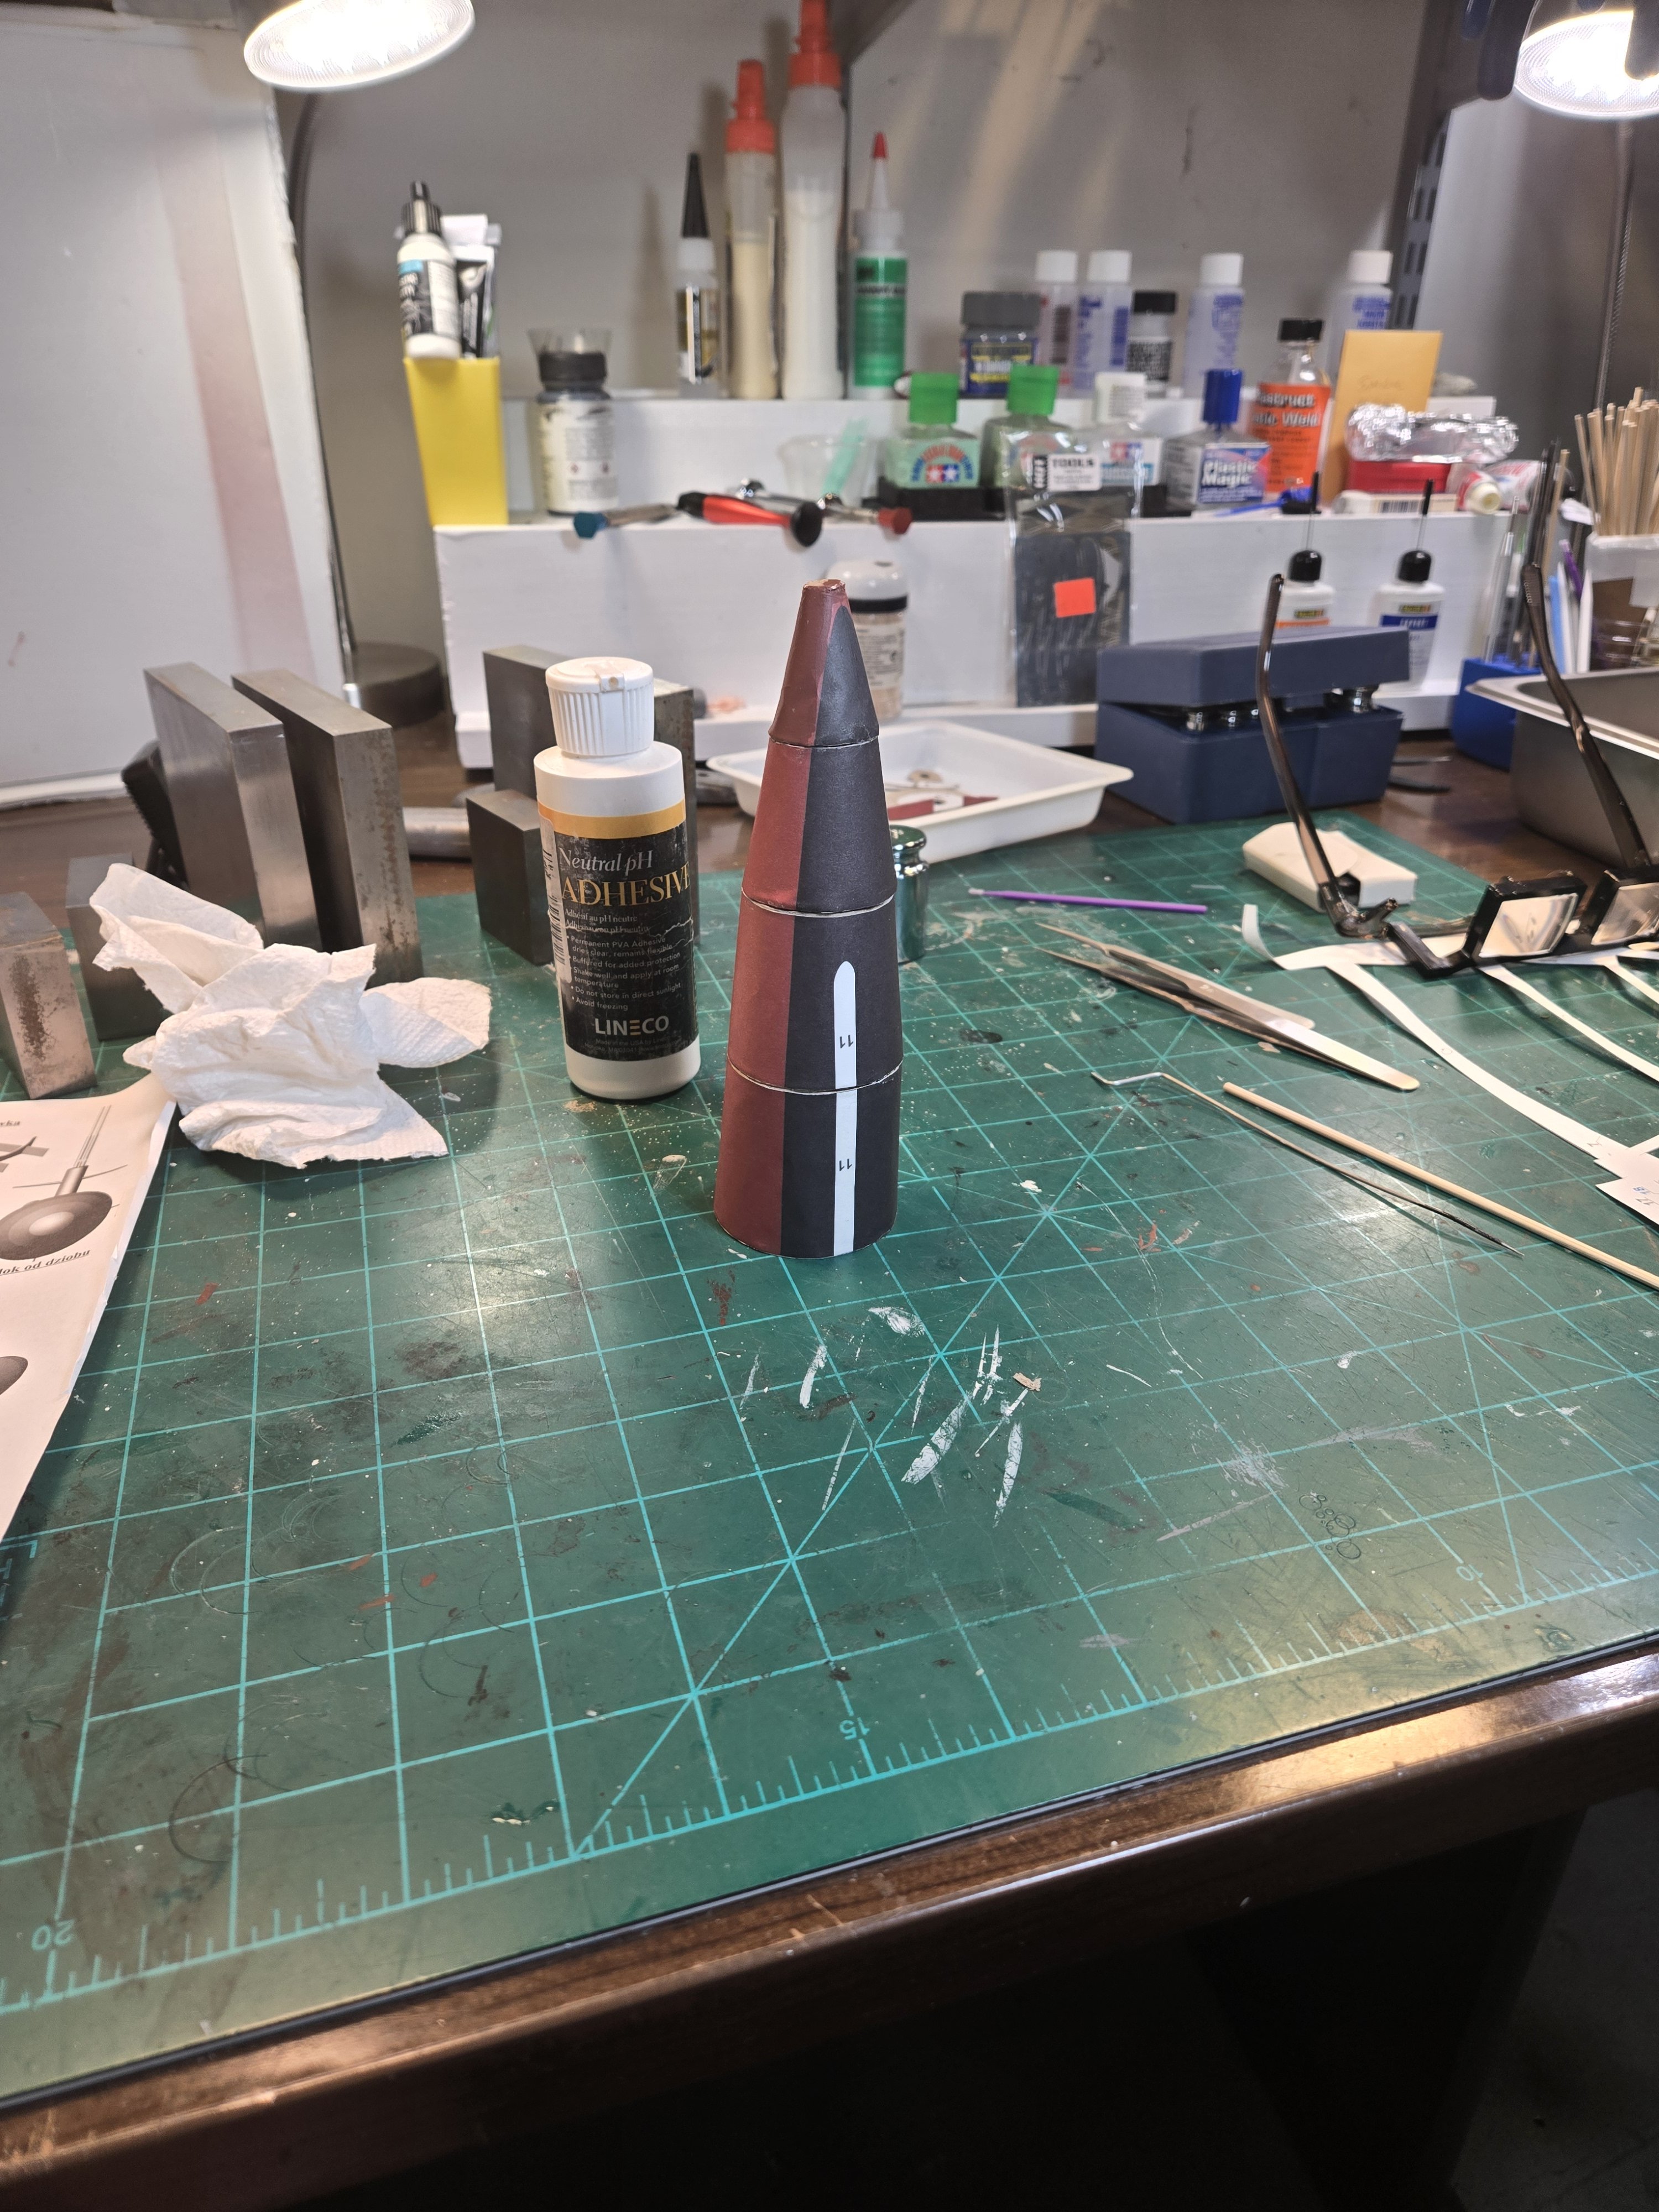
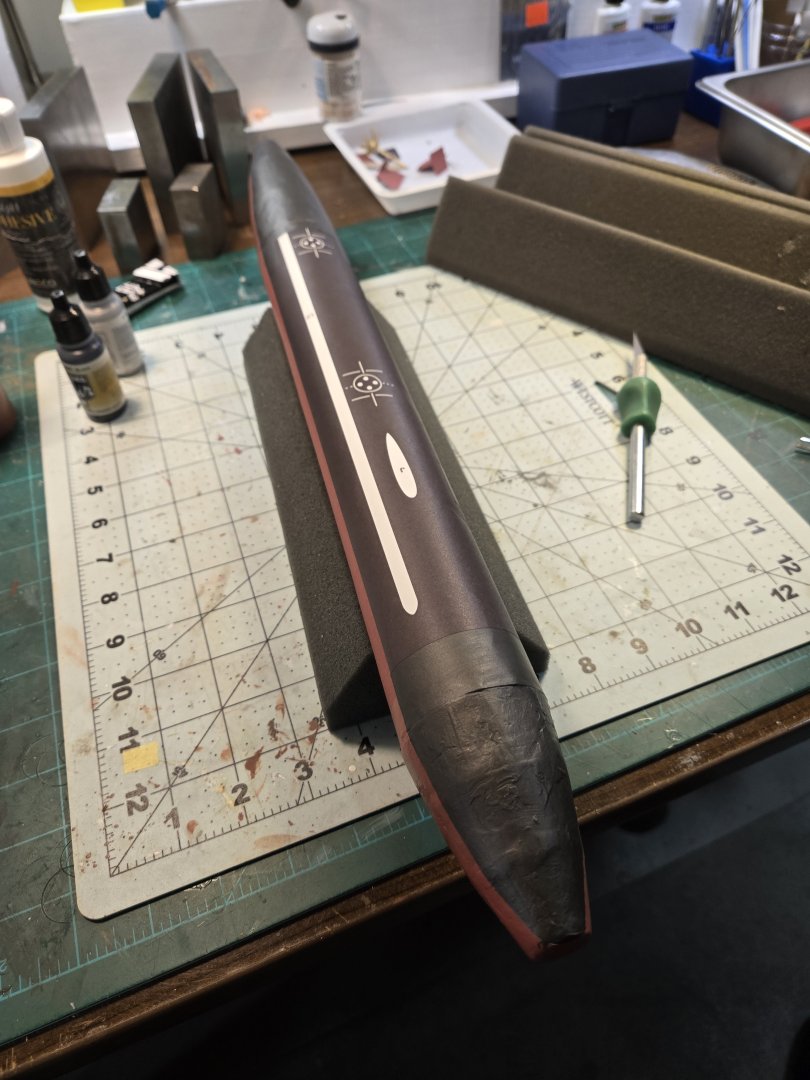
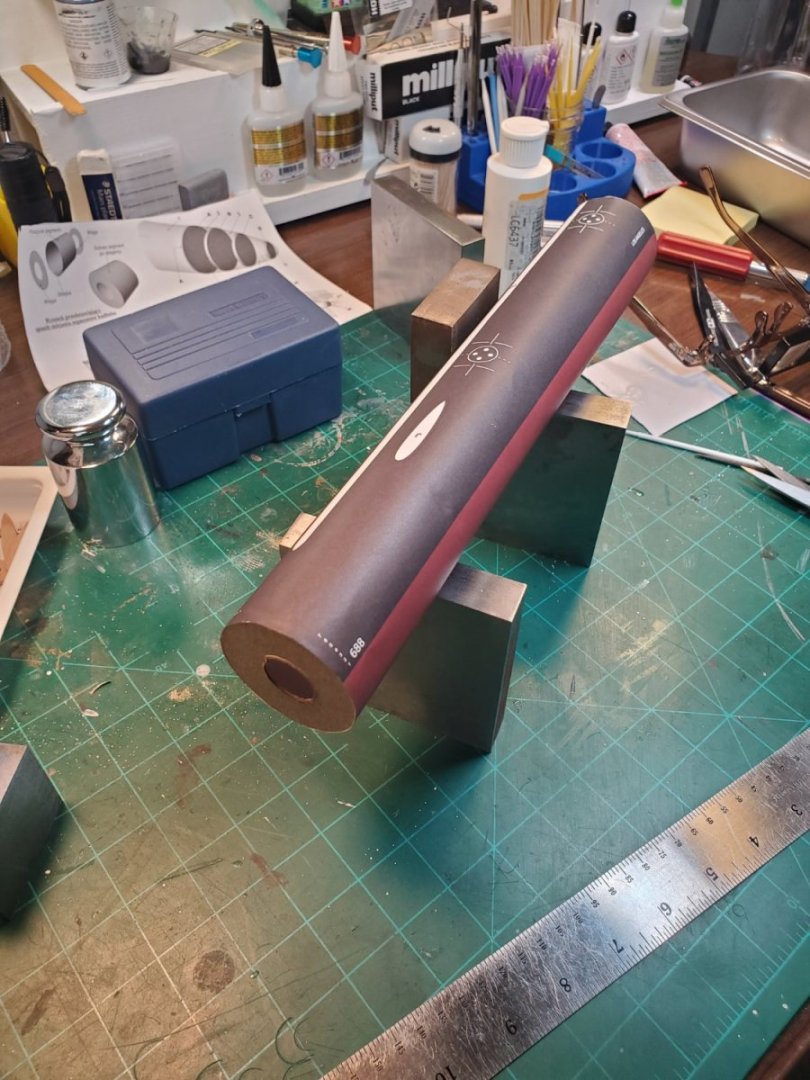
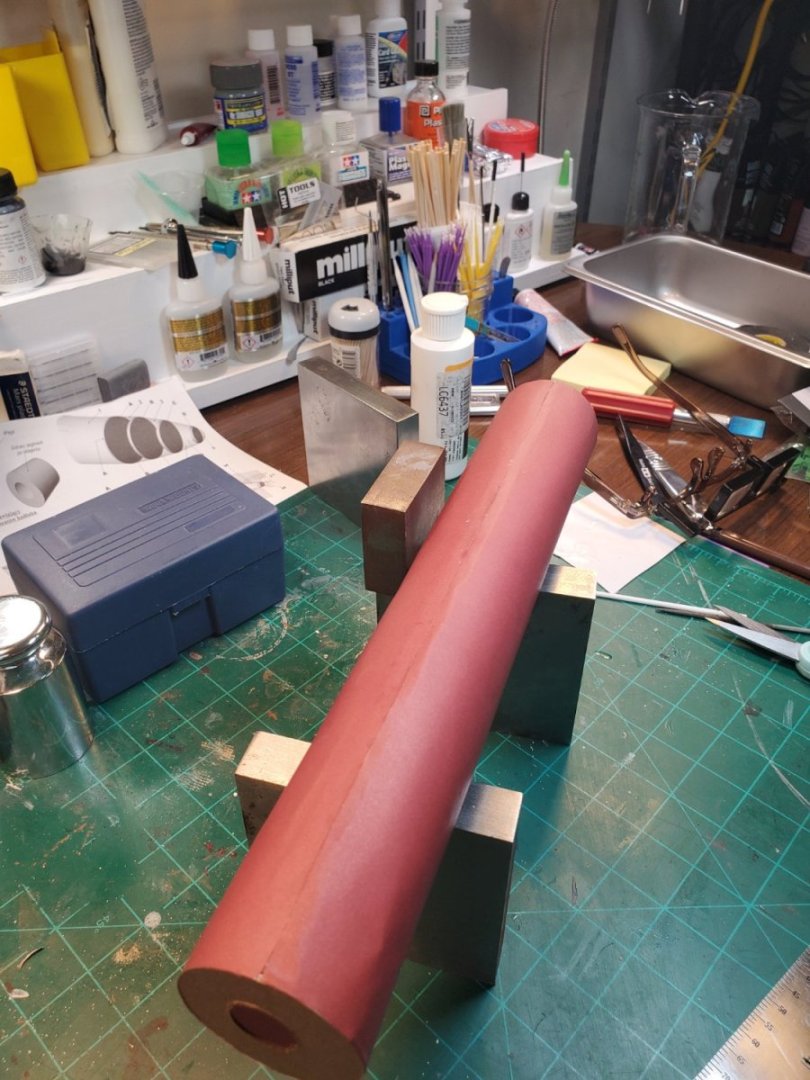
Hull painting was next. Tamiya masking tape and brush painting. I added silver to black to dull down the bow and stern to match the paper 'black' color of the main hull. A mix of caboose red and brown and white got the anti-fouling color pretty close.


-
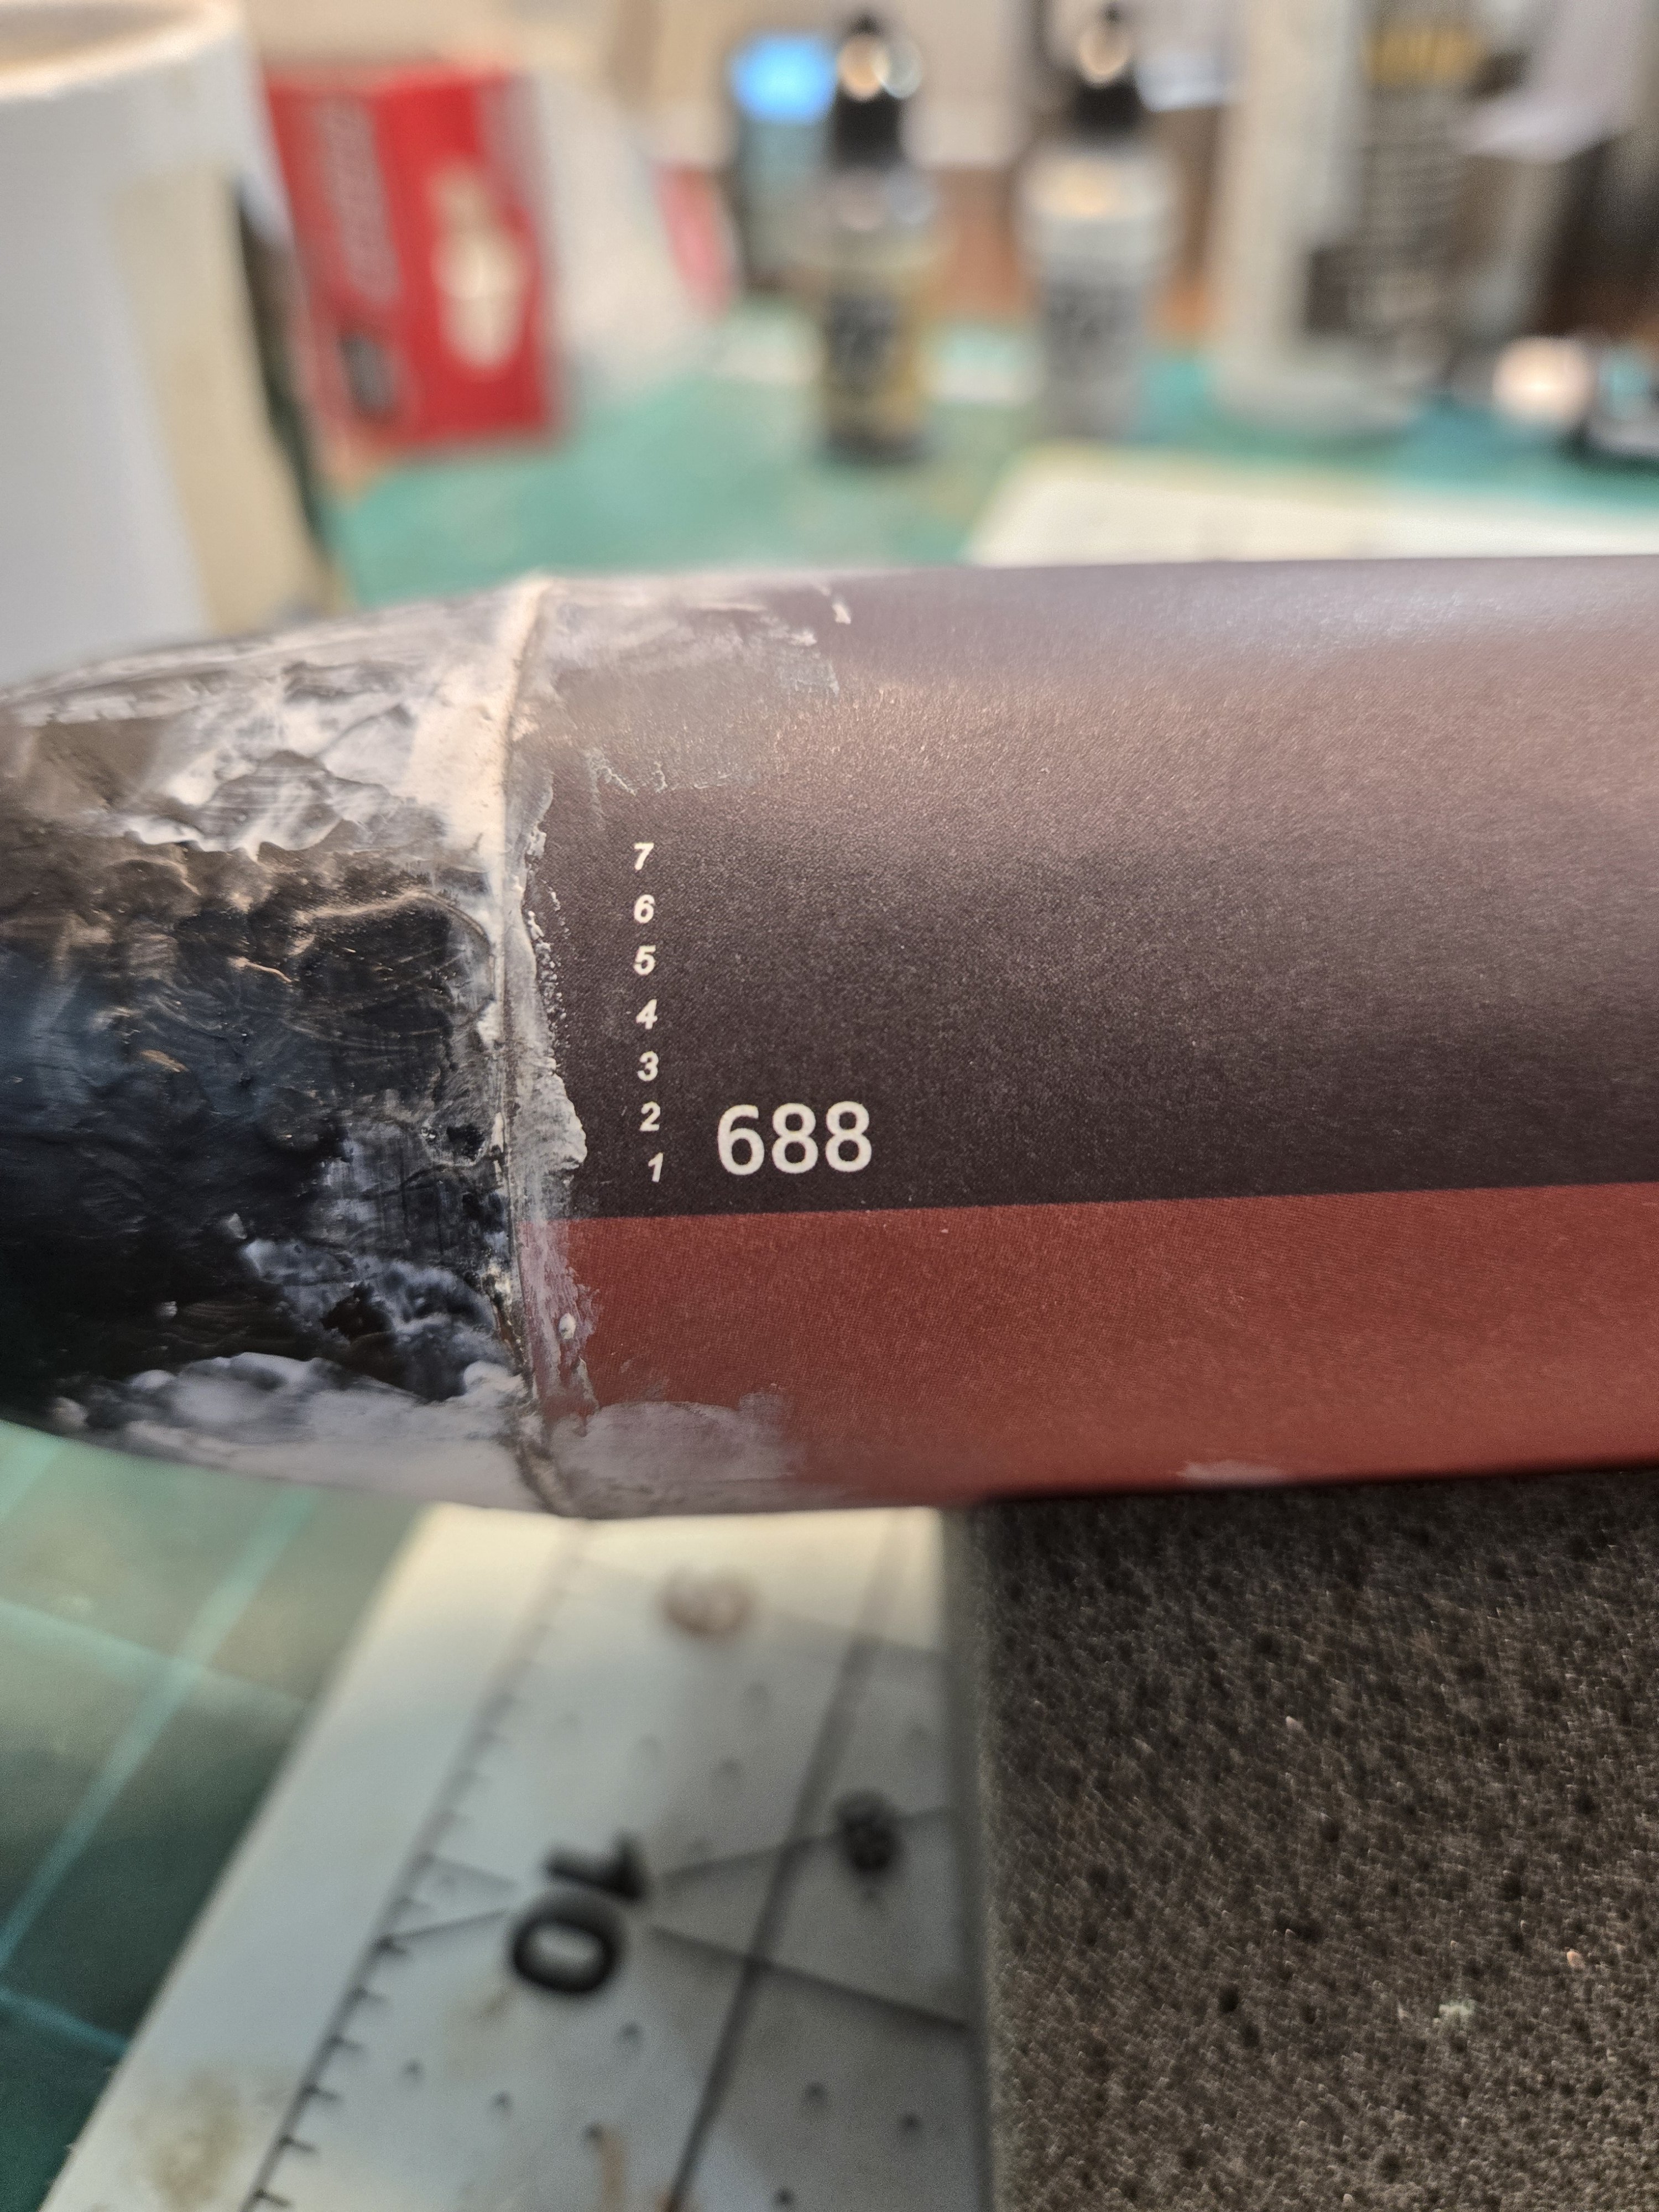
The decals were custom done on a laserprinter using white waterslide paper. I did the depth marks and boat numbers (725 for the USS Helena) and added the tomahawk tubes also for the Helena. Looking back I wish I had spent more time getting the black color right. Graying it down would have blended the decals better.

-
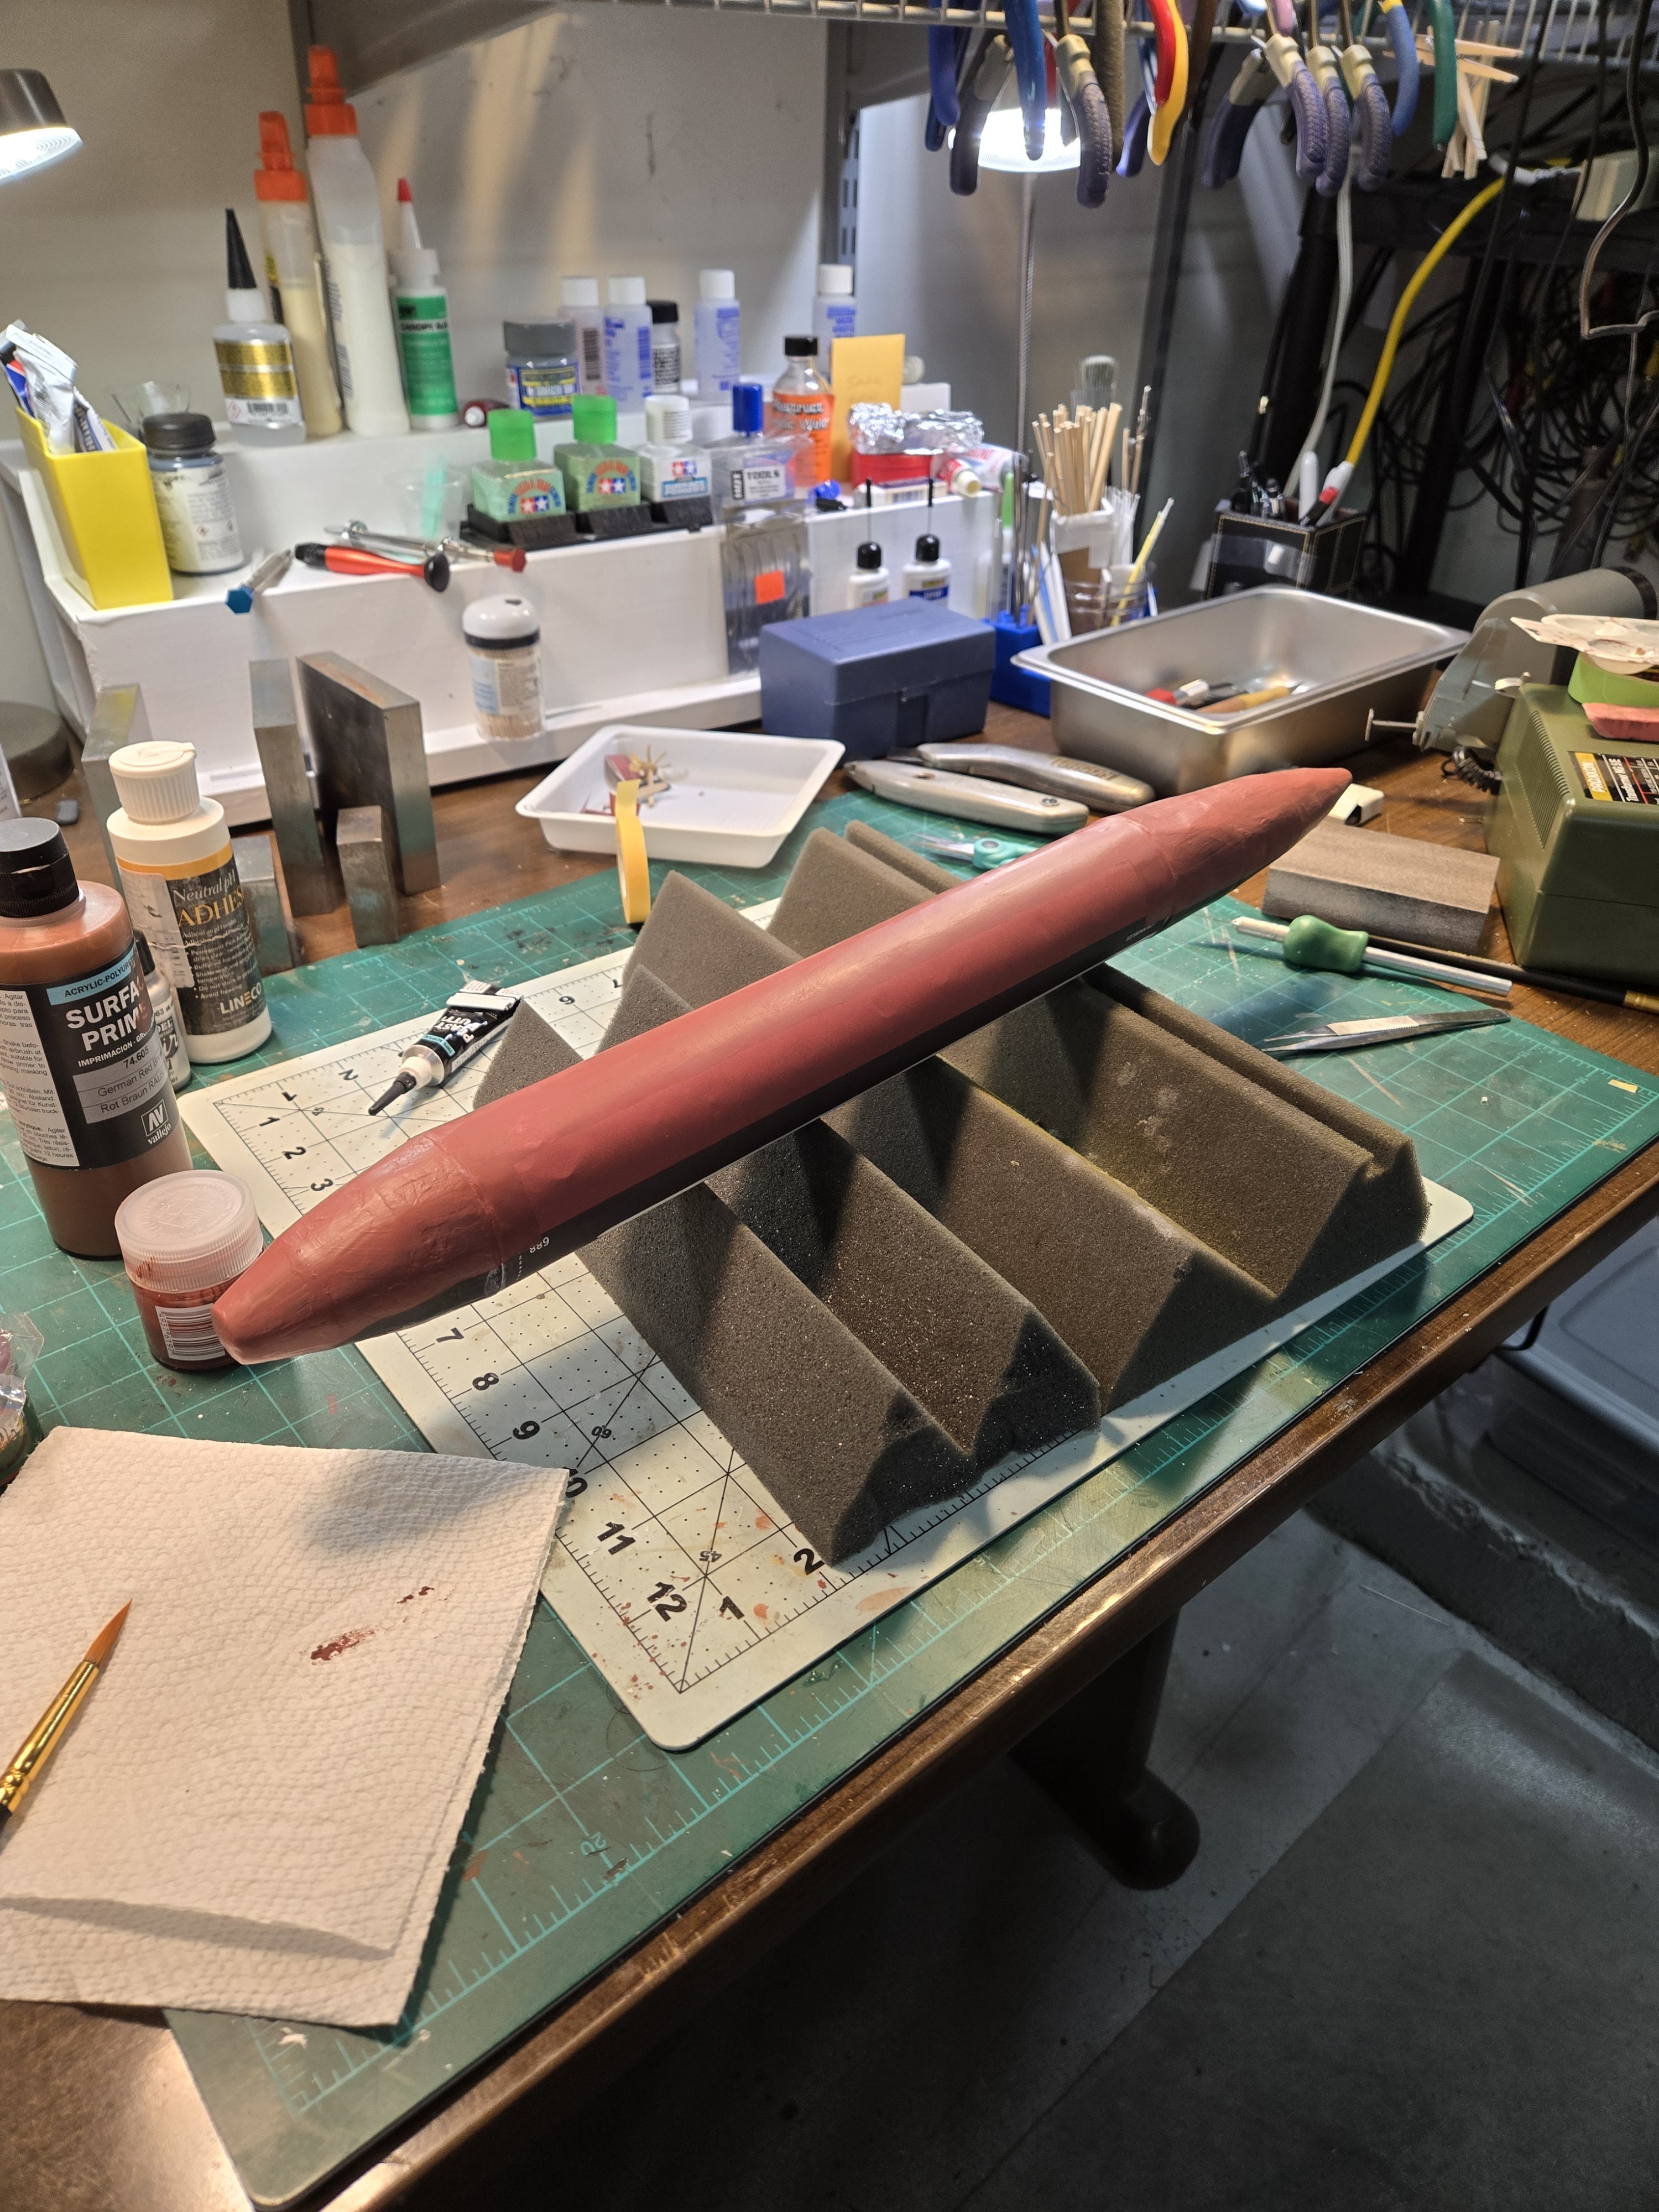
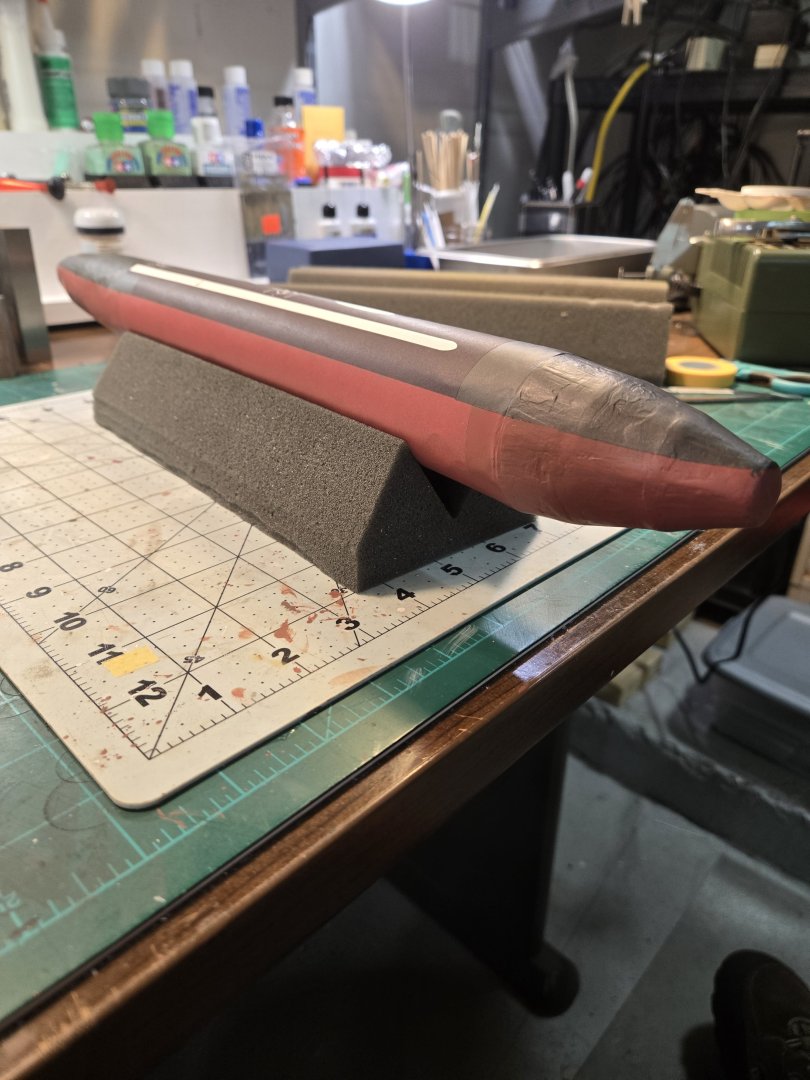
To fix the seams in the stern and bow sections that were driving me crazy I decided on a radical solution. I would putty and paint both the bow and stern sections. Having worked briefly around subs at Newport in 1994-1995, I knew that the hull paint job on a working sub showed a patchwork of new and old paint in different spots and I decided to exploit that. I would get the paint job close to the main hull, without repainting the main hull, which was in good shape since it was one piece. I used Vallejo plastic putty, which is an acrylic resin and cleans up with water. The paints were brushed on Vallejo followed by a rattle can flat overspray.


-
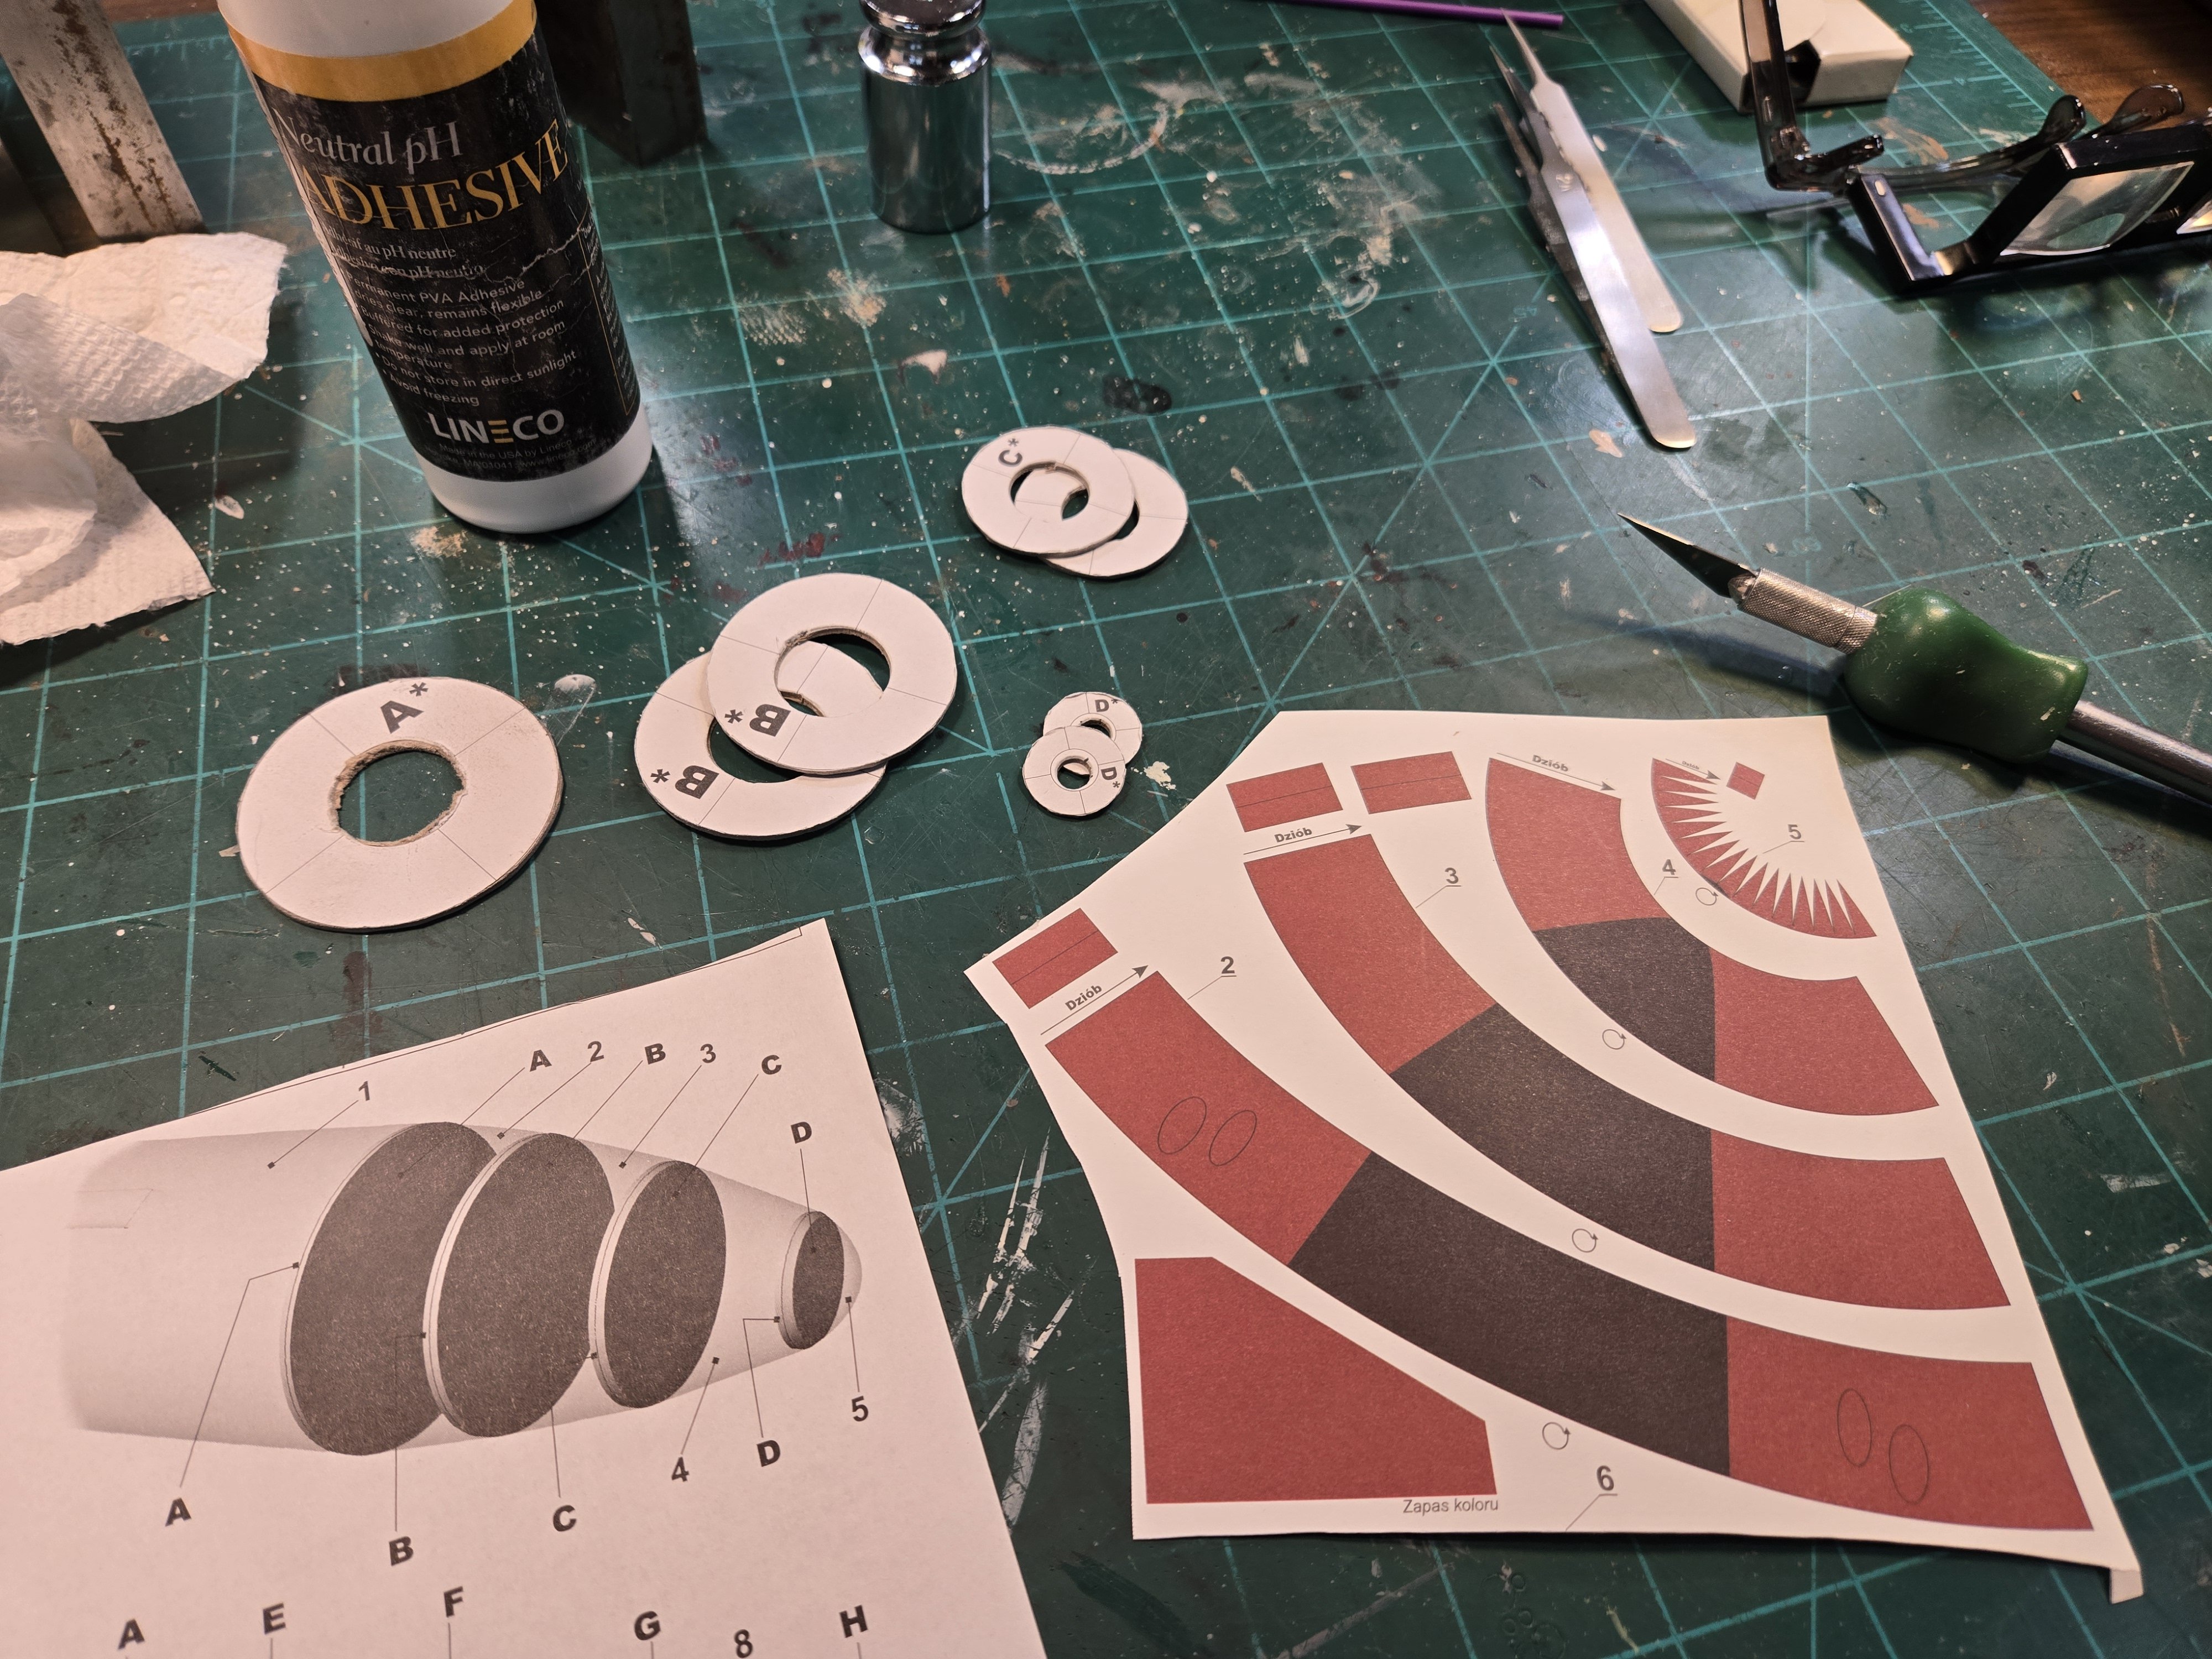
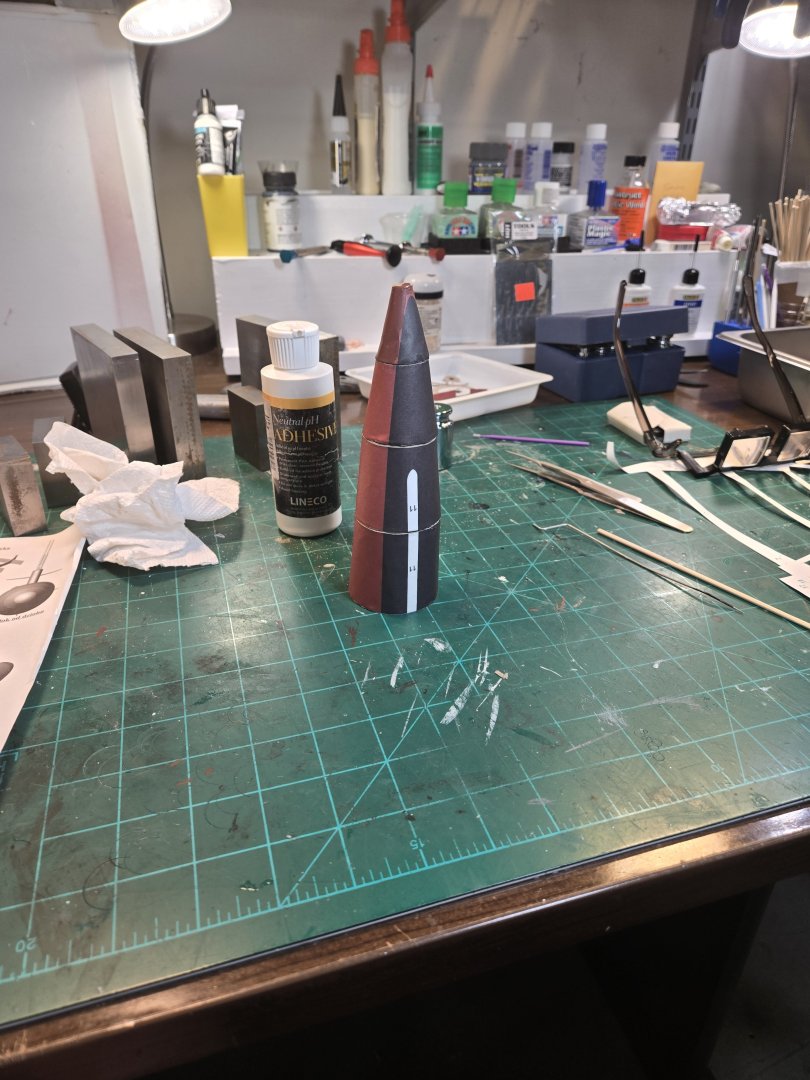
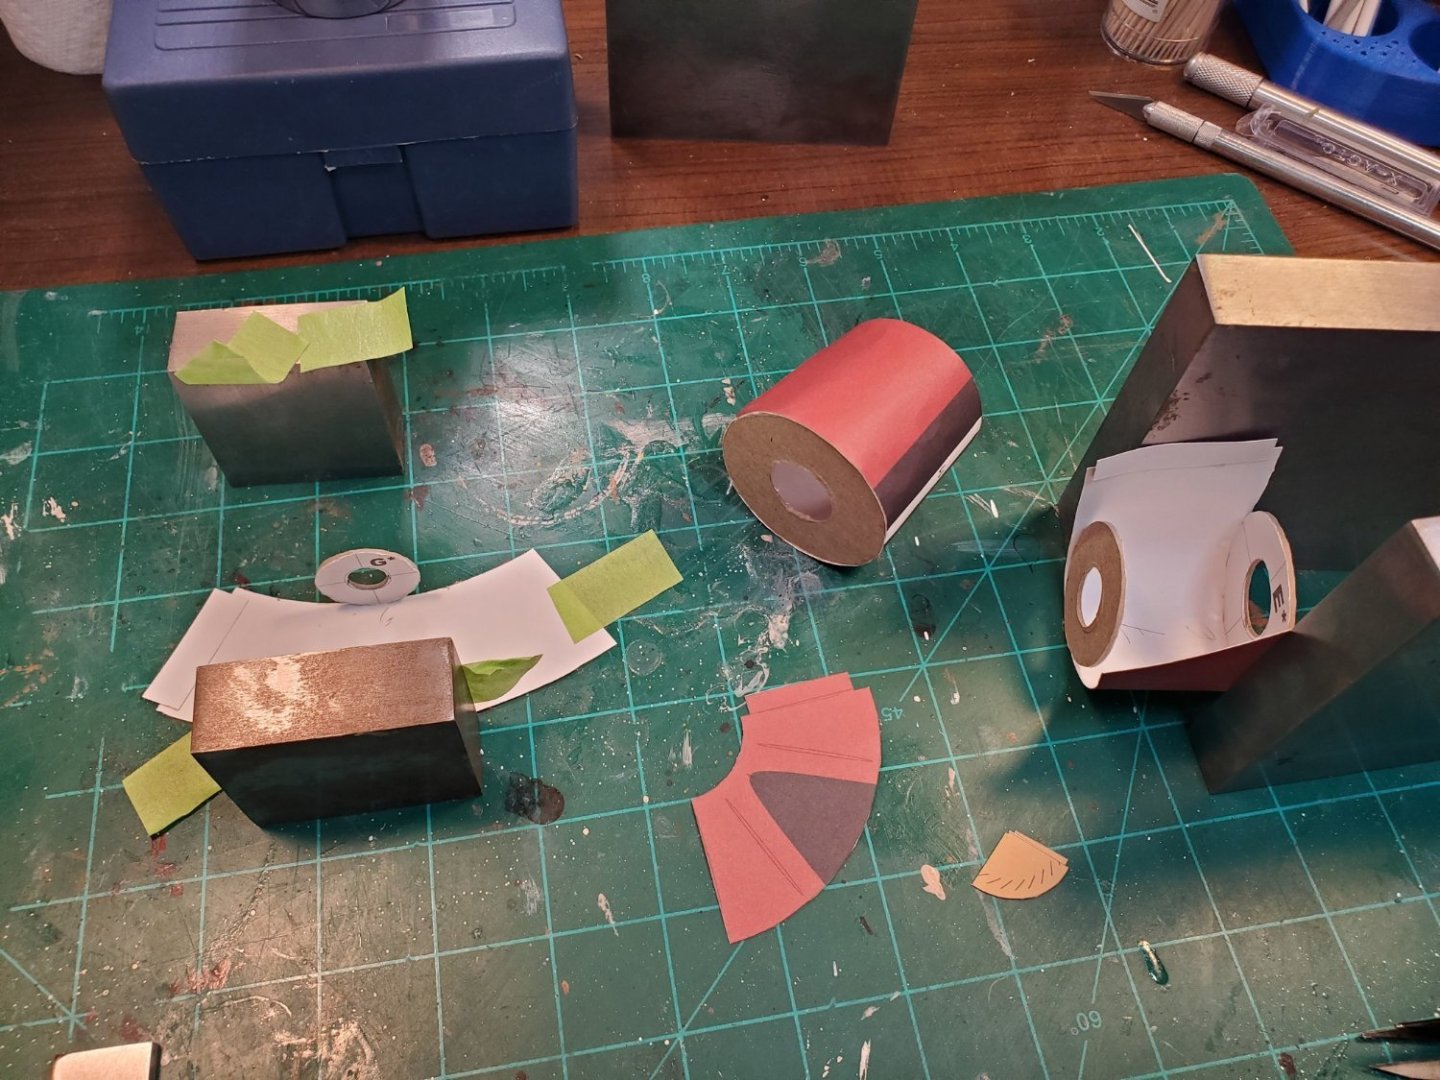
But before I worked on solving the problem with the stern tube assembly, I decided to build the bow tube sections. I had cut out the bulkheads last year so this effort involved cutting out the casing pieces and gluing up the tube sections.


-
I integrated the stern tube sections next. This task was very humbling and made me realize I have a long way to go to become a great card modeler. As I glued the sections together the imperfections at the joints started to show. I would need to find a solution.....

-
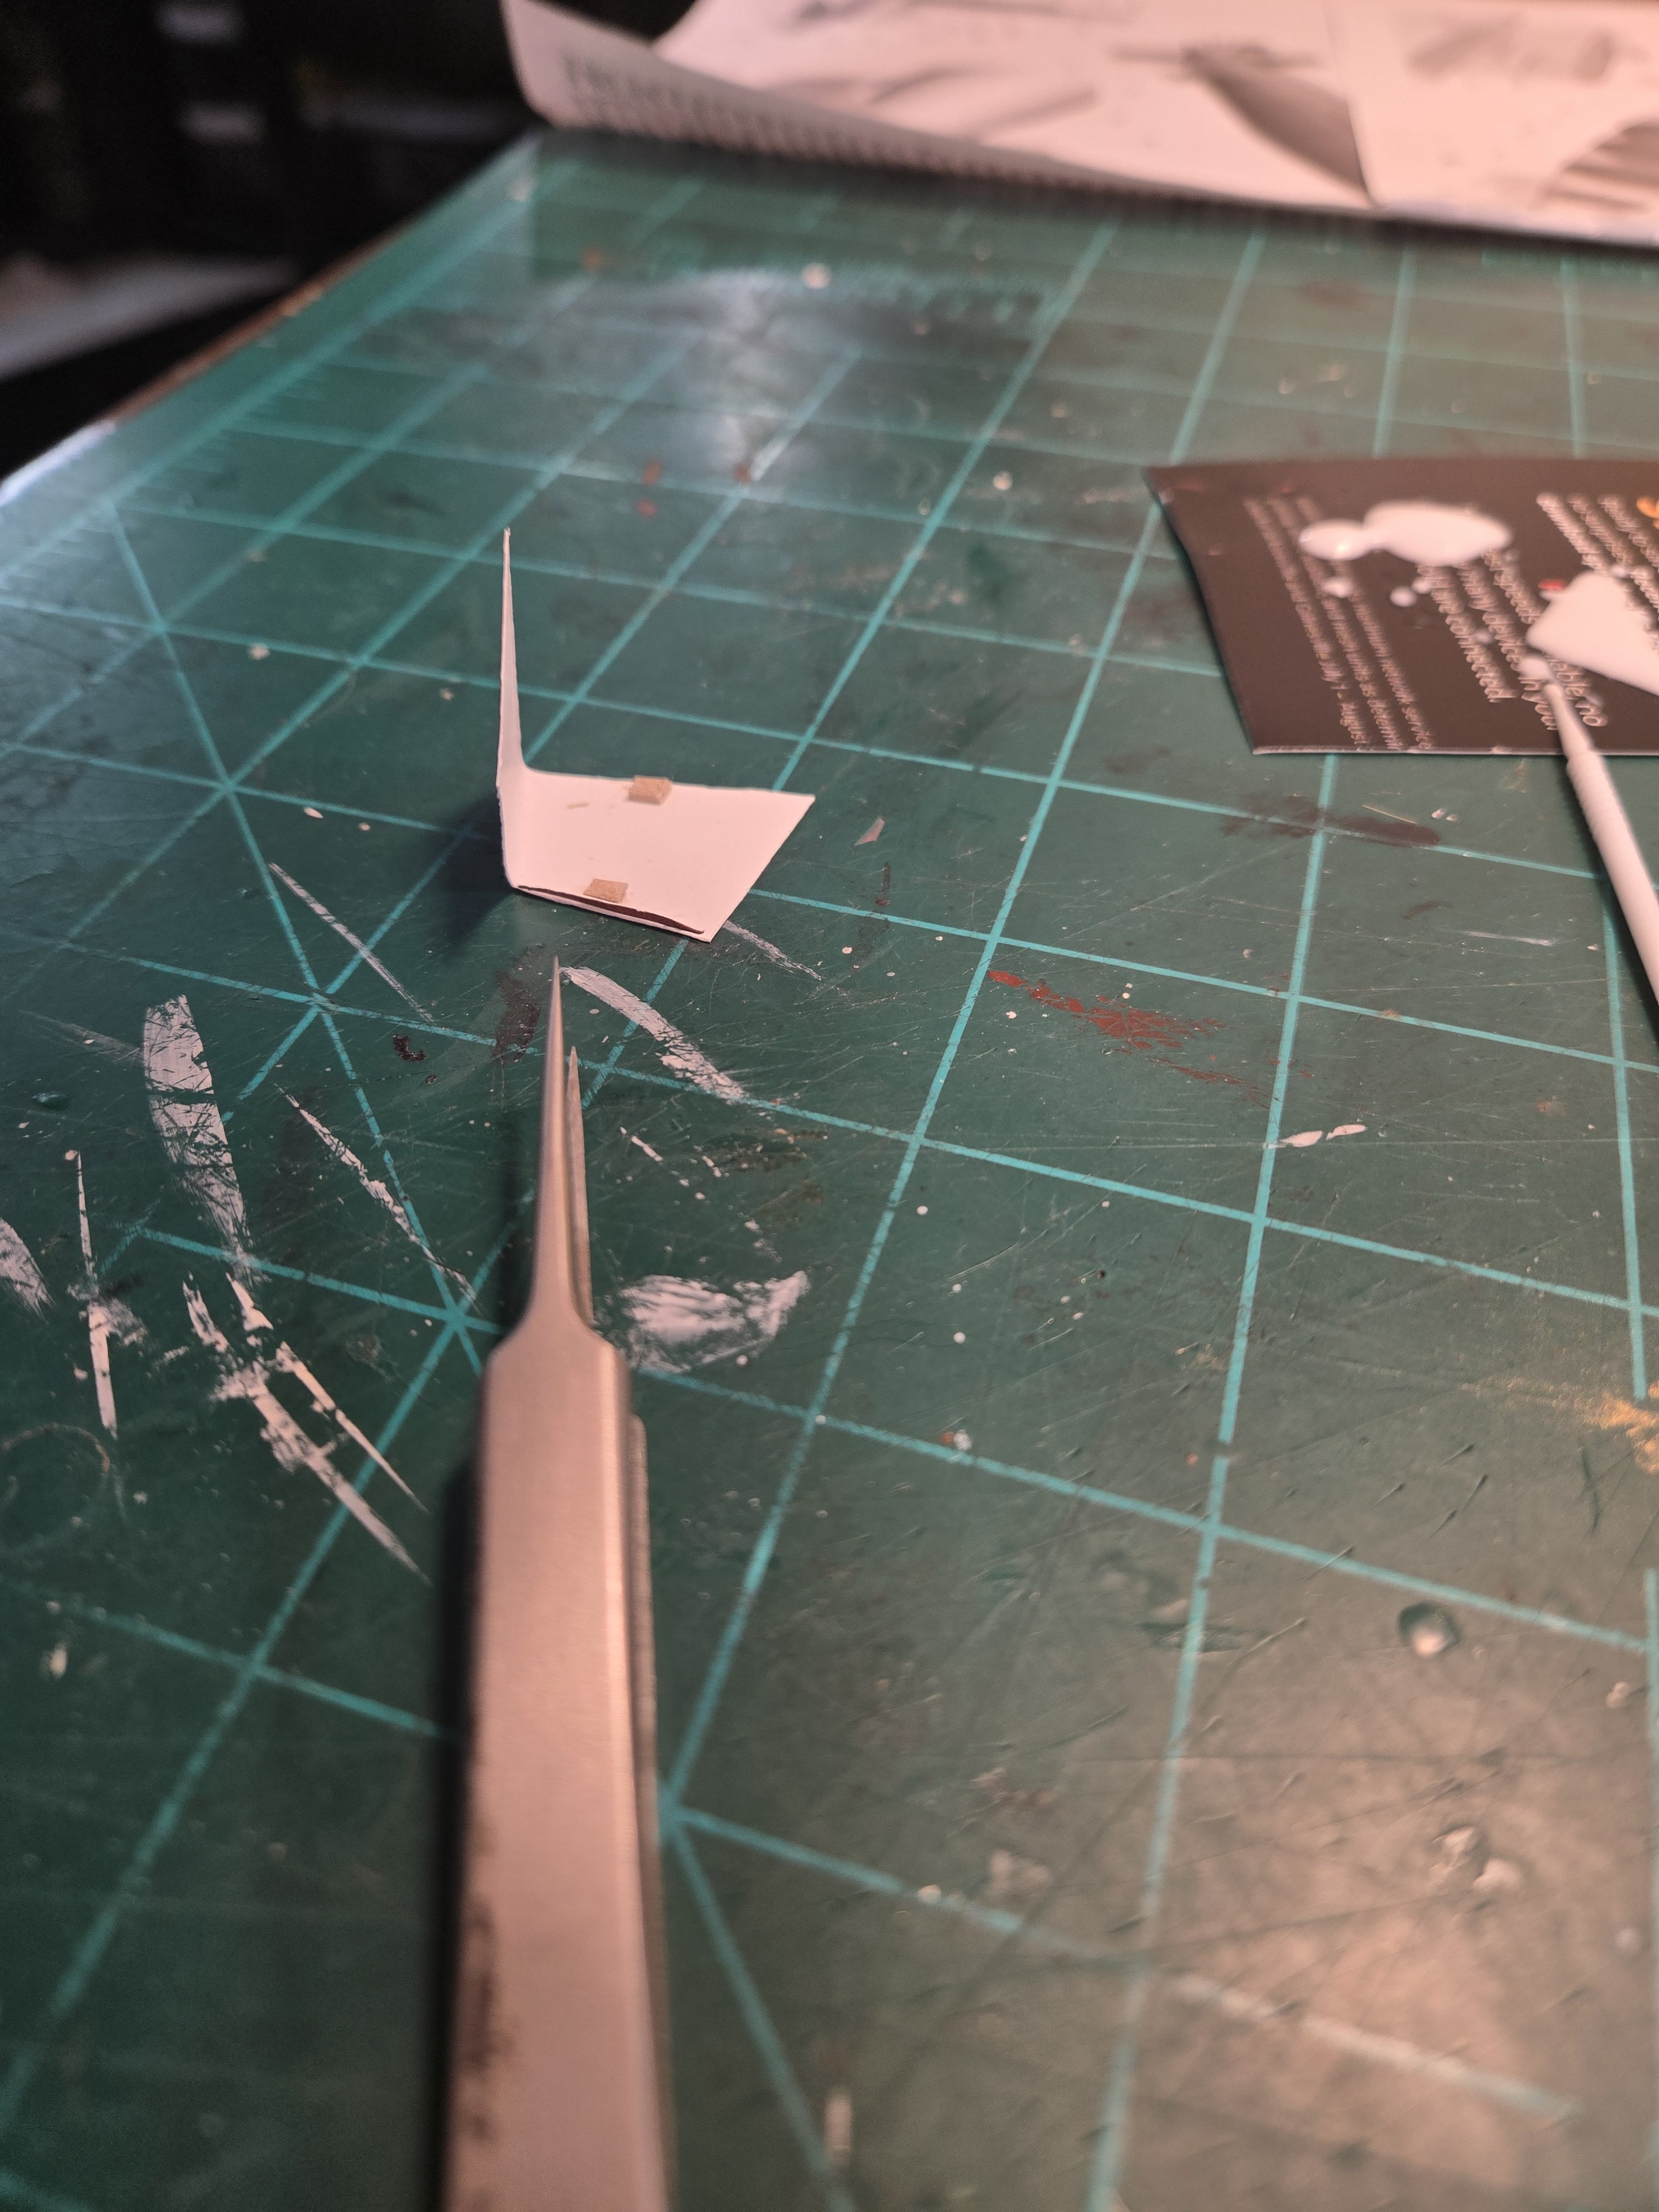
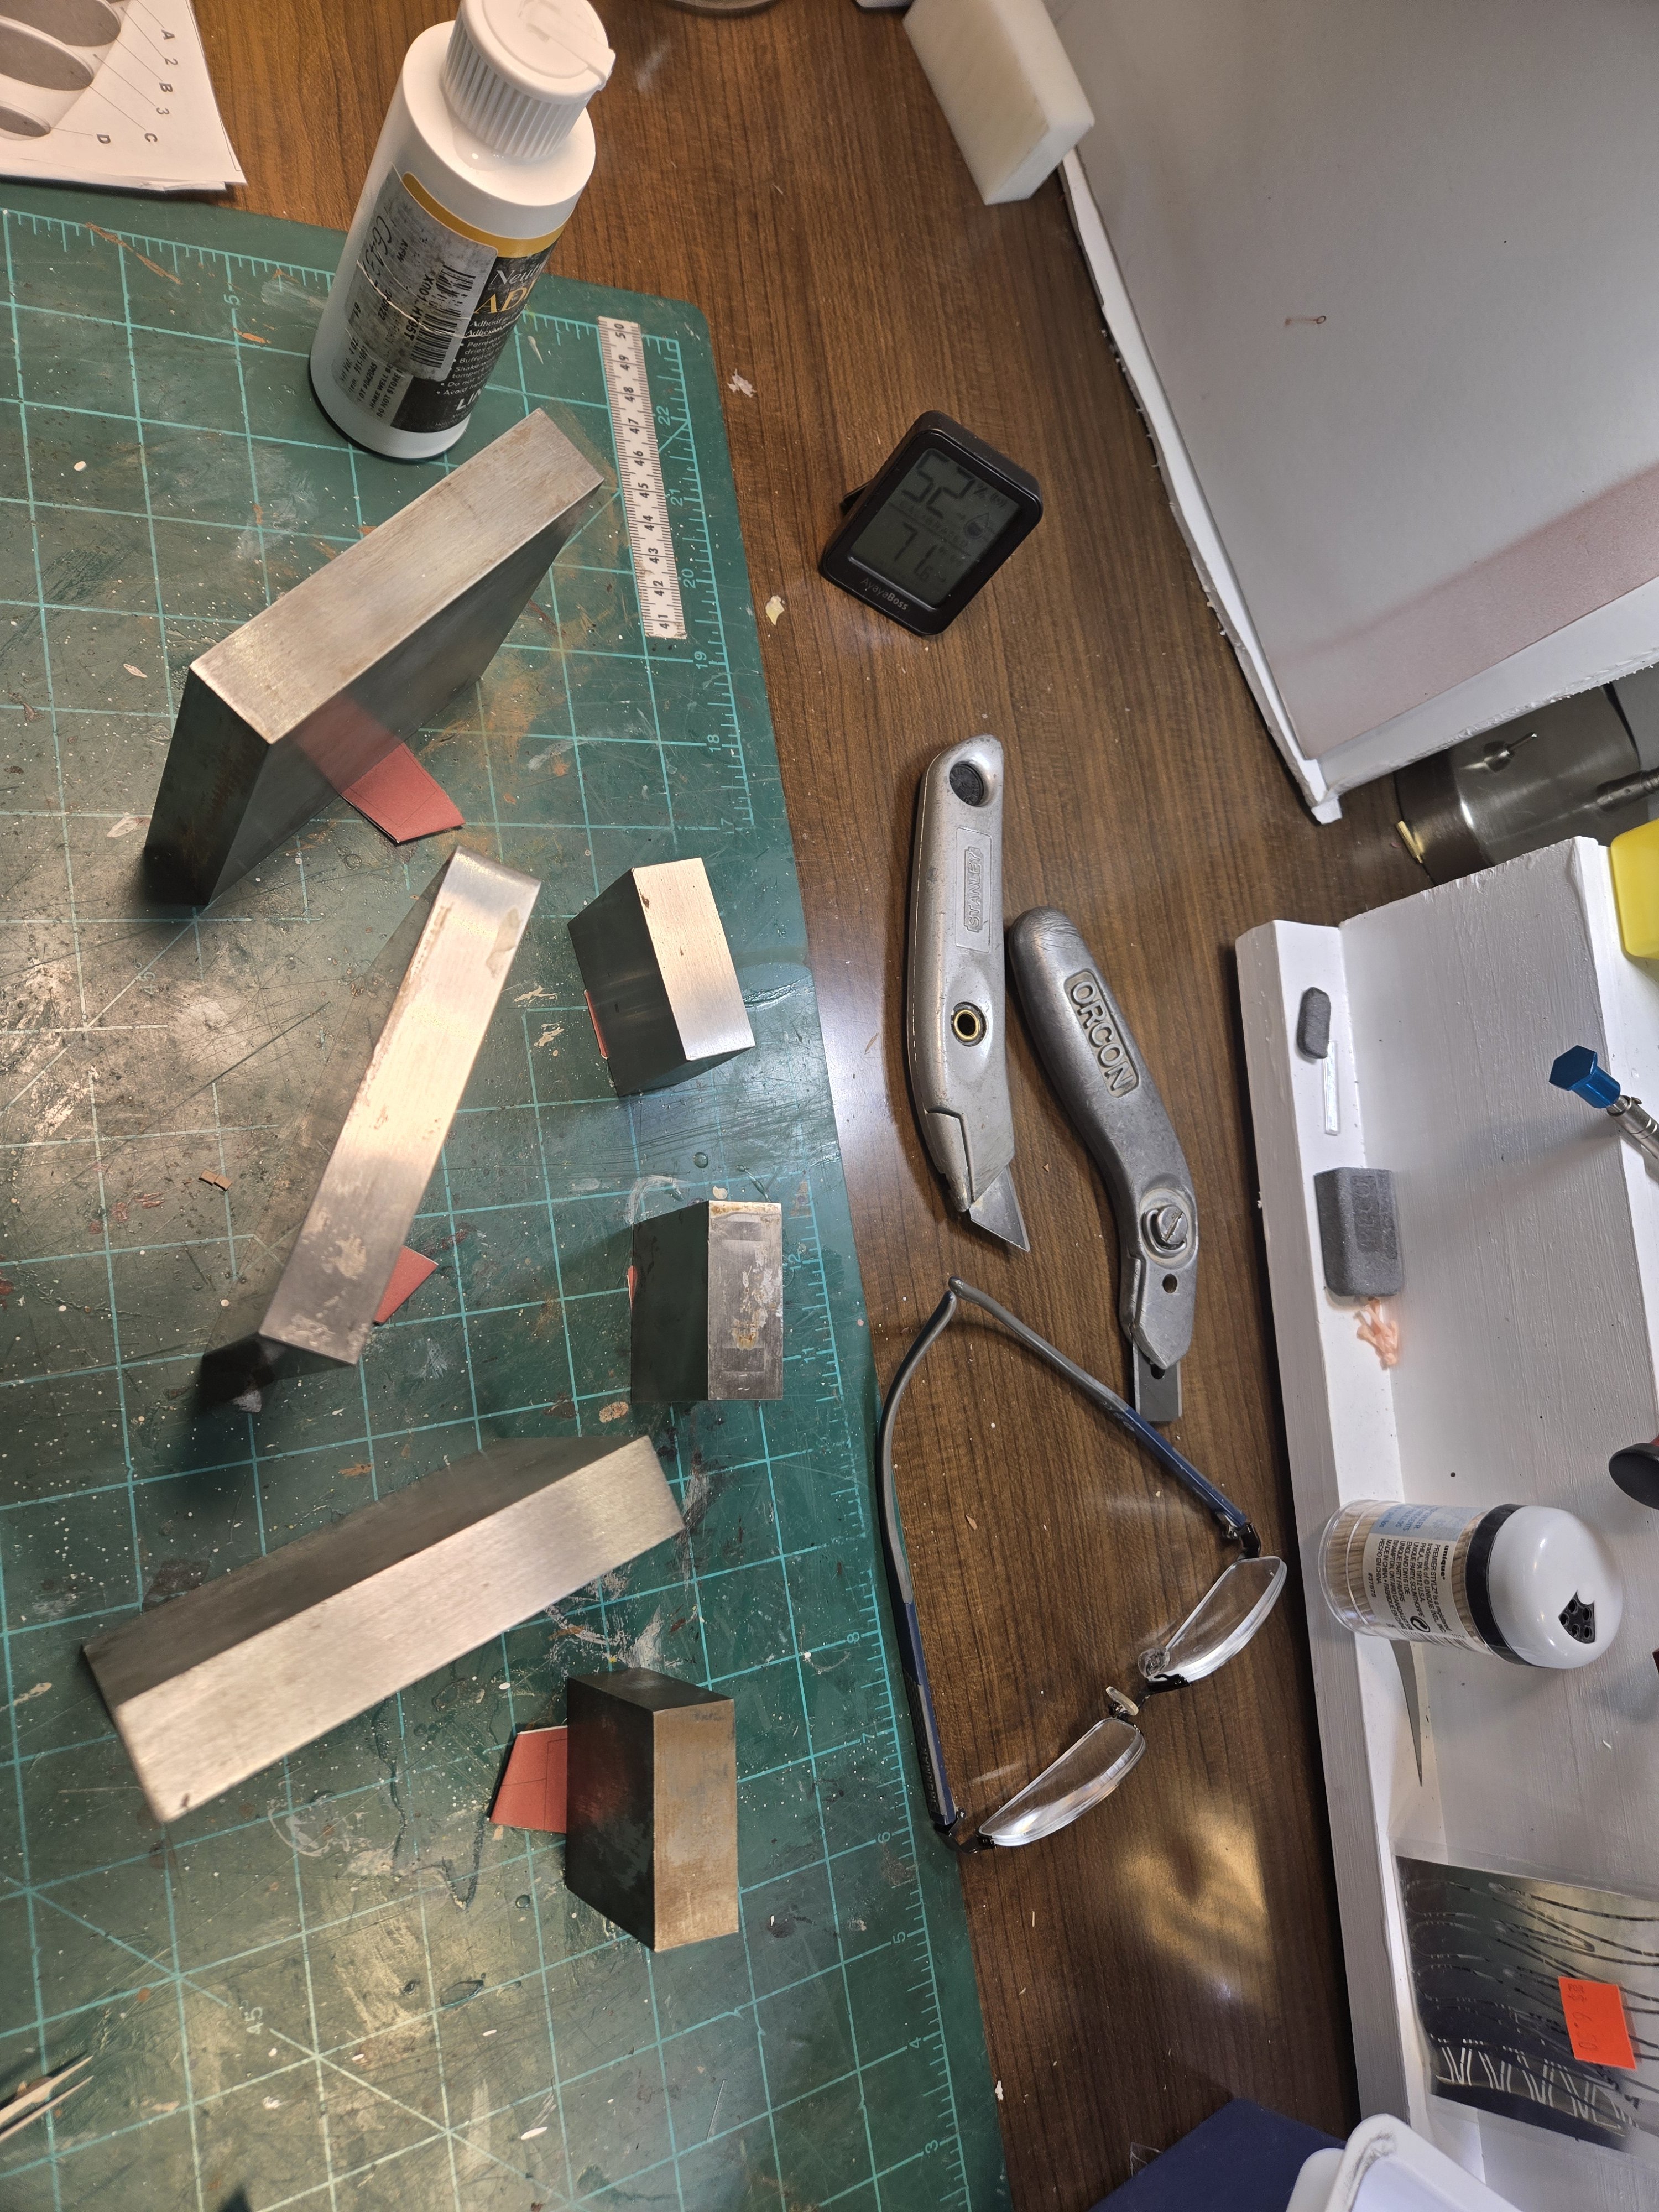
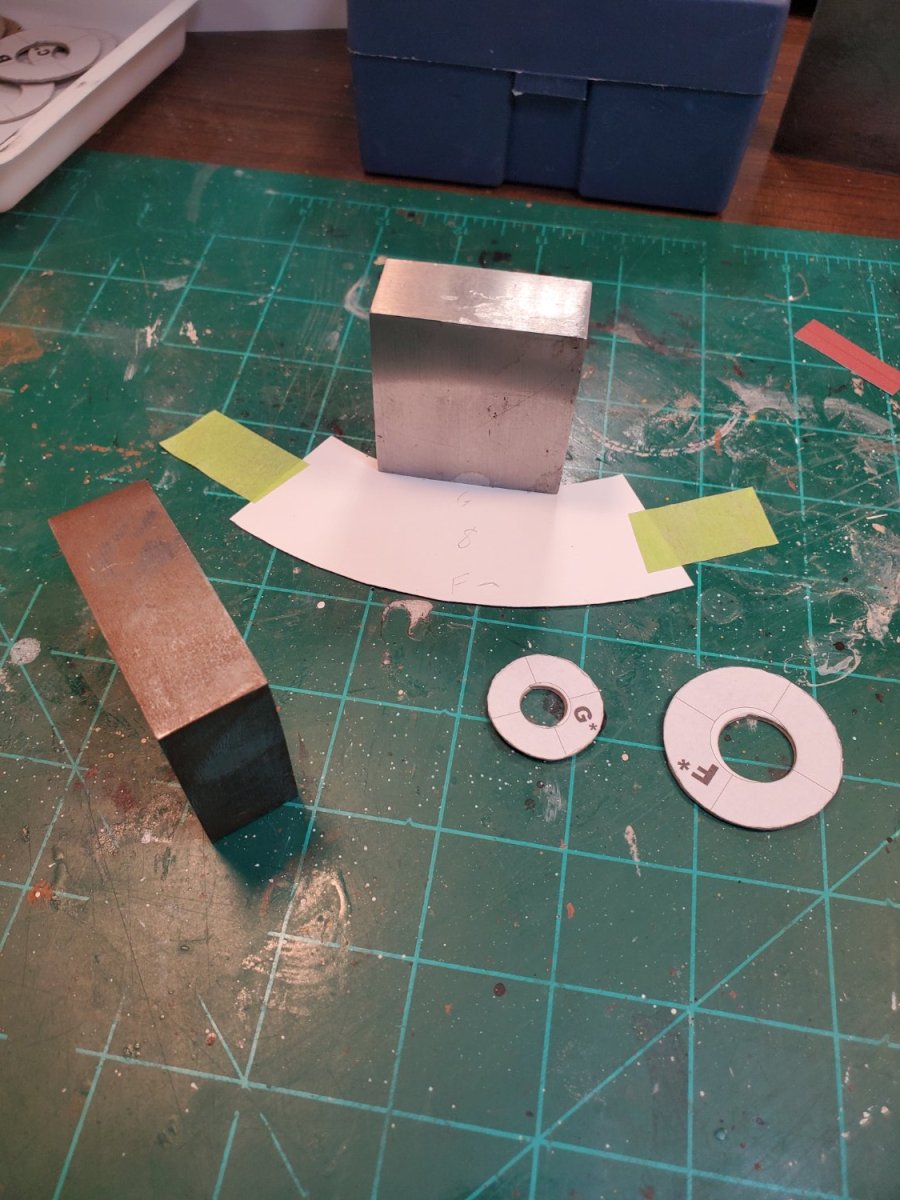
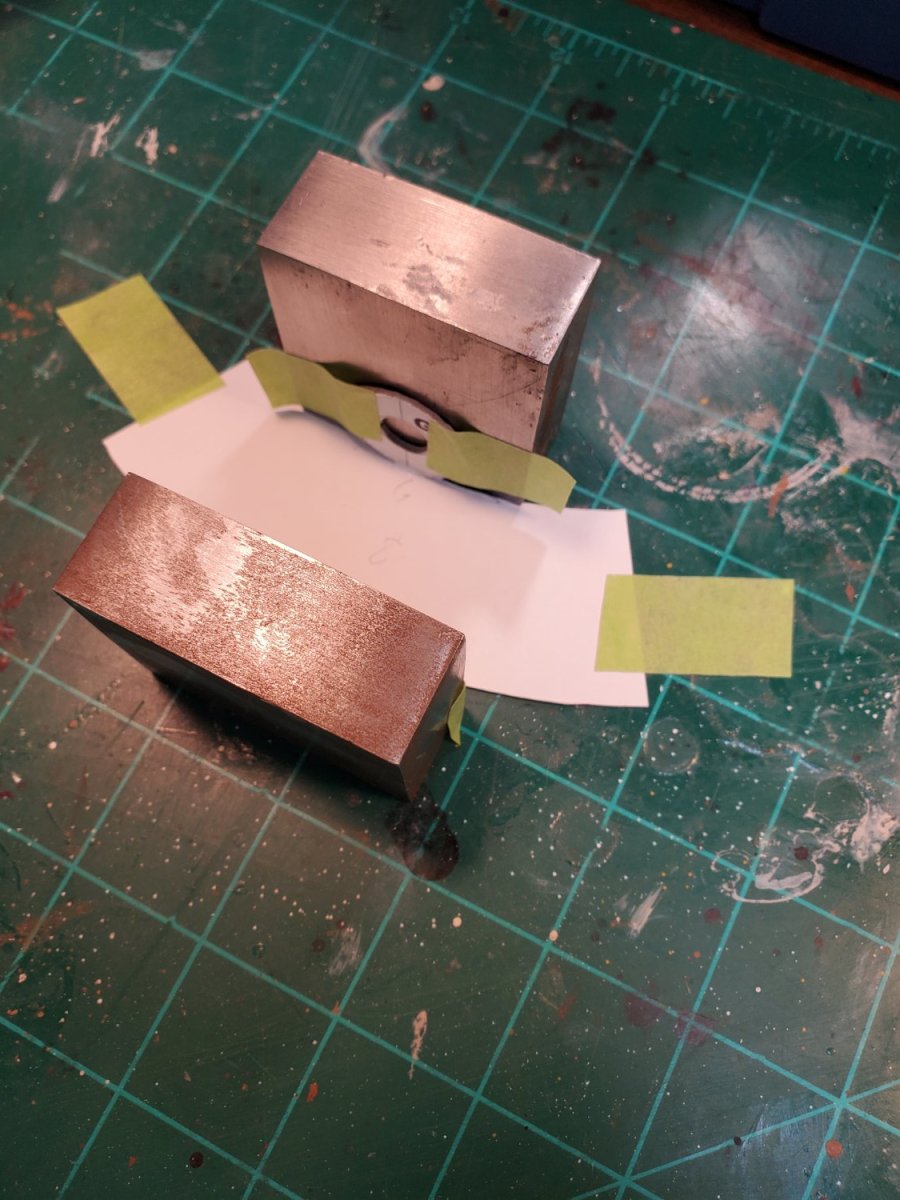
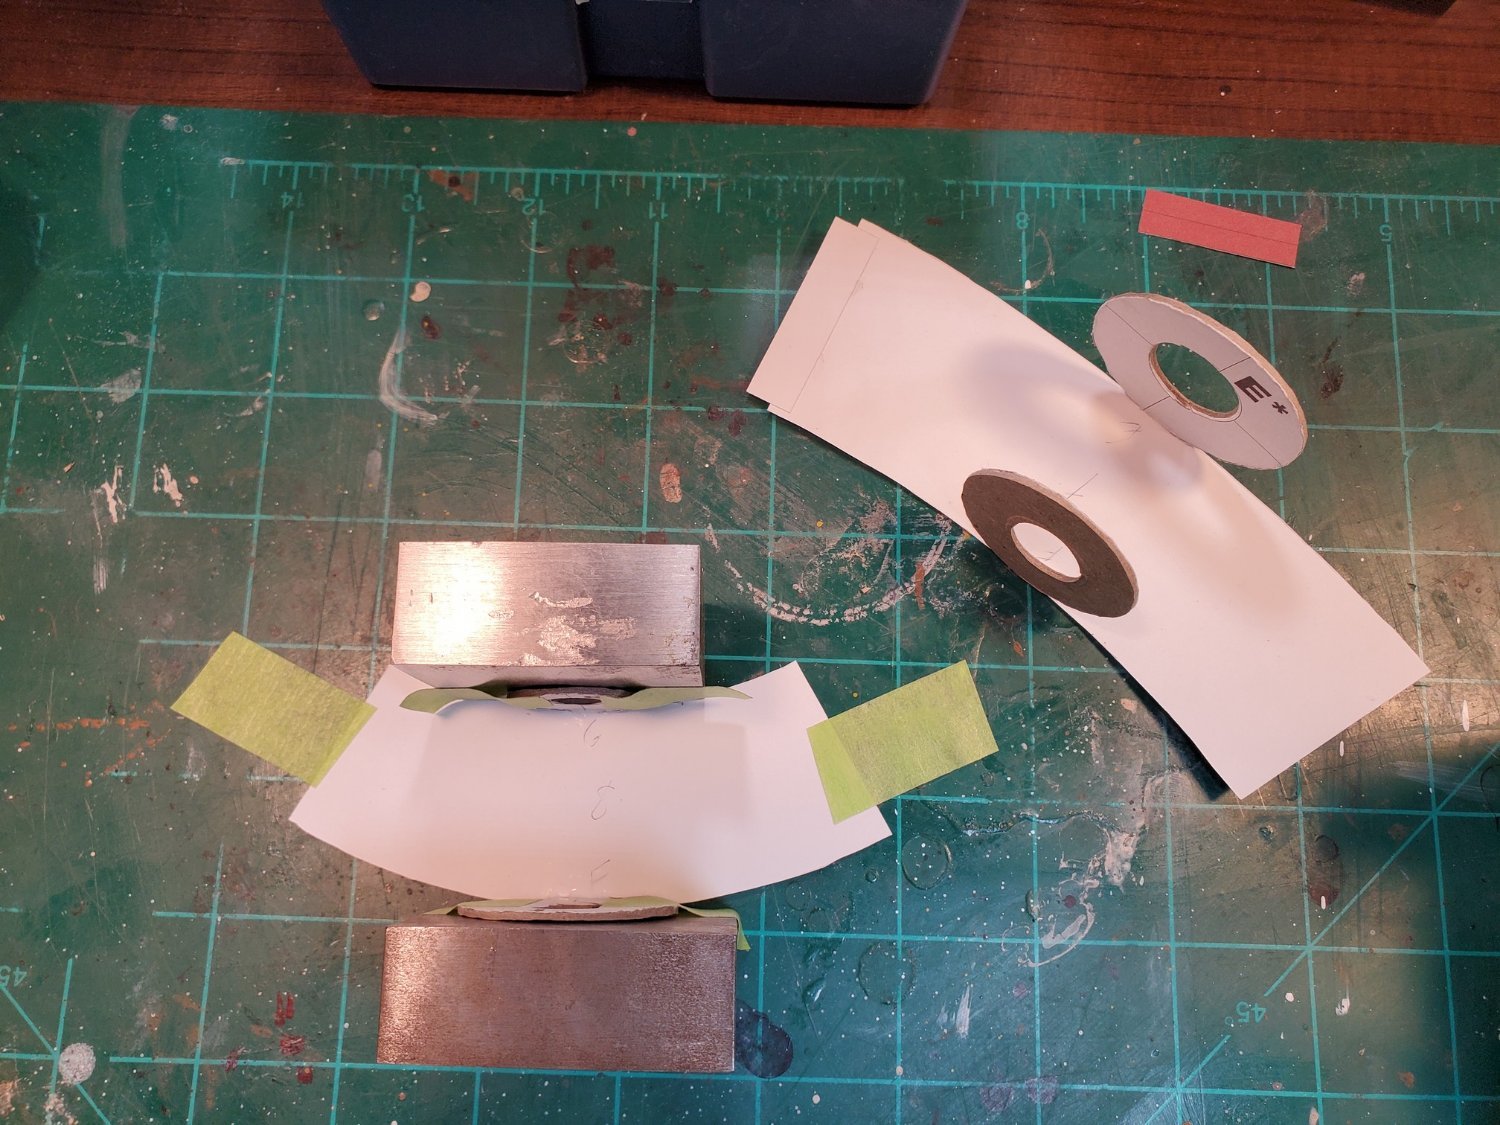
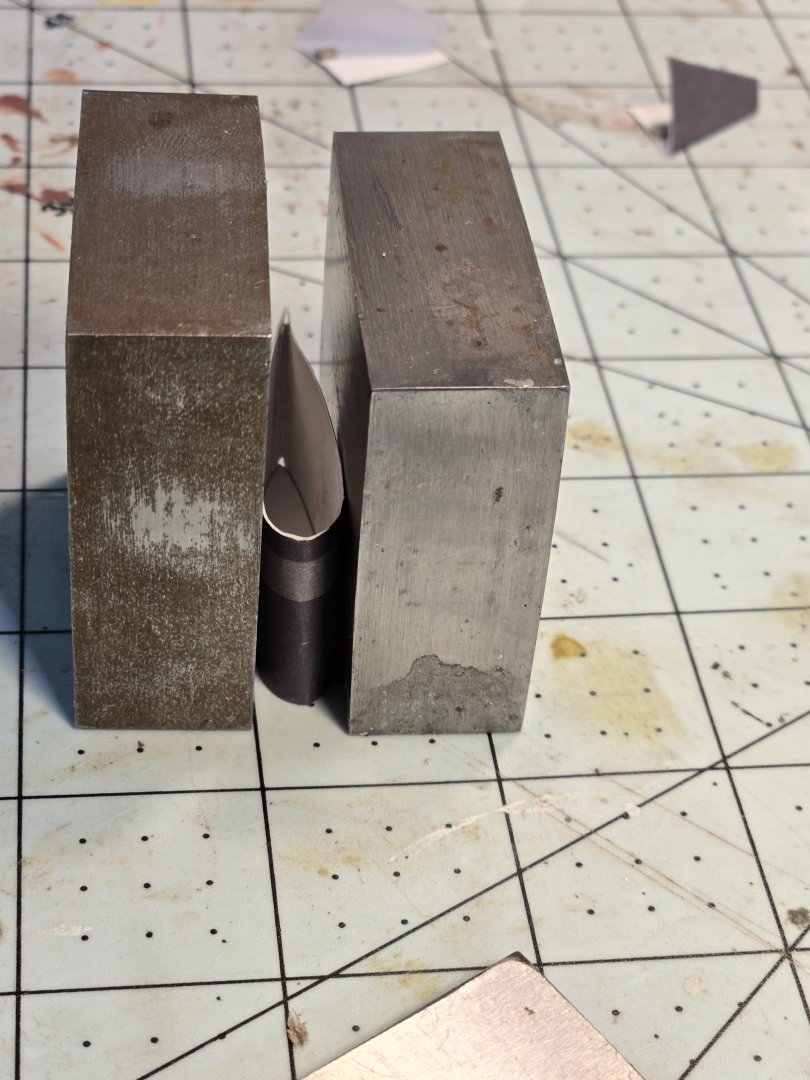
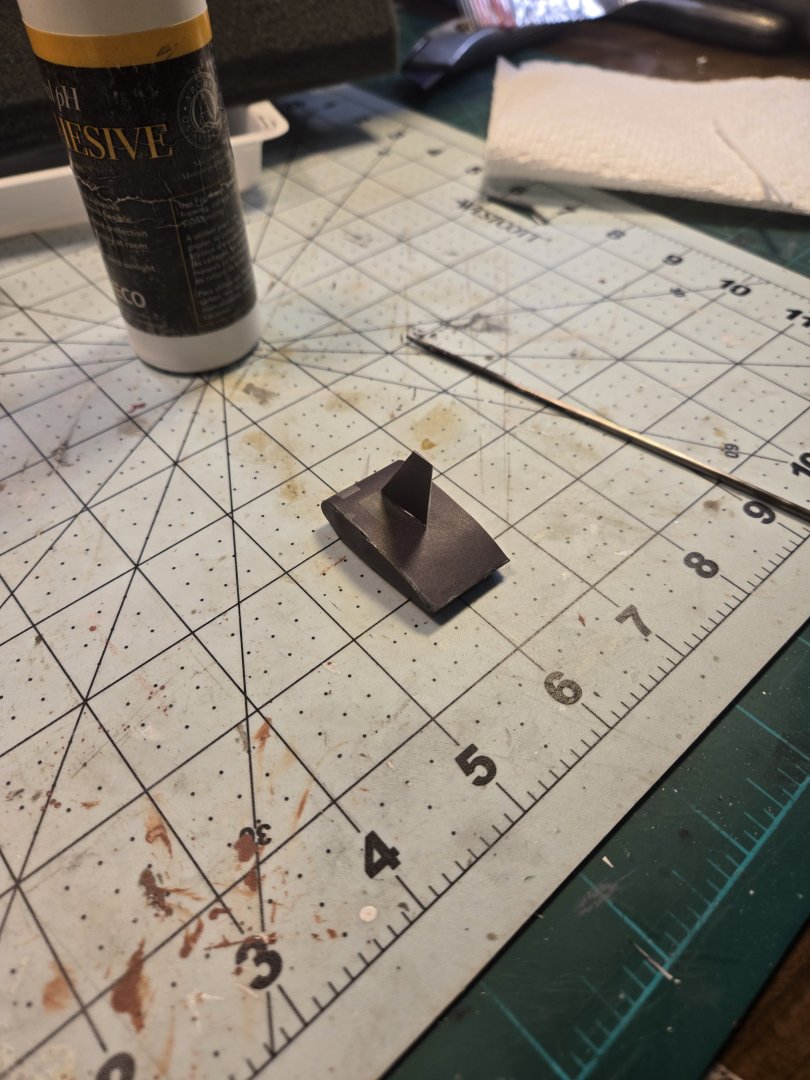
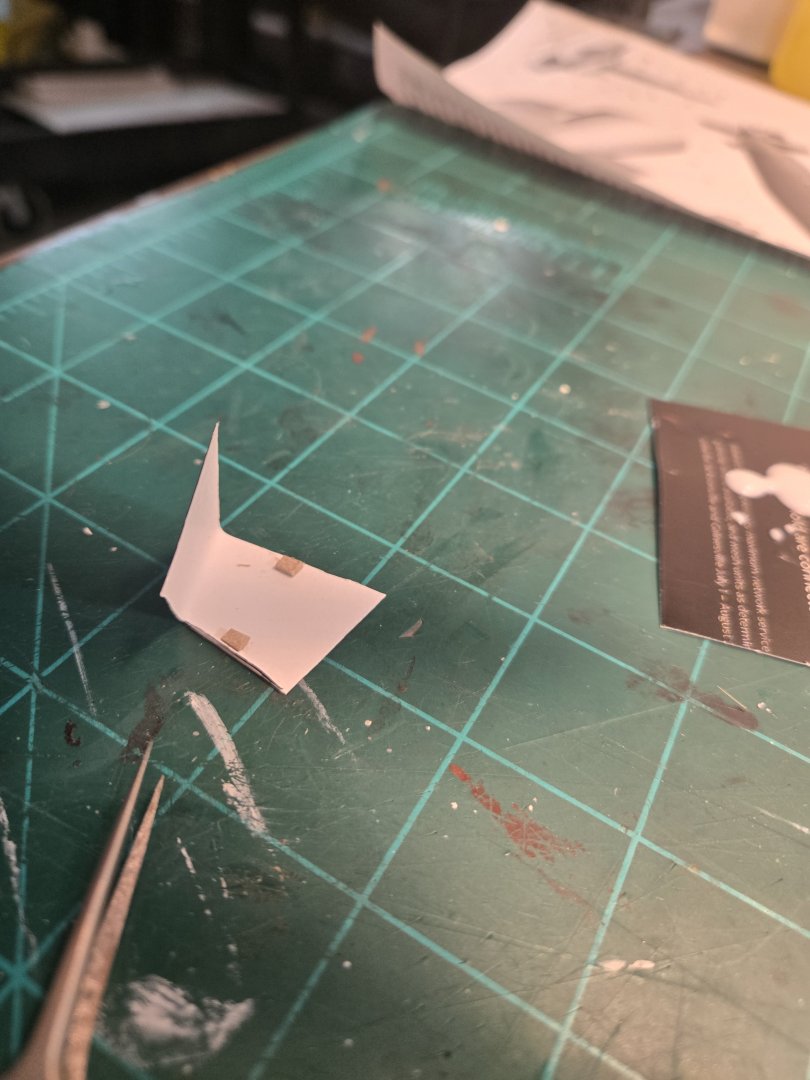
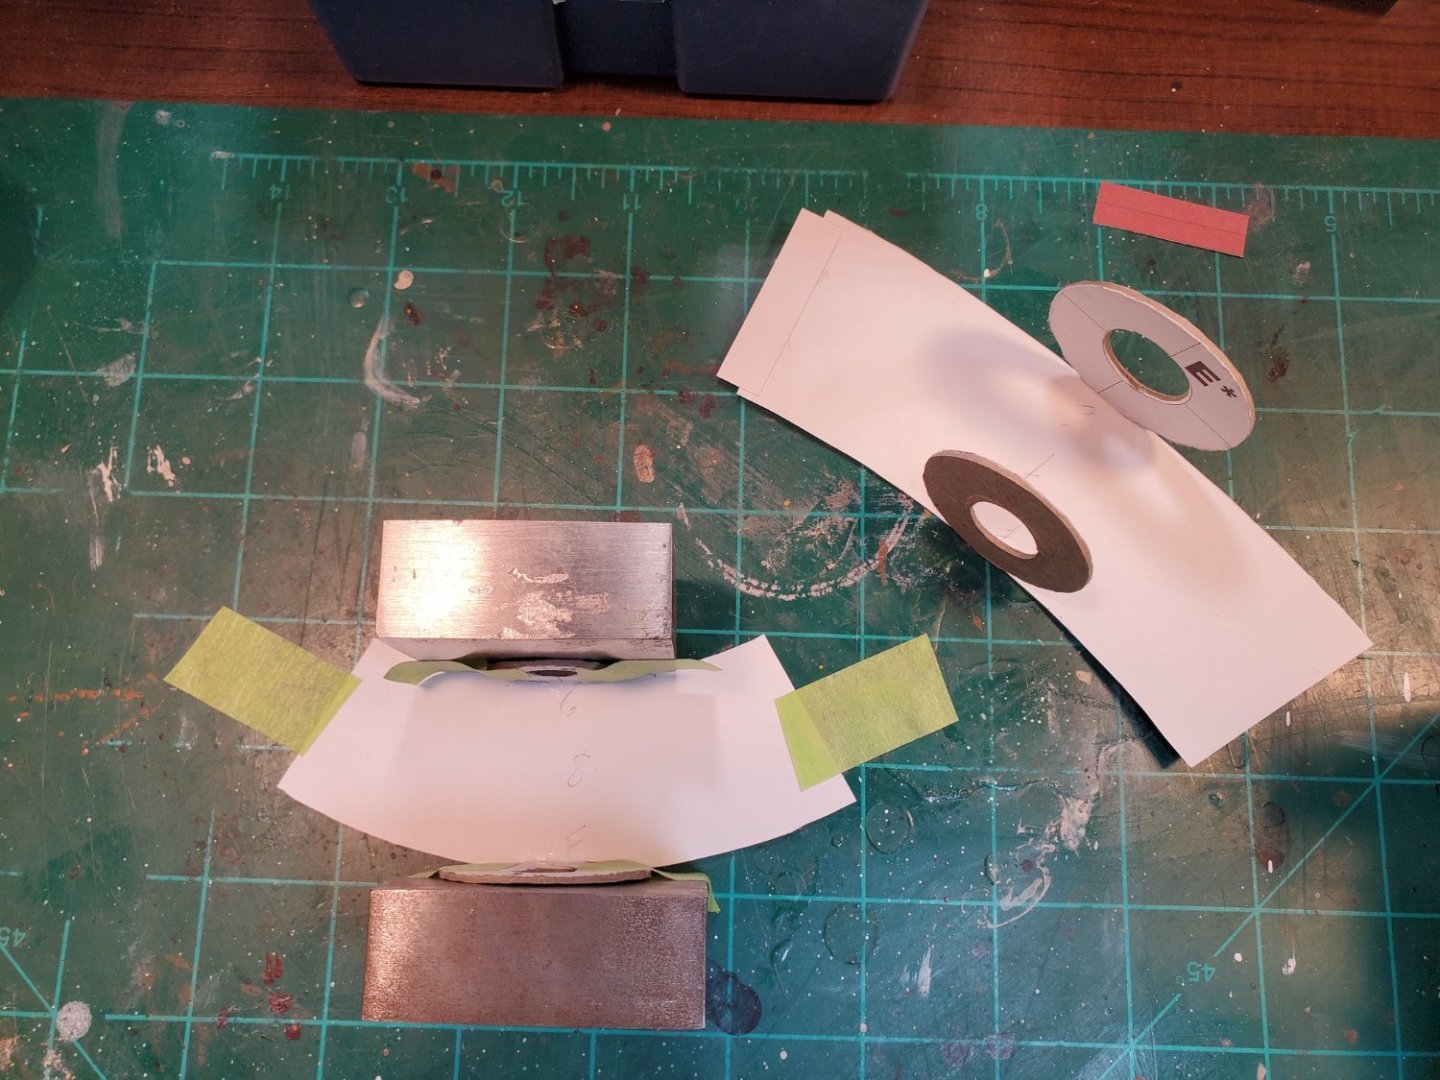
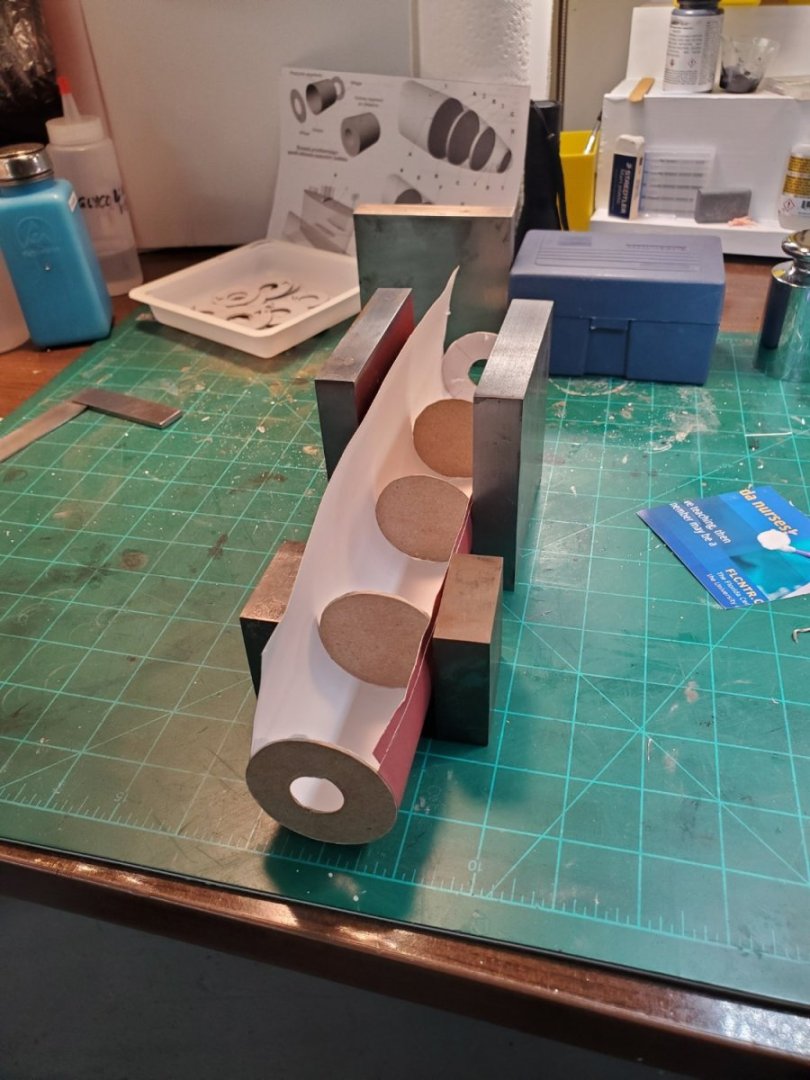
I decided to work on the stern since I had completed the 4 stern tube sections the year before. So I made the stern vertical and horizontal planes. I used some scrap 1mm cardstock to create the curve of the surface of the planes. It was easier than relying on the included bulkhead piece. Steel bunch blocks held the thin edges together while drying. There are 4 stern planes but the horizontal planes have vertical rudders at the end too. As it turned out, I did not mount the planes until much later, after the entire hull was built. The planes are delicate and I knew I would damage them if I installed them too early.


-
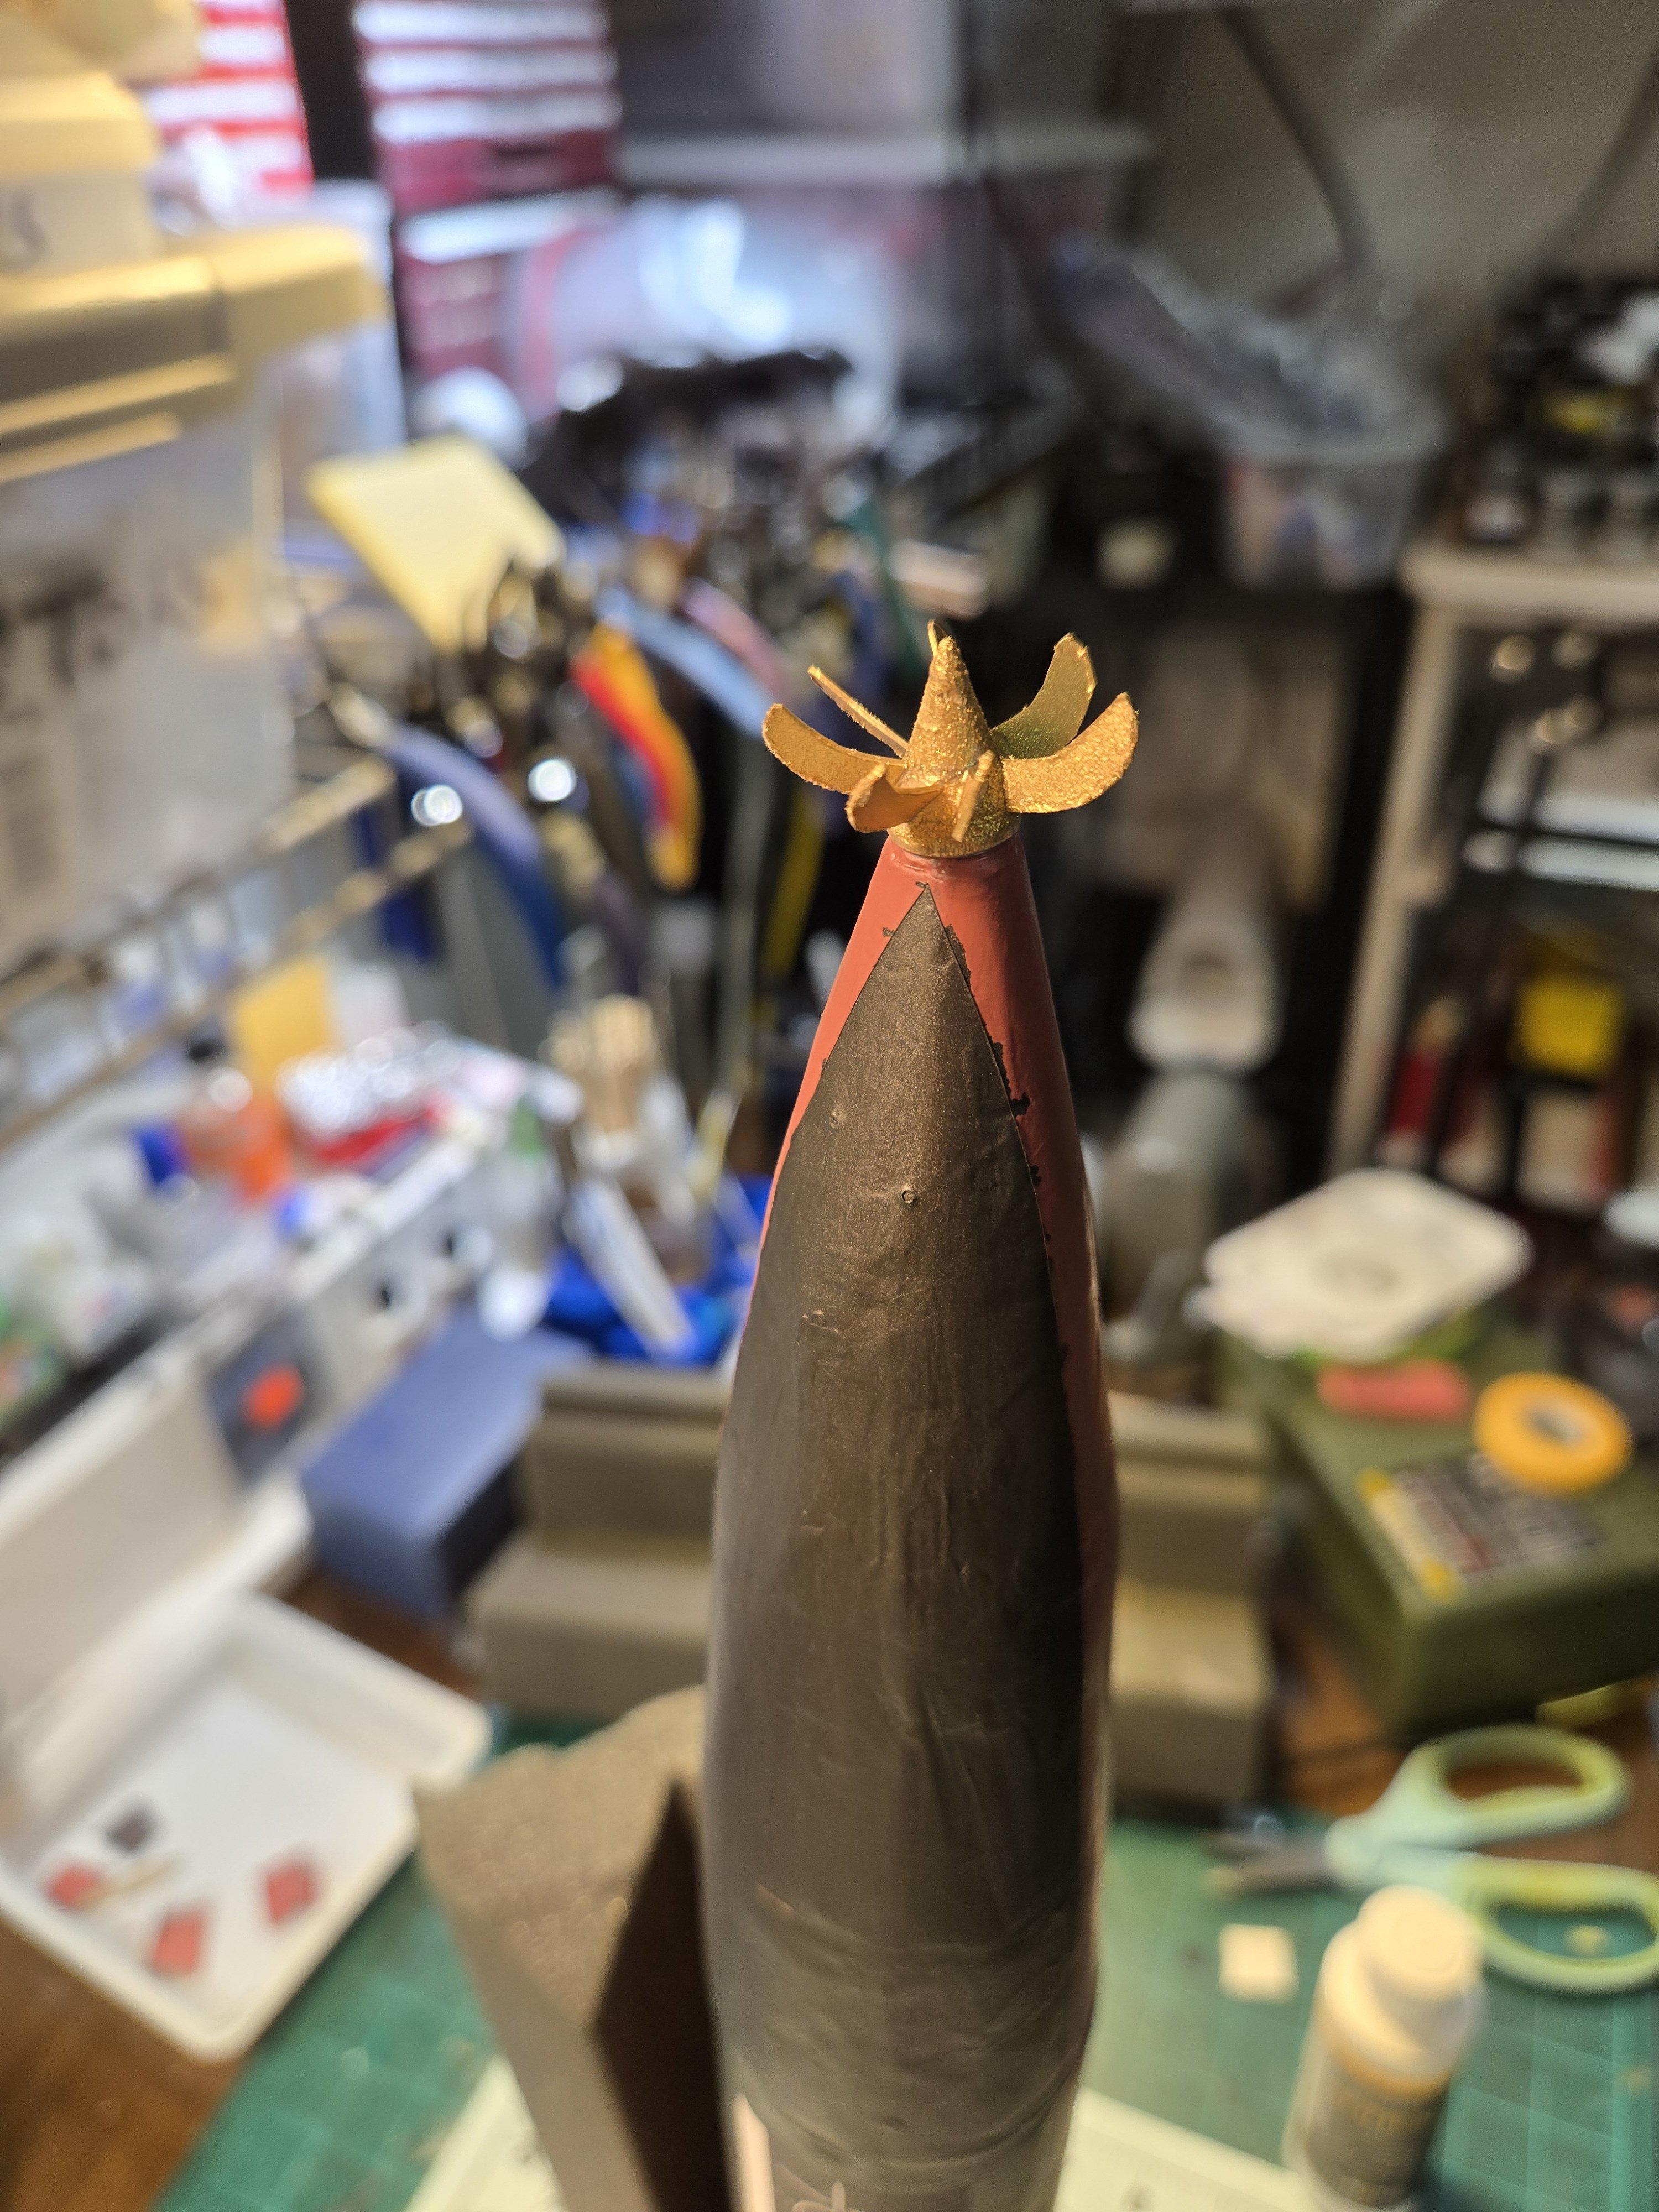
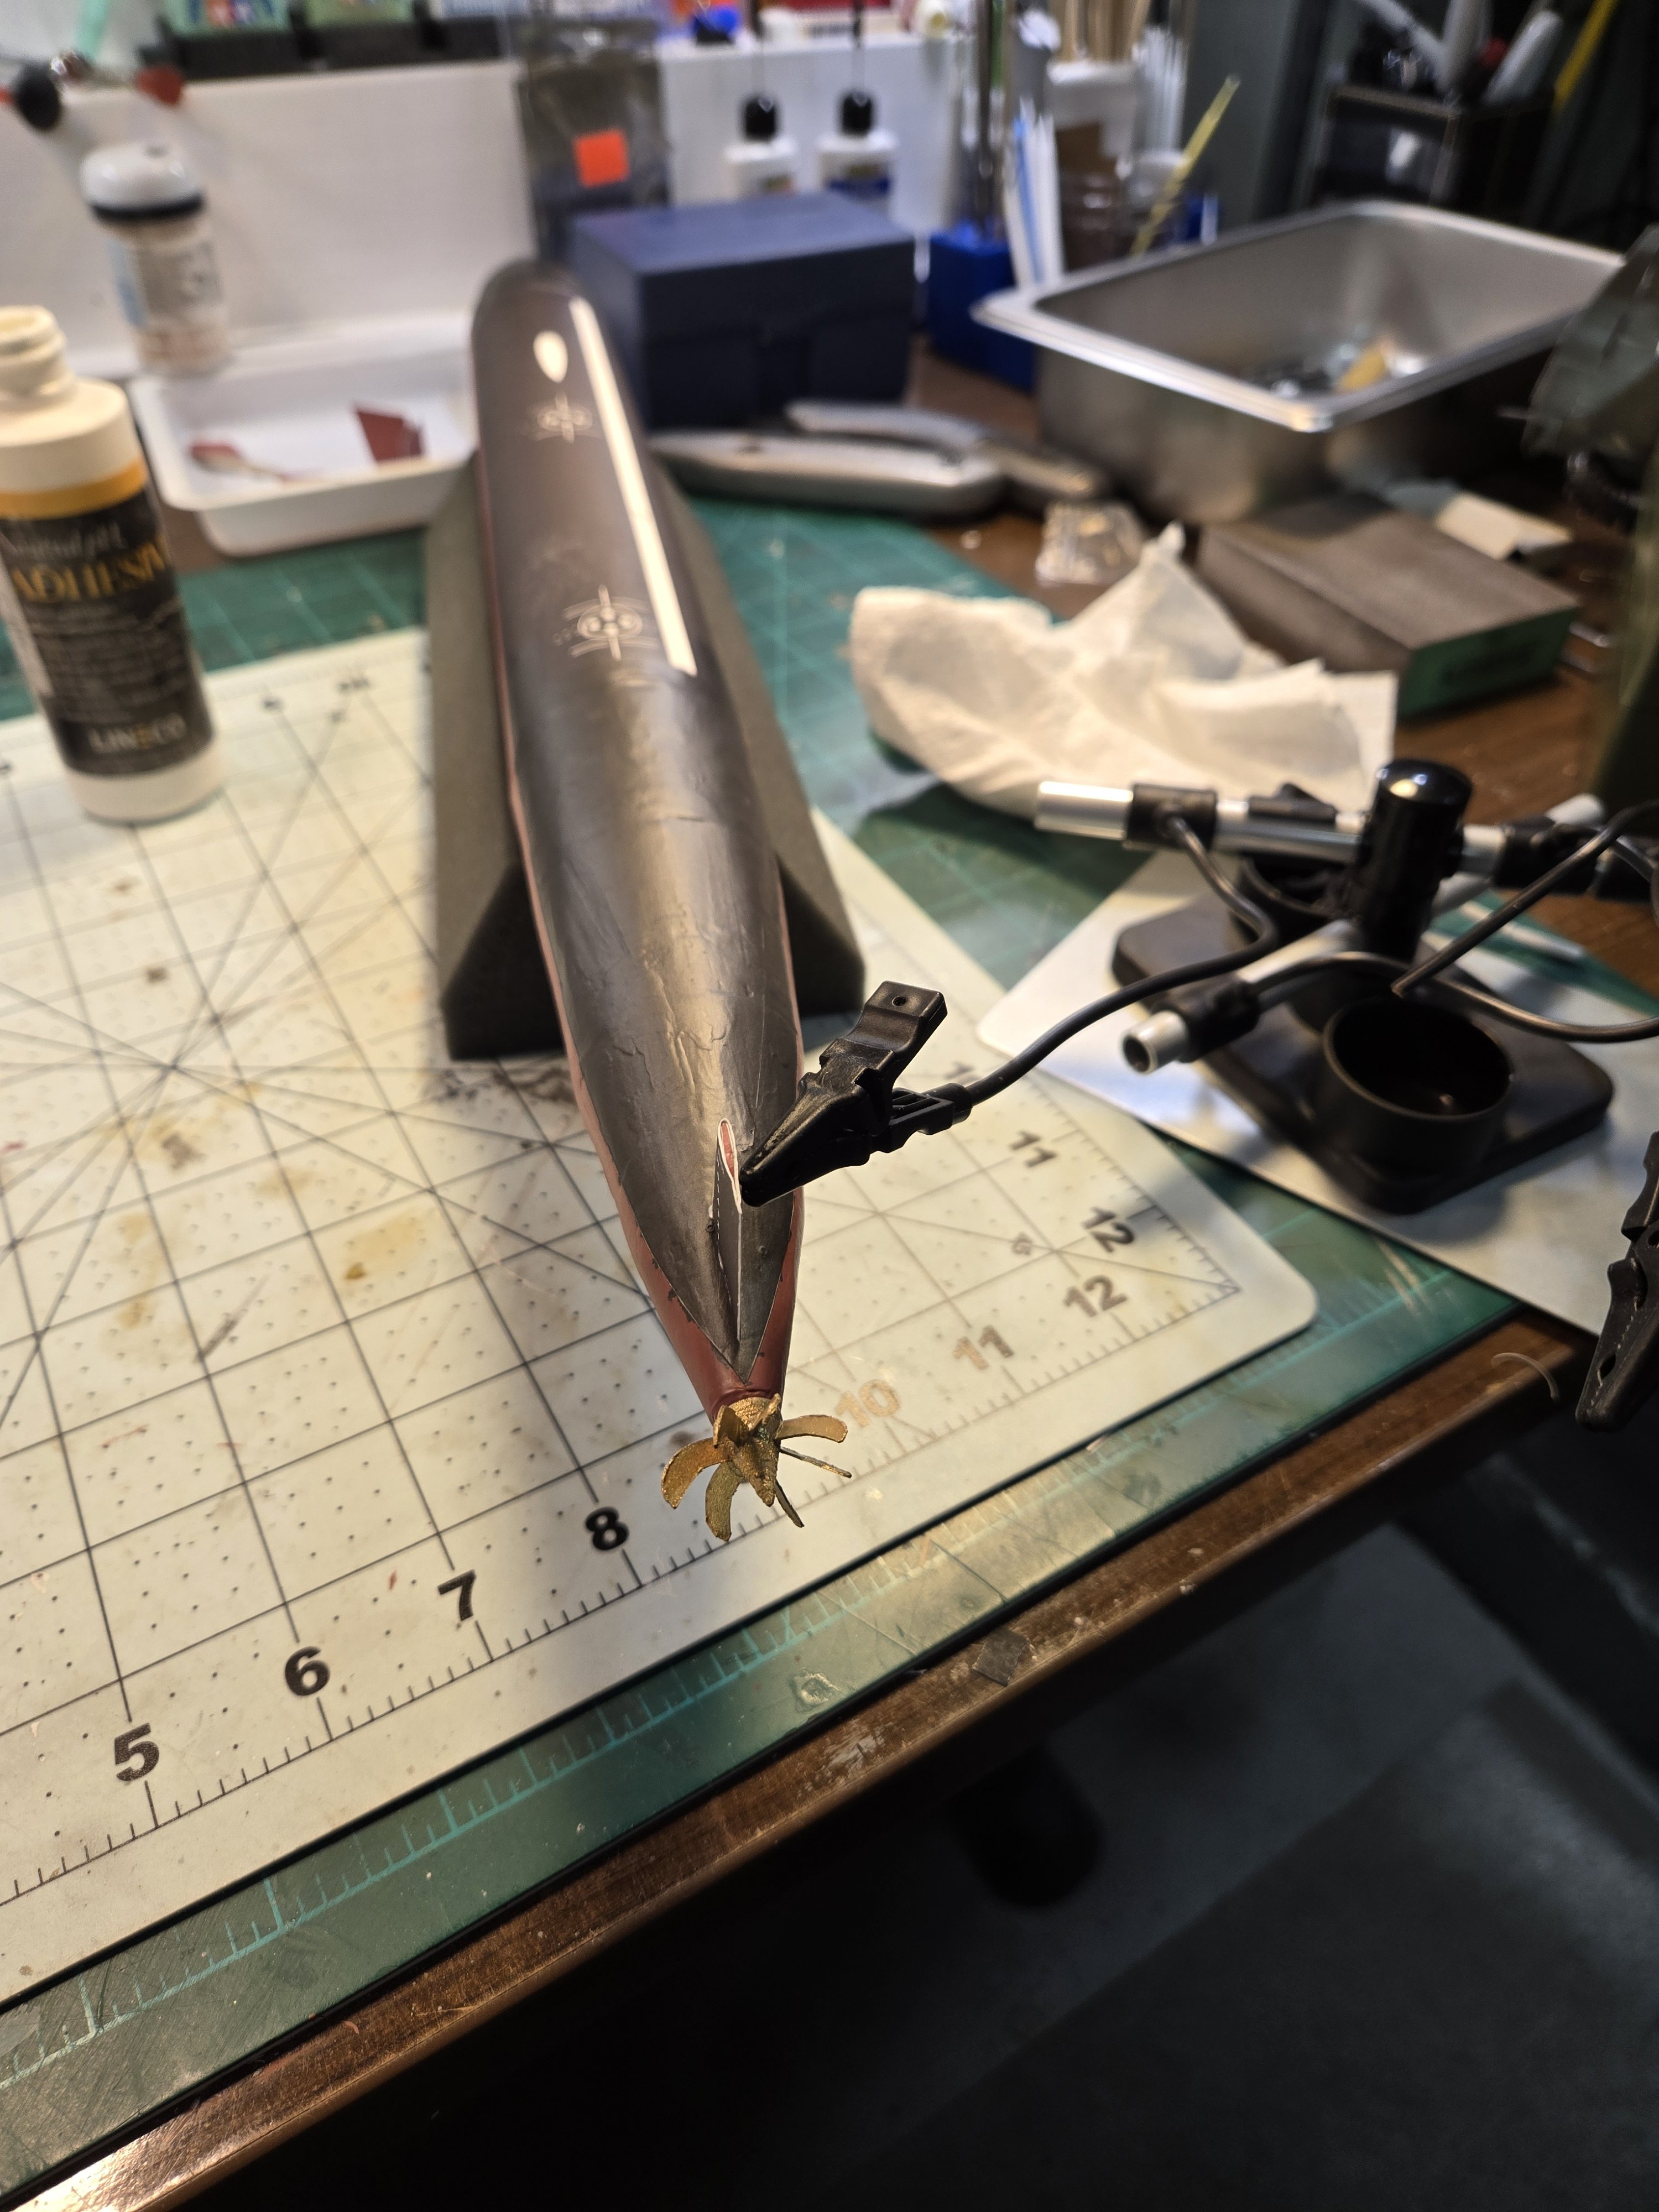
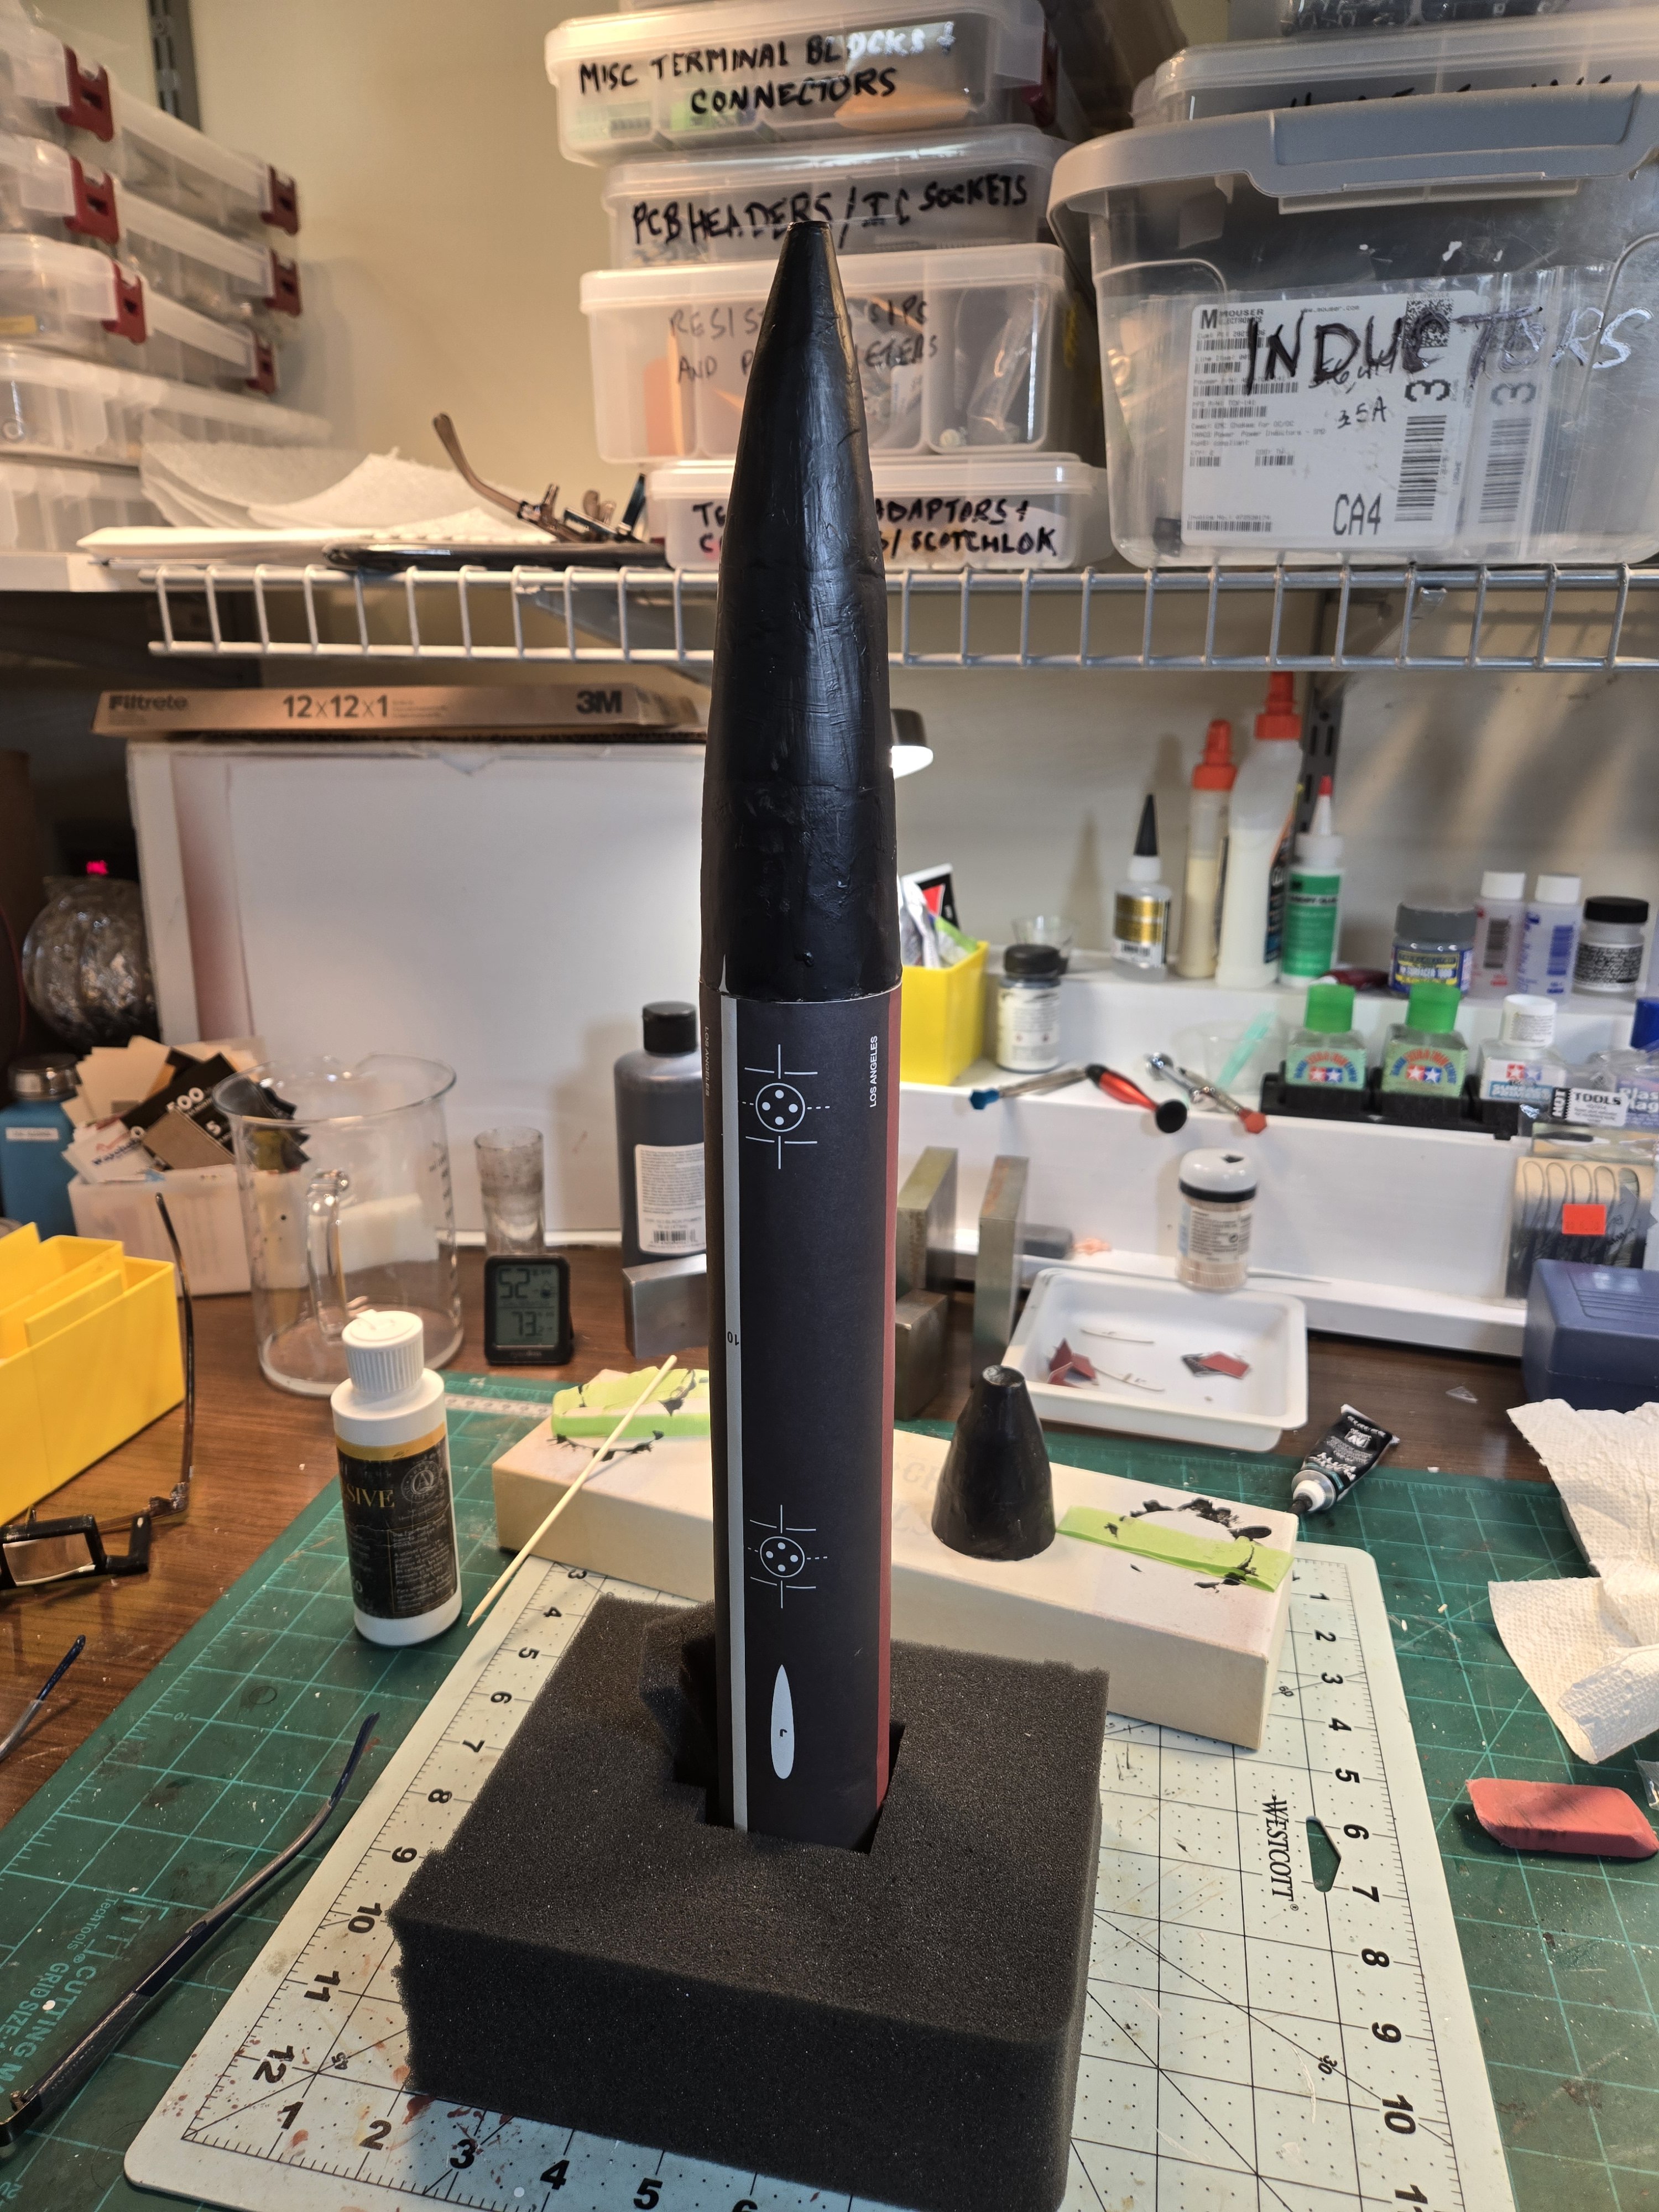
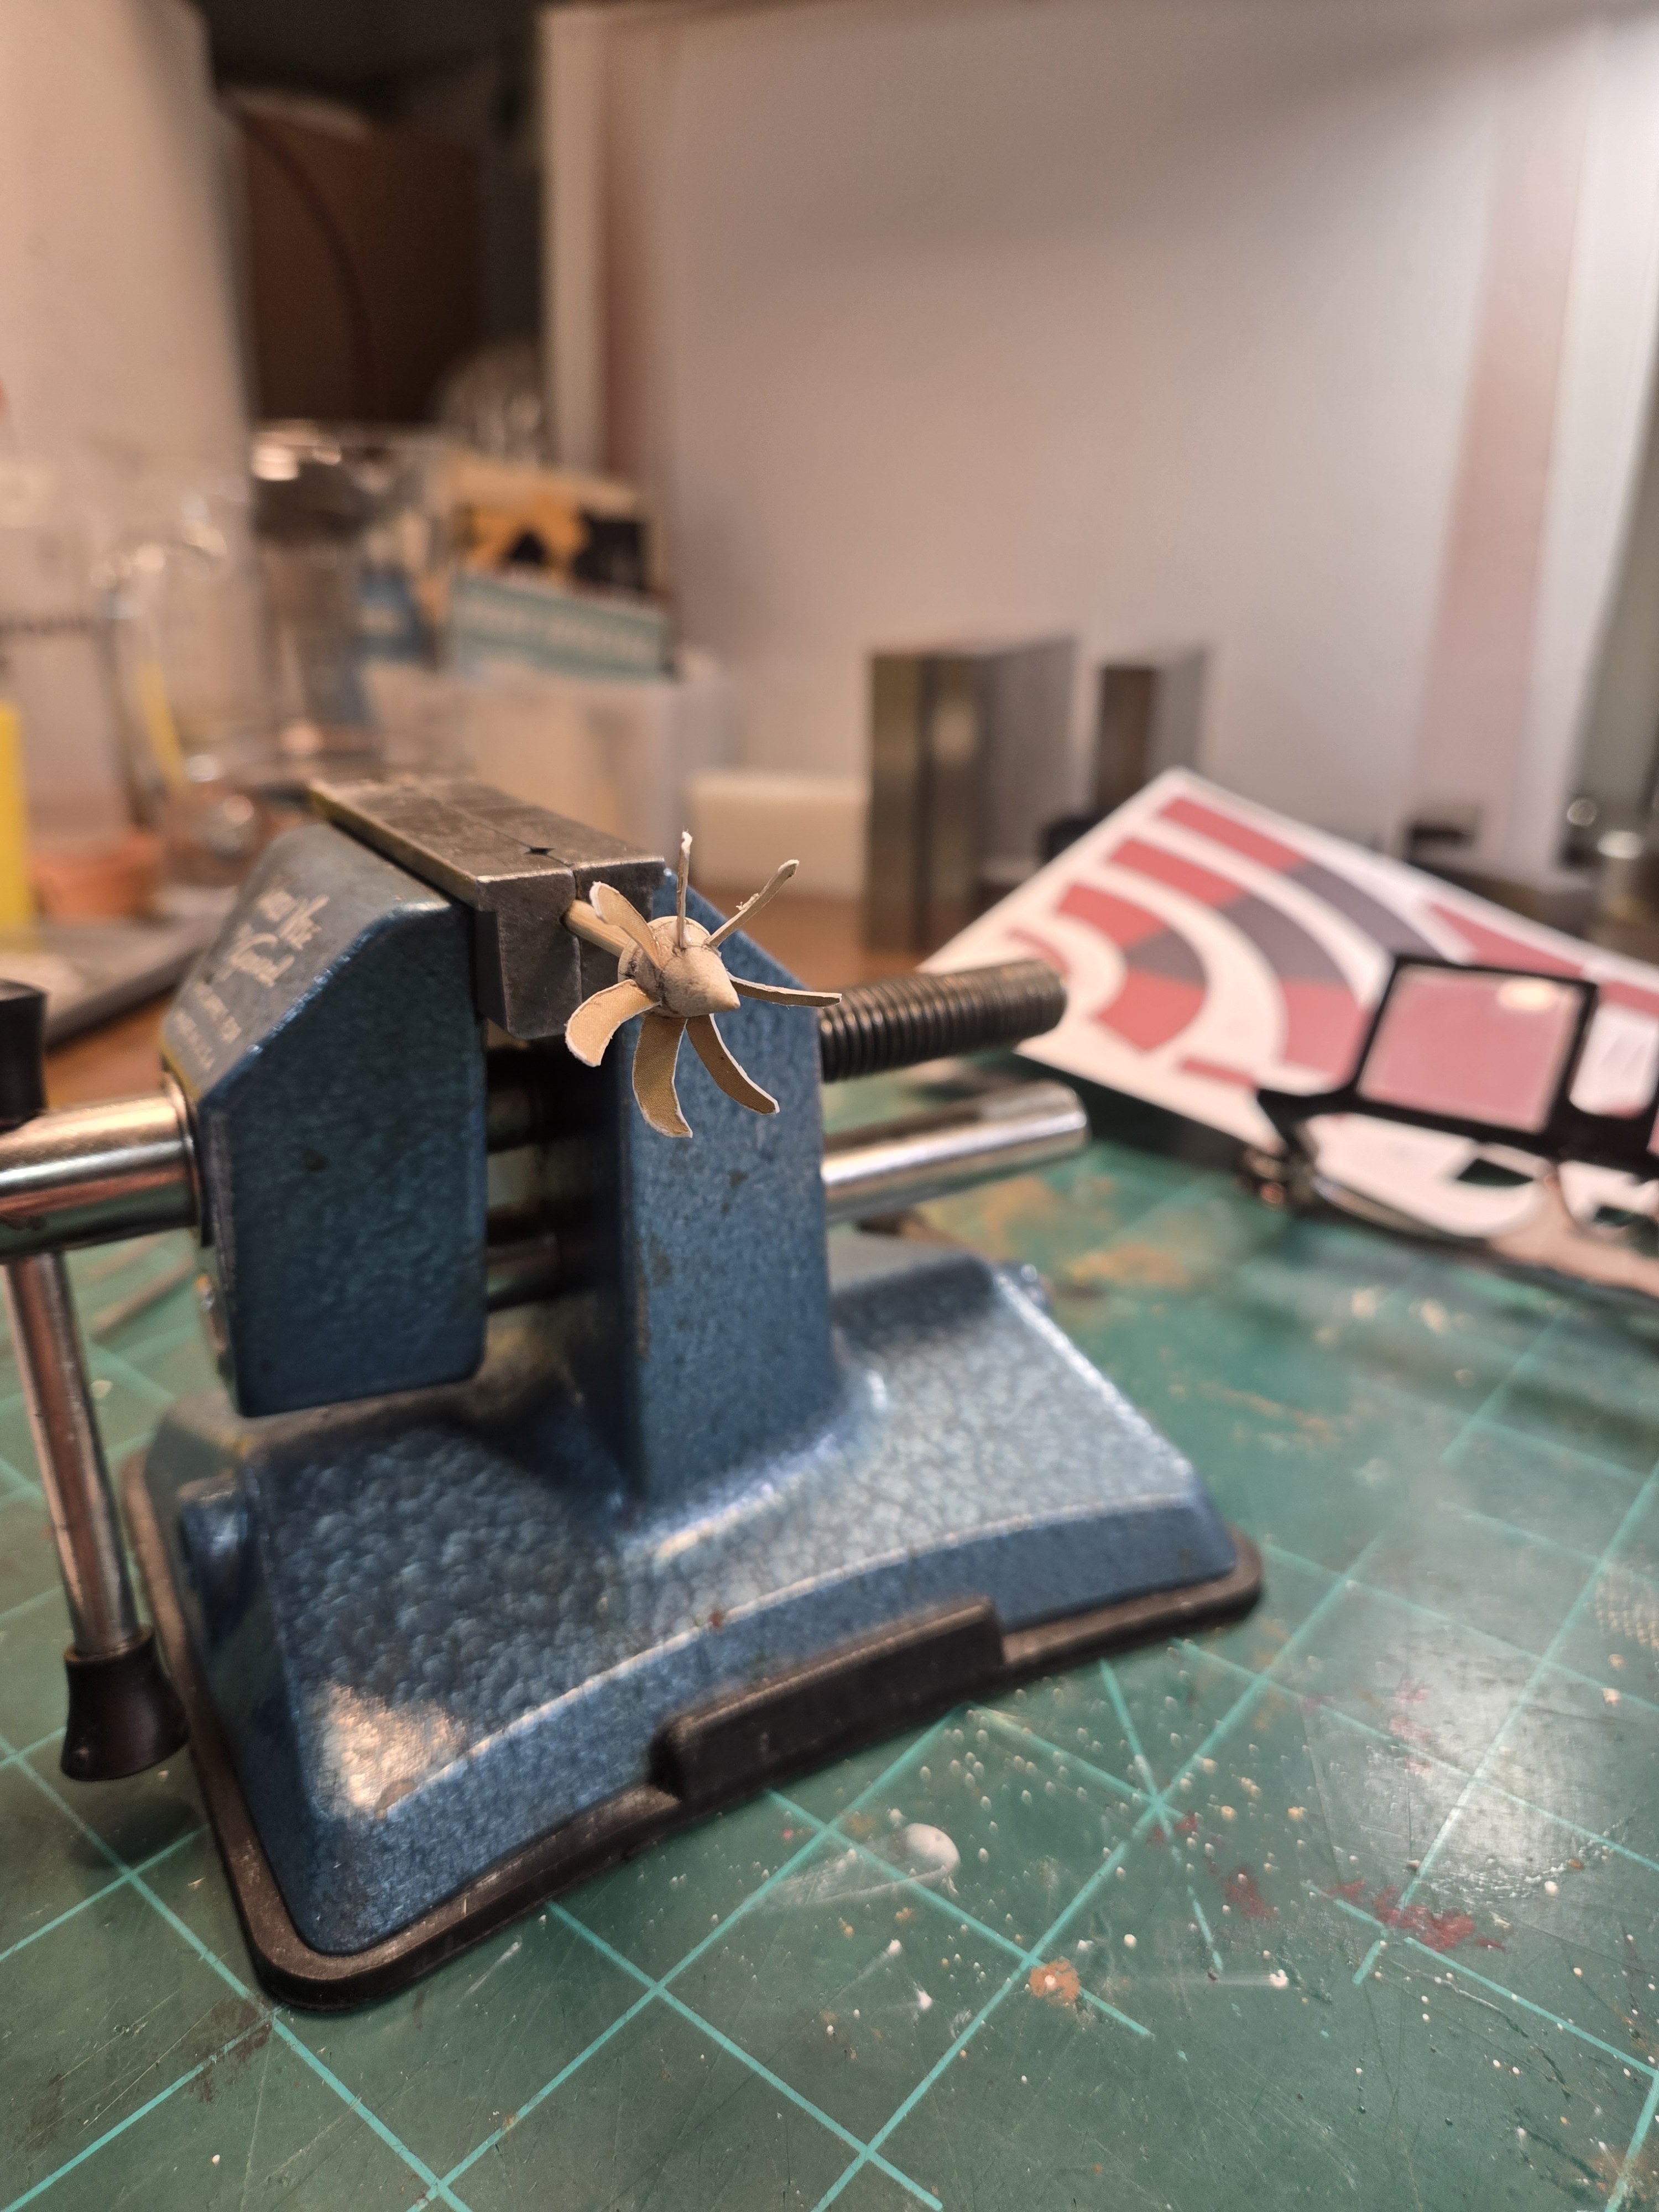
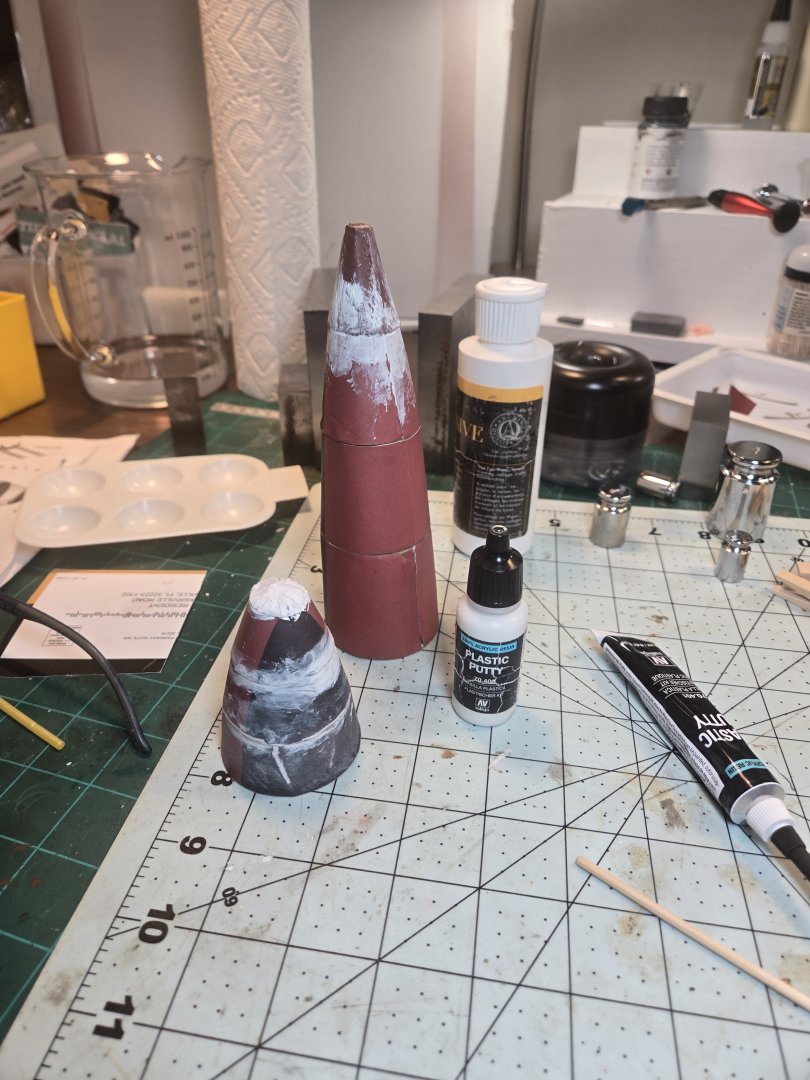
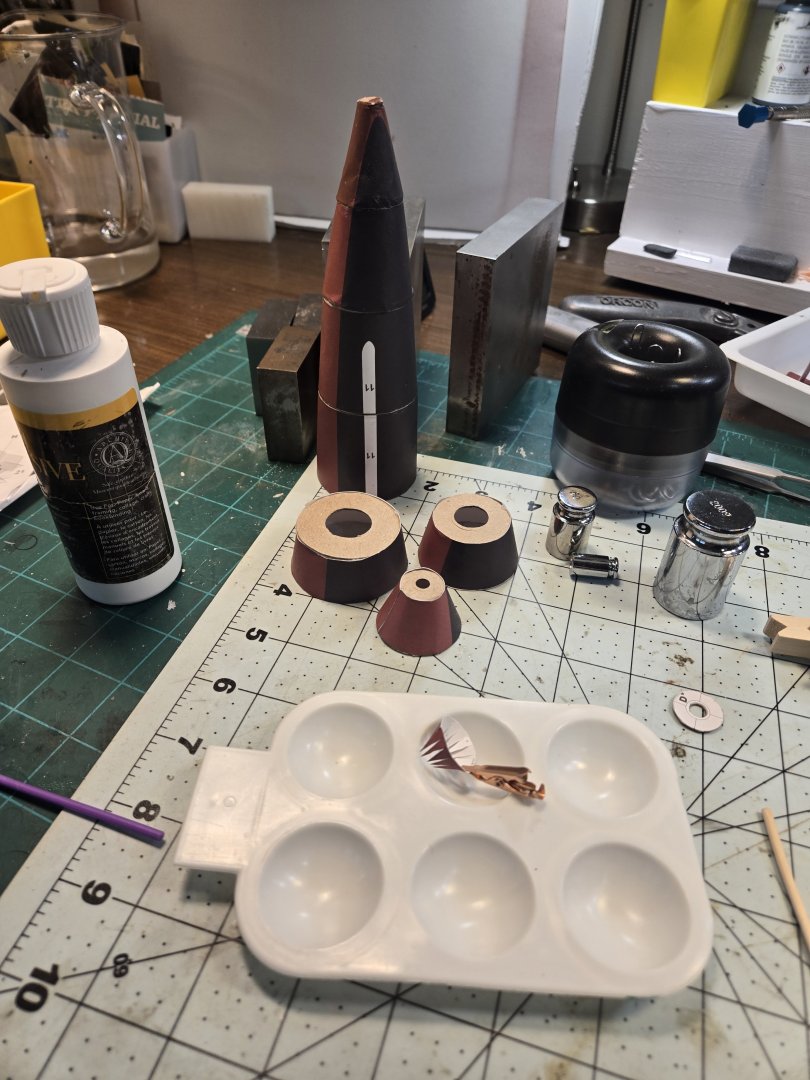
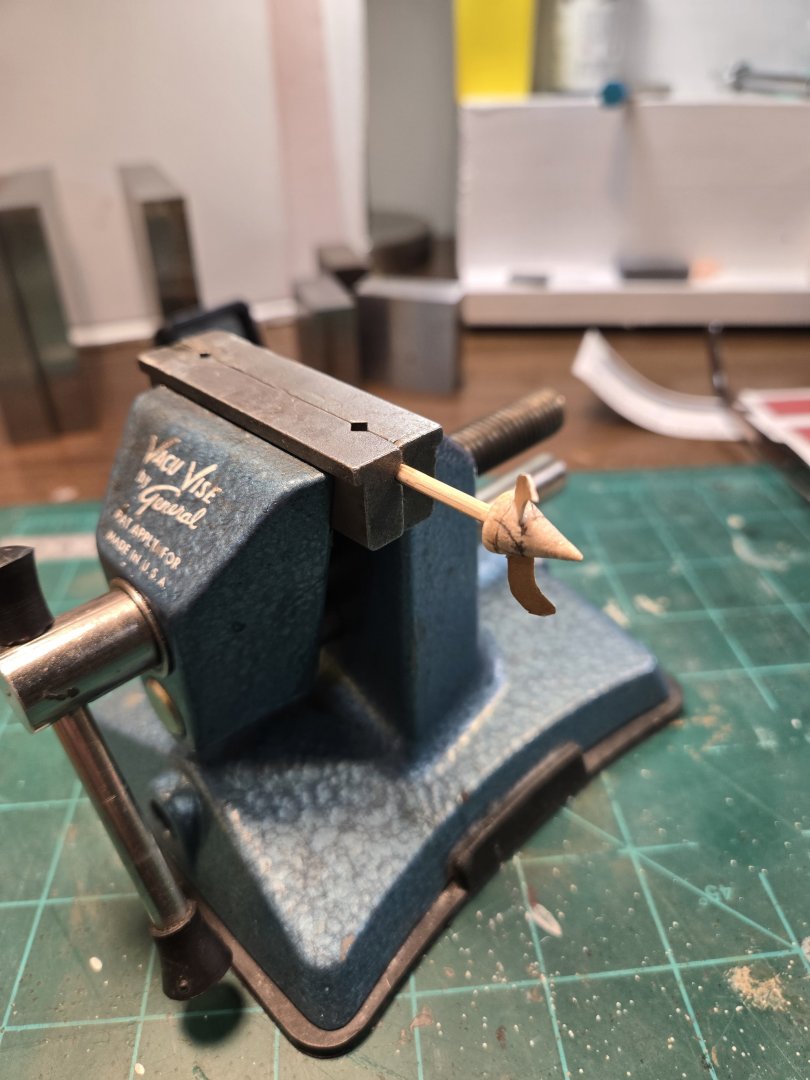
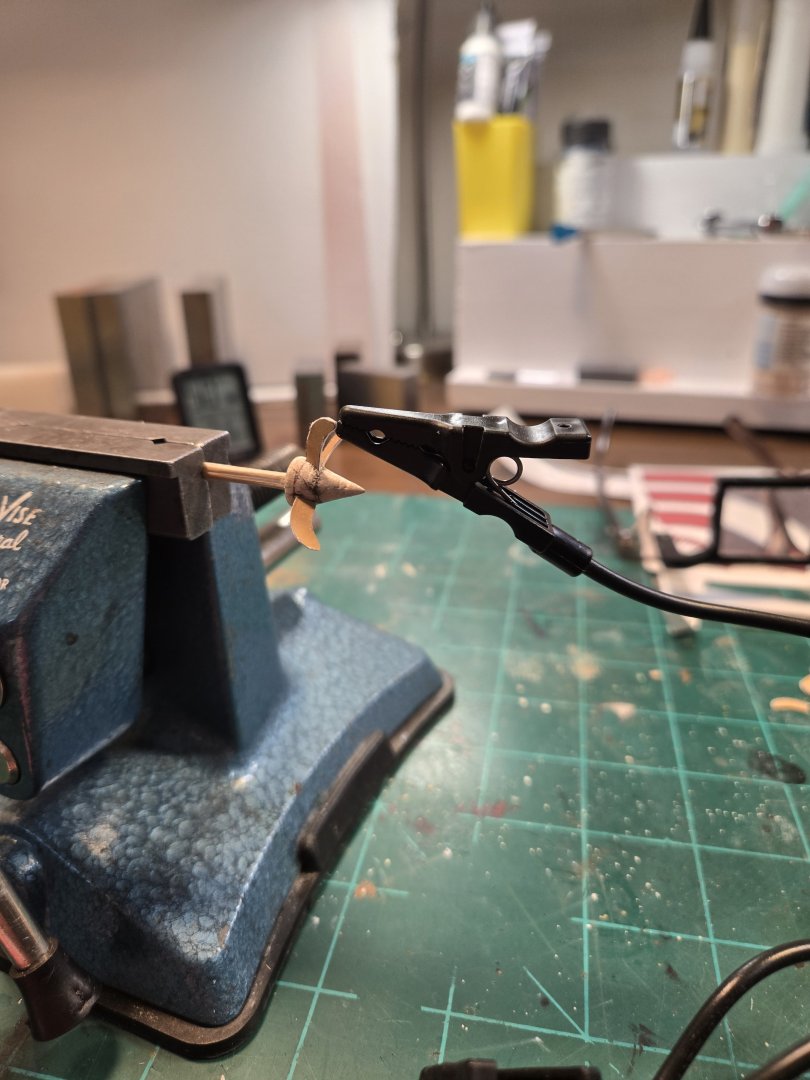
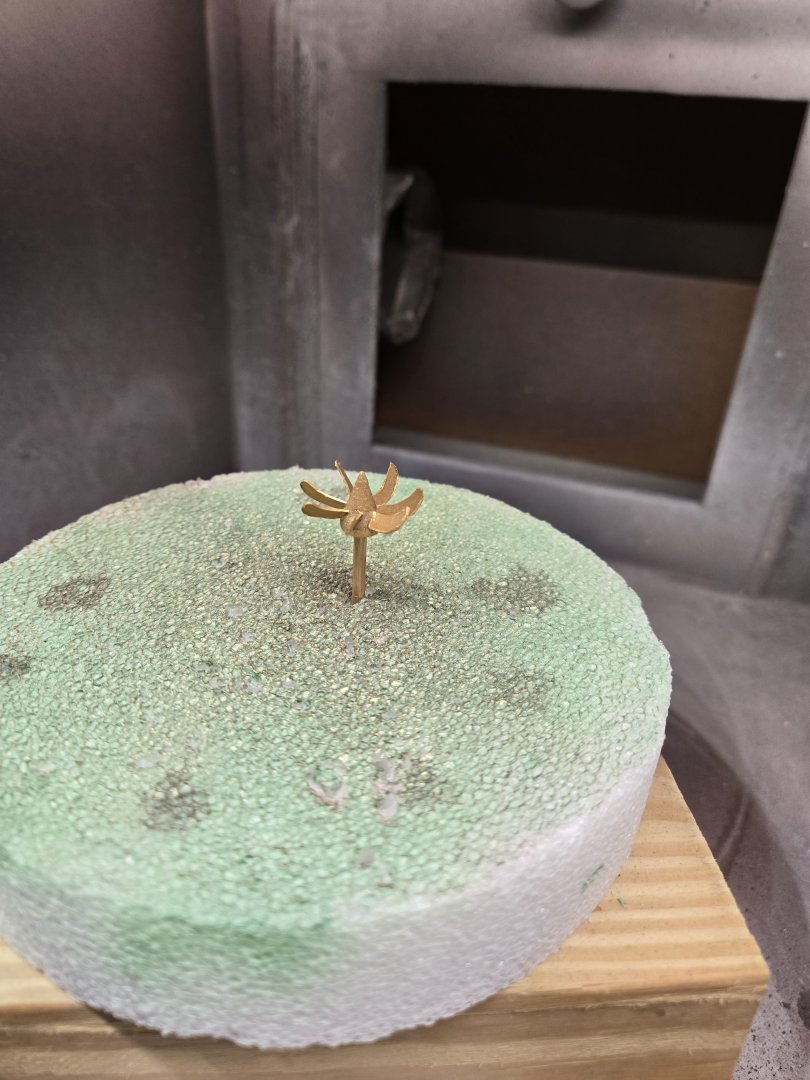
Next up was the propeller flukes. I used the paper ones from the kit. Figuring out where they go was the fun part. I reasoned that the 7 flukes are equidistant apart at both ends of their mount points so I drew a circle down low on the hub to represent where the fluke mounts start. I measured the circumference of the circle, and divided by 7. That gave me the fluke spacing for the lower mount point. I ticked off the 7 marks on the circle with a pencil. You can see the circle in the first picture. I estimated the pitch of the flukes and figured out where to draw a second circle around the hub for the upper mount point of each fluke. Again dividing by 7 flukes gave me the spacing for THAT circle. All that was left was to use the pitch to put the first tick mark on the upper circle. The 6 other tick marks followed. I glued the flukes with white glue. A helping hand alligator clip acted as a support while each fluke dried. I then air brushed the finished propeller with gold paint (that looks brass-like). After the propeller was done, I cut off the bamboo skewer with a Zona razor saw.

-
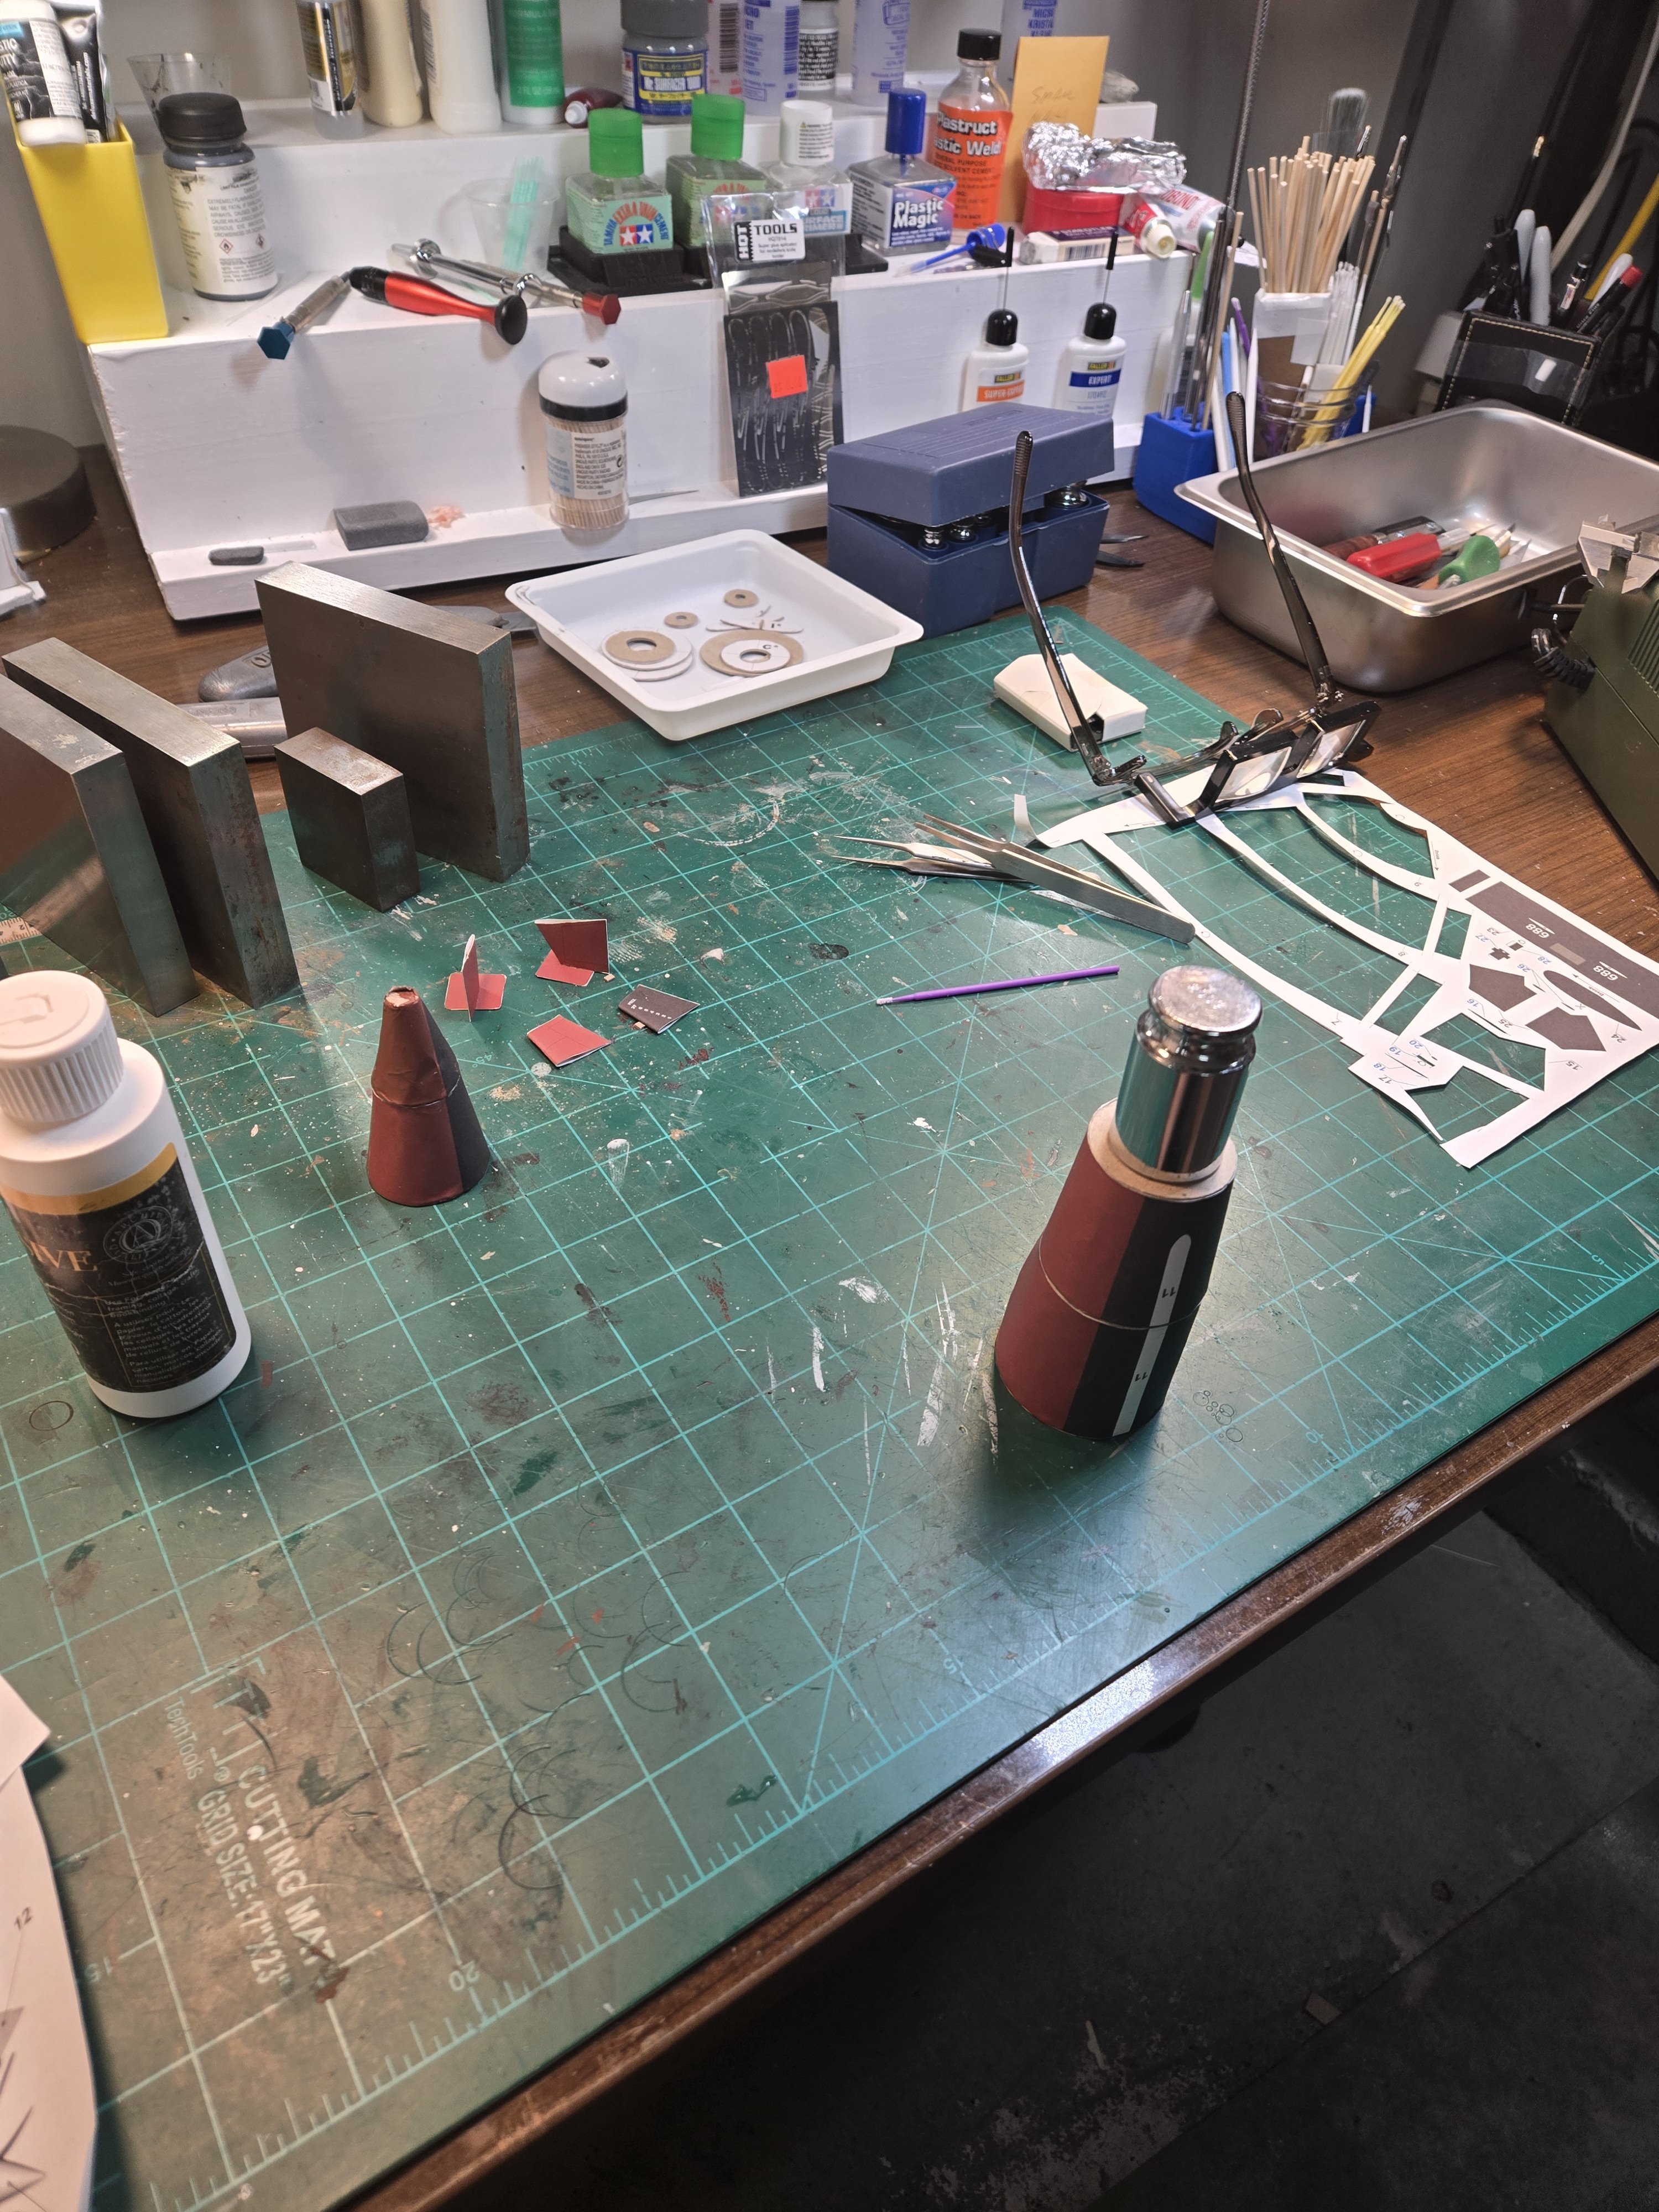
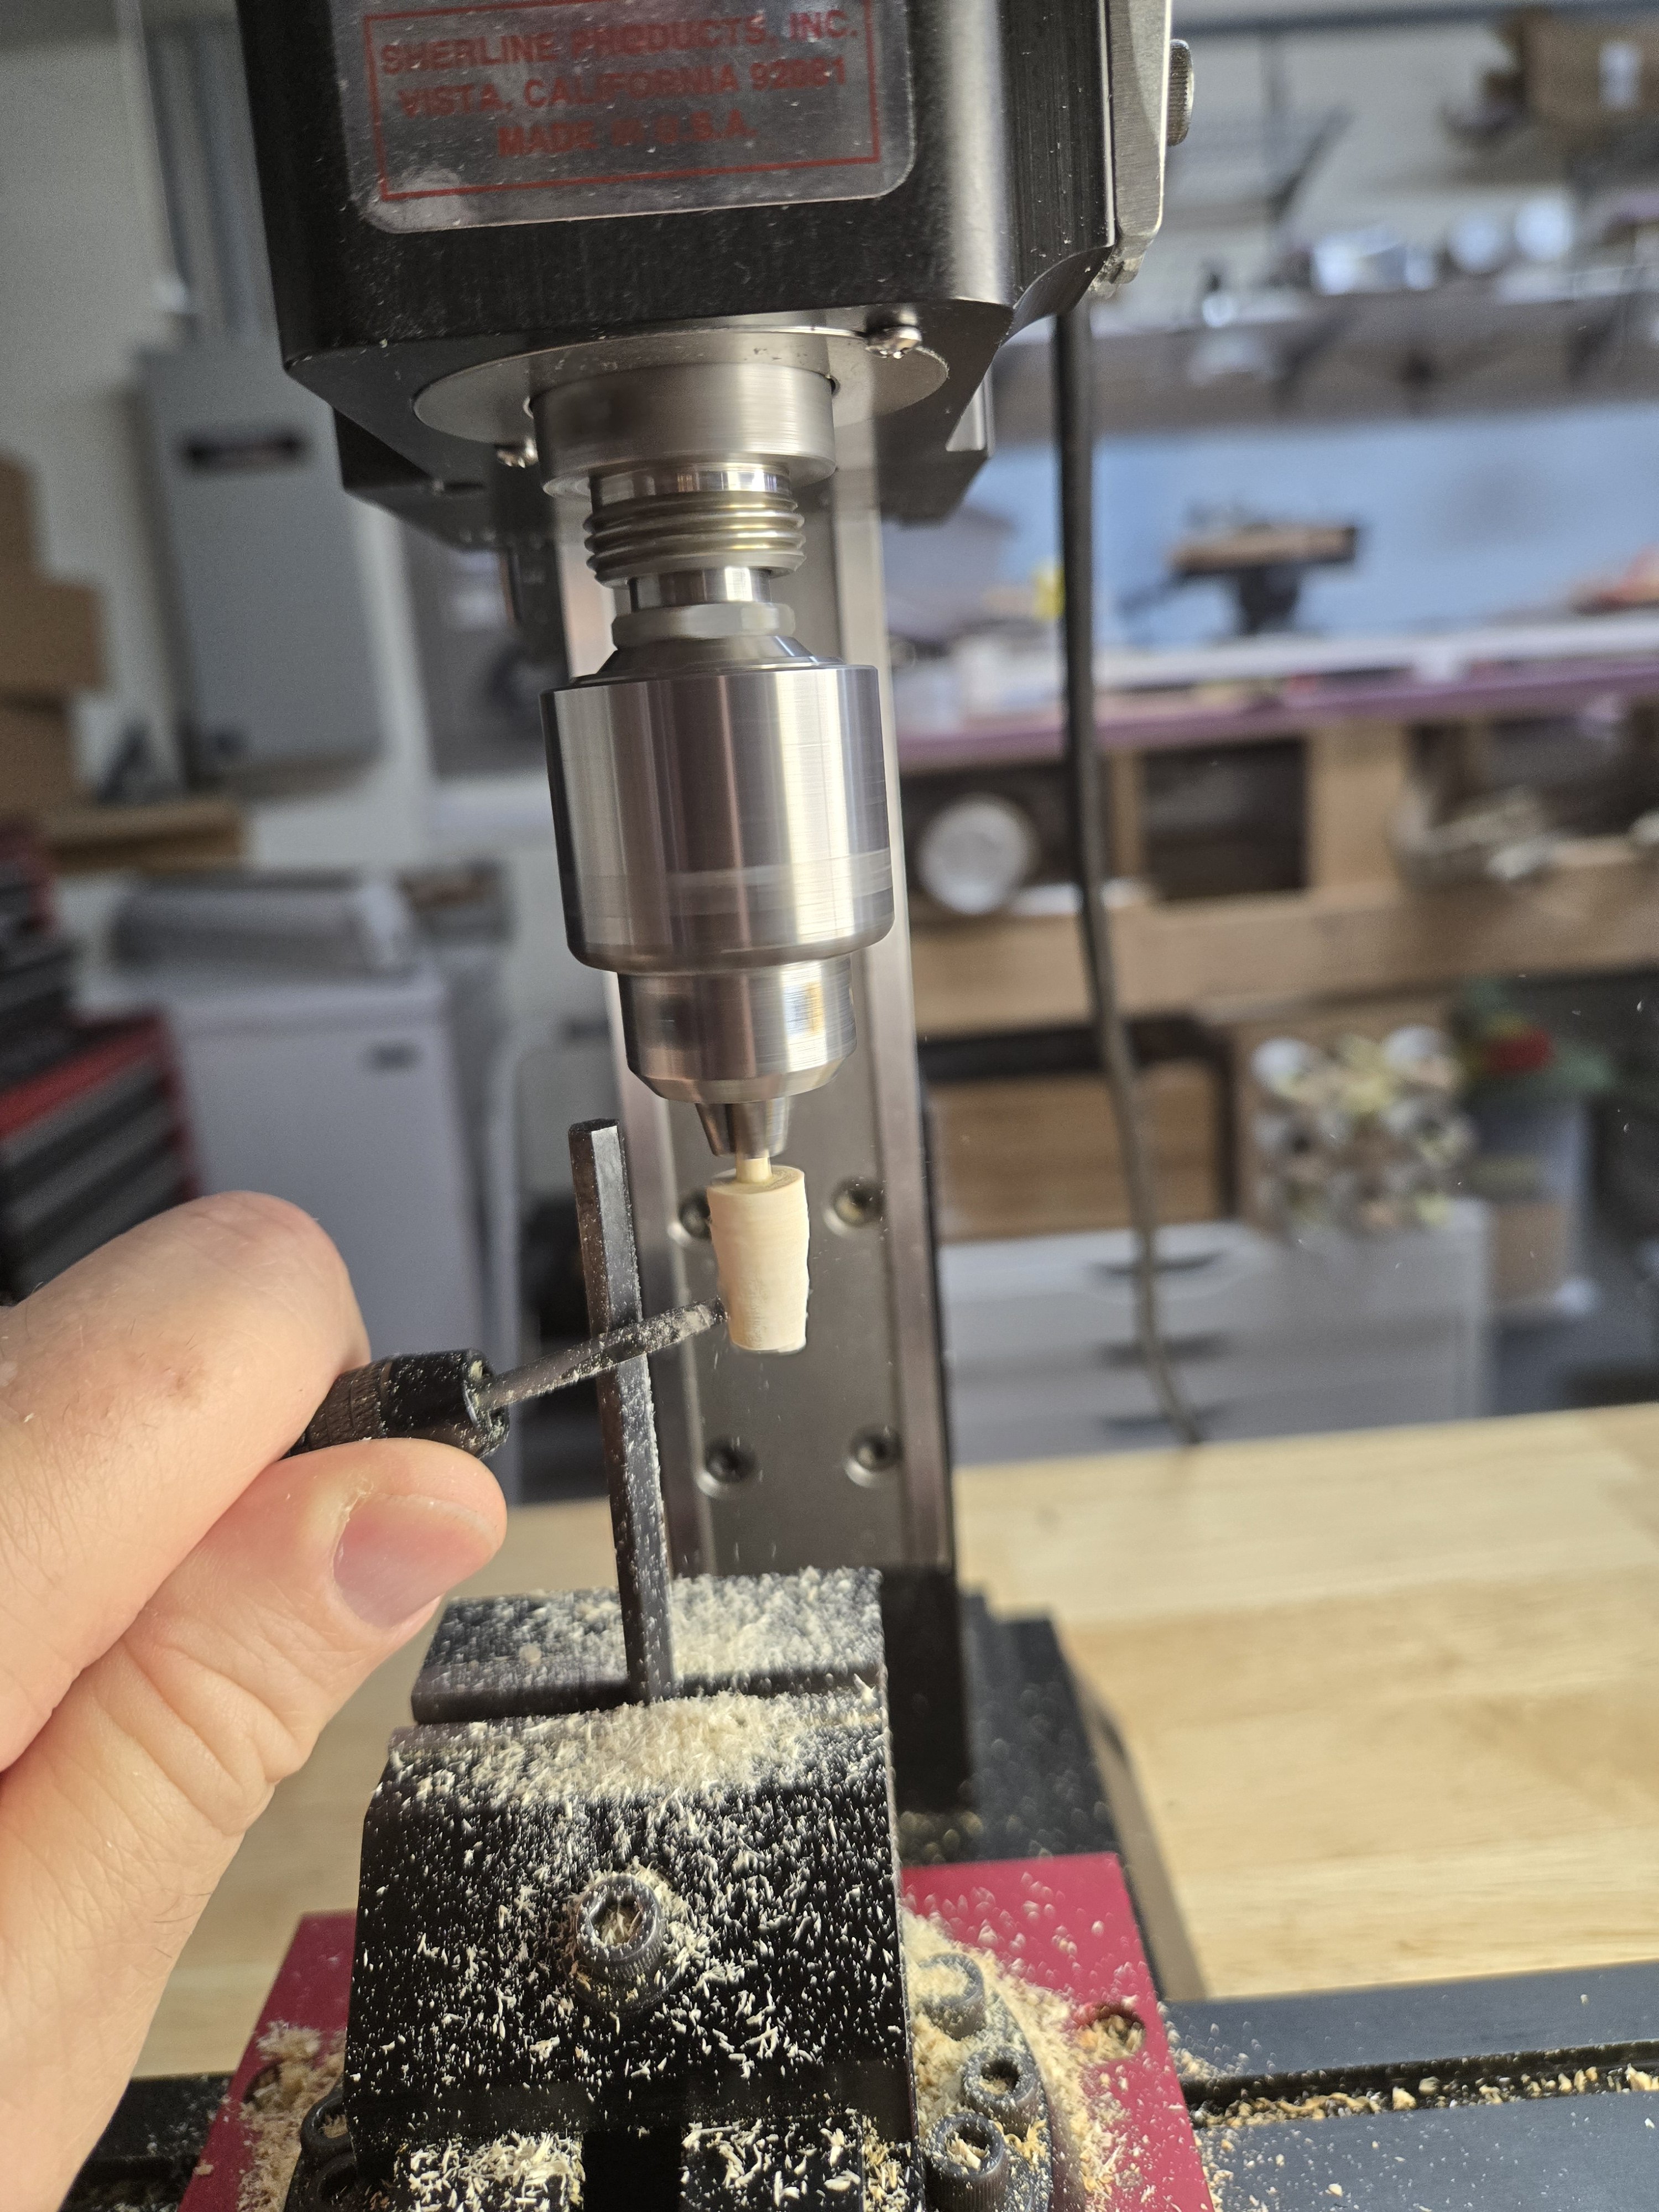
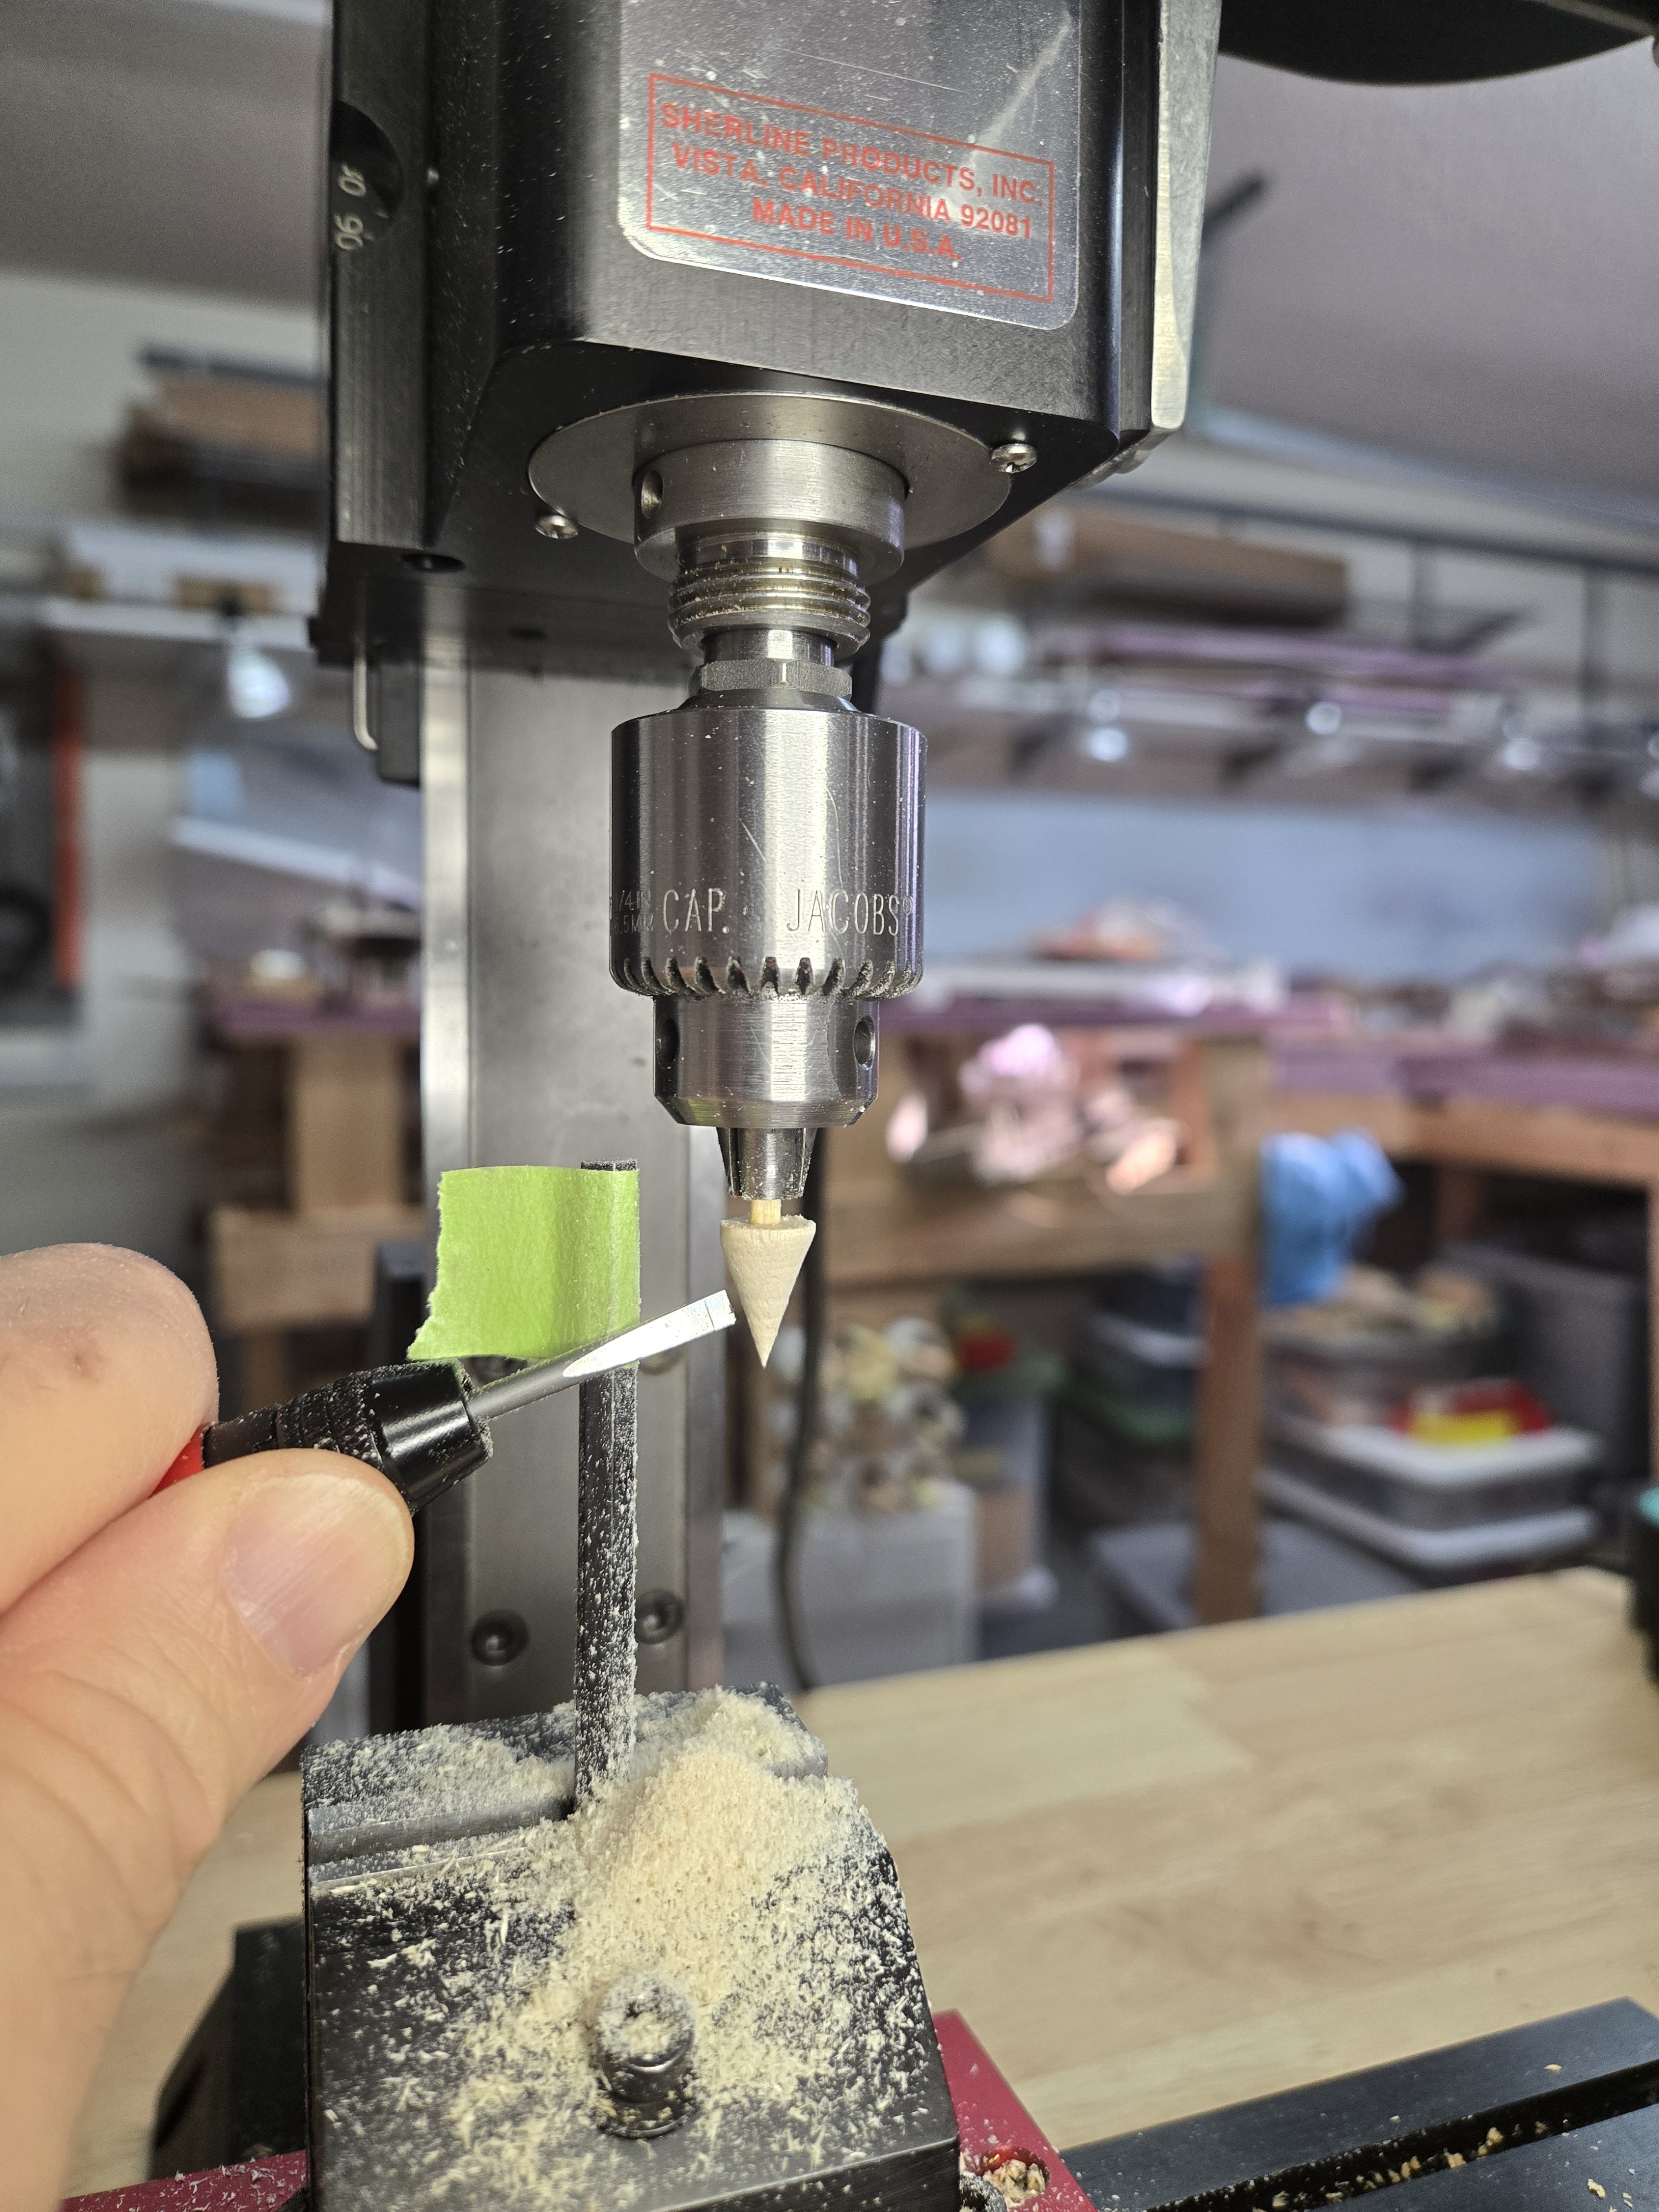
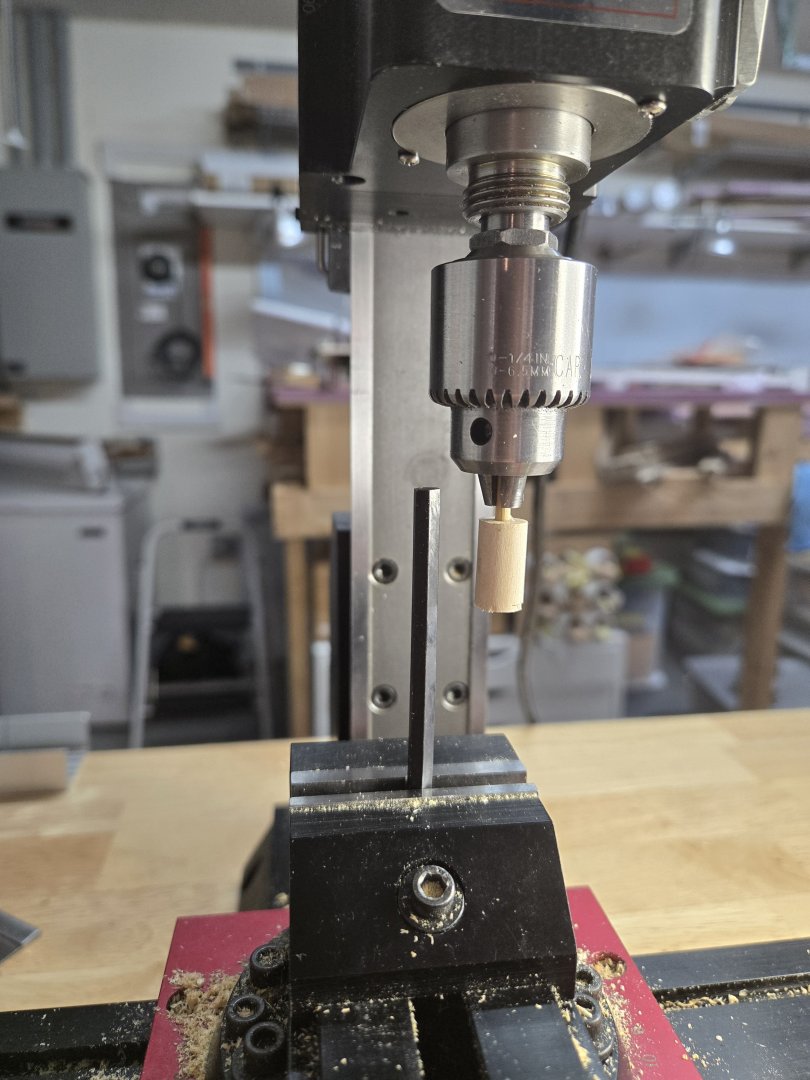
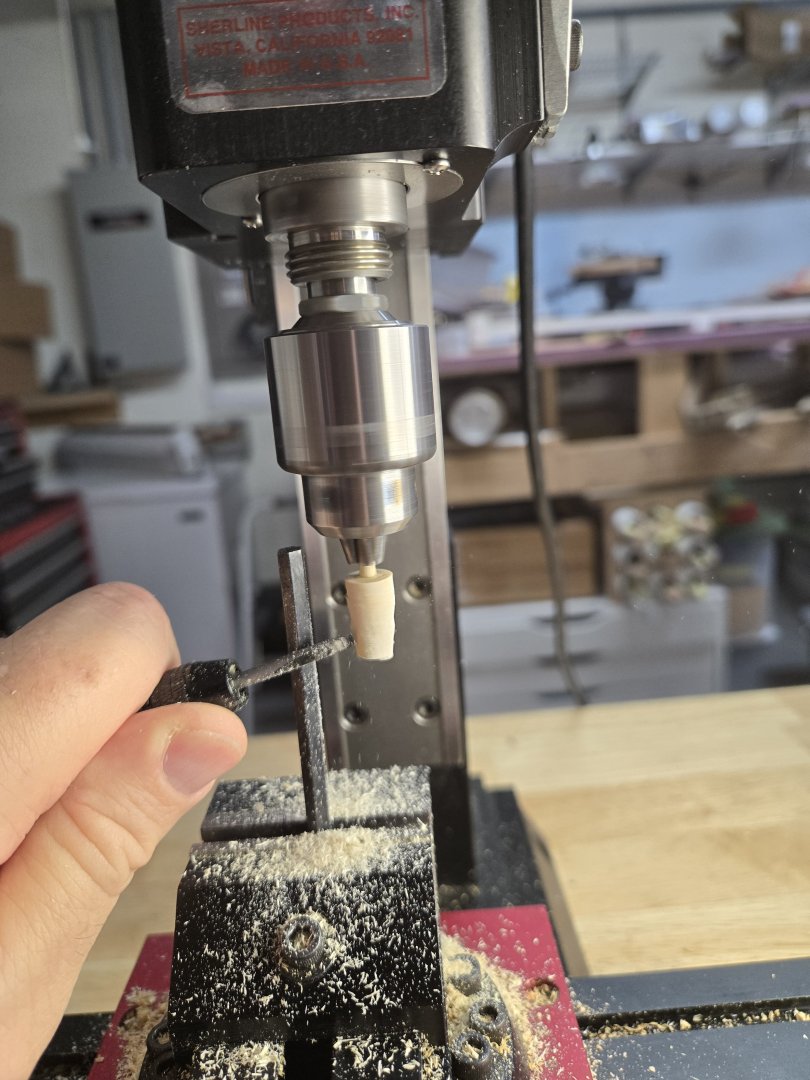
The first thing I picked to tackle with the project restart was the propeller hub. It was the last thing I built last year in the winter of 2024 and I was not happy with it. The hub of the propeller was a small paper cone. There were 7 marks on the cone where the 7 fluke of the propeller go. But if you do not roll the cone of the hub perfectly and glue the edges exactly then there will be a gap in the arrangement of the flukes. I had not done a good enough job and so I was unhappy with my hub. You can see it in the first photo. I decided to betray the card modeler's creed (give me card or give me death....or something like that) and use wood to make a replacement hub. A bamboo skewer glued into a 1/4" diameter piece of dowel created the blank. My Sherline mill and some Godhand spin blade chisels mounted in a pin vise did the work. The tool rest is an Allen hex key secured in the mill vise. I worked slowly and compared the wood version with the paper version to get the size right.


-
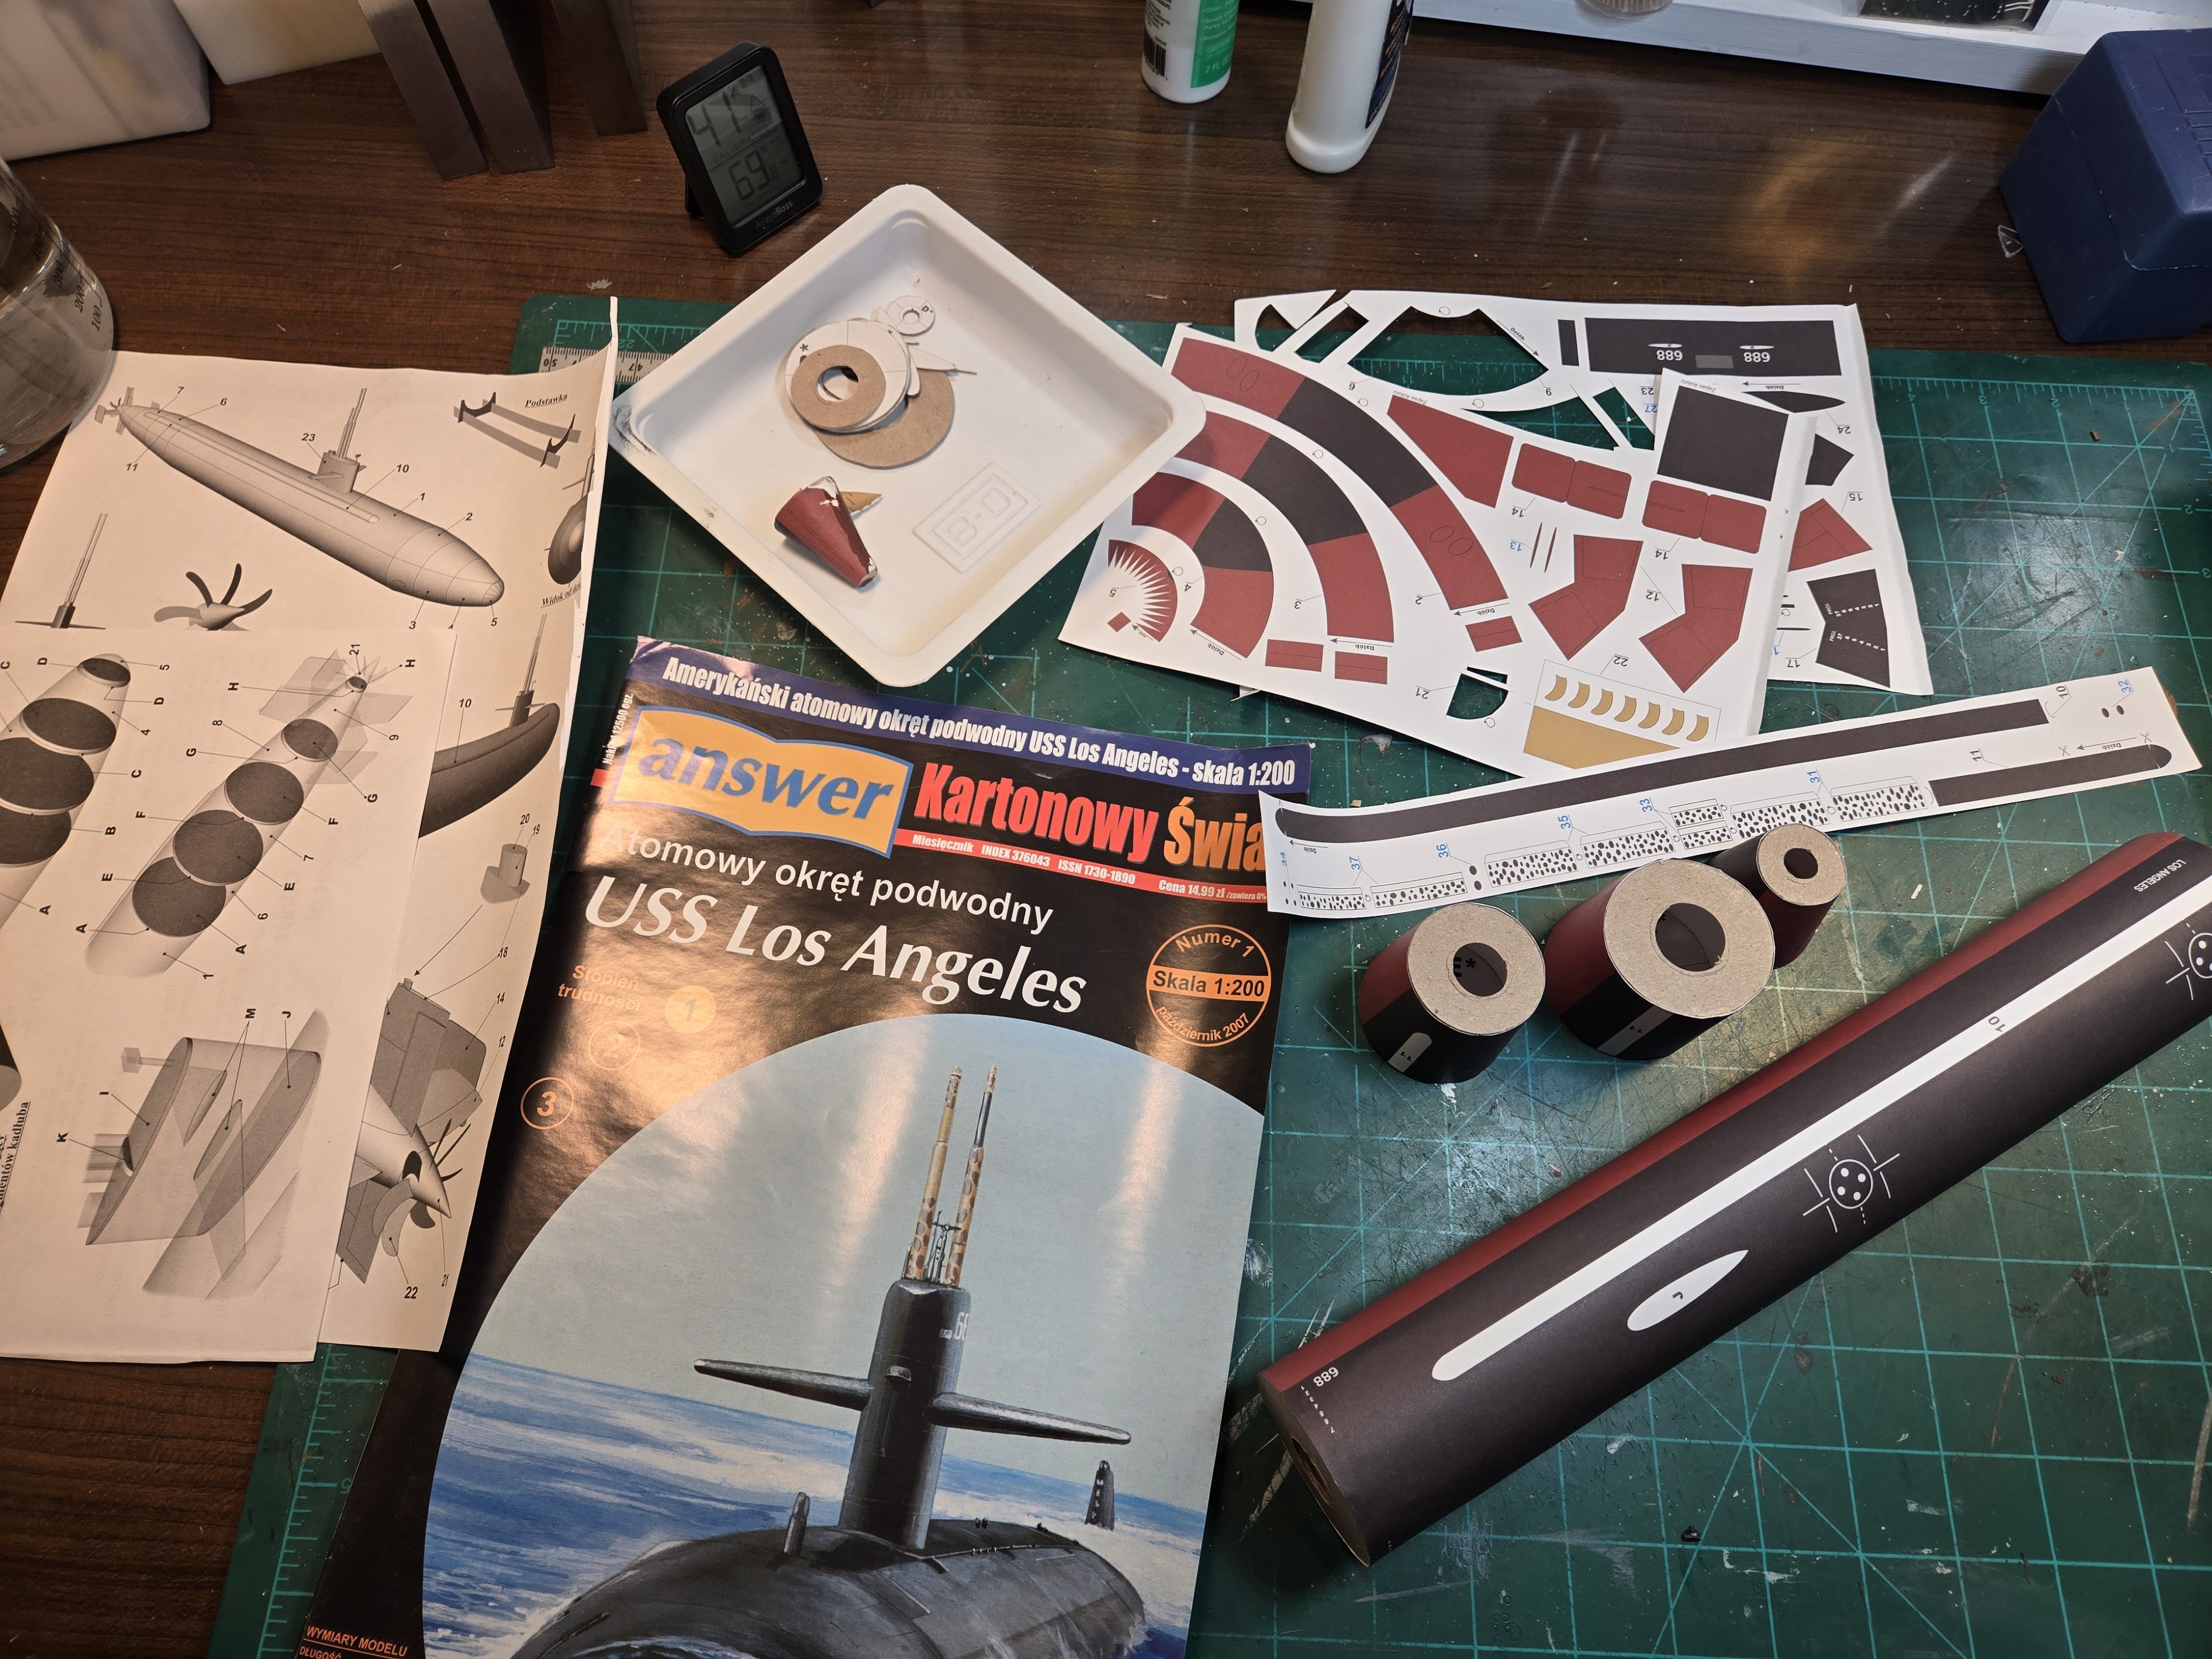
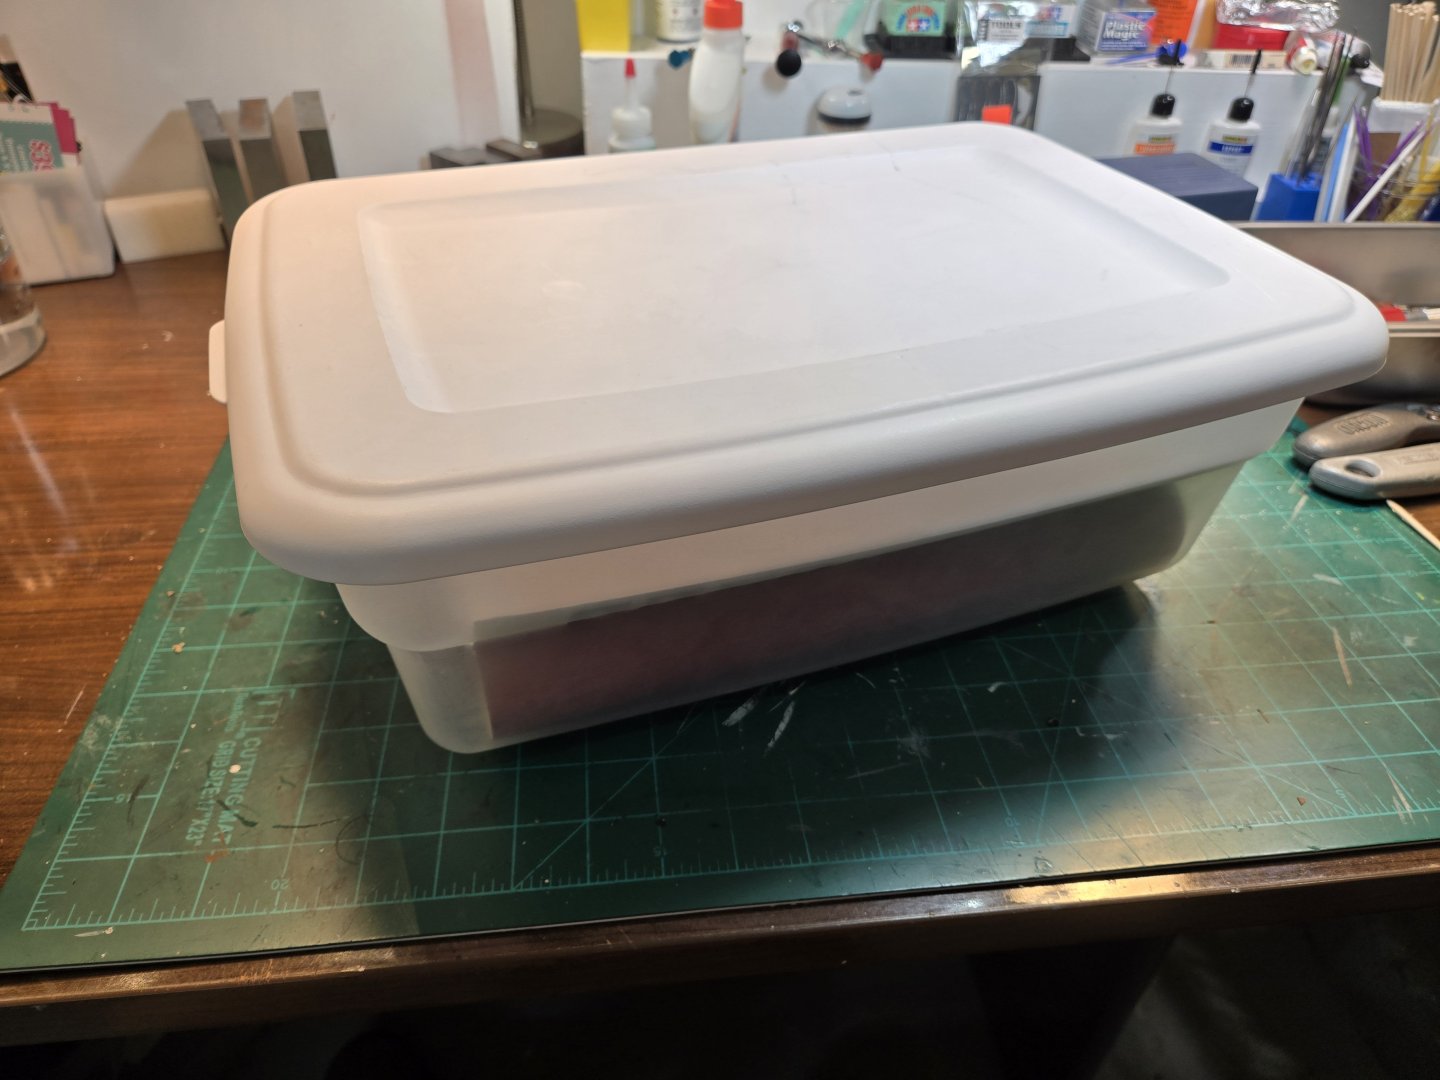
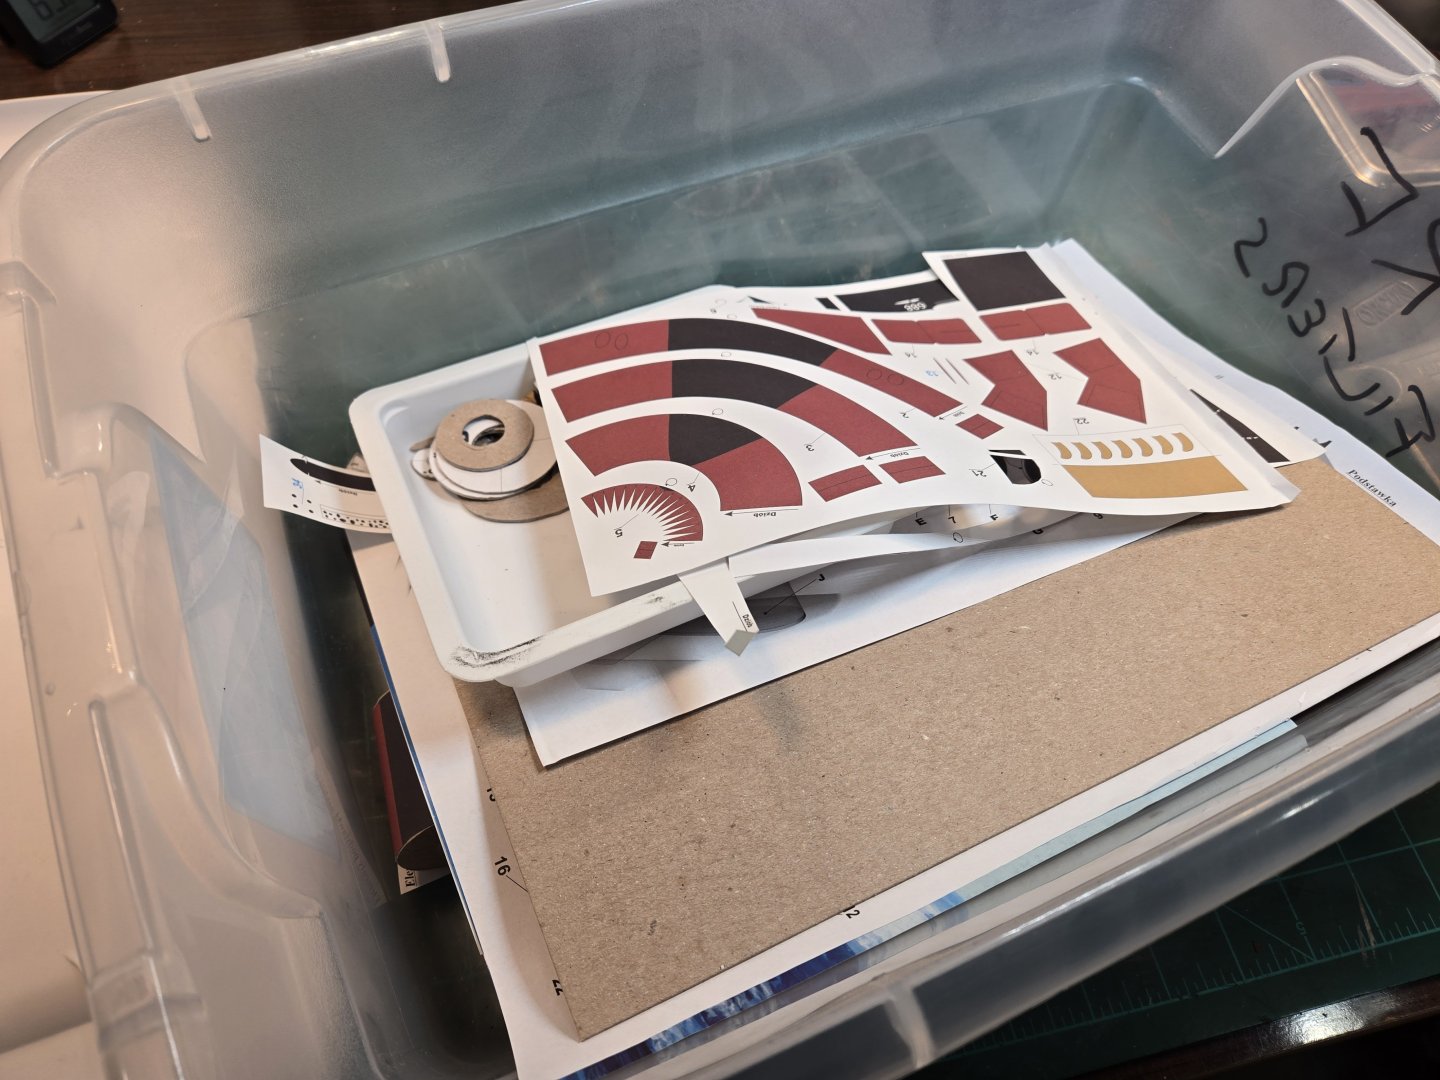
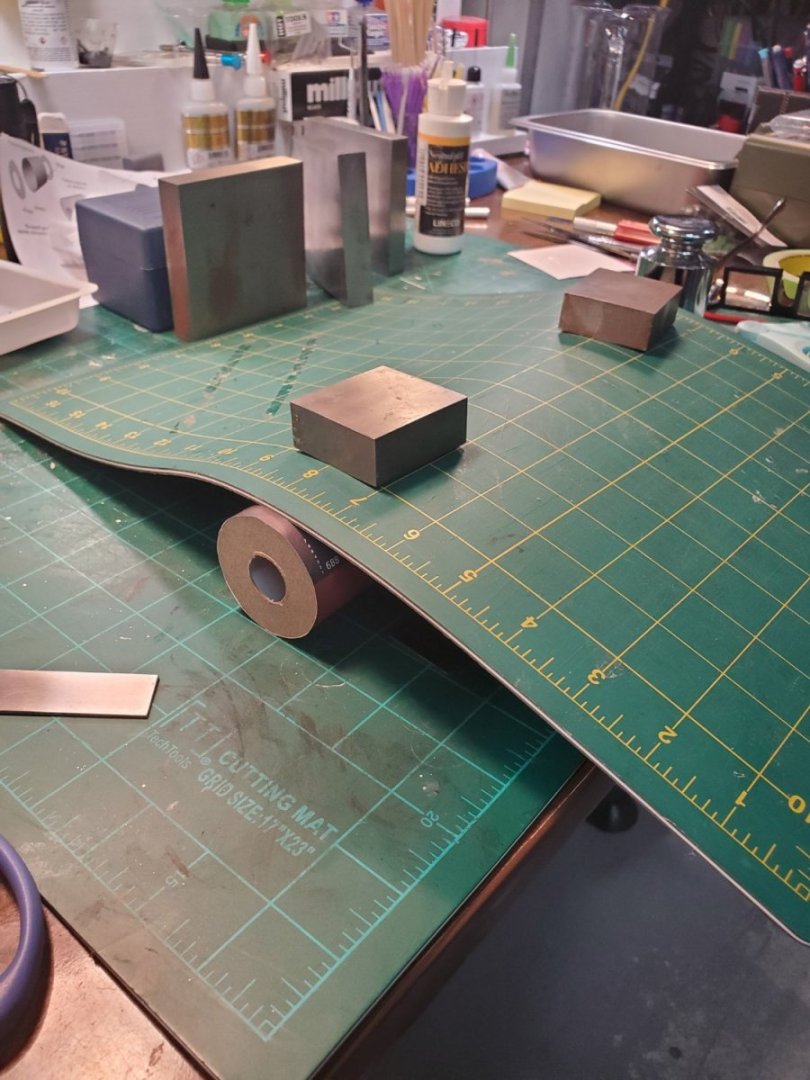
I stored the parts of the submarine in a plastic box and started by refamiliarizing myself with the project and where I left off.

-
Ok its been a year but I got back to work on this build. My humble apologies for the delay. Over the next two years I will be retiring to Thailand (my wife's homeland) and will have additional interruptions into modeling in general as we move our lives and hobbies to the other side of the world, but hopefully the future delays will not be so extreme.... Truth be told and spoiler alert, I fished the build of the USS Los Angeles (as the USS Helena) and the posts below are the documentation of the process. Skip to the end if you want to see how it turned out. 😃
-
I will be selling part of my collection of model ship kits at Modelpalooza in Orlando Florida on October 12-13, 2024. I won't be there Friday the 11th (its a 3-day event), and hopefully they won't cancel because of the hurricane. https://www.ipmsorlando.org/modelpalooza-home.html Come by tables 24 and 25 in the vendor area. I am downsizing my private collection before I retire and move. I should have about 30 ship kits priced to sell, some old, some new, some rare, some wood, some plastic: Sterling, MSW, Marine Model Company, Scientific, Revell, Lindberg, Pyro, Artesania Latinas, and Constructo. Hope to see you there! Brian
- 1 reply
-
- 2
-

-
Life sidetracked me. I had to go overseas for a few months. I hope to restart this project later this fall...... Sorry for the terribly delayed response Chris. Brian
-
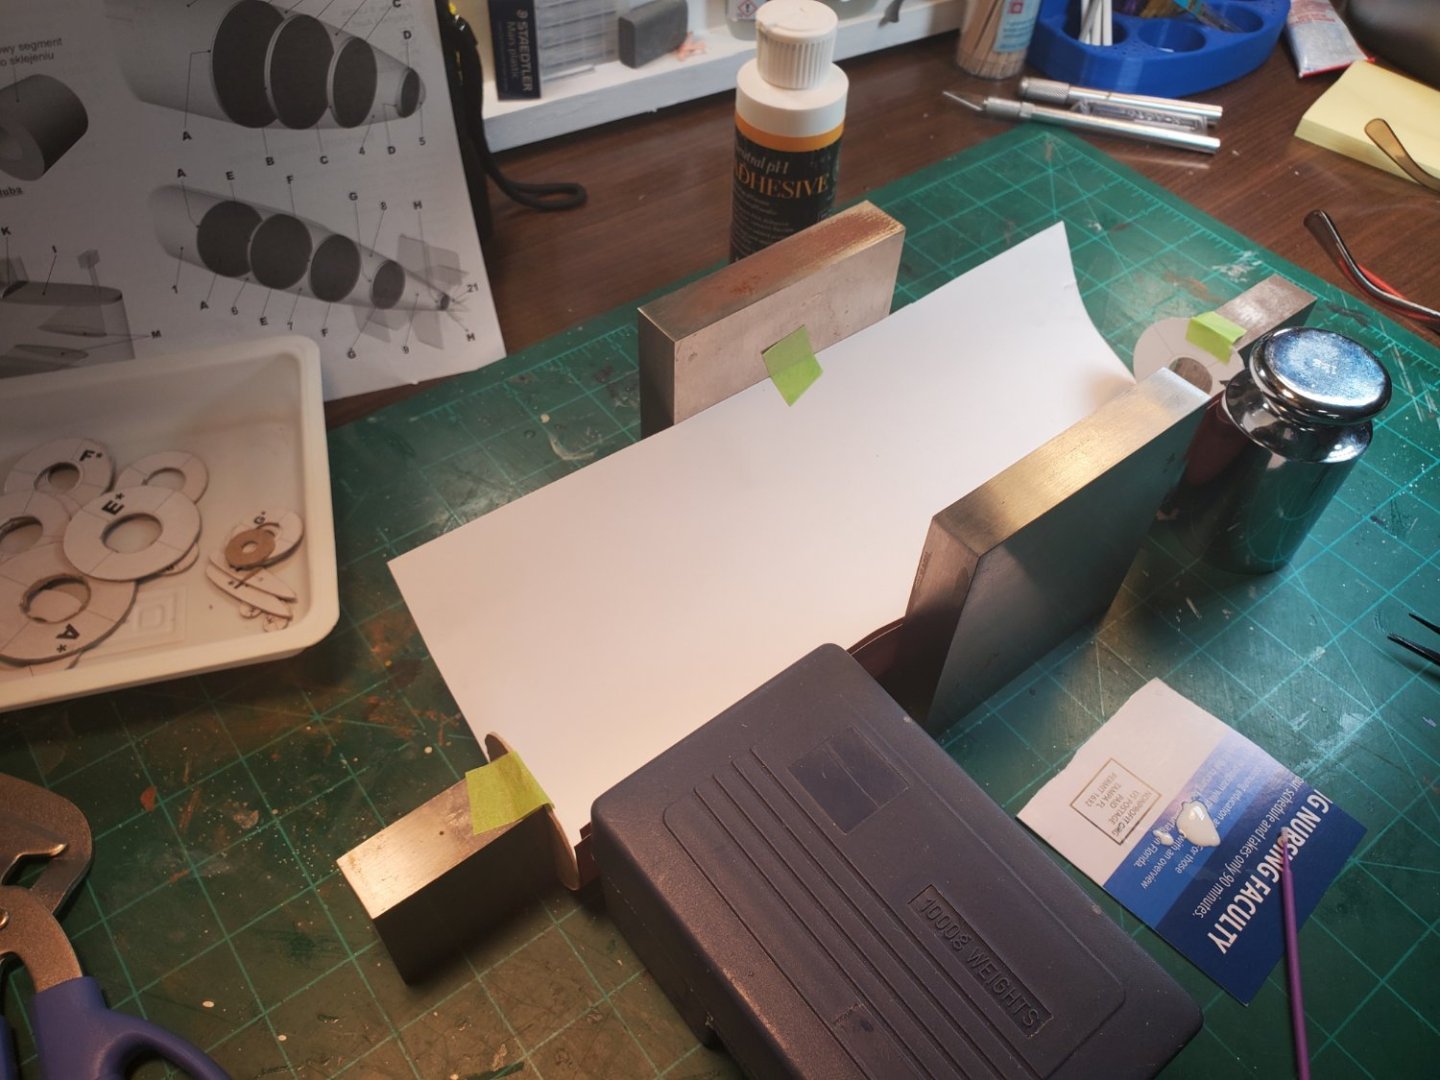
Working on the aft hull sections. Tried two techniques but in the end the one that seems to work, at least for me, is to get the bulkheads glued to the hull at one point. Next let them dry so they are firmly attached. Then apply glue on small arcs of the hull wrapper, starting near the attached bulkhead, and align the bulkhead with the wrapper by hand. Let that dry for 10 minutes and, working gently, do another small arc. To help seal up the seam I use bench weights to apply pressure, after sticking my pinkie in the bulkhead holes to apply some back pressure to the seam. so it is flat and straight.


-
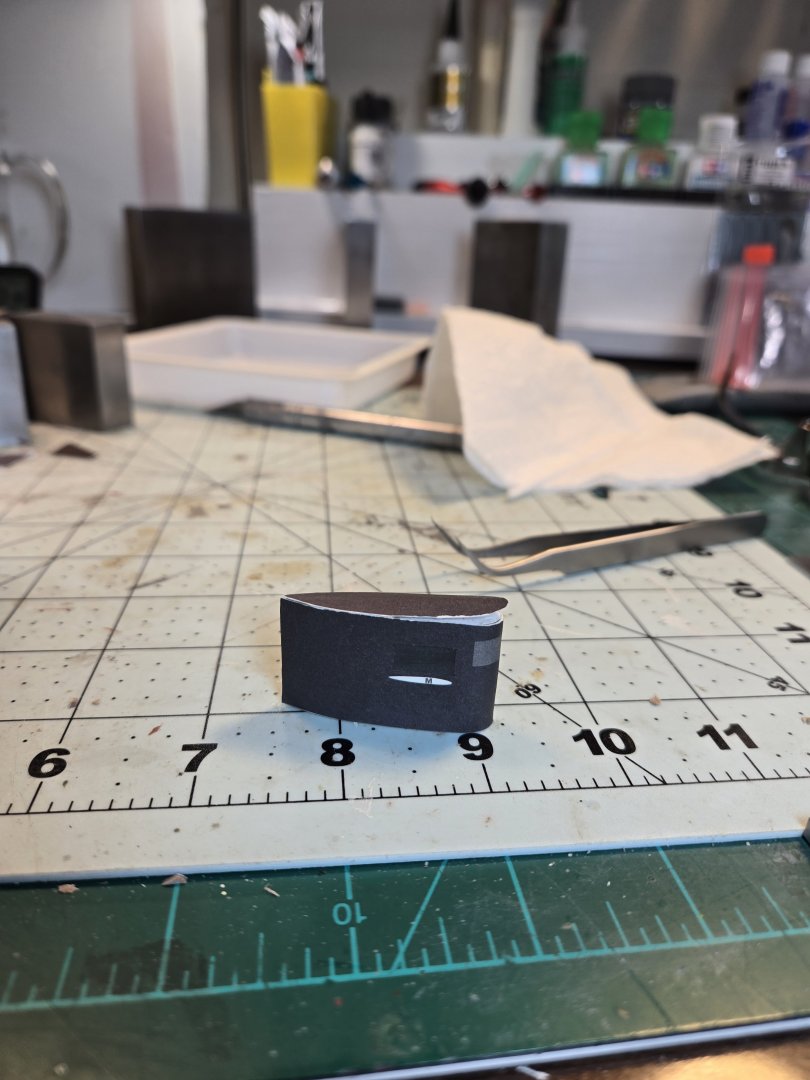
Rshoker, I like your conversion idea. I have a color laser printer. I can scan the bow section and import it into CorelDRAW where I can try to add the 12 Tomahawk hatch panel lines. I think it will be tricky since I suspect the hatch lines will be curved on a 2D layout of the hull section. CorelDraw has some Illustrator-style distortion tools that may save me. I can also practice print and shape a few until it looks right then put the 110 pound paper in the laser printer to print the cardstock version......
-
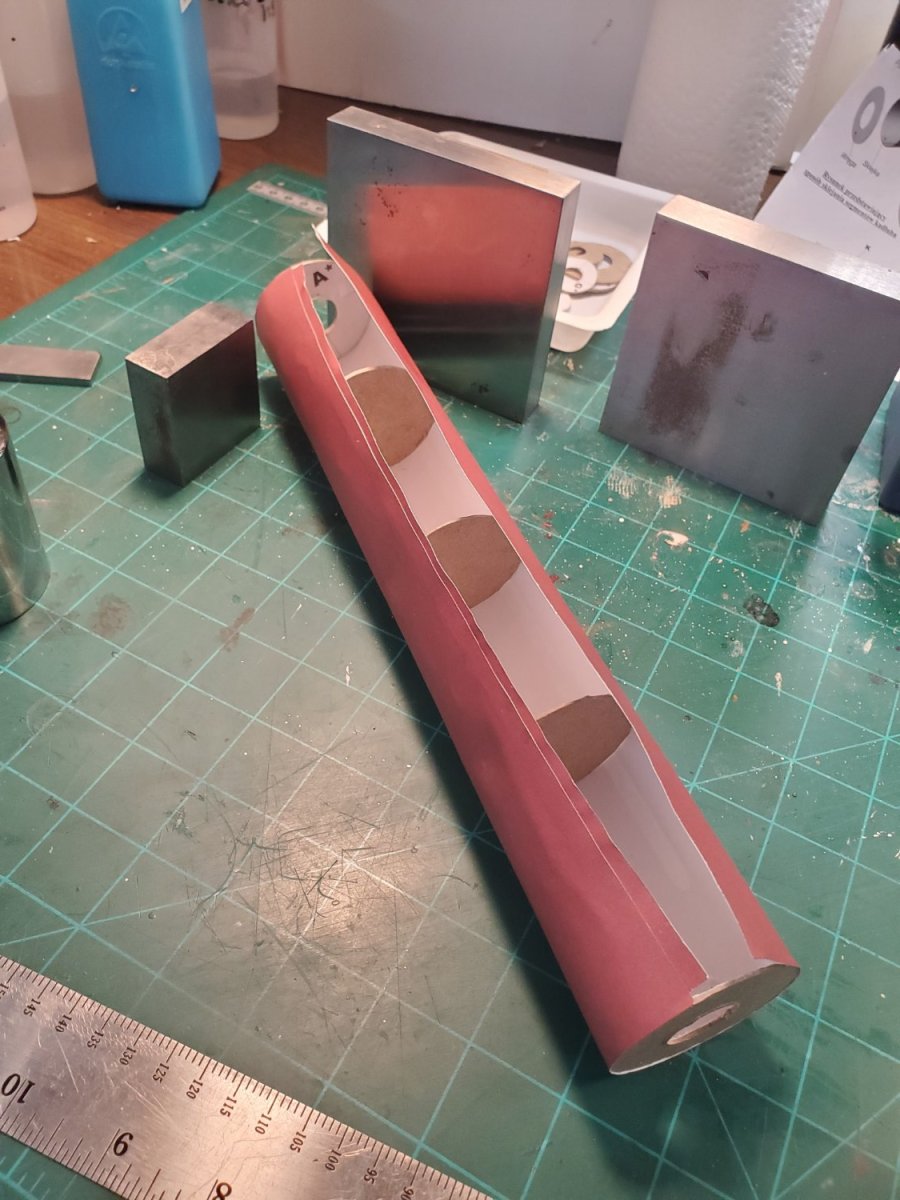
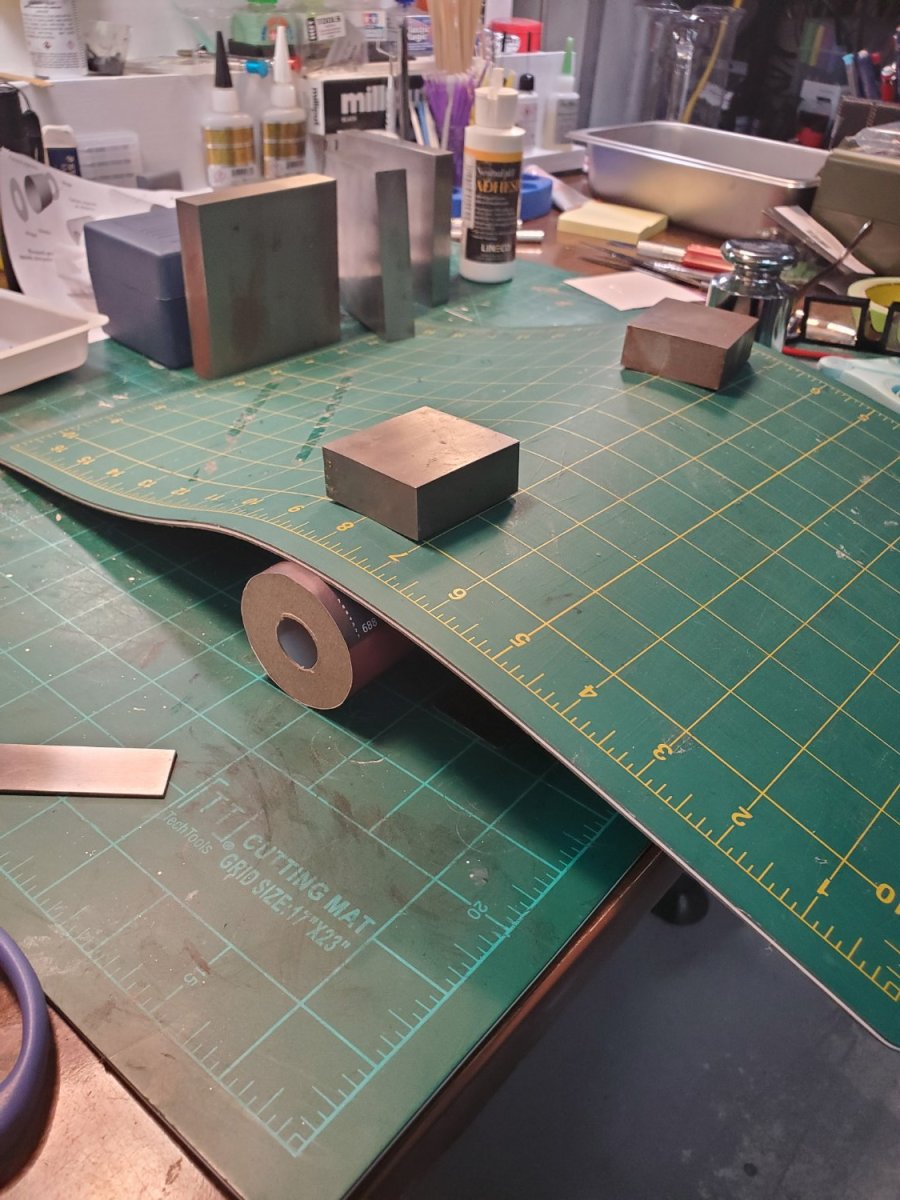
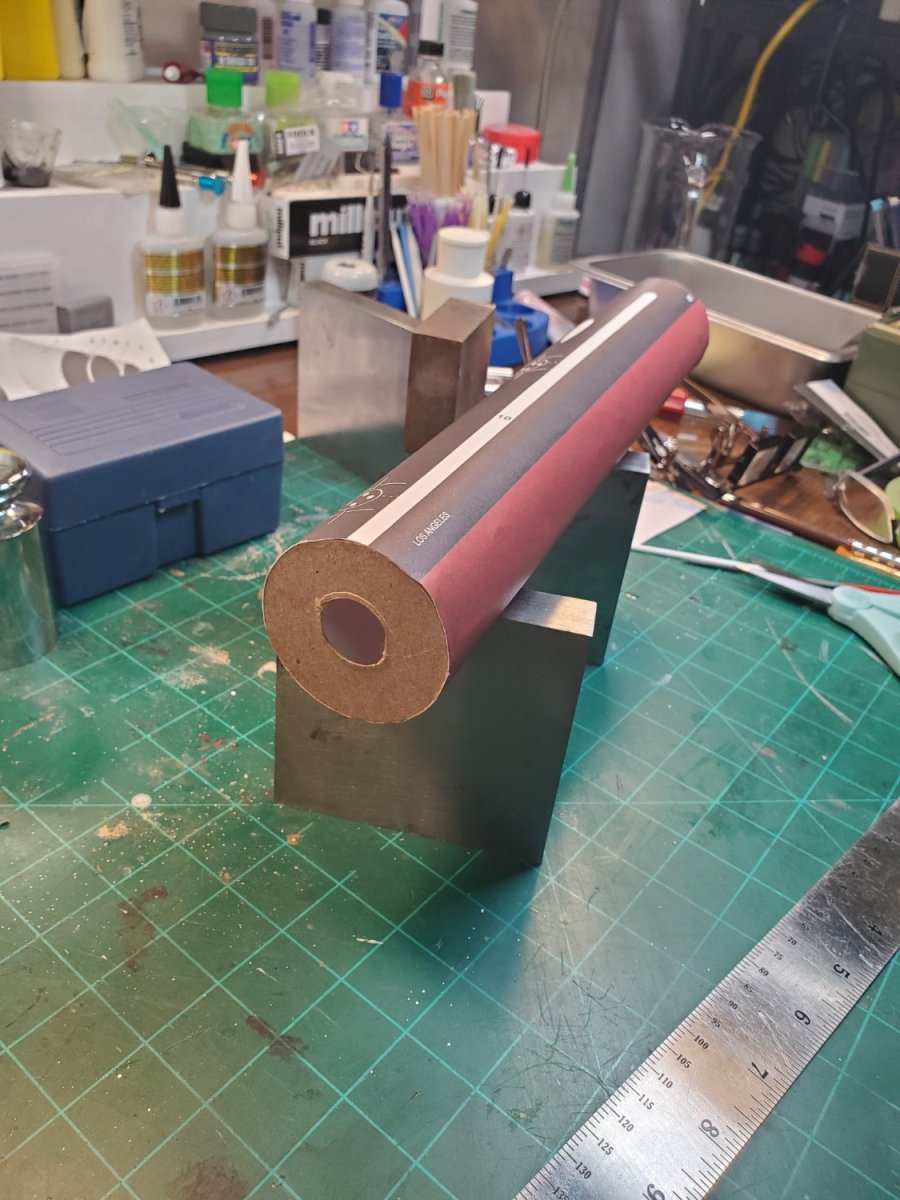
After I started to wrap the other side of the hull on the long main section I became concerned about the fragility of the foot long tube being supported by only end bulkheads. So I used some chipboard to make extra bulkheads. I had a matching bulkhead available to use as a template from one of the other sections. Then I started closing up the hull, continuing to slowly glue in small arcs and reassess. Then finally I was able to close up the hull. It took a couple rounds of glue application to get the seam edge to adhere. I used a weighted cutting matt to get even pressure on the side opposite the seam and that finally did the trick without crushing the hull. There are a few dimples and creases but it came out ok. I can see every blemish. 😃 The added bulkheads really did help. I know what the bulkhead holes are for now. Your pinkie fits in just fine to push out little dimples in the hull. 😃 Aft end. Moving on to the smaller (hopefully easier) hull sections..... I have a busy week ahead at work. In the evenings we are interviewing candidates to fill an open engineering faculty position so it may be slow going with updates for a bit.


- 37 replies
-
- 10
-
-

-
Thanks Bill. Shopping for a lathe..... Be well.
-
The bulkheads are glued on one side of the hull of the main section. After the other side, there are 7 more sections. The good news is the other sections are all much shorter......


-
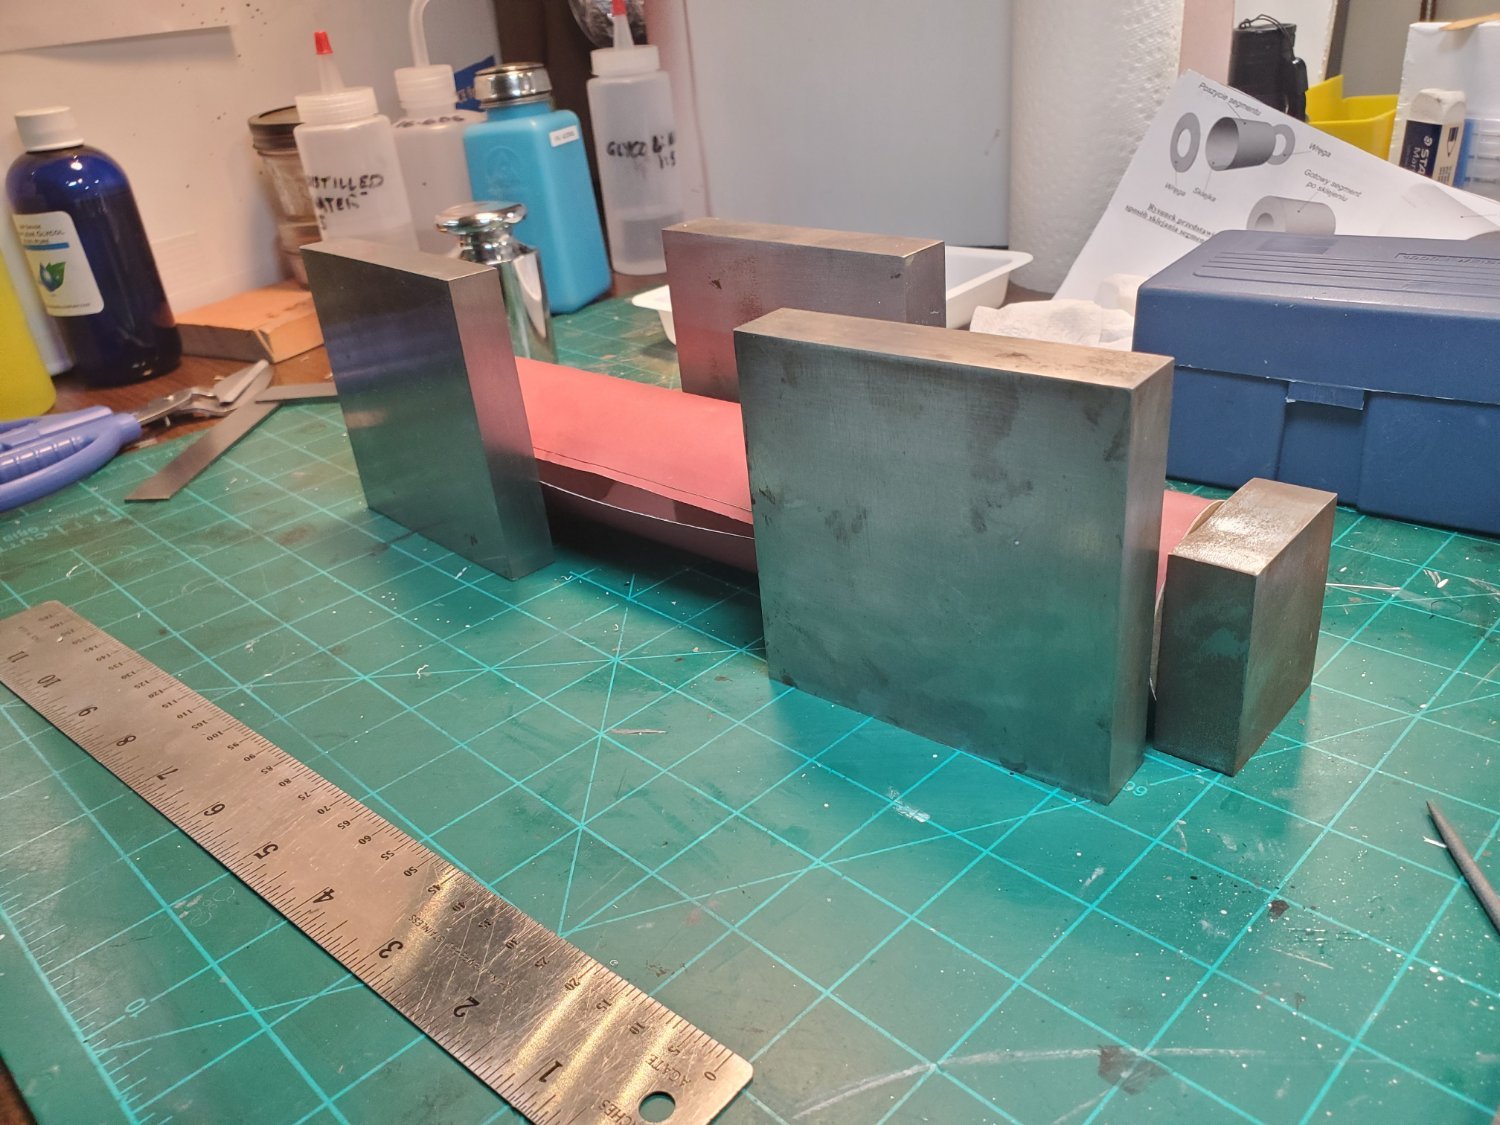
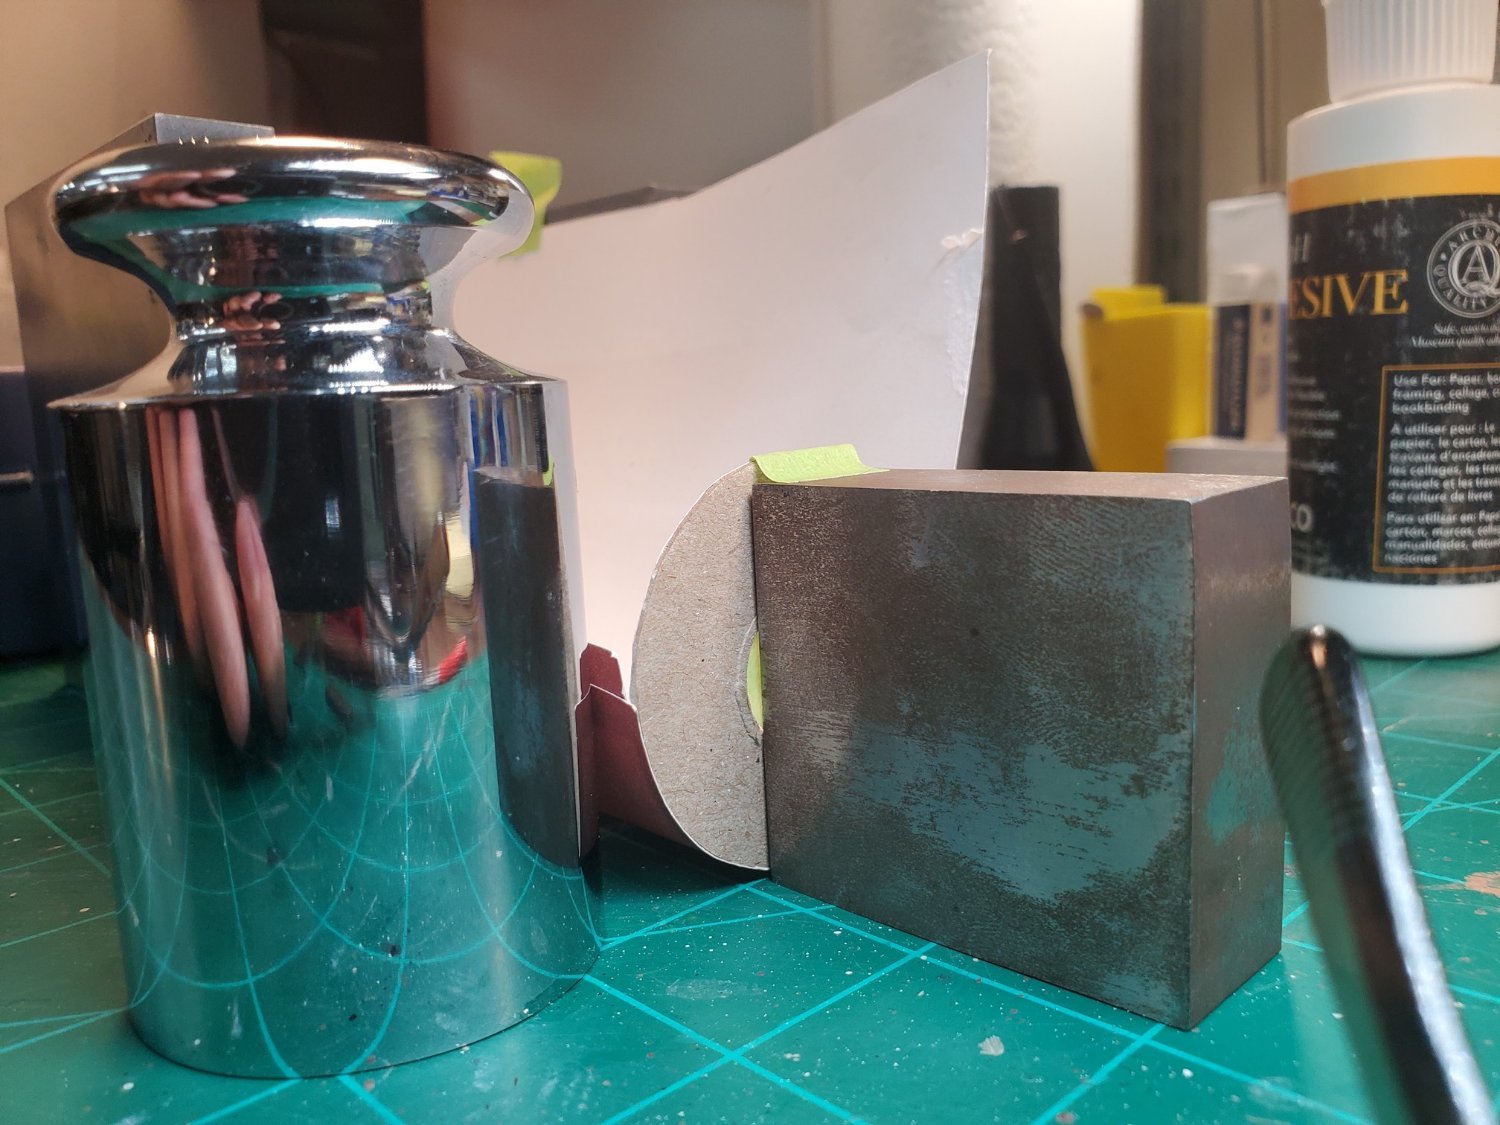
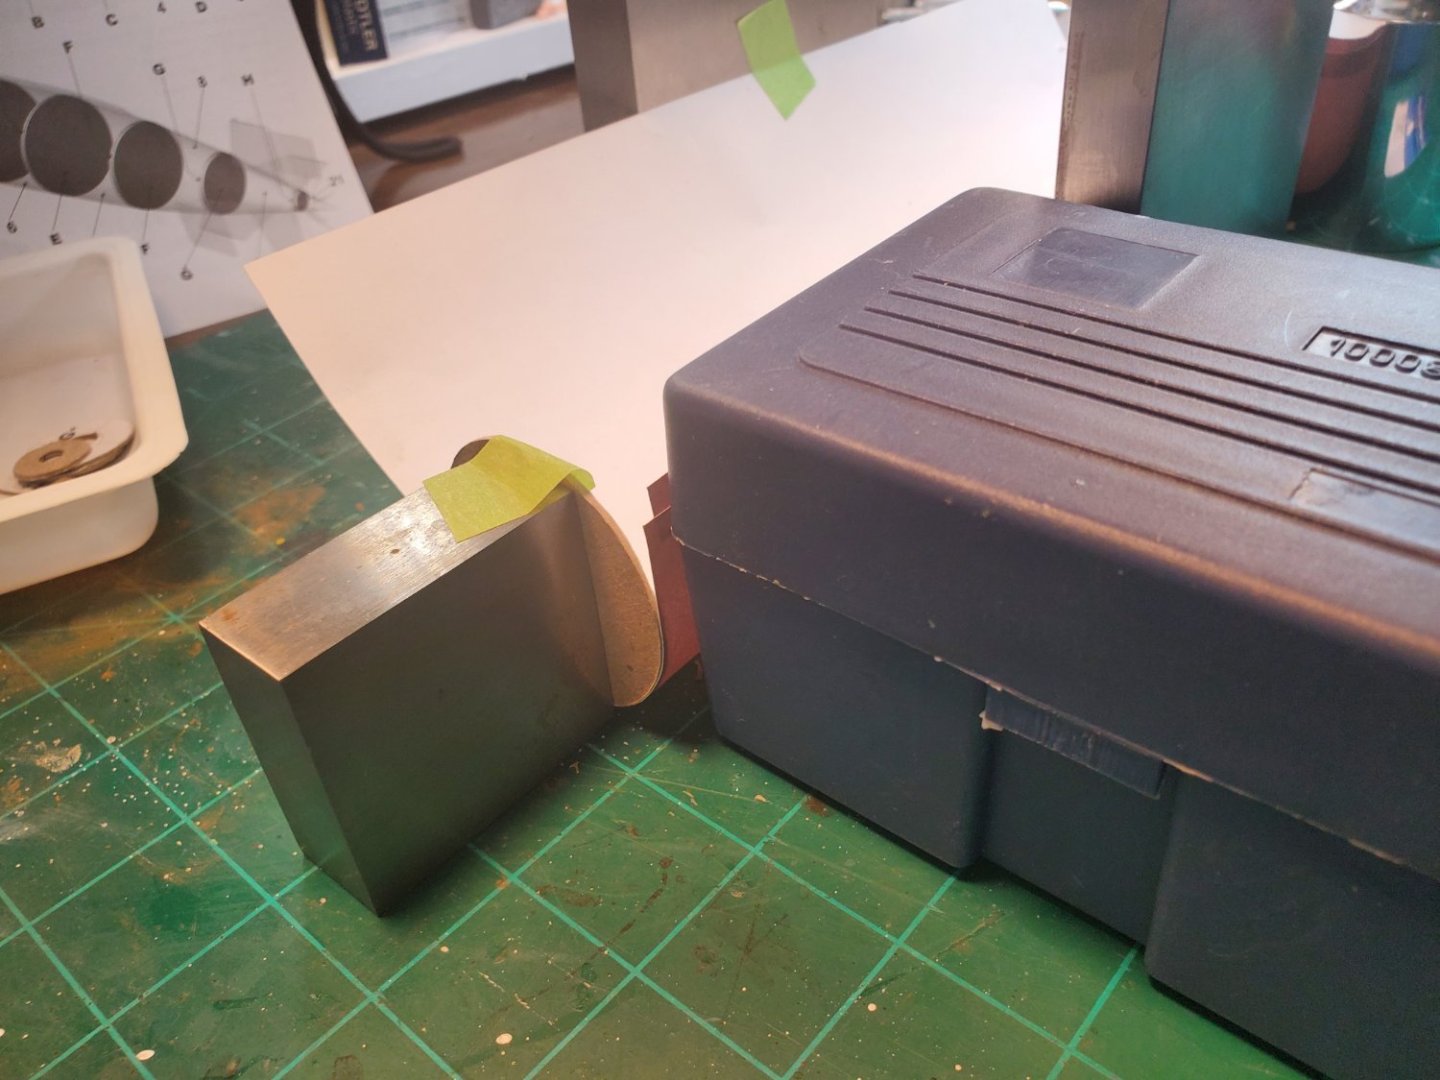
Thanks Chris. I am nervous about it. Trying to take baby steps and keep the bulkheads square. I think patience may be the most needed skill. 😃 Here is one more baby step. I glue up about a 30 degree arc of the tube and walk away for an hour...... Temporary jigs definitely help. I am using some scale weights and steel bench blocks as anchors to tape the section too. Gluing on the inside of the seam and relying on capillary action to seal the joint. Not sure that is the best way but it seems to hold. Using Lineco neutral pH PVA glue.
-
BTW Richard, after all my hand-ringing about the bulkhead marks, I cut out a few hull sections and test fit them only to then realize the hull deck and side paint lines are going to make excellent registration marks for bringing the sections together..... Brian
-
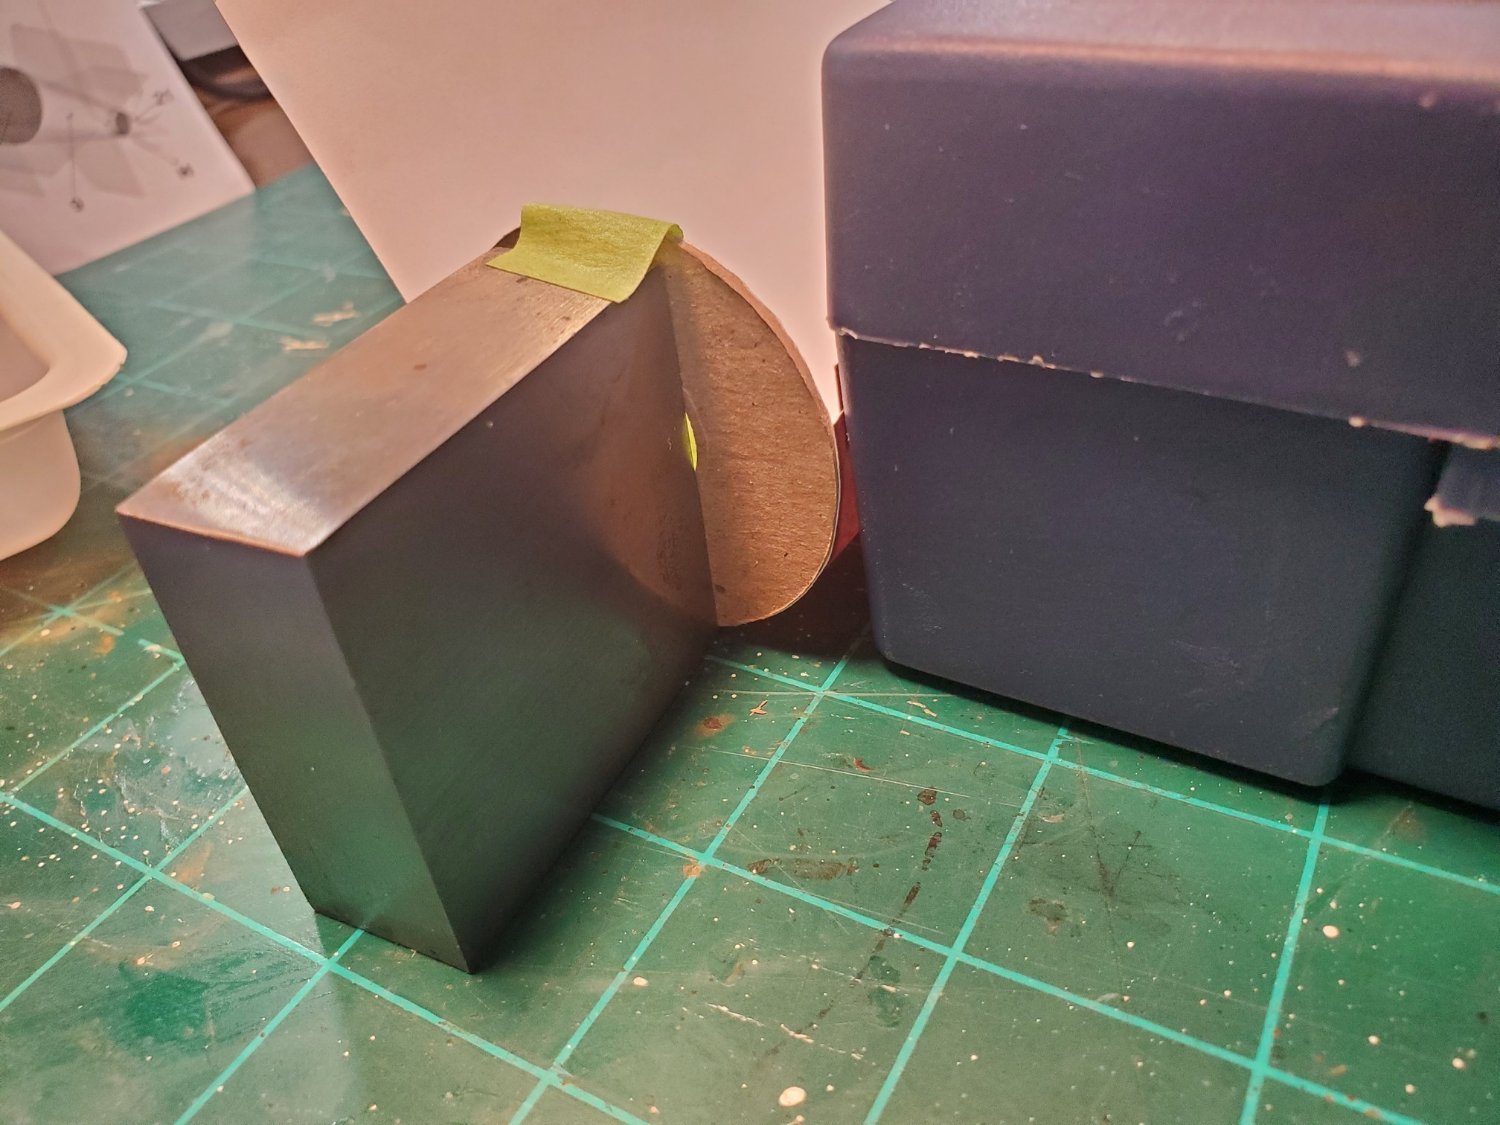
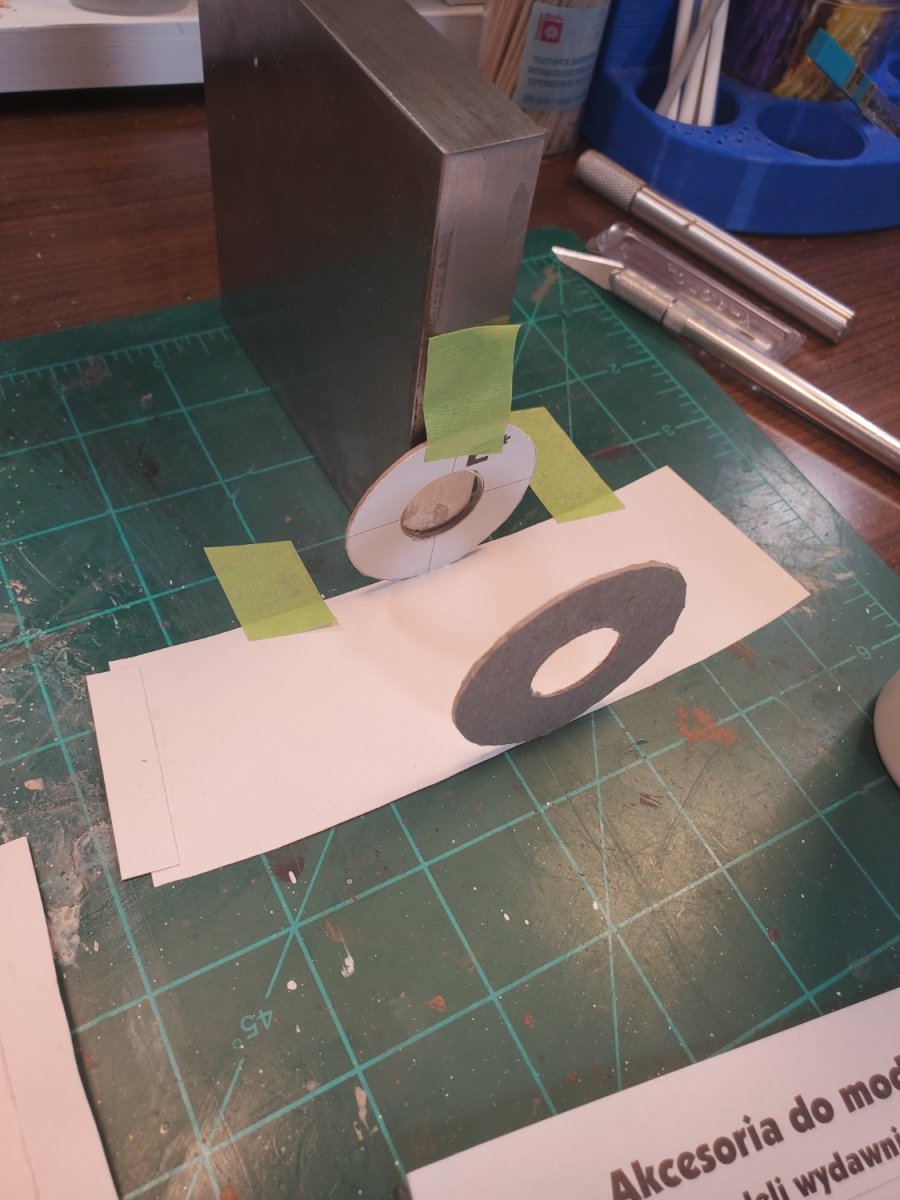
Initial glue ups of the first couple of bulkheads. This step just gets the bulkhead attached to the section hulls at one point. Wrapping is the next step. The small section is the first section aft of the main straight section. I will raise the tapered end of the small sections a few millimeters (1/2 the difference in bulkhead diameters for the section) before trying to wrap and glue the hull all the way around. That should keep the bulk heads perpendicular to the axis of the boat during wrapping. I will try to show that in the next set of photos.


-
Bill, they look great. Can I ask which lathe you are using? It looks like a Proxxon. Brian