HOLIDAY DONATION DRIVE - SUPPORT MSW - DO YOUR PART TO KEEP THIS GREAT FORUM GOING! (Only 20 donations so far - C'mon guys!)
×


Ferrus Manus
-
Posts
1,391 -
Joined
-
Last visited
Content Type
Profiles
Forums
Gallery
Events
Everything posted by Ferrus Manus
-
 I checked out both builds of the Amati ship. I intend to make a ship based on the Mataro, however, it will be much thinner and have slightly different lines. Maybe, at one point, we will both build our scratch-builds together and "borrow" techniques and ideas. My ship will be in either 1/32 or 1/28 scale. Large enough for everything to be easier to work with, combined with the fact that i wanted the model to be about 3 feet long.
 -
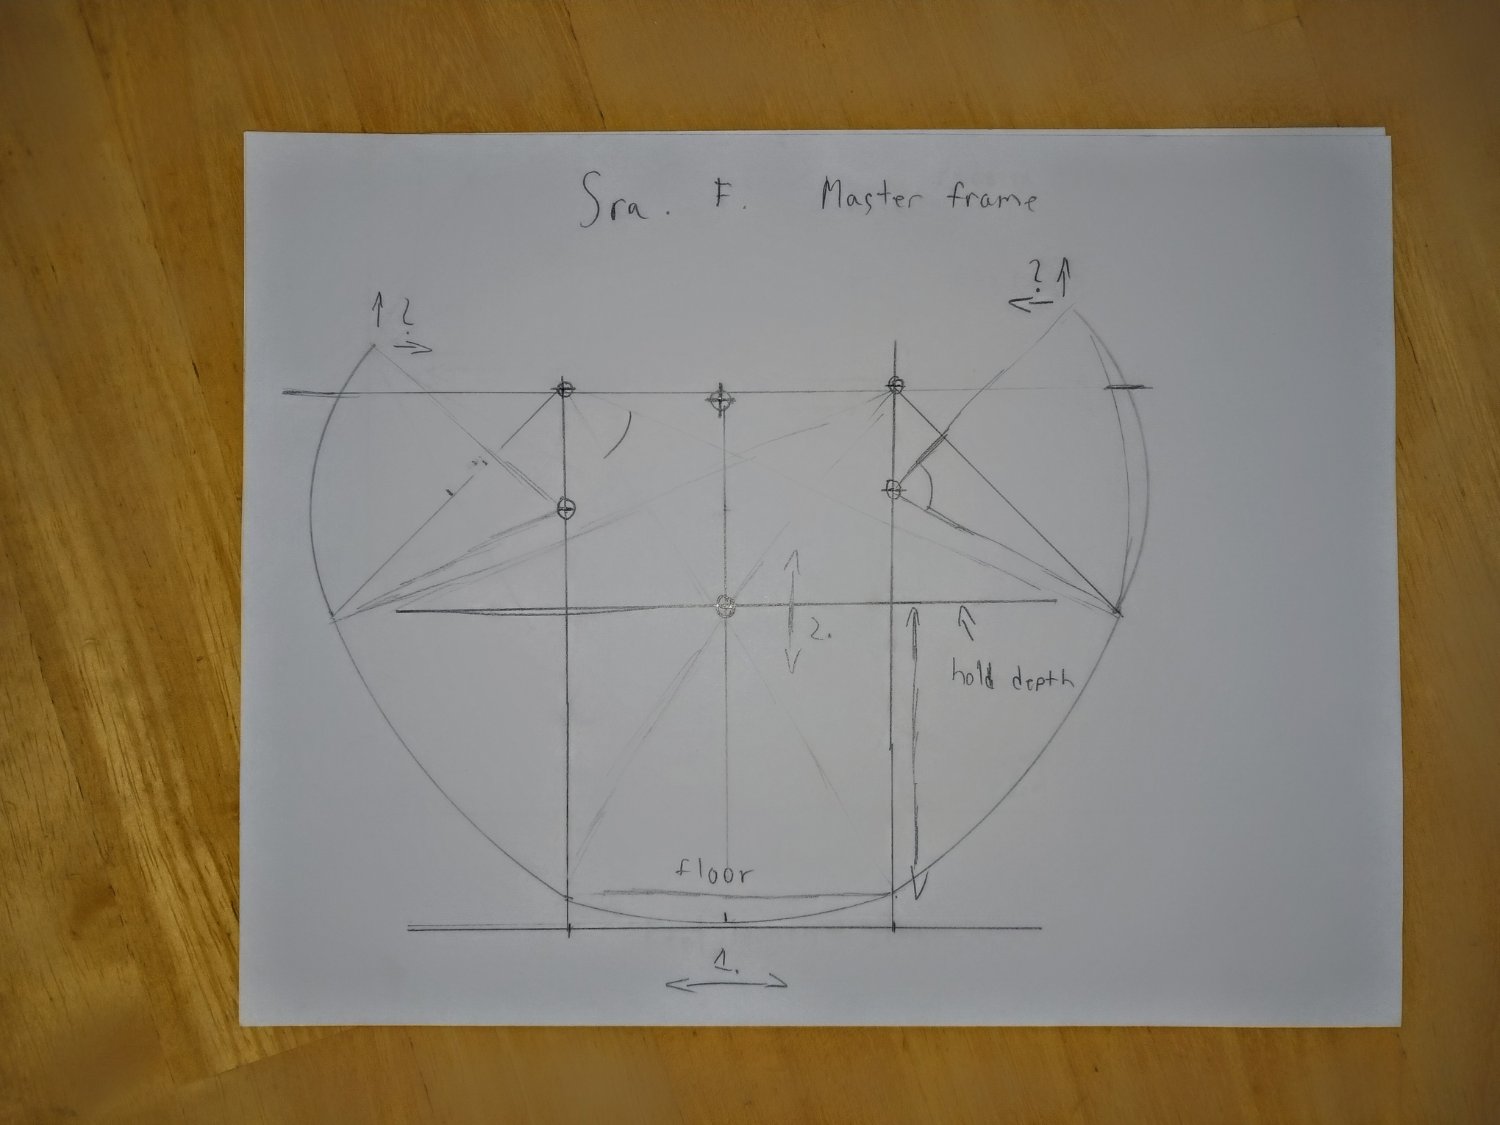
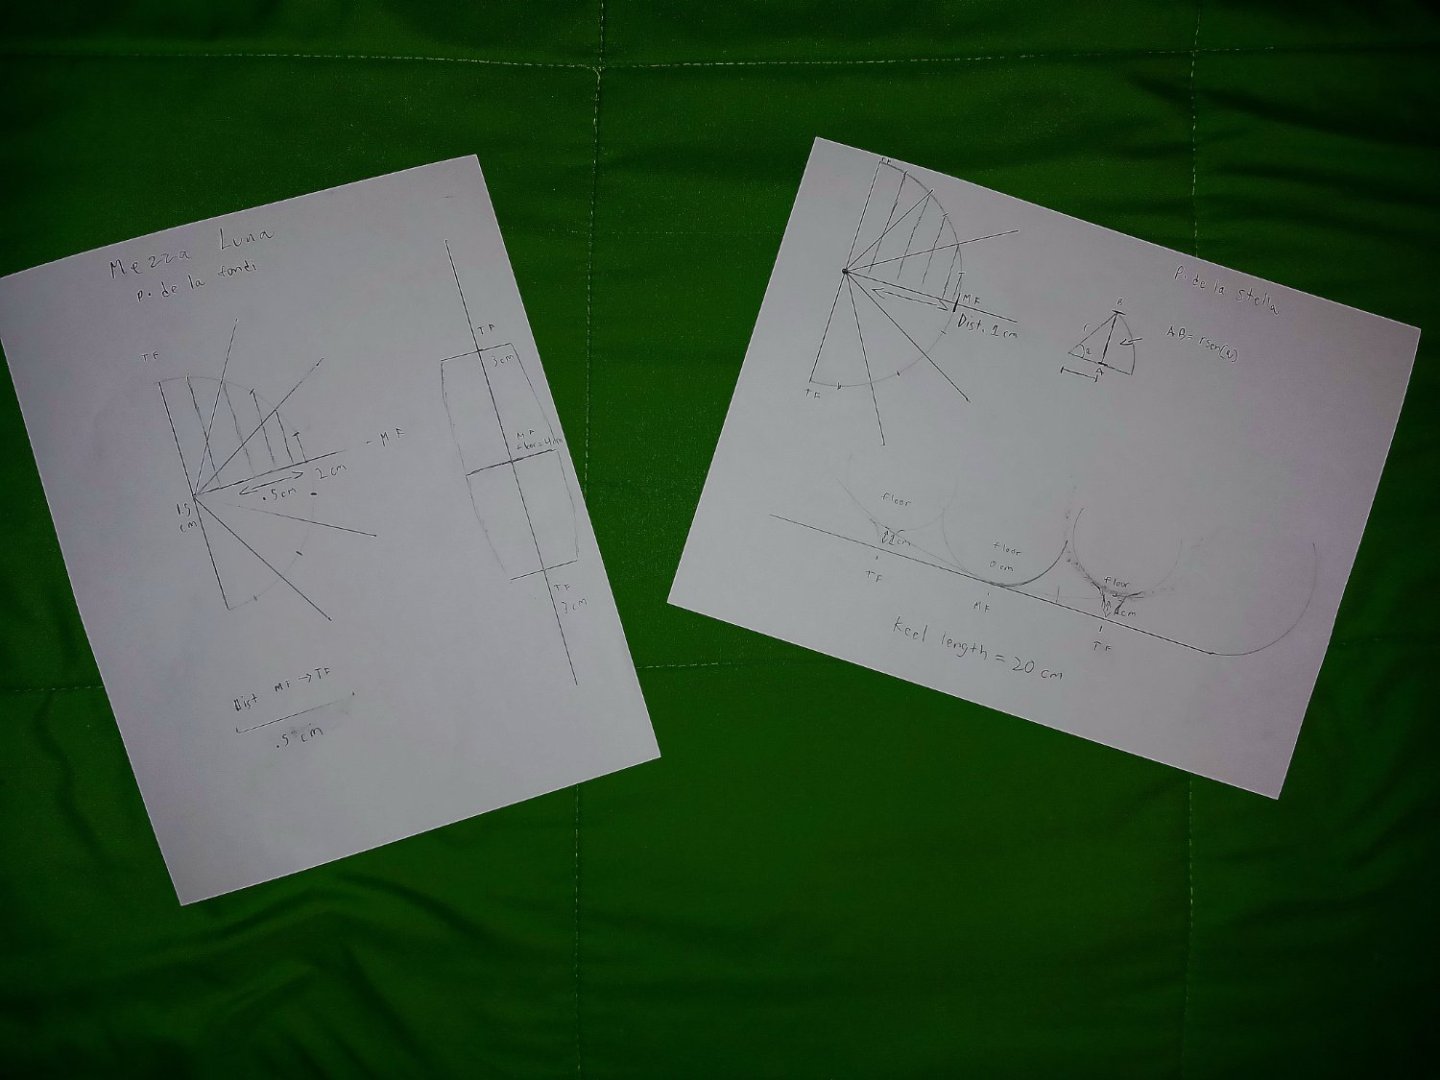
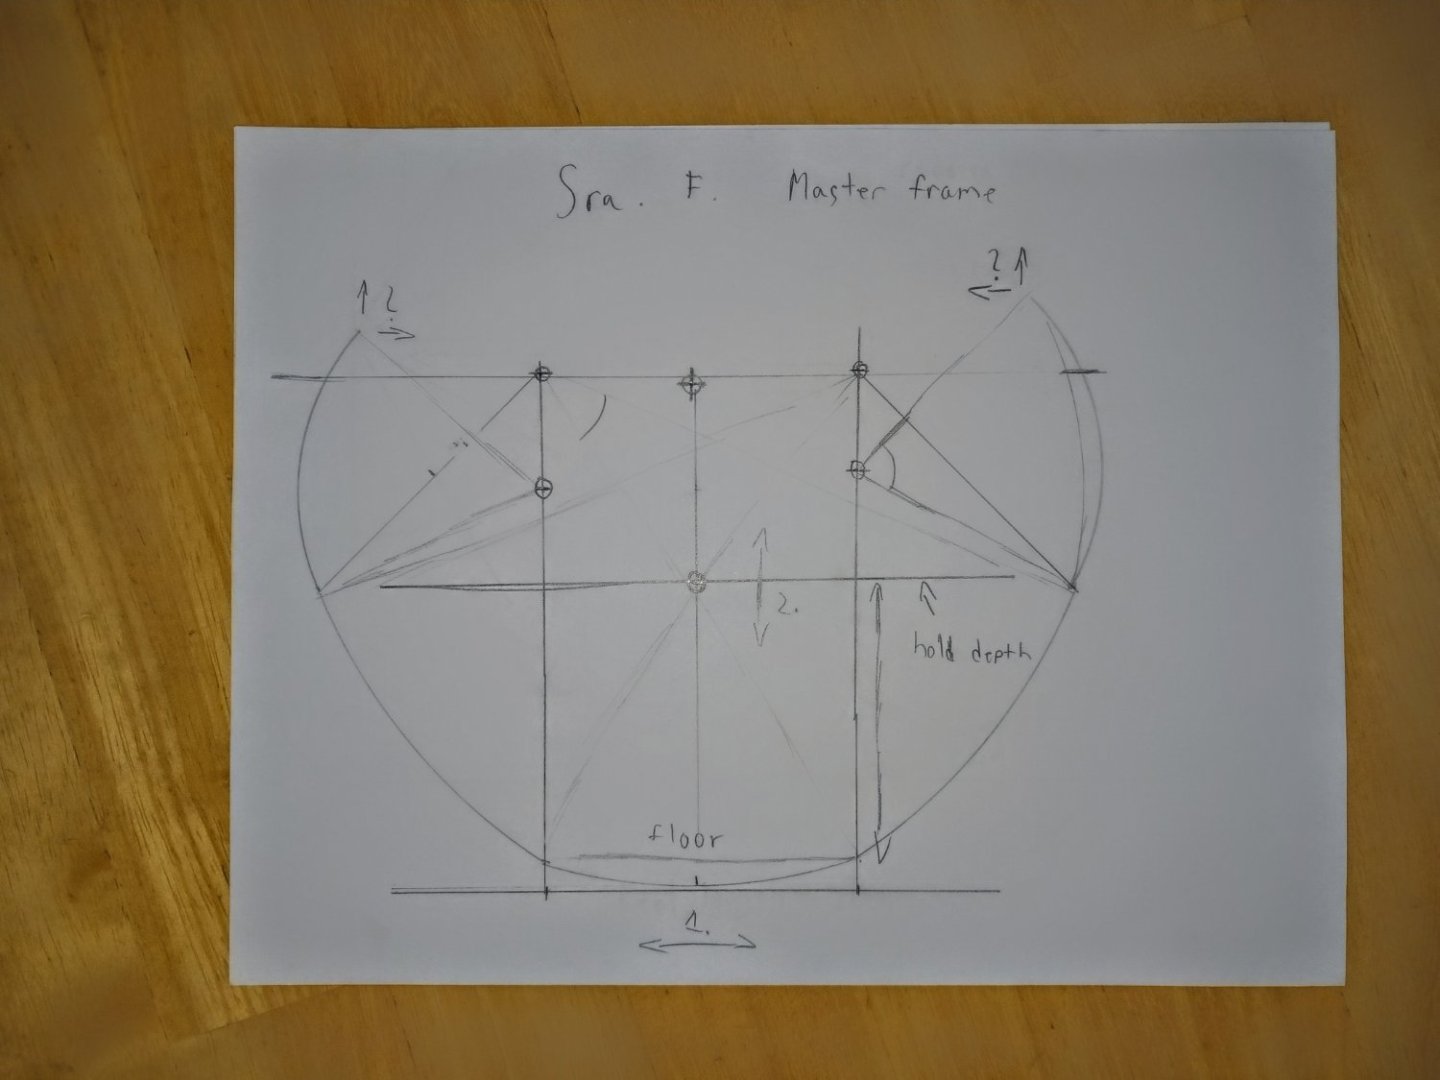
These are the diagrams i have made thus far, in relation to various nautical concepts and design elements of the framing of the vessel:
-
It was recommended i make an actual research log for this by @Louie da fly. I am doing research for a Spanish carrack based on the Mataro ship, basically researching for a future scratch-build of a realistic single masted, 60-70 foot long carrack from about 1450 (NOT a votive model). Much deliberation has been done between myself, Louie, and @woodrat. Stay tuned for more tomfoolery!!
-
1/96 and 1/100 is around my default, but as you know, i am doing the research for a 1/32 build.
- 740 replies
-
- 1
-

-
- Tudor
- restoration
- (and 4 more)
-
What's life like in St. Petersberg?
-
At times the jumping spiders come and make their homes in the rigging of my ships, usually the Cutty Sark or the Brigantine, as they have the most complex rigging. Basically a pre-made, fully furnished spiderweb.
- 740 replies
-
- 3
-
-

-
- Tudor
- restoration
- (and 4 more)
-
https://www.amazon.com/Ships-Christopher-Columbus-Santa-Anatomy/dp/1557507554 24 BUCKS. Get the book!!
- 59 replies
-
- 2
-
-

-
- Santa Maria
- Artesania Latina
- (and 1 more)
-
Take it in stride, Baker. You might as well be the real Matthew Baker as far as i am concerned. I noticed that early on in our discussions.
-
Is there any books you could recommend? I am looking to, at some point, domy own carrack. Mine will be closer to the Mataro ship than your Venetian carrack.
-
Also, would you mind doing me a favor and referring me to the sources you used for the construction of your carrack?
-
Now, i am just waiting for the Spanish Galleon to arrive. Thanks!!!
- 137 replies
-
- 1
-
-
- Golden Hinde
- Revell
- (and 2 more)
-
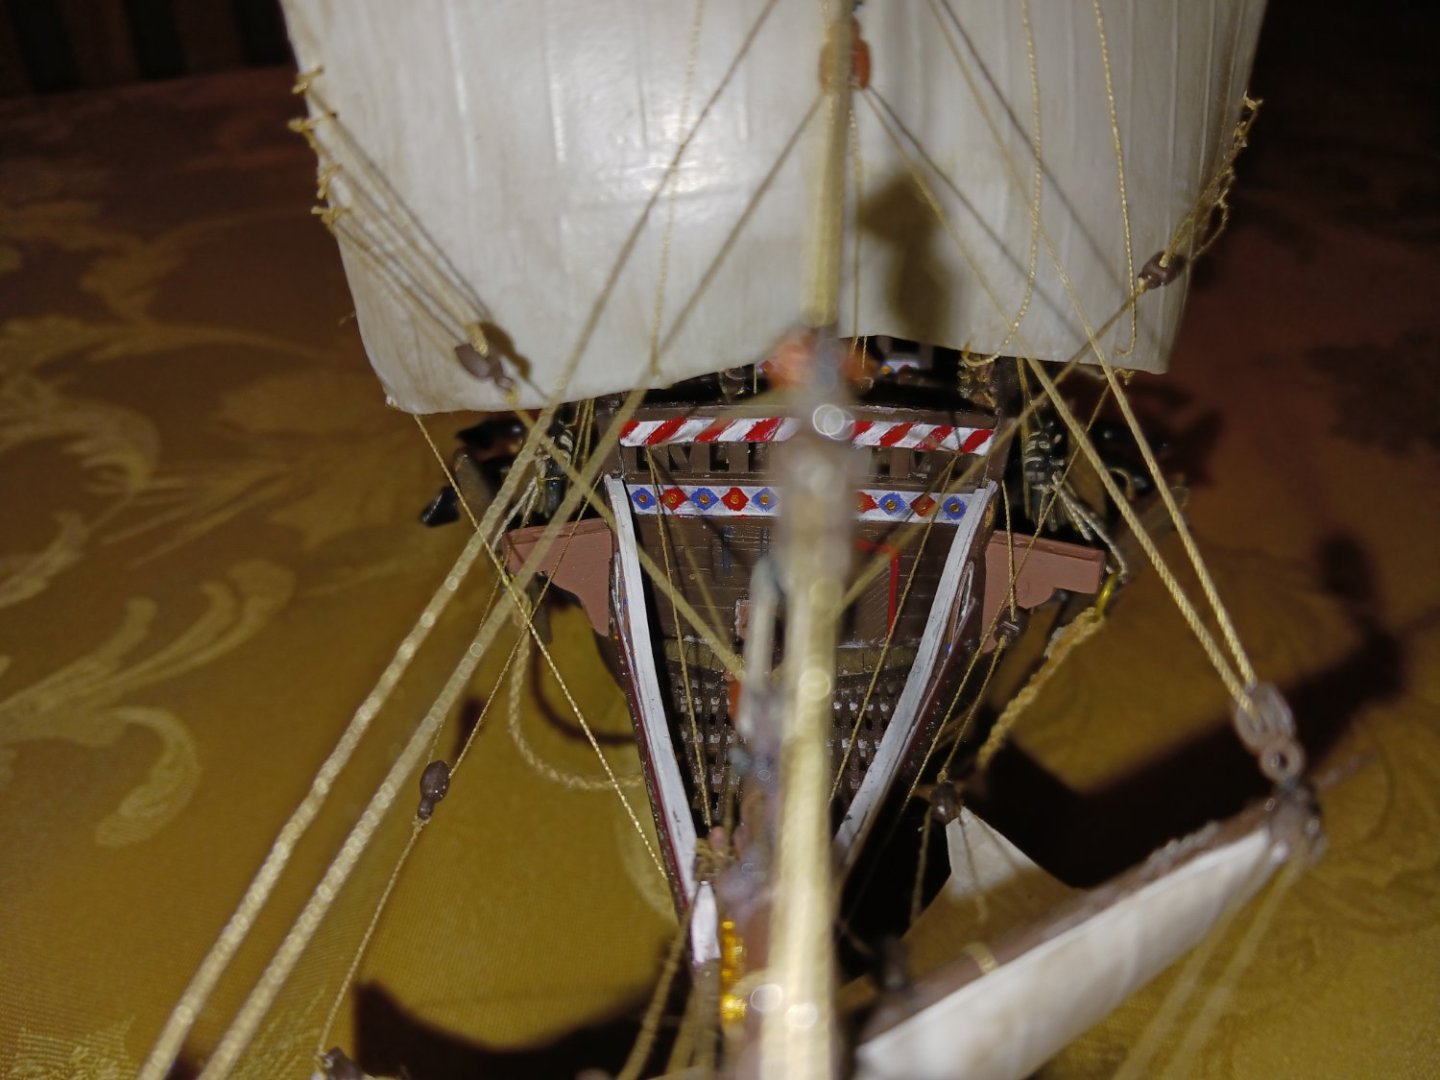
Check your chair for the missing yard. I went insane at one point when i lost the GH's sprtsail yard, and it was INSIDE the chair. Also, wouldn't the foremast braces fall to the aft of the forecastle?
- 740 replies
-
- 2
-
-
- Tudor
- restoration
- (and 4 more)
-
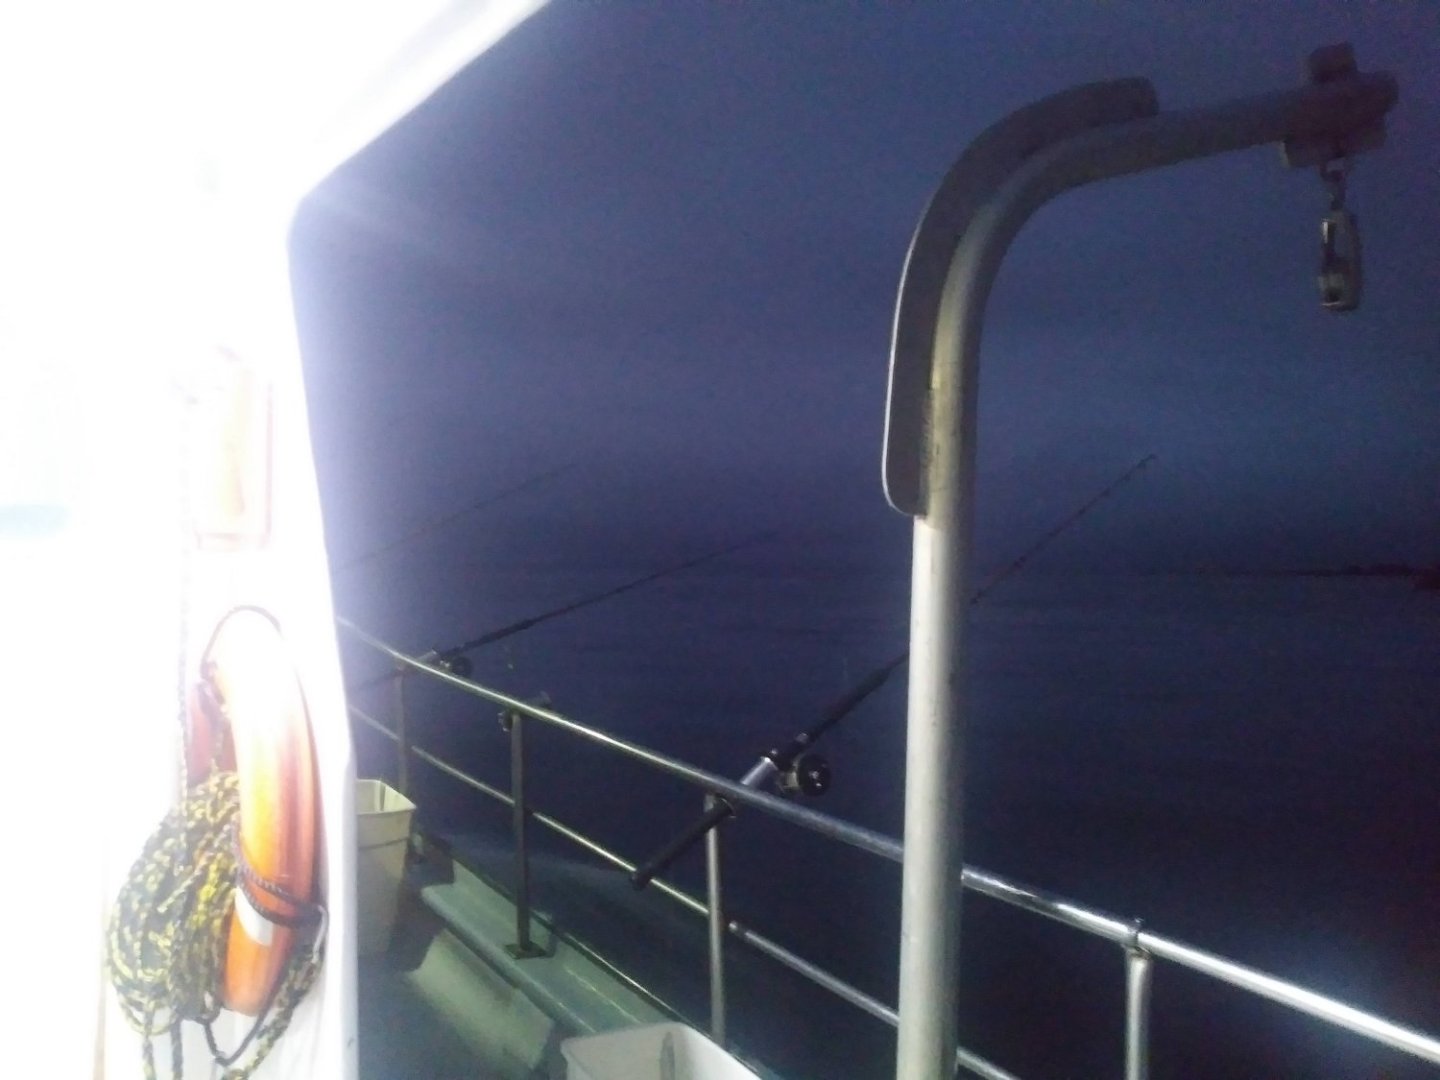
Good times, being a fisherman. I sometimes go fishing with my dad in a small boat. We fish for trout. I remember my first time charter fishing, and it was incredible. And yes, gulls can get pretty brave. They wait in the morning just after you go out to sea, because they know when you will drop the fish guts in the water from last night. August 5, 2020, 4:00 A.M.
- 228 replies
-
- 1
-
-
- spanish galleon
- lee
- (and 1 more)
-
If only i had done the work do build scratch gun carriages.
- 137 replies
-
- 1
-
-
- Golden Hinde
- Revell
- (and 2 more)
-
Guy accepted an offer for 95 bucks. Not quite a lowball for what i think i am getting, but for how much this kit sells, it sure is. As always, i will have to make considerable modifications to accommodate the rigging. It will be nice to deal with a kit without flash, though. Unlike Kirill, i will be making a "1607" galleon instead of an Armada era ship.
-
I still have no idea how to change the titles on these things. Probably the IMAI 1/100 Spanish Galleon. Kirill isn't gonna be happy when he sees me molest the same kit he built perfectly. Coming from you, especially, this is quite a high award. I will proudly wear it. I could not have completed this build to the standards i did without you. The advice and support given by all who stuck with me was immensely valuable, and i could not have done it without you. I found a nice deal on eBay for the Spanish Galleon, and it's coming from the states! That means less in shipping. Assuming the guy responds to my offer, it could even be on my doorstep by the end of the month. I should probably make the build log before i start, this time.
- 137 replies
-
- 1
-

-
- Golden Hinde
- Revell
- (and 2 more)
-
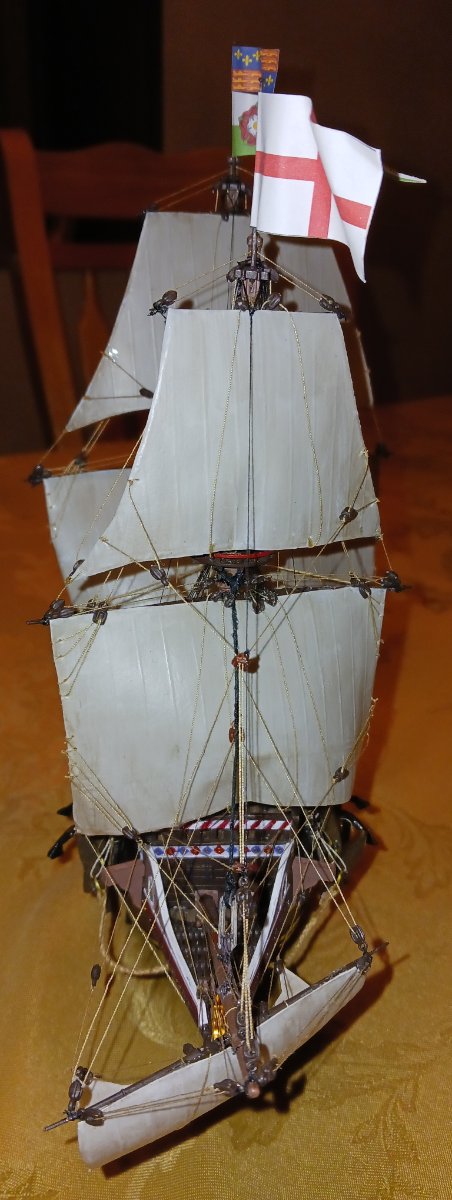
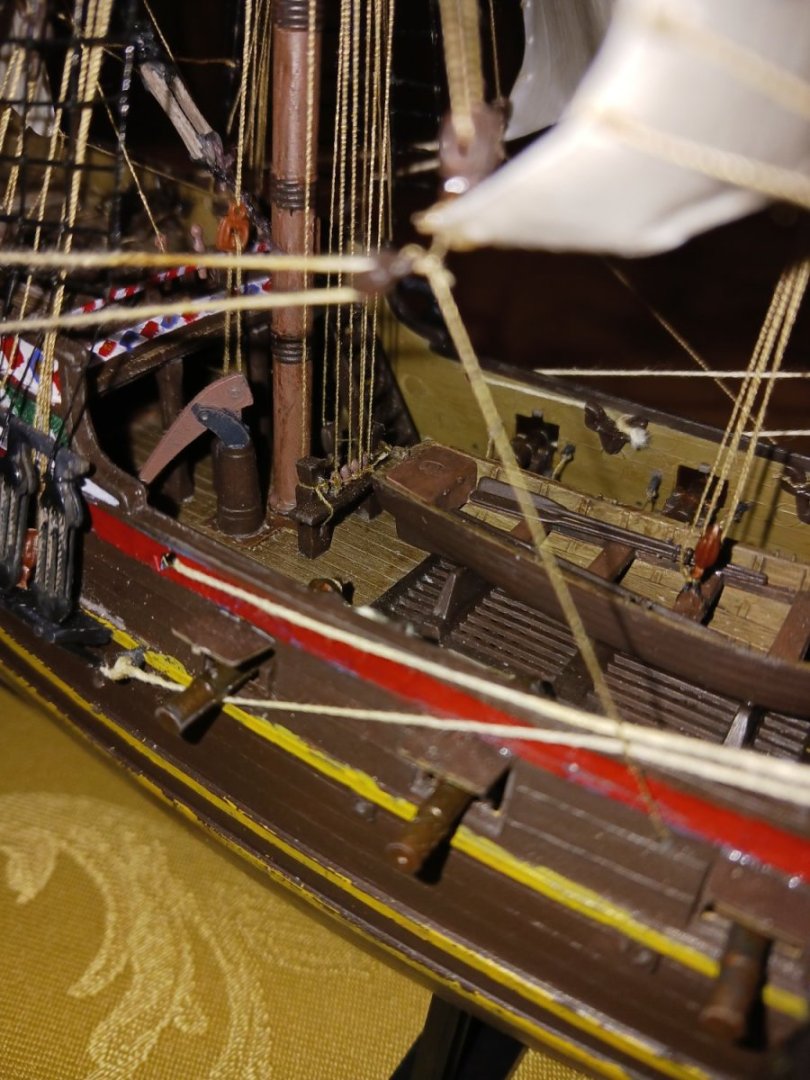
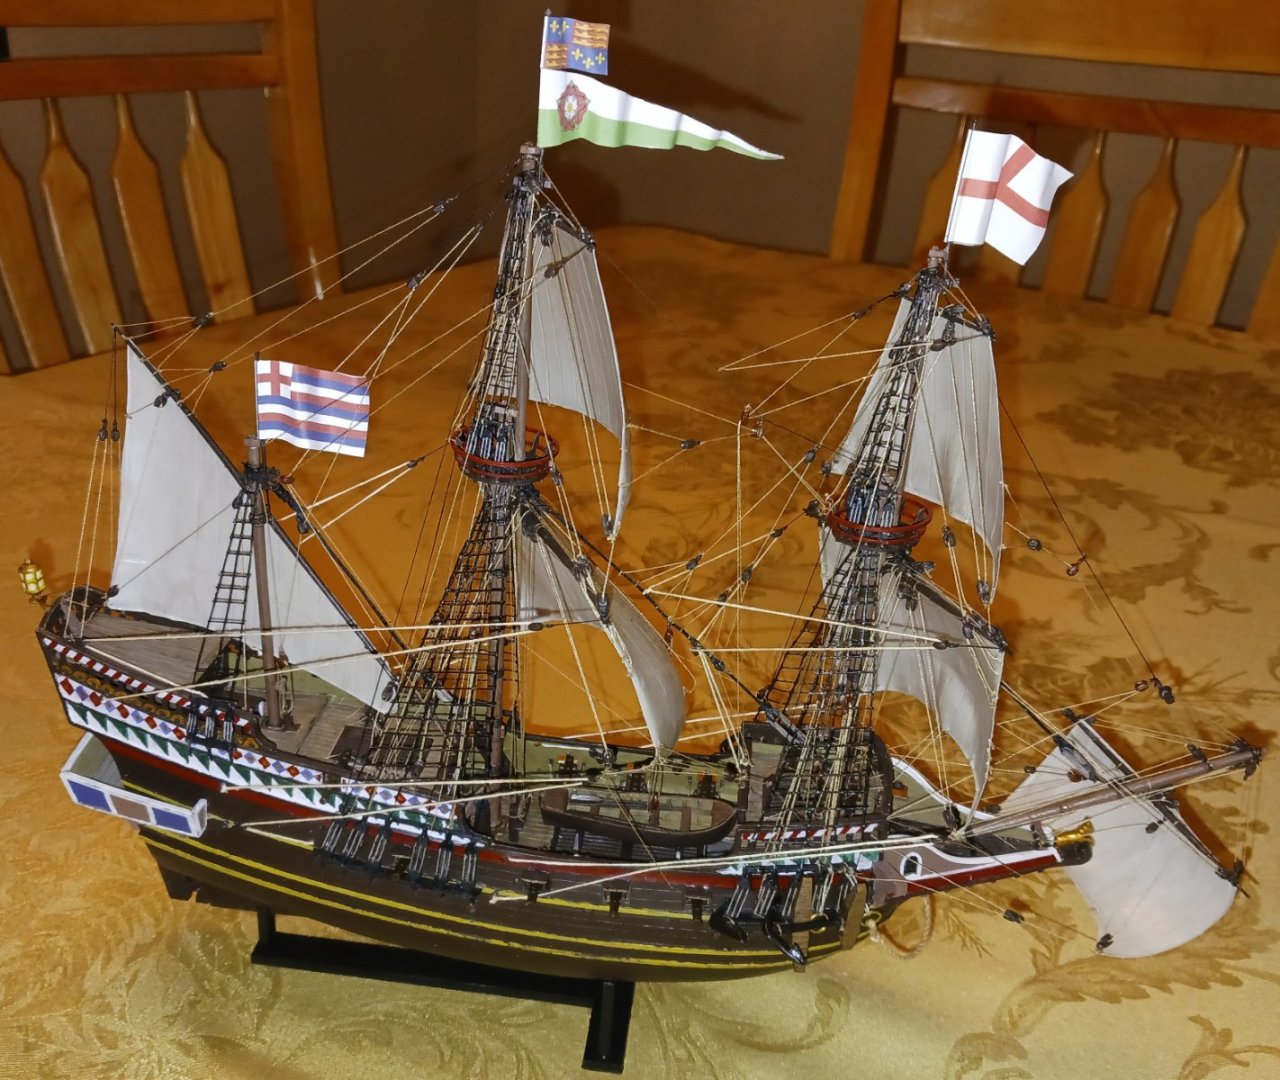
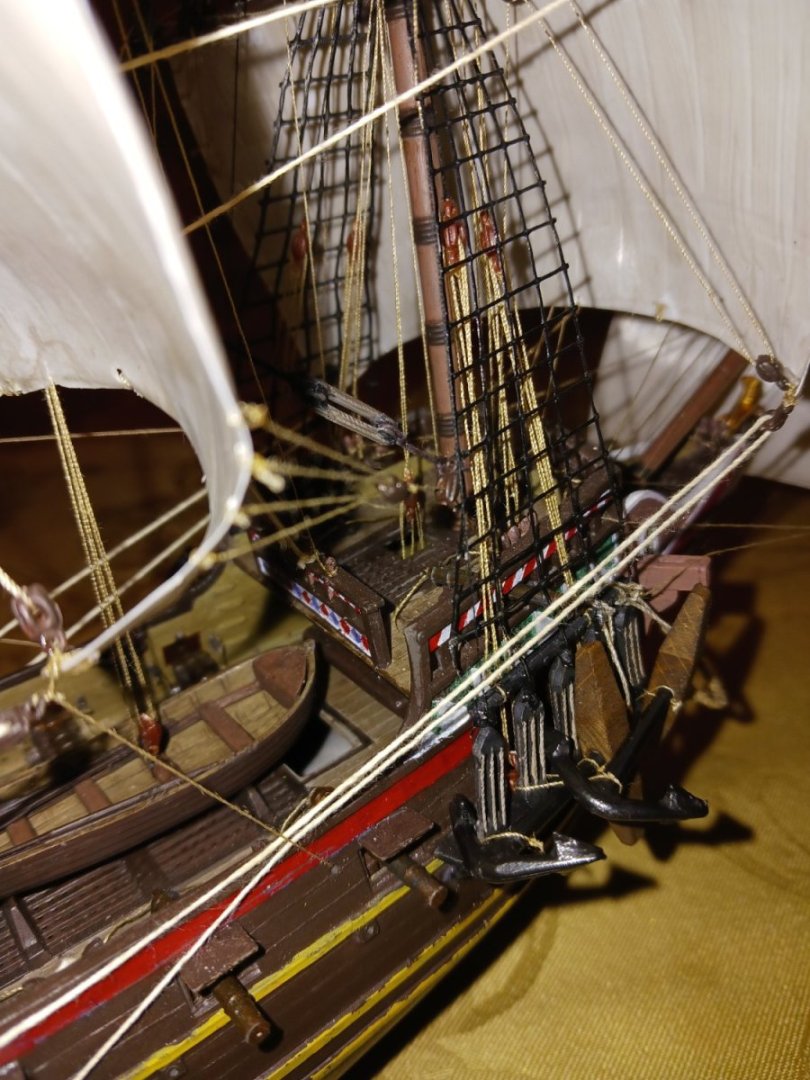
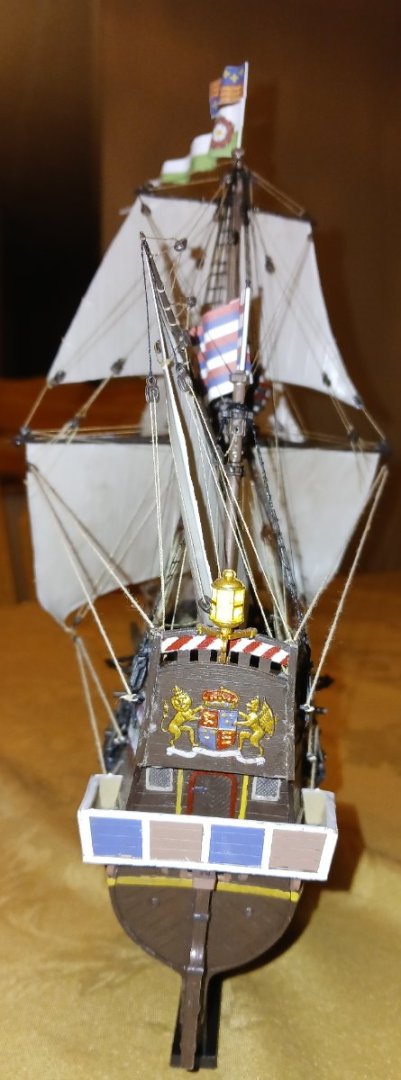
Well, i got the flags put on the trucks. Now the build is officially complete! Here are the final photos. Thank you for joining me on this build log. I will see you all very soon on the next one!! Until next time, fair winds and calm seas.

- 137 replies
-
- 8
-
-
- Golden Hinde
- Revell
- (and 2 more)
-
Yes, i shamelessly stole your prior joke and posted it.
- 399 replies
-
- 2
-
-
- cutty sark
- revell
- (and 2 more)
-
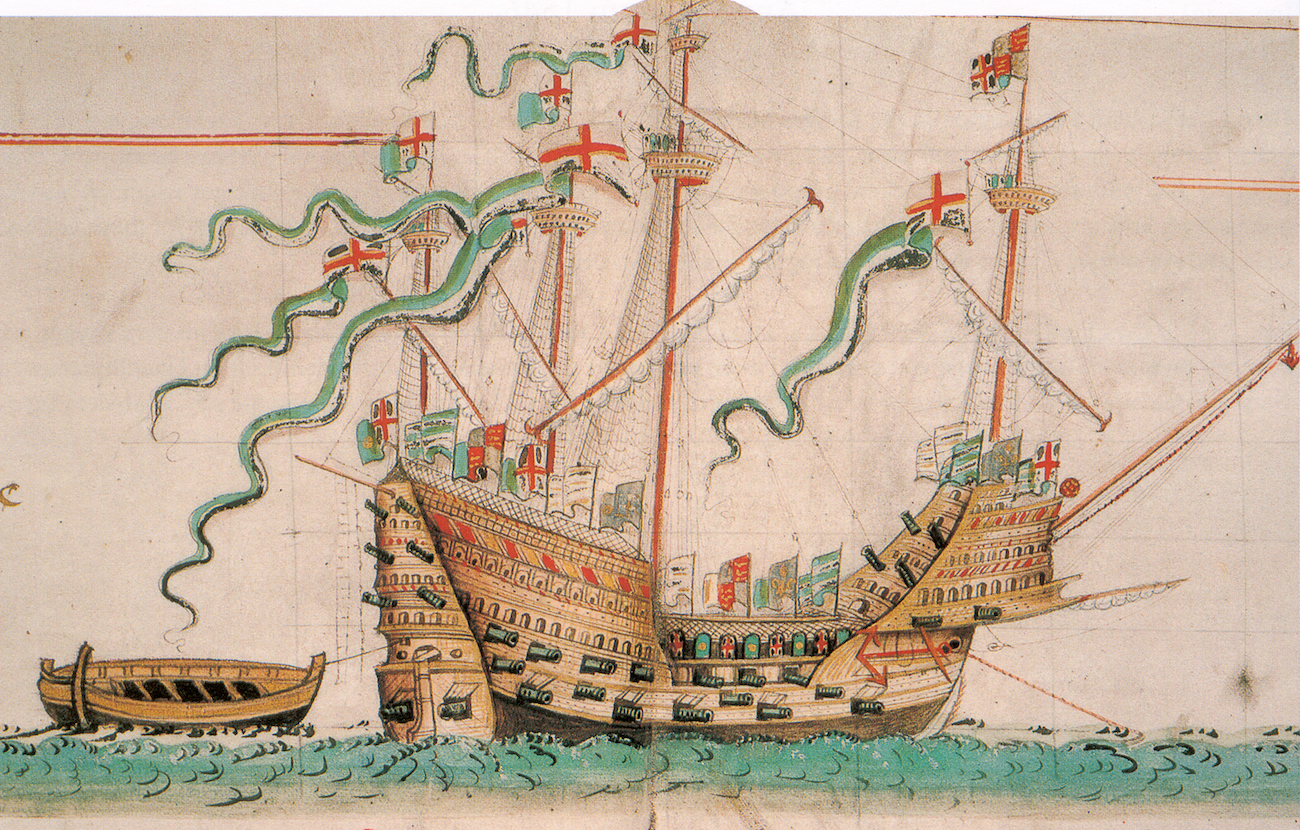
As per Baker's advice, i will be leaving the fighting top pennants off the ship. Case closed. As always, Baker saves the day!
-
As per many contemporary (or near-contemporary) depictions, (like this one, as well as those above) streamers or pennants were flown not only from the trucks of a ship, but also from the fore and main tops. Thus, i have a question that i need answered before the ship is done: Should i add pennants hanging off the fore and main tops?
-
My jaw has been on the floor for about 3 hours now. Should i call a doctor?
- 399 replies
-
- 4
-
-
-
- cutty sark
- revell
- (and 2 more)
-
I'm listening to Red Water, which, considering my history with mental issues, is a song i probably shouldn't be listening to, but who cares. I measured the flags, and they will easily fit on the trucks. I am not doing the tissue paper method because i don't really want to use my dad's dinosaur laptop (which he refuses to replace even though it barely works) any more than i have to, because that's the only computer in the house that connects to the wireless printer. So, i just went full send and printed the flags on regular paper. The tissue paper method, while i want to try it, can wait til next time. The one thing is, i will simply wrap the flags around the trucks instead of tying them with thread as i don't want to break the fragile pieces. One of the things Baker did right was to make the trucks bigger around, to prevent breakage. My hope is that the royal standard will cover up (and protect) a chronic breakage on the main truck.
- 137 replies
-
- 1
-
-
- Golden Hinde
- Revell
- (and 2 more)