-
Posts
59 -
Joined
-
Last visited
Content Type
Profiles
Forums
Gallery
Events
Everything posted by Steve Anderson
-
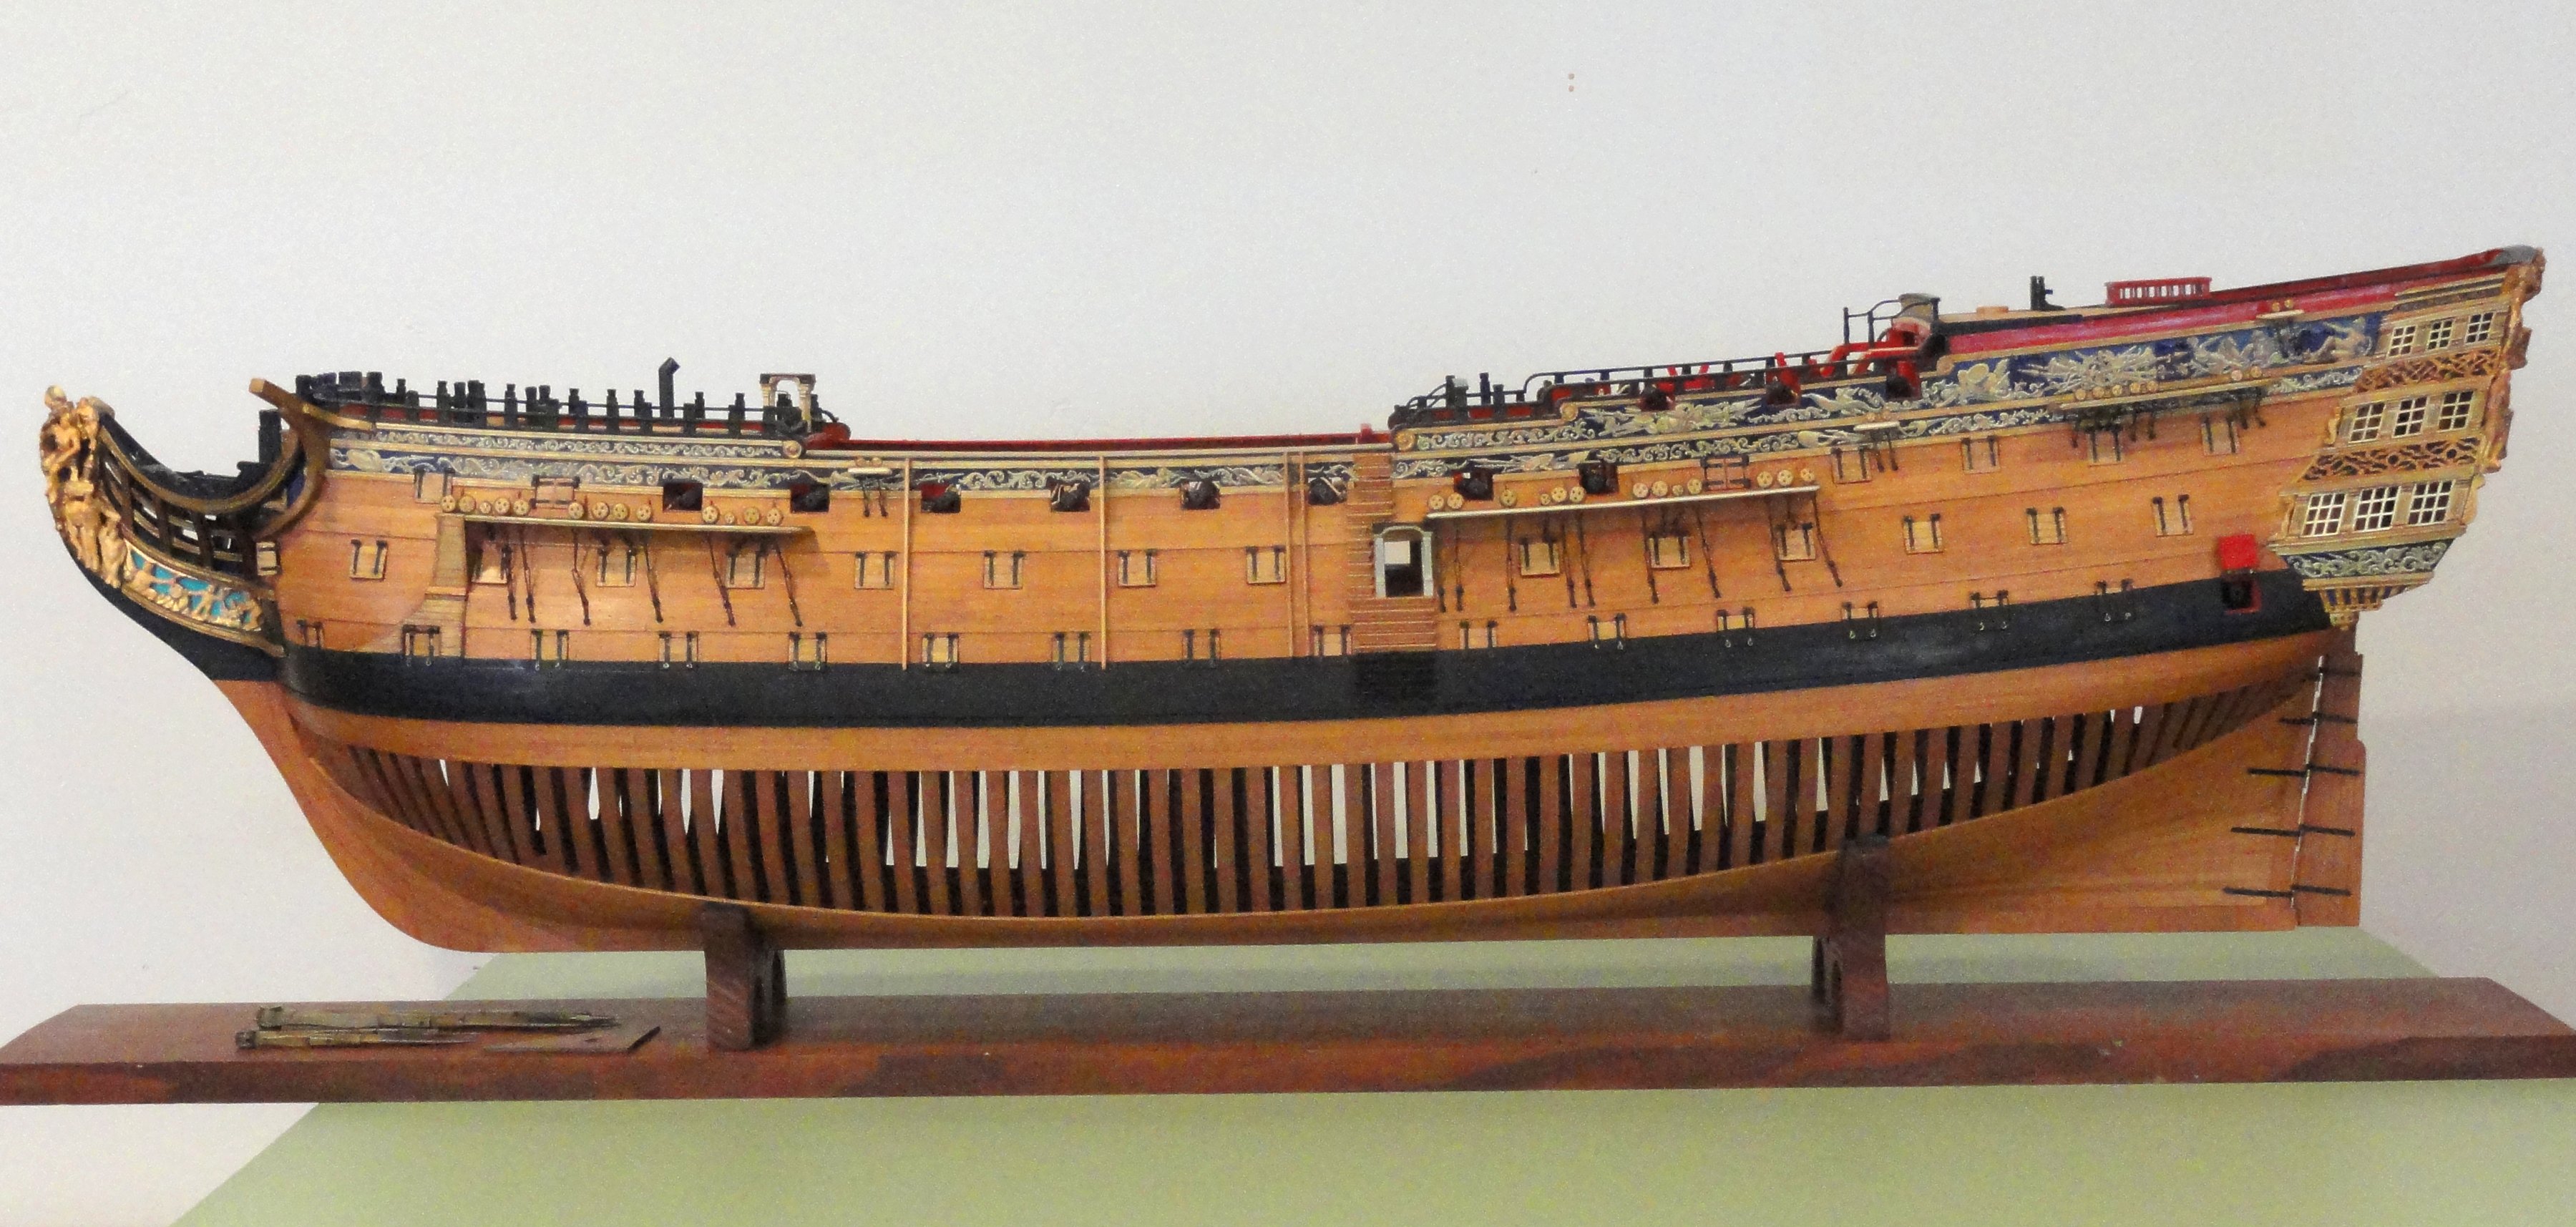
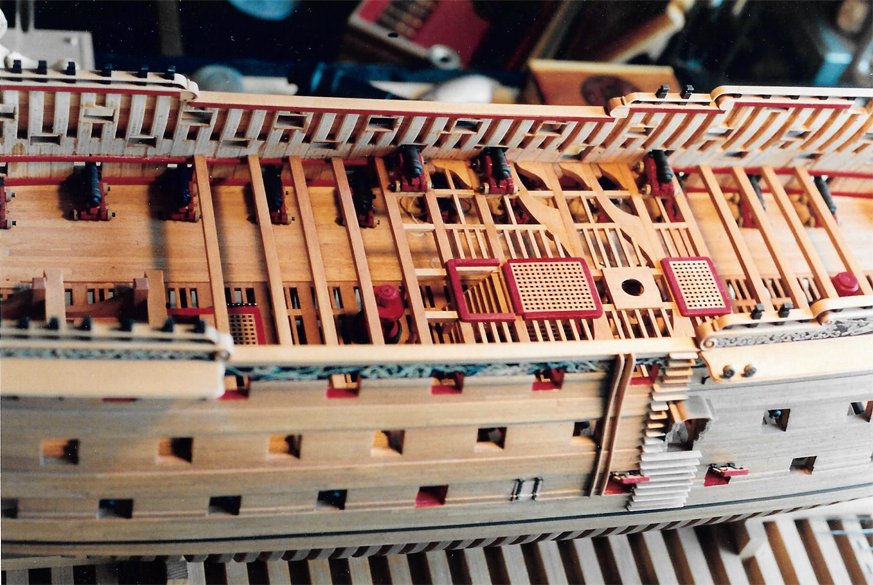
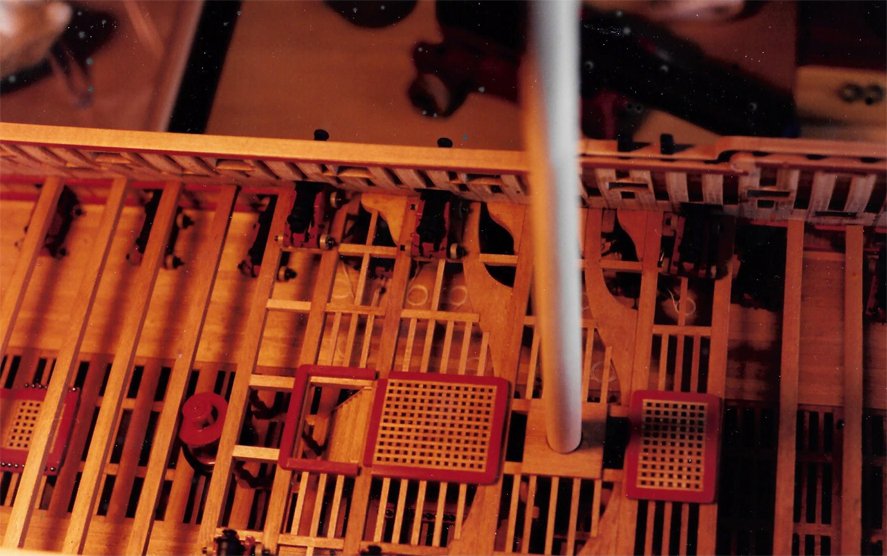
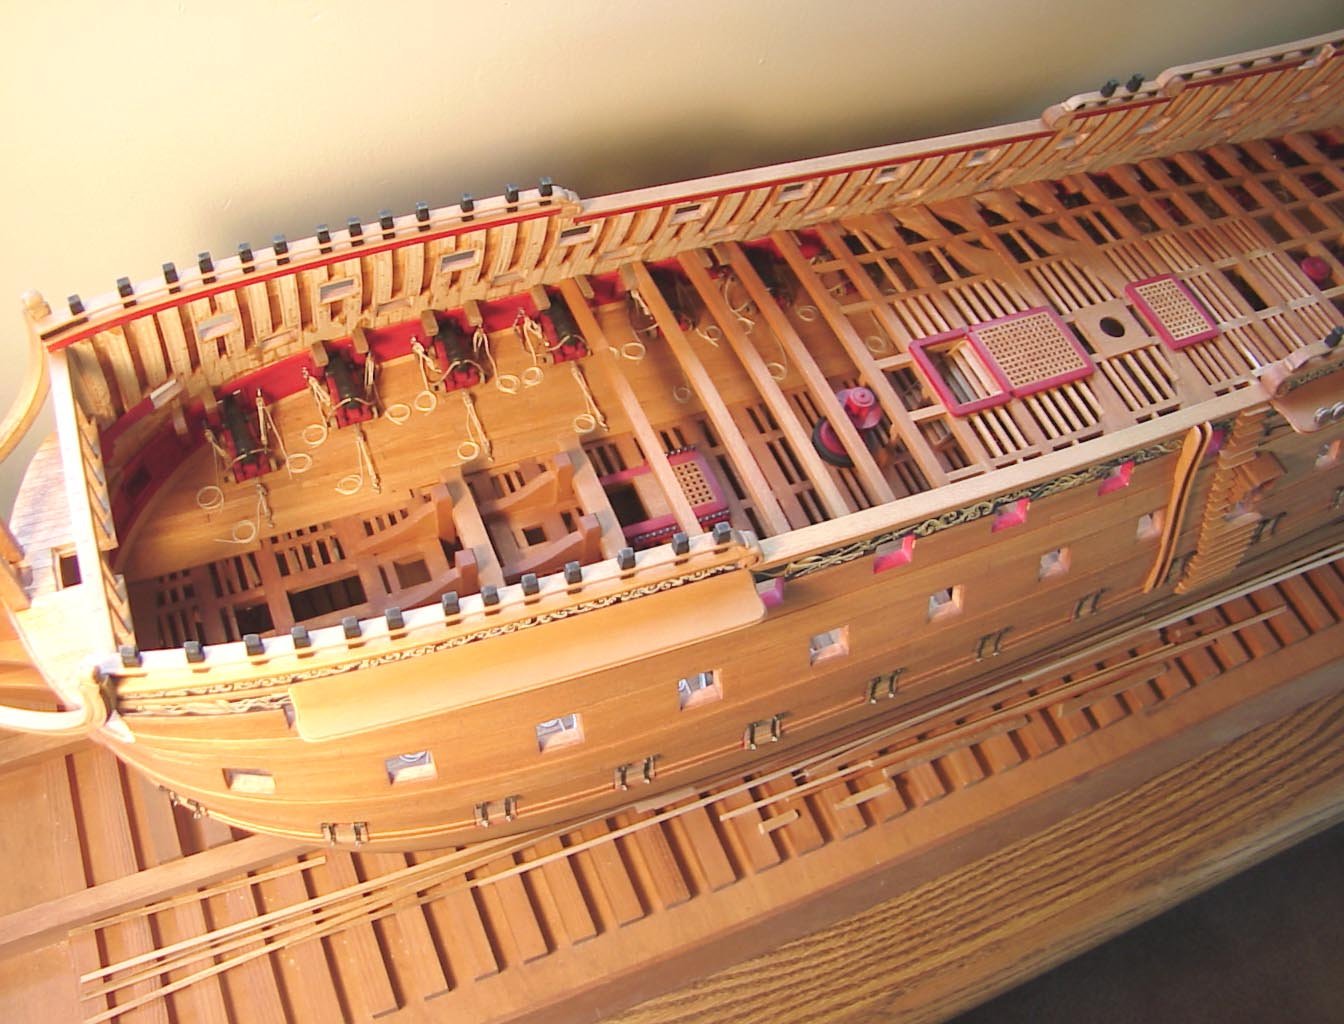
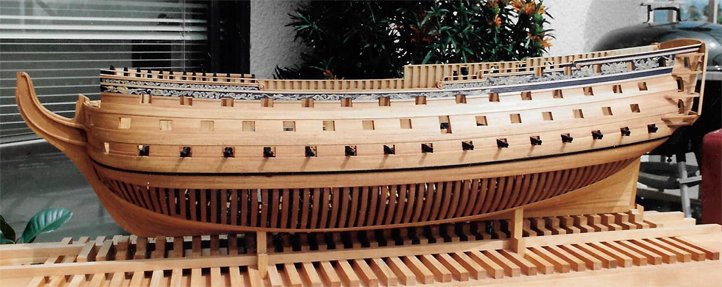
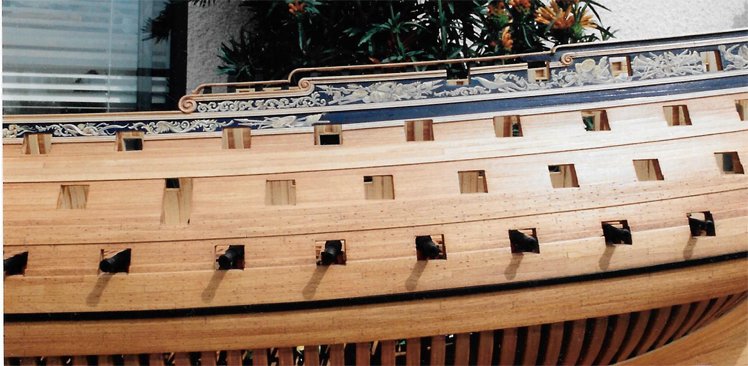
Part 2 Thanks to all that have started following my attempt at a build log and for your likes and comments. Although most contemporary Admiralty models had no guns, I decided early on to add this level. If I didn't I might regret it later on. My early visions included the possibility of a fully rigged ship and so it would have to have sea going artillery. I seriously underestimated the scope of building a 100 gun ship of the line. The guns and tackle added a tremendous amount of hours and really tested my patience. I often tell my friends that in the time it has taken so far I could've built three frigates. But the other side of the coin would mean I wouldn't have a three decker, the most awesome war machine of its time. From early 1993 to mid 1995 I had made the master 32 pound barrel on my lathe, made the RTV rubber molds, and started casting 30+barrels. Carriages were constructed with the cross pieces and trucks. The cheeks I scaled on my computer, saved to a floppy disk, and I had them laser cut out of 1/8" white Lexan. The completed assemblies can be viewed in the above photos. Starting amidships in 1995 six cannons have been rigged, have gunport doors, and the middle deck framing has been started. I had also decided to have the guns run out to starboard and the portside guns run in with ports closed or open for viewing, to show the lines of the ship better. Each gun has three single blocks and three double blocks with corresponding ring bolts and lines. (And like an idiot I made the blocks). There's the breaching rope, etc. Now multiply by 100 and you can see the enormity of the task. Not saying it wasn't fun but I had to take breaks and go back to ship construction. One photo shows the mainmast stepped. All three lower masts were made to line up through each deck. In July of 1995 I was relocated to Orlando, Florida for my work for 3 1/2 years. My wife and I decided to take the train first class with a sleeper compartment from LA's Union Station to Florida. I built a carry case with a clear lexan top and Victory made the trip safely in our compartment with us. Victory was laid up in Ordinary for over 6 years, due to other projects, before I got motivated to work on her again. Let's see...more guns. In Part 3 we will jump into the 21st Century.
-
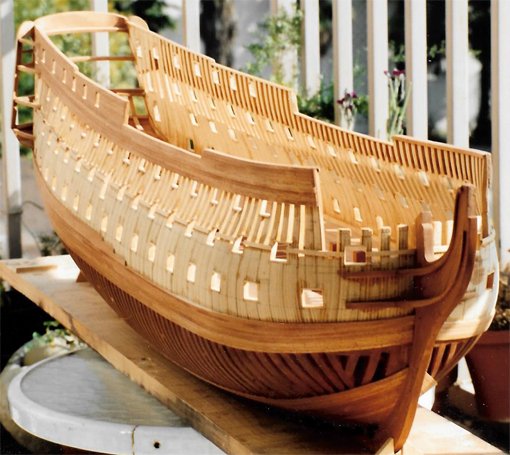
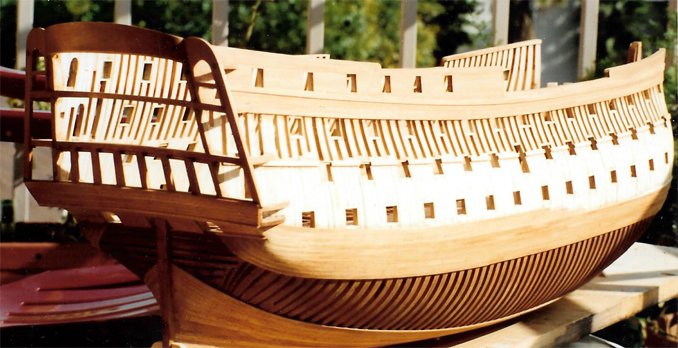
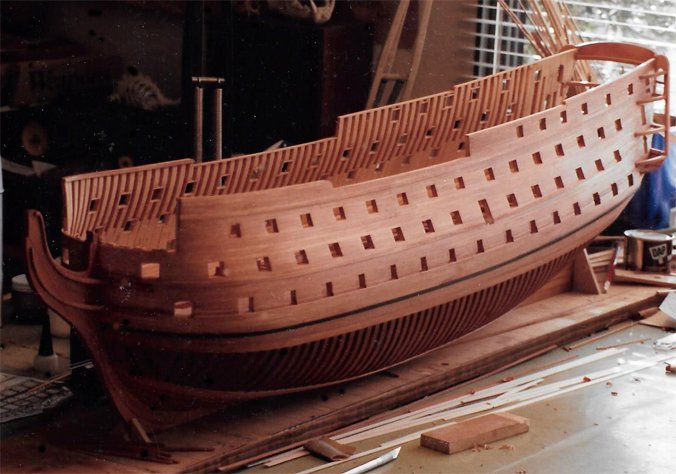
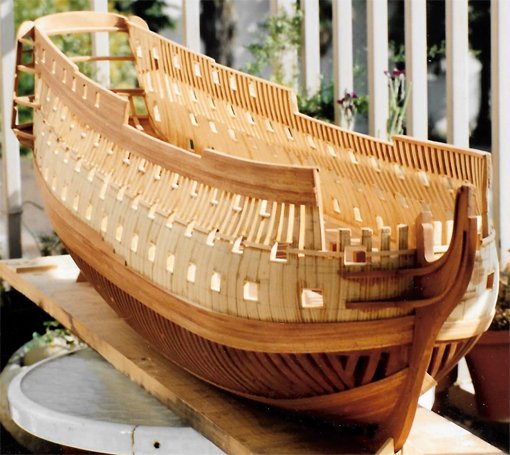
Greetings to all. This will be a "sort of build" log of my scratch-built model of the Victory starting in 1991 to present. In the pre-digital photography era the few photos I have were shot with a Nikon 35mm camera. I'm not the most disciplined when it comes to shooting progress pictures. I get so excited about the build that I think there's just a few more things to do before shooting the next pictures. So here's some shots and explanations of my process from the early '90's. Part 1 After the usual research and gathering of plans and photos I decided to build in 1:64 scale, or 3/16th"=1'. A good average house scale. My base plans were taken from John McKay's book "The 100-gun Ship, Victory", and C. Nepean Longridge's "Anatomy of Nelson's Ships". McKay's plans are based on how she would've looked after her 1800-1803 large rebuild prior the Trafalgar. Longridge has more detailed drawings along with structural details of general construction of the period. My original intention was to build this version. After prolonged study the drawings I noticed the original sheer line and rails, still visible today, before the build-up of the bulwarks along the quarterdeck. So back to research for drawings of how Victory looked from 1765-1799 with stern galleries and elaborate carvings. Meanwhile the build still went on for the hull structure. The first step was to enlarge the drawings to 1:64 scale. I enlarged the outboard, inboard, framing, profiles and plan views of the ship then all the frame sections. The keel, stem and stern post drawings as well. Framing and Shaping the Hull I used what is probably a unconventional approach to construction of the hull. Since the "Man of War" has more frames than a merchant vessel, and they almost touch each other, I figured that 1/4' thick frames would be very close for an Admiralty style builders model. All the frame sections were laid out on 1/4" thick birch marine ply and cut on a band saw. I cut 1/4" spacer sections for between the actual frames. These were carefully aligned and screwed together in stacked sections until I had the complete hull. (No photos exist of this phase). I used a 1" Makita belt sander to knock down the stair step frame sides close enough to start block sanding by hand. I forgot to mention you must make sure your frame drawings, before cutting, start amidships facing towards the bow and aft towards the stern post. That way when the shaping starts you are sanding to the line of the drawings for the proper shape. It's like making a pattern or wood buck for a mold. After the hull is shaped and sanded to a finer grit, the next step is to unscrew all the frames and take out the 1/4" spacers. Back to the band saw and cutout all the insides of the frames and notch for the keel indexing. The Keel, Stem and Stern Post Next was cutting out and assembly of the keel, etc. From here it conventional construction with the keel laid upright and plumb on the building board, and frames set in position. I cut frame shaped sections out of the spacers and placed these between the frames at the middle and lower gun deck levels for strength and rigidity. Once everything is glued in position with stringers holding the outside into place, I sanded and shaped the inside of the frames. The Planking All the planking is Basswood used for its very fine grain. For the bow and stern areas I used my wife's tea kettle to steam the planks for the tighter radius bends. Below is the completed planked hull, the cutting down of the bulwarks, The addition of the wales and moldings, upper rails. I made tooling jigs for shaping the moldings. Lower deck 32 pounders are sitting in place. Cannon construction is another project in itself. And of course one must take the motivational paint break to see how things will look.
-
New to Model Ship World
Steve Anderson replied to Steve Anderson's topic in New member Introductions
Thanks to all for your kind welcomes. Chris, I never never lived in the Bay area, only visited. I'm on the Central Coast in the Pismo Beach area. Cheers to all, Steve -
Hello to all. My name is Steve Anderson. I am an artist and modelmaker. I have always loved and been inspired by ship models. My first exposure was the collection at the San Francisco Maritime Museum when I was in High School. Since then I've had the good fortune to visit National Maritime Museum in Greenwich, Preble Hall at the US Naval Academy in Annapolis, the Smithsonian, and many others. C.S Forester's Hornblower series, Patrick O'Brian's Jack Aubrey, and Alexander Kent's Bolitho books are "very well thumbed", as Sherlock Homes would say, for continued inspiration. In 1991 I laid the keel for HMS Victory in 1:64 scale. I chose this scale, rather than 1:48, because it seemed to more fitting in scale to a home and was big enough to get your hands inside for great details. The project has been in progress on and off for 31 years. All is plank on frame. The patterns and molds for the guns were made by me. The cast parts are urethane. The decorative painting is all freehand brush work. I started a back-in-time build log and will post some of the work in progress and will continue to do so as I go forward toward completion. Very excited about being in such illustrious company of Model Ship World. Cheers, Steve
-
Marvelous build and very inspirational. Love the way you stained the deck framing to give the look of a contemporary model. All I can say is just wow.
About us
Modelshipworld - Advancing Ship Modeling through Research
SSL Secured
Your security is important for us so this Website is SSL-Secured
NRG Mailing Address
Nautical Research Guild
237 South Lincoln Street
Westmont IL, 60559-1917
Model Ship World ® and the MSW logo are Registered Trademarks, and belong to the Nautical Research Guild (United States Patent and Trademark Office: No. 6,929,264 & No. 6,929,274, registered Dec. 20, 2022)
Helpful Links
About the NRG
If you enjoy building ship models that are historically accurate as well as beautiful, then The Nautical Research Guild (NRG) is just right for you.
The Guild is a non-profit educational organization whose mission is to “Advance Ship Modeling Through Research”. We provide support to our members in their efforts to raise the quality of their model ships.
The Nautical Research Guild has published our world-renowned quarterly magazine, The Nautical Research Journal, since 1955. The pages of the Journal are full of articles by accomplished ship modelers who show you how they create those exquisite details on their models, and by maritime historians who show you the correct details to build. The Journal is available in both print and digital editions. Go to the NRG web site (www.thenrg.org) to download a complimentary digital copy of the Journal. The NRG also publishes plan sets, books and compilations of back issues of the Journal and the former Ships in Scale and Model Ship Builder magazines.

