HOLIDAY DONATION DRIVE - SUPPORT MSW - DO YOUR PART TO KEEP THIS GREAT FORUM GOING! (Only 44 donations so far out of 49,000 members - C'mon guys!)
×


flutlo6180
-
Posts
146 -
Joined
-
Last visited
Content Type
Profiles
Forums
Gallery
Events
Everything posted by flutlo6180
-
 Thanks VTHokiEE. Painters tape might just be the answer. I'll try a dry fit to see of the tape will work and post the results.
 -
Hi Gill. Welcome aboard!!
-
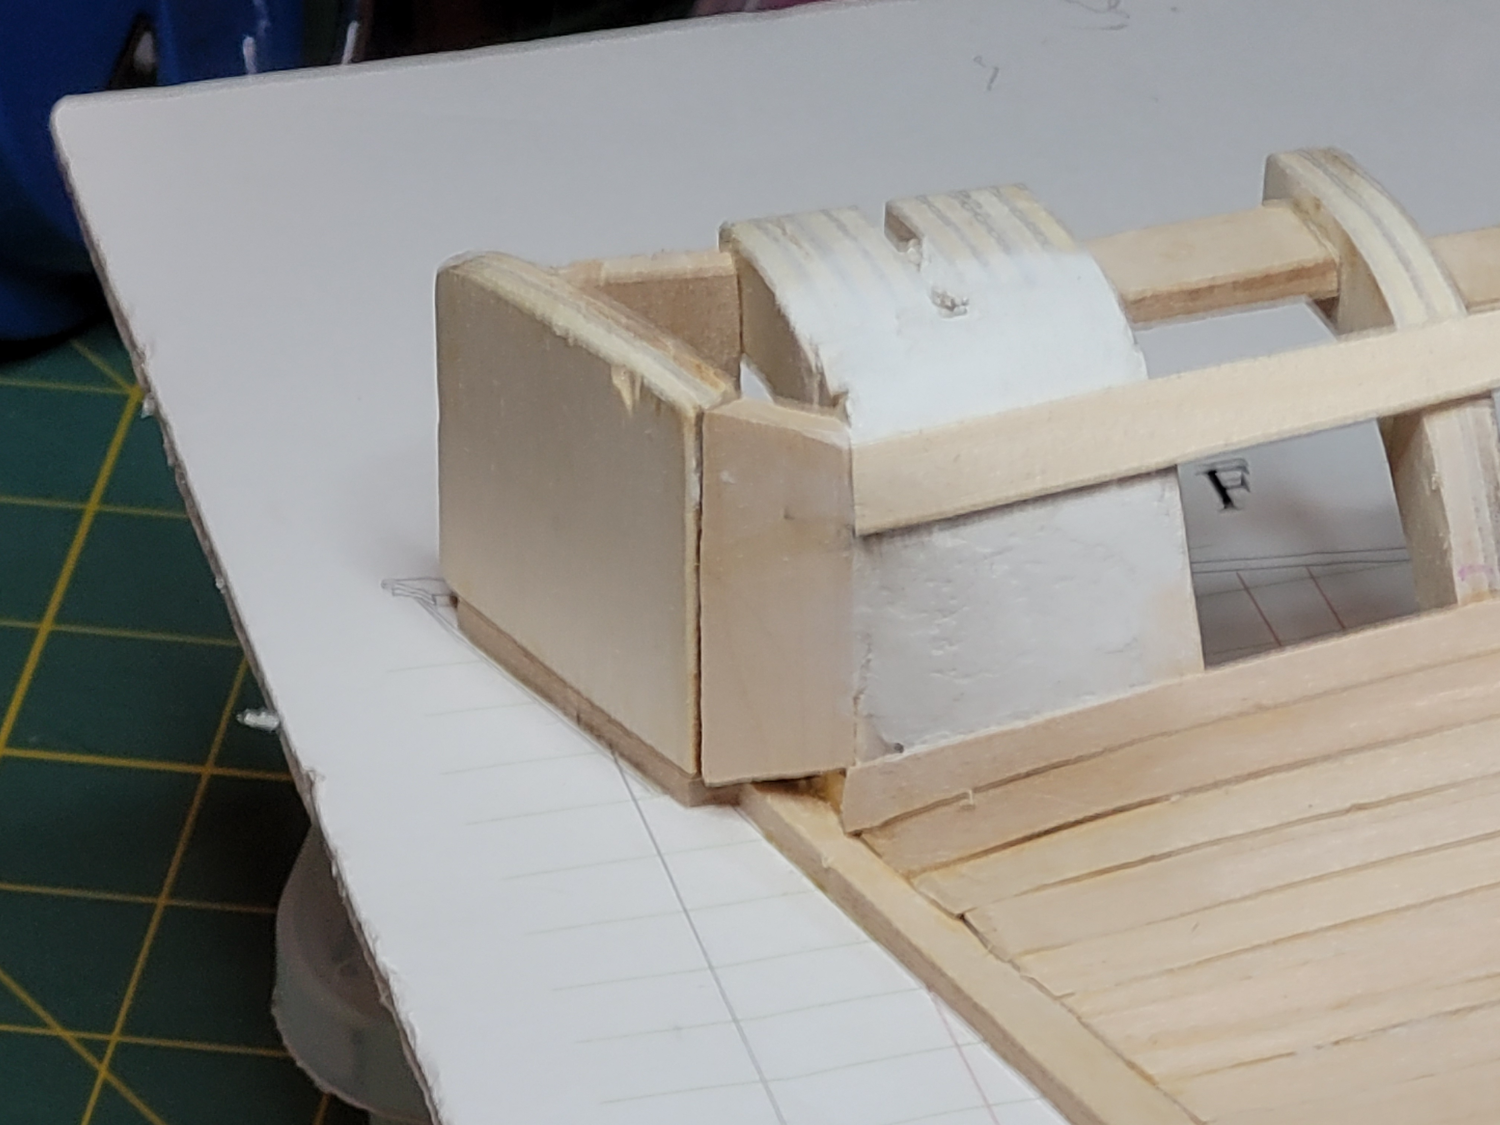
Thanks Eric. I'm at the point of installing the cap rail and rubbing strake below the quarterdeck. My initial attempts at fashioning the cap rail using the basswood proved to be way too fragile at the scarf joint. After 2 failures, I shifted to using some 1/16" maple left over from a chess table I made for my grandsons. While it took some time to cut the maple to shape with an exacto blade (actually 3 blades as I kept snapping off the tip) the end result is much sturdier and I am pleased with how it turned out. I do plan to color the rails either a matte black or a dark brown for a nice contrast before installing them on the hull. My quandary right now is the best way to install the rail. I've tried to steer clear of using CA and have used diluted wood glue thus far in the build but there isn't room in the interior of the hull to clamp the rail in place while the glue dries. There isn't any purchase for clamps on the outside of the hull and I can't envision a way to use rubber bands. Am I stuck using CA or is their a way to clamp the rail in place that I'm just not seeing?
-
Hi Demostenes, Welcome Aboard! If you haven't done so, start a build log for your HMS Victory build, even if you are already well into the build. Doing so is the best way to get advice, tips and encouragement when needed.
-
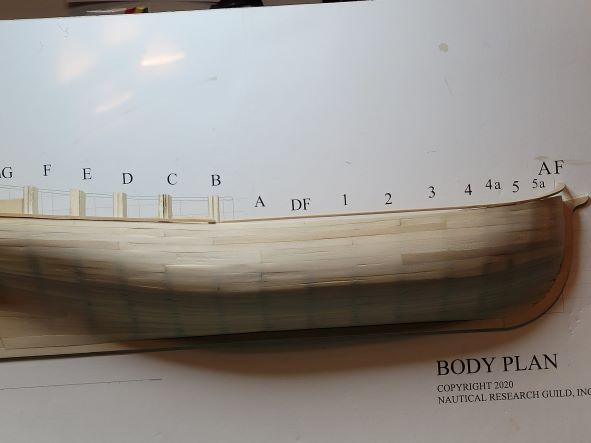
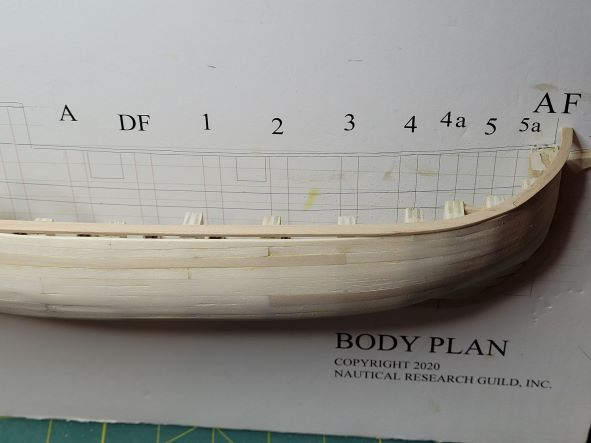
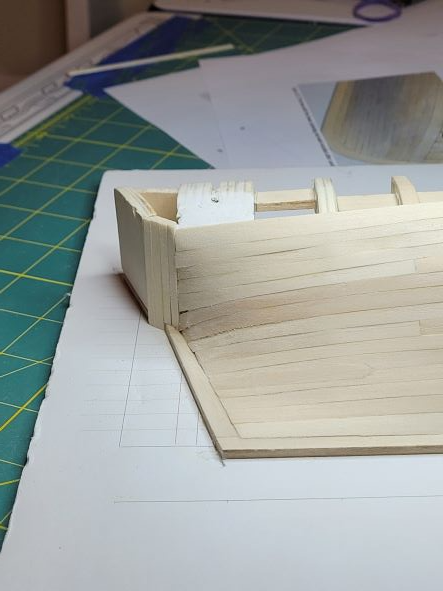
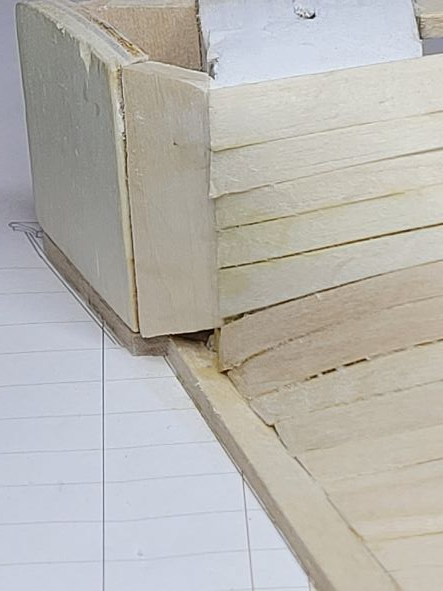
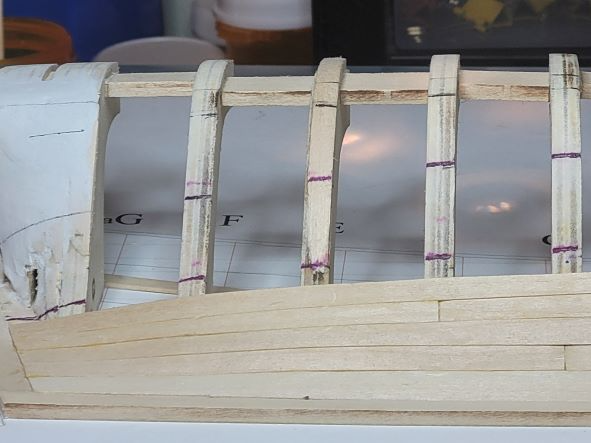
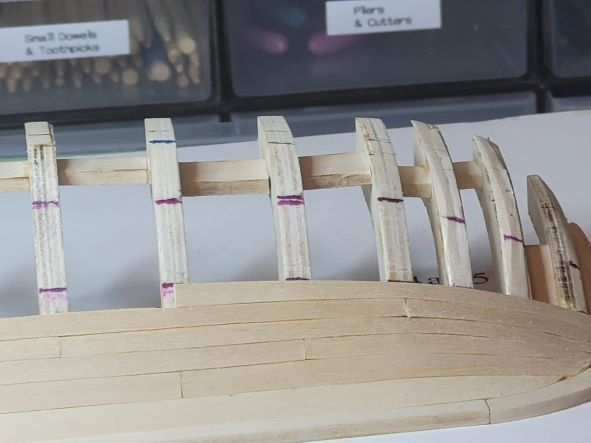
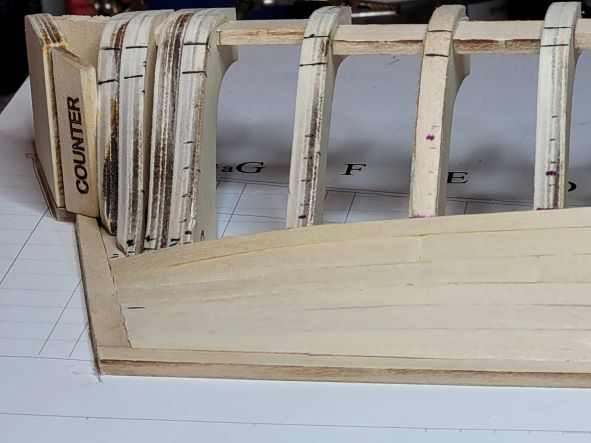
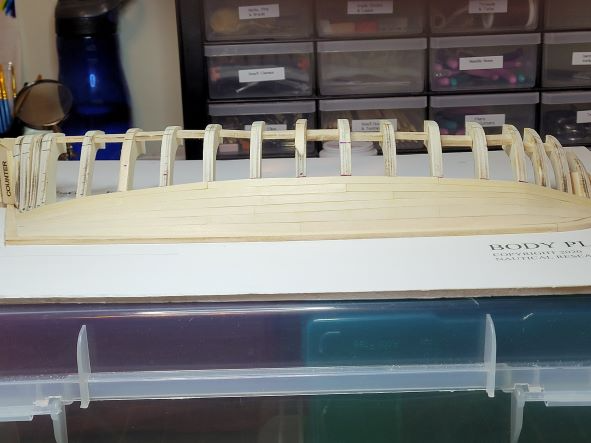
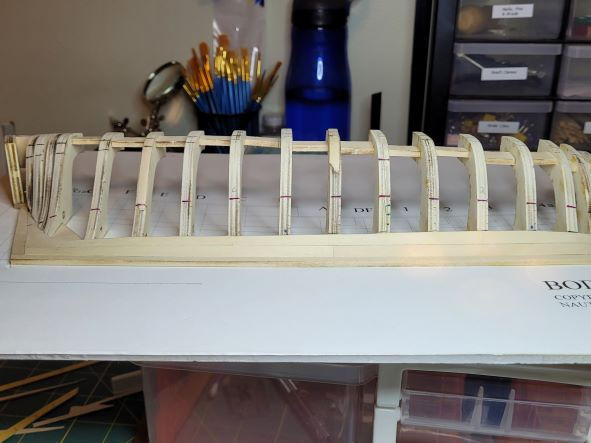
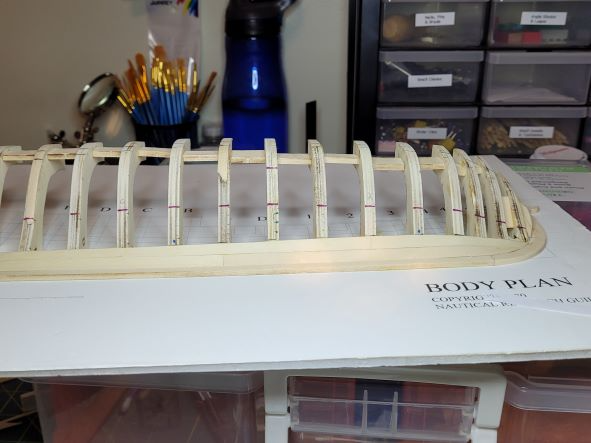
It has been a week or so since my last update and I've continued to progress with planking completed below the wale and on the counter. After rebuilding the aft frames and counter the wale flows nicely into the counter. A small amount of cleanup left, but I'm pretty pleased with how the planking flows into the stern post and counter. And with the counter planking completed. Tearing down the planking and re-fairing the forward frames resulted in a much nice flow of planking into the stem. I did end up with 2 drop-planks to keep the width into the stem rabbit from being to narrow. Overall, I am pleased with the results on the lower hull despite some of the small gaps with the planking flows into the sternpost. I still need to finish sanding the lower hull before layout out the quarter deck line, installing the top rail and completing the upper planking and second layer of the wale.

-
Hi Glenn. Welcome aboard!
-
Hi Victor. Great start on your build! I used small needle nose plyers instead of the push nailer and didn't set them fully. Once the glue dried they were easy to remove which was much easier than filing off the heads per the instructions.
-
Hi Steve. Welcome aboard! Very nice looking model. Thirty-one years - Wow! I am impressed with your patience.
-
11 anni di modellismo d'arsenale
flutlo6180 replied to MICHELE PADOAN's topic in New member Introductions
Hi Michele. Welcome aboard and thanks for sharing the photos depicting your exceptional workmanship! -
Hi Jake. Welcome aboard!
-
Hi J. Welcome aboard! I'm finding that mistakes are all part of the learning process, and you've landed in the right place to get advice and solutions when they do arise.
-
Hi Giuseppe. Welcome aboard!
-
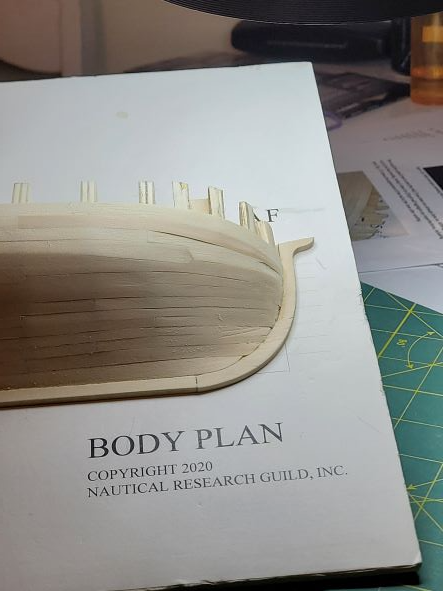
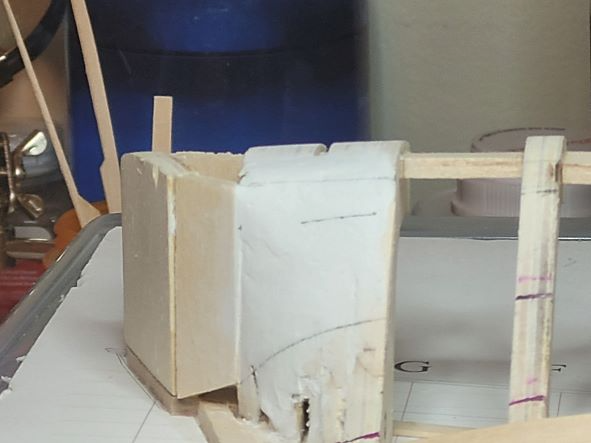
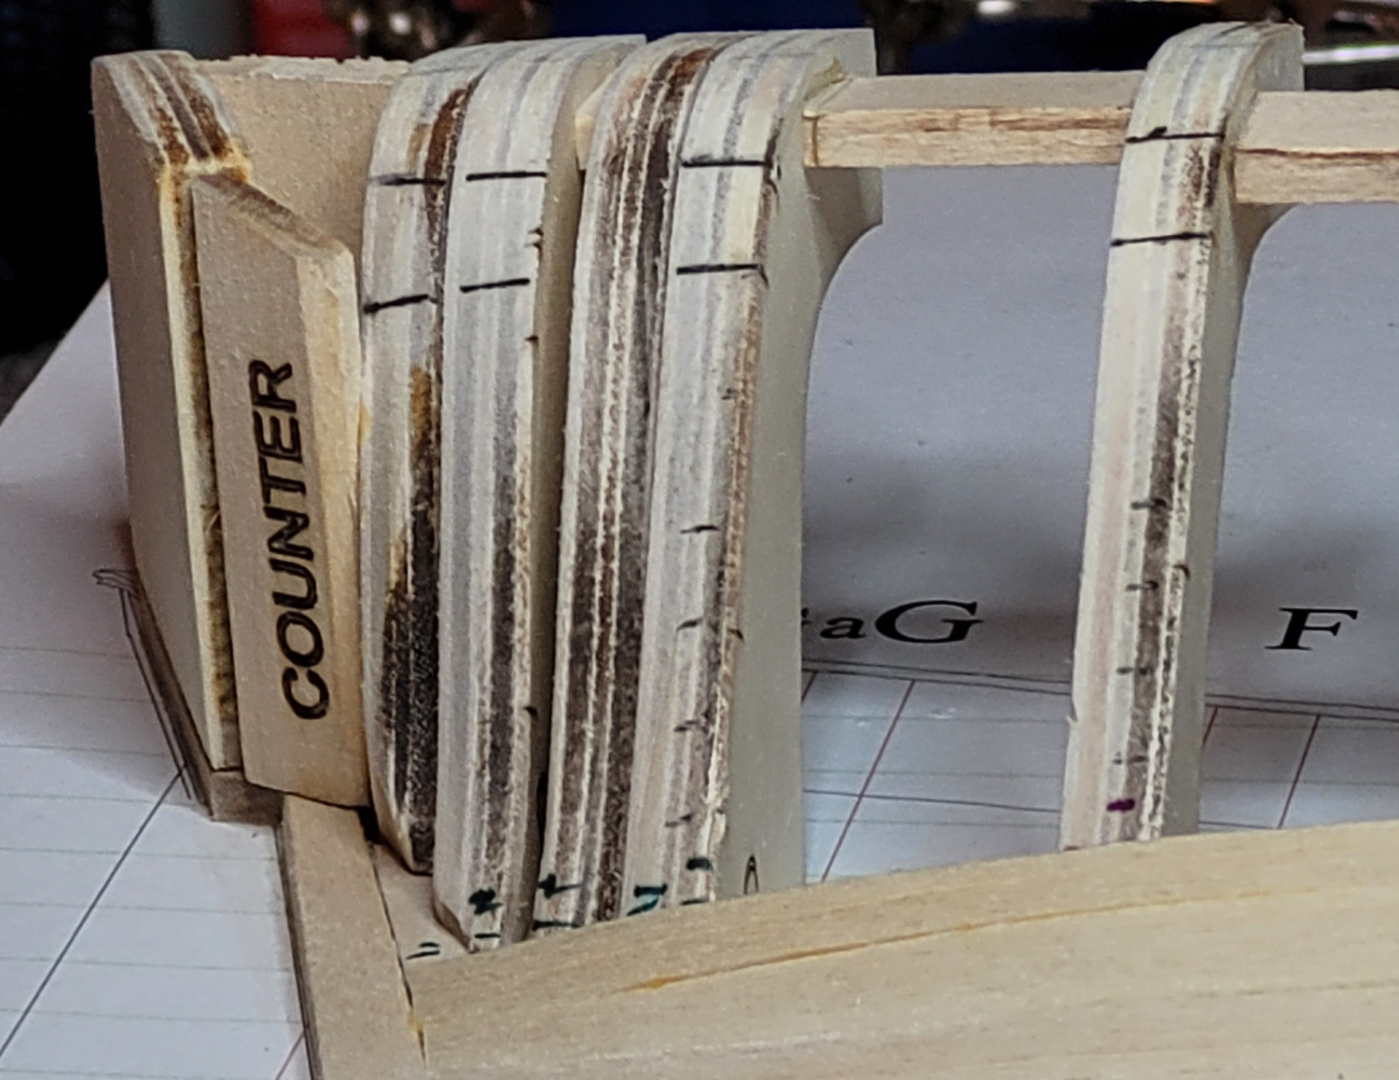
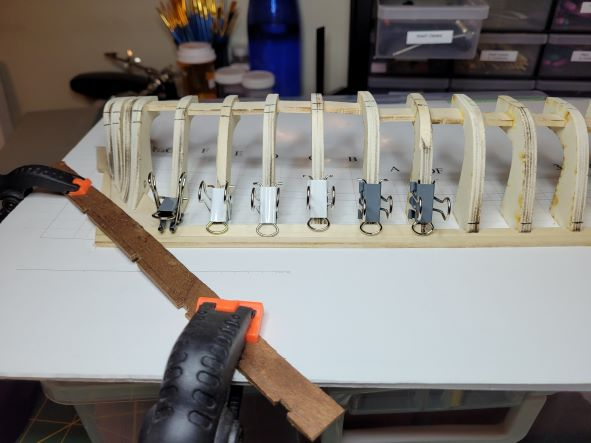
Finally back to where I started with planking on the first band complete, but further ahead as the aft frames and counter area are rebuilt. Toni, I am impressed that you could spot the broad strake error from my photo. It wasn't so much as too wide, but too narrow in the forward section. The changes in width did effect the planking width and I am much happier with how much more consistent the planking width is on this second attempt. The bigger issue was fixing the counter. From this first photo, you can see that because I waited to install the transom and counter until later in the build I wound up filing off way too much. This error was in part the reason I couldn't envision how the counter, transom and framing should come together. I ended up significantly building frames G through H back up to restore them to an approximation of their correct shape and it was easier to use some wood putty to fill in the irregular gaps from the shimming and to achieve a smooth surface and flow into the counter. I also cut back the aft frames further back into the deadwood which also created a better flow for the planking into the stern post for the first and second bands, and also created a better surface area for gluing. Overall, the result thus far is a significant improvement (IMHO) from previously, and I am very glad that I decided to strip back all the planking - including the garboard and broad strakes - to better address the issues.
-
Hi Eric. Thanks for commiserating. I have worked the counter area and found several sections of the hull that required additional fairing and am back to adding the first band of planking. The extra practice with spiling is already showing benefits with tighter joints and better overall appearance. I'll post some photos with my next entry.
-
Thanks Eric and Toni. I appreciate your words of encouragement. After carefully considering how I wanted to proceed, It was clear that I couldn't adequately address the aft frames and counter area without damaging some of the lower planks. I've removed all of the planks to address the problems and focus on my fairing technique. I did put the HM Alert - 1777 kit in the closet so it's not such a distraction.
-
Thanks Eric. It seems obvious to me now that I have not been checking the flow of planking the correct way, and perhaps more importantly not often enough. Hi Toni. Thanks so much for dropping into my log and providing me advice. I'll check the broad strake width and If it is too wide then I plan to de-plank and start afresh - fortunately I am only at the first band and already purchased additional basswood sheets. At a minimum, I will address the aft frames per your guidance and fix any additional areas needing more fairing. Doing so may also lead me to the conclusion that I need to strip back the planks and completely re-fair the whole framework. On the plus side, I am getting even more practice with spiling. 🙂 Hi Carlo. Thanks for your encouragement.
-
Thanks for the photos Eric, and your comment! The pictures are very helpful in getting me to visualize how that junction could look. It does appear that you filed back the last 4 frames quite a bit with the last 2 running much more vertical up to the wale in the third planking band. Am I interpreting the photos correctly or is it just the camera angle?
-
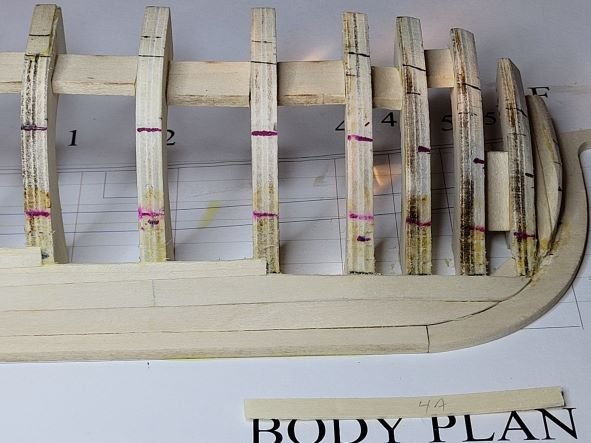
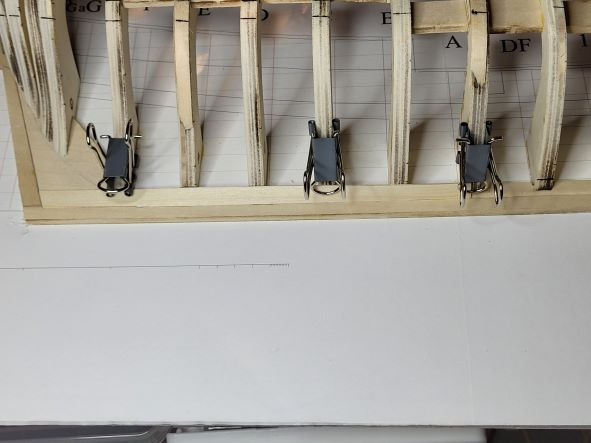
I built up frames 4a and 5 and re-faired that section of the hull. The dip / knuckle is gone and I'm glad I decided to rework and correct the defect.
-
Thanks Cathead. Your reply reminded me that the whole purpose of this half hull kit is learning to plank properly. After thinking about your comment I decided to remove the planking from the first bow section band to build up frames 4a and 5 and re-fair that section of the hull to try and remove that awkward knuckle (I like the way you put that observation). The garboard and broad strakes don't exhibit that dip so I am leaving them in place. While I'm in the process of reworking this section I am also going to address the counter as it is likely easier to do that now than after laying the second planking band. I am curious as to how you addressed the counter with respect to the way the wale transitions into the counter and transom.
-
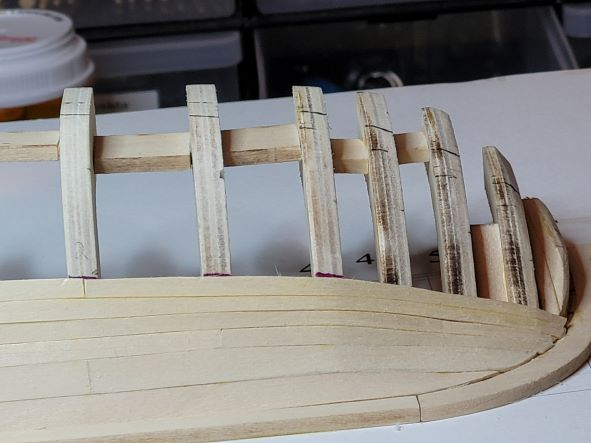
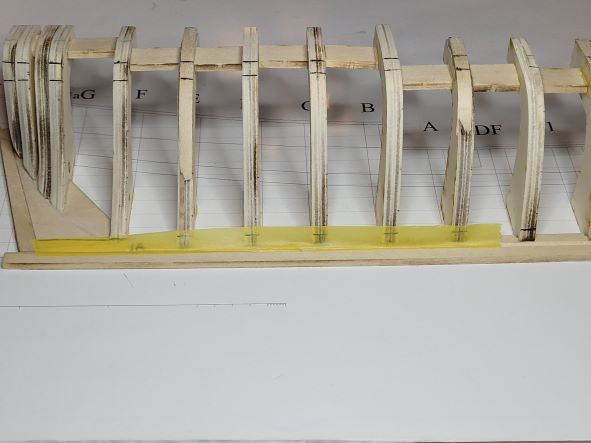
Today I finished with the first band of planking, installed the counter, and drew the layout the half stealer. A few issues came to light as I completed this phase of the build. First, I needed to fair frames 3 and 4 a bit more as there is a dip on frames 4a and 5. The directions for installing the counter aren't very clear. At first, I thought the writing would face inward and realized my error after gluing which presented another opportunity to release the PVA and start over. I'm am also concerned that I will need to build up frame H when I get to installing the wale as it doesn't appear that the junction will look right. Finally, I'm not really pleased with the layout for the half stealer and will likely redo that when I start on the next planking band. Next step will be laying out the separation line for bands 2 an 3.
-
Hi Victor. Welcome aboard. My first build was the San Juan Felucca. My last post of that build log lists a number of lessons I learned during the experience. While I am still quite the novice, I'll be glad to answer any questions you have / share my experience about that build.
-
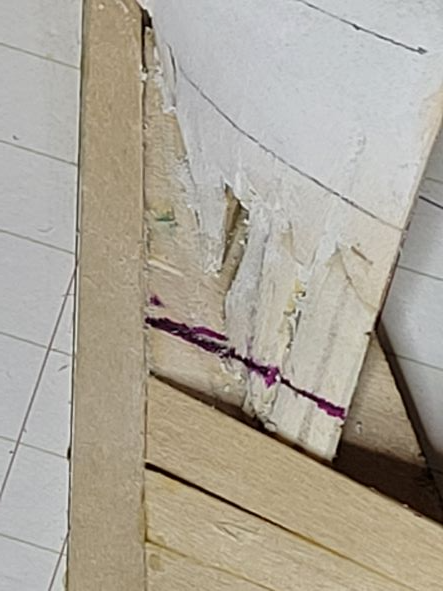
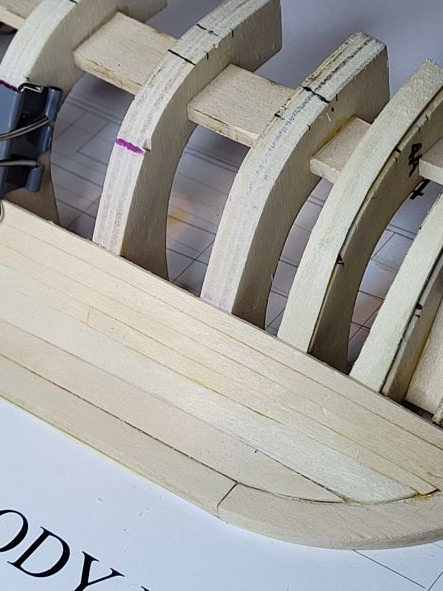
Thanks Cisco. Completed the garboard and broad strake installation. Fiddled around with the trying to get a good fit in the stem rabbit and ended up remaking the forward broad strake section twice before I figured out what I was doing but overall I'm happy with the fit. I ordered some additional 1/32" basswood to ensure I have enough on hand if I need to remake many more sections. The first band line layout is shown with the purple lines on the frames. The marker for the second band is only on the dead flat for now until I finish installing the counter. Using the spiling technique to shape the first plank section wasn't as challenging as I anticipated and the dry fit for the middle plank in the first row of band one is reasonably good after some fine tuning. I recognize that this is only 1 section of one row in the dead flat area so I am checking my confidence with spiling, but at the least I now understand the process.
-
Hello and thanks for allowing my membership
flutlo6180 replied to Chestcutter's topic in New member Introductions
Hi Chestcutter. Welcome aboard. -
I achieved another build milestone today with shaping and gluing down the aft garboard plank. The initial dry fit was pretty good overall but I wasn't completely happy with how it fit into the rabbit. Cutting a slight bevel into that edge improved the fit. I've laid out the garboard plank forward and will fine tune the shape during dry fitting after the glue completely cures on the aft section. The layout Dry Fit Glued and clamped.
-
Hi Wieslaw, welcome aboard!