HOLIDAY DONATION DRIVE - SUPPORT MSW - DO YOUR PART TO KEEP THIS GREAT FORUM GOING! (Only 44 donations so far out of 49,000 members - C'mon guys!)
×


flutlo6180
-
Posts
146 -
Joined
-
Last visited
Content Type
Profiles
Forums
Gallery
Events
Everything posted by flutlo6180
-
Hello Juan Carlos. Welcome aboard!
-
Hi Bruce. Welcome aboard!
-
Hi Lester. Welcome aboard!
-
Hi Pietro. Welcome aboard! The half-hull kit is a great choice.
-
Hi Ross. Welcome aboard! When you select the kit consider starting a build log. It is the best way to meet members and get advice and makes the daunting task a better experience.
-
Hi Jack. Welcome aboard!
-
Hi Thomas. Welcome aboard!
-
Hi Mark. Welcome aboard. I look forward to following your build logs.
-
Welcome aboard!
-
Hi Maxx. Welcome aboard!
-
Hi Phil. Welcome aboard.
-

New to MSbuilding, new to MSW. Hi!
flutlo6180 replied to jonstable's topic in New member Introductions
Hi Jon. Welcome aboard! Nice job on your first build. Thanks for sharing the photos. -
Welcome aboard!
-
Hi Shaun. Welcome aboard!
-
Hi BMT. Welcome aboard!
-
Hi Zac. Welcome aboard!
-
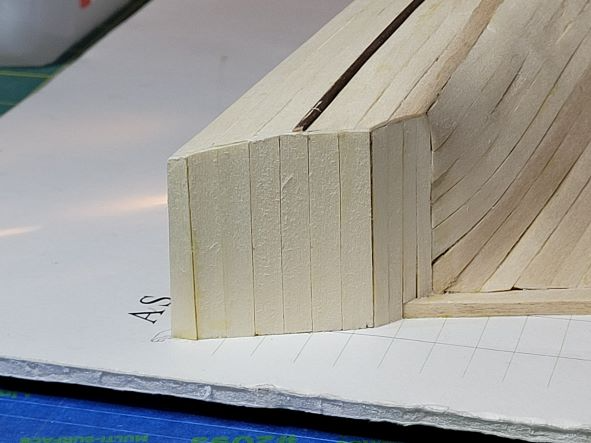
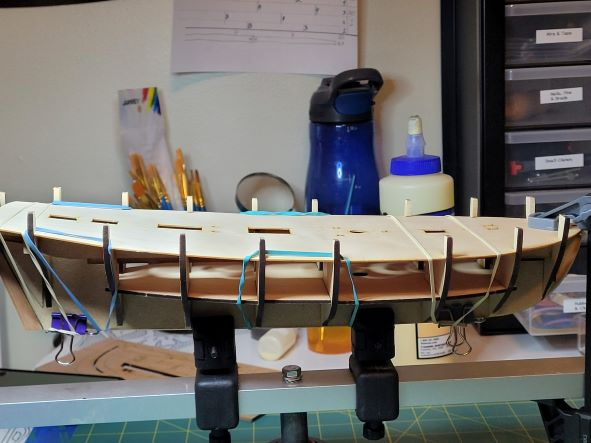
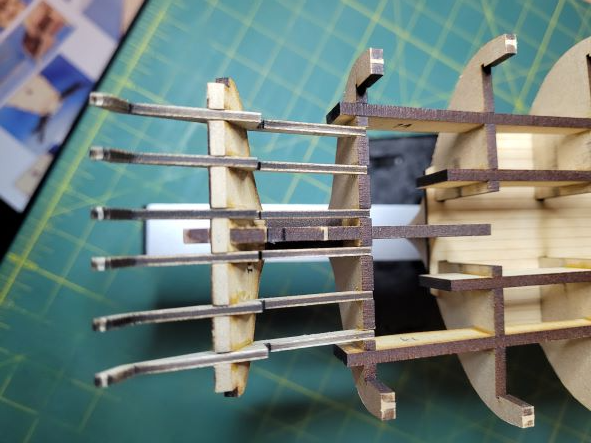
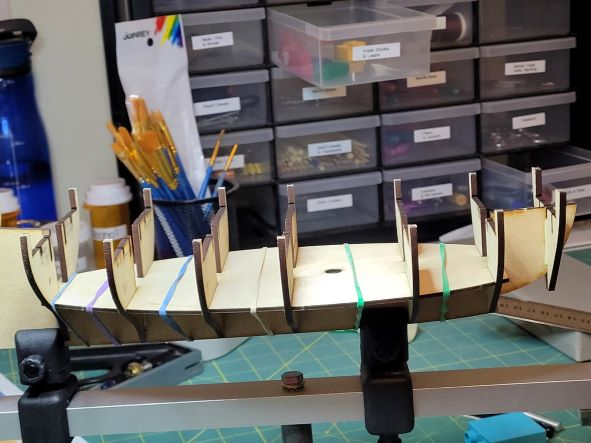
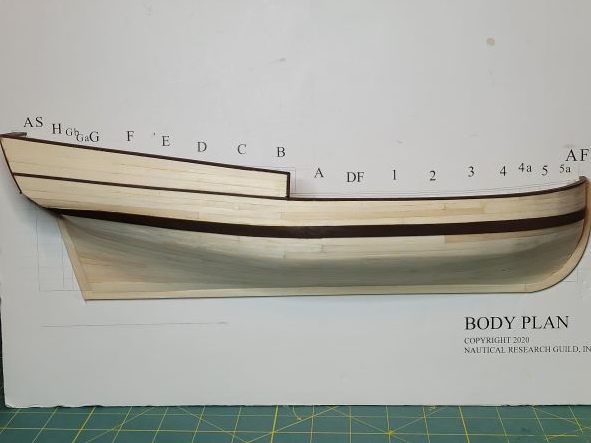
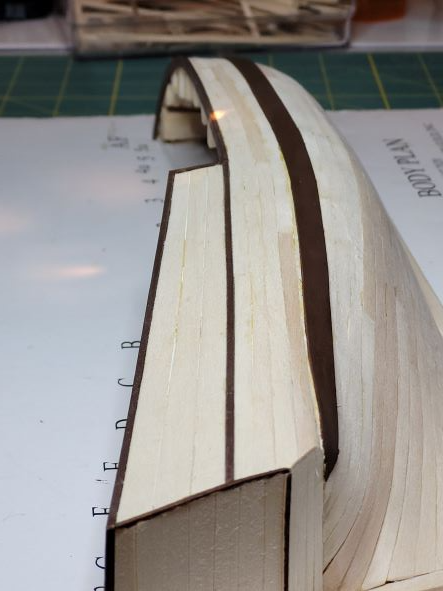
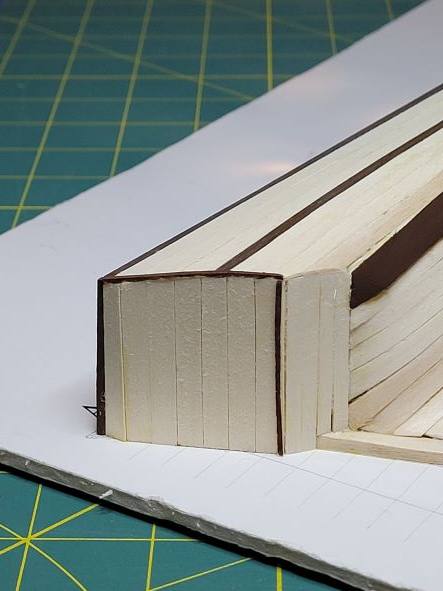
More time in the shipyard yesterday and the first layer of decking is installed. The fit for the main deck was so tight that I was worried about snapping the piece when trying to get it into the slots. In addition to shaving some width from both sides of the frames to loosen the fit a little, I also sanded a slight taper for the top of the frames. The taper helped ensure that I could get the piece slotted without breaking off any of the corners for the slots. I've seen weights used in other build logs to put downward pressure on the deck while the glue dries. Not having any small weights suitable for that purpose, I held the deck in place with a series of rubber bands as shown in these two photos. Both decks are now firmly in place. I'm now at the tedious process of fairing the hull for planking so it will be awhile before my next post (unless I run into problems and need a lifeline). For the first planking layer I am considering using the spiling technique I learned in the NRG Half Hull build and ordered some 1/16" basswood sheets for that purpose. The basswood seems a bit softer than the limewood in the kit and I am wondering if it will be suitable for the bulwark planking. Perhaps I should mix the two and use the limewood for the bulwark planks and the basswood for spiling for the rest of the hull. For the second layer I intend to use the pre-cut pearwood strips from the kit because it is so nice looking and I would hate not to use it on the build.


- 59 replies
-
- 4
-

-
- Alert
- Vanguard Models
- (and 1 more)
-
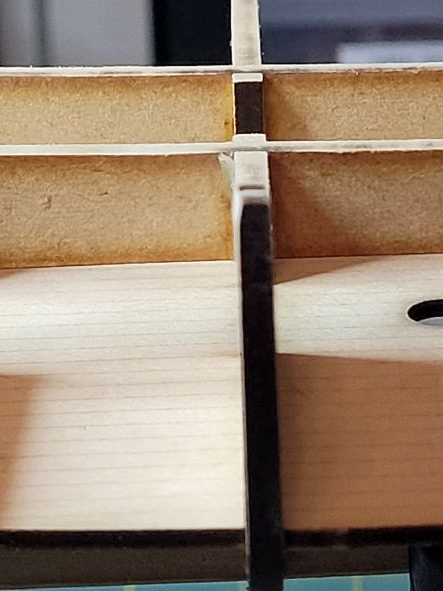
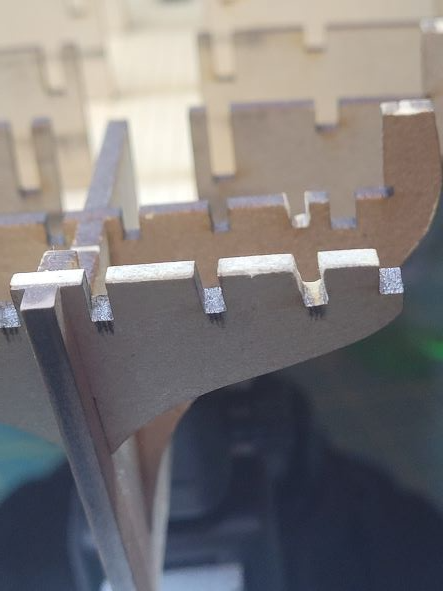
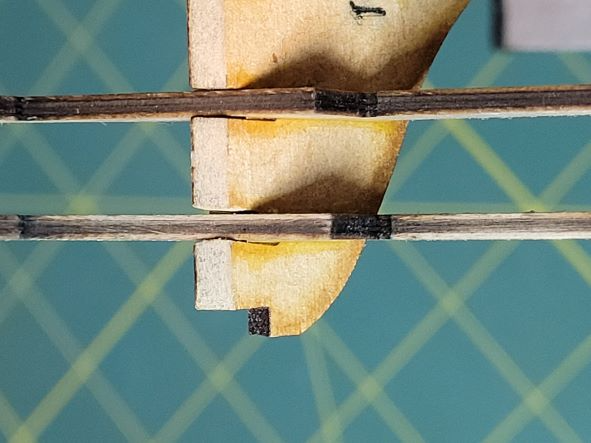
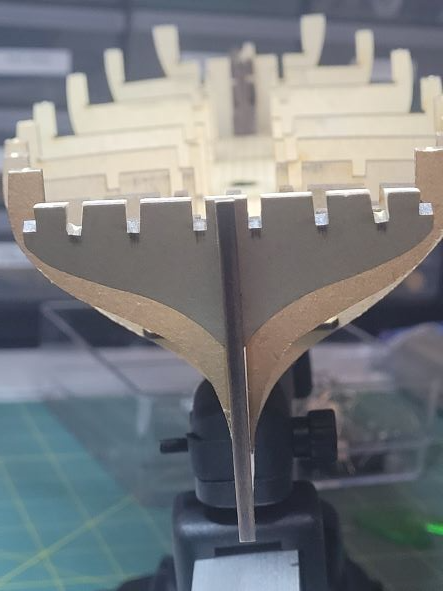
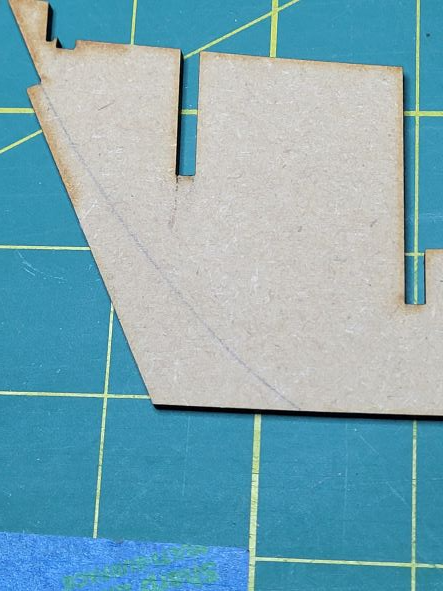
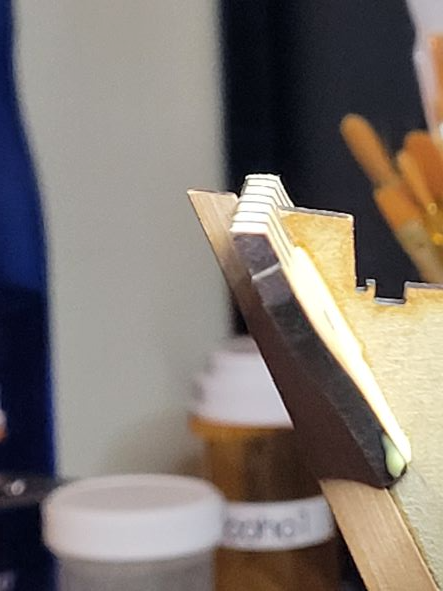
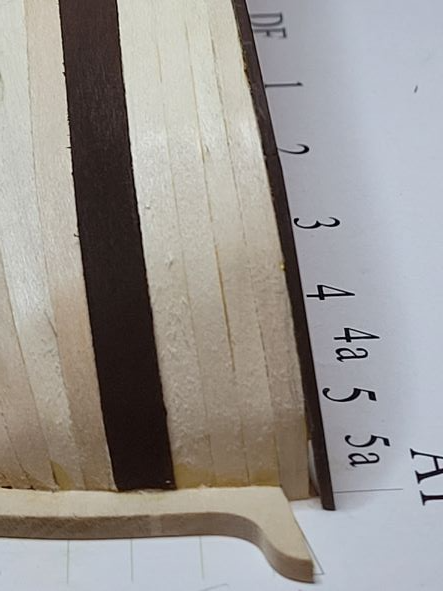
I got to the stern frames today and found the transom and frame 9 slots for frames 18 and 19 - both port and starboard - were not in alignment. The outer slots in transom are angled which prevents installation without excess stress and likely snapping them in half. You can see the angle in these two photos - the outboard slots for 19 are more misaligned than the 18 in the middle. The inboard slots for 17 were an issue. To address the problem I sanding the inboard and outboard sides of the transom slots to straighten the run. You can see the change in the slots in this photo. After this slight adjustment the frames ran true and don't appear to be under stress. Fortunately, the build logs from Blue Ensign and VTHokiEE gave advance warning of this issue so I went slow and I was able to address it without breaking and of the frames.
- 59 replies
-
- 3
-
-
- Alert
- Vanguard Models
- (and 1 more)
-
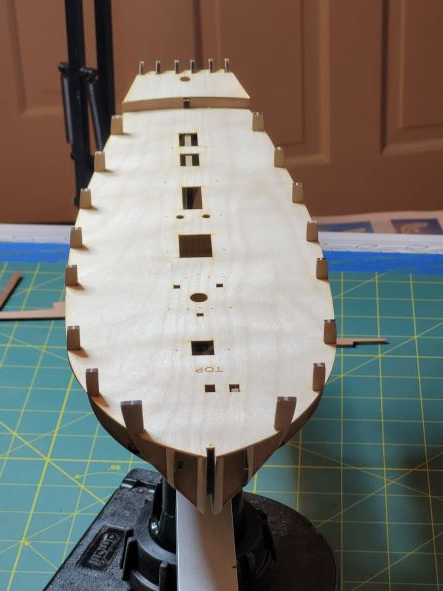
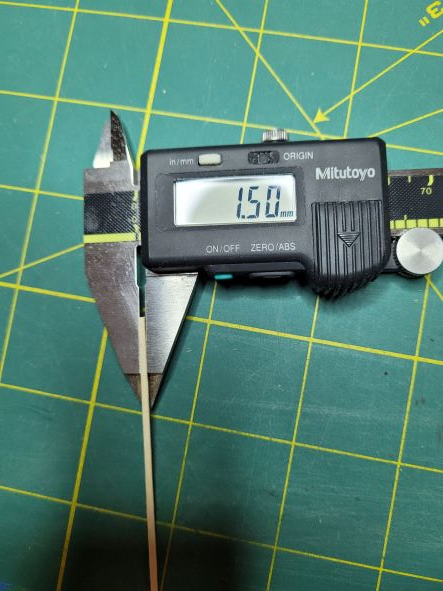
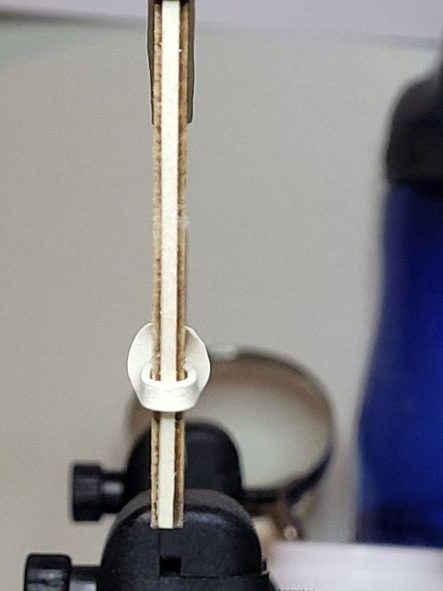
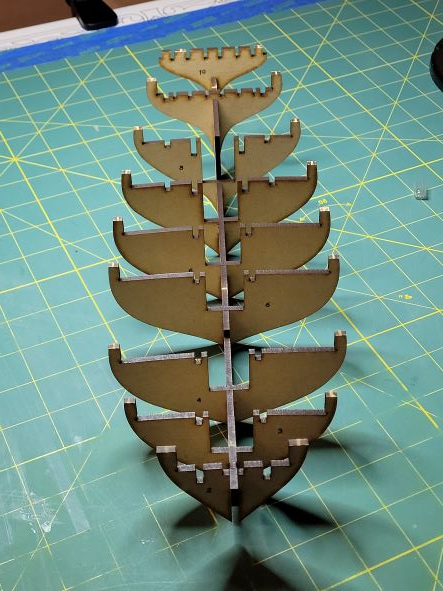
Before I begin with this build update I want to again I express my thanks to Chris Watton for so quickly responding to my query on missing parts and correcting my error. With the high quality of the kit and such great responsiveness by Chris, It is little wonder why Vanguard Models has such a positive reputation amongst the modelers on MSW. I did start the build today and began assembling the bulkheads and lower deck to the false keel. Dry fit of the bulkheads show tight fits and great alignment. I laid out the bearding line and built a template to get to the correct 1.5mm width. After tapering the stern area and tapering the top of frame 10 to match the sternpost angle, the glue is now drying on the framing and lower deck.

- 59 replies
-
- 3
-
-
- Alert
- Vanguard Models
- (and 1 more)
-
Thank you Chris for your quick reply and correcting my error. Sorry about the confusion - I should have recognized the laser engraved replacement when I did the inventory. Thanks. I've been perusing your build log to get a better sense of what I'm about to take on.
- 59 replies
-
- 2
-
-
- Alert
- Vanguard Models
- (and 1 more)
-
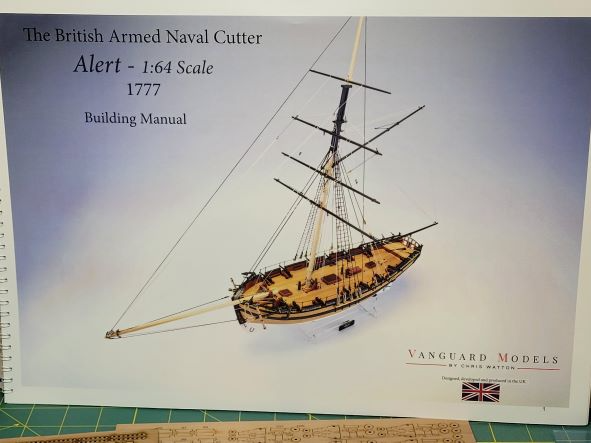
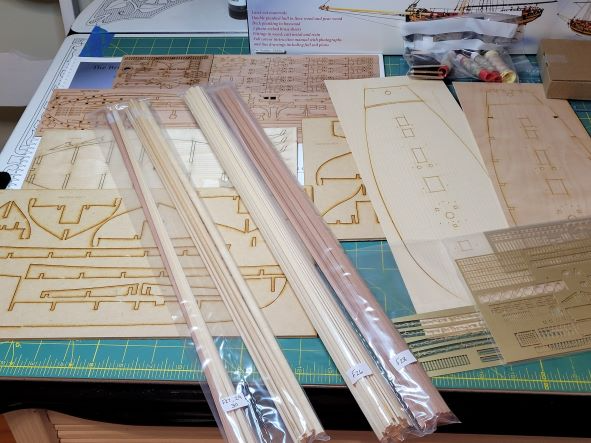
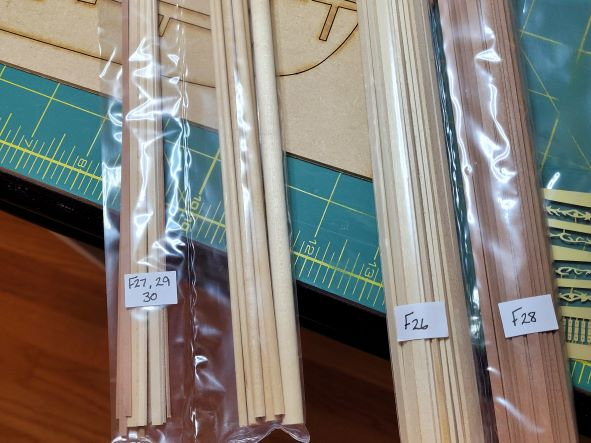
I broke open the HM Alert kit today to get a sense of what I'm facing with this build. The large and detailed build instructions are going to be great to work with and I am impressed with the quality of the materials. After reading through several build logs over the past few months, I decided it would be prudent to conduct a complete inventory. In addition to ensuring the kit is complete, the inventory provided me with a better understanding of the various components and build elements. Unfortunately, my kit was missing the basswood strips (part #31) and sail cloth (part #32). I've sent a note to Vanguard Models and am sure I will hear back from them promptly. I am really looking forward to this build. I selected the Alert kit for several reasons. First, the reputation for quality of Vanguard Models is frequently note on MSW. The kit seems like a natural progression in my modeling as it provides different construction opportunities not present on my lateen-rigged first build (e.g. cannon, rat lines, deadeyes). I also want to focus on a single mast ship as it will be less complex and easier to try and learn the art of installing running and standing rigging than a two or three mast model.
- 59 replies
-
- 3
-
-
- Alert
- Vanguard Models
- (and 1 more)
-
Finished!!! Just need to to apply a coat of varnish, make a mounting board and get a label plate engraved. This was a great learning project and I'm glad I decided to complete this build before embarking on my 2nd full ship kit. The lessons and techniques I learned will definitely help me going forward. Thanks again to Eric, Toni and VTHokiEE for your advice, suggestions and encouragement!
-
Hi RH. Welcome aboard!
-
I like the figurines engaged in typical shipboard tasks. Great looking model and a fleet to be very proud of!
-
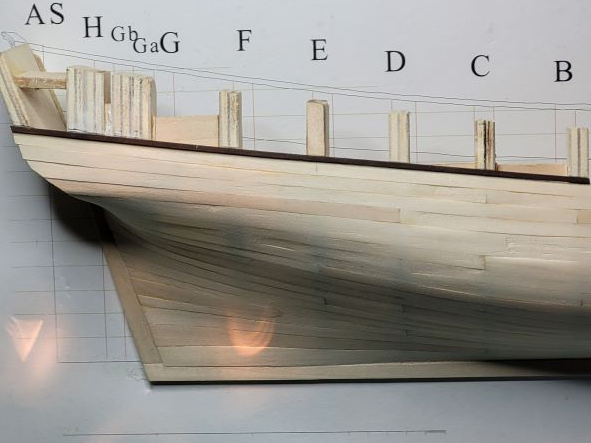
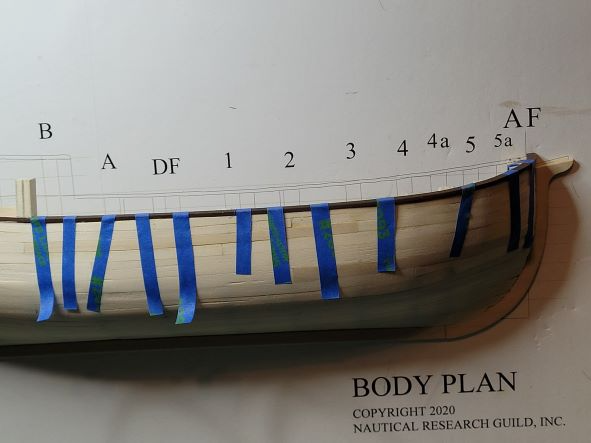
Thanks Toni and Eric. I took VTHokiEE's suggestion and used strips of tape to hold the rail in place. The approach worked out well and I'm pleased with the result. I also installed the rubbing strake below the quarterdeck ... the upper planking above the strake ... and the planking on the counter. Good point Eric. It is getting a bit awkward having to work with the full build board and I will need to detach it to mount the finished product. I must admit that it feels pretty good to be so close to completing this build. Though I don't want to get to far ahead of myself, I think its safe to pull the Alert kit out of the closet and start looking at the build instructions.