
Horatio Hornblower
-
Posts
9 -
Joined
-
Last visited
-
 Horatio Hornblower reacted to a post in a topic:
Diana 1792 by Horatio Hornblower - OcCre - 1:82 scale
Horatio Hornblower reacted to a post in a topic:
Diana 1792 by Horatio Hornblower - OcCre - 1:82 scale
-
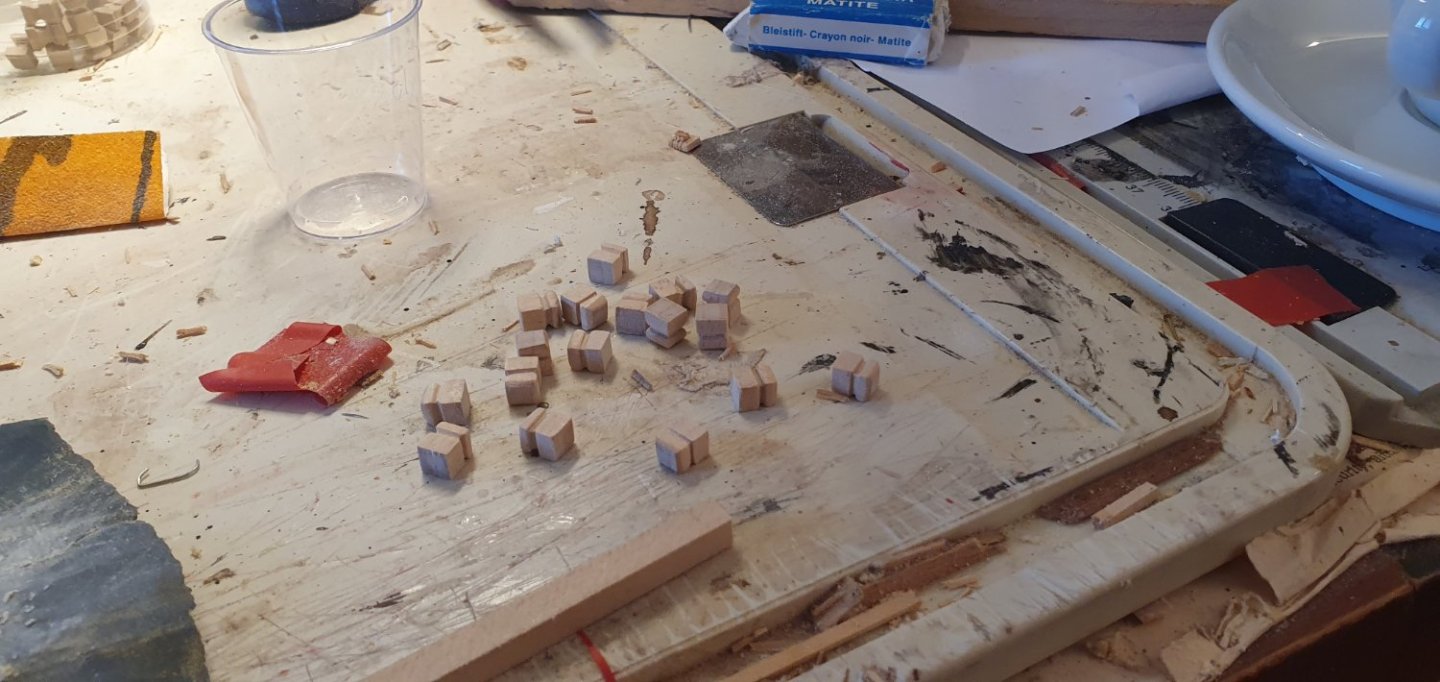
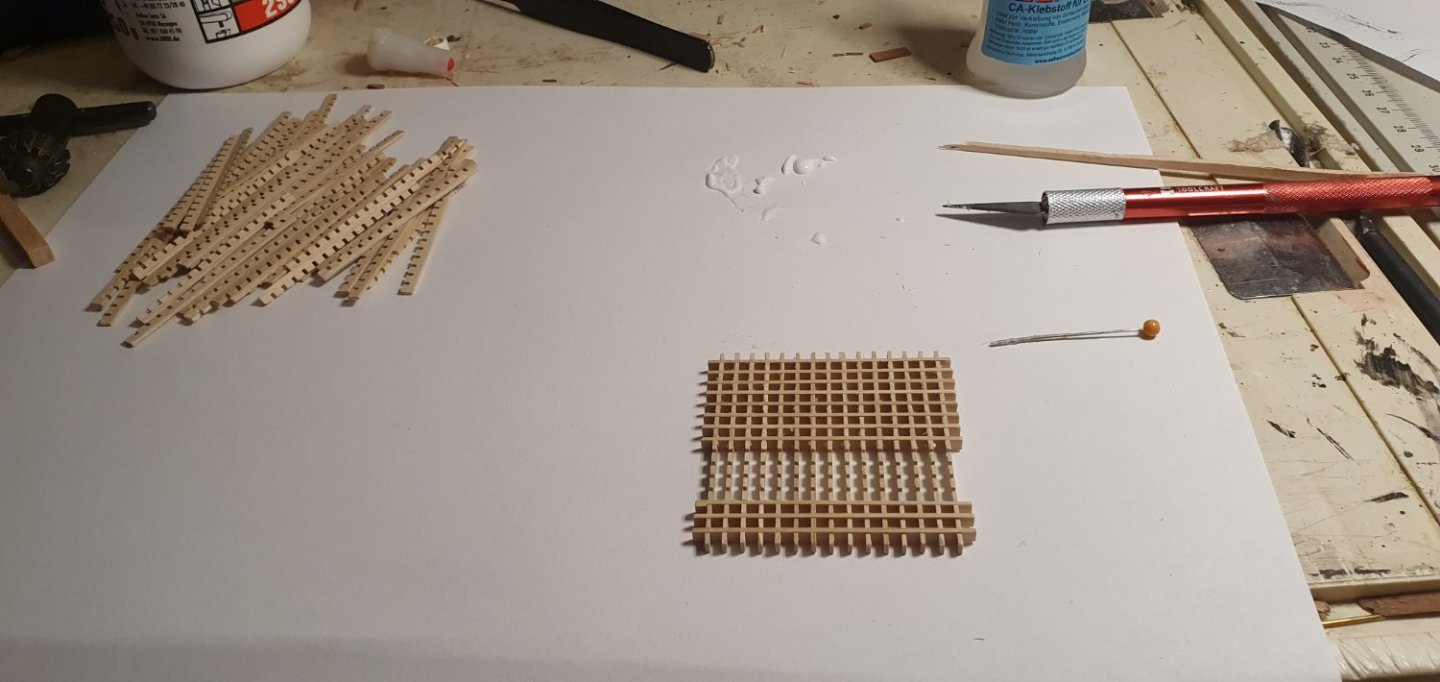
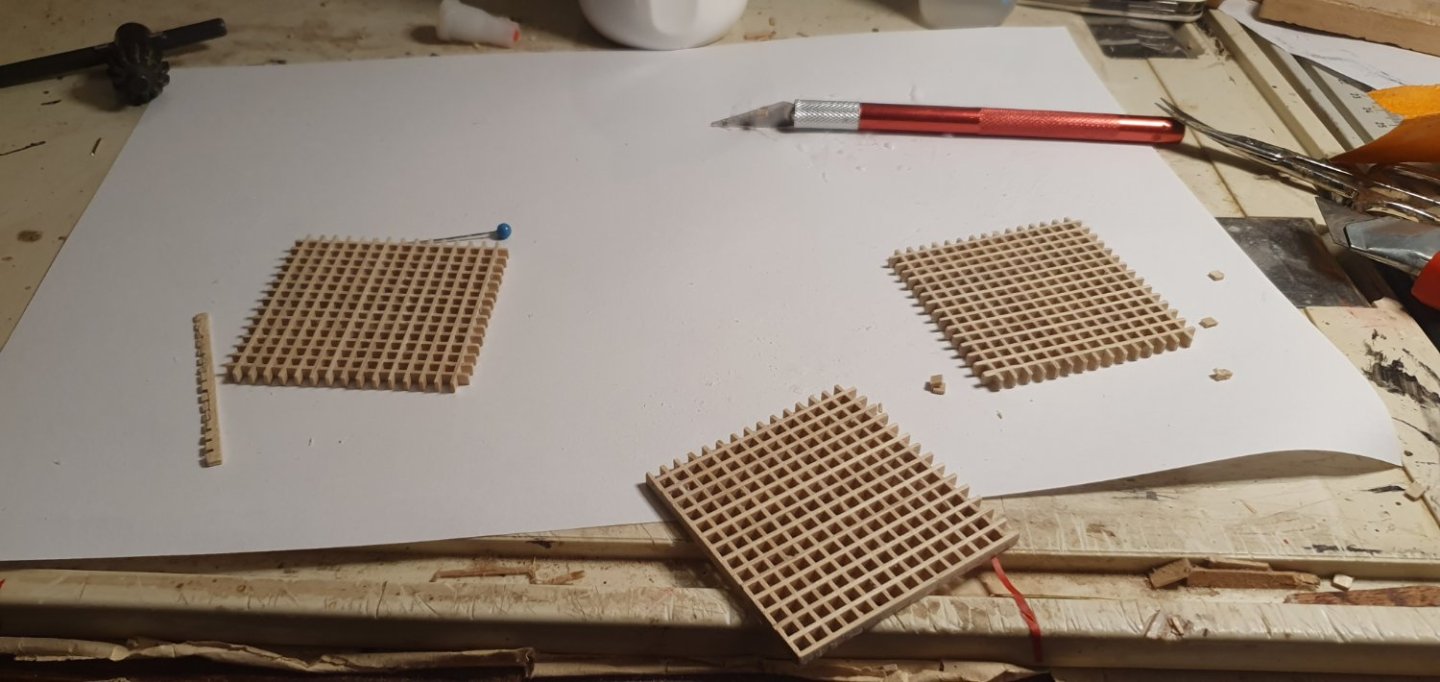
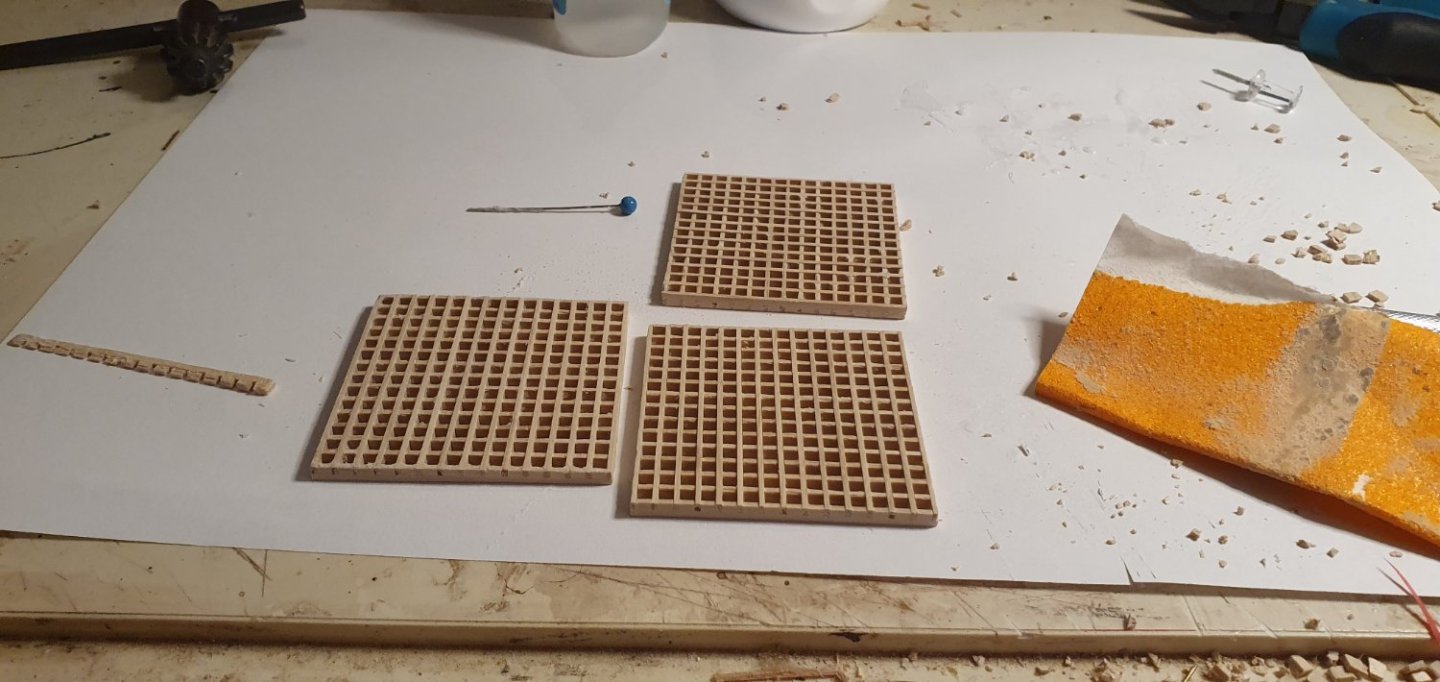
Yeah now that you mention it, those are clubs not belaying pins... I had ordered some really nice wooden pumps but they ended up being 2.5 m tall to scale, so it looked okay but I realised a sailor wouldn't even reach the handle, so I left them for the future. Gratings are totally off too. Best not think about it but the holes should be like 0.5 mm. I wonder why they're never photo etched. Not that I enjoy photo etch. Diana had almost none. Thanks for the tip, I'll check out the new instructions. I did my Galleon after loosing all the instructions so it's better than that. I had to learn to do it anyway. But a frigate is way more advanced than a galleon and technically there should be 10 different blocks and magical knots that would take me a year to figure out. I saw some plans of an actual frigate showing all the types of knots, blocks etc... and damn. I'd love to get ropes of scale next time, I saw a model with those and it's incredible how much it adds.
-
Horatio Hornblower reacted to a post in a topic:
Diana 1792 by Horatio Hornblower - OcCre - 1:82 scale
-
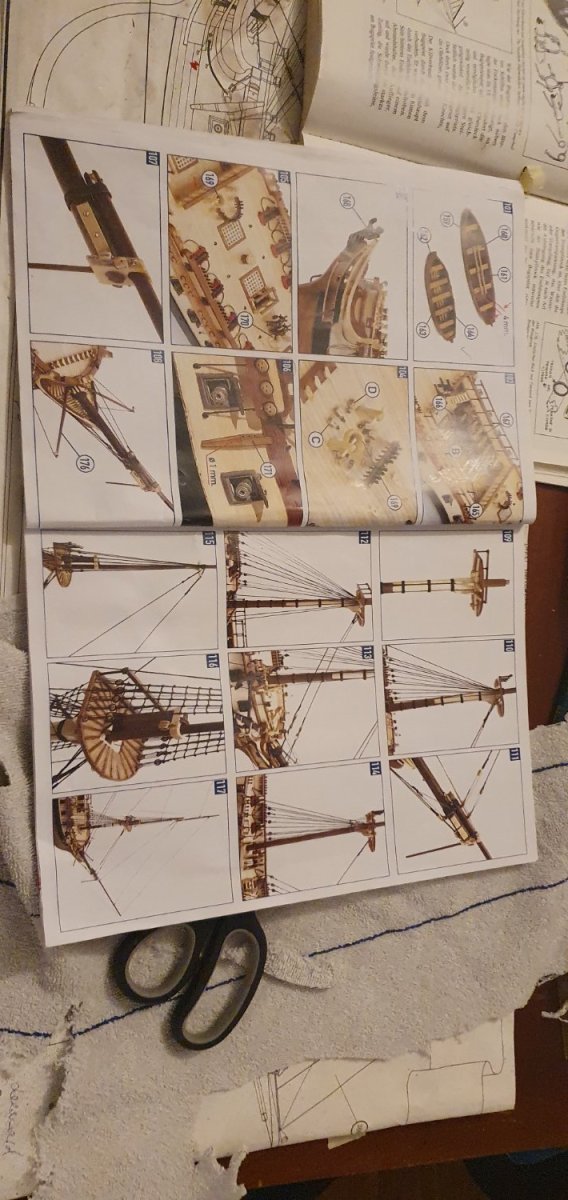
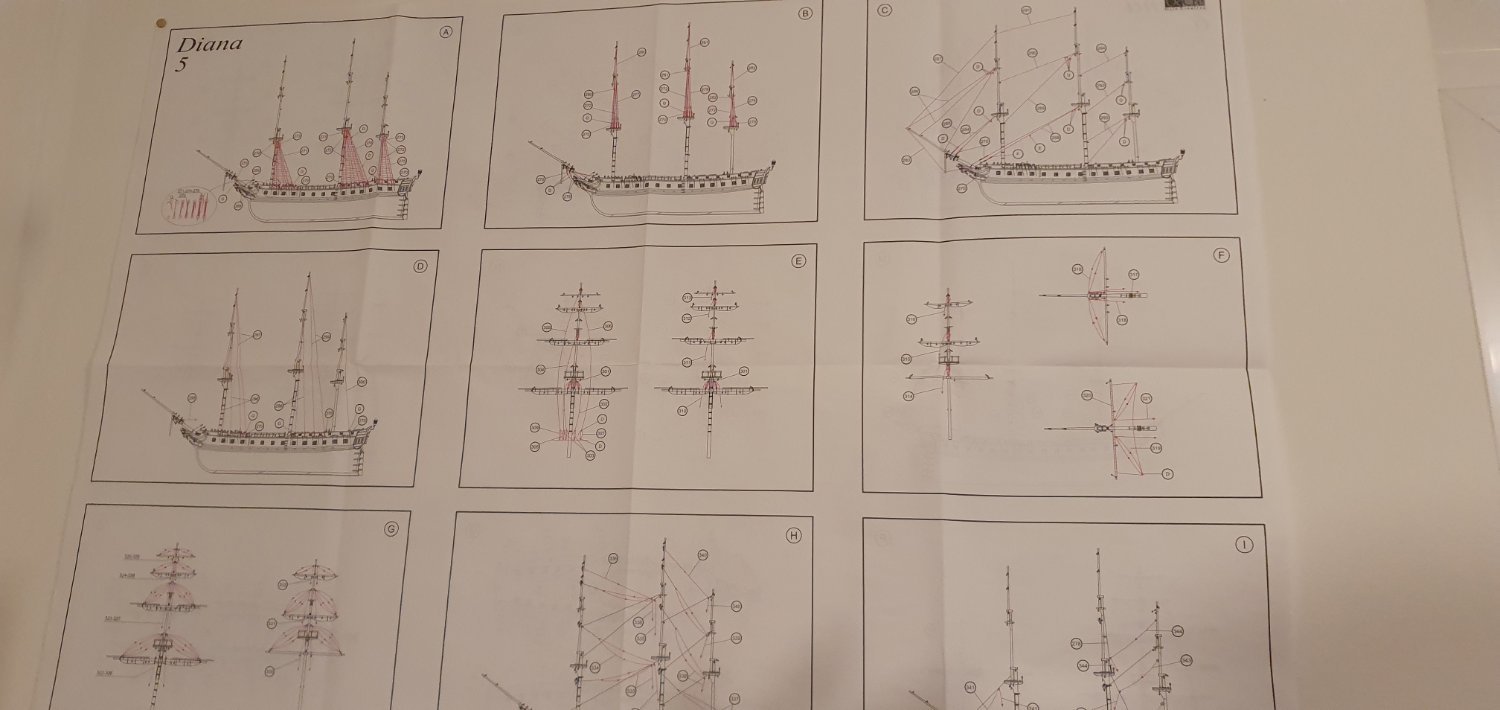
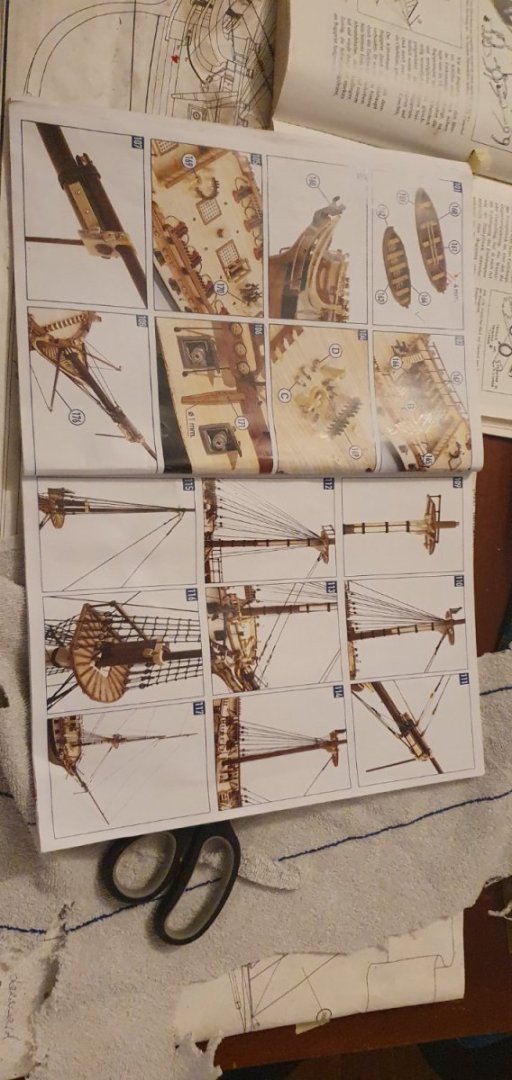
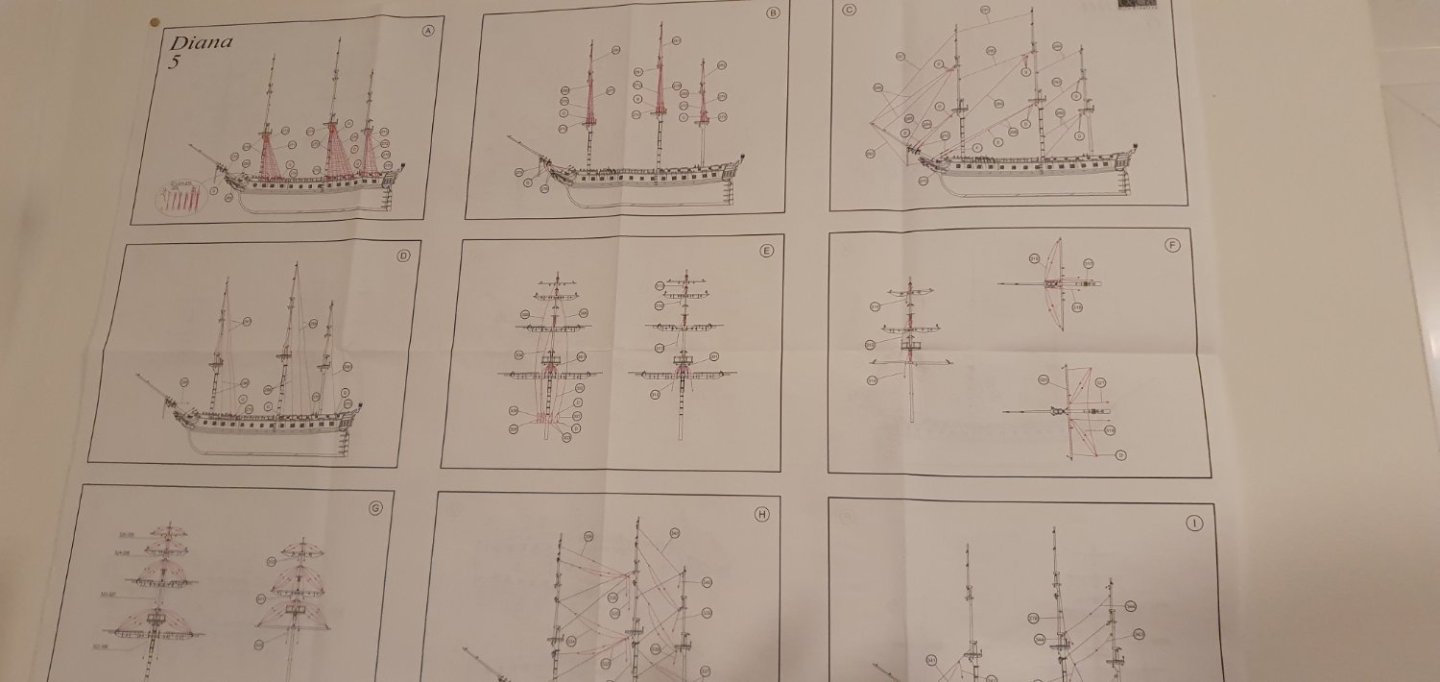
I had a closer look at your build and I can see the followibg differences, as you said wooden pins and carriages. And the instructions look totally different. I don't have any of detail for rigging, I can barely tell which line goes where and have to stare at photos or look at my book on rigging. I kinda wish I had the new version. Seems way better. About 20 bucks more but I'd pay that. That's it. Instructions stop at the bowsprit and say something along the lines of "construct the masts". So looks like a big improvement.
-
Hold on, let me grab the calipers, the old brass ones are 2.2 mm at the widest and 1.1 mm for the pin part. I got many layers of paint so probably 2 and 1 mm. So on the smaller end, I have wooden ones that are 3 mm x 2 mm and they would look great. You don't have to be super exact on them. It's usually all about the same or one of three sizes, much like cannons... one kits 9 pounder is anothers 12 pounder while none are really accurate..
-
BenD reacted to a post in a topic:
Diana 1792 by Horatio Hornblower - OcCre - 1:82 scale
-
ccoyle reacted to a post in a topic:
Diana 1792 by Horatio Hornblower - OcCre - 1:82 scale
-
RossR reacted to a post in a topic:
Diana 1792 by Horatio Hornblower - OcCre - 1:82 scale
-
Horatio Hornblower reacted to a post in a topic:
Diana 1792 by Horatio Hornblower - OcCre - 1:82 scale
-
Ah great to hear. I bought this kit several years ago, so they probably updated it. If the pins and carriages are wood now I would highly recommend it. I probably have one of the first runs.
-
Horatio Hornblower reacted to a post in a topic:
Diana 1792 by Horatio Hornblower - OcCre - 1:82 scale
-
Thanks It's a good kit. You do notice the low price. Metal gun carriages, metal belaying pins, fit... ok. Maybe my mistake maybe Occre, not sure. Plans... ok. Rigging instructions not great not terrible. I do recommend it. I bought it because it's a typical late 18th century frigate.
-
DocRob reacted to a post in a topic:
Diana 1792 by Horatio Hornblower - OcCre - 1:82 scale
-
Esap reacted to a post in a topic:
Diana 1792 by Horatio Hornblower - OcCre - 1:82 scale
-
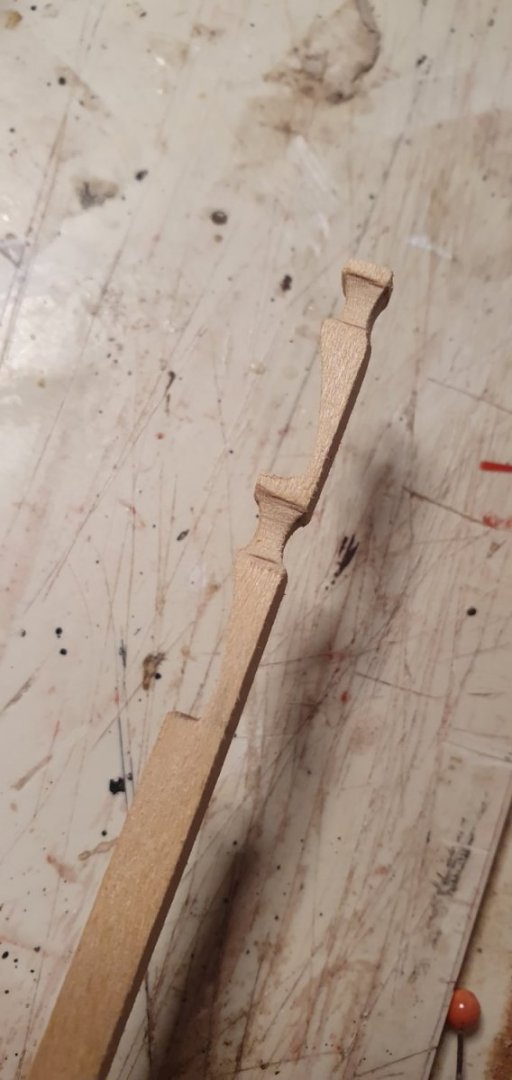
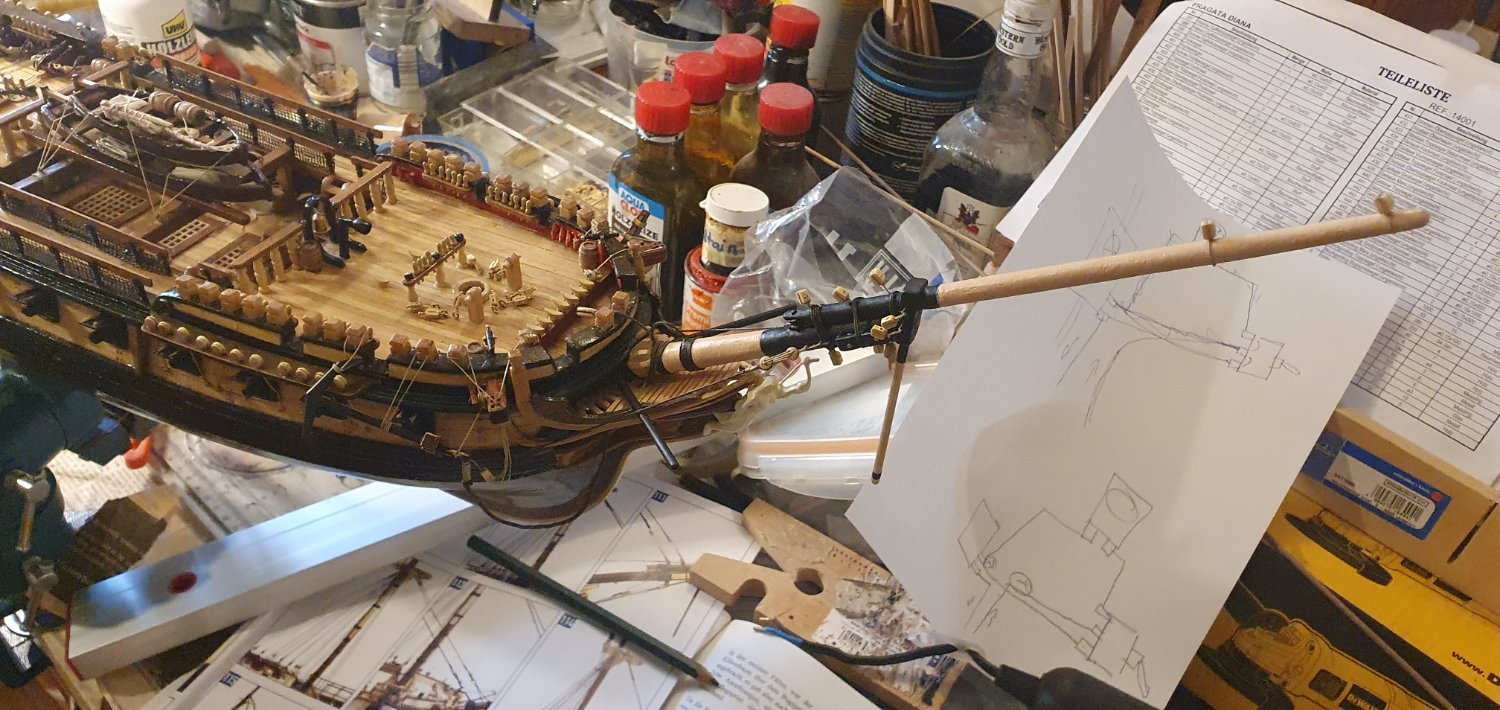
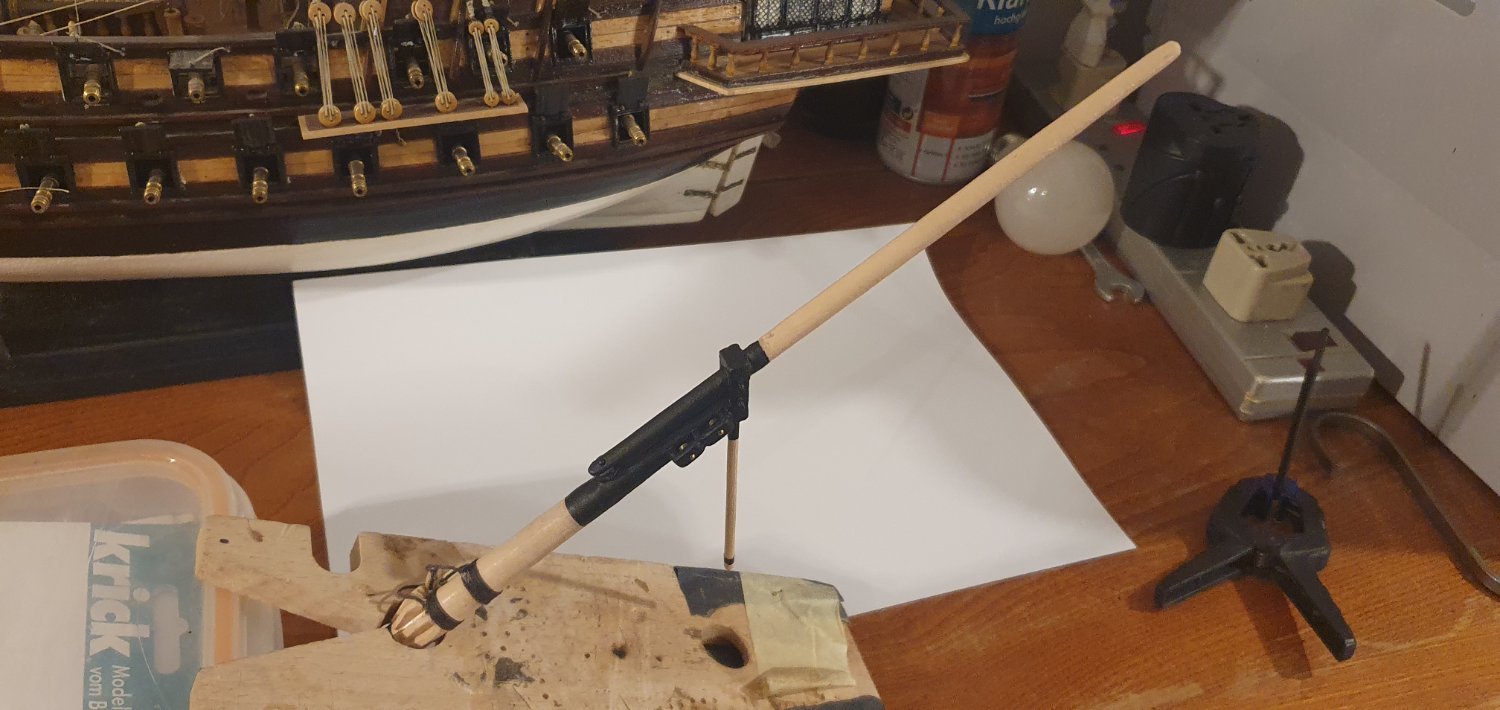
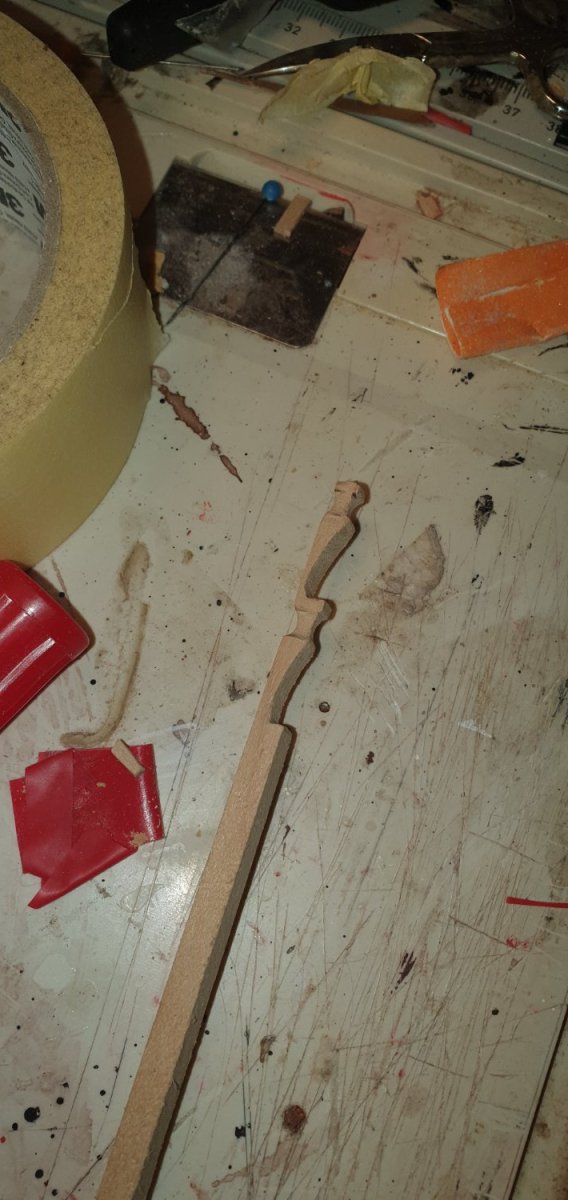
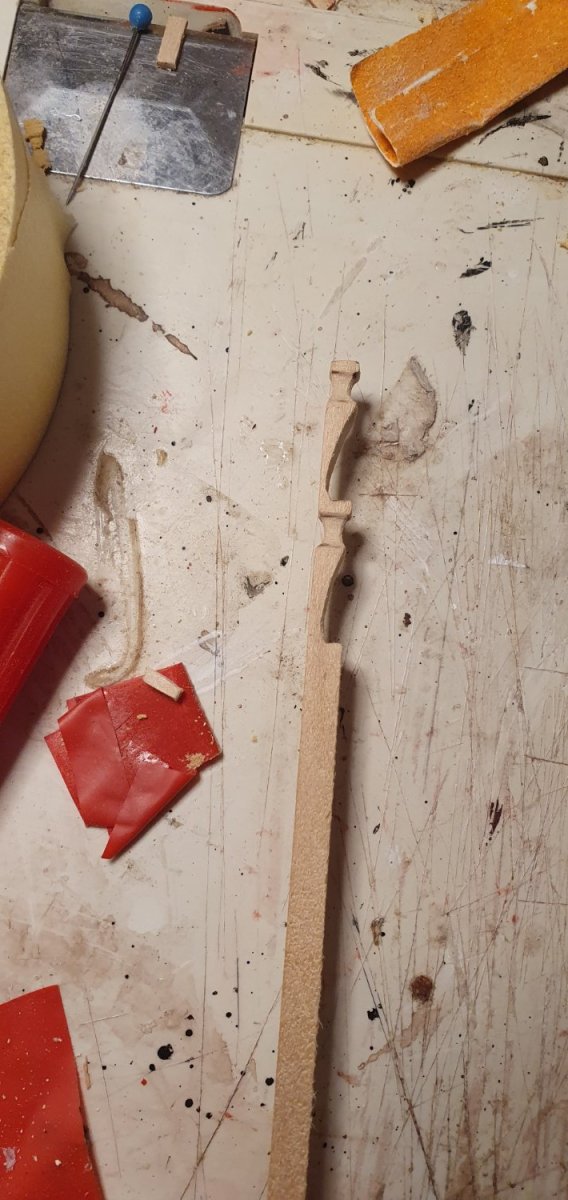
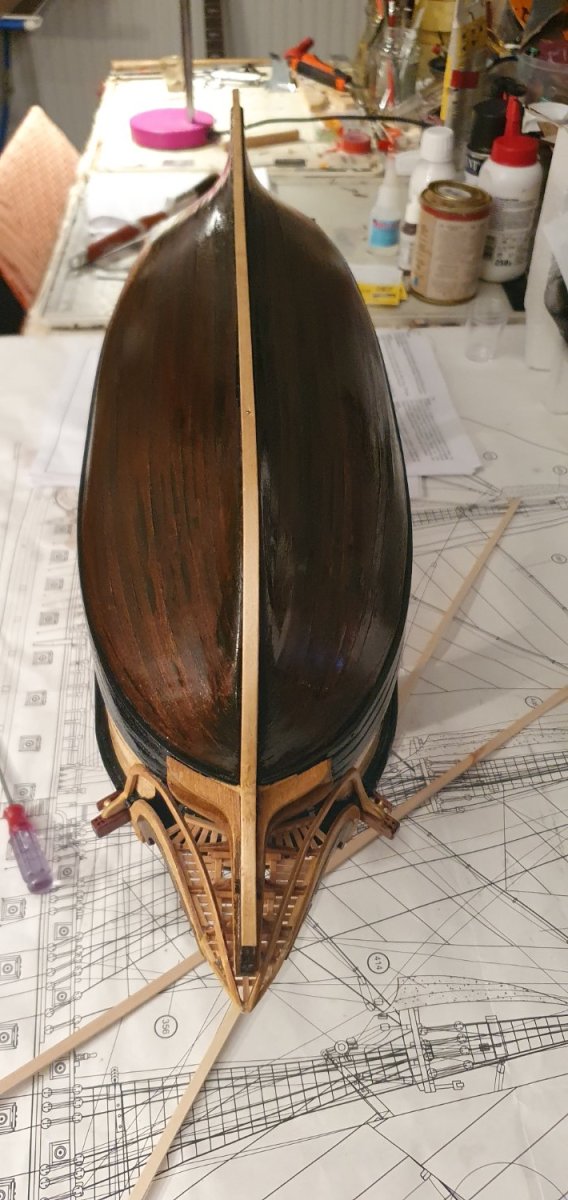
Oh yeah I know the tapering on the bowsprit ain't pretty but I almost slipped with the drill and after having become very conservative in regards to safety I proceeded by hand. Honna buy a lathe. Might get her for the masts. Might not. Probably Proxxon DB250, seems solid for the price, right?
-
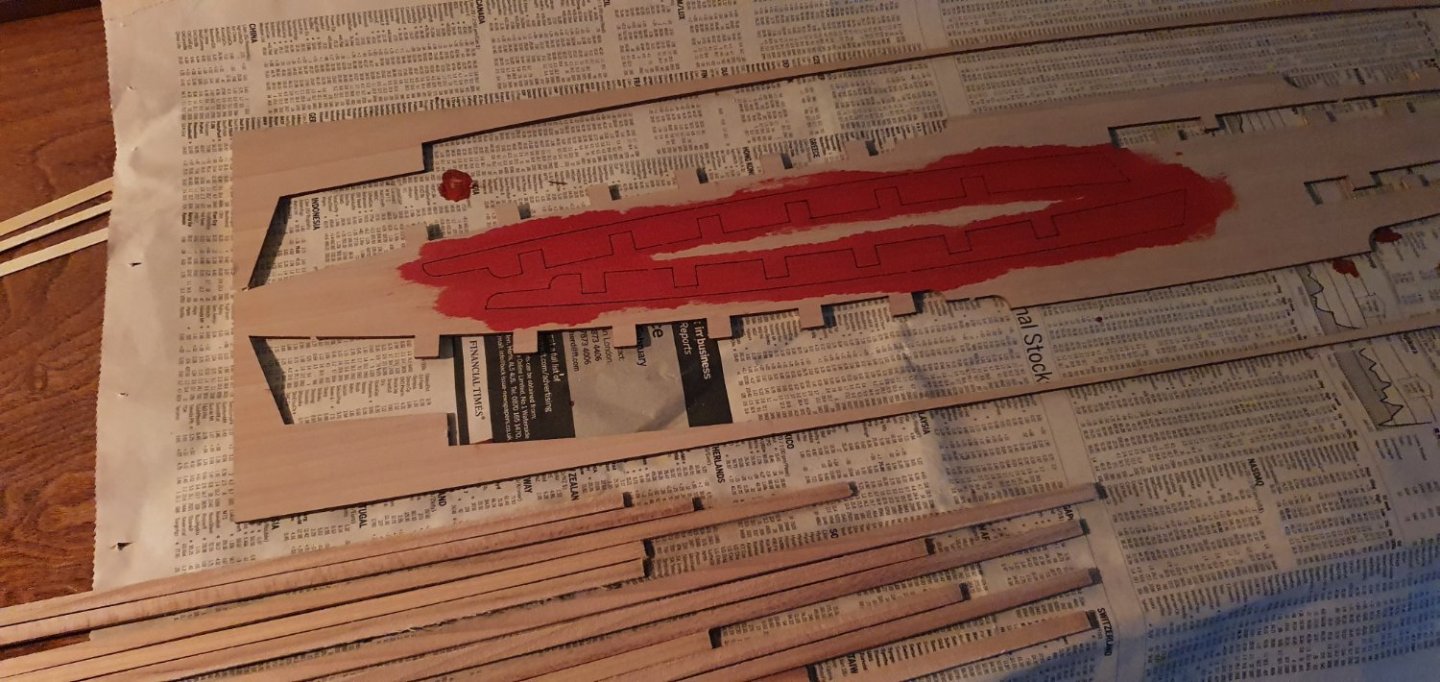
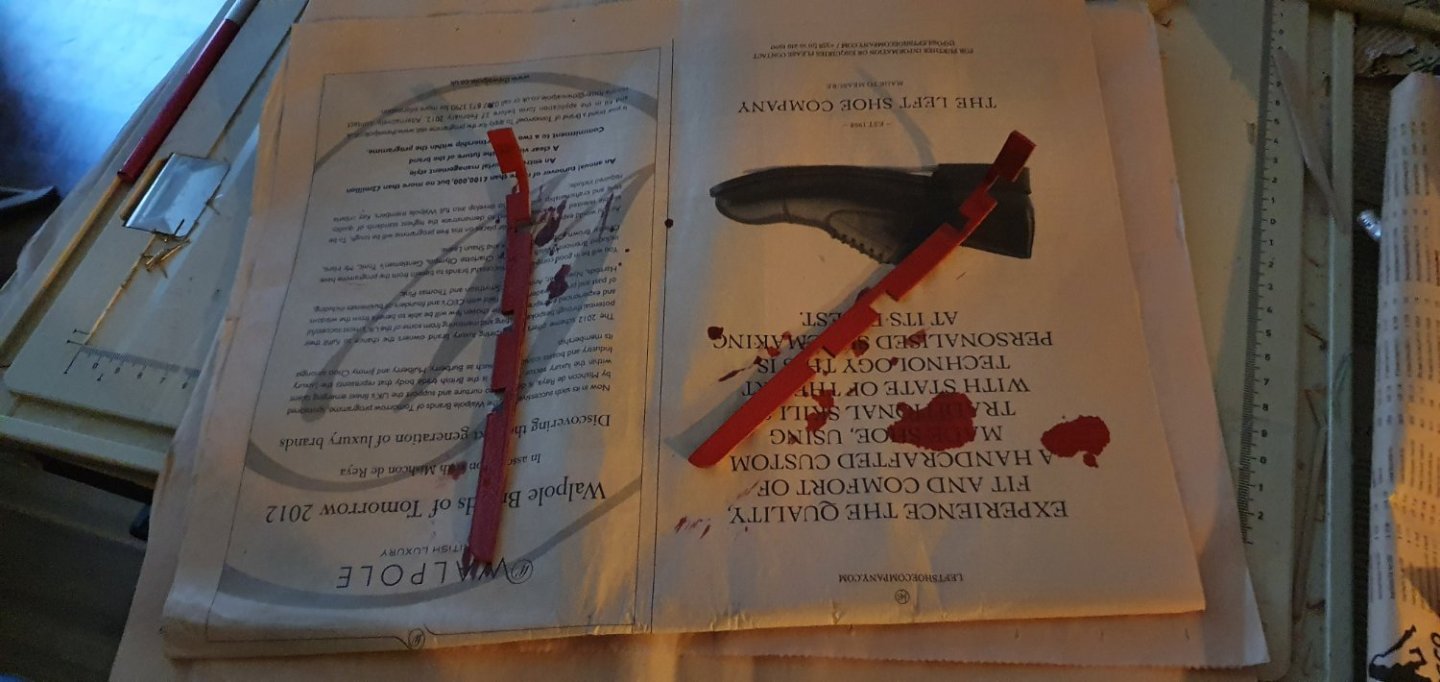
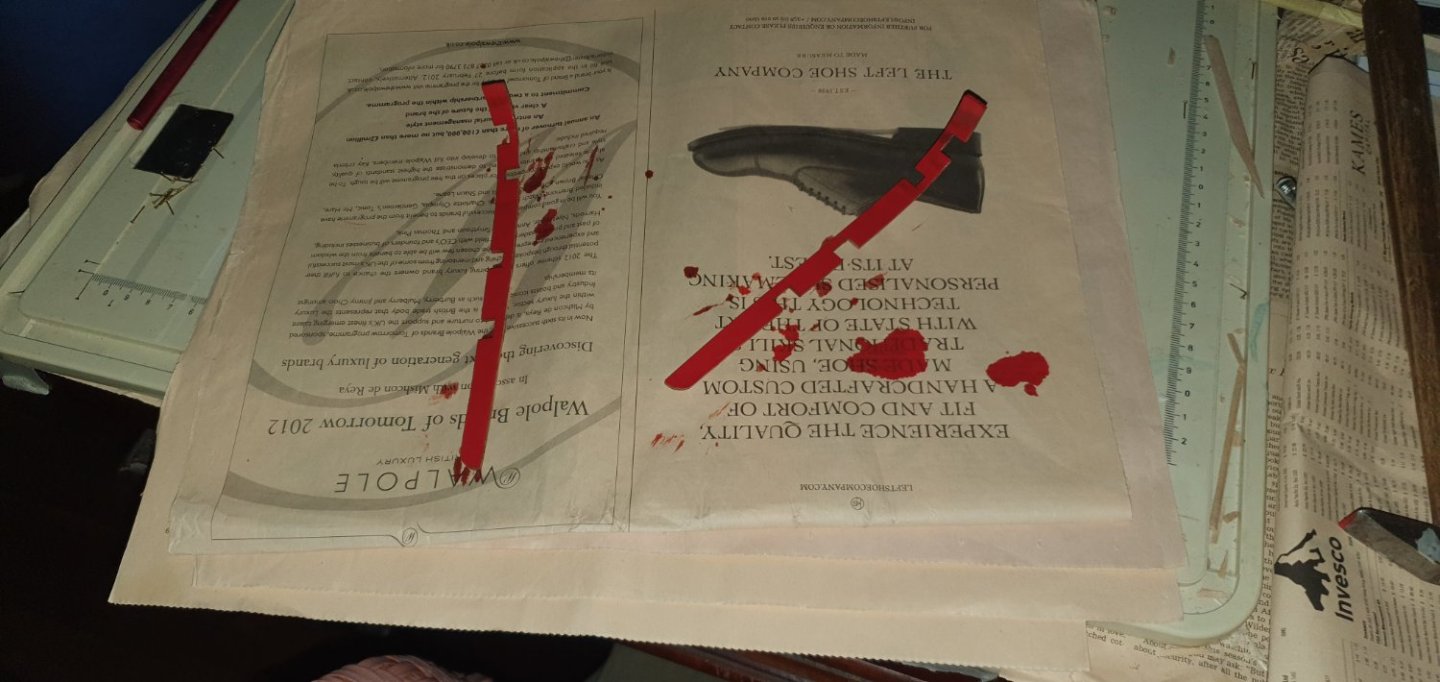
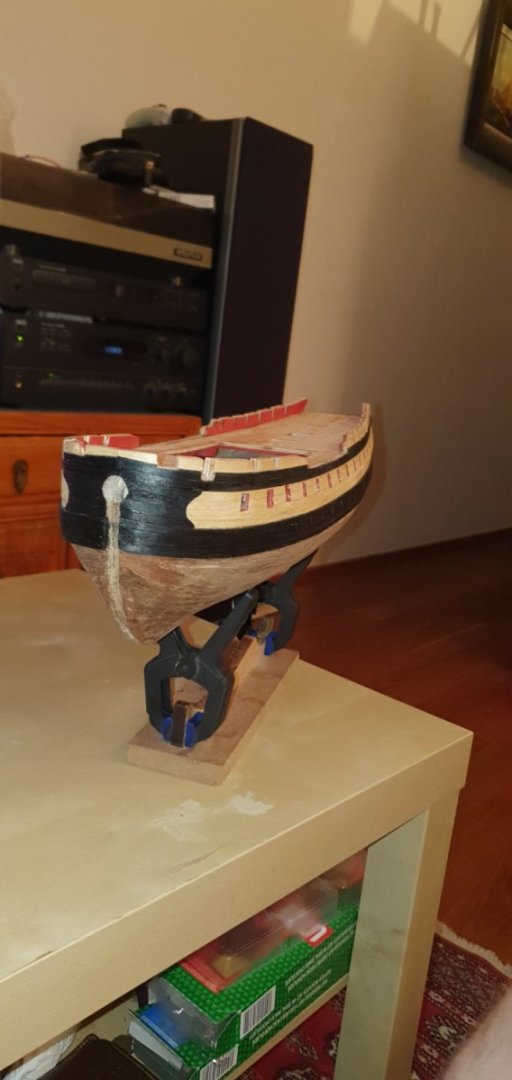
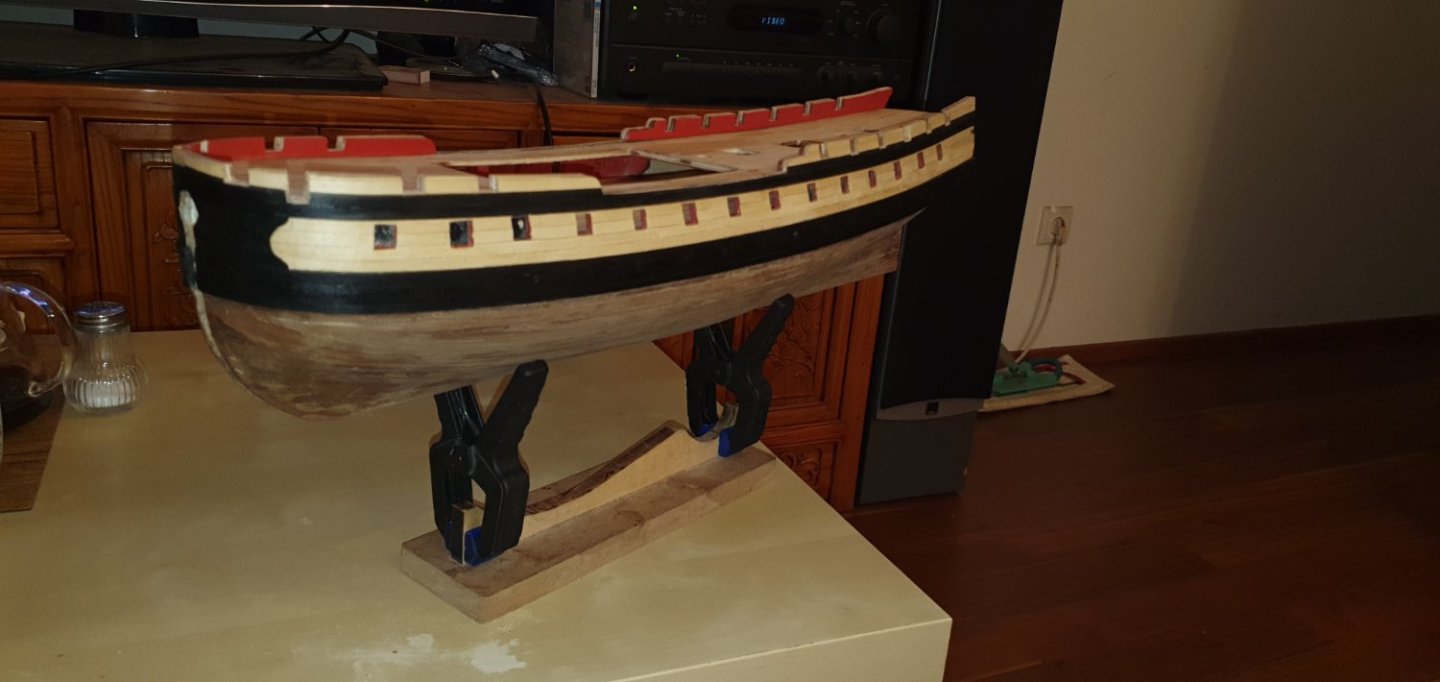
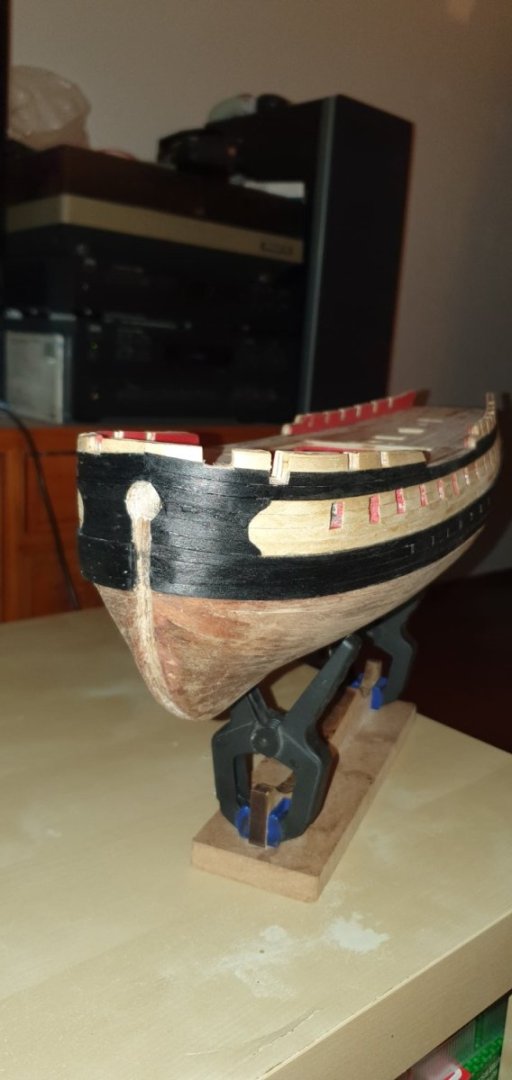
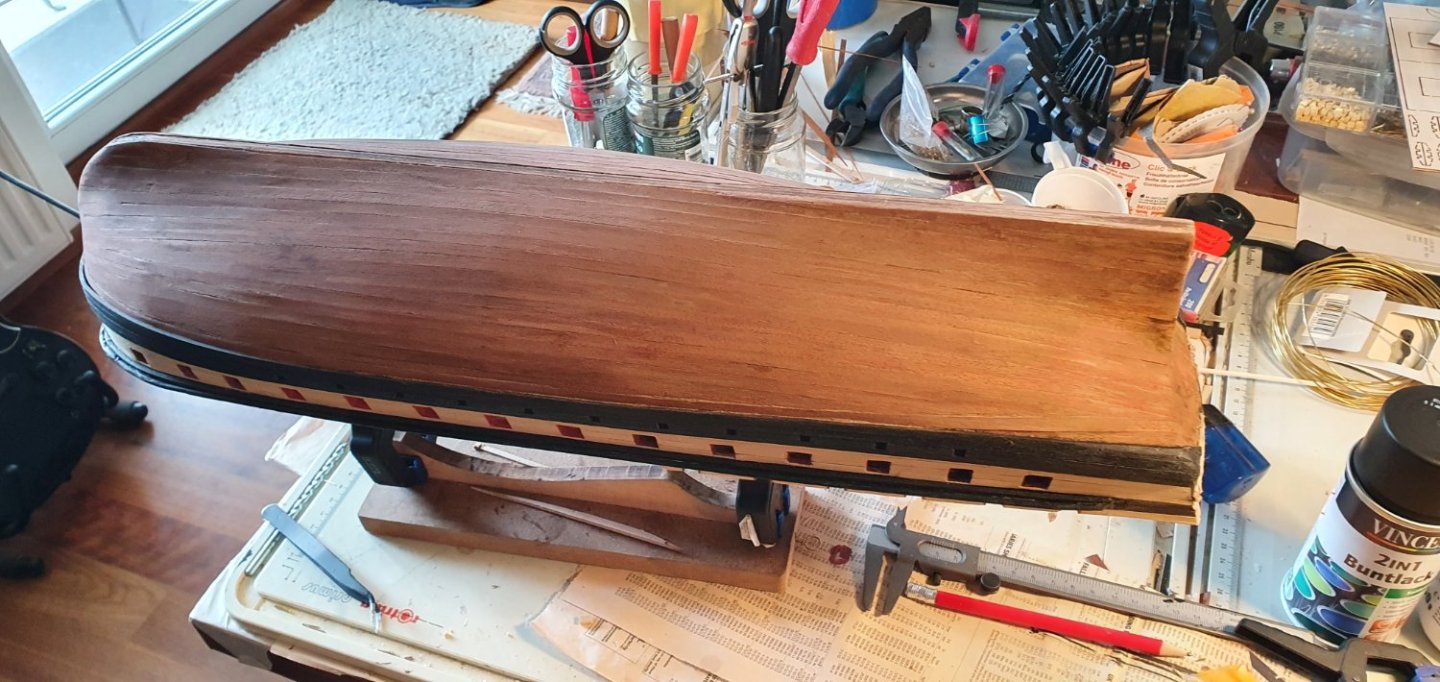
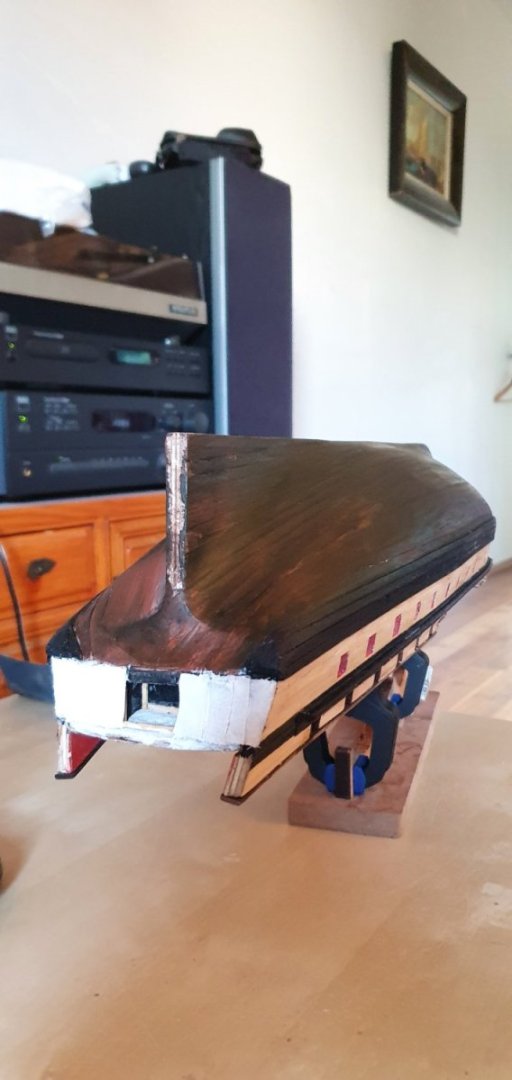
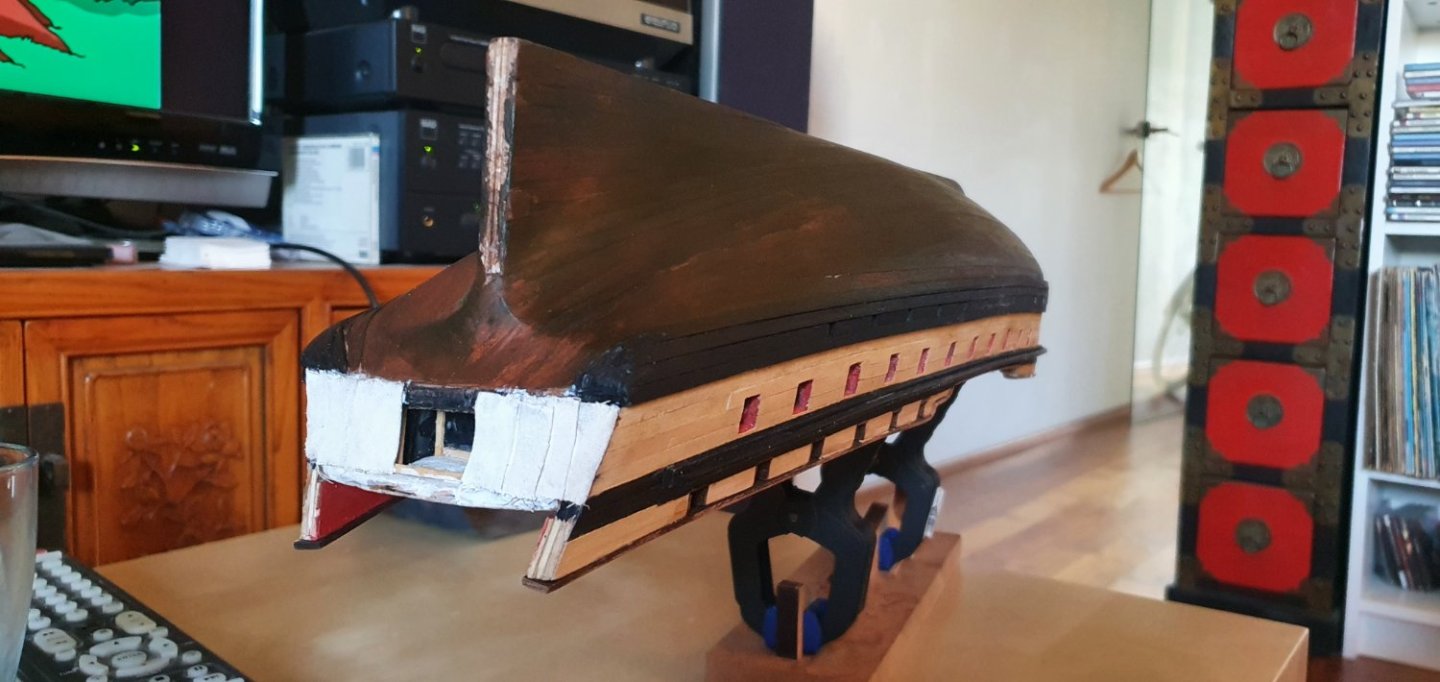
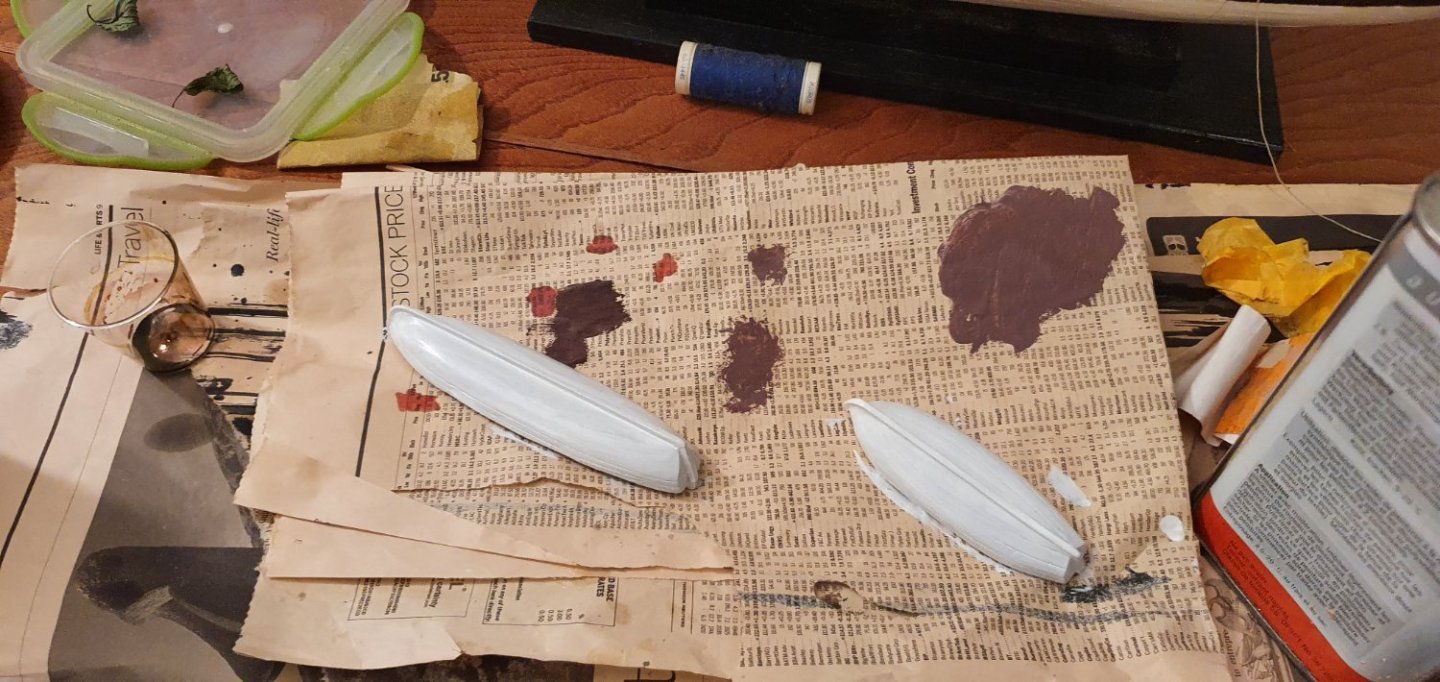
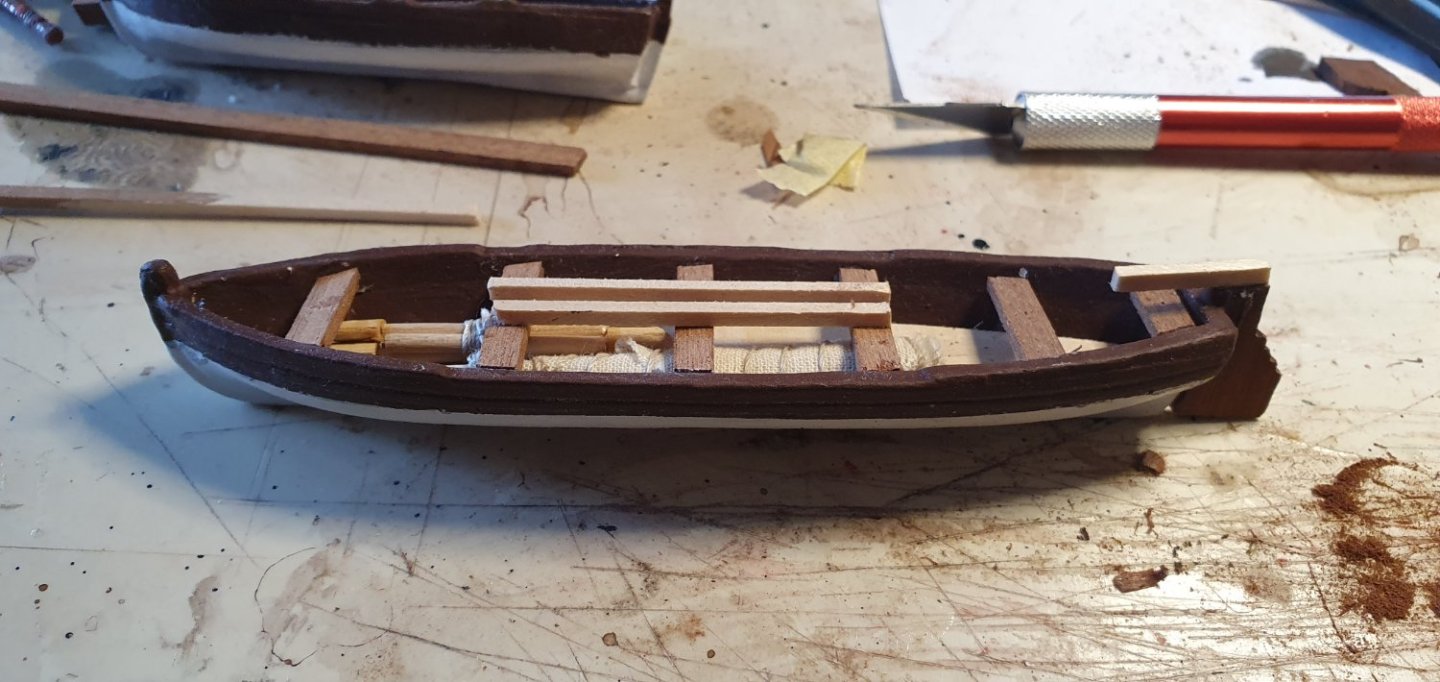
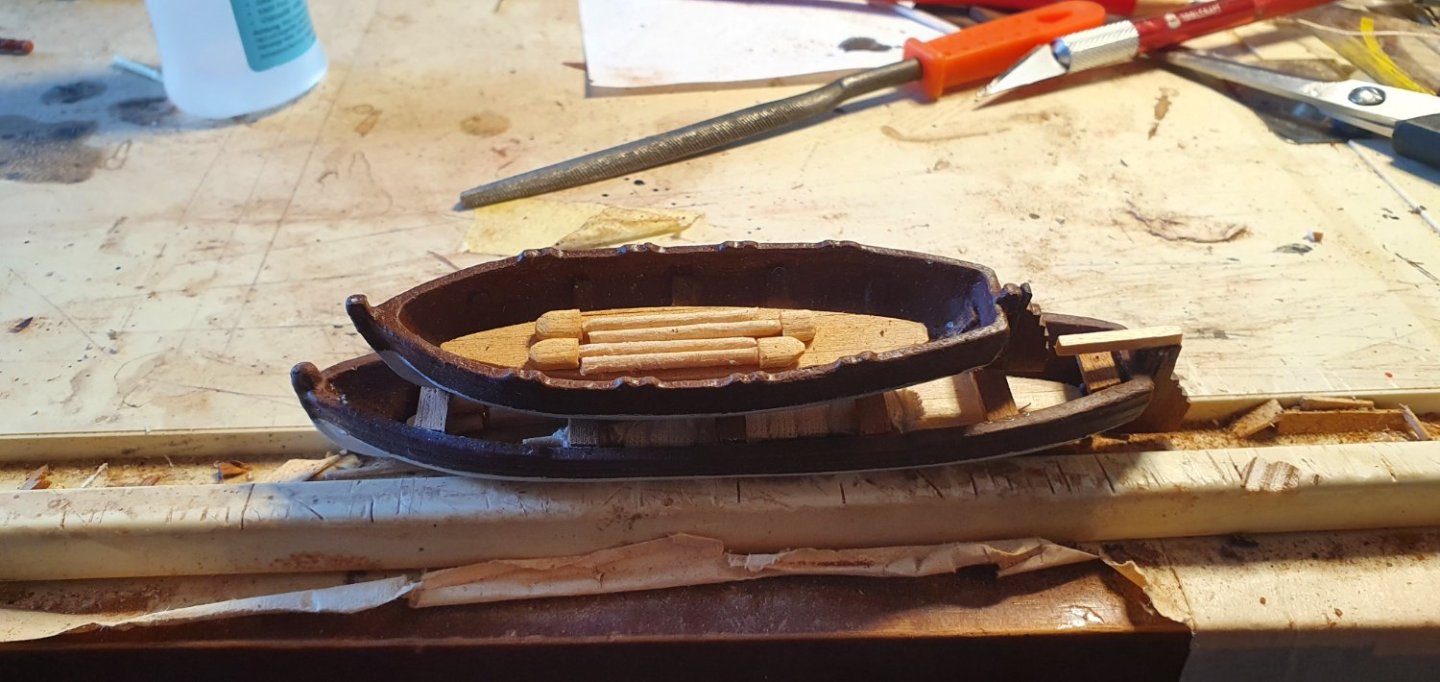
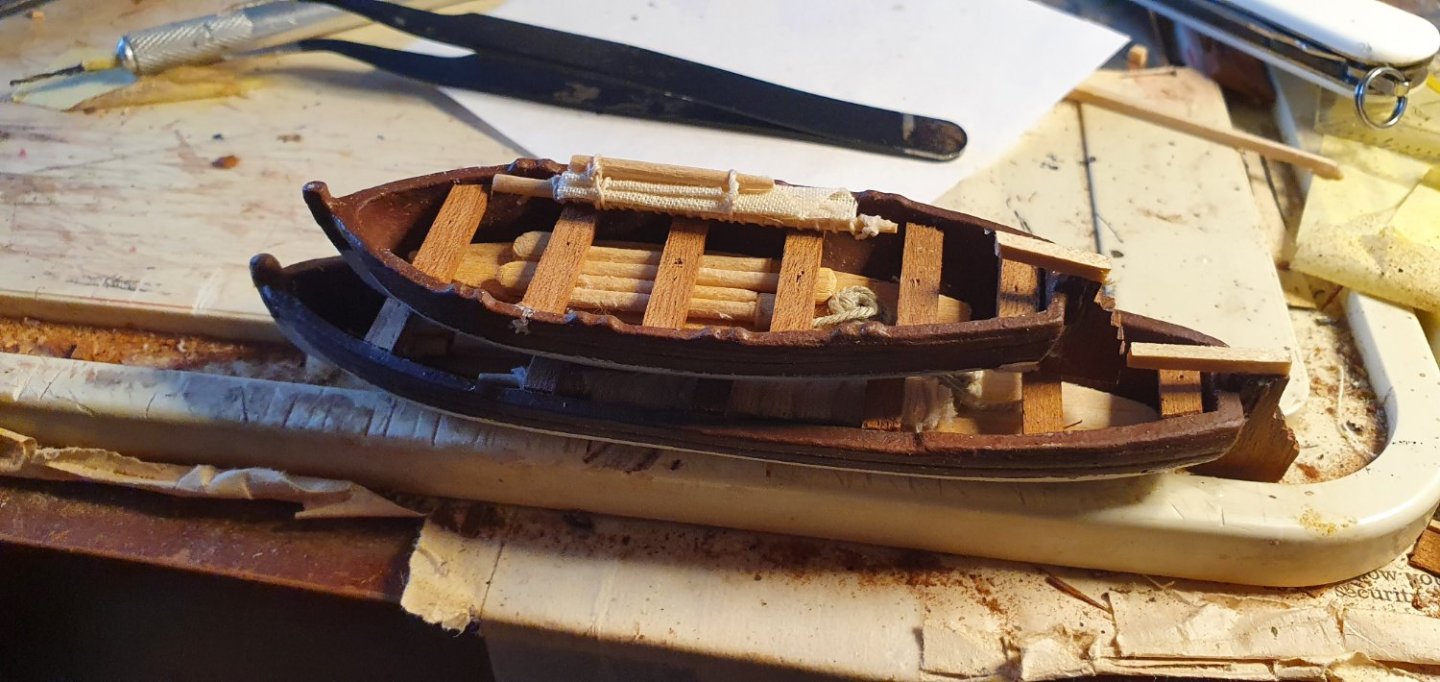
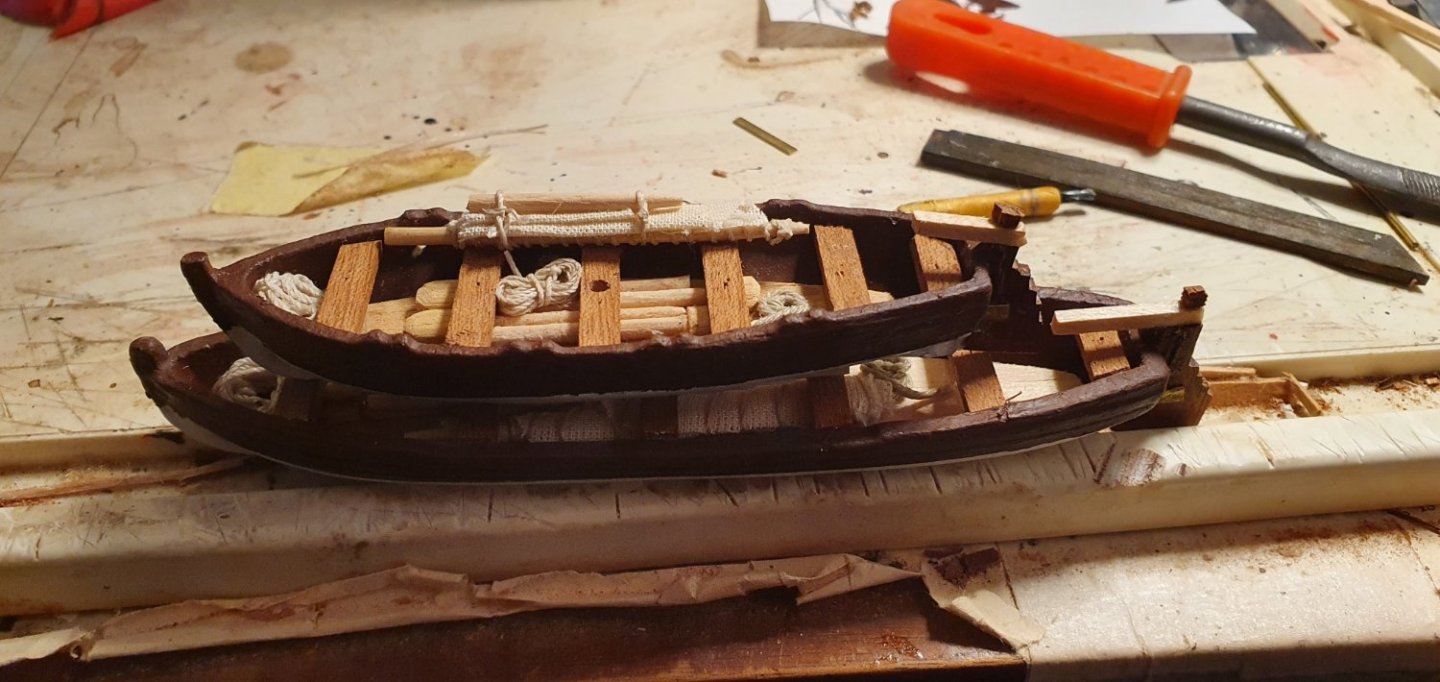
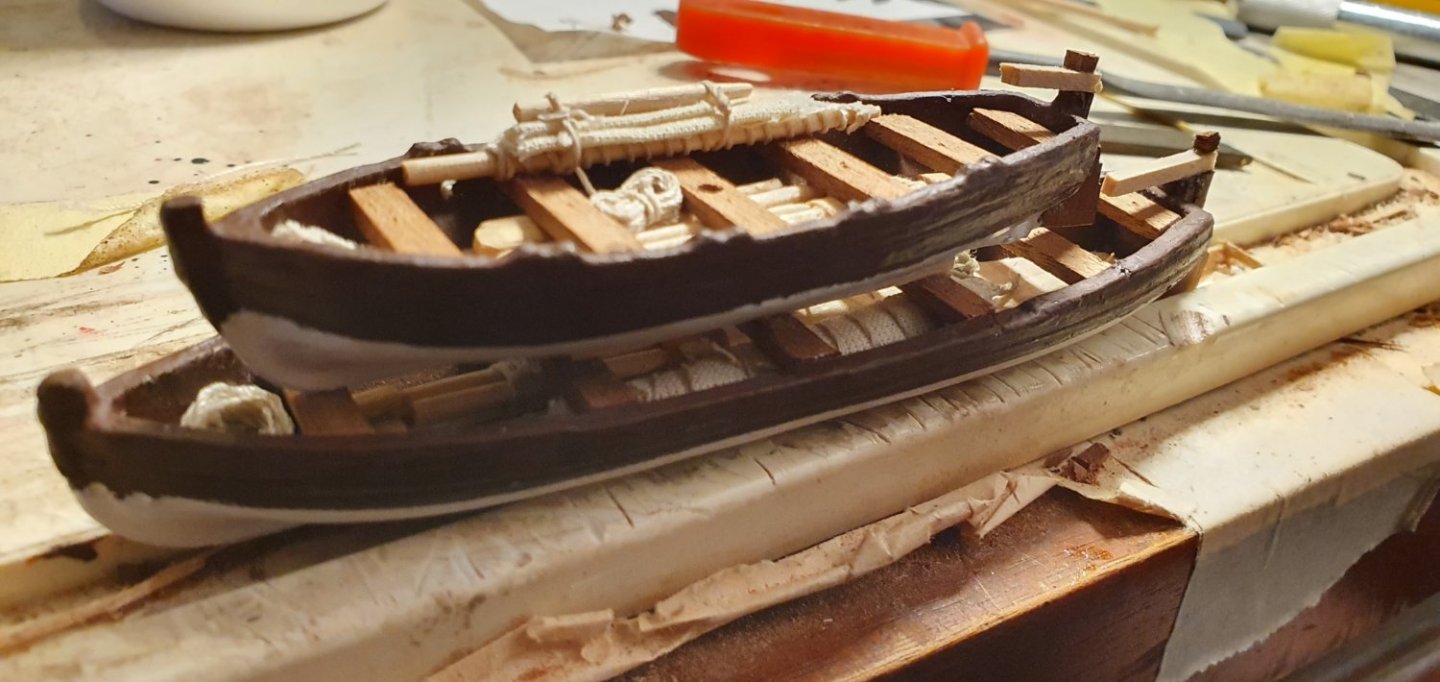
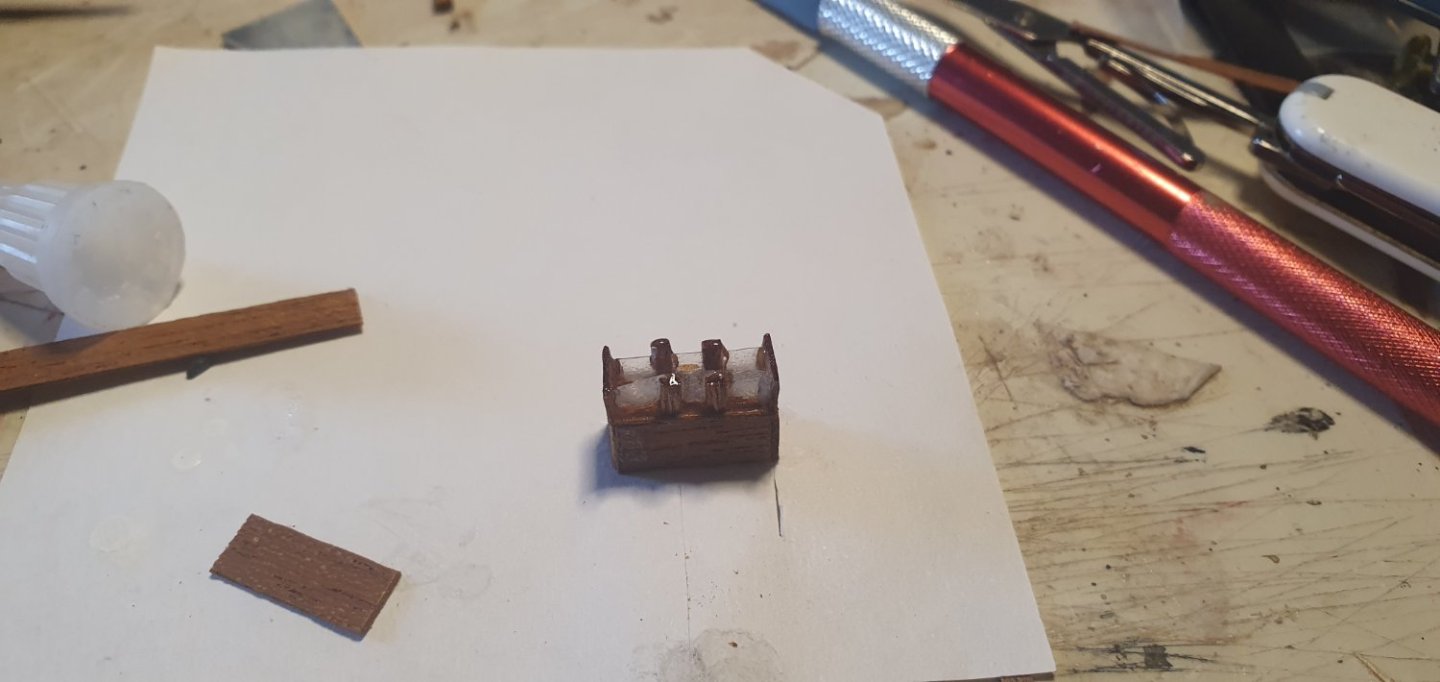
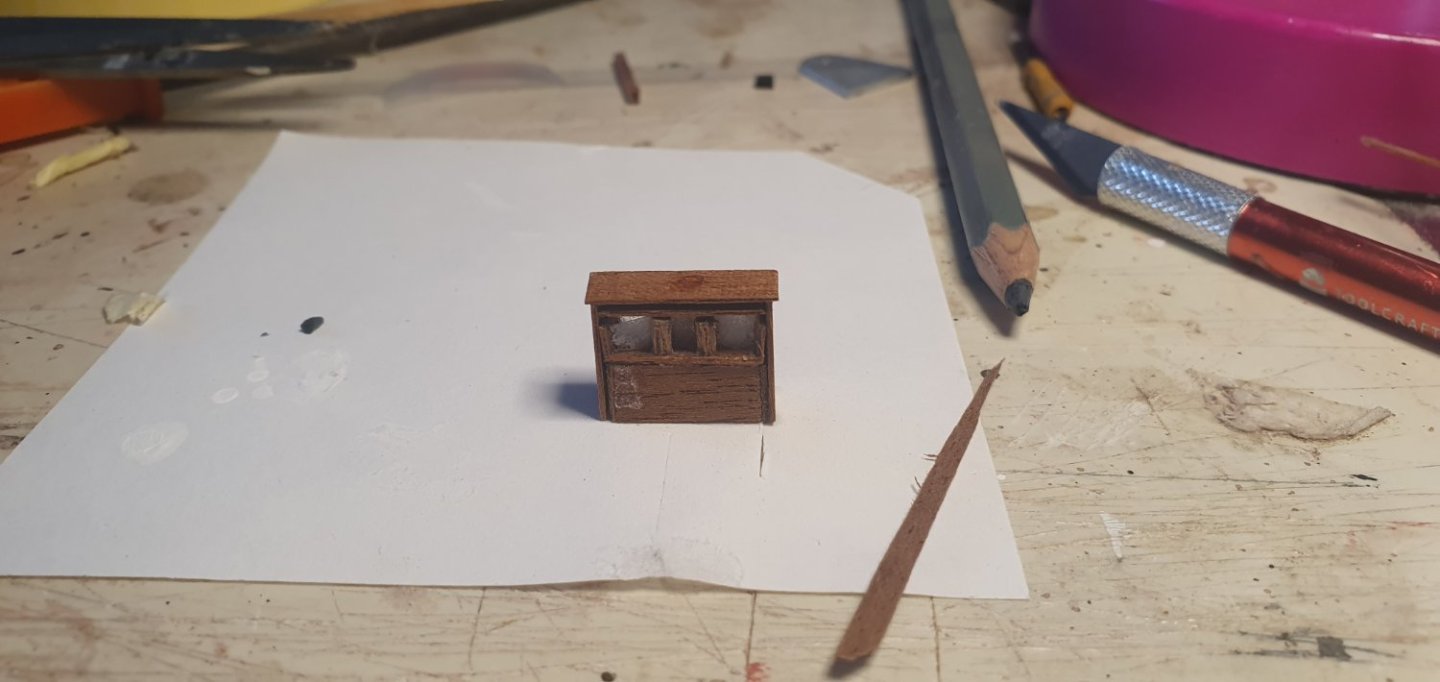
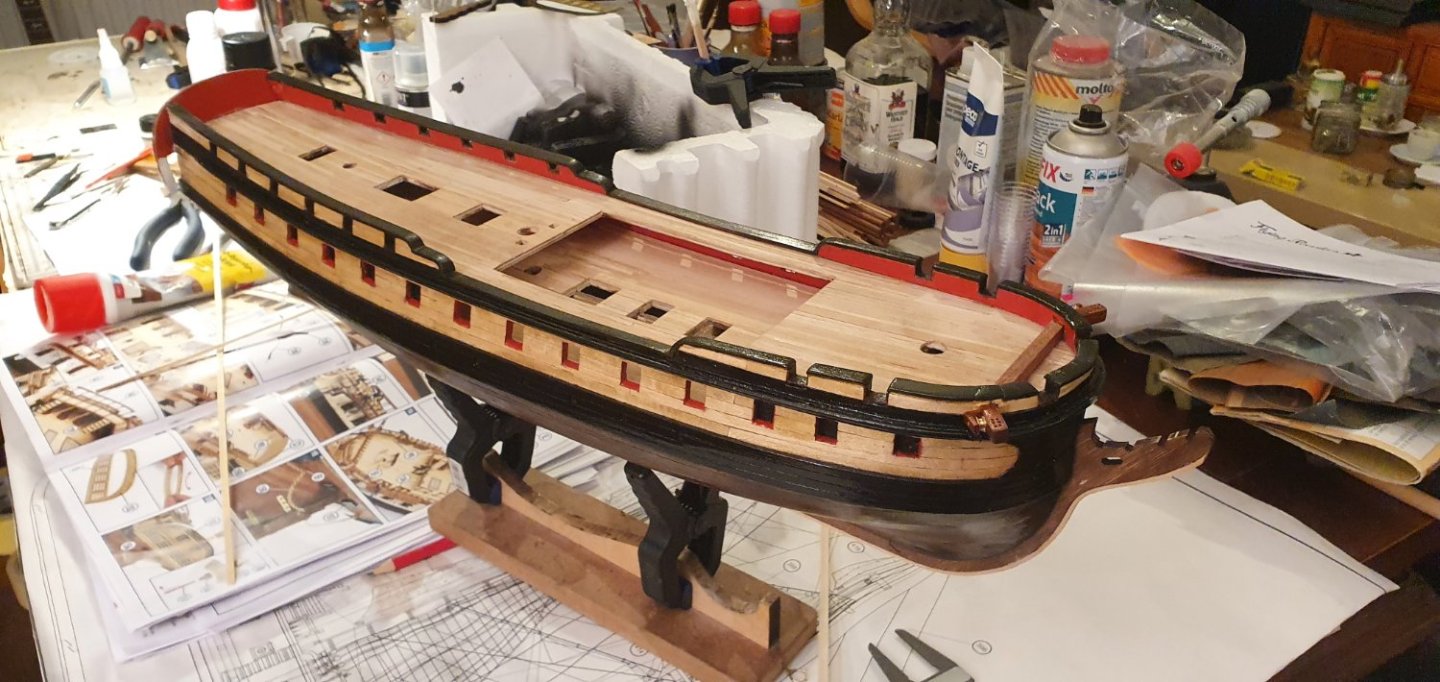
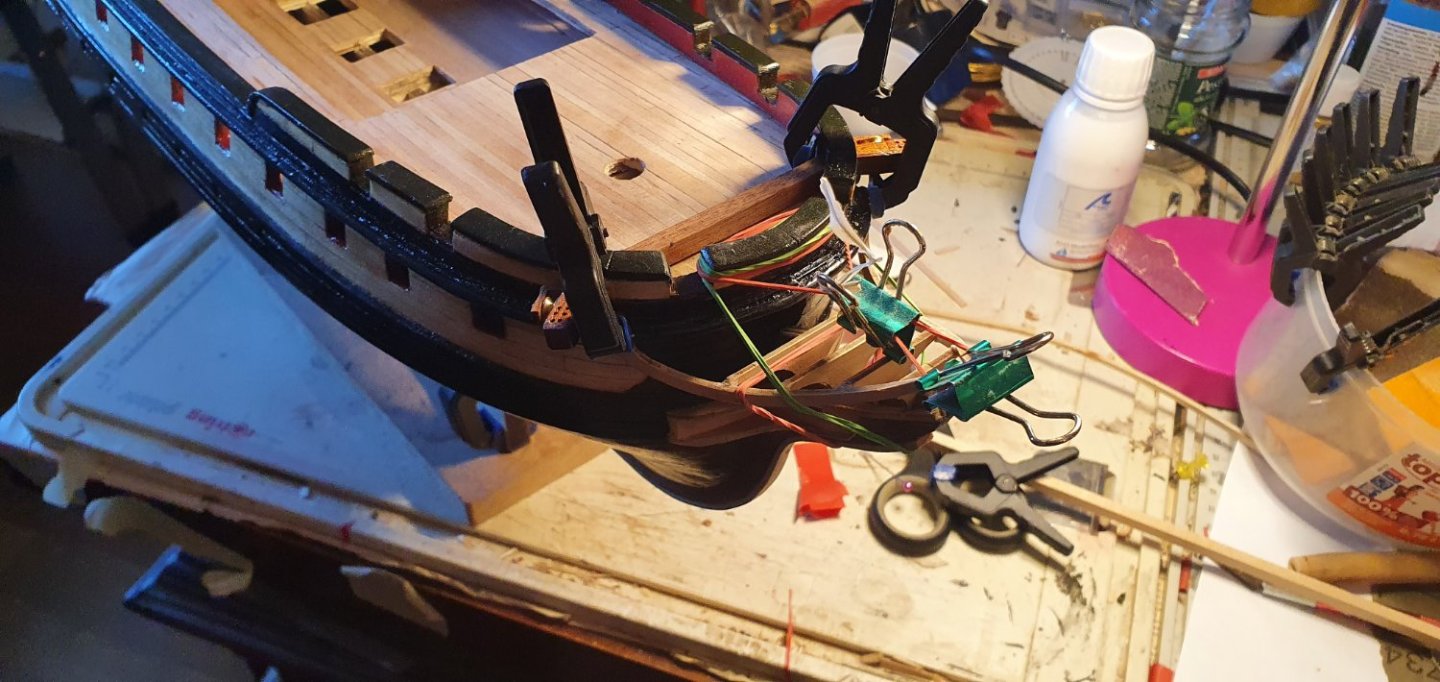
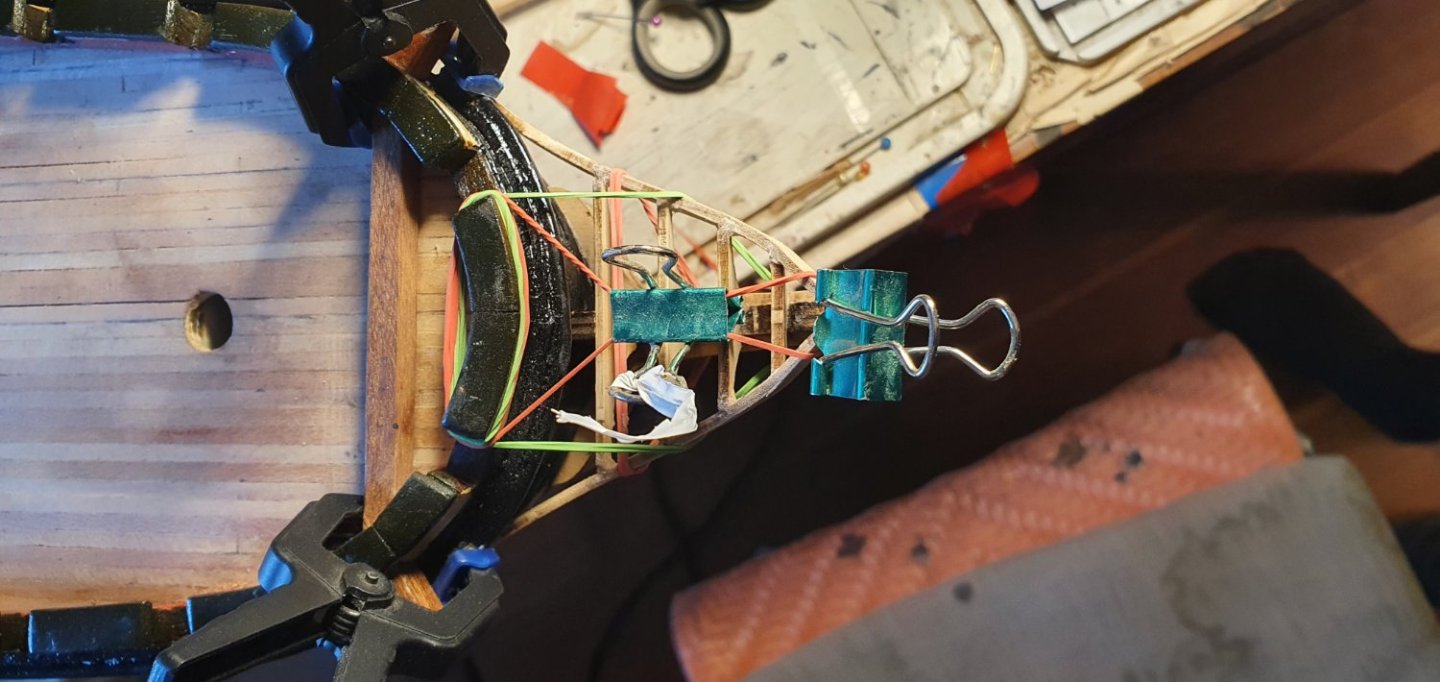
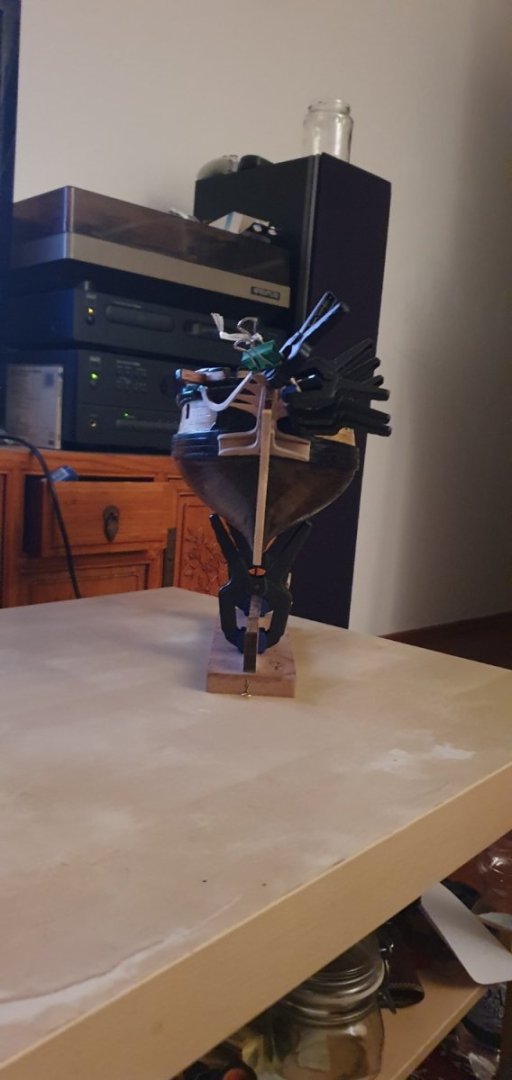
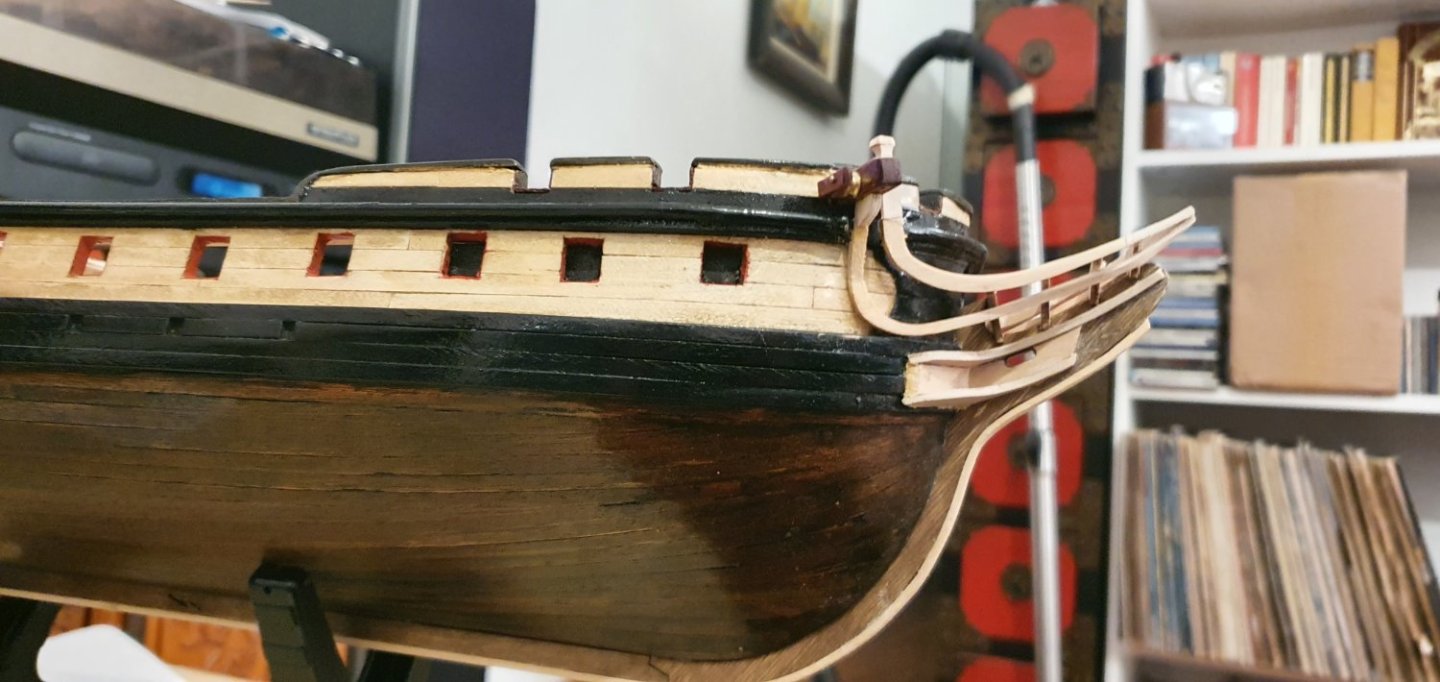
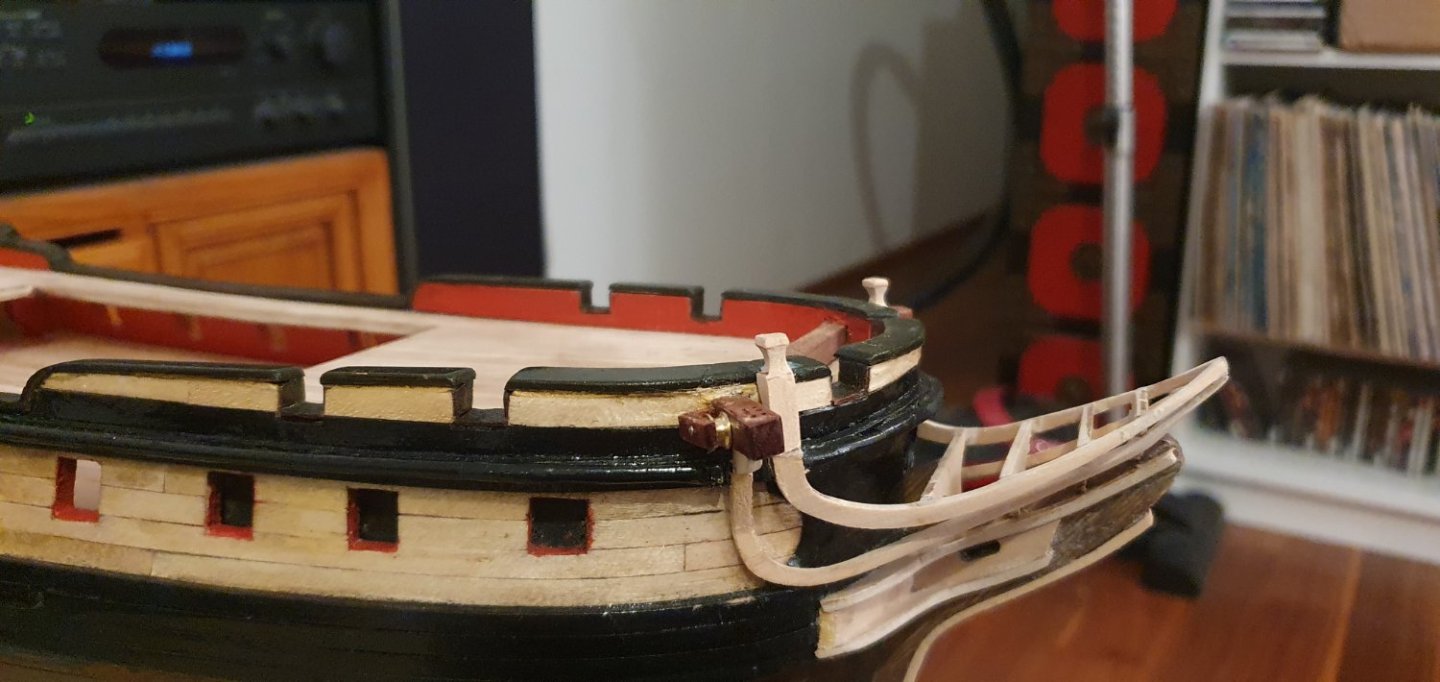
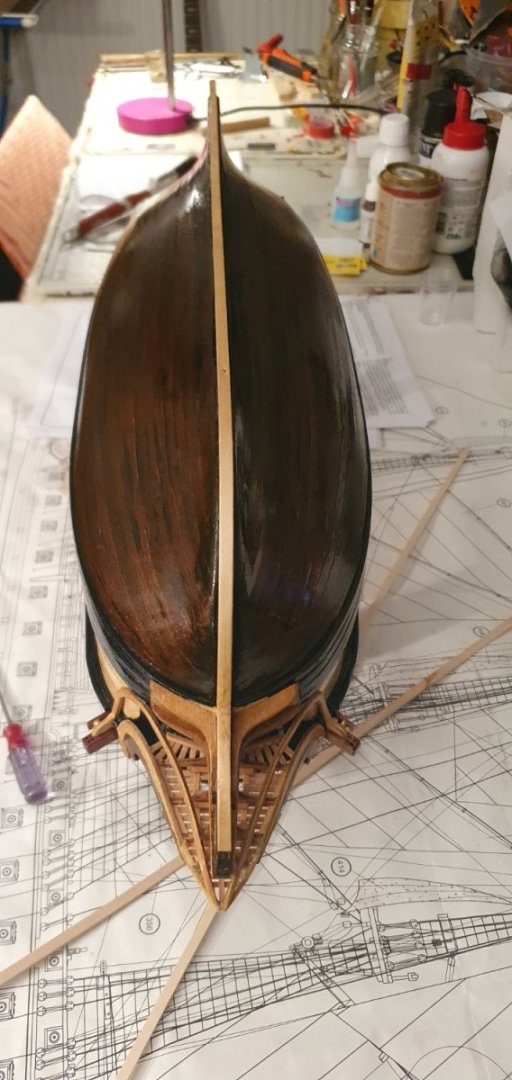
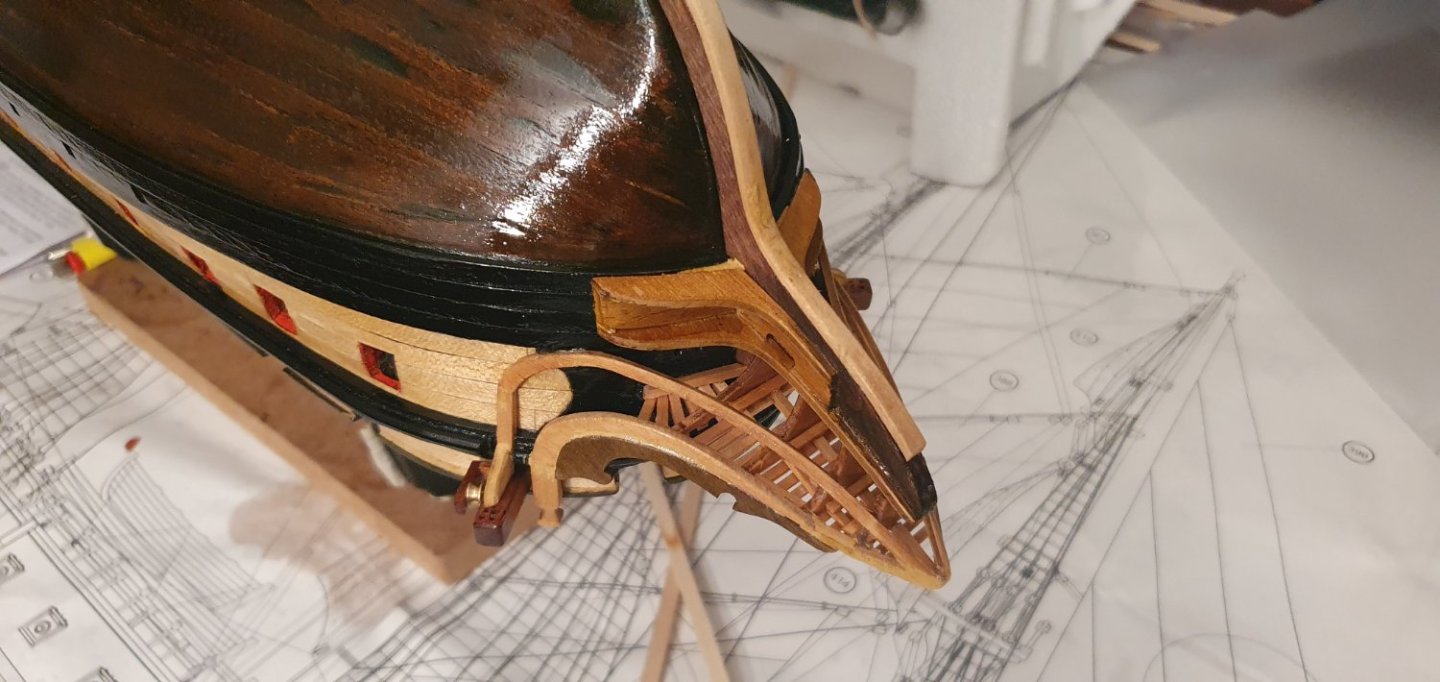
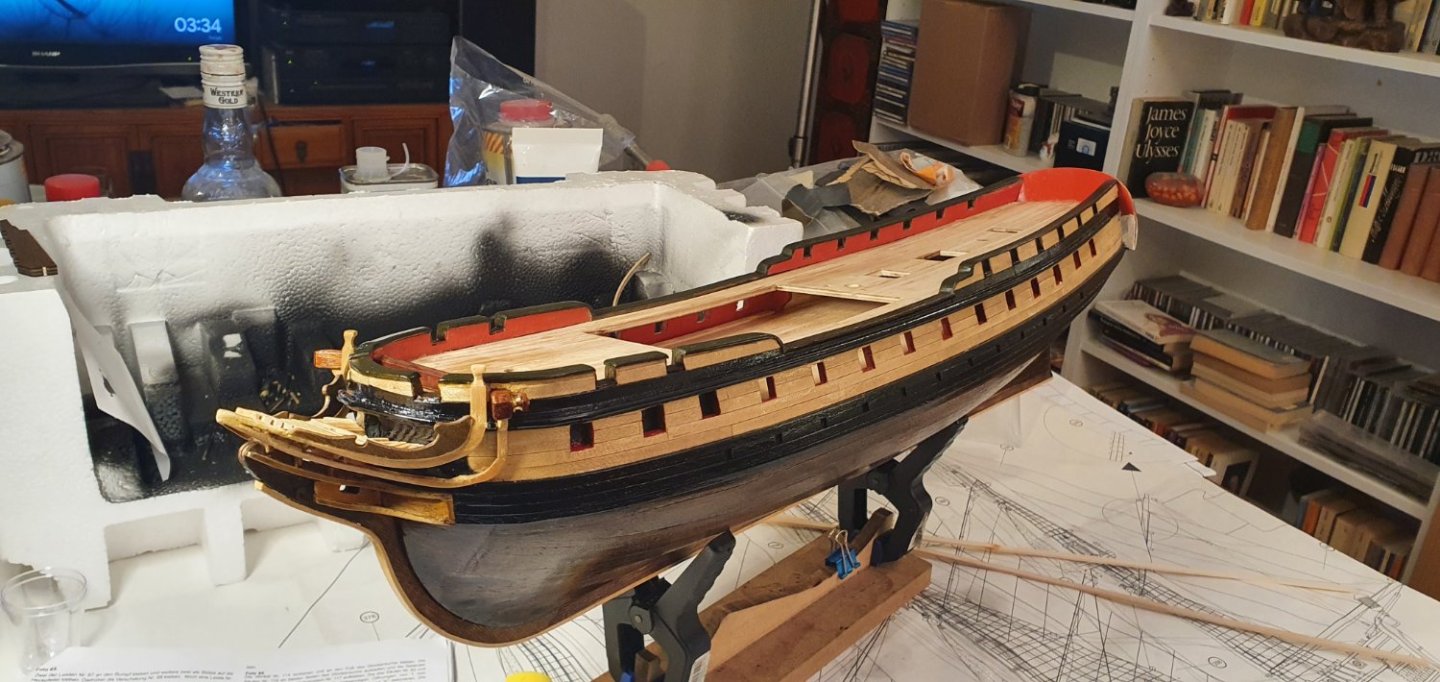
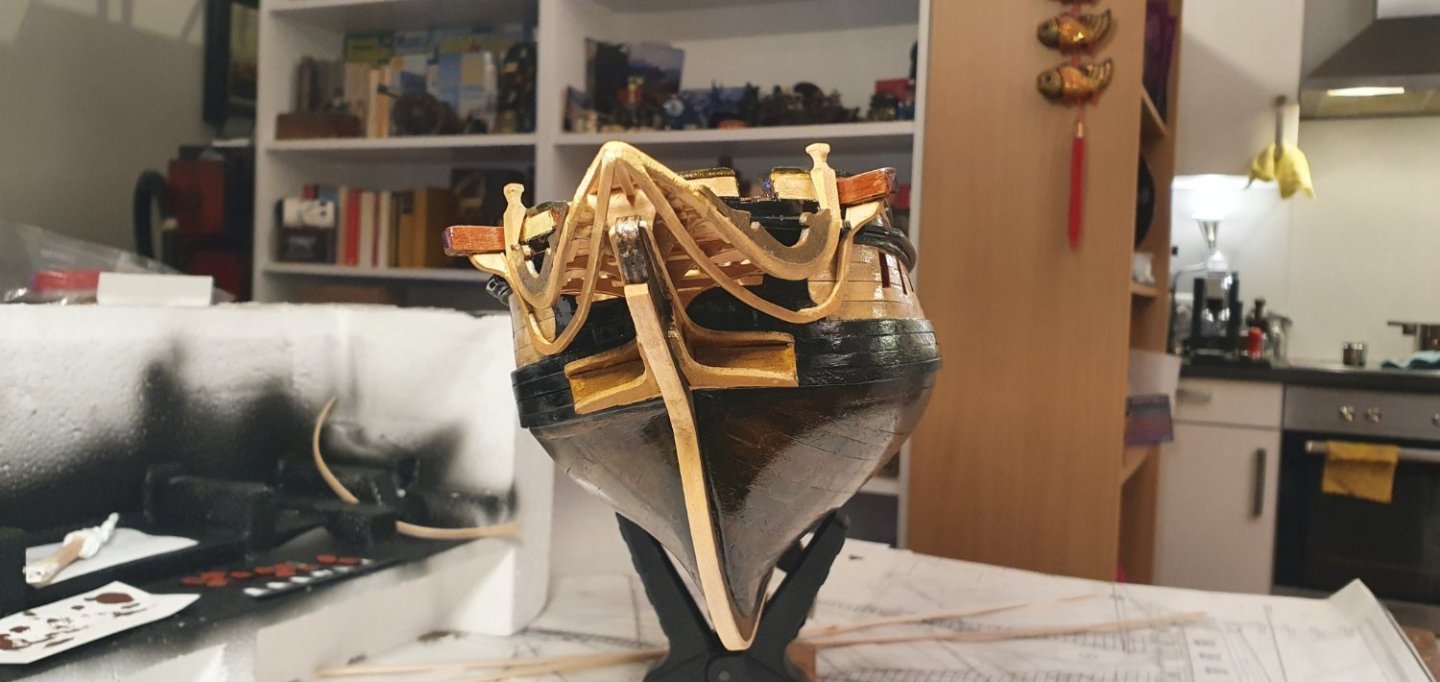
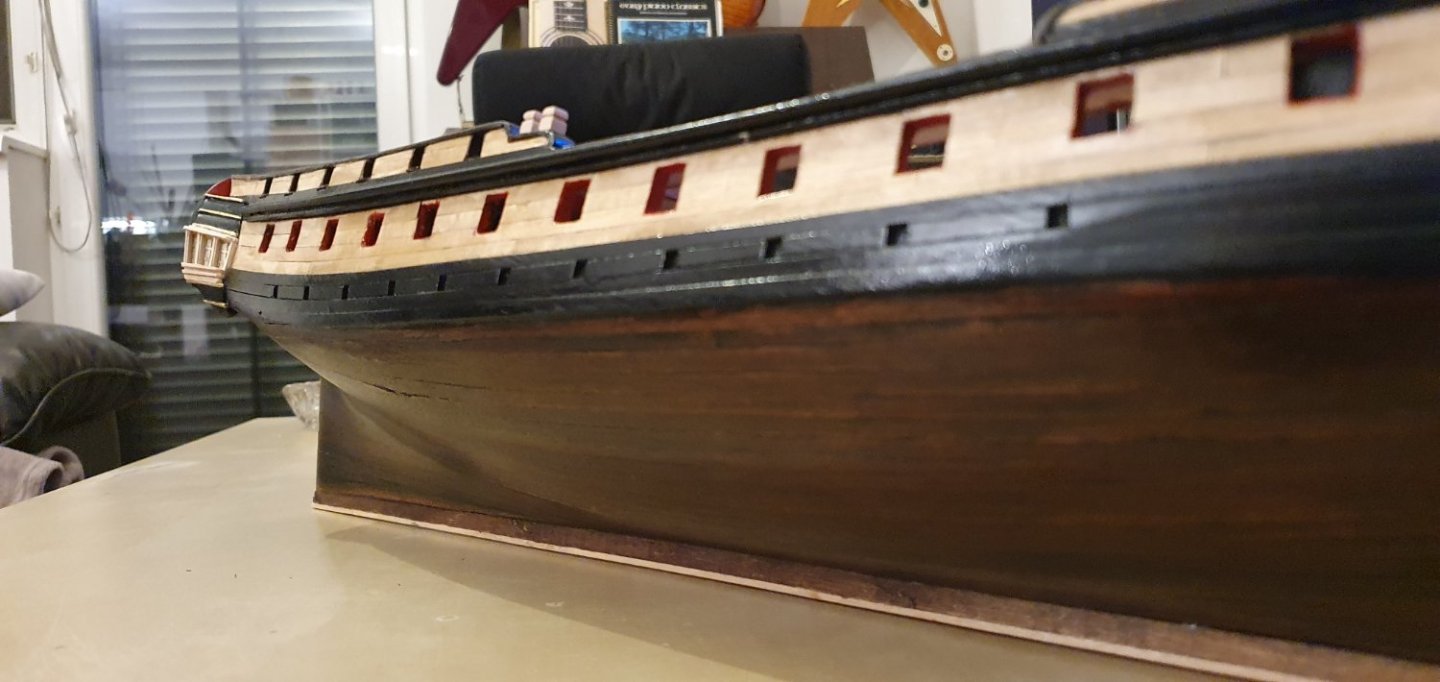
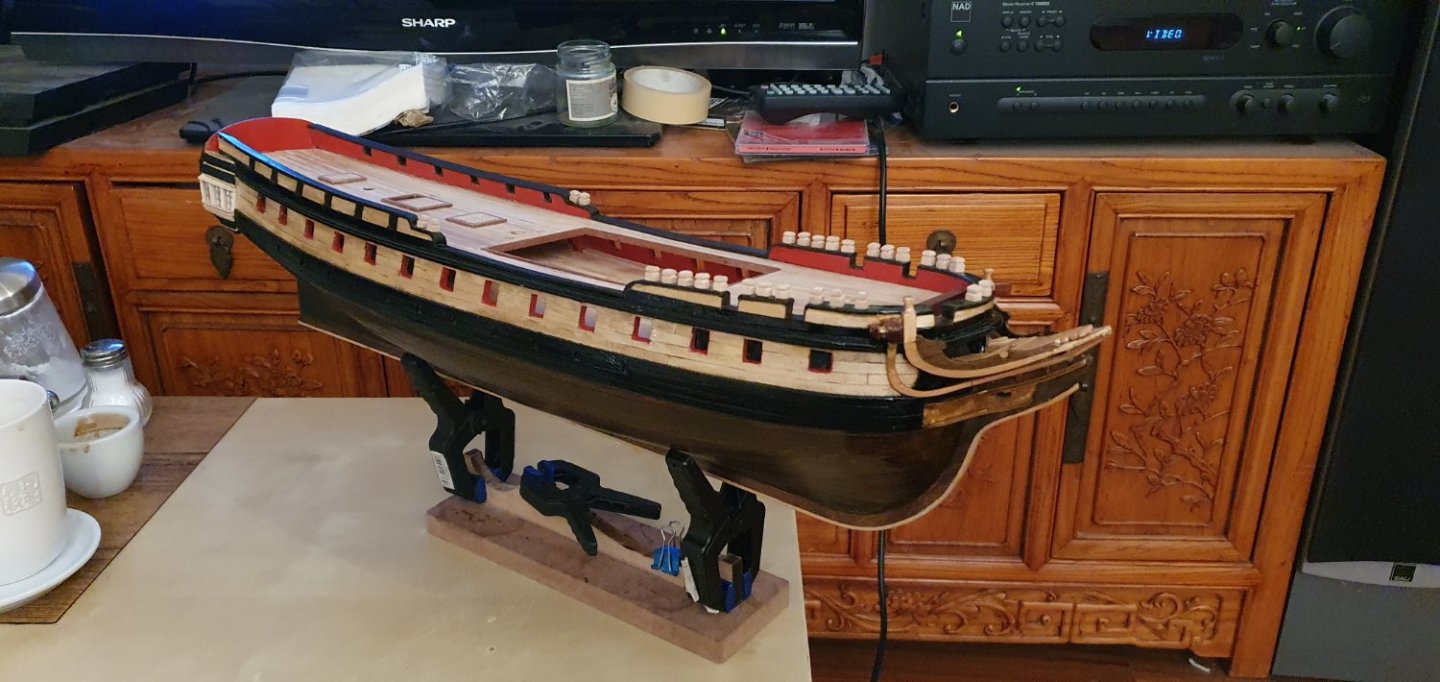
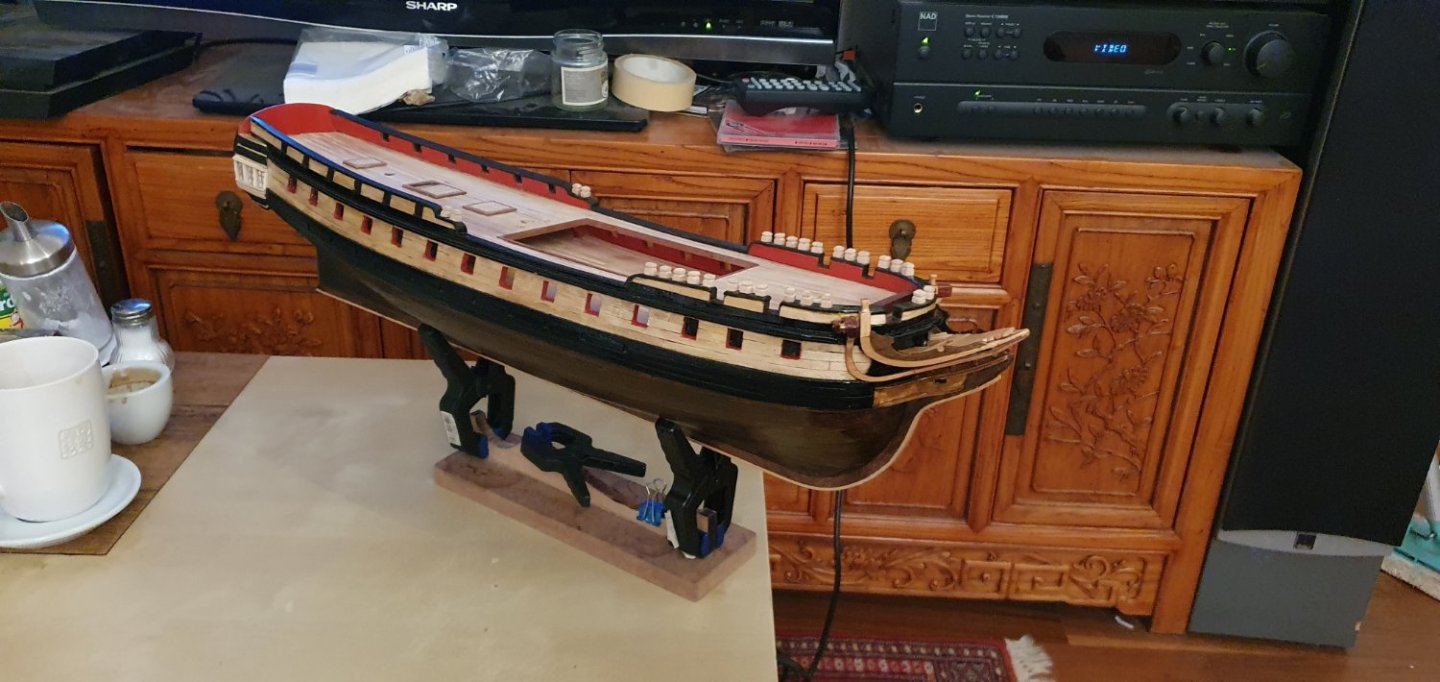
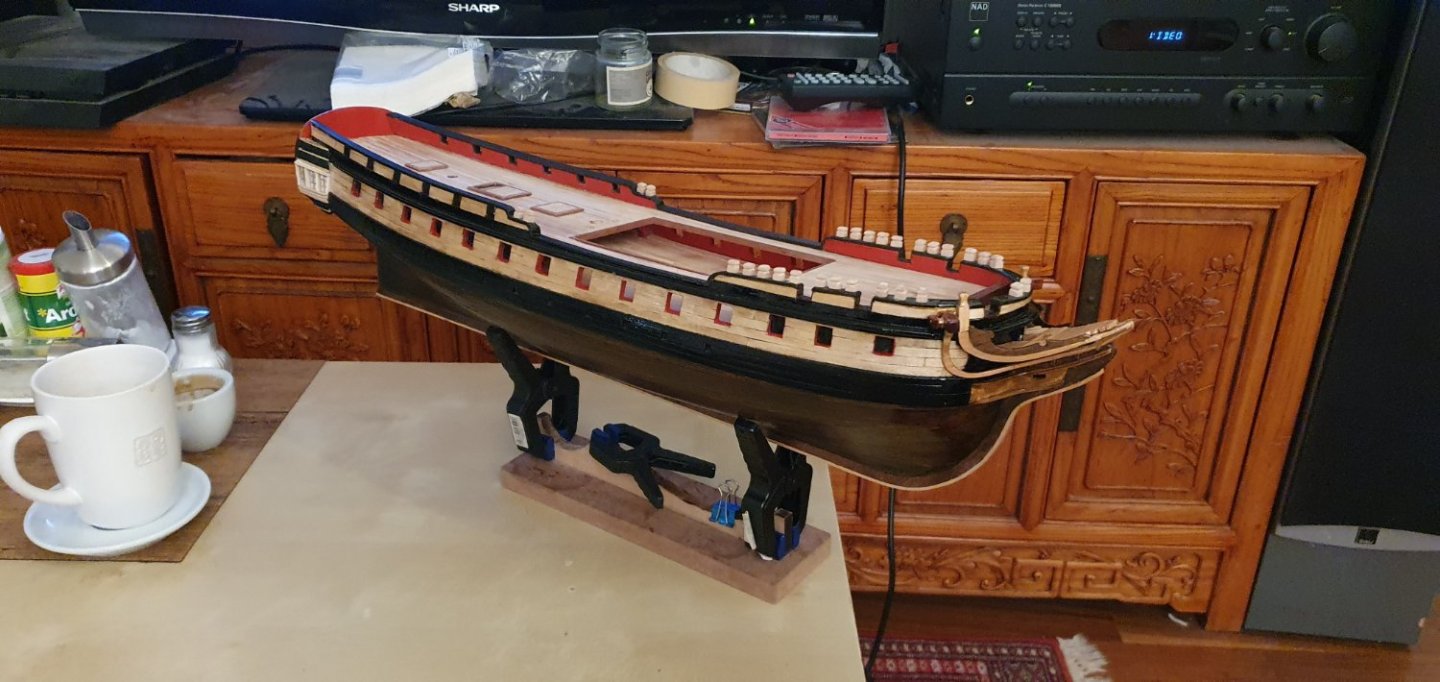
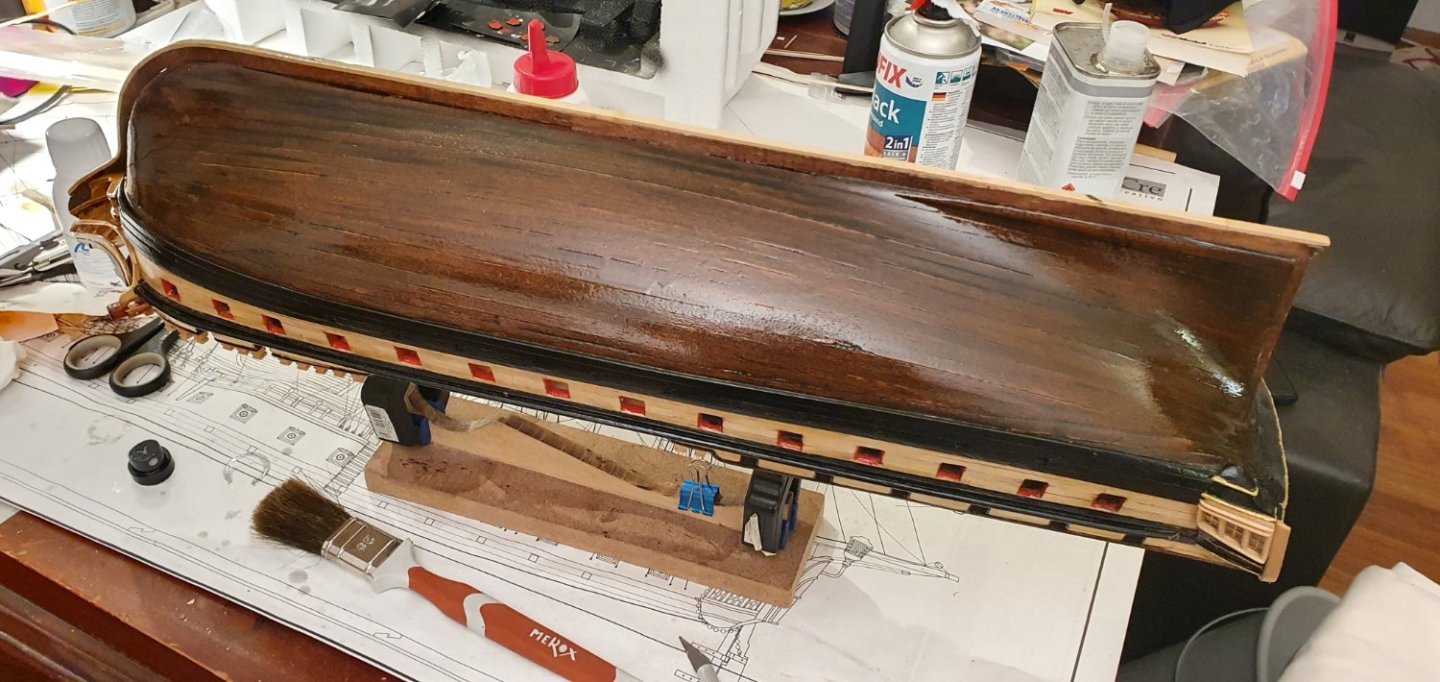
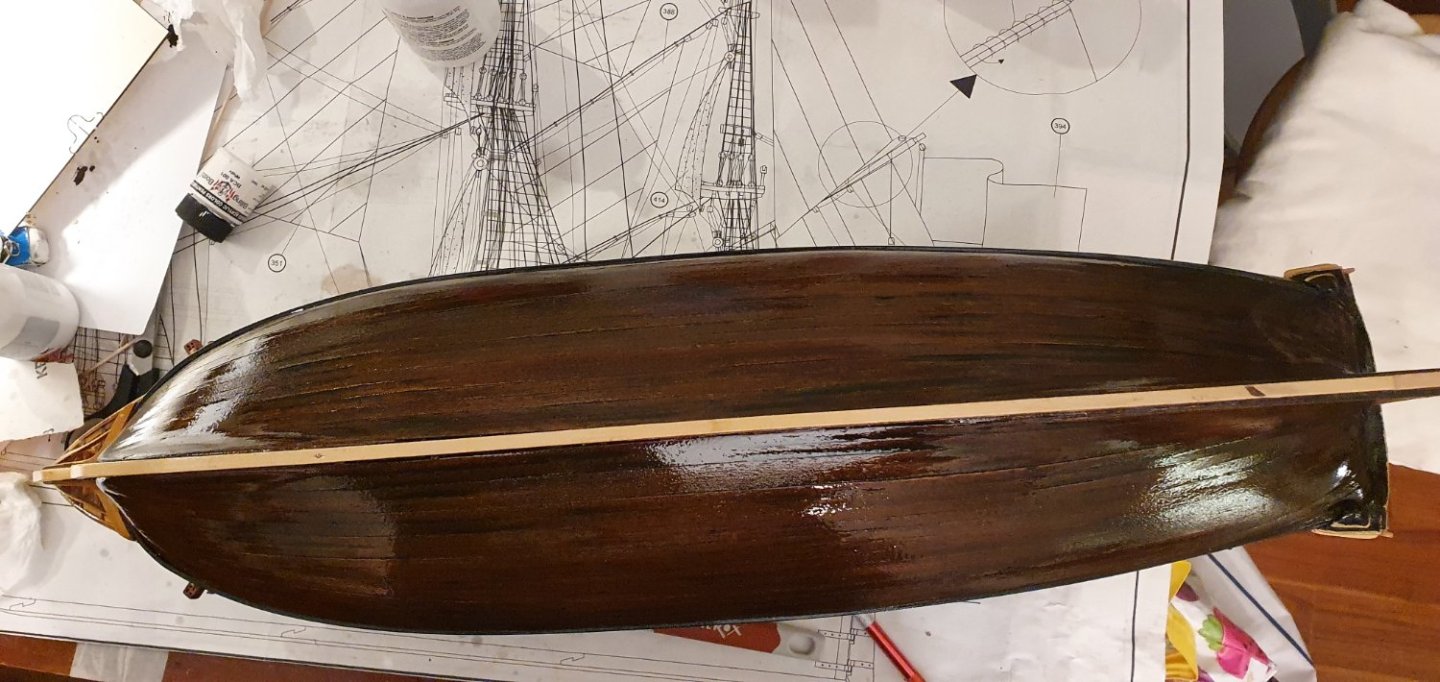
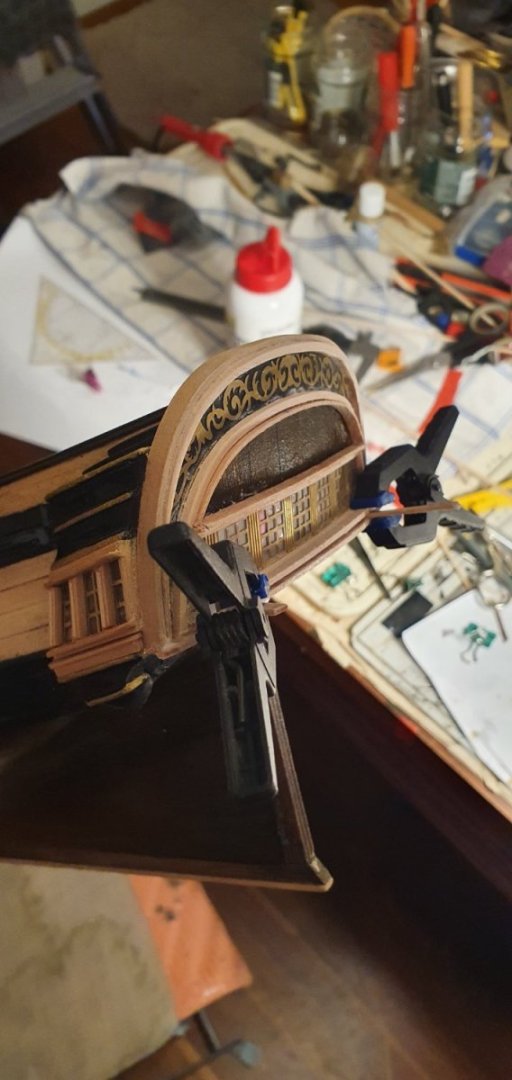
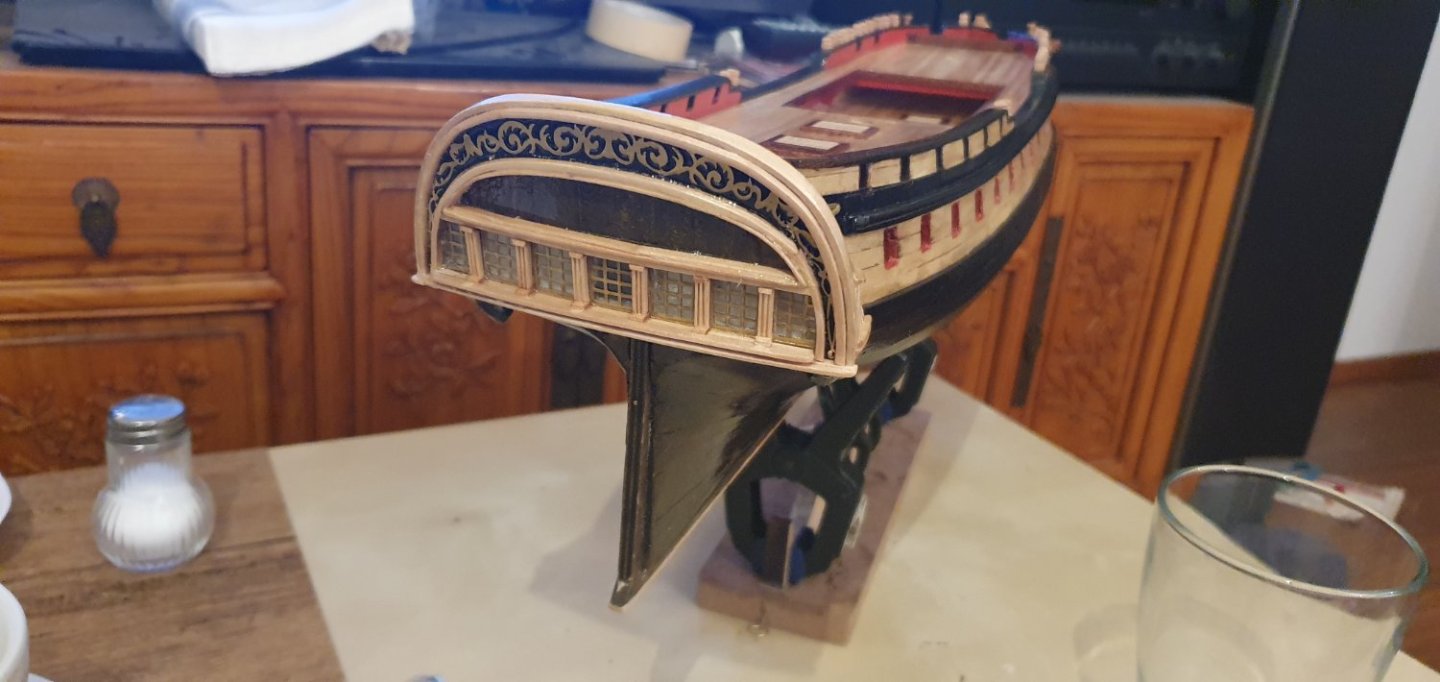
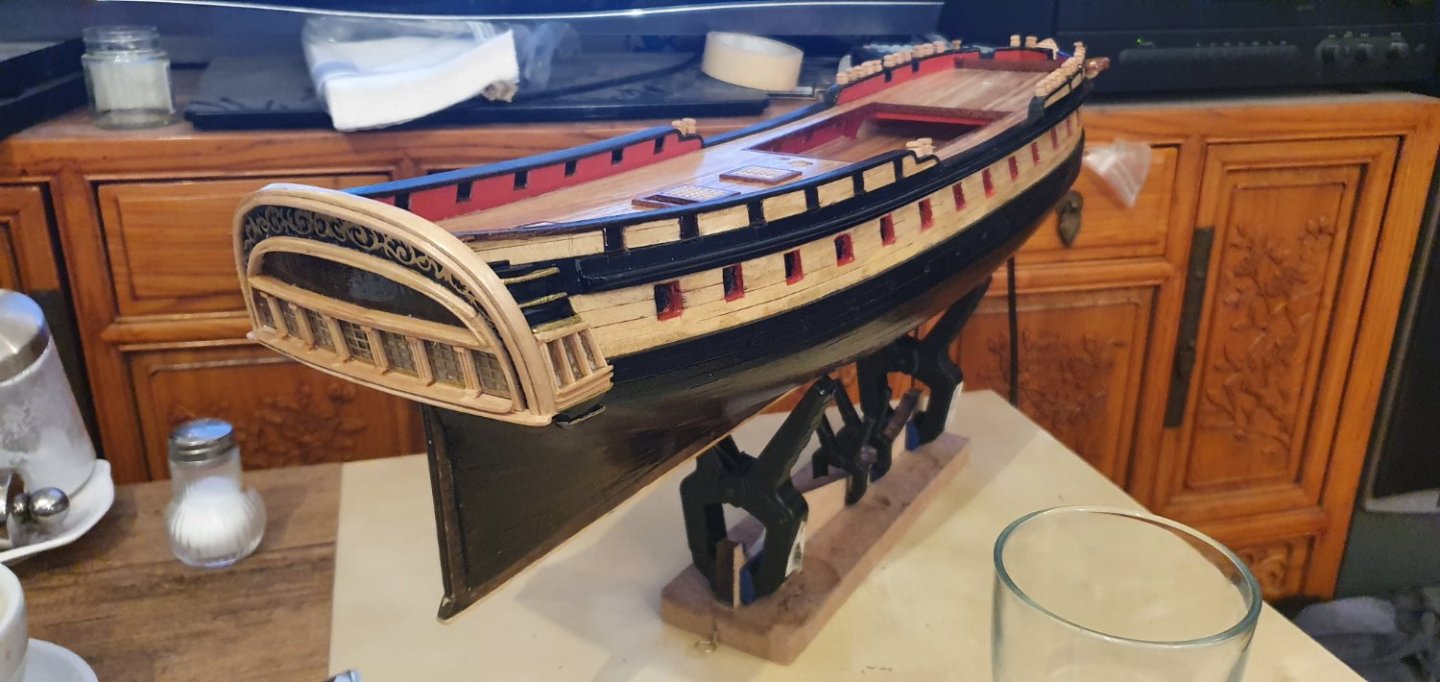
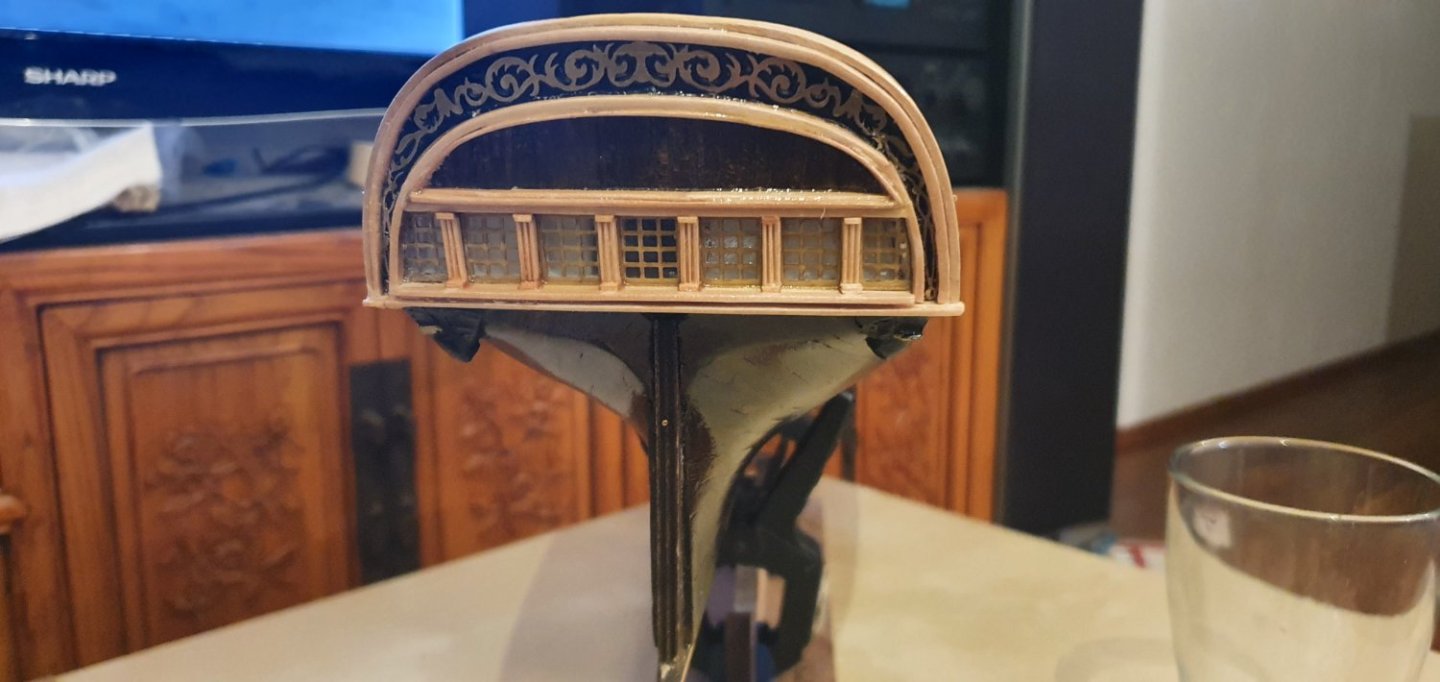
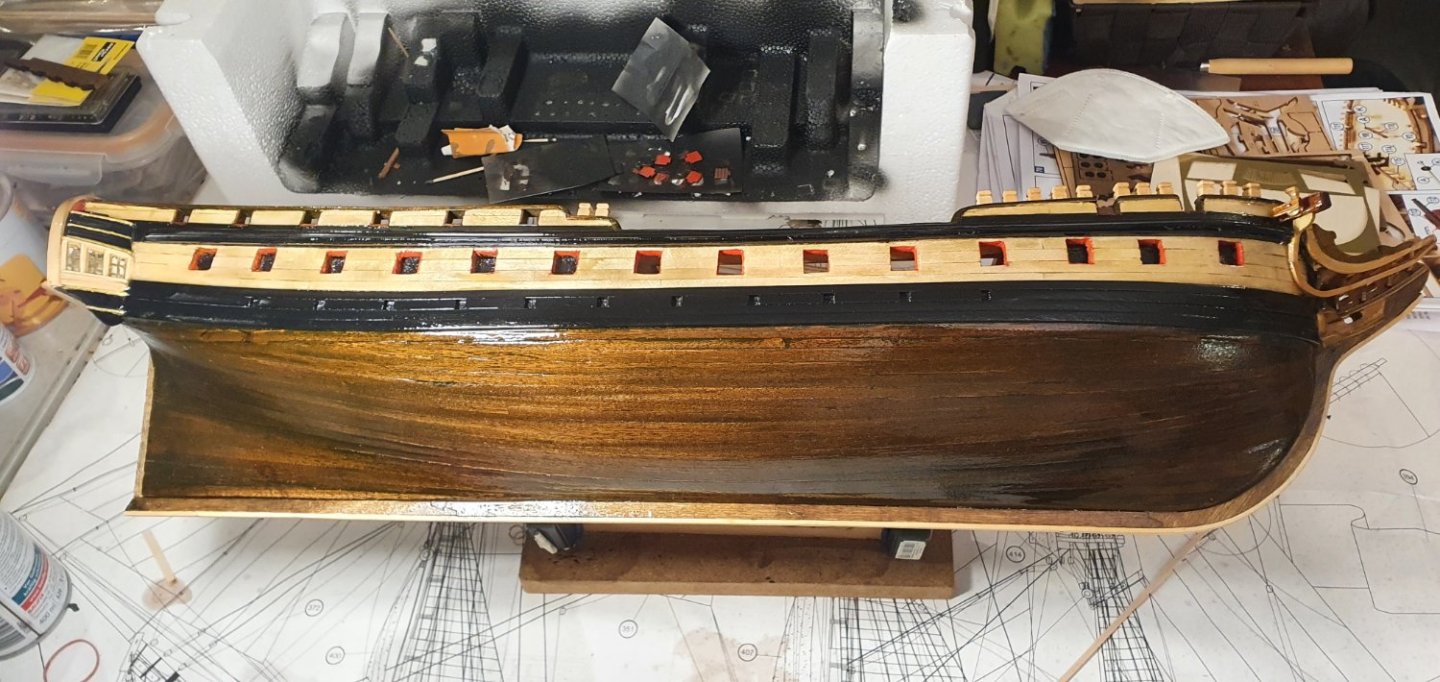
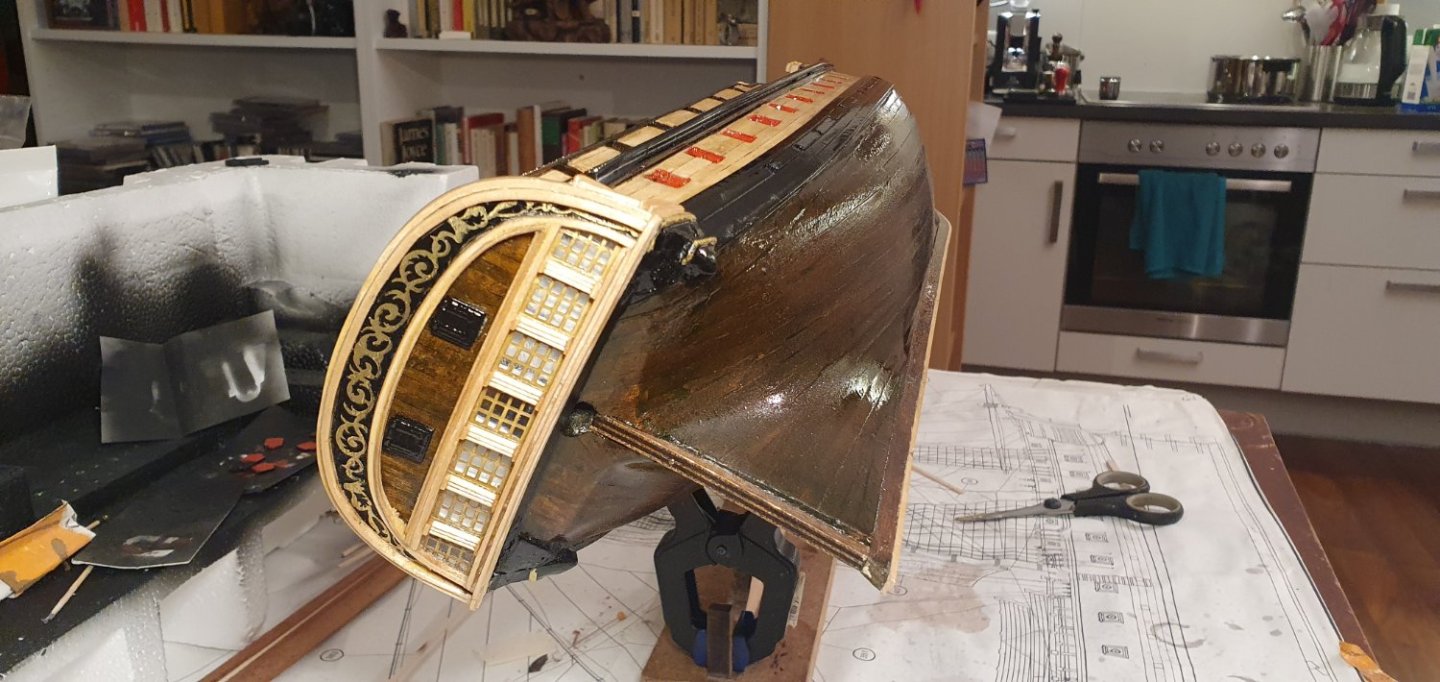
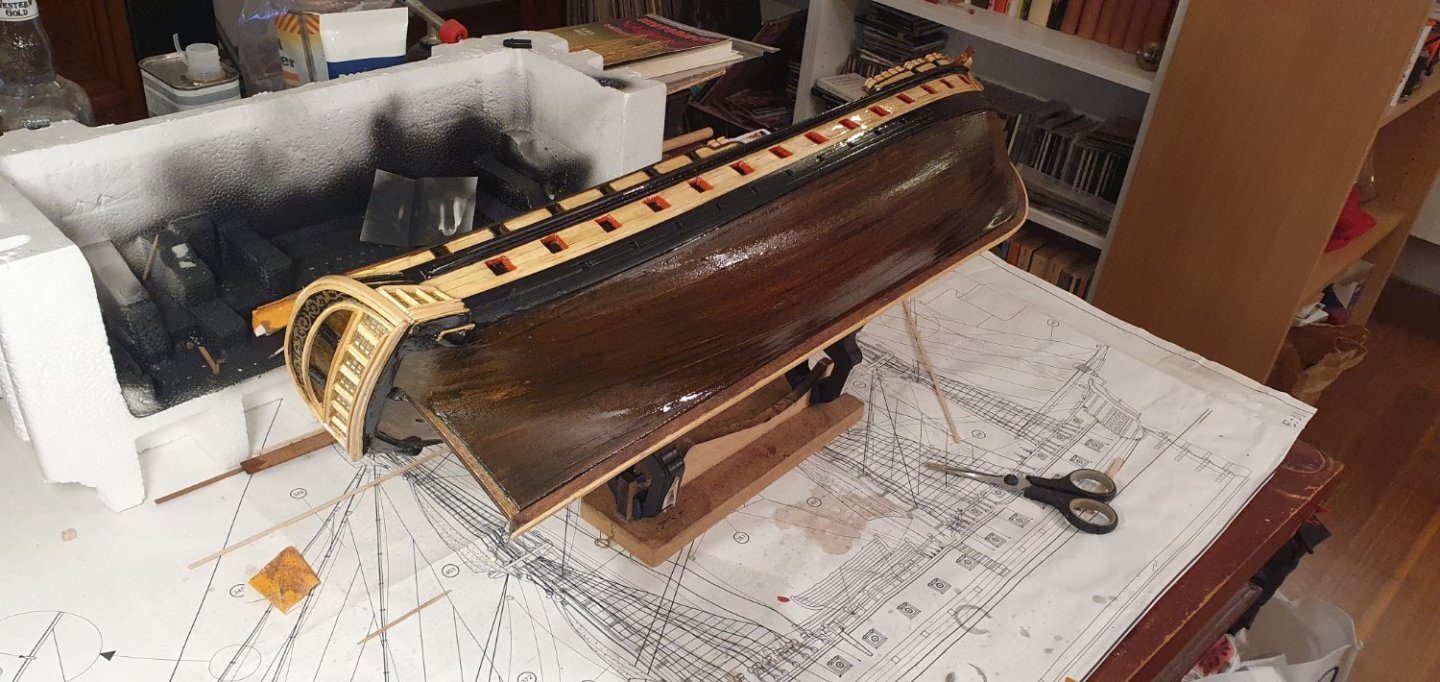
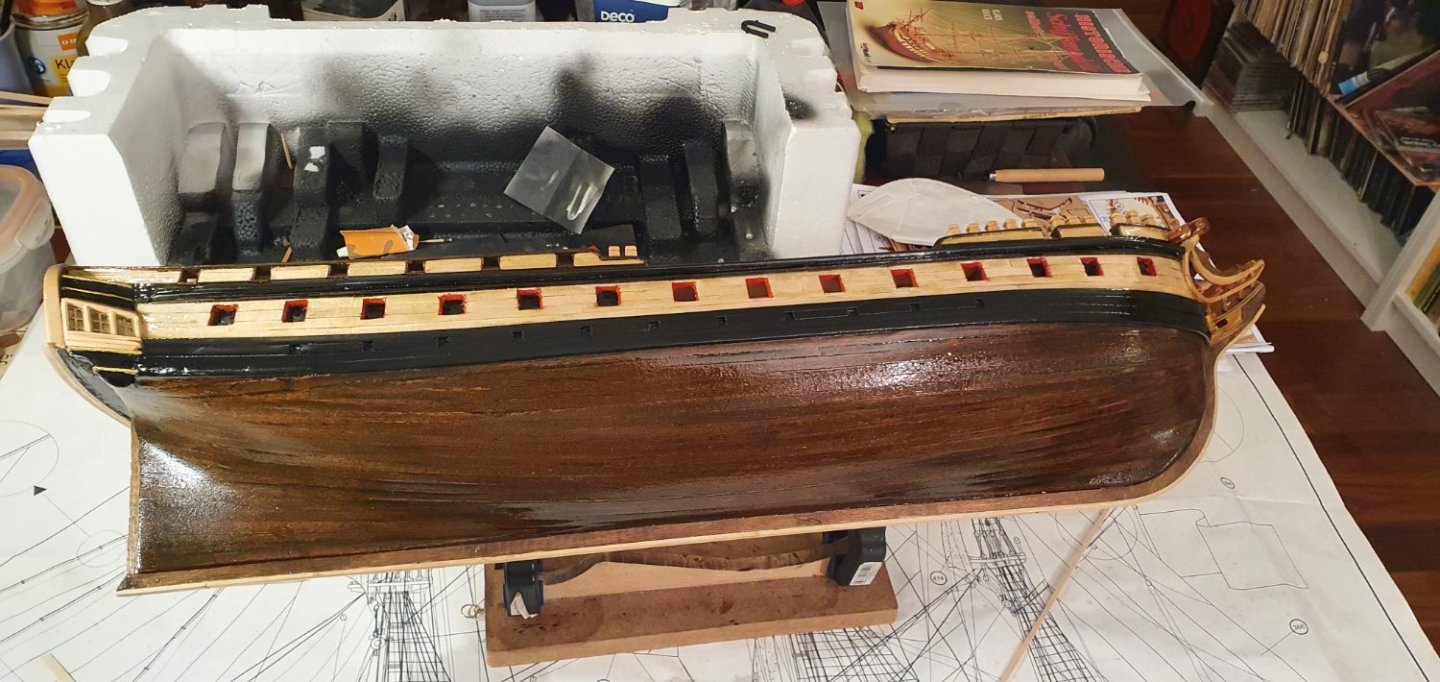
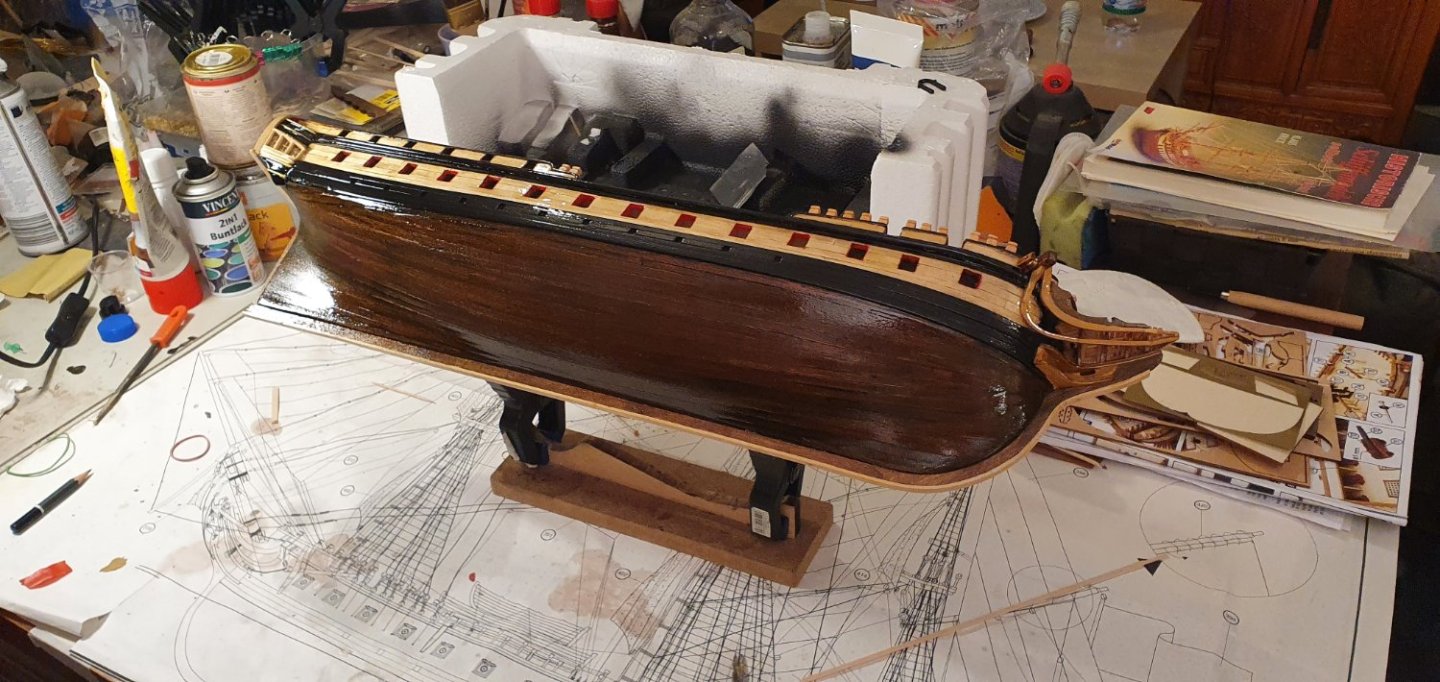
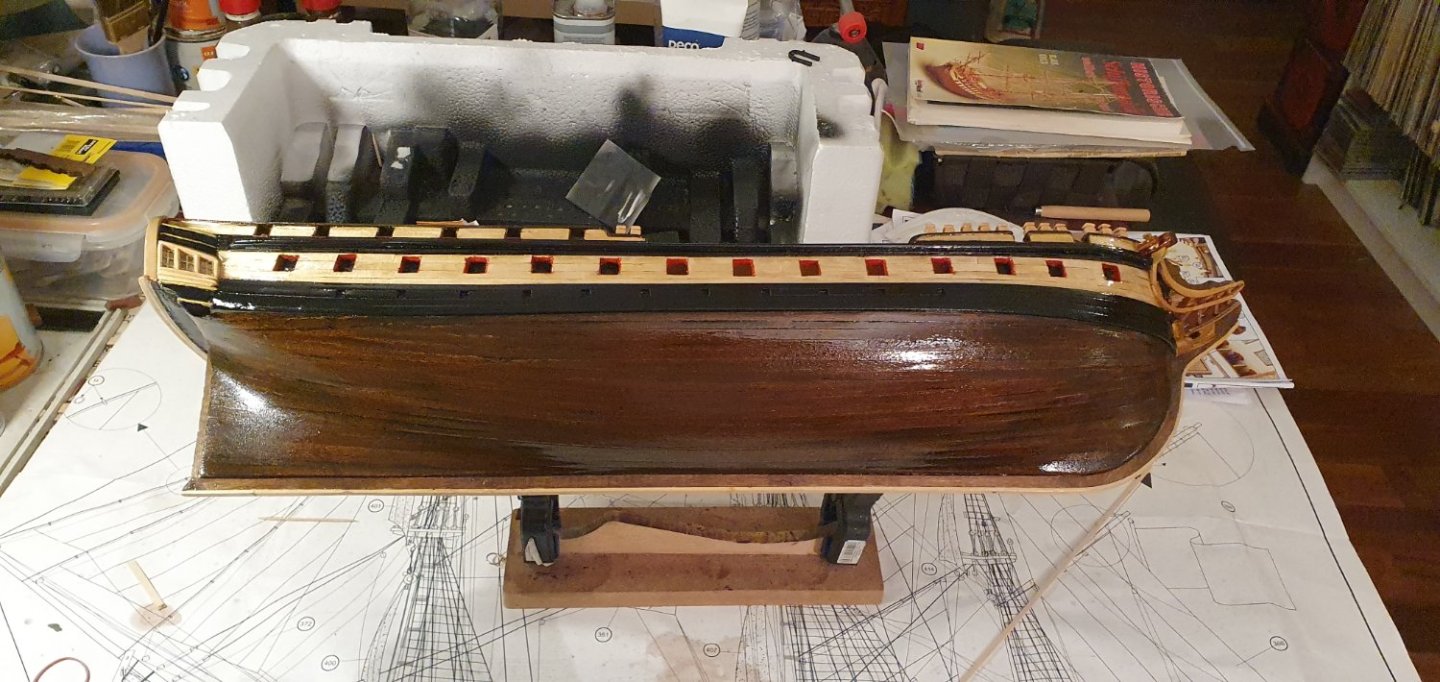
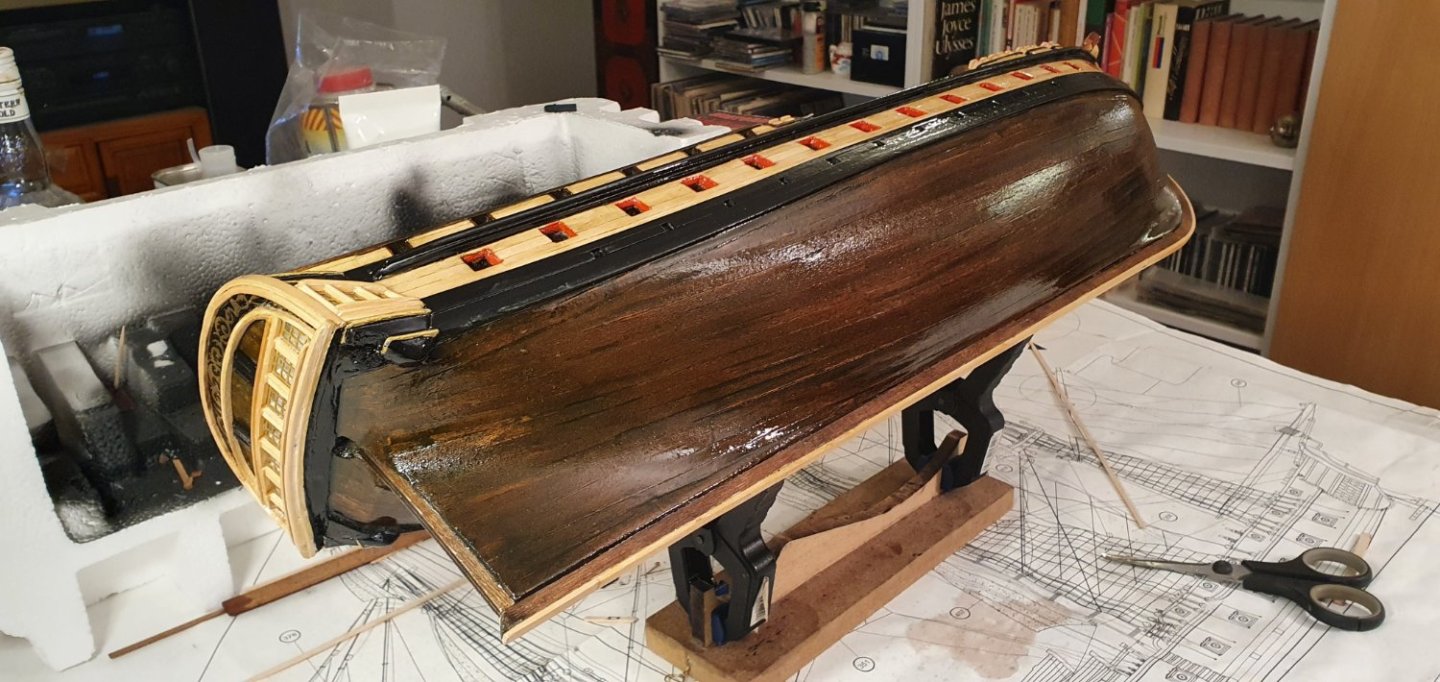
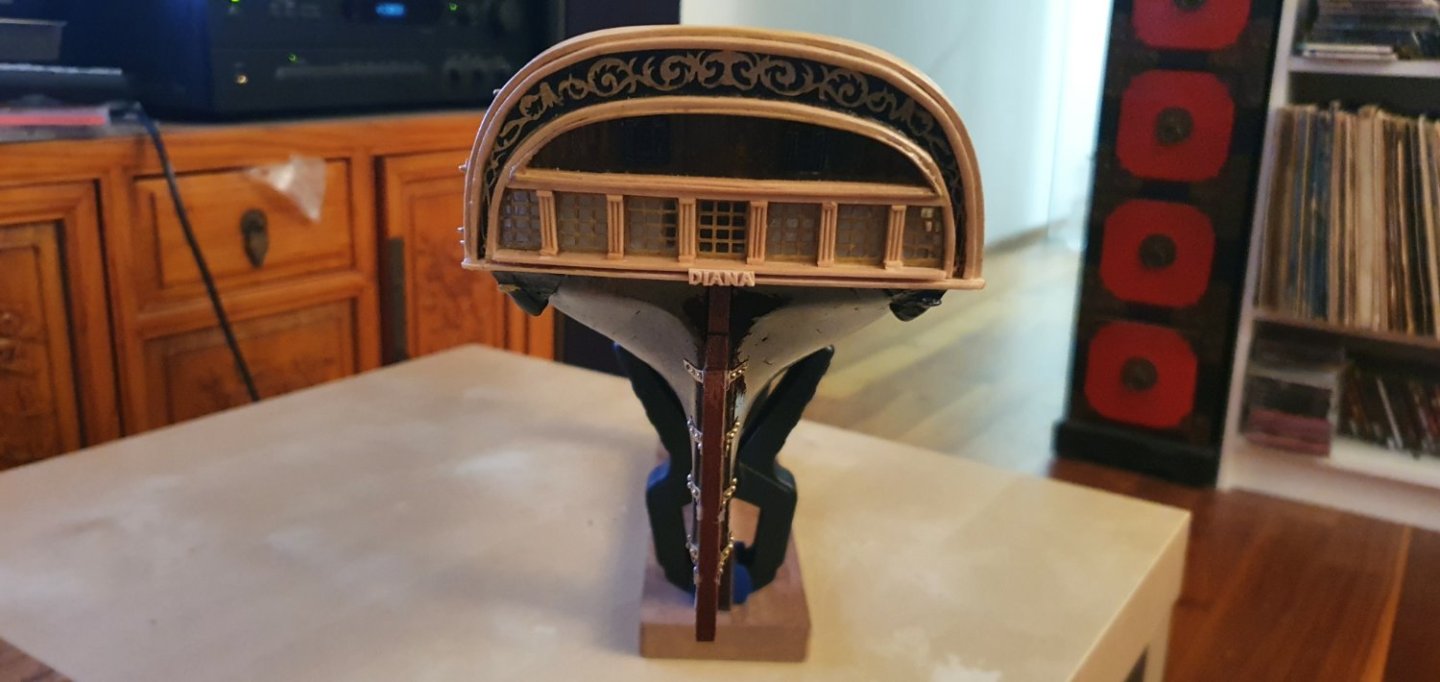
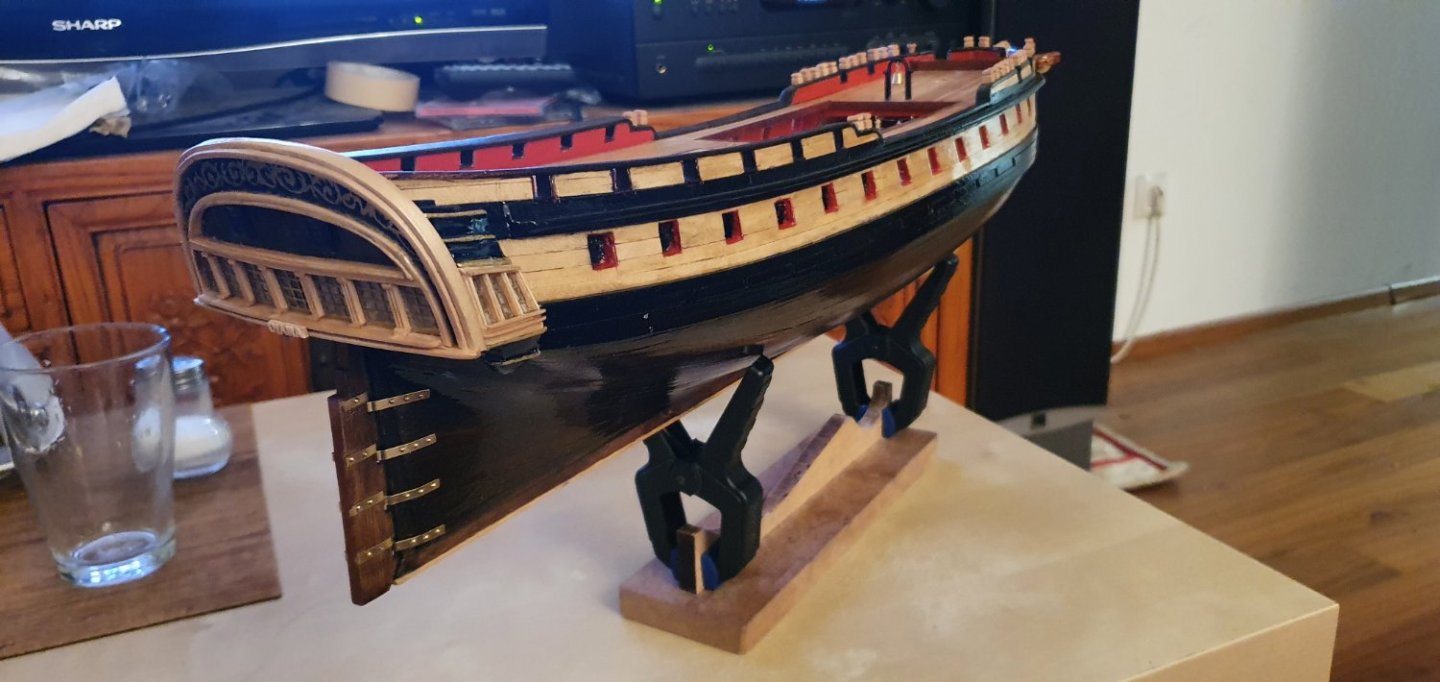
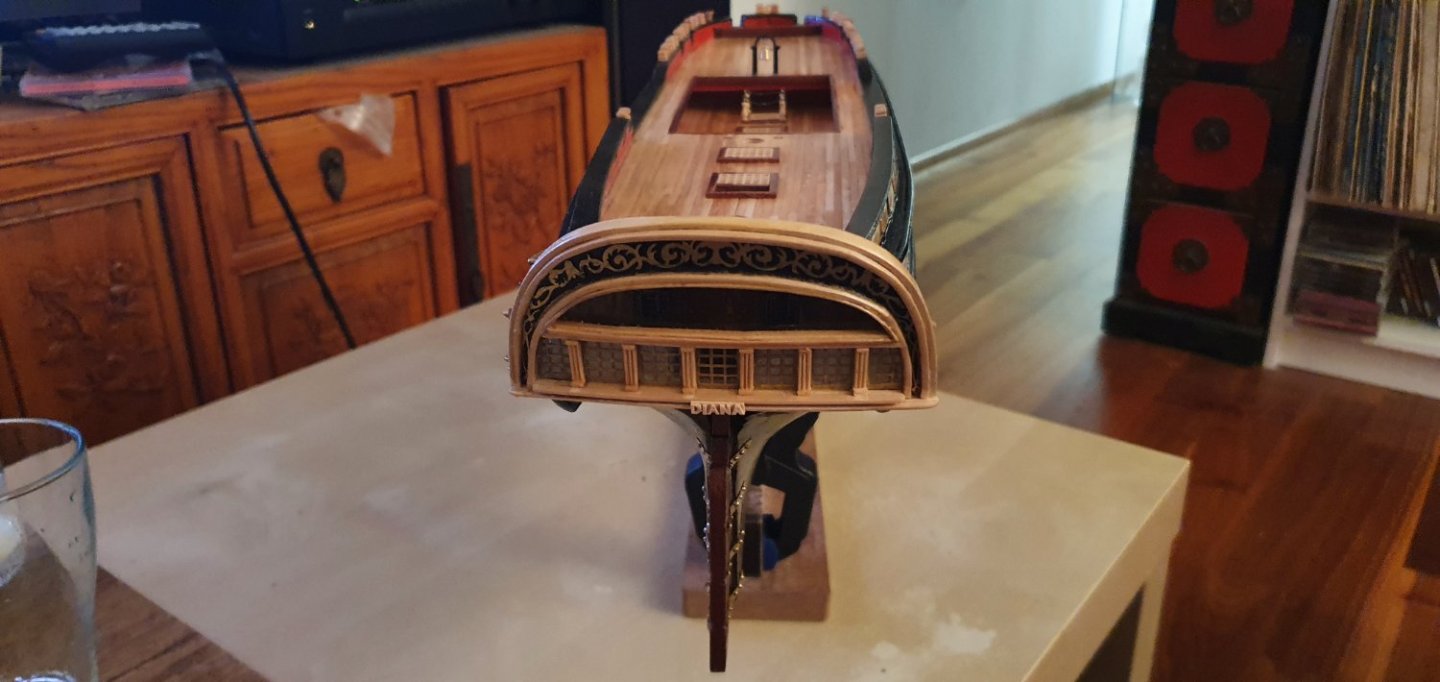
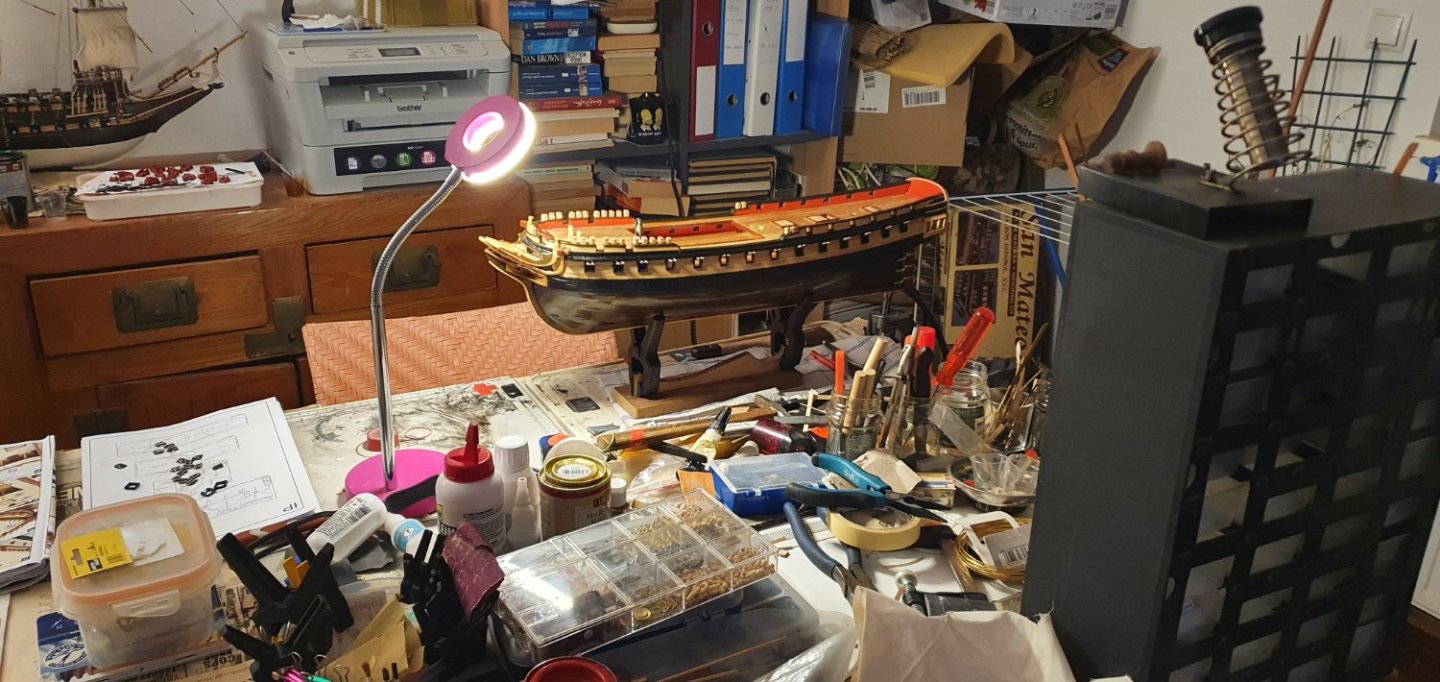
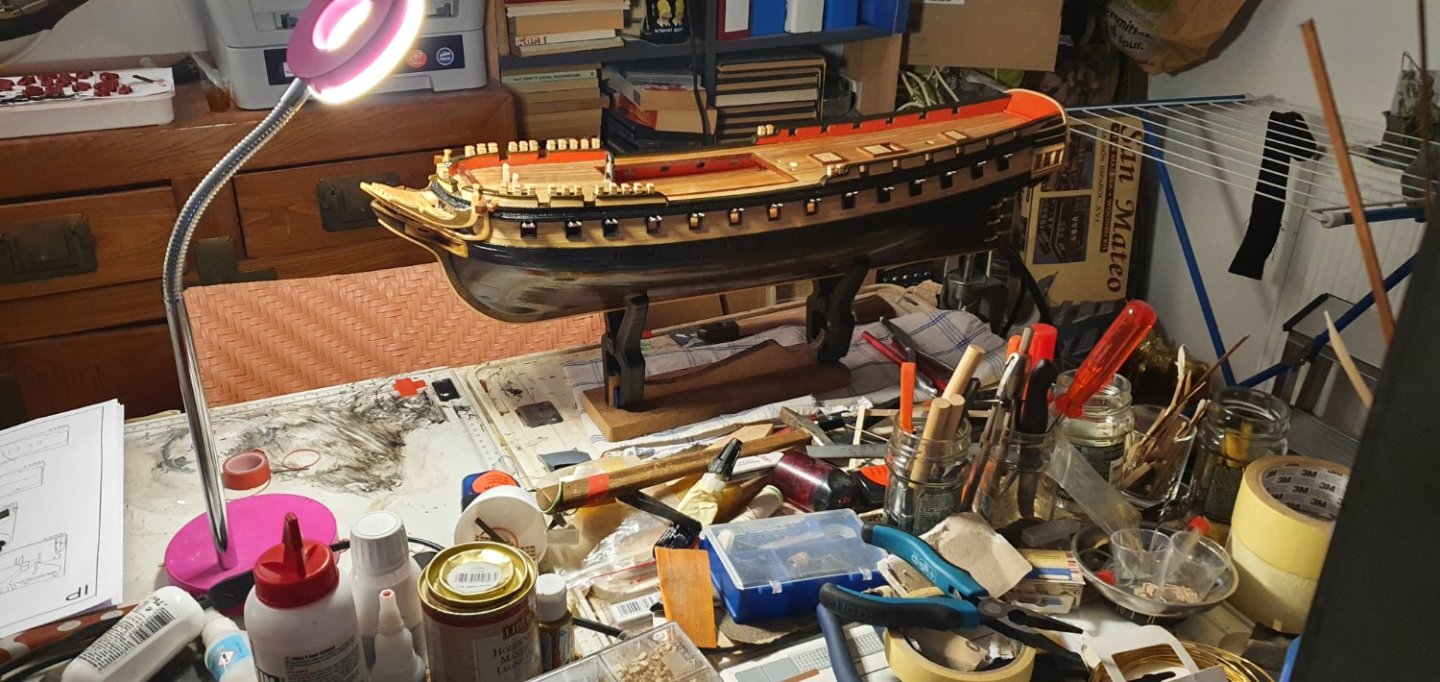
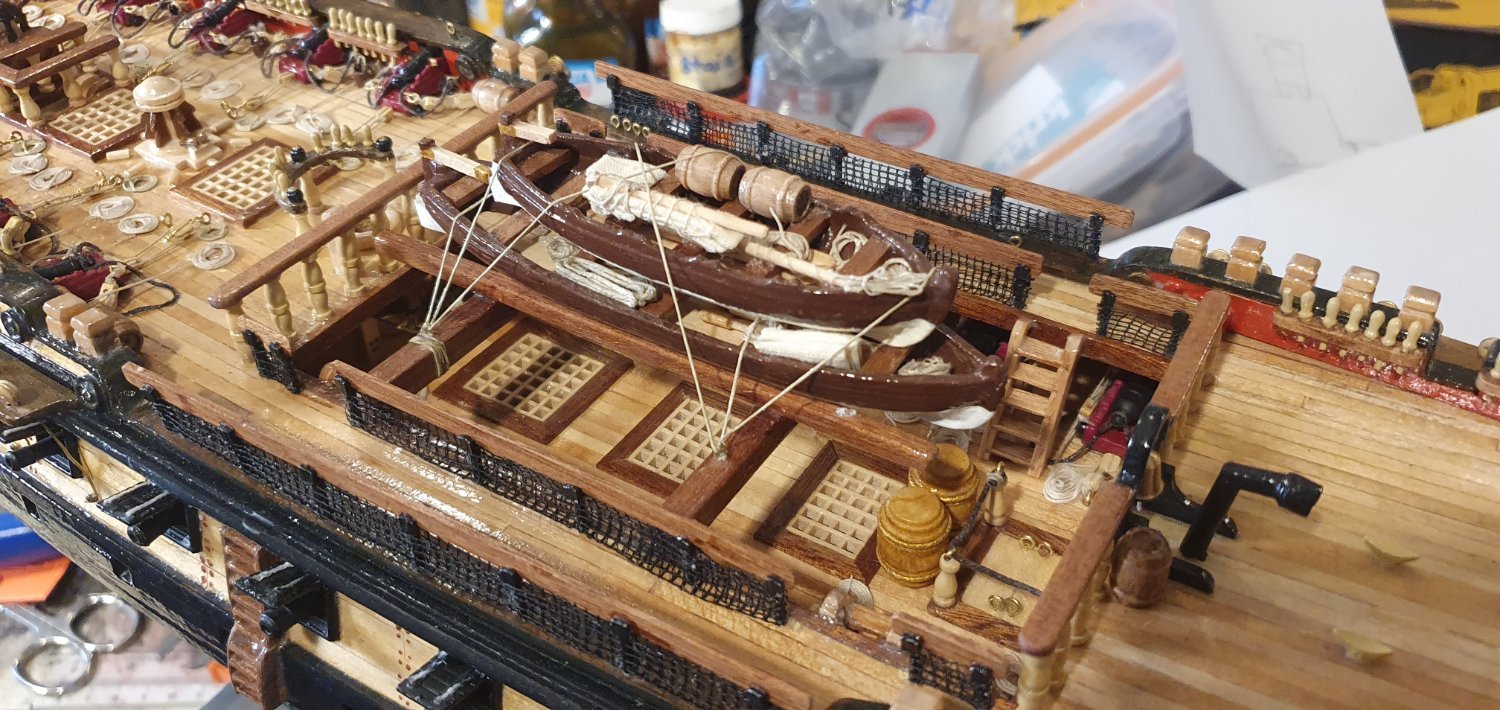
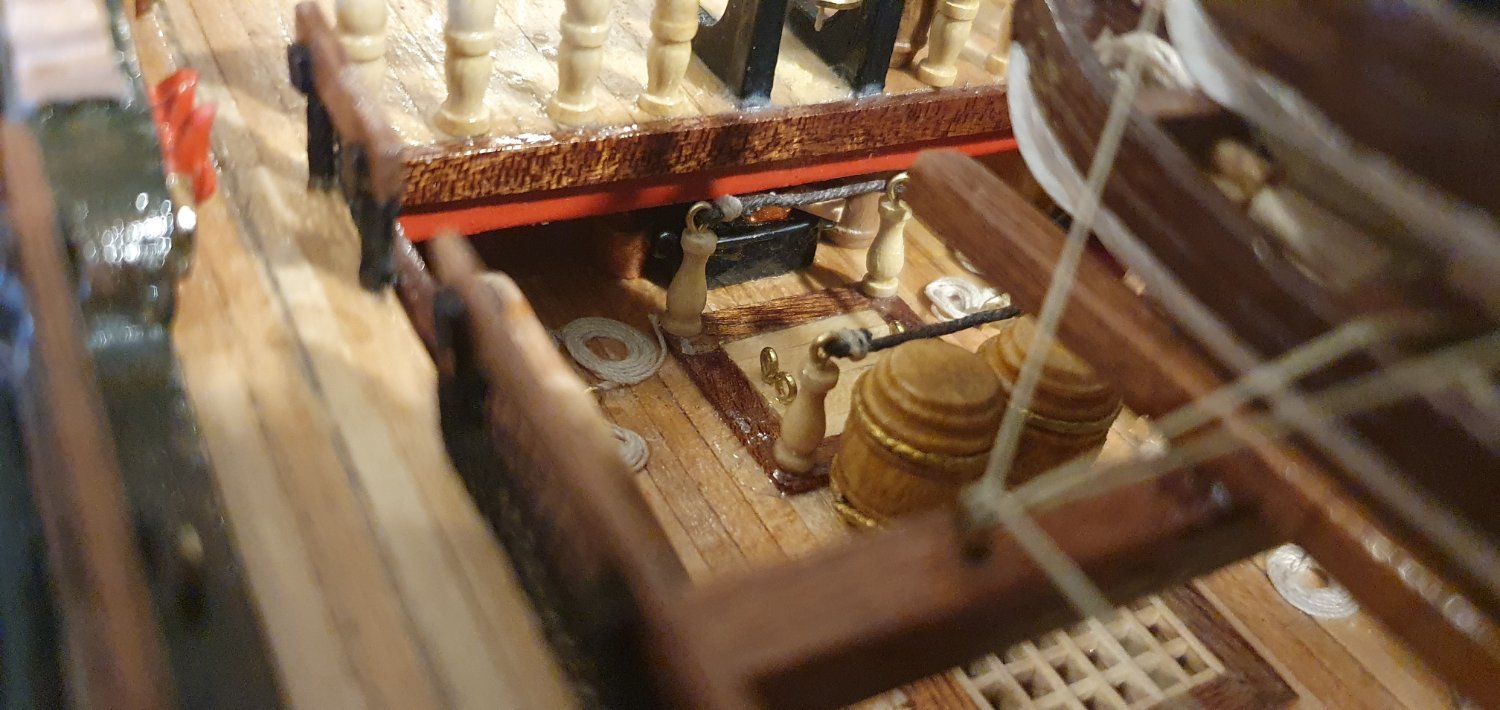
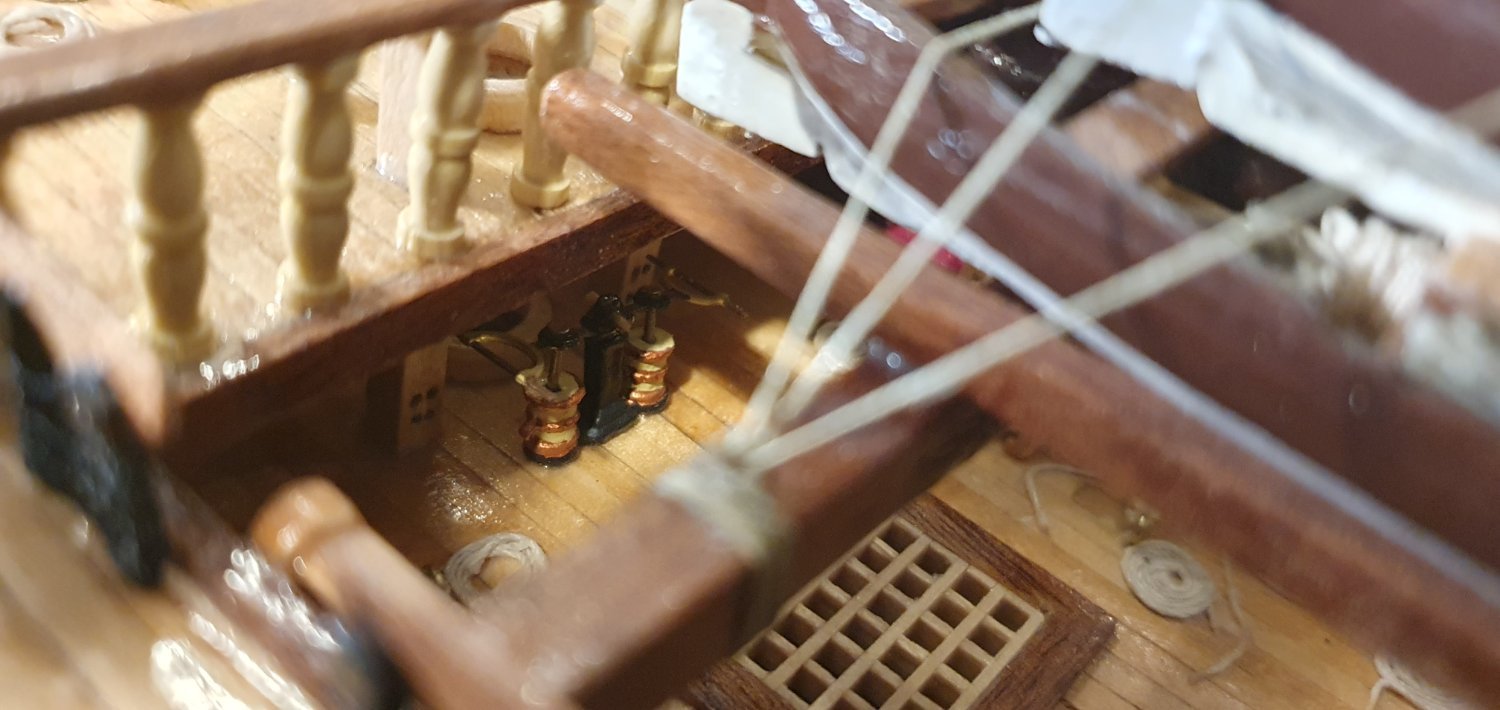
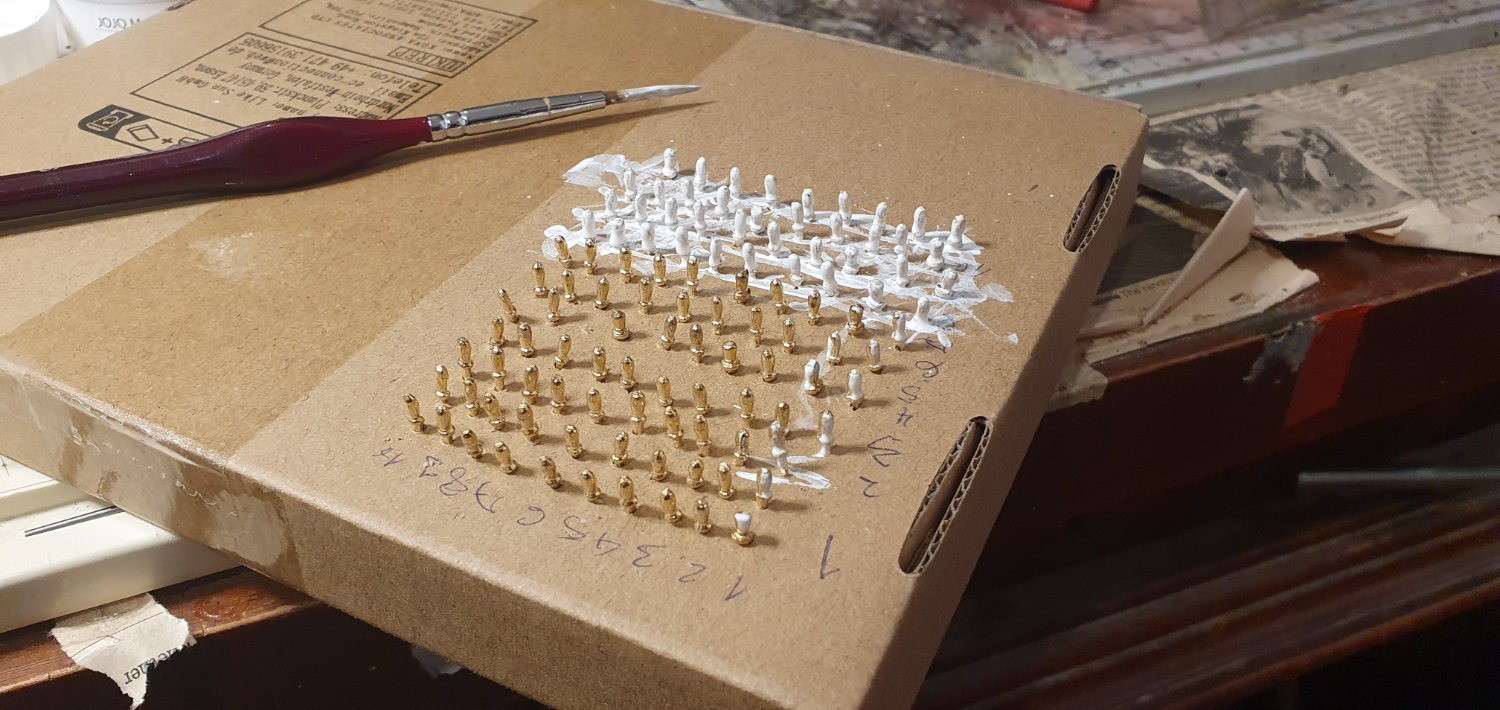
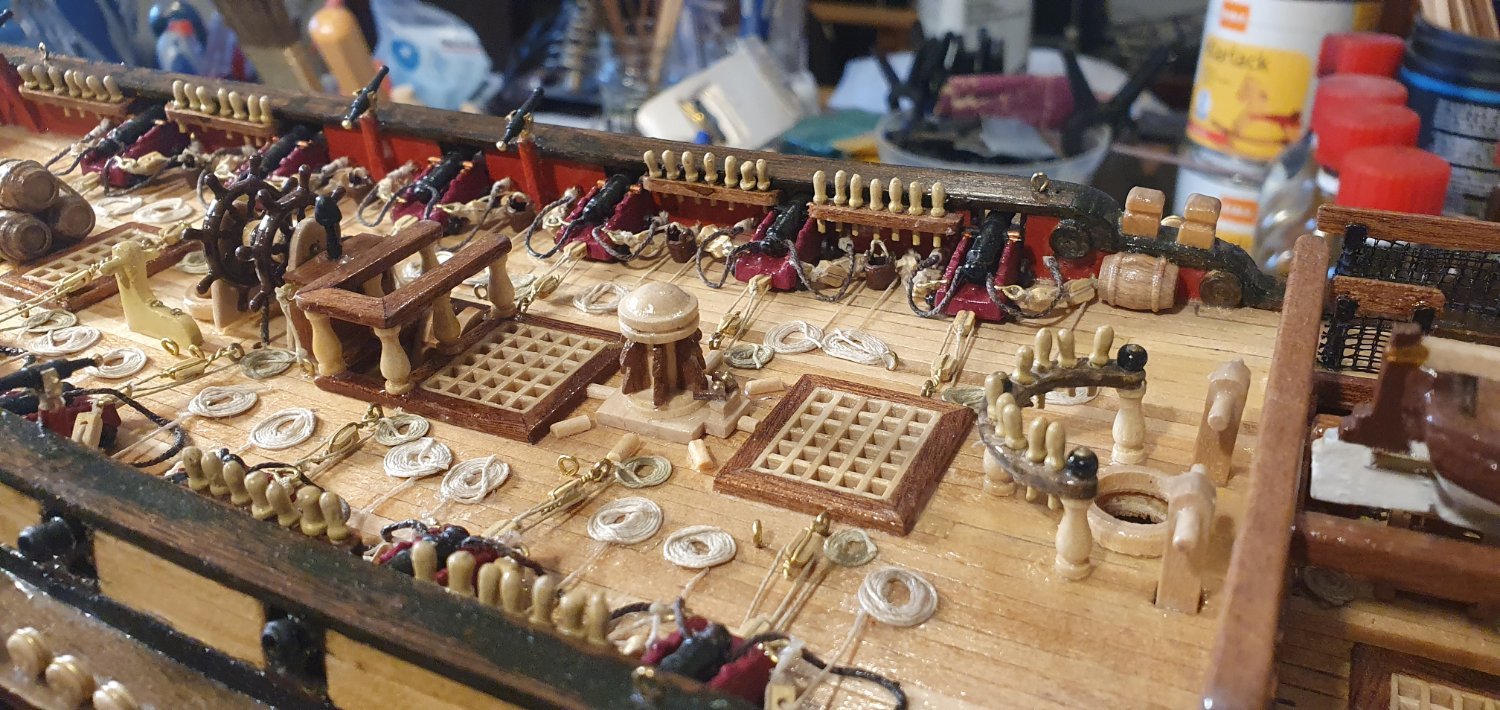
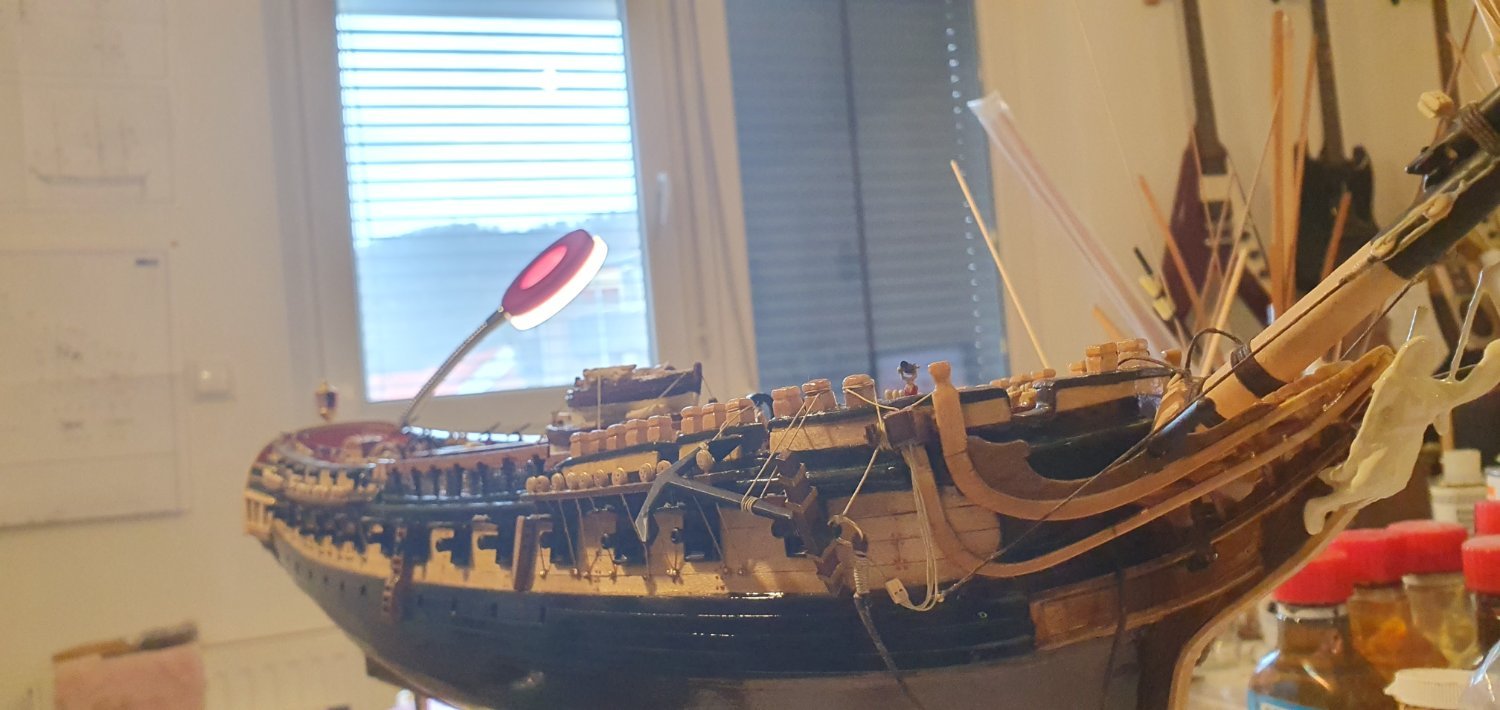
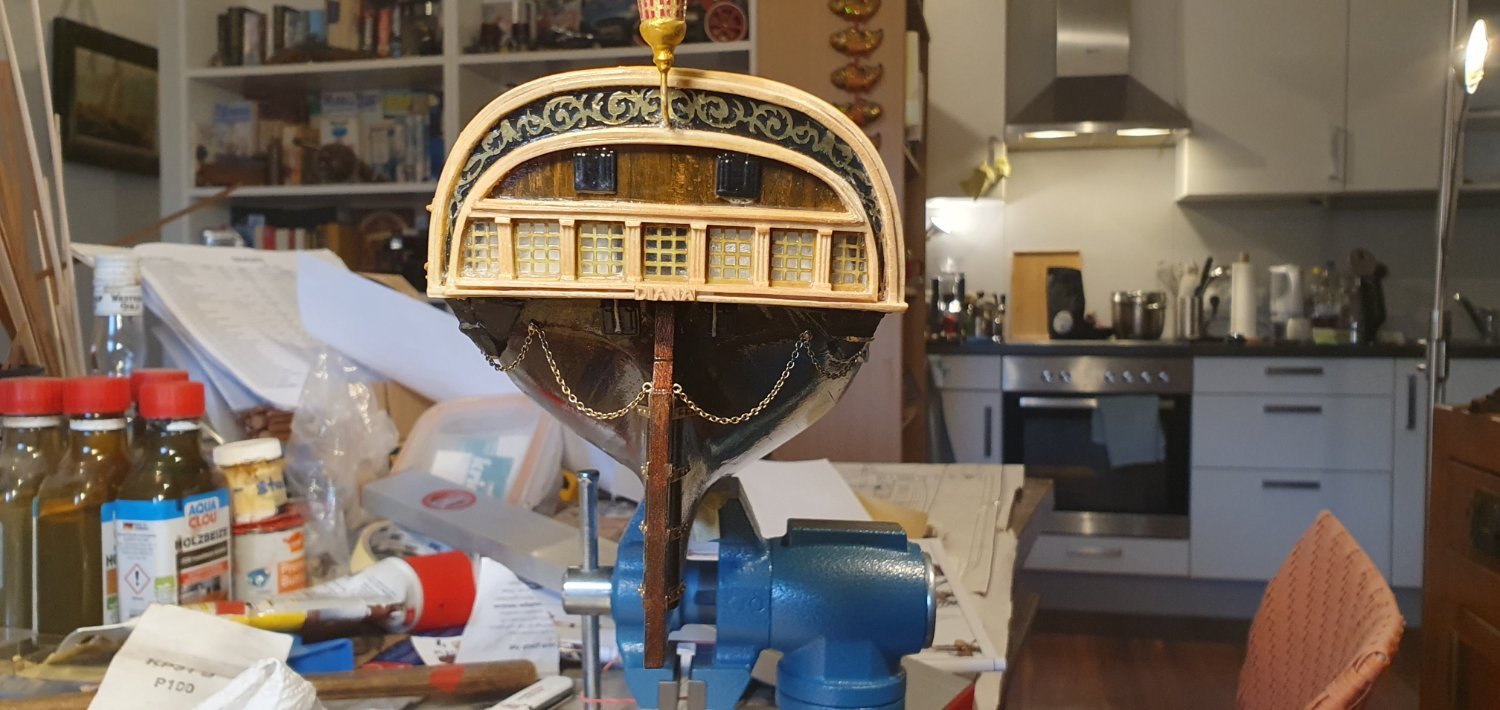
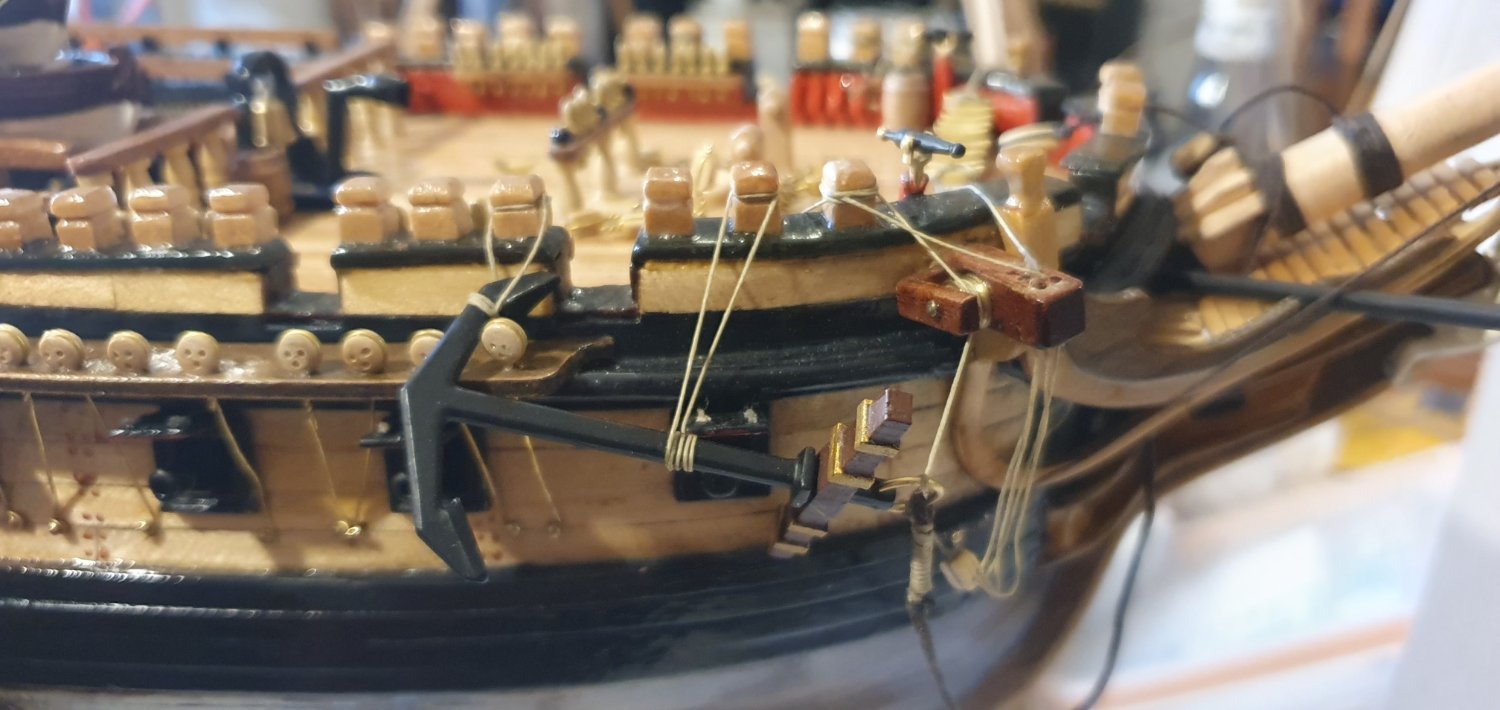
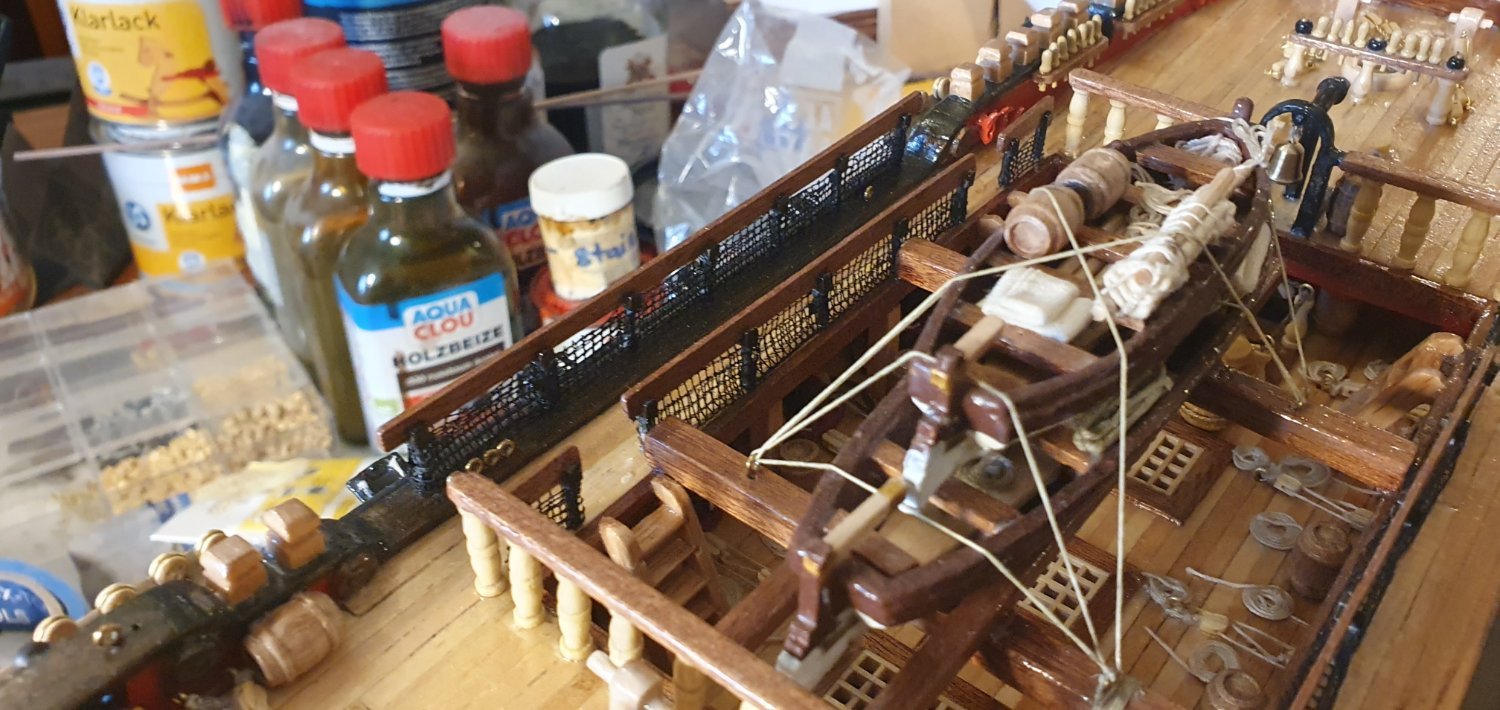
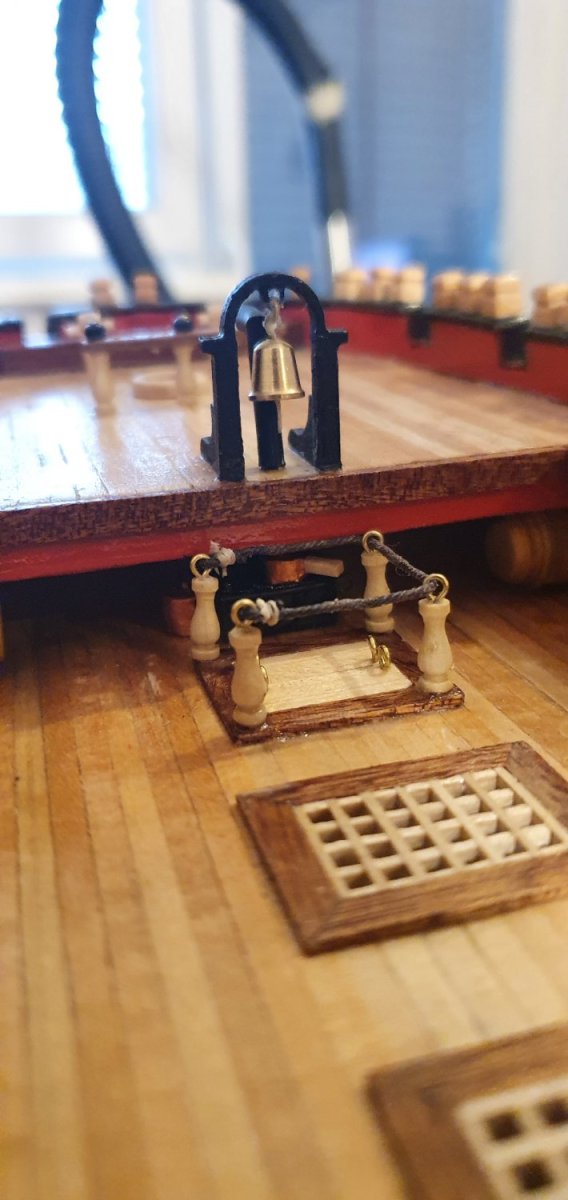
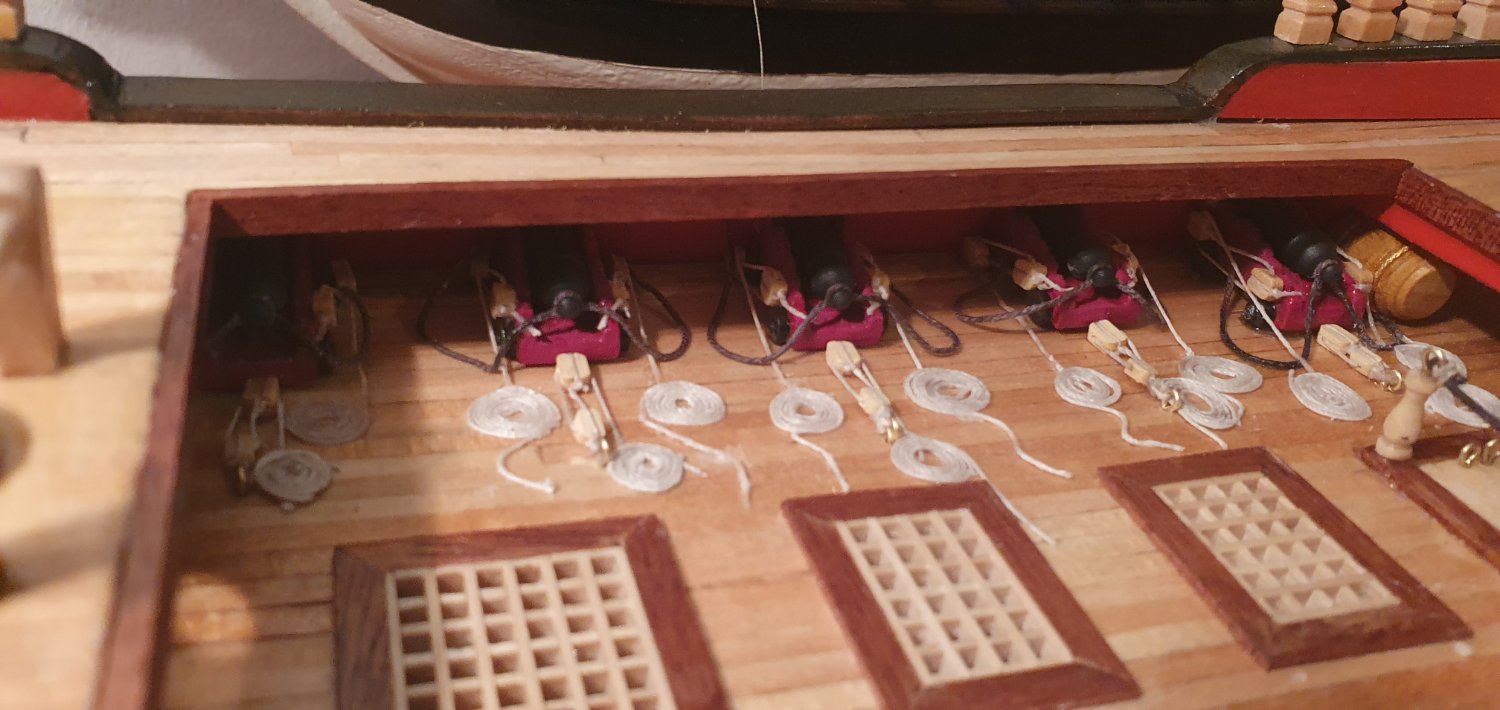
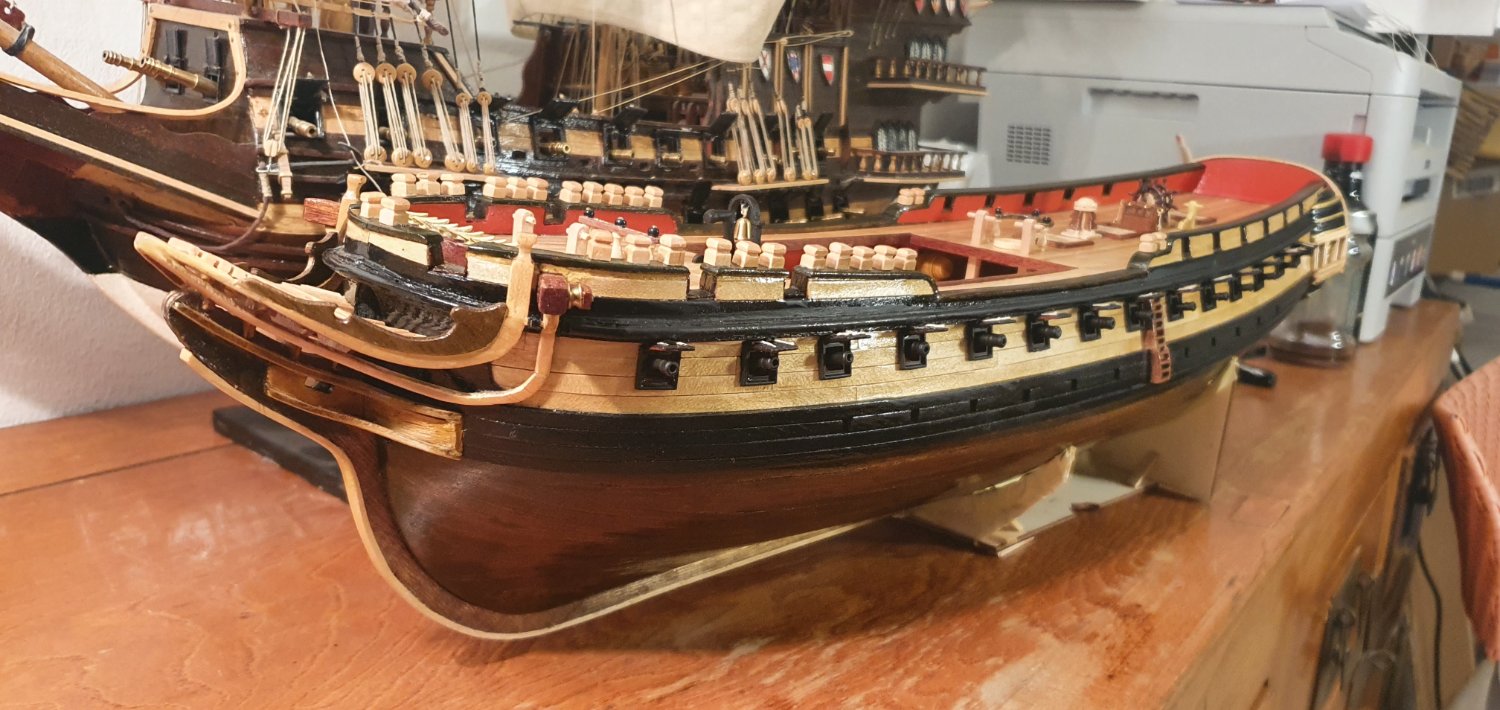
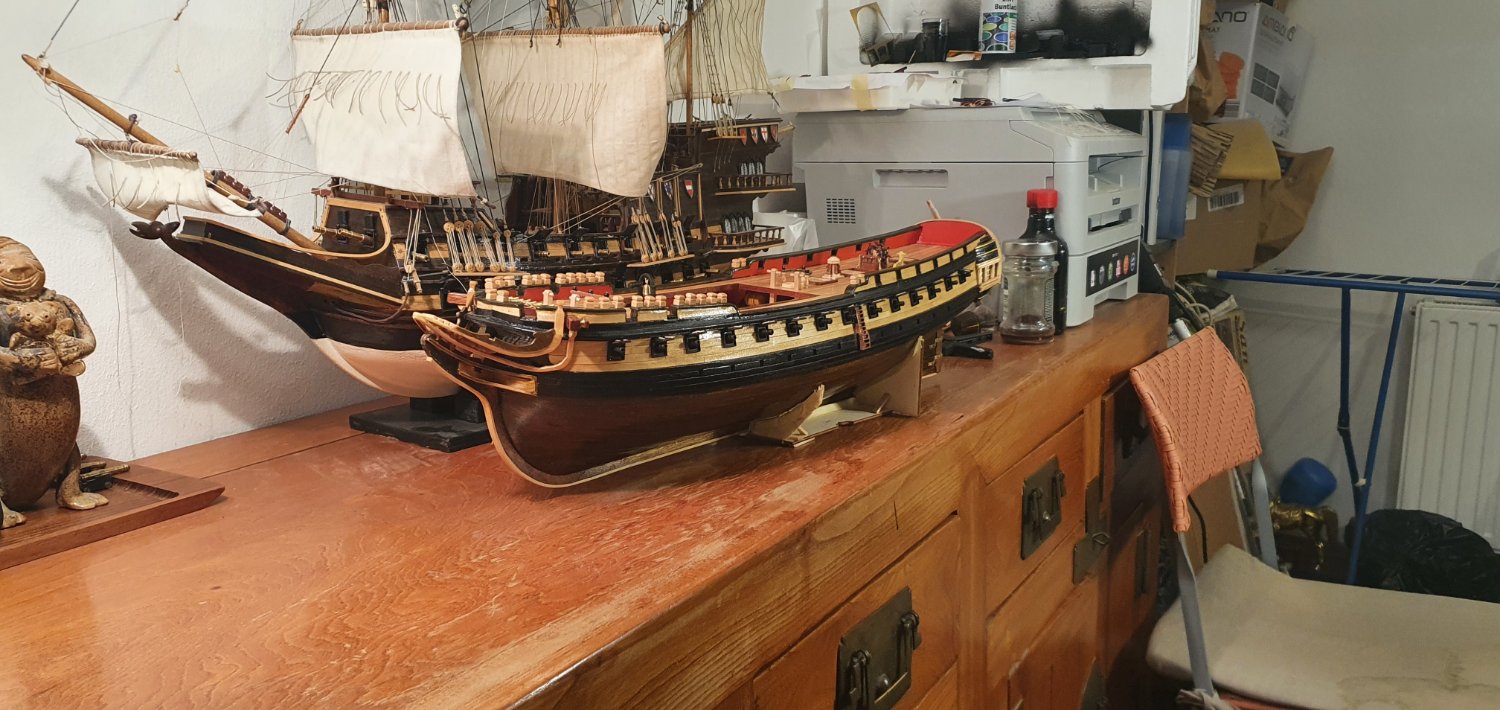
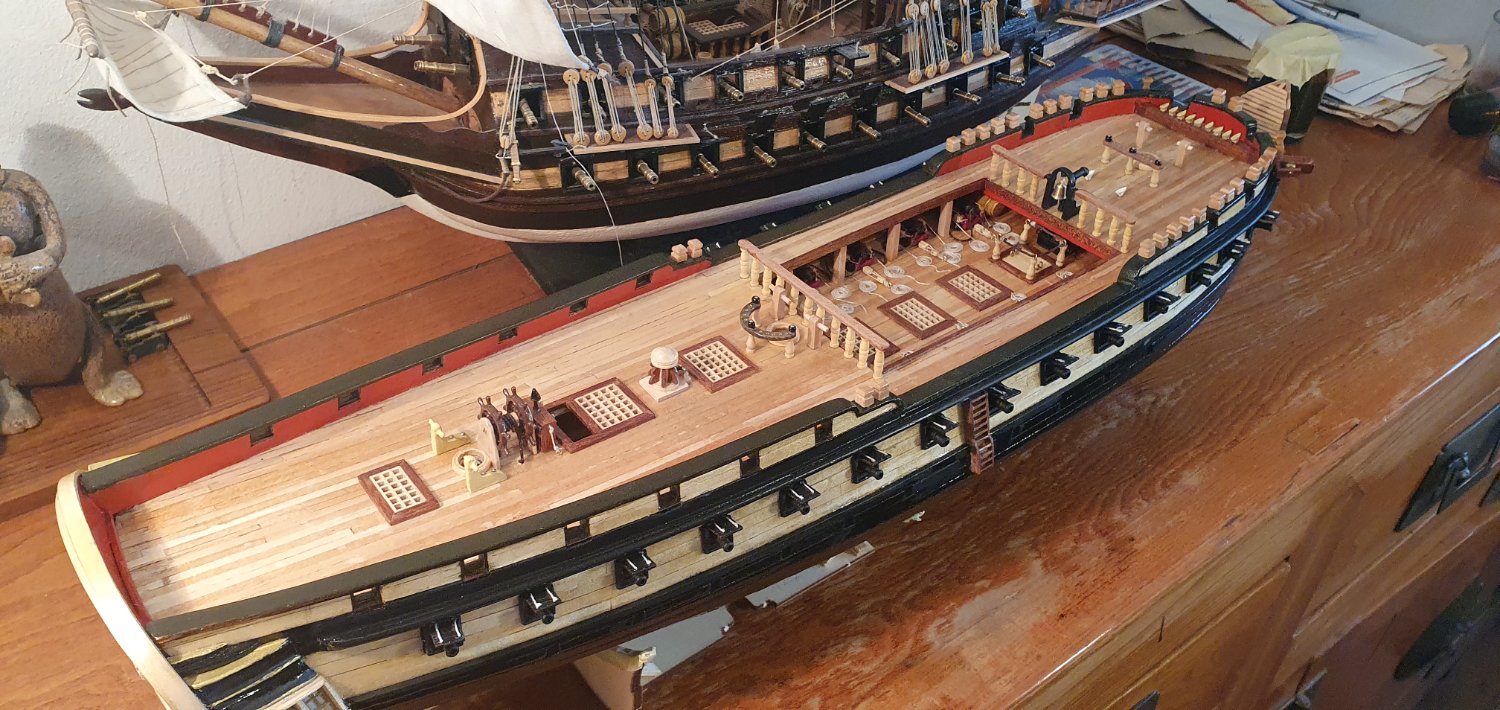
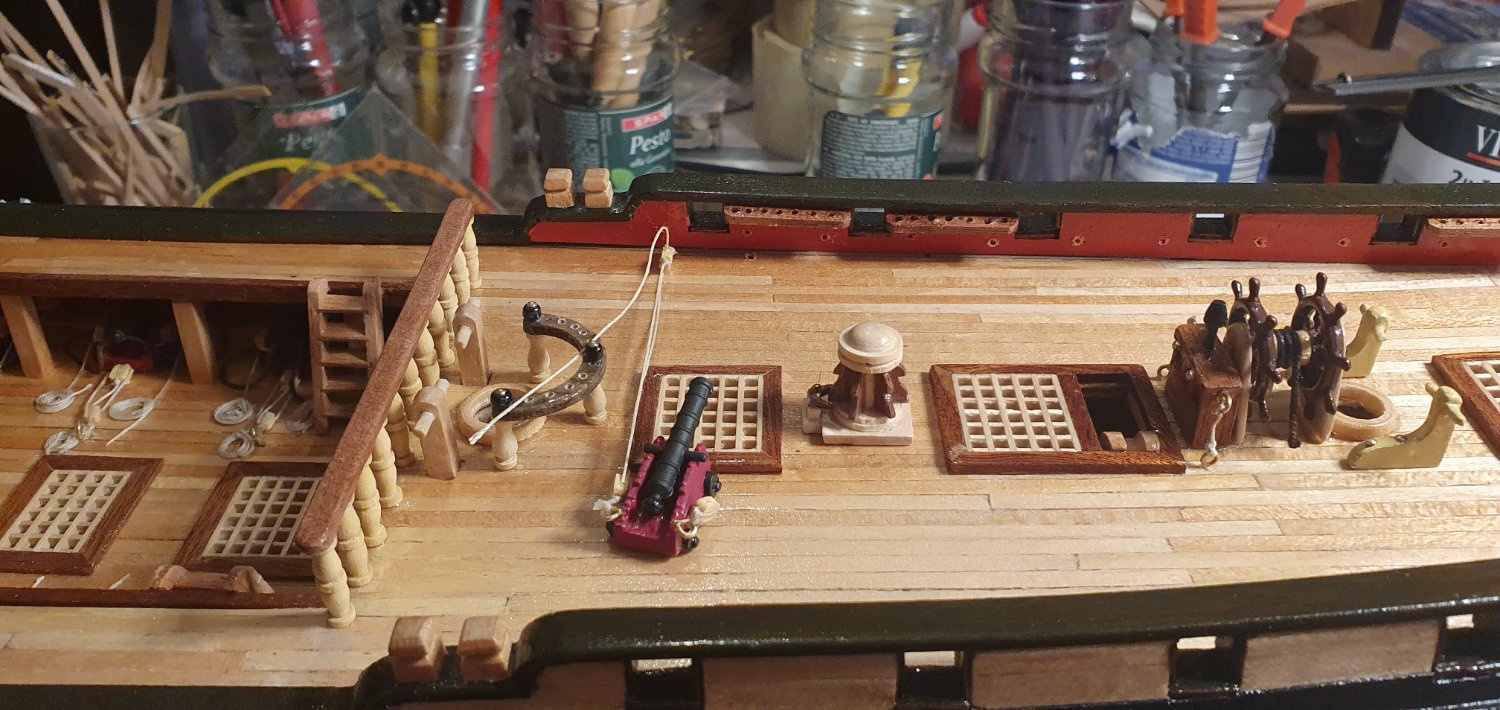
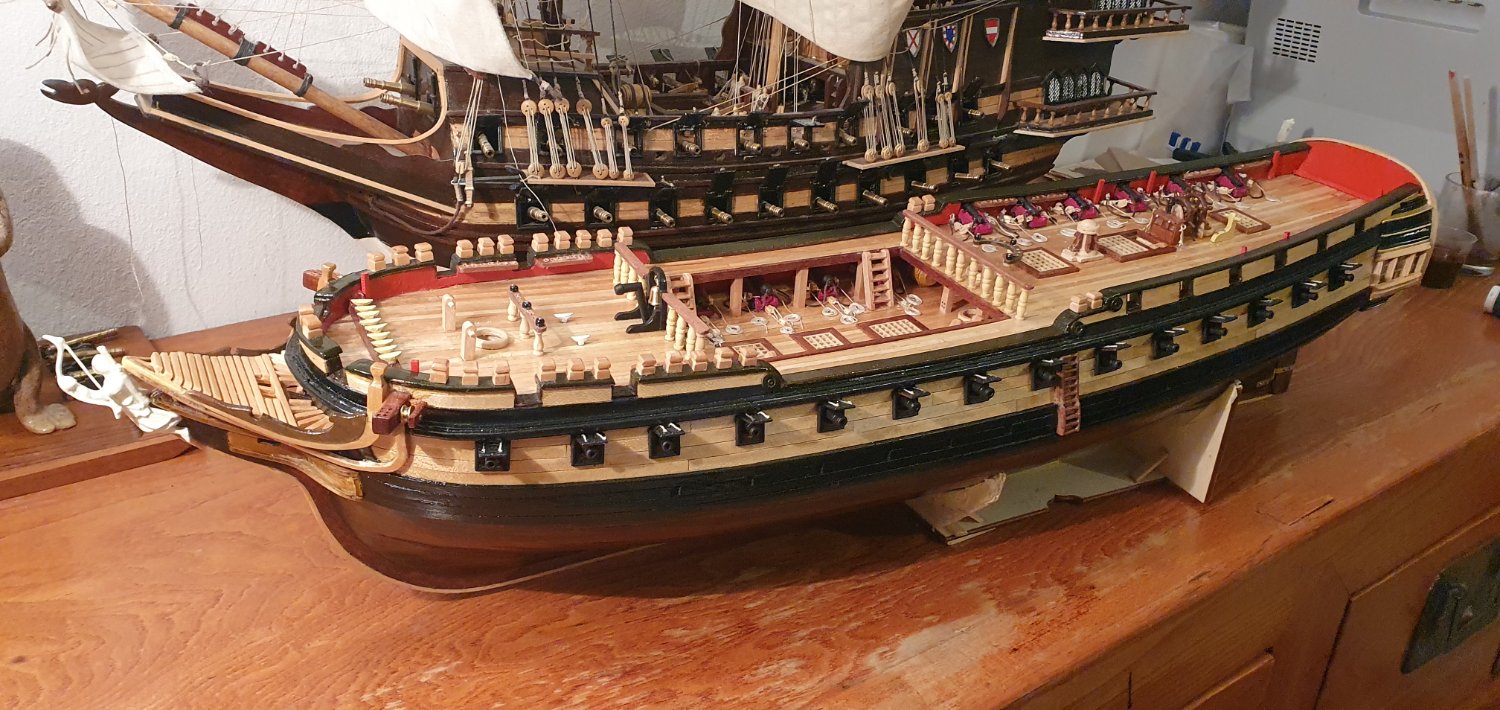
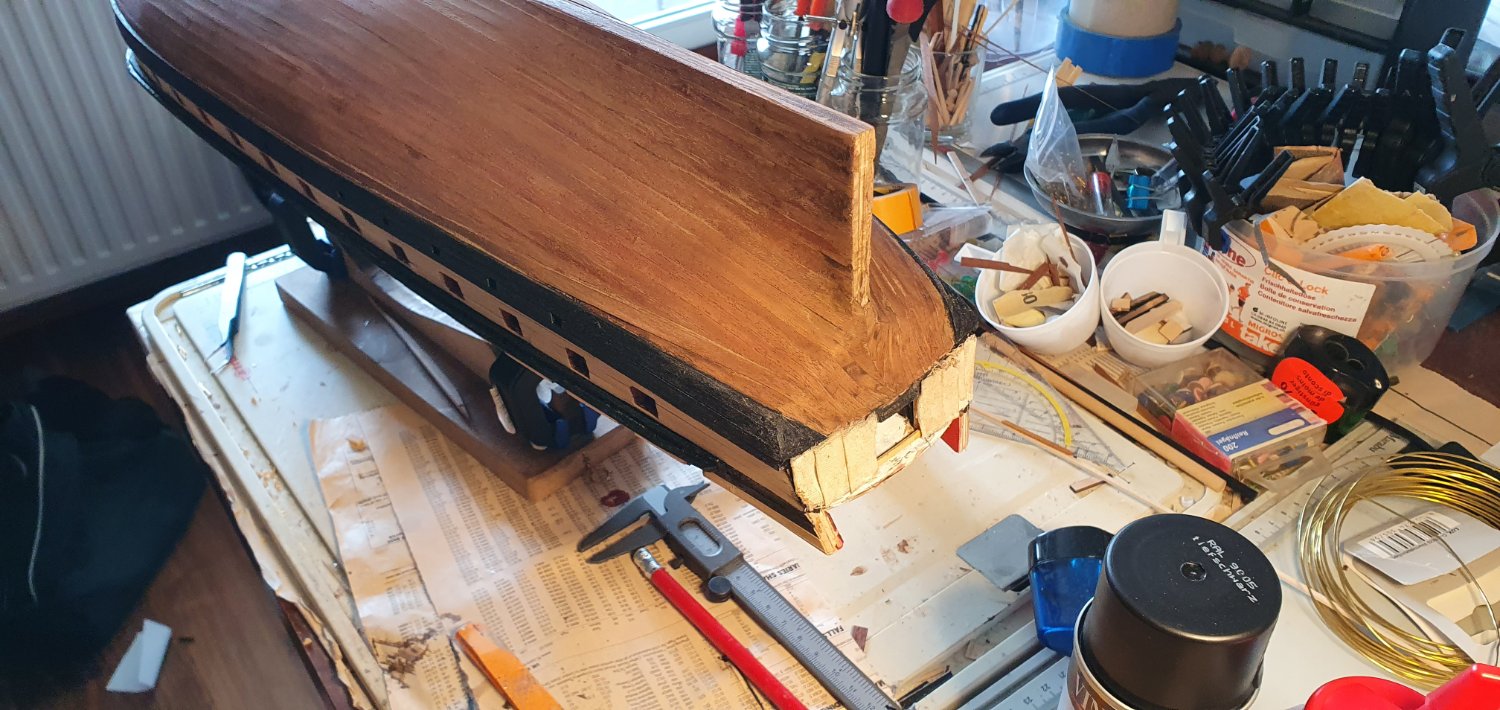
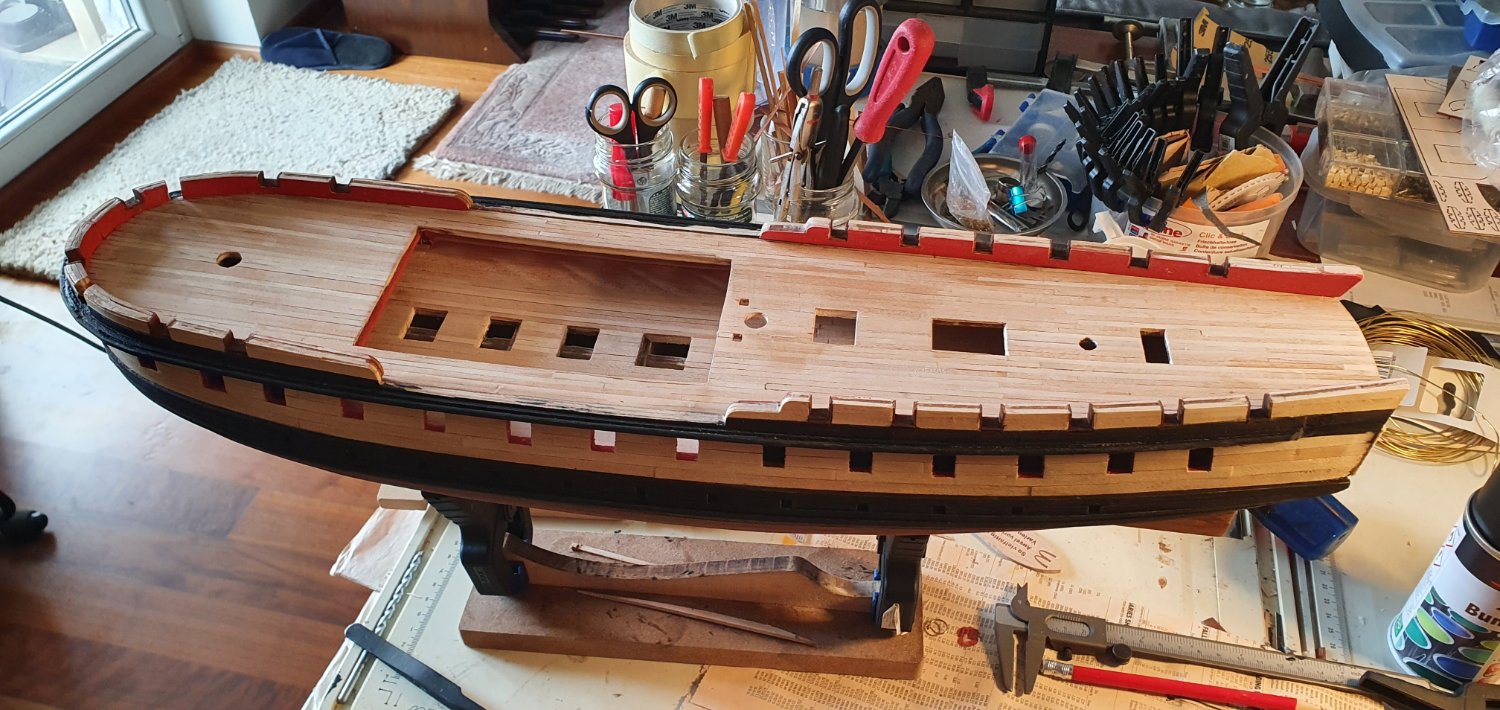
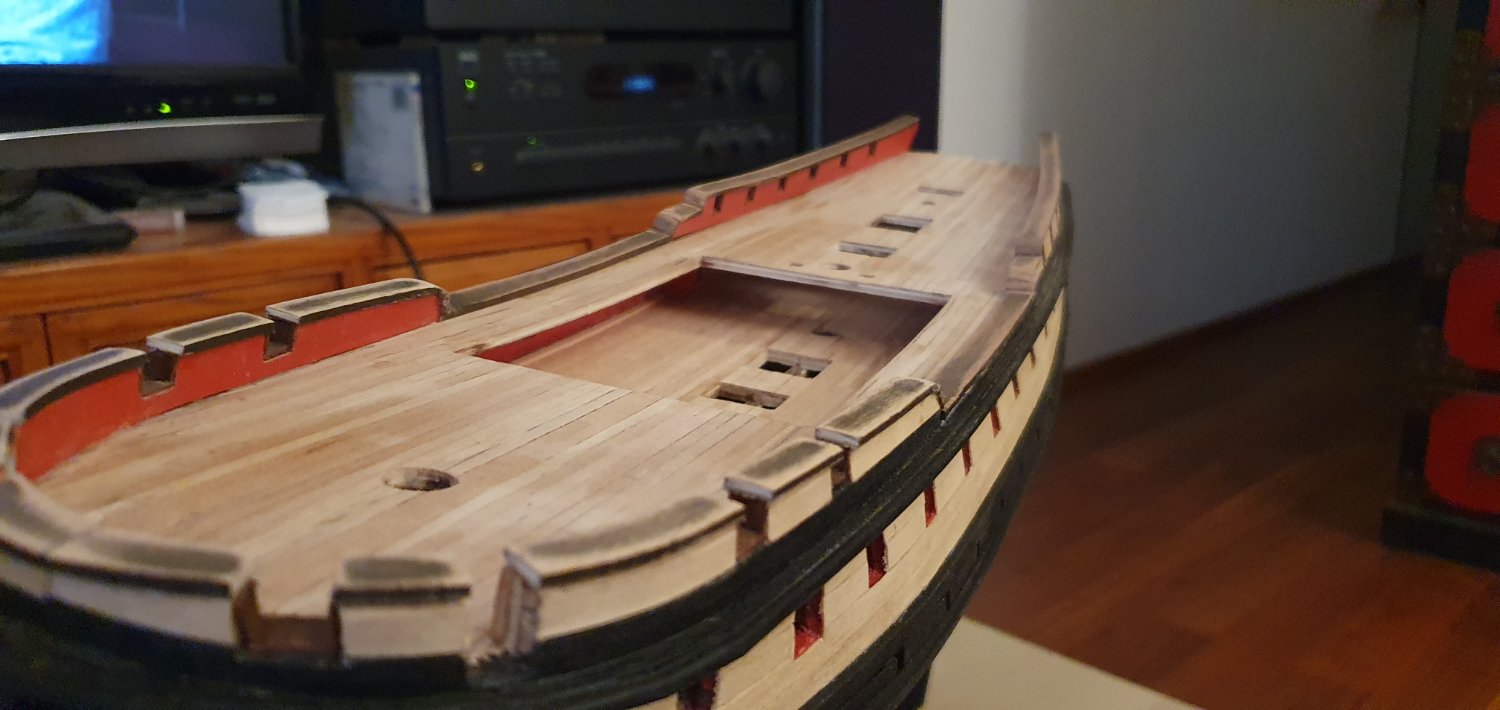
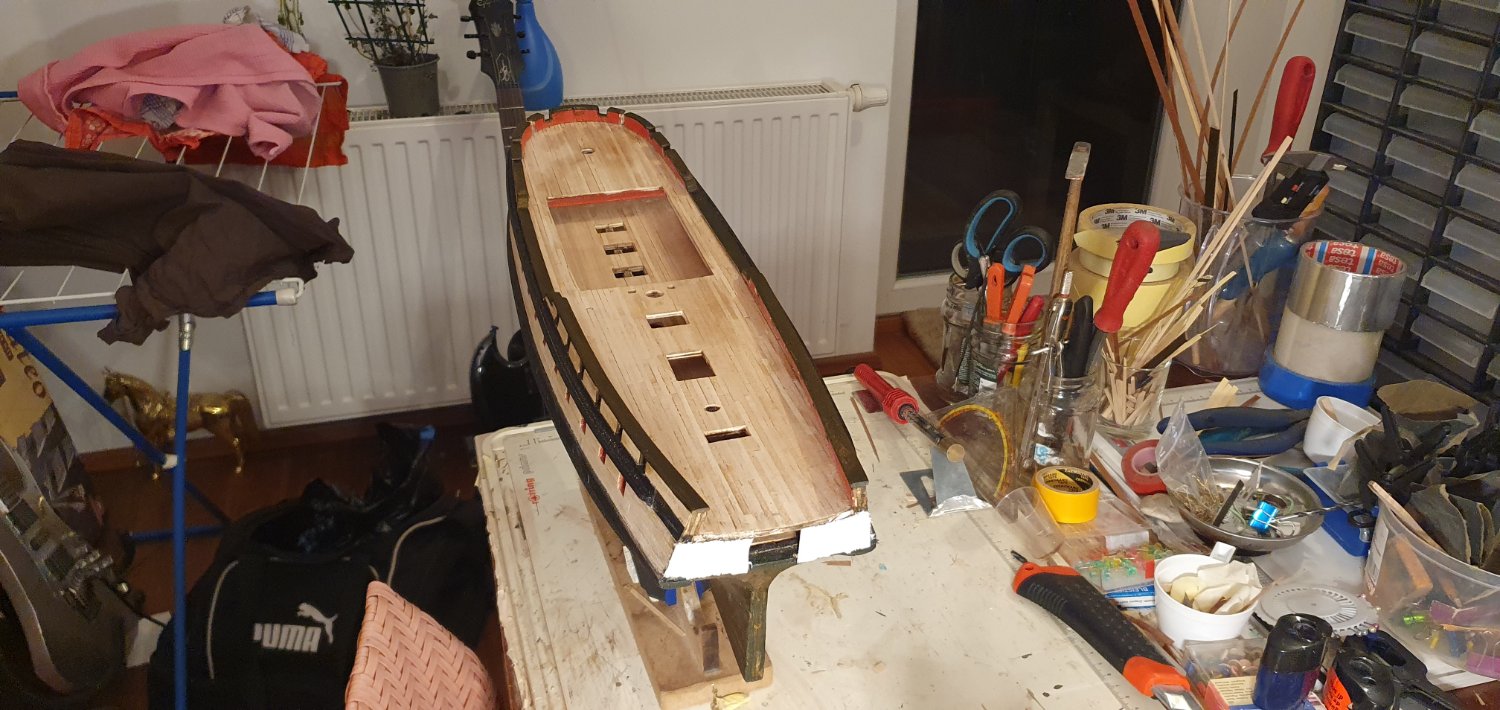
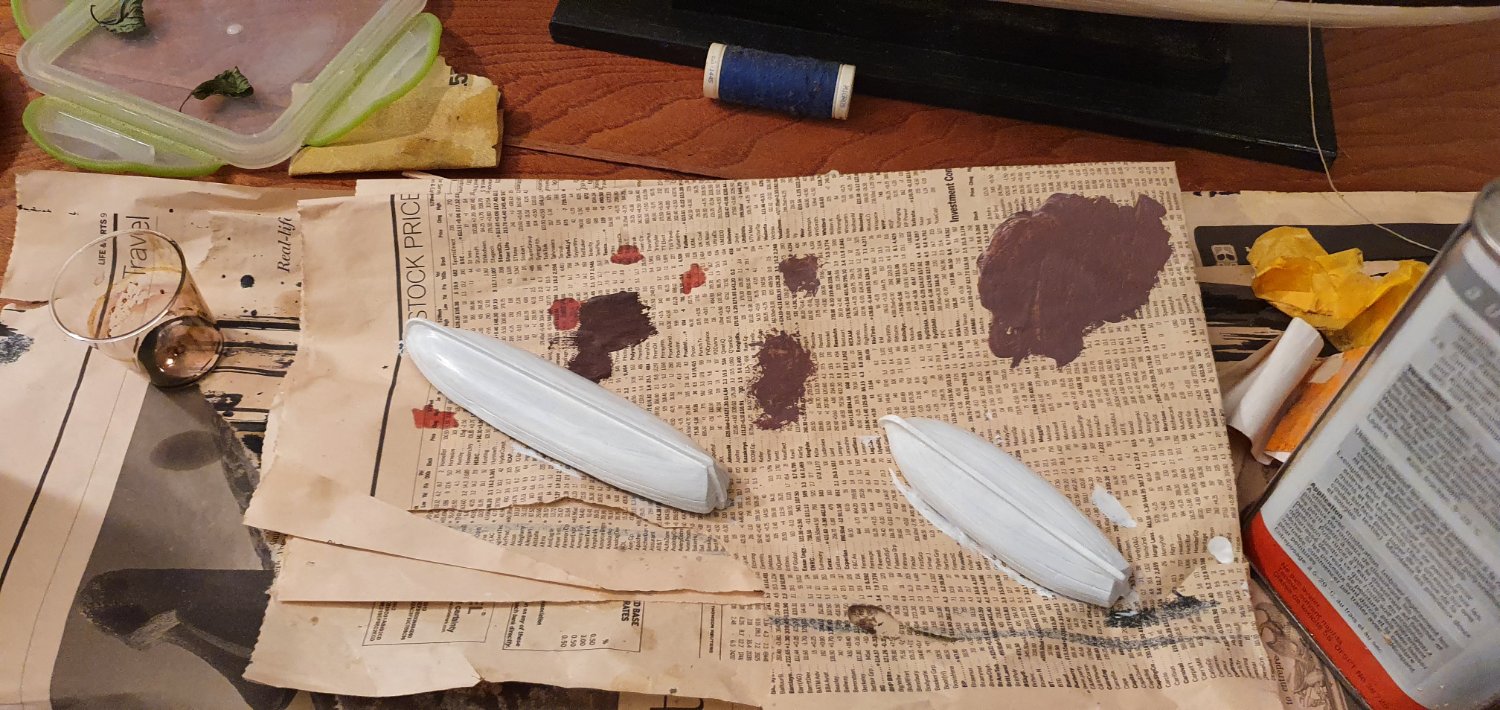
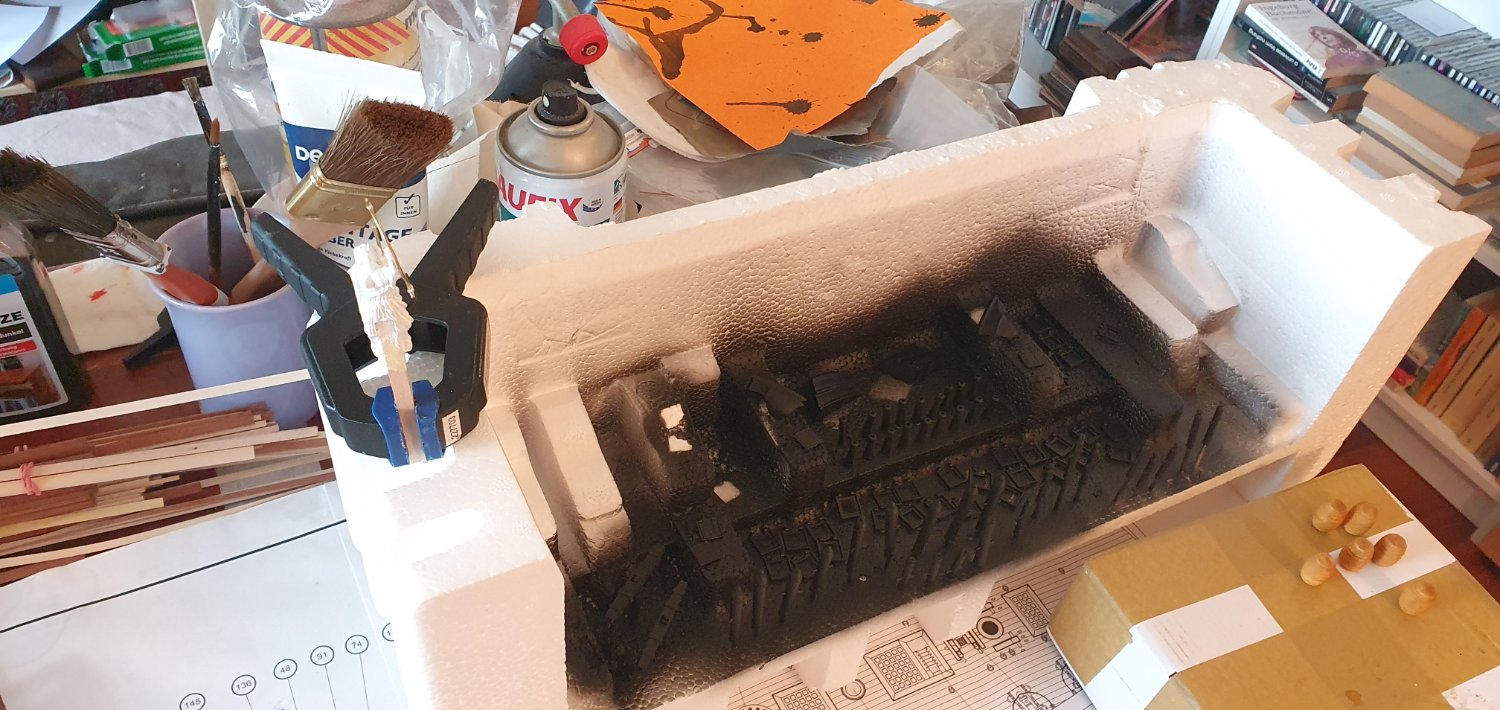
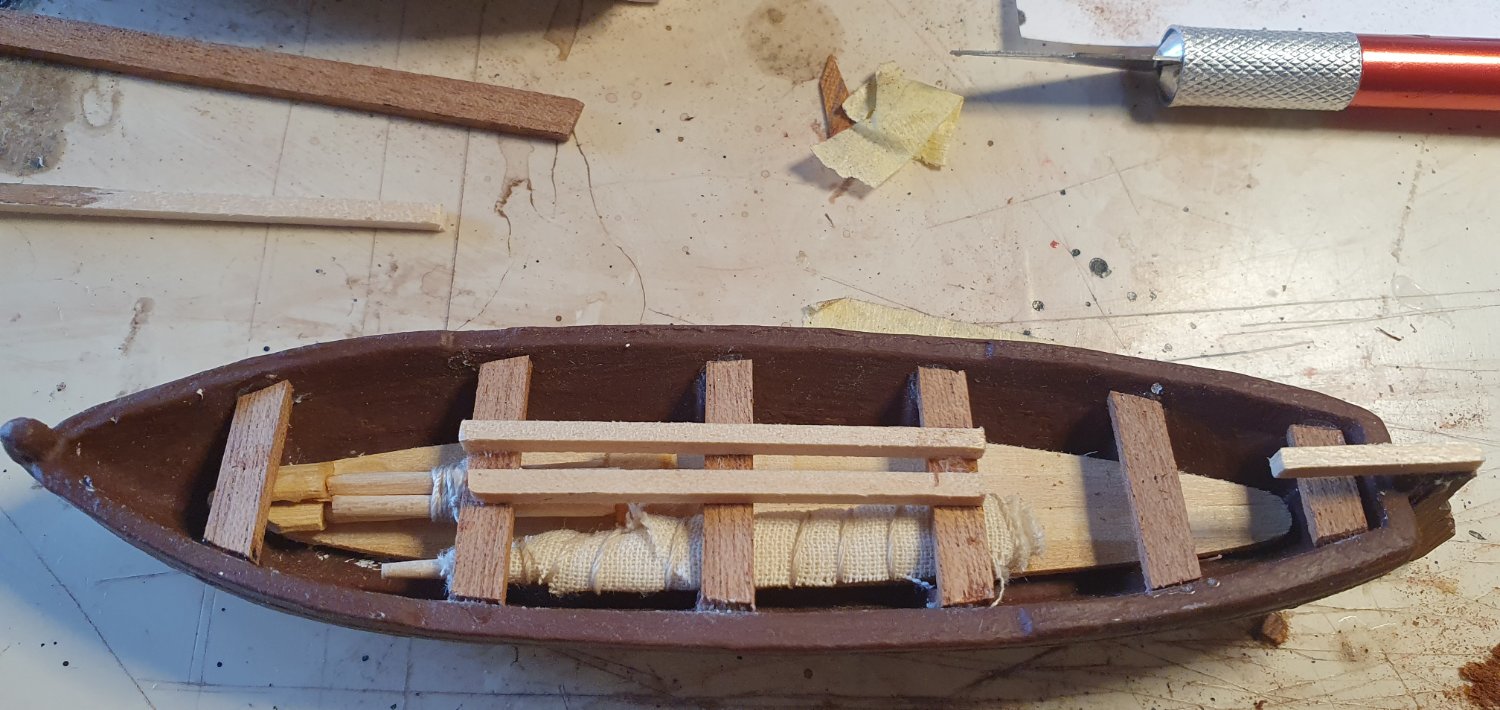
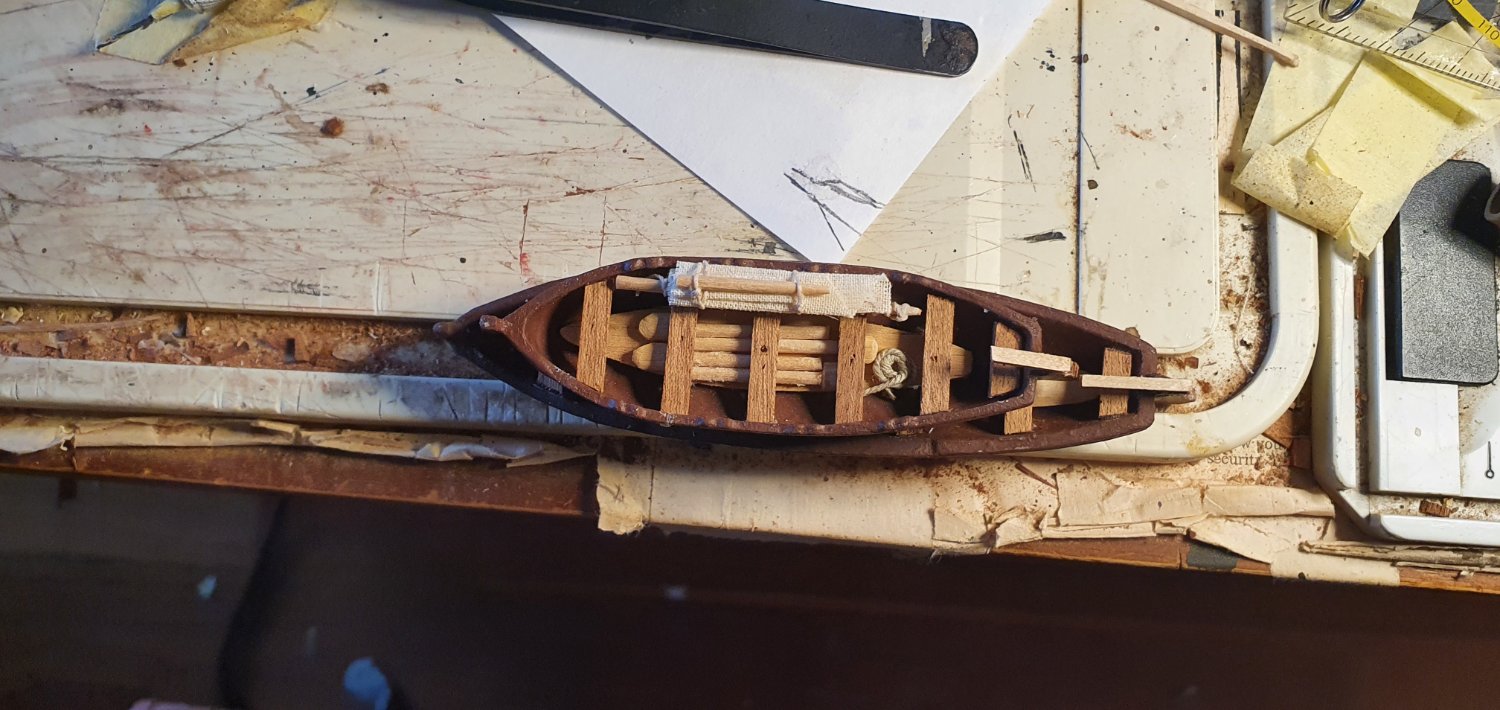
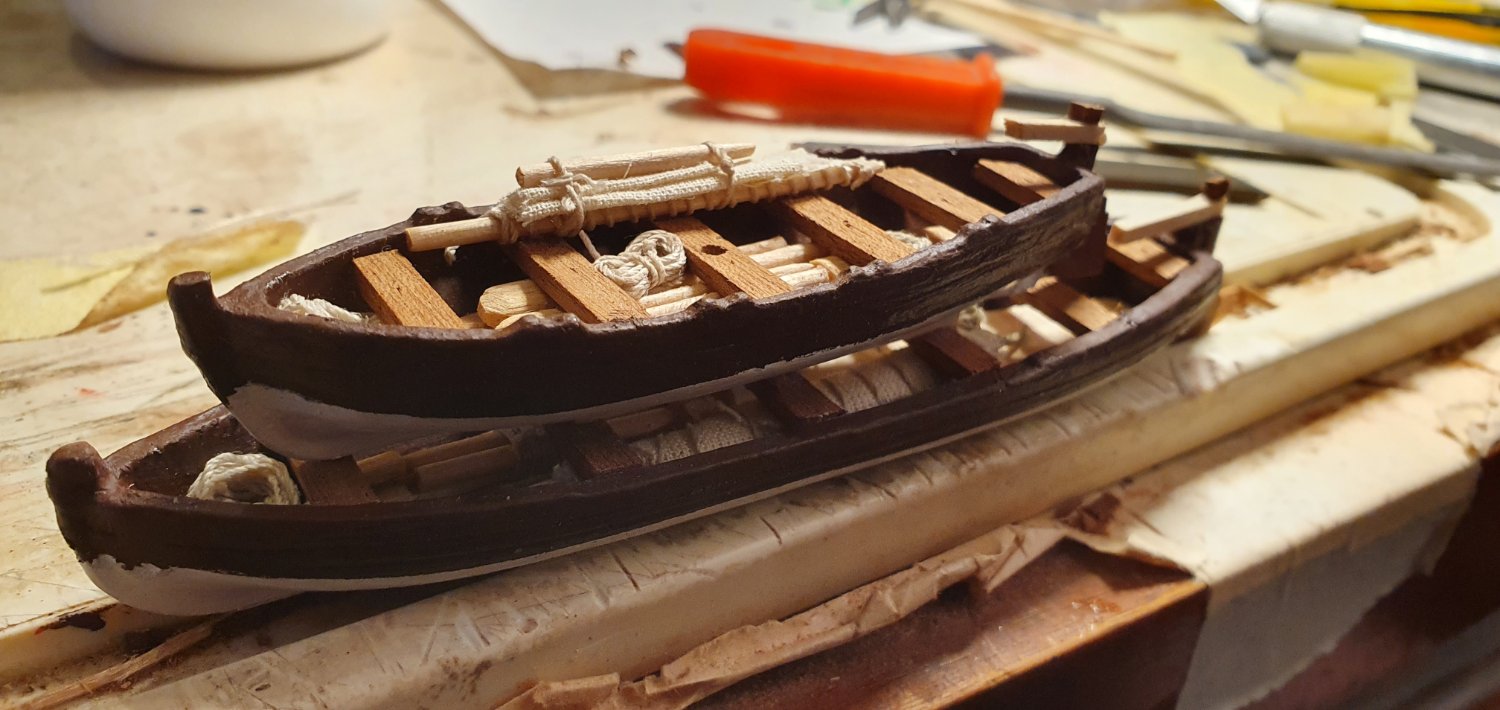
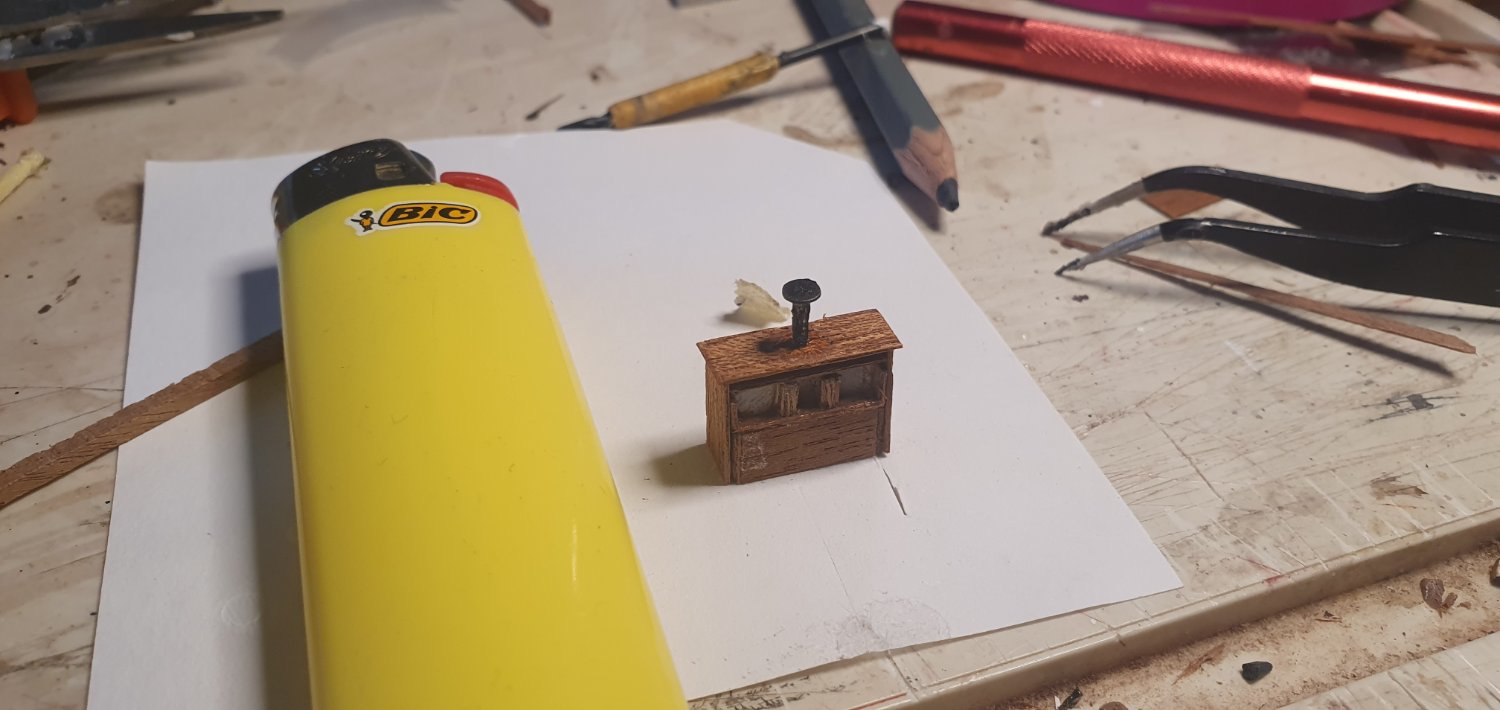
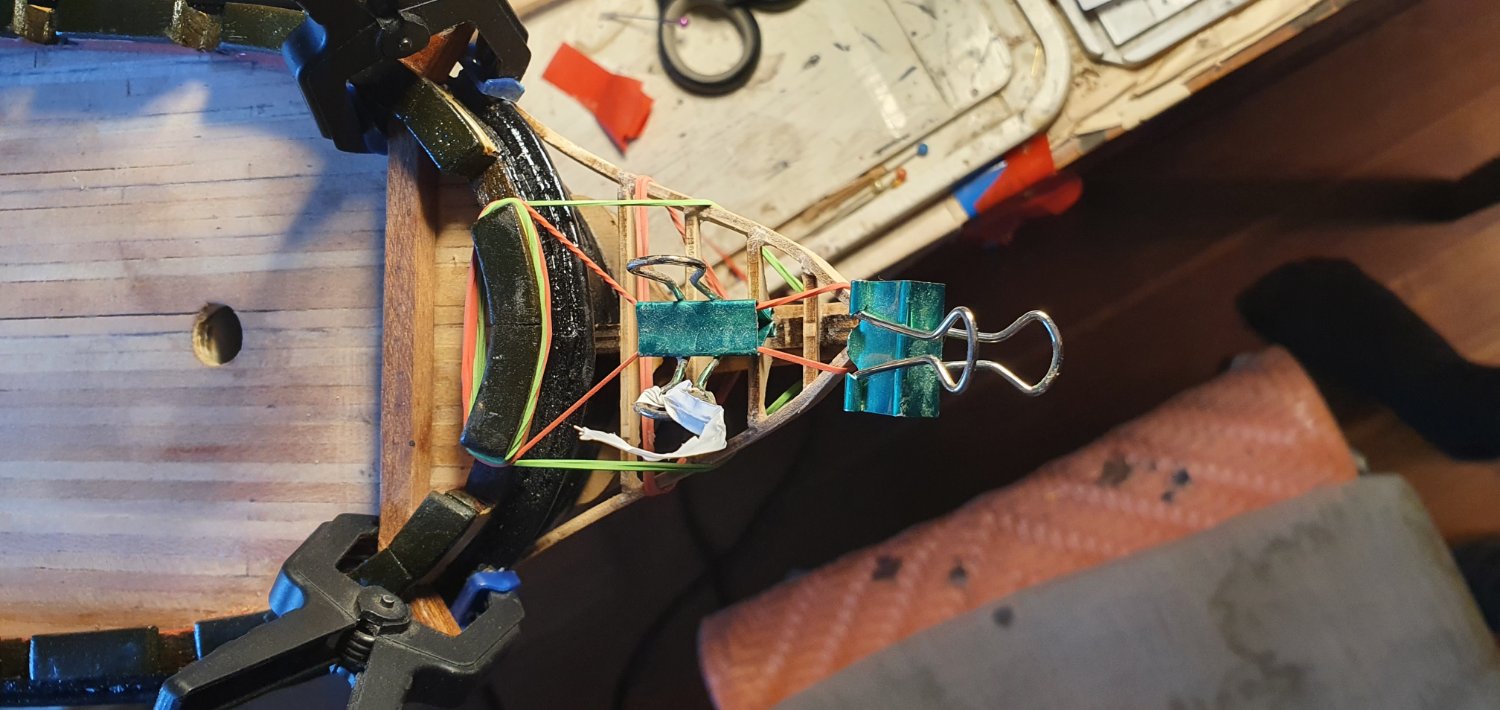
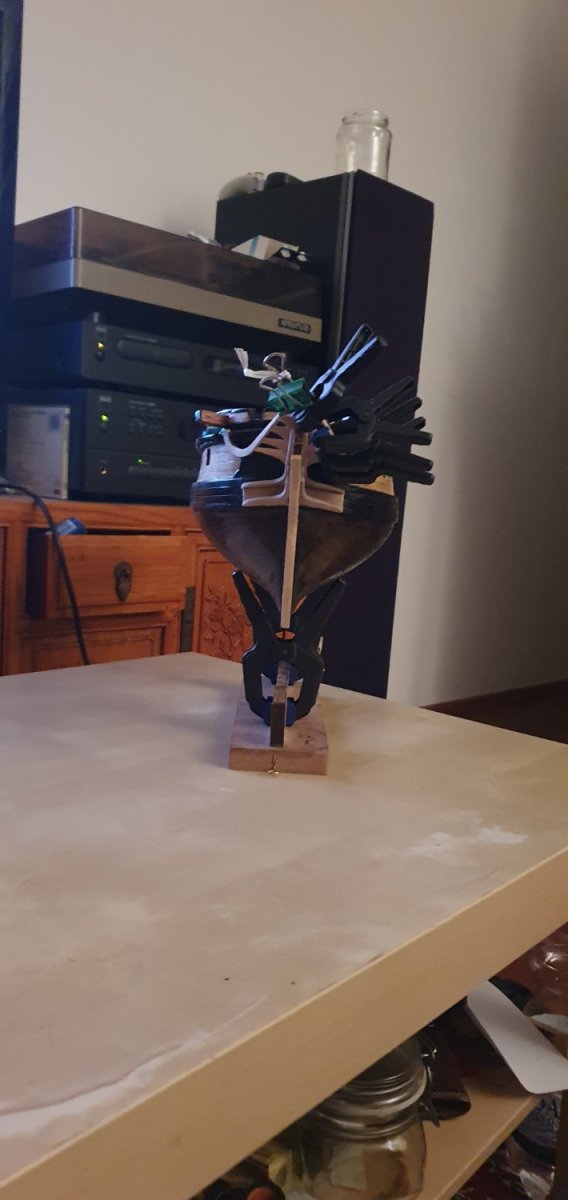
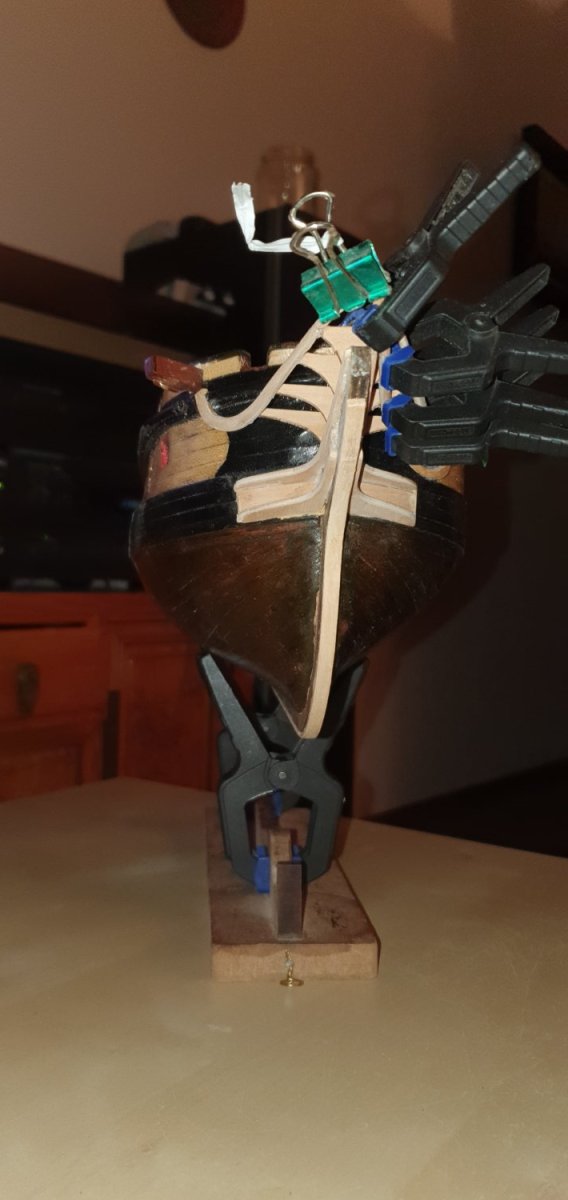
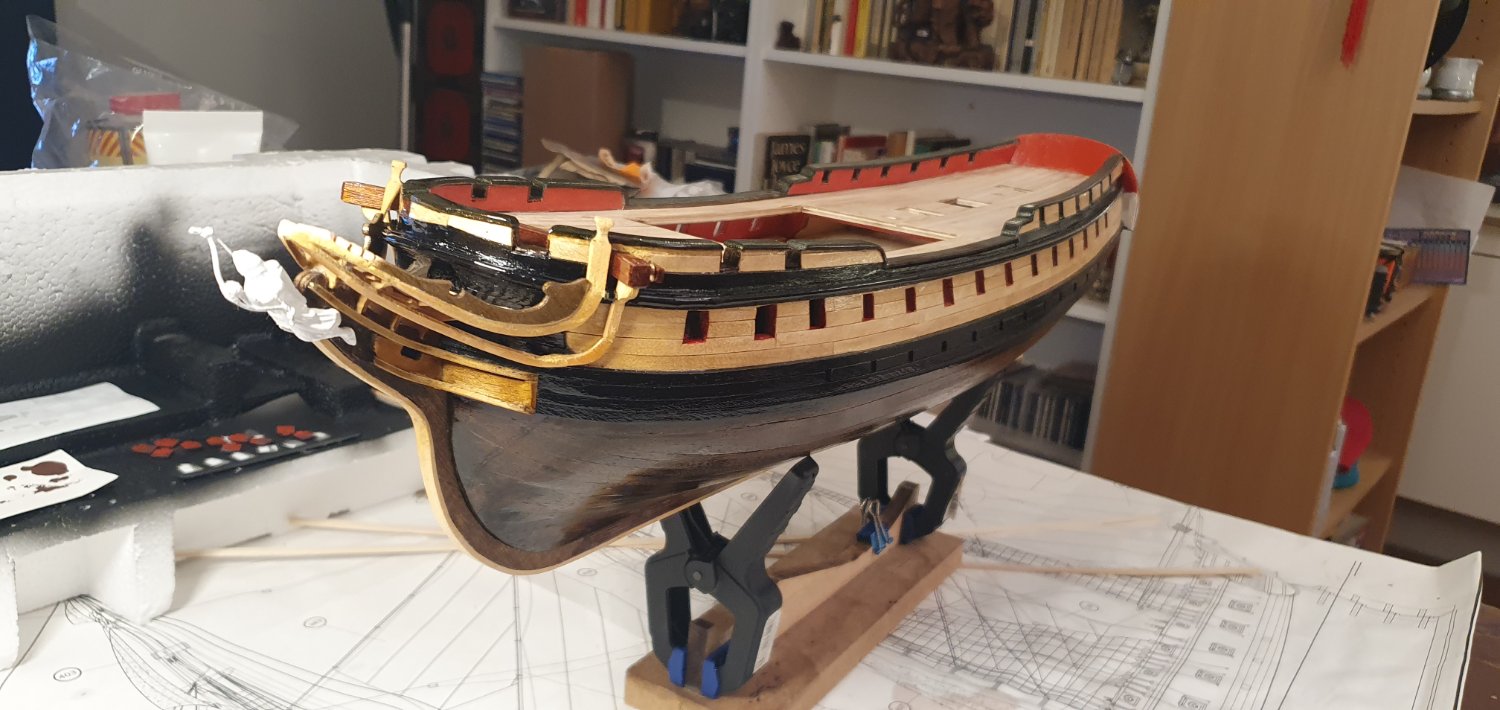
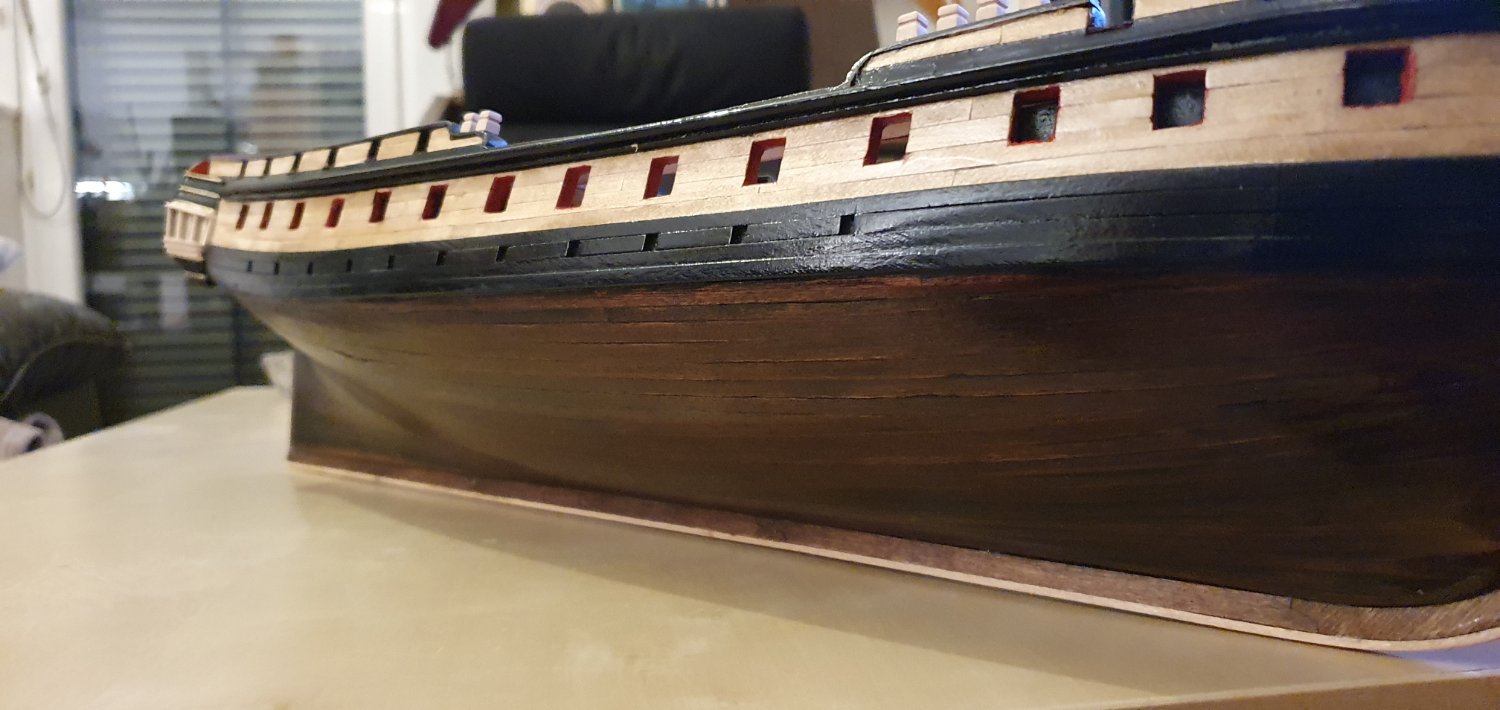
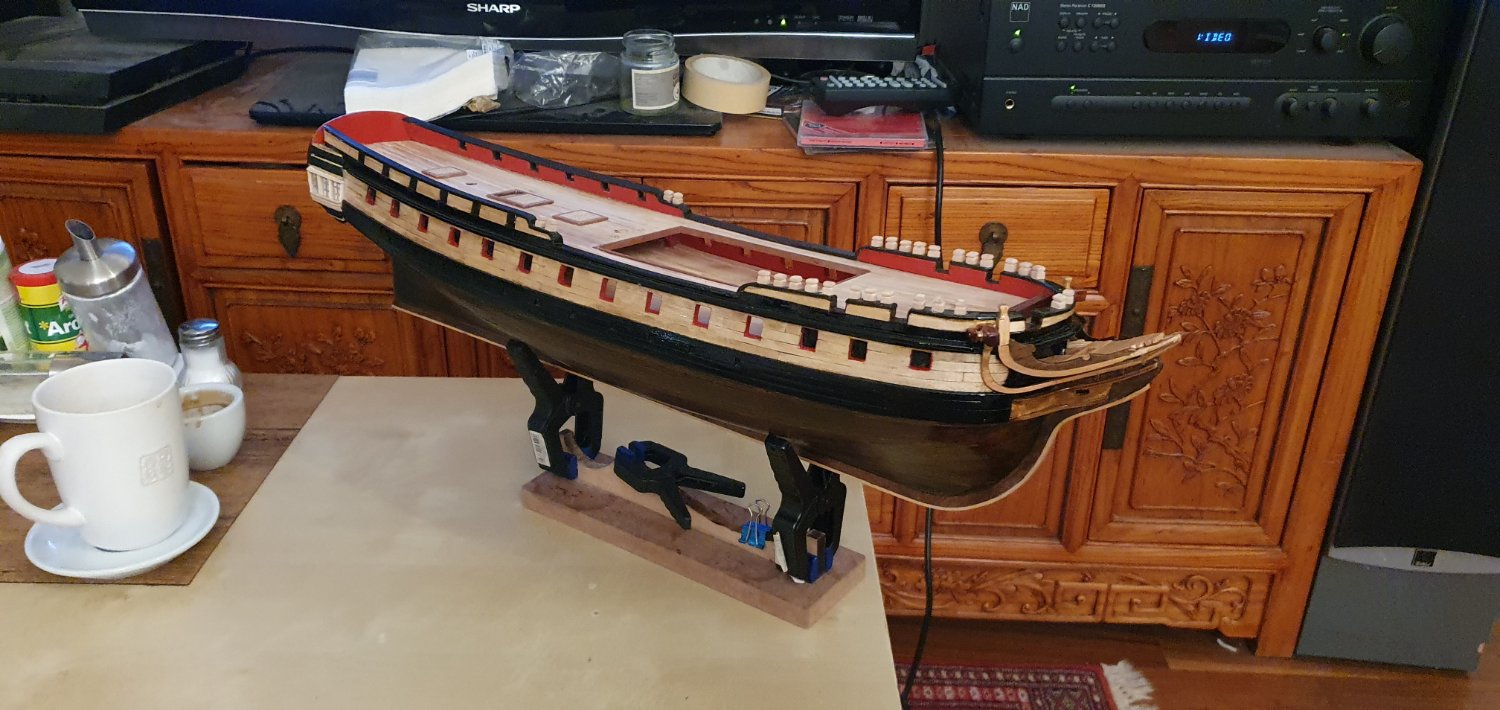
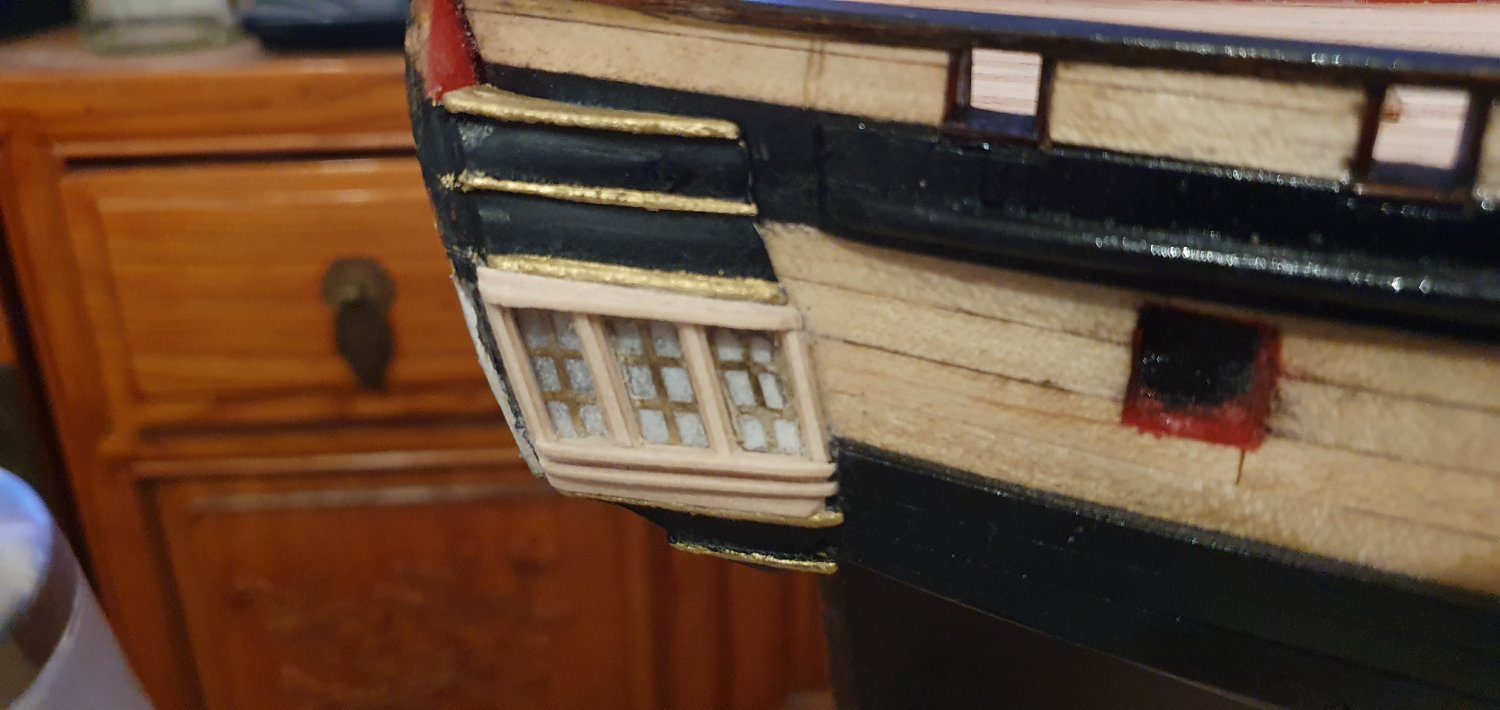
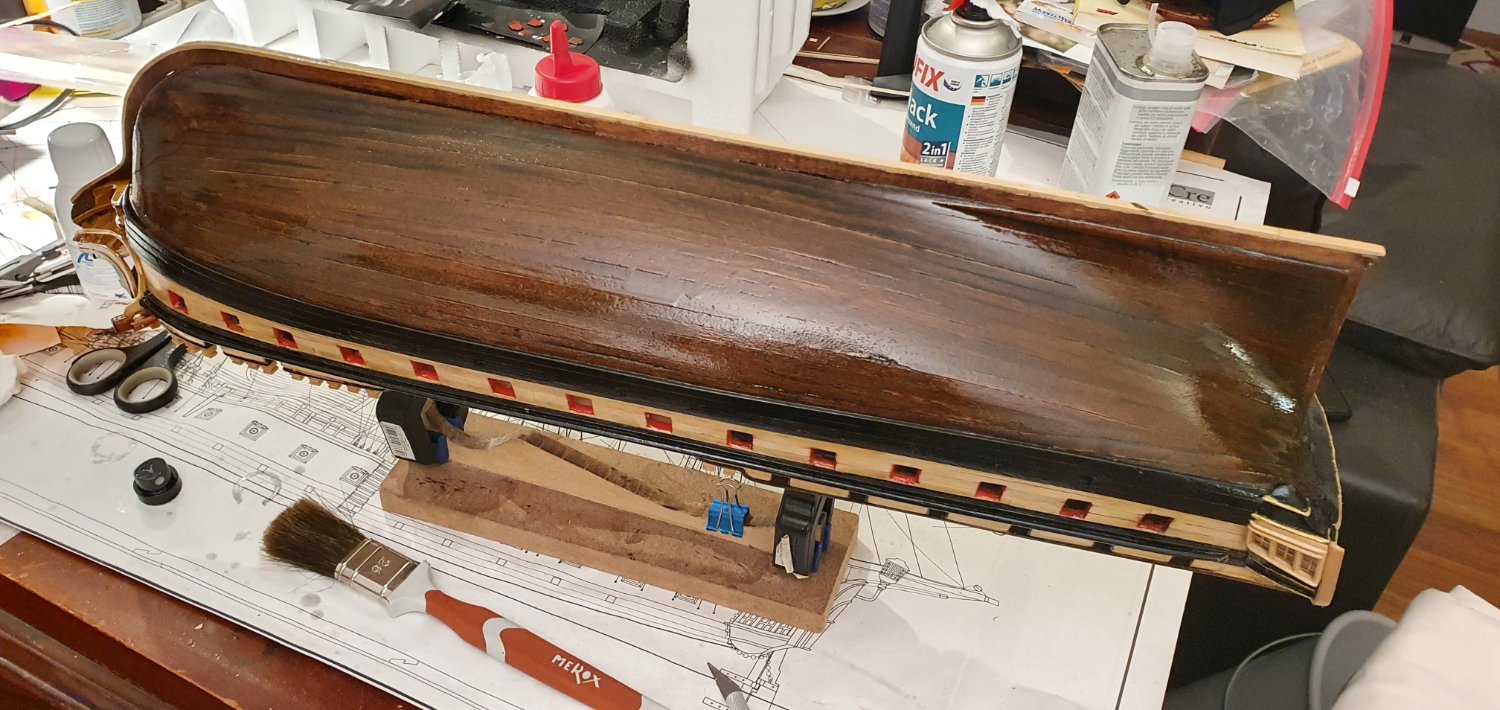
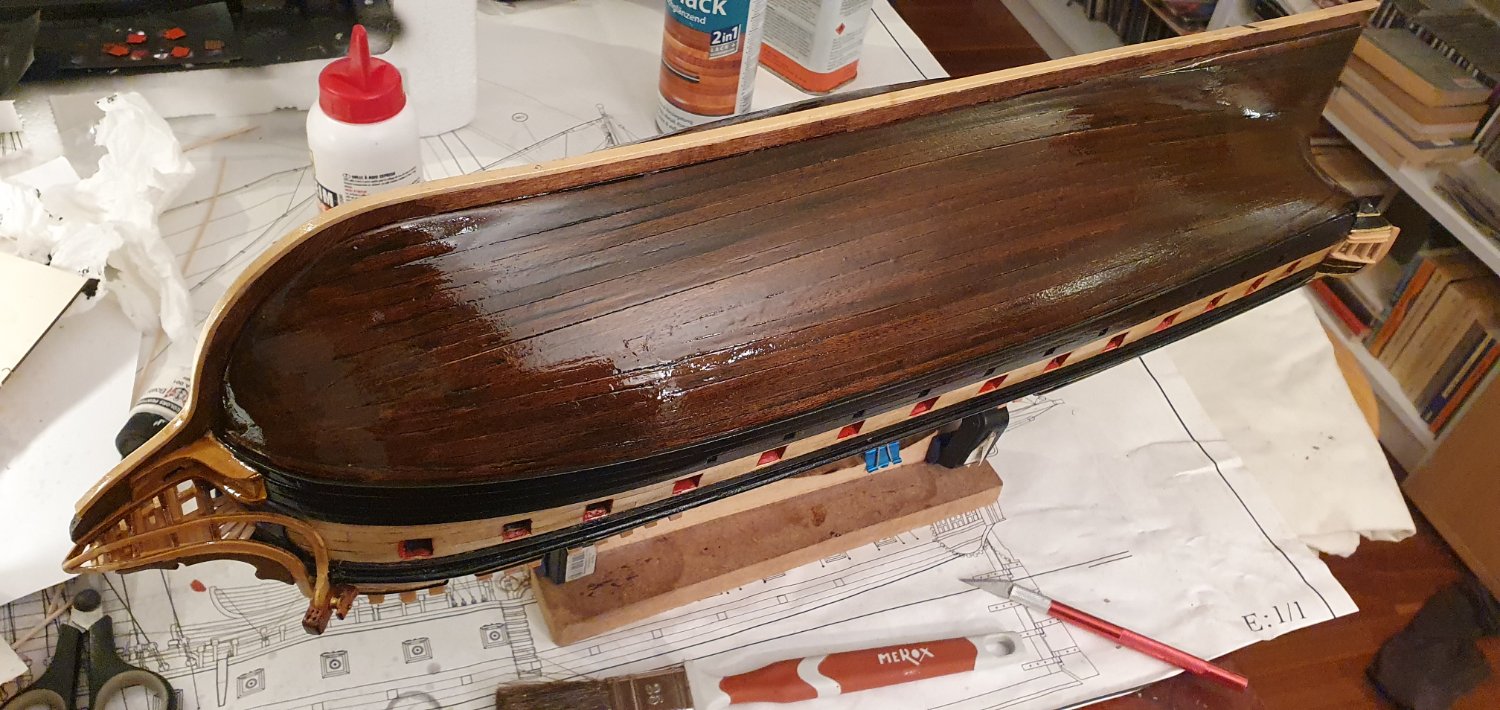
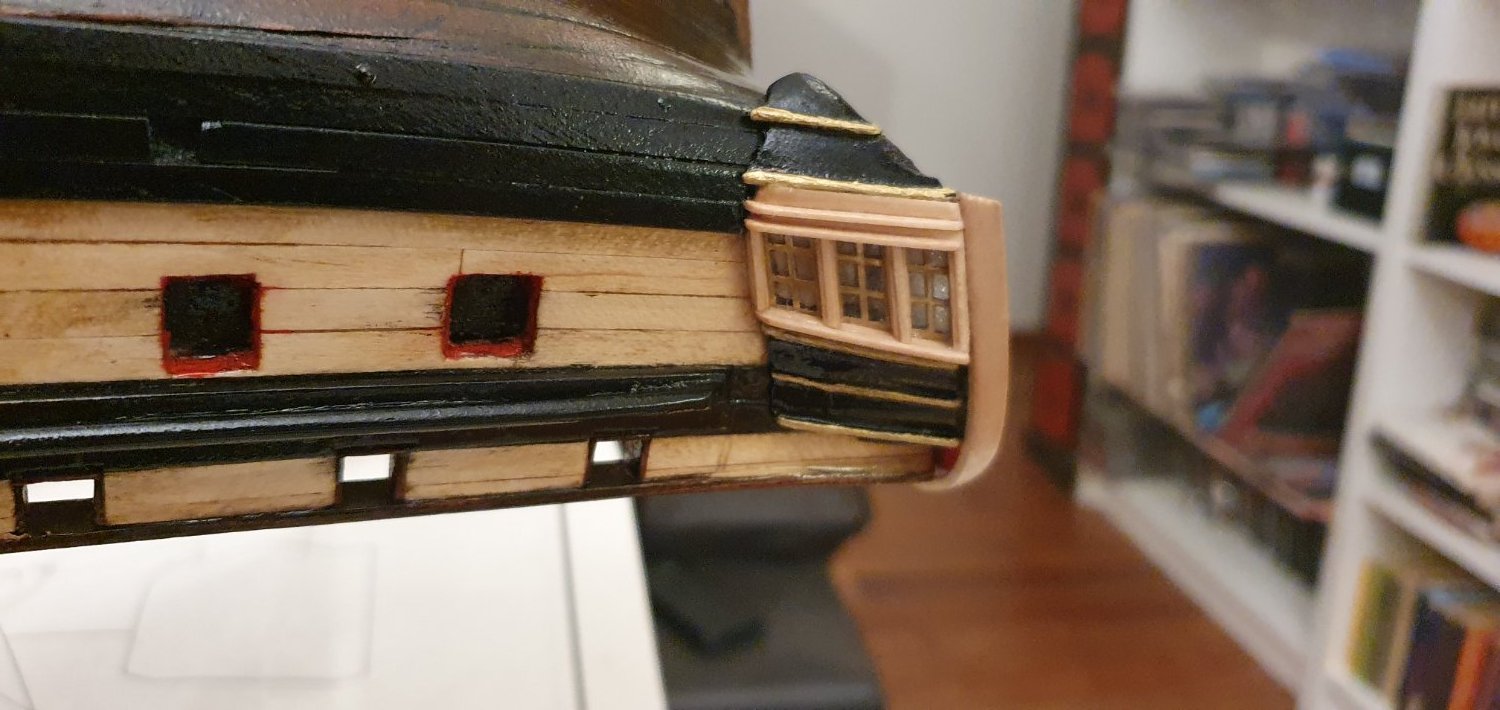
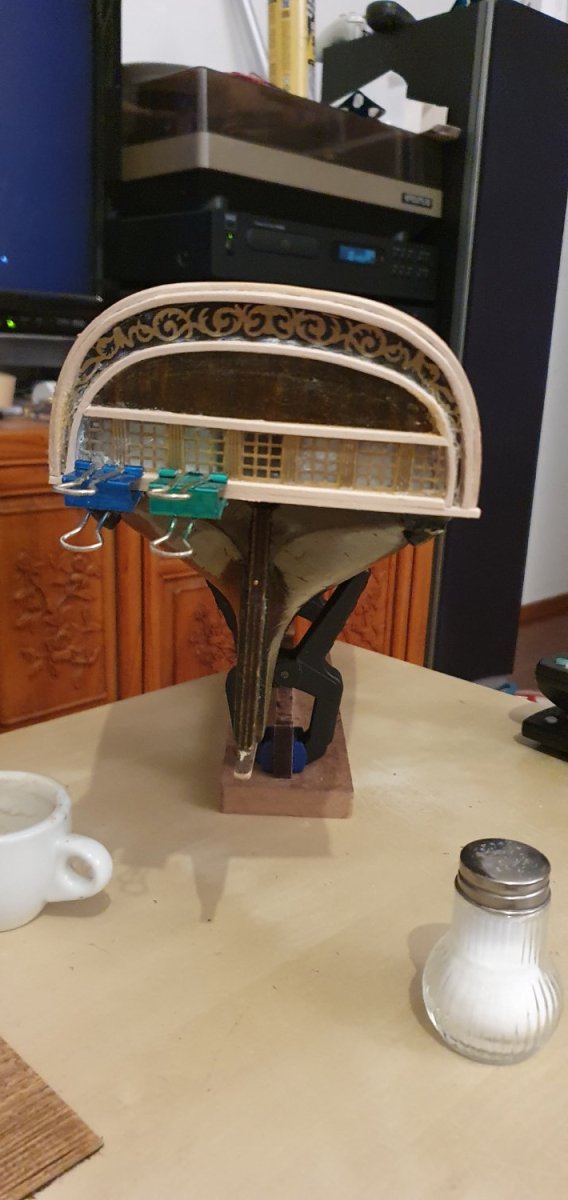
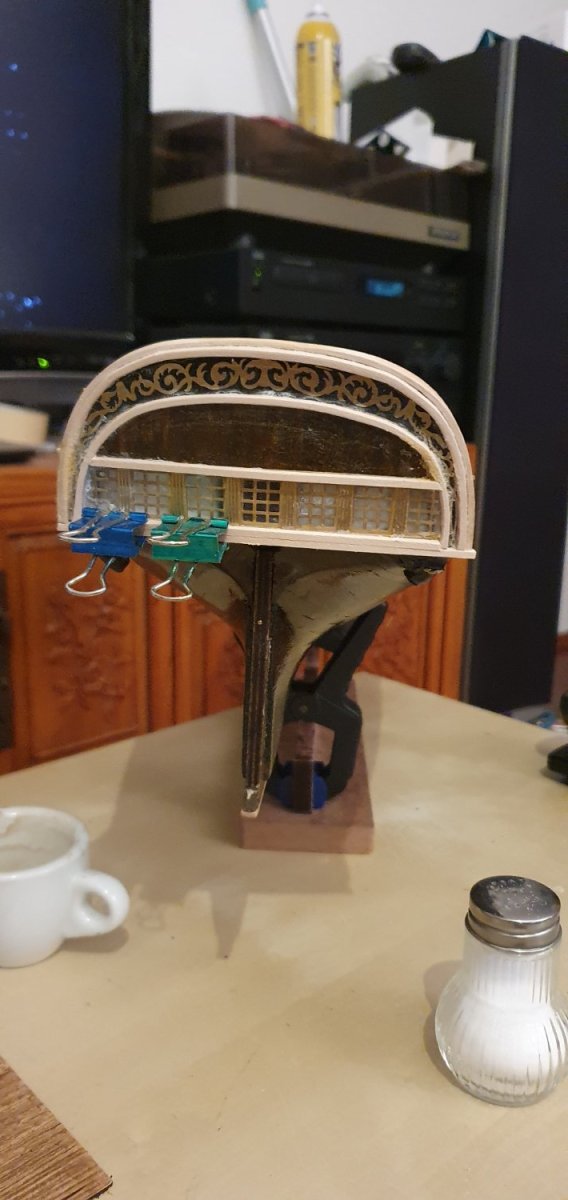
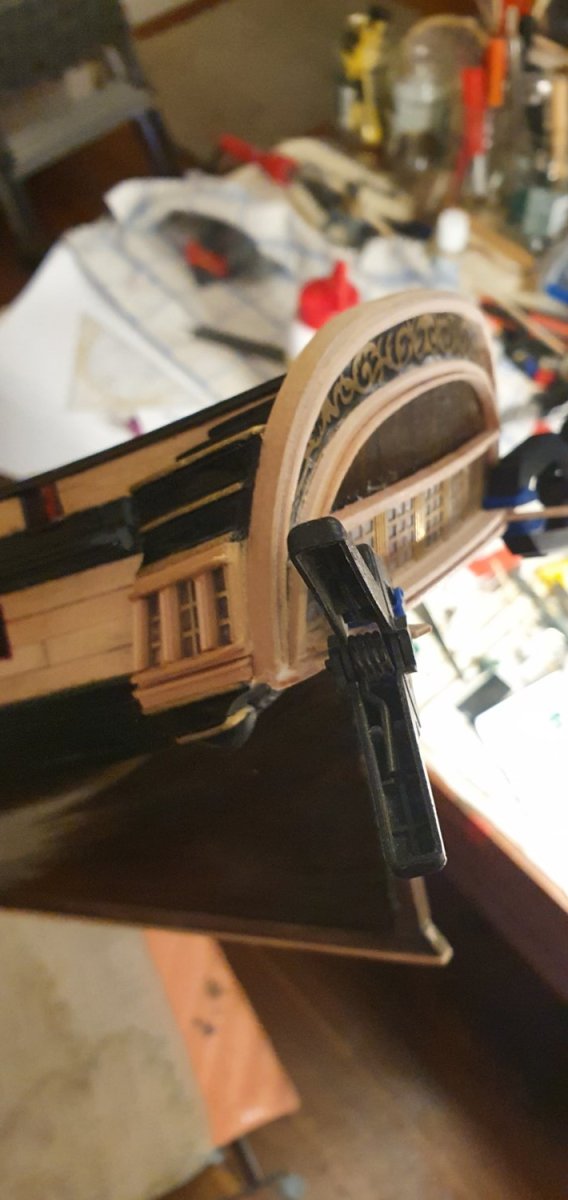
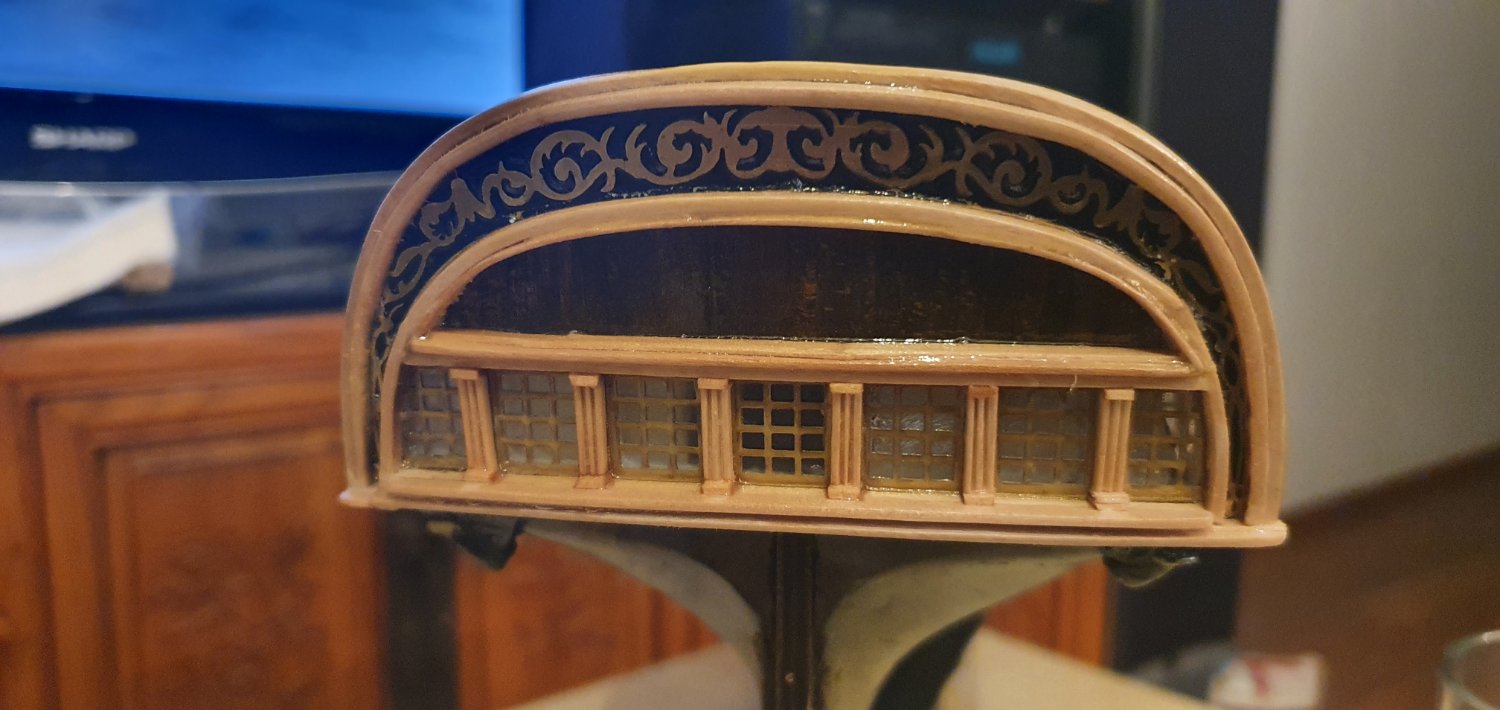
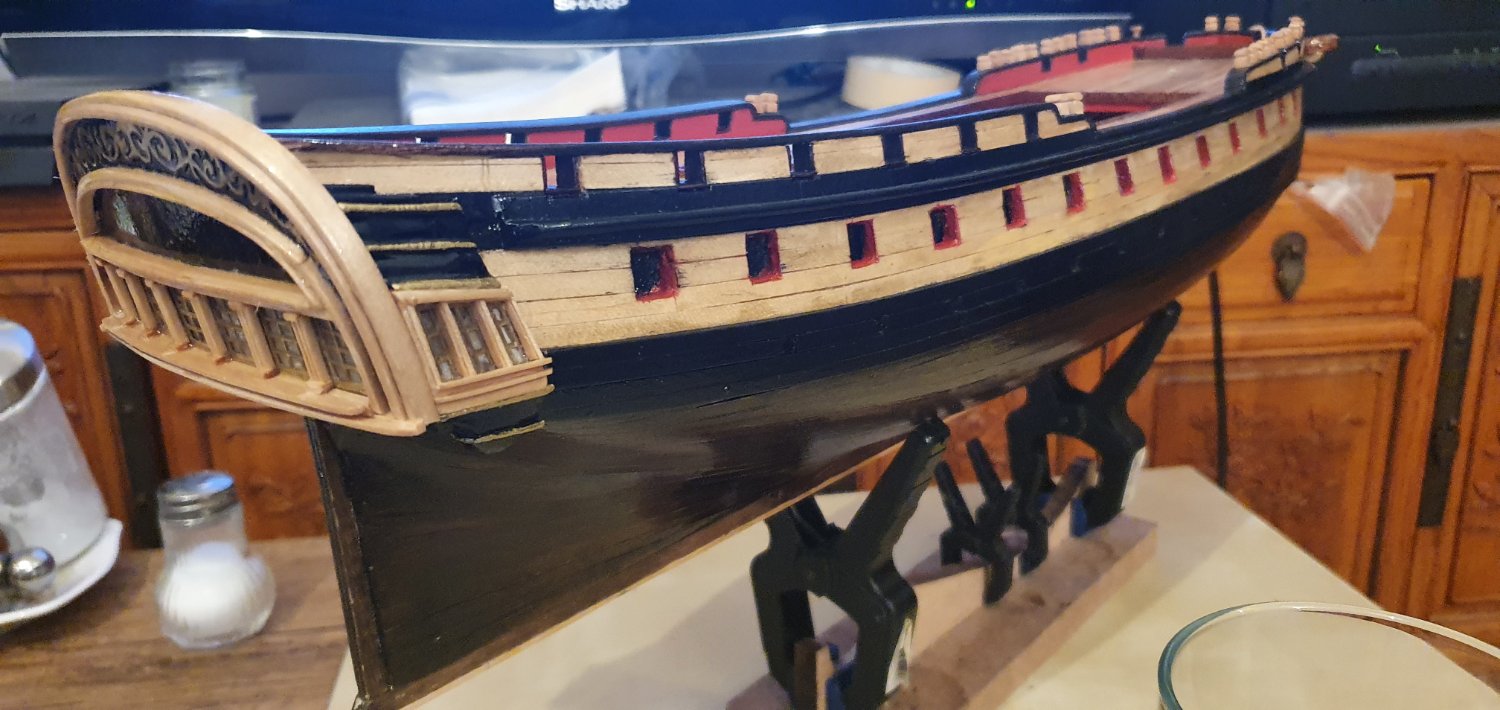
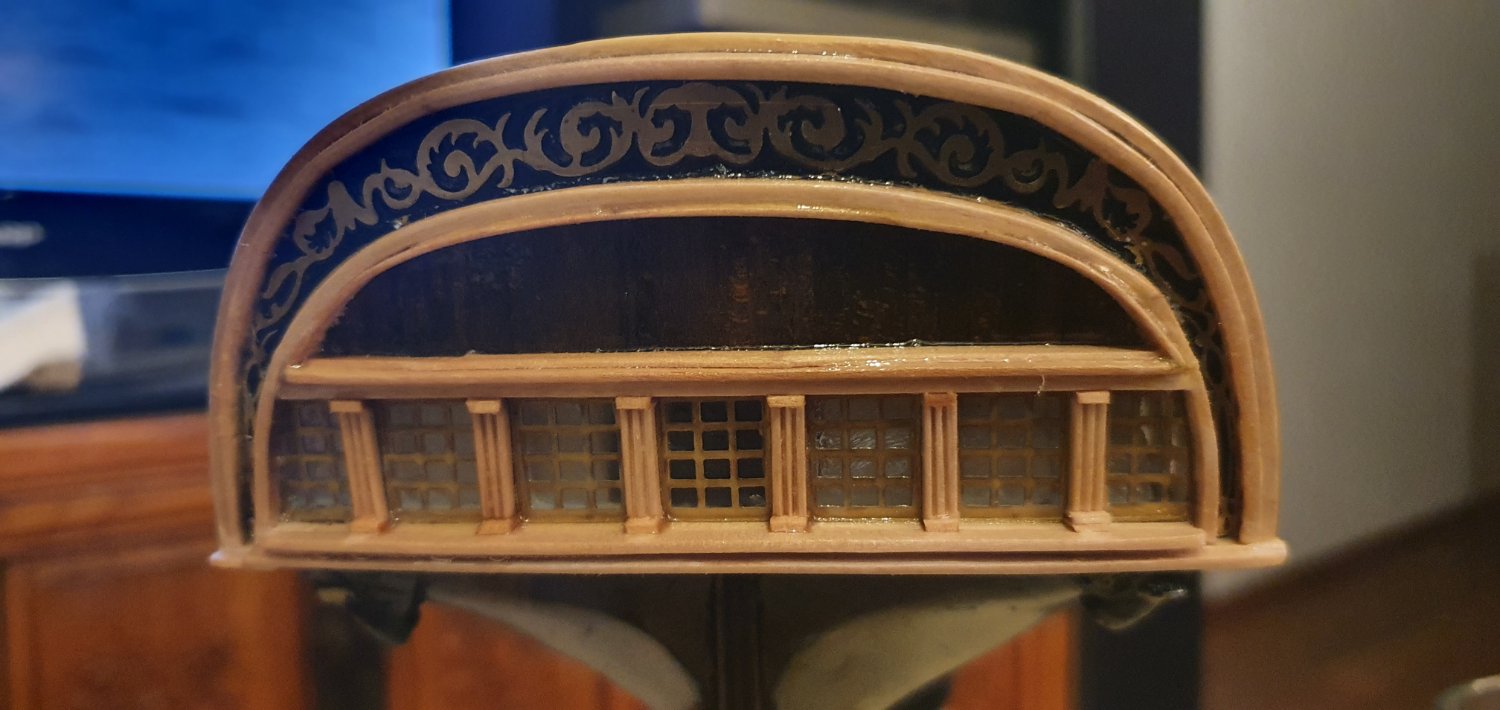
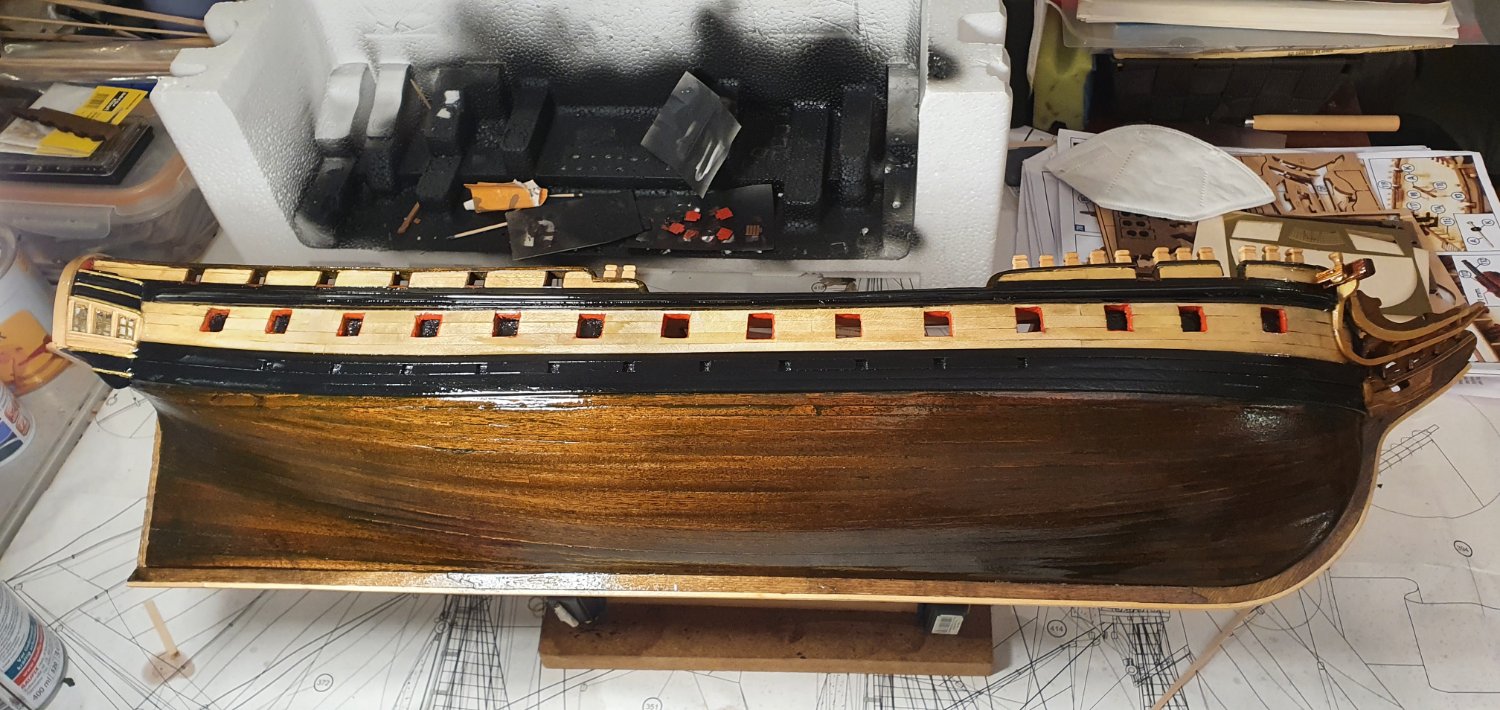
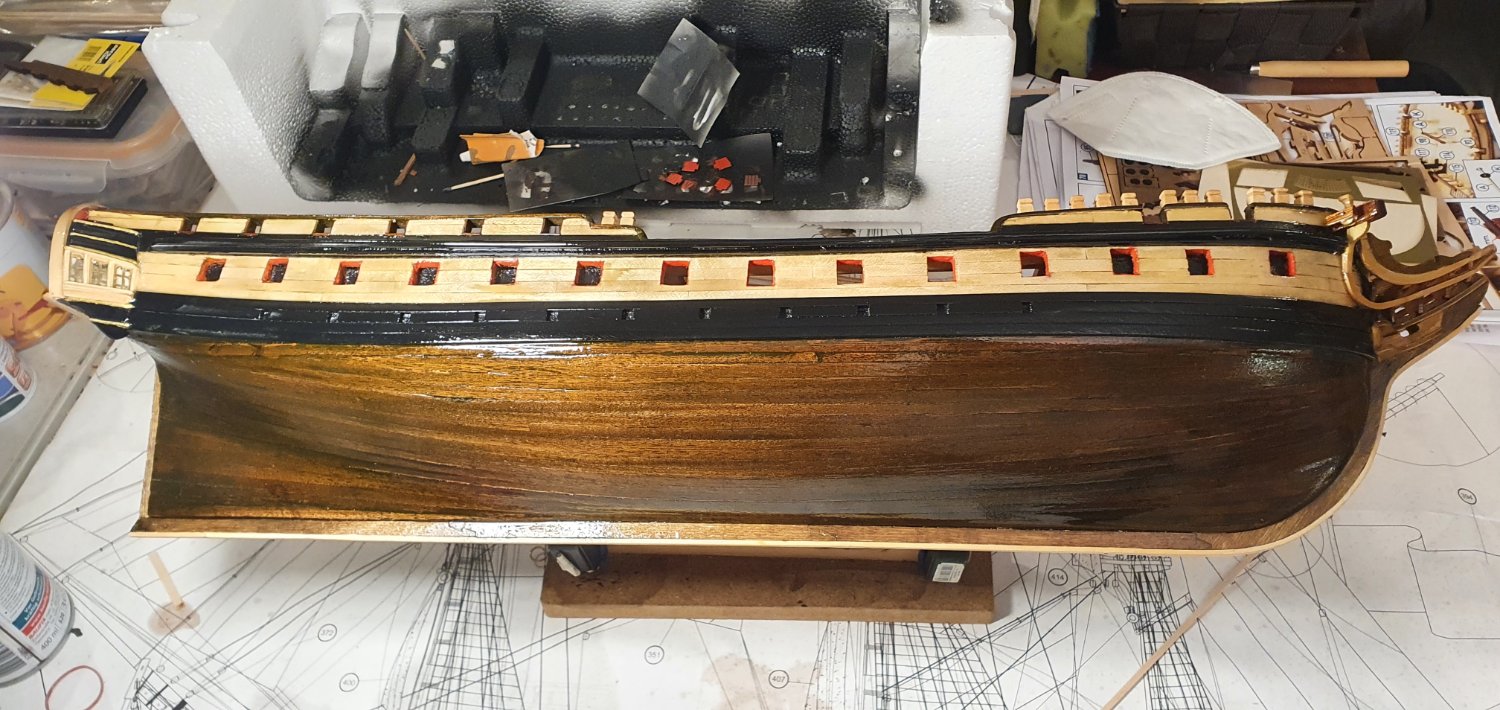
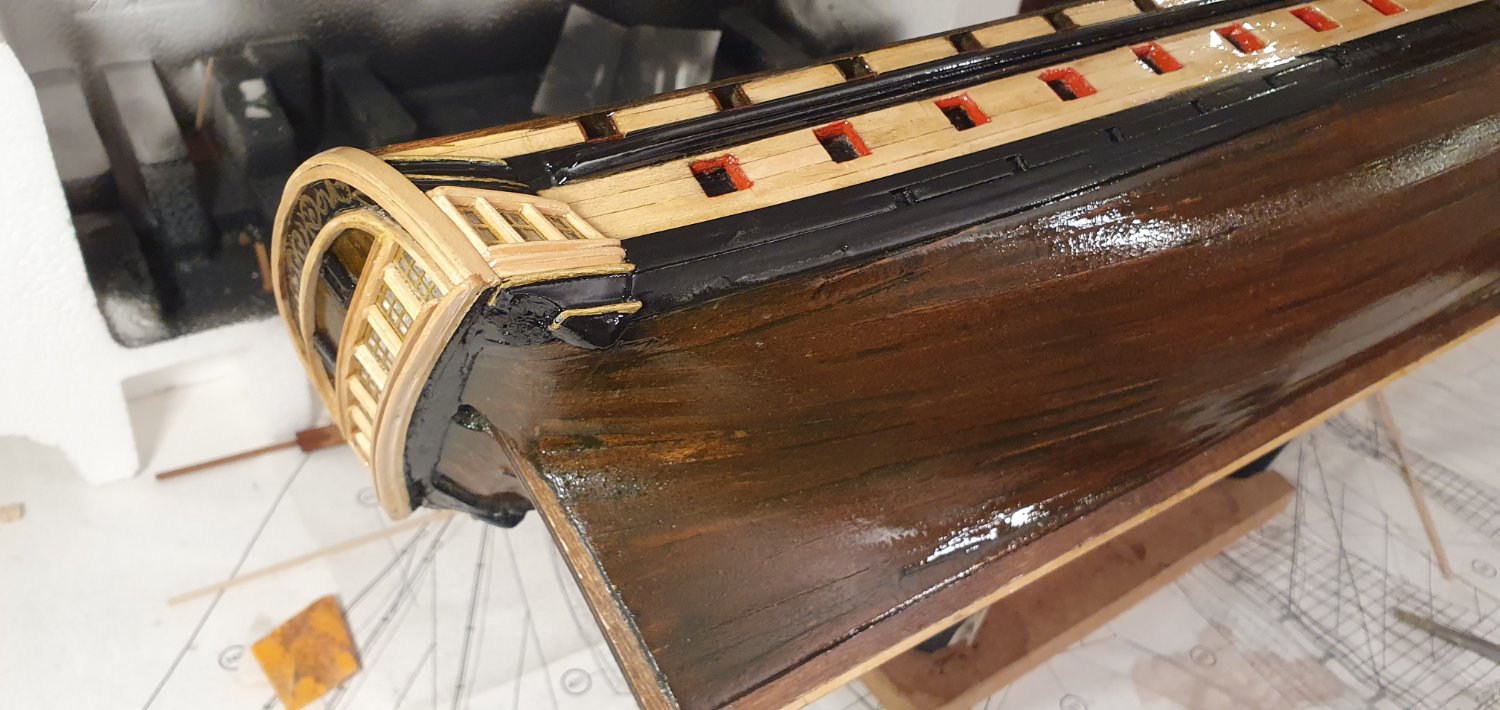
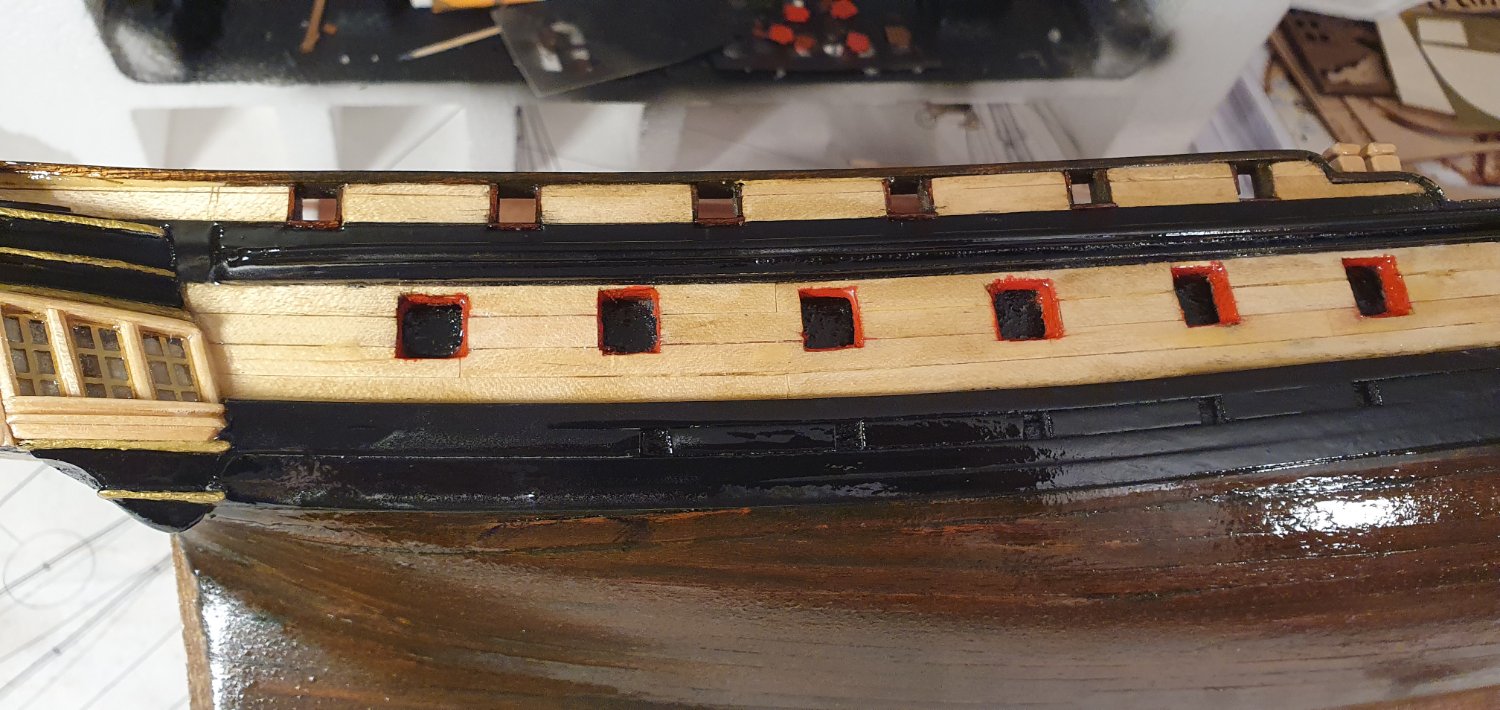
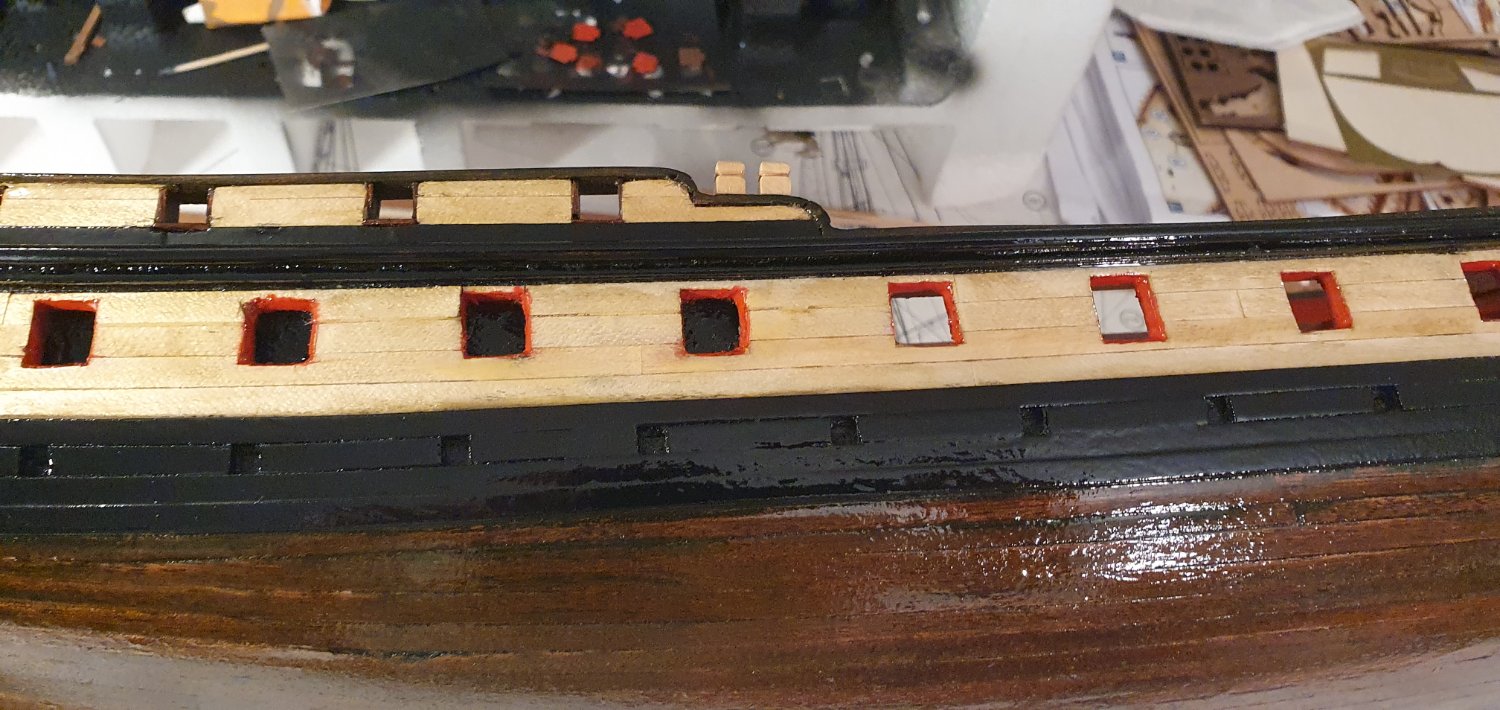
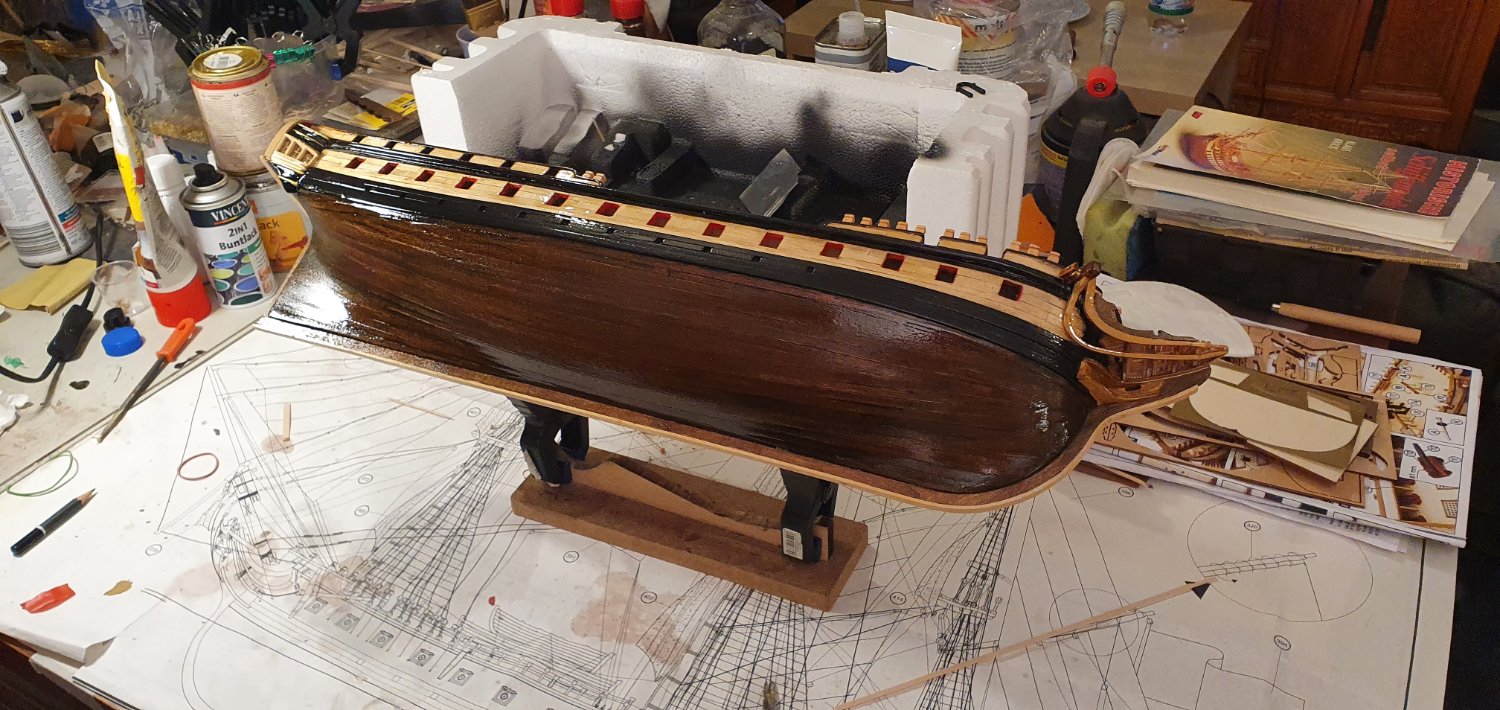
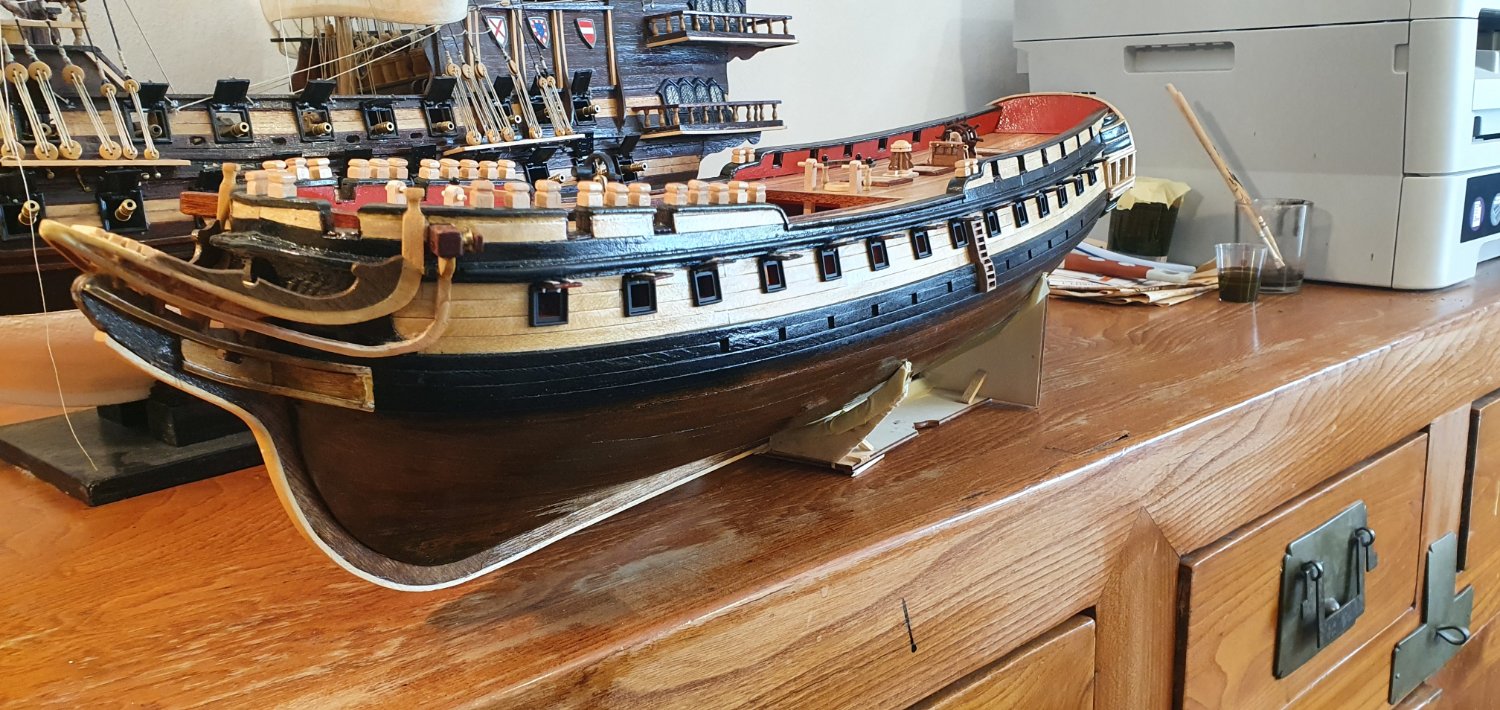
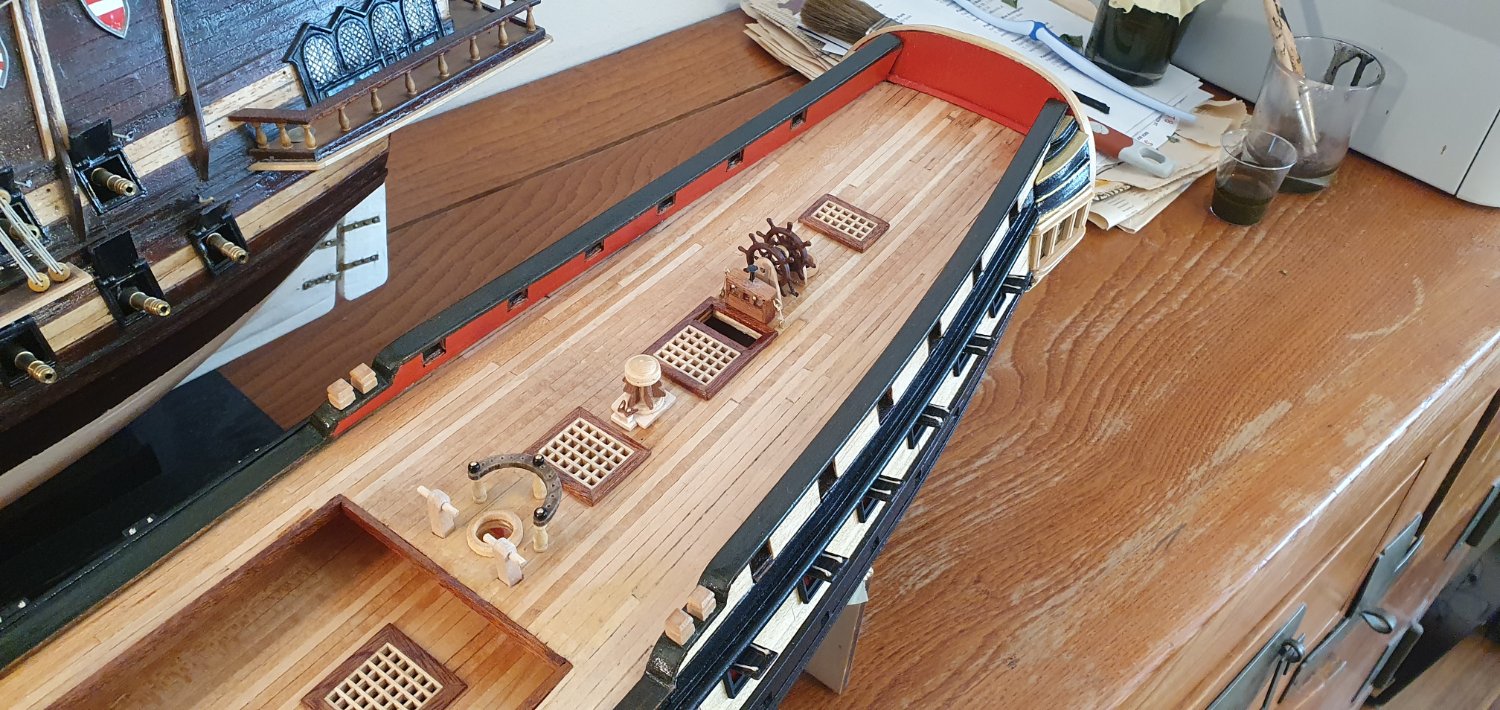
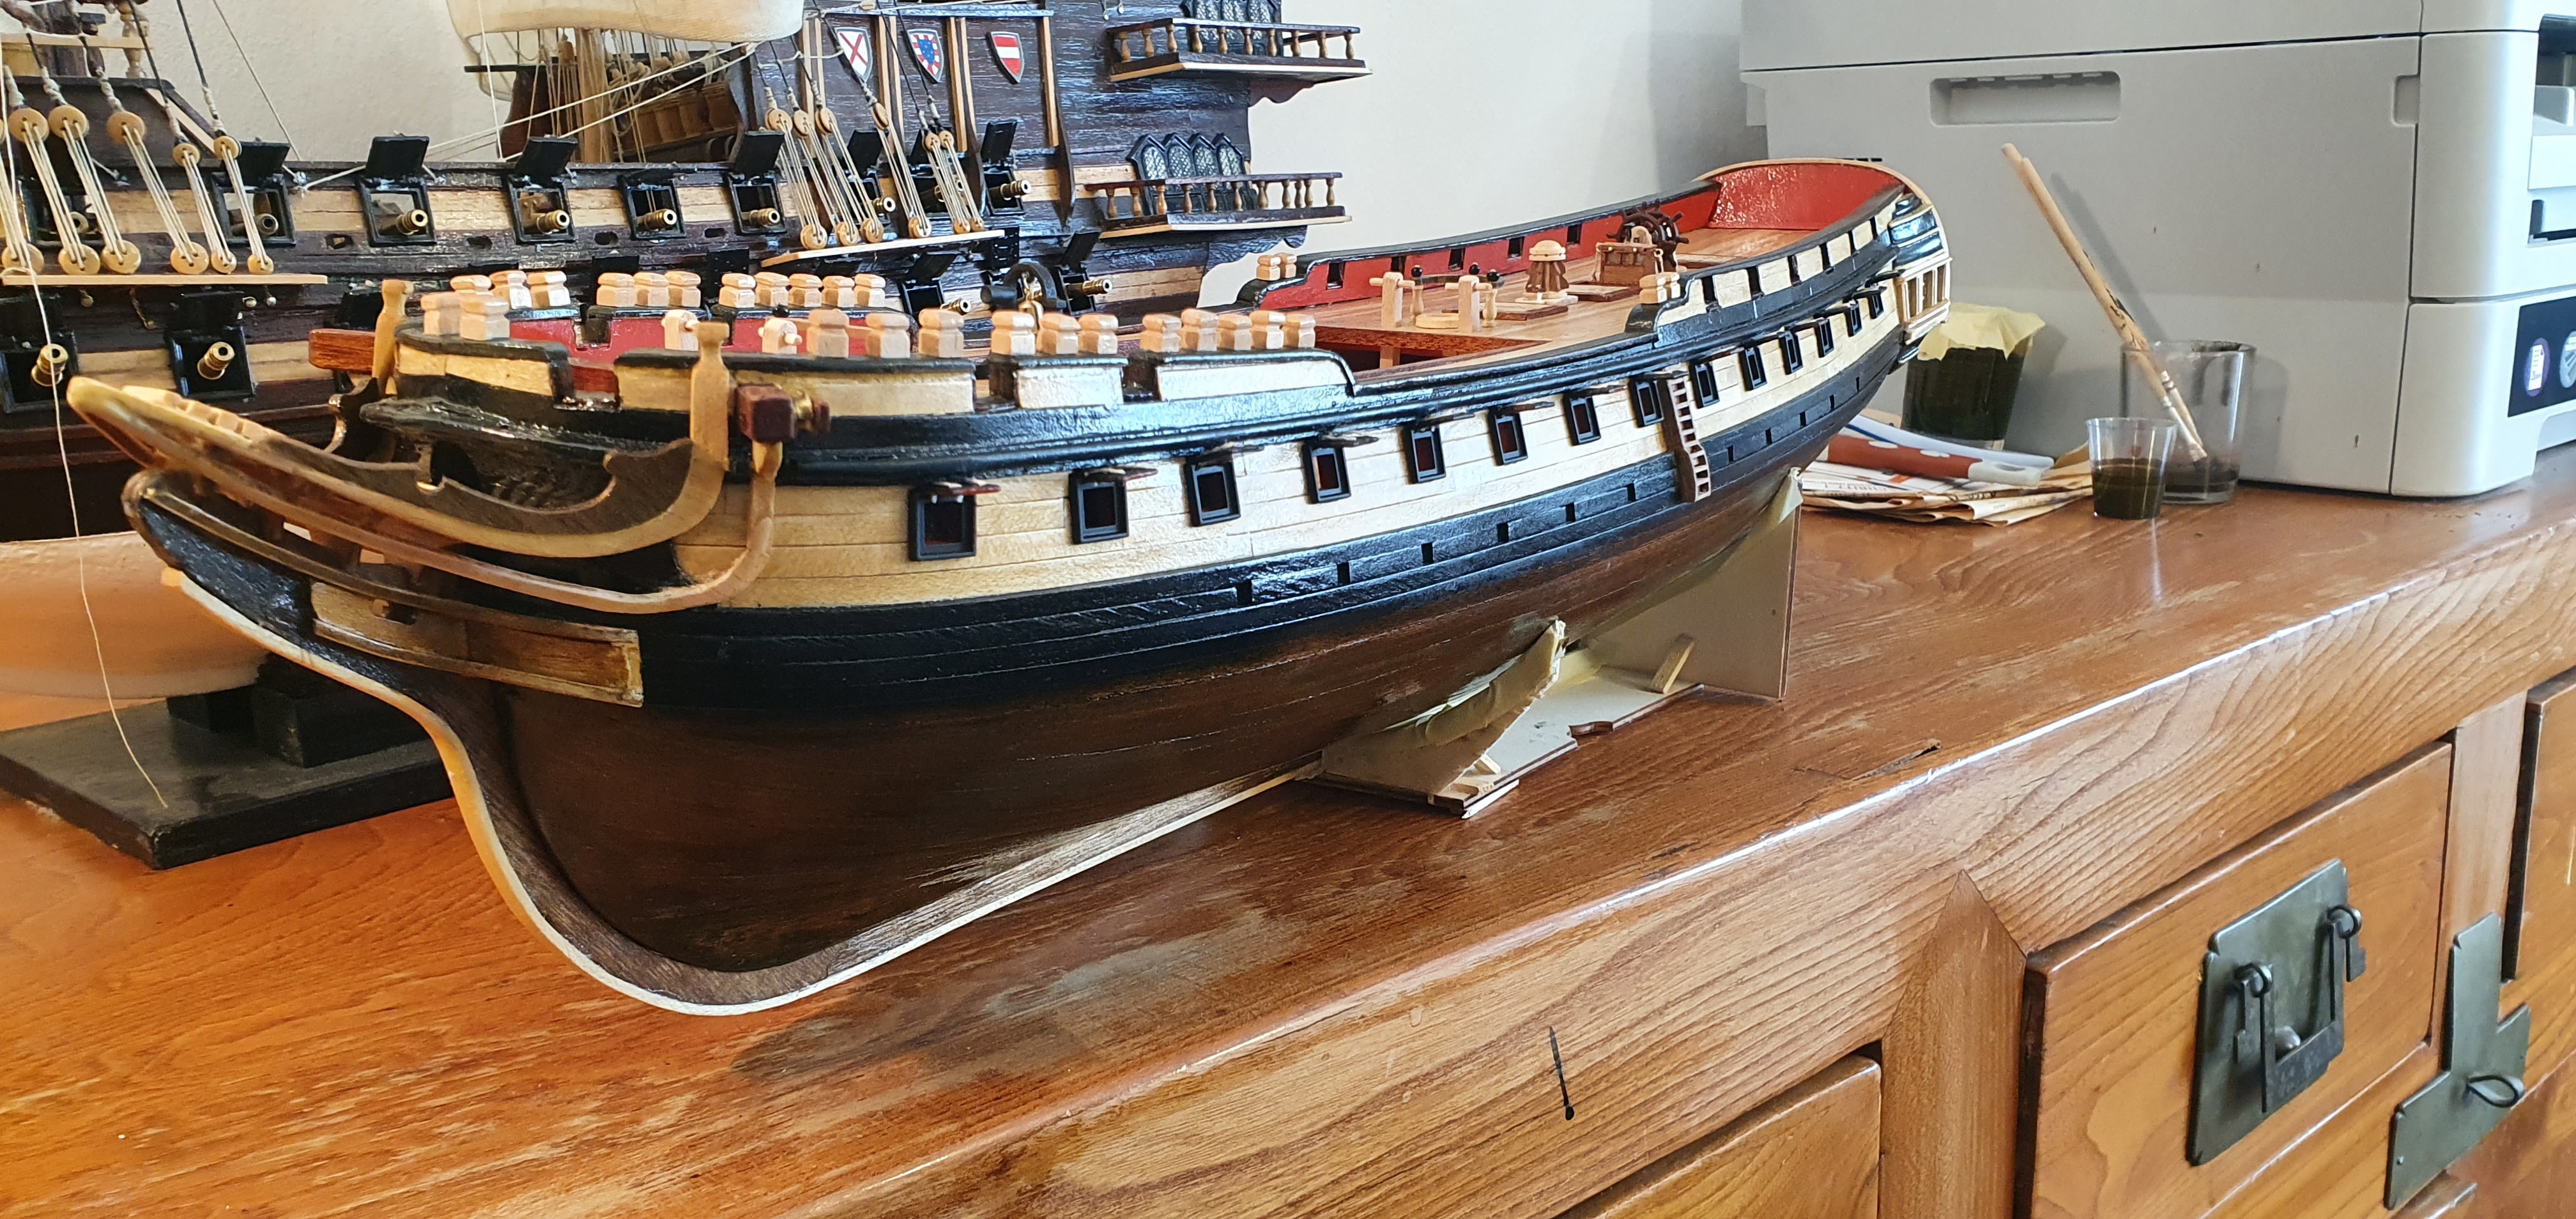
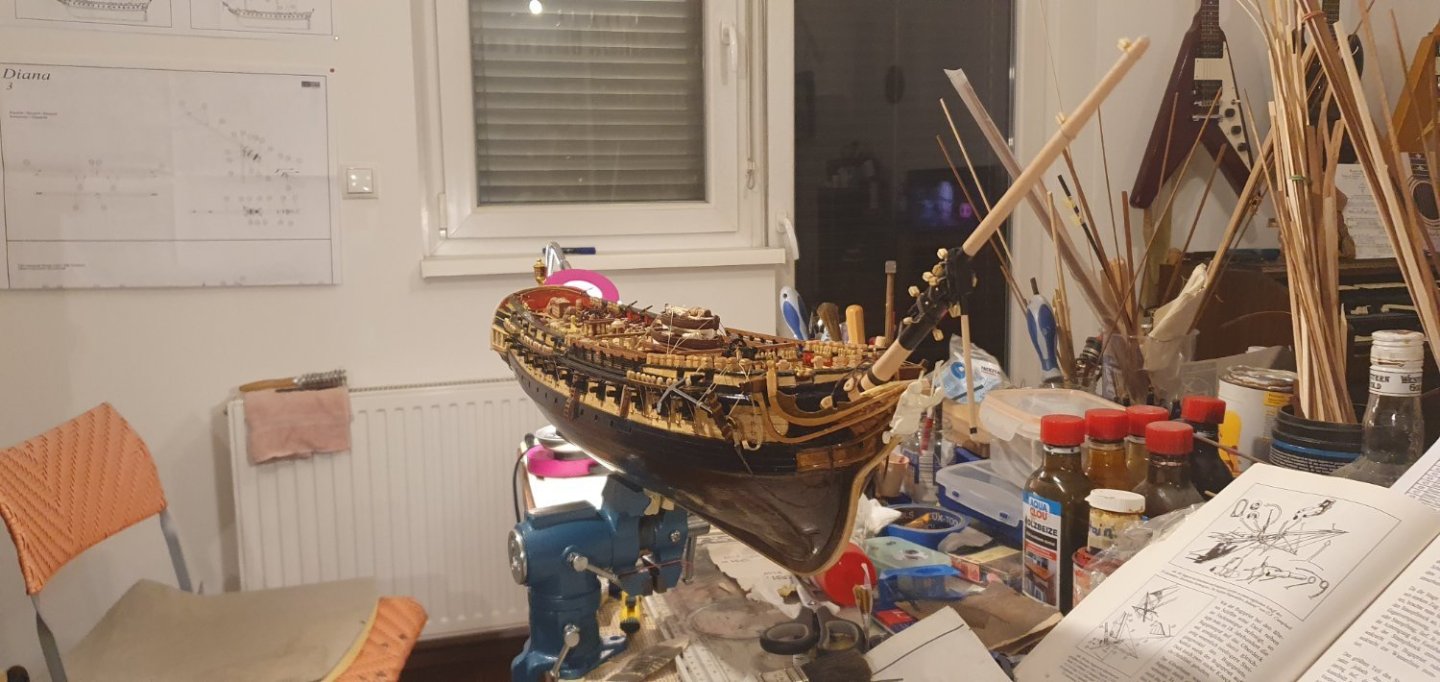
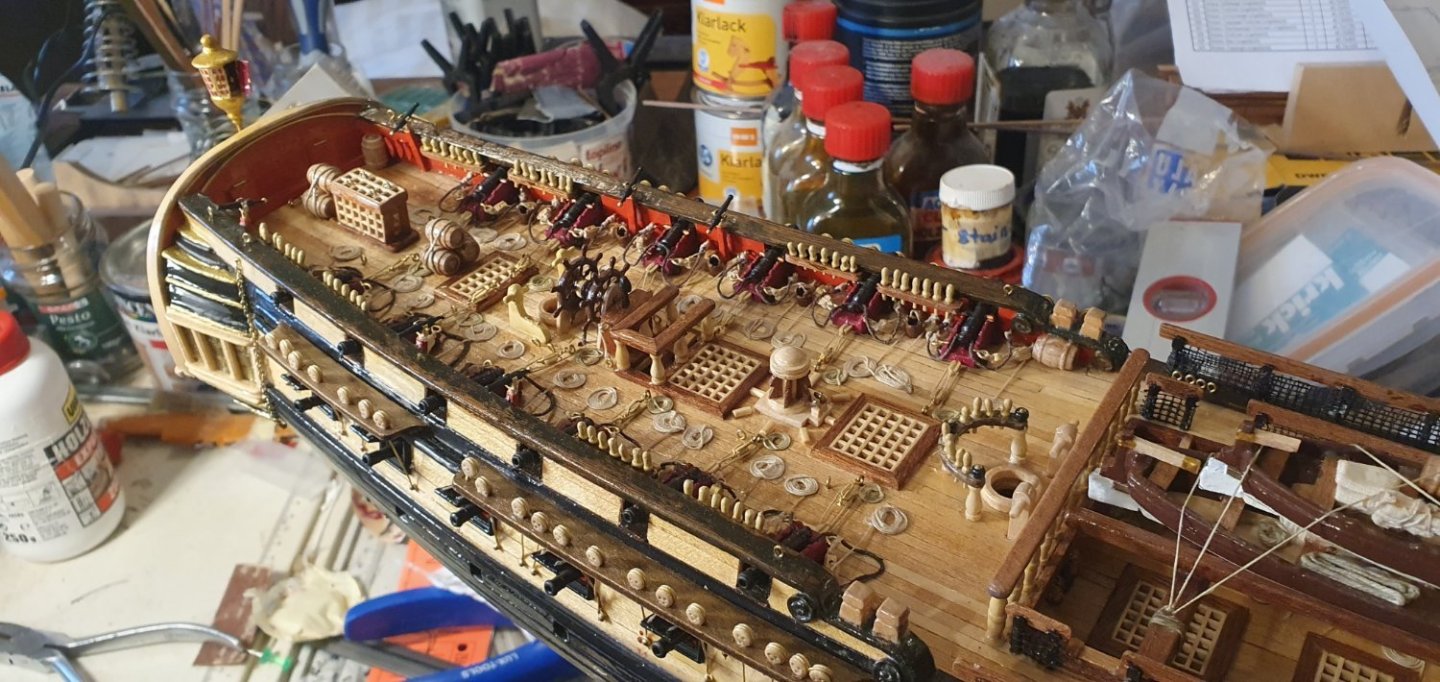
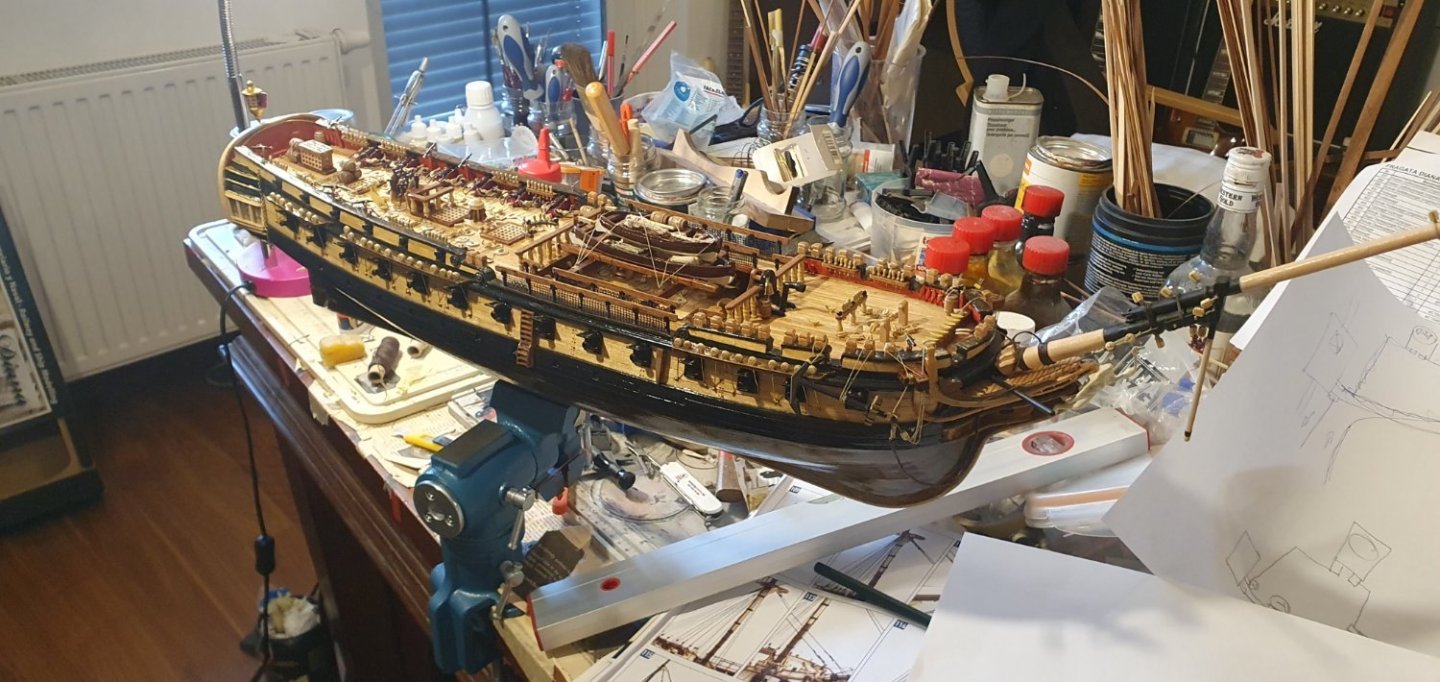
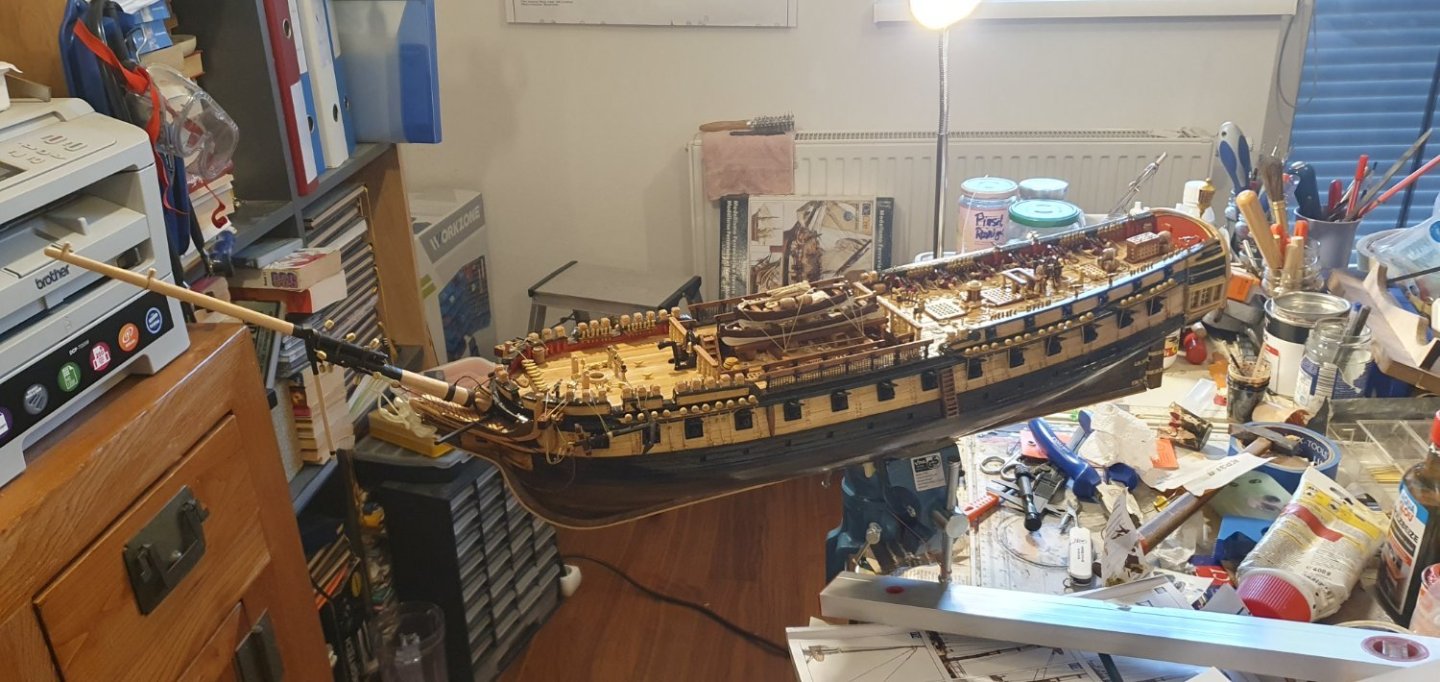
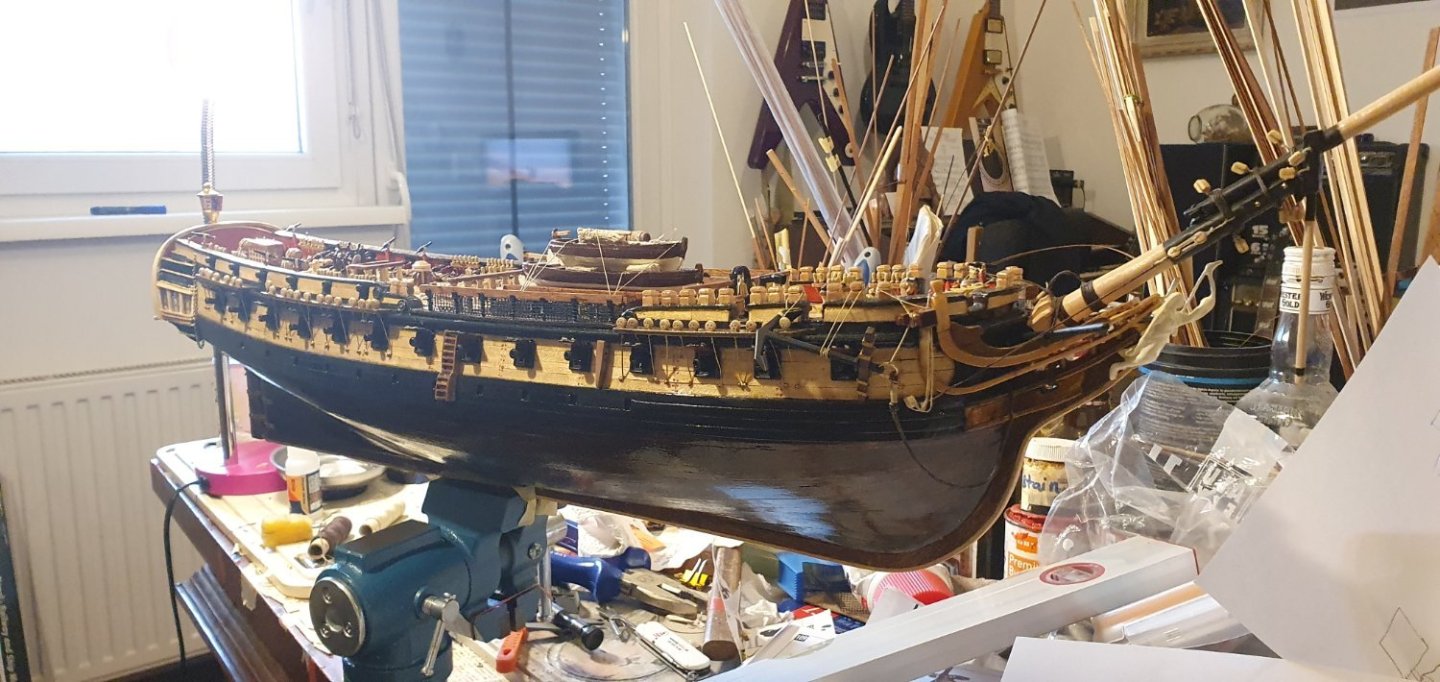
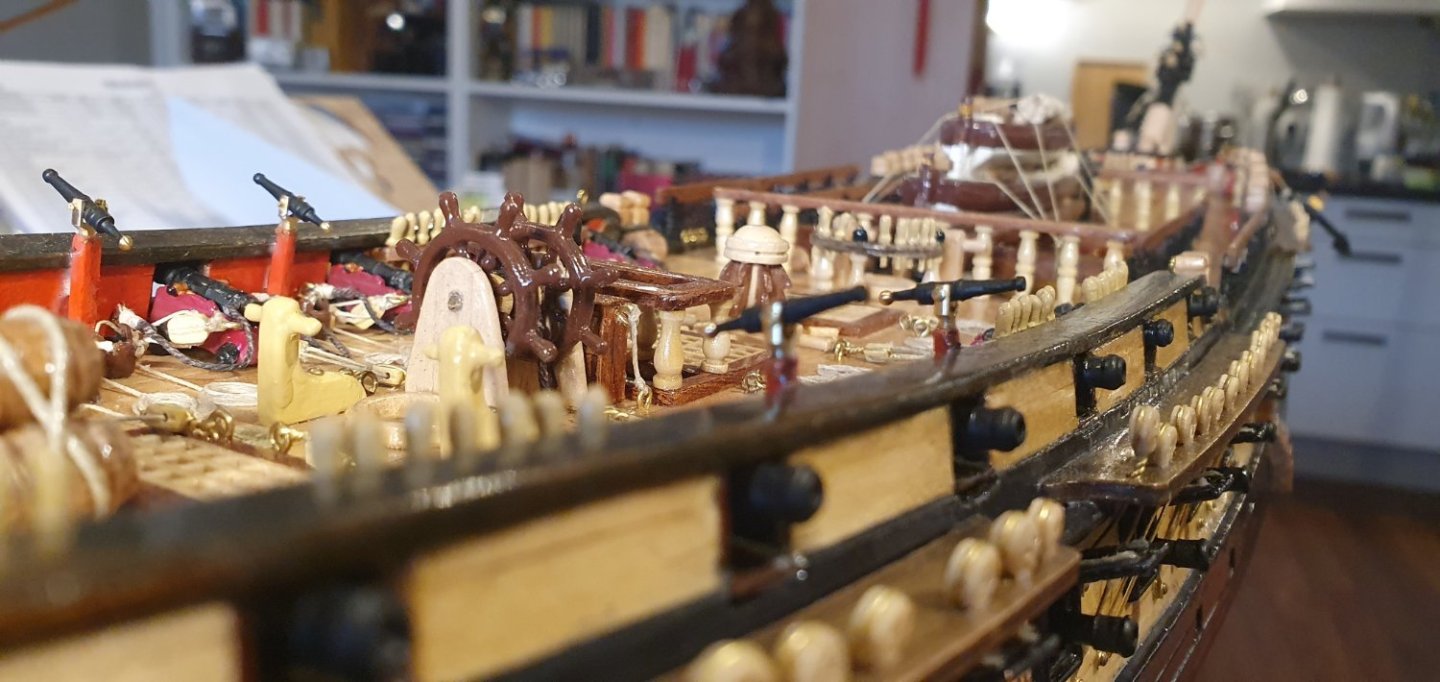
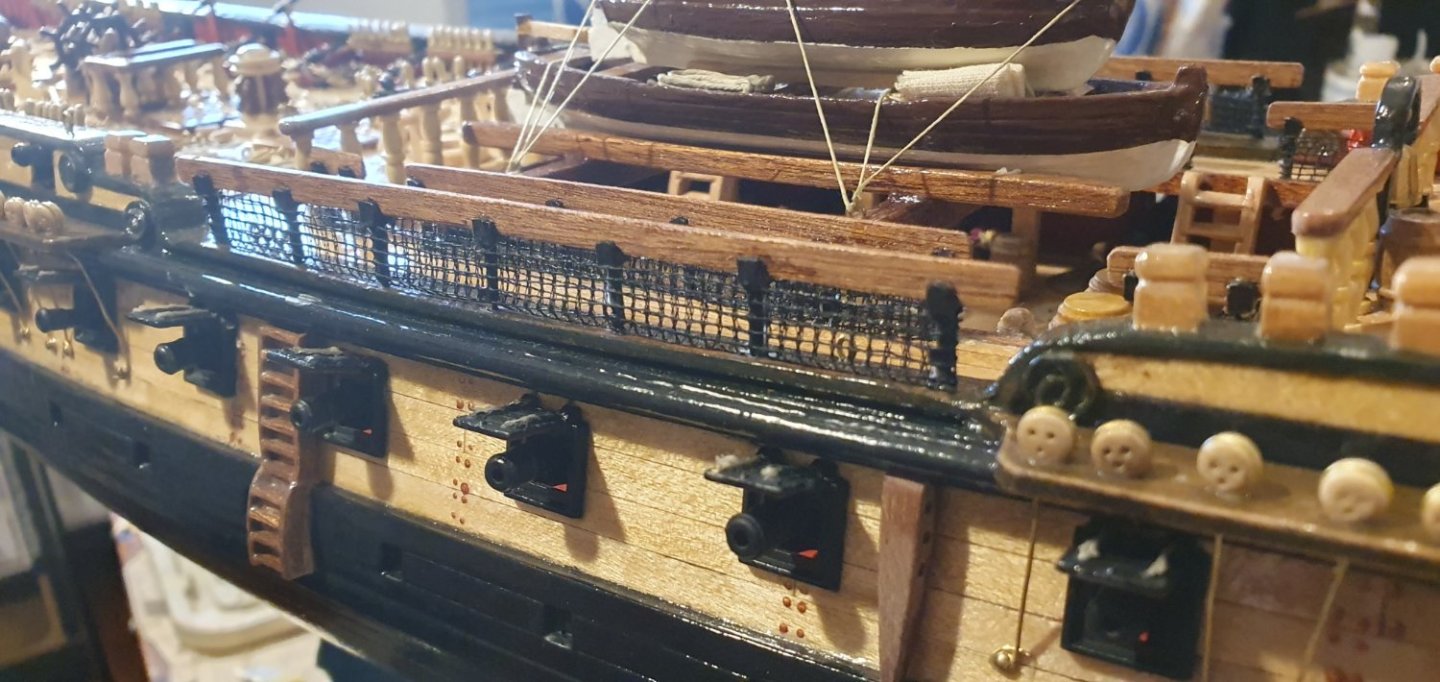
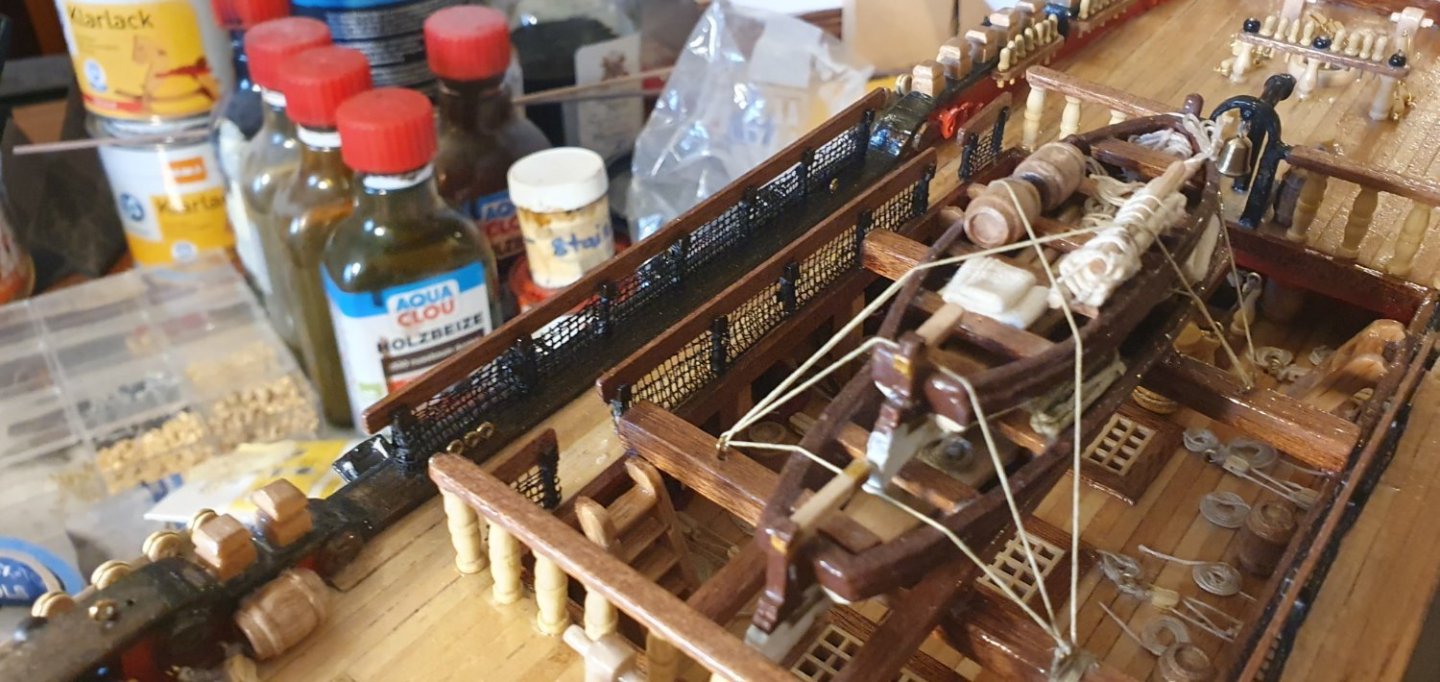
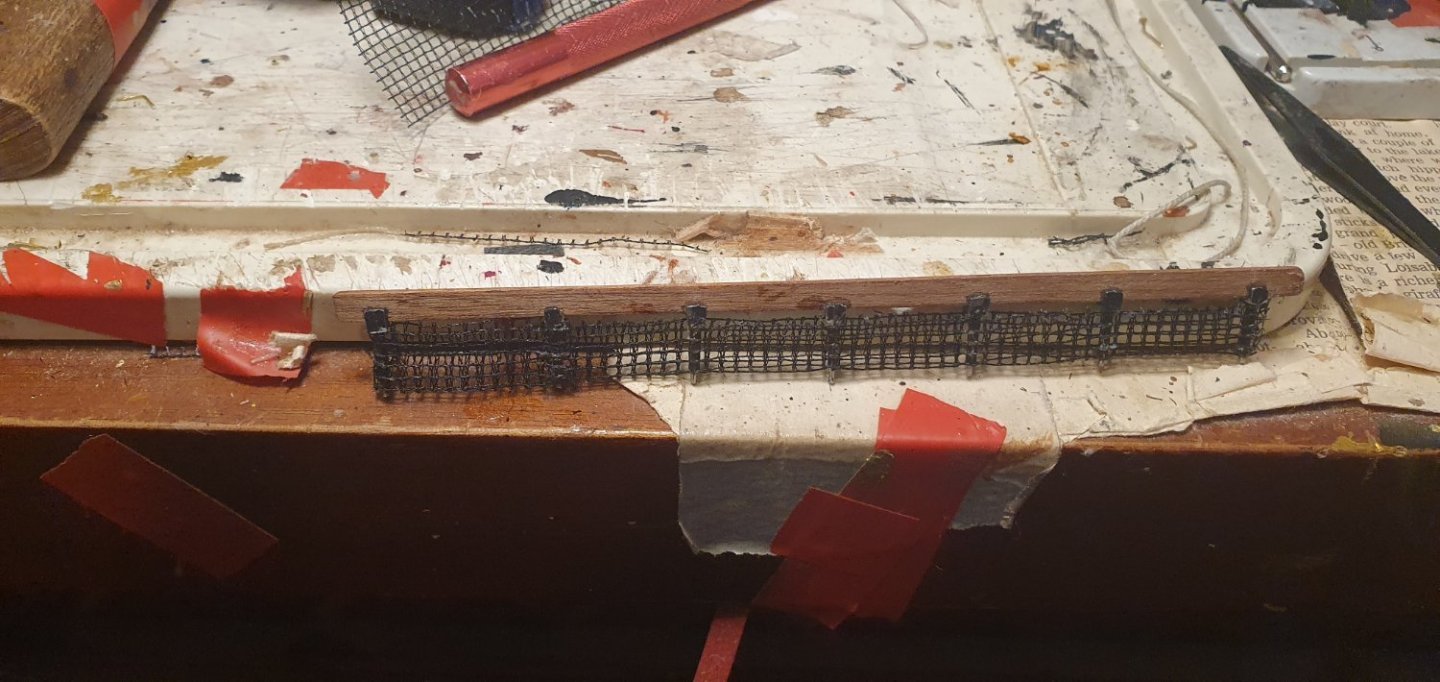
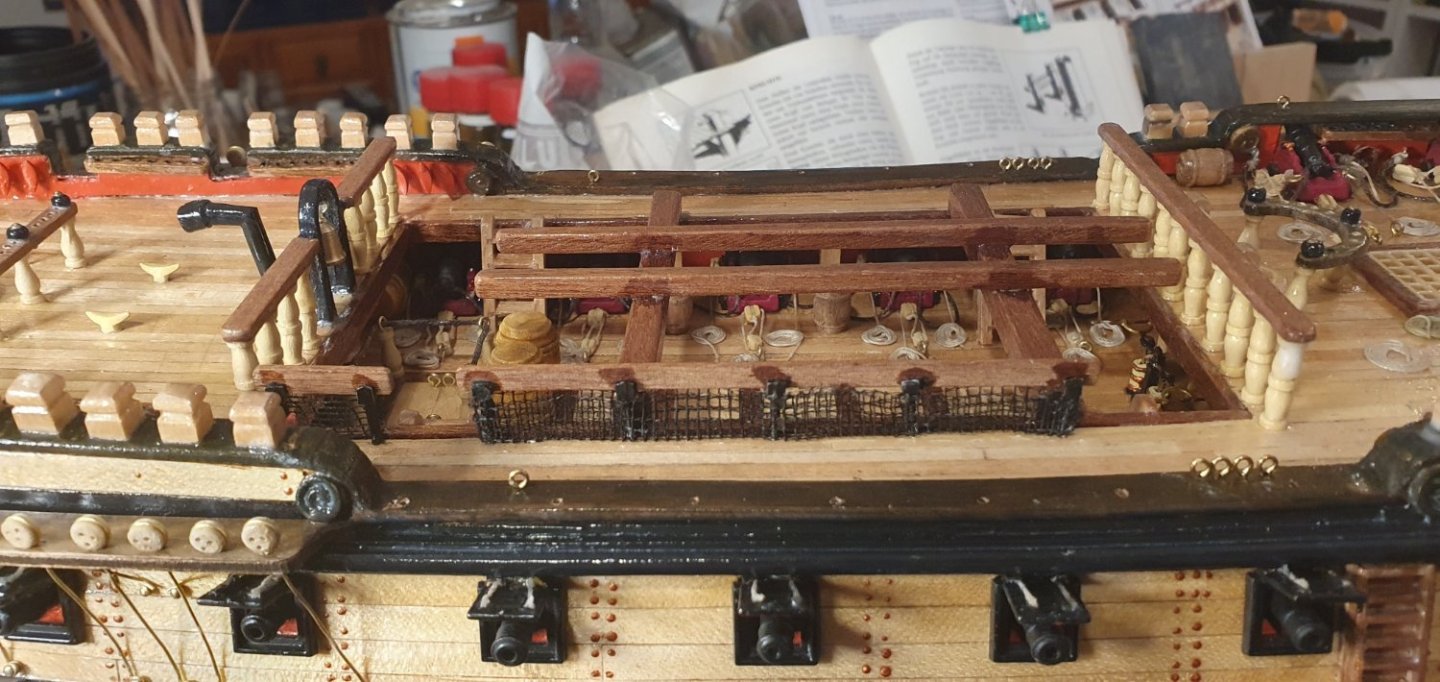
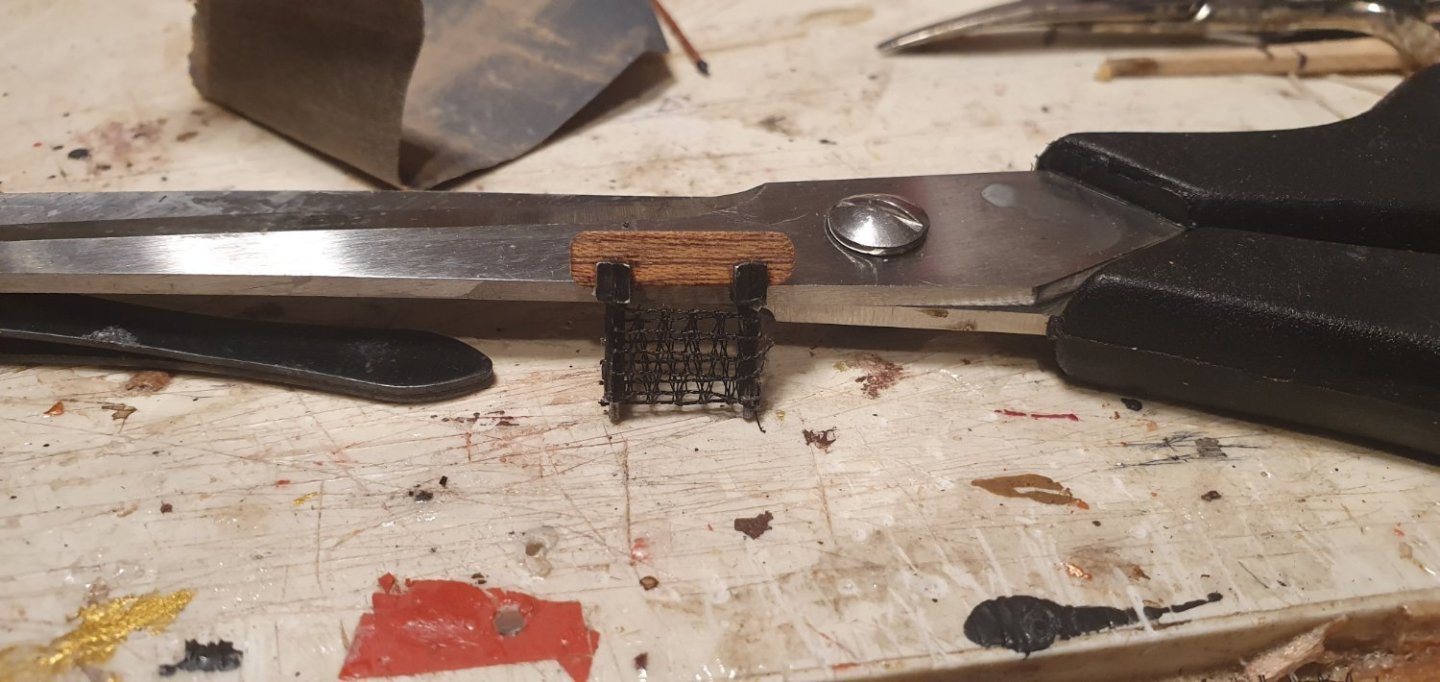
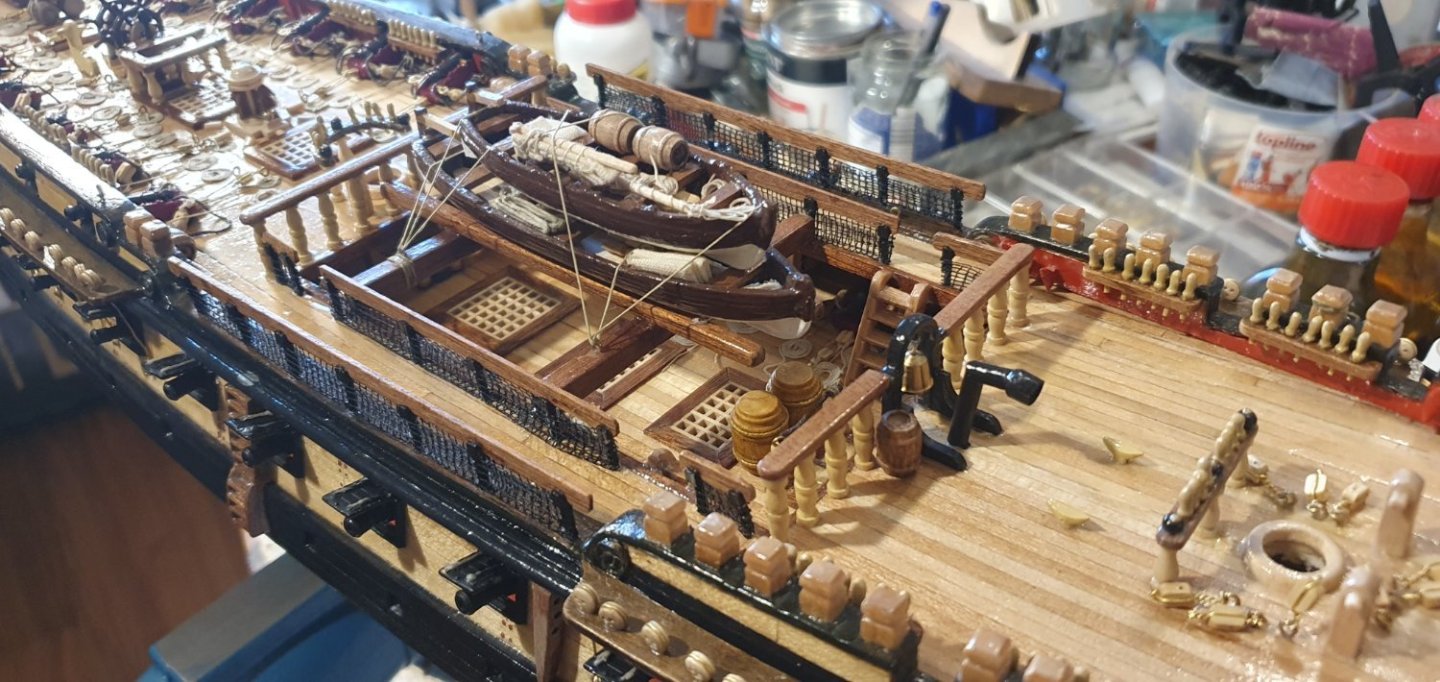
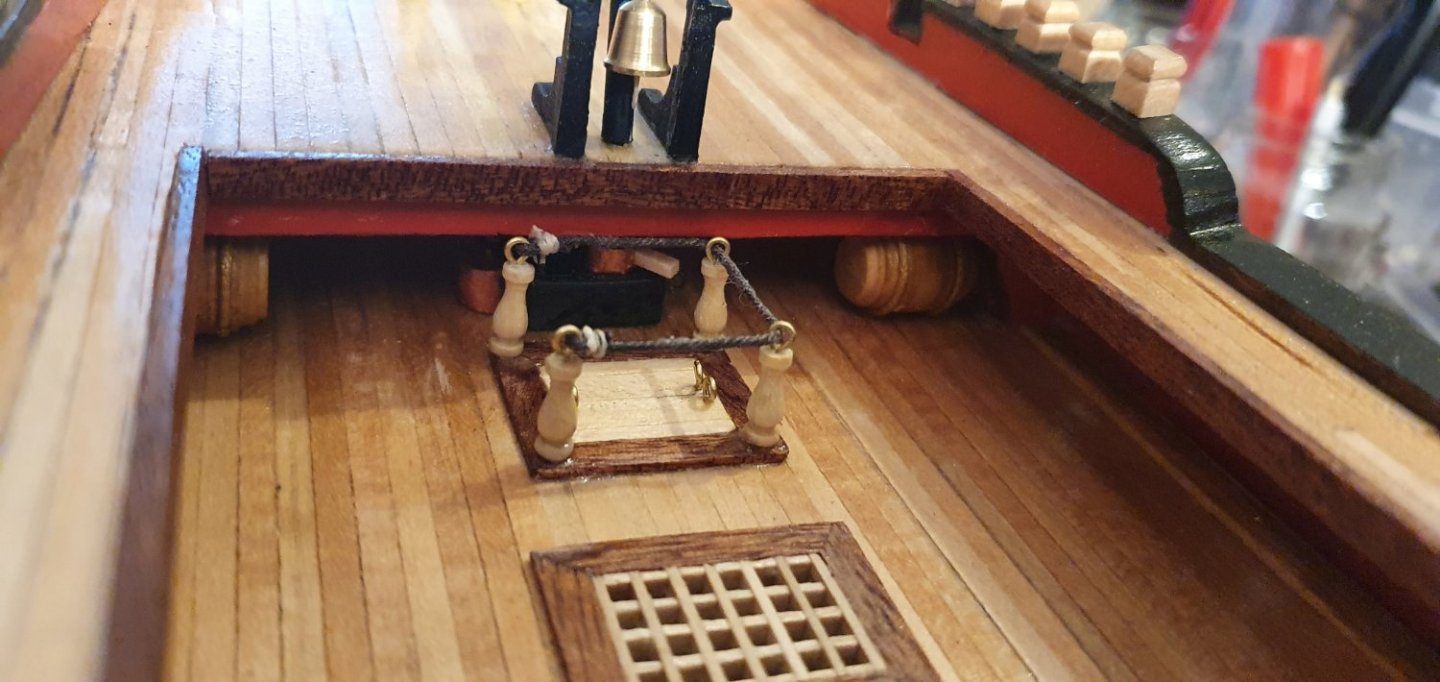
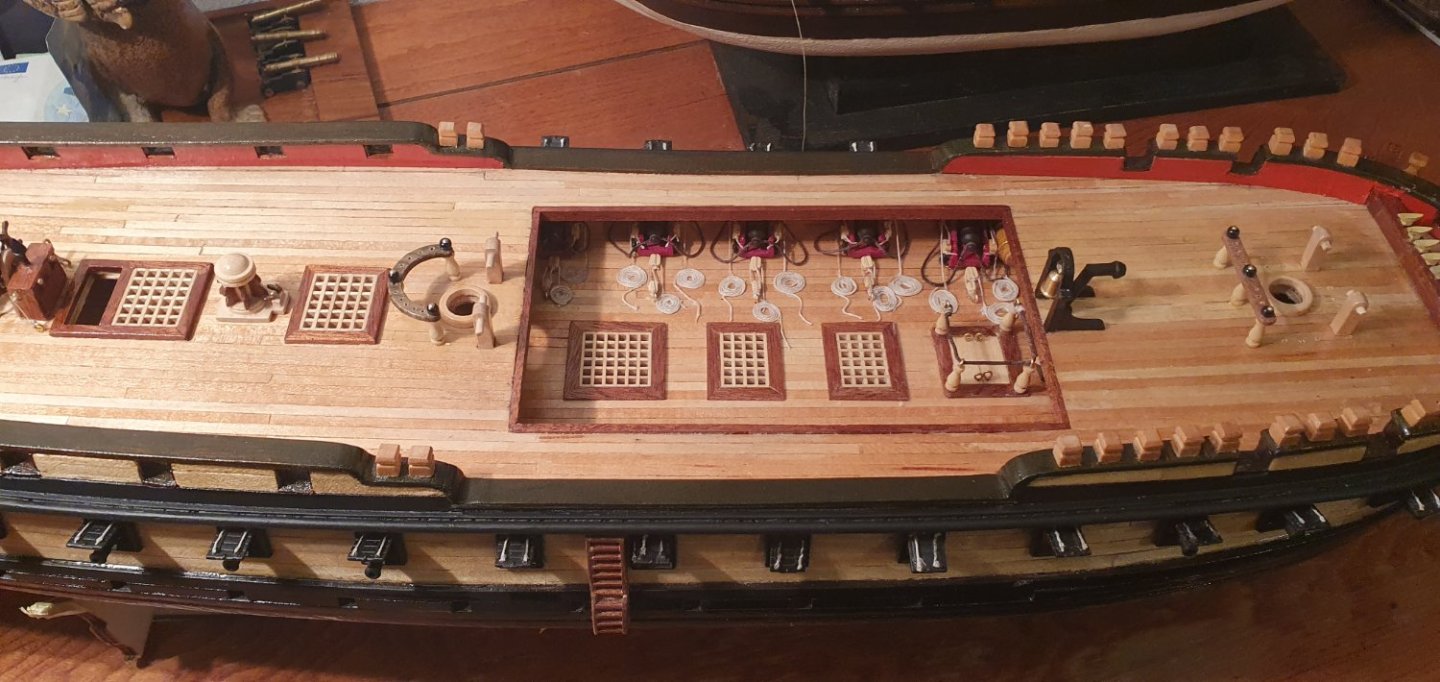
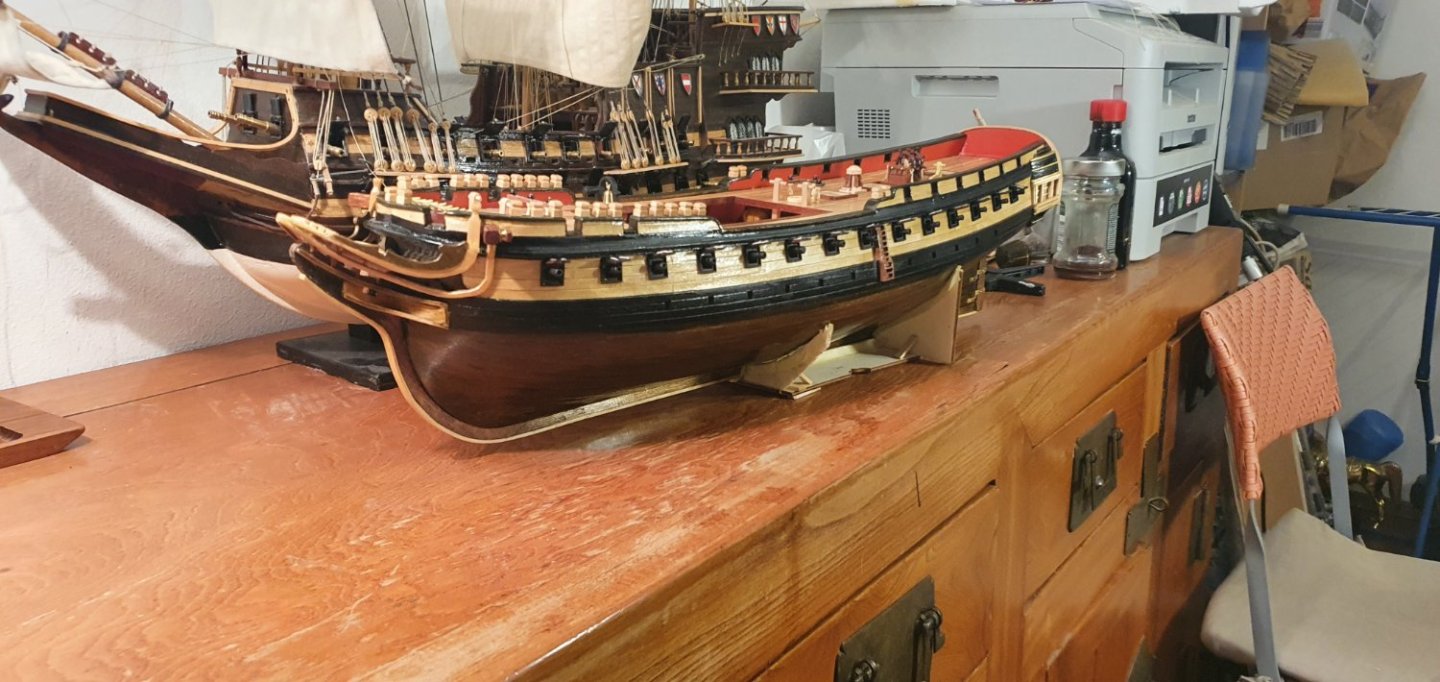
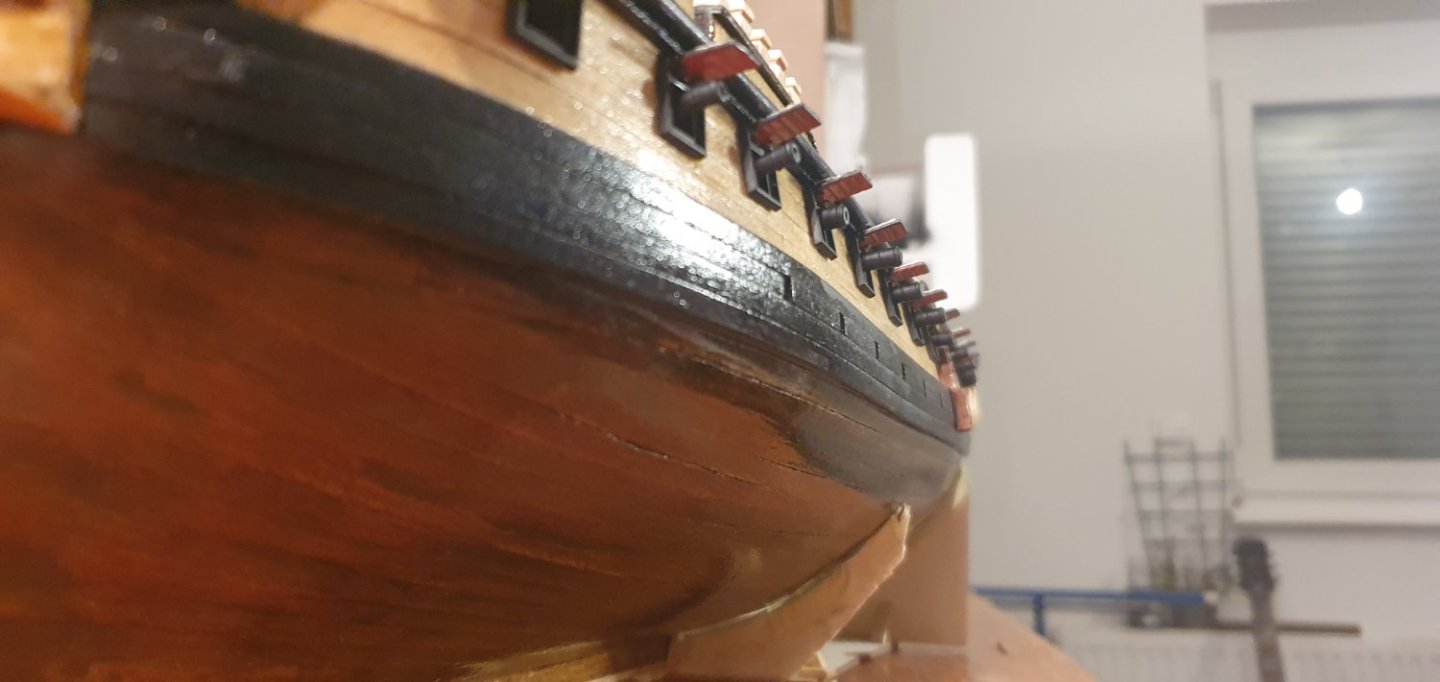
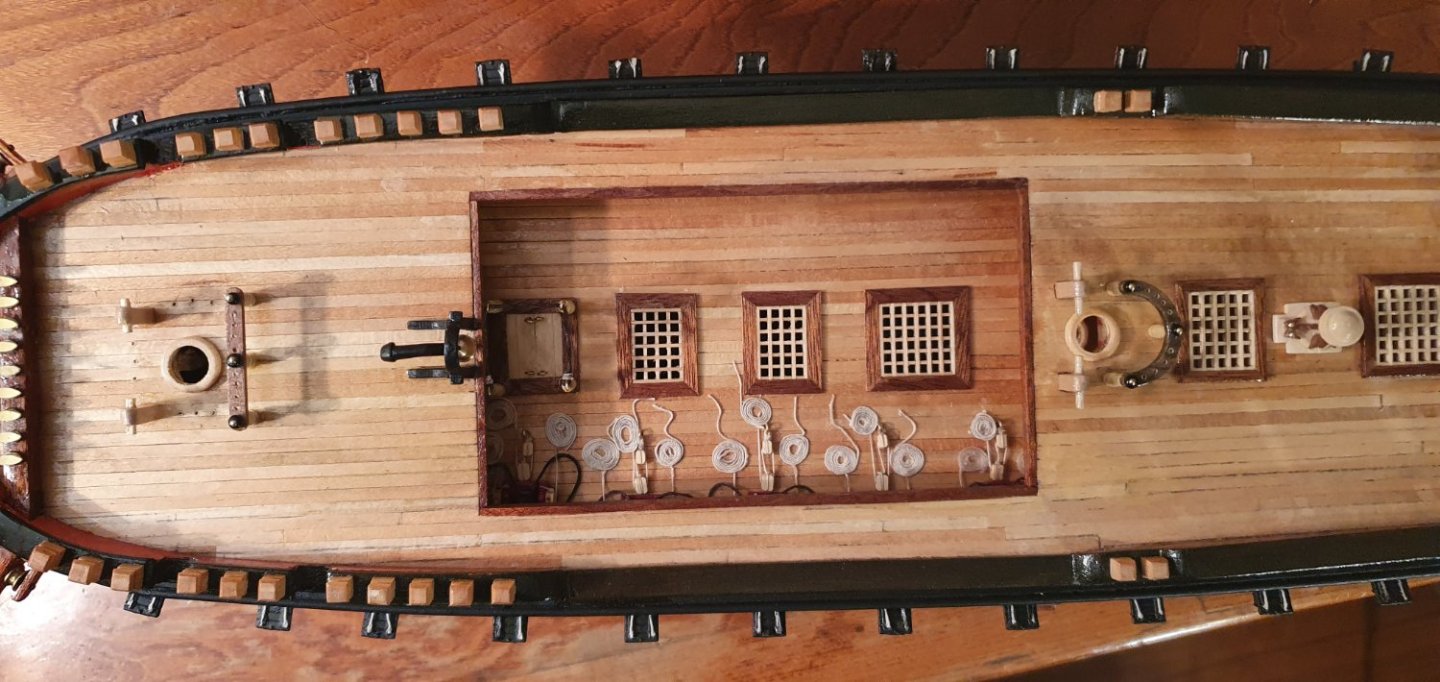
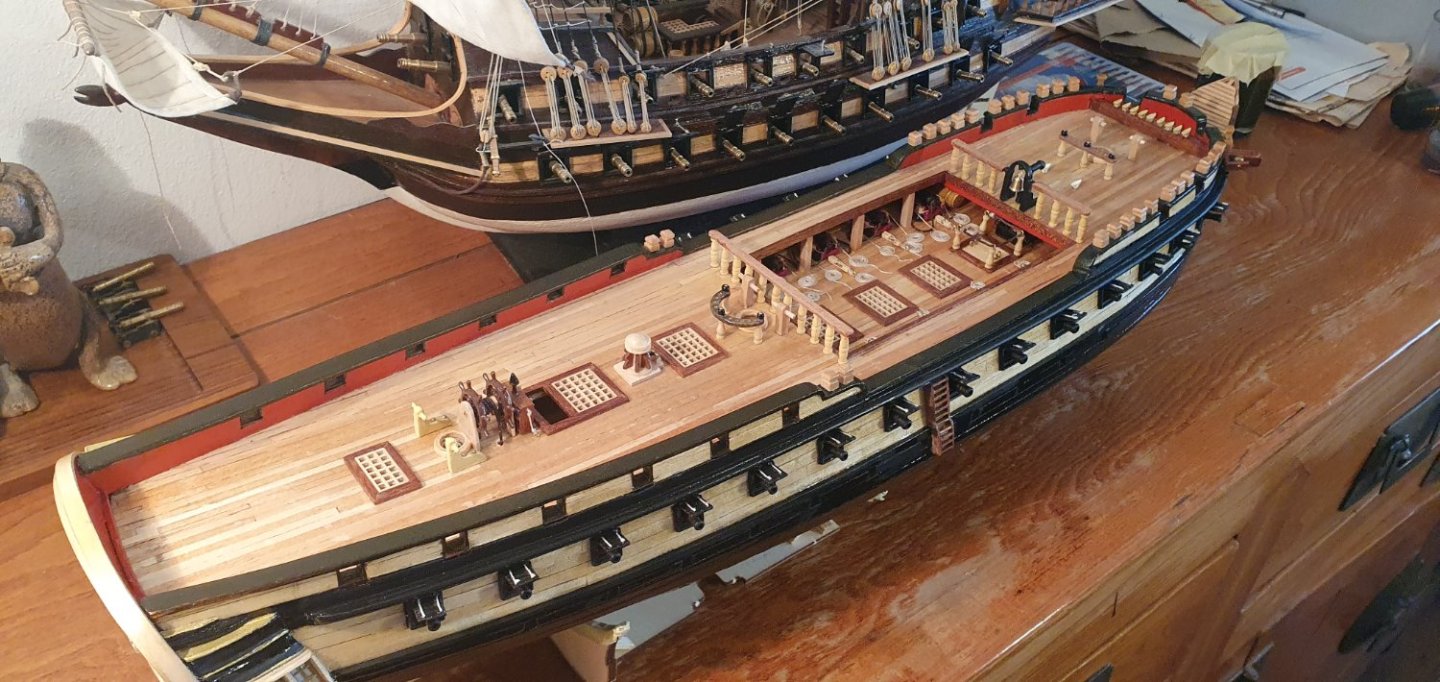
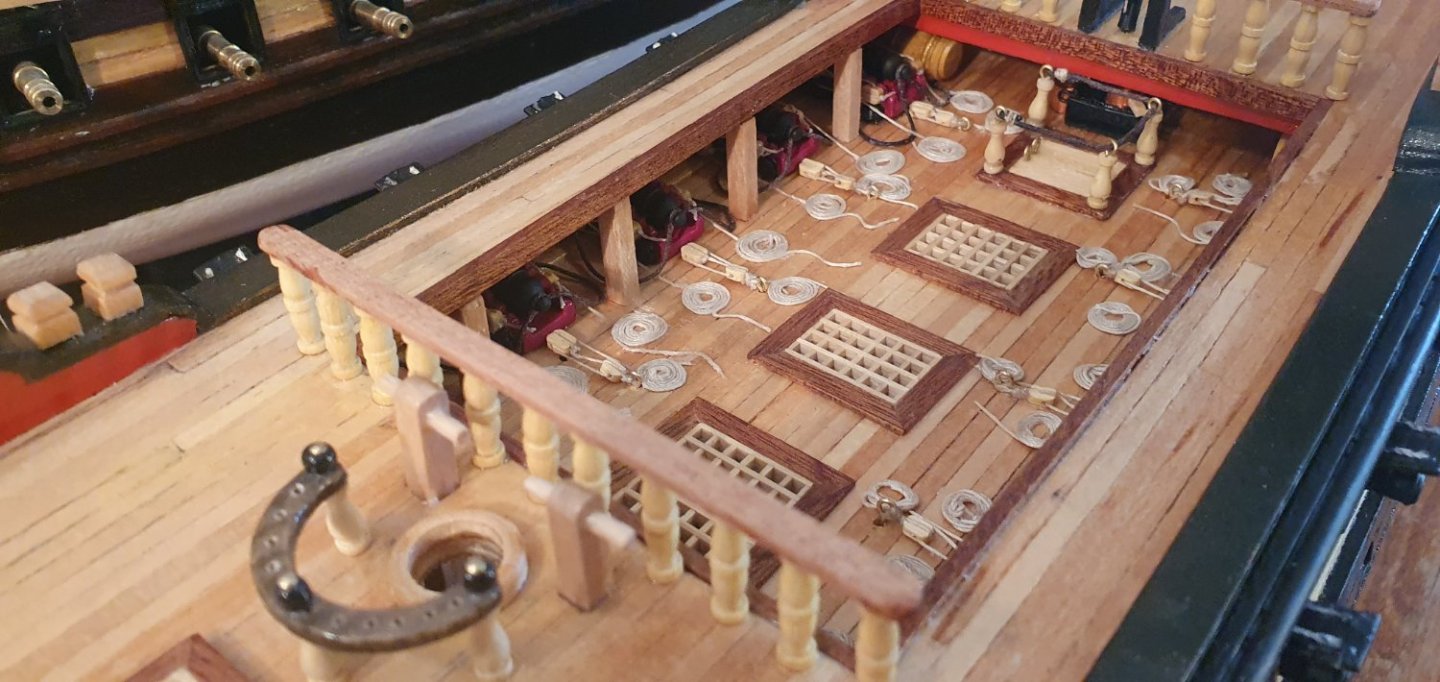
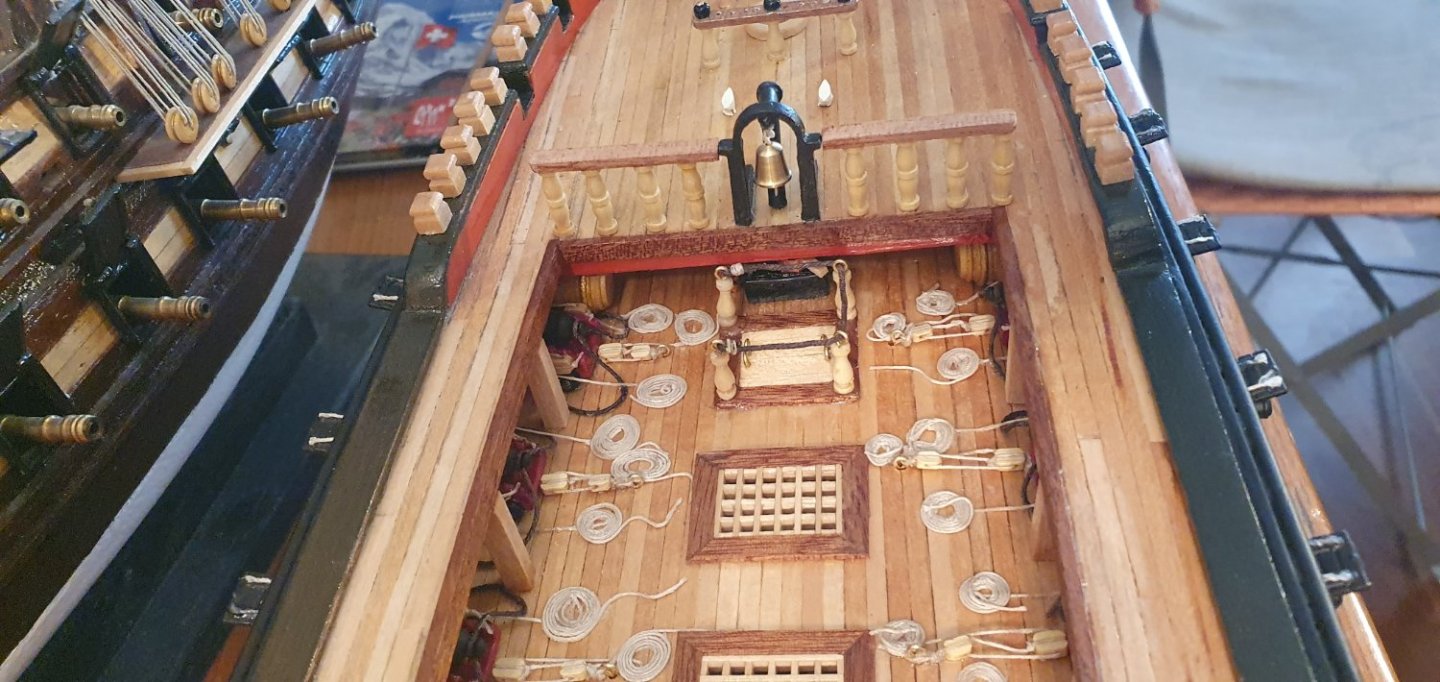
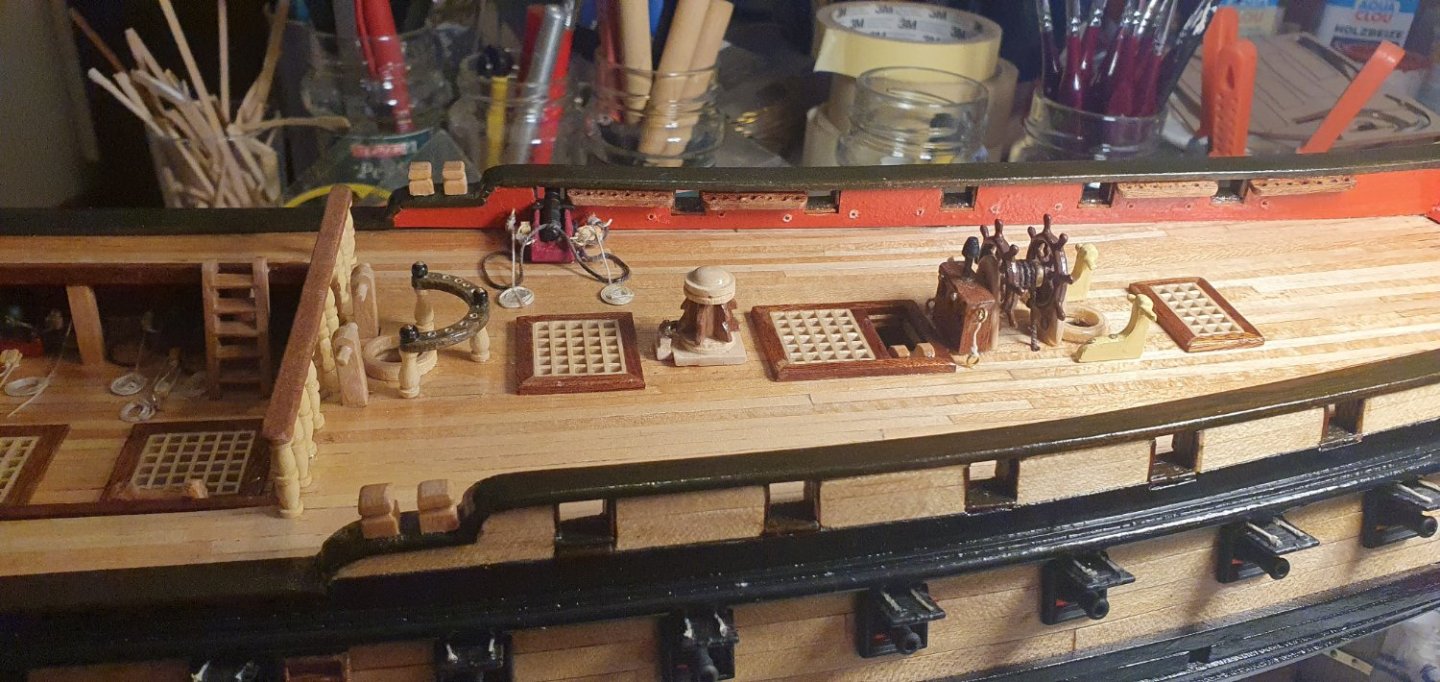
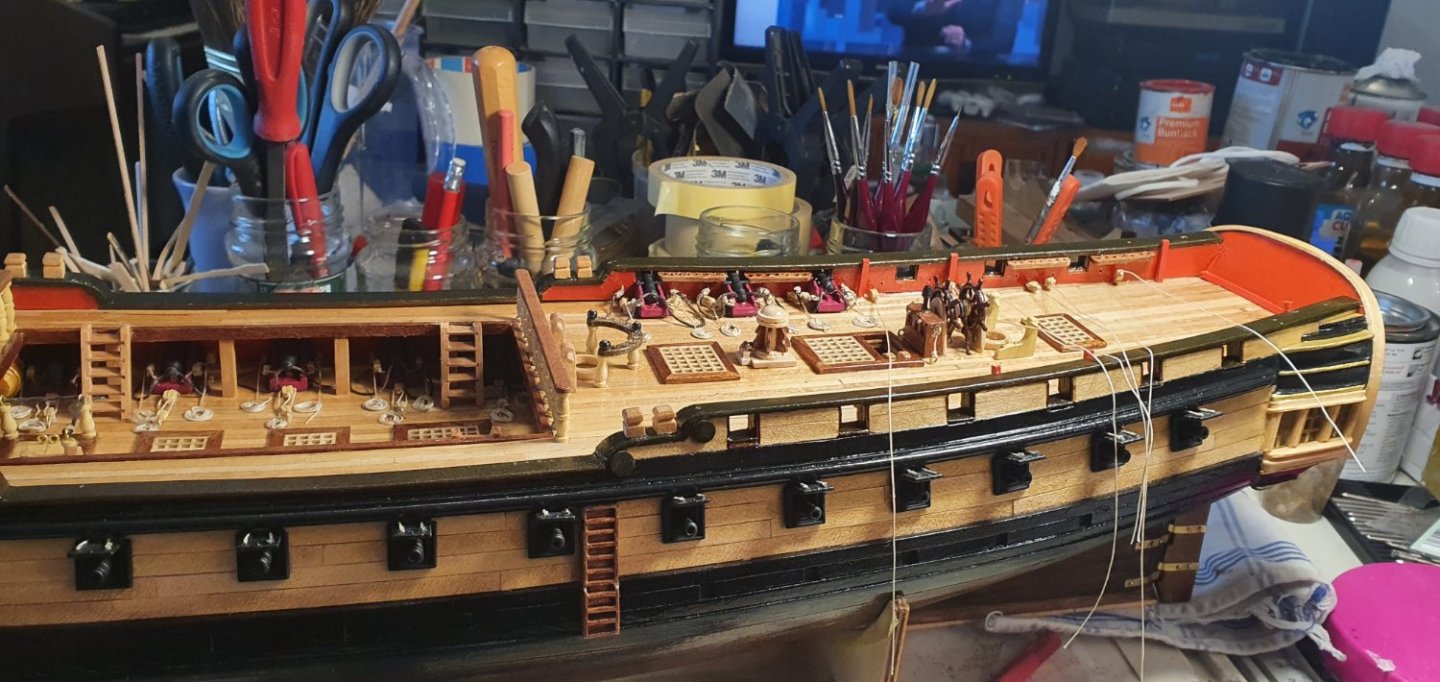
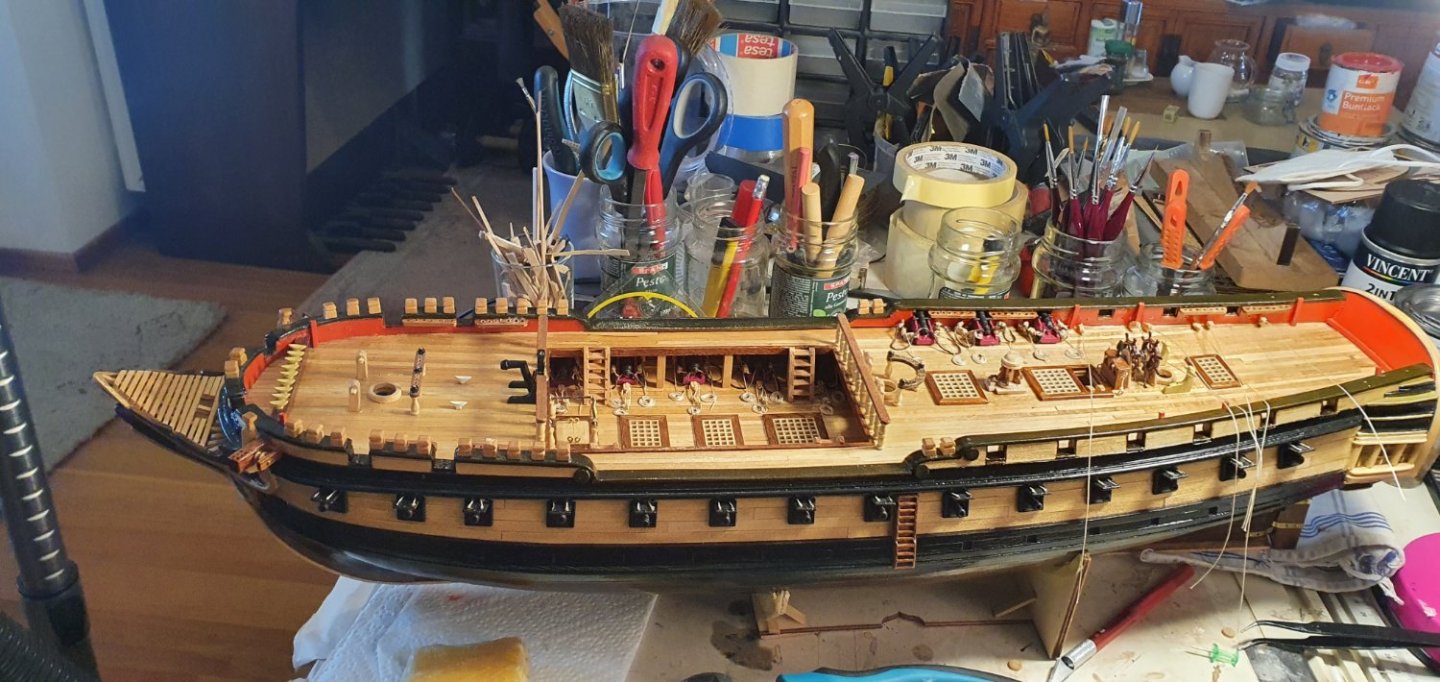
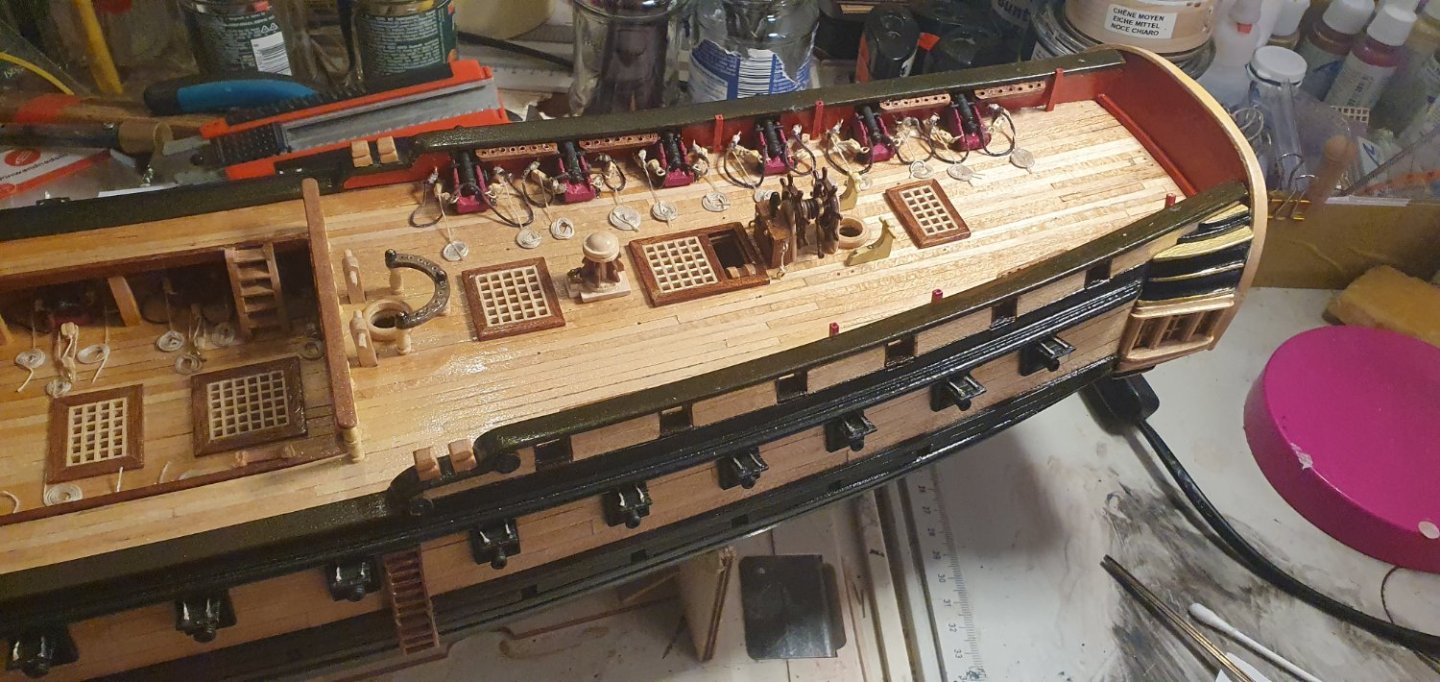
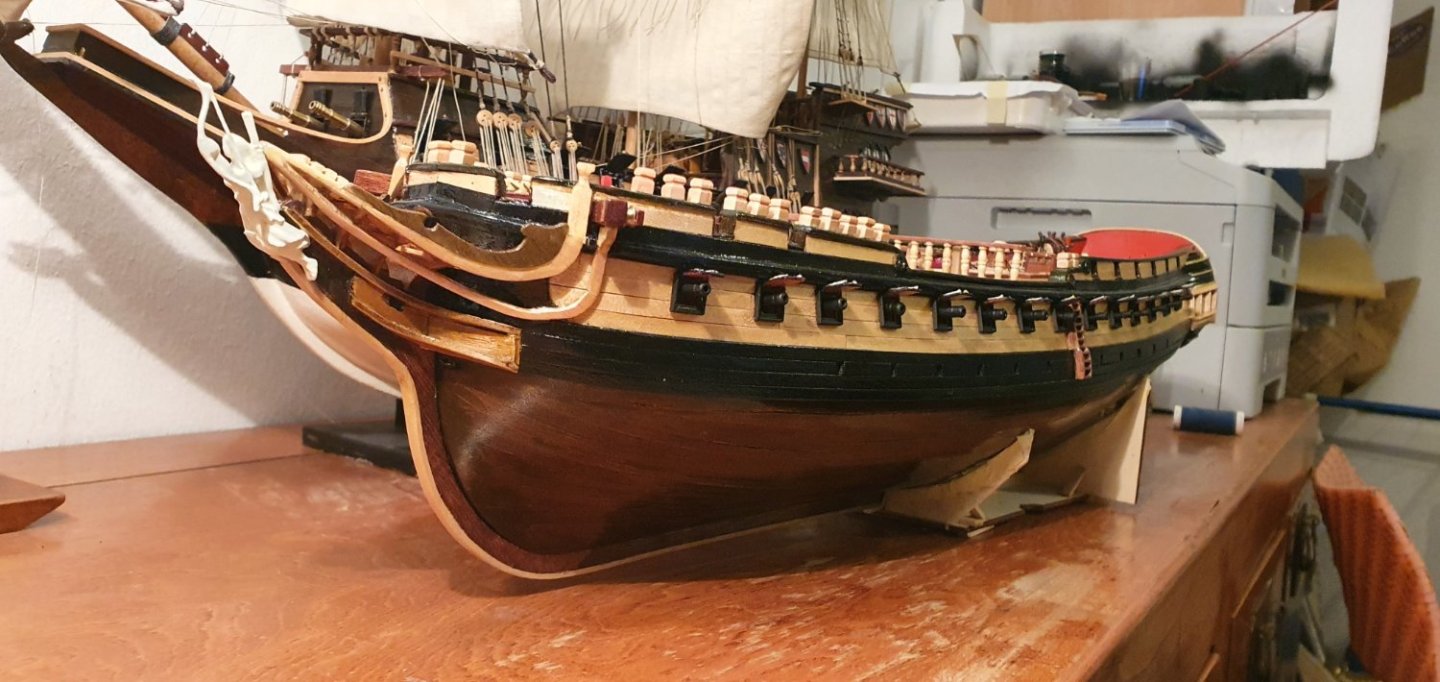
Sooo, it's been a while. Between procrastination and chopping off most of a fingertip (healing nicely, did not happen in the "shipyard". I have now fully completed the hull And am currently rigging the bowsprit I spent a long time debating what colour to use. I did not like the Walnut it came in. But I left the sides natural ibstead of Occre yellow. Despite this I decided to proceed with painting the masts in Occre. I like the result. As to what shade of Occre... I noticed the replica Hermione uses a similar shade as has been recently used on HMS Victory, determined to be authentic gor 1805, while the more yellow shades were fashionable before and after as visible in the layers of paint. I used what I had, Vallejo Beige, a drop of Vallejo Red and stretched with white primer. If it's pink you've gone too much red. But it should be a tiny tiny bit pink. Really hard to get through on camera. I'm quite happy with how the quarter deck turned out so far, with the guns fully rigged and some of the extras such as buckets, the binnacle and the swivel guns I embellished the boats with oars, sail, supplies, masts and rudders The galley is hard to spot but I like the detail The Bilge pump The belaying pins were a nightmare to paint. I had wooden leftovers but not enough, wanted to buy more but I already spent a bunch on this kit so I did paint the included brass ones. Primer first, then a mix of walnut, beige and oak stain. They look OK. I noticed a big mistake, can you spot it? Starboard: Port: Oh well it is too late now. You can't see both sides at the same time so only few will notice. Port is my good side anyway. I always start starboard and make all the mistakes there so by the time I get to port I got a halfway presebtable boat. She'll be on a broad reach, wind comibg from starboard, spars at about 45° off center. I think that's how a square rigged ship looks prettiest. Like this but all sails set and wind coming from the other side: That'll be the next one BTW Hermione by AL with lights. Tired of digging through old paintings to figure sh*t out. Hermione exists as a precise replica. I can find tons of HD photos and I like the ship as well as the price of the kit. After that HMY Royal Caroline Mantua I think. I'd do that next but it's a bit more pricey. After that HMS Vanguard and then gods of wages willing Caldercraft HMS Victory. Waiting for her refit to be done so I can see her again and take a million pictures. Haven't seen the old lady since I was a little boy. I leave you with some pics of current state or any interesting construction pics if I find any. Oh yeah I forgot, the netting. Of course Occre doesn't include any (surprise surprise). So I used bug netting for windows, had some leftovers. Painted matte black I am prouder than I ought to be of how it looks All mounted That's it for this update, I hope you like the progress. I'm happy to get back into it after my malheur with my right index finger. Always mind your fingers when operating power tools! You can be watchful for 20 years and then not pay attention for half a second and then you waste months or for my unfortunate friends acrosss the pond pay thousands in medical bills. Stay safe and until next time, William


-
maddog33 reacted to a post in a topic:
Diana 1792 by Horatio Hornblower - OcCre - 1:82 scale
-
maddog33 reacted to a post in a topic:
Diana 1792 by Horatio Hornblower - OcCre - 1:82 scale
-
Prowler901 reacted to a post in a topic:
Diana 1792 by Horatio Hornblower - OcCre - 1:82 scale
-
Horatio Hornblower reacted to a post in a topic:
HMS Terror by Geowolf - FINISHED - OcCre - 1:75 - Step by step
-
Ryland Craze reacted to a post in a topic:
Diana 1792 by Horatio Hornblower - OcCre - 1:82 scale
-
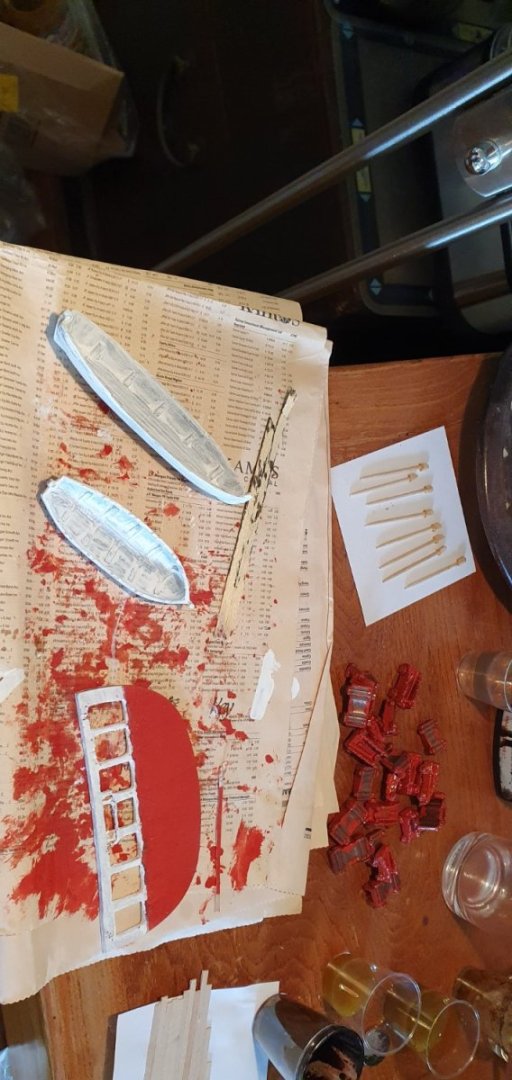
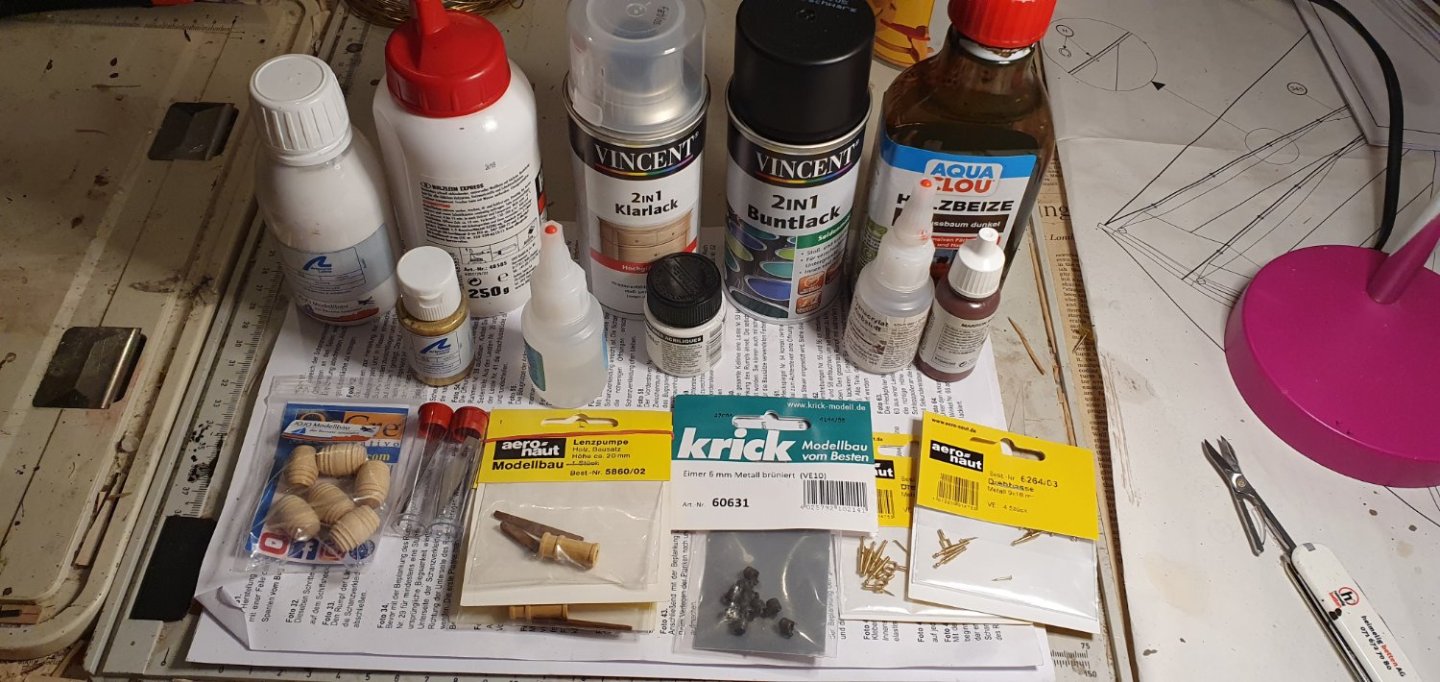
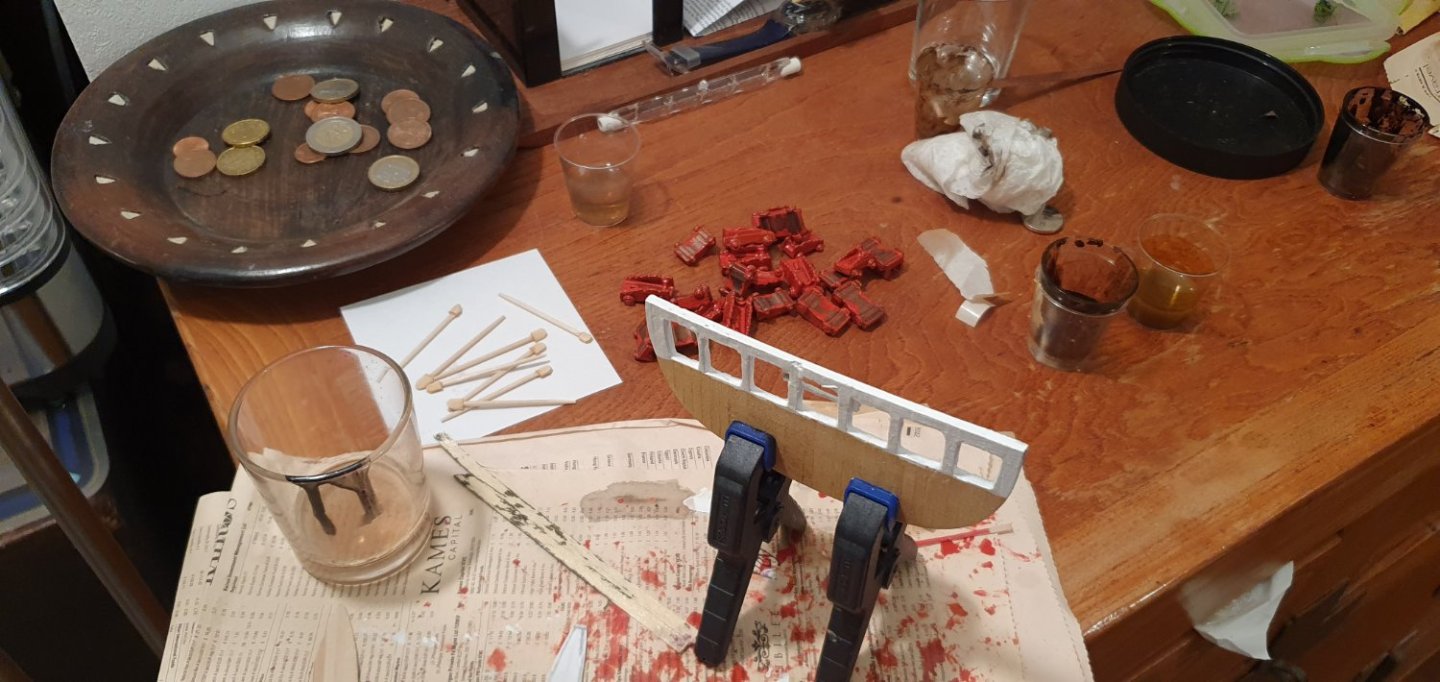
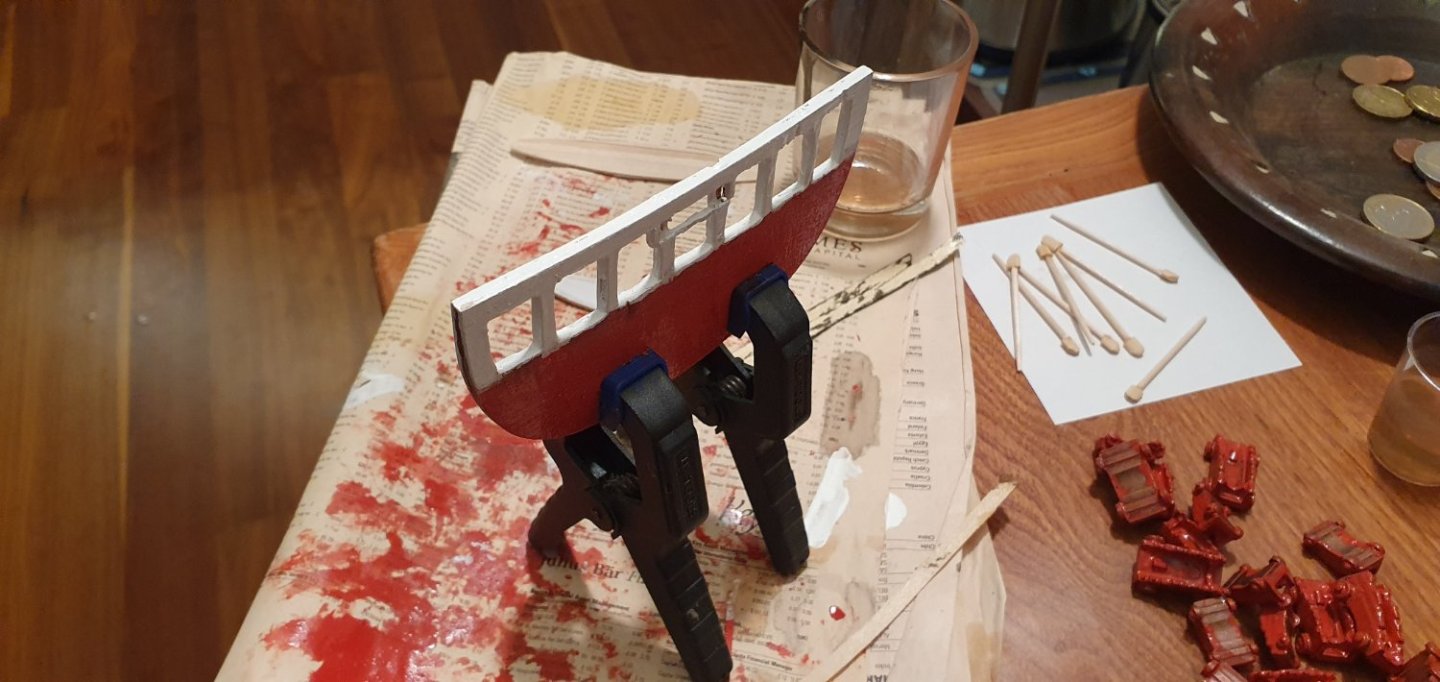
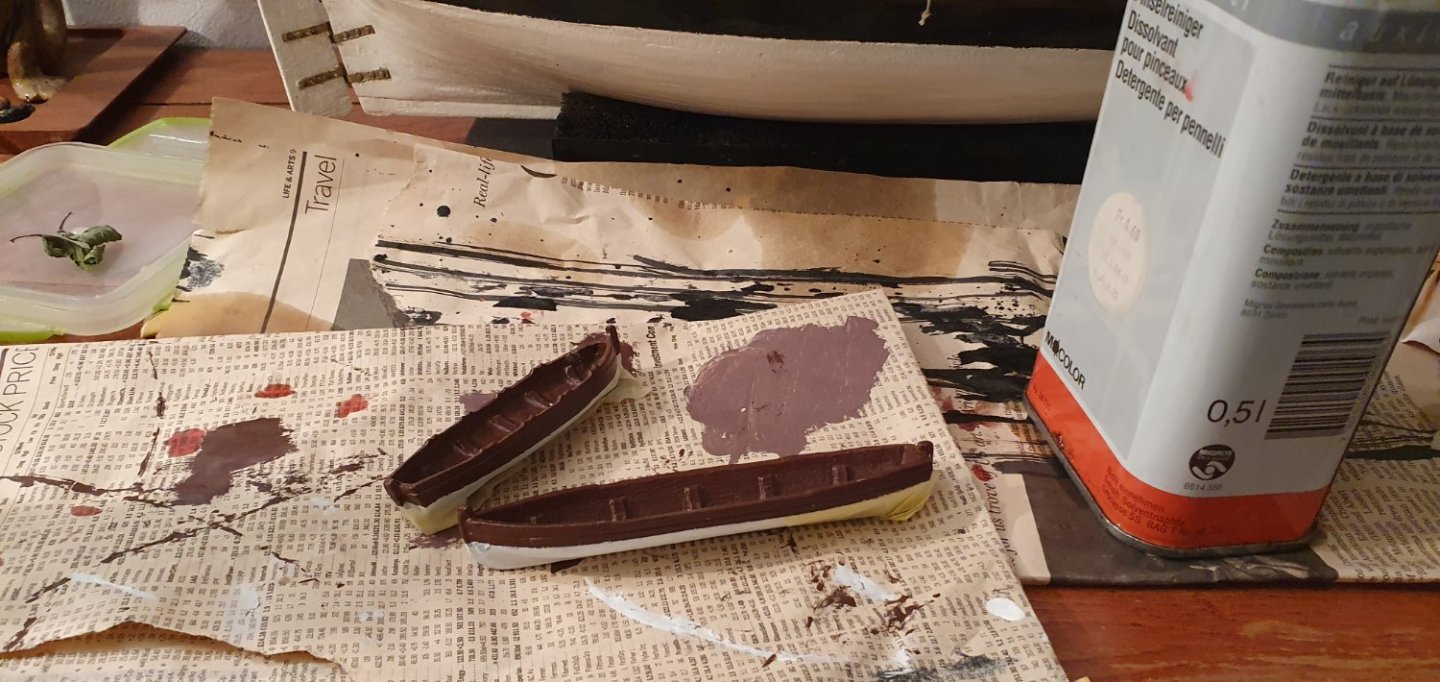
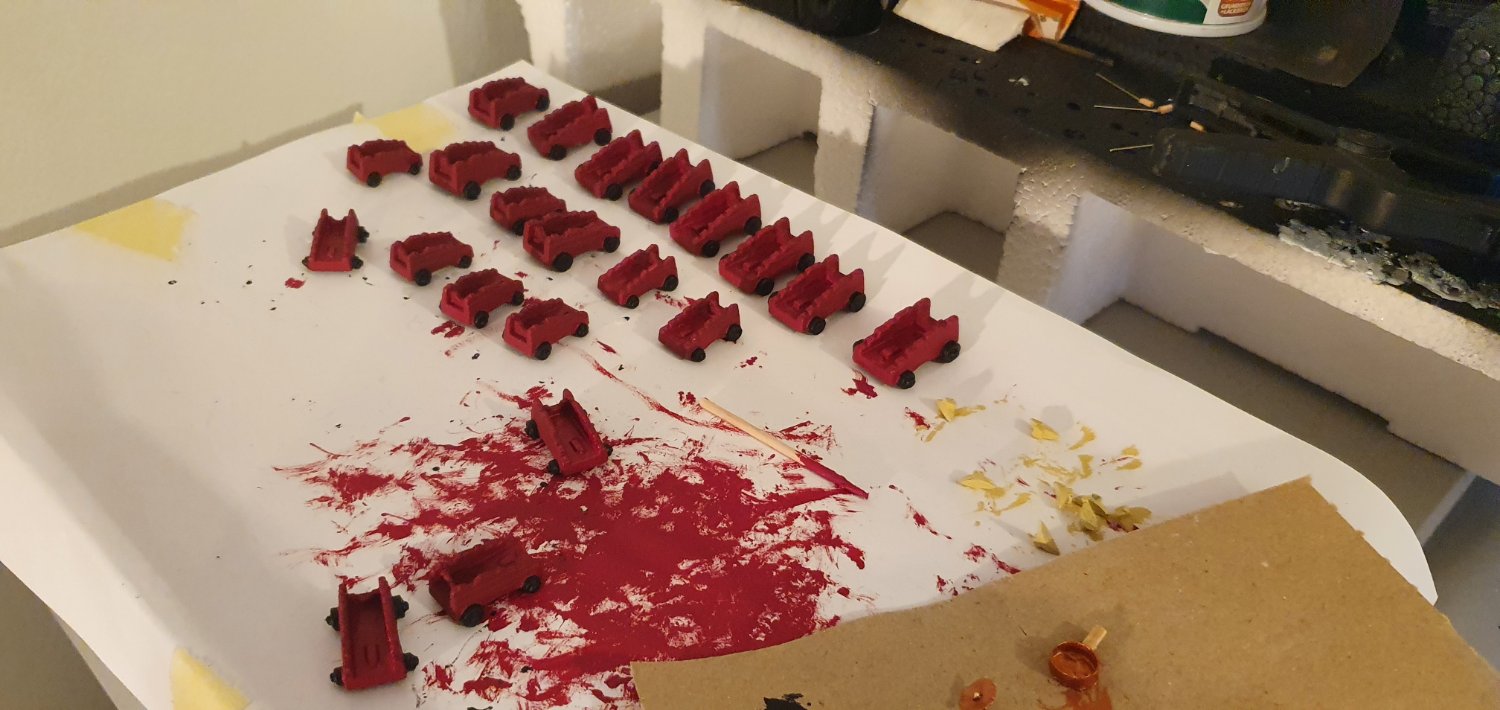
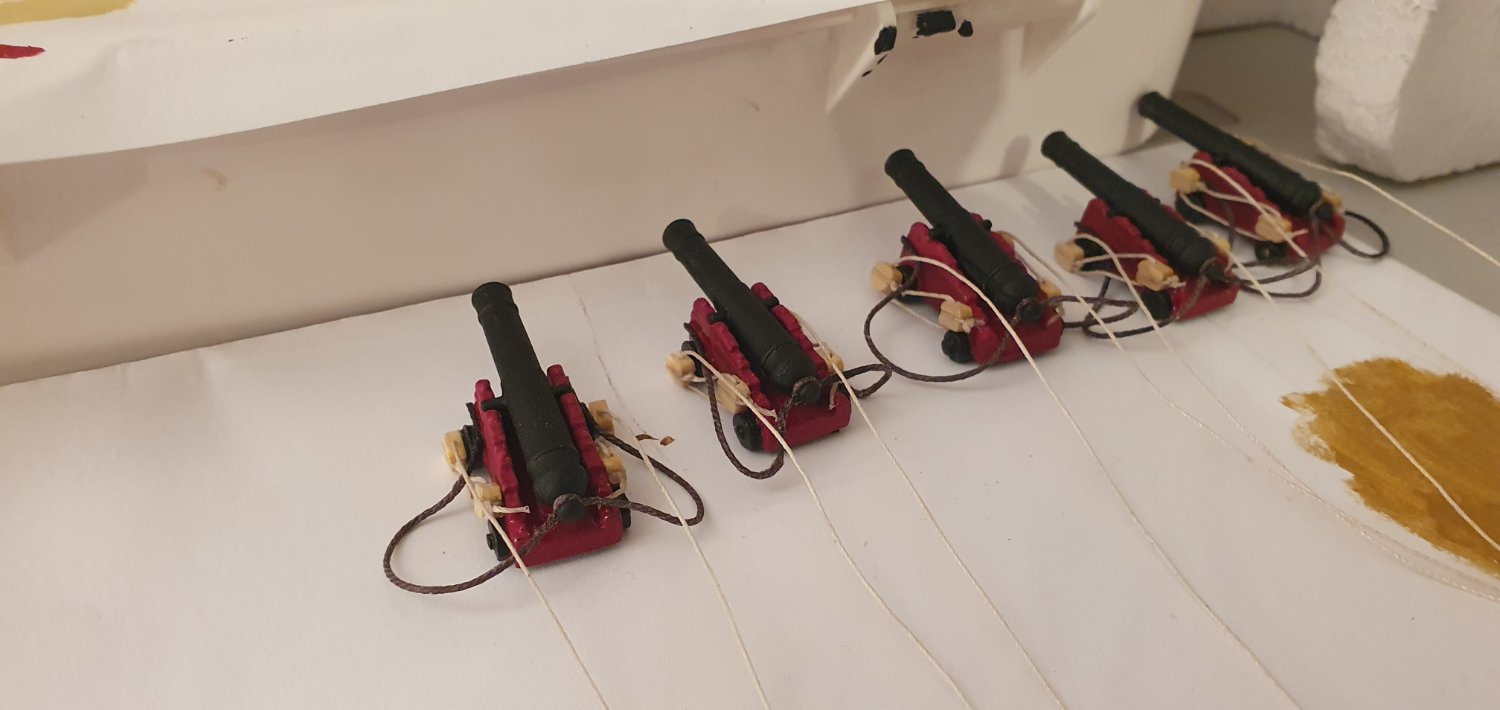
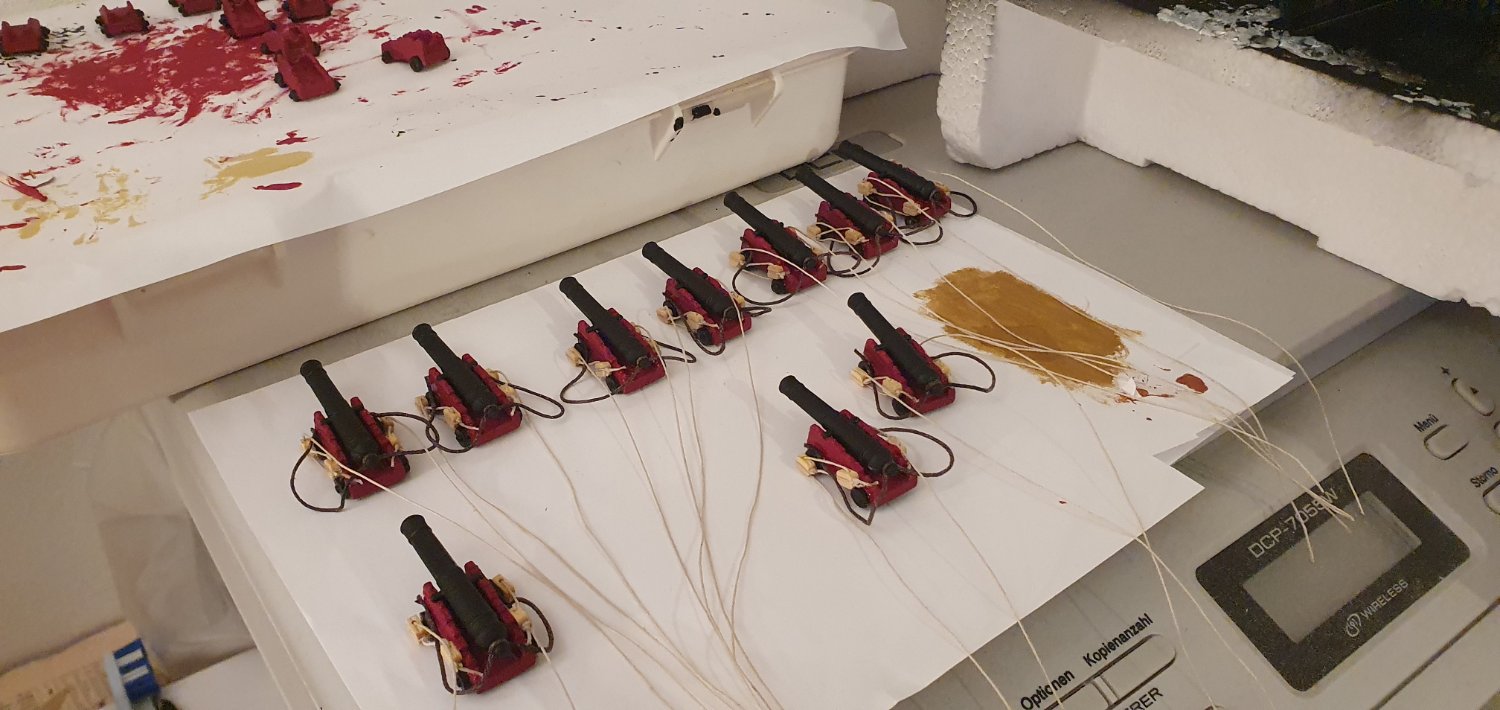
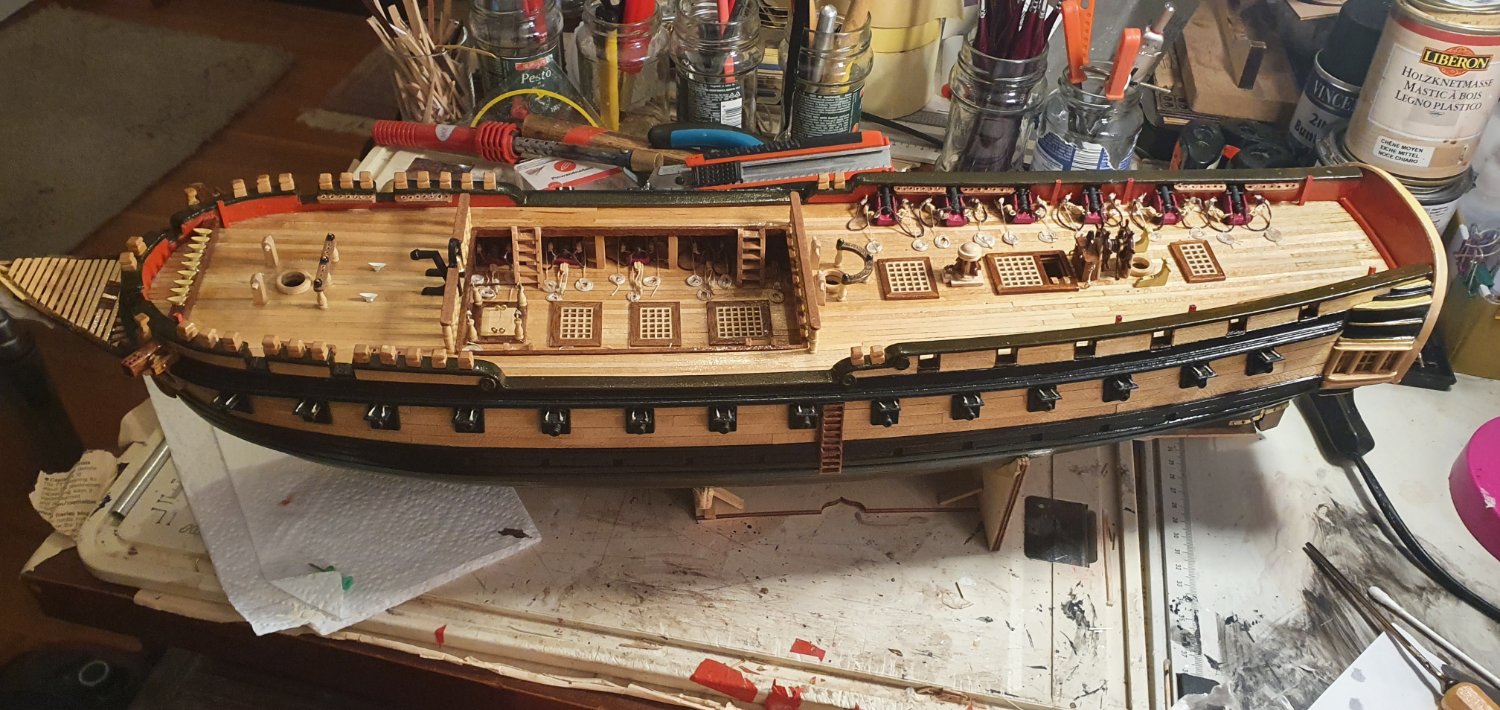
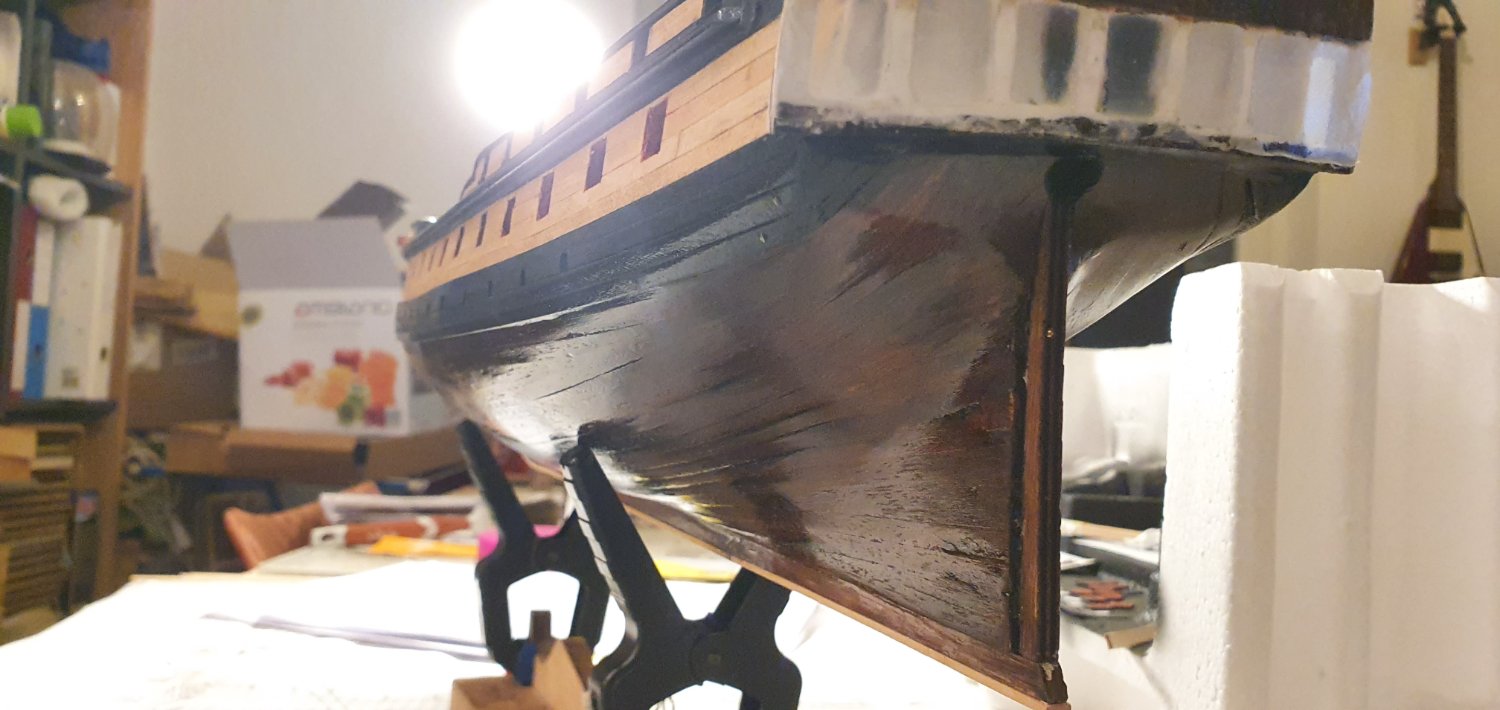
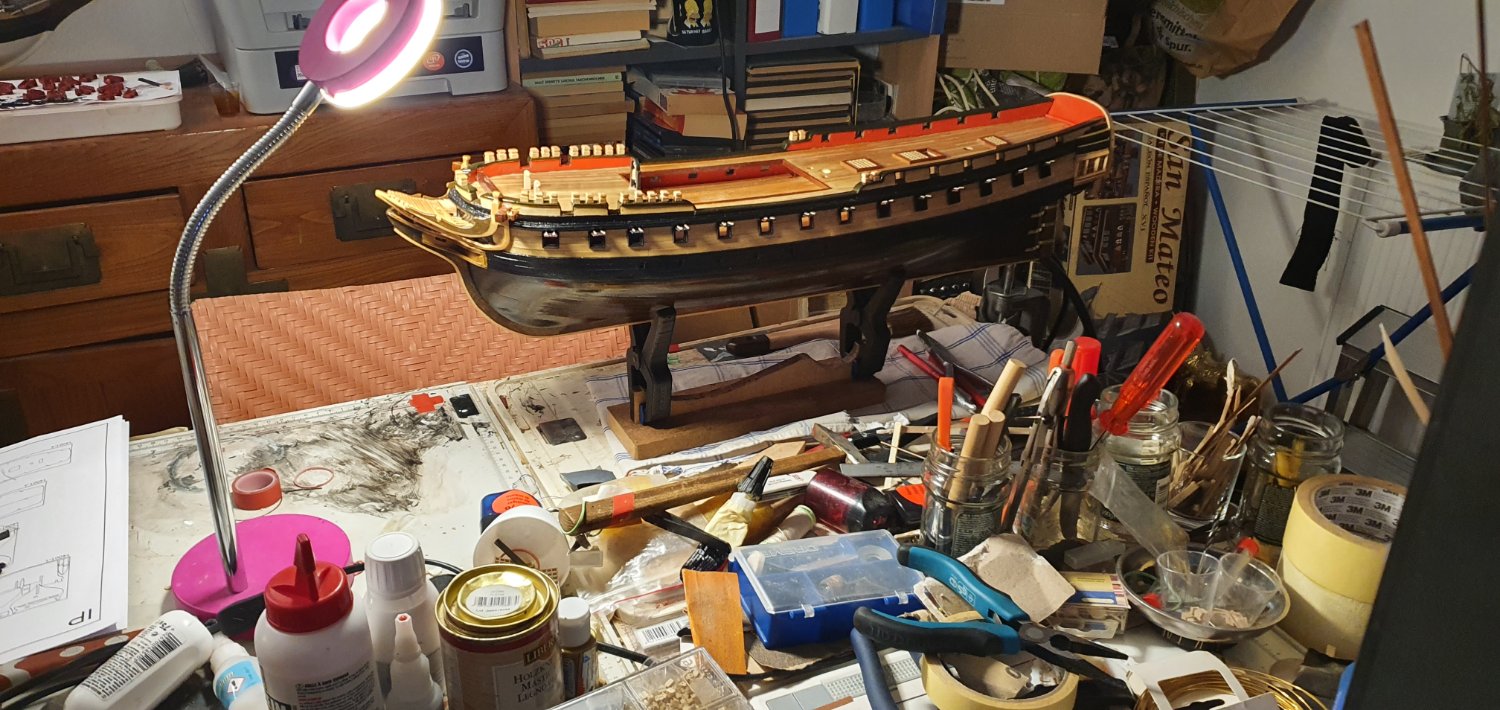
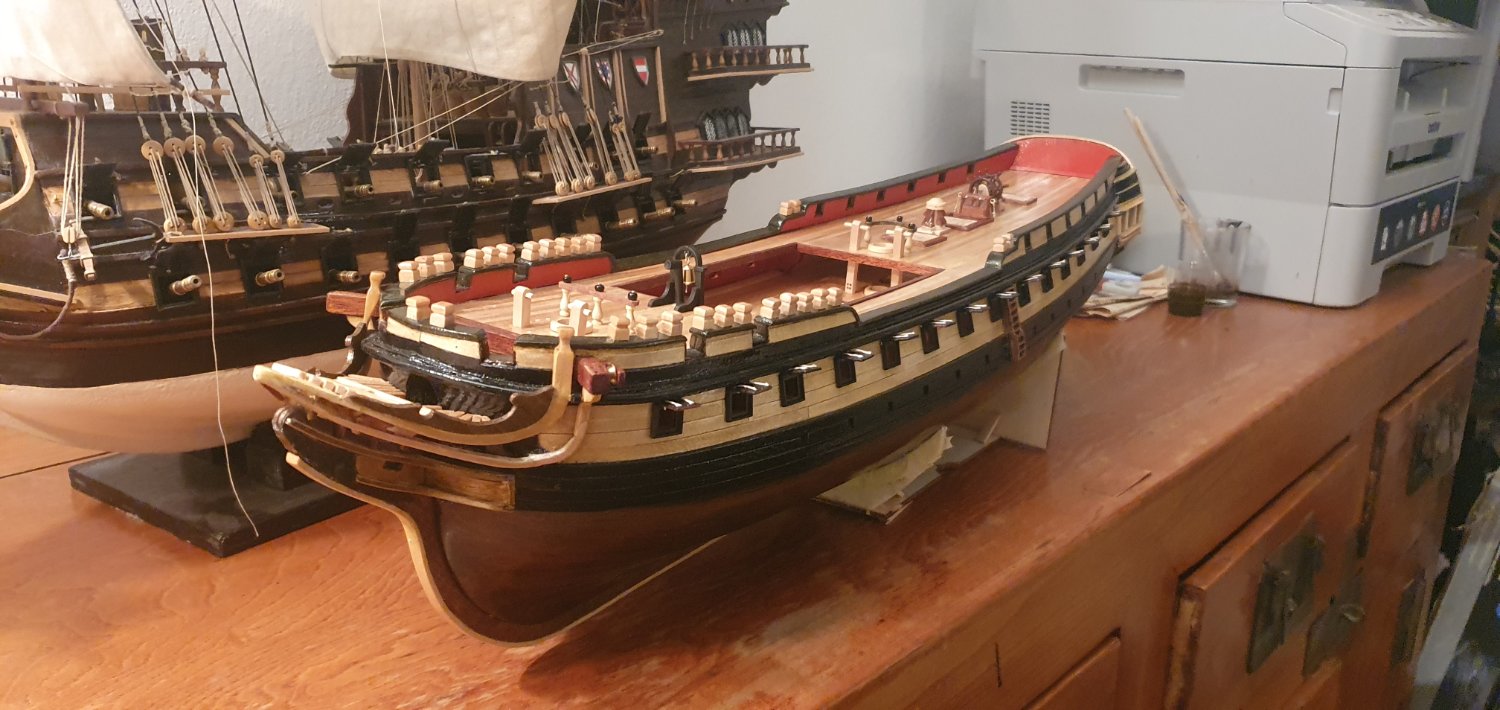
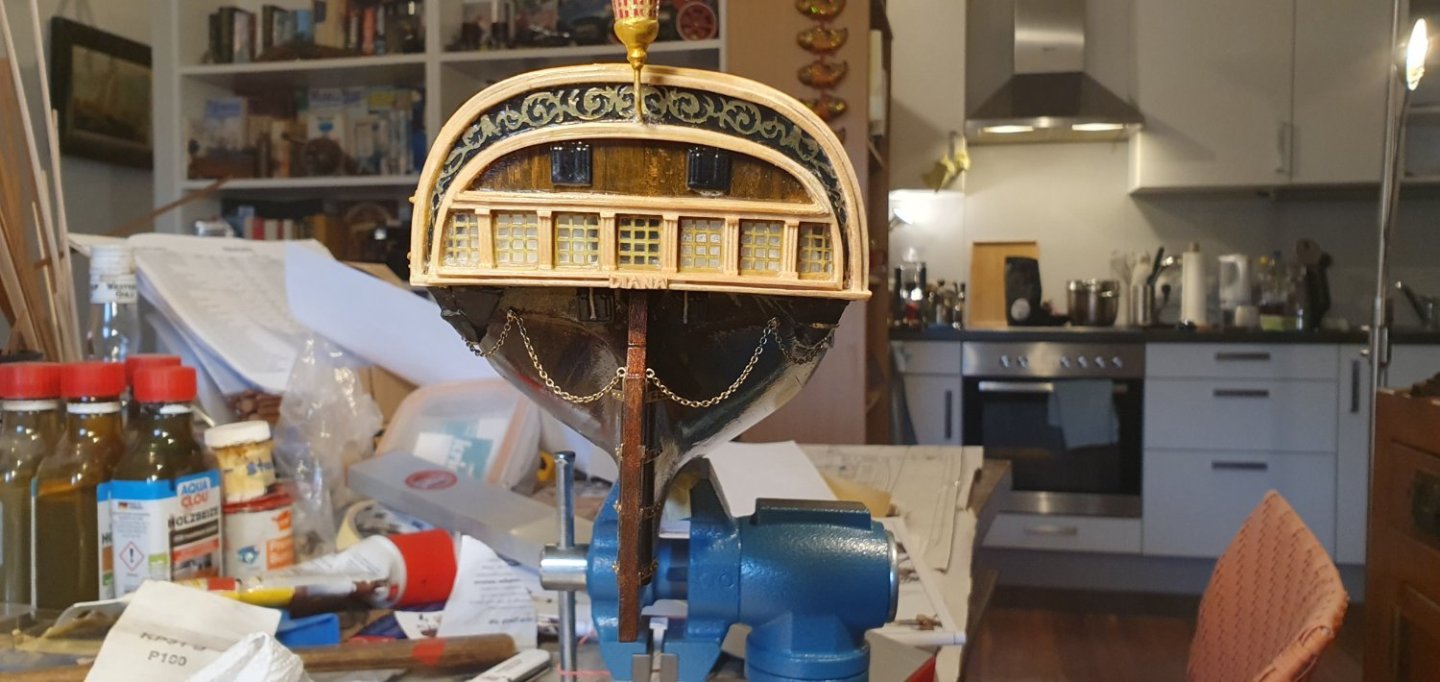
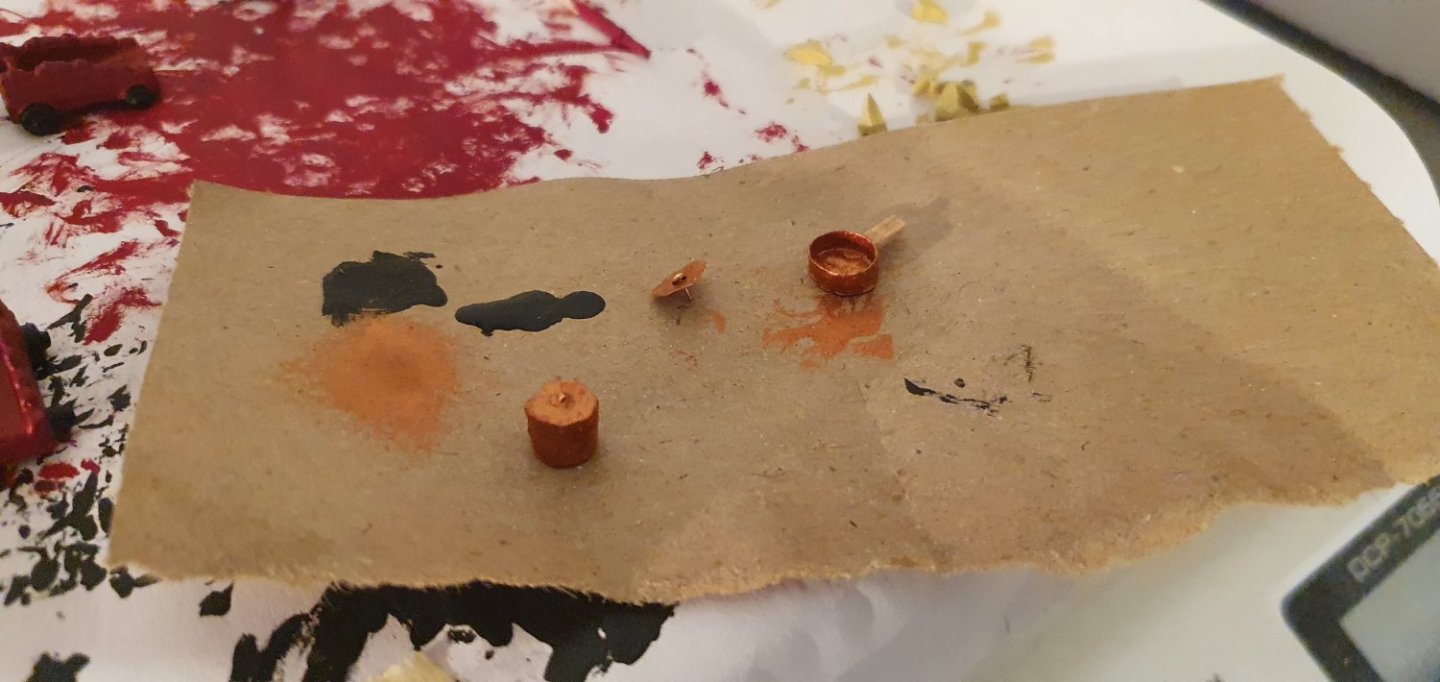
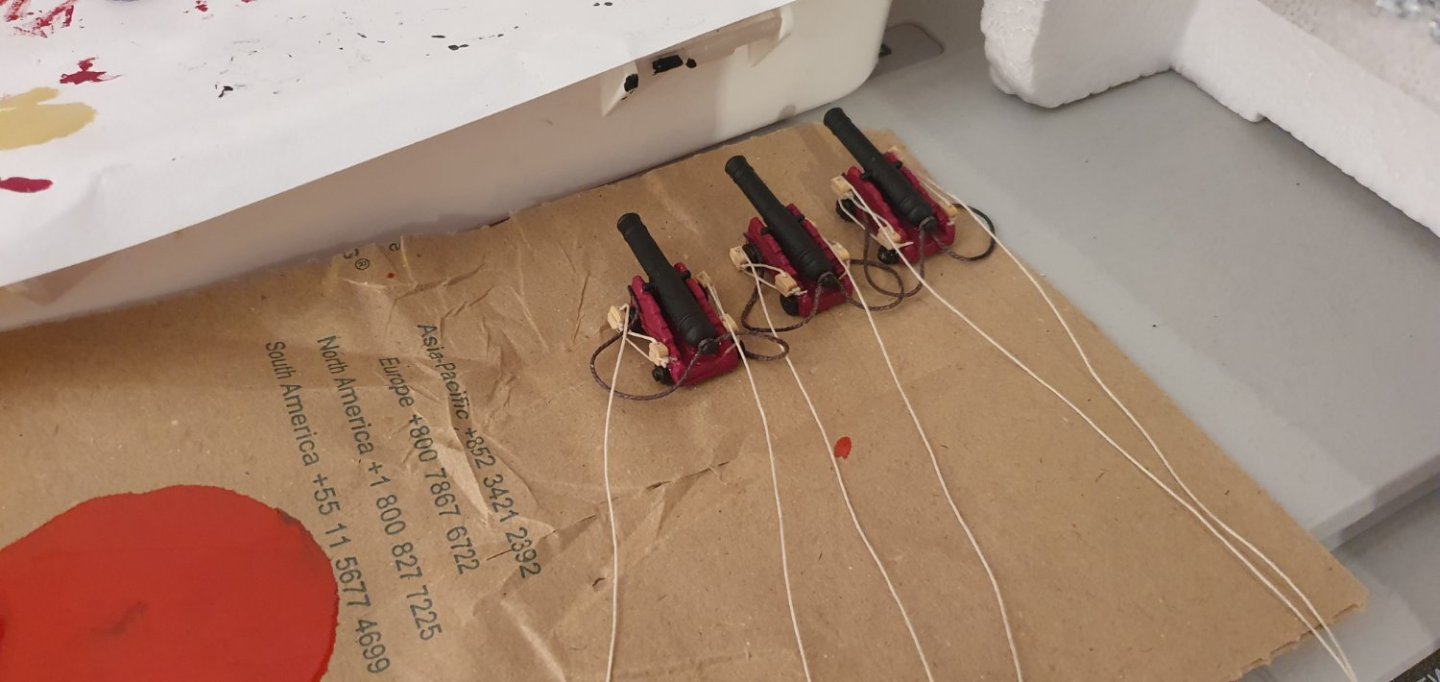
I finally got some decent paints and got to work on the guns. Made some pots and pans for the galley out of paper and copper paint. And finally the rigging begins, main guns: A few final touches before installation, mostly cleaning up and dummy cannons And finally the main armament: Tried to hide the absent cannons with some barrels : ) I wish the kit came with just a few more under the deck. And finally the 12 pounders I figured it's as good a time as any to attach the figurehead. Unfortunately pretty low quality cast, added about 15 coats of paint trying to make her look more human and less like a dying gremlin. Also bow and arrows, since it`s the godess Diana. Boats about ready too Still need some cleaning up at the waterline, shaky hands be damned. Next up port side 12 pounders, mounting the boats a few more fittings, swivel guns and painting about 100 belaying pins to make her ready for the bowsprit. Hope you enjoyed : )


-
Horatio Hornblower reacted to a post in a topic:
Diana 1792 by Horatio Hornblower - OcCre - 1:82 scale
-
dunnock reacted to a post in a topic:
Diana 1792 by Horatio Hornblower - OcCre - 1:82 scale
-
Horatio Hornblower reacted to a post in a topic:
Diana 1792 by Horatio Hornblower - OcCre - 1:82 scale
-
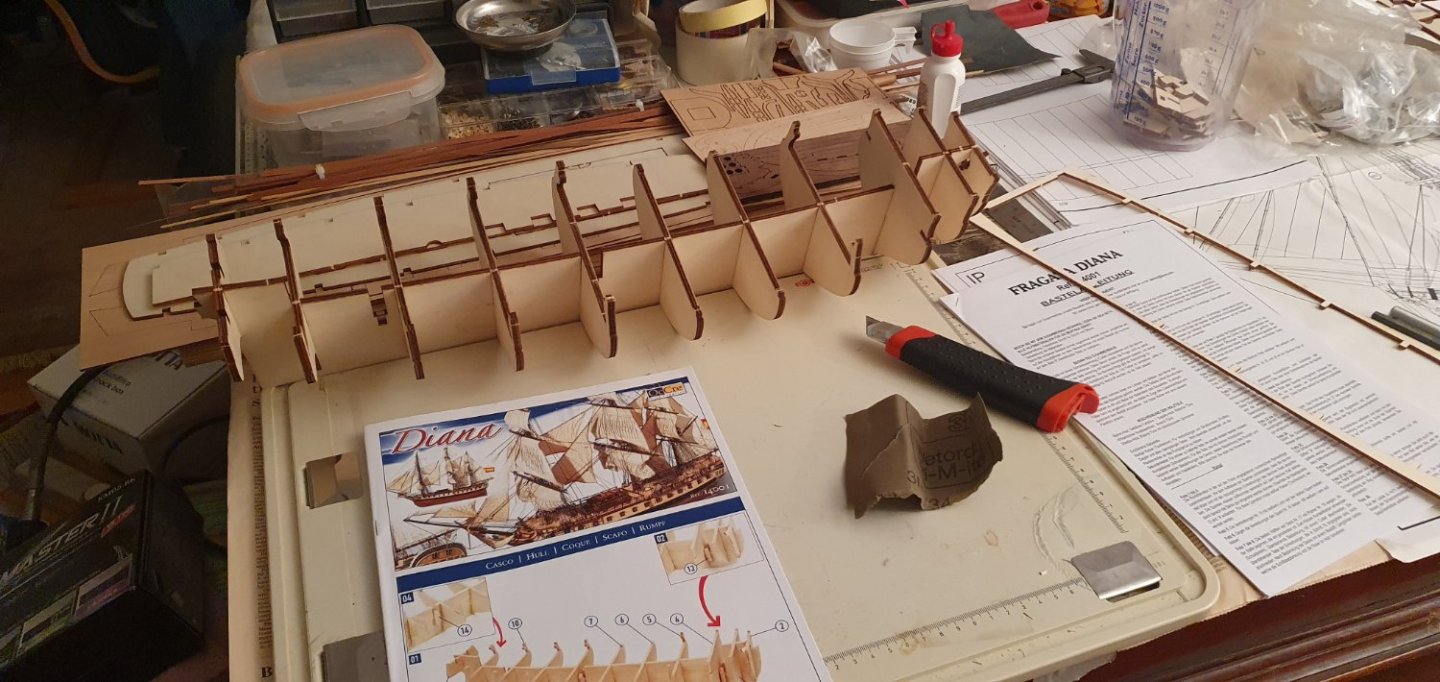
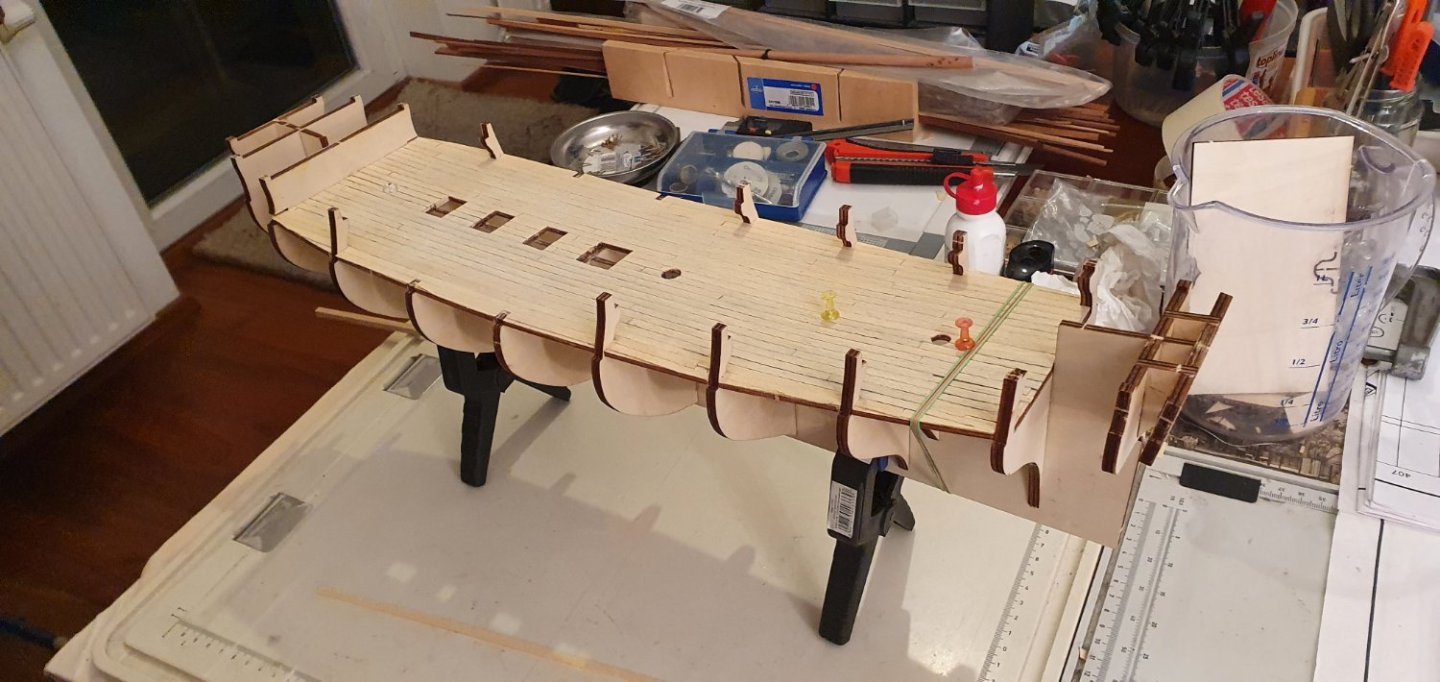
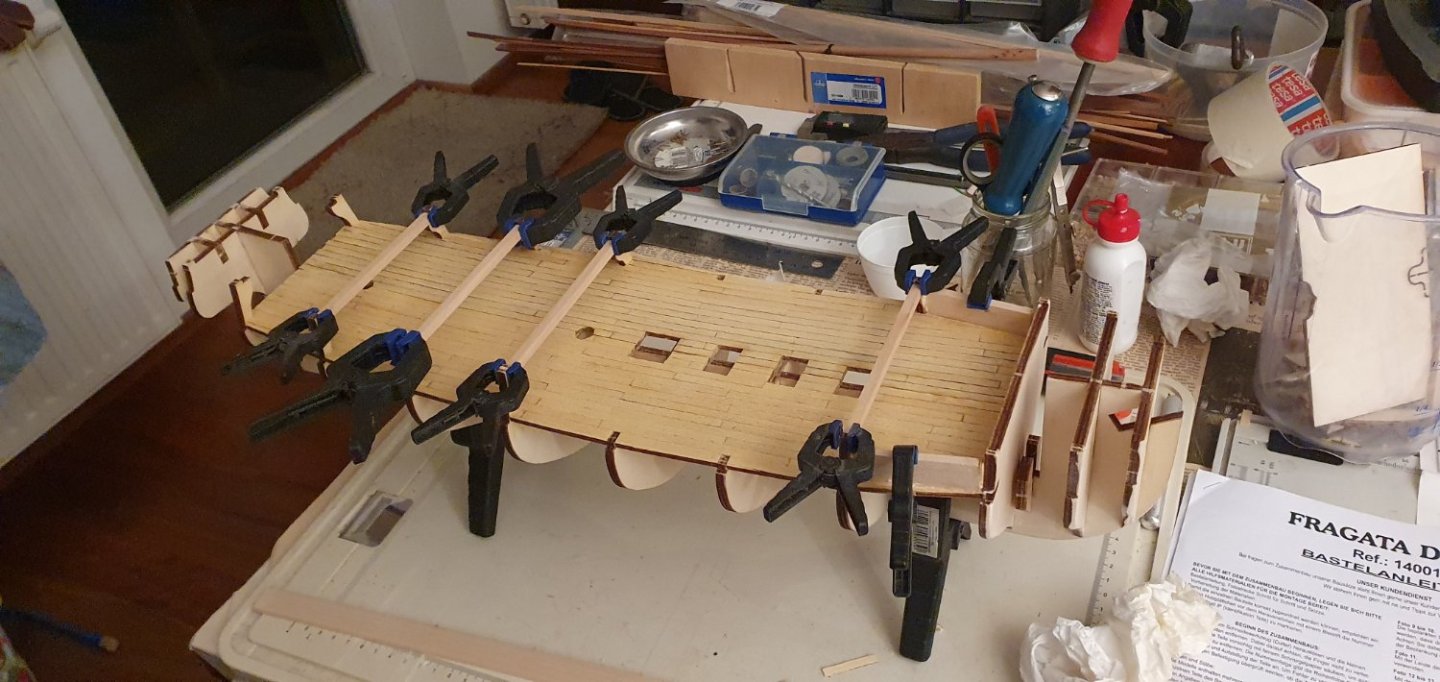
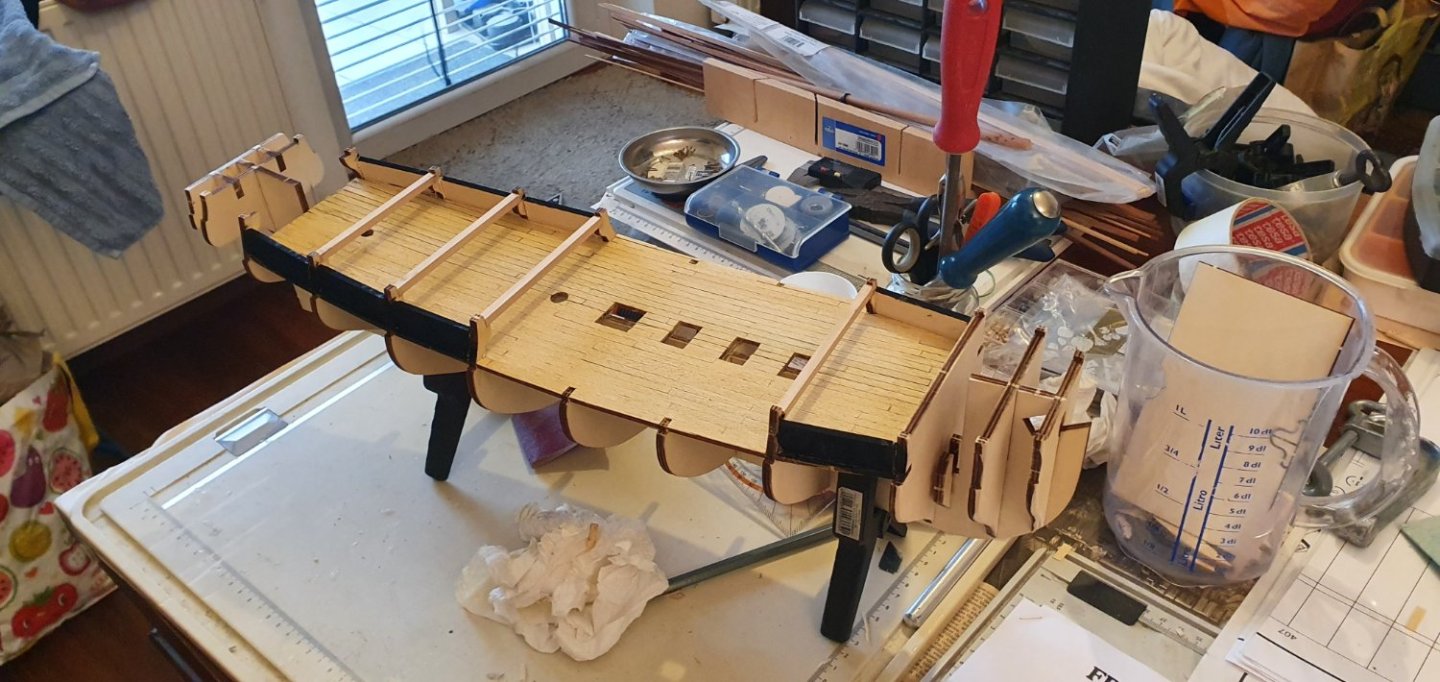
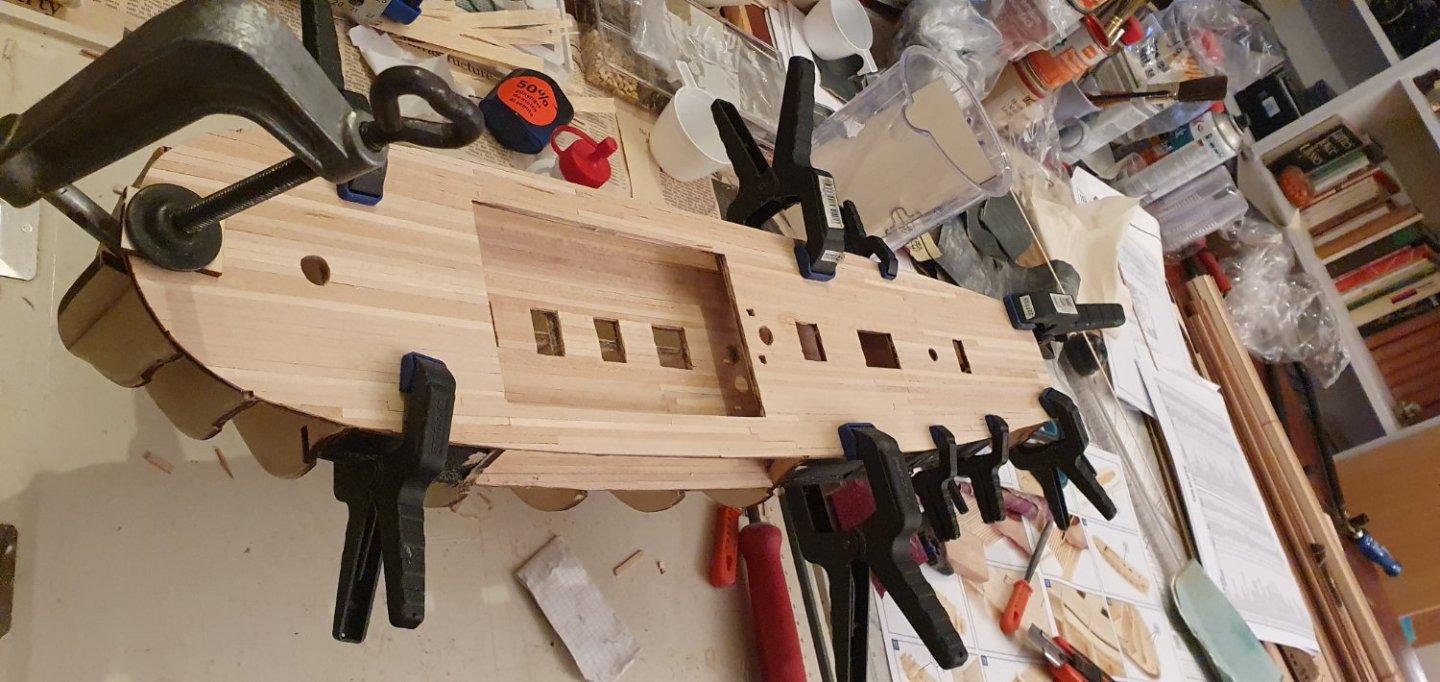
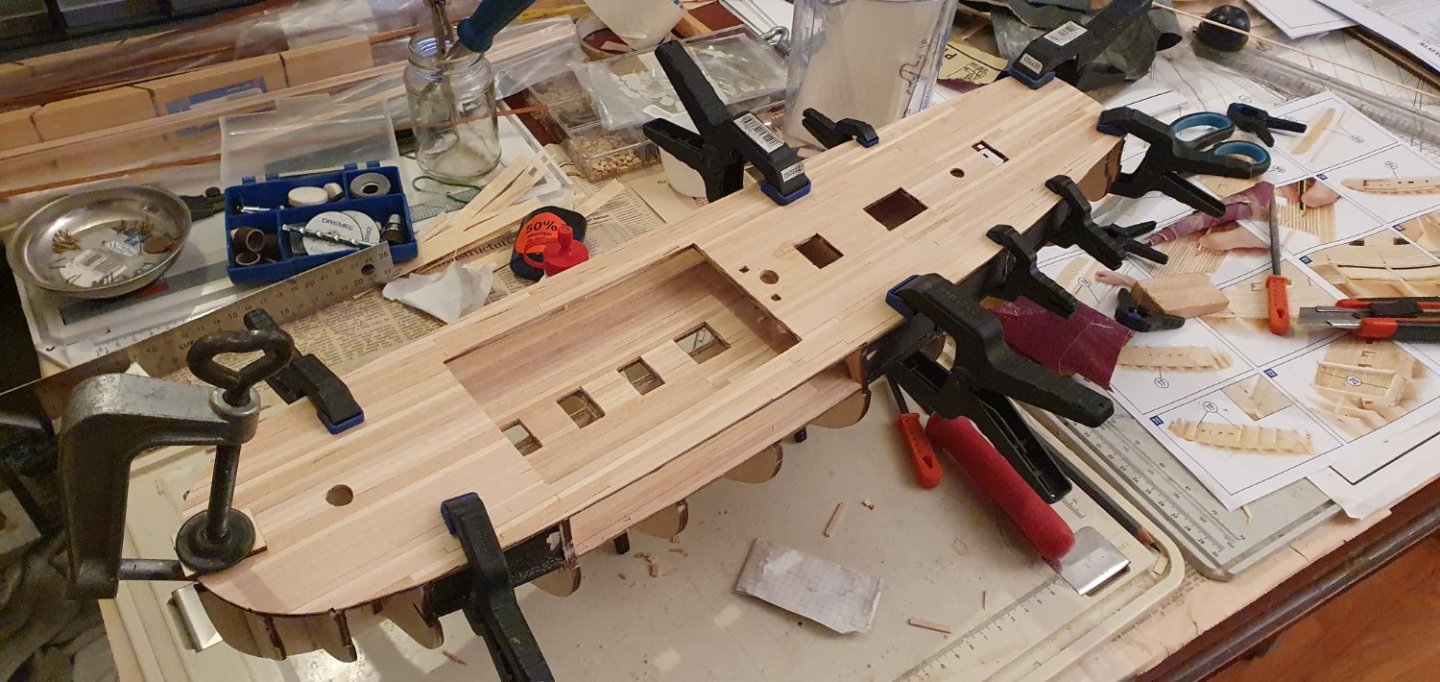
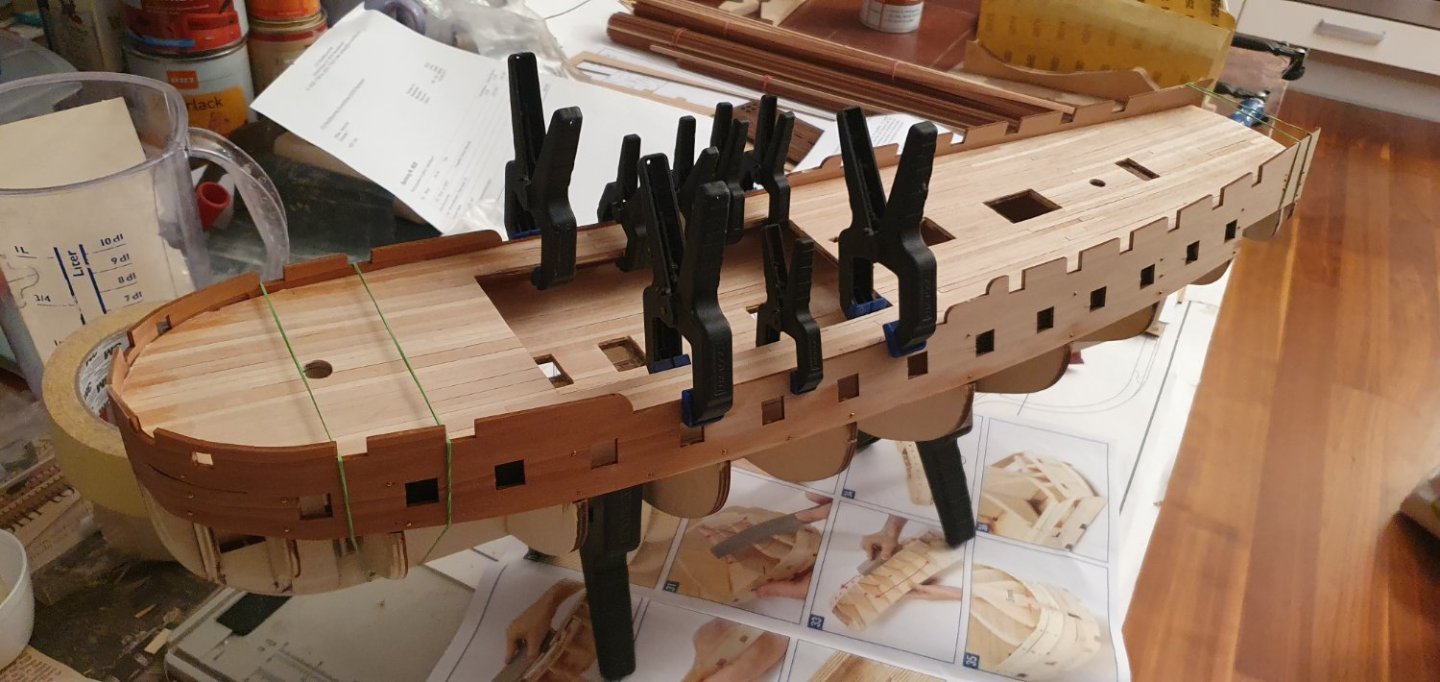
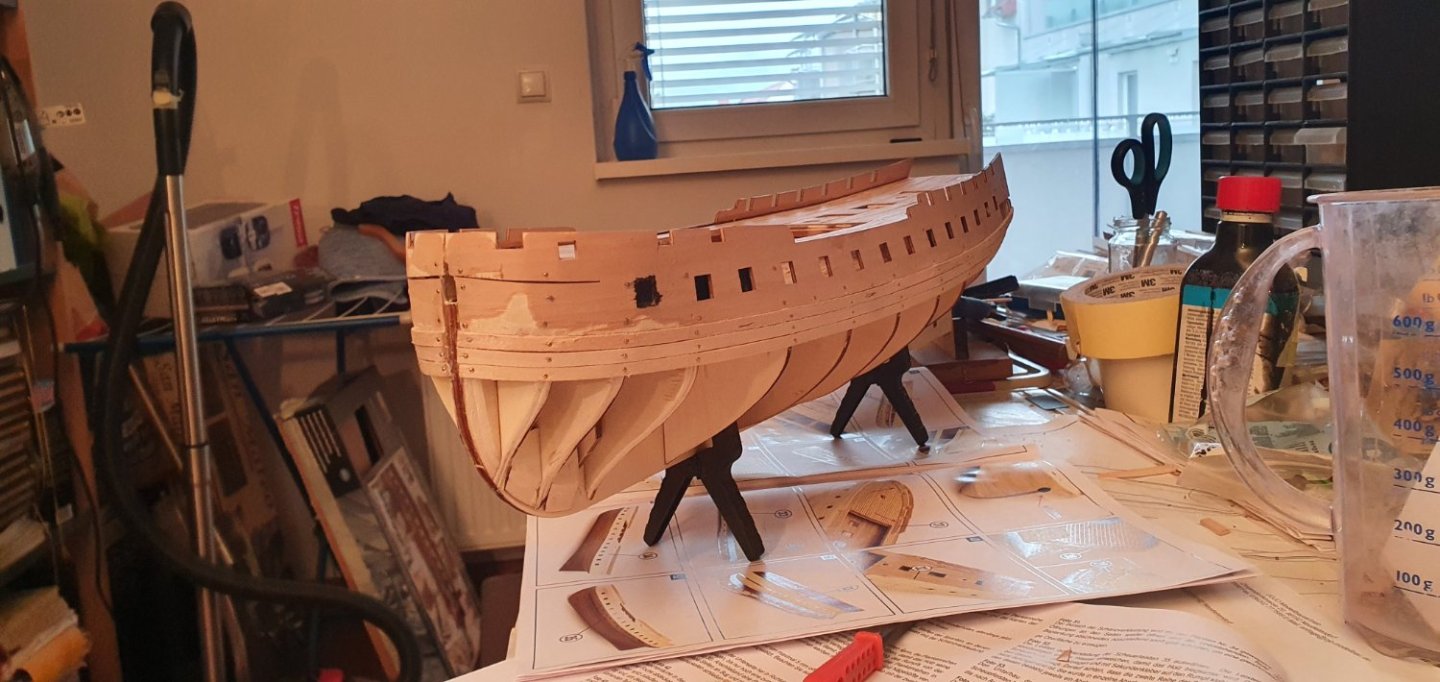
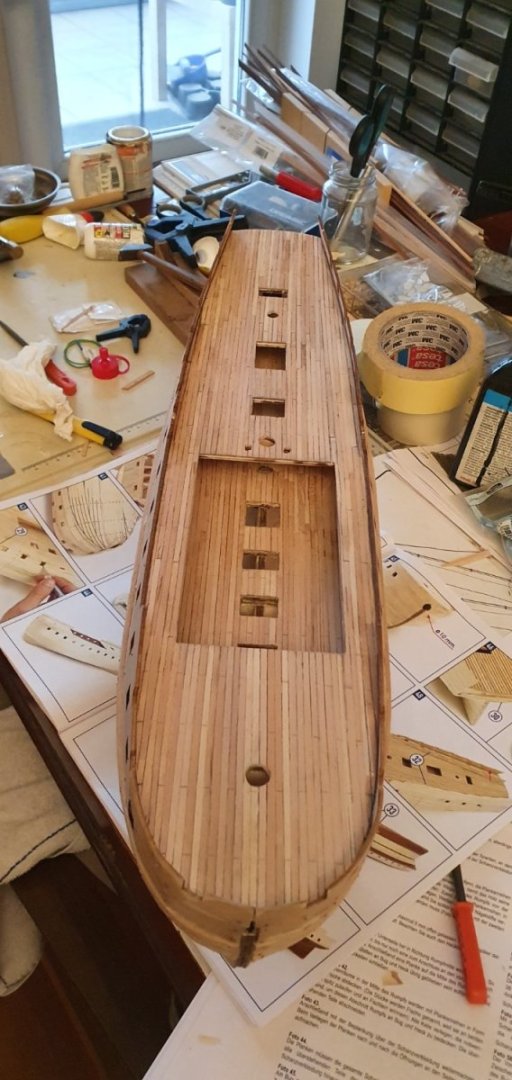
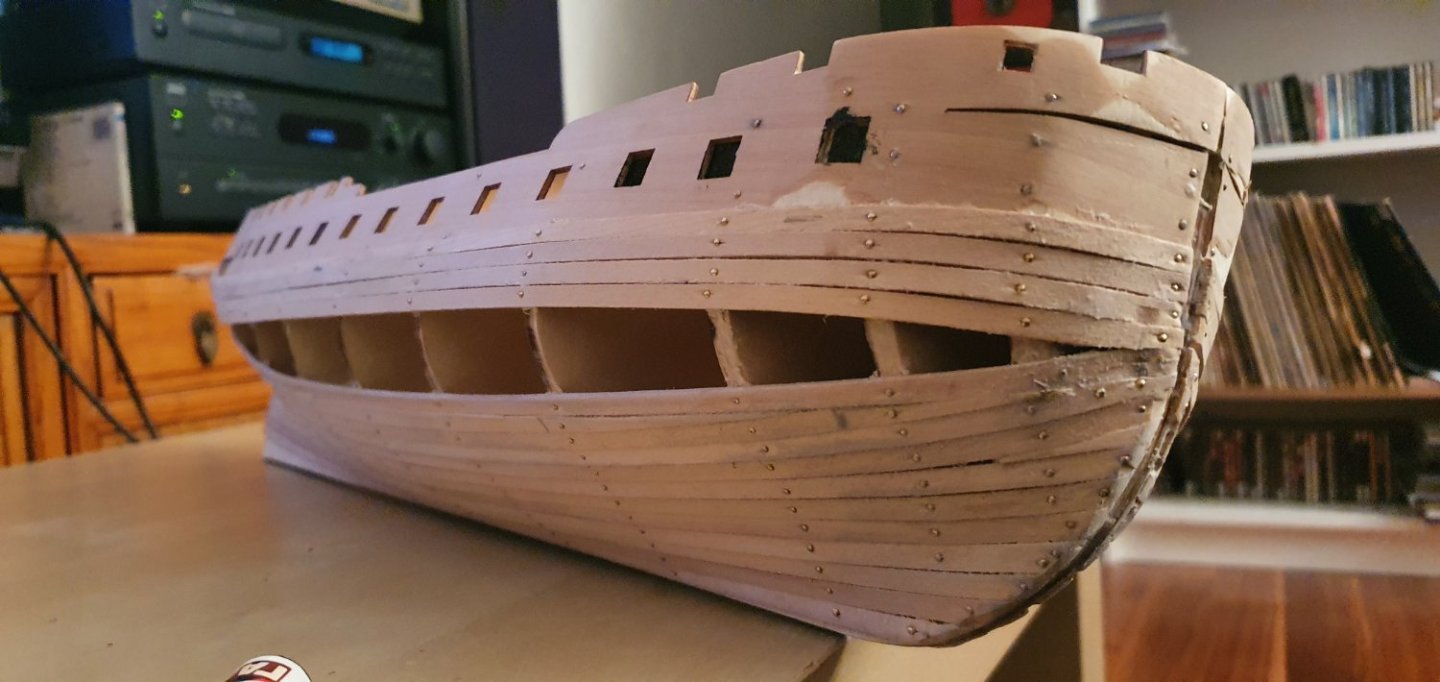
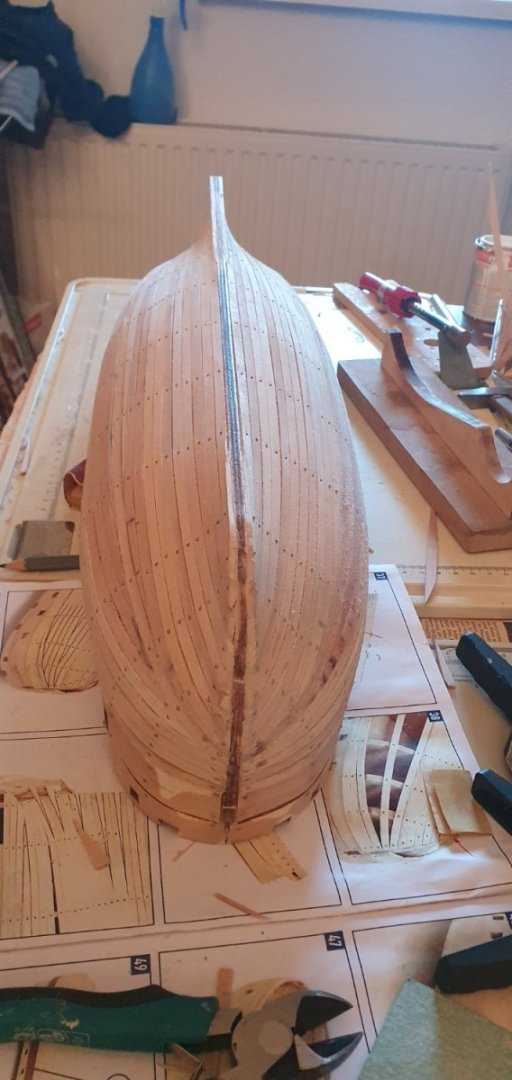
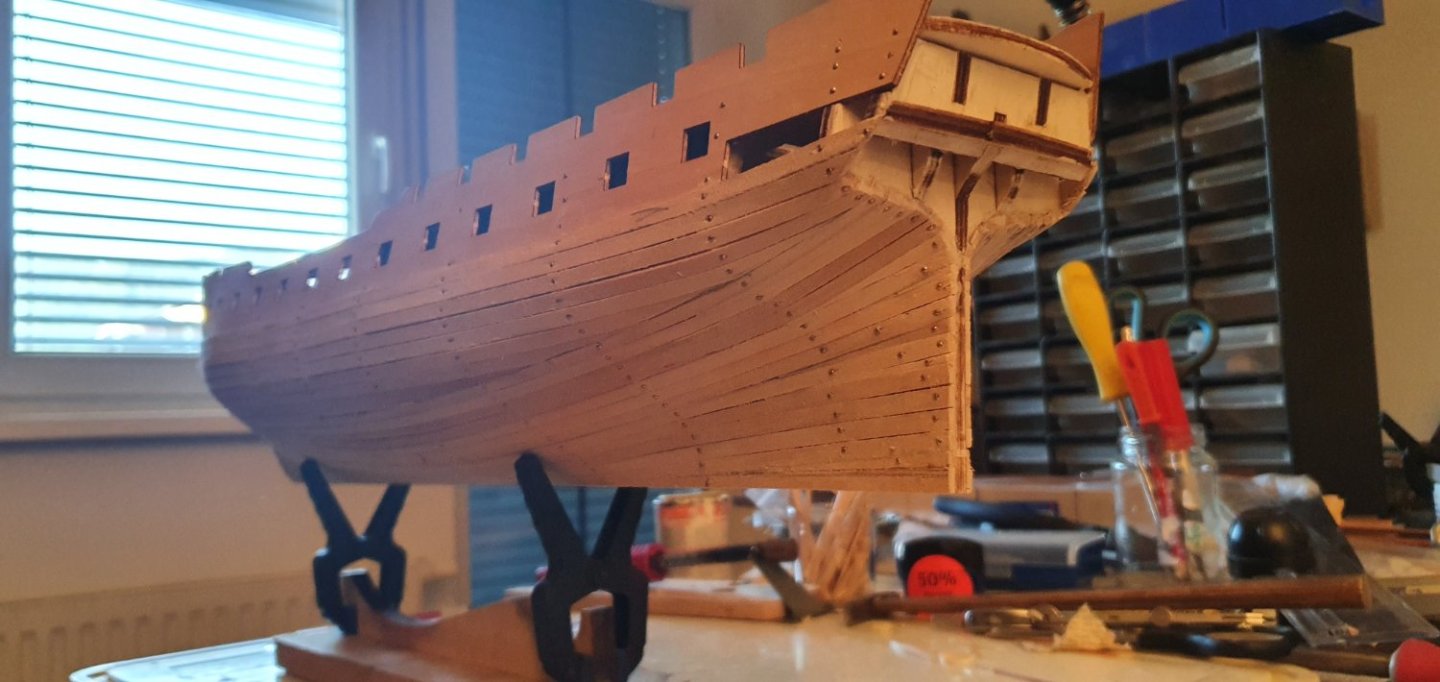
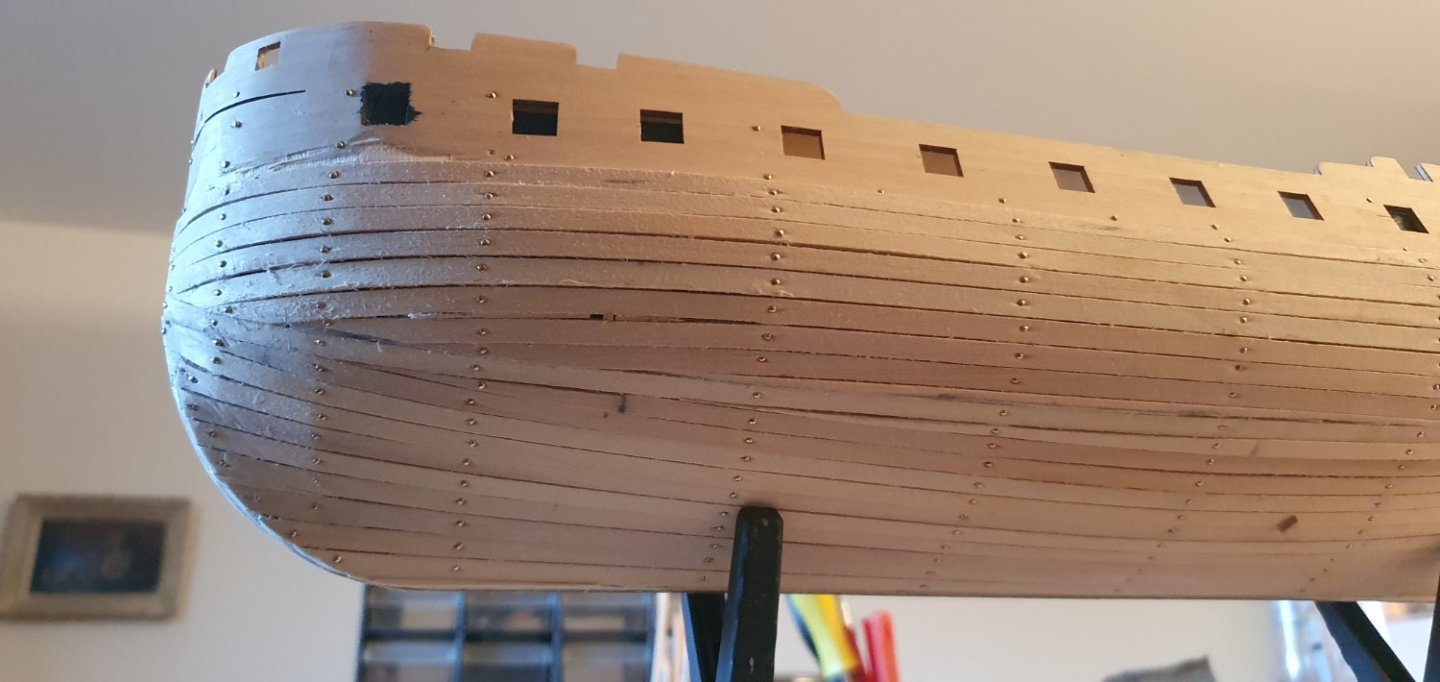
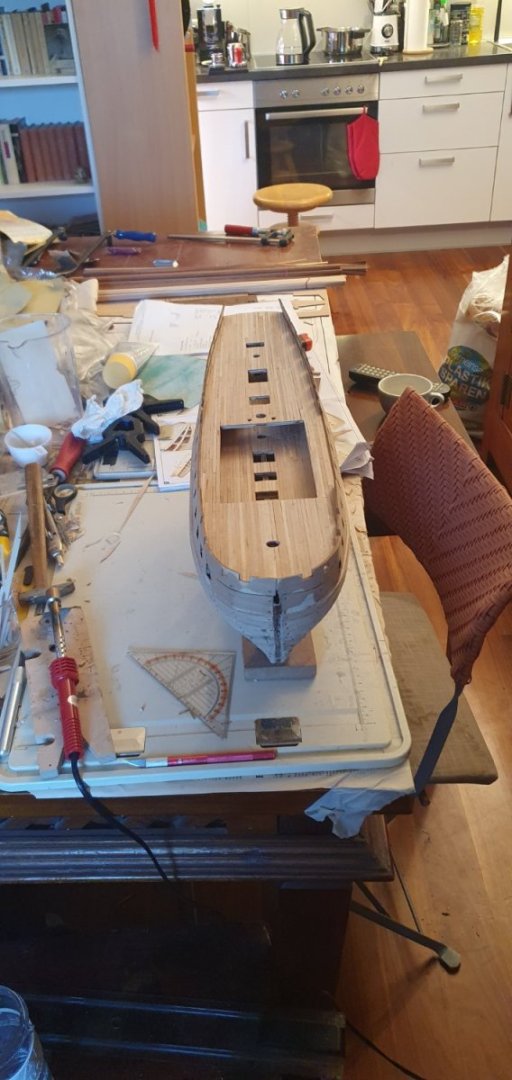
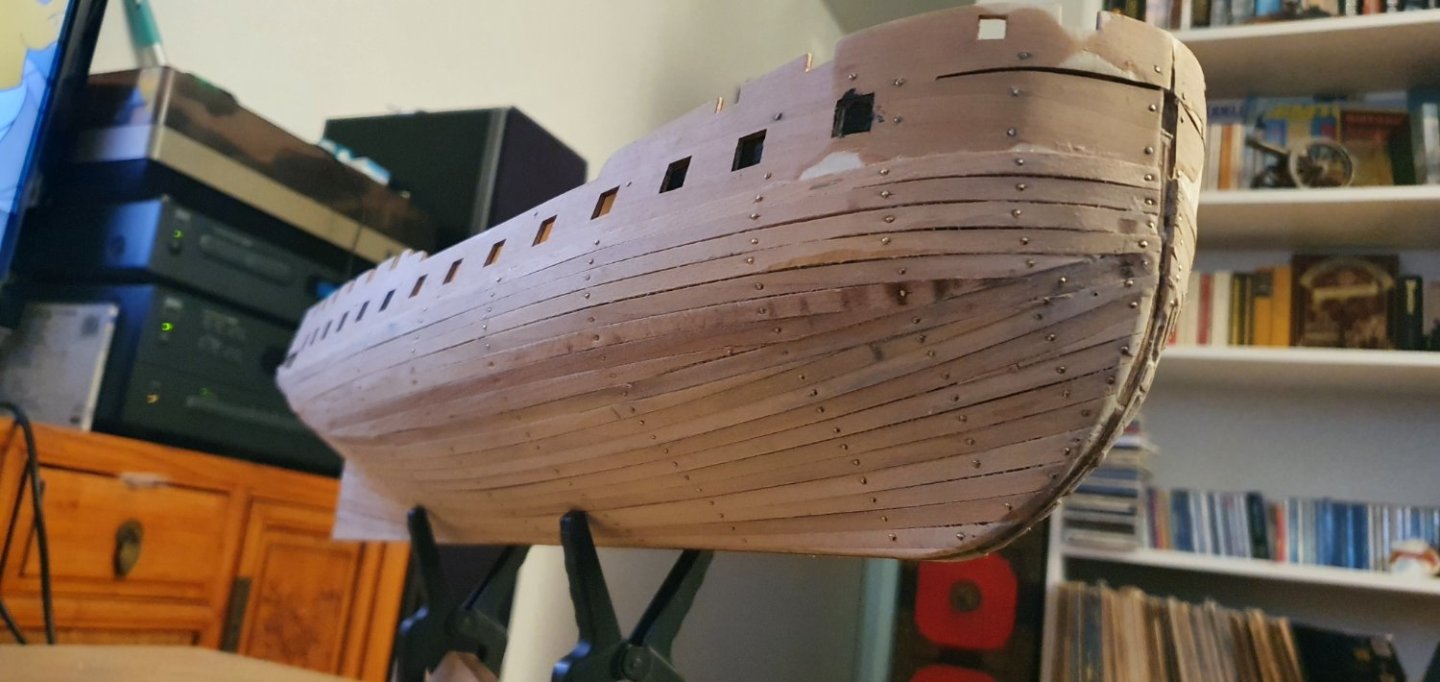
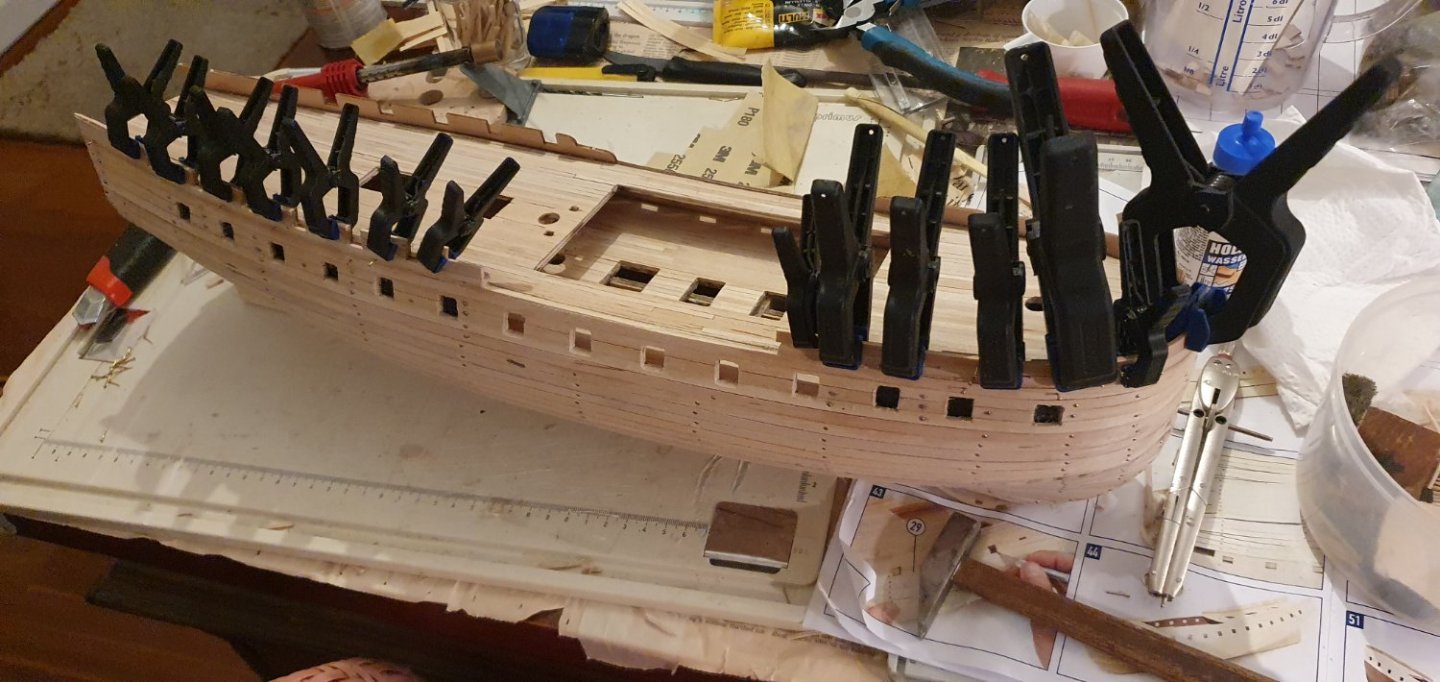
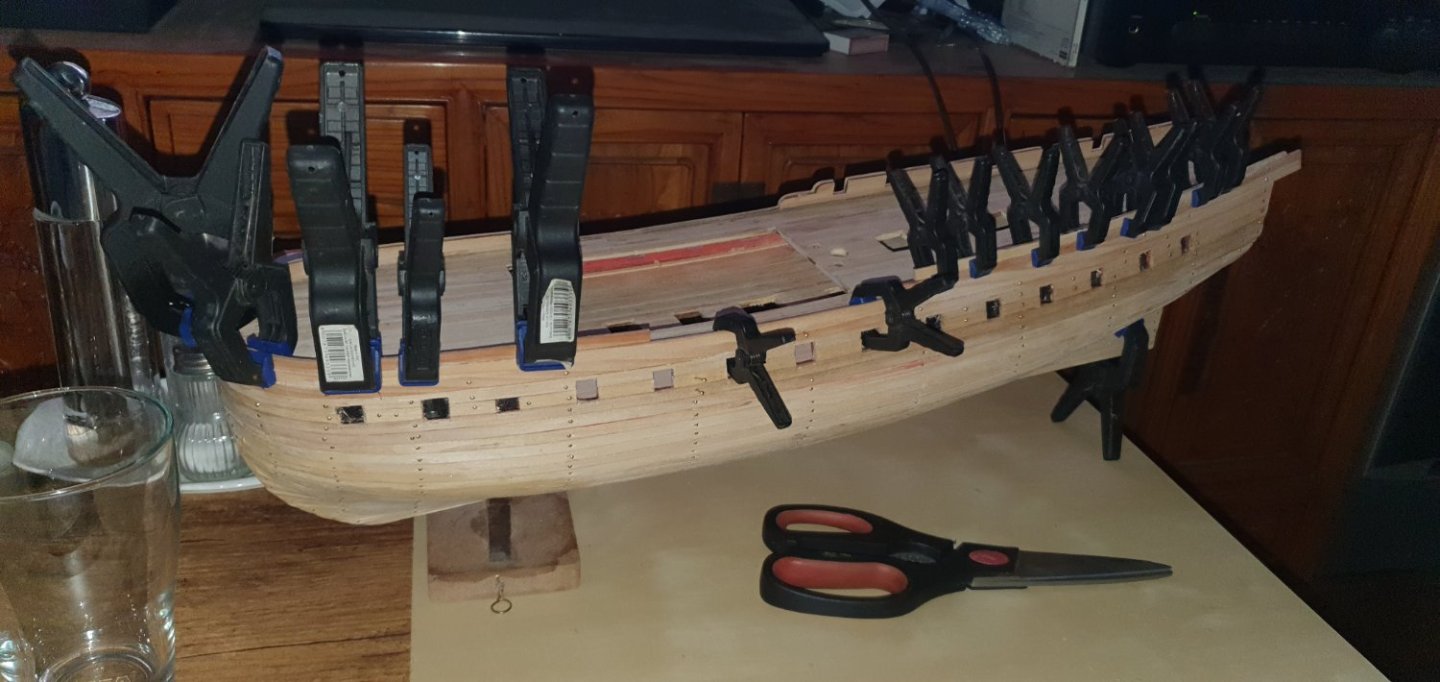
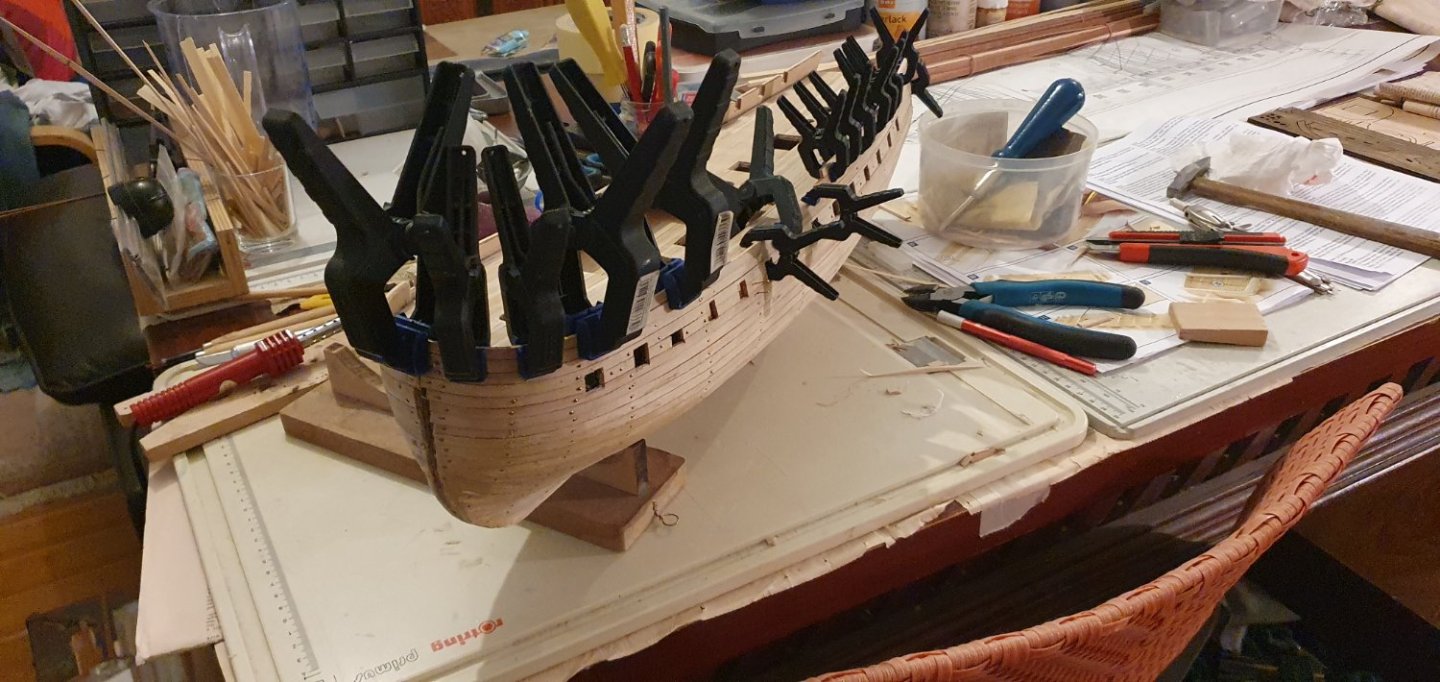
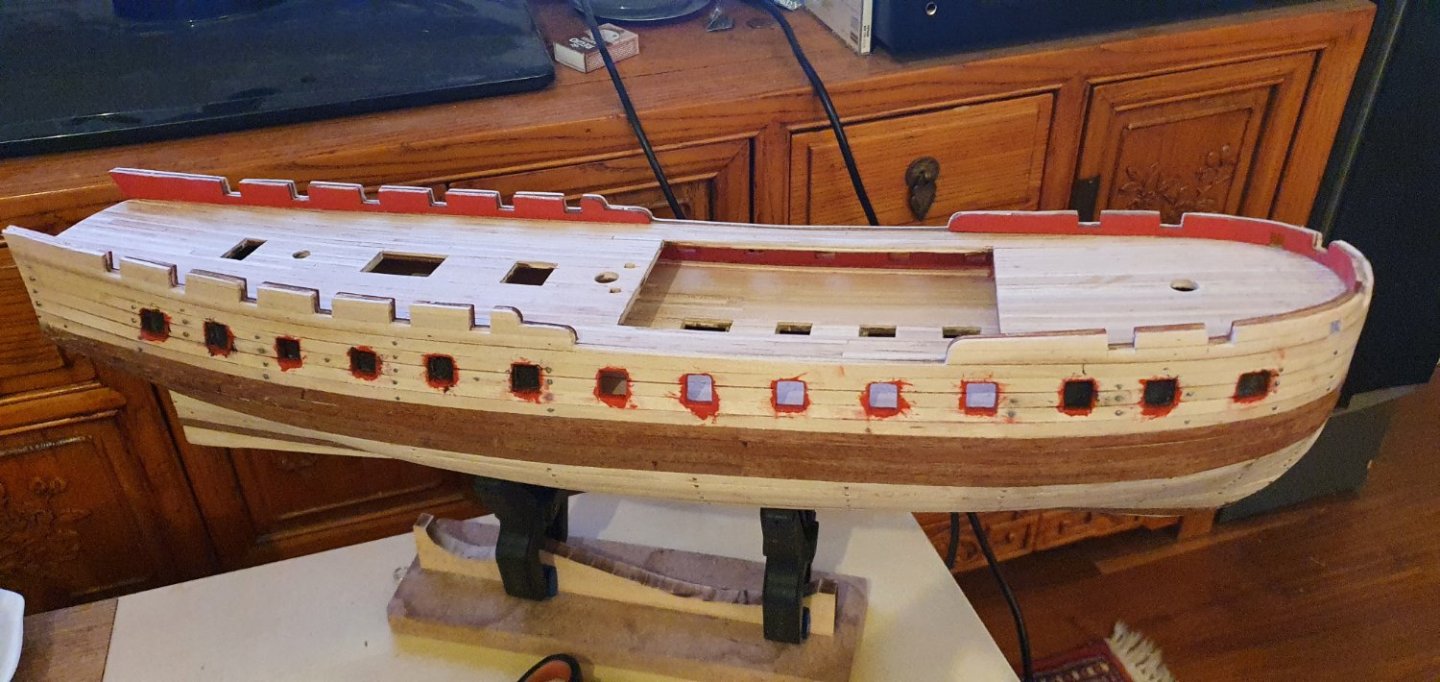
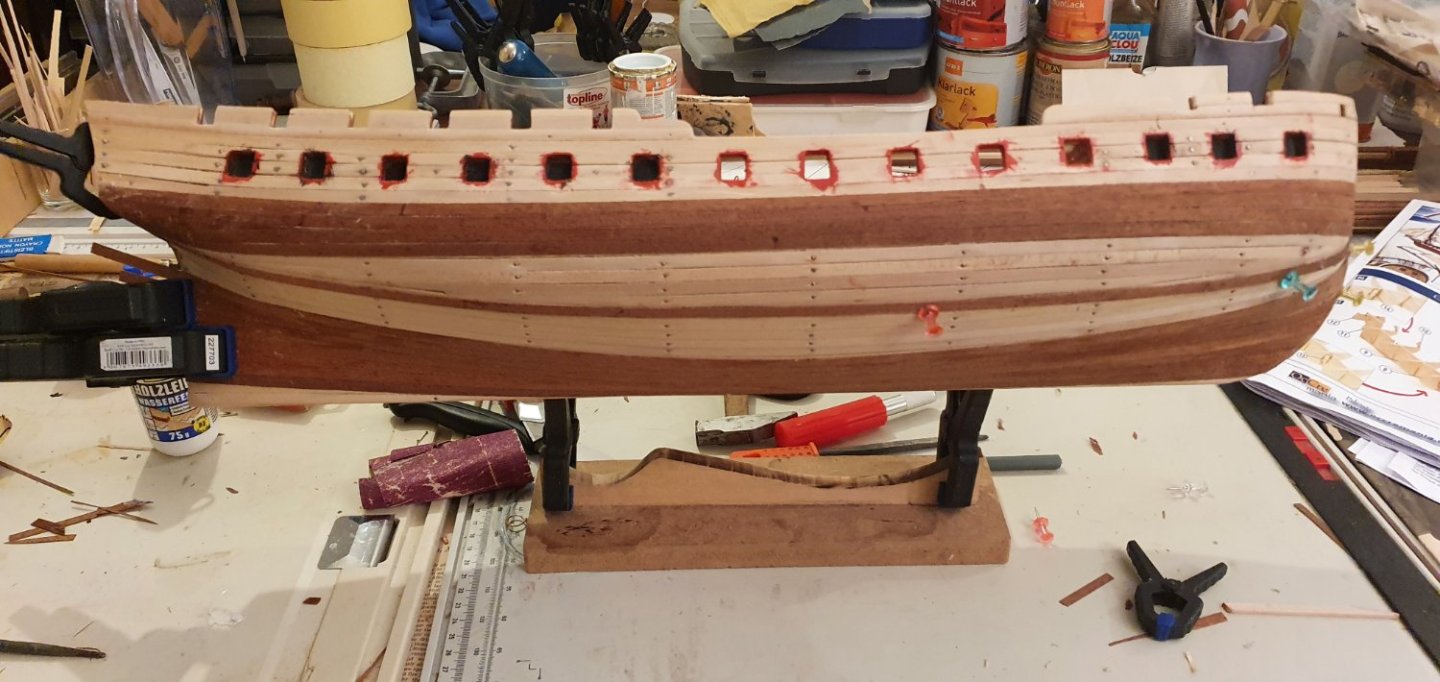
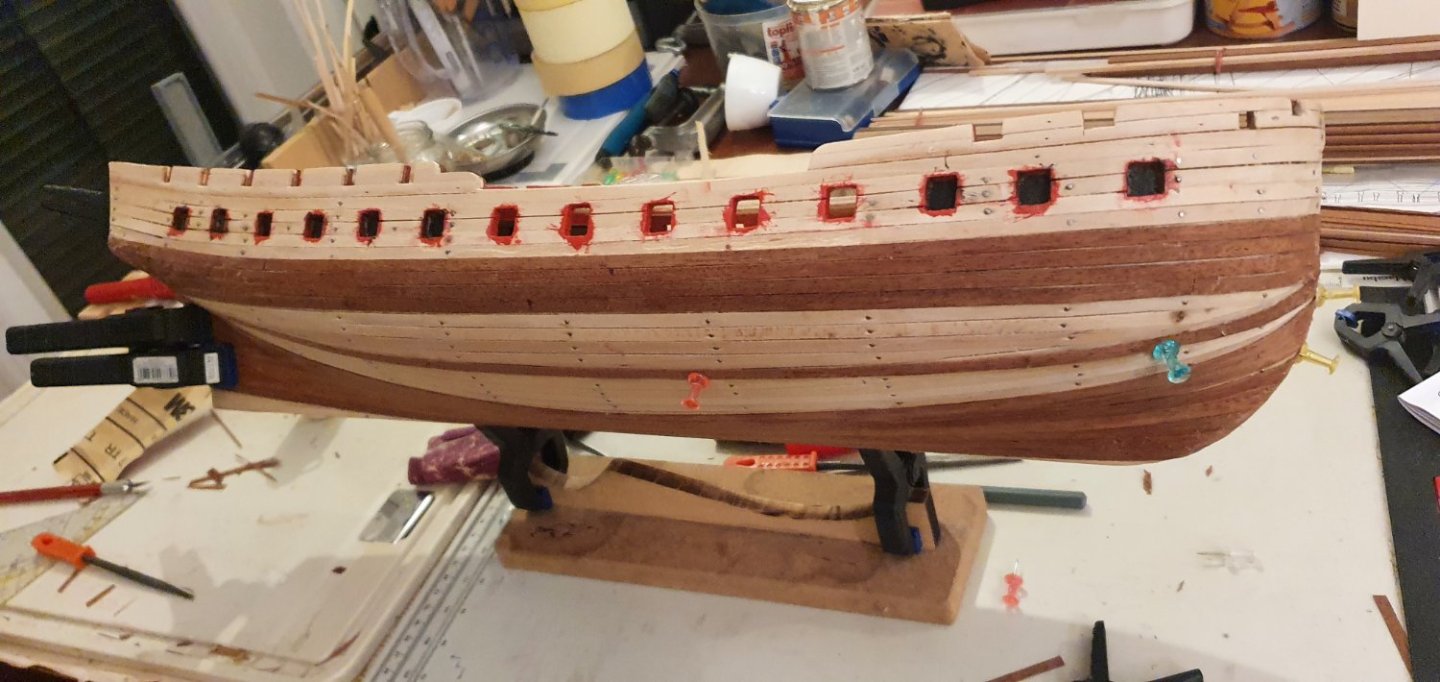
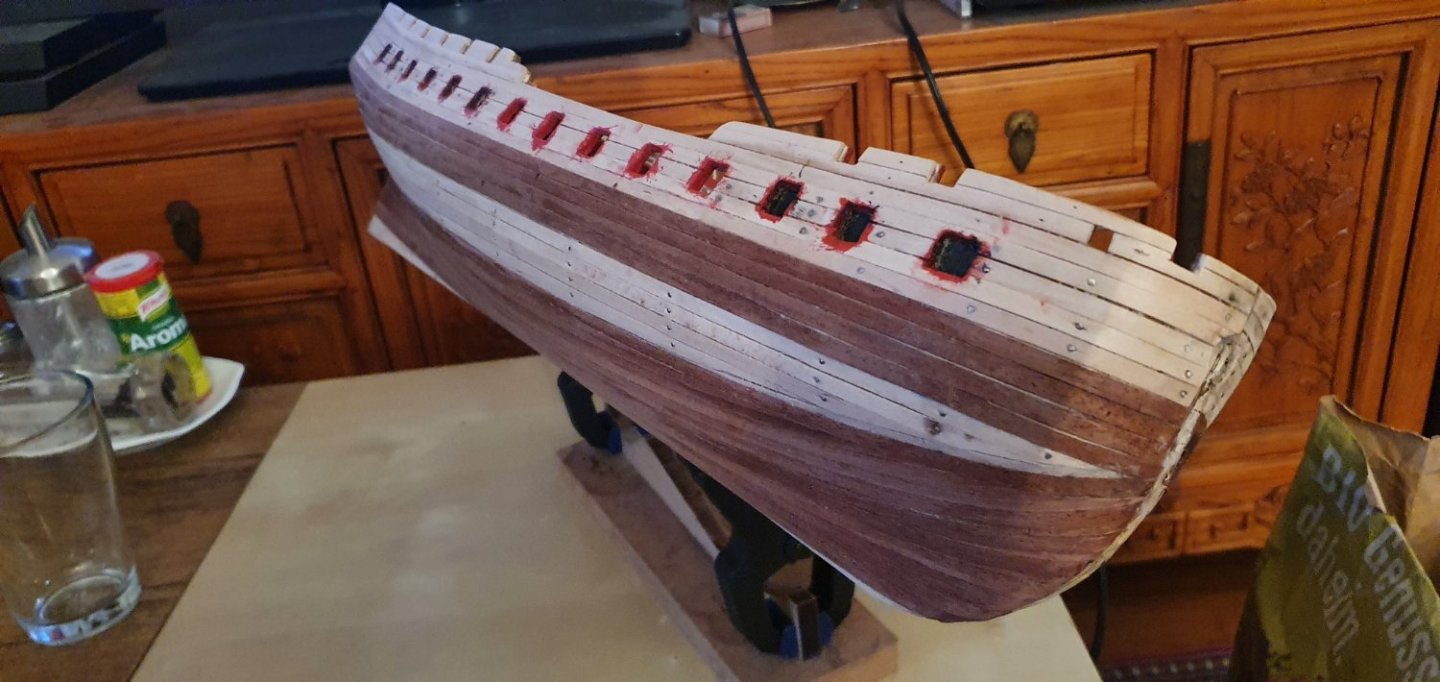
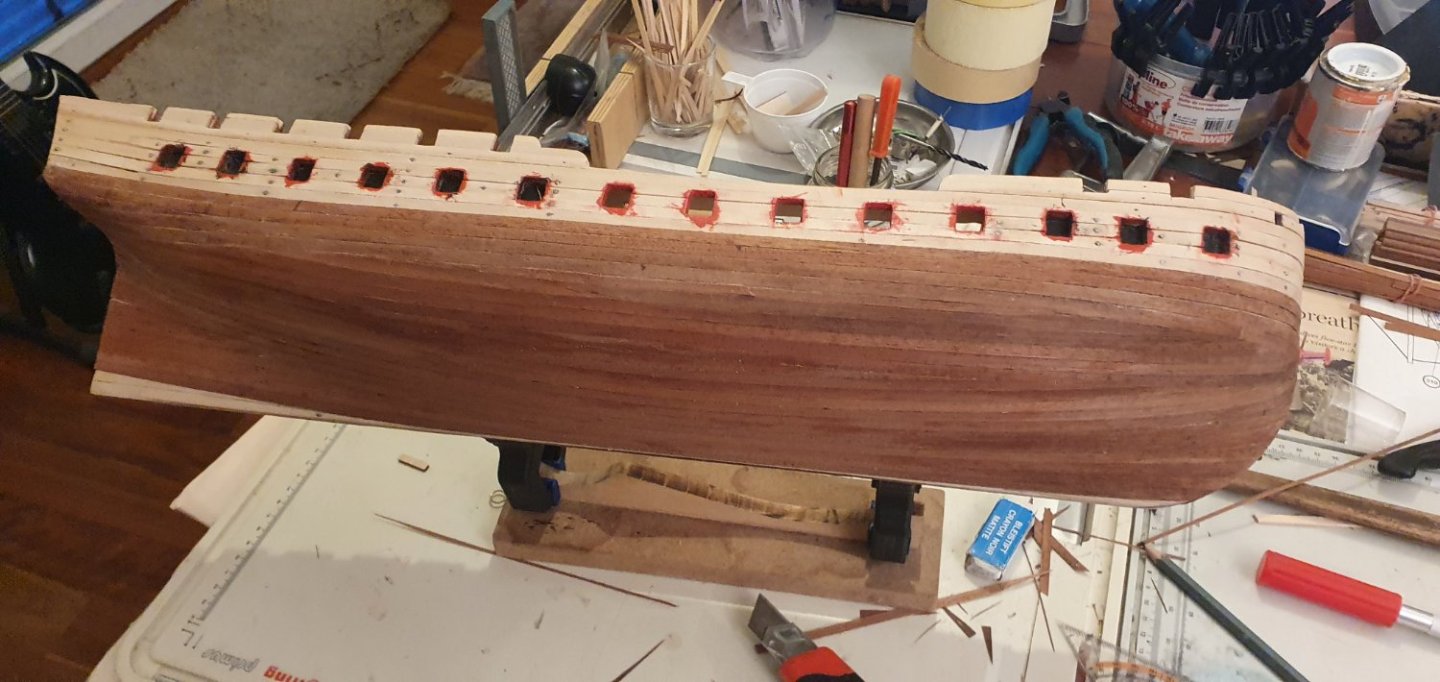
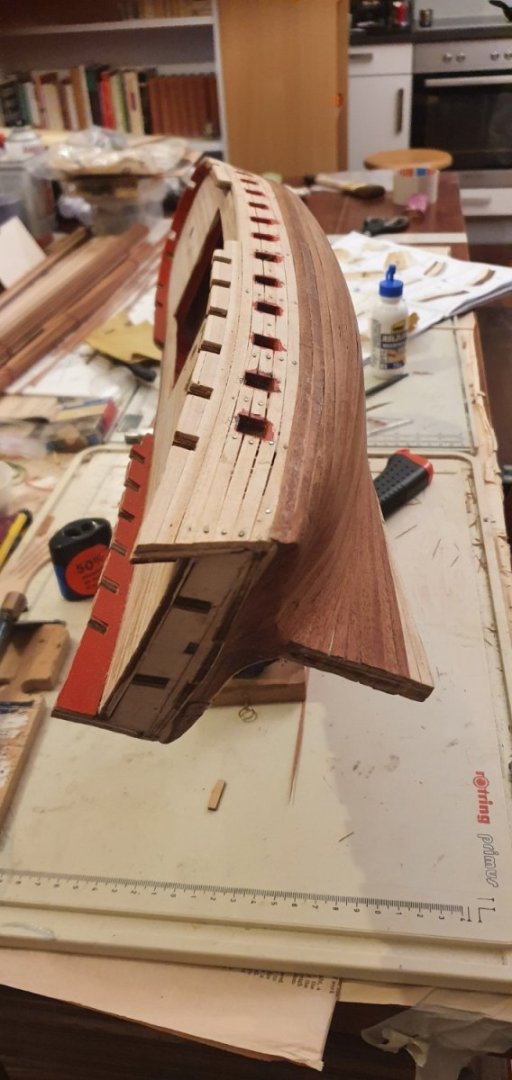
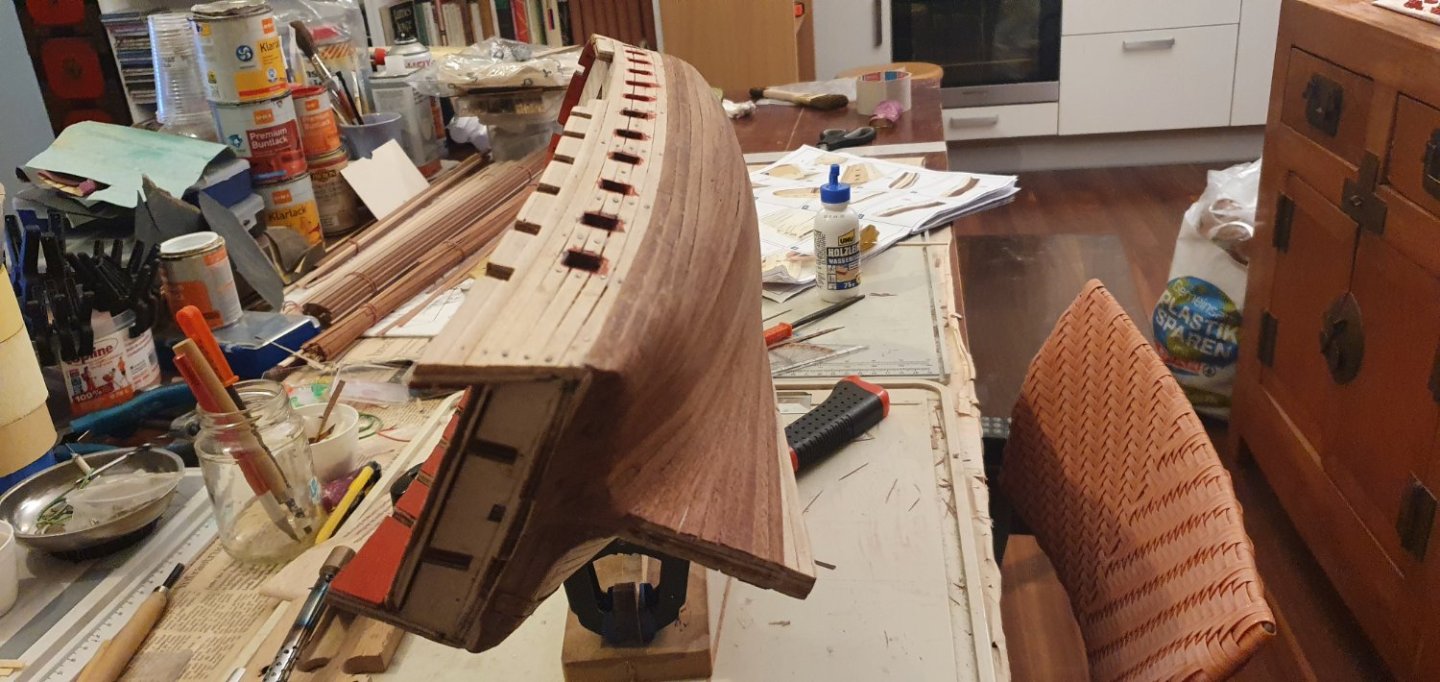
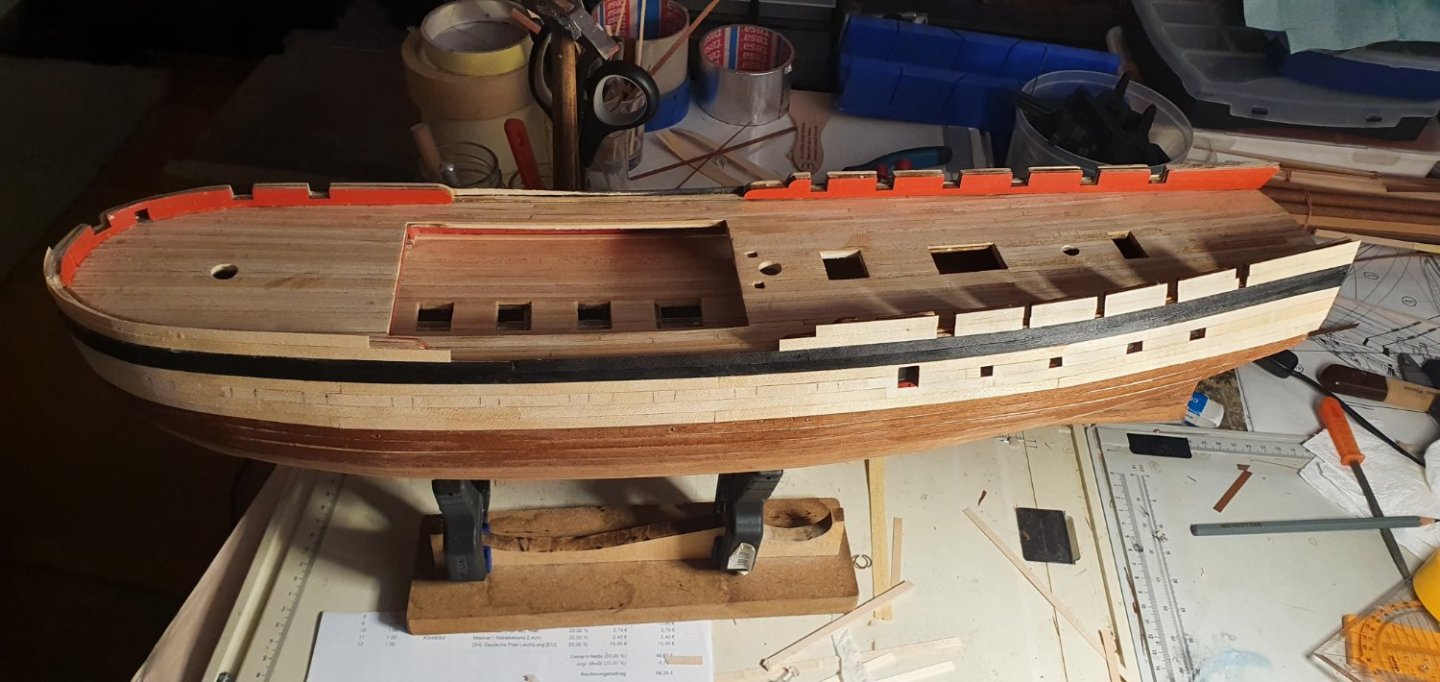
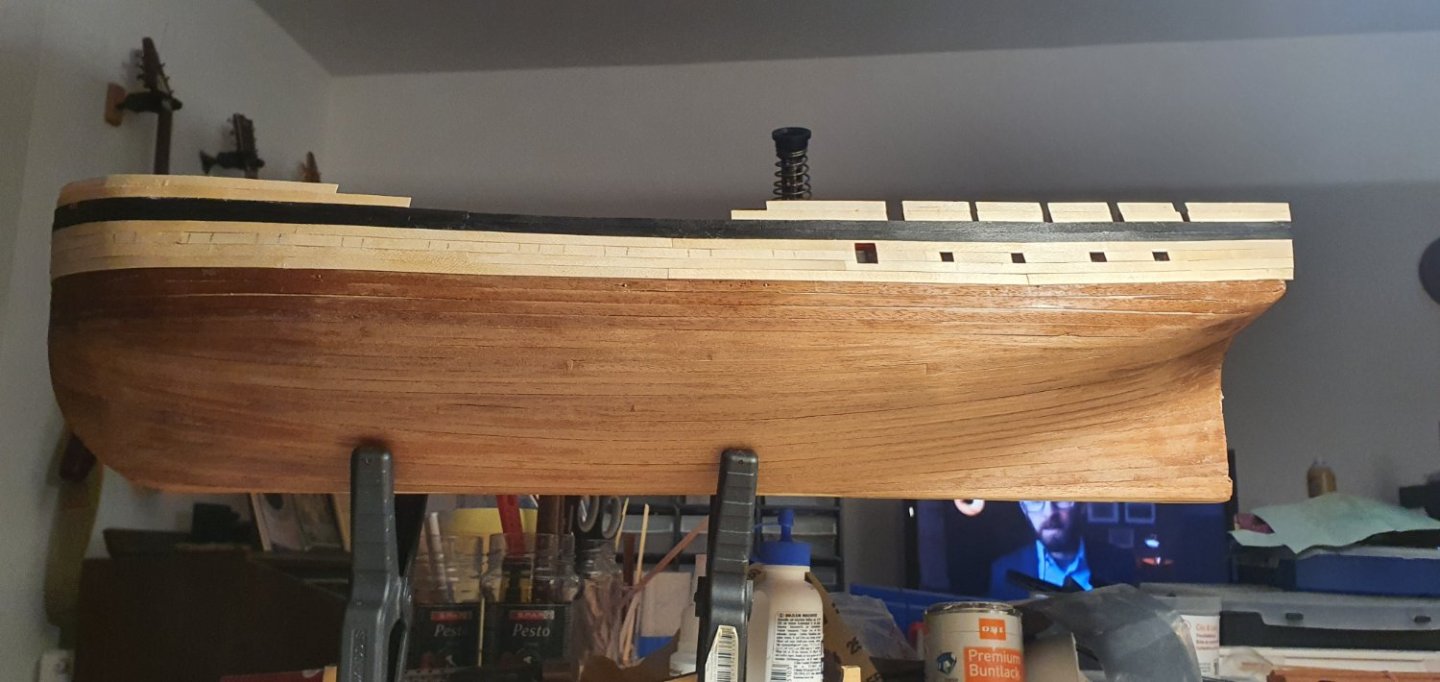
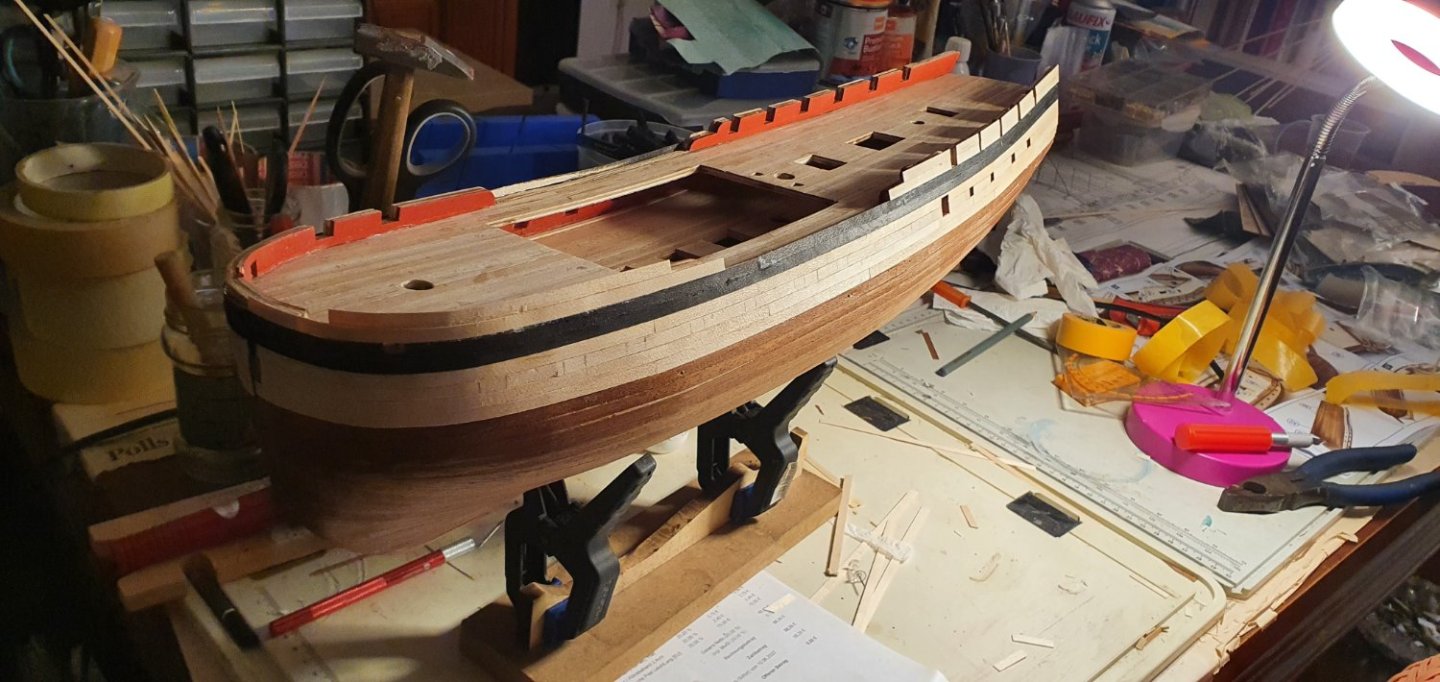
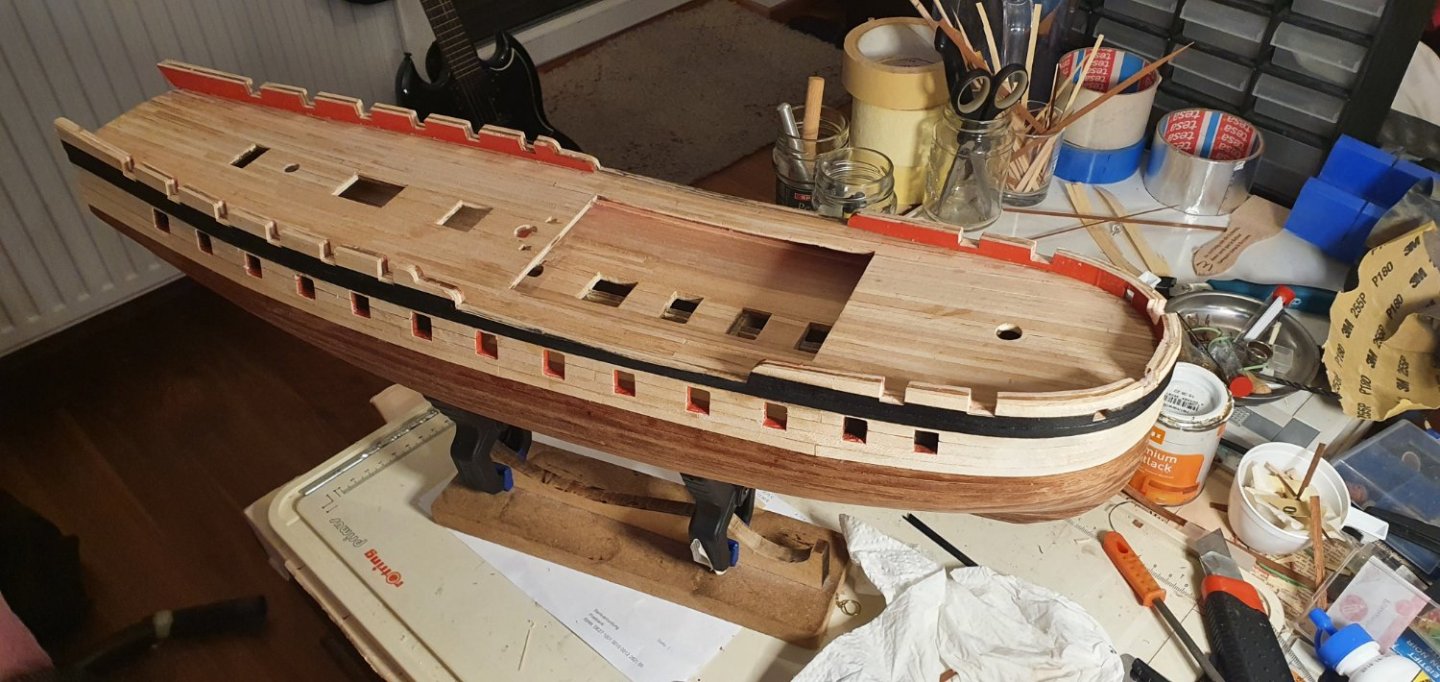
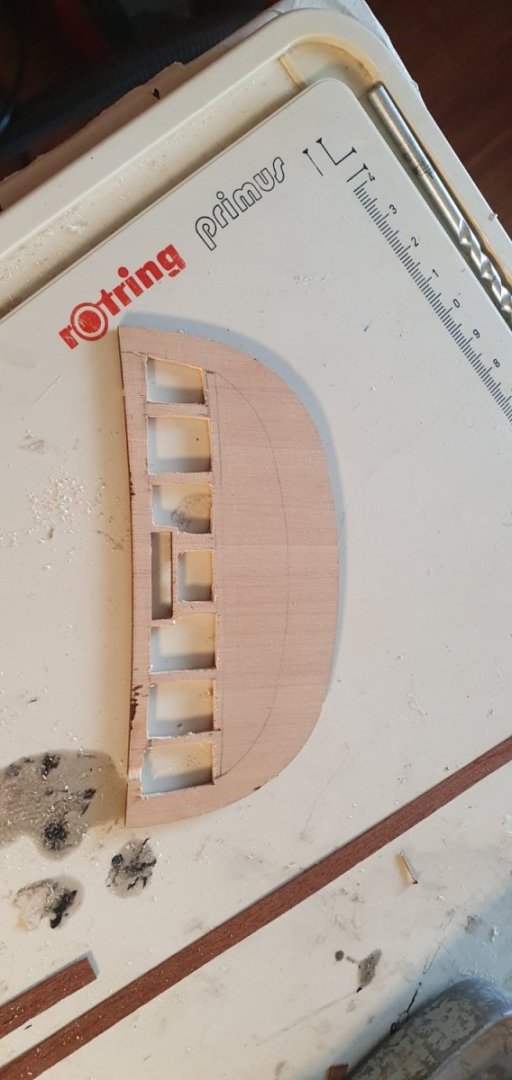
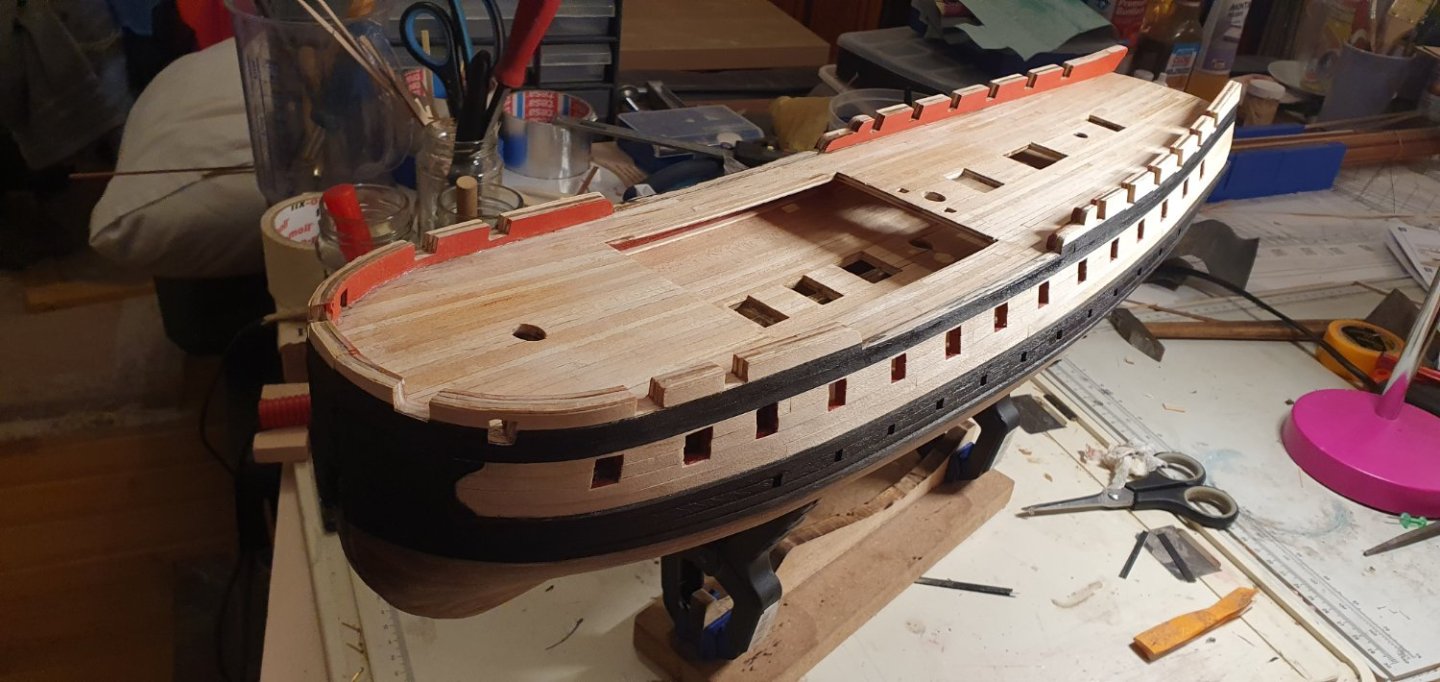
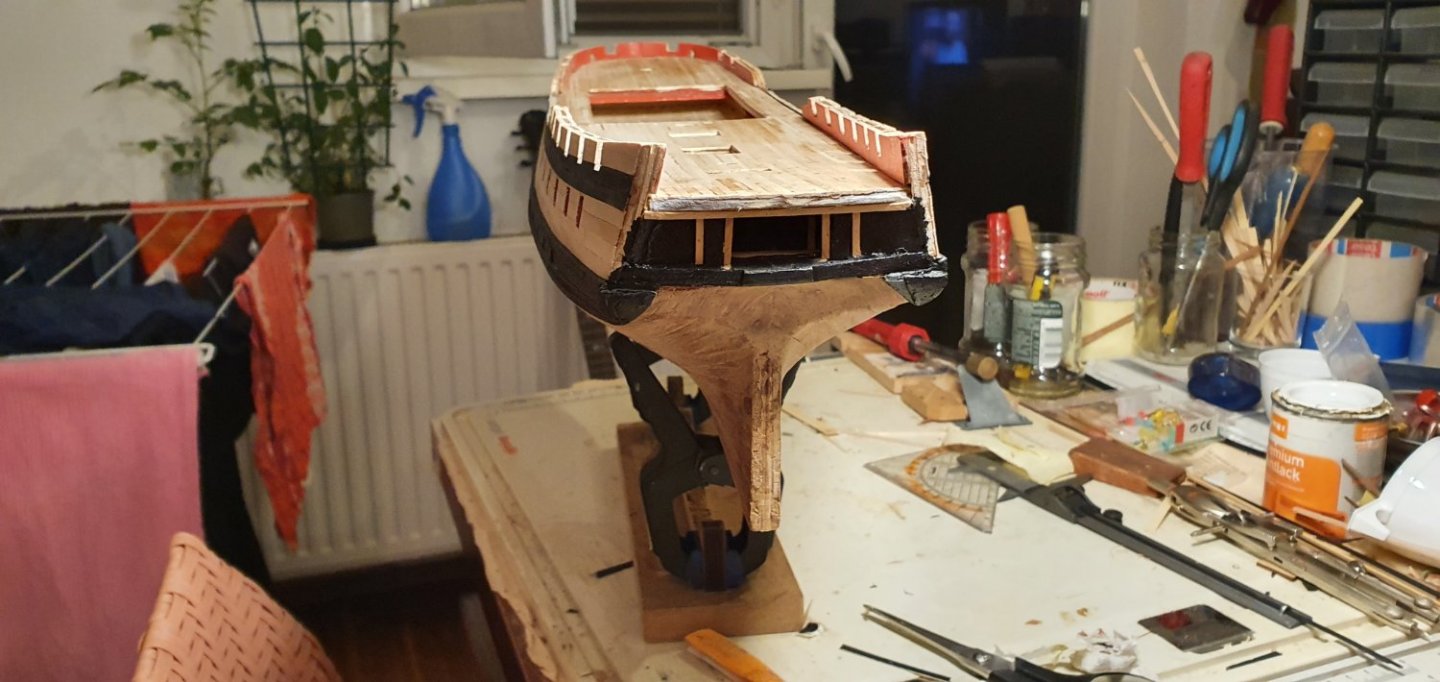
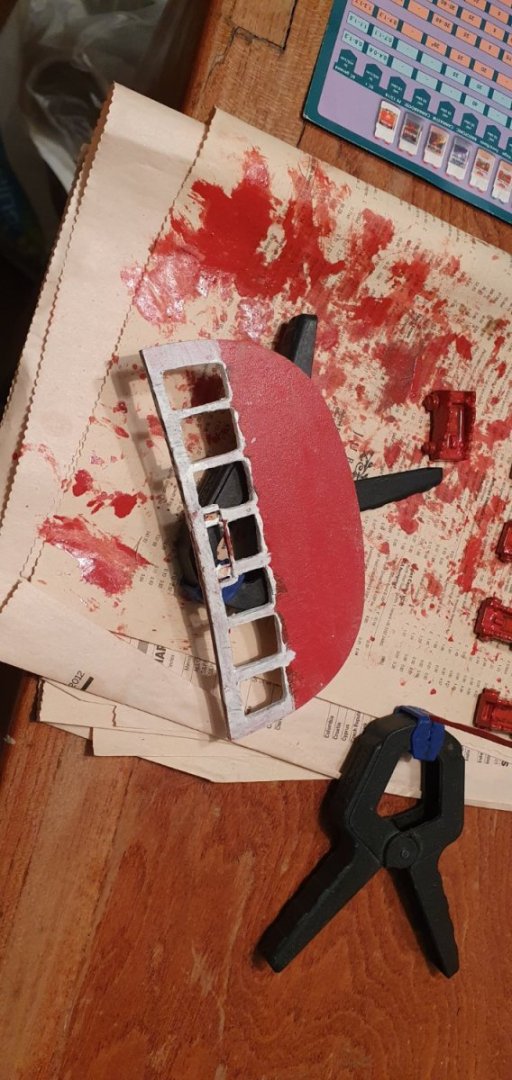
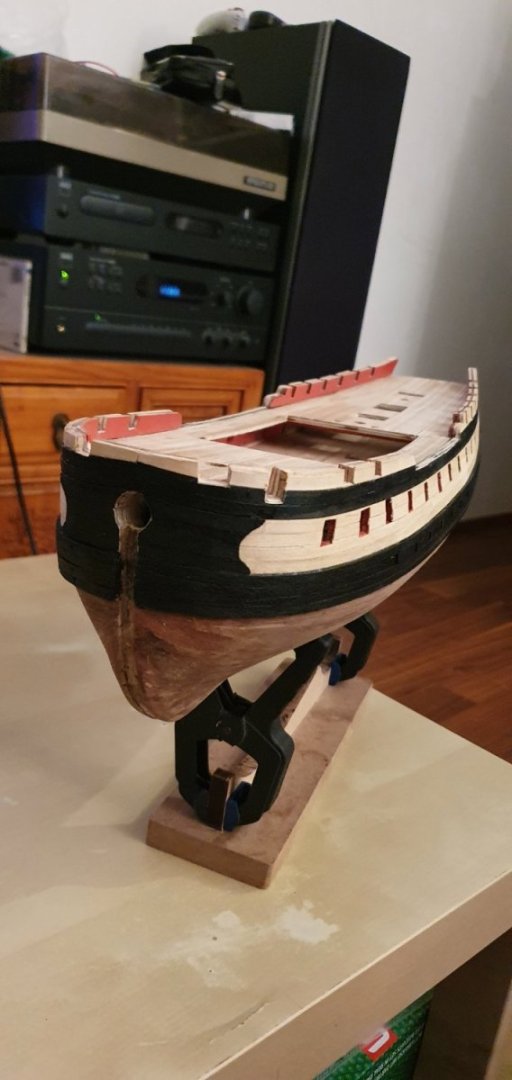
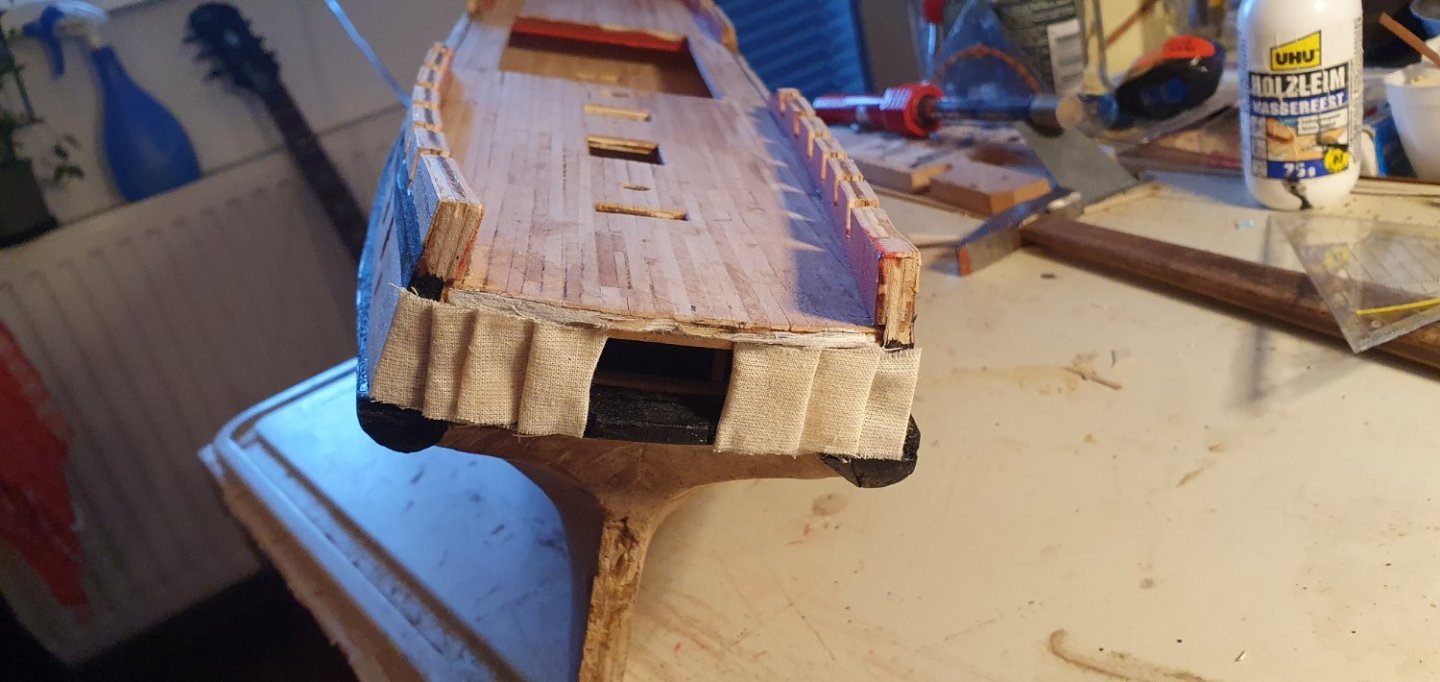
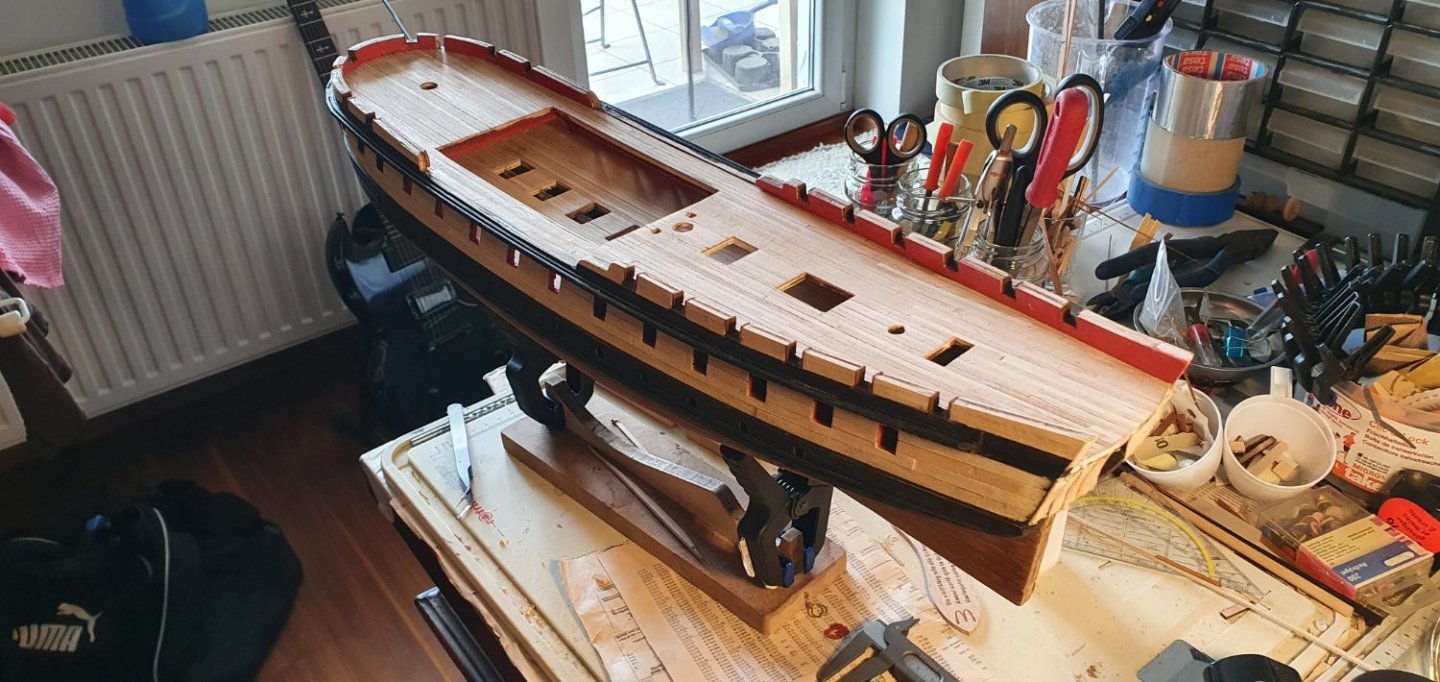
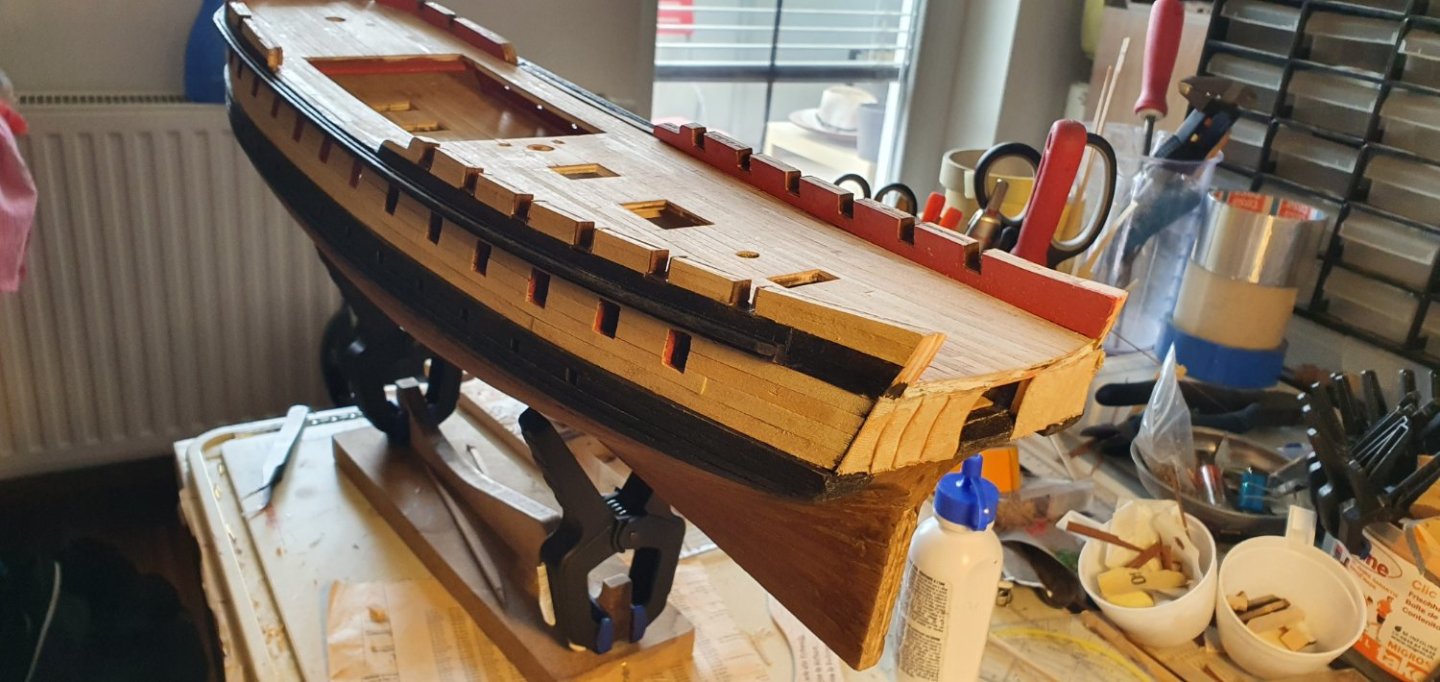
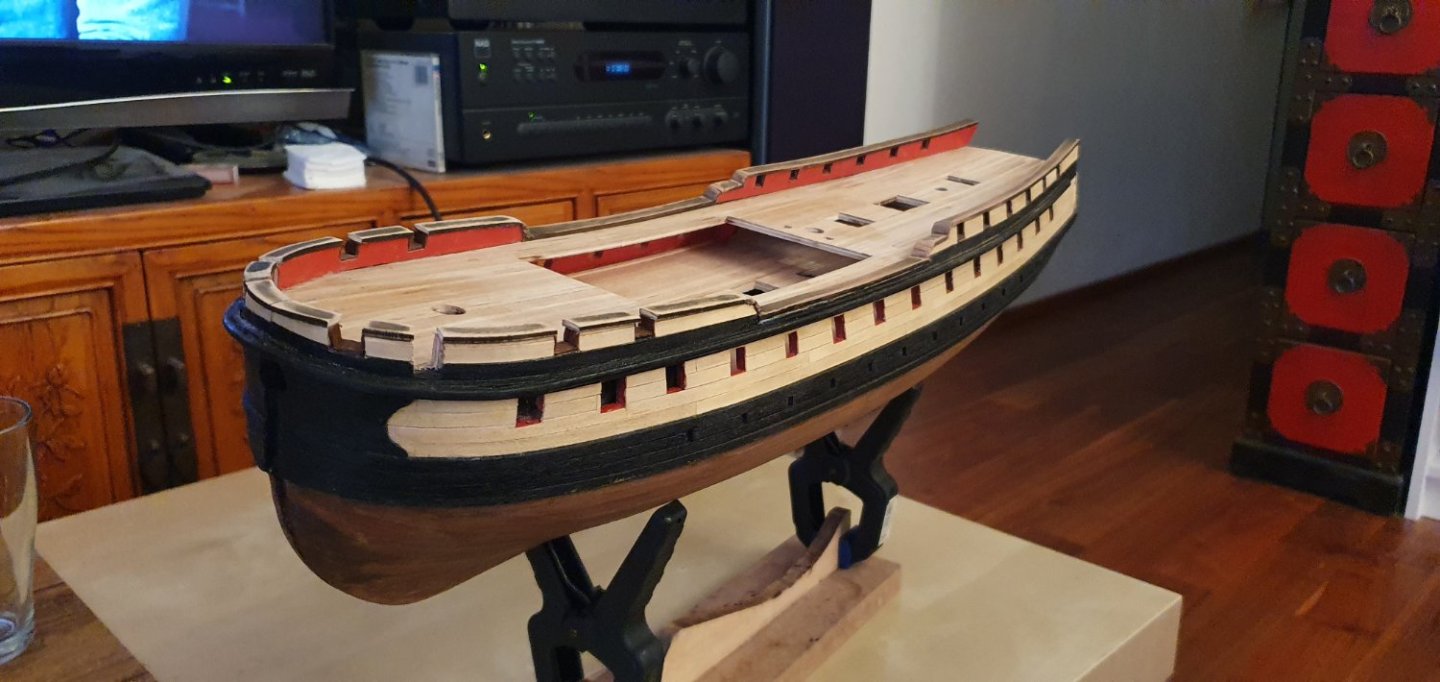
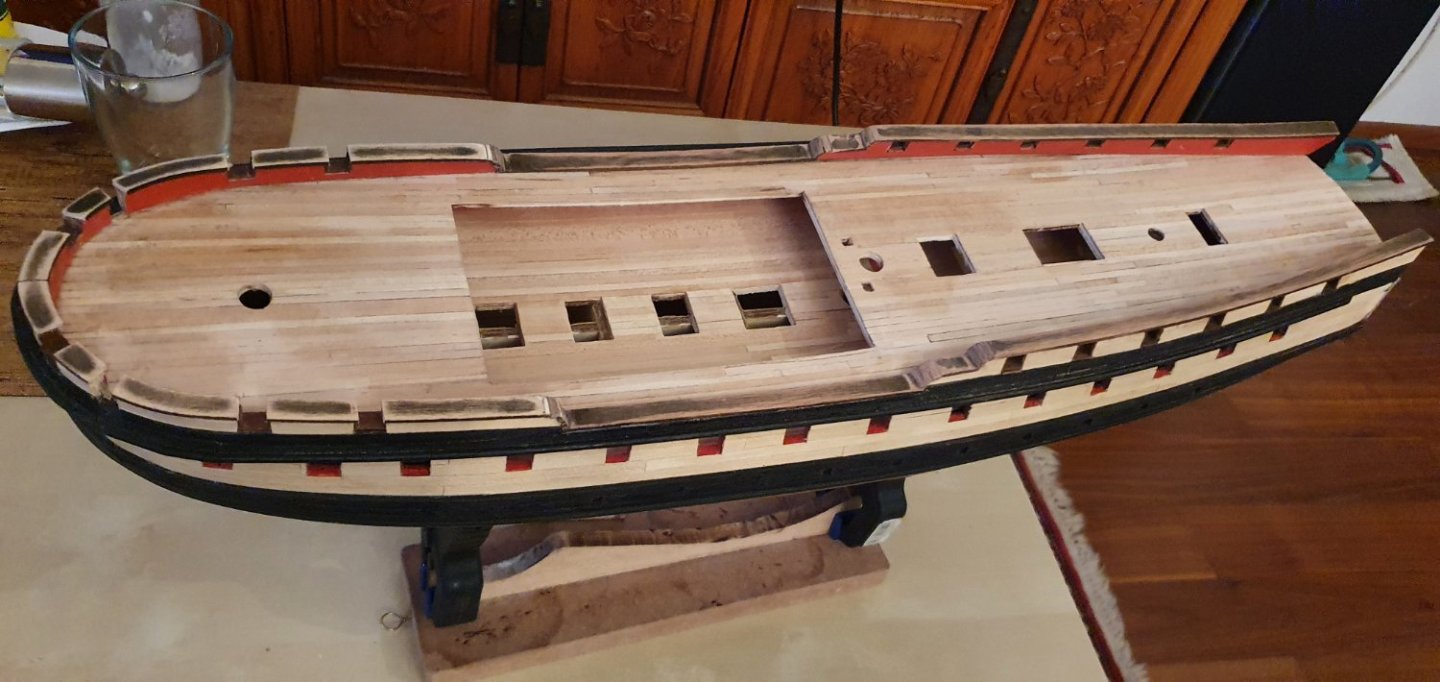
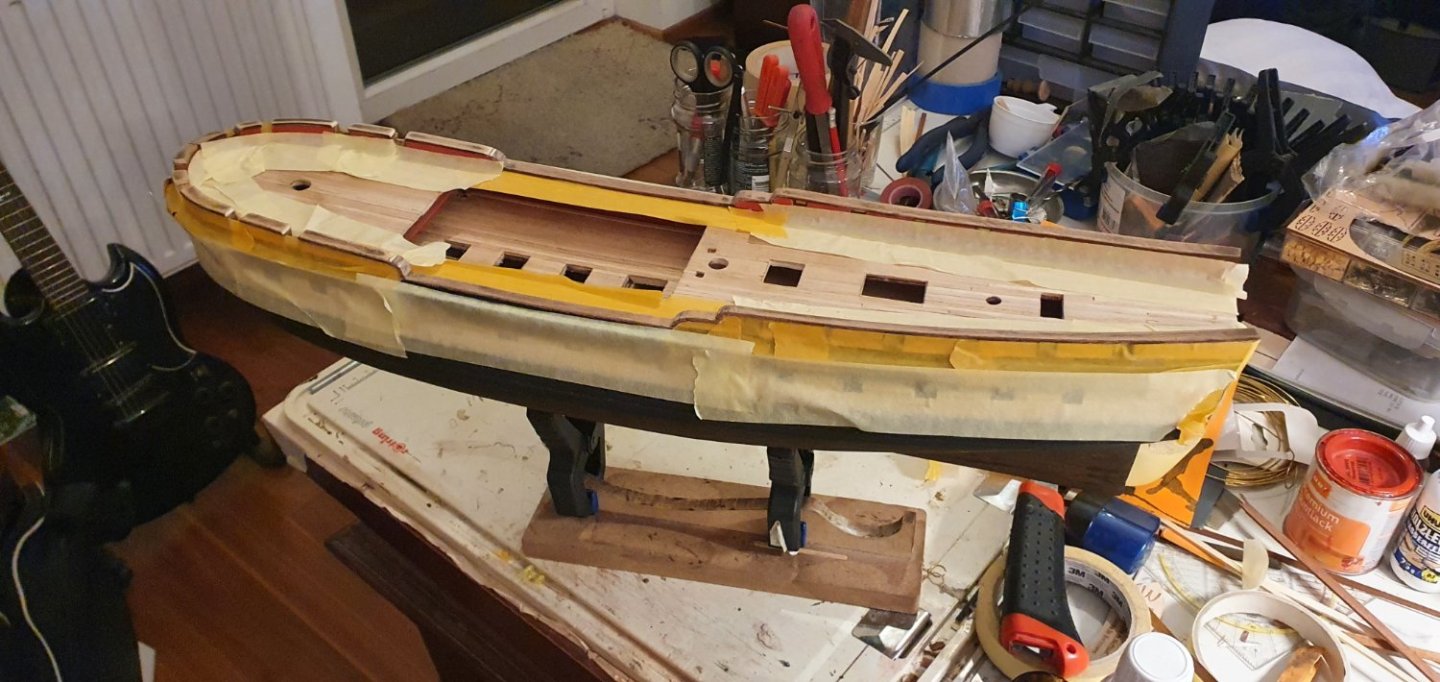
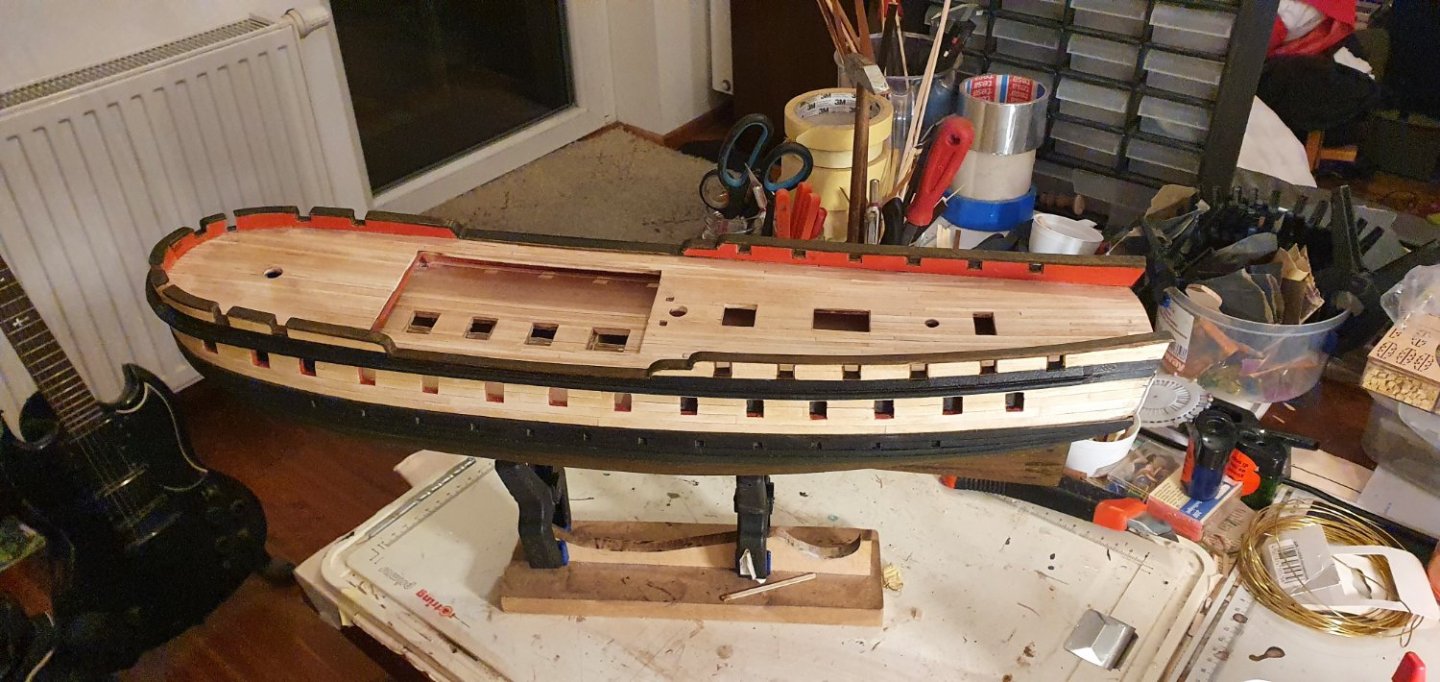
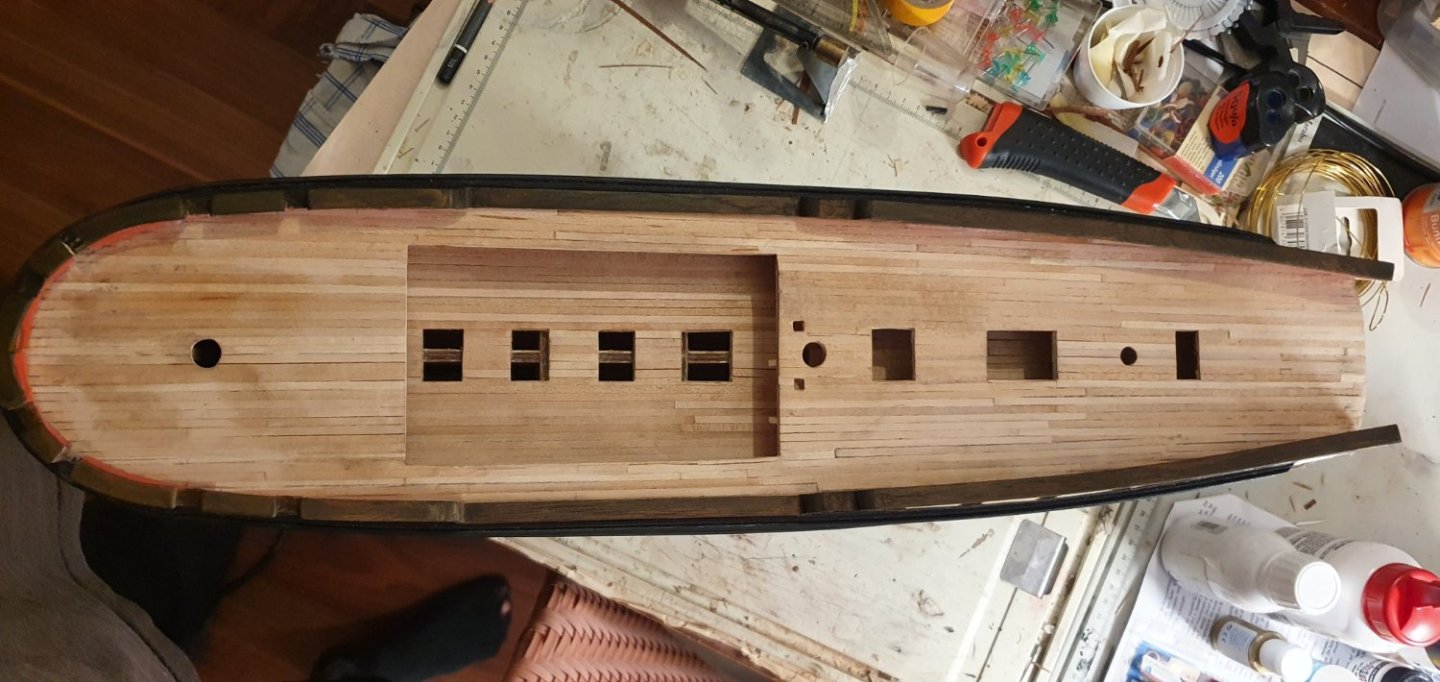
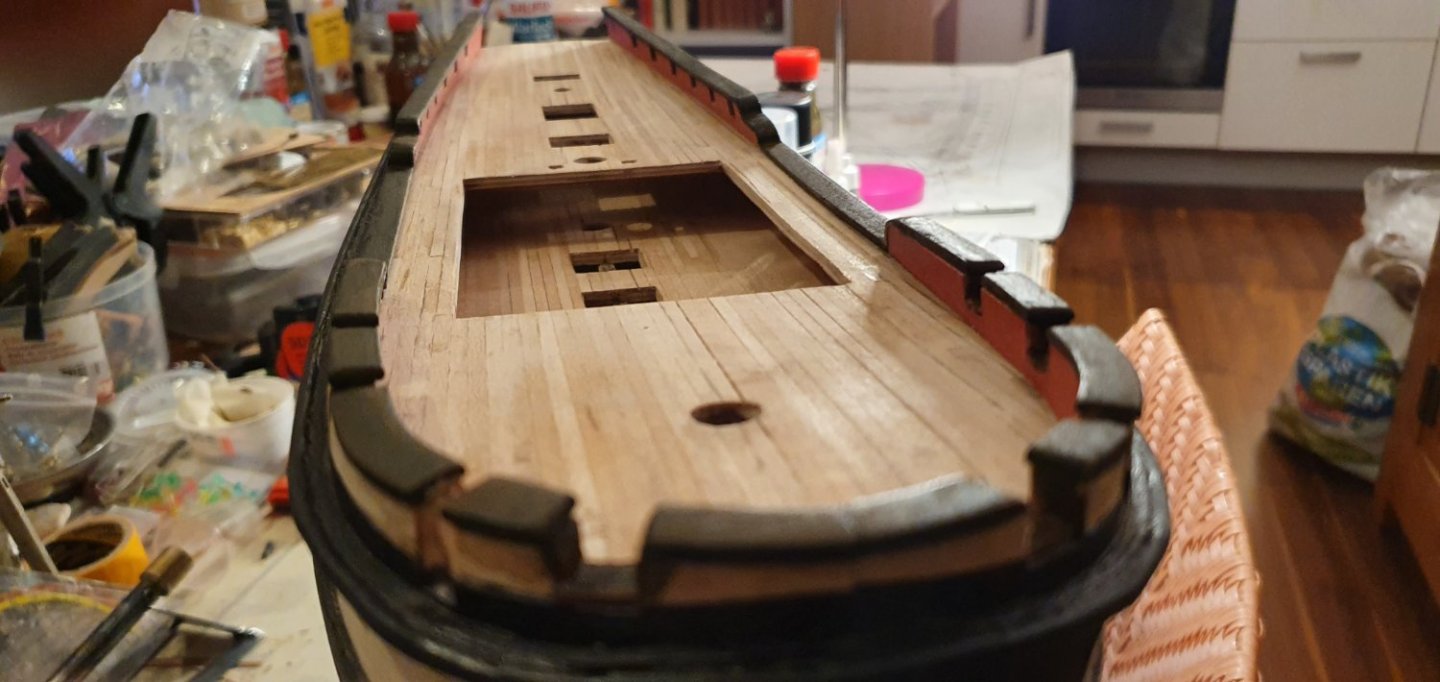
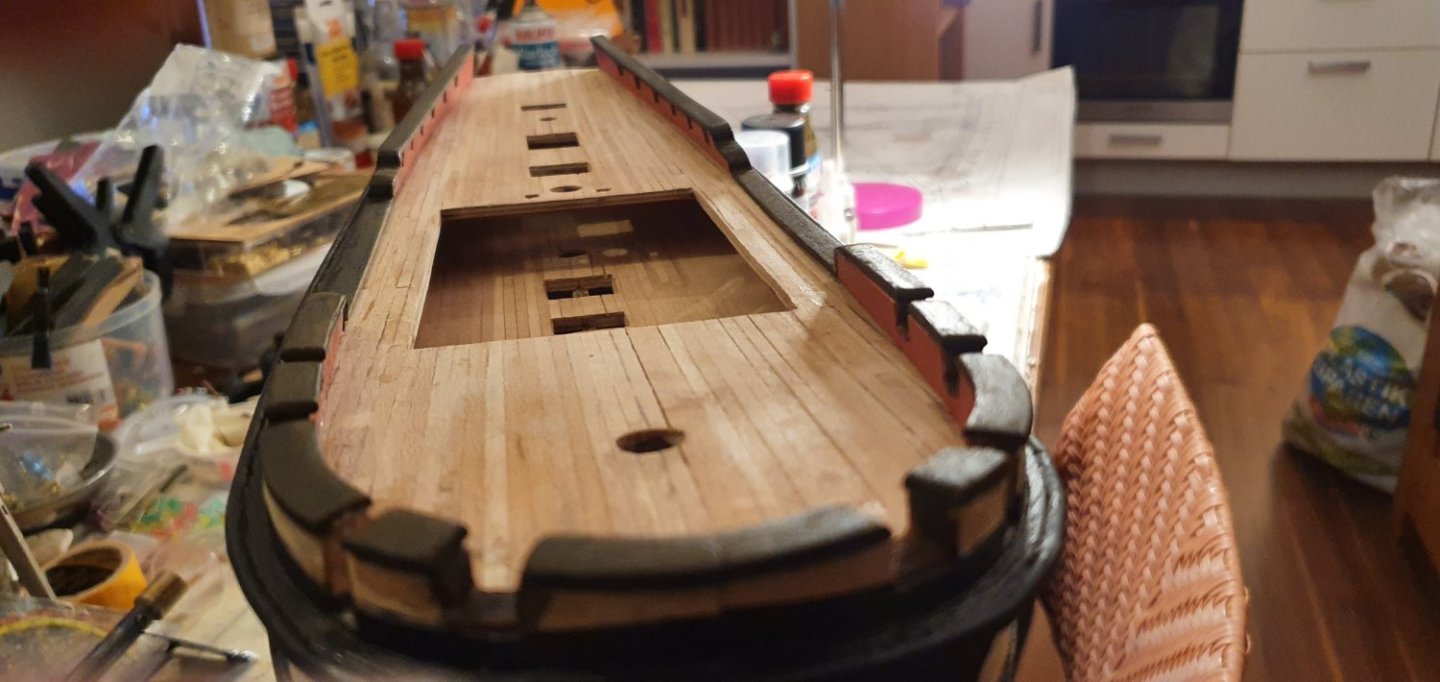
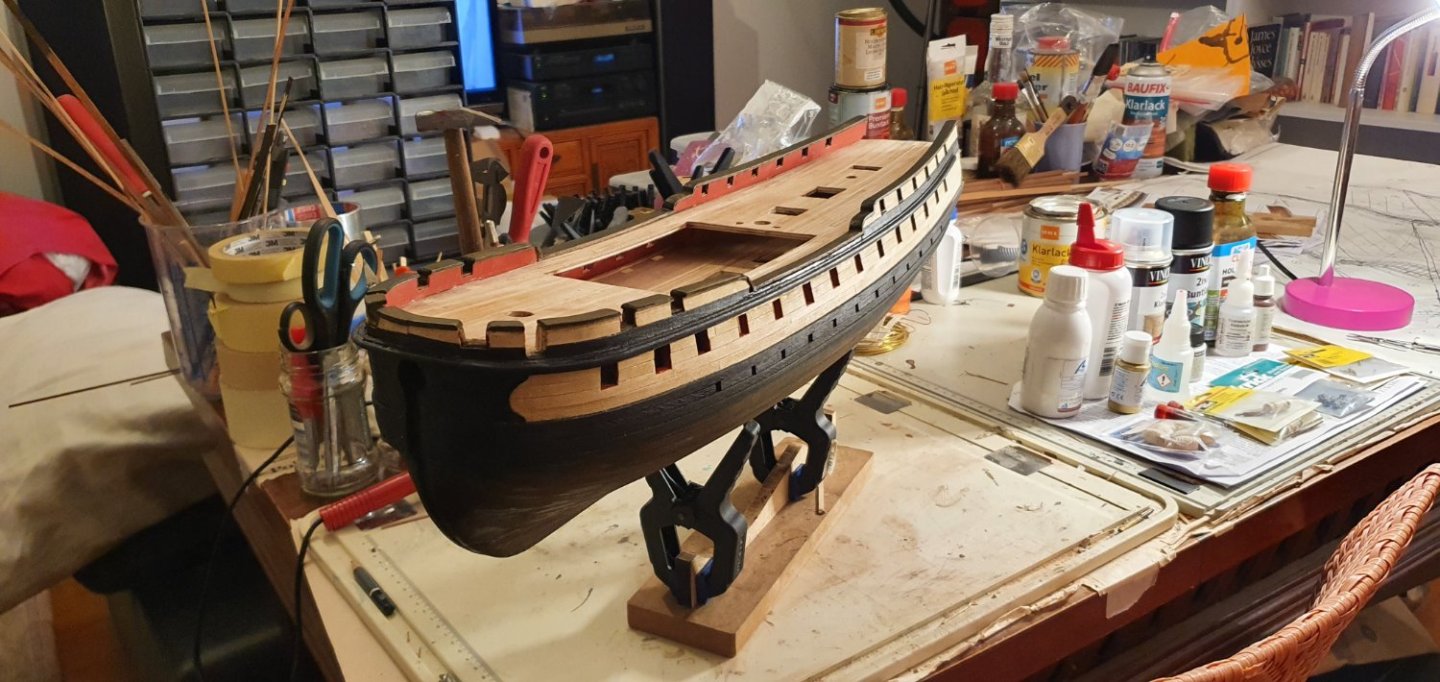
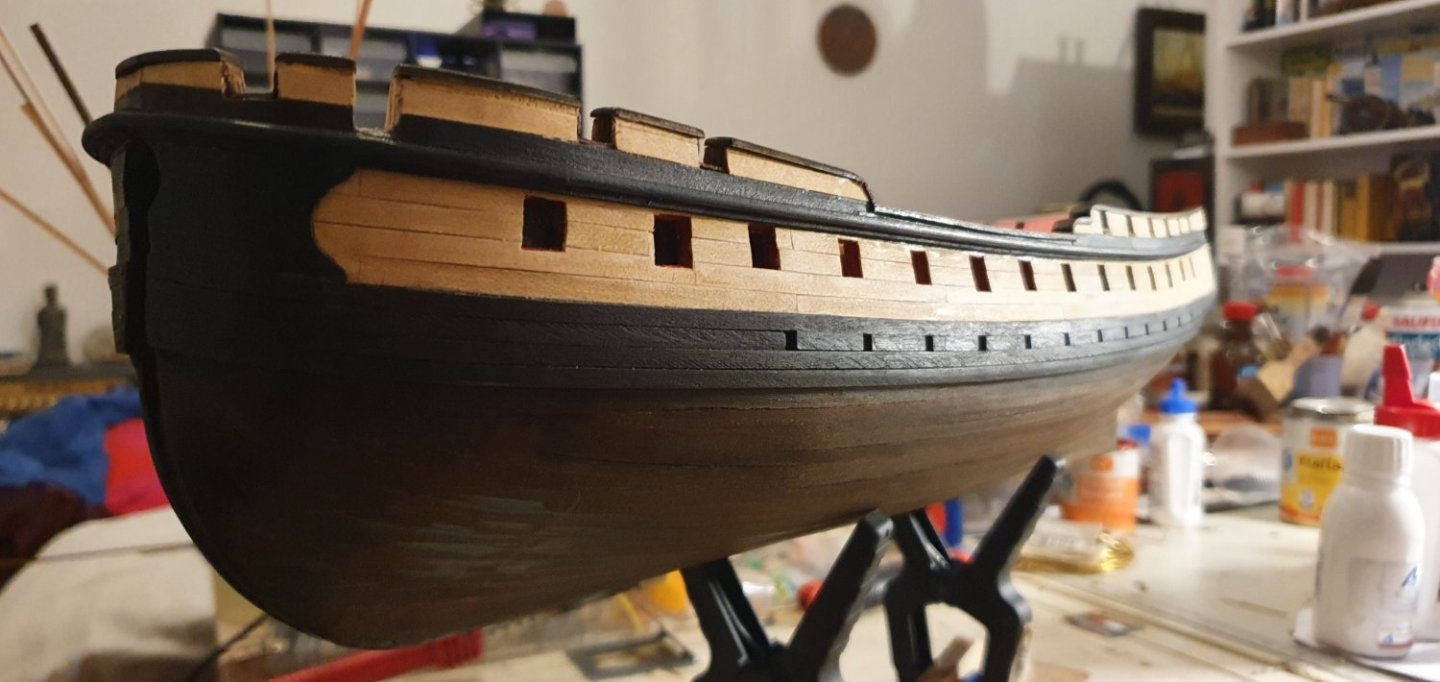
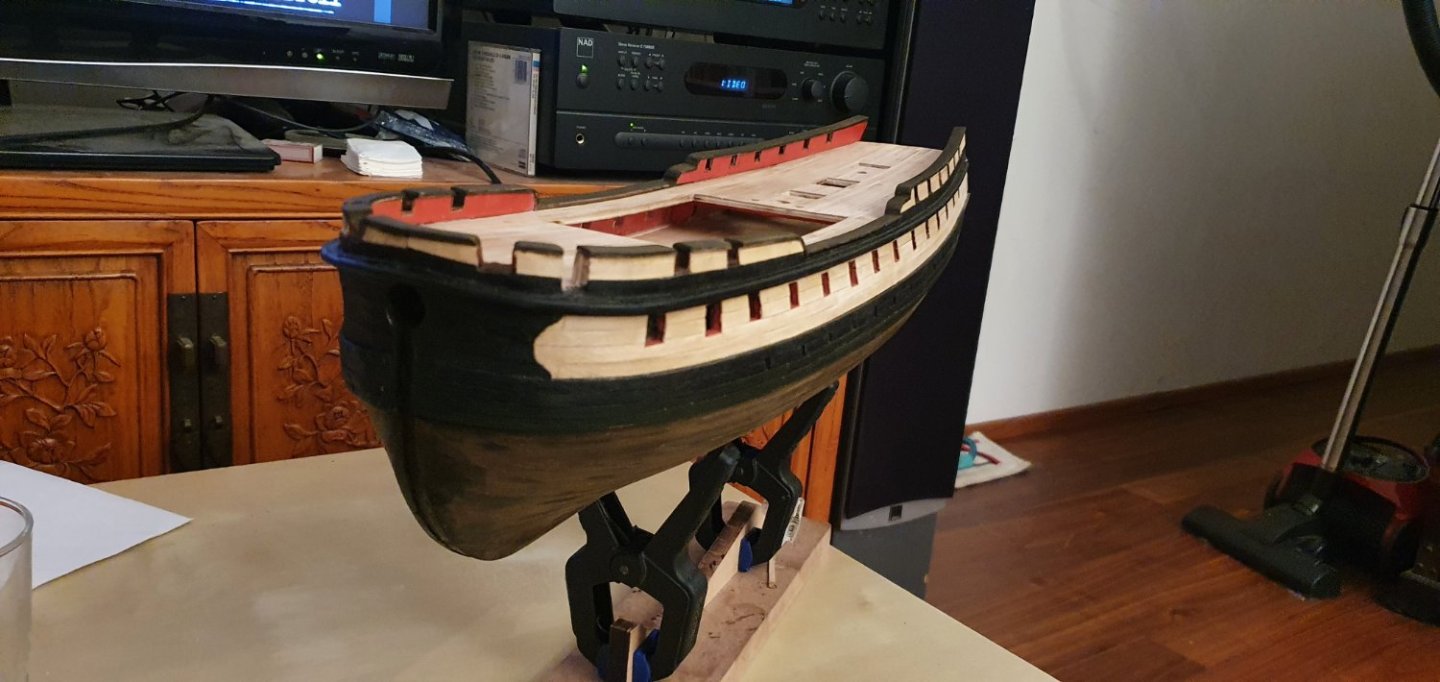
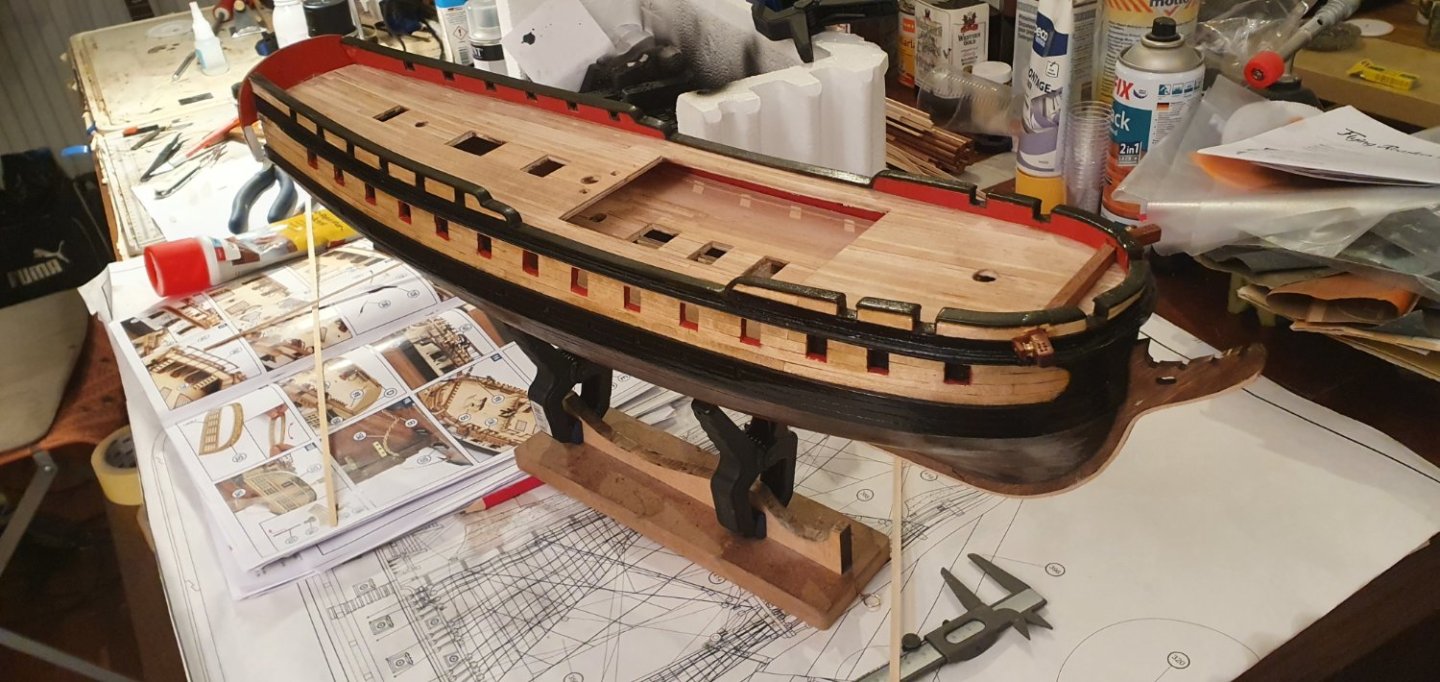
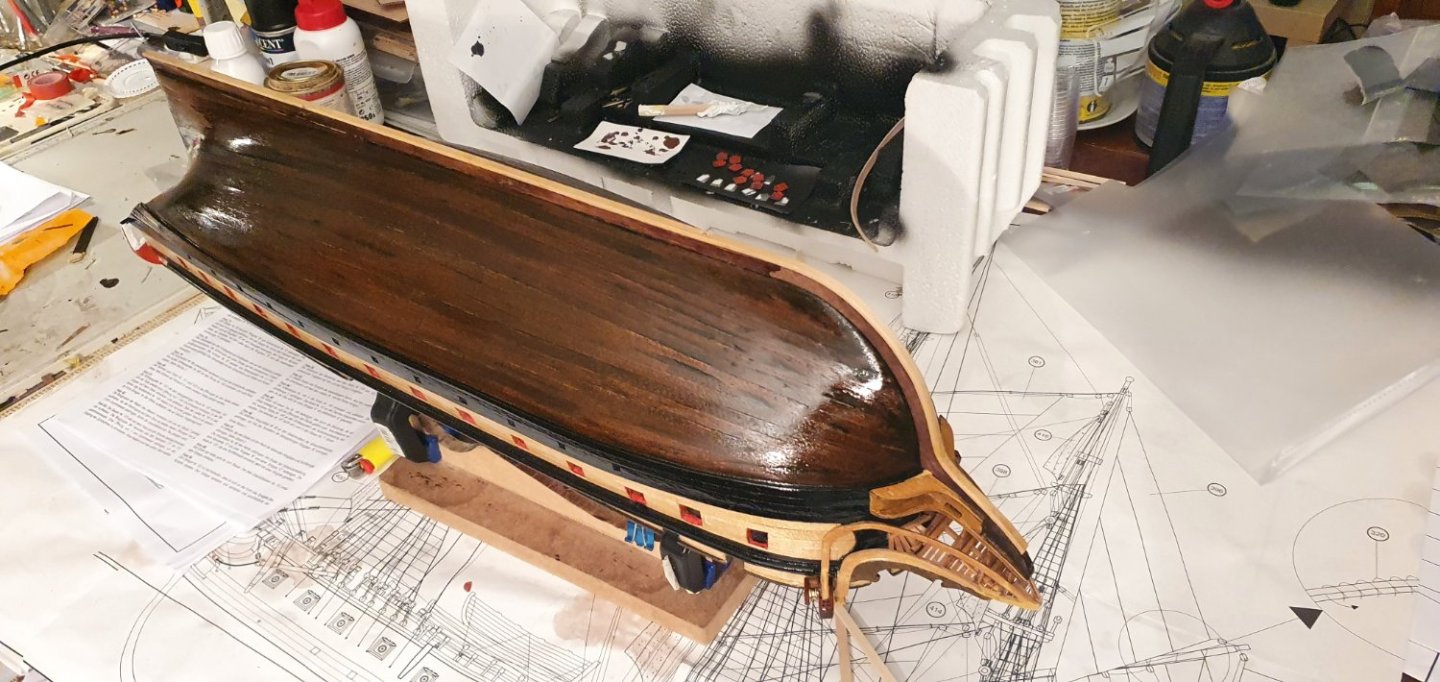
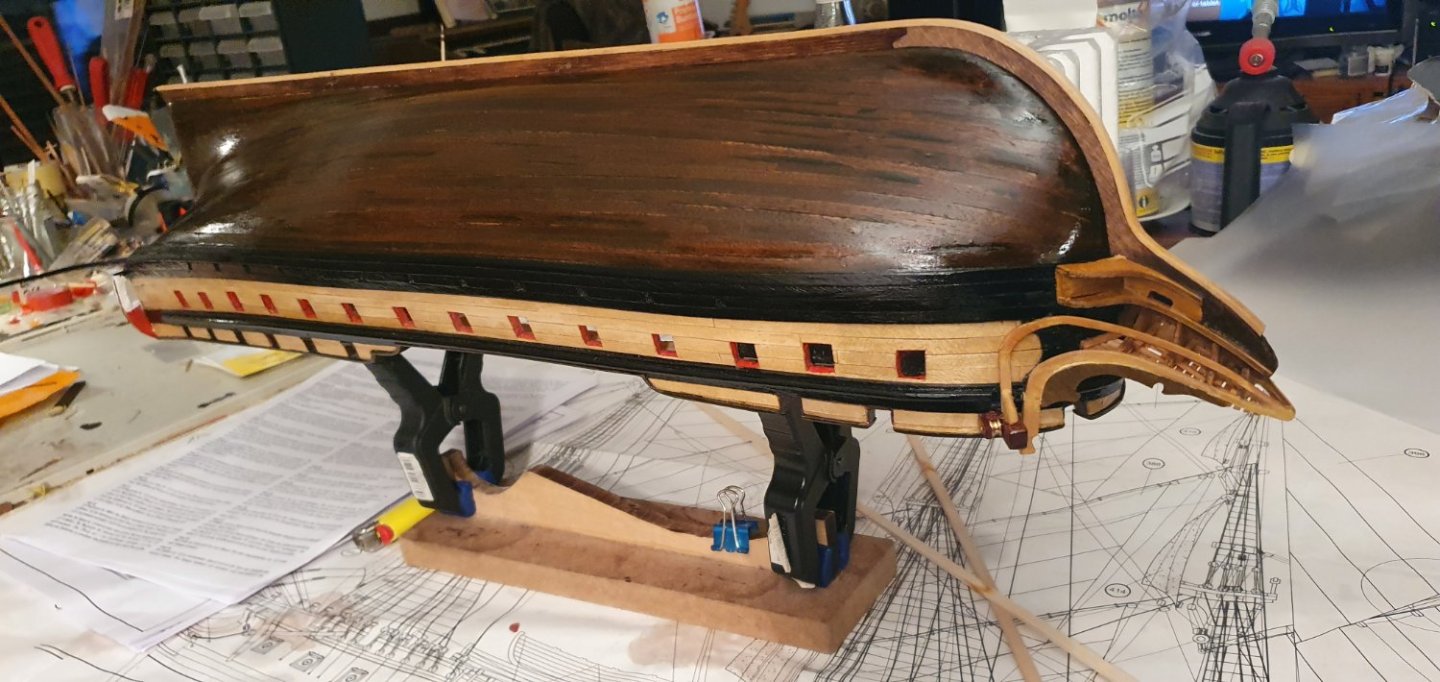
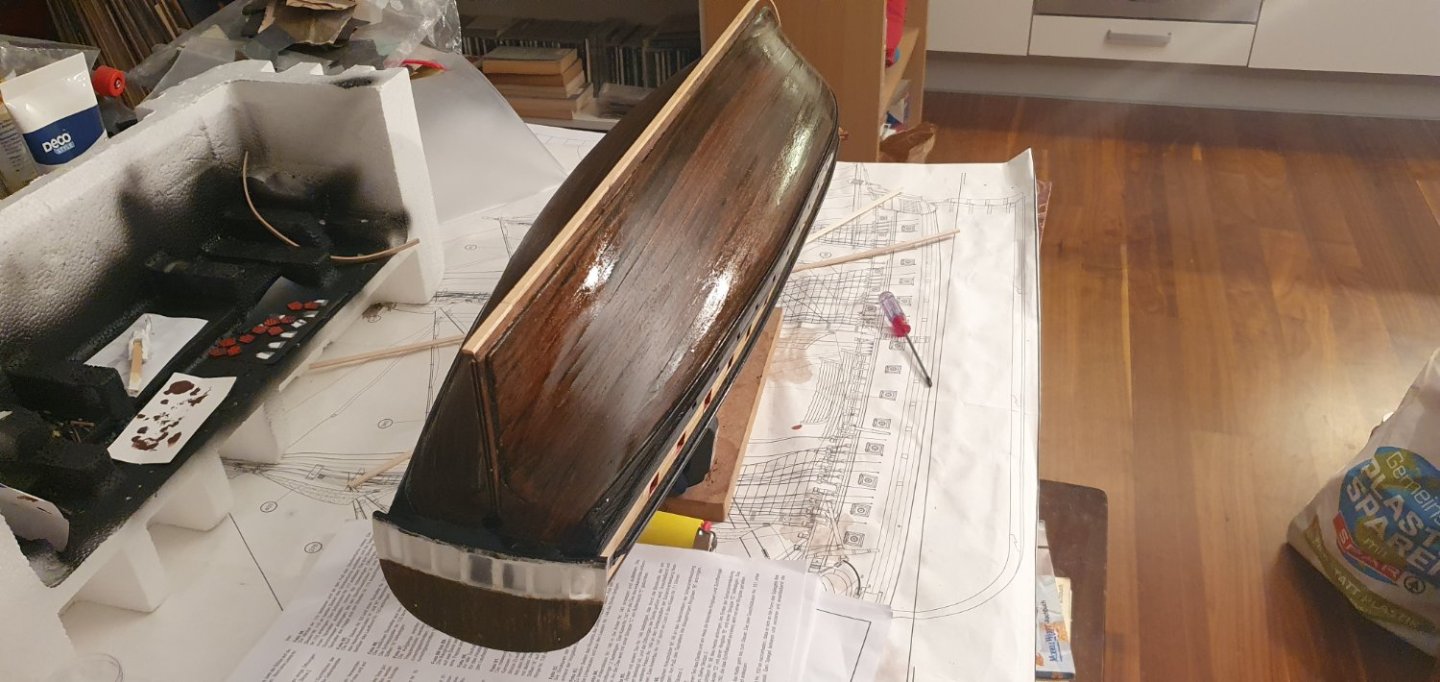
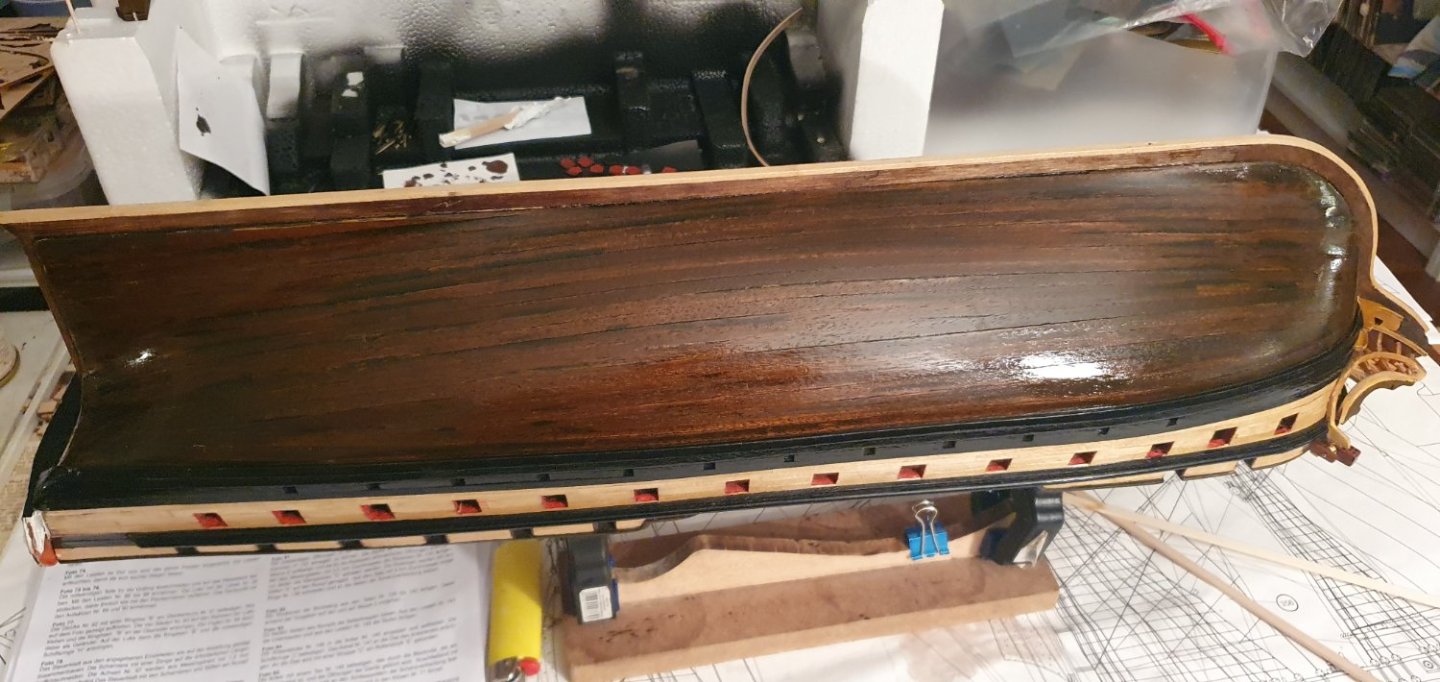
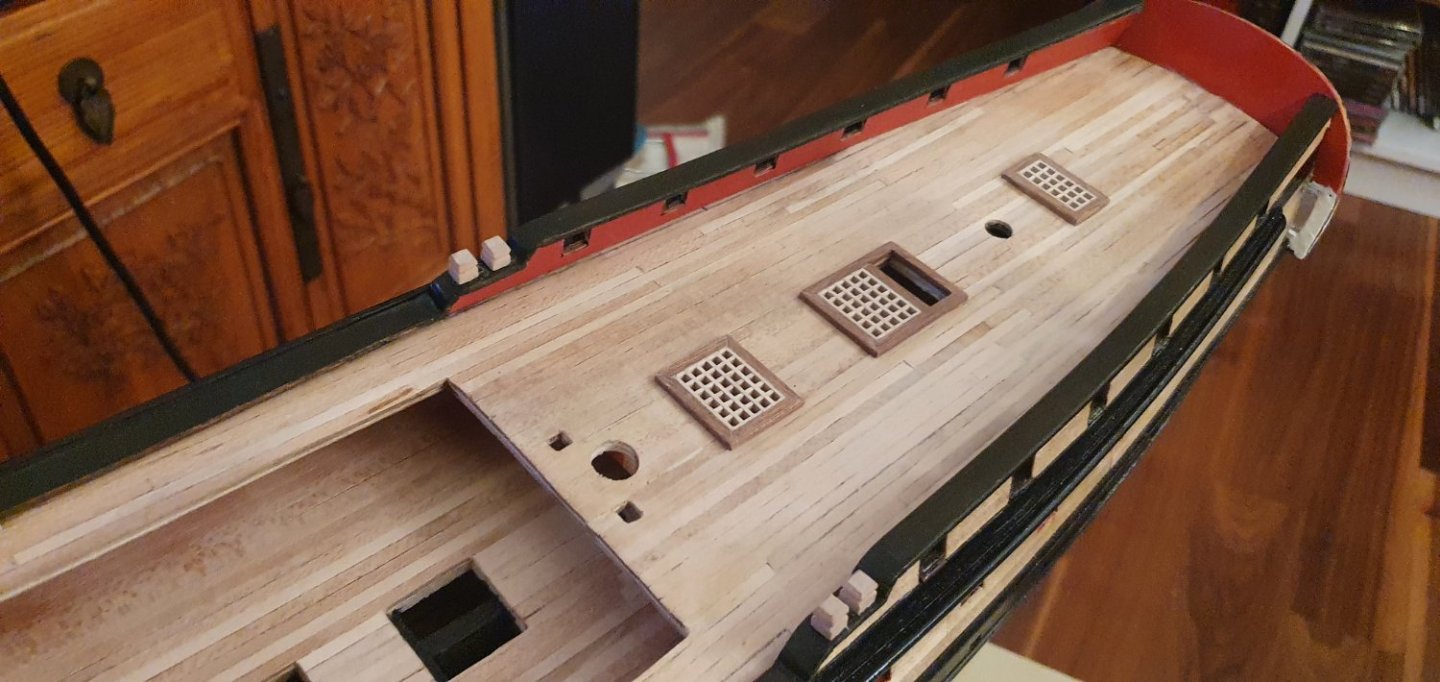
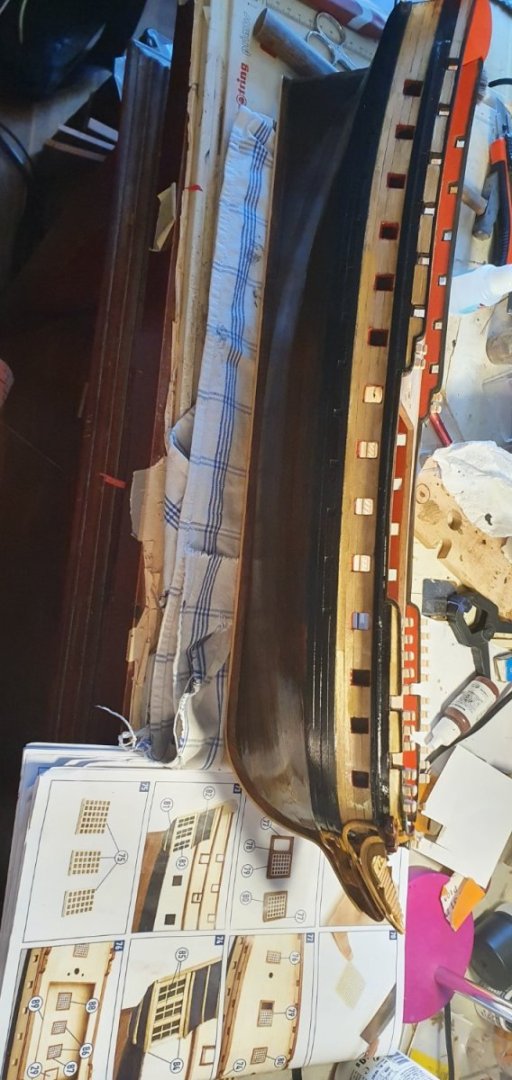
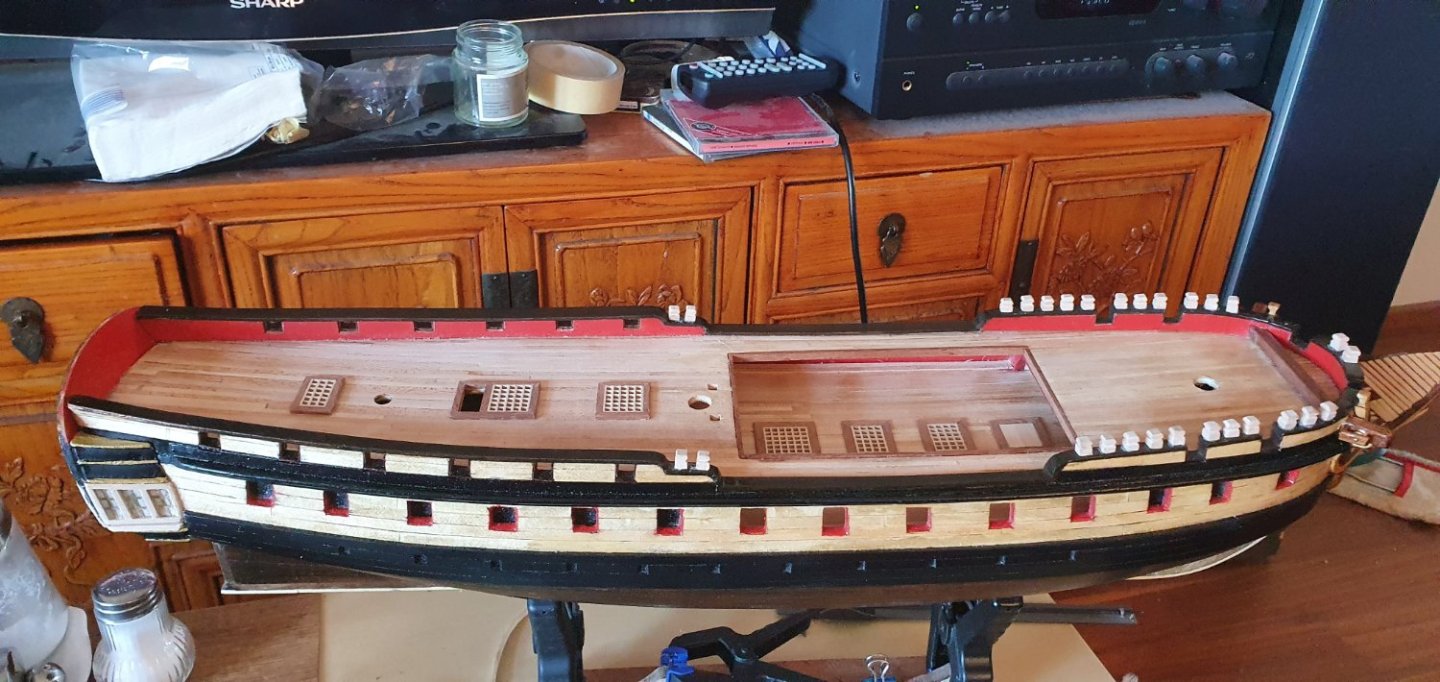
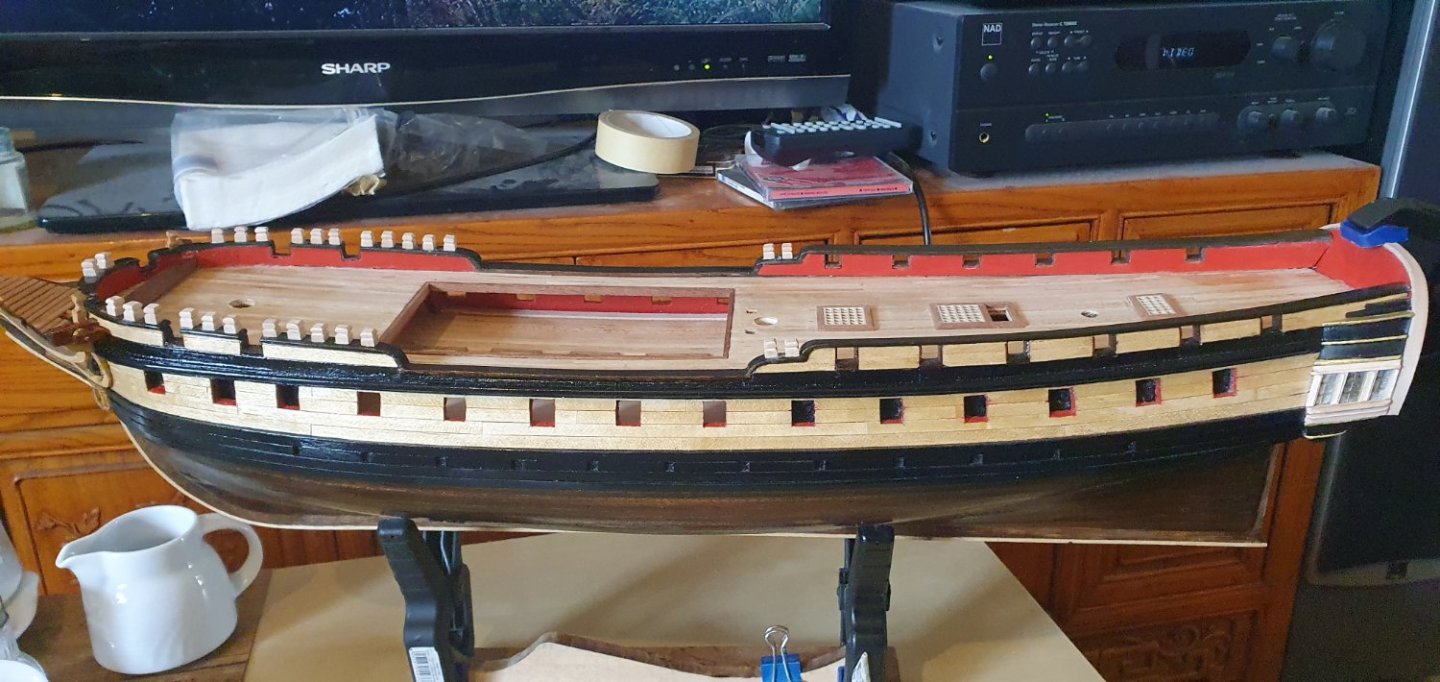
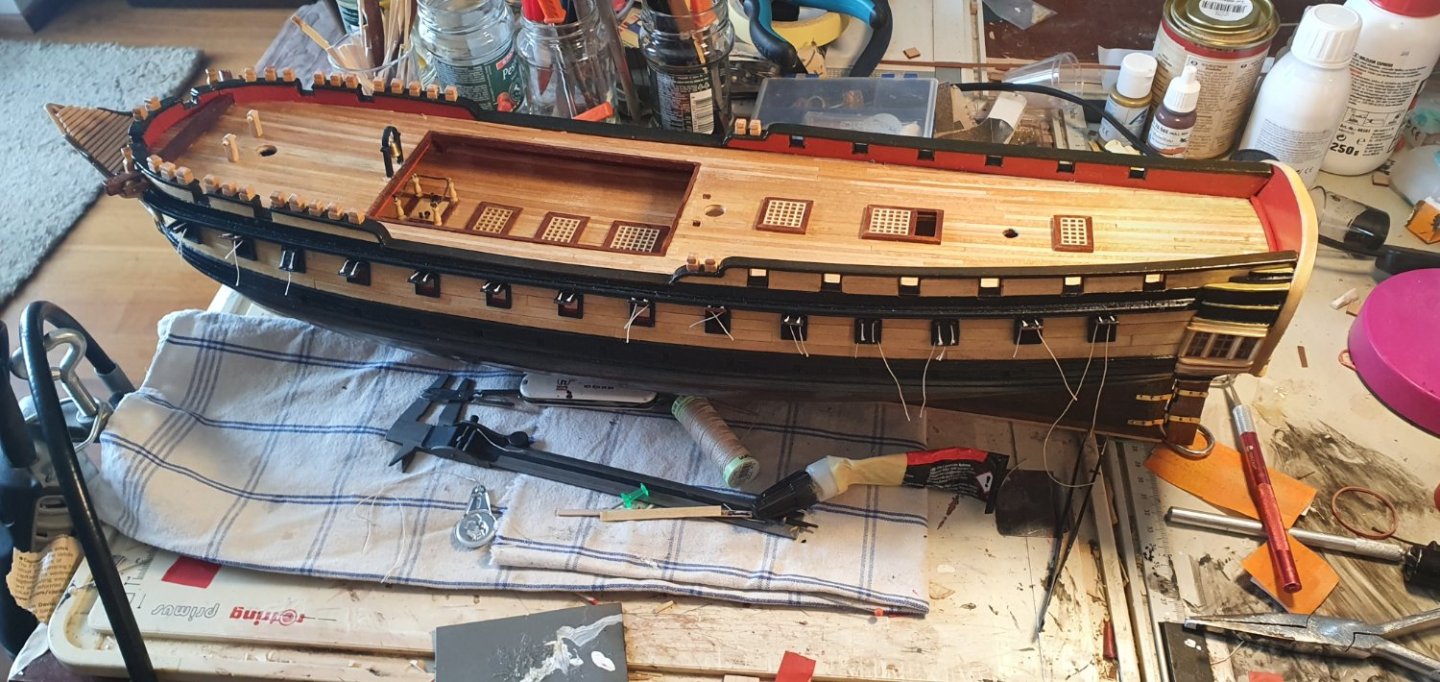
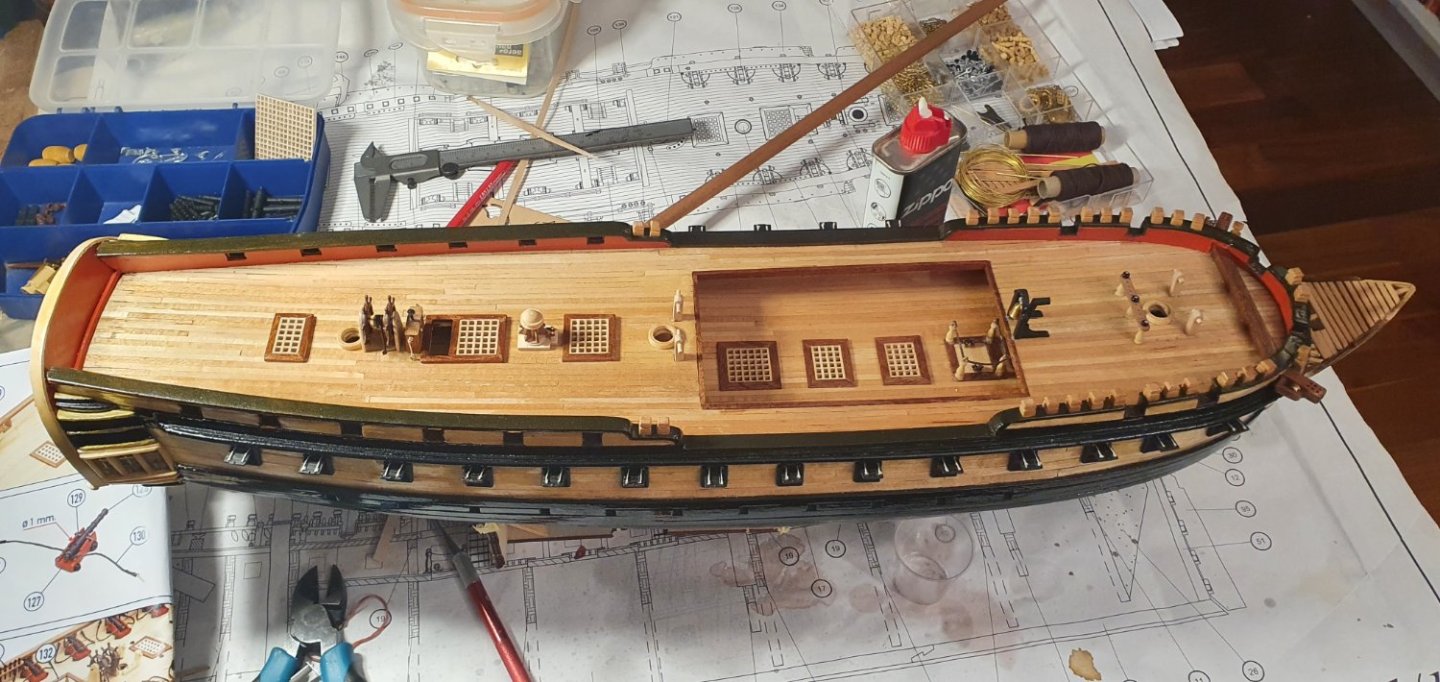
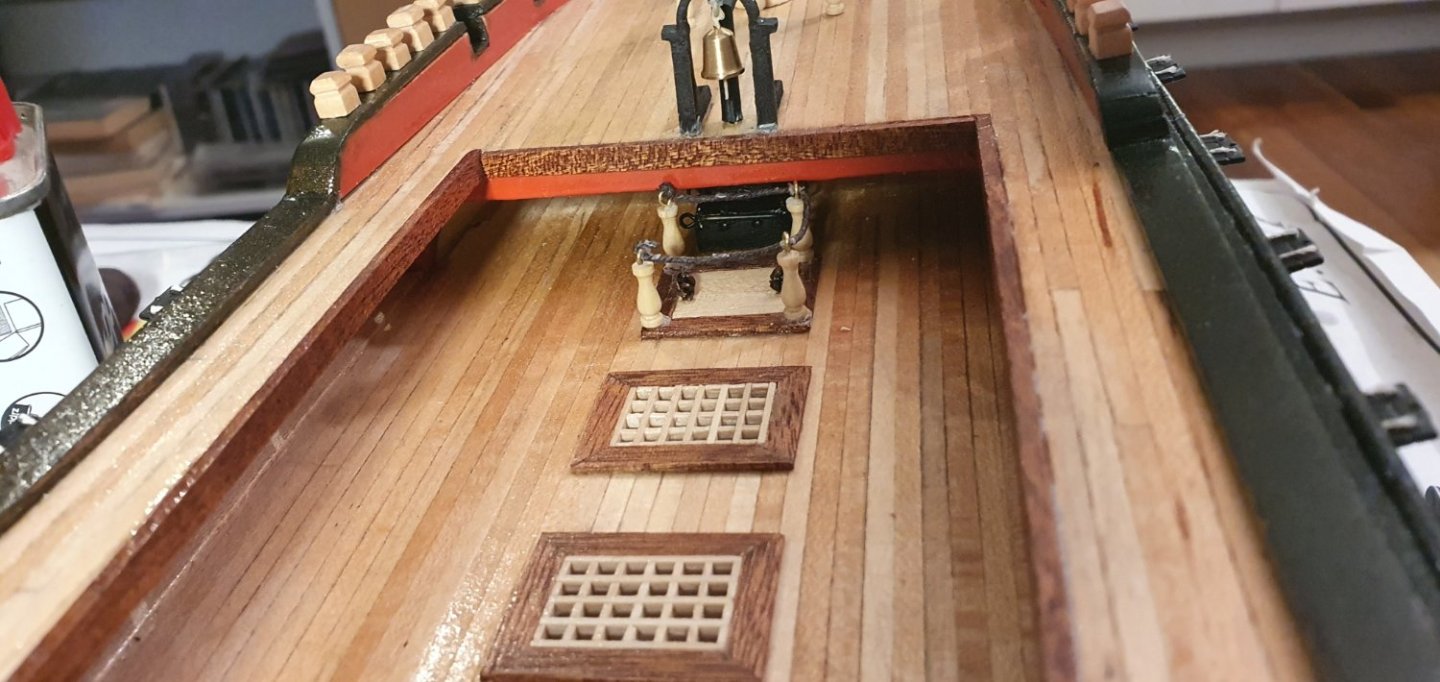
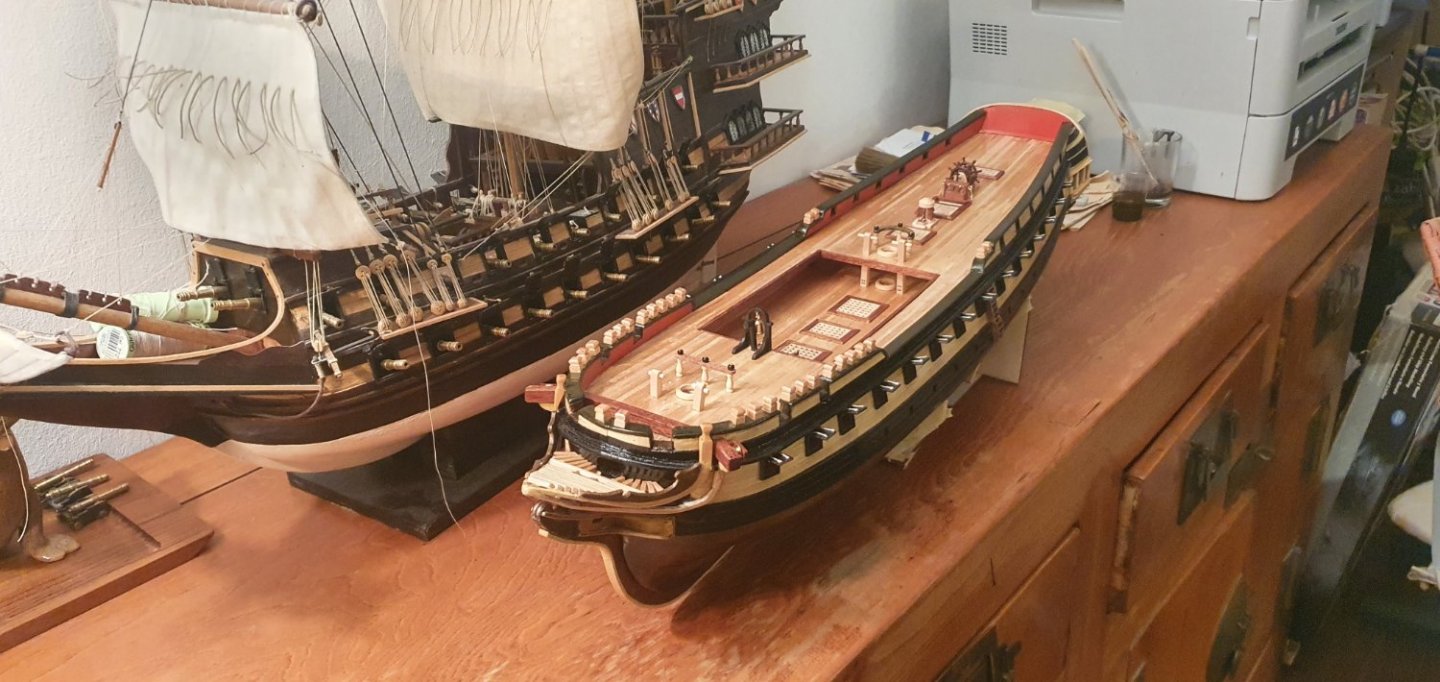
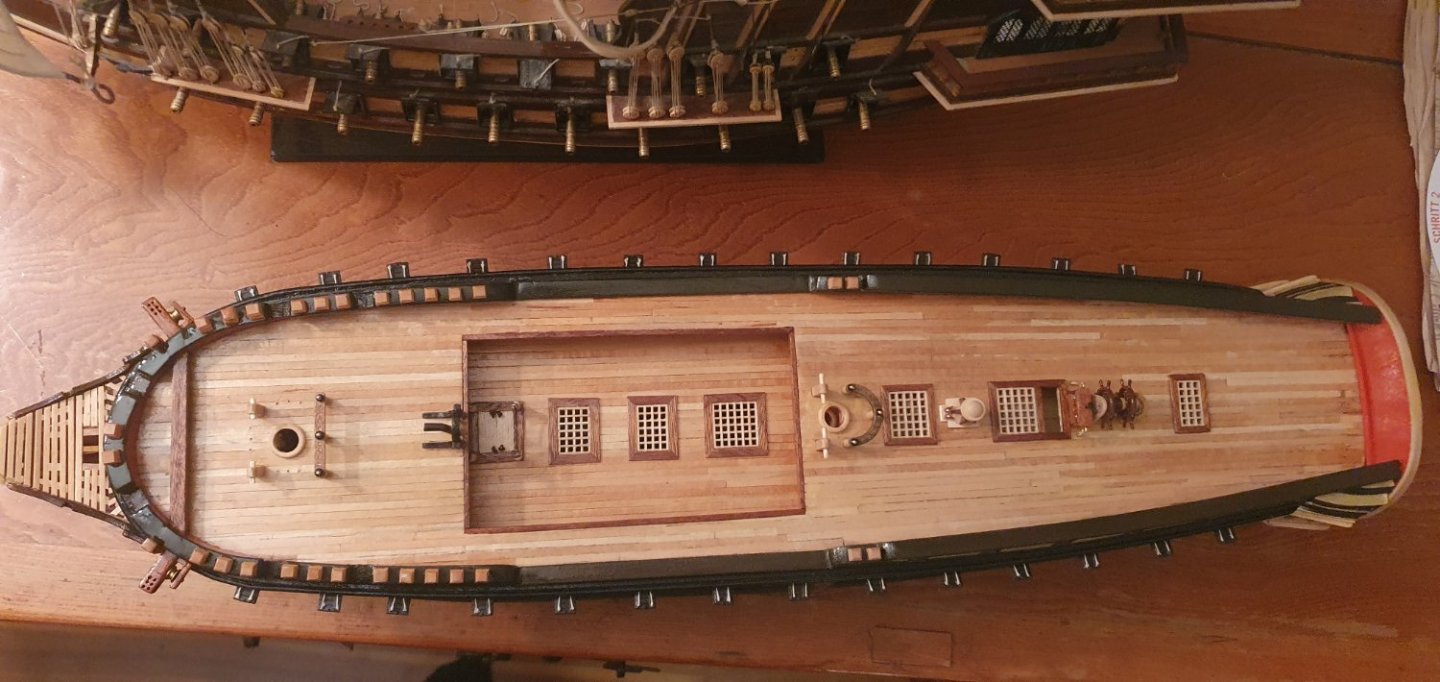
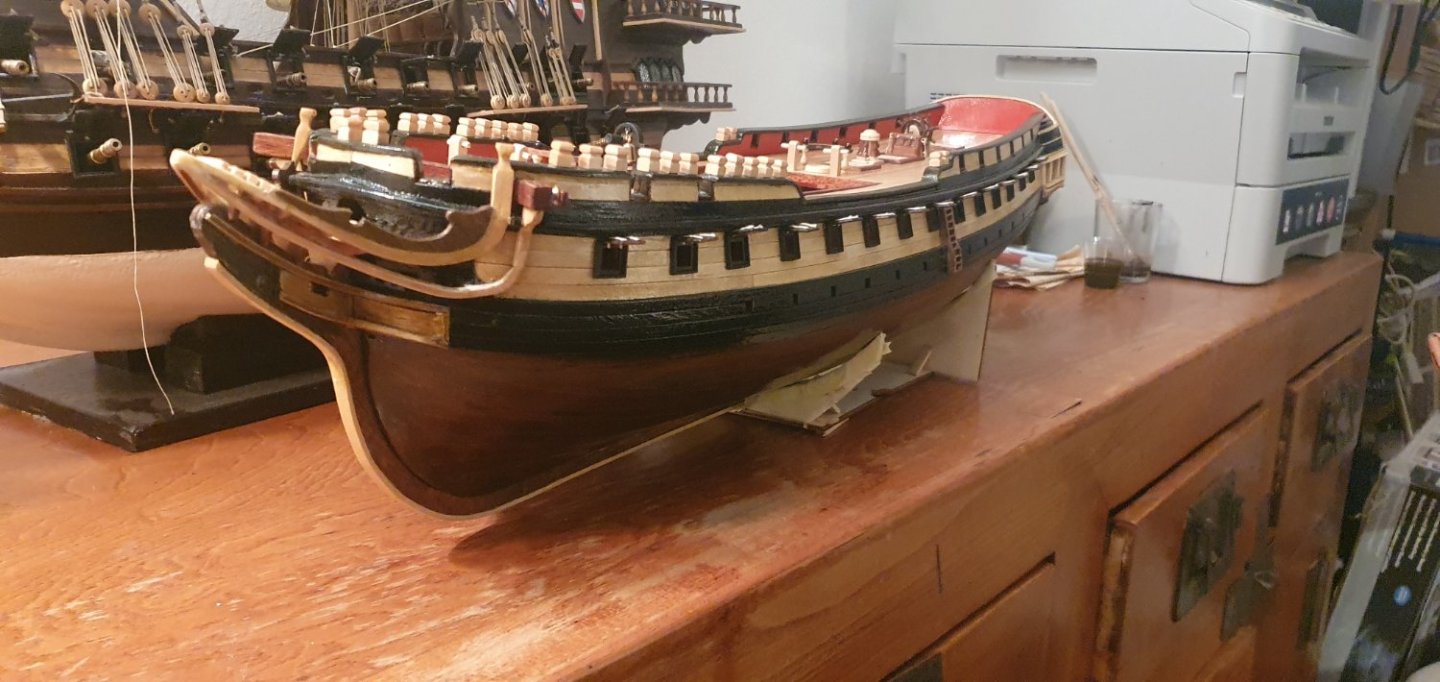
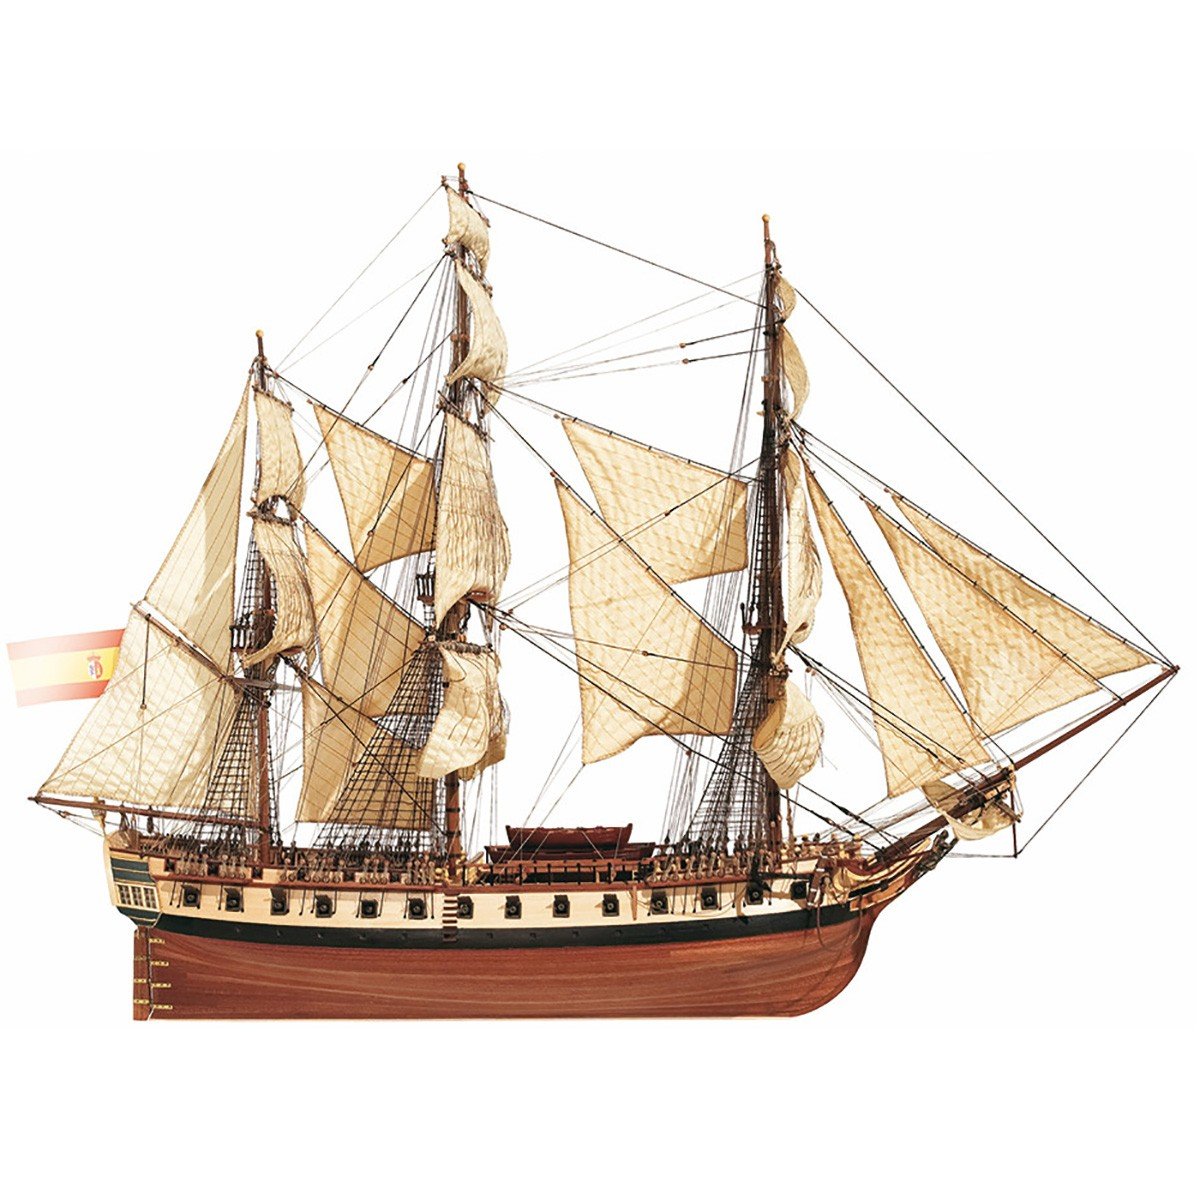
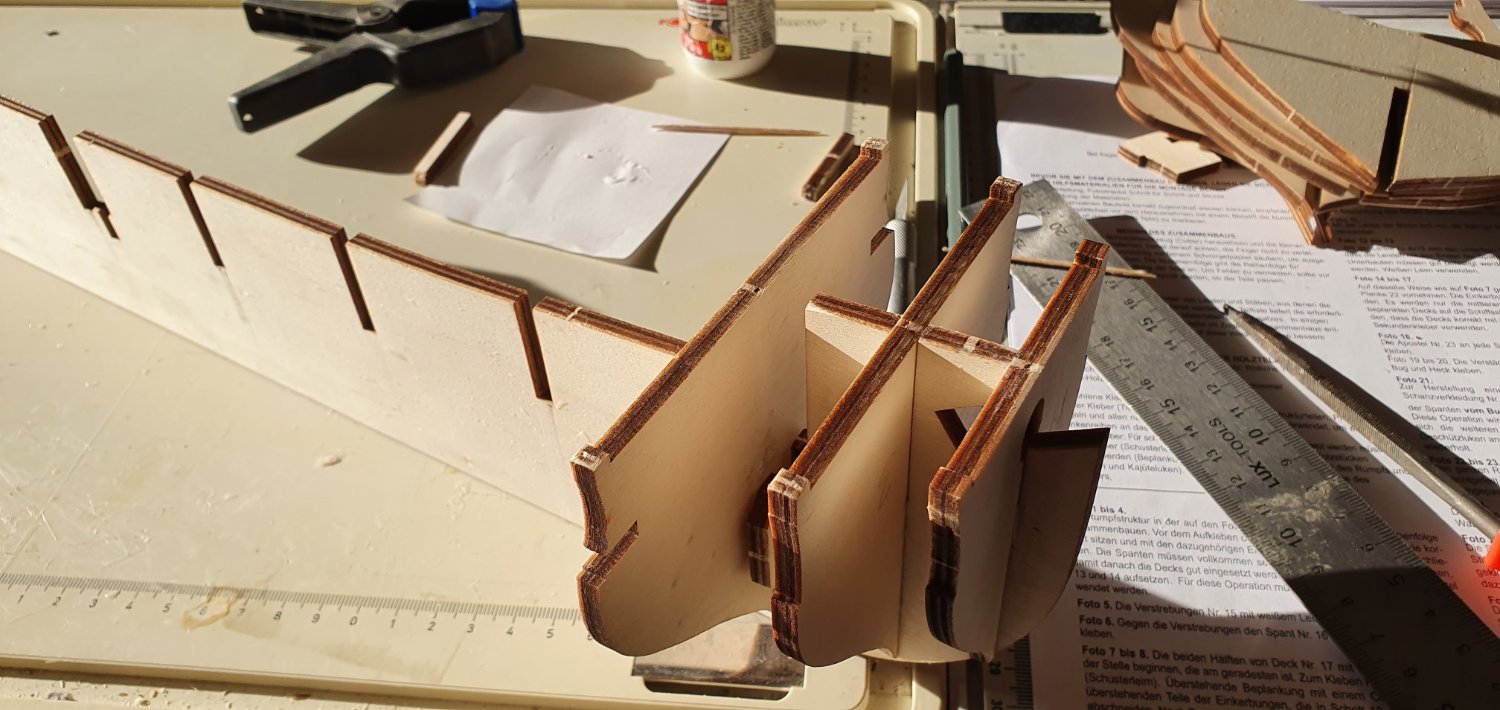
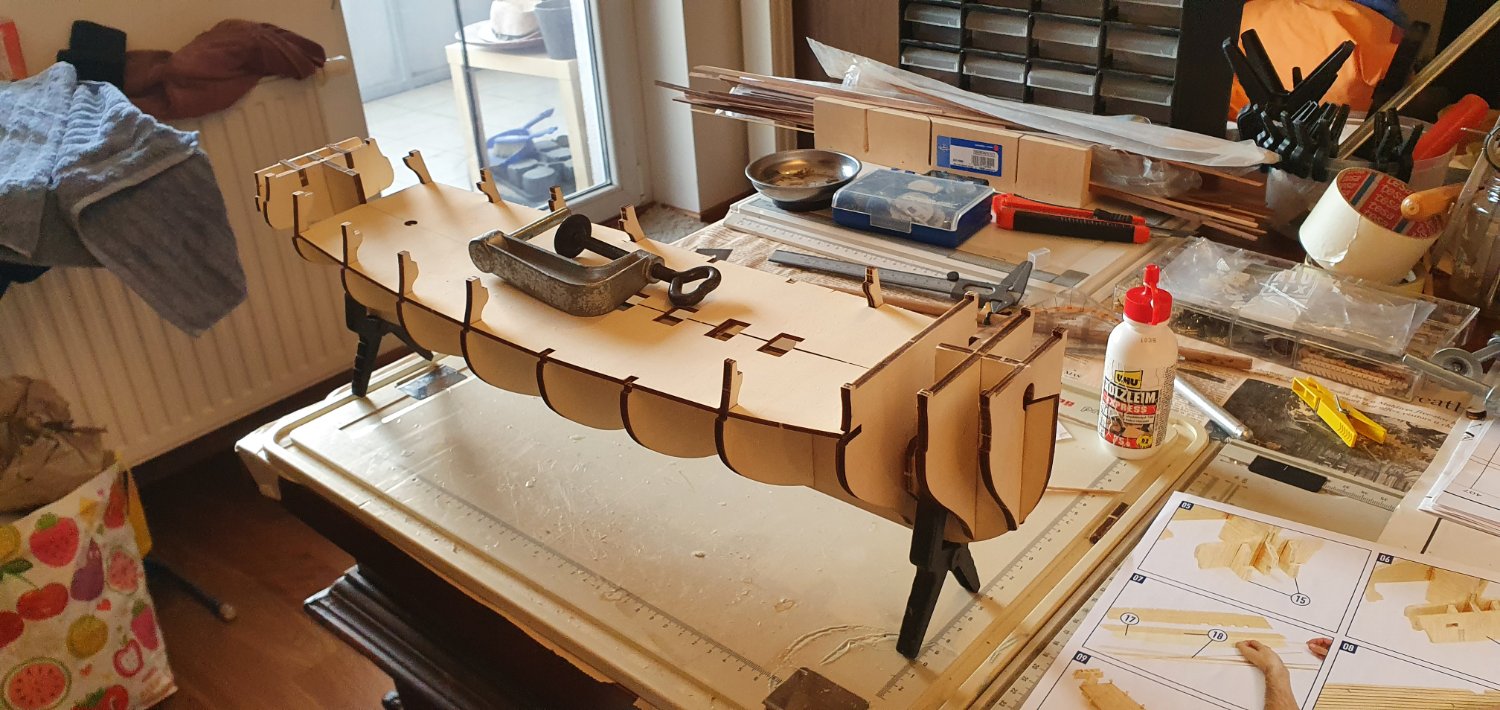
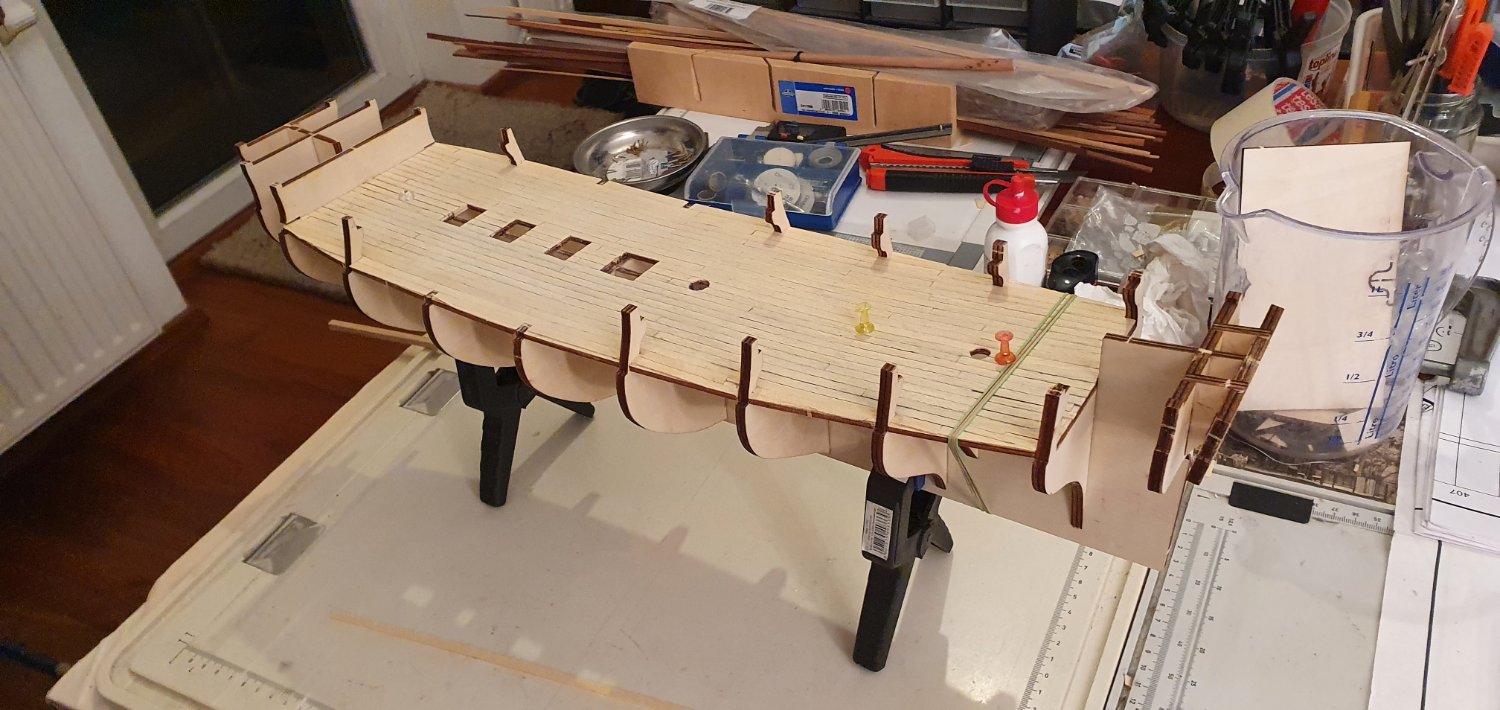
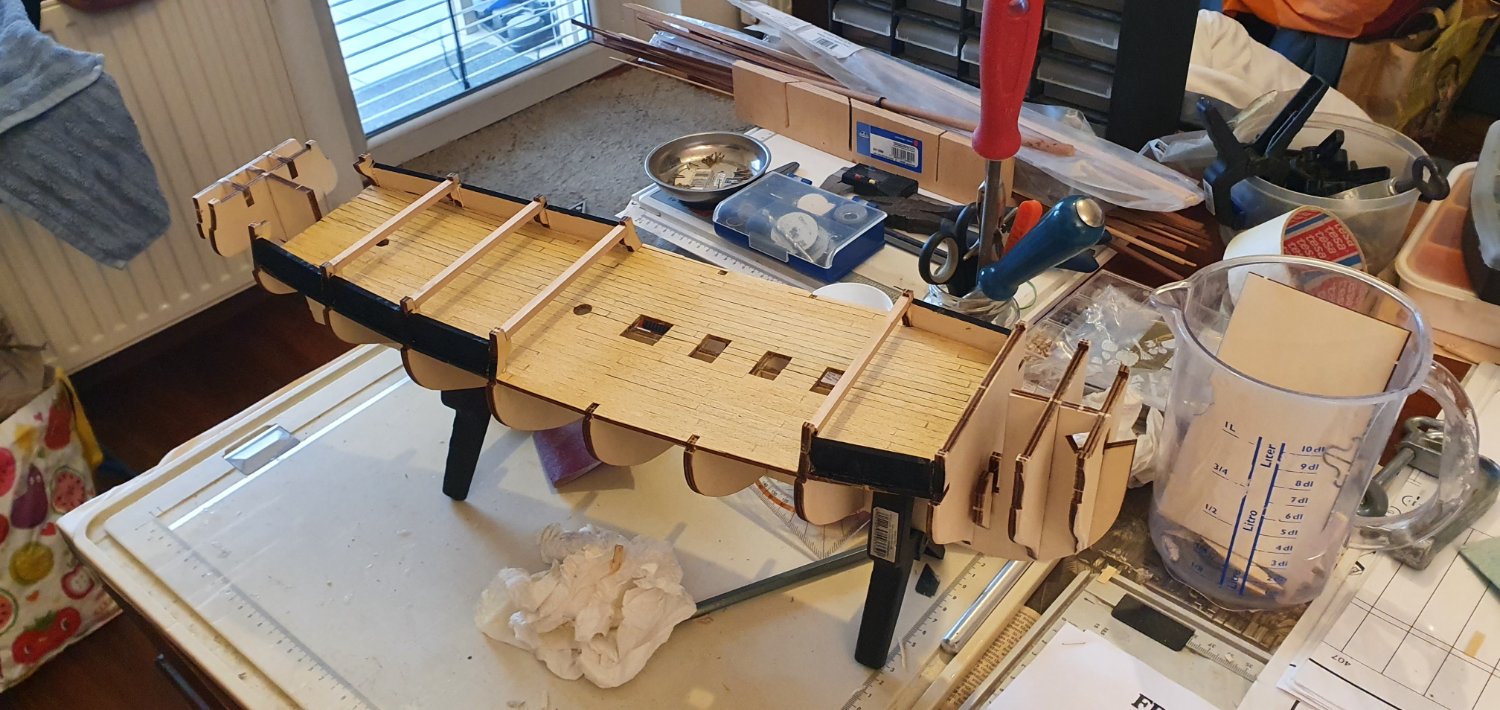
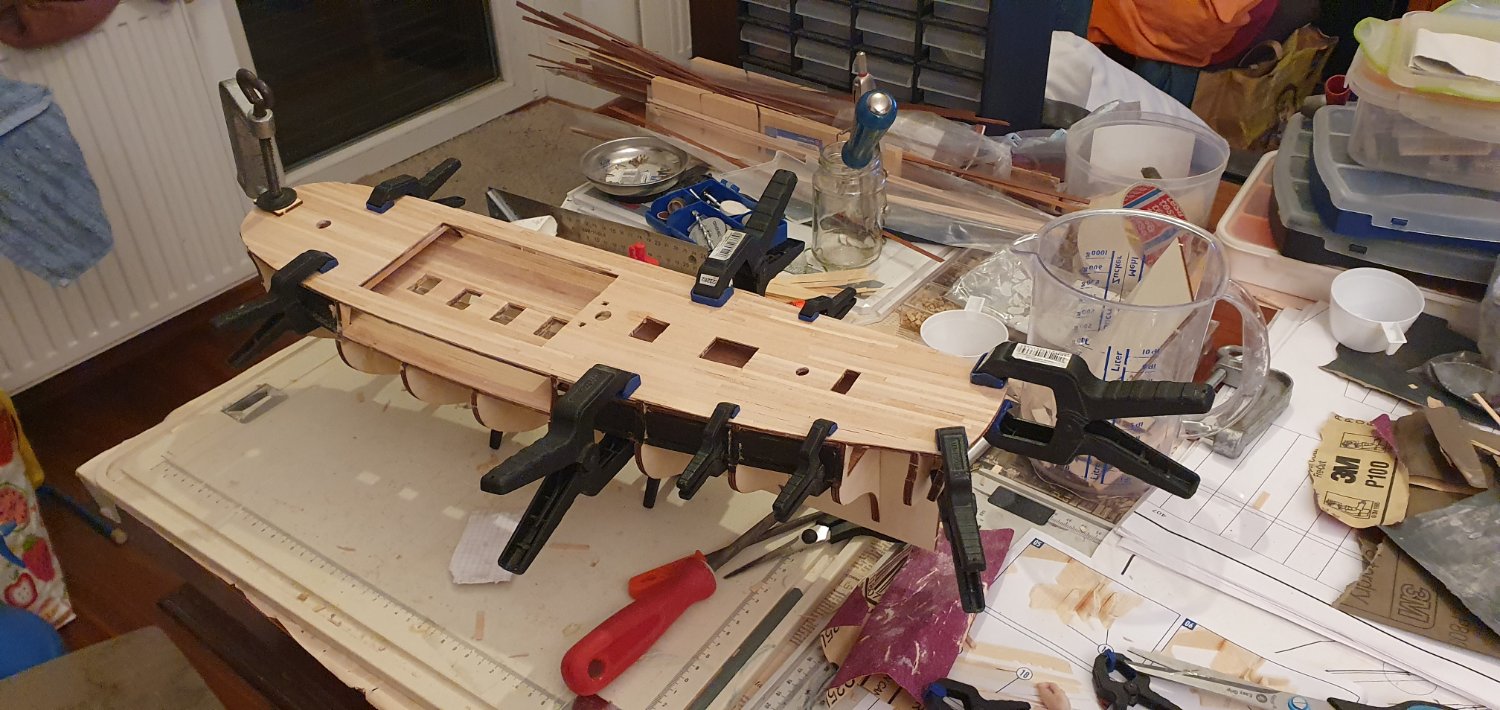
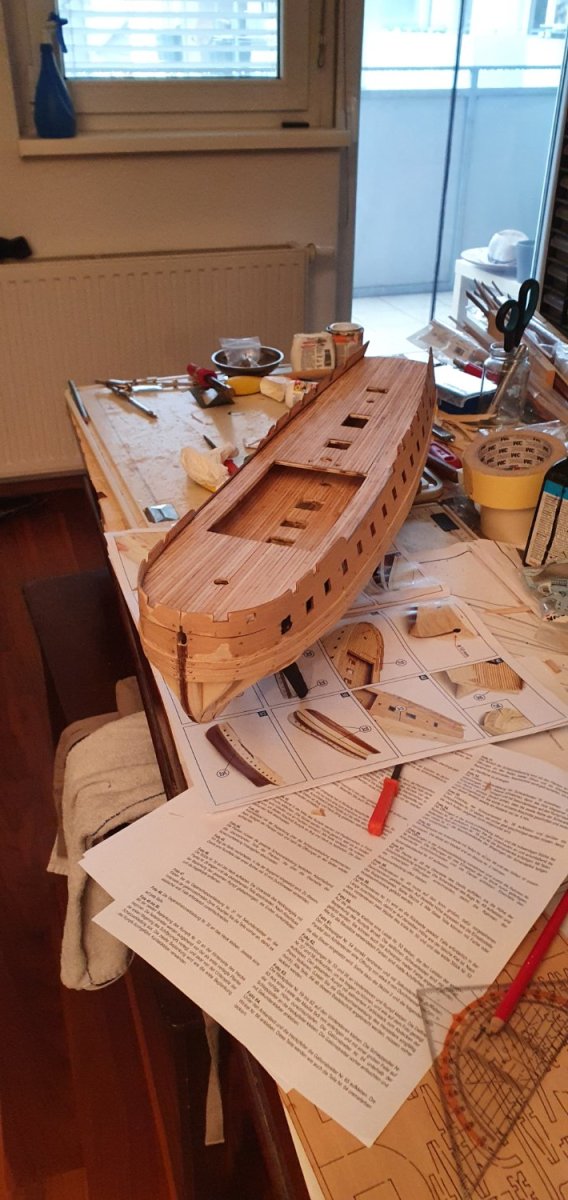
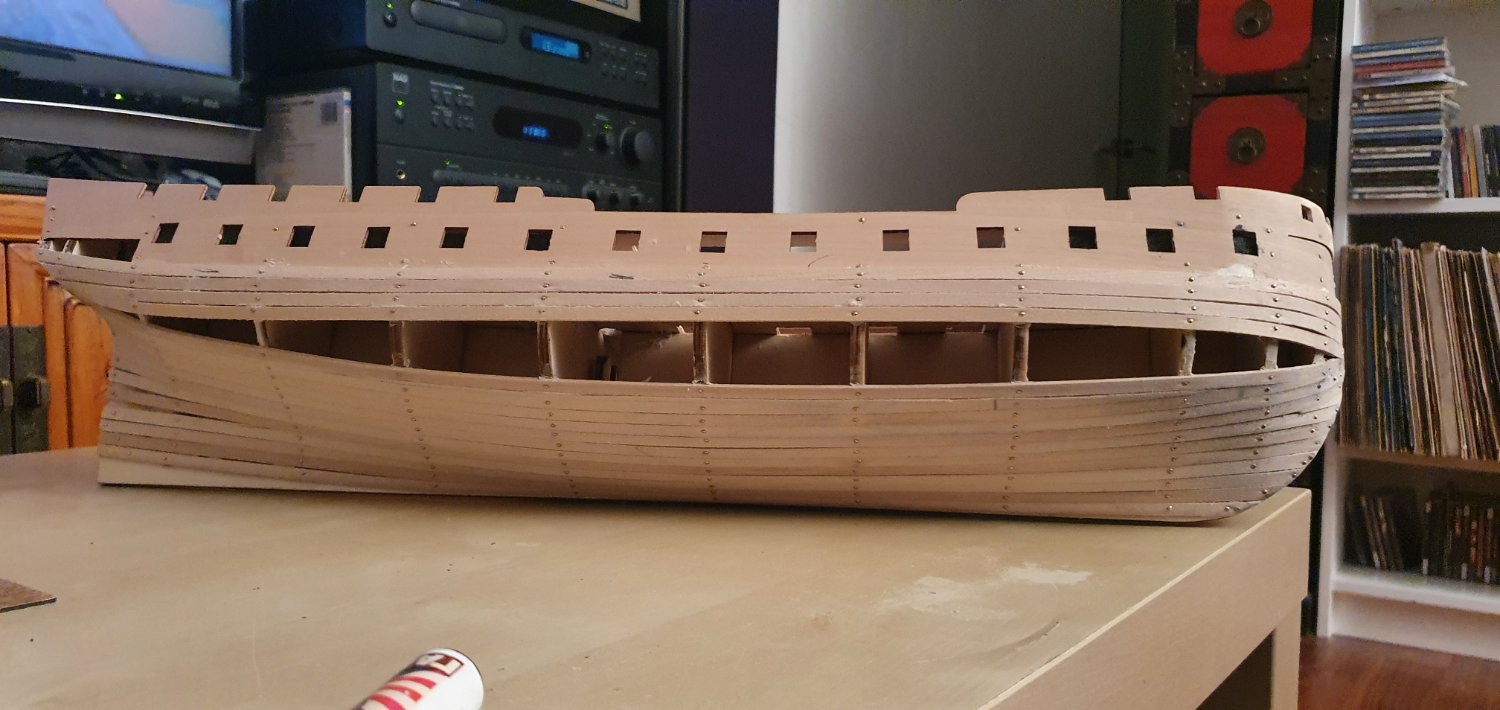
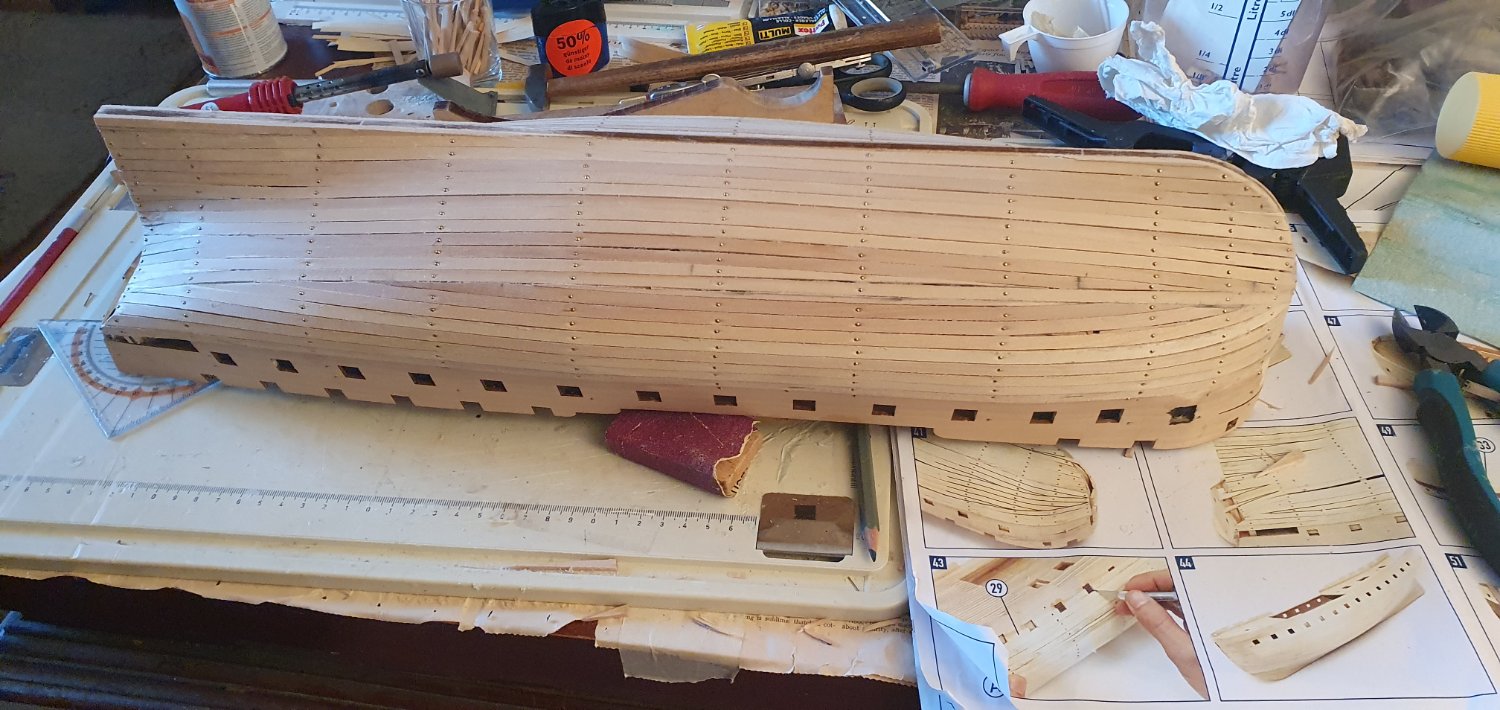
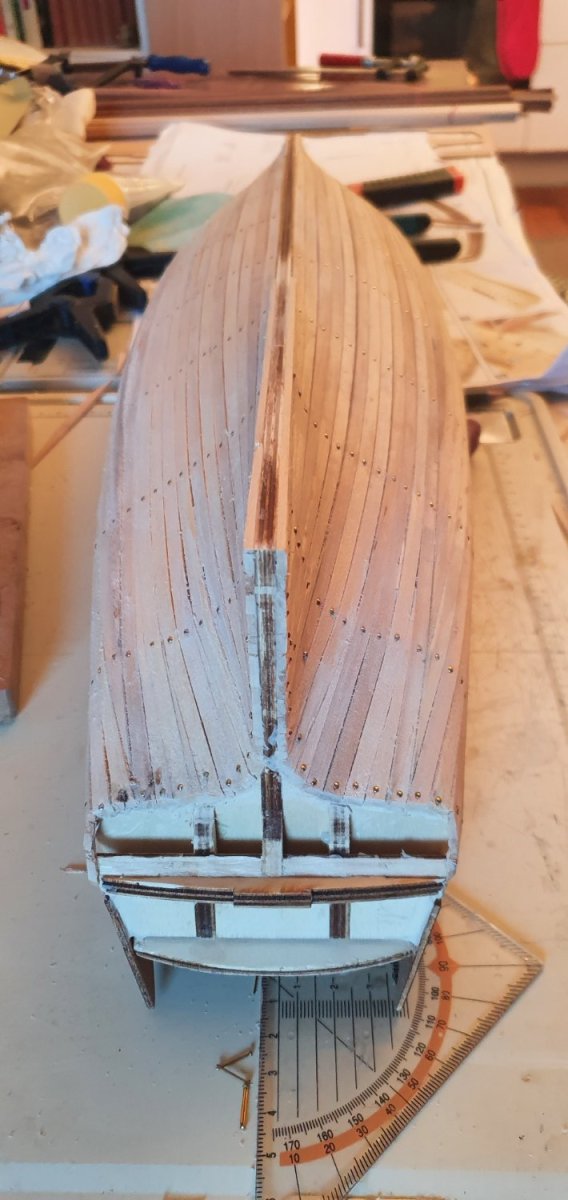
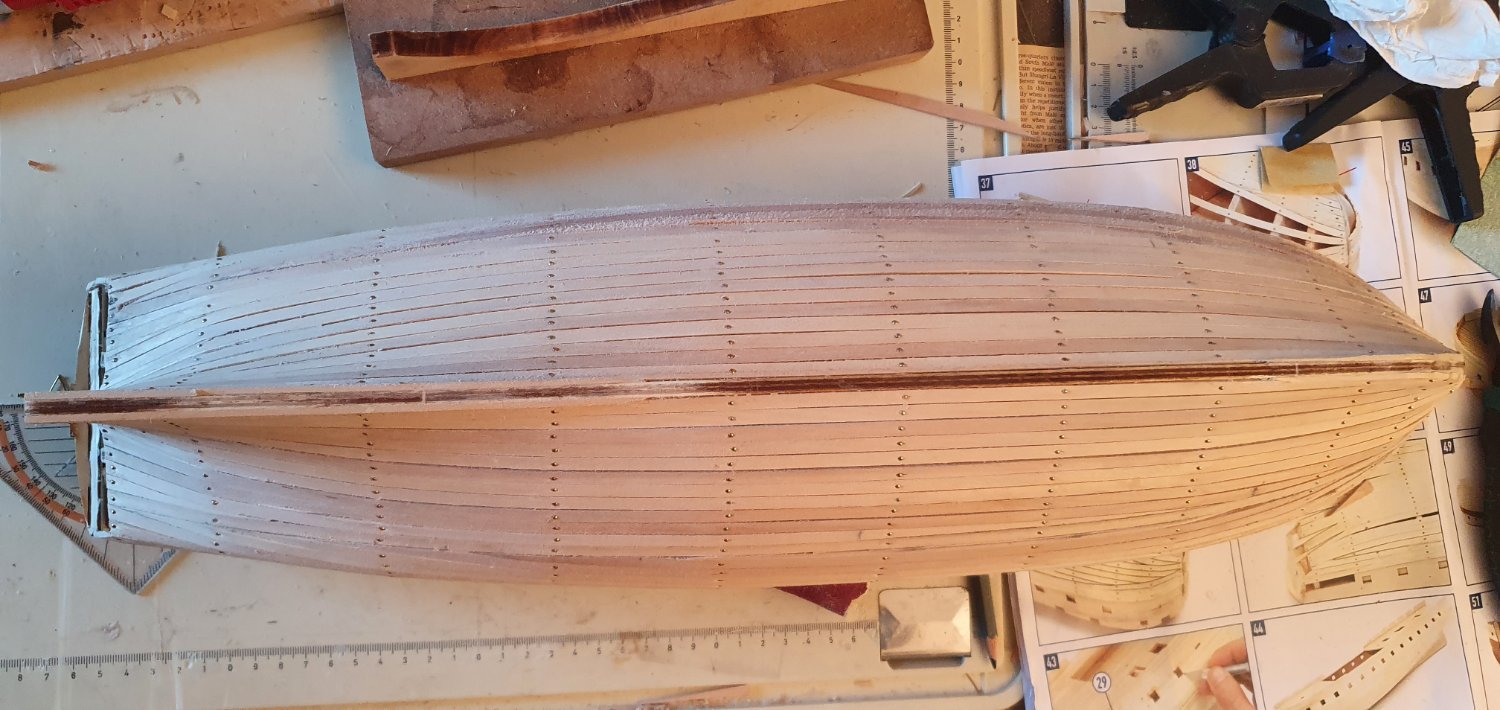
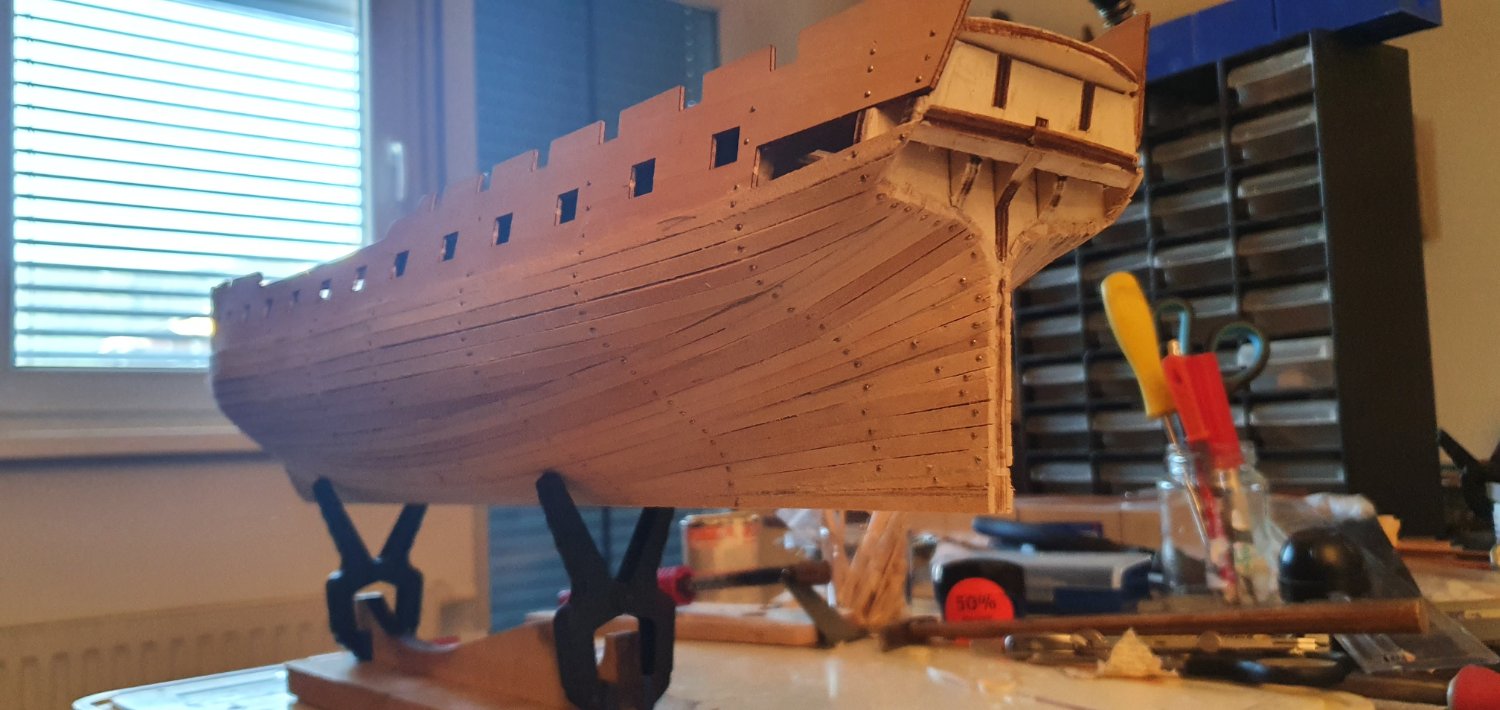
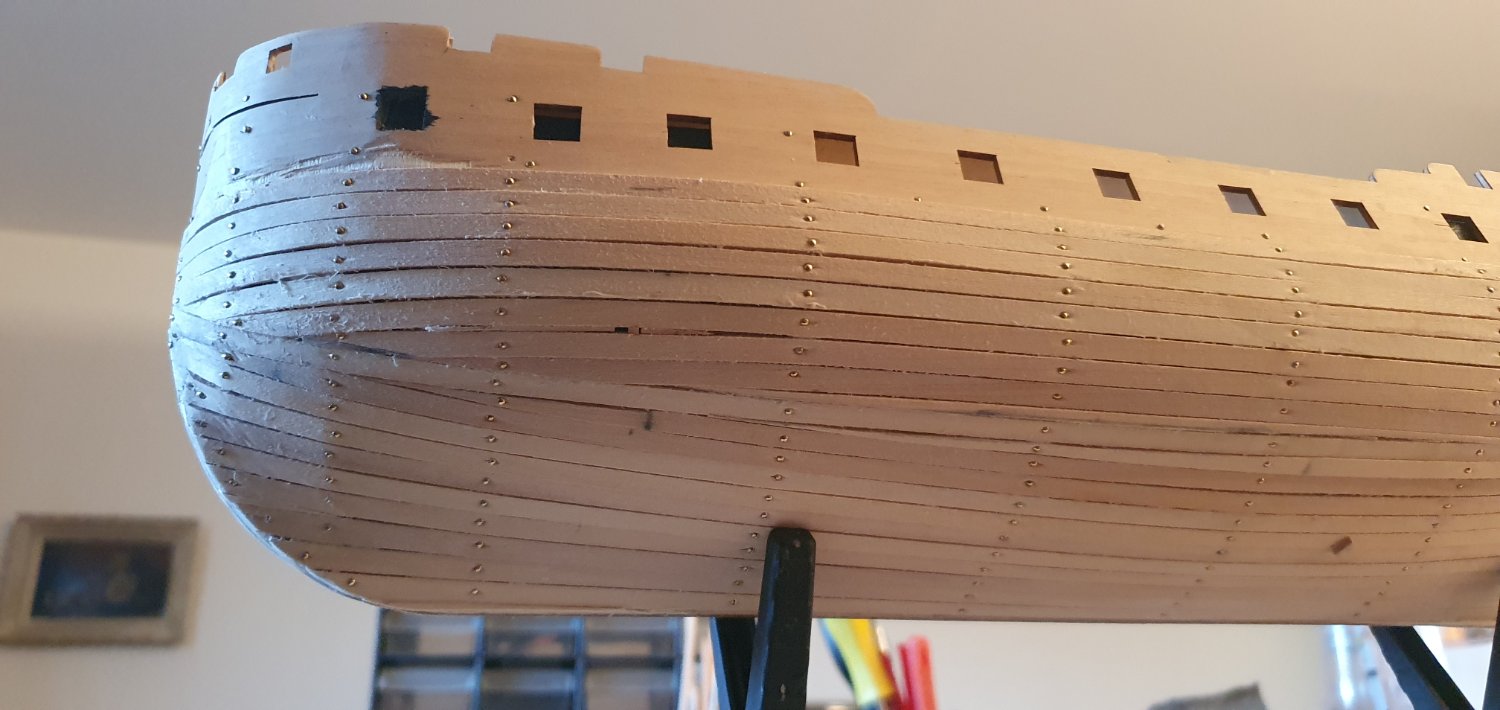
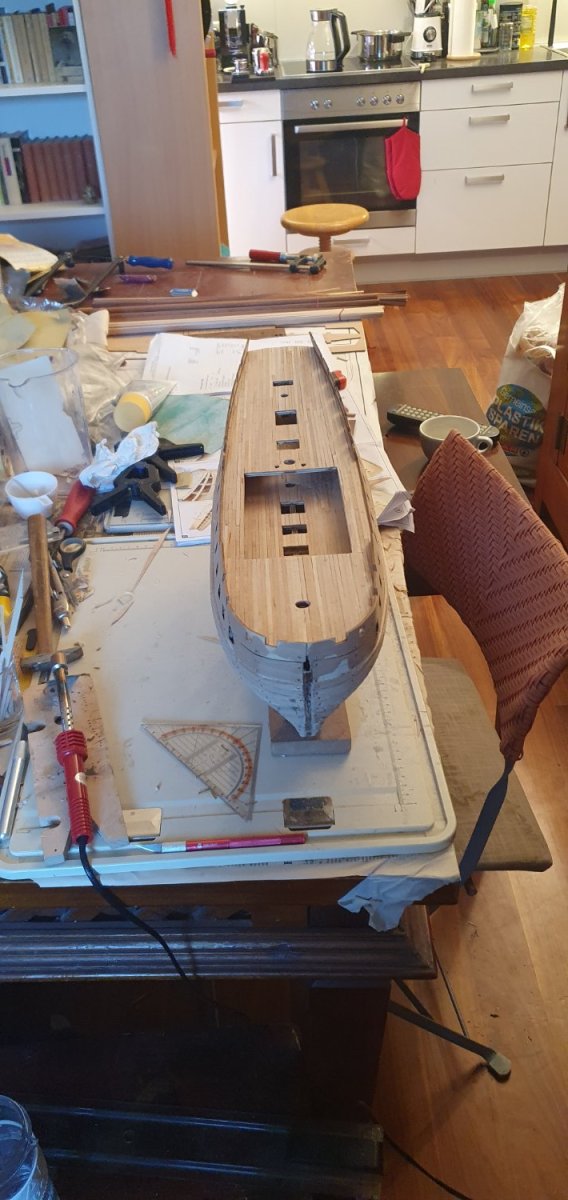
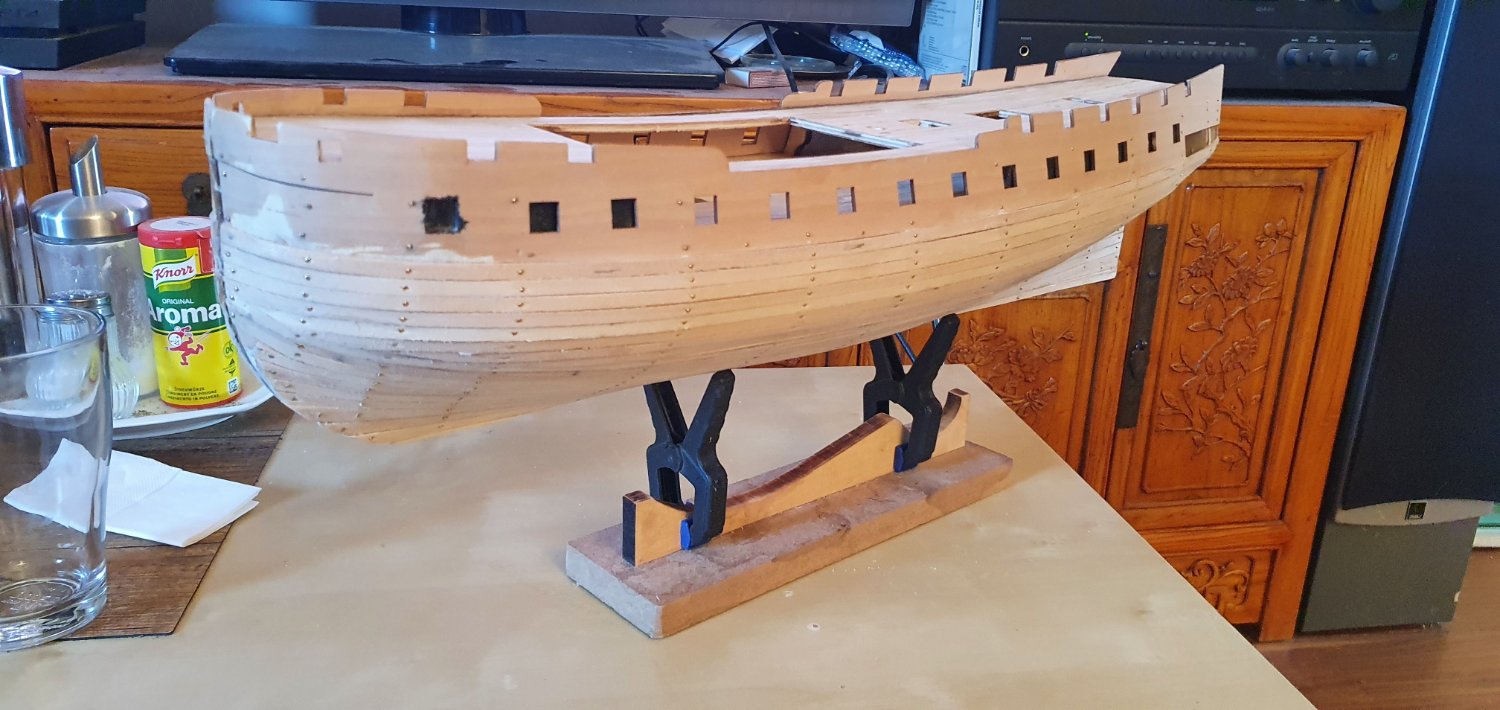
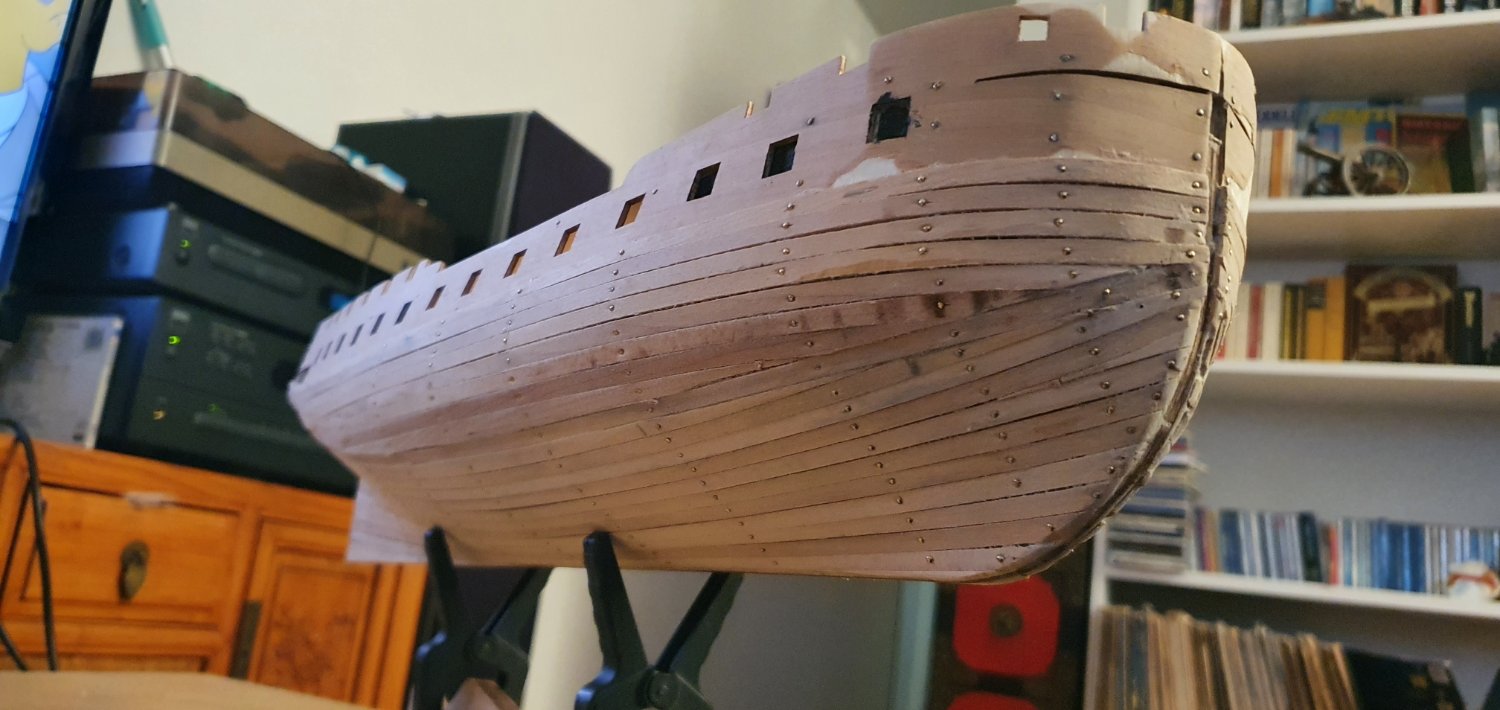
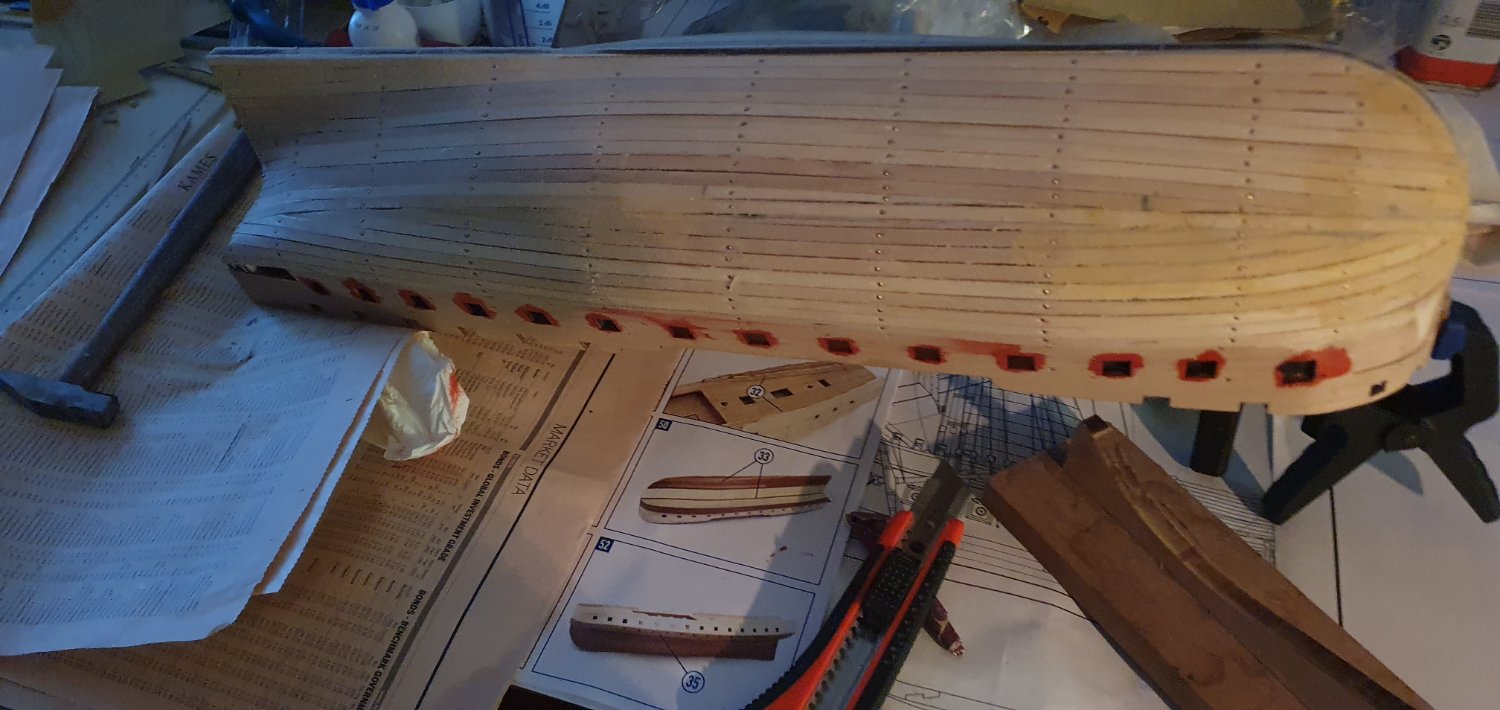
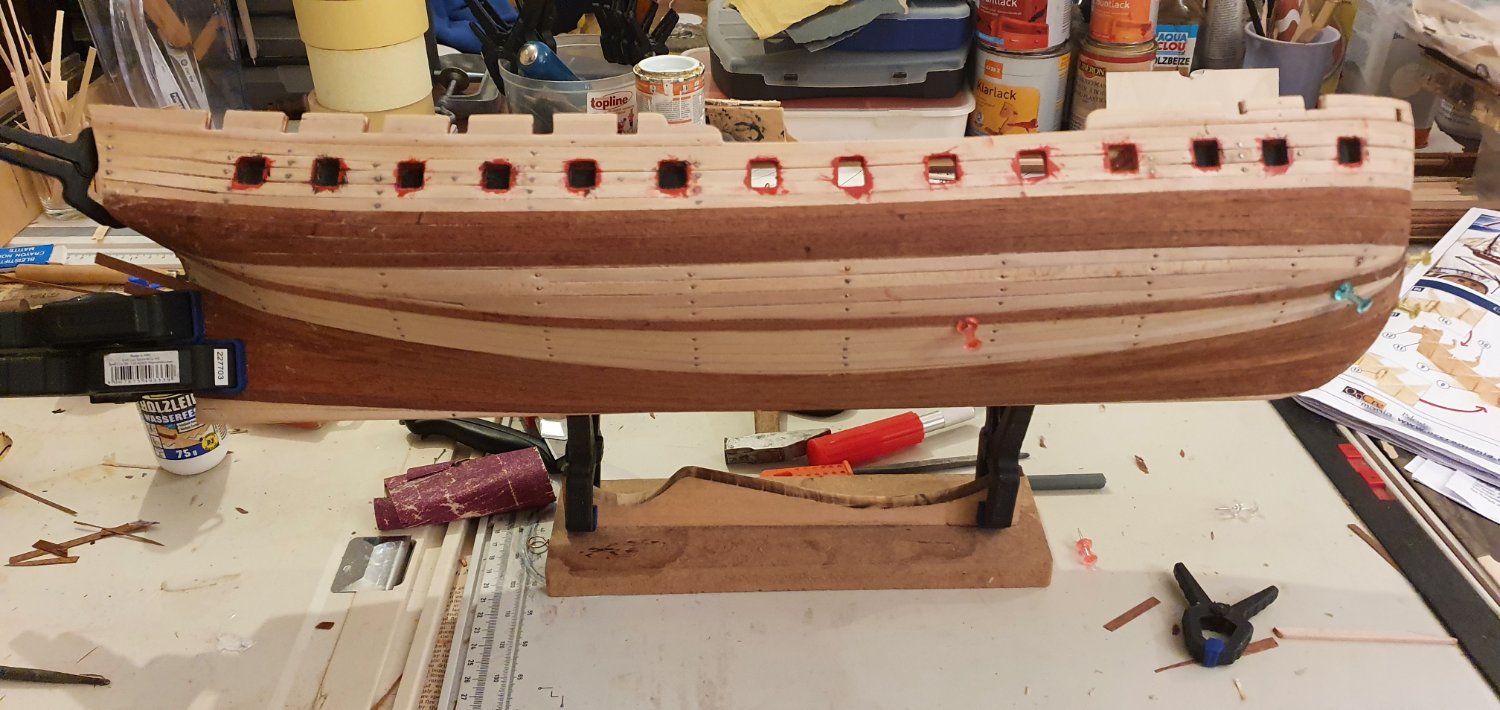
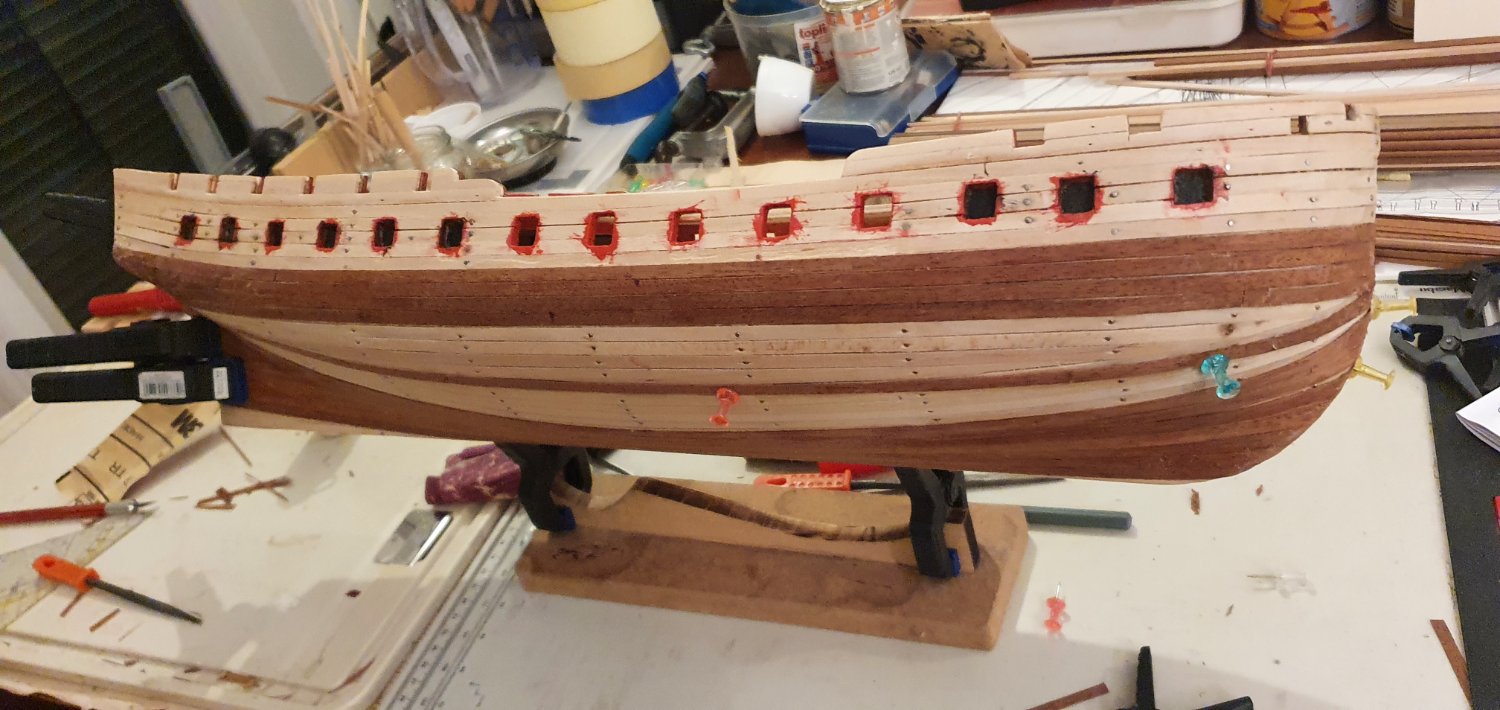
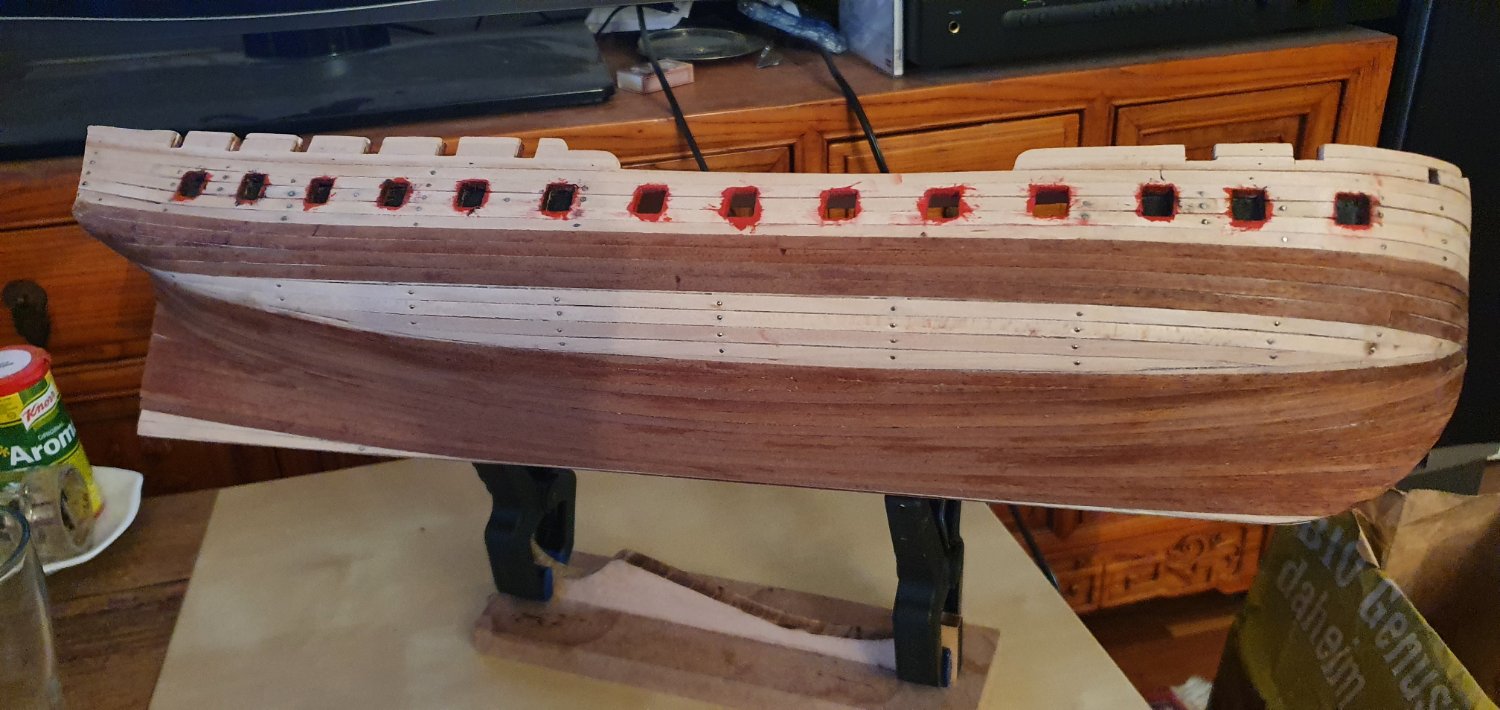
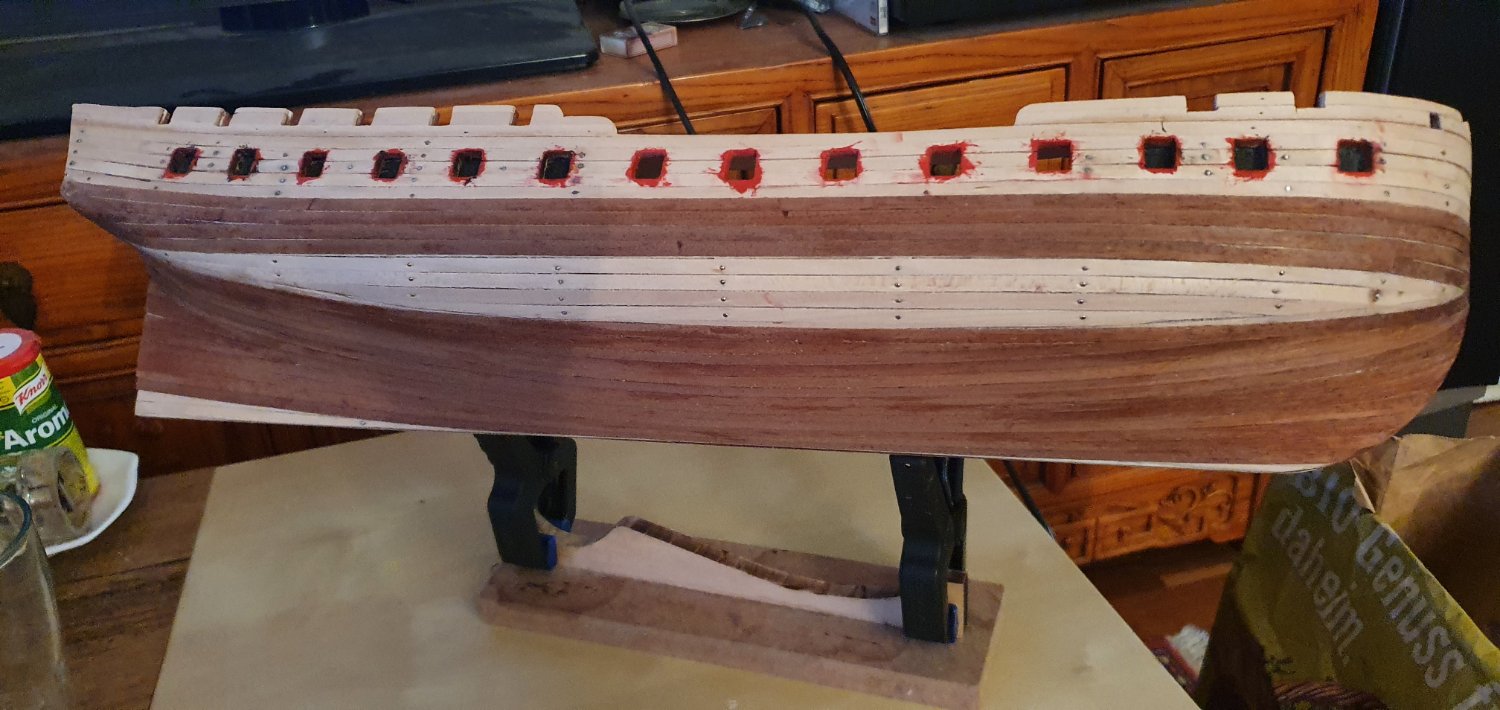
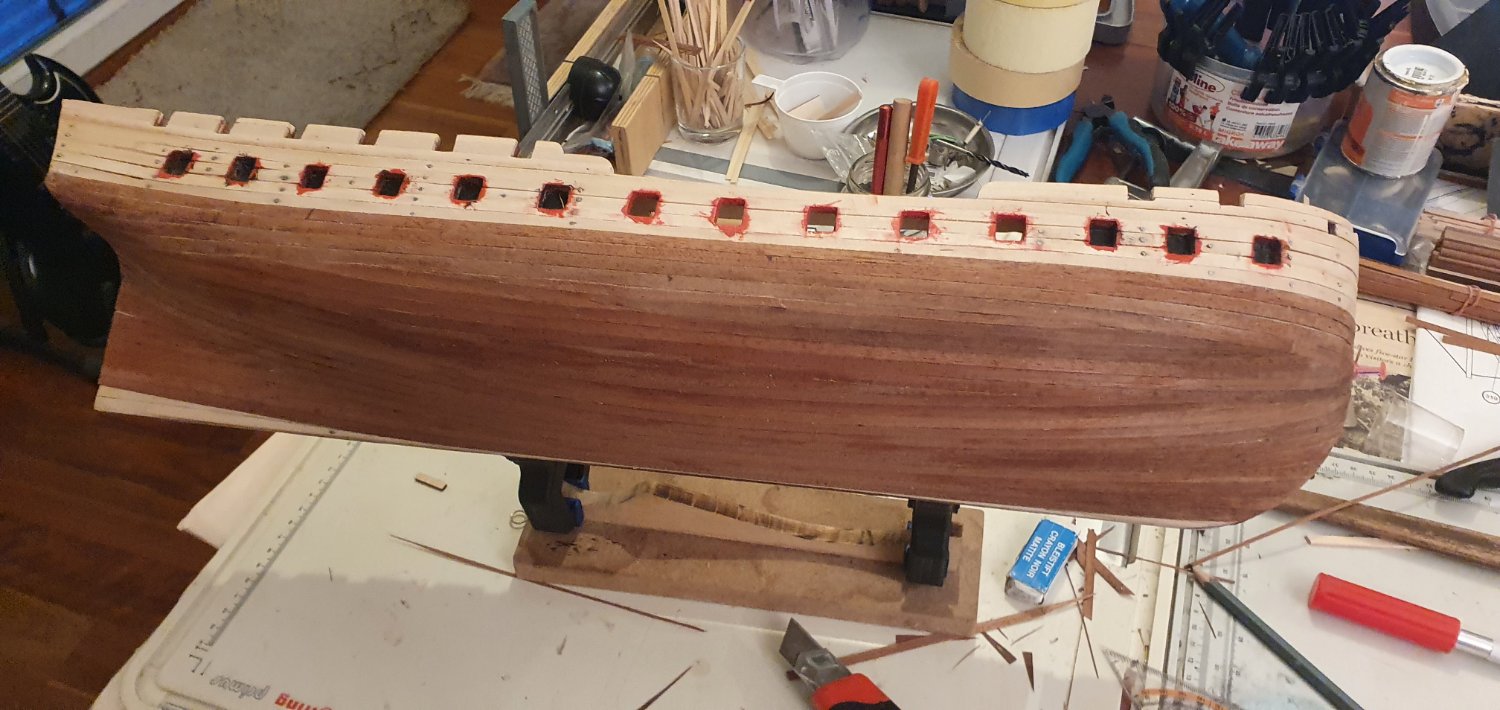
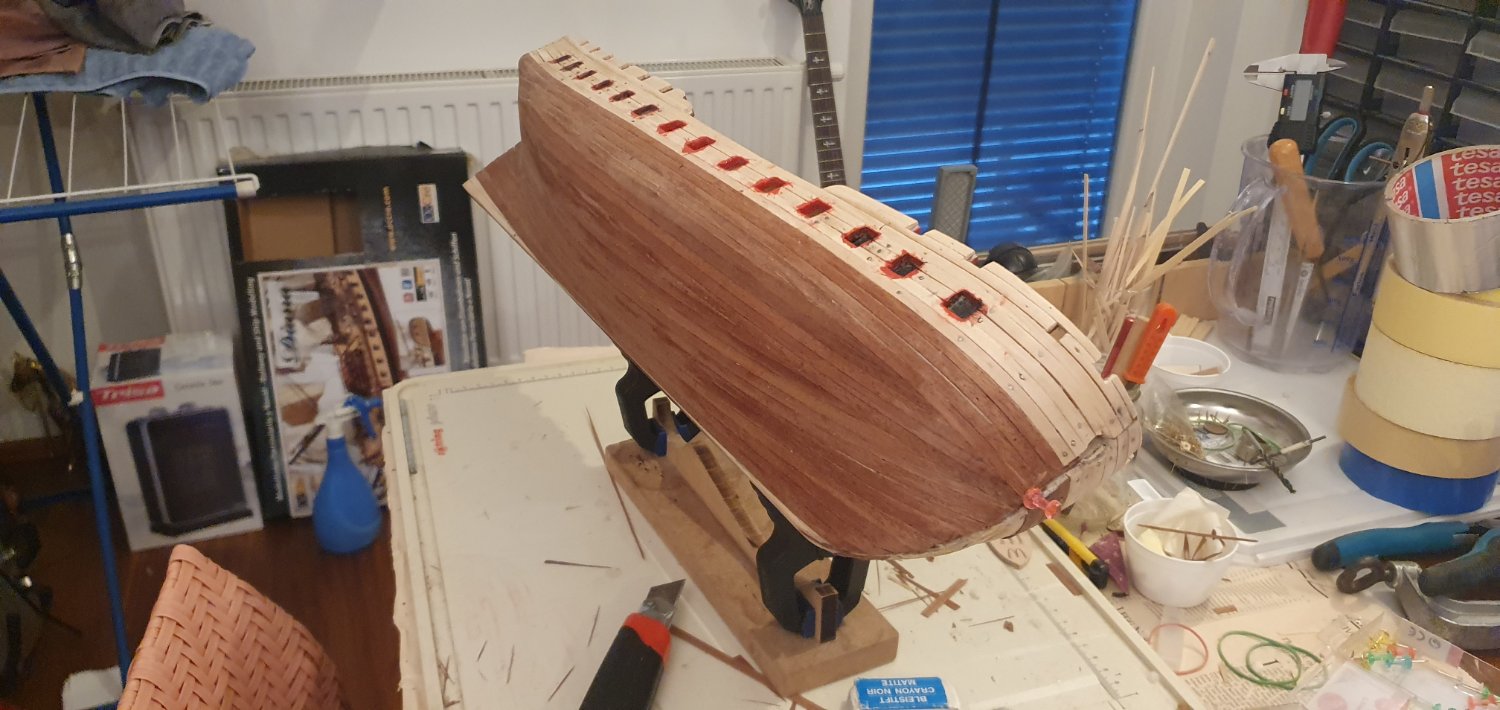
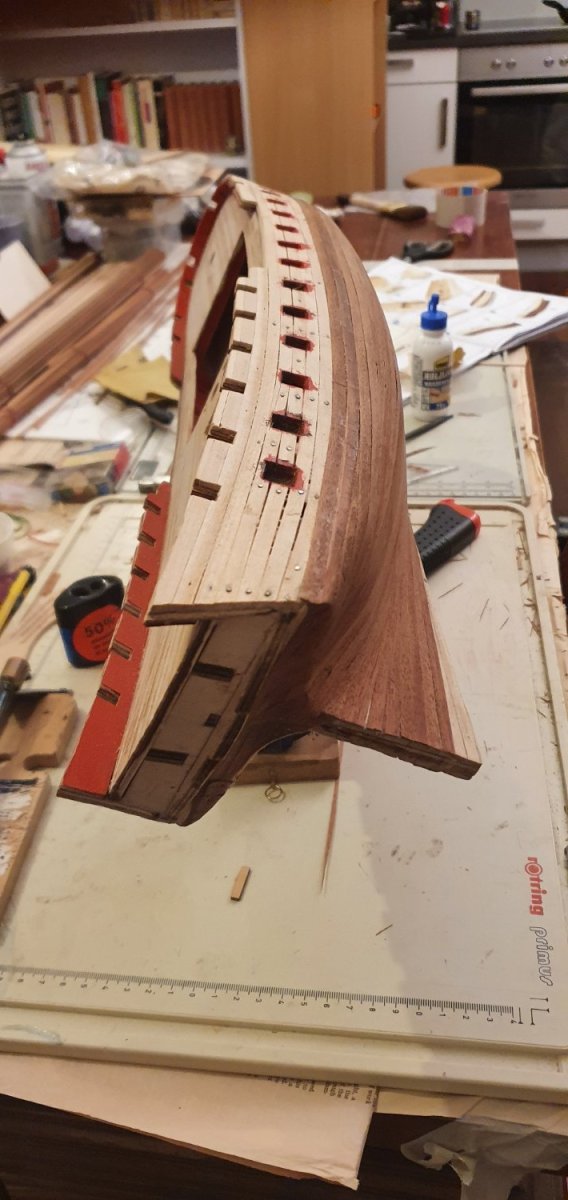
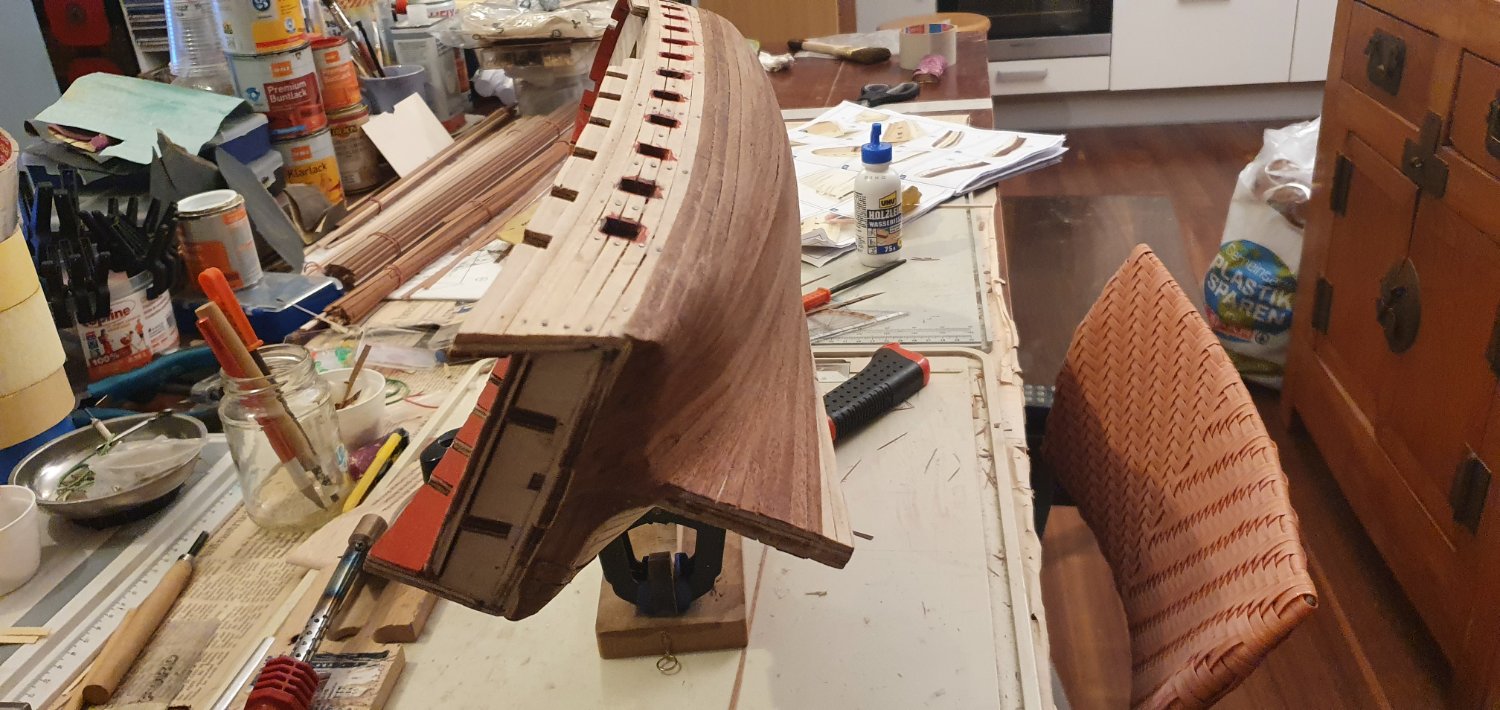
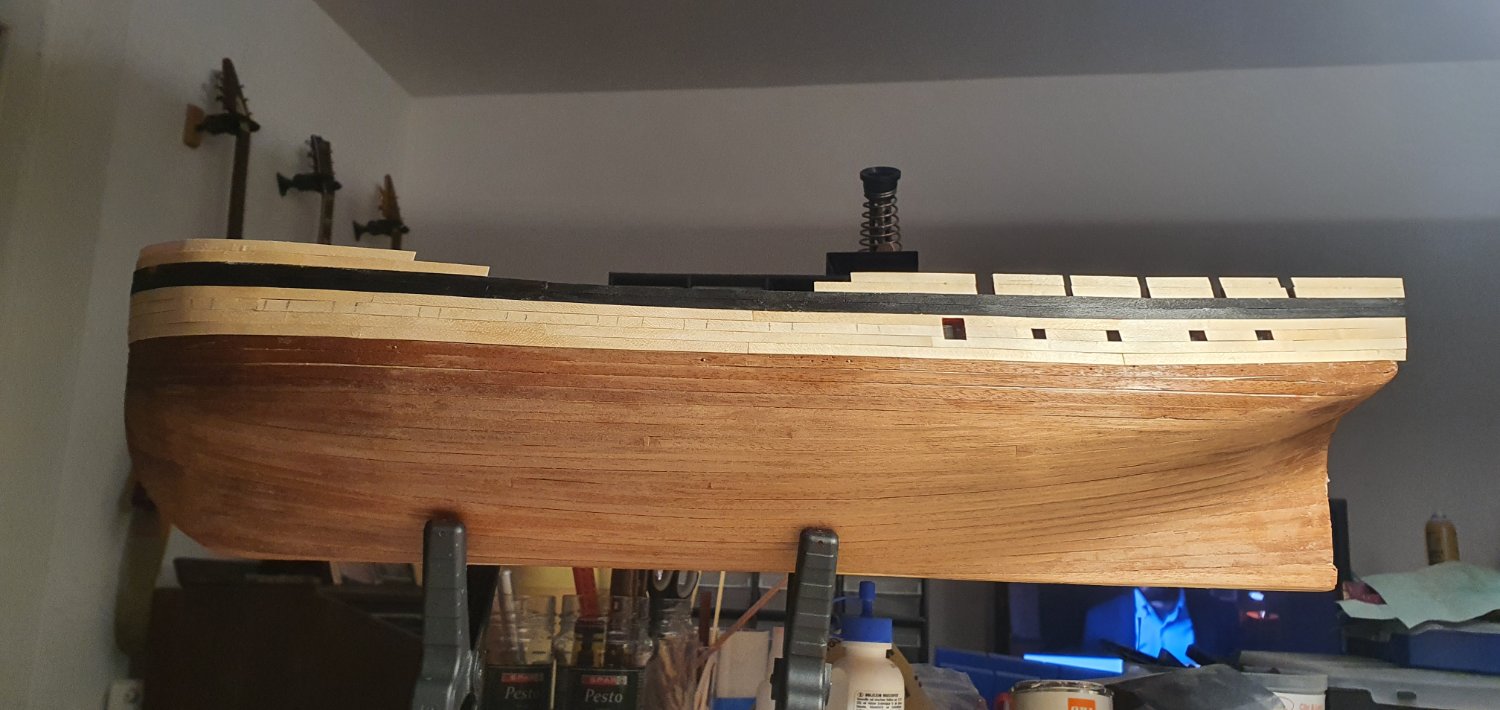
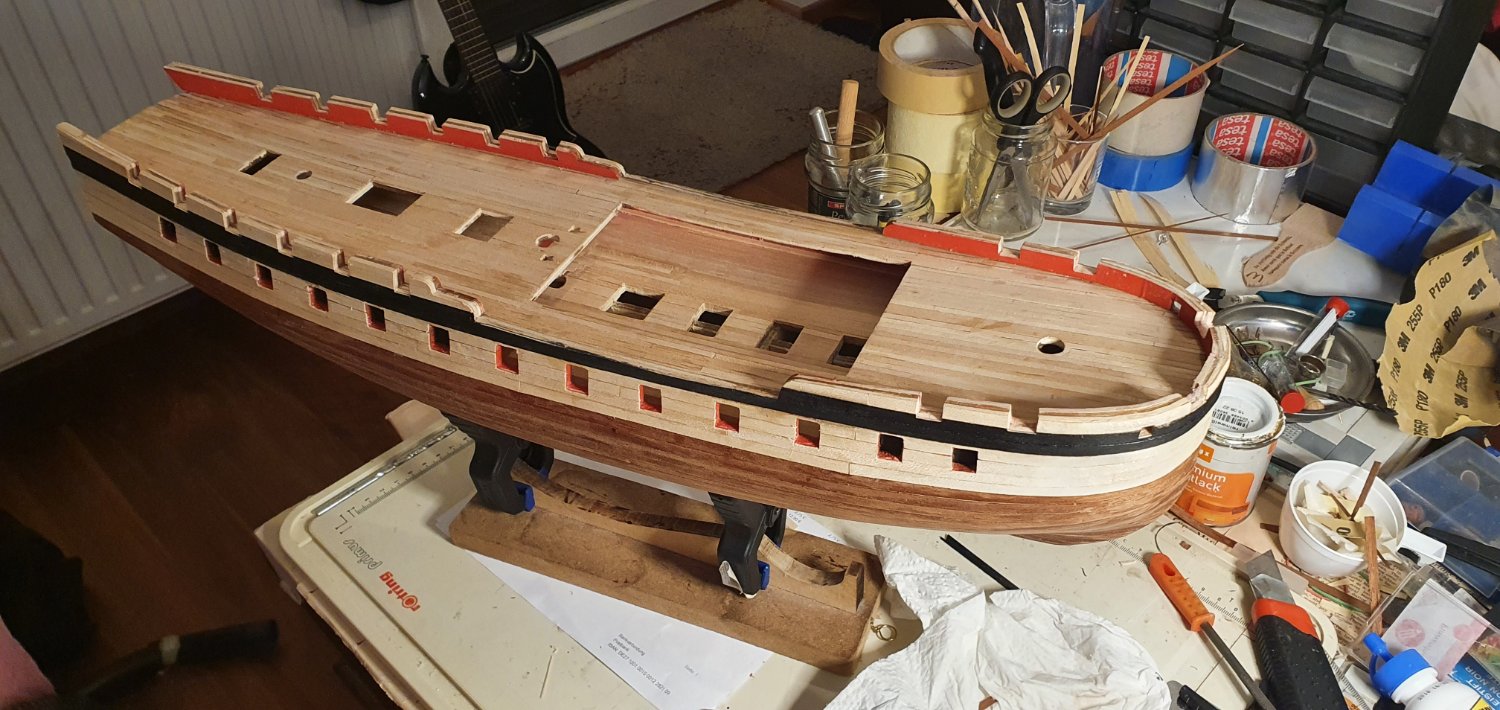
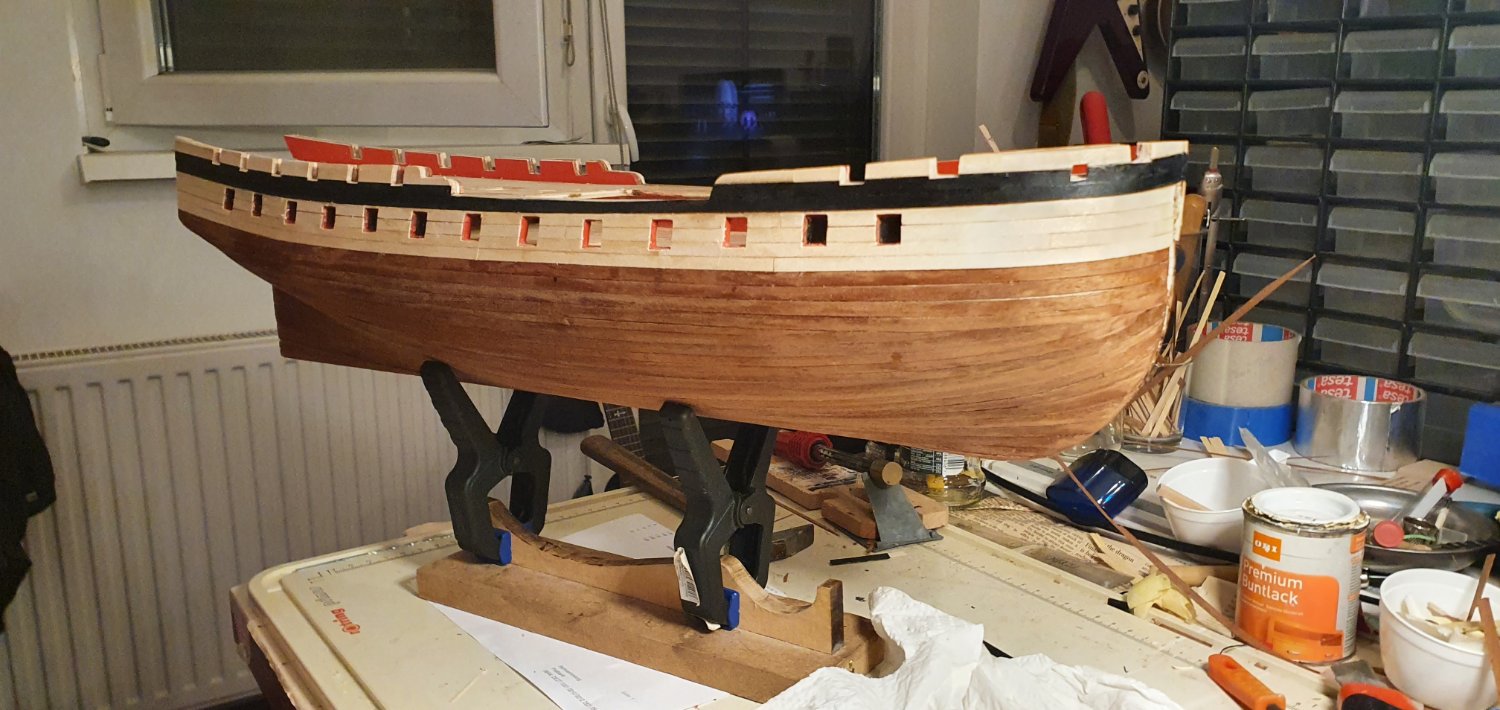
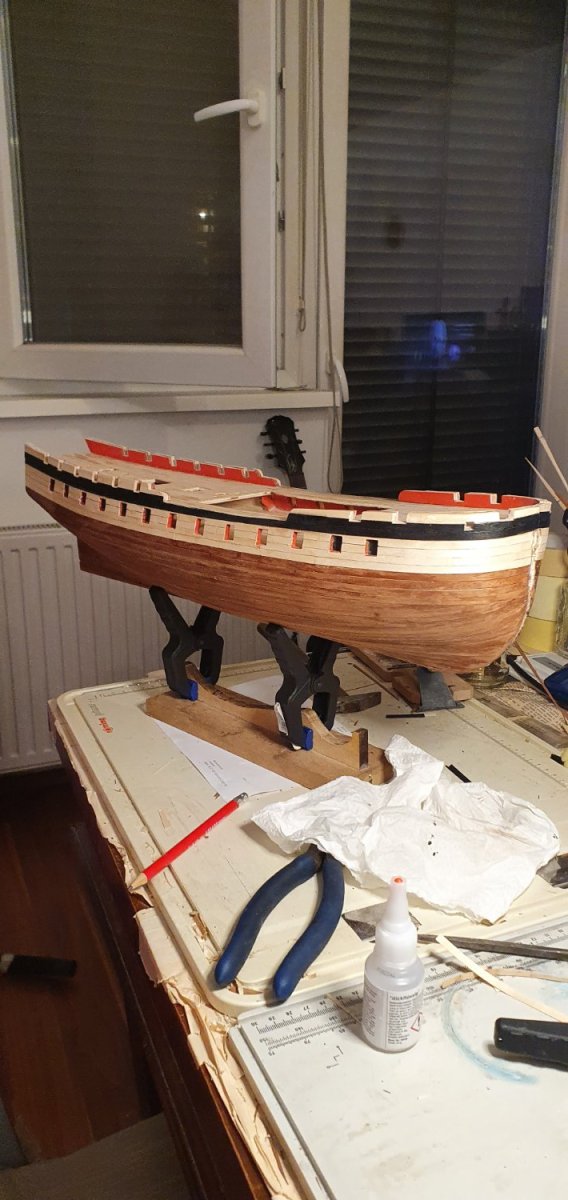
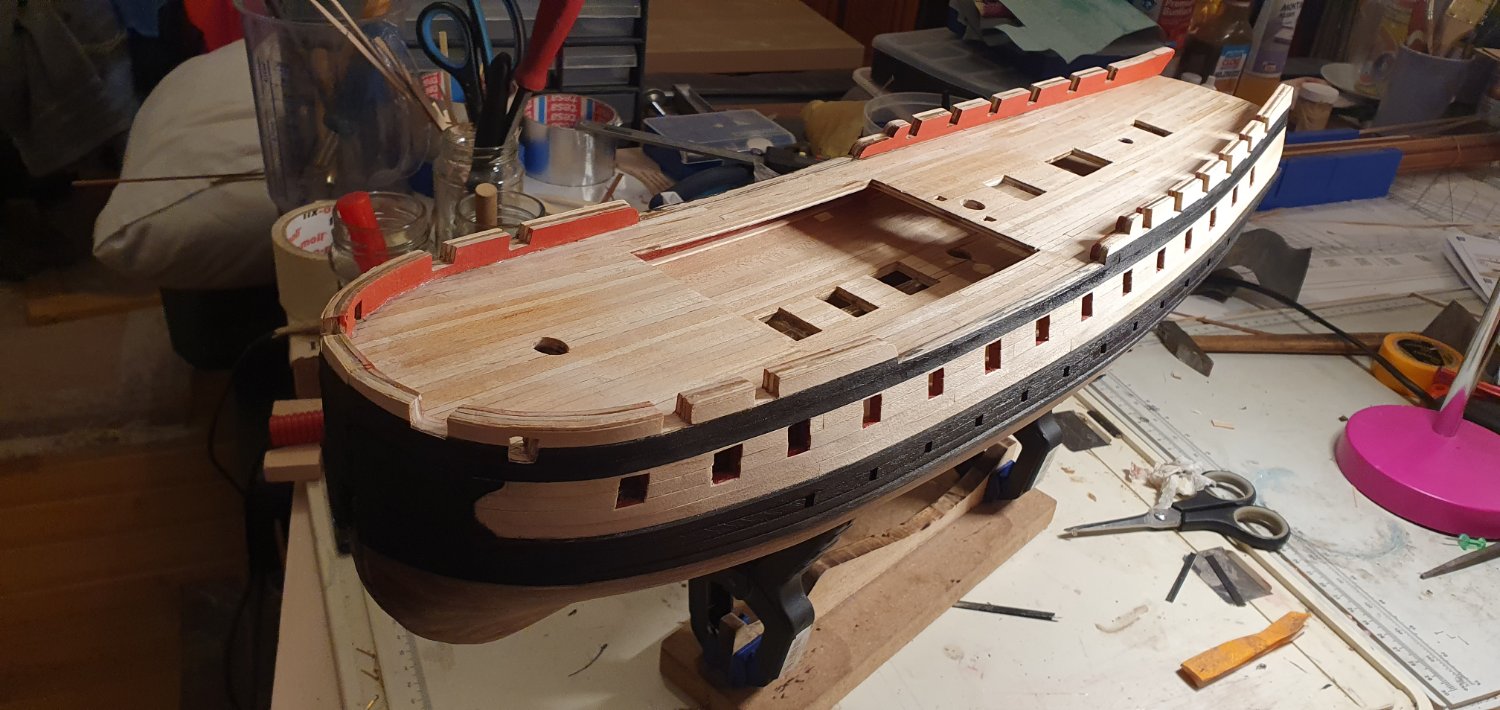
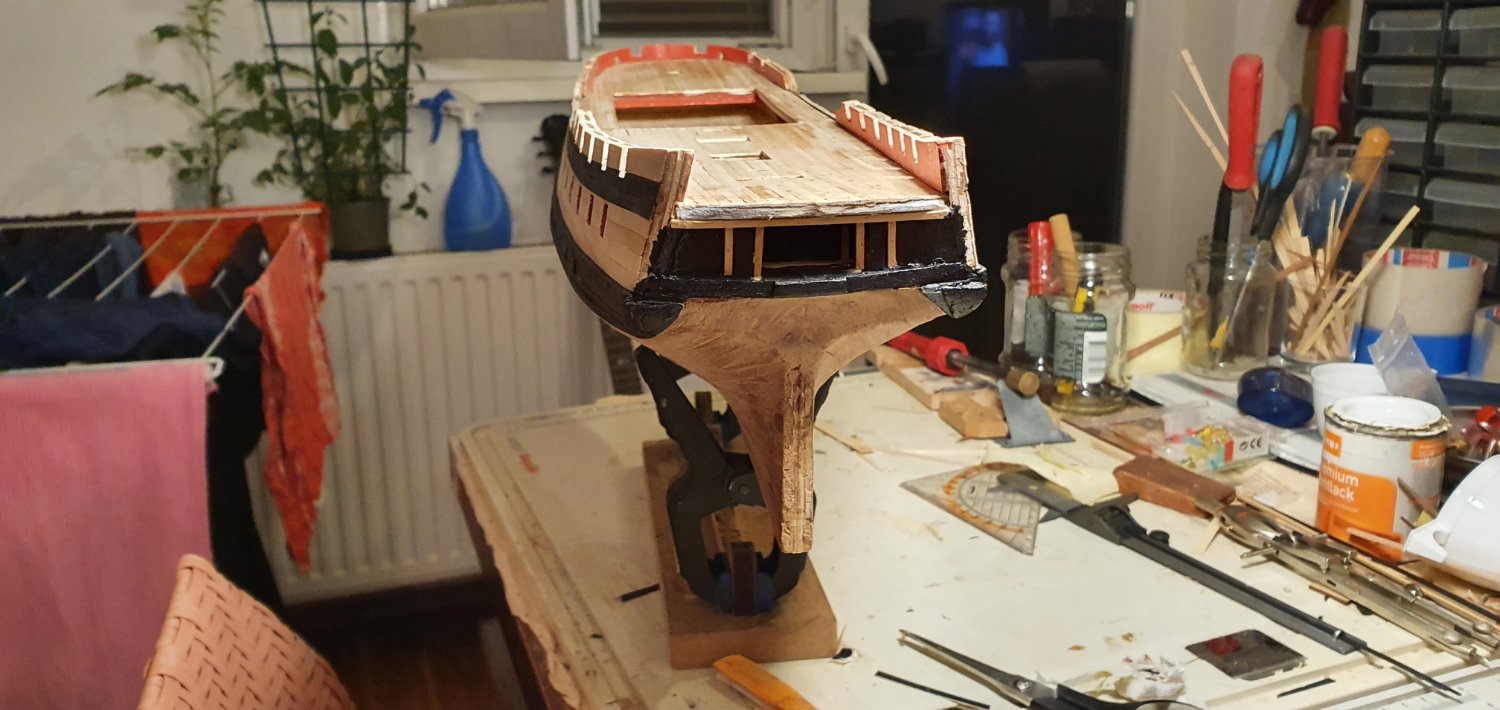
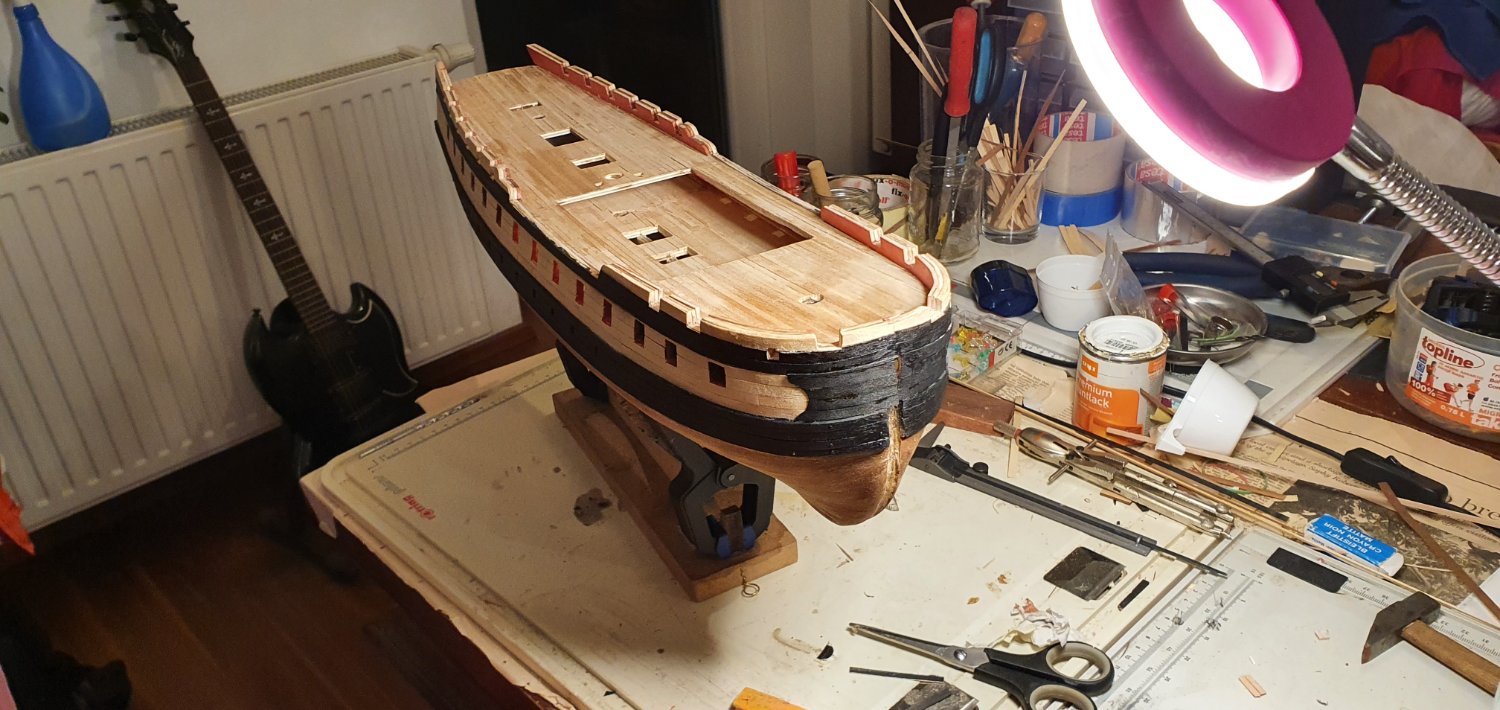
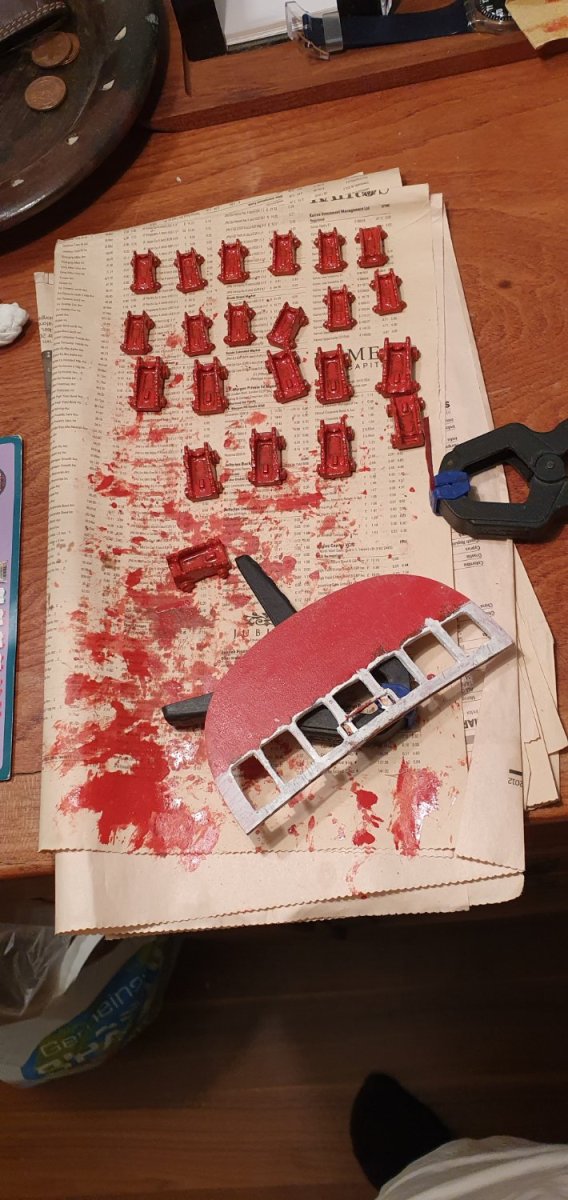
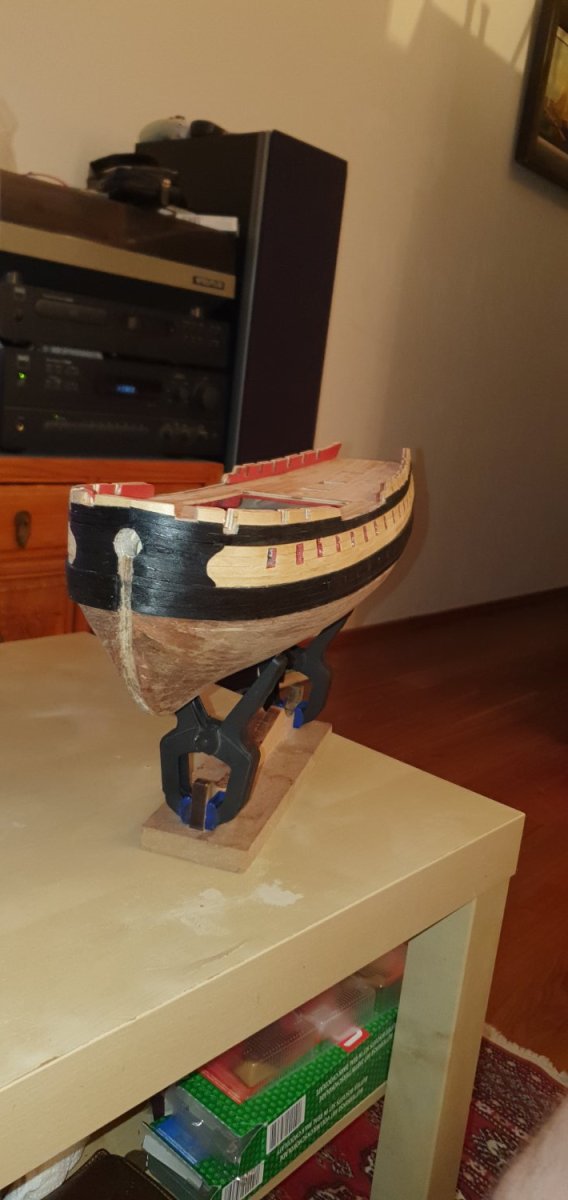
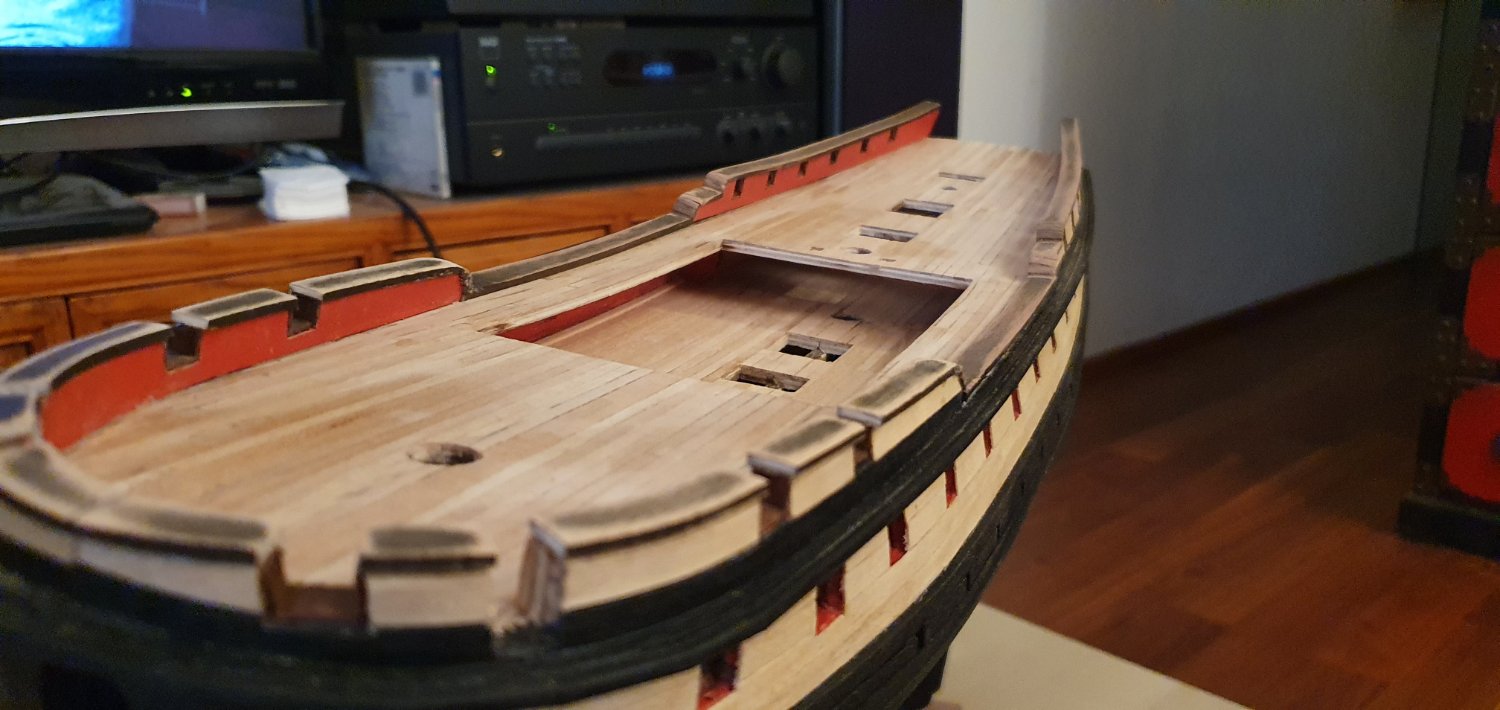
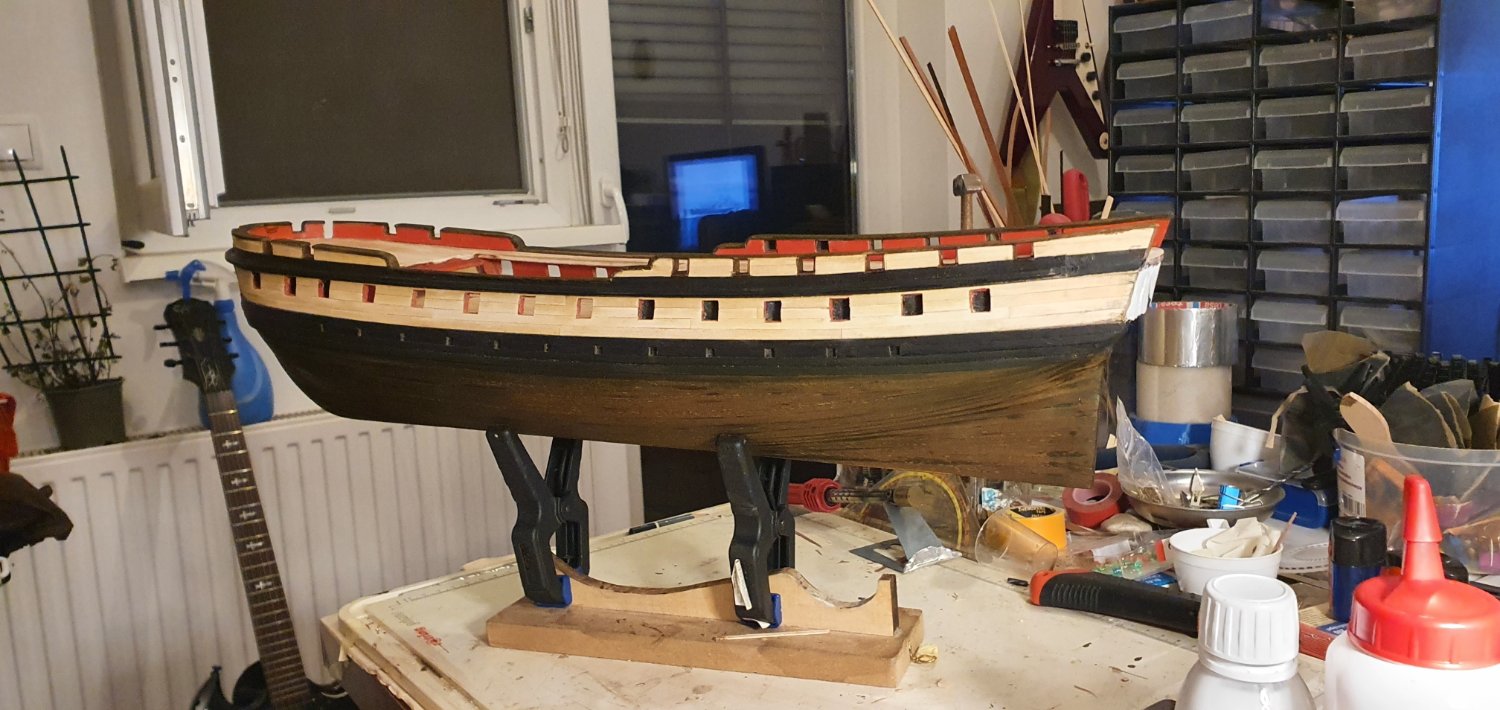
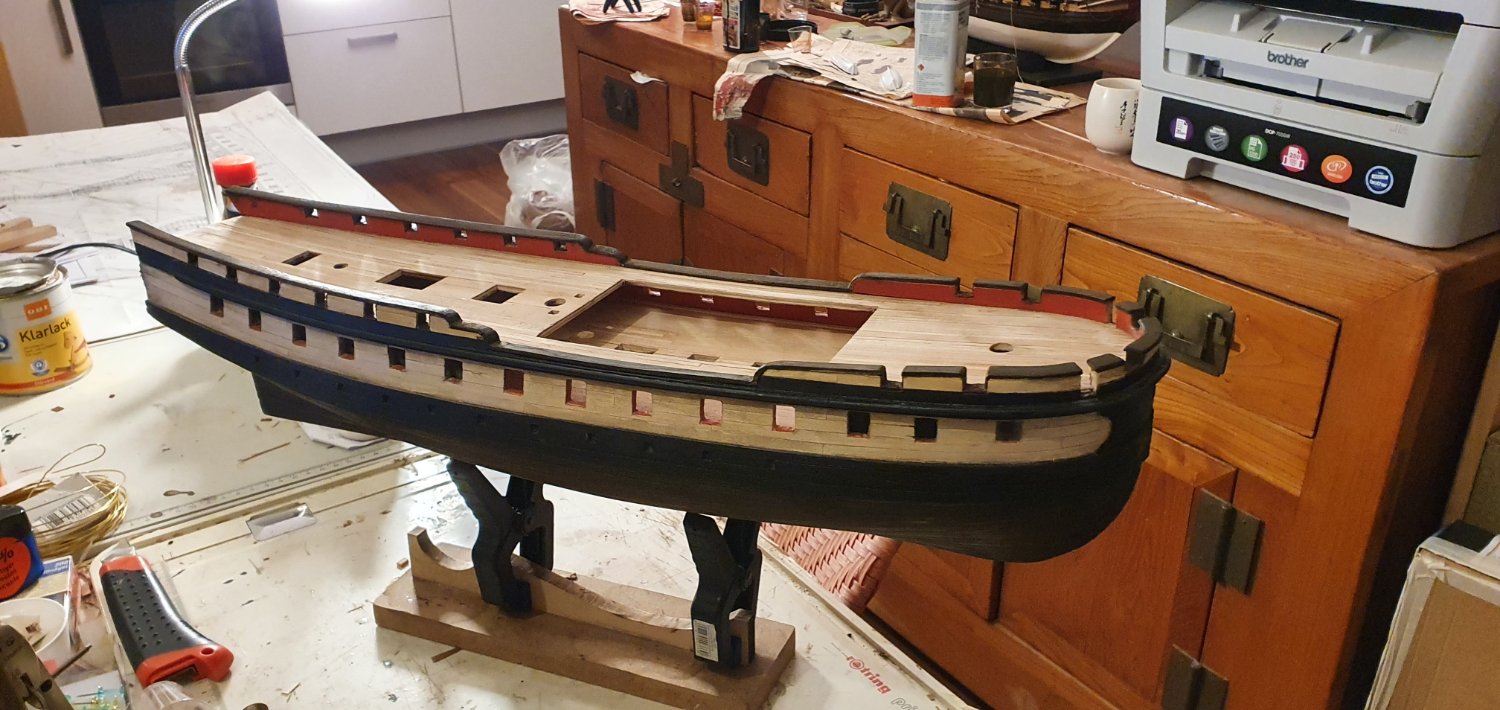
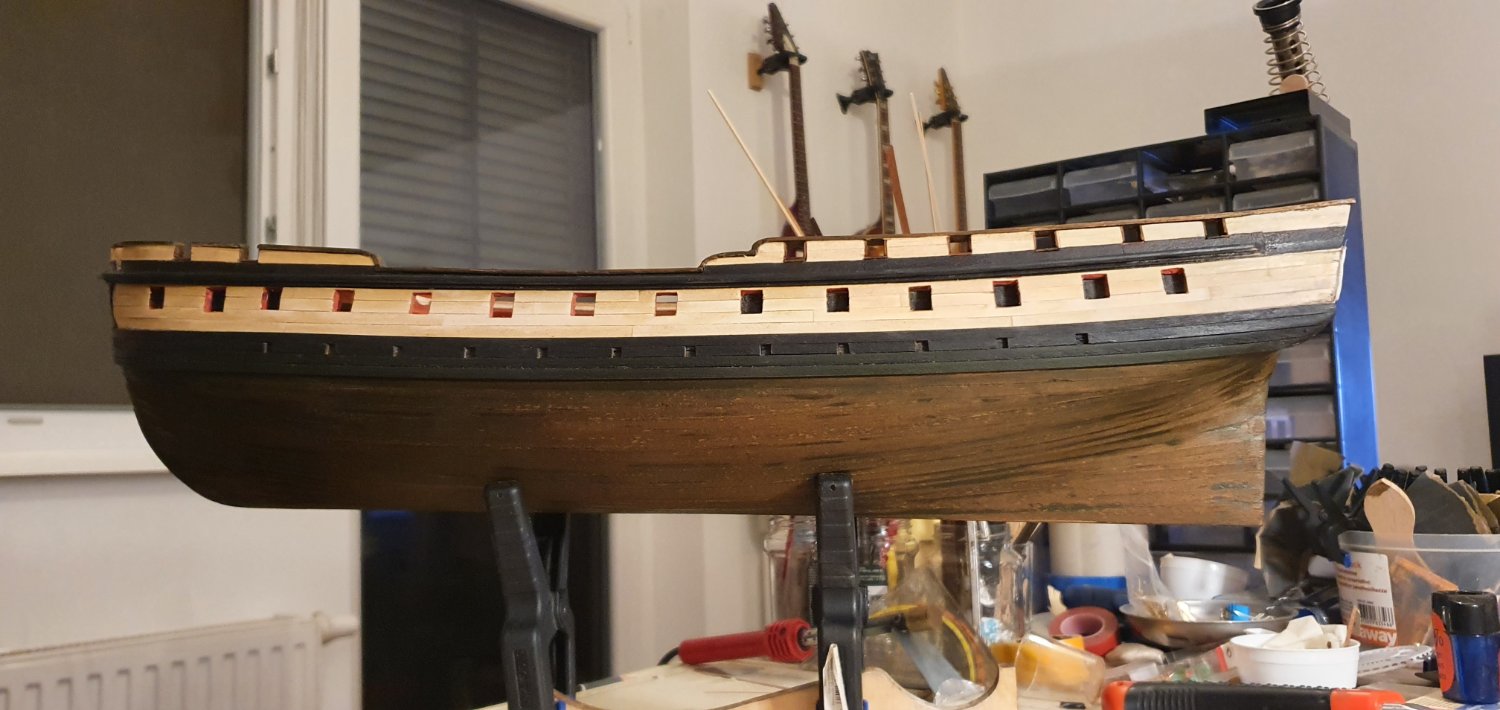
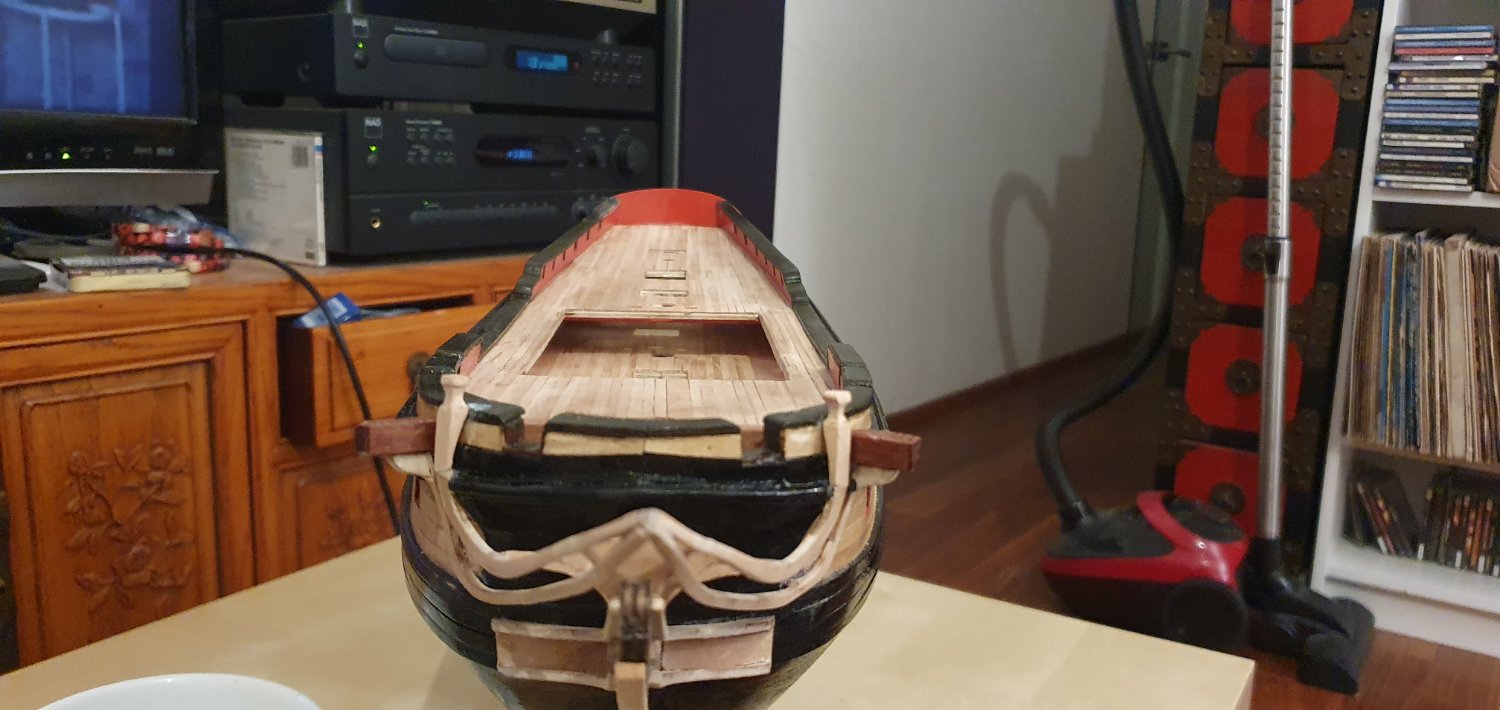
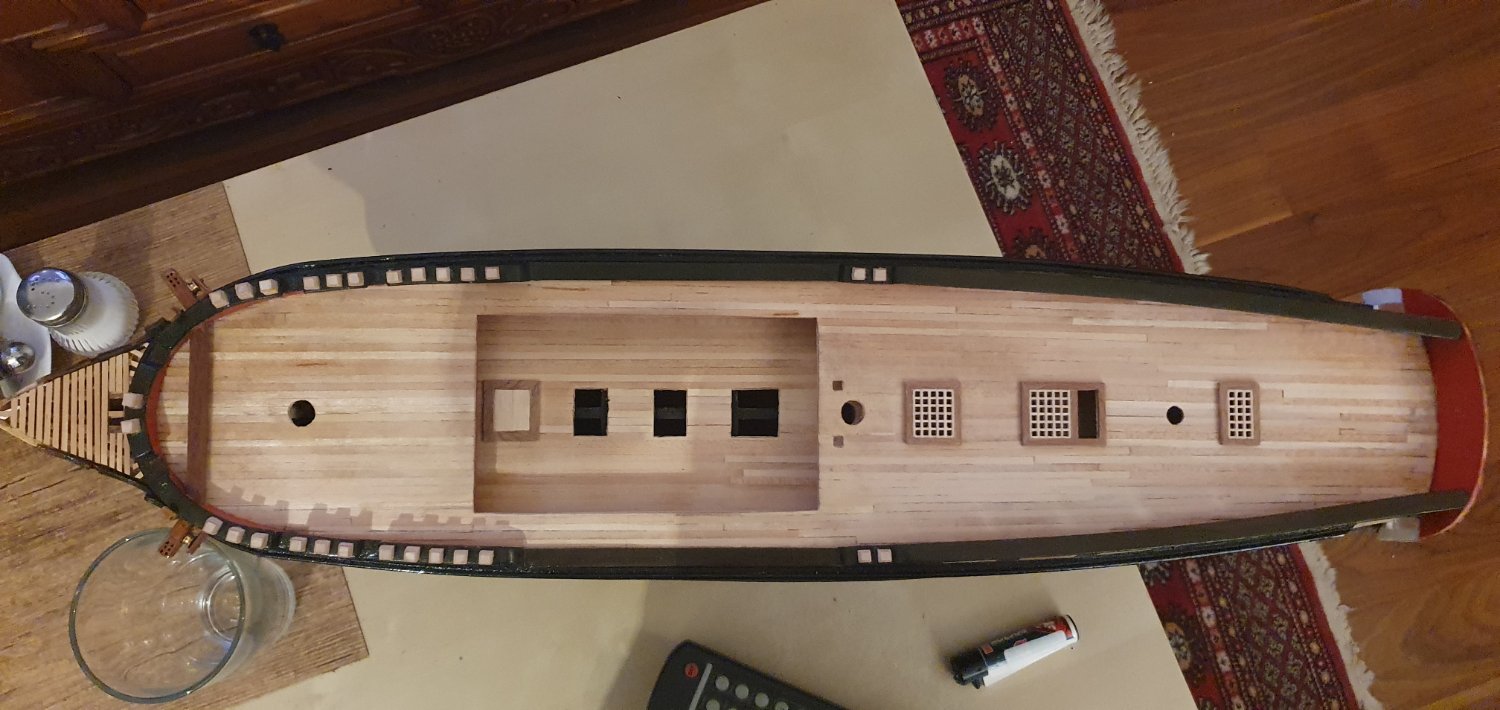
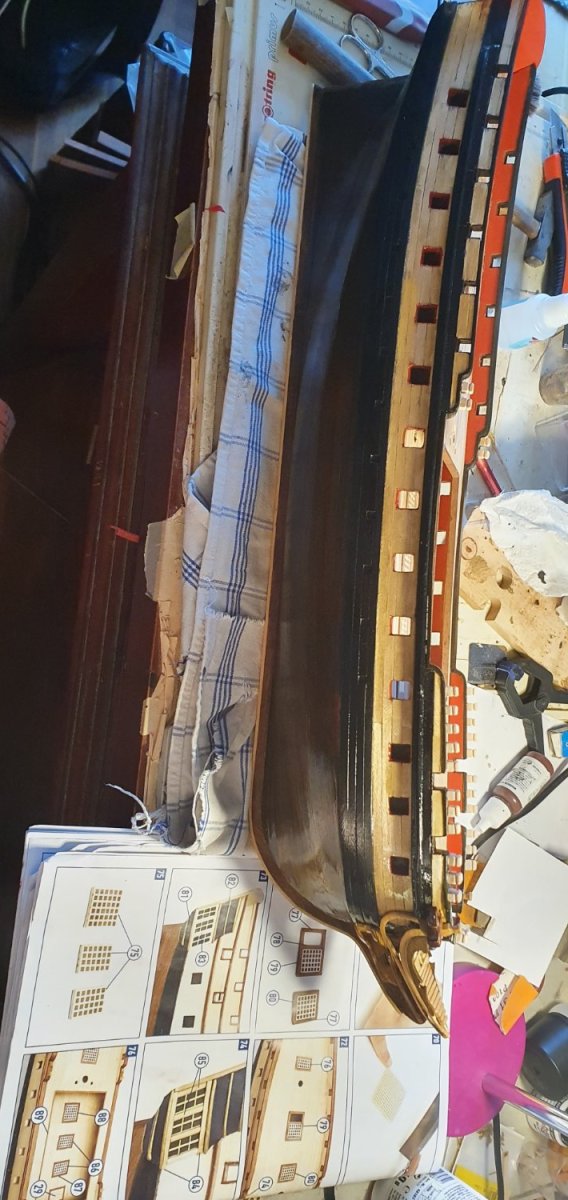
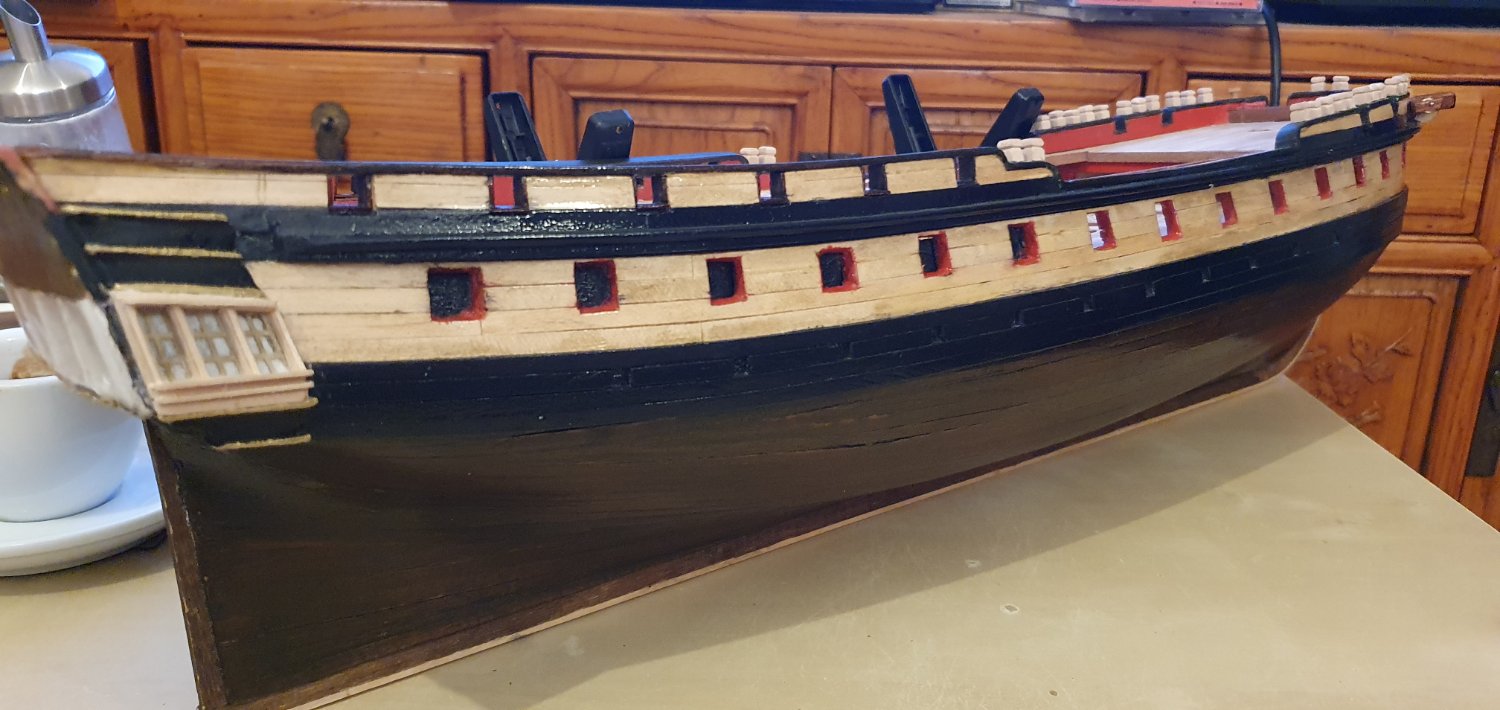
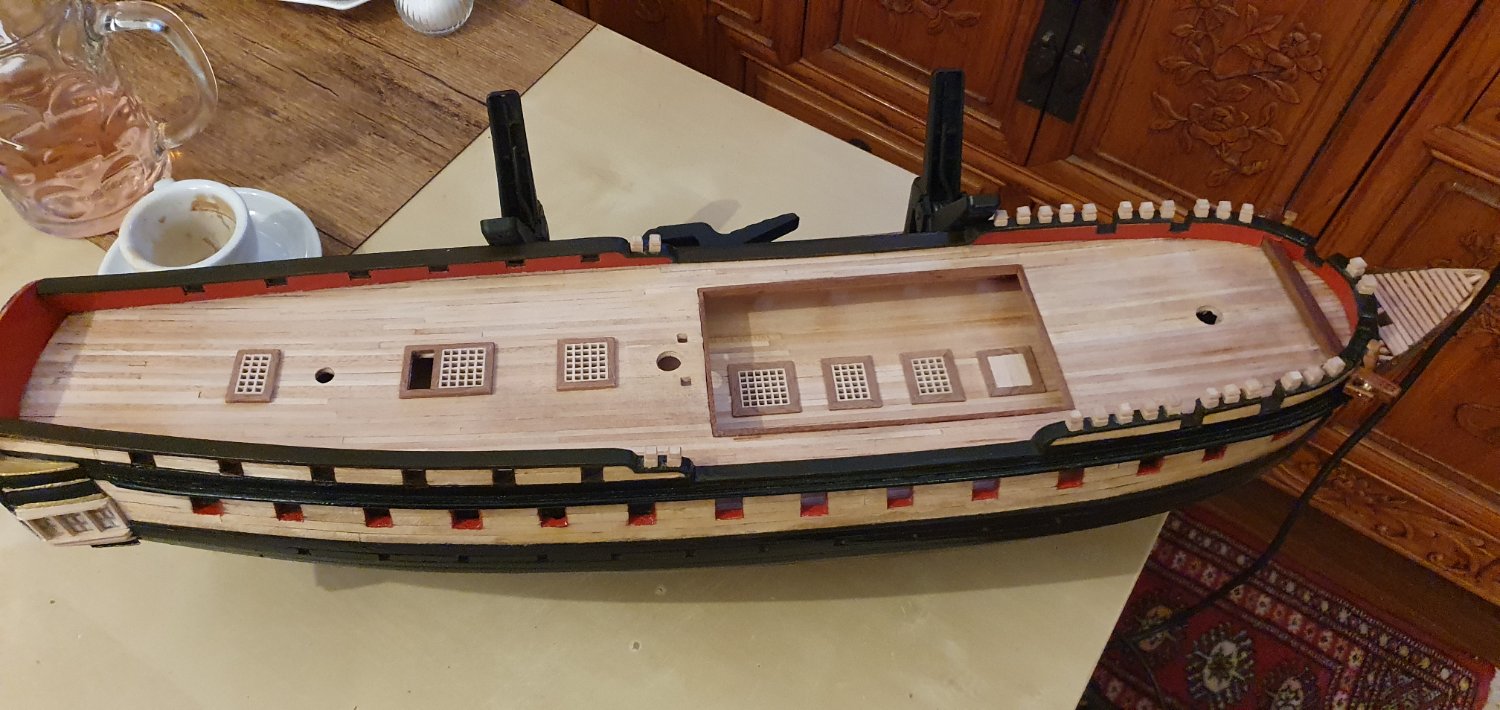
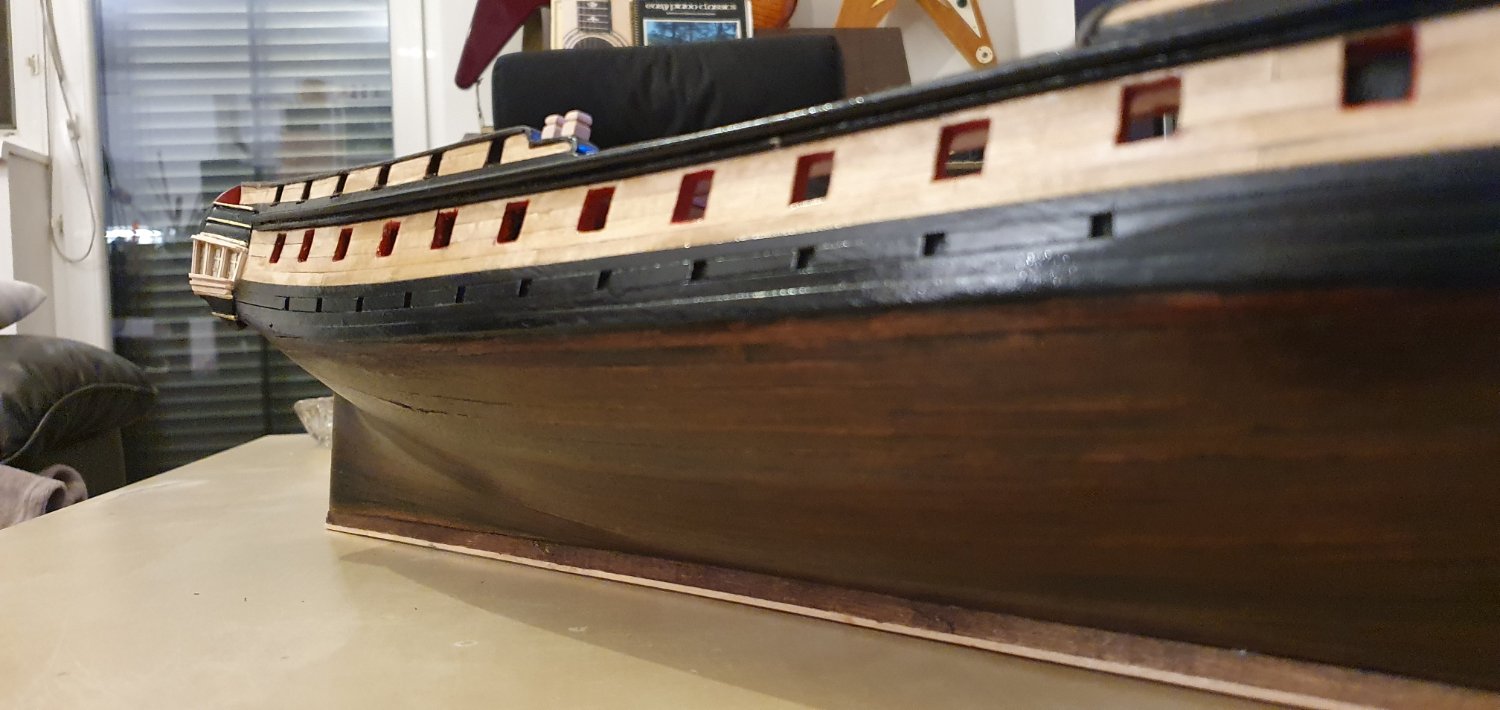
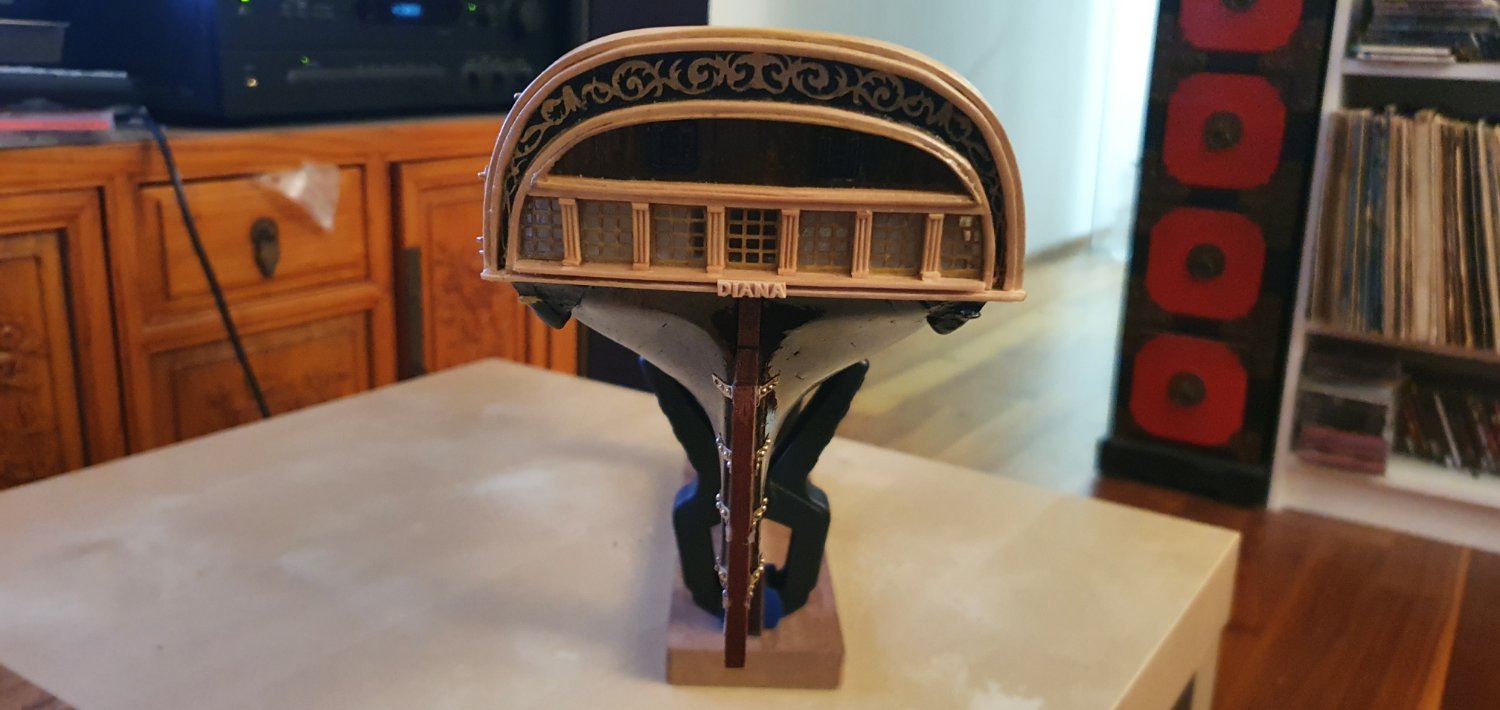
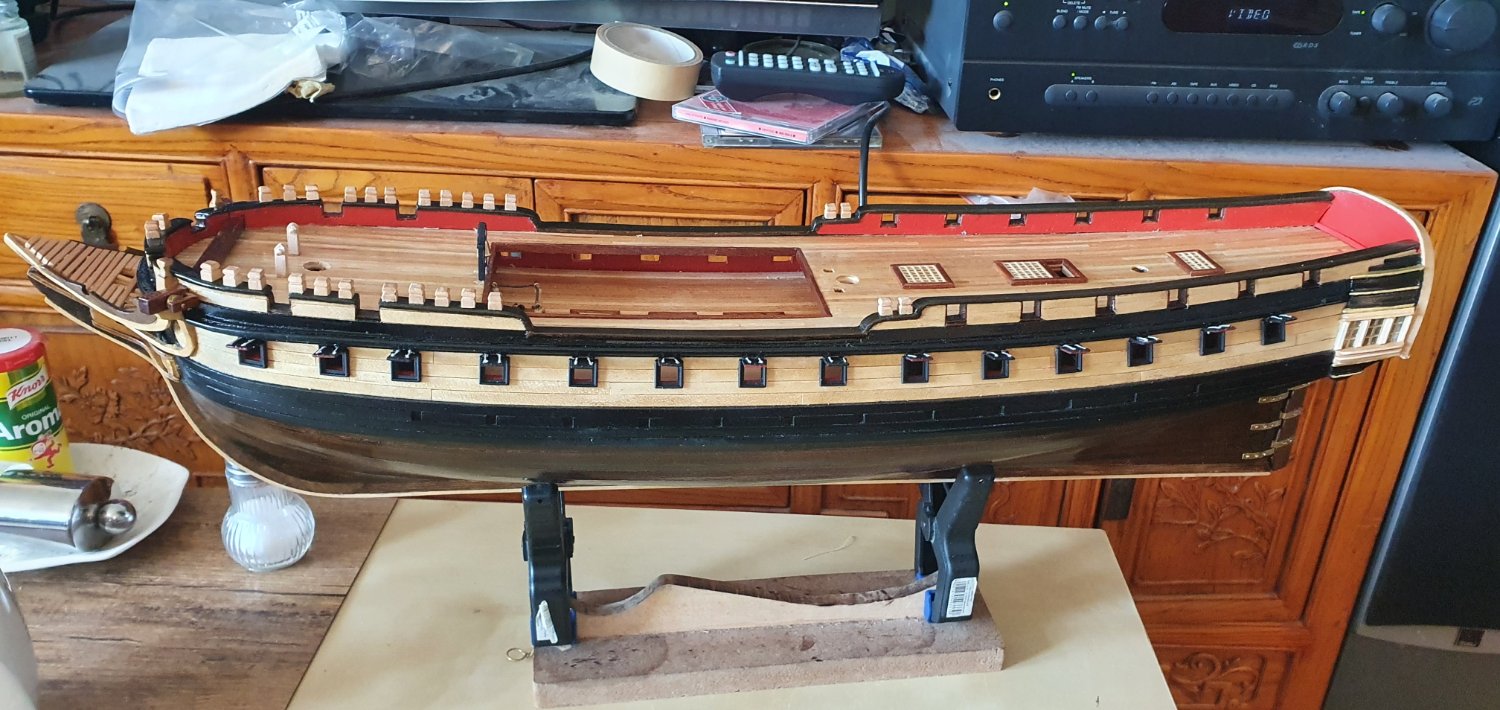
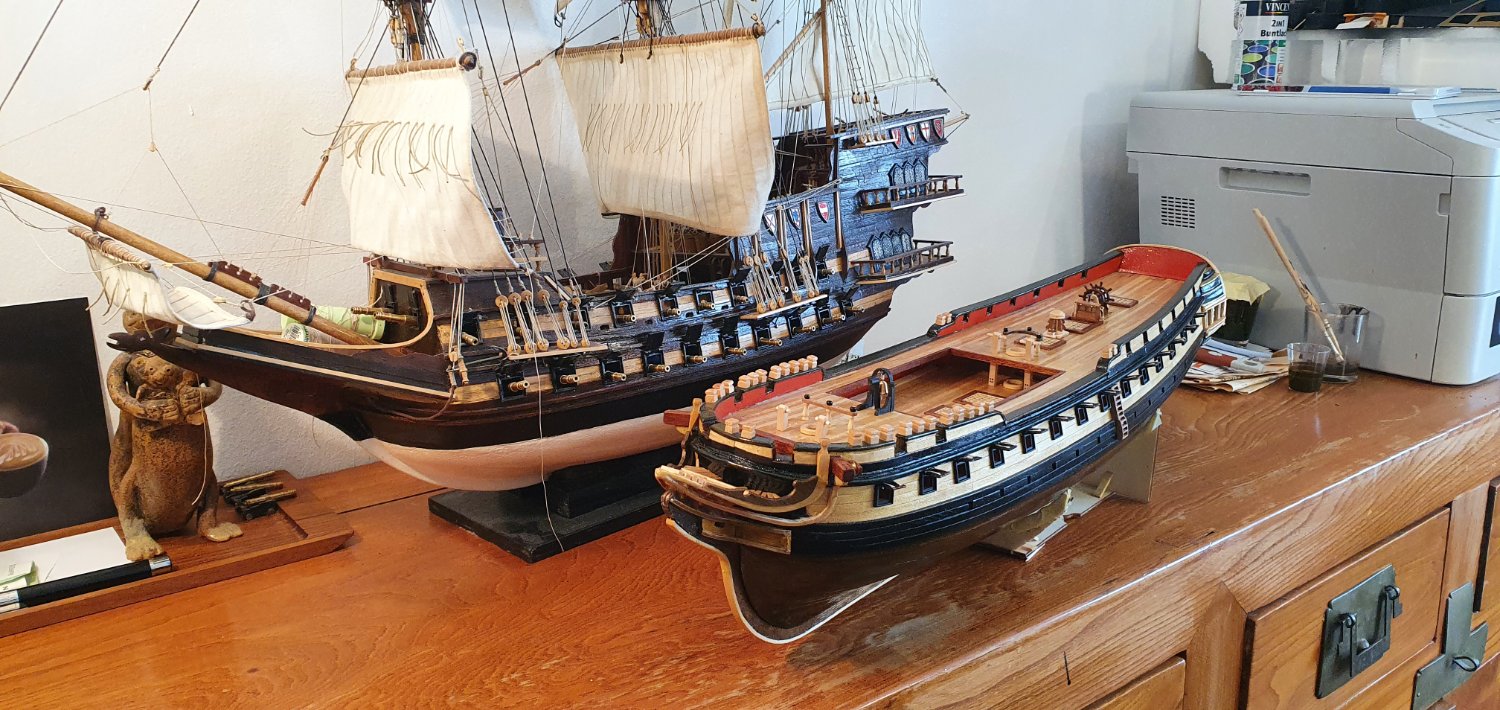
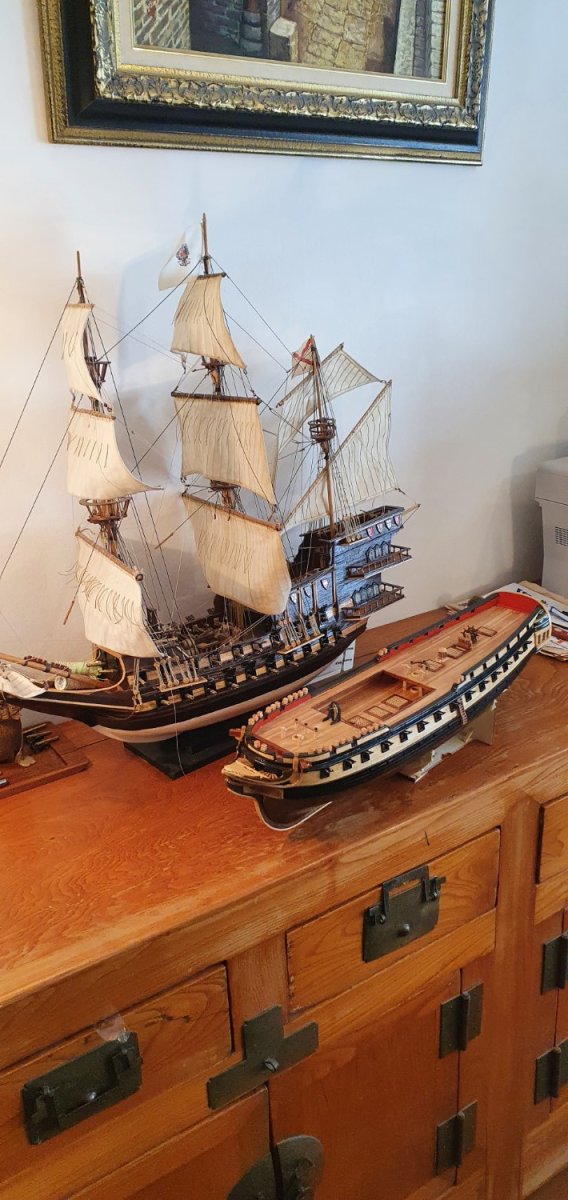
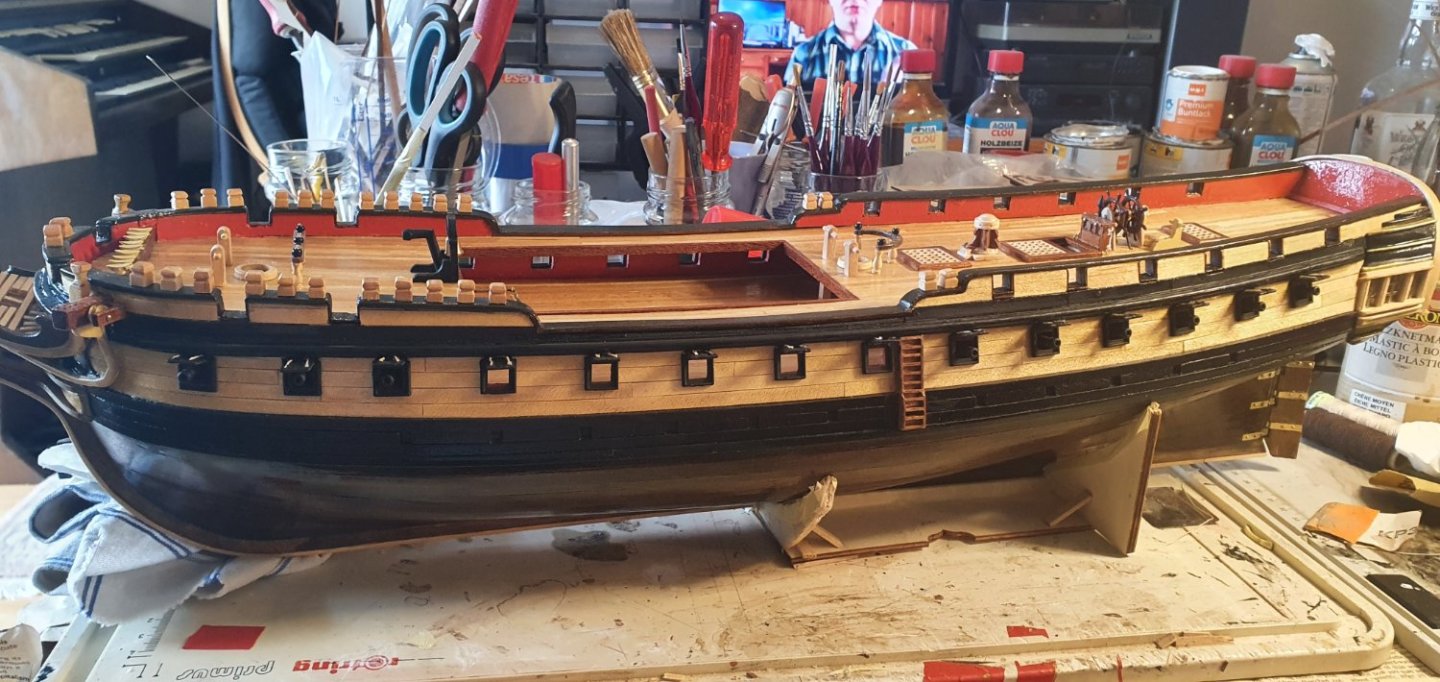
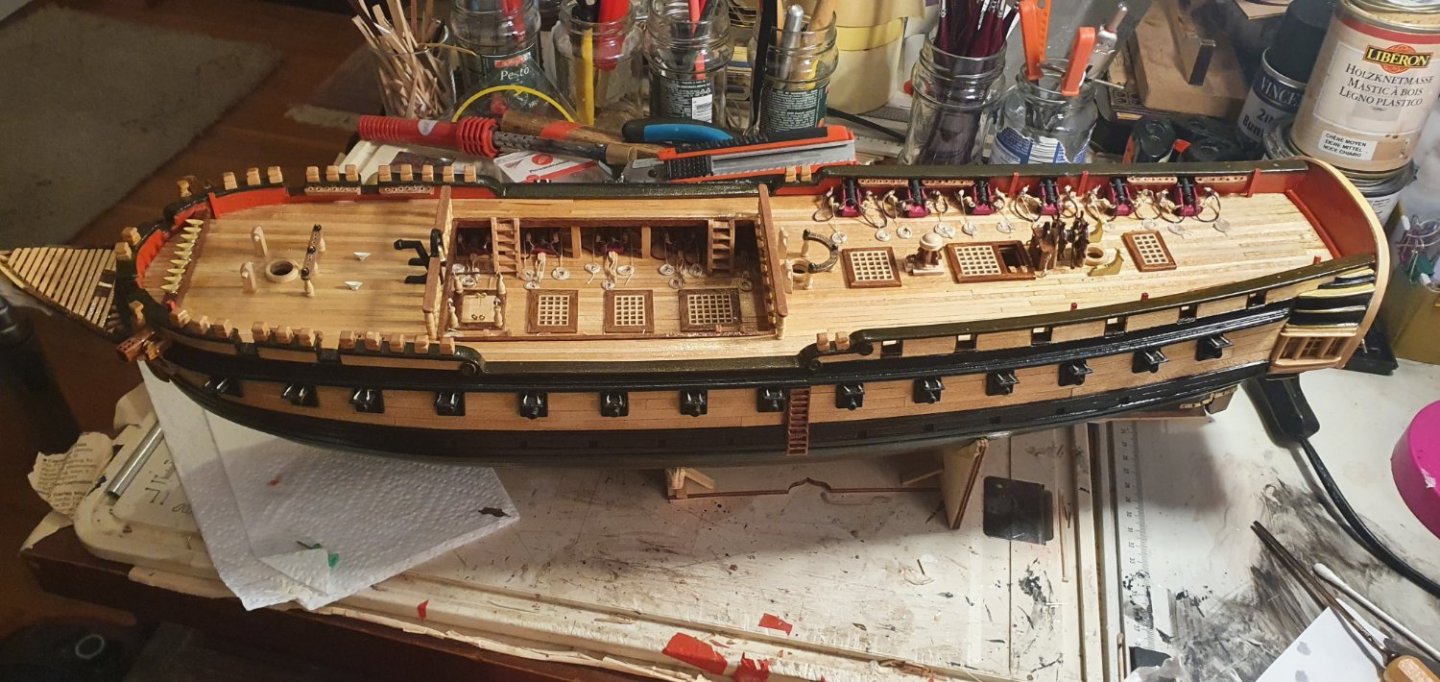
New member, first log, second build in wood. I`ve always loved frigates and I found this Occre Diana as a good base for a generic frigate of the early 19th late 18th century style. Unfortunately the more I researched this Mahonesa class the less accurate the kit seems to be. Luckily there is a a scratch build plan set for her sister, lead ship of the class Mahonesa by Ancre so I have used that and the colour photos to figure out a fitting paint scheme as well as some paintings. Unfortunately I cannot find an image of Diana herself other than a museum model. It has a different paint scheme but I have gone with the Mahonesa style. The kit is of high quality, wood seems nice, instructions decent enough. A few parts missing, delivered for free by the local supplier I got it from. This is my first laser cut kit and proving to be enjoyable compared to the printed boards style I`ve done before. (You can see the Galleon in the background of some pics). Please forgive the state of the deck. I had laid out everything in the correct pattern and then realized I had used the wrong strips and had run out of glue. So I somewhat hastily covered over that with the proper wood running out of glue. I thought it would show up less and not matter that much but I regret it now. Still it`s meant to be a (relatively) quick build to get back into it after I had bitten off more than I could chew with my first model and took many years to finally complete it. Then I bought this kit but was too busy and didn`t have a good place to work in my old apartment. So now I have time and a place and hope to be done with it by the end of the year to move on to my first ship of the line. The pictures below represent my work since July or so, I`ve planked the hull and deck and mounted most of the fittings, next up will be the armament. Unfortunately this kit comes with gun carriages out of metal vs. the ones you build so they need to be painted accurately to look good. I have painted them once and now stripped the paint. I got some proper modelling paint and fine detail brush set and hope to give it another go. Note that out of personal choice I use high gloss finish on my models. Having seen Victory I don`t think it`s completely wrong and also they`re at sea and wet And perhaps oiled as well. The deck should definitely be more matte but I like how it looks besides the completely random pattern I used. So far about 200 hours in. Hope you enjoy! Any tips for more details etc... super welcome. I quite like the binnacle and capstan, I referenced an old book by Klaus Krick for those details as well as HMS Trincomalee for the galley and Victory for the binnacle. First image is the image on the box, so you can see what it's supposed to look like.