-
Posts
518 -
Joined
-
Last visited
Profile Information
-
Gender
Male
-
Location
Herefordshire UK
Recent Profile Visitors
The recent visitors block is disabled and is not being shown to other users.
-
 oakheart reacted to a post in a topic:
Chris Watton and Vanguard Models news and updates Volume 2
-
 oakheart reacted to a post in a topic:
Chris Watton and Vanguard Models news and updates Volume 2
-
 CiscoH reacted to a post in a topic:
HM Cutter Speedy 1828 by oakheart - from plans drawn by Bill Shoulders in 1972
-
 CiscoH reacted to a post in a topic:
HM Cutter Speedy 1828 by oakheart - from plans drawn by Bill Shoulders in 1972
-
 oakheart reacted to a post in a topic:
Mara thread - what colors do you use for fabricating ropes
-
 oakheart reacted to a post in a topic:
HMS Surprise 1796 (prototype) by James H - Vanguard Models - 1:64
-
 oakheart reacted to a post in a topic:
HMS Surprise 1796 (prototype) by James H - Vanguard Models - 1:64
-
 oakheart reacted to a post in a topic:
HMS Surprise 1796 (prototype) by James H - Vanguard Models - 1:64
-
 oakheart reacted to a post in a topic:
Mucking about in 3D - Again - Santos-Dumont Demoiselle
-
 oakheart reacted to a post in a topic:
Mucking about in 3D - Again - Santos-Dumont Demoiselle
-
 oakheart reacted to a post in a topic:
Mucking about in 3D - Again - Santos-Dumont Demoiselle
-
 oakheart reacted to a post in a topic:
Mucking about in 3D - Again - Santos-Dumont Demoiselle
-
 thibaultron reacted to a post in a topic:
Mucking about in 3D - Again - Santos-Dumont Demoiselle
-
 thibaultron reacted to a post in a topic:
Mucking about in 3D - Again - Santos-Dumont Demoiselle
-
 thibaultron reacted to a post in a topic:
Mucking about in 3D - Again - Santos-Dumont Demoiselle
-
 paul ron reacted to a post in a topic:
Gold solder for brass
-

Gold solder for brass
oakheart replied to Richard Braithwaite's topic in Metal Work, Soldering and Metal Fittings
There is a brass ( sort of ) coloured silver solder in UK I can't remember where I got it so you will have to google for it Tim -
 Blue Ensign reacted to a post in a topic:
HMS Harpy 1796 by Blue Ensign – FINISHED - Vanguard Models - 1:64 scale
-
 CiscoH reacted to a post in a topic:
HMS Harpy 1796 by Blue Ensign – FINISHED - Vanguard Models - 1:64 scale
-
Really nice work BE, you really do inspire me, I think I need to add this detail to my cutters boat. Tim
- 332 replies
-
- Harpy
- Vanguard Models
-
(and 1 more)
Tagged with:
-
 catopower reacted to a post in a topic:
Contact Adhesive for second planking.
-
 iMustBeCrazy reacted to a post in a topic:
HM Cutter Speedy 1828 by oakheart - from plans drawn by Bill Shoulders in 1972
-
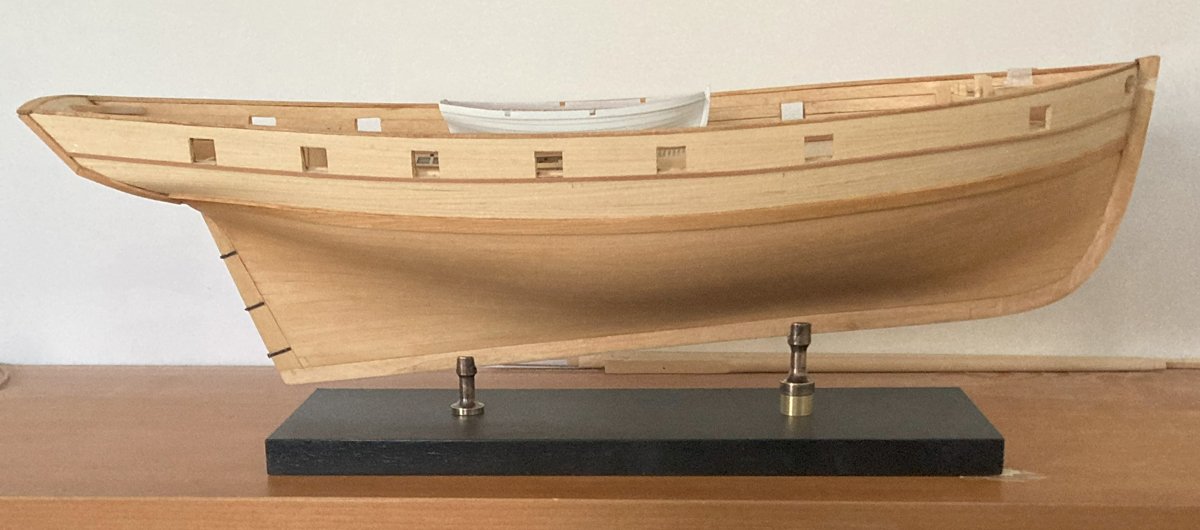
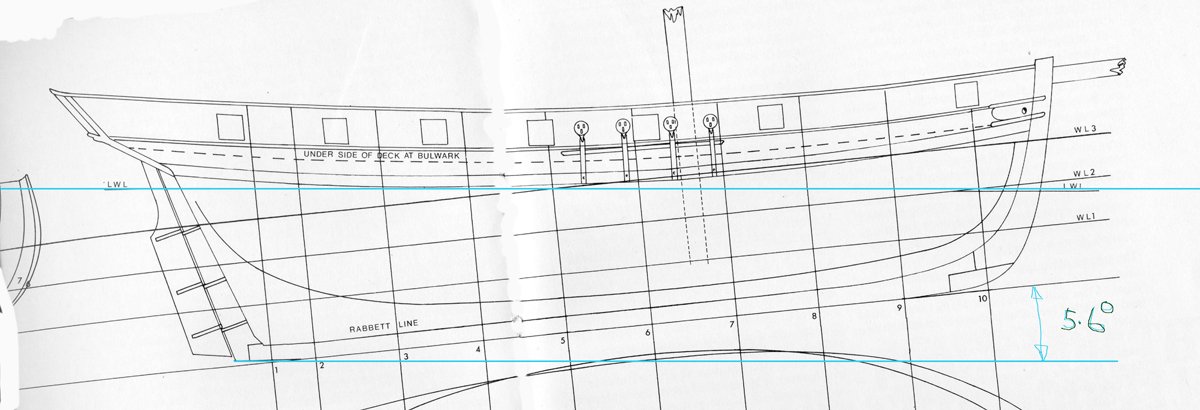
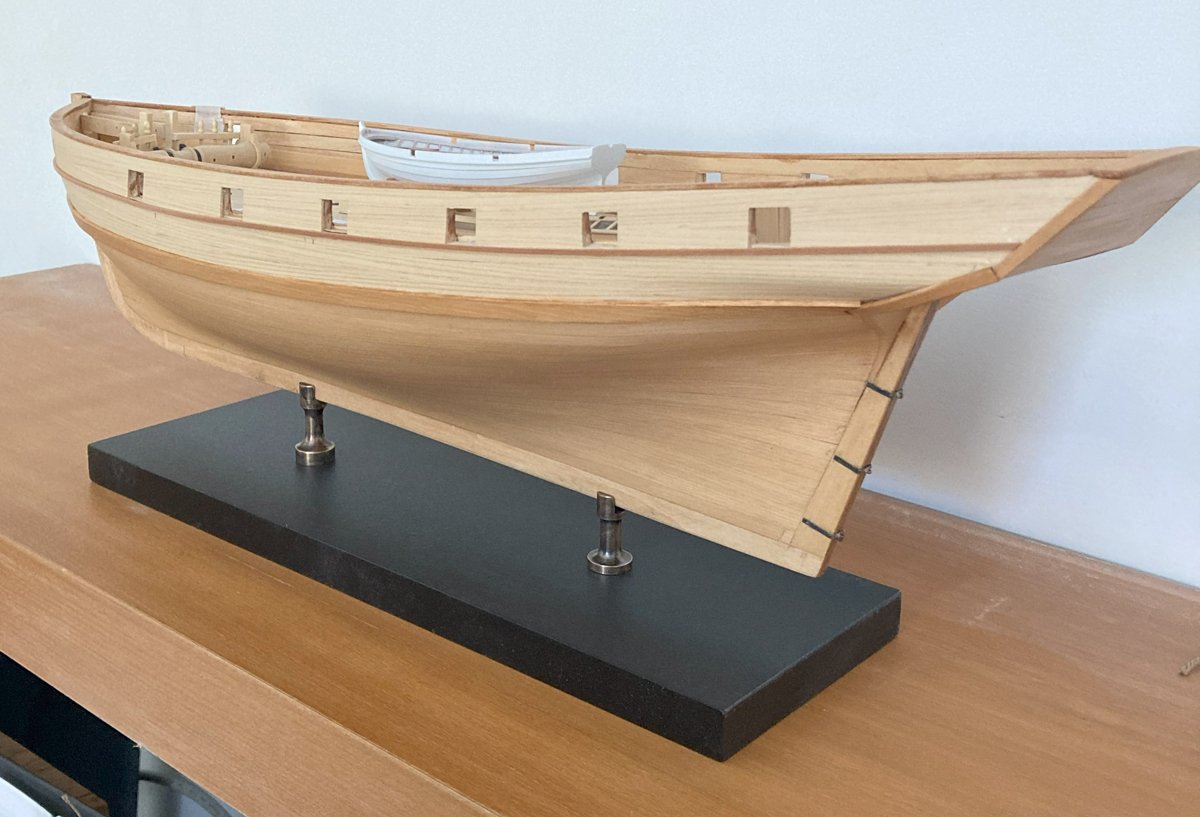
So I measured the angle on Bills drawing and as far as I can tell its the same as the RMG drawing. That's assuming LWL means the water level. Here is my stand with a 10mm spacer that brings it up to the correct angle, I think this looks too steep. Probably half that would do it, I love tinkering until it looks right, all part of the build for me. Tim
-
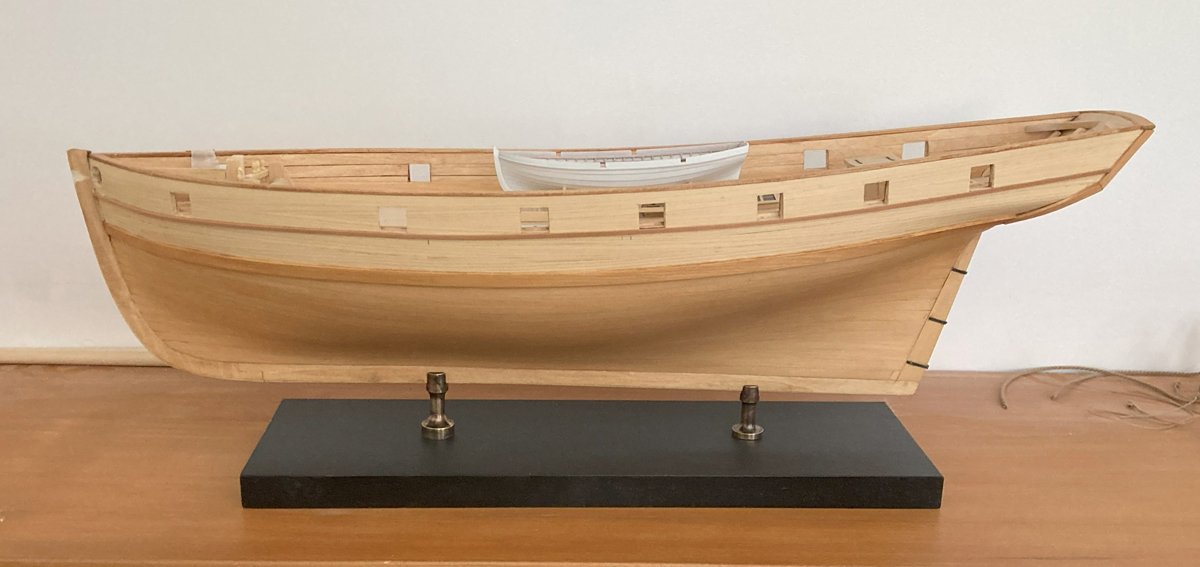
OK. I have gone for a satin black base. I think this works, some of the contemporary models at RMG have black stands. @Thukydides Thanks for the comment, I have spaced them out further and the model is then not level, is that important? I suppose the mast needs to be vertical, but as its not yet fixed in place, difficult to tell as you say this is all down to a personal choice. Tim
-
Hi Christopher, my build which was inspired by this build by Thunder and is already nearly two years in the making. I wish I could have thanked Bill in person. It's great to have a relative of his on the forum. Do you make model ships as well? Tim
- 102 replies
-
- speedy
- model shipwright
-
(and 1 more)
Tagged with:
-
Hi @Thukydides thanks for the positive feed back, I would have to agree on the spacing. I will have to do something about the heights of the pedestals to get the model level if I move them wider. On the wood front, I did find a bit of wildly grained parana pine but it looks a bit too goofey. Might even do a painted base. Tim
About us
Modelshipworld - Advancing Ship Modeling through Research
SSL Secured
Your security is important for us so this Website is SSL-Secured
NRG Mailing Address
Nautical Research Guild
237 South Lincoln Street
Westmont IL, 60559-1917
Model Ship World ® and the MSW logo are Registered Trademarks, and belong to the Nautical Research Guild (United States Patent and Trademark Office: No. 6,929,264 & No. 6,929,274, registered Dec. 20, 2022)
Helpful Links
About the NRG
If you enjoy building ship models that are historically accurate as well as beautiful, then The Nautical Research Guild (NRG) is just right for you.
The Guild is a non-profit educational organization whose mission is to “Advance Ship Modeling Through Research”. We provide support to our members in their efforts to raise the quality of their model ships.
The Nautical Research Guild has published our world-renowned quarterly magazine, The Nautical Research Journal, since 1955. The pages of the Journal are full of articles by accomplished ship modelers who show you how they create those exquisite details on their models, and by maritime historians who show you the correct details to build. The Journal is available in both print and digital editions. Go to the NRG web site (www.thenrg.org) to download a complimentary digital copy of the Journal. The NRG also publishes plan sets, books and compilations of back issues of the Journal and the former Ships in Scale and Model Ship Builder magazines.


