Massimodels
-
Posts
38 -
Joined
-
Last visited
1 Follower

-
 Massimodels reacted to a post in a topic:
RMS Titanic by Massimodels – Minicraft – 1:350 – PLASTIC – Tom's Modelworks
Massimodels reacted to a post in a topic:
RMS Titanic by Massimodels – Minicraft – 1:350 – PLASTIC – Tom's Modelworks
-
 richardhd reacted to a post in a topic:
RMS Titanic by Massimodels – Minicraft – 1:350 – PLASTIC – Tom's Modelworks
richardhd reacted to a post in a topic:
RMS Titanic by Massimodels – Minicraft – 1:350 – PLASTIC – Tom's Modelworks
-
GrandpaPhil reacted to a post in a topic:
RMS Titanic by Massimodels – Minicraft – 1:350 – PLASTIC – Tom's Modelworks
-
GrandpaPhil reacted to a post in a topic:
RMS Titanic by Massimodels – Minicraft – 1:350 – PLASTIC – Tom's Modelworks
-
GrandpaPhil reacted to a post in a topic:
RMS Titanic by Massimodels – Minicraft – 1:350 – PLASTIC – Tom's Modelworks
-
GrandpaPhil reacted to a post in a topic:
RMS Titanic by Massimodels – Minicraft – 1:350 – PLASTIC – Tom's Modelworks
-
GrandpaPhil reacted to a post in a topic:
RMS Titanic by Massimodels – Minicraft – 1:350 – PLASTIC – Tom's Modelworks
-
GrandpaPhil reacted to a post in a topic:
RMS Titanic by Massimodels – Minicraft – 1:350 – PLASTIC – Tom's Modelworks
-
GrandpaPhil reacted to a post in a topic:
RMS Titanic by Massimodels – Minicraft – 1:350 – PLASTIC – Tom's Modelworks
-
yvesvidal reacted to a post in a topic:
RMS Titanic by Massimodels – Minicraft – 1:350 – PLASTIC – Tom's Modelworks
-
madtatt reacted to a post in a topic:
RMS Titanic by Massimodels – Minicraft – 1:350 – PLASTIC – Tom's Modelworks
-
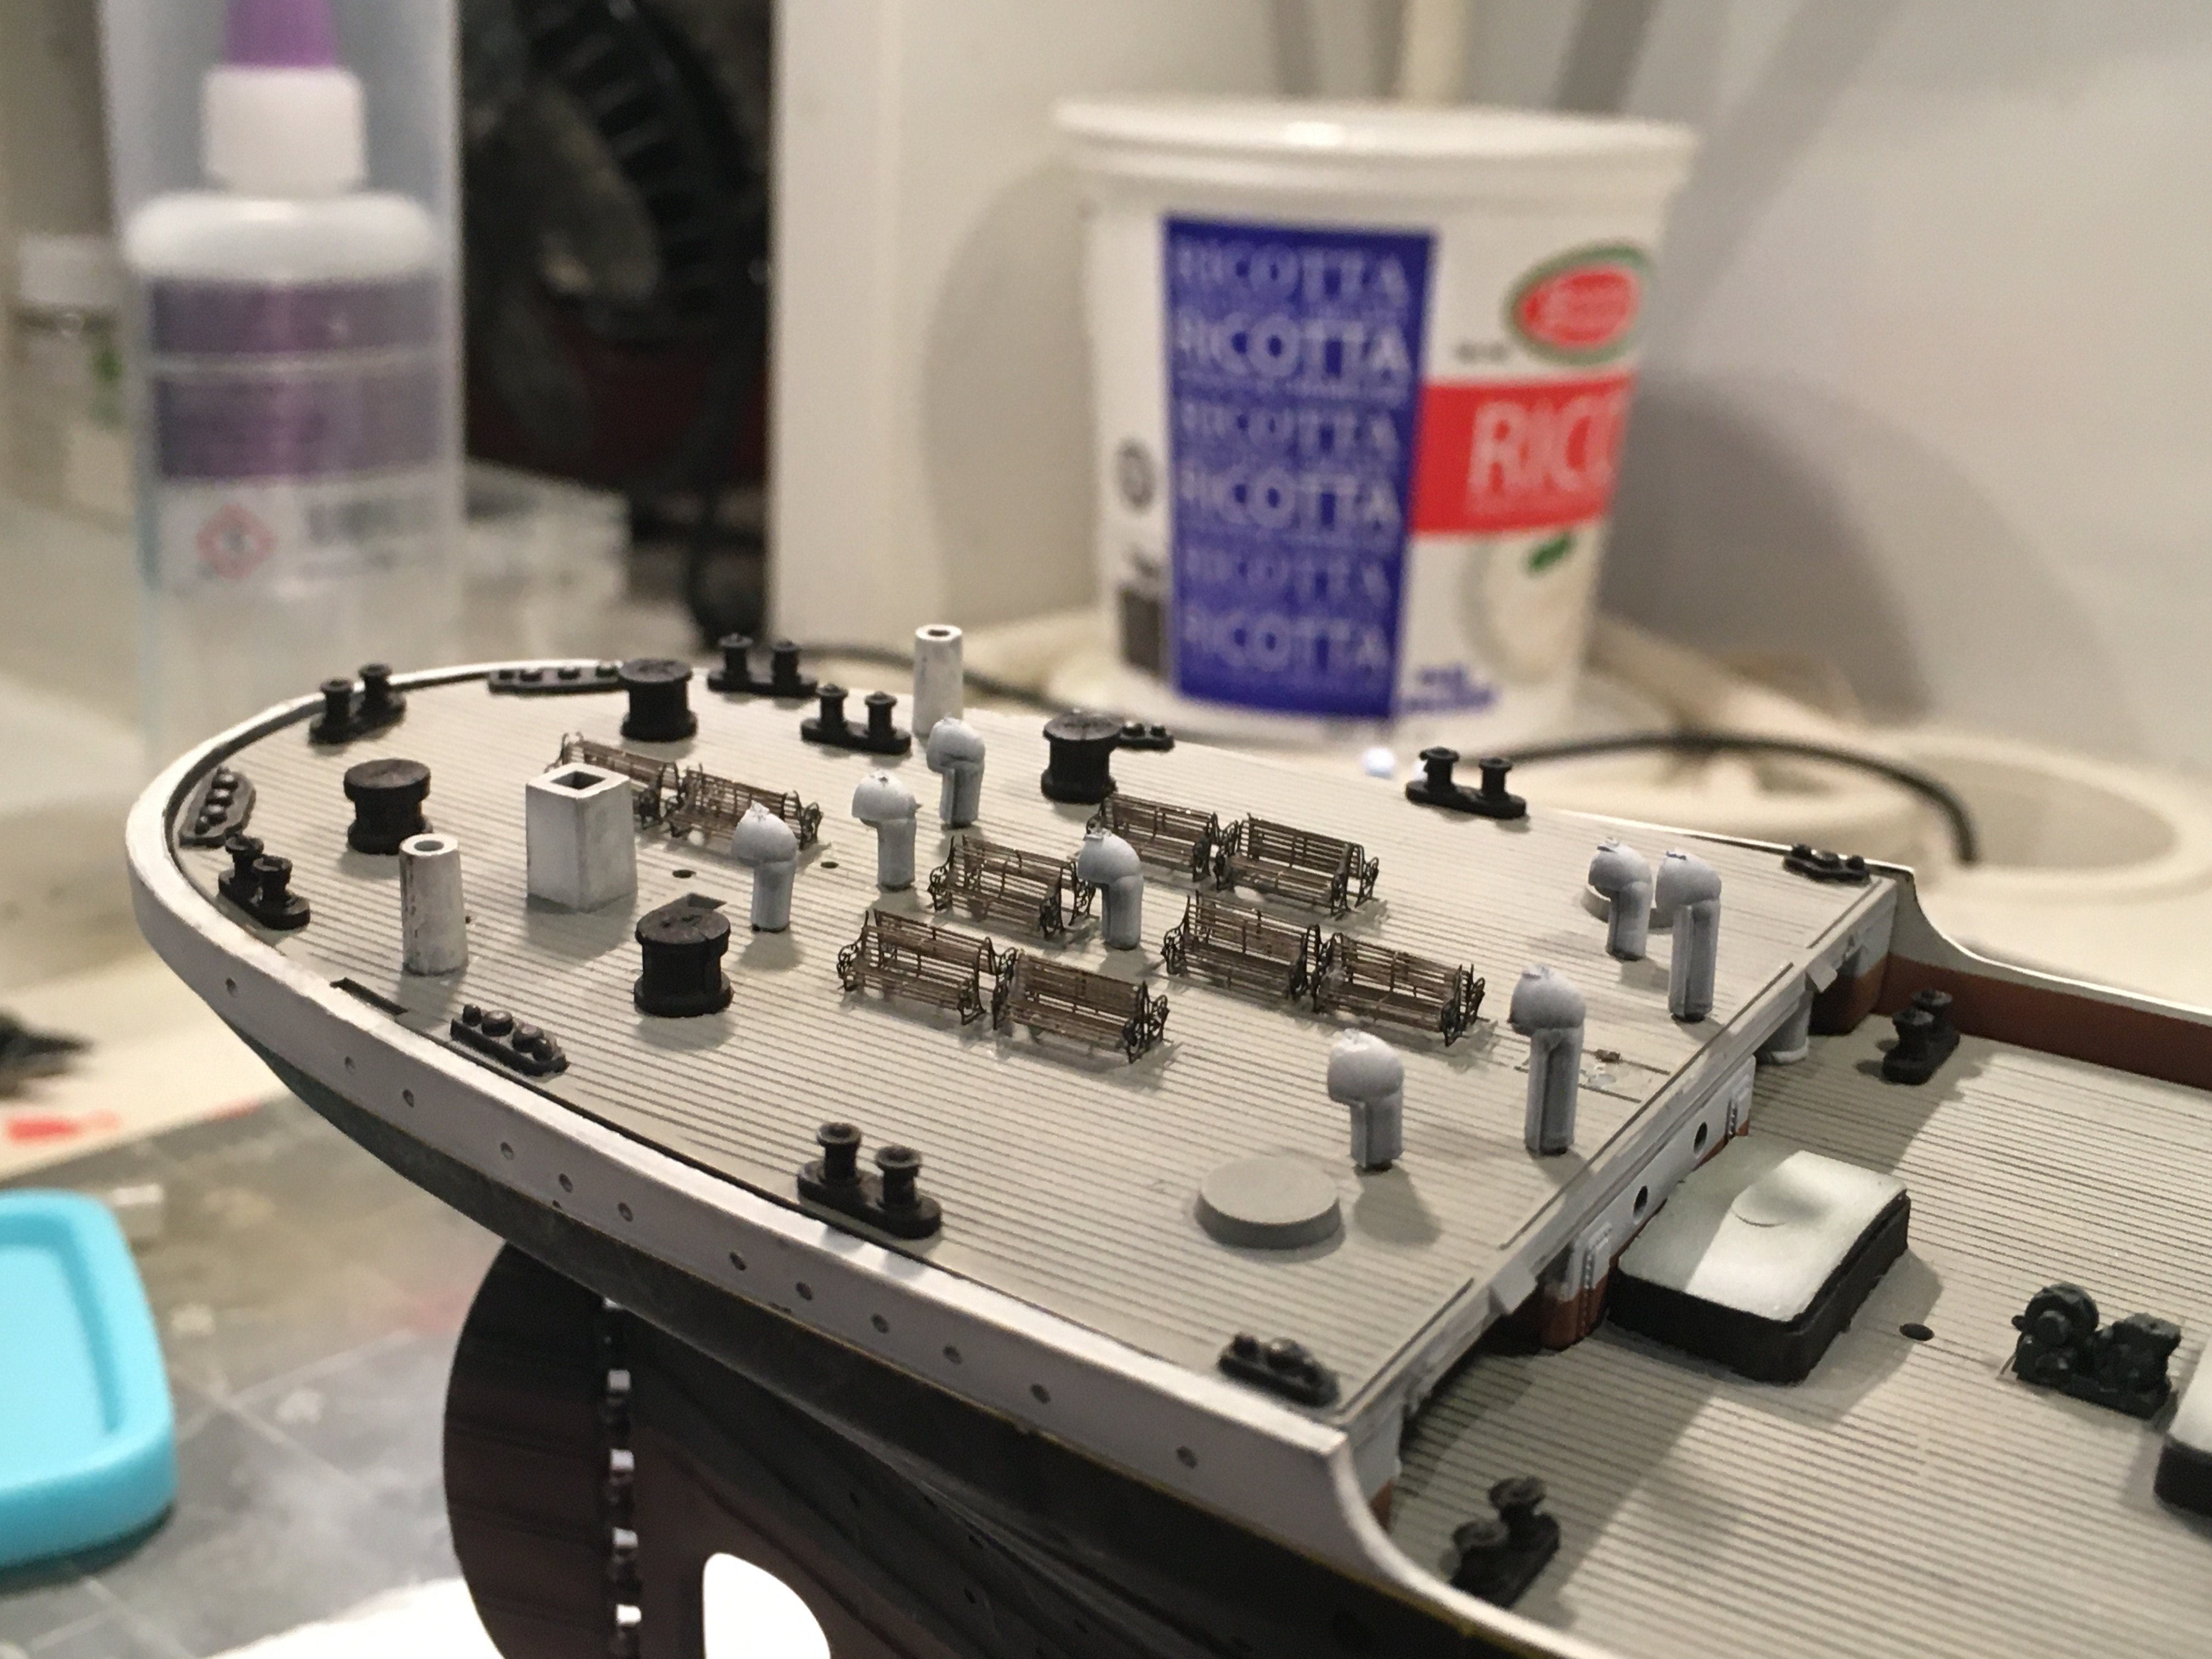
Happy New Year–another year and this guy is still on the workbench. A small update for the record–but indeed some labour involved: Finished the Poop Deck benches and deck detail. The benches are very worth the affect of scale achieved, but truly are quite fiddly. More updates to follow, I hope....


-
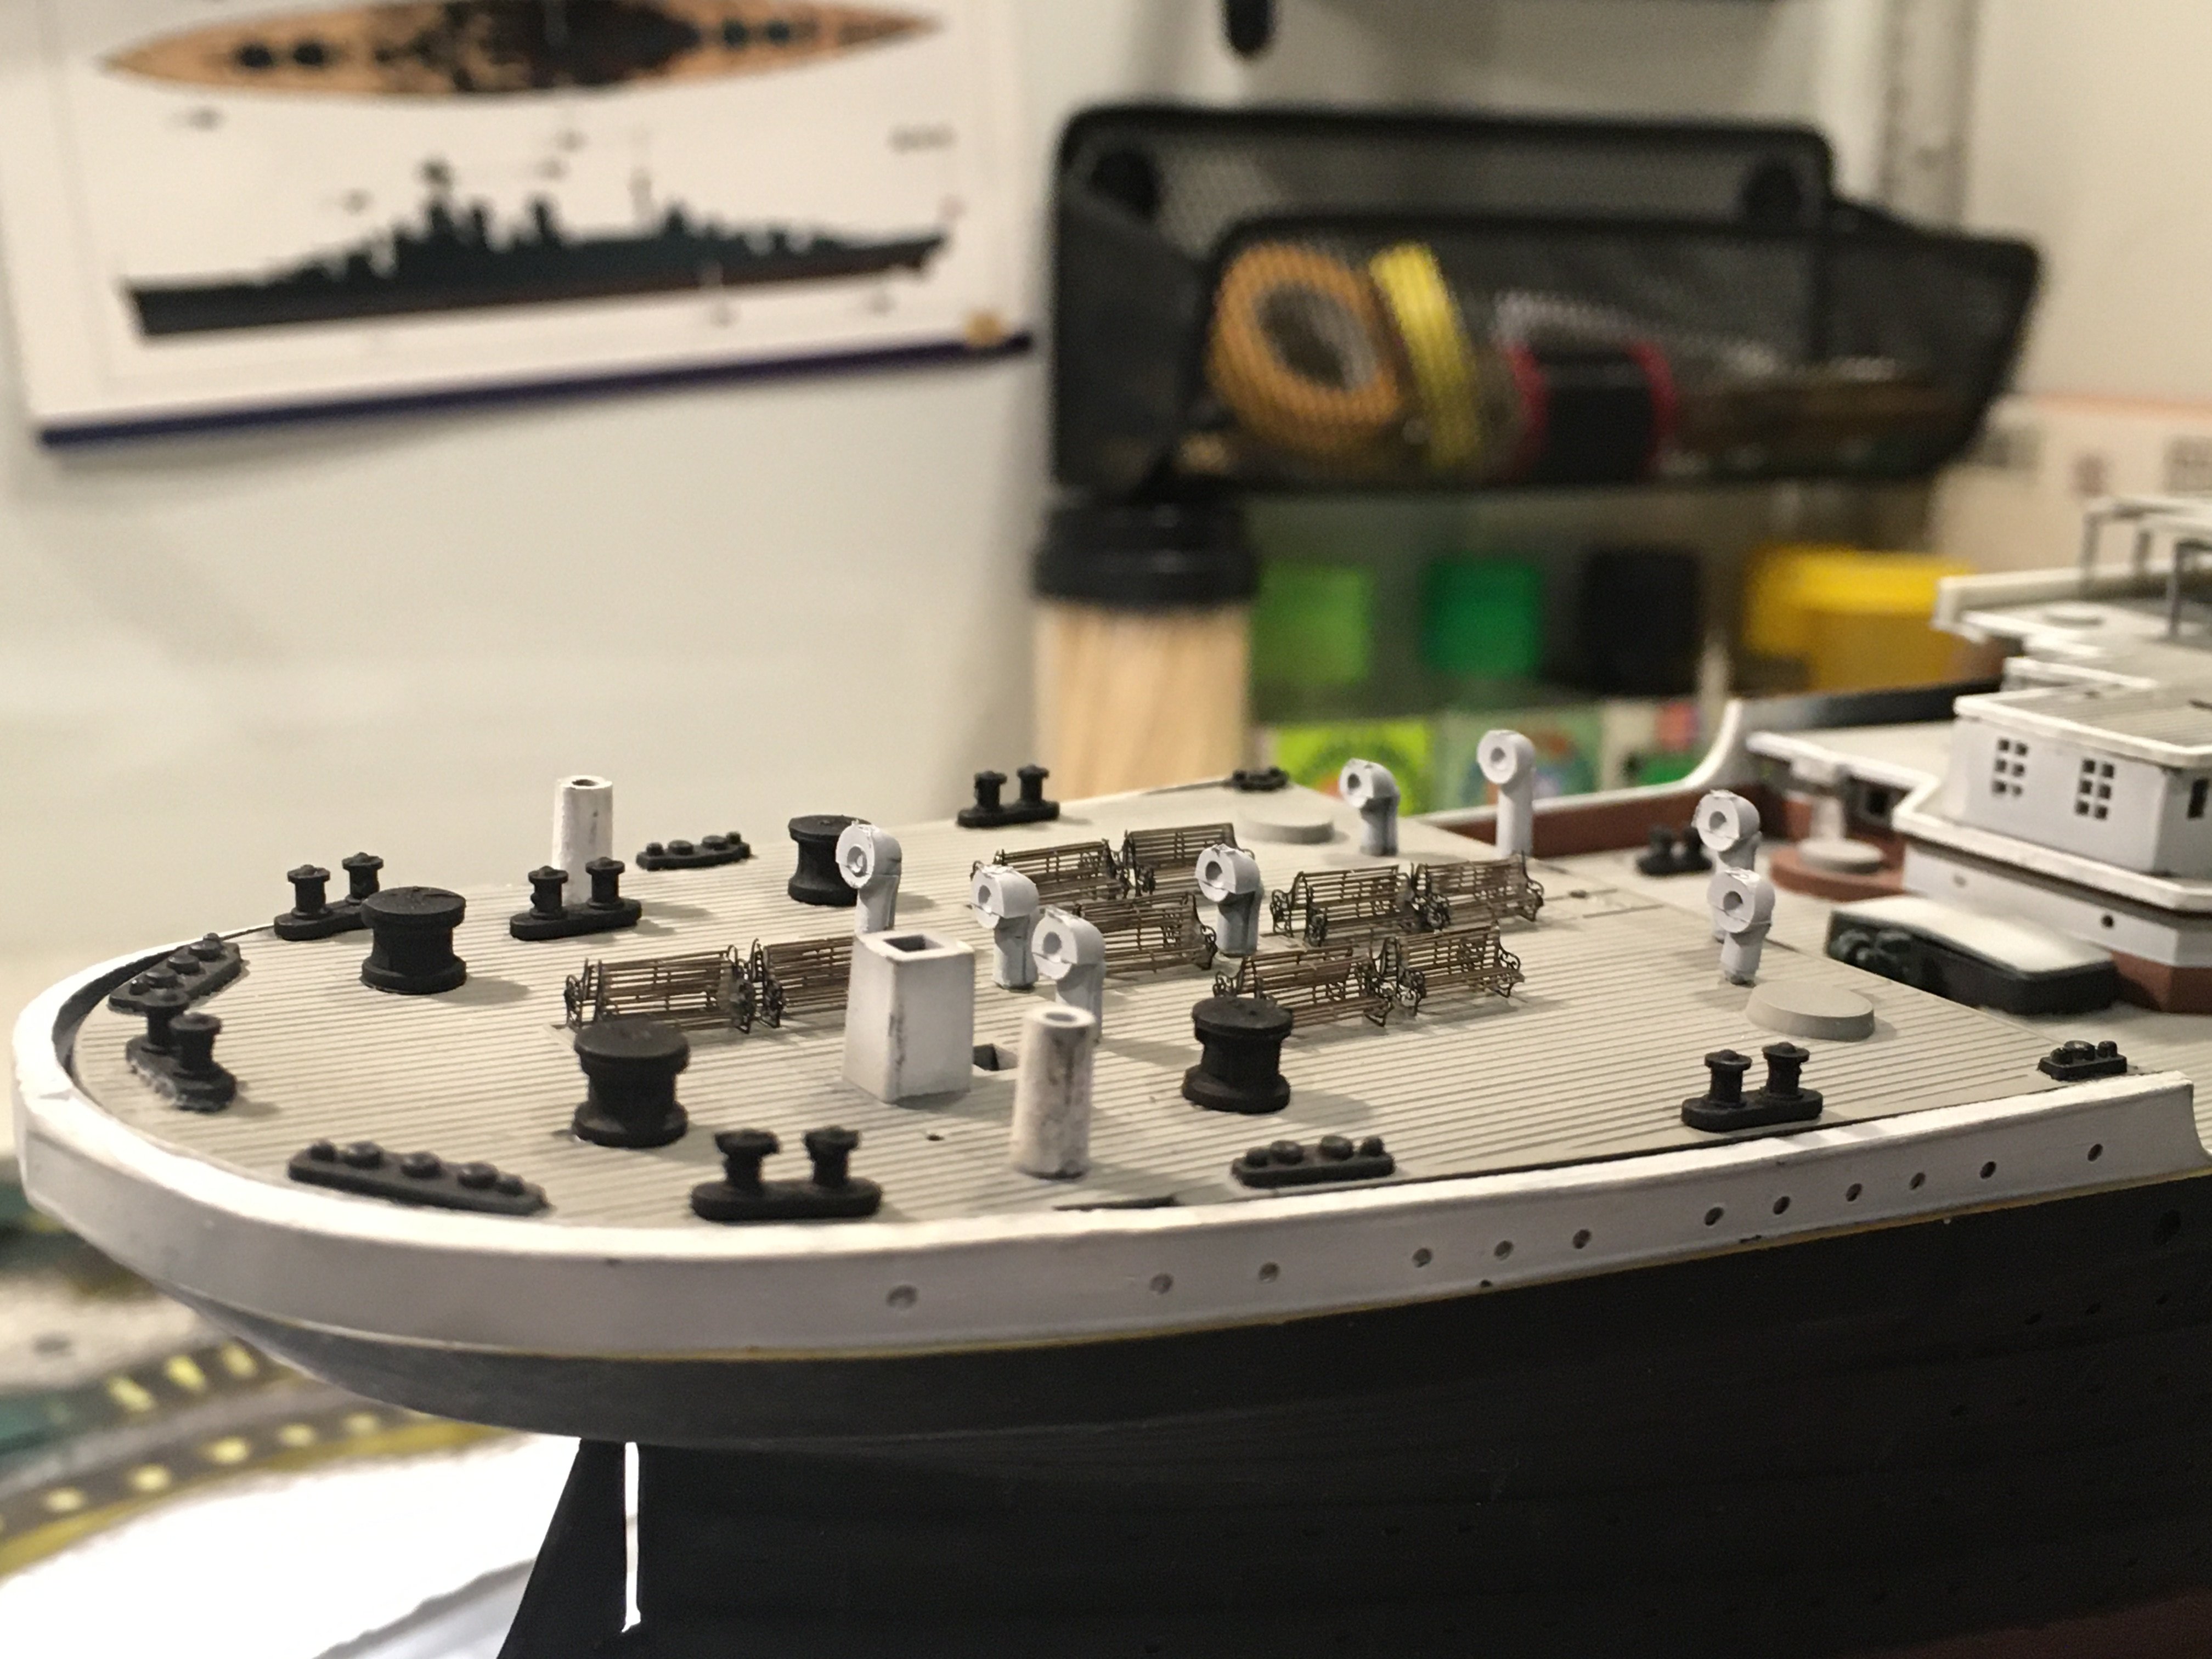
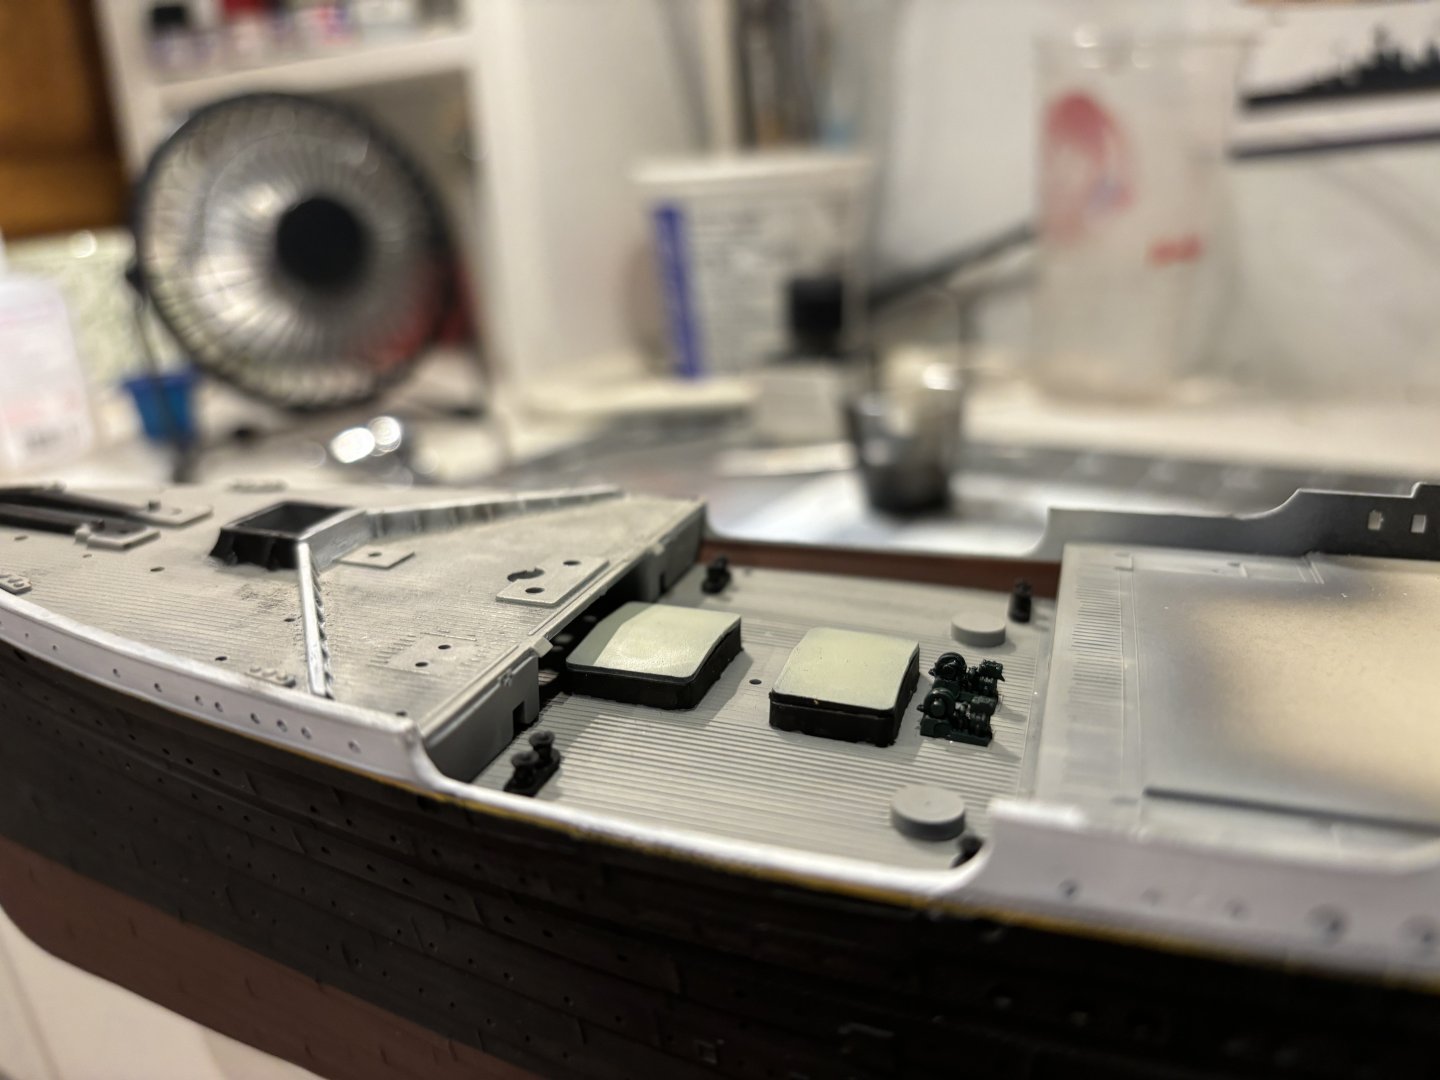
Started work on deck details, completing most on the forecastle deck so far and getting acquainted with the work I will have to undertake with these PE benches. They look great but are certainly a tricky bit. They are also holding up production so they will certainly have to be next as well. More updates to follow….


-
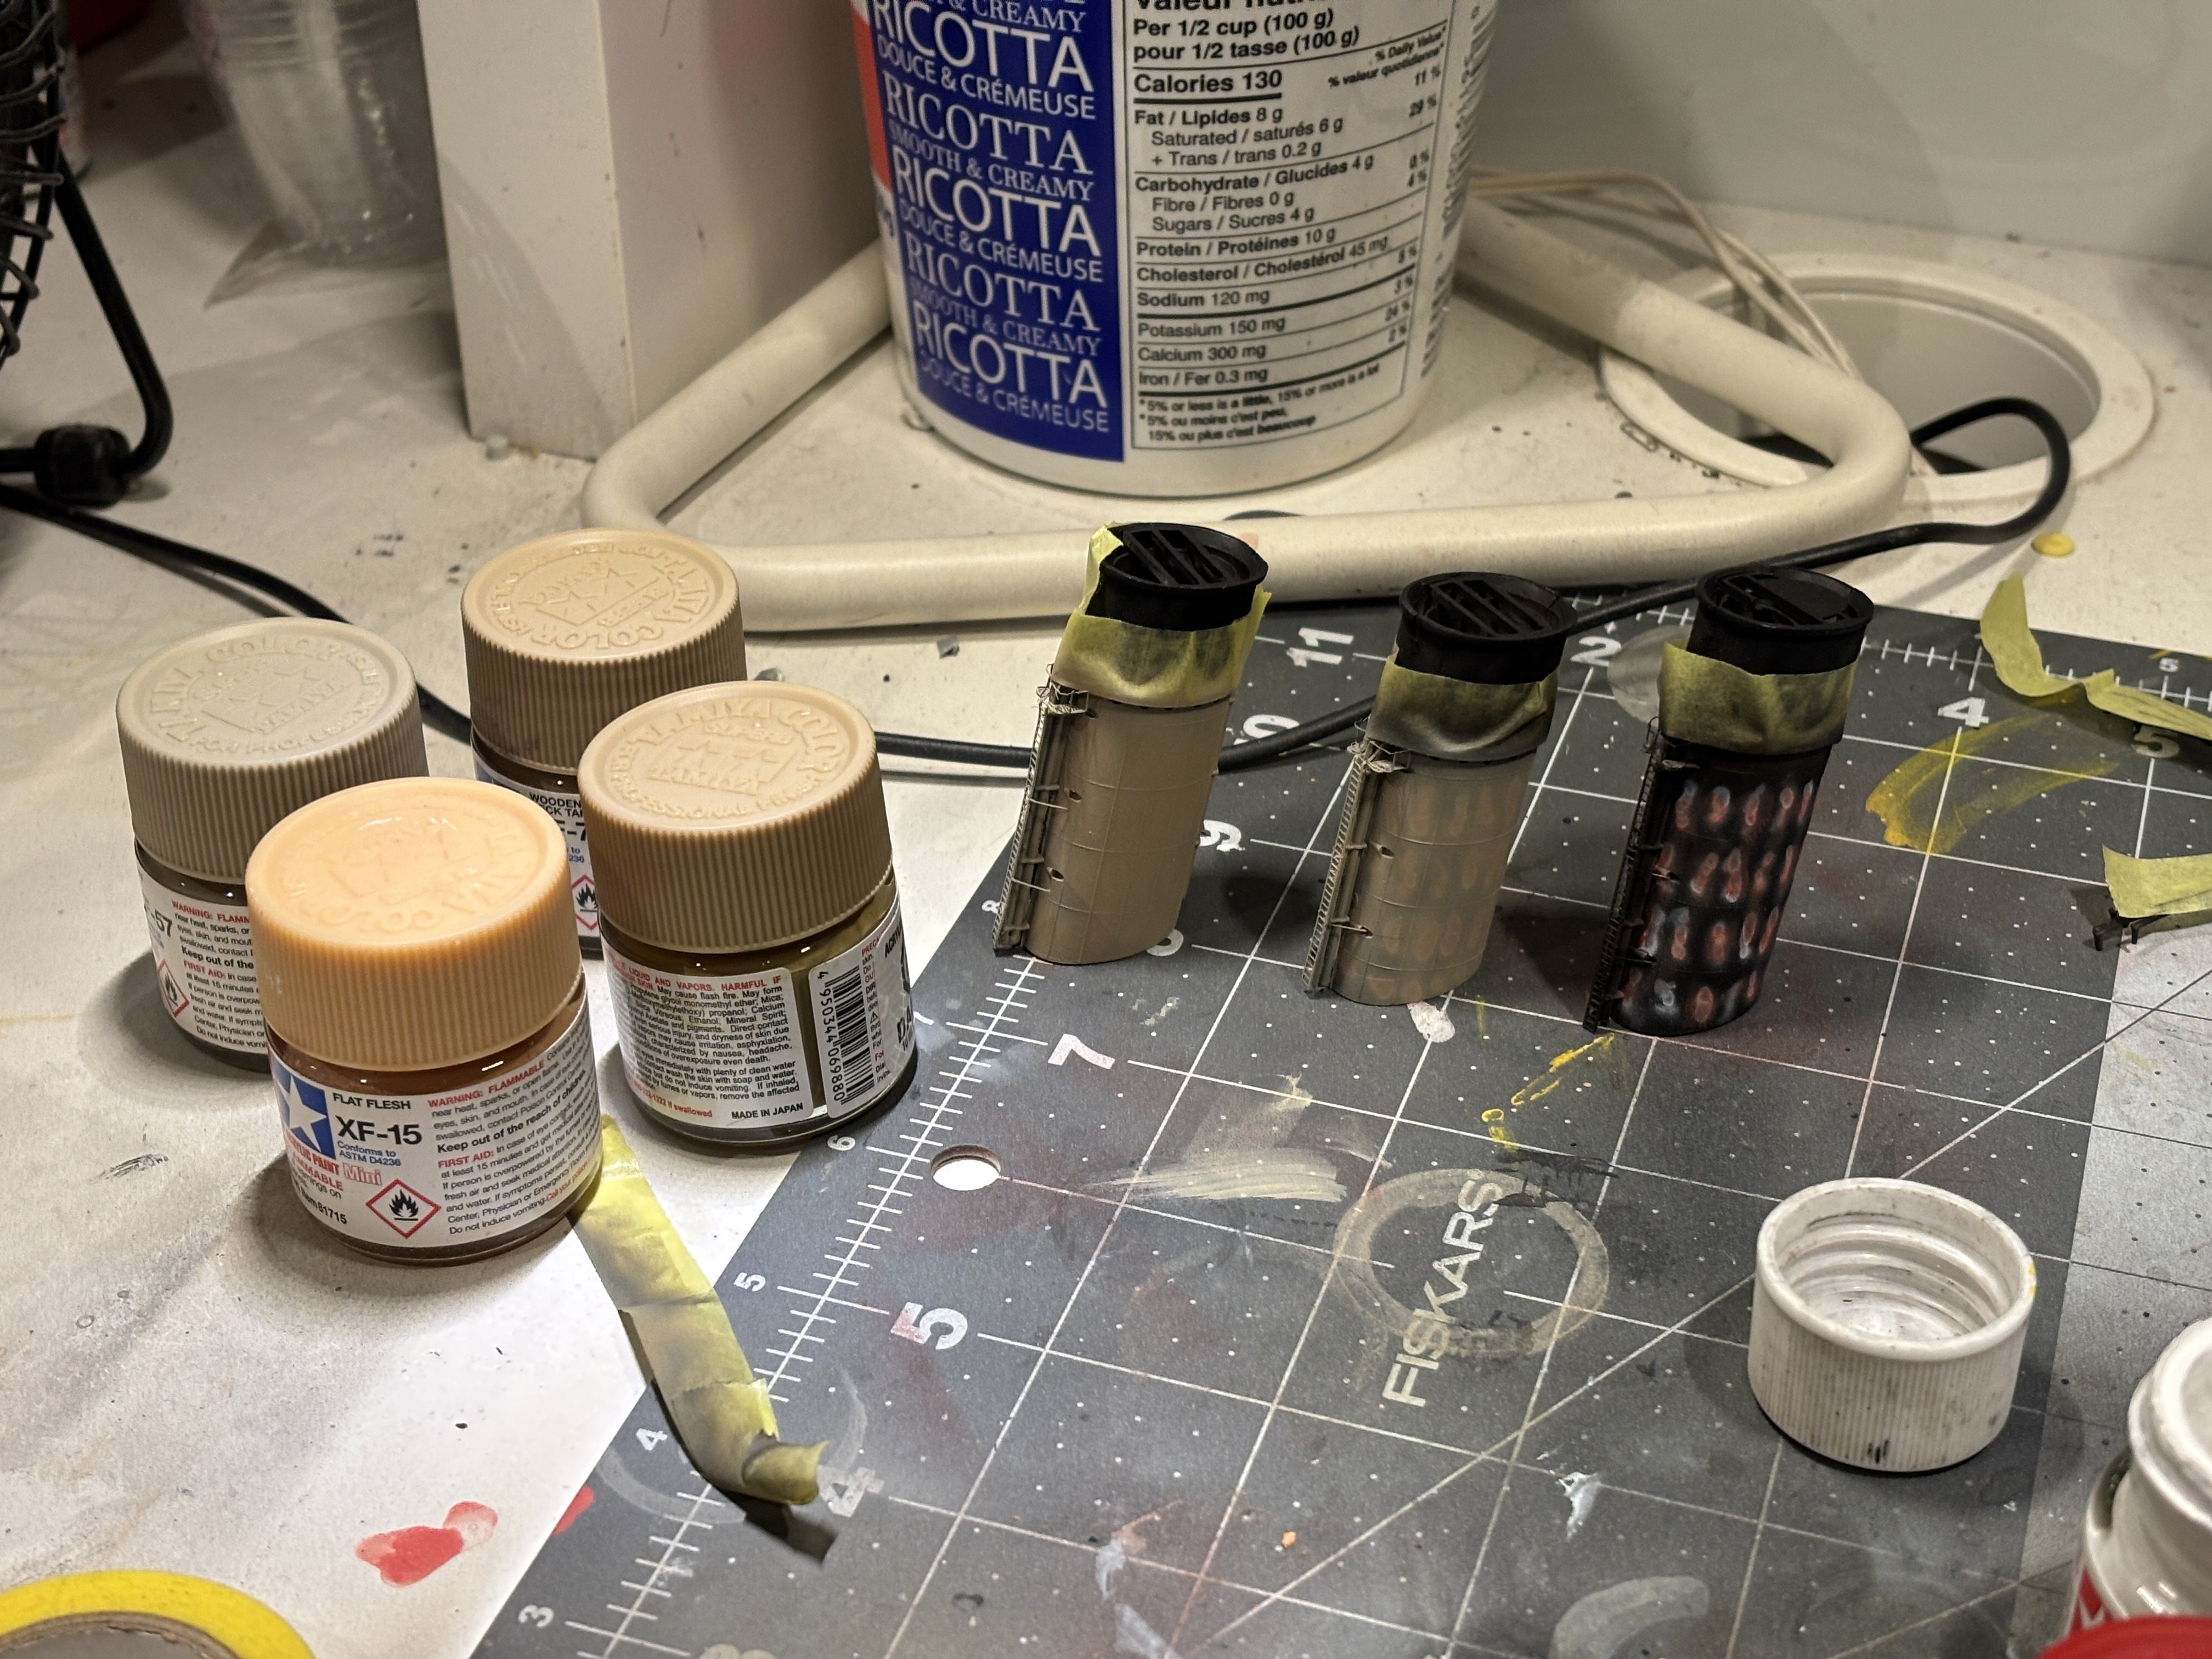
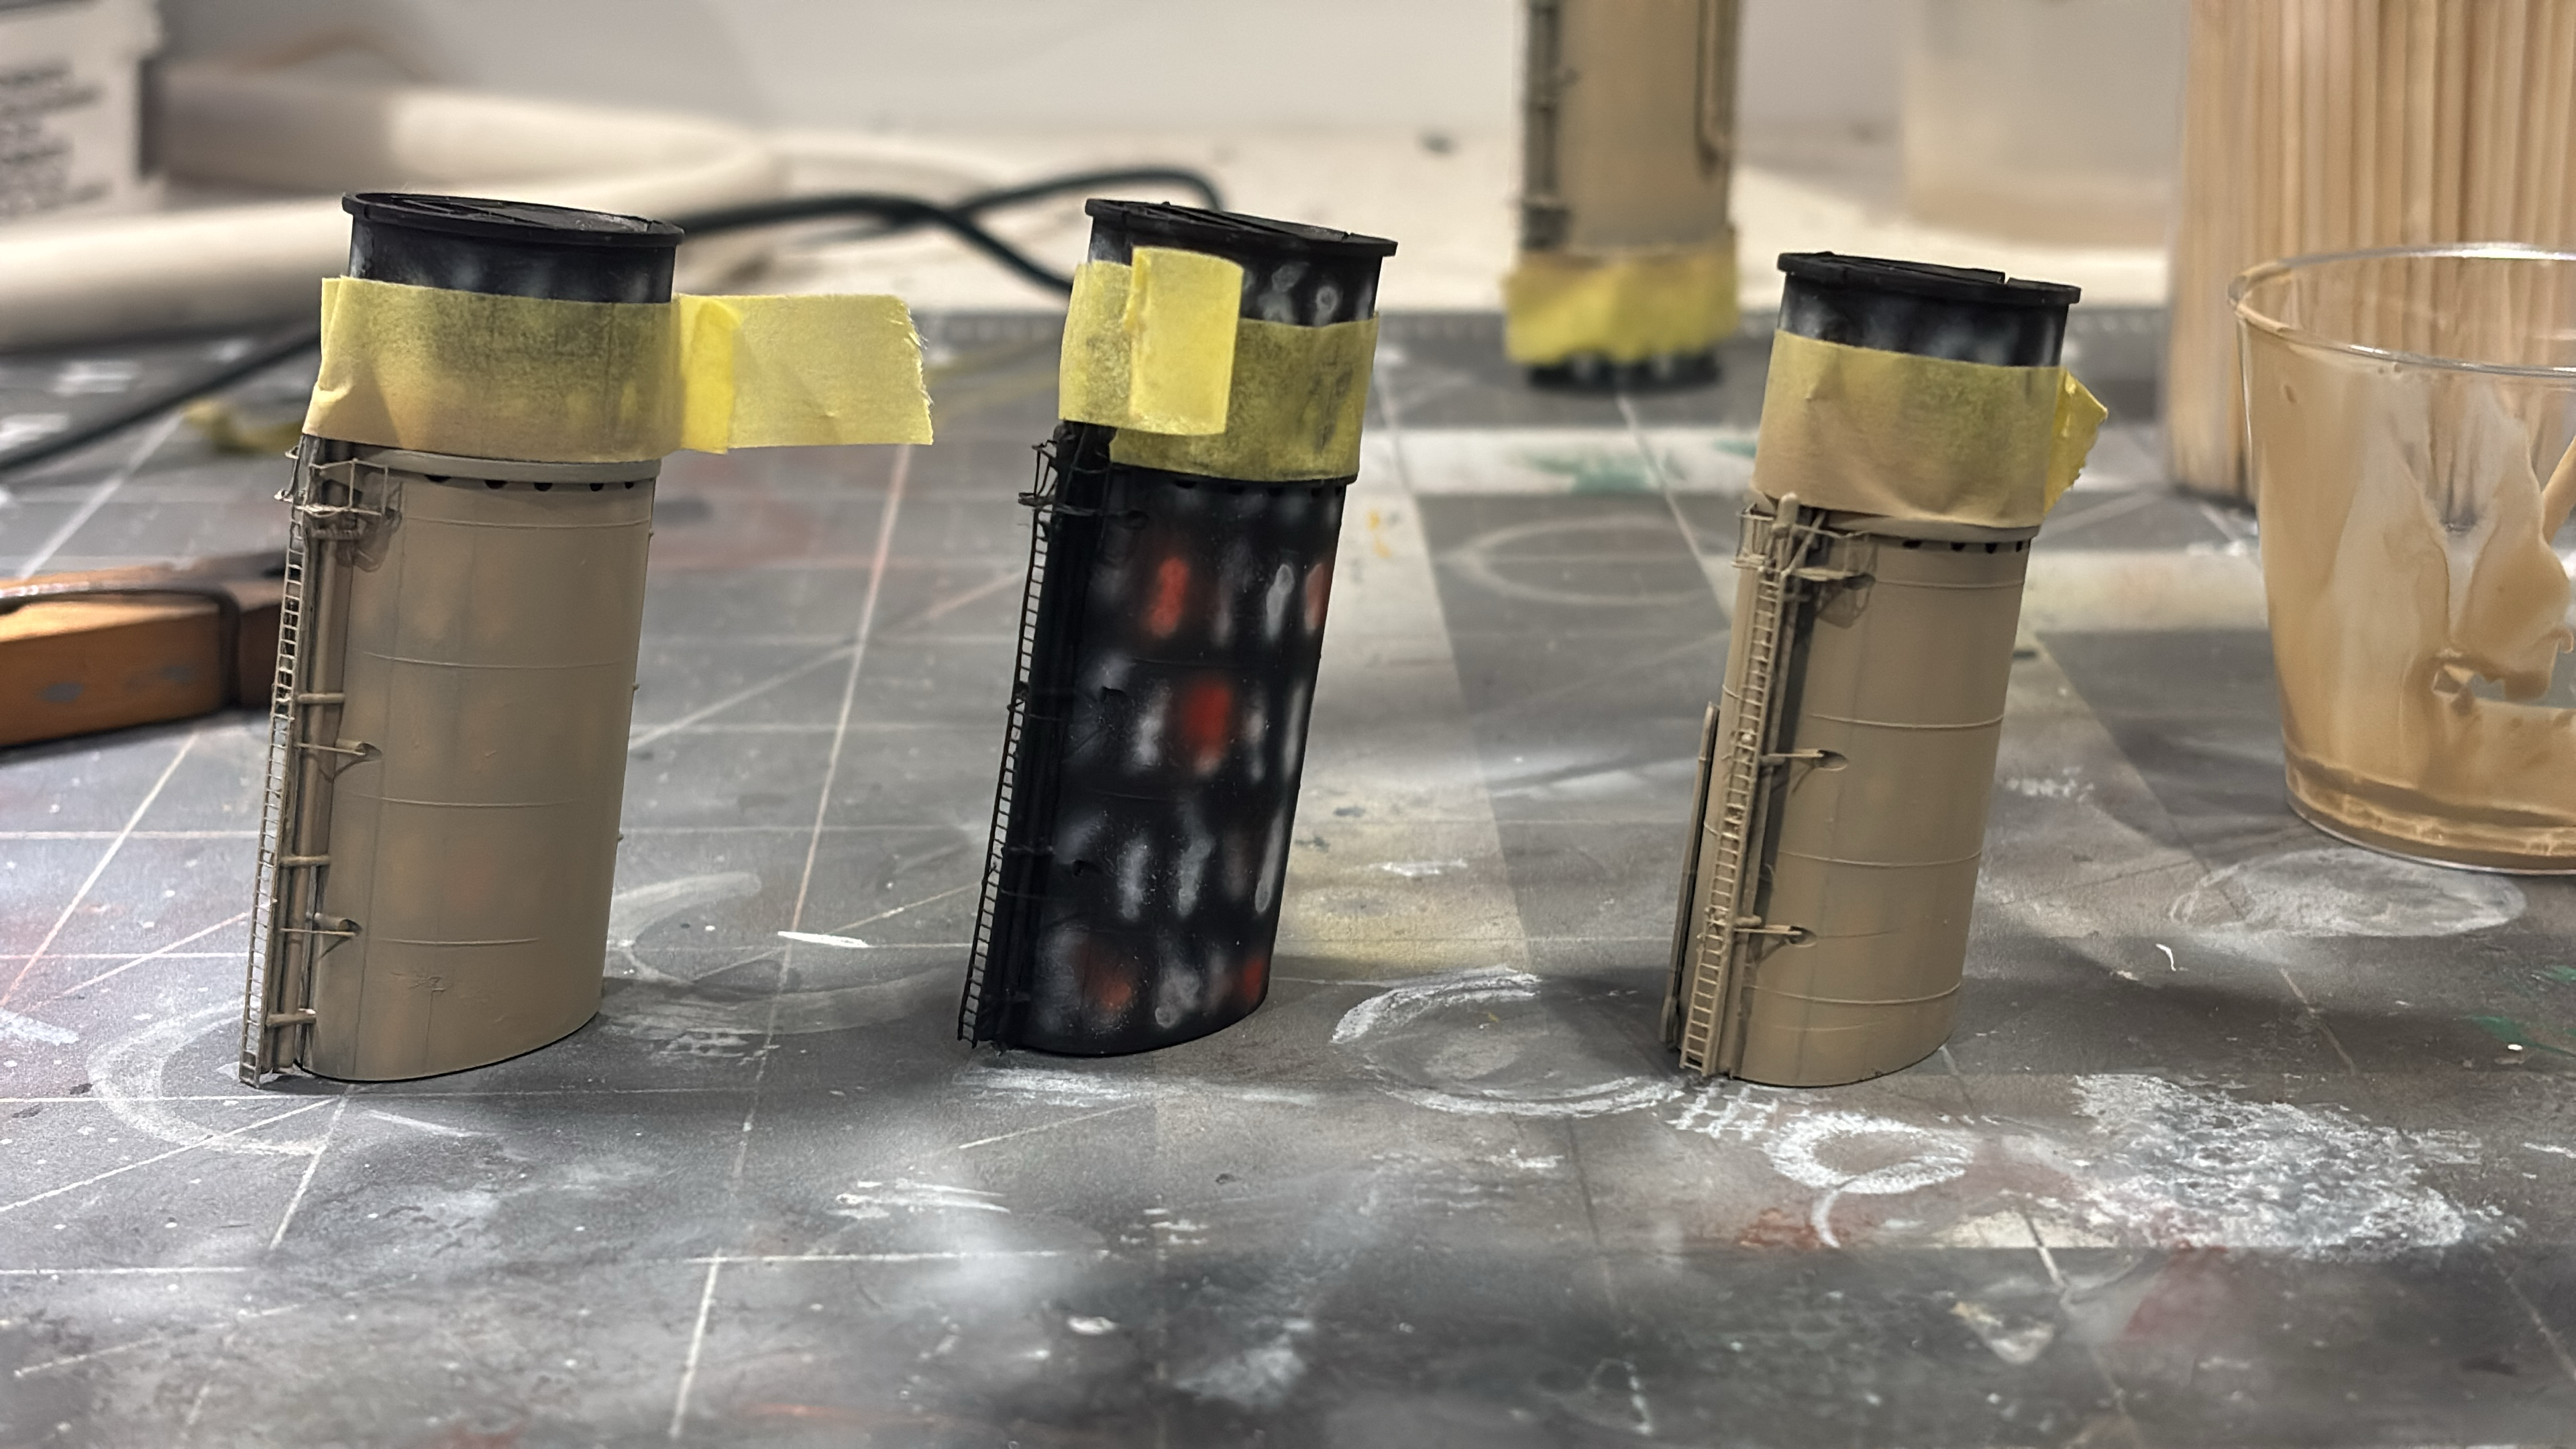
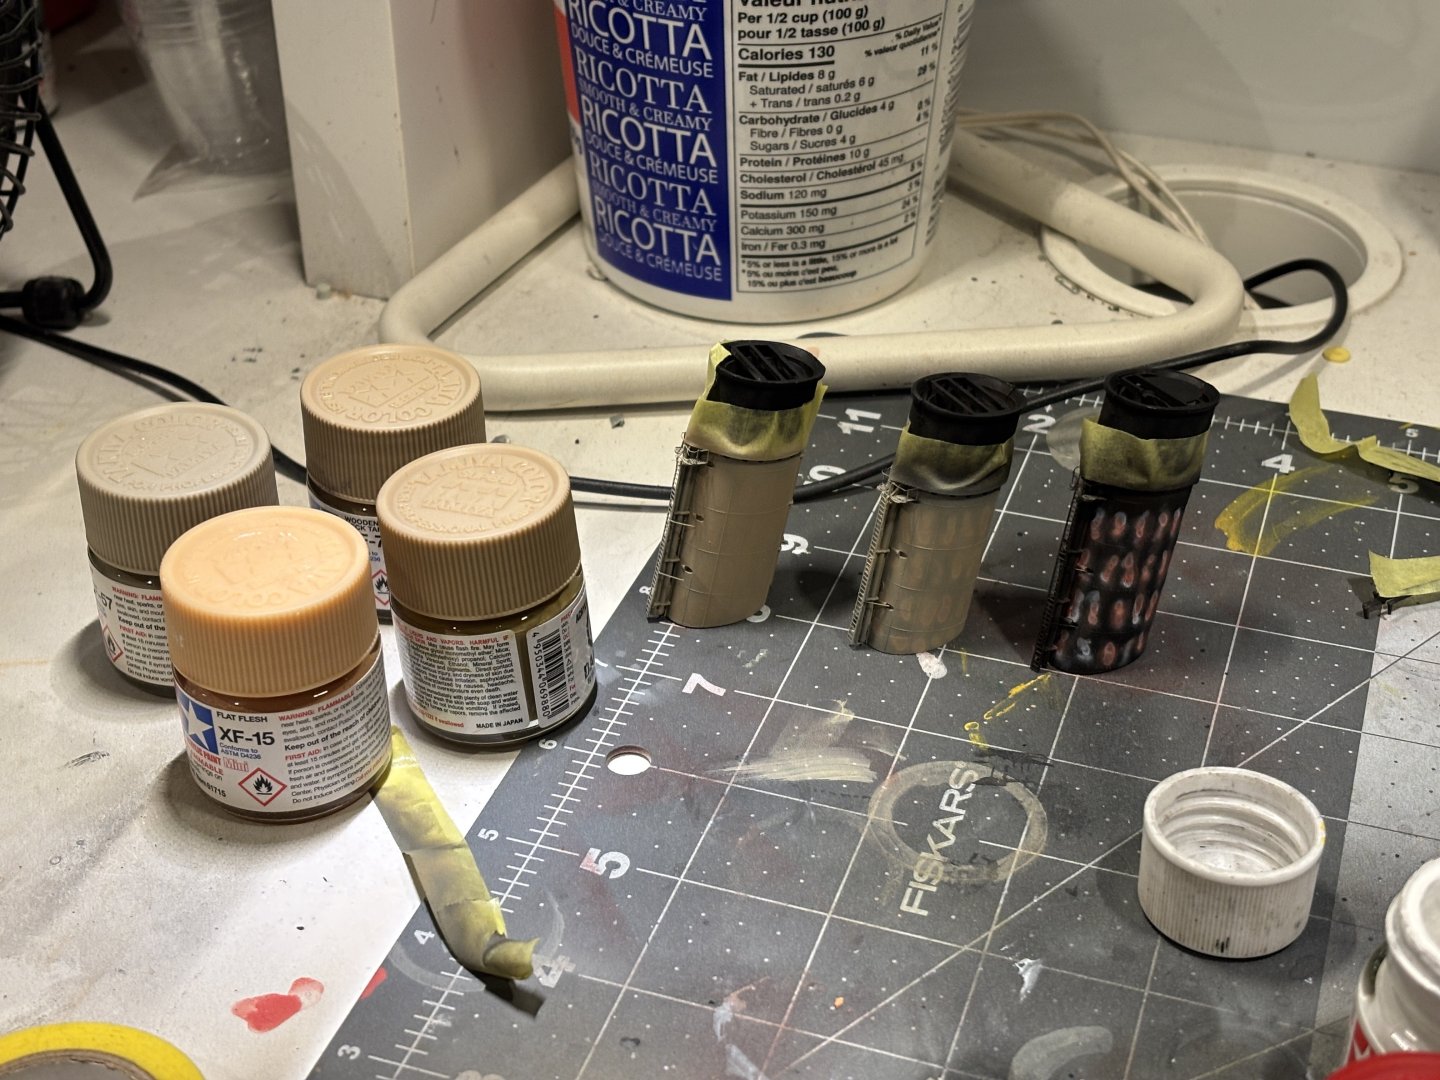
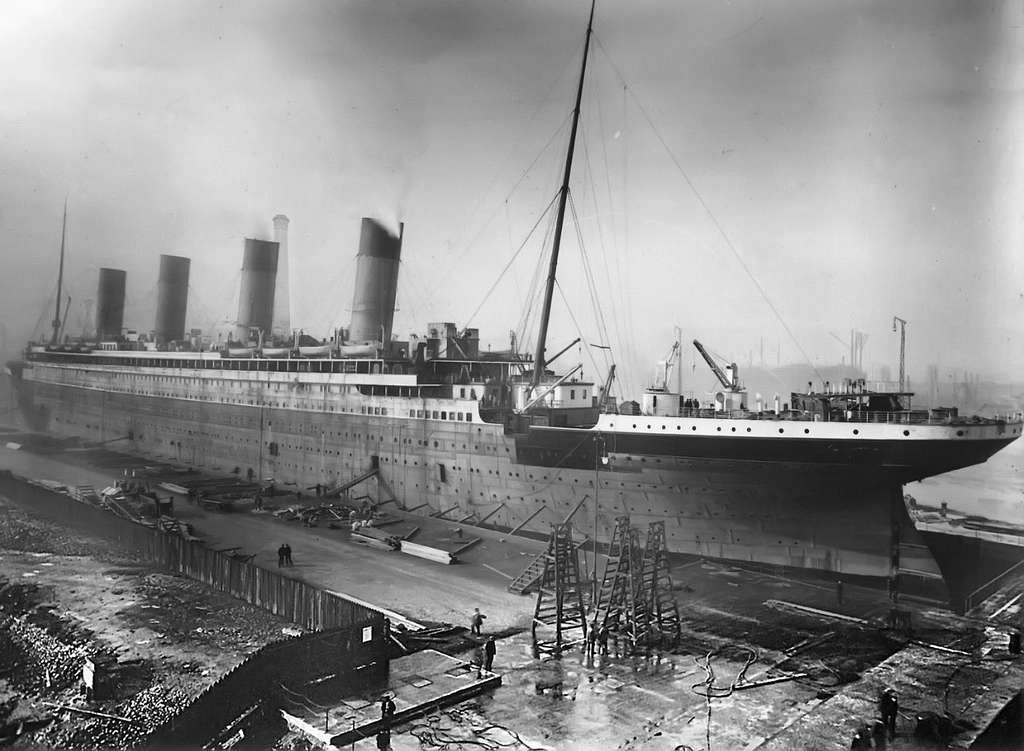
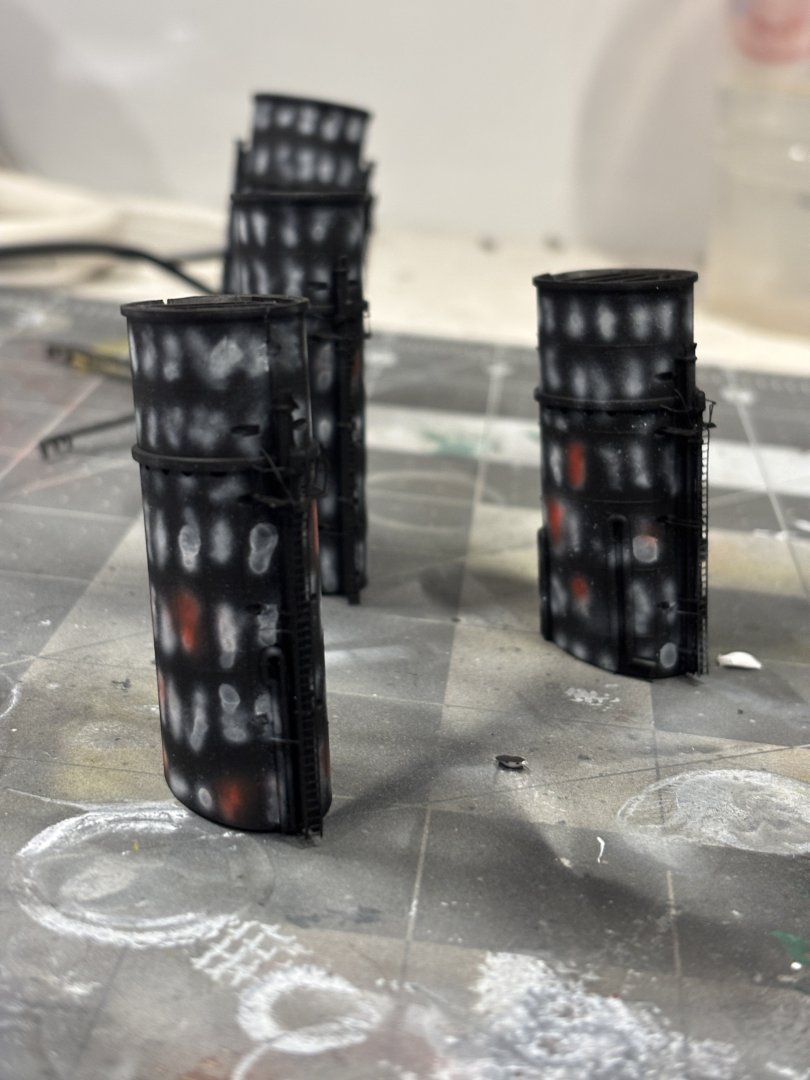
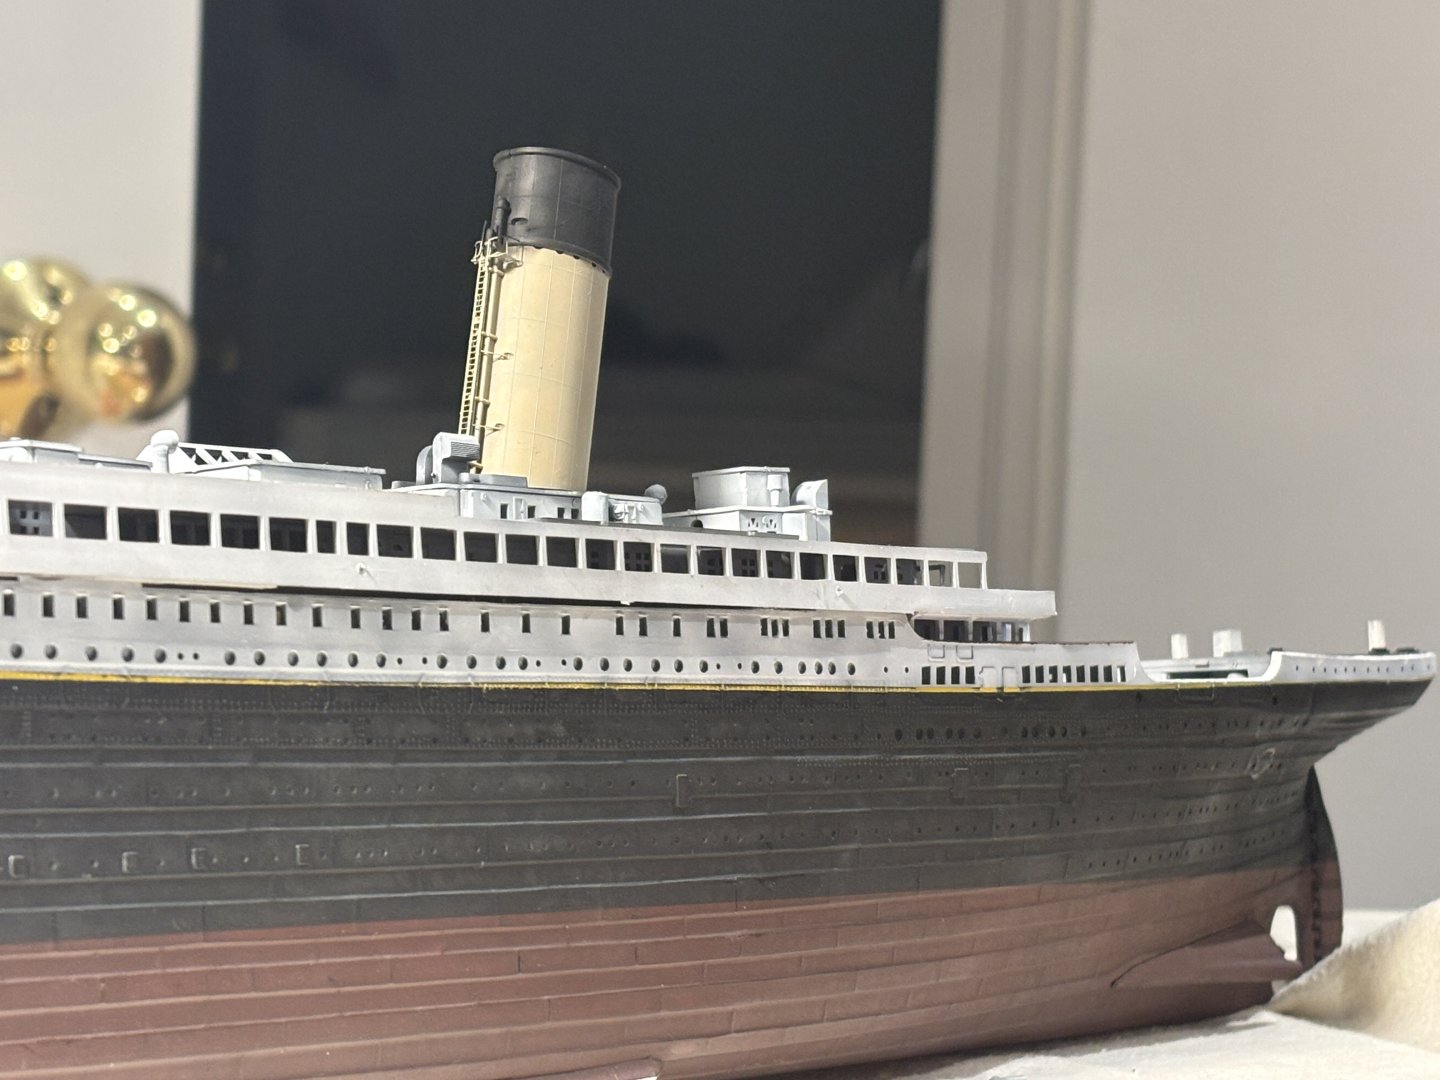
Came back from a trip a progress continues. First order of business was to correct the funnel colour. After meditating on it for a month or so I was unsatisfied with the chosen colour. Therefore I mixed my own combination of several tan colours to mimic quite closely the one of the movie model. As can be seen in the photographs this colour is quite more accurate to what I had intended to replicate. They are now secured and can be quite forgotten about now. Direct comparison: Model Movie model More updates to follow….


-
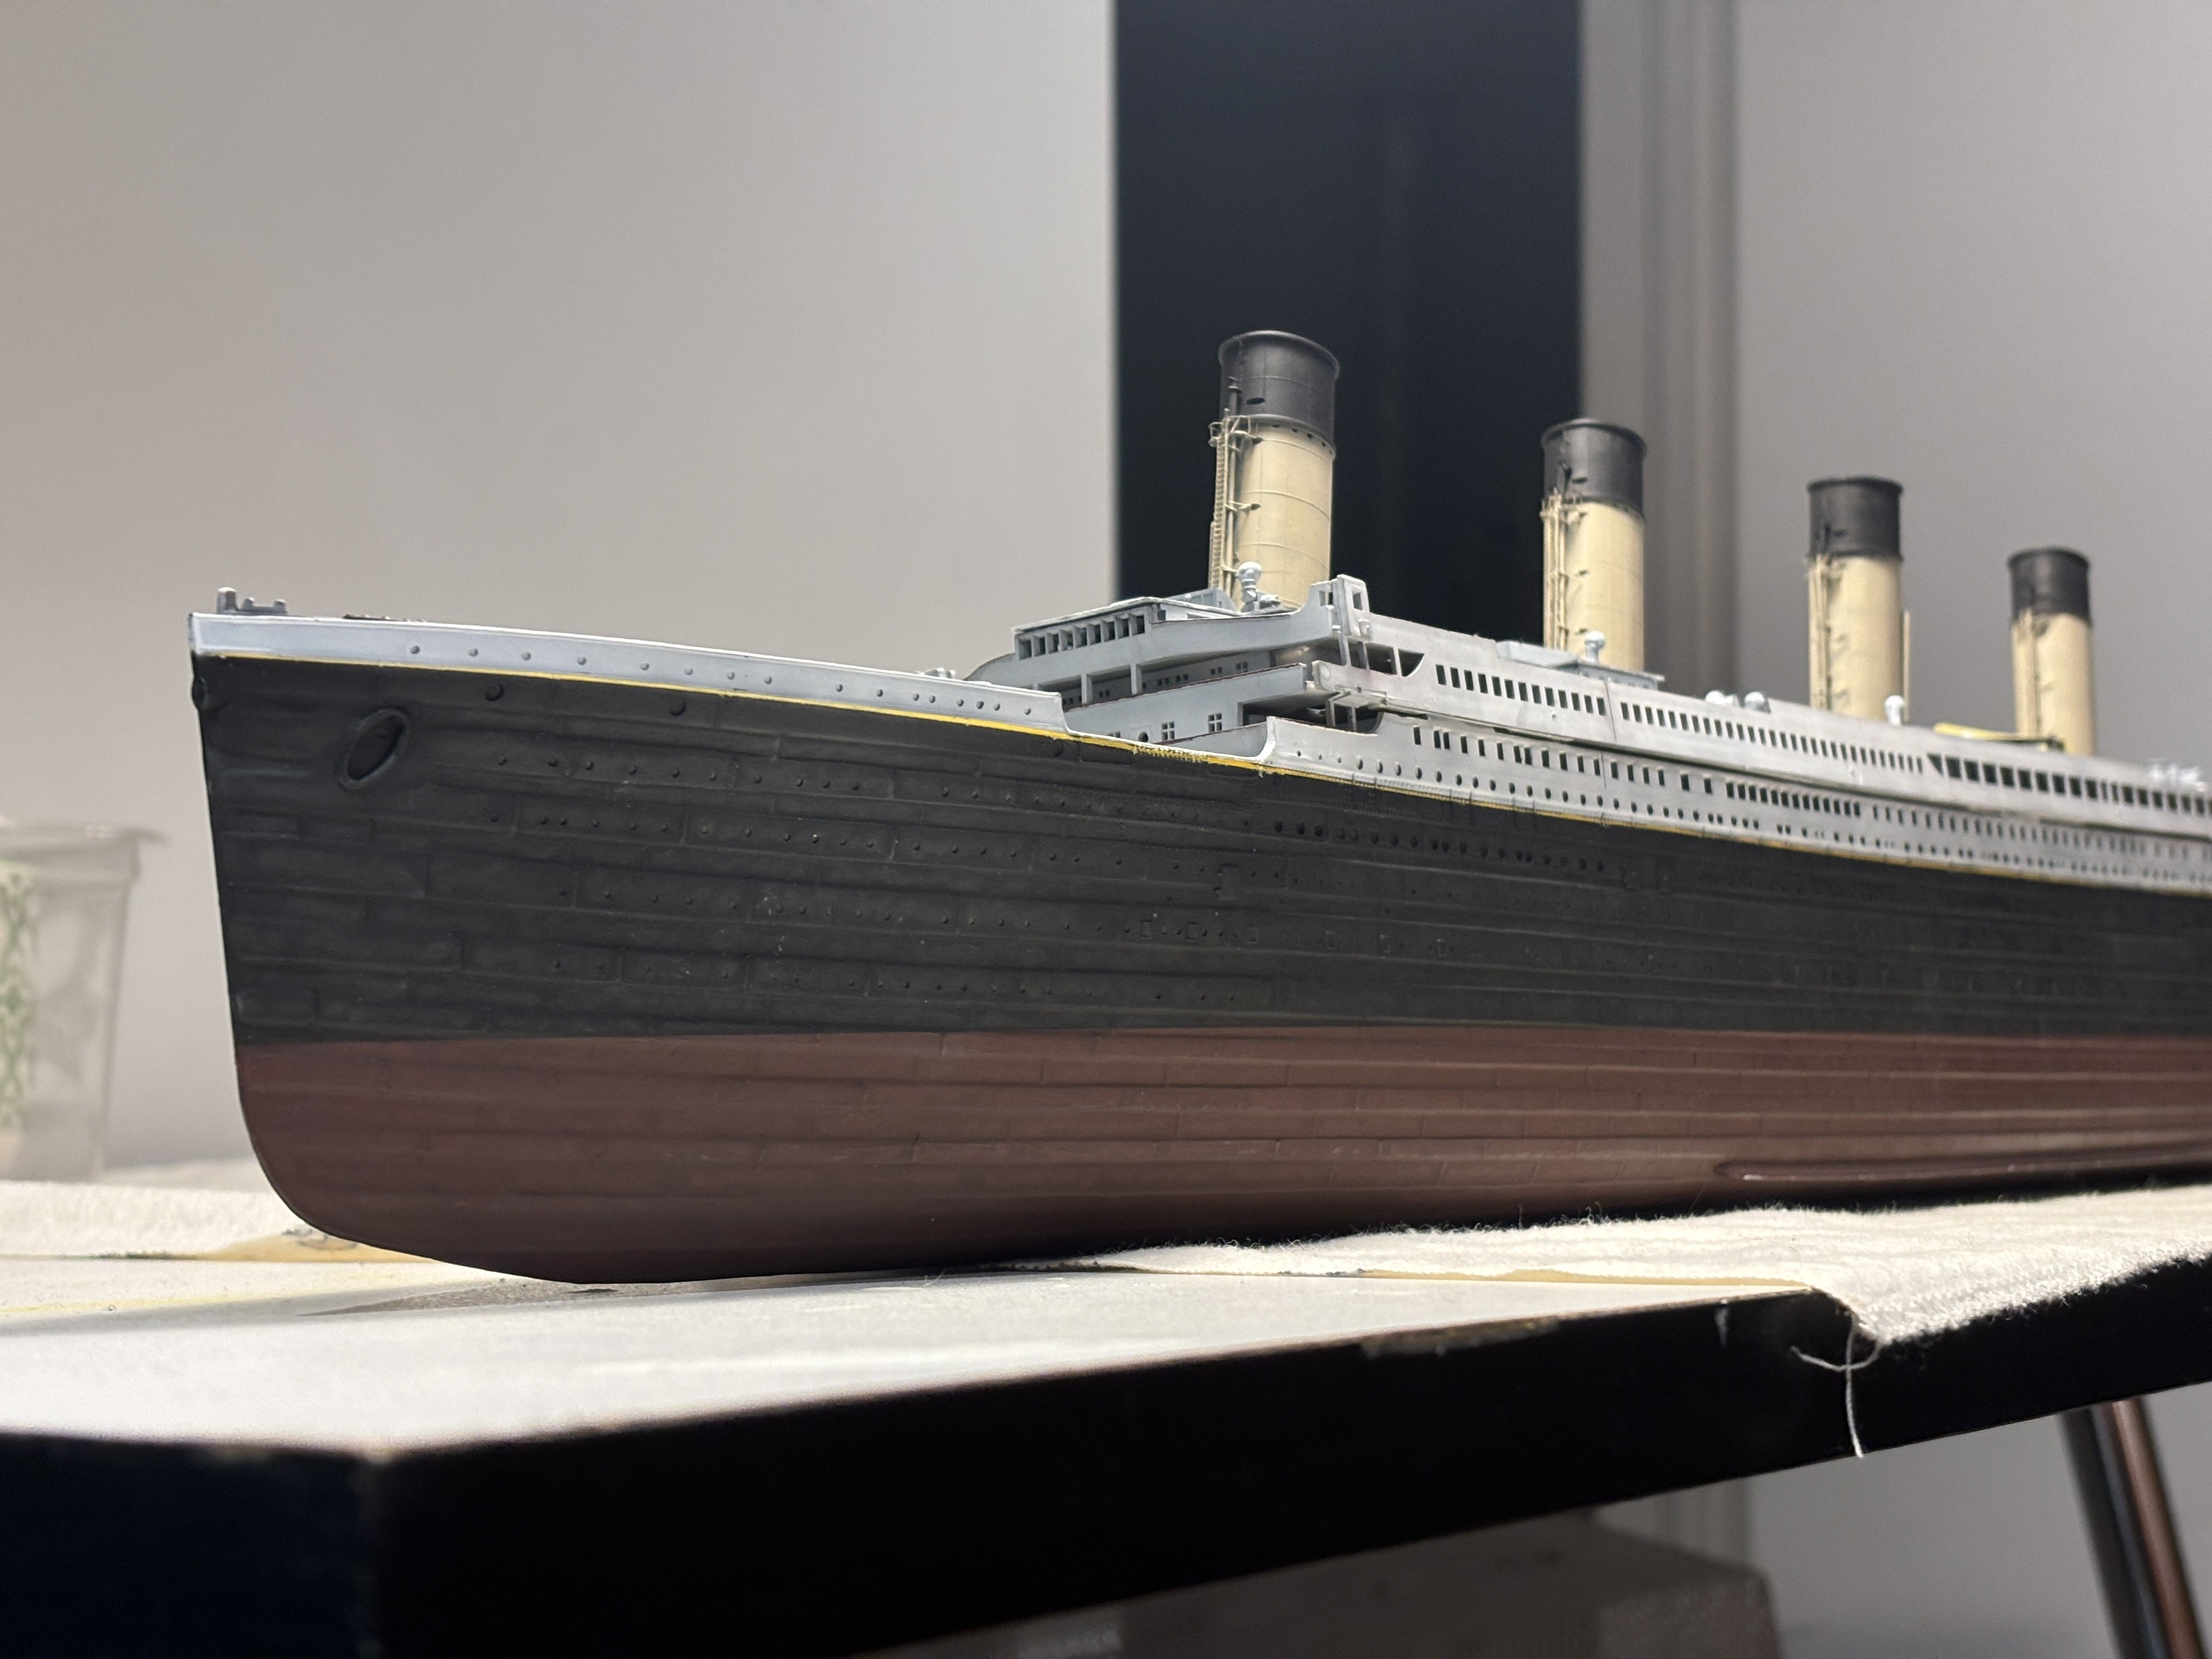
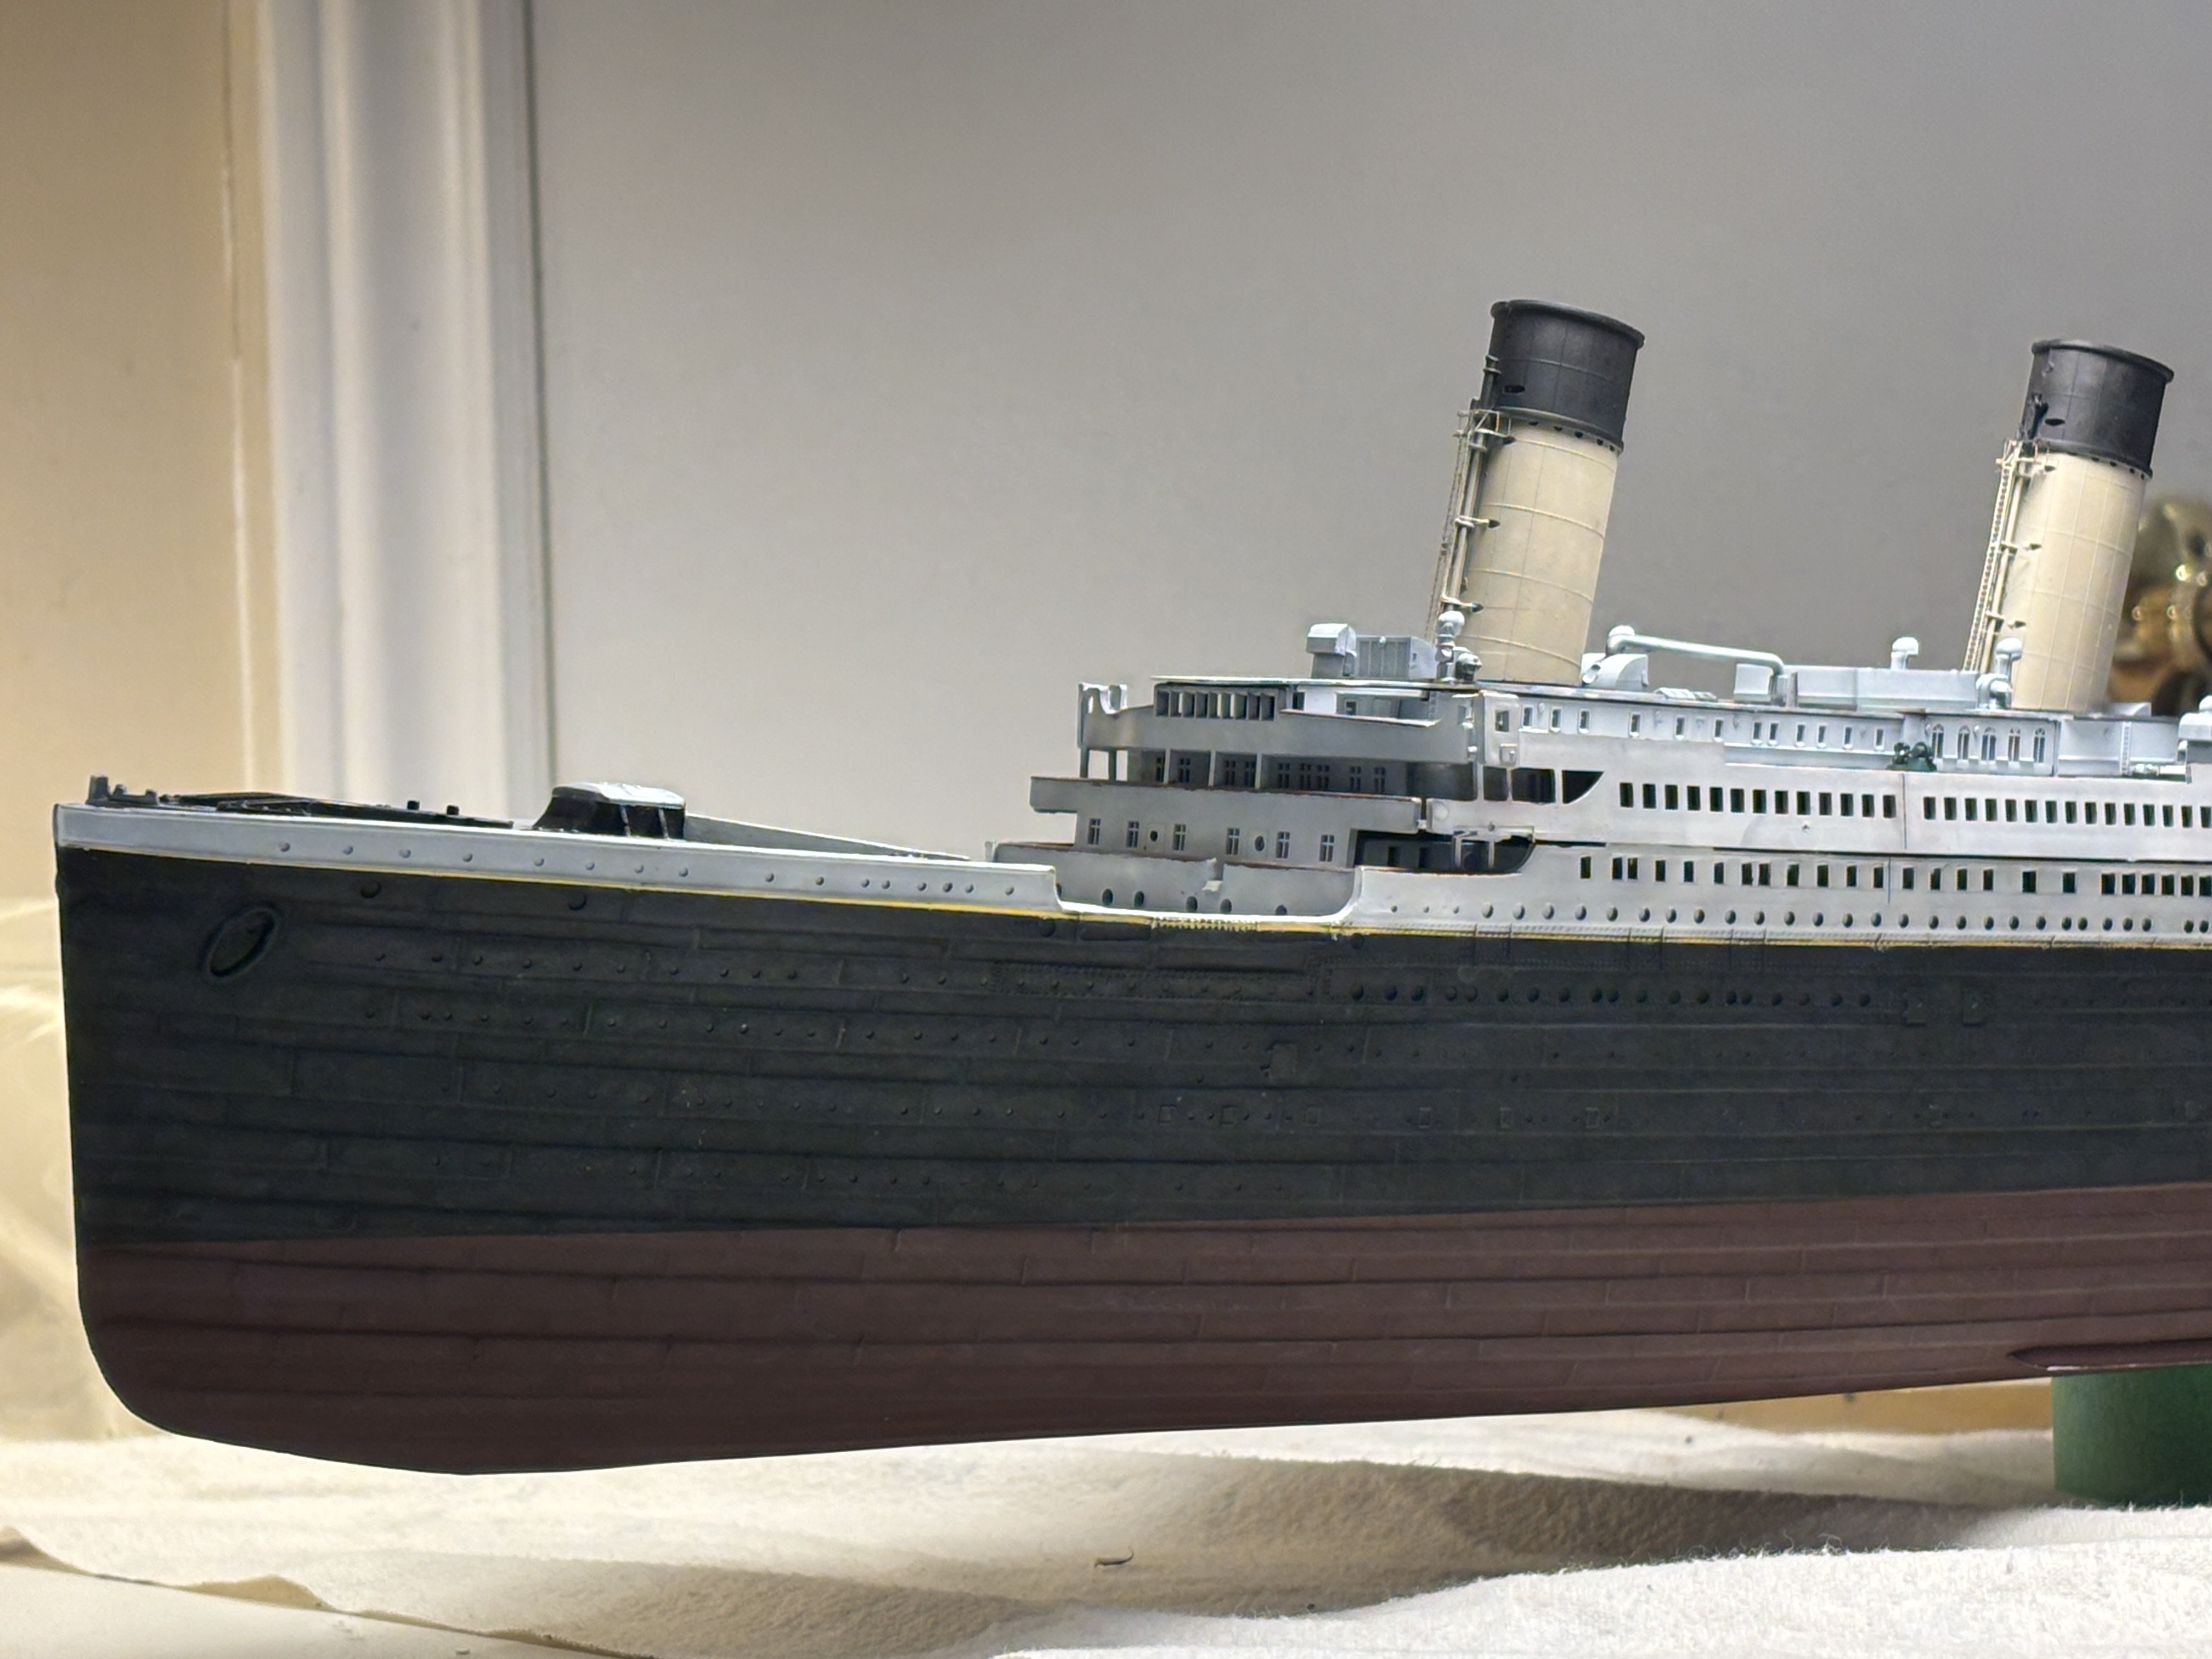
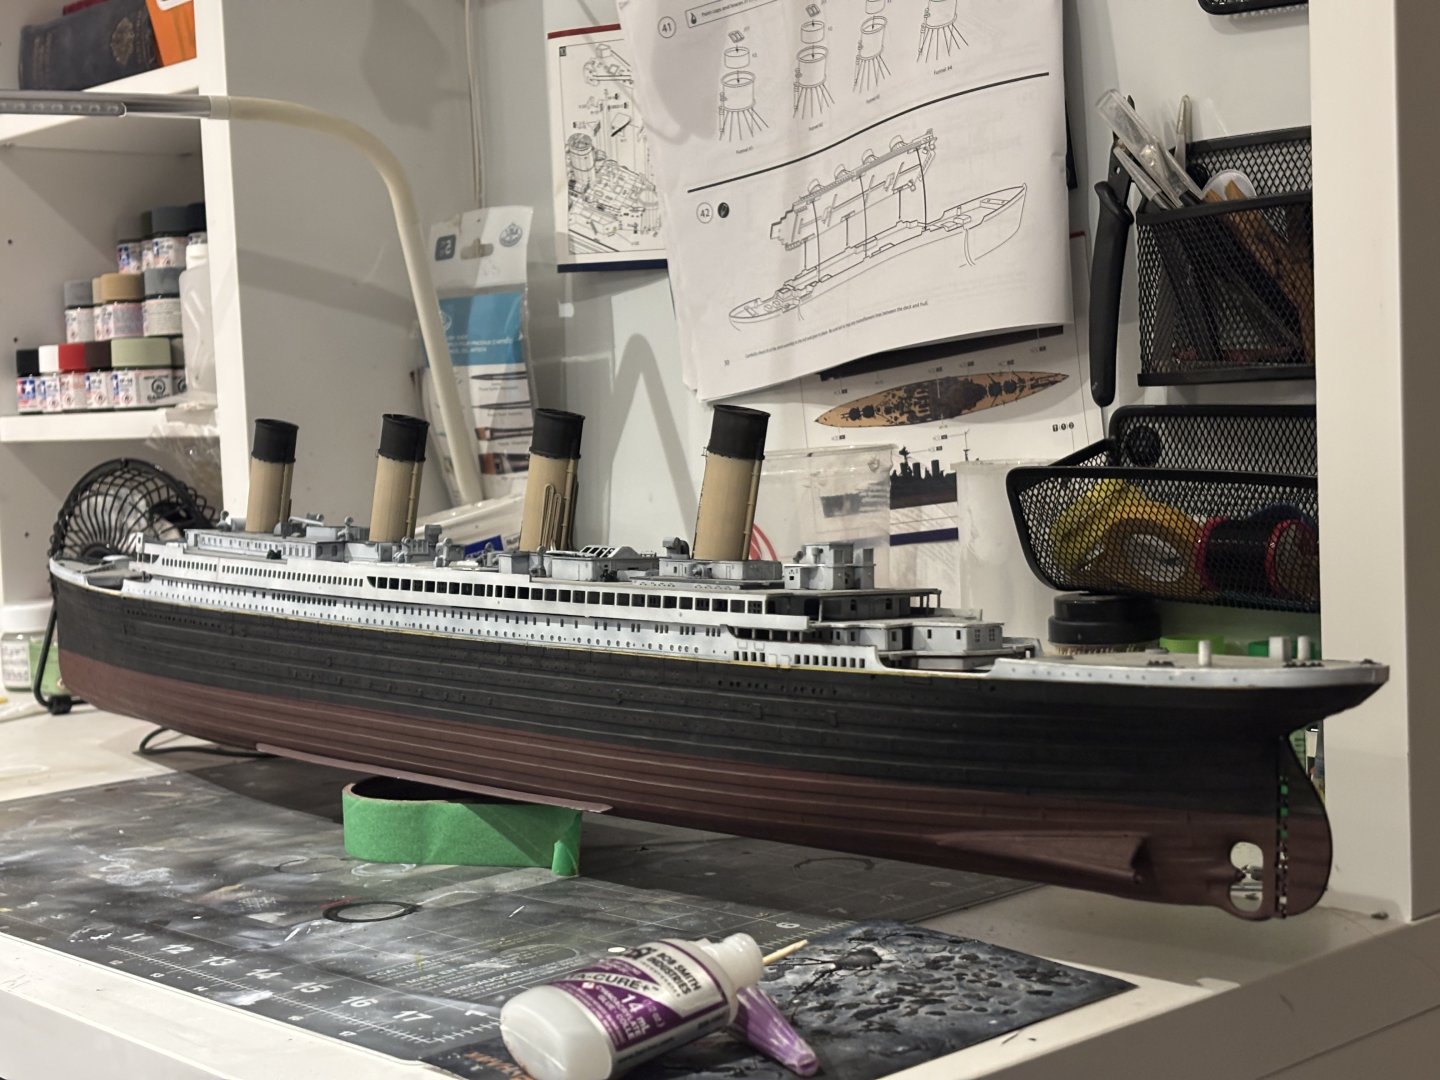
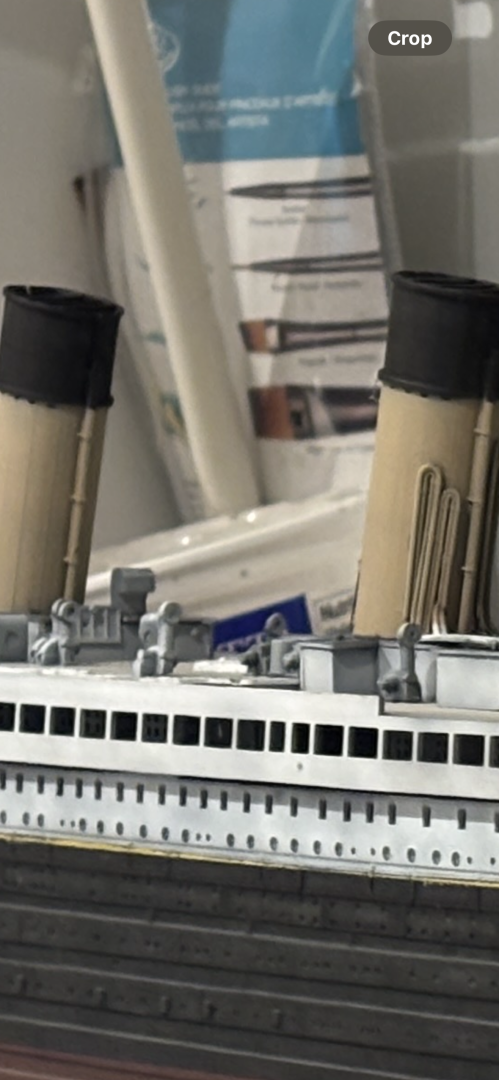
The interesting part—at least for me—has been completed. I’m quite satisfied with the funnels and their colour scheme. Although they lack a bit of warm tones I believe this to be a good thing or possible accuracy. A test fit makes them look very attractive: More updates to follow…


-
Still scattering the deck with the various details – the quality is not amazing but nether is most of the kit due to its age. Next will certainly be interesting – cranes and funnels are next up, with lots of PE and fine detailings. More updates to follow…

-
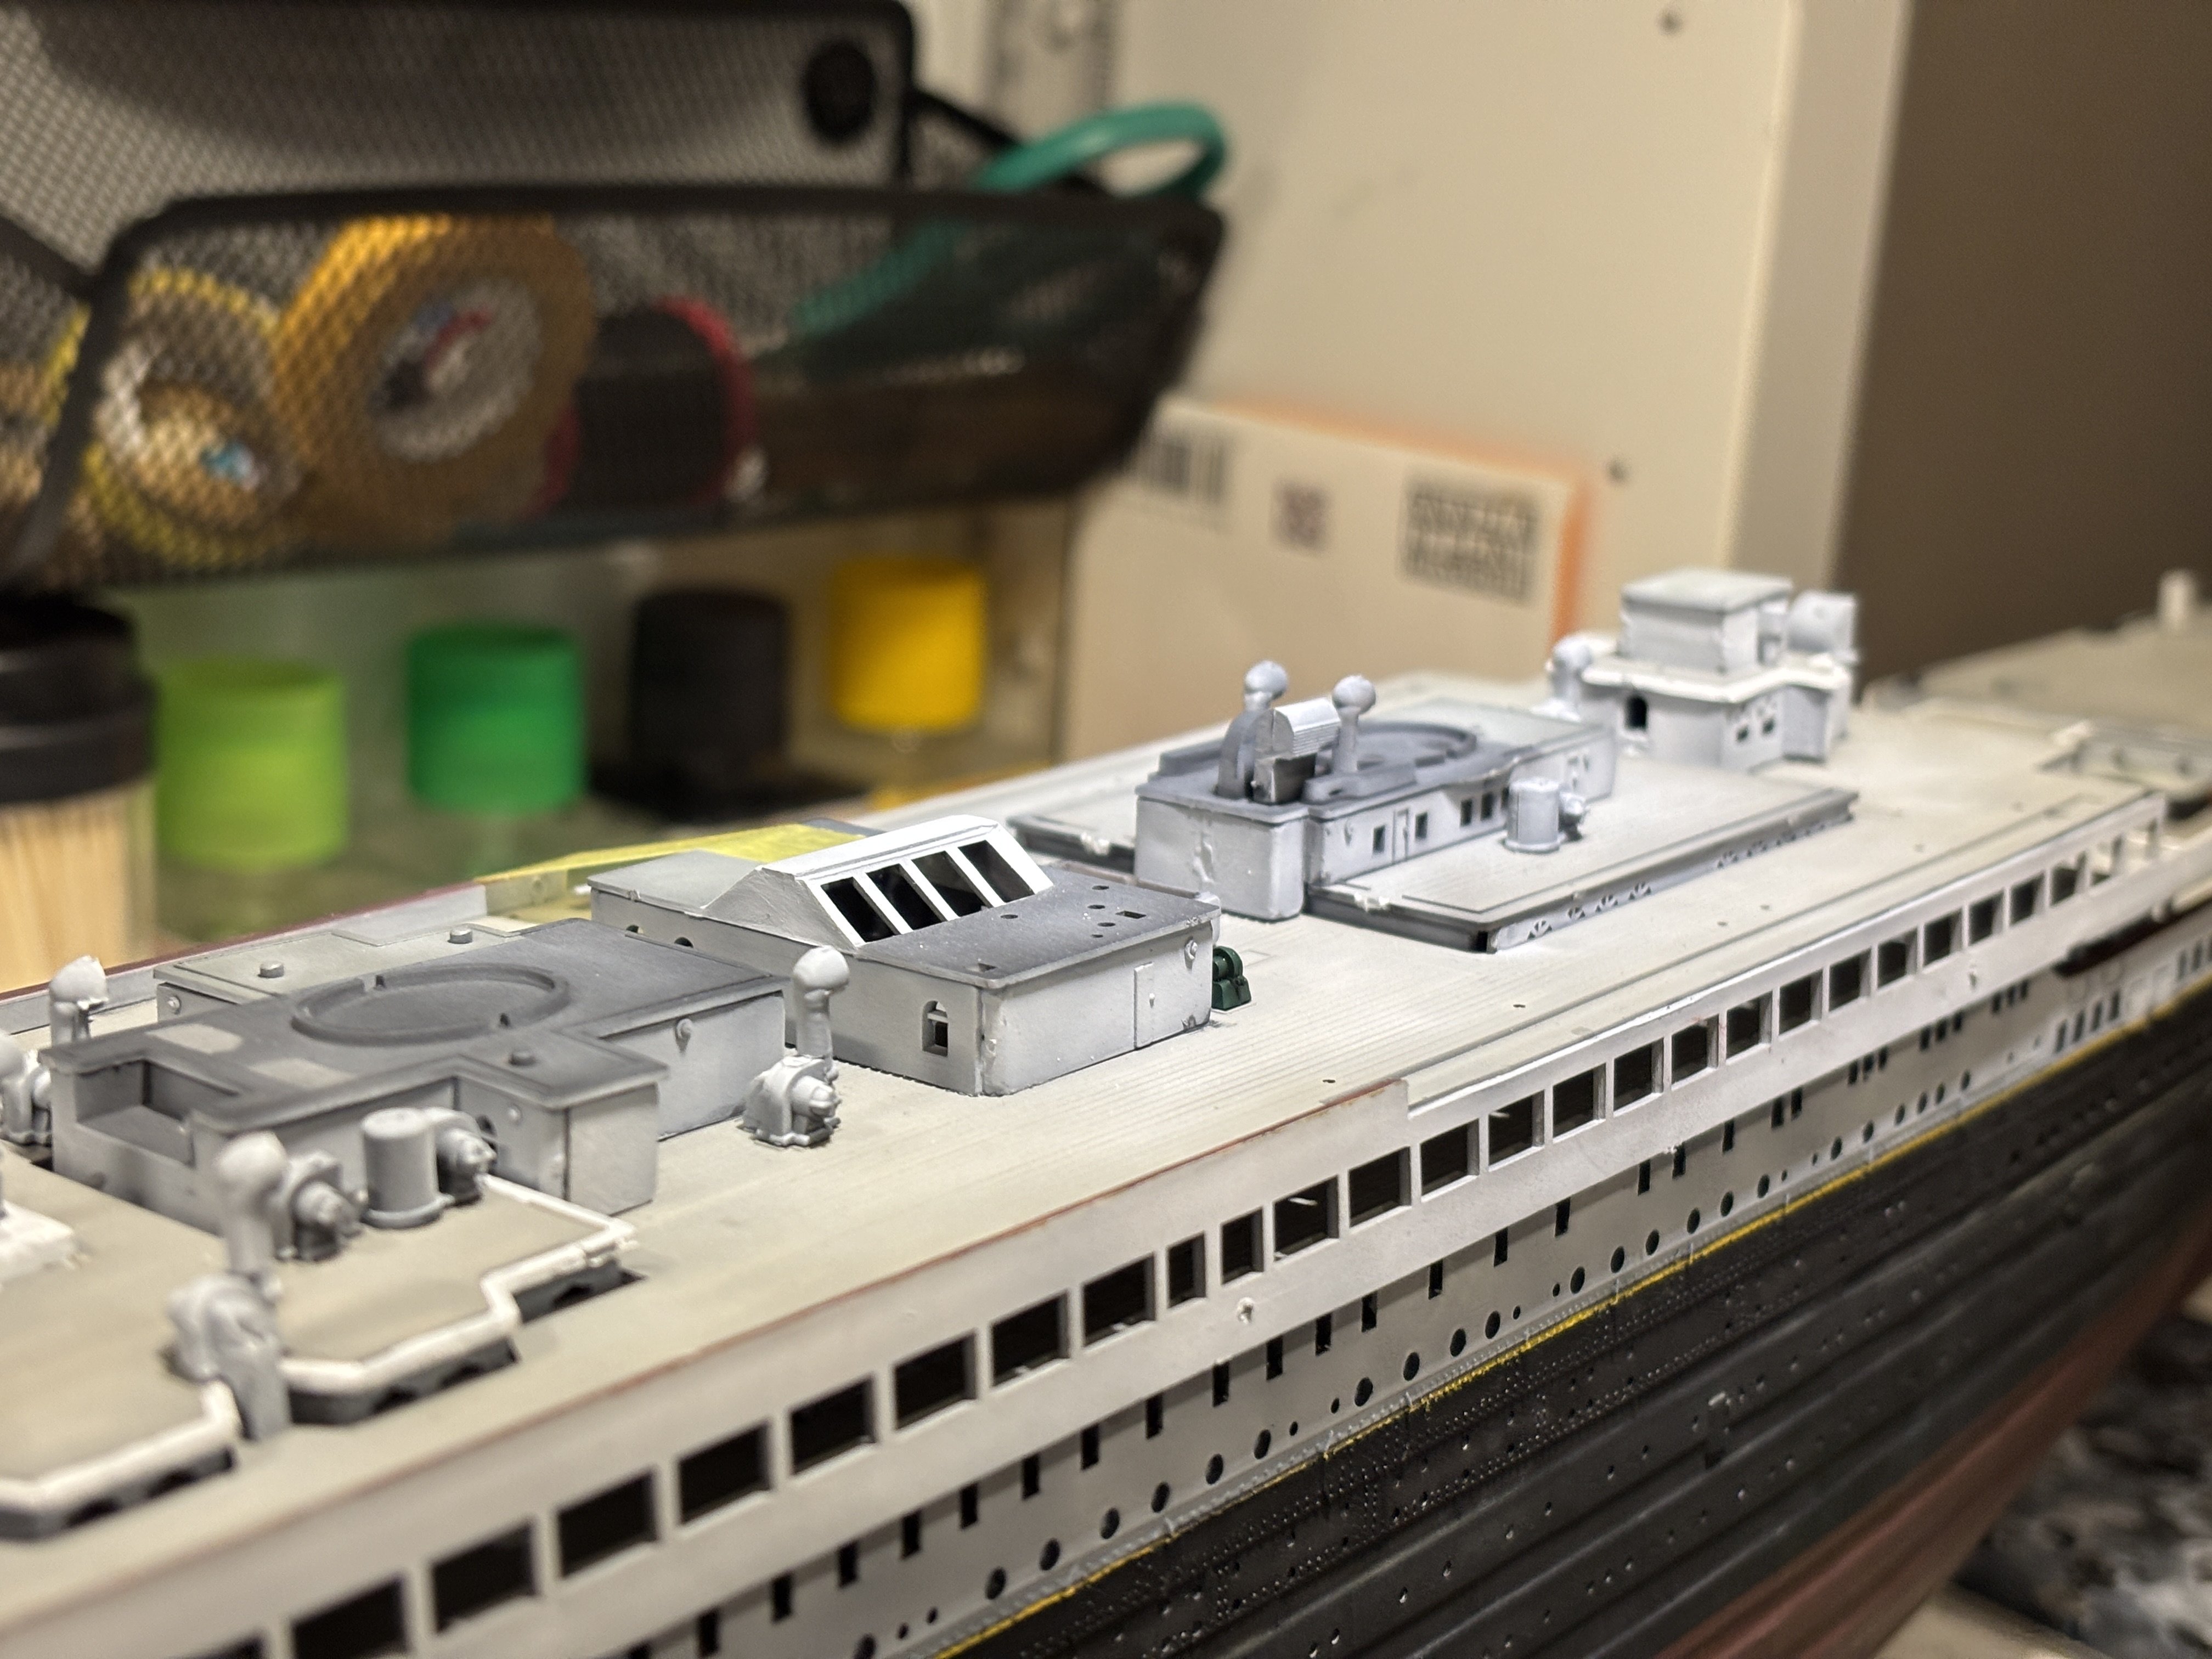
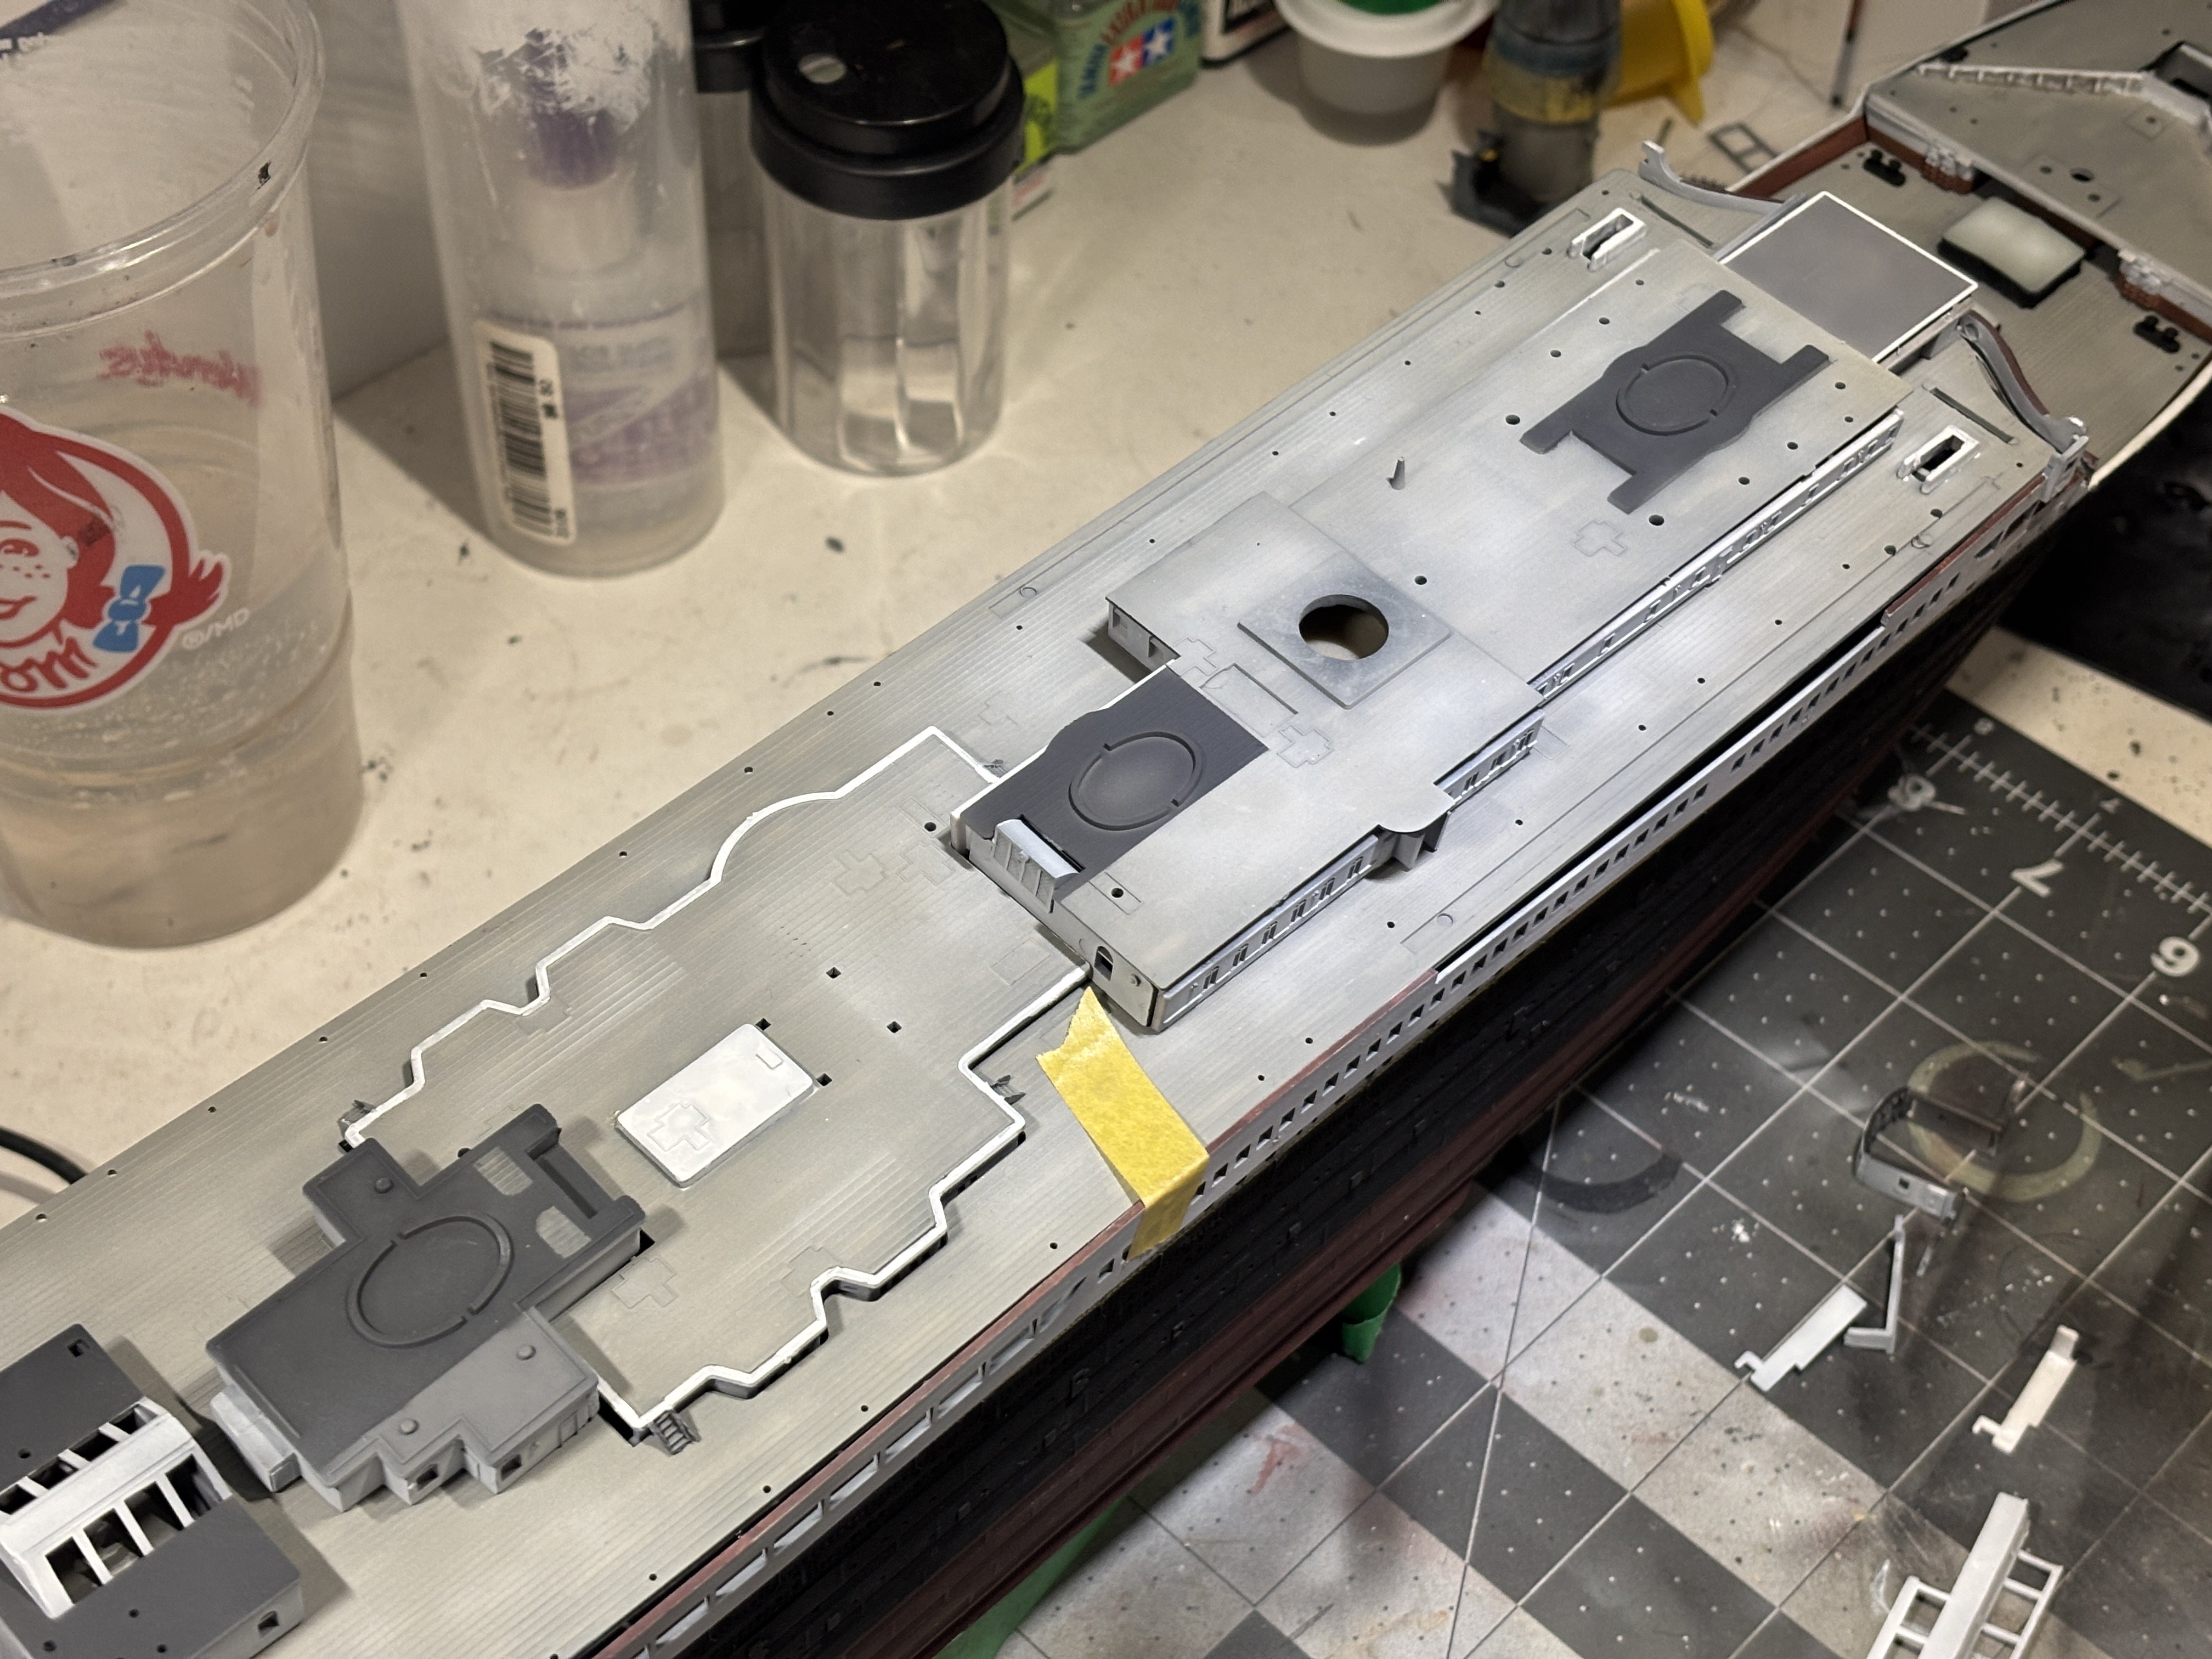
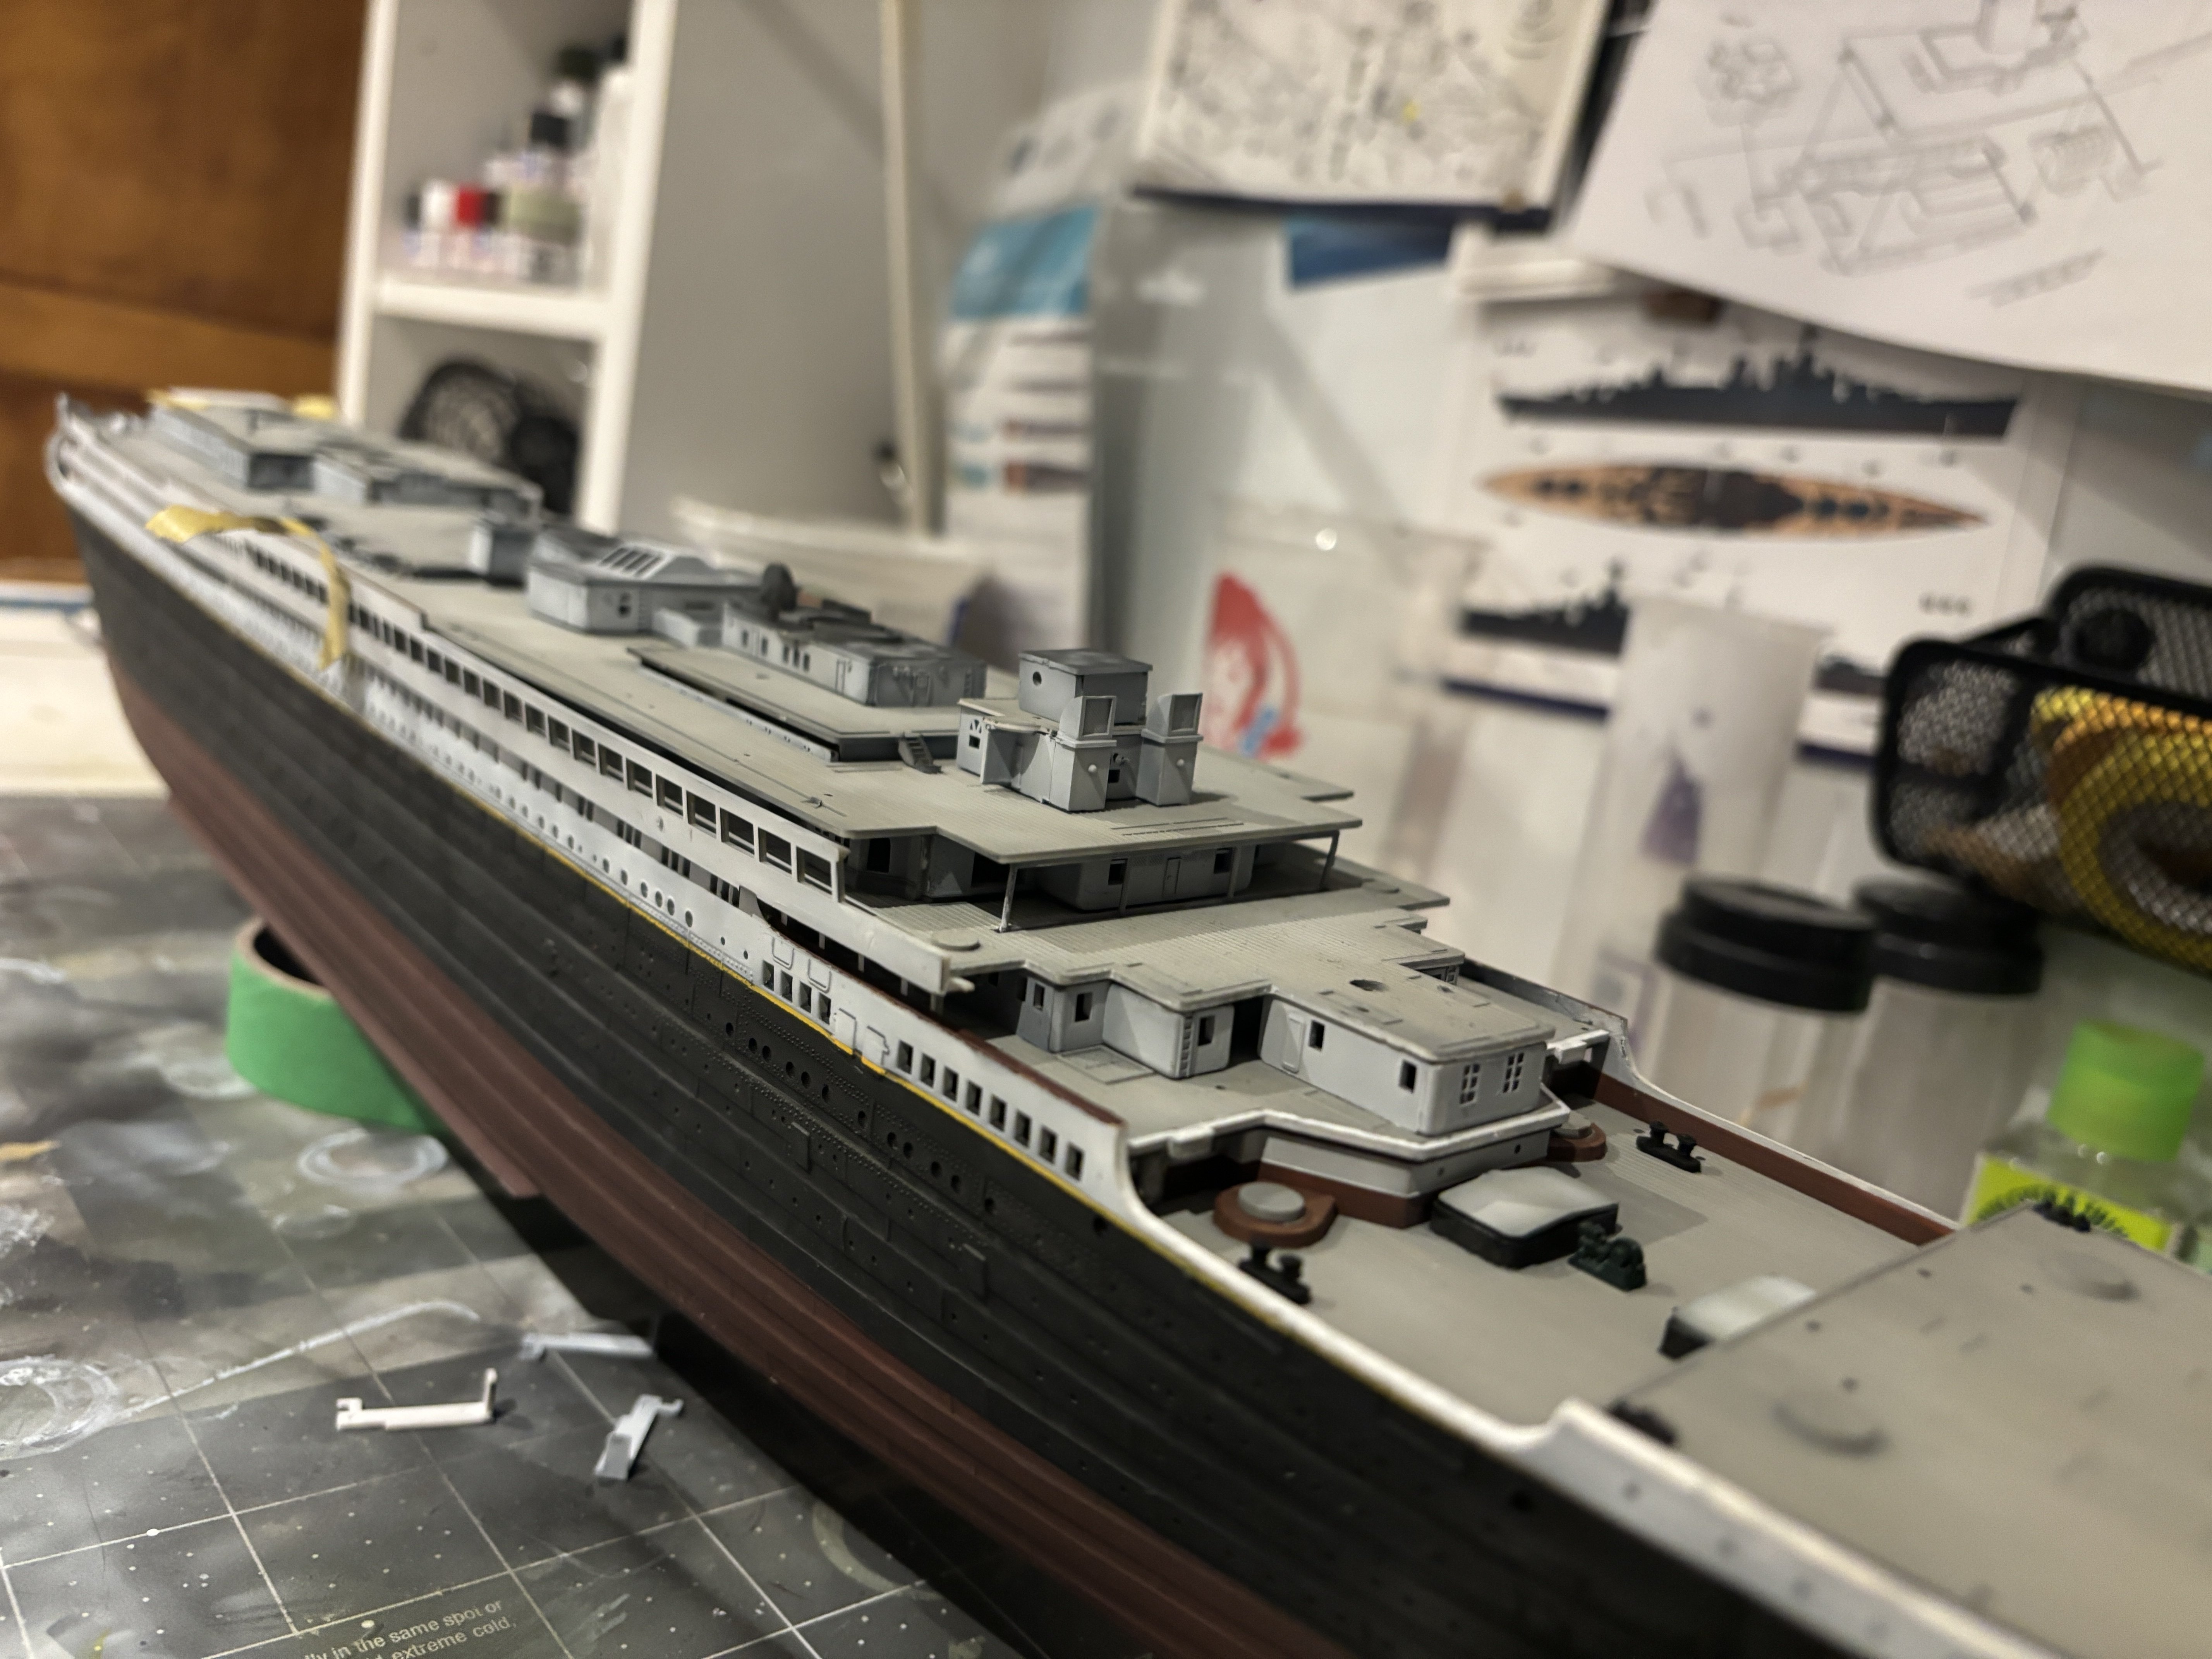
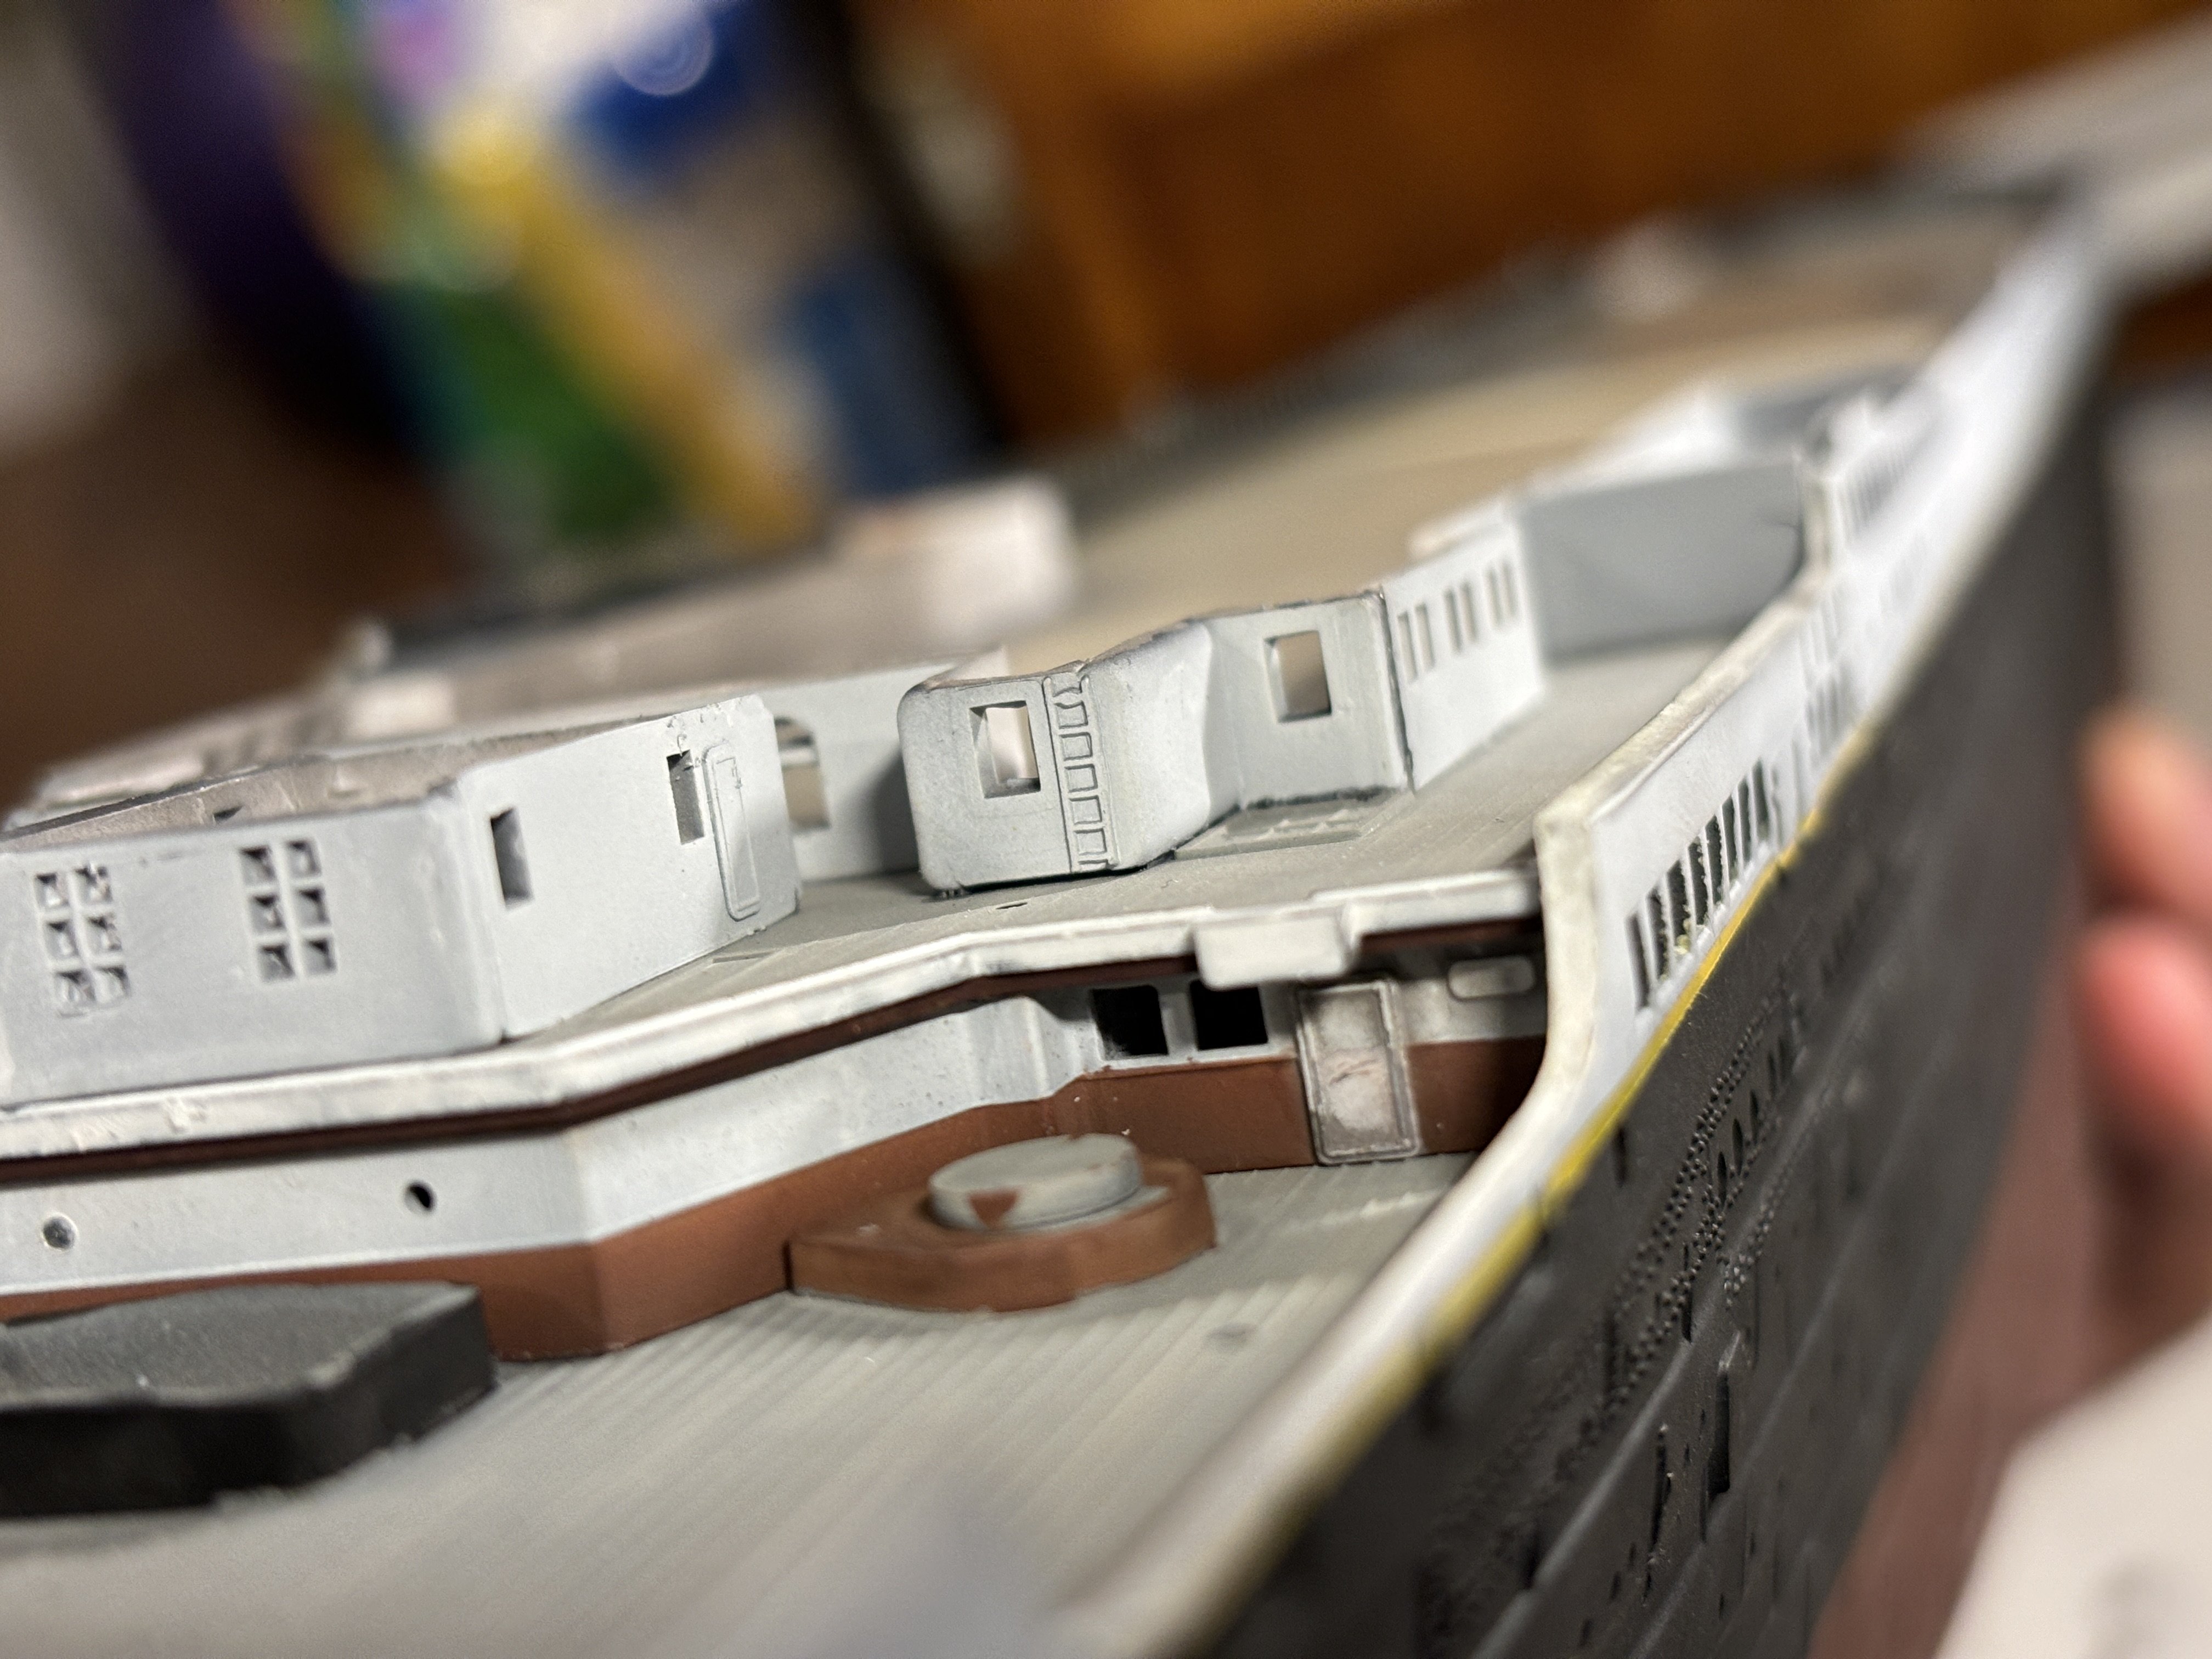
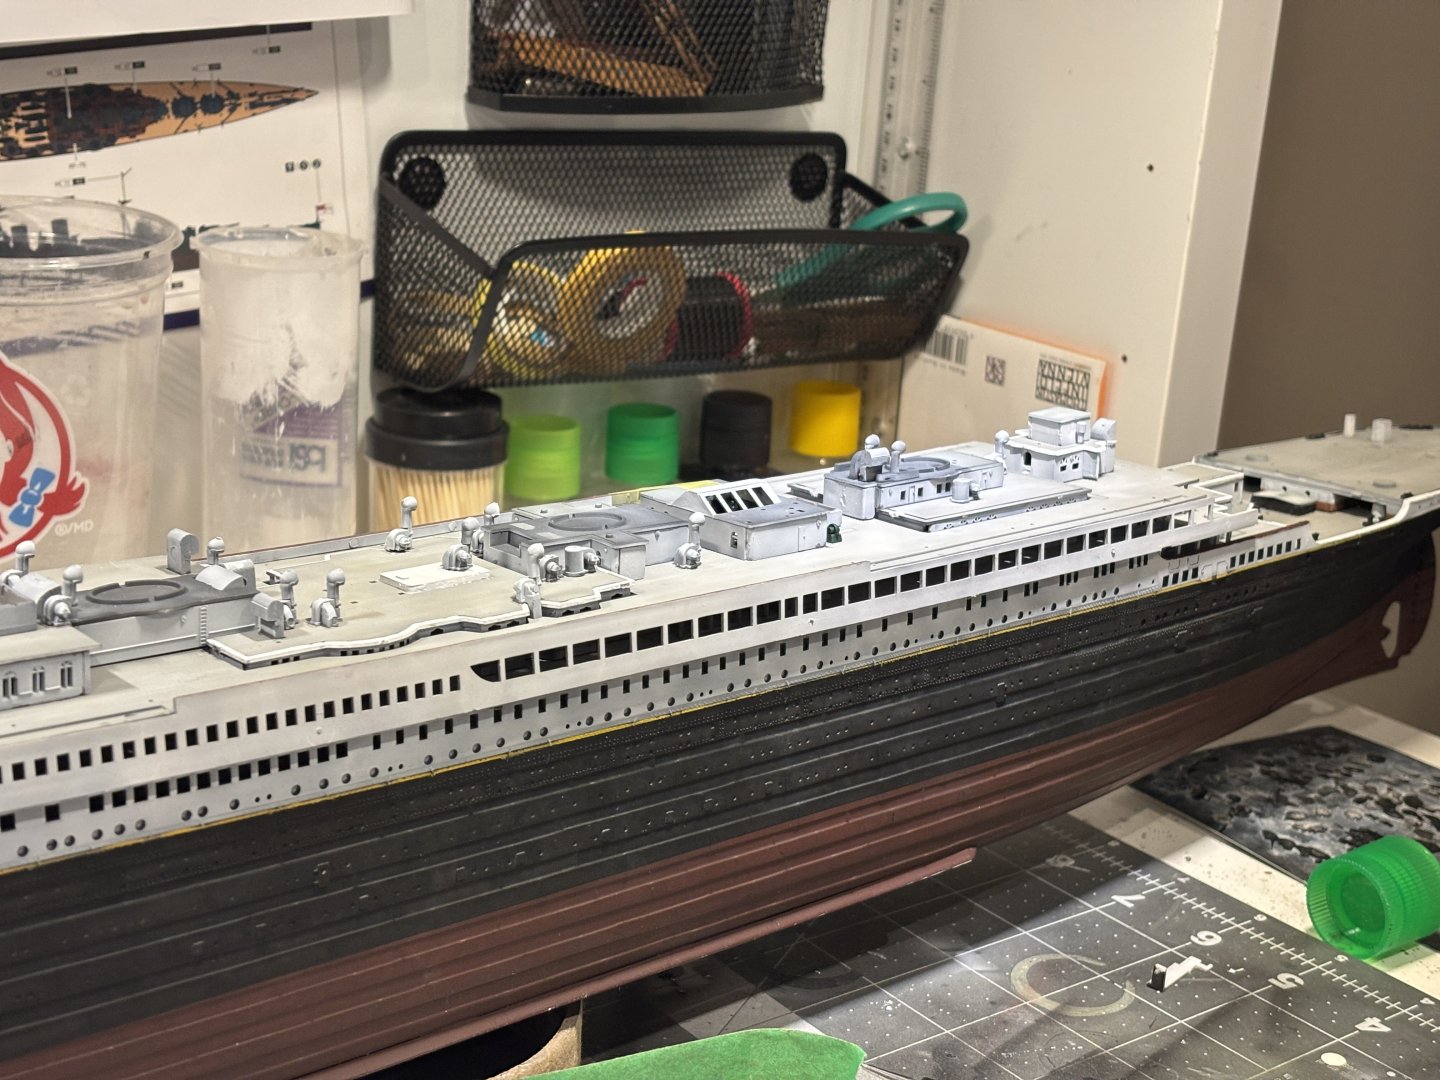
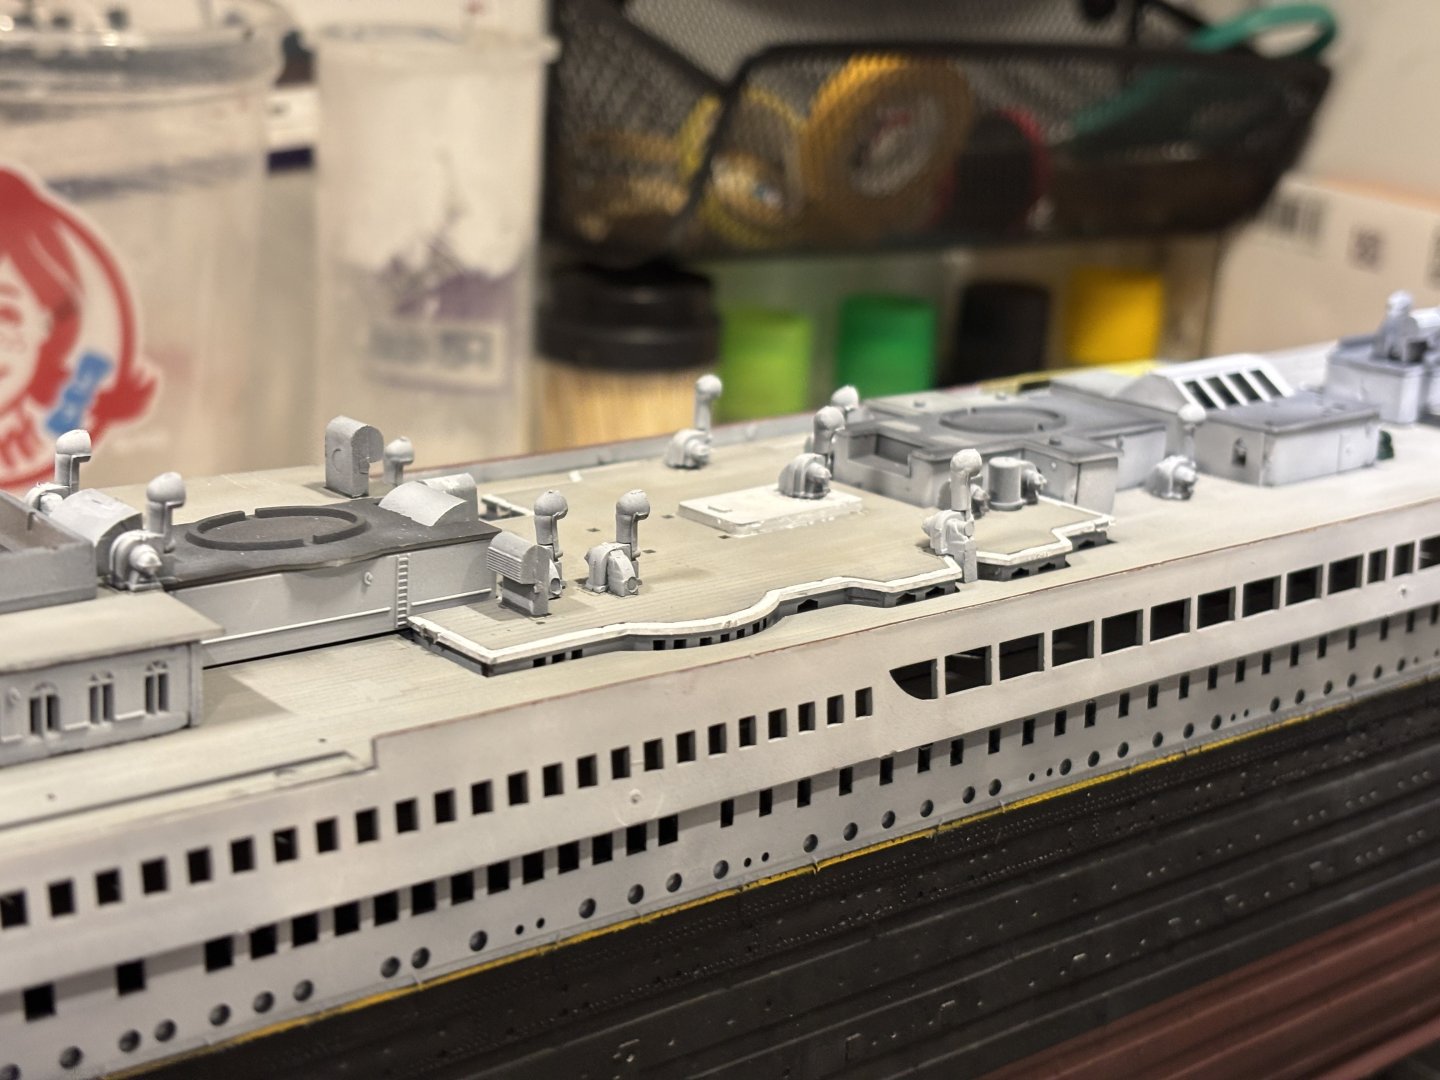
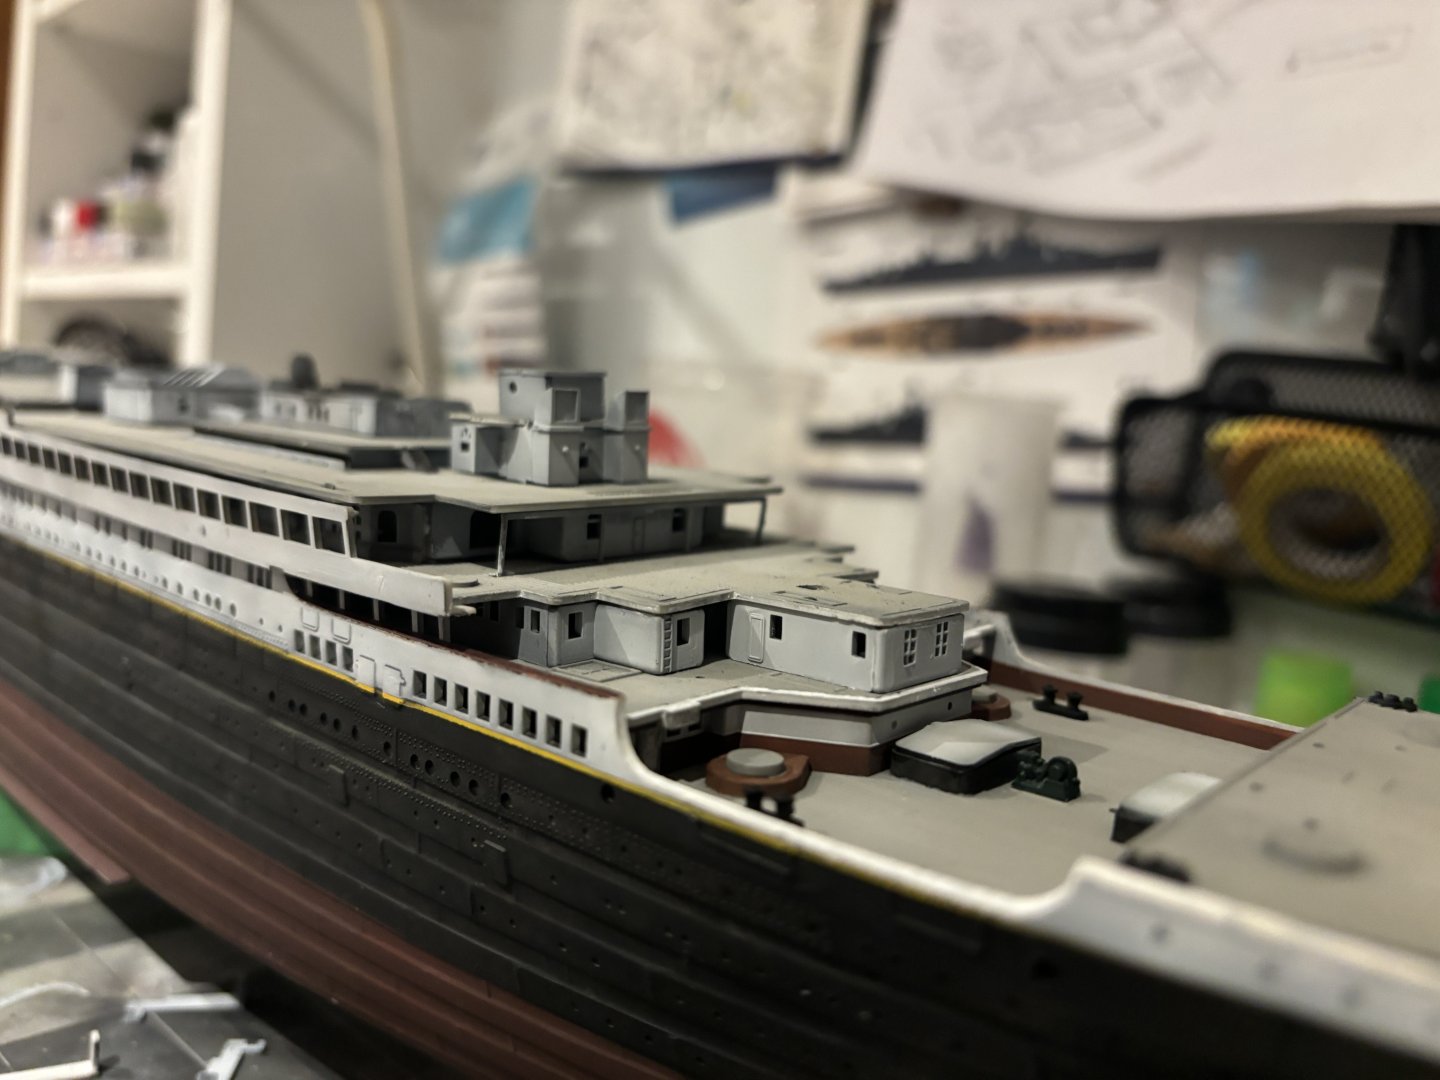
Slow but sure progress. Fit all the deck houses and foundational assemblies in place – started to detail up the forward section atop the bridge and officer quarters. Will continue with such progress. For me it’s as satisfying as anything, but also tedious. What I look forward to soon are the funnels.


-
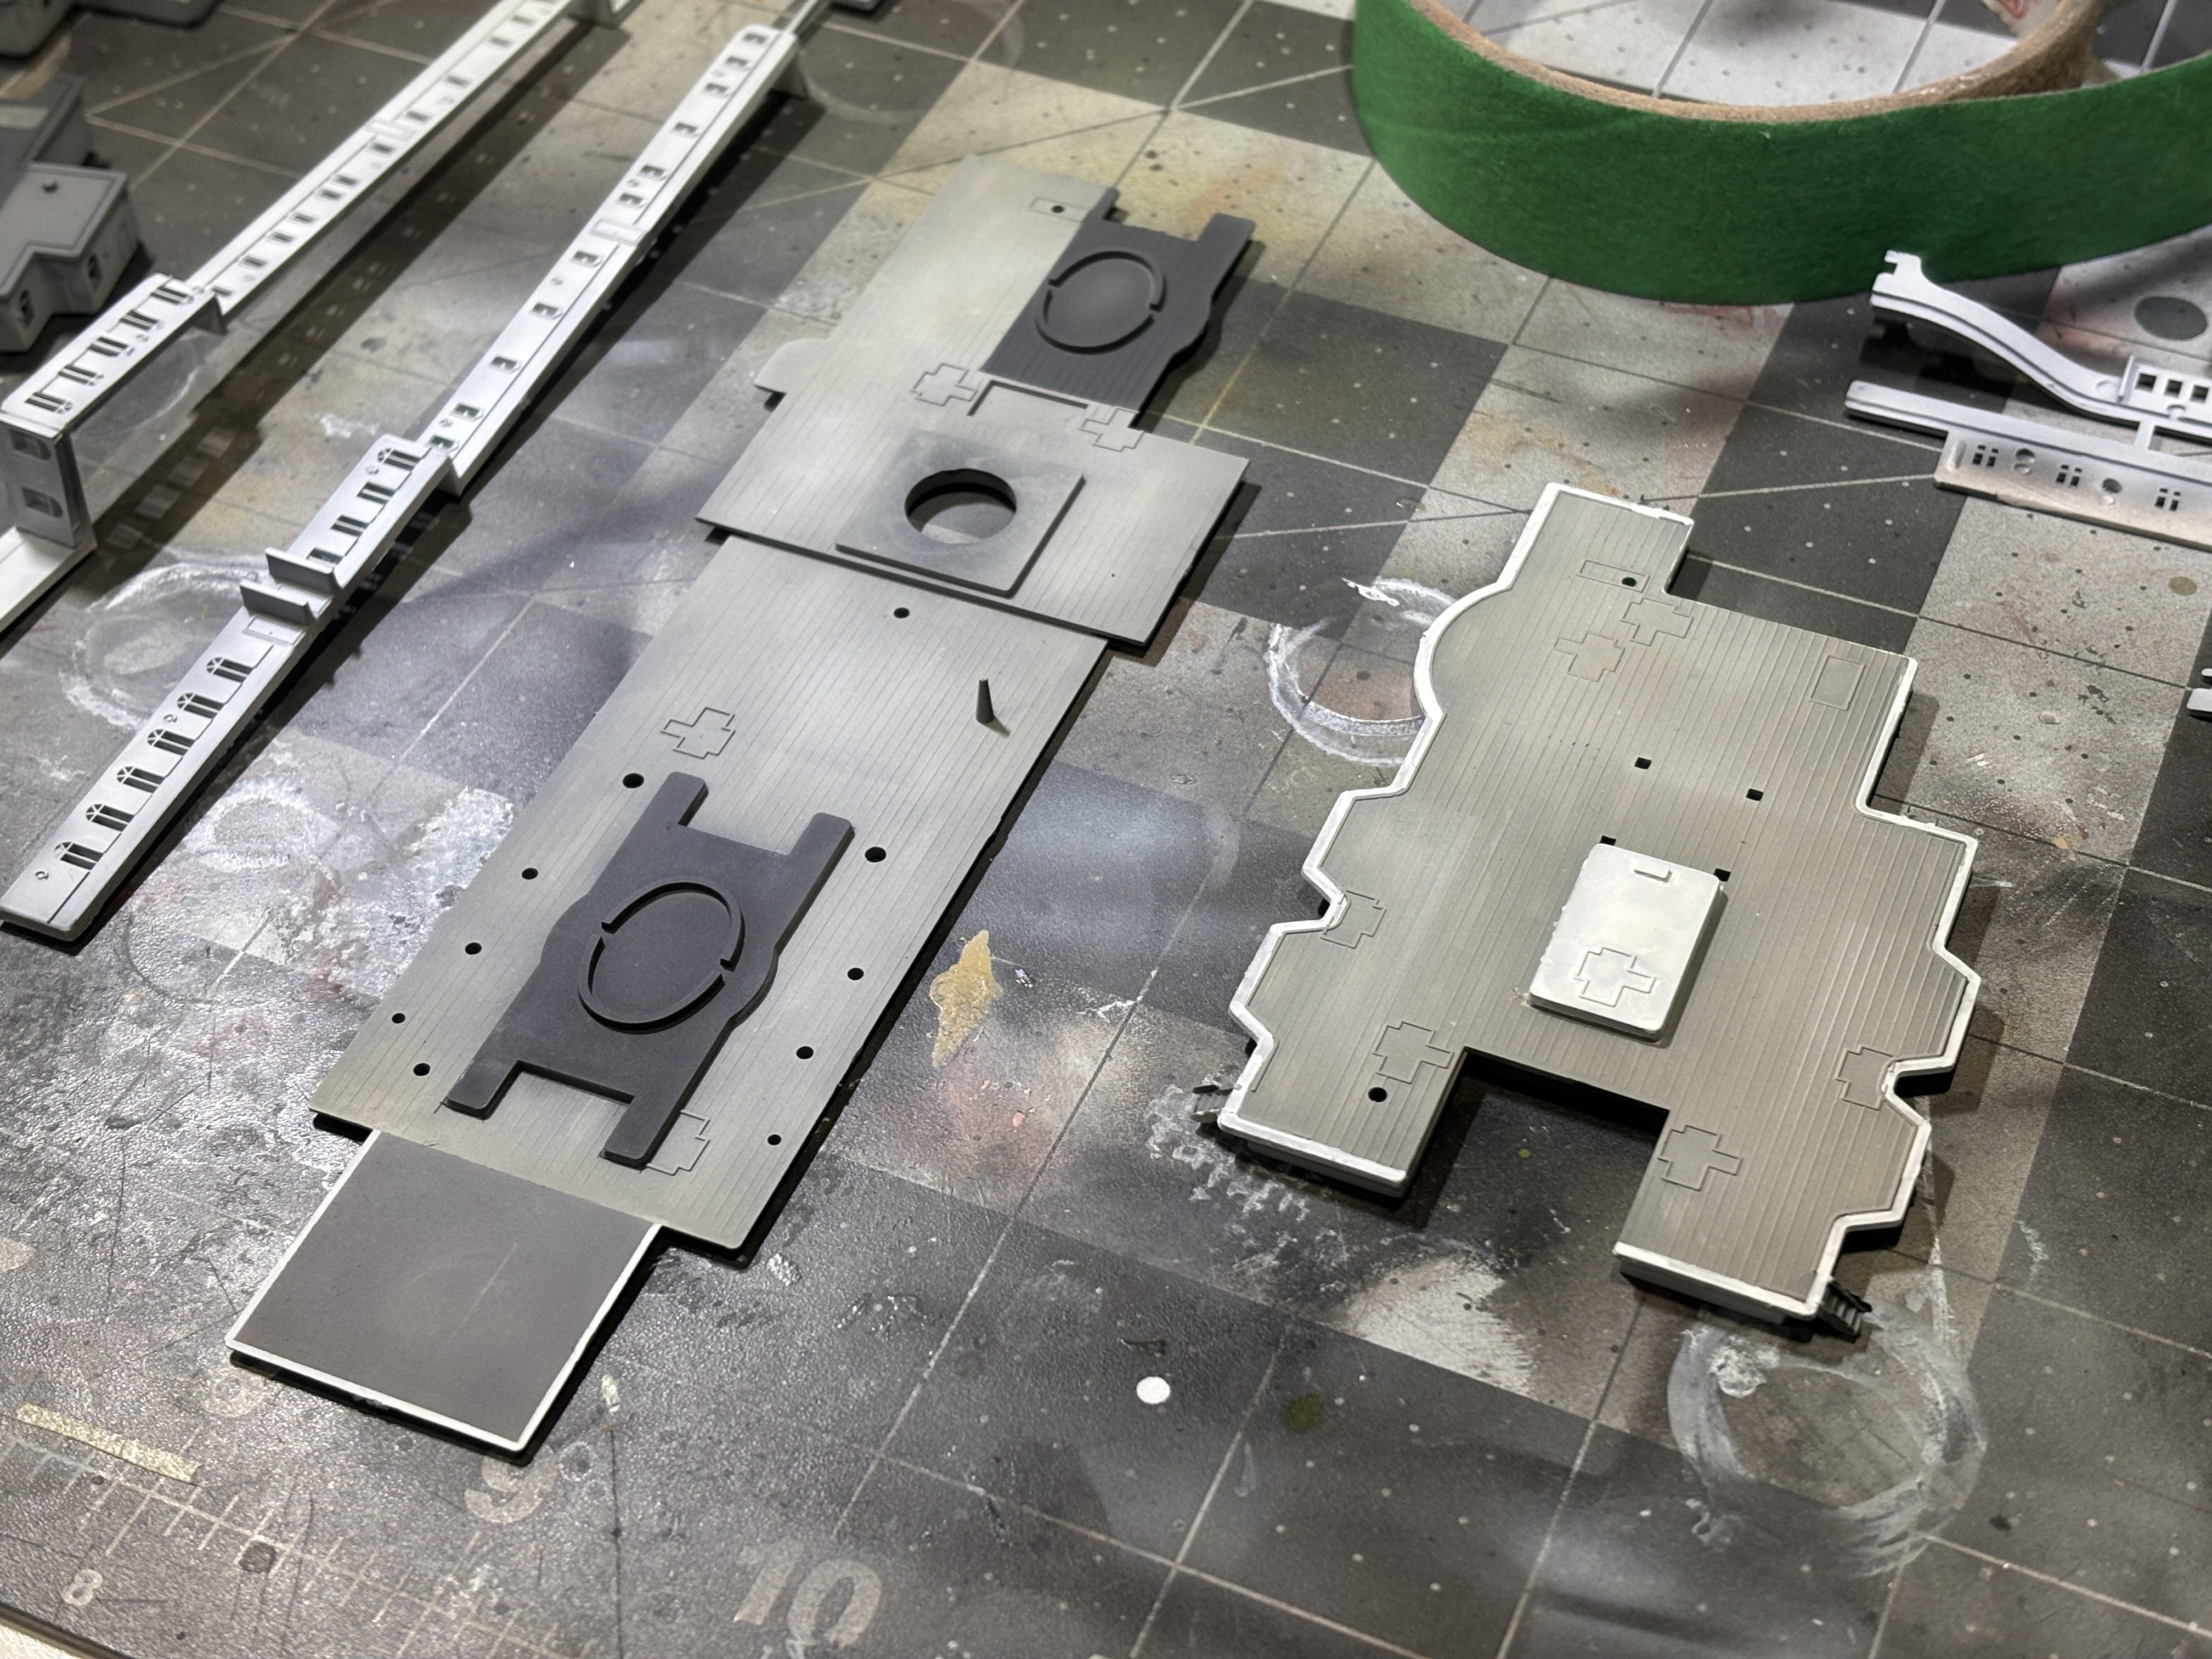
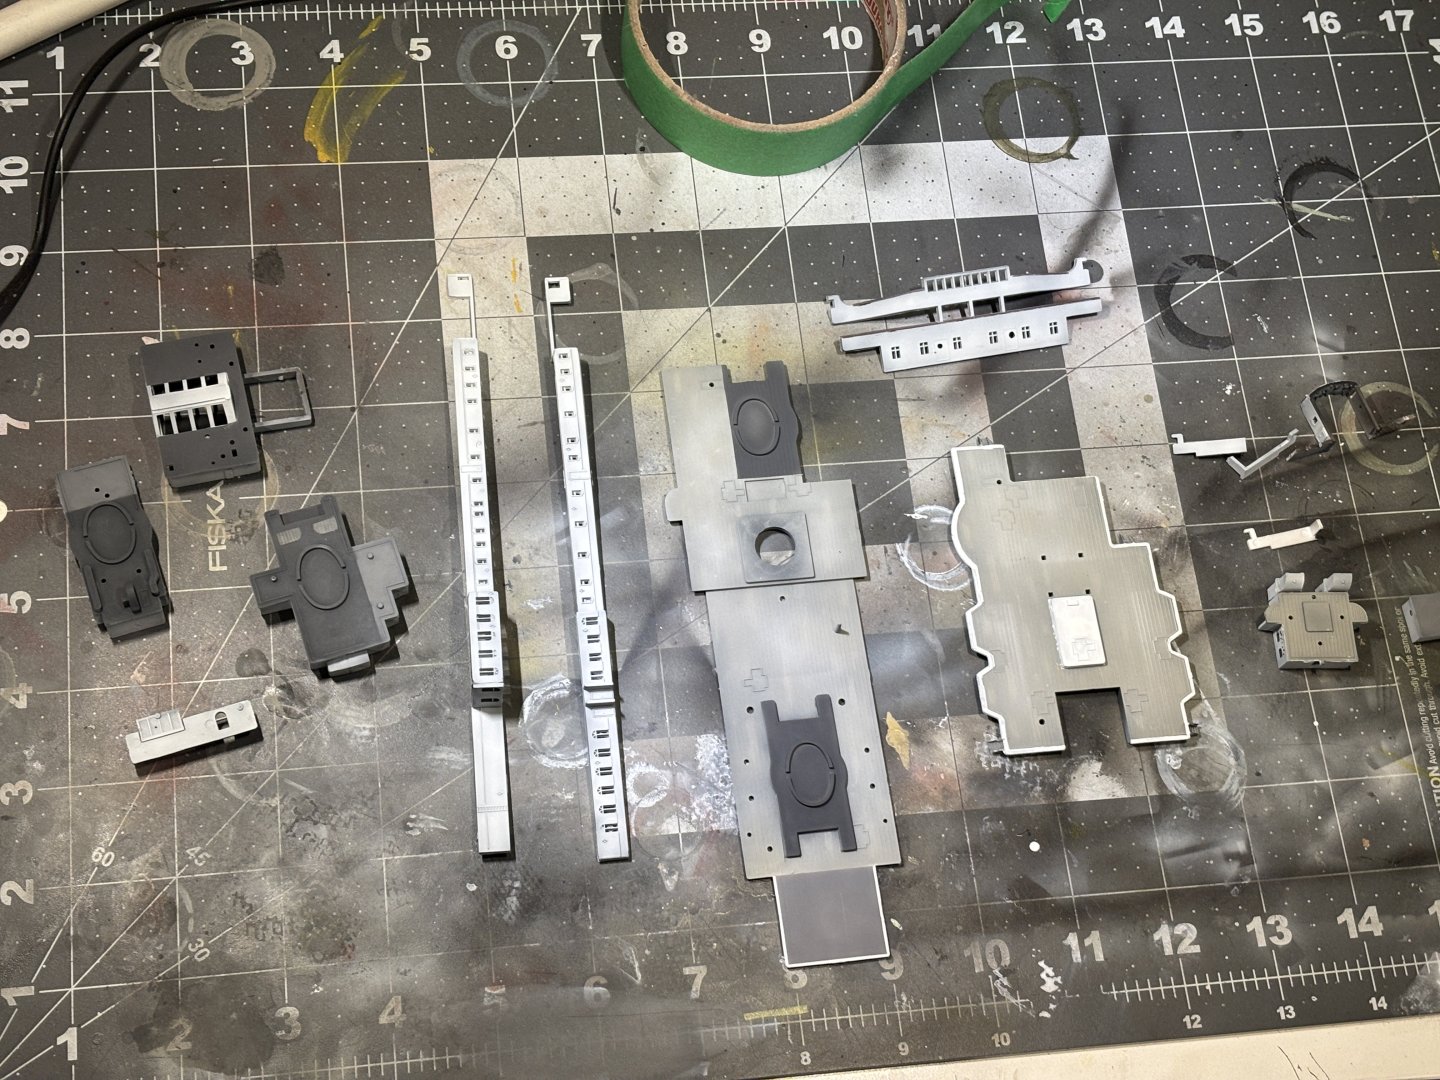
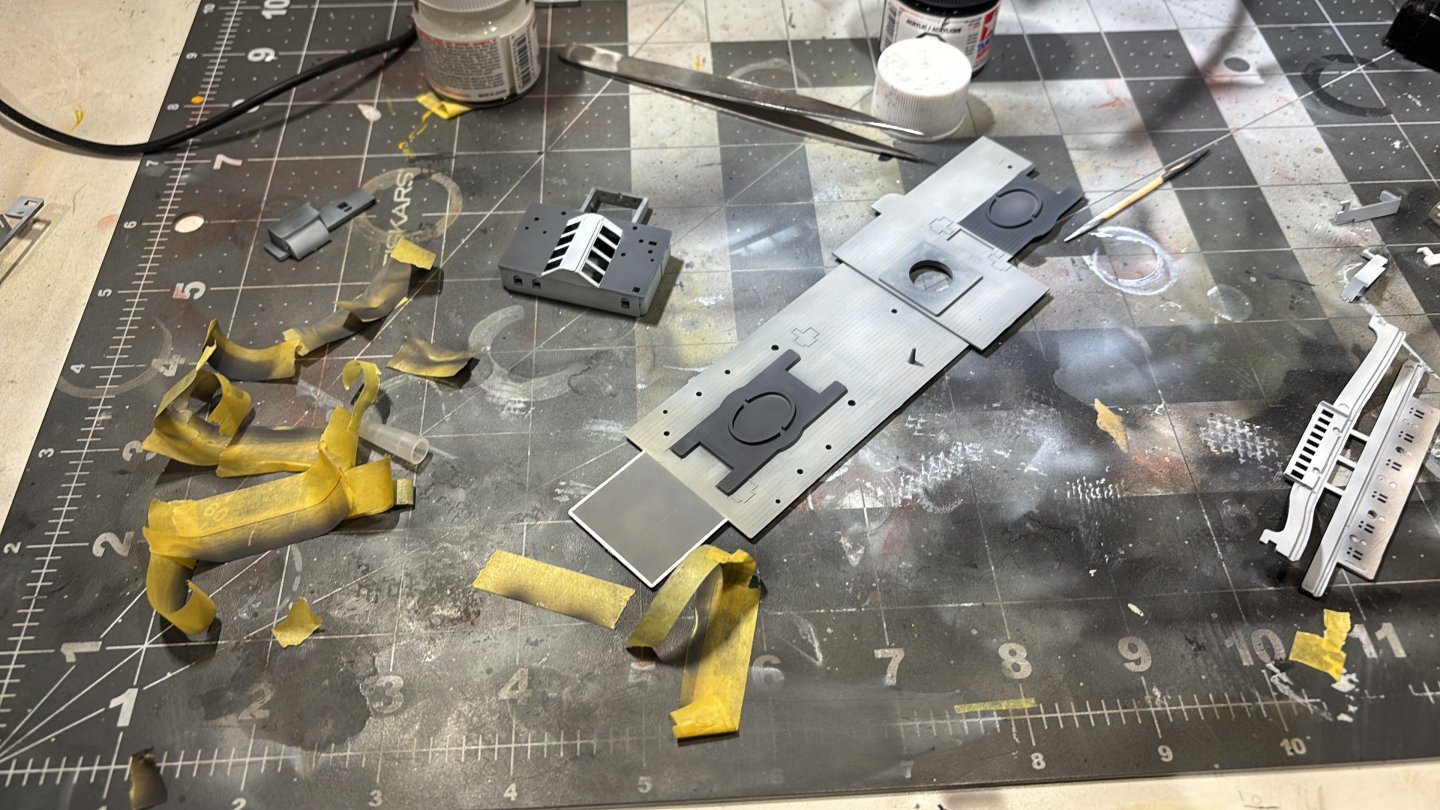
First day back into it – light work, but quite necessary and had been putting it off. I wanted to get a uniform white colour along all the sections of the ship. As seen previously the deckhouses were under-coloured in comparison to the superstructure. Along with the grey tops of deck structures, white boarders around sections with railings were done freehand. I really like the effect, especially with the wood colour beside. Light grey is XF-54 and dark grey is XF-63. Next will be fitting all the deck pieces and really getting a move on with the details.

-
Thanks Jeff appreciate it. I’ll be starting work on it shortly – stay tuned!
-
Massimodels reacted to a post in a topic:
RMS Titanic by Massimodels – Minicraft – 1:350 – PLASTIC – Tom's Modelworks
-
Massimodels reacted to a post in a topic:
HMS Iron Duke by king derelict - Flyhawk- 1/700 - PLASTIC
-
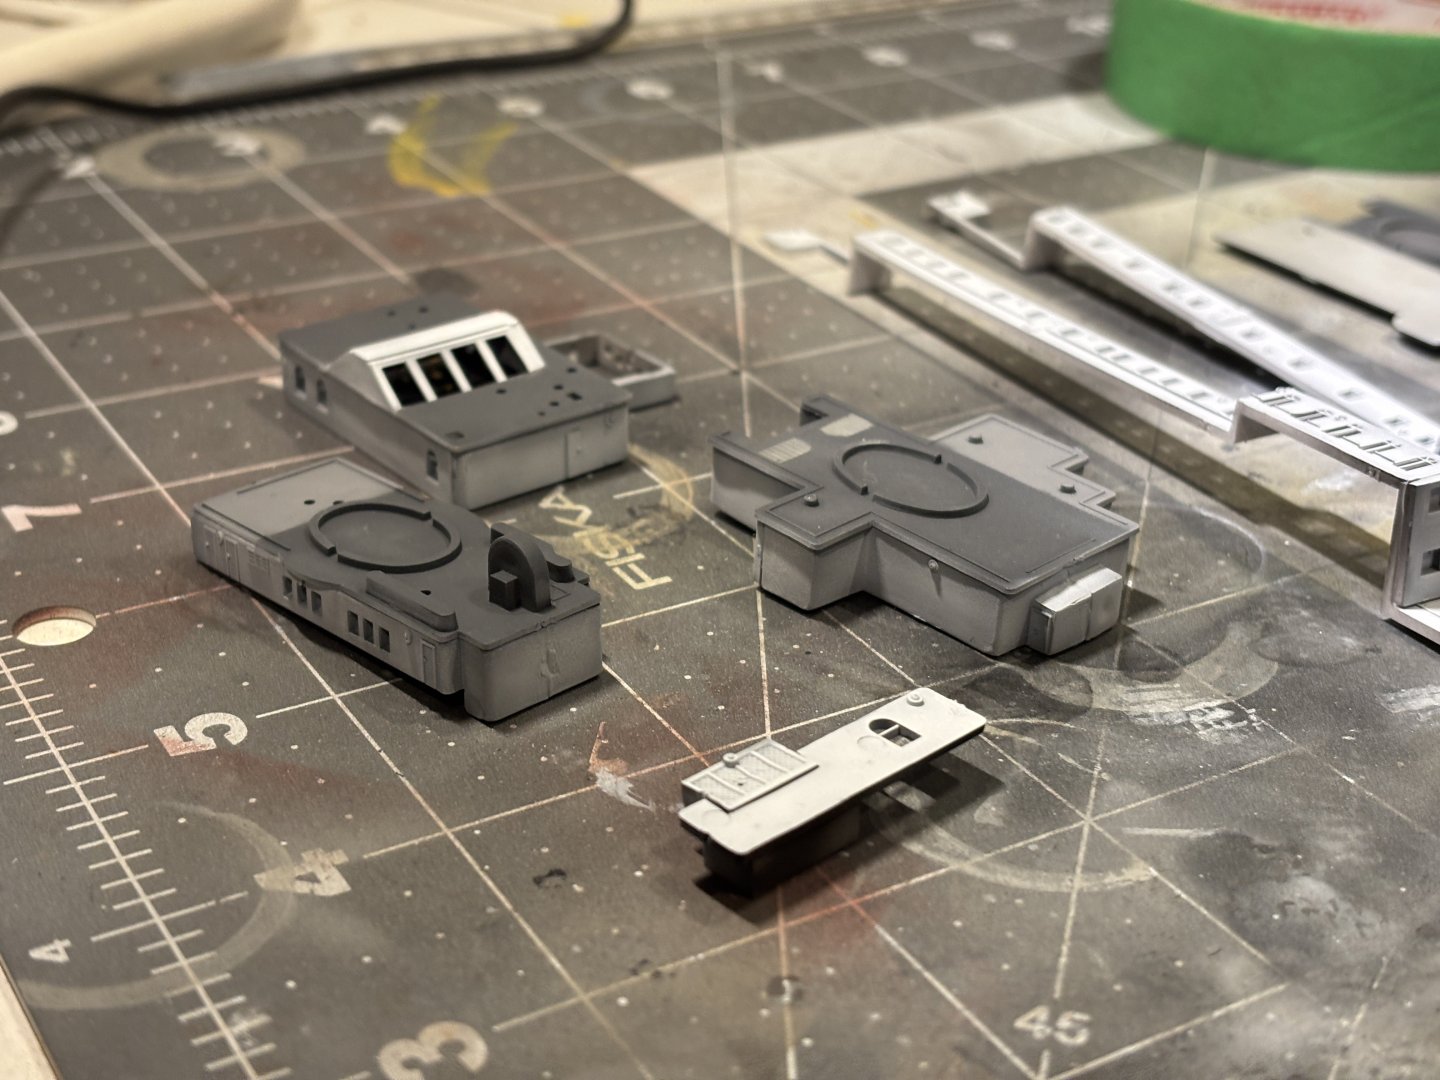
A quick update of the deck detail painted and assembled – again a loose test fit but still gives a good impression. Again this will have to have a pause for schooling but I’m quite happy to take my time. Especially since the results are coming out quite well.

-
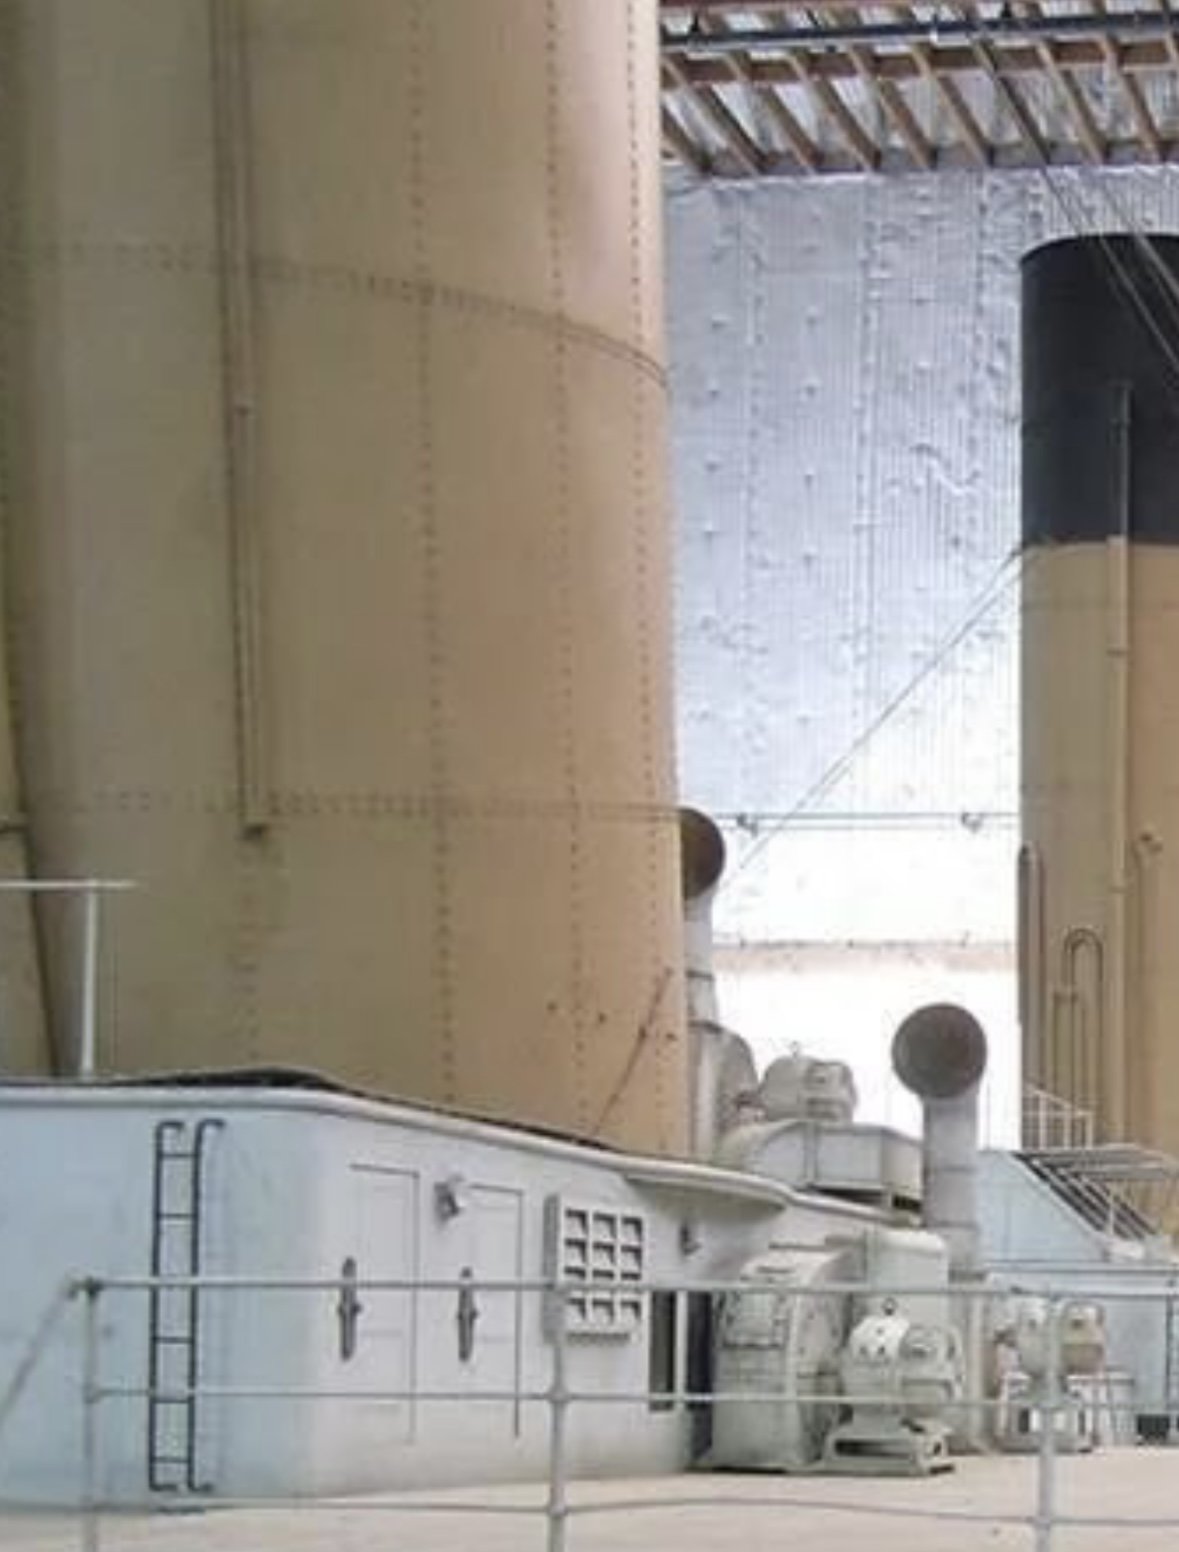
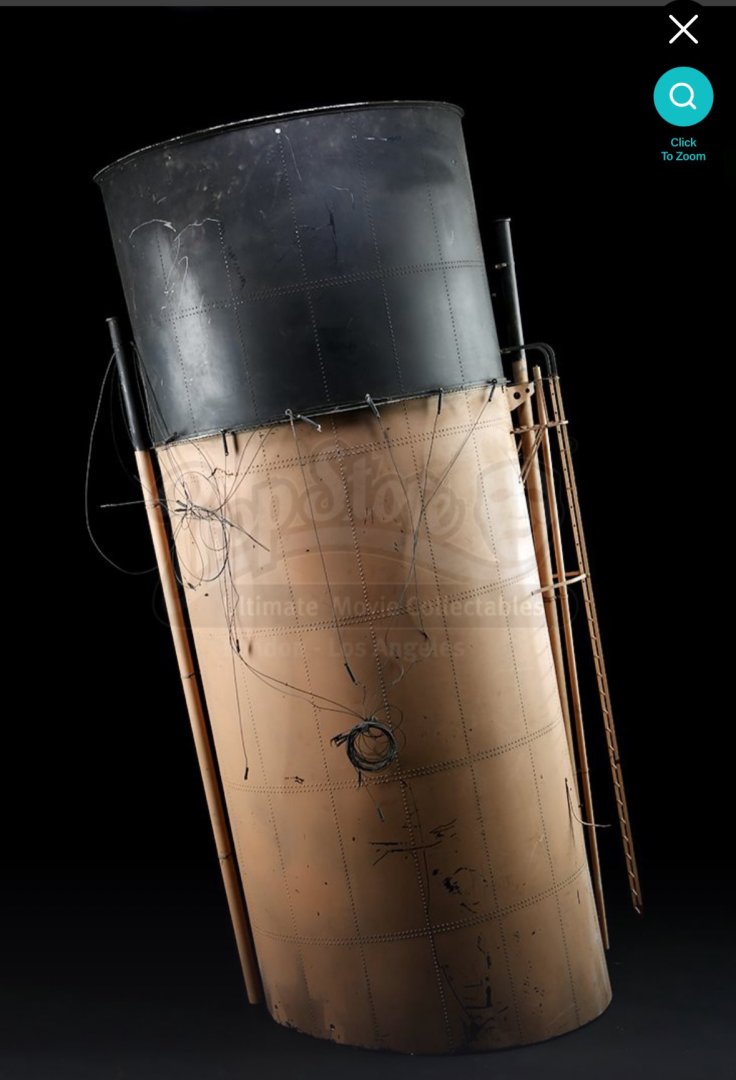
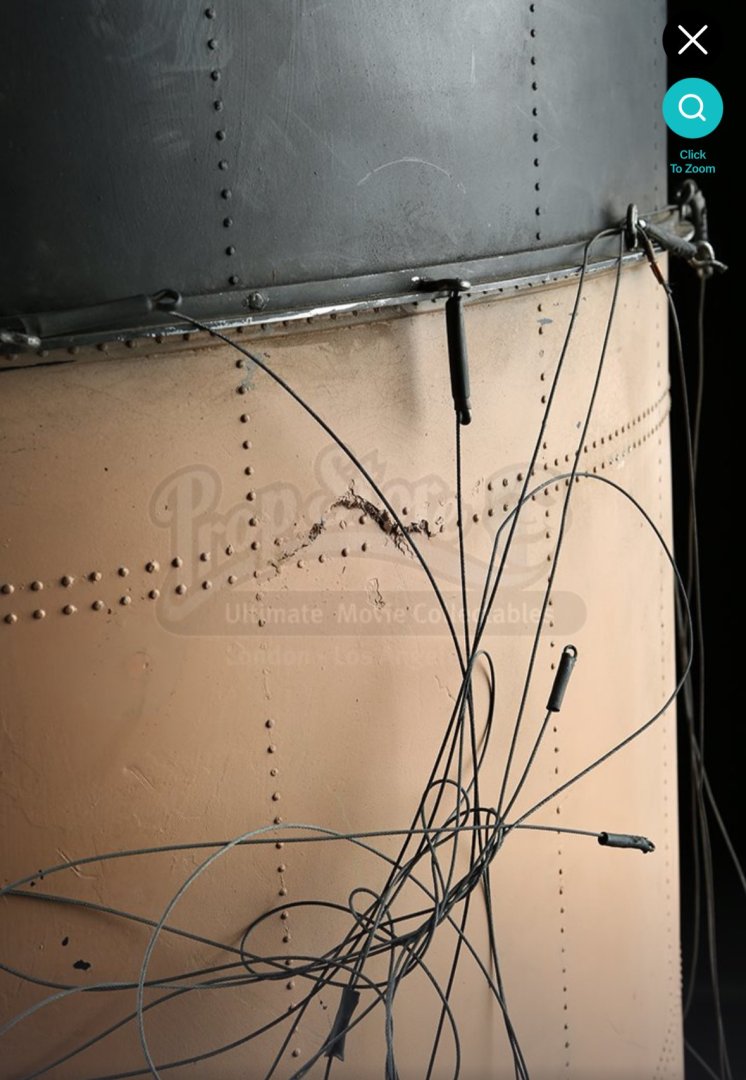
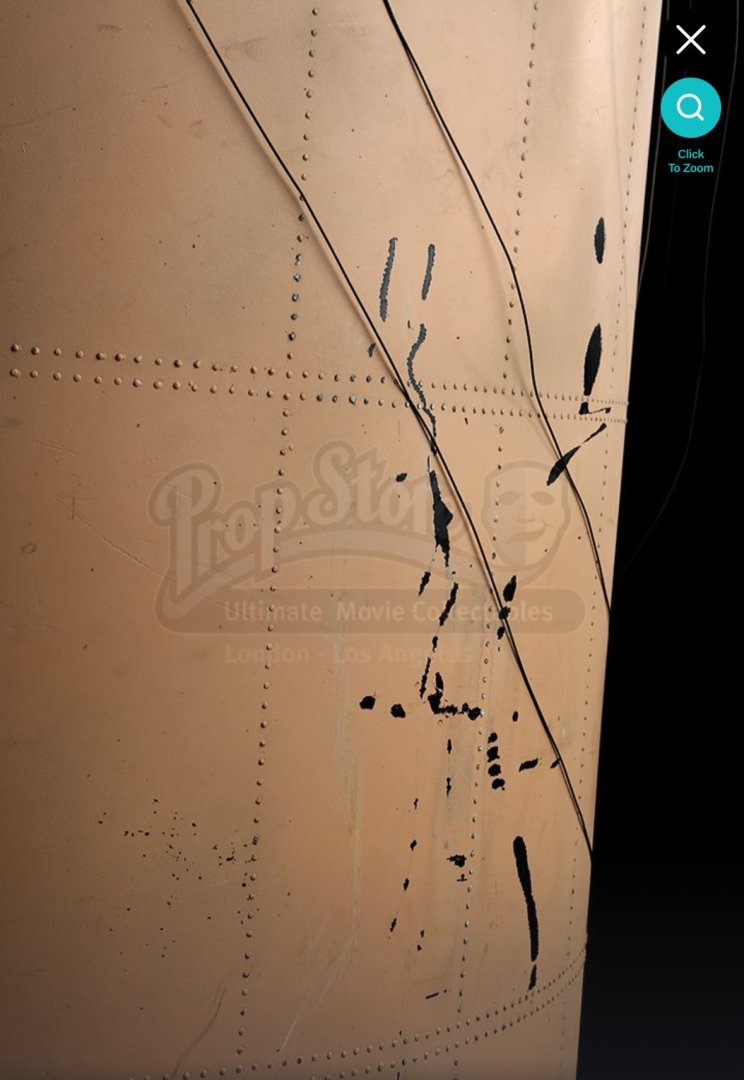
Funnel # 4 by the looks of it, posted below, taken from the following link: https://propstoreauction.com/lot-details/index/catalog/138/lot/28725 As seen the colour is very similar to that of Tamiya XF-57, albeit with some warmer undertones – perhaps a pink or red preshade would prove useful: Therefore when the time is right, this is what shall be used.


-
Back at it again – making some progress on the deck houses and also another one of my thinking back changes. I changed all of the wooden rail sections from a light brown to dark. Even though some sources say it is more accurate, I very much prefer the darker colour, especially because it adheres to the movie model in a pleasant and obvious way. I also found some lovely reference images of the a funnel used on the movie I will post below for future use.


-
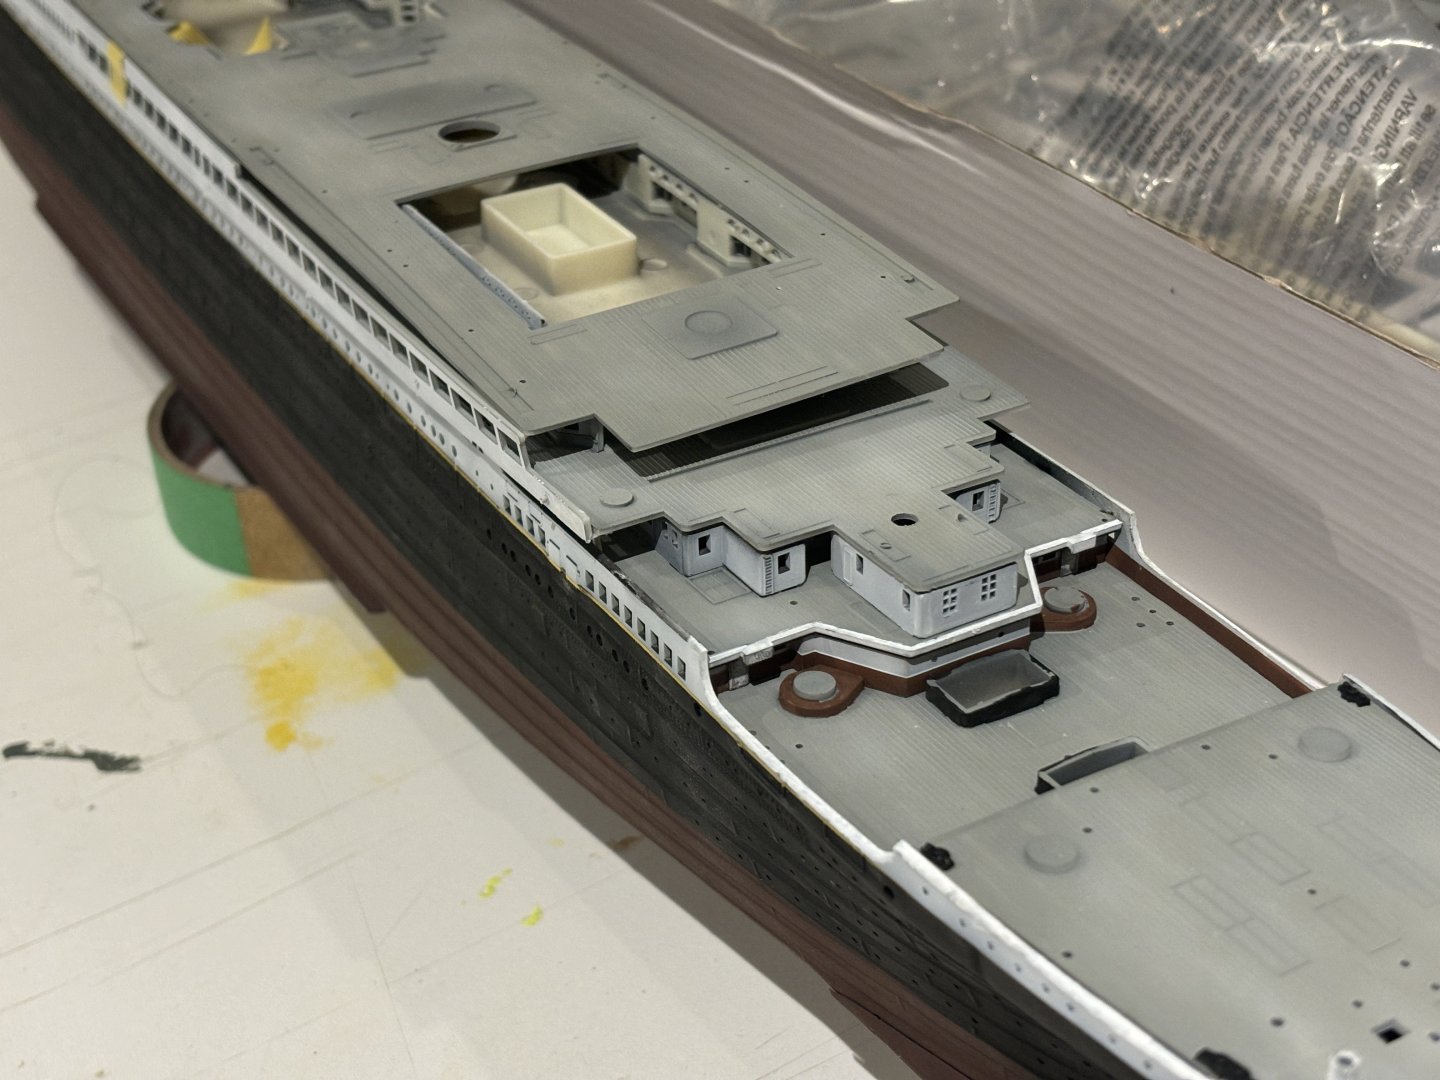
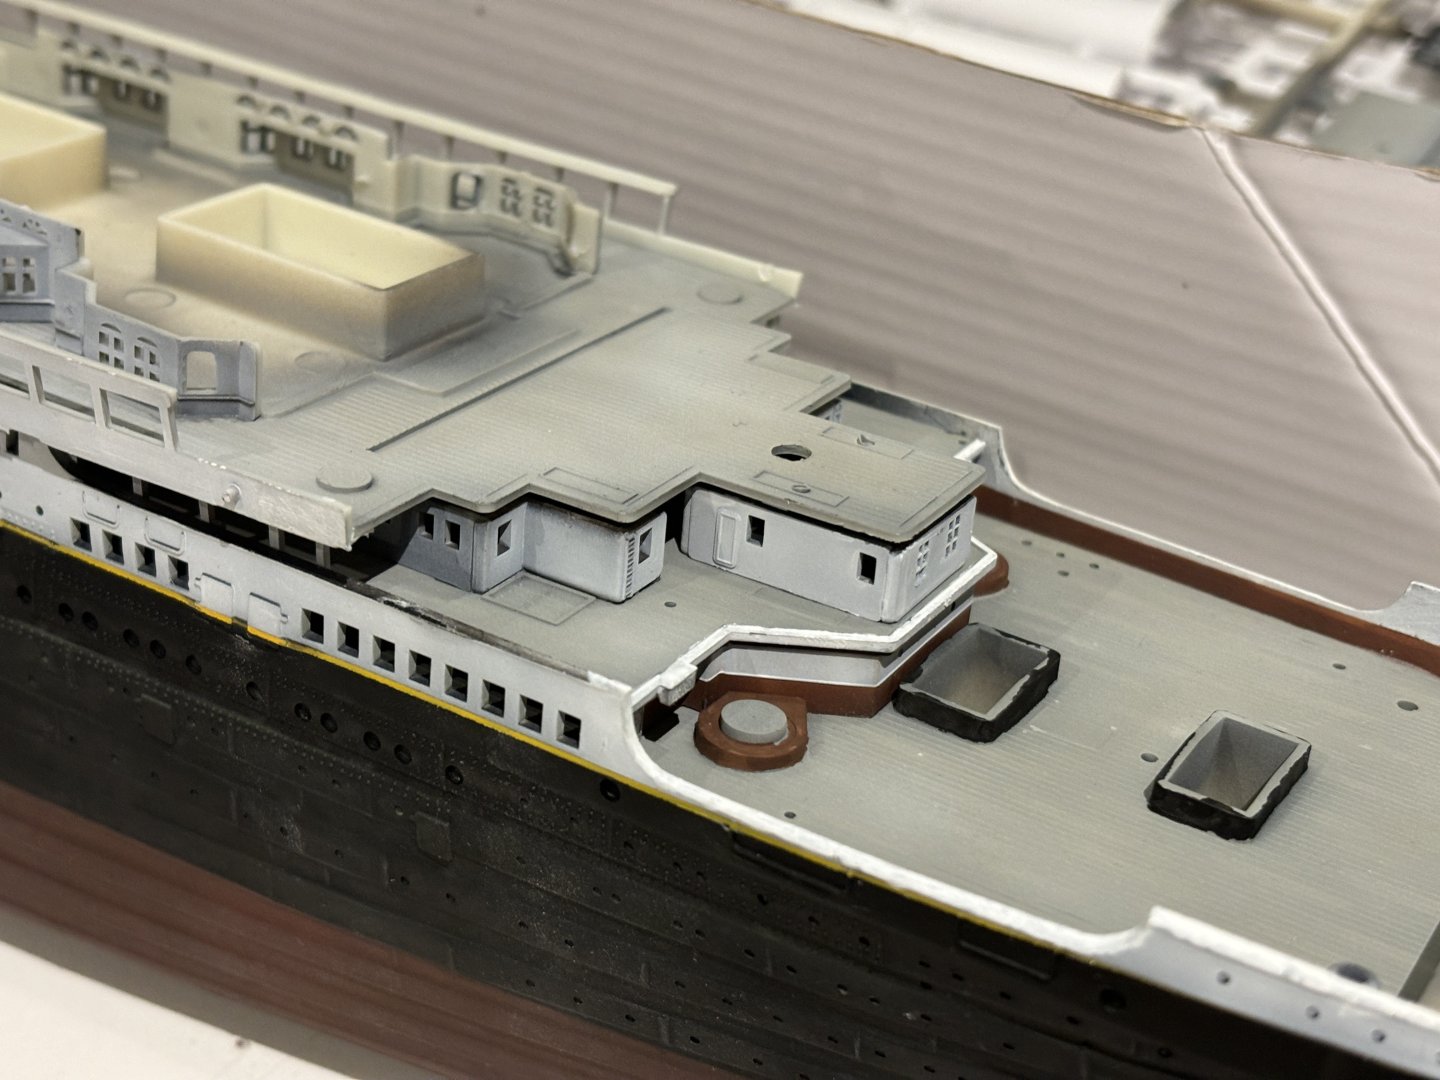
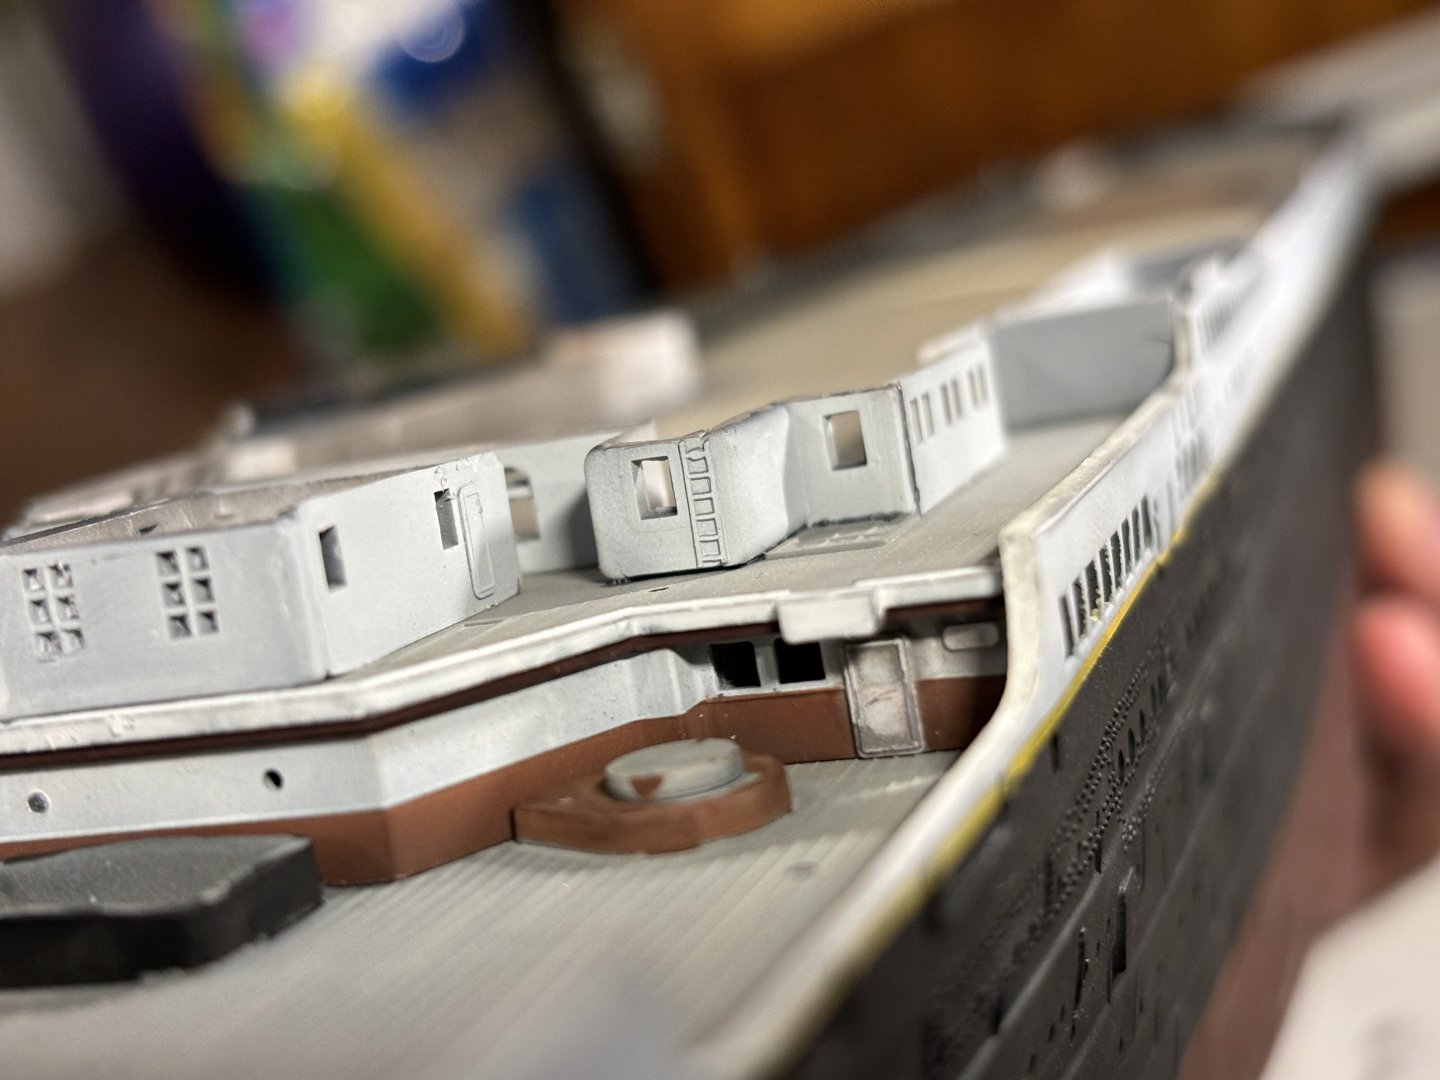
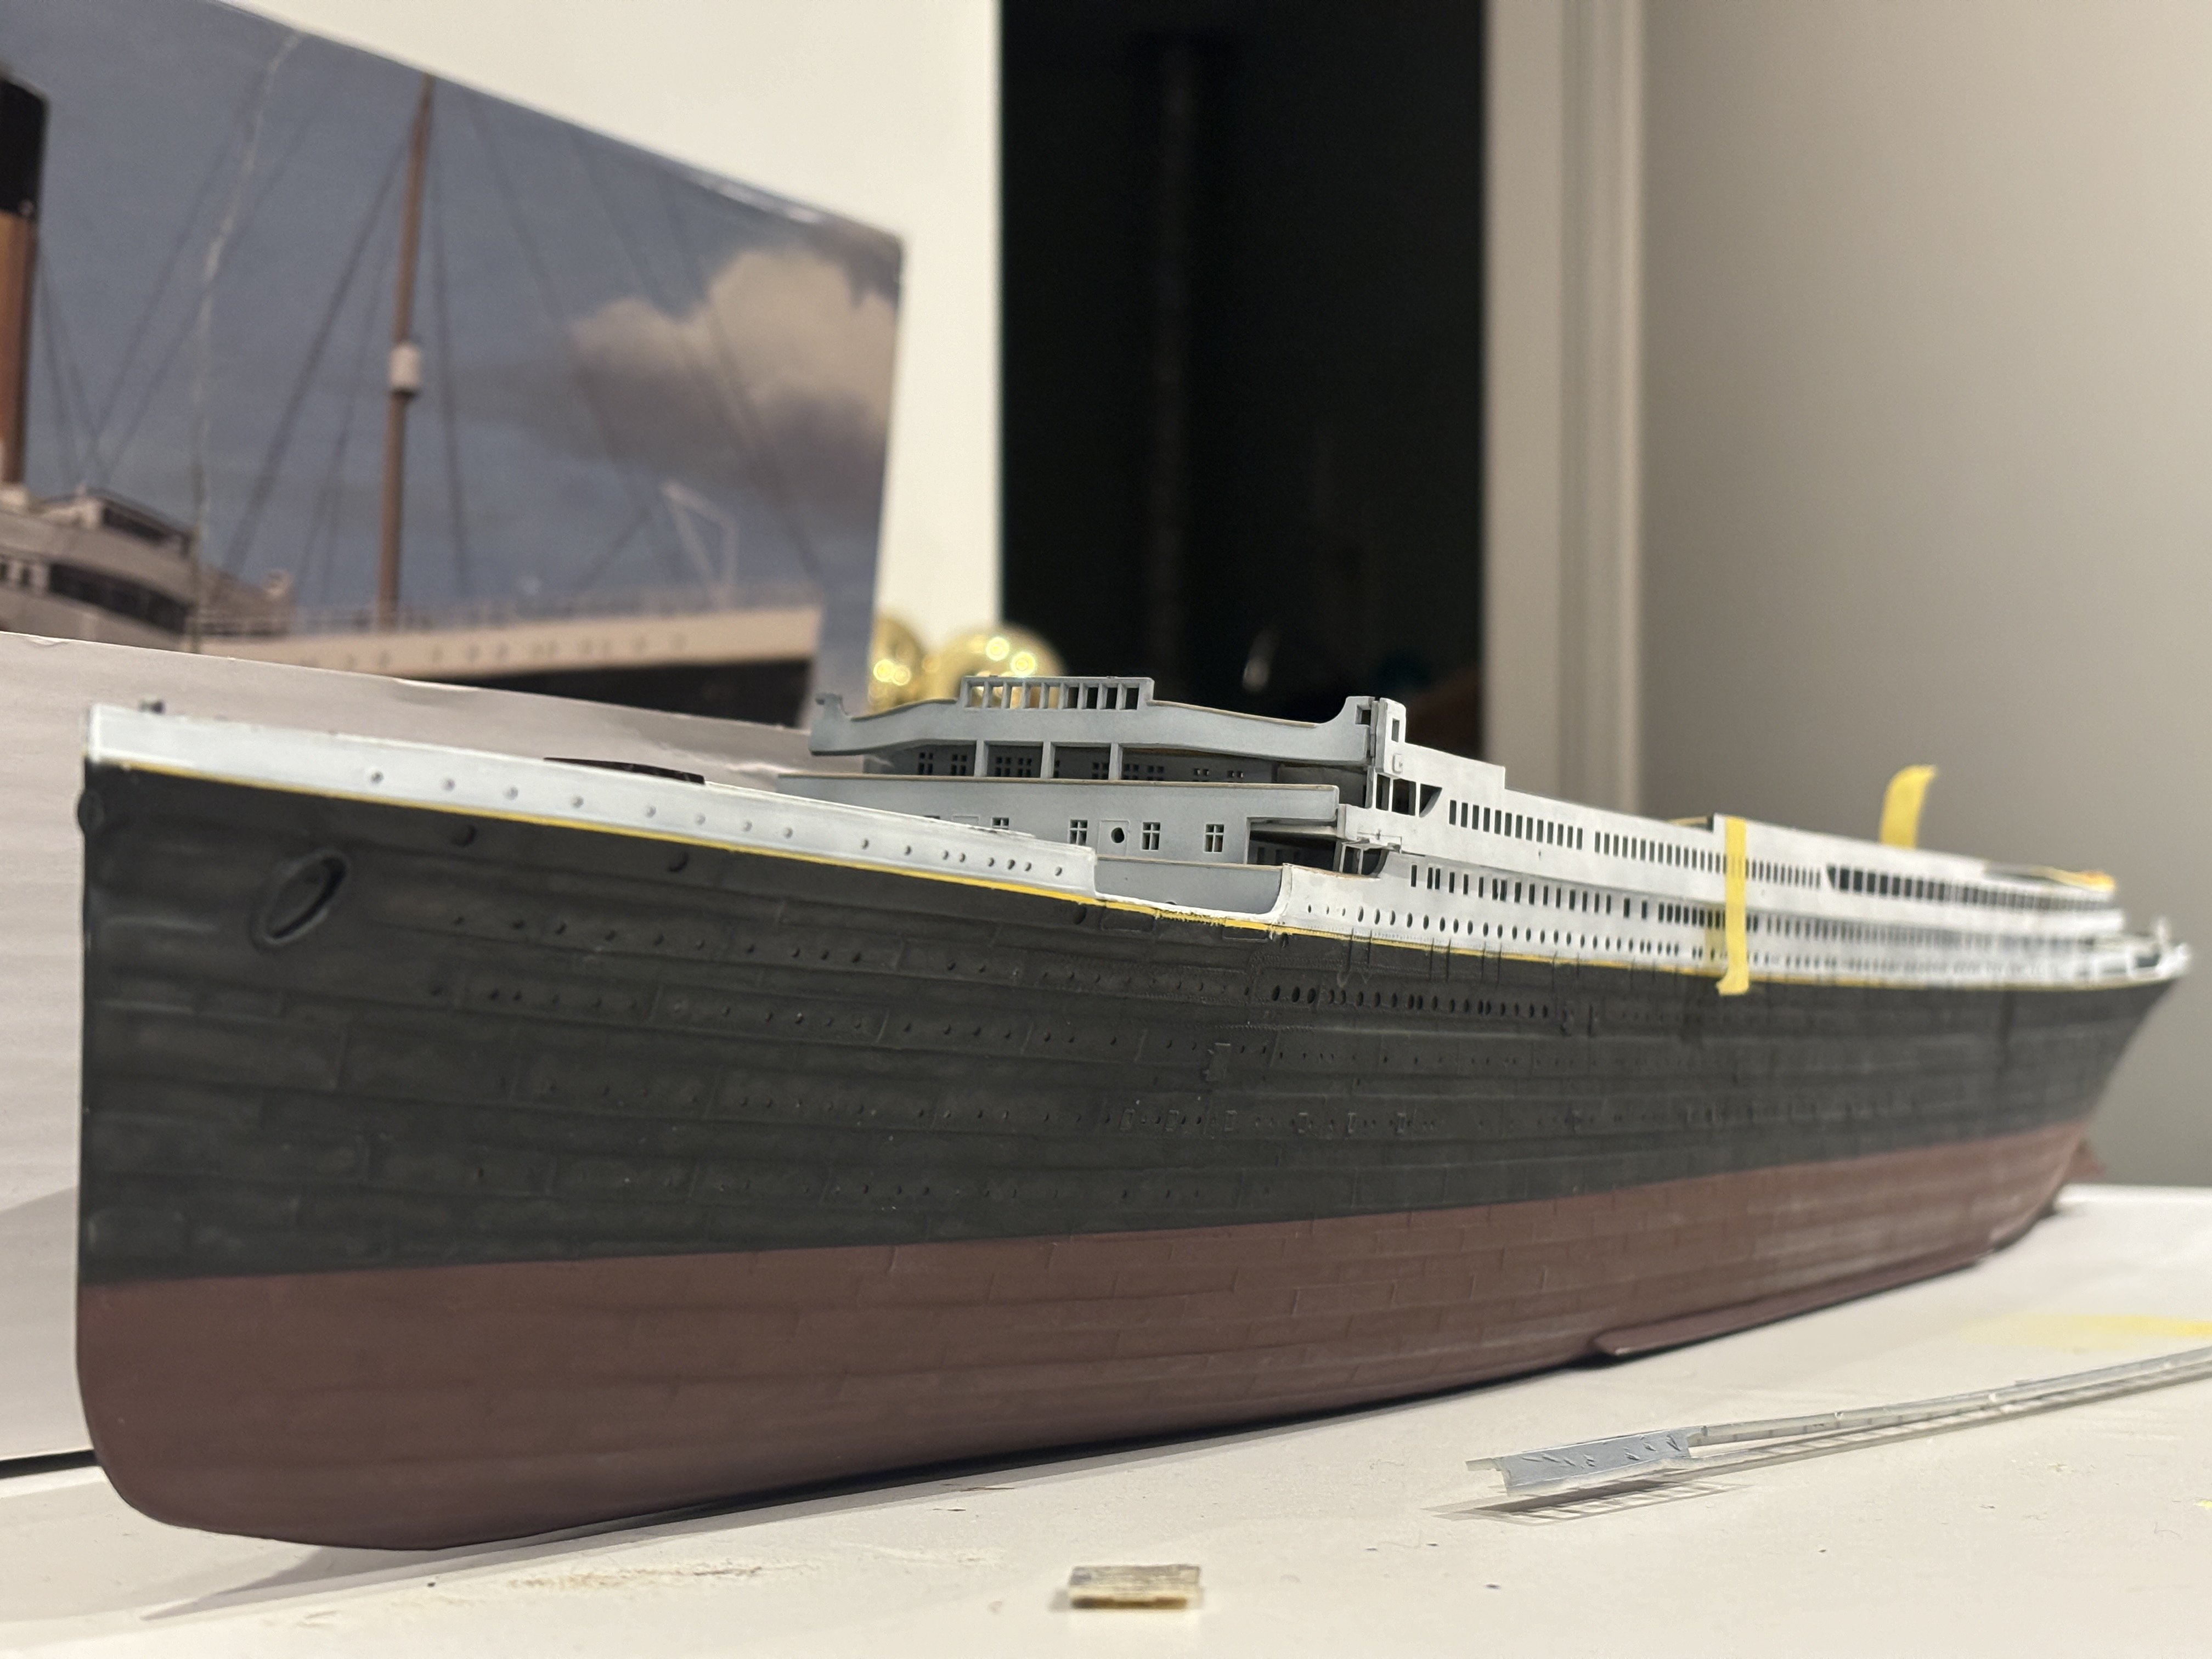
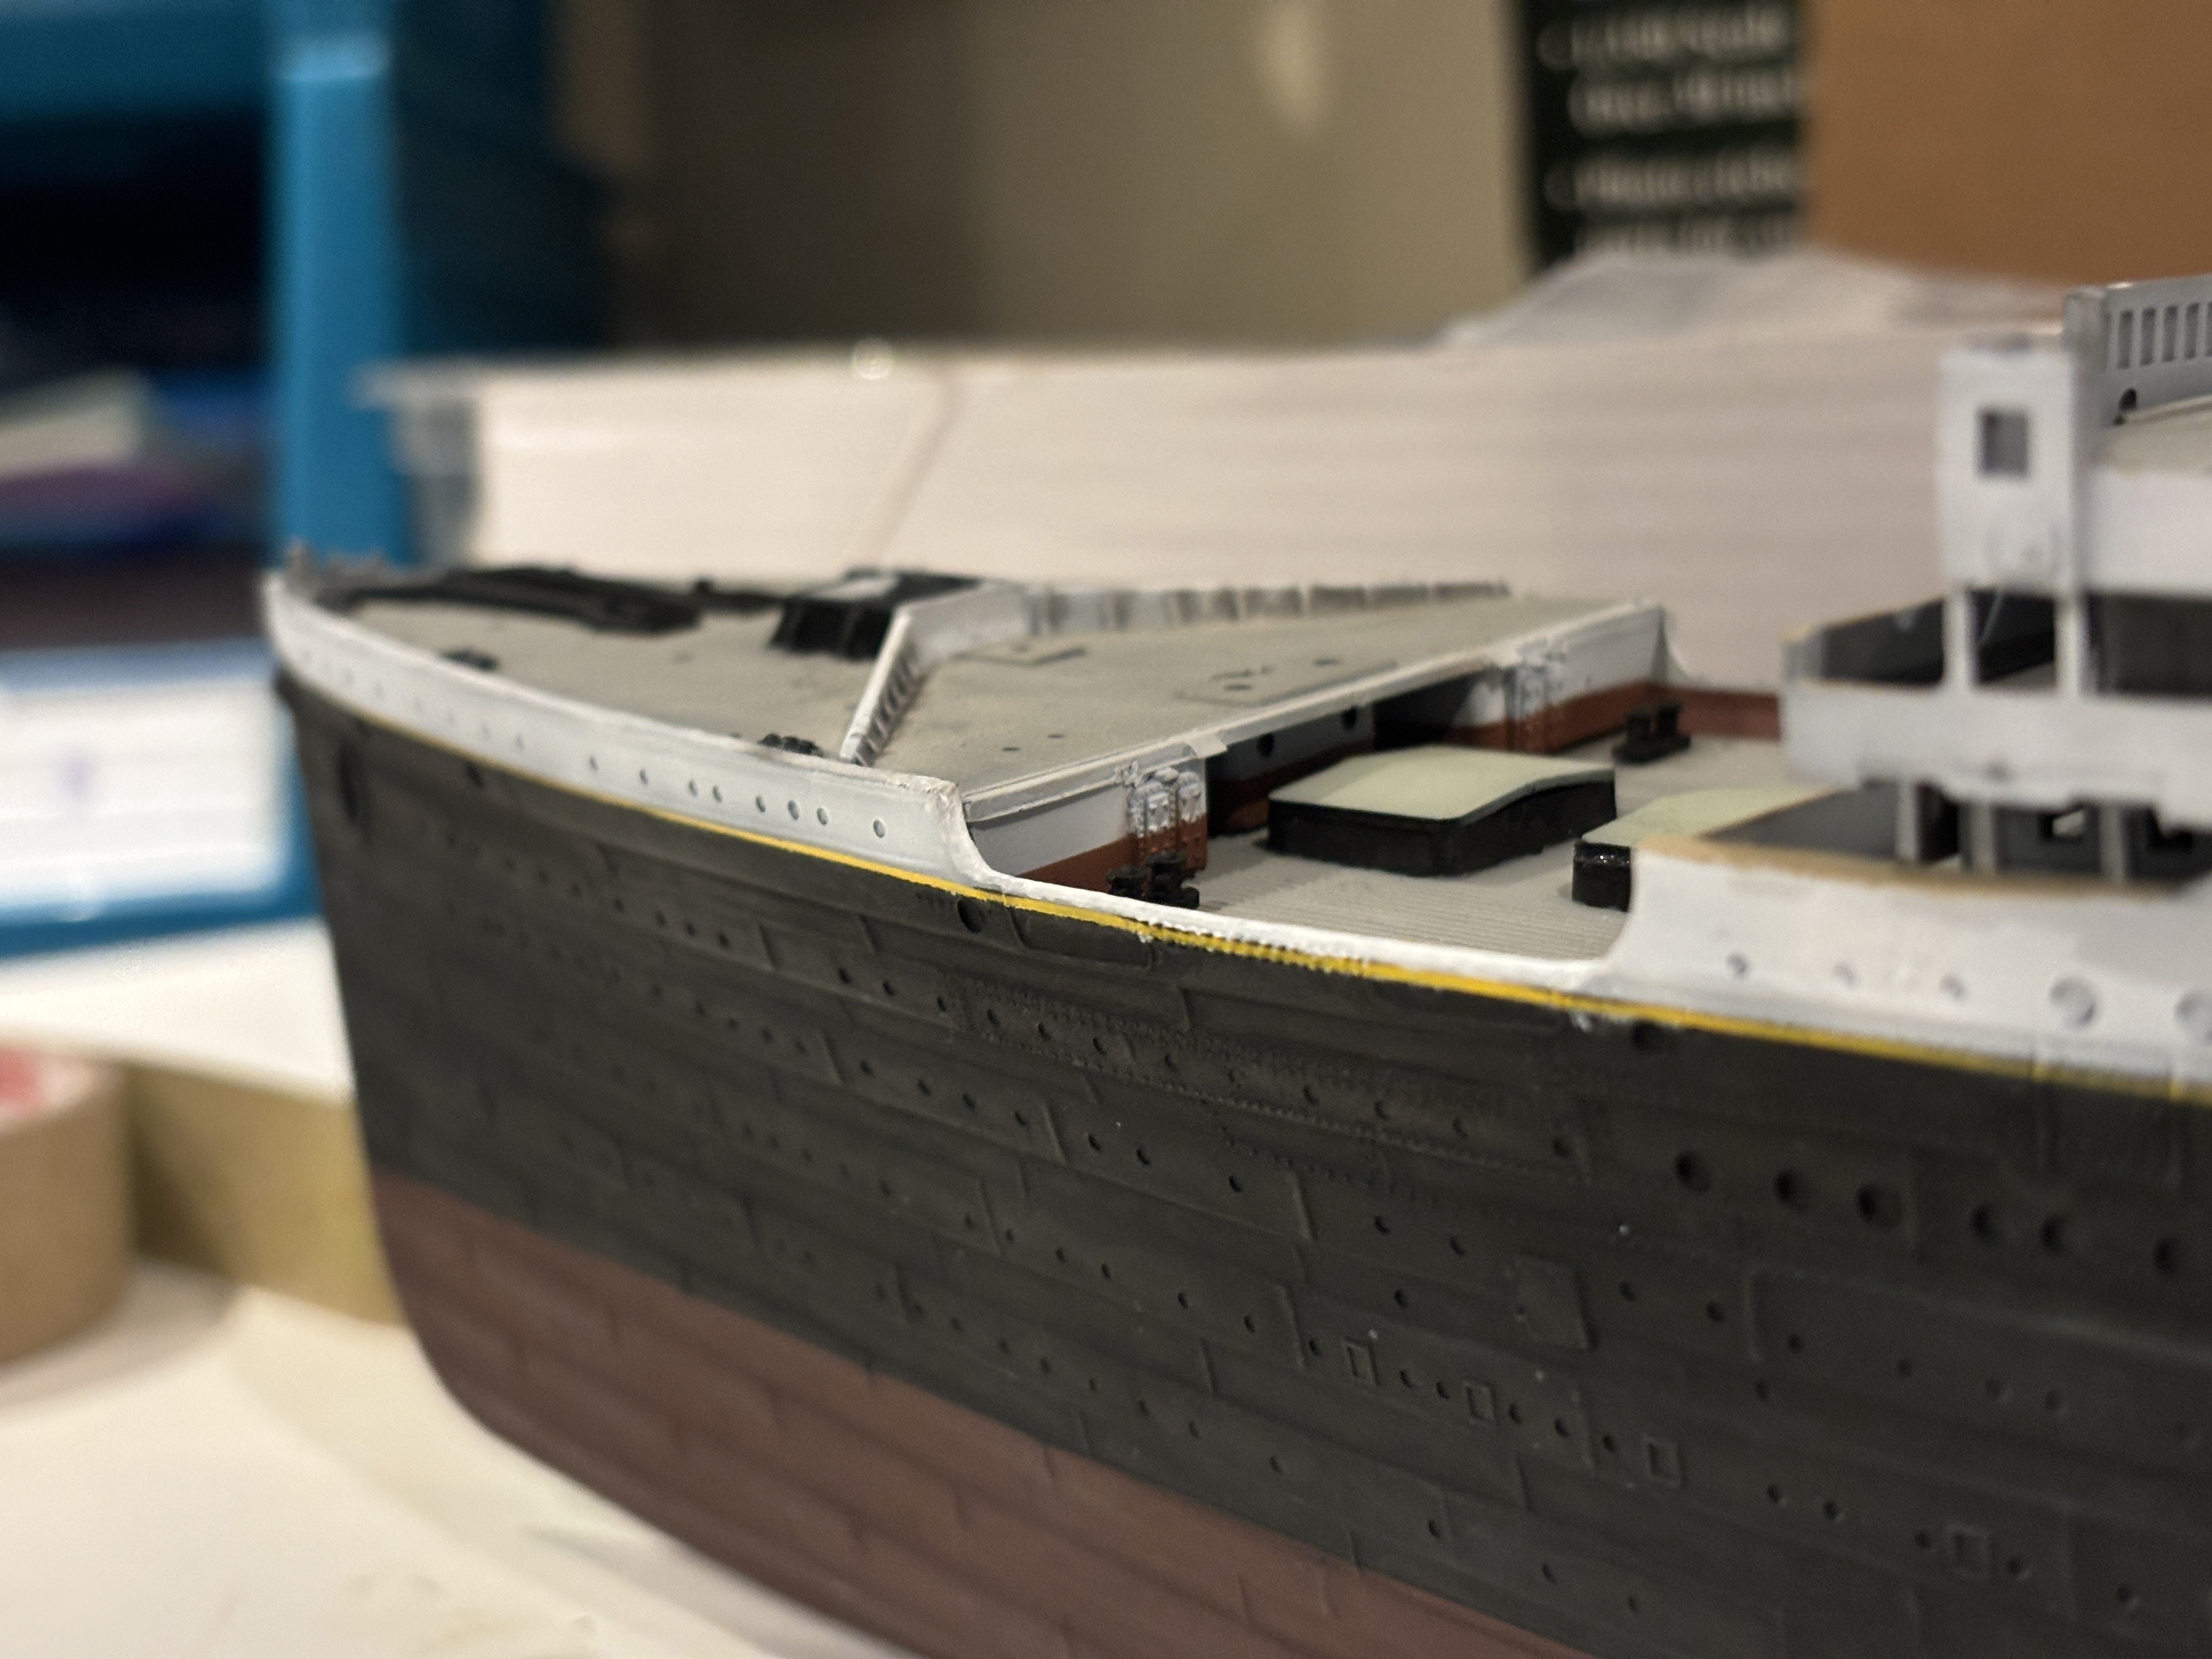
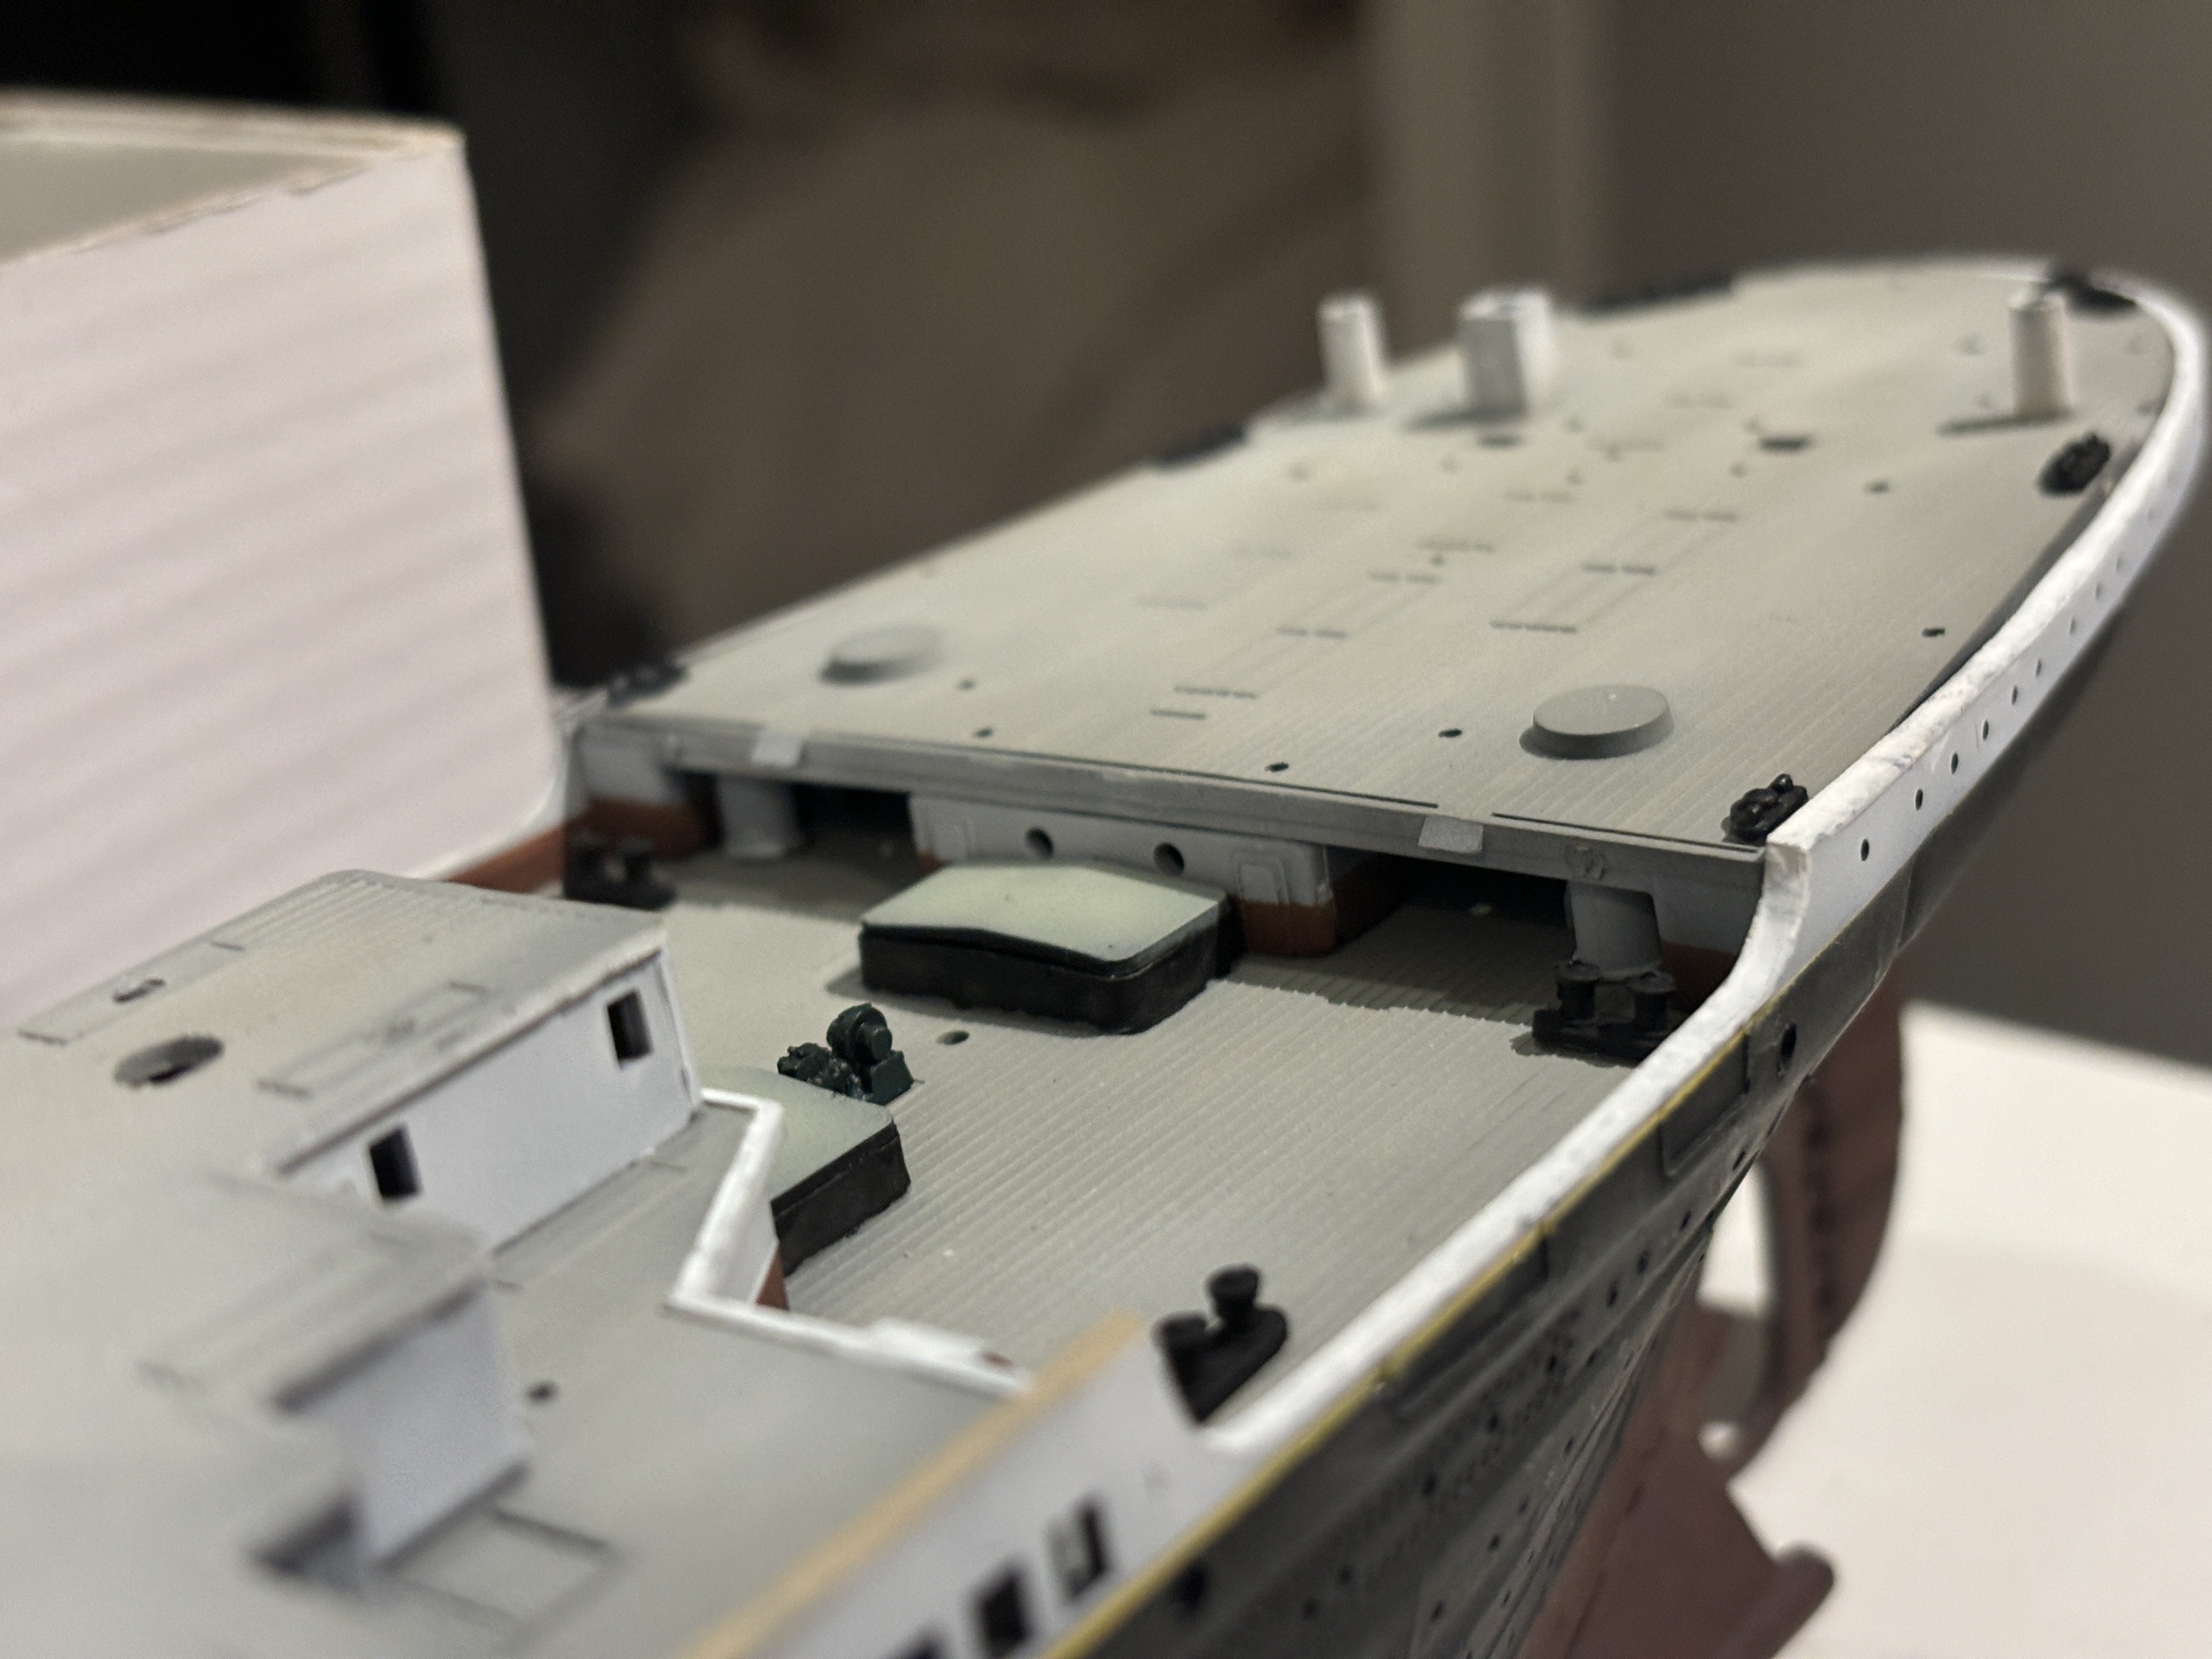
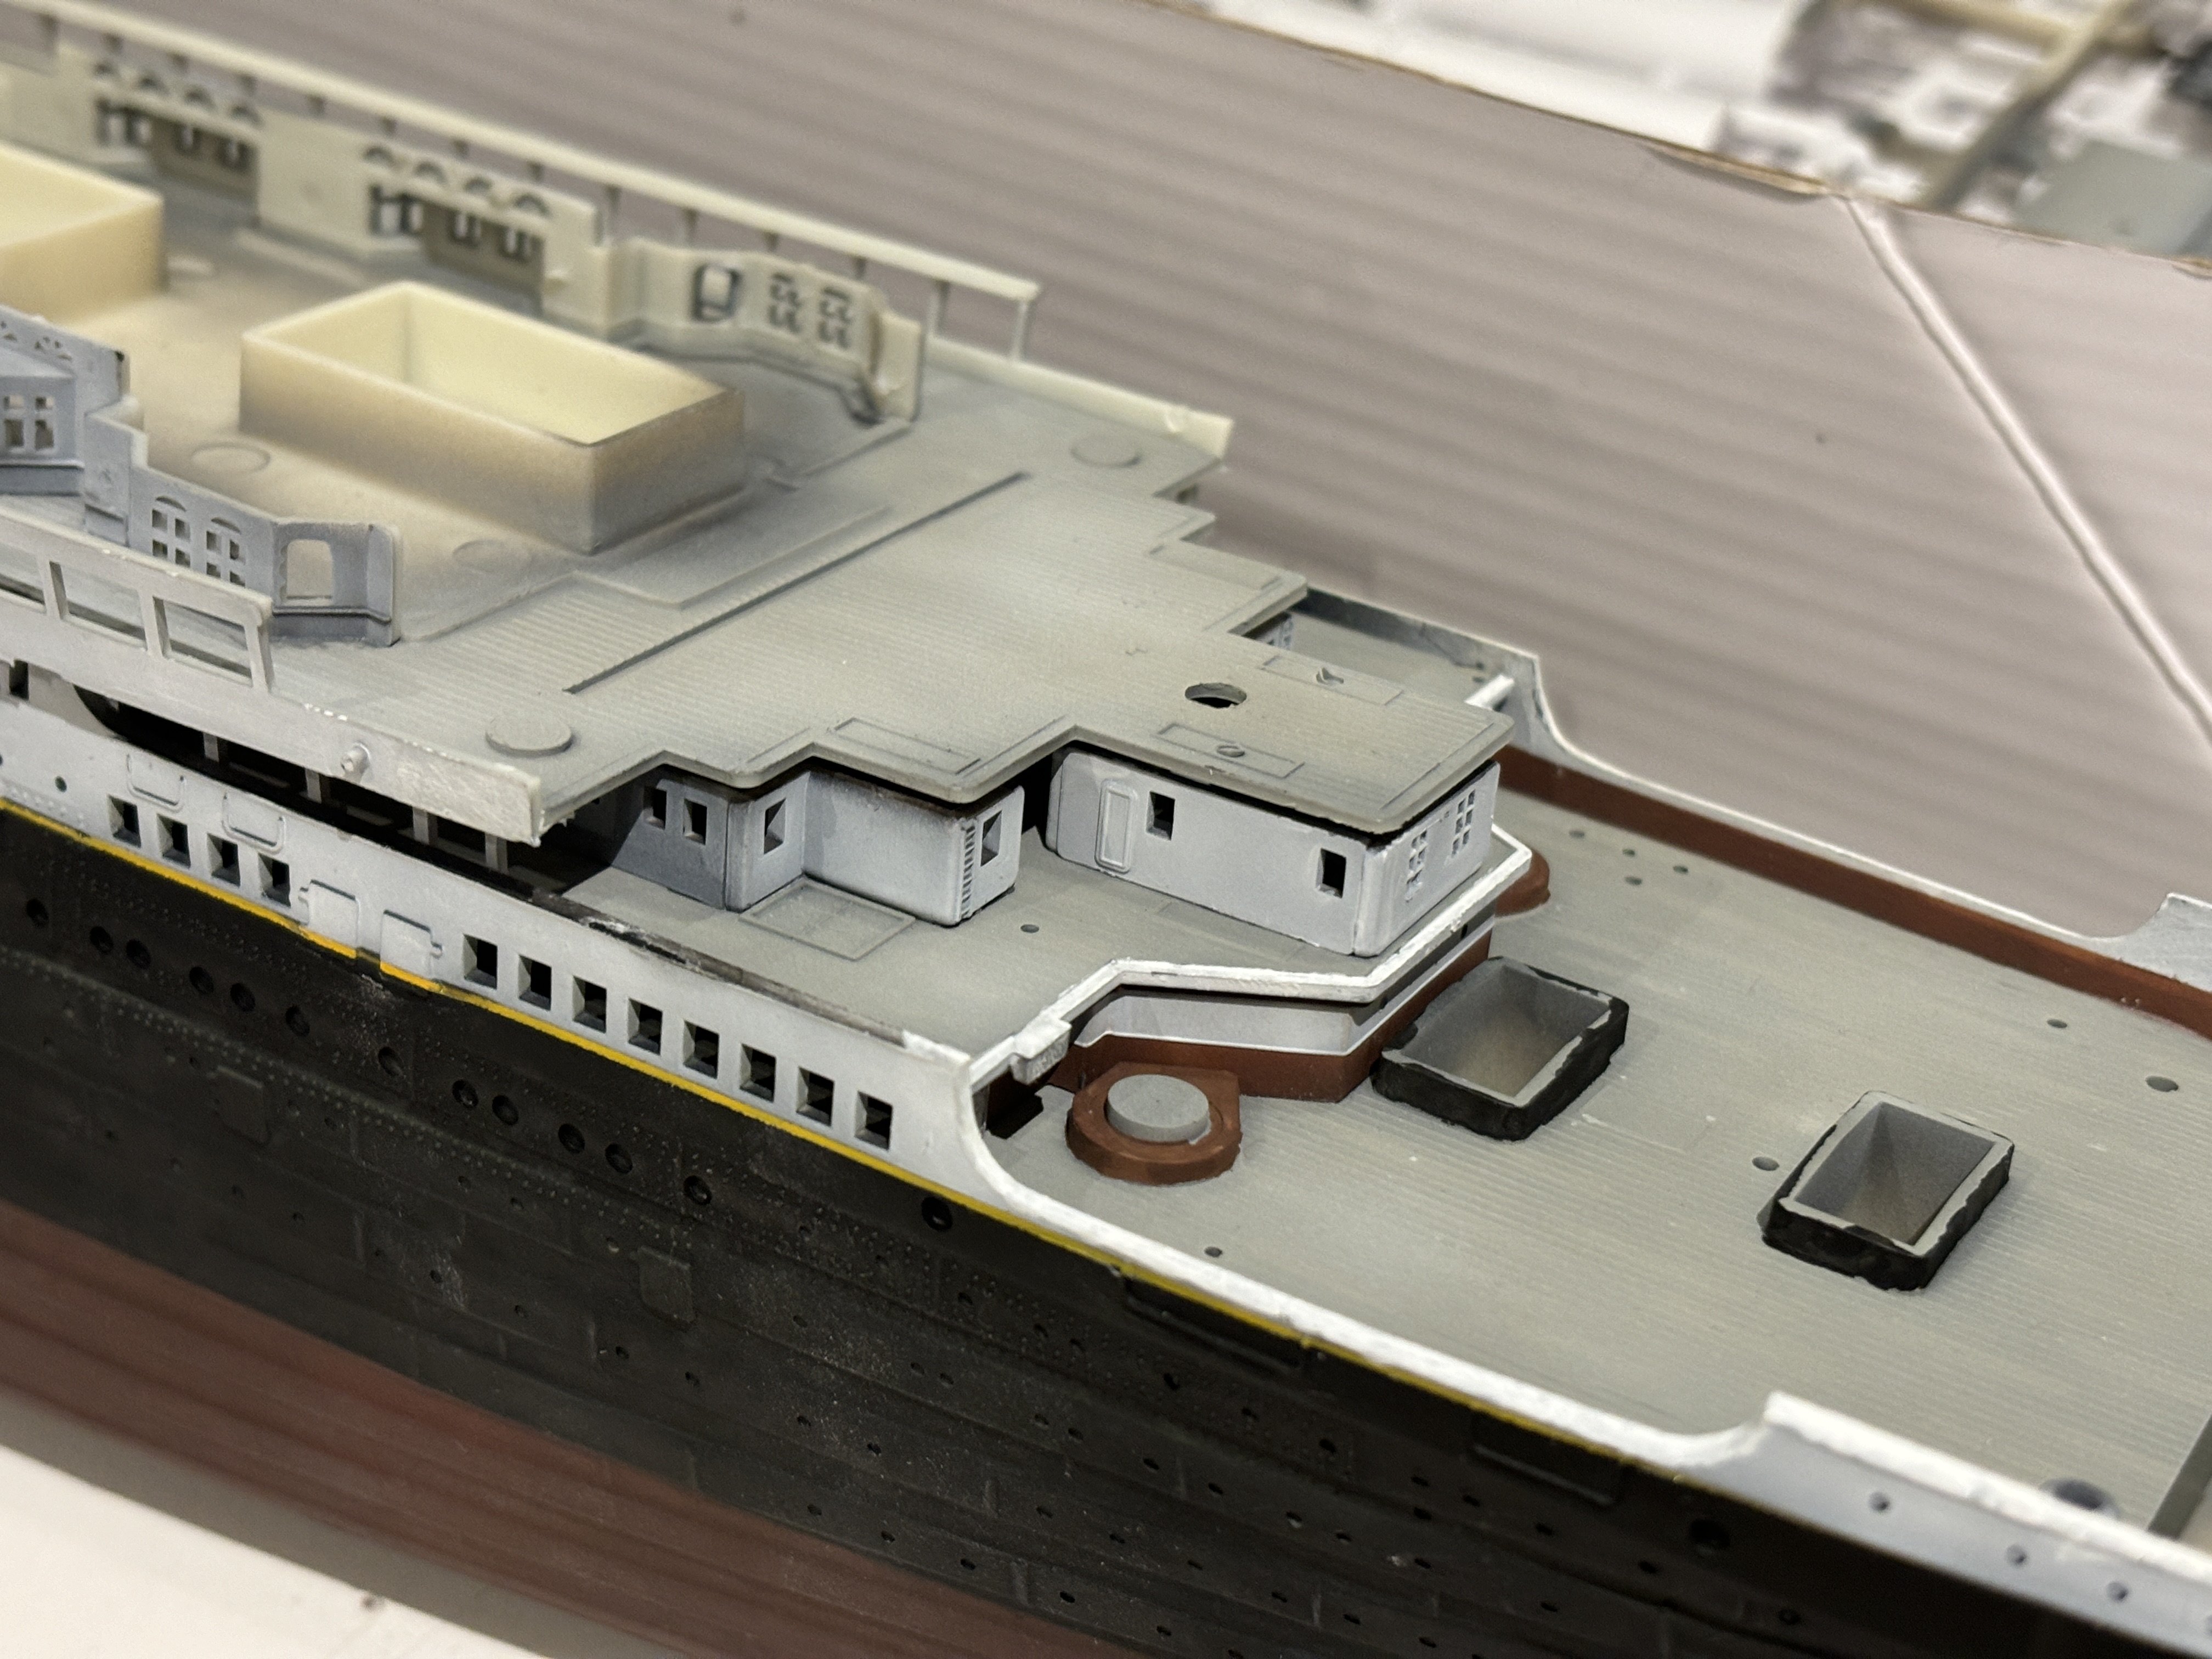
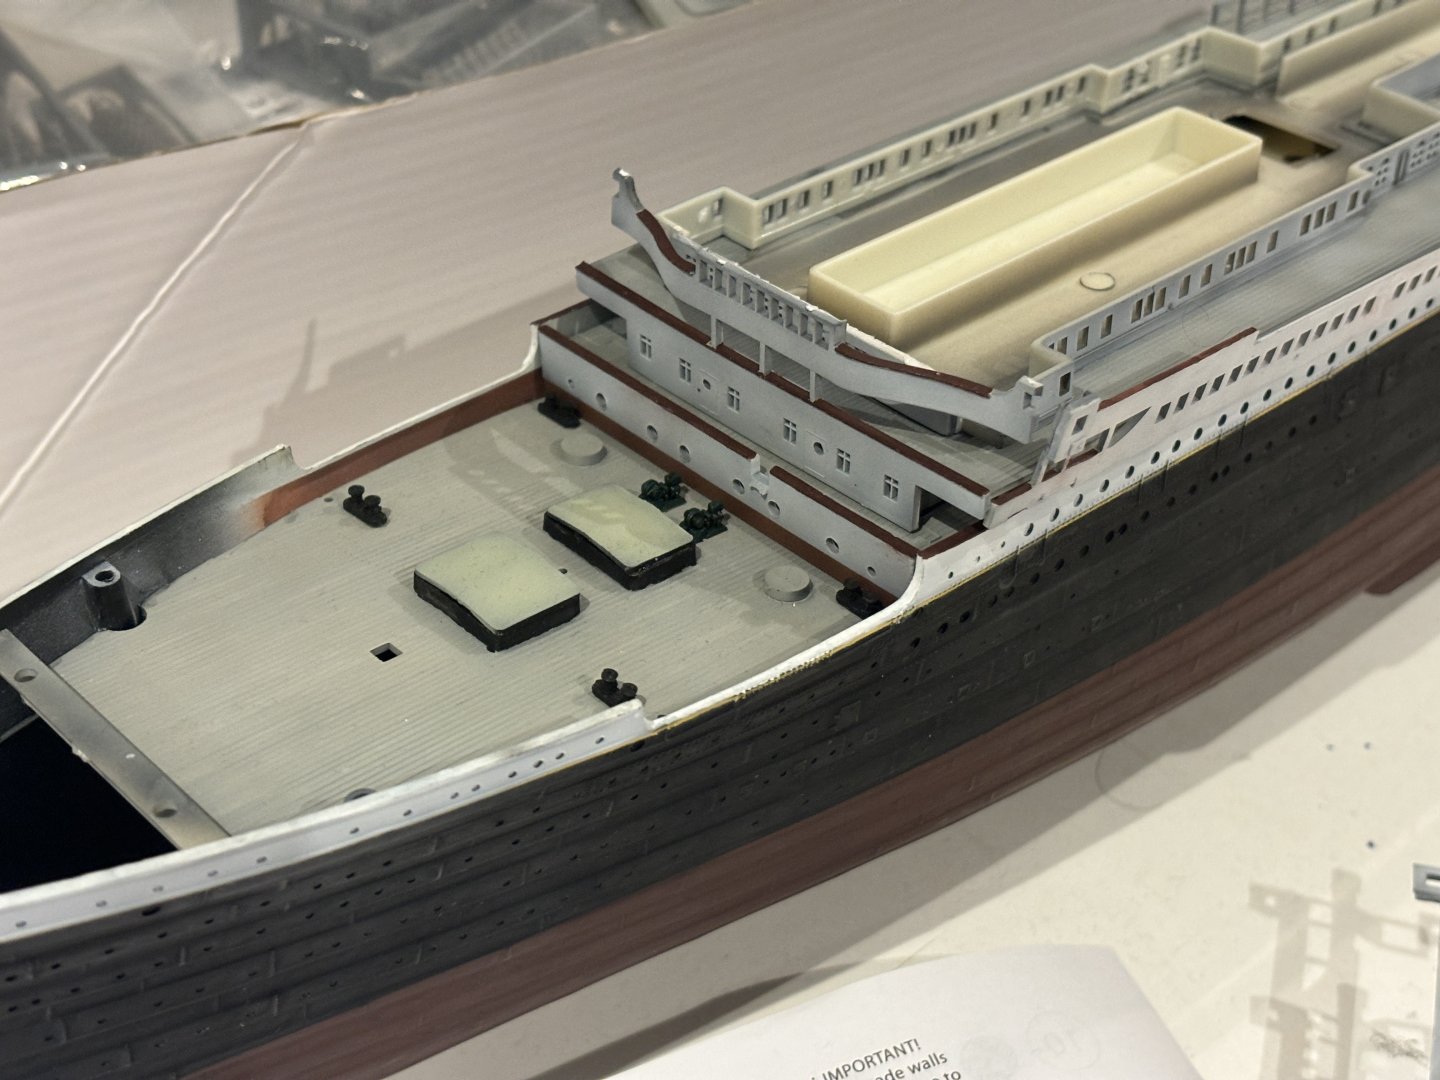
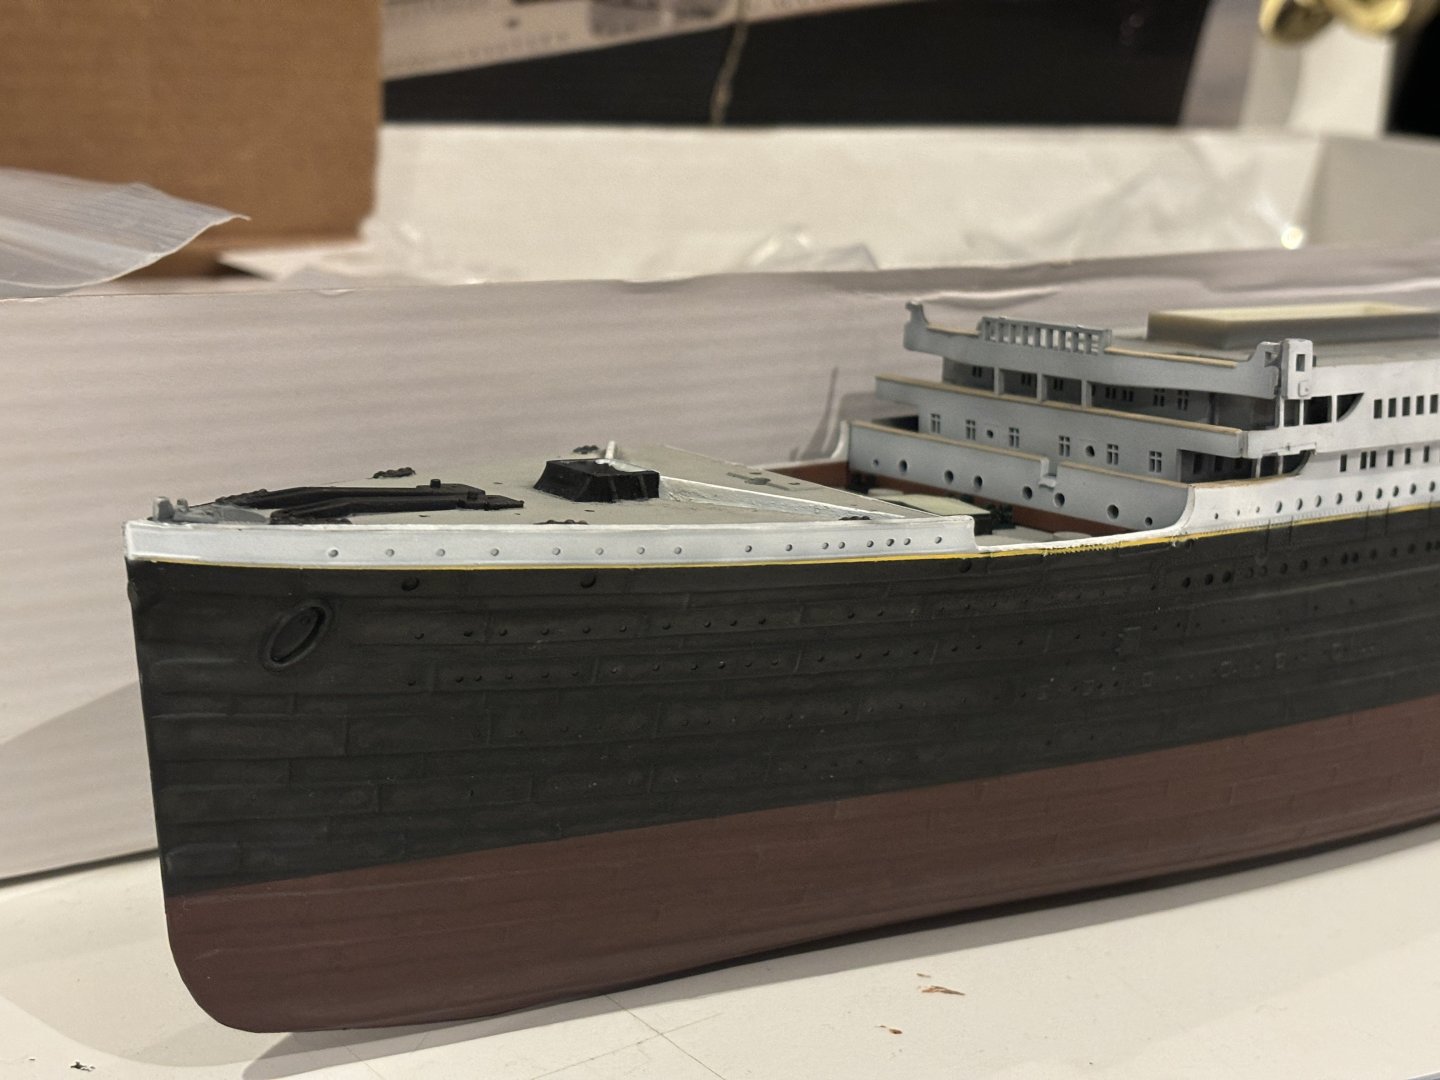
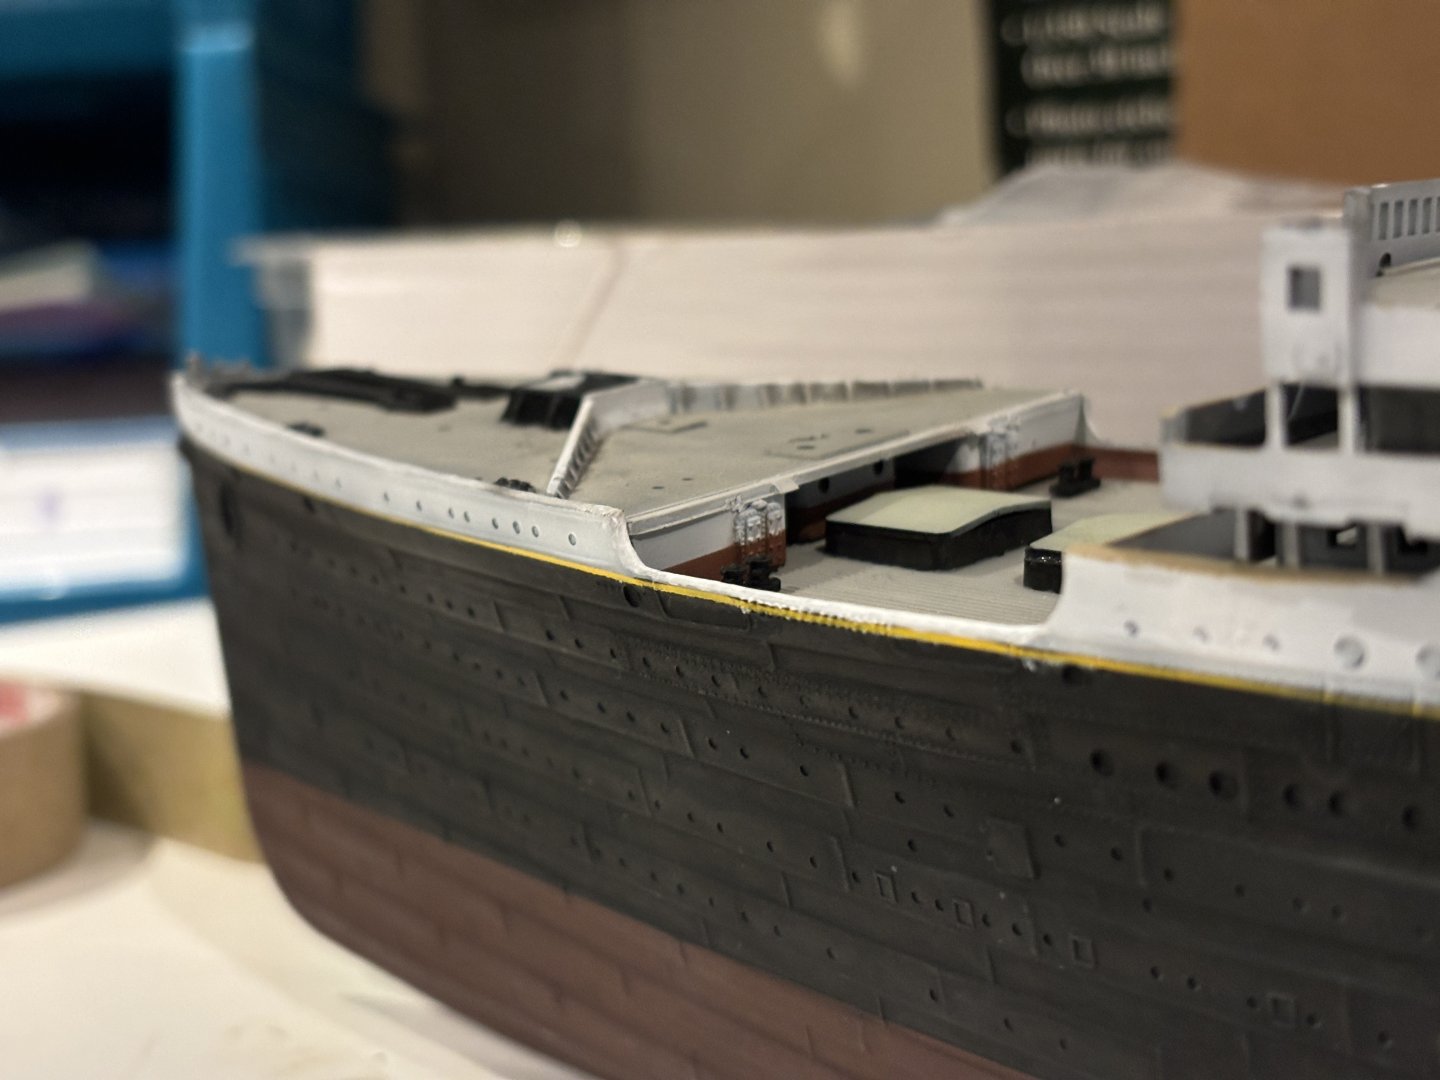
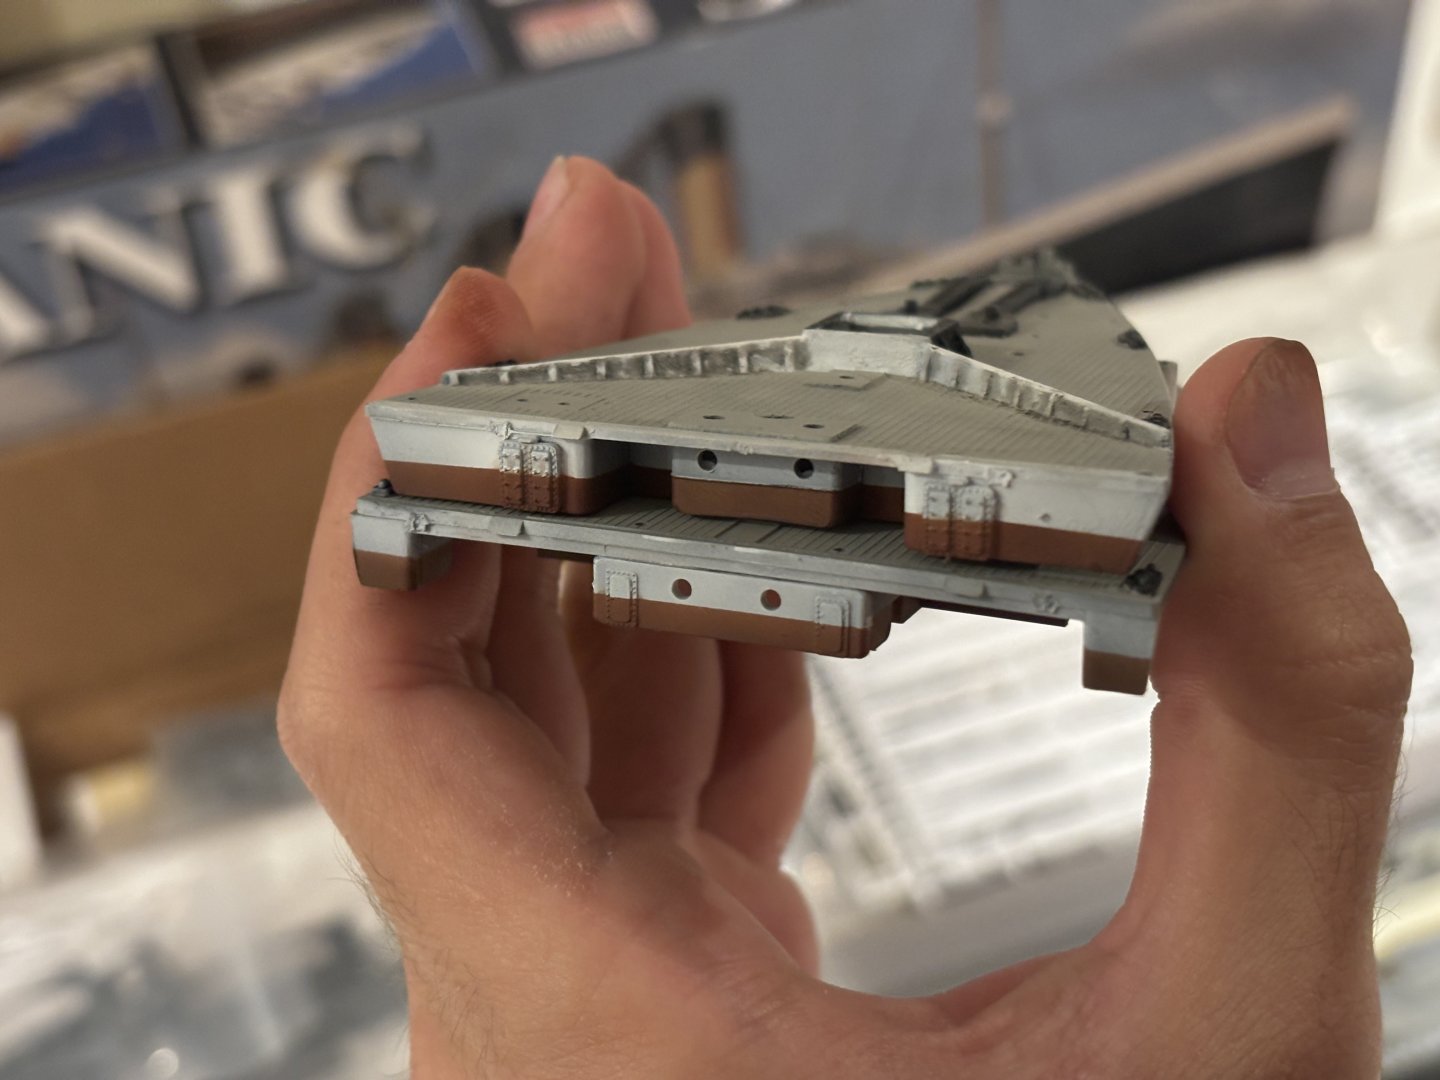
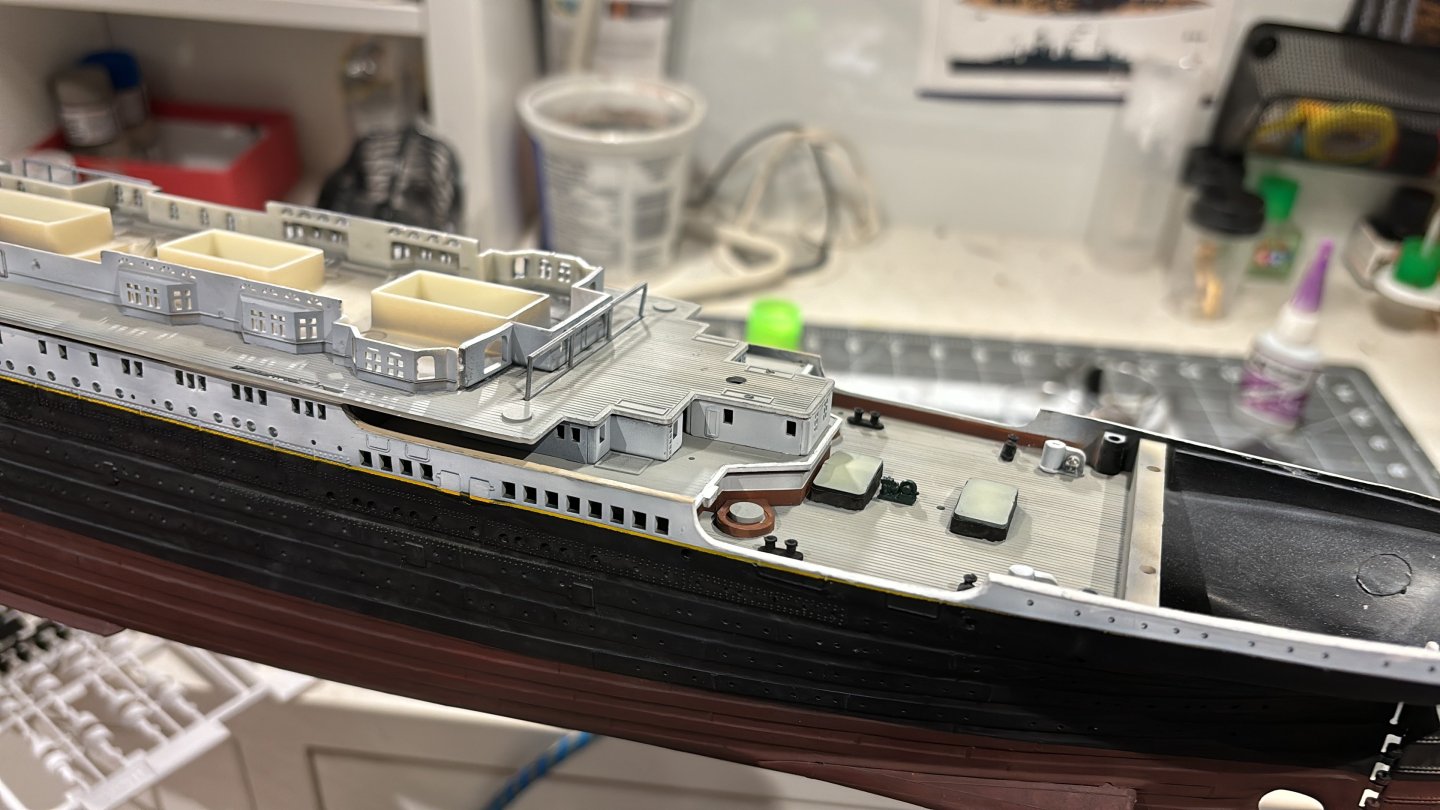
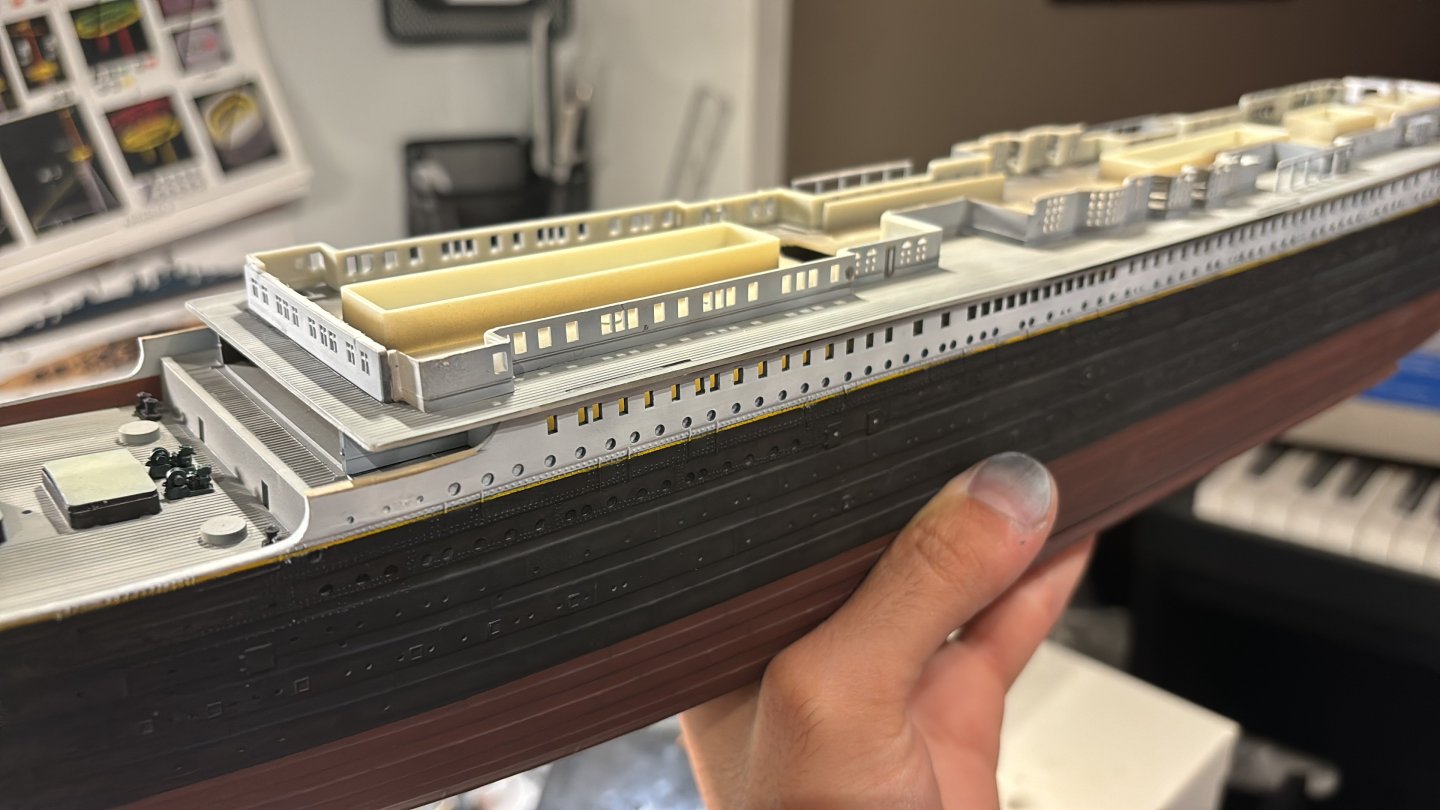
Got some more work in, painted and built the under deck space on the forward and aft well deck. It has been discovered that this colour was more like orange, it was hard to match and this is more nostalgic for me as well. With the boat deck ready to be secured, the build had come a long way already. She looks very majestic now. More updates to follow….


-
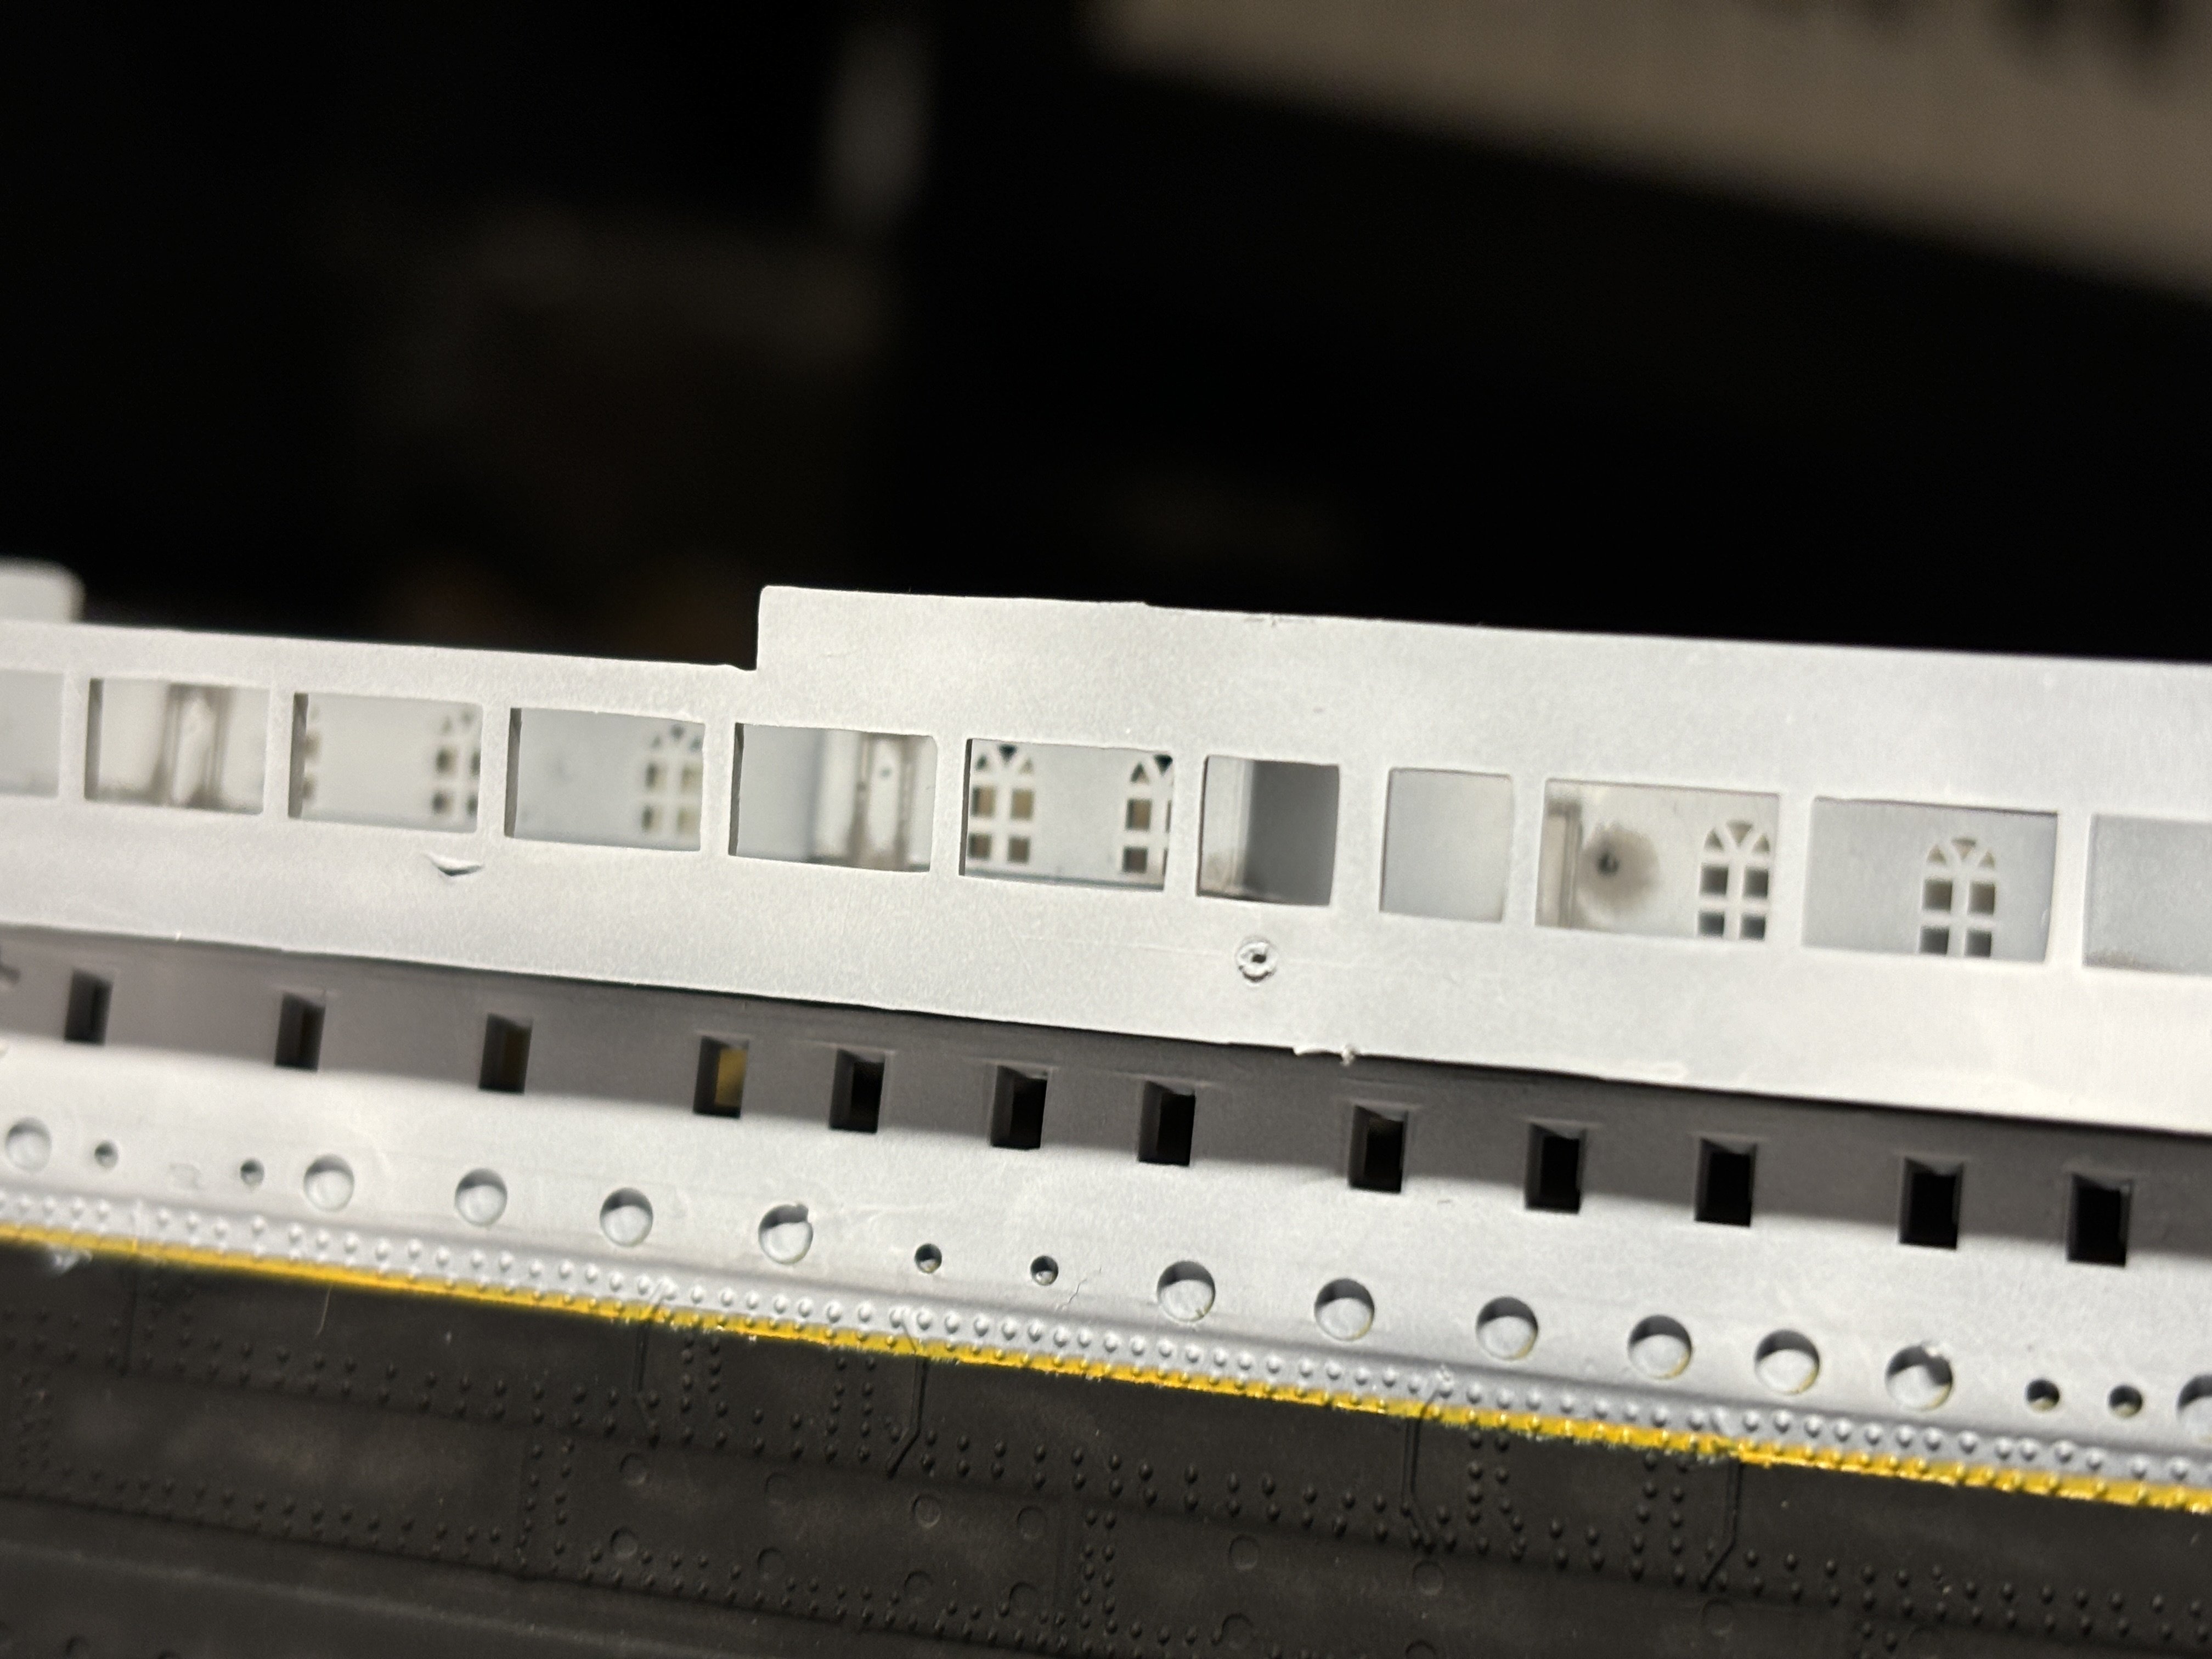
Can’t wait to see the progress when you do make some – those windows look very good it’s quite a good idea. I am yet to see a very convincing log of this kit, but very interested in this one. Keep us posted!
-
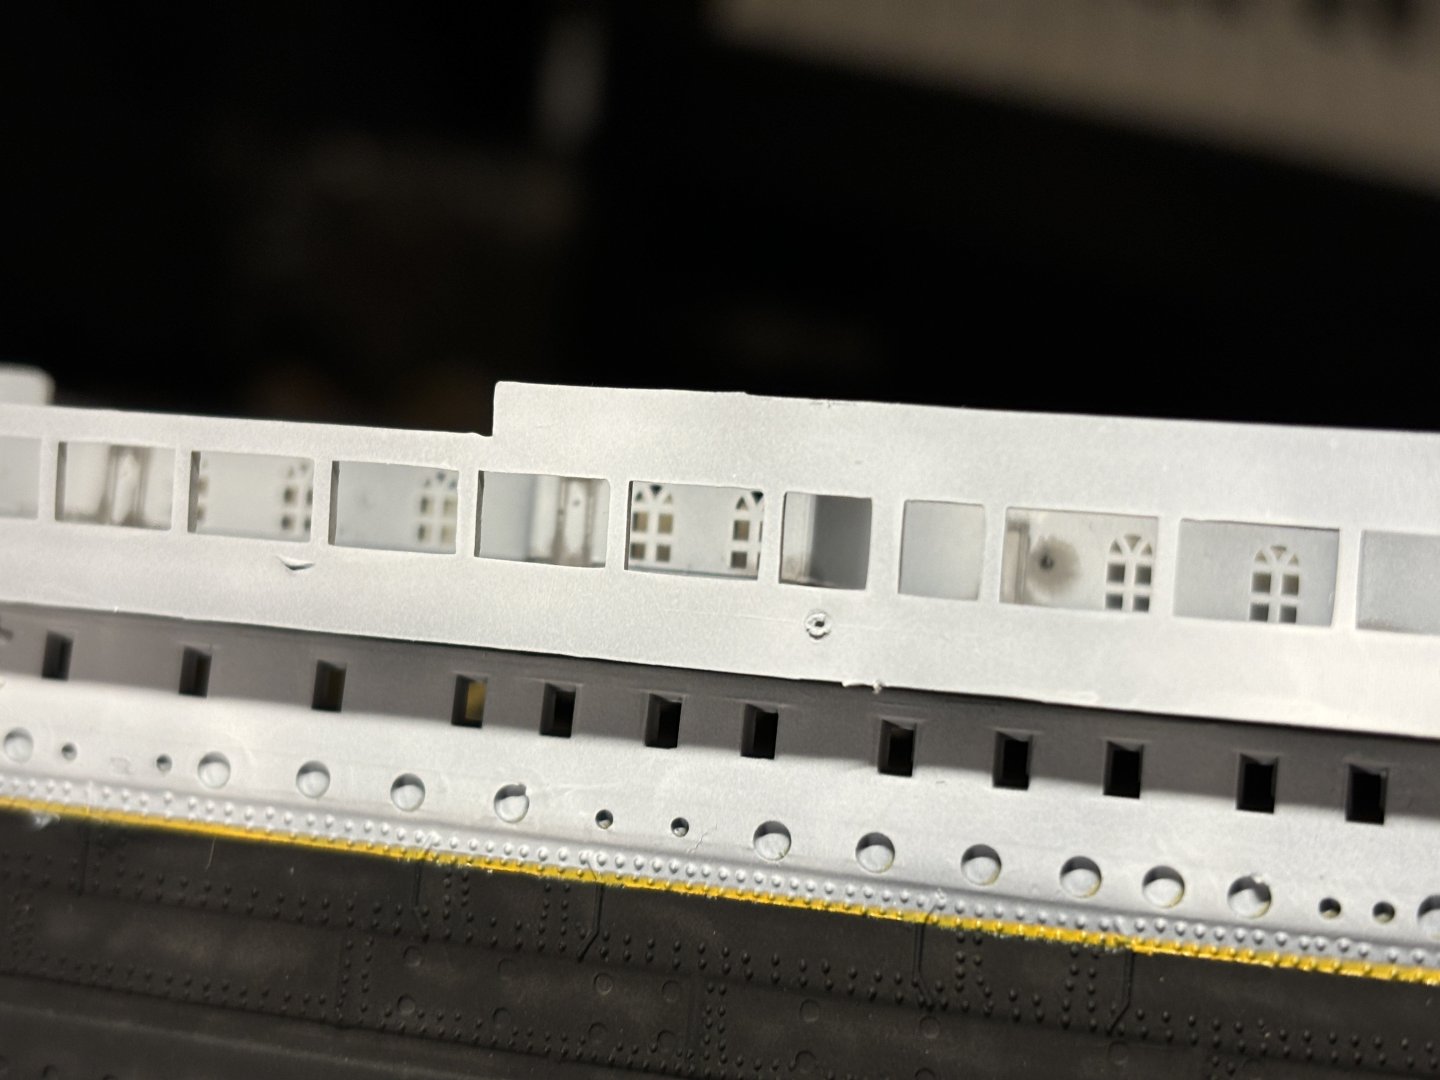
Some more progress on the decks, adding details and such. Glued down A Deck, and need to attached the superstructure sides. All the little wood handrail sections were painted with XF 57 and the cargo hatches with XF 14, perhaps a bit dark but again, oils paints will help to even things out. Unfortunately my progress has not been as quick as I’d hoped. Mainly because this is quite a daunting and perfectionistic project for me, so I take my time and only work on it when I have sufficient motivation and energy. Hopefully I will have time to work on it intermittently, but we shall see. But as always, more updates to follow….

-
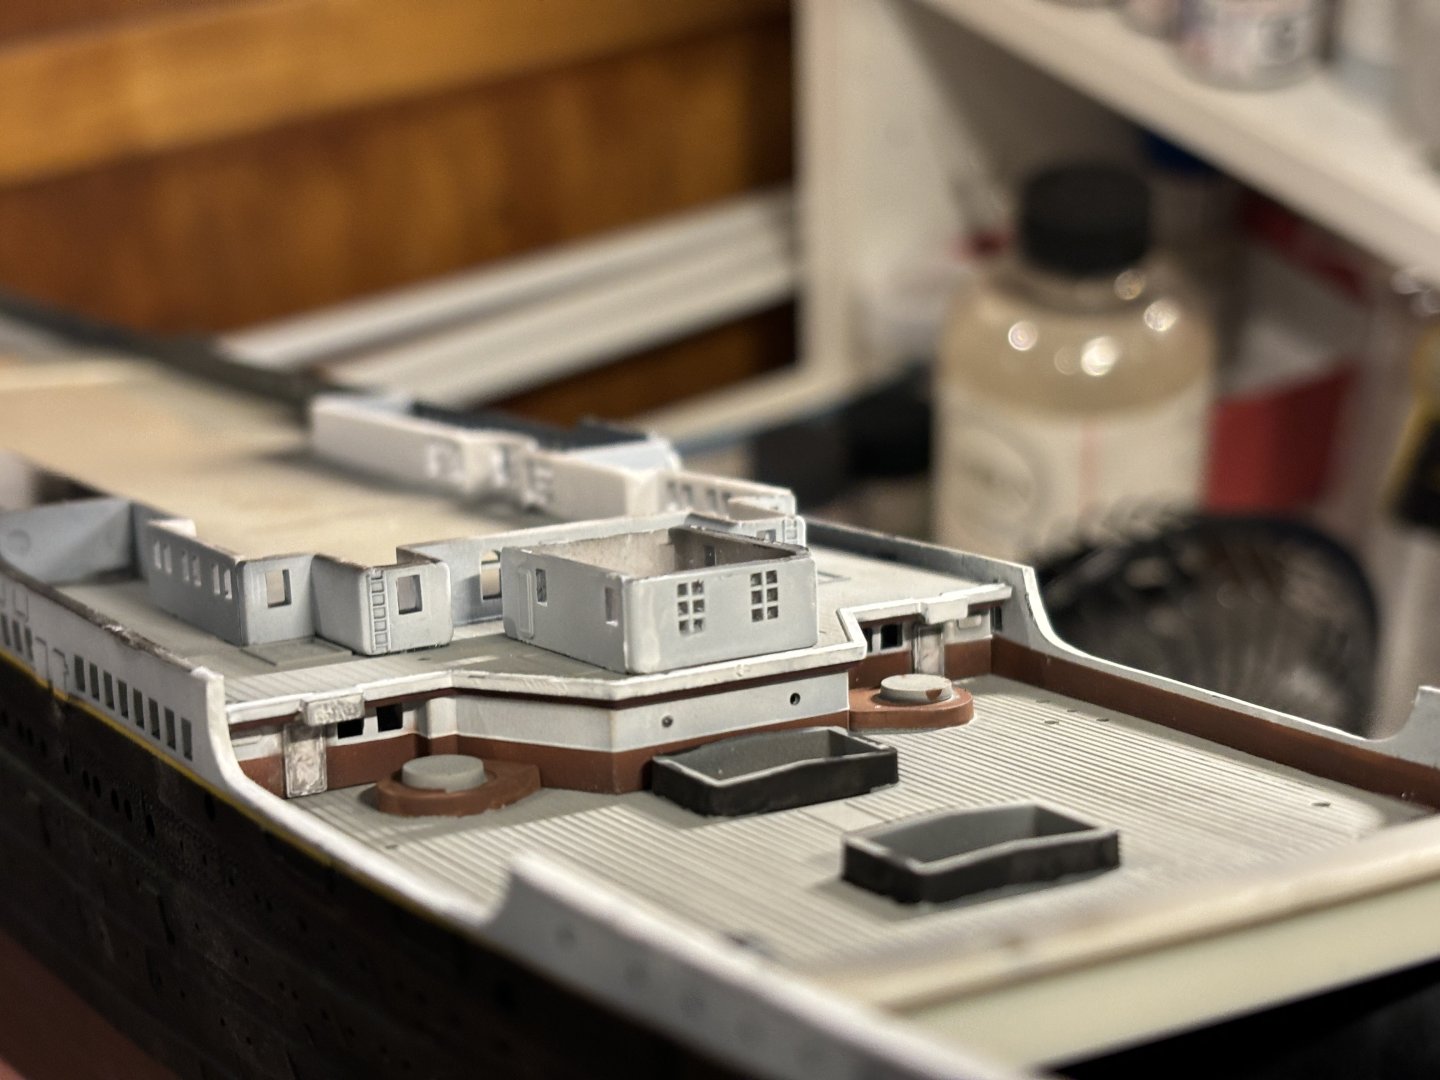
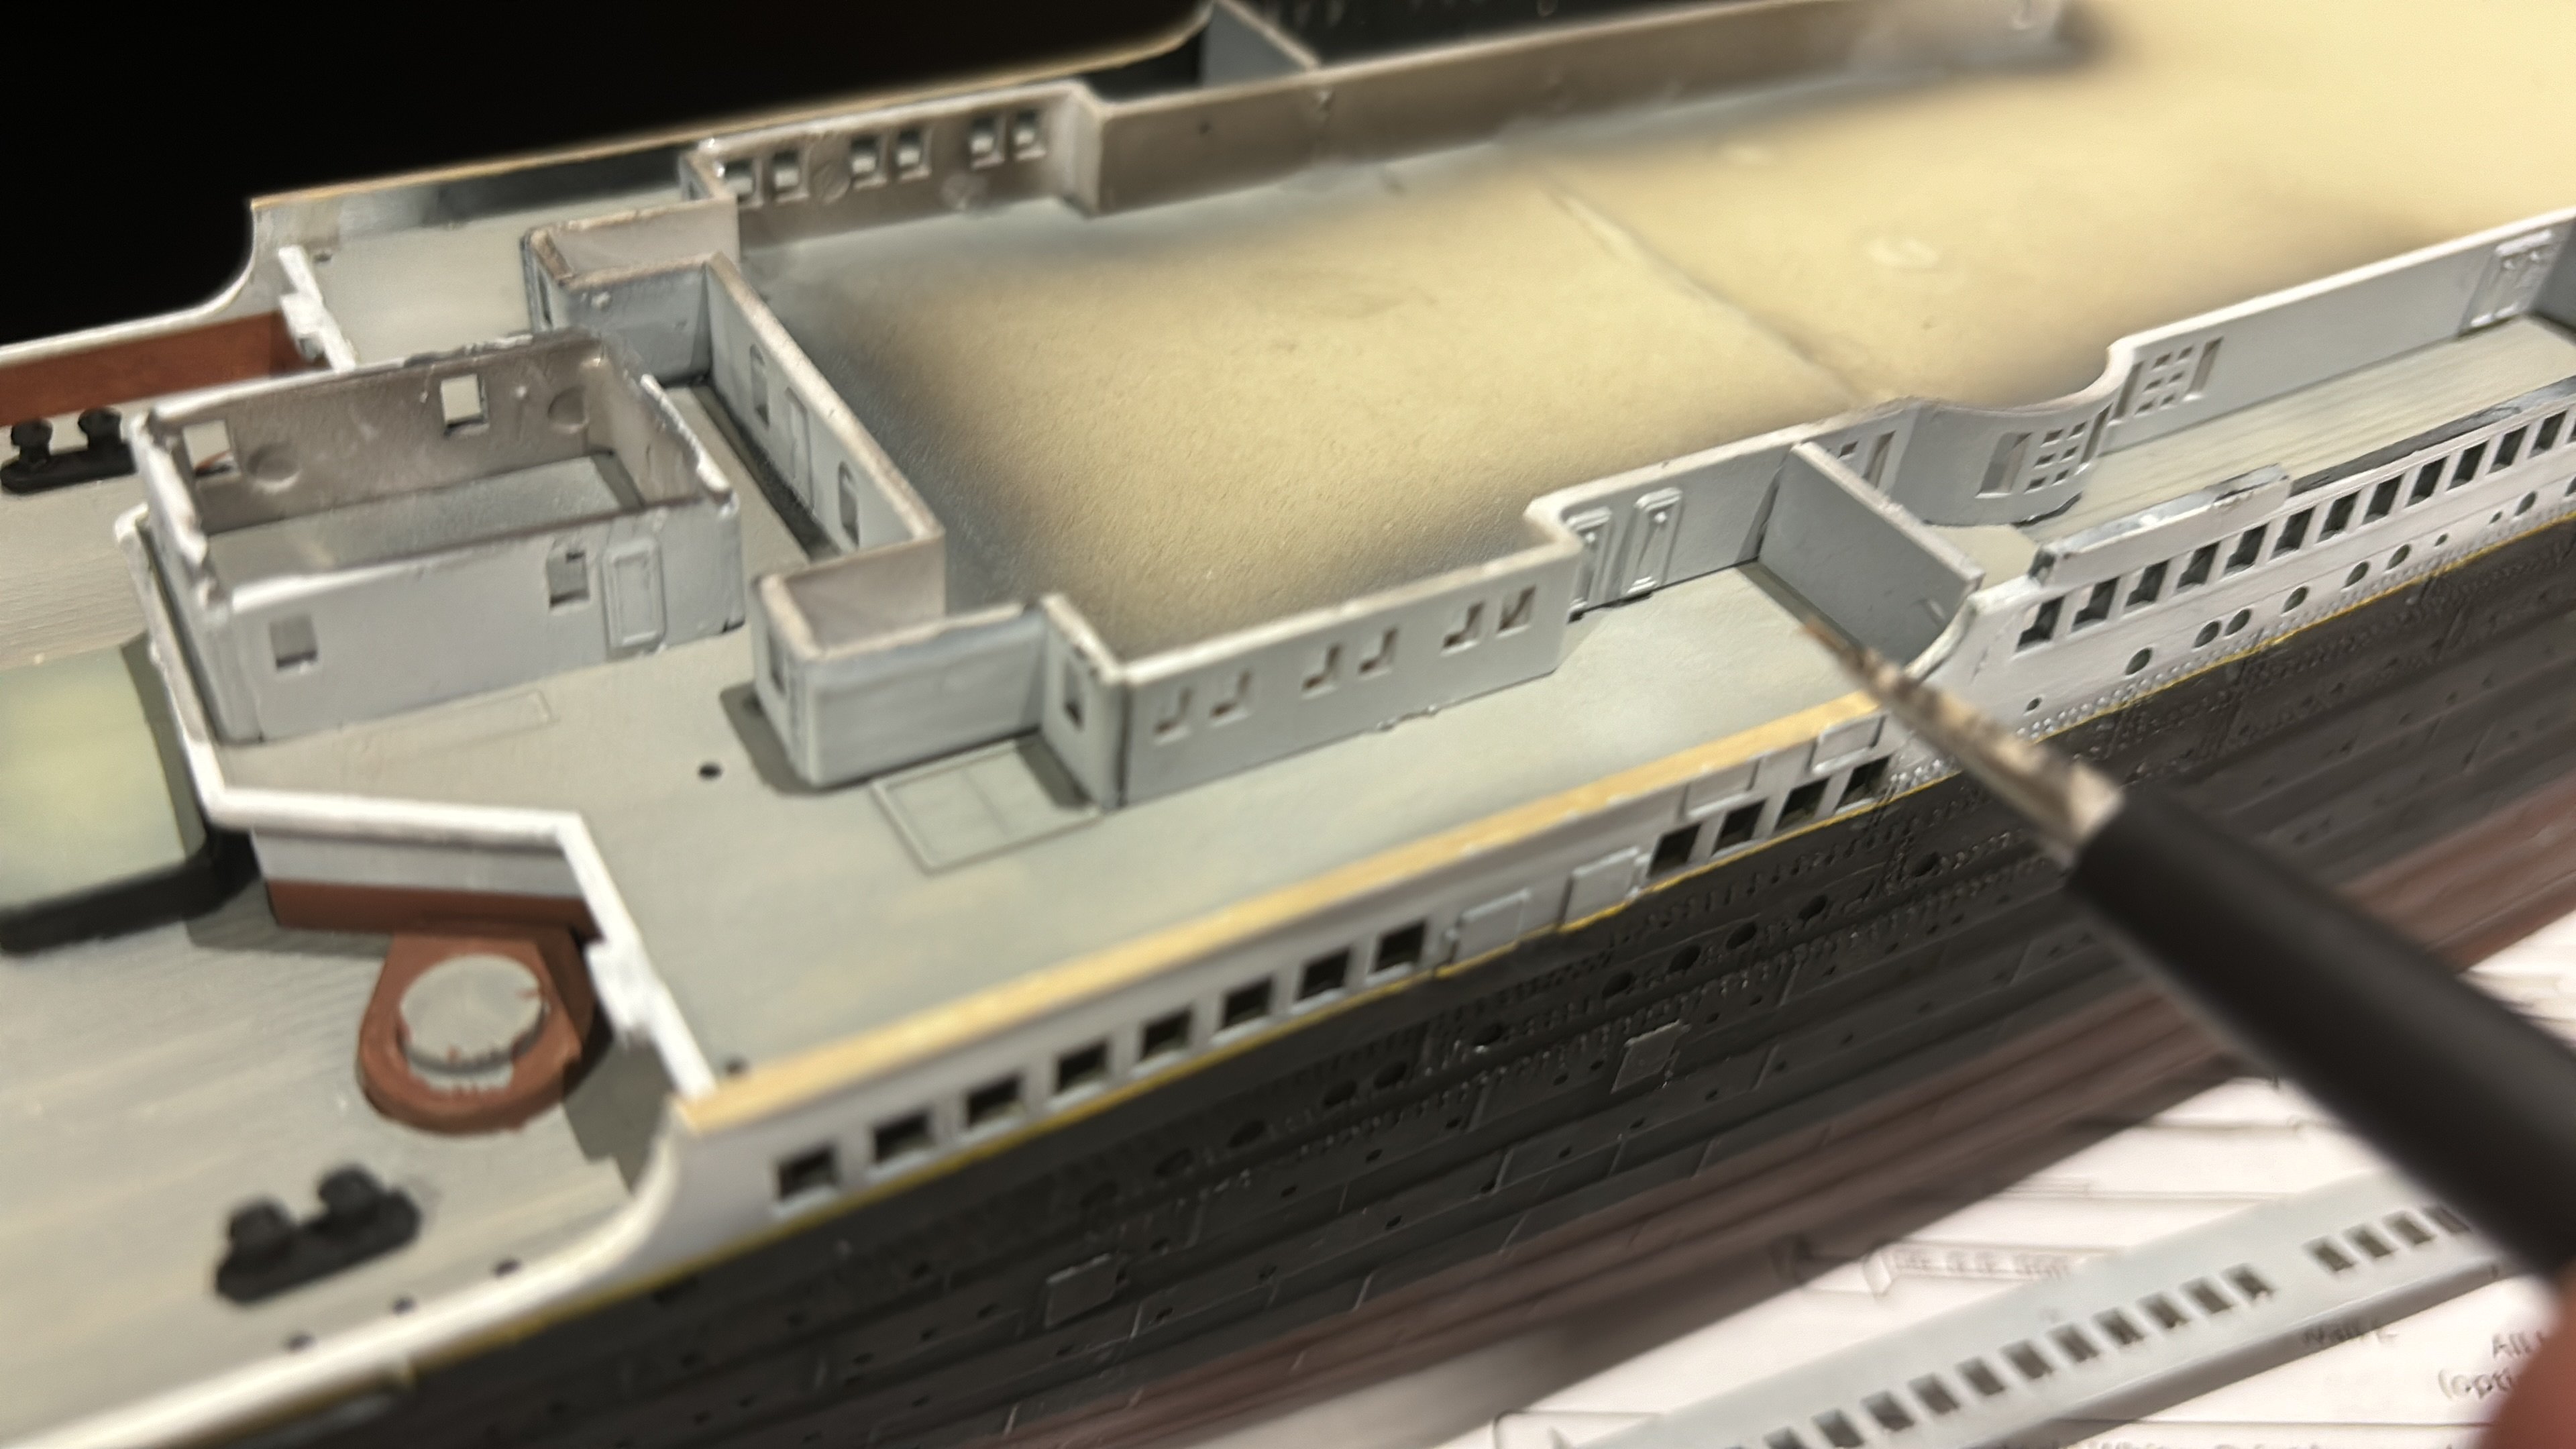
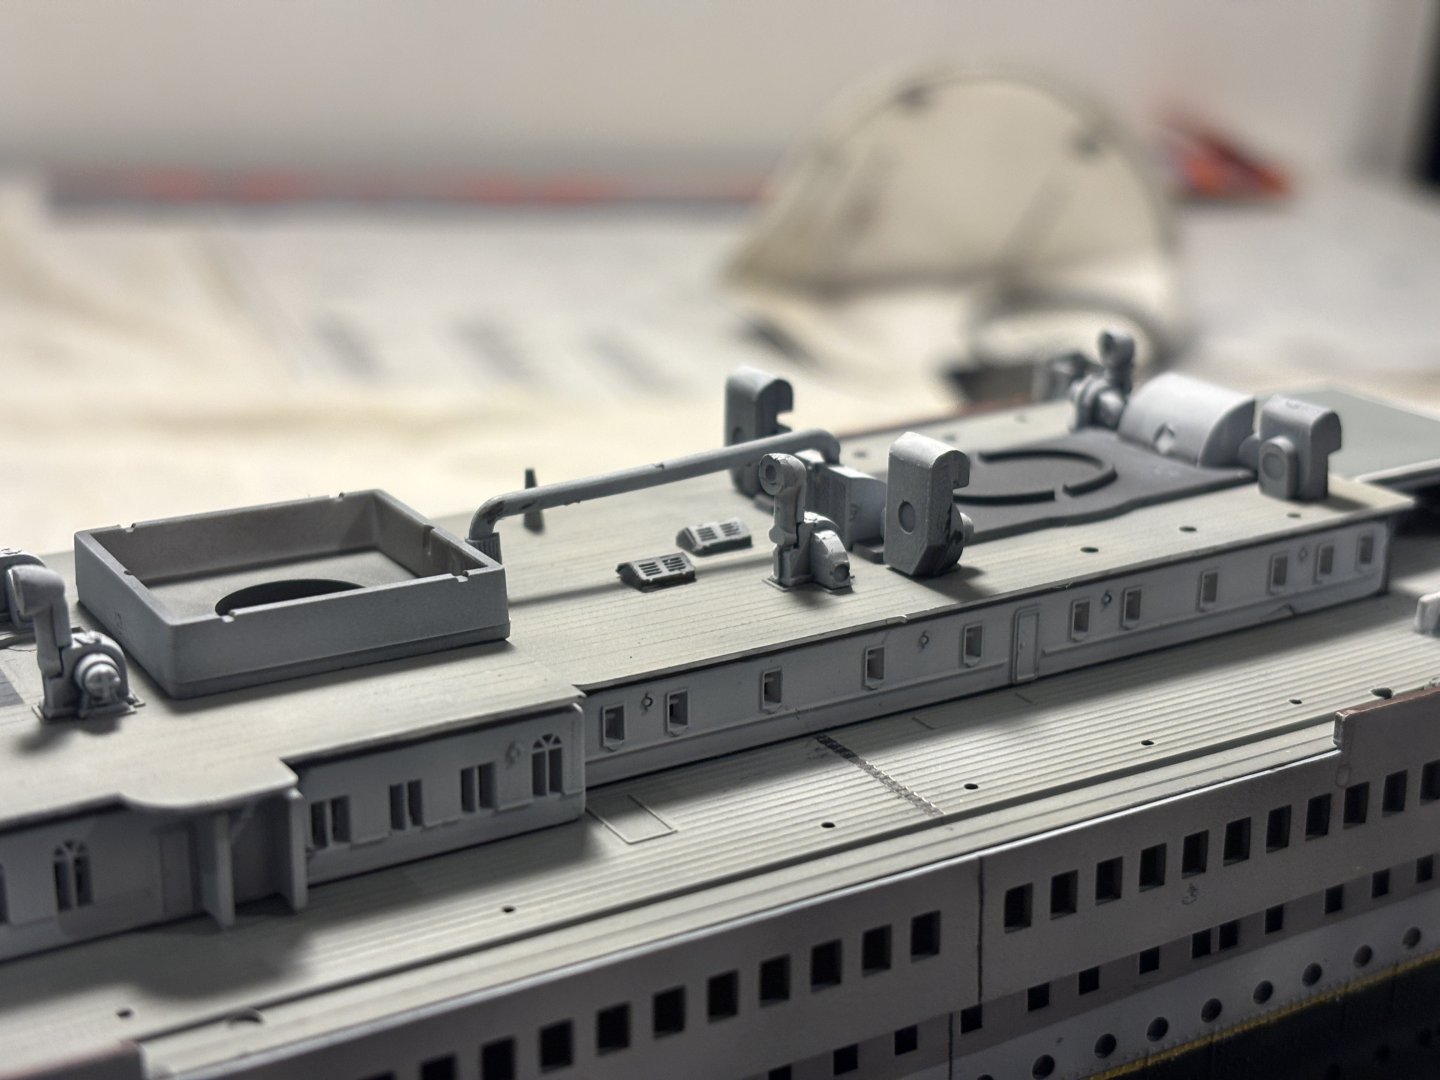
A beautiful thunderstorm today as well as a civic holiday; the ideal combination for some progress. C Deck was attached into the hull, and attention was given to the aft Well Deck, and B Deck deck houses and walls. The walls of A Deck were also attached. I’ll be sure to add some washes to the white areas so they are not so pronounced, but I’m not terribly dissatisfied with the result so far. Some tonal inconsistency in the white, but nothing a good wash and oils can’t fix. I also screwed up painting the forecastle deck details so I’ve stripped it with isopropyl alcohol and started again – very frustrating. Next time I will paint all the details first, mask them off, and then paint the deck colour. More updates to follow….