jbcallender
-
Posts
37 -
Joined
-
Last visited
Content Type
Profiles
Forums
Gallery
Events
Everything posted by jbcallender
-
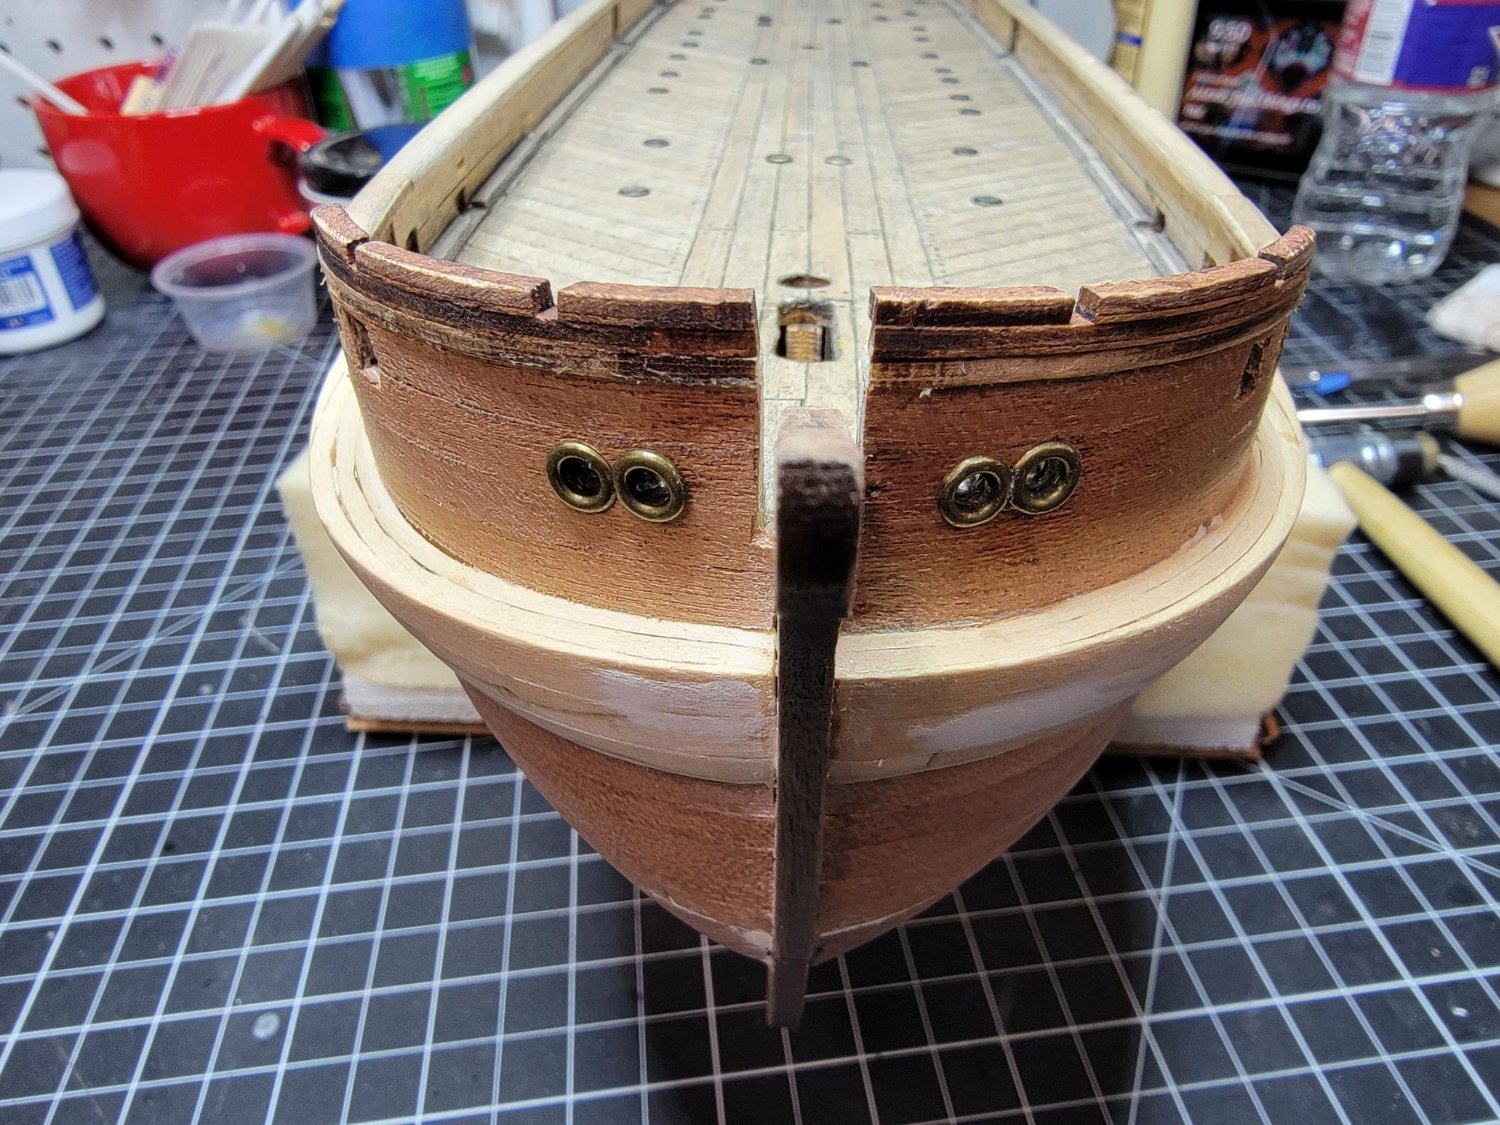
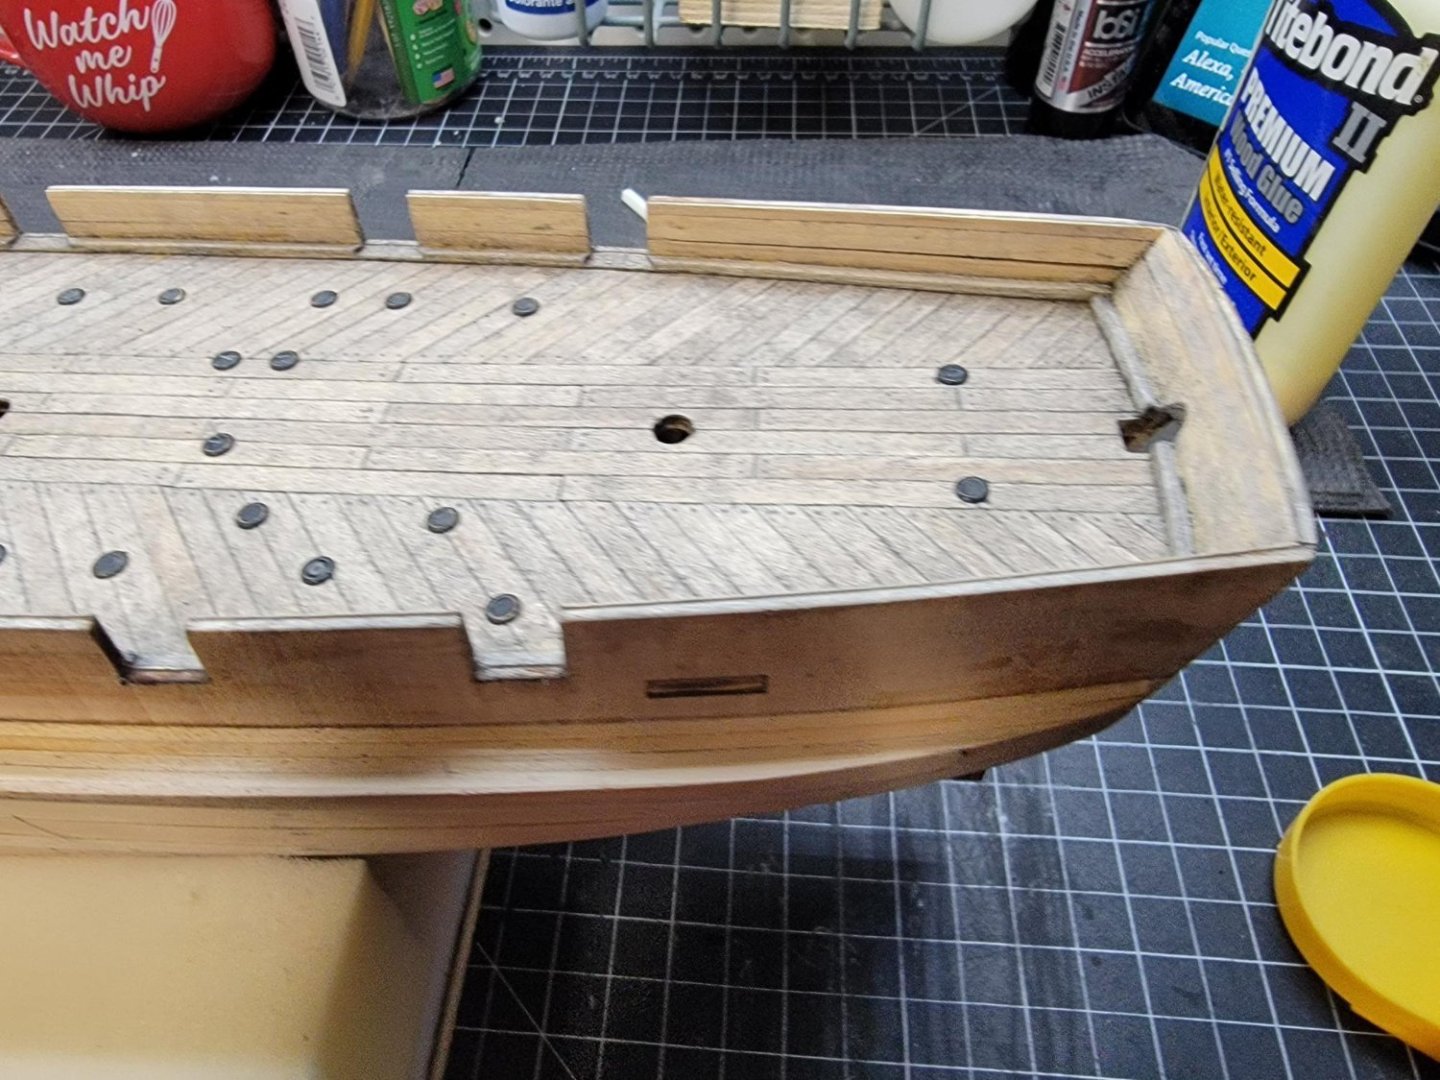
Have finally got some consistent time to do some work. I was able to get almost all of the contact cement boogers off. I've filled and sanded a few more areas to where I think it was needed. I installed the hawse grommets on both sides of the bulwark. I had to raise them about a millimeter. I used burnished grommets, but could only find ones slightly larger than the ones supplied. I'm ready to do Capt. Croziers cabin windows, a coat or two of poly and then start on the steel planking. Some areas I wish I could do over, but as I said, this is a 60 year old lady nearing the end of her service to the Crown.


-
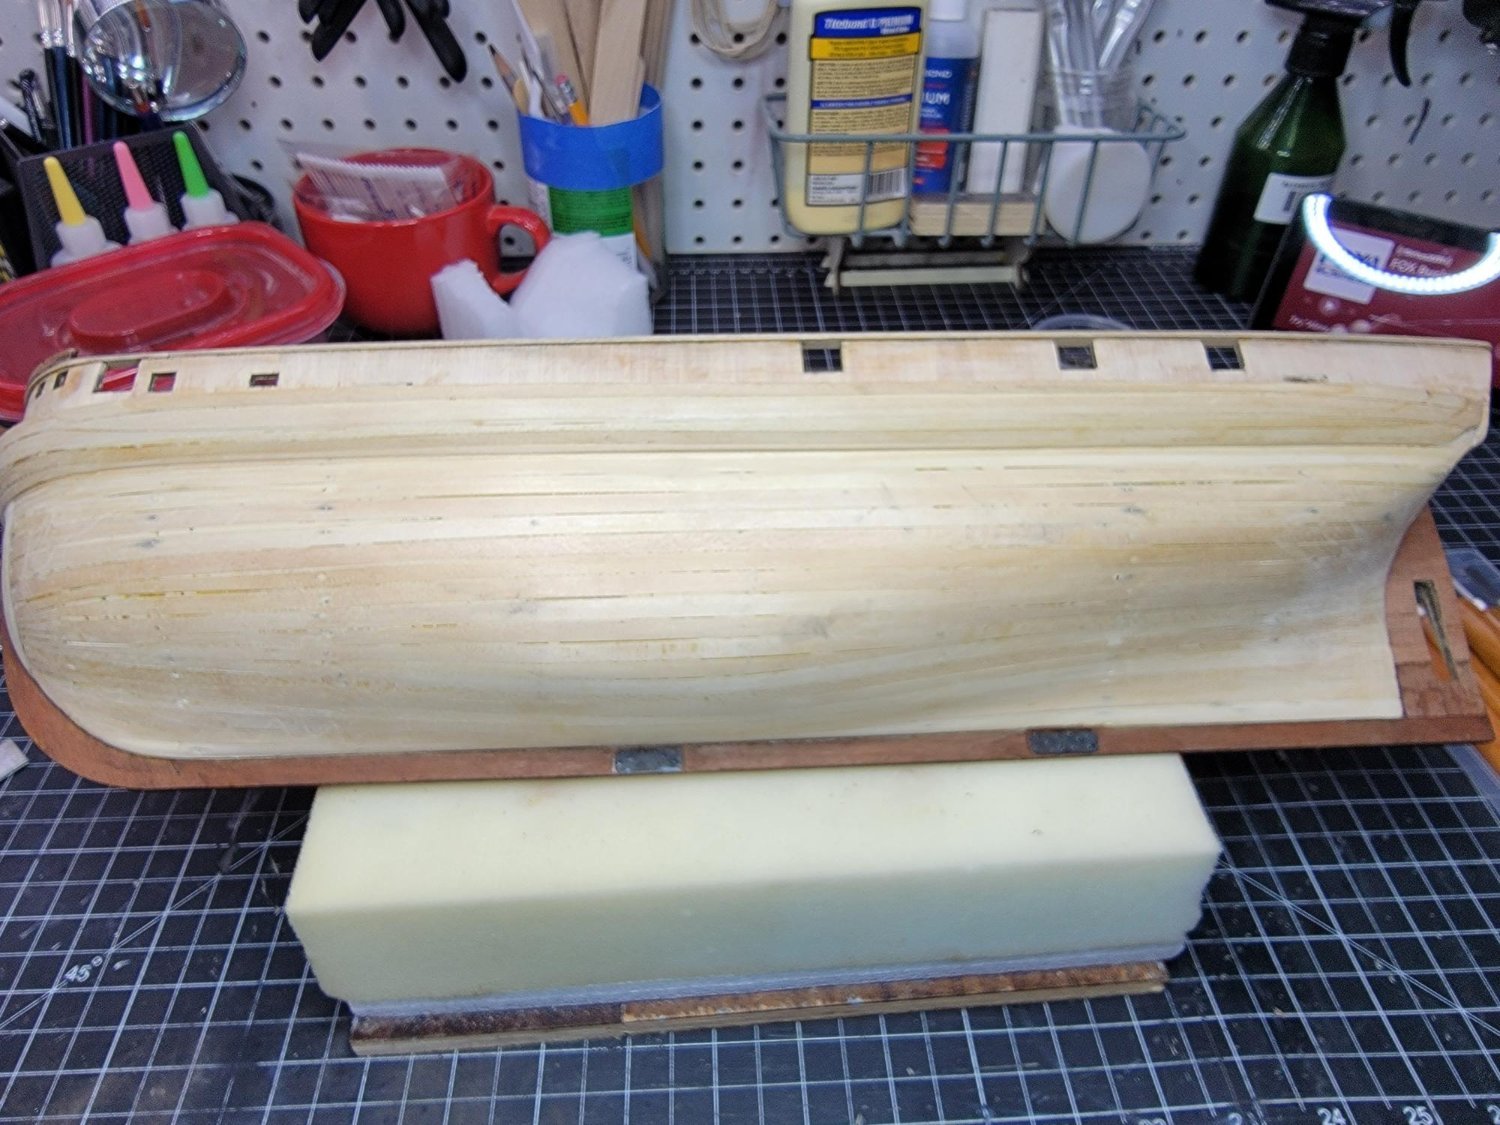
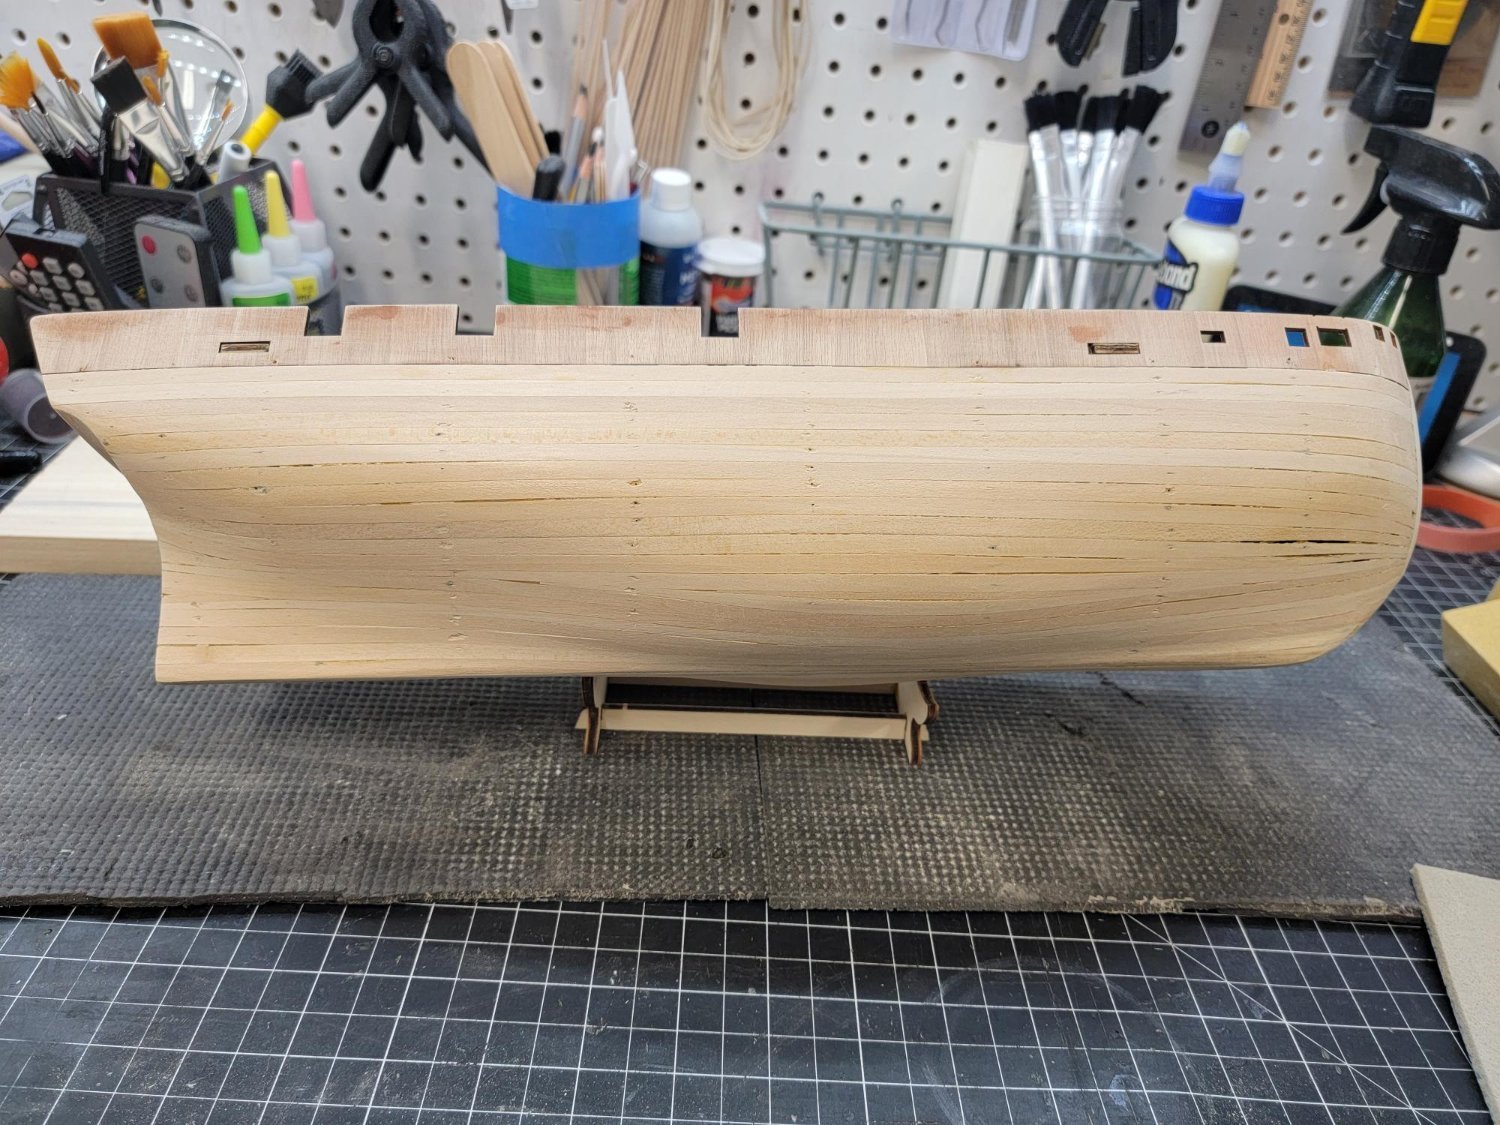
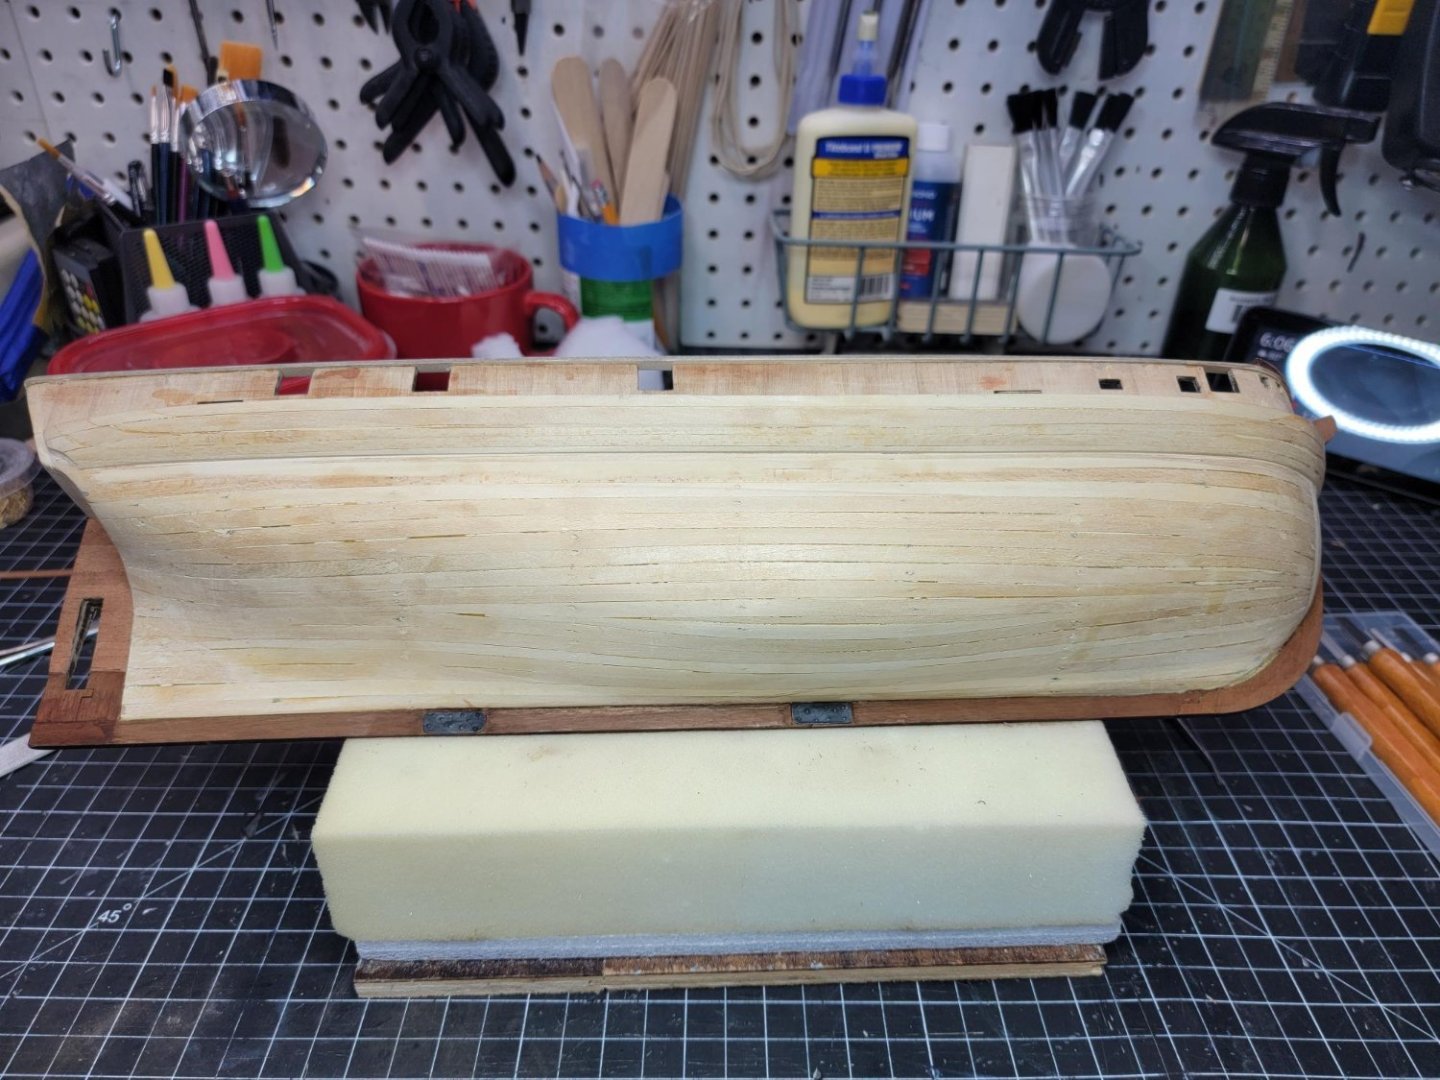
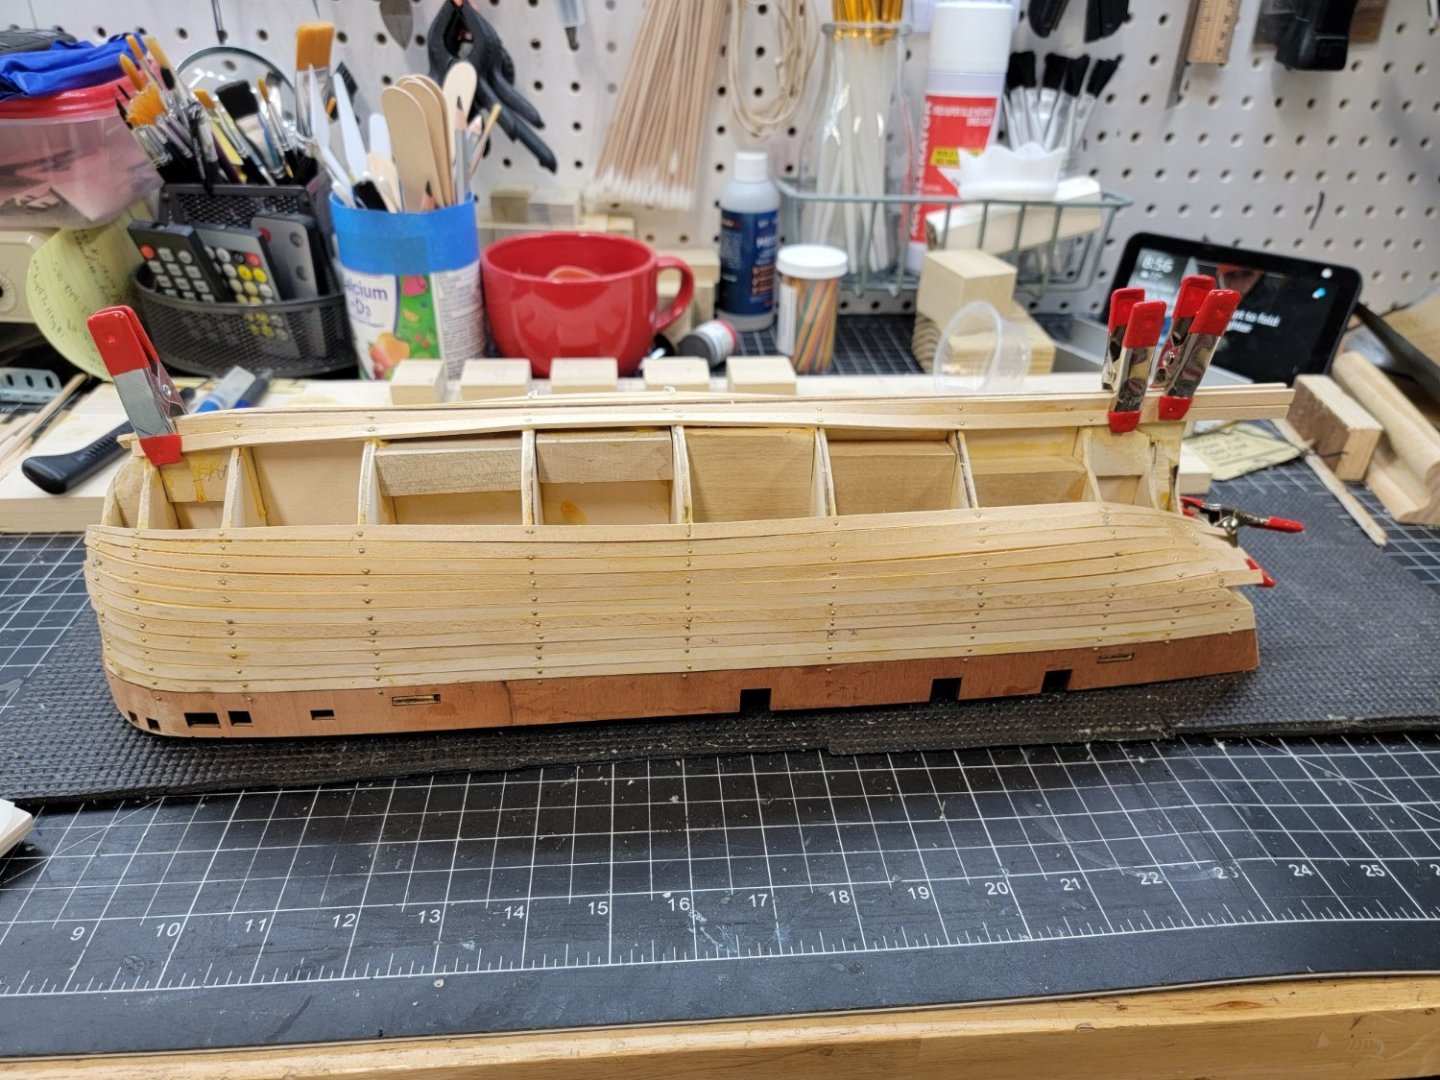
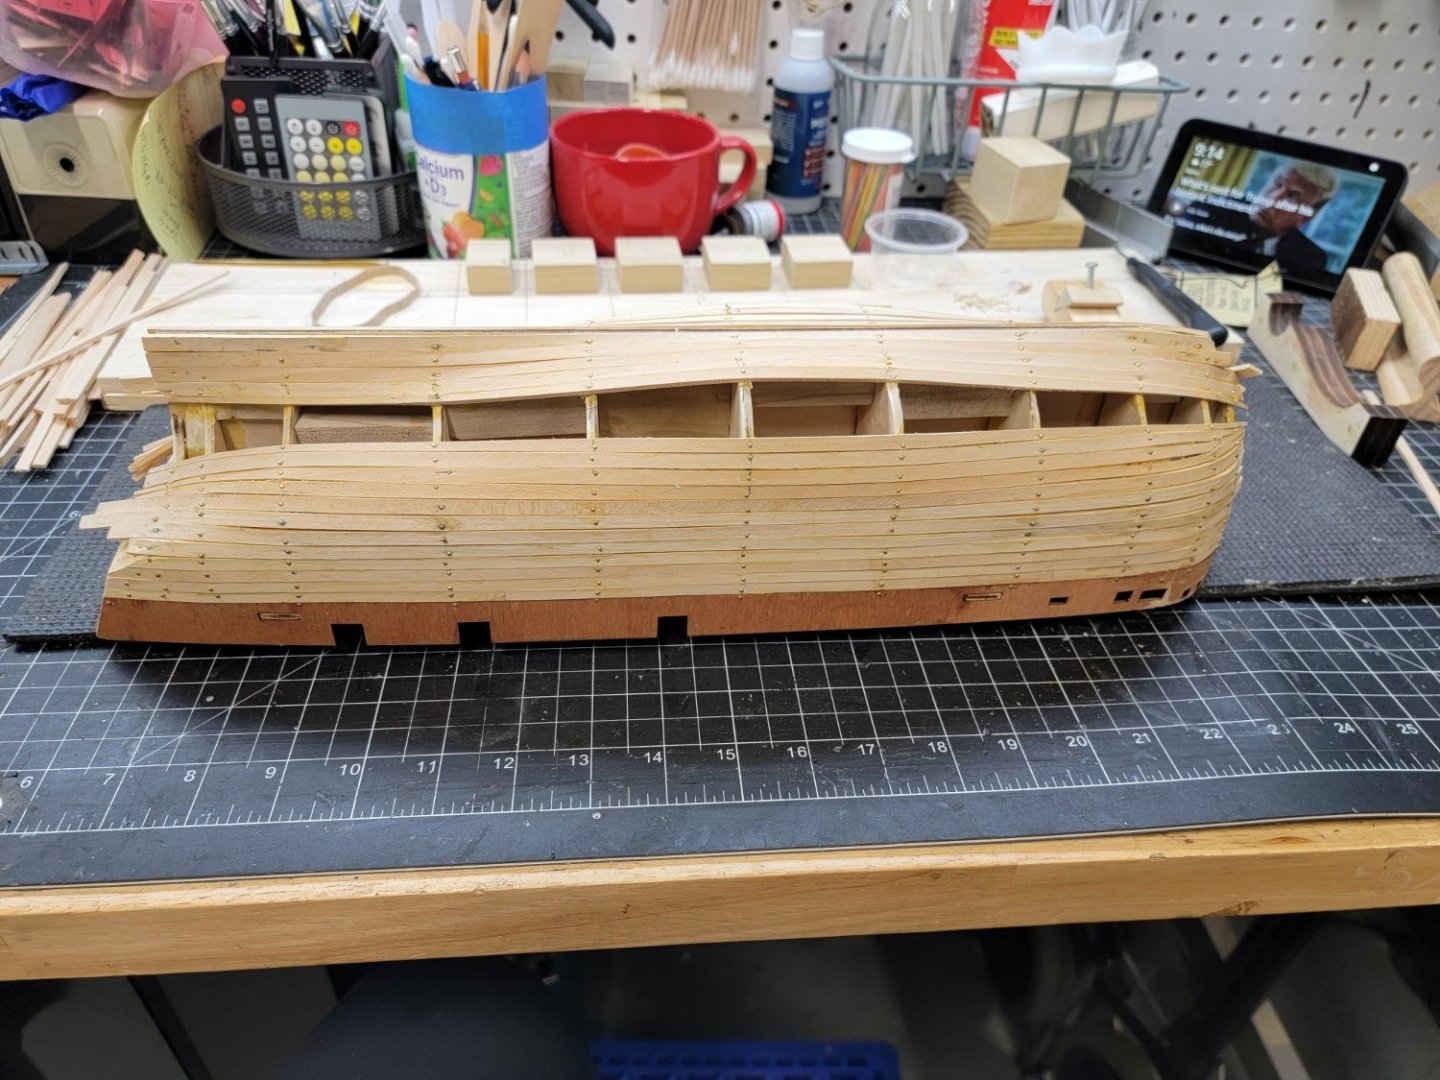
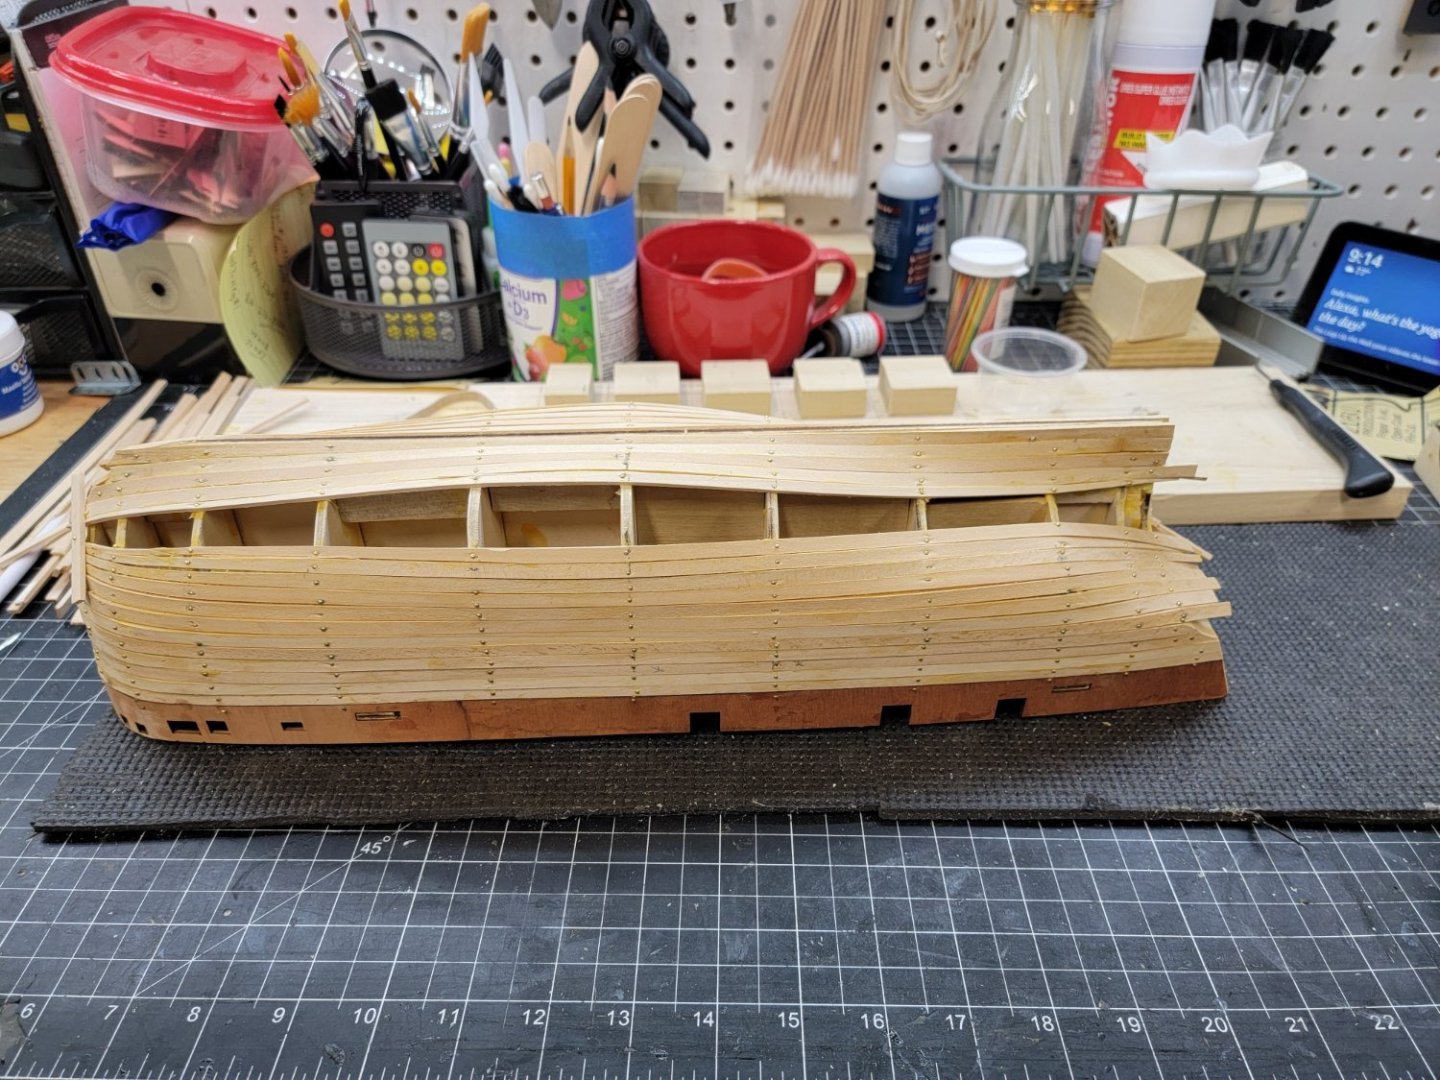
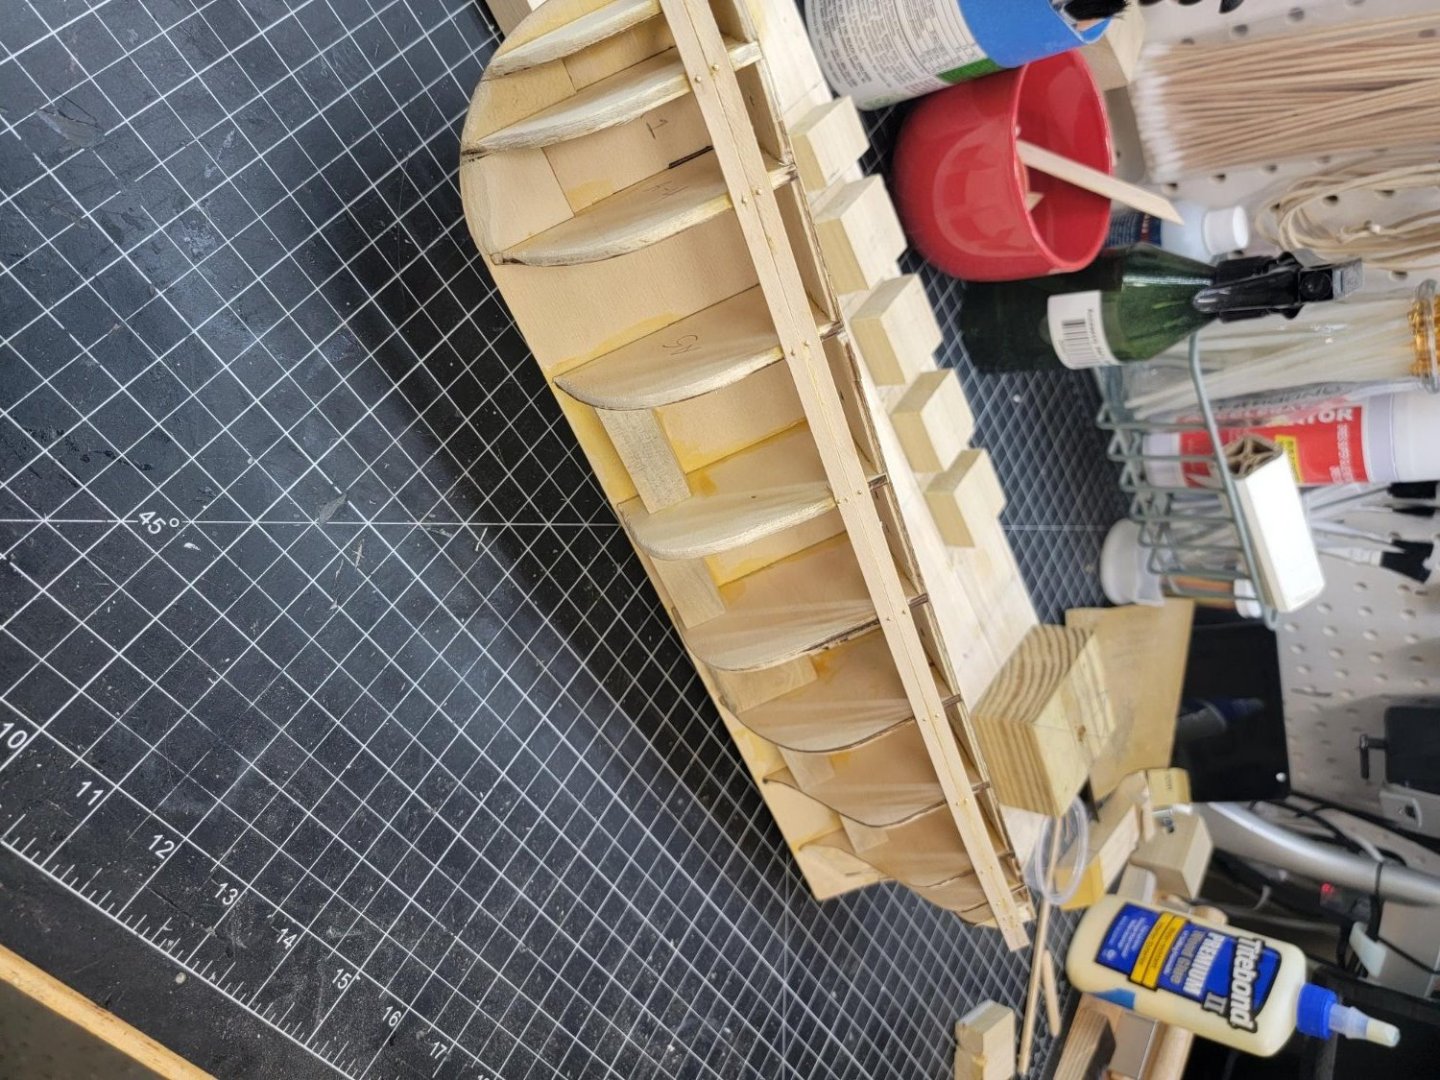
Slowly but surely getting the second planking sanded and the rubber crumbs dealt with. Will use a bit of filling here and there. Have a few small chips and splits at seams and edges. Will post some pictures after that. Fortunately it all gets painted and the bow covered with plating. Then finish the rudder and the associated gudgeons.
-
I haven't posted in a while and I'll post some pictures over the weekend. I have finished the second planking and am doing the cleanup of it. I'm really disappointed in the contact glue method. I have rubber (for lack of a better term) boogers all over and I'm having the devil getting rid of them. I tried acetone to some grudging success. Just have to keep at it. I am consolong myself by remembering that it will be painted and at least the metal plating will cover some of it. I tried using titebond, didn't really like that. I liked the grab and hold qualities of the contact cement, but didn't count on the aftermath. I caused myself some additional headache by gluing the ice channels to the first plankking and then second planking around them. And I should have planked the transom first. Now I know for the next build. I guess you have days where you just go "yuk, that didn't turn out like I wanted".
-
OcCre has a video and there are several others available as well. i removed the plank I did with CA and repaired the damage, so I am working up to a do-over. I don't want to wreck my ice channnels. They turned out fairly decent and that was a lot of work. Thatnks for all the input from all of you!
-
Muchos gracias, senor. Espanol es lo mismo tambien.
-
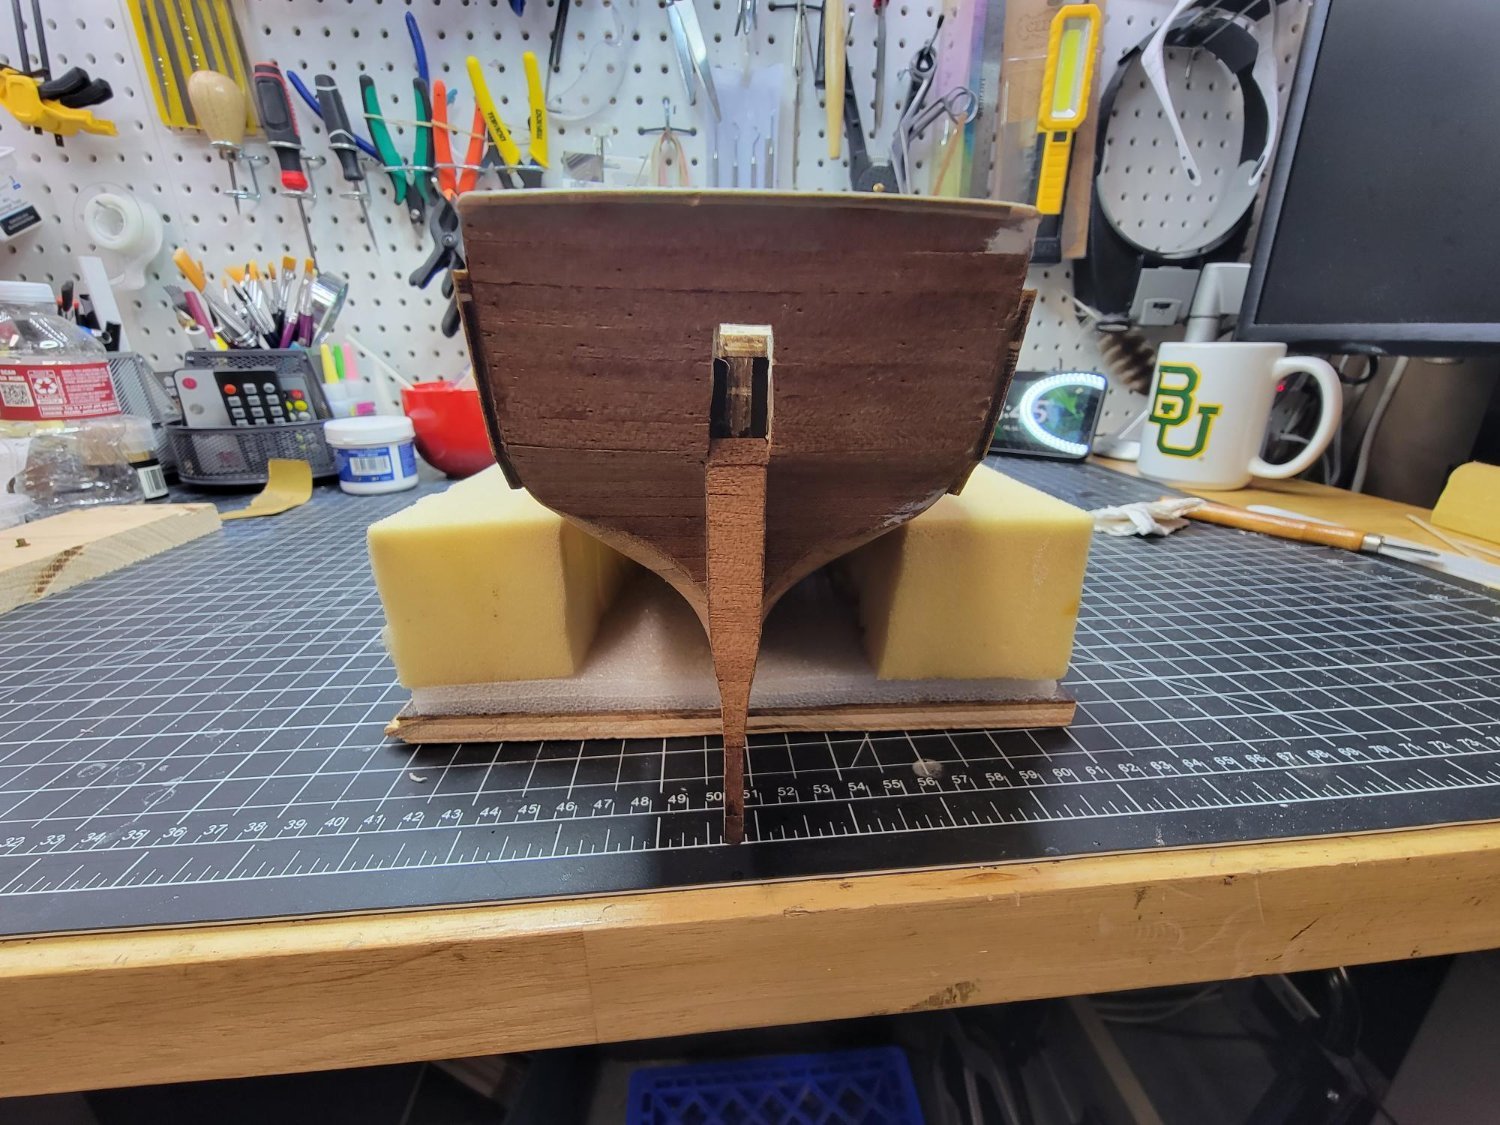
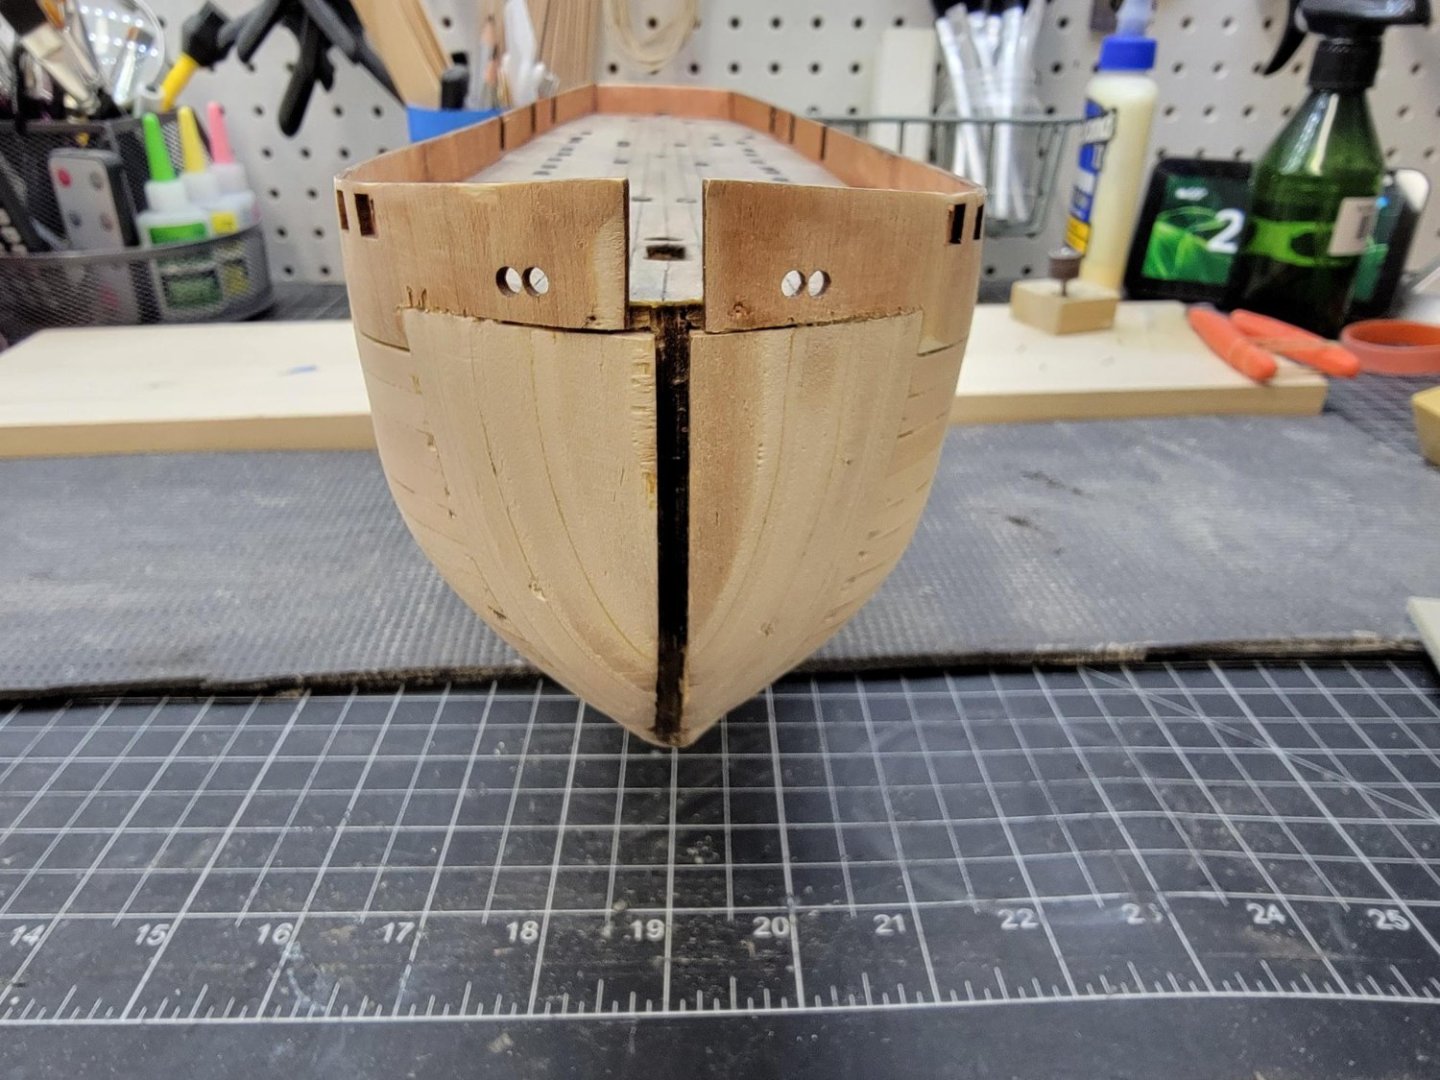
While I work up the courage to re-start the second planking, I installed two of three sets of "steel" plates at the keel joins - not nearly as good as DanielD's, and I give him credit for the idea, but I like the look nonetheless. My Terror is turning out to be a well-used version.

-
OK, a questioon for everyone. What glue did you use for the second planking? I saw the post about not liking the contaft cement, so I pu one plank on the bulwarks with CA glue. I am grossly unsatisfied with the result and basically created a days worth of work removing the plank. I used a medium CA, but there is so much bleed through and soak, it's not acceptable. So is it titebond or contact cement? White glue will really add time to the planking, but increases adjustment time. I am afraid with contact cement, I am going to get it on everything.
-
Thanks, Geowulf! A lot of filler and sanding. I said before, some of my stealer planks are more like grand theft. I am findng you have to plan four or five steps ahead and really think things out before taking a defintive step! I'm kind of putting off finalizing rudder installation due to that. I need to just take the plunge.
-
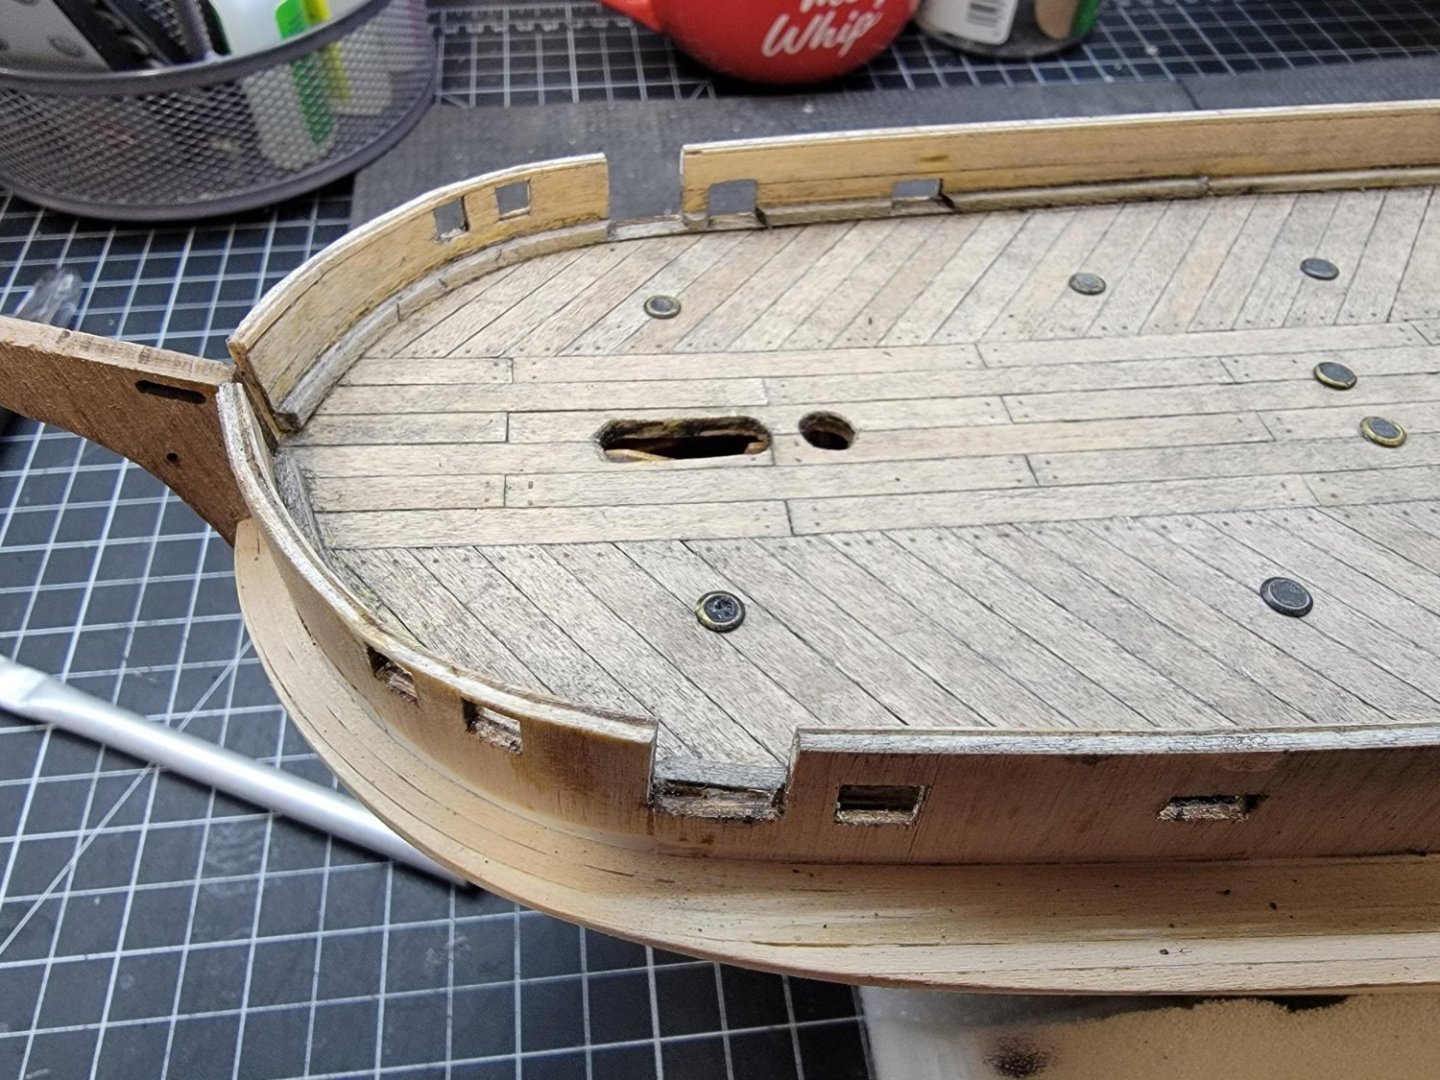
Progress has been slow for the last two weeks or so. I have installed the keel, bowstem and sternpost and planked the sternpost. I installed planking on the inner bulwarks and cut the scuppers. I have added weathering and age to the inner bulwarks. I want to create a very thin admiralty yellow wash and go over the inner bulwarks. I am now ready to start the second planking, make the holes for the davits and other deck fittings. Then start fitting the rudder and install gudgeons. I am also going to build the aft deckhouses and the cover for the tiller and rudder. Now that I am more familiar with the Terror and it's design features, I find Betts' book much more useful.


-
I bought the 5mm chainplates the other day and I'm waiting on them. Not sure what I'm going to do with the 3mm yet. Have some time yet before I get to that point. Jeff
-
Thanks, Keith! I am very glad I asked before cutting. I am going to look for the pins. The brass fittings that are in the stamped brass plate do not blacken with the brass black that I have, brand name Birchwood. I'm going to have to paint those, I'm afraid. And the pins don't blacken that well, either.
-
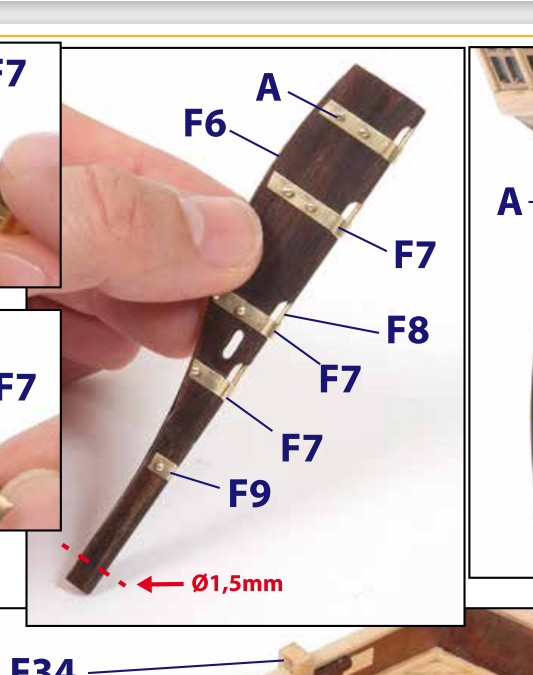
I have a bunch of left over deck planking, so I think I am going to plank the inner bulwarks with that rather than the sapelli strips. Then I will try to make a thinned out wash of the Admiralty yellow paint for it. Also, the plans seem to indicate that you should cut the top 1.5mm off the rudder post. Is that correct? I'm also thinking the top of the rudder post would likely be rounded and not squared off as it is. Any thoughts?
-
Daniel, what is the makers/specs of the chainplates that you bought? I don't like the kit ones, either. Thanks, JeffC
-
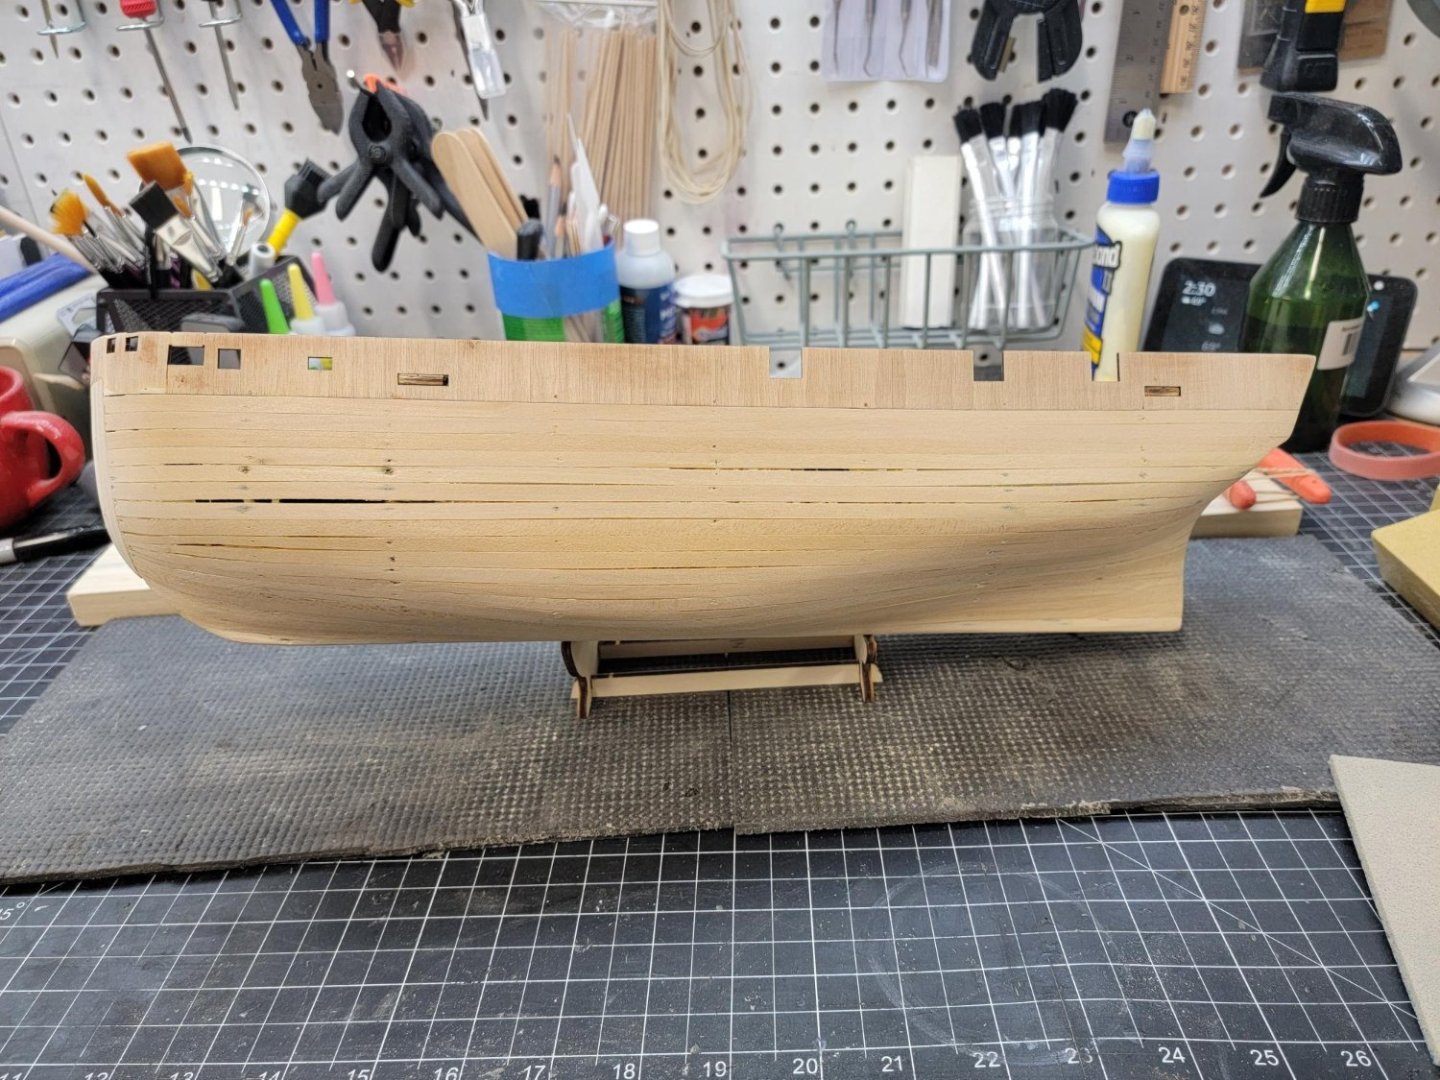
After your comment and looking at some others, I'm sanding the channels a bit more at the bow, leading to a little "stubbier" look. I'm looking ahead - regarding the metal plating, some have plated over the secong planking layer, while others have plated directly on the first layer and run the second layer just up to metal plates and faired them into each other. I can't tell from Betts if the plating would have been rabbetted into the hull planking at the join. Am I overthinking this?
-
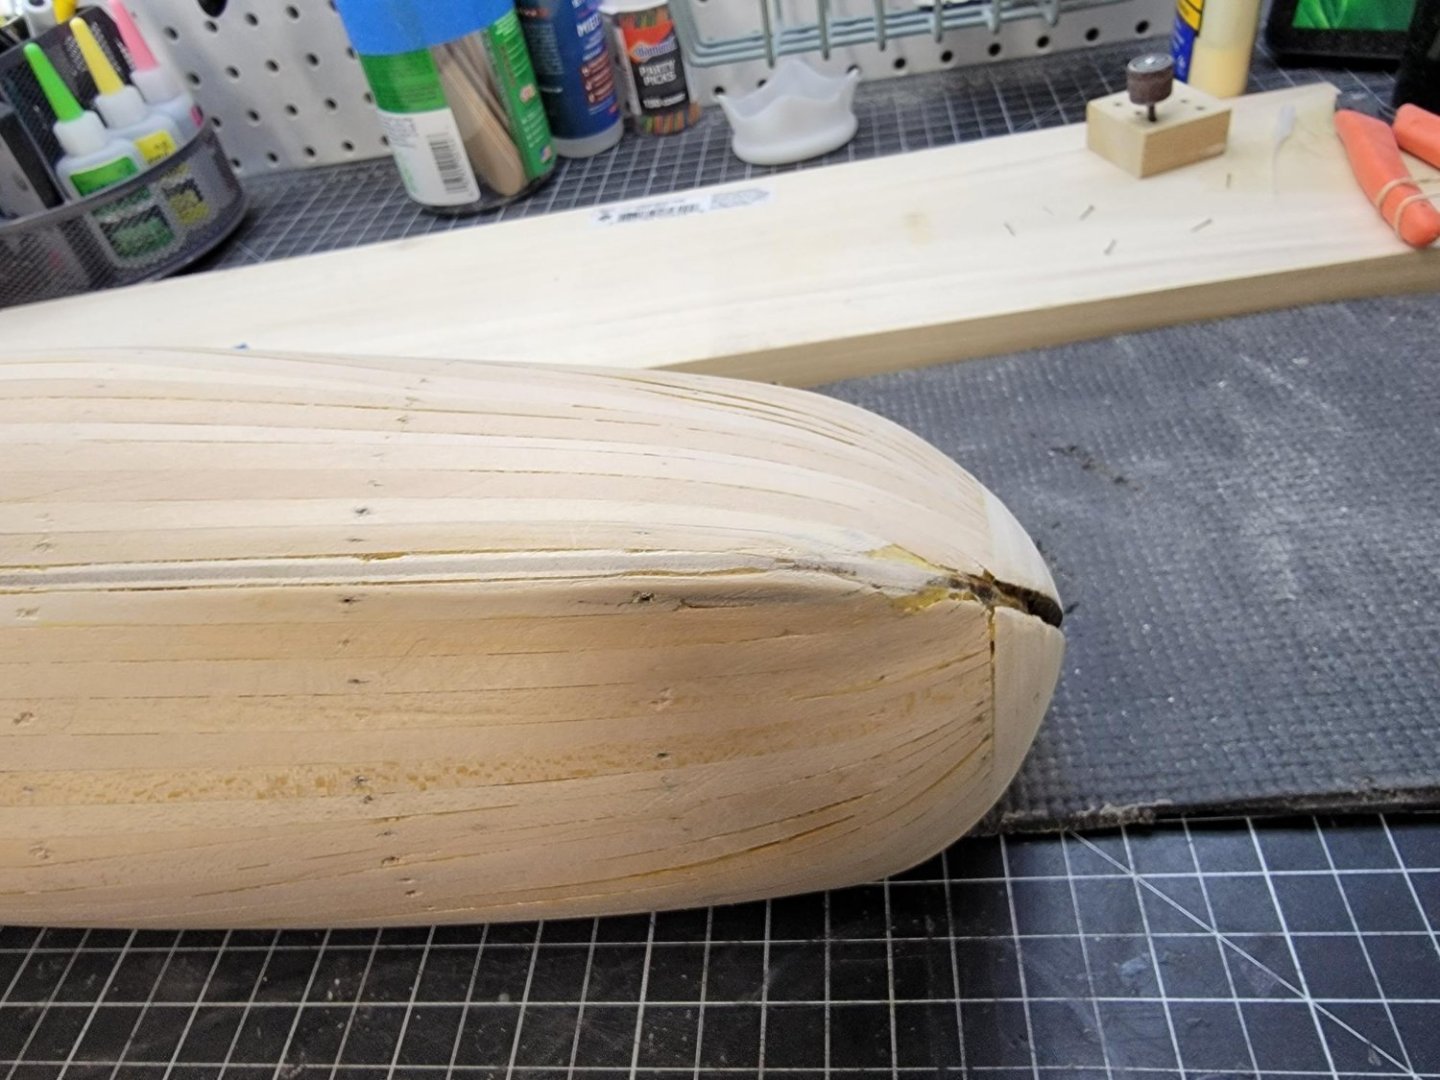
I have sanded, filled and faired the ice channels. I filled and fine-sanded the hull for a final time - 800 grit.. It's just my OCD wanting nothing to telegraph through to the second planking. In Bett's book, the ice channels are shaped wood blocks covered with planking, not built up as the kit is. The top edges are sharp, not beveled or rounded, so I have left them that way and planed and sanded the top surface. Next is to form the space in the channels for the bowstem and install the stem and keel. I have ordered some thin brass and will attempt to cut and fashion appropriate chainplates and strops for the shrouds. I am unsure how exactly these pass over the ice channels or if there are slight indentions for each strop in the channels. I've got plenty of time to think that through yet.


-
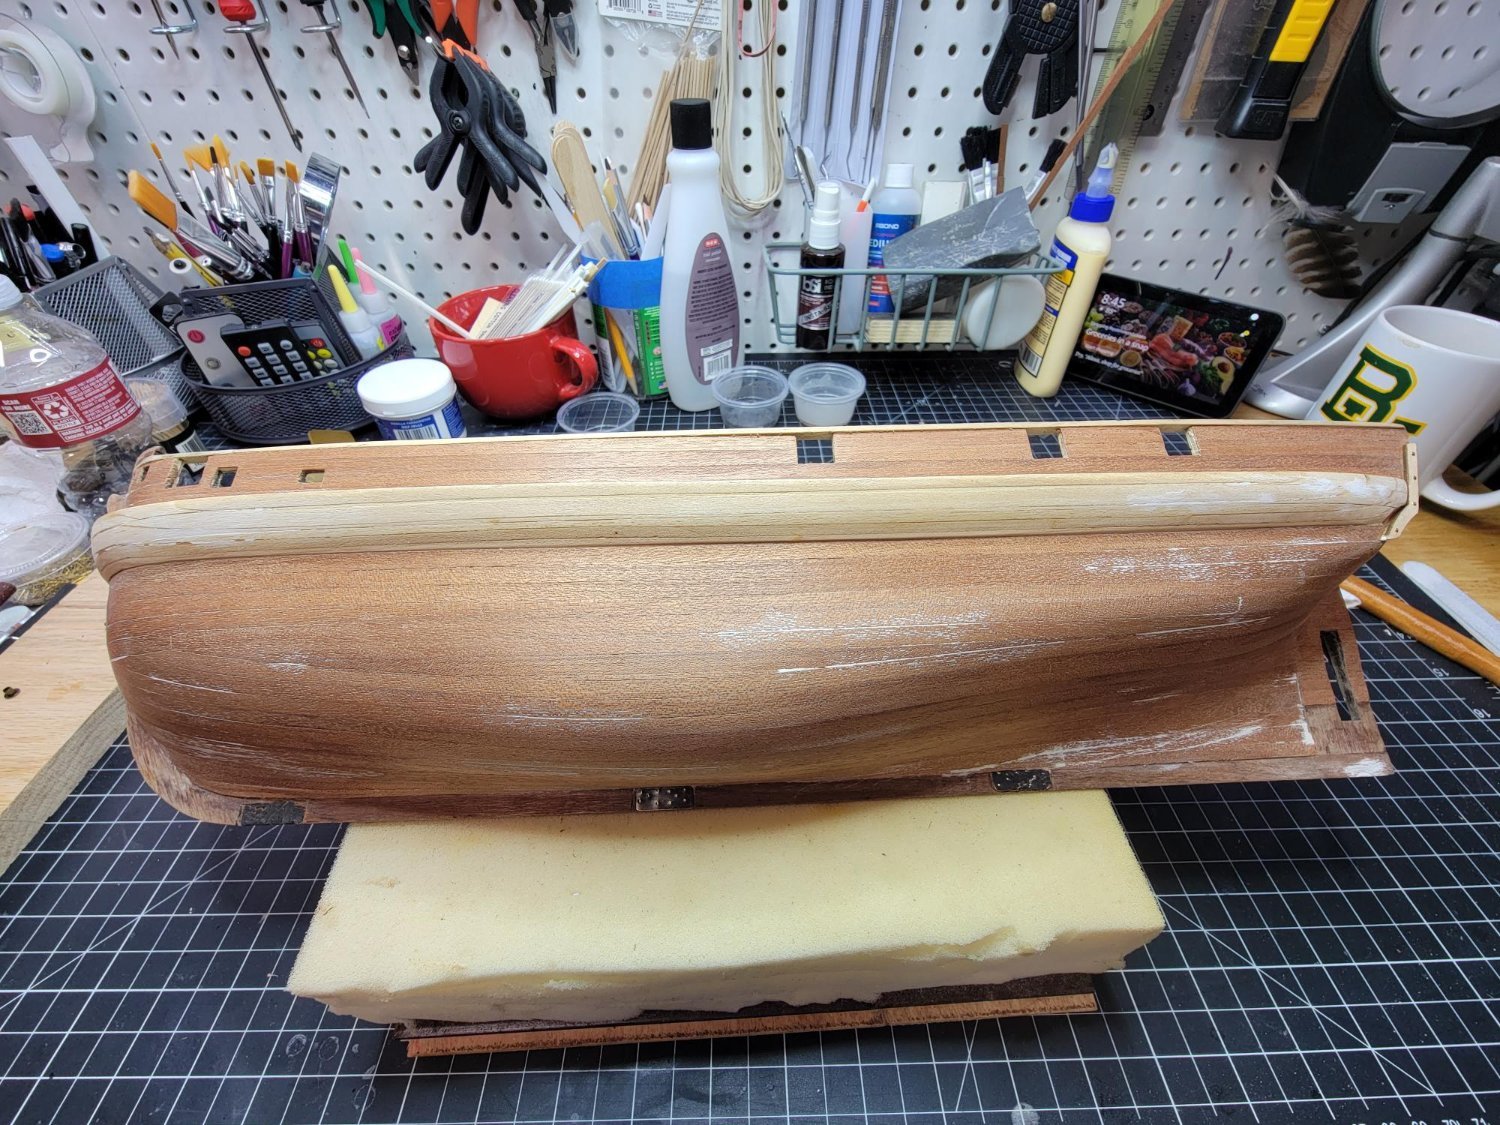
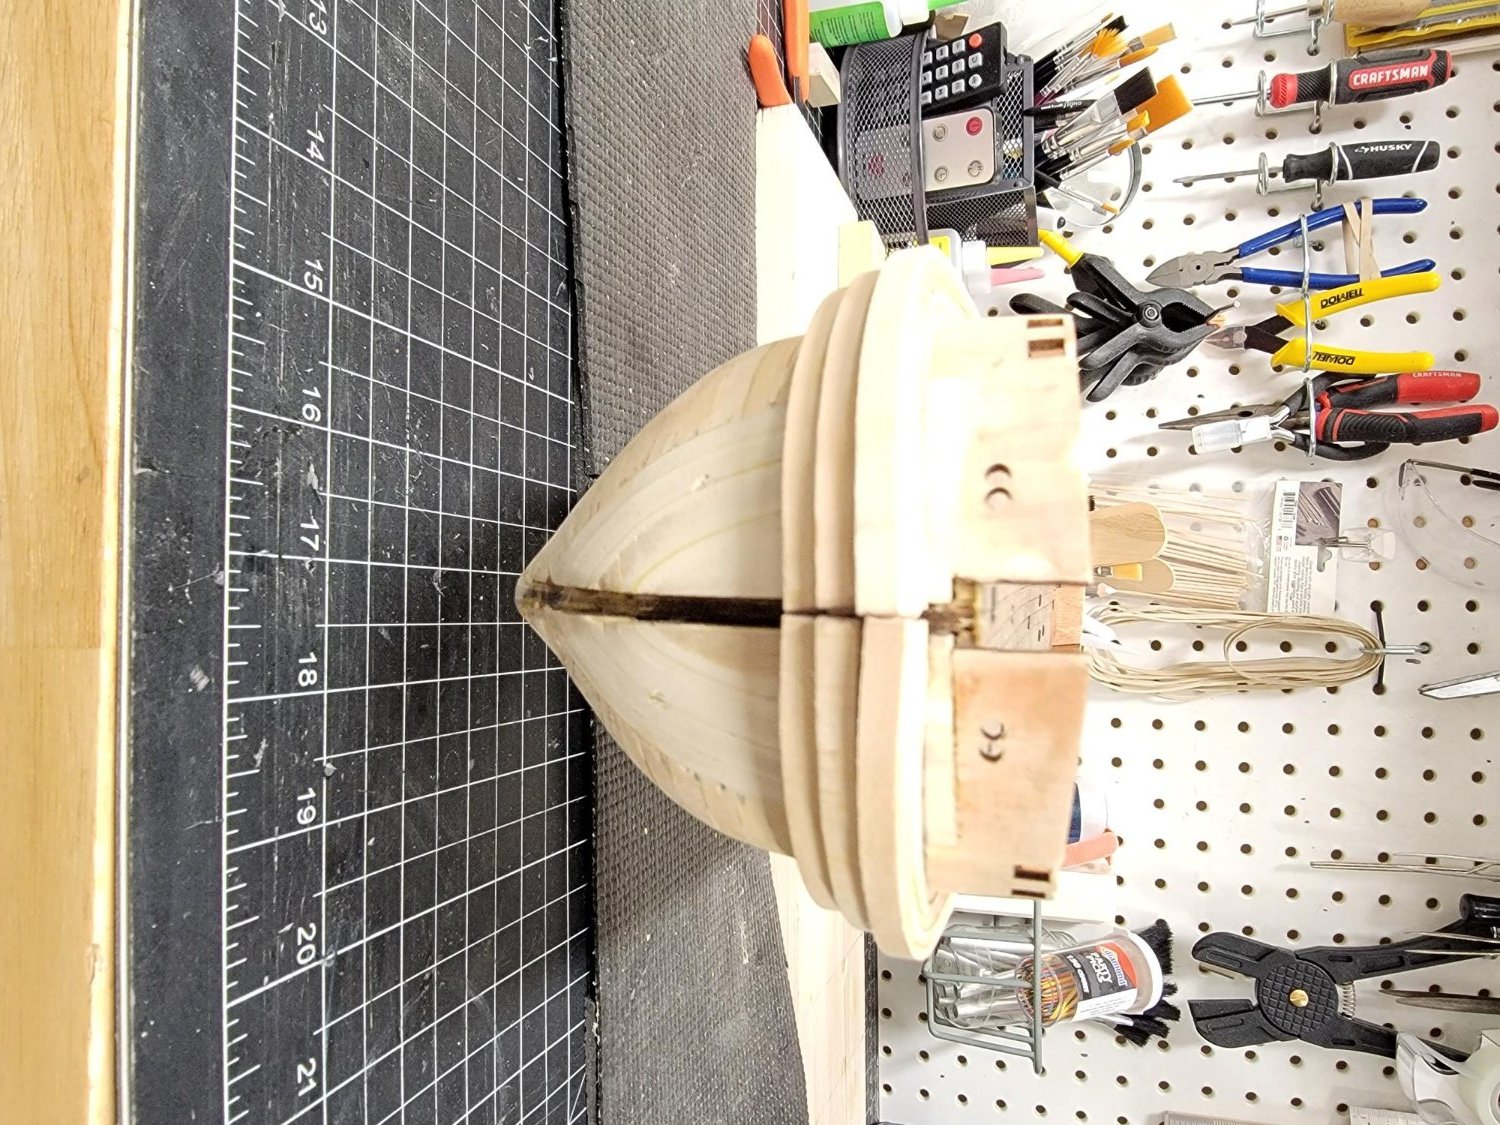
The first planking is completed, sanded and filled. The ice channels are installed , sanding, filling and contouring is next on the list. Then on to the second planking. As an aside, at some point during the first planking, I dropped a paper clip or something in the hull. Now I have a rattle when I move the ship around. Harmless, but quite irritating!


-
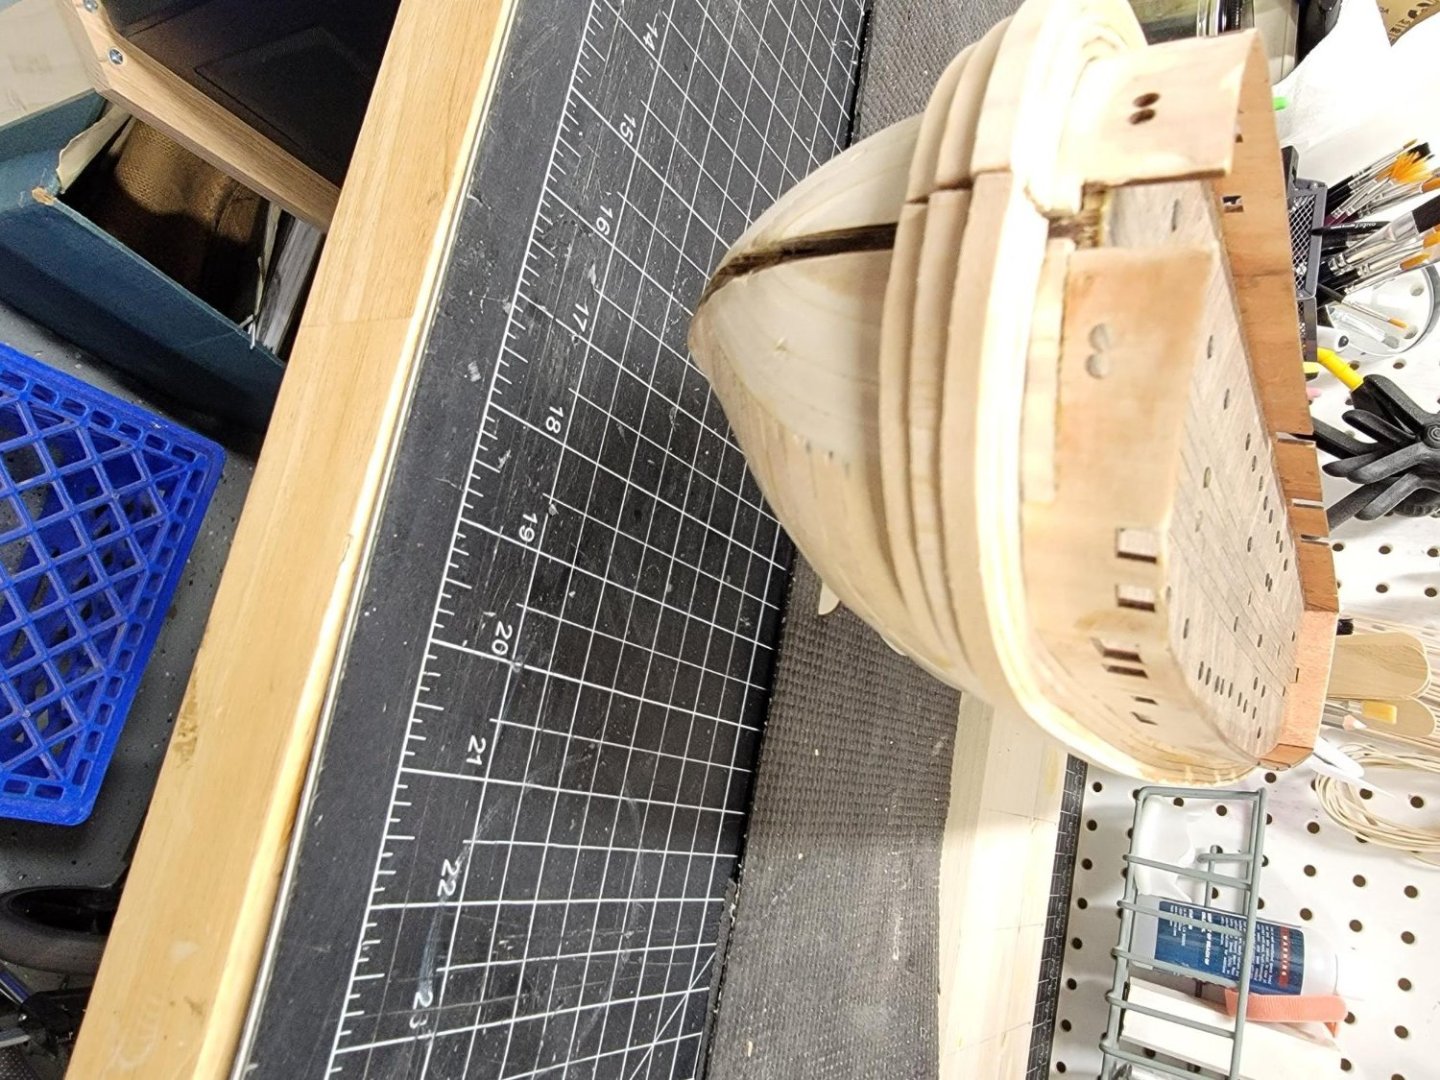
I have finished the planking and the sanding. I'm about to start some filling before final sanding. I am going to install the ice channels directly on the first layer as was suggested. I butchered the turn of the bowstem and wil need to work on that a little when I do the second layer. I am pleased with the way the bow blocks turned out. This is tedious as when you get one area nice and faired, another area might have gotten out of sync so its a bit of chasing one's tail until the joints are flush and the curves are symetrical and flowing right.


-
Have continued on with the first splanking, about 3/4 of the way through, then filling and sanding. I will be pulling all of the pins prior to that. The good news is that no one will ever see the less than spectacular job on the first planking and I hope I can cover up a multitude of sins with the second planking. I have the installation of the keel, sternpost and bow assemblies in the back of my mind and am wondering how all that comes together with the planking. My stealer planks may need to be more like grand theft.
-
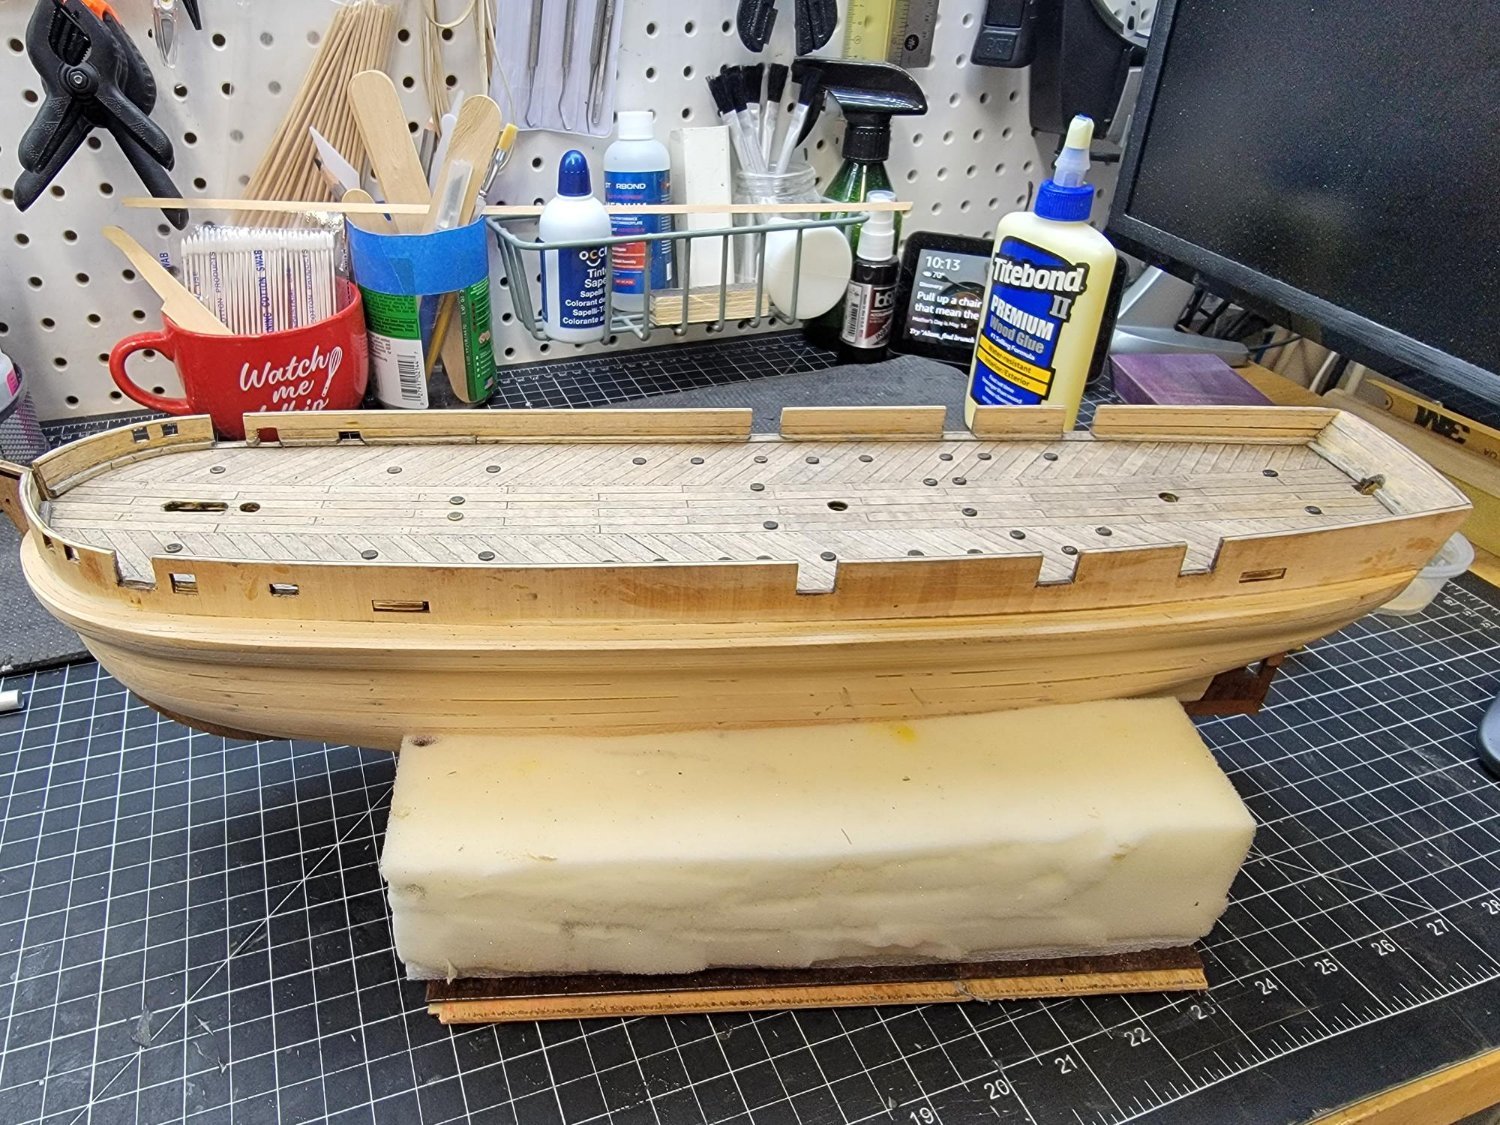
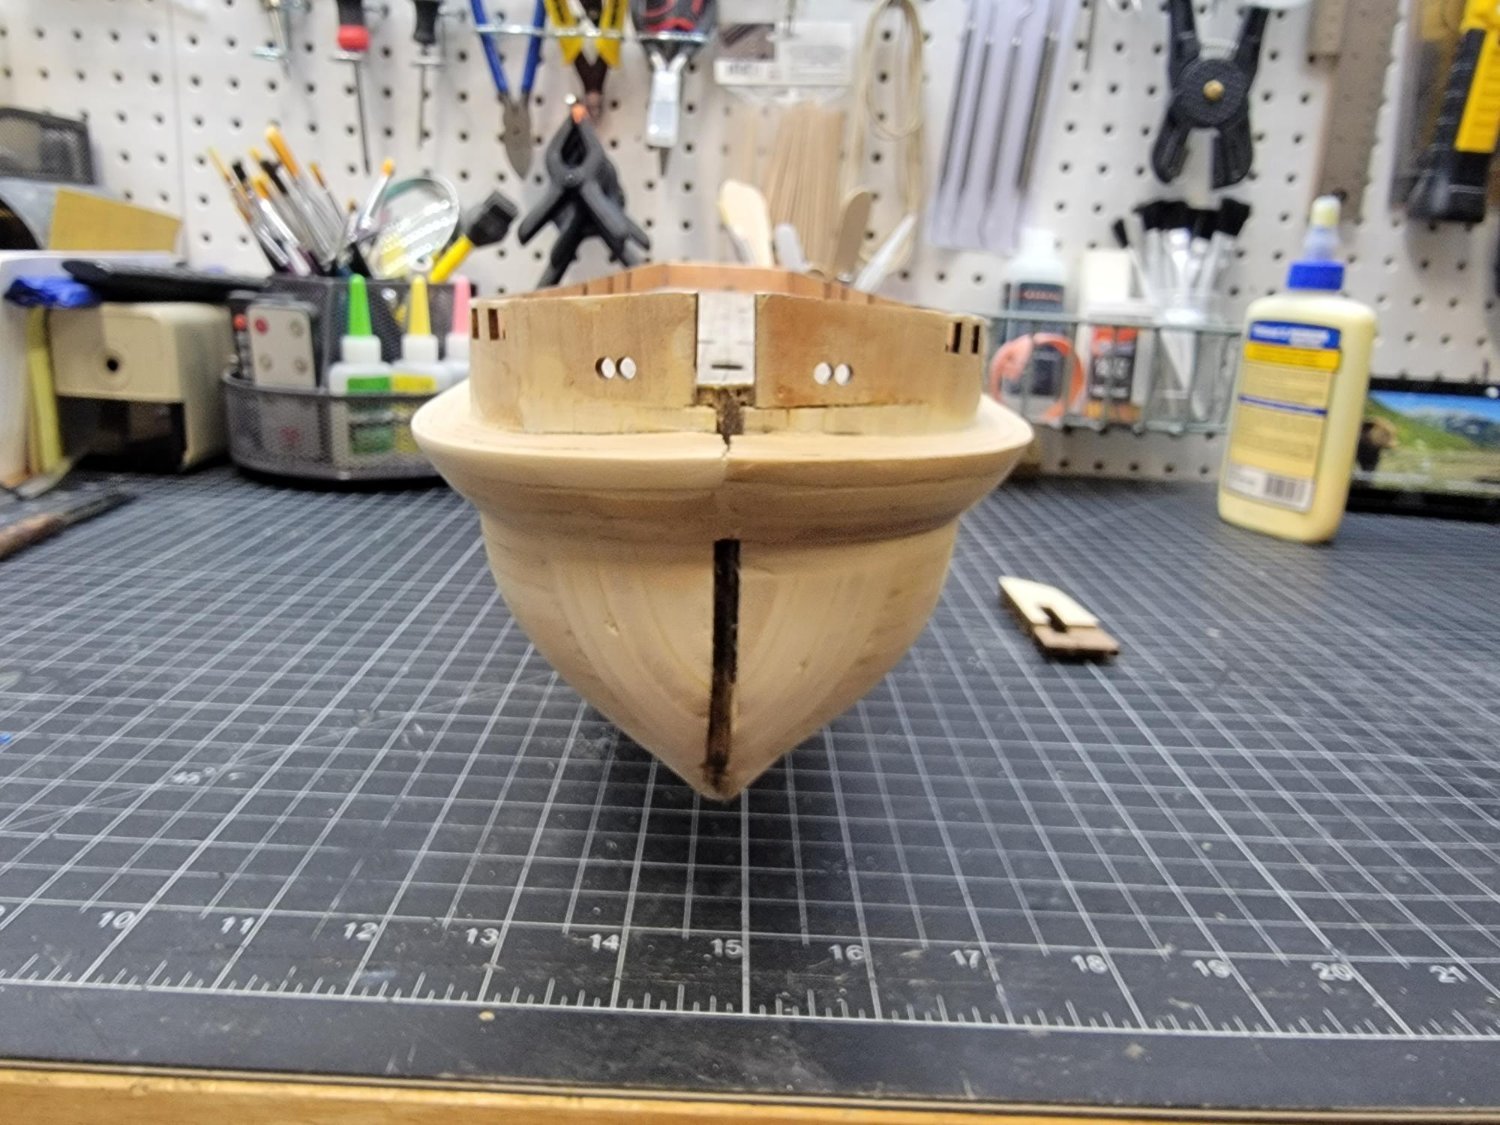
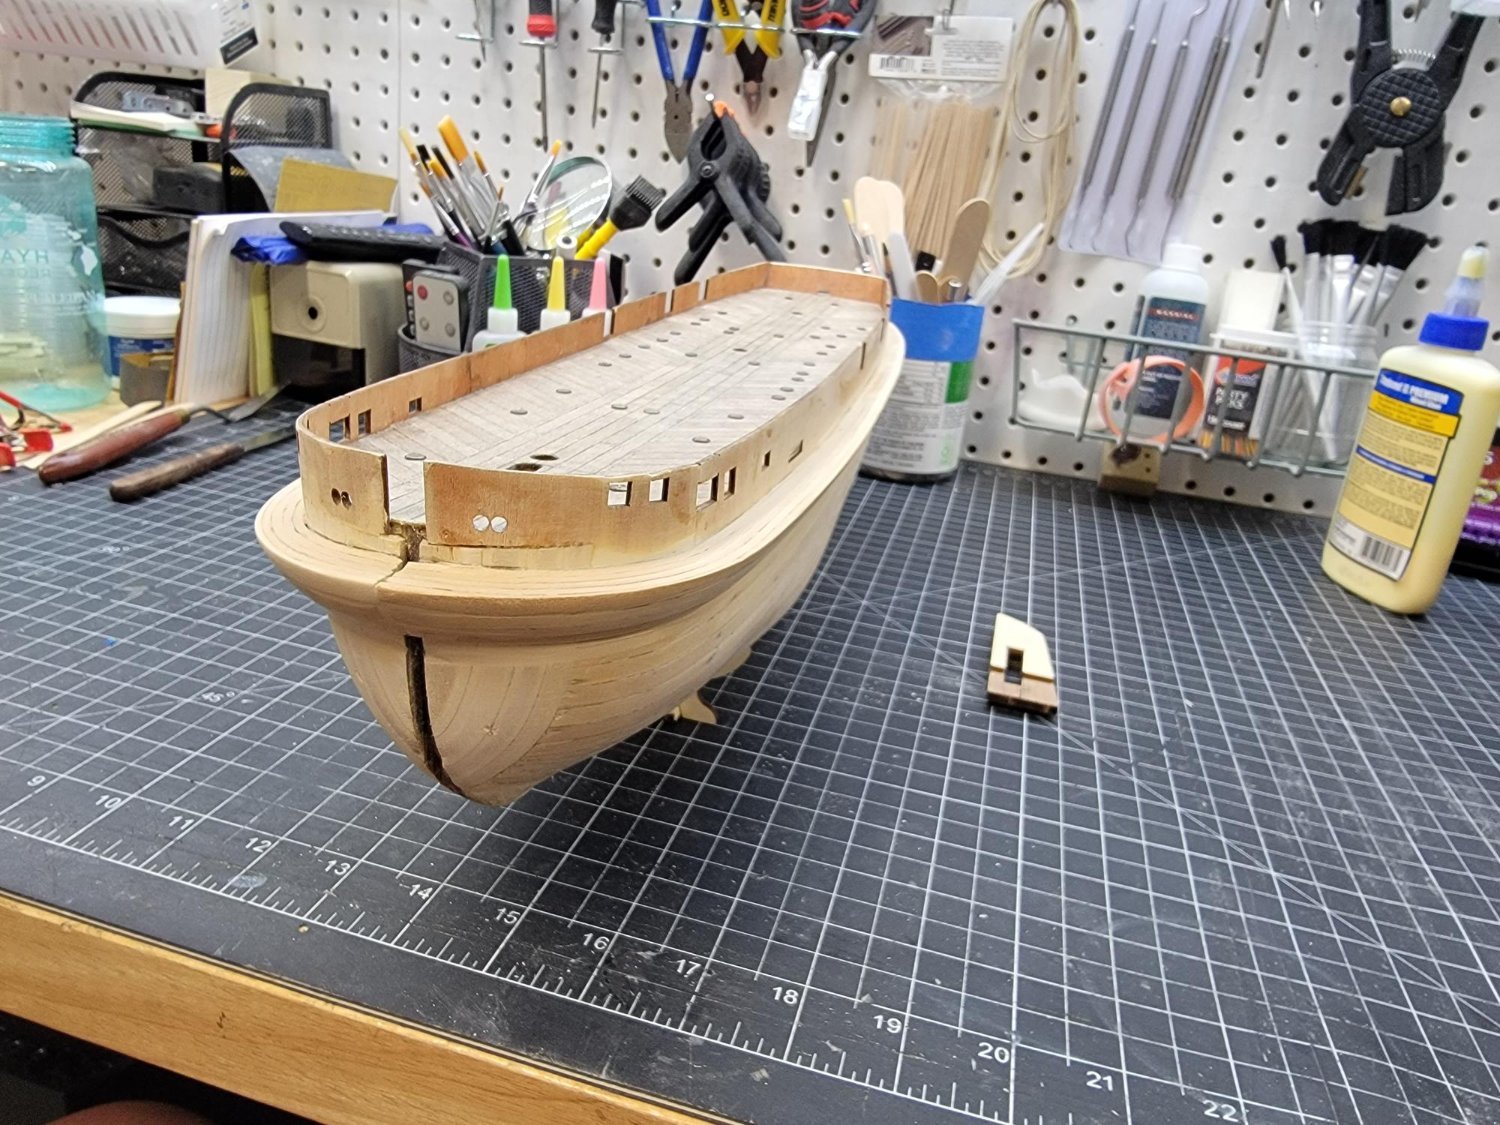
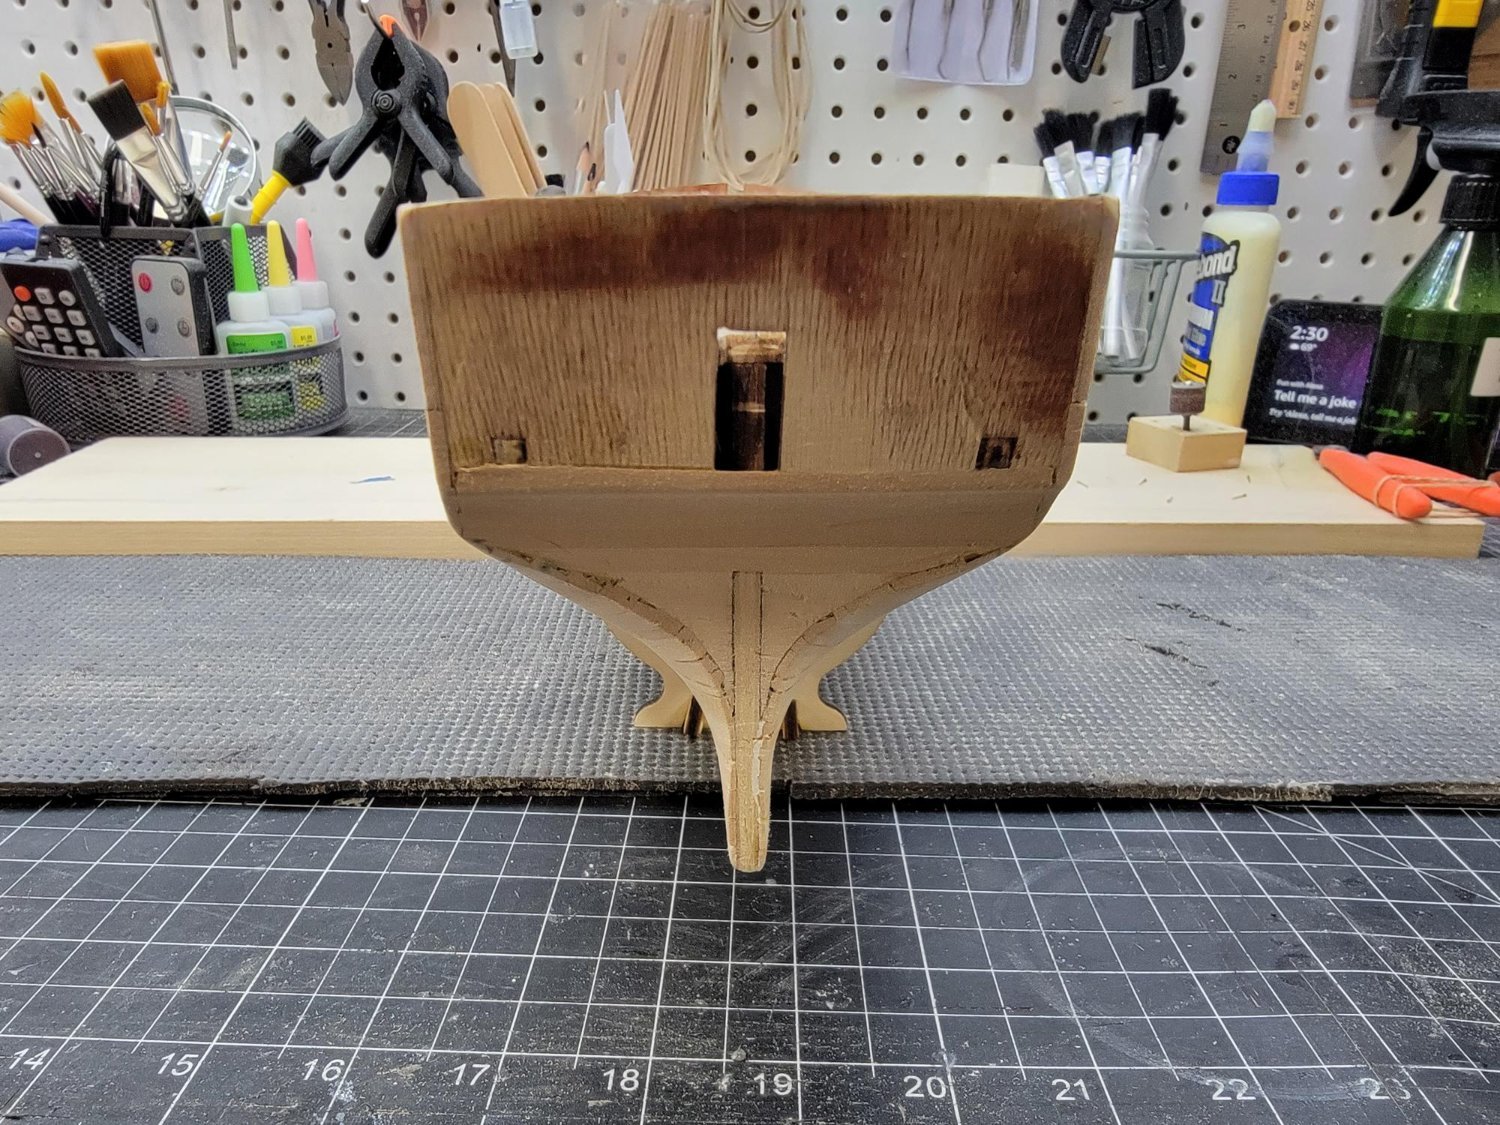
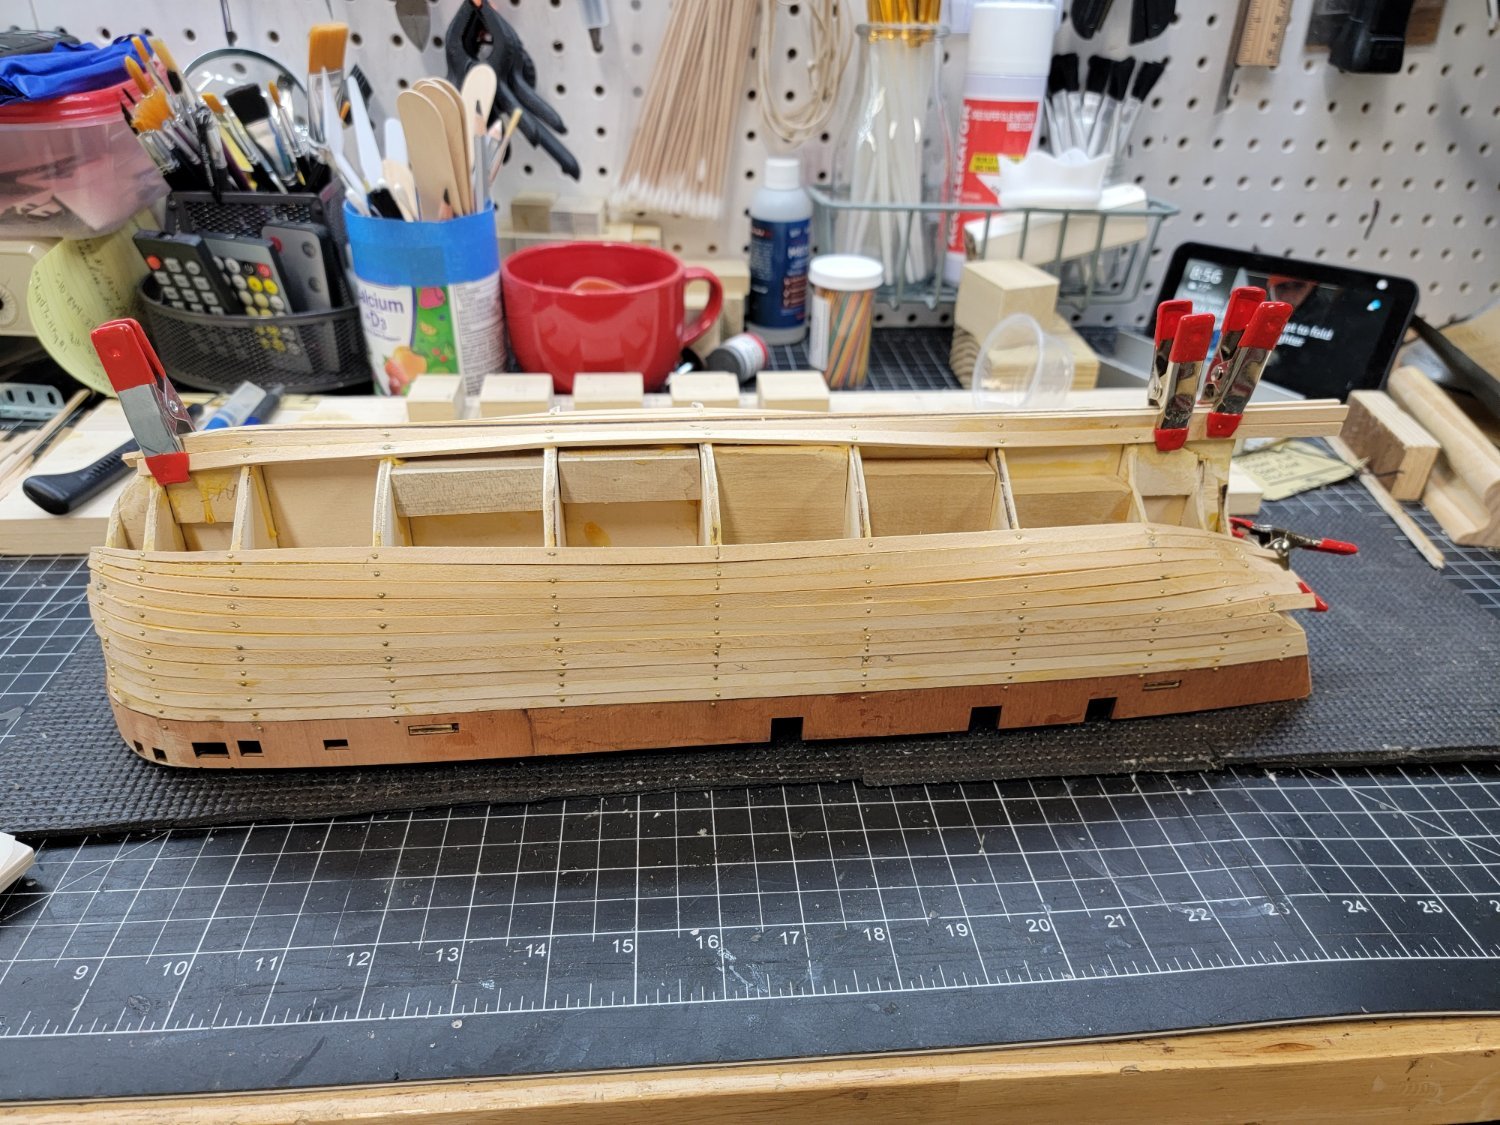
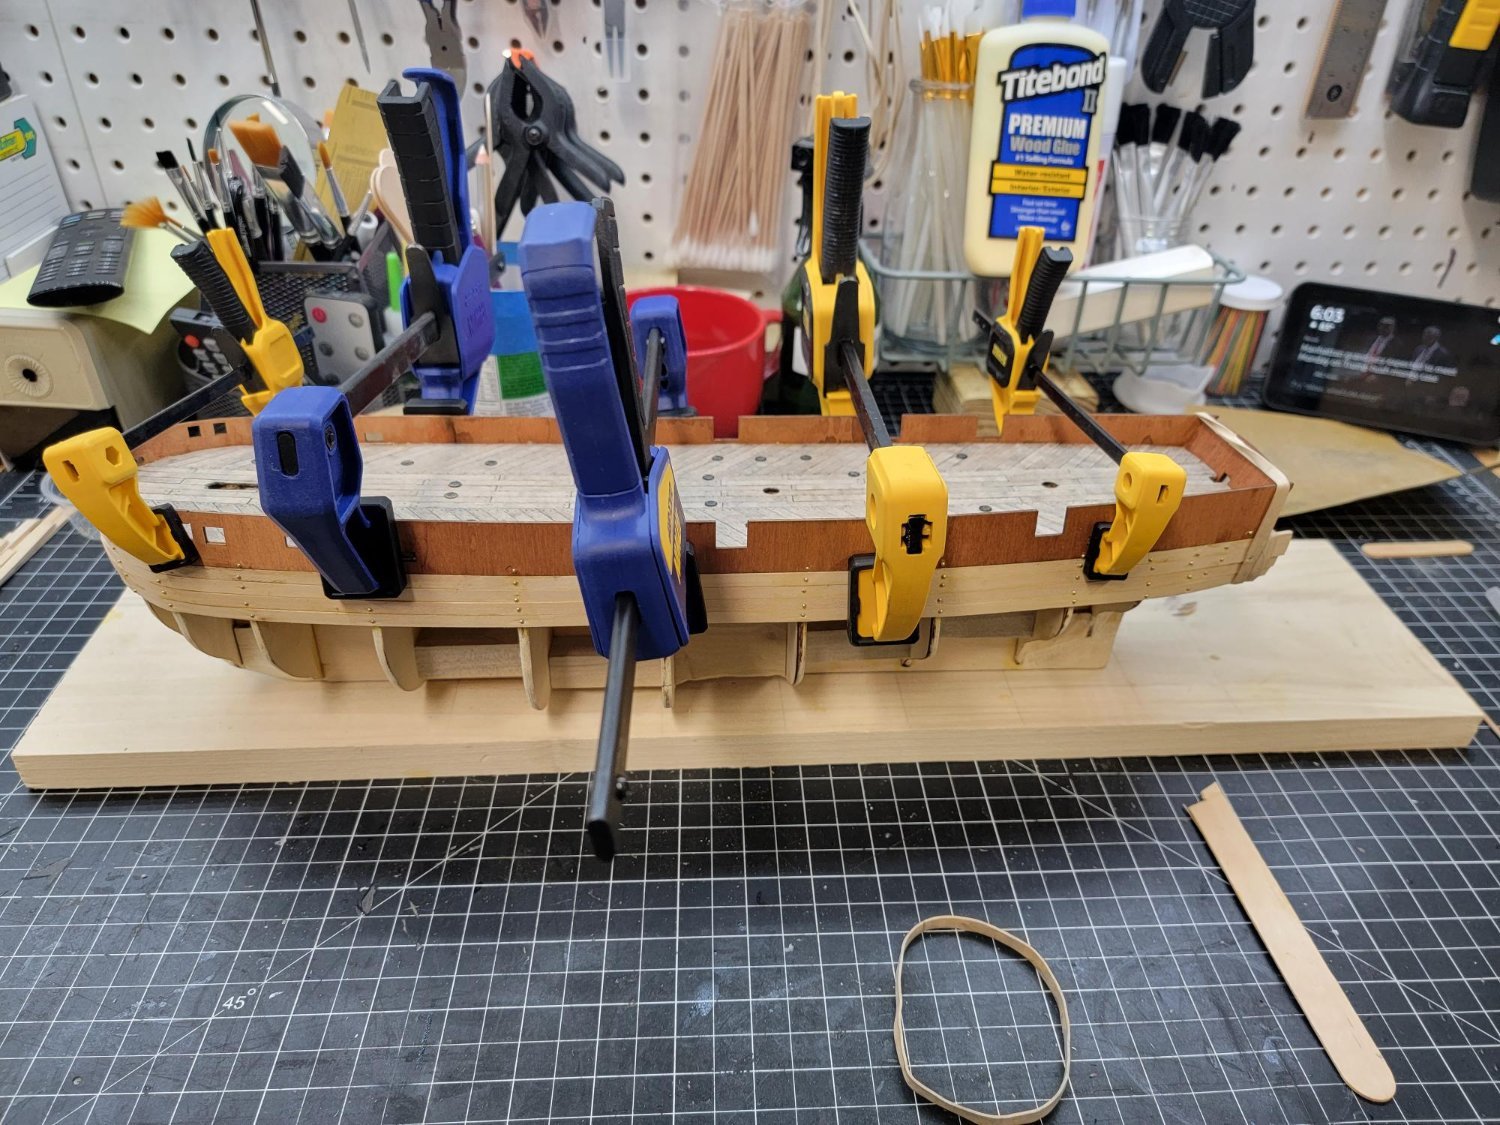
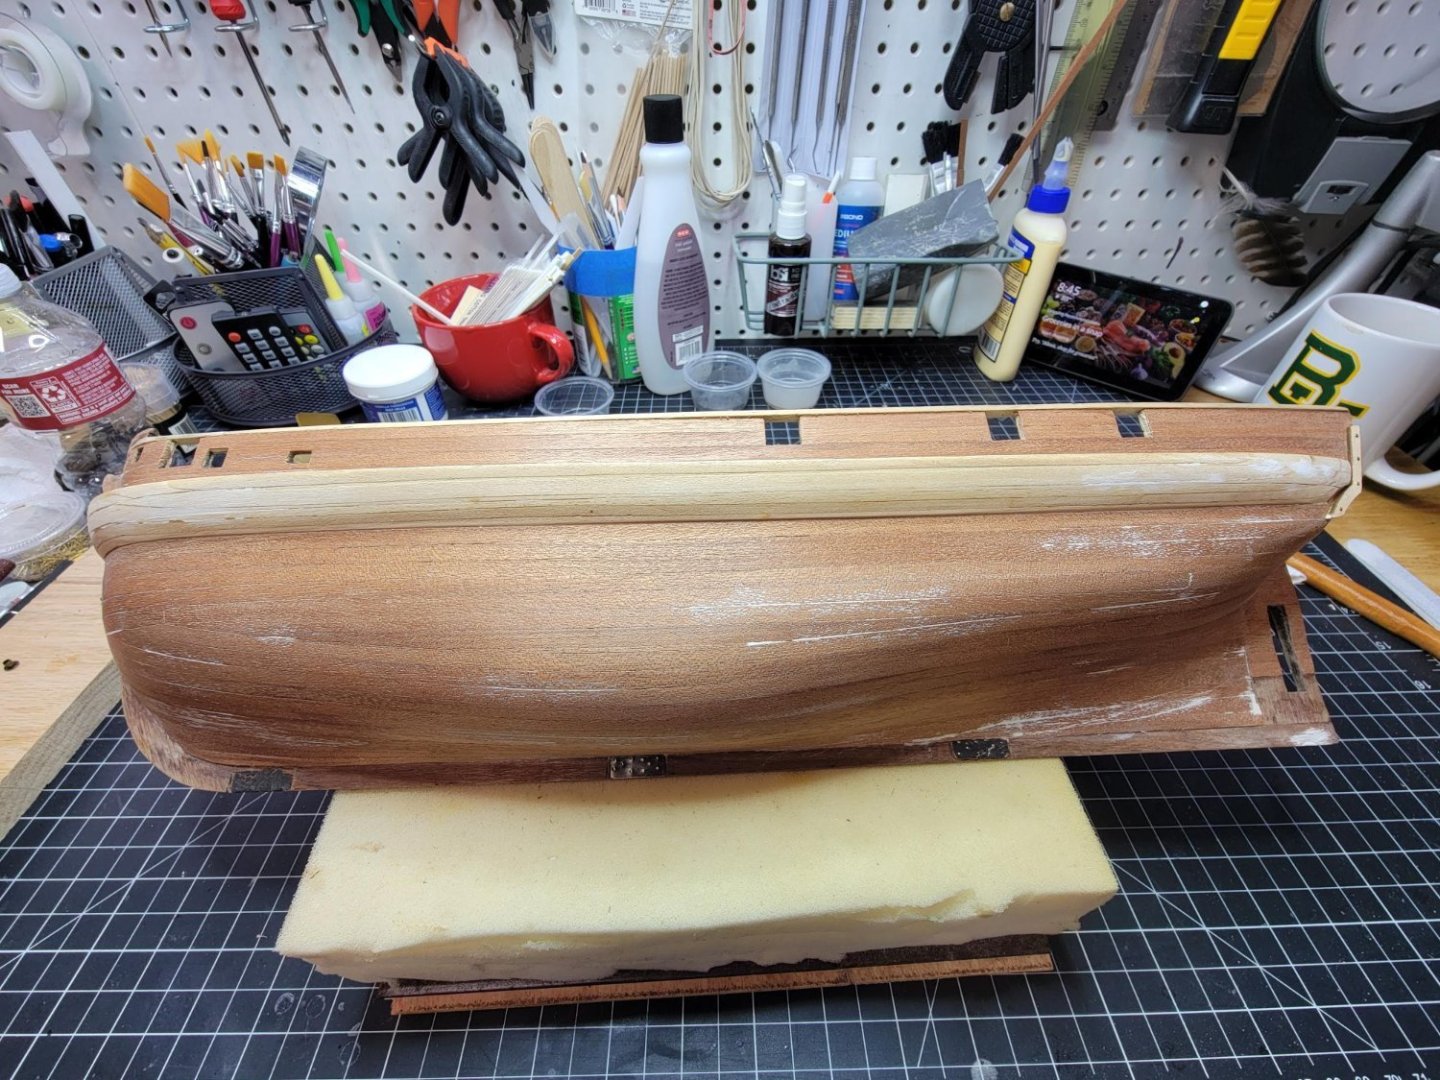
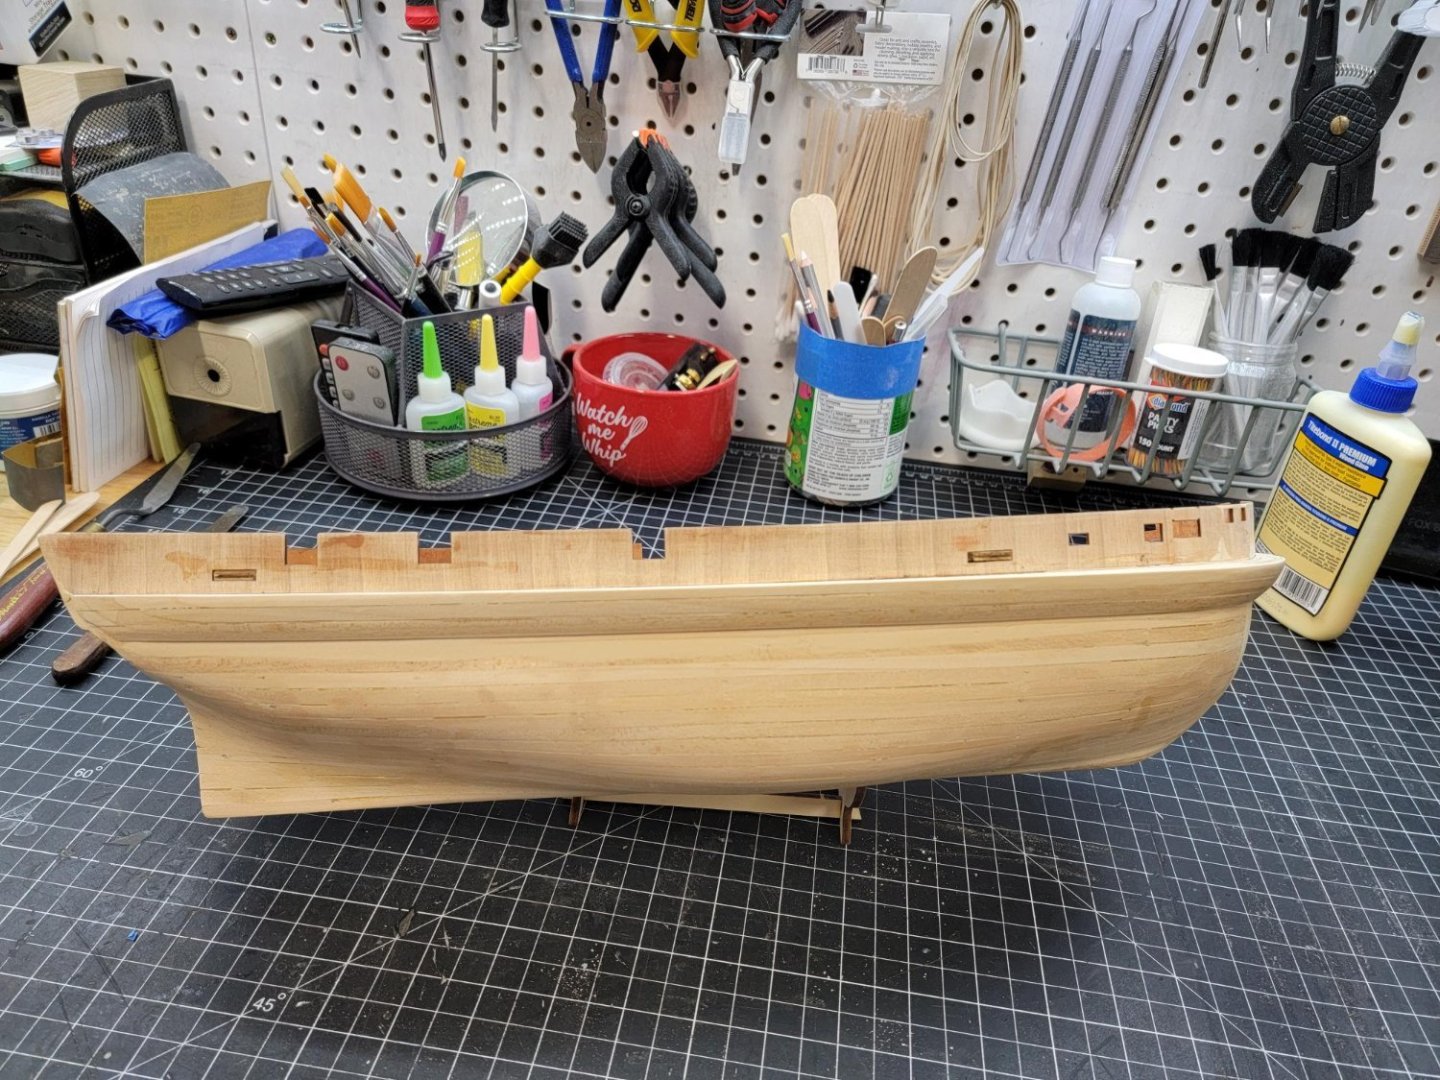
OK, I chickened out and installed the bulwarks and counter. After planking four strakes, the stern and transom was getting a little boxed in. I figured I better install them and see where it all was going before I painted myself in to a corner. Here are sme pics as she sits in traction, so to speak. The bulwarks are a little tricky to bend without them snapping in the weaker areas.


-
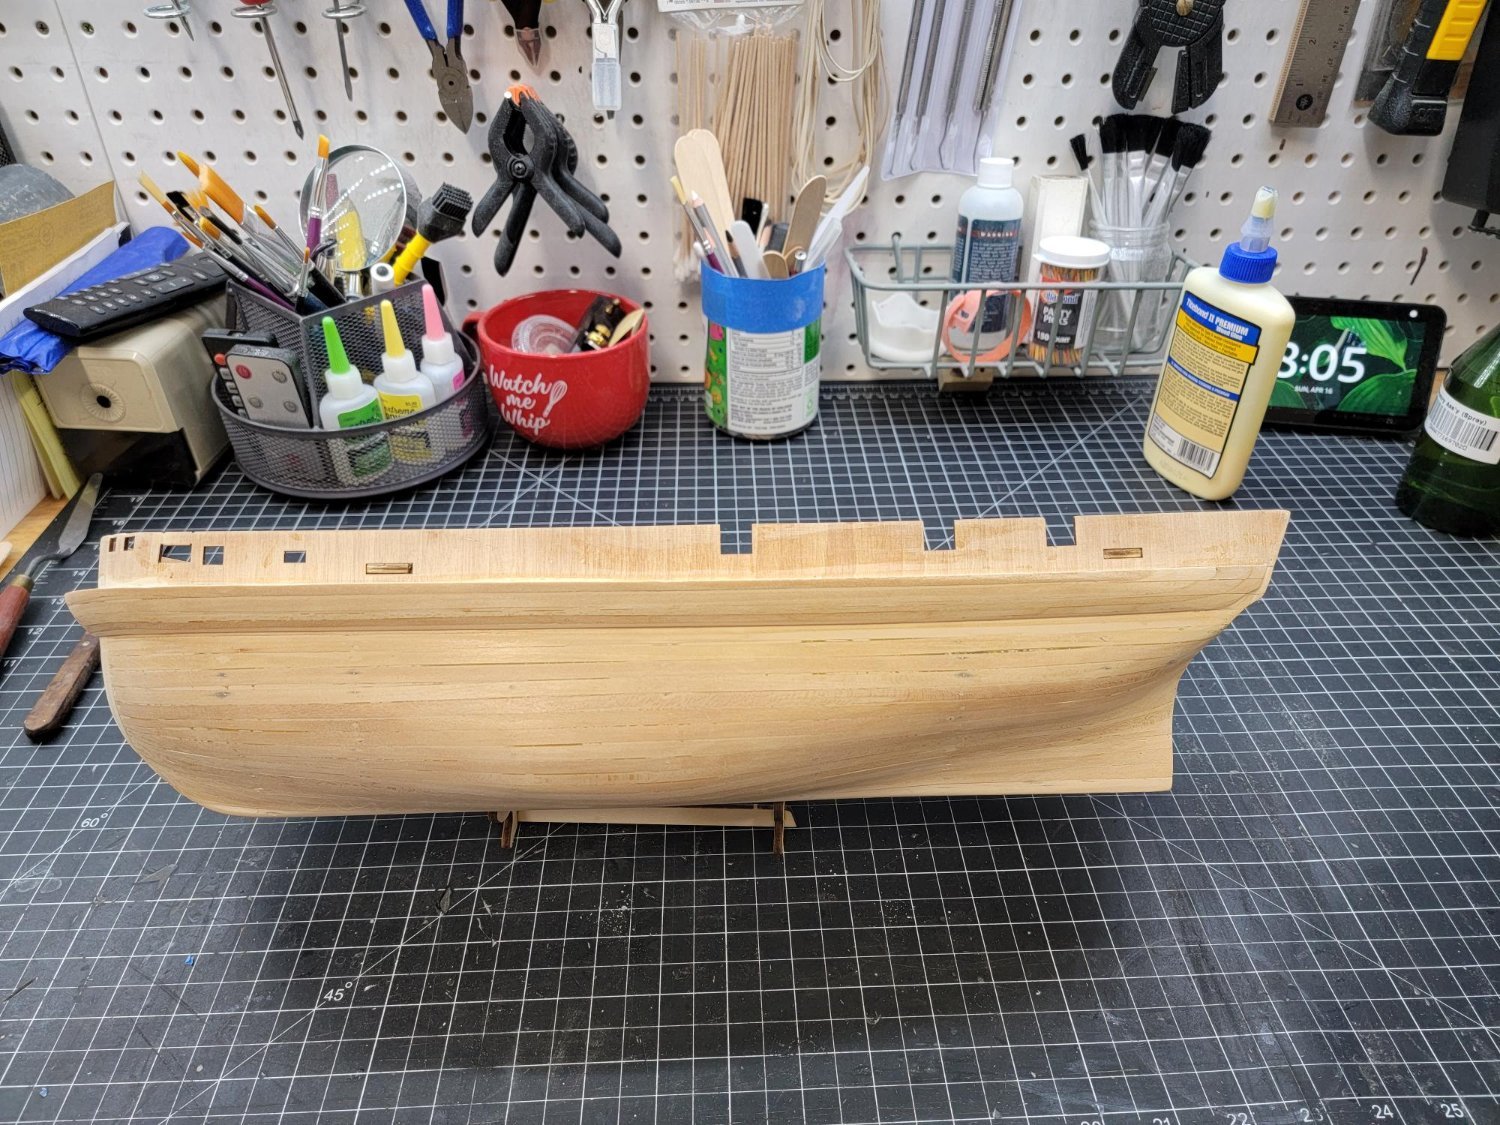
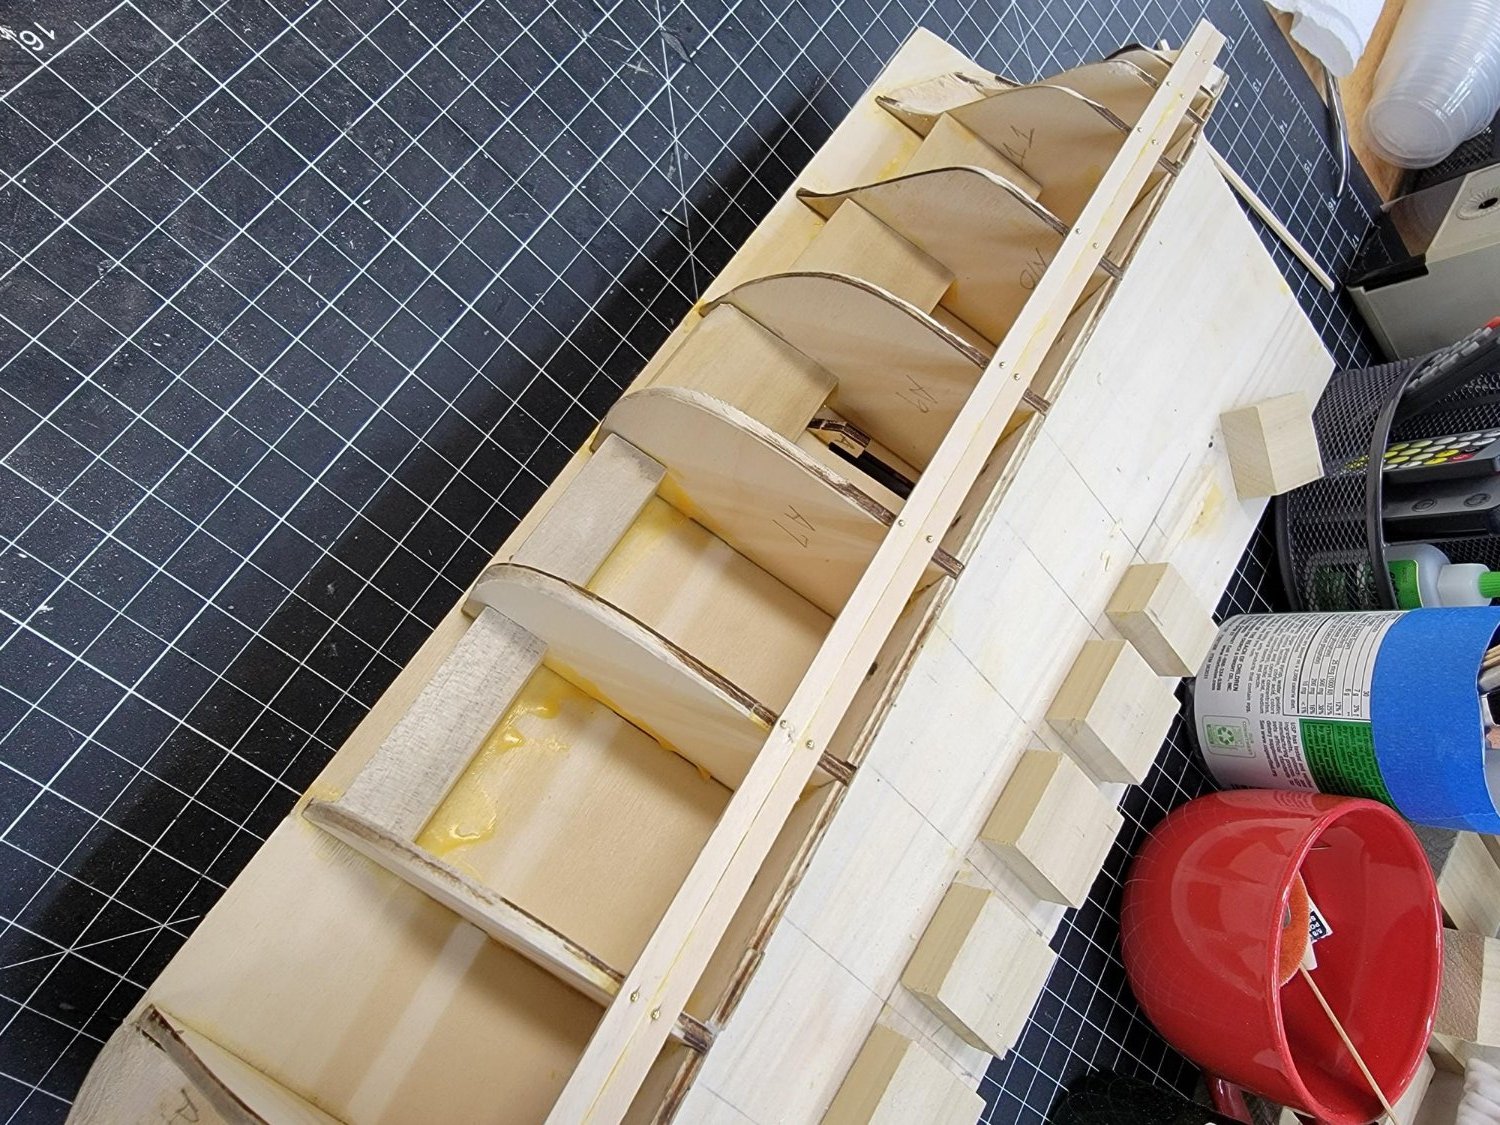
Starting the first layer of planking. I decided not to install the bulwarks or counter yet, but I've measured and marked carefully. It was easier that I thought, but then these are the easiest of them. I'm letting the ends run wild for now and will trim to fit a bit later. Sorry the pictures are a little wonky.


-
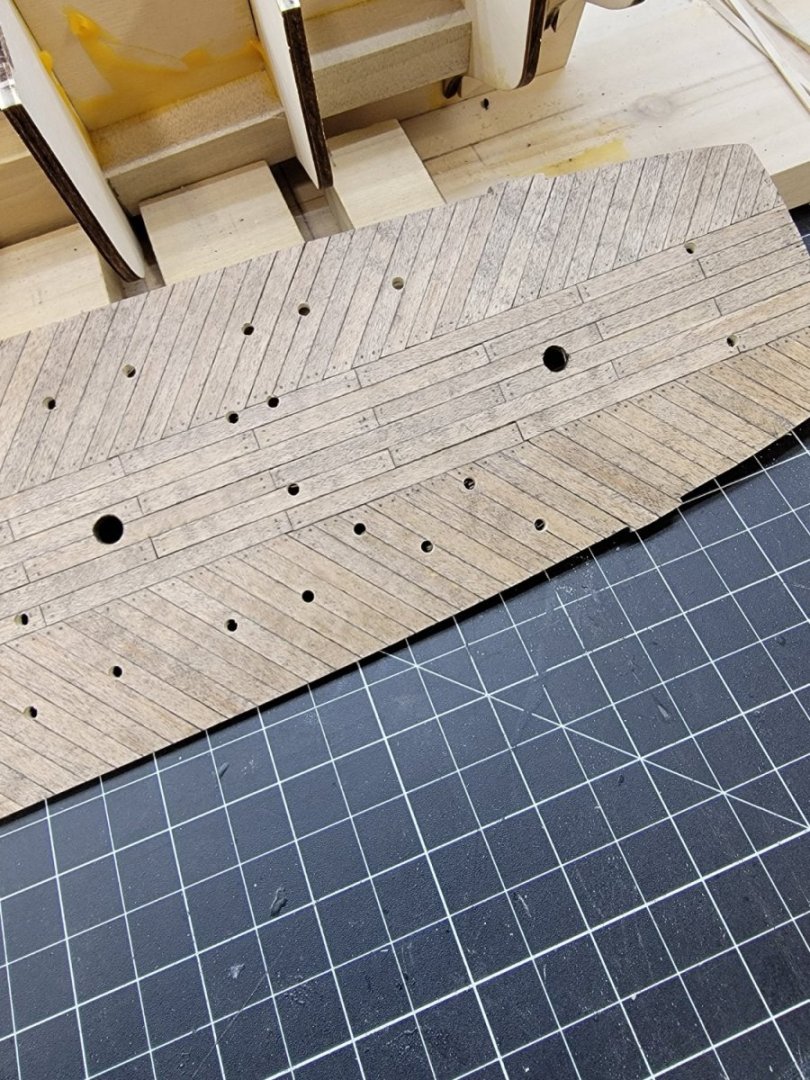
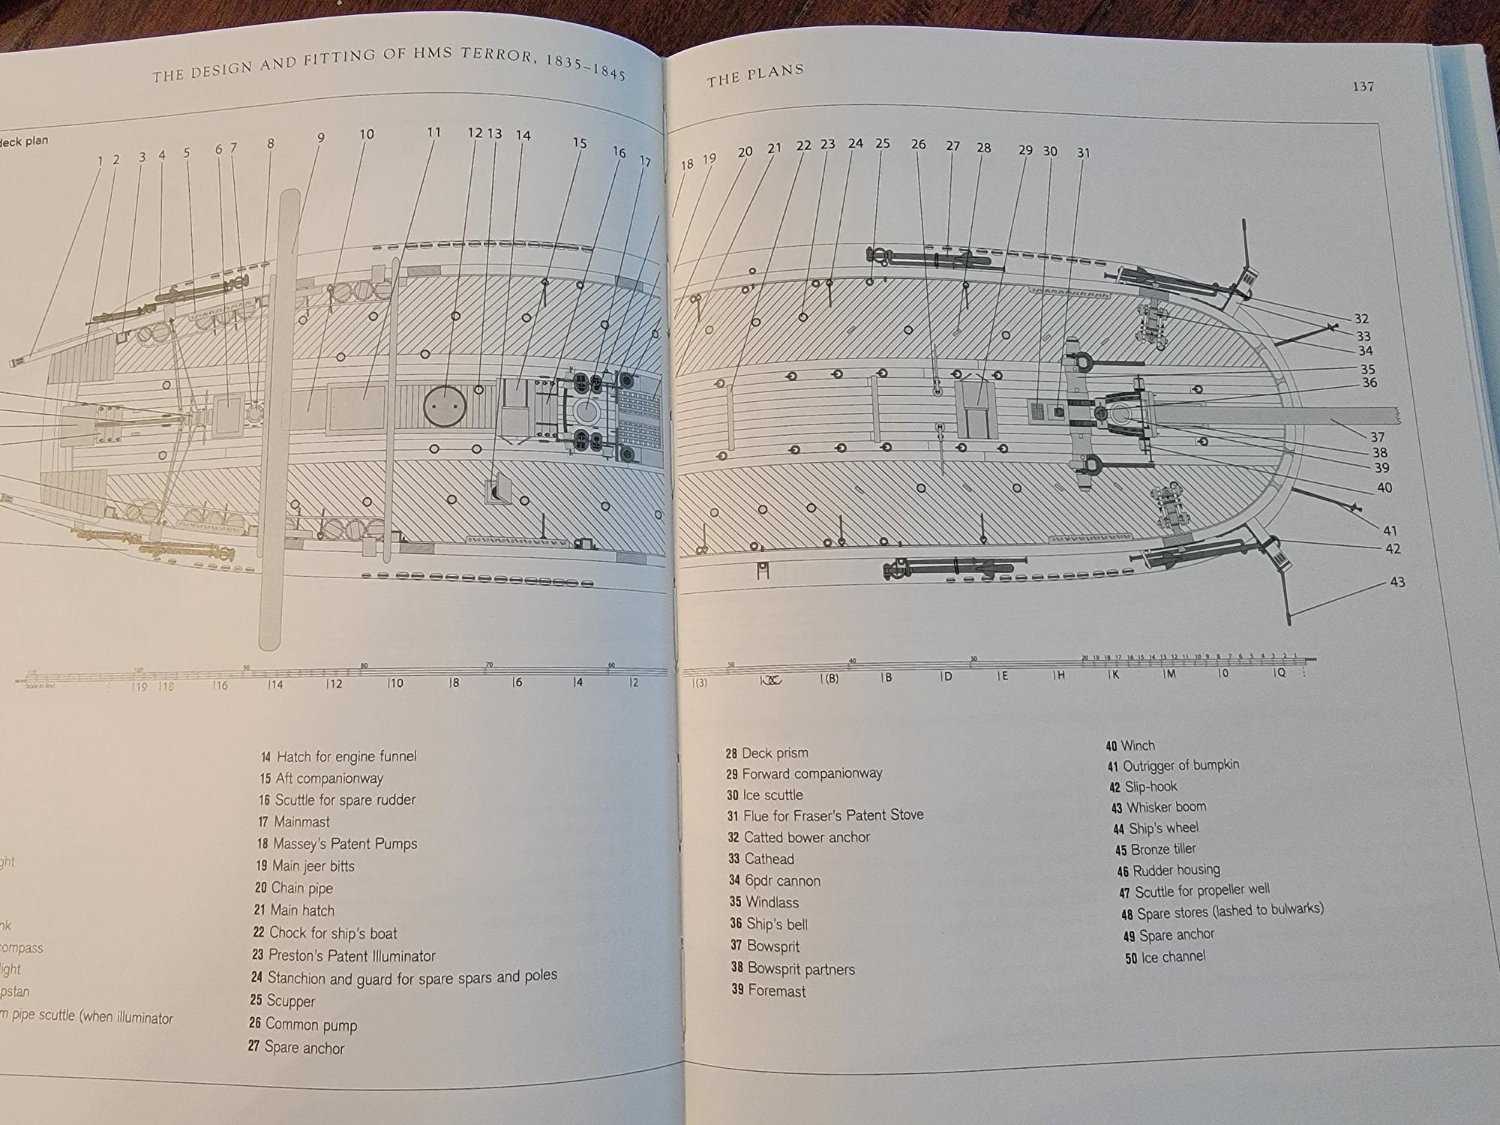
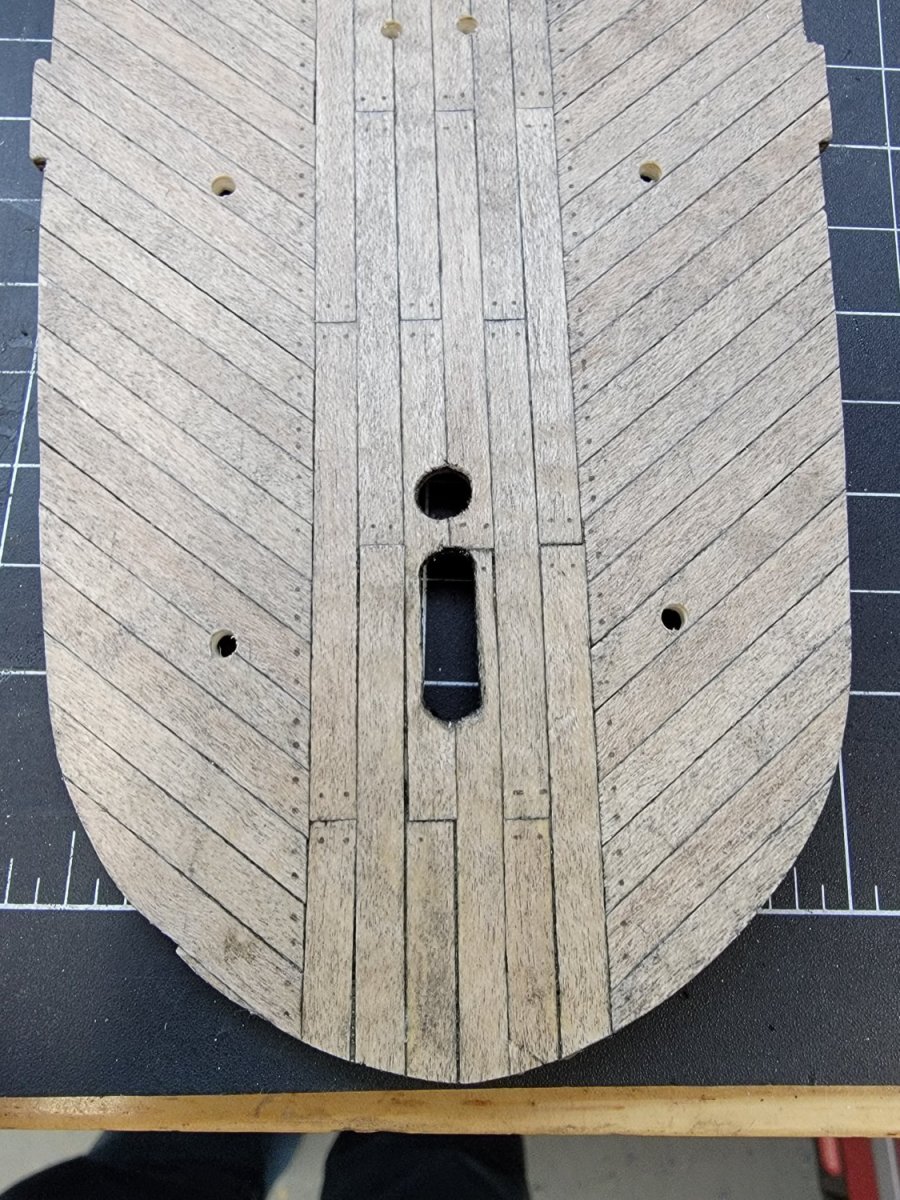
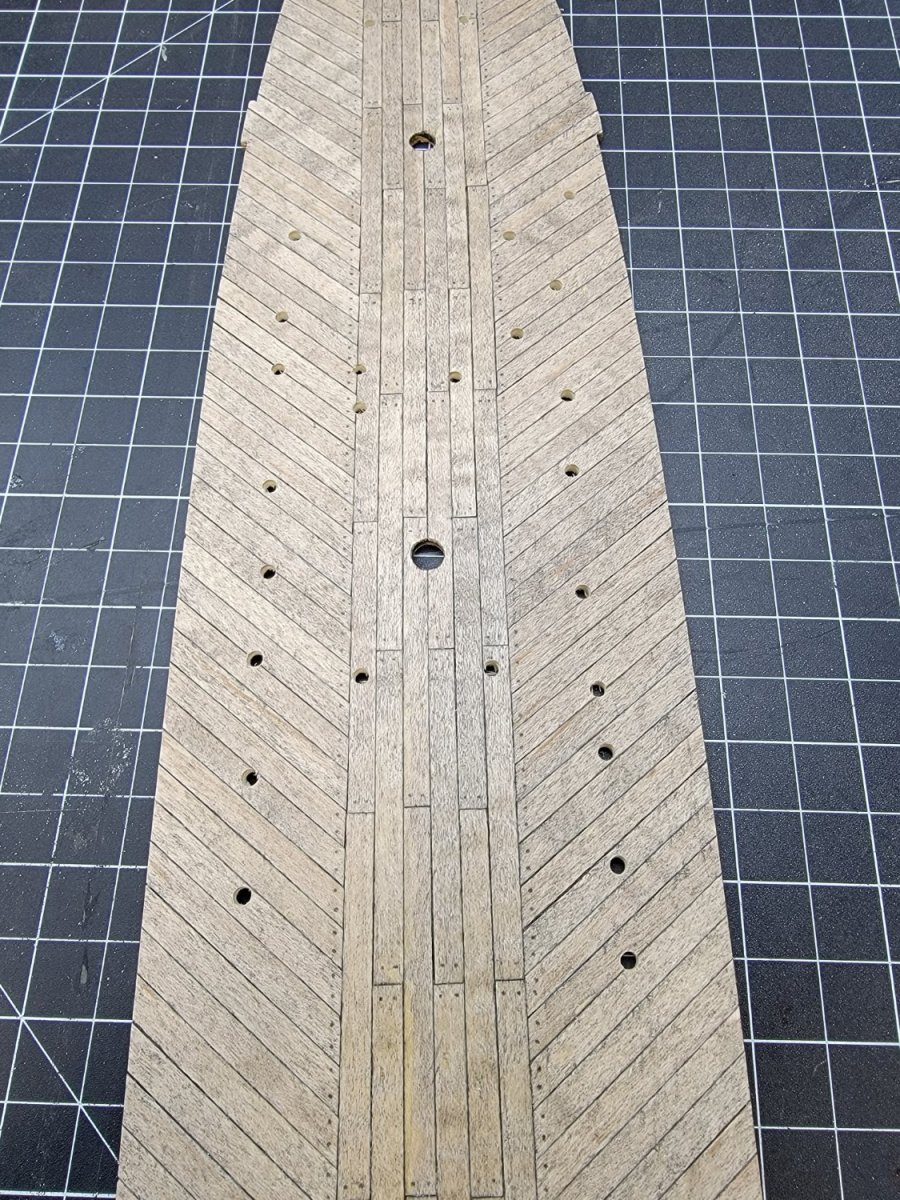
Thank you. As I noted, I inadvertantly pointed the diagonal planks aft rather than forward. Here is the deck plan from Matthew Betts' book on Terror, which is very close to your Erebus plan. I believe there were additional features added for the 1845 expedition. OcCre took some liberties in numerous areas which are noted in the various build logs.

-
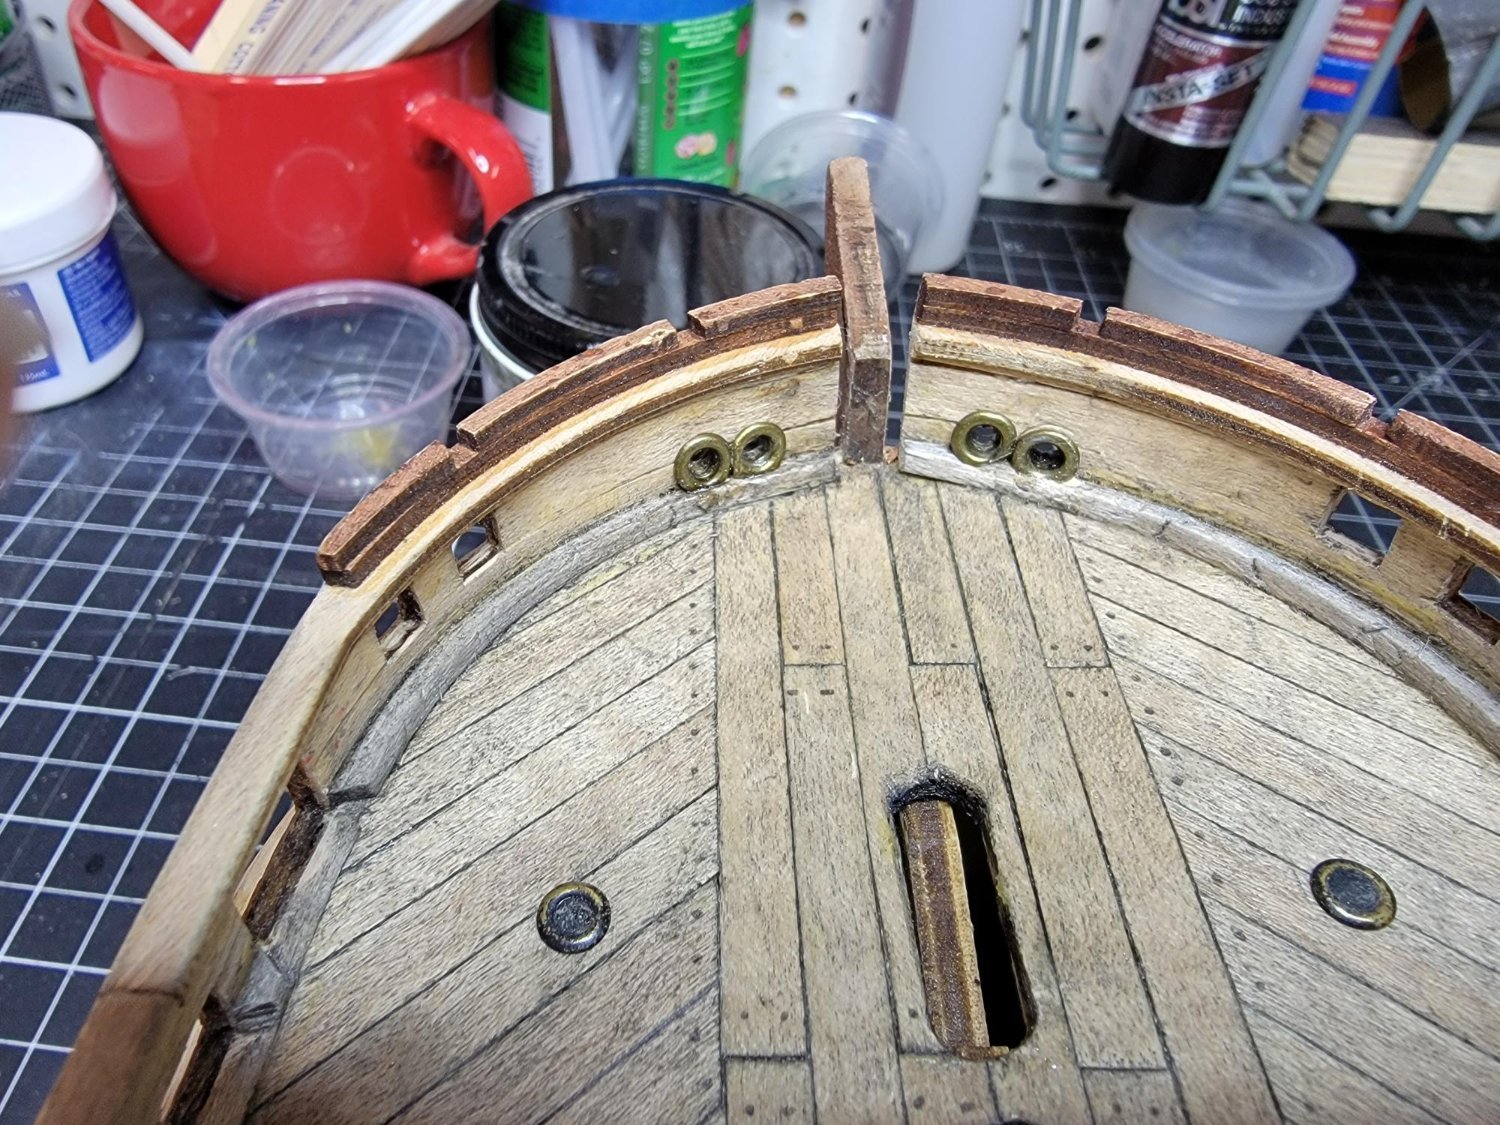
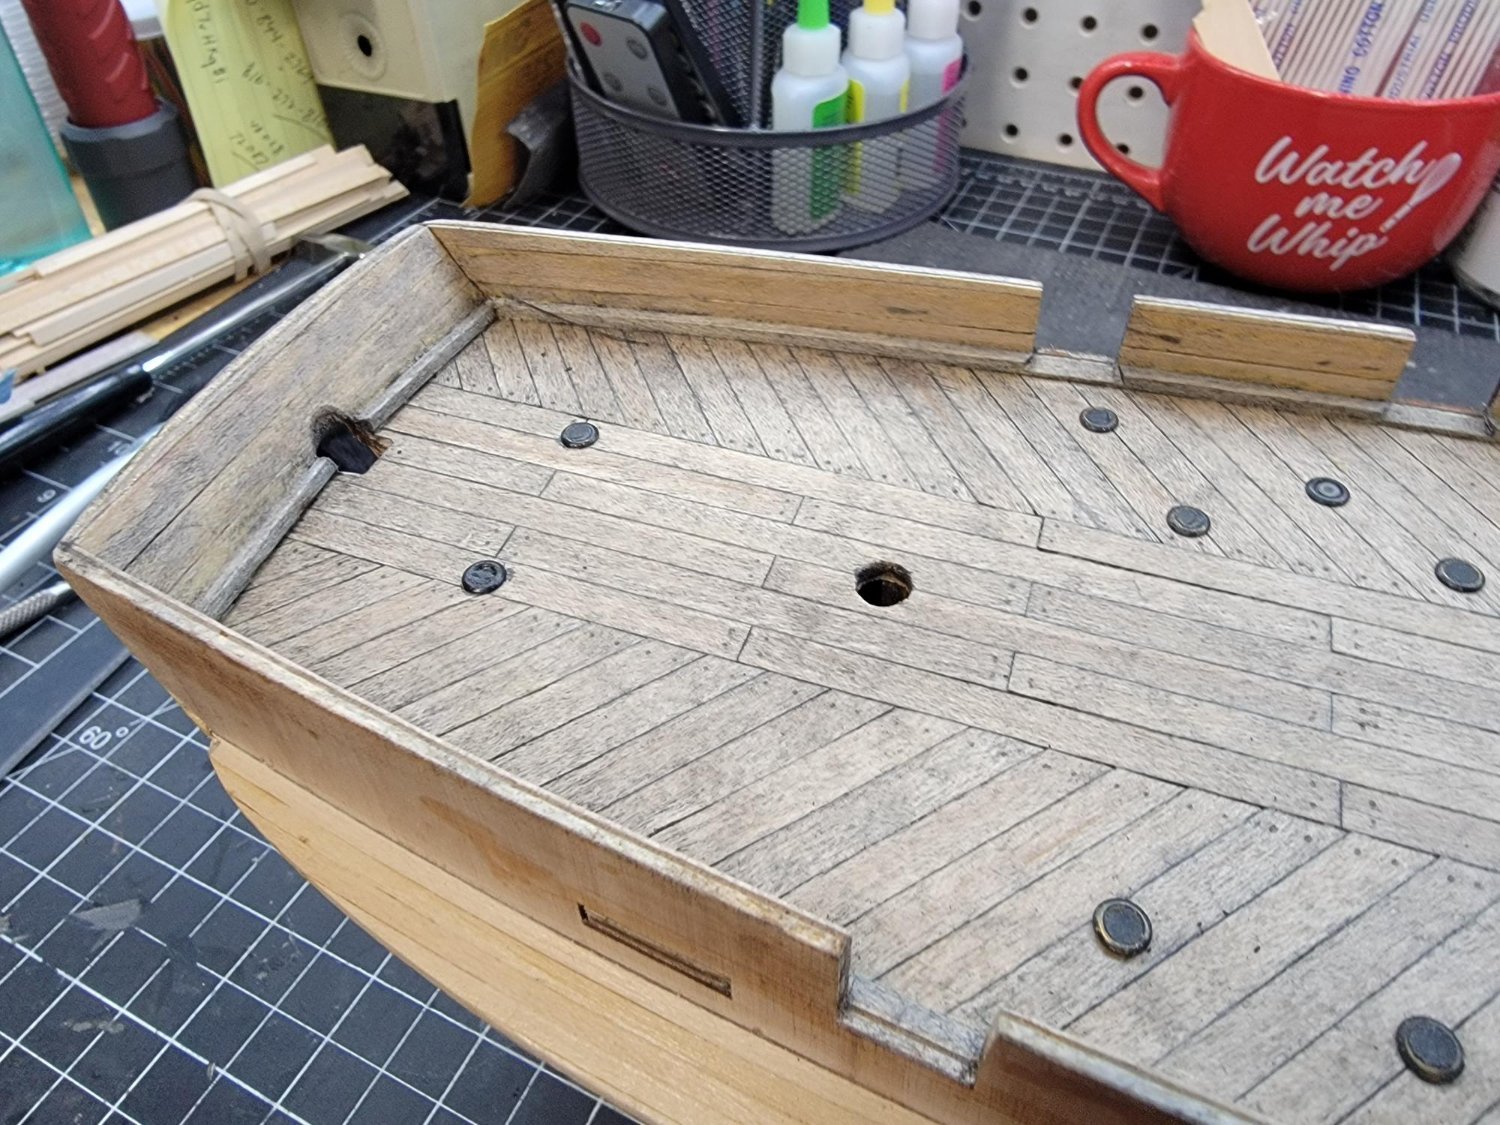
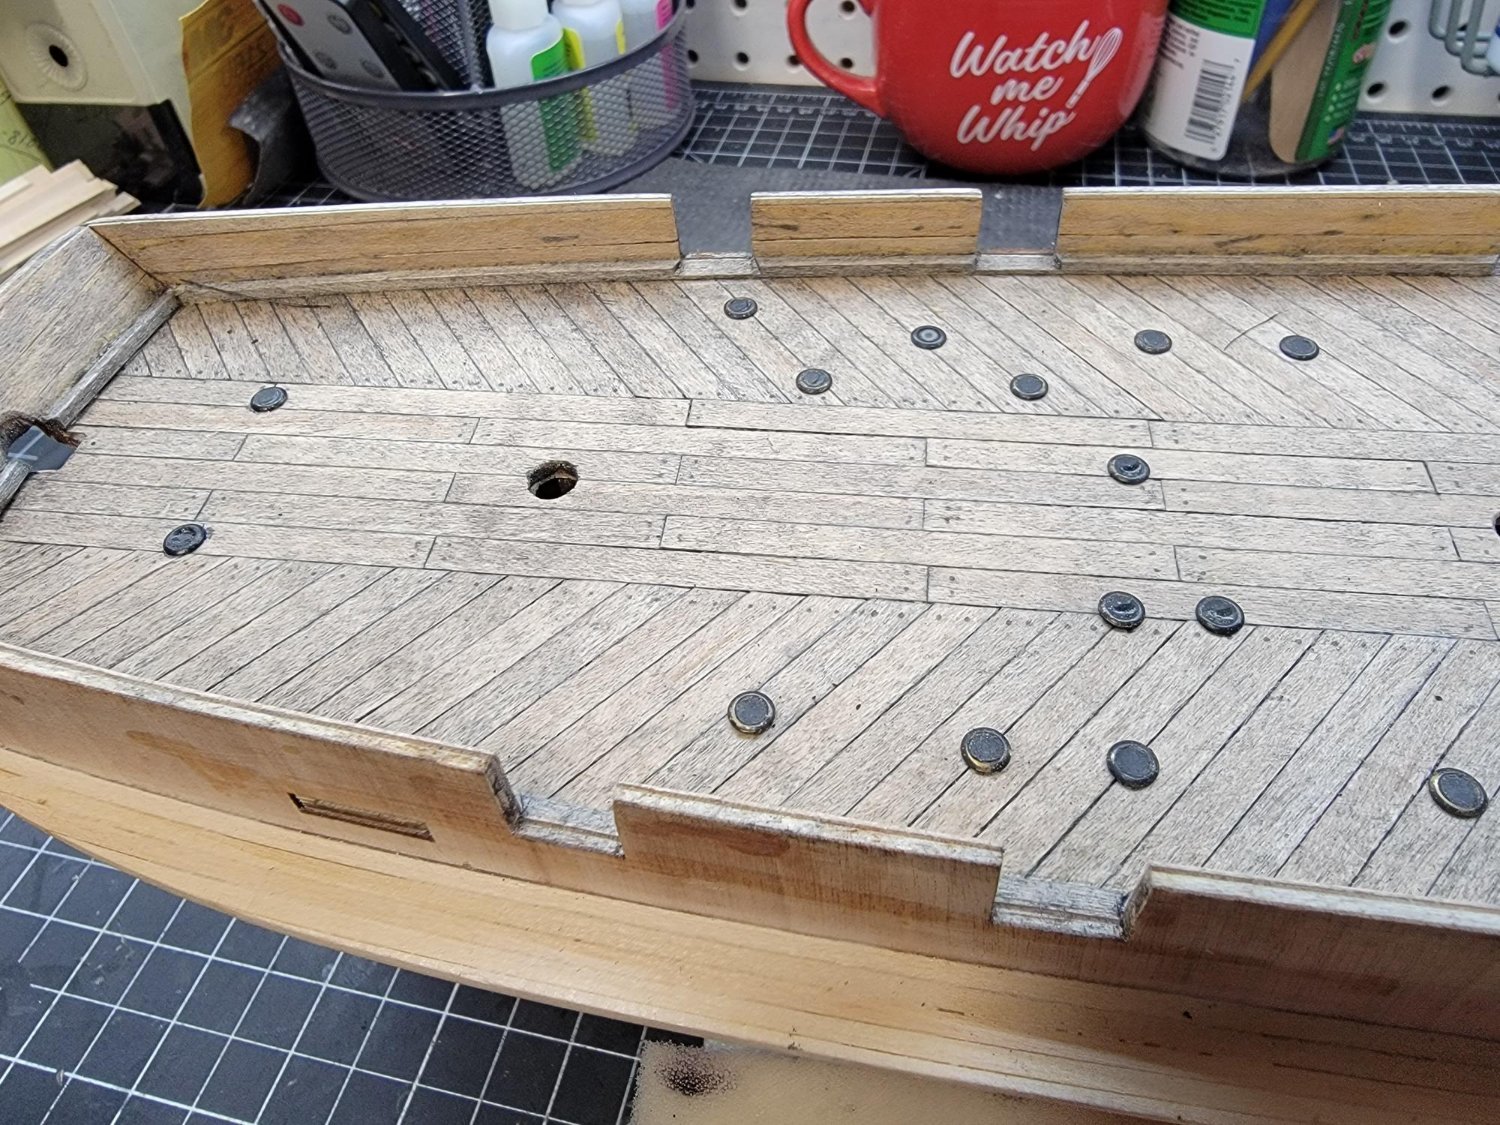
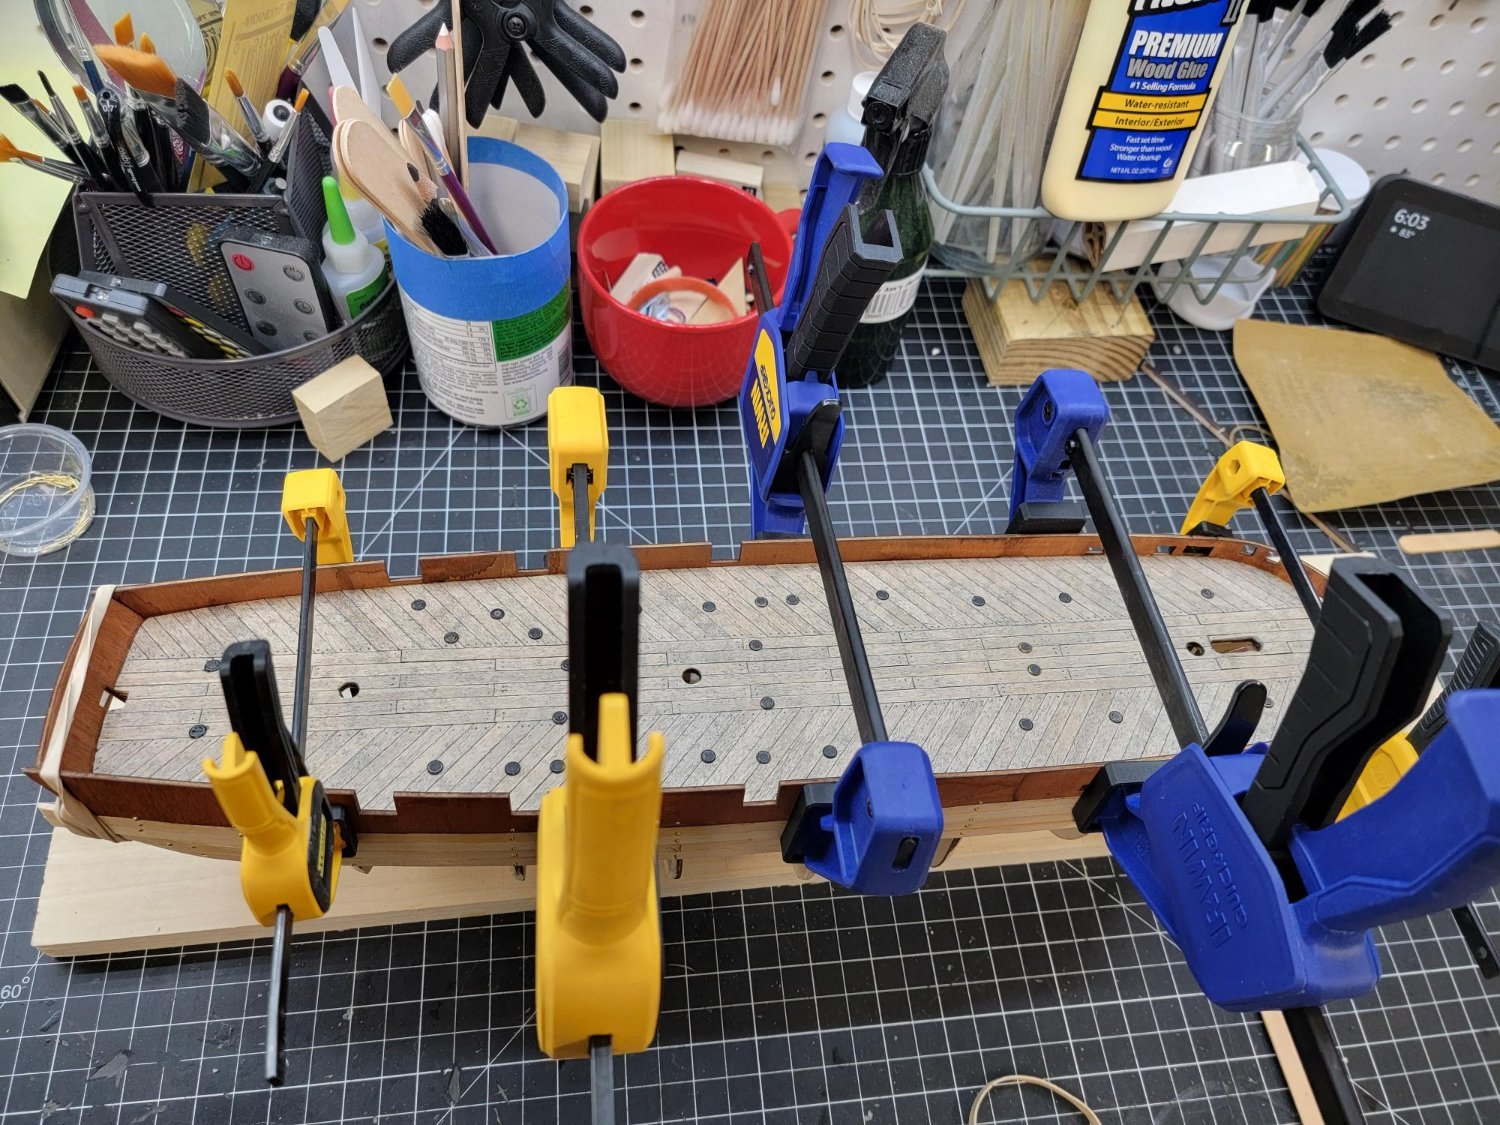
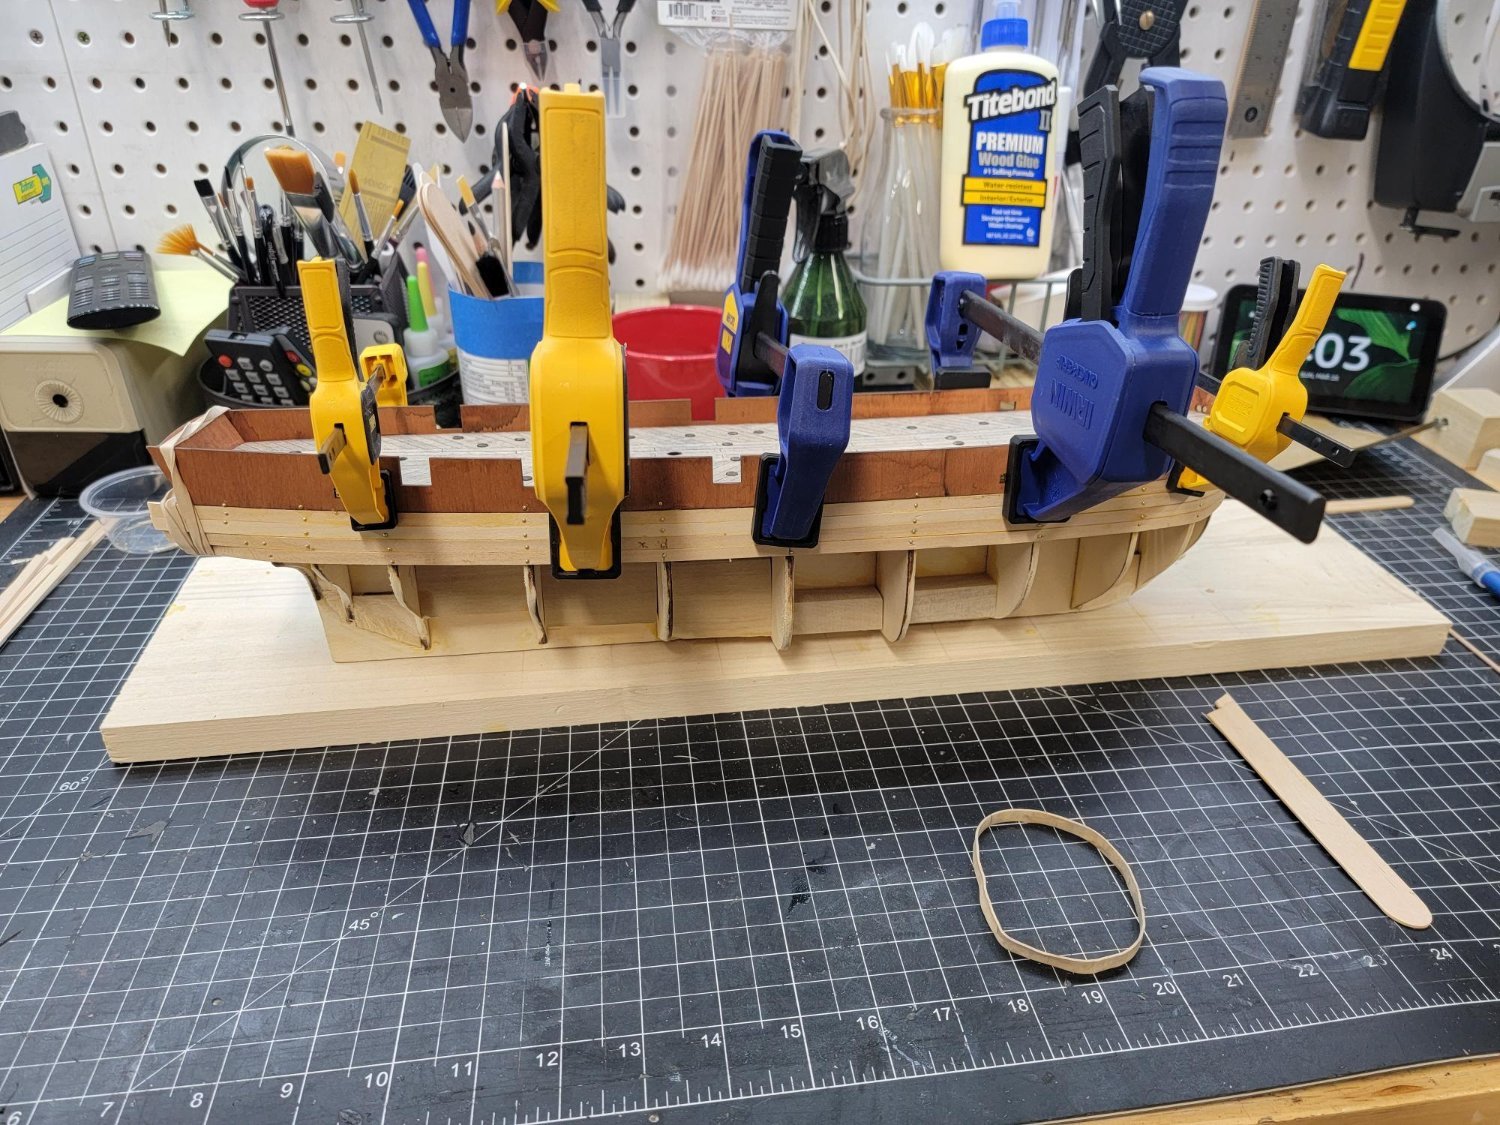
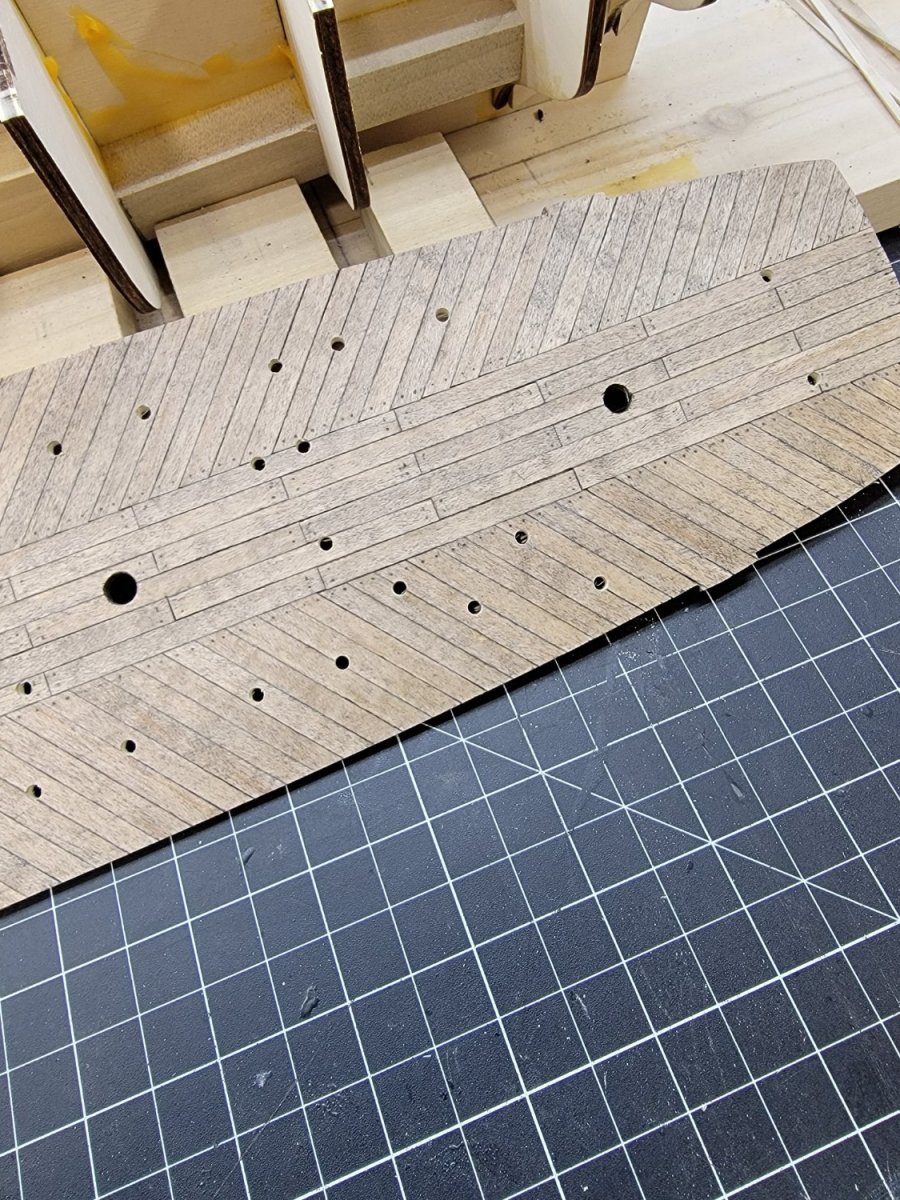
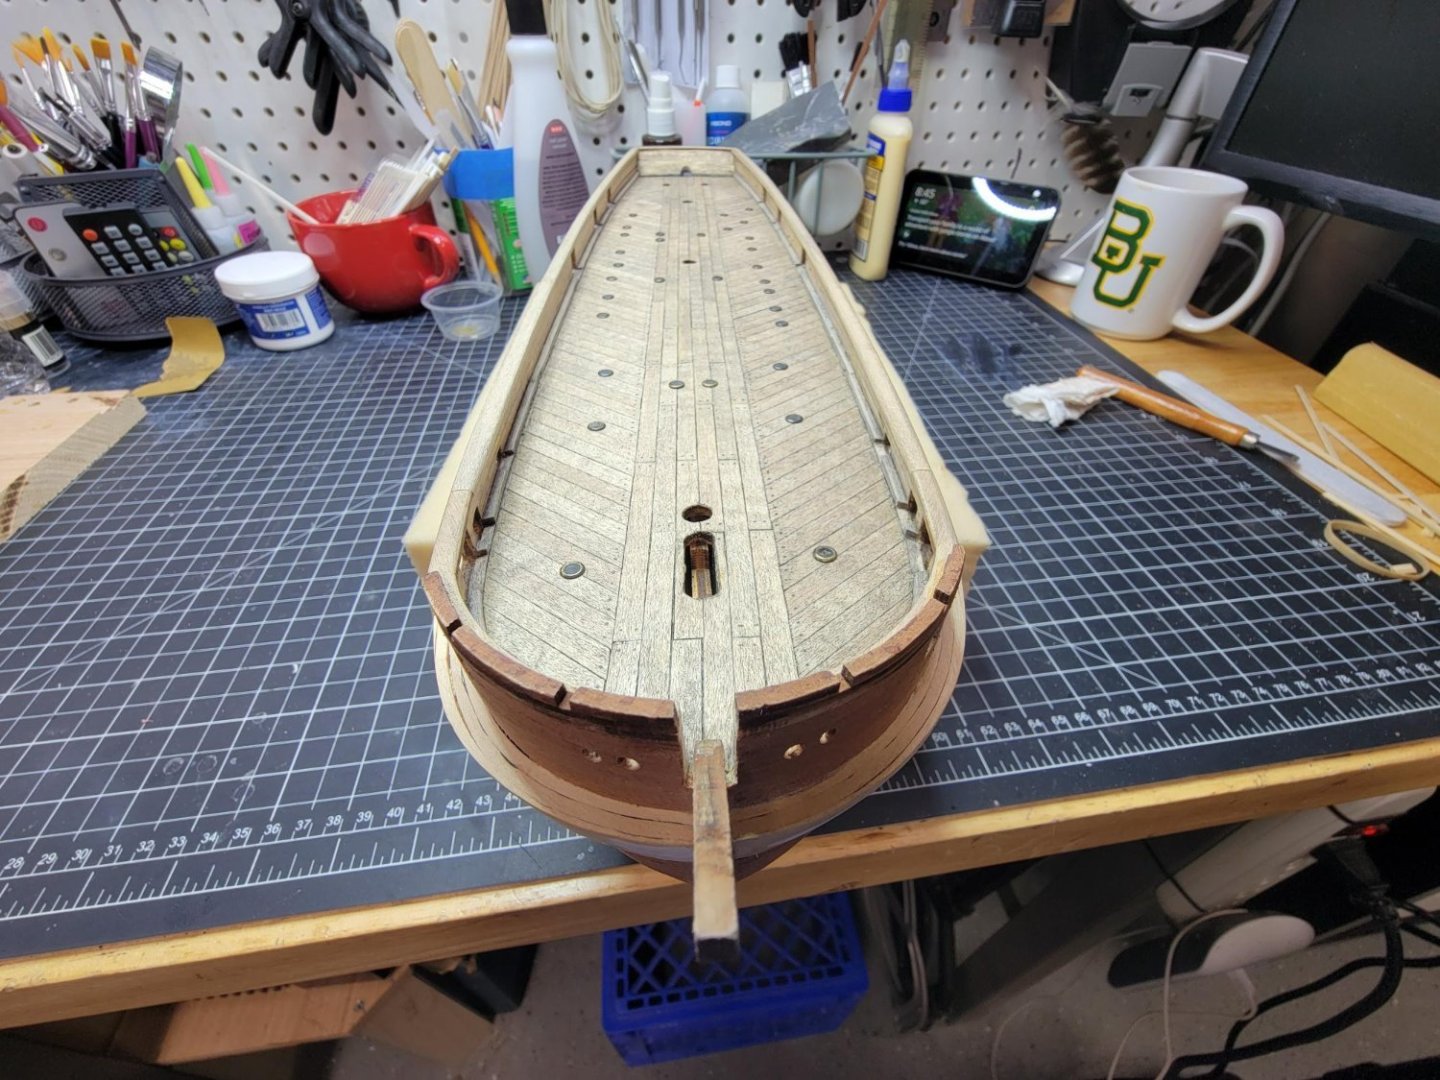
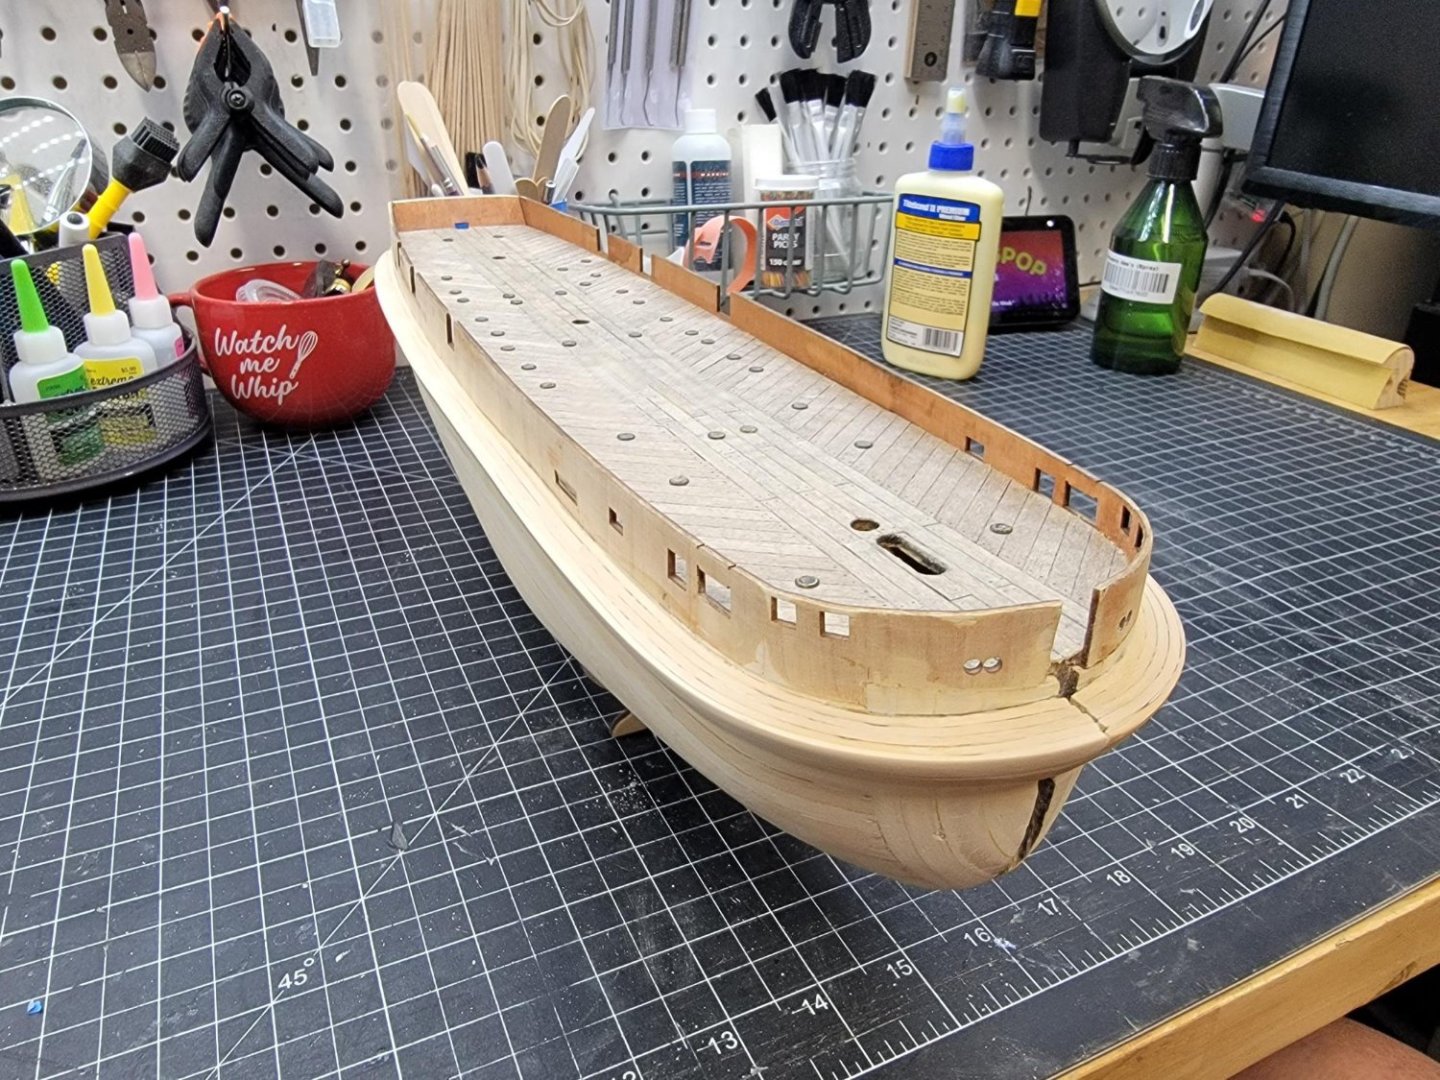
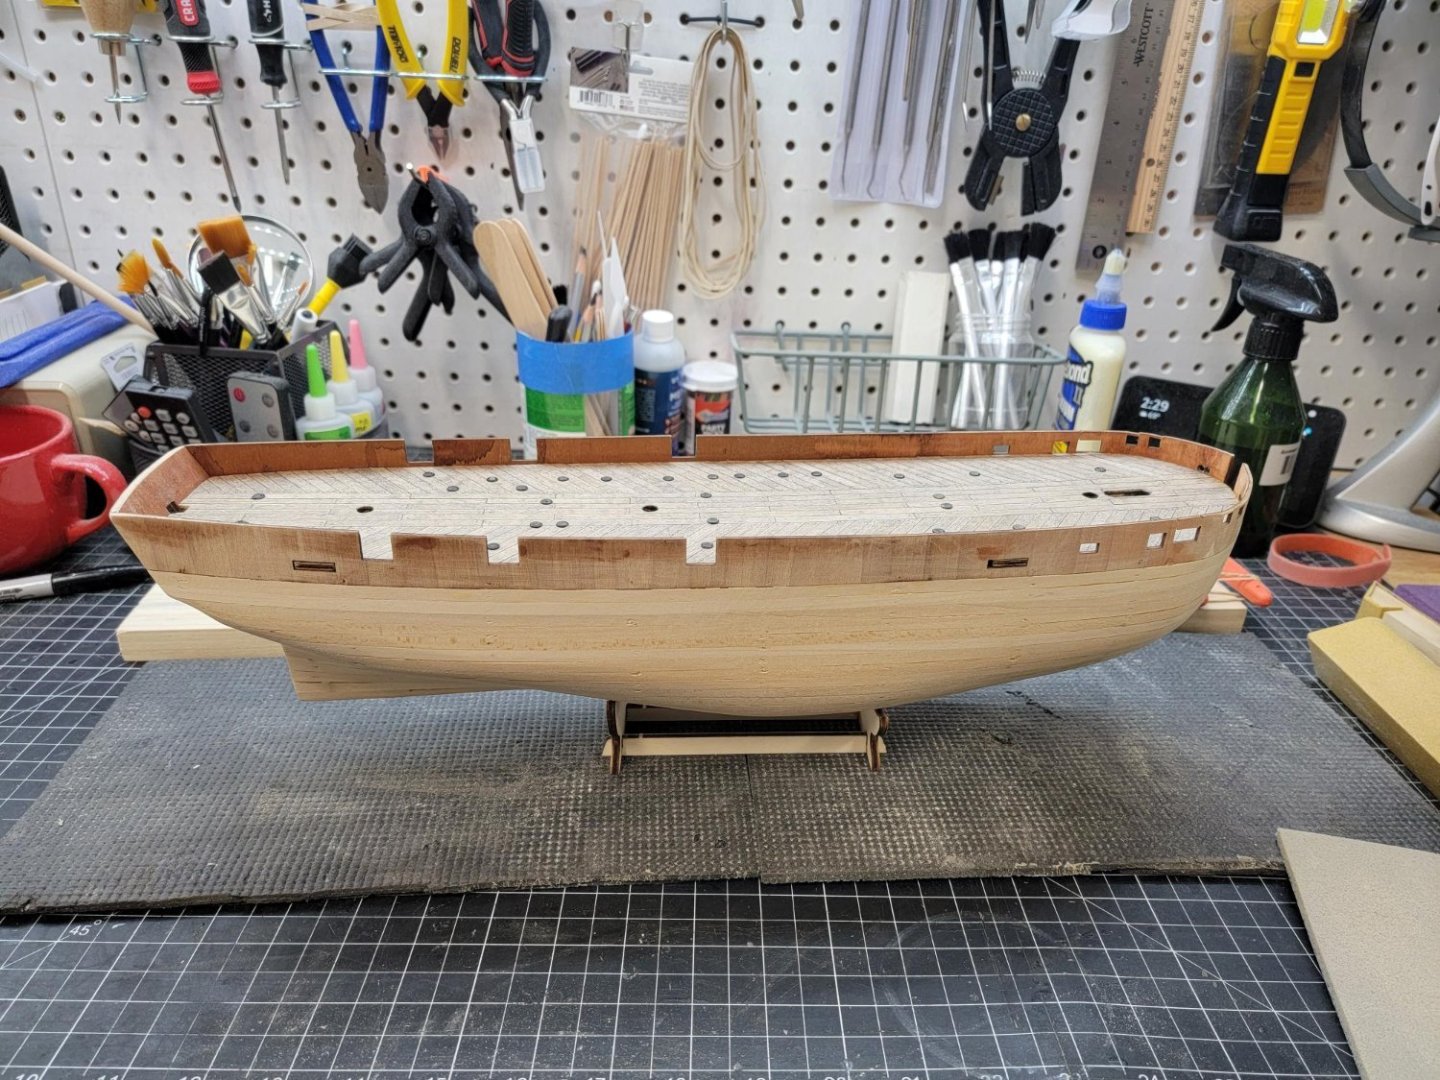
I have now secured the deck to the skeleton. I darkened the brass grommets with Birchwood Brass Black solution which worked quite well. I filed one by accident and will touch that one up. I put a shot of hot glue into the grommets to simulate the lens. I put tape on the deck side of the grommets and shot the hot glue in from the bottom. I need some input, though. I am considering doing the first layer of planking before putting the bulwarks and counter on. I am afraid I will damage the bulwarks in the planking process - I have already managed to snap one in half! I've marked the bulkheads for the bottom of the bulwarks so I know where to start the first plank. Contouring the bulkheads for planking is next.
-
For Ghost and Gus - we will be learning together. Clearway (Keith), above, is well worth a close review of his logs and I fully intend to utilize some of his ideas and techniques!
-
To All, I started a build log today and will do my best to keep it up. I can never equal the efforts or results you all have achieved, but your tips, ideas and research are invaluable. I have Betts and Lee and I have two more rigging books on the way. JBC
-
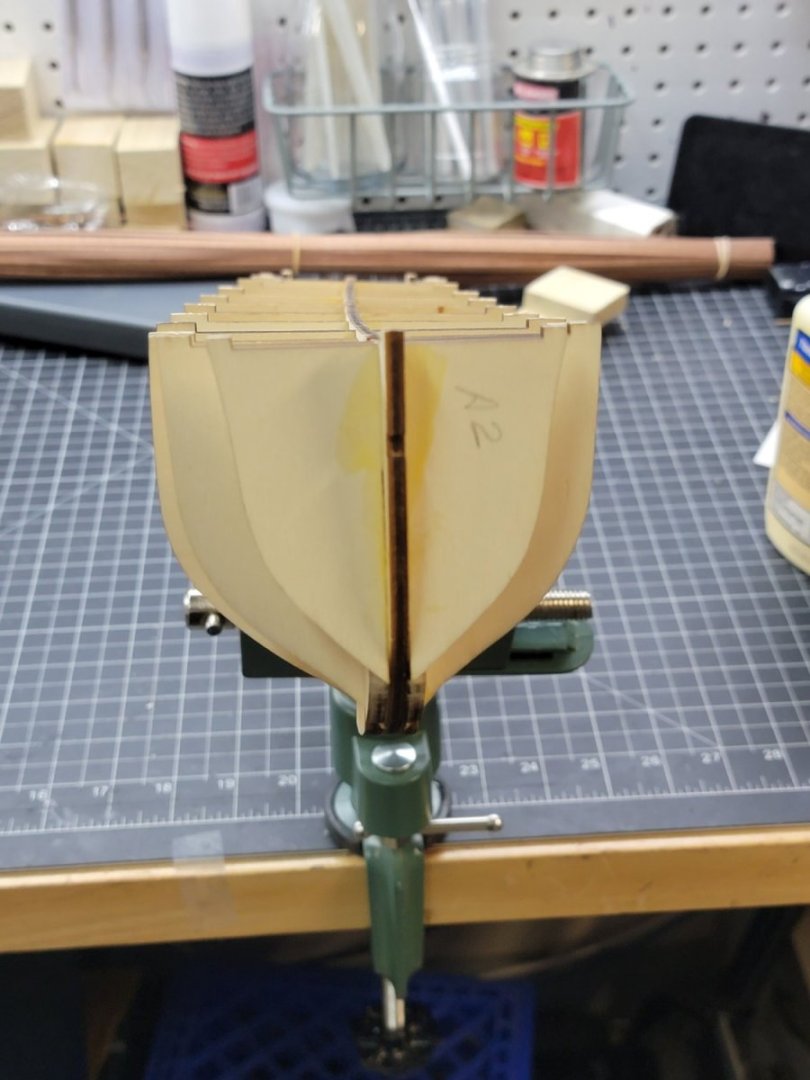
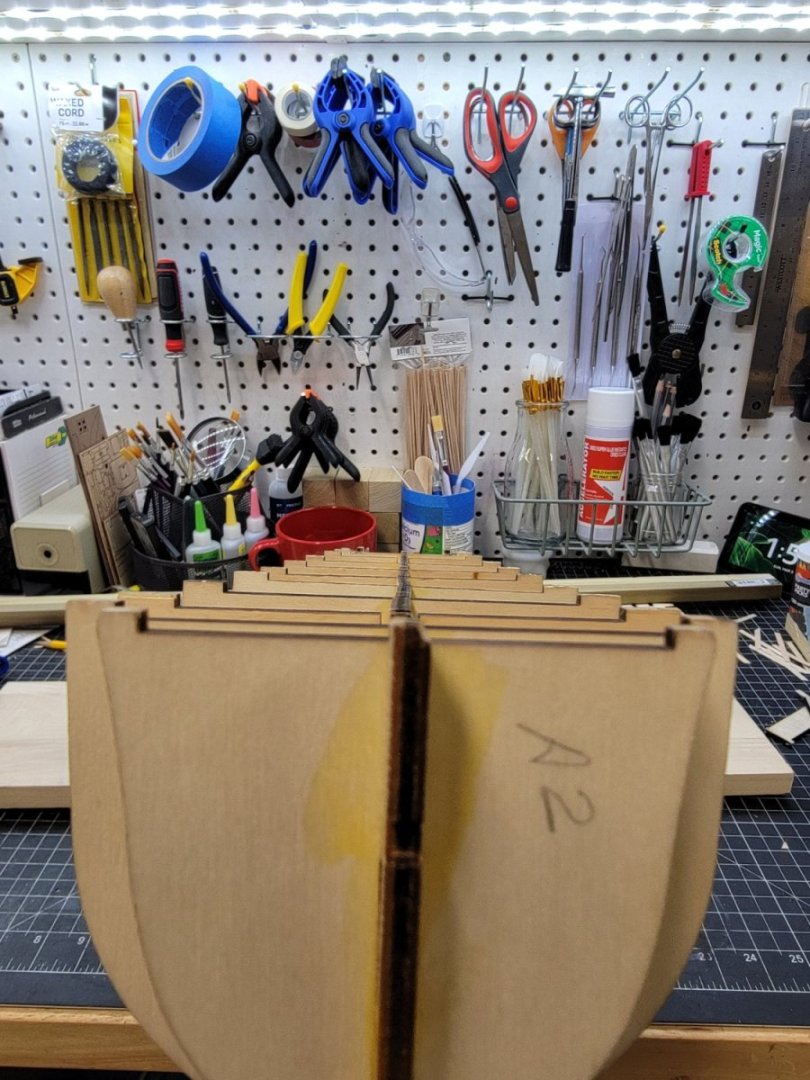
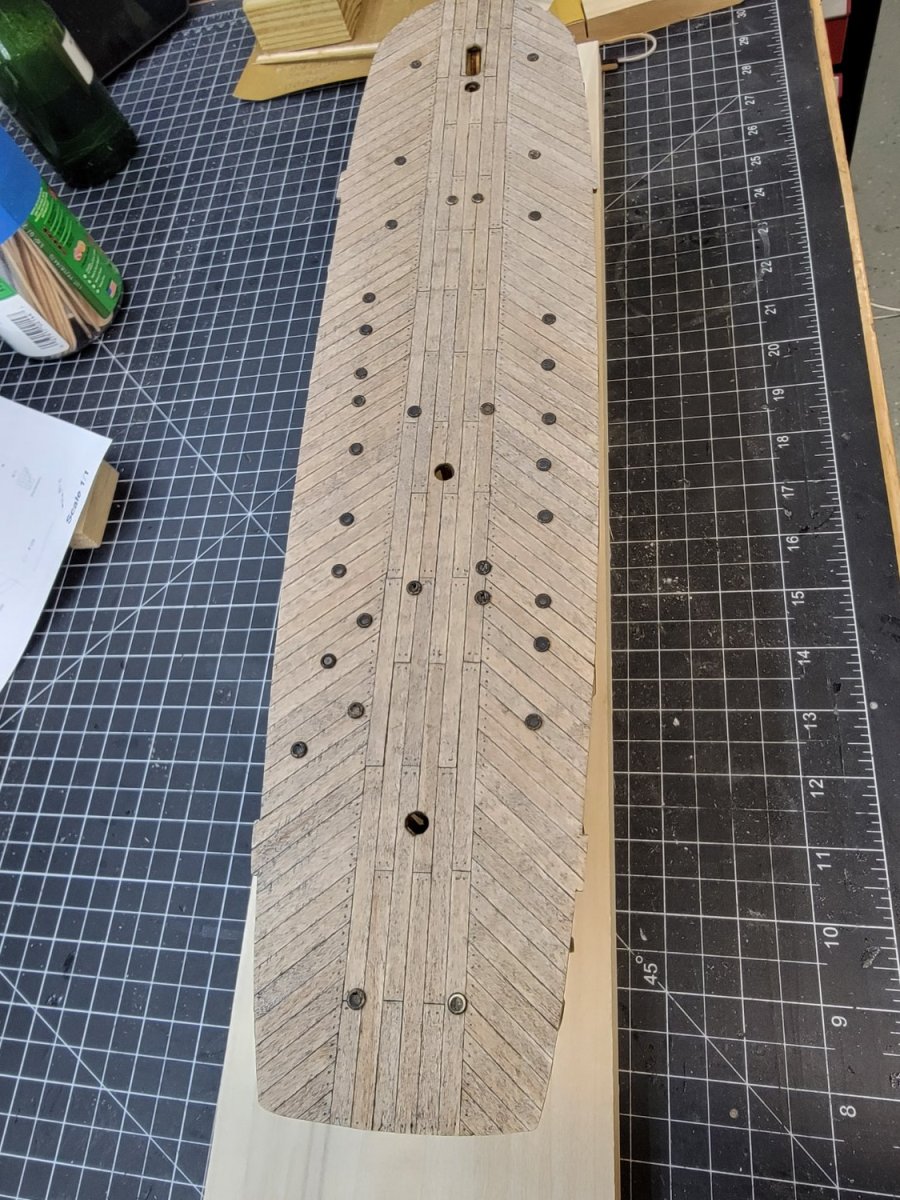
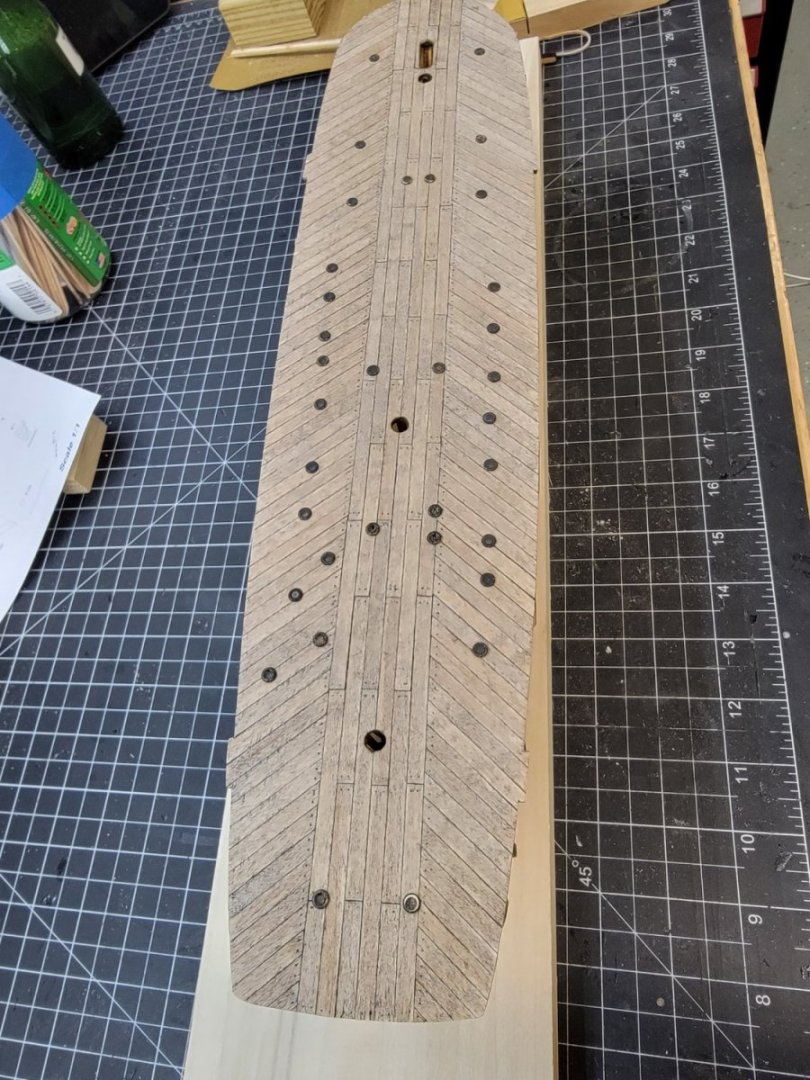
I started HMS Terror from the OcCre kit after reading the excellent build logs by Clearway, DanielD and KeithS. I have learned much from them, i am trying to put their great lessons into practice. after laying the keelson and bulkheads, had a serious warp and a bit of torque which had to be dealt with. I added blocking and some counter torque while the glue dried on the blocking and I'm pretty satisfied with the result. I planked the deck, cutting and laying each board and blacking the edges. I made one mistake. IF you've built Terror you'll see it. The diagonal deck planks should be running to the fore, not aft as I did. Lesson learned - check the plans twice, well only you all will know. I weathered the deck with a light wash of powdered charcoal, water and just a few drops of wood glue, then a coat of matte polyurethane. I then marked and drilled the holes for the light lenses and various deck fittings. I think I am going to drill deck holes and grommets for the davits as some others have done.