
Auger
-
Posts
305 -
Joined
-
Last visited
Content Type
Profiles
Forums
Gallery
Events
Everything posted by Auger
-
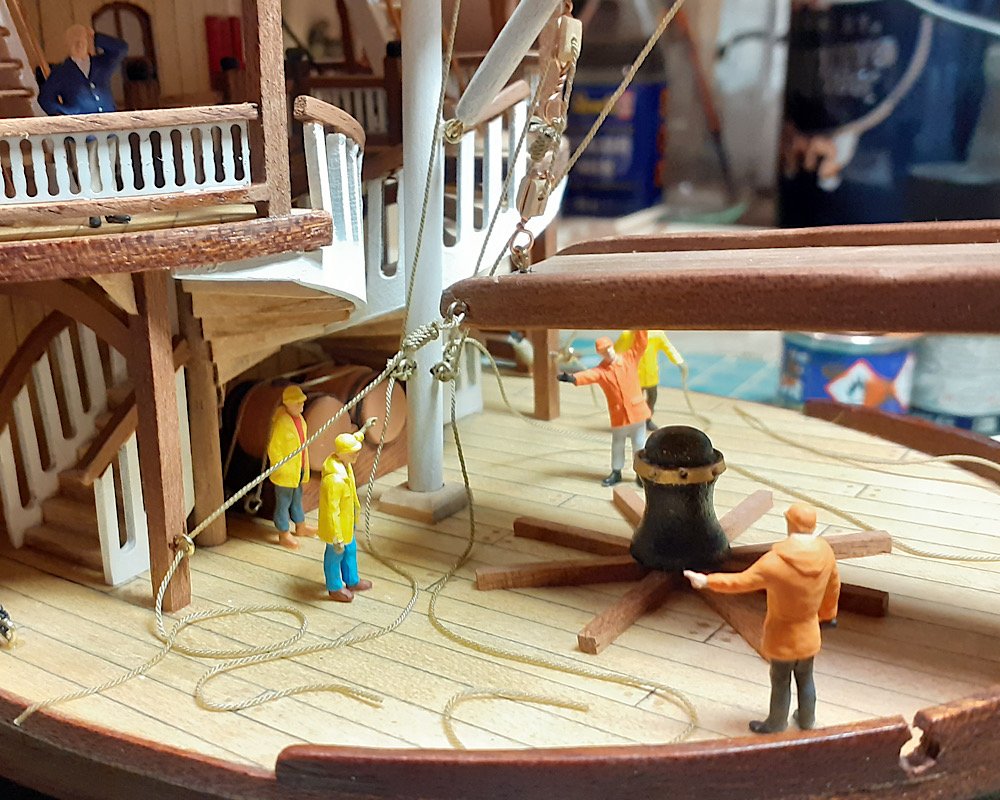
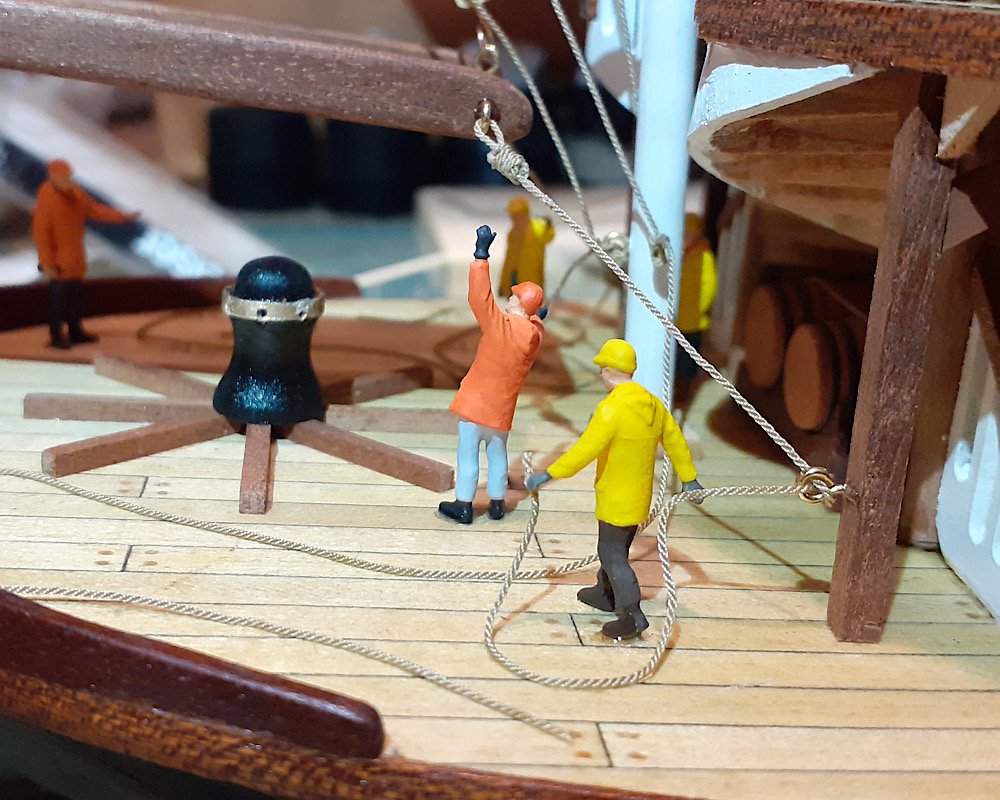
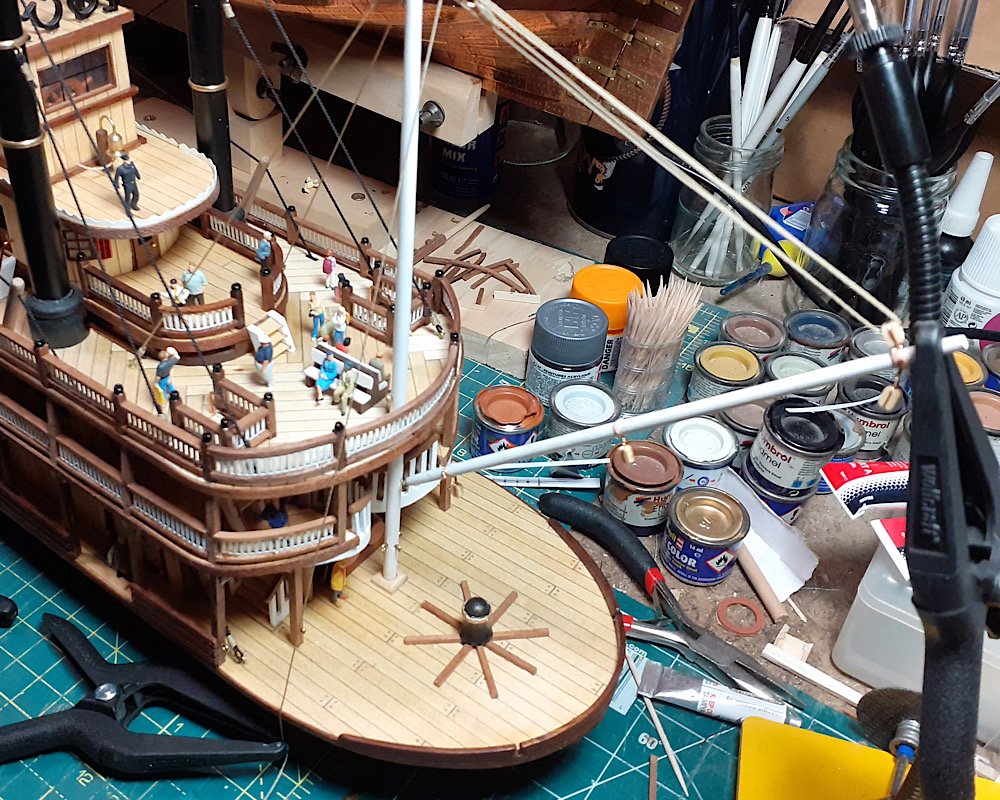
Looks like things are going to move soon! The crew has begun stowing the ramp.
-
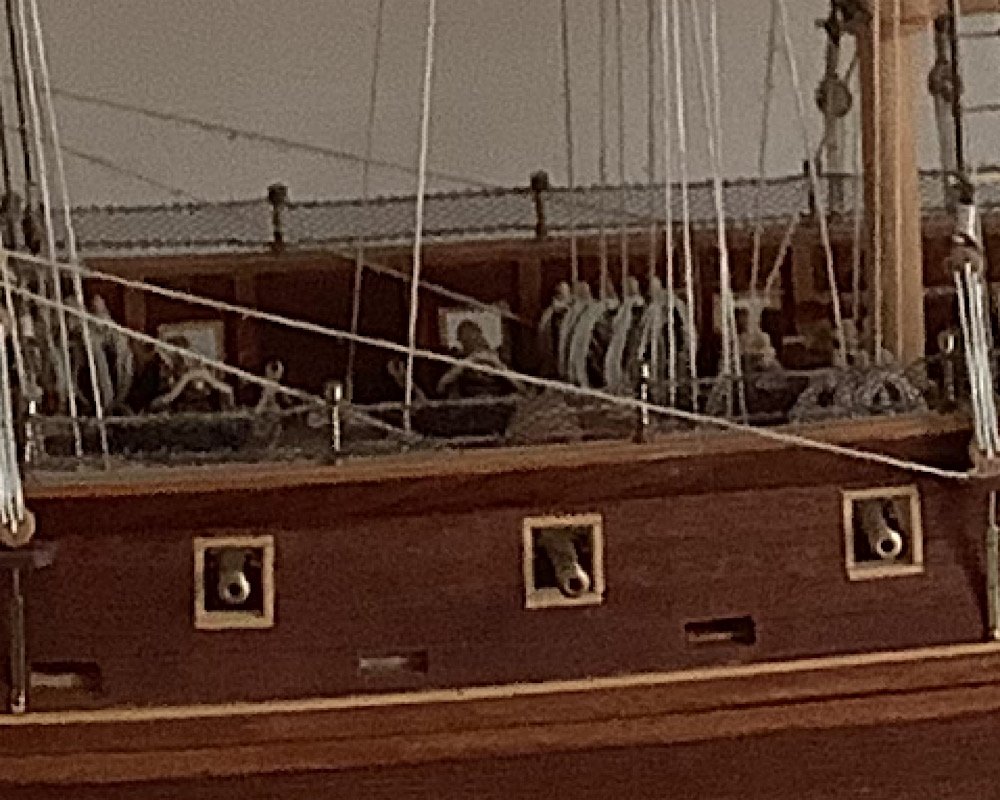
Looks like the netting posts on my Constructo Enterprise.
-
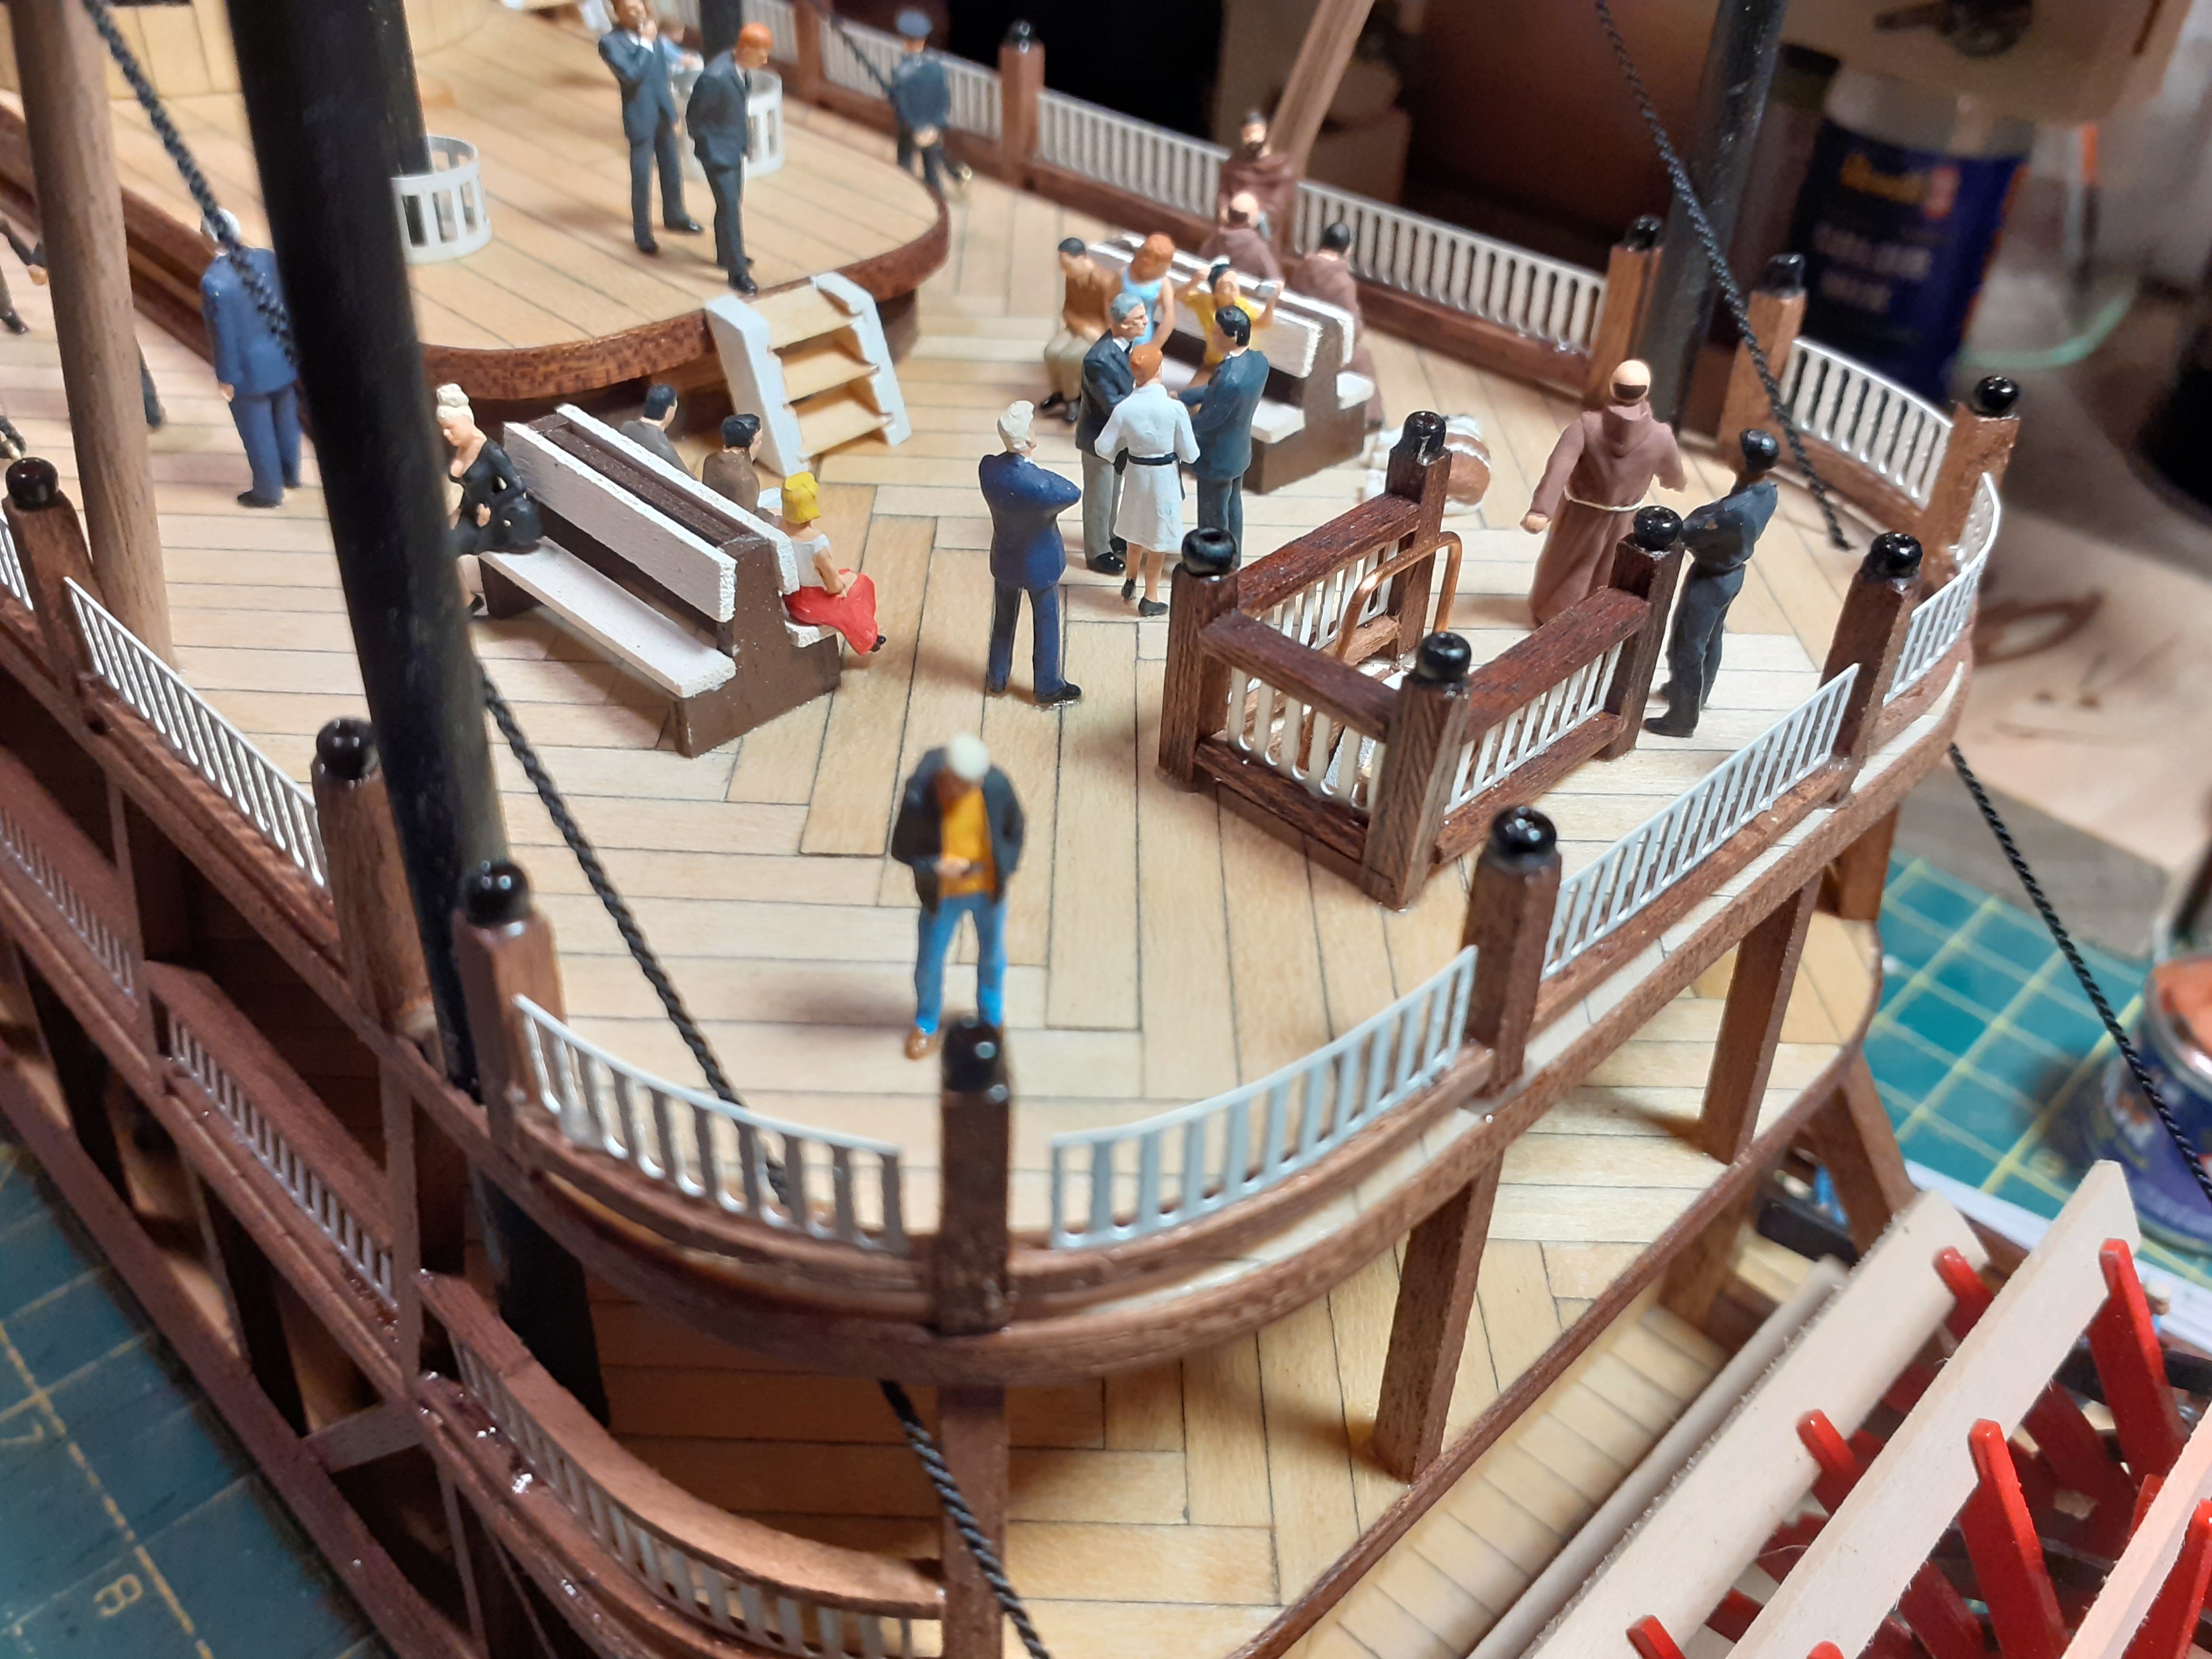
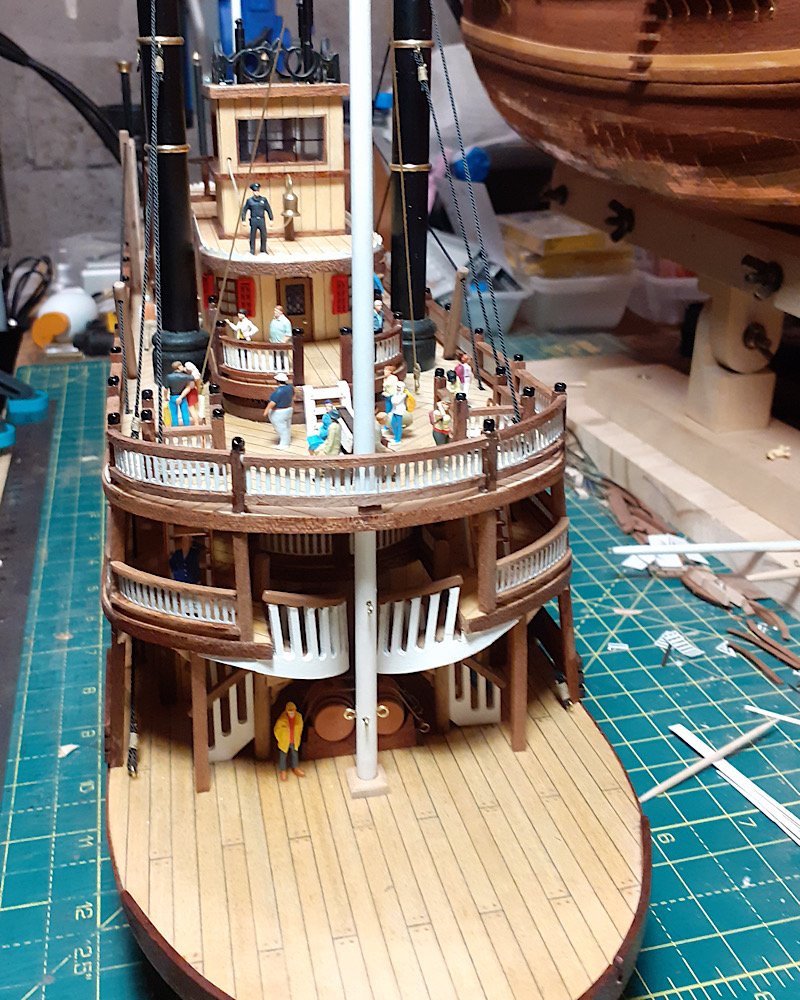
Of course. Have you ever experienced something of the like without a decent crowd? Especially when the company has gone long with repairs and upgrades. Everyone bites at the VIP cruise, it’s good for business. The weather is getting better, people are feeling good… This is what I want to convey with my model.
-
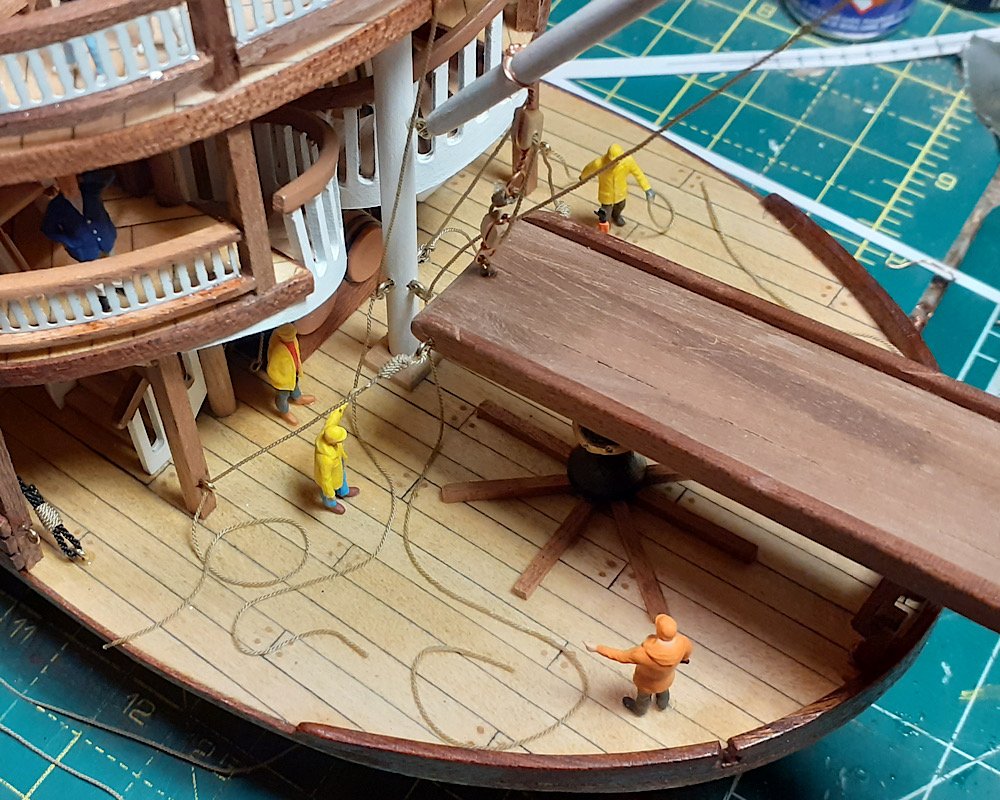
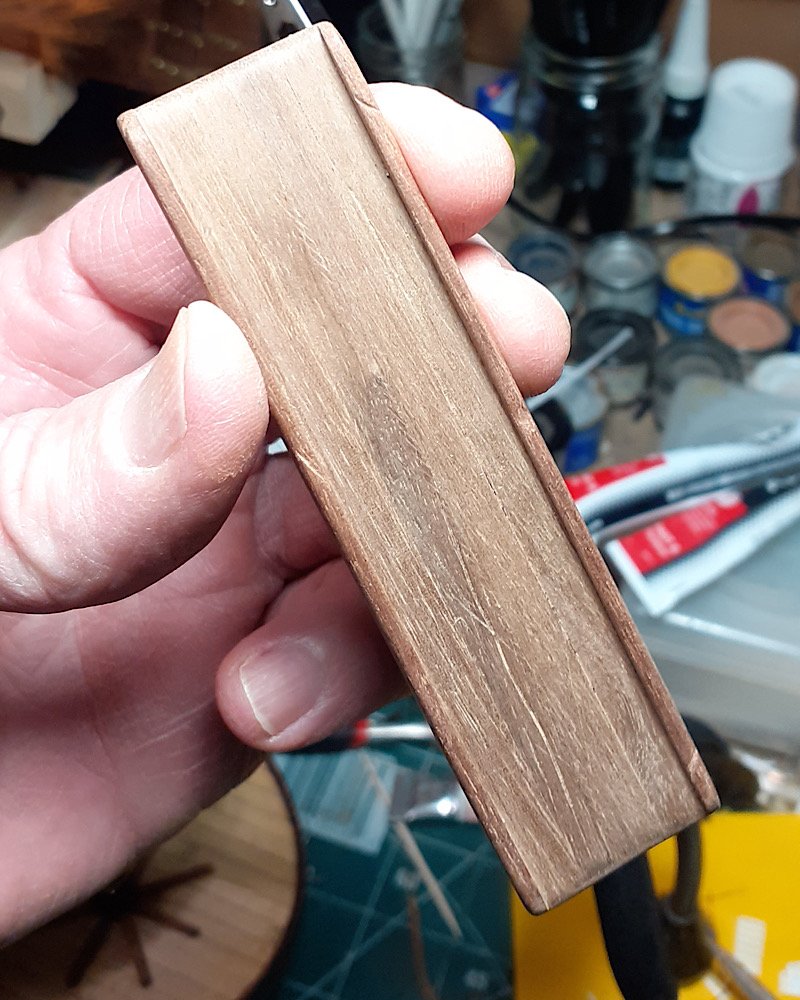
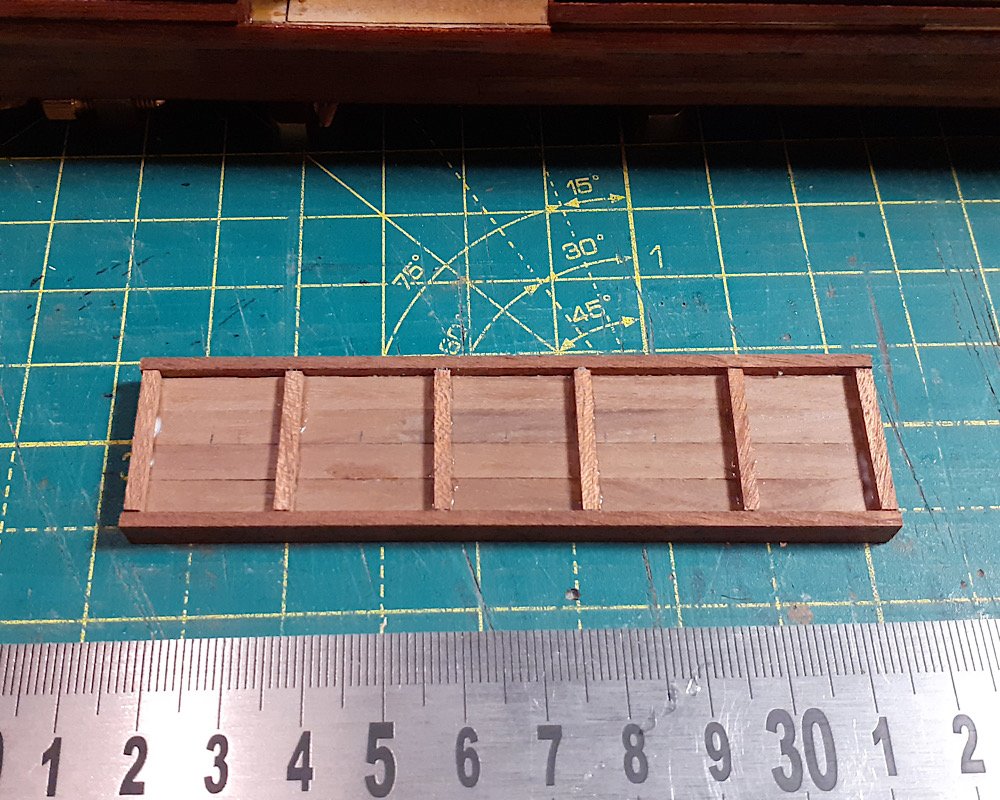
A well used ramp.
-
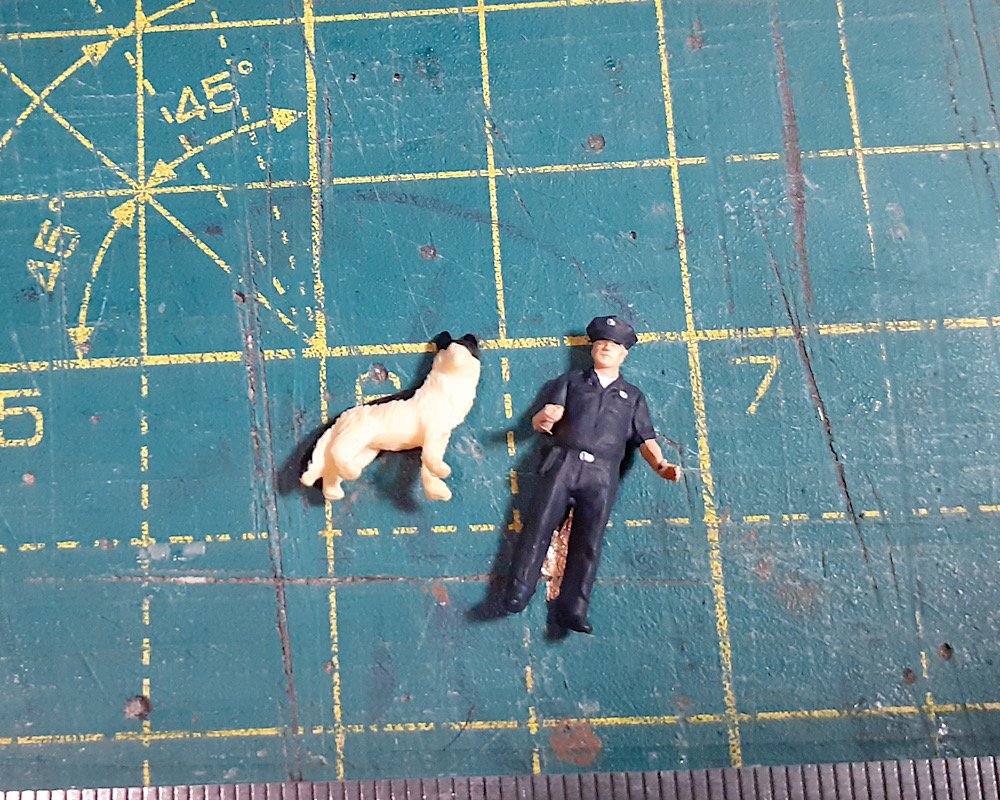
K-9 has finally arrived to sweep cargo. Apparently they were stuck in traffic.
-
Some work on the bow; starting to rig the ramp.
-
Better. A hammered and abused ramp is more believable to me. Never did I see a pristine ramp unless Admiral was aboard. I’ll sand it out slightly to make the wear more to scale. A small pleasure to build something, then scuff and file it all up. 🙂

-
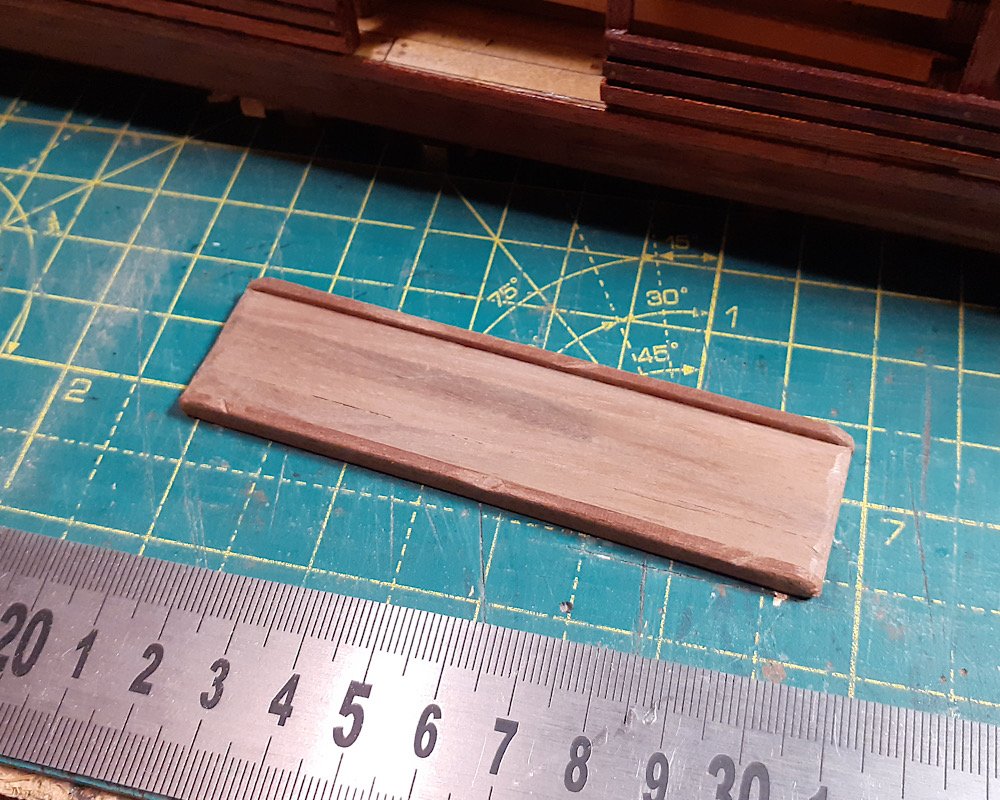
For the loading ramp, I don’t like this.

-
Hello, I will be picking this build back up again here shortly. My Mississippi project is almost finished at which time I will move back over to the Bounty. Been a lot of life’s speed bumps, broken bones, etc.
-
Mind transportation. + “Seduction” love the thick bass lines.

-
They were invited to a VIP cruise.
-
Thank you so much.
-
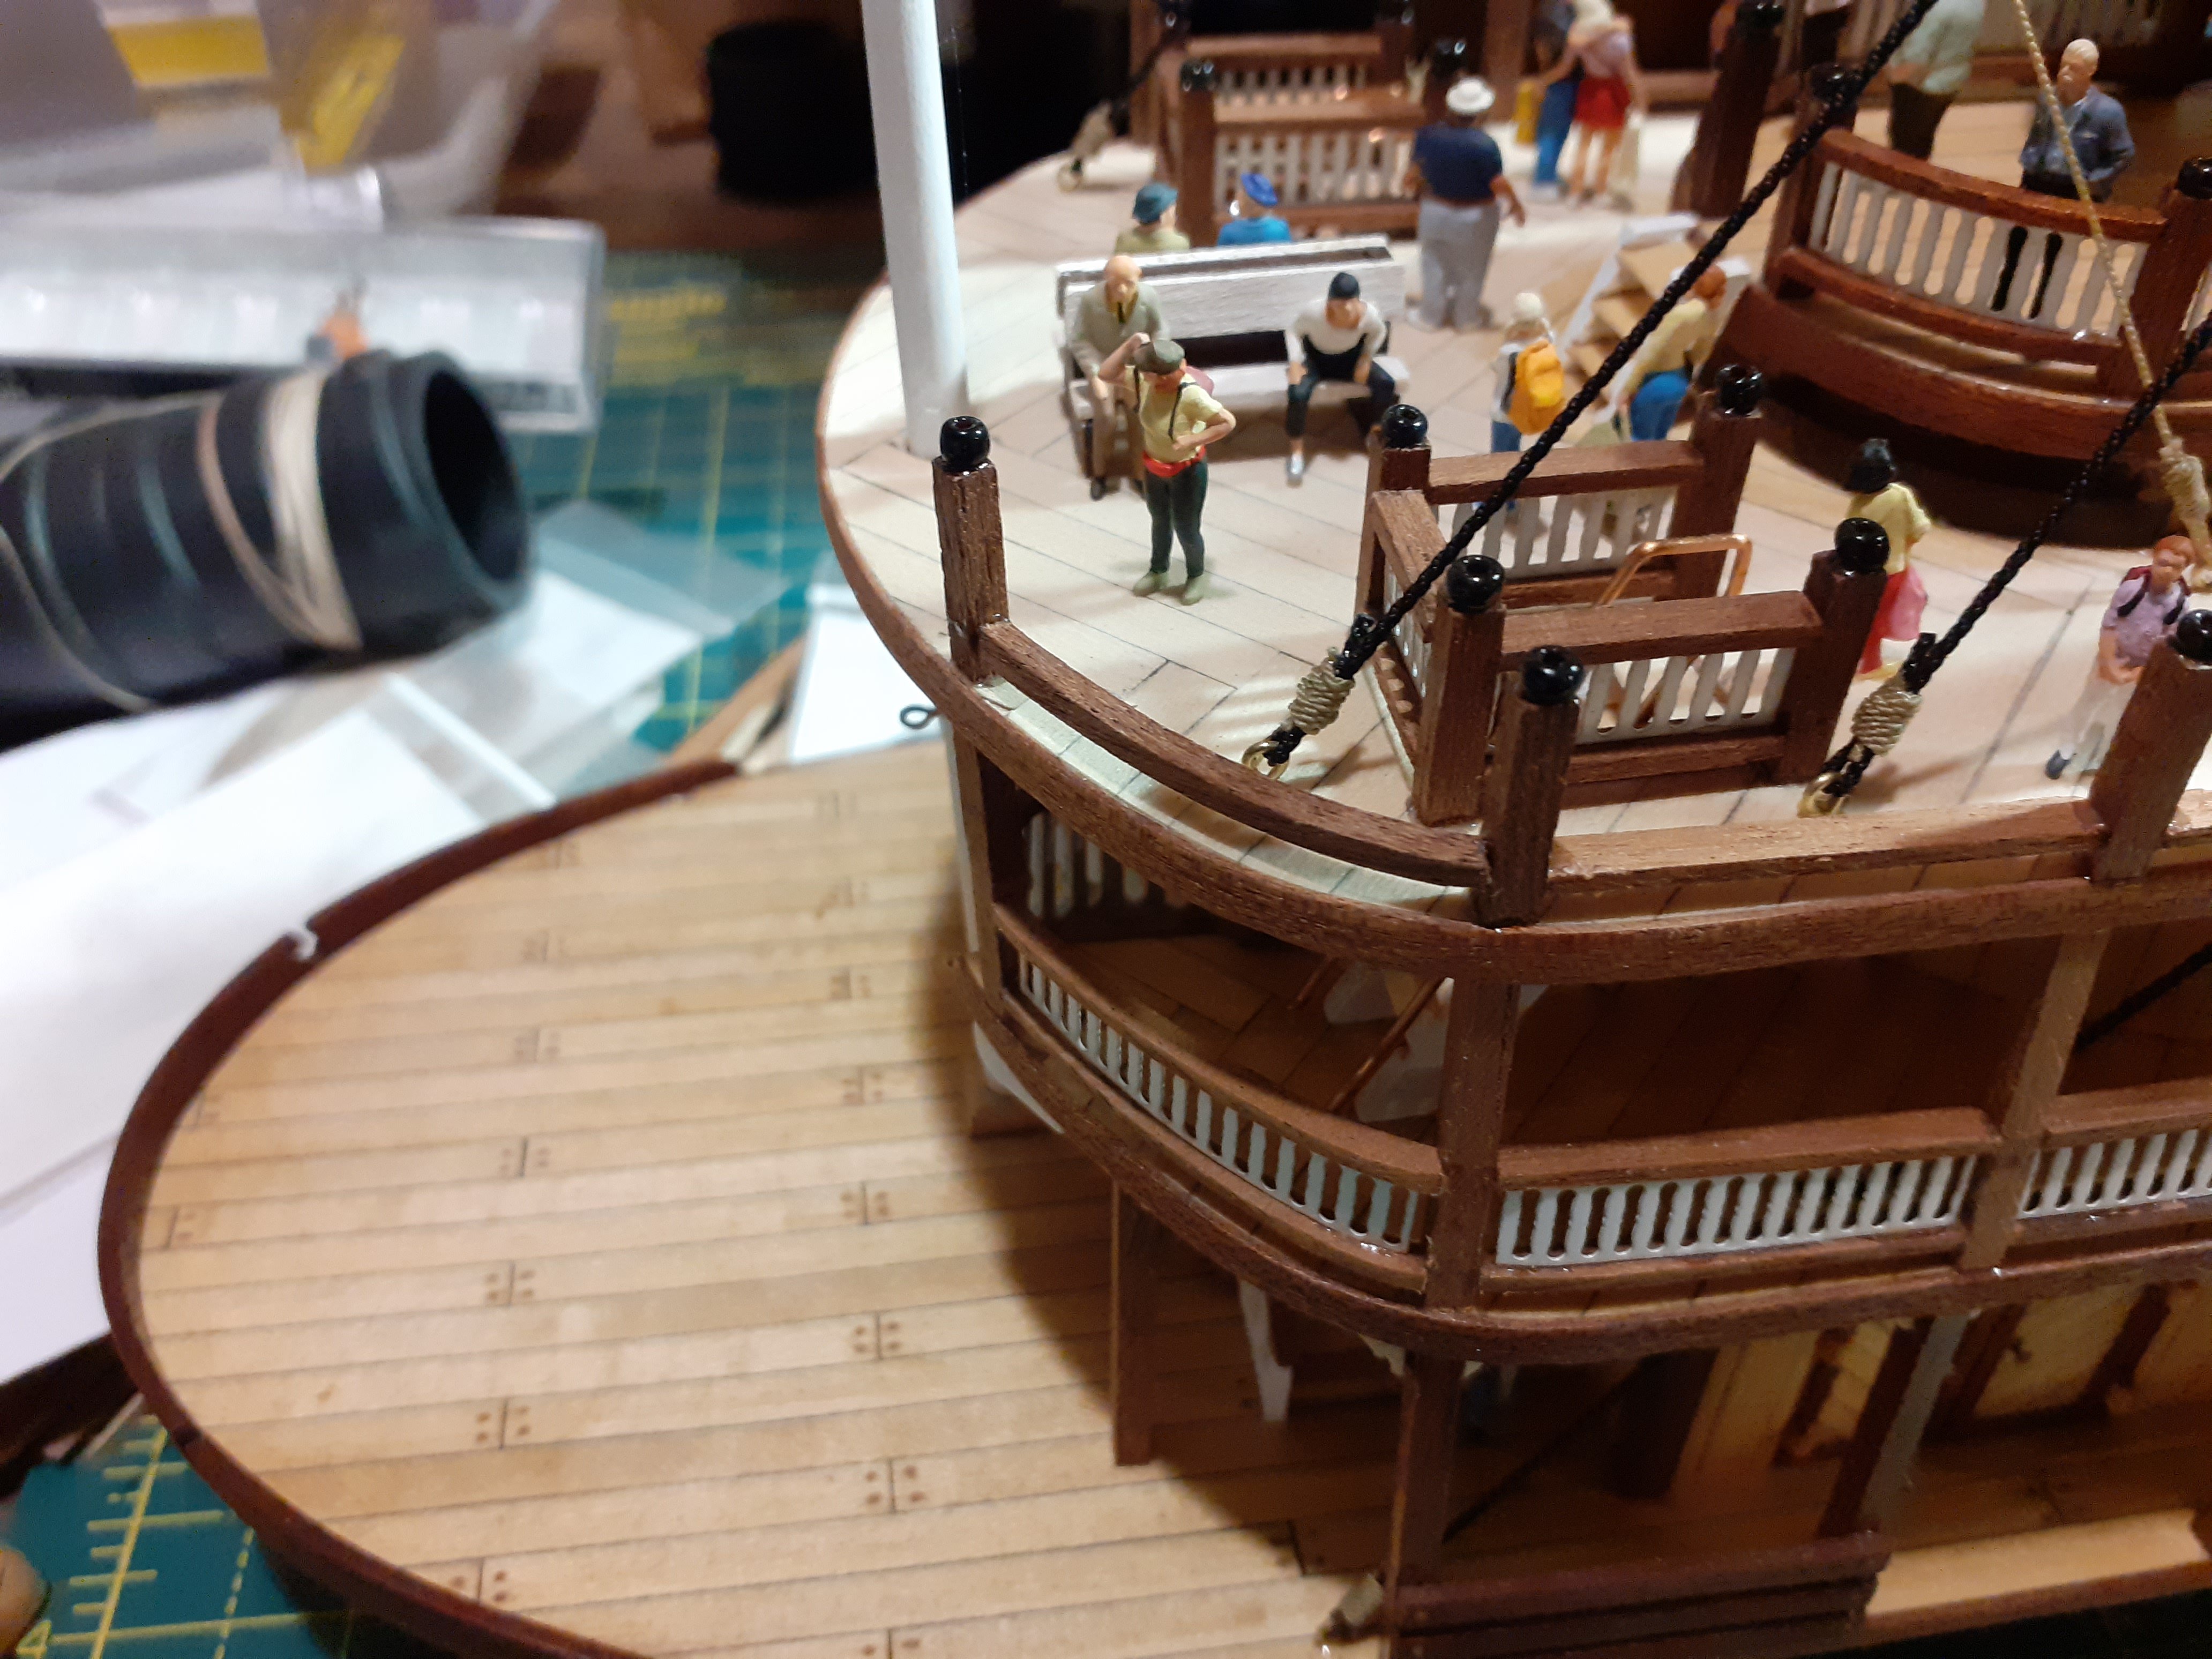
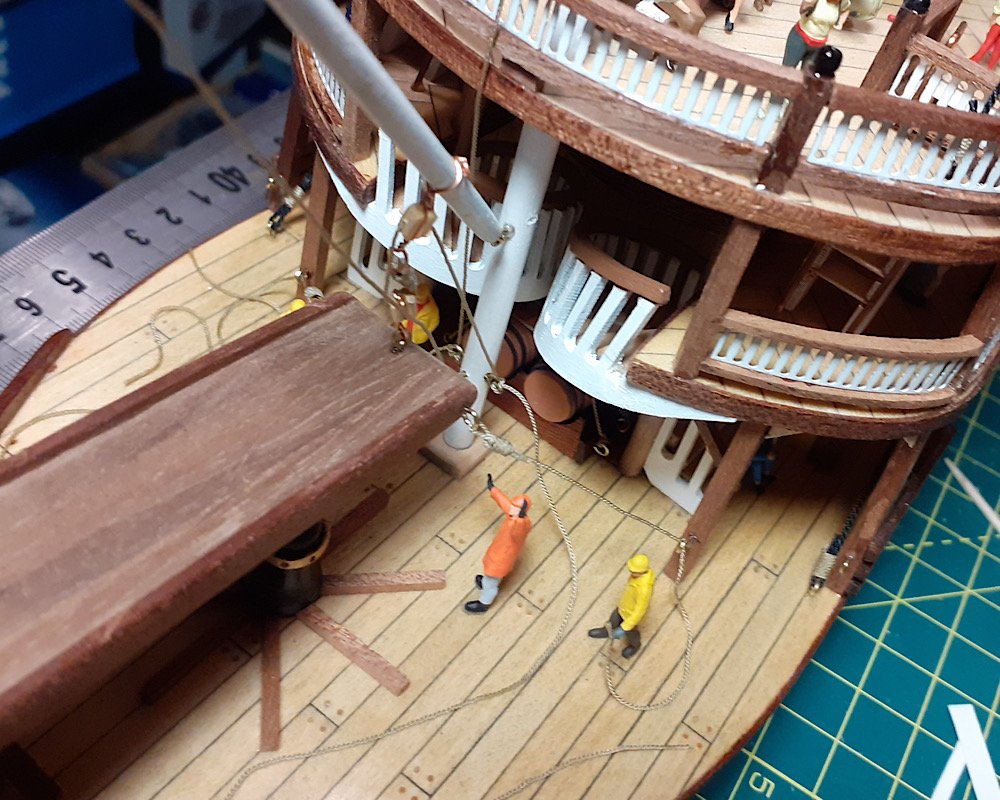
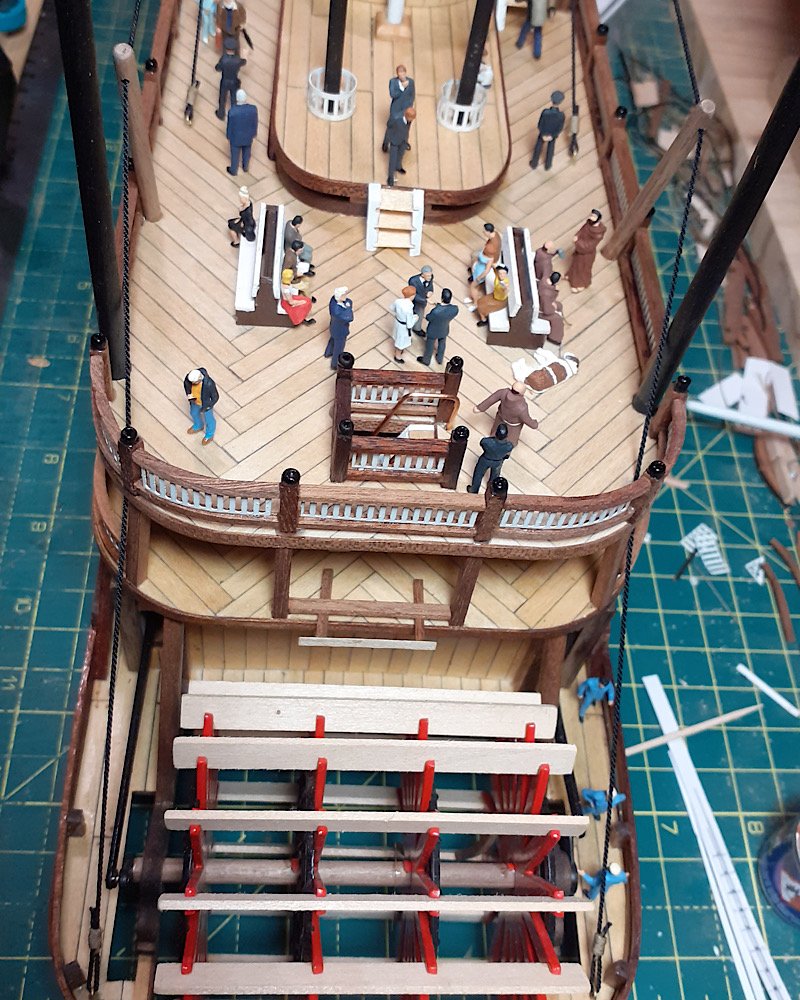
And the railing has been completed! Yeaaaaaah.
-
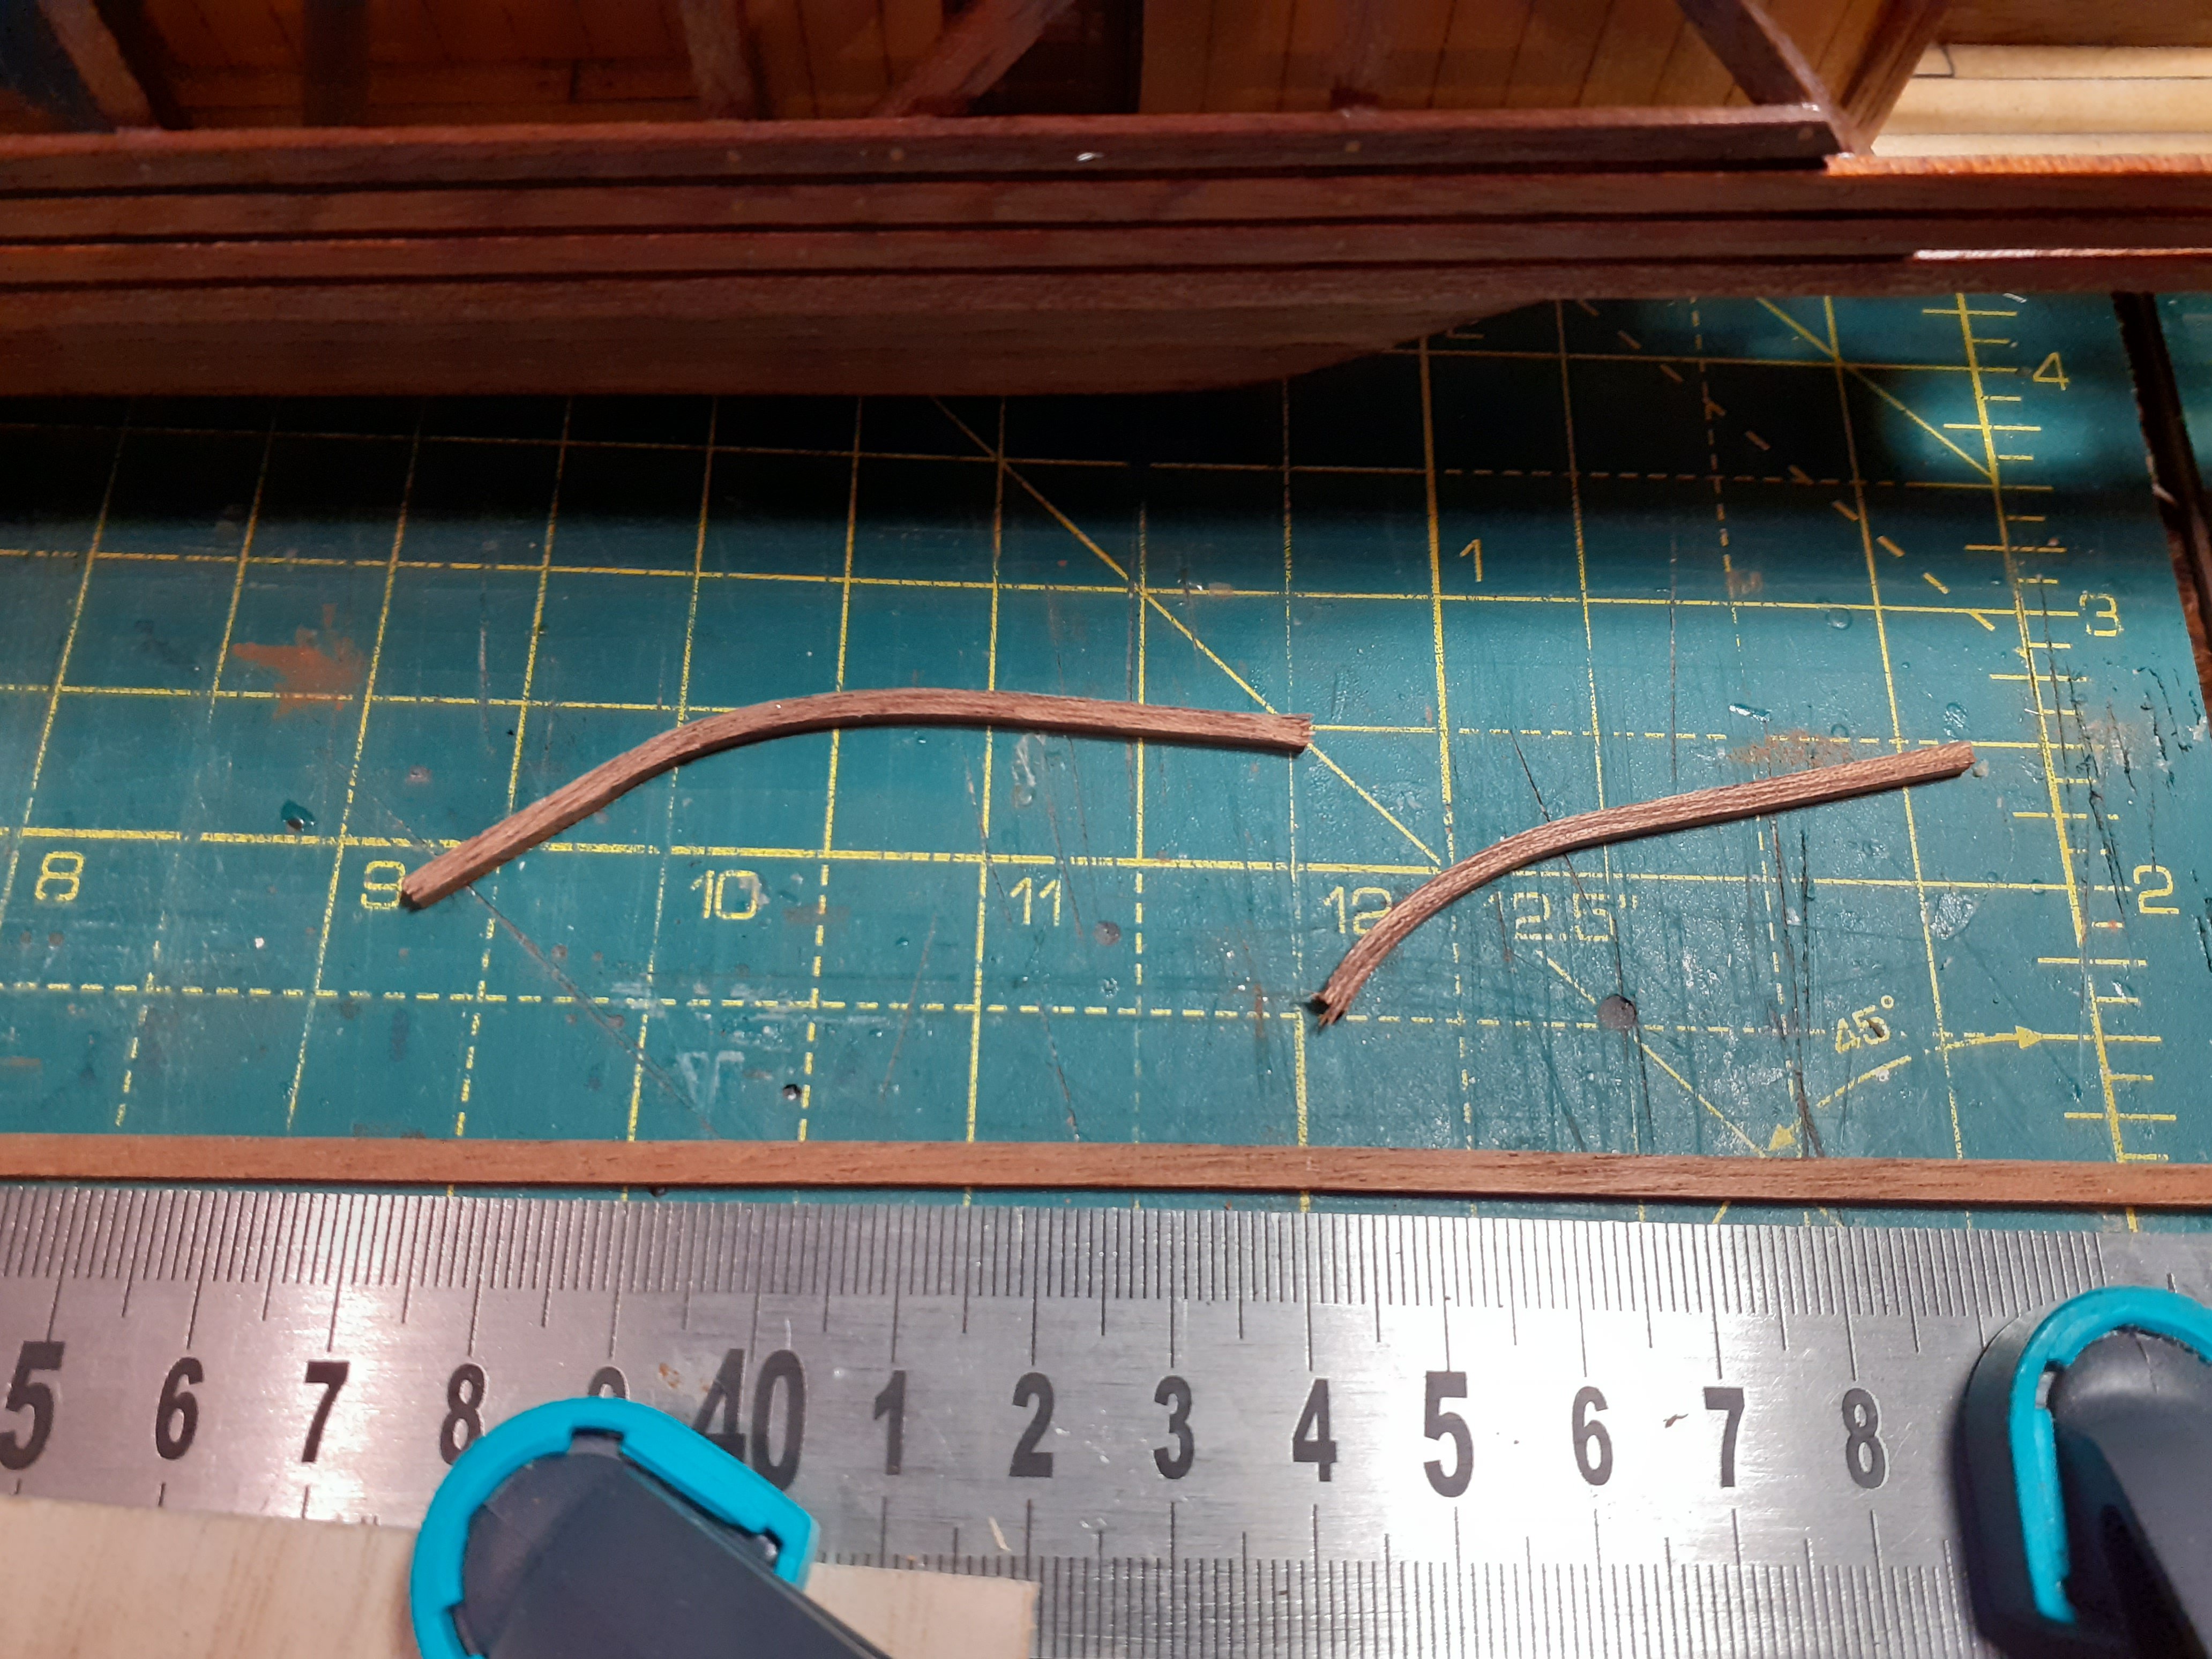
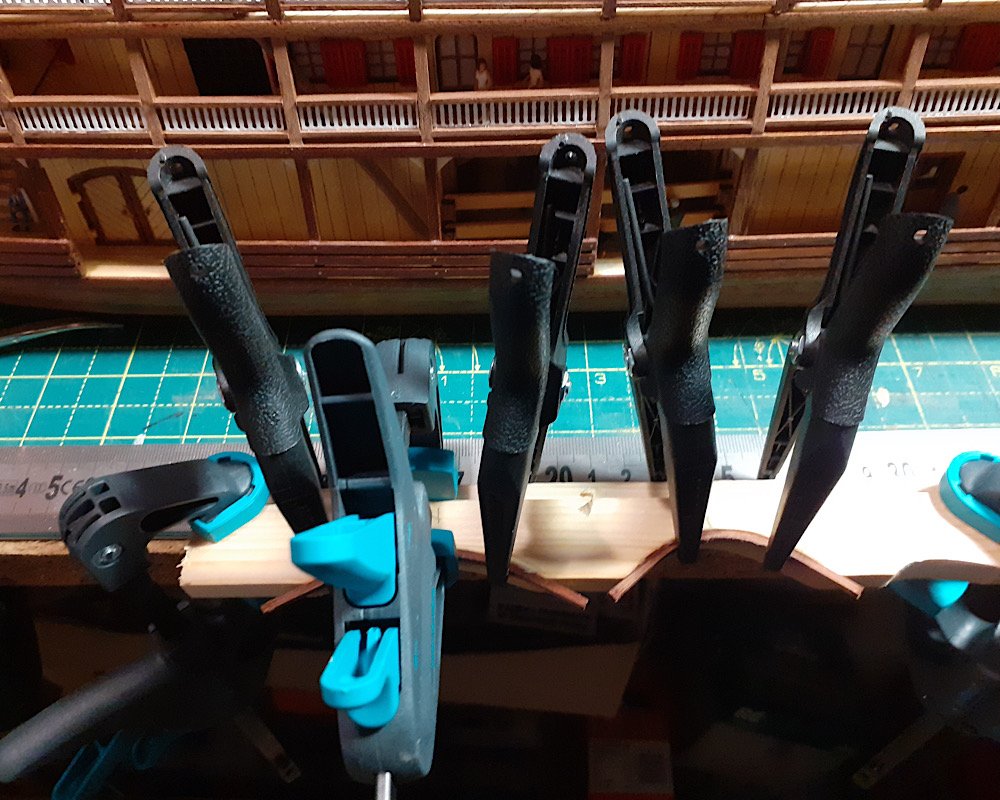
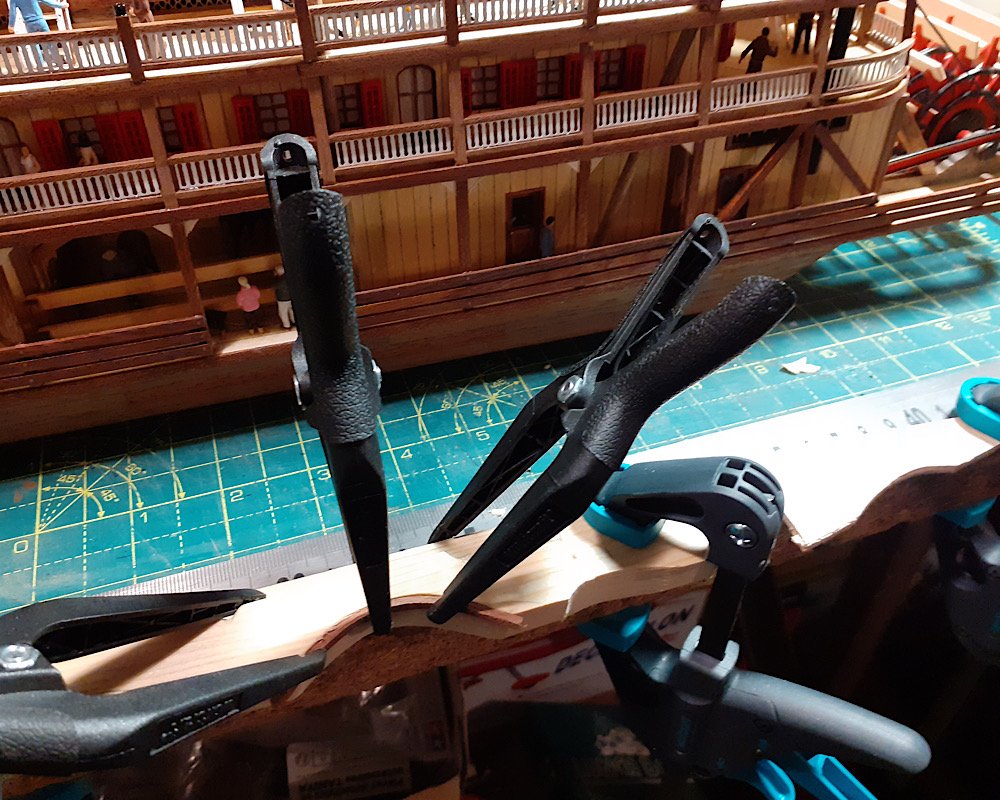
Ohhhhh, happy day! The last two rails are drying in the forms! I love the build, don’t get me wrong, but sometimes there’s a sigh of relief when certain tasks are finally completed. Like building cannons. 🤪
-
Very nice! Way better than my cardboard box spray booth.
-
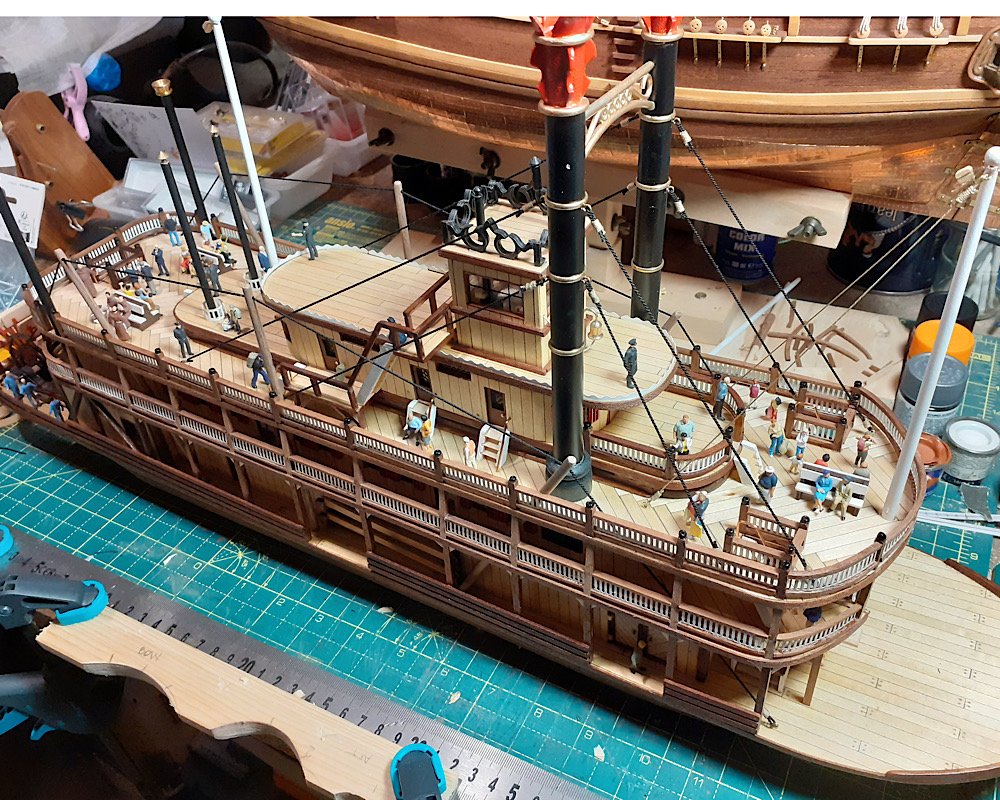
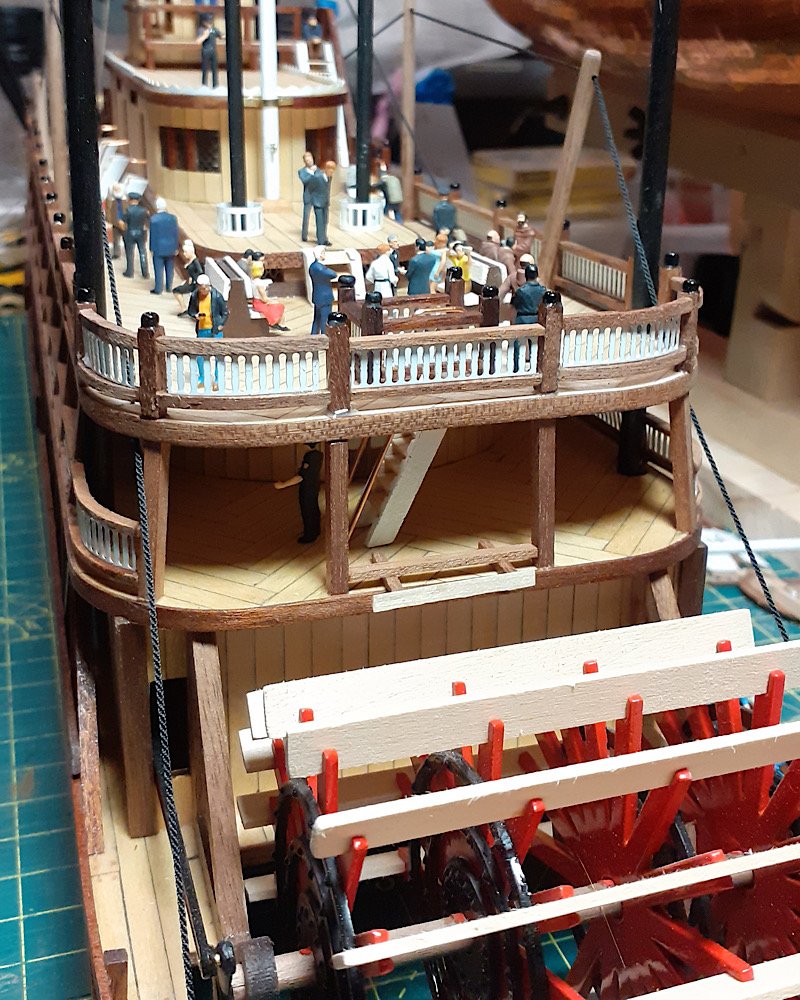
(spoiler) So, the trained eye will notice that I’ve been using 2mm x 2mm sapele wood in place of the 1.5mm x 3mm (about) kit laser cut wood for the rail bends. It’s what I have on hand so it’s what I’ve used. The layman generally won’t know the difference which sets you all apart. Why? (Maybe I’ve said it before) The kit laser cut parts came up short in certain areas, so I abandoned the laser cut railing sheet all together early on. If you want the laser cut parts to work for you, don’t follow the instruction book in order, page by page. Work the railing posts from the top deck down in respect to the larger railing plan. I followed the instruction book page by page and found the flaw afterwards. Cut-out and lay the upper deck plan onto your upper deck build once entirely built and mark the railing posts from there-down. Then, work the railing posts top-down and outward from there (bumpers, etc.) Not bottom-up like in the booklet. Trust me. Ignore the railing posts in the book until you reach the top deck. Then work backwards top-down from there. I really hope this helps someone. This is based upon the 20505 version. The 20515 version may be different.
-
Which is slower; watching paint dry, or watching wood dry?
-
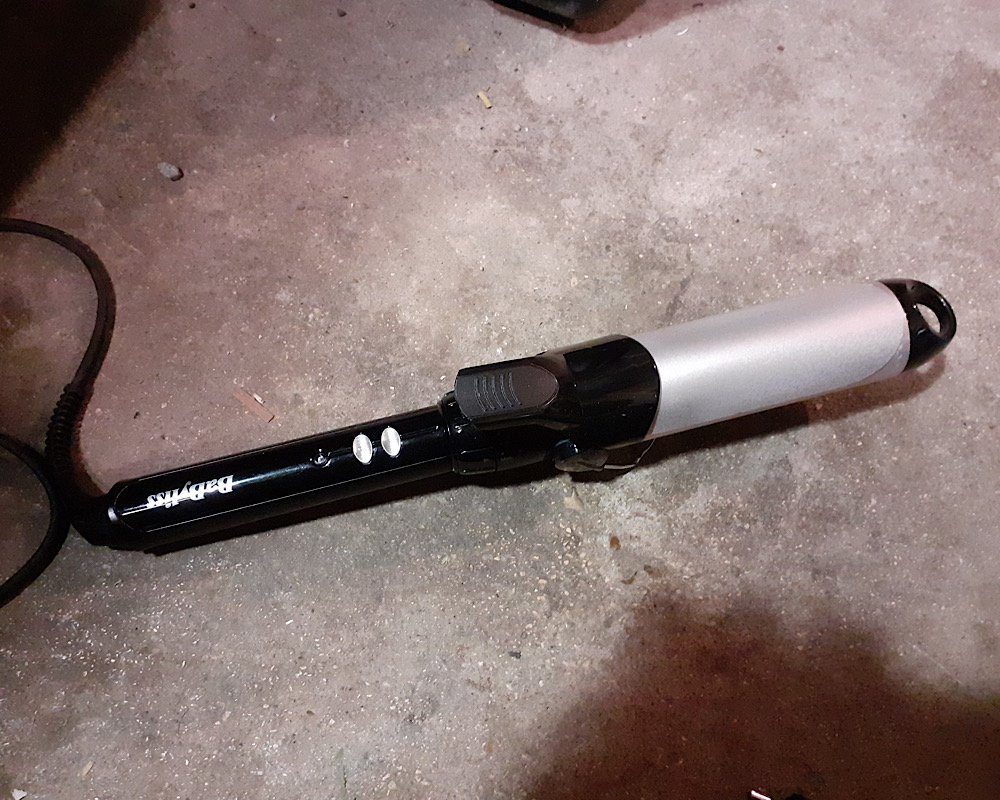
My high-speed BaByliss 38mm bending tool. 😁
-
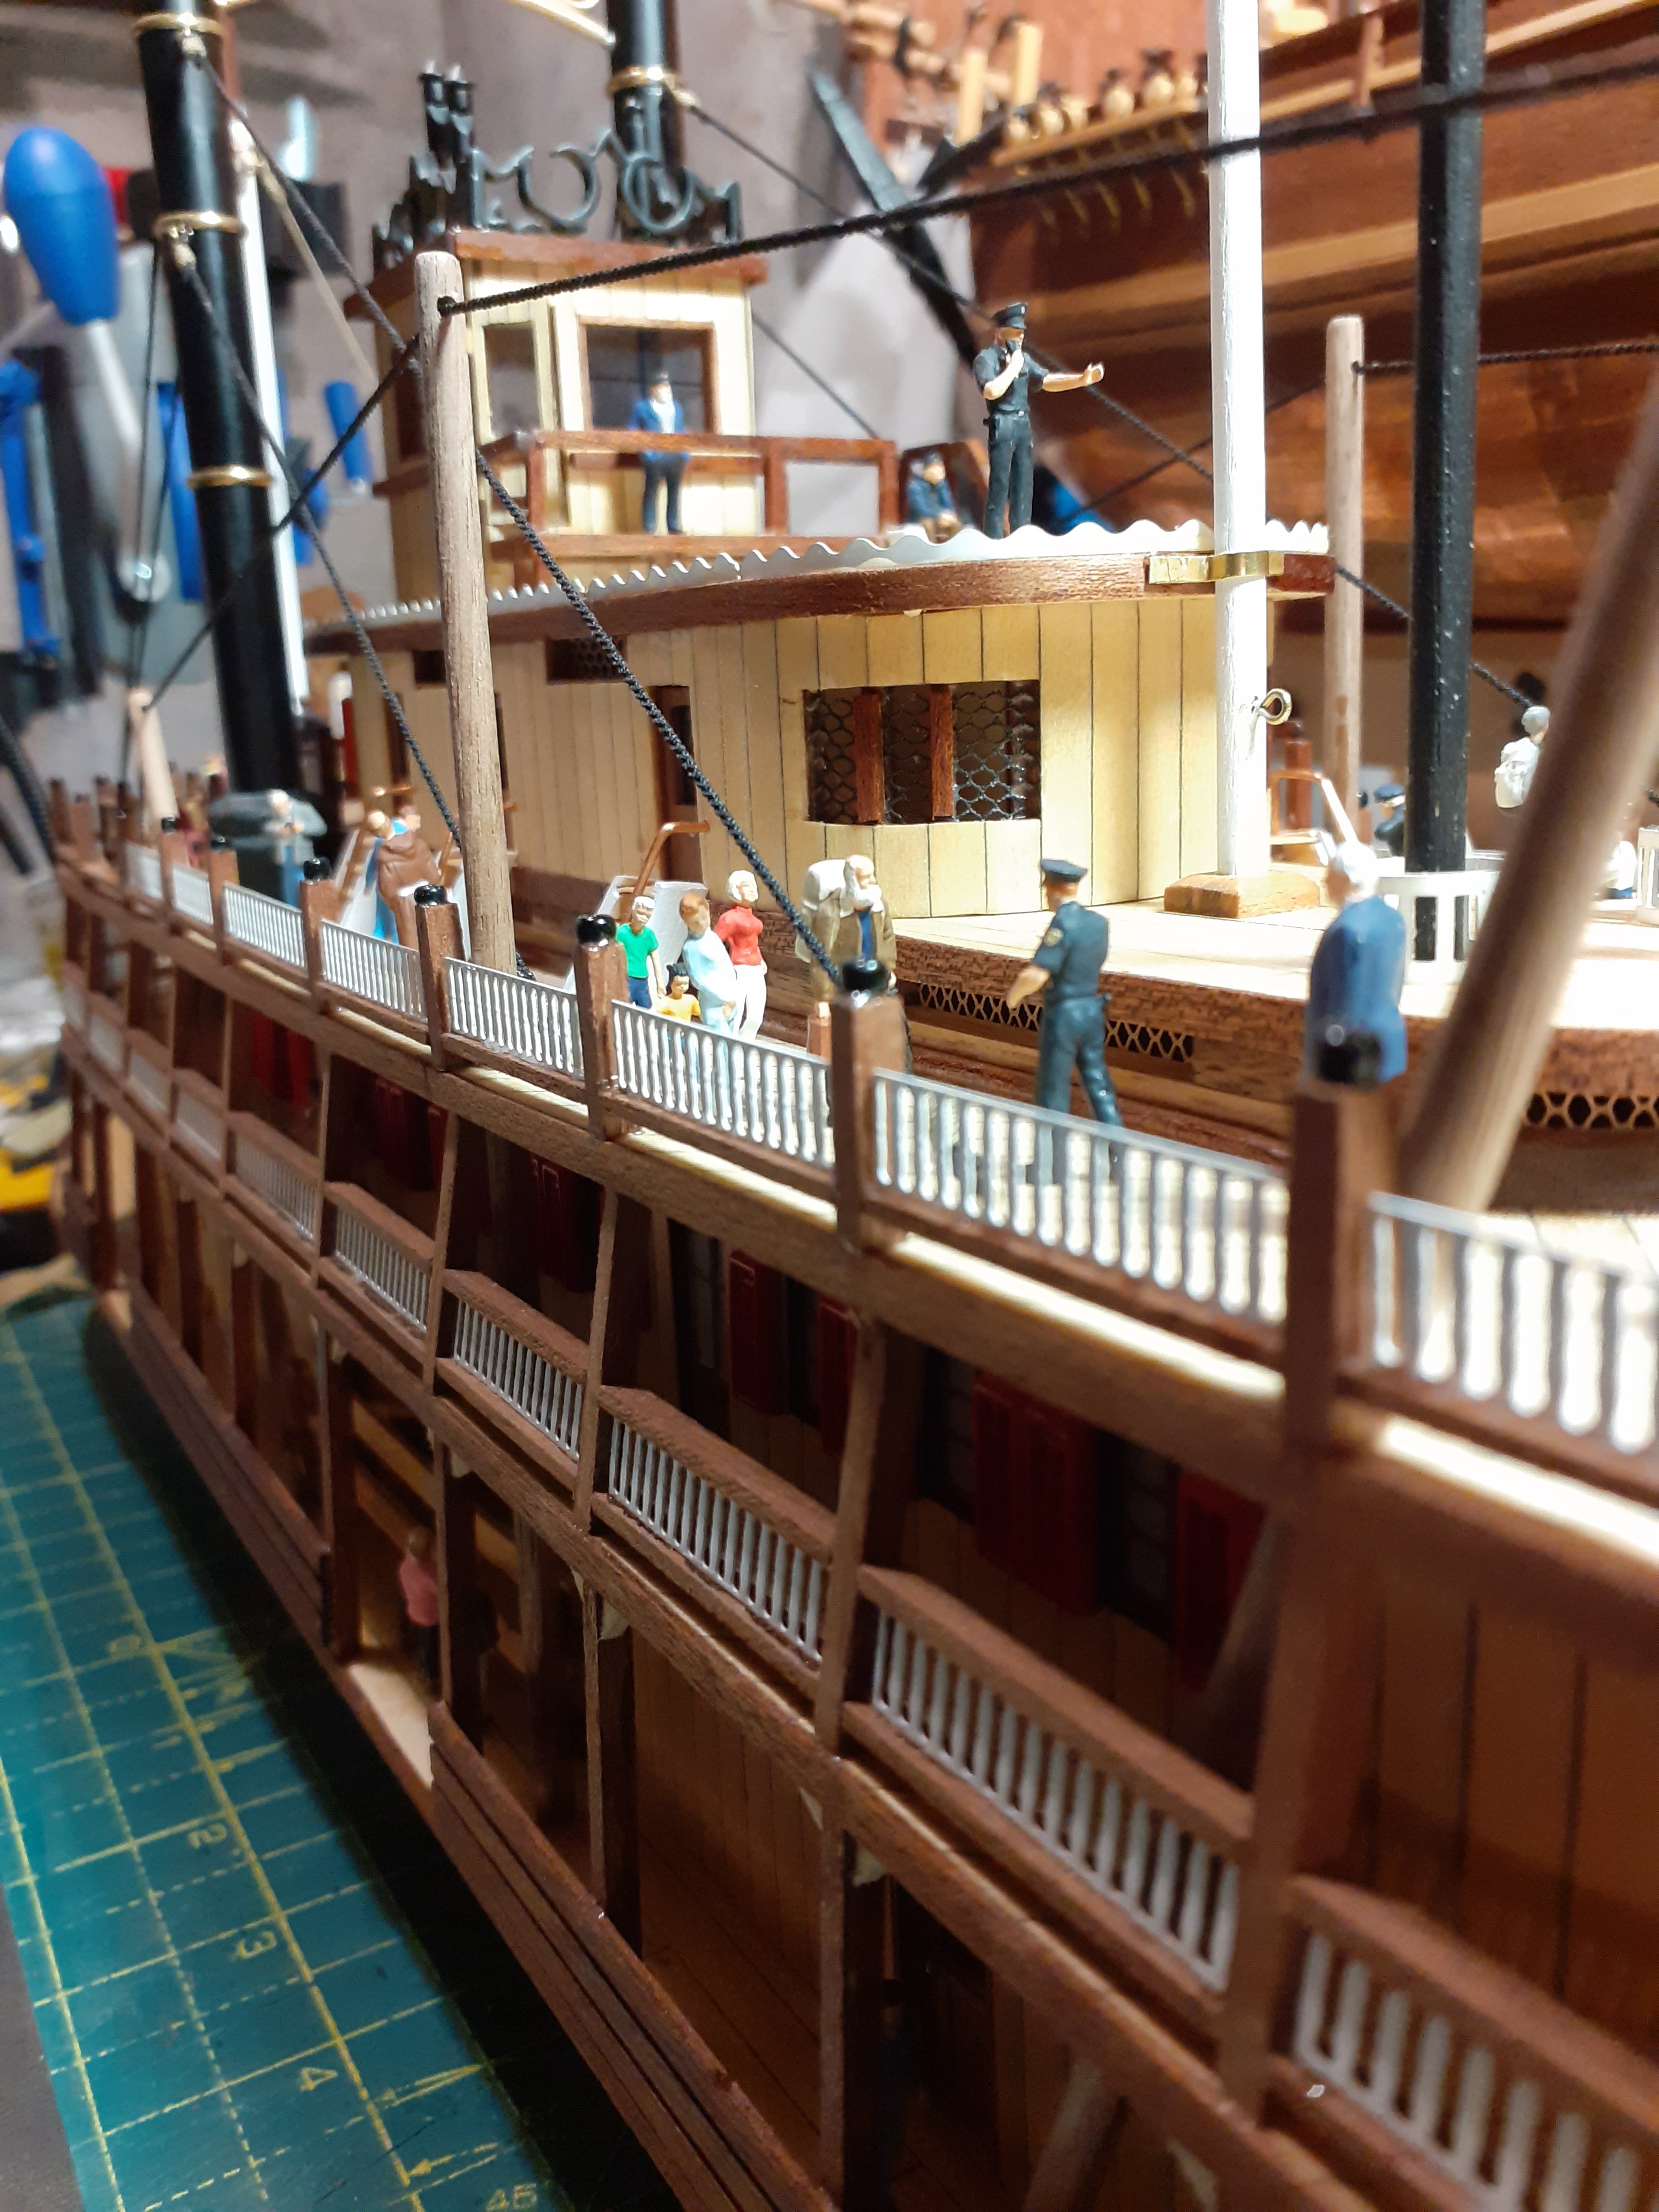
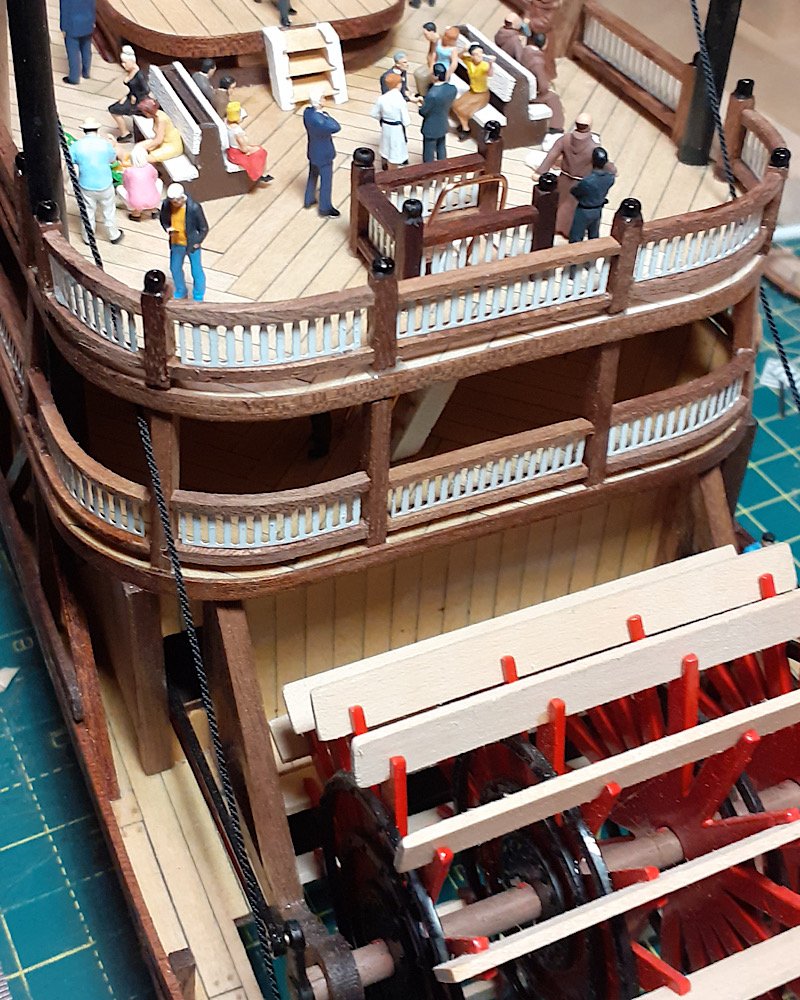
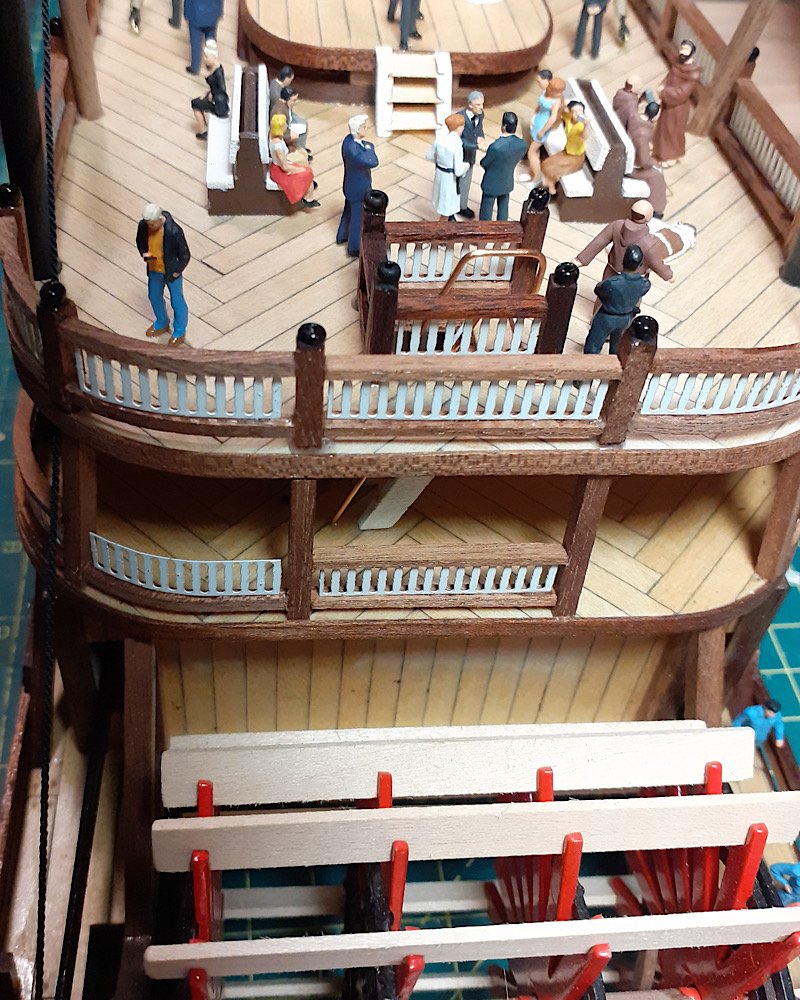
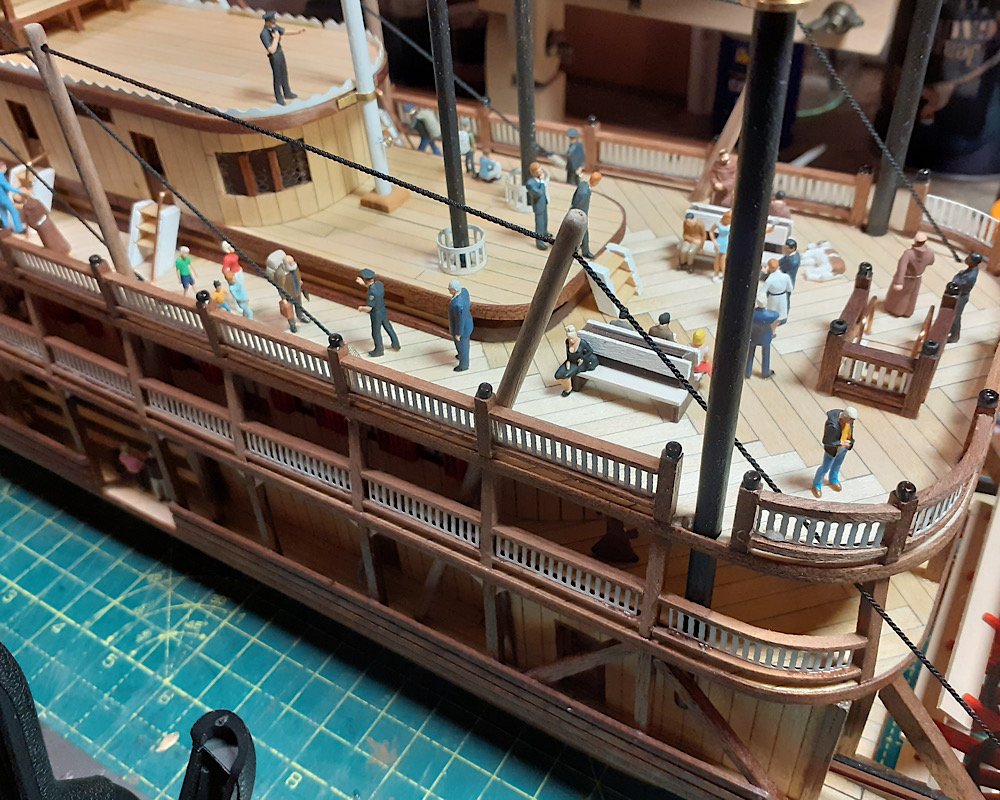
Wrapping up the upper aft railing and beginning to fill the railing gaps below.
-
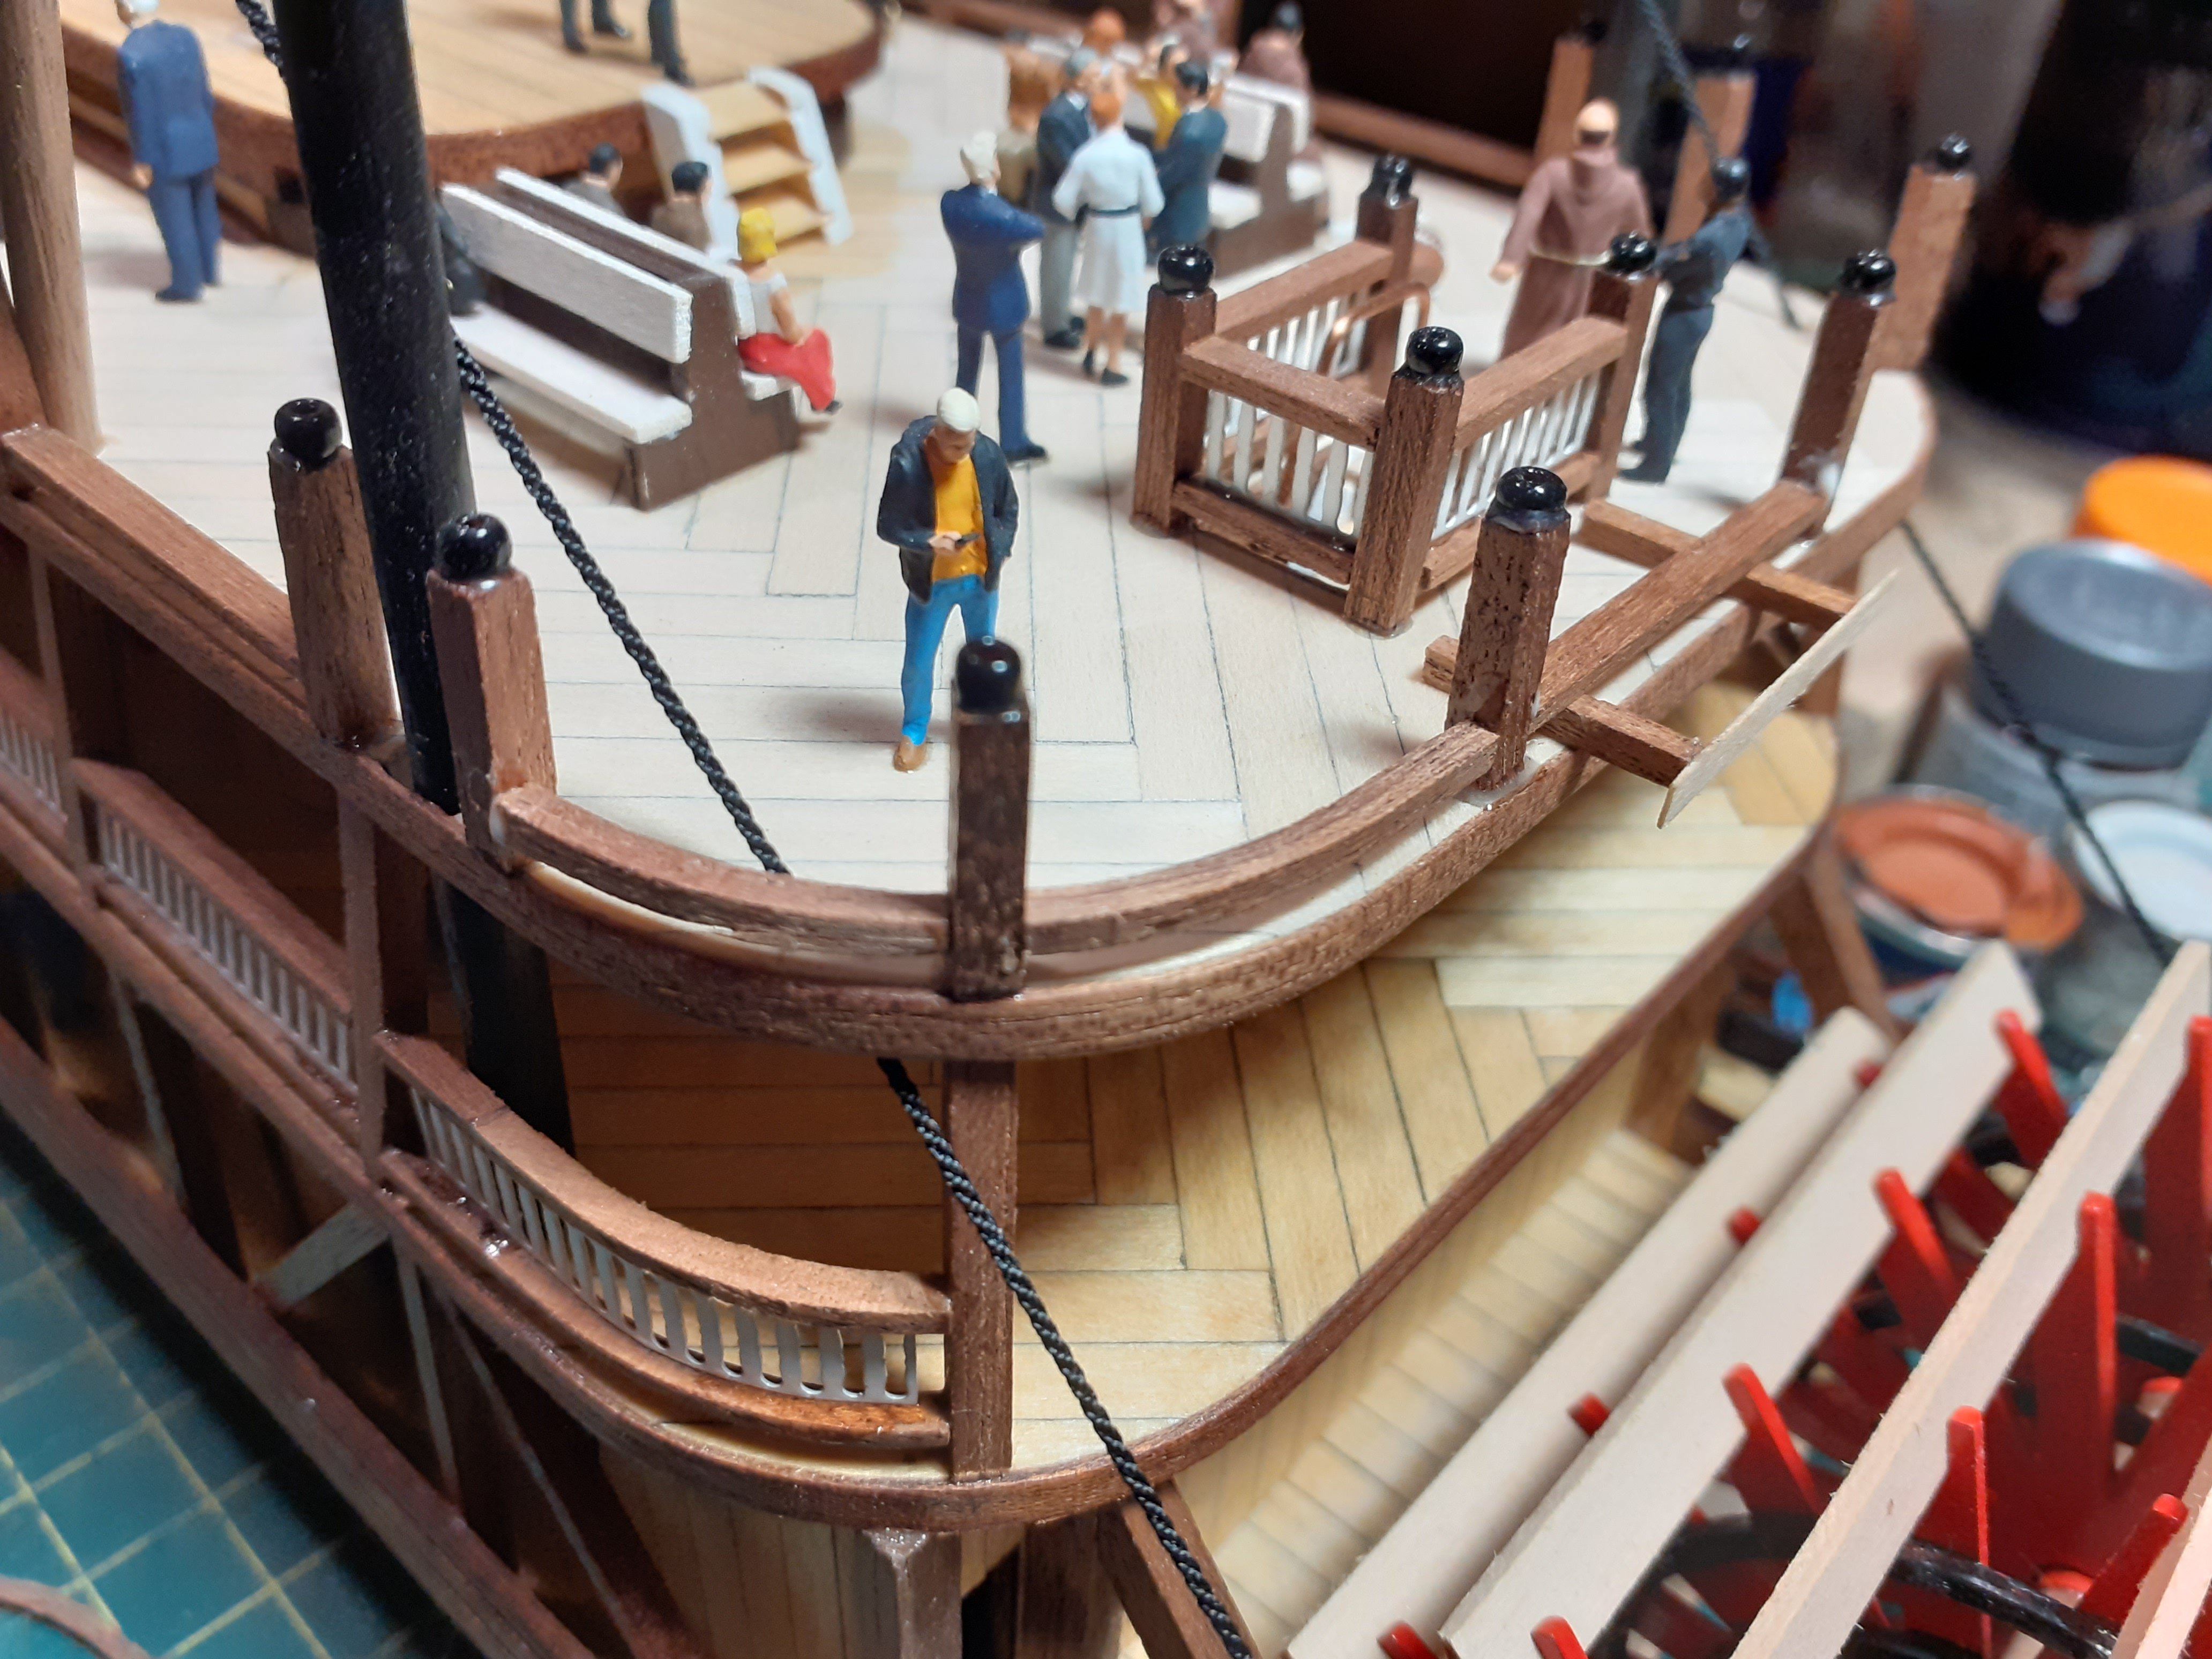
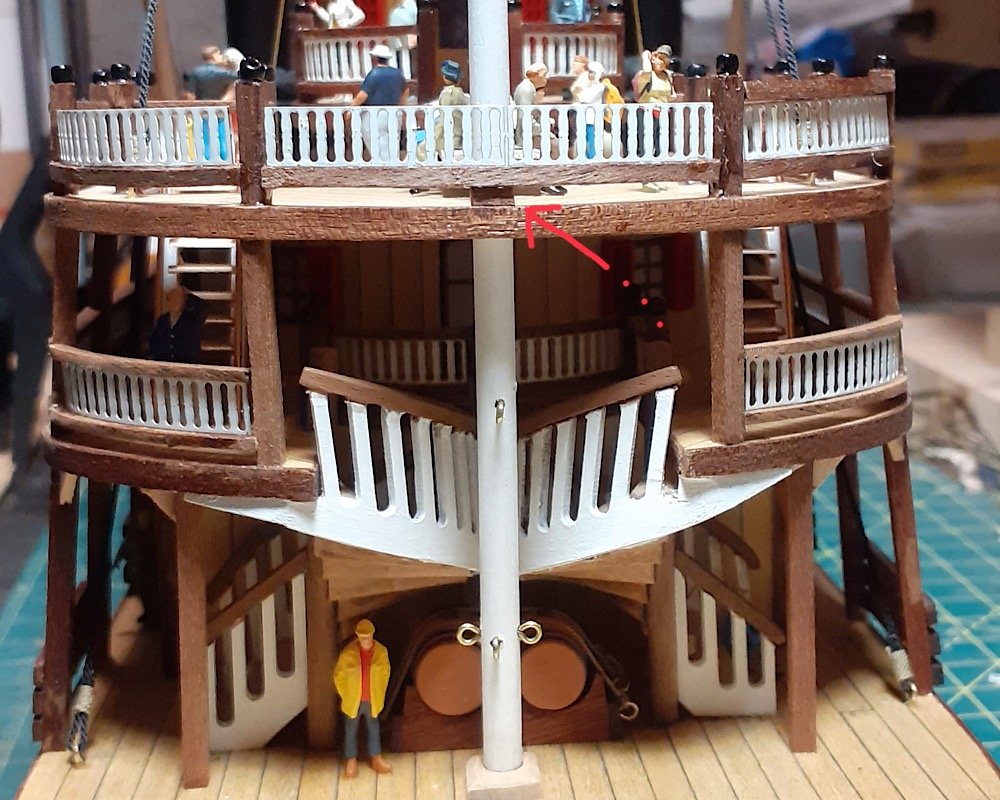
I noticed that the upper bow railing kept rotating downwards under the weight of the metal balusters while installing it. So I added a little block under the center, just in front of the mast, which holds it all up nicely. Forgive the sloppy glue here and there, I still have some sanding to do.
-
The upper deck railings are coming together nicely. Still bending some wood so slow going in certain areas, but I’m happy with it.

-
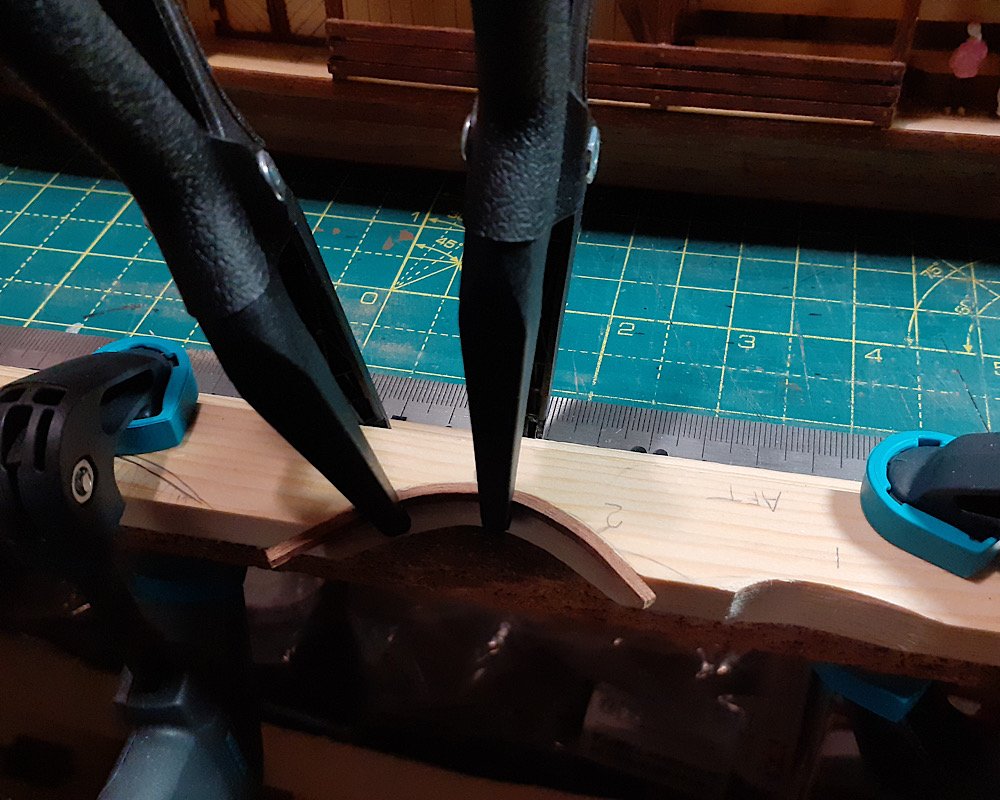
Started bending my own railing: