Herby63
-
Posts
148 -
Joined
-
Last visited


-
 madtatt reacted to a post in a topic:
IJN Mikasa by Herby63 - Merit International with Pontos set - 1/200 - PLASTIC
madtatt reacted to a post in a topic:
IJN Mikasa by Herby63 - Merit International with Pontos set - 1/200 - PLASTIC
-
madtatt reacted to a post in a topic:
IJN Mikasa by Herby63 - Merit International with Pontos set - 1/200 - PLASTIC
-
Canute reacted to a post in a topic:
IJN Mikasa by Herby63 - Merit International with Pontos set - 1/200 - PLASTIC
-
GrandpaPhil reacted to a post in a topic:
IJN Mikasa by Herby63 - Merit International with Pontos set - 1/200 - PLASTIC
-
yvesvidal reacted to a post in a topic:
IJN Mikasa by Herby63 - Merit International with Pontos set - 1/200 - PLASTIC
-
 Some parts needed some additional paint. Until next update, have lots of modeling fun.
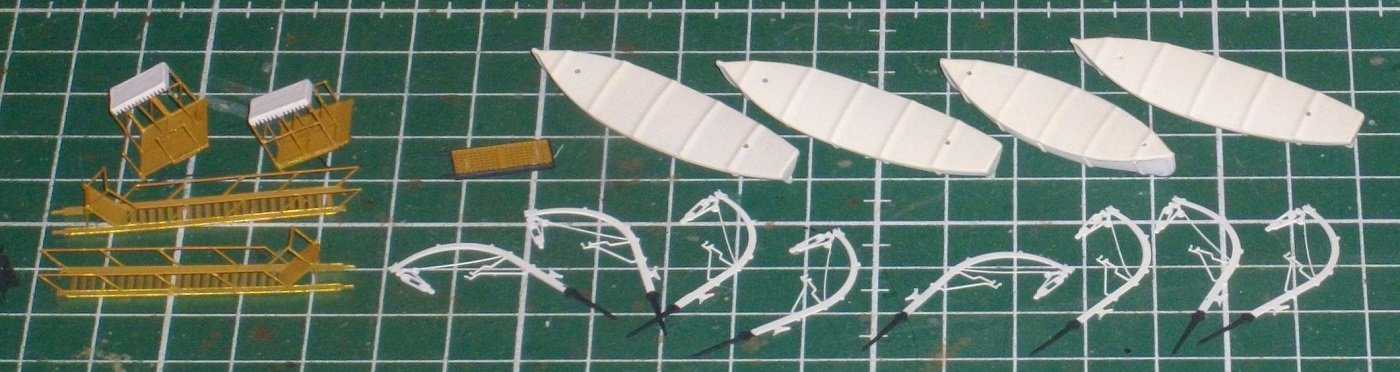
- 155 replies
-
- 4
-
-
- Mikasa
- Merit International
- (and 1 more)
-
Canute reacted to a post in a topic:
IJN Mikasa by Herby63 - Merit International with Pontos set - 1/200 - PLASTIC
-
GrandpaPhil reacted to a post in a topic:
IJN Mikasa by Herby63 - Merit International with Pontos set - 1/200 - PLASTIC
-
yvesvidal reacted to a post in a topic:
IJN Mikasa by Herby63 - Merit International with Pontos set - 1/200 - PLASTIC
-
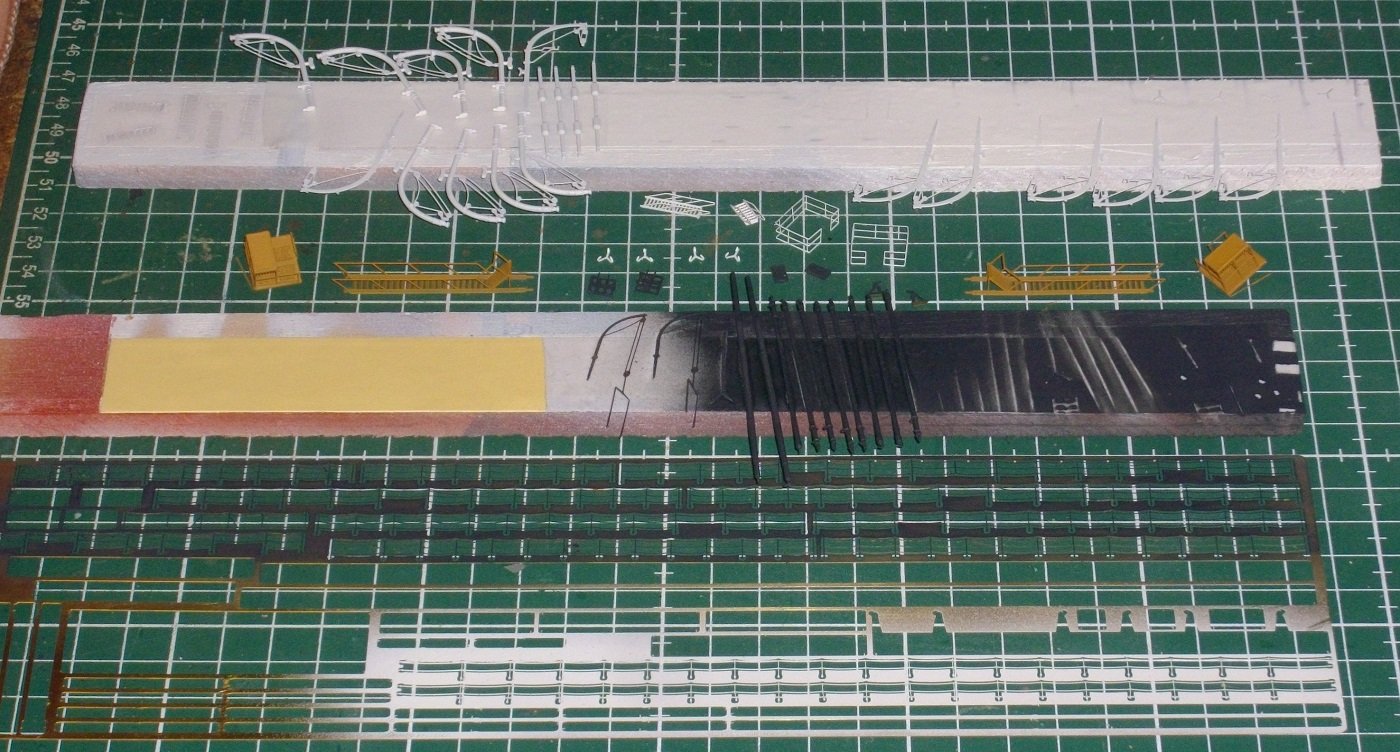
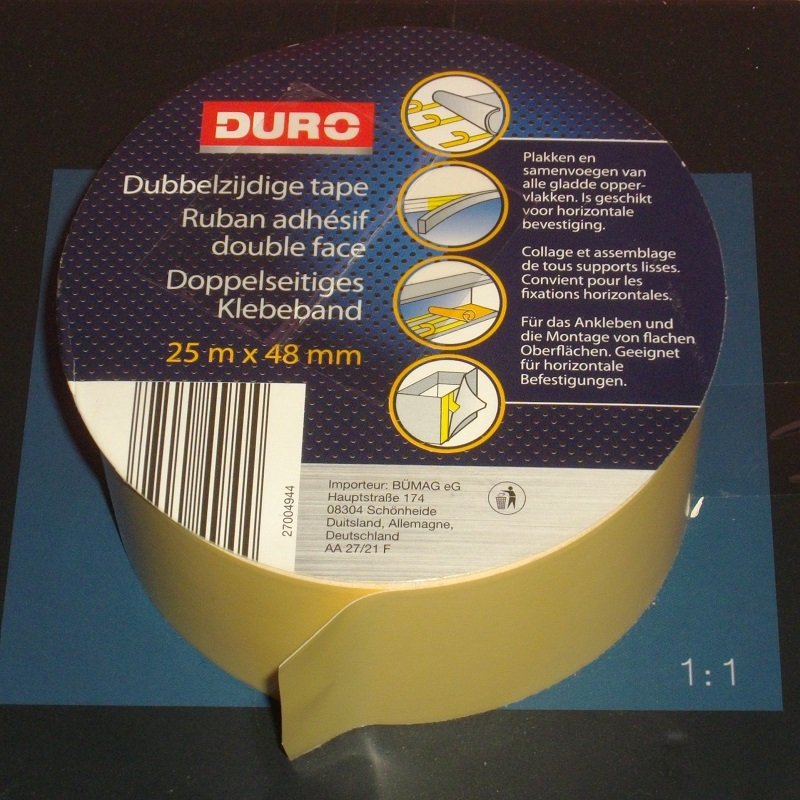
Thank you, Rick, for your nice words. All the small parts are stuck to dubble sided tape, grounded and sprayed in their final color (Insigna White, Grey Black or Wood) Until next update, have lots of modeling fun.
- 155 replies
-
- 4
-
-
- Mikasa
- Merit International
- (and 1 more)
-
madtatt reacted to a post in a topic:
IJN Mikasa by Herby63 - Merit International with Pontos set - 1/200 - PLASTIC
-
Canute reacted to a post in a topic:
IJN Mikasa by Herby63 - Merit International with Pontos set - 1/200 - PLASTIC
-
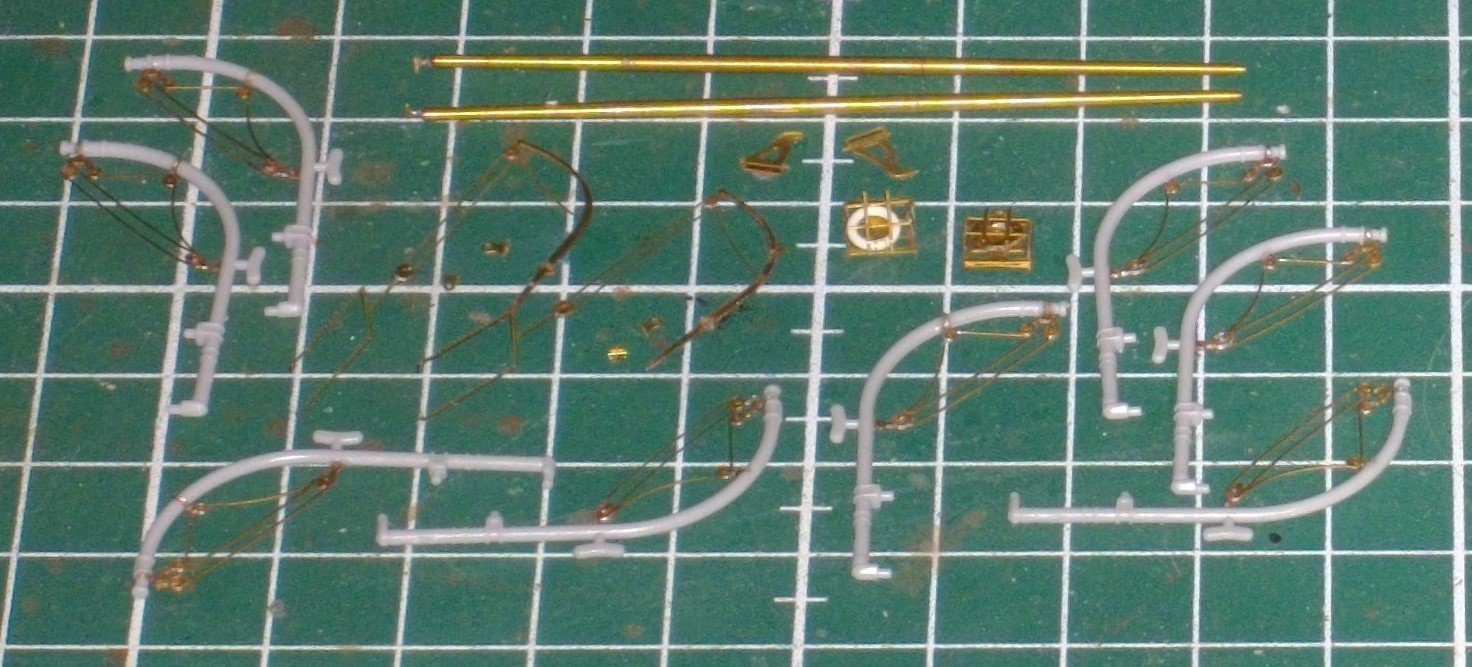
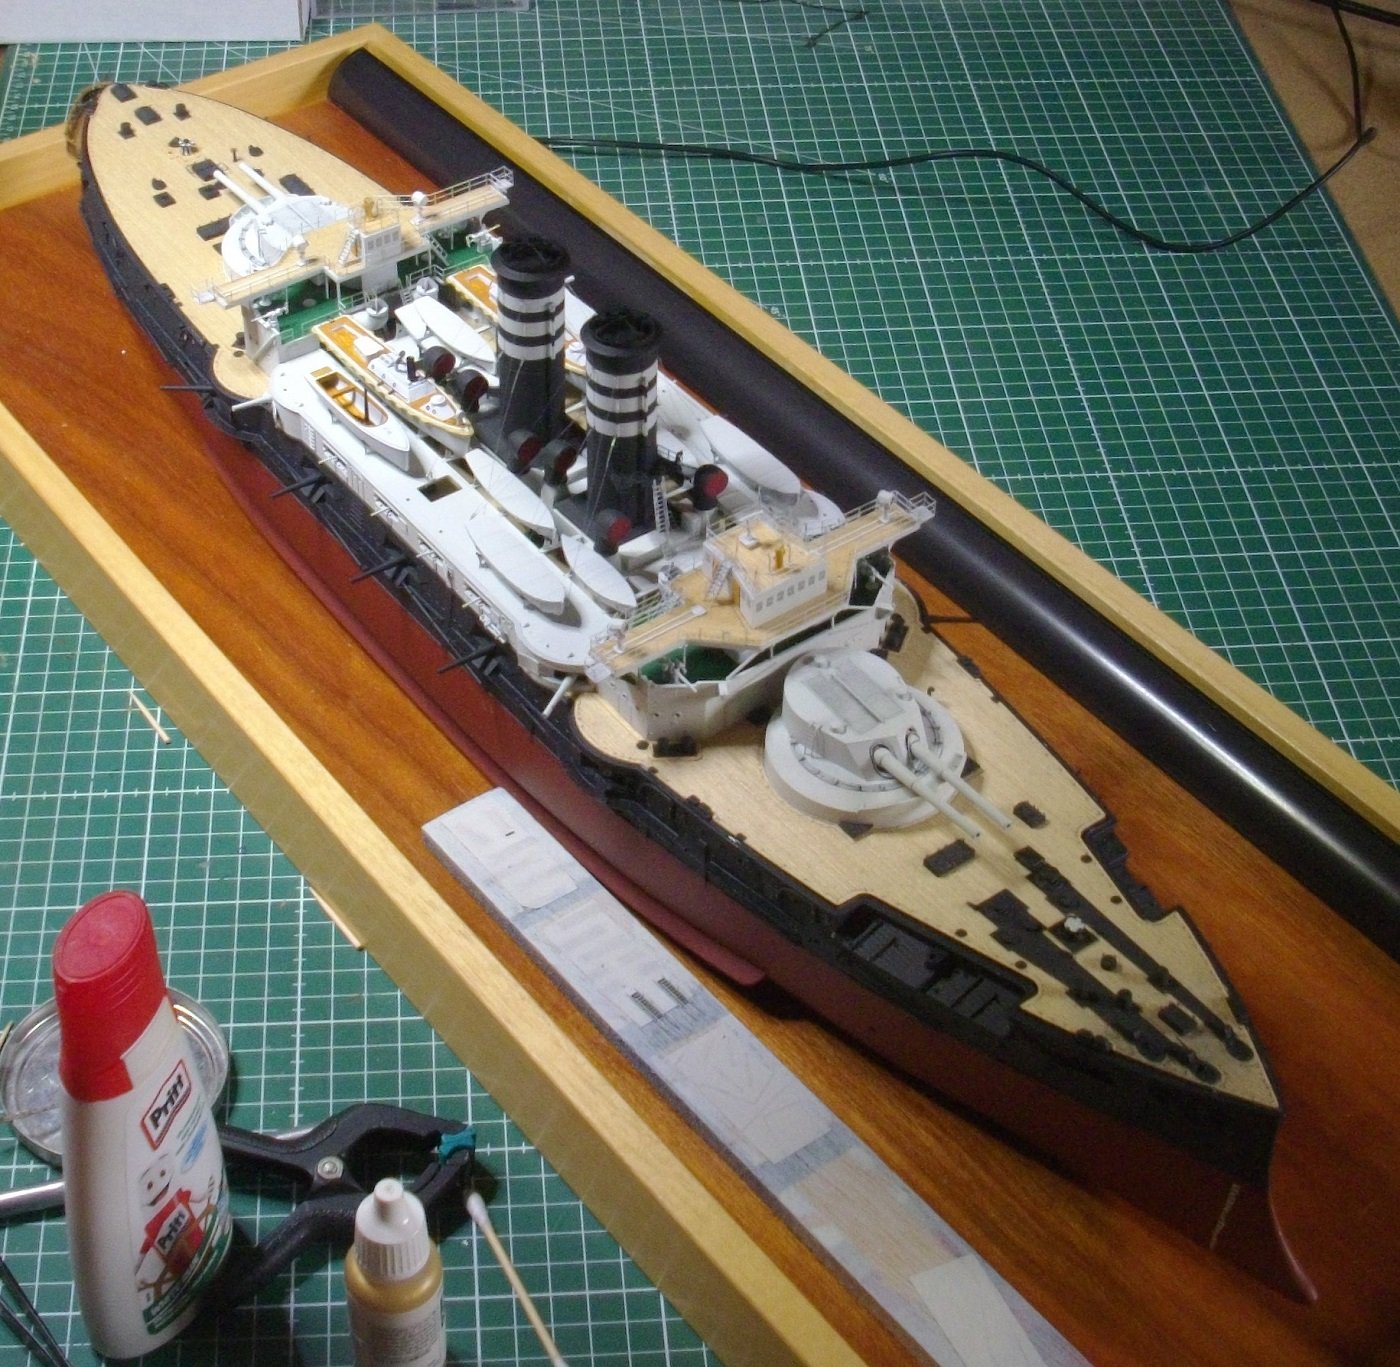
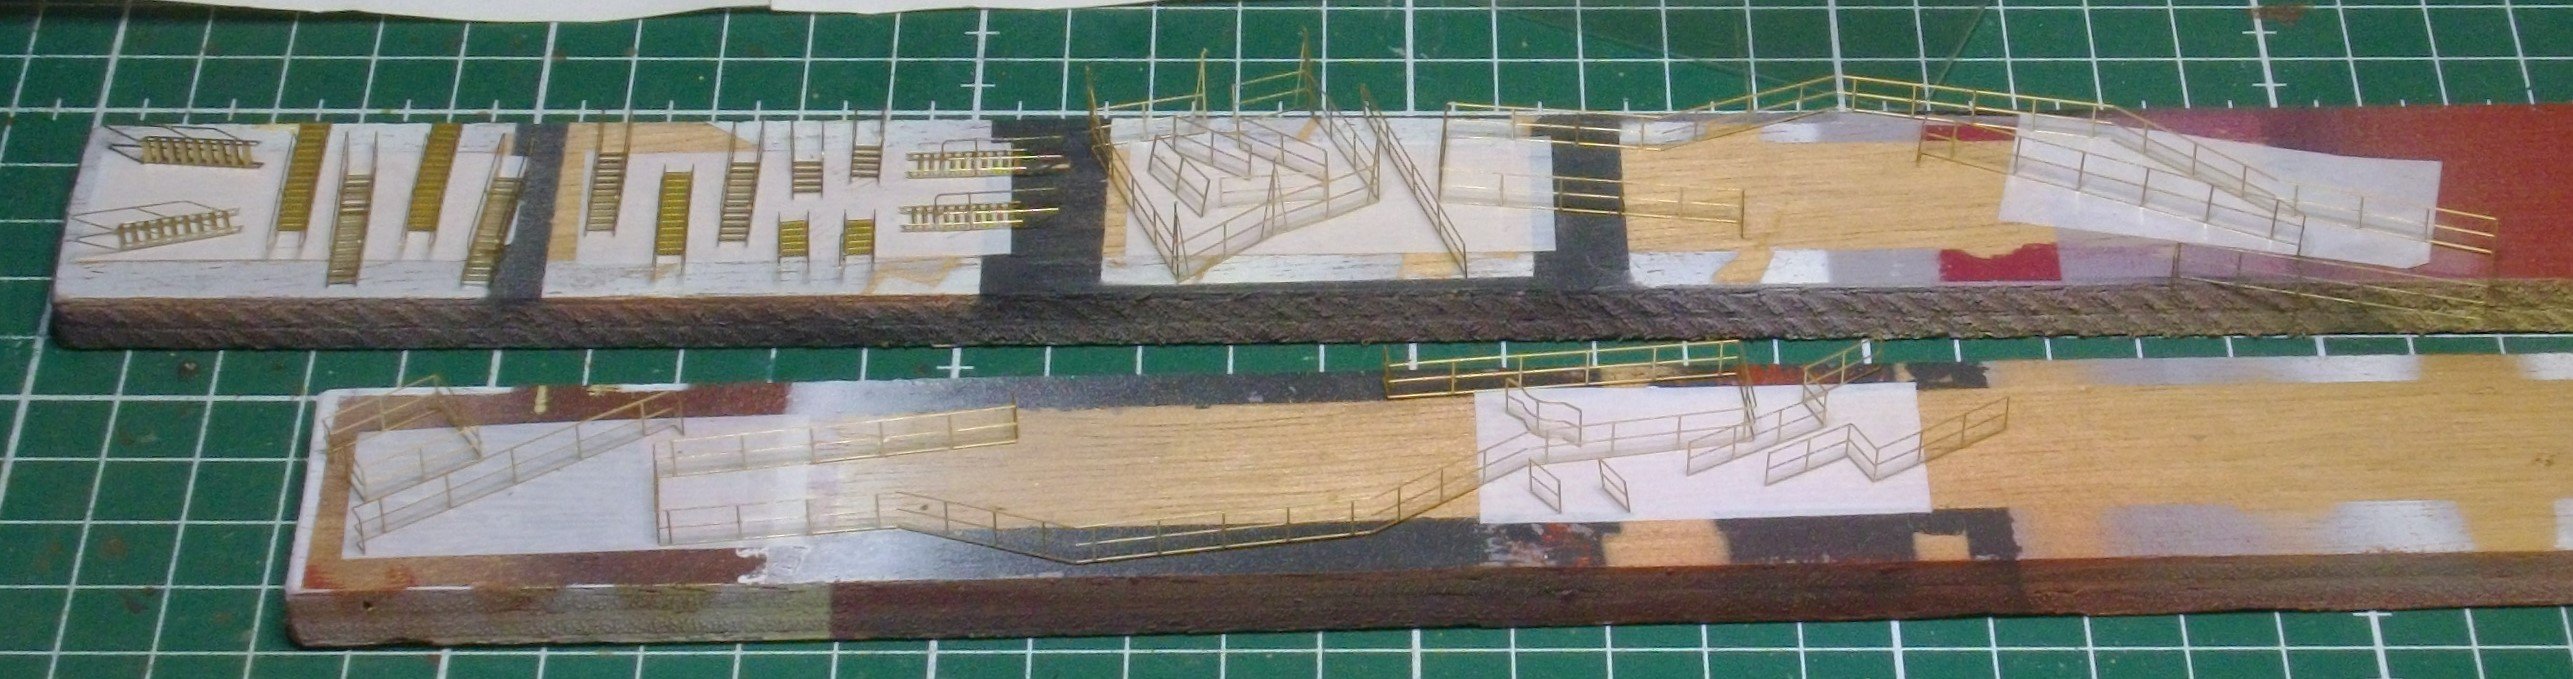
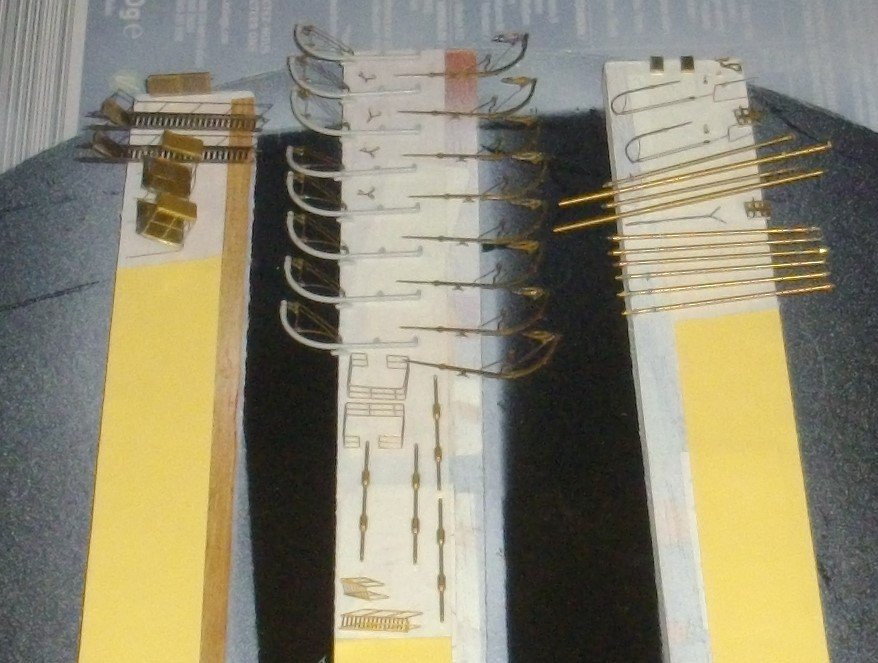
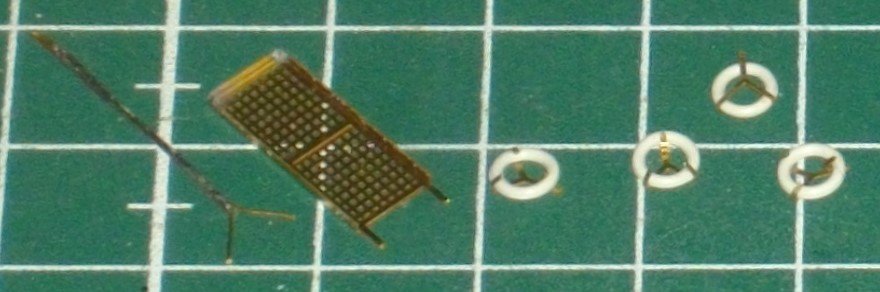
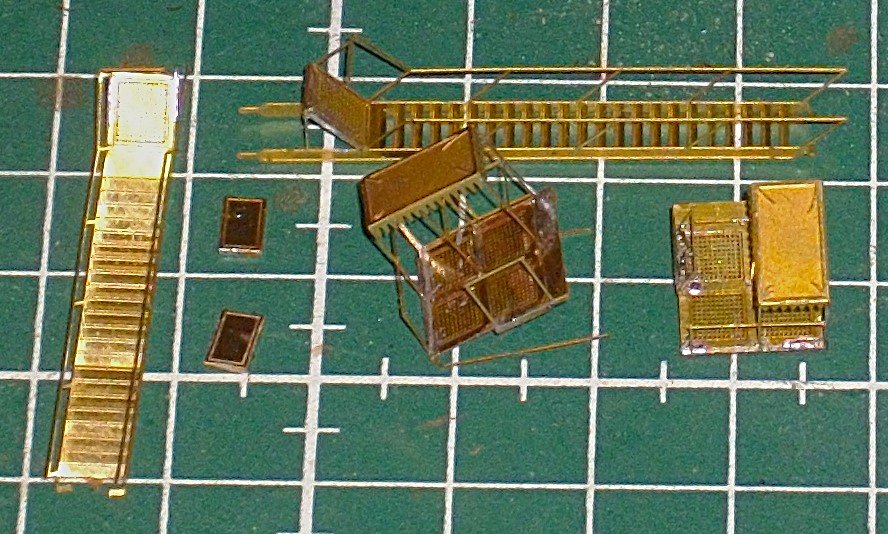
Thank you, Chris and Jeff, for your kindness. Still dazzled by all the Newyearsresolutions, I present the next phase of my build: Collecting the final batch of accessories and preparing them for painting. - Stern walkway and bridge lifebuoys; - Booms, Davits and hull mounted lifebuoys; - and the fancy stairs (all soldered up). Until next update, have lots of modeling fun.

- 155 replies
-
- 5
-
-
- Mikasa
- Merit International
- (and 1 more)
-
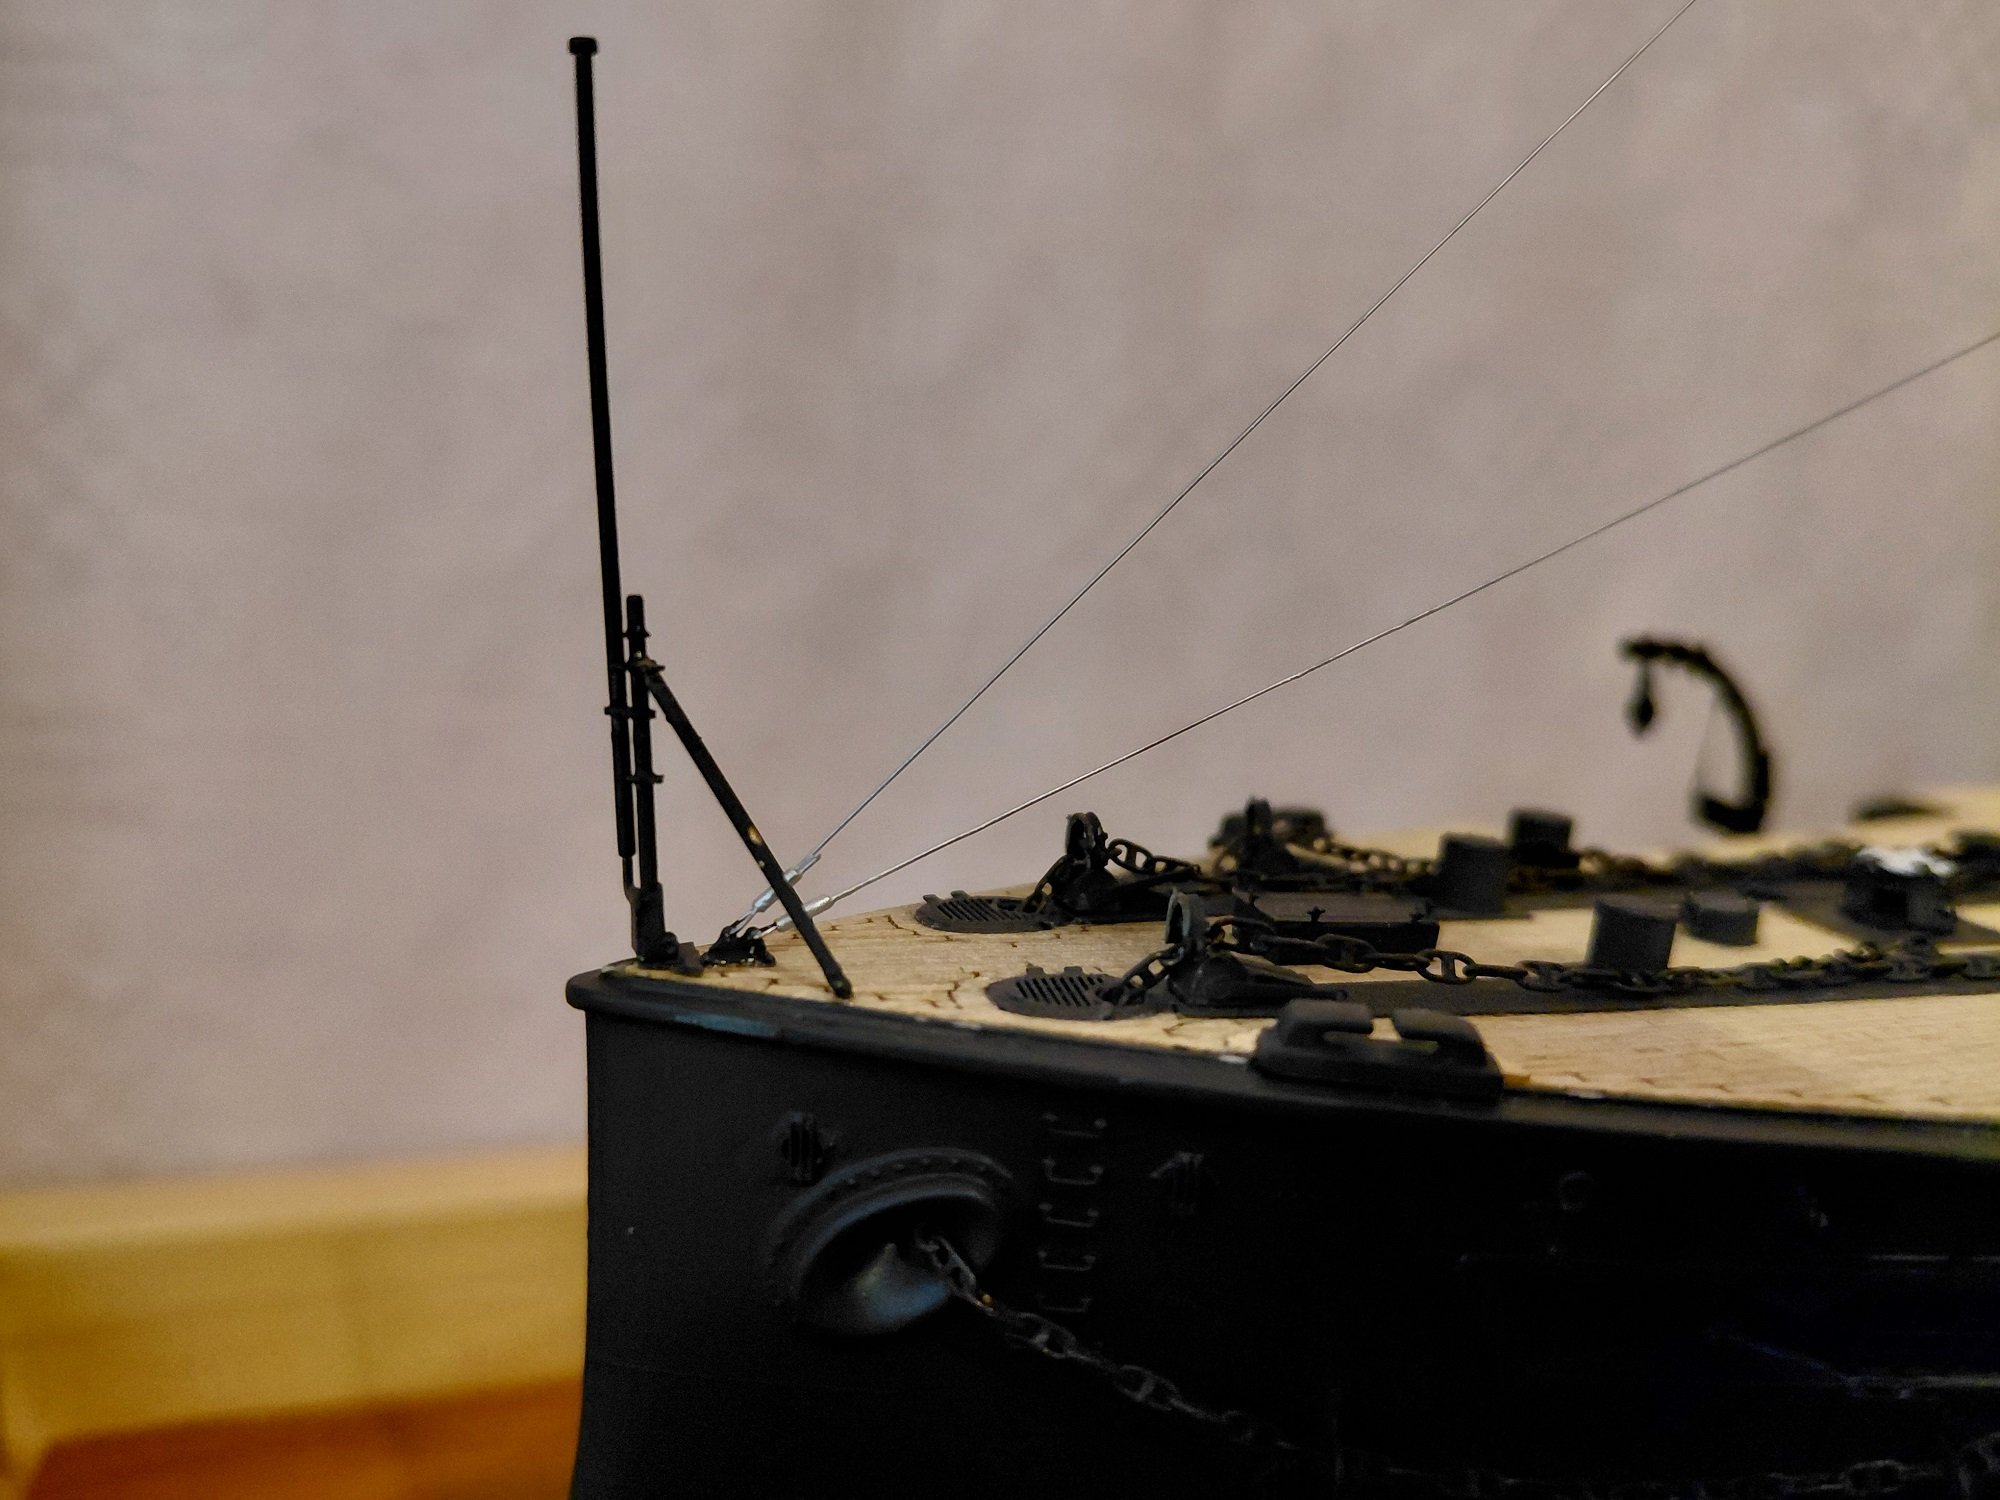
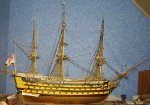
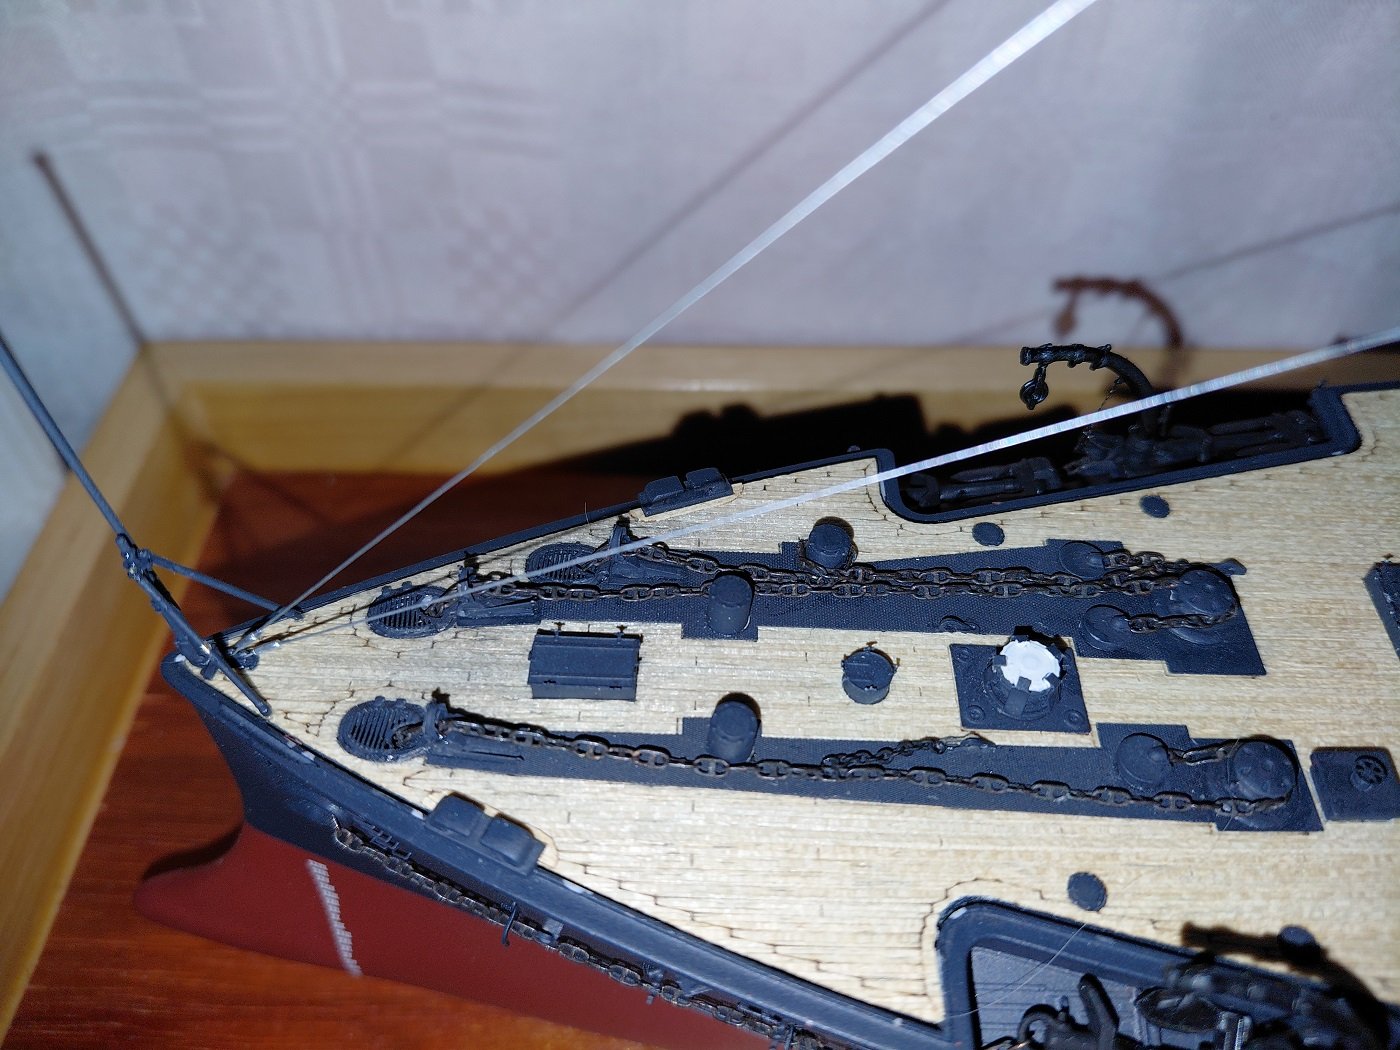
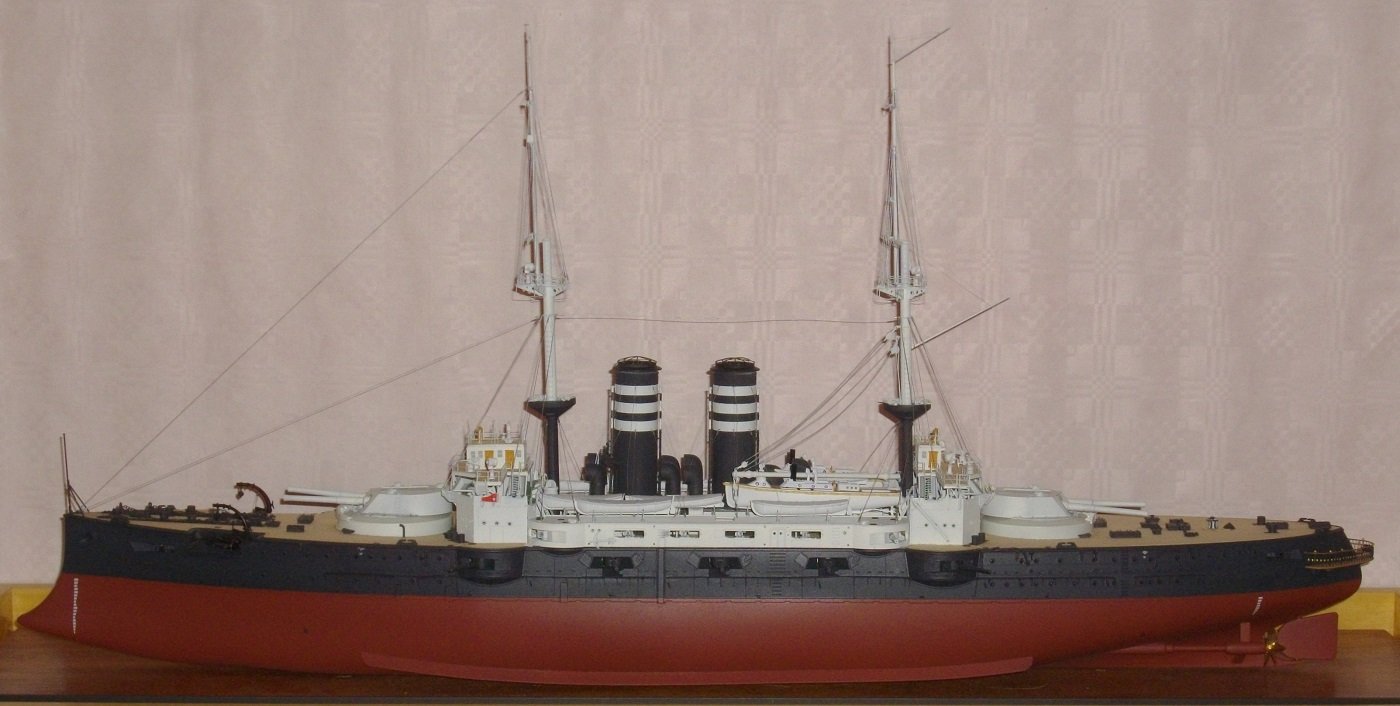
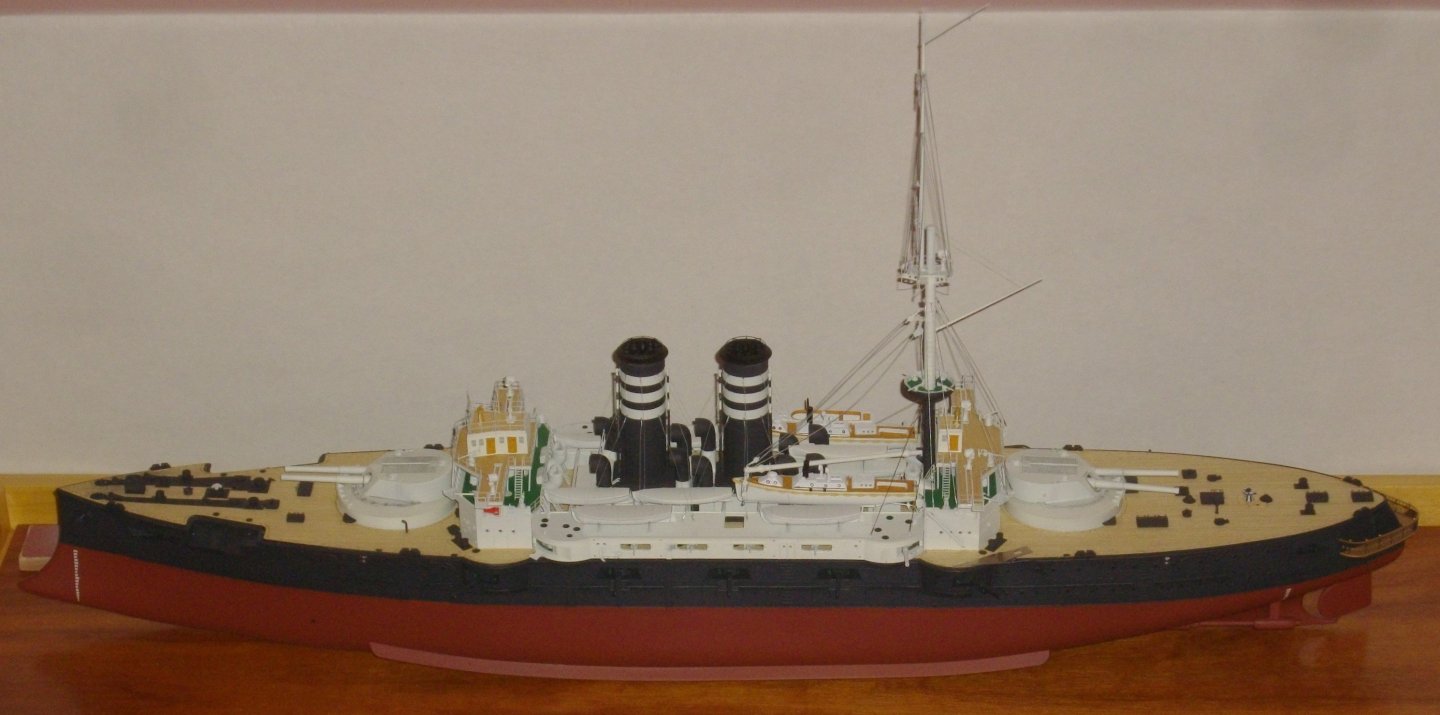
Jackstaff glued at the bow and foremast stays attached. Thank you for following this thread and your responses and likes and I wish you and your beloved ones a happy New Year.

- 155 replies
-
- 5
-

-
-
- Mikasa
- Merit International
- (and 1 more)
-
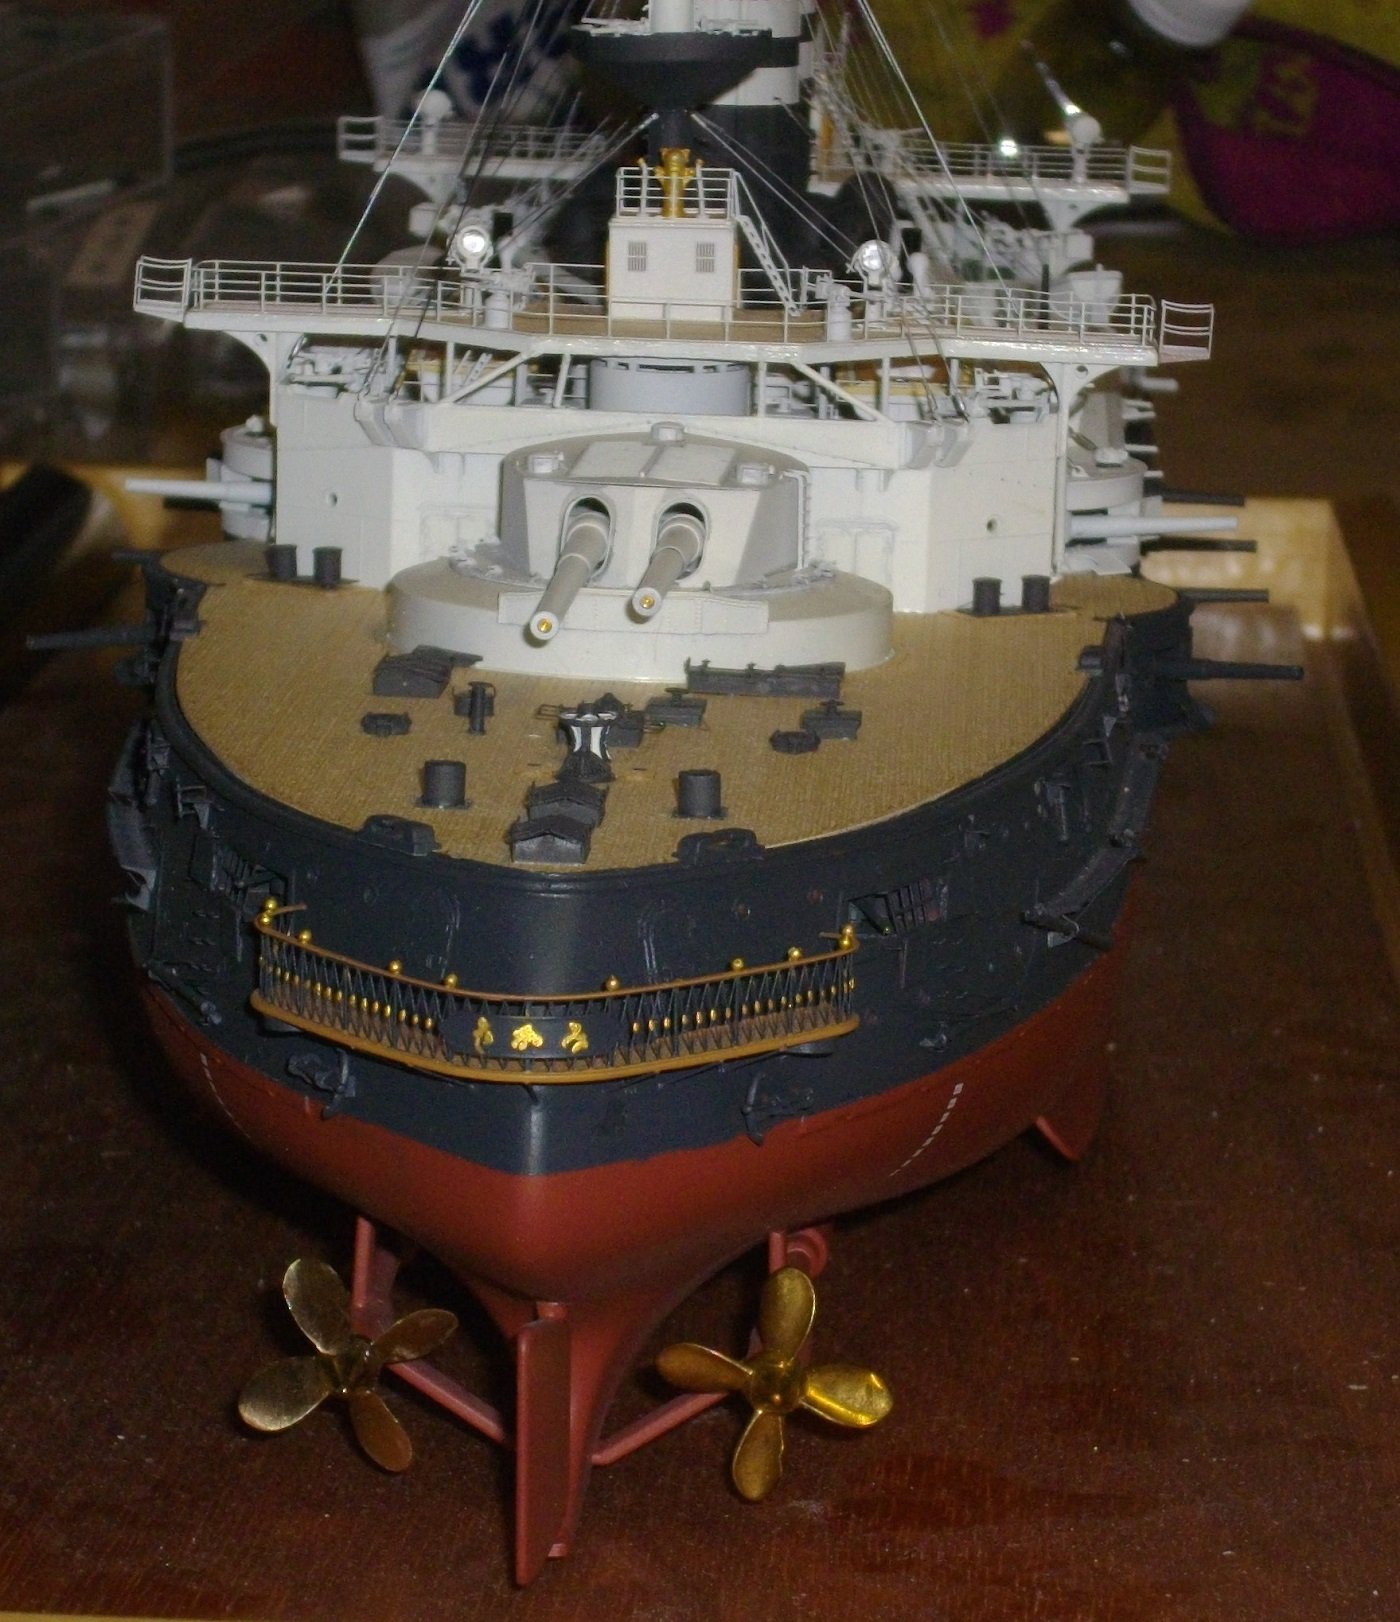
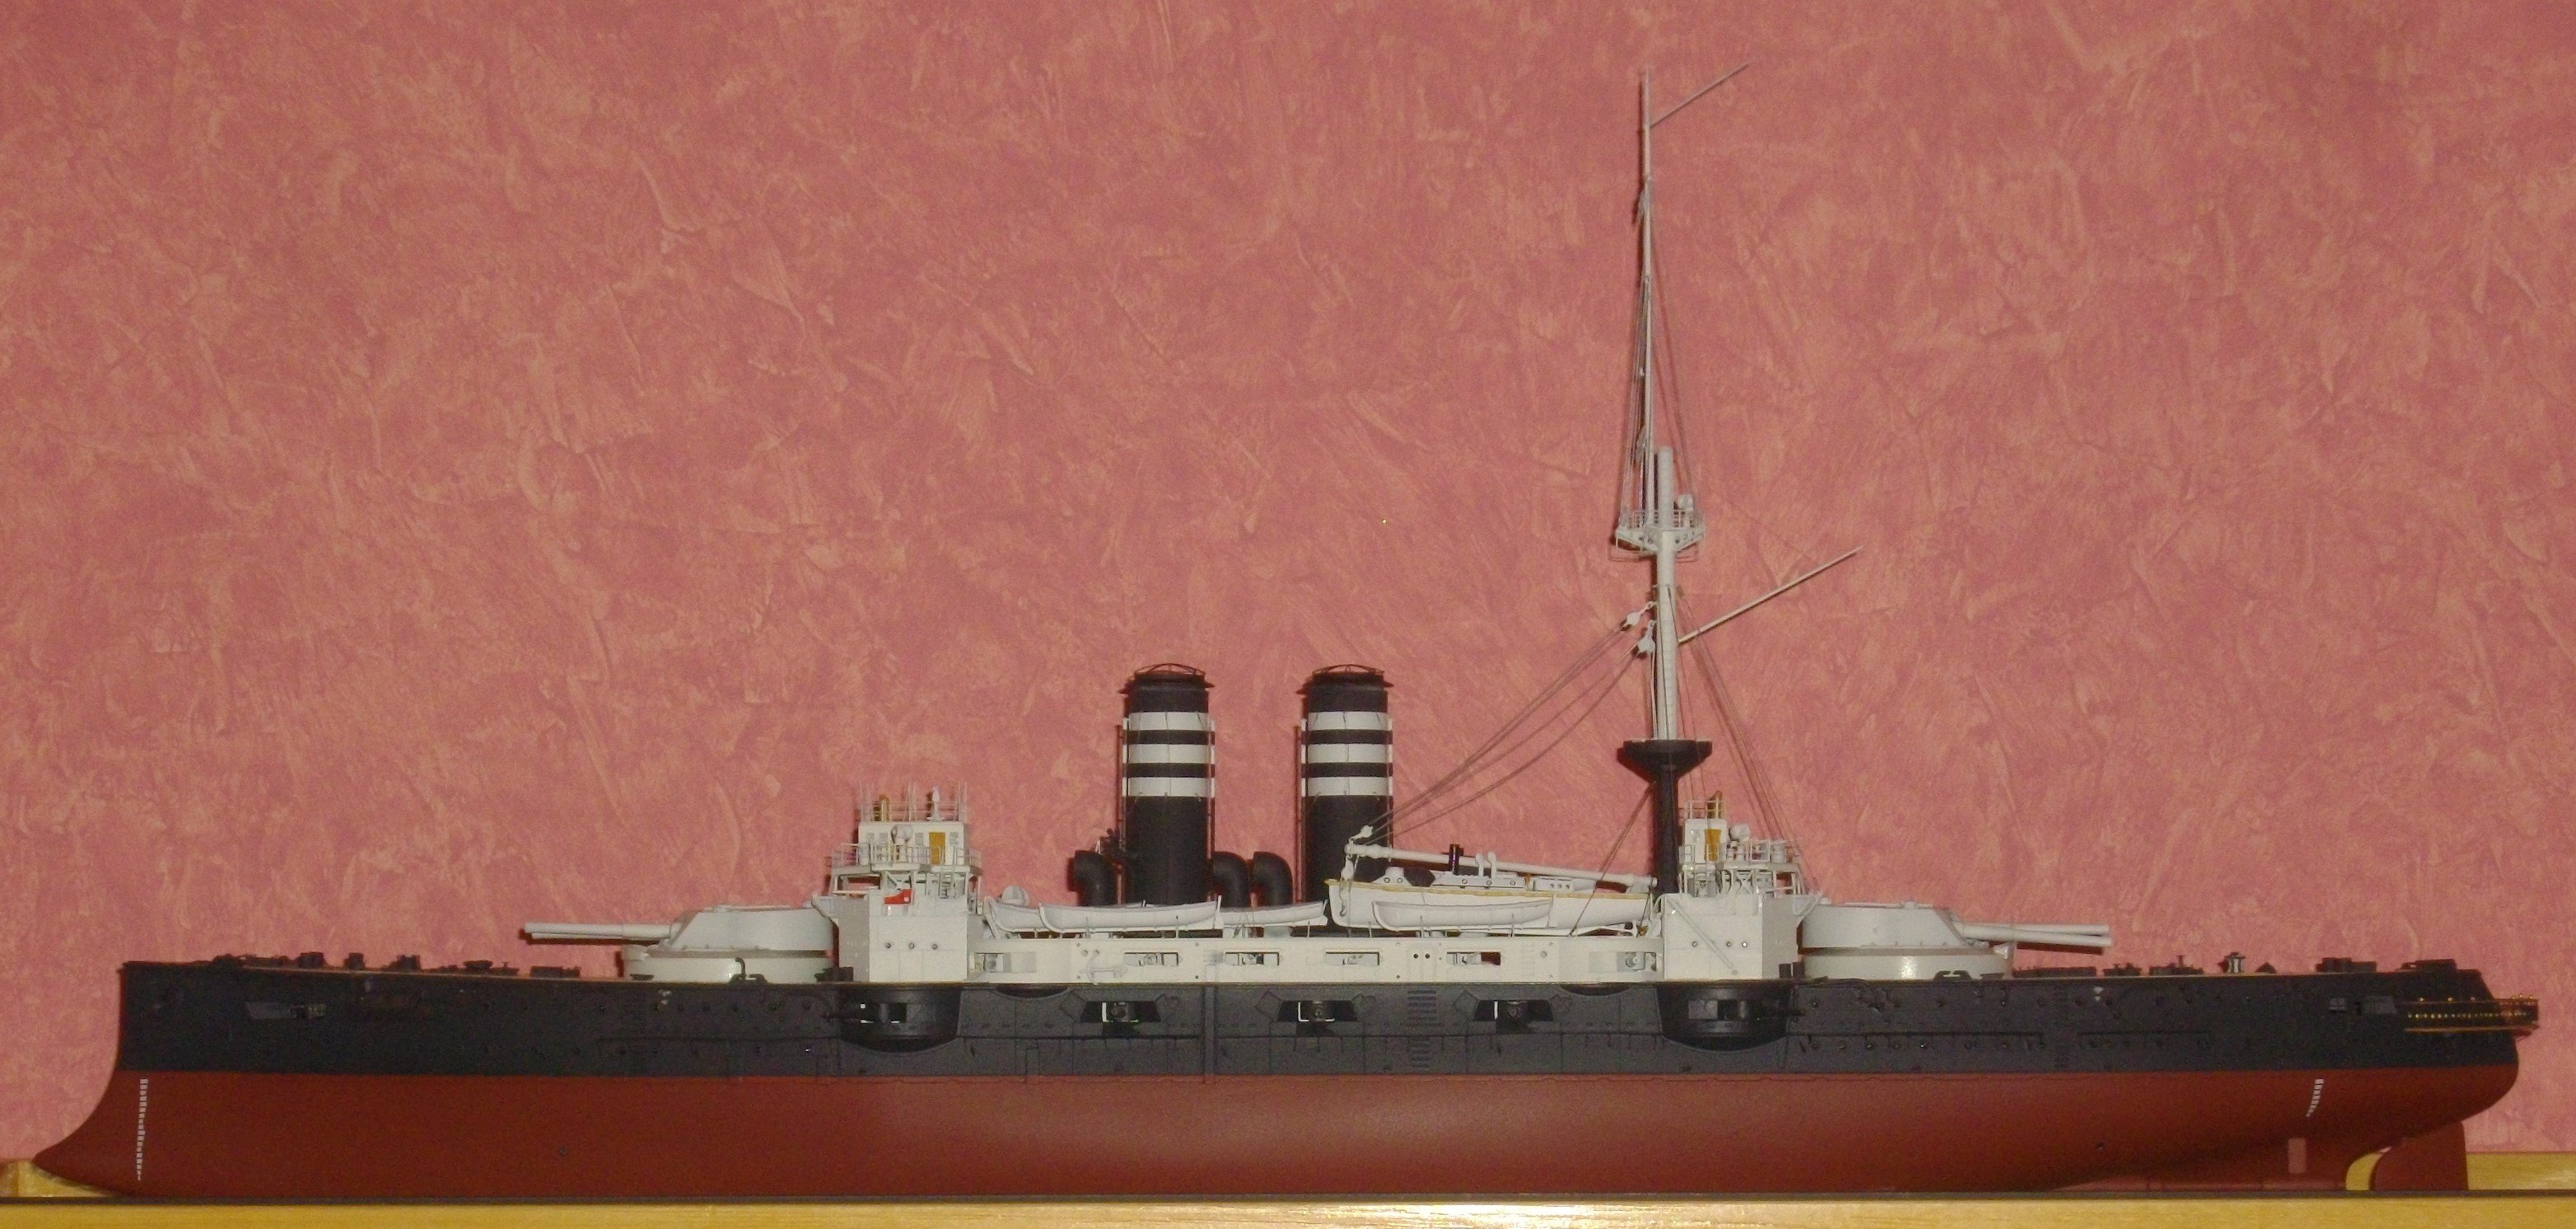
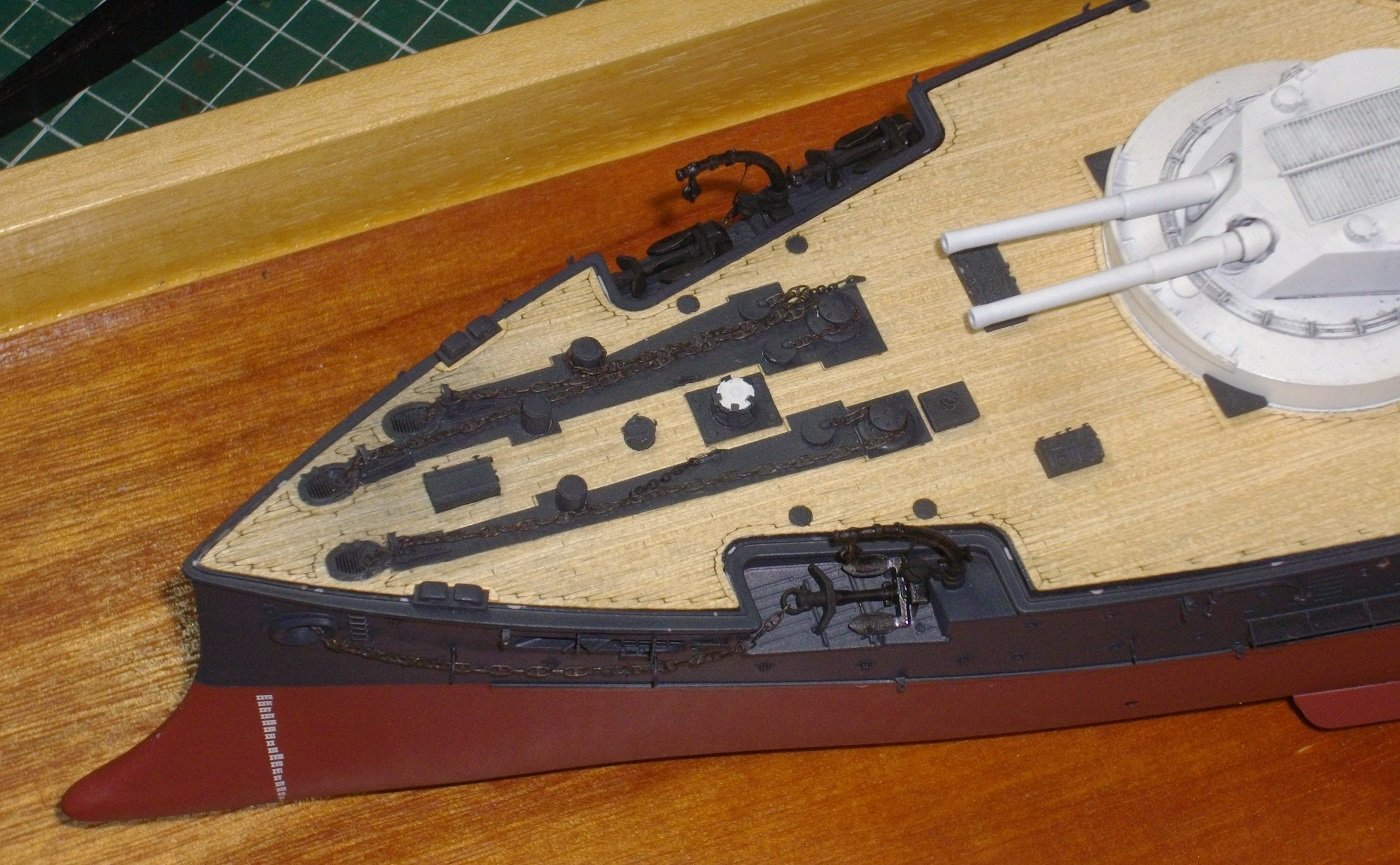
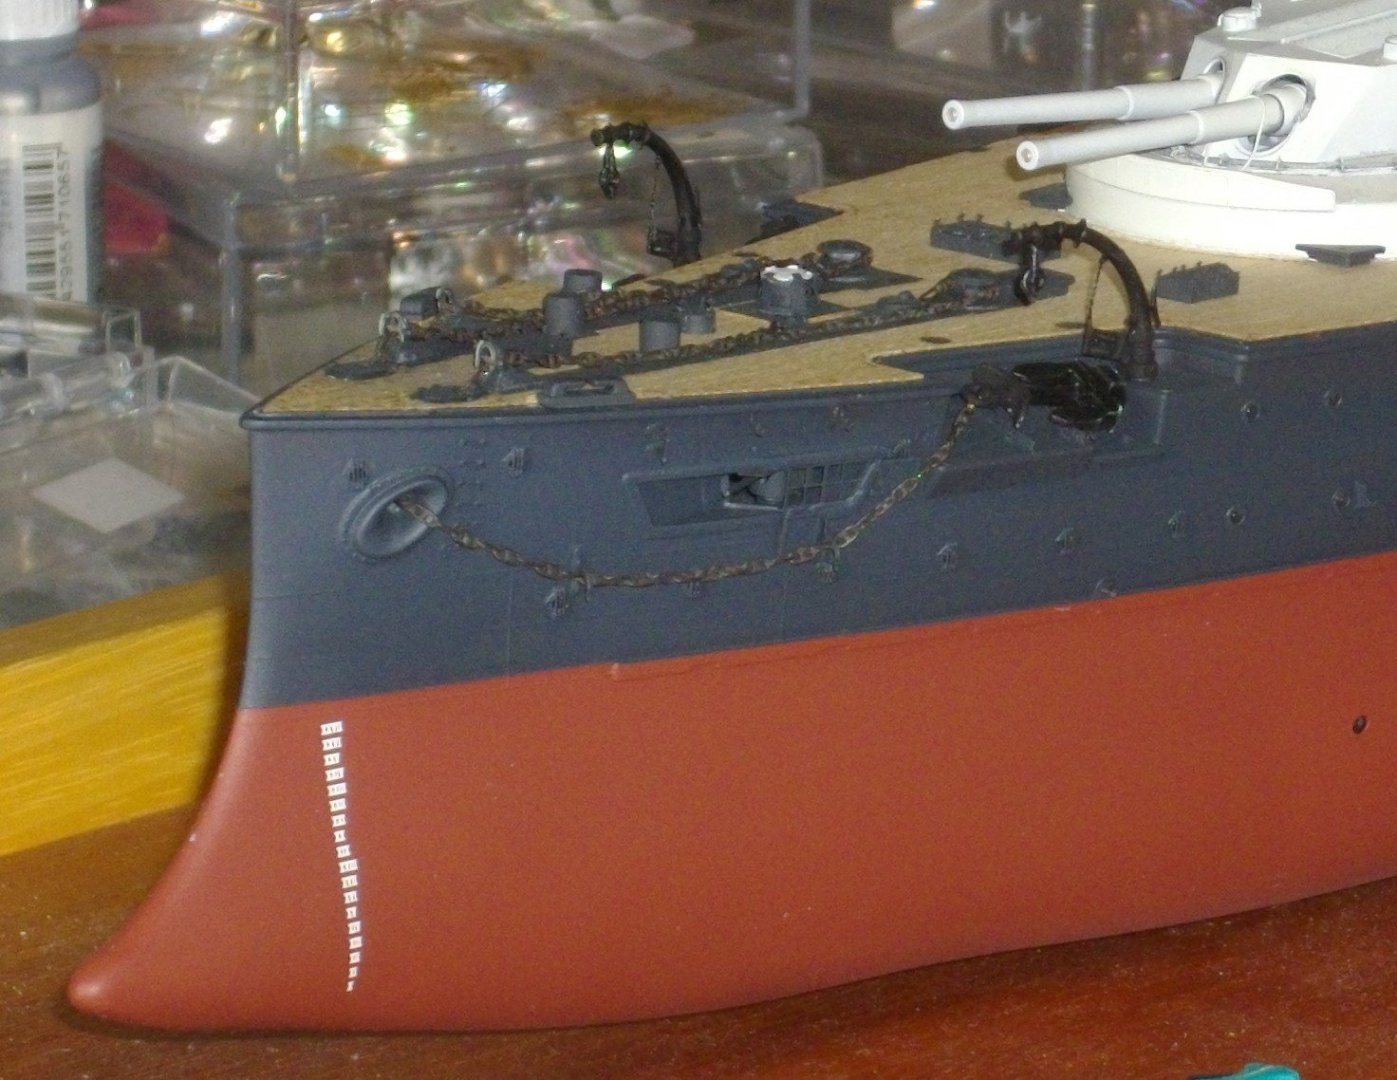
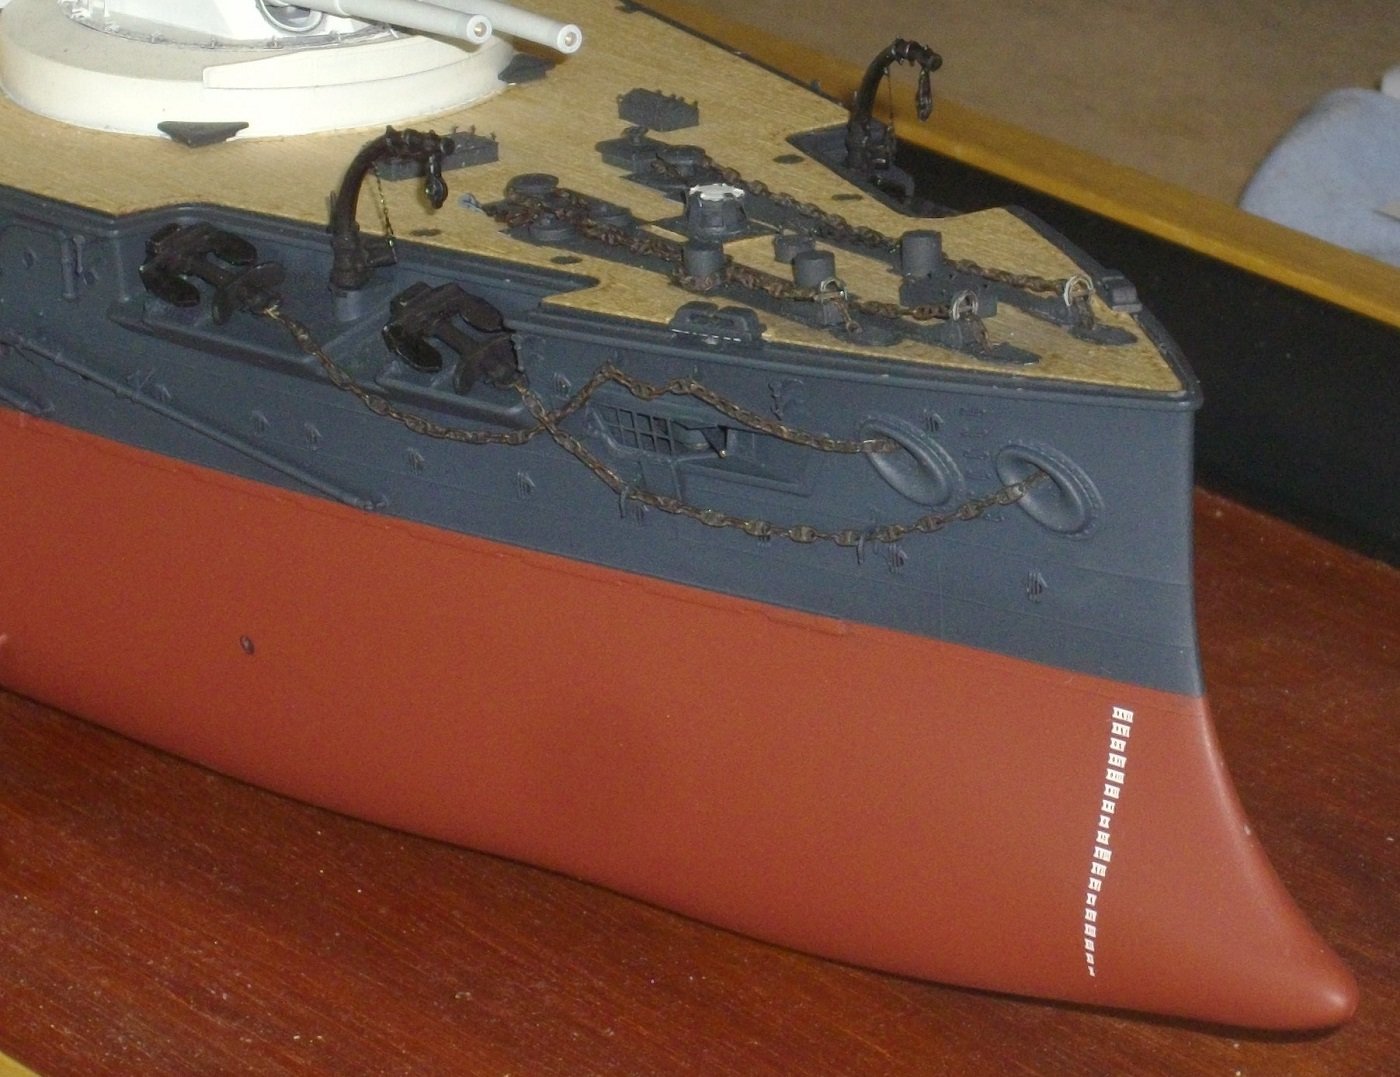
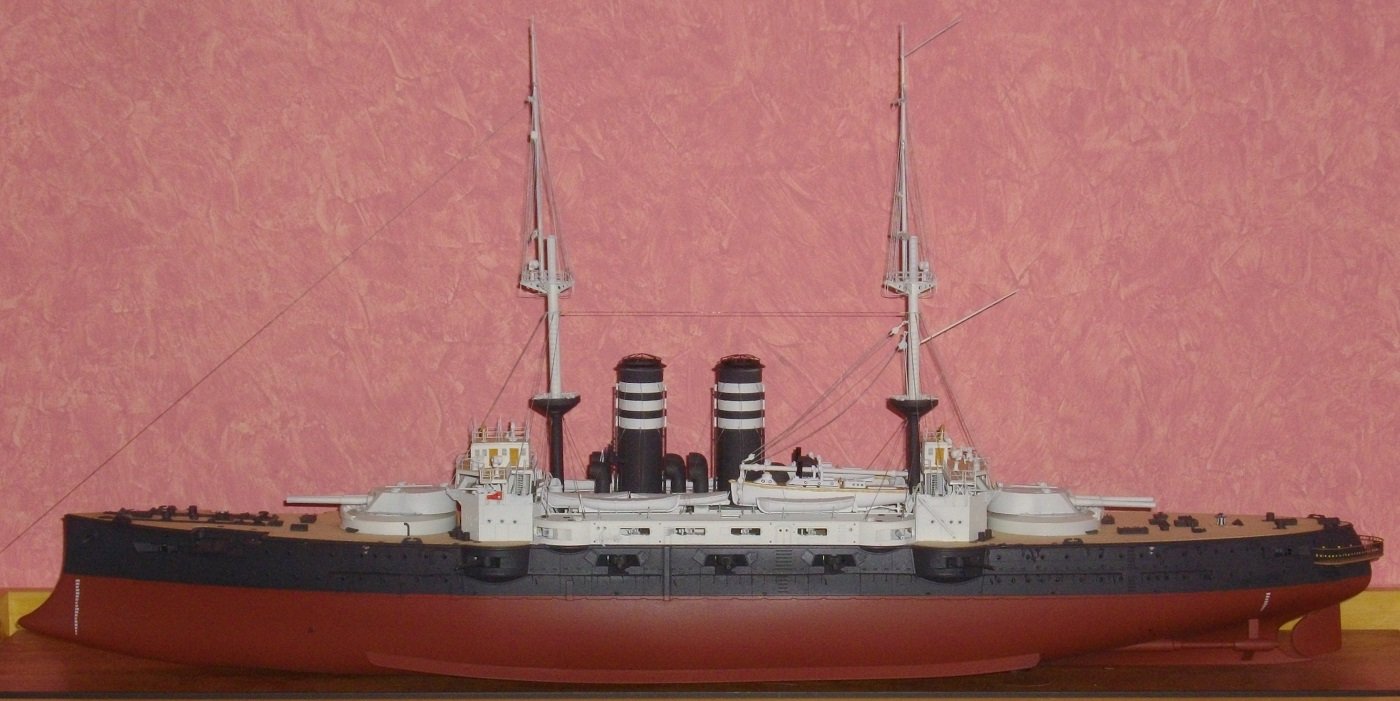
On to the front of the ship now. I collected the Merit- and the Pontos-parts for 3 anchors and 2 anchorcranes, assembled them and paited them matt black. I bent 3 rings from 0,3 mm brass wire to attach the anchorchains to the anchors. The chains are fed through the hawseholes and fittingly displayed on the deck. Merit provides for some black chain with very small links, too small for the purpose, so I only used a very small portion of it, for securing the actual anchorchain. I used a leftover from my Bismarck build: studded chain with 3 mm links, 12 links per inch. Port view Starbord view Untill next time, enjoy modeling.
- 155 replies
-
- 4
-
-
- Mikasa
- Merit International
- (and 1 more)
-
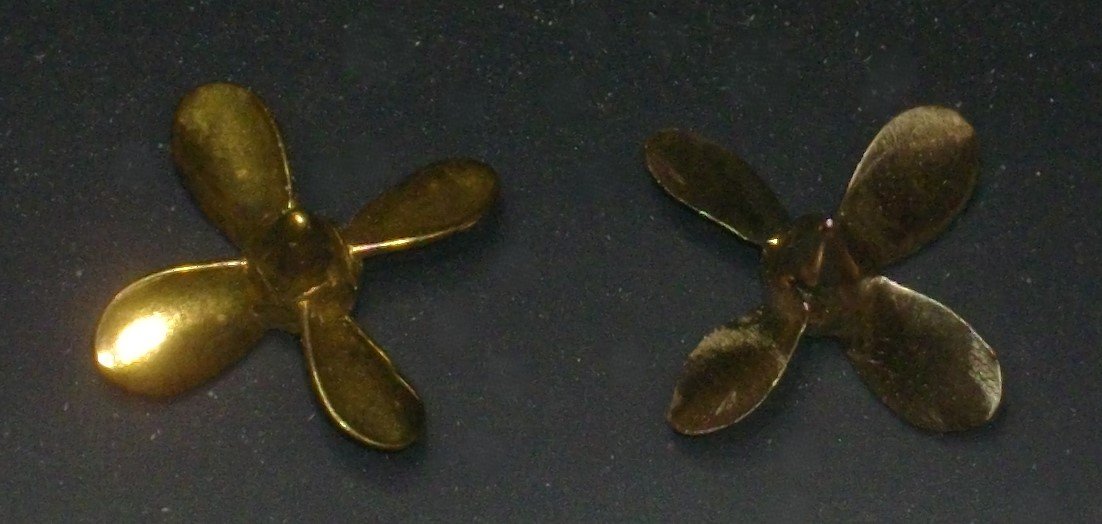
Ho Ho Ho, Merry Christmas. I thought this was the right time to install the propellers. The left one in the picture is as it is sold by Pontos, the right one has been modified to fit a more realistic profile as seen in one of my followers build log. 😇 The modified propeller is mounted on the port side, which is the fore side of the display case. Until next time, enjoy modeling.

- 155 replies
-
- 6
-
-
-
- Mikasa
- Merit International
- (and 1 more)
-
It shouldn't come as a surprise that het fore mast comes next. The lower mast is secured by 10 shrouds. The fore topmast stay is held tout by a clamp. In the next update will be shown where it is belayed on the fore deck. Untill then, enjoy modeling.
- 155 replies
-
- 3
-
-
- Mikasa
- Merit International
- (and 1 more)
-
4 stays (0,1 mm black thread) are atached to the ring just under the gunplatform and lead to the belaying points on the boatdecks. 8 stays secure the upper part of the lower mast to the aft bridge. Thus the main mast is erected. Some blackened lids were added to the boatdecks as well. The upcomming holidays should alowe me to make further progress. In the meantime, enjoy modeling.


- 155 replies
-
- 4
-
-
- Mikasa
- Merit International
- (and 1 more)
-
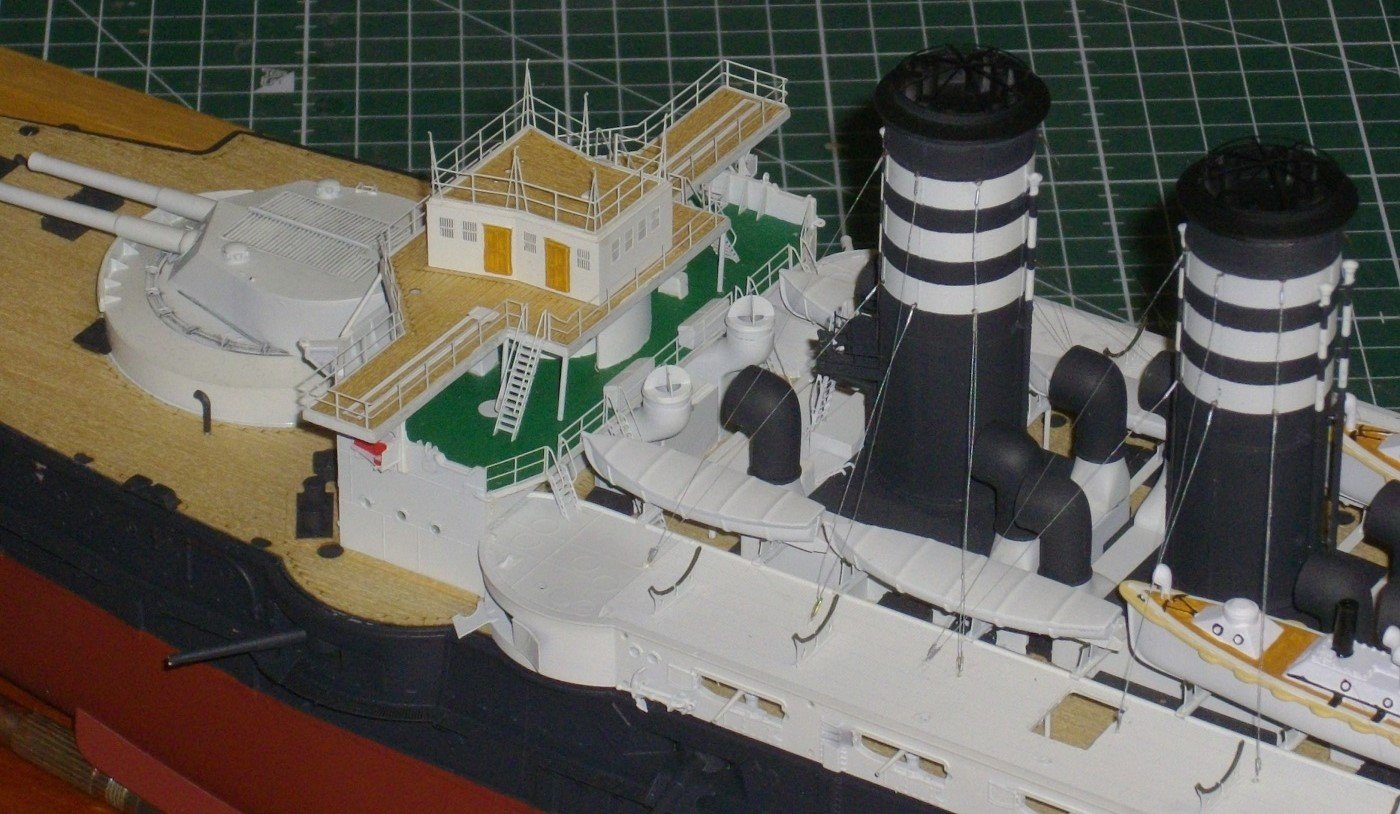
Time to put some deckfurniture on the bridges: - compasses, - communicationtubes, - searchlights, - small caliber armament. Until the next update, enjoy modeling, and thanks to my followers for the support.

- 155 replies
-
- 4
-
-
- Mikasa
- Merit International
- (and 1 more)
-
Thanks for the kind words guys, and indeed, she is turning into a lovely lady. Especialy after I grounded and painted the railings with Insigna White and mounted them on the fore bridge with some diluted PVA-glue. and the ladders, and on the aft bridge raillings. In this process 2 ladders got "lost". Afterwards I realised that Merit has provided these ladders too, so they will be added with the next batch of goodies. In the meantime, enjoy modeling.
- 155 replies
-
- 4
-
-
- Mikasa
- Merit International
- (and 1 more)
-
Thanks for the kind words and the empathy, Jeff, but who is Jolle?
- 155 replies
-
- 2
-
-
- Mikasa
- Merit International
- (and 1 more)
-
Hi Harald, Thank you for the advice, I shall keep it in mind for a next project. The tape I use is from DURO I am quite pleased with it, just dont leave the pieces too long on it, or you can cut them loose with a knife 😱 And the next job requires just some of that tape ! Before installing the masts, the bridges ans boatdecks must receive some details. I collected and bent all pieces necesary. Until next update, enjoy modeling 😀

- 155 replies
-
- 6
-
-
- Mikasa
- Merit International
- (and 1 more)
-
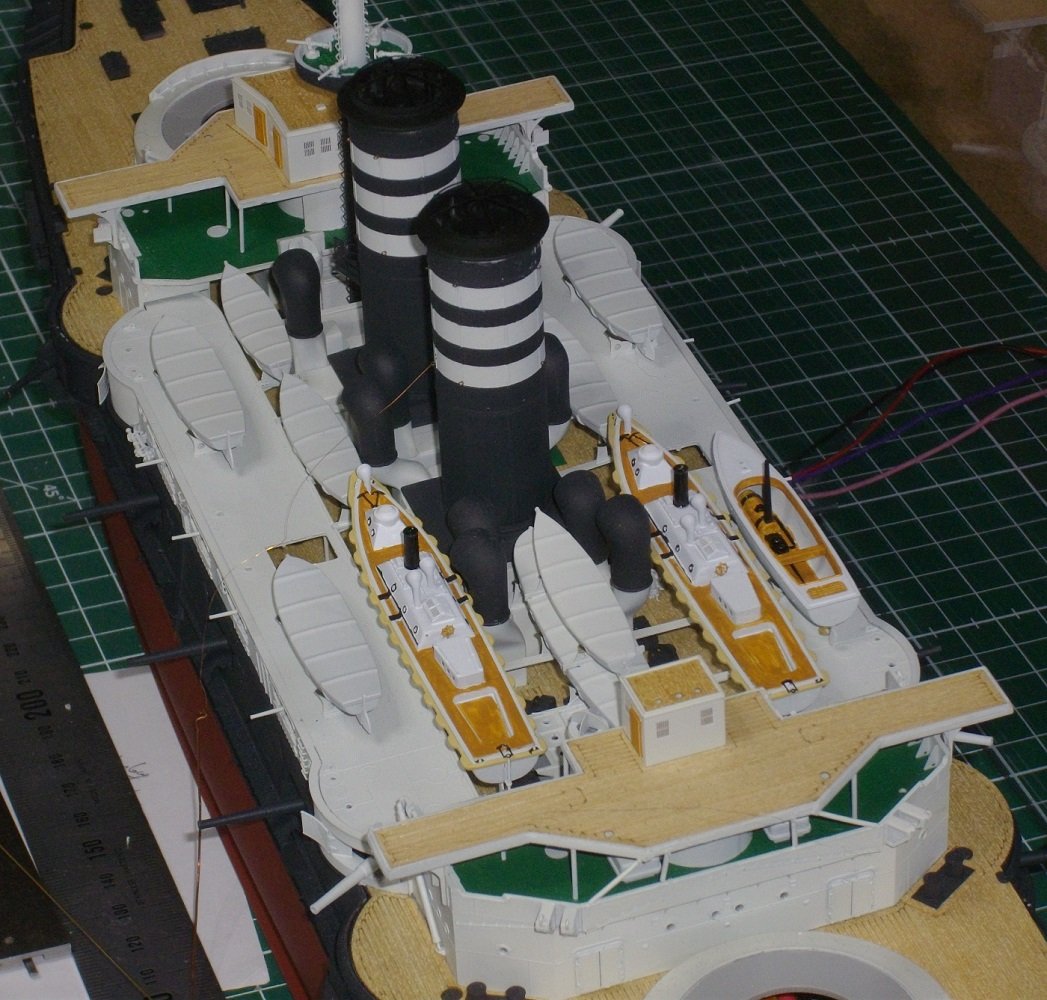
Before finishing the funnelstays I placed 4 laddders to the fore funnel platforms. See you in the next update.
- 155 replies
-
- 5
-
-
- Mikasa
- Merit International
- (and 1 more)
-
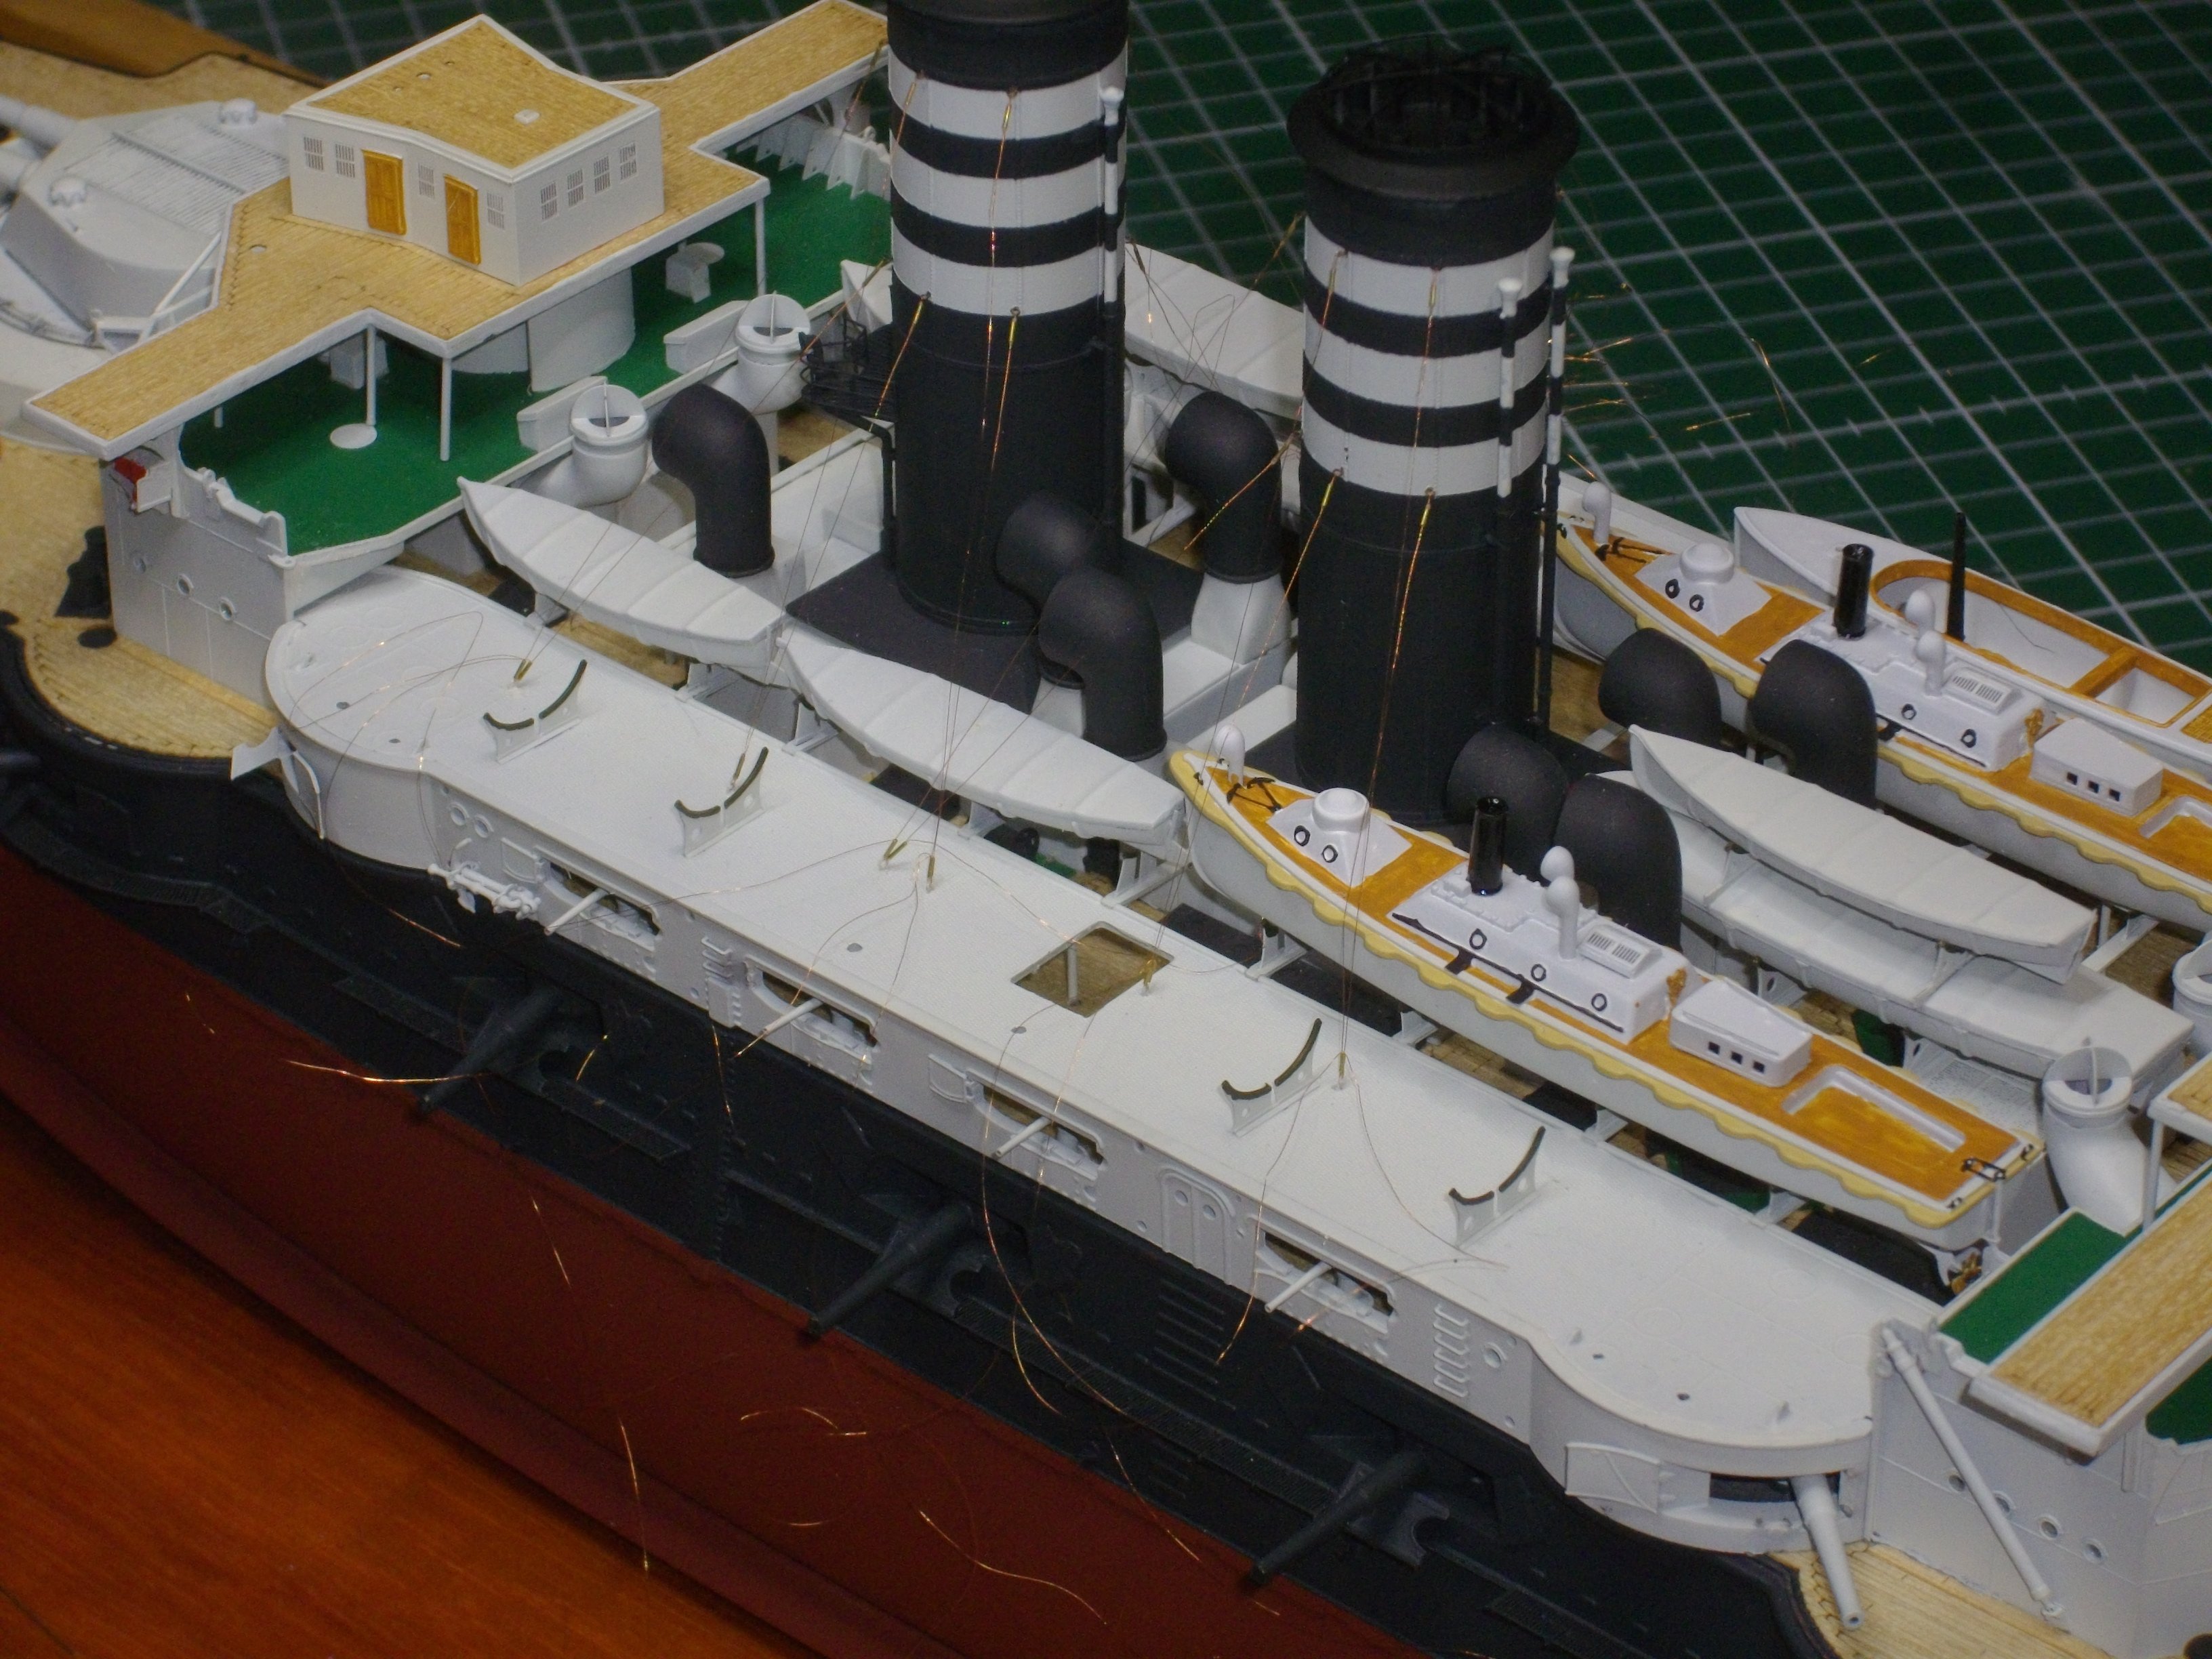
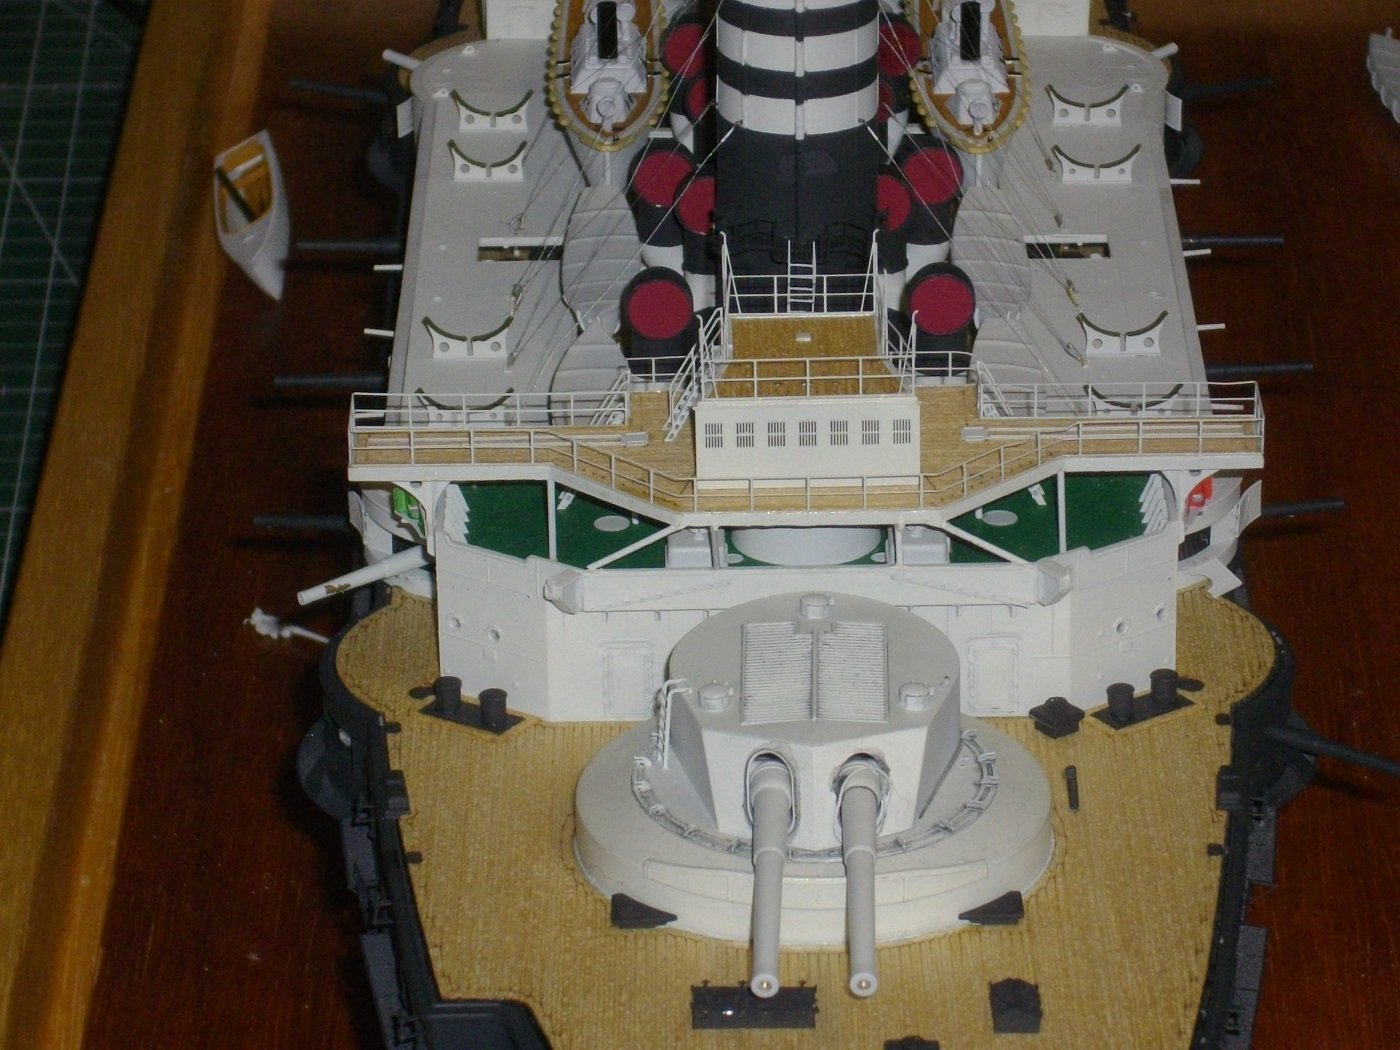
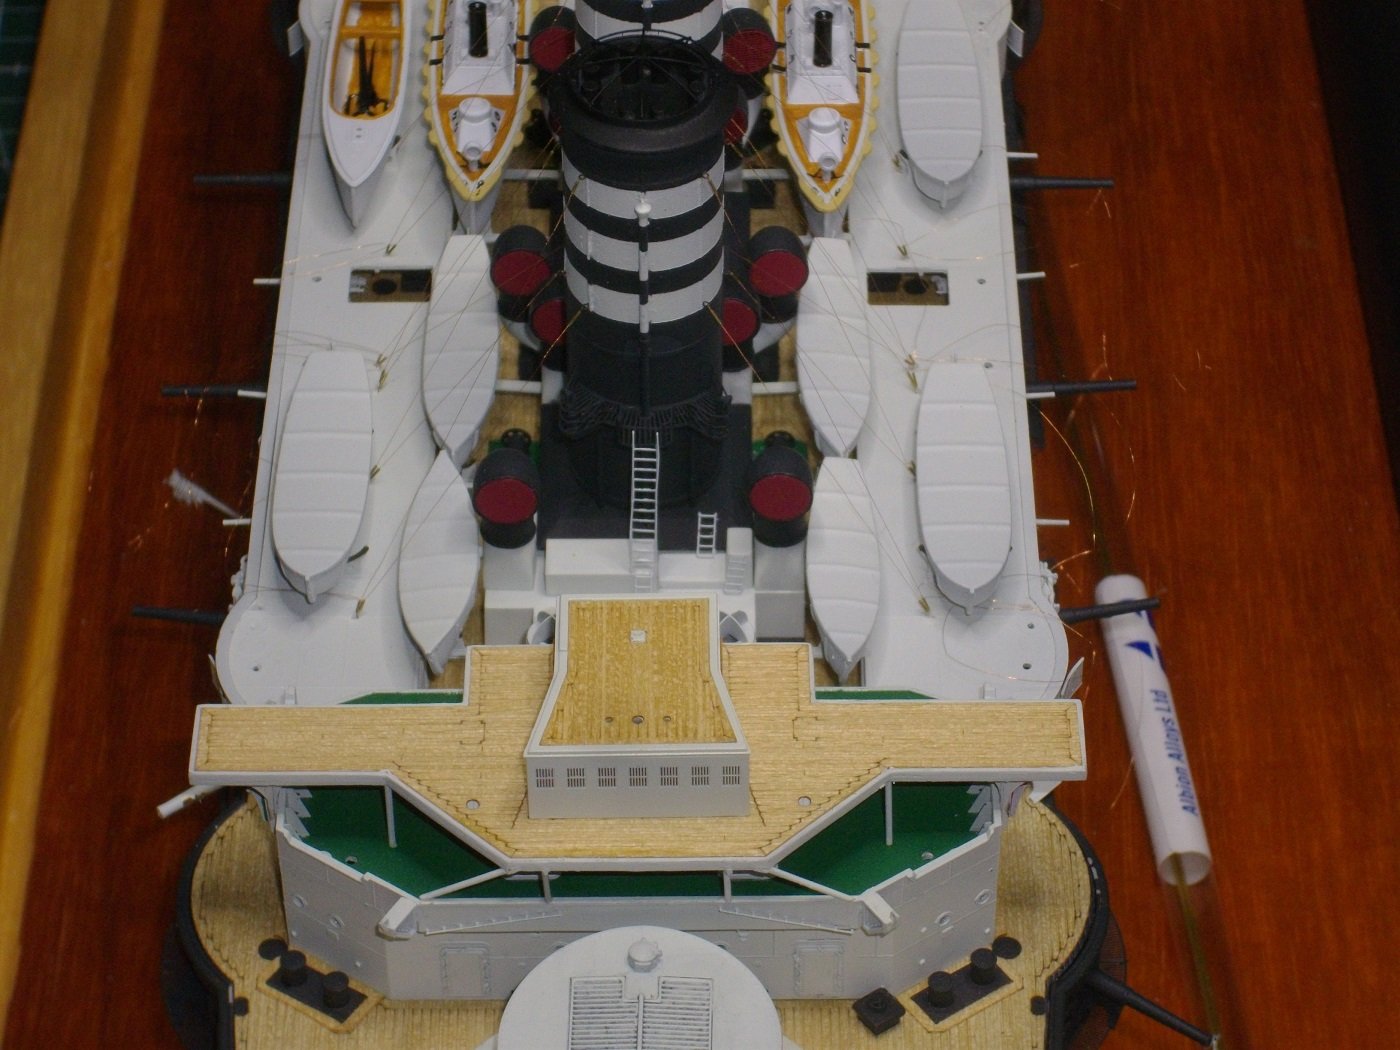
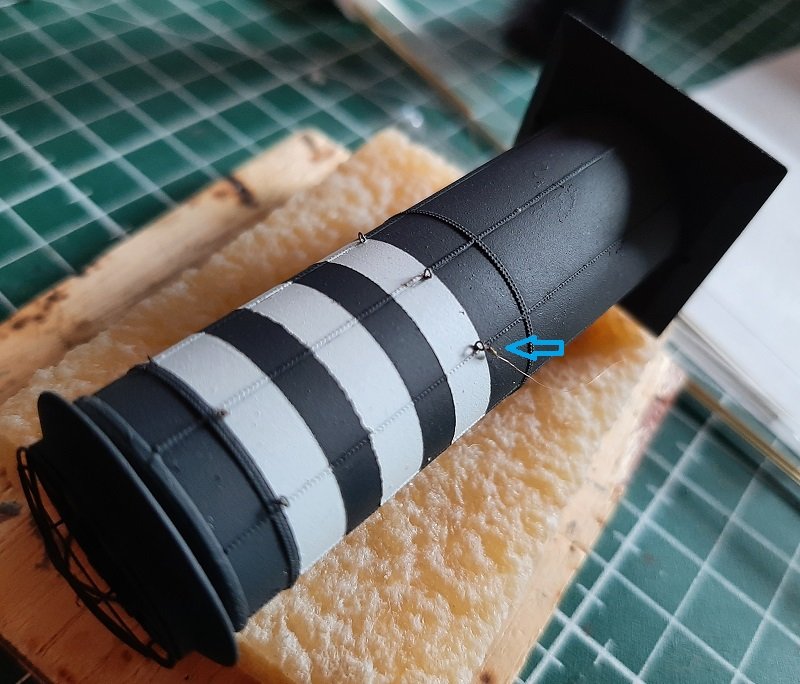
All stays attached to the funnels After drilling some 0,4 mm holes in the boatdecks and inserting eyelets made from 0,2 mm brass, I connected the stays to the decks. An other piece of microtubing allowed to make the stays to measure. A tiny amount of superglue was applied to the microtubing . After cutting off the excess wire, I painted the stays with Vallejo Model Air 71.065 Steel. I thank my dear followers for hitting the like button, an hope you enjoy the show. 🤩

- 155 replies
-
- 5
-
-
- Mikasa
- Merit International
- (and 1 more)
-
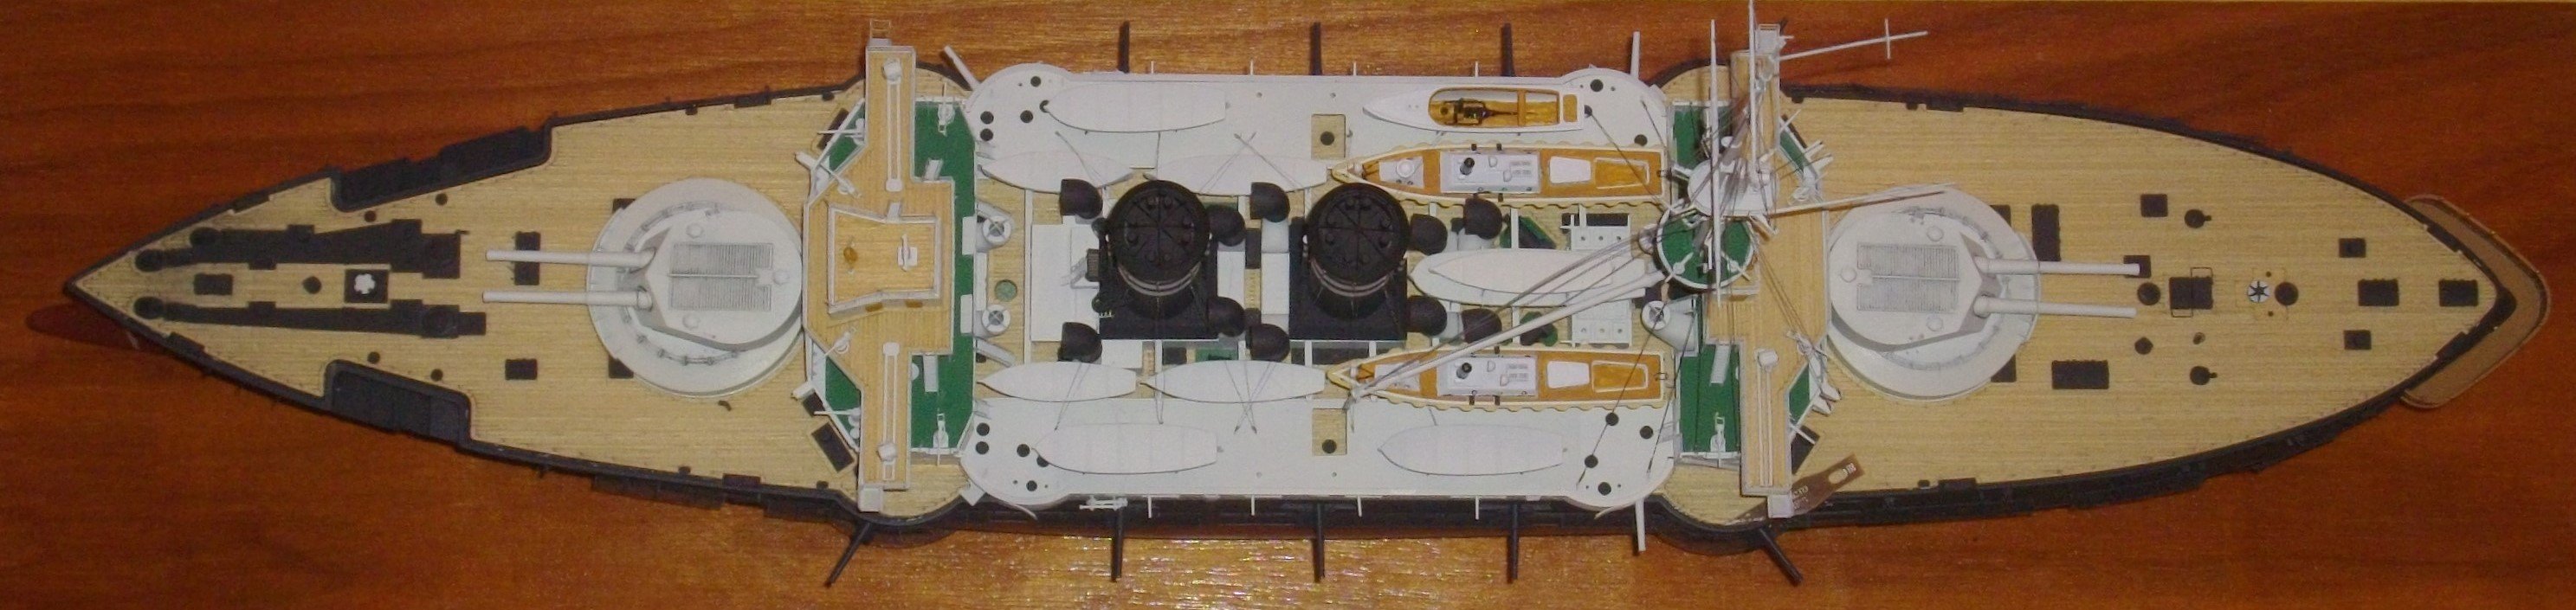
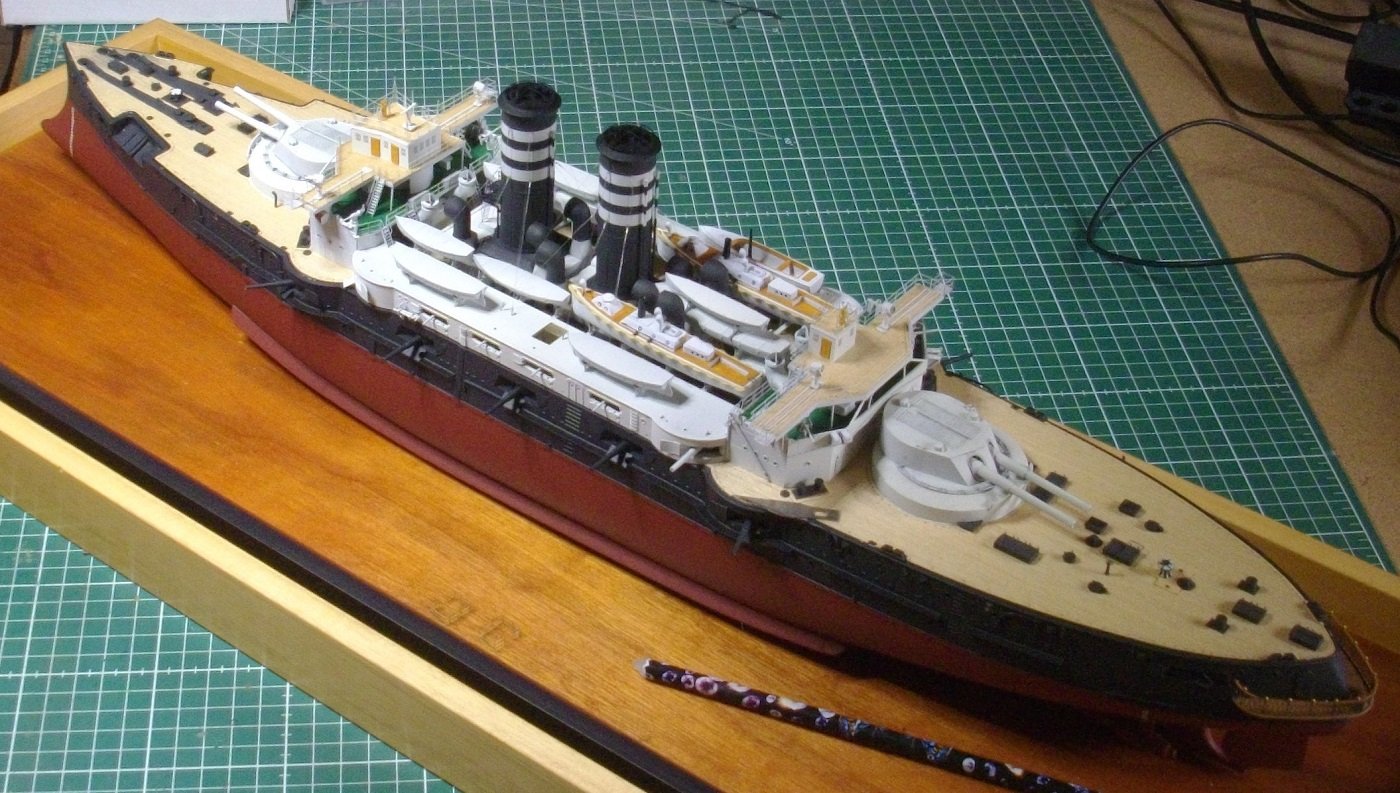
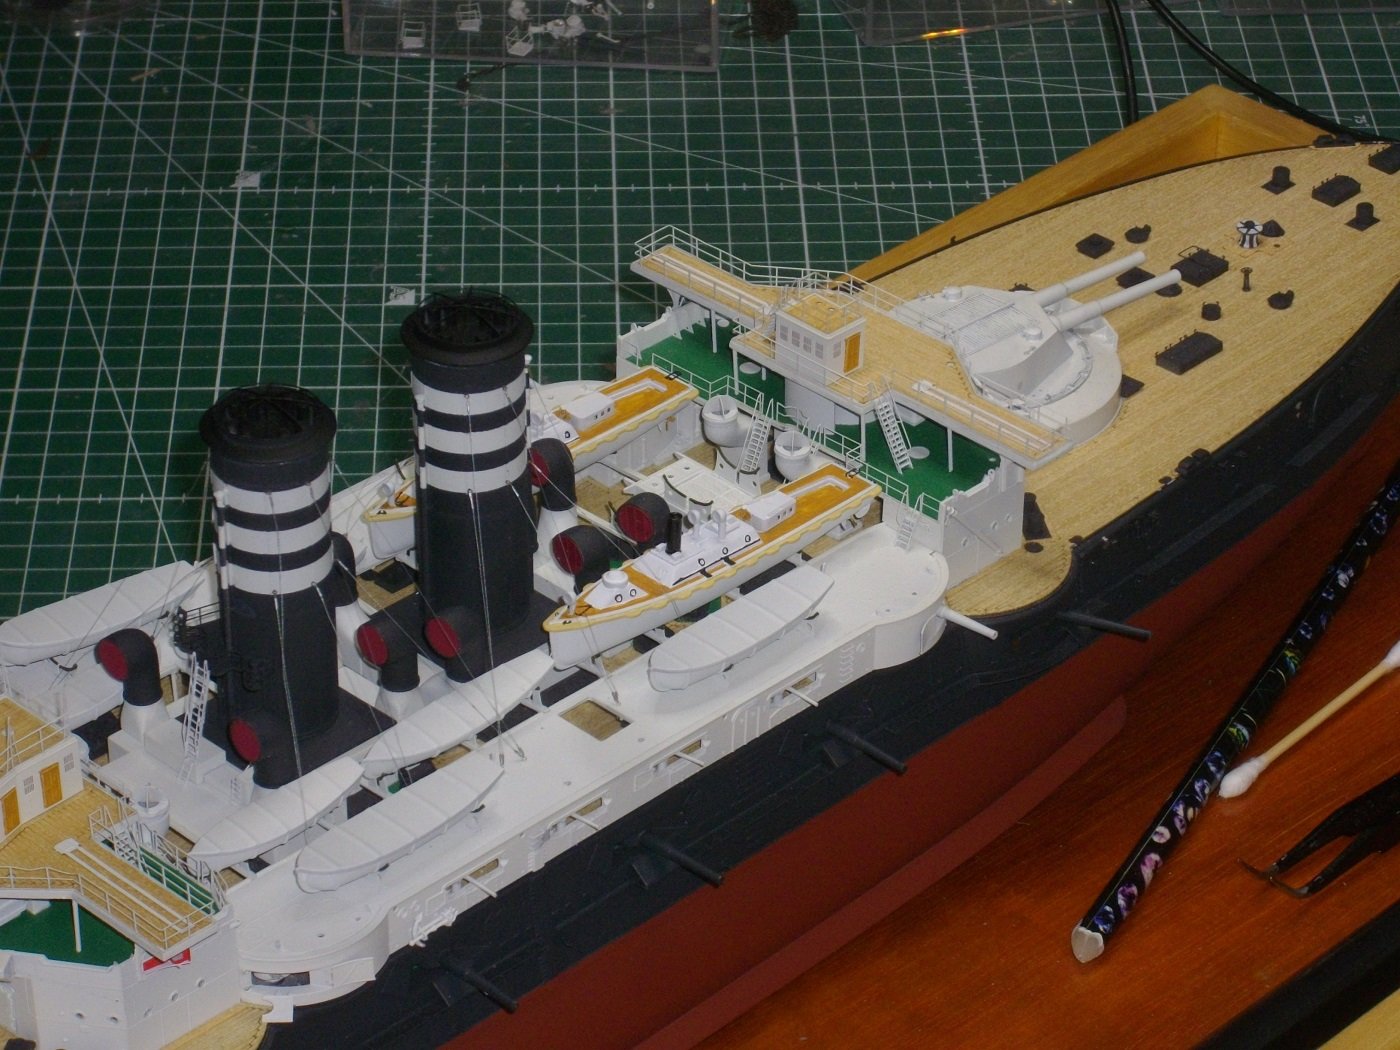
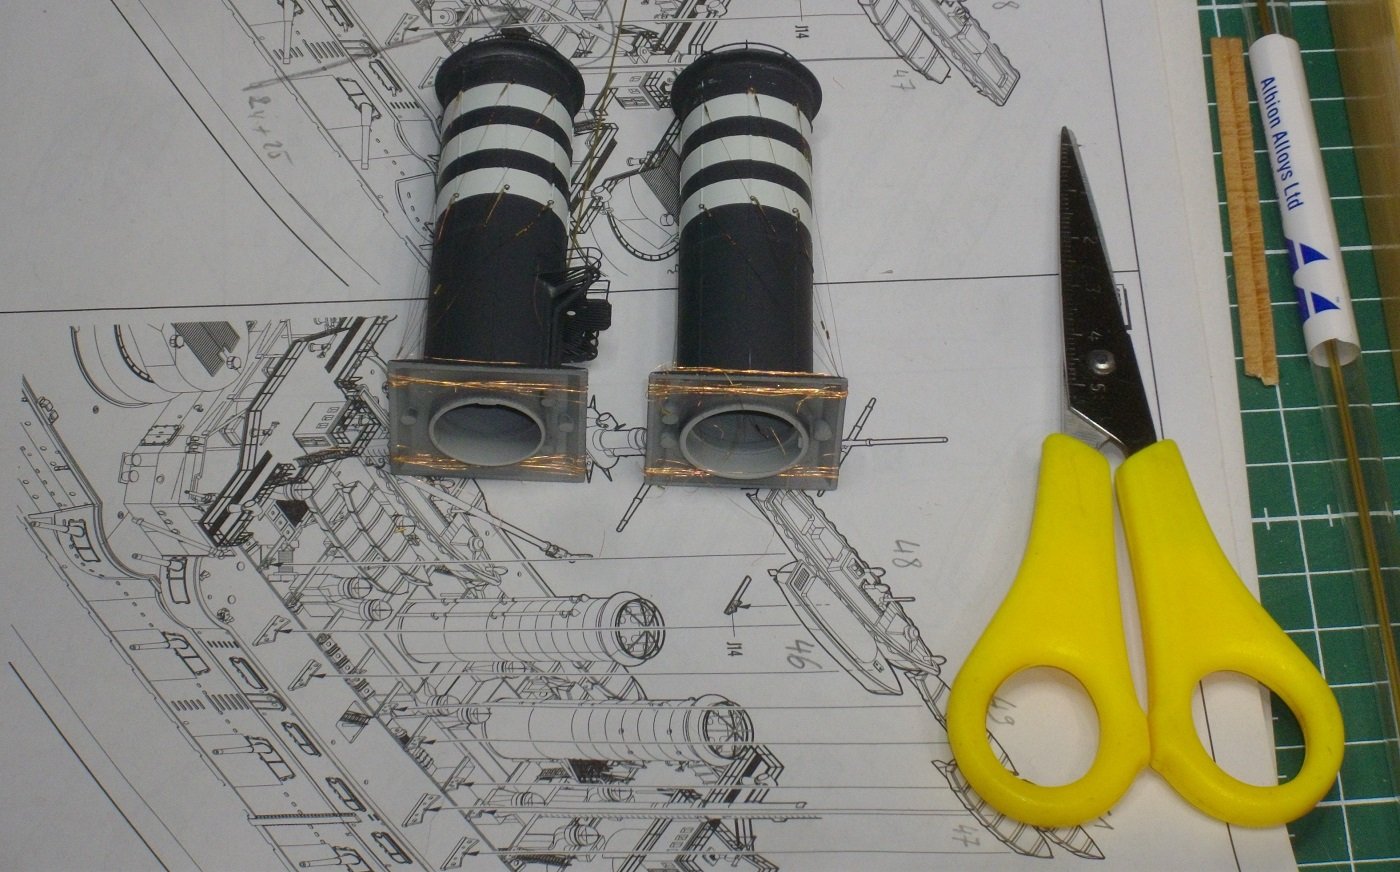
On to the next hurdle 😁 I testfitted a 0,056 mm brass wire with some microtubing with an external diameter of 0,4 mm. In order to establish where the belaying points should go on the boat decks, I placed the boats. One thing is shure, The present day attachment points are not realistic with the ships boats in place. Keep on modeling.
- 155 replies
-
- 6
-
-
- Mikasa
- Merit International
- (and 1 more)