-
Posts
805 -
Joined
-
Last visited
Content Type
Profiles
Forums
Gallery
Events
Everything posted by Greg Davis
-
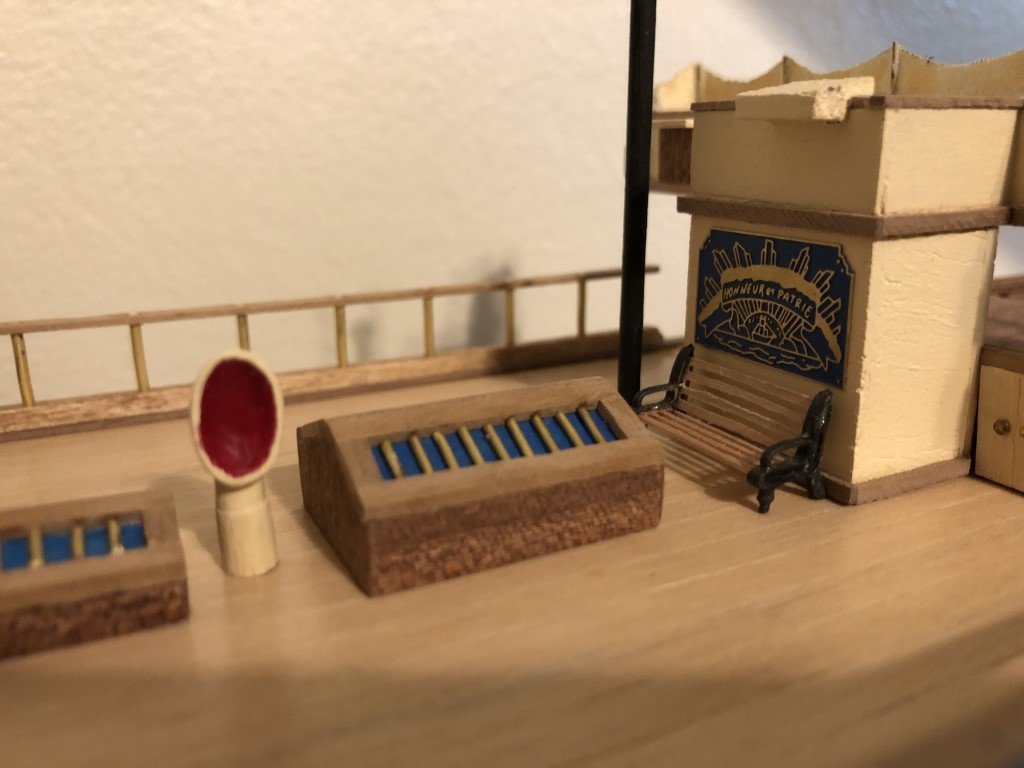
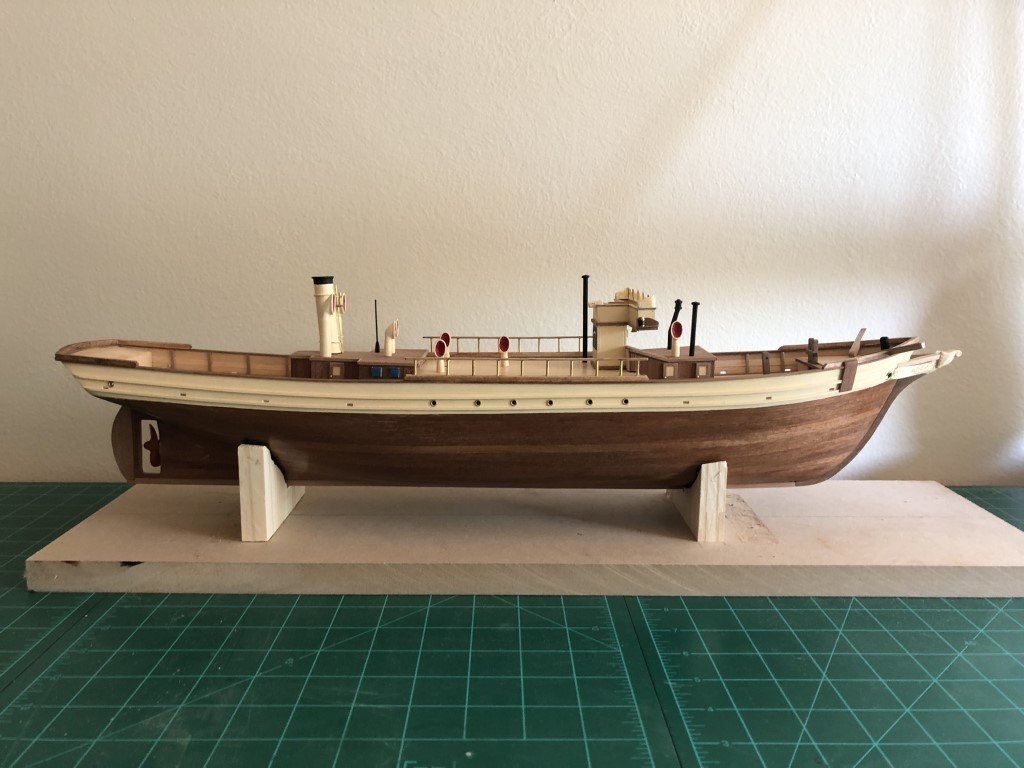
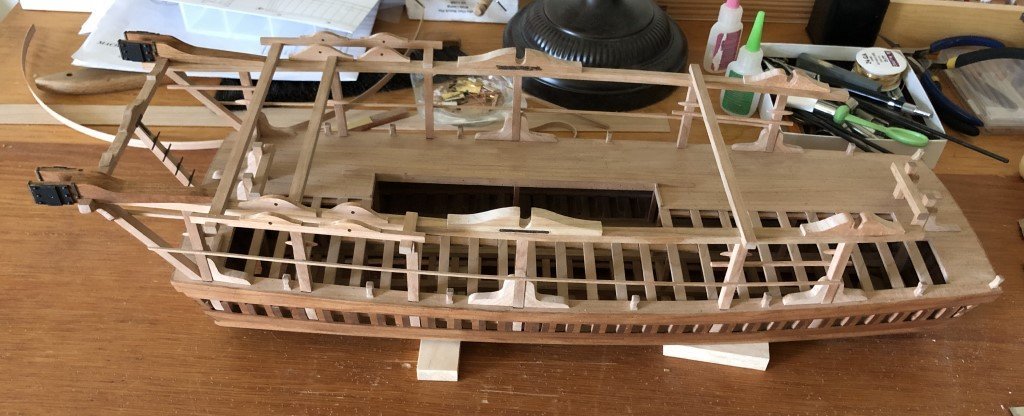
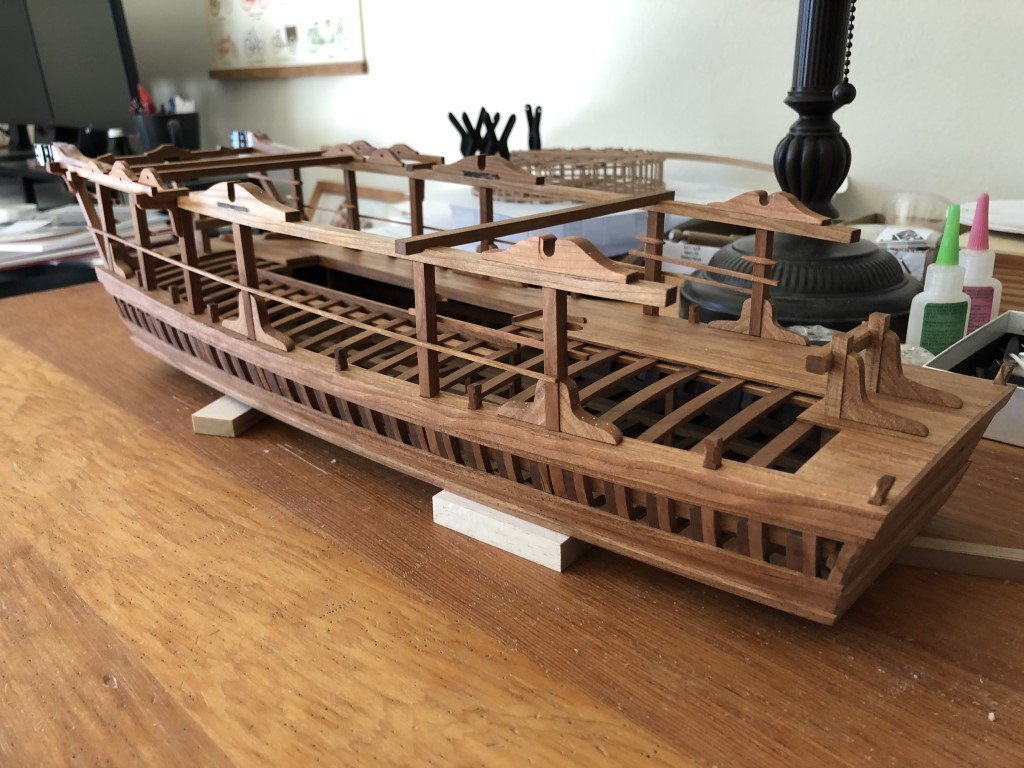
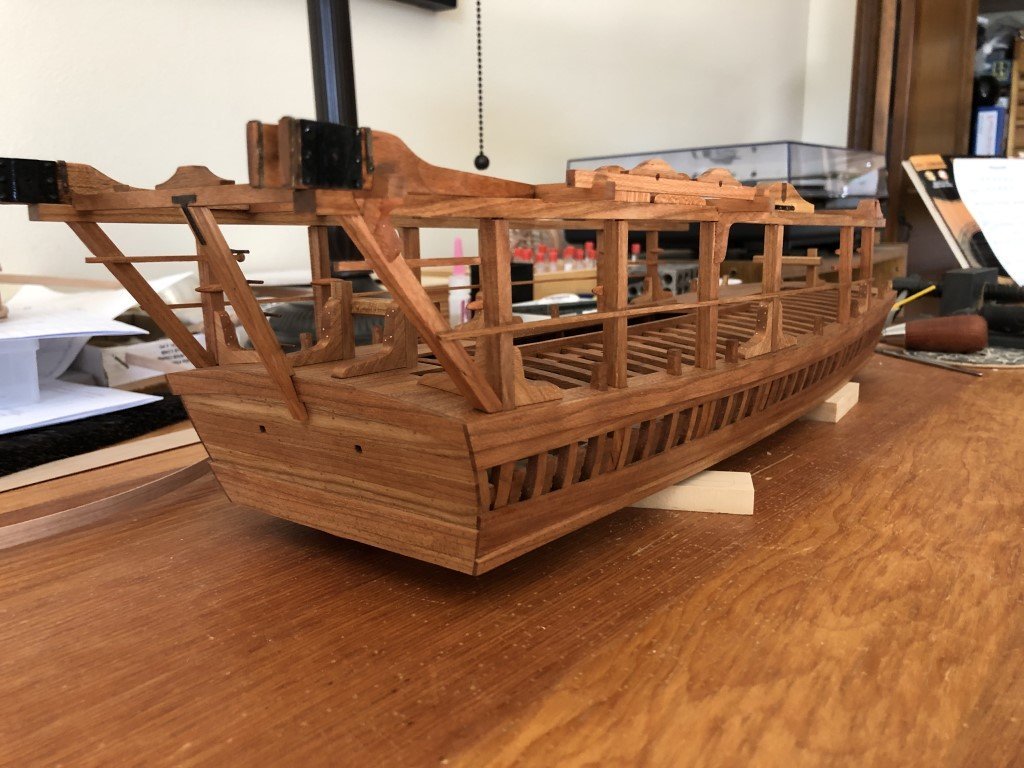
Added skylights and bench midships. It took several try's to assemble the bench. The instructions called for 8 1mm x 1mm strips between the castings. For the life of me, I couldn't get them in place / spaced right; let alone squaring up the structure. So instead I put 2 0.5 mil strips of cherry between the castings - this I could square up. Once dry, I milled each into 4 slats. Didn't quite follow the instructions for the skylights either. They suggested inserting the brass rods and then putting clear plastic under them. Since the view thru plastic would not be to an actual interior, I decided to first put in (old-school) blue windows (i.e., a wood support) and then added the brass rods. The blue windows here match the blue windows on the sides of the deck structures - so I'm calling this maneuver 'consistency in presentation'. Later this deck will get two boats. They will position left and right of the skylights. Le Pourquoi-Pas? was fitted with 6 boats for the 1908 - 1910 Antarctic voyage, but the kit supplies just 2 metal castings. I've sourced 6 ship boat kits from ModelExpo to replace / supplement the castings.
- 123 replies
-
- Le Pourquoi-Pas
- Constructo
-
(and 1 more)
Tagged with:
-
Unclear; but, I haven't been able to find a build log and/or any construction pictures of the model. I have always assumed that there is some urgency to get the monograph to press. The time between when plans are drafted and the 'test' model is fully built may not be what is needed for the publication schedule.
-
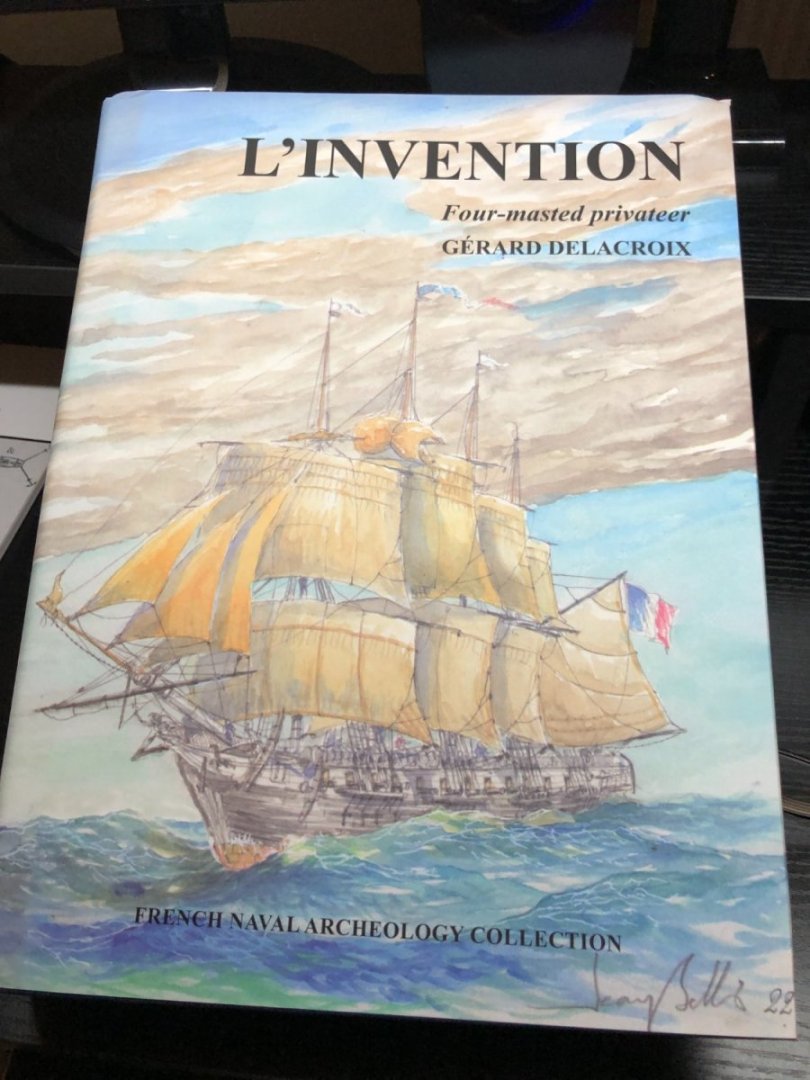
I have finalized my decision to build the French four-masted privateer L'Invention based on the recent ANCRE monograph authored by Gerard Delacroix. The ship was built 1799 - 1800 and sailed its first campaign in 1801; unfortunately just 9 days later L 'Invention was captured by a pair of English frigates. It was soon sold, reconfigured with three masts and put into use as a trader. Later it was captured again, resold, and was lost in 1810. When initially captured by the English (in 1801) and evaluated by the Royal Navy, L' Invention was highly regarded for its construction and sailing qualities. While not having an exceptionally long life, L 'Invention appears to be unique in design having 4 masts and a very streamlined hull shape. The ratio of length to breadth was 5.28 - typically frigates of the time had ratio s between 3.7 and 4. Importantly, Delacroix notes that the hull shape and masting foreshadowed clipper ship design that would appear 50 years later in the U.S. Over the past couple of weeks I have immersed myself in the monograph and the included 34 plans in order to visualize the order of construction that I will follow. I have decided to begin with frame construction. In particular I will first concentrate on the frames from 13 to 37. These should be the simplest to construct. I will then move fore and aft was the frame construction becomes more complicated. Once that is done, I hope to have become familiar with the qualities of the Swiss pear wood that has been chosen for the model. I will then move to, what I expect to be much more challenging, the axial framework; i.e., the stem-keel-sternpost structure. This order of construction should also keep my work area more open for quite awhile as the big building board will not be needed initially! I am currently milling sheets of pear that will be used to create the frames. Pictures of progress should appear soon!
-
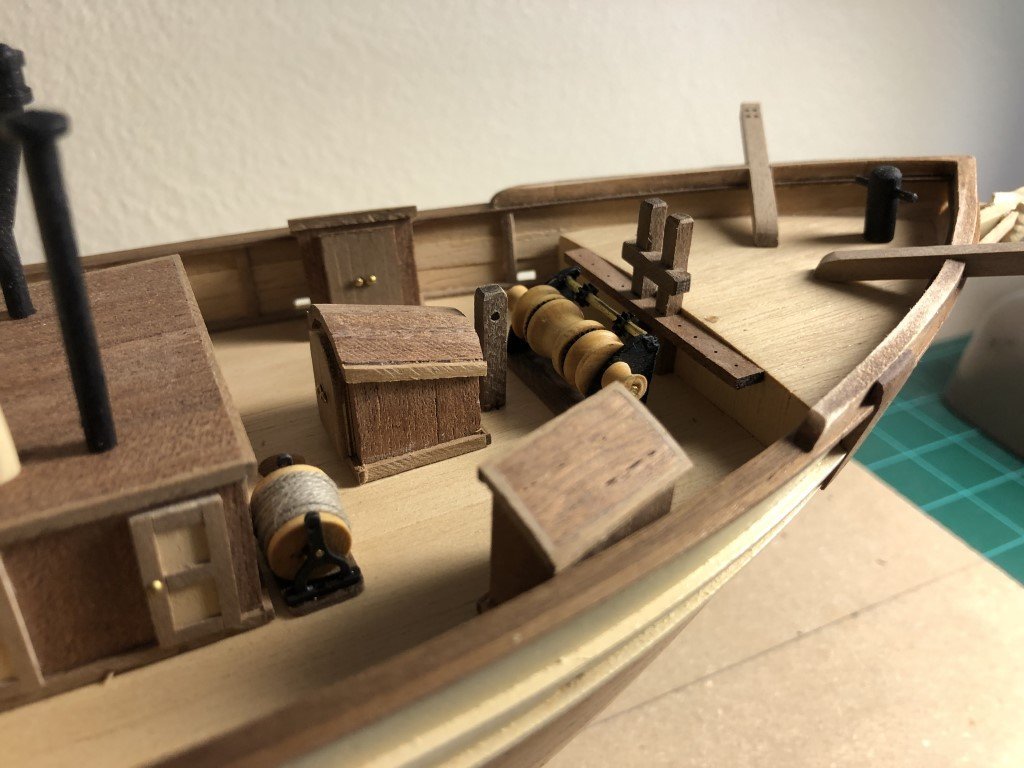
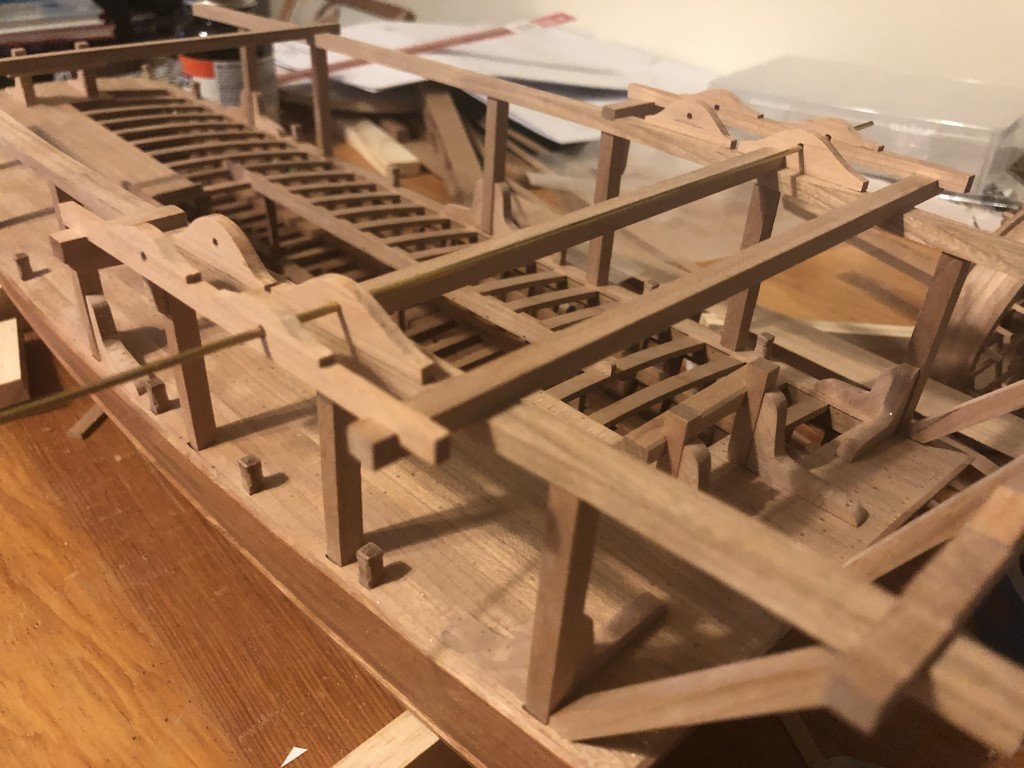
Several smaller deck structures have been added in front of the kitchen area. The kit supplied windlass is not spectacular and was difficult to get to a passable state - it would have been nice if this had been done as a casting!
- 123 replies
-
- Le Pourquoi-Pas
- Constructo
-
(and 1 more)
Tagged with:
-
How true - 2 years ago I build the ModelExpo kit of Emma C. Berry and I was able to access a good deal of information about the vessel. Books on her history and reconstruction were available and there were pictures from different periods of her life. In many ways this made decisions on how to represent the the ship more difficult. A model can only represent a snapshot, so its hard to pick one if you have information spanning decades but not a great deal at any specific timepoint. I think that's the problem here with Le Pourquoi-Pas? - the available (undated) pictures of a ship that lasted nearly 40 years show some of the potentially many snapshots and we only get to make one in static model form.
- 123 replies
-
- Le Pourquoi-Pas
- Constructo
-
(and 1 more)
Tagged with:
-
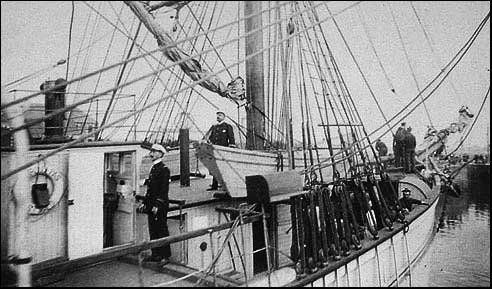
In Charcot's journal of the polar expedition, 1908 - 1910, there is a picture of the ship in which you can make out that the bridge is like that in the Constructo kit. So my guess is that the basic bridge with canvas wind block was original; then perhaps, it was decided that it was too cold so the small enclosures were added; and finally, the structure was cut down / simplified before the Pourquoi-Pas? was lost in 1936.
- 123 replies
-
- Le Pourquoi-Pas
- Constructo
-
(and 1 more)
Tagged with:
-
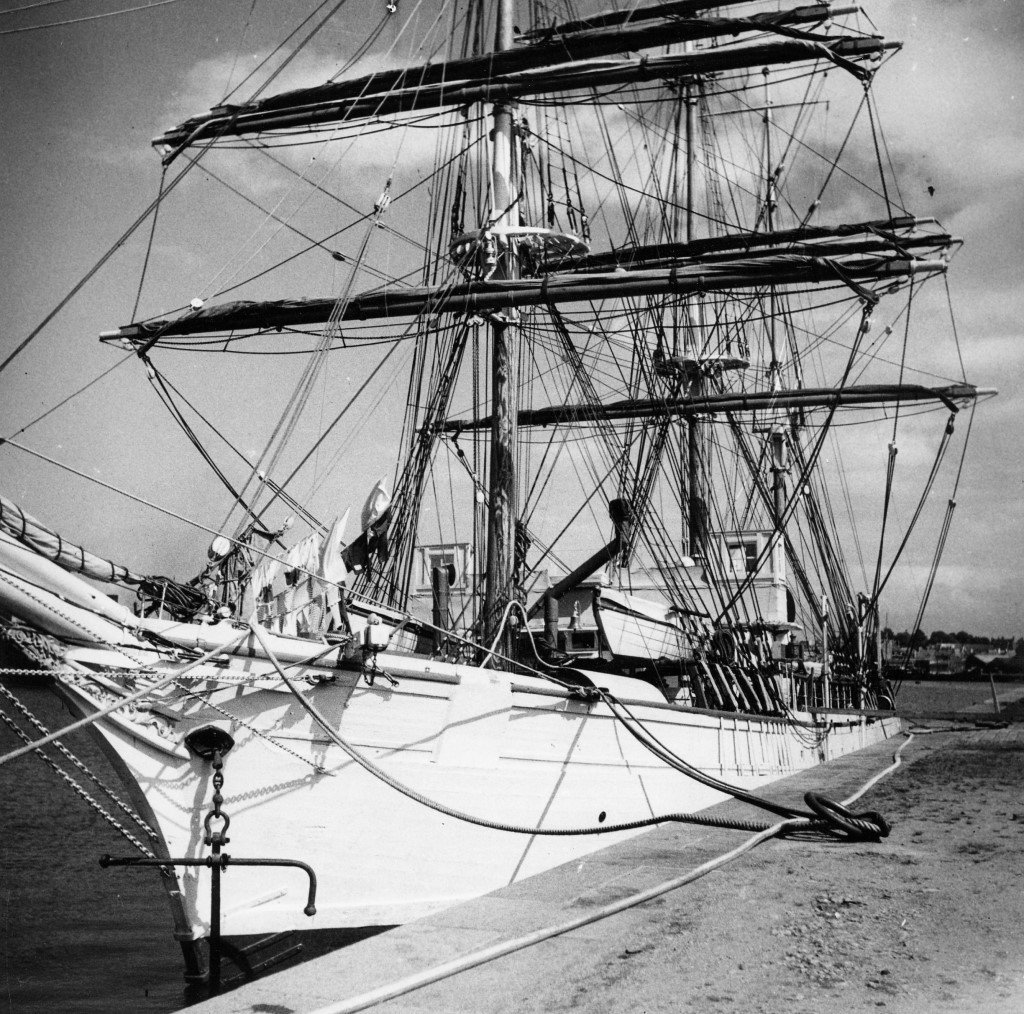
I saw a couple of pictures online that seem to indicate that the bridge / observation area changed a number of times thru her history. In the model the observation area is open from side to side. In this picture enclosures have been fashioned on the sides. Ans in this picture, it looks like the observation region has been removed. Unfortunately, I don't have any idea as to the timing of these images.
- 123 replies
-
- Le Pourquoi-Pas
- Constructo
-
(and 1 more)
Tagged with:
-
Starting to attach subassemblies to the deck. The three large deck structures that were made earlier are cemented in place. The 4 remaining ventilators have been attached to the deck. Anchor davits, bitts, etc. are being added. The deck of this vessel is pretty 'busy' so for a while little structures / details will be constructed and added to the model.
- 123 replies
-
- Le Pourquoi-Pas
- Constructo
-
(and 1 more)
Tagged with:
-
Mr. Delacroix: Thank you for your input; I've spent more time exploring plan sets for both of these ships, and have now decided that in the near future I will open a build log for L'Invention. I am also fairly sure that the model will be made primarily with pear wood. As with the dredger, I will do my best to make an honest and high quality representation of your work. Greg
-
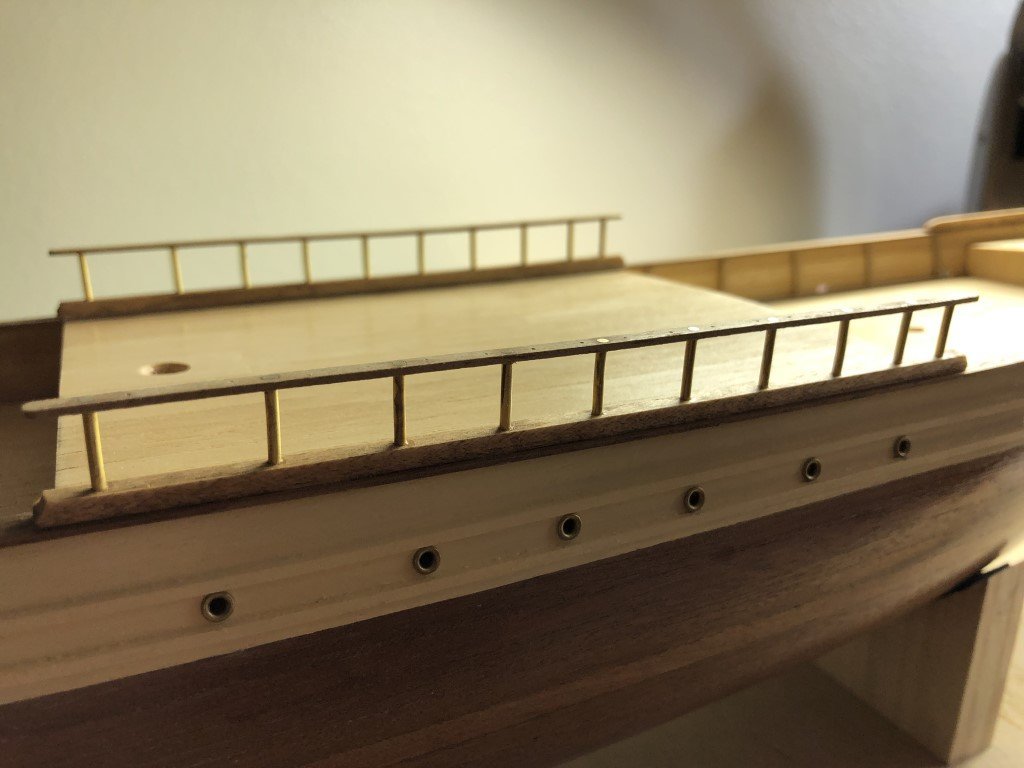
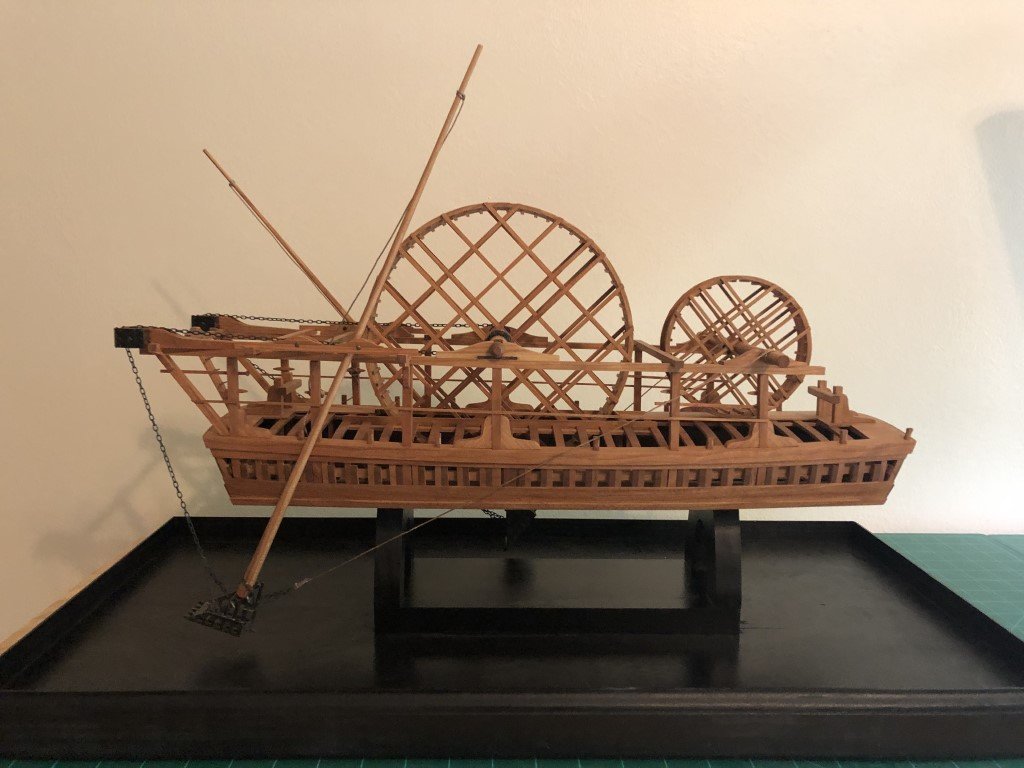
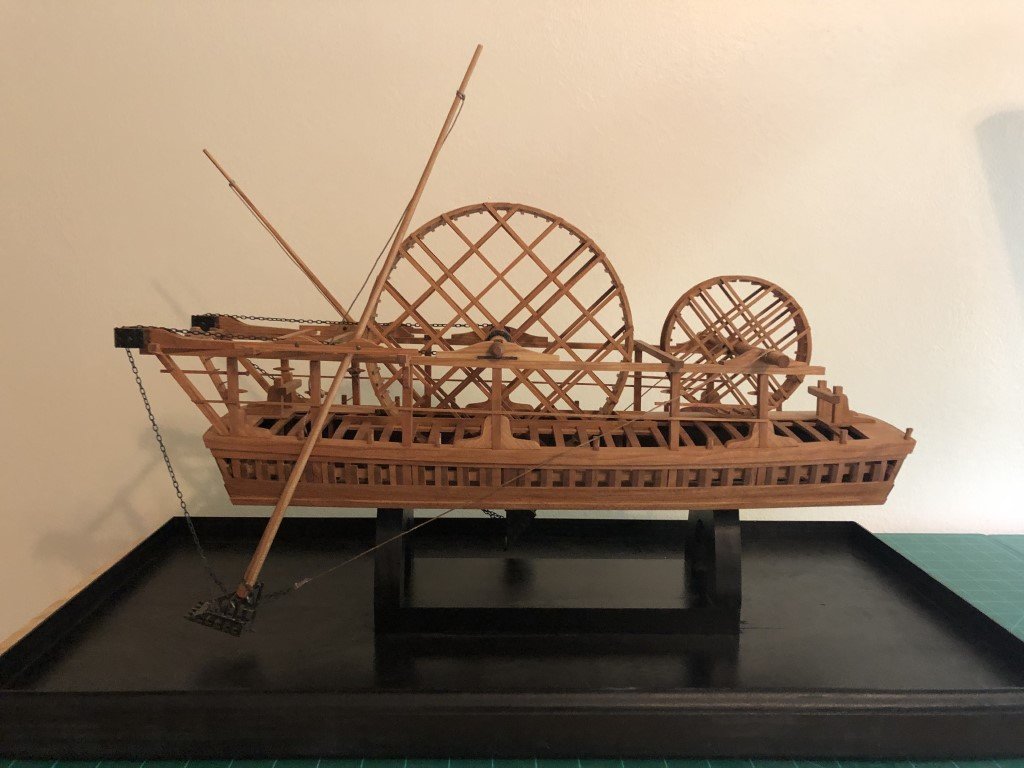
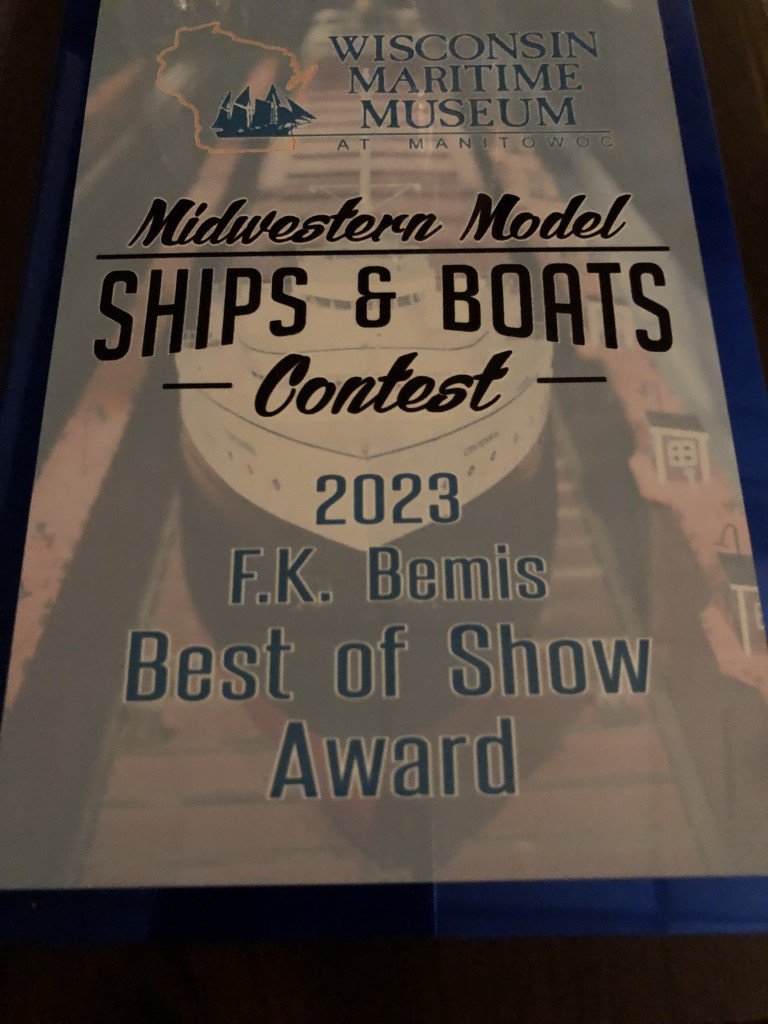
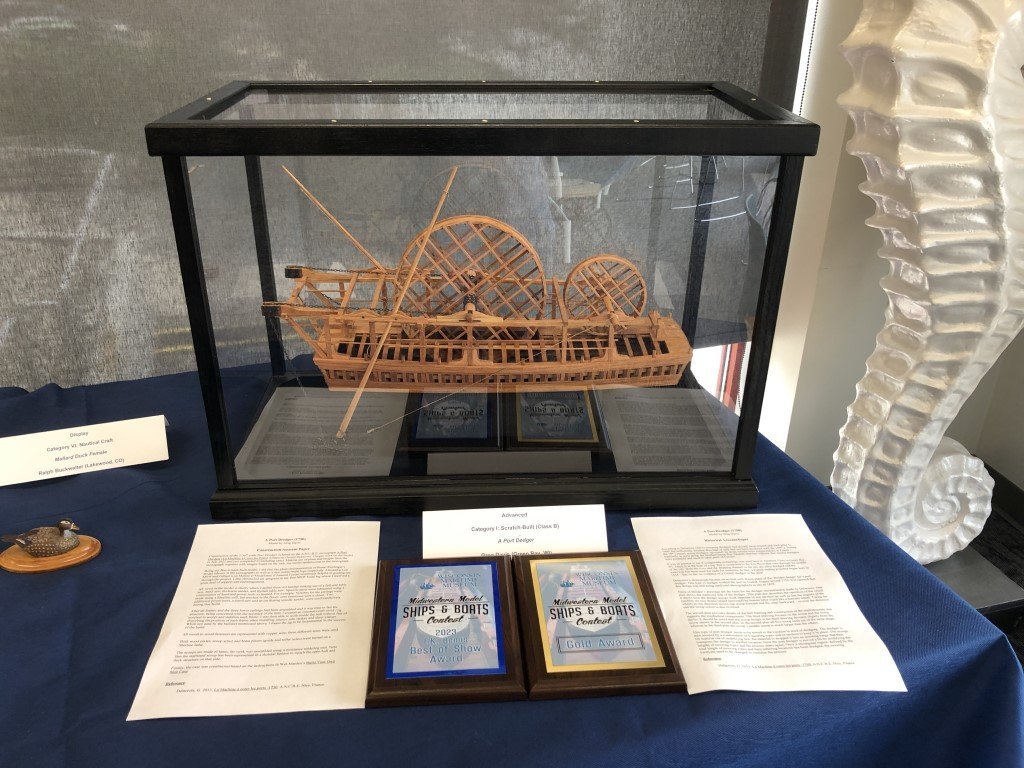
I got back to working on this ship last evening - hopefully there will be regular progress until completion. First addition this week was a set of handrails made from 1mm x 3mm material. There are a lot of holes in each - 10 for stations and 25 for belaying pins. I cut the handrails to length and marked the location of the holes, then I drilled 70 0.5mm pilot holes. The rails where clamped to their locations over the deck and the station holes where enlarged / drilled through the handrails into the vessel - first with a 1mm drill and then enlarged to allow for the 1.5mm brass wire the stations are made of. Everything was glued up with CA, the excess brass snipped off and then filed flush to the handrails. Also, my dredger project was completed (hours) before the 46th Annual Midwestern Model Ships and Boats Contest held at the Wisconsin Maritime Museum. Here is what it looks like completed and mounted. When the awards dinner came around Saturday evening, I was hoping that my work would at least have earned a silver award - so I was extremely pleased when the dredge and my name was called for a gold award. But the evening was not over, and still unbelievable to me - the judges had determined that this model would be awarded Best of Show!
- 123 replies
-
- Le Pourquoi-Pas
- Constructo
-
(and 1 more)
Tagged with:
-
I do have a question - Do any of you know of documentation / plans any other interesting service boats (short of anchor hoys)? I found this dredger to be fascinating, and I think that many should be indebted to G. Delacroix for bringing his study to us, but now I am interested in whether or not there is a logical / related follow up project! If not, then I may make a seemingly irrational decision to dive into either L'Egyptienne or L'Invention - both that interest me greatly .
-
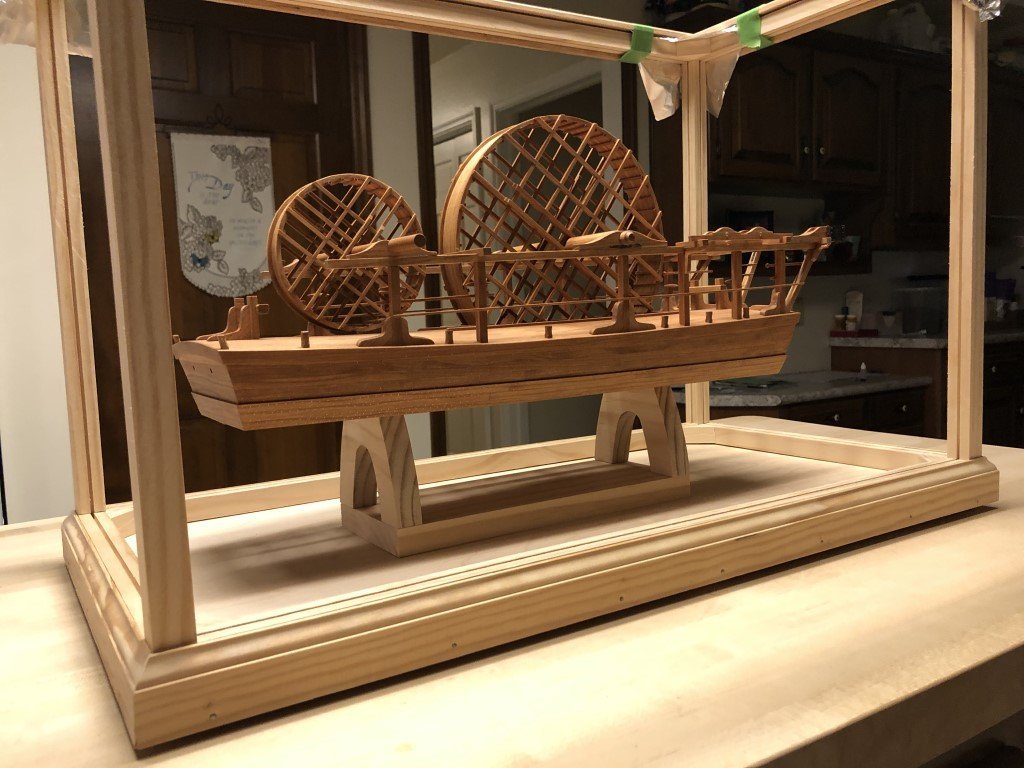
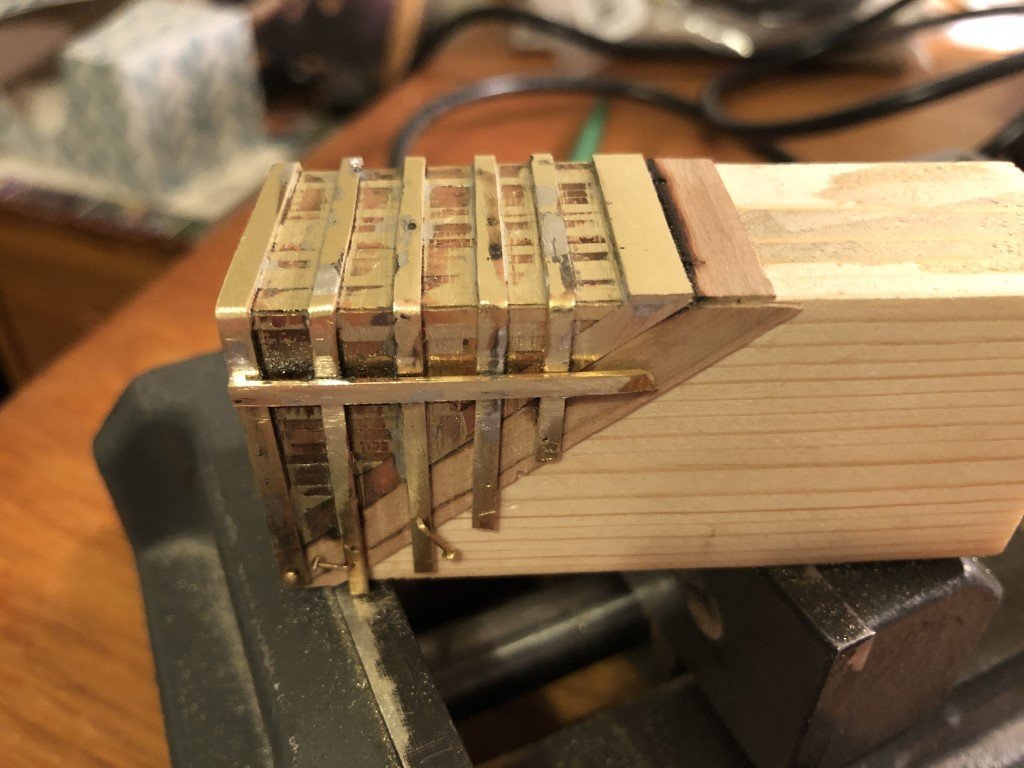
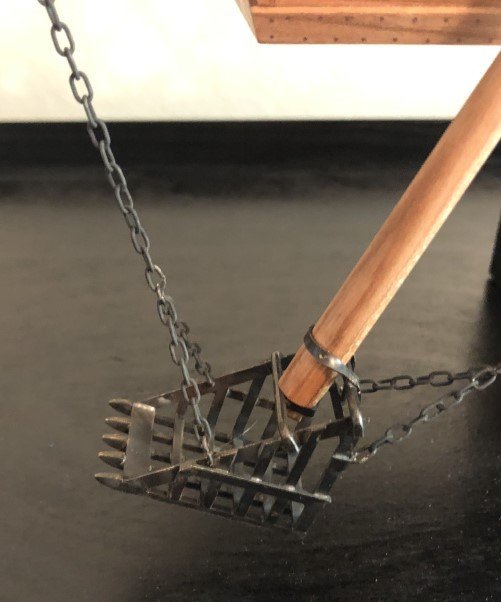
Very sorry about the lack of updates. During the past two weeks I have been doing a lot of 'little things' - nothing that really seemed worth reporting, yet all together the job is done! I did order and receive a follower rest for my lathe and this accessory helped me fashion the second scoop arm in approximately one-third the time the first took. So I feel the follower was definitely worth the money. When ordering the follower, I convinced myself that a rotary table would be a great addition to obtain. That's a pricey one, but it really made slotting the davit (chain) rollers a pleasant task. Each roller, that is about 13mm in diameter, required 20 parallel slots for metal reinforcing strips. The rotary table let, together with a slitting saw, let me make the slots an even 18 degrees apart all around the roller. Work on the scoops continued. Here is a picture of the port side scoop before drilling holes for fasteners (which require a whole slew of drill bits as they quickly dulled) To keep with the 'open' starboard presentation, I decided present the starboard scoop in a skeletal fashion. Here is a picture of that scoop that was taken after connecting to the vessel: As I was approaching the final setup it was time to build a display case. Here the case is approaching completion and I am adjusting the location of the dredger inside the confines. Once the case was painted black, the hull was mounted via bolts going up thru the arches into the nuts imbedded in the keel. Then the scoops were setup with their chains and return ropes. Finally, the scoop brails were added. Here is the result: That picture was taken Thursday evening. Friday morning and into the early afternoon, the glass was added to the case. The finished product was loaded up into my truck and driven down to the 46th Annual Midwestern Model Ships and Boats Contest held at the Wisconsin Maritime Museum. At this contest all entries are placed in group types (kit, scratch, etc.) as well as by experience (novice, intermediate, advanced). Models are then judged individually against a rubric. Based on the number of points received, each model is then placed in an award category (bronze, silver, gold). If a modeler receives a gold in the novice category, next time they must advance a class. Similarly if a gold is received in the intermediate class, then in future years entries need to be placed in the advanced level. Last year I had received gold in the intermediate category with a kit build model of the fishing sloop Emma C. Berry. So although the dredger was to be my first scratch built entry, Kurt Van Dahm kindly directed my entry to the advanced level. Needless to say, when the awards dinner came around last evening, I was hoping that my work would at least have earned a silver award - so I was extremely pleased when the dredge and my name was called for a gold award. But the evening was not over, and still unbelievable to me - the judges had determined that this model would be awarded Best of Show!!! Kurt suggested that I let you know last evening and I would have, but for some reason I was not able to access the MSW website last evening (or this morning). I cannot thank you enough for the kind words and encouragement that all of you have provided me over the past 10 months. The journey has been supremely rewarding. I'm going to consider this model 'done' for now and am starting to think about my next building adventure. Again thank you and I hope that you have found some enjoyment following this build.
-
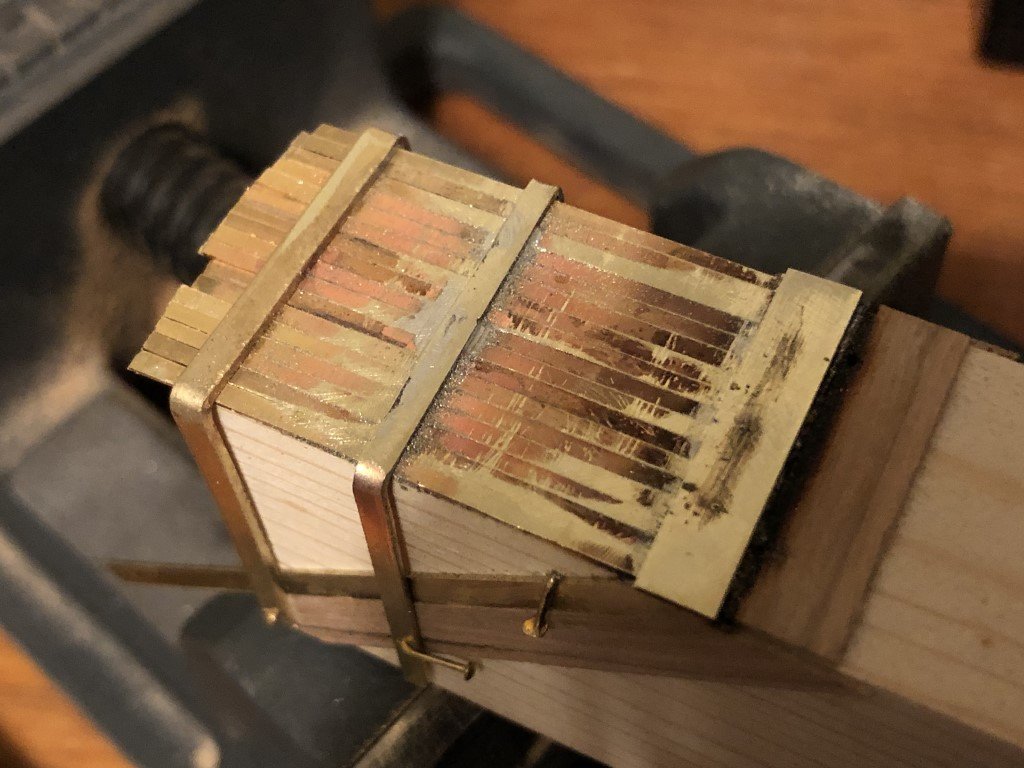
The last couple of days have been dedicated to the scoop arms and the scoops themselves. I've formed one of the scoop arms. It has an interesting contour, the lower part changing shape in a convex nature, whereas the upper part is more conical. The scoop arms are near 40cm long, 8mm diameter at the base, and tapering to 3mm at the top. It took me nearly two days to turn the first scoop arm. I found it difficult due to do the turning because of the large length to diameter ratio. I have a steady rest rest for my lathe but it seemed to offer just limited help. I've ordered a follower rest in hopes that this accessory will help in forming the second scoop arm. I believe that I have cut enough brass stock for the sides of the scoops and also stock for the straps. I have started to assemble the first scoop and have made the first couple of solder joints. I have essentially no background in successful soldering so this is really a learn as you go part of the build! I am following the basic scoop assembly order and method that is shown in the Ancre monograph.
-
I also completed most of the work for the scoop guides and their associated axles (with washers). The hourglass shaped guides still need to be oiled and the axles need to be shorted to their final length. But all of the turning is done and the axles have already been drilled for fasteners. This work did get slowed down when the drive belt on my lathe decided it had reached its life expectancy. While I have backup belts for my Byrnes table saw and thickness sander; I found that I had committed an oversight by not having backup belts for my Sherline lathe and mill. The drive belt failure led me to nearly two days of belt searching. After finding out what type of belt it was, I thought this can't be to hard to obtain for less than Sherline charges! They want $9.95 for a belt and for 3-5 day shipping another $10. So, I found the exact belts MB330's on Amazon - 2 for $7.99 with free delivery. At first they were suppose to arrive by 2 May; now maybe by 8 May - who knows as they are being shipped from China. So I ordered a generic 13 in belt for a few dollars and it came a day later. Not a great fit for the lathe, but it is functional with the lathe motor pushed as far from the drive pully as possible. It worked (big axle doubler) but will be replaced with a MB330 when one arrives - maybe tomorrow; yep I sucked up the $10 Sheline delivery fee for an item that weighs an ounce or two.
-
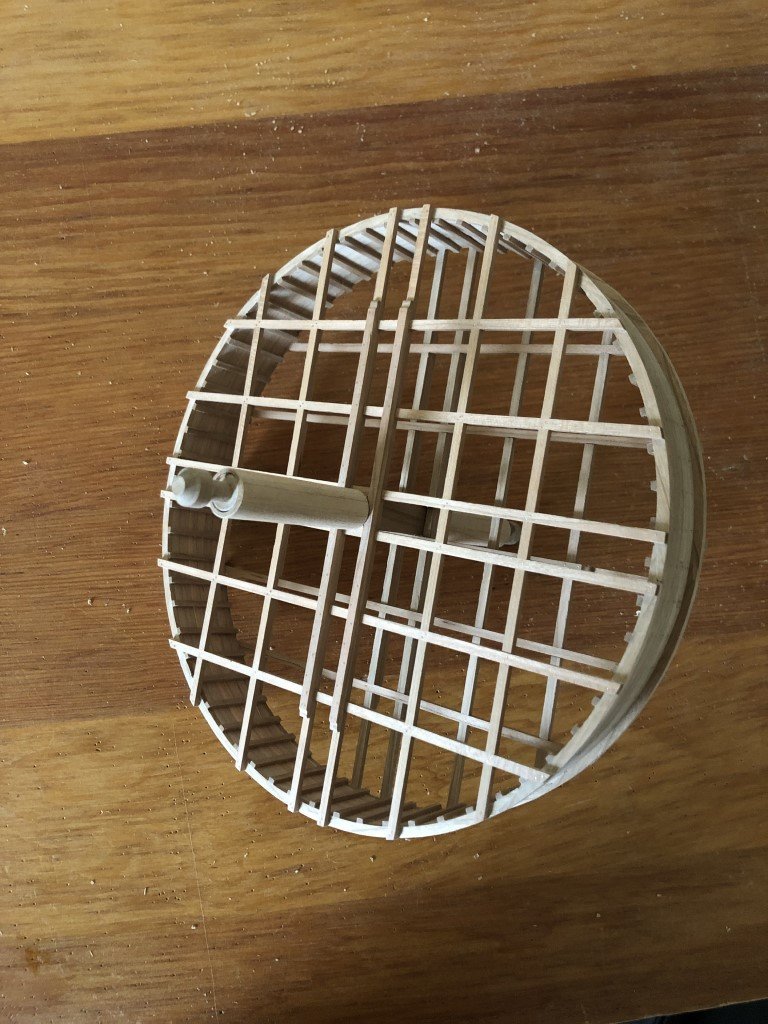
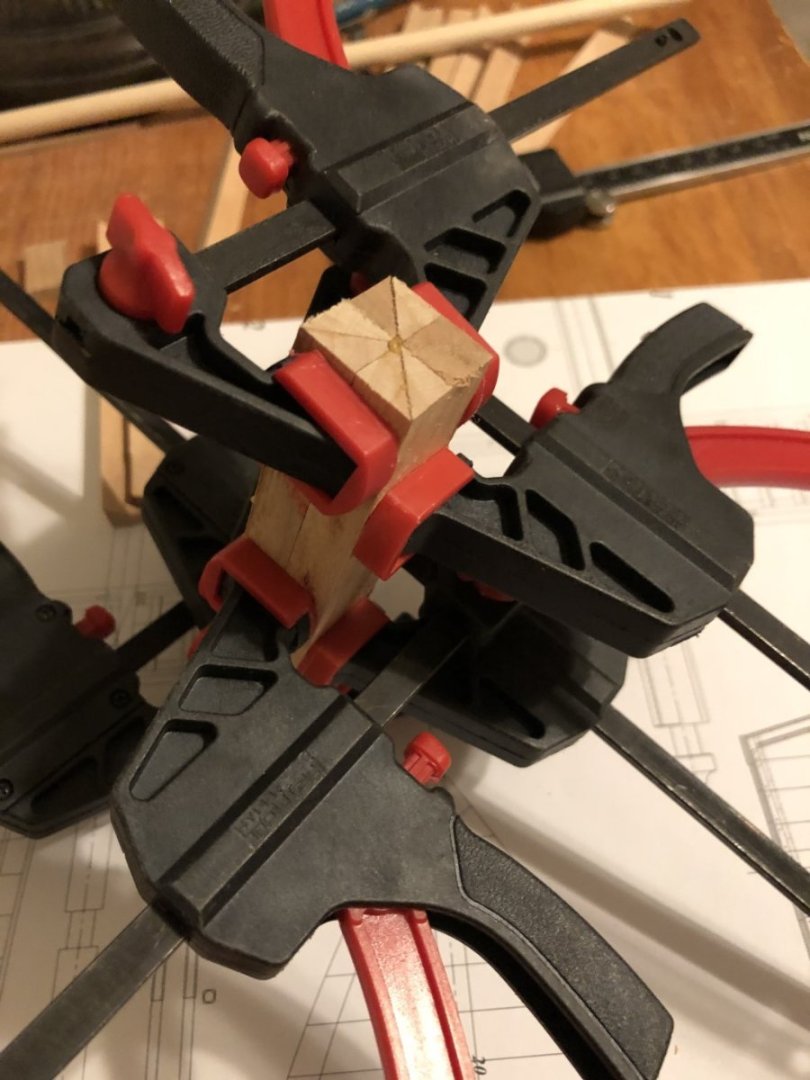
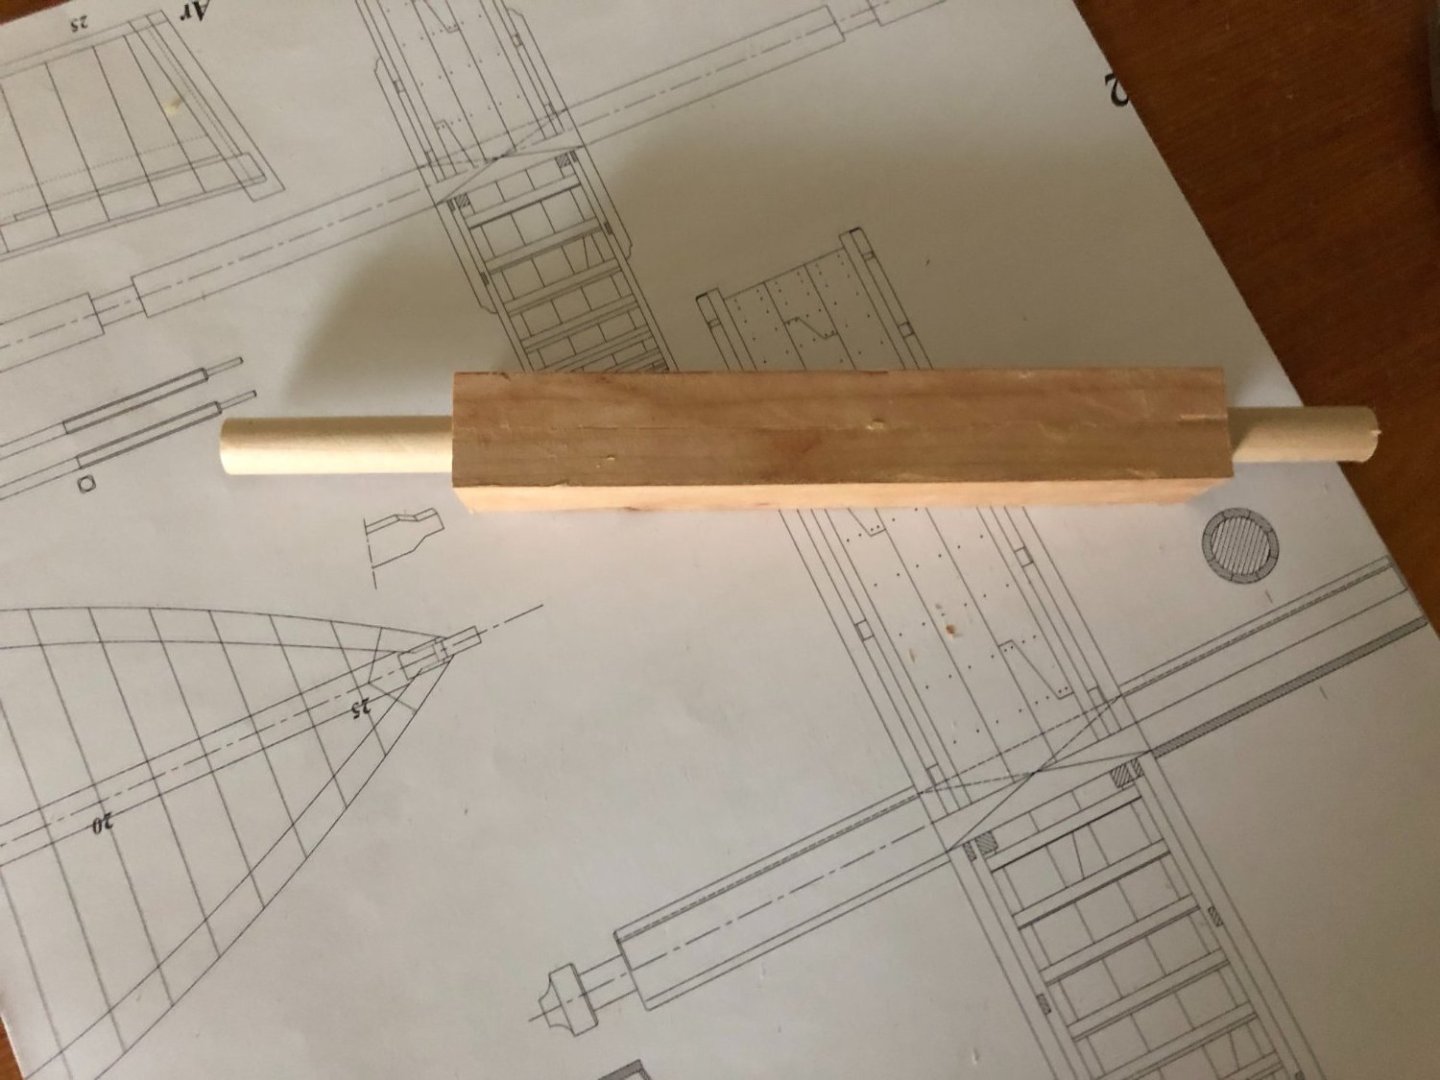
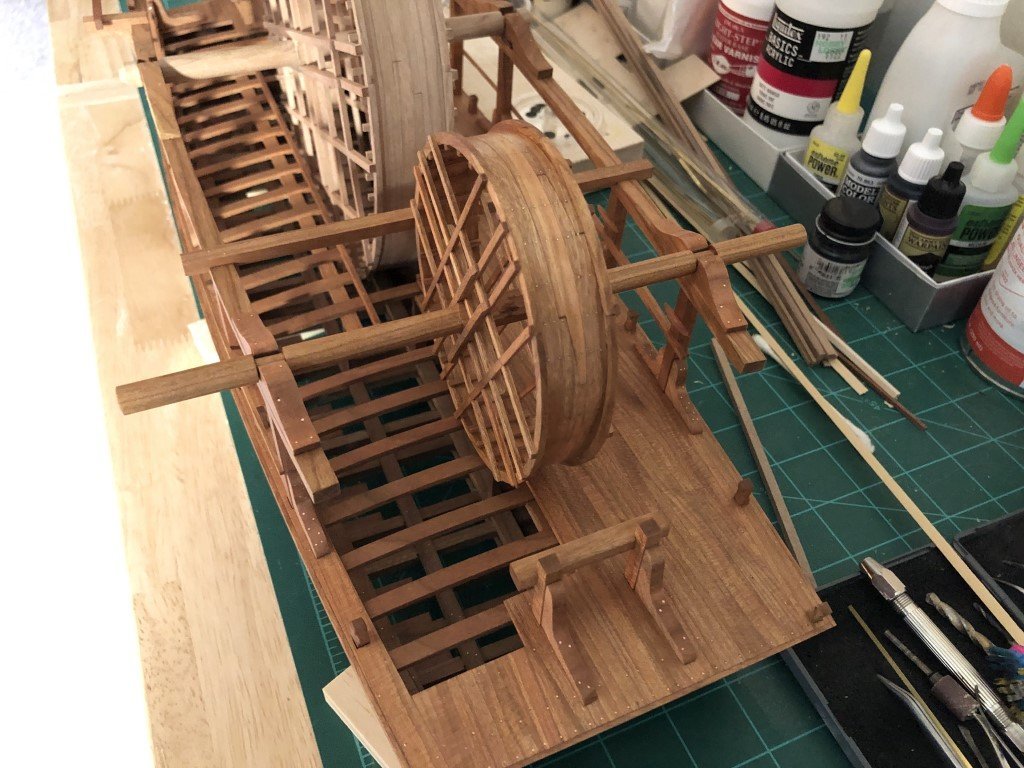
Its been a few days and a few tasks have been completed. I just finished the big wheel structure; so all of the planking fasteners are in place, and after a bit of thought and work the axle doubling is done. At first I was not sure how I was going to make the axle doubling - eight planks evenly spaced about the axle. Then I recalled how I had previously seen capstans and barrels made from built up blanks. This led me to cutting a bunch of wood to a 45 degree angle and then using 8 pieces a blank was produced. Next I drilled out the middle of the blank in a series of steps, the last being with a 3/8" bit - this was the closest I had (but smaller) to the axle diameter. I then passed a 3/8" dowel thru the hole before using a lathe to fashion the outside diameter of the doubling. Once the lathe work was done, two lengths of the resulting cylinder were parted off and removed from the dowel. To finish, I used a tapered dowel covered in sandpaper, spun on a hand held drill, to open the cylinder's hole just enough to slip the doubling onto the axle. A spot of glue and job done! Now it is time to oil the structure and place it onto the superstructure.
-
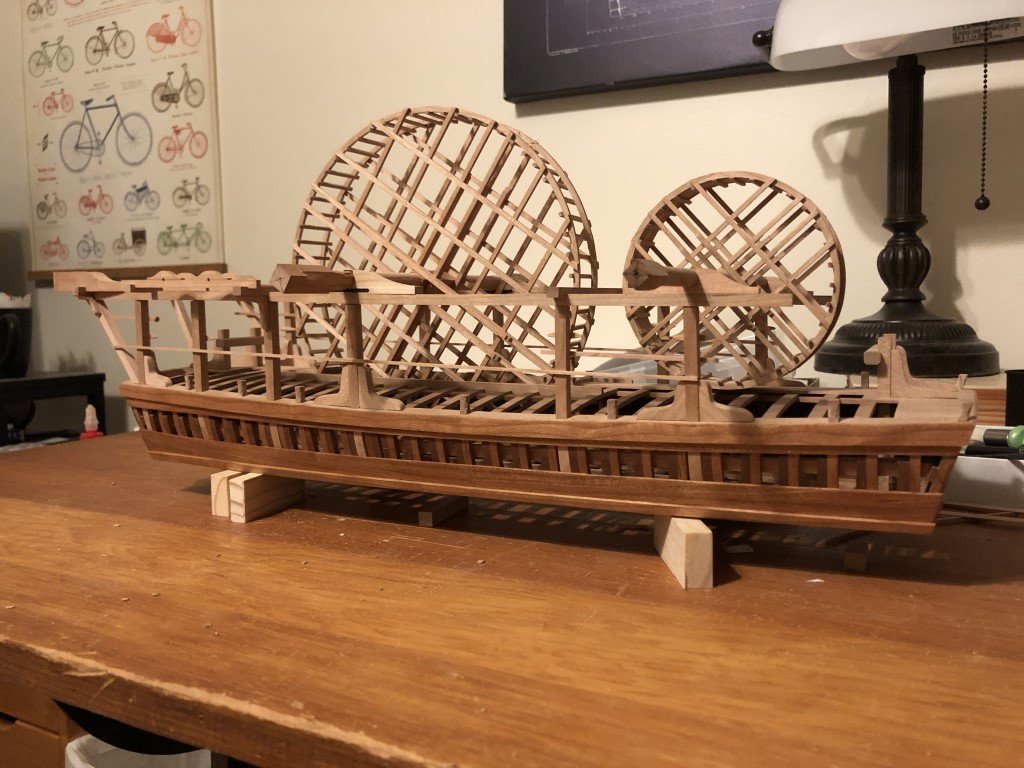
Today I finished the small wheel; i.e., got all of the fasteners in, attached the wheel to its axle, and oiled the assembly. I have also completed the planking on the big wheel. It is now ready for fasteners and finishing.
-
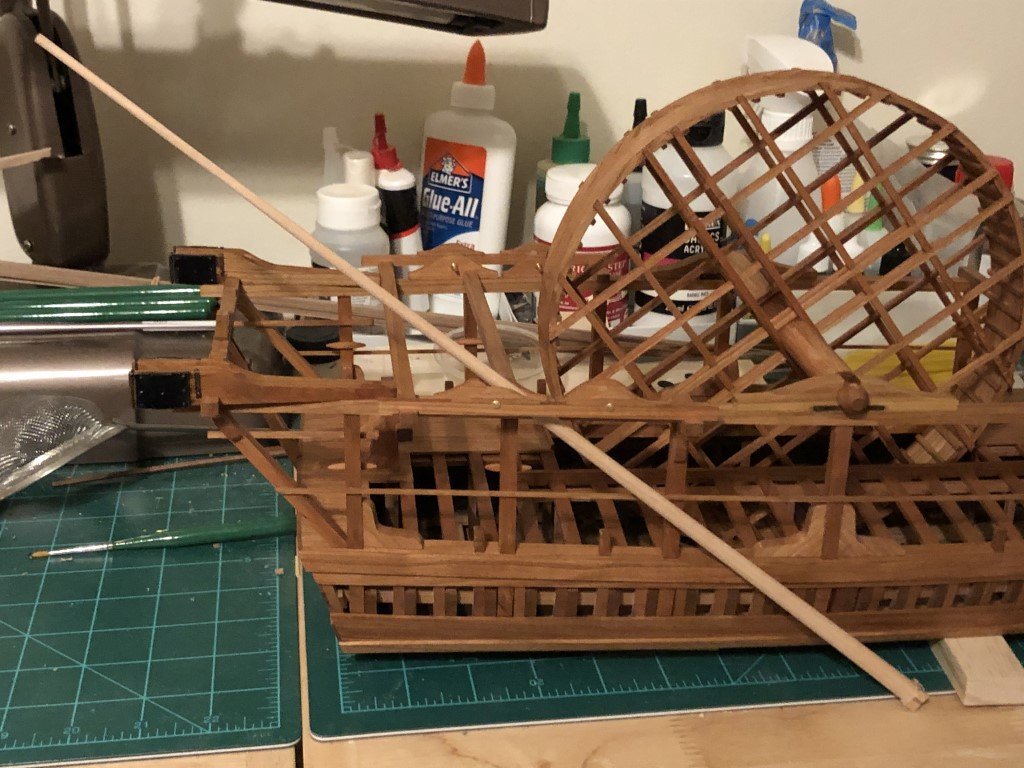
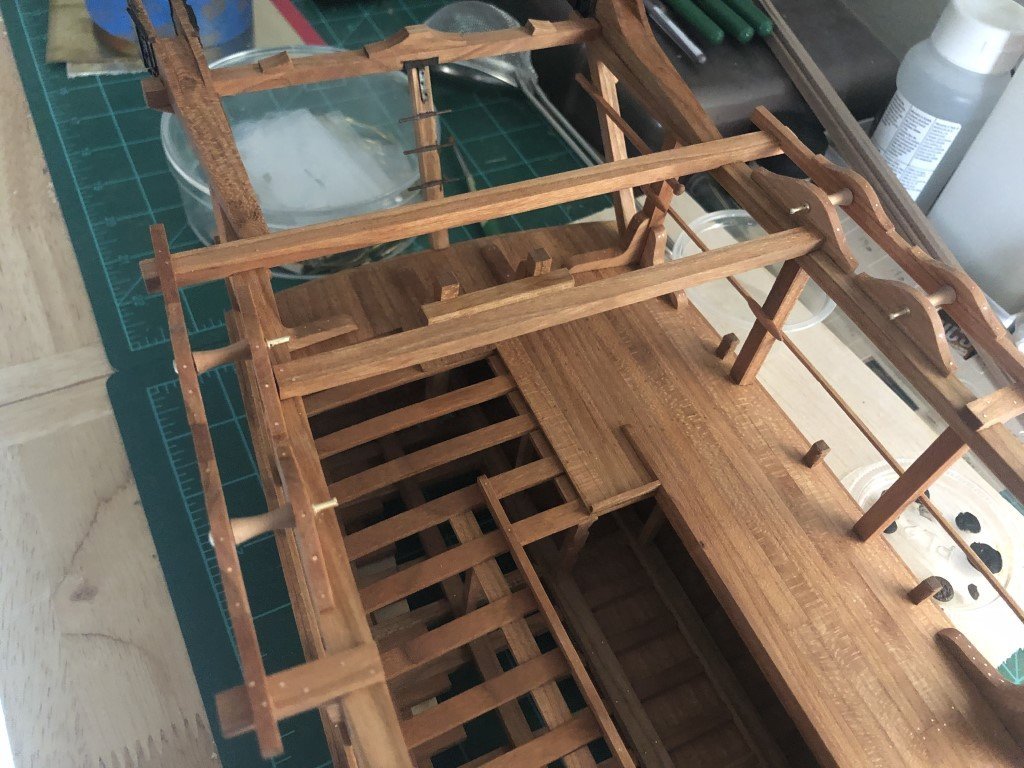
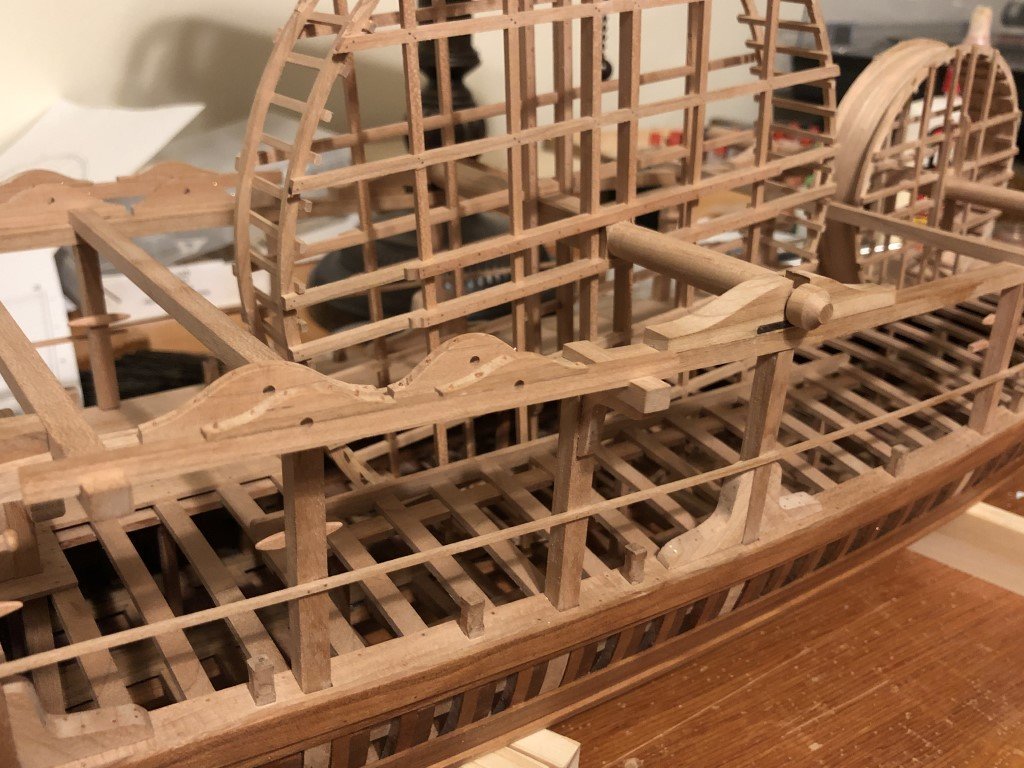
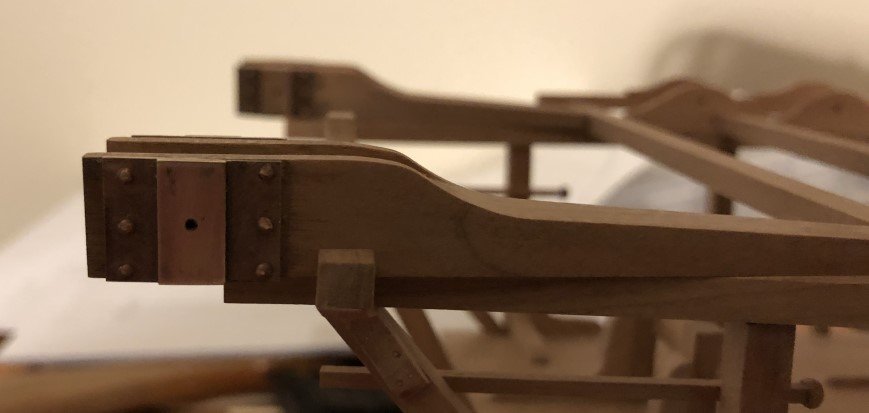
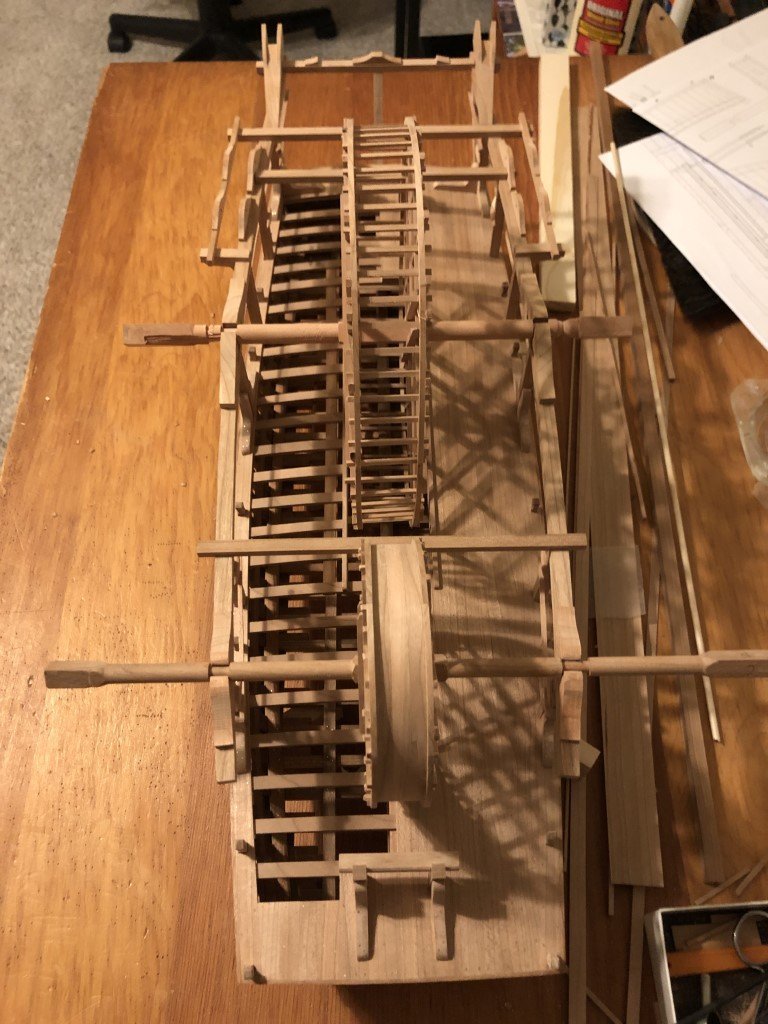
Since my last post, I have added all of the superstructure fasteners and metalwork. Here is the last picture I took before oiling the deck and superstructure: Today I spent nearly 4 hours swabbing linseed oil onto the deck and upper works. I think it is looking pretty nice, and am really looking forward to seeing it with wheels and scoops. In a few days, when completely dry, I can think about adding 6 ring bolts to the deck. I believe the main purpose of these ring bolts was to attach ropes with hooks that could then secure the wheels during transport / anytime one would not want them free to turn. Now my attention will turn to finishing the wheels. Simultaneously, I will start working on the scoop mechanisms. I guess it is also time to select a mounting / display mode for the vessel.
-
Over the past few days I did make a new set of axles. These will be keepers! Later the big wheel axle will get some doublings to help support the scoop chains. Above you can also see that I am adding the fasteners to the scoop guide components. I've been doing a lot of fasteners lately - guard rails, cleats, foot boards, ... Still quite a few to go on the superstructure, but progress is being made. Here is the new small wheel axle. I've been doing other odds and ends as well; for example all of the small wheel steps have been made flush with the rims and some metal work has been done on the davits.
-
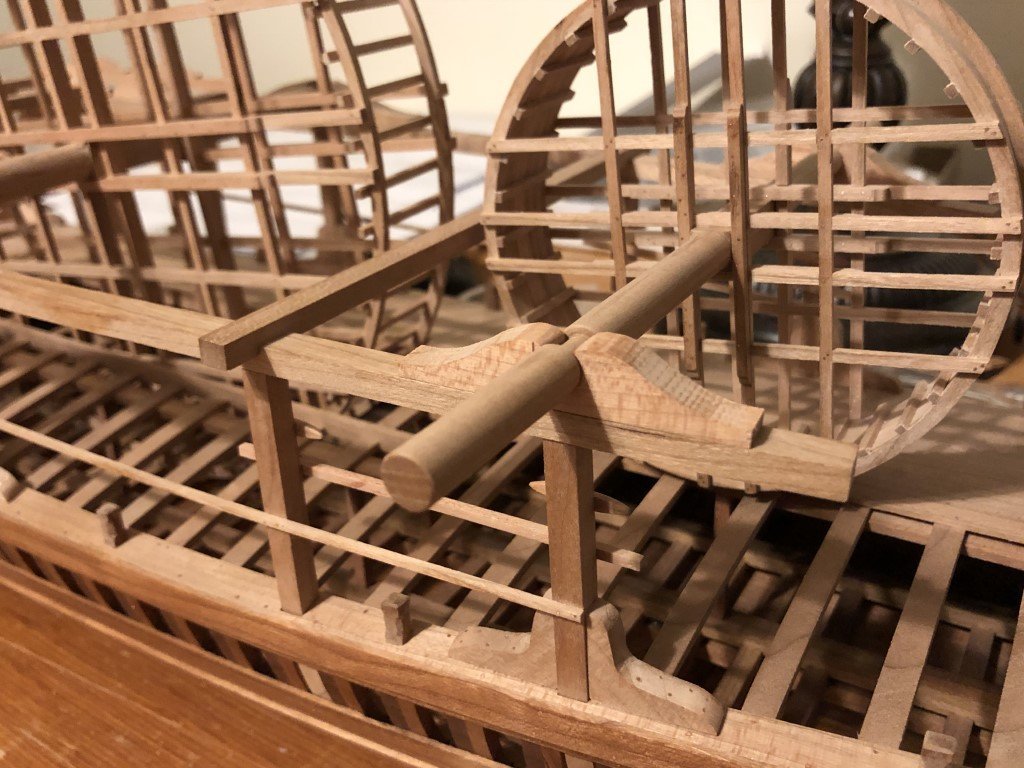
The wheel bearings are complete and firmly attached. Cleats are in place as well - not too easy to see, but they are on the inside of pillars 1,2, 5, and 6. The two wheel axles in these pics are now classified as 'practice pieces' - they were fails, better ones will be made! However, they are being used to check wheel alignment, etc. Looks like everything is going to be were it belongs.
-
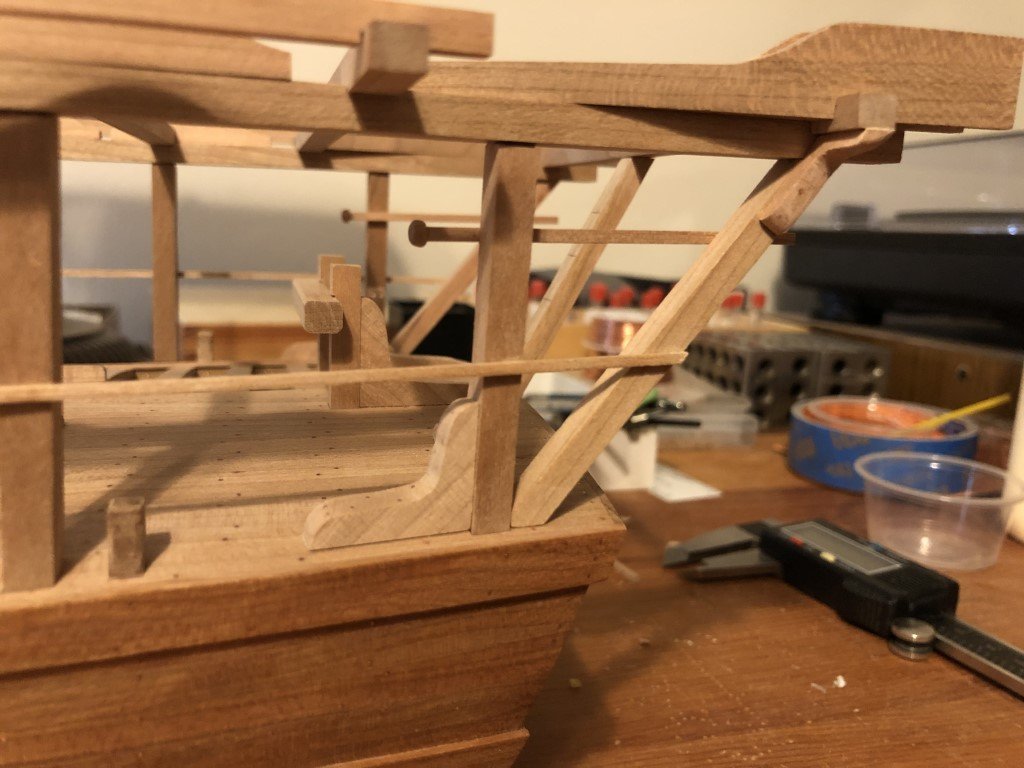
Over the weekend, guardrails and foot boards were added to the superstructure pillars. Also, I finished the last two knees - the ones that fit onto the slanted pillars. For some reason, these knees presented a great deal of difficulty for me to get all the angles right. Quite a few attempts were made before I was able to make a pair that I was willing to attach to the model. Today I began work on the wheel bearings. The big wheel bearings are being done first because they looked to be less complicated than the small wheel bearings. The main challenge being that the bearings have footprints that match the curve in the superstructure carling (i.e., the bases are not rectangular) and the required shape looks to be more pronounced for the small wheel bearings than that for the big wheel bearings. Also, because of the carling / base shape, the recesses in the bearings need to be milled at an angle so that the wheel axles embed properly.
-
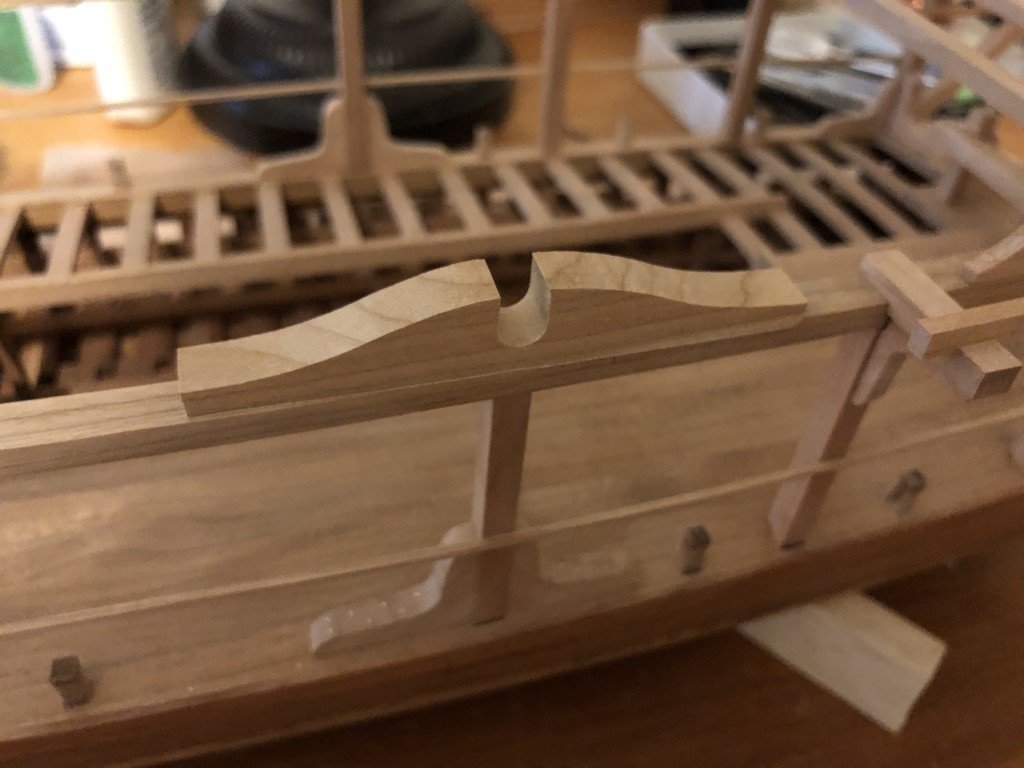
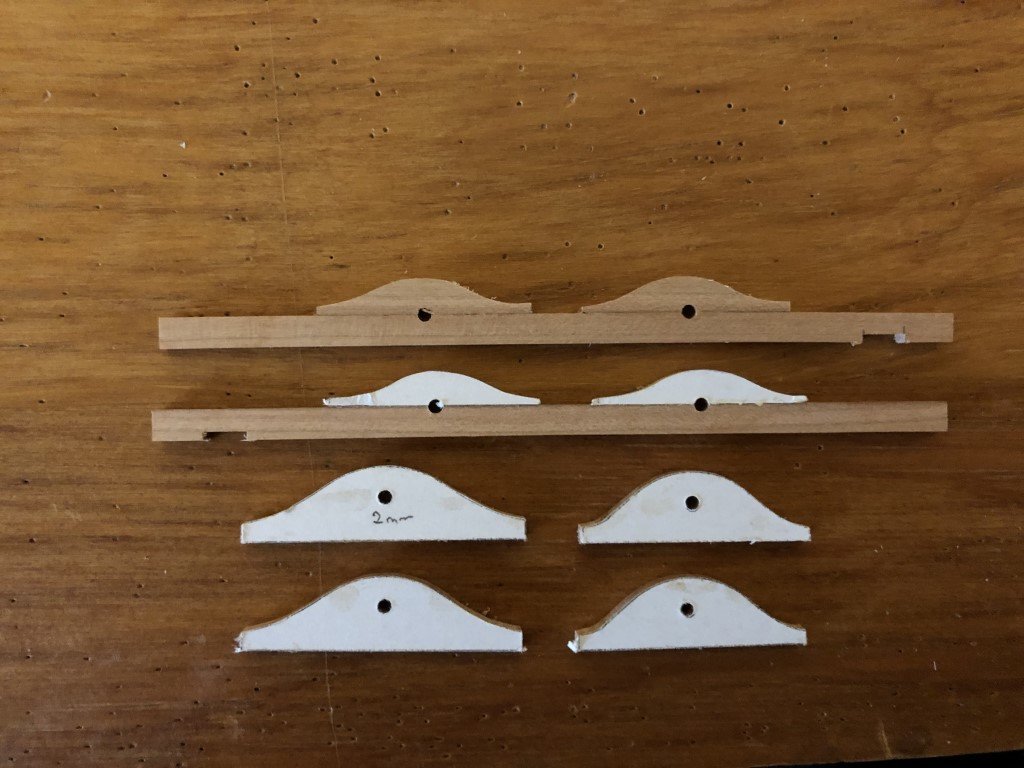
On to a better subject! Today I spent time fabricating components that will support the scoop guides. Here are the parts before installation on the dredger. I connected the smaller roller pin supports onto the external guide beam before drilling holes for the pins. I saw no other reasonable way to have half the hole half above (and half below) the joint. The external guides / beams were then installed. This was easy because the notches placed everything into the right place. I then went to install the inside guides. Note that they come in two sizes with the smaller ones forward; also the smaller ones are not symmetrical, there is a front and a back to these. I set these four guides onto the superstructure to check their fit and at first thought I had done something radically wrong as they looked to be sitting way too low. But then I looked through the holes from one side and was pretty sure I could see through all four. To confirm, I grabbed a piece of stiff wire and passed it thru all four - and yes, all was as it should be! I then use the wire to aid in gluing the inner guides in place. I threaded the wire in place, slid an inside guide into the open space between the superstructure and the exterior guide, spun it over to apply glue, spun it back, and set it in place. Repeat 3 more times and all done. Later, hourglass shaped rollers will be turned to fit between the guides, as well as the pins that keep them in place.
About us
Modelshipworld - Advancing Ship Modeling through Research
SSL Secured
Your security is important for us so this Website is SSL-Secured
NRG Mailing Address
Nautical Research Guild
237 South Lincoln Street
Westmont IL, 60559-1917
Model Ship World ® and the MSW logo are Registered Trademarks, and belong to the Nautical Research Guild (United States Patent and Trademark Office: No. 6,929,264 & No. 6,929,274, registered Dec. 20, 2022)
Helpful Links
About the NRG
If you enjoy building ship models that are historically accurate as well as beautiful, then The Nautical Research Guild (NRG) is just right for you.
The Guild is a non-profit educational organization whose mission is to “Advance Ship Modeling Through Research”. We provide support to our members in their efforts to raise the quality of their model ships.
The Nautical Research Guild has published our world-renowned quarterly magazine, The Nautical Research Journal, since 1955. The pages of the Journal are full of articles by accomplished ship modelers who show you how they create those exquisite details on their models, and by maritime historians who show you the correct details to build. The Journal is available in both print and digital editions. Go to the NRG web site (www.thenrg.org) to download a complimentary digital copy of the Journal. The NRG also publishes plan sets, books and compilations of back issues of the Journal and the former Ships in Scale and Model Ship Builder magazines.


