Pitan
-
Posts
91 -
Joined
-
Last visited
Content Type
Profiles
Forums
Gallery
Events
Everything posted by Pitan
-
Off-topic, but the Royal Collection Trust site may have items of interest. Examples Painting of "Dirk, sword and cocked hat of Lord Nelson" (Willliam Gibb): https://www.rct.uk/collection/search#/8/collection/929407/dirk-sword-and-cocked-hat-of-lord-nelson Images from Robert Southey's book Life of Lord Nelson (v1 1814) https://www.rct.uk/collection/search#/26/collection/1047034/the-life-of-lord-nelson-v-1 Less relevant, but maybe of interest [Planning for Trafalgar,] a fair copy of memoranda issued by Lord Nelson: https://www.rct.uk/collection/search#/25/collection/1198306/fair-copy-of-memoranda-issued-by-lord-nelson-regarding-tactics-and-sailing A letter from Lord Nelson [, in his own hand,] to his father following the Battle of Copenhagen: https://www.rct.uk/collection/1198309/letter-from-lord-nelson-to-his-father-following-the-battle-of-copenhagen-dated-5
-
p.s. that Sherbourne kit review ... I happen to like the box you supplied, it suits my way of working very well.
-
Chris, this looks as though it was taken from Nelson's statue at Trafalgar Square? There will be some distortion on the statue, due to the original sculptor exaggerating the top of the figure to compensate for perspective. It is worth checking paintings made during Nelson's life, to make a more balanced form. If I remember Nelson's biography, he had a relatively slight figure for much of his life. He did, for a while, bulk up, but lost the extra weight during an illness (possibly malaria, though may have been some tuberculosis).
-
Think you are overthinking this. At least, for a Vanguard kit. Follow the instructions in Vanguard's manual, and your hull should be fine.
-
Looks interesting. The kit has a hull cradle sized to support the hull at the frames (even before planking), but I can see other stages in the build where your jigs will be useful. A modification of your cutting jig might be very useful when working on my mast and spars. I wonder? Pondering ...
- 23 replies
-
- 2
-

-
- vanguard models
- cutter
- (and 1 more)
-
The kit supplies flat etched brass belaying pins. Personally, I'd prefer round pins.
- 23 replies
-
- 1
-
-
- vanguard models
- cutter
- (and 1 more)
-
p.s. While you are replacing stuff, have a look at the belaying pins, see what you think.
-
Going to watch, this will be different even for a new kit. I stand to be corrected, but, I thought Vanguard uses Ropes of Scale? Though the supplied standing rigging is black in this kit, and you may want brown?
-
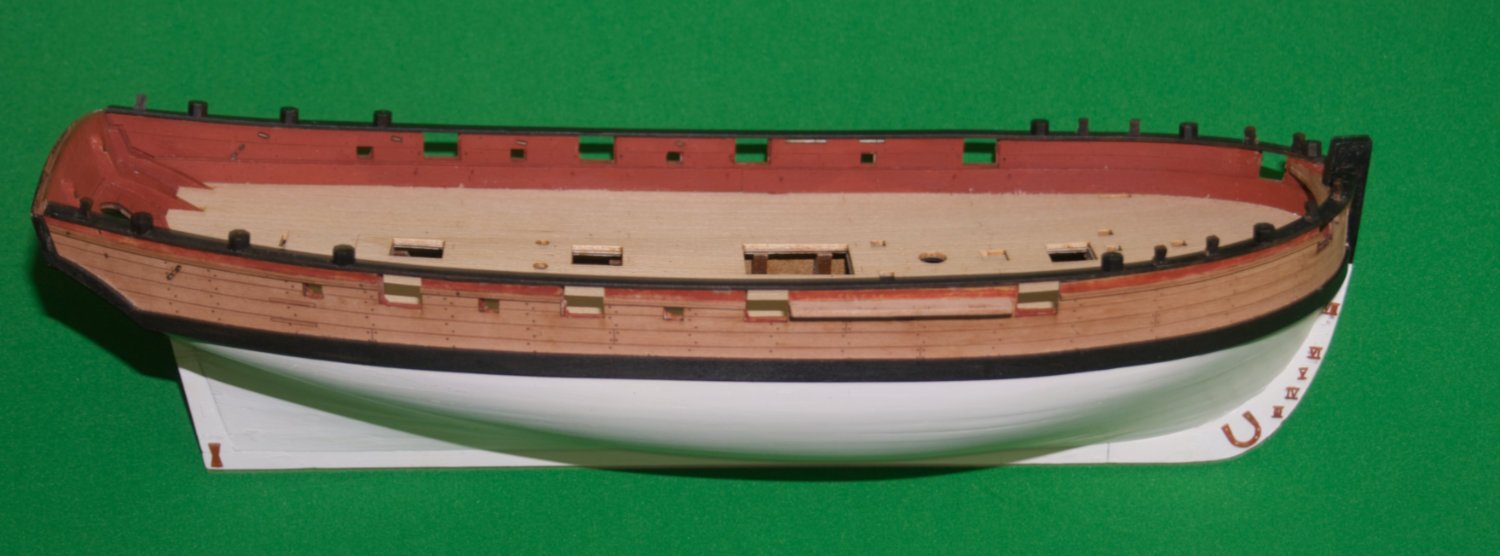
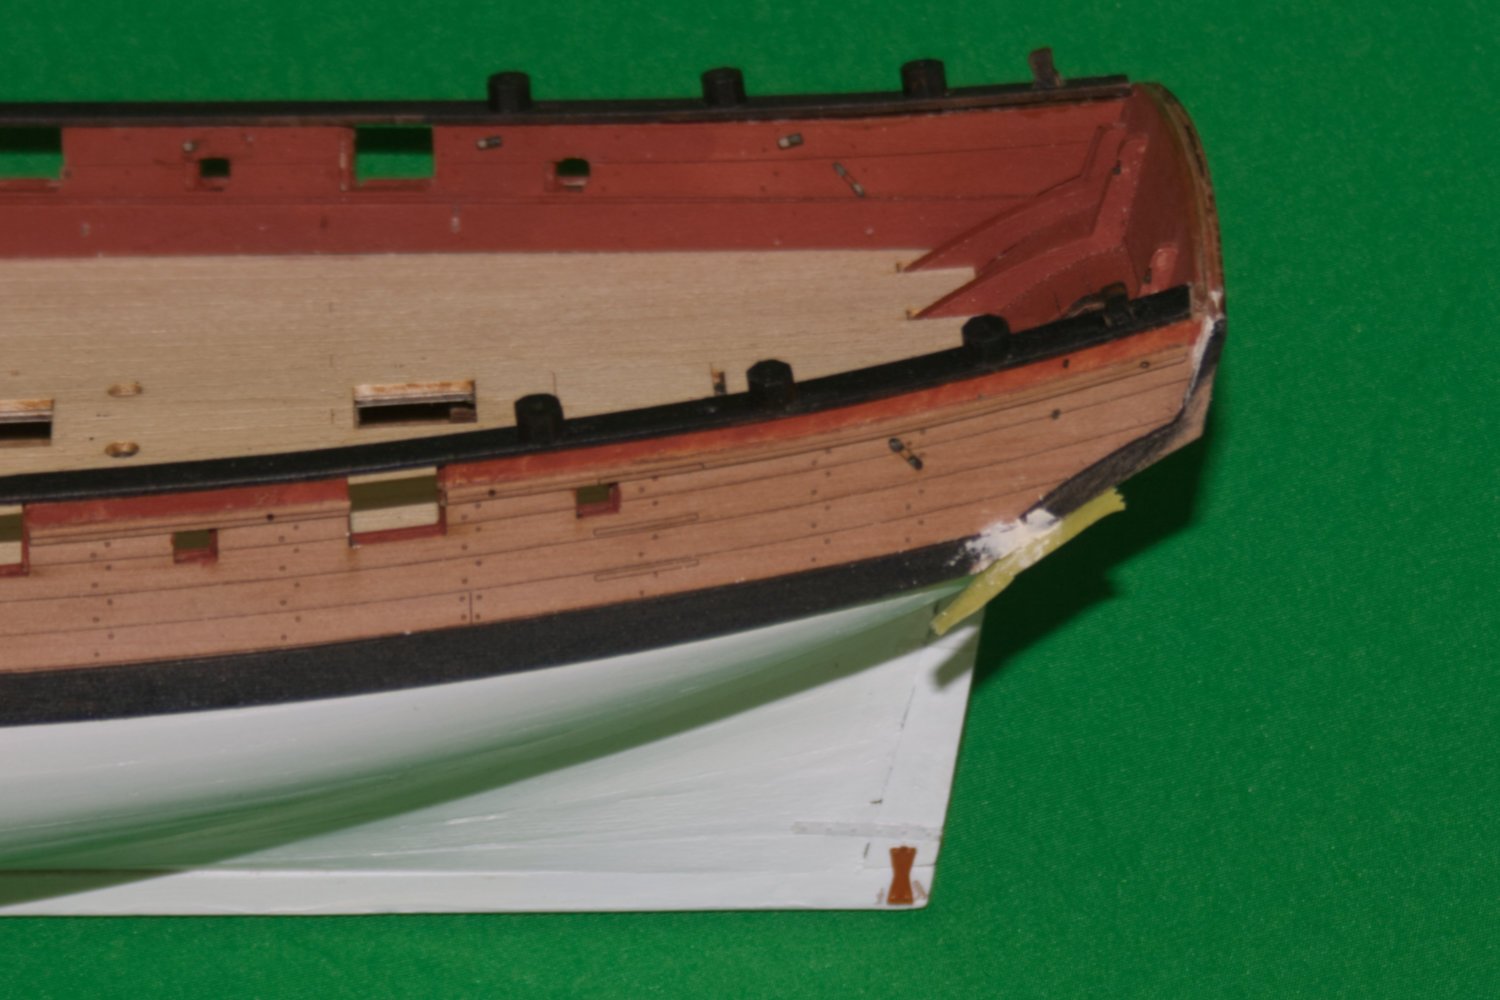
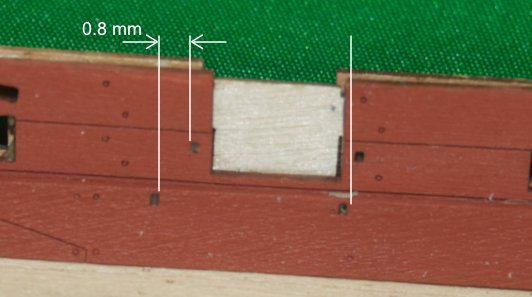
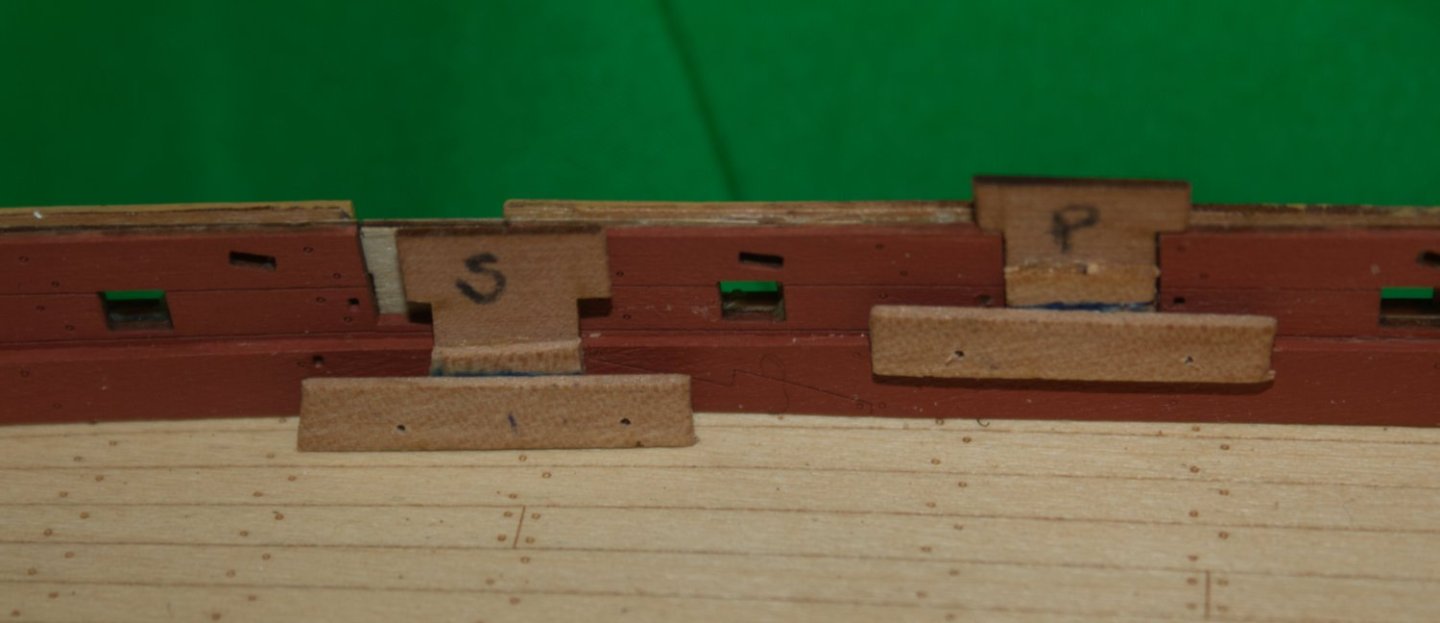
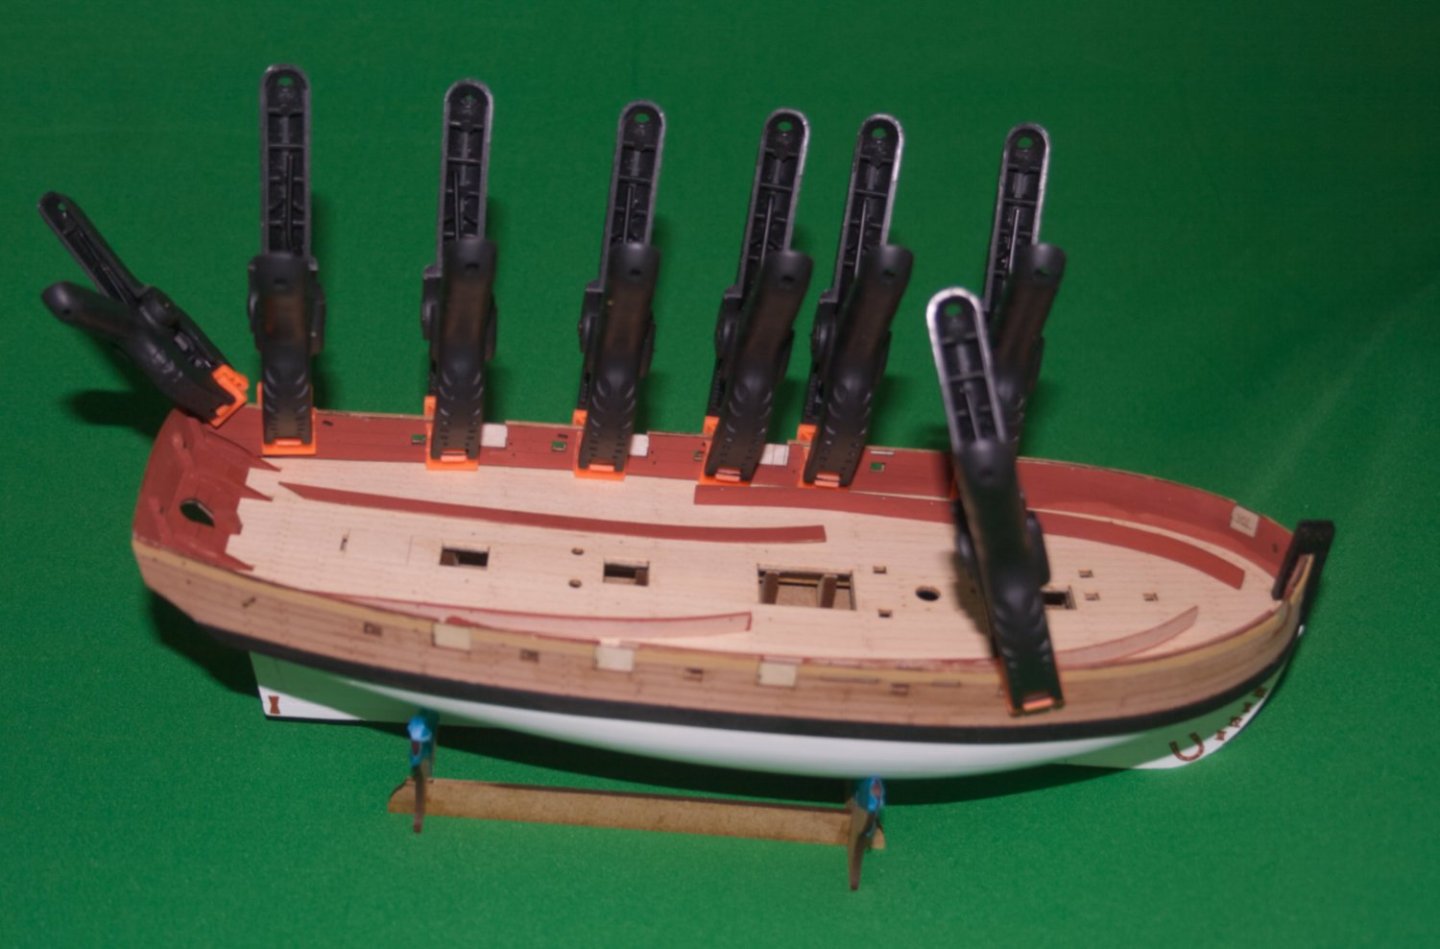
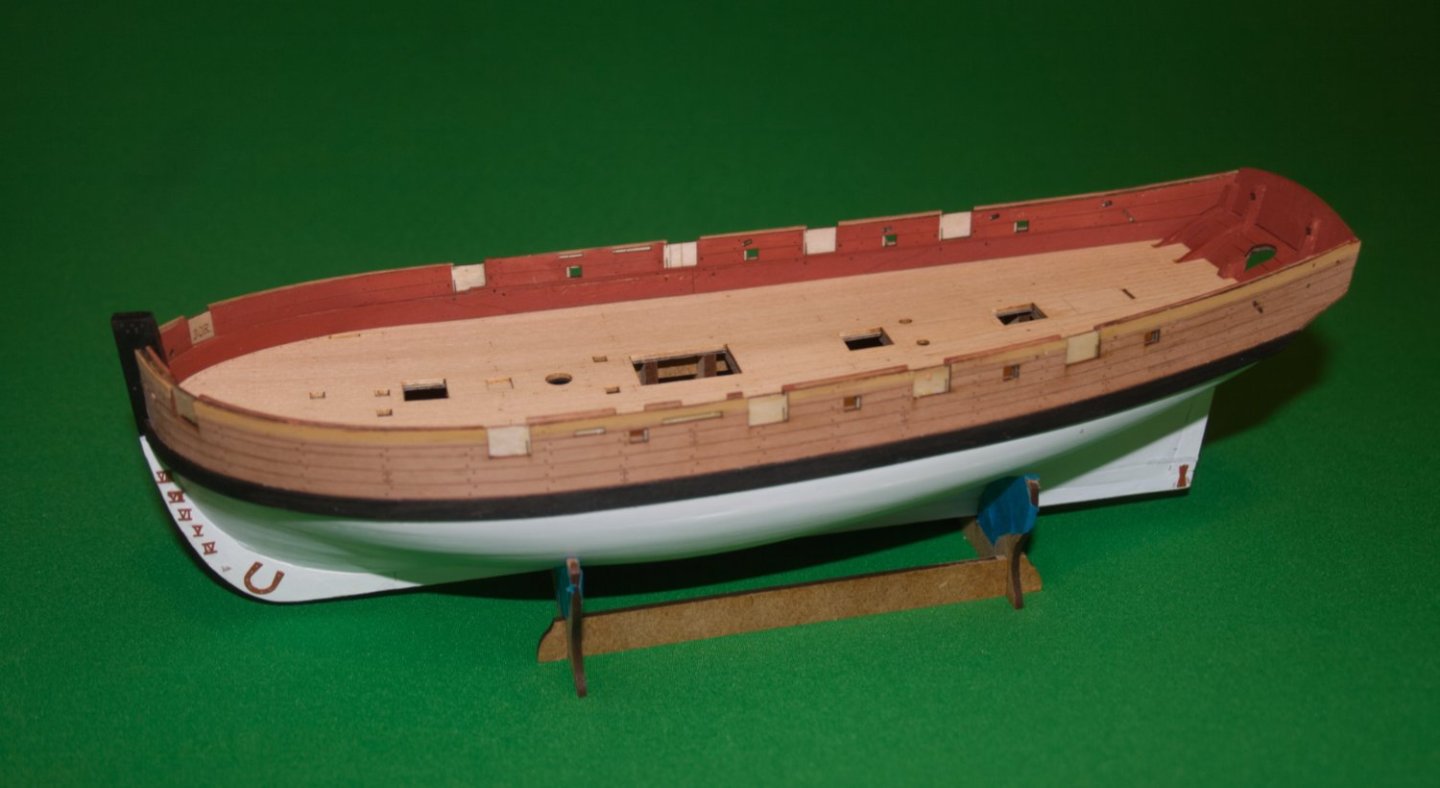
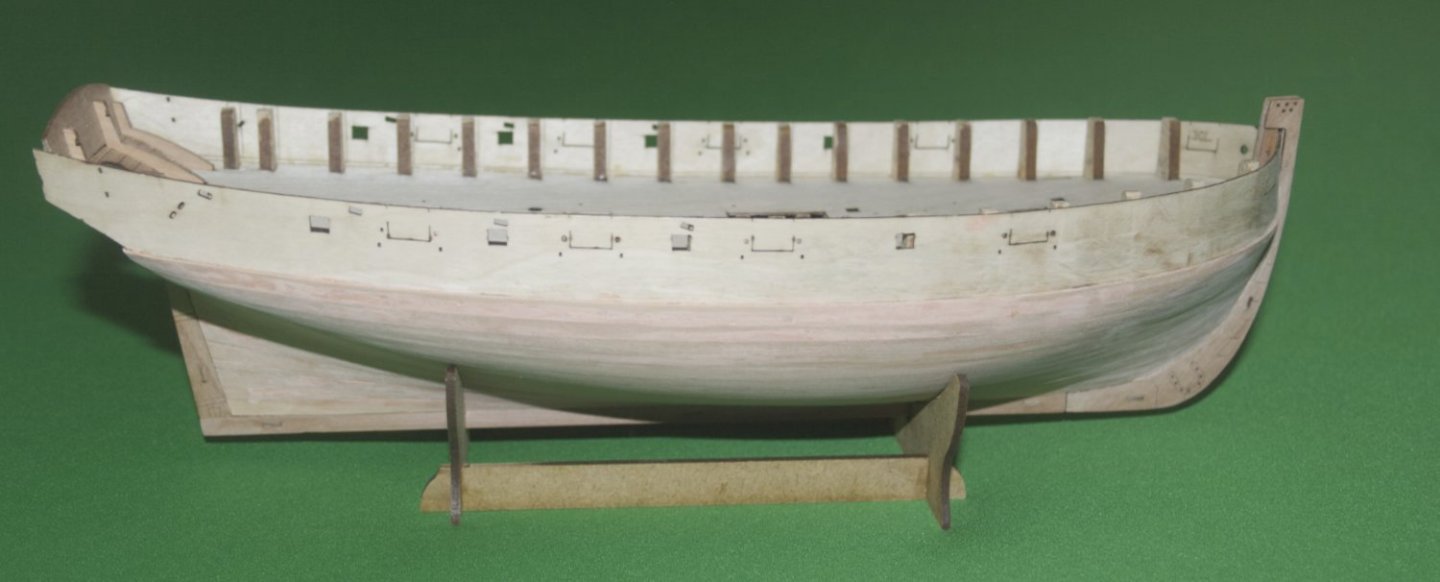
Been a while since my last update, my apologies if this post becomes too long. The main cause of my delay was a self-inflicted problem. The instructions tell us to make sure the eyebolt openings in the spirketting patterns line up with those in the inner bulkheads (parts 32 and 33, L & R). Thing is, these parts fit the hull very nicely, and I didn't think about the holes until it was too late. This left me with eyebolt holes very much out of line. Sorting that out involved several iterations of filling holes and using a jig to line up and drill new holes. This is, essentially, the jig I wound up with; a simpler style would be better. Holes are now drilled, gun wales and rails have been added, along with a small colour change. The starboard looks fine, but I have some fettling to do port stern timer (sp?) Oh, and that starboard bulkead, at the bow, is now filled. Don't think I'll try to correct that colour, it takes some looking to see the issue.


-
Don't think I've seen a small boat with a windlass before, what was the purpose?
-
p.s there isn't much space for bulldog/folder clip clamps on this kit - I did experiment, but the lower deck blocks the first few rows.
-
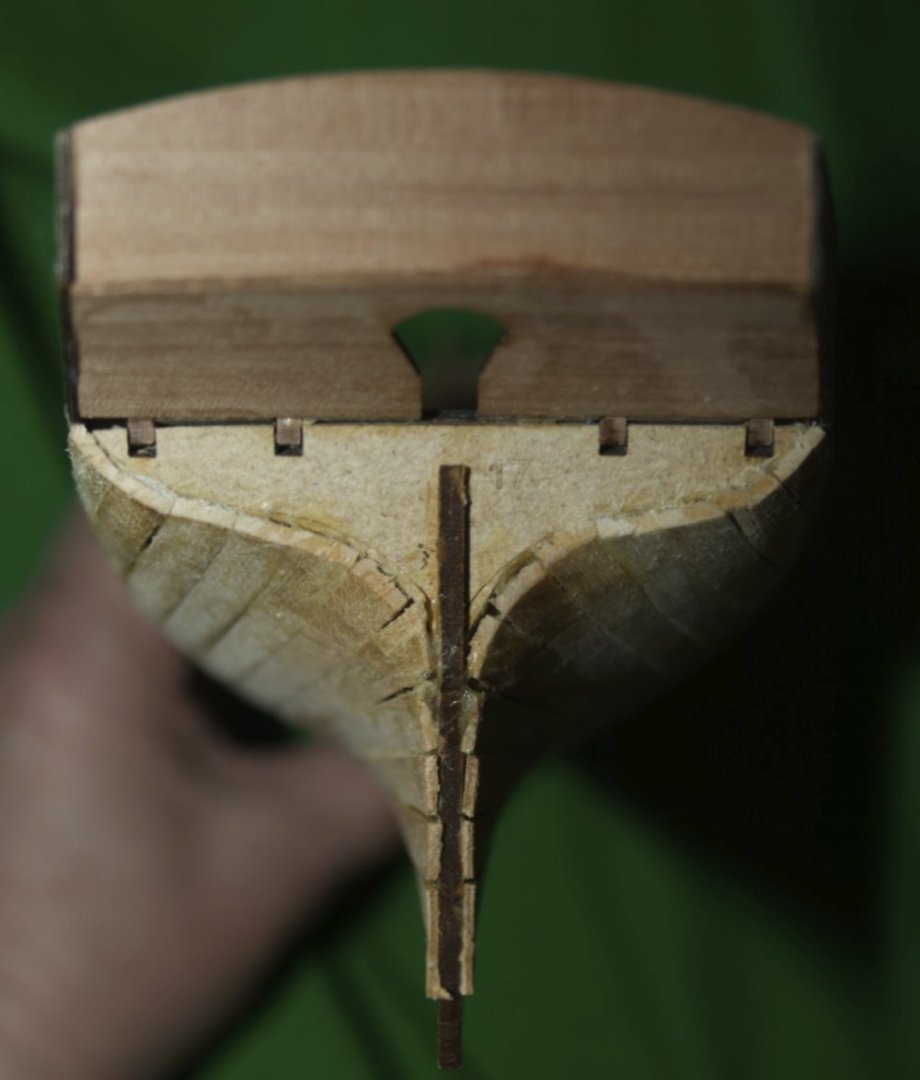
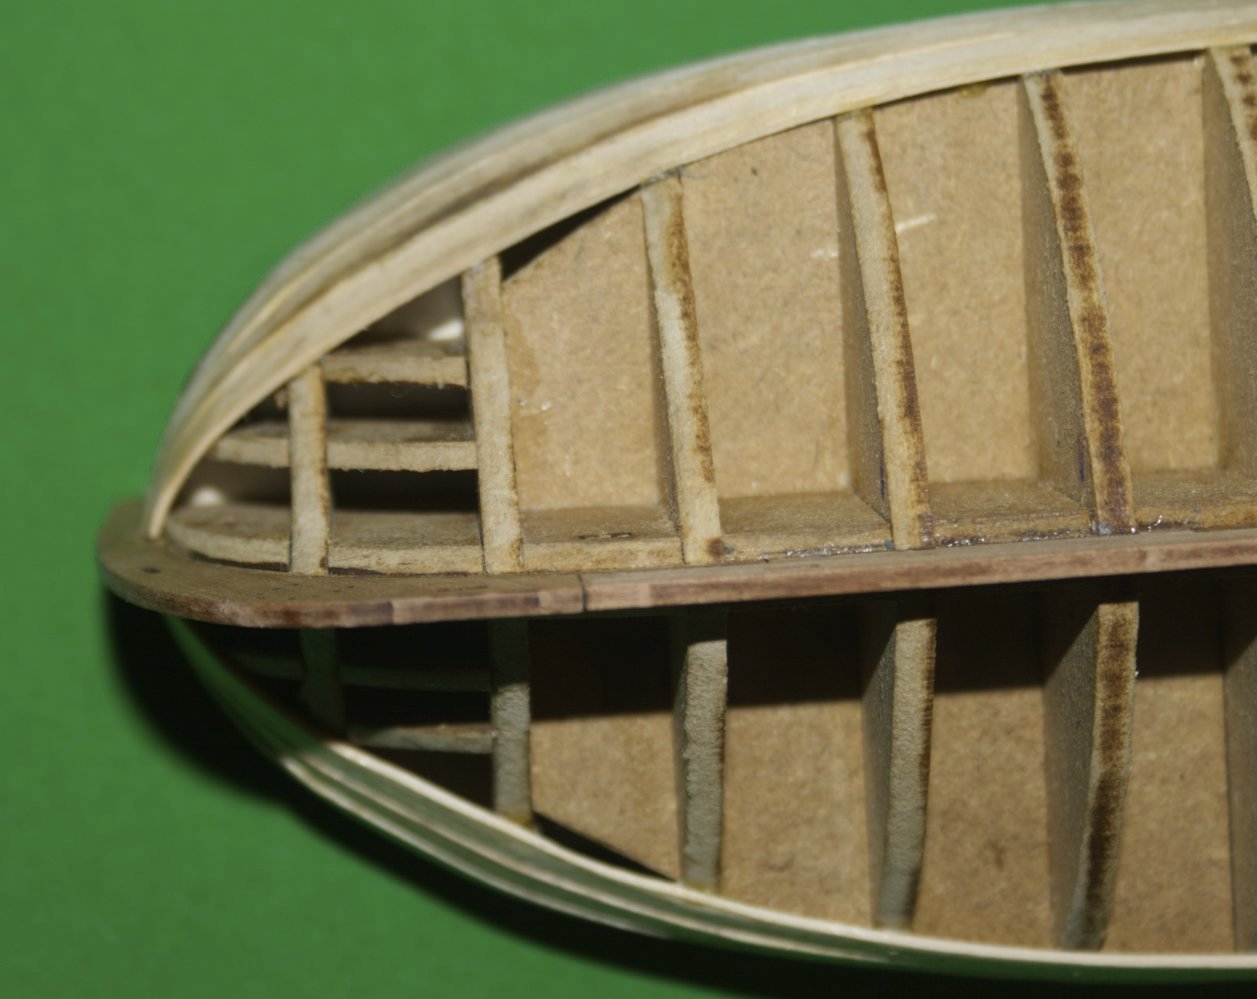
Looking at images of my own build, the frames and keel doubler (cheeks? name?) looked very like yours. I might have reduced more of the final (transom/stern?) frame, but then, every build is different.
-
To the other advice, I'd suggest supporting each foot while you trim off the base. When you display the figure, consider adding a bit of supporting scenery below the knee to help keep the figure safe and upright. This is common on stone (and ceramic) statues, e.g. Nelson's column (https://en.wikipedia.org/wiki/Nelson's_Column#/media/File:Admiral_Horatio_Nelson,_Nelson's_Column,_Trafalgar_Square,_London.JPG)
-
Looks good, wish I'd seen your lining up trick for the numbers earlier.
-
Oh, another Vanguard Sherbourne! I found that the plank woods bend nicely with water, just take your time and get it right. You probably do want to bend in three dimensions - up-down, around the hull (especially the bow), and apply twist. The twist is hardest to get, especially around the bow. I found heat helped a lot. Both PVA and Titebond soften with heat, but will grab again as they cool.
-
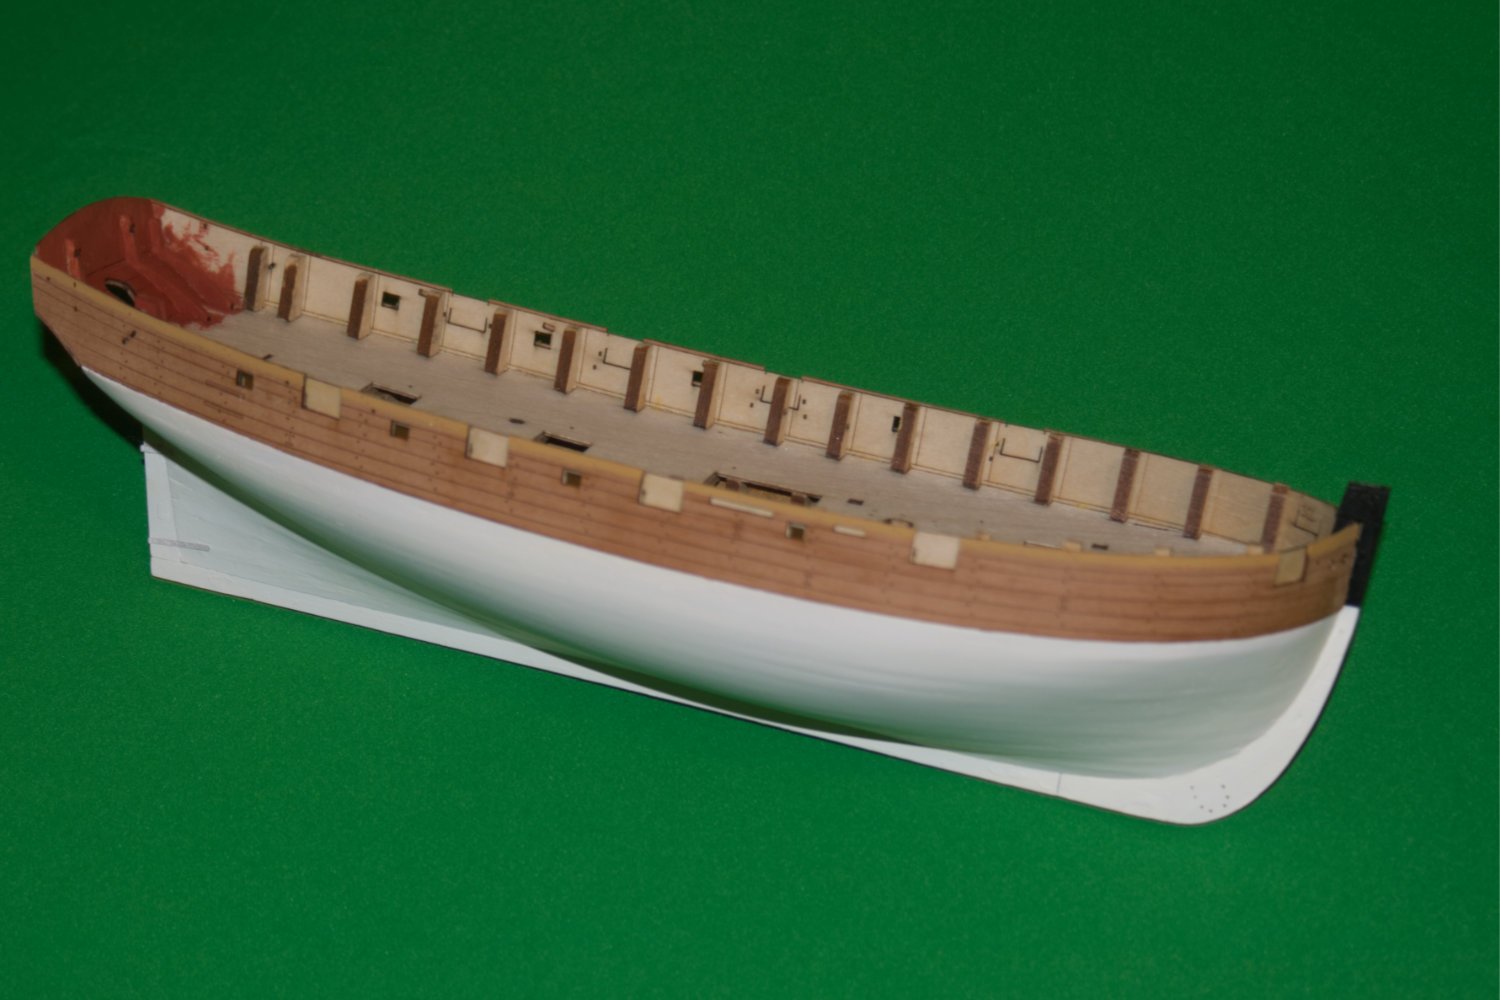
Deck and inner bulwarks are now on: The missing numeral disappeared when I dropped the hull - at least there were no masts or spars to break.
-
Welcome to the Vanguard builders, I'm building Sherbourne; it is a very nice (as in fine) kit with some elegant laser work.
-
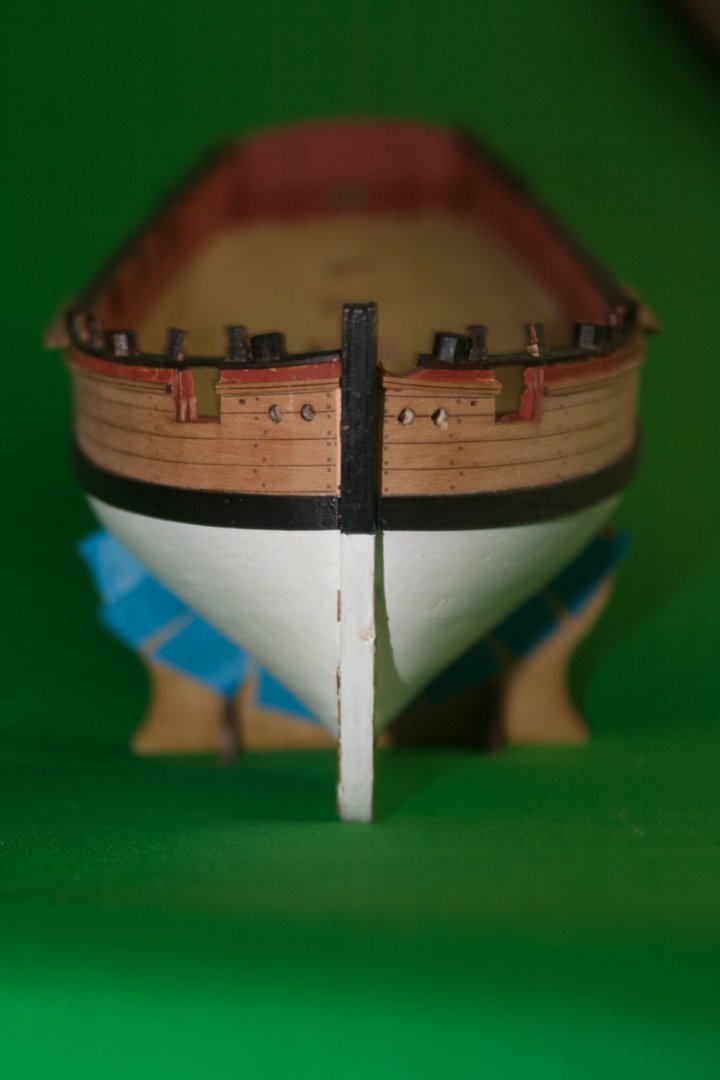
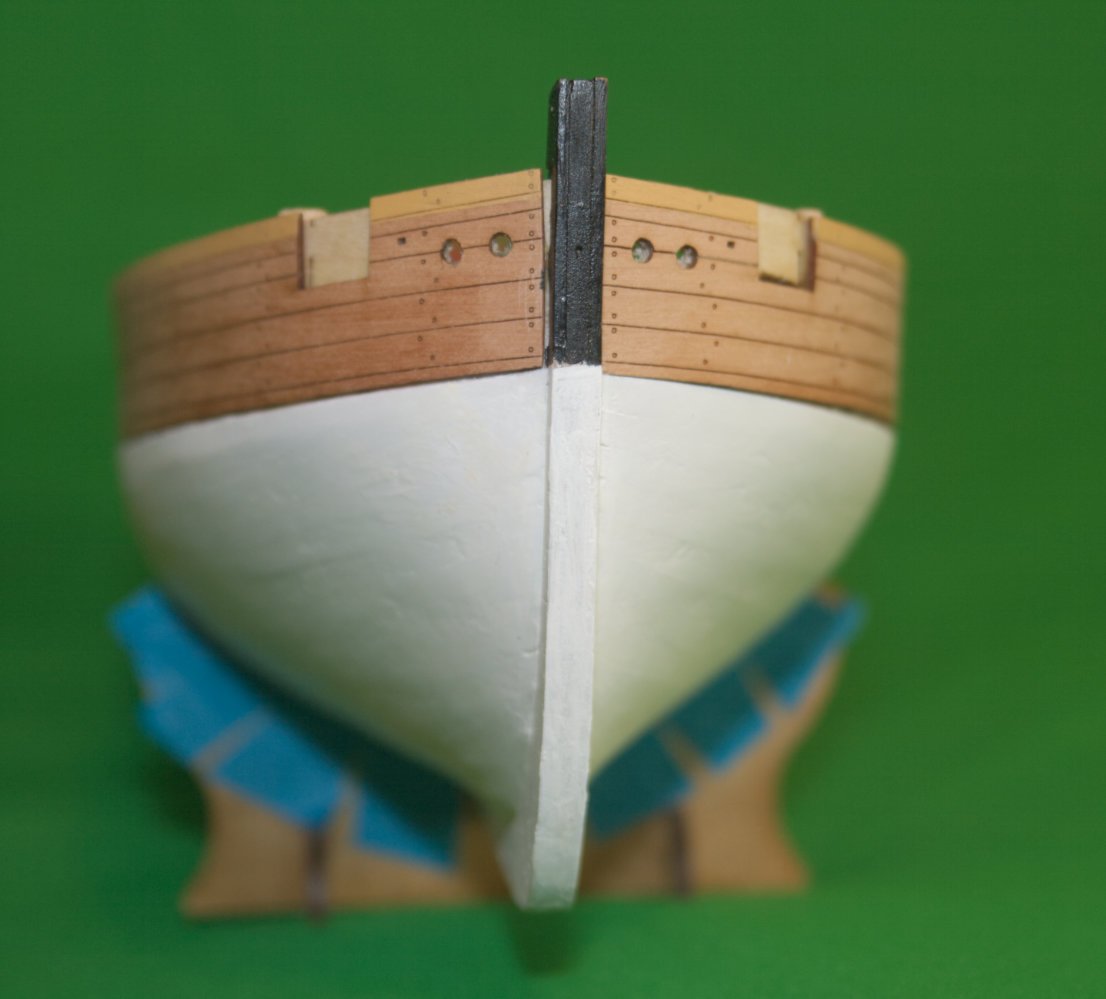
Sherbourne now has outer bulwarks and some paint. I have an alignment issue with the starboard bulwark at the bow: Need to think about a solution to that. A question. I'm thinking about adding sails. Is there any guidance for adding sails to an 18C cutter? FWIW, the kit has three yards on the mast, main and driver booms for the gaff, and a retractable bowsprit.
-
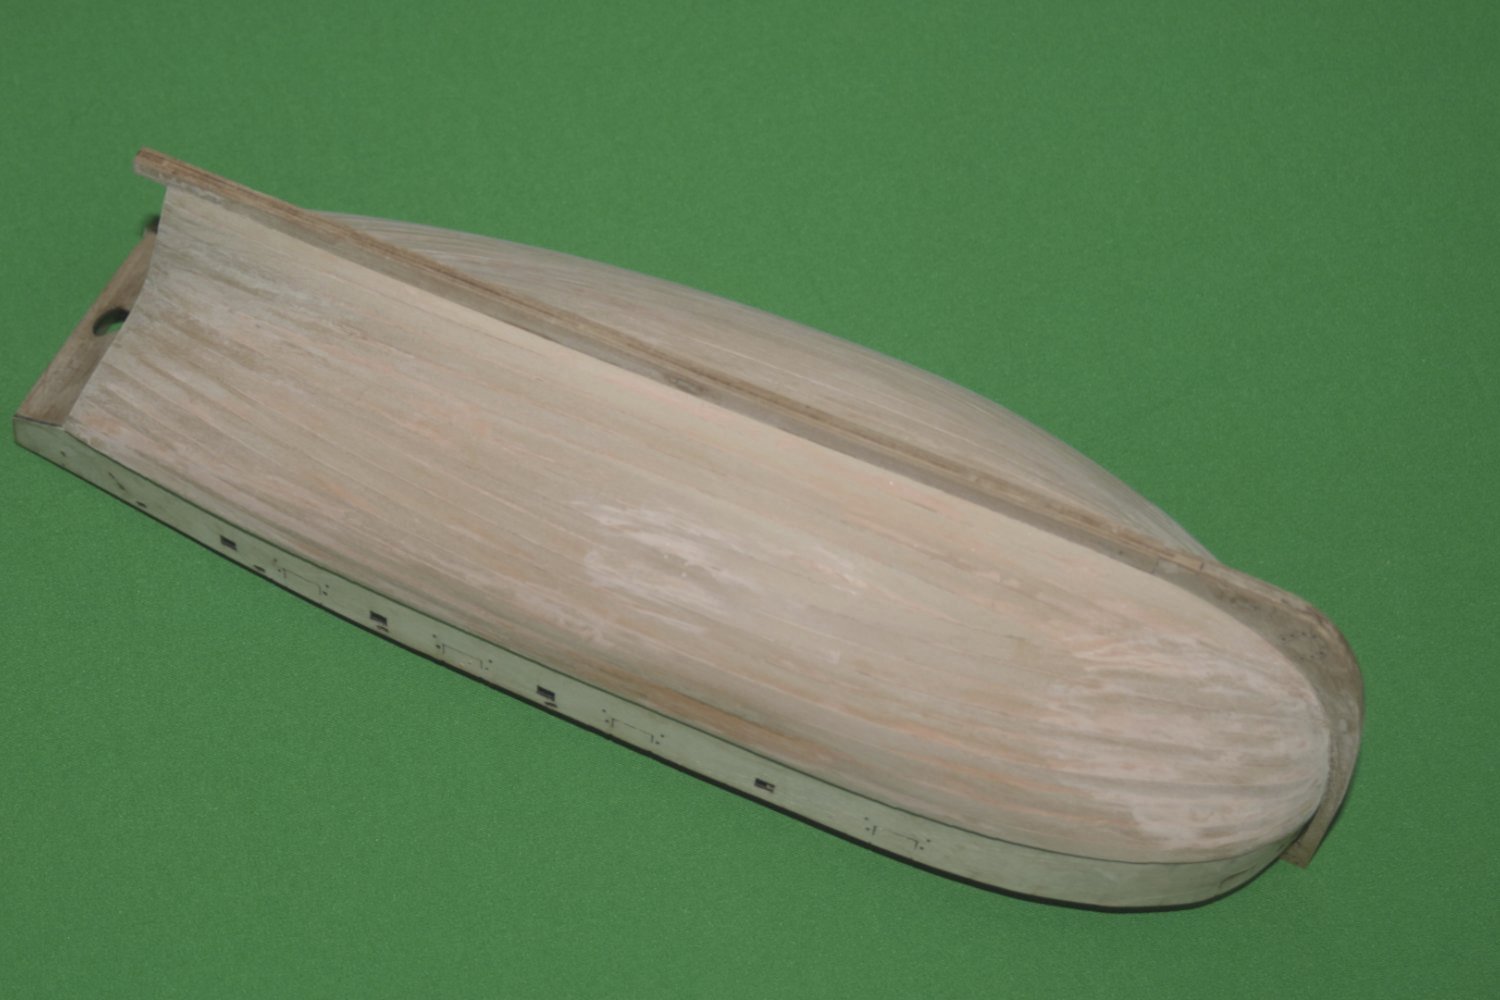
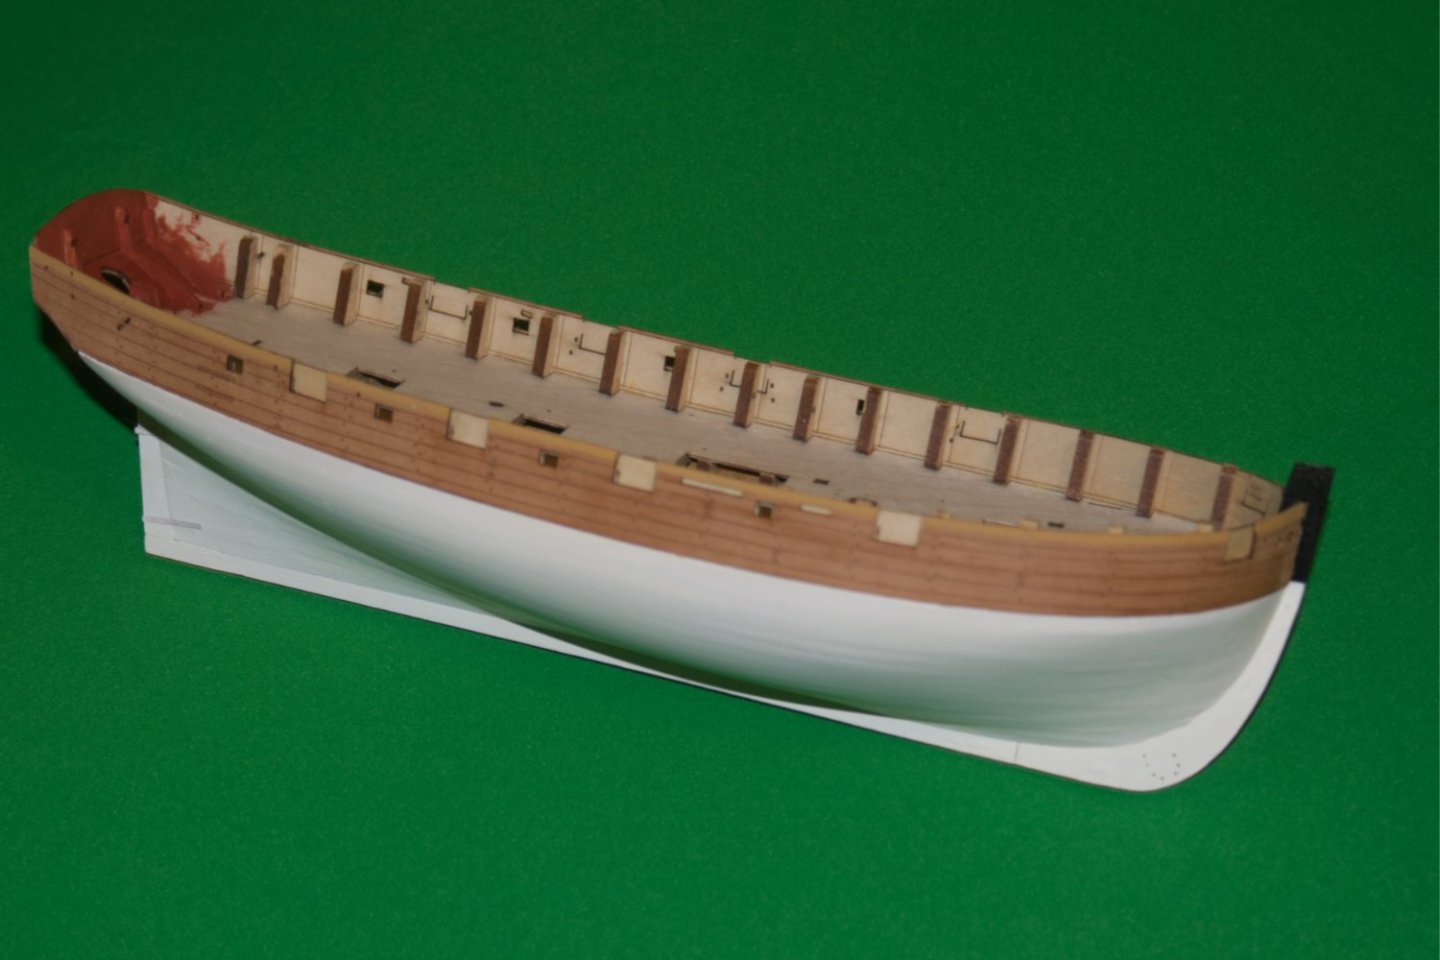
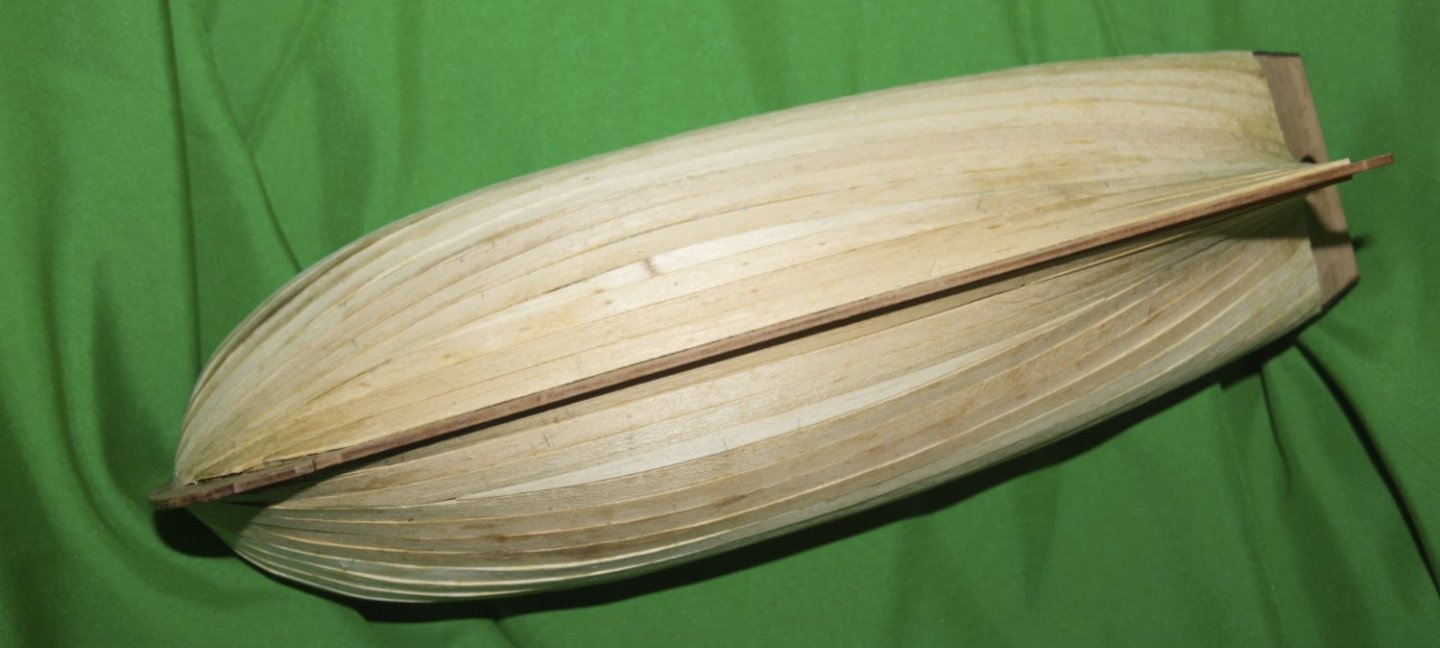
A quick note to say the second layer of planks is on, and filled. And now with the stern post.

-
Thanks guys Work has started with the second planking layer. The planks in front are supposed to be colour graded, a change of light and viewing angle suggests some revision is in order ... except, these are all due to be painted white.
-
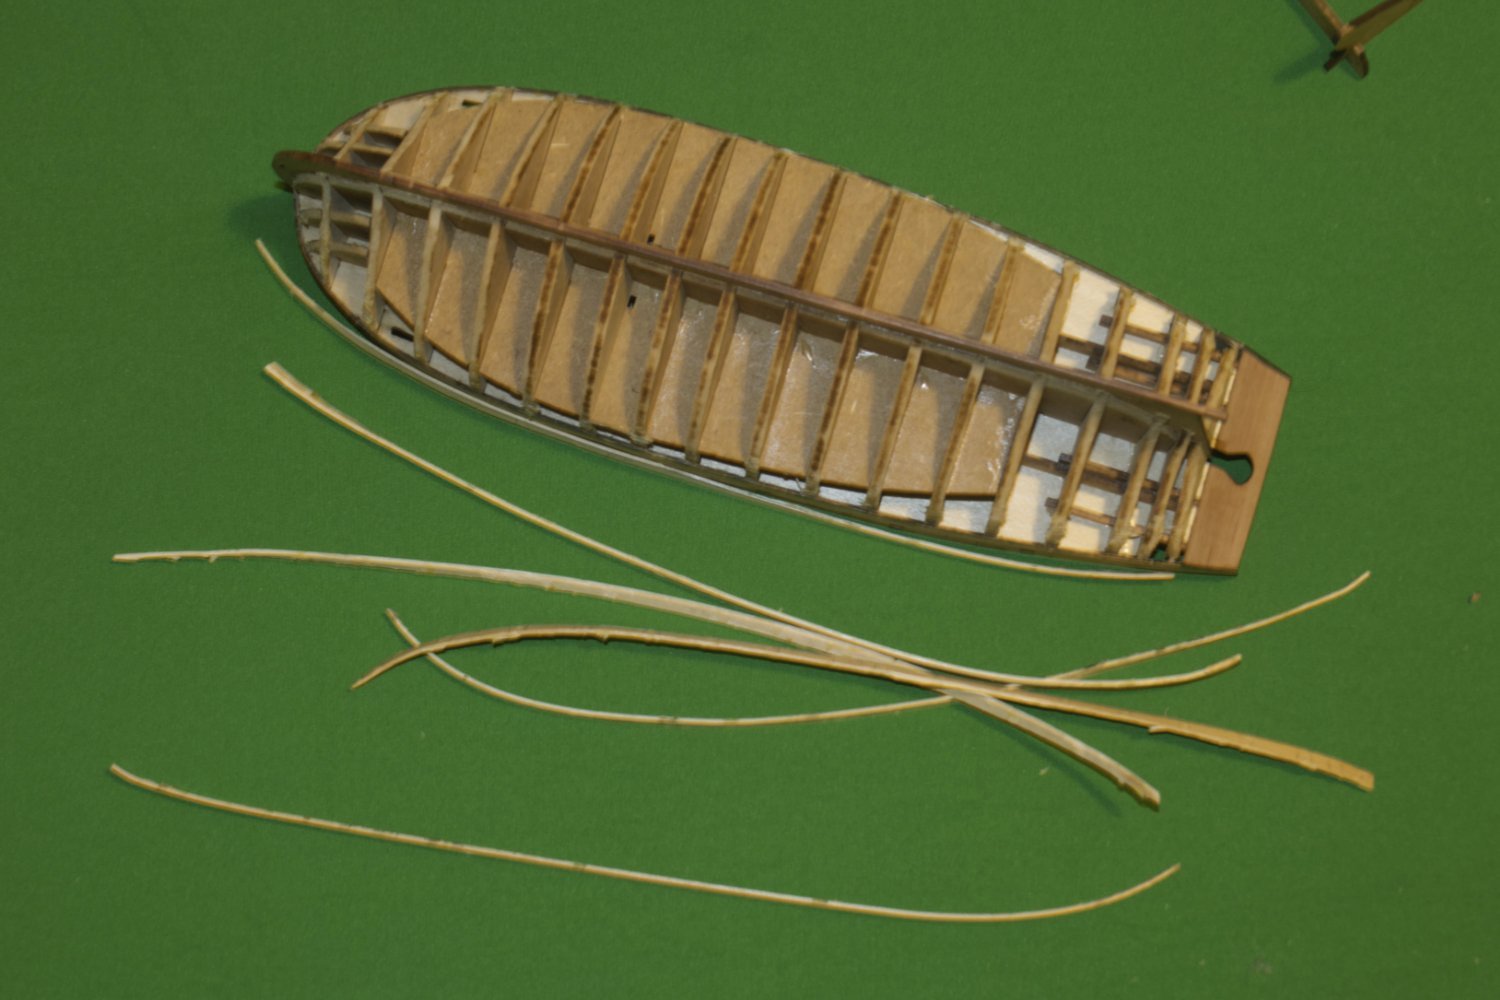
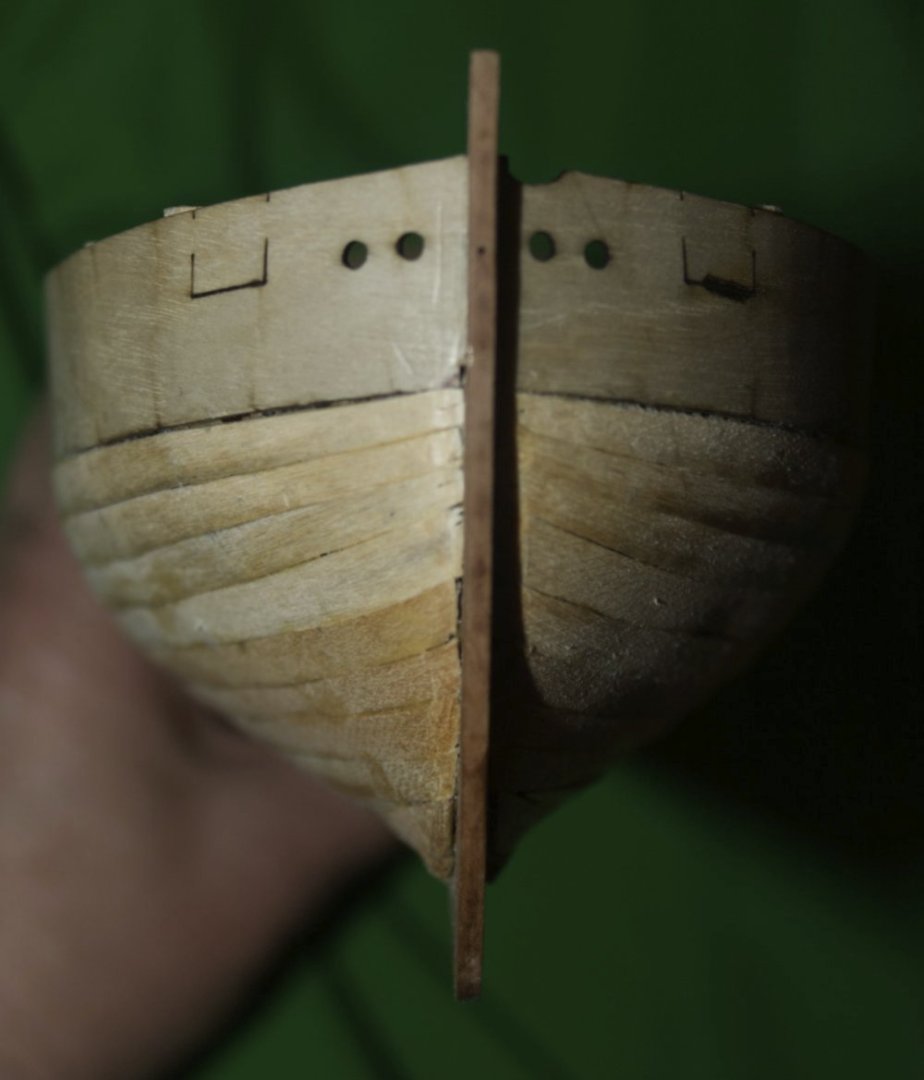
Thanks Thukydides. The first layer of planks is on, still needs sanding and filling. Three stealers per side, one each at the bow, the stern, and amid-ships (is this last a stealer?) FWIW, I re-used two (of six) planks from my first, failed, attempt. The reset were fresh items in the kit. Sanding next, then filling

-
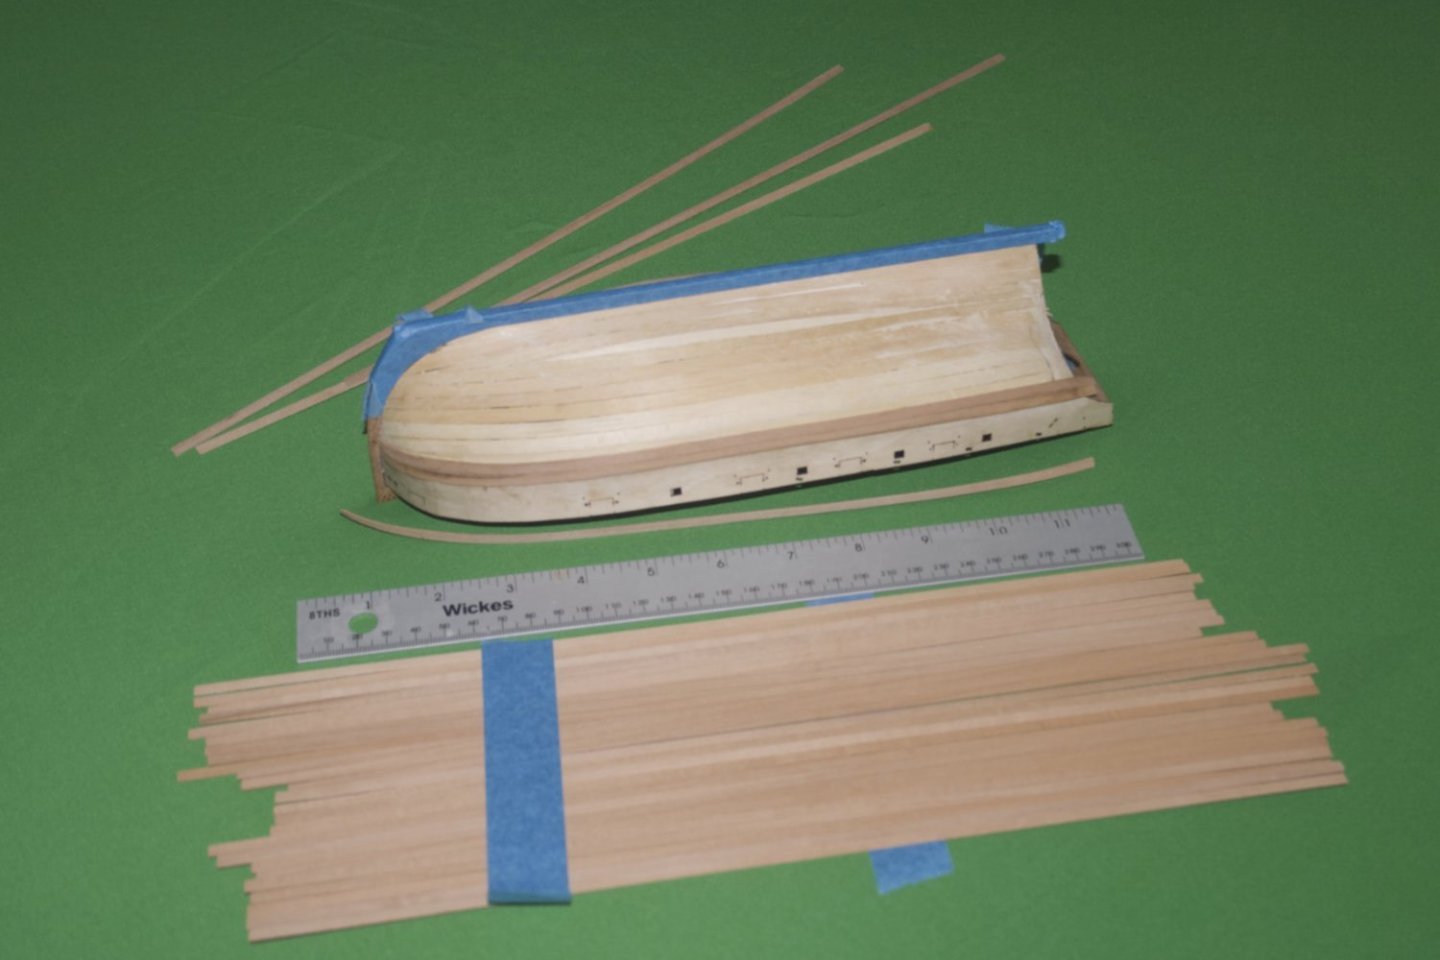
Thanks @mugje, the kit is beautiful, I hope I can do it justice. New planks have been added. Just three per side as before, but a revised approach. I'm using Chris's technique to define the bow taper, but an electric plank bender to shape the timber before, and after, glueing and pinning. (Tried soaking, but haven't got the technique right yet.)
-
Thanks guys I spent a little time stripping the planks off Still need to clean up the glue, before taking another go.