bcochran
-
Posts
615 -
Joined
-
Last visited
Content Type
Profiles
Forums
Gallery
Events
Everything posted by bcochran
-
 Hello folks, I am thinking of reopening this build log. I still do not have the electronics working. I figured I would work on the superstructure of the boat while I try and figure out how to make the electronics work. I also play with G scale trains, and I have done over 20 battery R/C installs in Garden railroad engines. I even teach other members in our garden railroad club how it is done. When I left off here I had the hull painted, the decks painted, except for the edges, and all the electronics and controls installed. So here goes on another adventure.

-
Hello, I didn't die. I have been working on other projects. I've found that when working on long term projects I often run into problems that I don't have a solution for. The R/C equipment on this boat is one of those problems. Until I can come up with a solution I stop working on them. I can't get the electrical part of this thing to work. I think it is because of my lack of experience with this kind of R/C project and the equipment I am using. So I lost interest in this boat just before Christmas and began getting some garden railroad equipment ready for a demonstration Christmas display my club was putting on at a children's zoo. I think that soon I will be back on this project and complete the kit before I get the r/c components working. Sorry to have been gone for so long.
-
Good morning. I am trying to charge my batteries again. Also getting ready to paint the edges of the decks.

-
I am still here. I have a holiday garden railway display at a zoo this Saturday and I have been getting ready for that. i am debating wether to build the rest of the boat and deal with the electronics later.
-
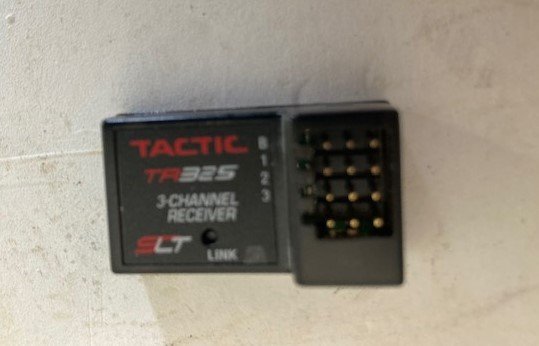
It is a TTX300. I have done the linking procedure with no success. When I first put power to the receiver, the LED was lit. I thought it was linked. I pulled the trigger on the transmitter and the receiver LED went out. Now if I hold down the link button the LED lights, but stays lit as long as I hold down the button. When I no longer hold it down, the LED goes out. No linkage happens. I haven't been able to charge up the batteries either.
-
Well, I had the batteries plugged in to the charger several times, but I can only get e few minutes operation out of them. I followed the instructions for linking the receiver to the transmitter without success. I can continue the build without operating the boat and try to figure out what I am doing wrong later.
-
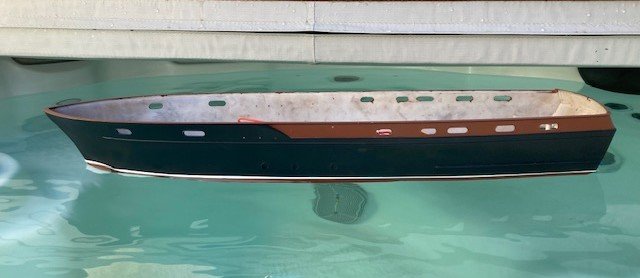
A test float in my jacuzzi shows she sits in the water at the right level. Of course there will be more weight added when she is finished.
-
I was able to put a charge on the batteries but I am not able to get the receiver and transmitter to hook up.
-
Per Ian's suggestion, I epoxied the stuffing boxes (tubes) to the hull. I also completed the rudder linkage. I am struggling to learn to use my battery charger. The batteries have no charge on them so I can't test anything yet.
-
There is space between the stuffing boxes (tubes) and the hull for water to get into the hull. I was going to caulk that space.
-
Well I have to get the stuff working right yet and I don't know how to do it all yet.
-
I tried to operate the system, but with no luck. I am supposed to bind the receiver to the transmitter but I can't get that to work. I am assuming I plug the servo into channel 1 on the receiver. The servo wires are yellow, orange and brown. I don't know if it matters how you plug these into the receiver. The instructions say to plug ECS to channel 2 of the receiver. The power to the receiver comes from the ECS because when I turn on the ECS I can push the link button on the receiver in and the LED lights up. You are supposed to bind the receiver to the transmitter. At first, the LED of the receiver was on. I had the servo plugged into the receiver channel 1. I pulled the trigger on the transmitter and the receiver LED when off. Now, to bind the transmitter to the receiver, I am supposed to hold the receiver link button down until the LED goes off, but it never goes off. I never expect things to work on the first try. It would be a total shock if things worked as the instructions say they should. The problem is how to fix it.
-
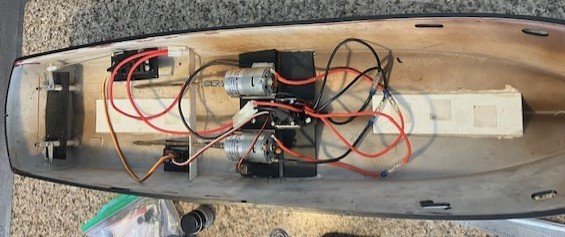
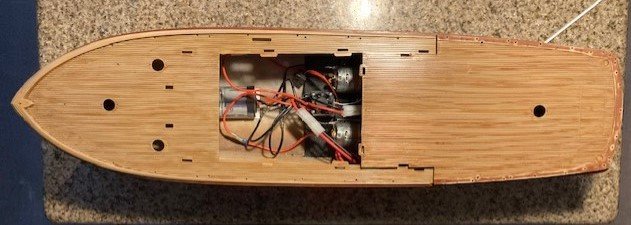
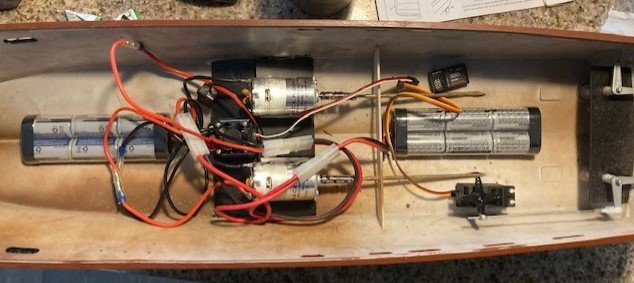
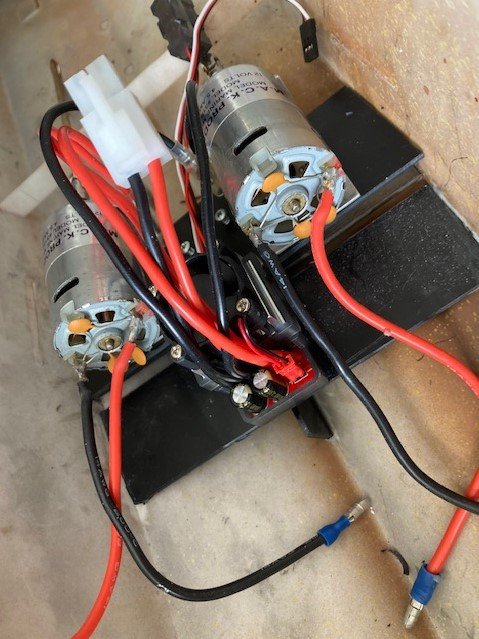
The batteries have their own platforms and the batteries are held in place by Velcro. There is one pack in the bow and one in the stern for balance. Everything (props, motors, servo & linkage, electronic speed control, receiver and batteries) is installed in its place except the rudder linkage, which is coming tomorrow. I need to connect the servo and ESC to the receiver and try it out. I also need to caulk around the stuffing tubes to make the hull water tight. I am not sure what I am doing, so I hope it doesn't explode or something.


-
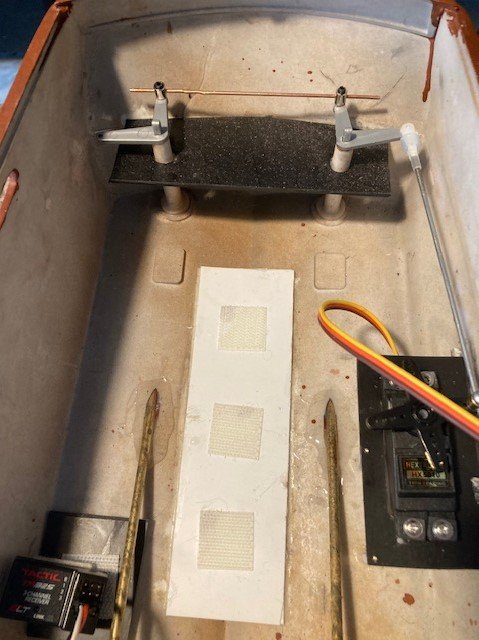
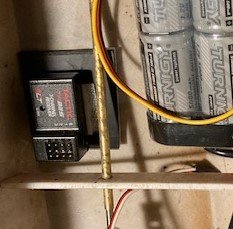
I made a shelf to mount the rudder servo. The receiver has its own platform and is held on with velcro.

-
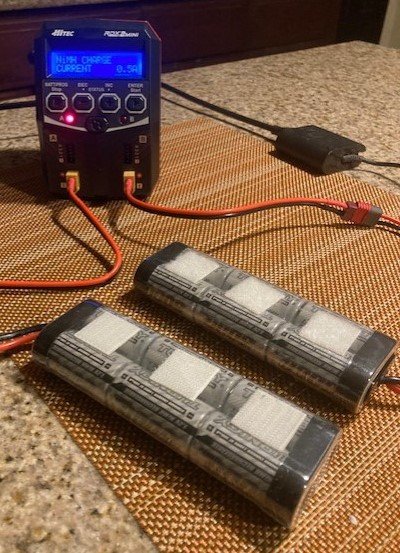
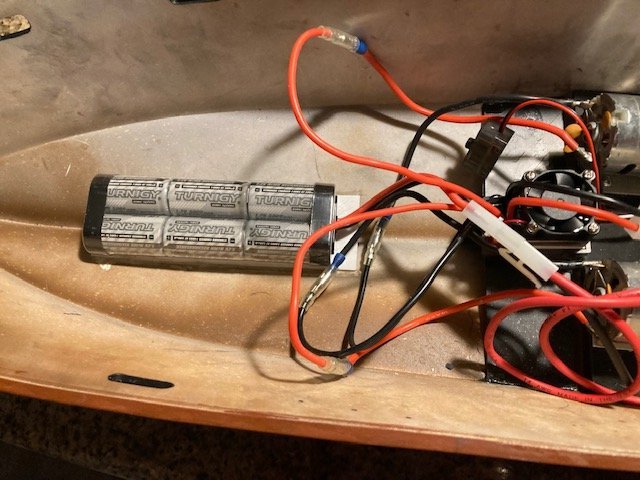
The batteries have a Y harness that plugs into the speed control. The batteries are two 7.2 volt batteries, so total going to the ESC is 14.4 vols I presume. The kit supplies the left and right hand props. My R/C conversion instructions say to use those.
-
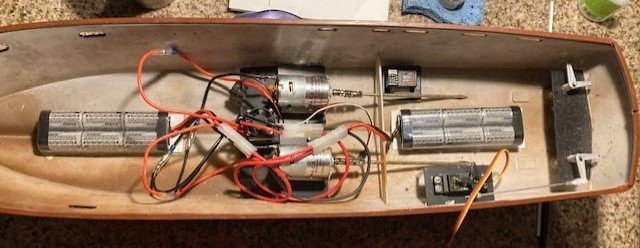
This is my proposed setup of the R/C components, receiver, servo, batteries, motors and ESC. I think this will work.
-
I have a couple of questions for those in the know. Do the motors turn in opposite directions? The Lindbergh plans show the props spinning in opposite directions, so the props must have a left one and a right one. I read that the receiver should be as far away from the ESC as possible, correct? It looks like I have to build a support for the servo. I think I am going to put the battery packs one forward and one aft to distribute the weight. I just need to get to the leads to recharge them, and they are attached to a Y connector so there is only one lead to get to I think.
-
Thanks for the input, Ian, I've found the best thing to strip paint is Super Clean. You need to soak the part in a container of the Super Clean. My Hull is too big to do that. I was lucky to get the hull to look right.
-
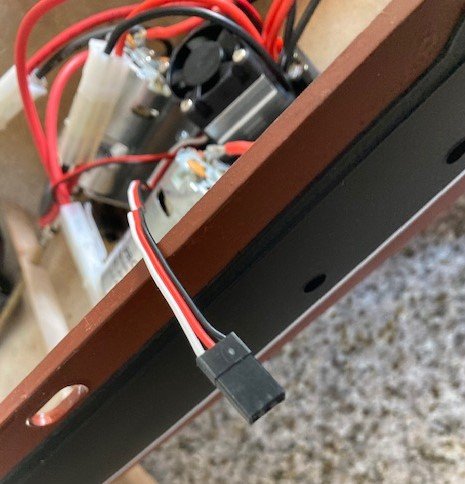
This is my radio control system. The little rectangular thing is the receiver. It plugs into the electronic speed control (ESC). It looks like you could screw up and plug the ESC connection to the receiver backwards. I have much to learn. The little on-off switch turns on the ESC fan.


-
I like your boat. You look like an orderly person with your tools all in place. Did you make the stand it is on? I have seen ones like it online. Where did you get the lettering?>
-
I need to do some research on R/C boats. I know nothing yet. I looked online and so far I didn't find much. Mostly what I saw was speed boats and a recommendation that beginners buy an already built boat to learn on. Well, I blew past that recommendation.
-
So, the motors, electronic speed control and the batteries are installed and hooked up. I don't know a darn thing about what I am doing. I just followed the instructions. I need to put in the servo and rudders. I took Ian's advice and supported the rudder tubes. I still need to get some Velcro to attach the batteries. At this point, all the weight of the components are aft of the center. I am not sure if you need to even the load or not, or how it affects the way the boat sits in the water. Another thought that came to me is that the rear deck lifts off, and the front deck does not. So you could not get at any components you would put under the front deck.

-
The electronic speed control has its own shelf. I can adjust the angle of the motors with the two screws between the motors. Also those screws hold the motor shelf in place.
-
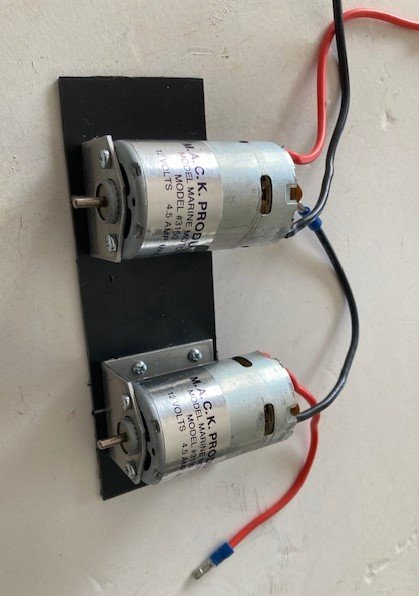
I could not use the kit's motor mount piece because my motors are bigger than the kit's motors. I used some scrap plastic sheet that I had lying around to rig up a motor mount. I am not sure how it will work until I get all the other components in place.