-
Posts
71 -
Joined
-
Last visited
About Daryl
- Birthday 04/04/1947
Profile Information
-
Gender
Male
-
Location
Melbourne, Australia
-
Interests
Wood work
Models - Boats and Planes
Men's Shed
Travel
Recent Profile Visitors
-
 jcurtis55 reacted to a post in a topic:
Viking Knarr by Daryl - FINISHED - Dusek - Scale 1:72
-
 ccoyle reacted to a post in a topic:
Santisima Trinidad by Daryl - FINISHED - OcCre - 1:90 scale - Cross-Section
-
 BobG reacted to a post in a topic:
Viking Knarr by Daryl - FINISHED - Dusek - Scale 1:72
-
 BobG reacted to a post in a topic:
Viking Knarr by Daryl - FINISHED - Dusek - Scale 1:72
-
 BobG reacted to a post in a topic:
Viking Knarr by Daryl - FINISHED - Dusek - Scale 1:72
-
 GrandpaPhil reacted to a post in a topic:
Viking Knarr by Daryl - FINISHED - Dusek - Scale 1:72
-
 GrandpaPhil reacted to a post in a topic:
Viking Knarr by Daryl - FINISHED - Dusek - Scale 1:72
-
 GrandpaPhil reacted to a post in a topic:
Viking Knarr by Daryl - FINISHED - Dusek - Scale 1:72
-
 GrandpaPhil reacted to a post in a topic:
River Queen by Daryl - FINISHED - Scale 1:36 - steam launch - Vic Smeed plans
-
 GrandpaPhil reacted to a post in a topic:
Portugese Barco Rabelo by Daryl - FINISHED - Scale 1:80
-
Now that someone has mentioned ModelExpo and Paypal in the one entry, why doesn't ModelExpo use Paypal?? Certainly would help everyone especially those of us how have horrendous postage due to being international clients.
-
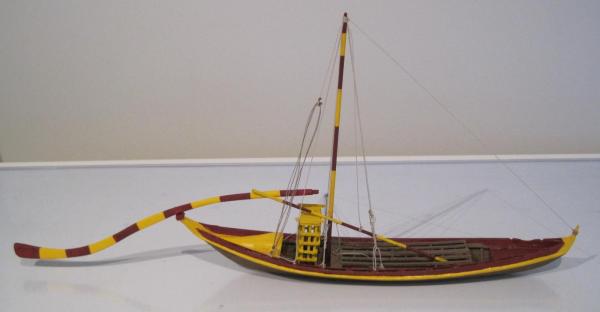
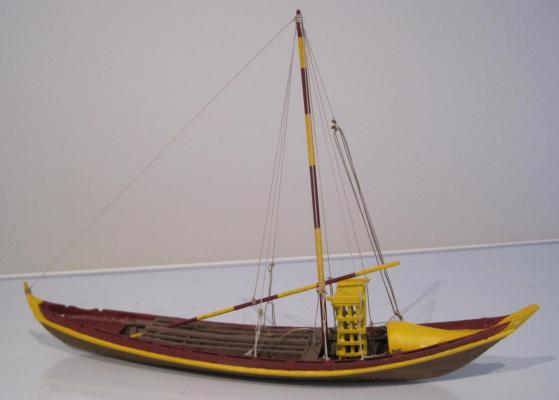
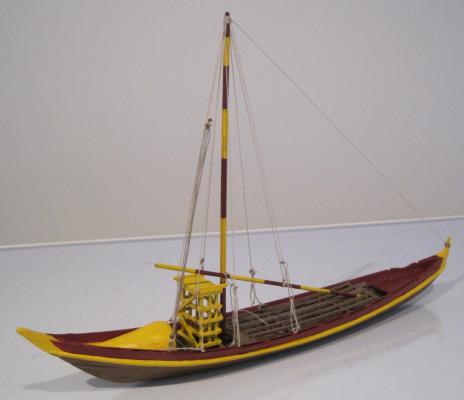
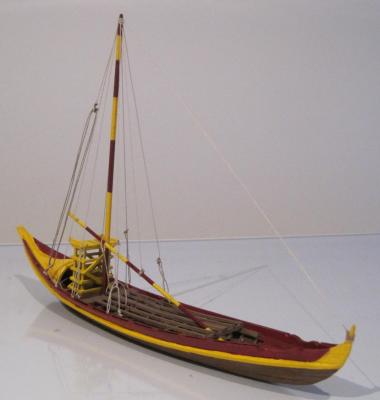
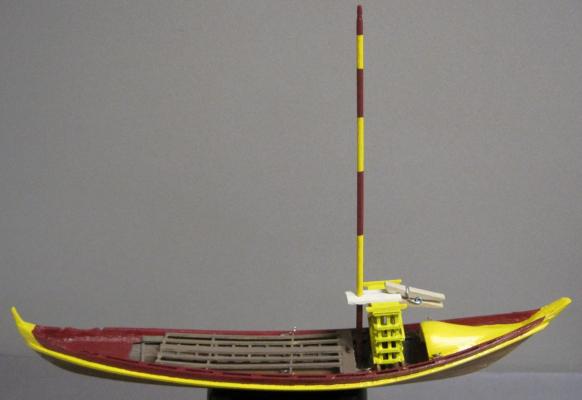
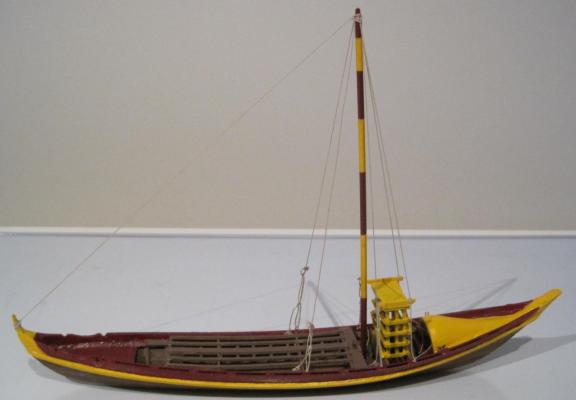
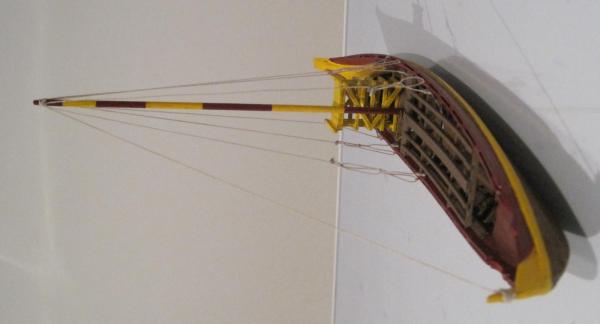
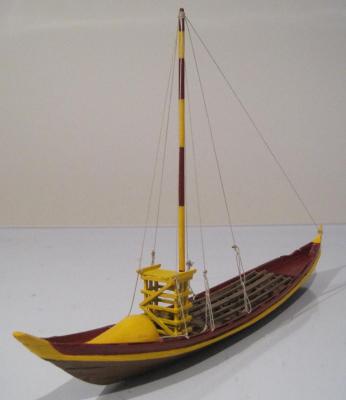
The rigging is now completed and if anyone has a very good understanding of exactly how a Barco Rabelo should be rigged, please let me know. The more detail you have the better, especially how it is all connected to the hull. I have decided to put the sail on hold and will now concentrate on making the Espadela/Scutcher (sweep oar). If I do put the sail on I think it will just be furled on the One day I will make another Barco Rabelo as I have learnt so much building this one I am sure I can do a better job next time around. That is why I would appreciate receiving any information that would be helpful.
-
It has been another good day inside in the warmth. Went shopping at Float a Boat yesterday and stocked up on some bits and pieces. I now have the mast stepped and the Forestay and Shrouds installed. After looking at lots of photos and drawings I realised that even though the rigging seemed to be similar on all Rabelos, there were some differences. So, with that in mind, I am installing the basics but with a bit of a difference here and there. I was unable to find something that showed exactly how the shrouds were connected to the hull so I have taken the view that the shroud had a sheepshank (used for adjustments) that led into an eye and then it was tied off on a cleat. As these are working boats that have large wine barrels loaded and unloaded on them and travelled down a very dangerous river which subjected them to some damage, I decided to make the model not look perfect but to have a "used" look about it. As an example, you will note that all the sheepshanks are not exactly the same size and not perfectly in line. Two of the shrouds are mainly used to keep the platform in place, so maybe they could be called something else. I hope to finish the rigging (halyard) soon and then I can paint up a sail to go with it.
-
Things are happening quickly now. I have completed and installed the support infrastructure for the barrels, installed the Coqueiro, installed the Pegada (platform) and given the boat a complete new paint job. It is starting to look good. I have now started on the mast and rigging. Getting good information on the exact rigging used has been difficult but I think I have everything I need.
-
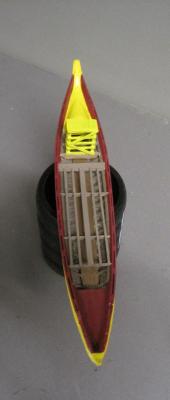
I changed the color of the decking to keep it more in line with the original Rabelo. Also painted the external trim the same color. There is some yellow coming so it should be very colorful when finished. The photo does not look the best and I think my trusty little Canon Ixus 95 IS has just about taken it last photo. I am sure the original Coqueiro (stern cover) was made from several pieces of timber but due to the size of the model, I decided to carve one out of a piece of huon pine. Pity it has to be eventually painted yellow as the pine looks really nice in its natural state. Next up is completing the framework that holds the port barrels. The great little pegs sure come in hand to hold the cross pieces in place while the glue sets. Should have the framework finished tomorrow.
-
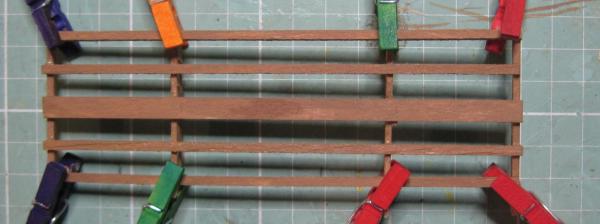
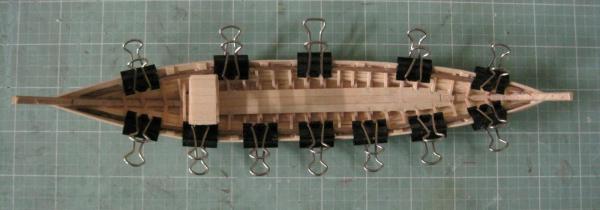
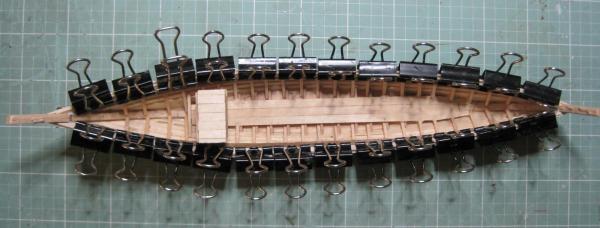
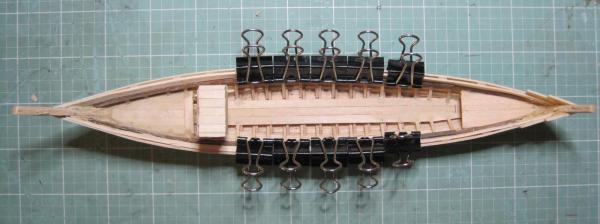
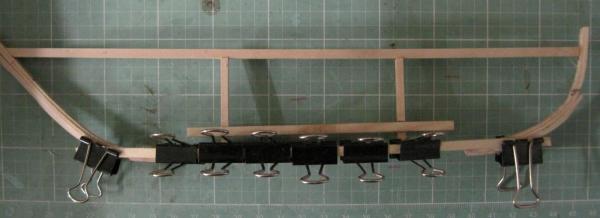
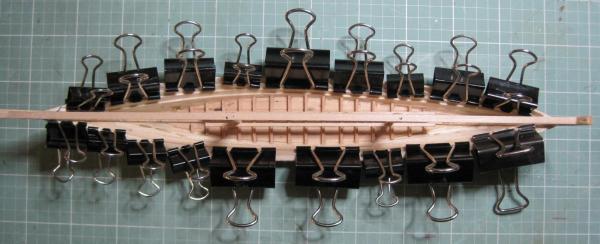
This cold weather has kept me inside so lots of small projects being done. The Rabelo is progressing nicely and the following show where it is at now. The next task was to fit the bottom braces and side frames. You will notice that the frames extend above the previous planking. This is because they have both internal and external beams attatched to them and then some side trim. The following three photos are of the beams and trim being attached. Don't you just love those little pegs. Very hand for a model that is only 230mm long. Now it is time to install the front and rear decking and the central walkway. There is a framework that holds the port barrels. The first pieces are the supports that run along the inside of the hull above the previously installed beams. At this point, I thought it would be best to start painting the inside before fitting the barrel framework. Some of the Rabelos have intricate paint jobs and I will be attempting to copy the paint work on an original Ferreira Port House Barco Rabelo. As the paint dries, I am off to continue work on my next Diddley Bow.
-
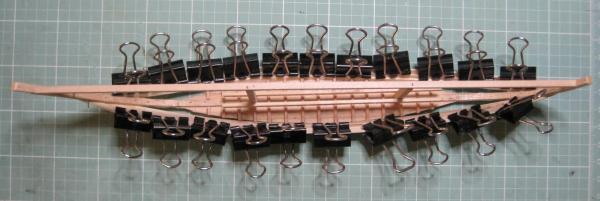
I have now completed building the Sagro. The following photos show the planks being attached and then the final shaping. On the old Rabelos, before any side planking was done, the Sagro was shaped by placing the two ends on raised posts/planks and then placing weights on the centre. The plan I am using has a straight Sagro. The next piece of work is to attach a triangular piece of wood to the full length of the bow and stern which will provide additional support for attaching the side planks. This is not normally done but due to the small scale of this boat the additional wood will certainly help.
-
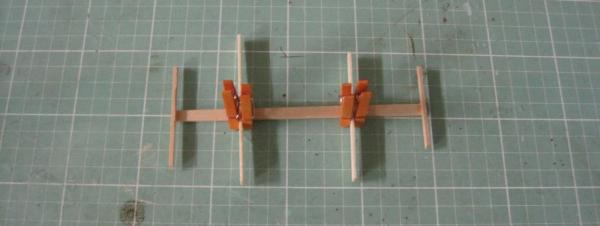
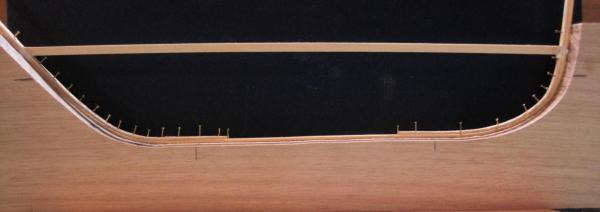
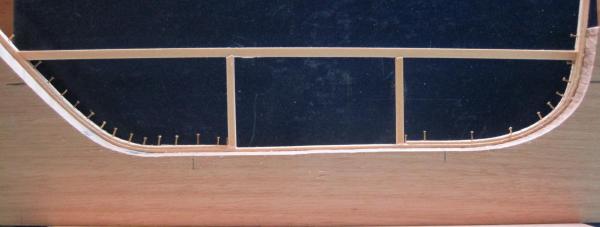
Step 3 - Installing temporary reference frame. As the frames are only inserted once the hull planks have been installed, I have decided to install a temporary framework from which I can take measurements whilst installing each plank. This hopefully will ensure I have the planks at equal distance from the center line at each point a frame is to be inserted. Nothing worse than having one side laying out/in more than the other.
-
Hi Tadeusz Thank you for the great photos. The Rabelo is a very interesting boat and I am always very keen to see new photos as I cannot find anything that details exactly how the rigging is installed. I have a good idea but it would be fantastic to know exactly how it is done. I am currently talking to some people from the wineries in Portugal who are looking for me so fingers crossed that by the time I get to the rigging I have all the information I need. Daryl
-
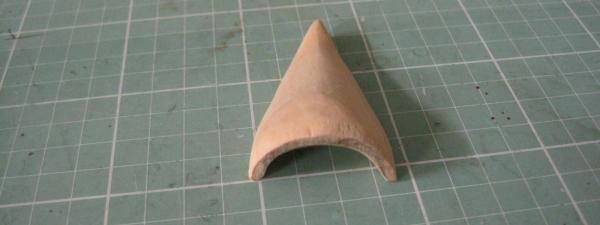
Step 1 - making jig. The first photo is of the plans. When I originally downloaded them they were 50Mb and have since been cut down. The next photo is the start of the build. It is a jig I have made to shape what would normally be called a keel. As the Rabelo is flat bottomed it does not have a keel. It has a flat bottom which is the shape of a surf board with a point at each end, which was called the "Sagro". The older Rabelos then had an extended stem and stern post (Oucas) attatched to the Sagro. On my plans, the centre plank of the Sagro runs from the tip of the bow to the tip of the stern and then there are two internal "strengtheners" called the "Roda Popa" (Stern brace) and "Roda Proa" (Bow brace) used to help keep the shape. Tomorrow I am off to Float a Boat to get my strips of wood to commence the build. As this is a 1:80 scale and the overall length (minus the huge steering oar) will only be 250mm, I am thinking of also going to the optometrist to get the eyes checked. :-)
-
Background History. The Barco Rabelo (Rabelo boat) is a flat bottom boat first built in the 9th century to navigate the rapids of the Douro River in Portugal, carrying up to 100 barrels of port from the Port Houses to the coast as the river was then the only means of accessing the wineries. It had a crew of 12 men and was noted for its long steering oar which was managed from a raised platform above the port barrels. In 1887, a railway line was built along the banks of the Duoro and this started the demise of the Rabelo. Eventually roads were also built and the last official trip of a Rabelo is thought to have taken place in 1964. To celebrate the history of the Rabelo, a race is held annually on St John's day (24th June) where each Port House enters its own Rabelo. My build. Thanks to Ryan Opaz from Vrazon, I was fortunate to obtain a copy of plans drawn up for a Rabelo in May 1989 for the A.A.Ferreira, S.A. Port House in Vila Nova de Gaia. The plans were held in the Sogrape Vinhos S.A. archives and I am very grateful to them for providing me with the plans. These are the only official plans of a Rabelo that I have been able to find and they do differ in some areas as to how a Rabelo was originally built.
About us
Modelshipworld - Advancing Ship Modeling through Research
SSL Secured
Your security is important for us so this Website is SSL-Secured
NRG Mailing Address
Nautical Research Guild
237 South Lincoln Street
Westmont IL, 60559-1917
Model Ship World ® and the MSW logo are Registered Trademarks, and belong to the Nautical Research Guild (United States Patent and Trademark Office: No. 6,929,264 & No. 6,929,274, registered Dec. 20, 2022)
Helpful Links
About the NRG
If you enjoy building ship models that are historically accurate as well as beautiful, then The Nautical Research Guild (NRG) is just right for you.
The Guild is a non-profit educational organization whose mission is to “Advance Ship Modeling Through Research”. We provide support to our members in their efforts to raise the quality of their model ships.
The Nautical Research Guild has published our world-renowned quarterly magazine, The Nautical Research Journal, since 1955. The pages of the Journal are full of articles by accomplished ship modelers who show you how they create those exquisite details on their models, and by maritime historians who show you the correct details to build. The Journal is available in both print and digital editions. Go to the NRG web site (www.thenrg.org) to download a complimentary digital copy of the Journal. The NRG also publishes plan sets, books and compilations of back issues of the Journal and the former Ships in Scale and Model Ship Builder magazines.


