FifeModels
-
Posts
528 -
Joined
-
Last visited
Content Type
Profiles
Forums
Gallery
Events
Everything posted by FifeModels
-
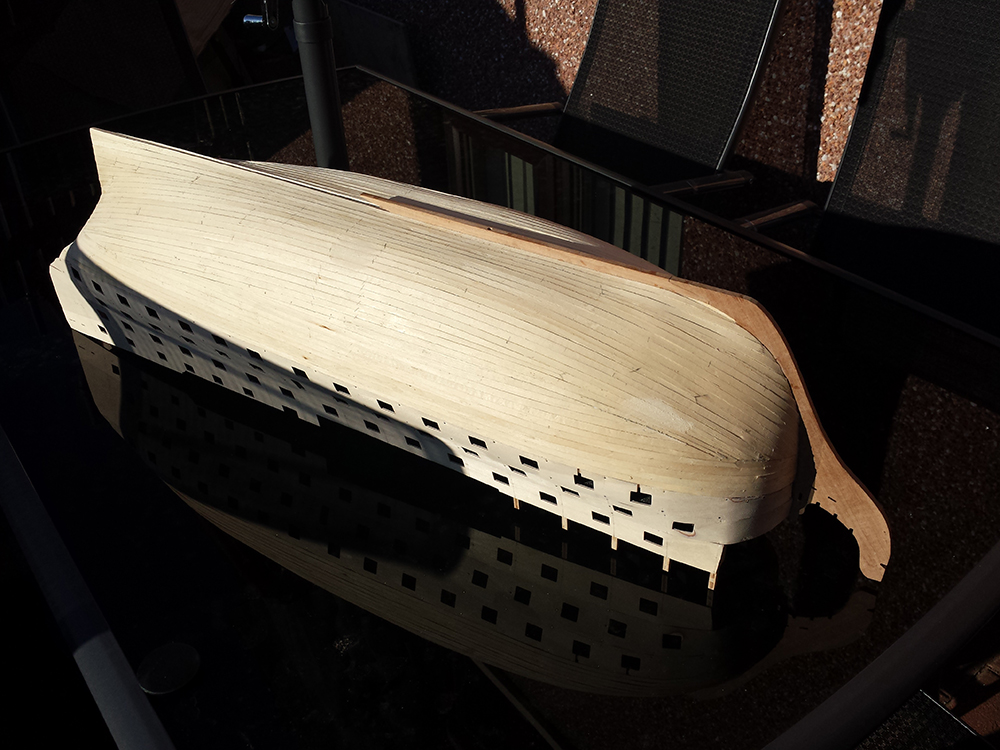
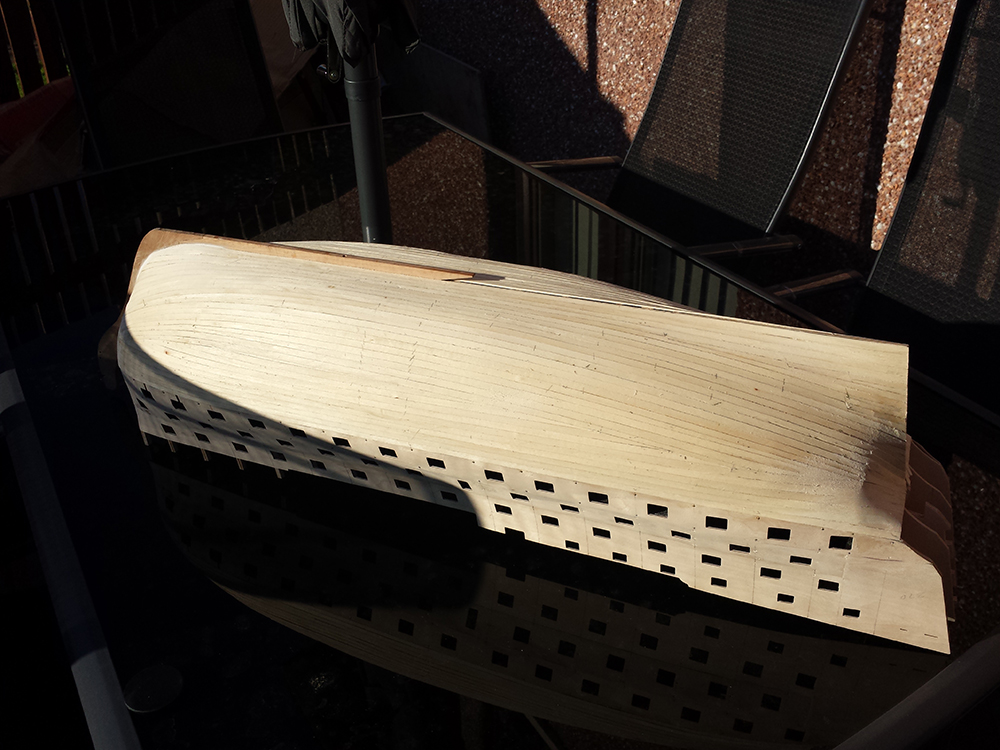
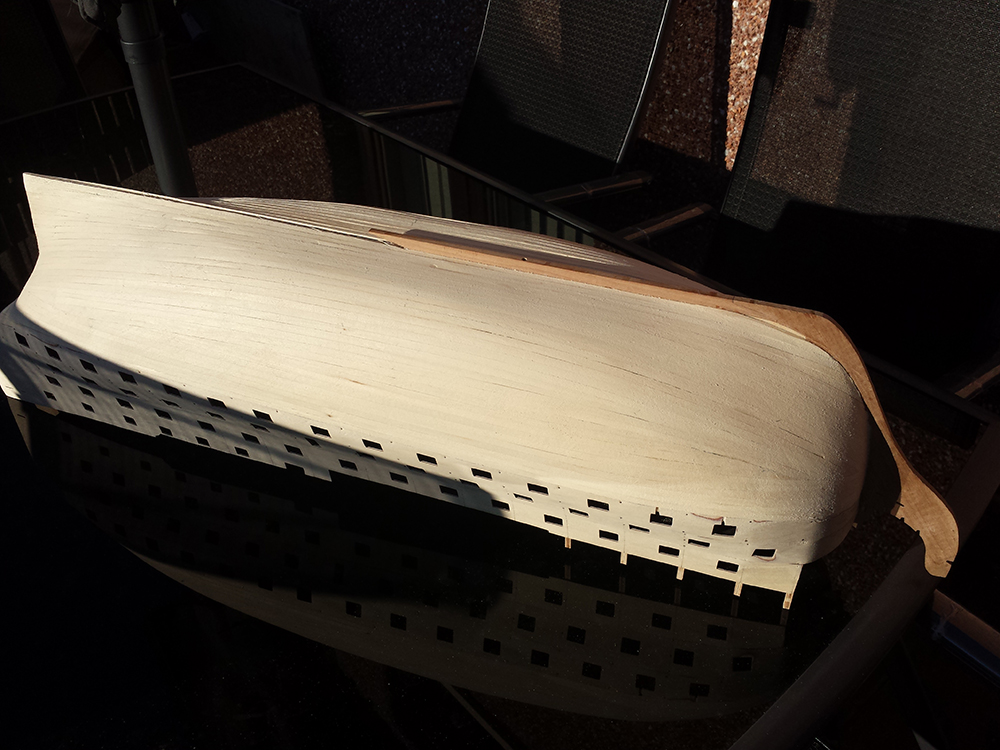
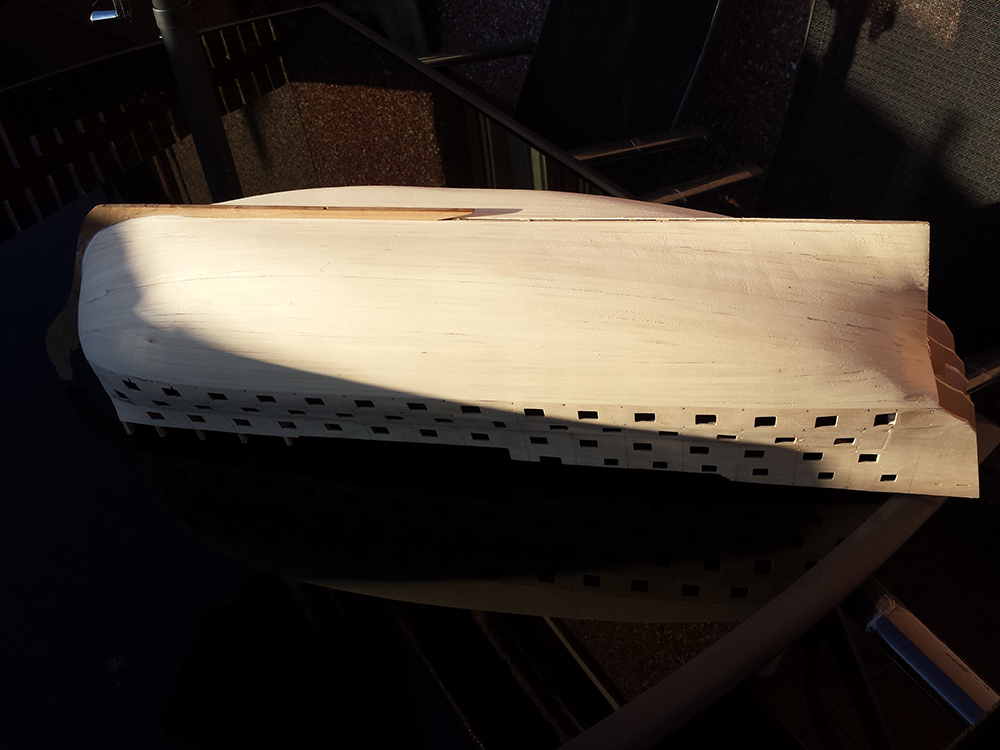
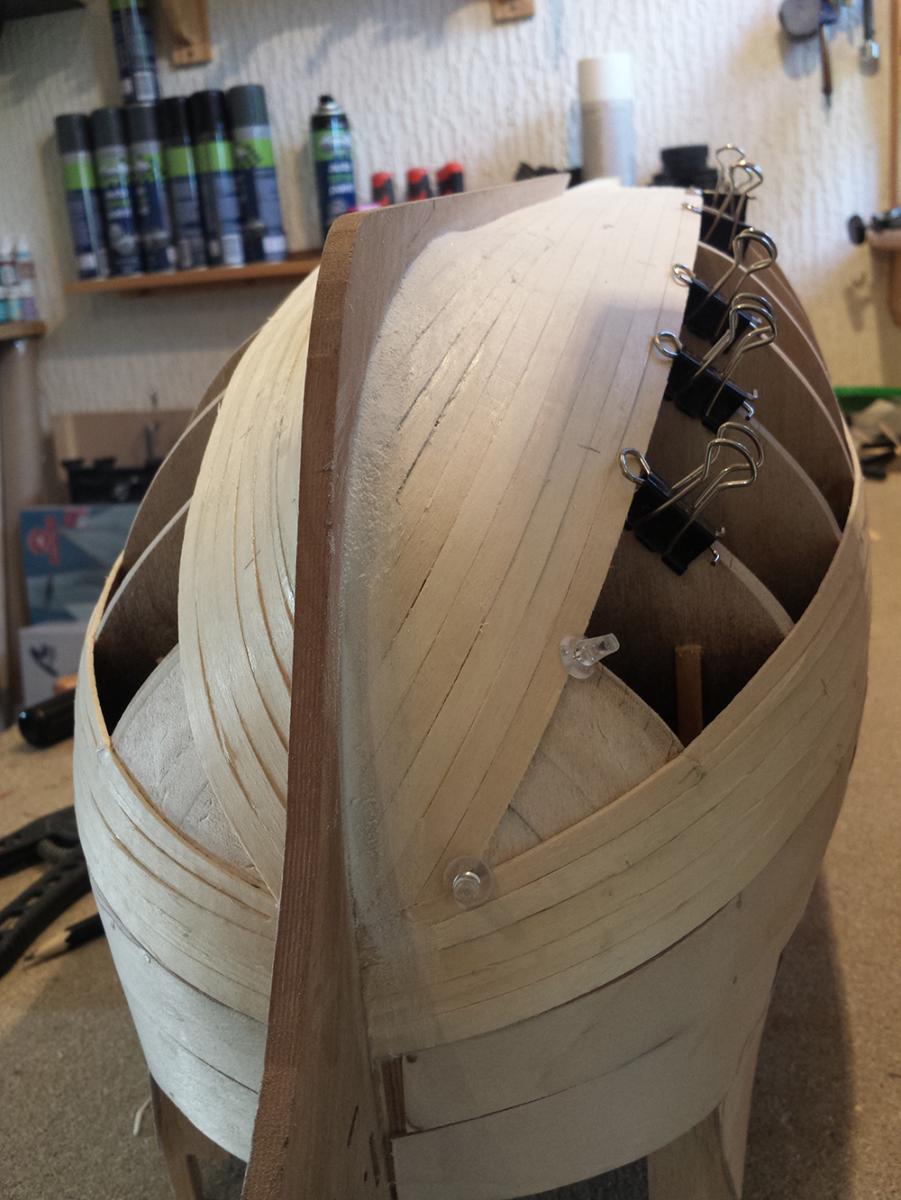
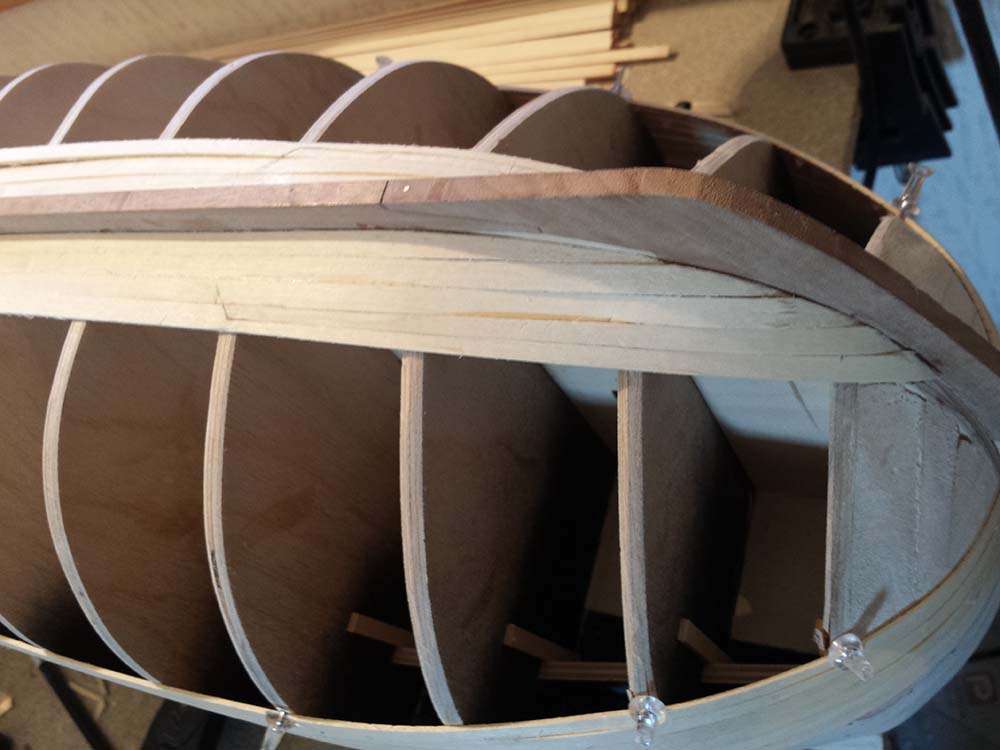
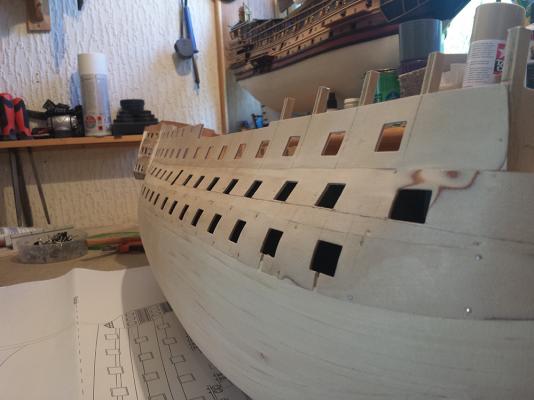
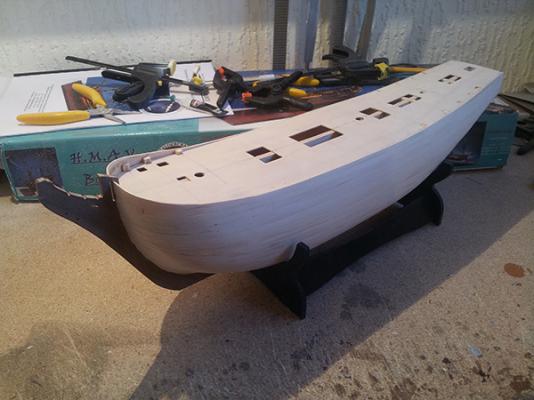
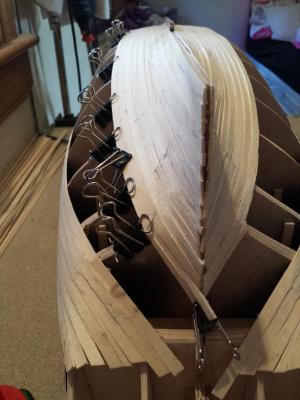
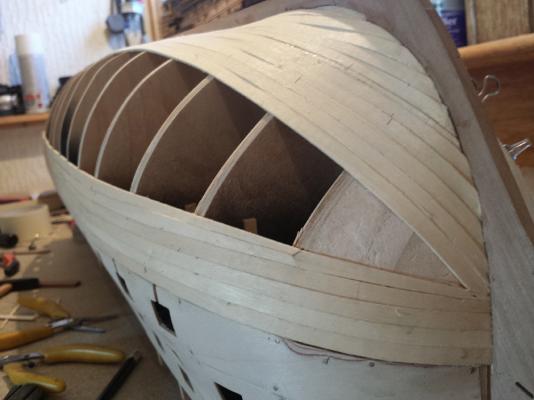
 I've made a start on the 2nd planking. Not much to show yet but I have been able to maintain a nice upwards curve towards the stern.


-
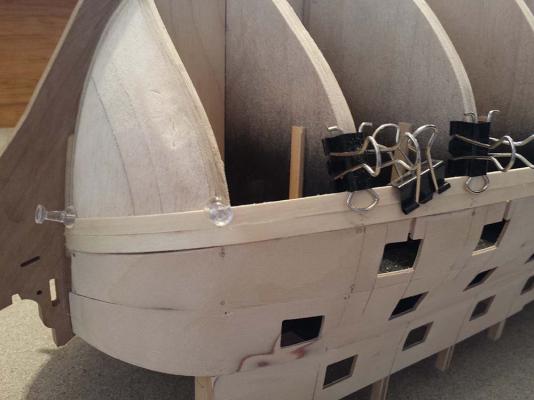
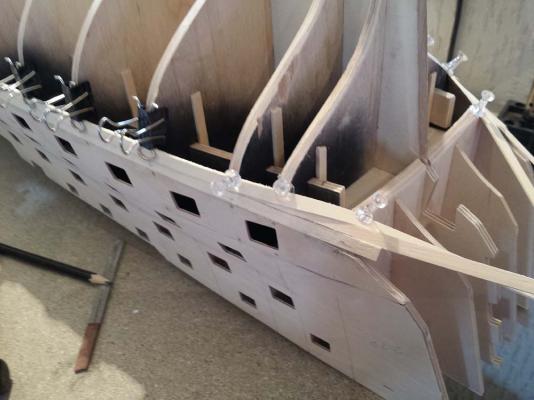
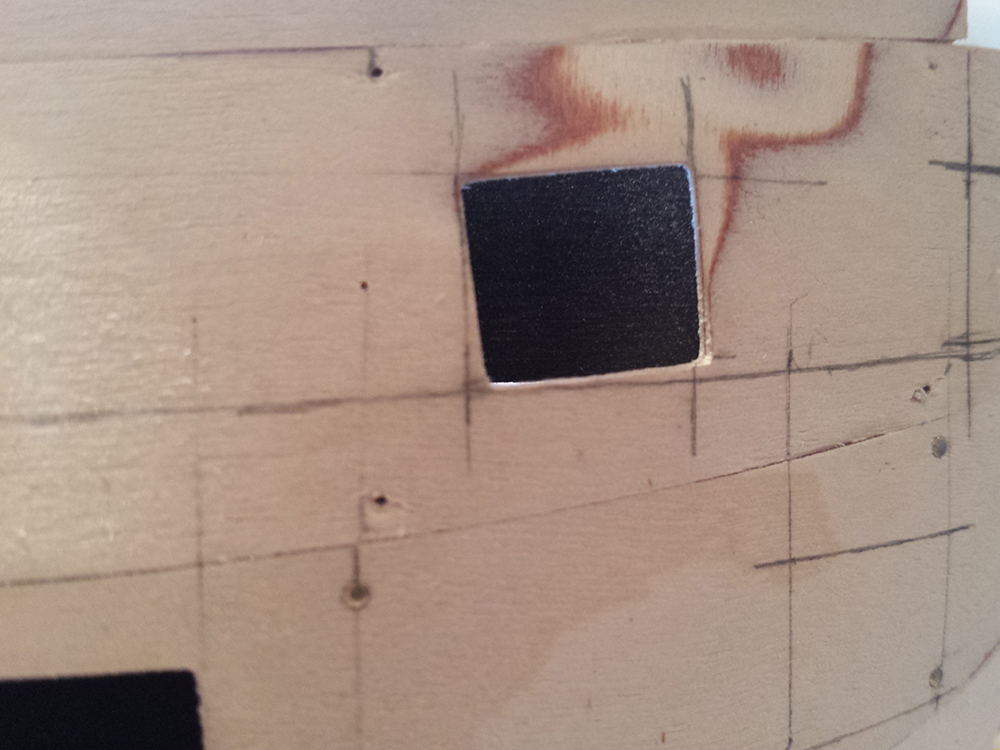
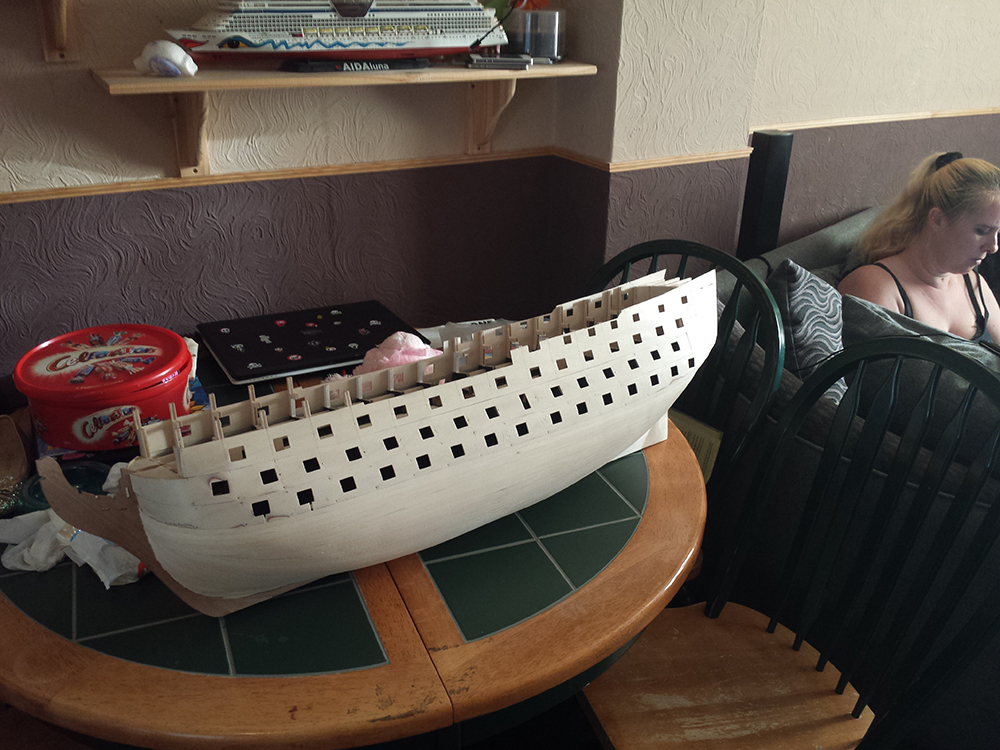
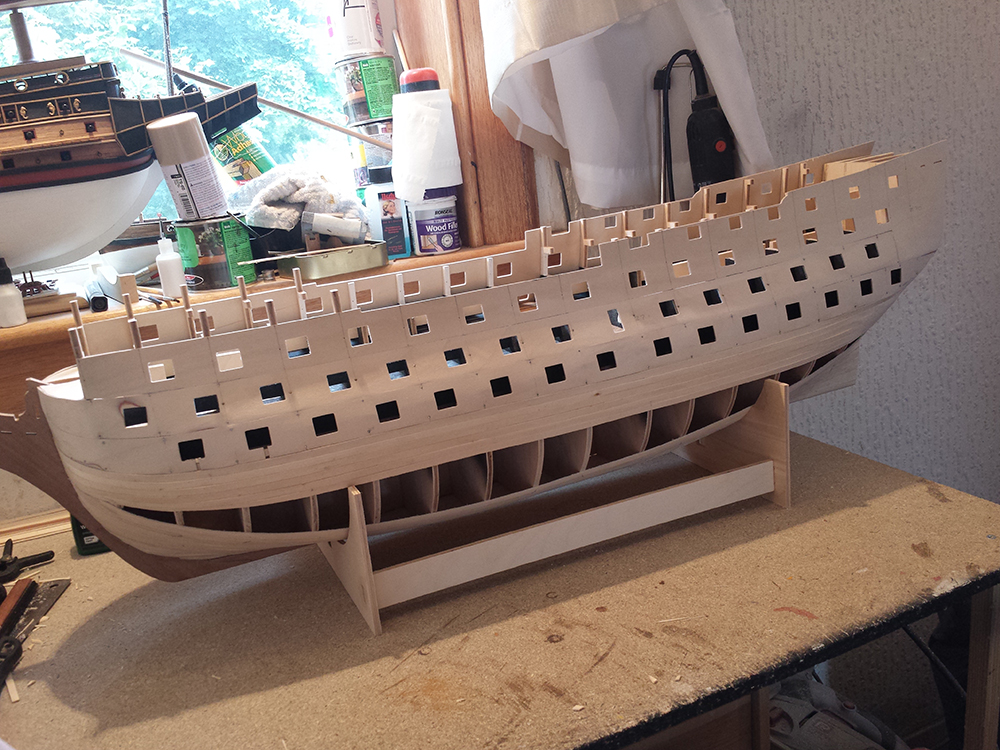
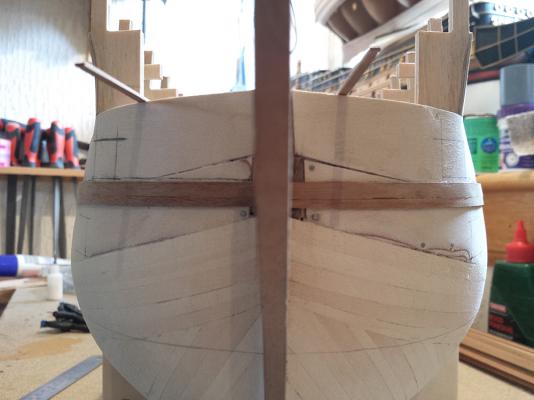
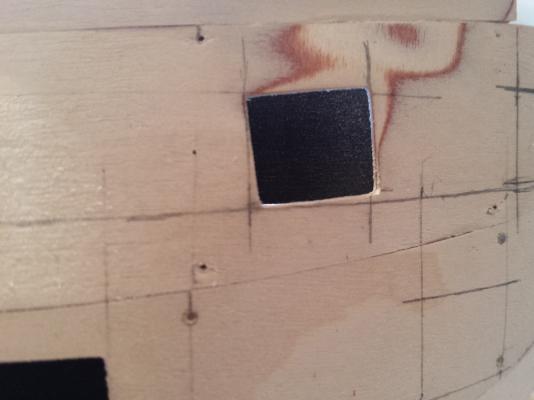
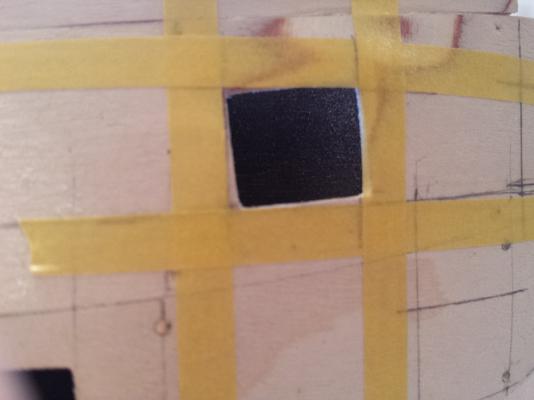
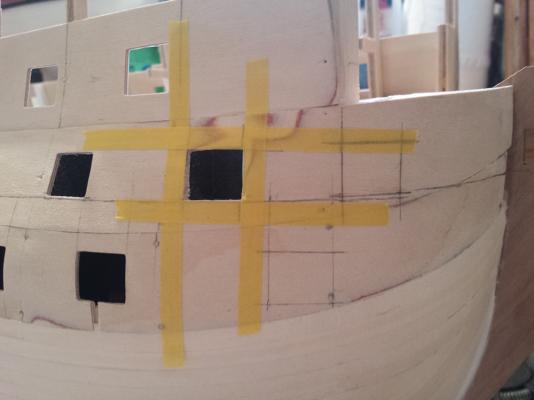
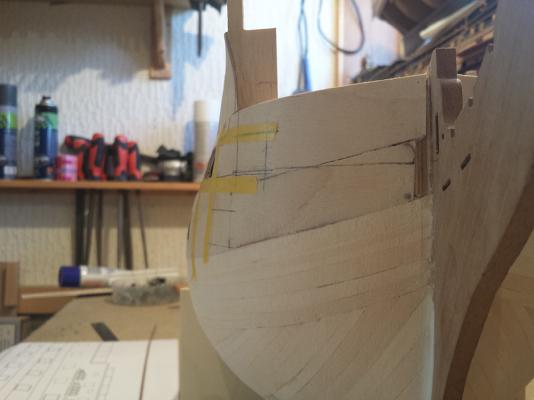
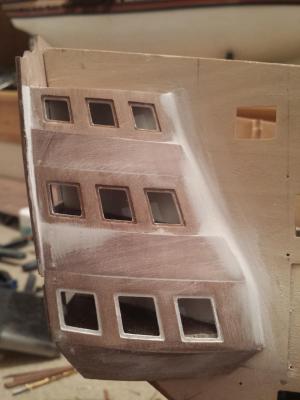
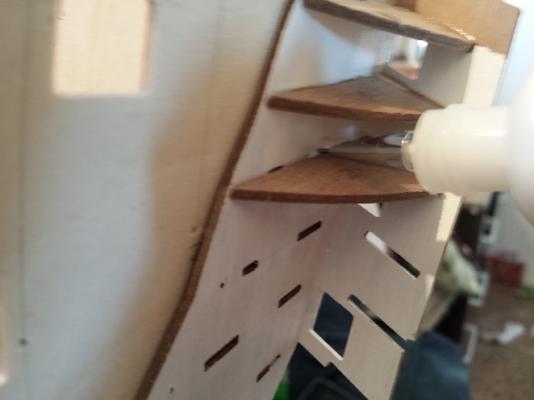
I've marked the forward ports now, well half of them anyway. I've paused to show you this. Before I could mark them, as I would be locating them based on the position of the foremost pre cut port, I needed to correct that port. It got warped due to that bubbling I had when fixing the template patterns. I was expecting to have to correct it. It wasn't too much out of line, the top left corner was correct, but the entire port was slanting upwards from that point. Using the plans I marked it's correct position in pencil and then with masking tape, and cut the excess away. This will leave an odd shape on one side, however I will correct this with the 2nd planking. Then I was able to mark the other two ports into position. I should also be able to correct my wales, as I was marking from slightly too high...doesn't explain why they appear to slope down...am sure it's had an affect though
-
Thanks Jerry. I'm referring to the pencil line marking the upper edge of the middle wale, at the bow it seems to slope down. Kevin thanks, yep next on my hitlist, I was hoping to use the mark for the middle wale to help me locate it...trying to make sure that's right first though...
-
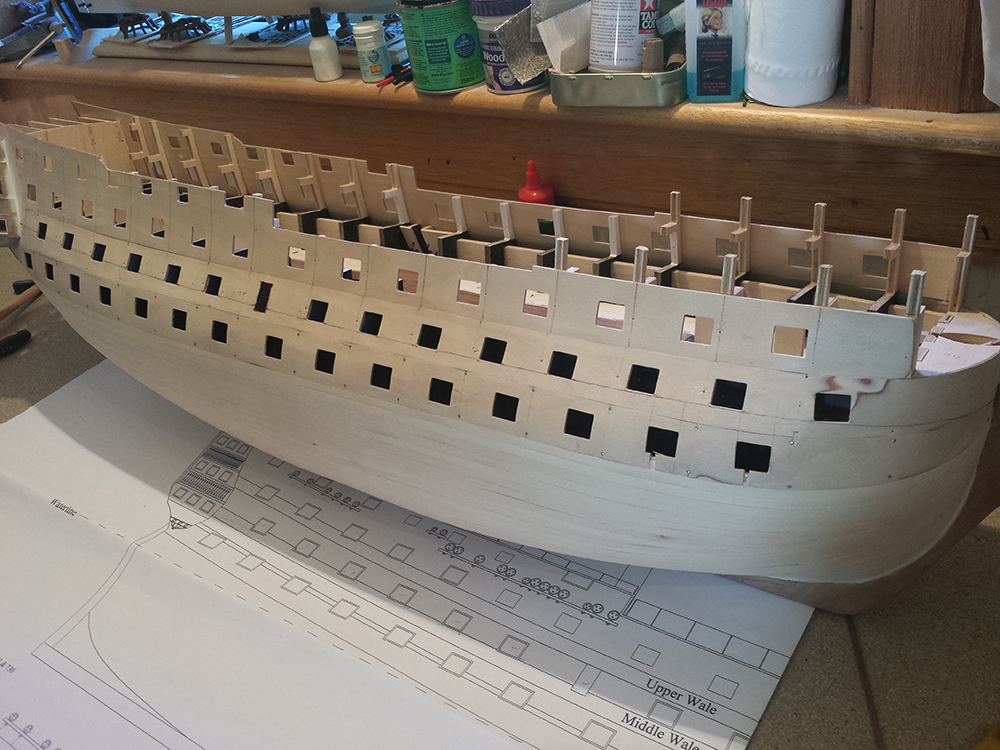
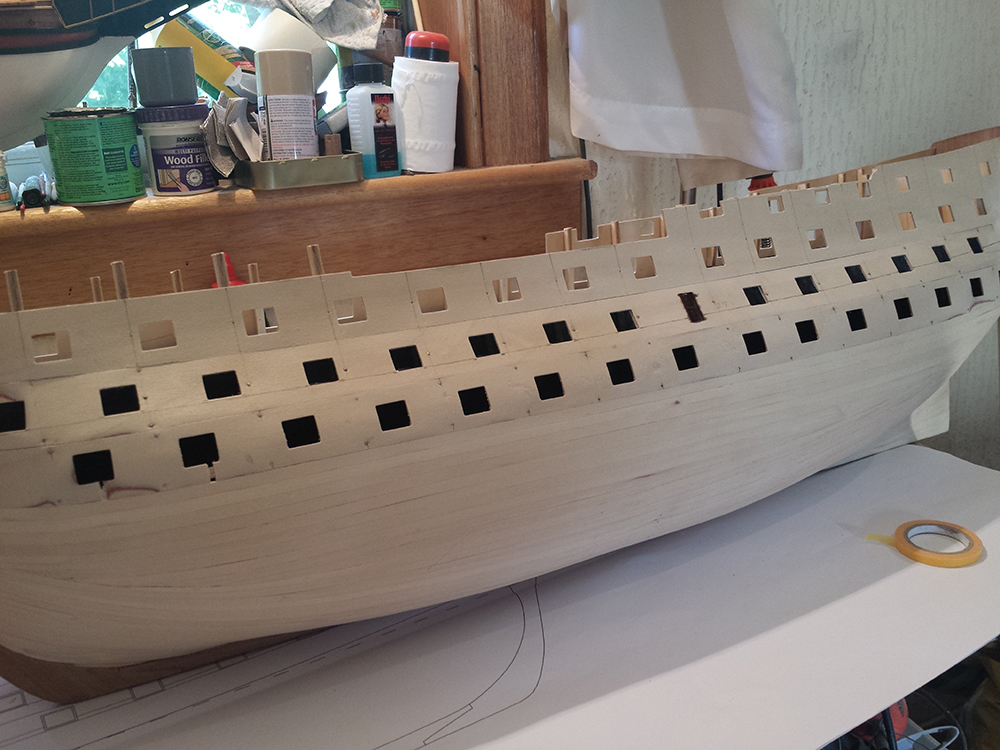
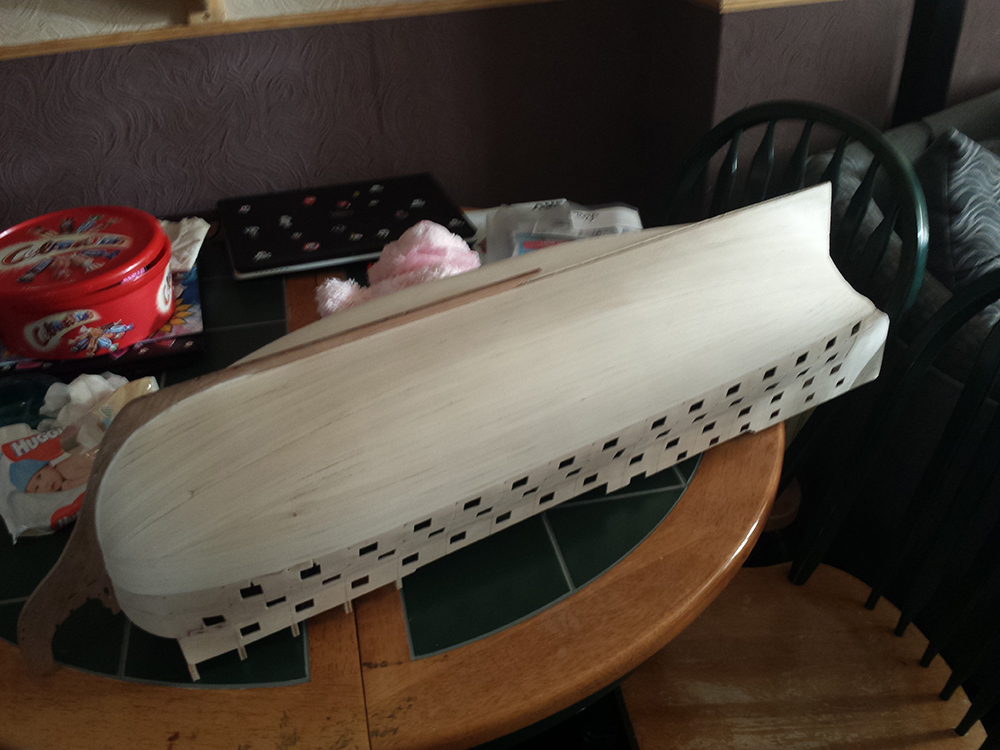
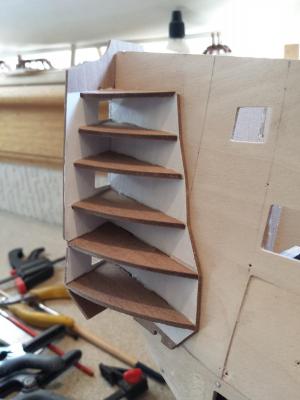
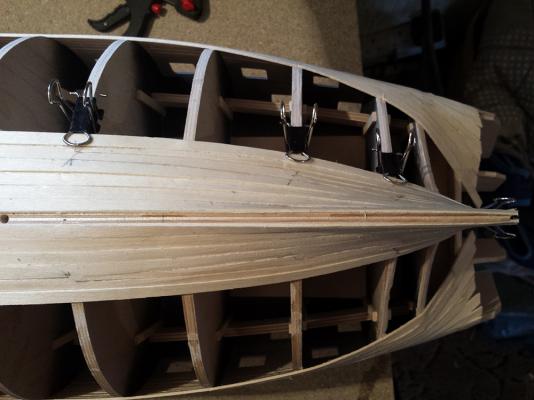
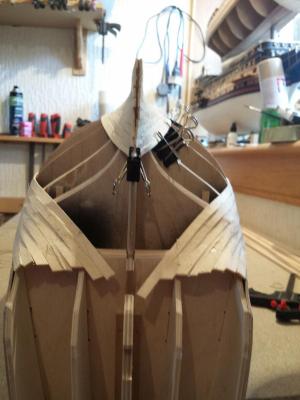
I've been marking the starting point for the 2nd planking...in this case, the upper edge of the middle wale. Thankfully it seems to confirm that I did get everything in the right place, as it follows a lovely up-down-up curve...well, except at the front. Going by the plan, the section from the 2nd gunport (1st in the photo as the actual 1st isn't part of the template...confused?) when veiwed from the side seems ok, but when veiwed from the bow, looks like it's going down towards the stem. It could be an optical illusion due to the edge of the beakhead sloping upwards...what do you guys think ? (final photo)


-
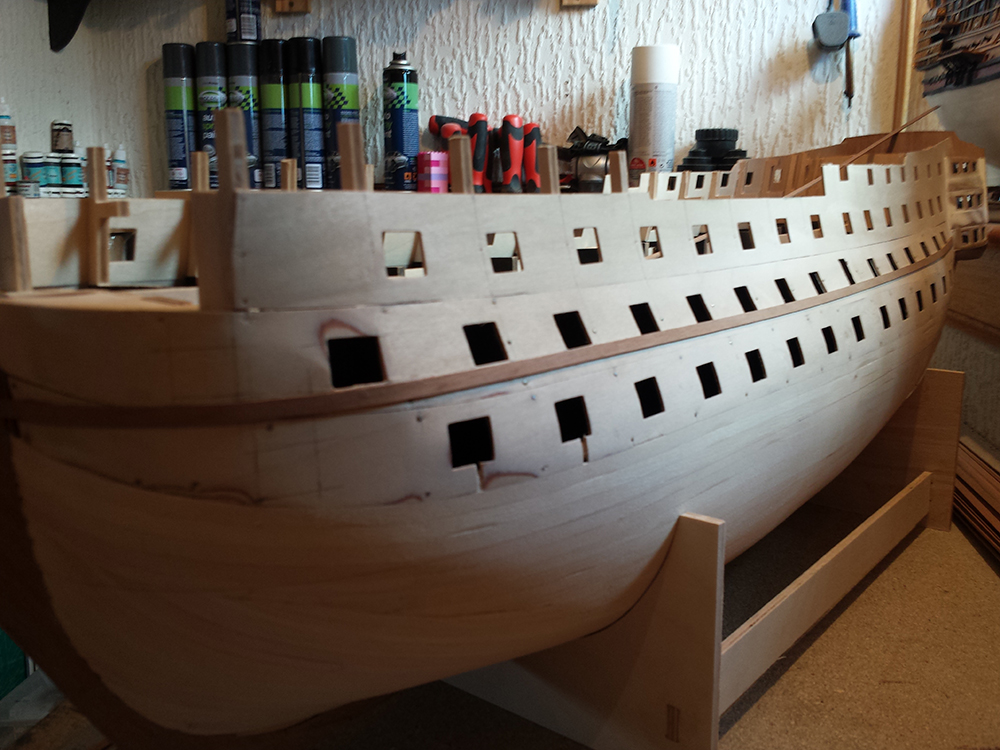
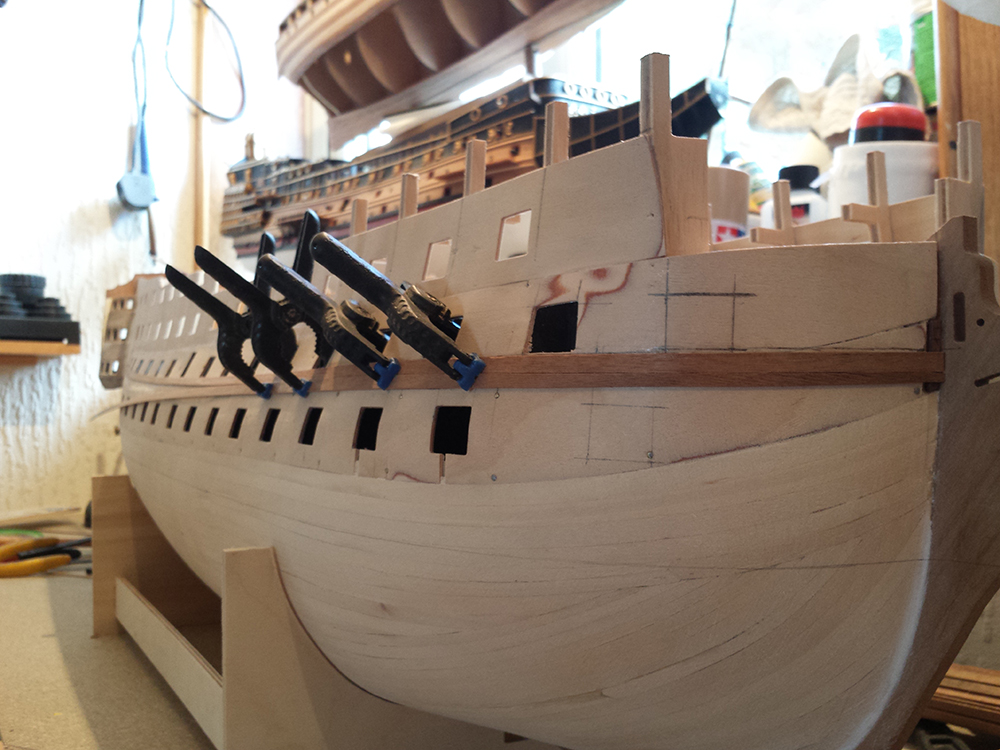
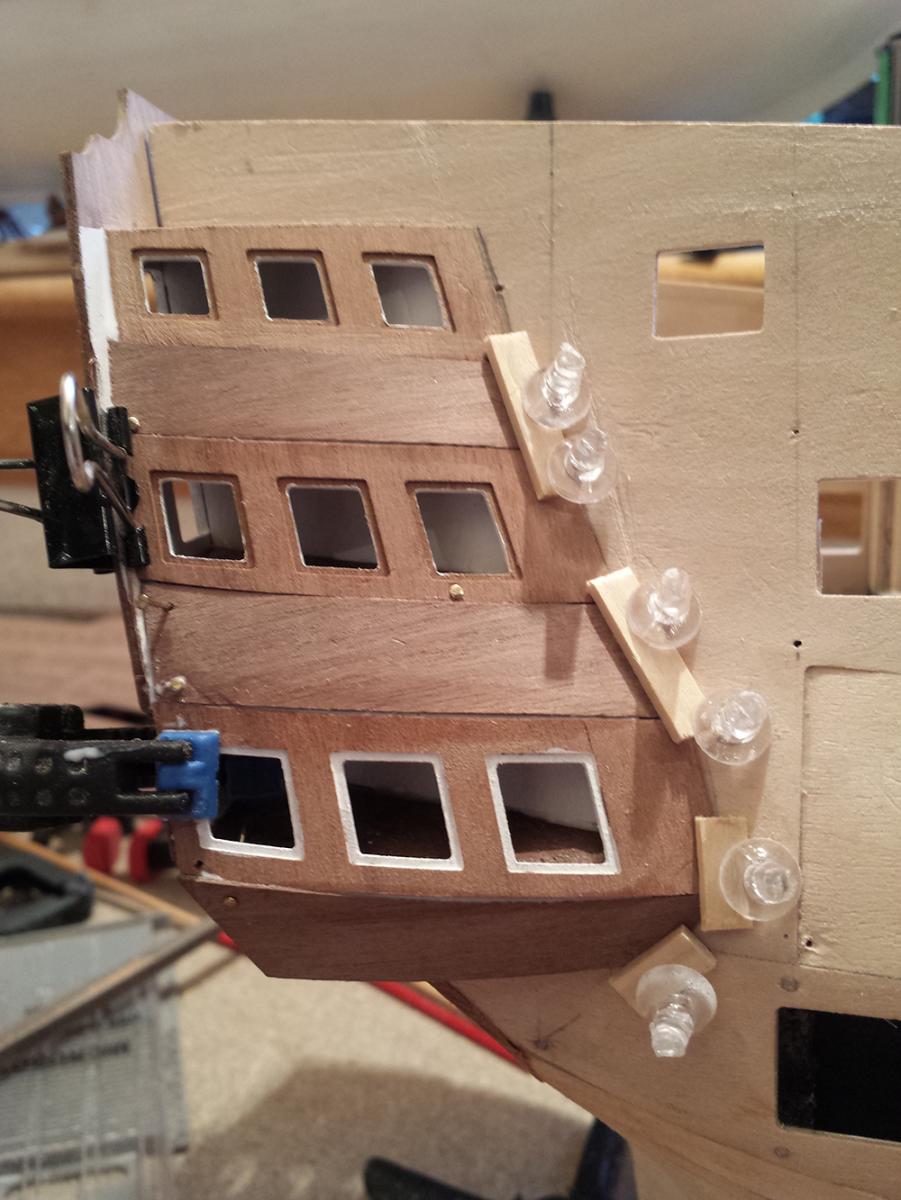
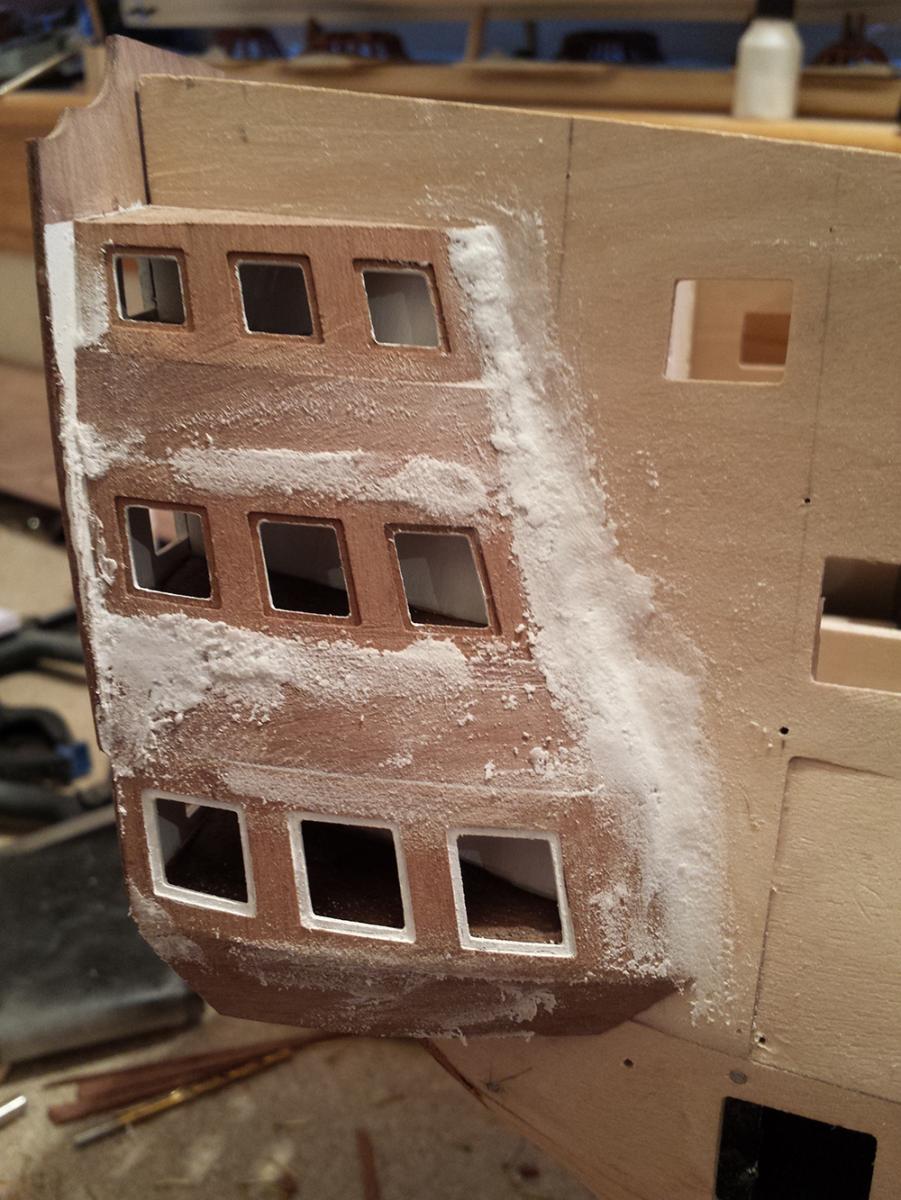
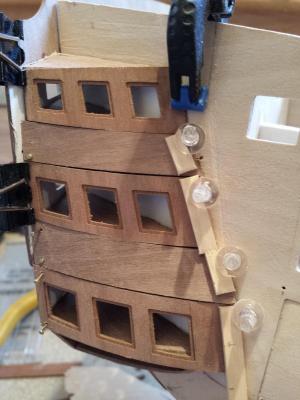
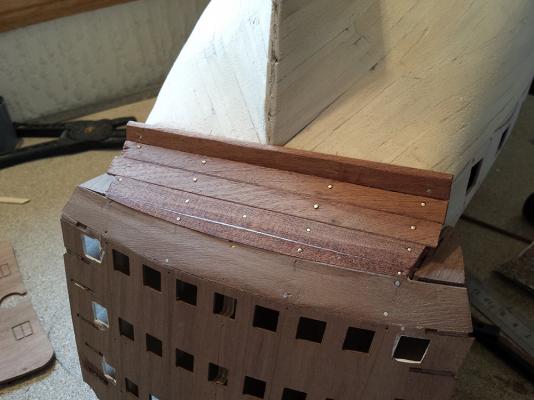
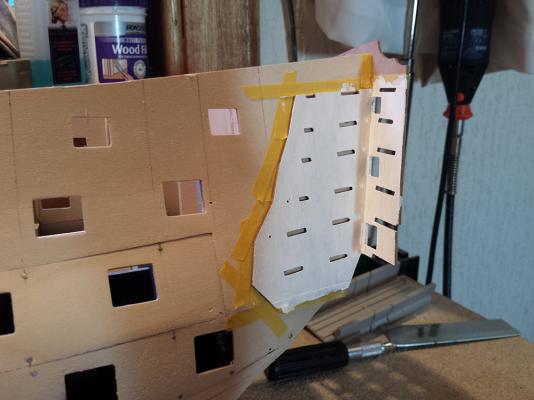
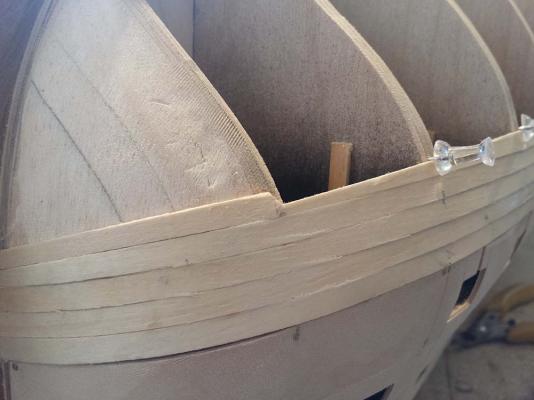
I decided to fit the q-gal fascia's now after all. The second planking would allow me to hide any imperfections in where they meet the side of the hull. Although, unlike Kevin's build, I found this section quite cumbersome to do. I had several attempts at dry fitting in place before I got a fit I was happy with. Despite the instructions saying to glaze the inner side before fitting, I decided against it. It would create a noticeable gap between glass and the PE frames. So I will cut to shape the glazing and fit to the back of the PE frames and then fit them in place on the fascia's. Once I was happy with the fit, I glued and pinned in place. Once dry, applied filler and sanded smooth. Currently I am repeating with the other side.


-
I've never had a Billings kit, I always hear so much negativity about them it's kind of always put me off. But then every make has it's flaws...through my own experience though it seems that CC/Jotika are the most well rounded of kits.
-
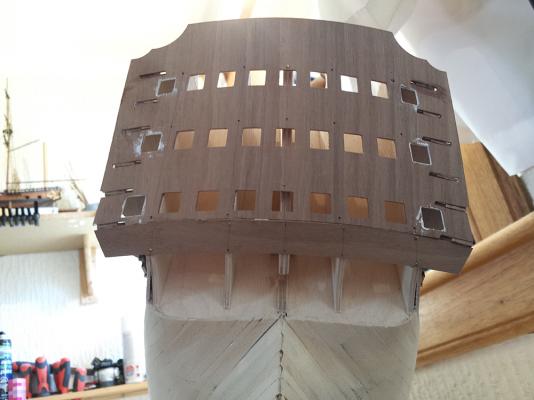
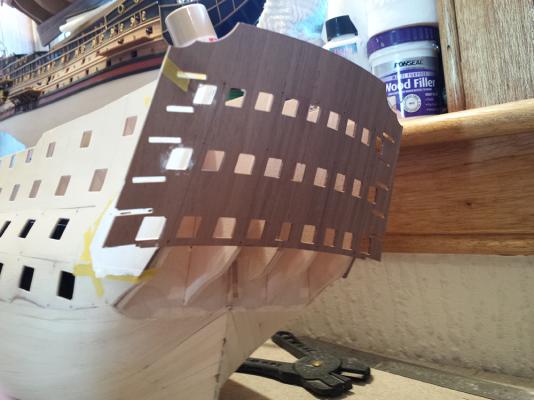
The initial q-gal formers are in place, and I was looking at the lower transom piece. I don't like it. I didn't like it when I first unpacked the kit. And when I reached that point, I still don't like it. I've always planked the transom on previous builds, never had one with a pre-cut section. So I decided to plank it instead. I've used some 10mm wide planks to serve as a base, and will plank over that when I do the 2nd planking using the same stock as the rest of the hull. This will allow me to retain the recess chaser gun ports...and make the recess' smaller as they are quite wide on the pre-cut piece. Hopefully I won't live to regret this....well I hope I live of course but...oh I know what I mean

-
Thanks David. I was debating that myself, although for a different reason: if you follow the build order the 2nd planking goes on after the fascia's, apart from the fact that is wrong when looking at the full size ship, I feel a neater flush fit would be achieved by fitting the fascias after/over the second planking, rather than the other way round...
-
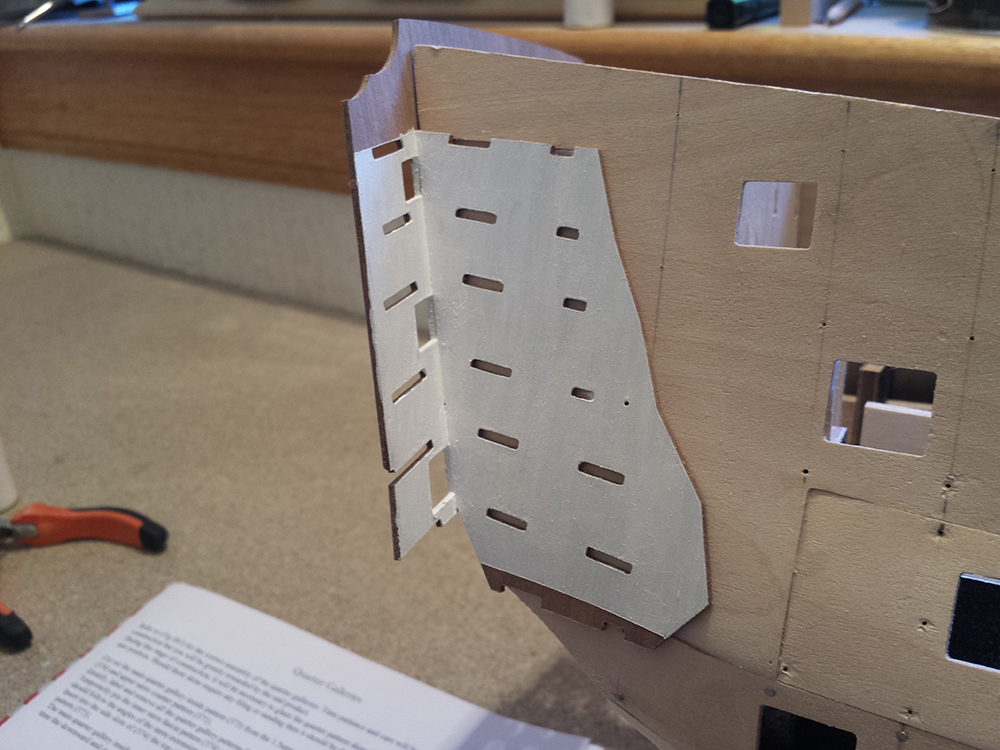
Fitting the quarter gallery formers, I found I had got too good a fit so had to bevel the tabs slightly in order to be able to slot them into position, and I used an applicator to apply glue once in place. I'm not goo with these action shots, having to try and hold a camera steady and take a photo at the same time isn't the simplest of tasks.

-
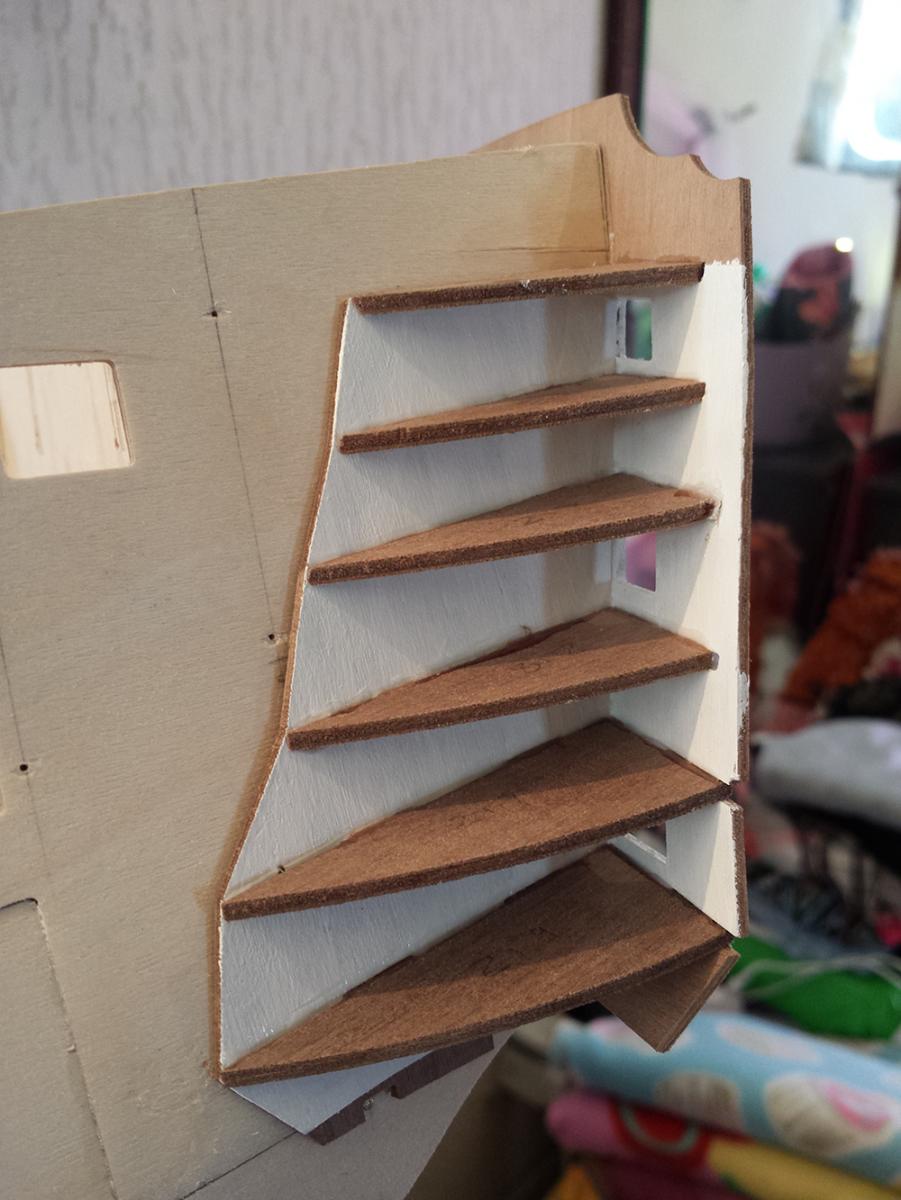
Hello. In-between sanding sessions I decided it would be safe to fit the quarter galleries inside patterns along with the inside stern pattern. I knew from looking through the build and others' that there would be a certain amount visible through the side galleries and I didn't just want bare wood so I've painted the insides white.

-
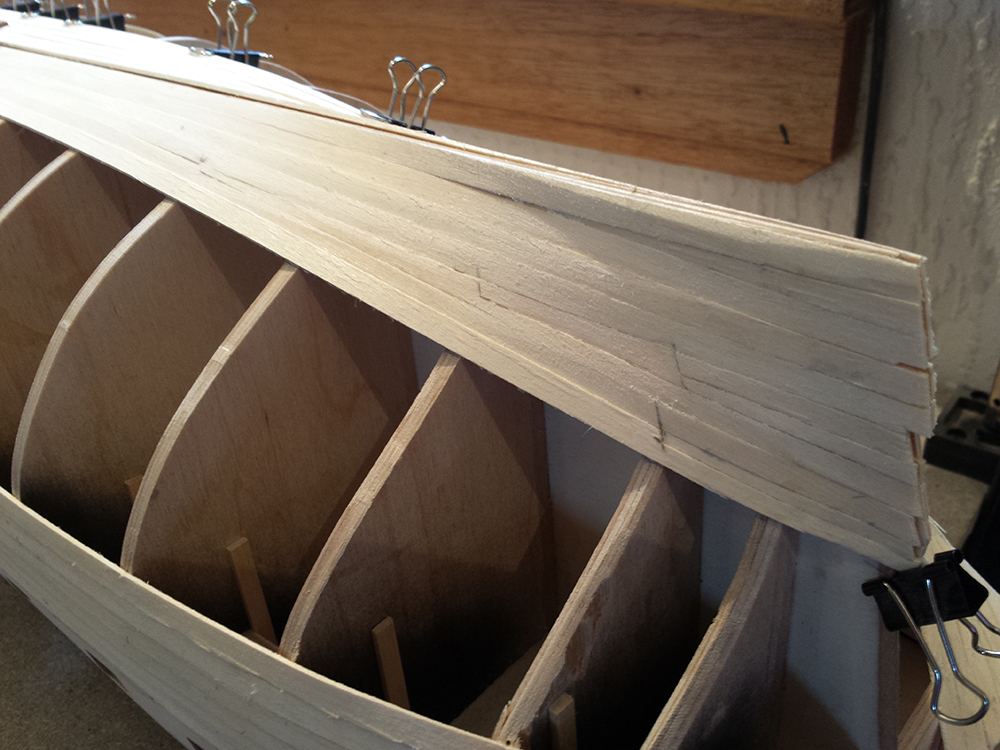
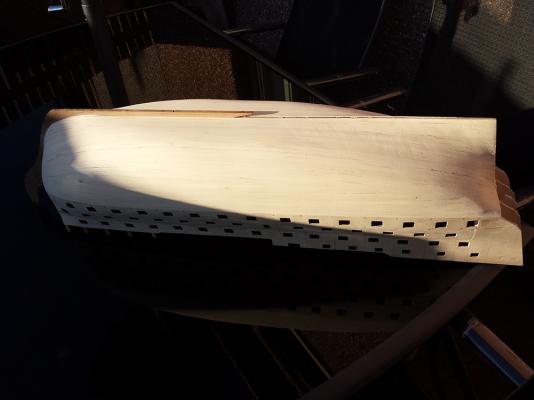
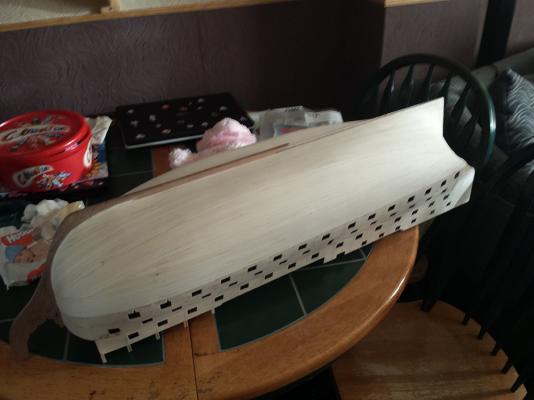
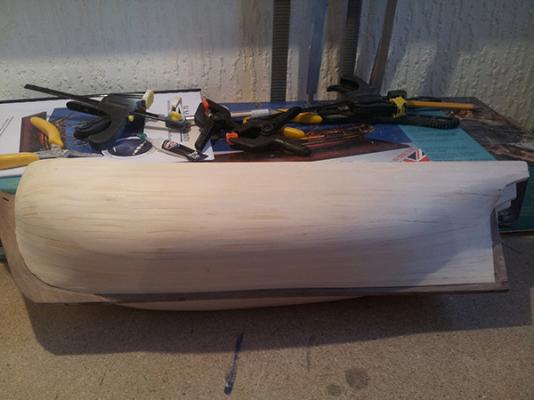
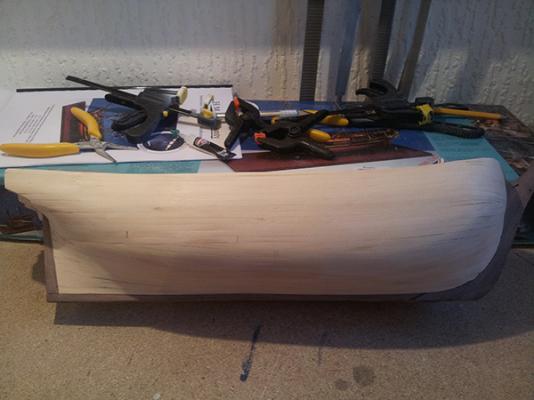
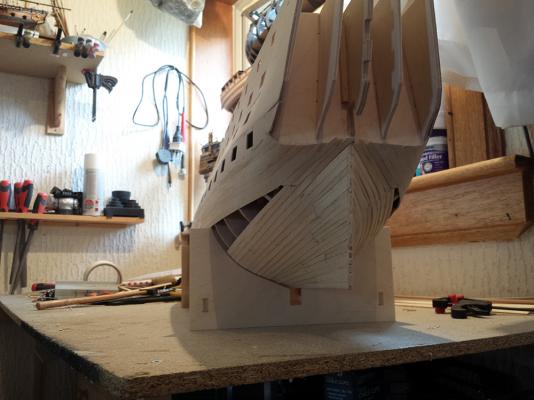
1st planking finally over. Apart from being overly self-critical...I actually enjoyed that. I don't normally, planking is the only thing I despise about this hobby, so made a nice change to enjoy it. I've started the process of sanding down. Yes I cheated. I used my B&D mouse. Started with a coarse grain followed by a medium grain, now will finish the rest by hand. Oh, and she saw her first bit of sunshine today.


-
Thanks Kevin. clearway I have yes, almost everytime I begin...however admittedly I am not great with numbers, and trying to pre-calculate how many and position etc it always goes wrong for me. Somethings...I just can't get my head round I won't pretend my planking is perfect...but I have to admit, my first planking is usually much much neater than this one has turned out...although I have improved on where it meets the stem/bow, so not a total failure. This was my first planking on the last ship I completed, HMAV Bounty, as you can see it was much much better:


-
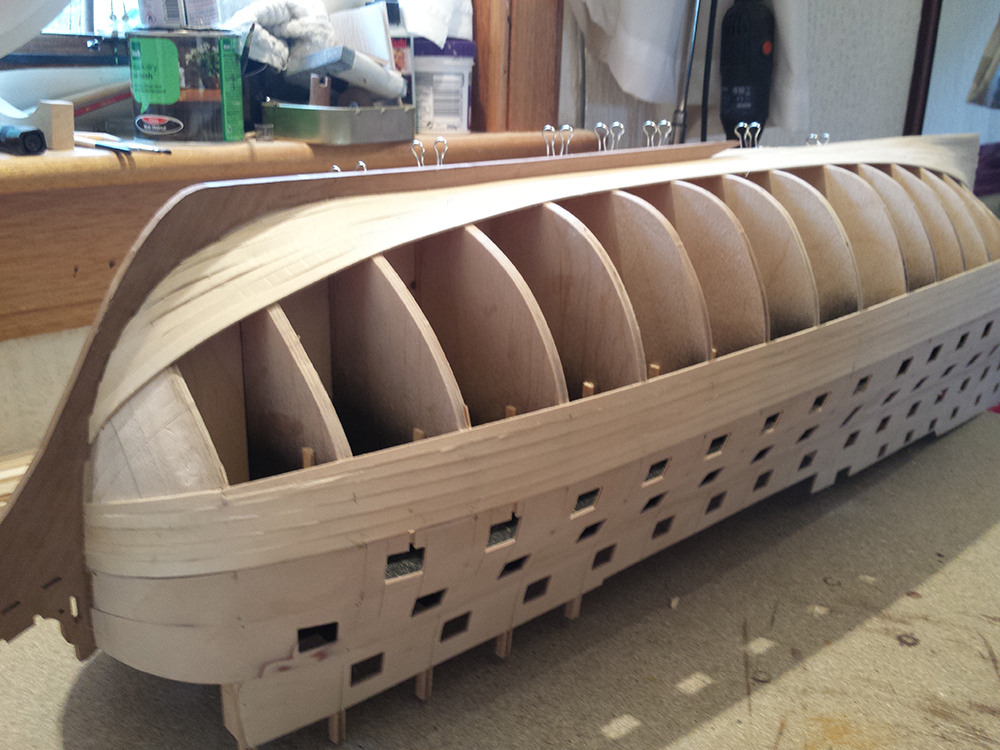
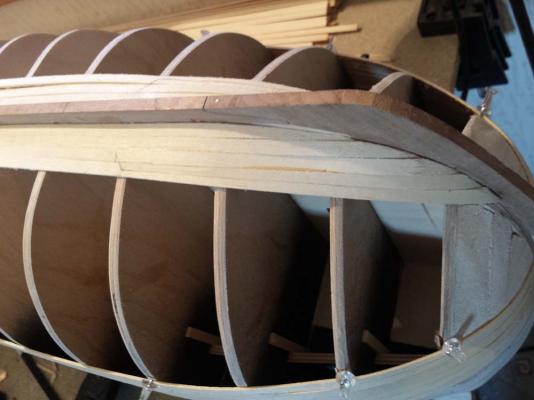
About 3 more planks either side then the first part of the first planking is done...after that will be the filling and sanding phase. I've had to switch my planking from bottom to top to top to bottom...not happy about doing that because it's just...wrong.
-
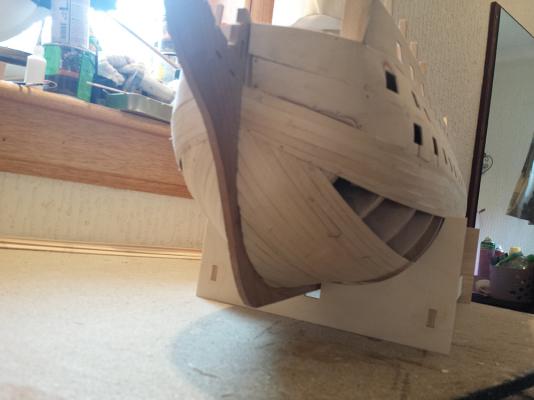
Todays progress. I'm not entirely happy with the way the planking has gone at the stern...I just keep reminding myself this is just a base...

-
Yeh I bought a Bounty Launch last year, about £60 I think...and paid £28 in customs duty.
-
They would probably do the job, and don't seem stupidly priced. Have you ordered from them before Kevin? If so, did you have to pay customs anything? (Last time I ordered something from the US I got fleeced by customs charges )
-
David, The only ones I can find on CMB are the Amati ones?
-
I was wondering if anyone knows where I can find display mounts/columns etc? I've searched and searched so many times over the years and all I can find are the small limited selection Amati do. I've tried several of their wooden ones and they just split or break when I try and make holes for screws or steel rods in them I've tried Ebay and all they come back with are antique candle holders or polystyrene wig display heads I do quite like the plastic dolphins Amati do, (Don't like the bronze ones at all), but I don't know if they will be strong enough to support the weight of a model that is going to weigh in excess of 14kg's...
-
Daily update on the planking...I know it's painful to see such slow progress, and as many of you know it's just as painful actually doing it...just trying to add that extra dimension to my log haha!

-
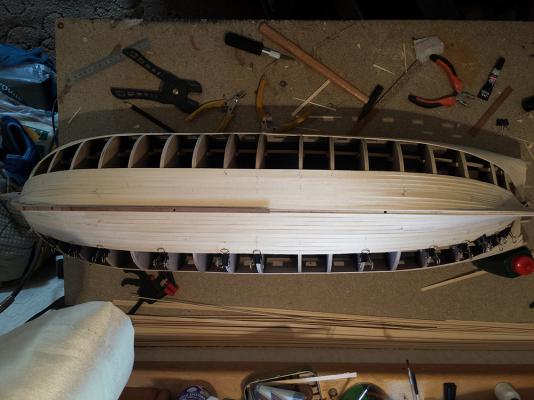
Some slow progress with the planking. I've gone as far down where the lower planks will meet at the bow, so now it's from bottom to top. (Or as I am working upside down, top to bottom). Slowly beginning to match up the direction of the strakes at the stern for that characteristic Victory bum, although the jigsaw puzzle of stealers was a mind boggle to plan, and I am sure completely unrealistic...but this is the first planking and on top of that the area will be hidden beneath copper anyway. Yes not looking forward to that bit


-
Looks great. The coppering came out well
-
Yes. Thanks for that Kevin lol
-
Indeed it is, but it is such a lovely bottom. Not much progress today as been having to clean out the kids room, but I've been able to get a few planks on either side. Slowed down even more by having to make drop planks at the top to reduce the number running forward and stealers on the bottom to account for the sheer of the bow.
-
Well I've been able to get 14 planks on today, not bad going all things considered. Although still doesn't look like I've done very much
-
This stage gets pretty boring and repetitive so will just post the occasional progress photo.