HOLIDAY DONATION DRIVE - SUPPORT MSW - DO YOUR PART TO KEEP THIS GREAT FORUM GOING! (Only 75 donations so far out of 49,000 members - C'mon guys!)
×


Jim M
-
Posts
165 -
Joined
-
Last visited
Content Type
Profiles
Forums
Gallery
Events
Everything posted by Jim M
-

Build log titles
Jim M replied to Jim M's topic in Using the MSW forum - **NO MODELING CONTENT IN THIS SUB-FORUM**
Thanks I am updating my title now. -
Build log titles
Jim M replied to Jim M's topic in Using the MSW forum - **NO MODELING CONTENT IN THIS SUB-FORUM**
Thank you so much @Jack12477!! -
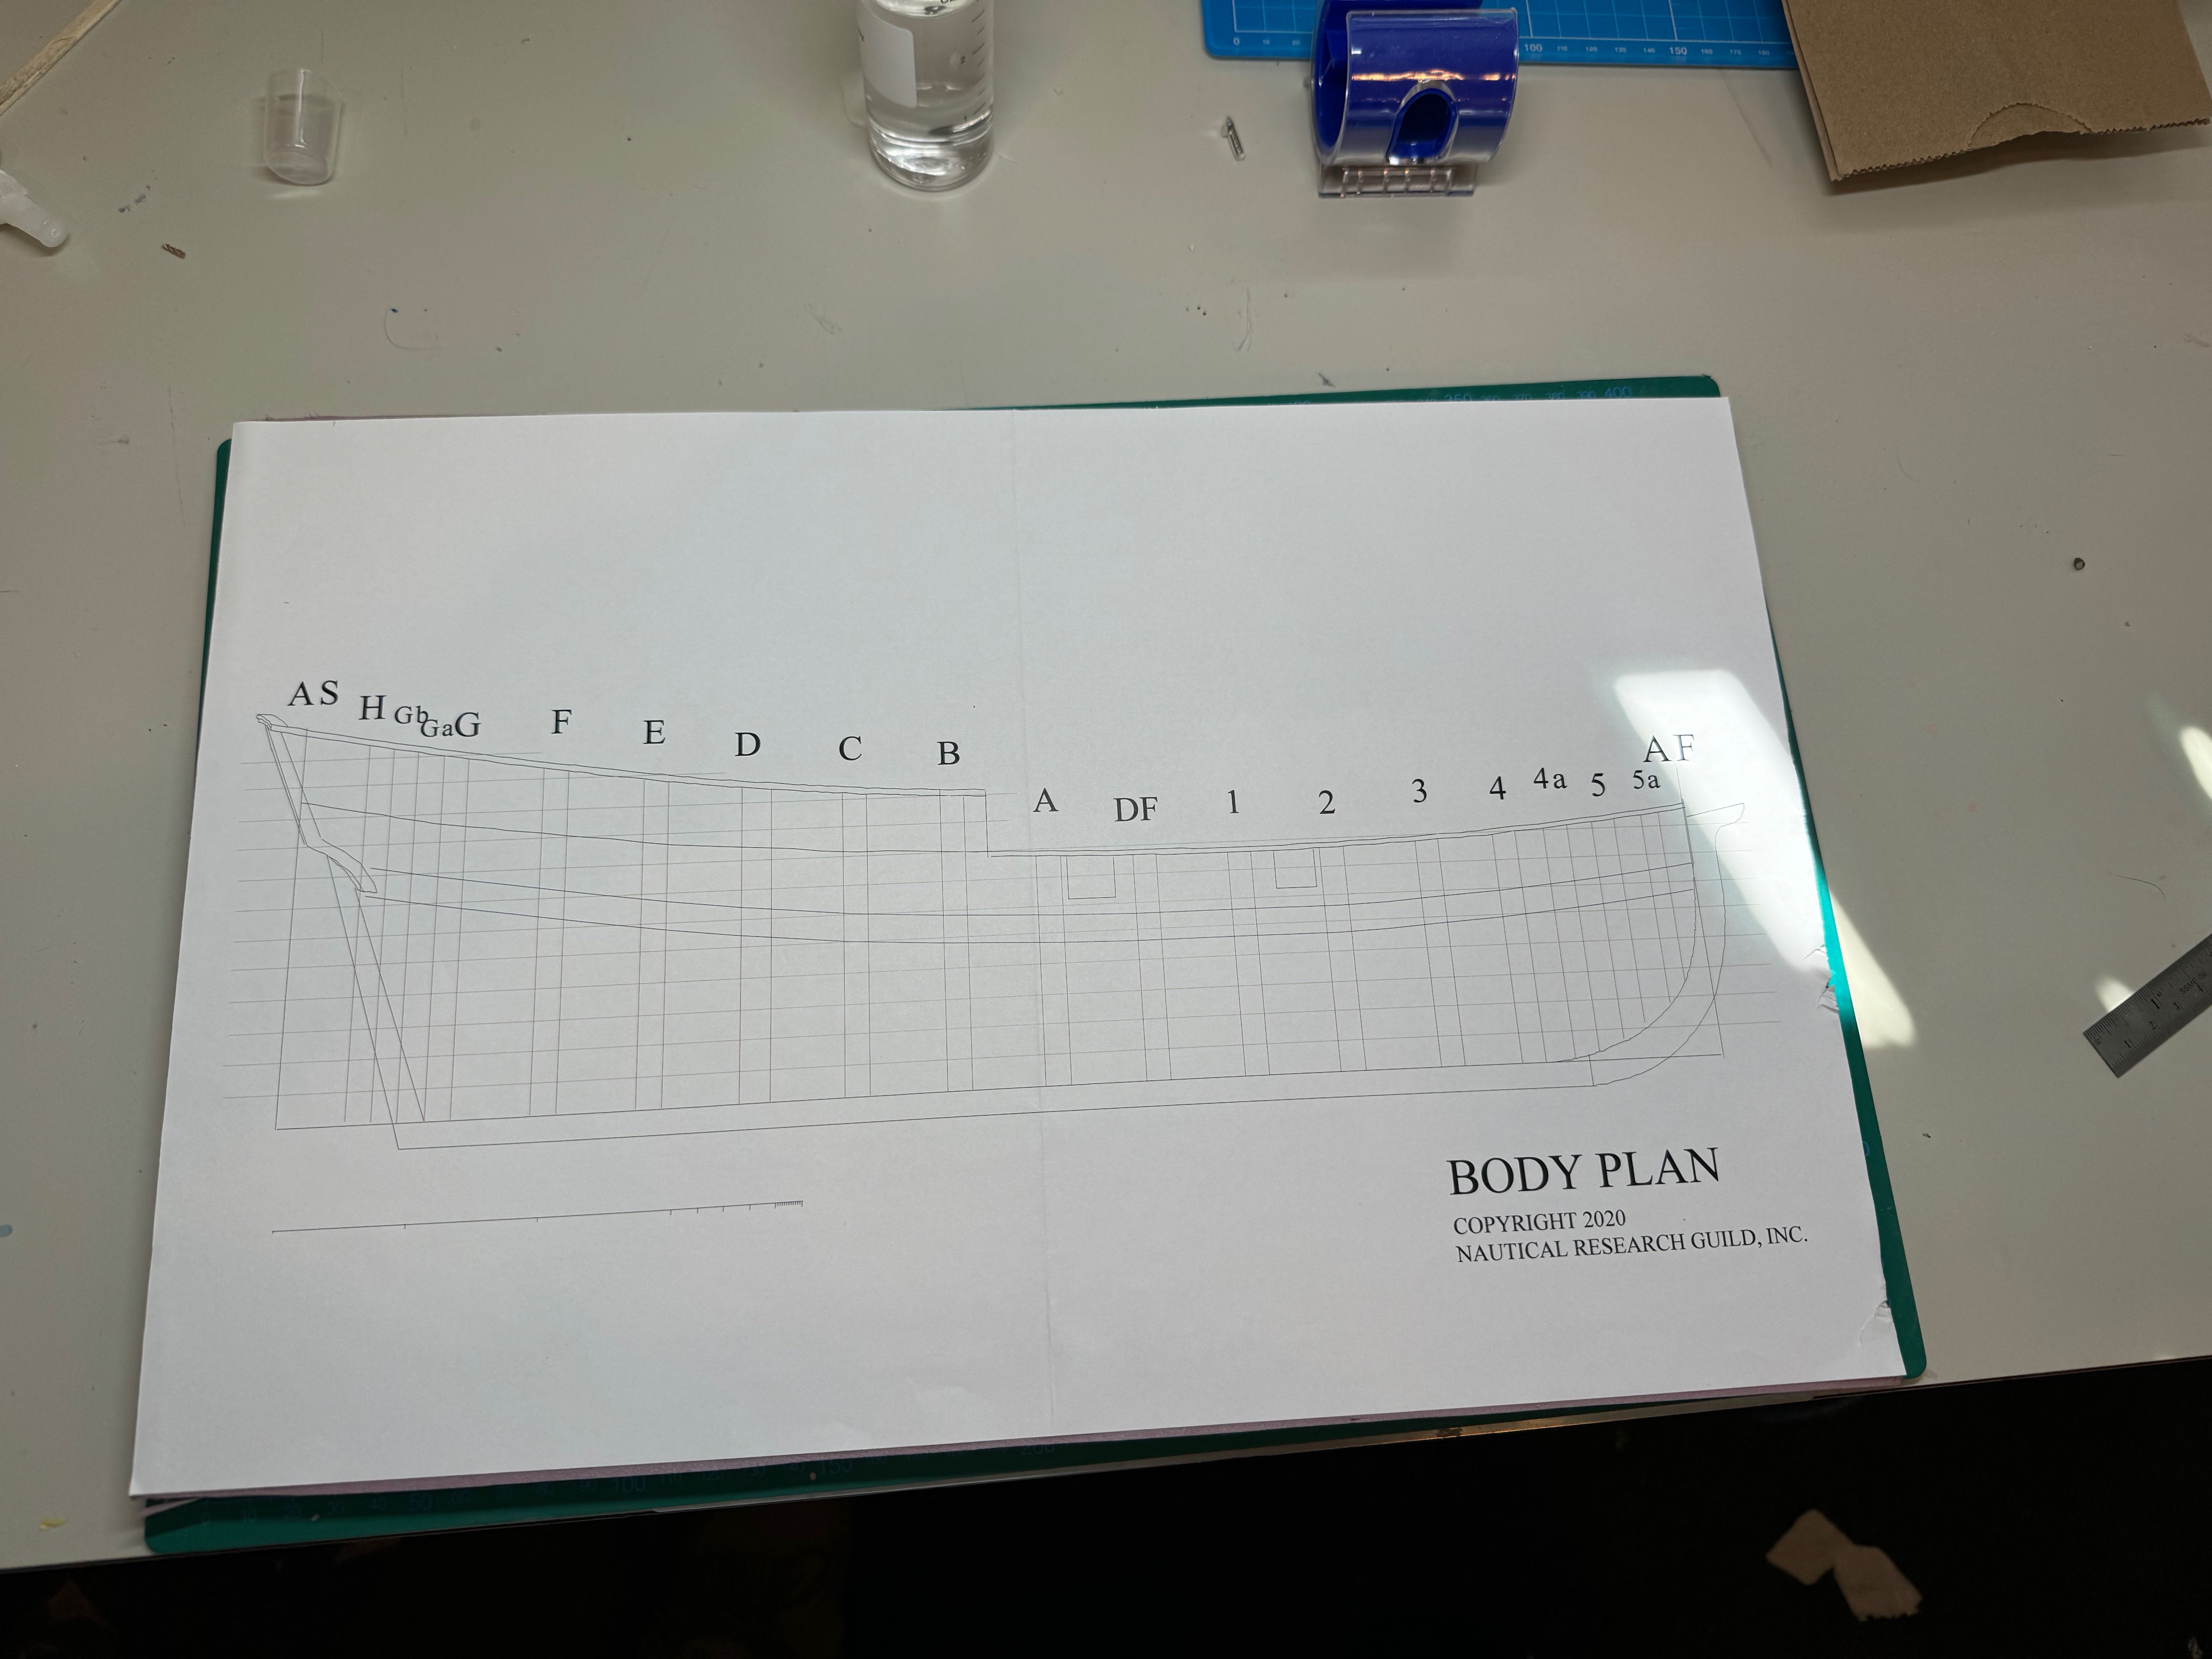
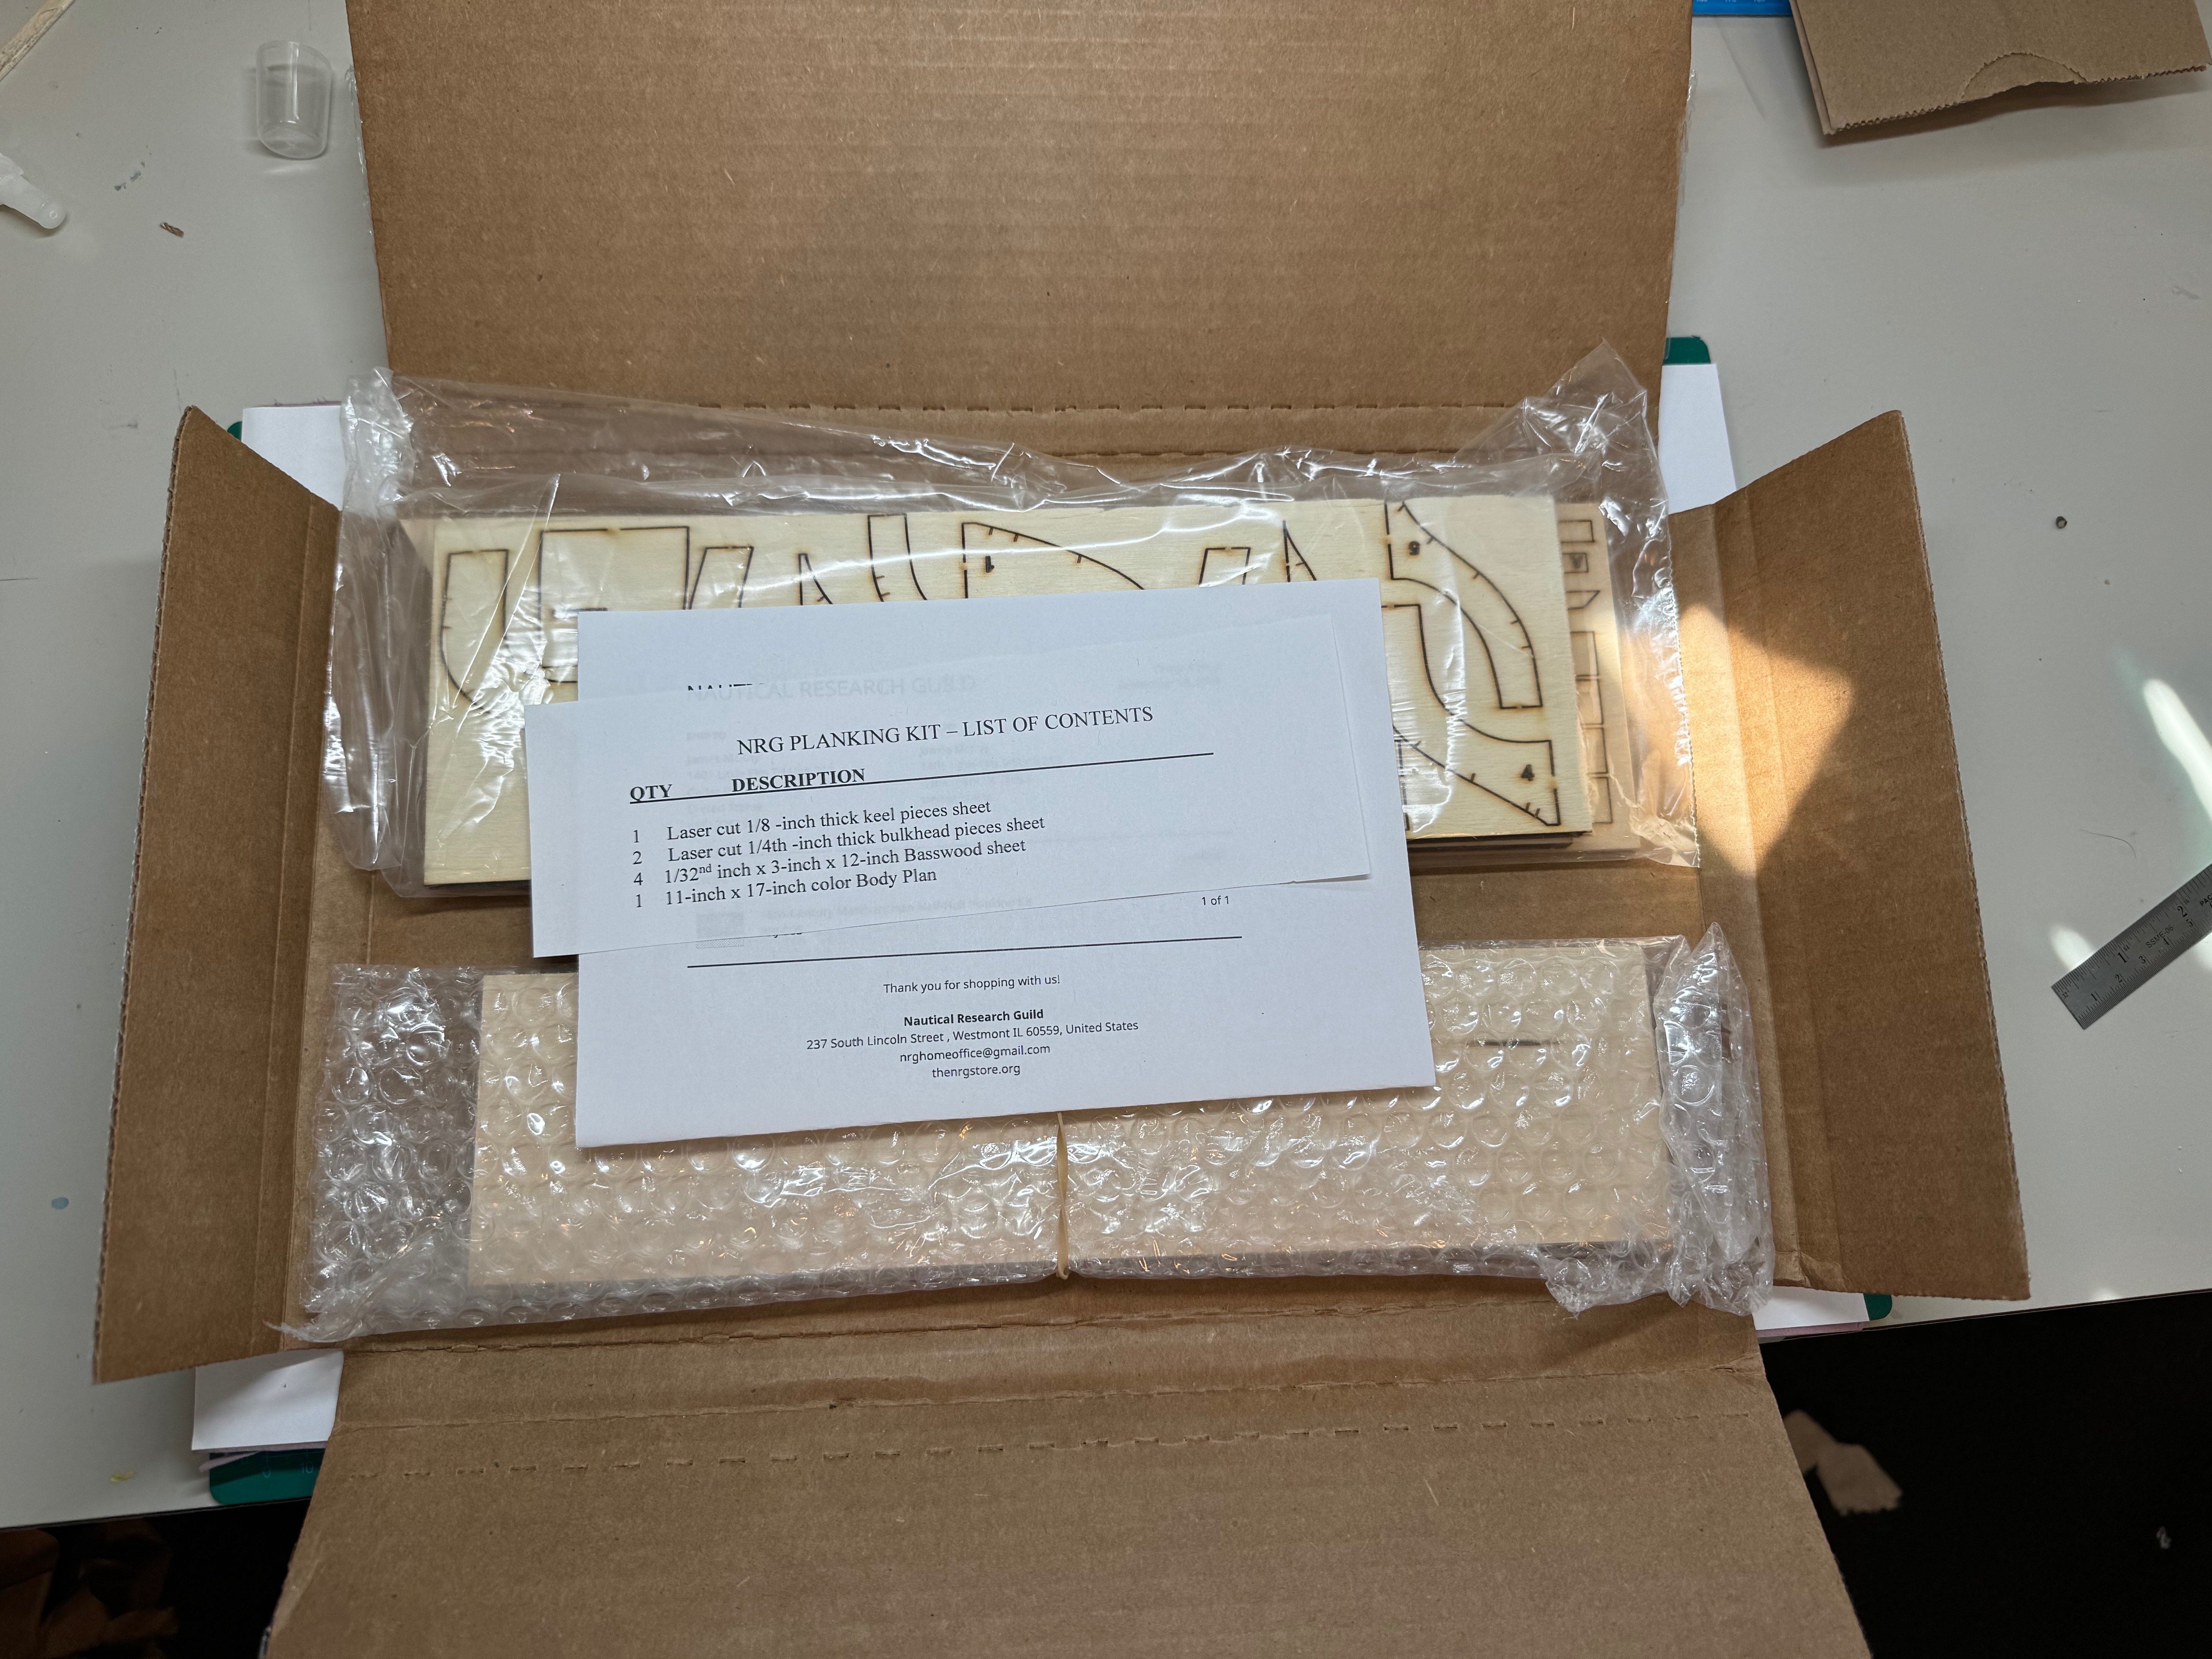
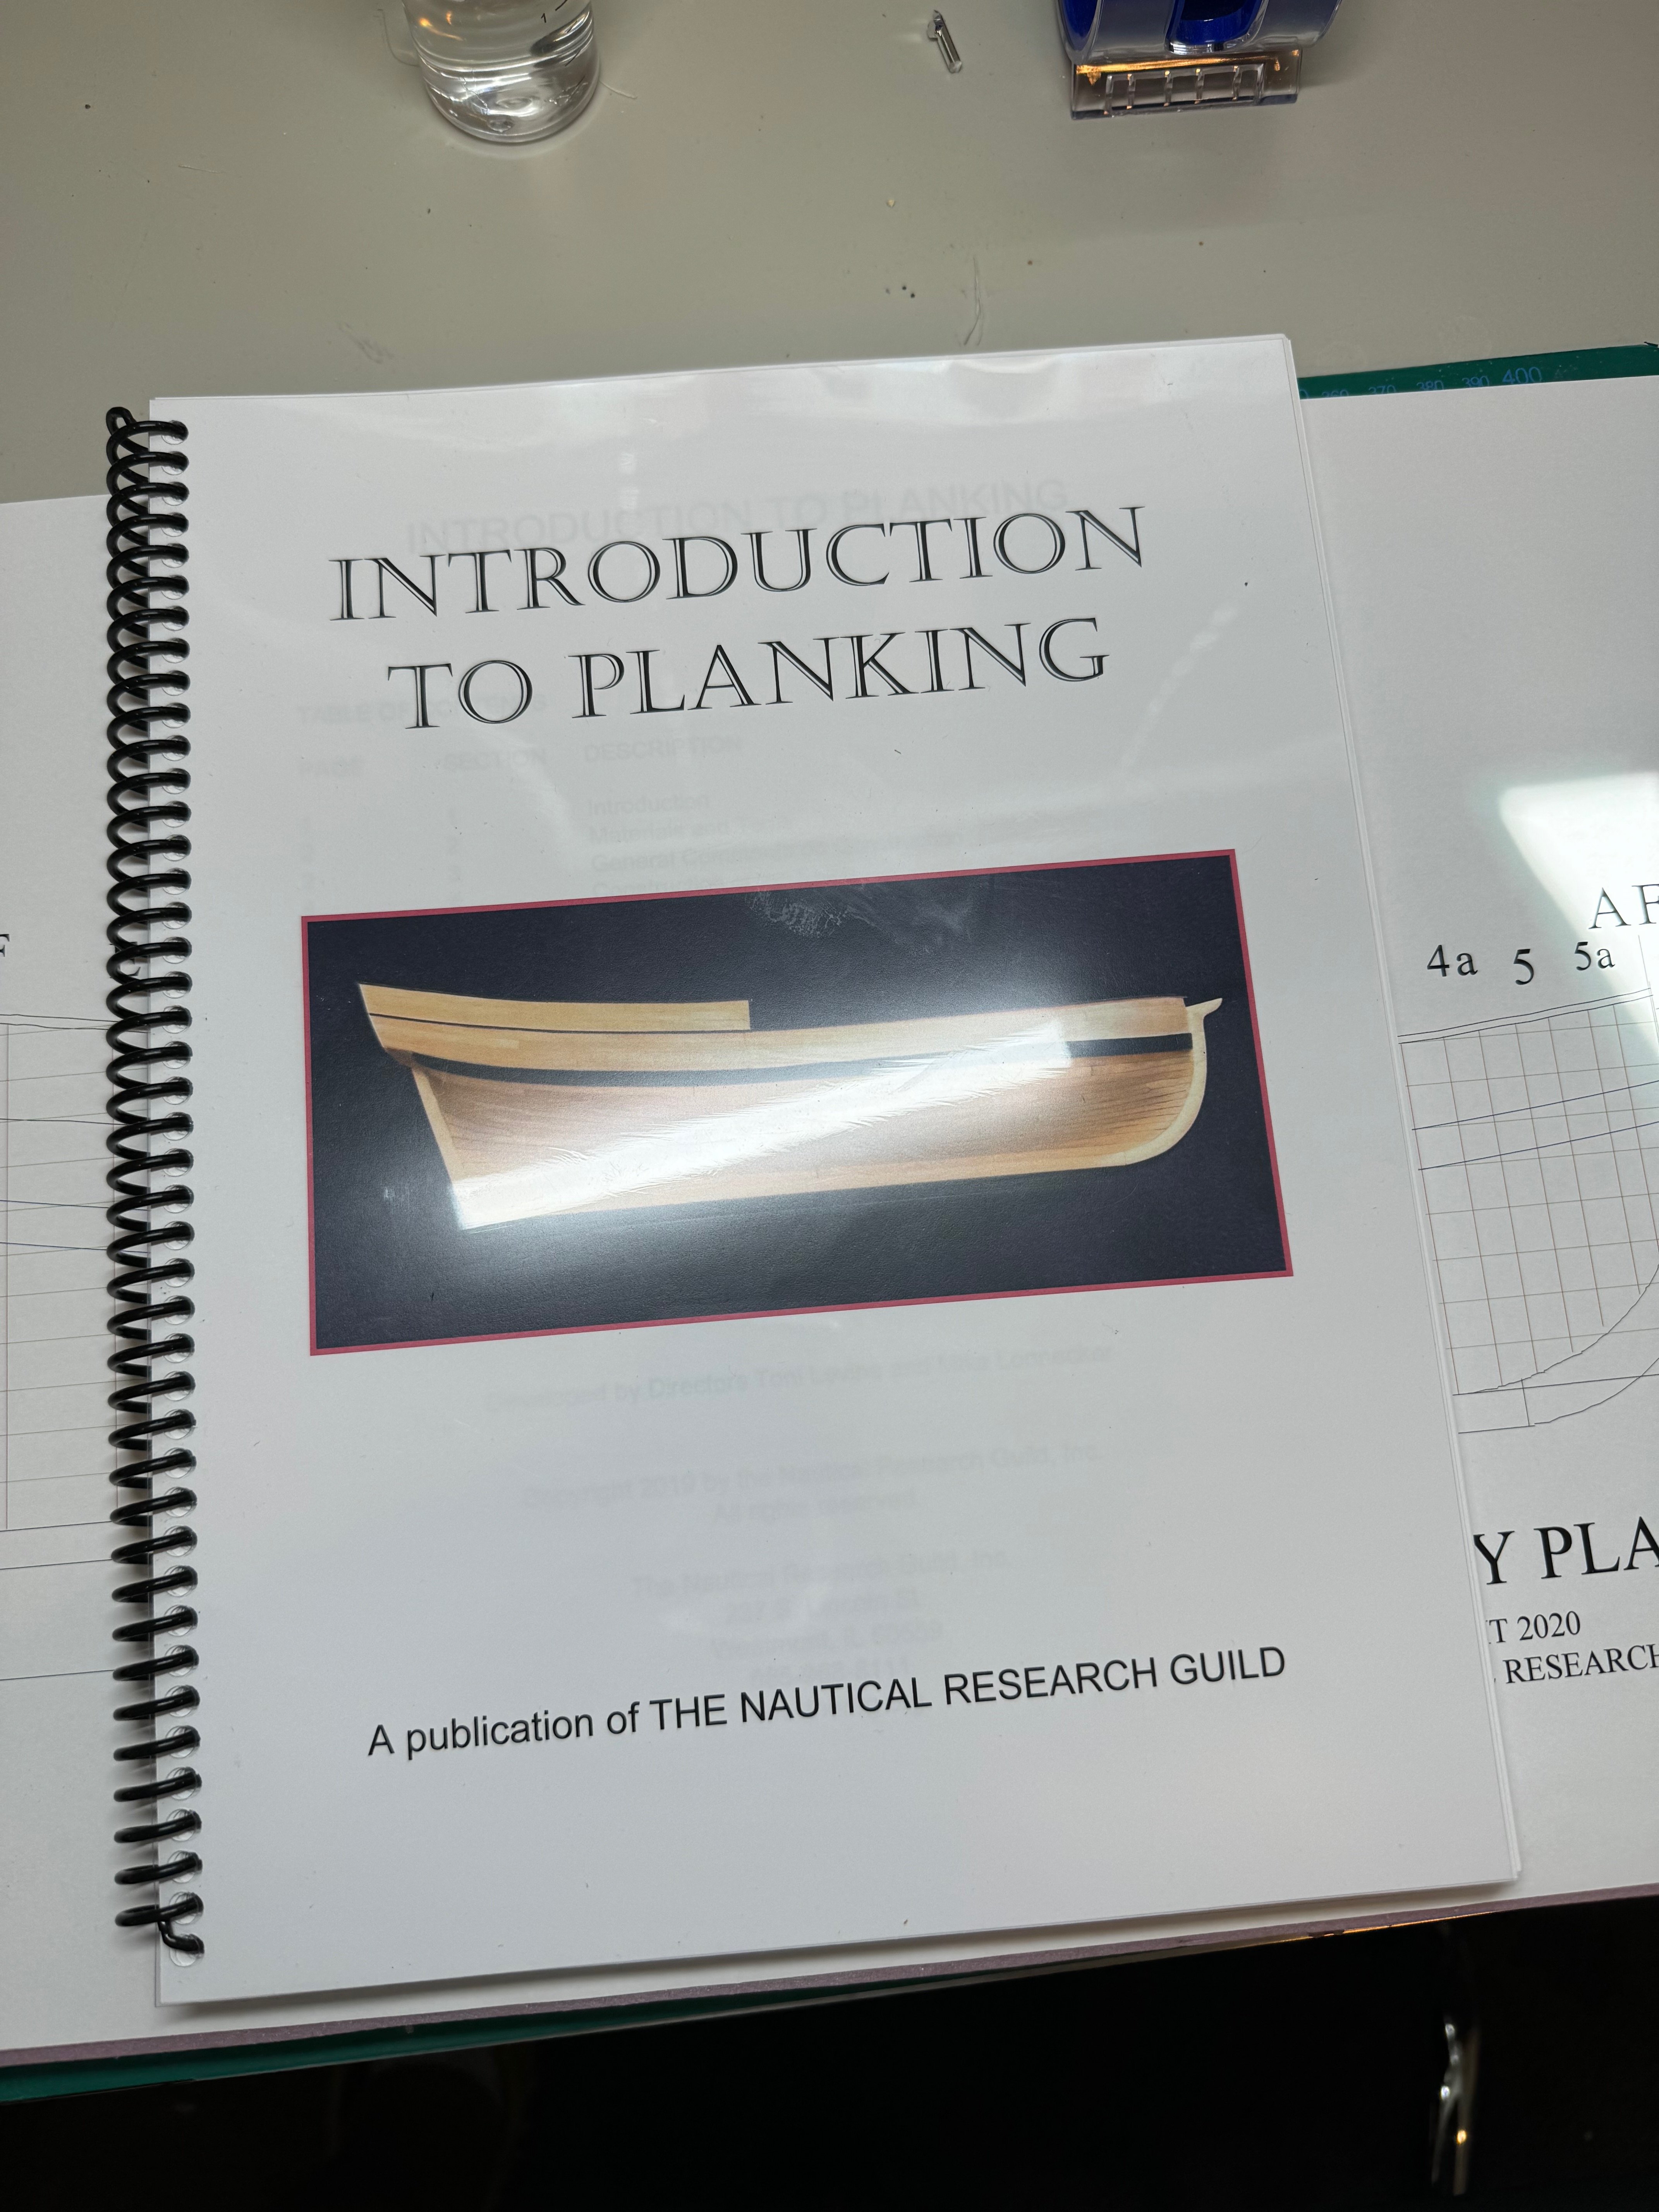
I am excited to start with my next project, the planking tutorial. Prior to receiving the kit, I had the manual printed. I am impressed with the kit contents and how it was packaged. Next I mounted the build sheet, on a piece of 1/2 foam I had as a build board using some spray adhesive. I need to pick up some markers, and chart tape, but I am eager to get this project moving forward this week. jim


-
How do we update our build logs and mark them finished. The only option I have is to delete my log?
-
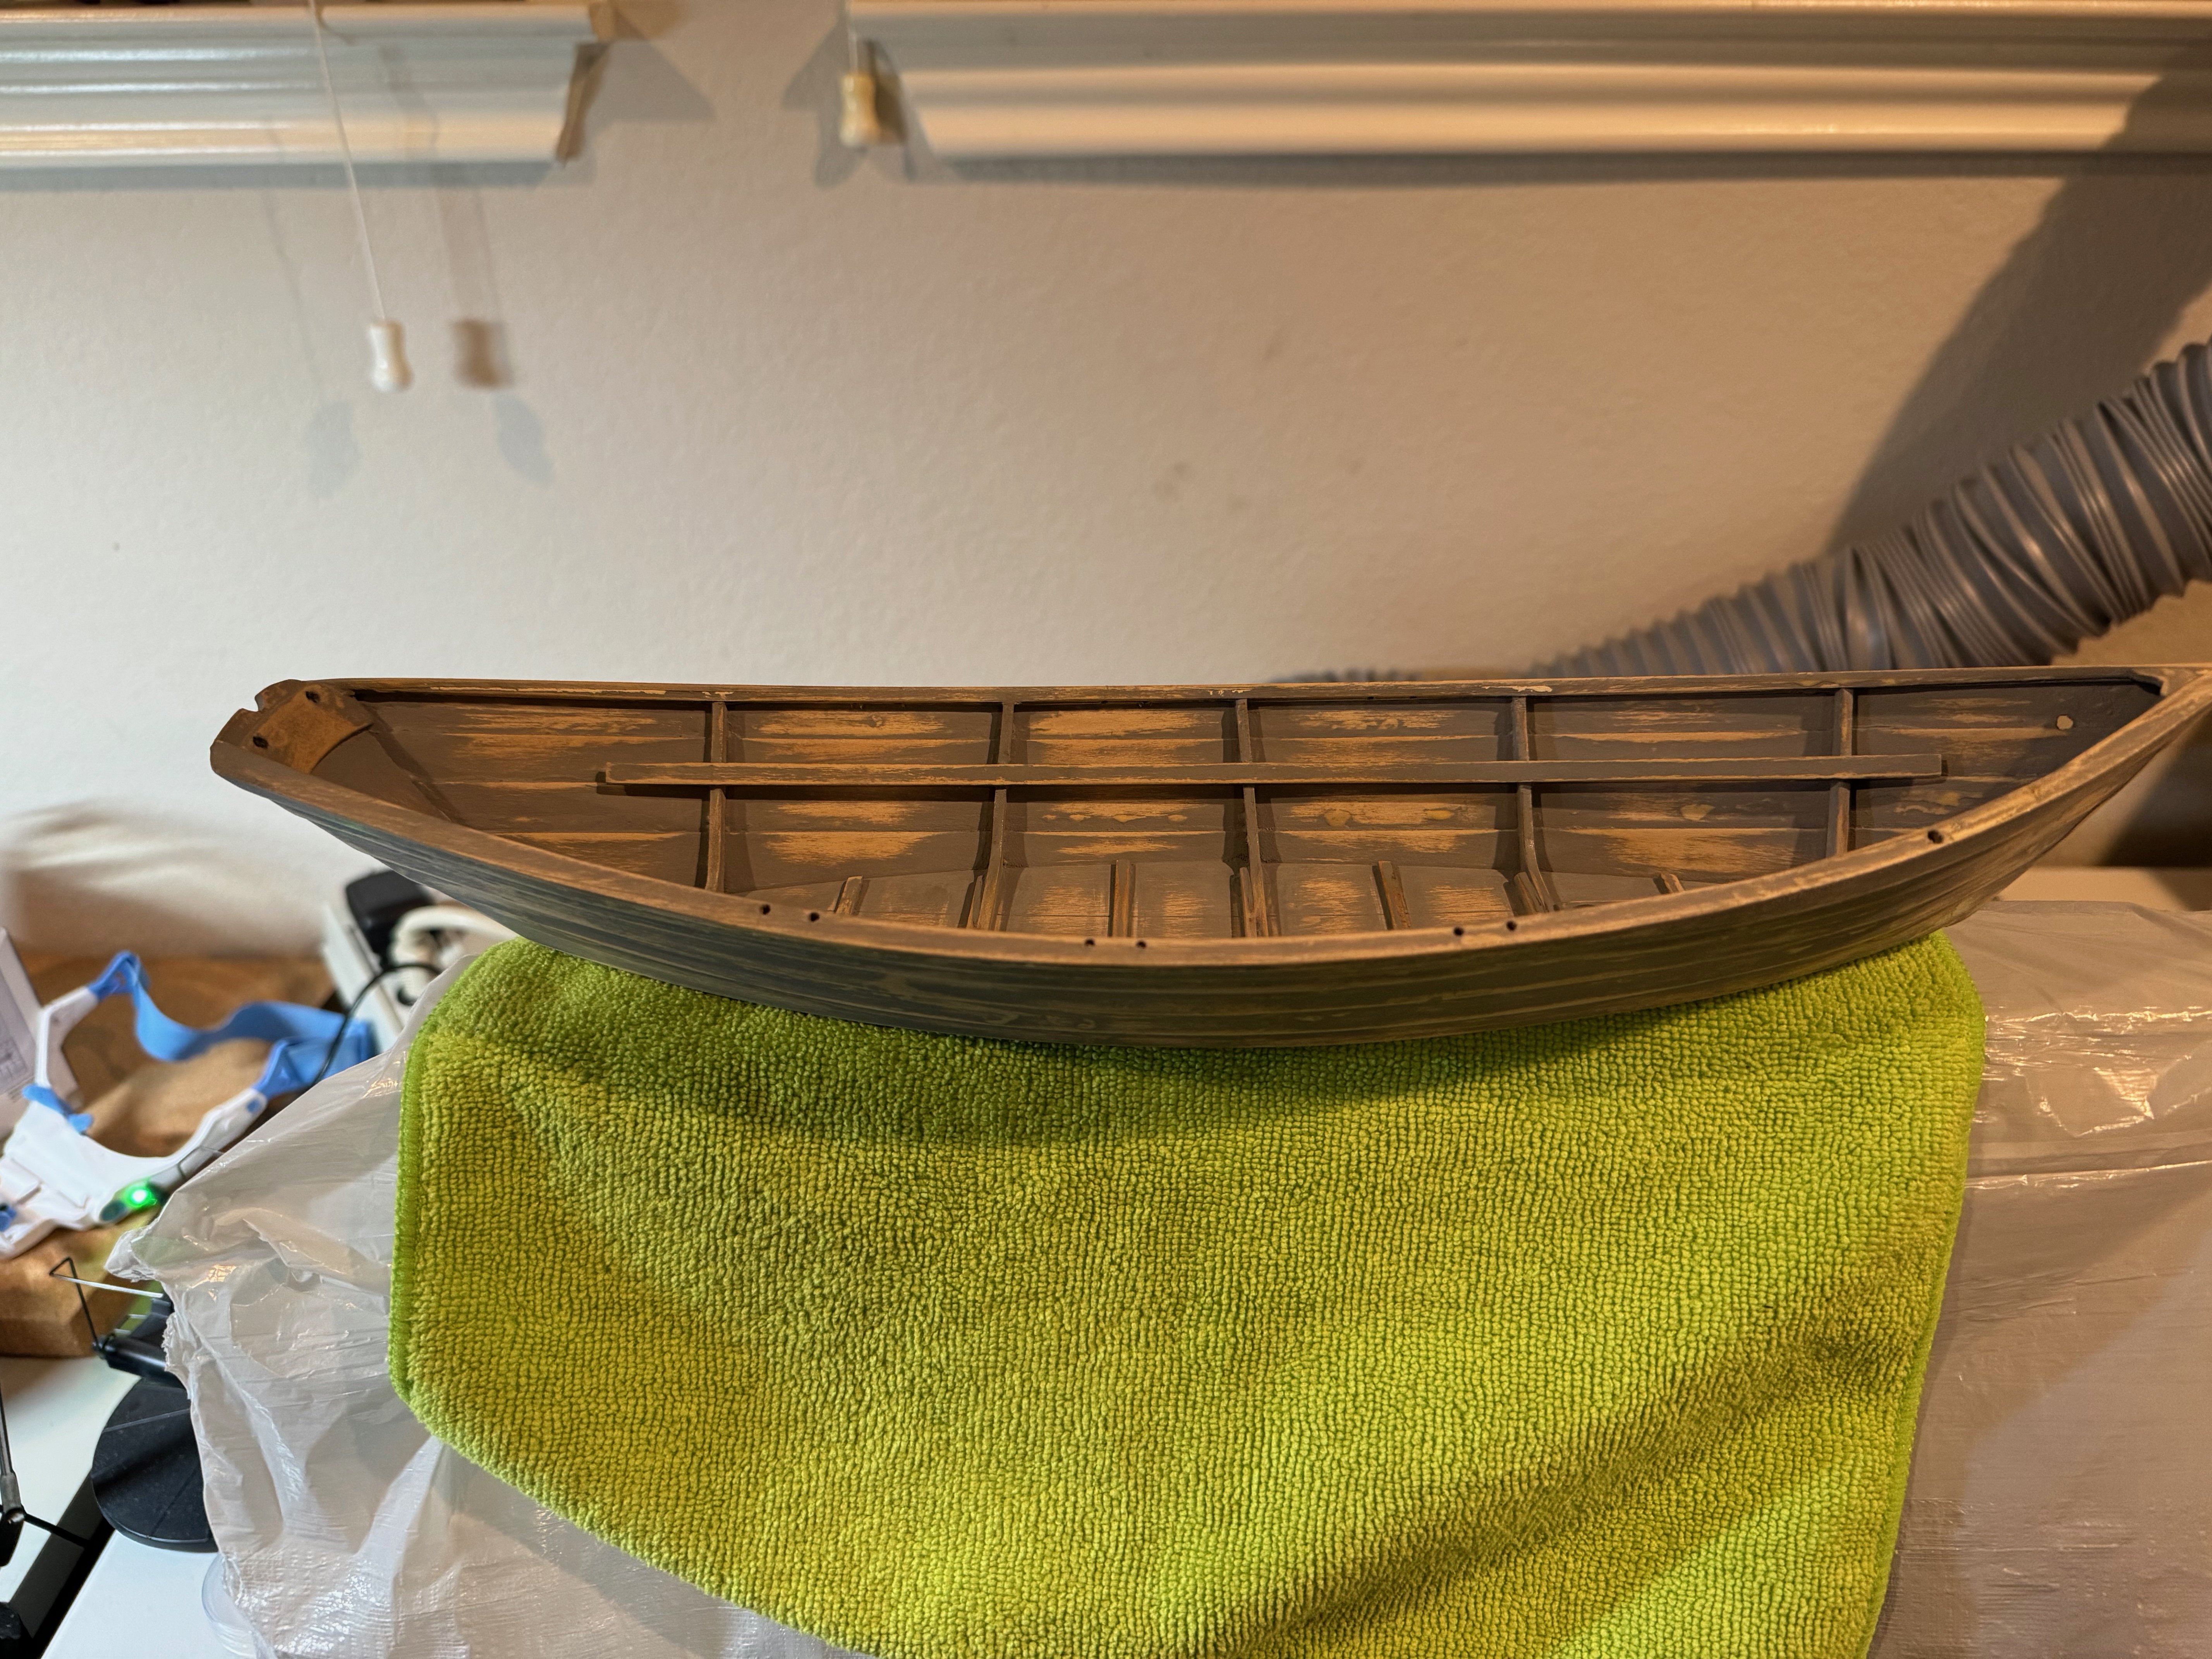
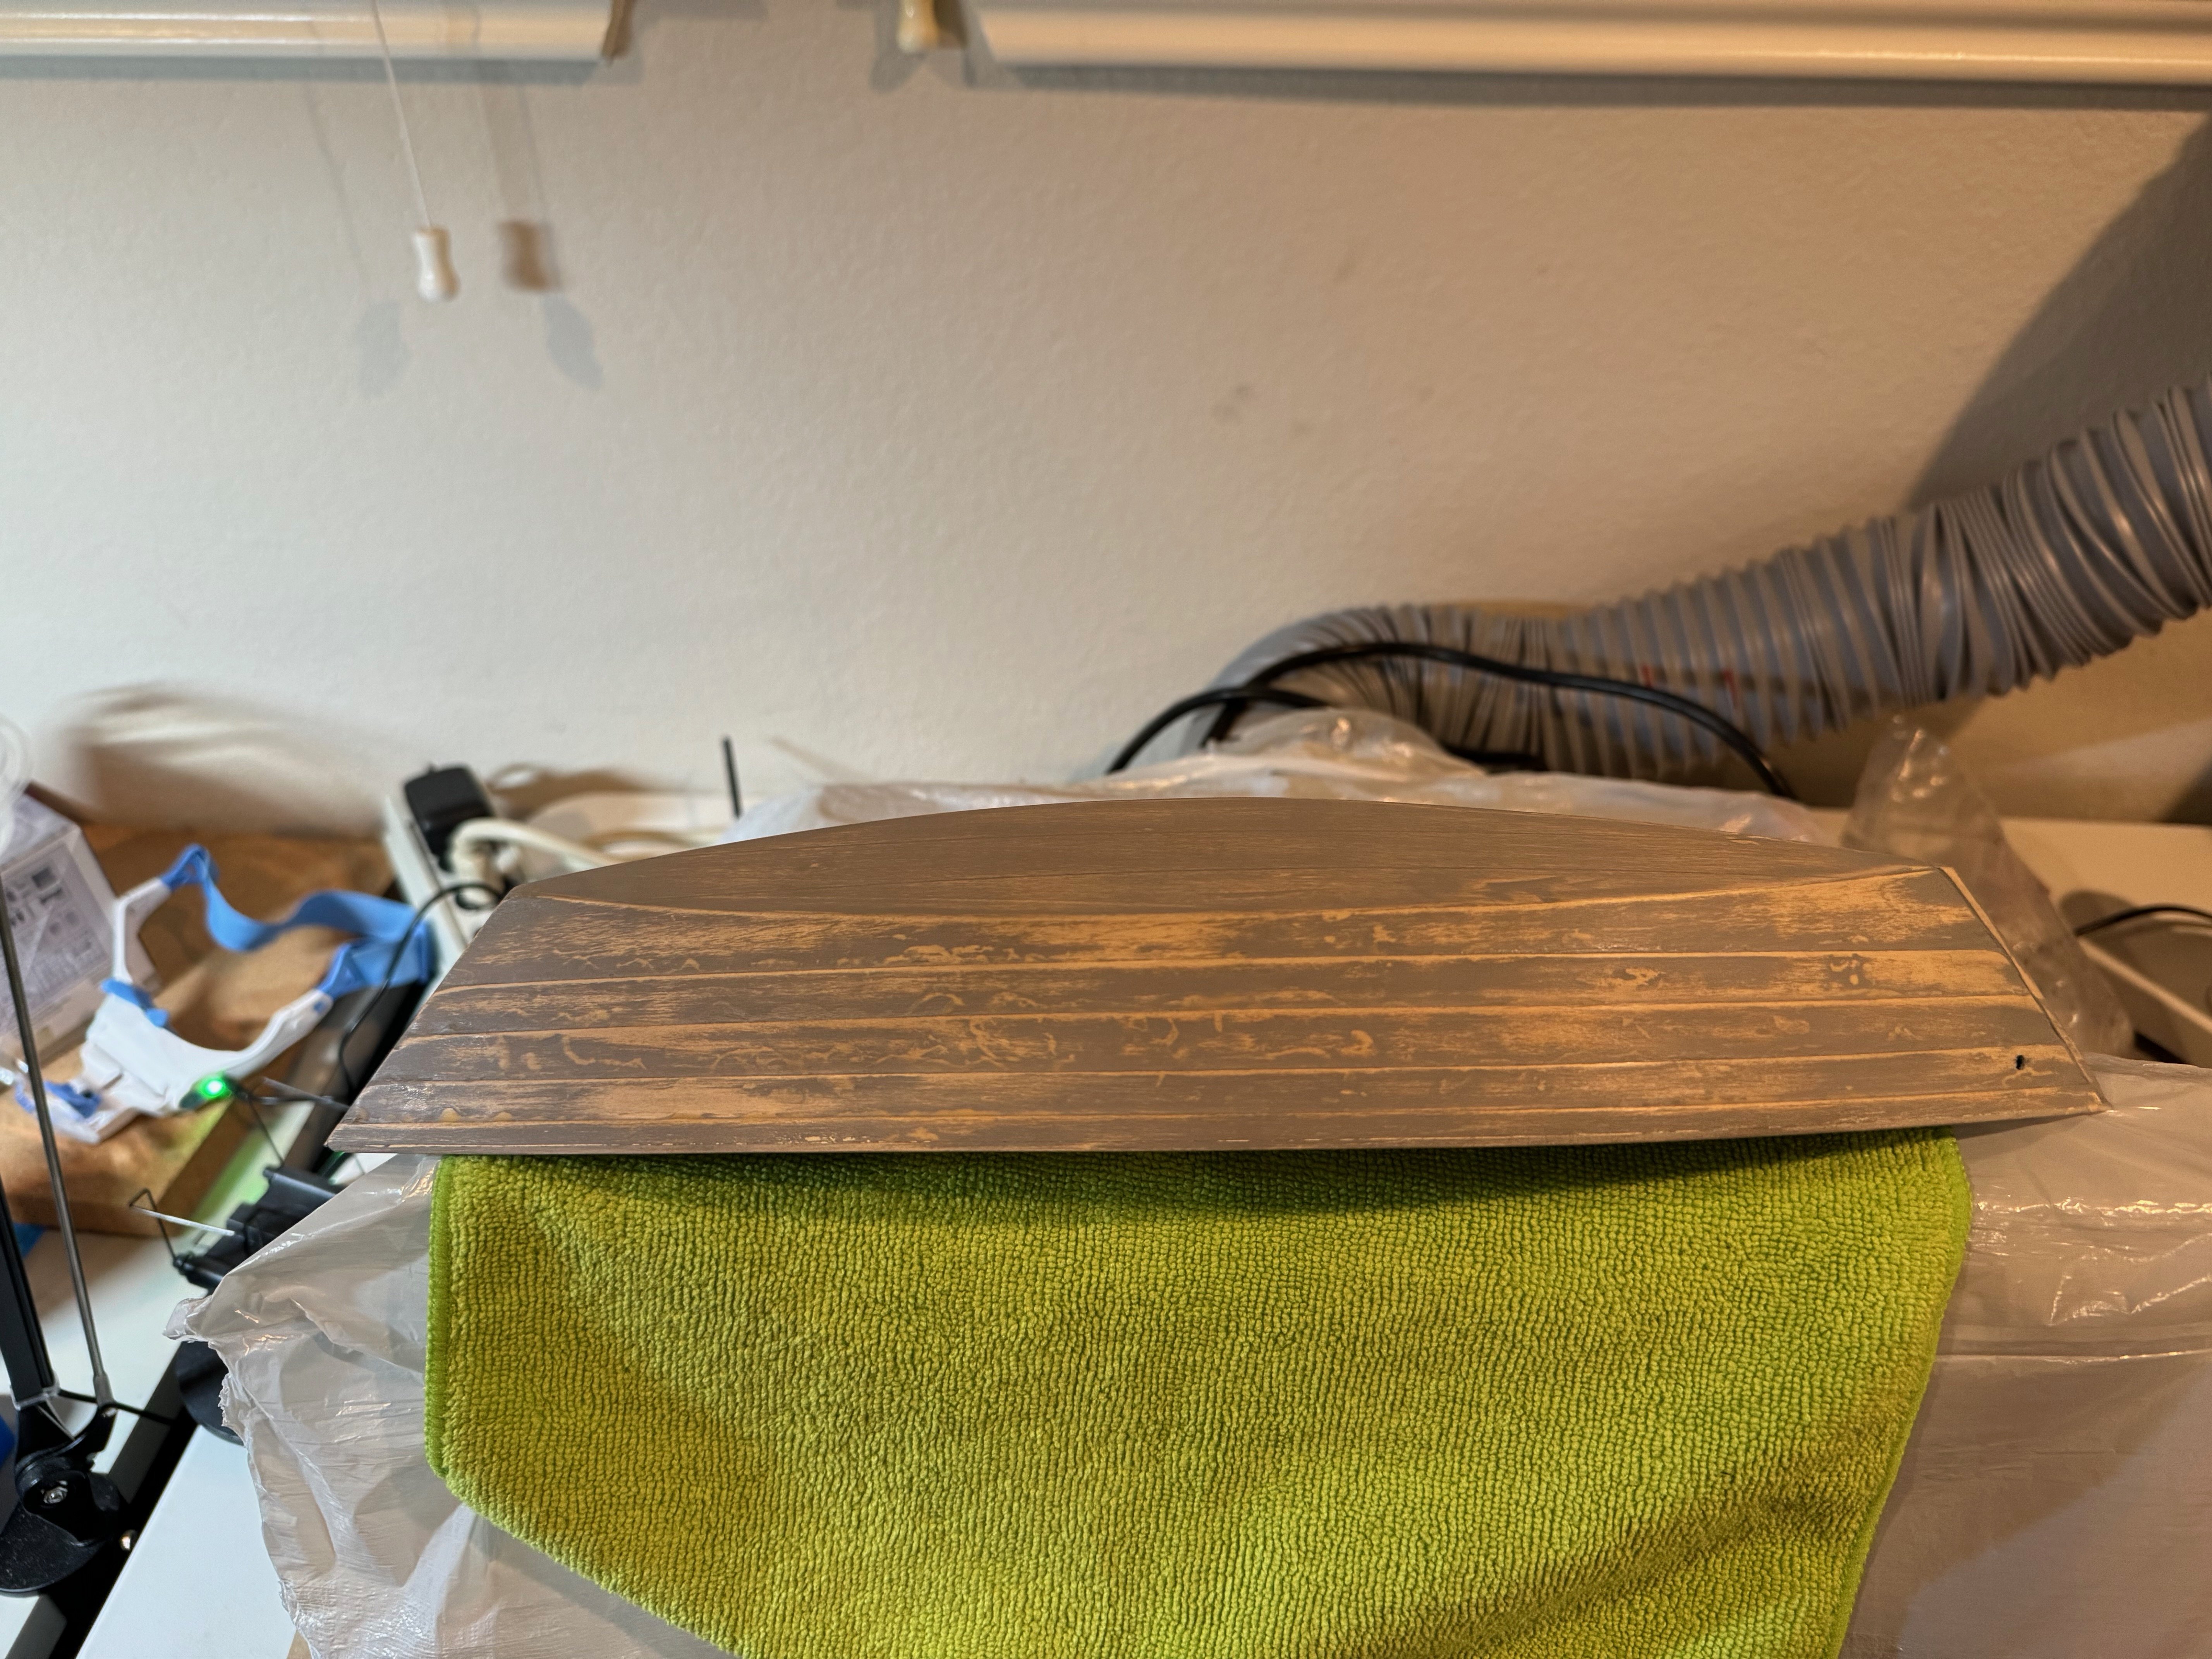
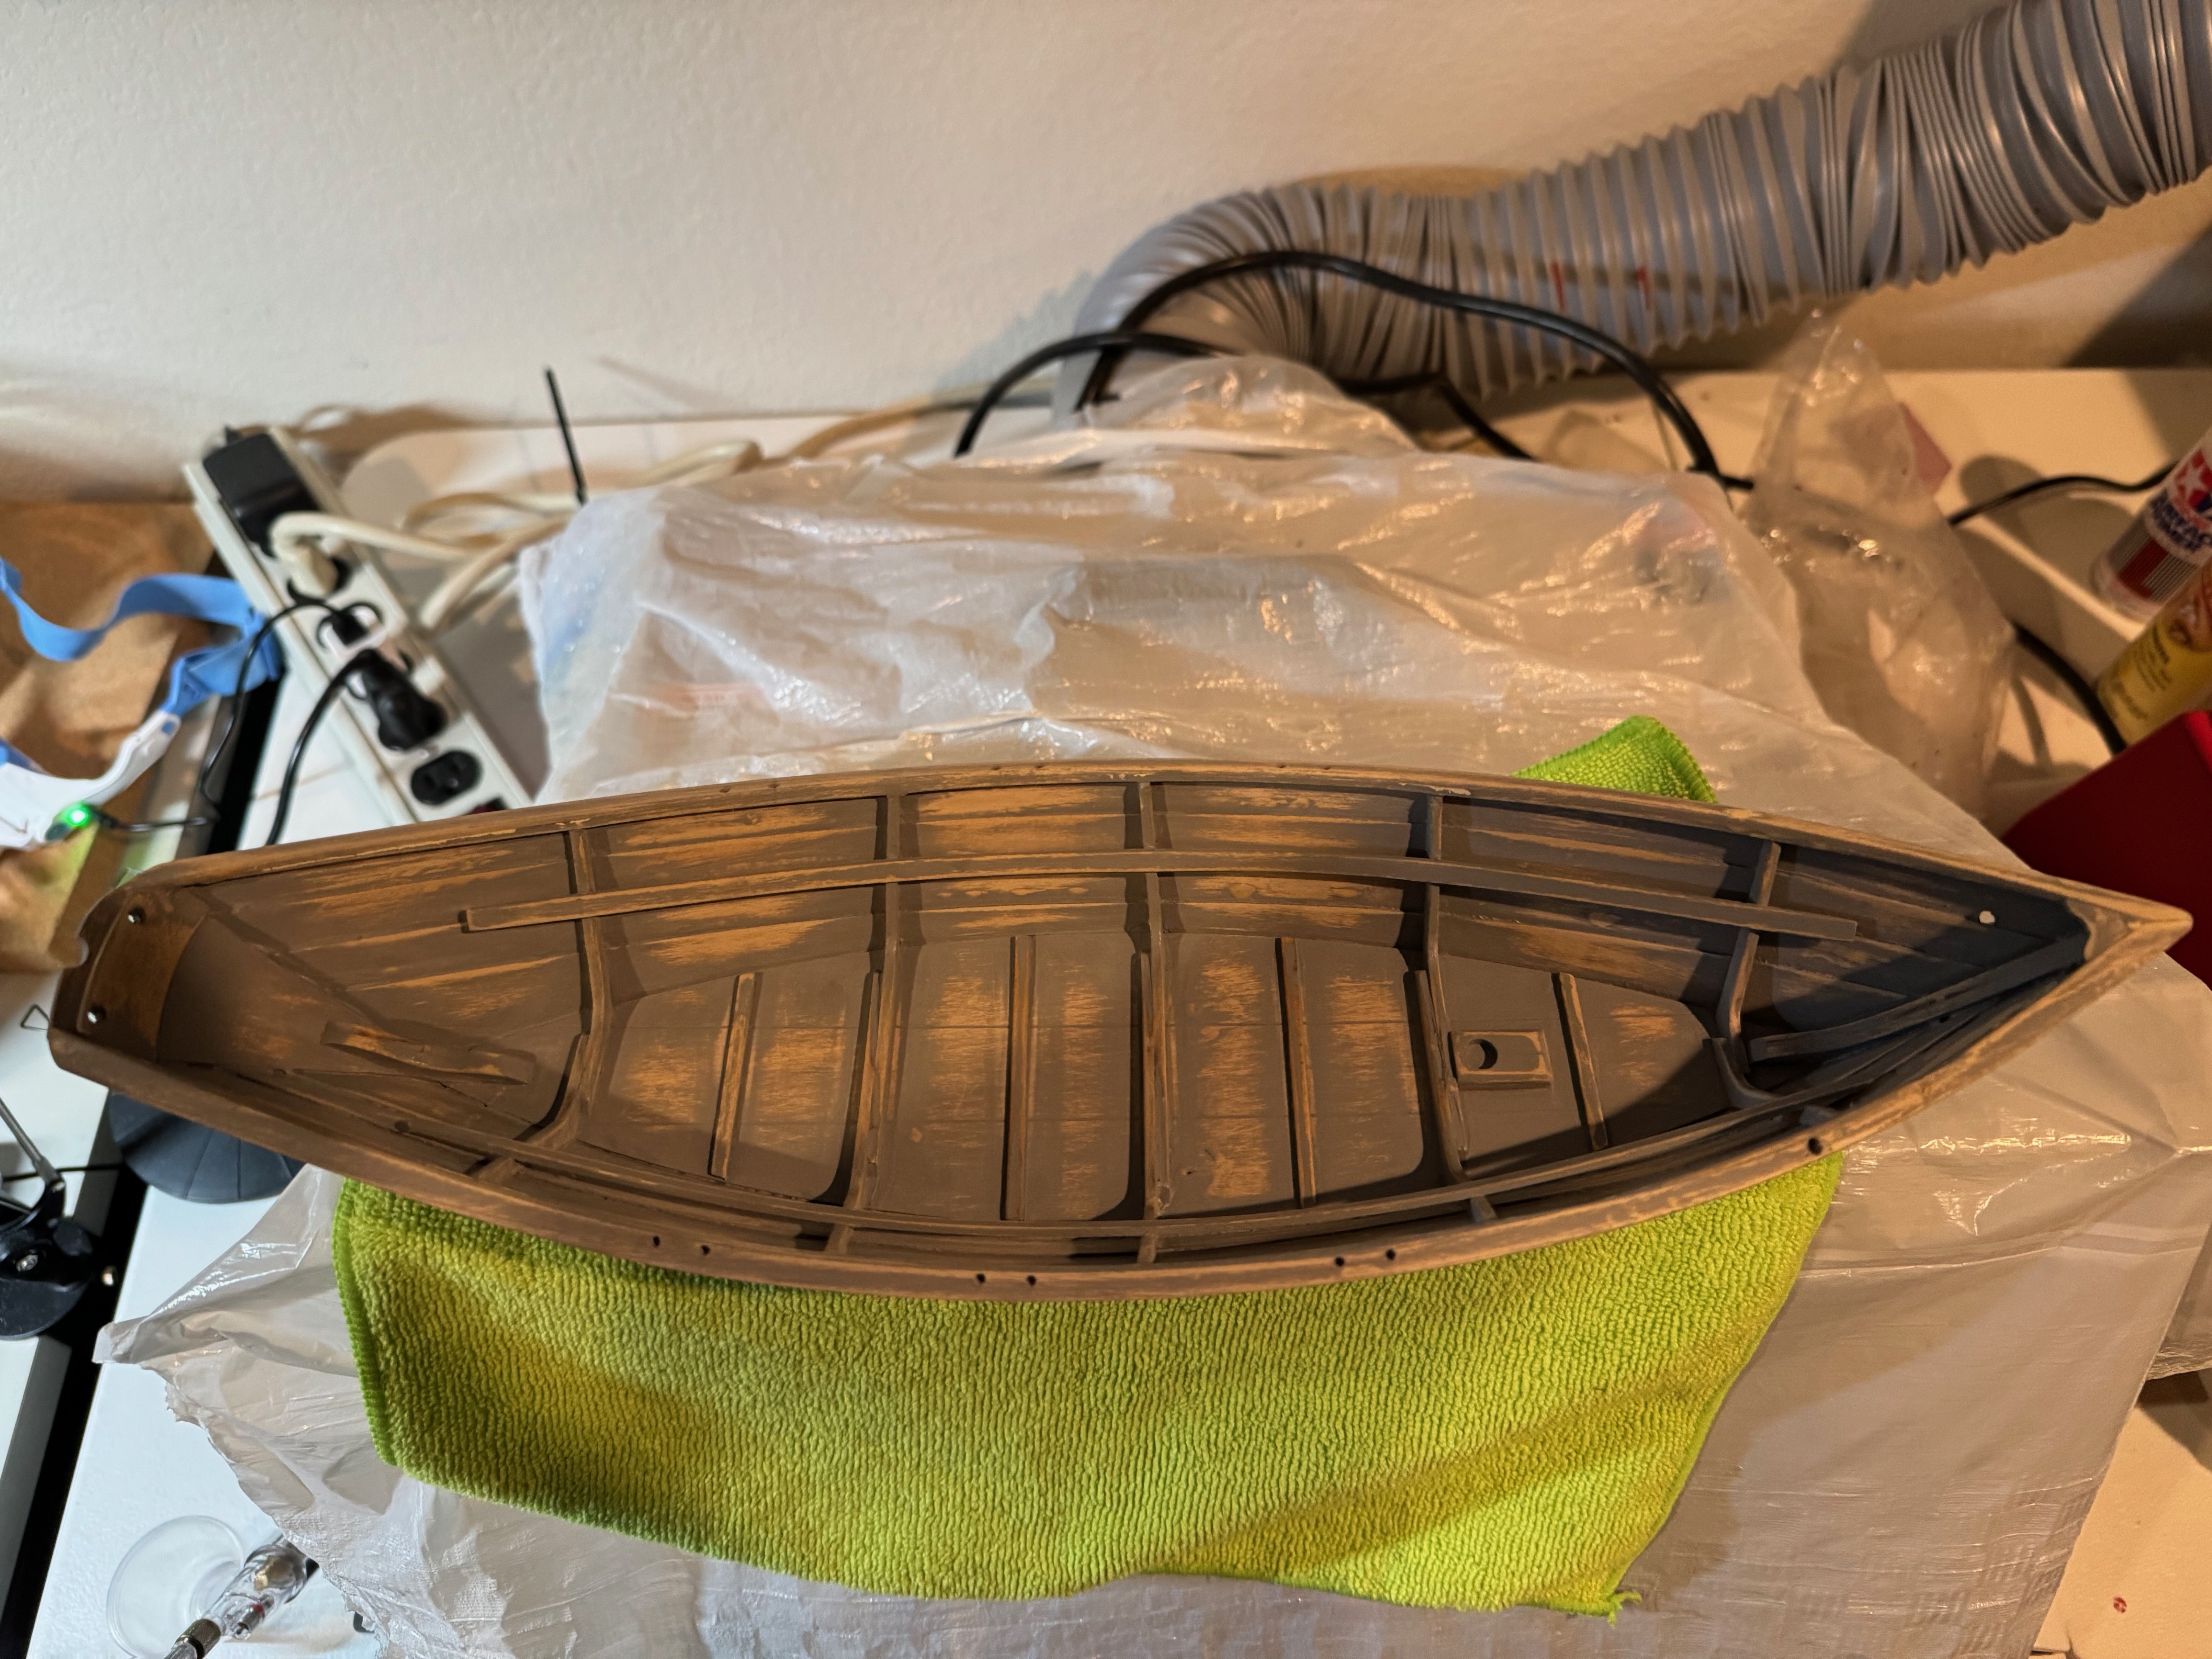
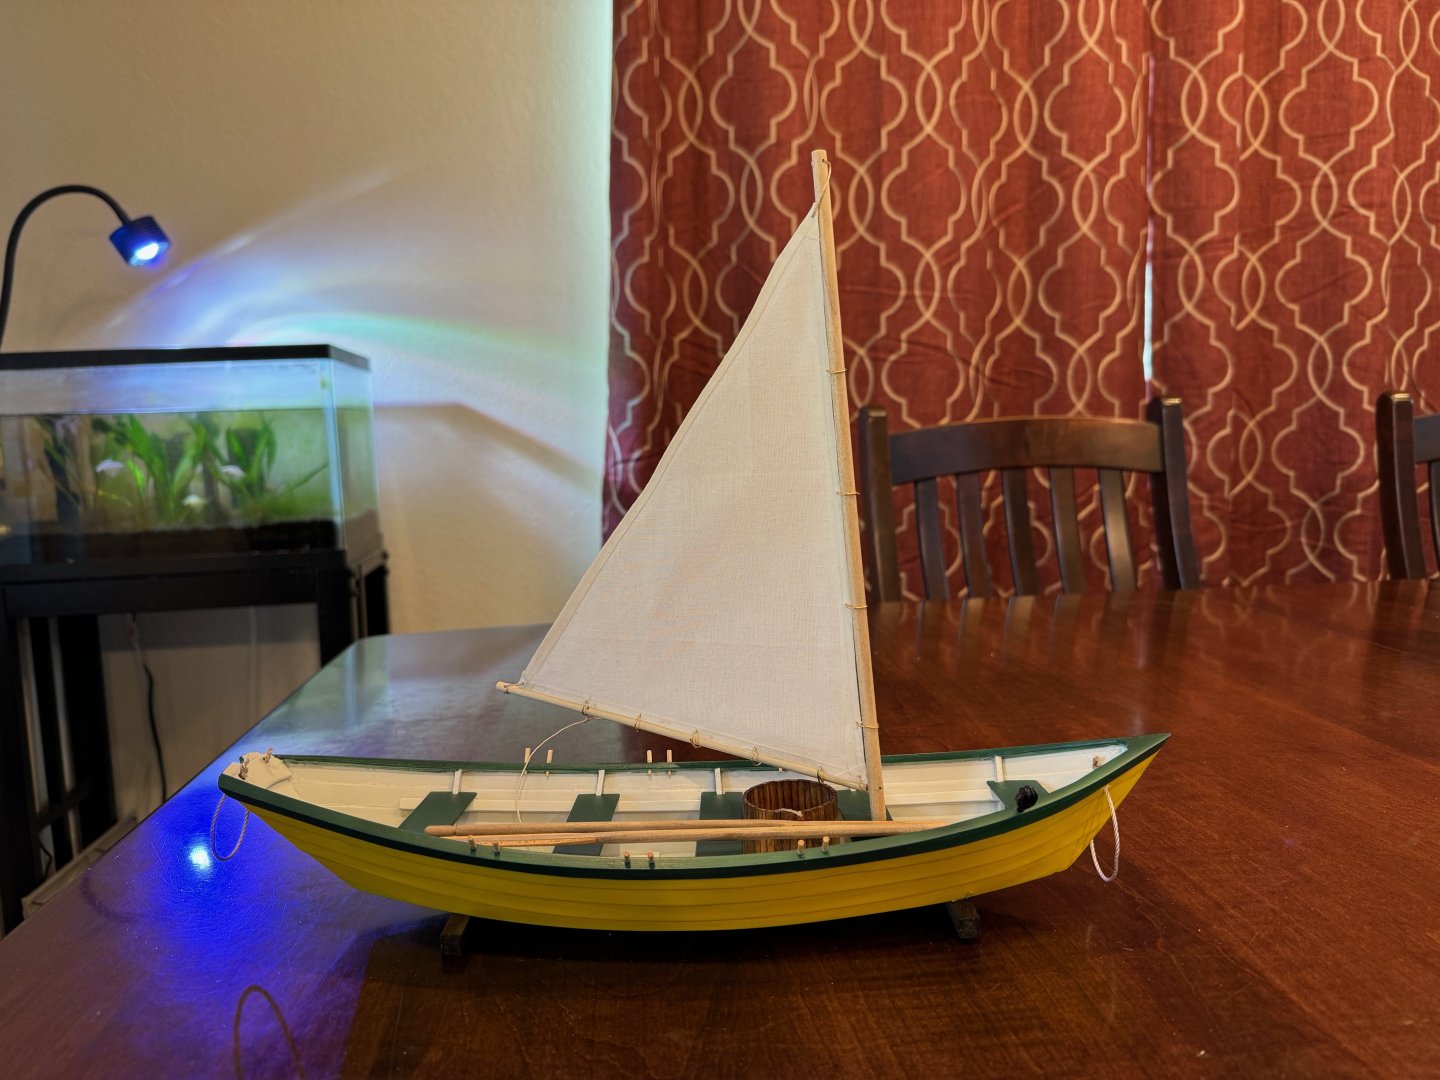
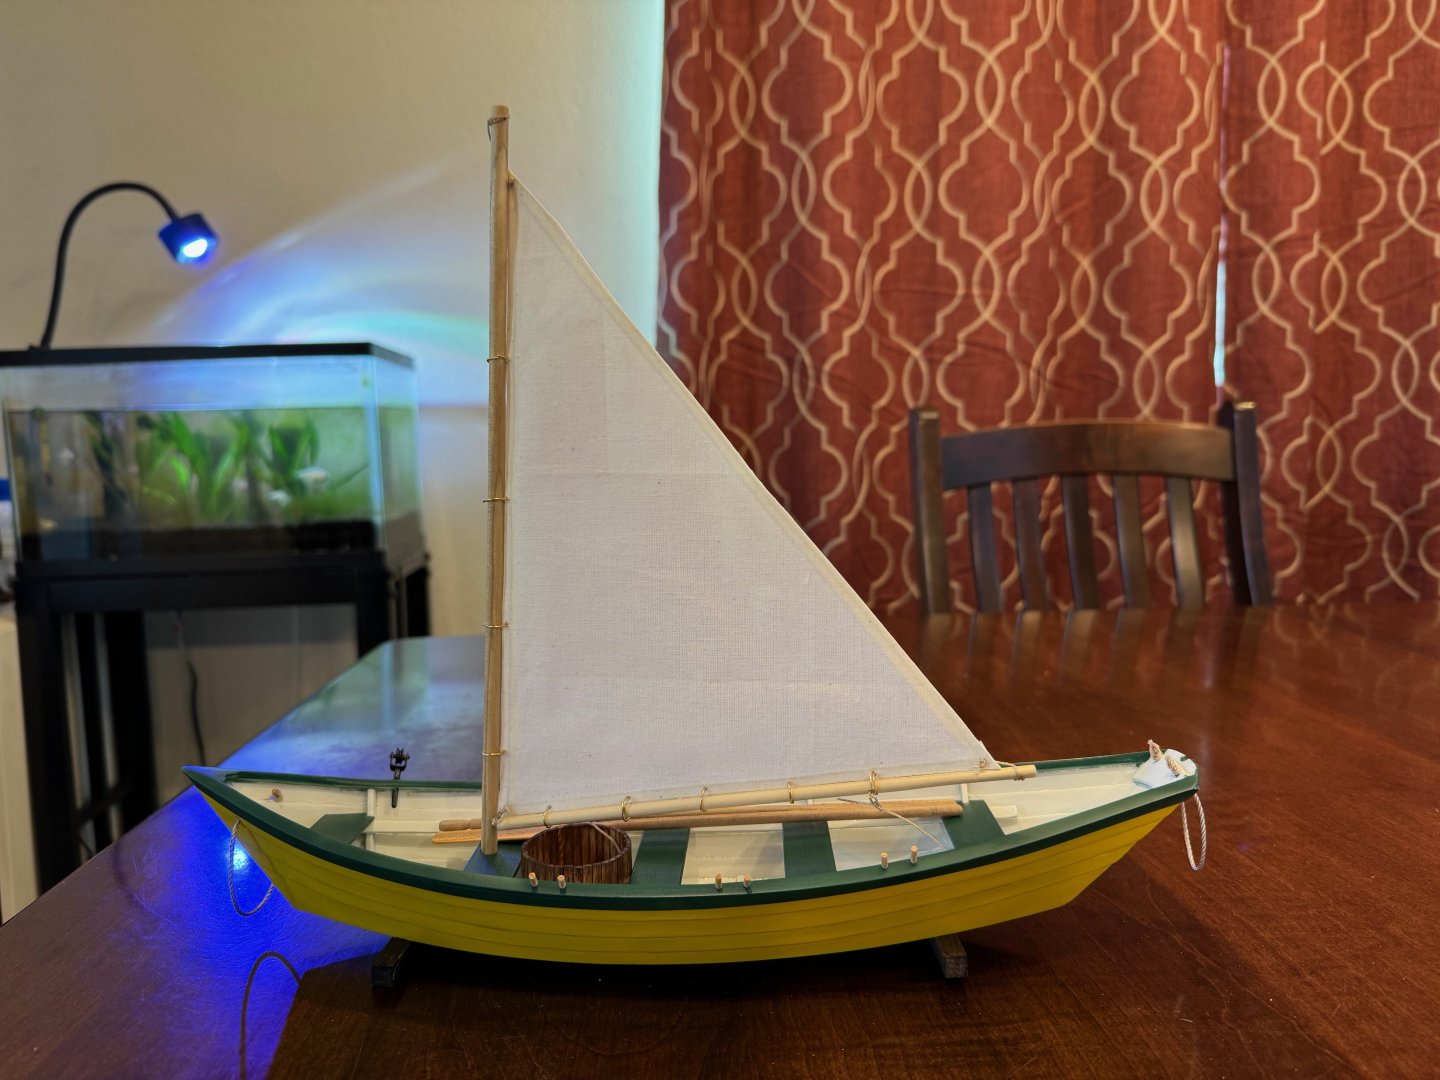
Good morning. I finally finished my Dory this weekend. Yesterday I spent day painting the Dory, between coats, and the dehydrator, I was able to get some layers on. The interior is an off-white, and the exterior a yellow, and dark green gunwales and thwarts. This morning, I finished up he final details: Rigging the mast, and boom. Painting and installing the trawl assembly. I also installed the thole pins. Overall I am pretty satisfied with the outcome of my second model. Reflections on the kit: If I compare this kit the the Model Shipways kit, I found the instructions to be better. The size difference is nice. However I did struggle with the size and my airbrush booth. I guess I need to invest in a bigger booth. I definitely learned a lot from this kit, and it would be interesting in a couple years to redo the kit to see an improvement. Some key take aways: 1. I need to be more patient. Case in point, I mounted the stand just by doing the measurements in the kit, instead of stepping aways and doing it by feel so the Dory would be more level. 2. Painting yellow sucks. It is such a hard color. I really struggled to get an even coat. 3. Tieing small bowlines and figure eight knots are not fun. I am looking forward to my next project, which will be the planking tutorial, instead of the Norwegian Pram. I will tackle that kit in January.
- 56 replies
-
- 10
-

-
- grand banks dory
- Midwest Products
- (and 2 more)
-
best SECOND model ship kit recommendations
Jim M replied to palmerit's topic in Wood ship model kits
I think this is a very good question. Currently I am on my second ship. I started with the the Model Shipways Shipwright series Dory, which I learned a lot from. I am a novice at models, and wood working, so I wanted something that was easier but I can learn from. Then for my second ship, I picked up the Midwest Grand Banks Dory. This is an extension on the basics from the Model Shipways, and in retrospect I should have done it first, partially because it is larger, and easier to see. These two model have taught me a lot so far. Primary how to manipulate wood, and basic techniques, and some painting techniques with my air brushes. For my third ship, I am actually going to do the Planking project instead of doing the second ship in the Shipwright series, as I wanted something that can teach me more about shaping and joinery. I need to learn how to control my glue application better, and get a much better finish. I am hoping to end up with learning how to French polish for this half hull project along with learning how to apply plank on bulkhead. I must admit I am getting itchy to start a more detailed model, but I realized my skill set is still very amateur and I am looking at baby steps to improve. I realize this really does not answer the question, but I think it summarizes we are all on a journey. I have a model that I really want to build that I purchased but it will be at least a year before I will even attempt it as the instructions are questionable at most. I think when I finally get ready for a more detailed ship, I am hoping to do the Terror by Occre mid next year. Partially I am ex pat Canadian, and I remember when the Terror was found. Cheers jim -
thanks @Bryan Woods i used my airbrush for the first layer then canned surfacer 1200 for the next 2. i will my airbrush for the final coats.
- 56 replies
-
- 2
-
-
- grand banks dory
- Midwest Products
- (and 2 more)
-
Agreed @grsjax. I am definitely not at a skill level ready to attempt this model.
-
@JacquesCousteau Yeah I am seeing the same with your model, the instructions are questionable at best, and no plans. This looks like a model that will need some skill before attacking it. I am glad though I picked it up for only 69.00 from Model Expo on their name your price sale. I am hoping that the planking exercise that I am planning on starting will be a good foundation. I have a few other Midwest kits, and a Marastella kit I will finish before doing this model.
-
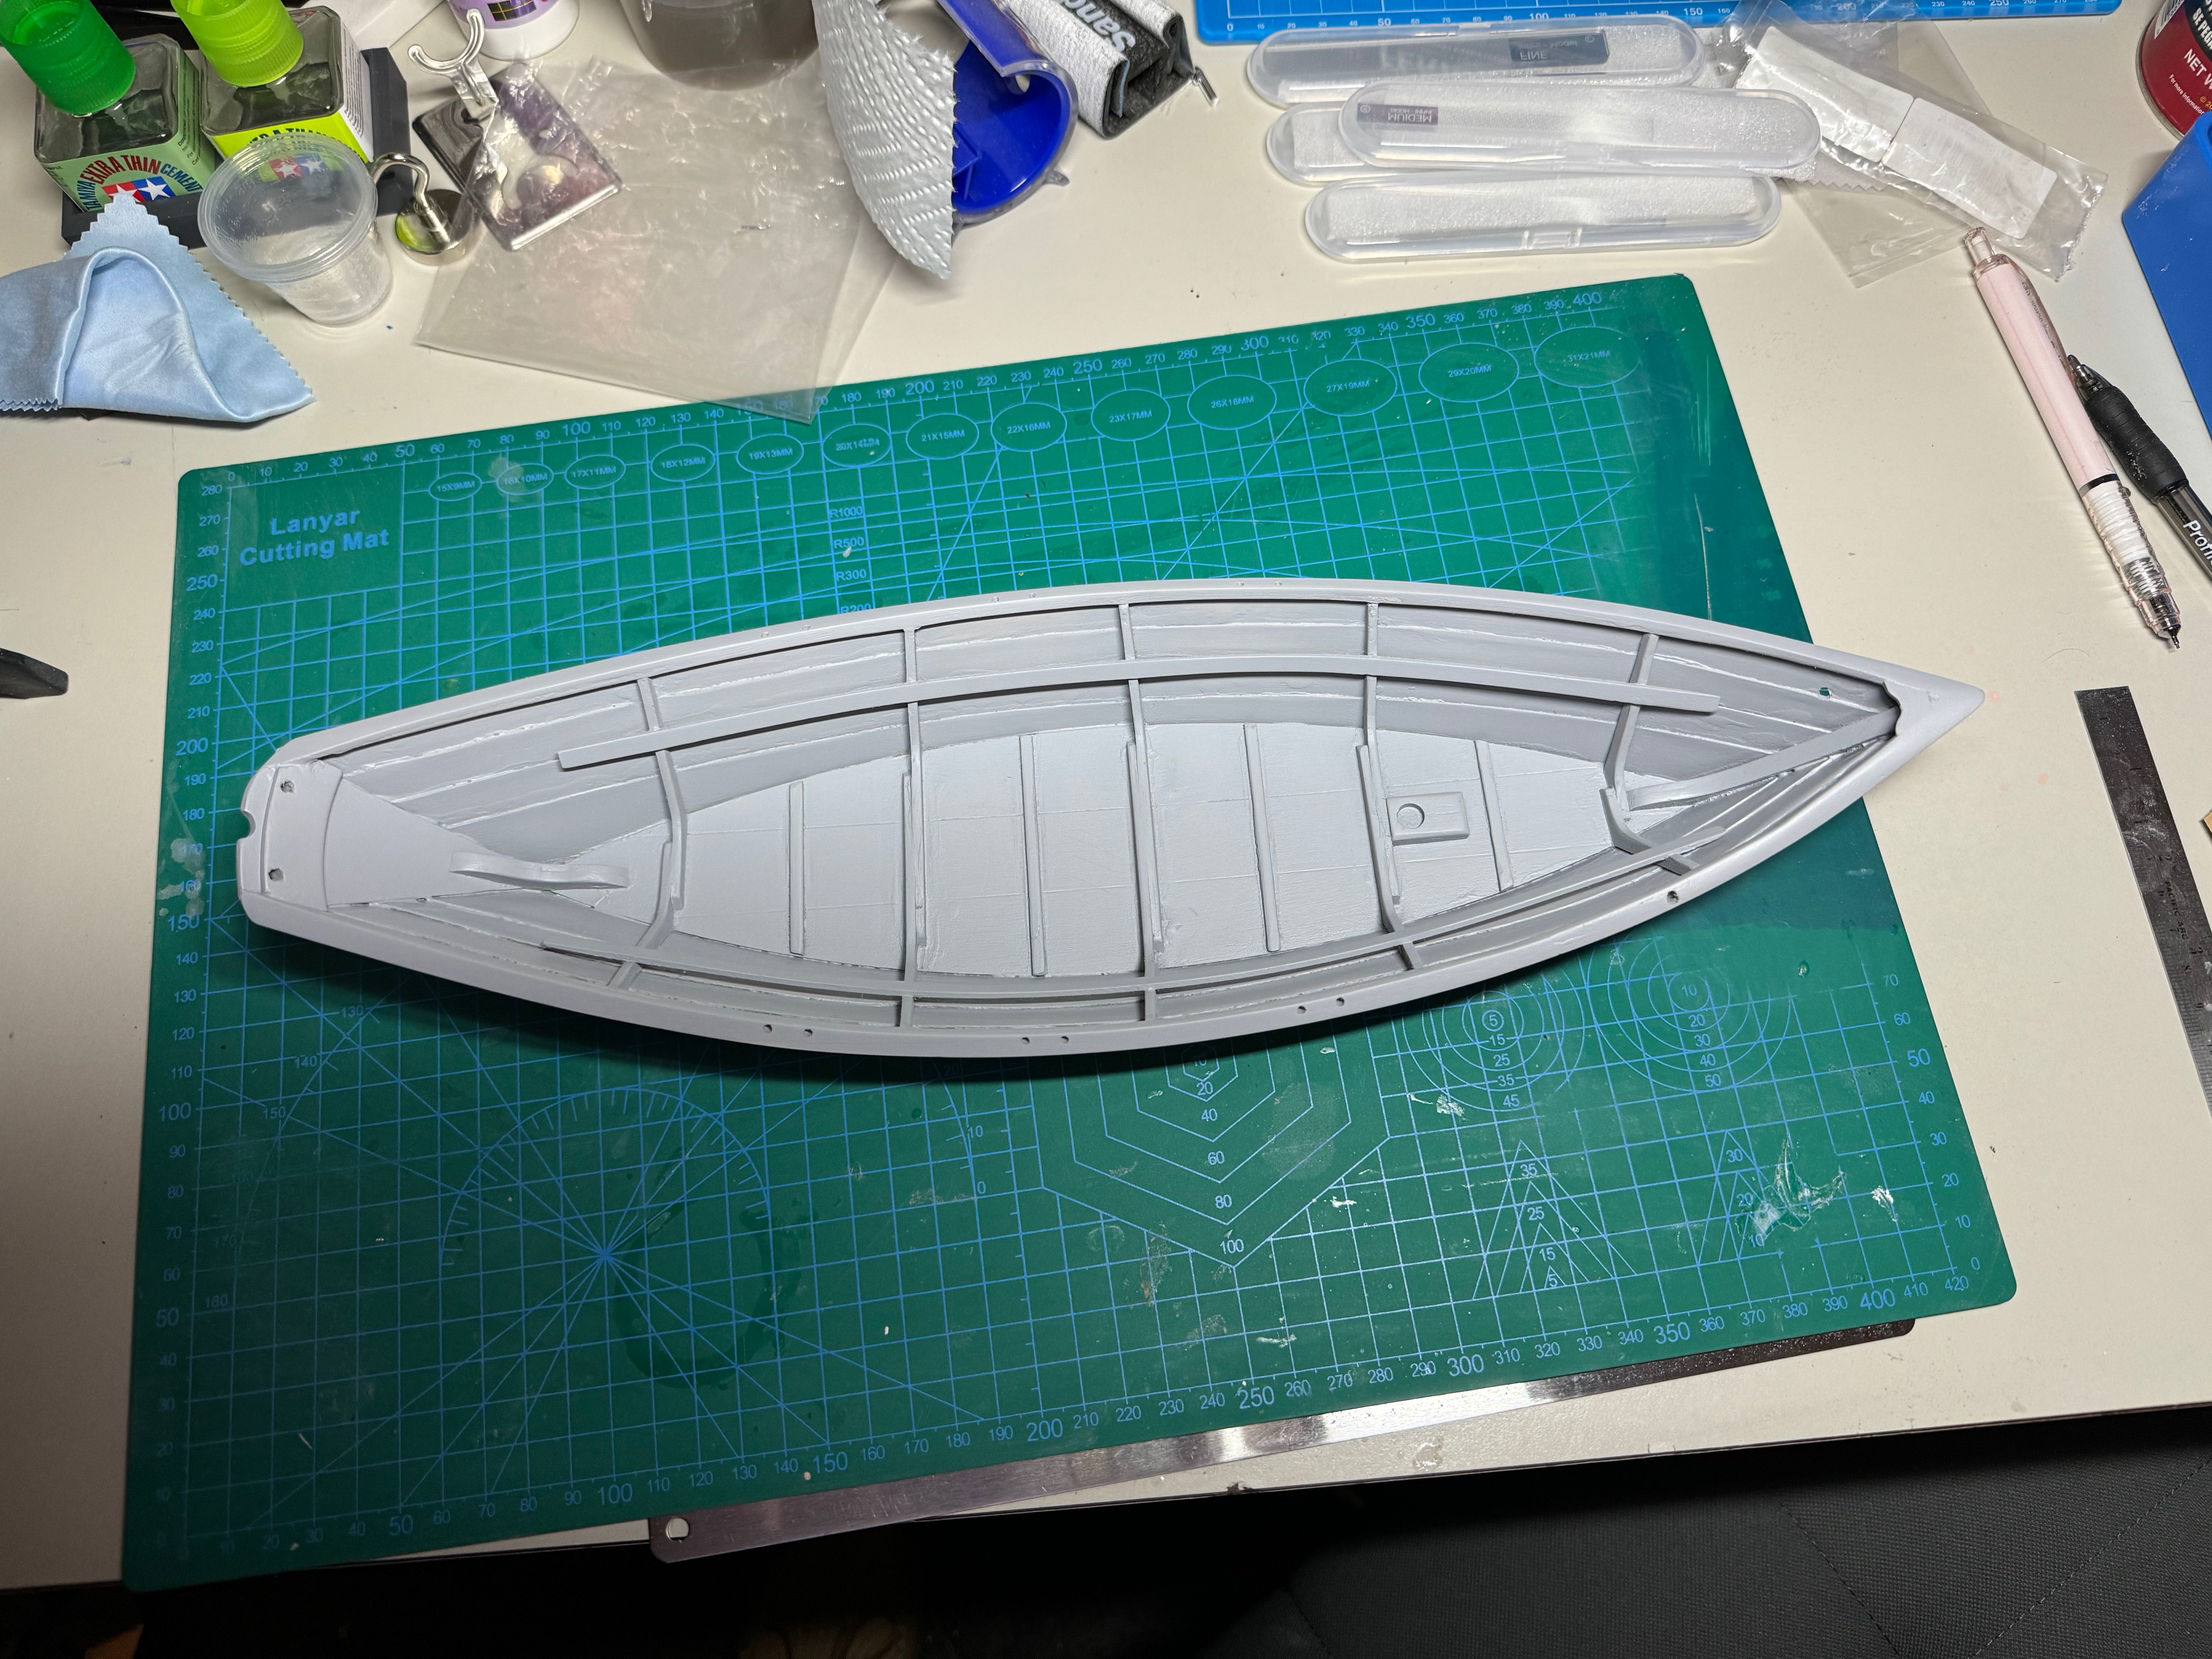
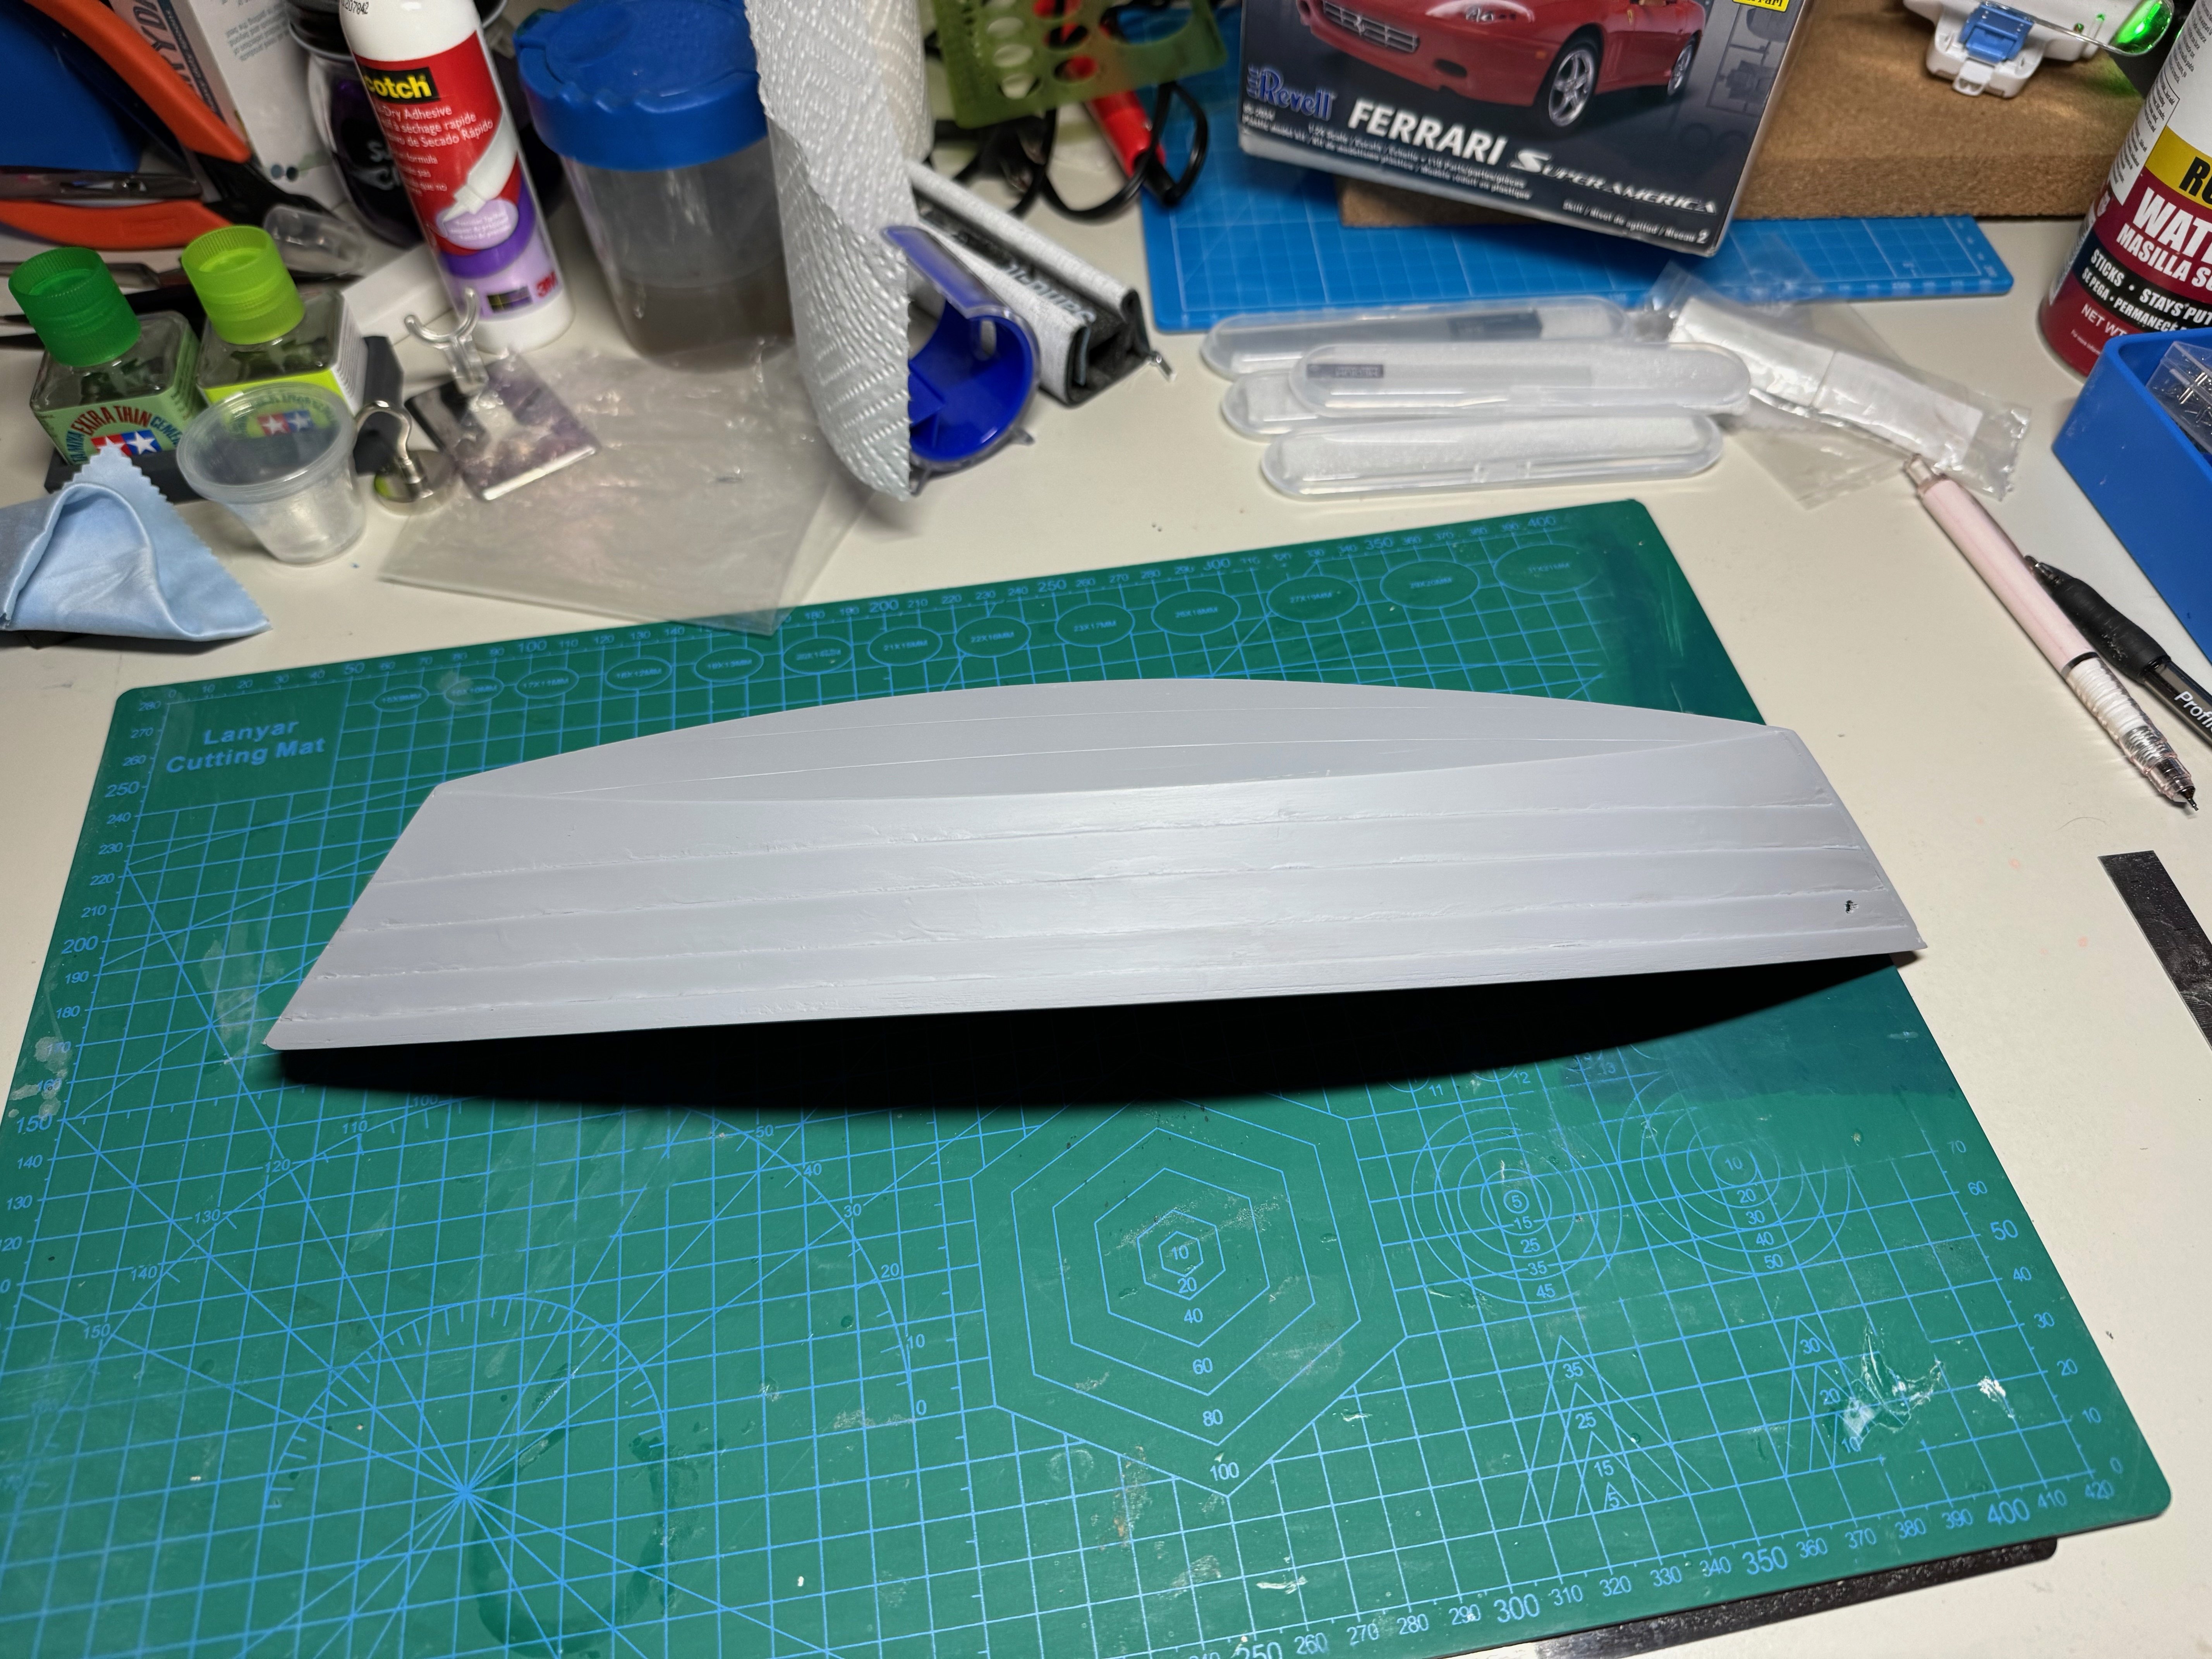
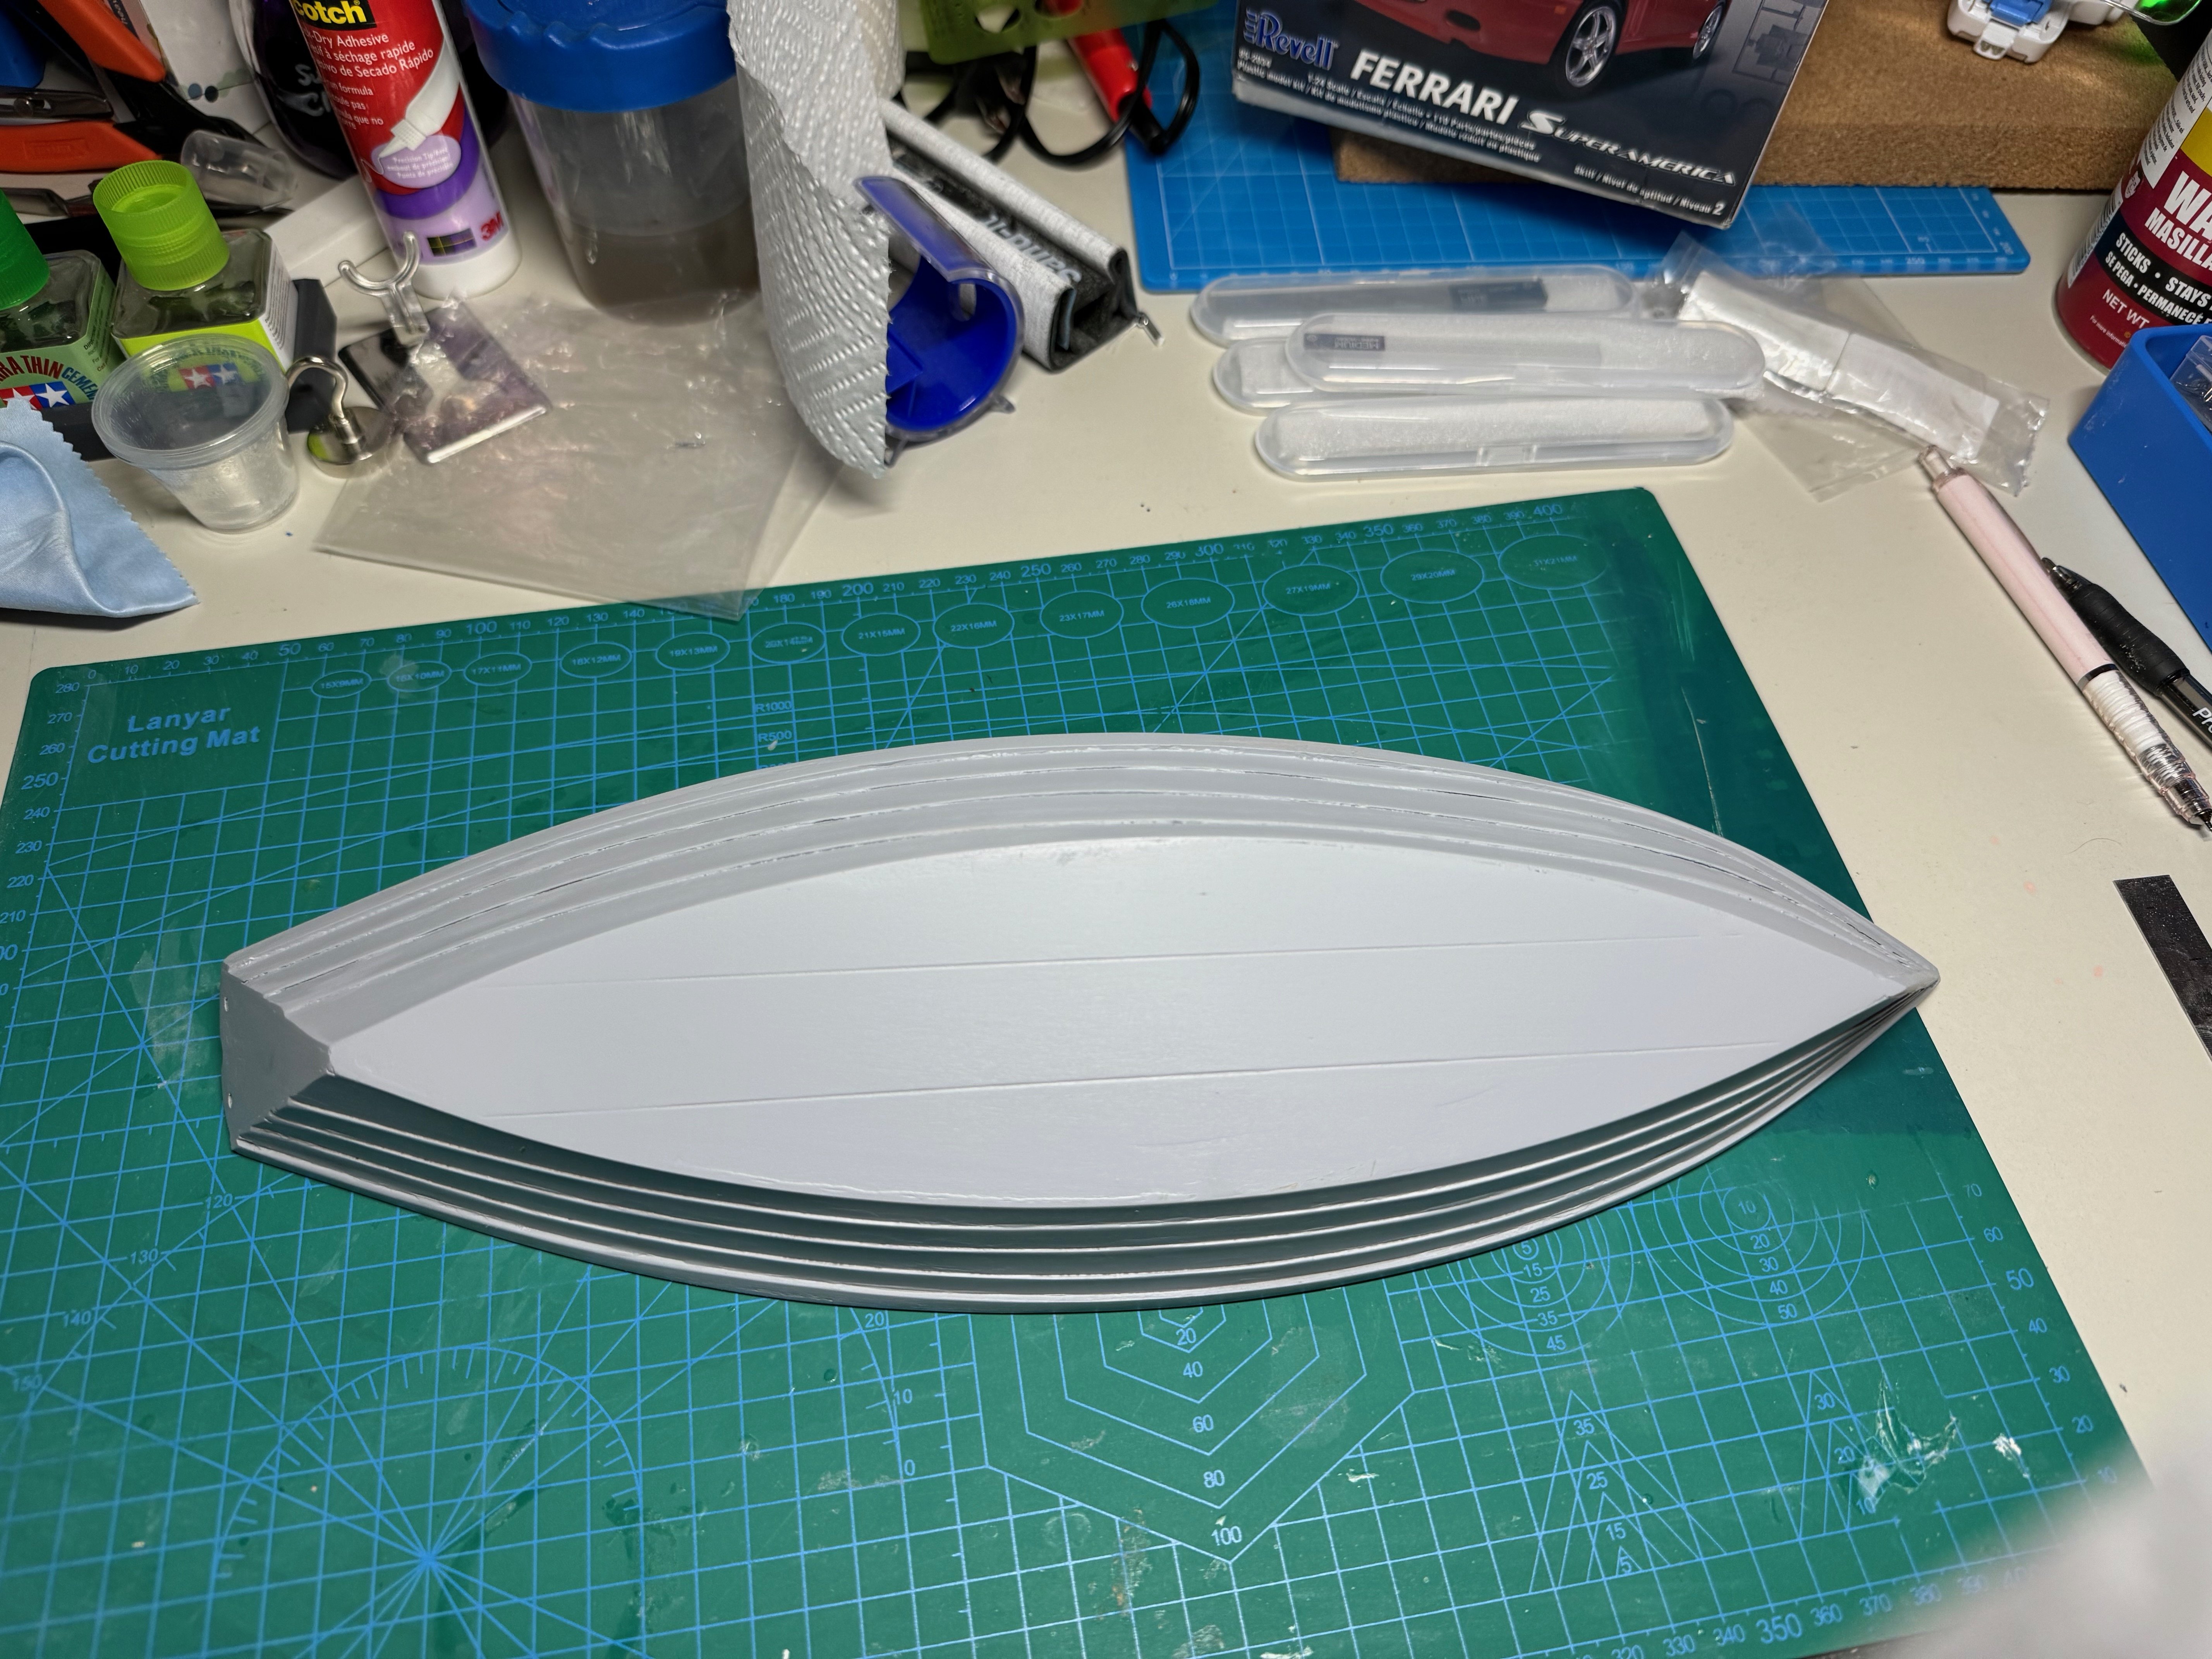
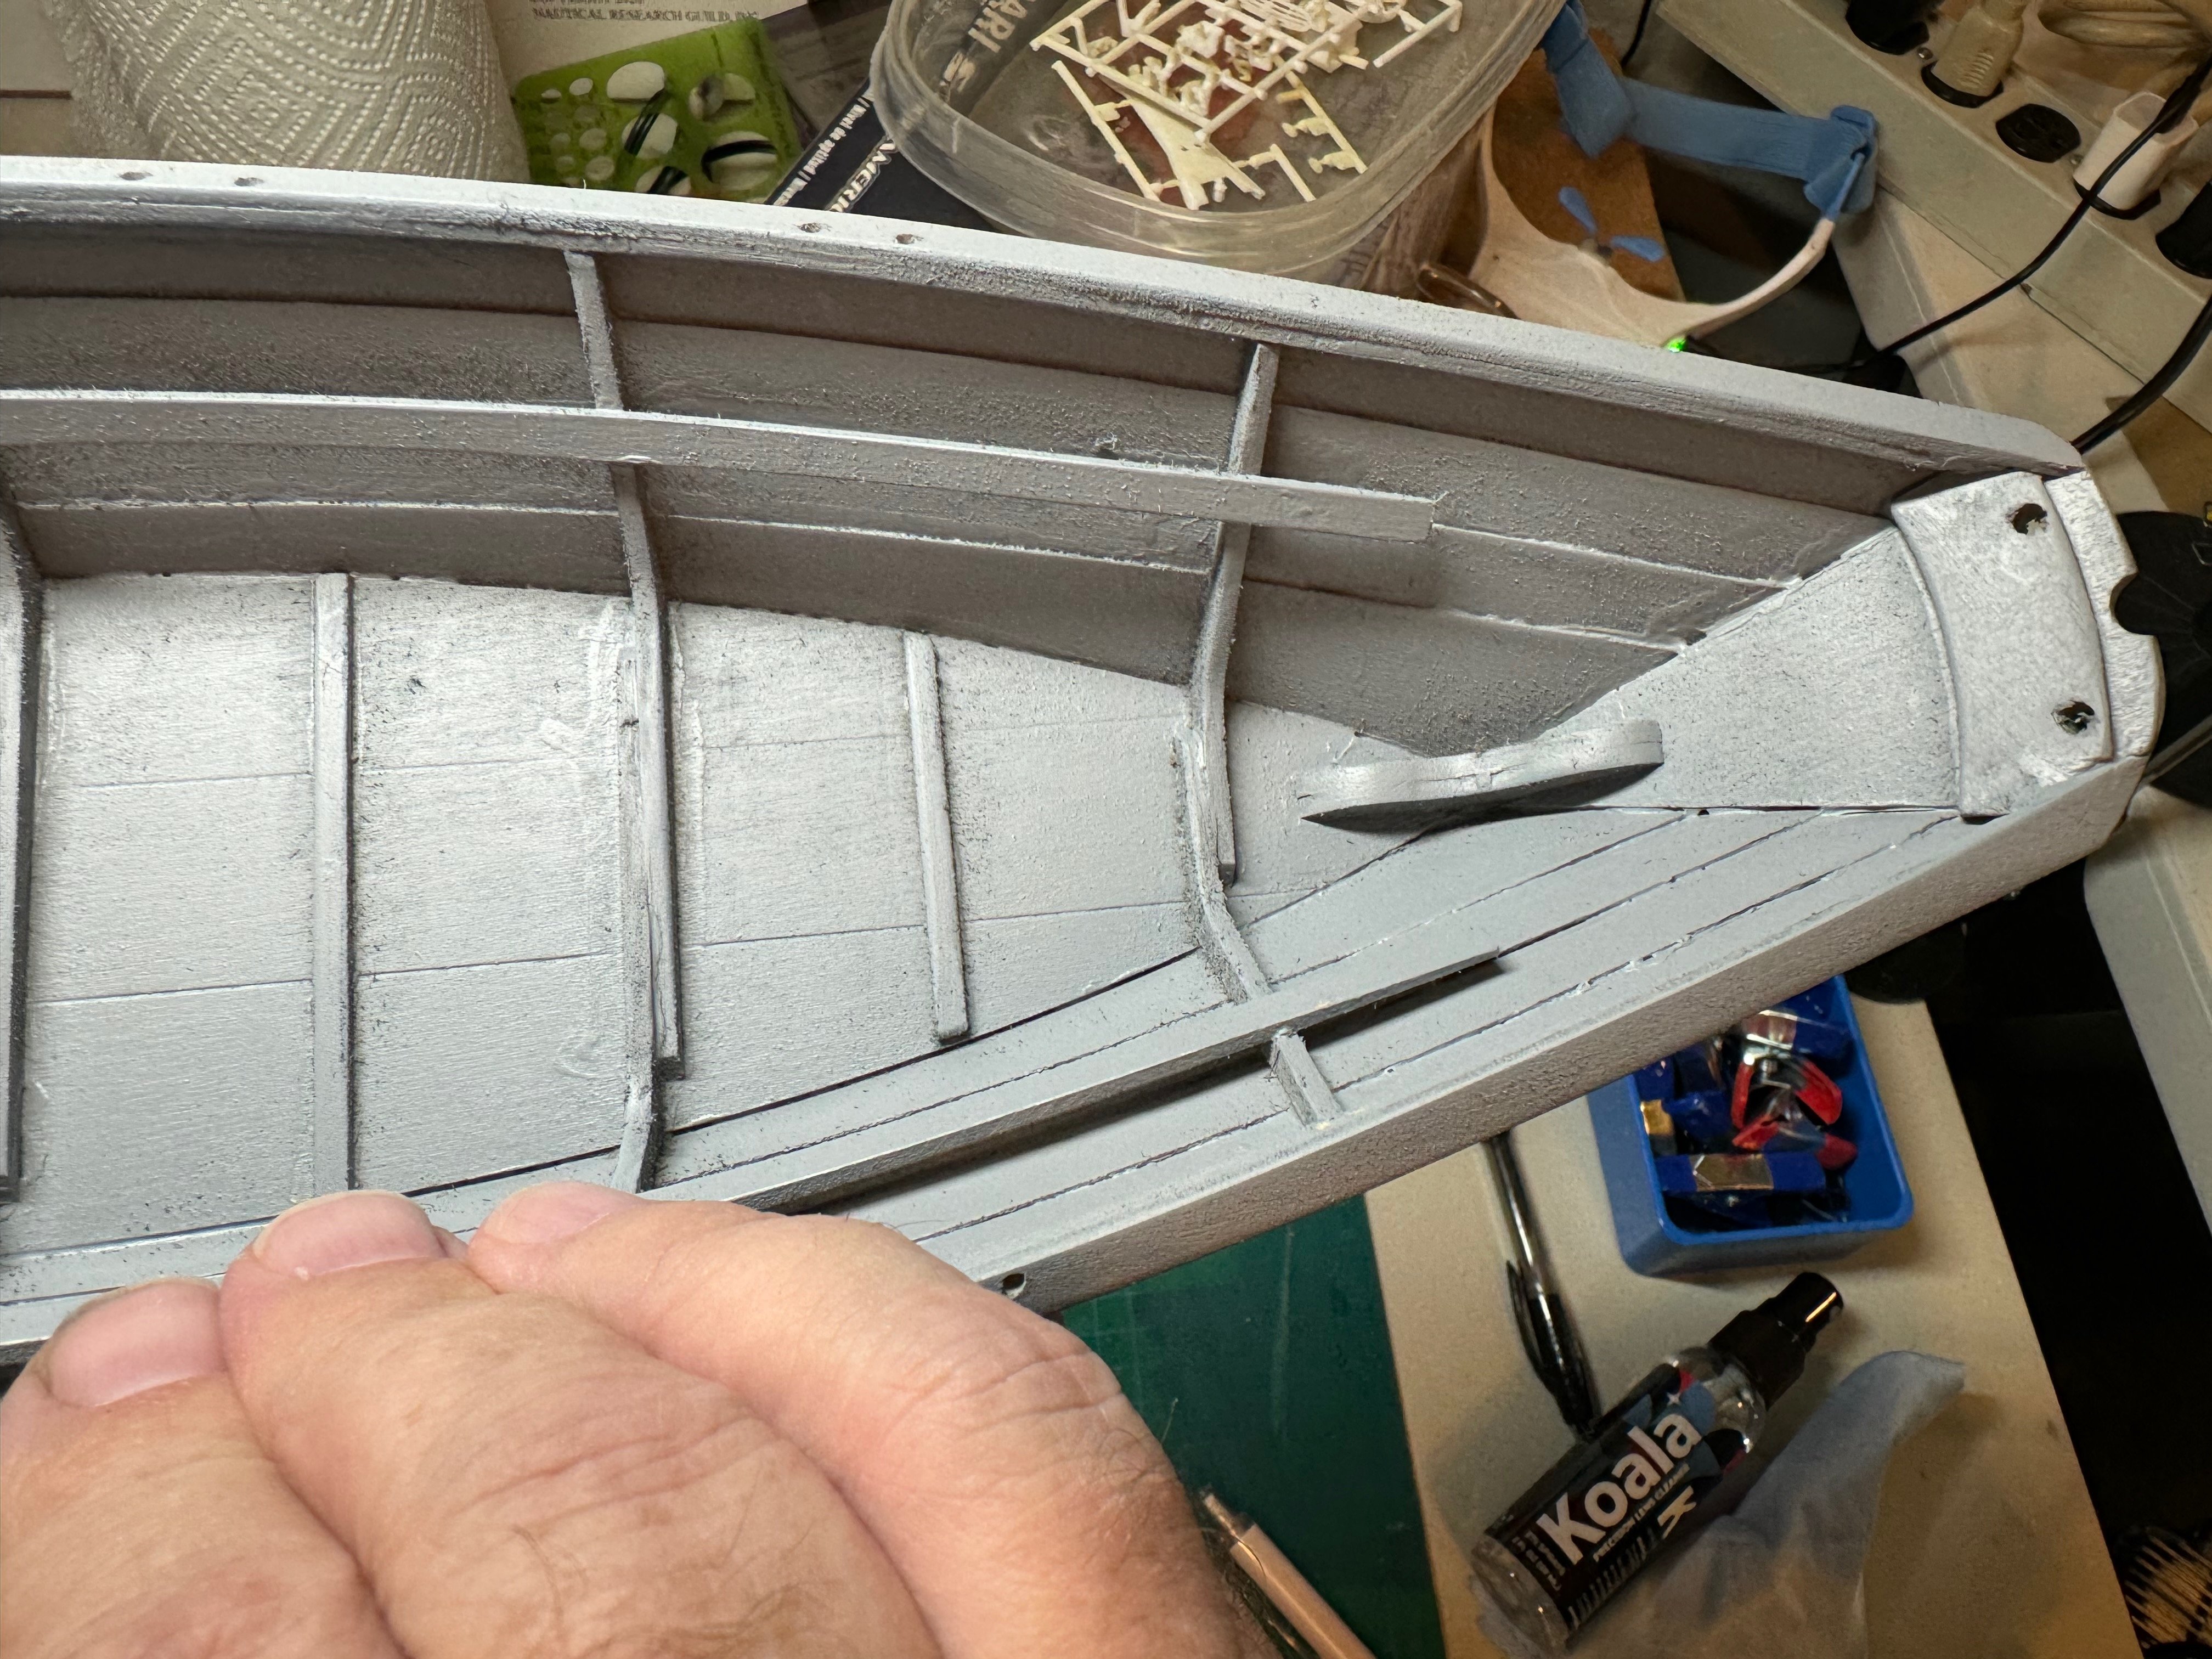
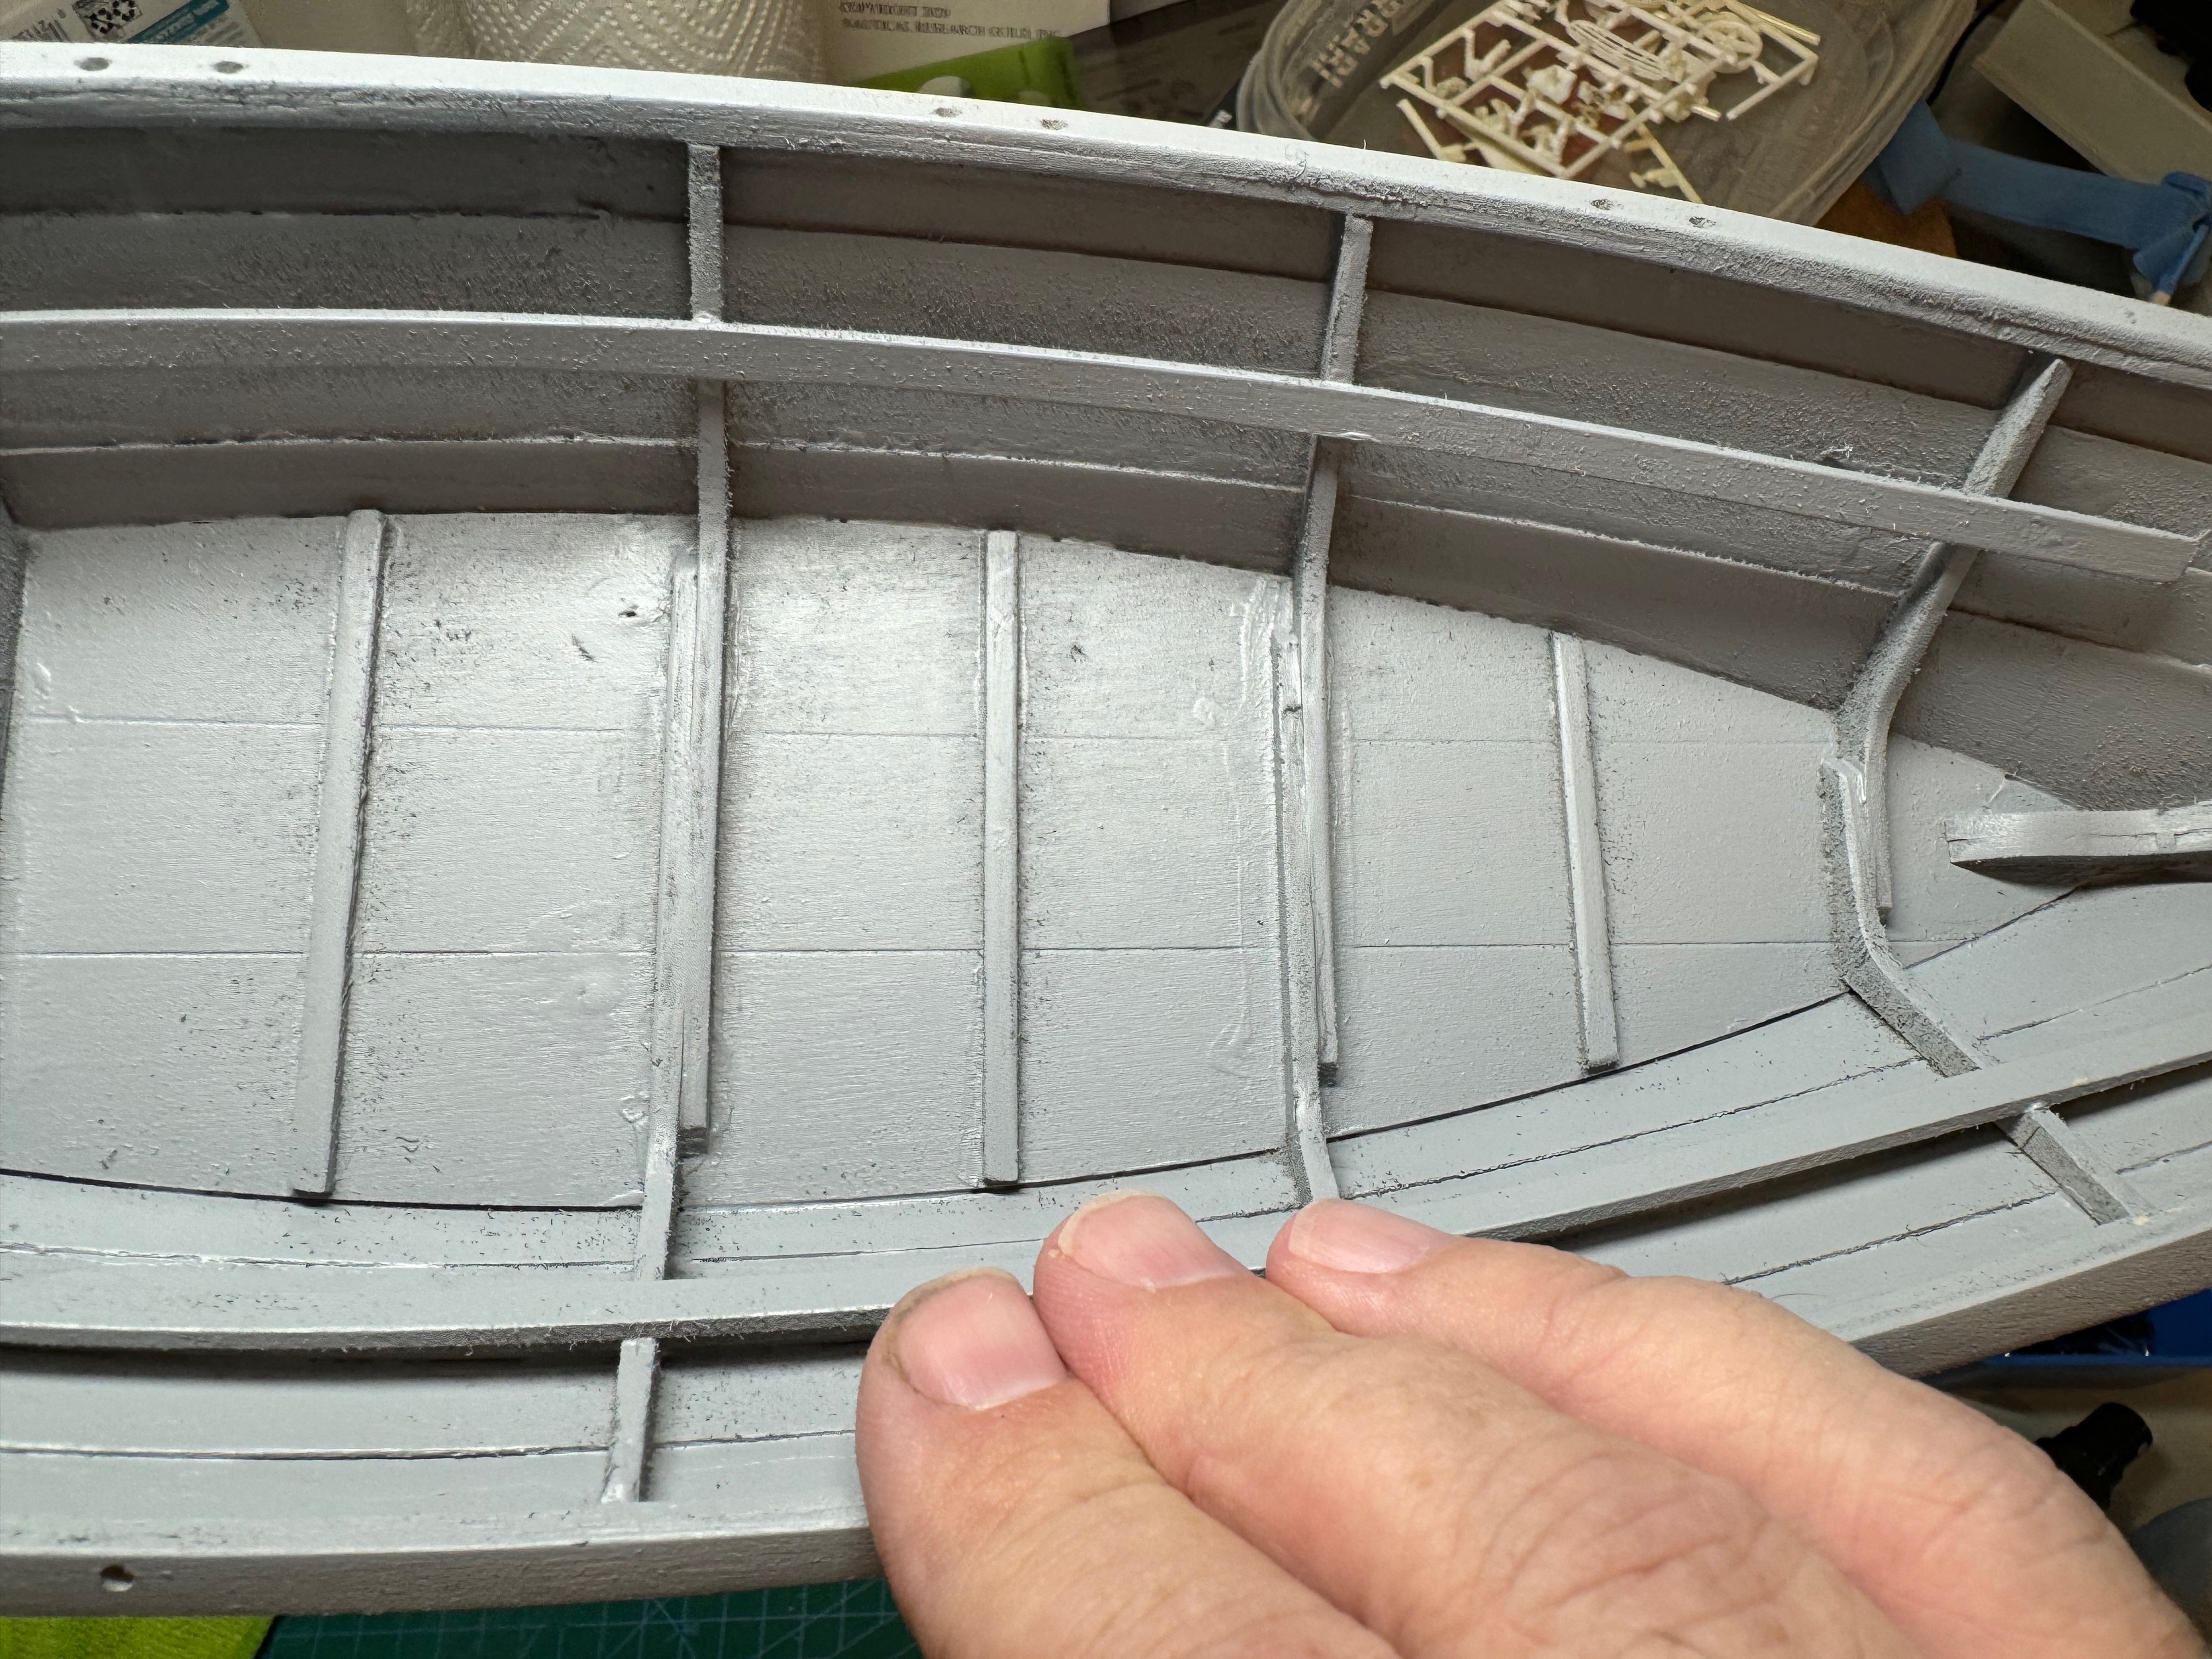
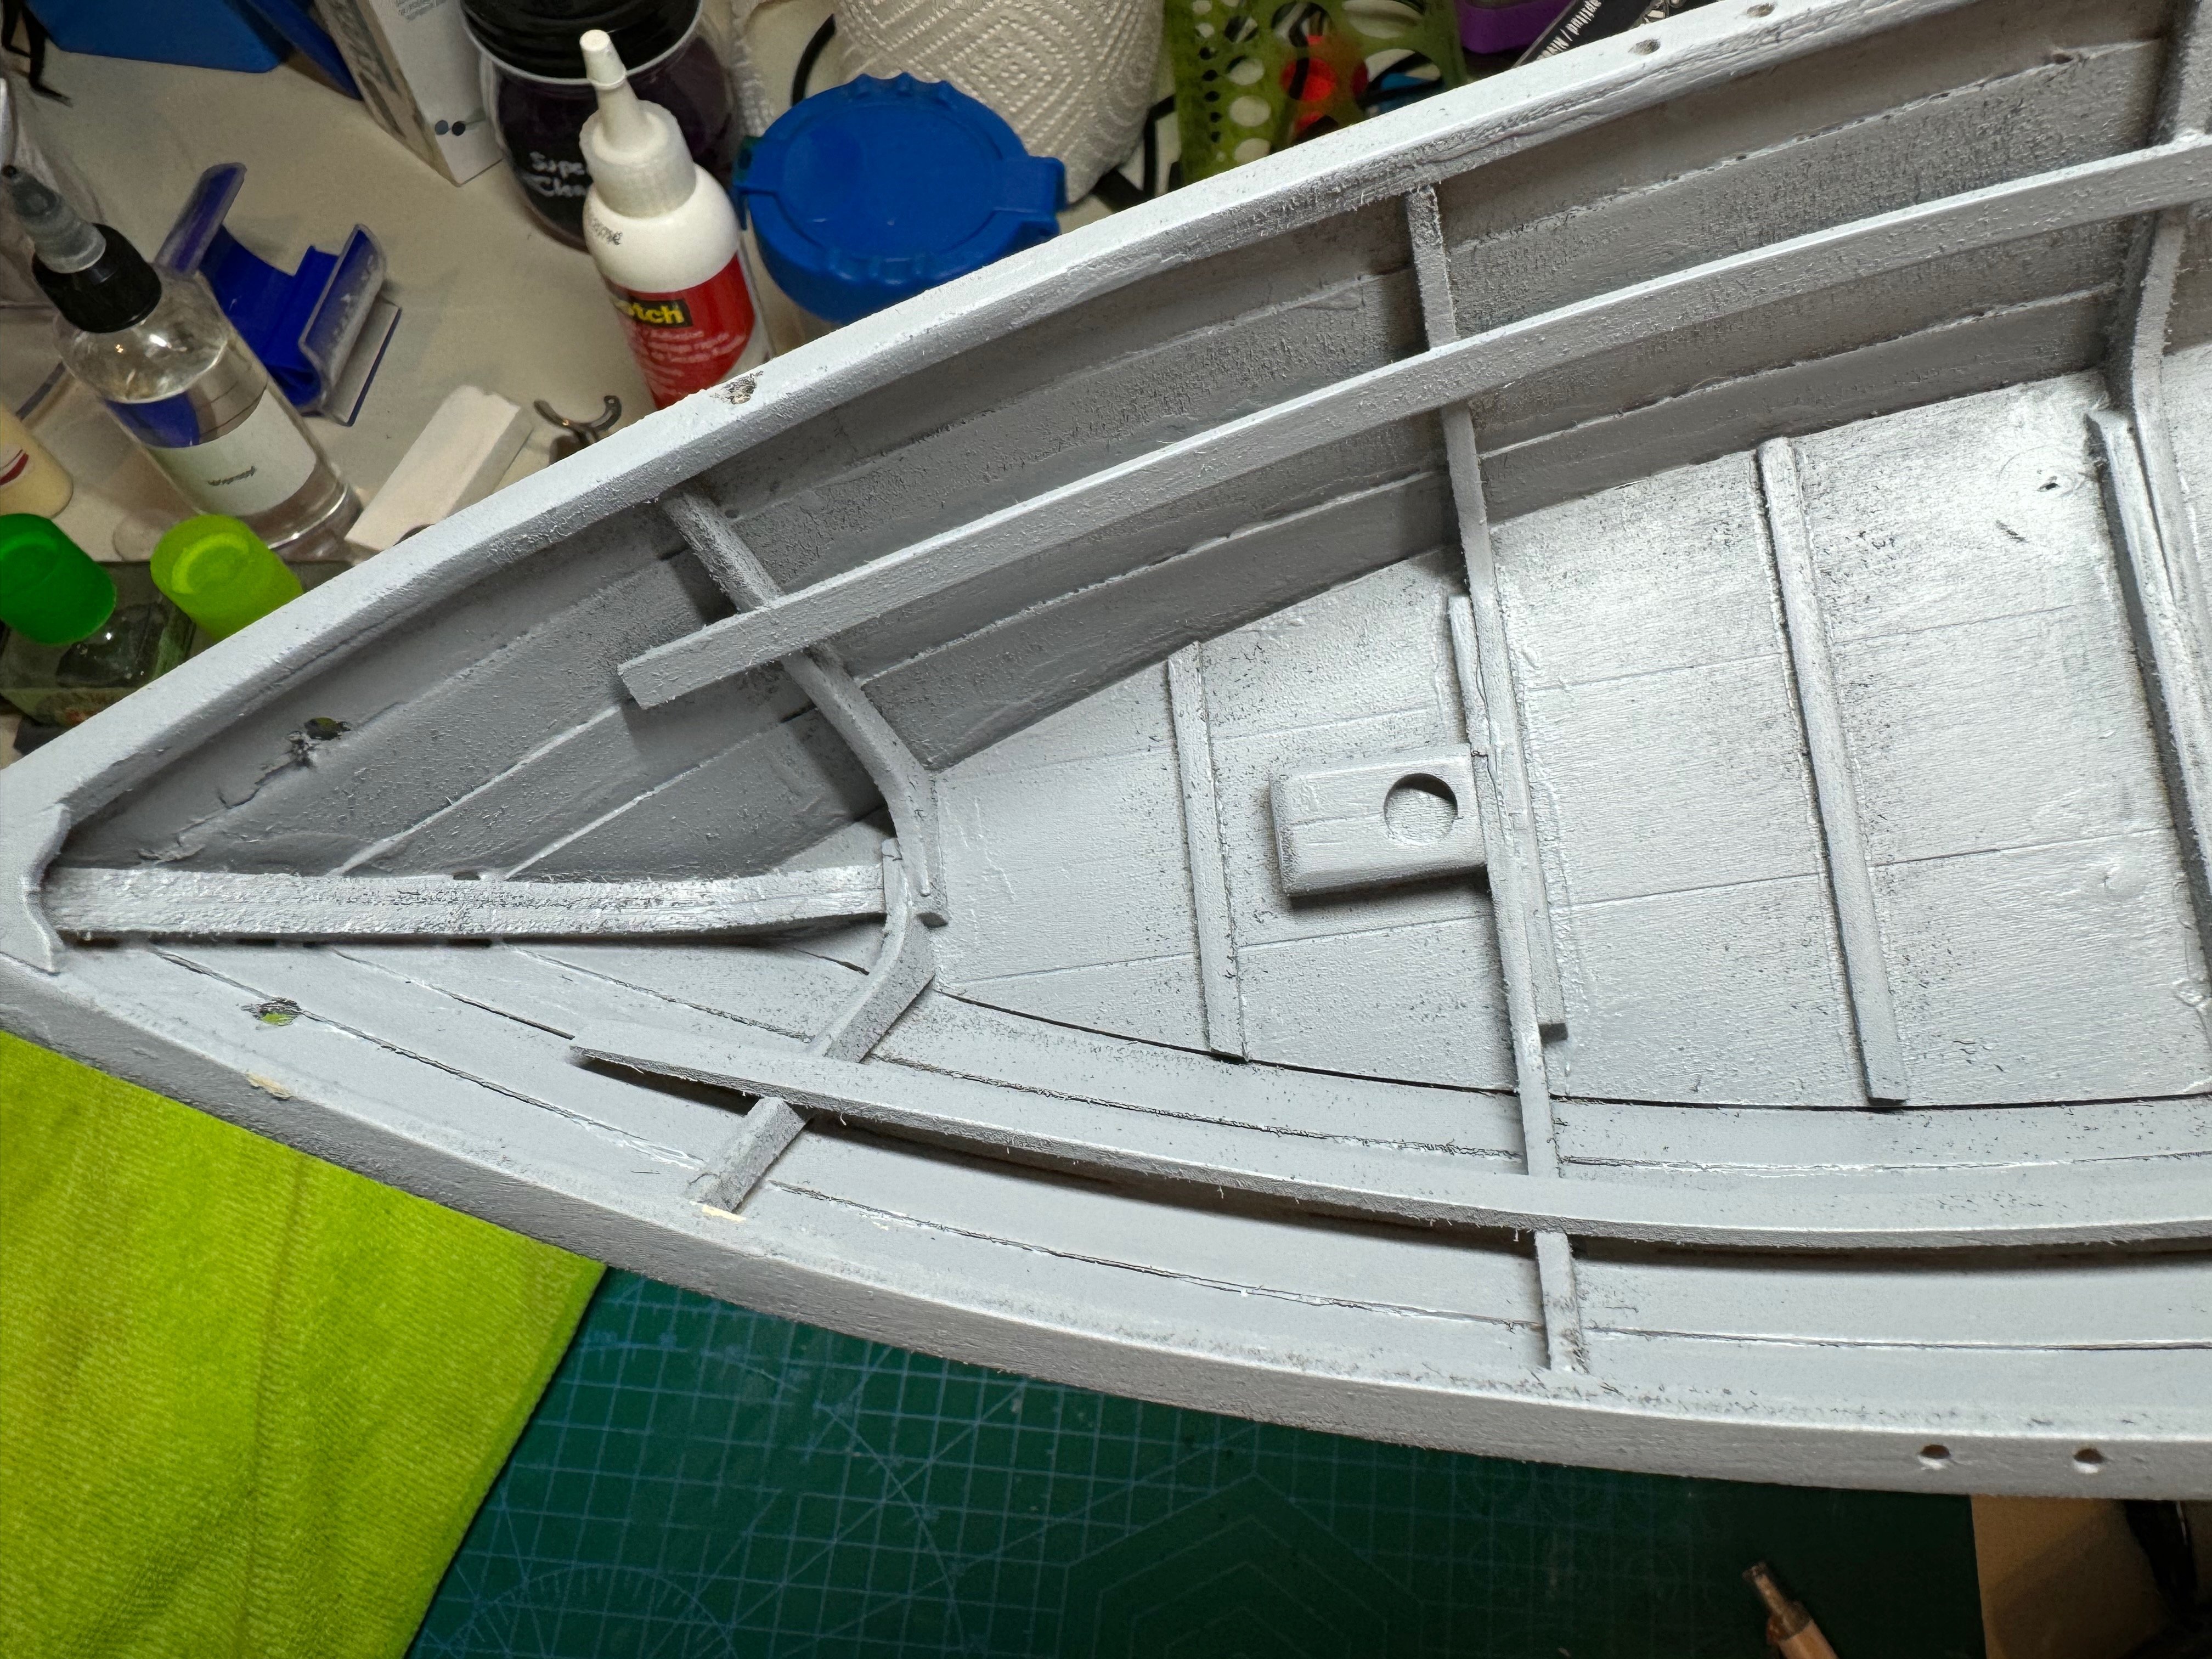
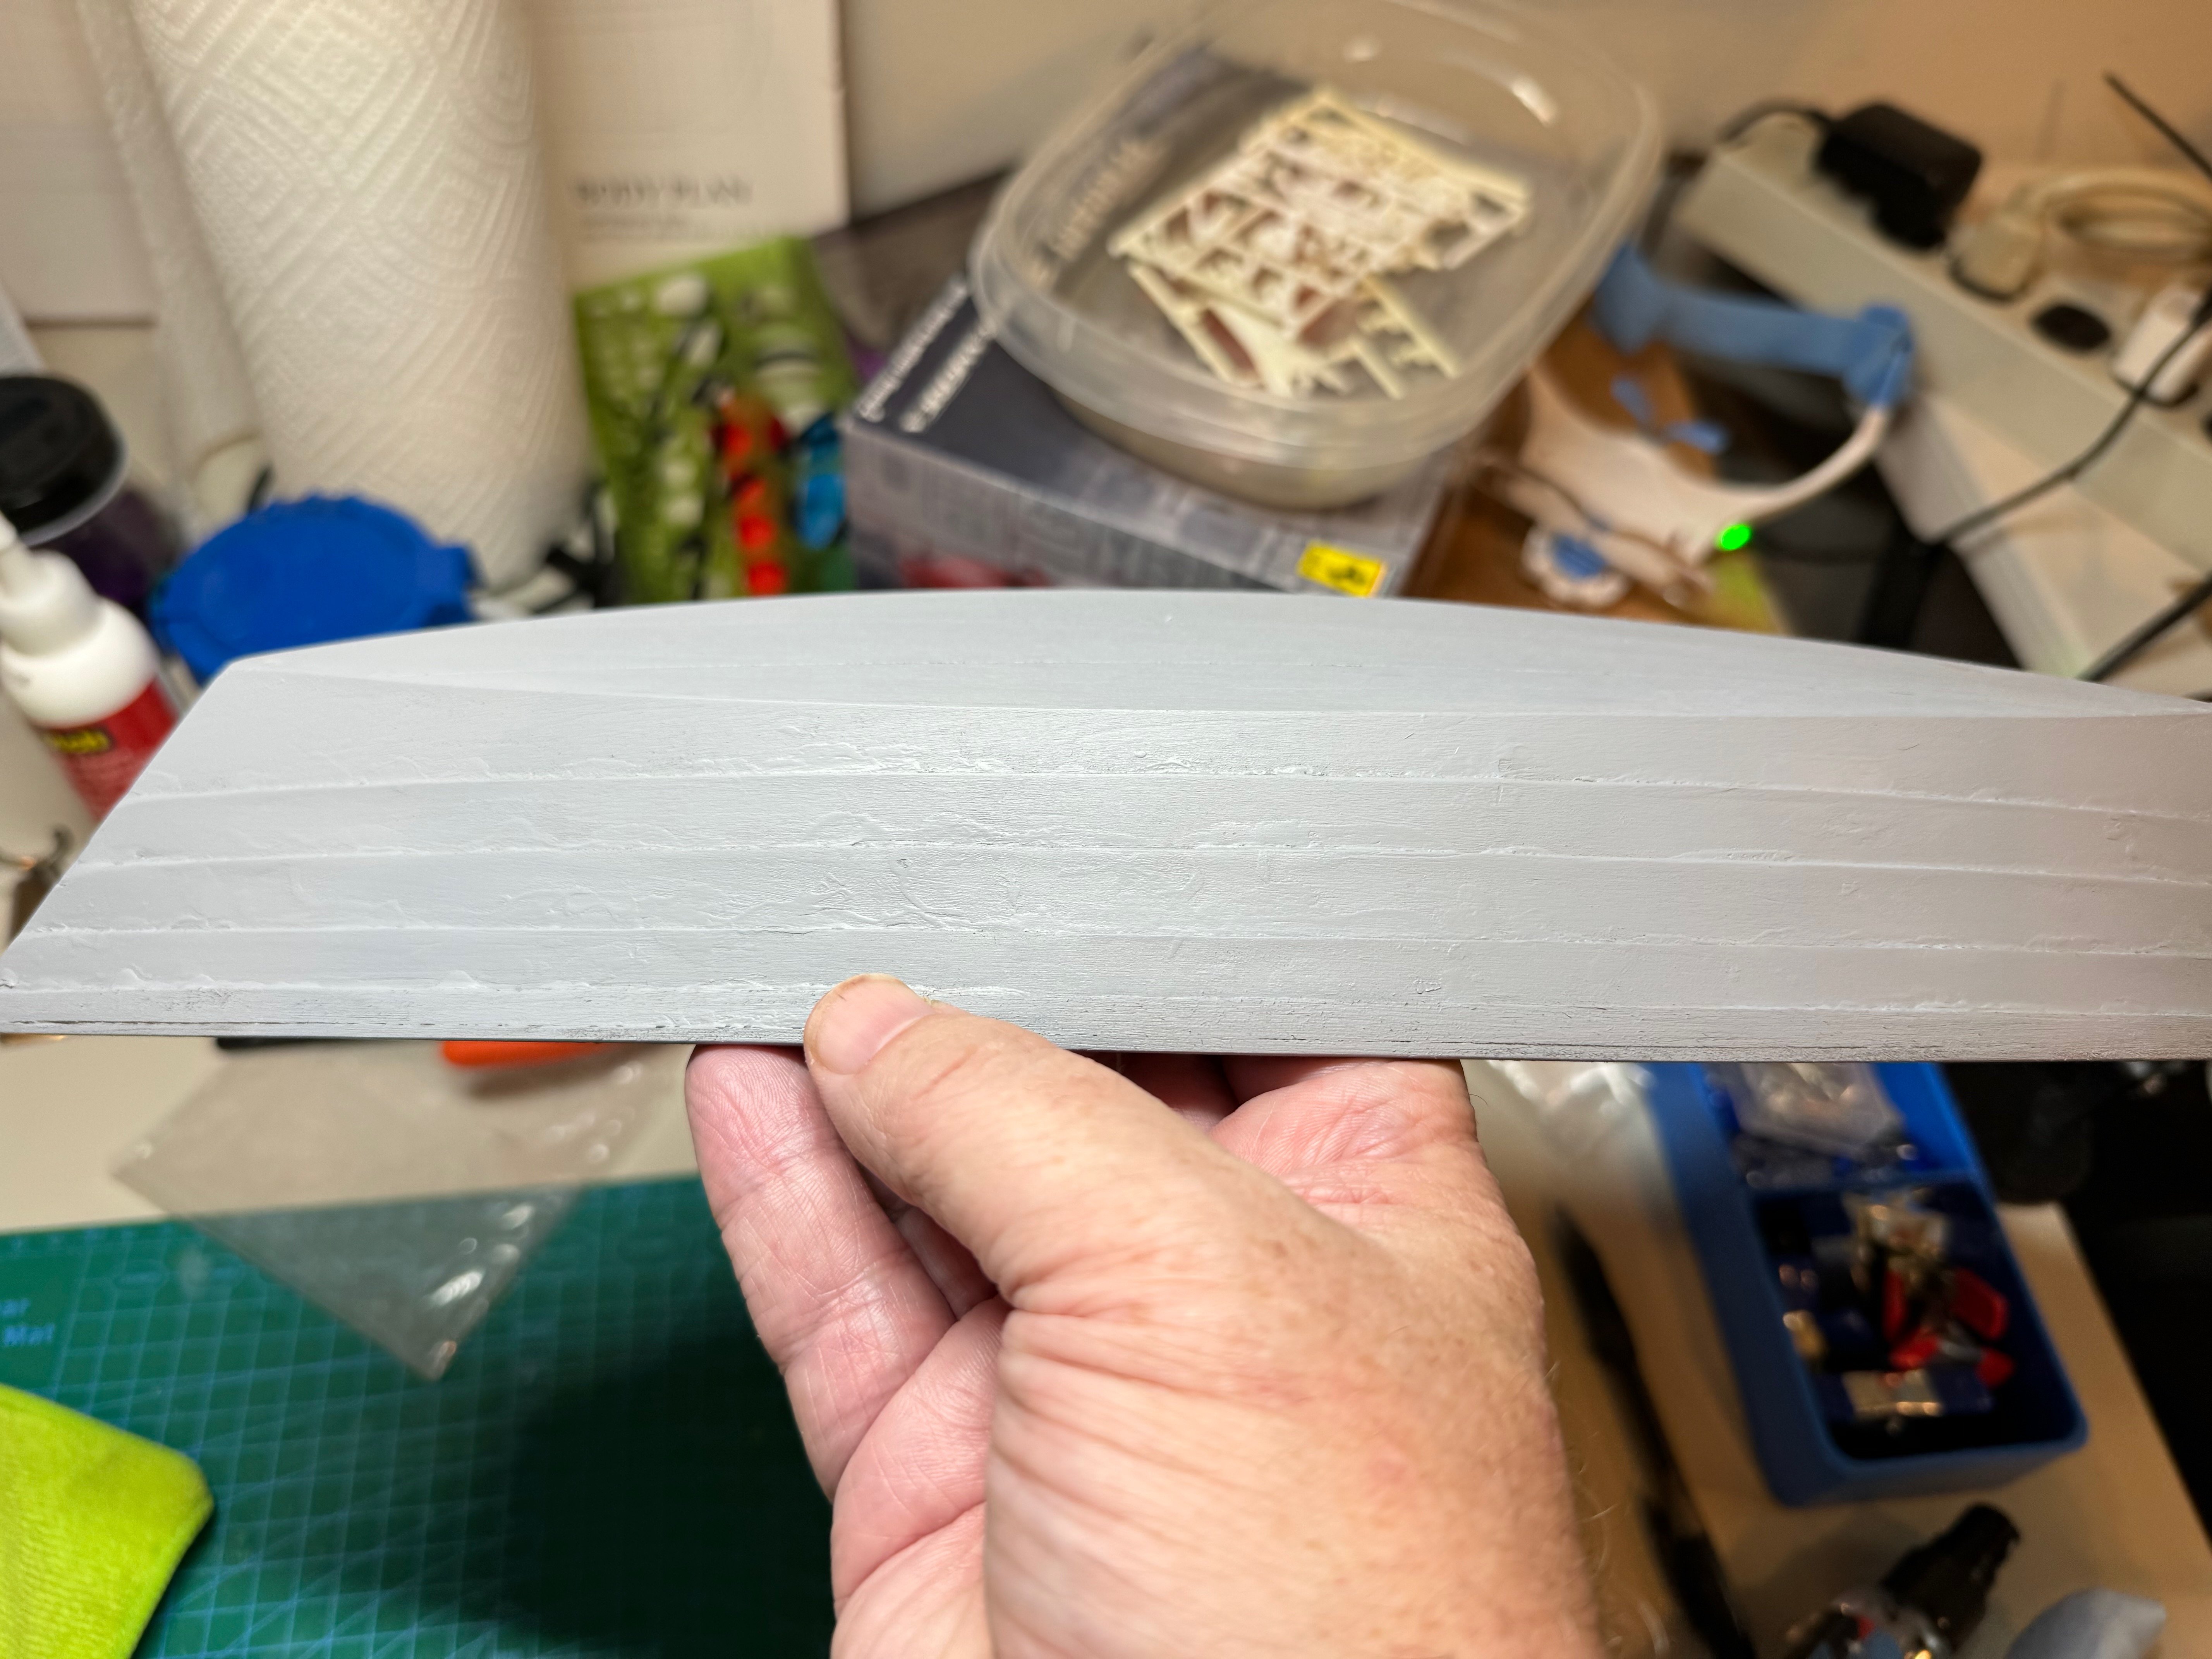
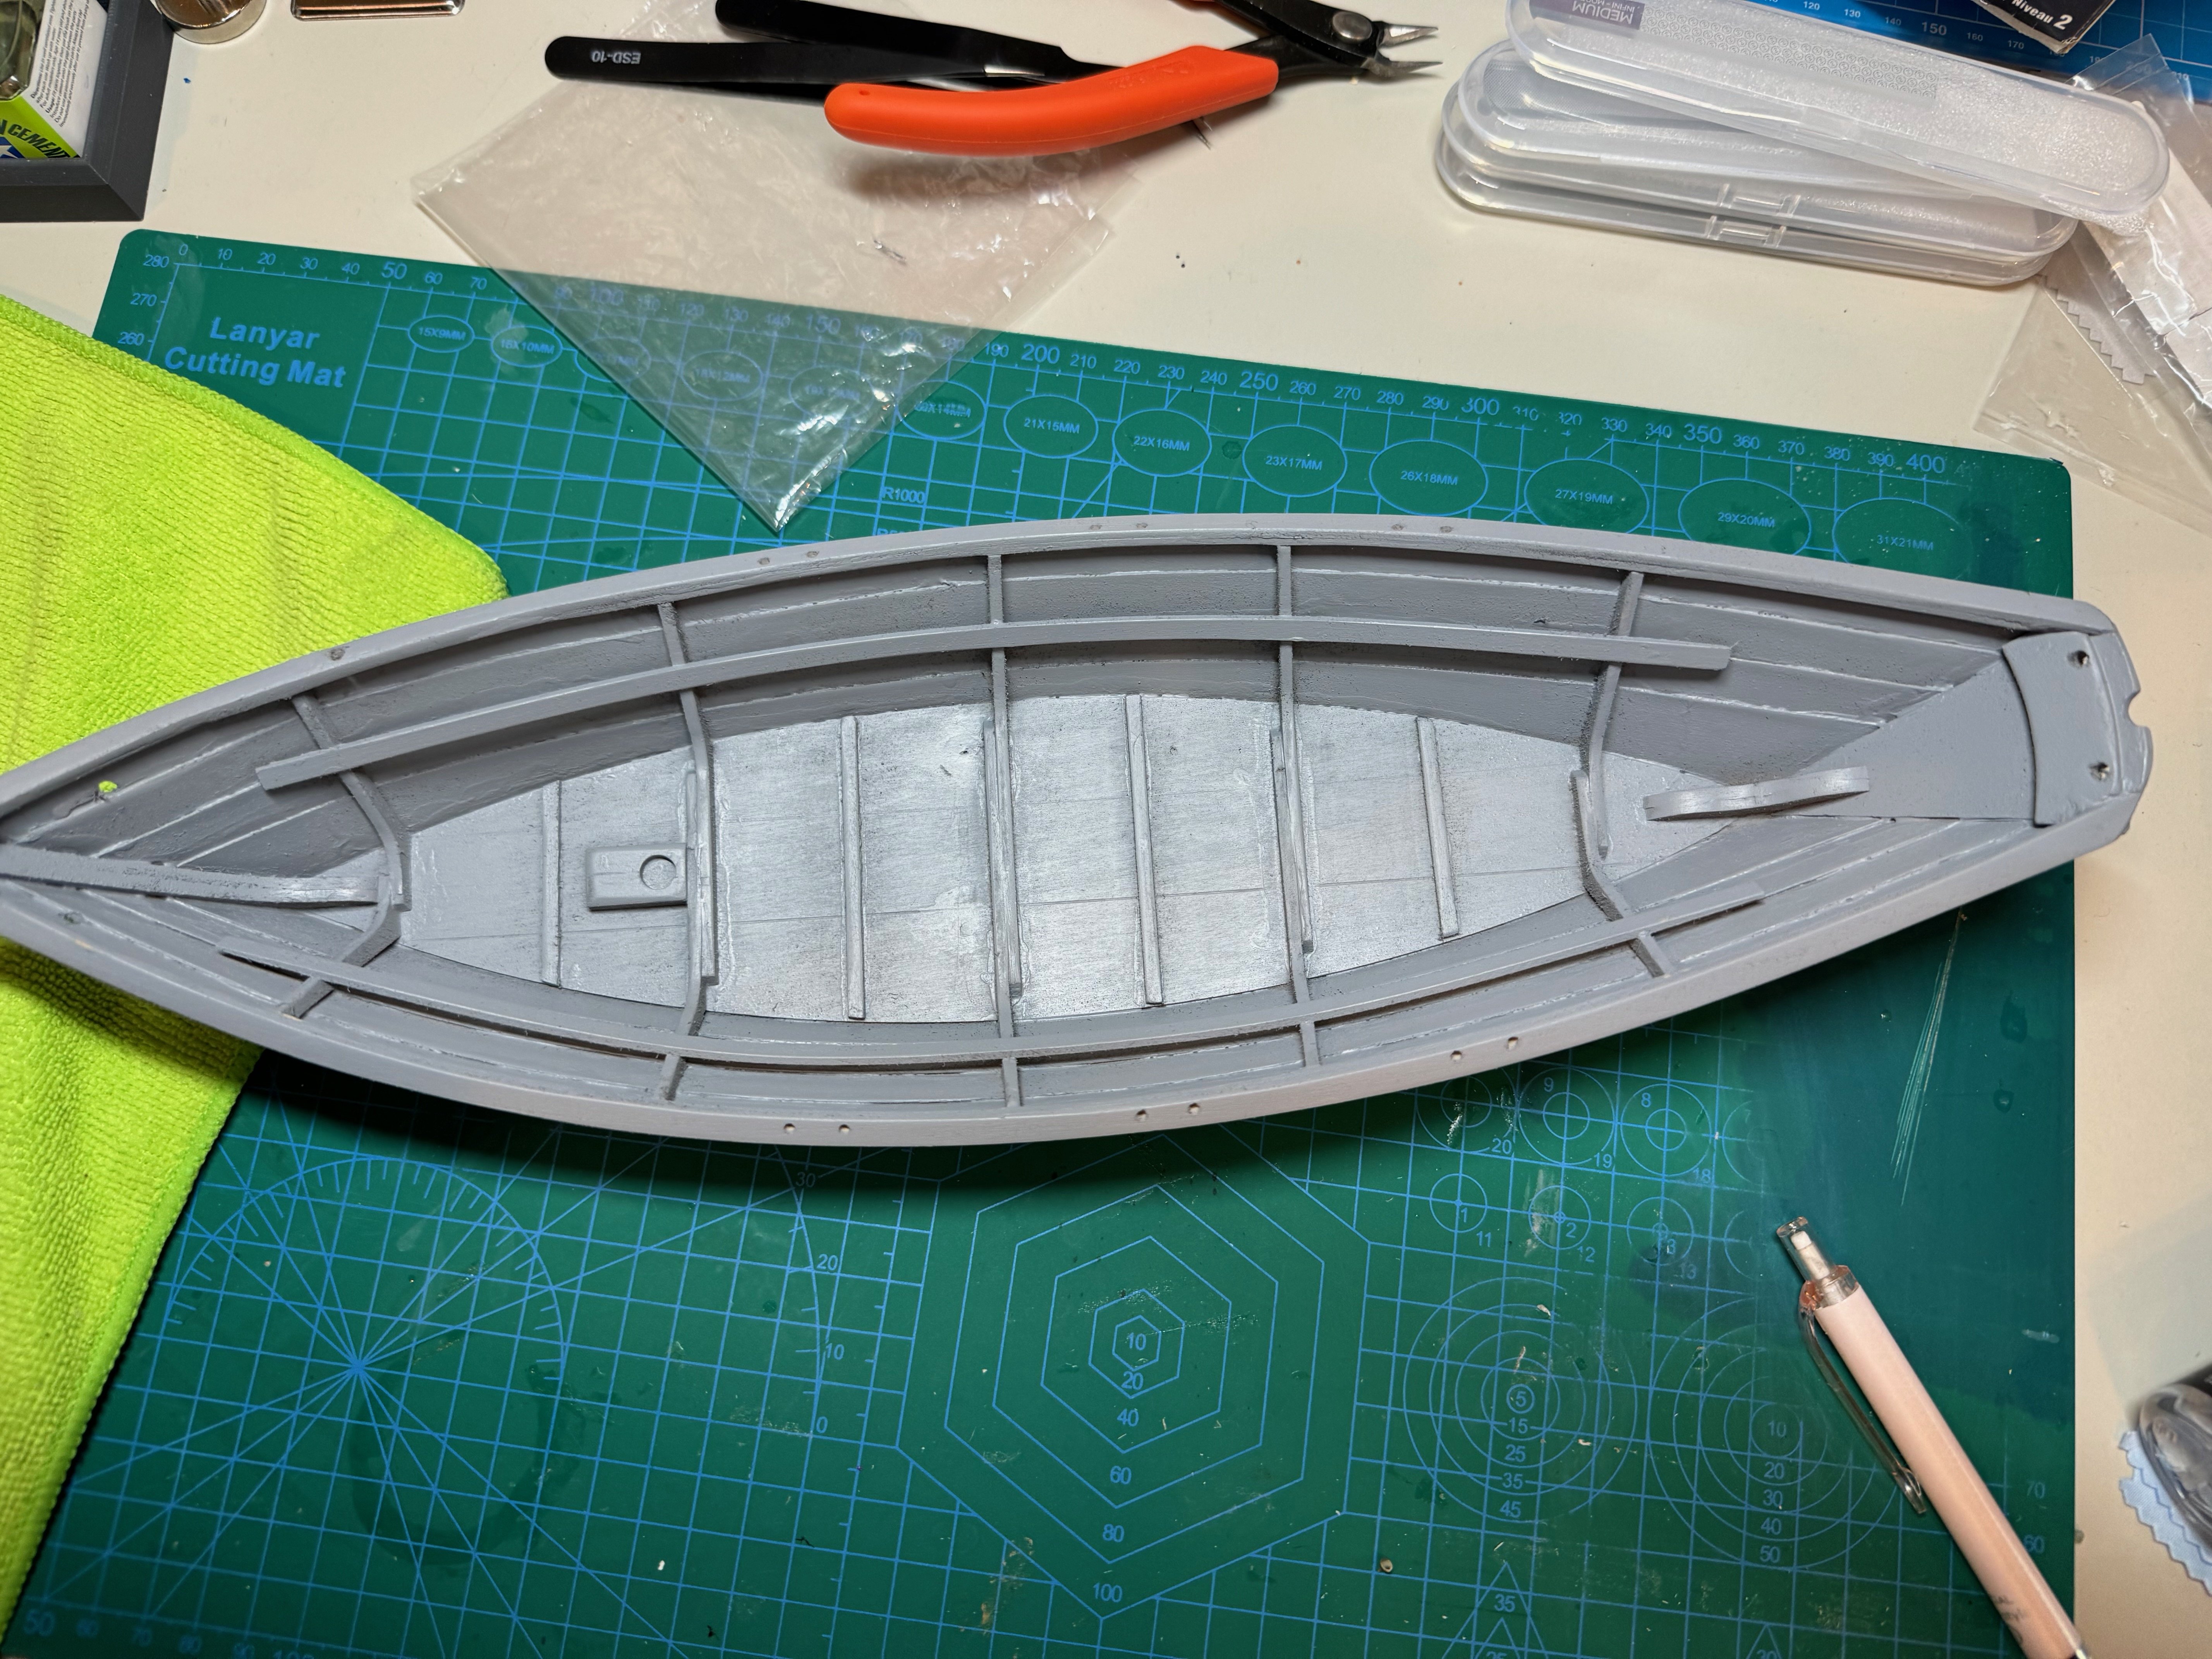
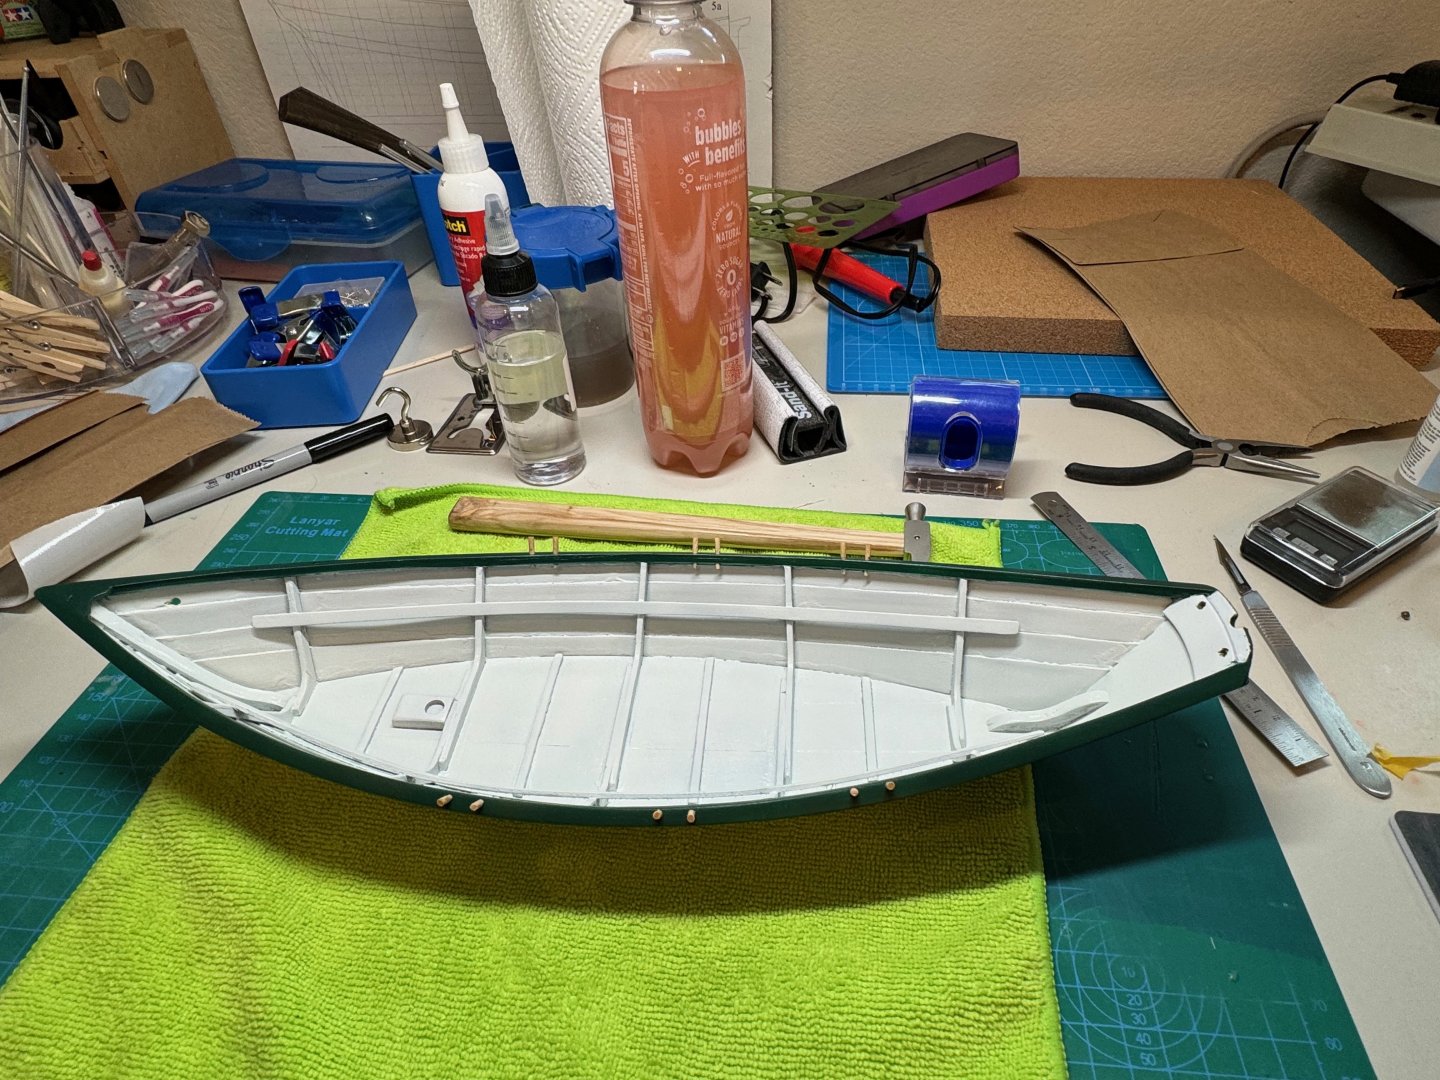
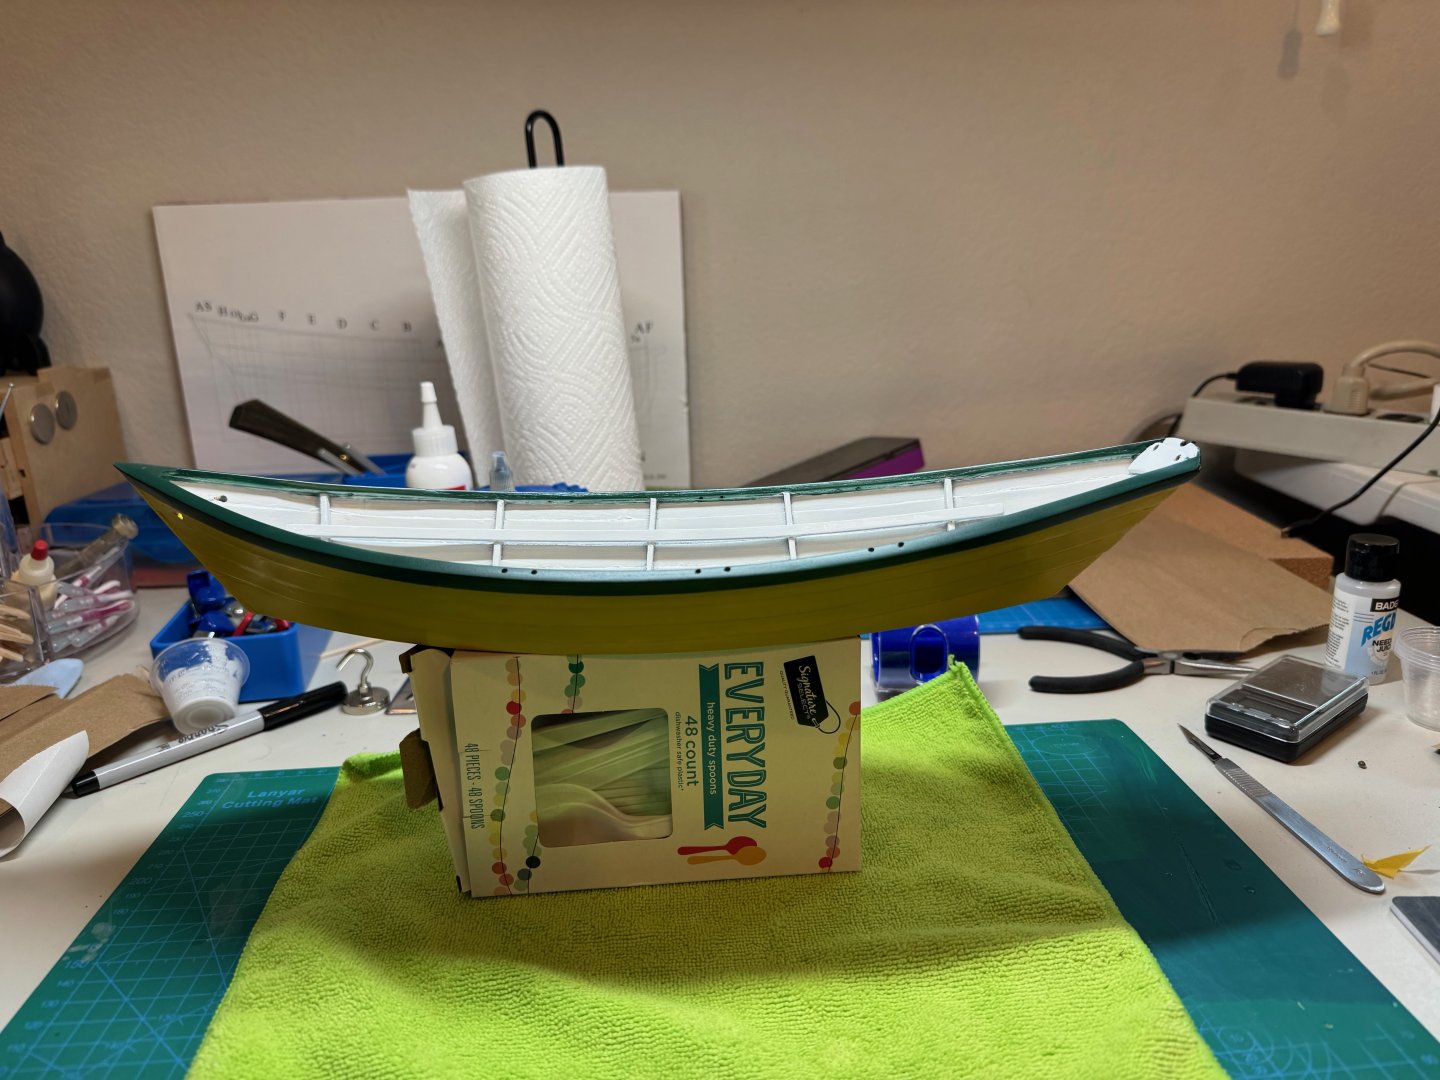
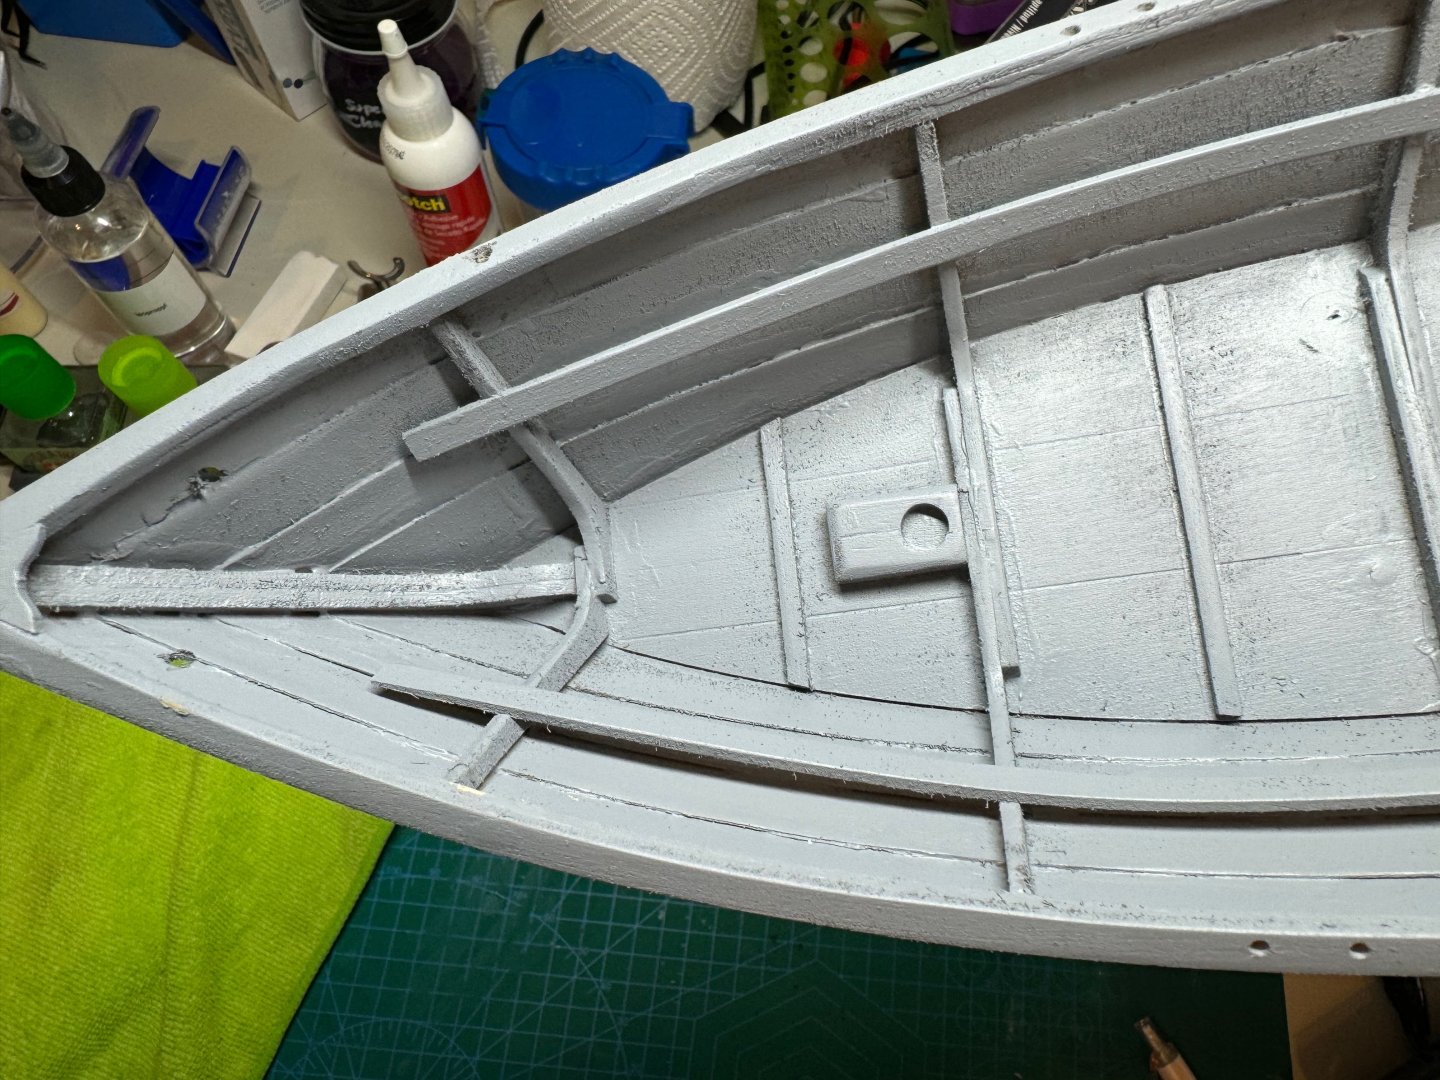
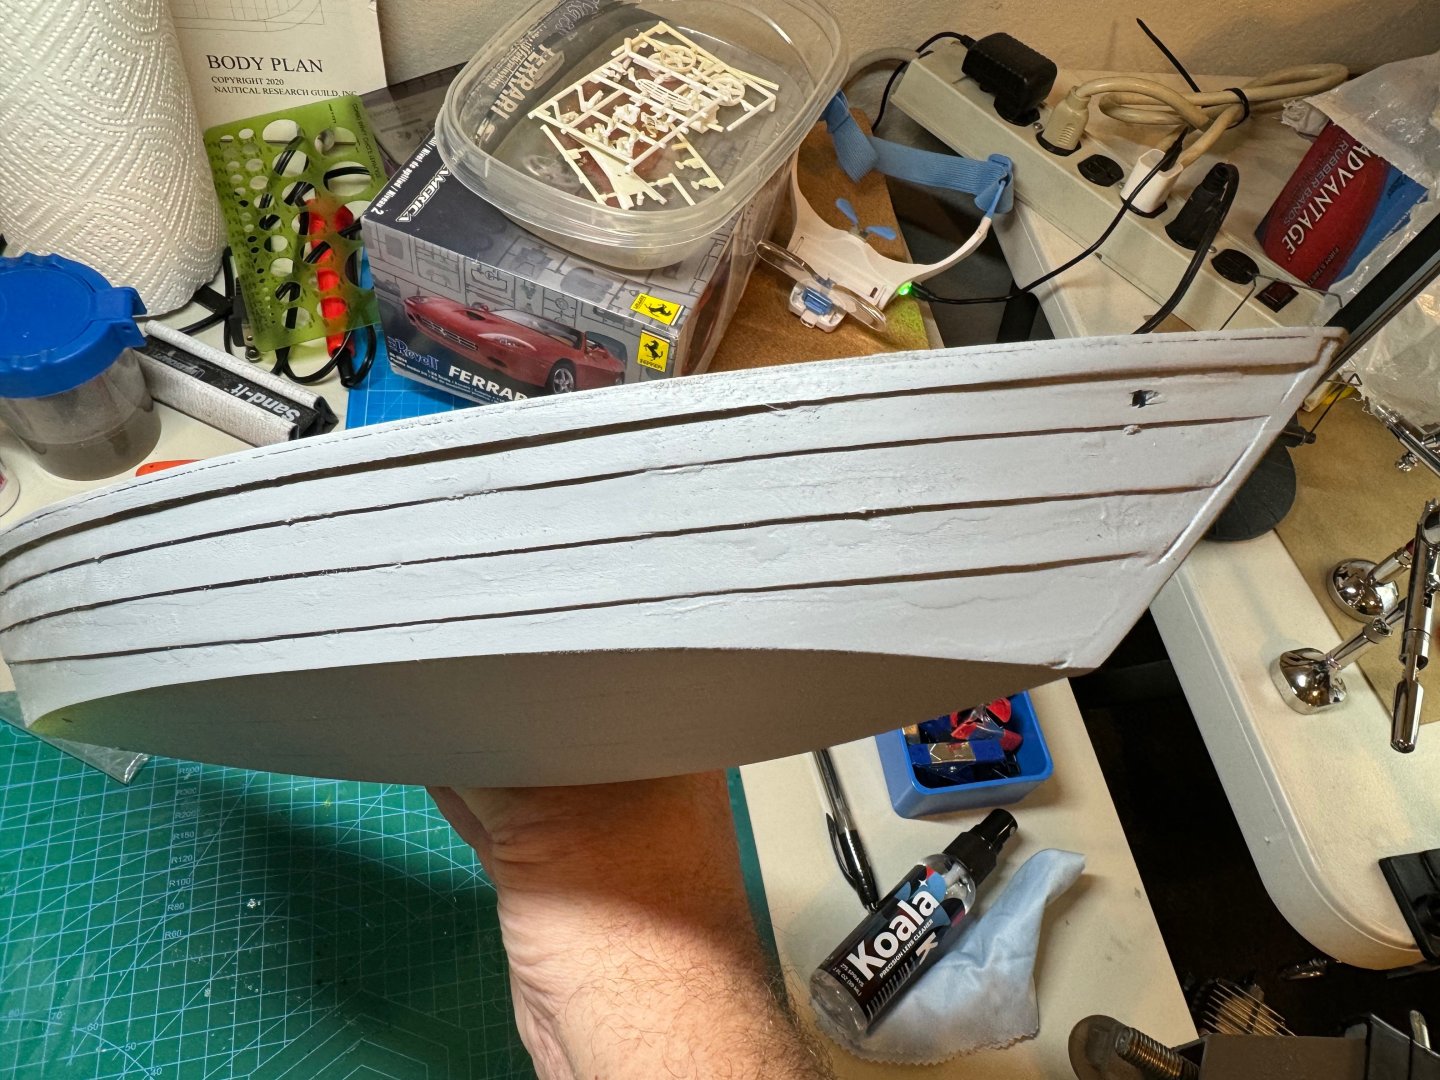
Good evening, a minor update. I spent the last two nights sanding and priming. For the sanding, I used 240, 320, 400, 1000. Over all three coats of sanding and primer; the Dory is looking much better. Considering my skill level (novice at best) I think I have a good foundation for painting this weekend. I ended up using surfacer 1200 for the final coats of primer. You can see some glue lines in the interior I could not get rid of. Lesson to be learned here is that be more diligent with removing glue overage. Tomorrow I will wet sand with 5000 after the primer fully cures.


- 56 replies
-
- 5
-
-

-
- grand banks dory
- Midwest Products
- (and 2 more)
-
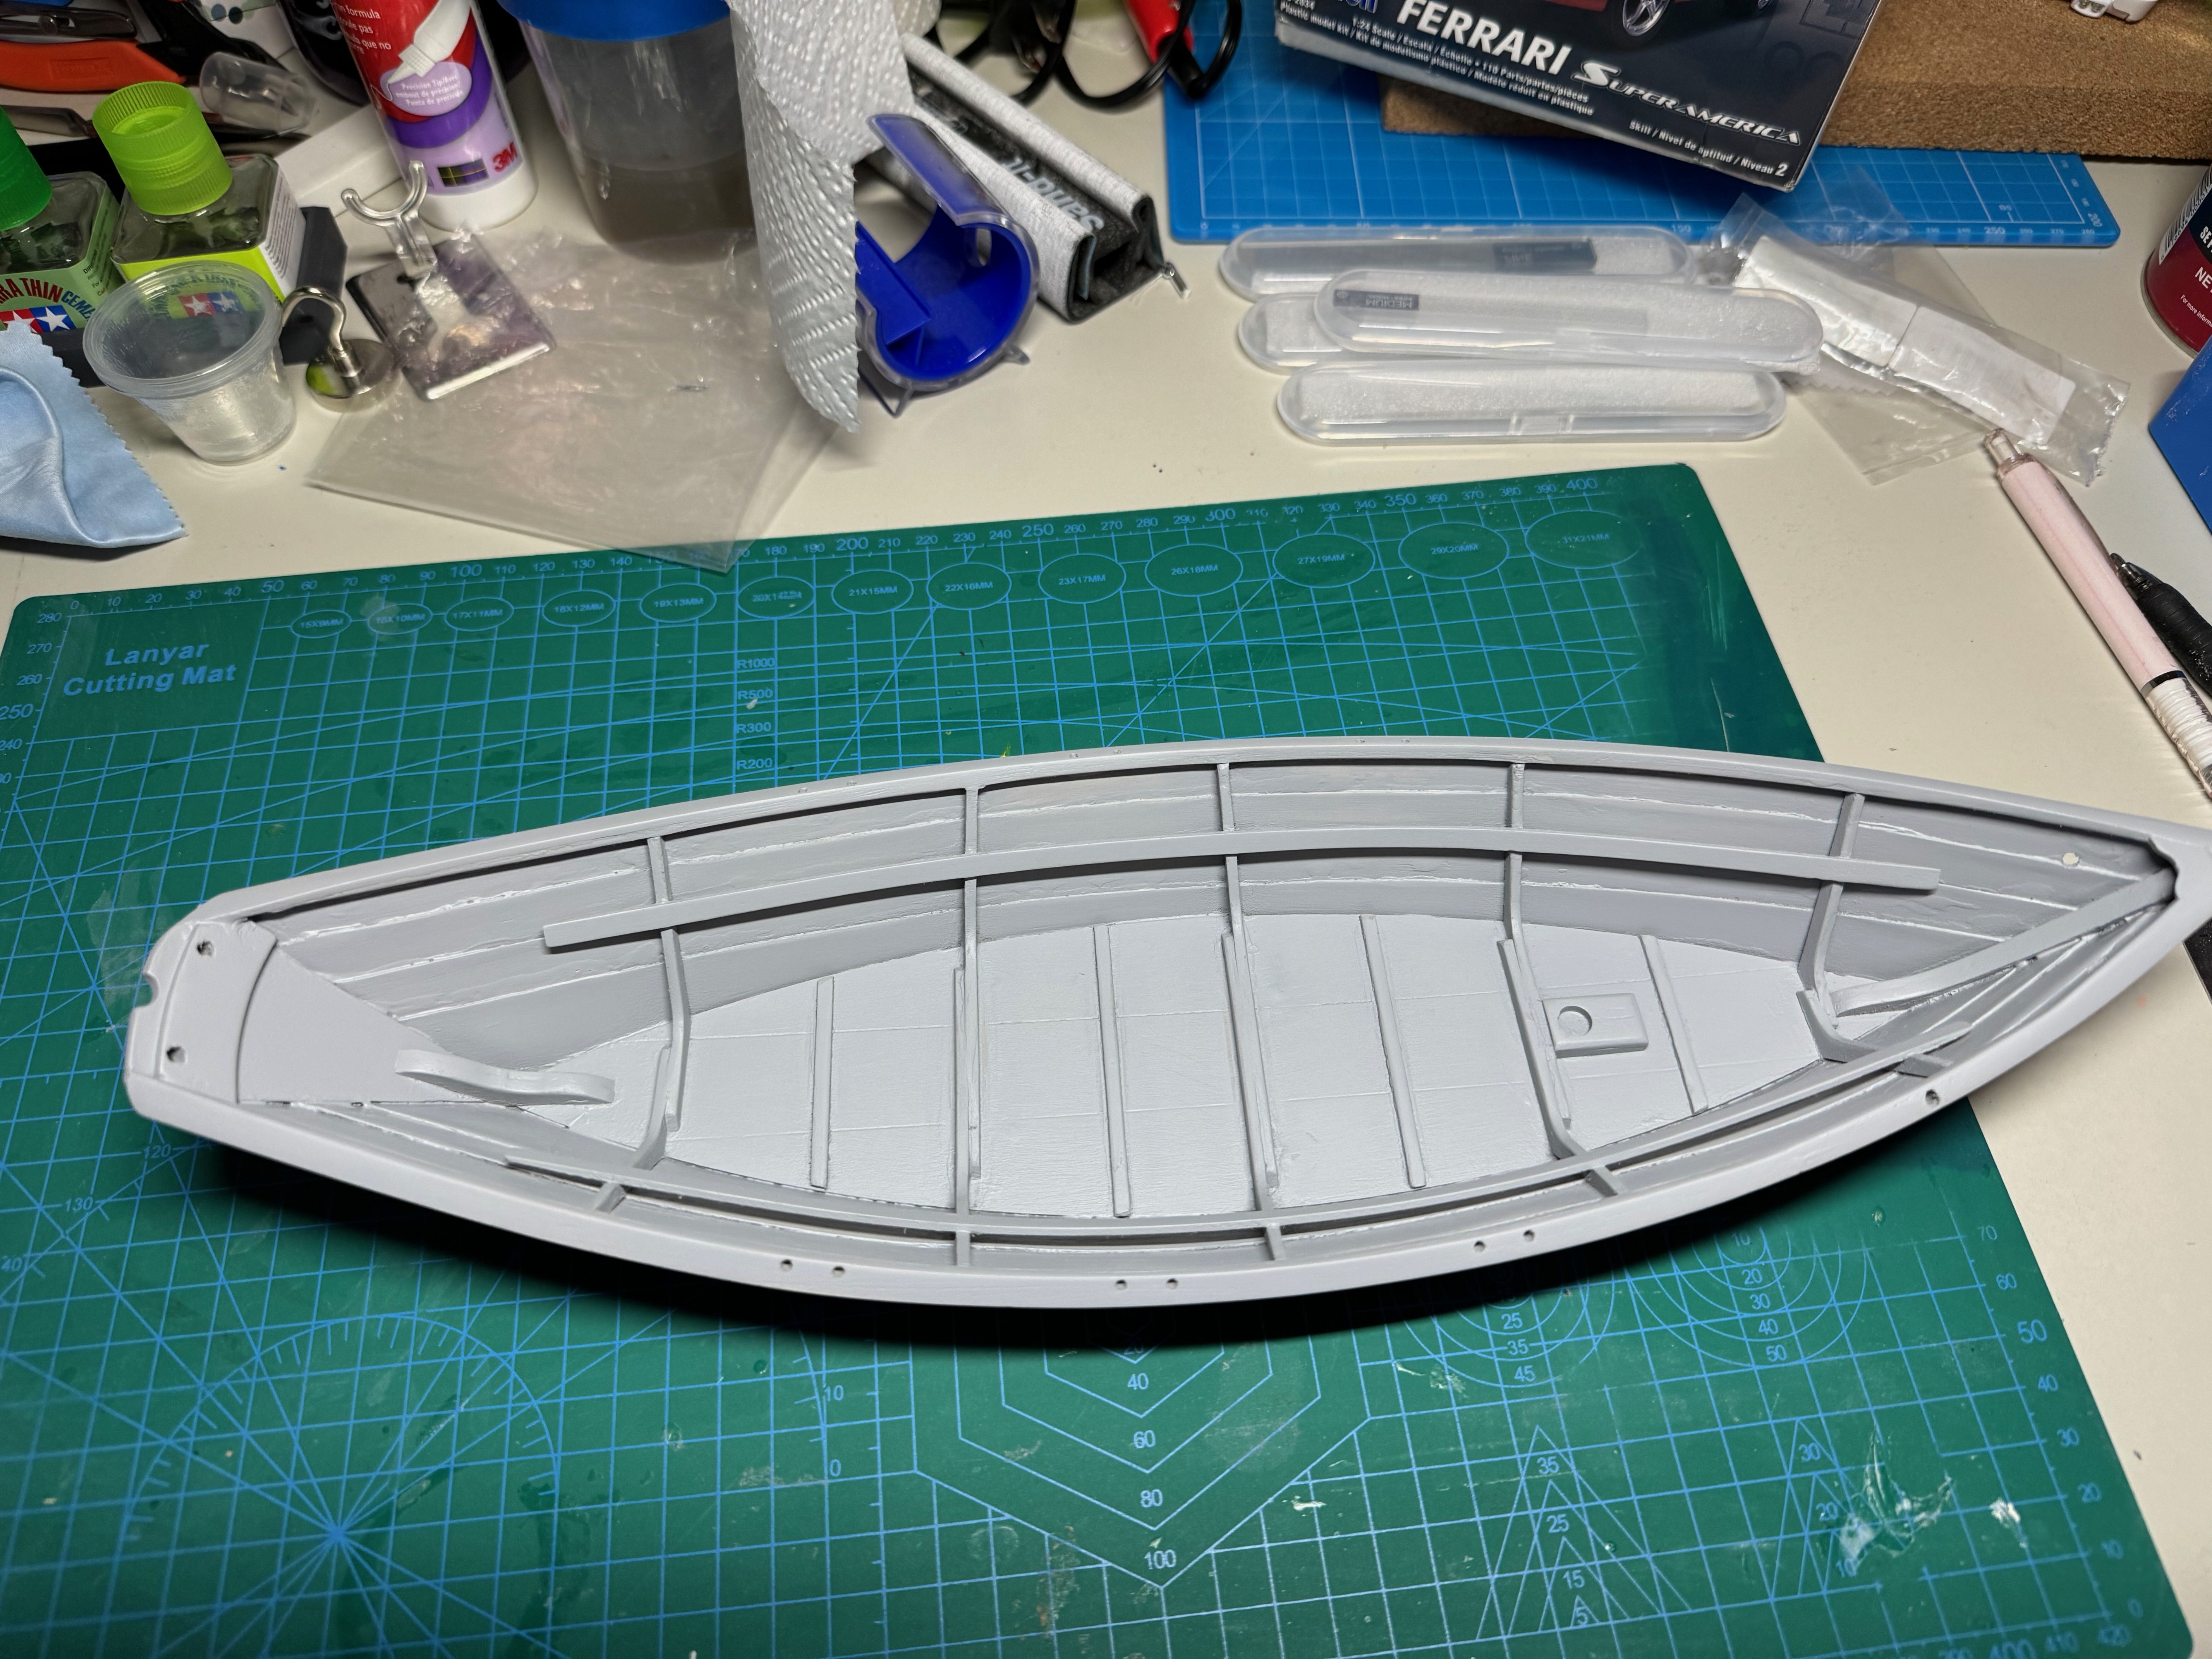
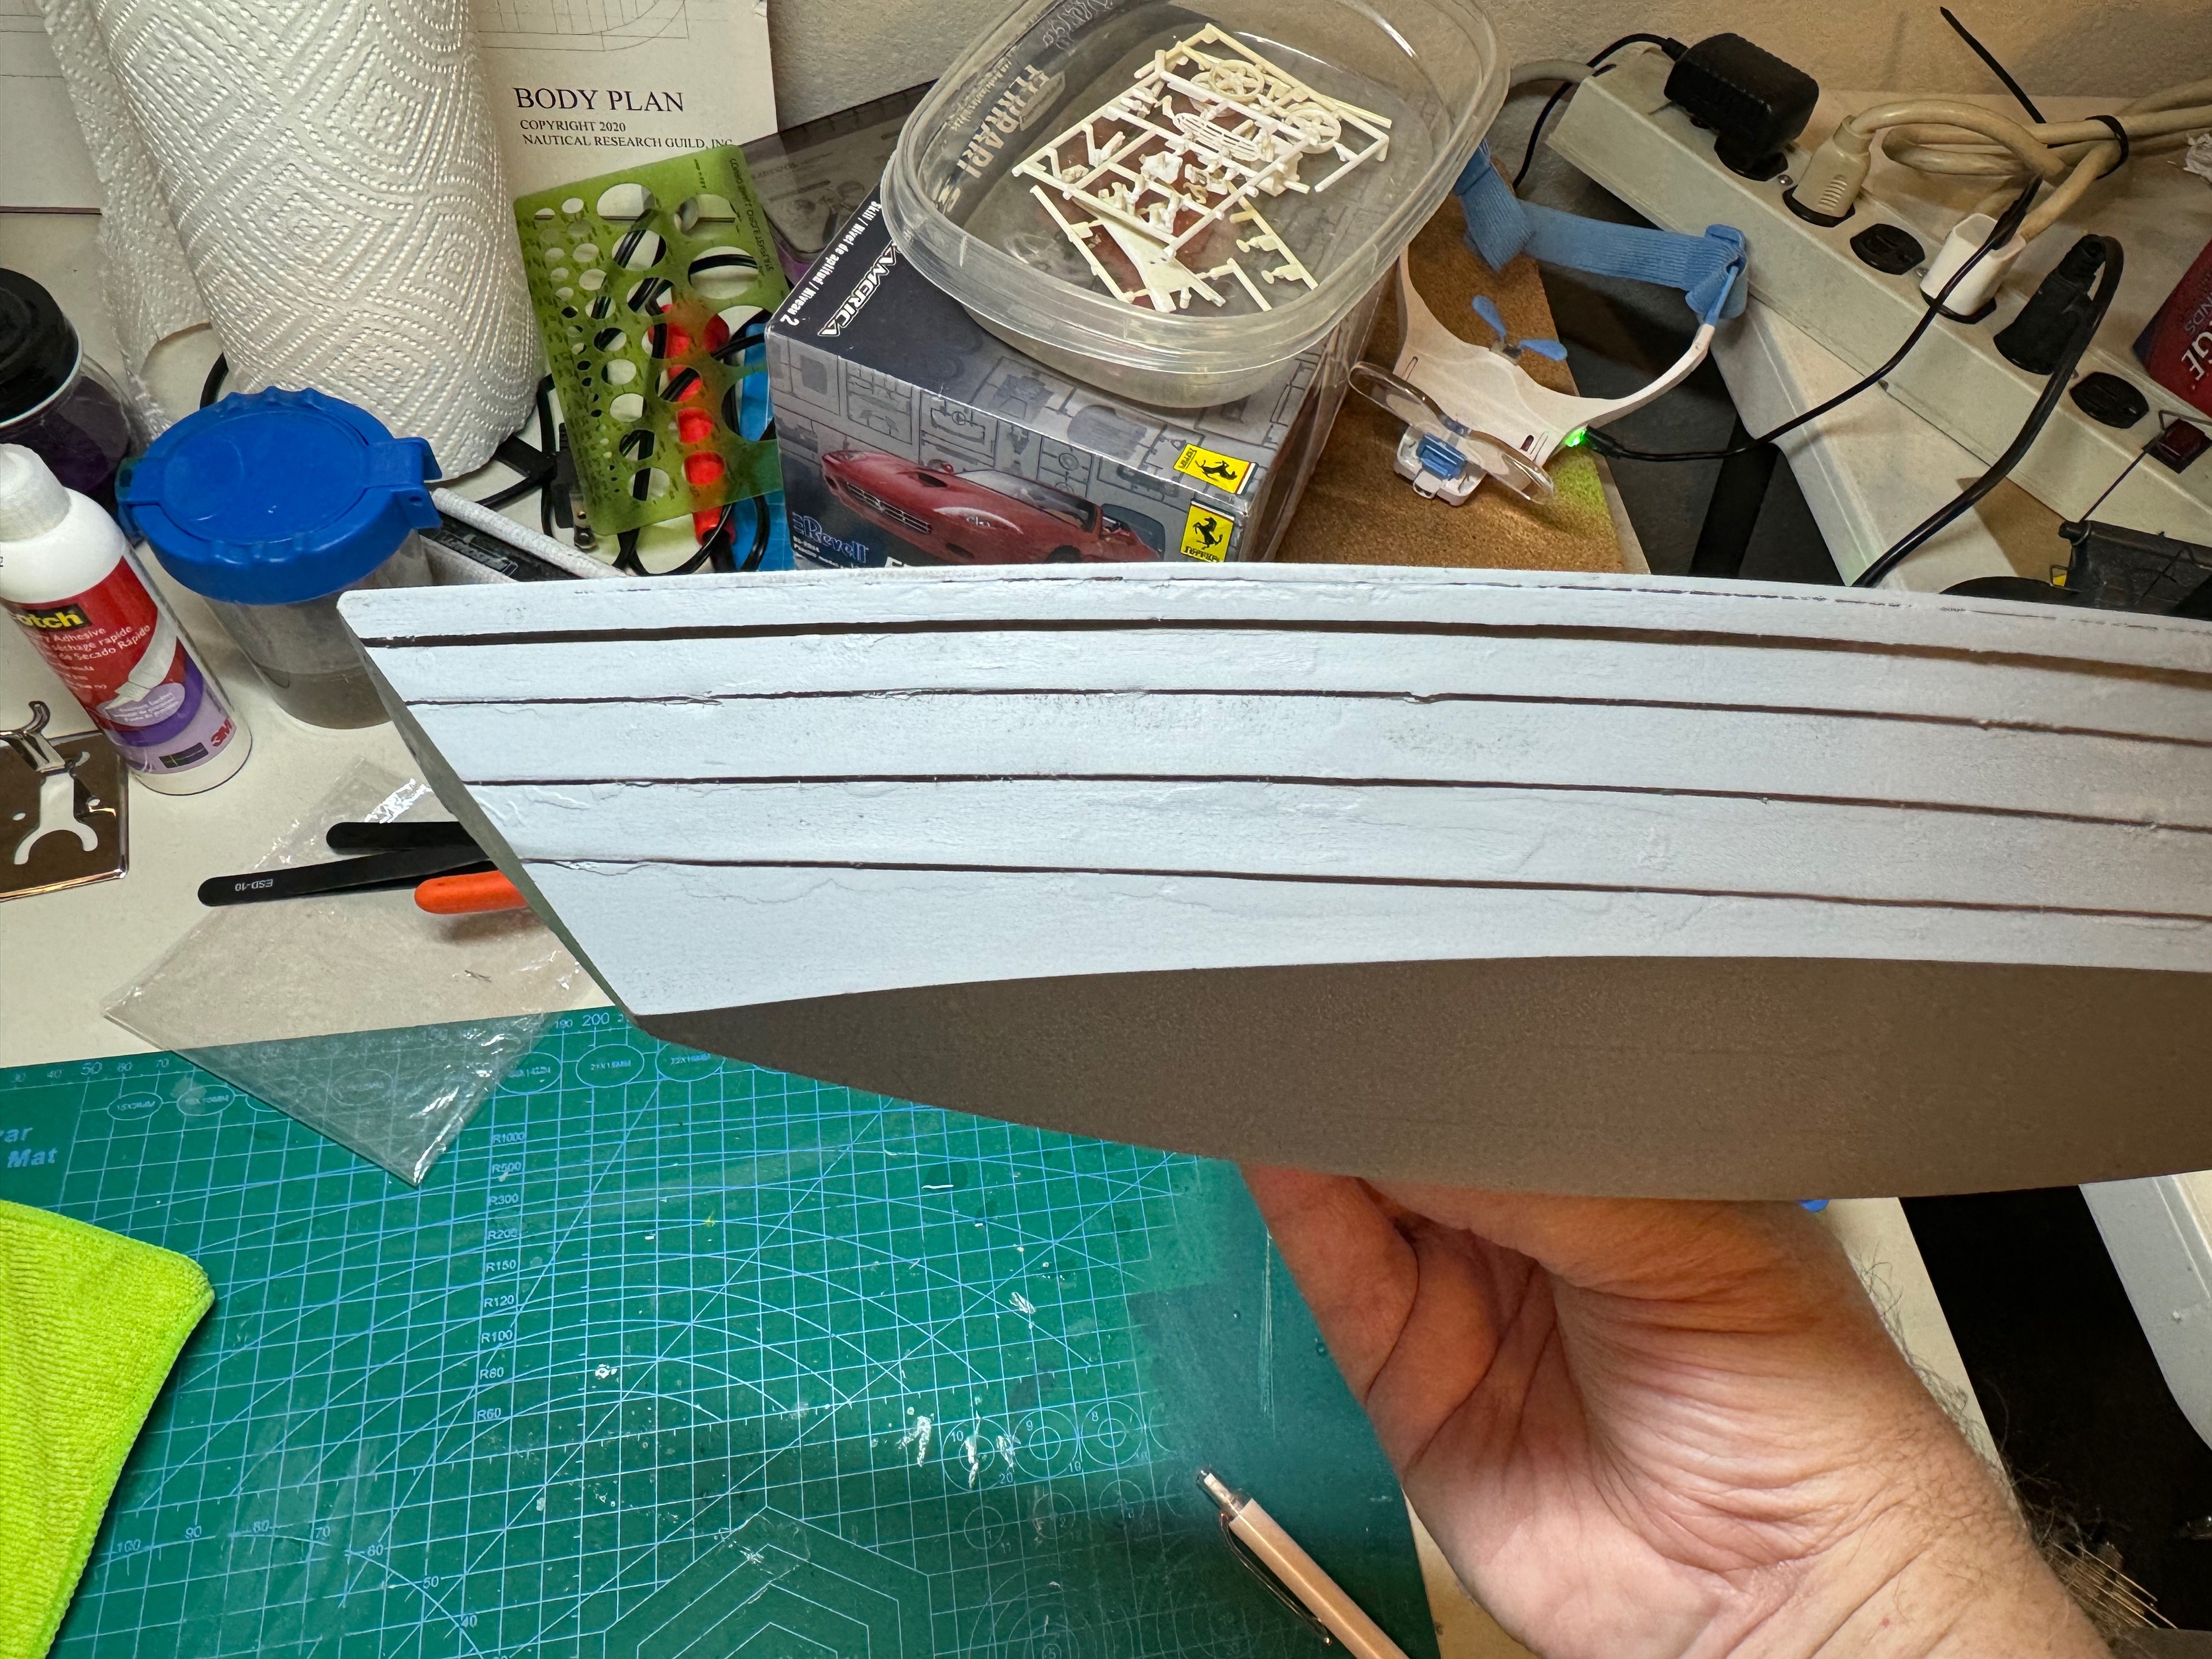
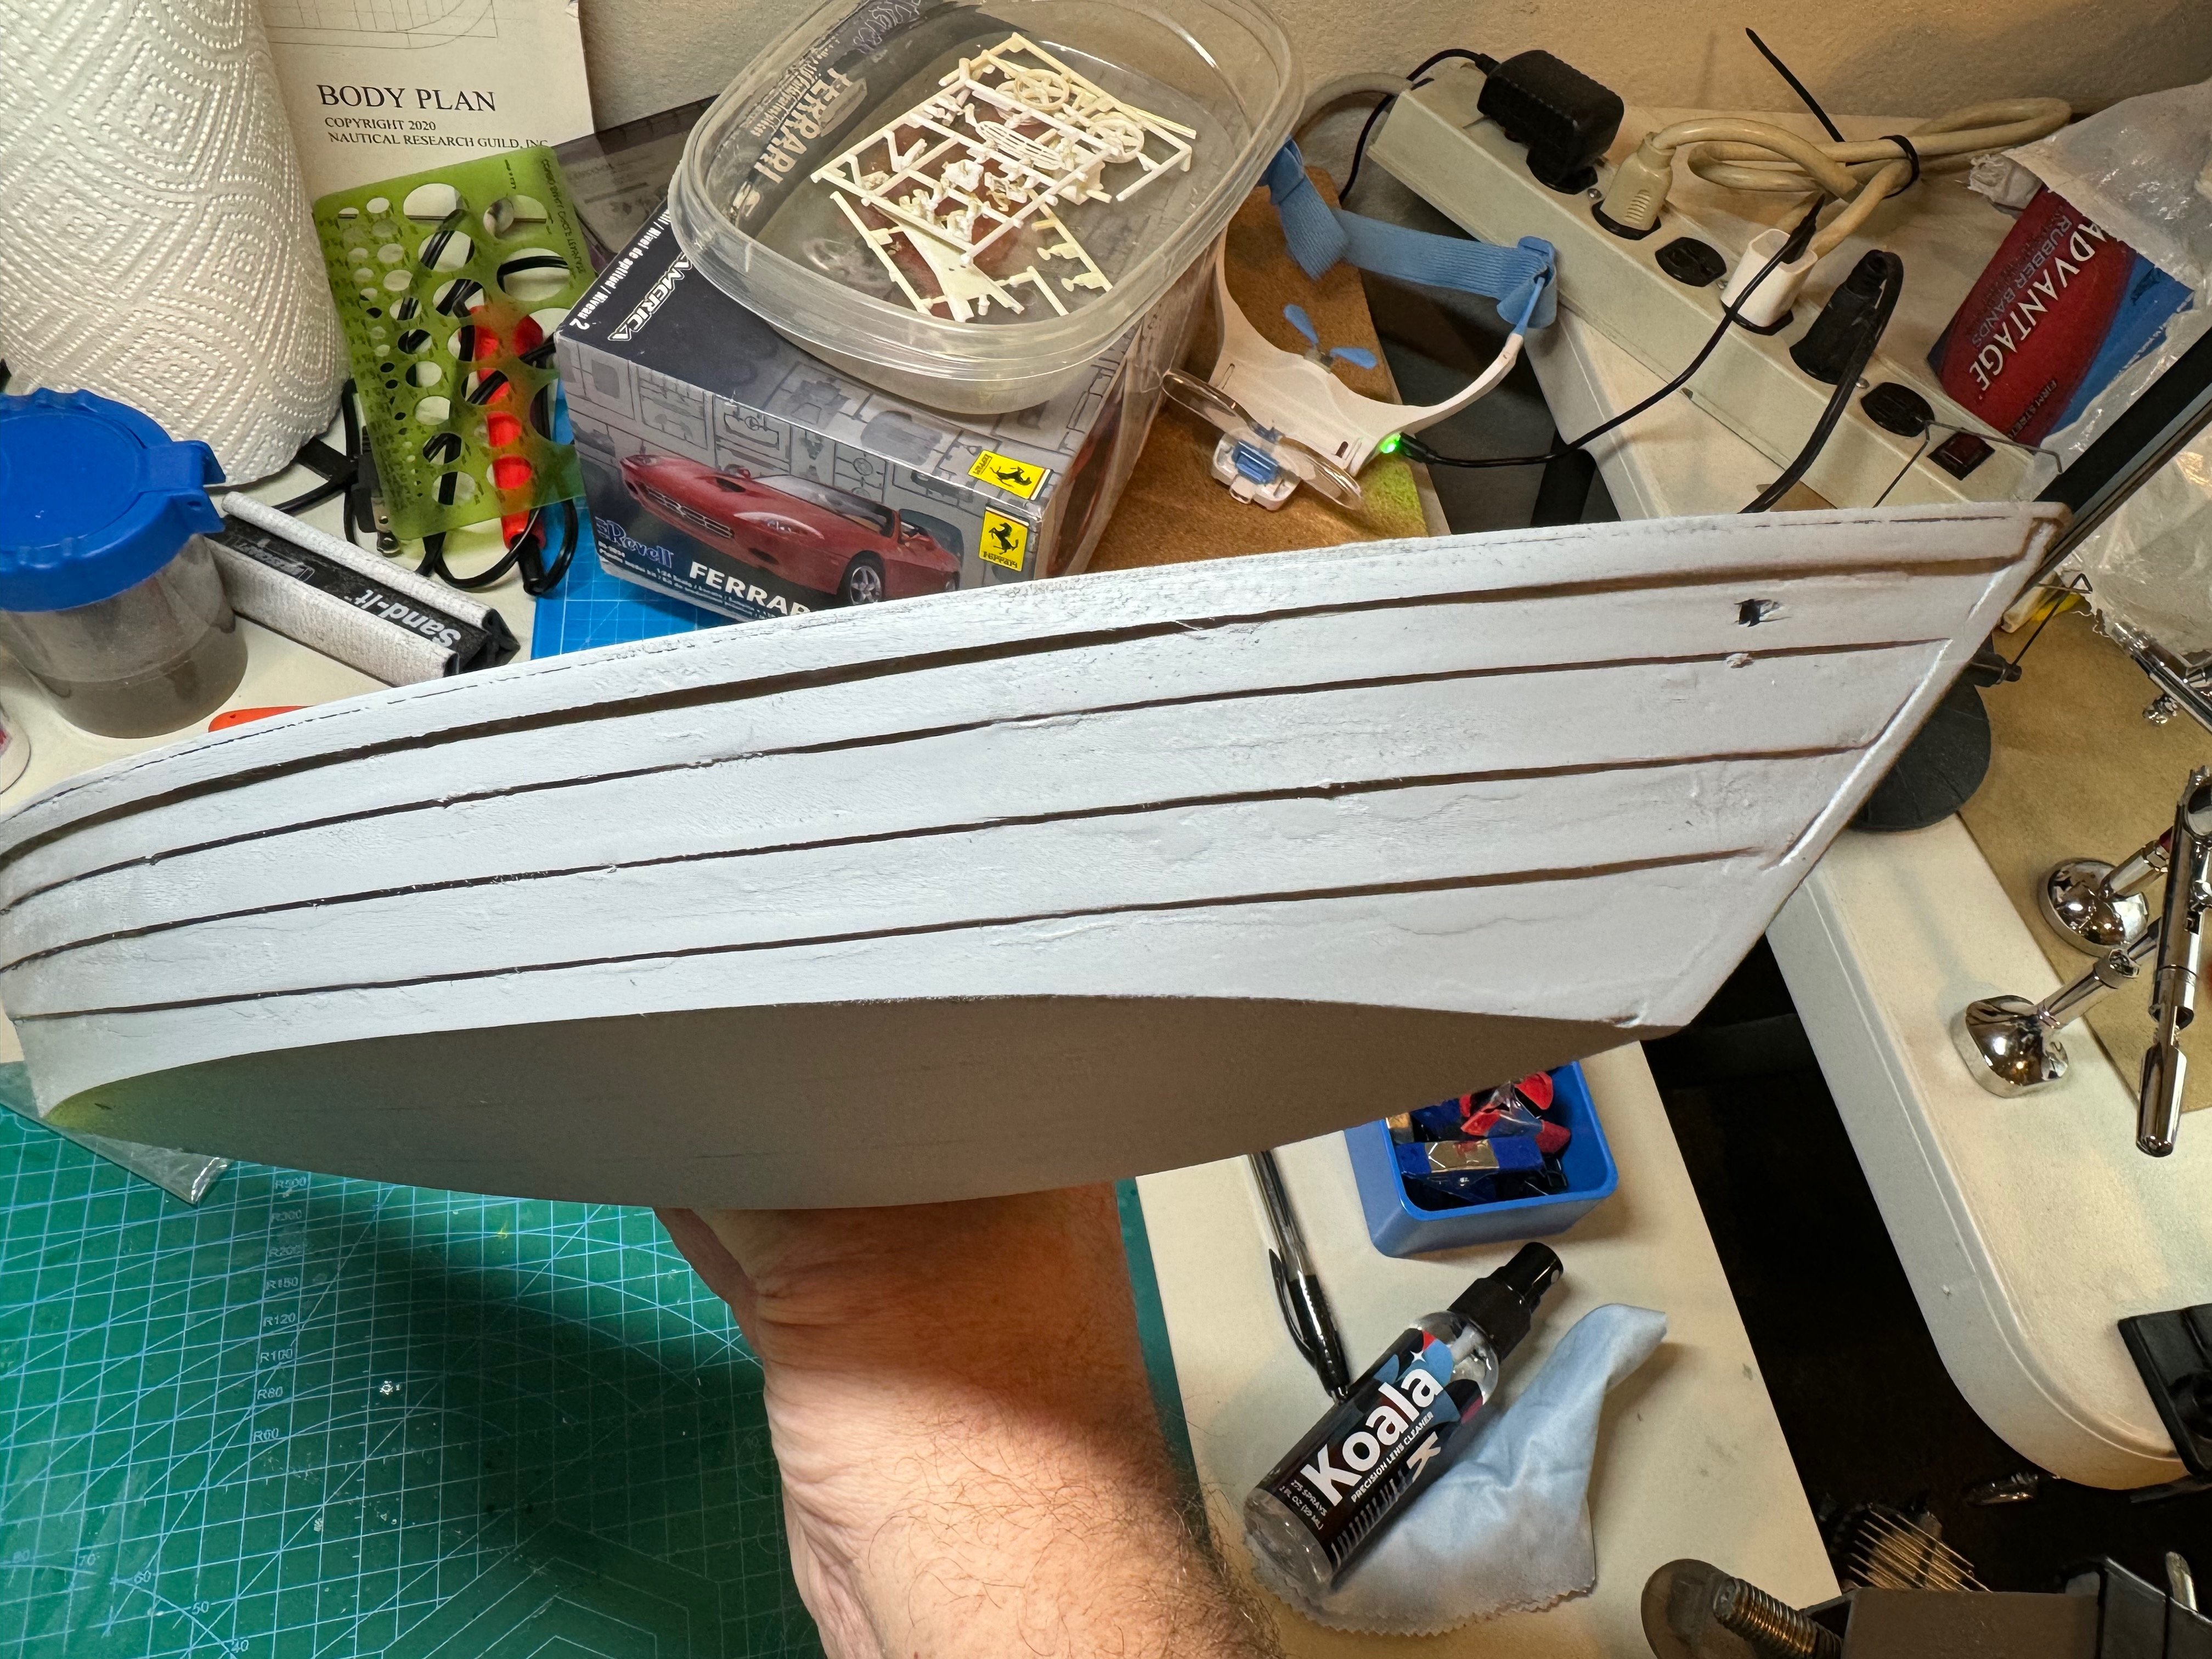
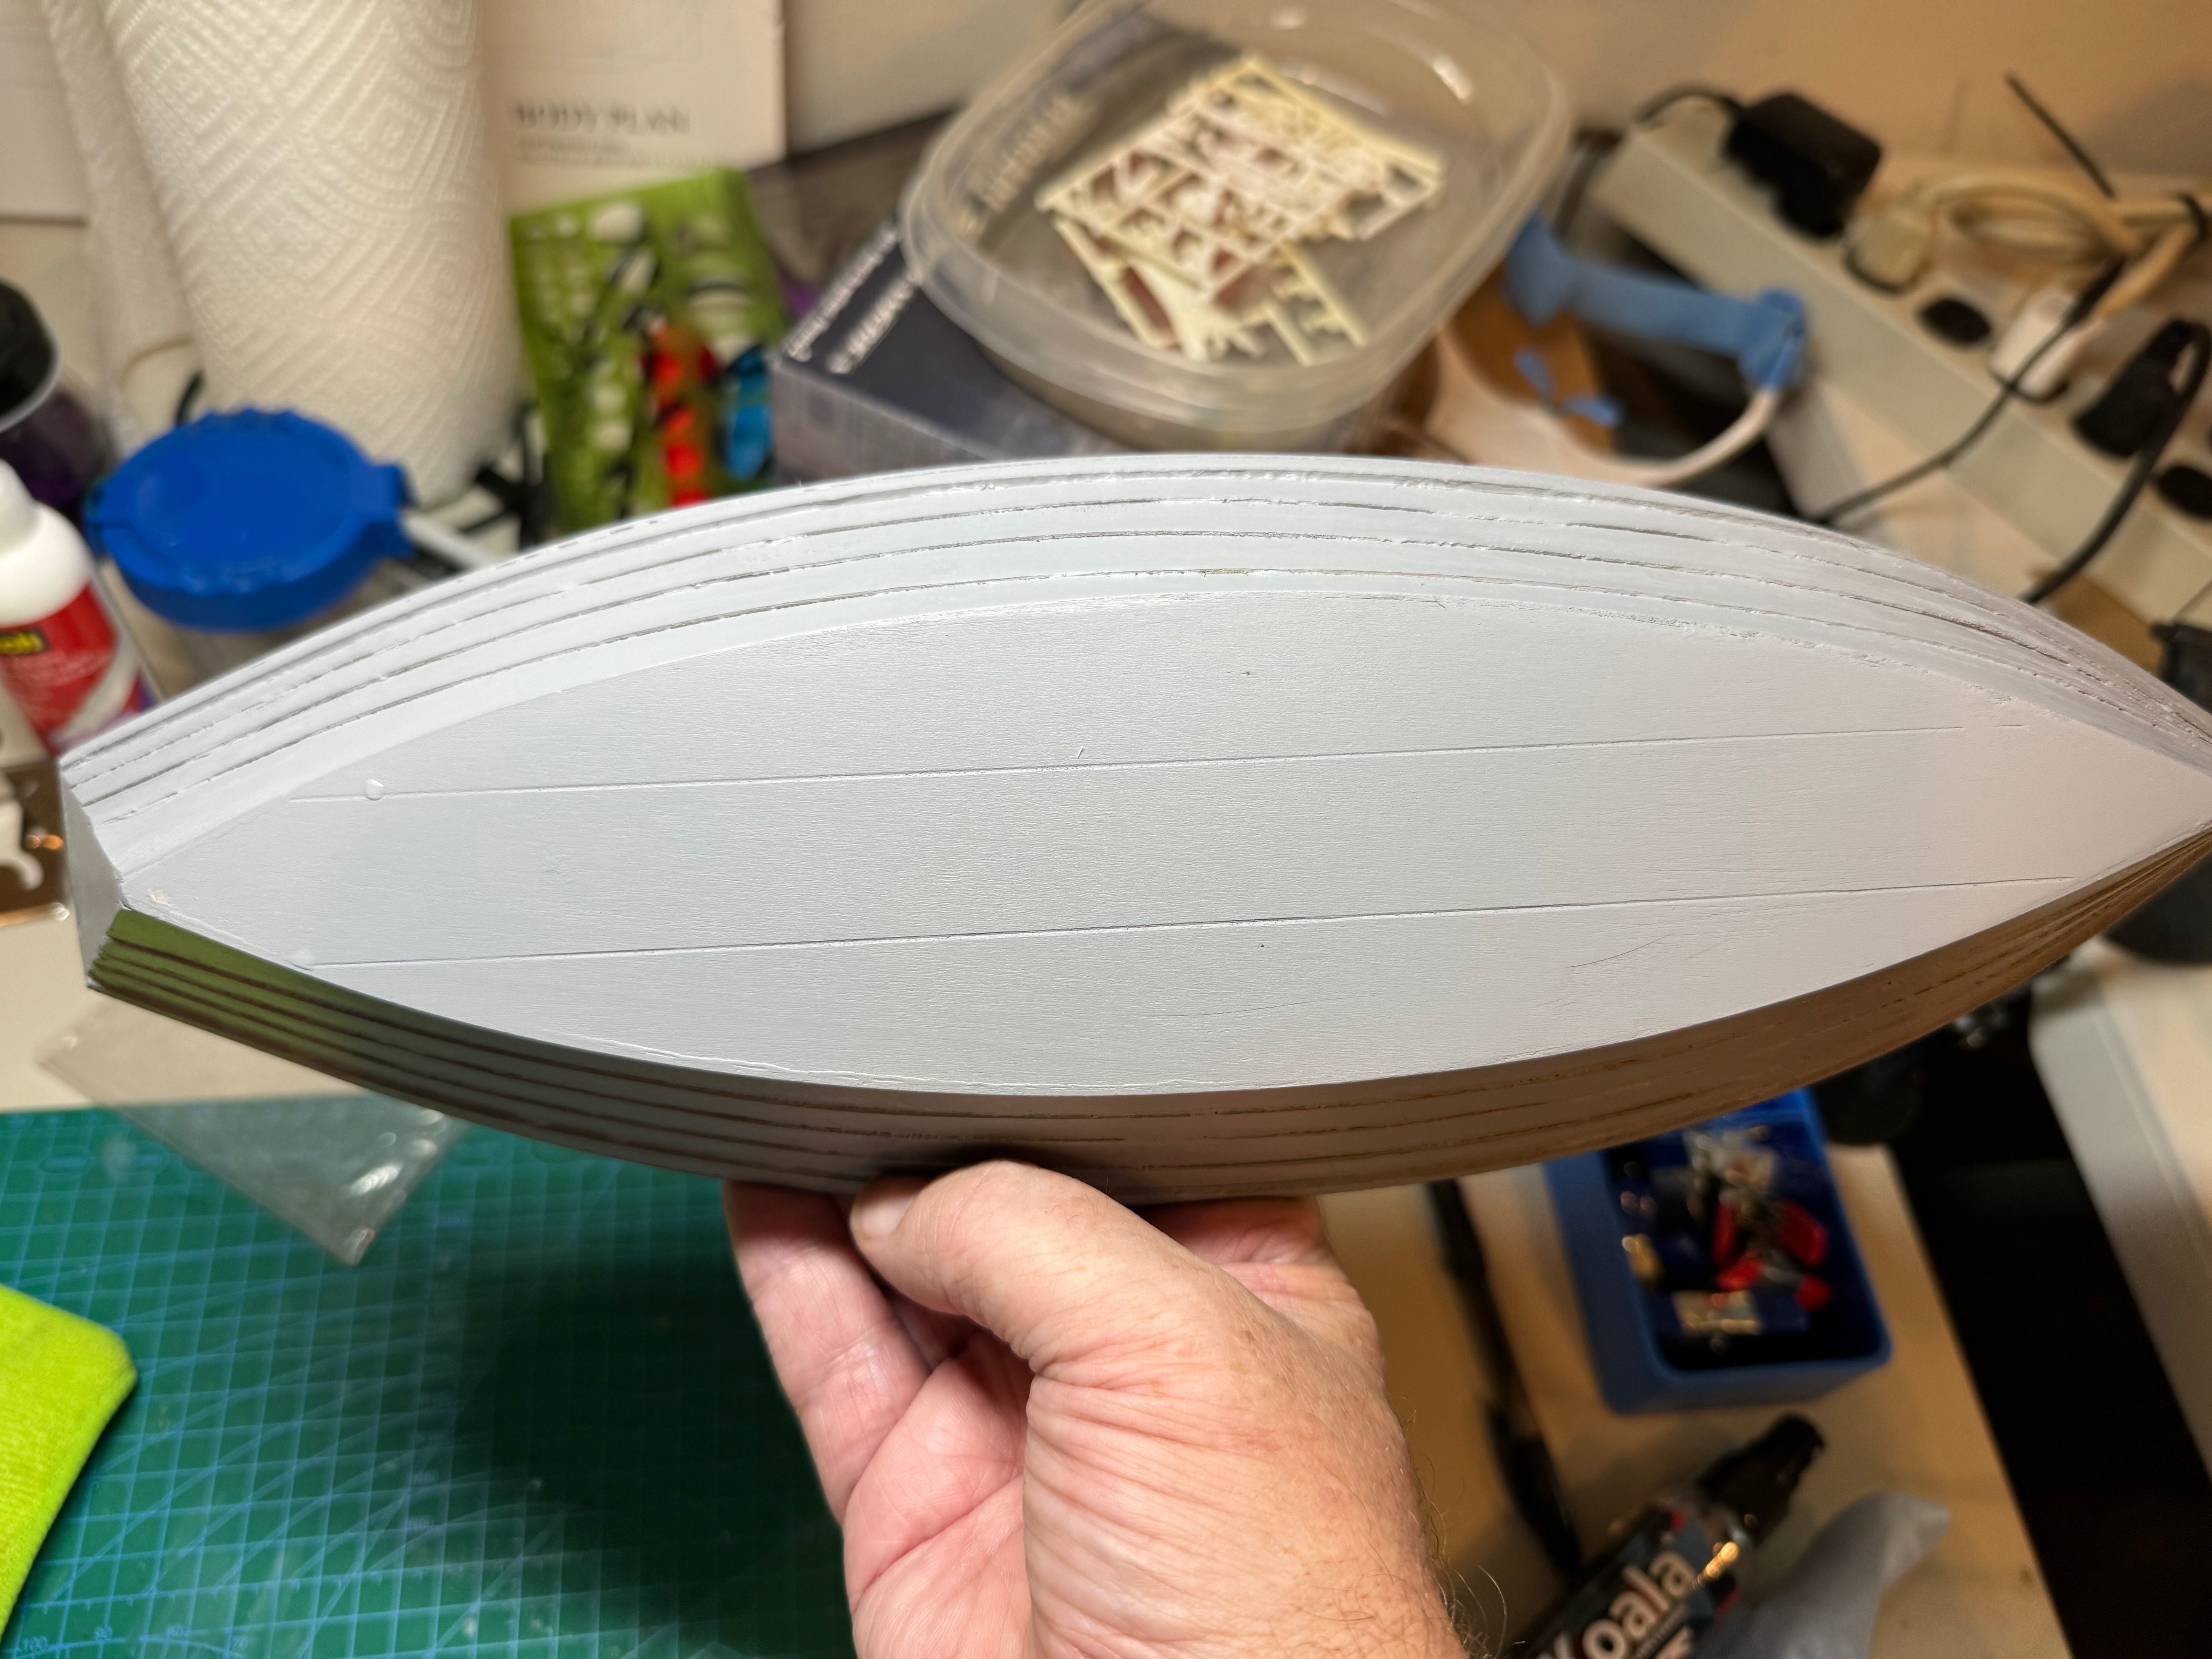
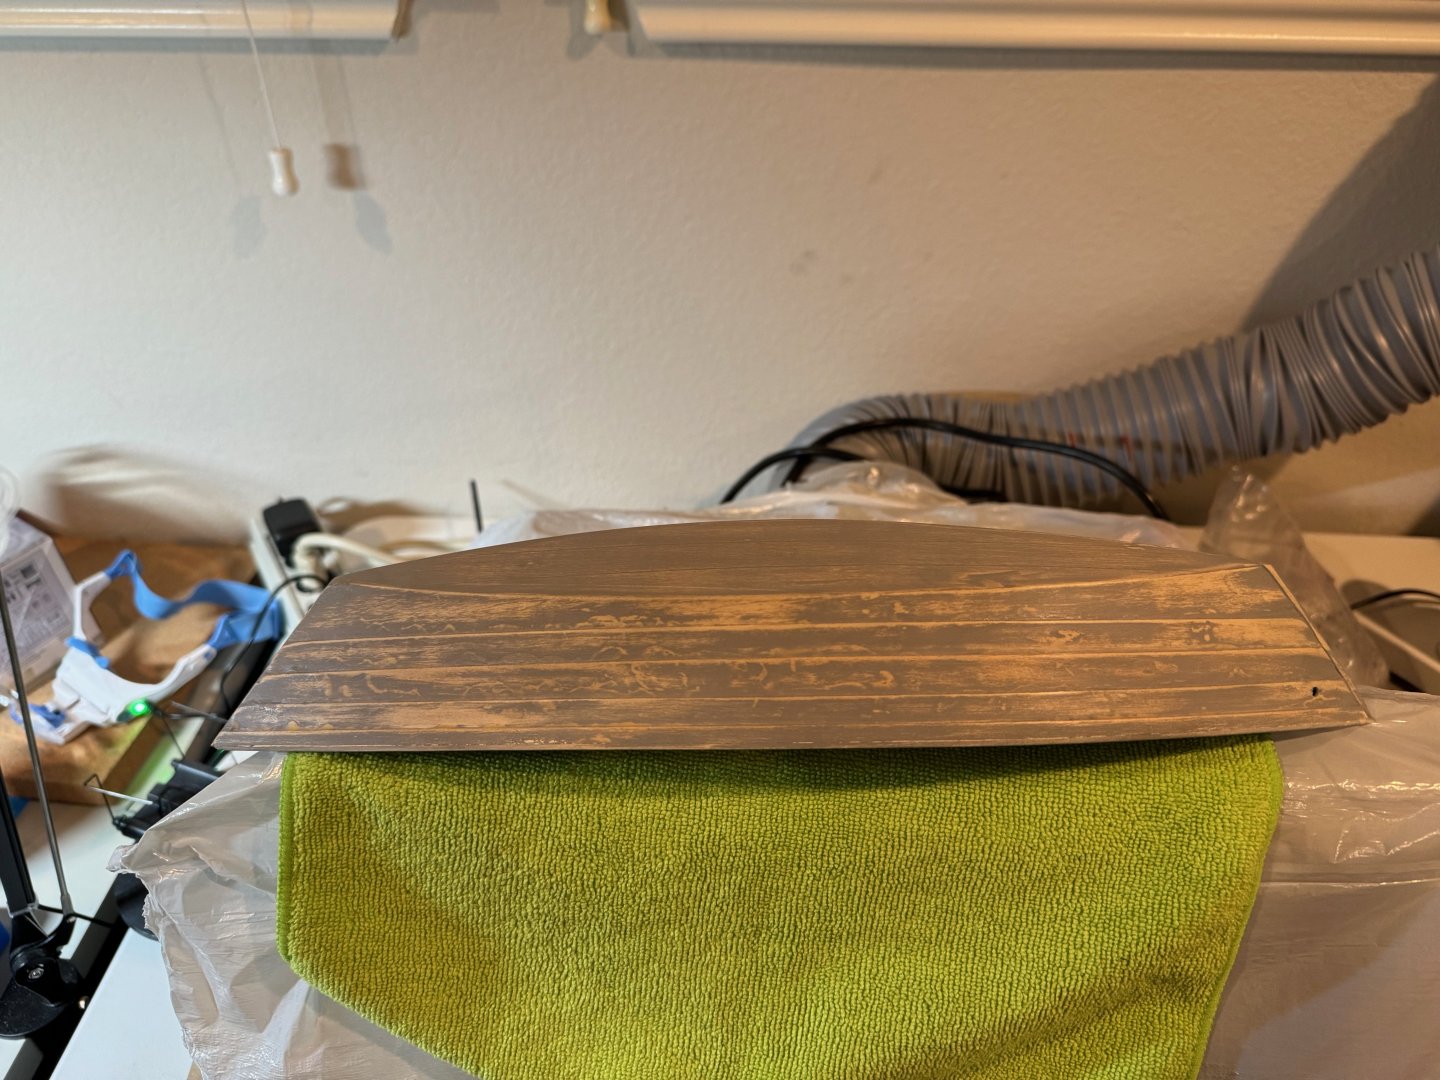
Good evening, I primed my Dory tonight with Mr Surfacer 1000 (grey) using my airbrush and a .5 needle with a fan cap; you can see I have some work to do to finalize my Dory before I put on the paint. It is amazing how well the primer shows these defects. I guess I will be sanding for the next couple of days to get this nice and smooth. One thing I did notice is I have a crack on the gunwale that needs some filling. Cheers jim


- 56 replies
-
- 5
-
-
- grand banks dory
- Midwest Products
- (and 2 more)
-
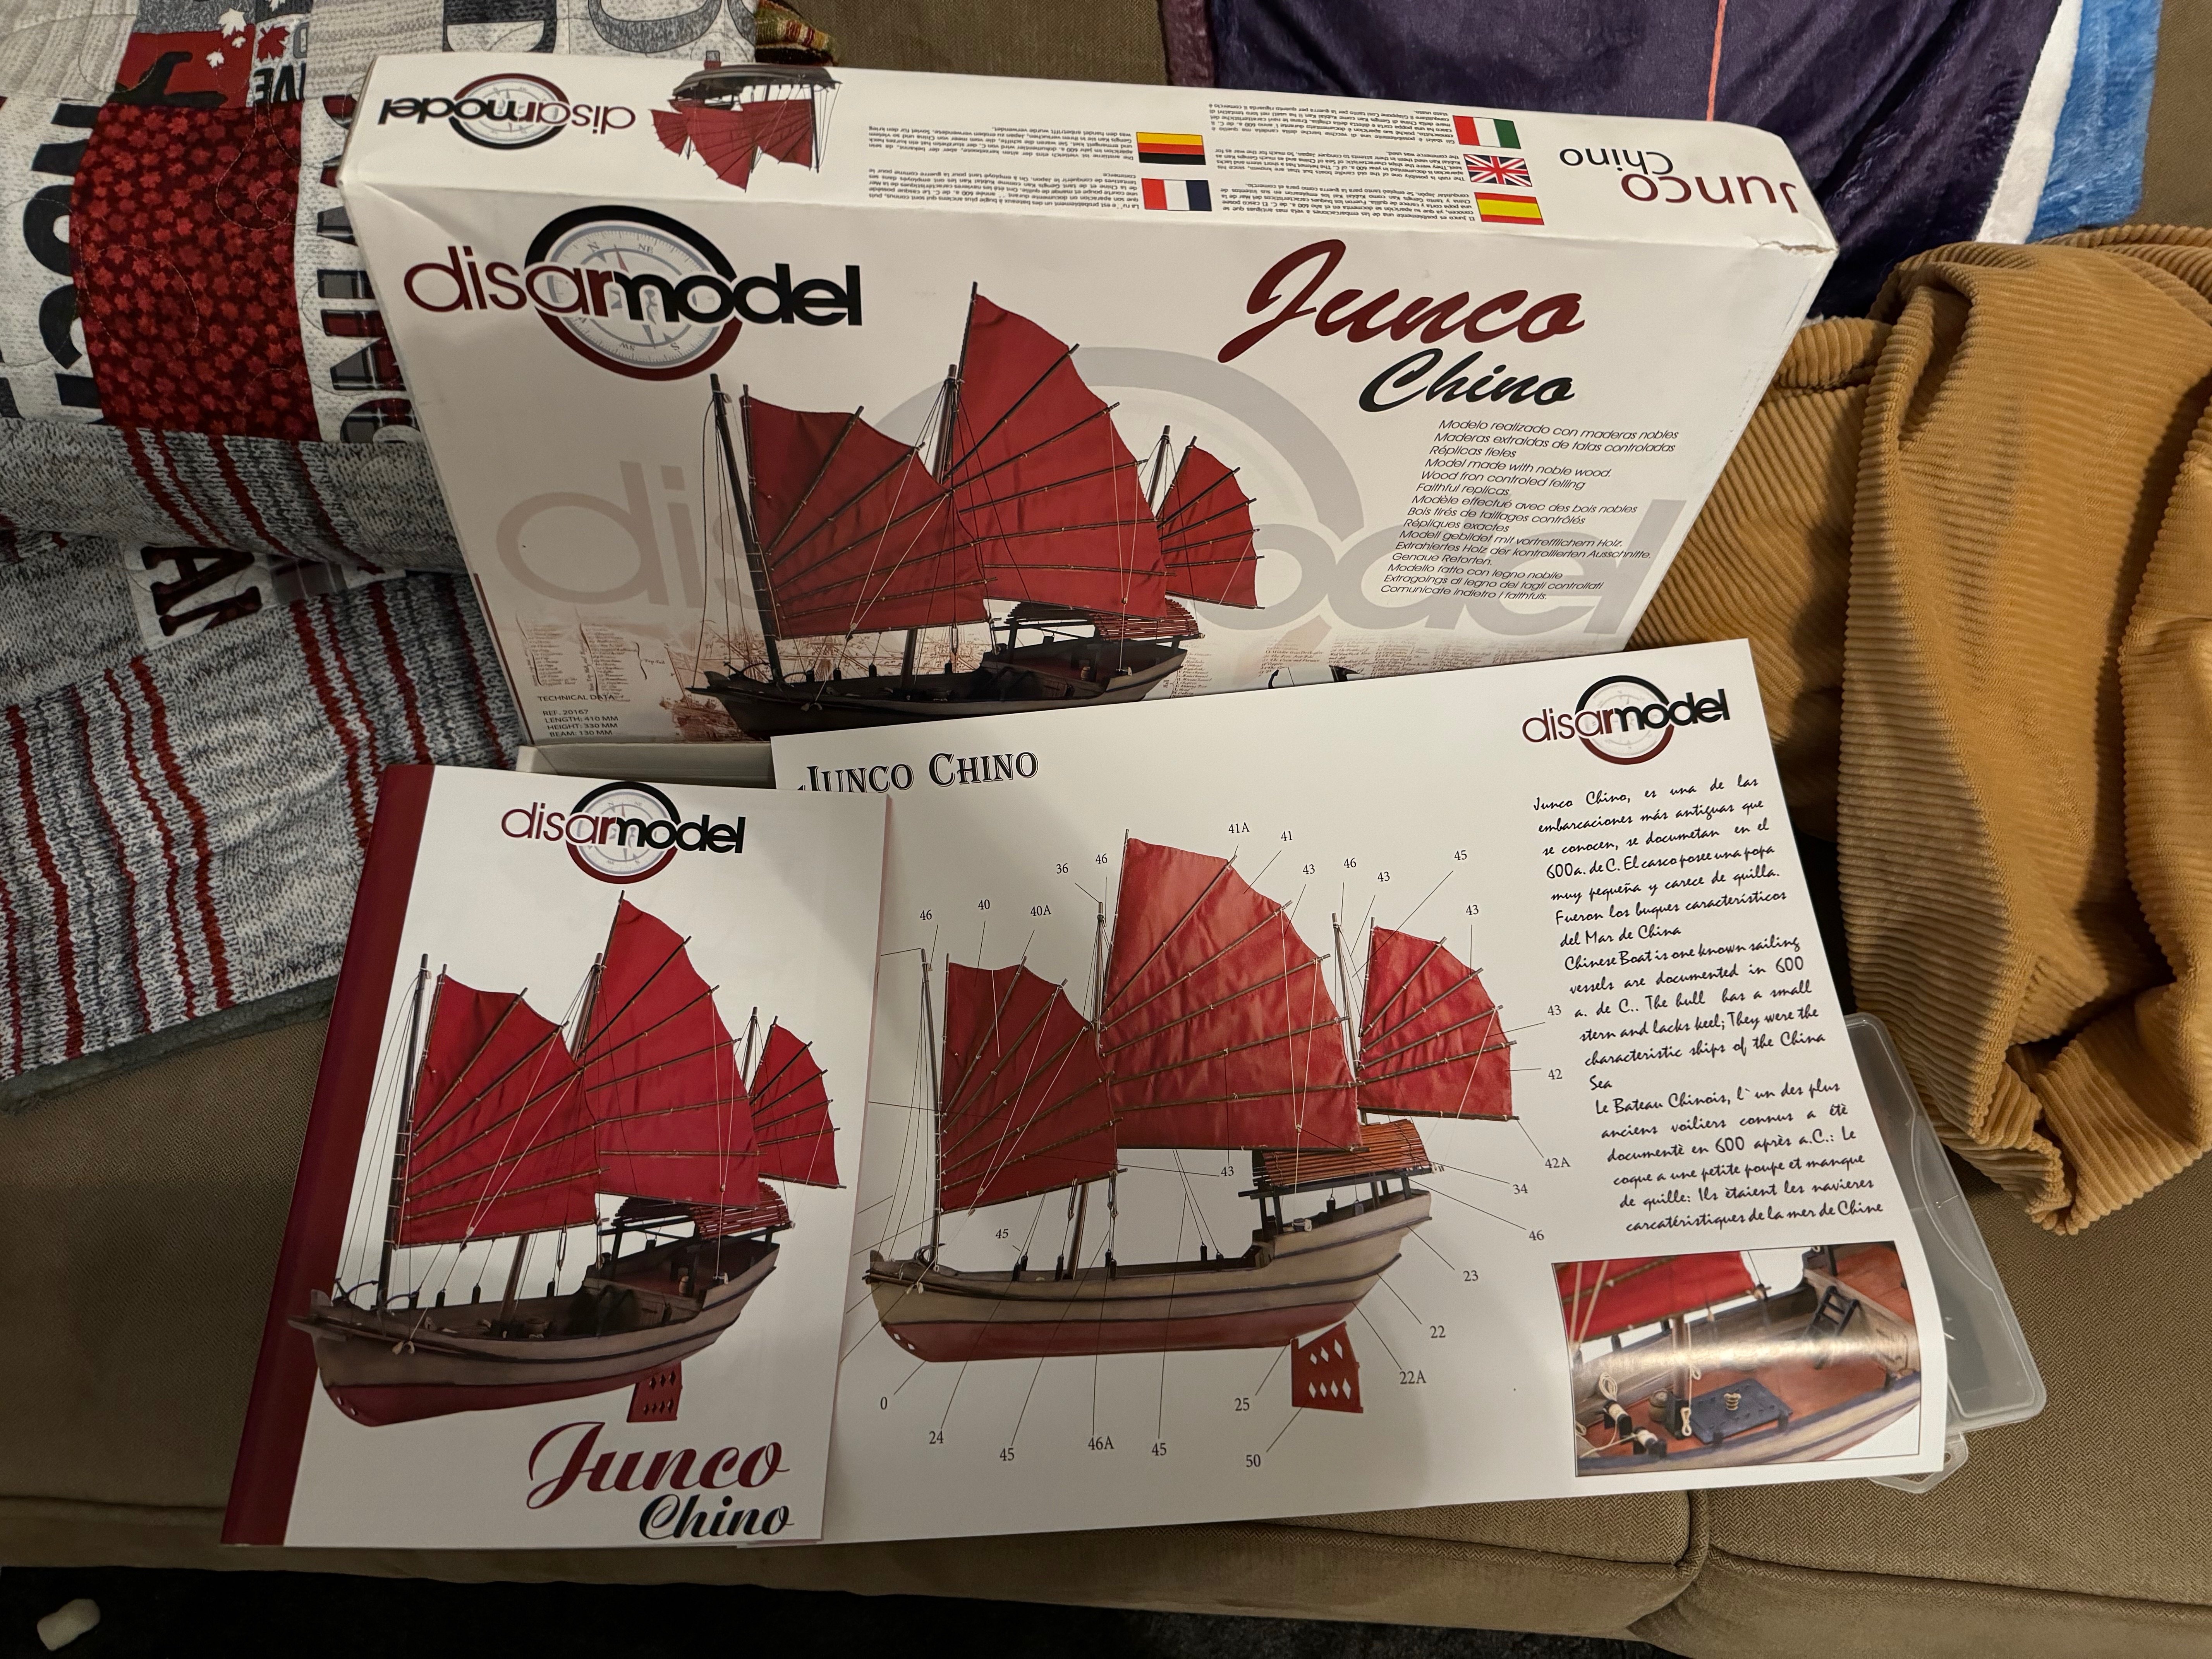
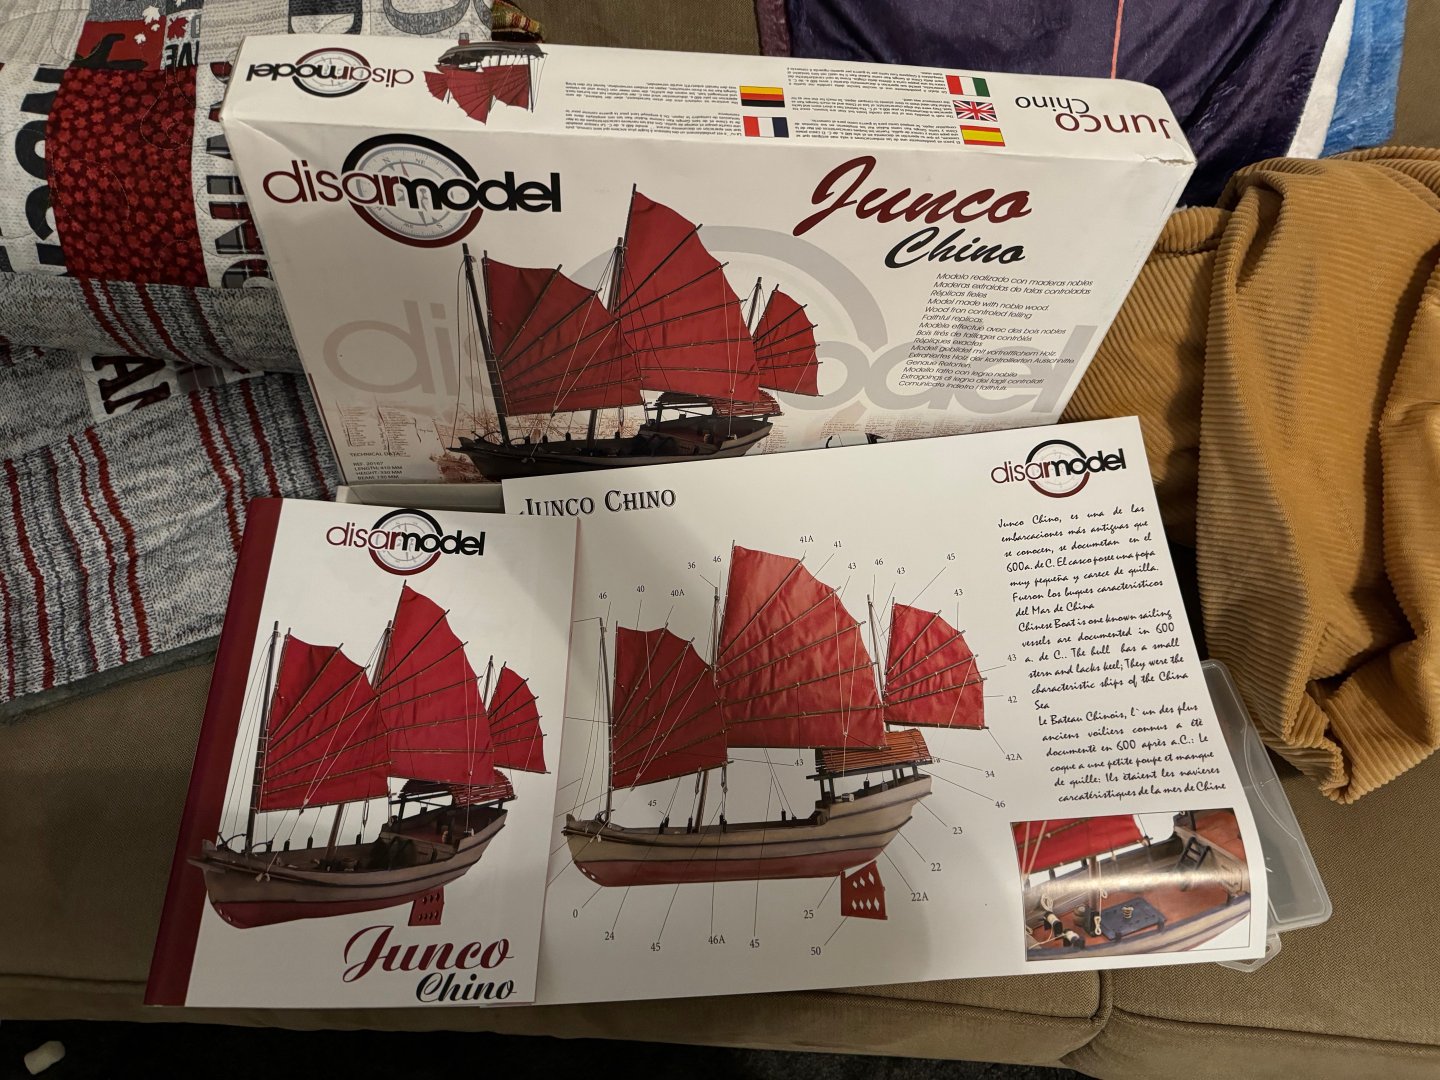
Has anyone build a disar model? I have the Junk here in my queue and I am wondering what other experience is with the model company?
-
I am also a member, but I am not seeing the logo.
-
Hey @robert952, sorry for the tardy response. I was in Dallas to see my niece's play. To answer your question, the kit shipped with two round dowels 1/4" x 12" for the mast, and one dowl 3/16" x 8" for the boom. I just lightly sanded both to clean them up. The mast step and the cut in the second thwart is 1/4". As for scale I think they are a little large, but altering them to much would look disportioncate. How is the peapod kit?