HOLIDAY DONATION DRIVE - SUPPORT MSW - DO YOUR PART TO KEEP THIS GREAT FORUM GOING! (89 donations so far out of 49,000 members - C'mon guys!)
×


EspenT
-
Posts
38 -
Joined
-
Last visited
Content Type
Profiles
Forums
Gallery
Events
Everything posted by EspenT
-
 Does this offer (ebook + physical copy) apply for Vol 3 and 4 as well?
 -
Hi. What is the latest news on these books? It is starting to drag out. I have downloaded the ebooks, but I am missing a physical copy.
-
I am a bit uncertain on how the final shape of the mast should be. @tlevine Should the mast be perfectly round from below the mast head and all the way down to the deck, or should some parts be left octagonal?
- 80 replies
-
- 1
-

-
- rigging/masts
- NRG
- (and 2 more)
-
I bought this kit to help with my rigging skills. Even though I haven’t started neither masting nor rigging yet, I am really enjoying the build so far. Since the model is small you can also splurge on the choice of woods.


- 80 replies
-
- 4
-
-
- rigging/masts
- NRG
- (and 2 more)
-
Fantastic. Can we still hope to find it under the Christmas tree this year?
-
Hello @BenD I am testing my new rope walk with different Gutermann E-series ropes. If I want to make .45mm rope I can either use 3 strands with 3 threads each if I use E121, or I can use 3 strands with a single thread if I use the thicker E382. Do you have any preference on the quality between the different methods? I am sure you must have tested a lot of different combinations 😃. More thinner threads or few thicker threads.?
-
I paid you 40USD to ship Sherbourne across the north sea and I paid Pavel 60USD for shipping the Viking Ship from a warzone… pretty fair if you ask me.
-
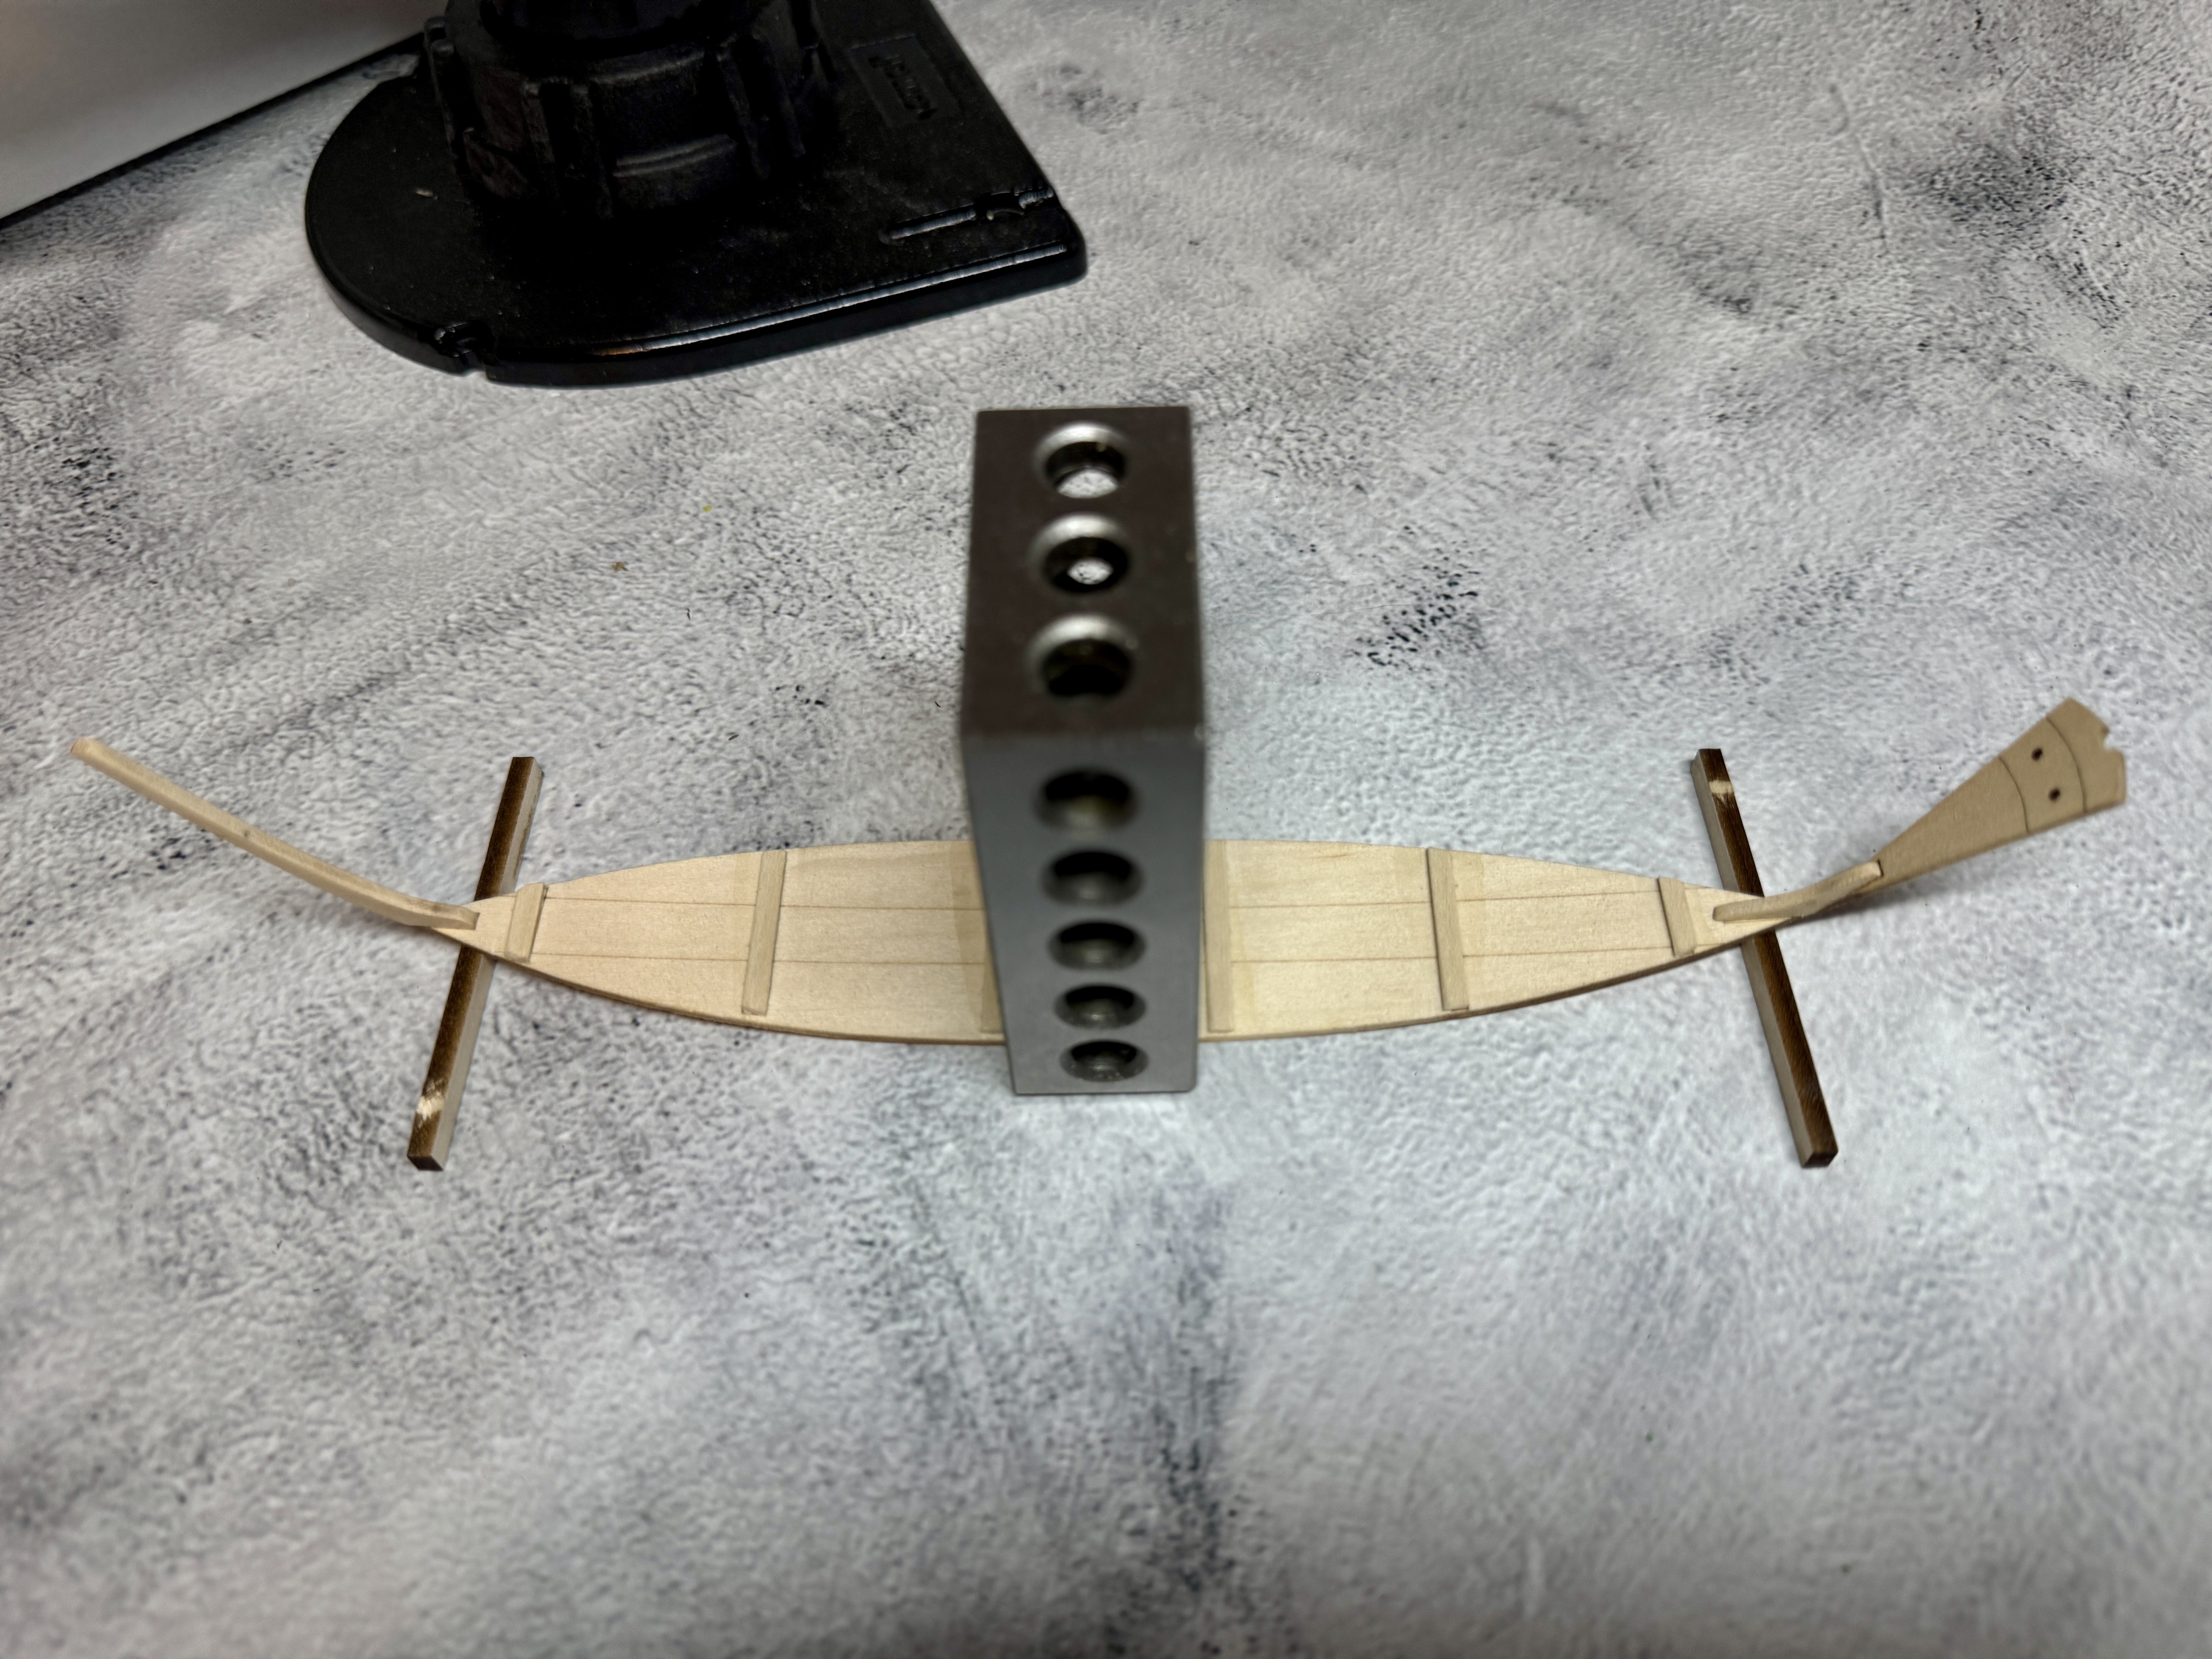
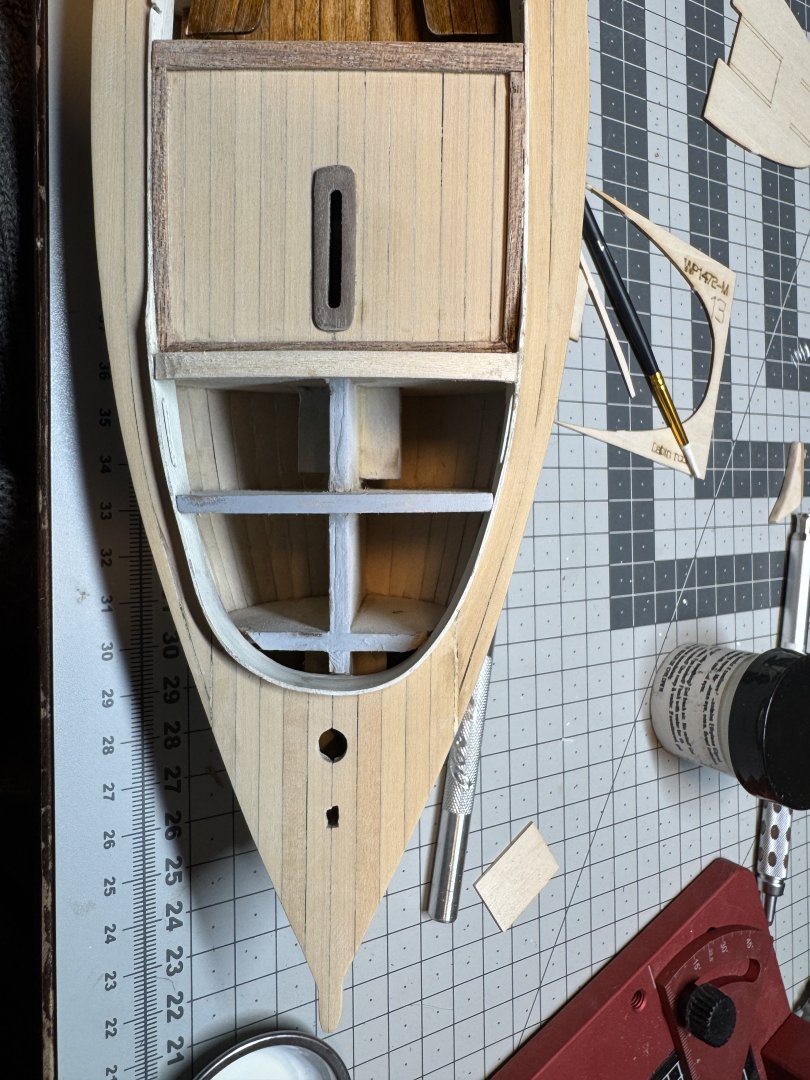
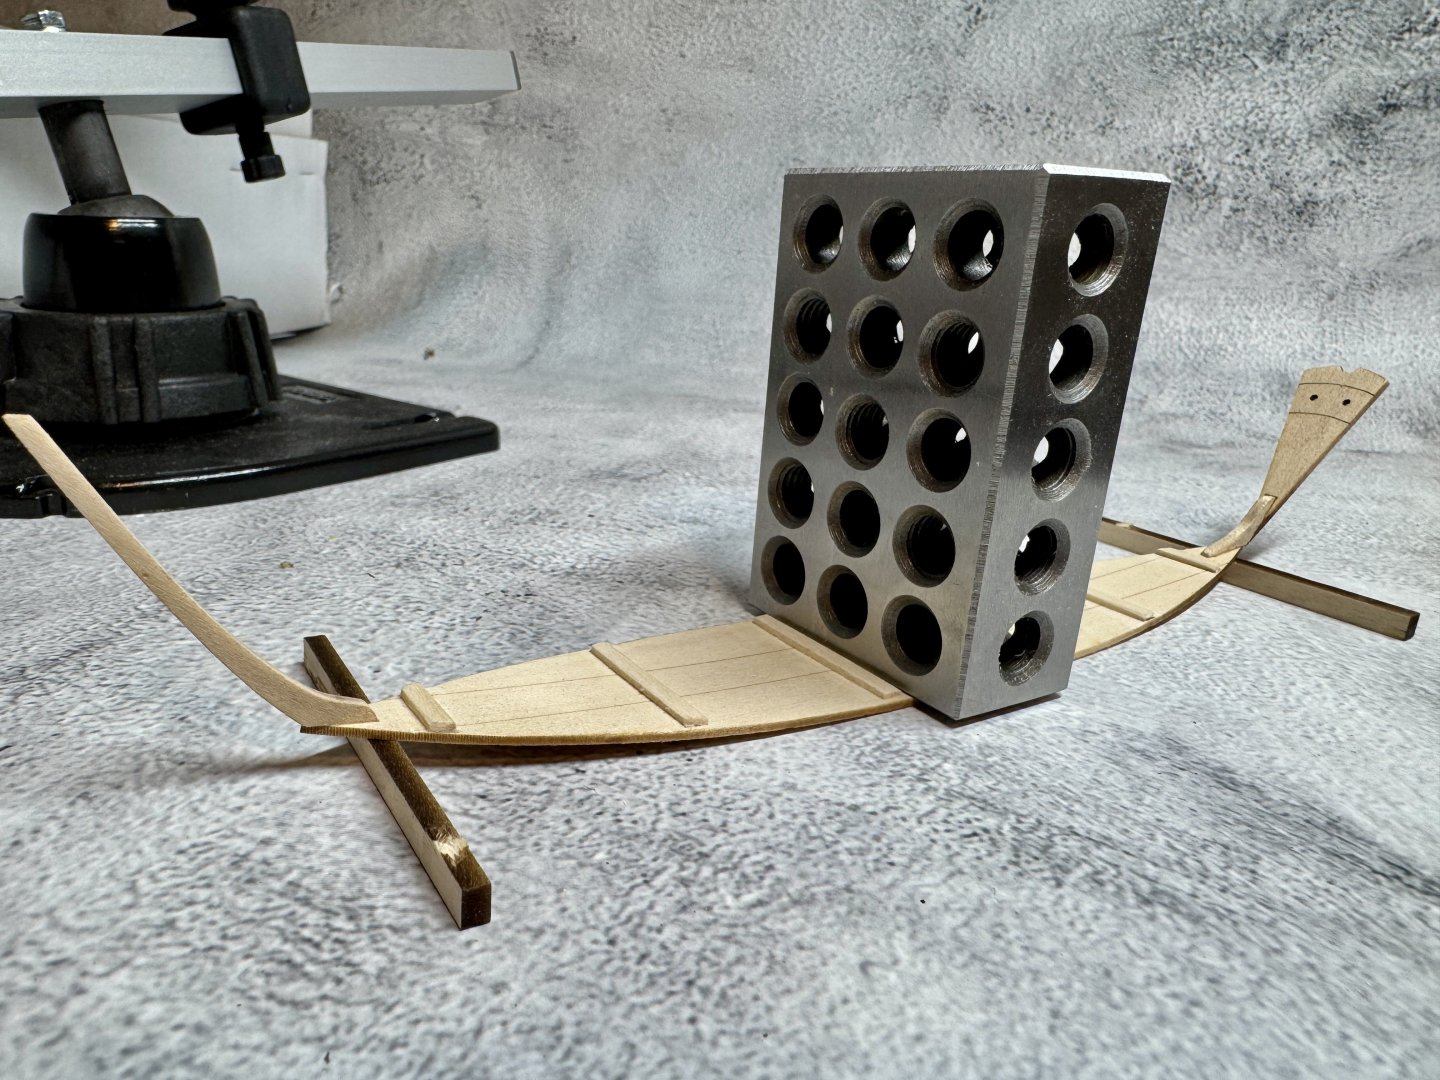
It is a machine block, often called a 1-2-3 block after its dimensions in inches. It is heavy and has square edges. Very handy in many occasions. I have a 25-50-75 block since I use metric.
- 16 replies
-
- 2
-
-
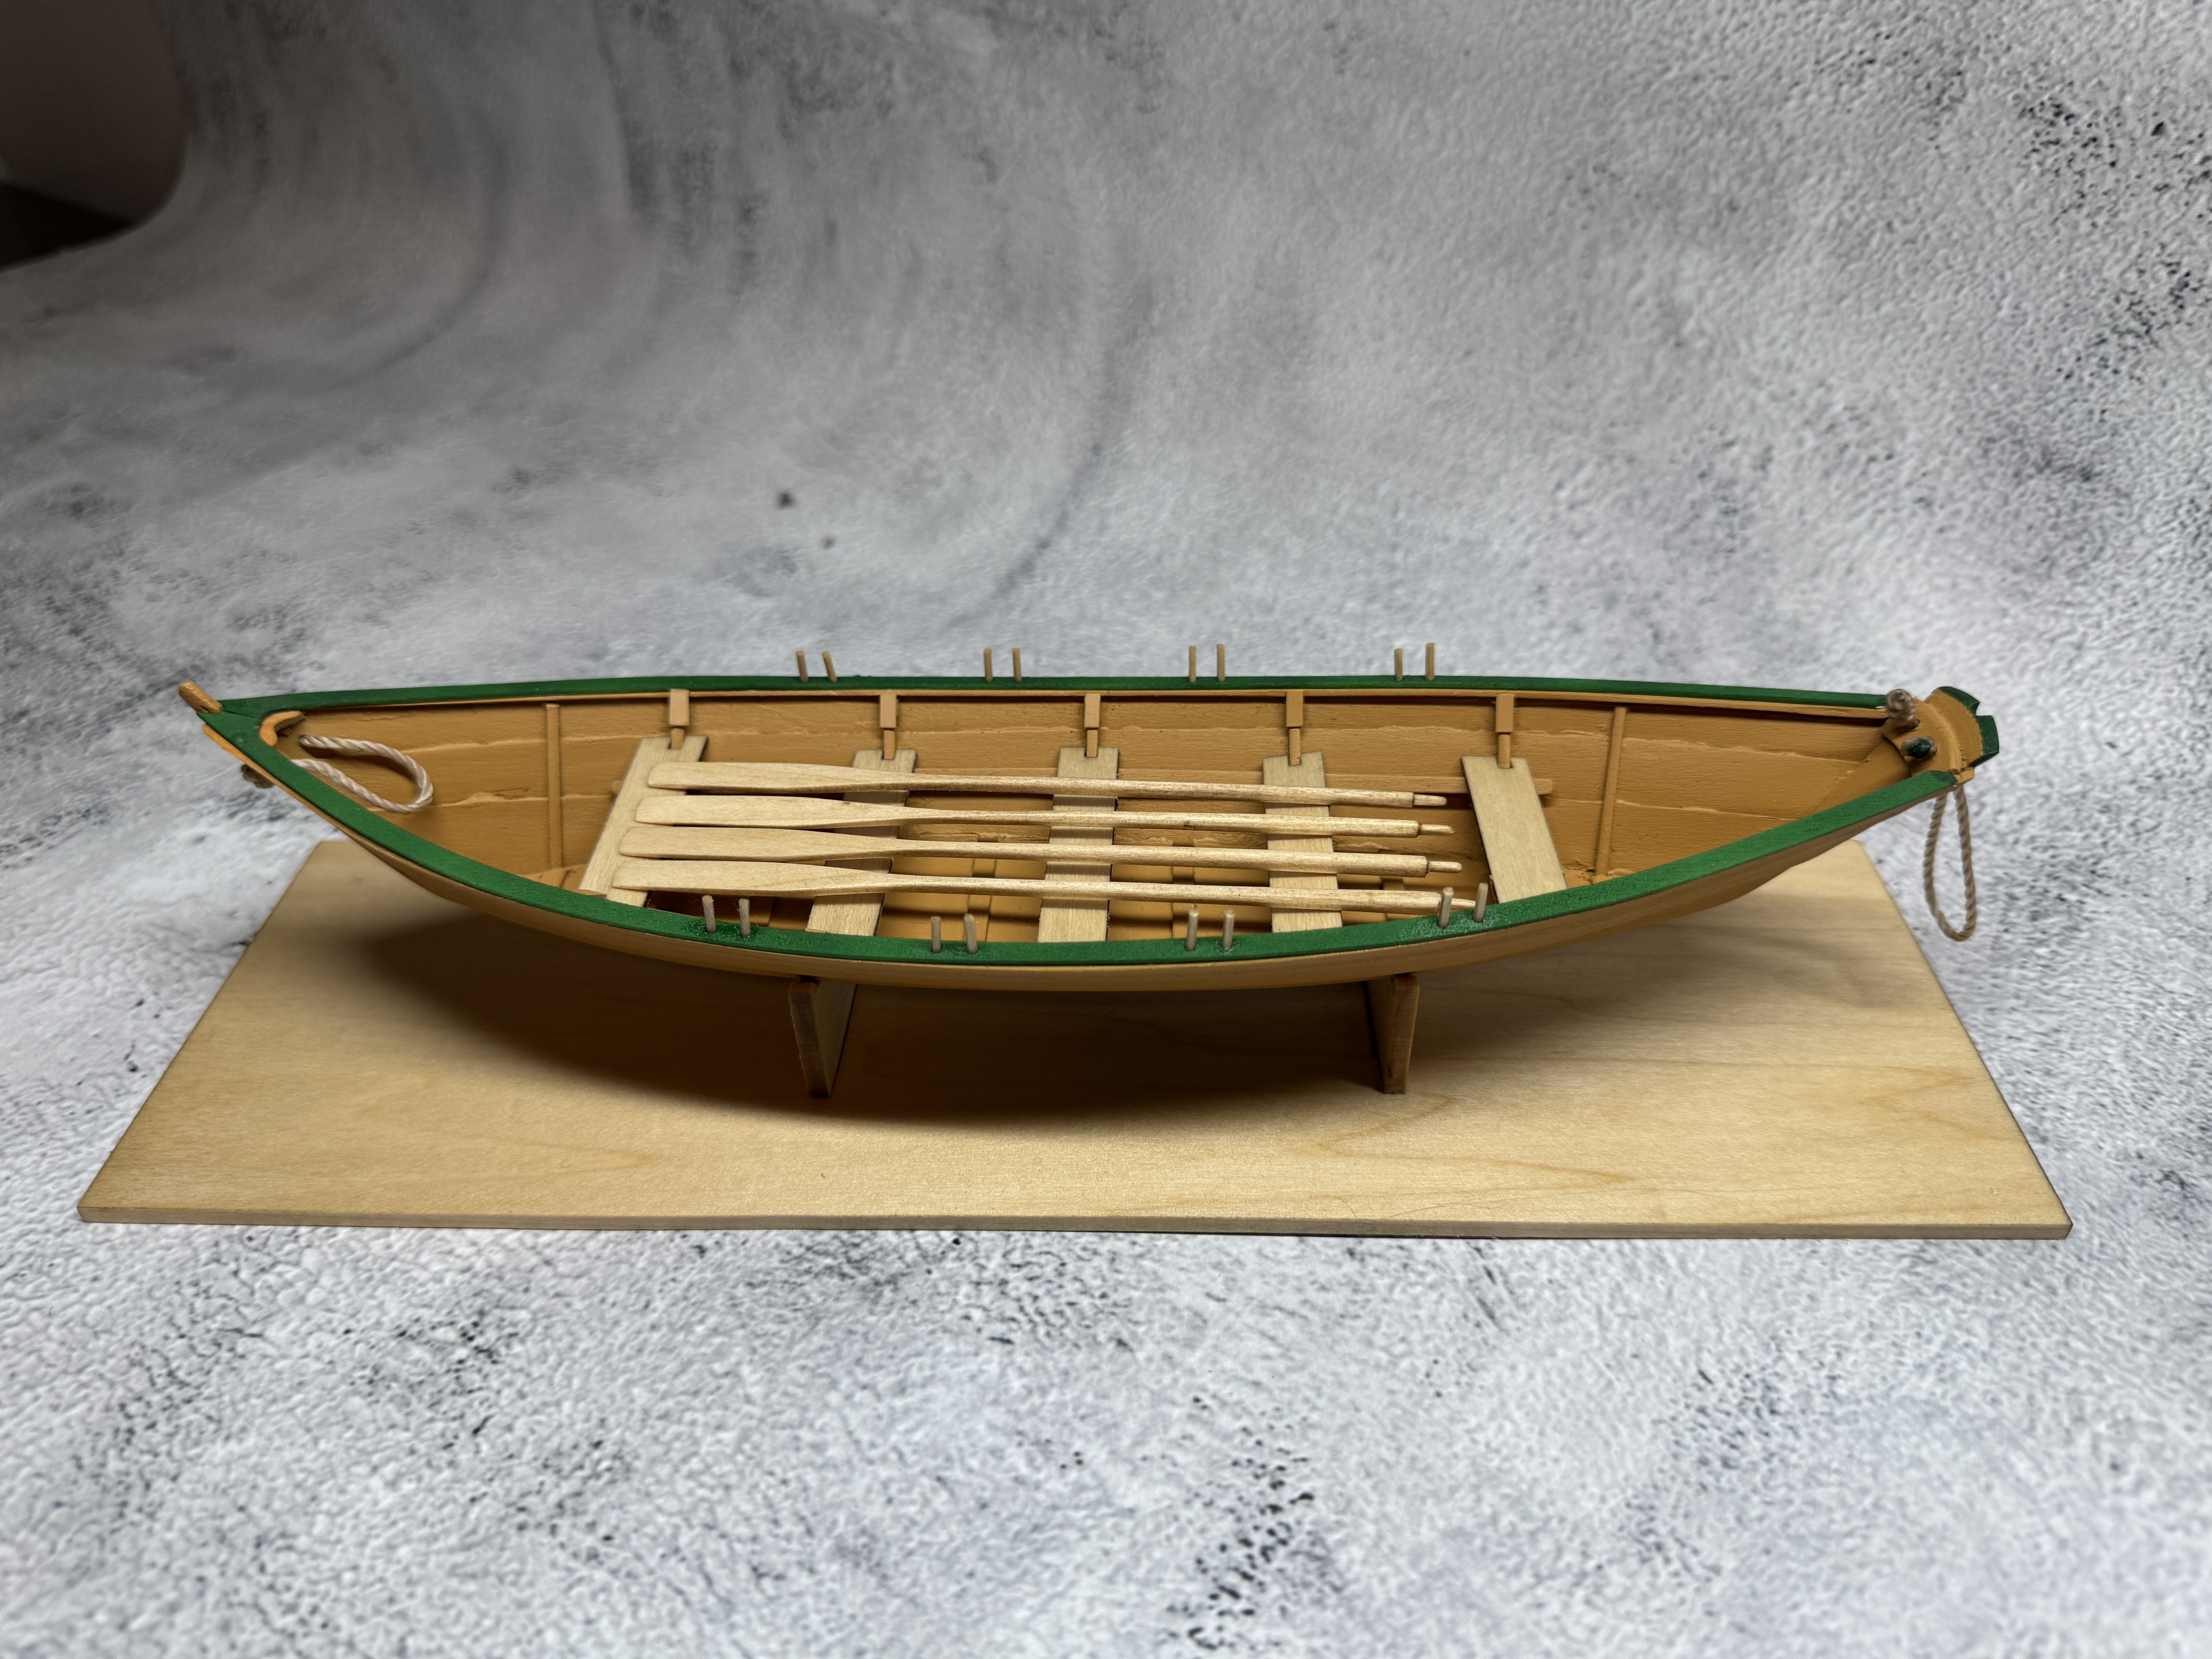
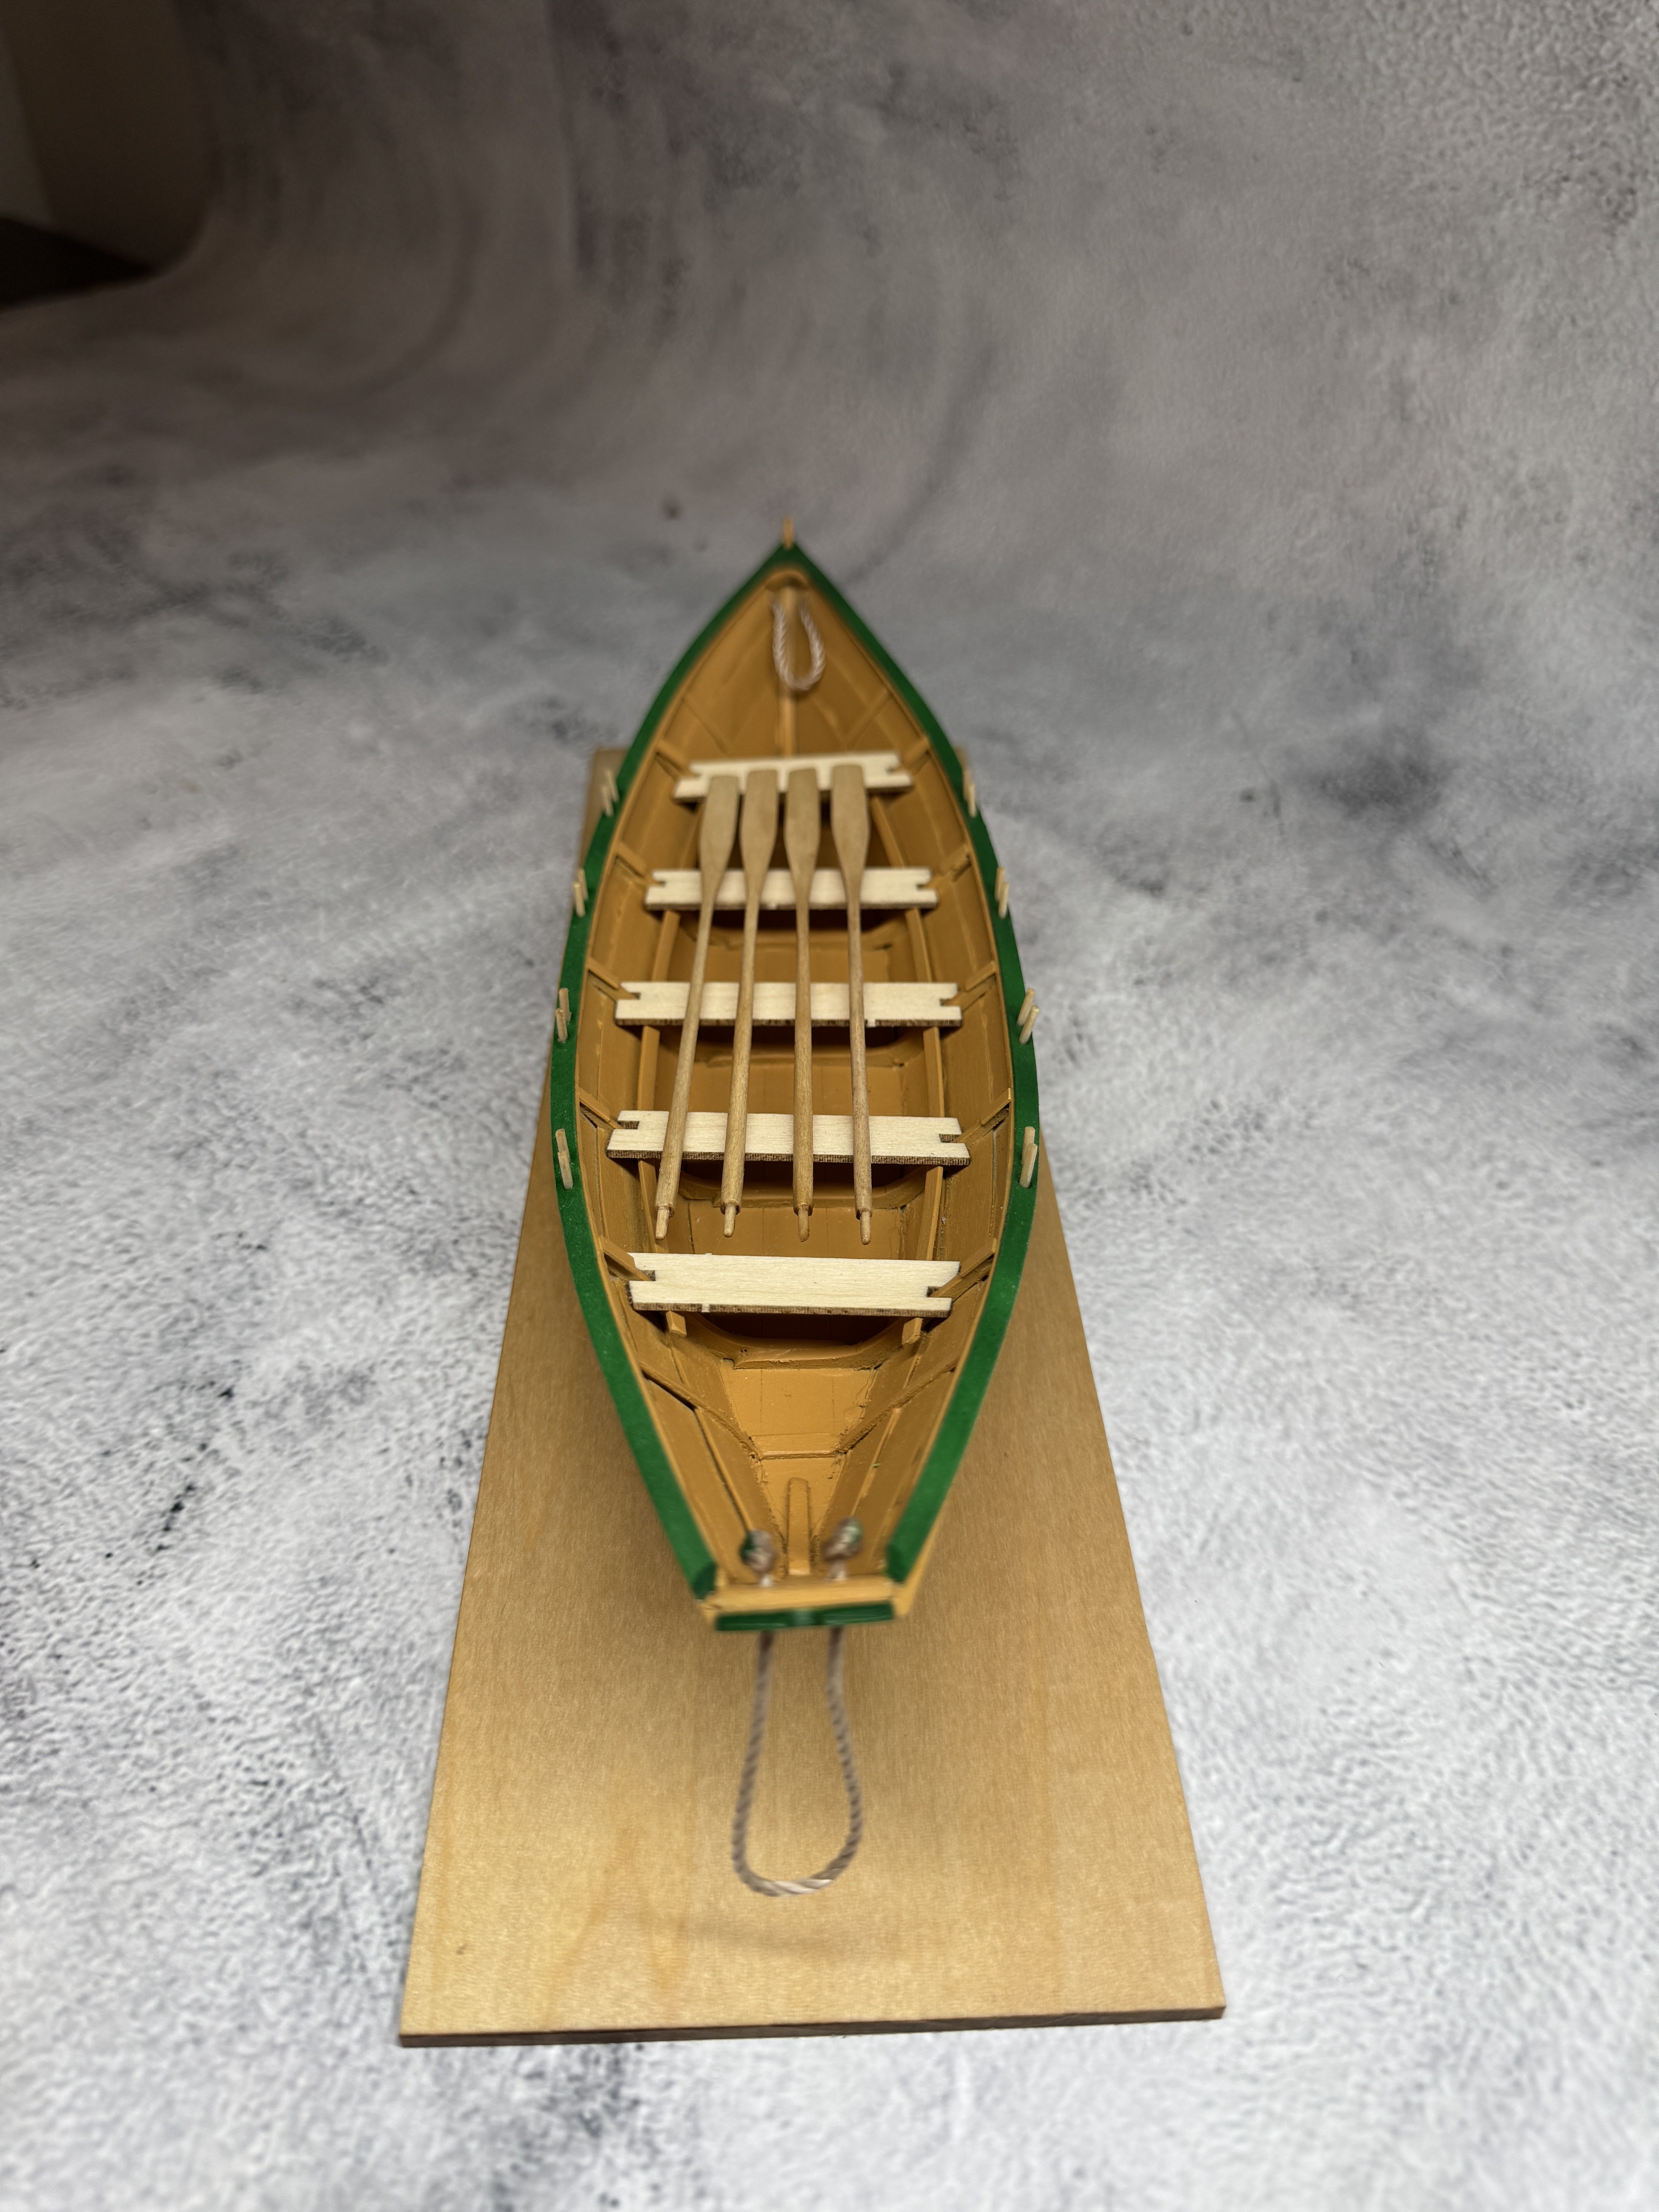
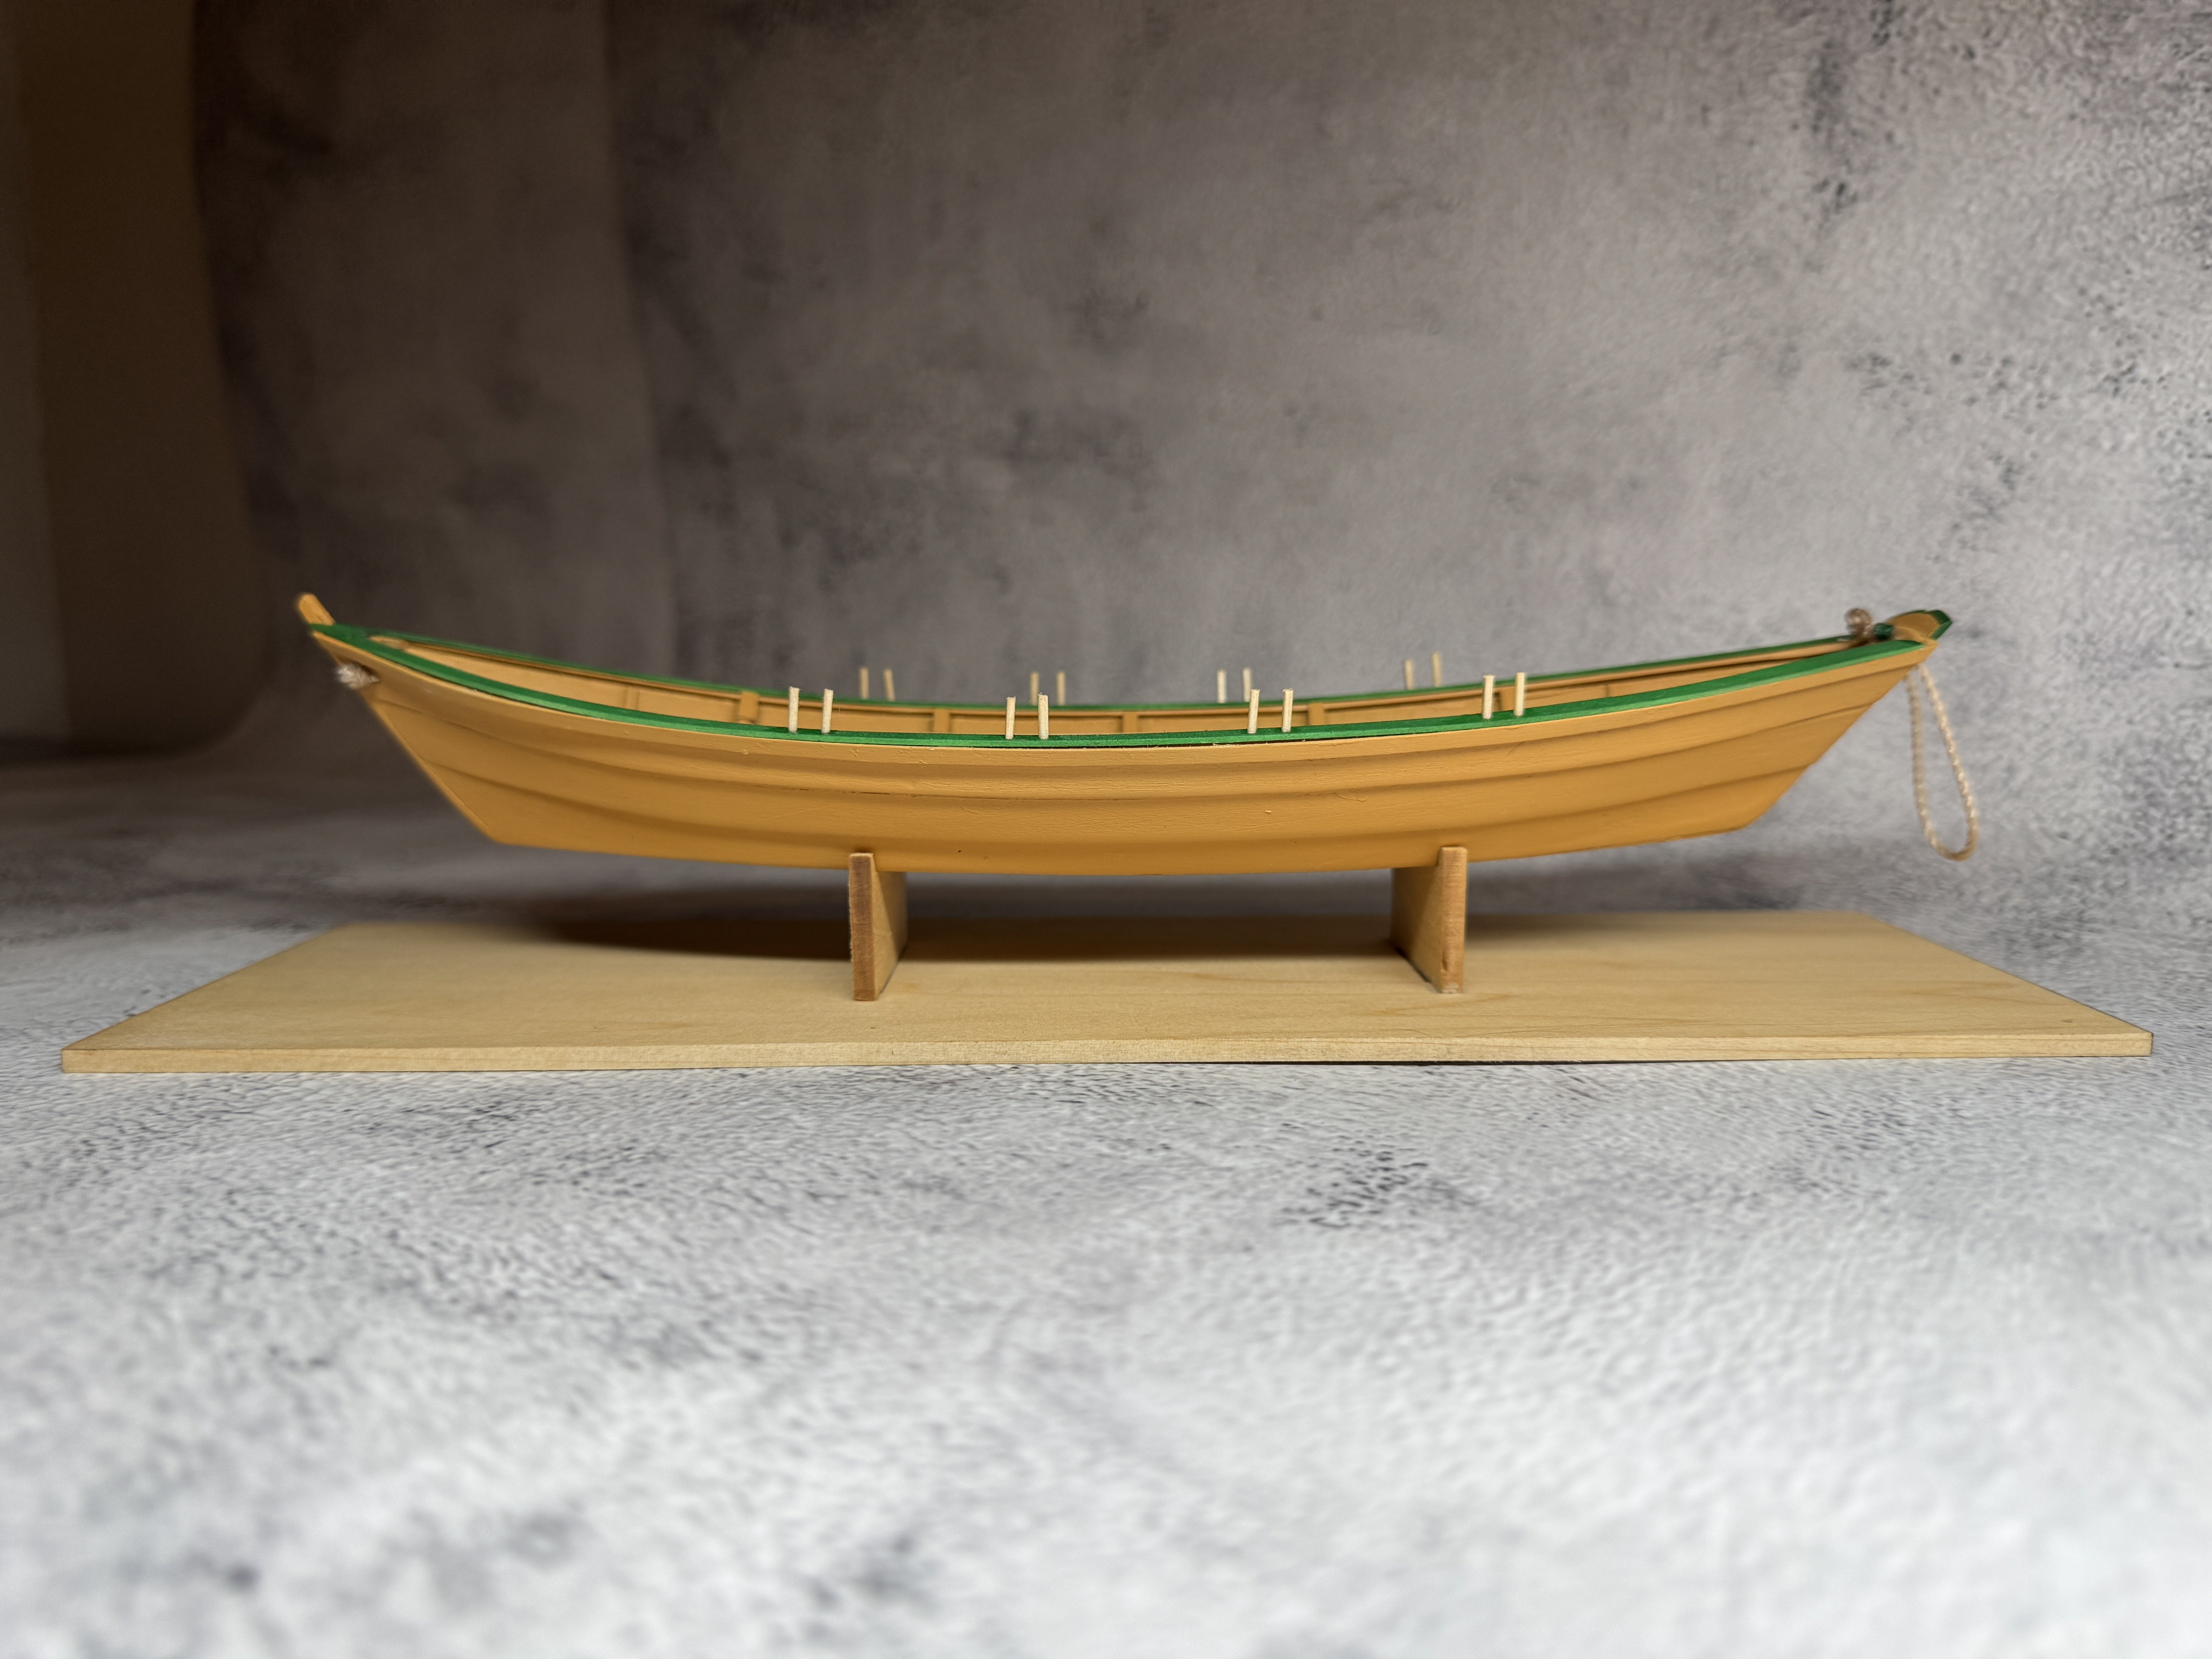
- dory
- Model Shipways
- (and 2 more)
-
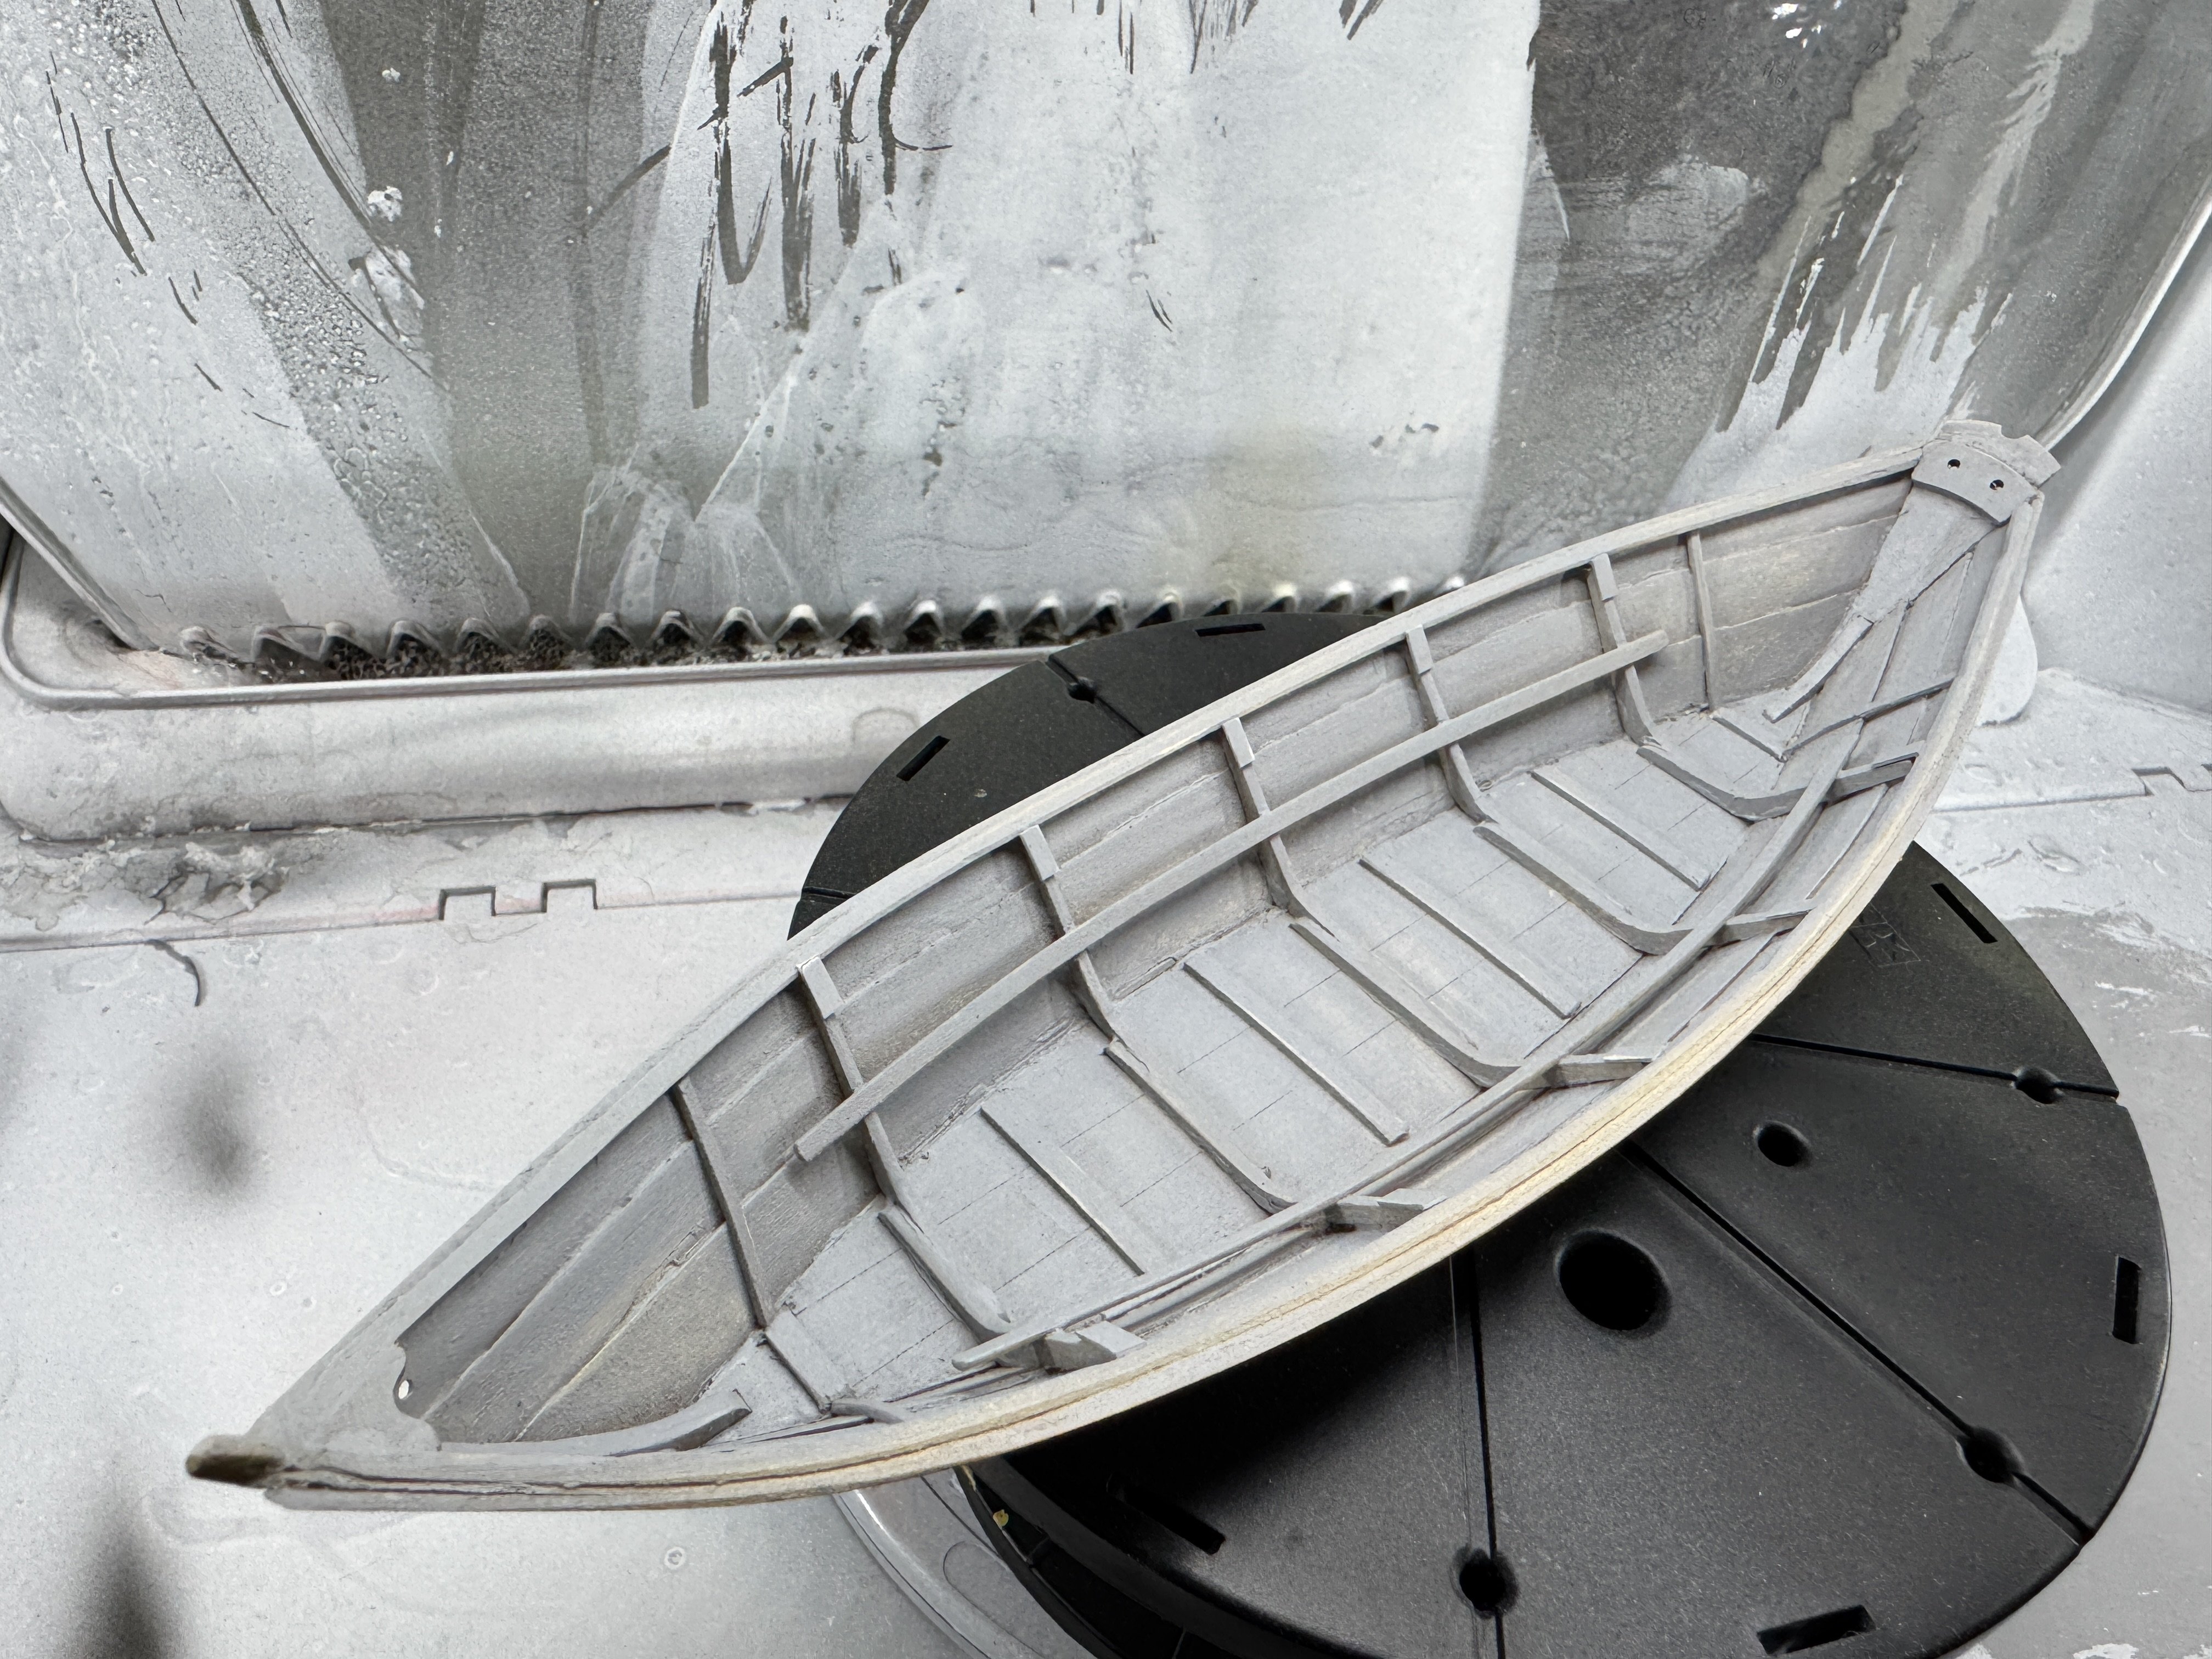
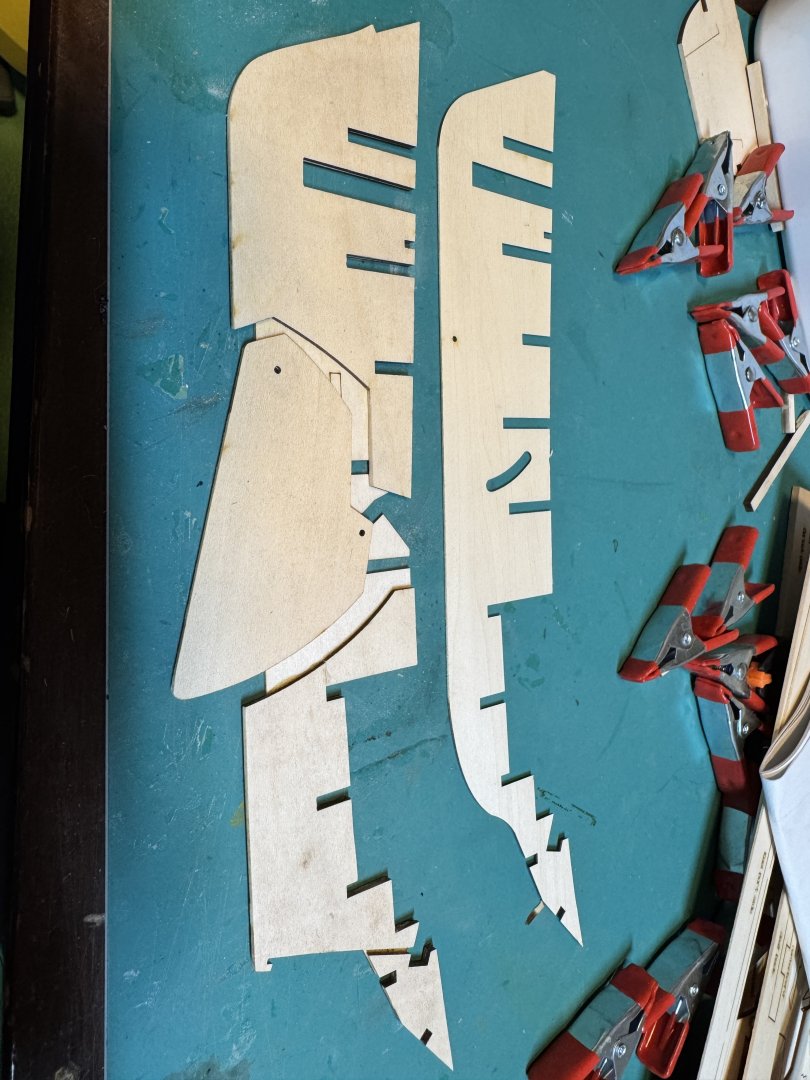
Being a Norwegian I maybe shouldn’t say this, but I am skipping the Norwegian Pram for now. The plan is to finish the Lobster Smack and the Sherbourne. Then I think I will go to the two NRG kits I have here at my desk. Both the rigging and the planking should be useful. After that I think the Philadelphia Gunboat. so many choice and so little time
- 16 replies
-
- 2
-
-
- dory
- Model Shipways
- (and 2 more)
-
Thank you.
-
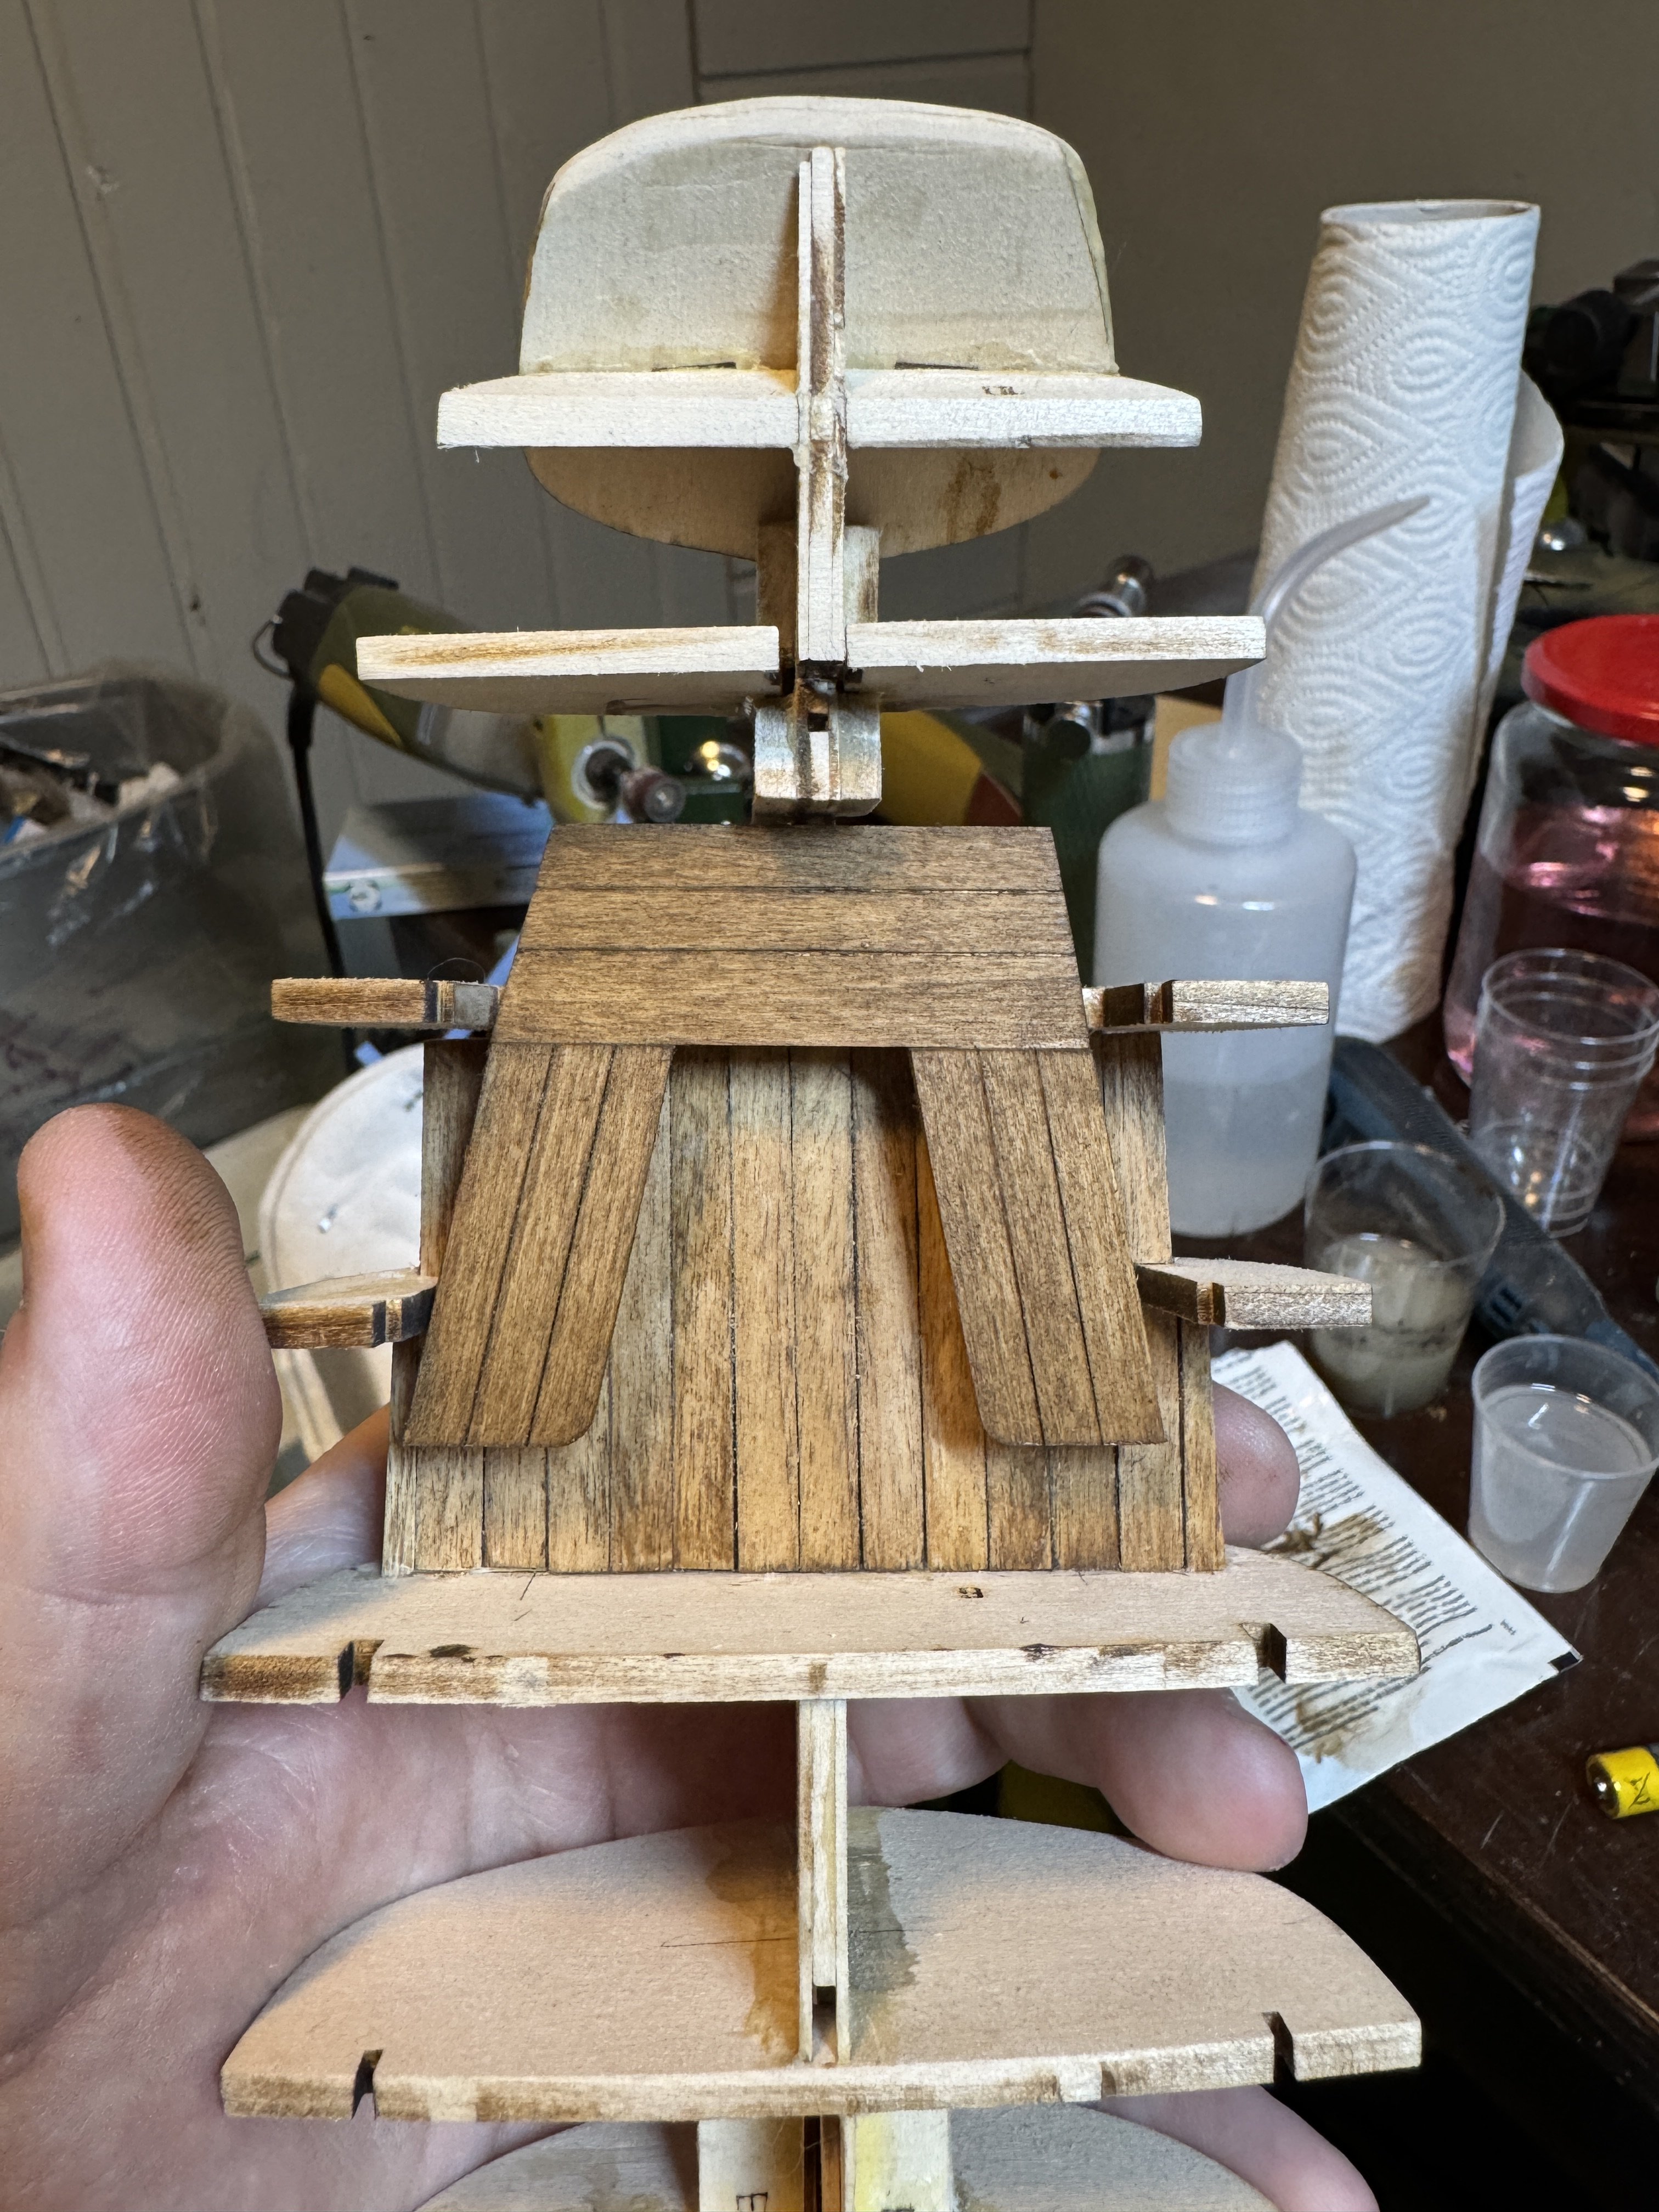
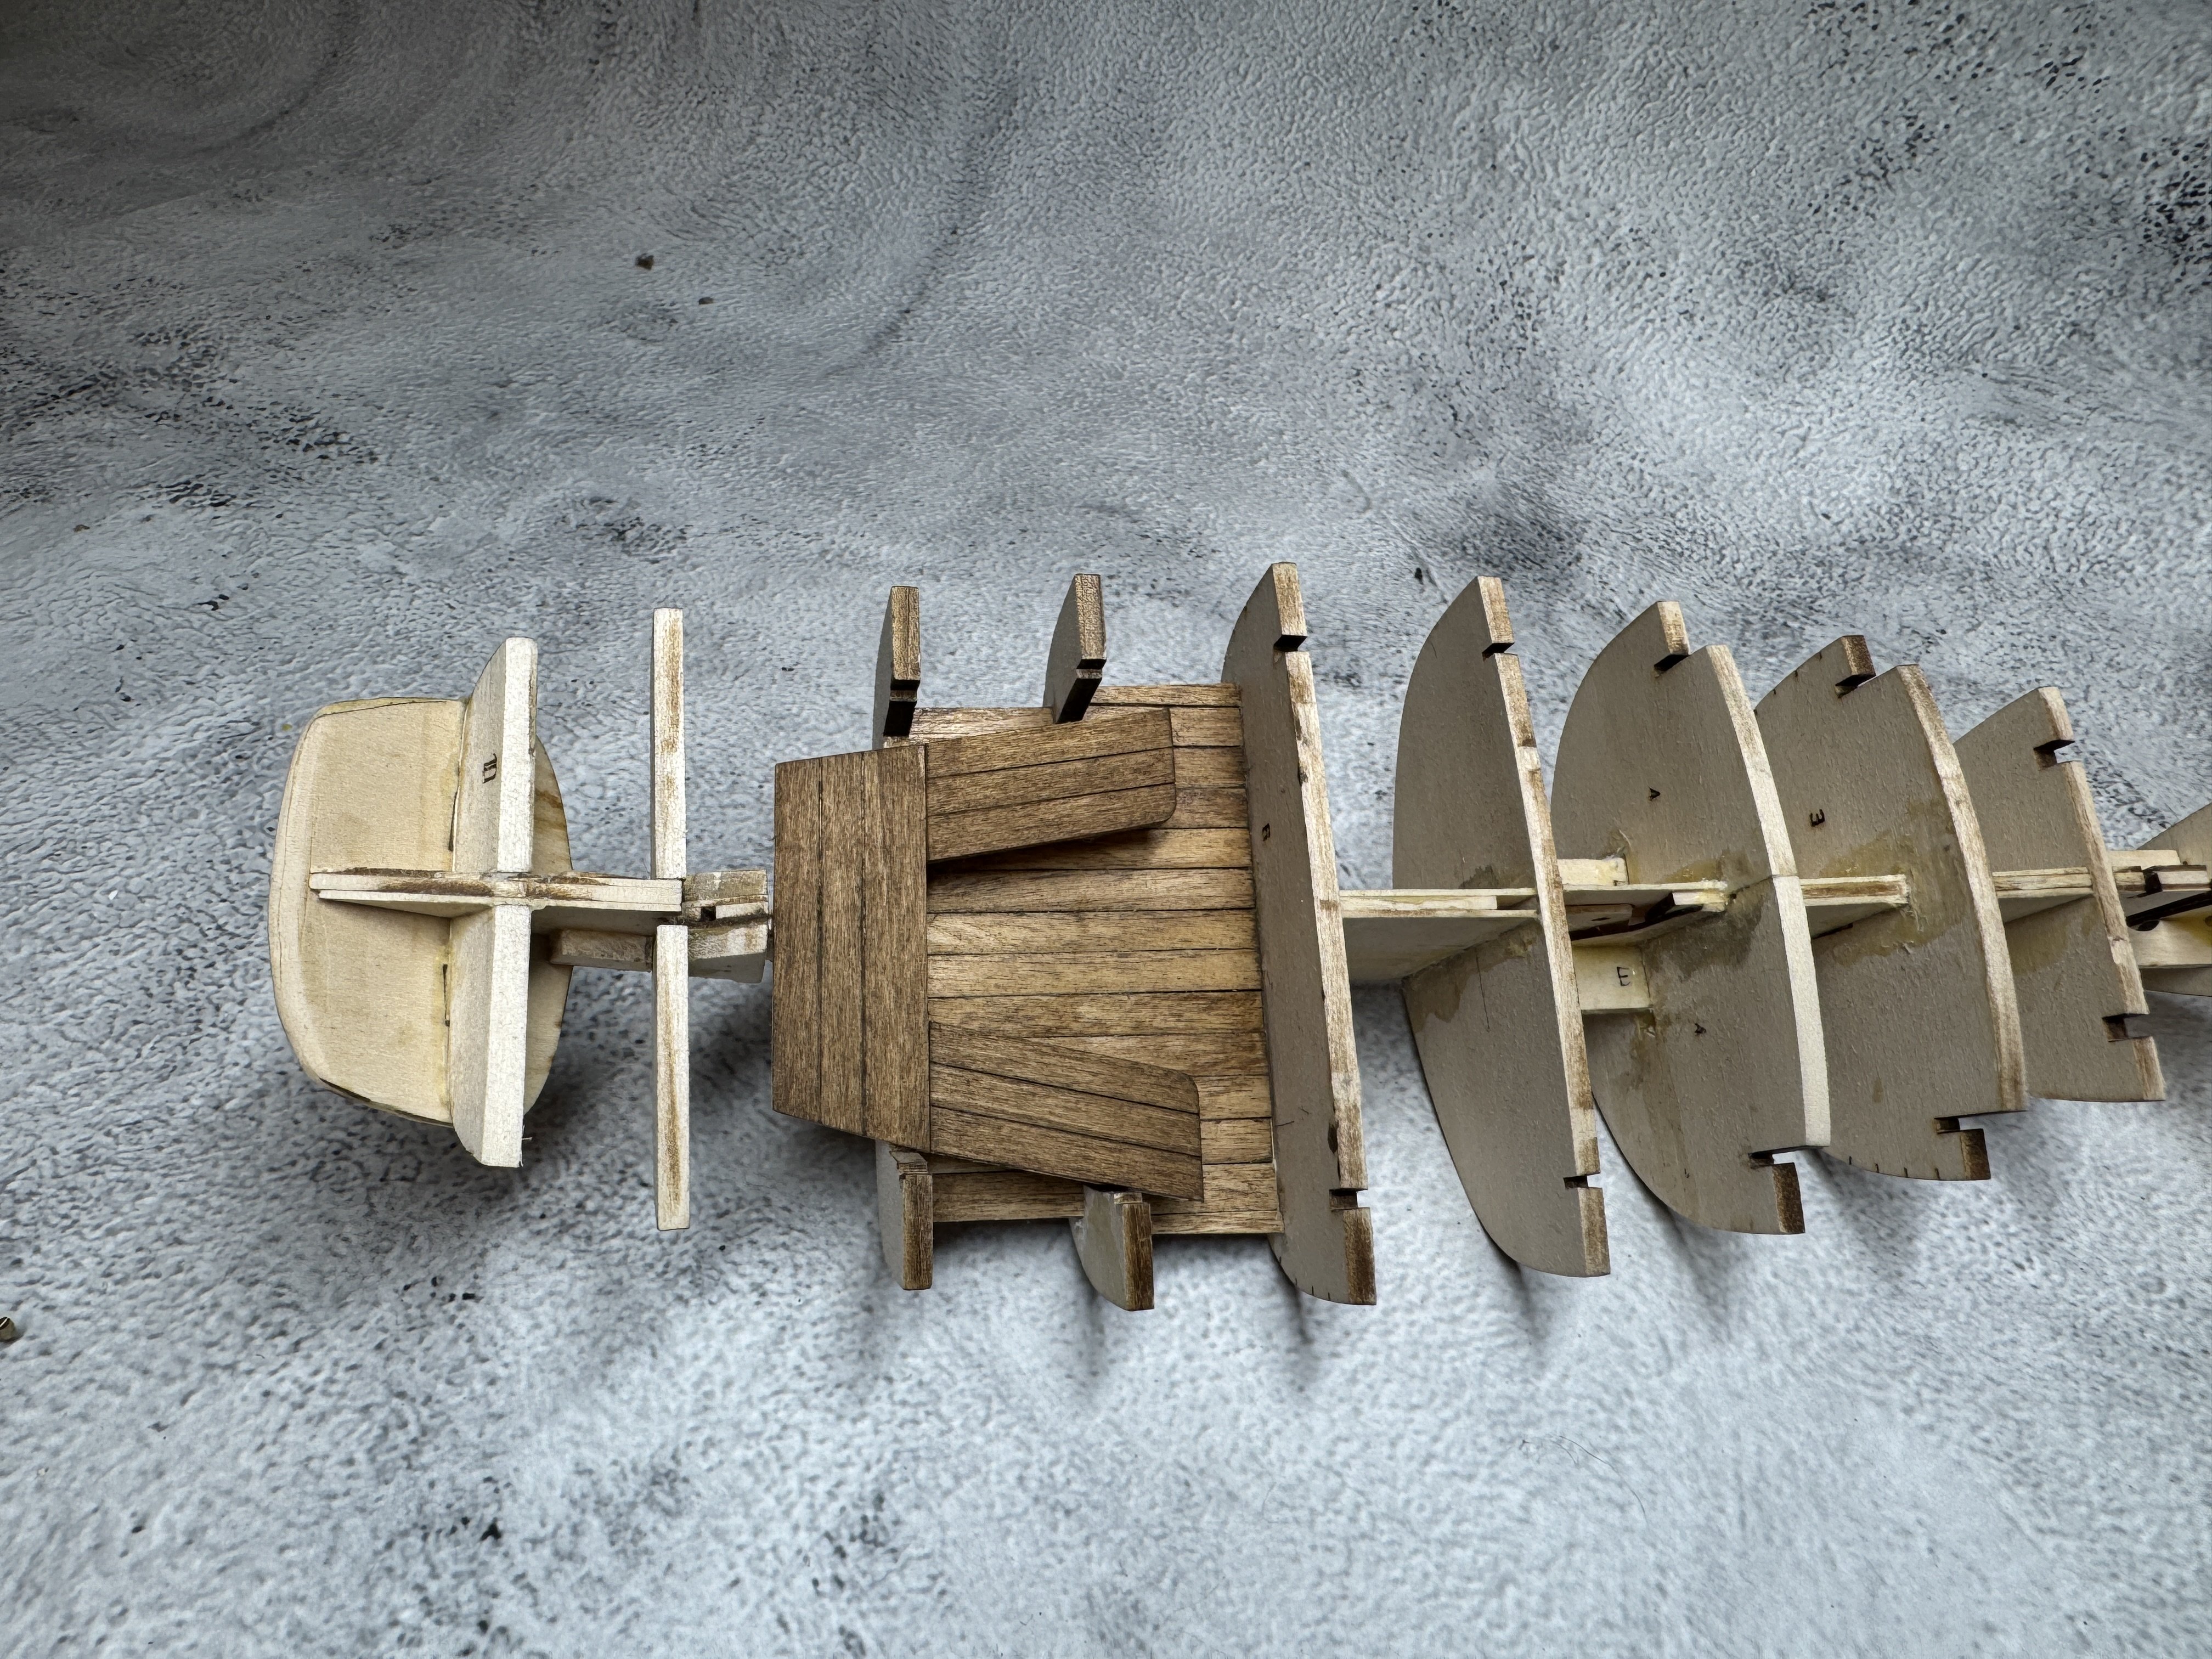
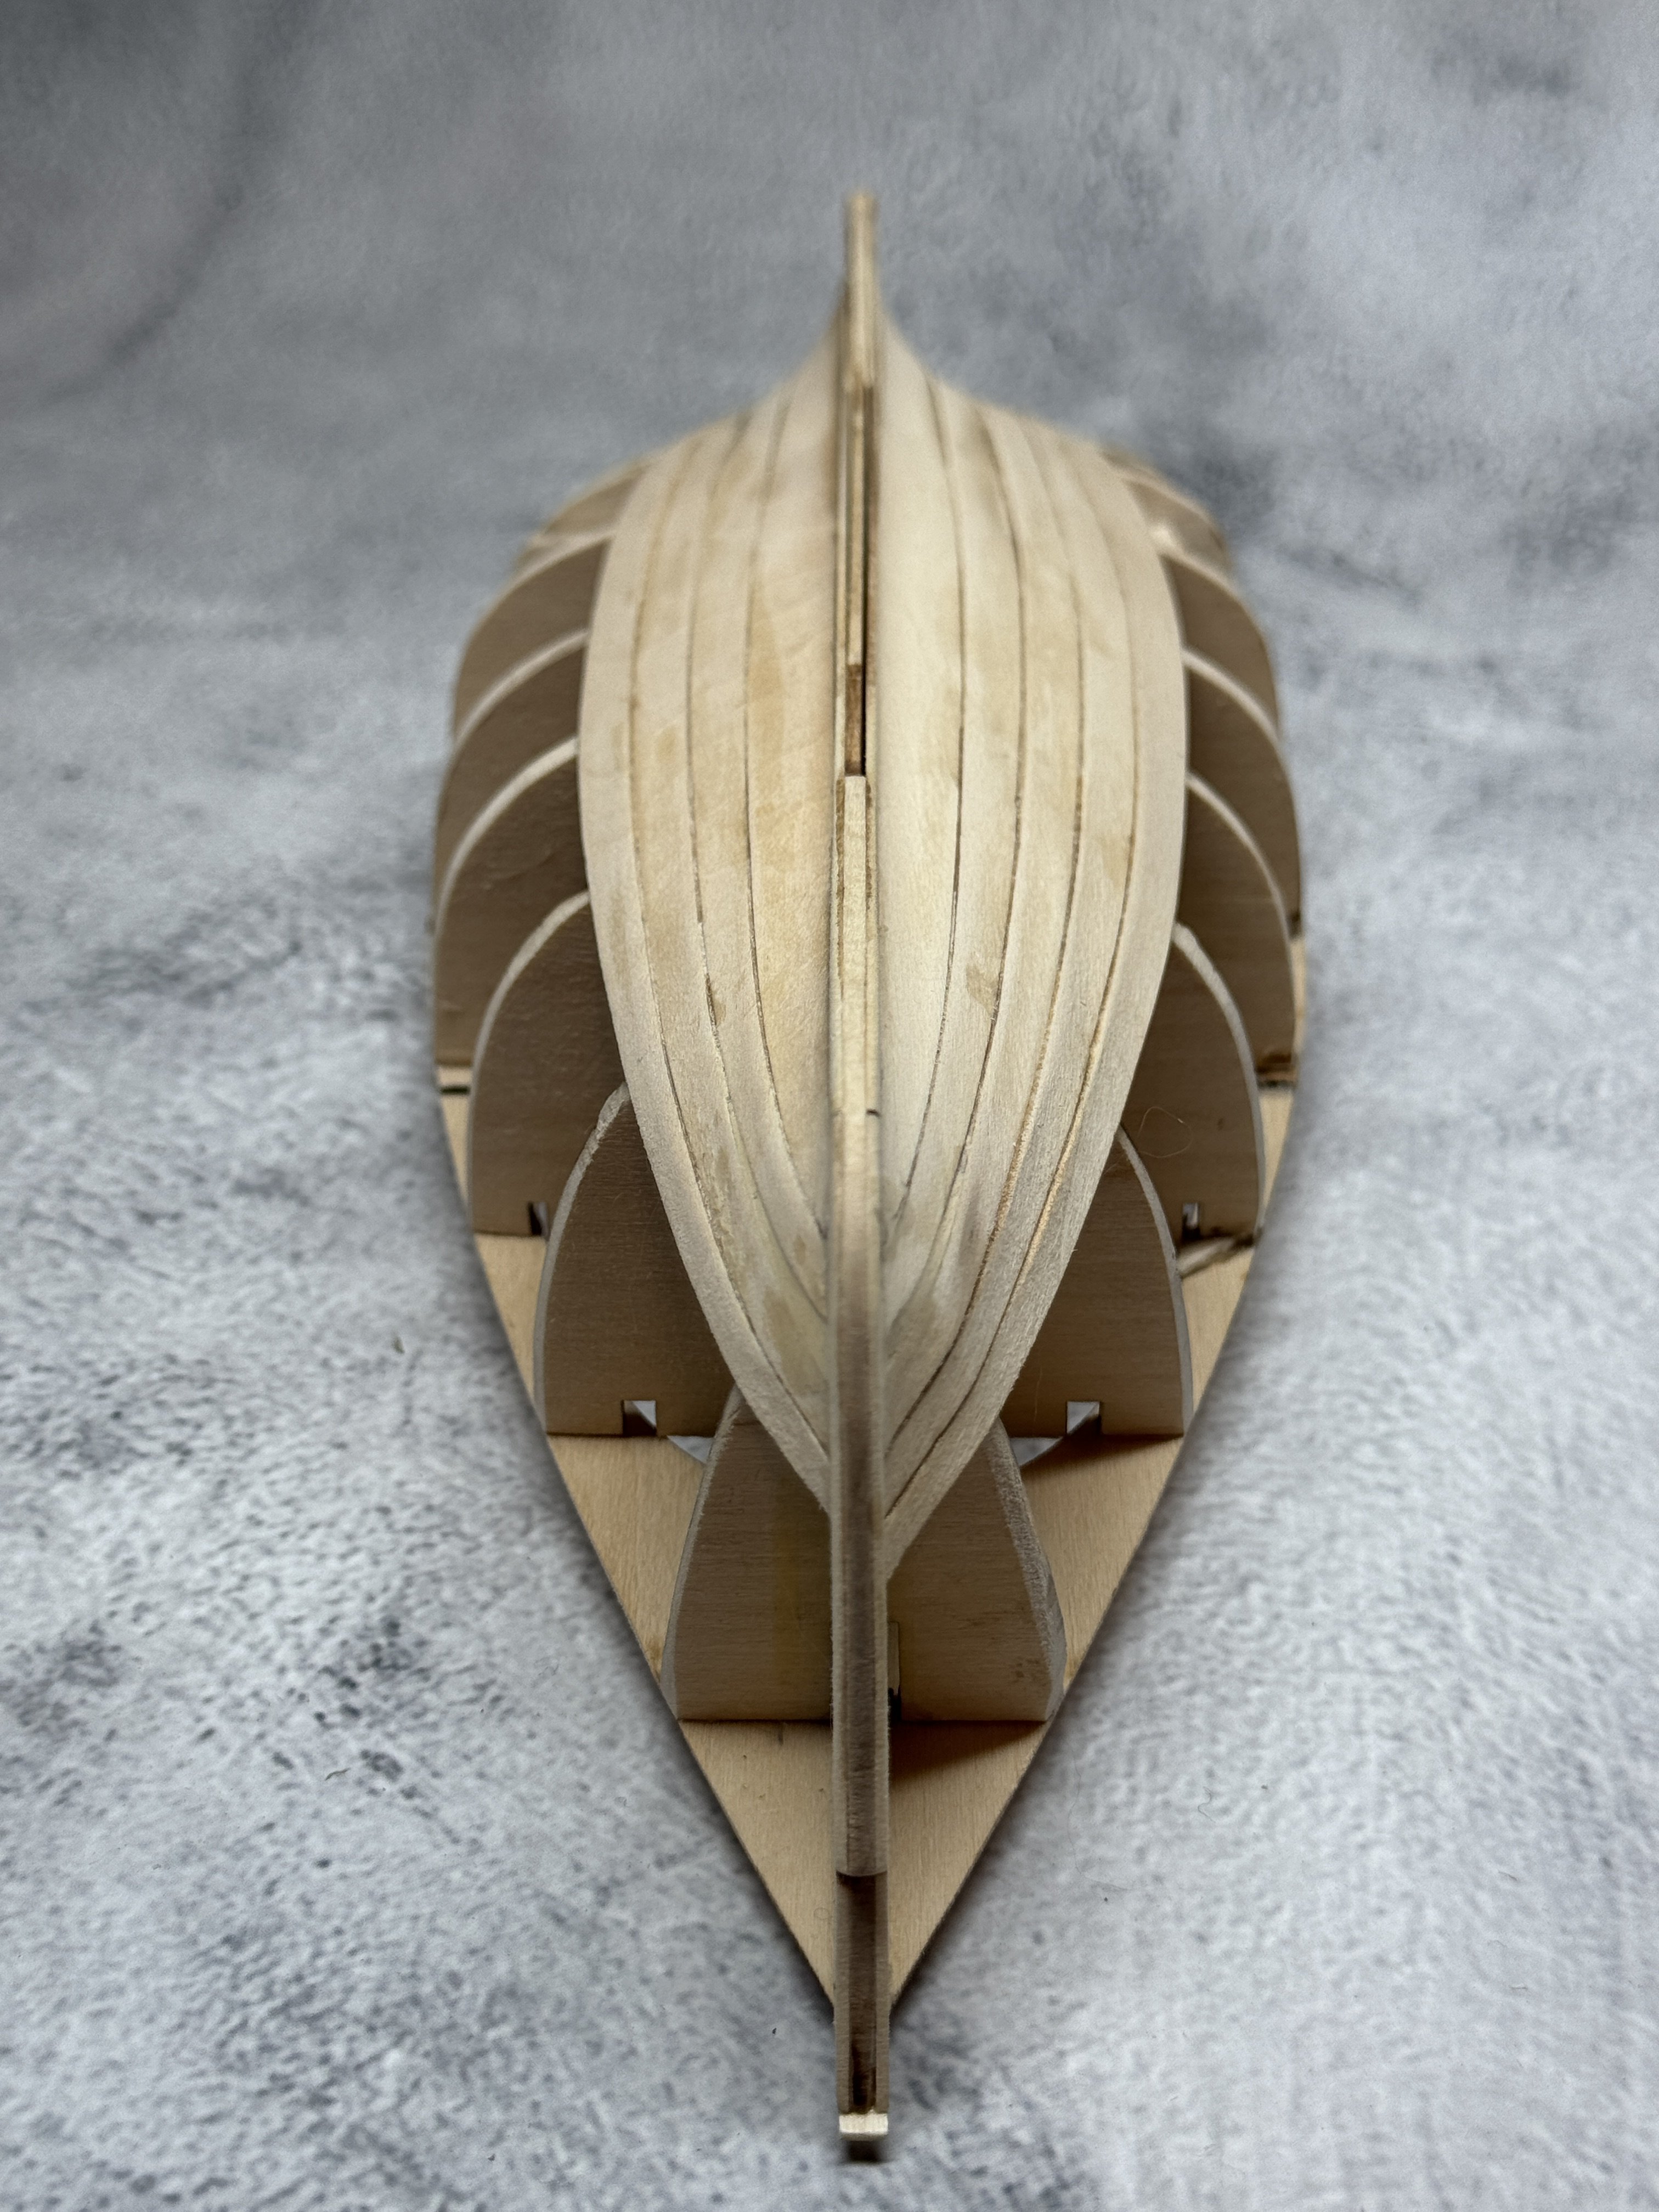
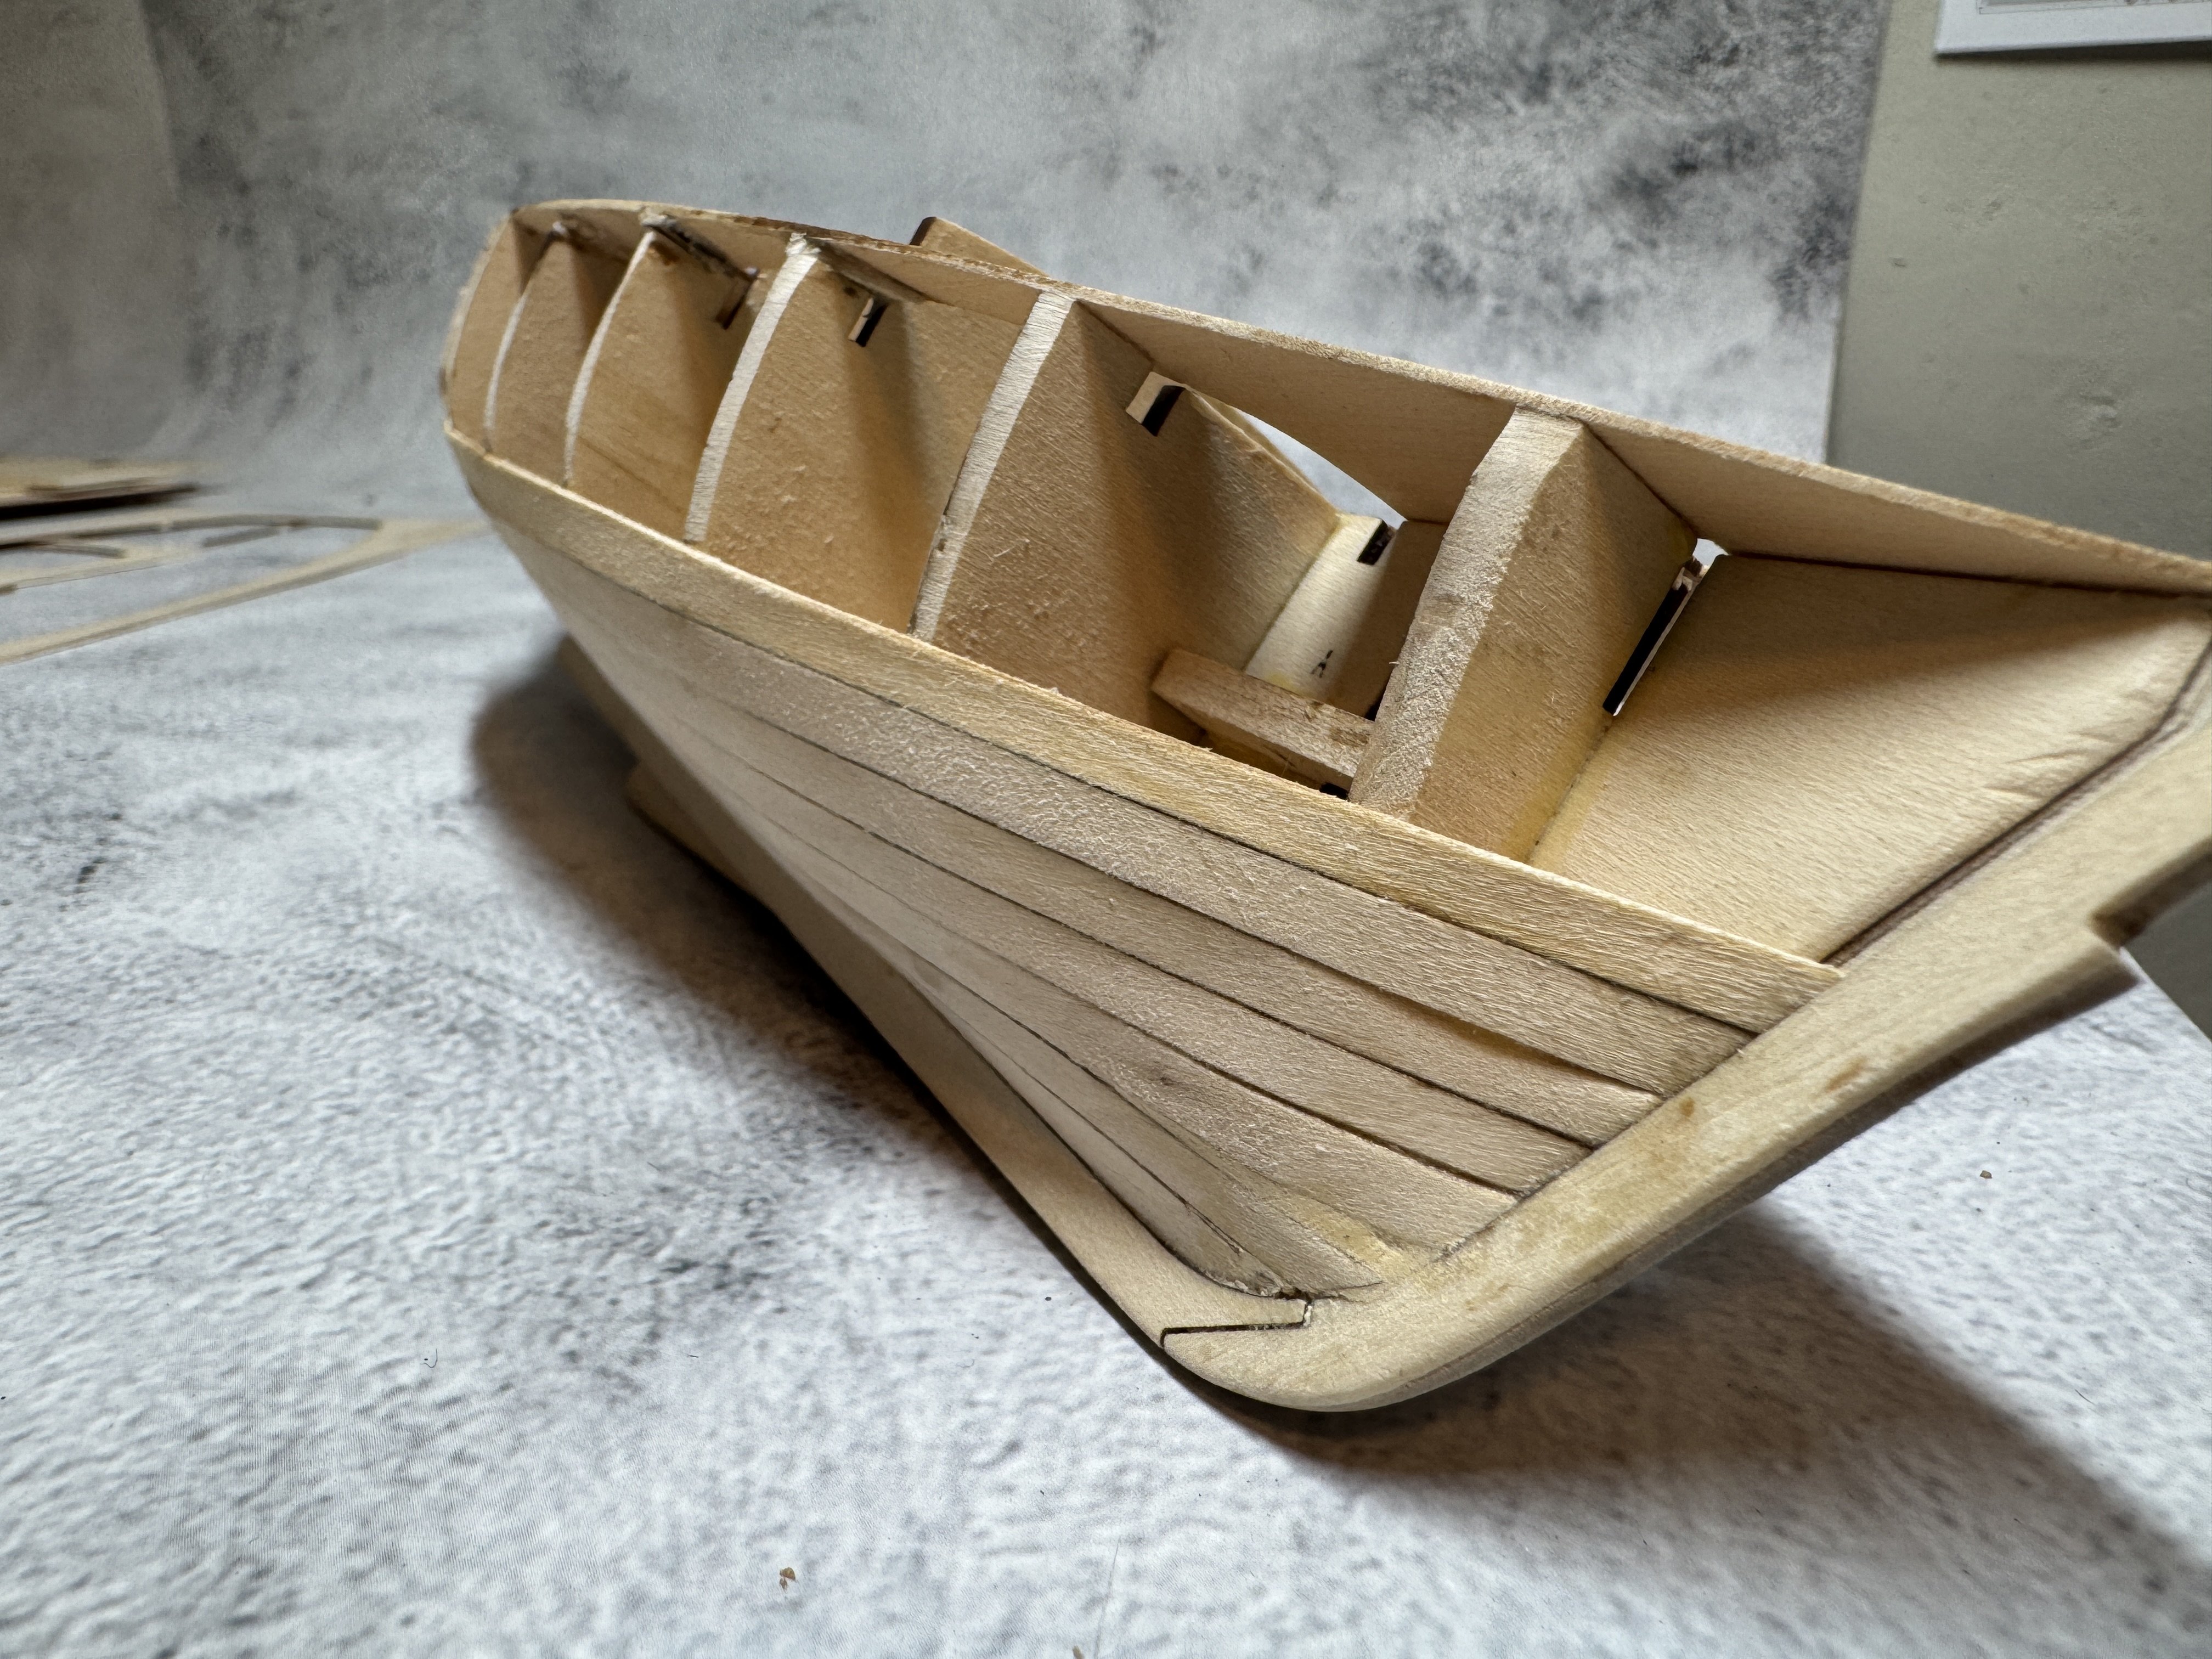
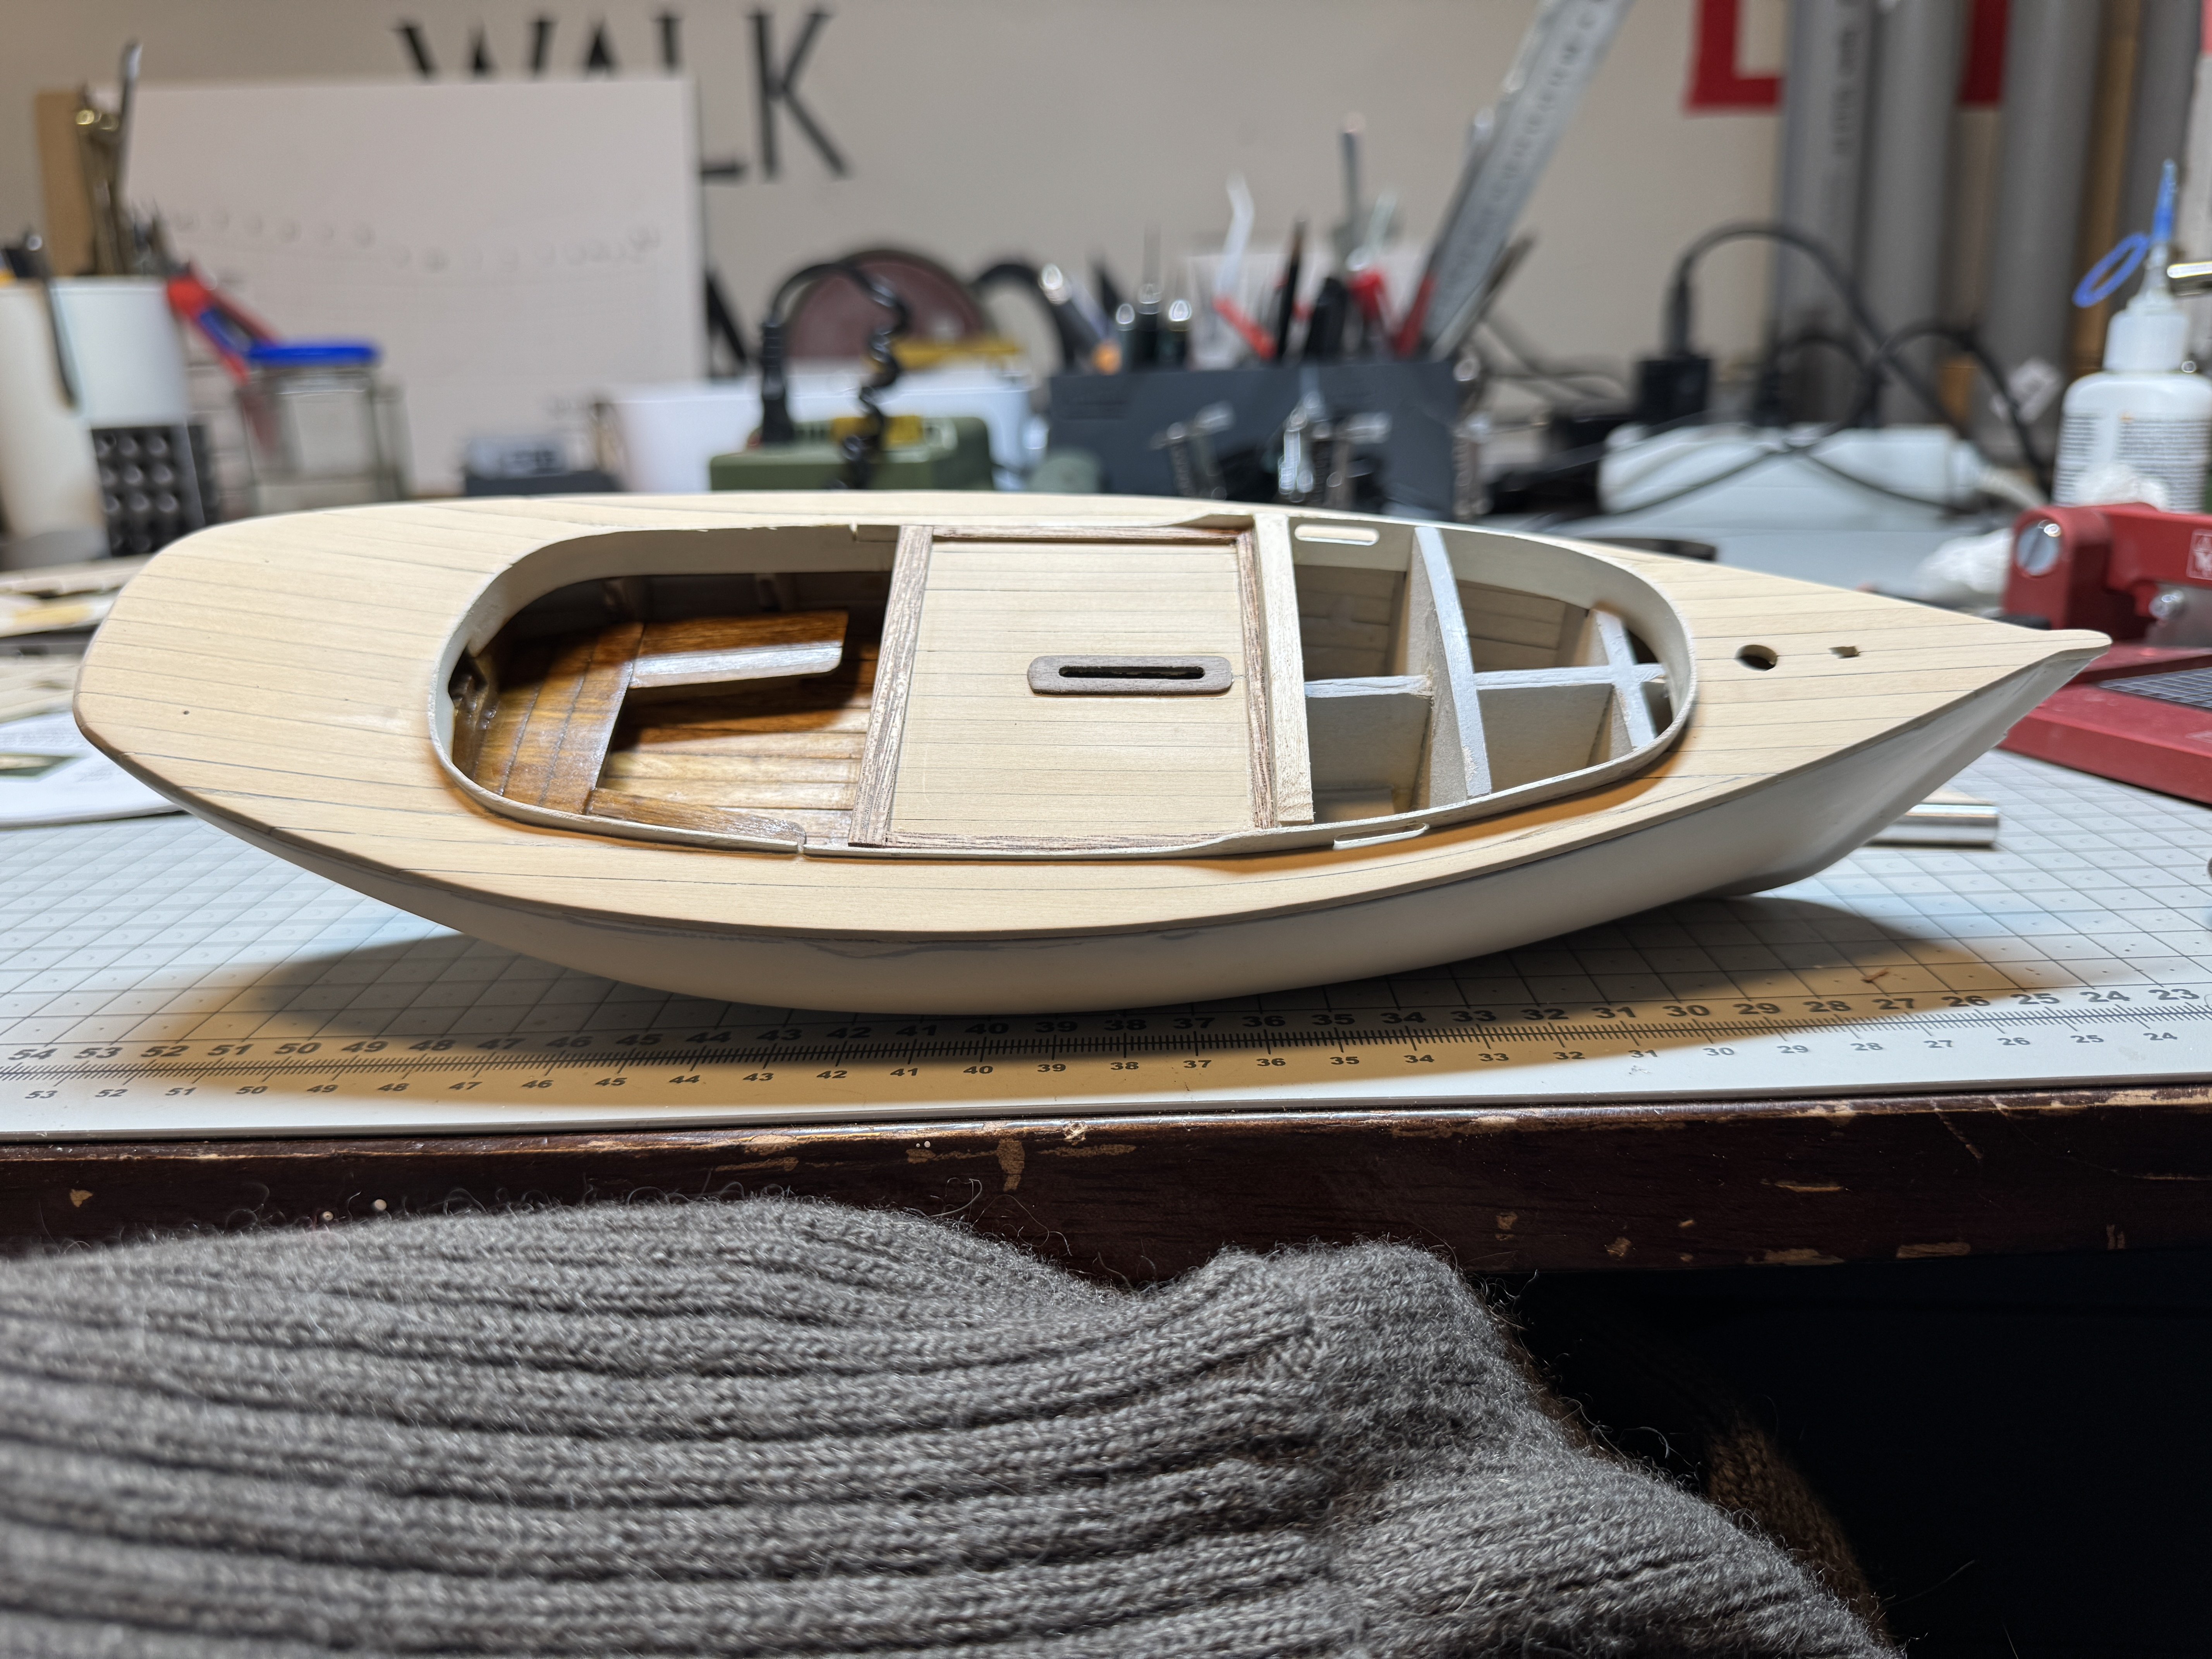
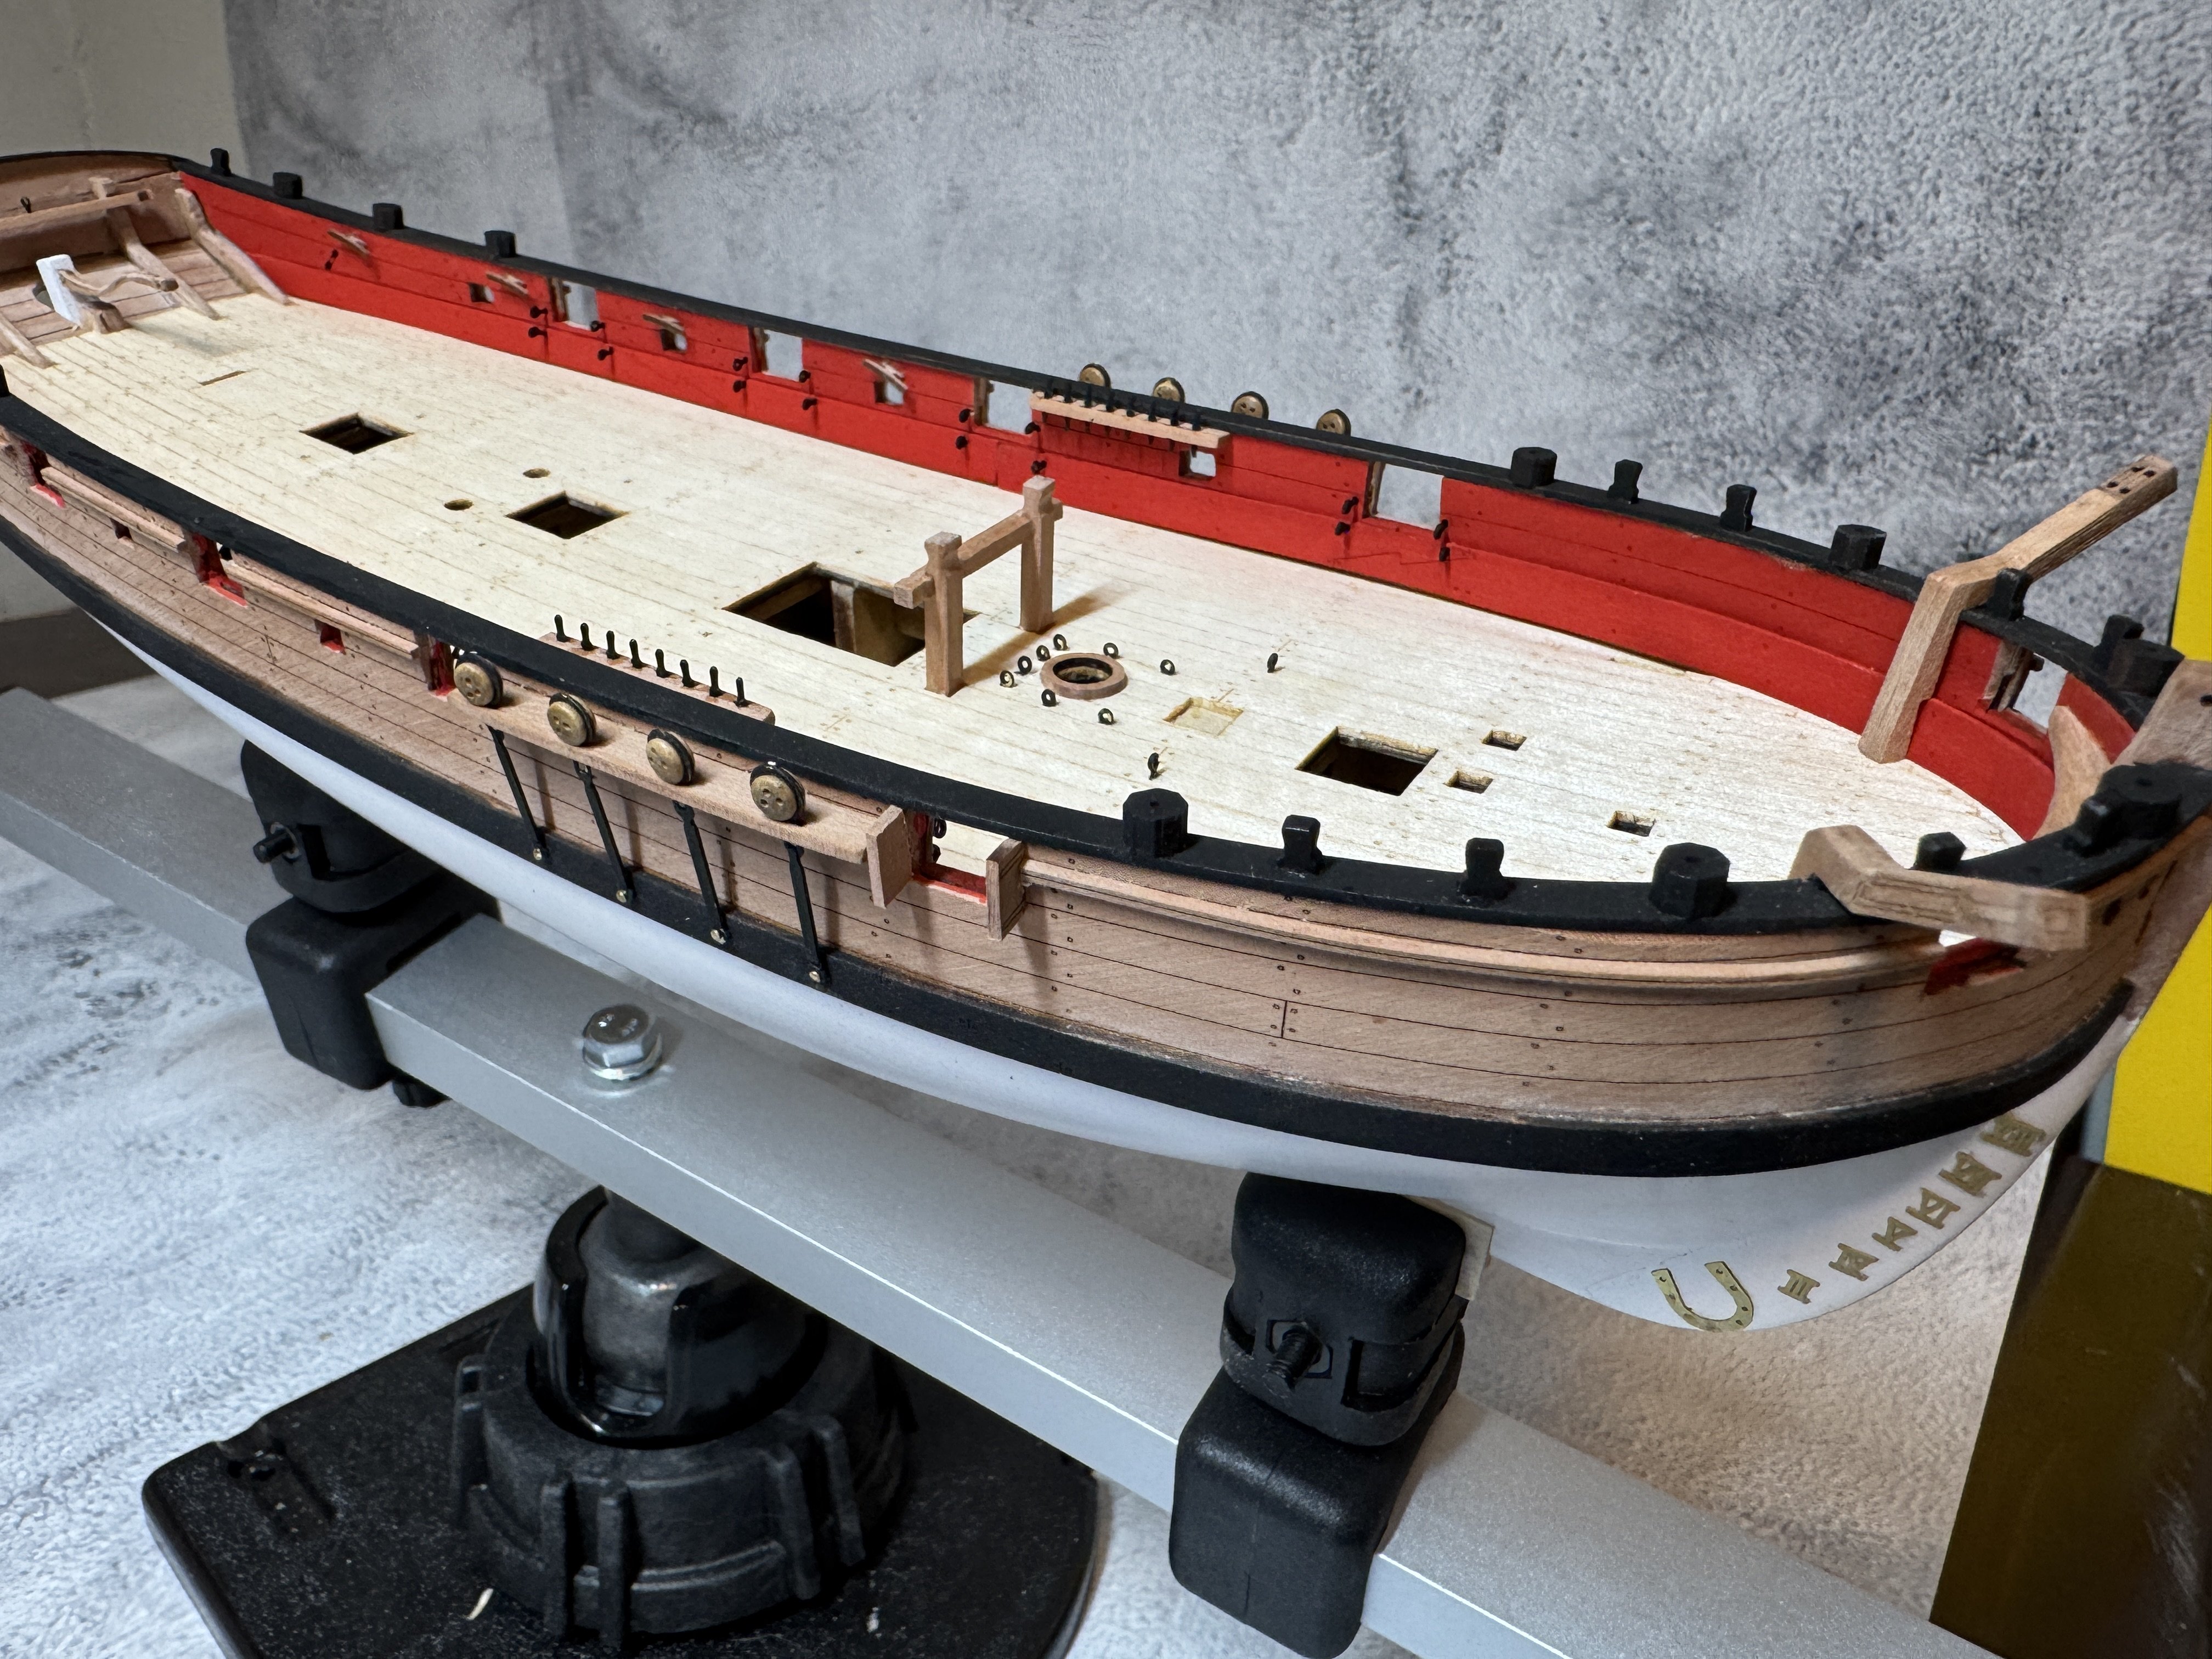
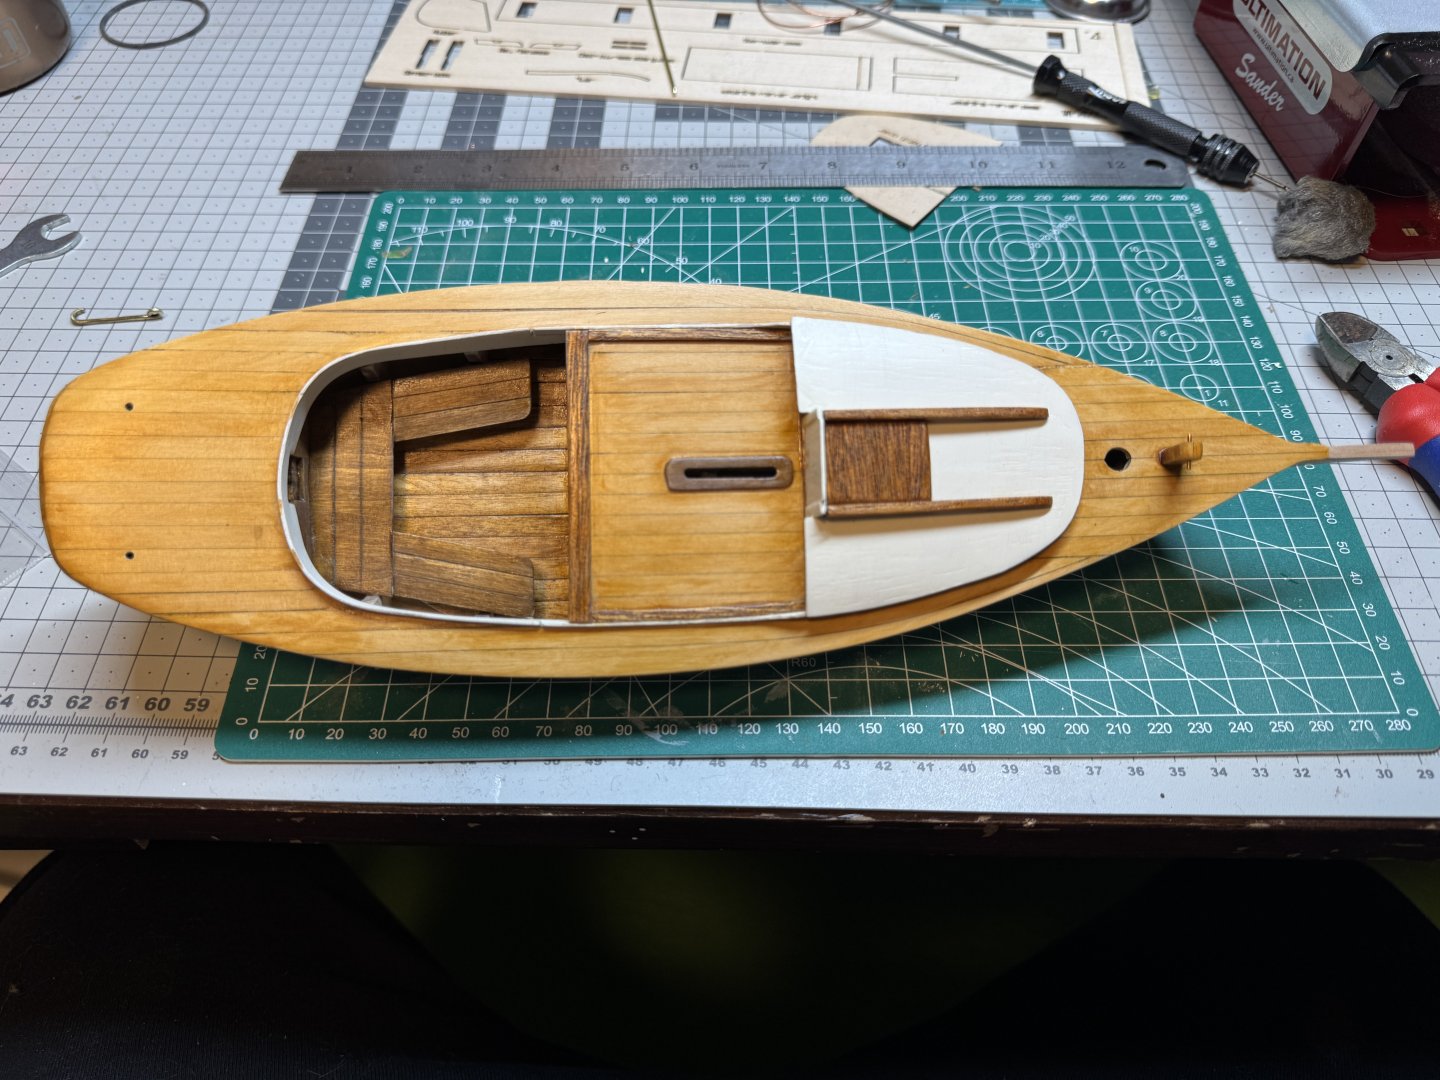
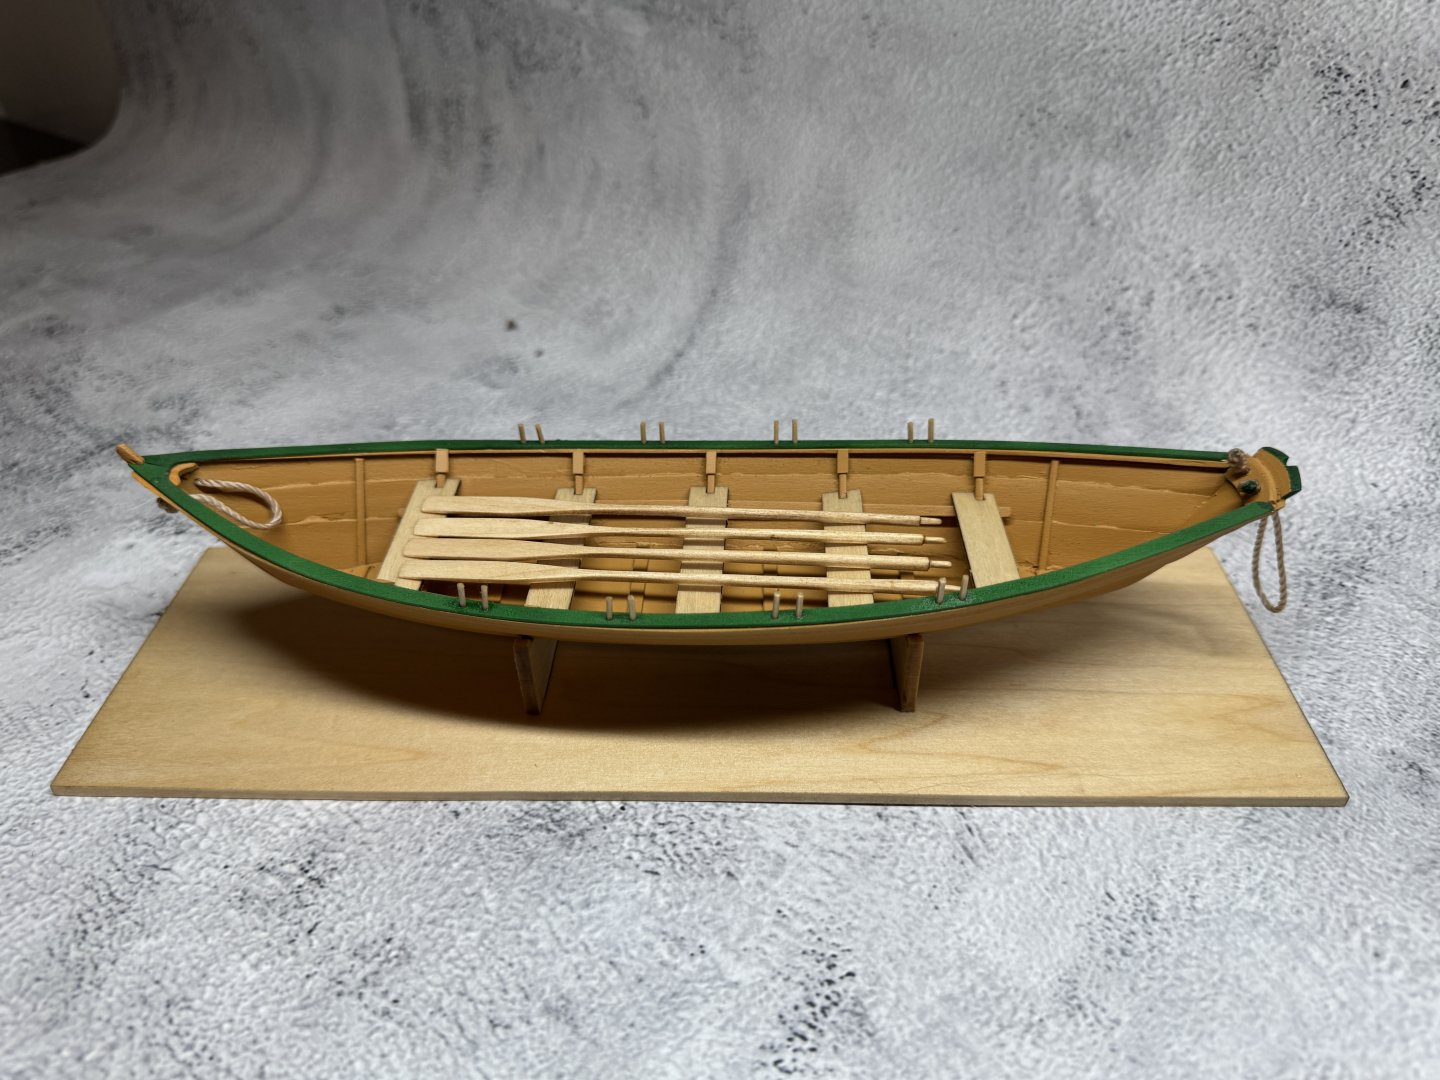
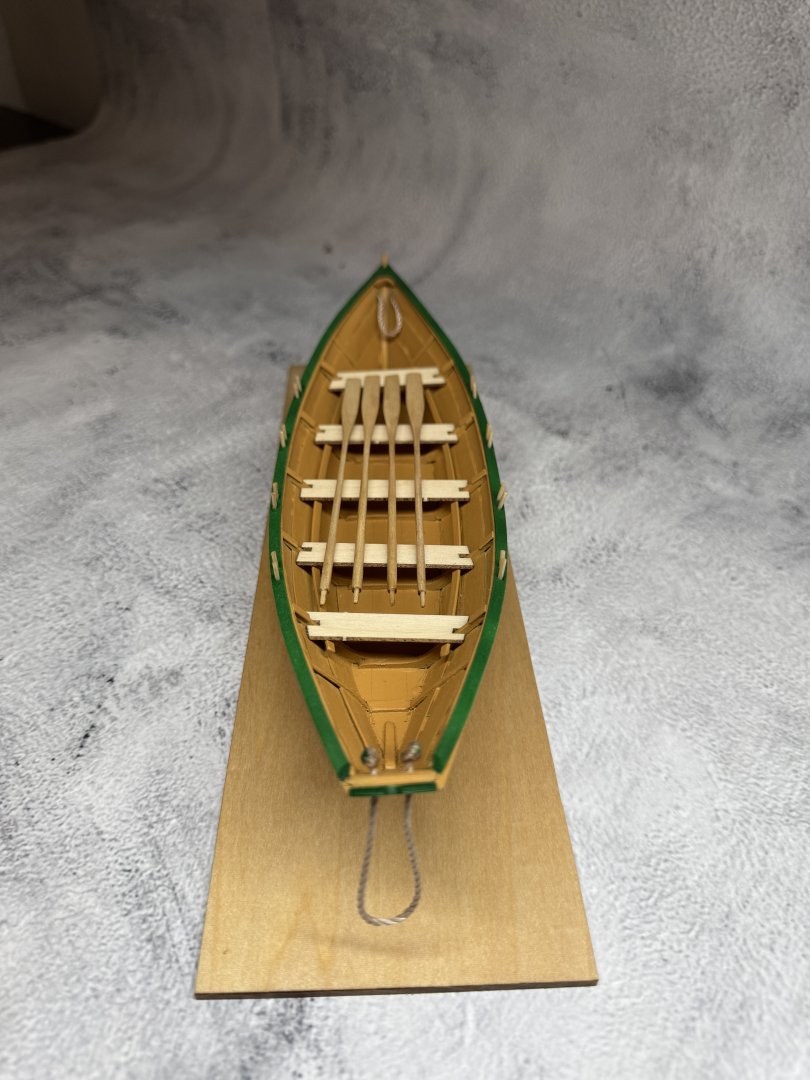
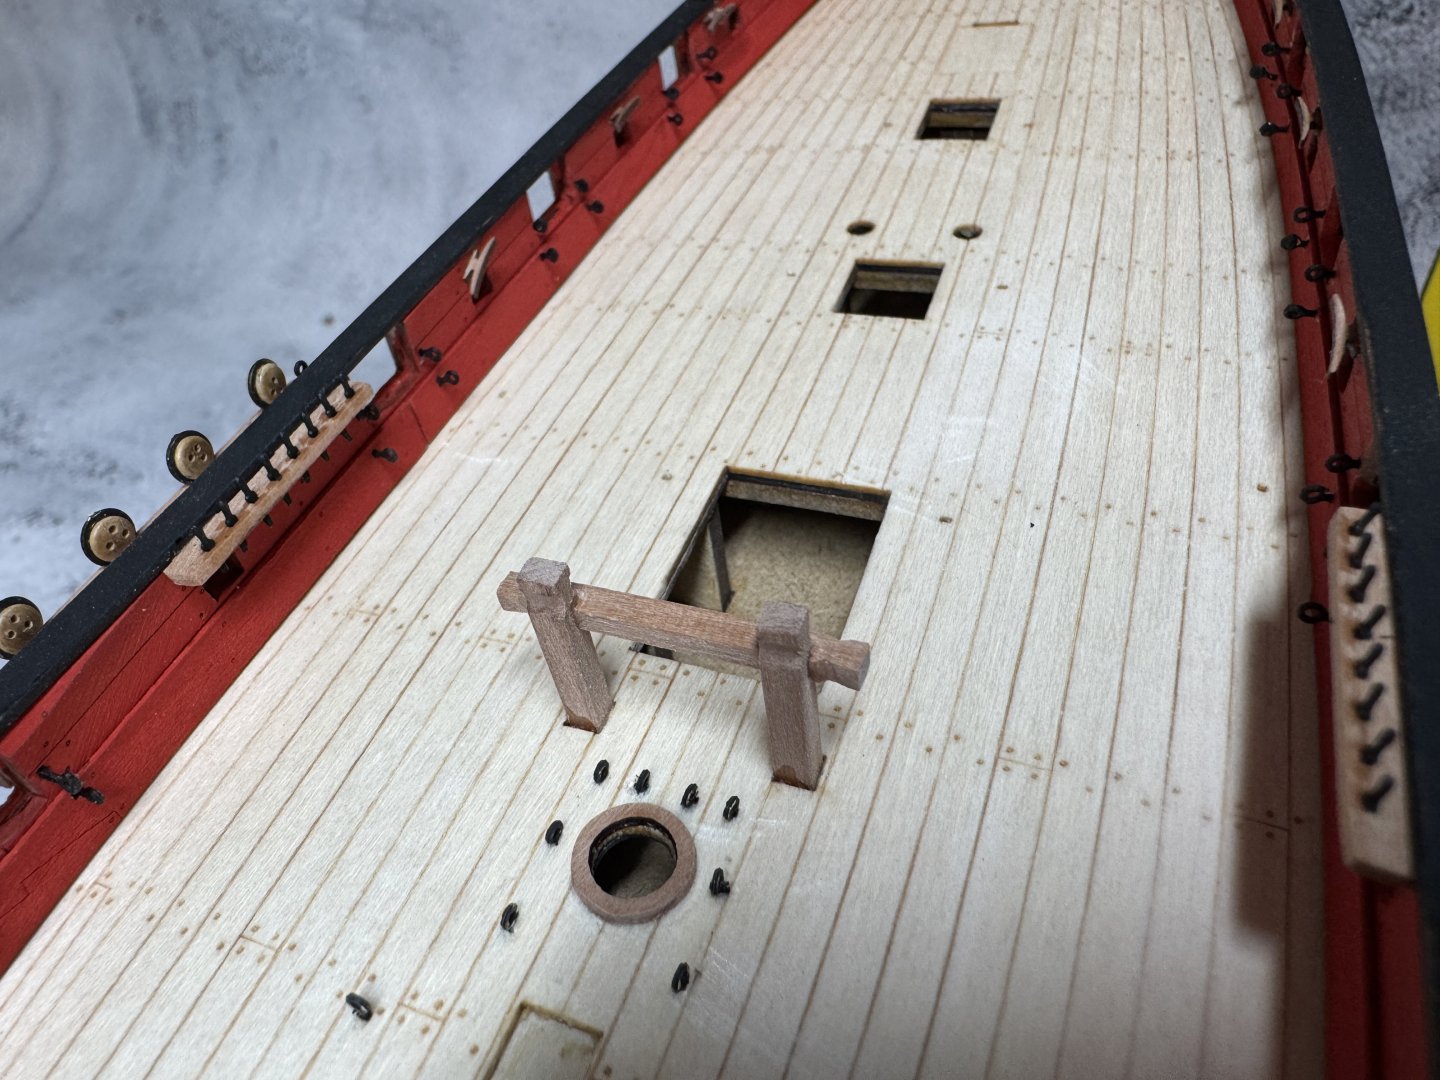
Current status of the Sherbourne:

-
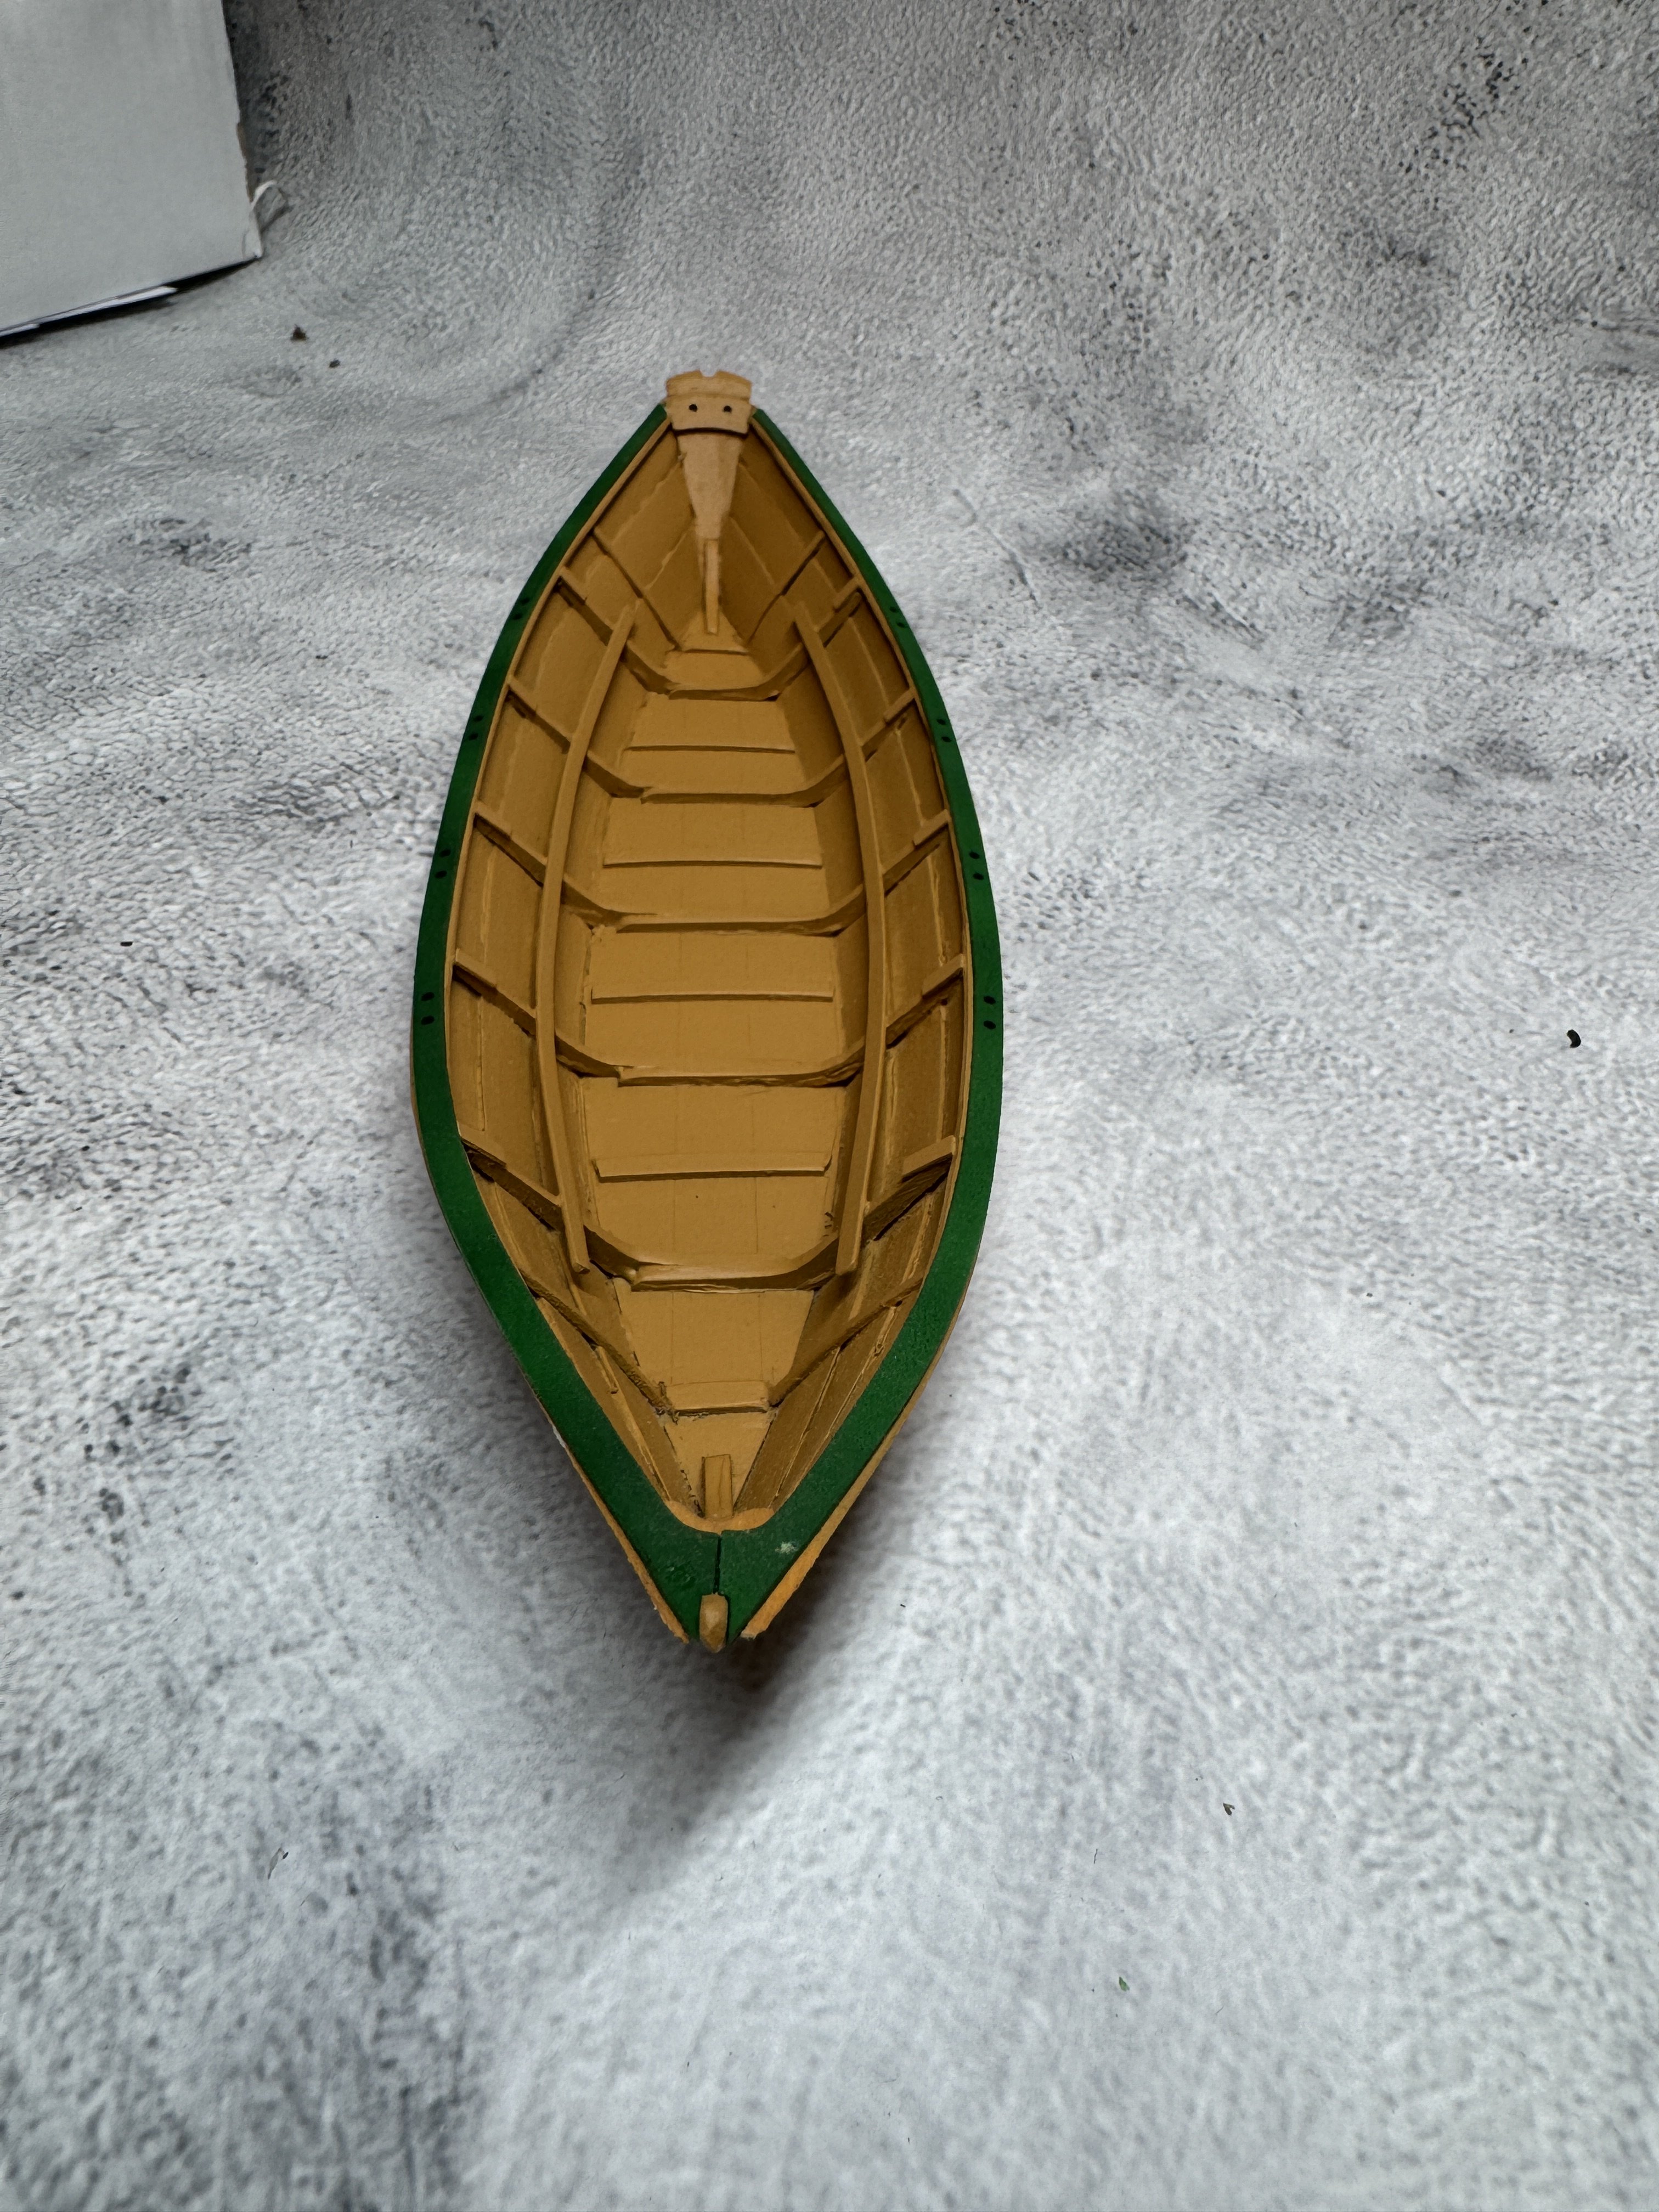
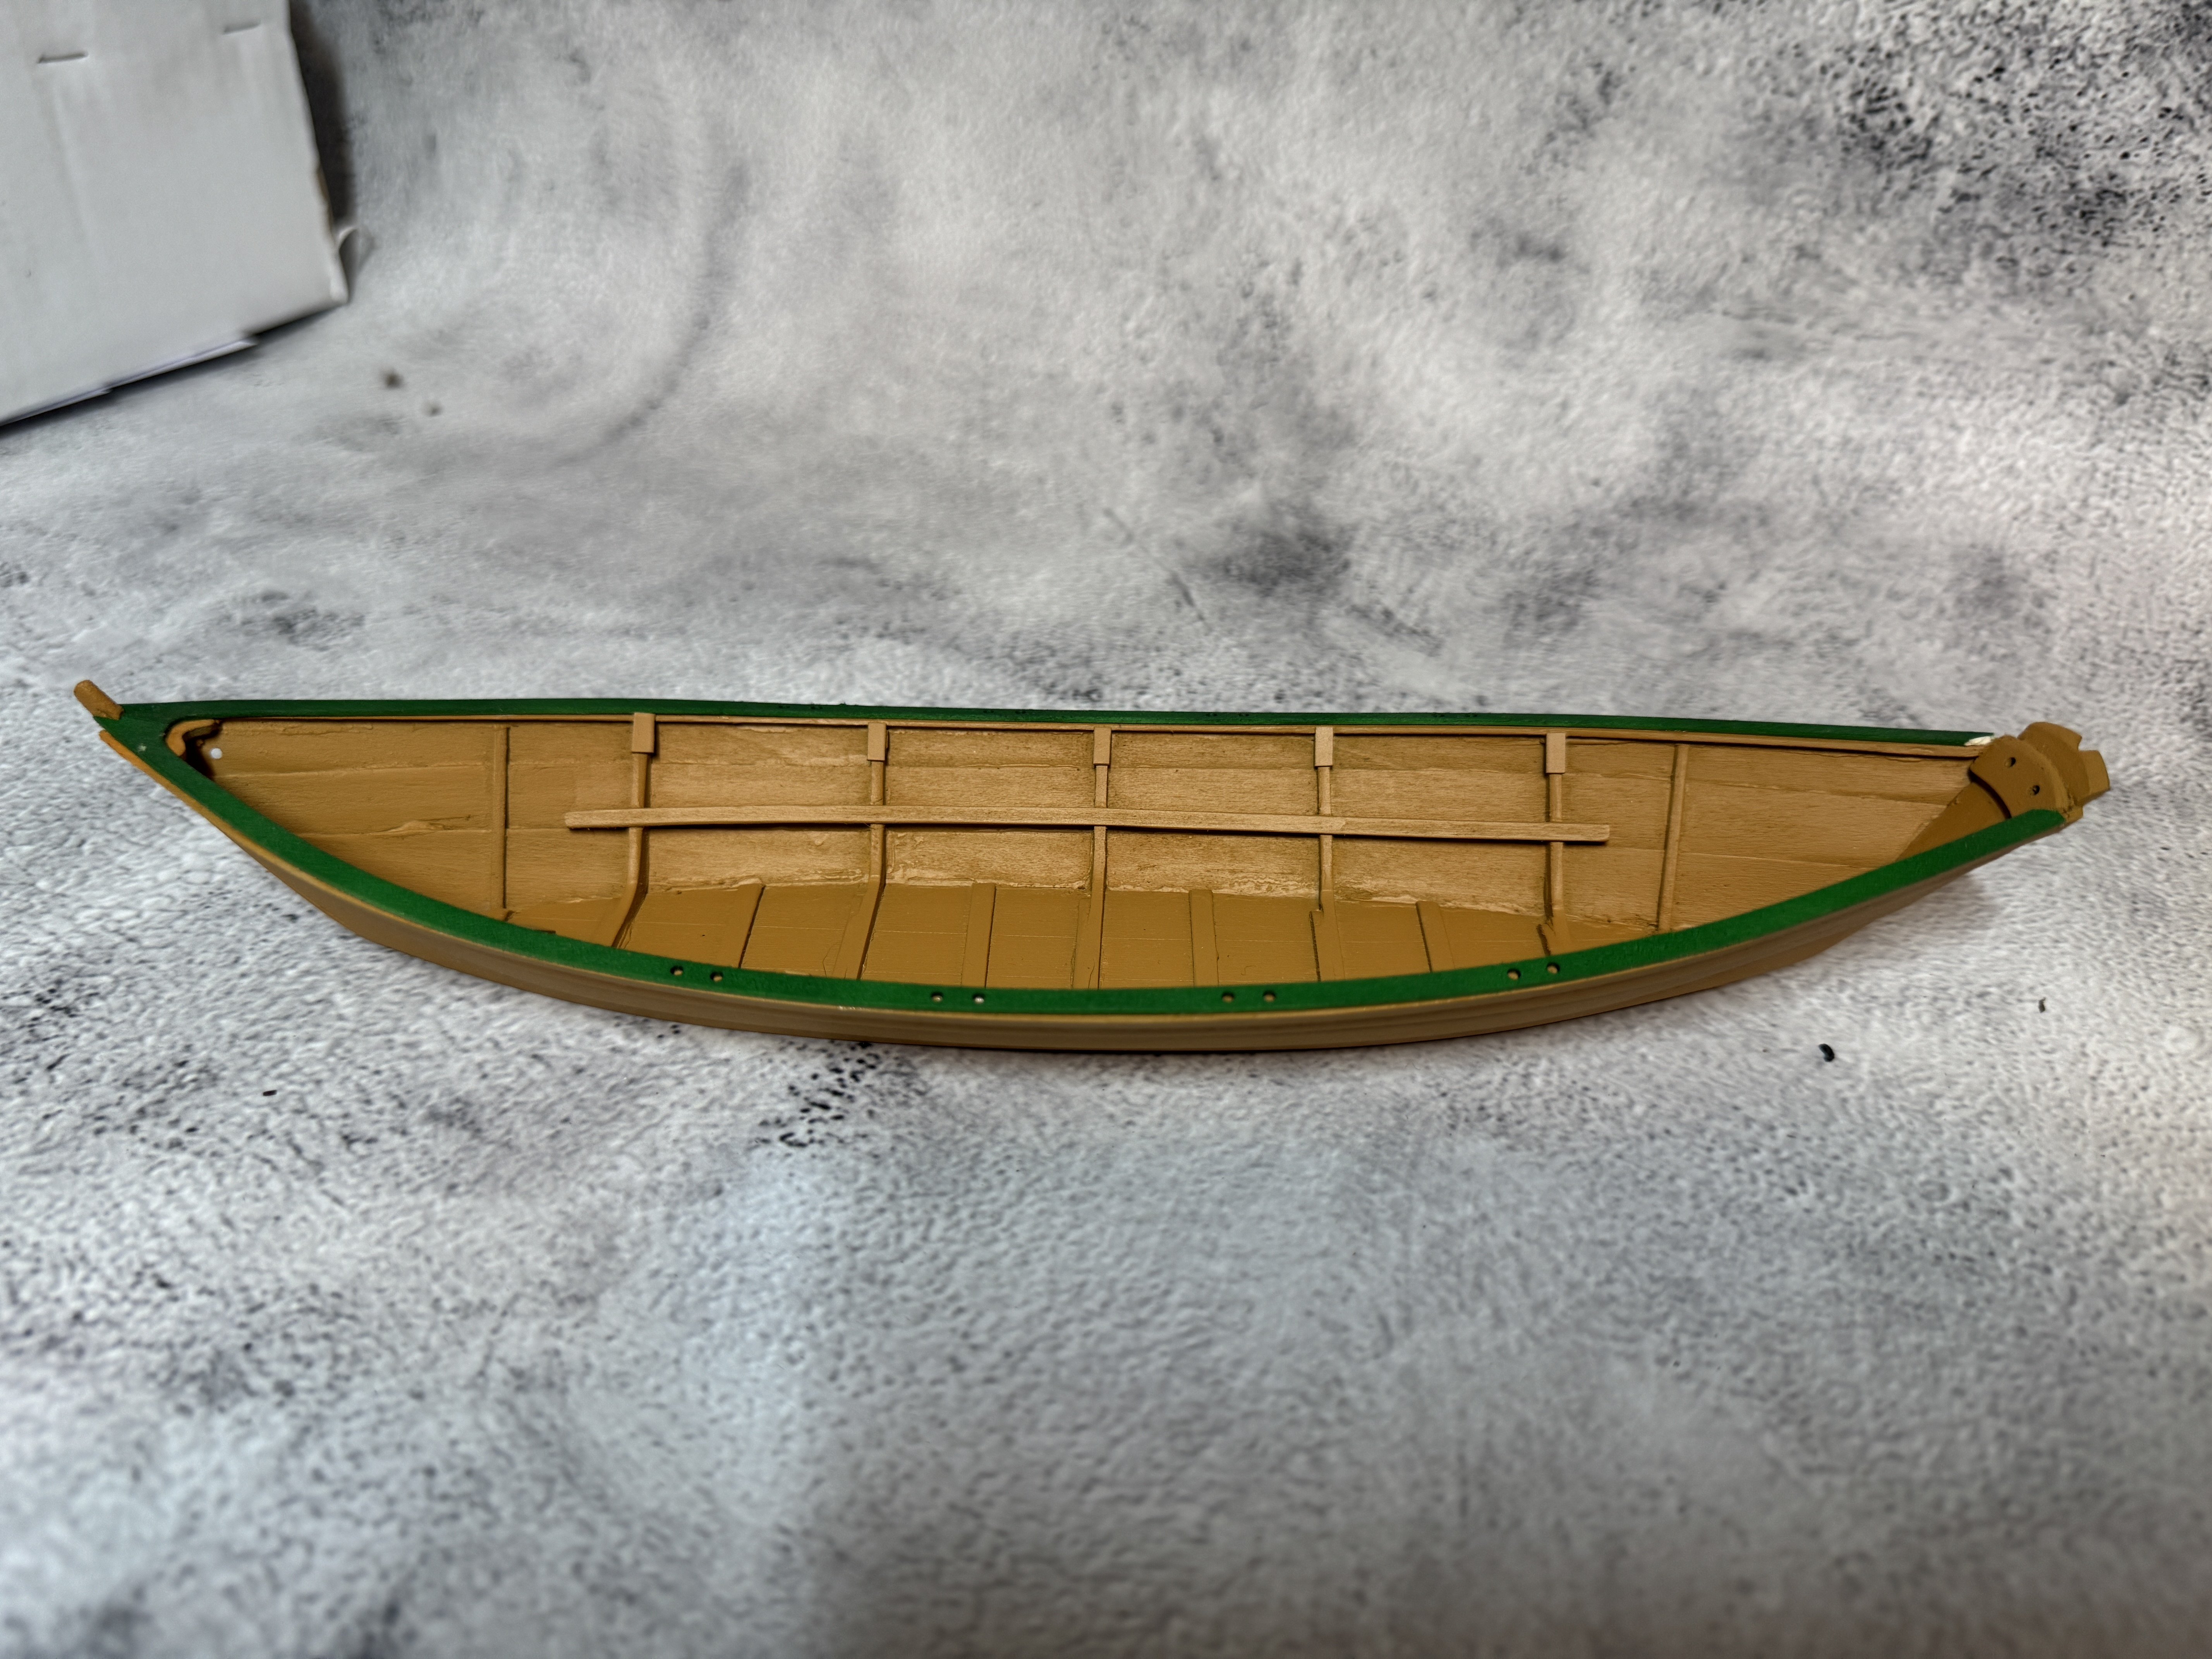
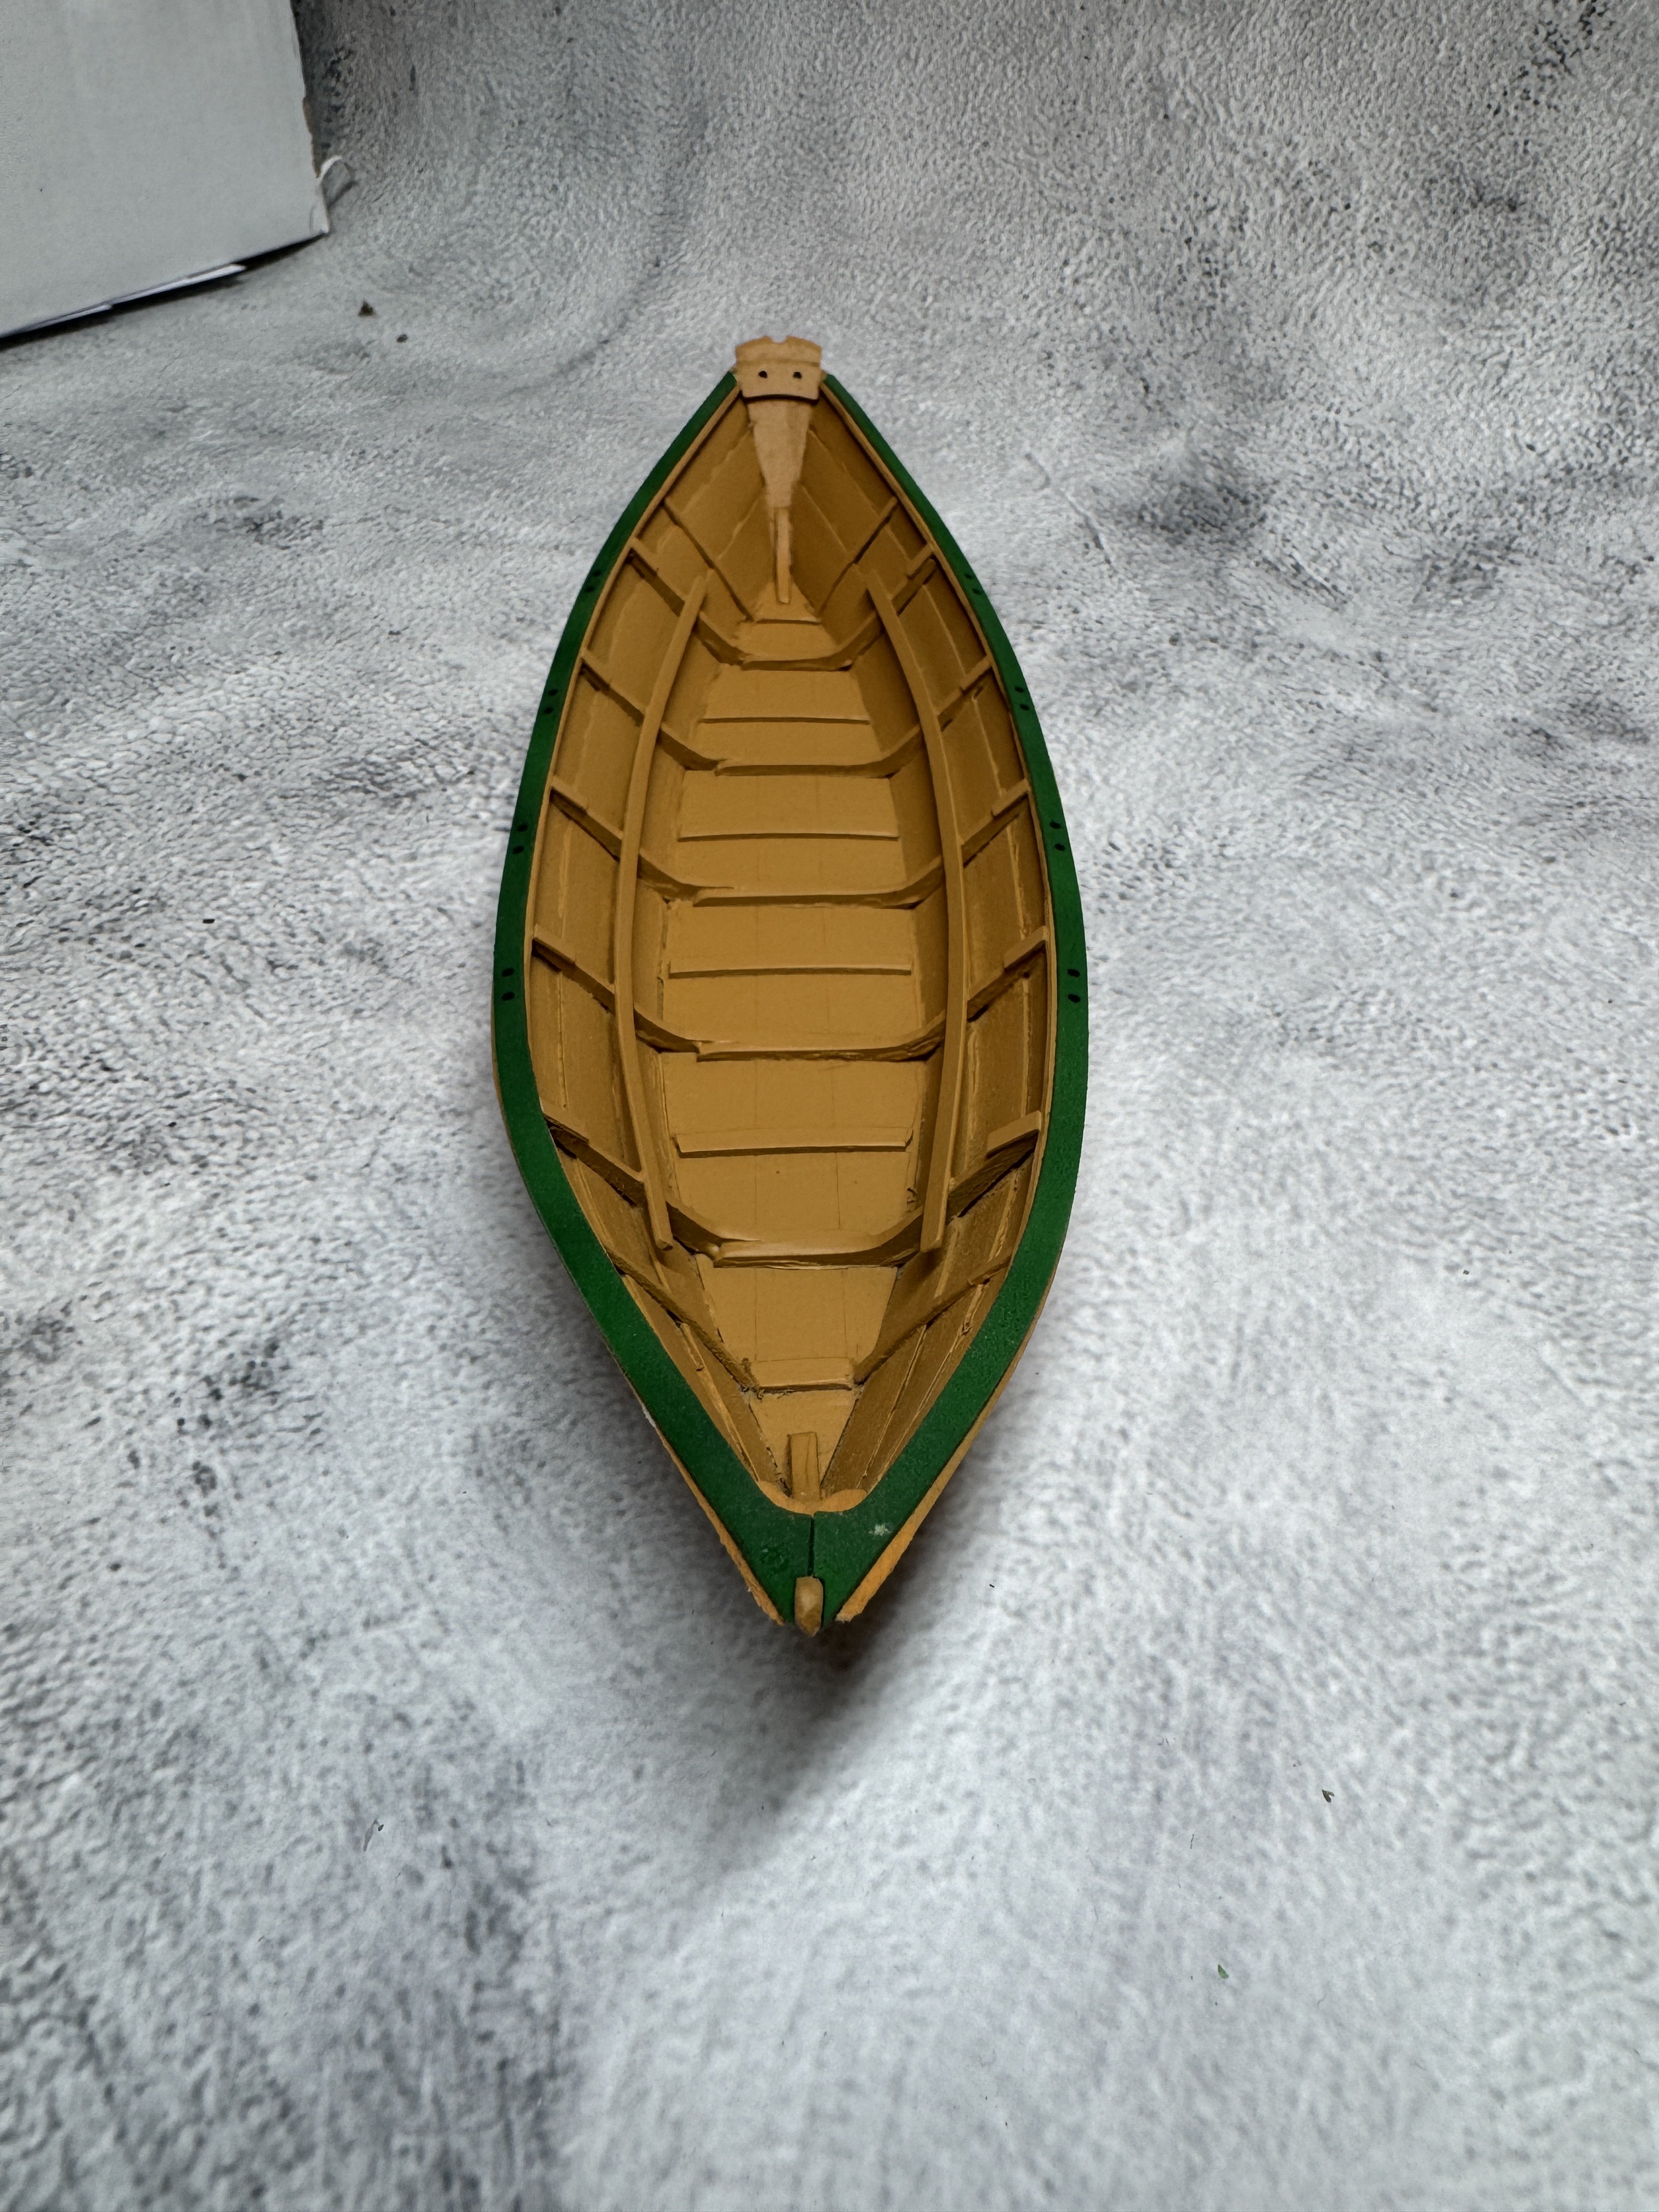
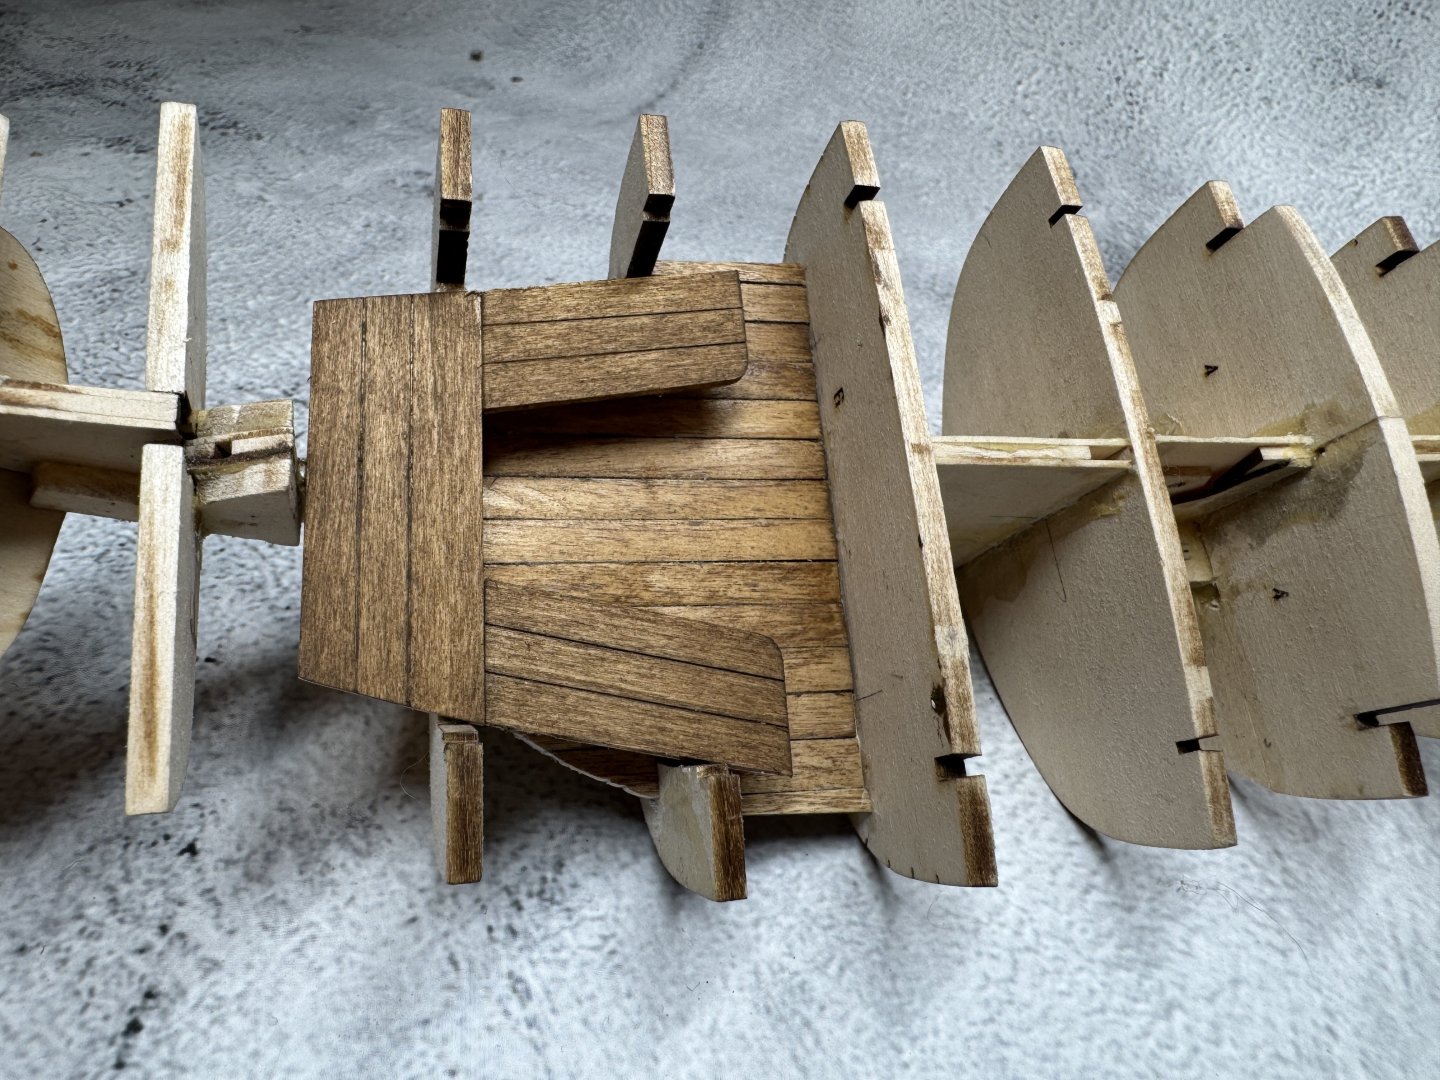
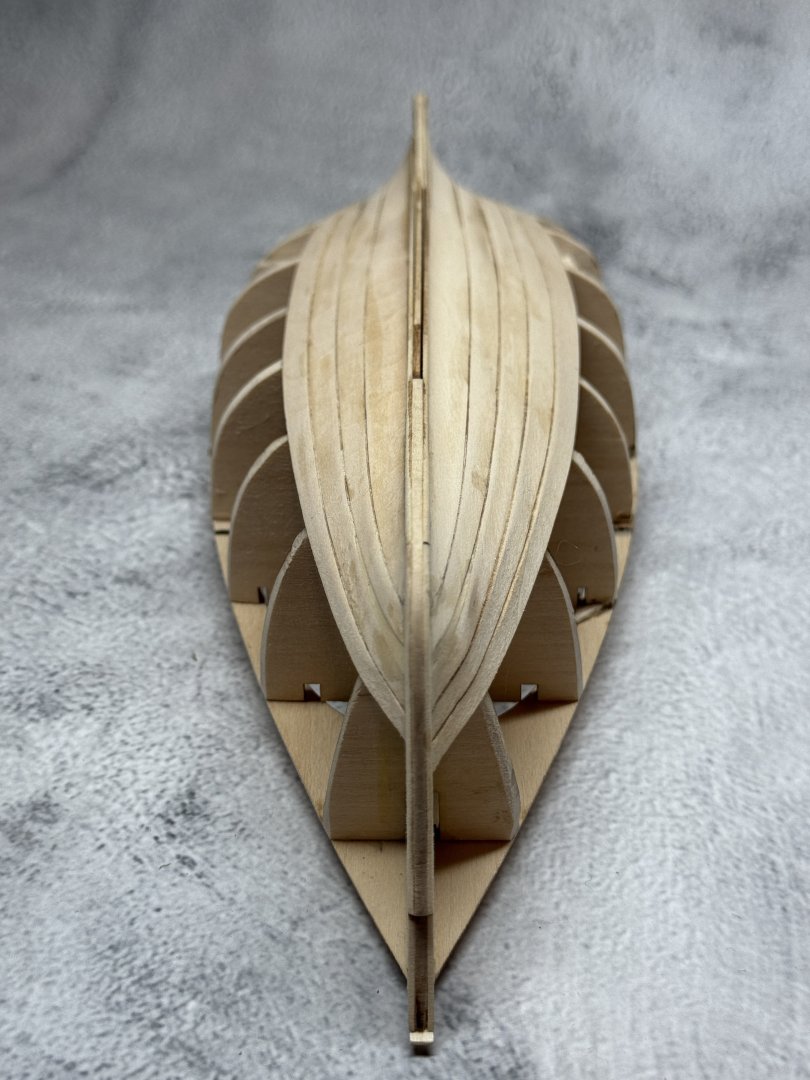
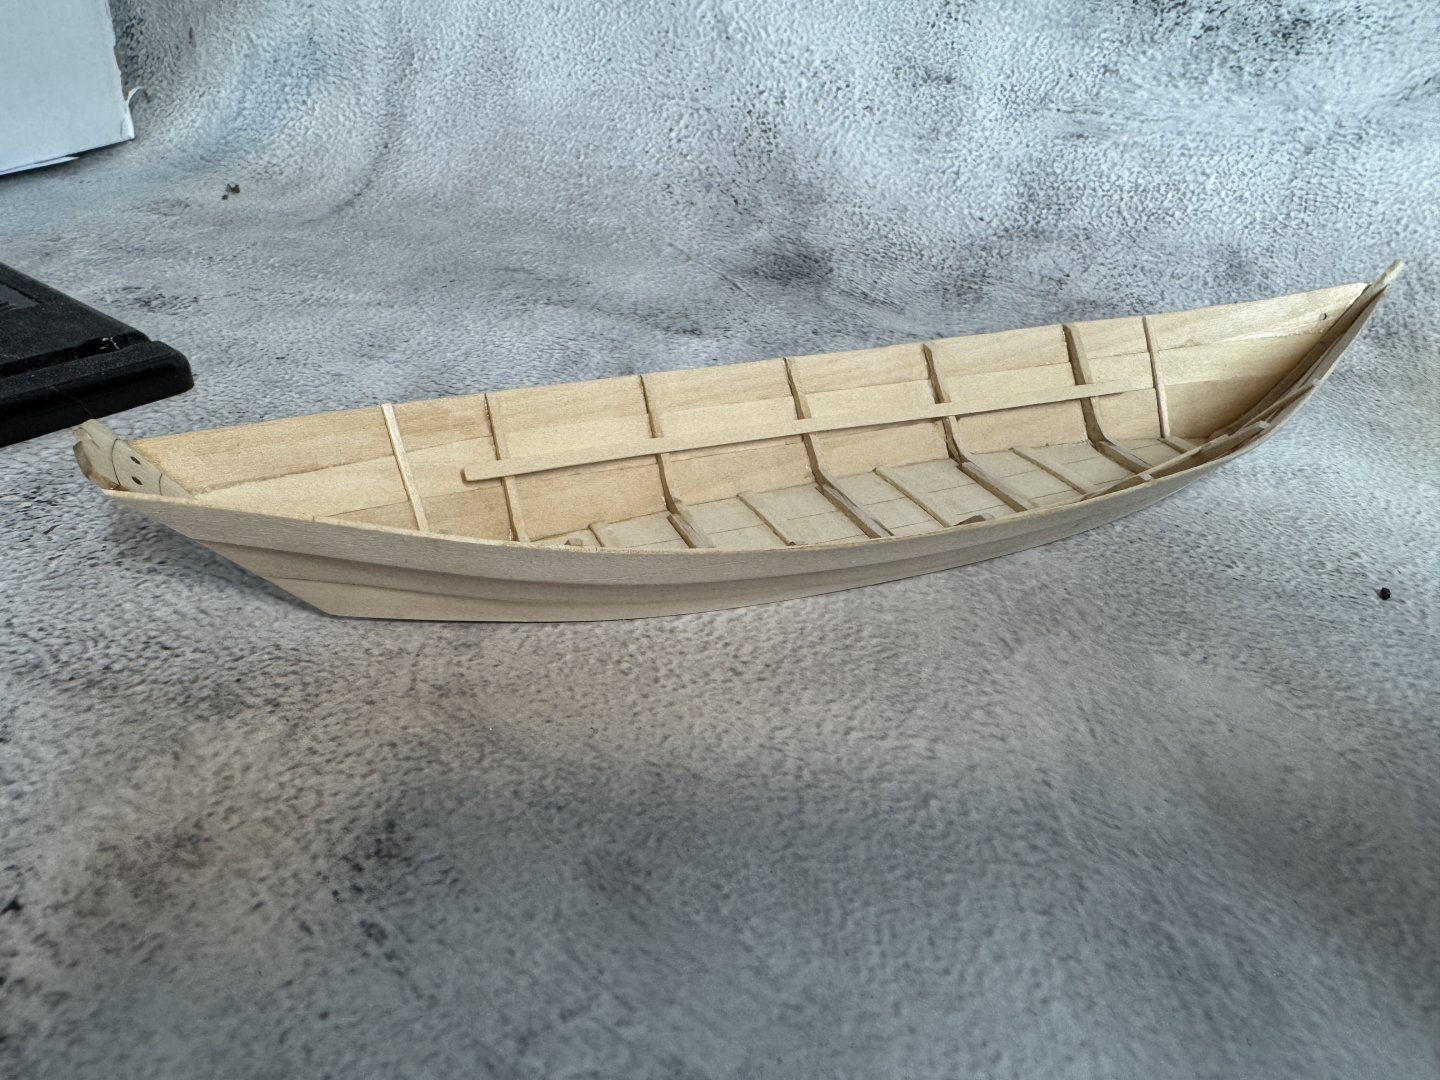
I clearly enjoy building models more than I enjoy writing about building models... Long time since I have updated anything here. I just created two more logs for the Dory and the Lobster Smack. I have been shuffling back and forth between these three models and I hope to have all of them done this month.
-
Another build where I have enjoyed the building more than the logging.


-
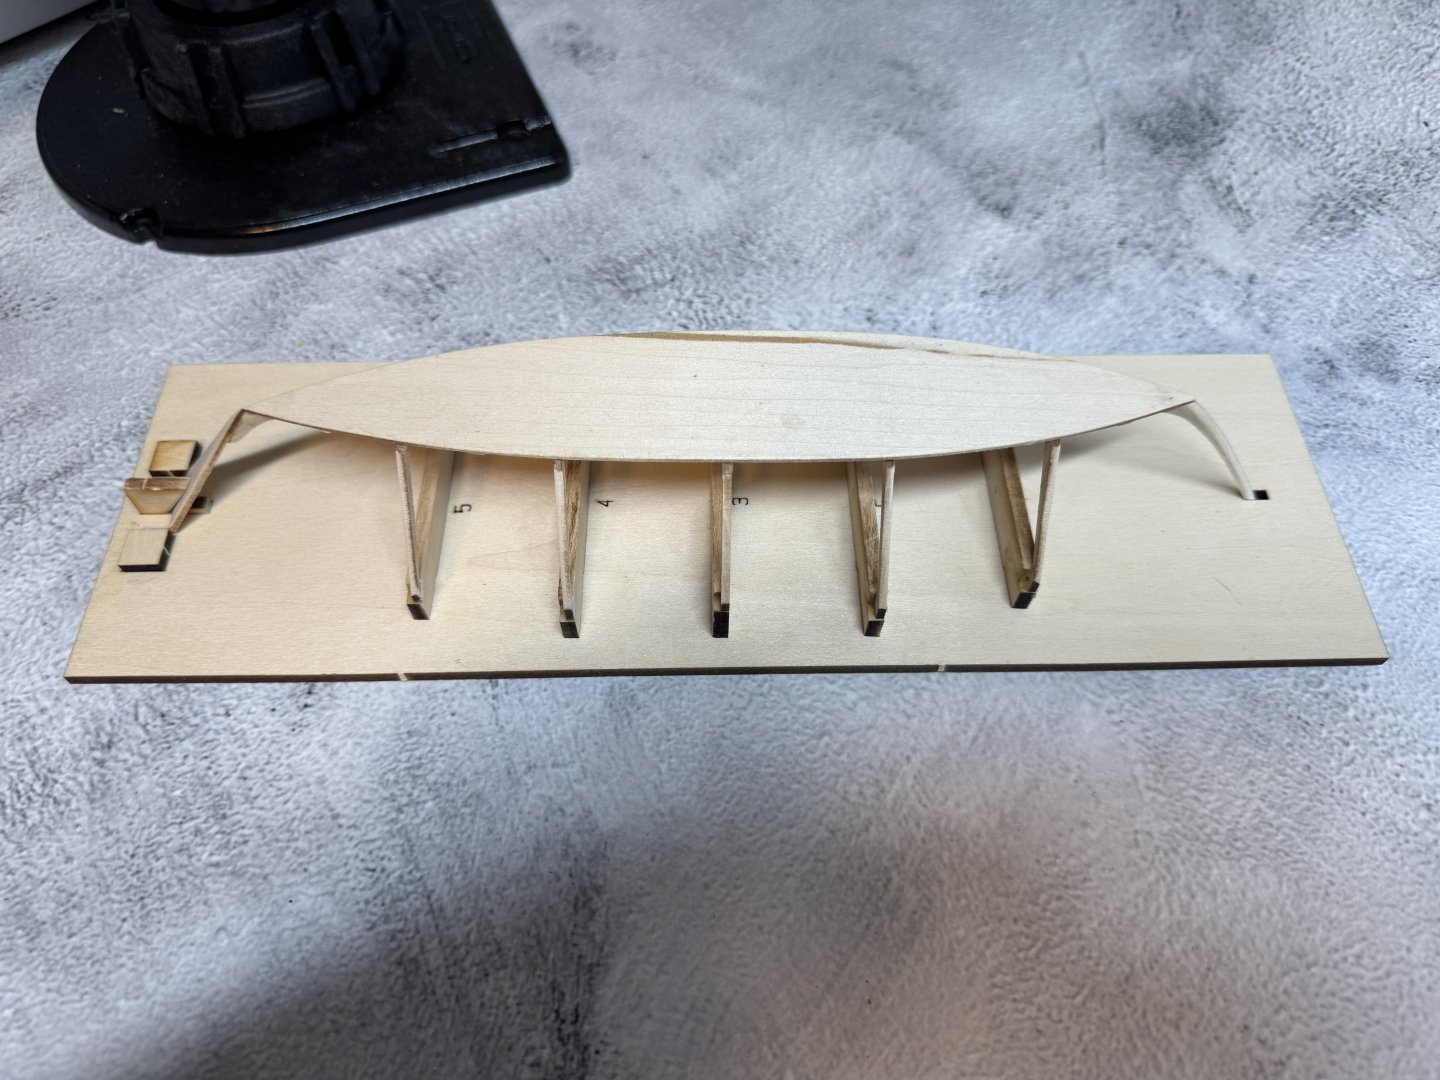
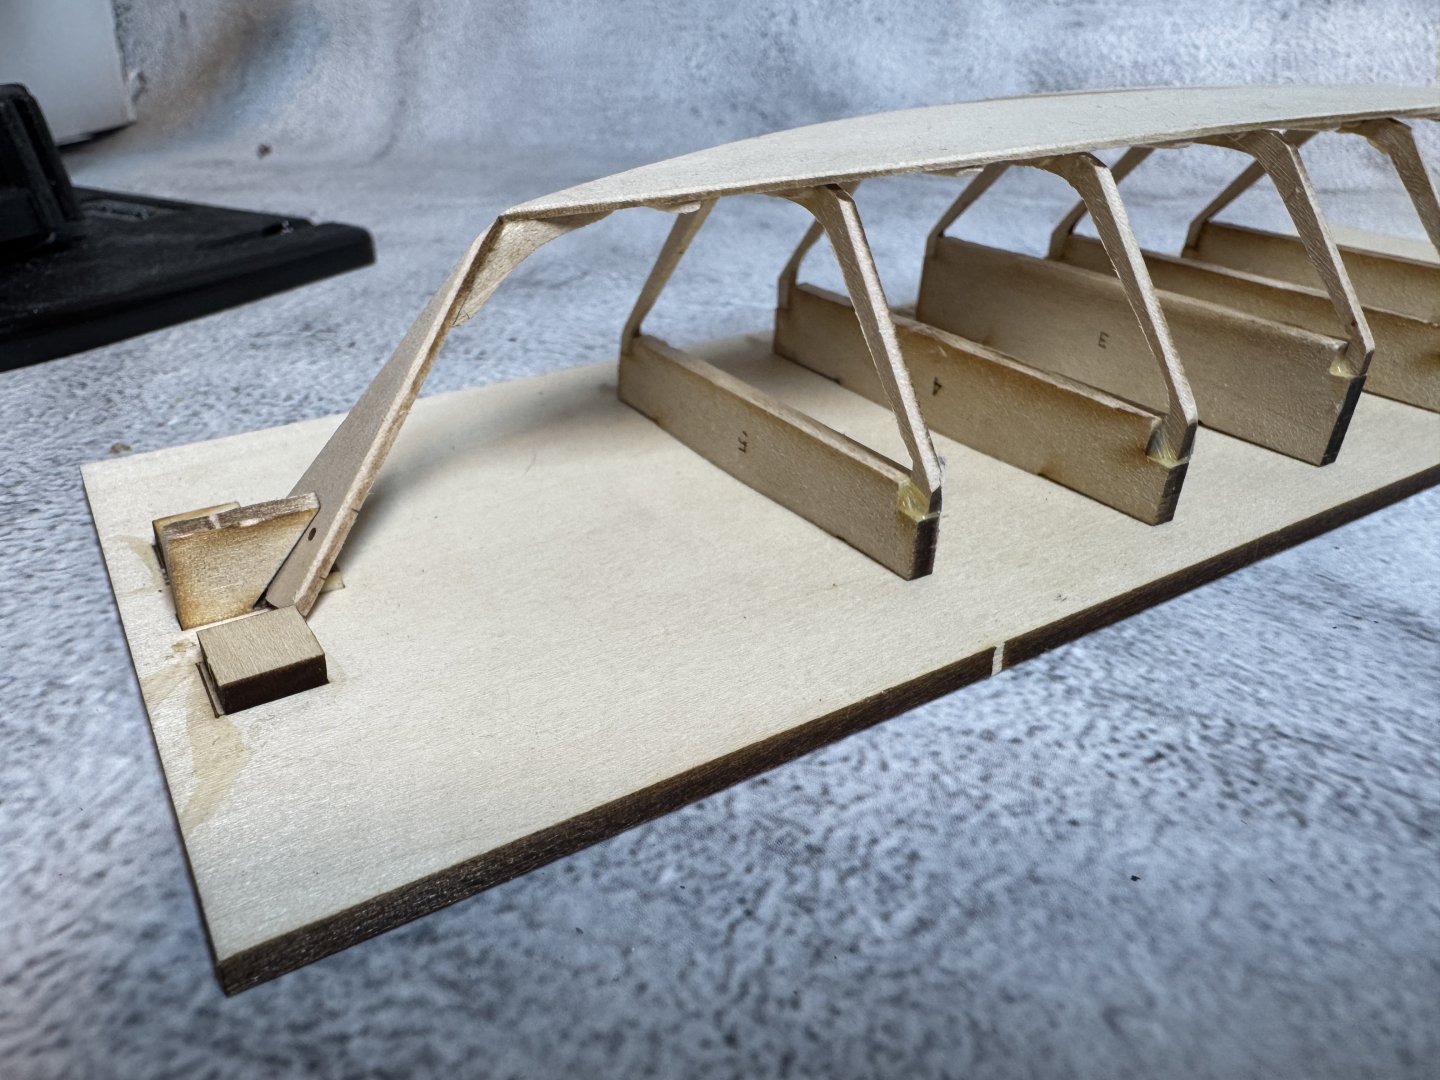
I only have photos of this build as it was completed rather quickly.


- 16 replies
-
- 12
-
-
- dory
- Model Shipways
- (and 2 more)
-
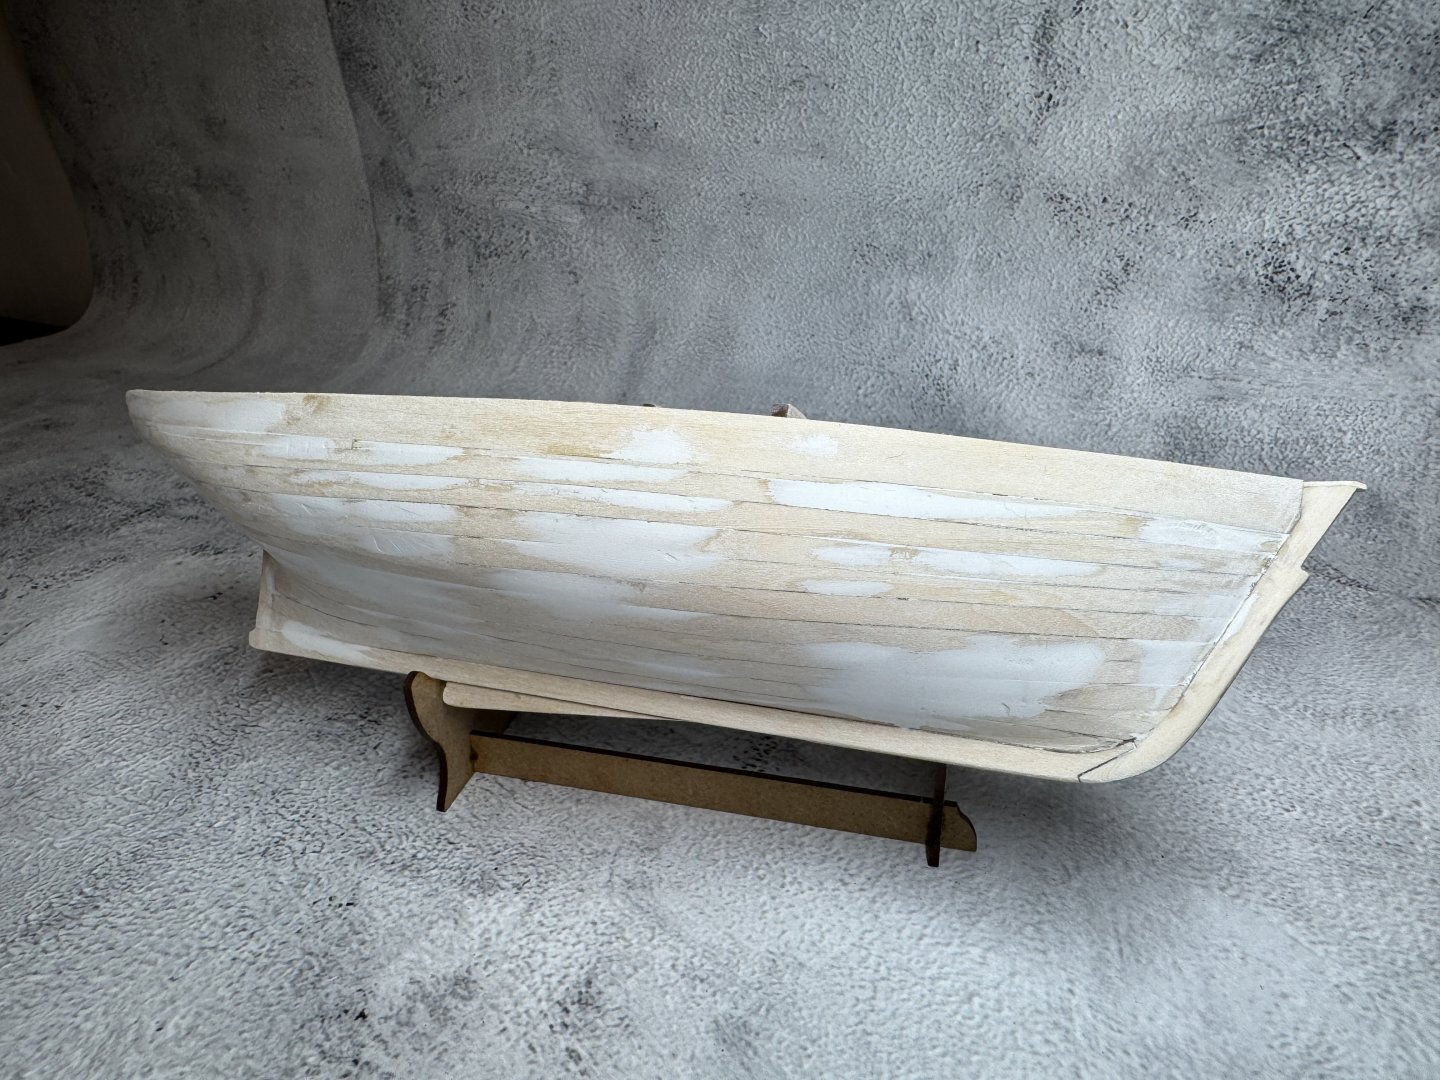
Is Sanding Sealer the same thing as a primer?
-
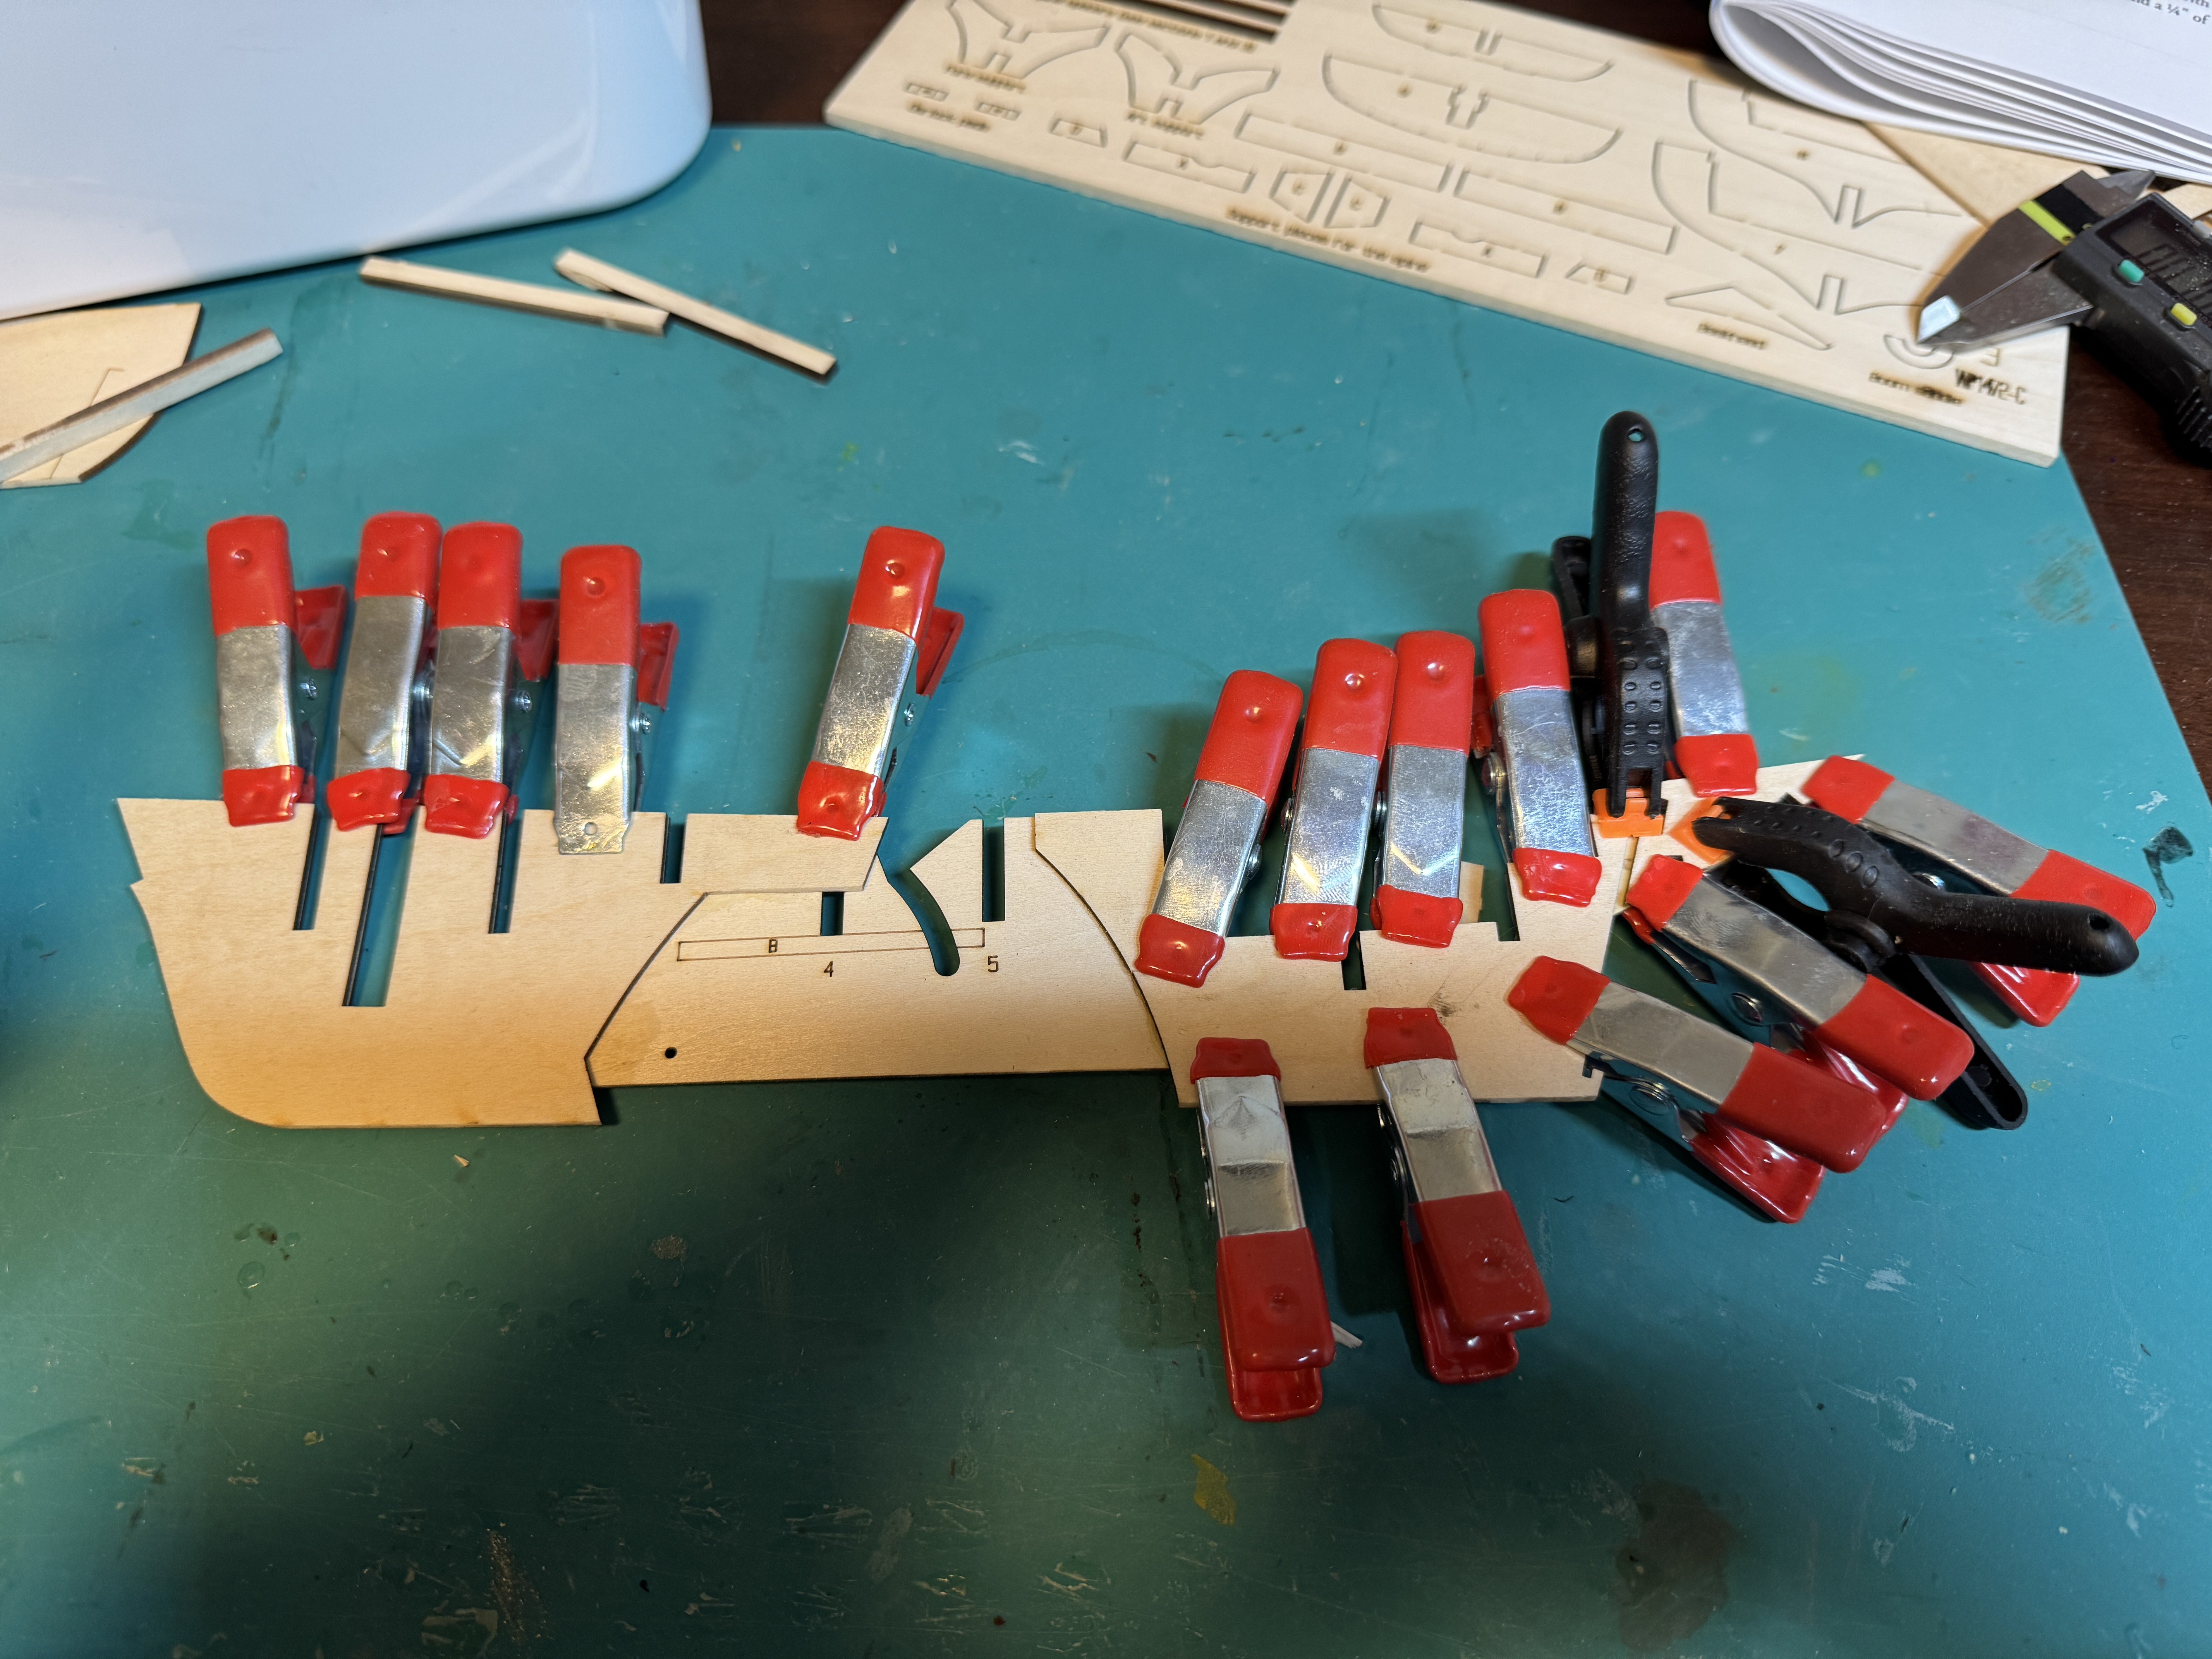
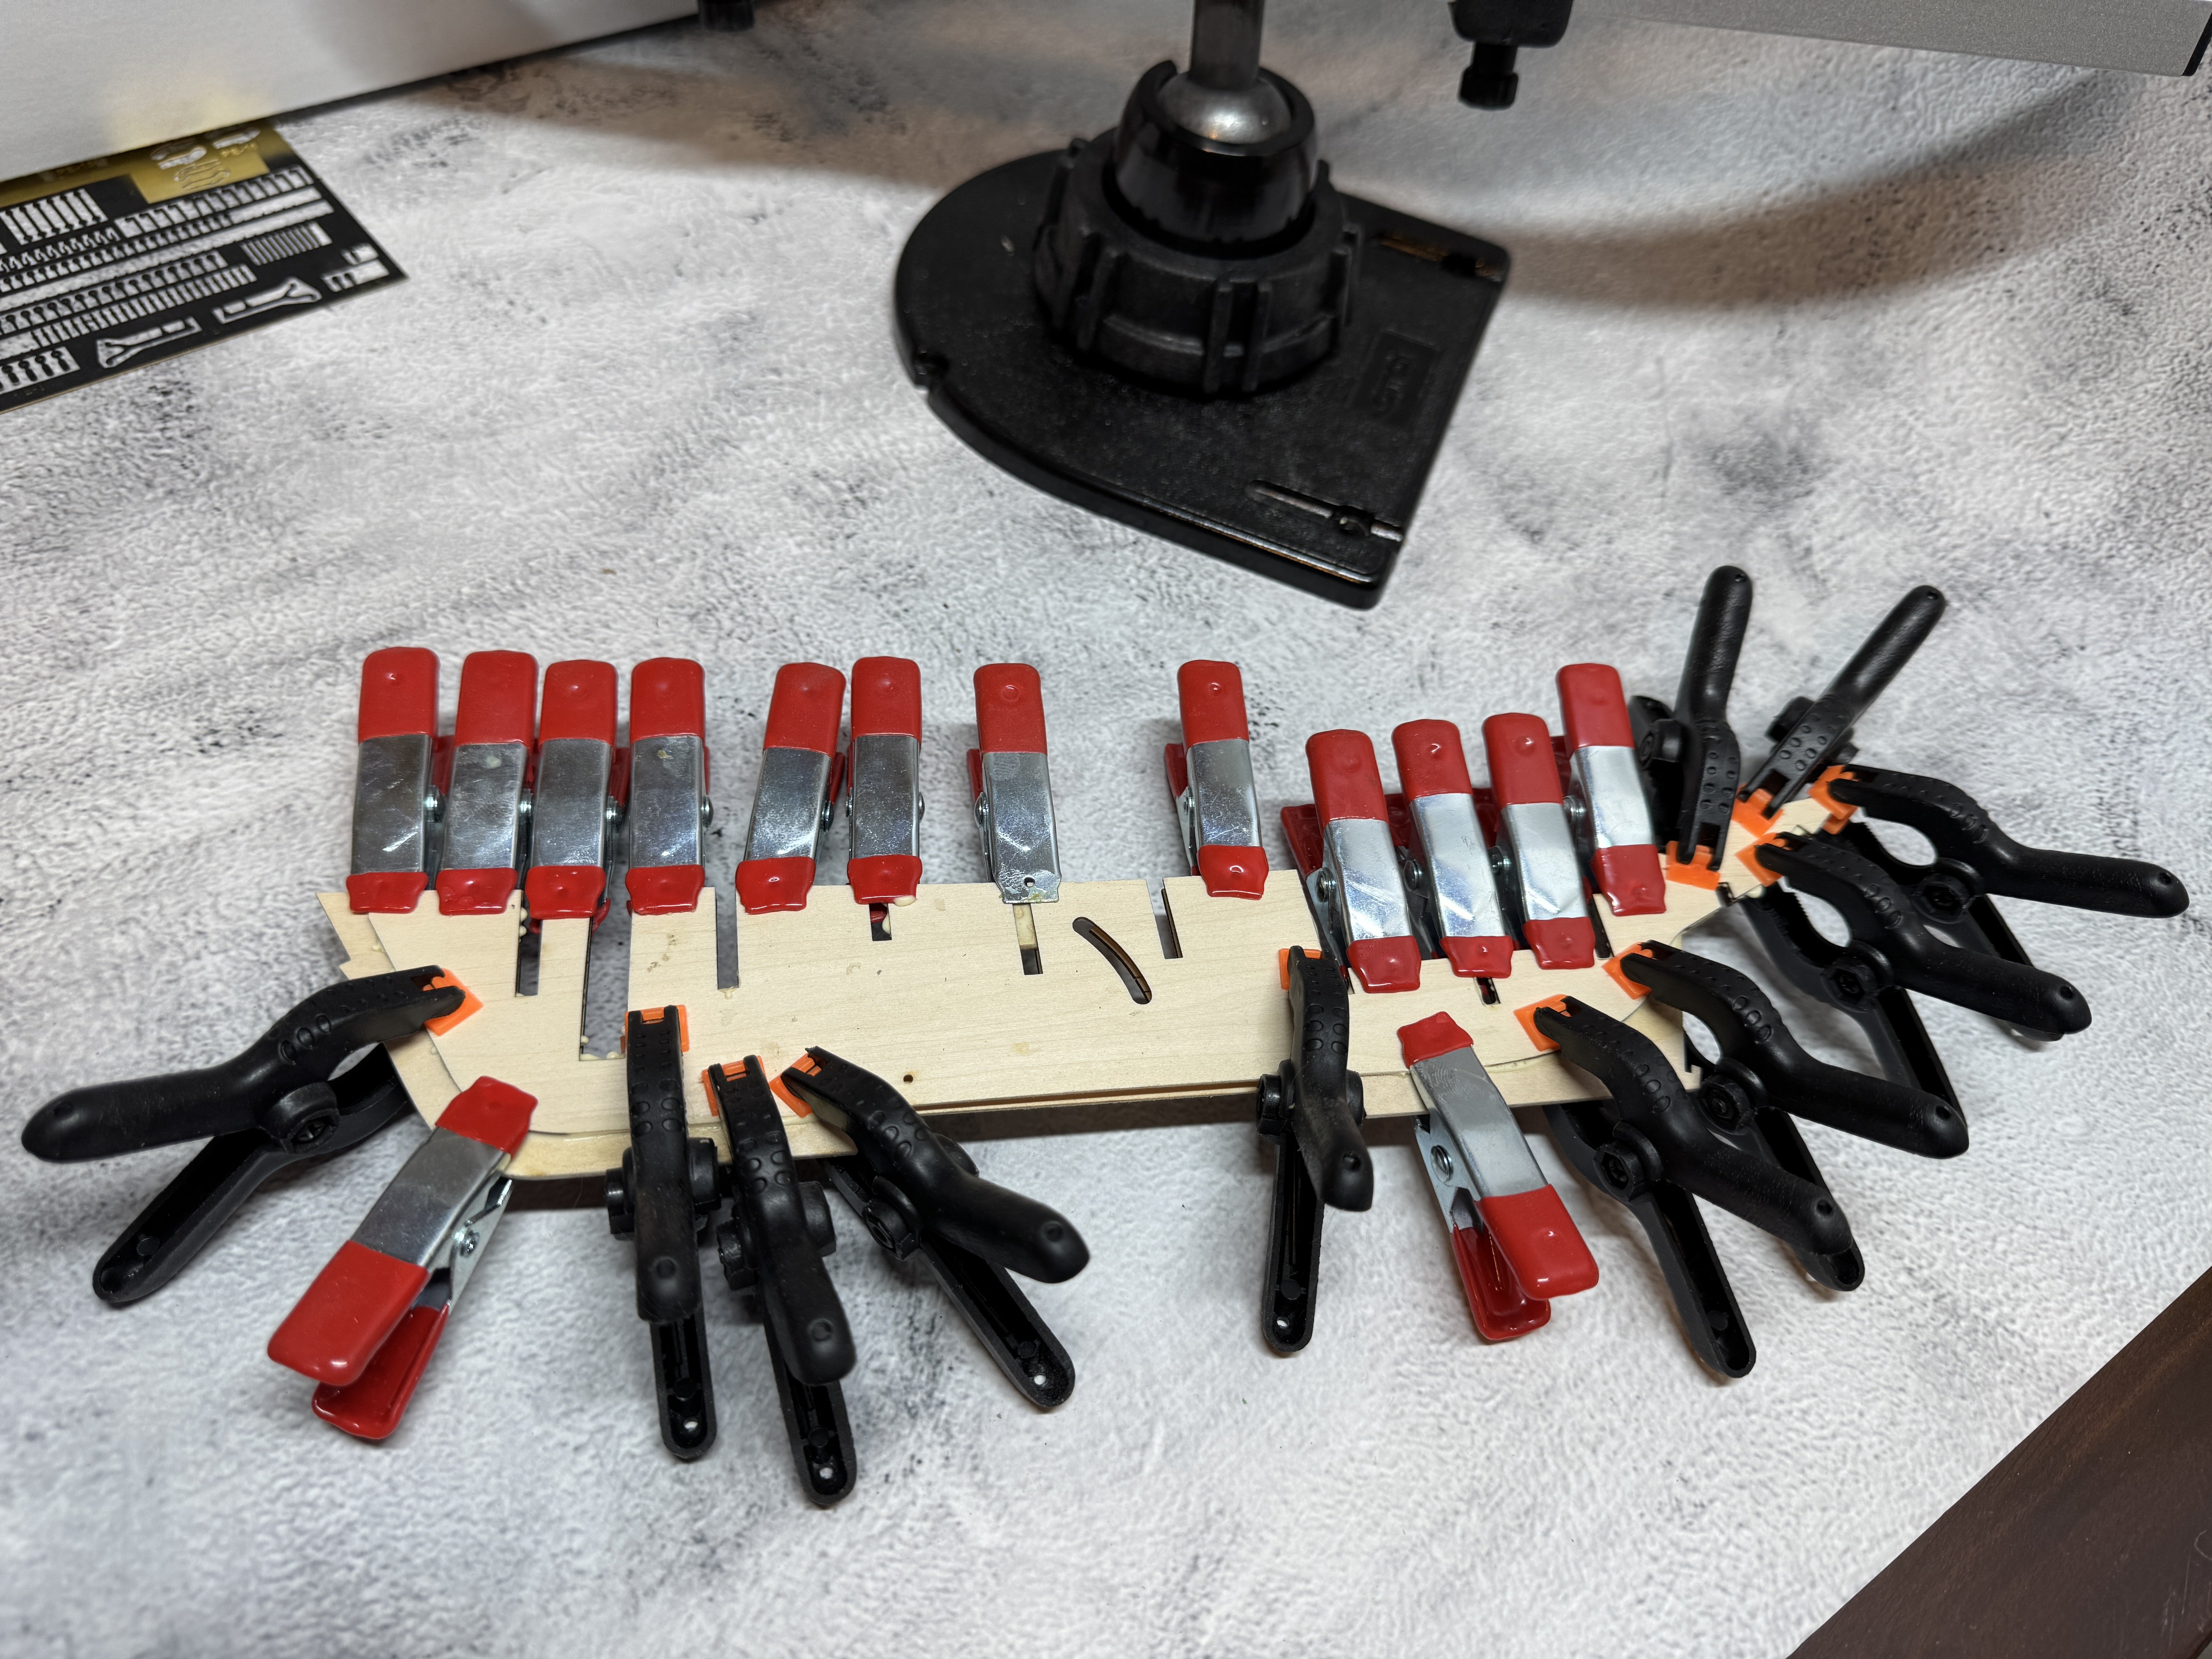
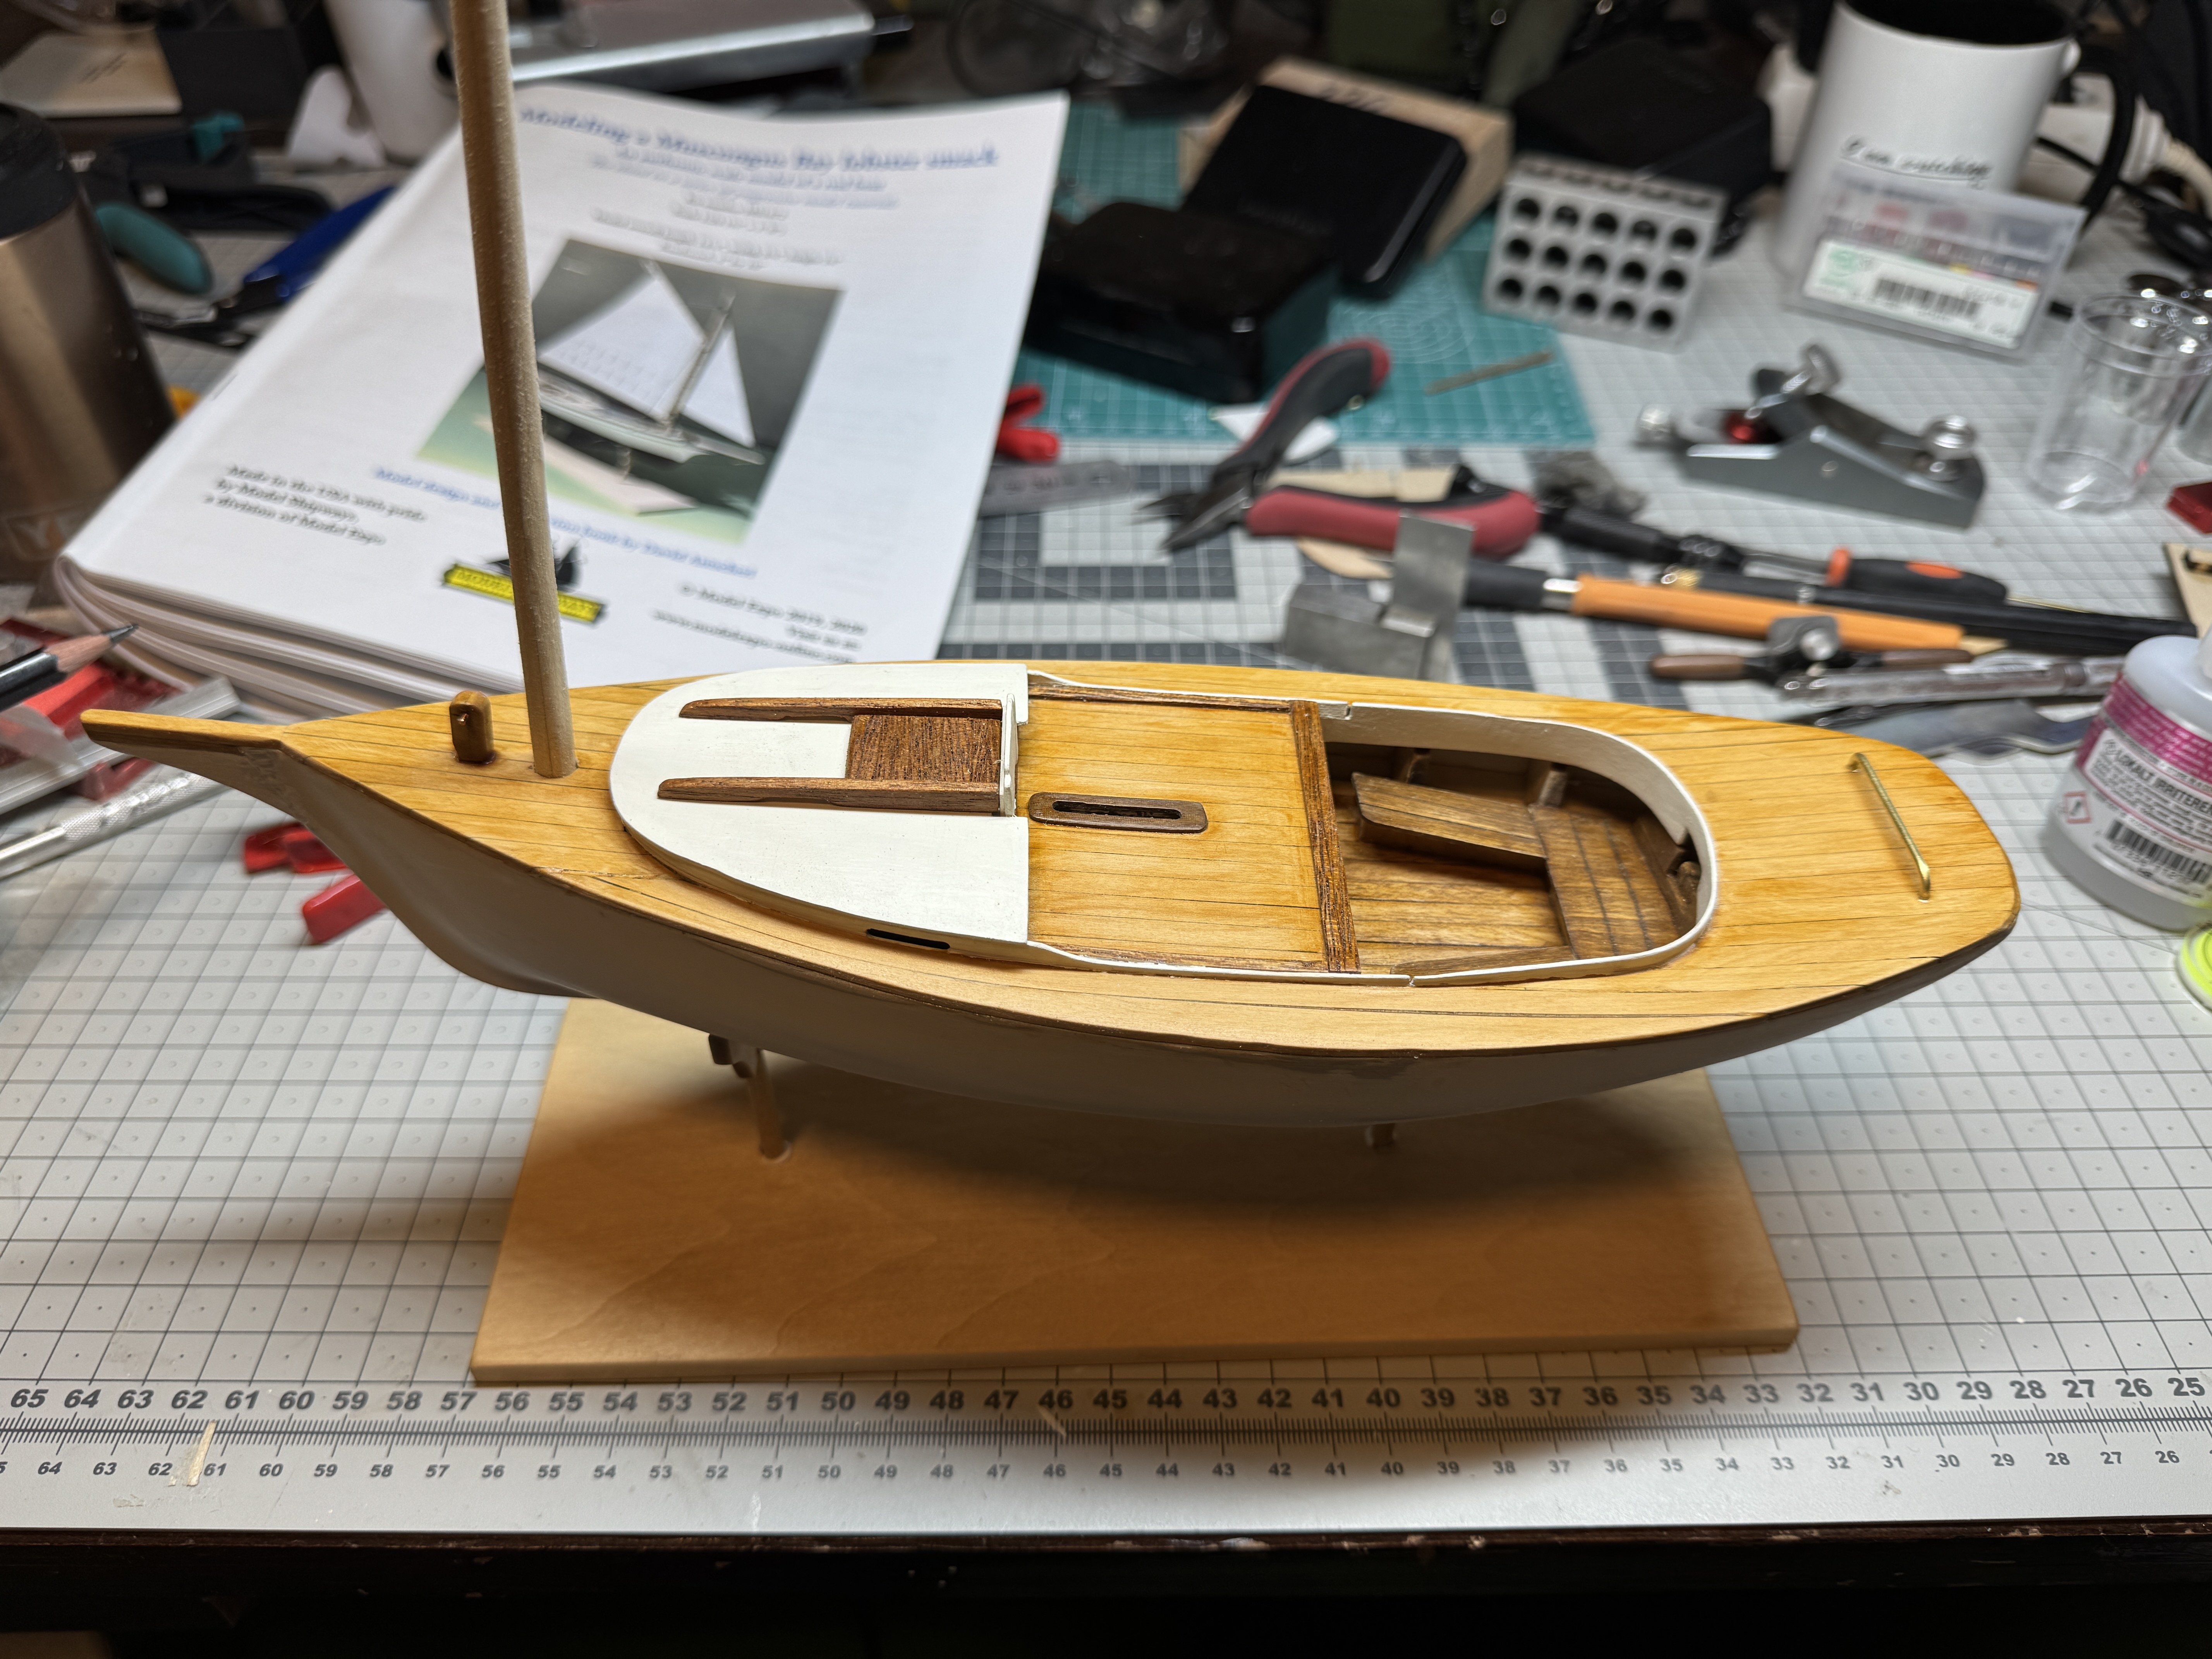
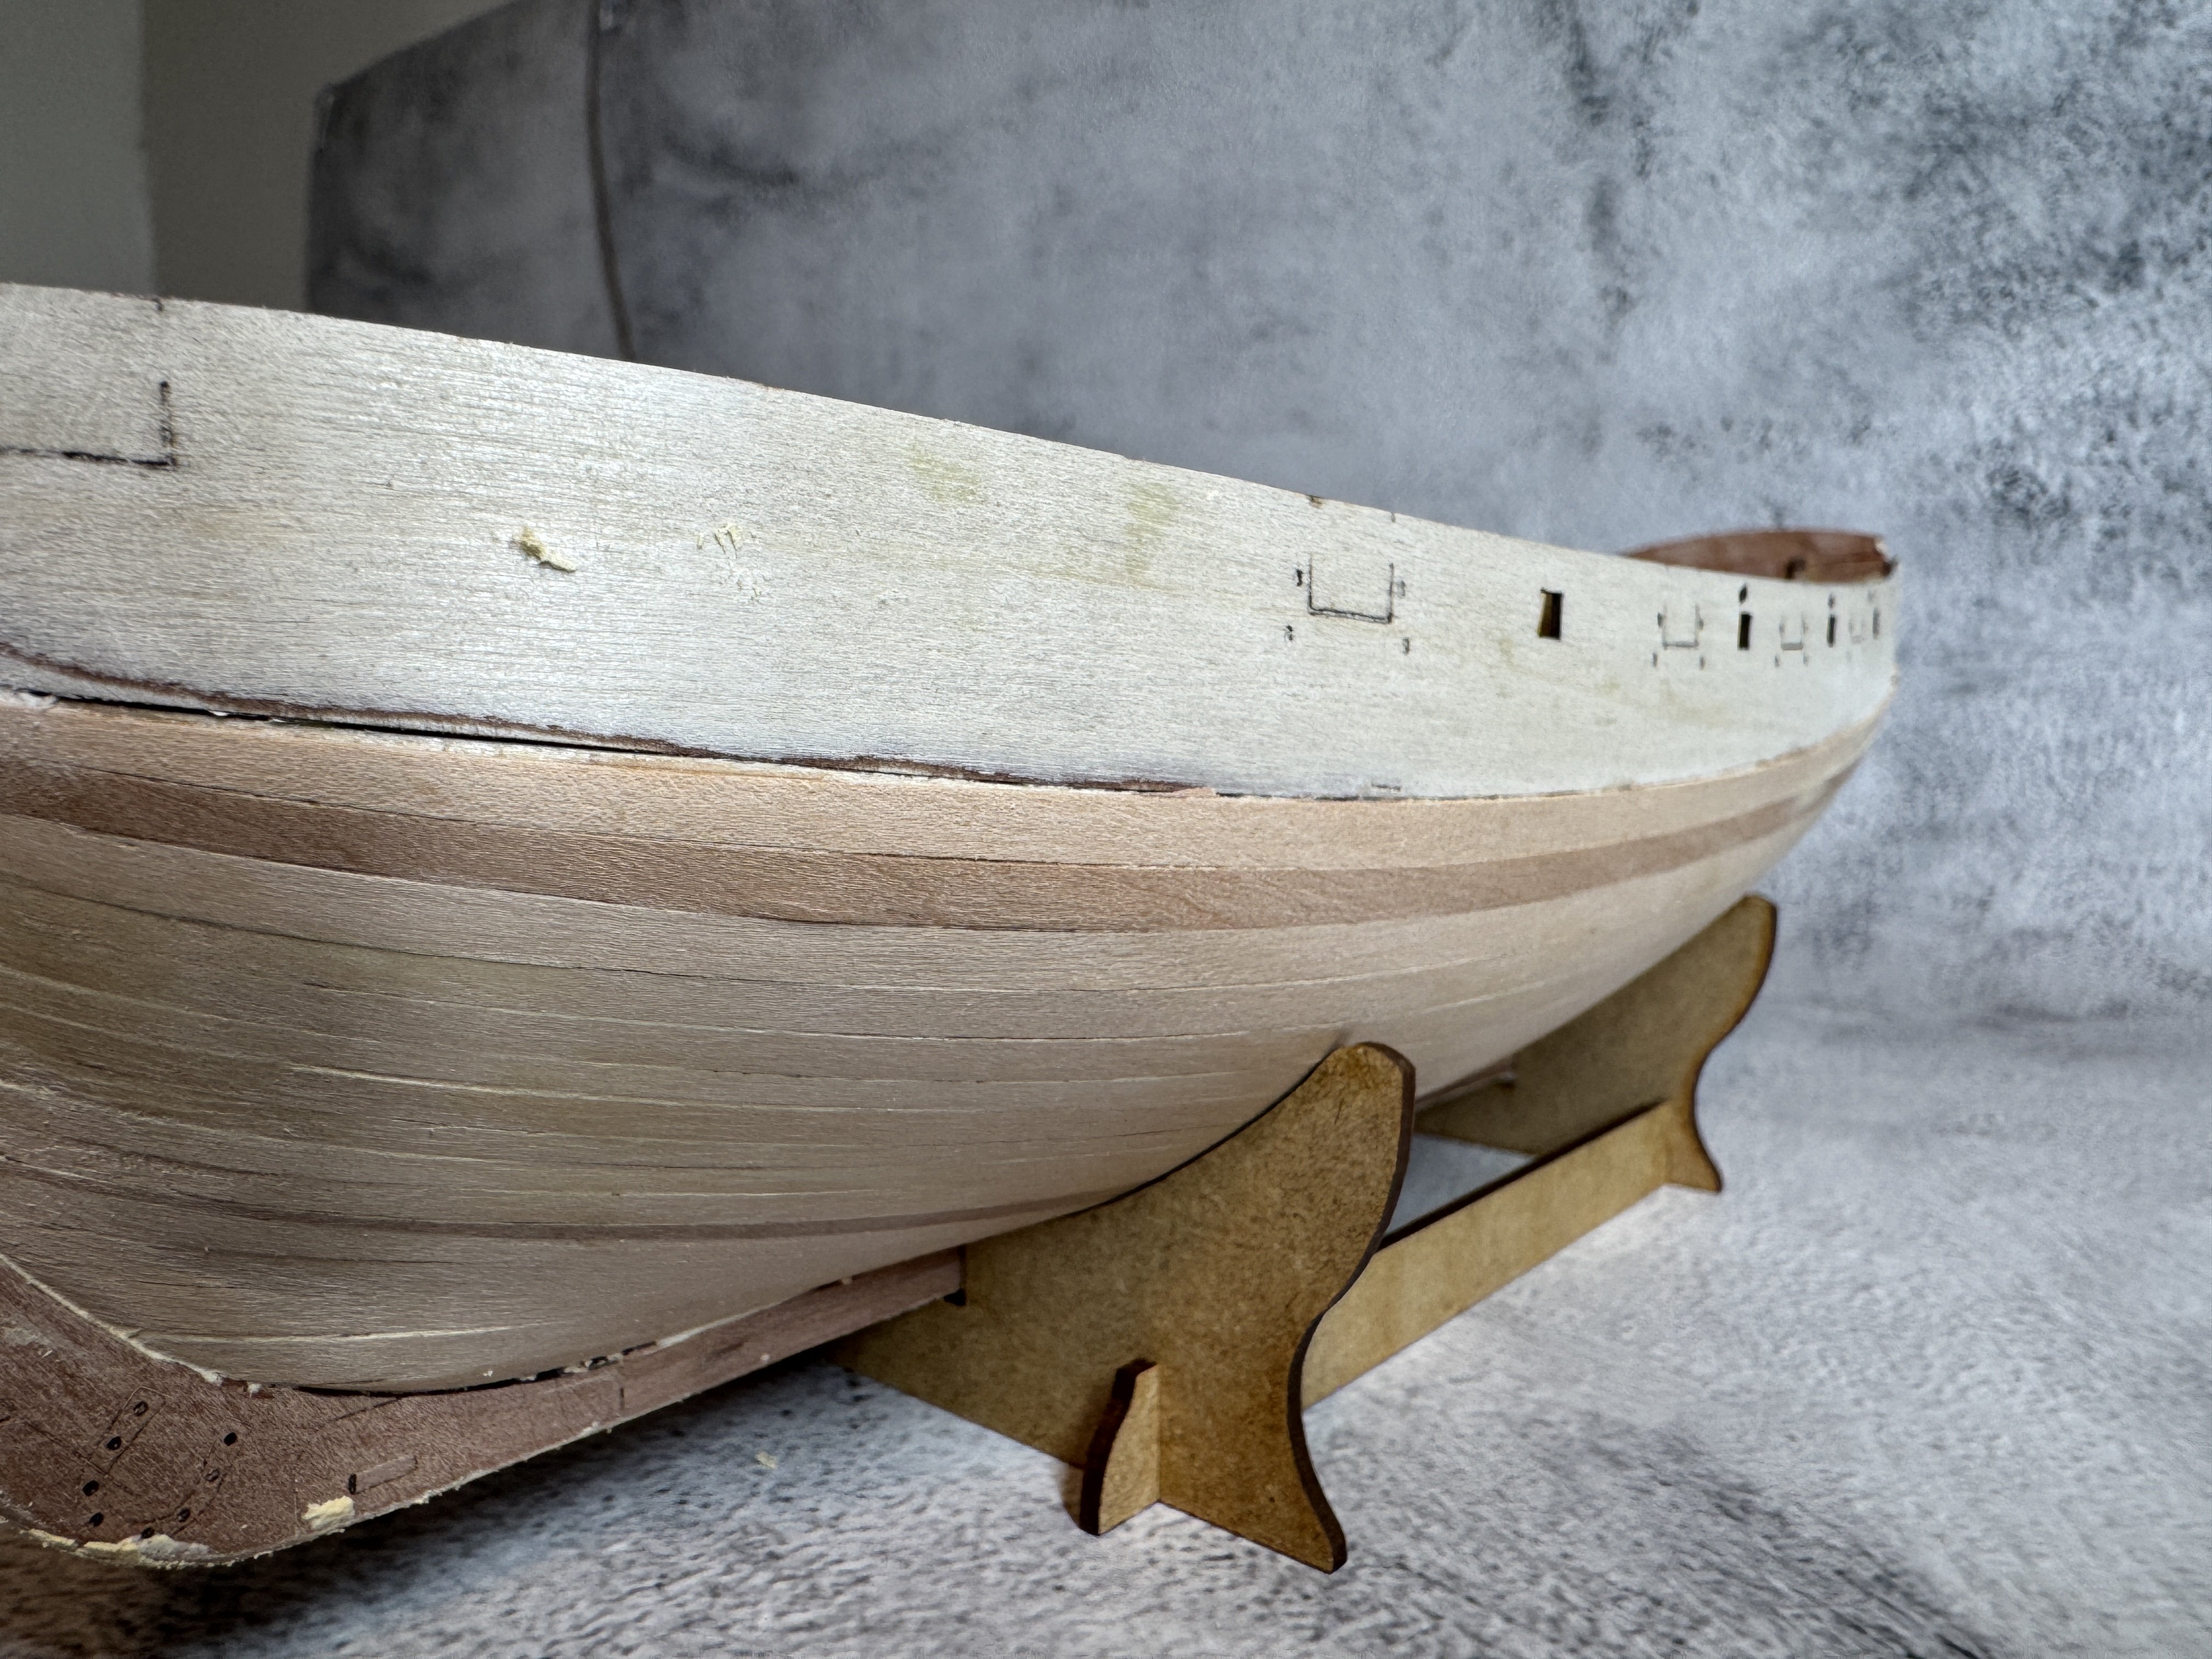
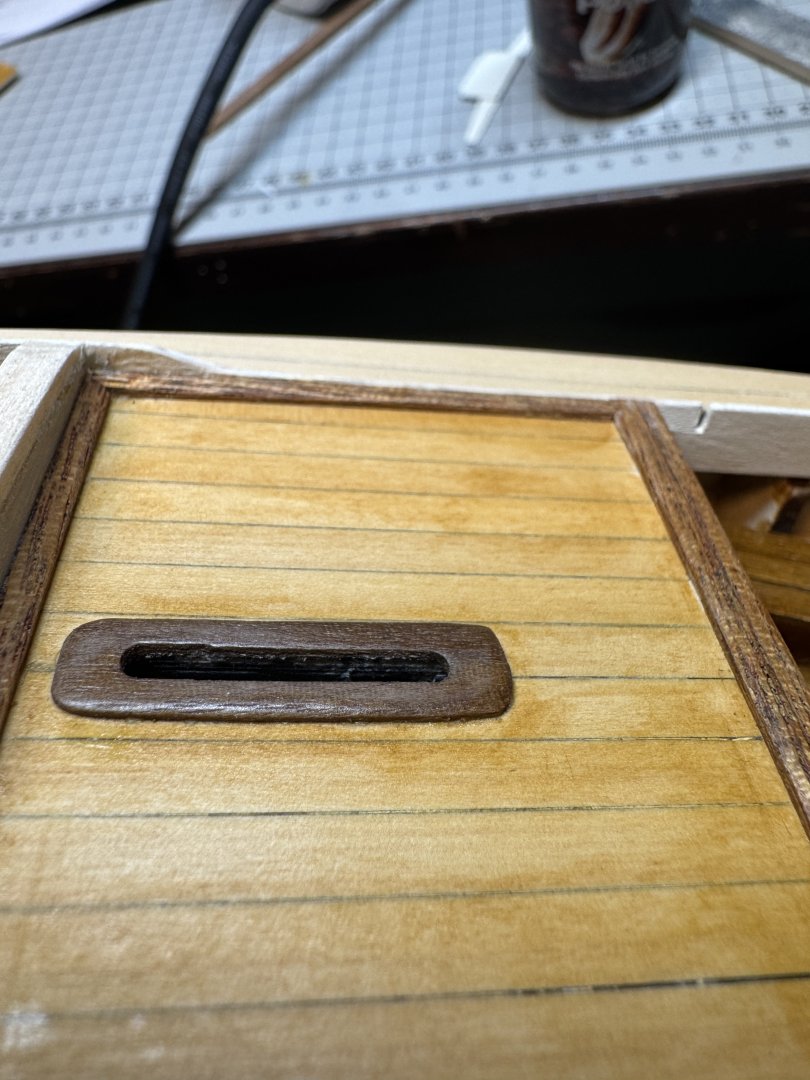
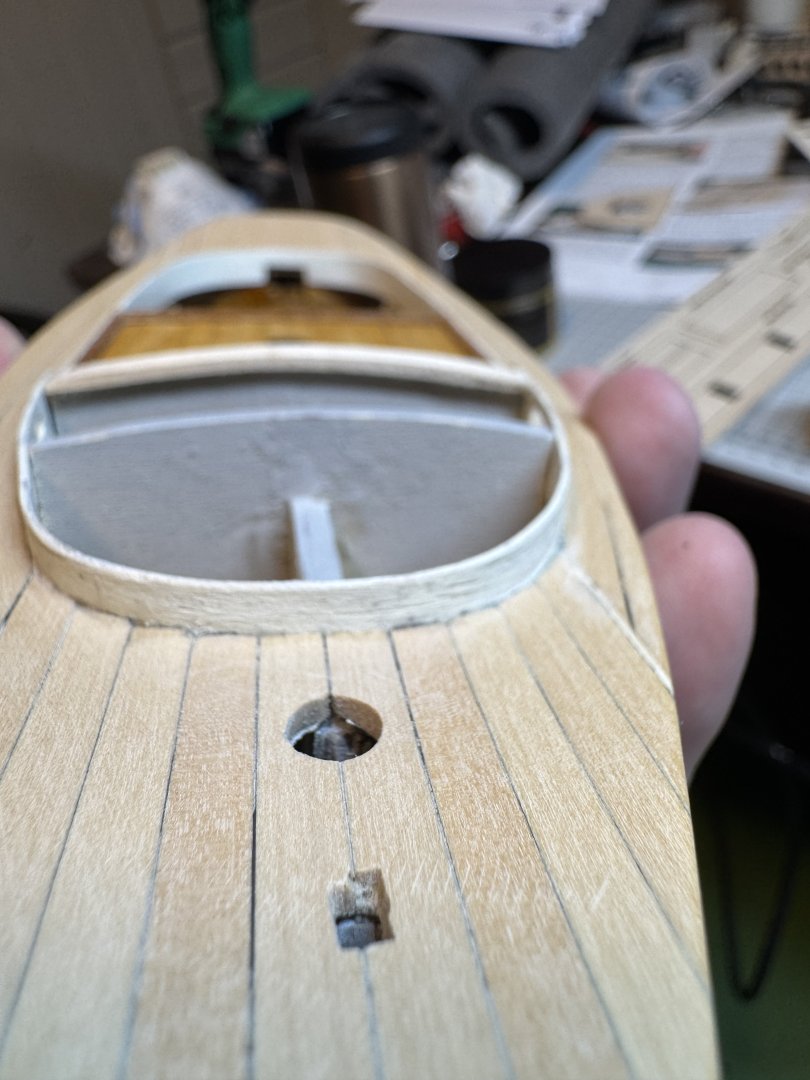
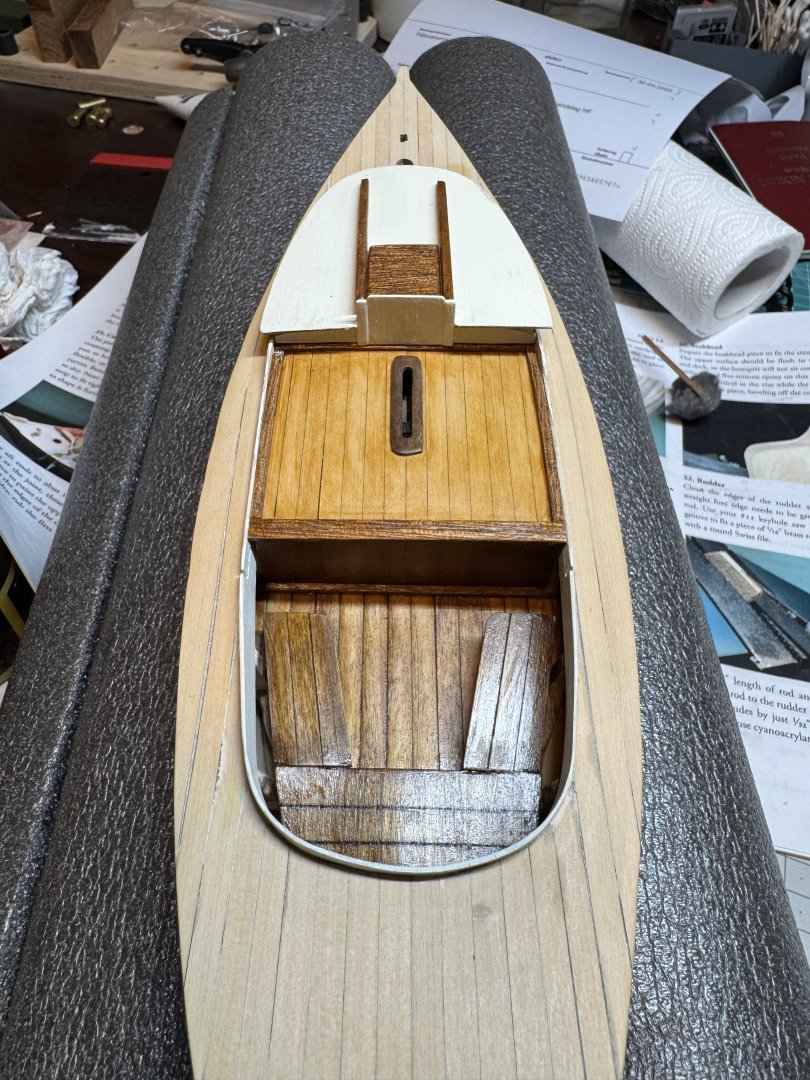
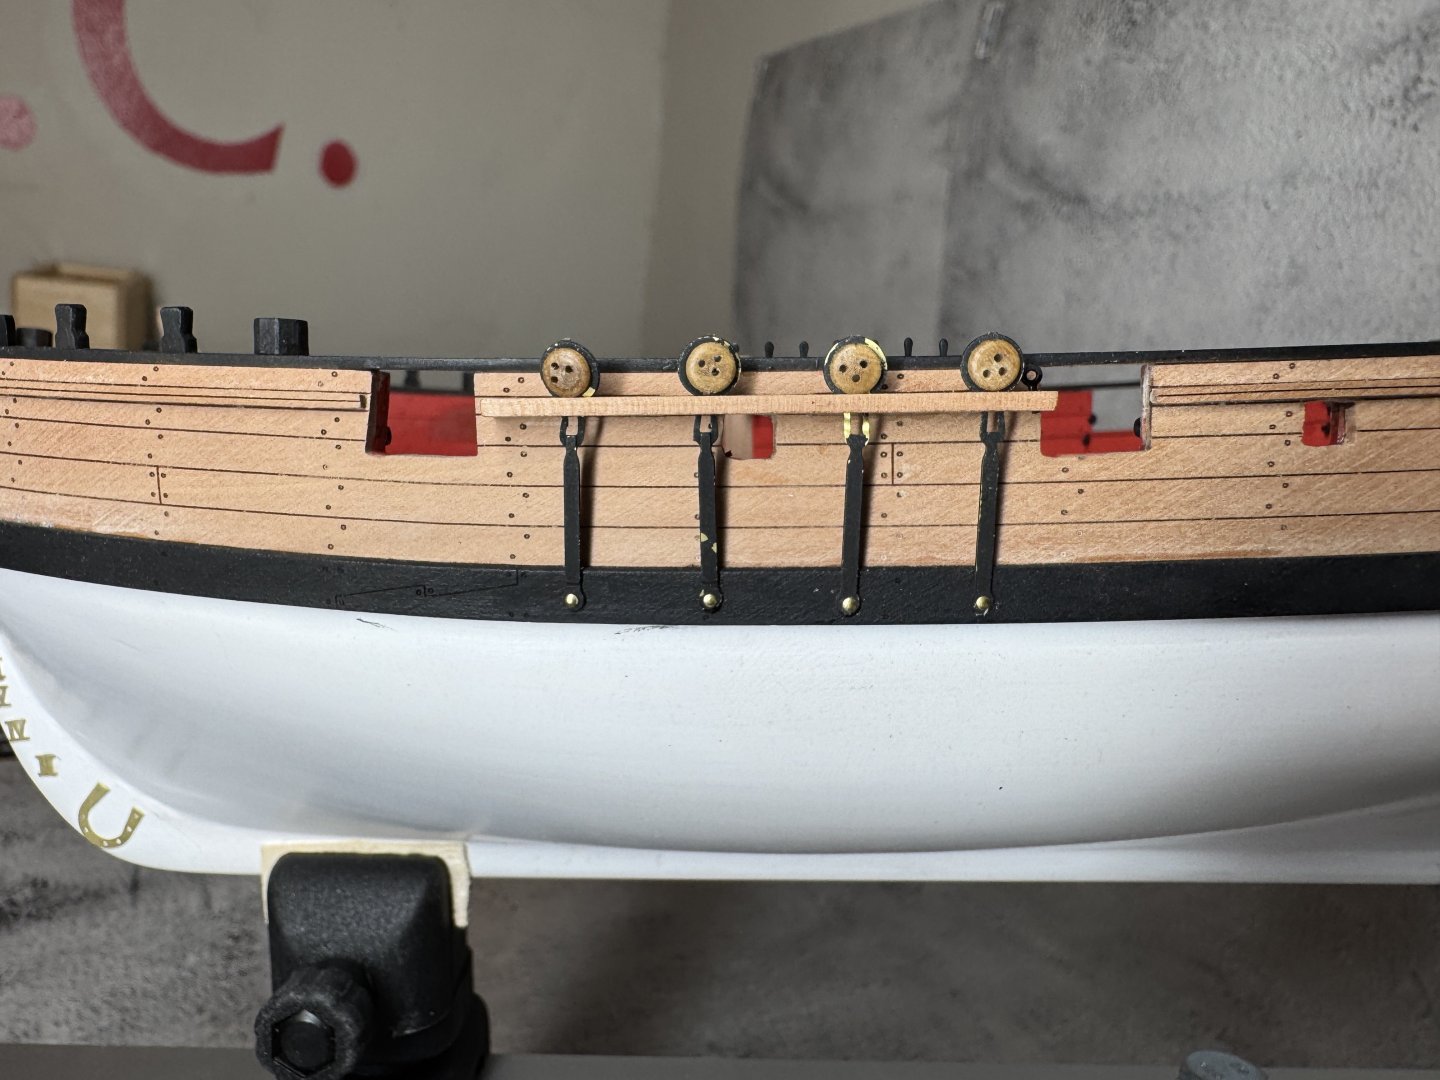
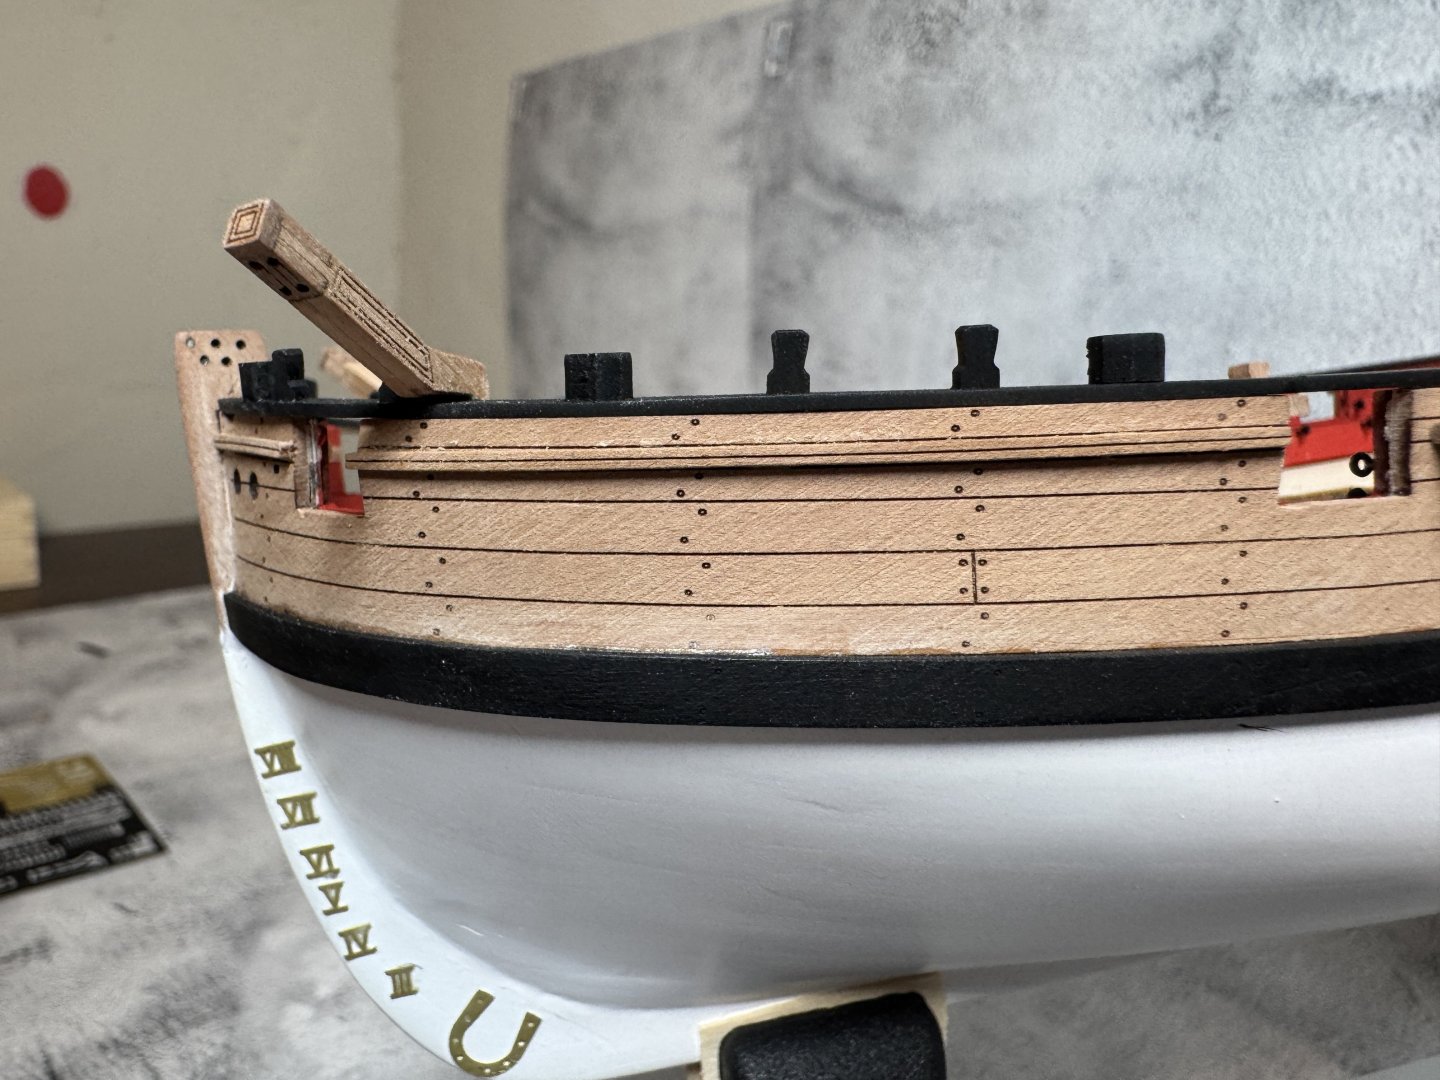
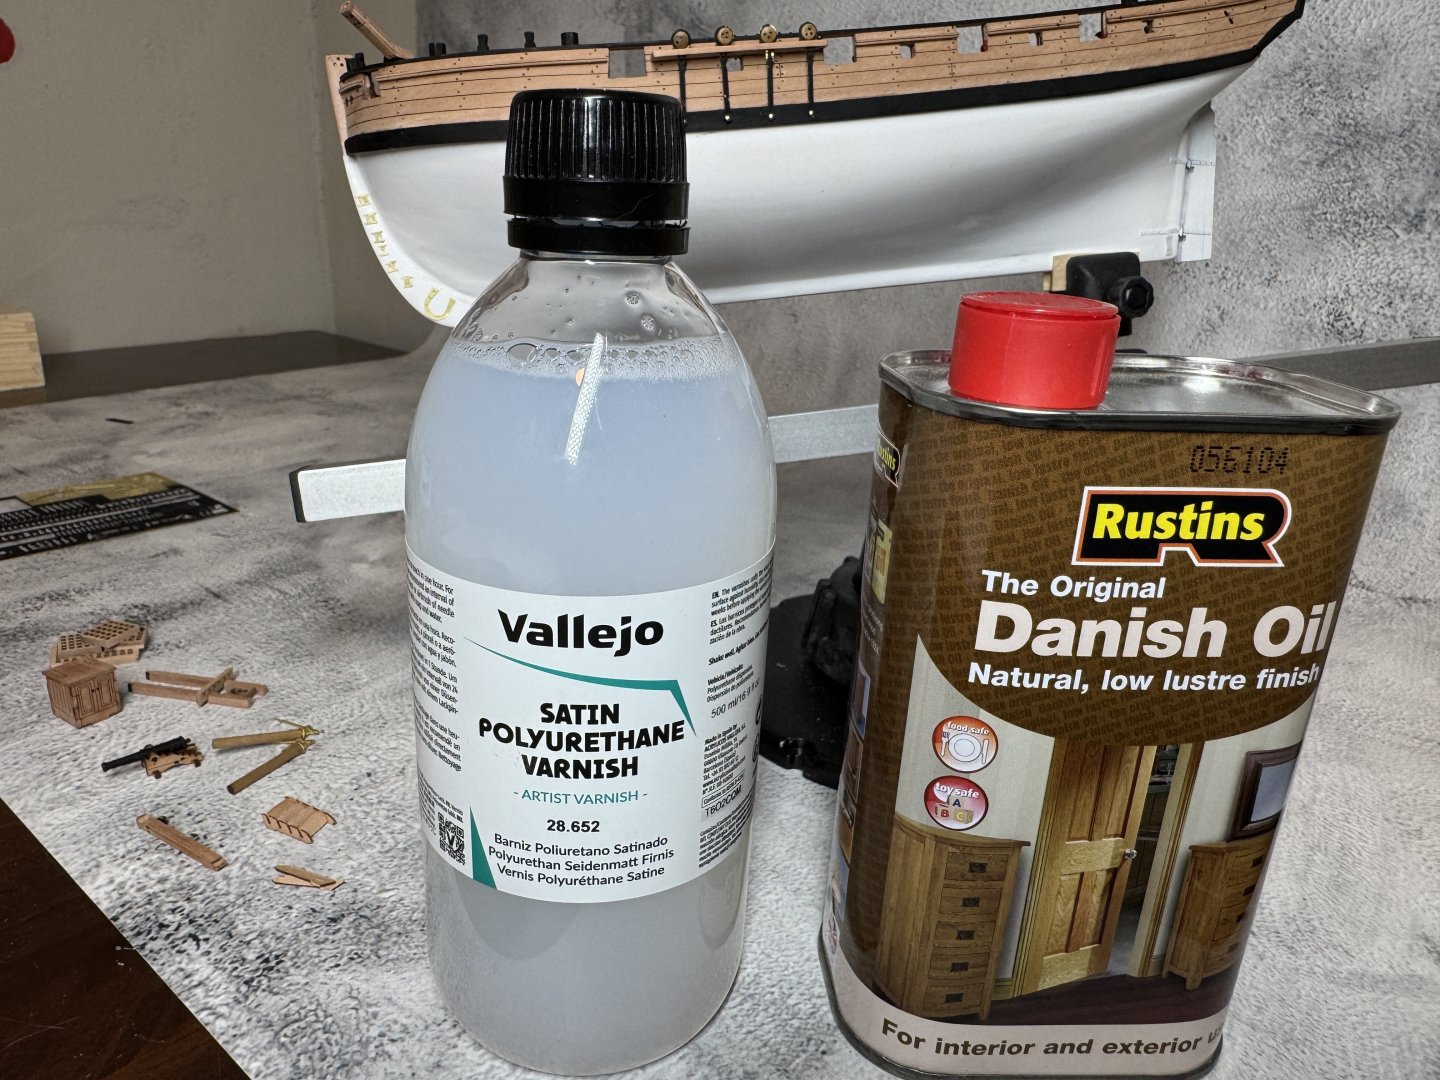
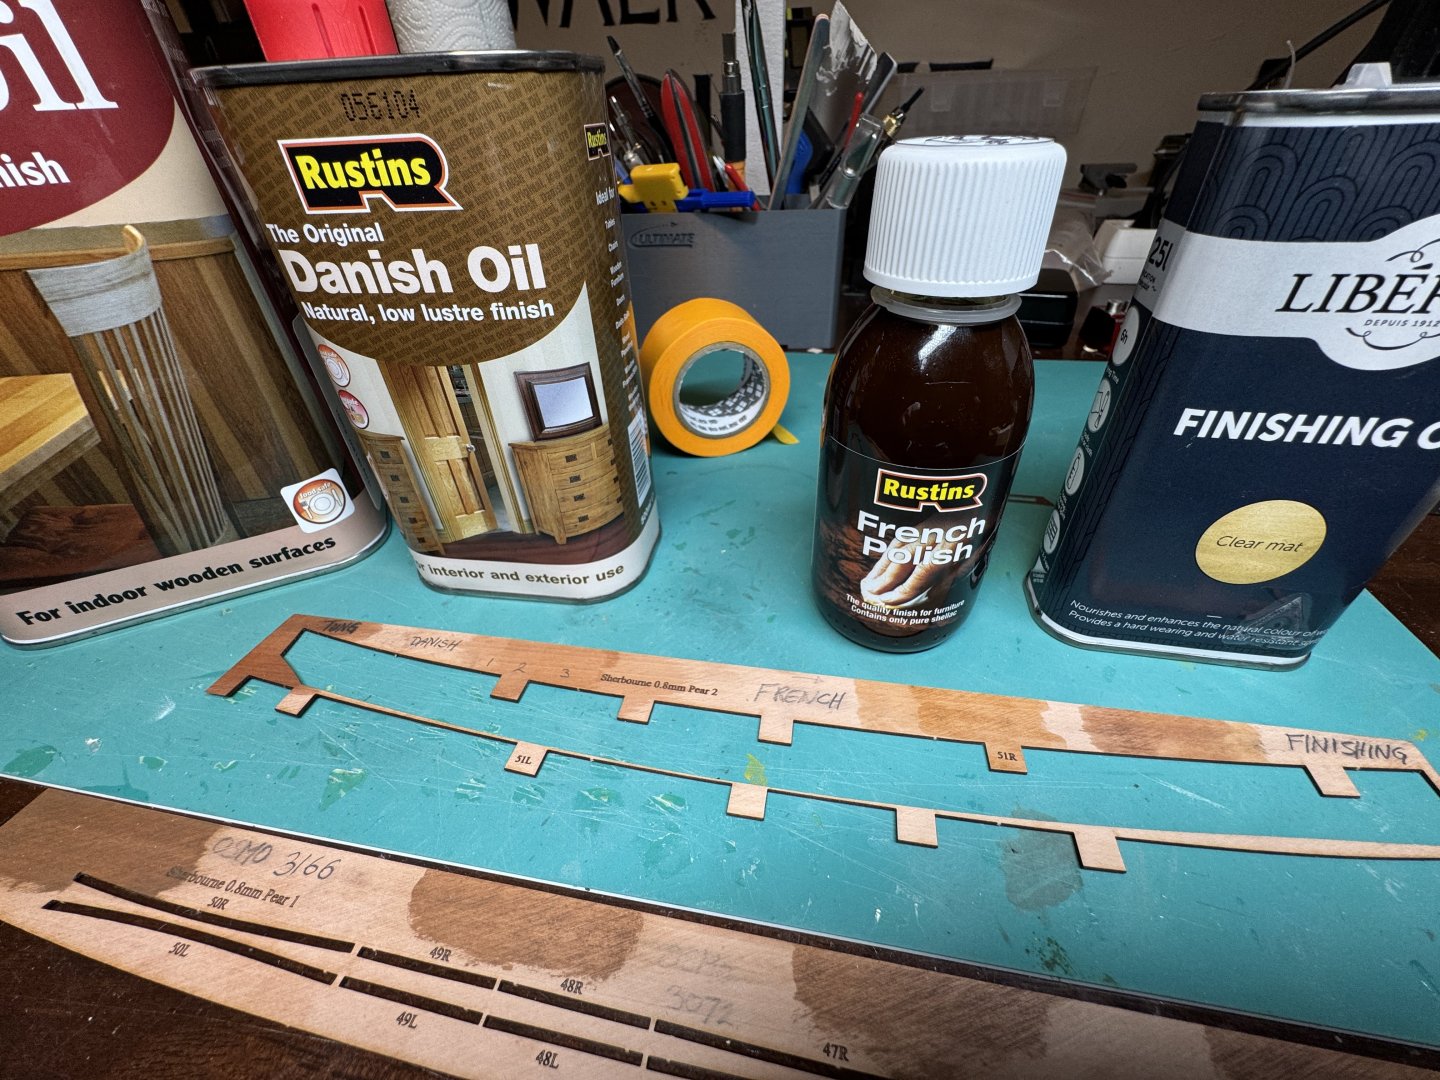
Added some more details last night. It is starting to really come together. I am so glad I found this hobby. It is a really nice way to clear your head and also get a feeling of accomplishment. (All relative to your level off course. I still have most of the things to learn). After completing maybe 50% of the build I just started looking at the included plans. This is a lesson for my self and I will remember to study them more on future builds. It will save me from some head scratching. Chris’ instructions are so well made that I didn’t really remember that I also had the plans. I have been thinking about how to finish/varnish the ship. Here I would really appreciate some input since there are so many options and ways to do this. Some posts above I added a photo of some different products that I tested. I think I will go for this combination: Do I apply the Danish Oil on all unpainted wood? Do I spray the varnish on entire ship or just the painted parts?

-
After glueing all parts I want to try to apply a finish to the deck and bulwarks. Went out and grabbed some different types. I think I prefer 2 layers of Danish.
-
Great looking photos and I really like the format of your build log. Very clear and easy to follow.
- 43 replies
-
- 5
-

-
-
- Vanguard Models
- Sherbourne
- (and 1 more)
-
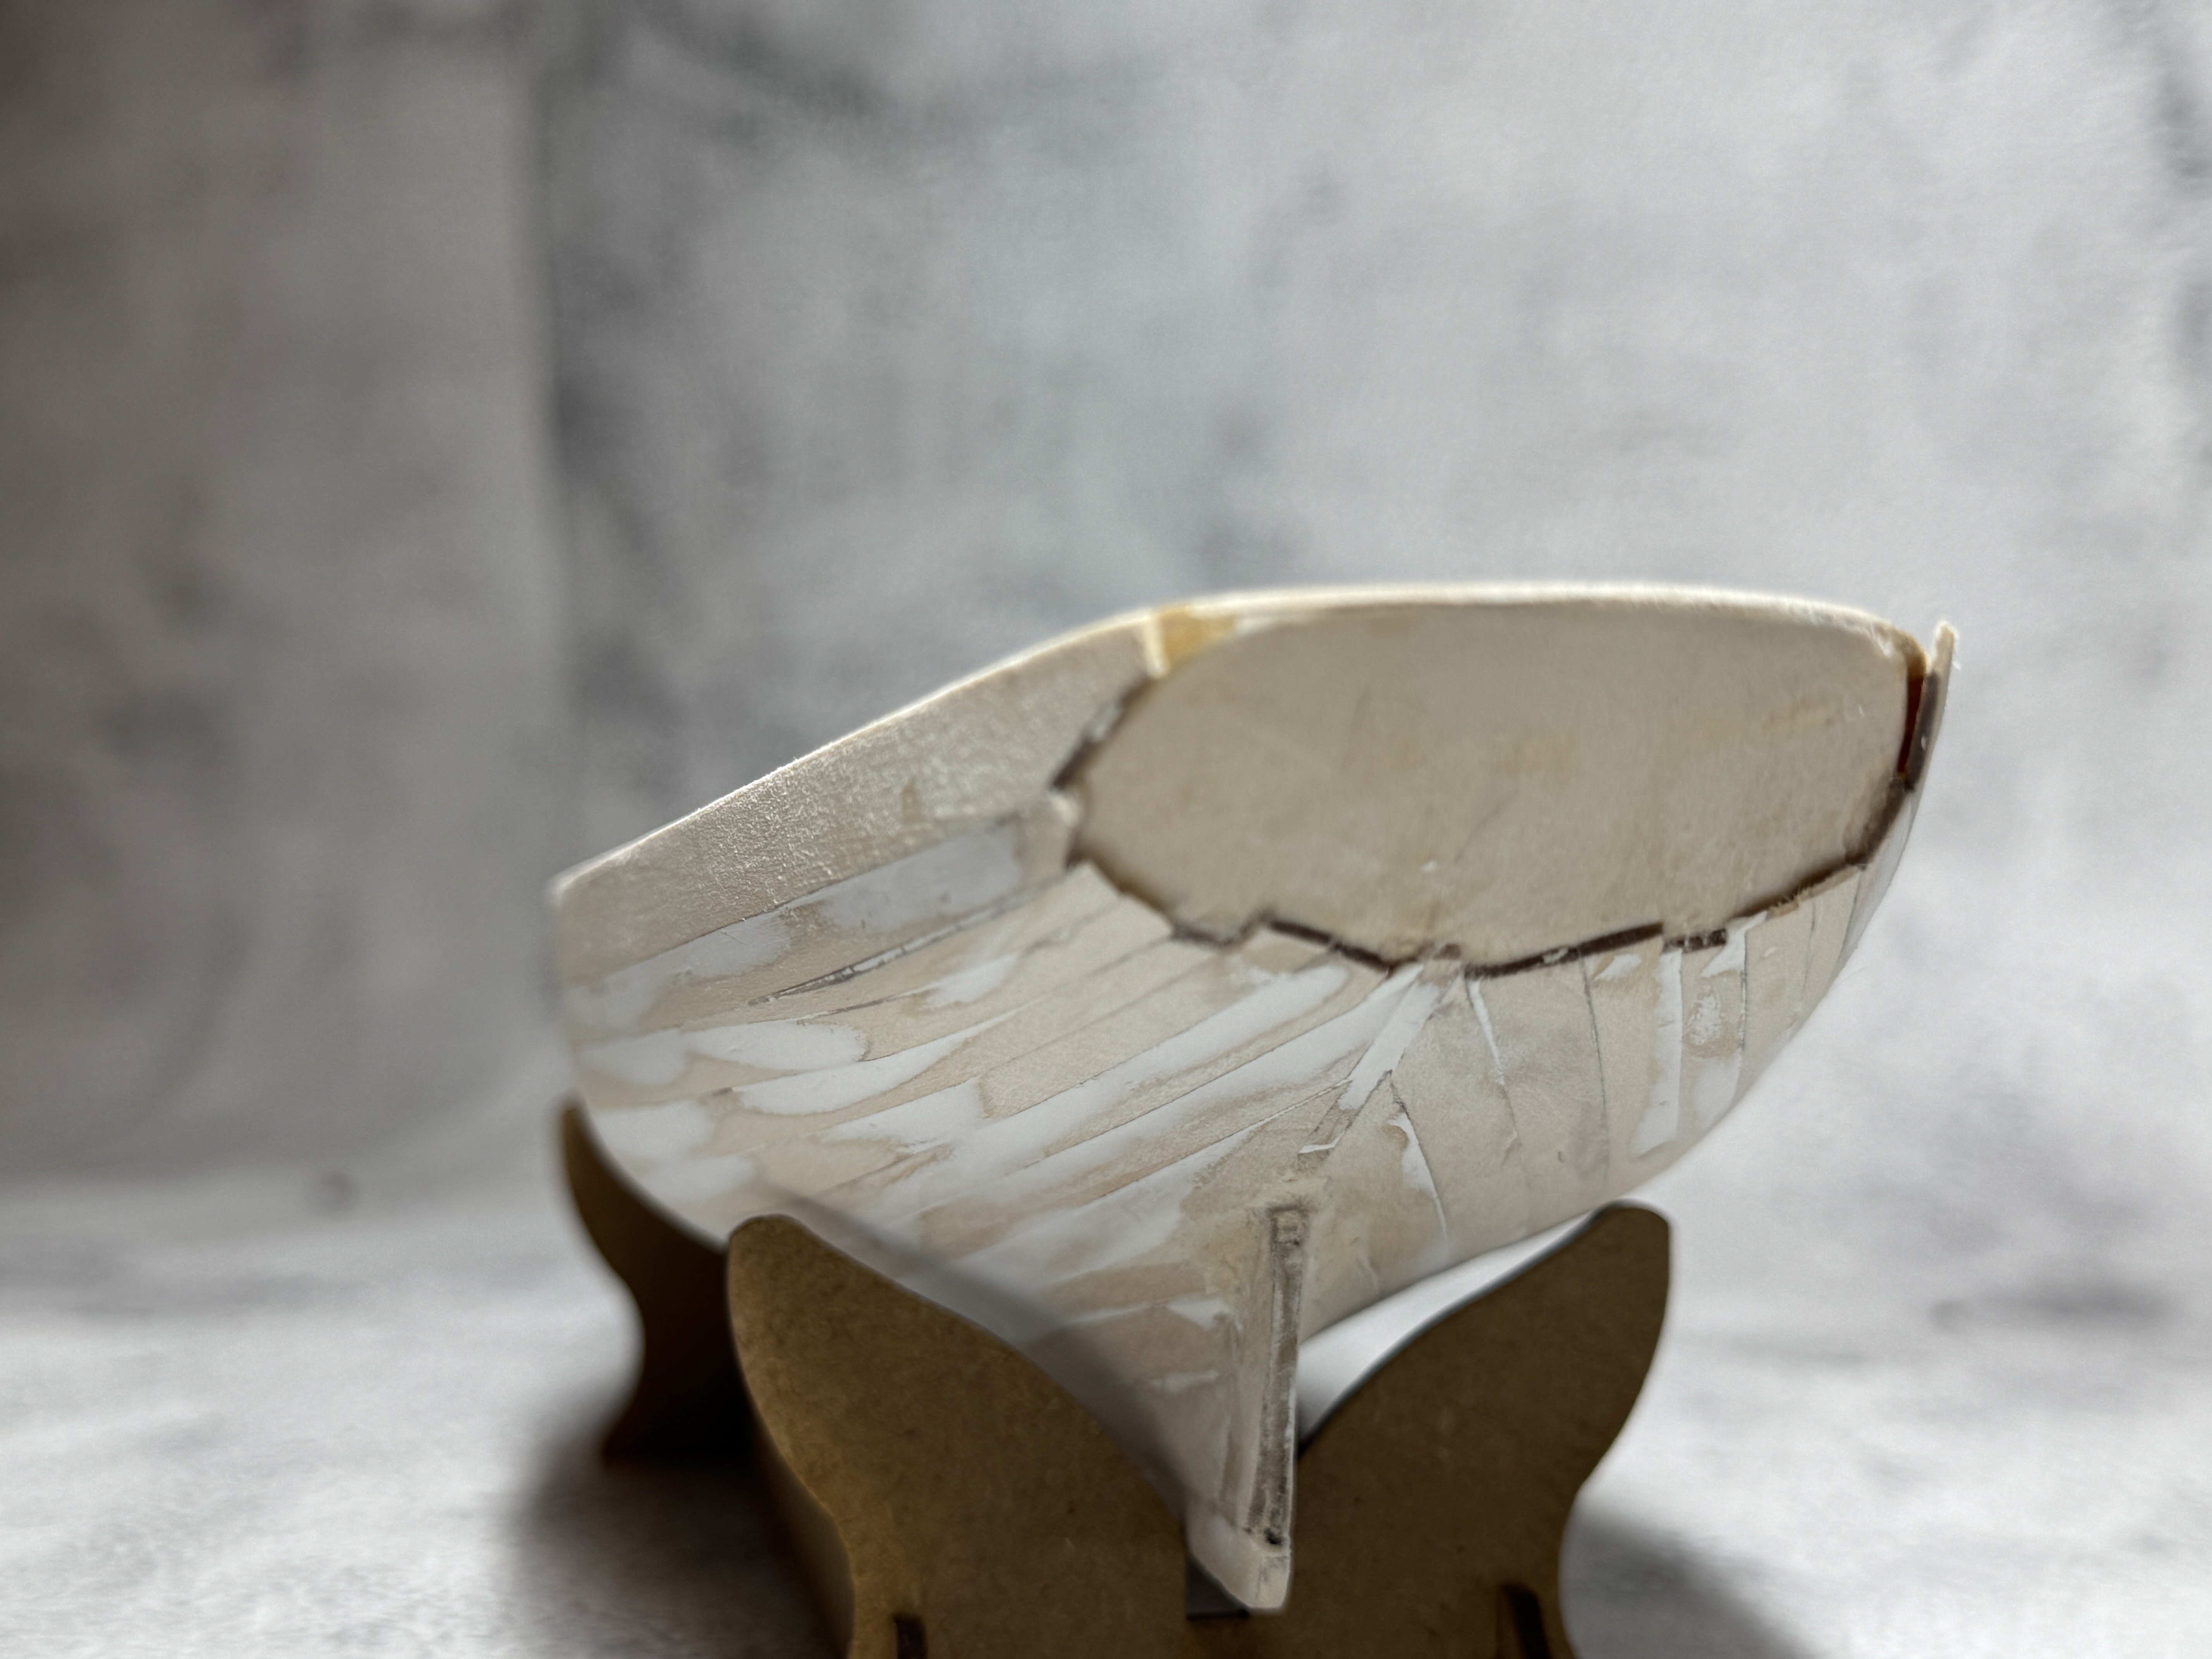
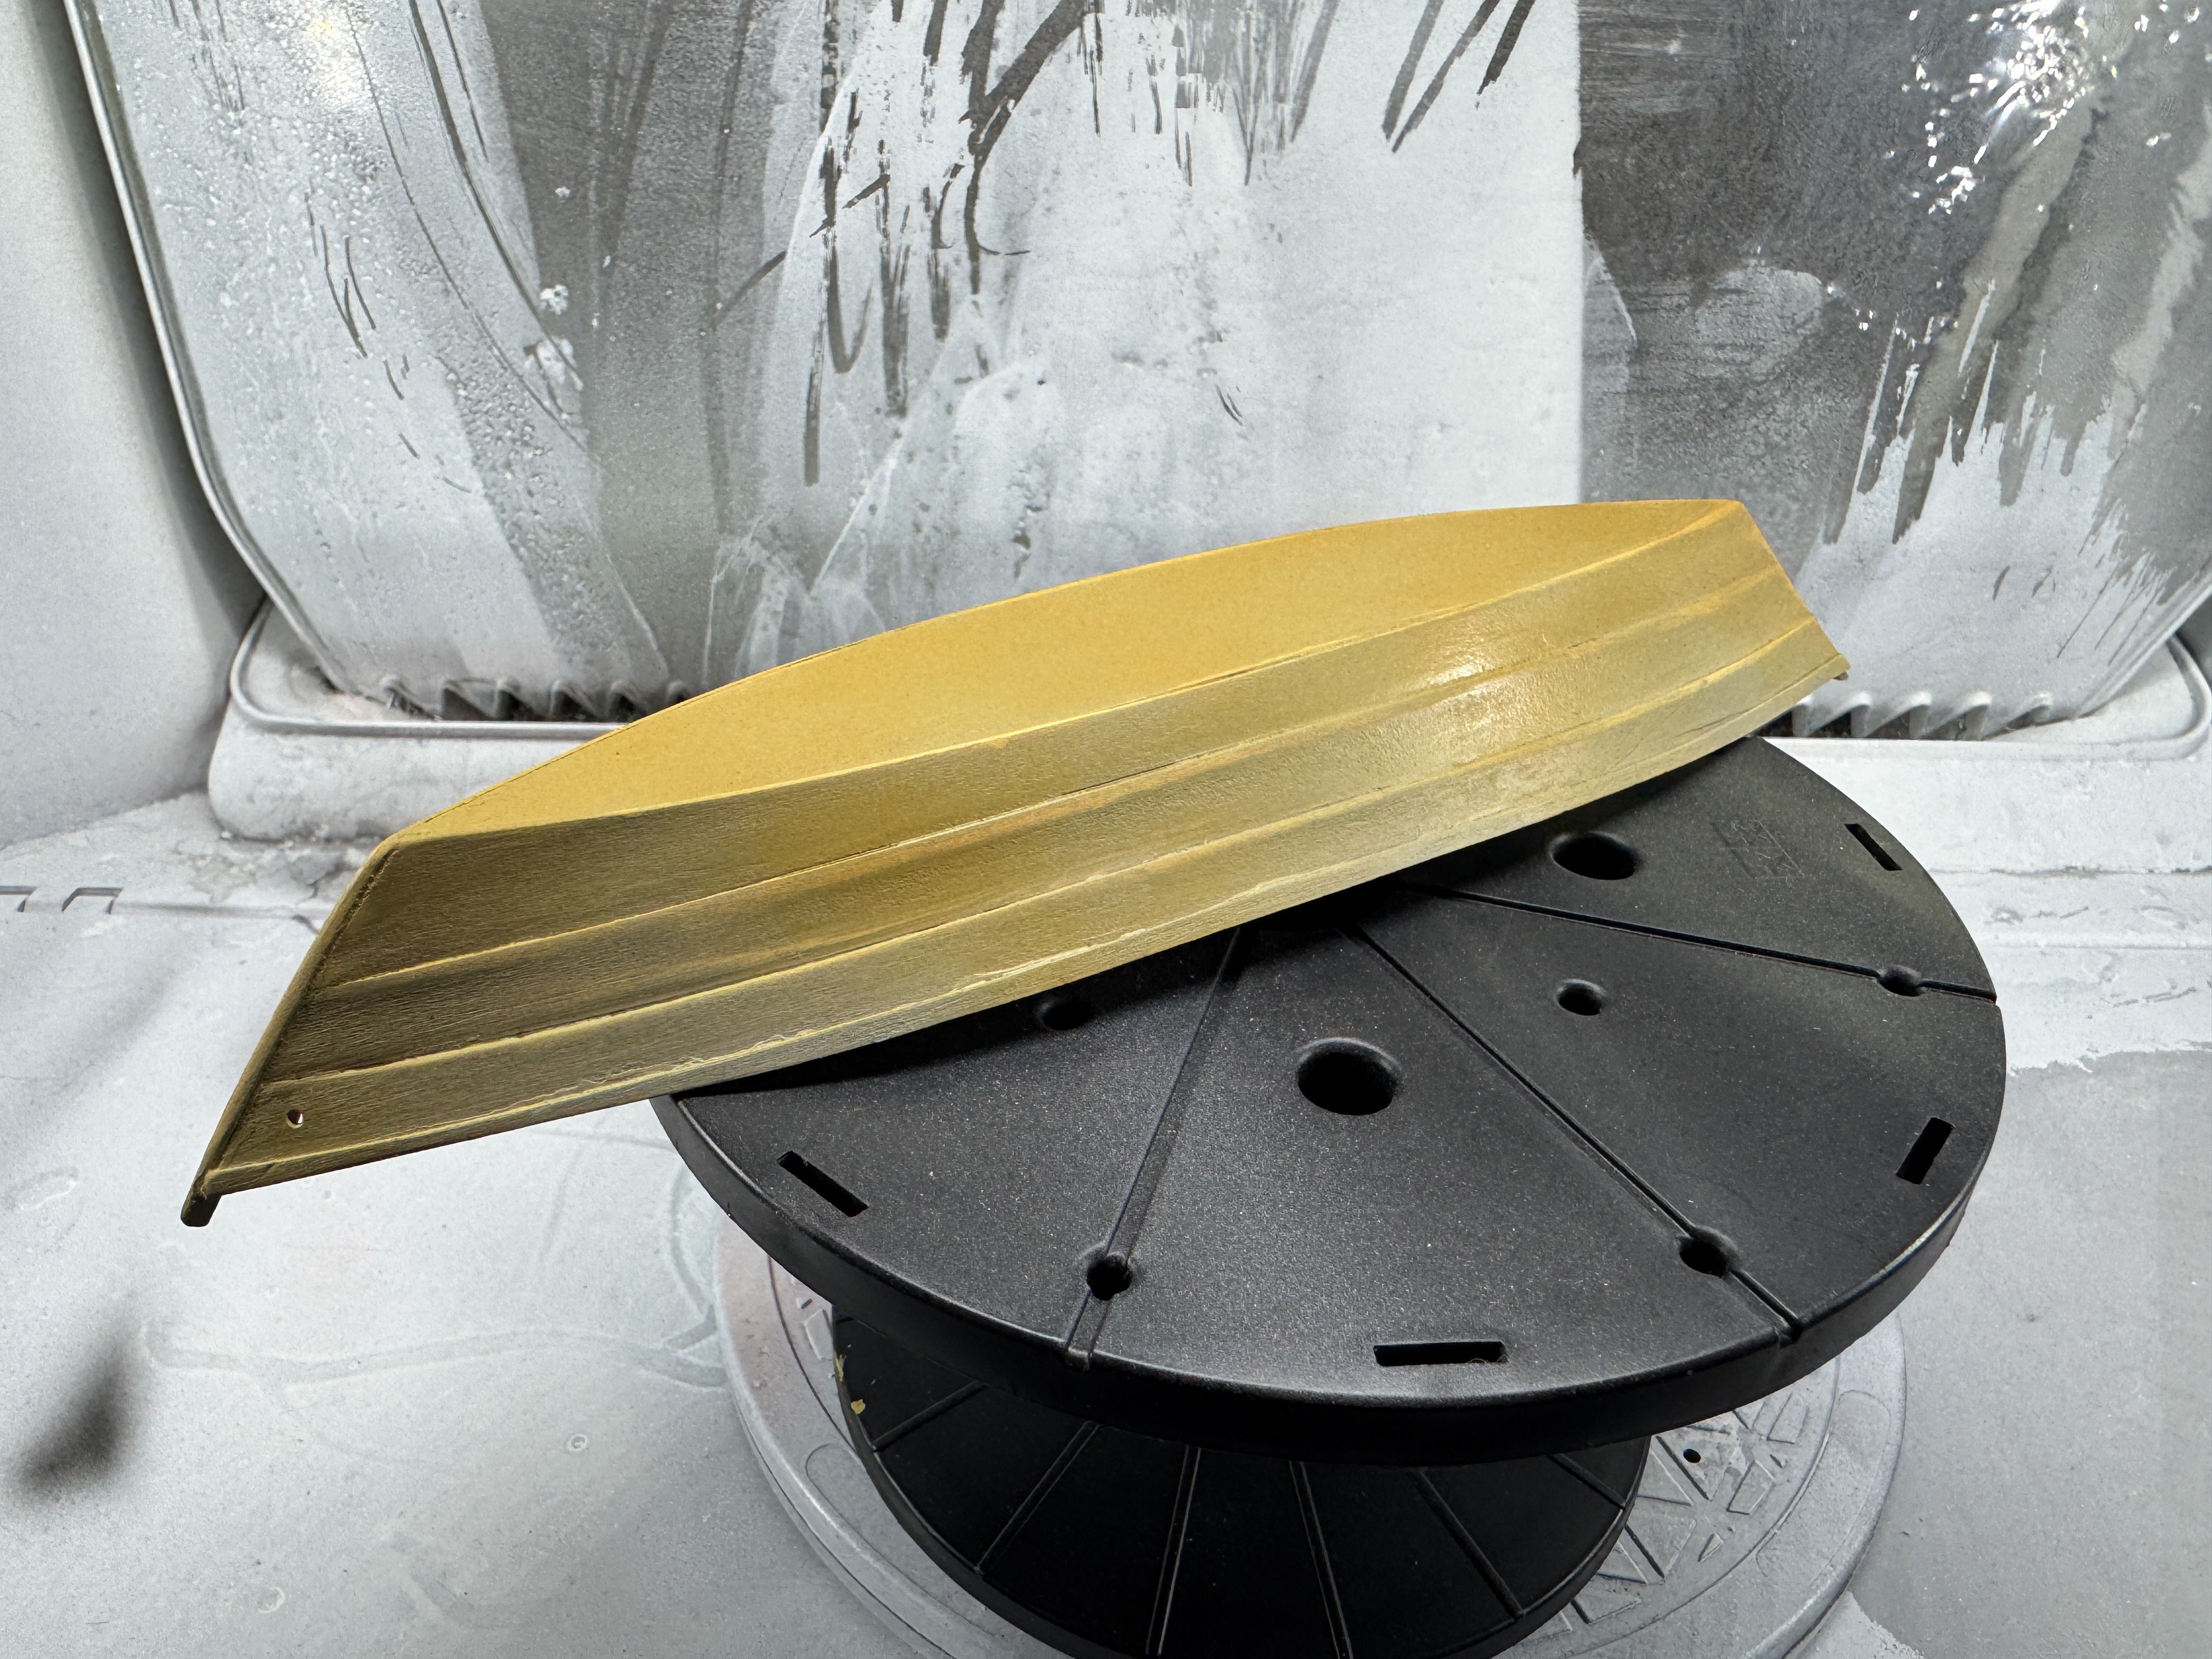
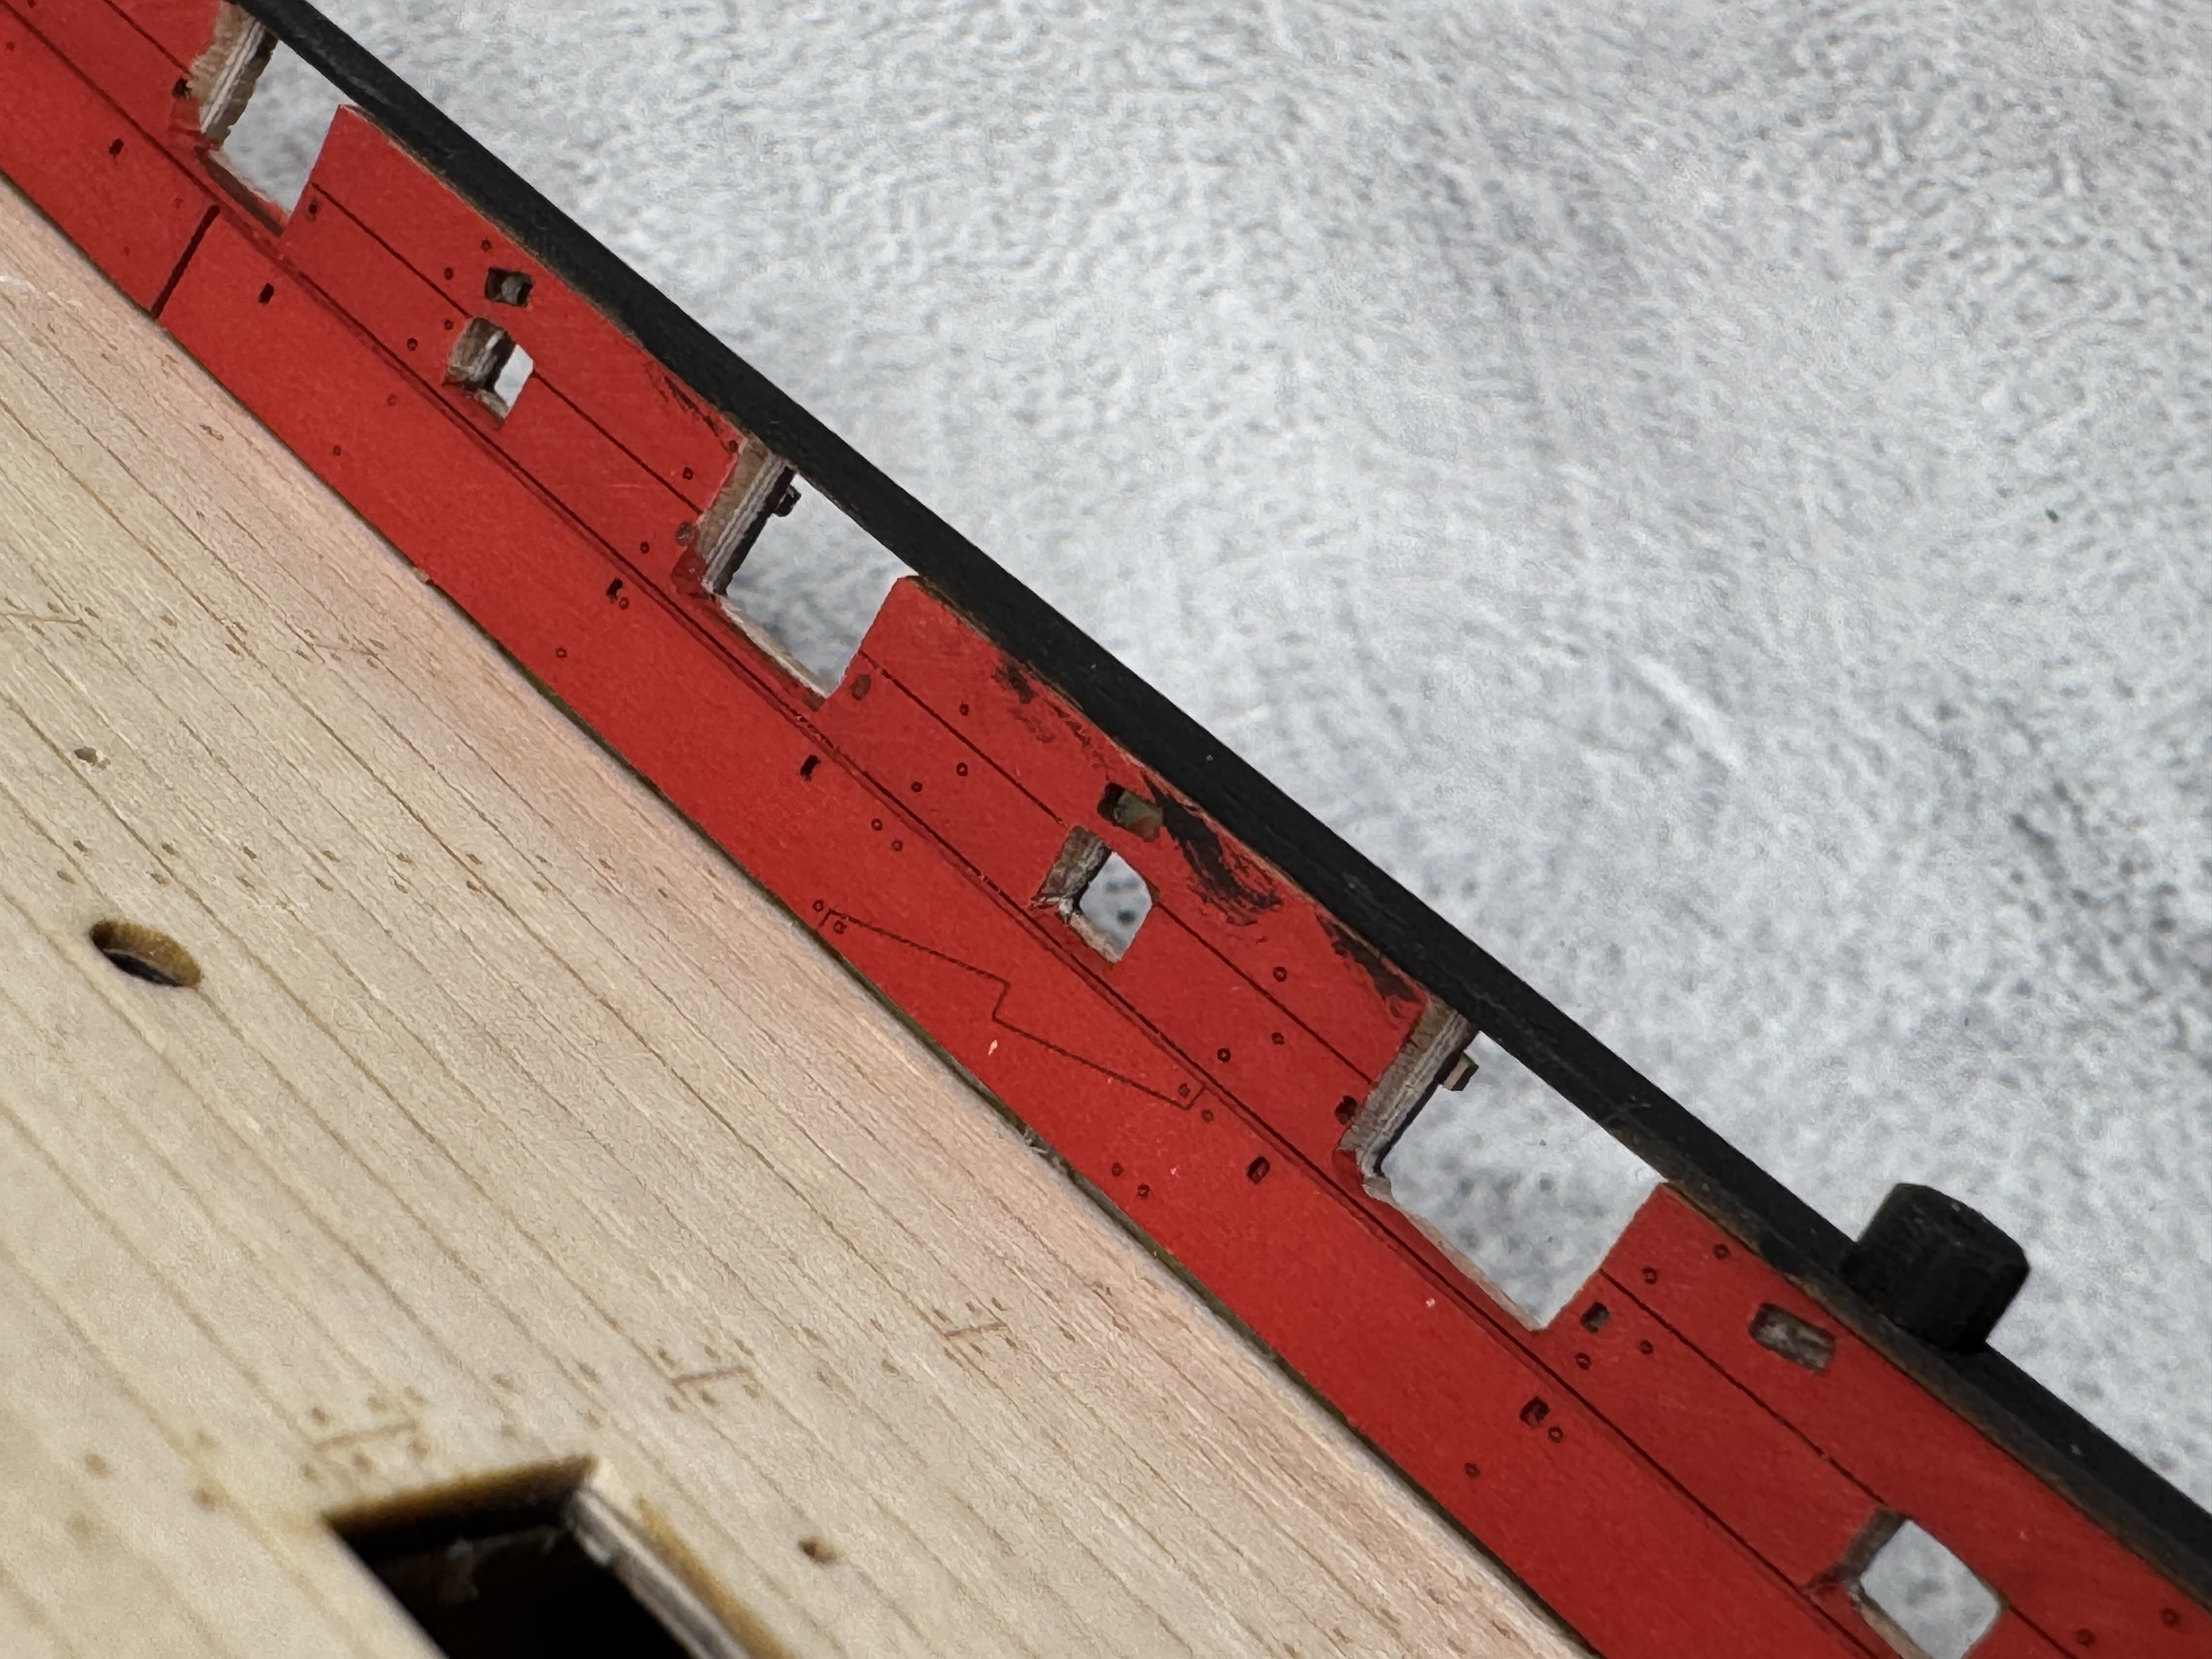
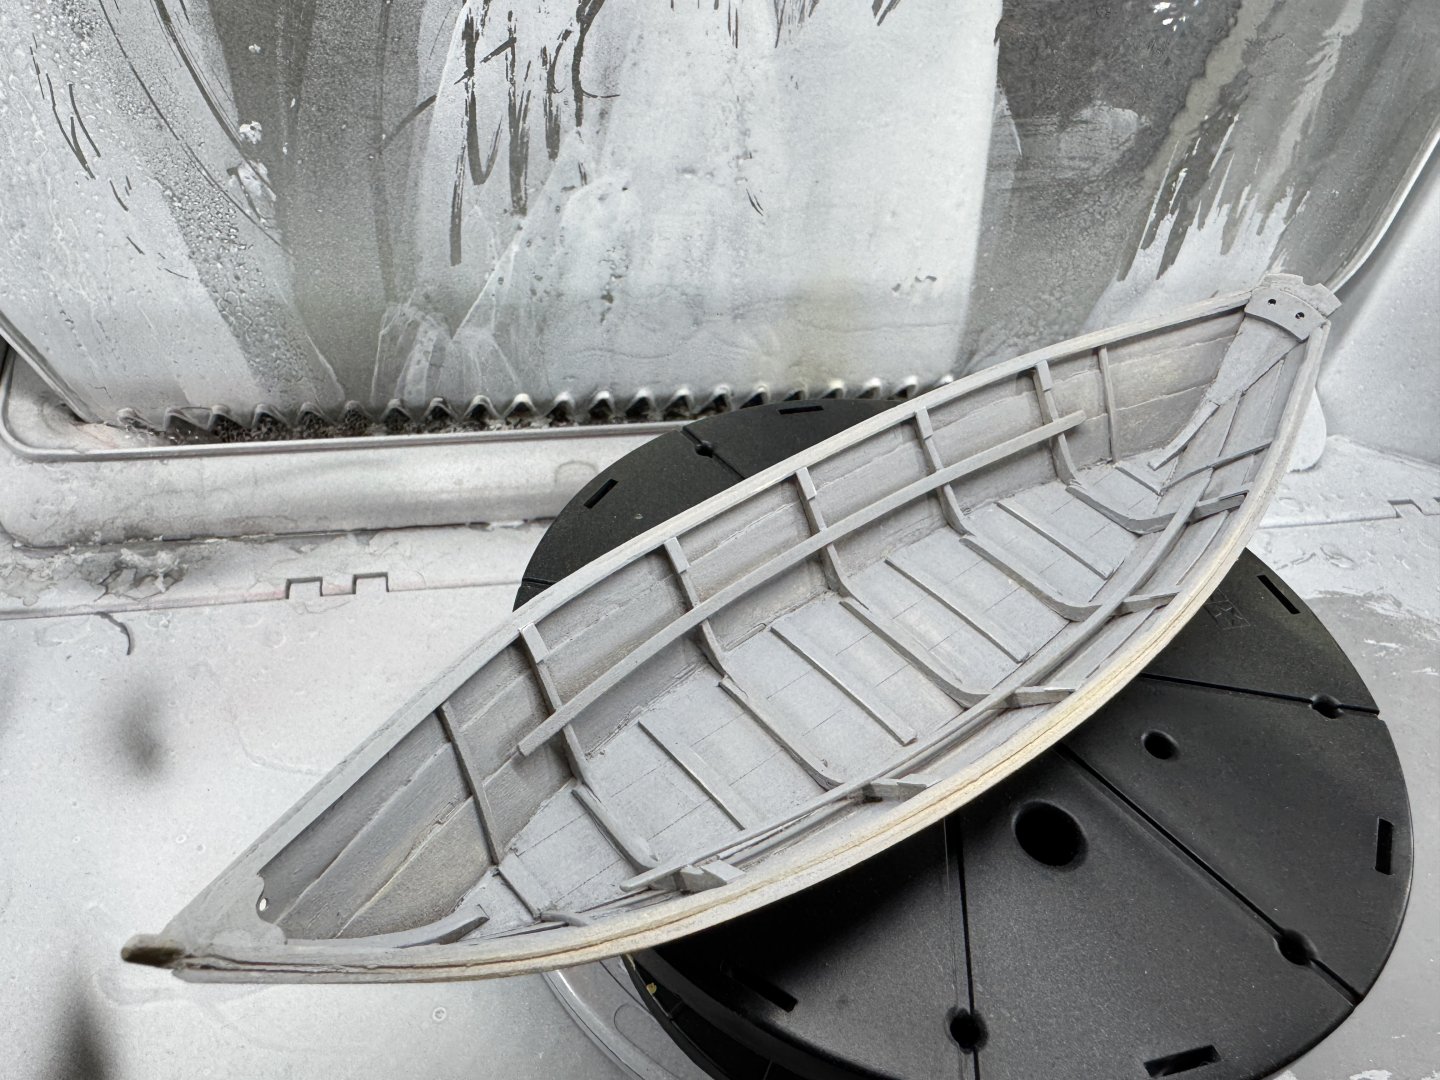
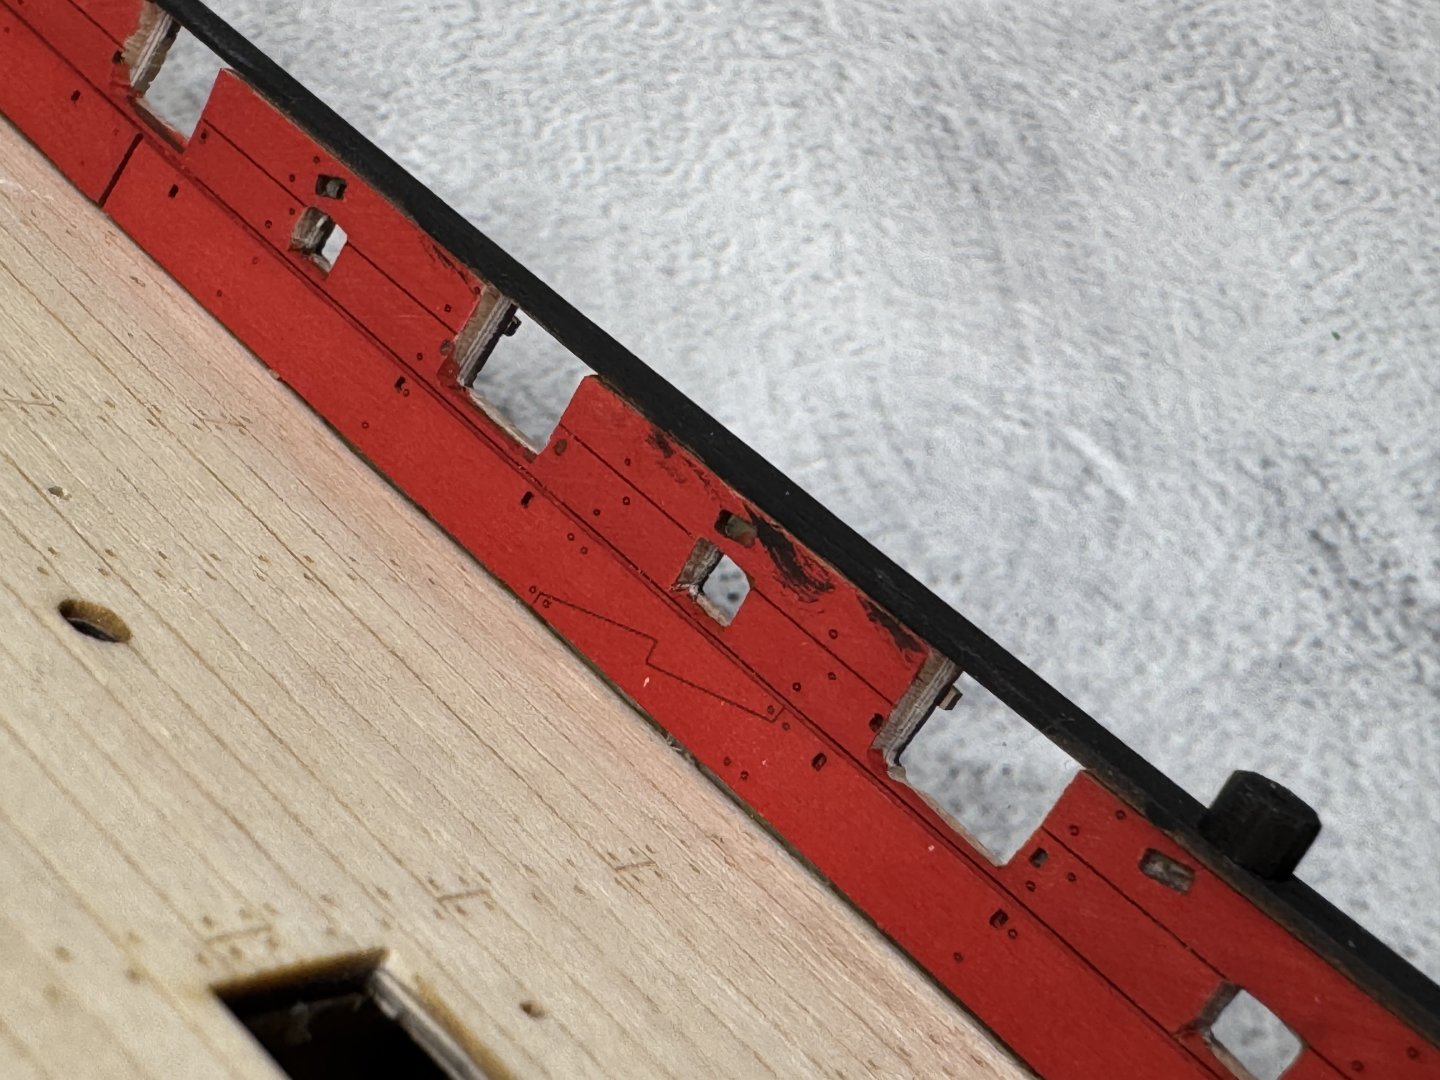
Is this mess fixable? I spray painted the two pieces separately, but stupid me had to try and fix a small error and the paintbrush slipped. I guess I could just leave it as a reminder of errors made early in my ship building career 😃
-
That is looking very nice. I am waiting for my 3 kit bundle to arrive so I can start as well. I am noticing during the Sherbourne build that I definitely need 2 builds going at the same time to avoid downtime during gluing.
- 63 replies
-
- 3
-
-
- Norwegian Sailing Pram
- Model Shipways
- (and 2 more)
-
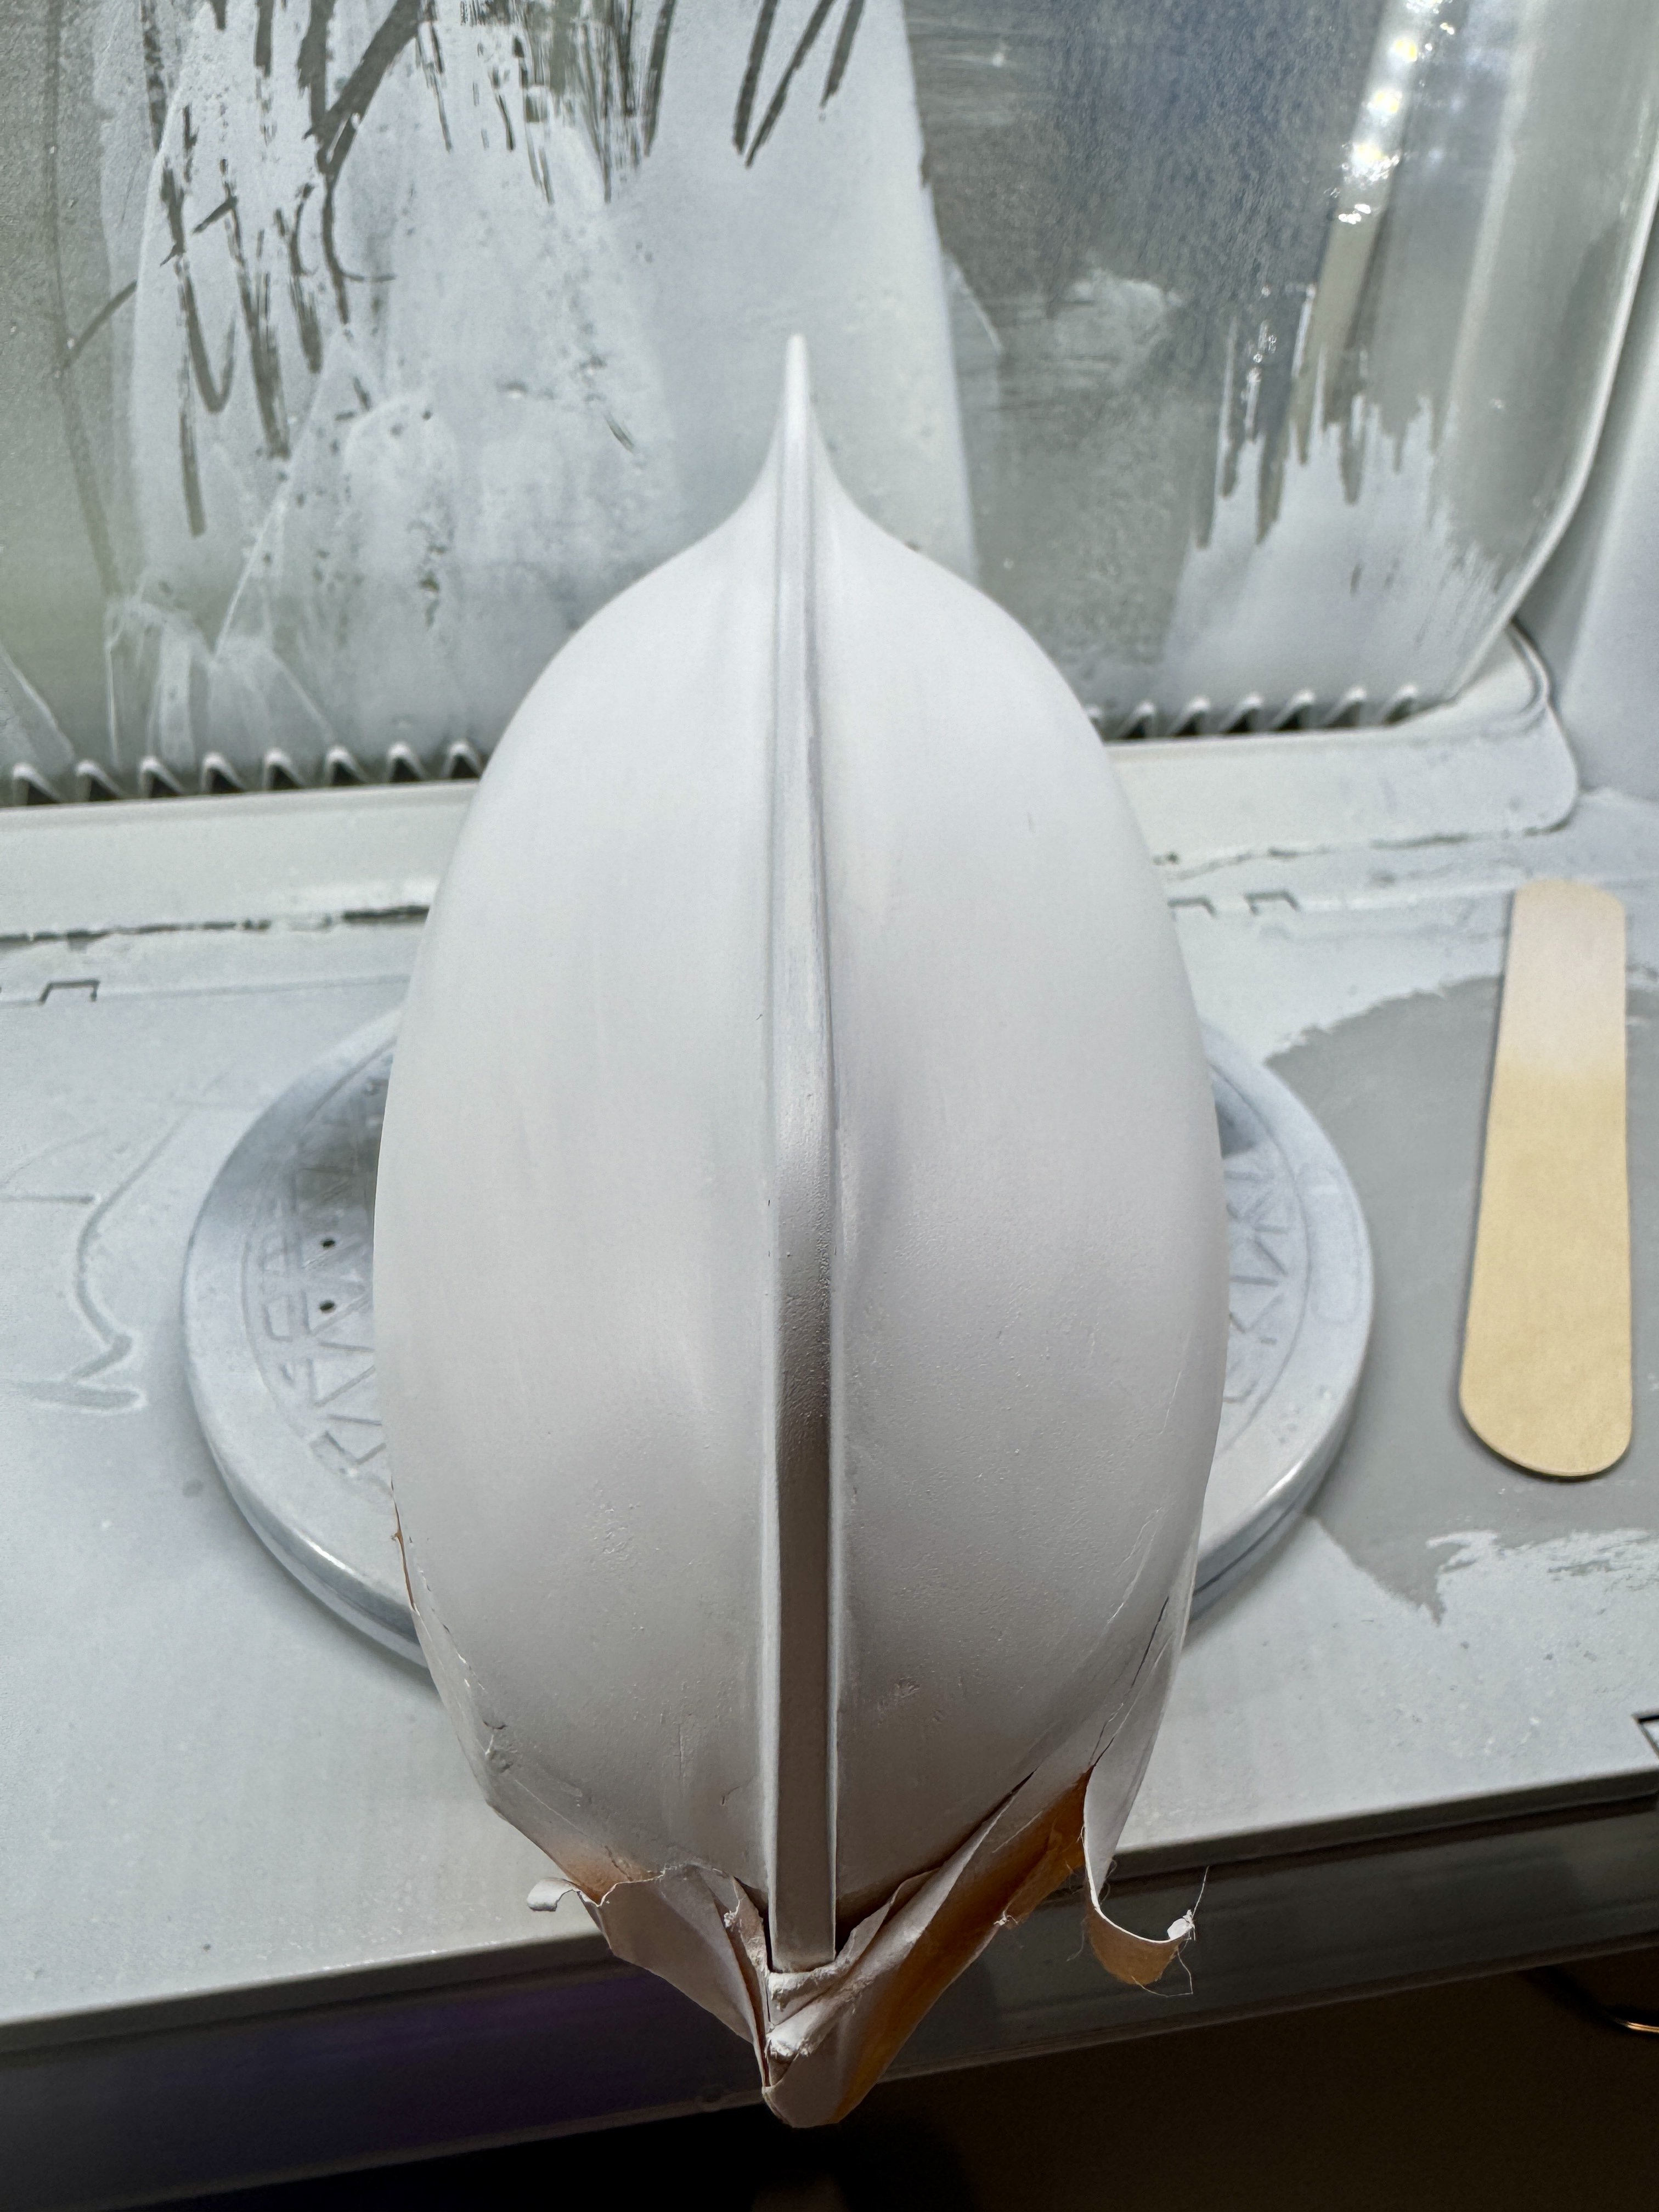
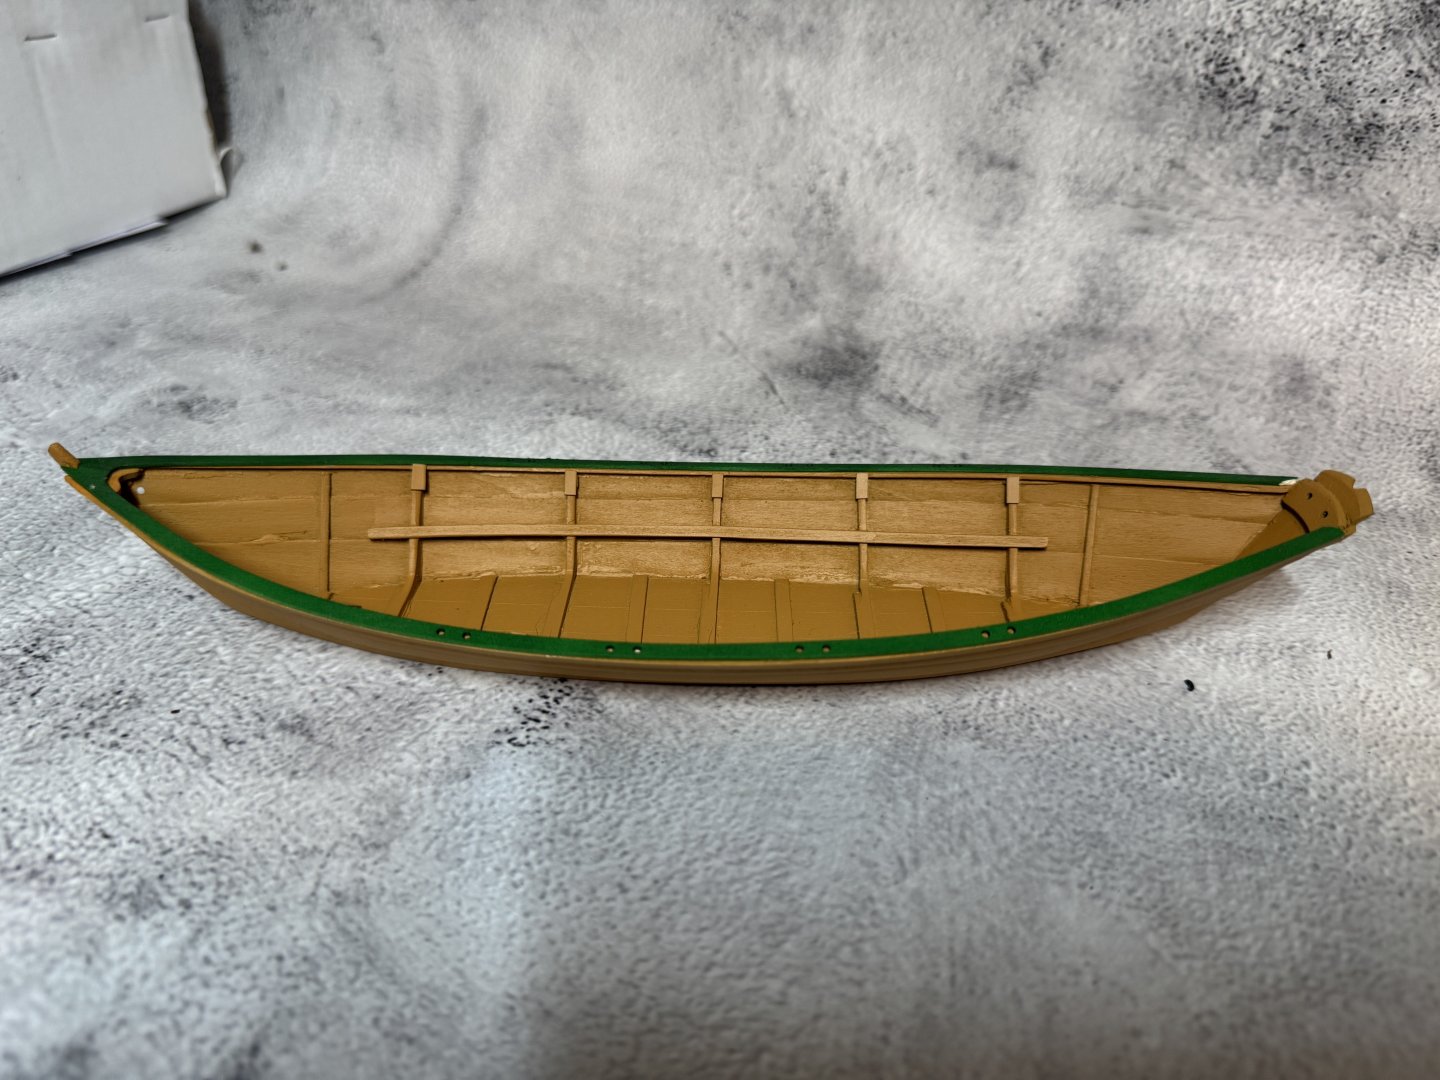
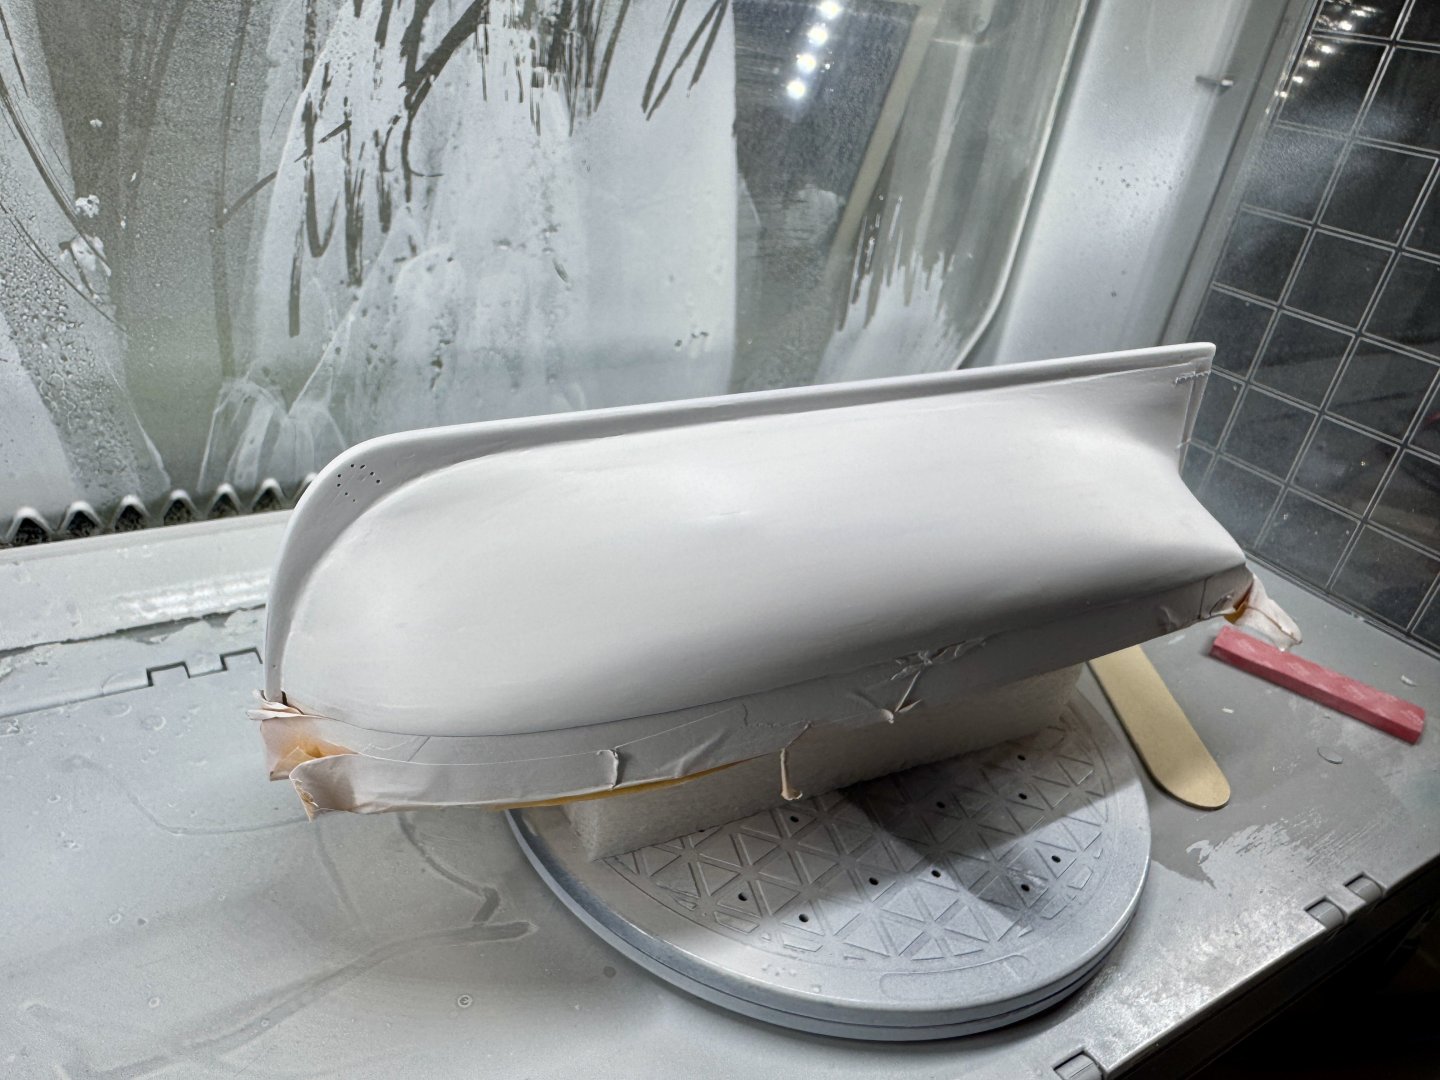
I have been traveling for a few days, but got a chance to do some painting today. Hopefully this will be completed tomorrow so that I can work on something else than the hull 😵💫

-
L'Amarante by marsalv - 1:36 - POF
EspenT replied to marsalv's topic in - Build logs for subjects built 1501 - 1750
Fantastic and inspirational. Regarding CNC: are digital files included in the monograph, or do you scan the paper copies? And do you have a list of the different woods you have used? -
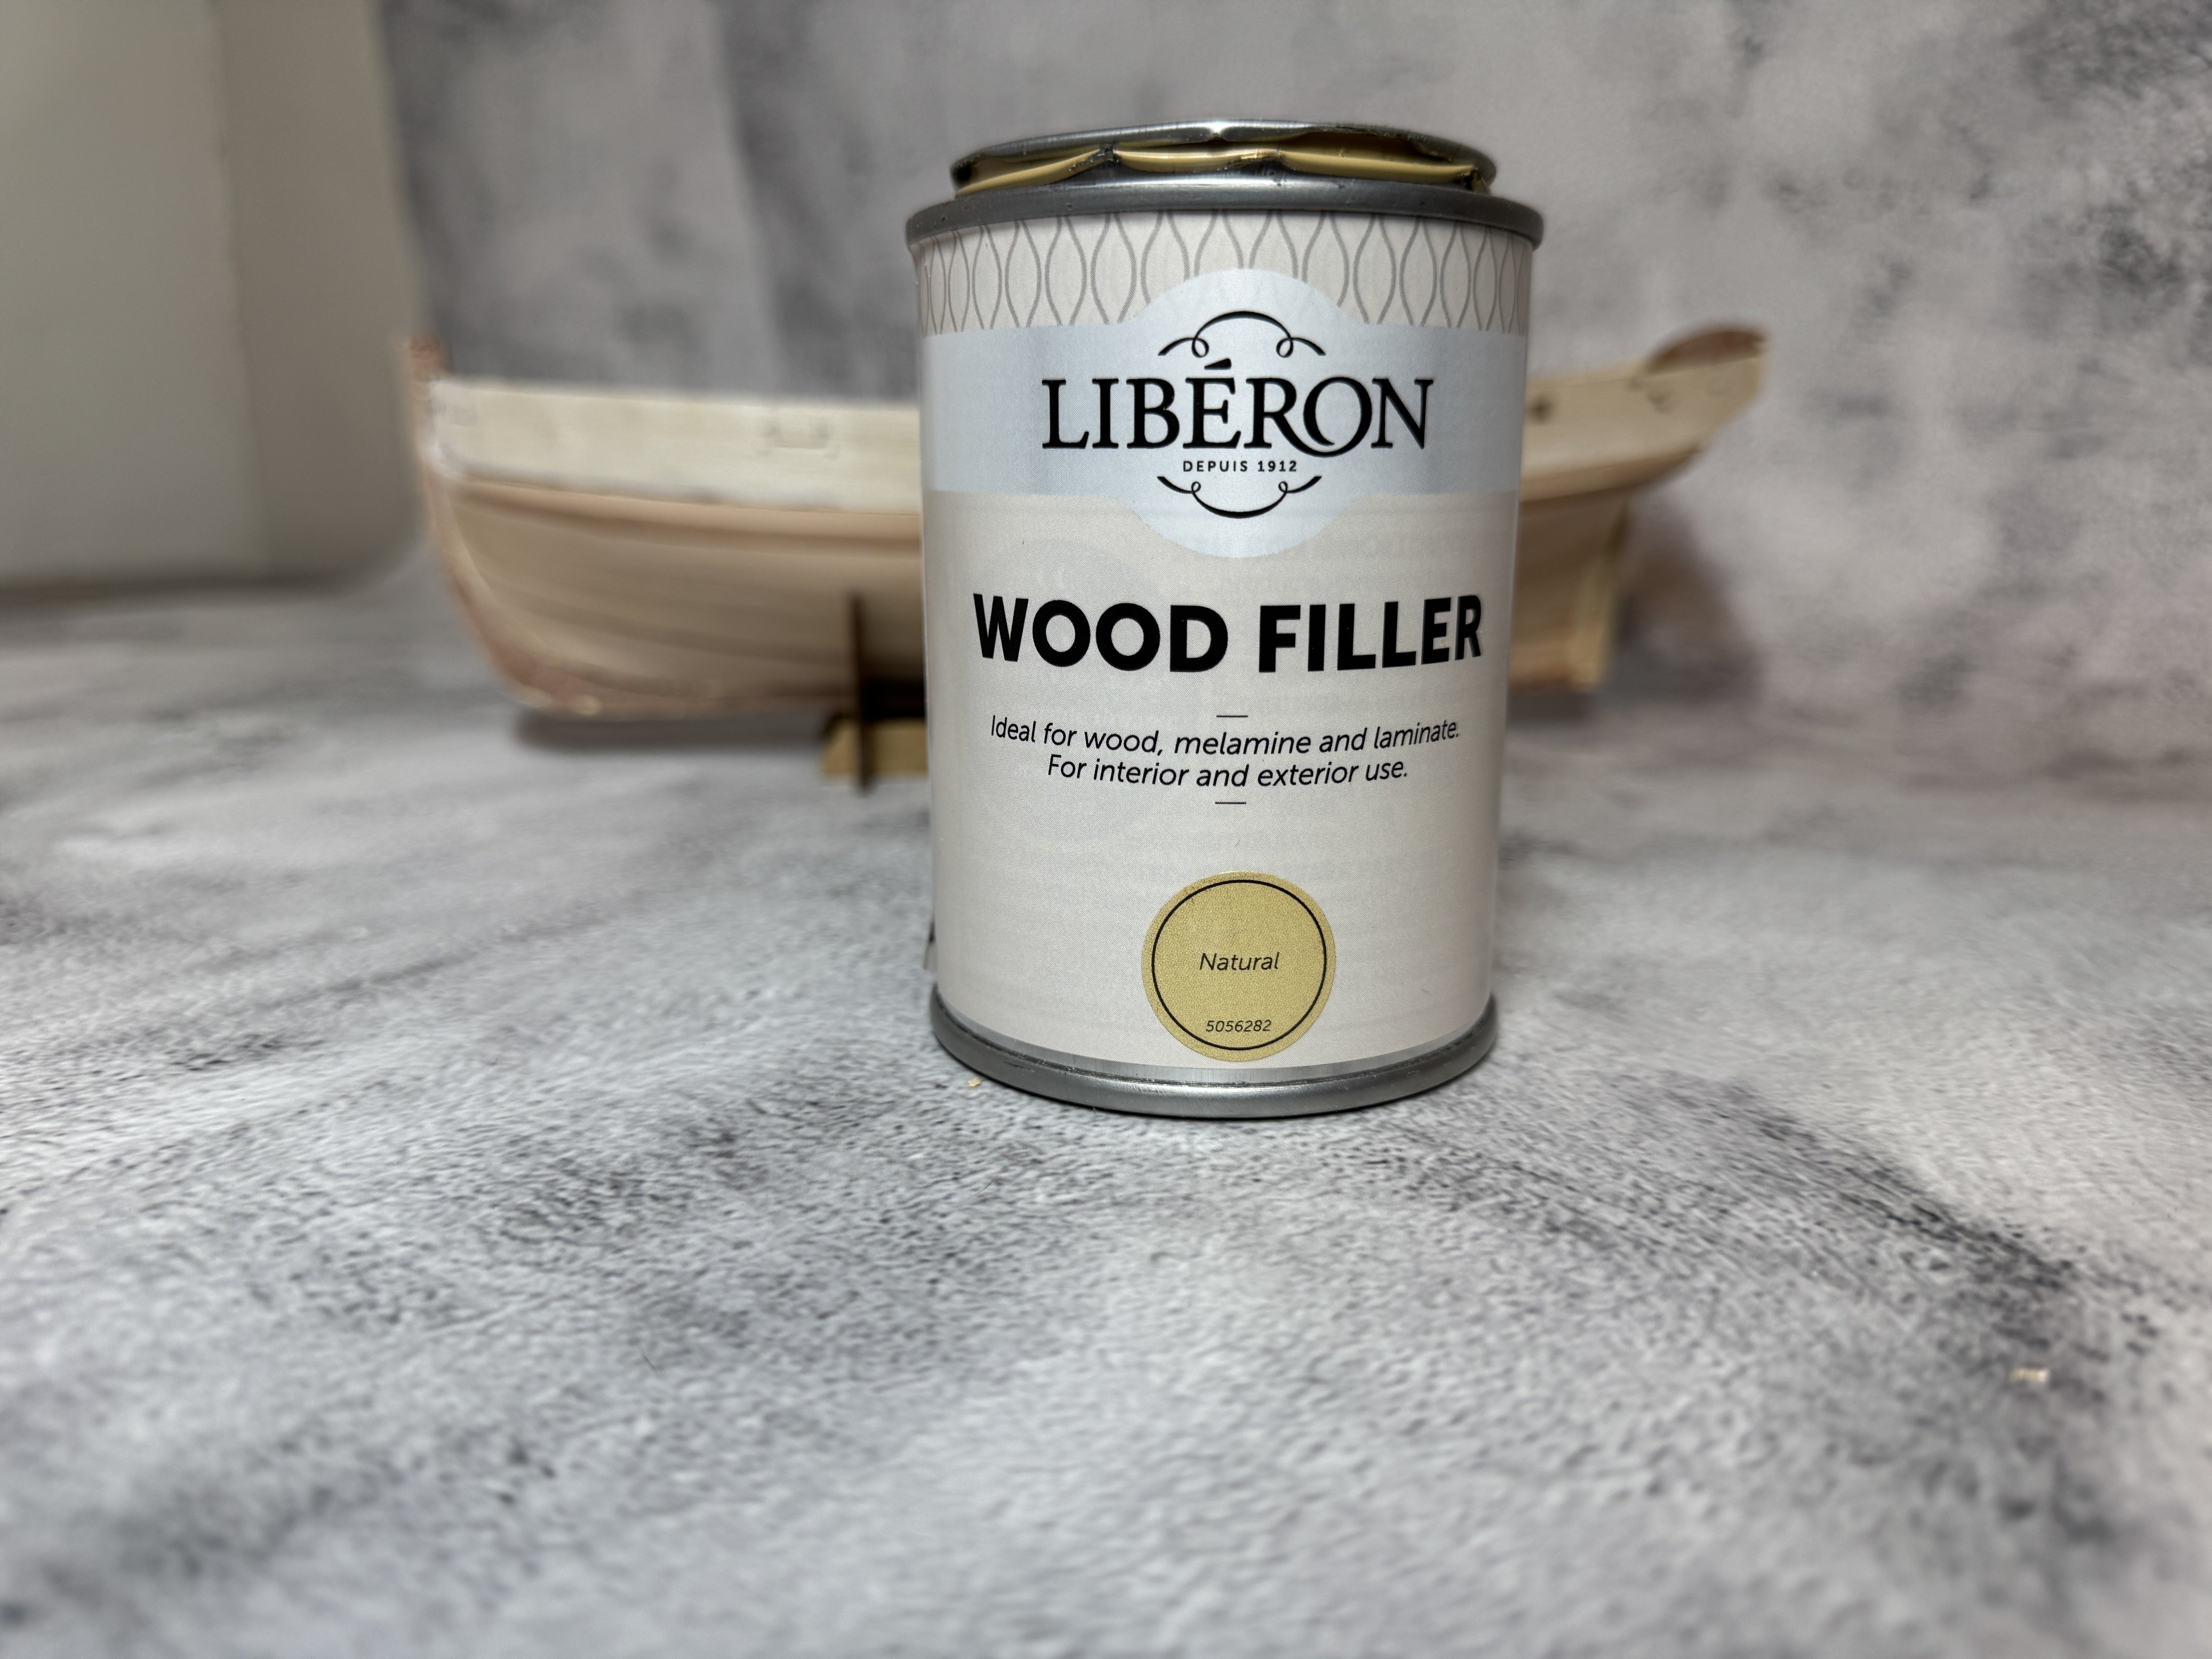
First of all thank you for all inputs. As a beginner I don’t have many skills or techniques to contribute with so I am very greatful for anyone reading or commenting. I bought a wood filler today. It seems a bit dry for use on tiny models so I ended up wetting the tip of my finger and ran it over the places that needed sanding. It sanded very nicely so that was a big plus for the product. I will try to lay the first coat of white paint now. In the instructions it says to mask of the deck and bulwarks. There are still parts to be added that will cover the base layer so I am not sure why I need to mask it off. Edit: is the masking in place to make sure the glue works as it should?