HOLIDAY DONATION DRIVE - SUPPORT MSW - DO YOUR PART TO KEEP THIS GREAT FORUM GOING! (Only 44 donations so far out of 49,000 members - C'mon guys!)
×


TerryPat
-
Posts
103 -
Joined
-
Last visited
Content Type
Profiles
Forums
Gallery
Events
Everything posted by TerryPat
-
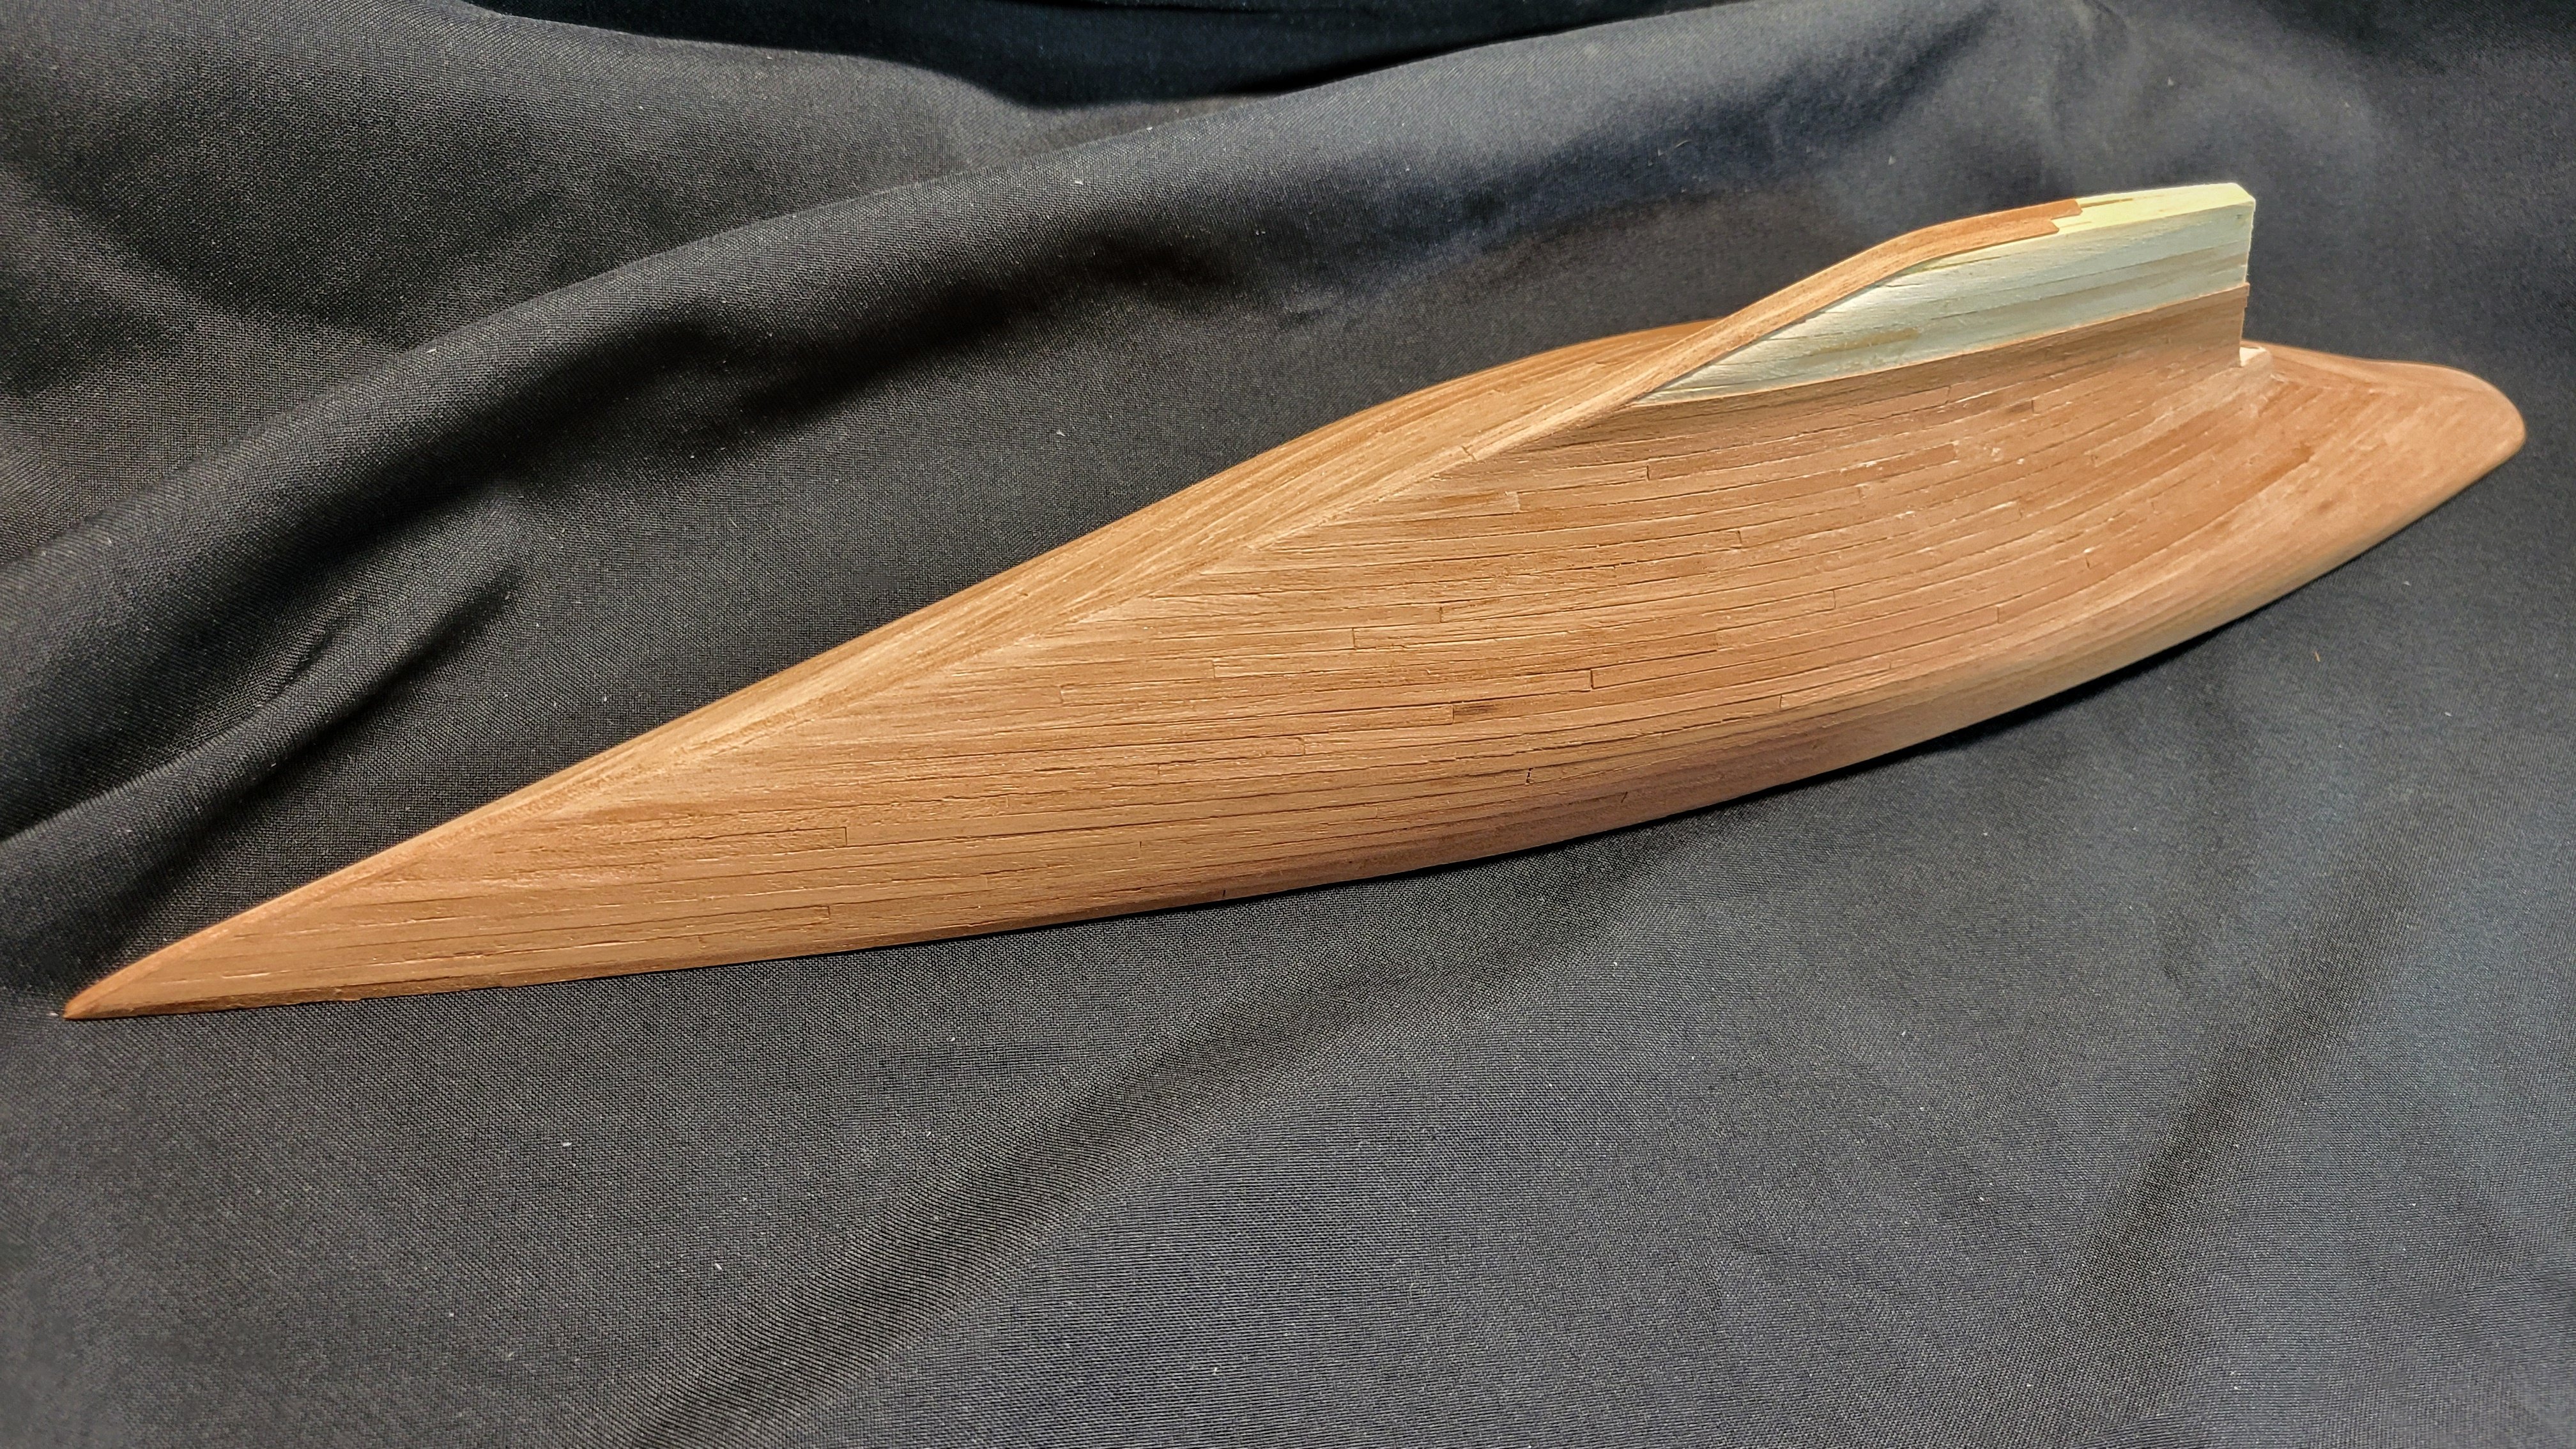
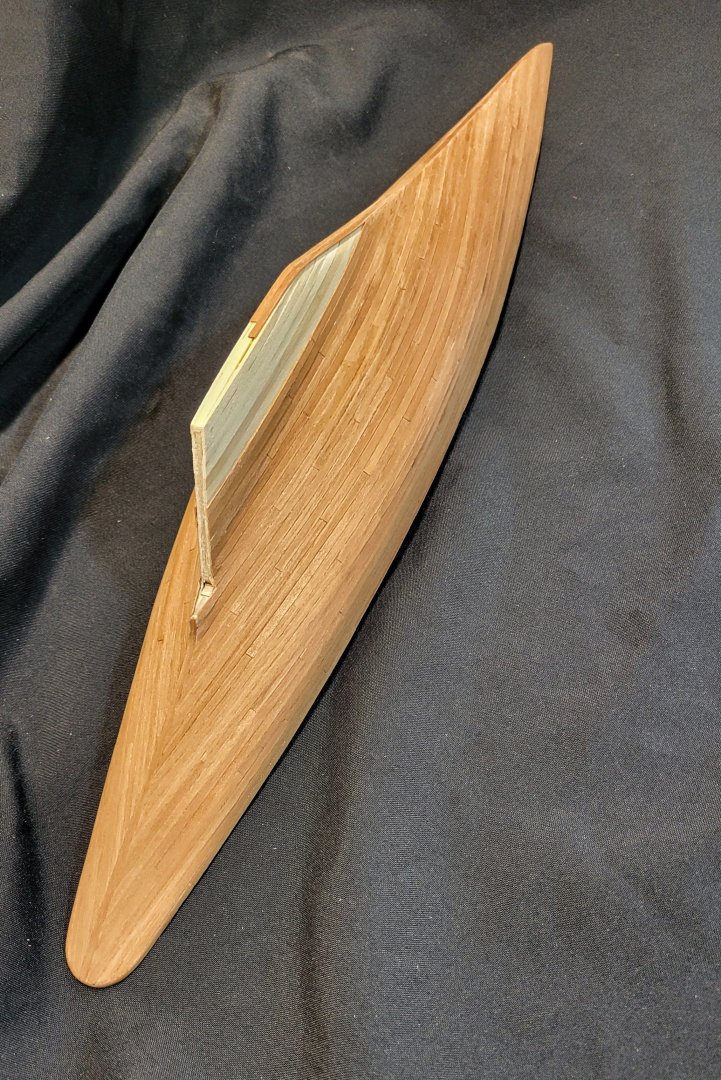
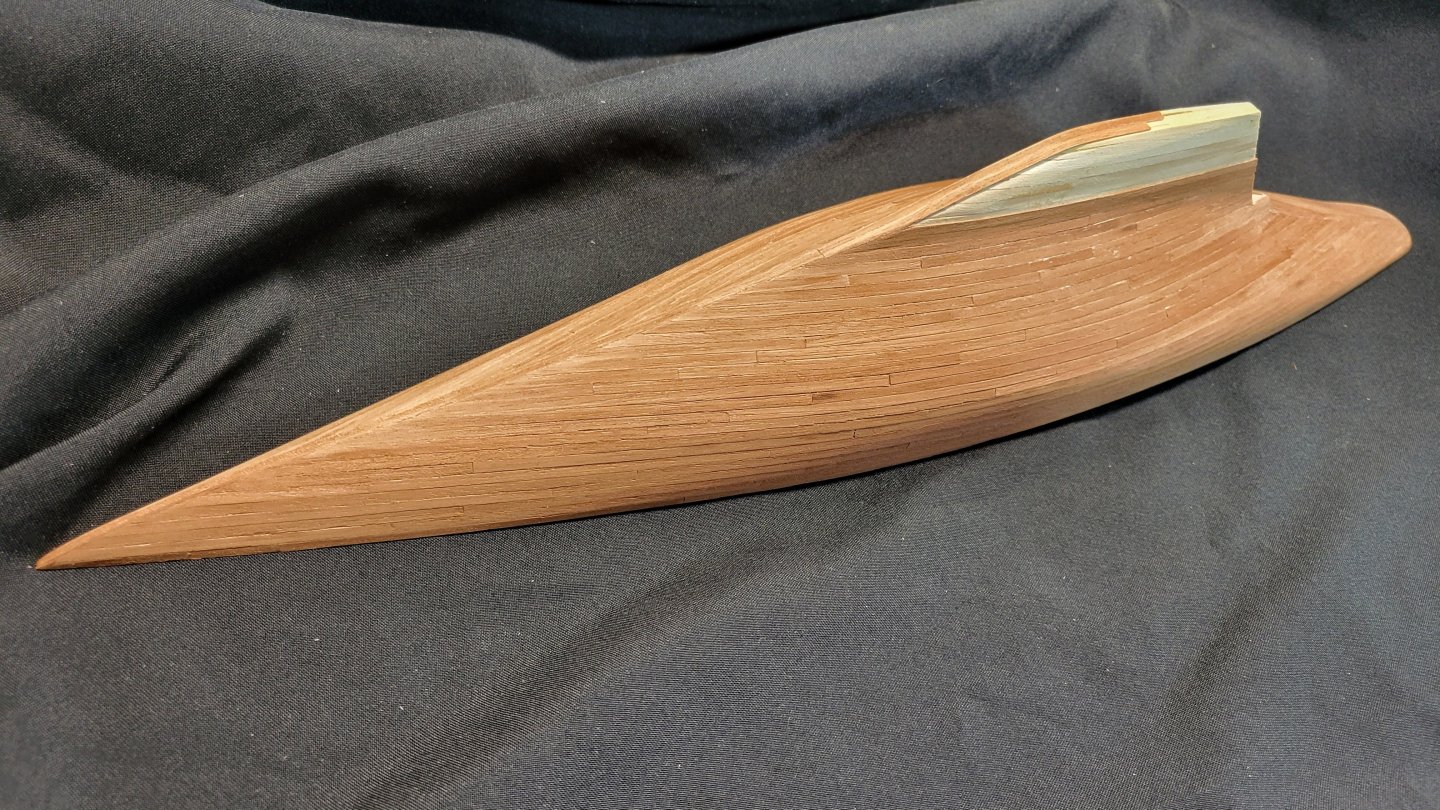
 Regarding your question about the stern planking. The instructions have you do separate planking over the stern for both first and second planking in sort of a fan out type of arrangement. Why they do that and the advantage? I can only guess it's the easiest method in their view. Since the instructions suggest to paint the entire hull it doesn't really matter because you can use filler to get everything smooth. One could ask, why even bother with the second planking if you're going to fill and paint? Beats me.. lol I want to leave the second planking natural for my build so I did the stern section in a method I think looks better since the planking will be seen. I'll probably paint below the waterline and leave above natural walnut. I'm not interested in accuracy to the original. I simply love the lines of the ship. I know that was a long winded answer.. sorry. Hope it helps
 -
Heading down the home stretch. After all of the second planking is complete I'll sand it all smooth and coat it in my home mixed shellac to seal the wood. Then on to the deck planking.
- 19 replies
-
- 4
-

-

-
- Endeavour
- j-class yacht
- (and 1 more)
-
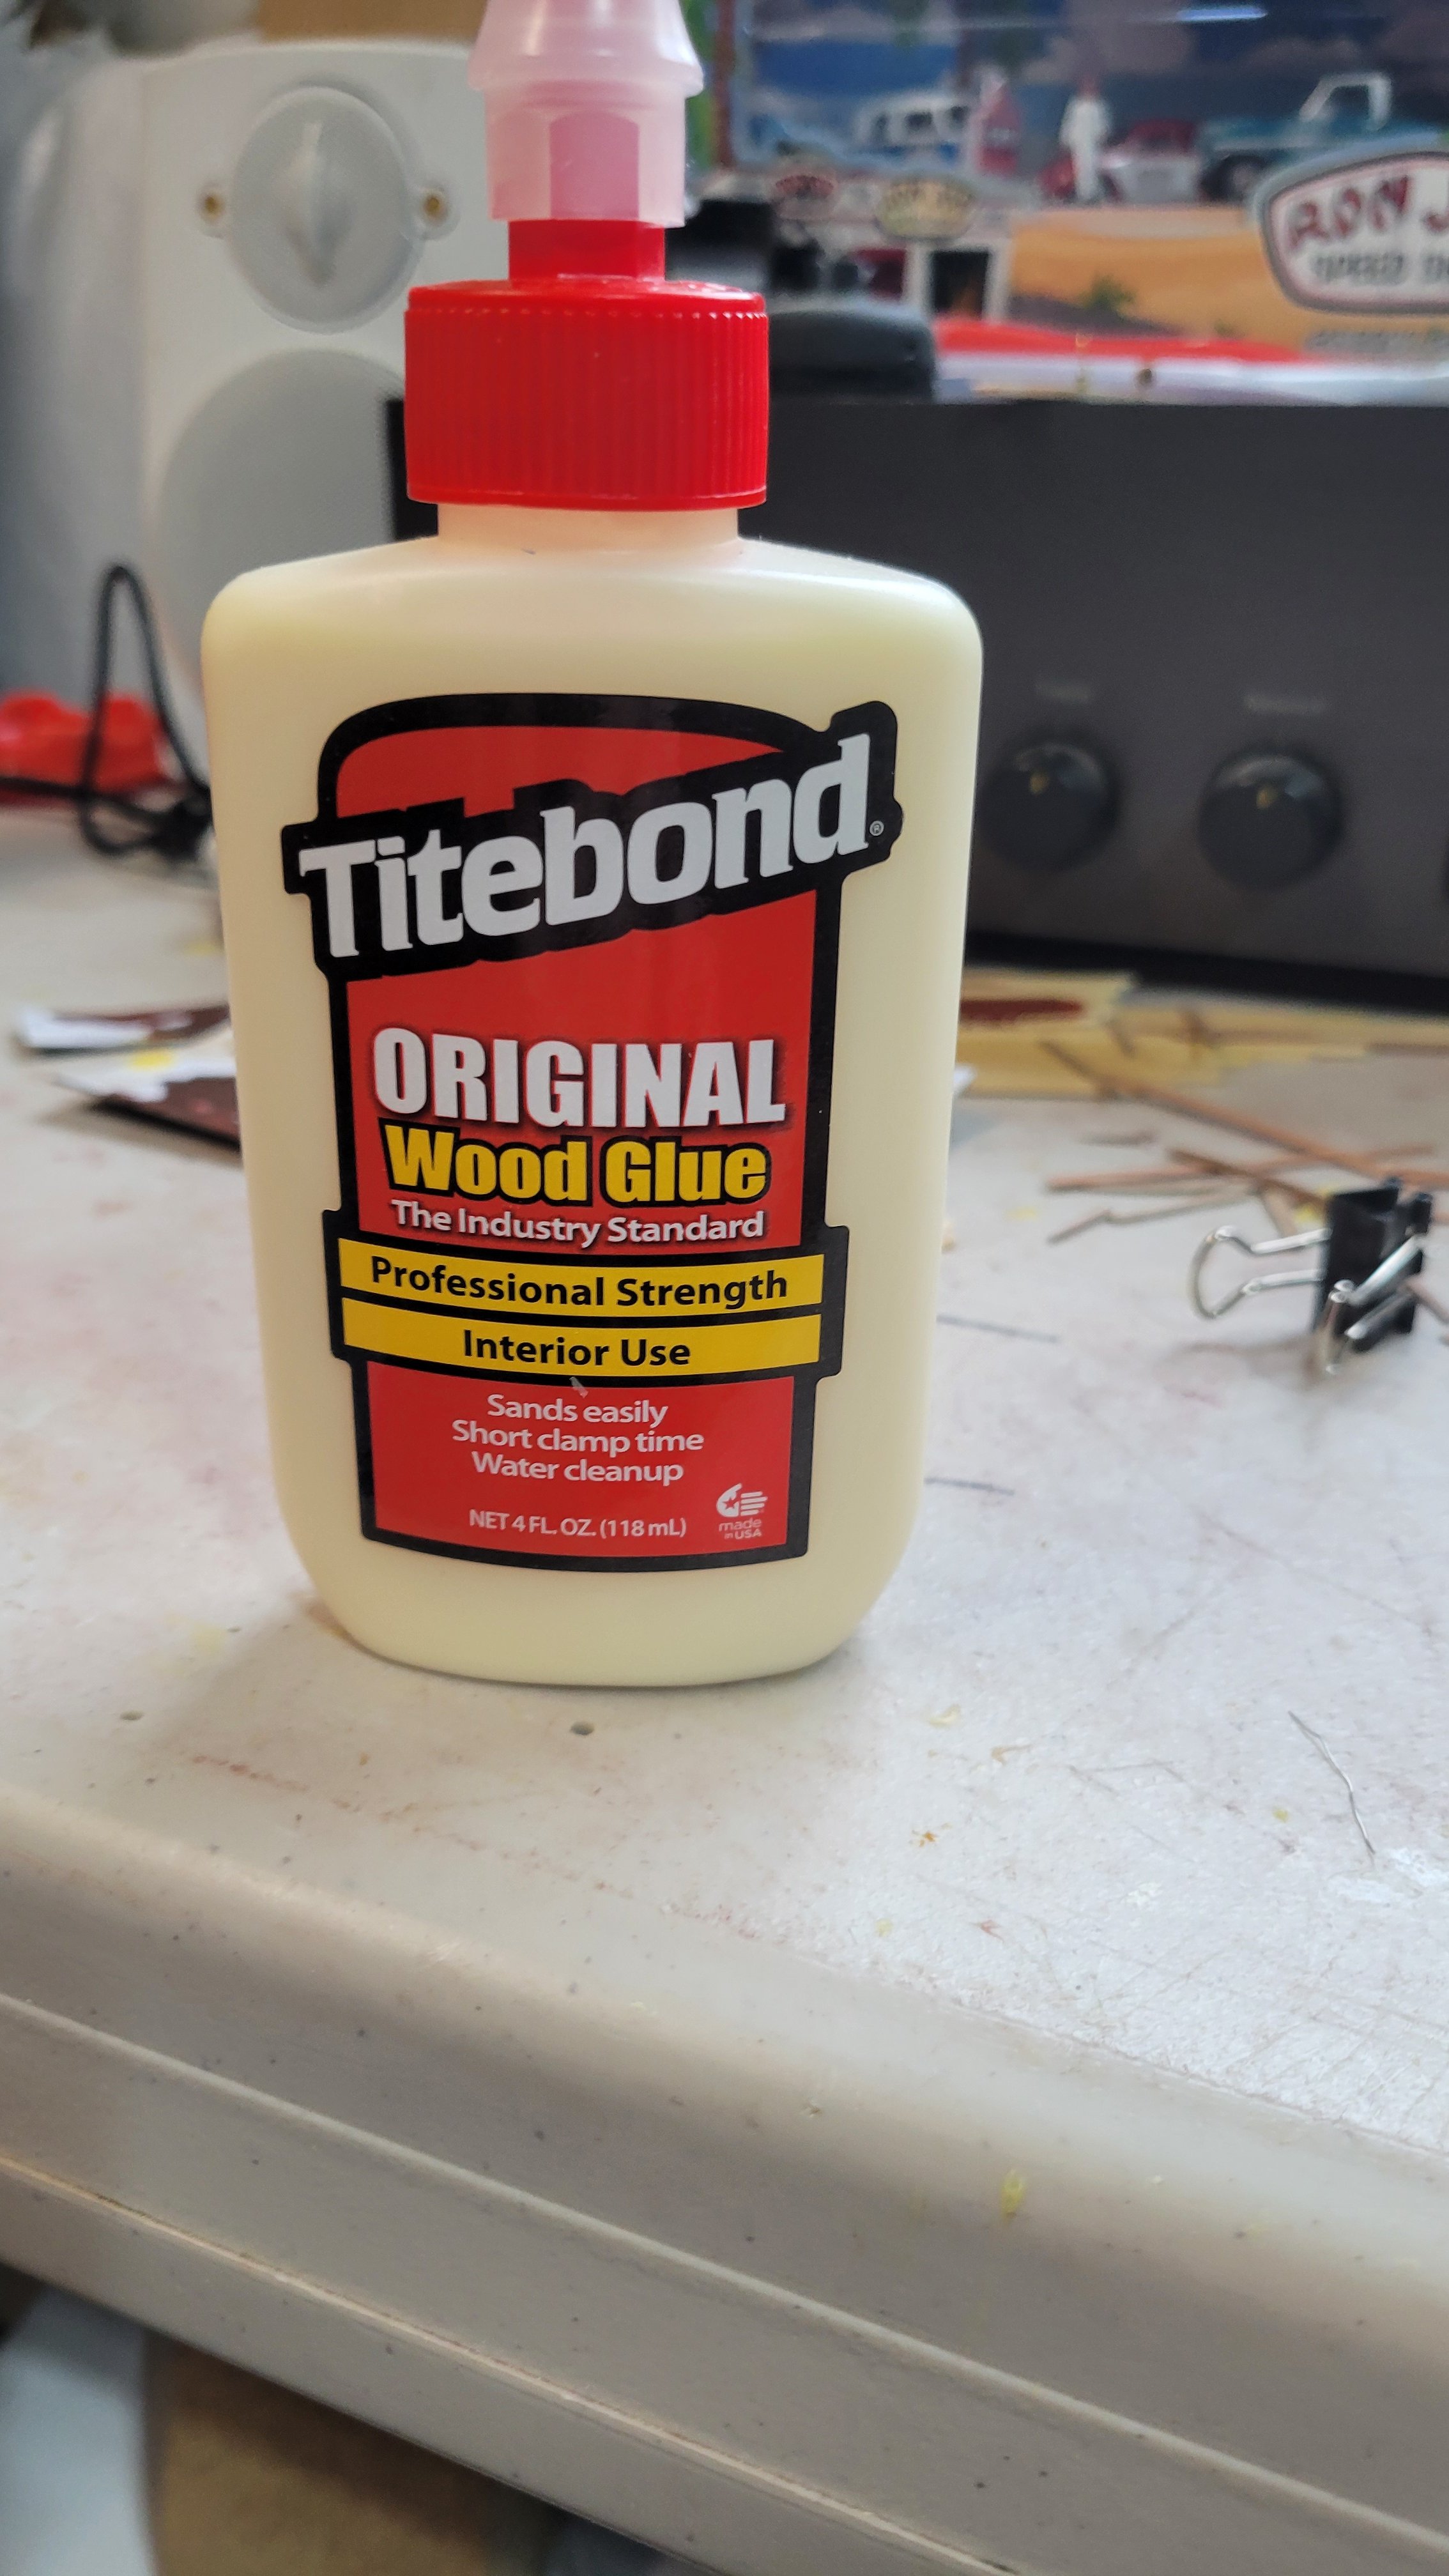
I use this on everything. I use super glue once in a while because it can be a lifesaver. I can't stand the smell of super glue. Makes me want to hurl! Lol This wood glue sets relatively fast. No.. I never let a plank dry overnight using this stuff. After about 2 or three minutes I'm ready to move to another plank. I rarely use clamps on a plank..I simply hold it down for a minute or two til the glue sets. Yes, it's that fast. I move on to another plank. I get a lot done in a session. Are you glueing the plank edges as well as the bulkhead points?

-
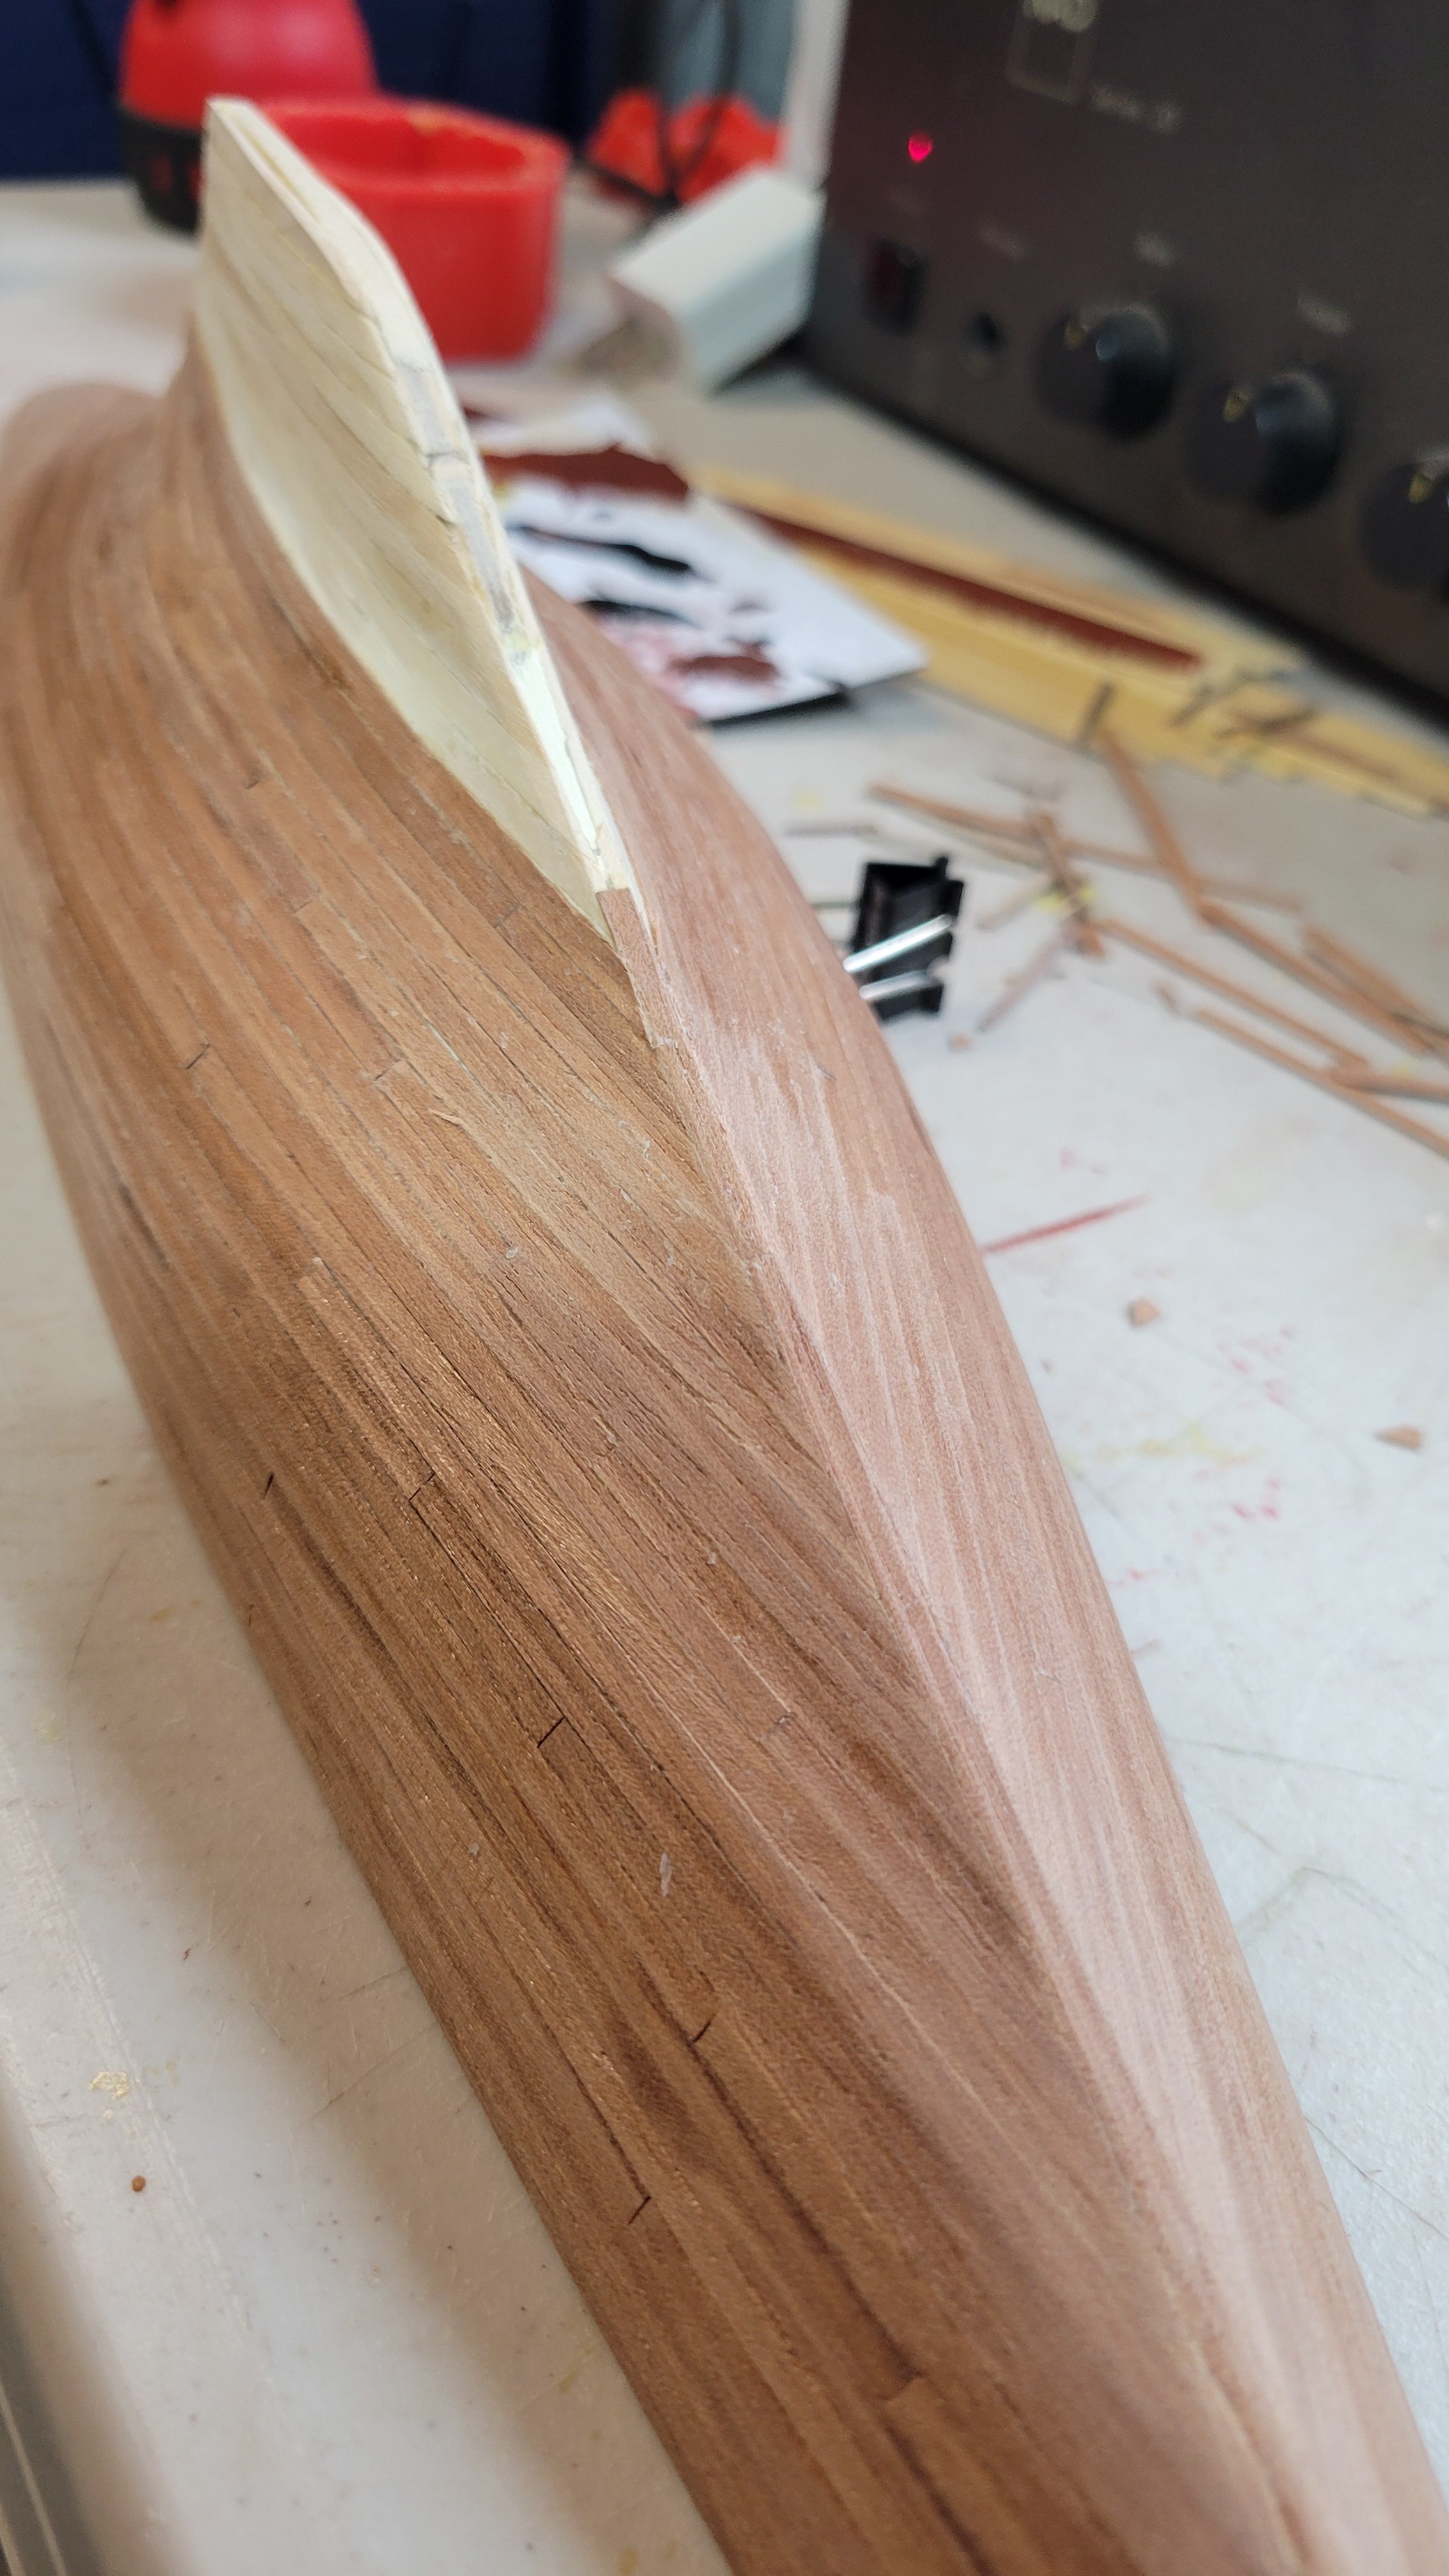
It gets a little weird planking the keel. It kind of fattens up, maybe to simulate keel weights. You can see I haven't finished that are even though I'm doing second planking. Filler has been my friend there

-
You can see the overlap I did in my build log. Looks like you're having fun.. Yay!!!
-
As far as the gaps at the bow.. You'll likely use the second planking so you can fix the gaps in the first planking with filler. Then be a little more precise with second planking which I find is a little easier than the first planking. And even 2nd planking you might use filler on if you're going to paint the entire hull. I overlapped the planks at the bow and sanded them to a point
-
Ok.. I'm up to speed now that I found your log. Excellent work !
-
The bow and stern blocks they supply are a real pain to sand. If you use them, a regular metal file works well . But.. you're already planking so you must have dealt with it.
-
I'm building the very same kit right now. If you have any questions about it I'll try to help. It's a fun kit. It's the Amati Endeavour J class? Plank on bulkhead? Or plastic hull? I'll be looking for your build log
-
Exact same as me. I built some wooden model boats and a ship back in the late 80's. The one ship I did was a double plank on bulkhead kit by AL. Le Hussard to be exact. It turned out ok but It was ravaged over the years by my wife's feather duster and a move from old to new house. My fault. I should have had a case. Or a note on it: Don't dust me!! It's kind of a mess but still presentable to my eyes. Work and kids got in the way until recently retired. I dove right into a couple of plank on bulkhead kits to keep me busy over this winter. You'll have fun. I'll watch for your build log
-
Very nice. I'm looking forward to following this one. What's going on with your Ebay Bluenose shipping ? Did the stagecoach get held up by bandits? 😆
-
Thanks Rick! What a great idea to do long distance model building over face time. Your son and grandson will love it! I'm building this kit for my grandson. He's only 3. I'll give it to him in a few years. Trying to decide where to put his initials on the model. Maybe on the main sail? I built an RC sailboat for my son many years ago. I put his initials on the transom. I can't do that with the Amati Endeavour. Yes! I grew up building model cars then blowing them up with firecrackers or burning them.. lol. I played with those Cox gas engine cars a lot too. I've been building things all my life. Cars, boats, RC boats, guitars, amplifiers.. you name it. BTW. I can't open the .jpg file you sent
-
Thanks so much, Mark. I really appreciate that.
-
Hey Mark.. Glad you're back. Thanks on the Endeavour. No big deal if it's to be painted. I want to leave it natural so I think it looks a little better. Hope you had some good catches in Outer Banks. Did you get a striper? I'll be looking forward to two weeks in Florida around that time. Need to thaw out
- 19 replies
-
- 1
-
-
- Endeavour
- j-class yacht
- (and 1 more)
-
Excellent work Rick! Beautiful looking model I'll definitely be following your MSW Bluenose. Looking forward to it
- 167 replies
-
- 2
-
-
- Picket Boat
- Model Shipways
- (and 1 more)
-
Very nice build! Following
-
Thank you !
-
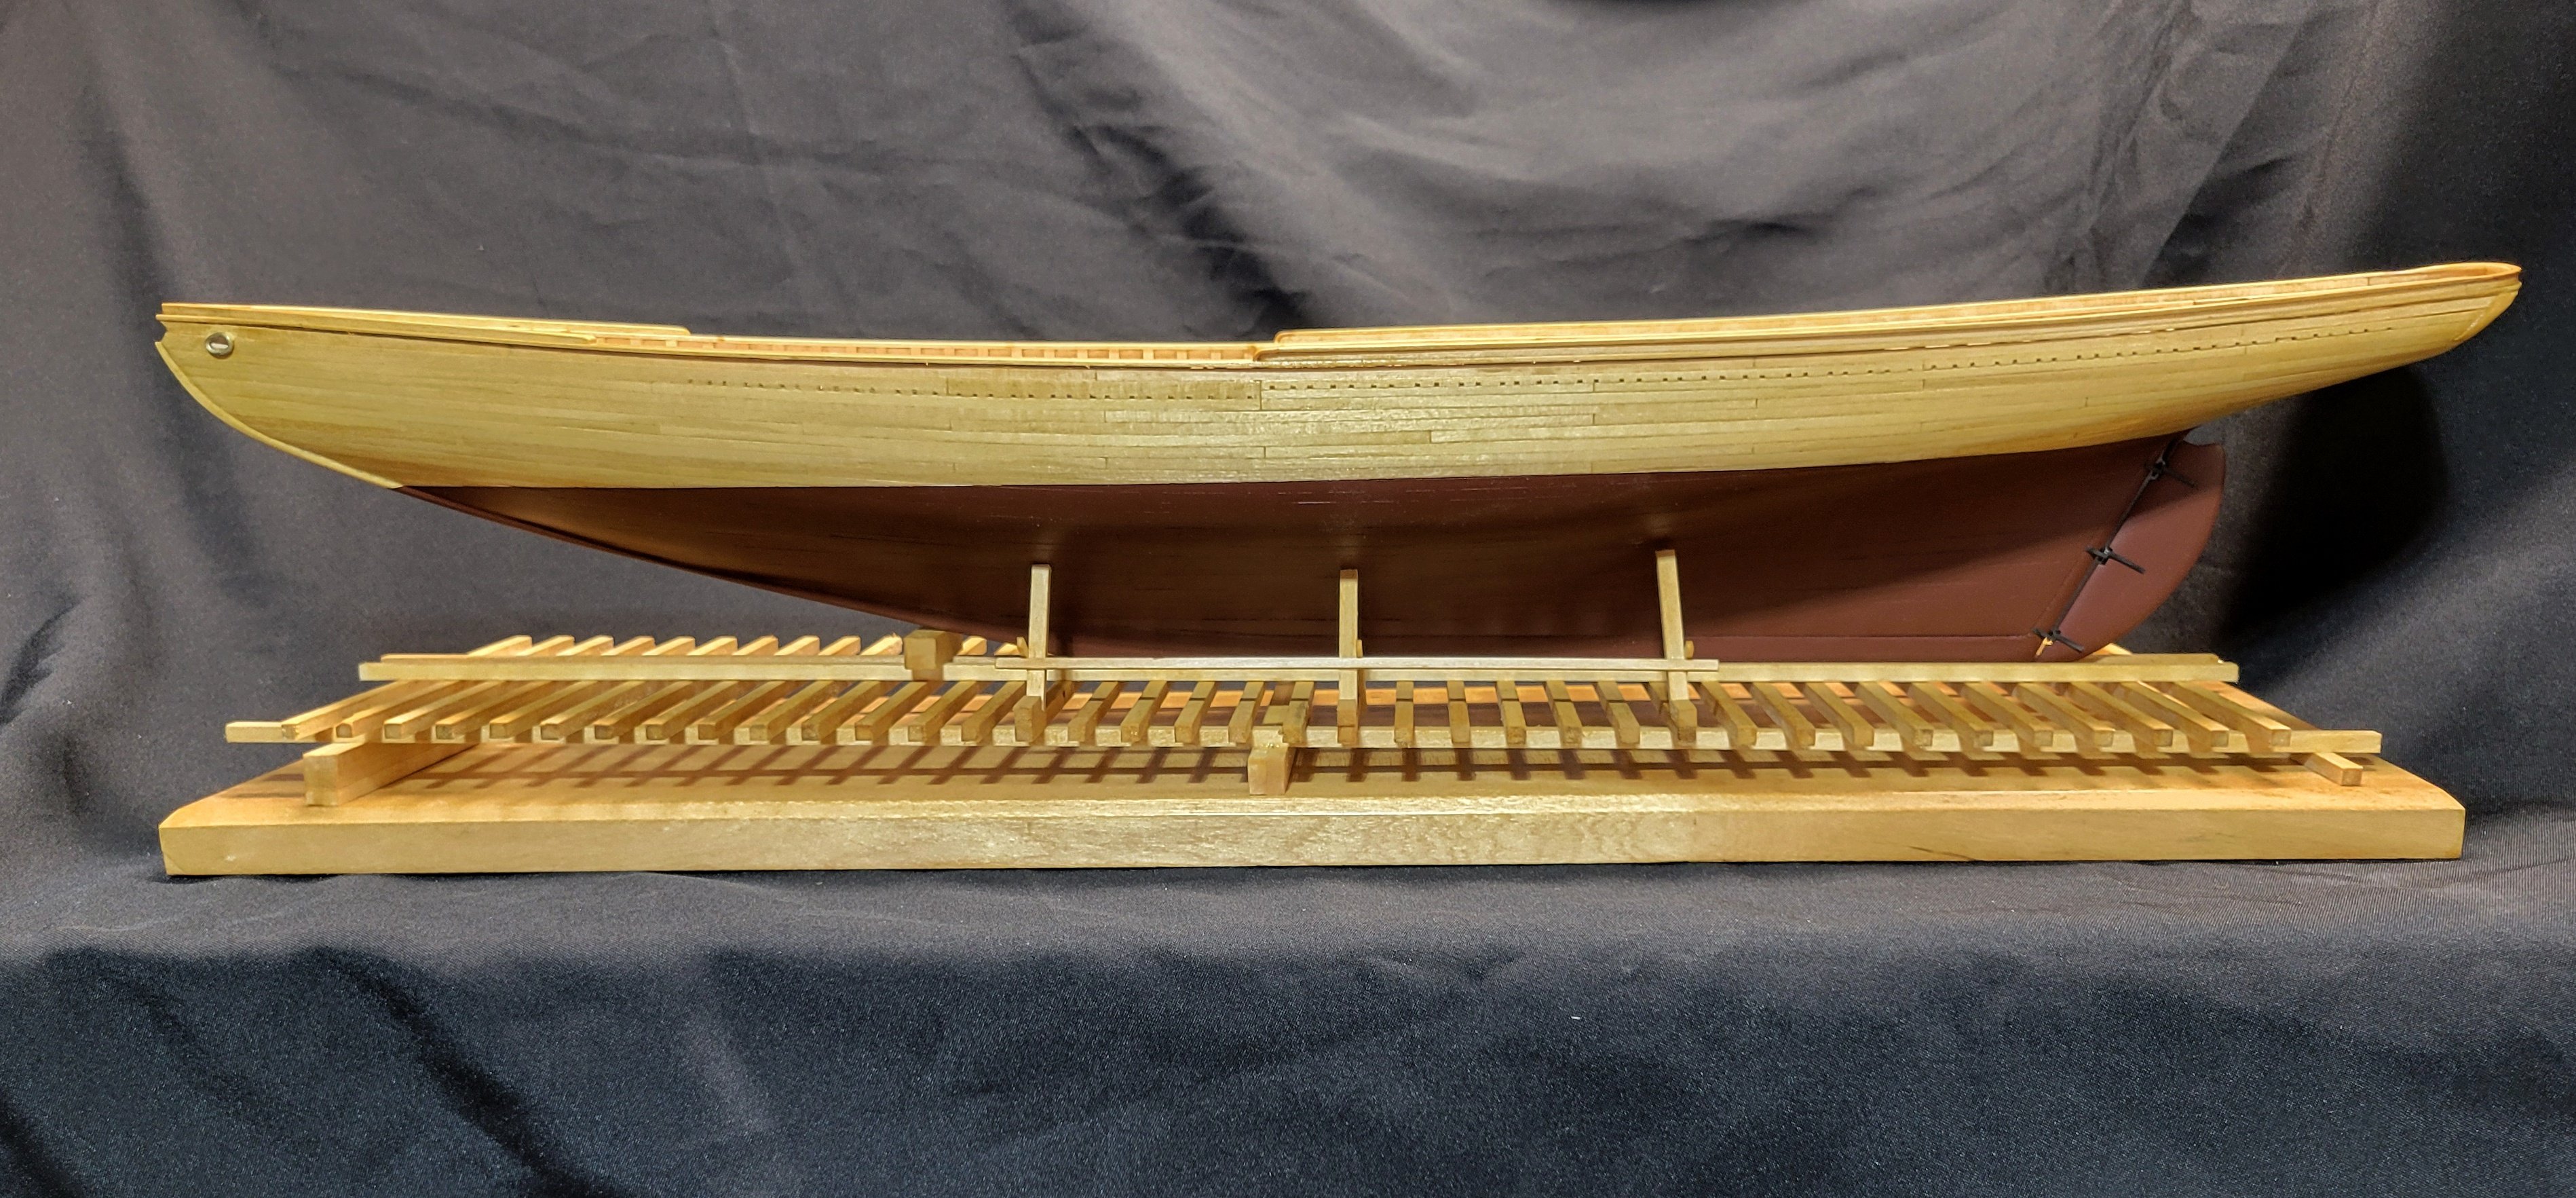
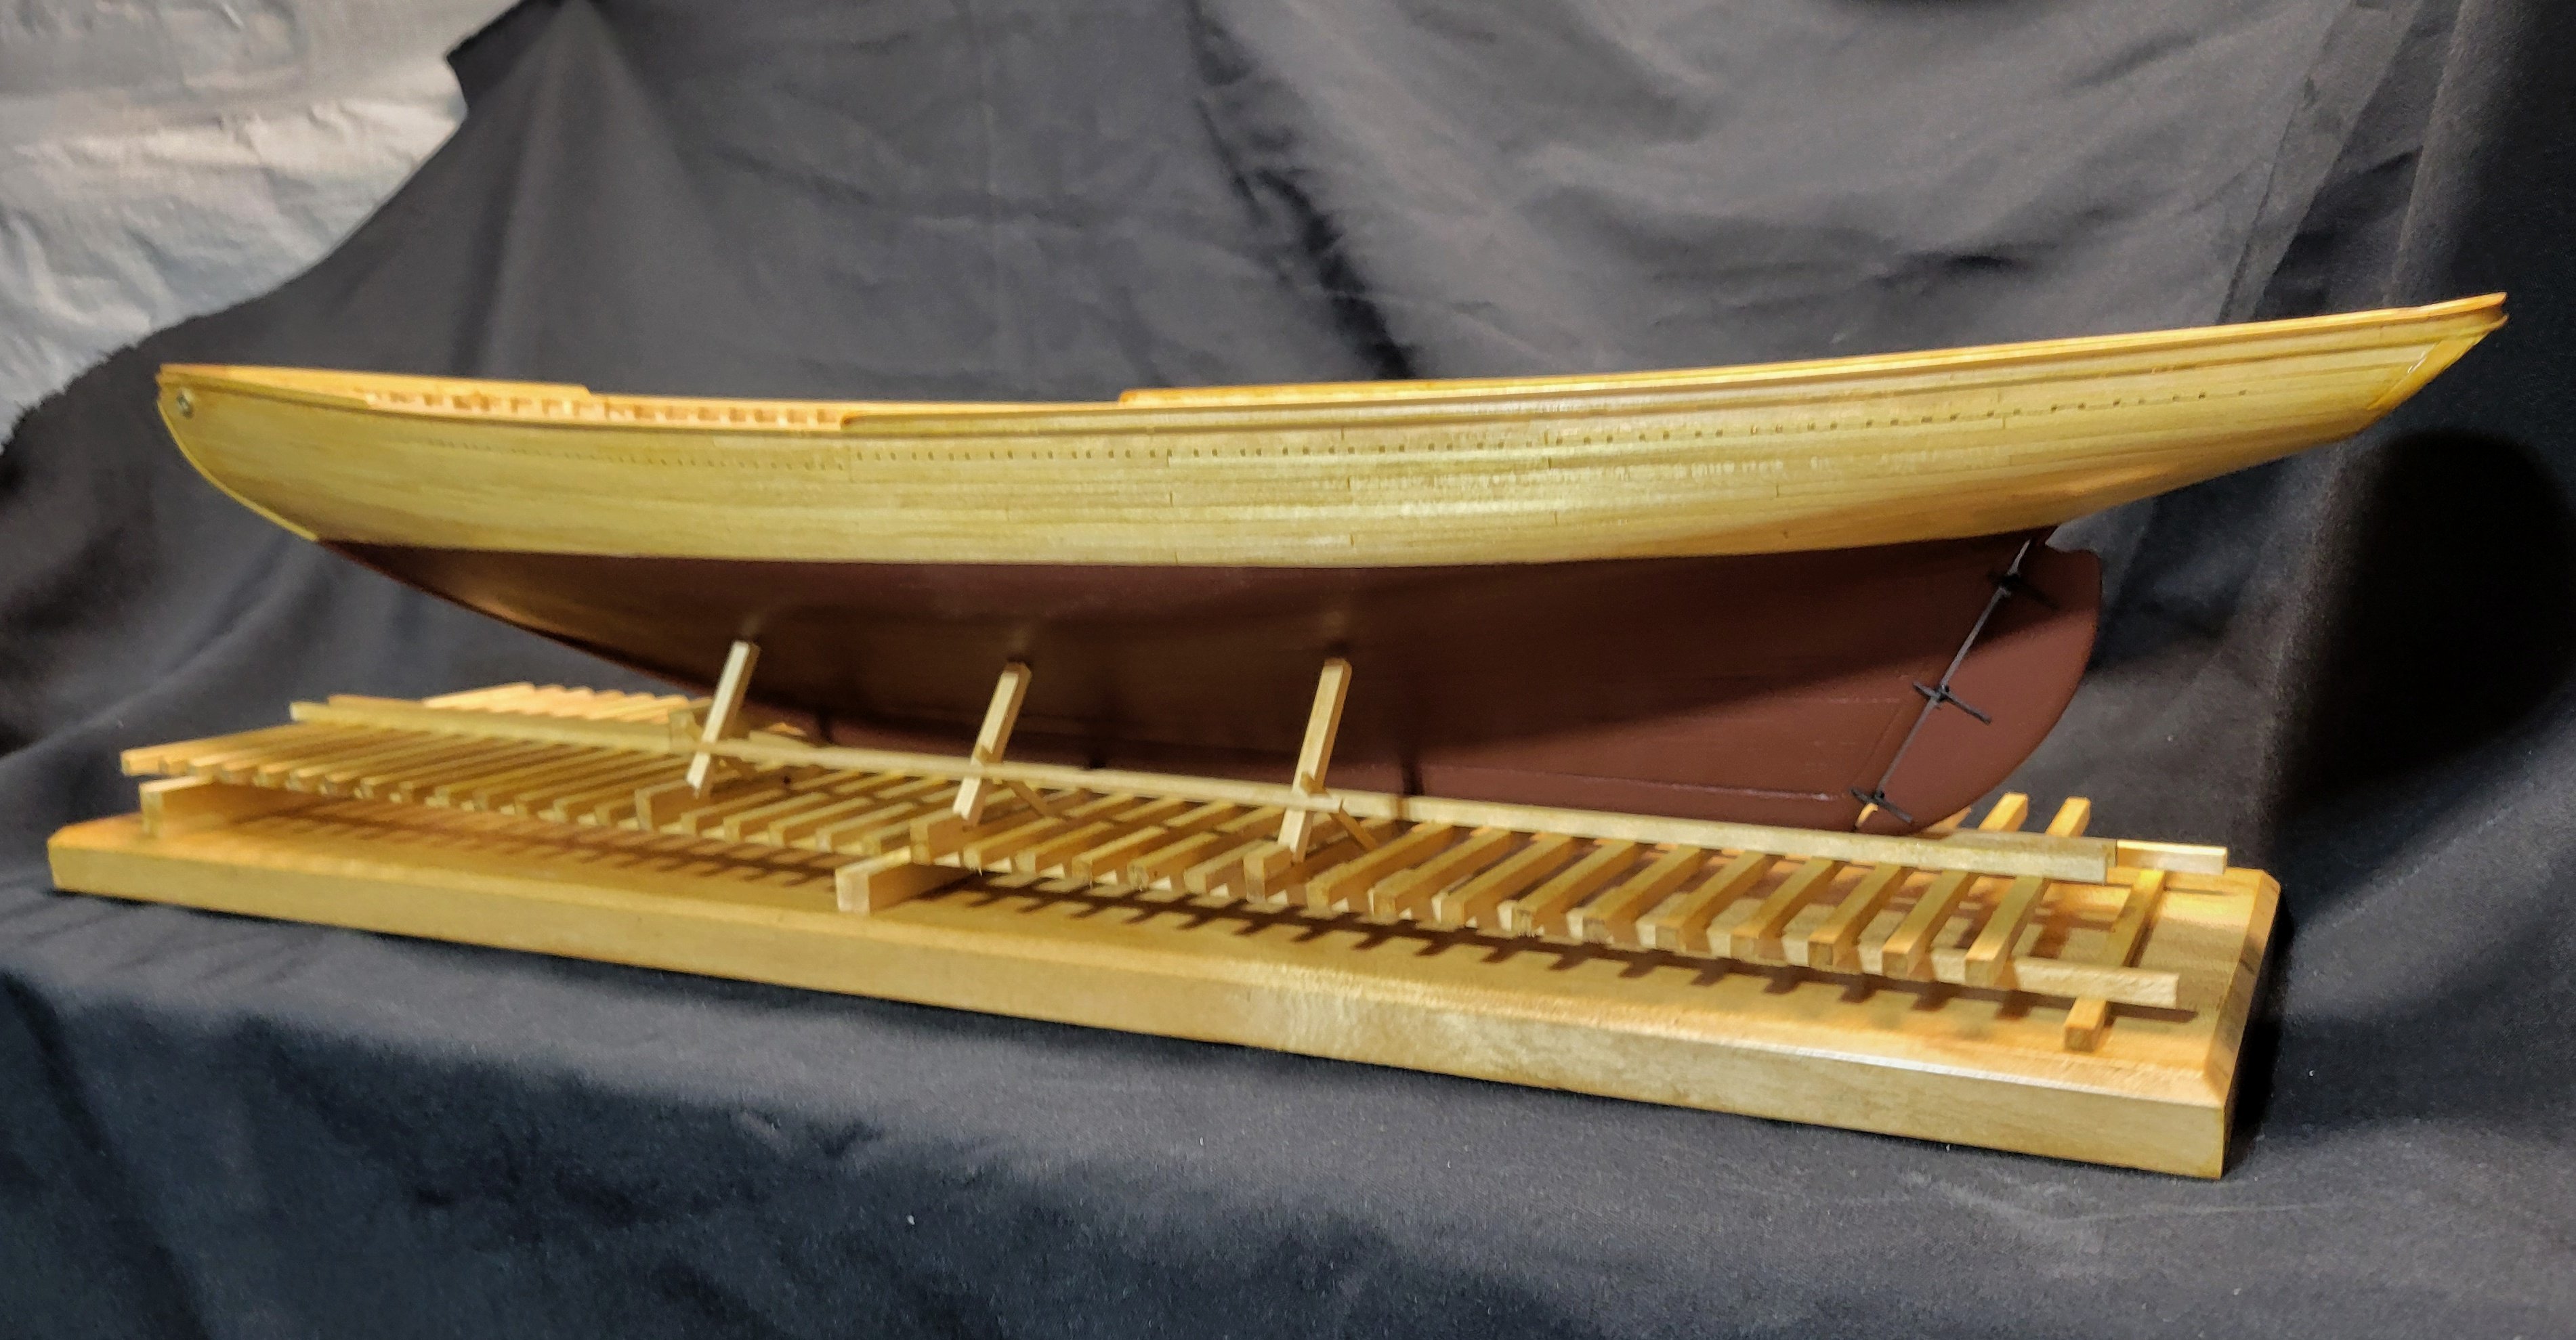
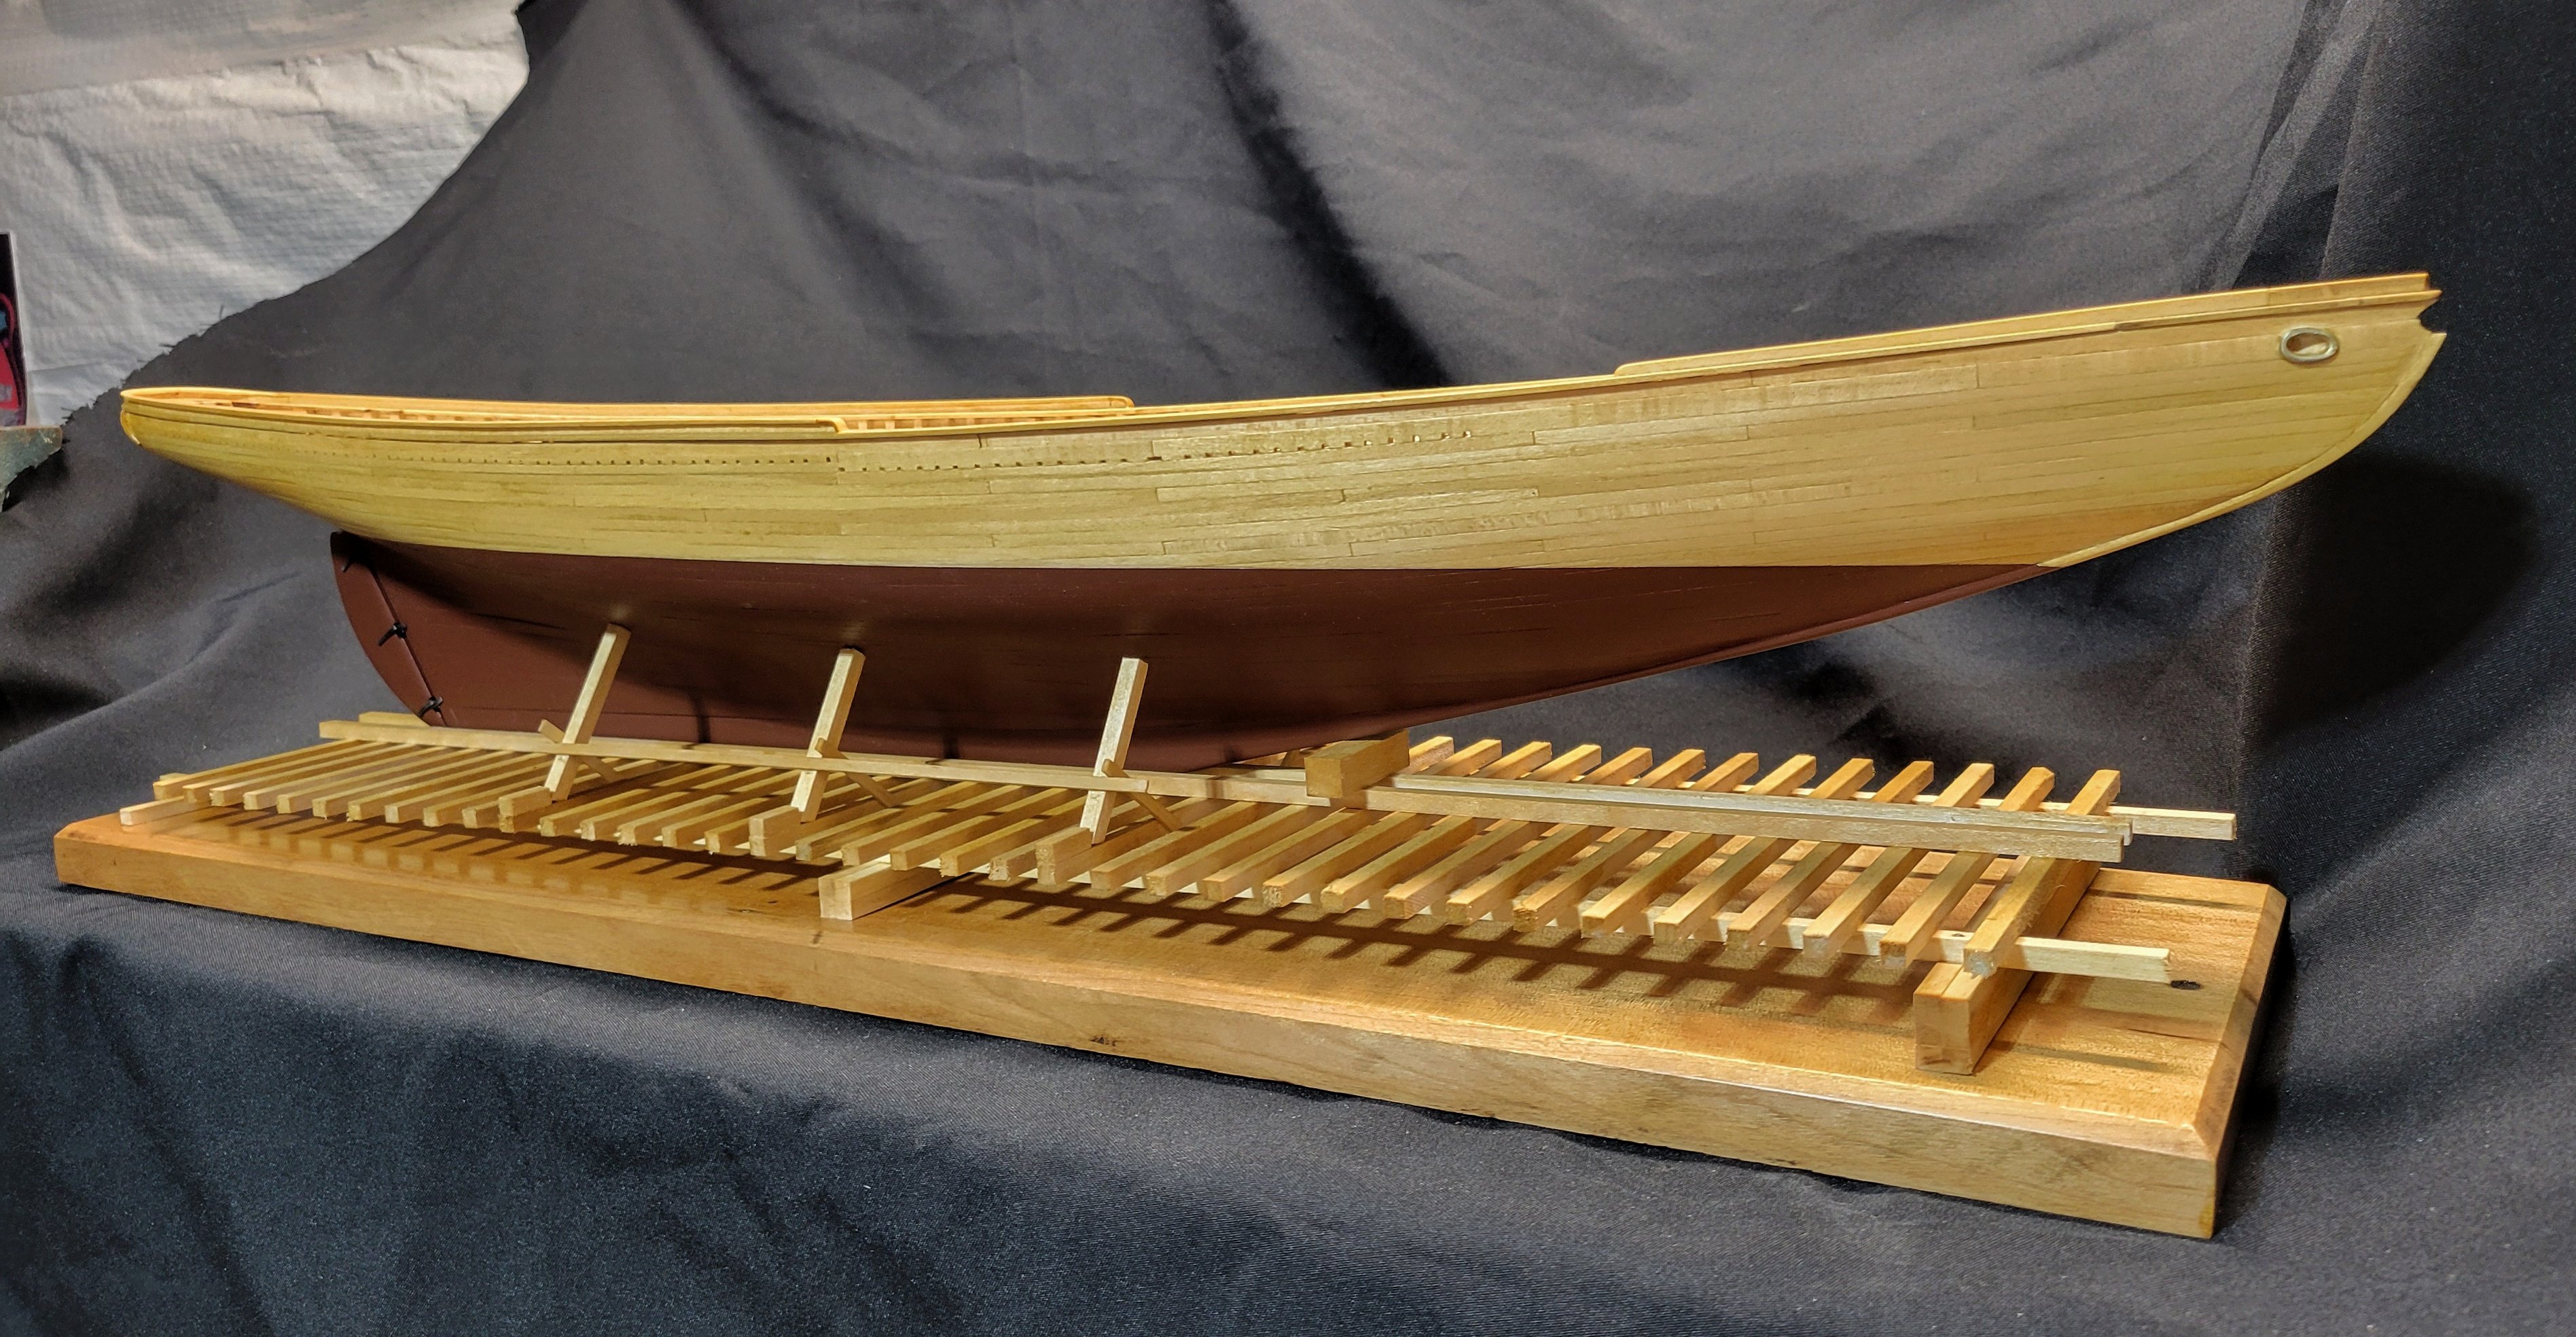
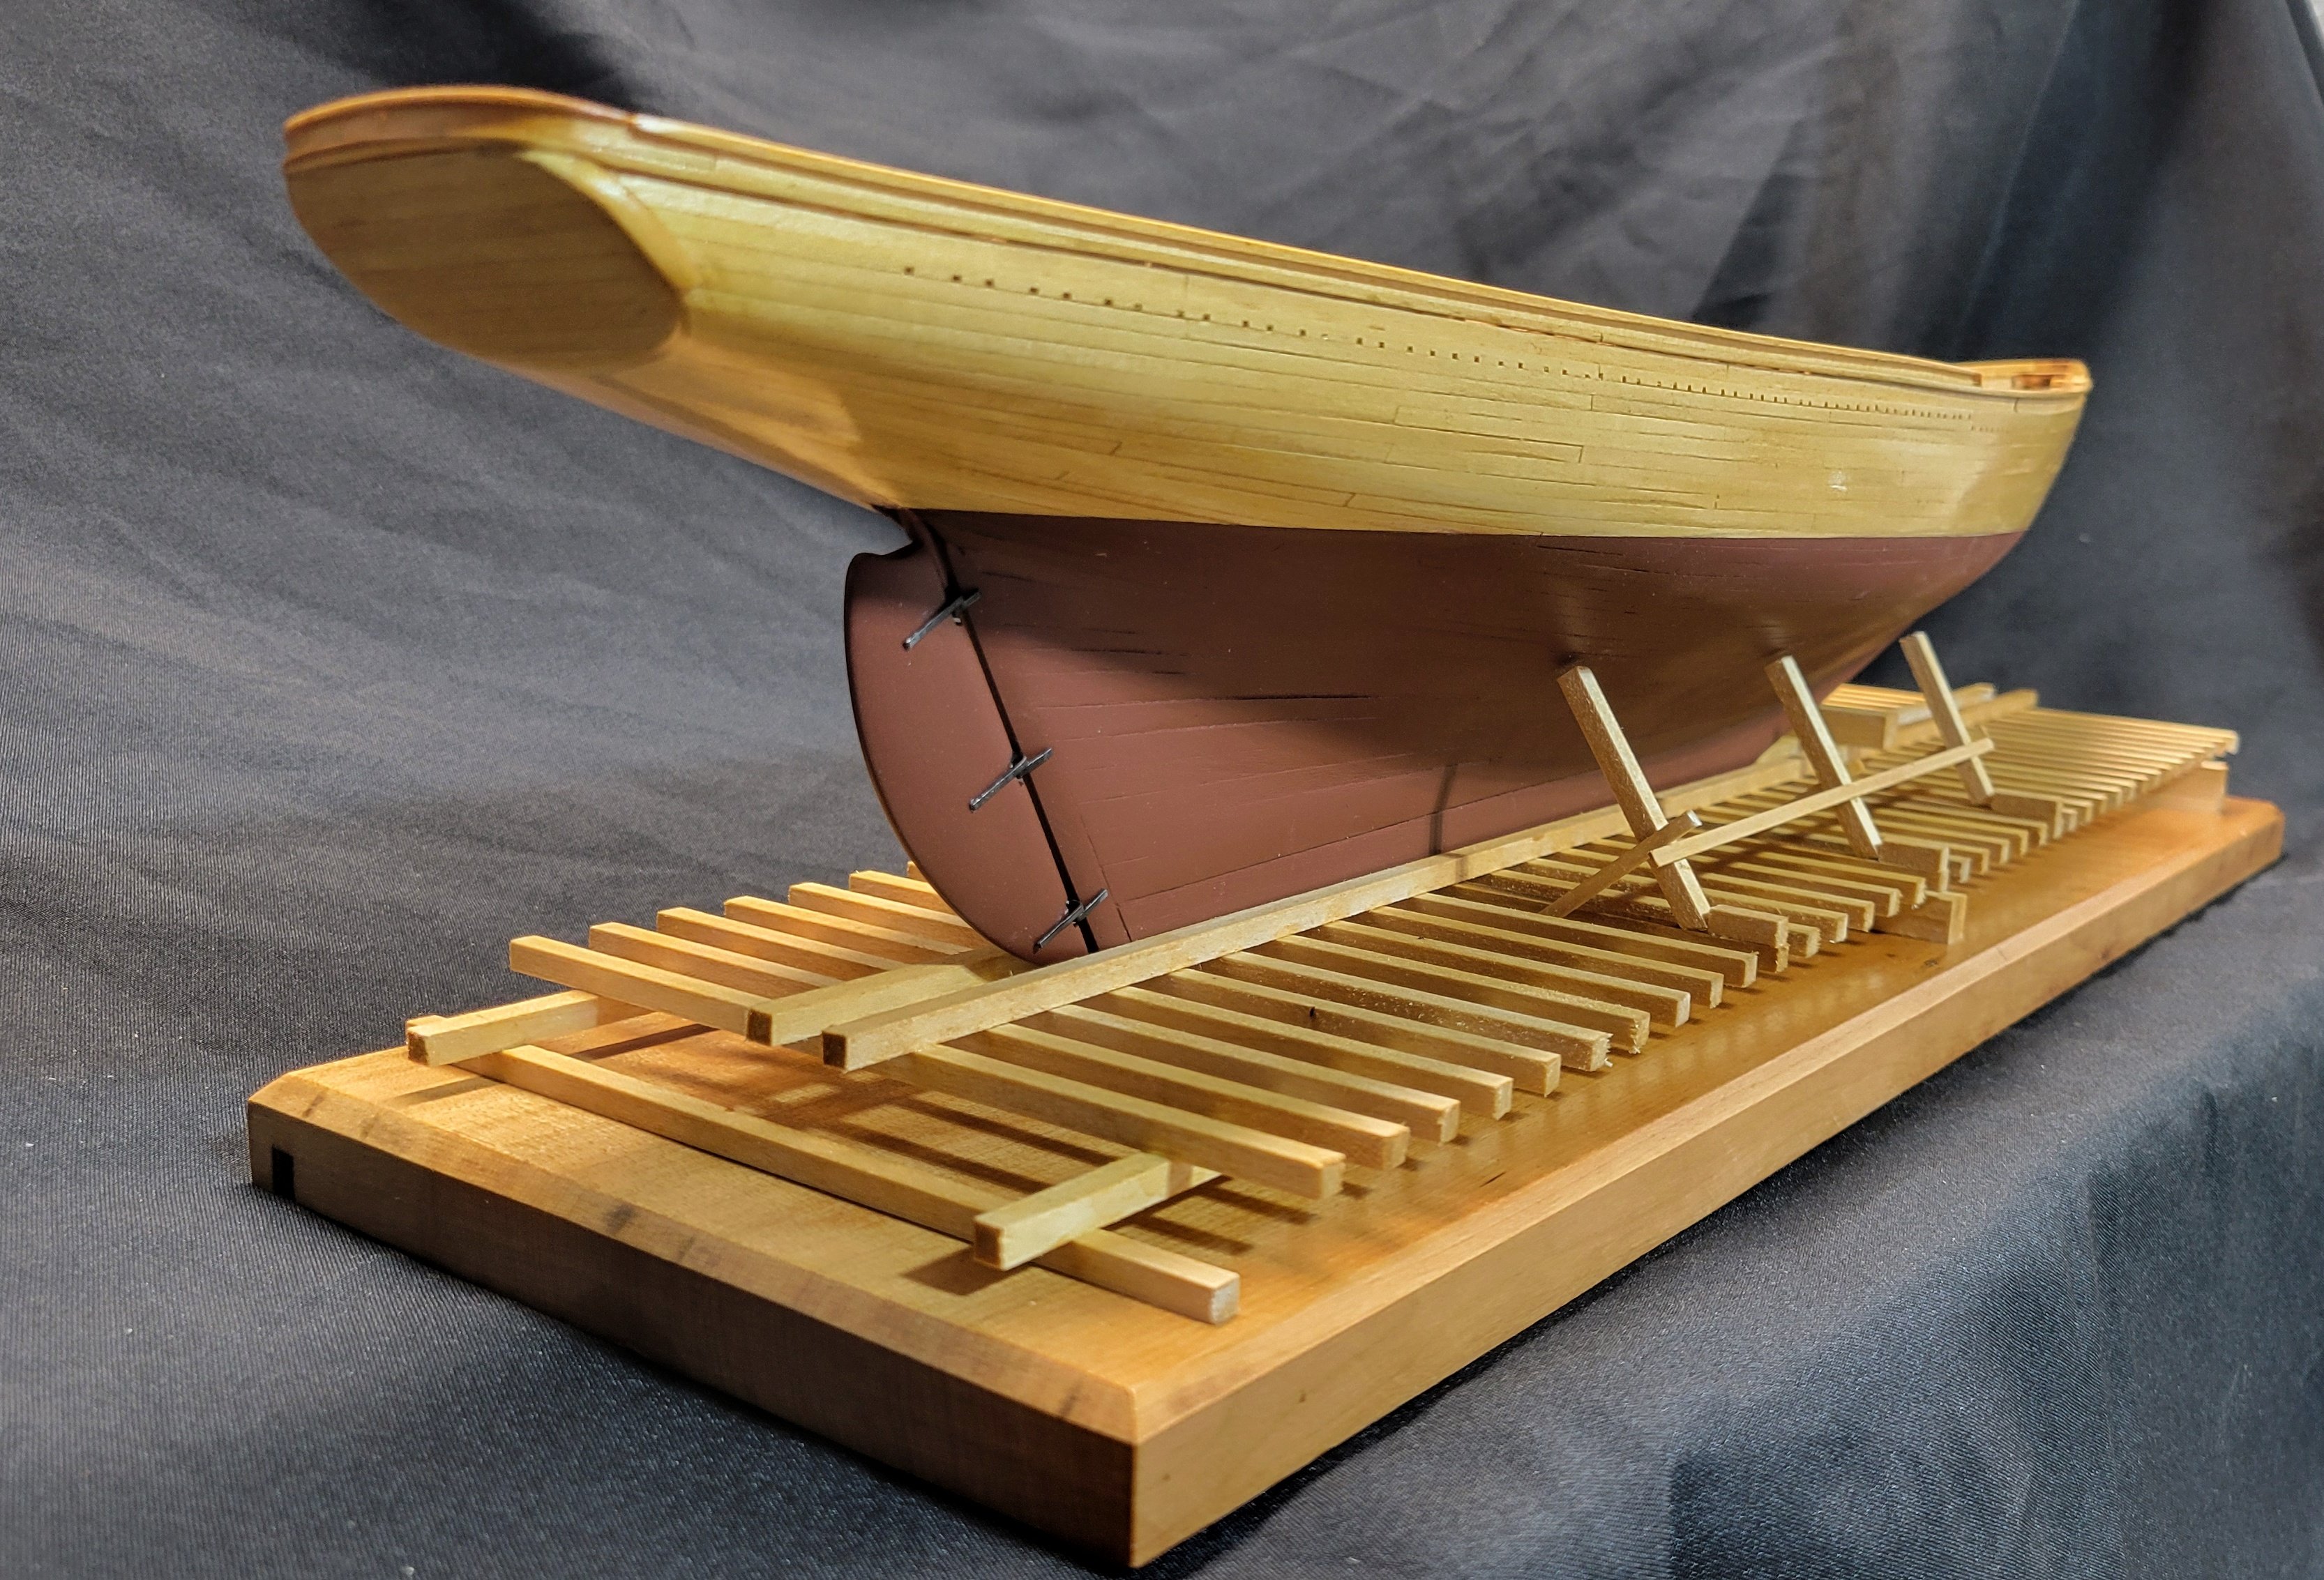
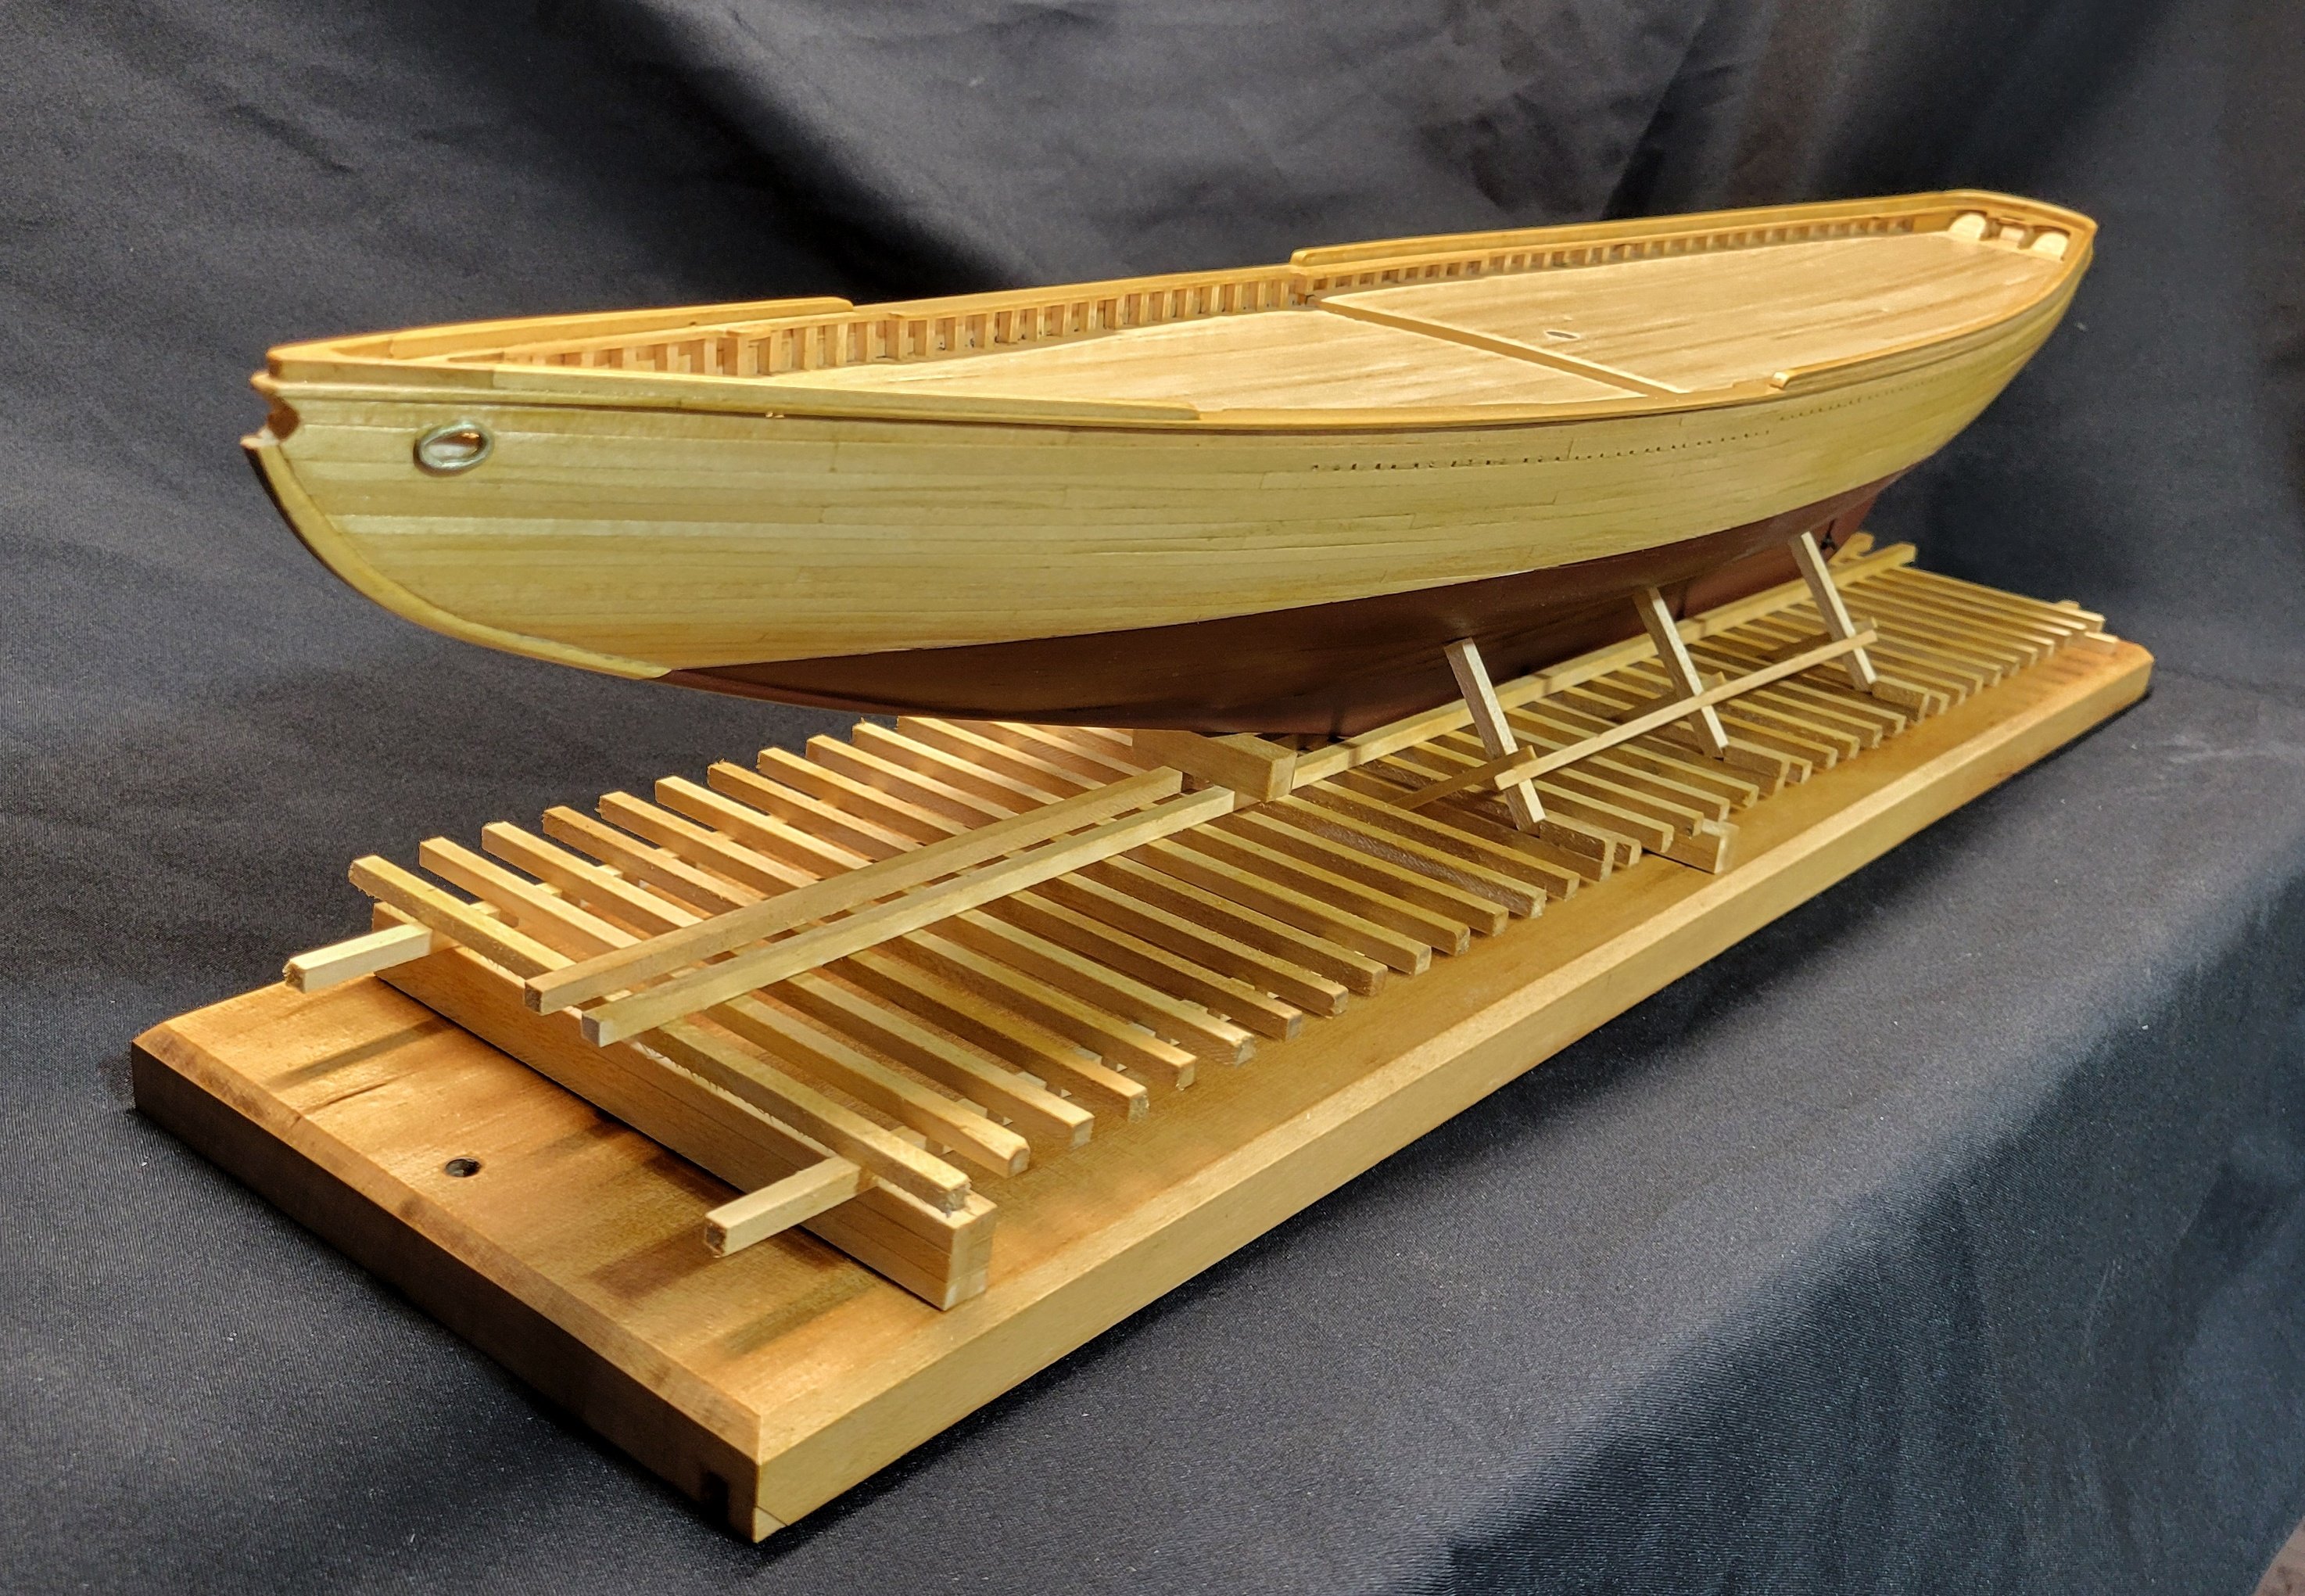
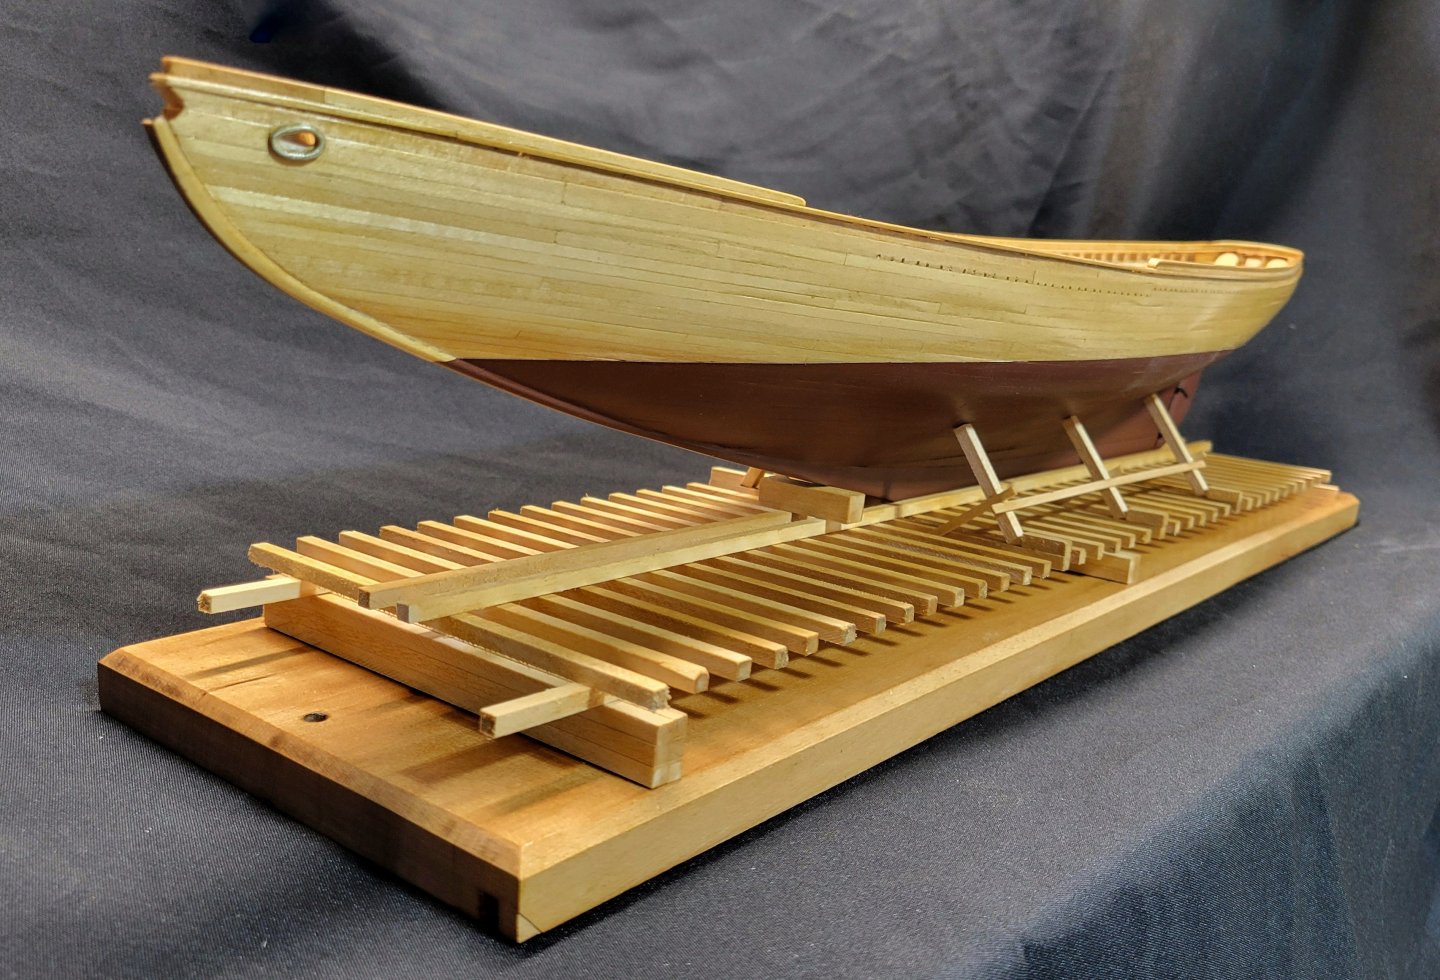
Thank you, Gregg It's very easy to build the launch way if you can't find a decent kit. If you're interested I can send you some closer pics of mine. You can also look online for ideas. Mine is a combination of ideas Quote Terry
-
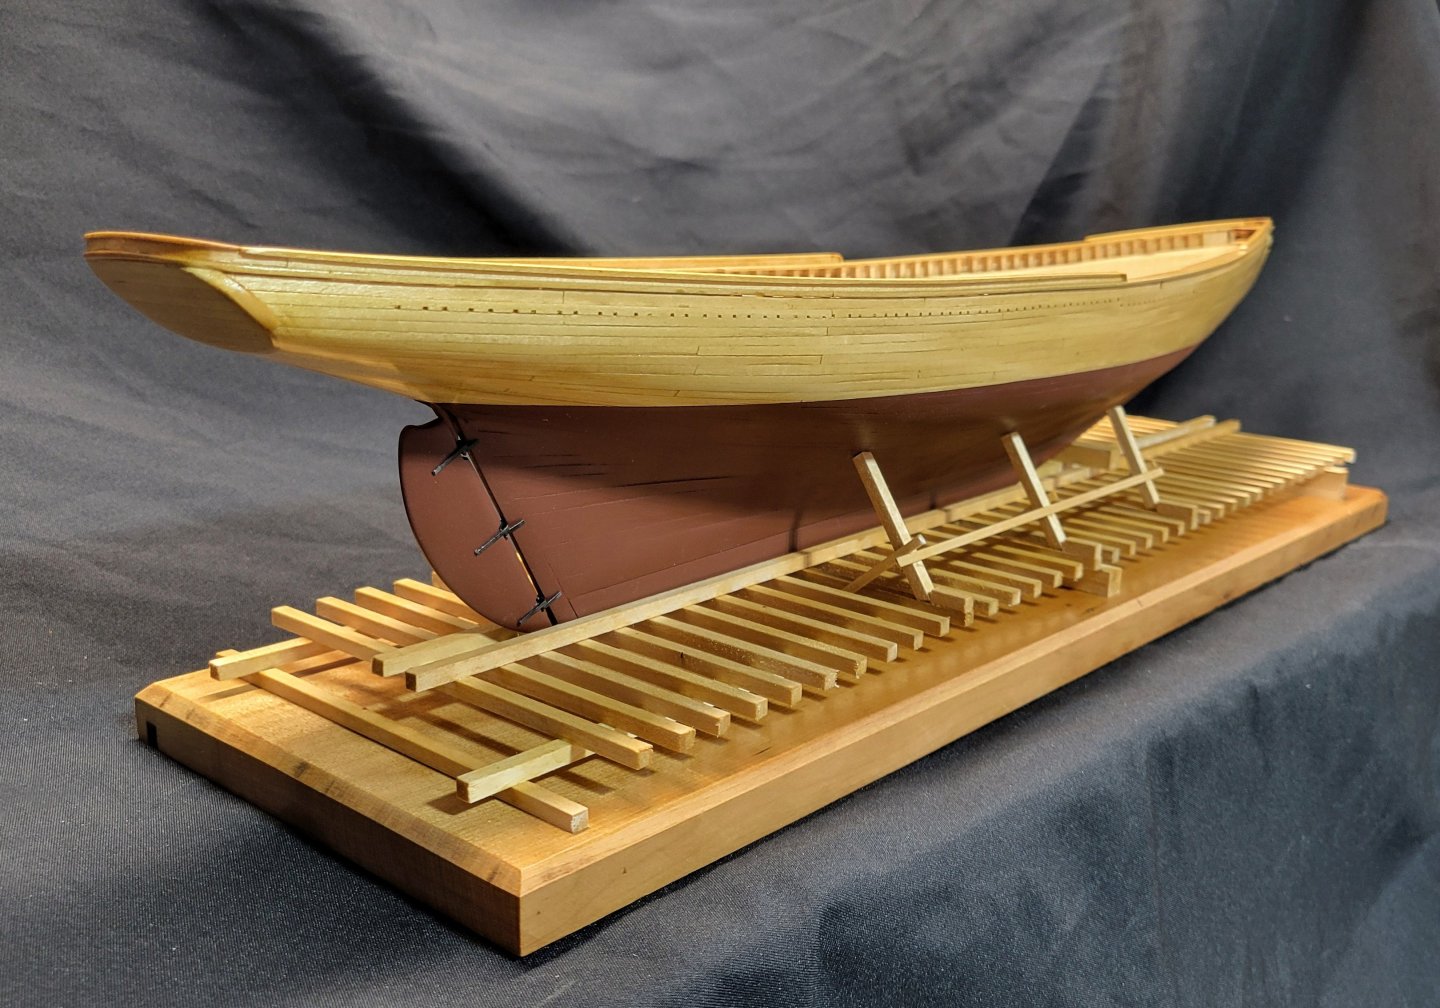
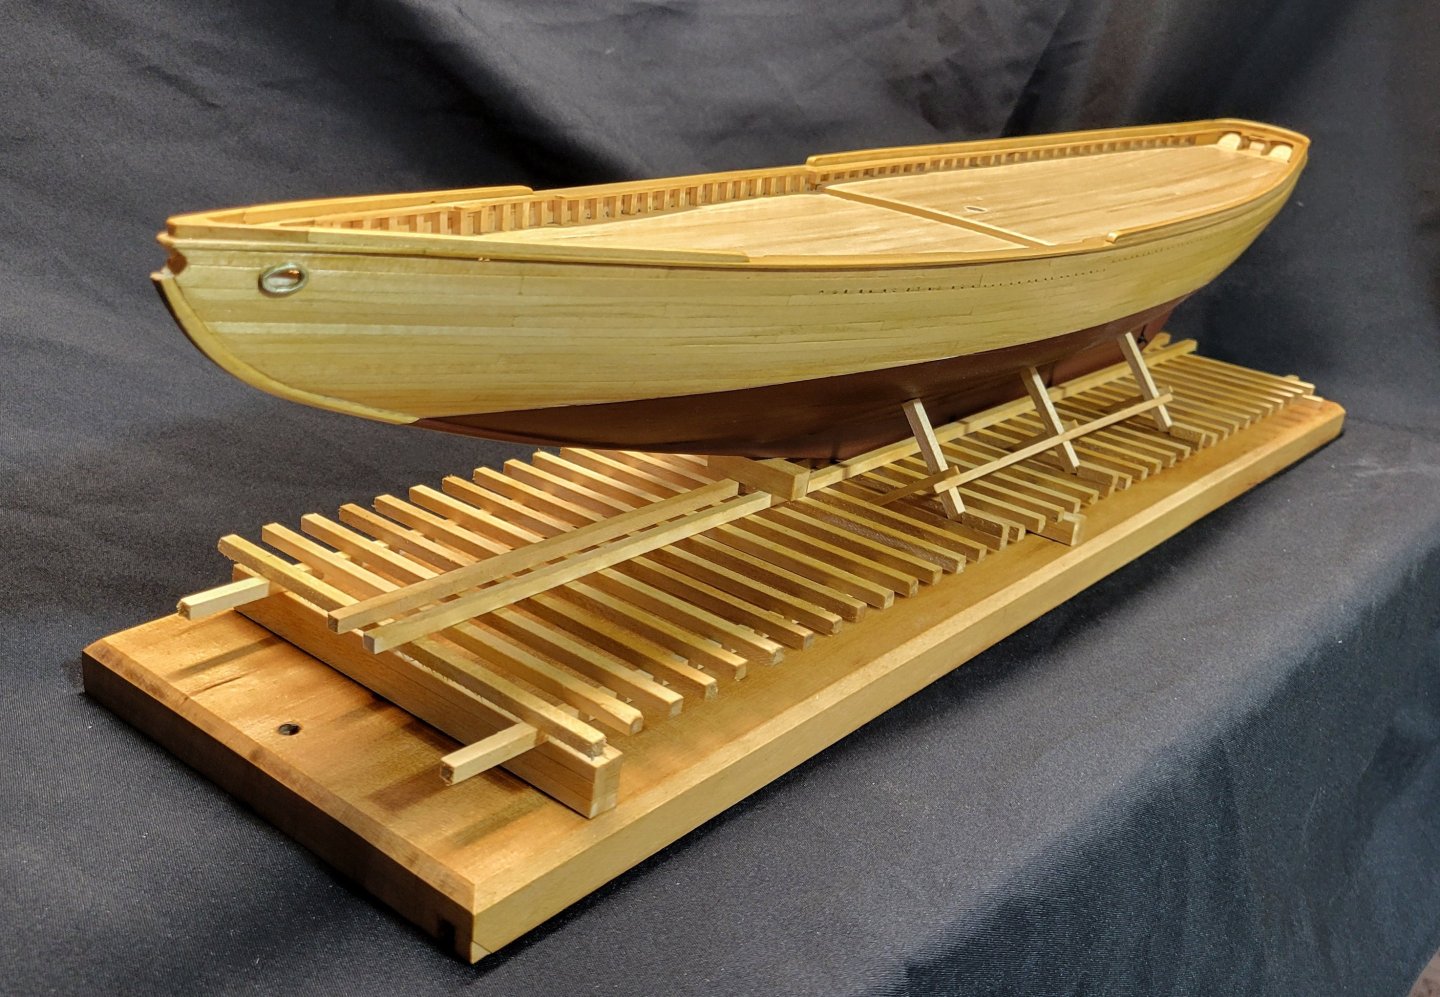
Thanks Rick! The bottom color is Model Expo copper red with a little black acrylic added to make it less red. No. The launch way is about $12.00 for a bunch of 3/16 inch square sticks from Model Expo. Do they still offer the kit? I didn't see it. I didn't look very hard either.. lol The base I made from solid cherry drawer faces from an antique dresser I busted up and savd the wood. I have two drawer faces left.

-
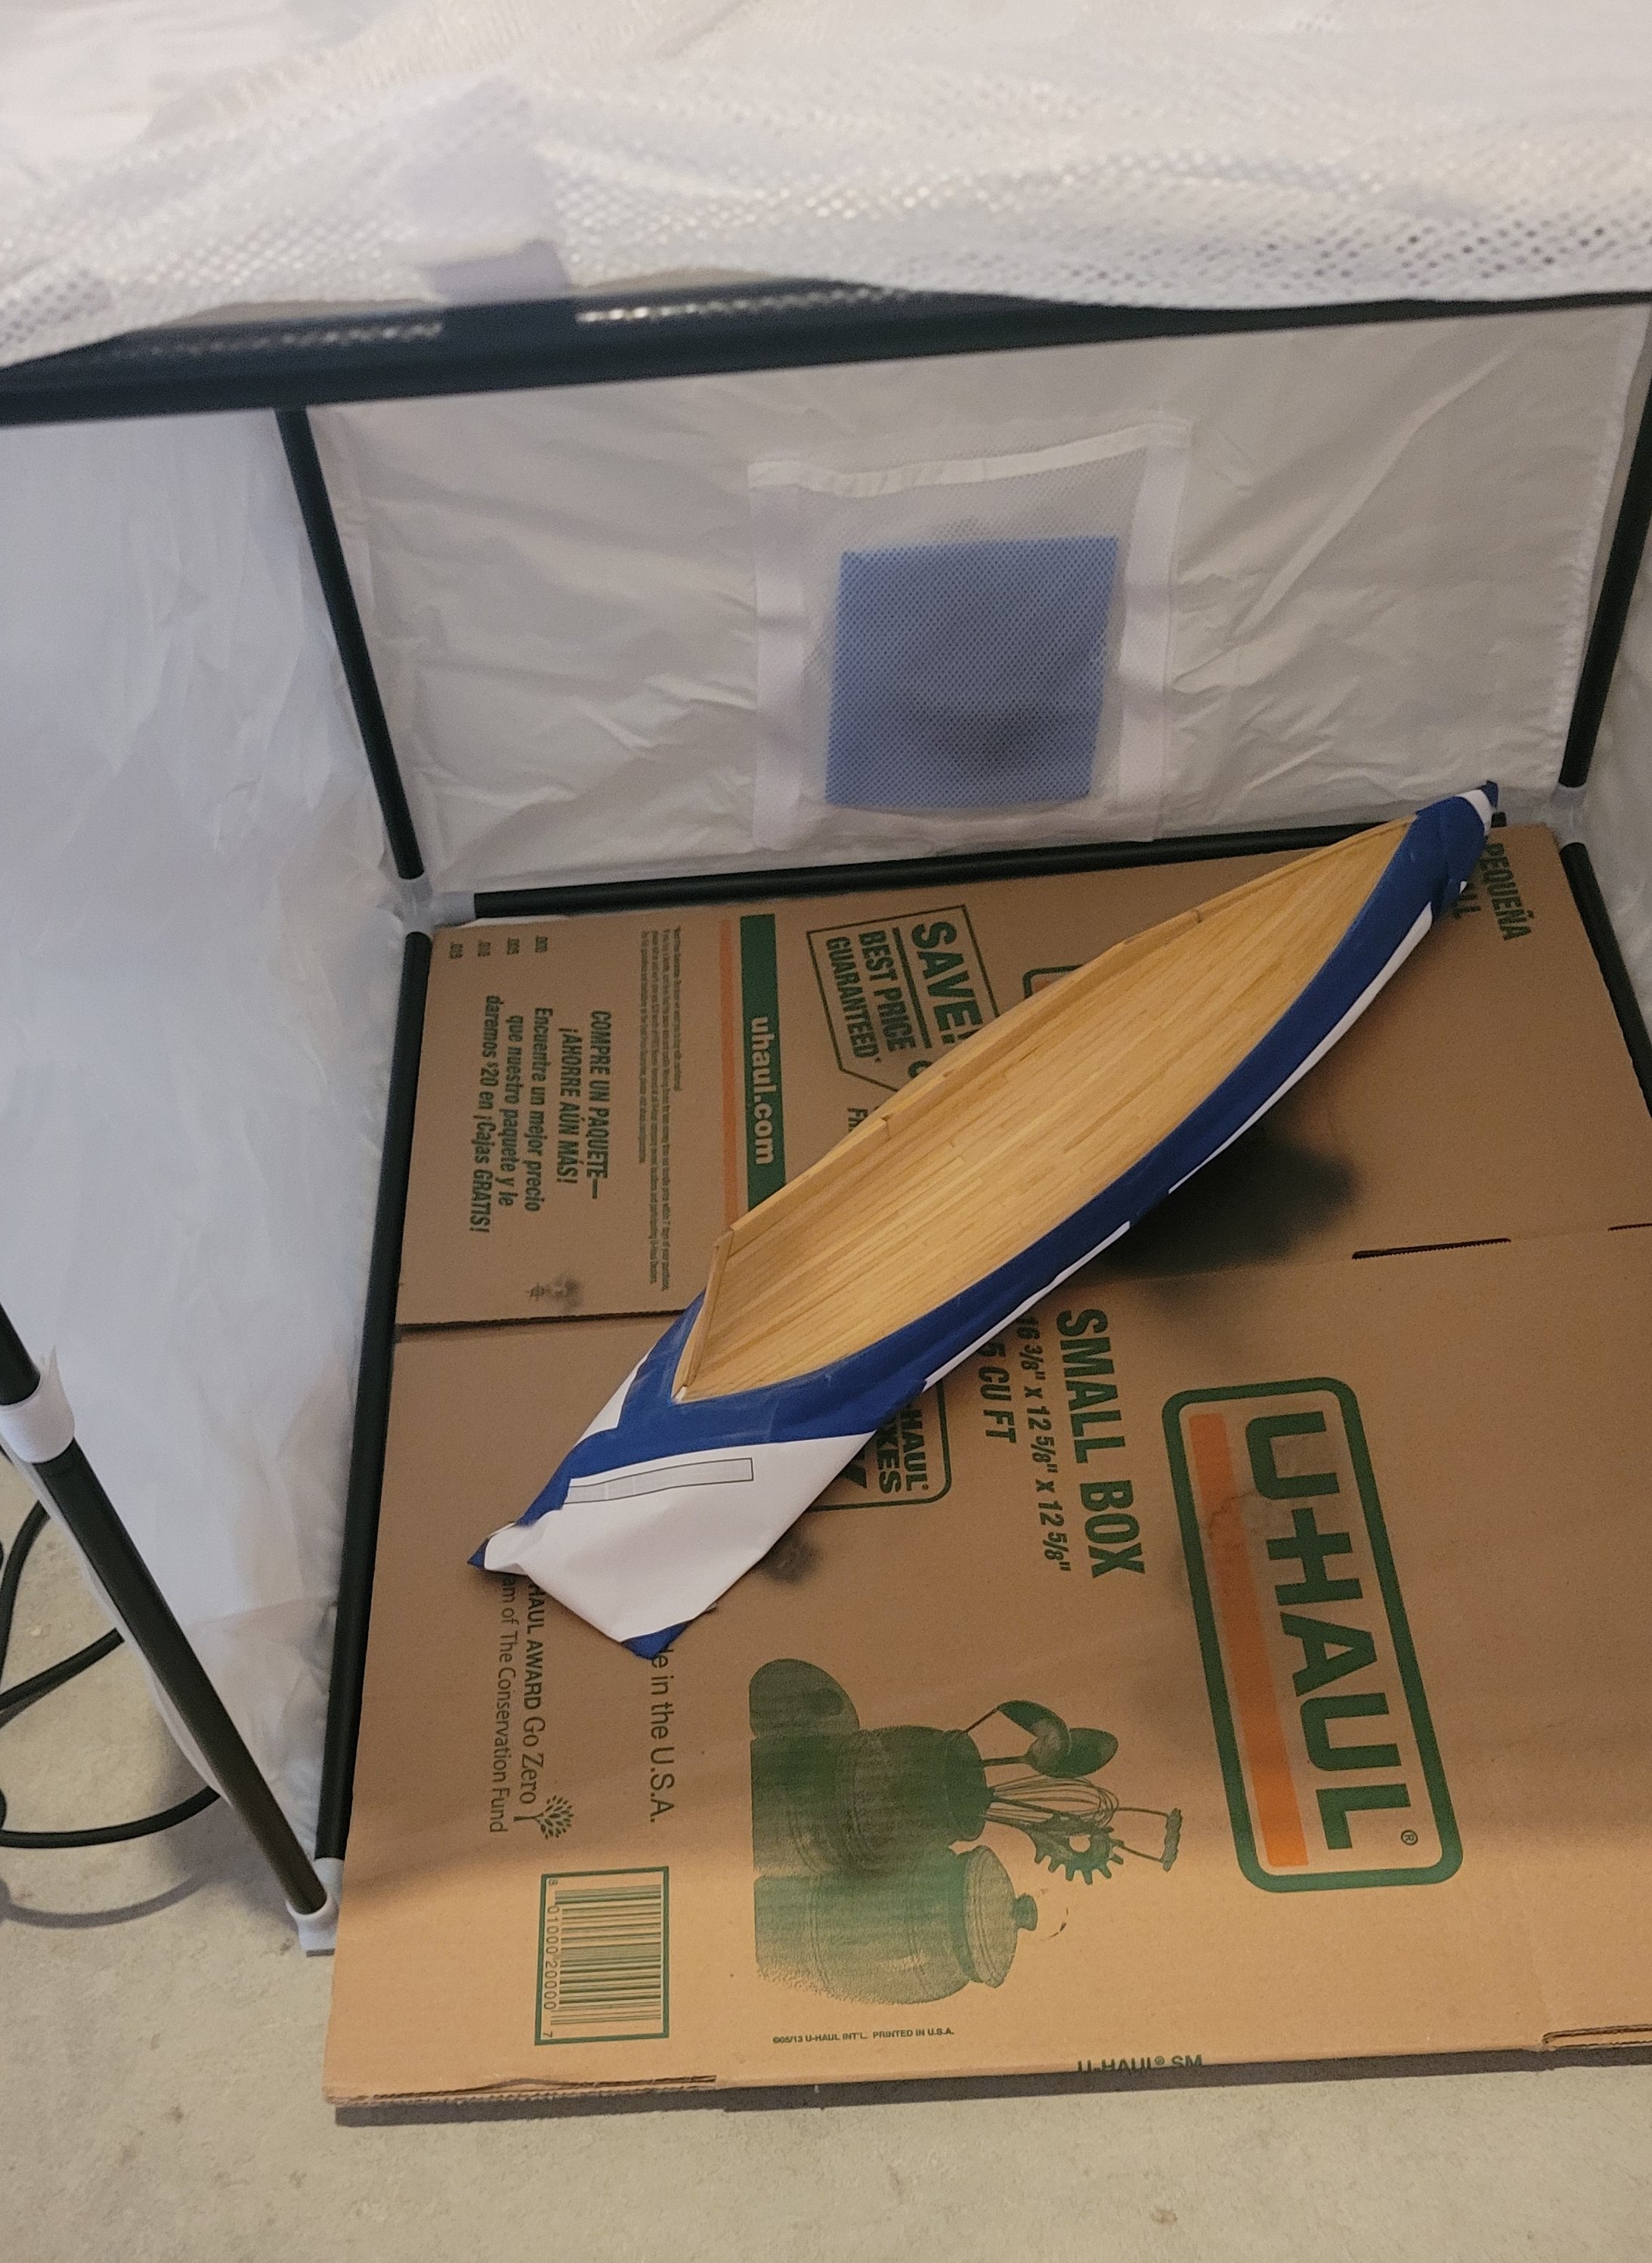
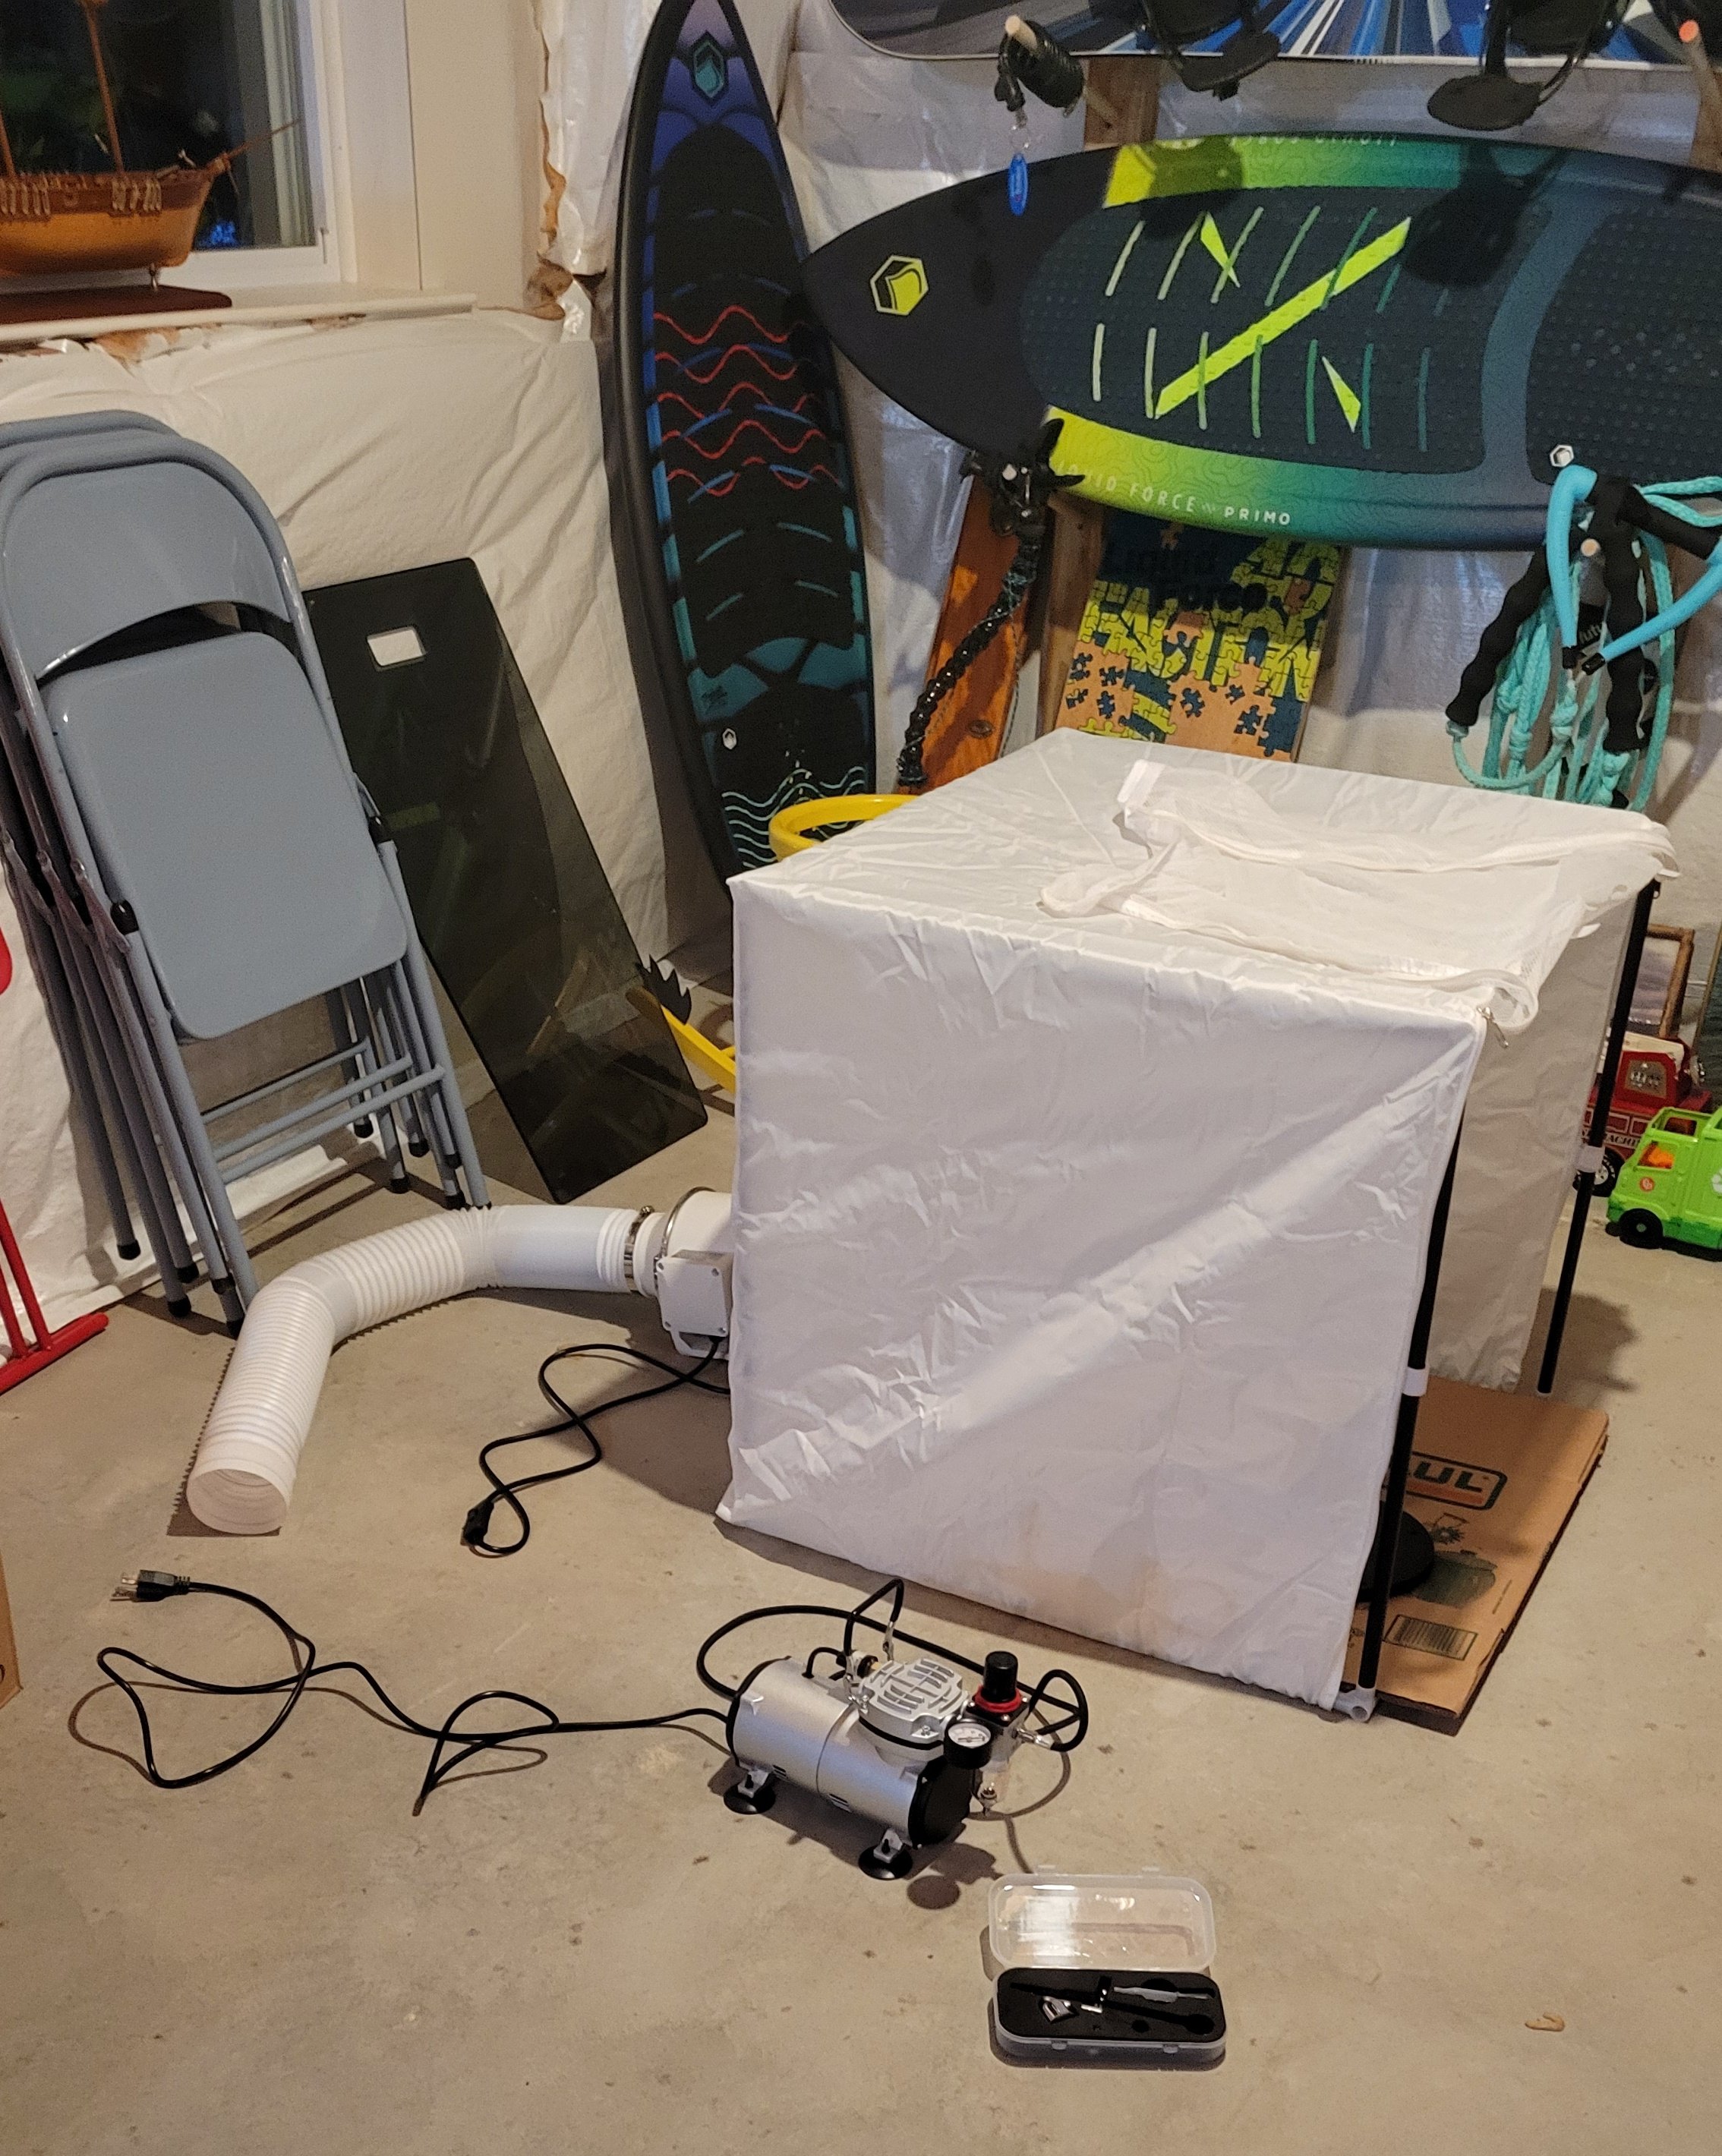
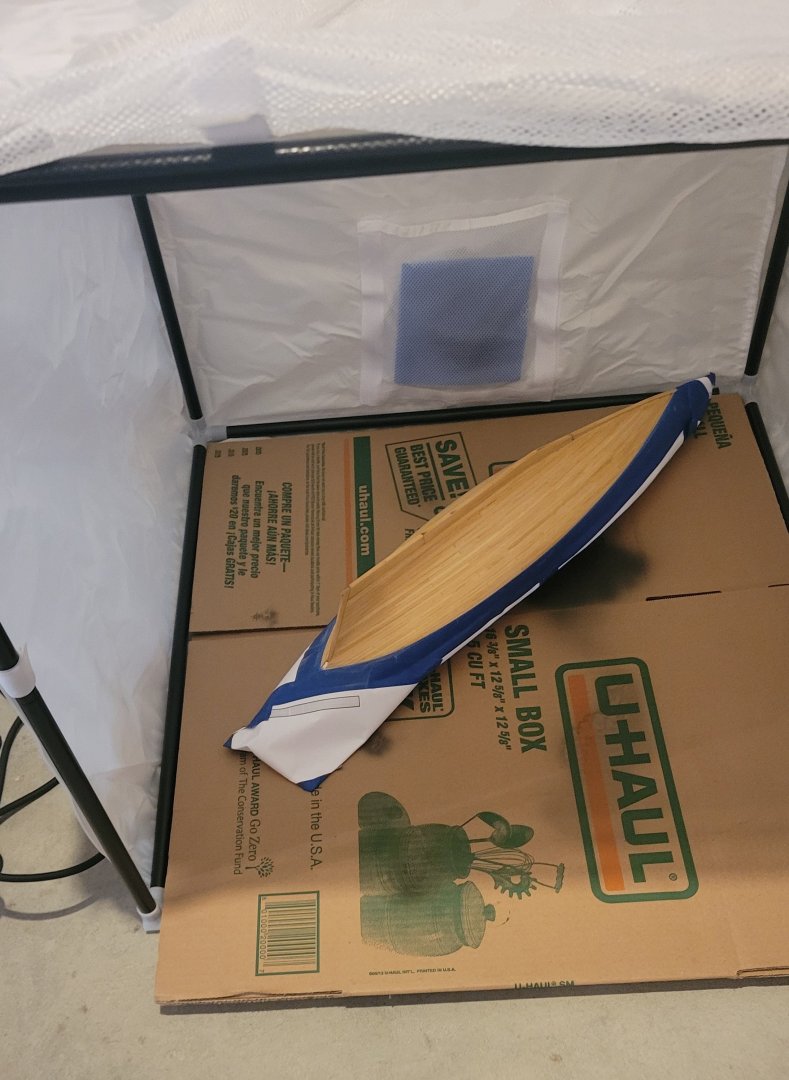
-Painted the bottom. -Launch way in progress. This is my first experience with water based acrylic paints and I have to say I'm a new fan! There are no nasty solvents involved and no nauseating smell.. It's like spitting daisies when spraying. I am very comfortable spraying in my basement. I know I'm not going to explode when the furnace kicks on. The little spray booth has a filter at the input of the blower unit to collect over spray. I use a respirator to be sure. The acrylics spray well with my airbrush. They have great coverage with a nice matte finish. They brush well with very little brush strokes showing. All for now.


-
The "paint shop" Getting ready to get ready.

-
Check out Ebay. Some interesting possibilities.


- 167 replies
-
- 5
-
-
- Picket Boat
- Model Shipways
- (and 1 more)