HOLIDAY DONATION DRIVE - SUPPORT MSW - DO YOUR PART TO KEEP THIS GREAT FORUM GOING! (Only 51 donations so far out of 49,000 members - C'mon guys!)
×

guraus
-
Posts
361 -
Joined
-
Last visited
Content Type
Profiles
Forums
Gallery
Events
Everything posted by guraus
-
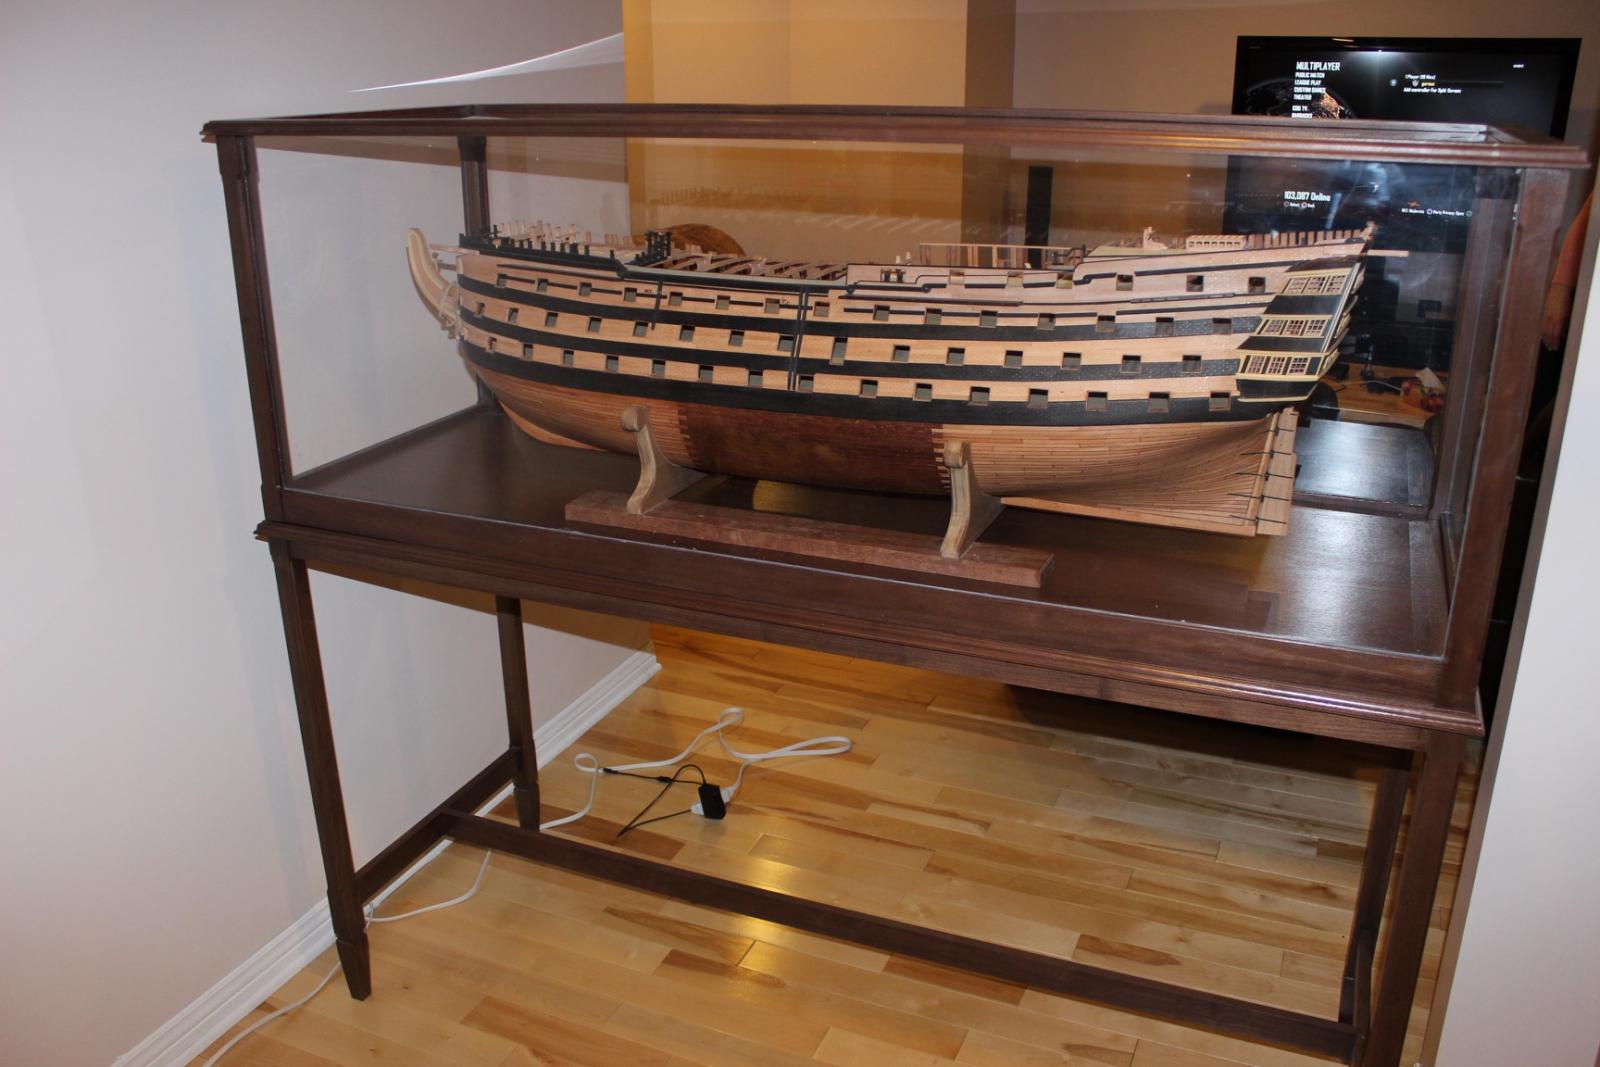
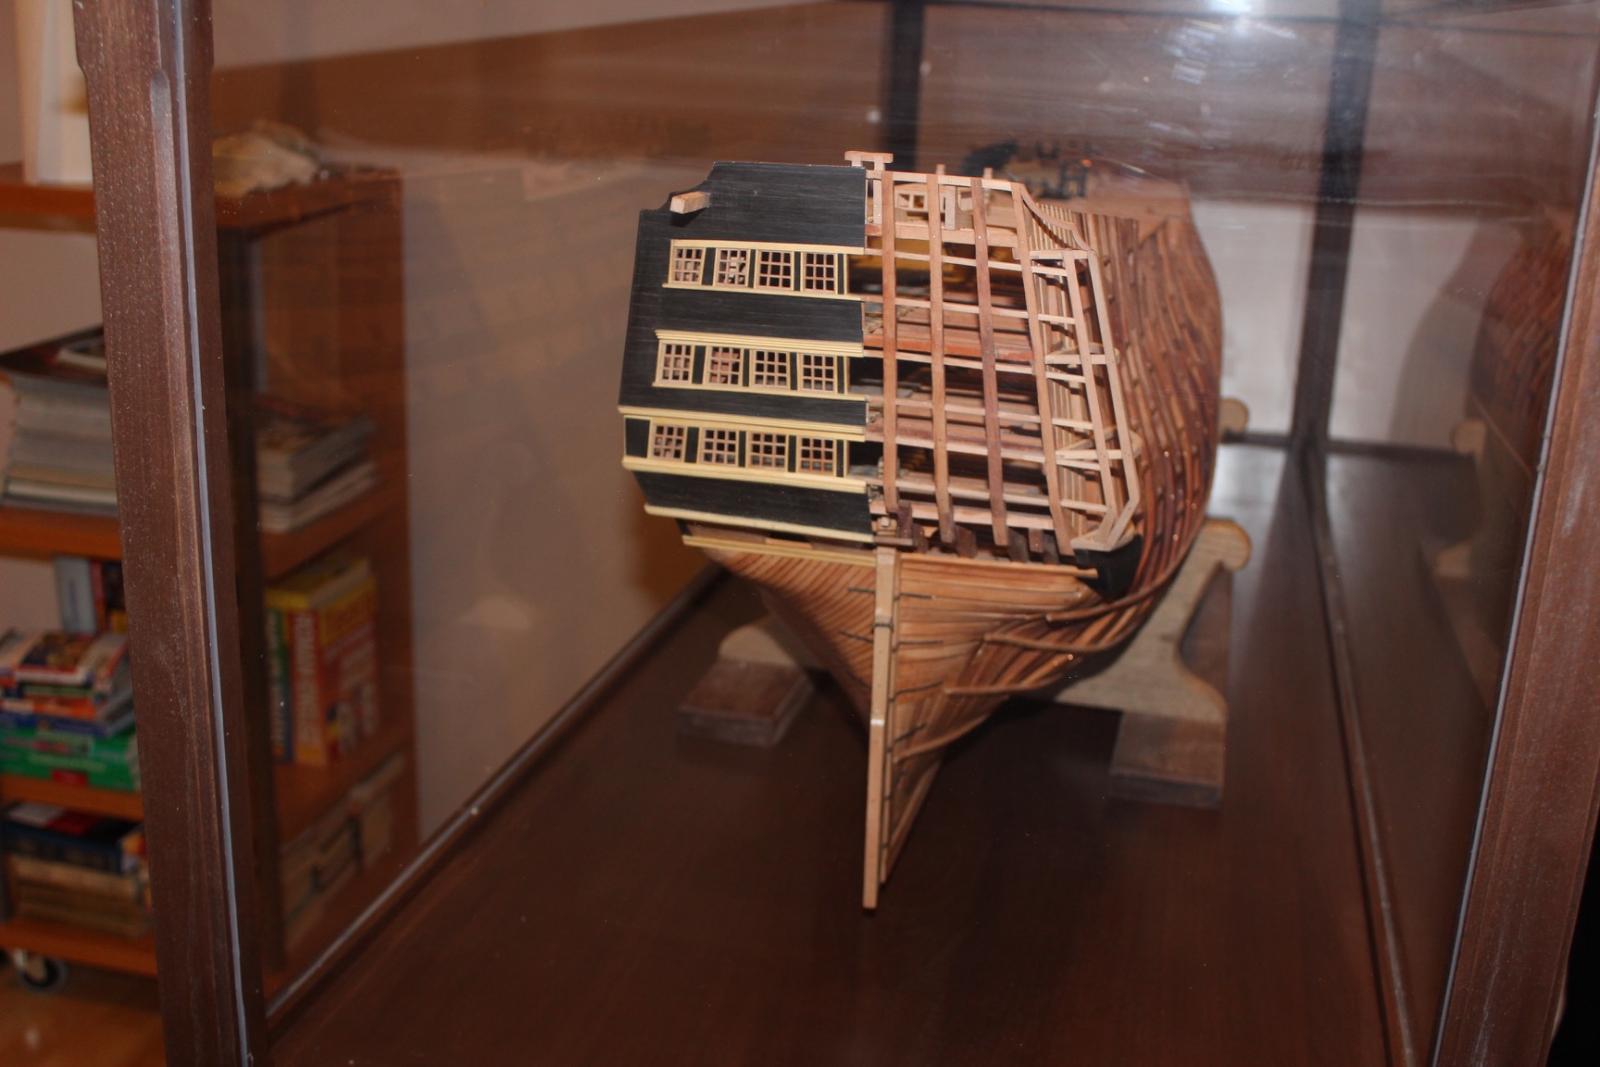
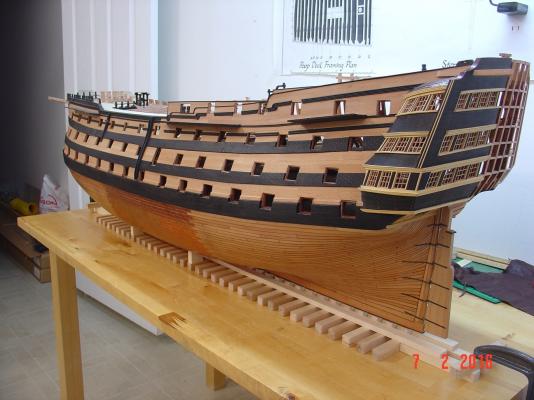
Hello all, This is the last update of this build log as I decided the project is completed - I'm working on it for 9 years now so it was just about time to declare it finished. For all who followed my build these long years and are interested to see her in "completed" state here is the link to my personal web site where you can see the last set of pictures made just before putting her in the case: http://www.alexshipmodels.com/2016/07/09/hms-victory-gallery/ Thank you very much for your support and see you again soon when I start working on my next project. Regards, Alexandru
-
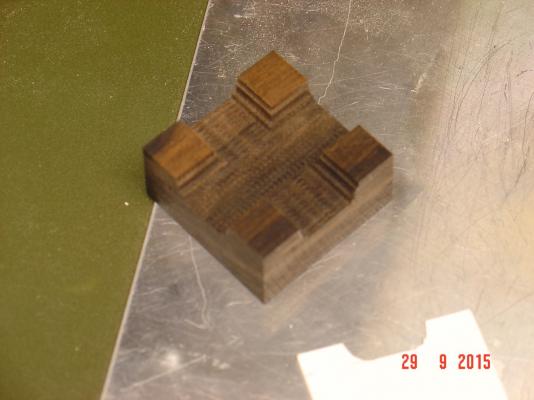
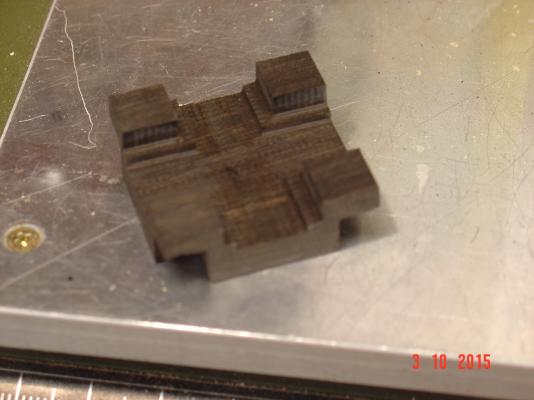
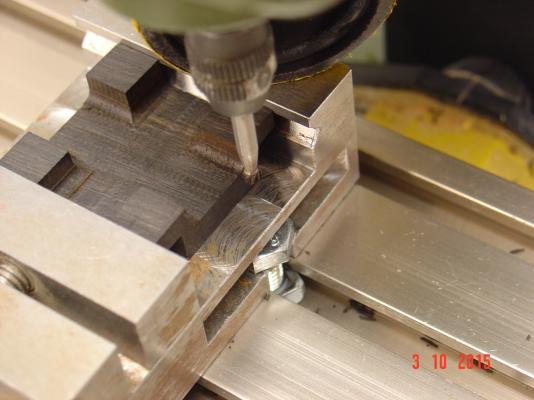
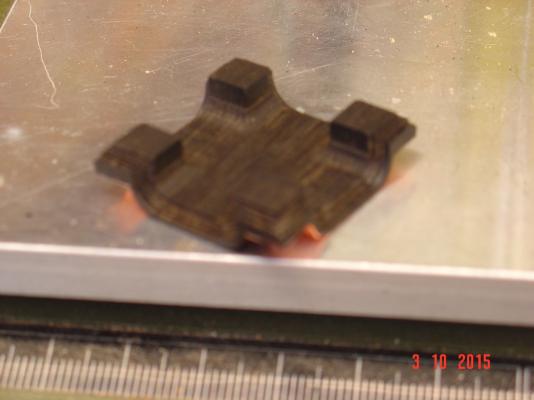
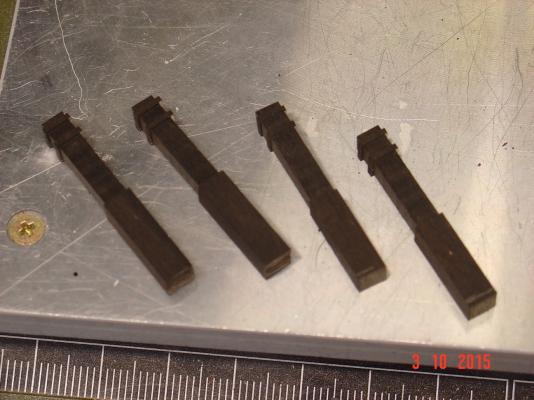
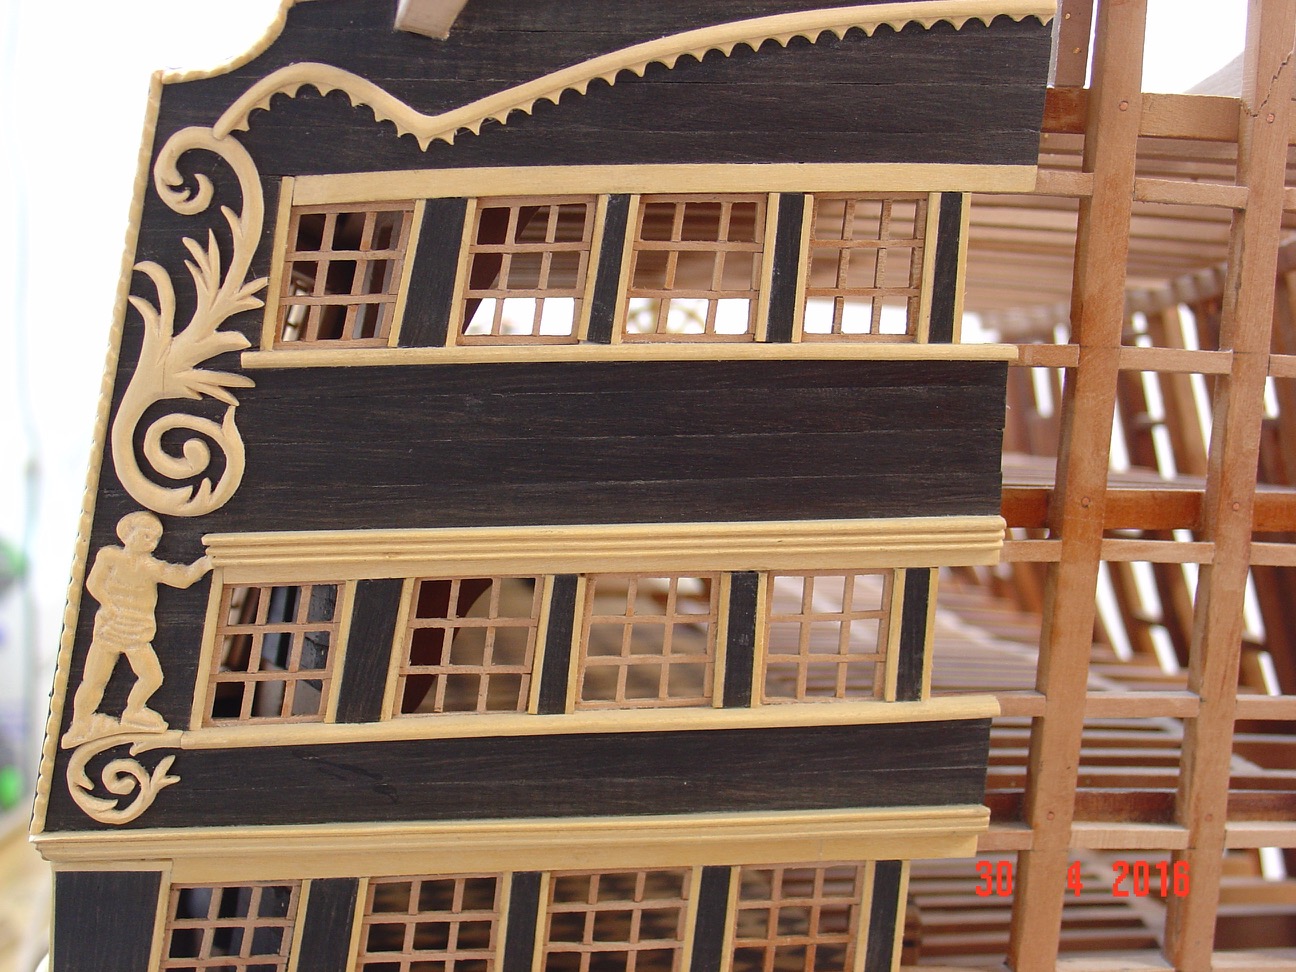
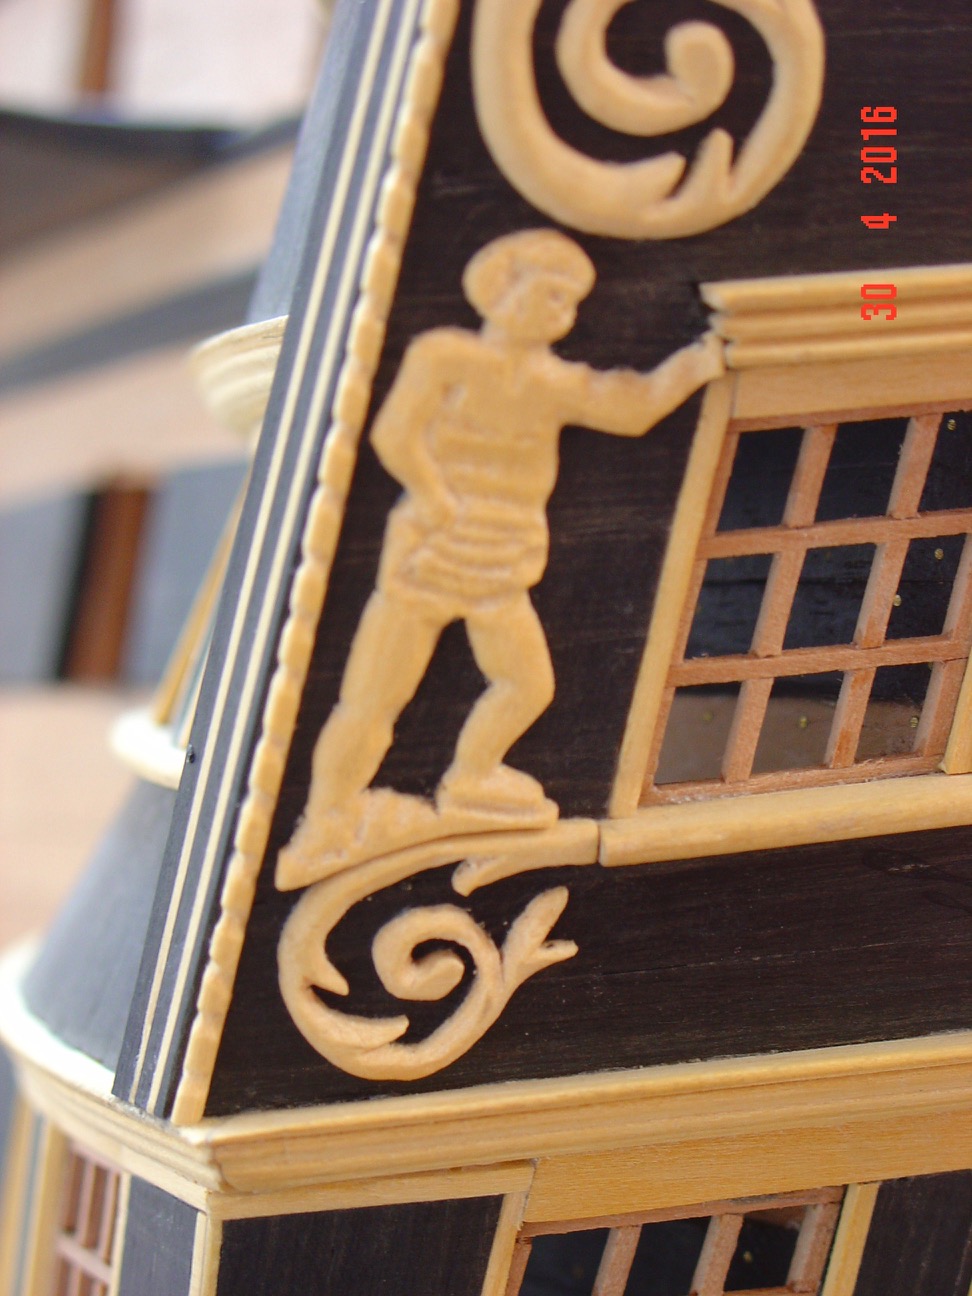
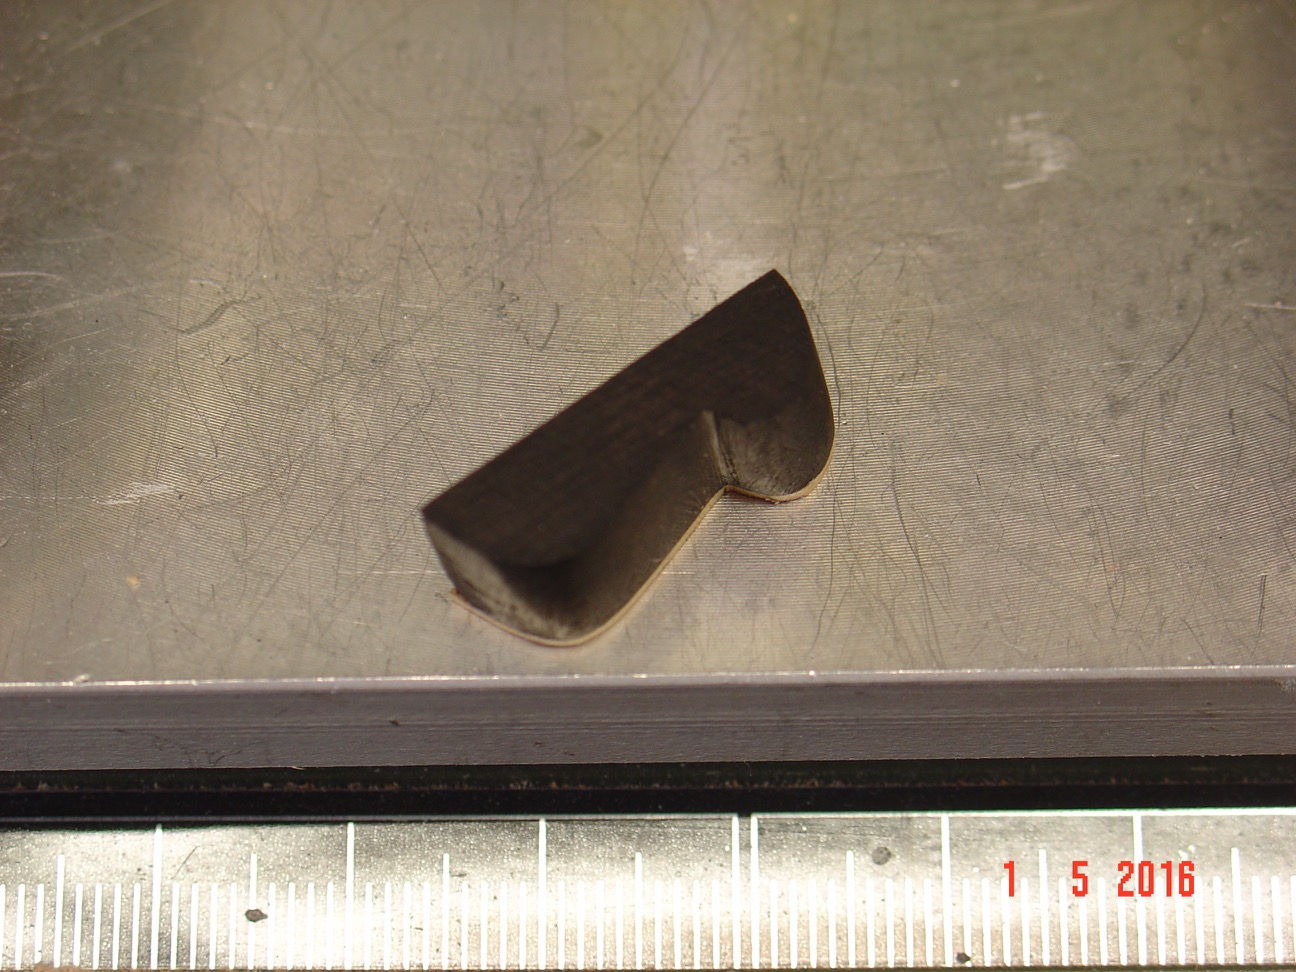
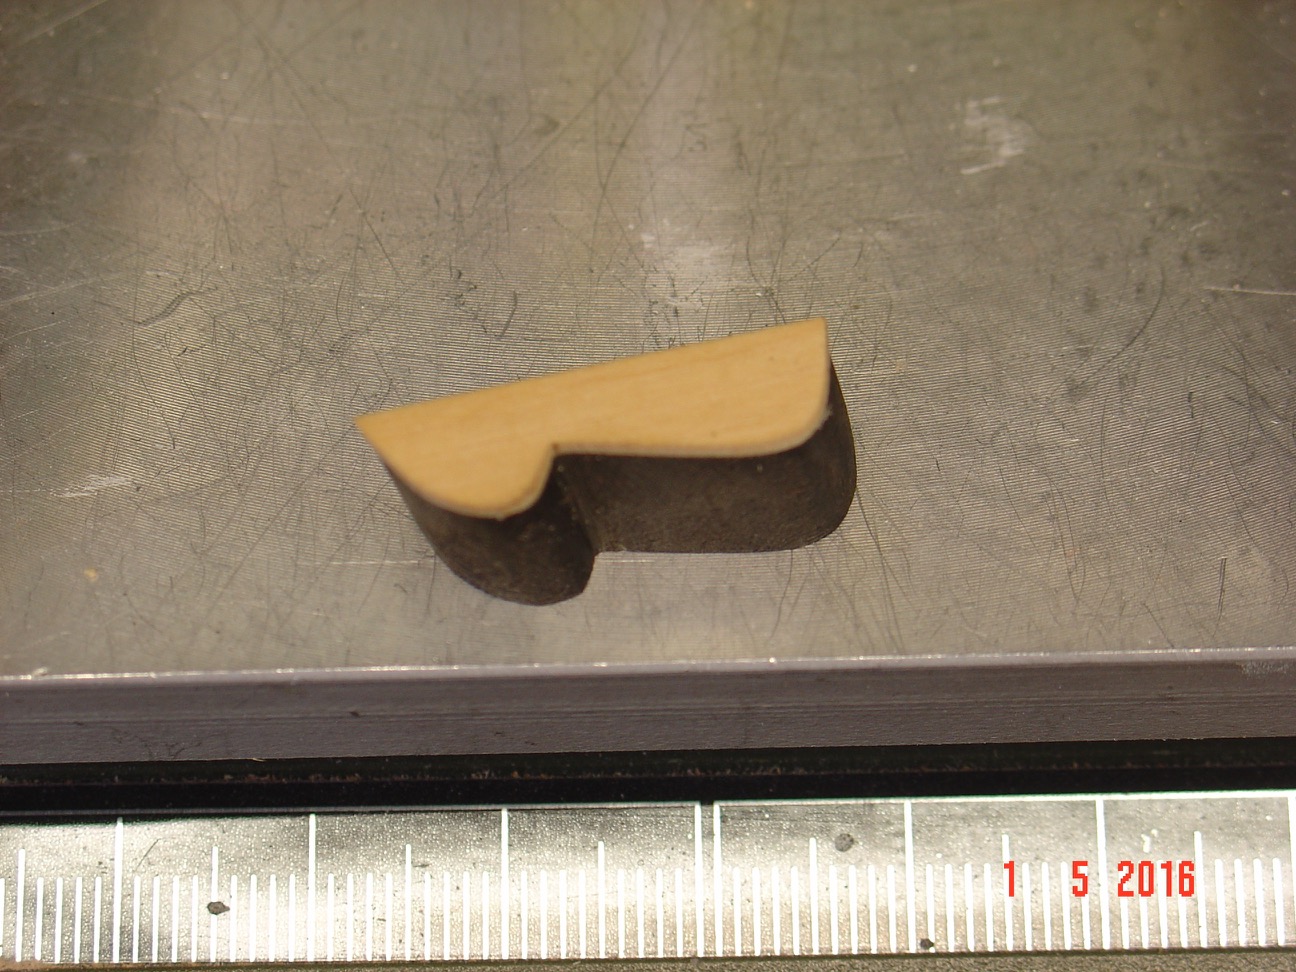
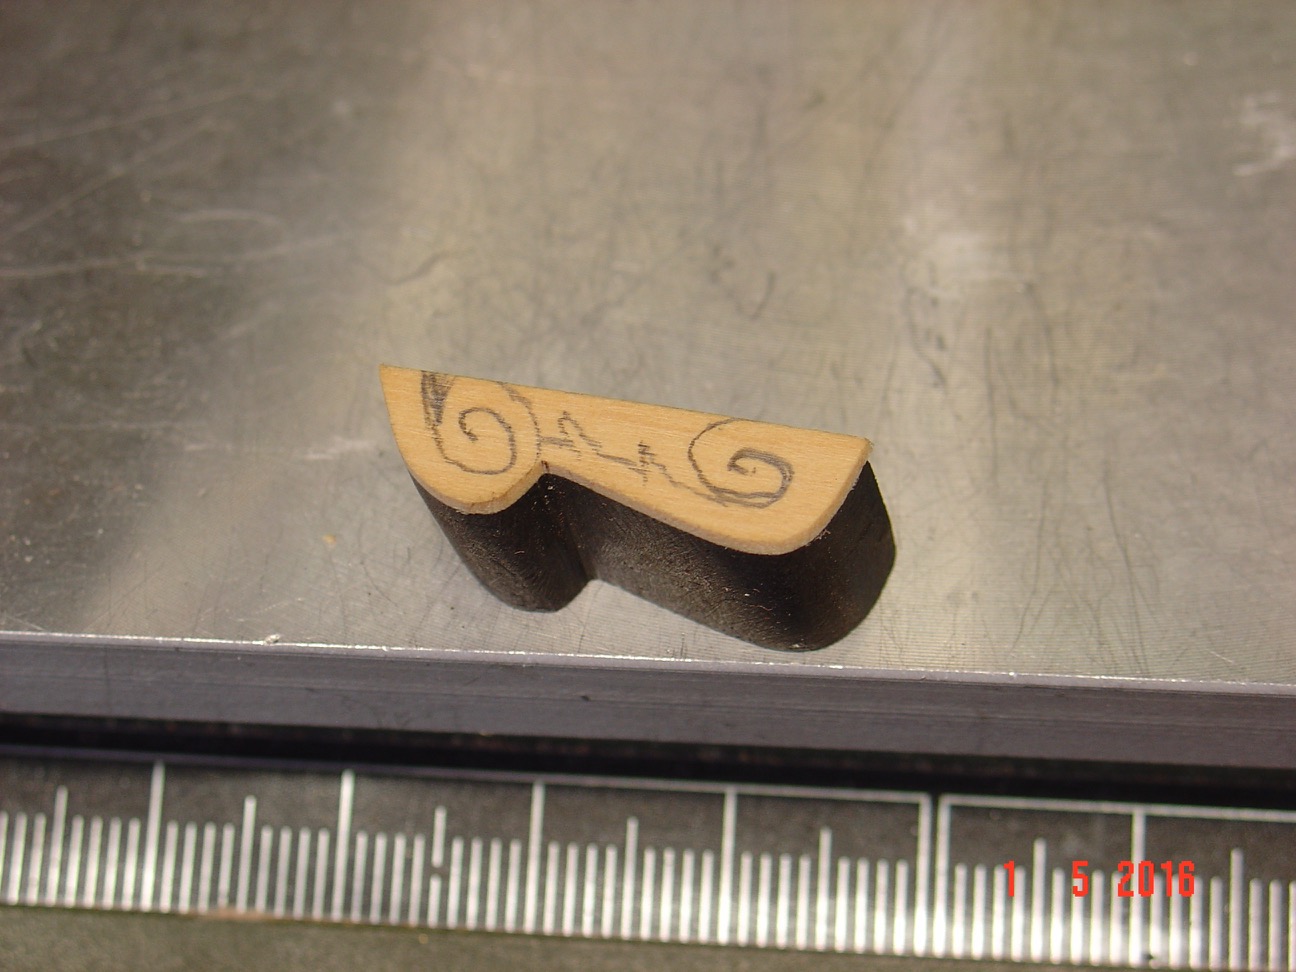
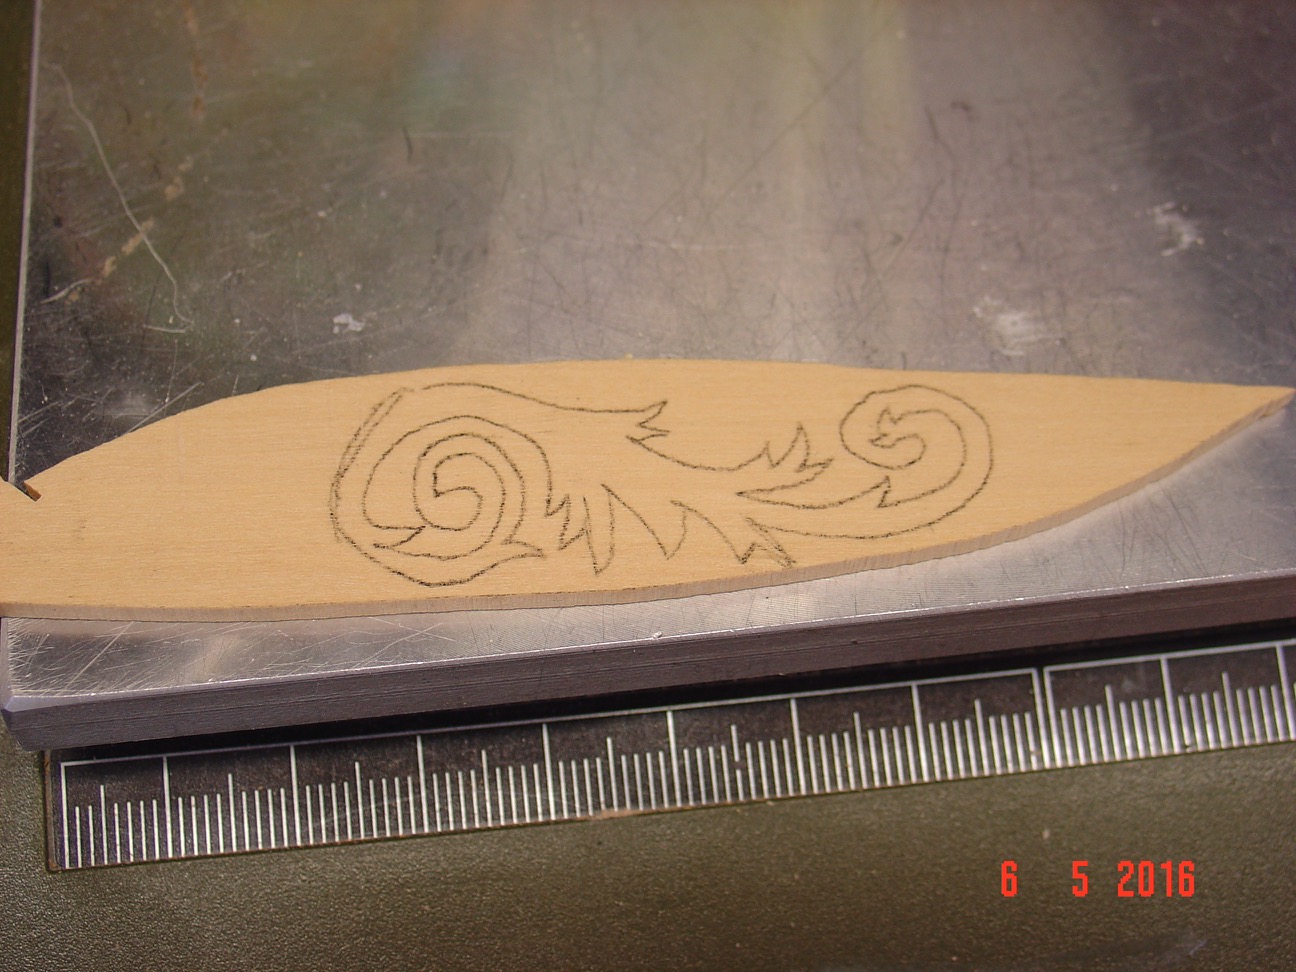
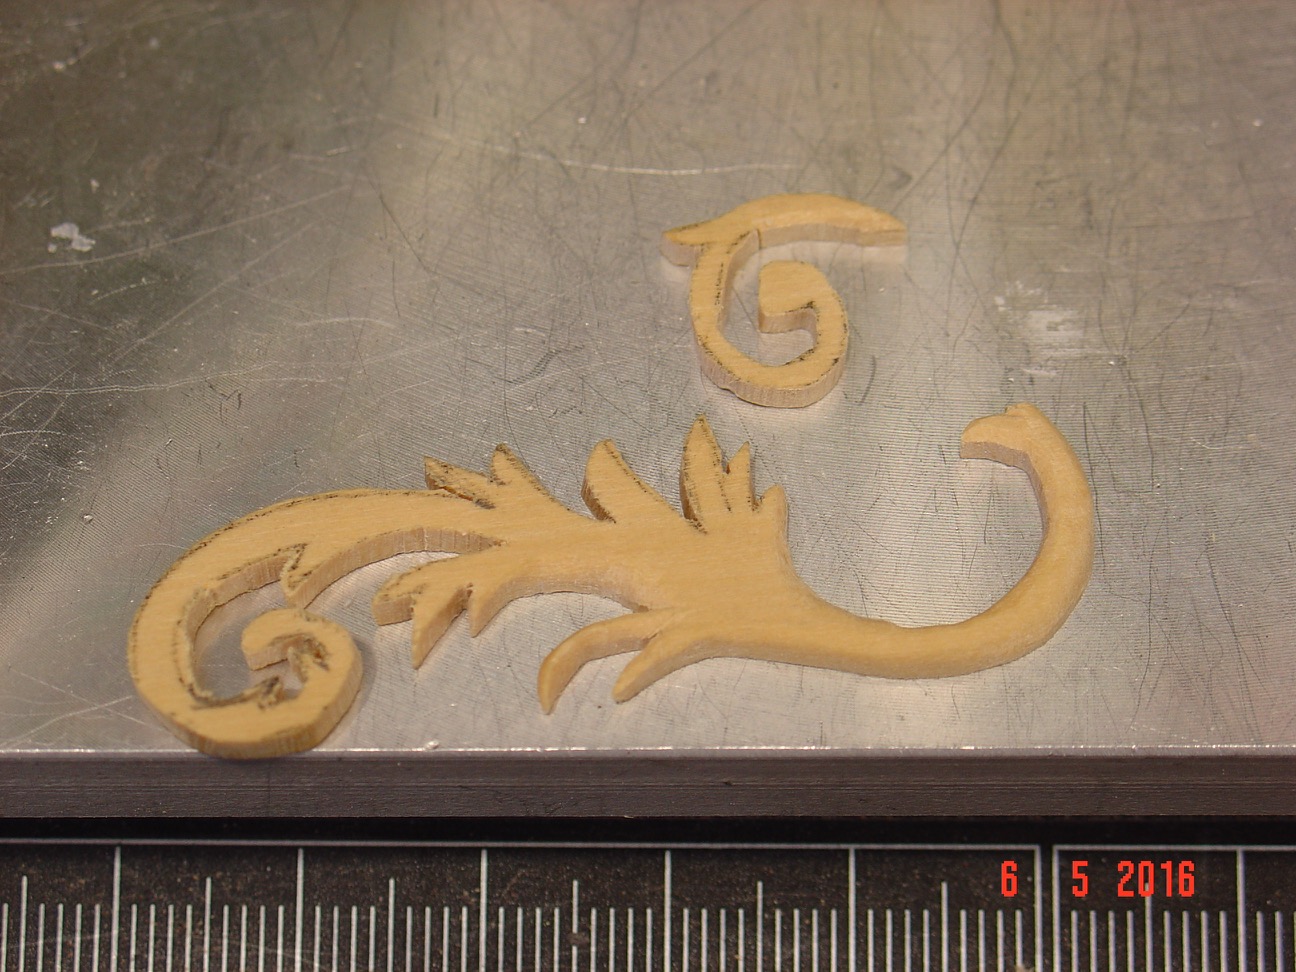
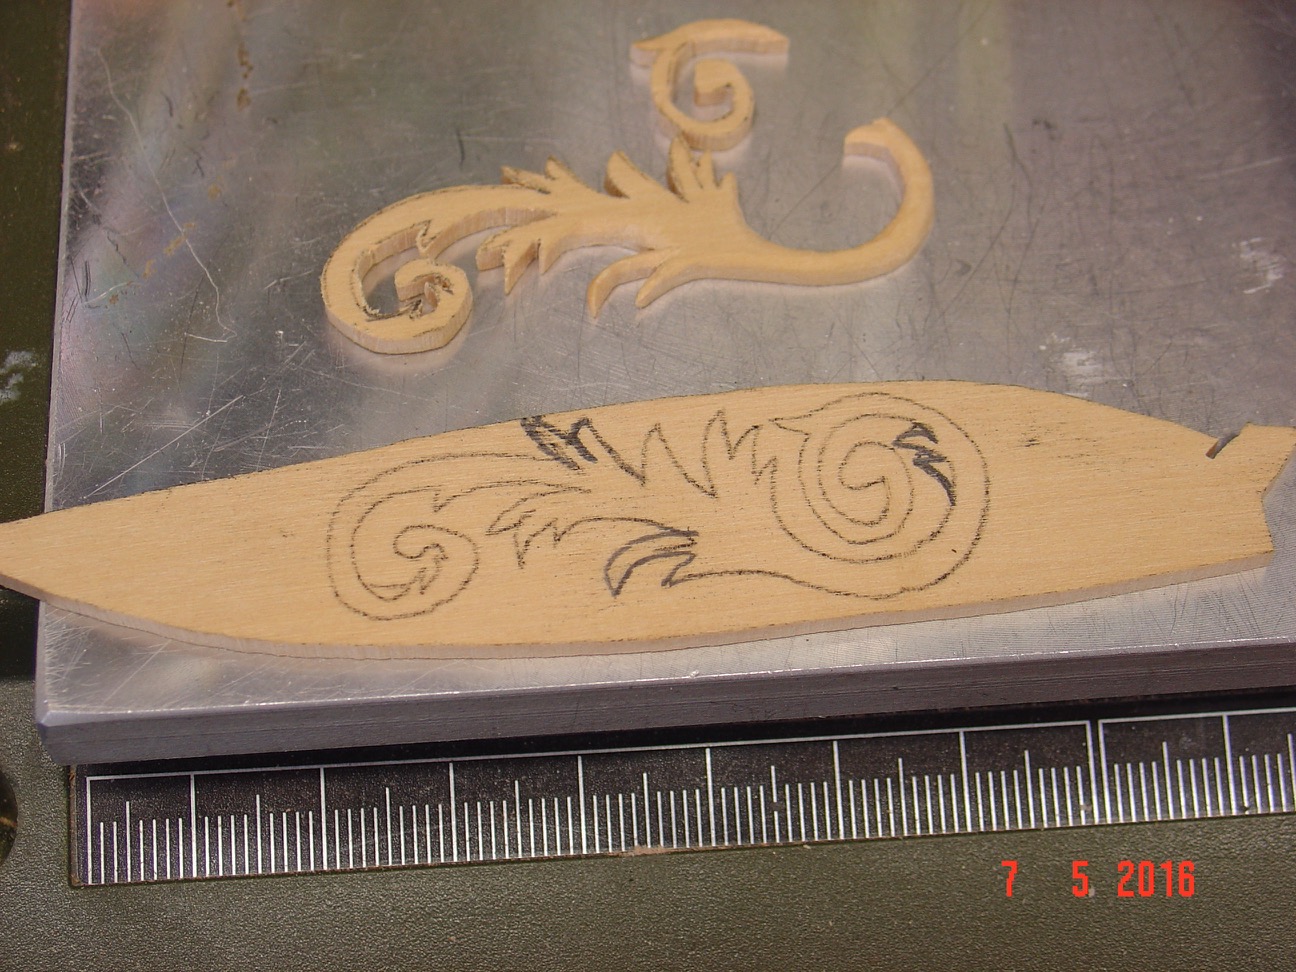
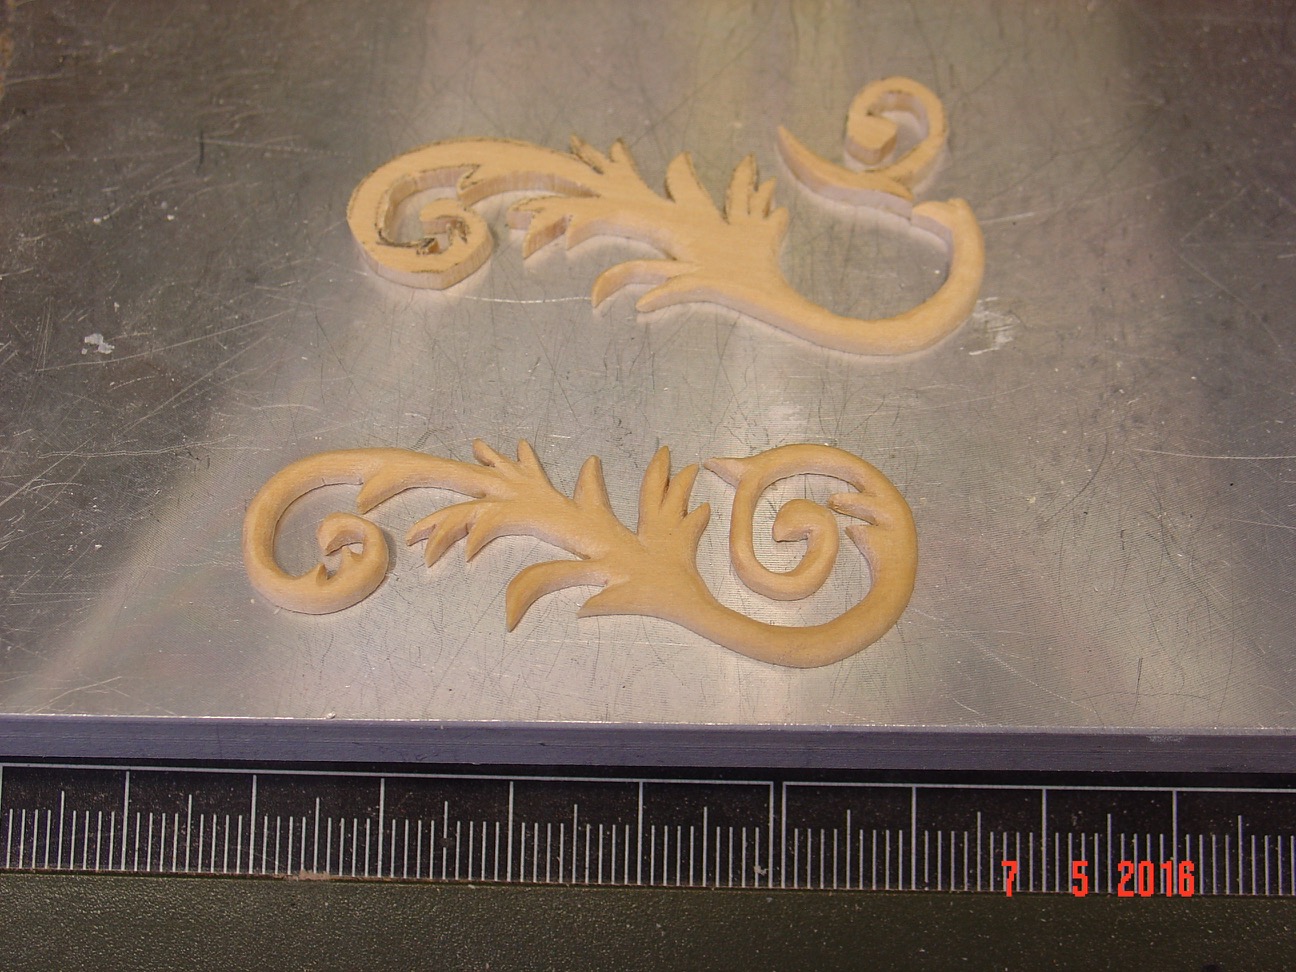
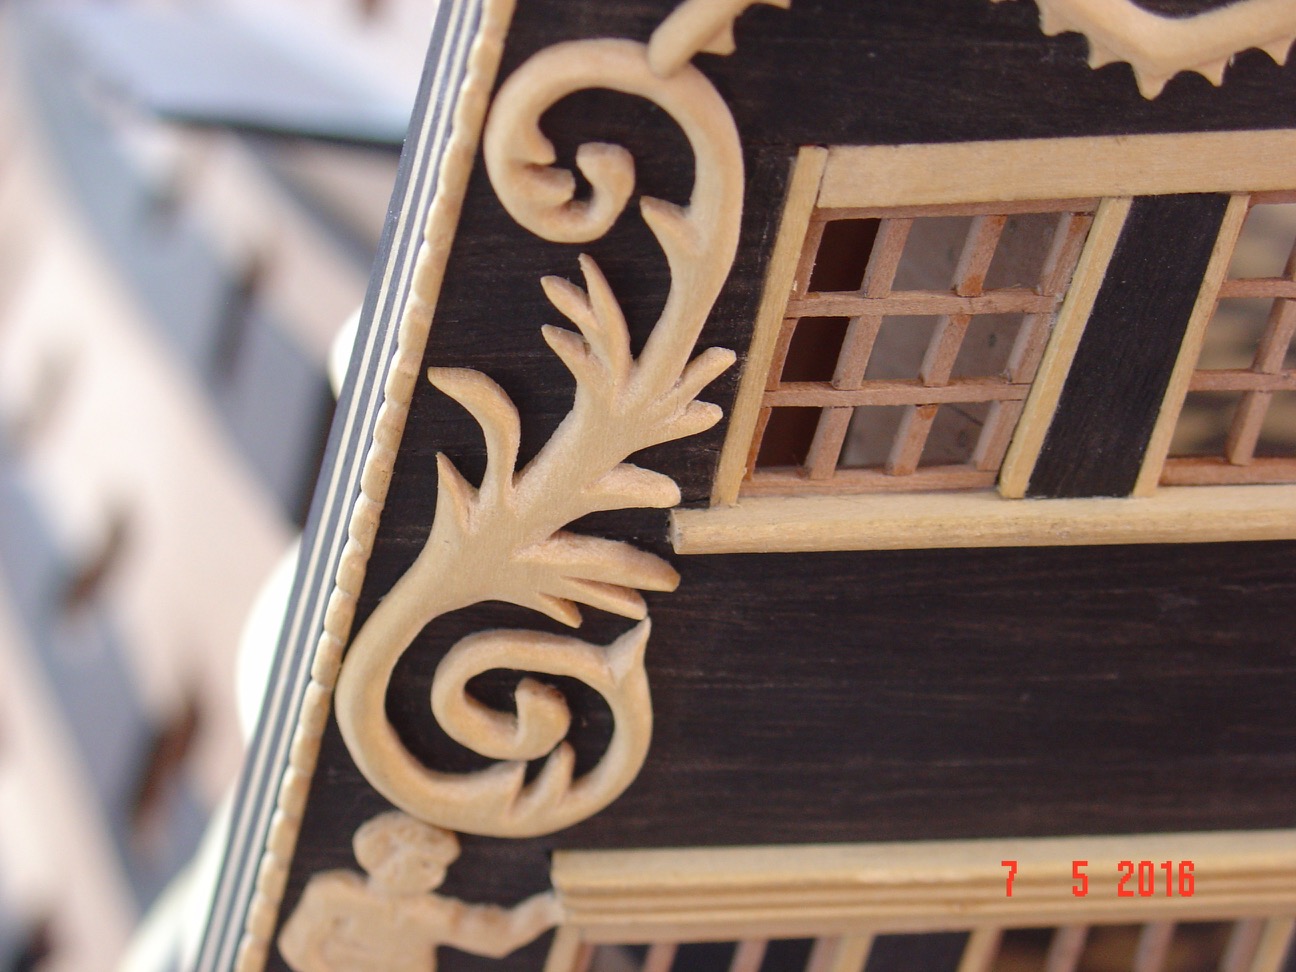
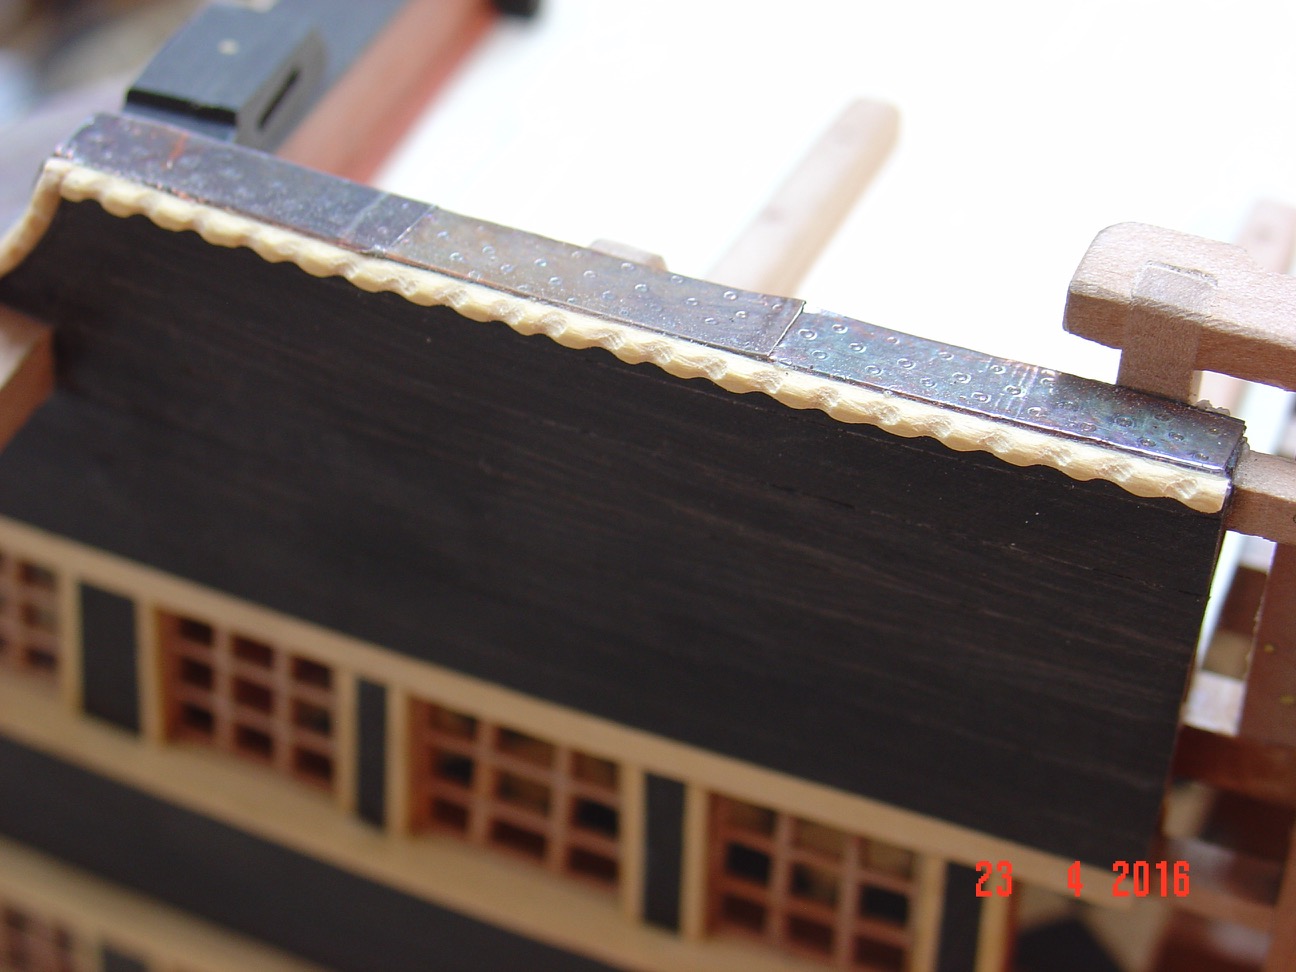
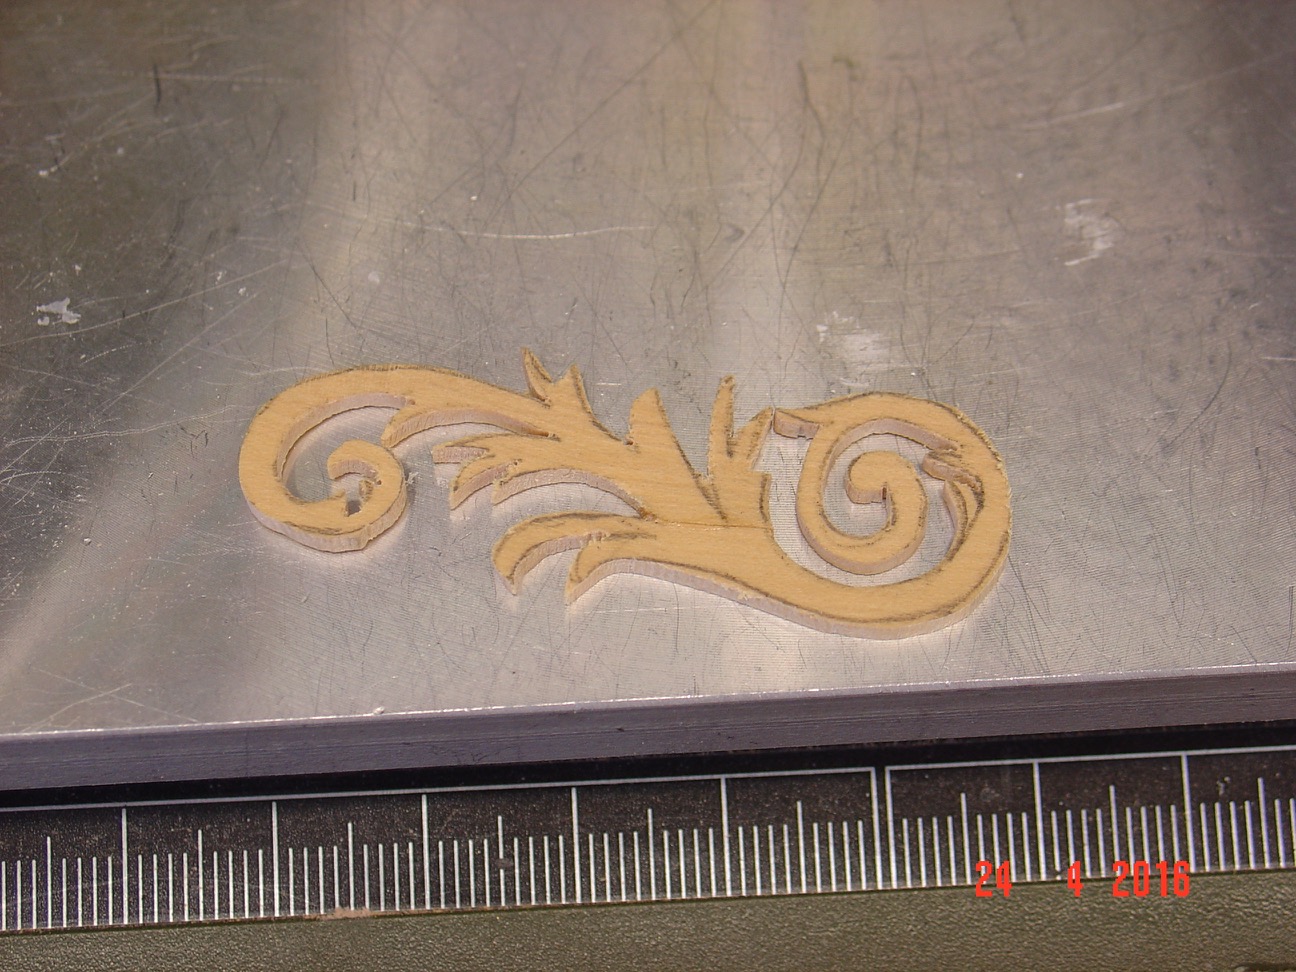
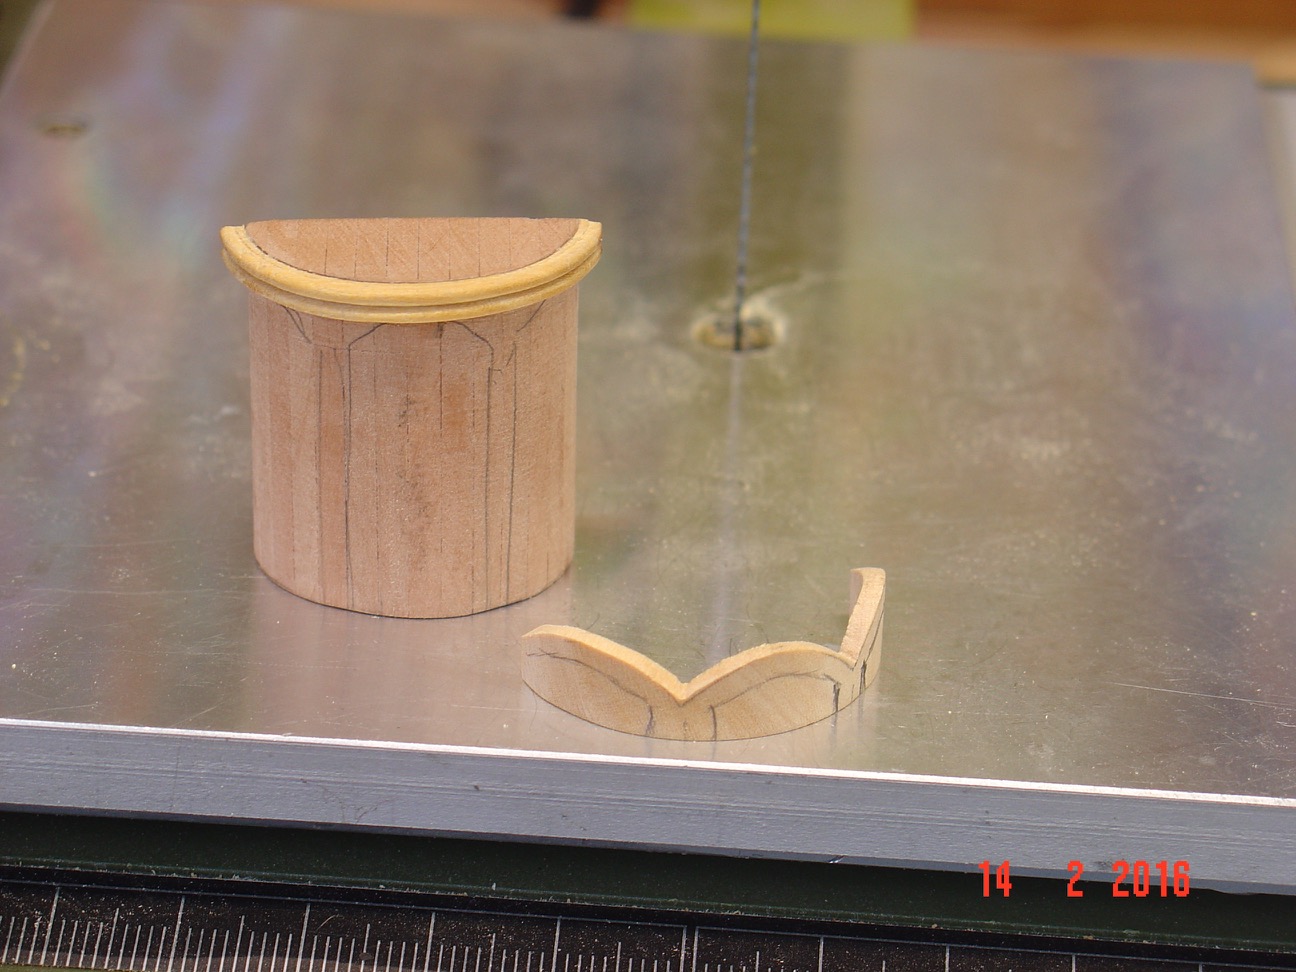
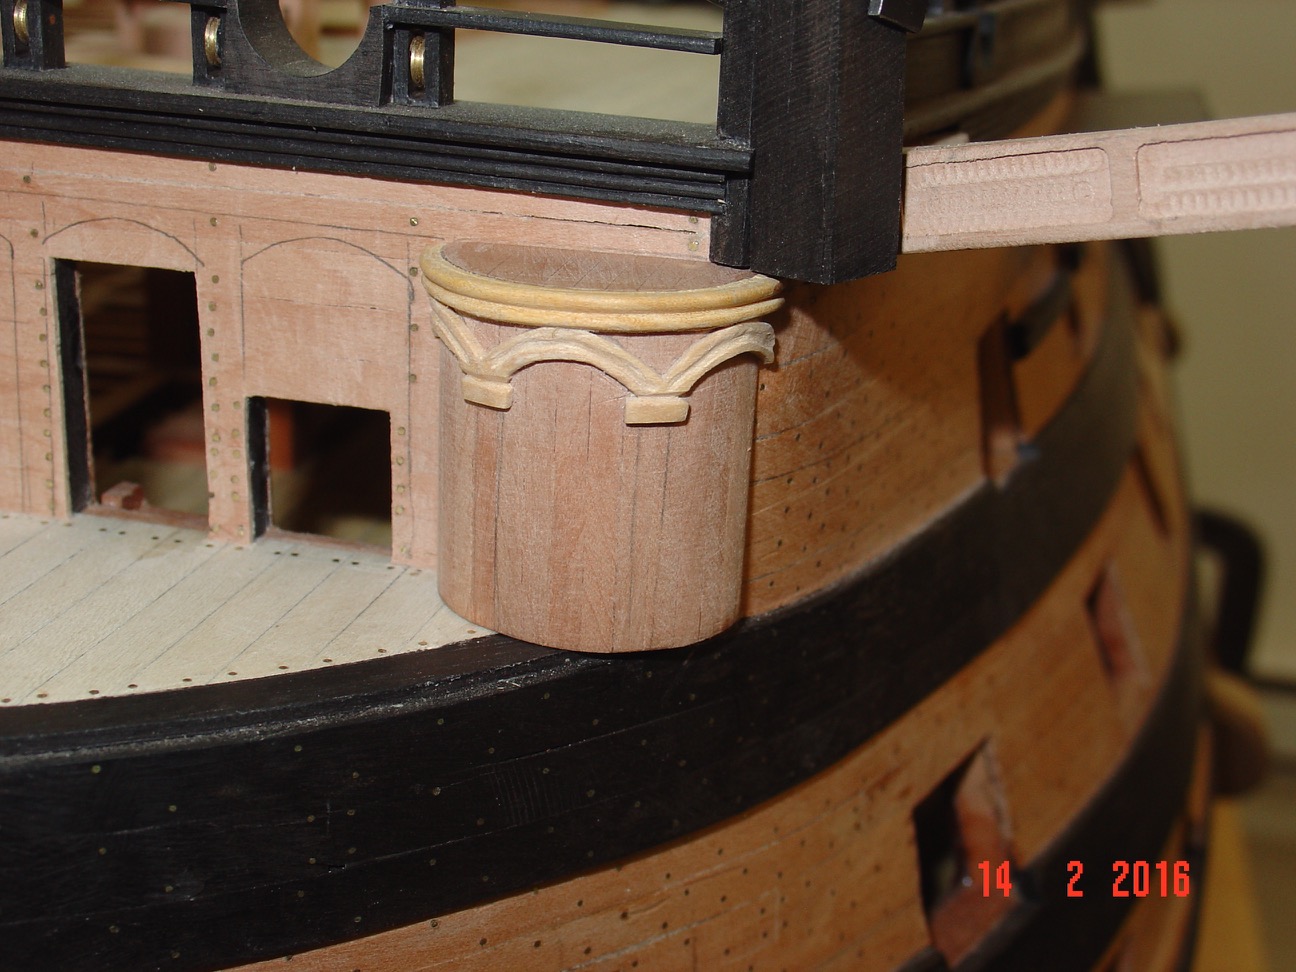
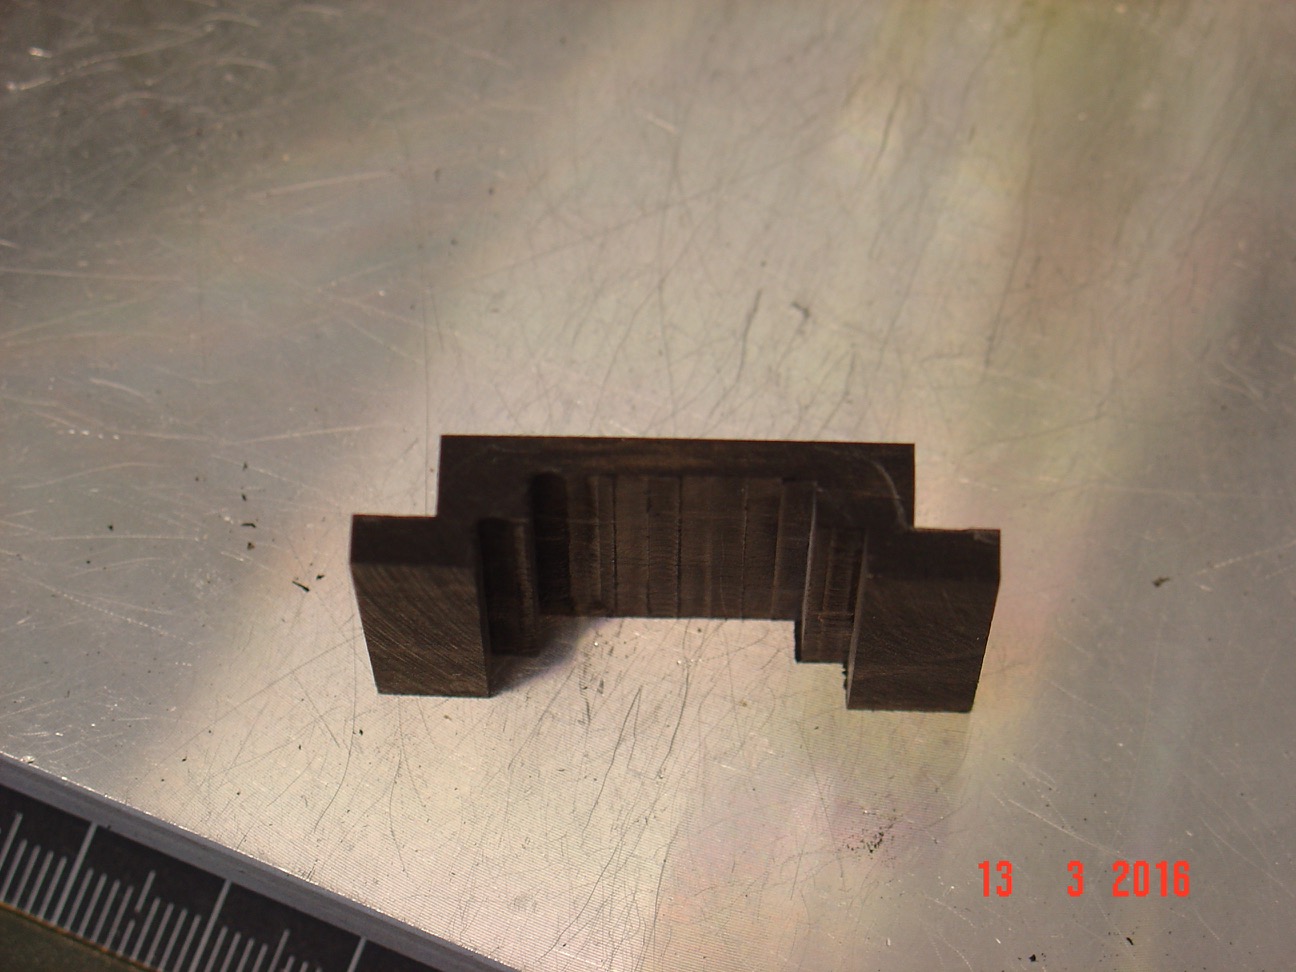
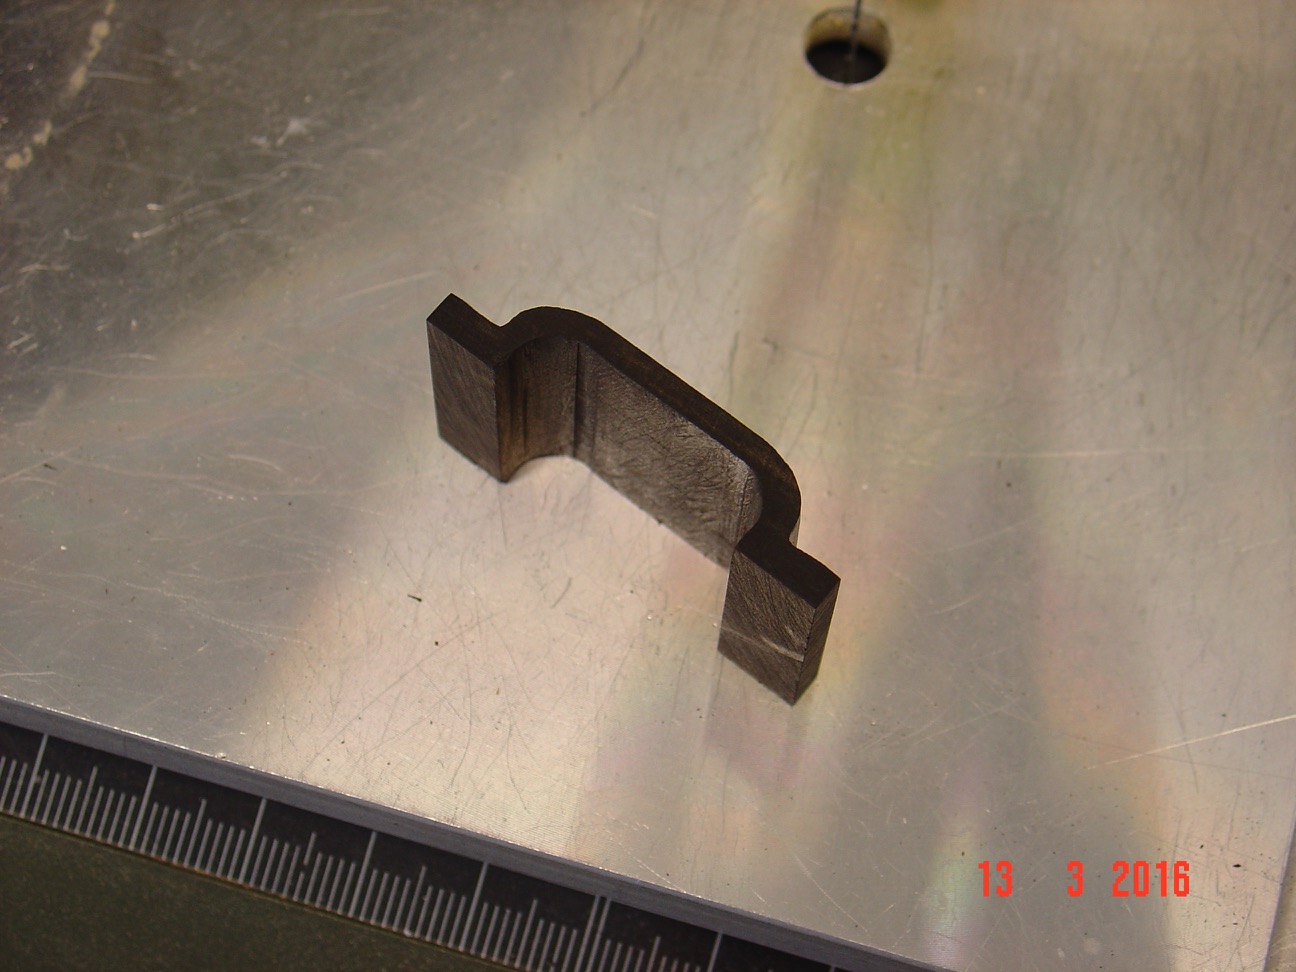
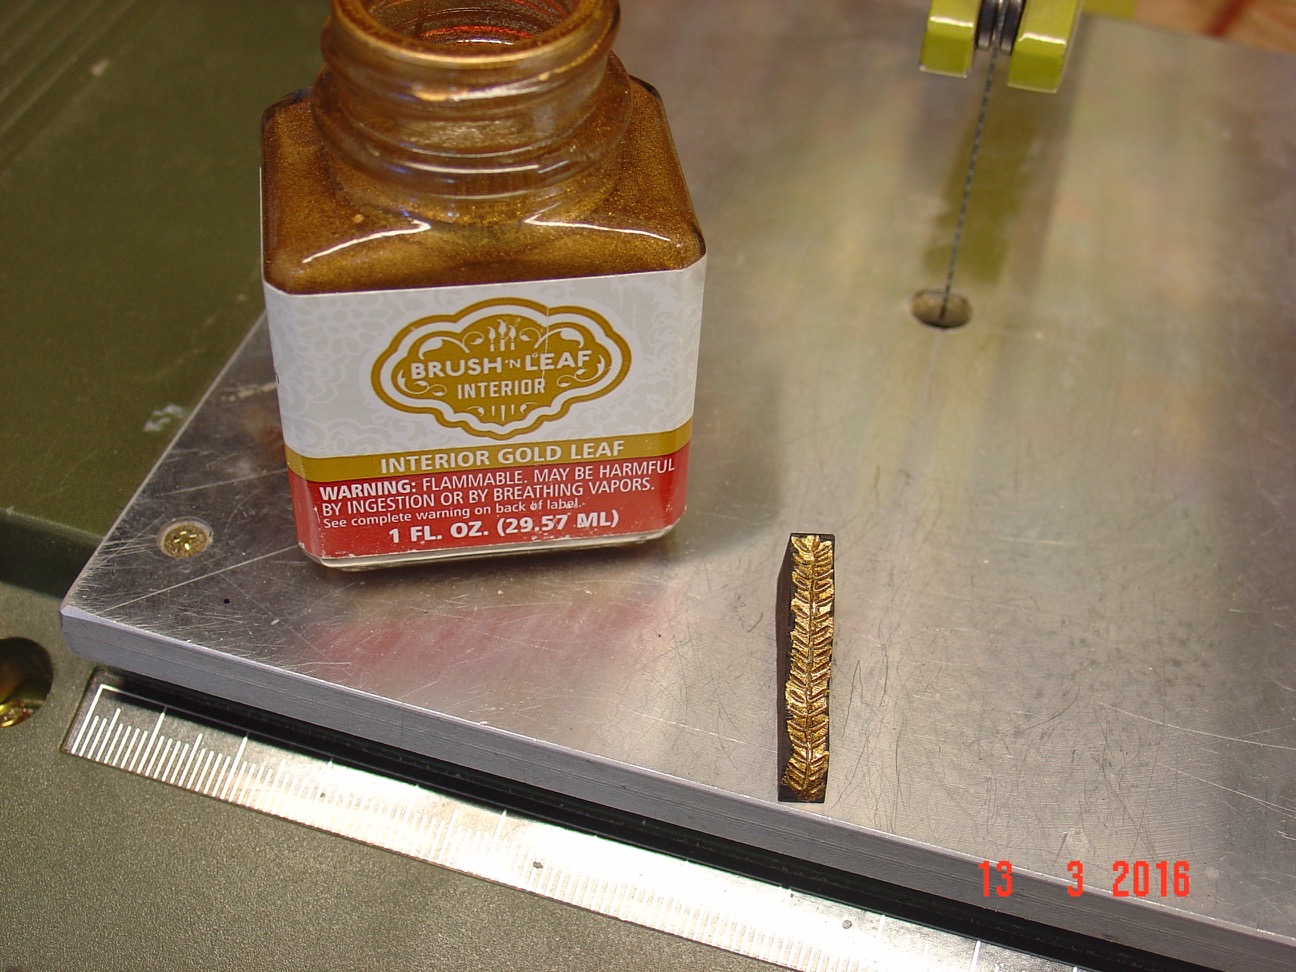
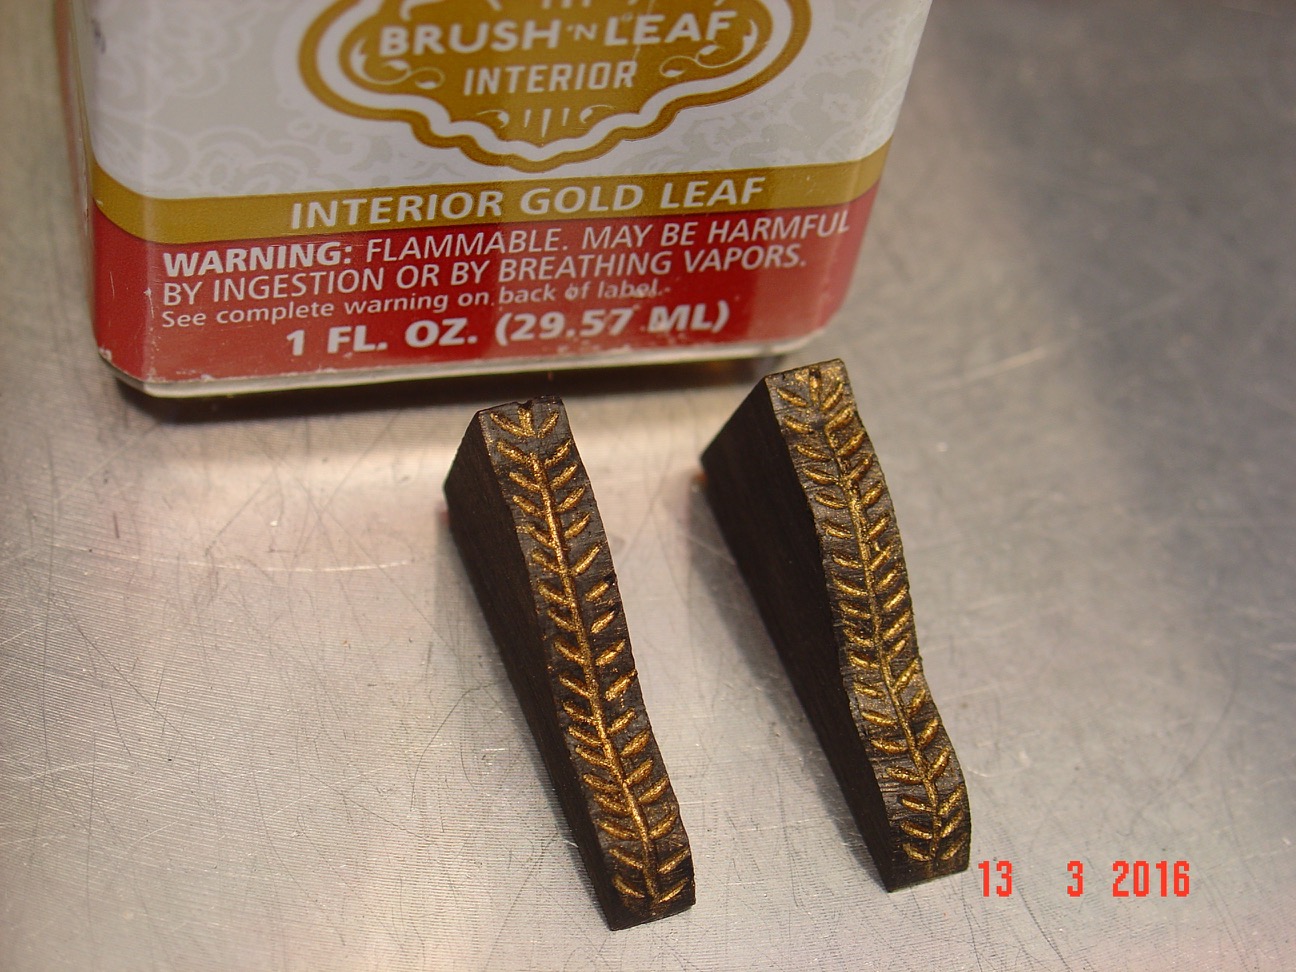
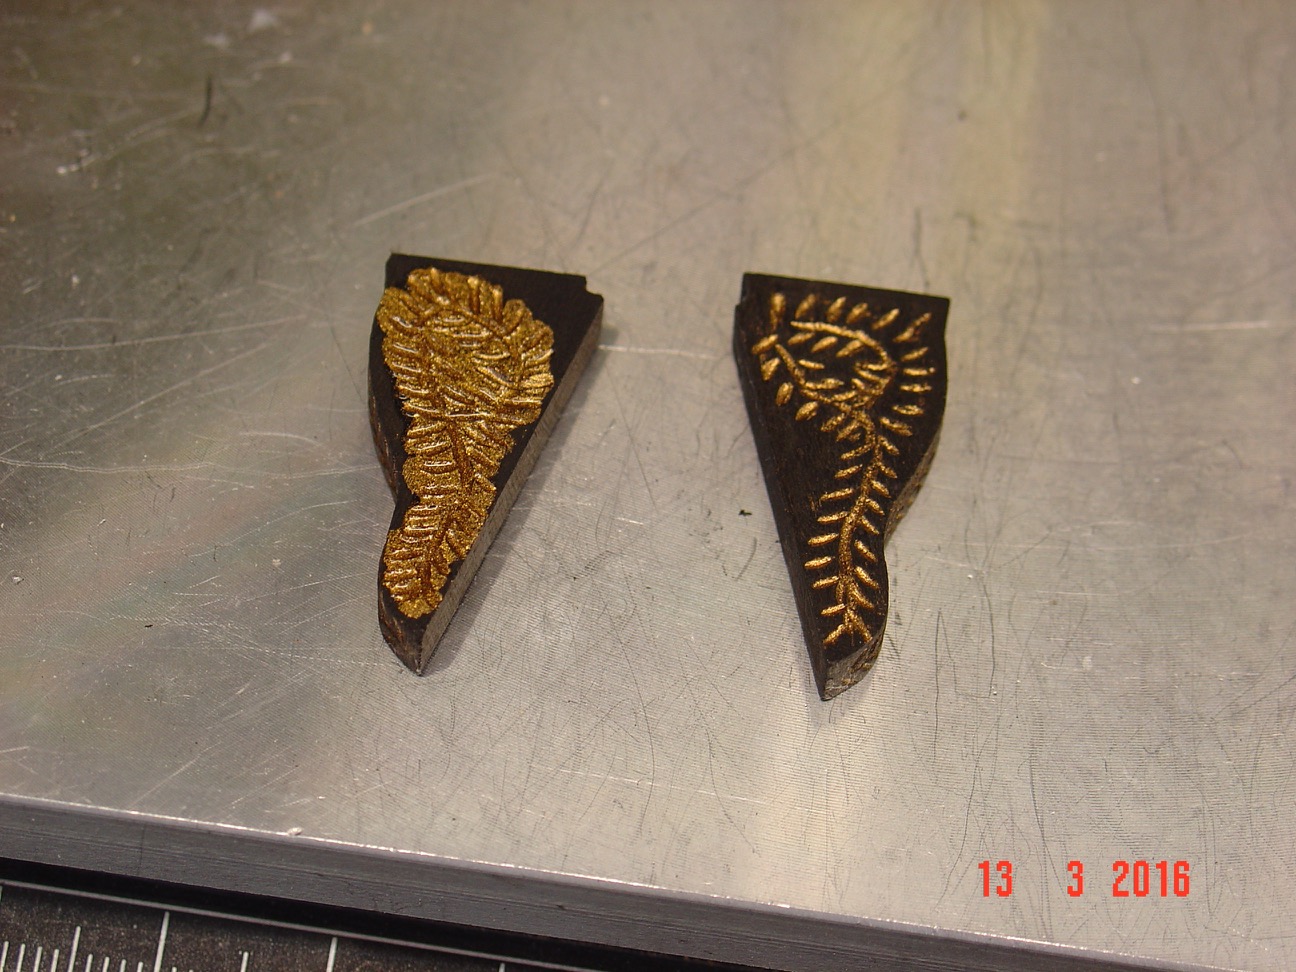
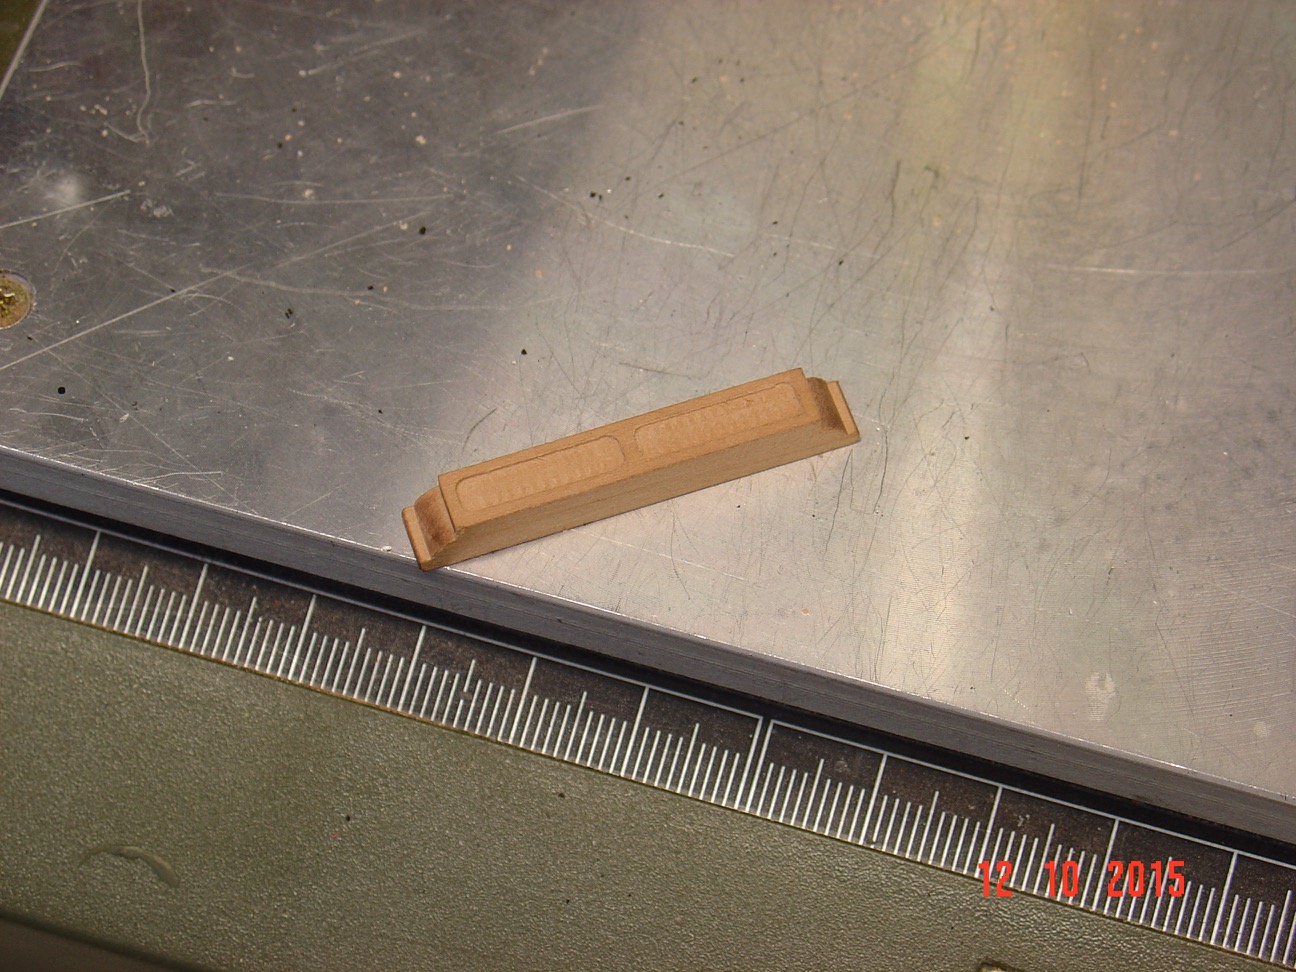
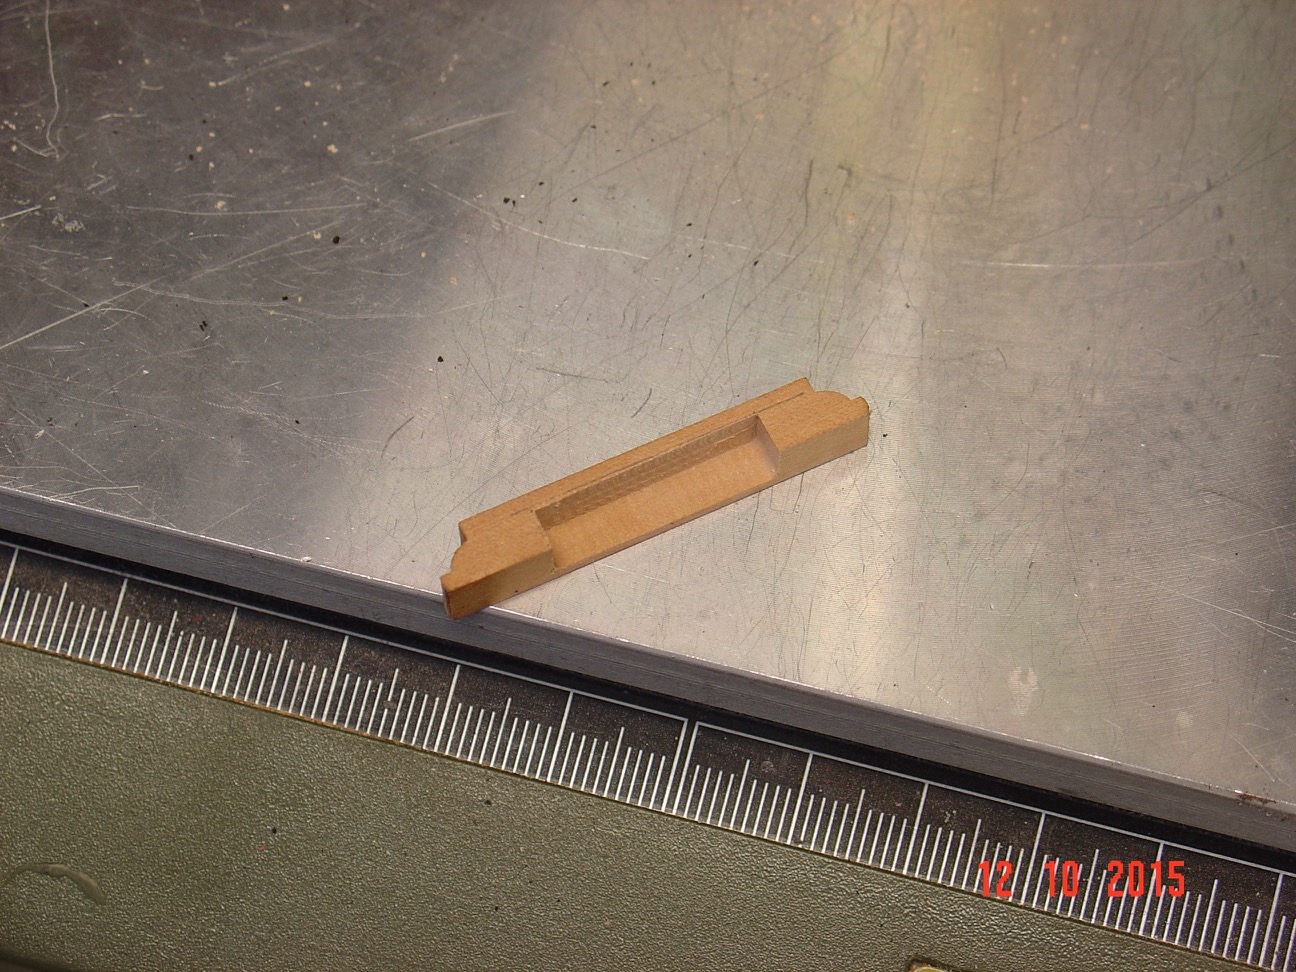
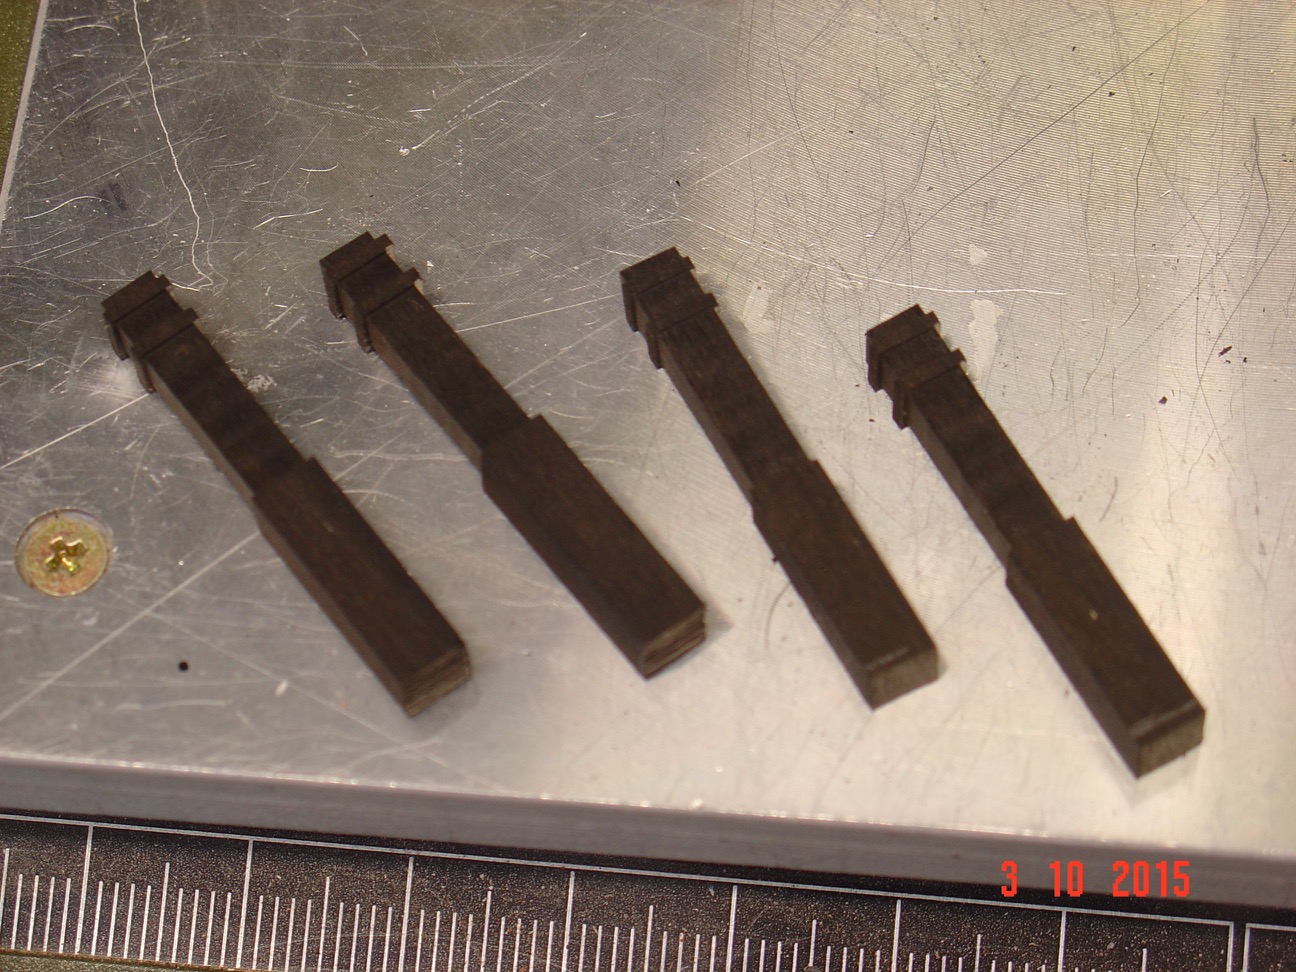
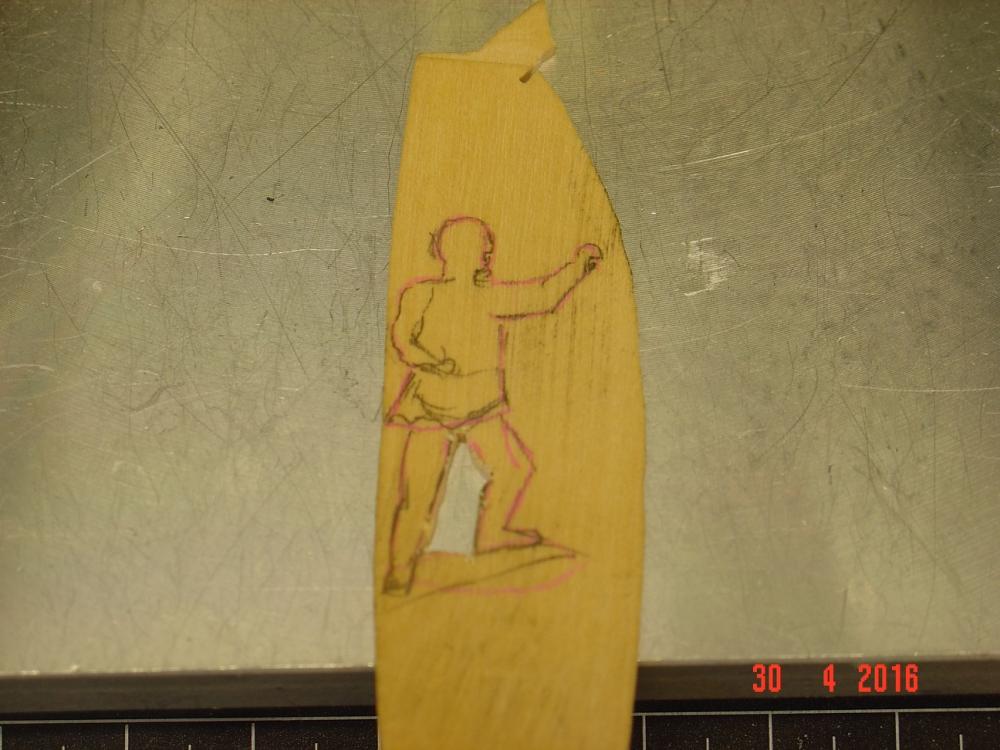
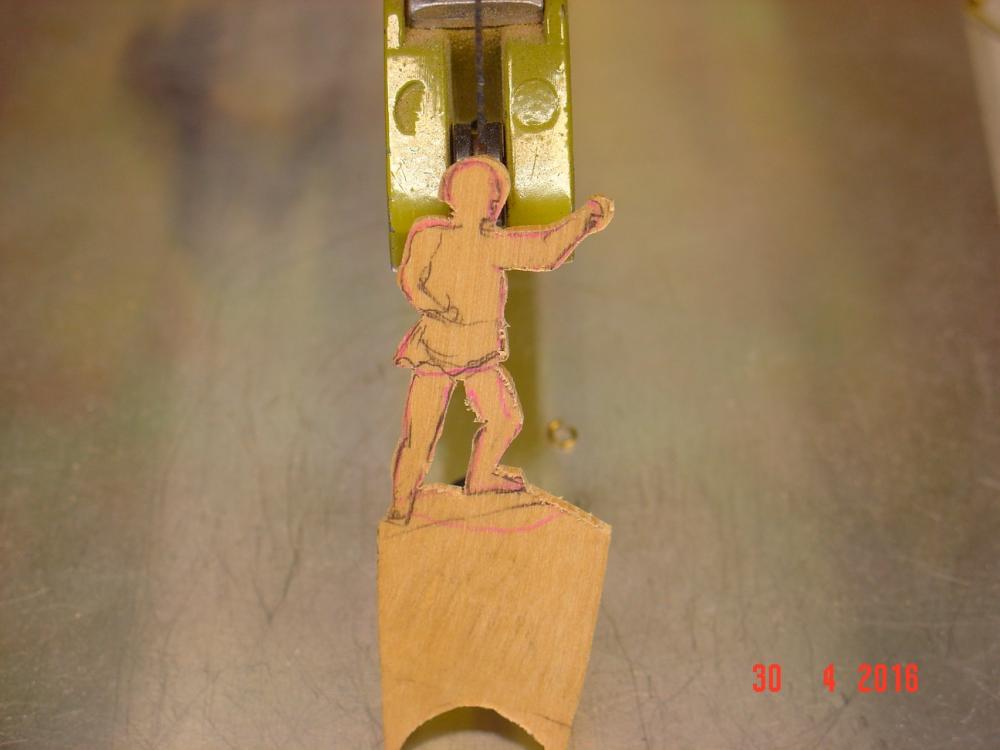
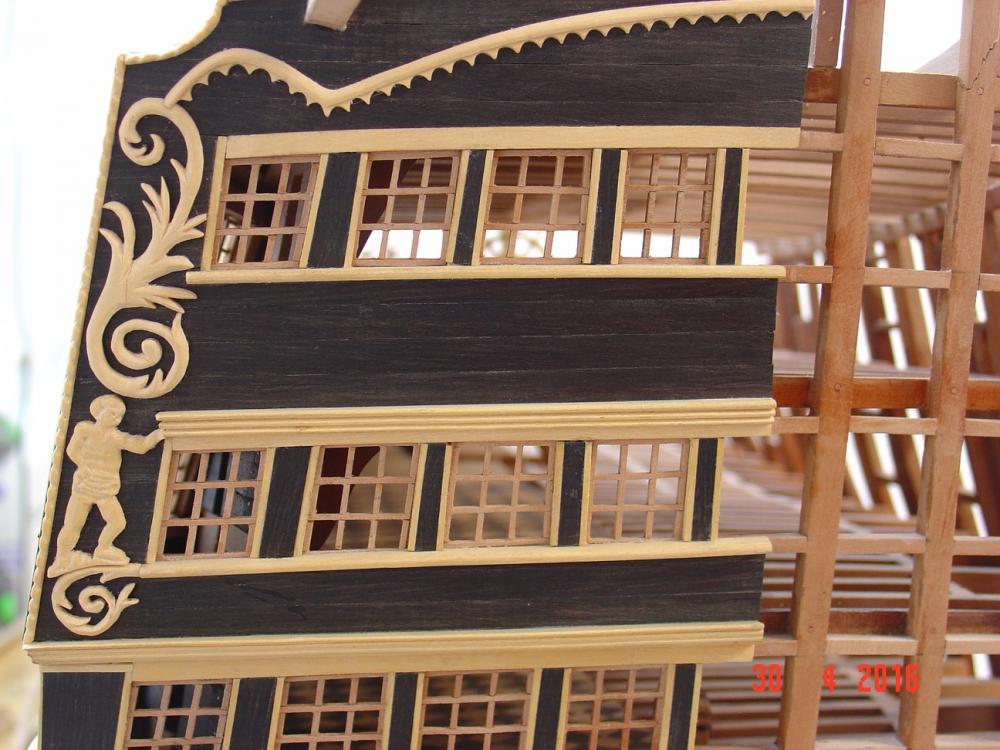
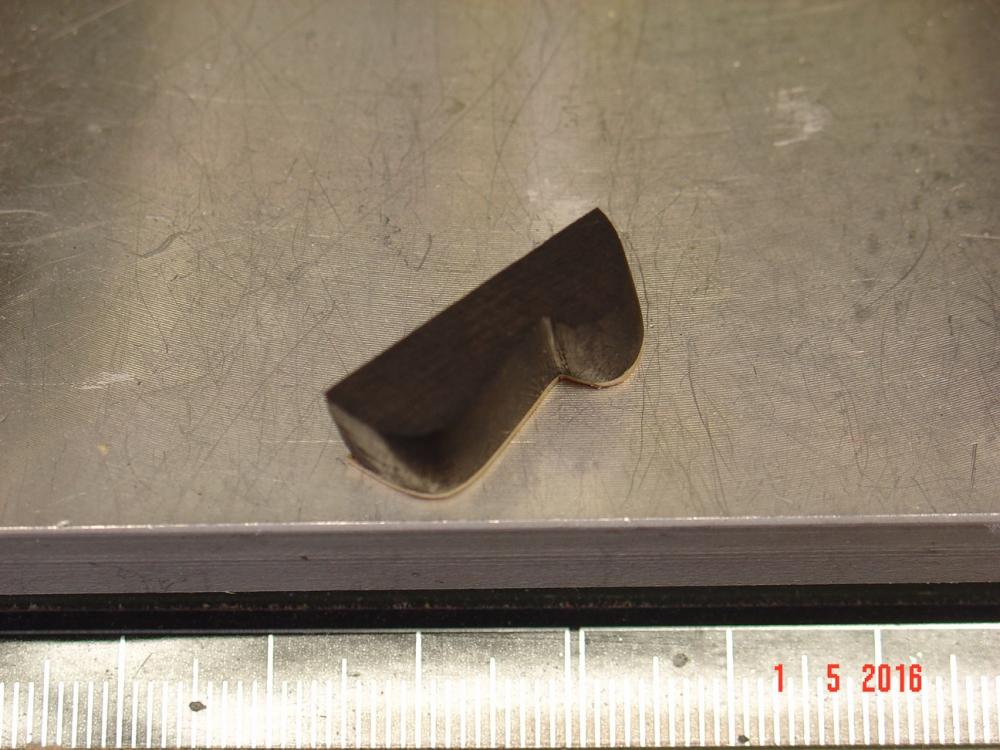
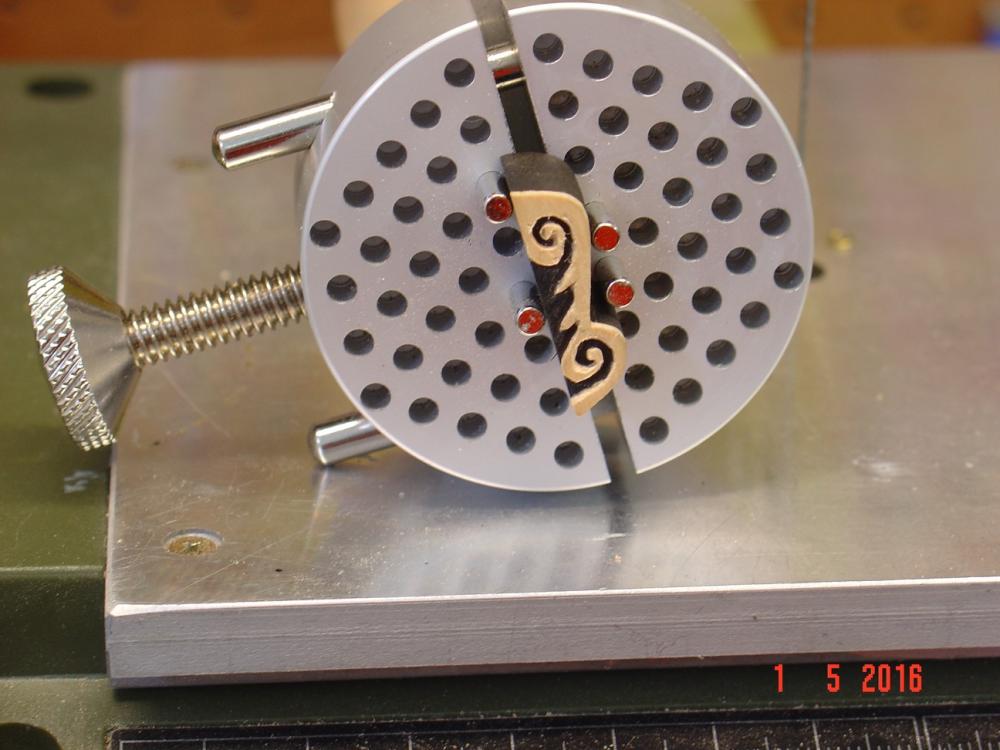
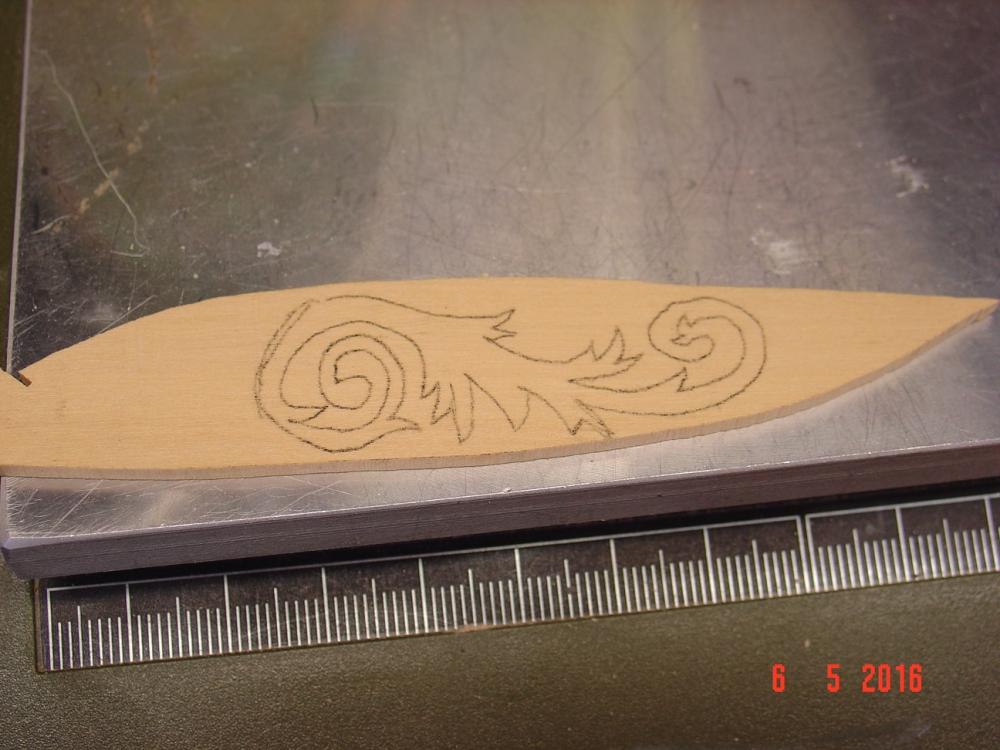
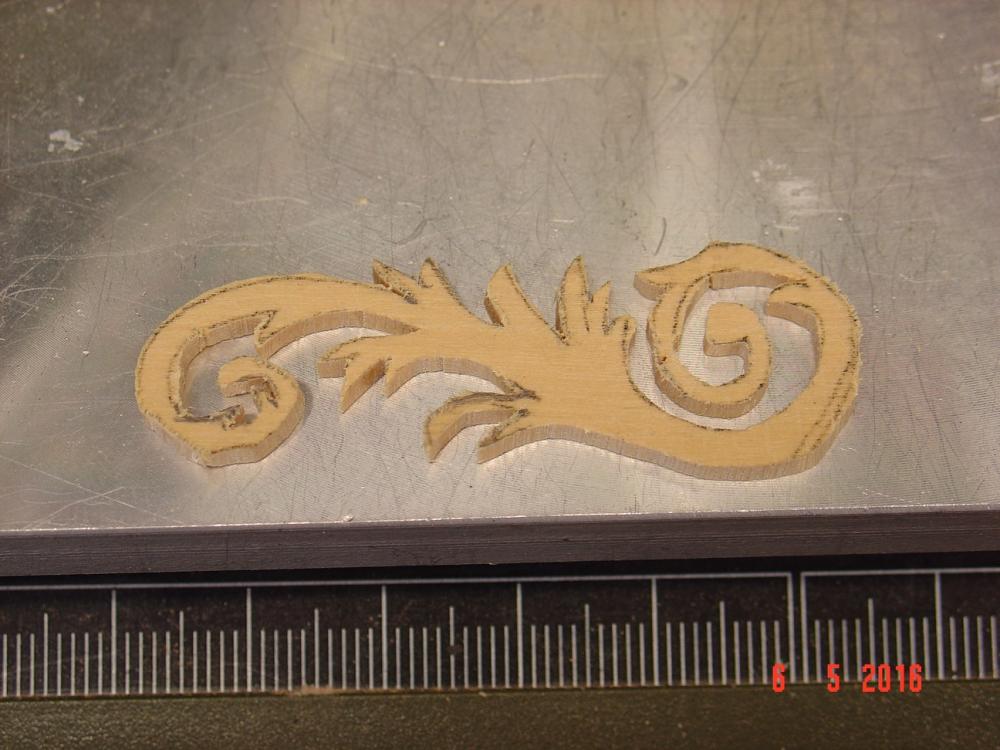
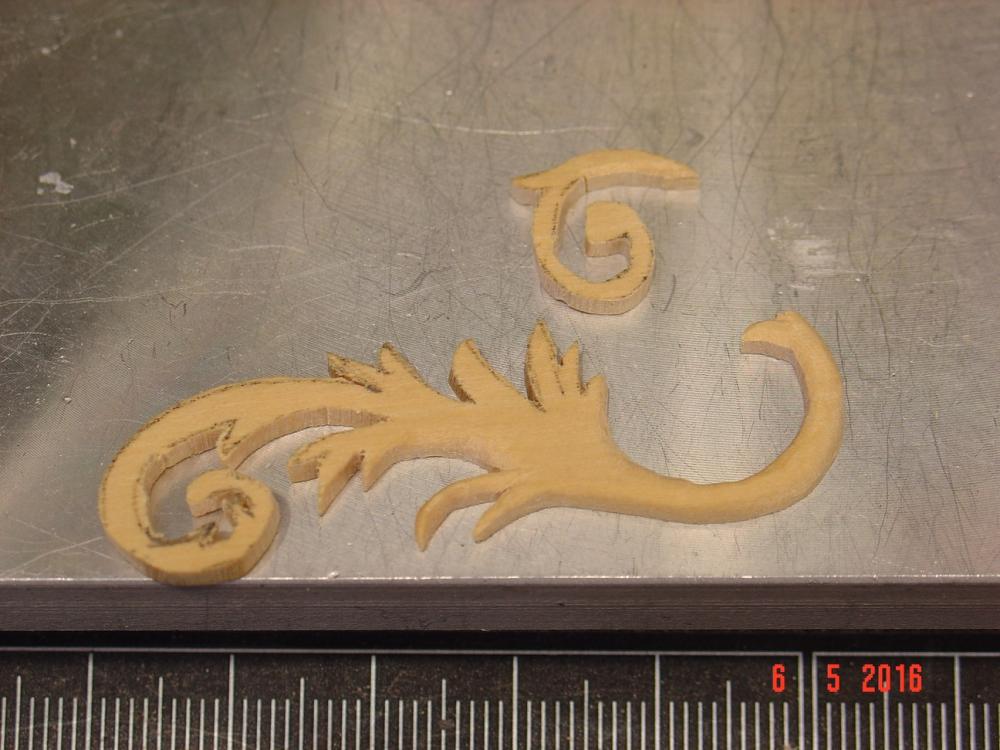
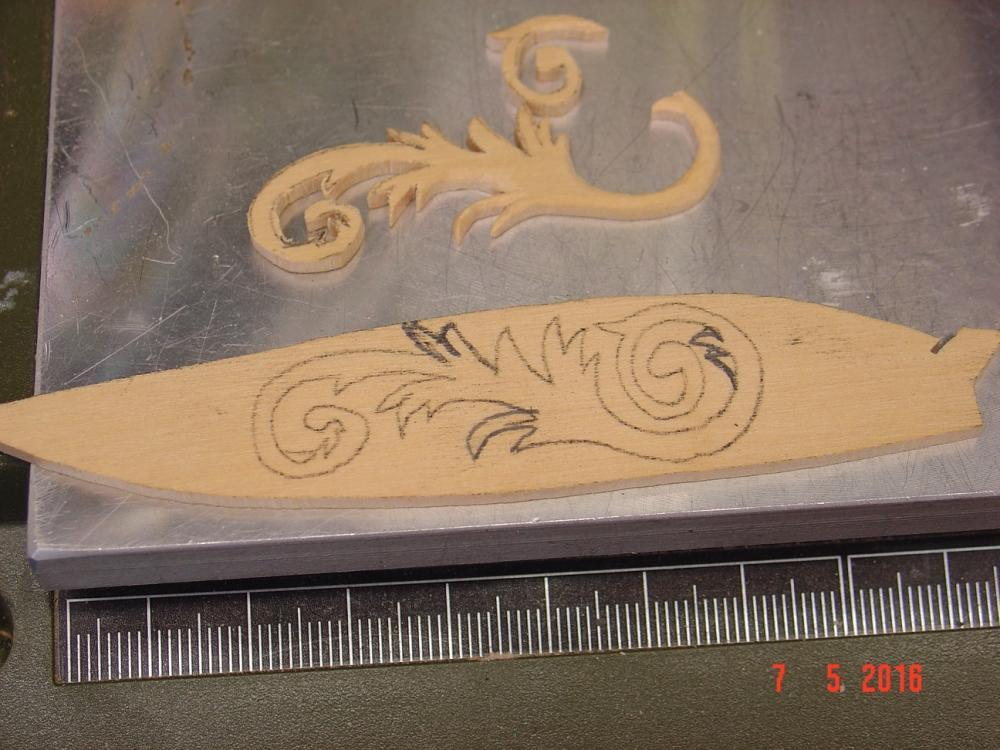
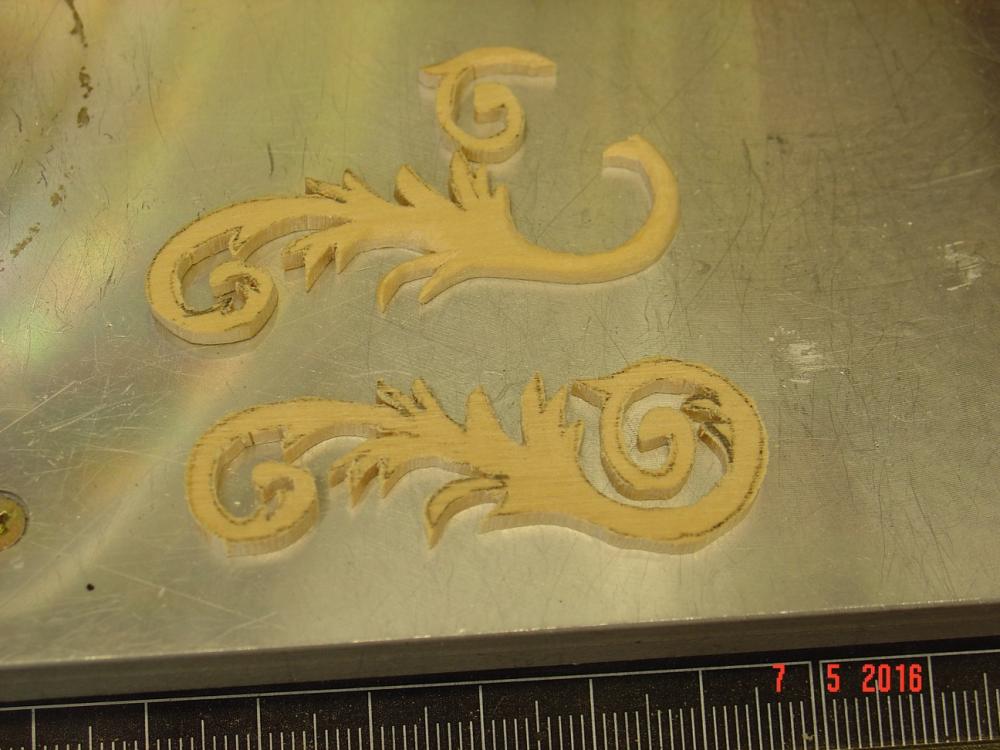
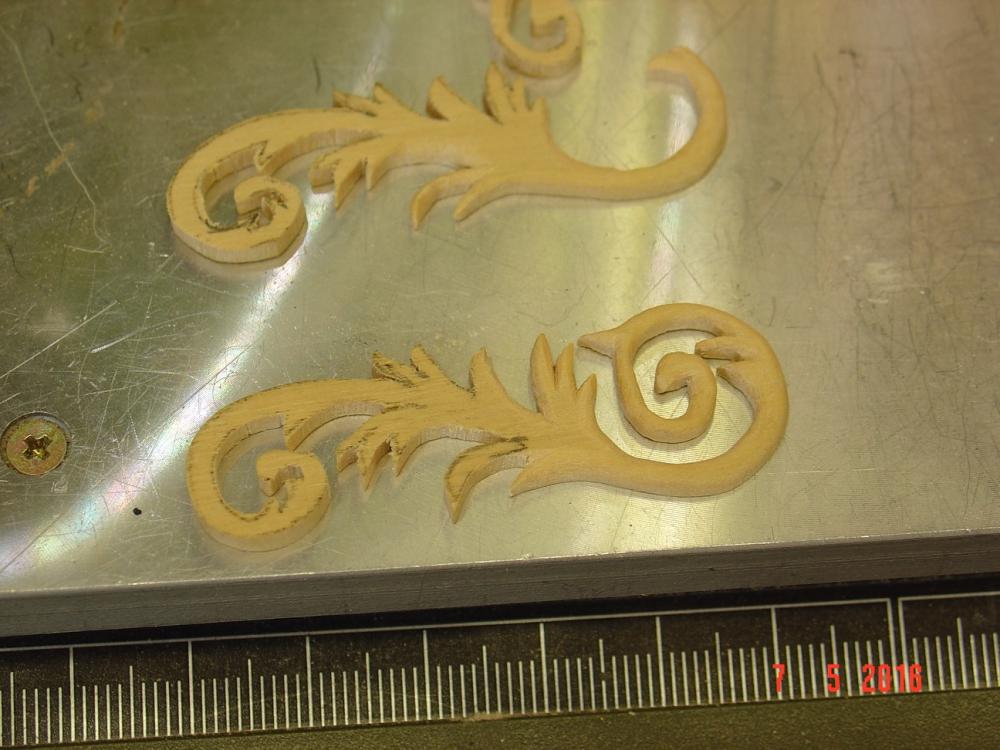
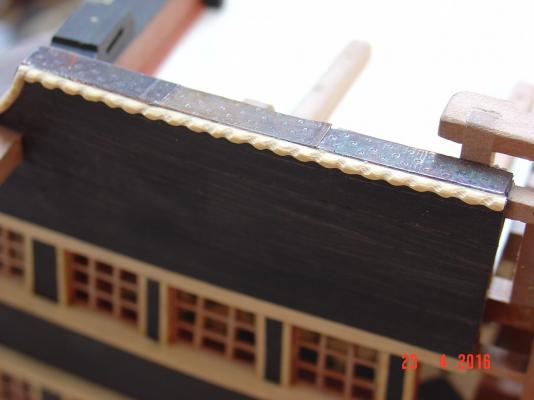
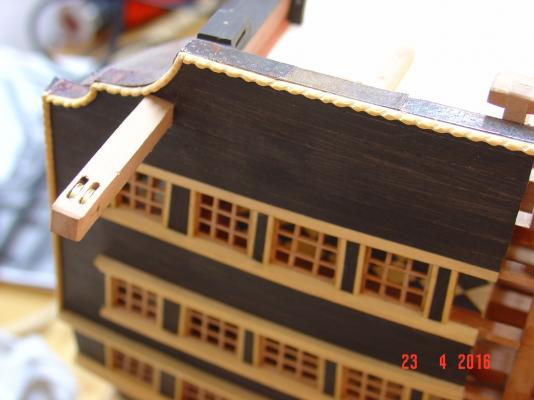
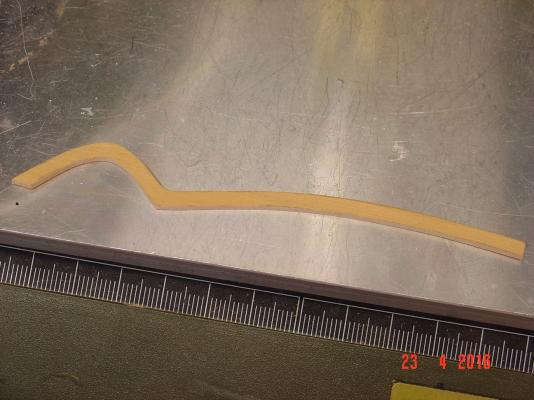
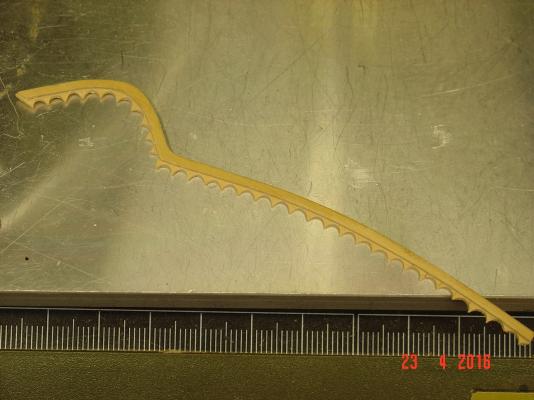
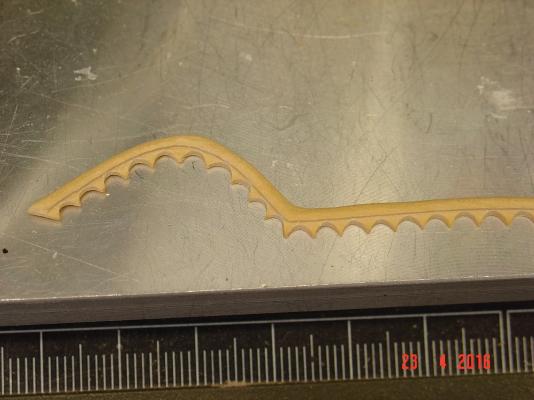
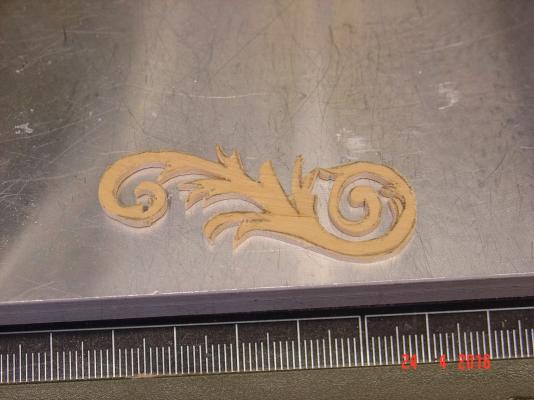
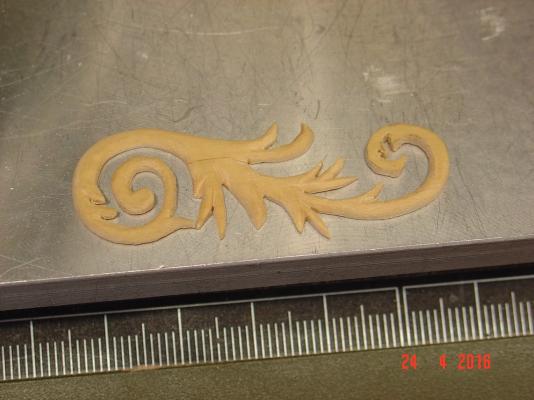
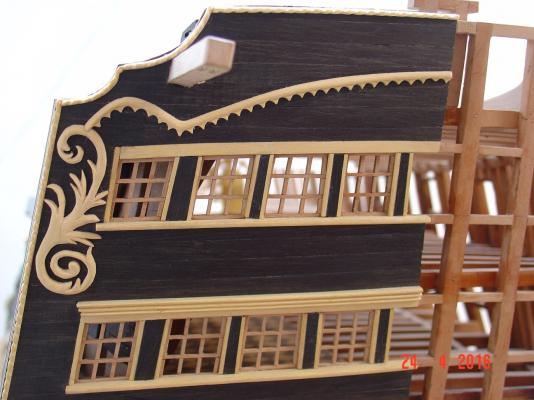
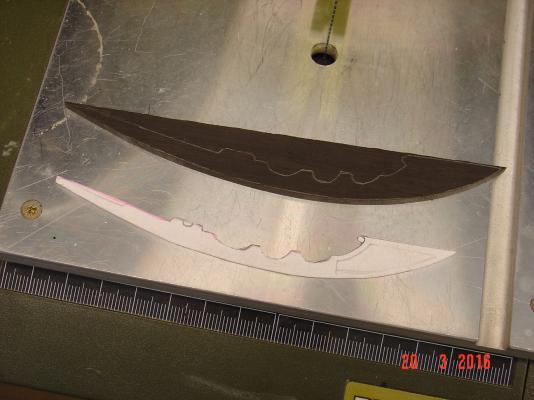
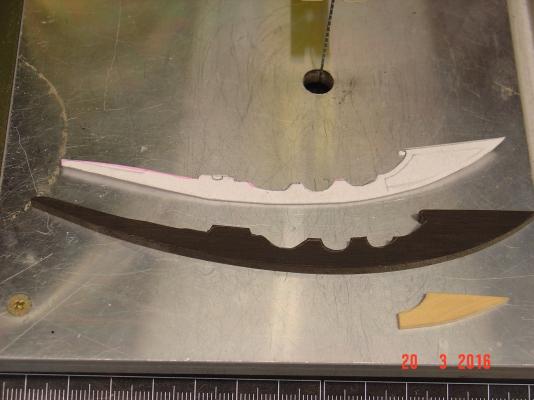
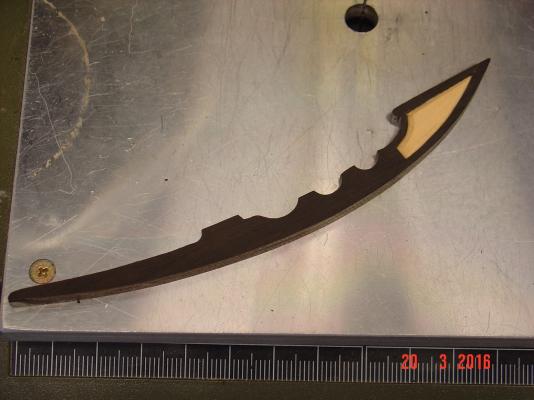
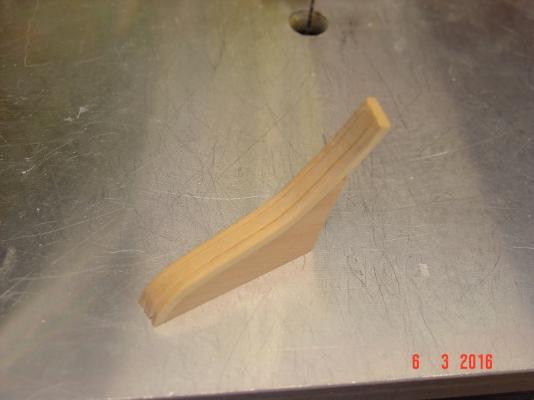
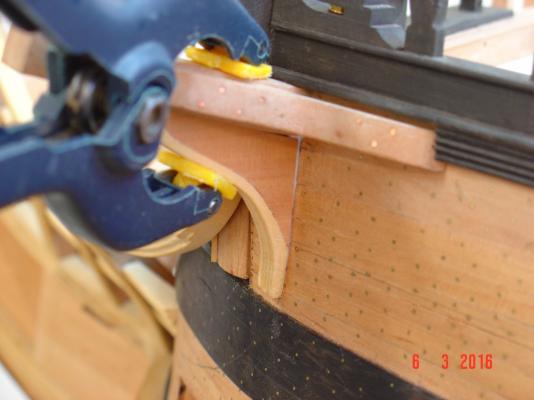
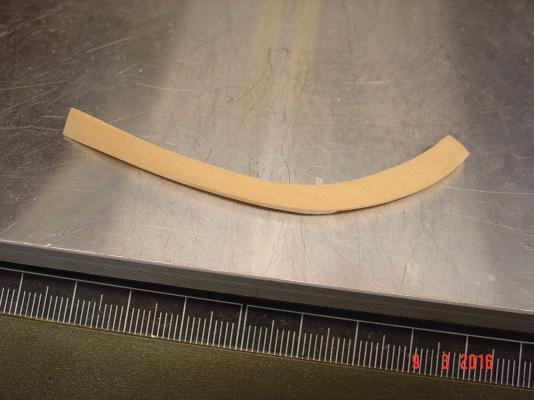
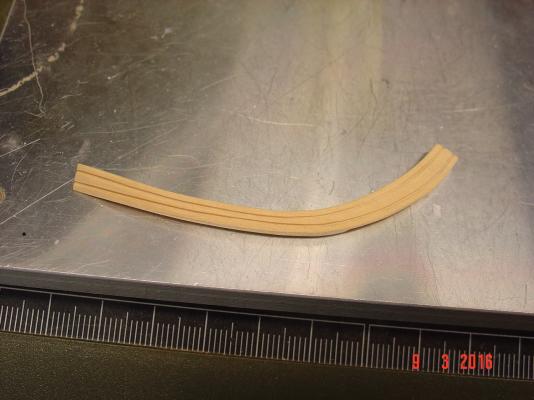
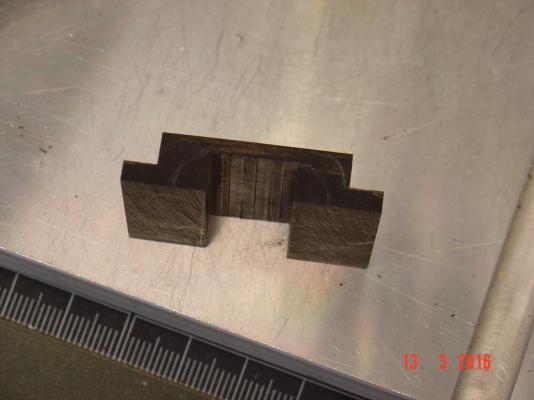
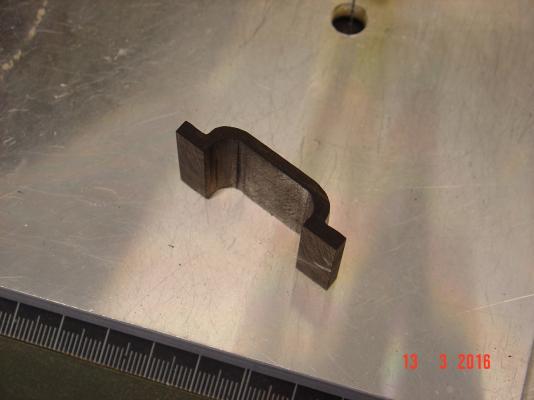
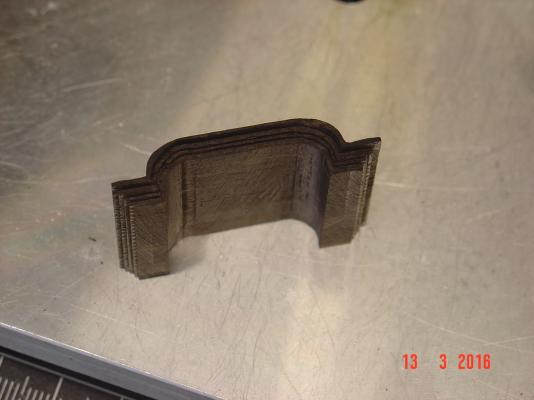
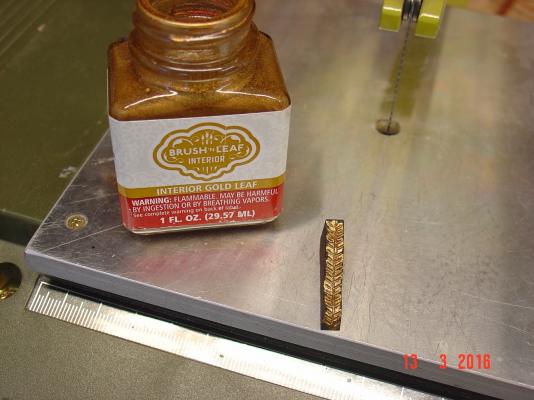
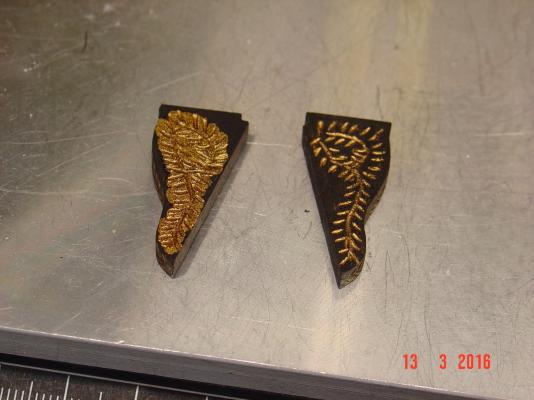
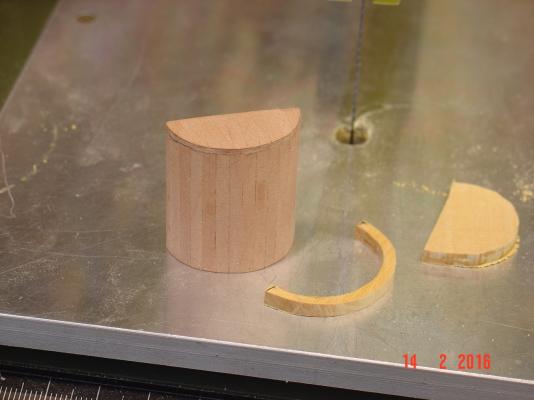
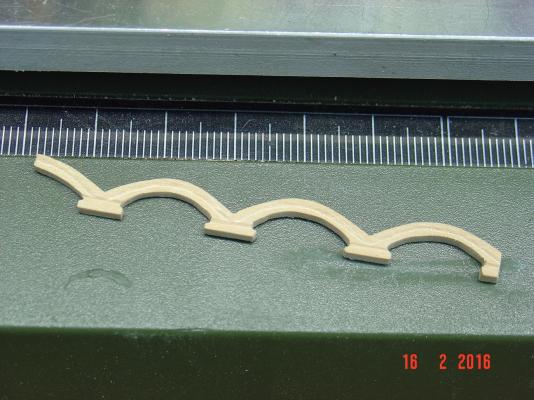
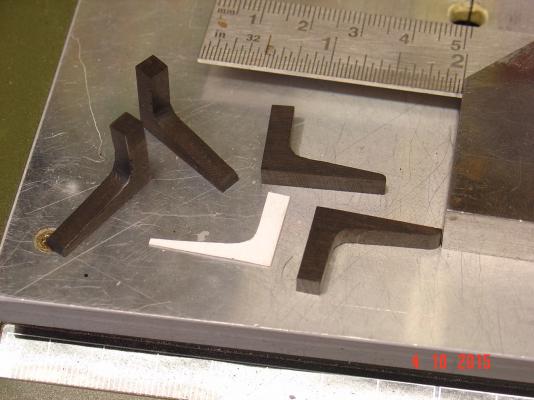
As promised I give it a try to redo that broken decoration. In fact I had to give two tries as number 2 also broke but at finishing not at cutting this time. Luckily number 3 was a success as I didn't plan to go for number 4. Also the removing of the already glued piece proved to be a very easy thing - in fact it came down in a single piece. Maybe because glueing on ebony is not as strong as on other wood essence. I am quite happy with the results. Thank you Heinz! If you wouldn't have insisted I would almost sure let it like that. Here are the pictures. Regards, Alexandru


-
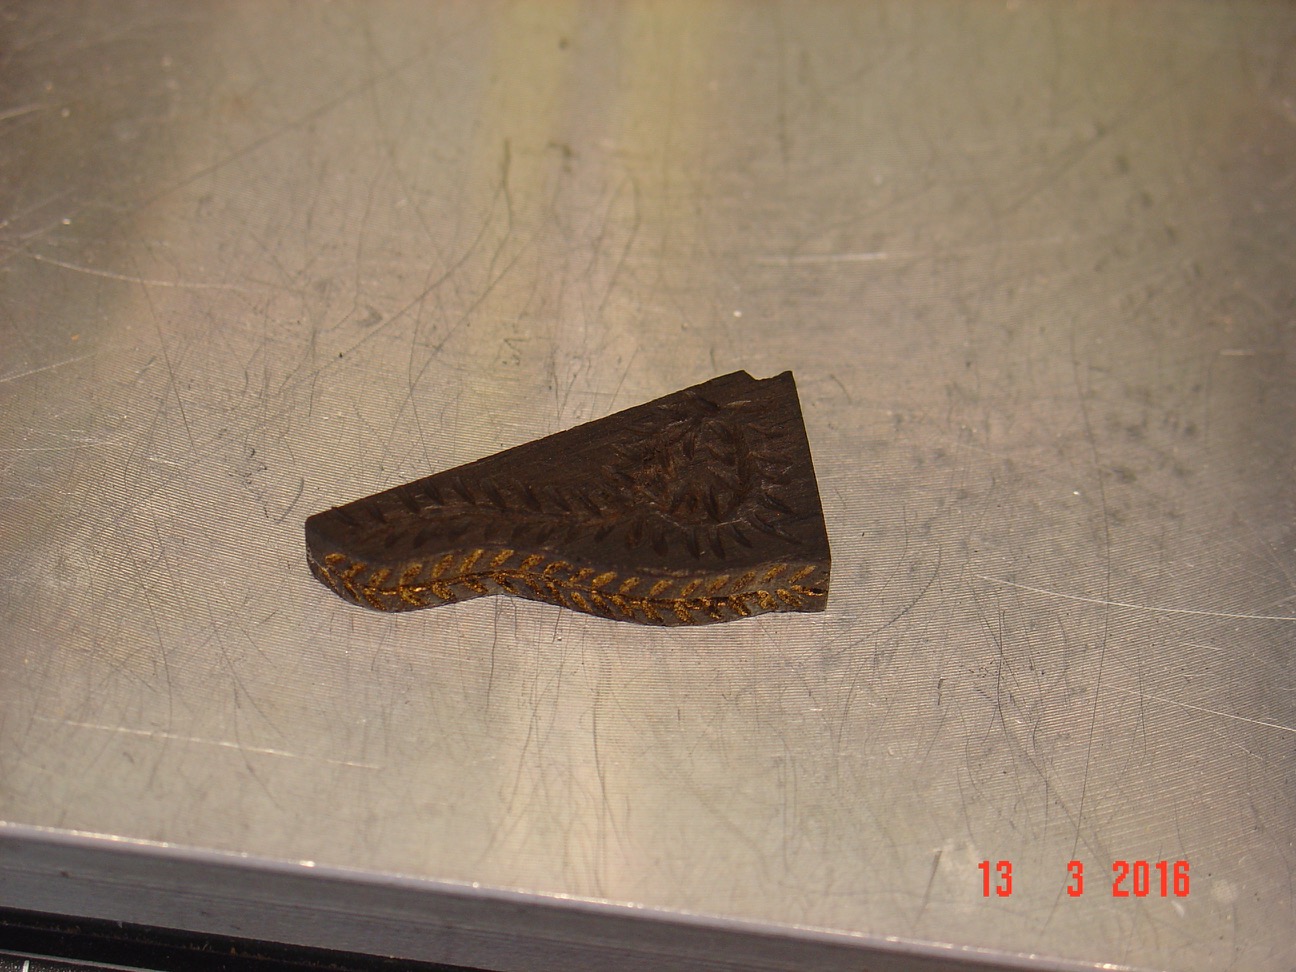
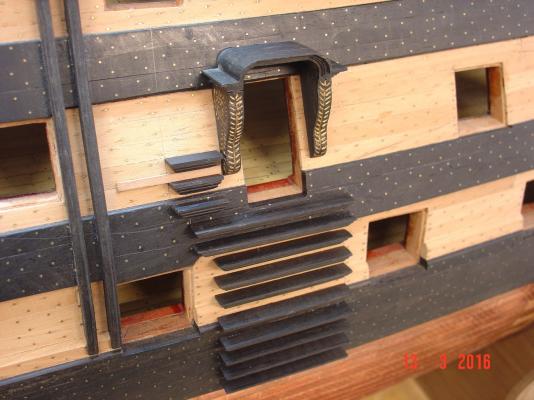
Heinz, I don't mind any criticism from anybody - so don't worry about that. You picked on exactly same thing my wife did. I tried to convince her (and me) that is ok, you can barely see it. Took me about three hours to do it so it will require another three hours to redo but the thing is already glued there and I won't like to have to replace more because I broke something else while I try to take it off. I won't tell that I will do it for sure but I will think about it. And I will only try to remove and replace the piece when I have a new one better looking done. Alexandru
-
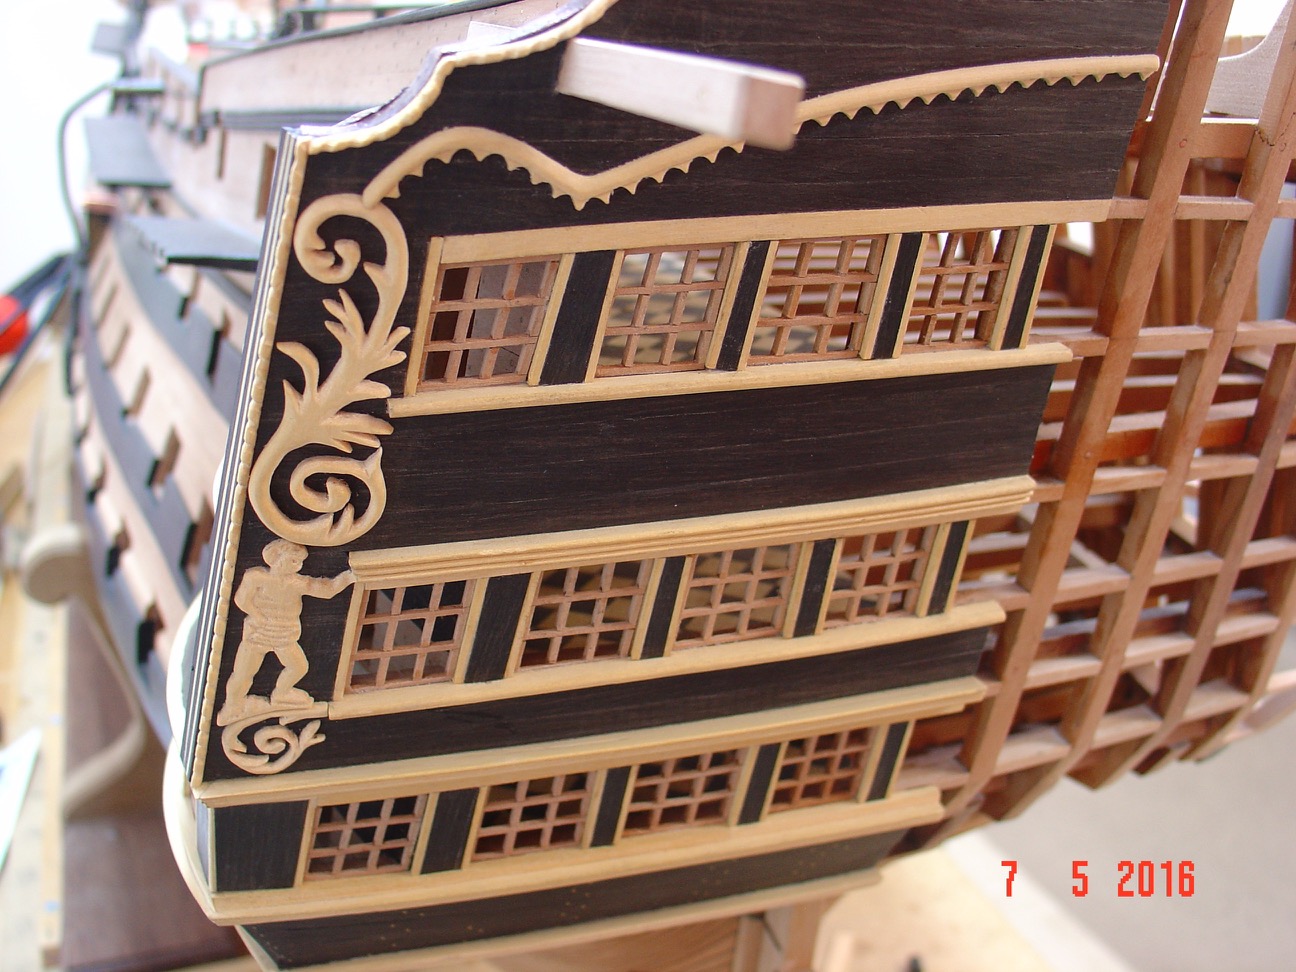
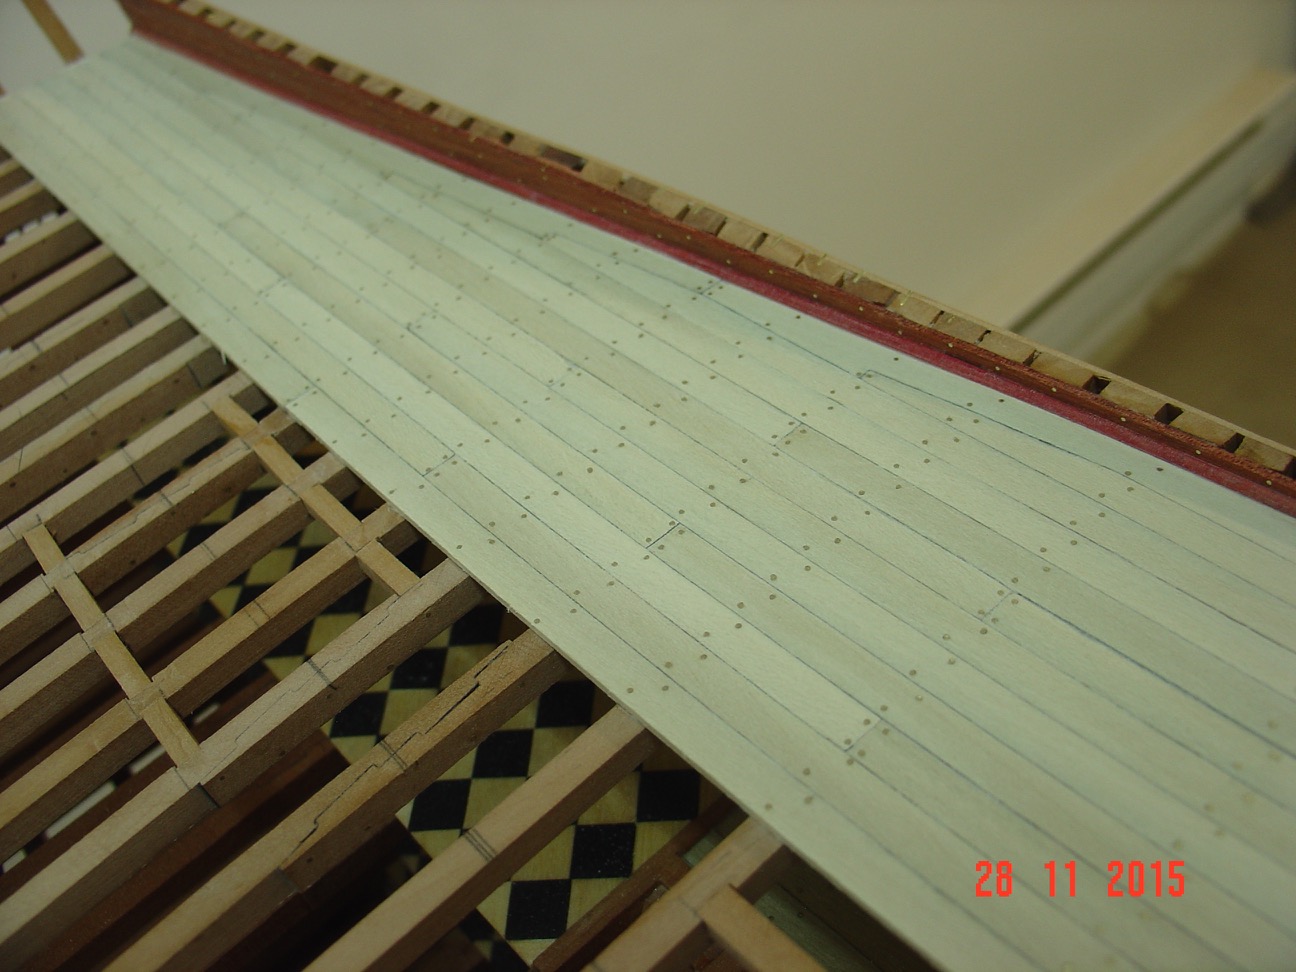
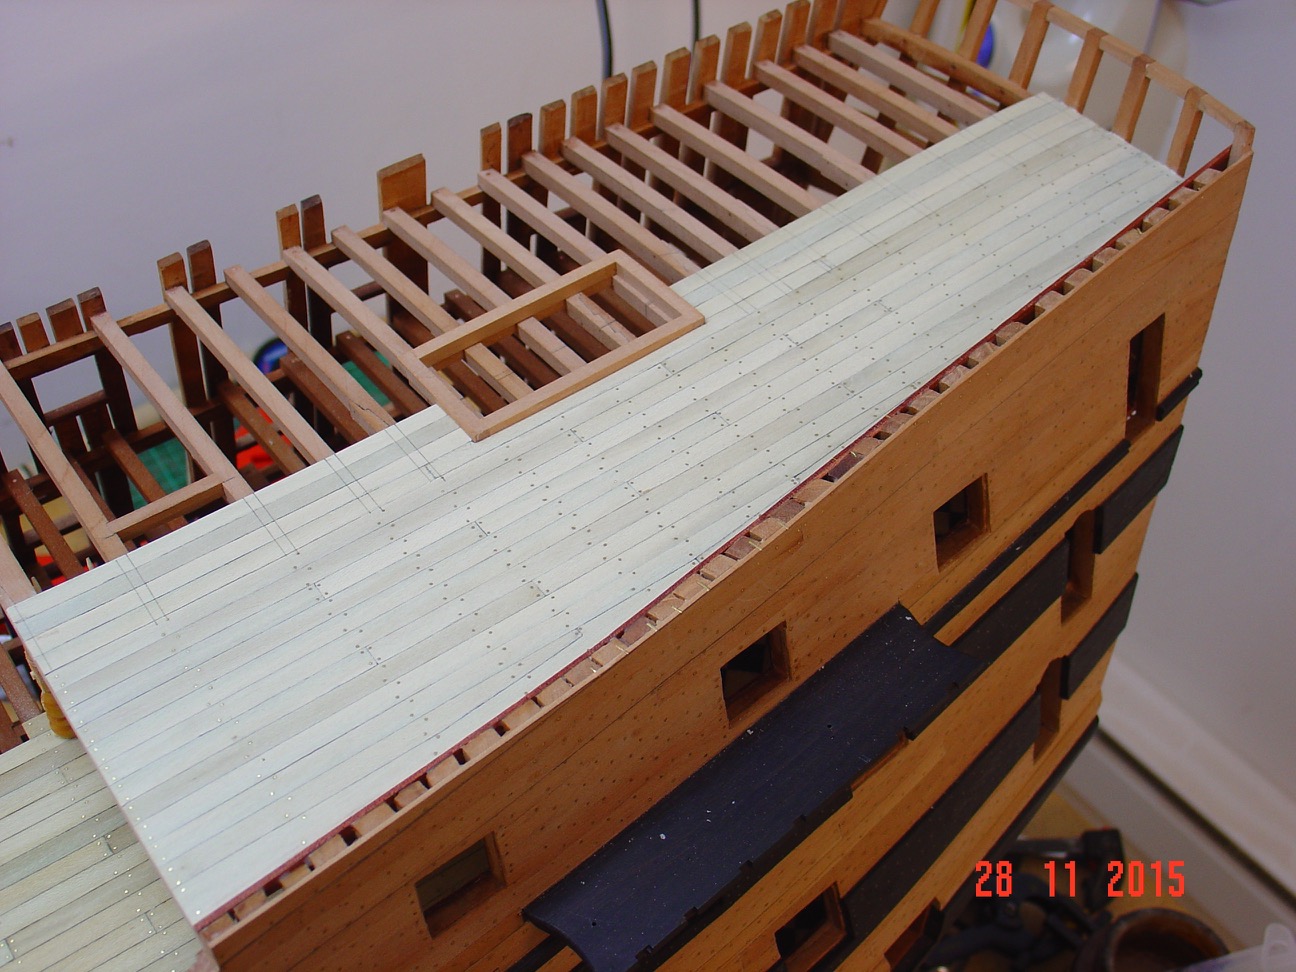
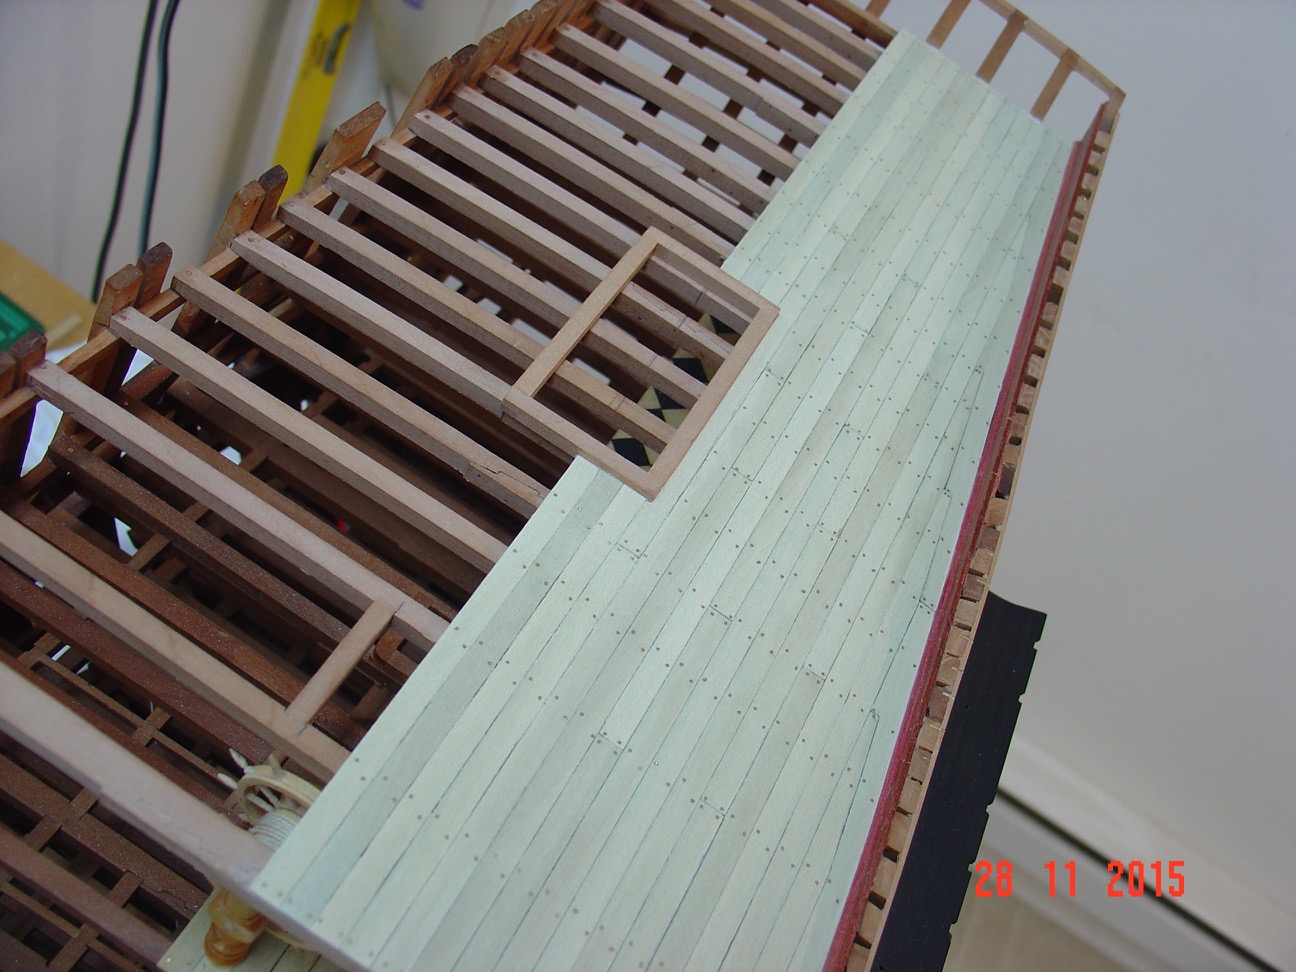
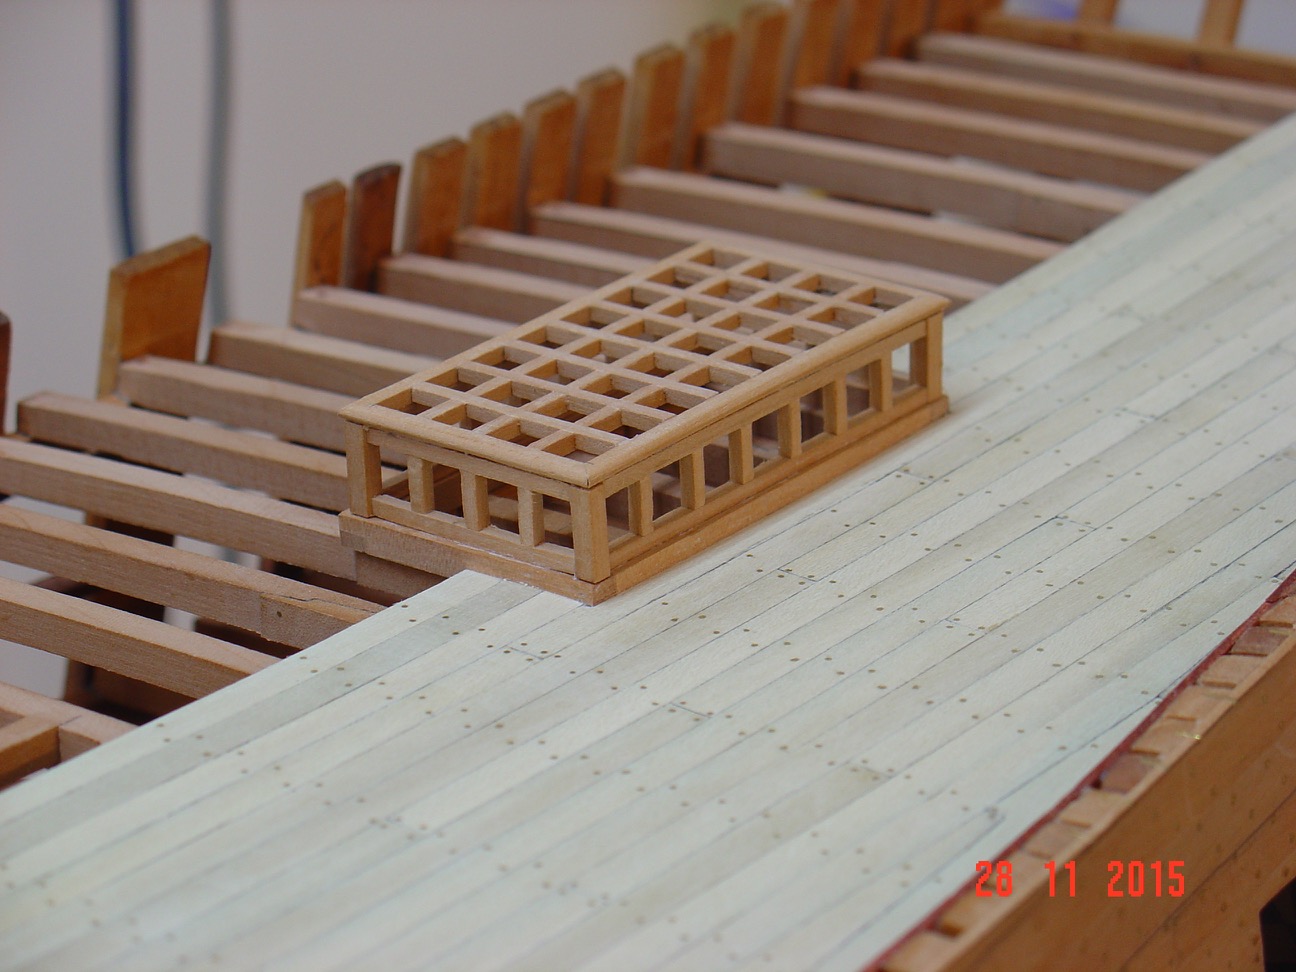
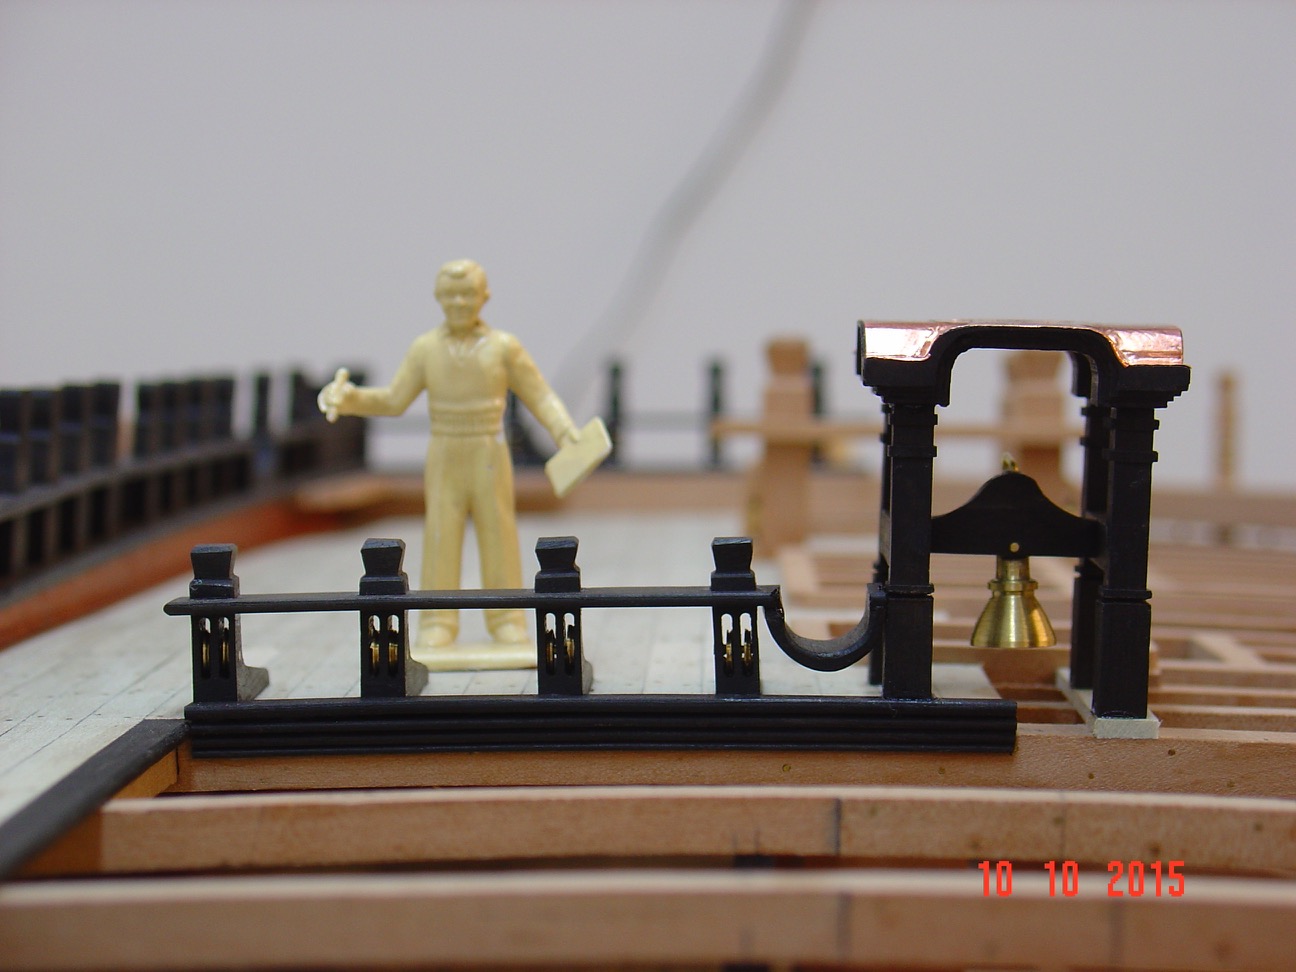
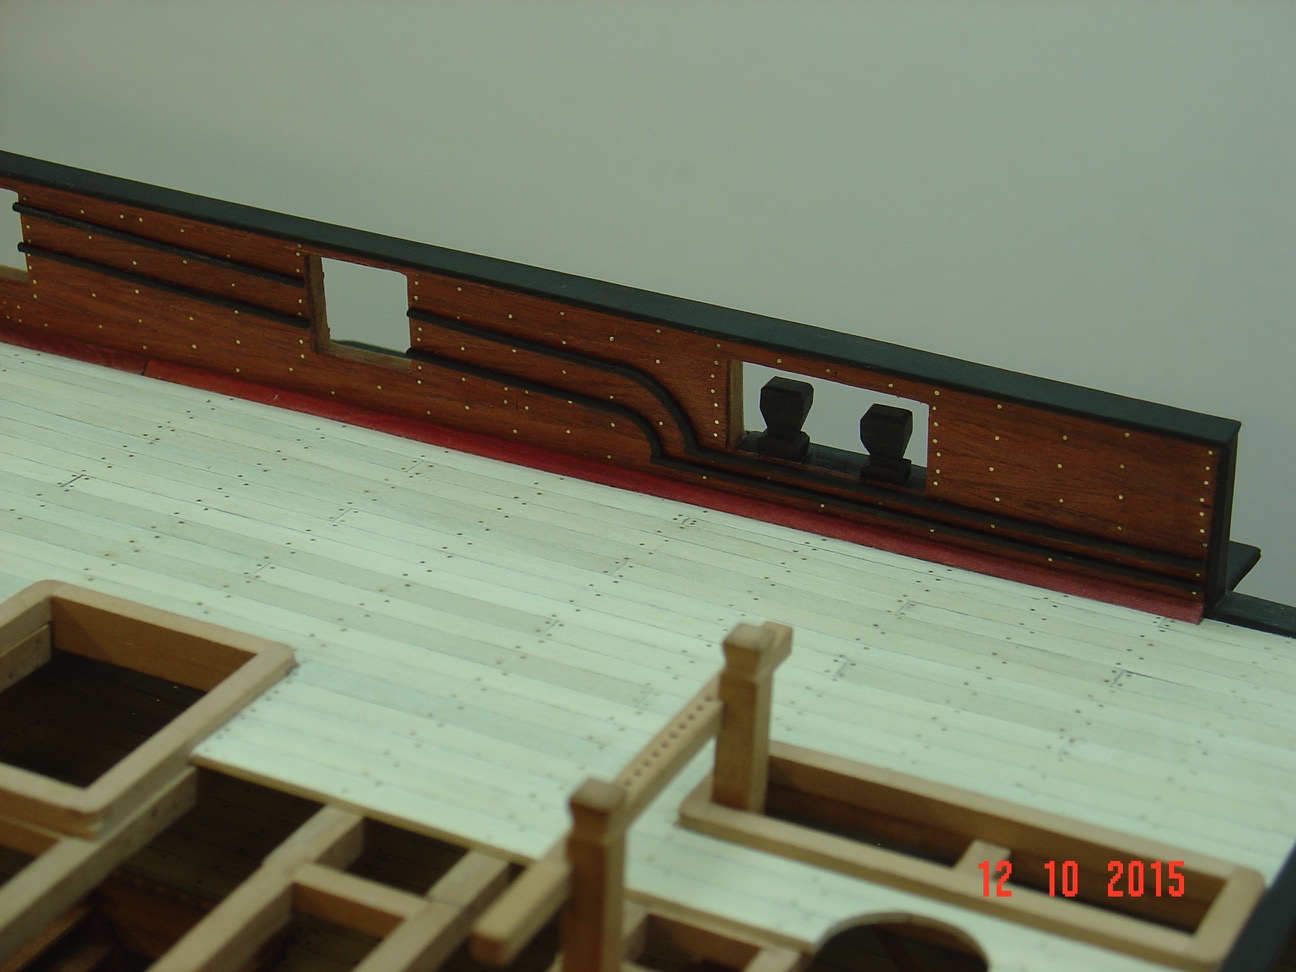
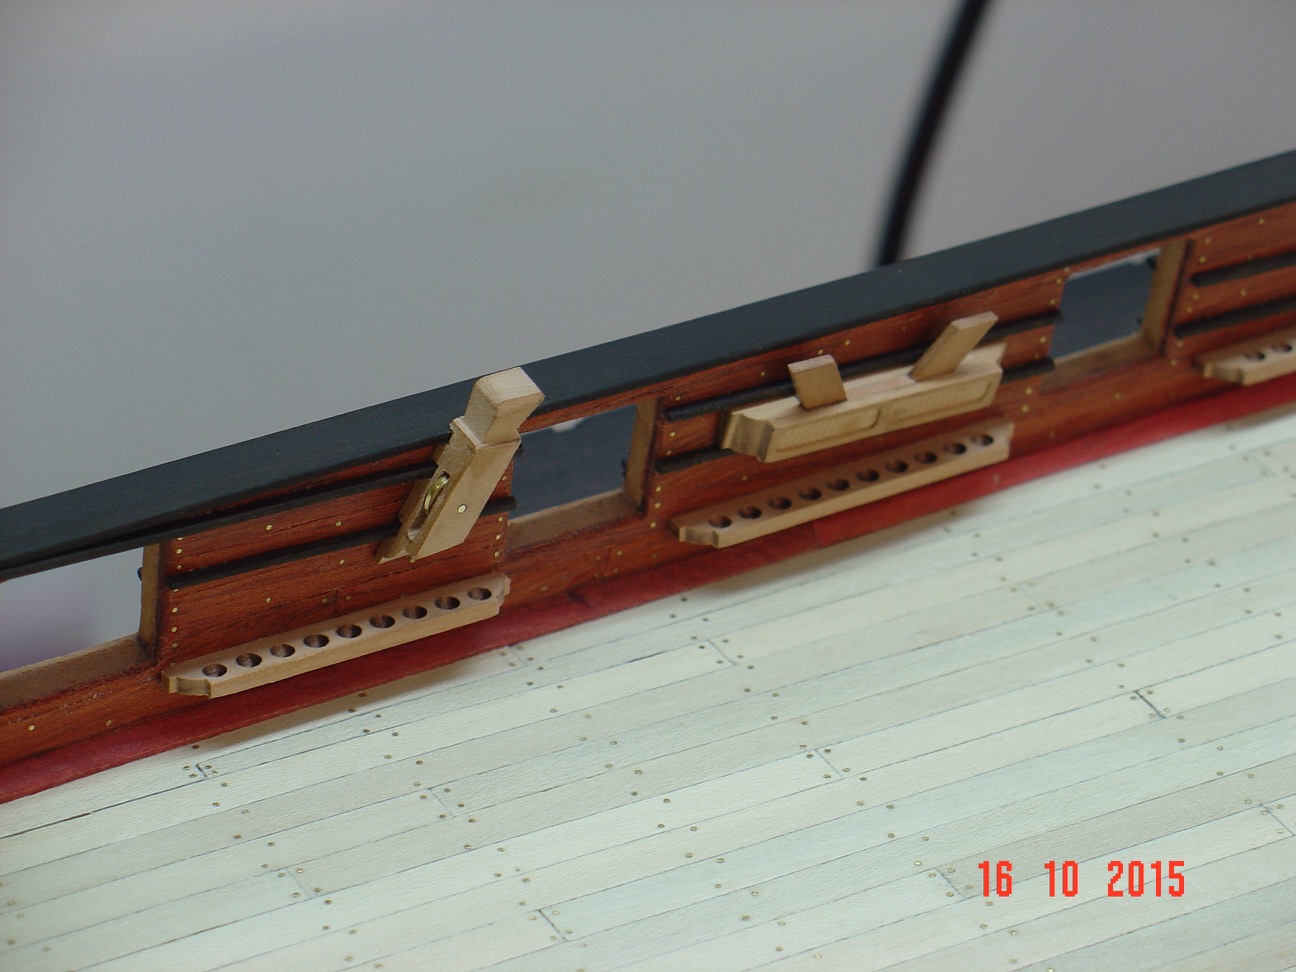
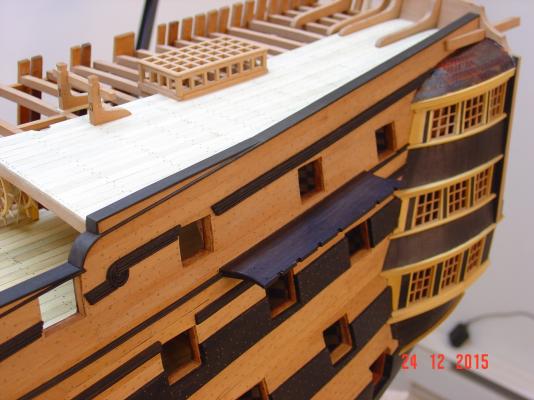
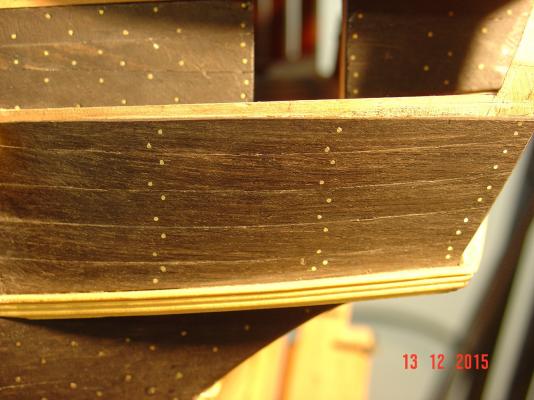
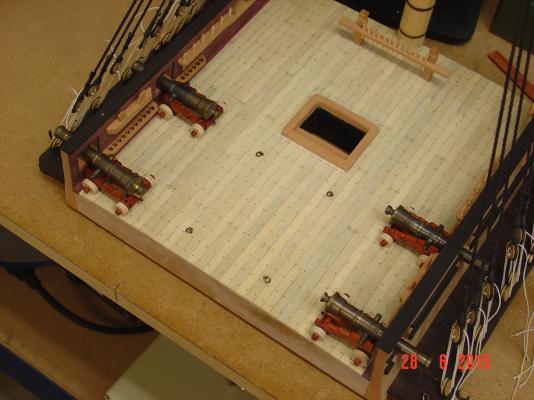
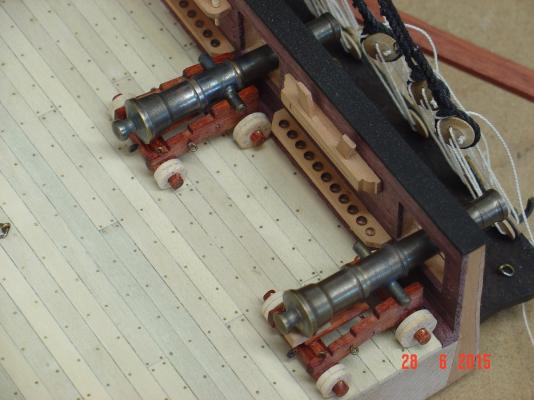
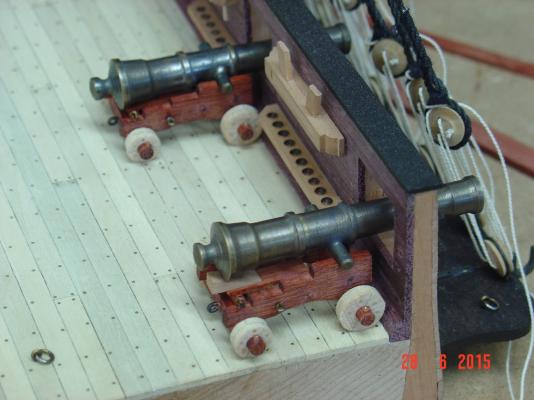
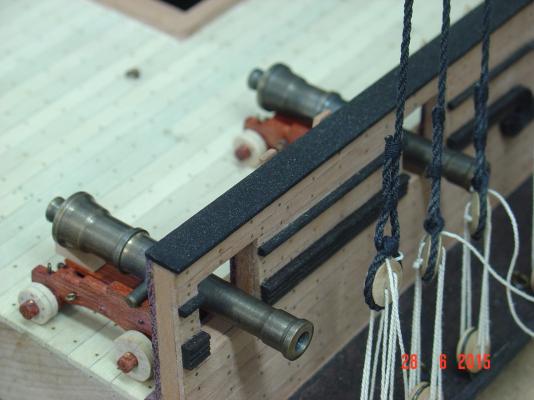
Hello all, Thank you for comments and likes. Here is another update on my Victory. Alexandru


-
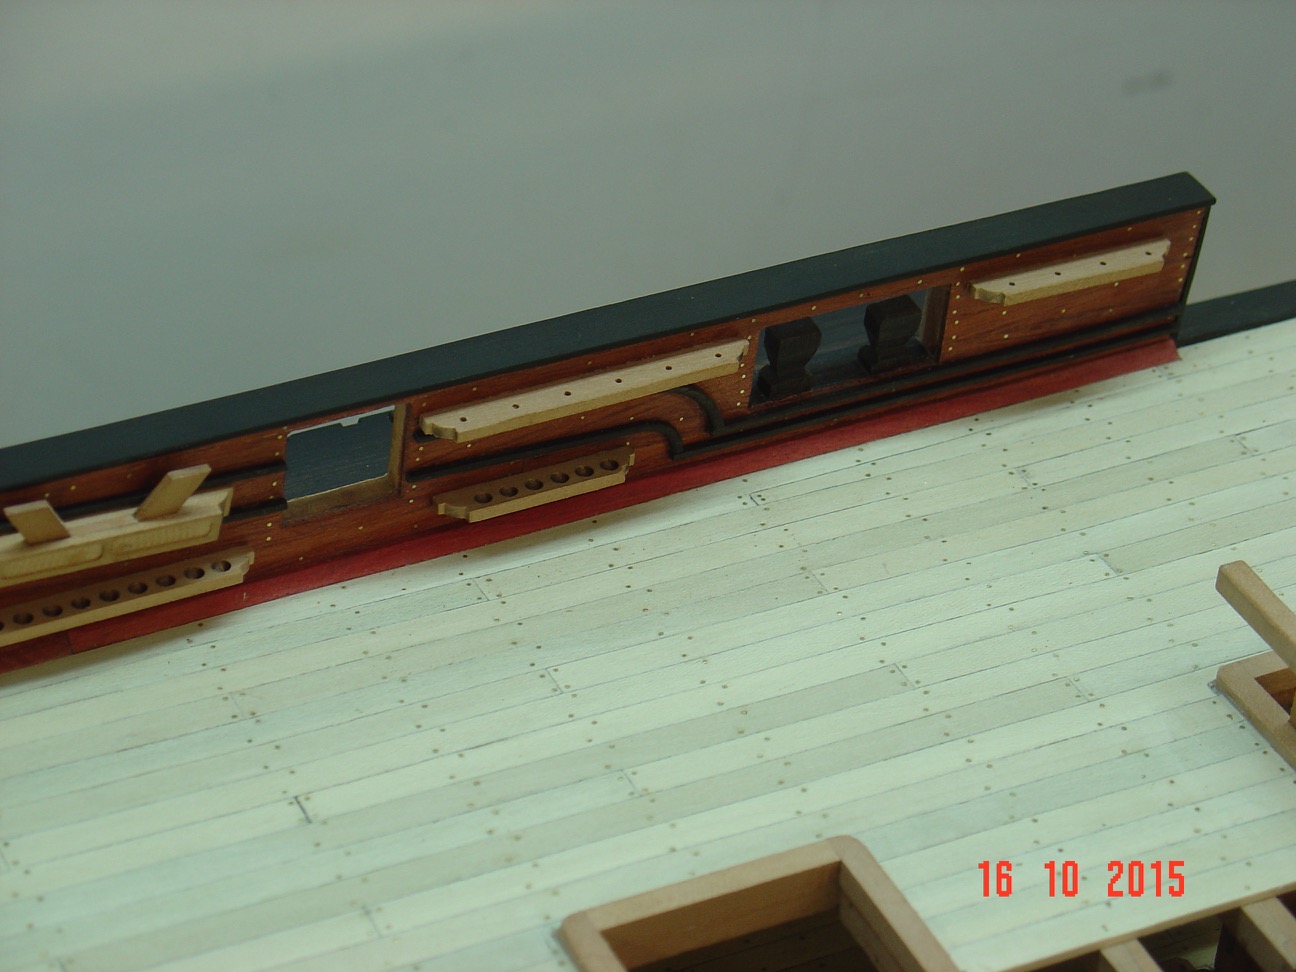
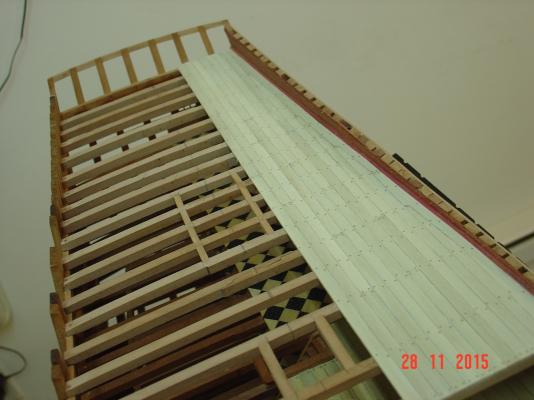
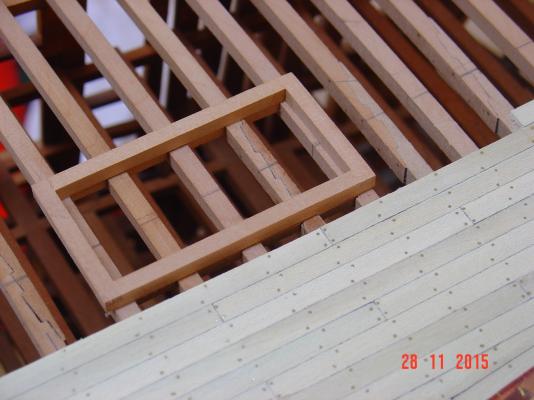
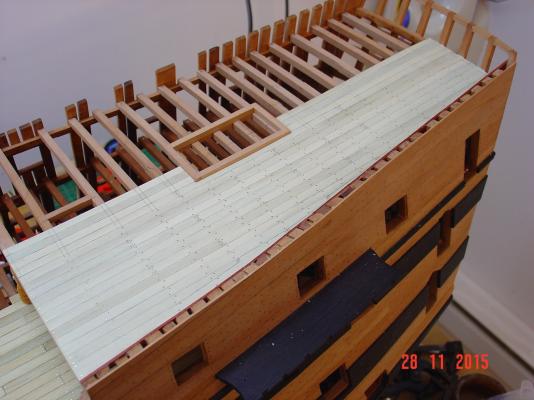
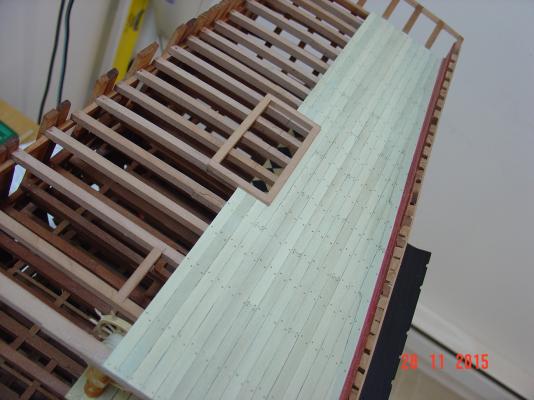
Hello all, Here is another update on my build. Alexandru


-
Greg, I think it is better explained with pictures:


-
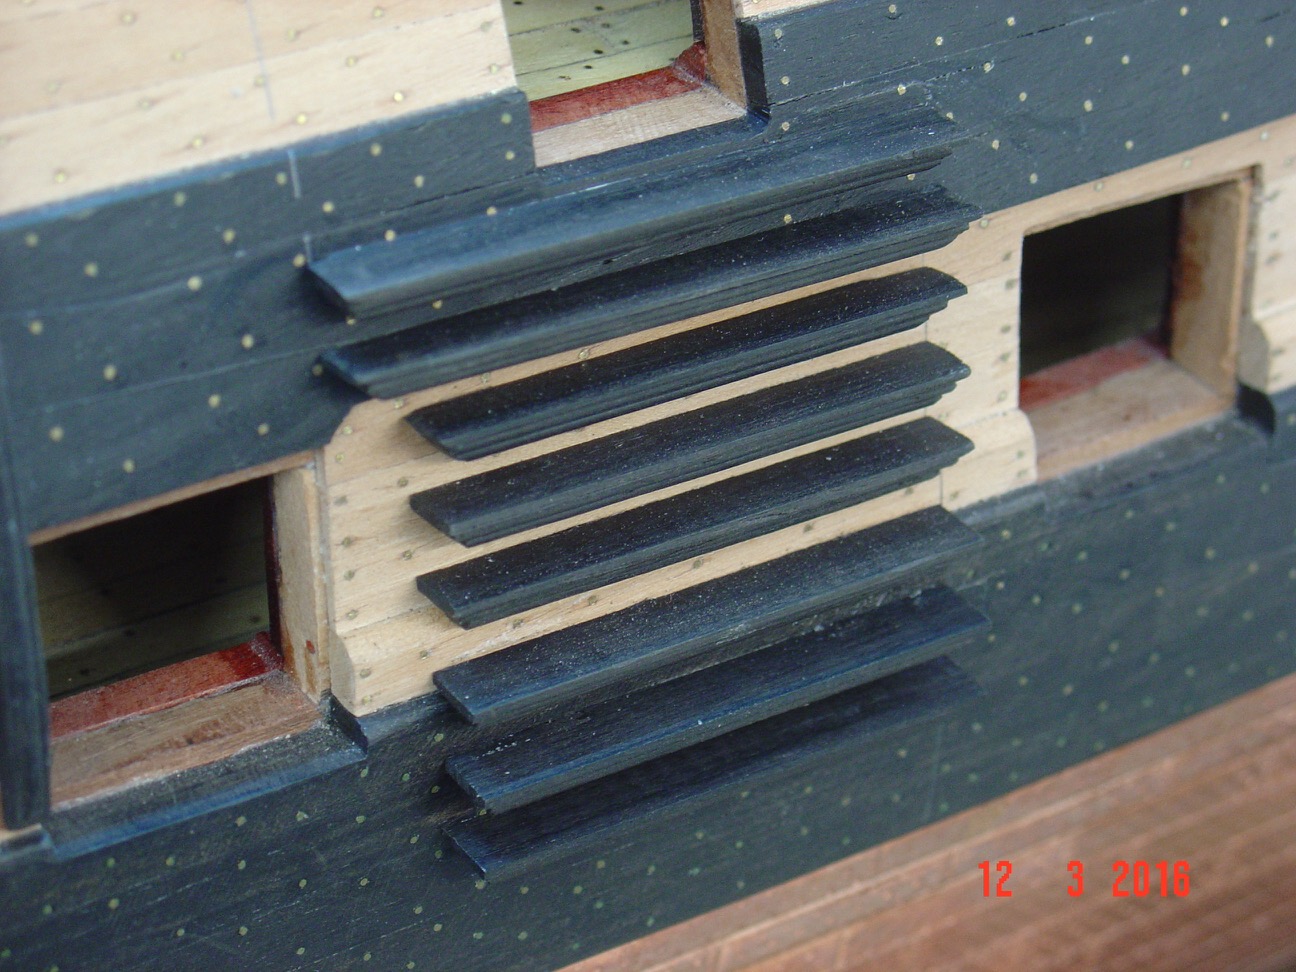
I scraped it with an exacto blade, not sand it. I tried initially to wipe it with a cloth but it didn't worked so well. The sanding also didn't worked as the dust would fill the holes where the paint was.The scrapping did the trick. Alexandru
-
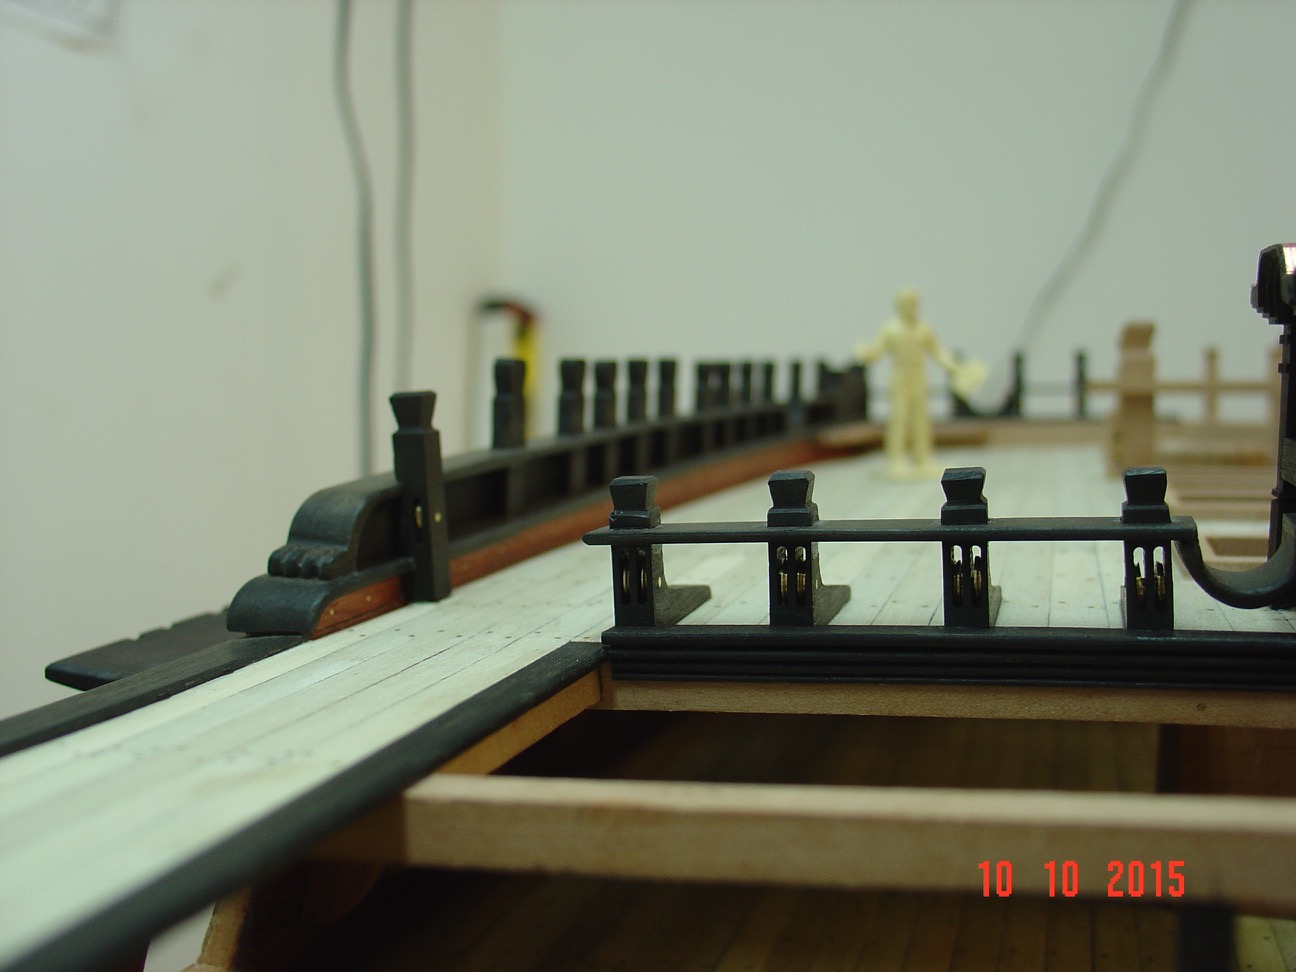
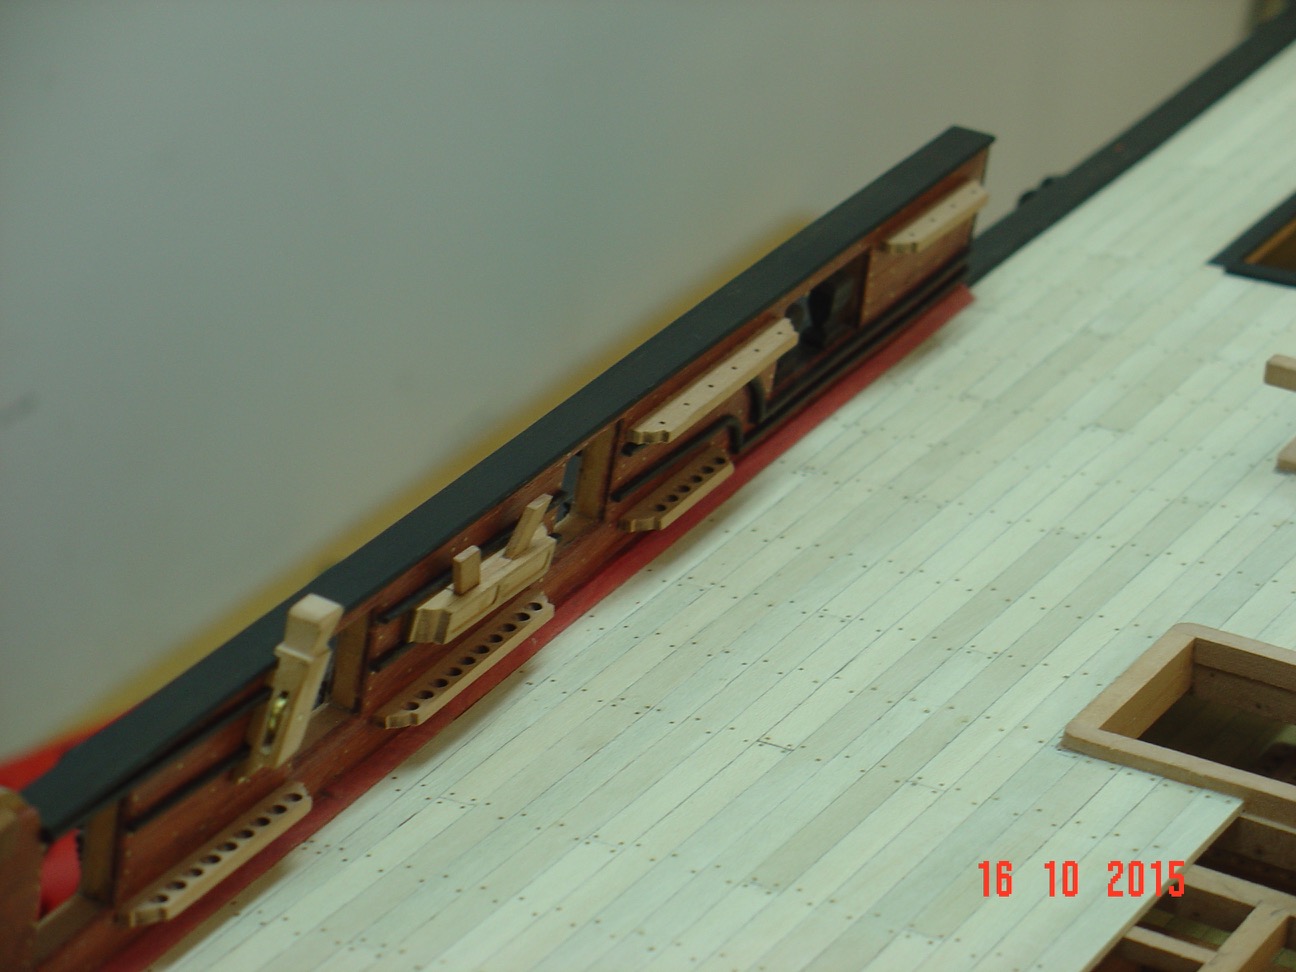
Thank you for the comments and likes. Here is another update. Alexandru


-
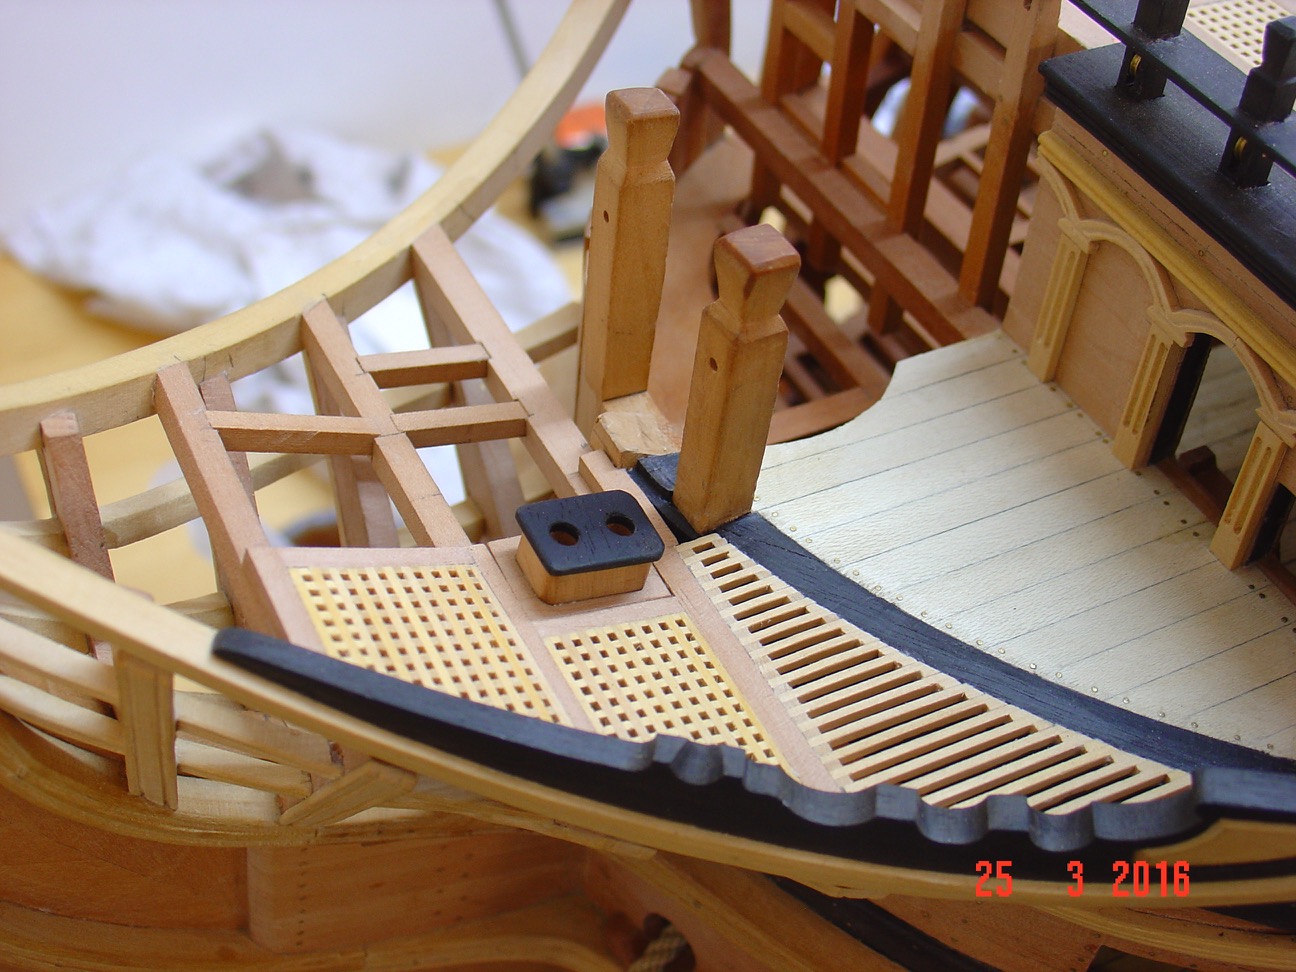
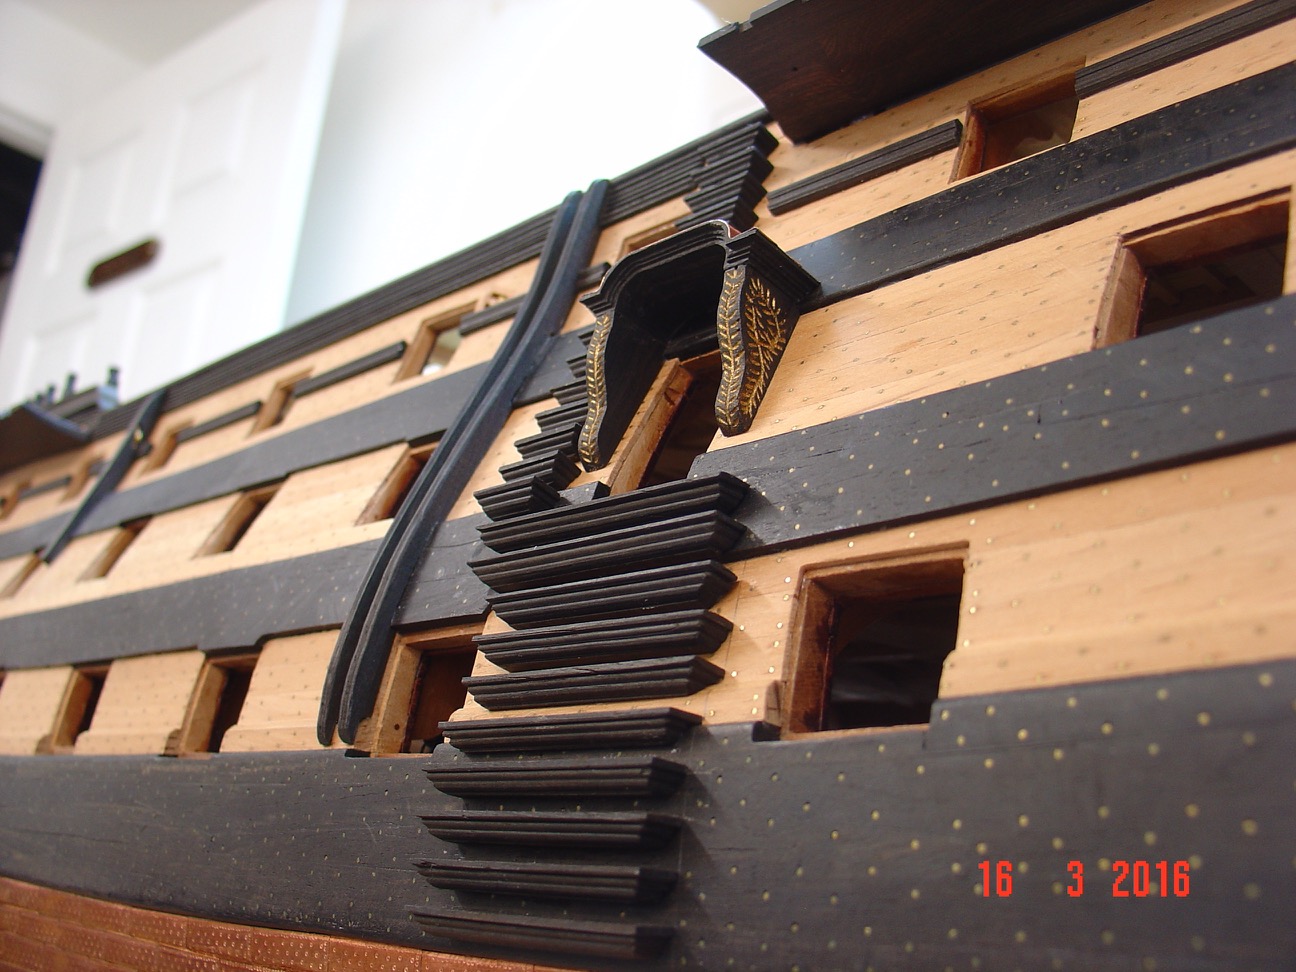
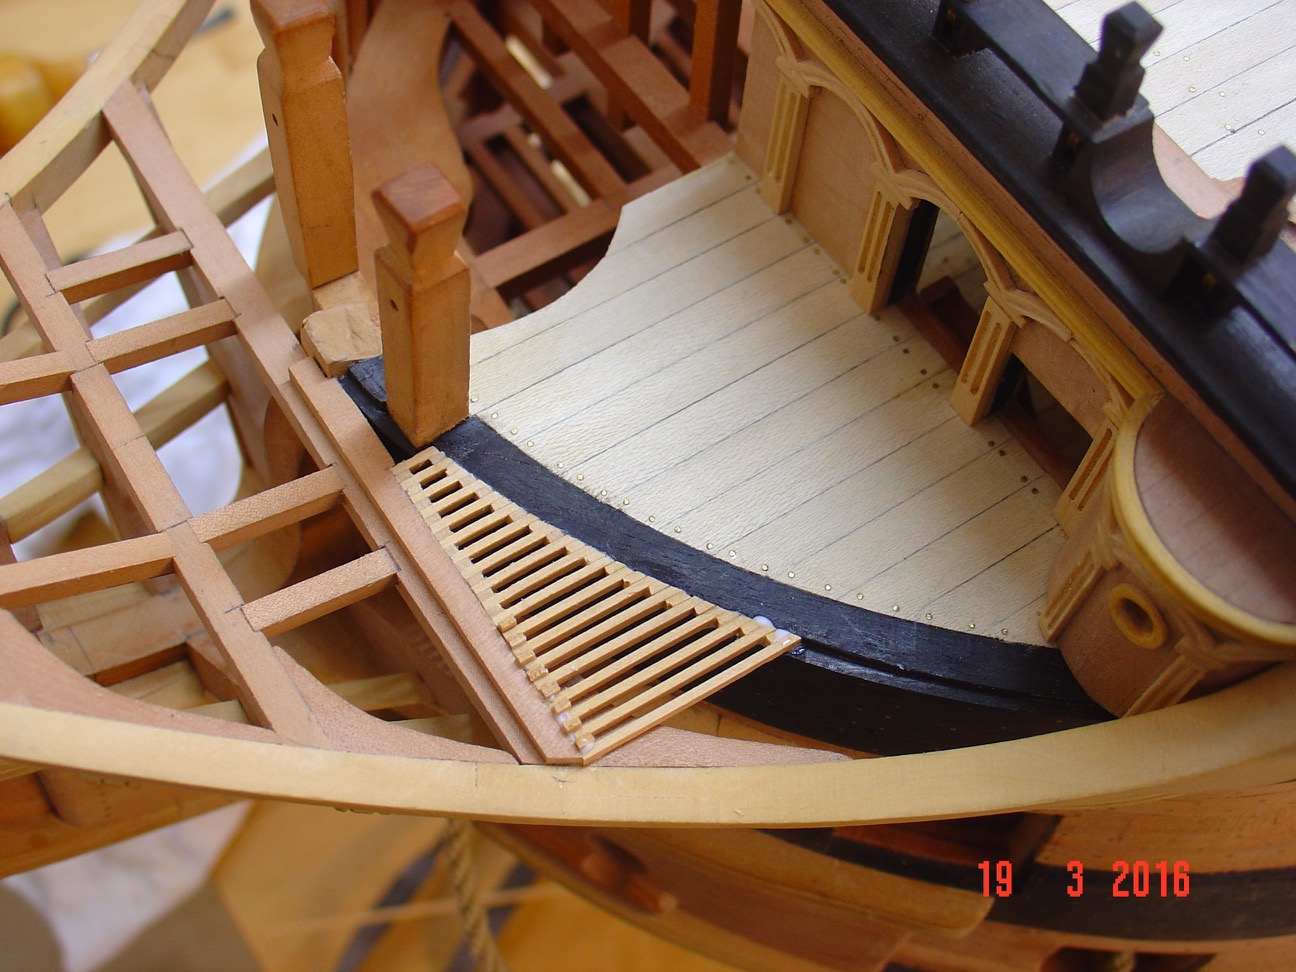
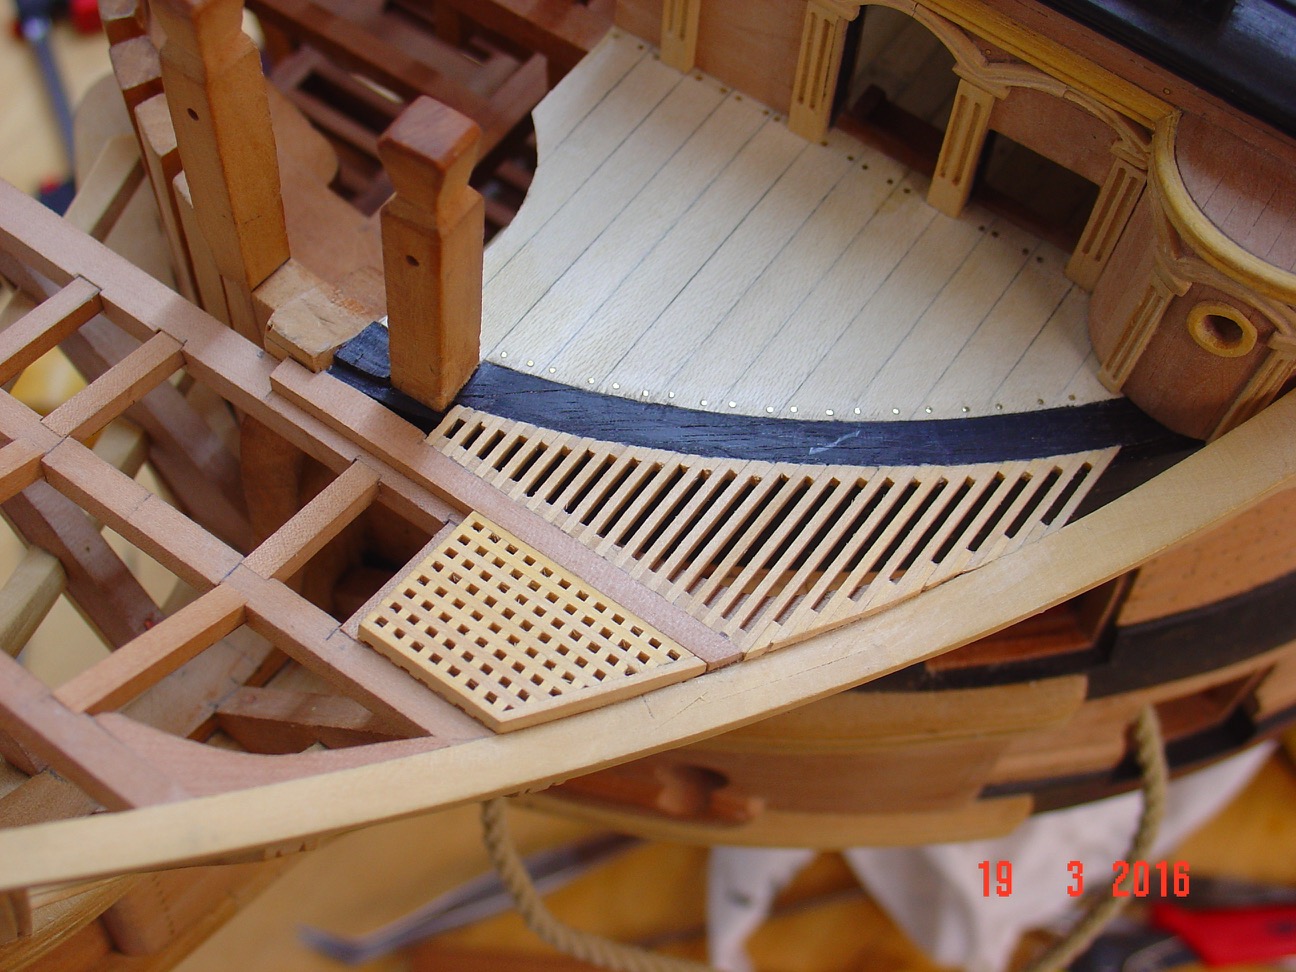
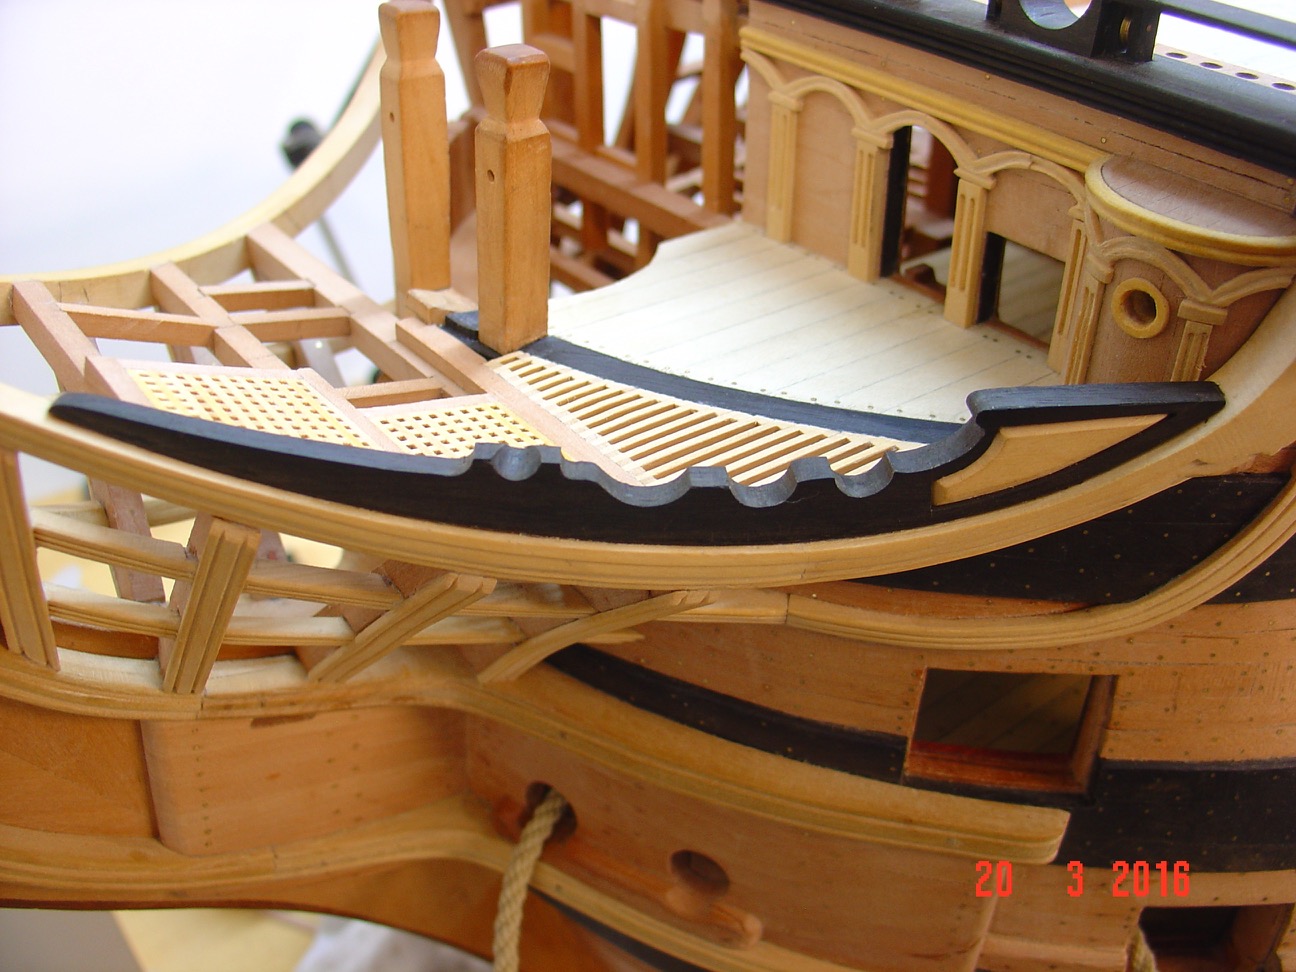
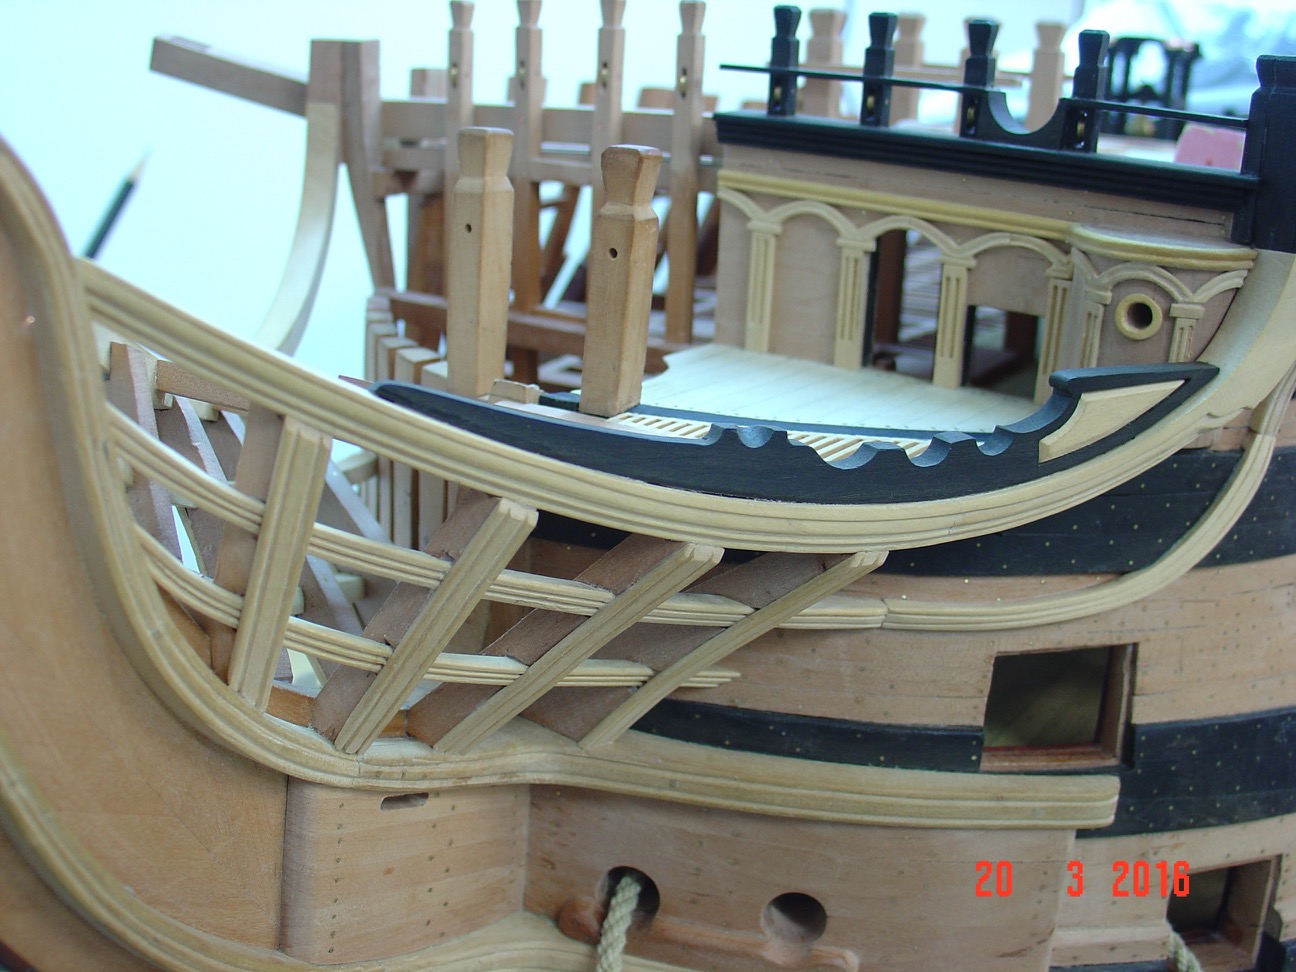
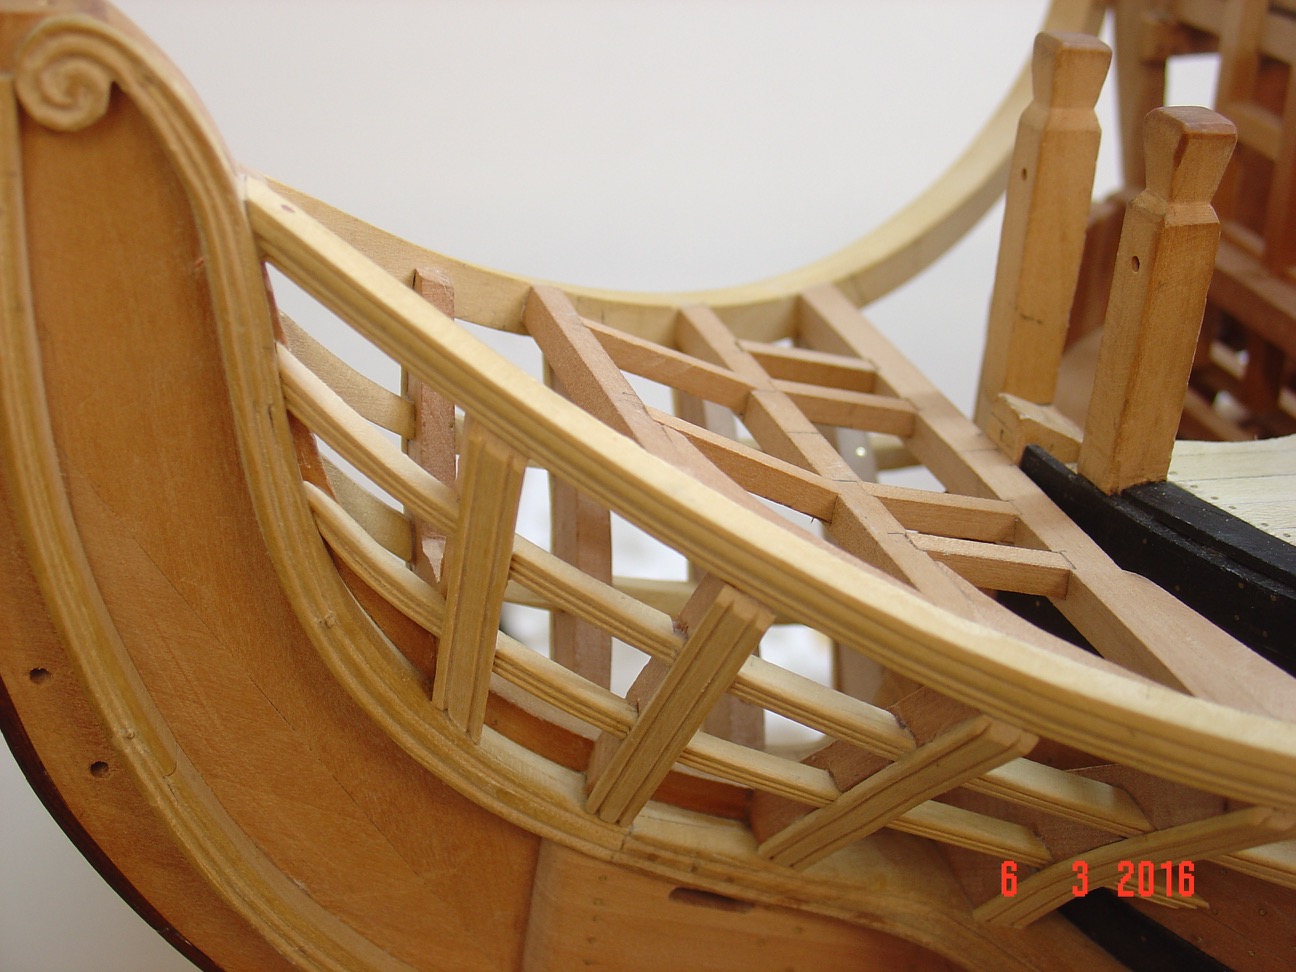
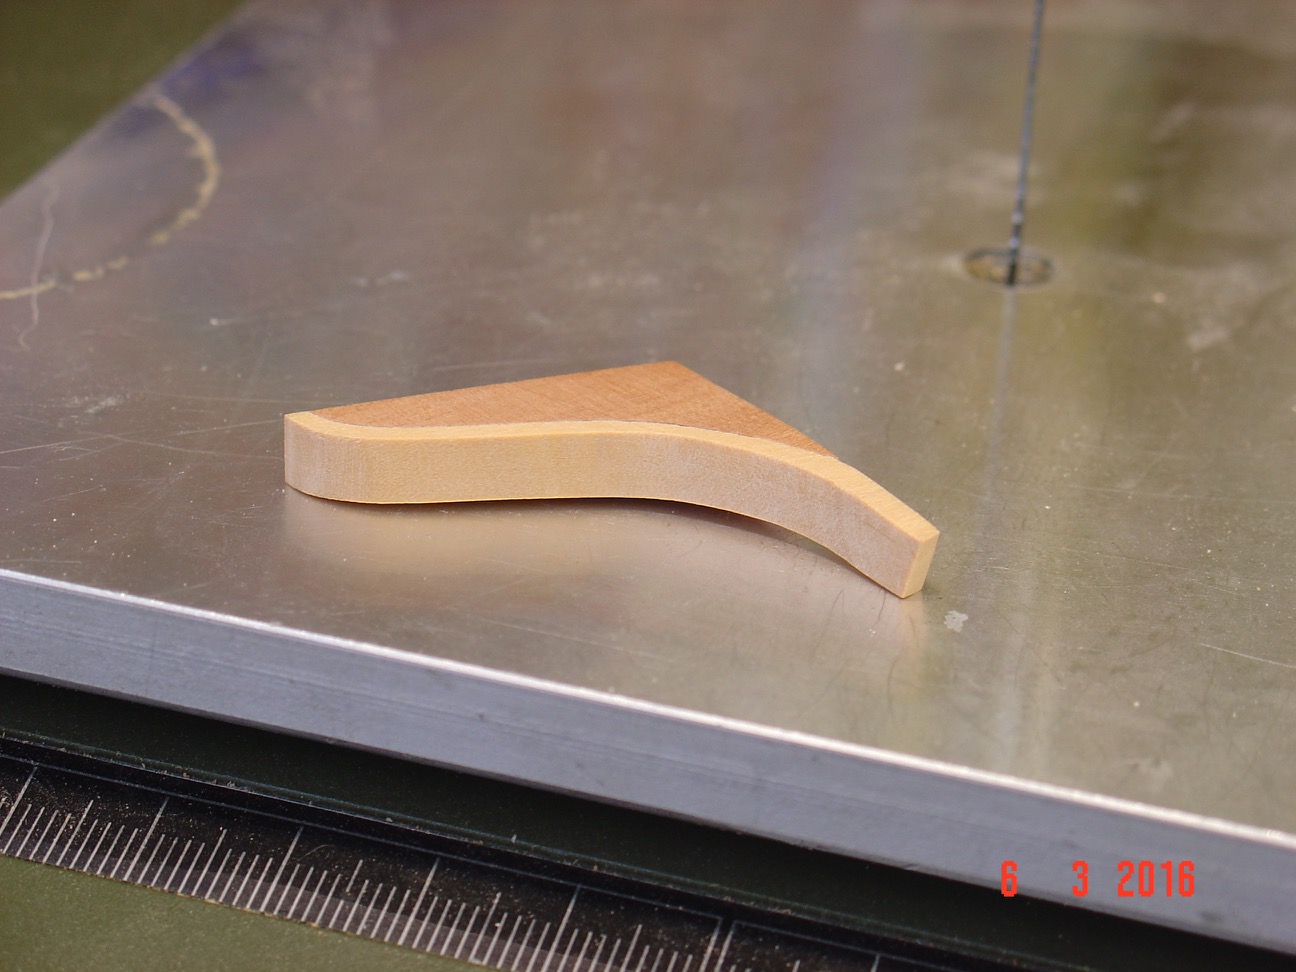
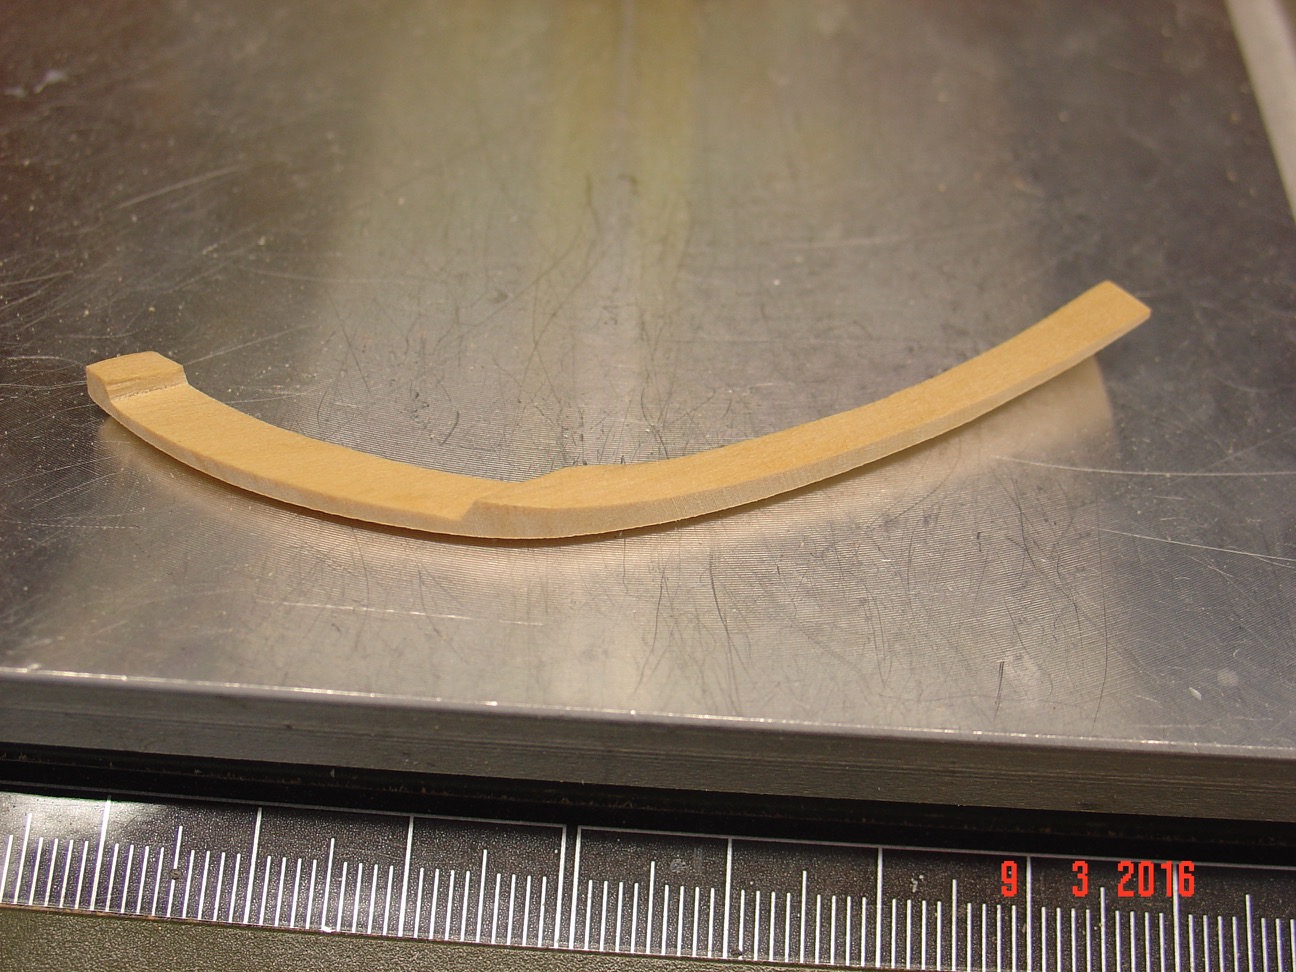
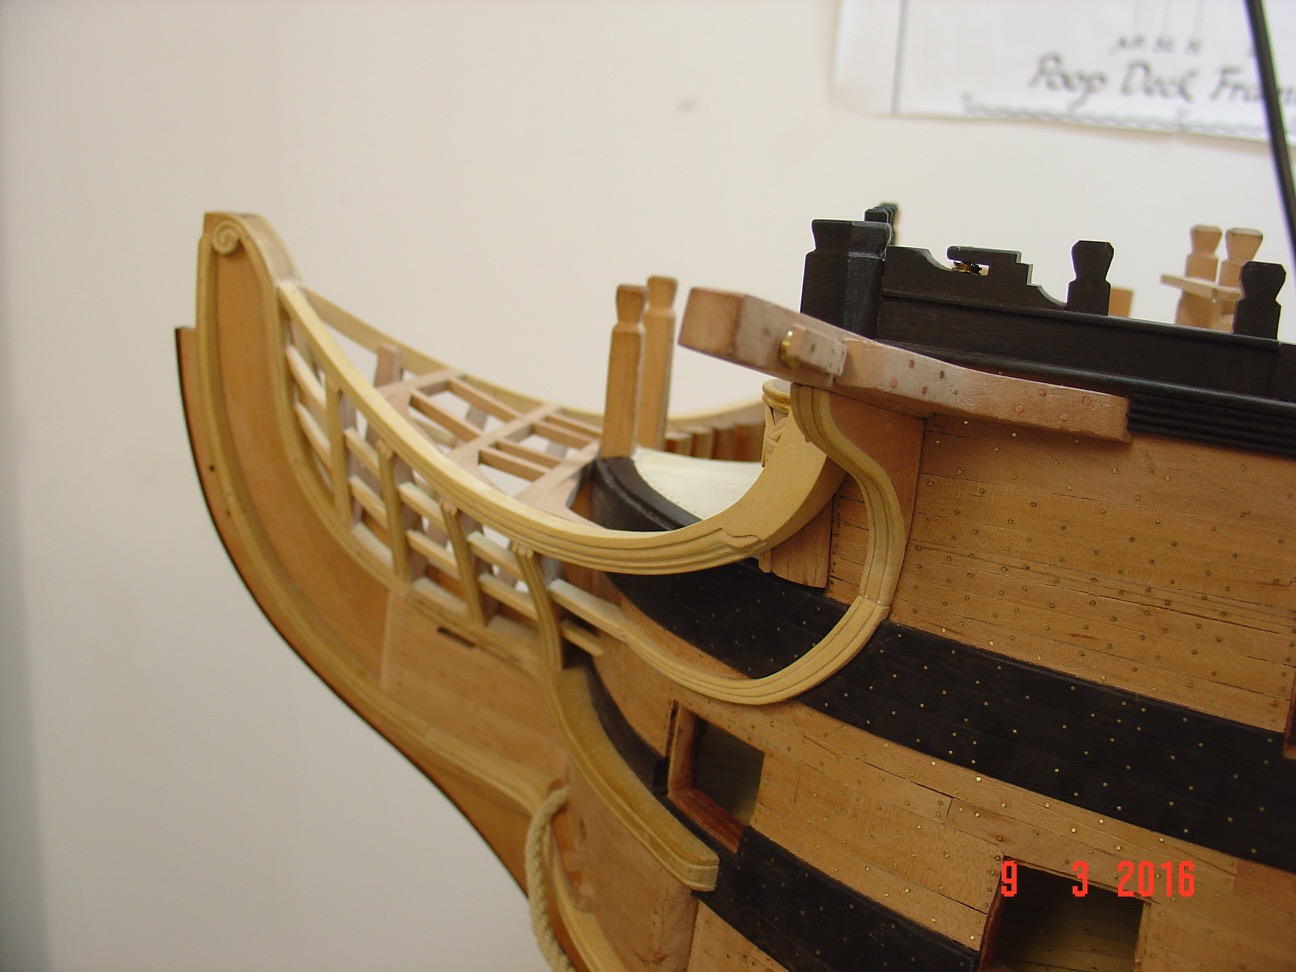
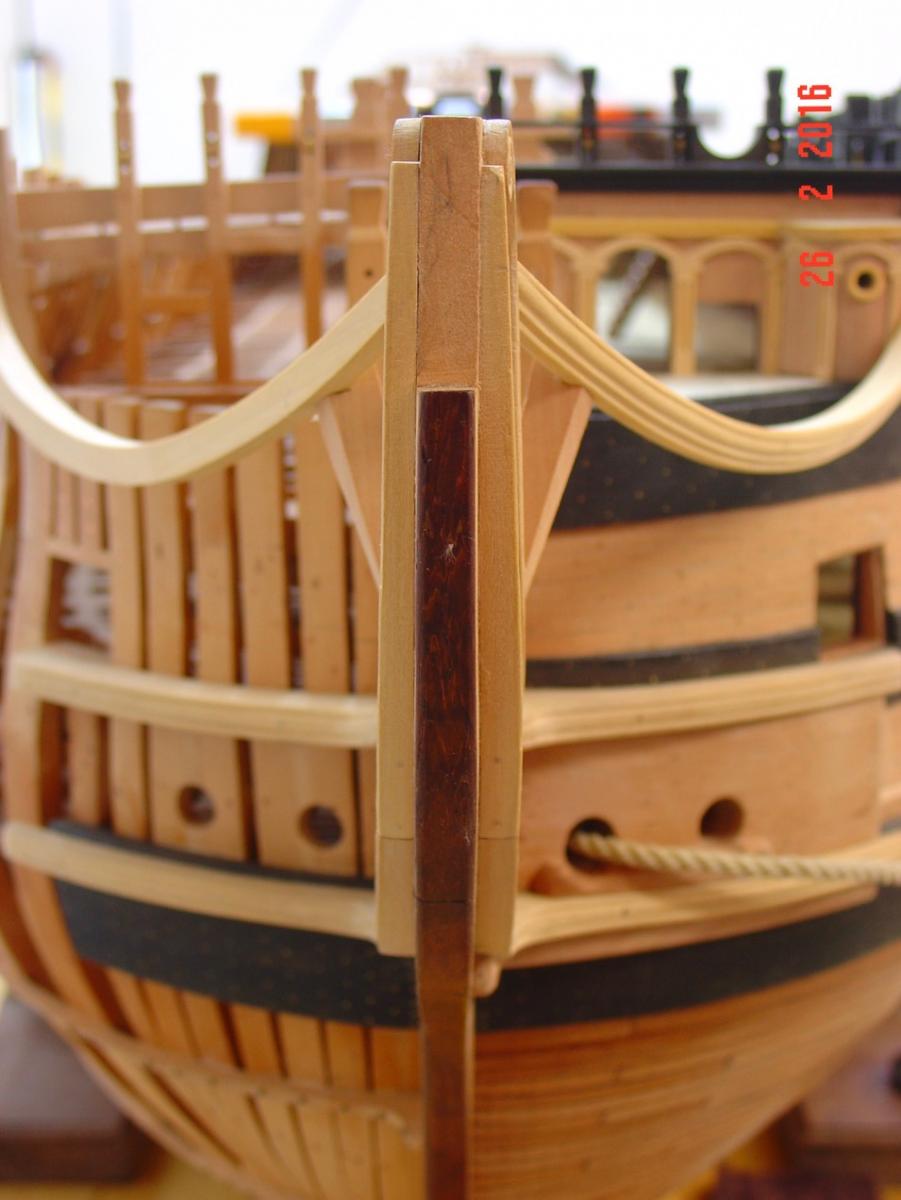
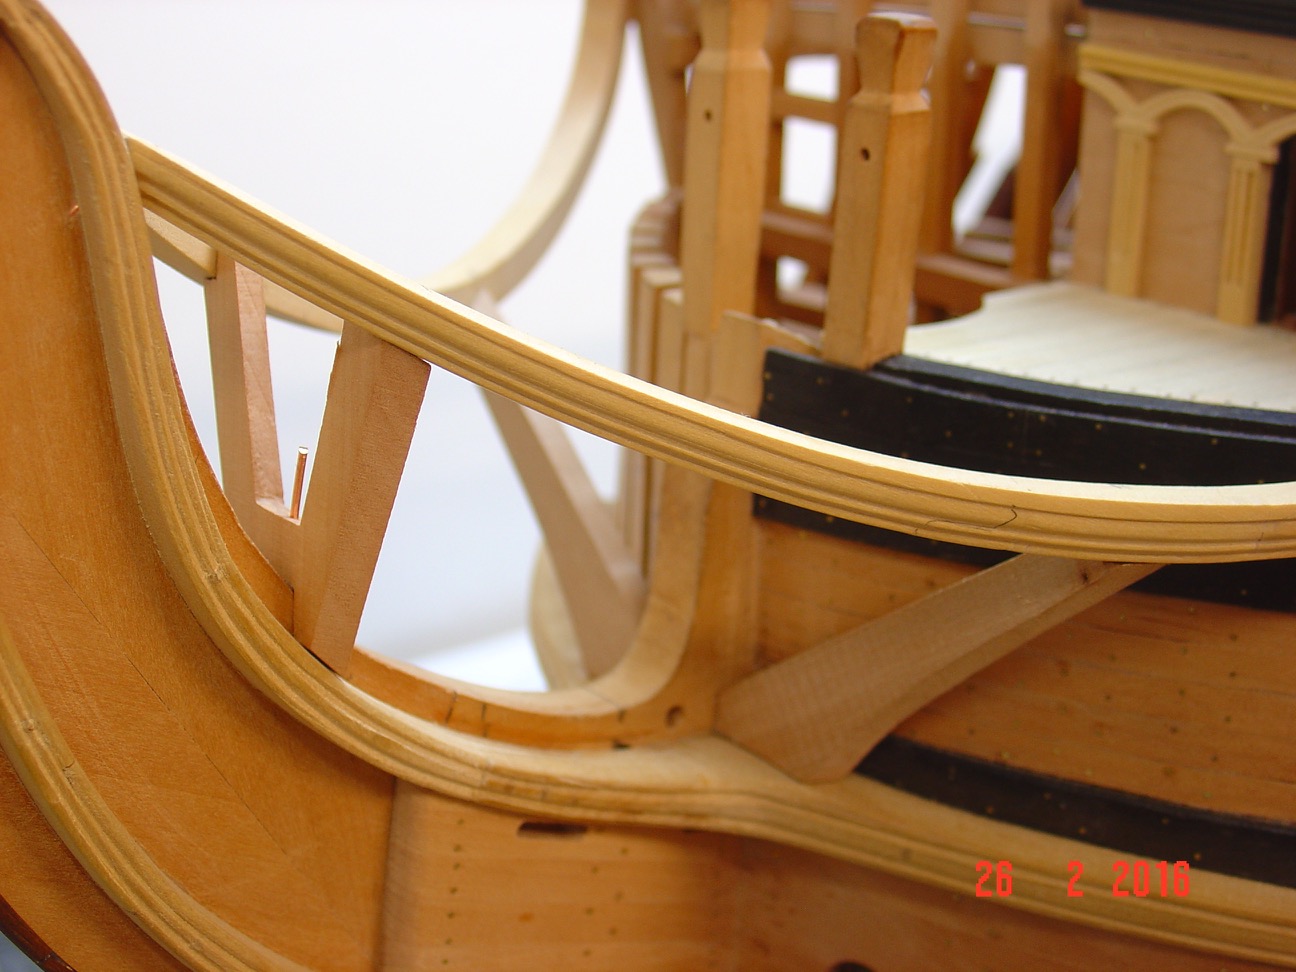
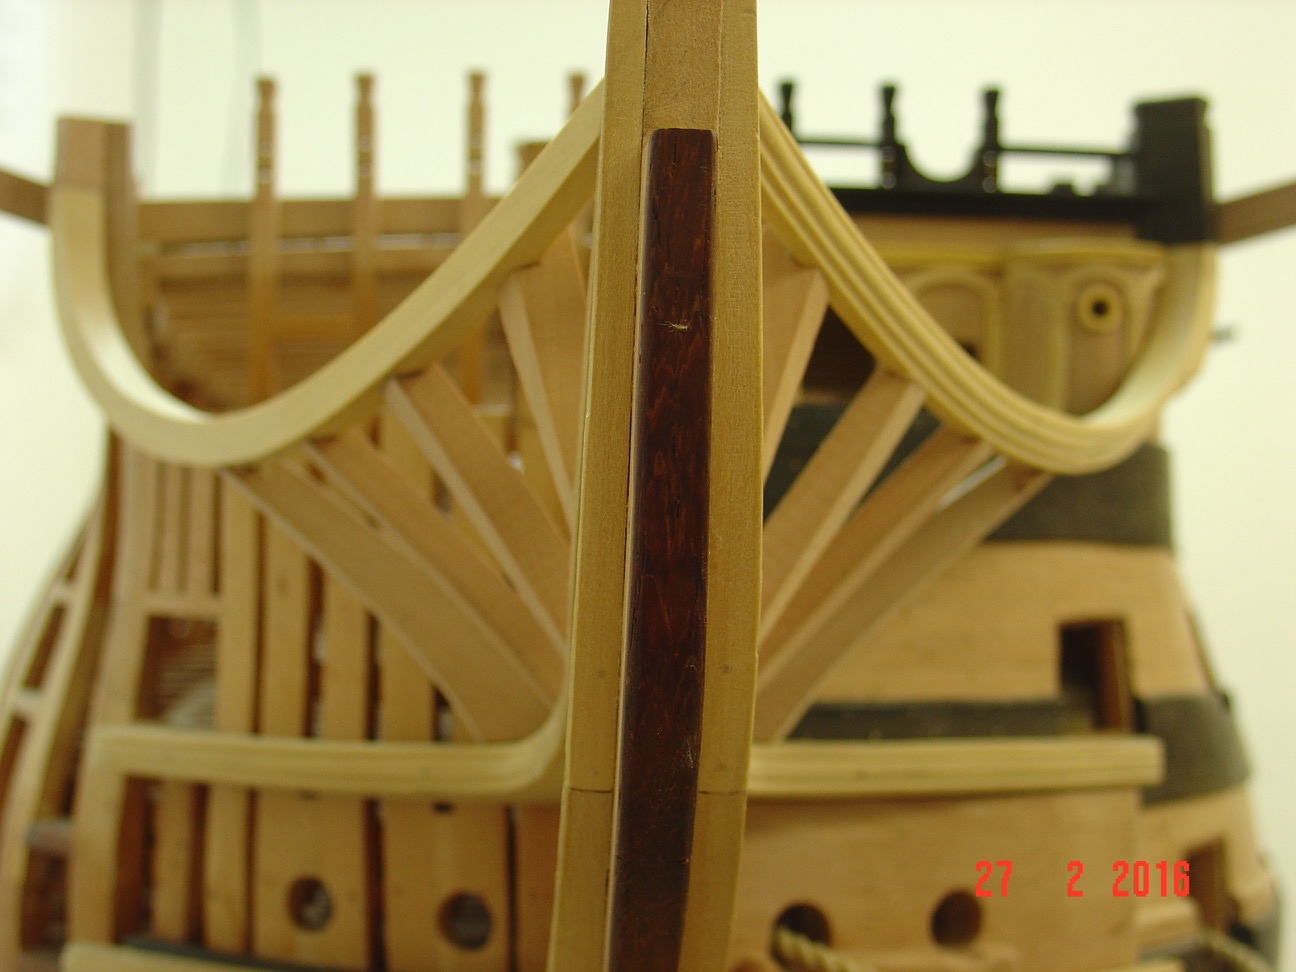
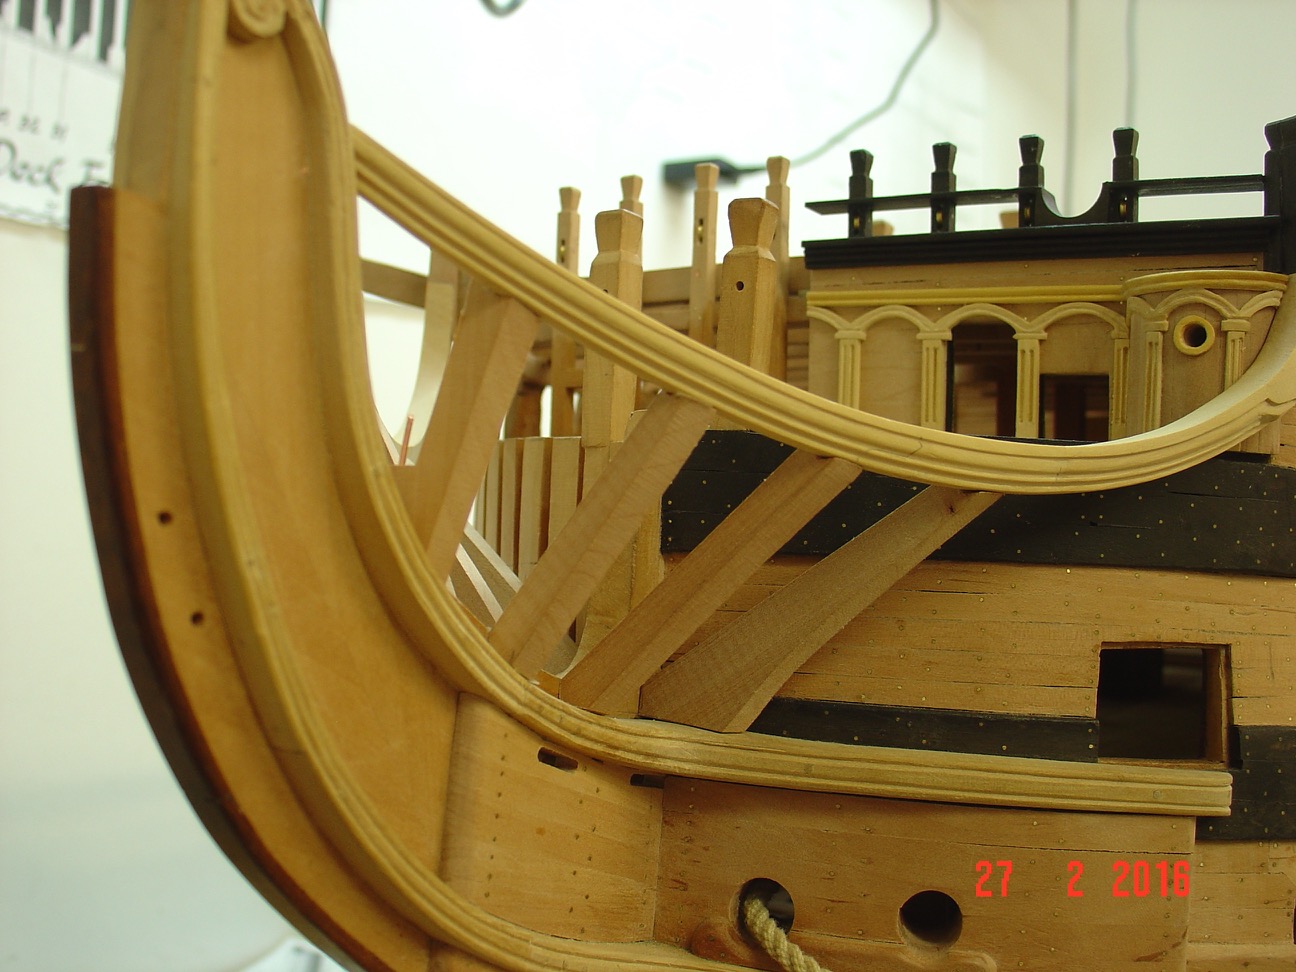
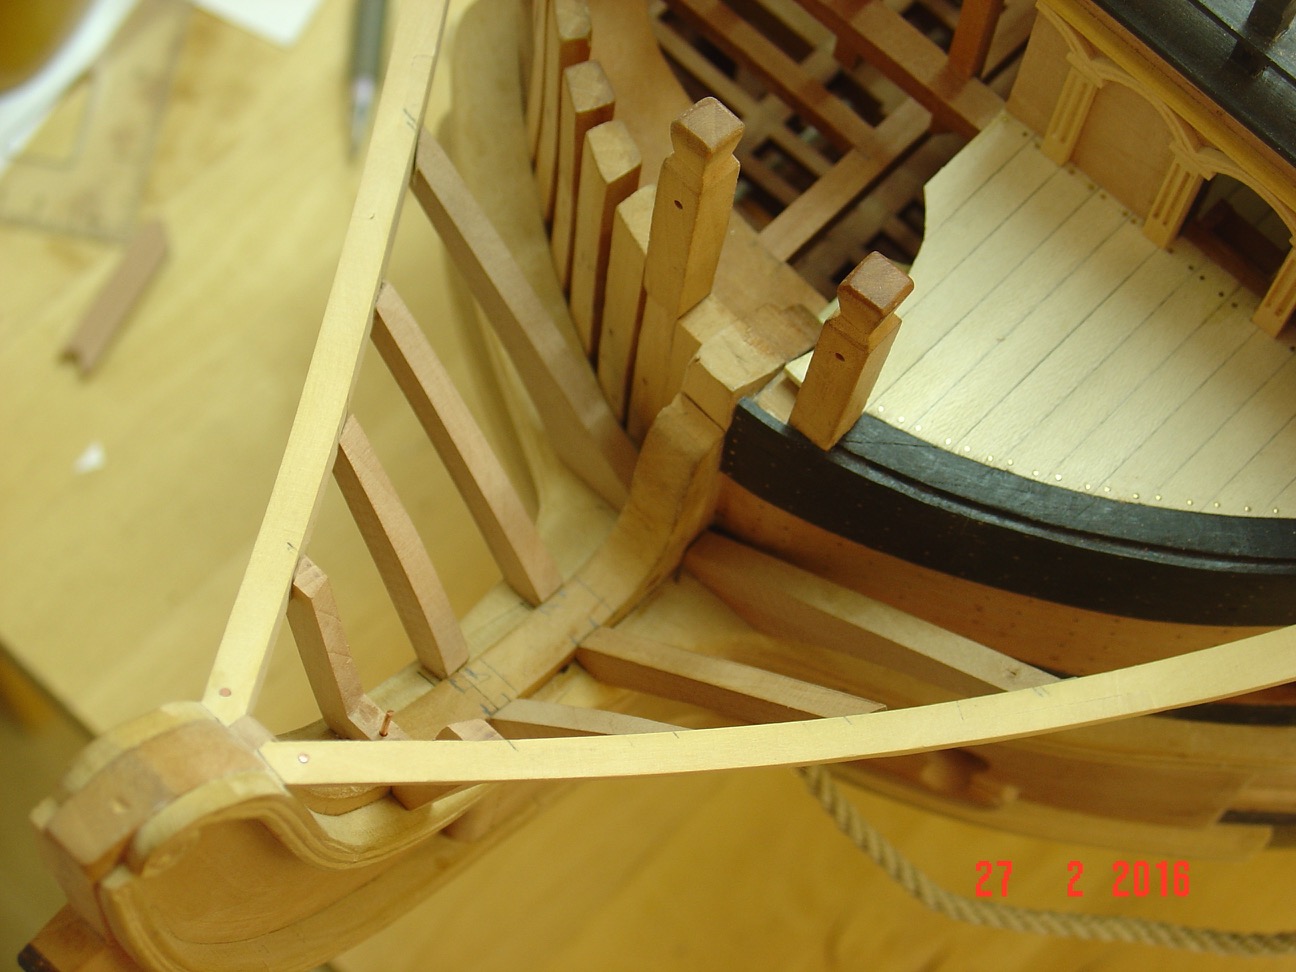
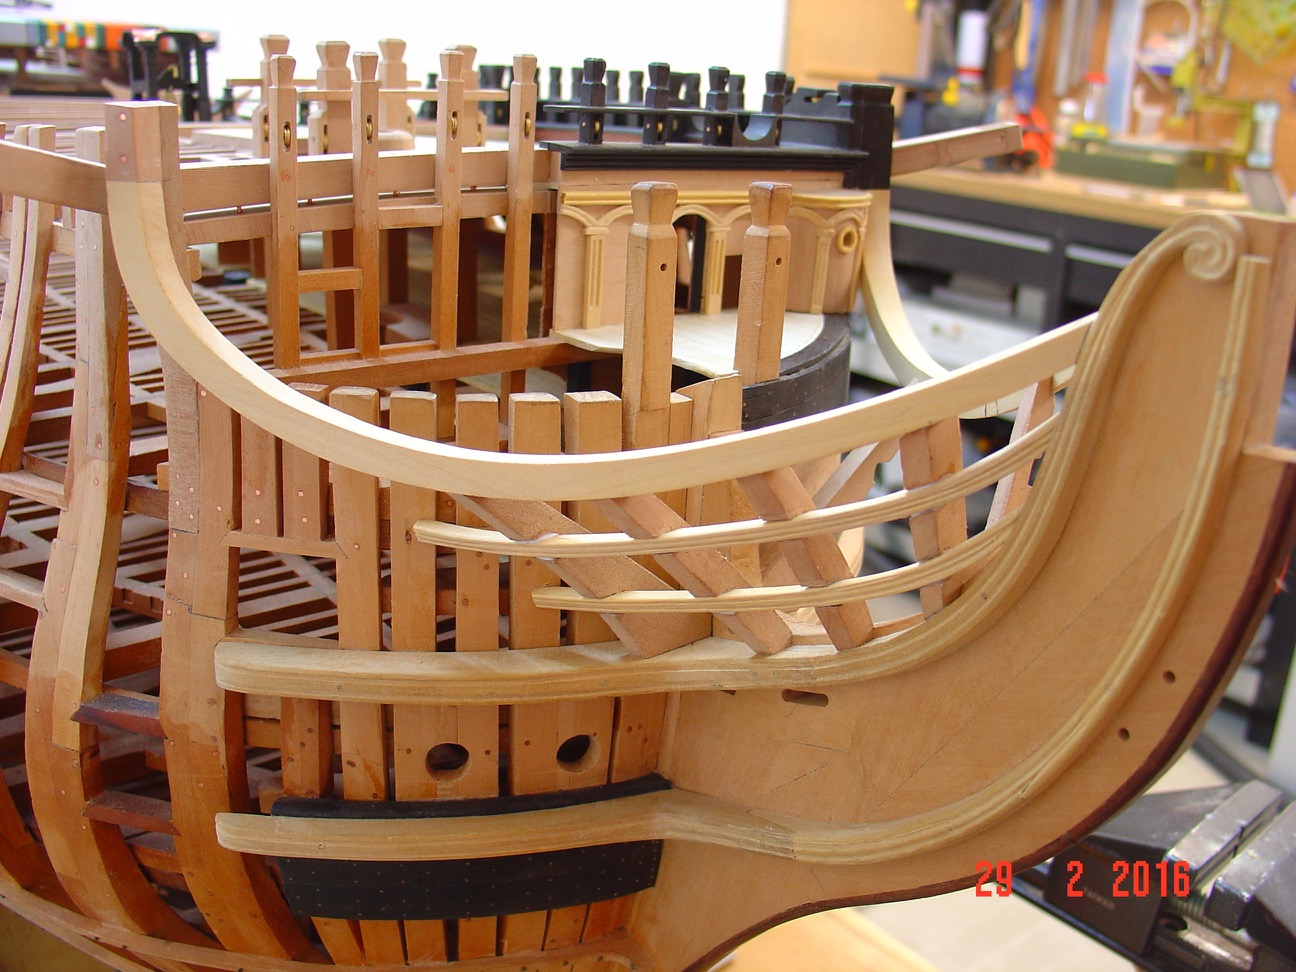
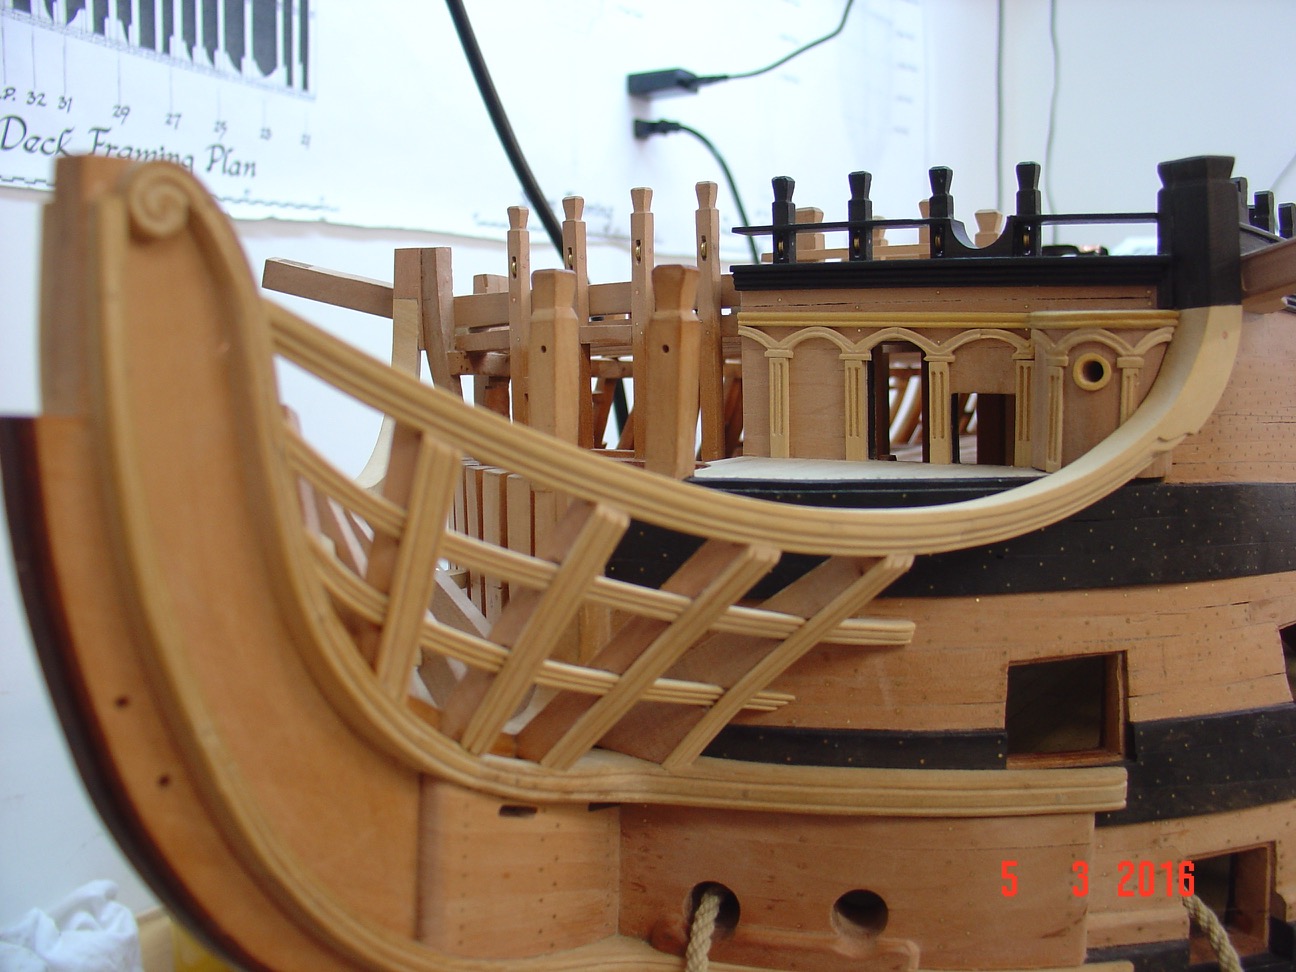
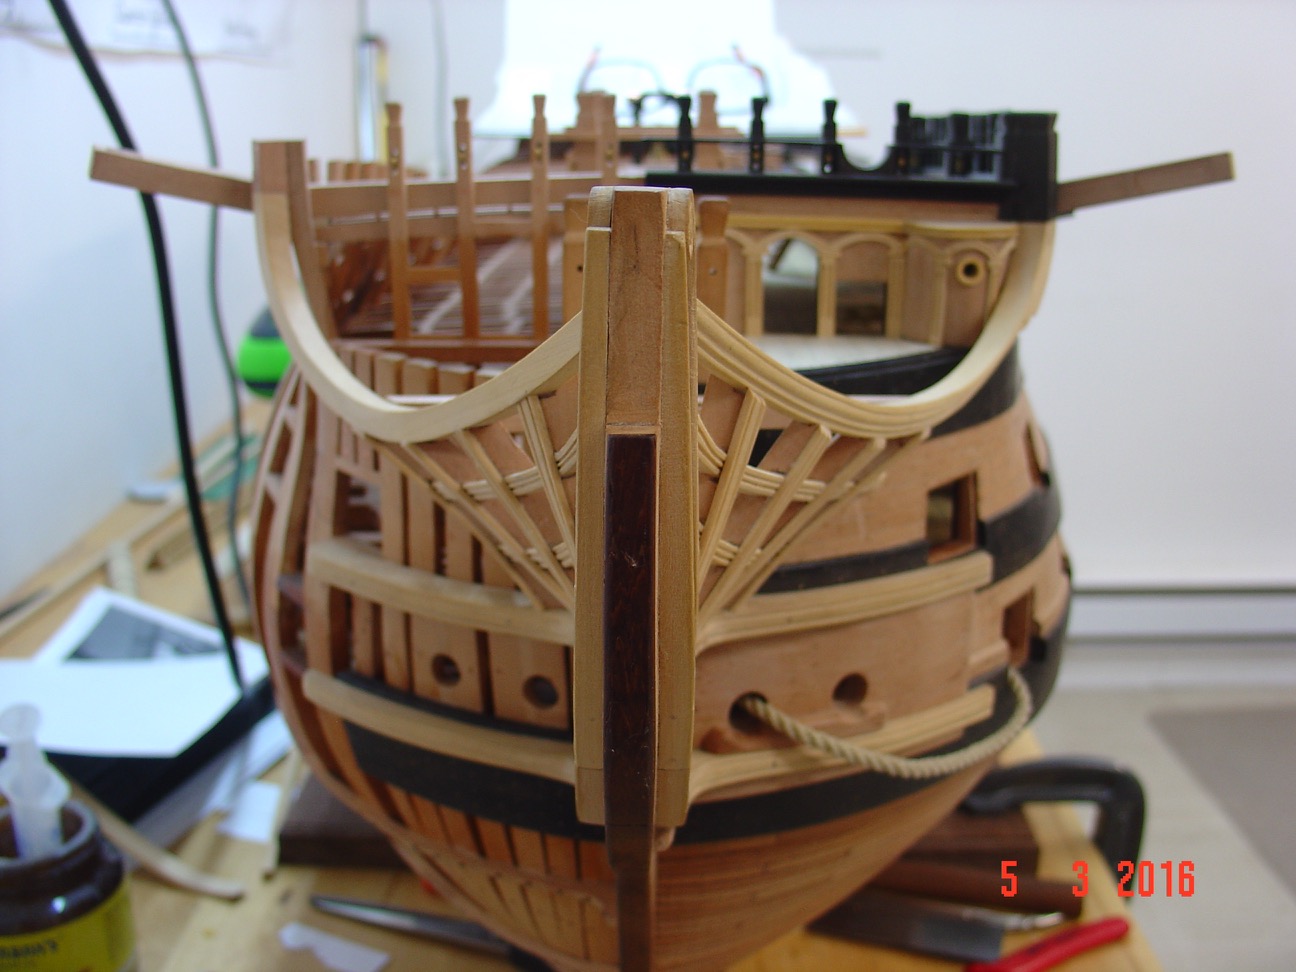
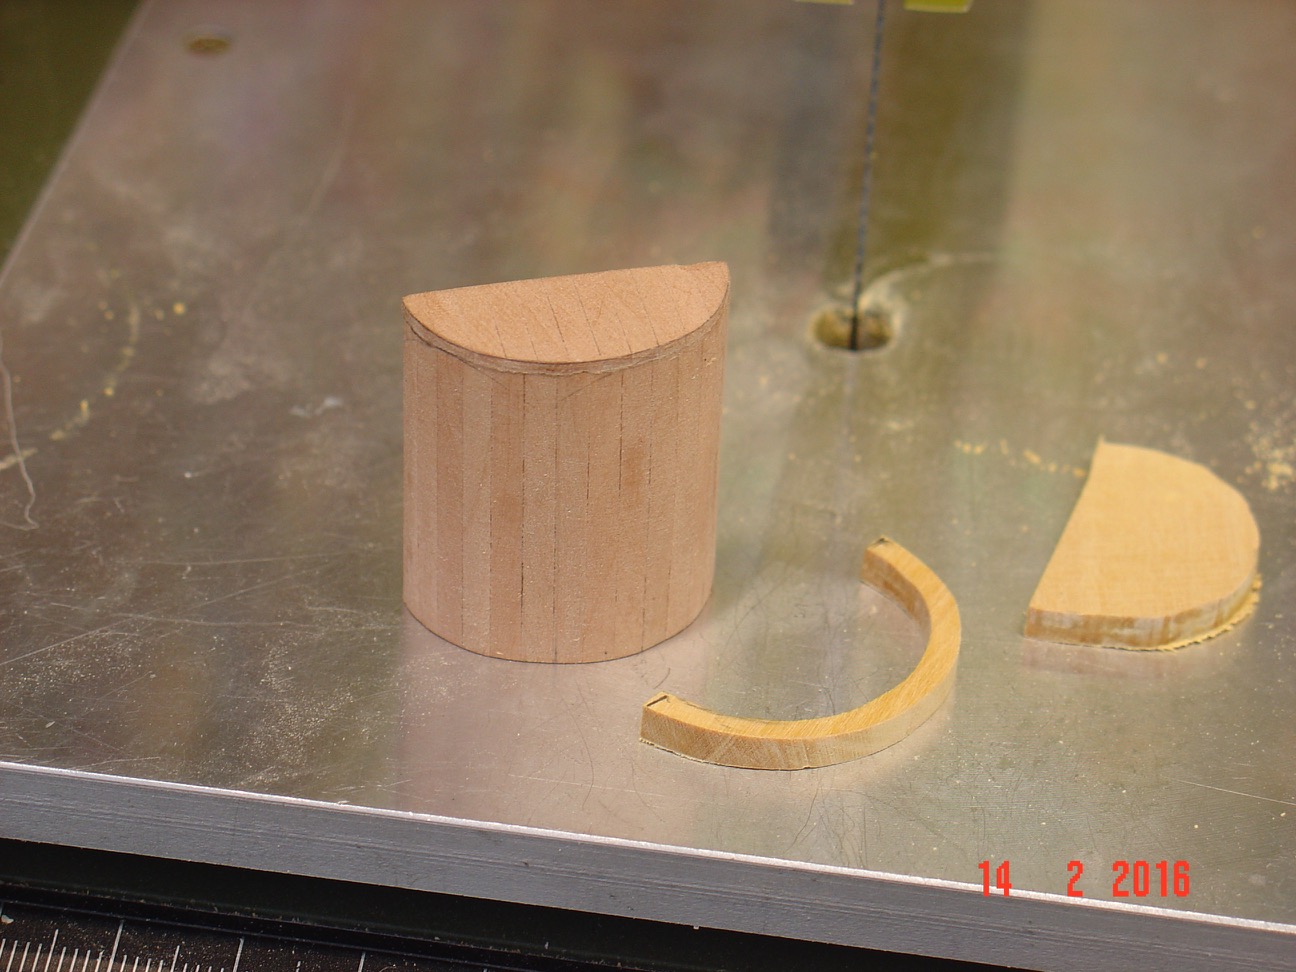
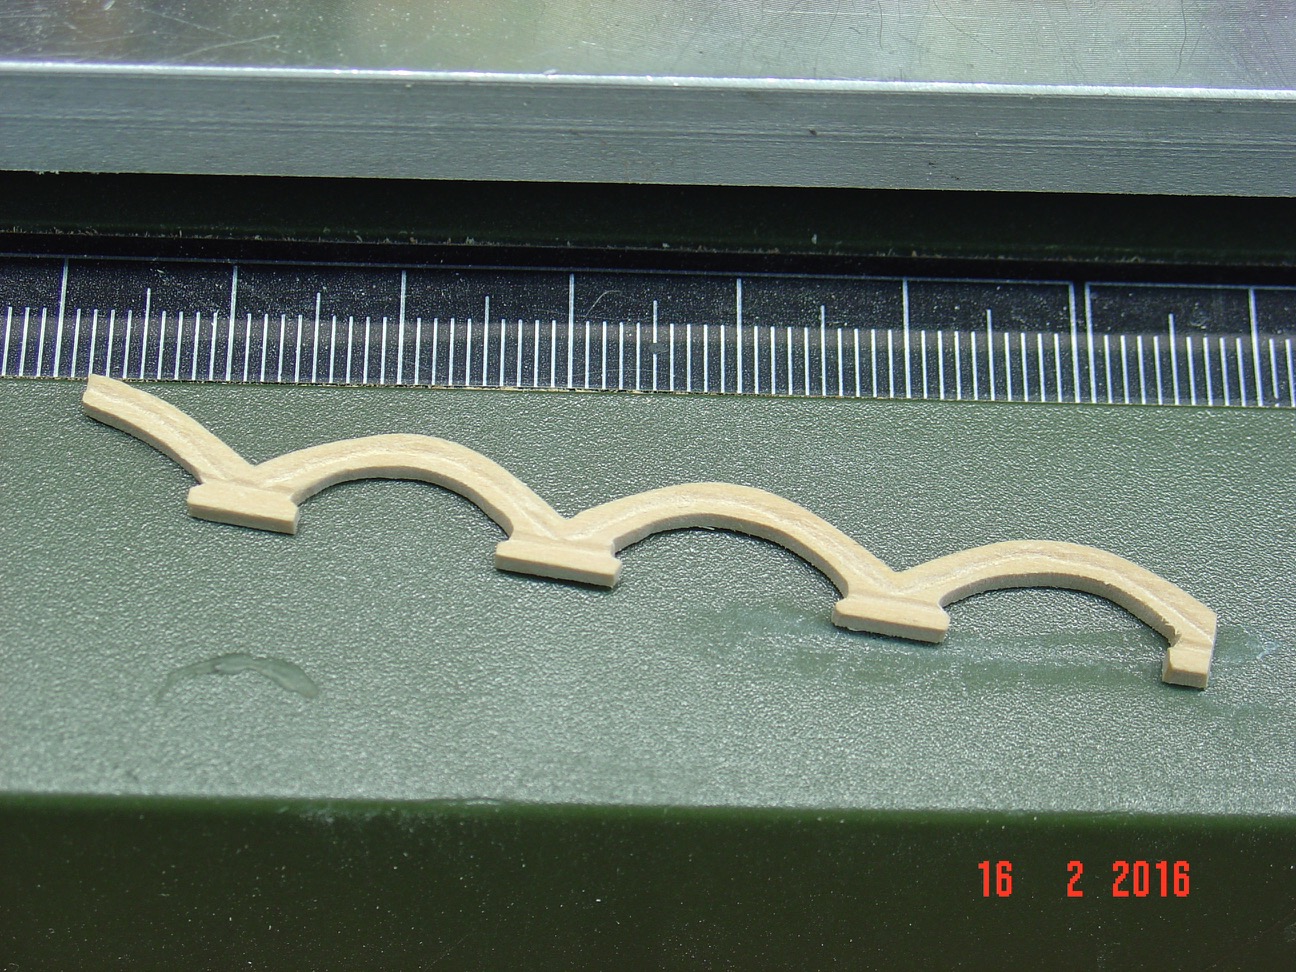
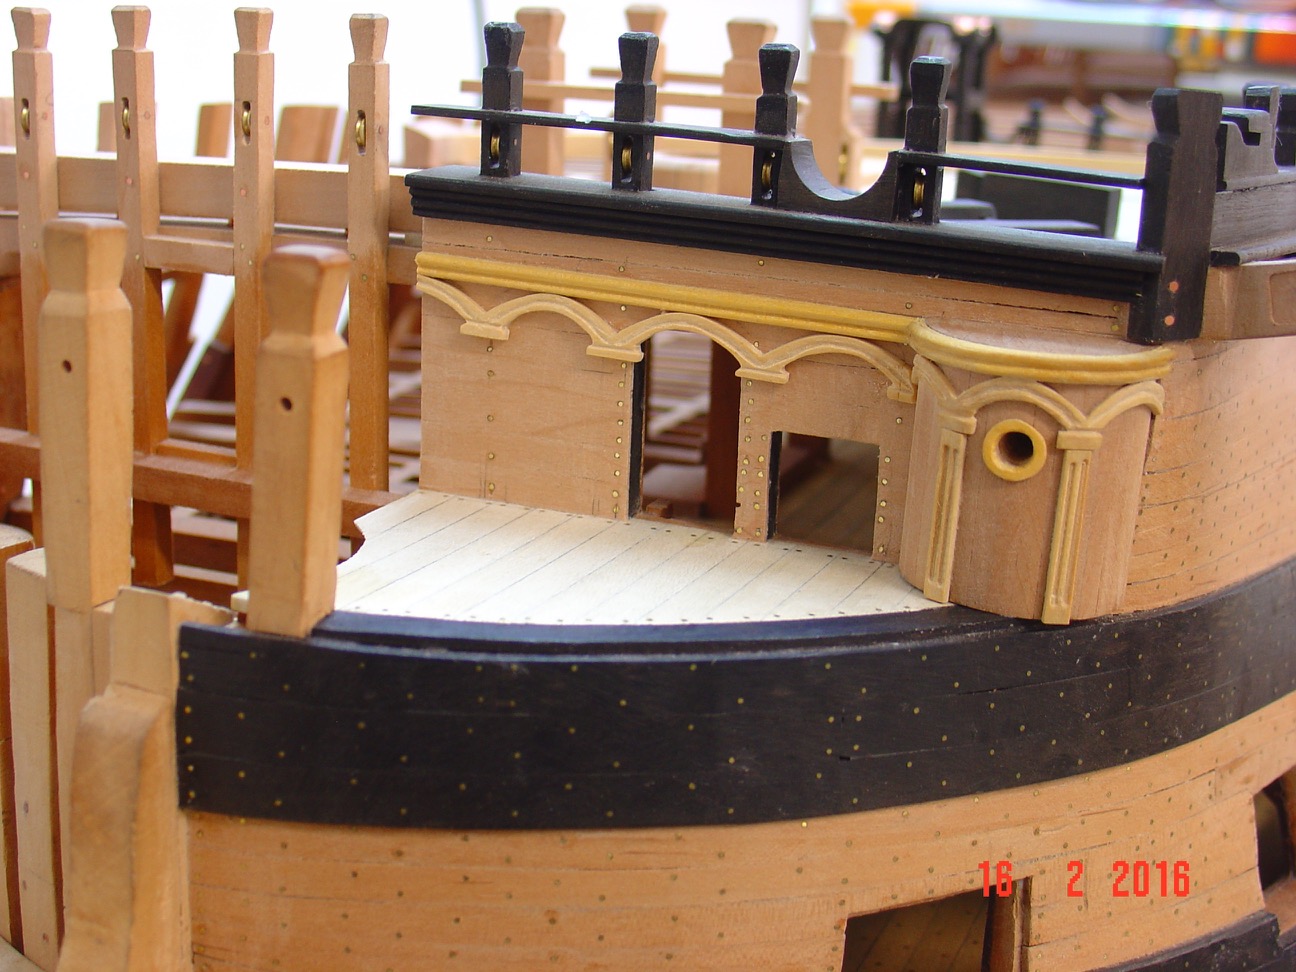
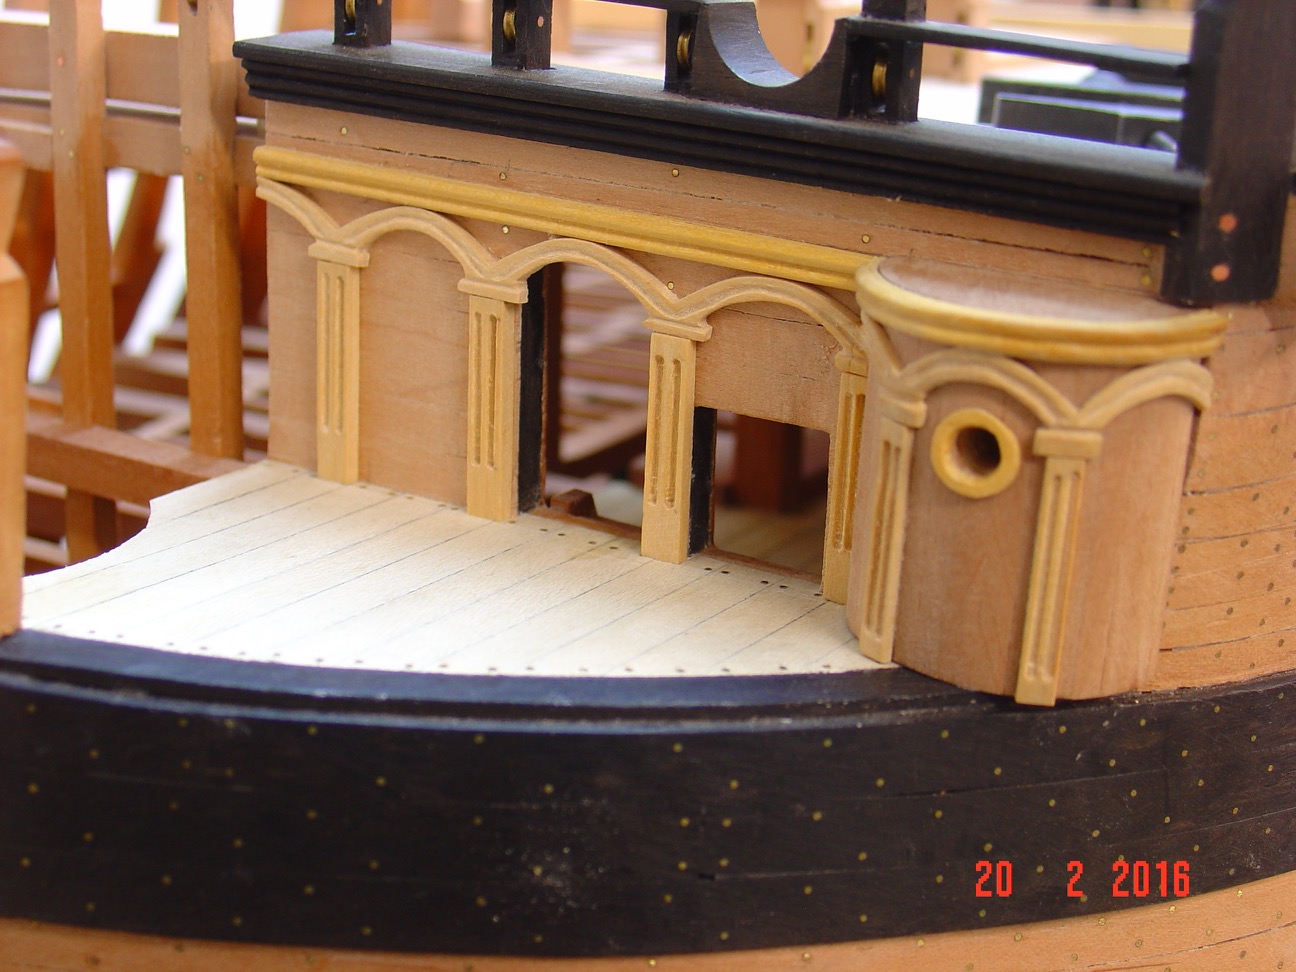
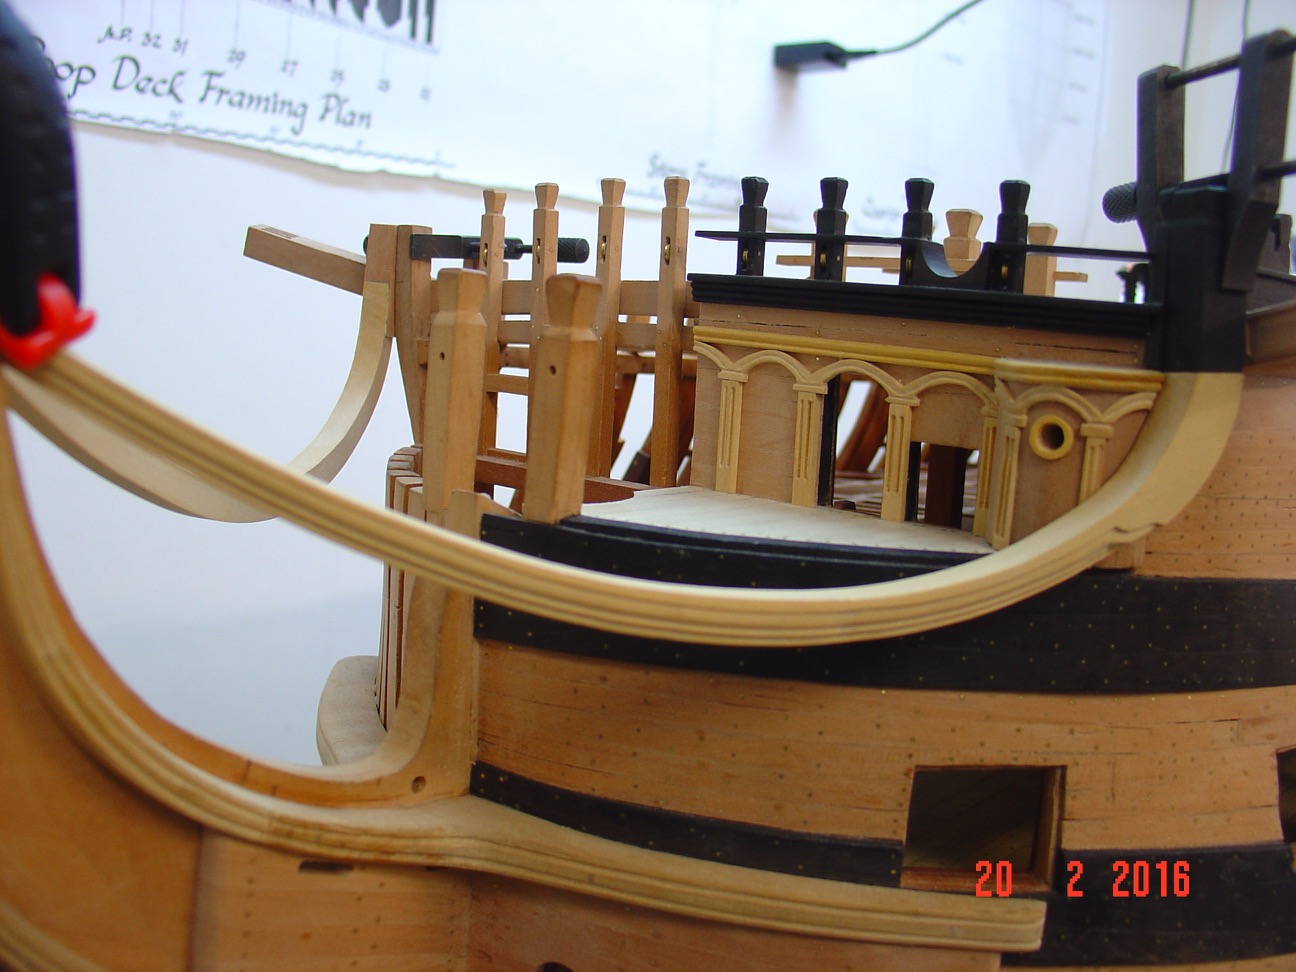
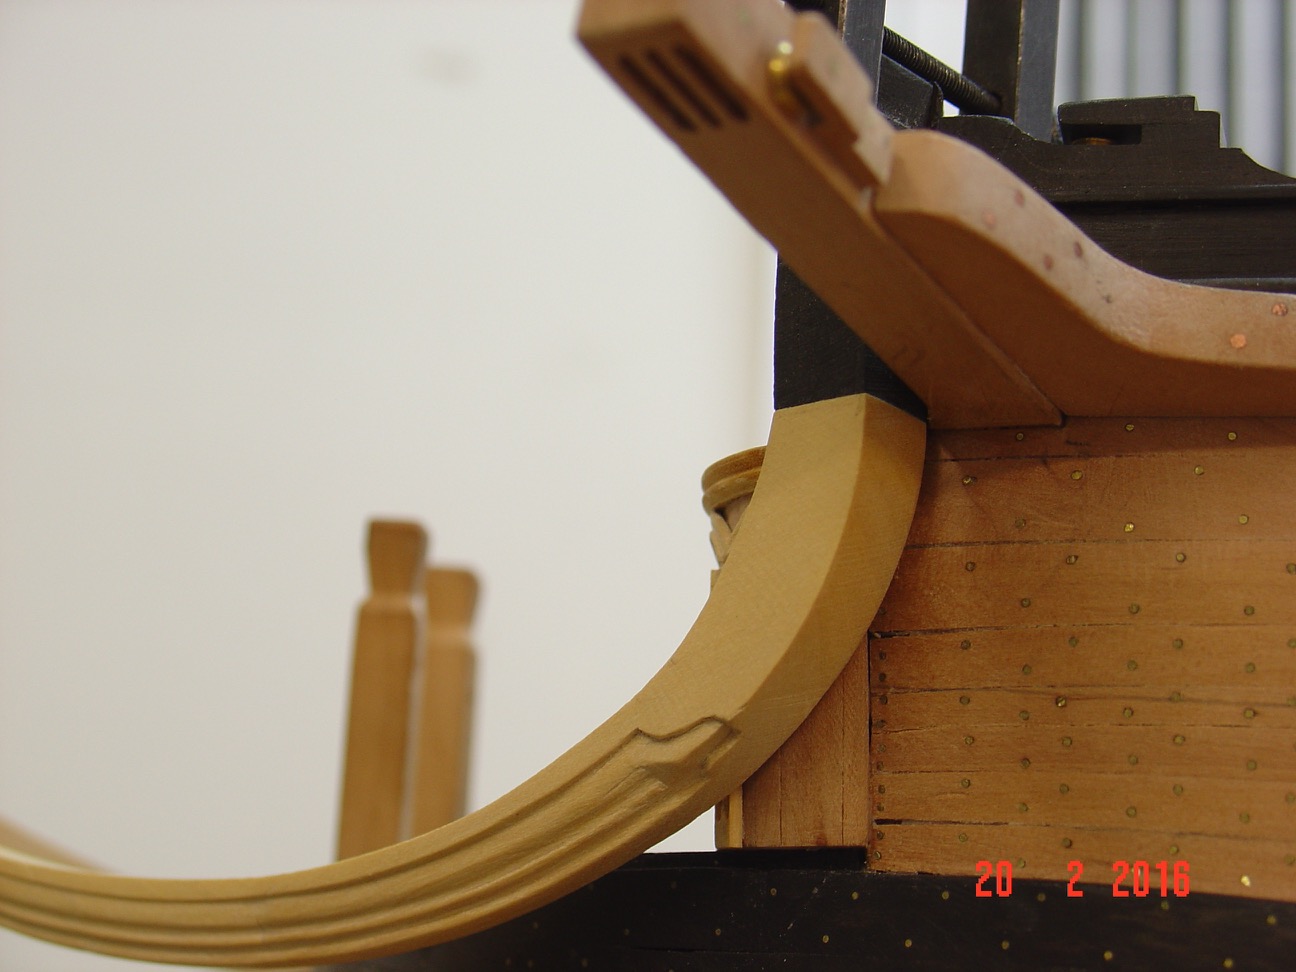
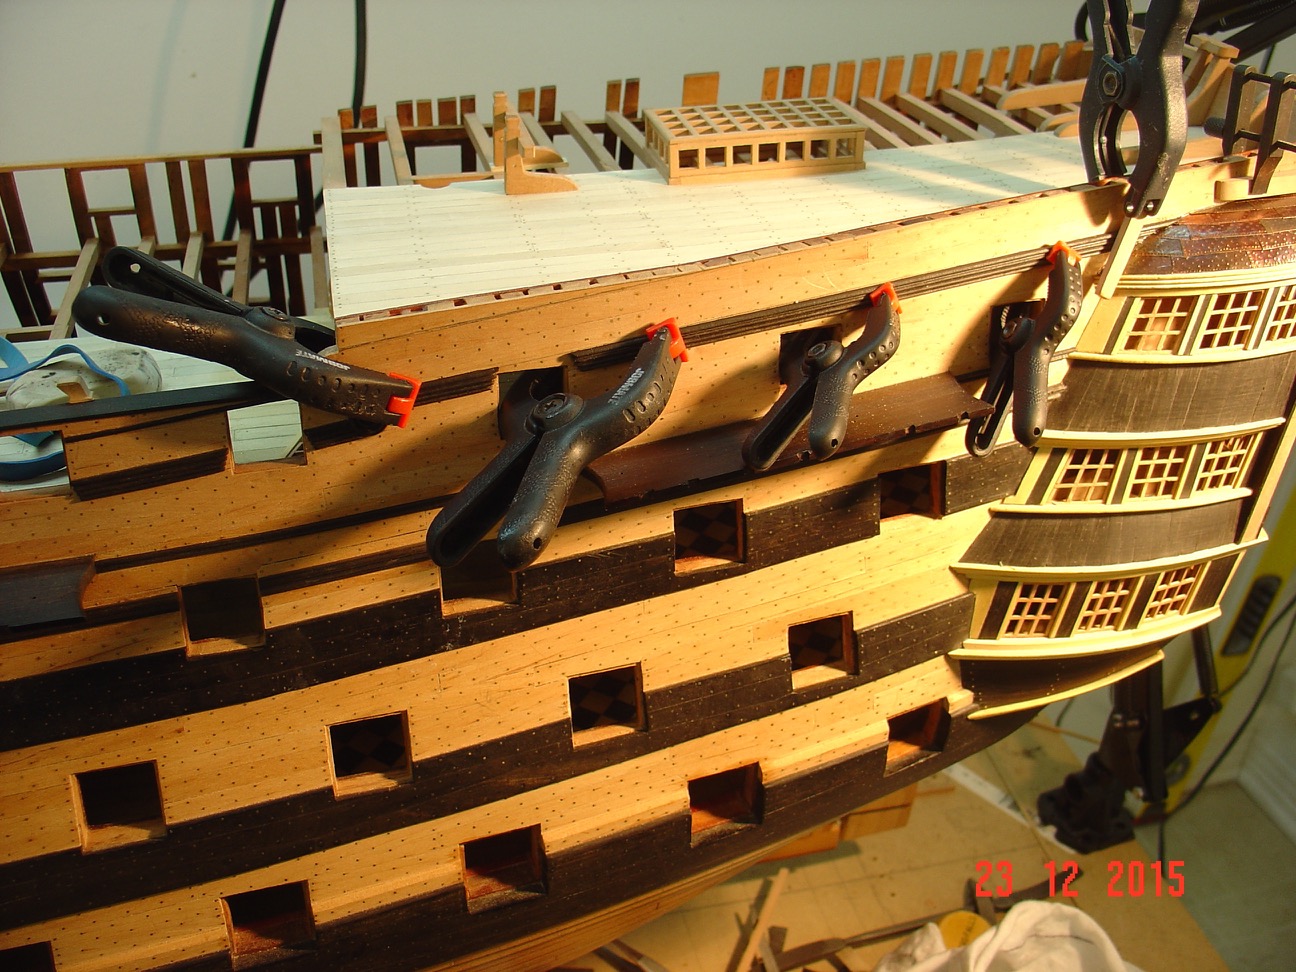
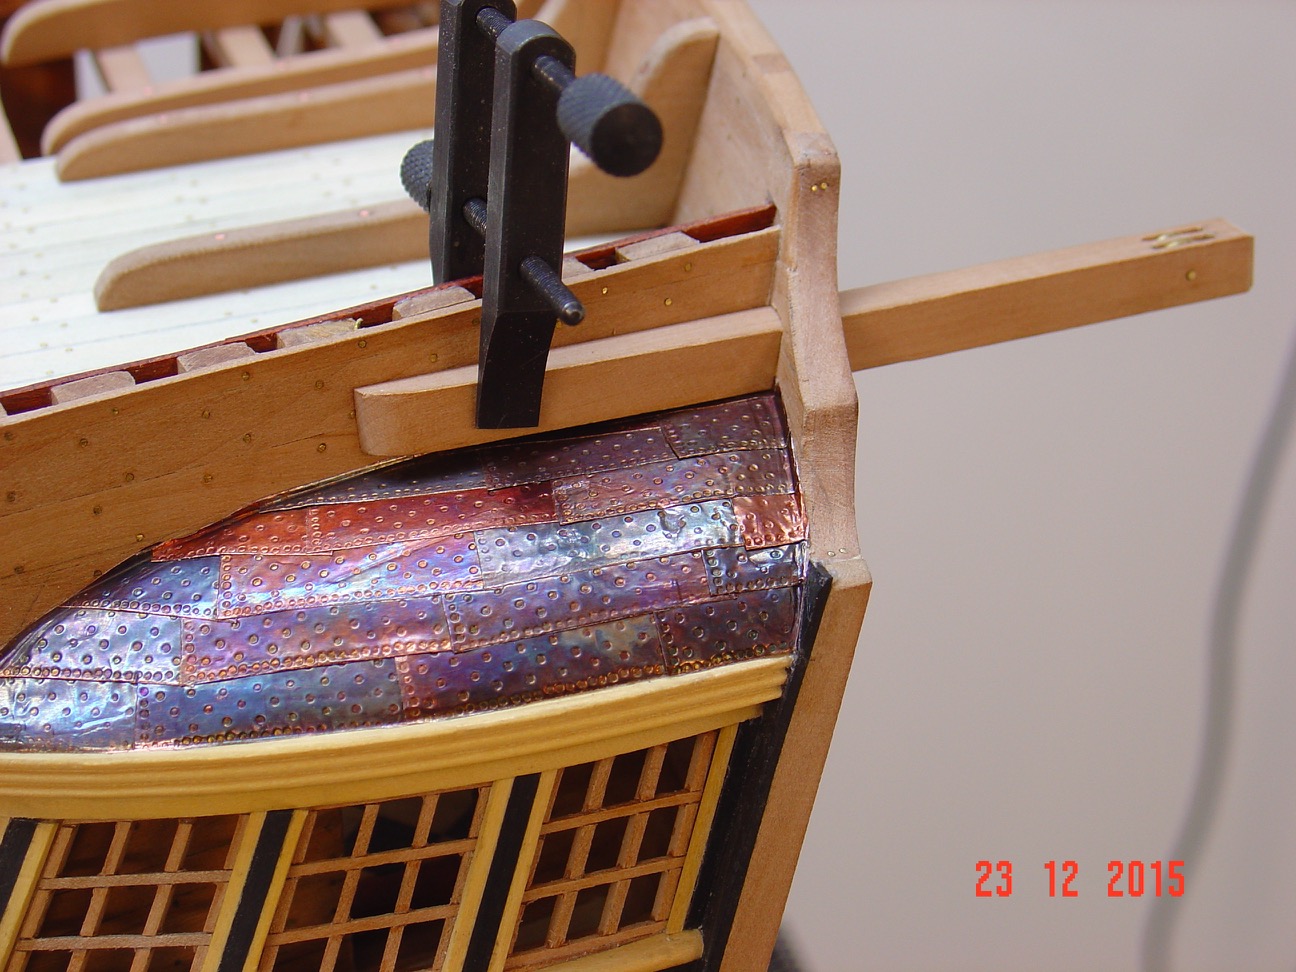
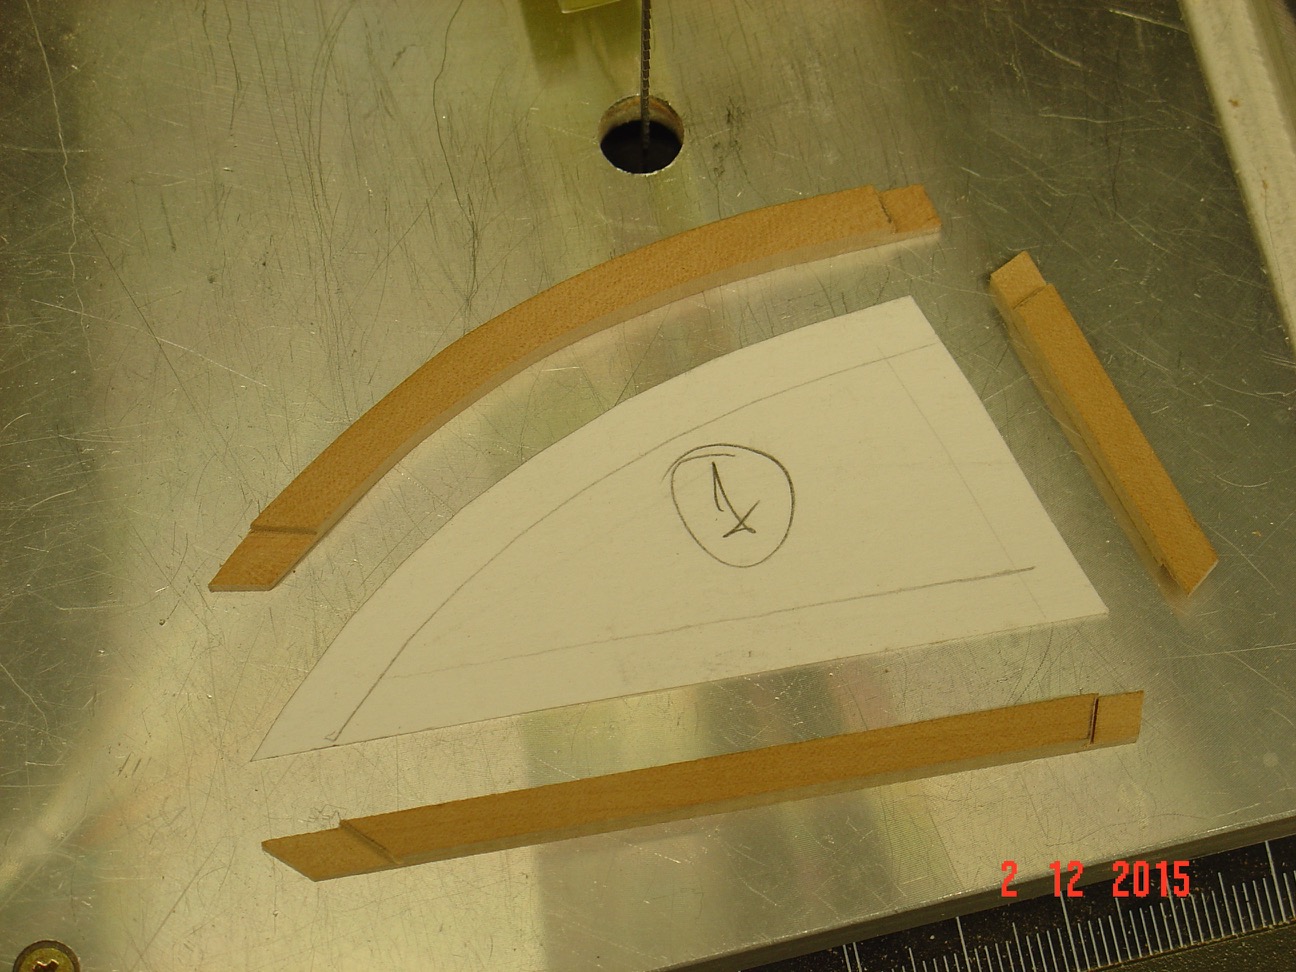
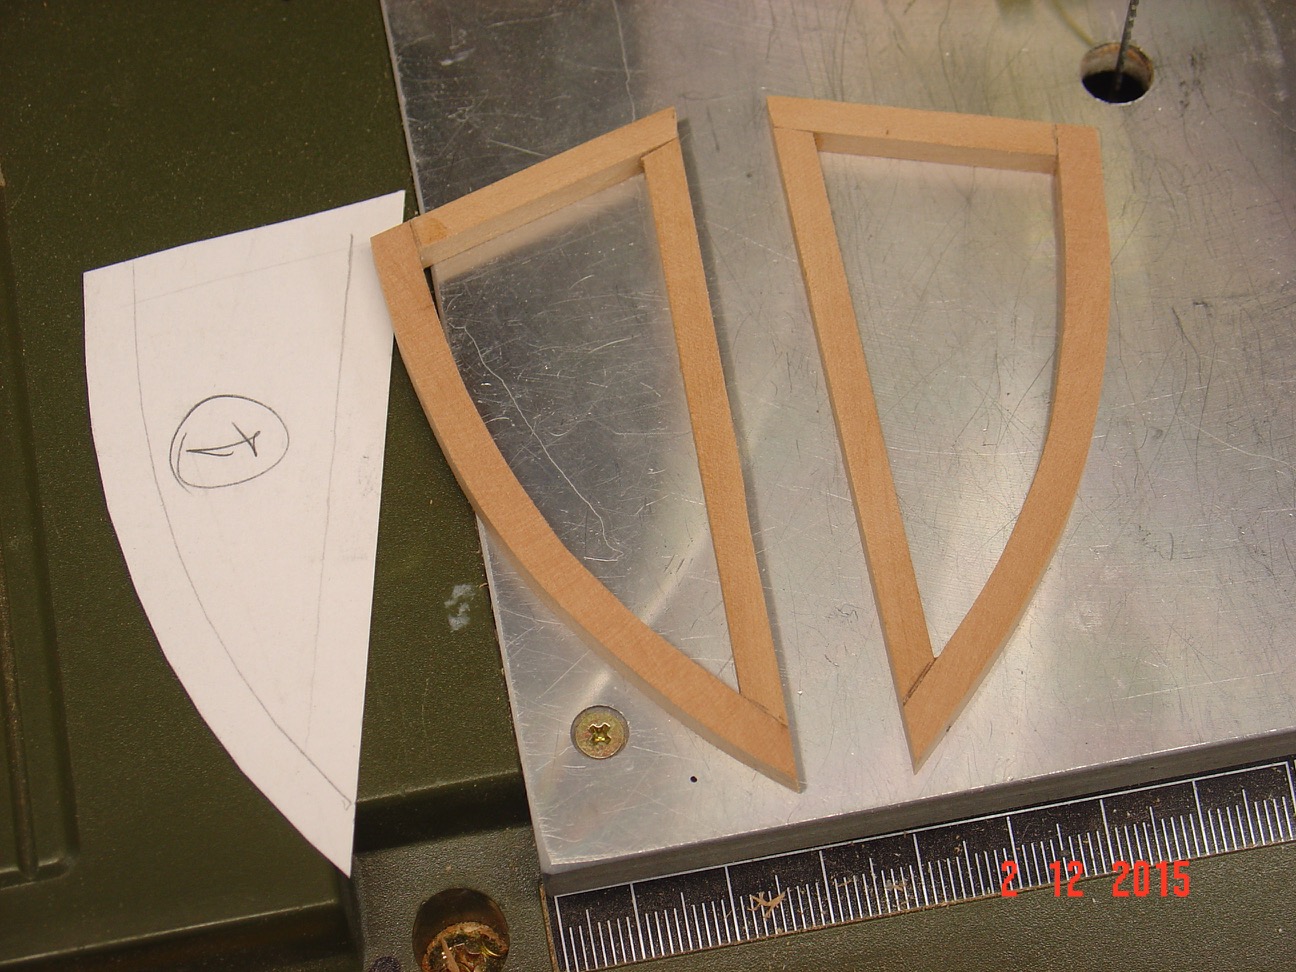
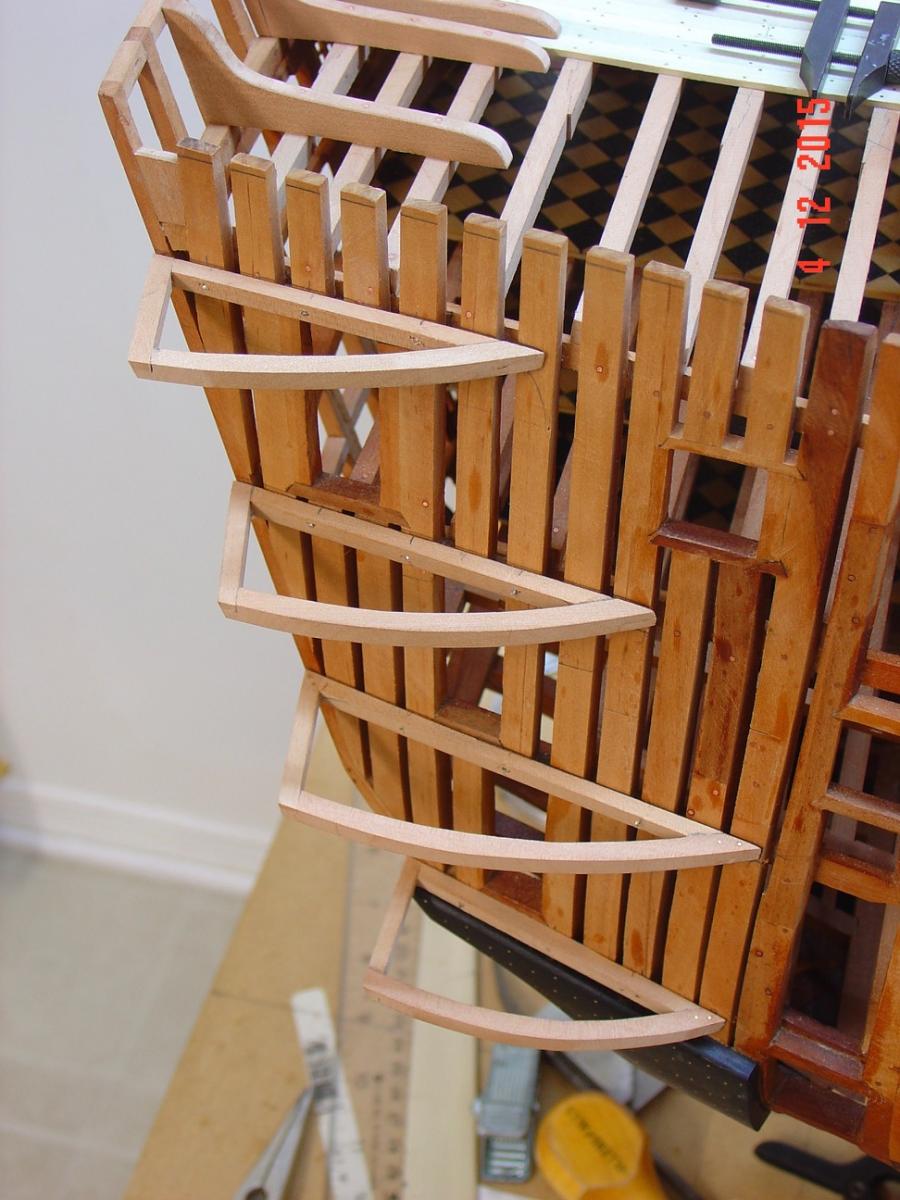
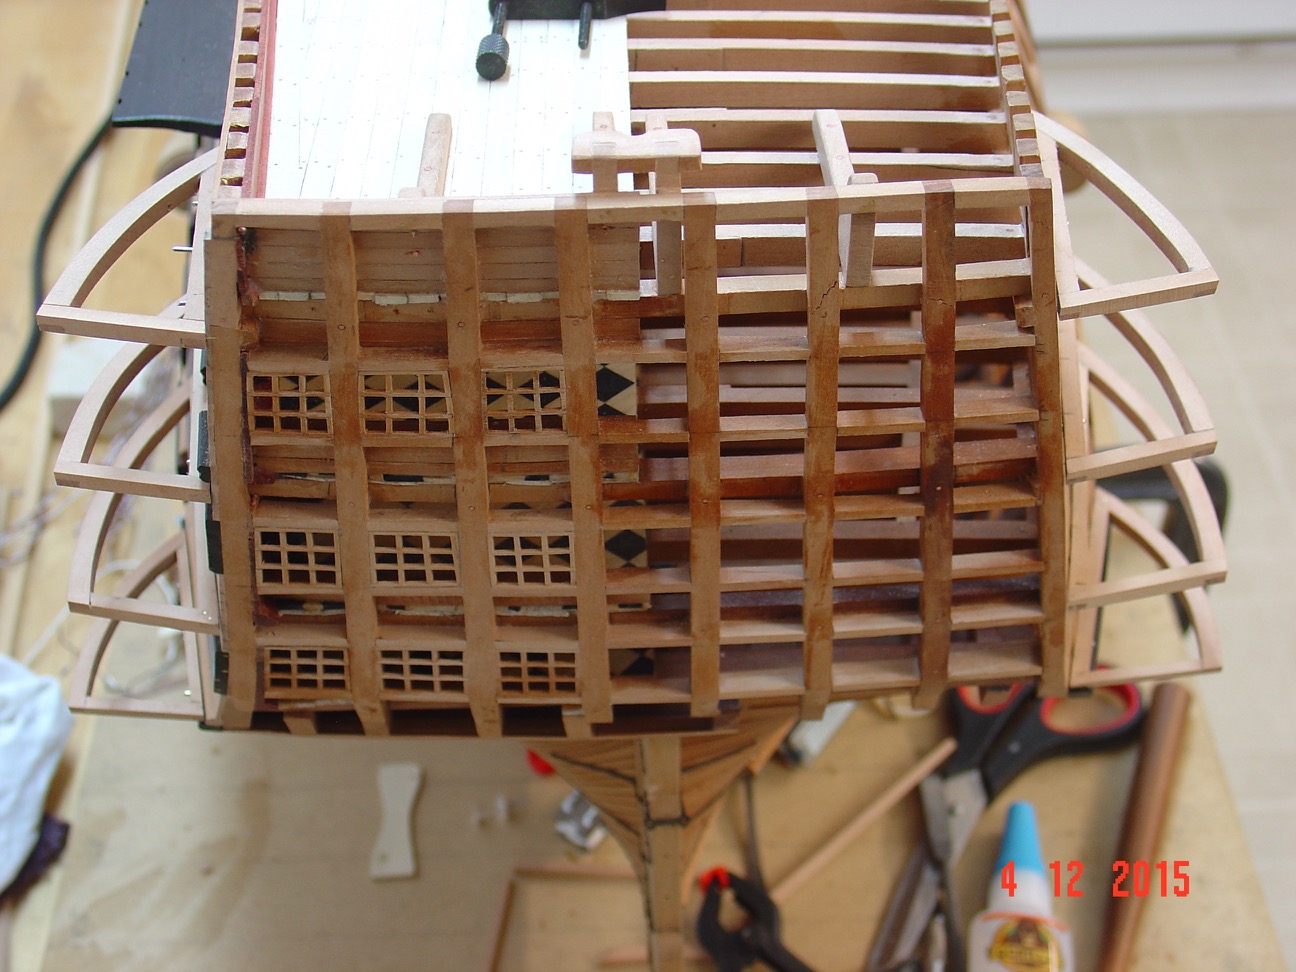
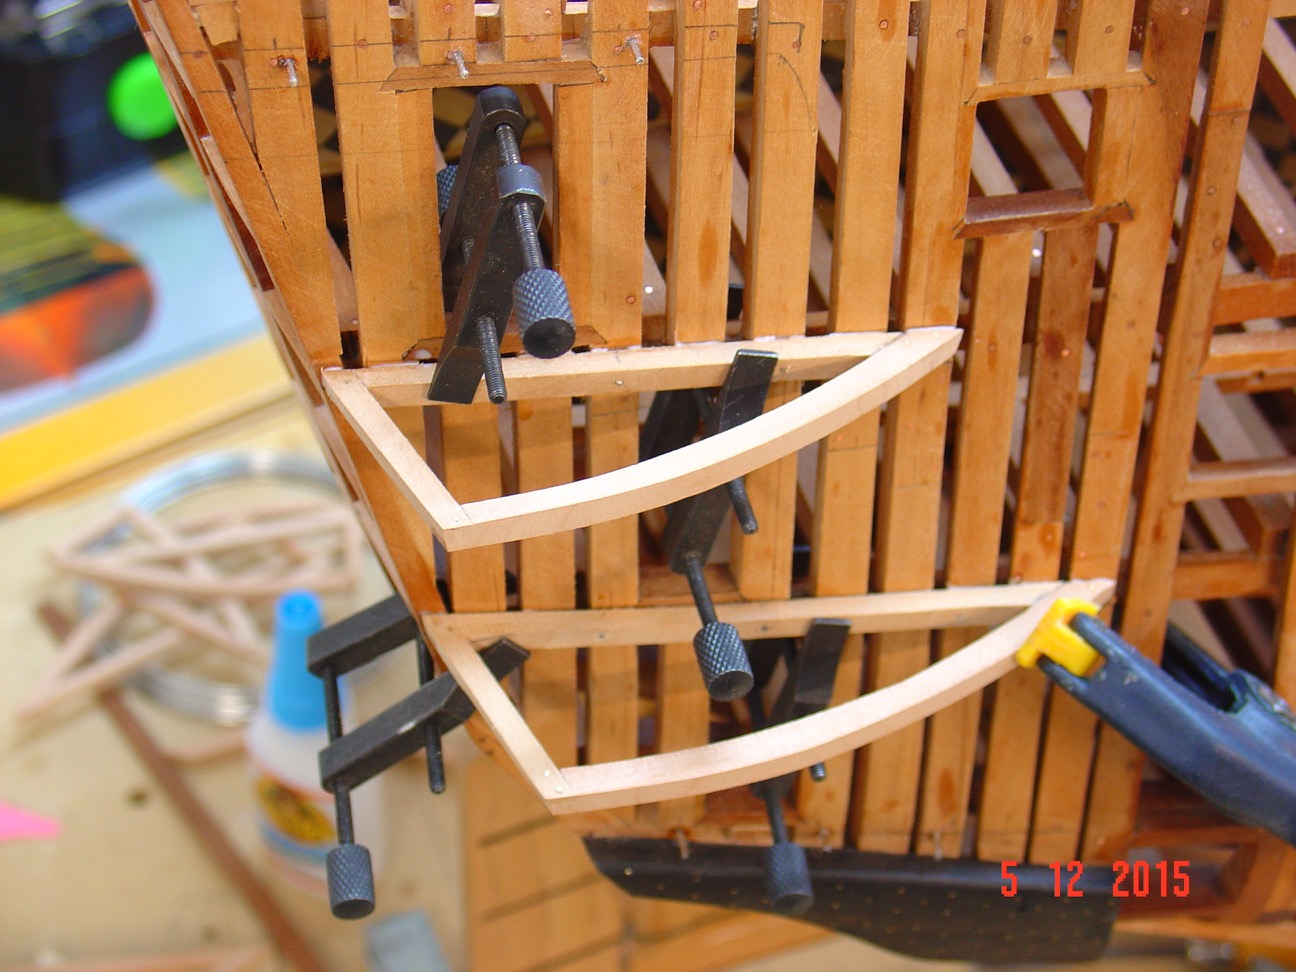
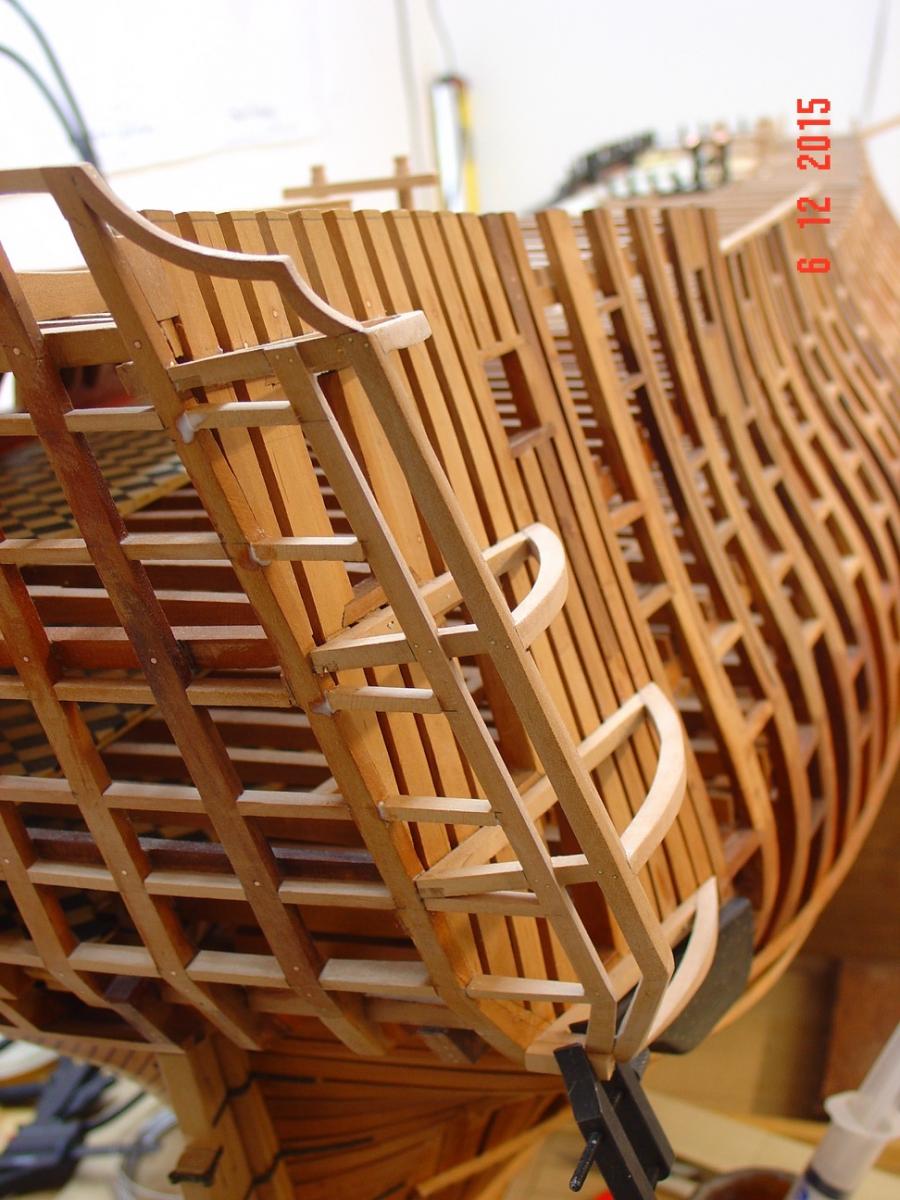
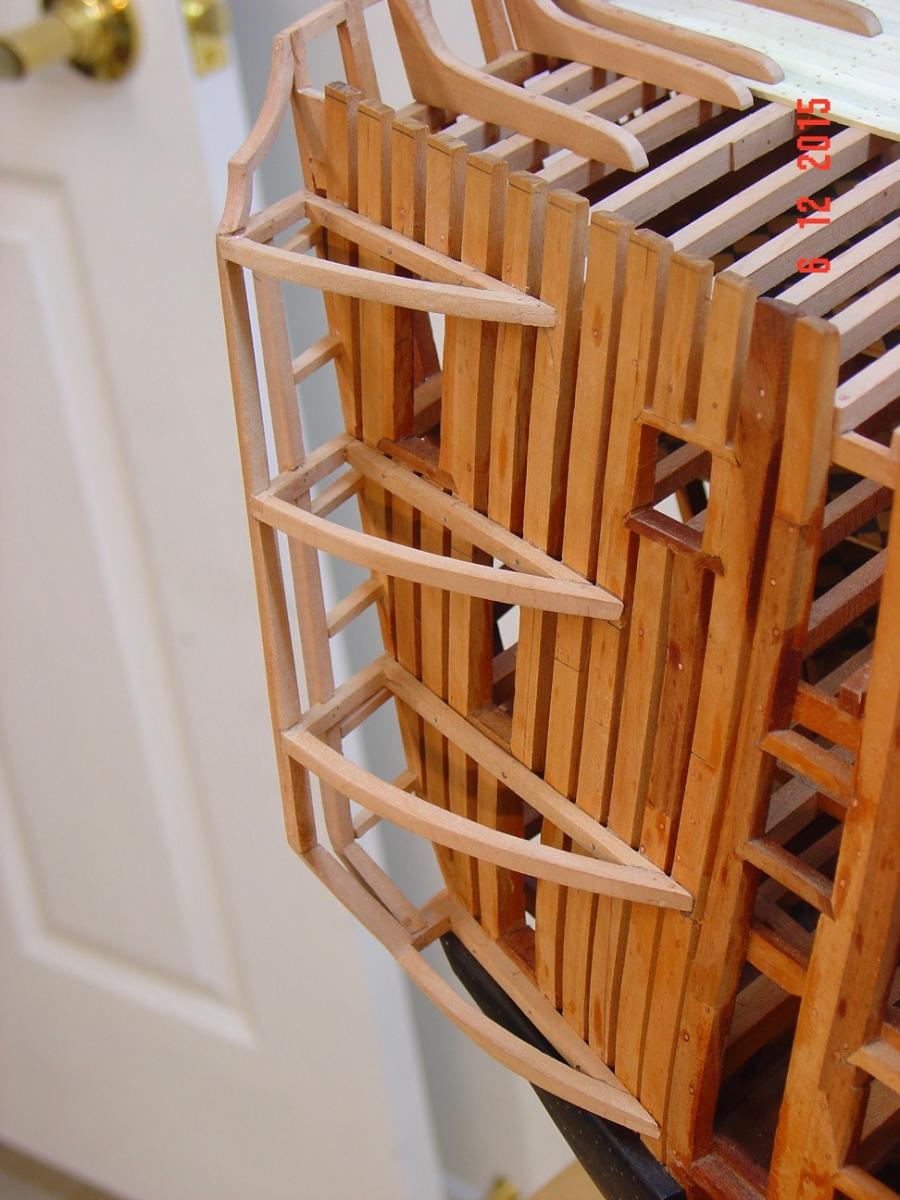
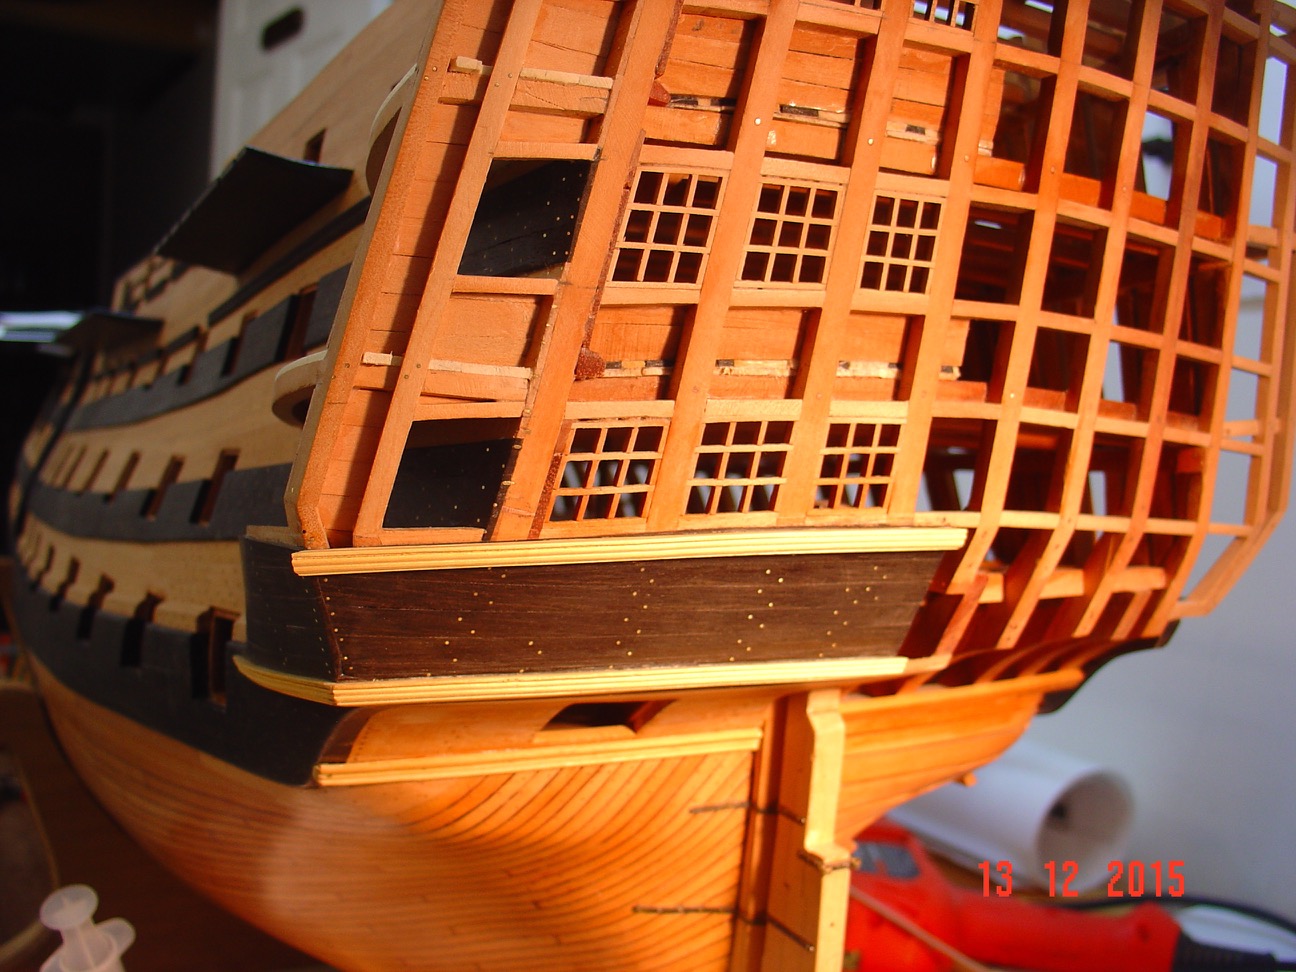
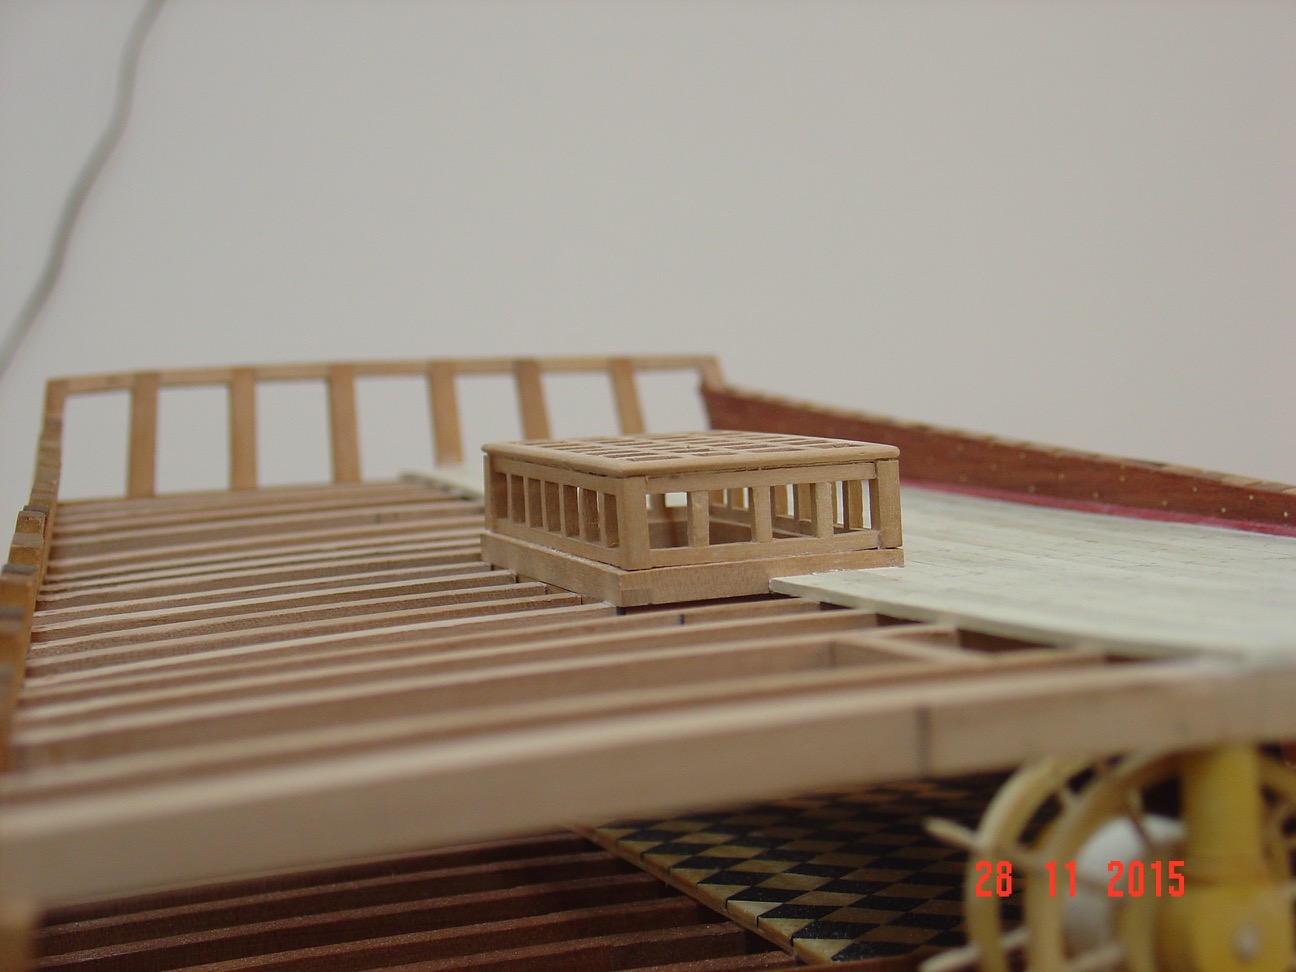
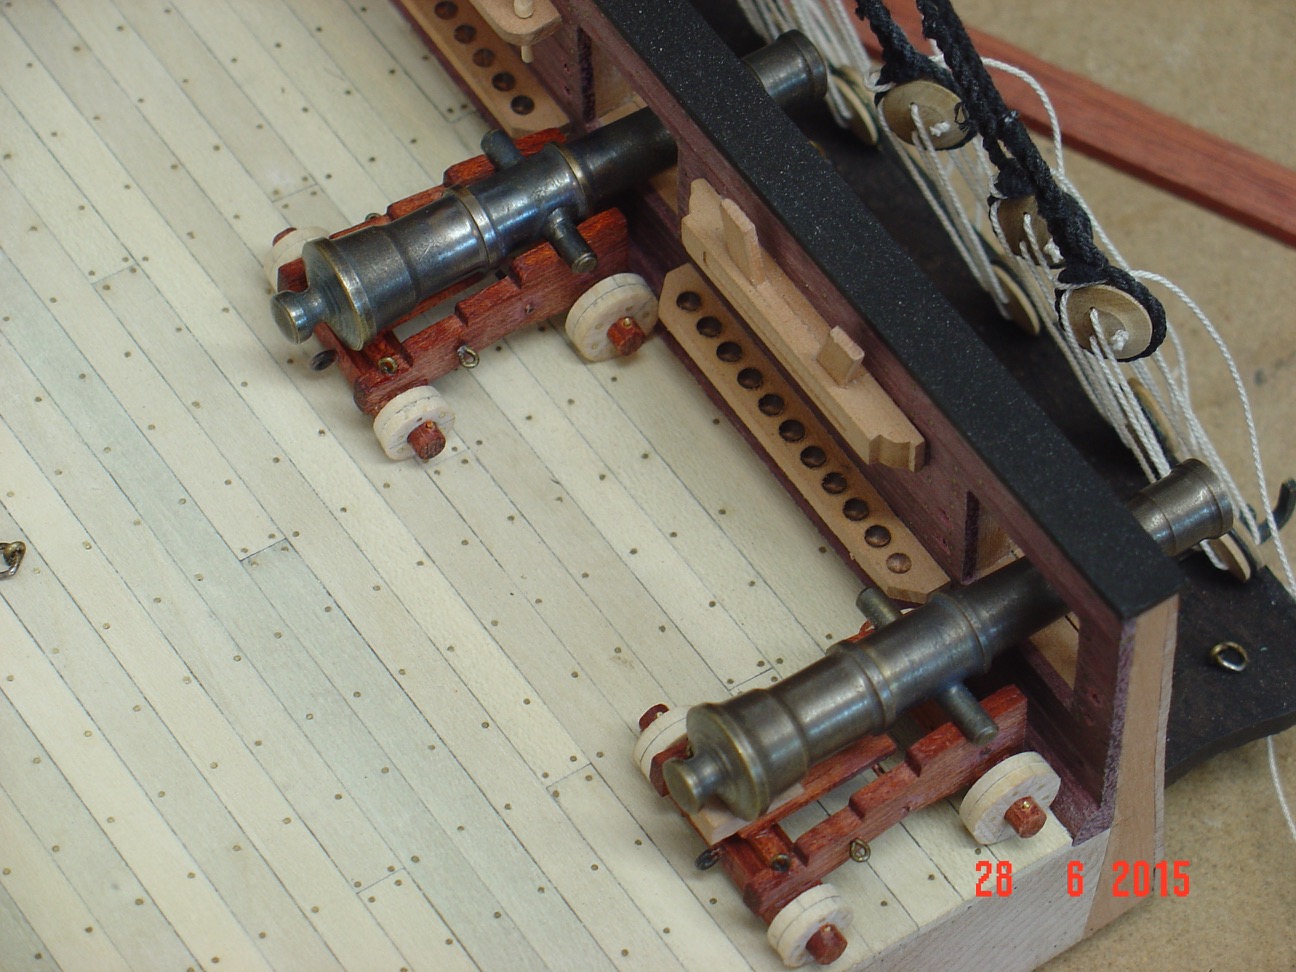
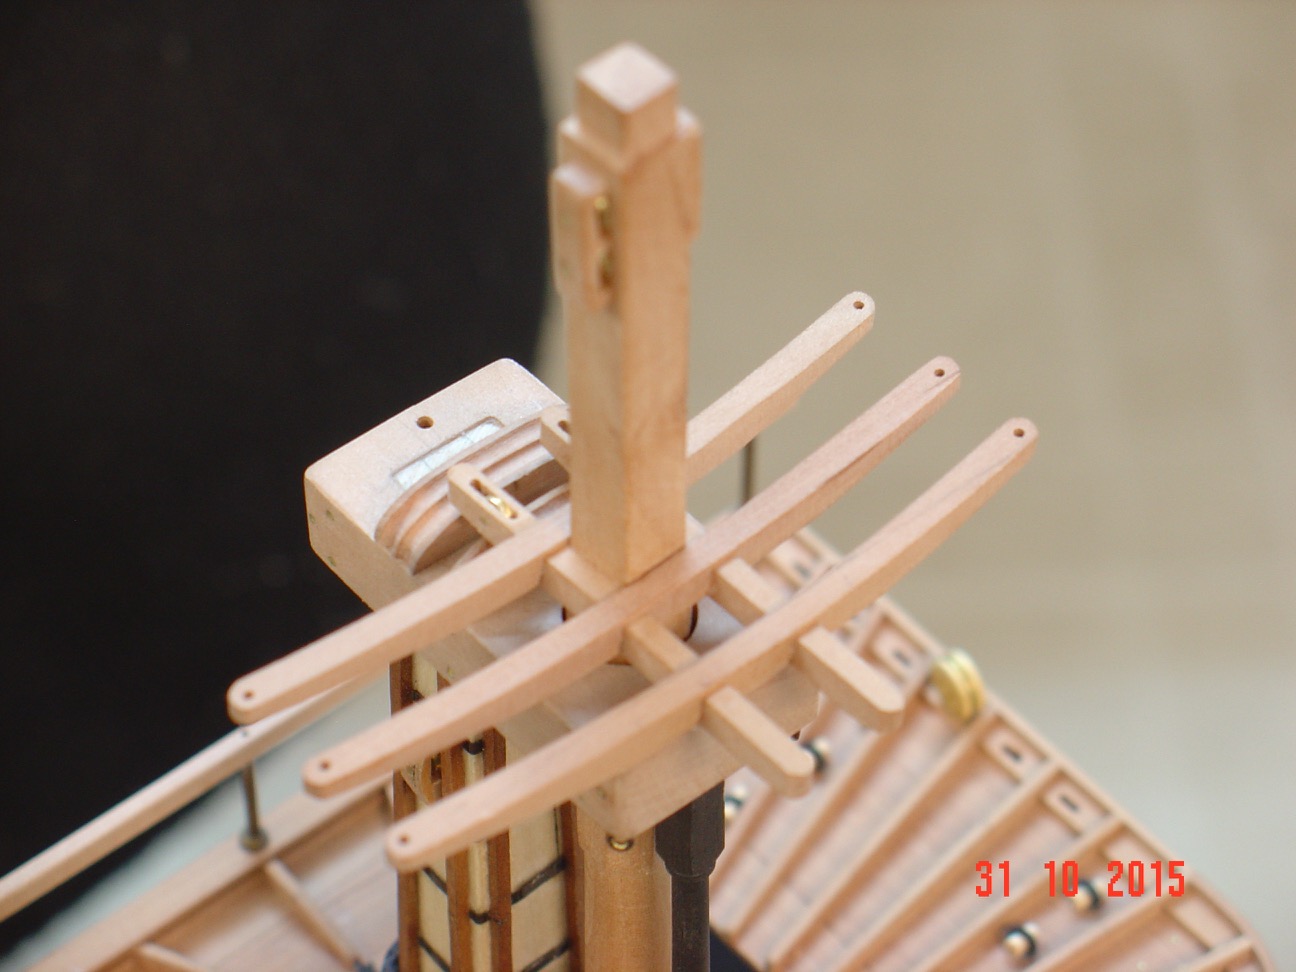
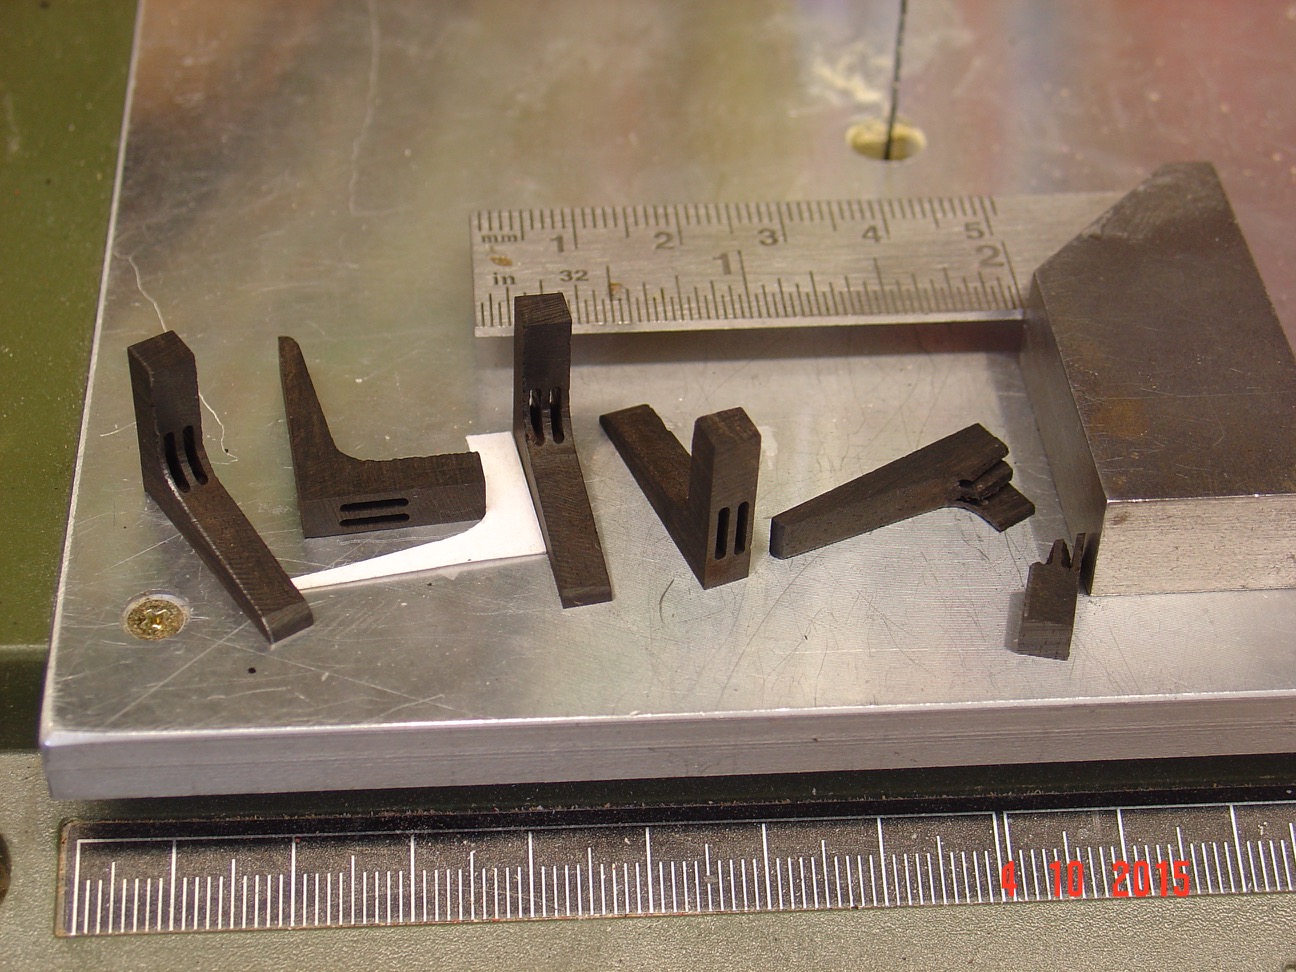
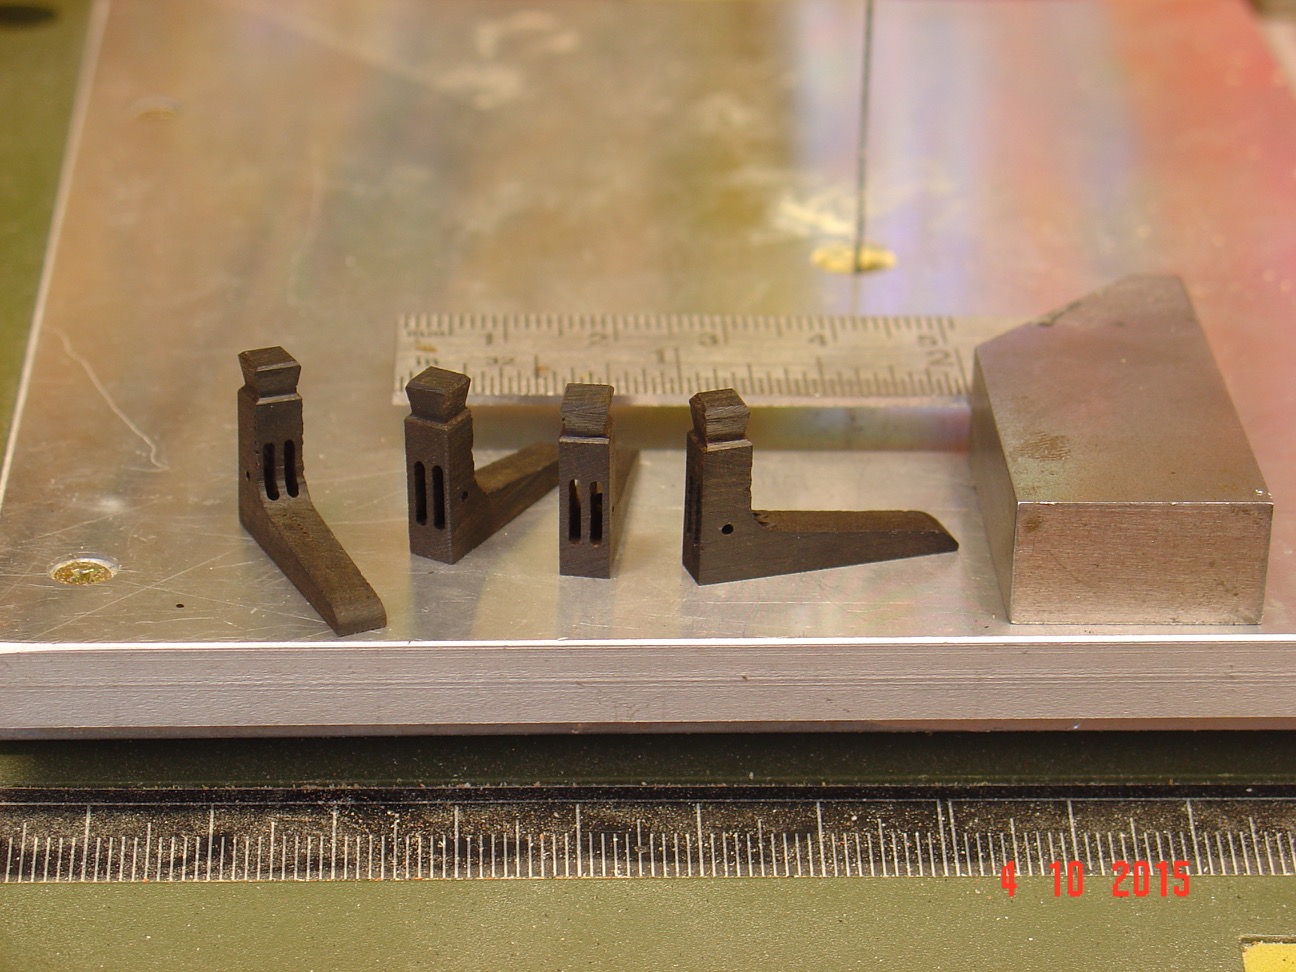
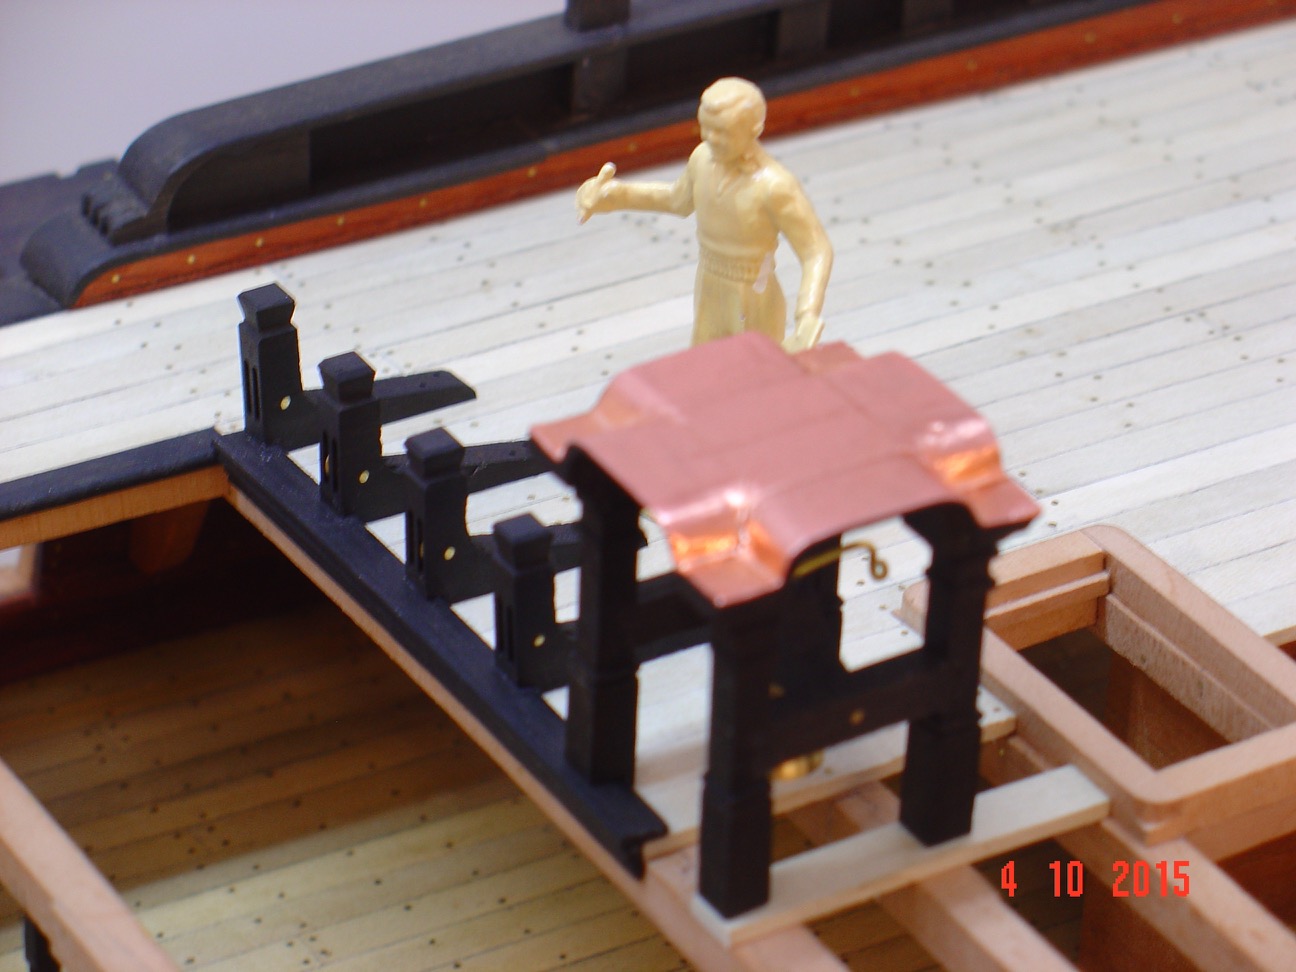
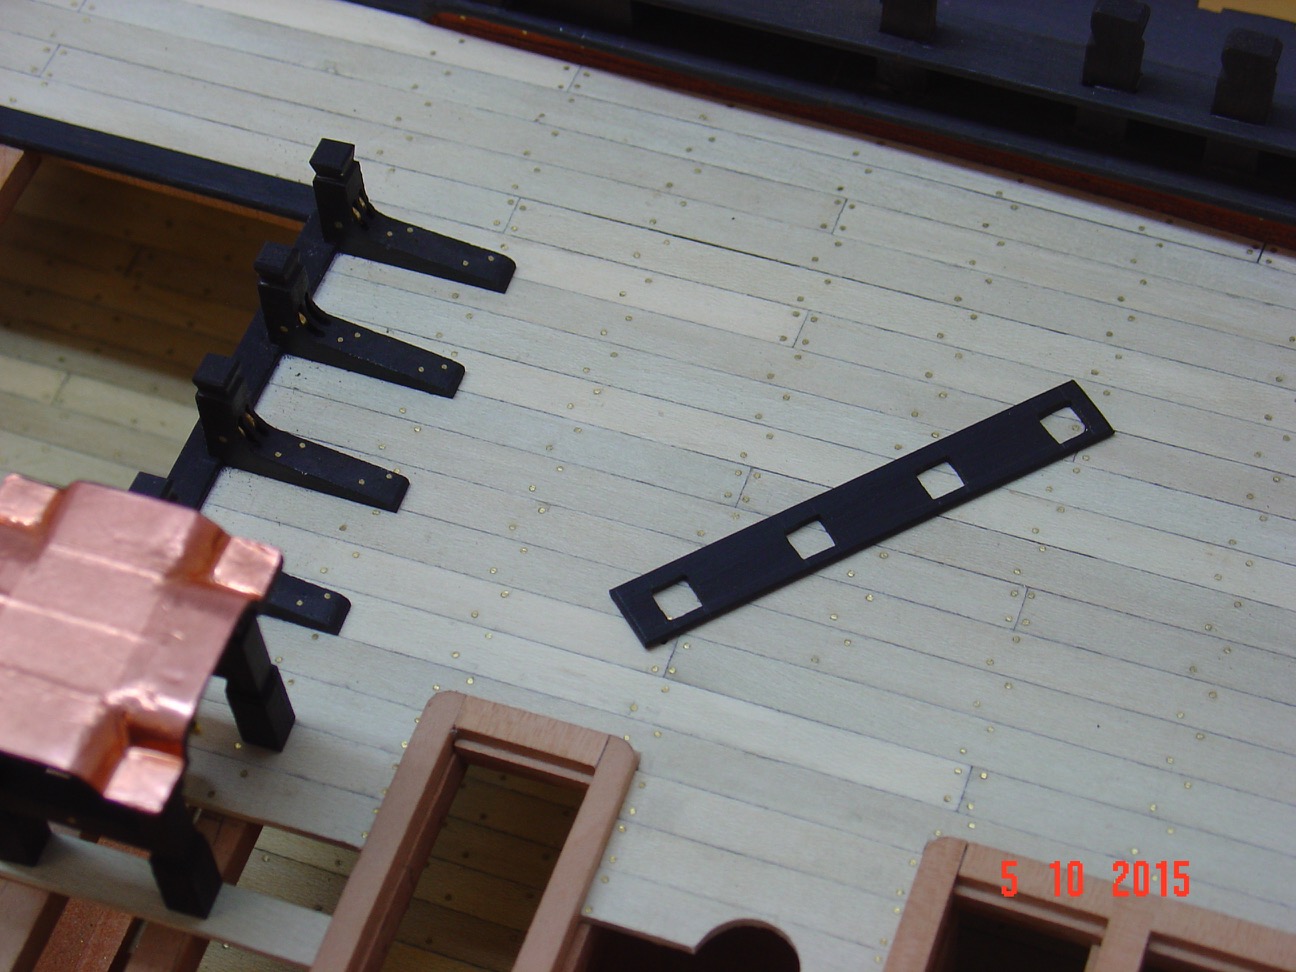
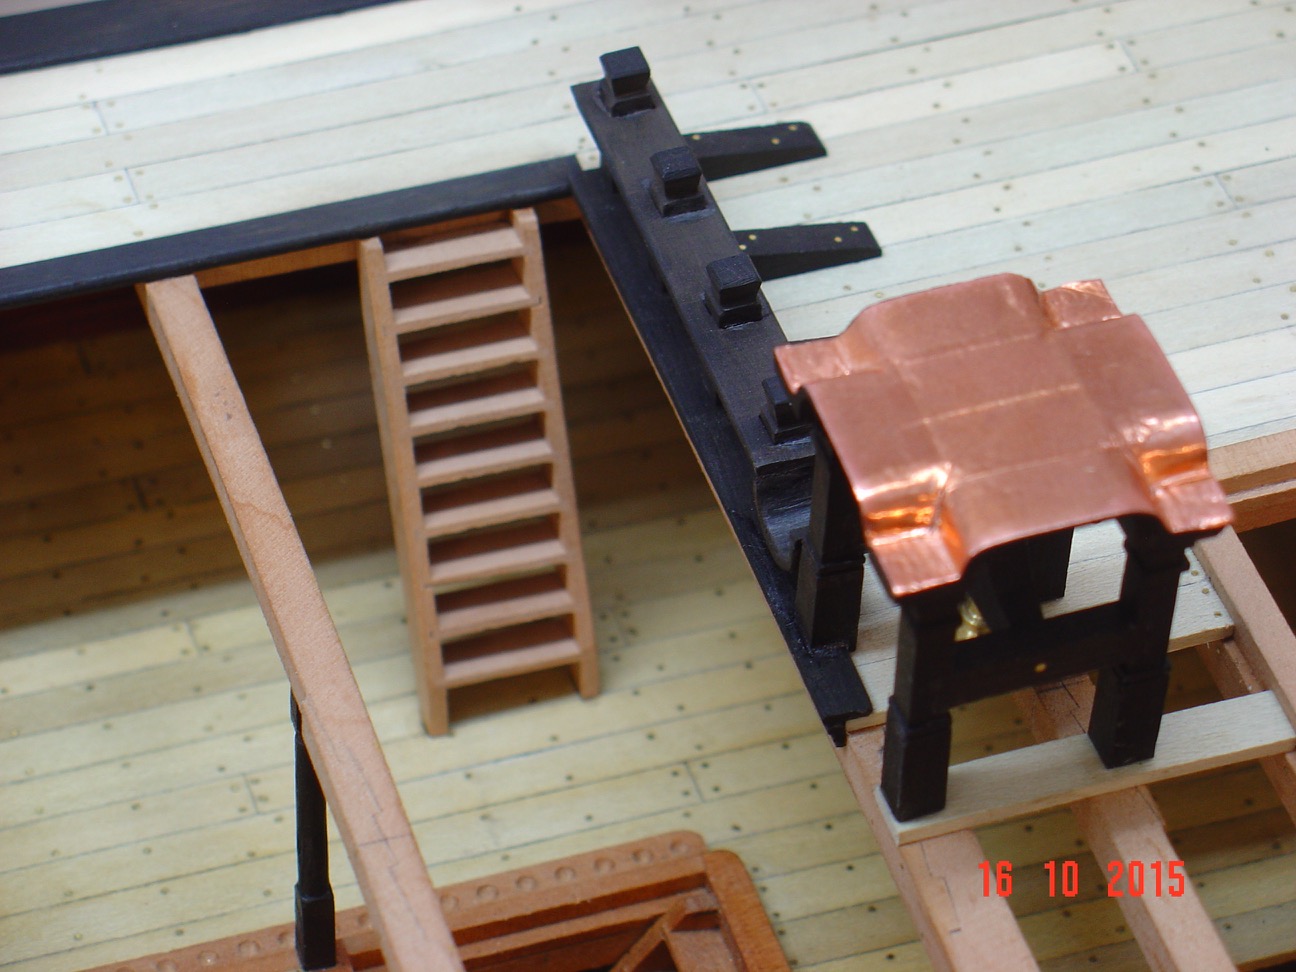
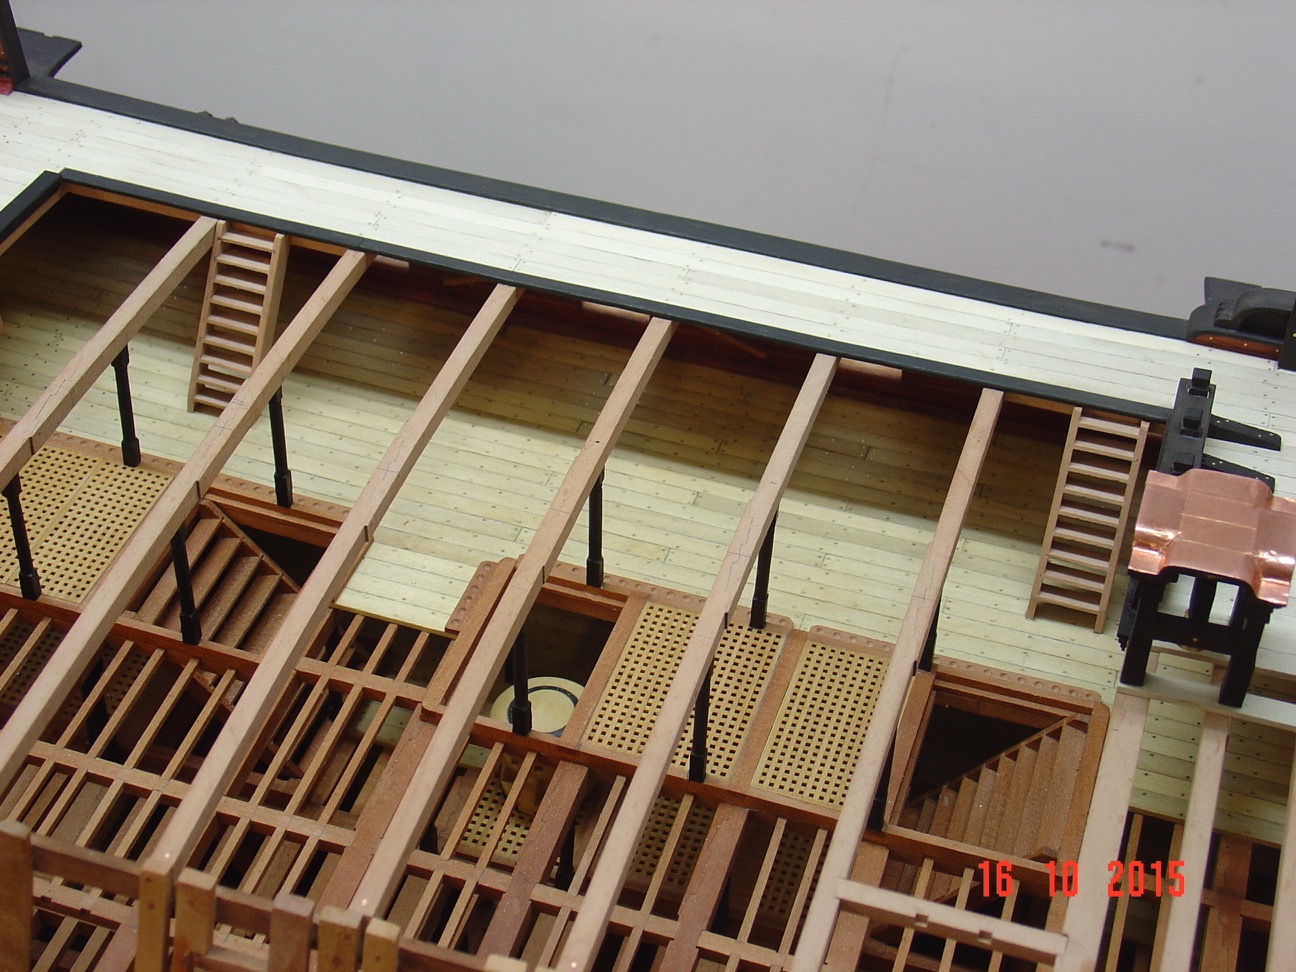
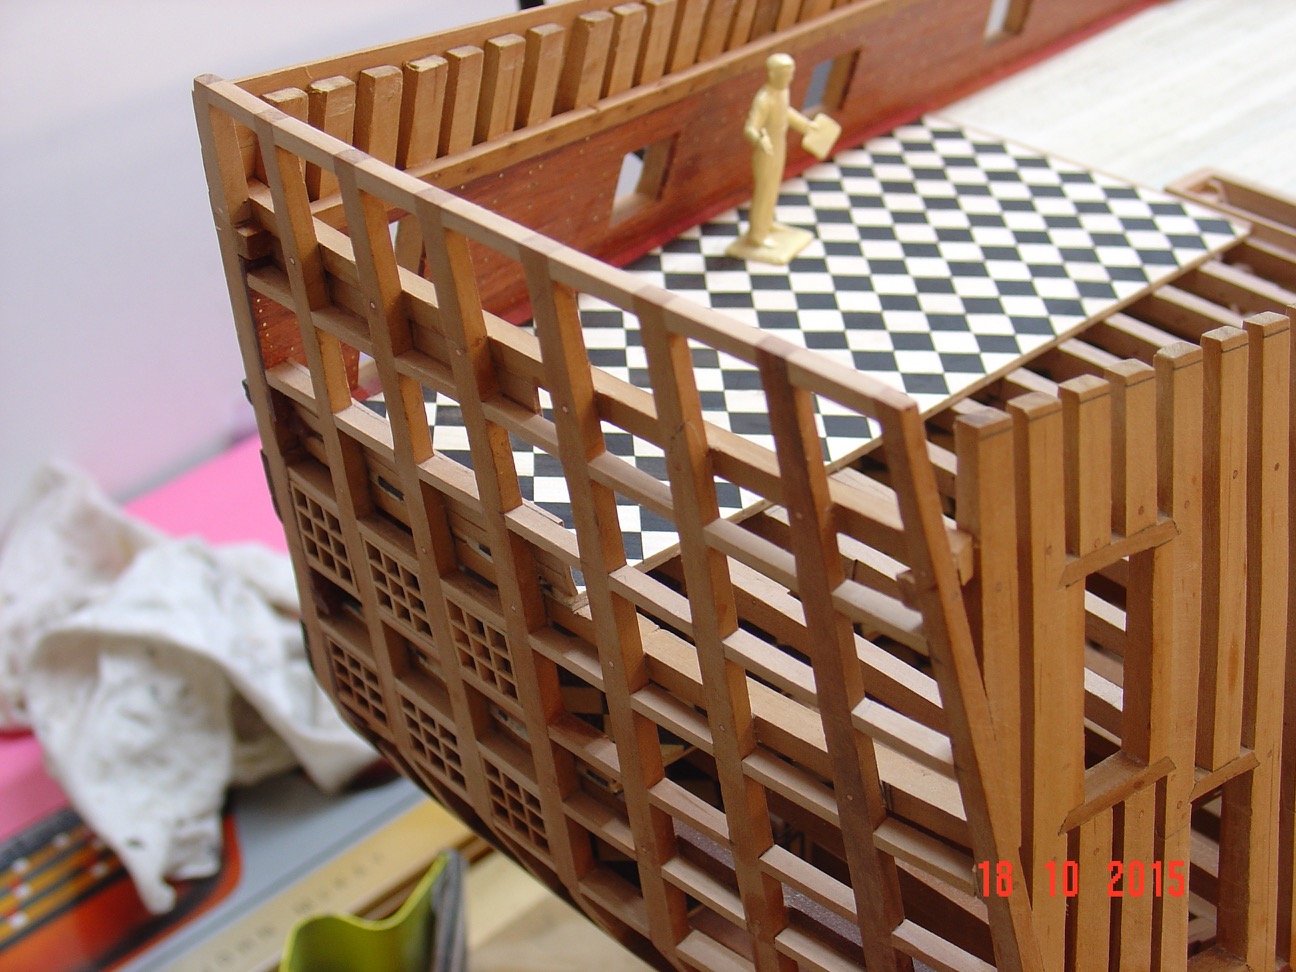
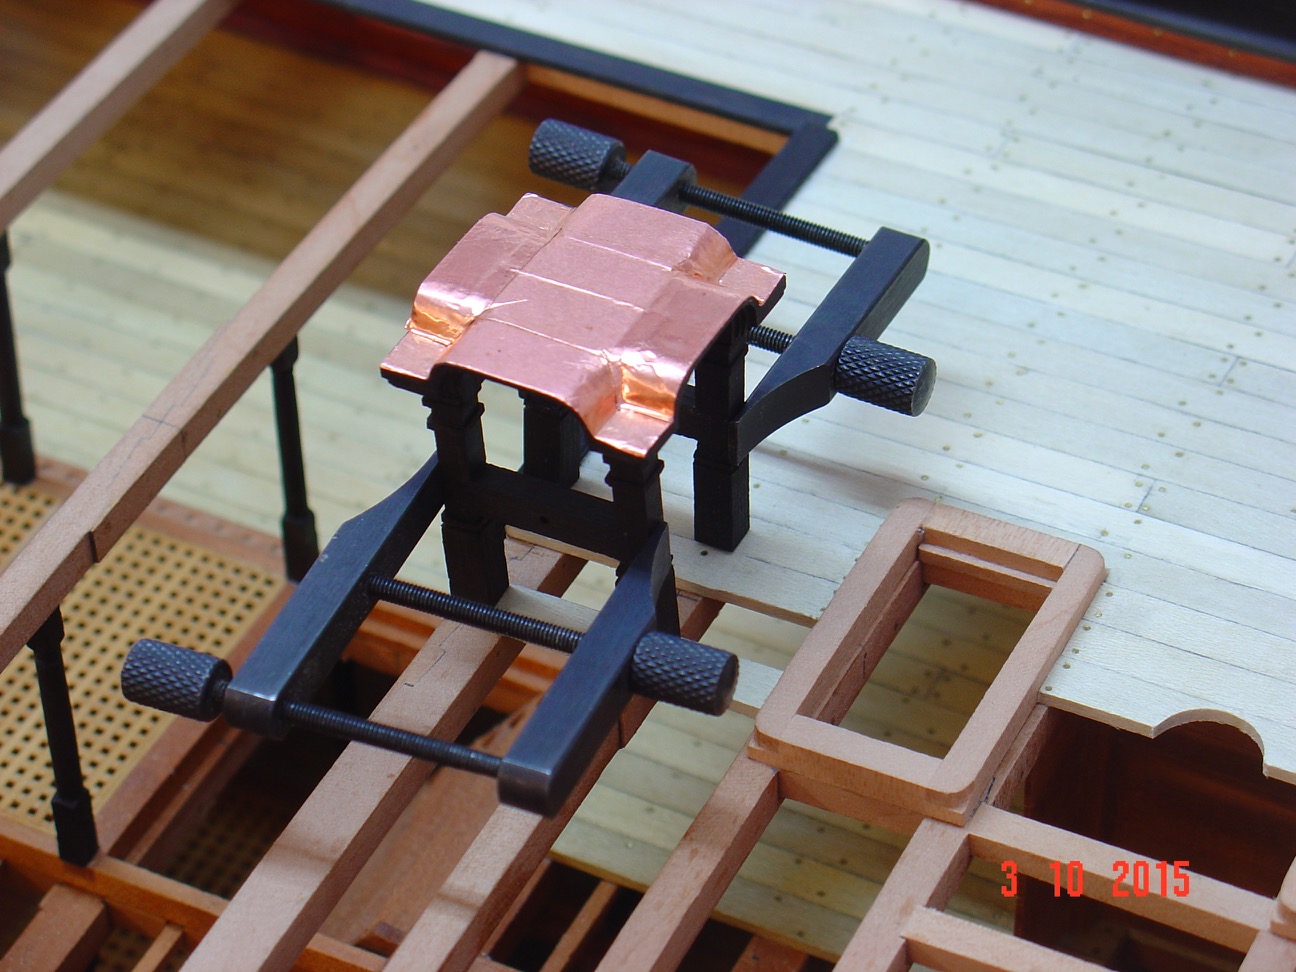
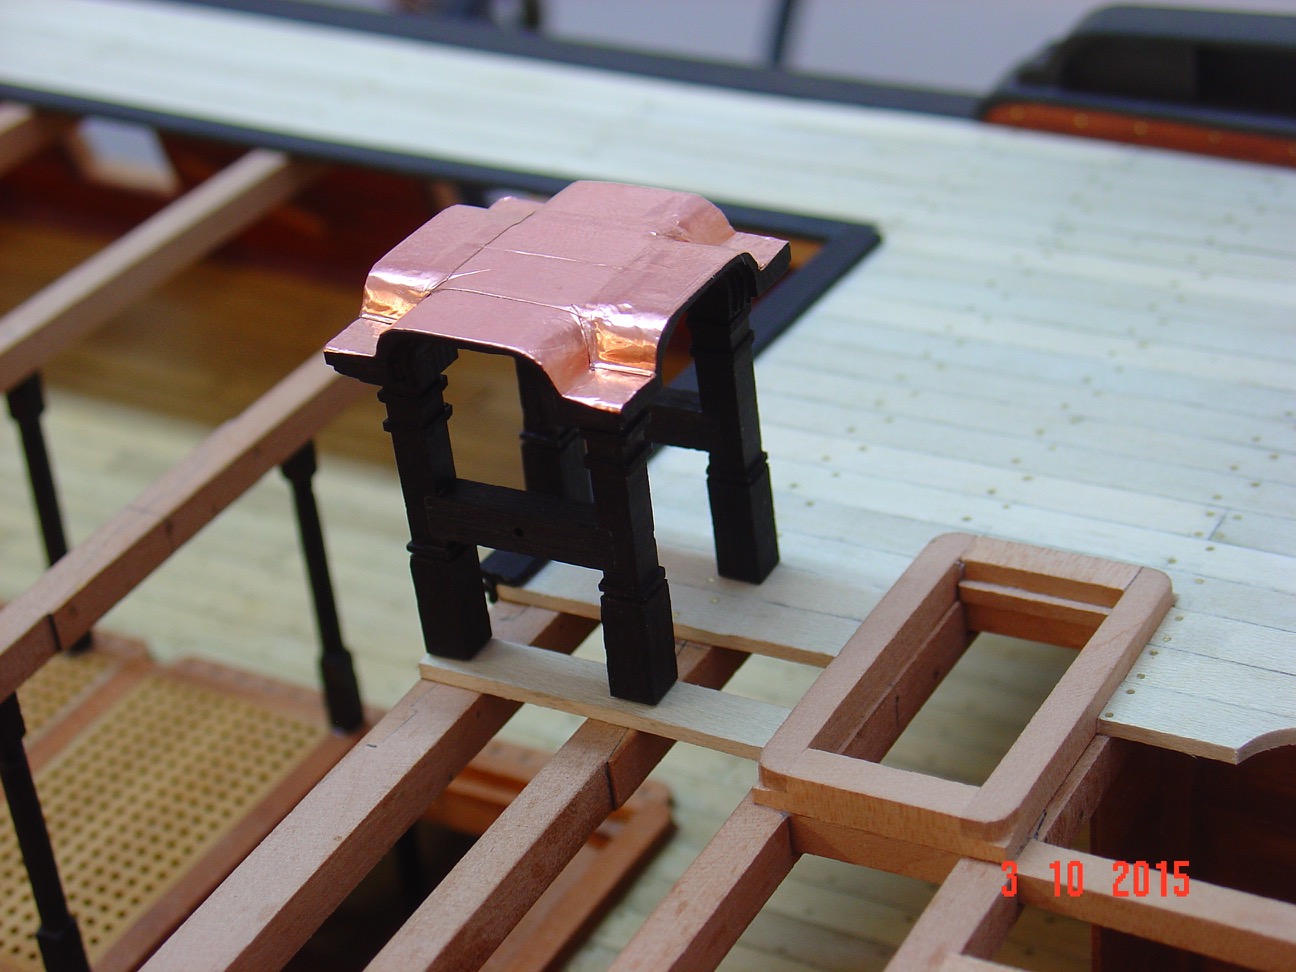
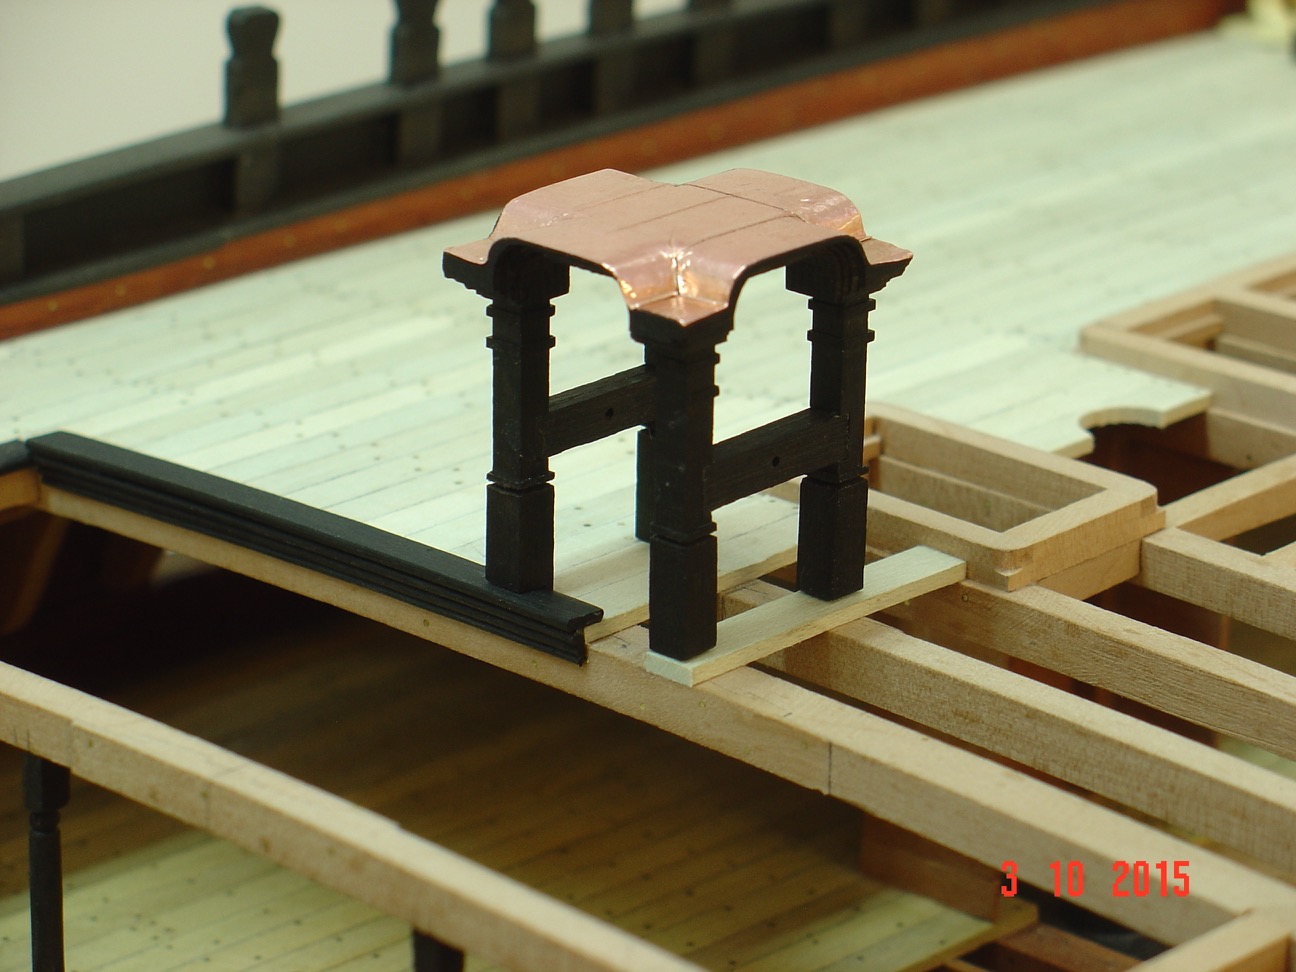
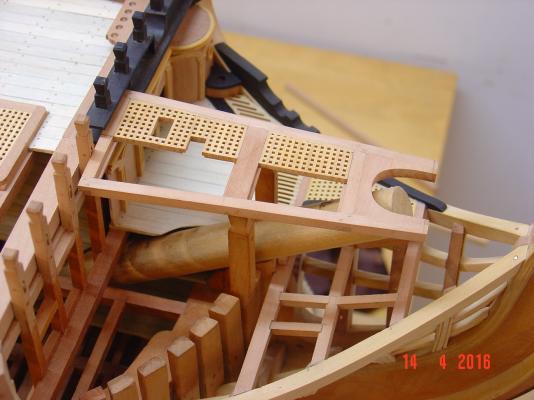
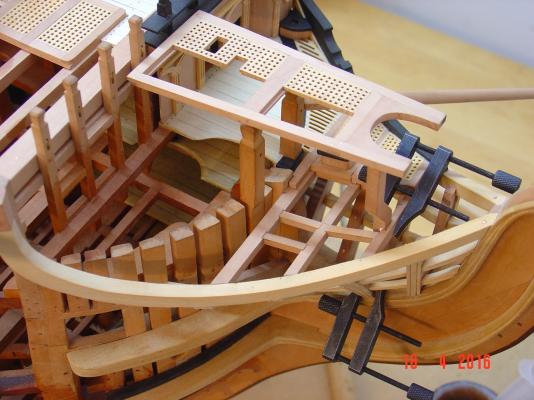
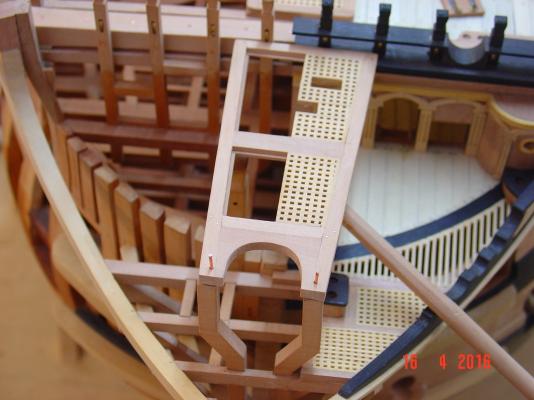
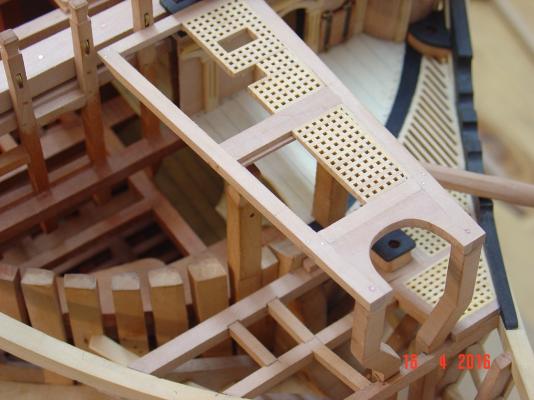
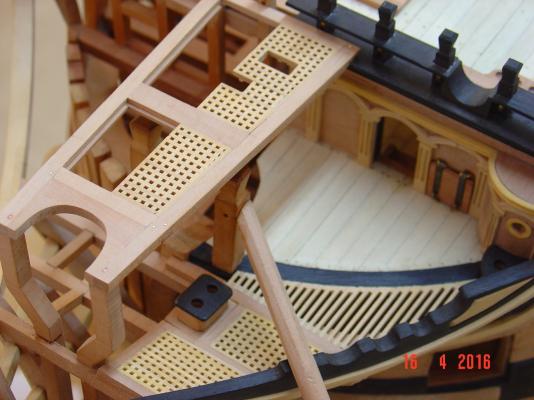
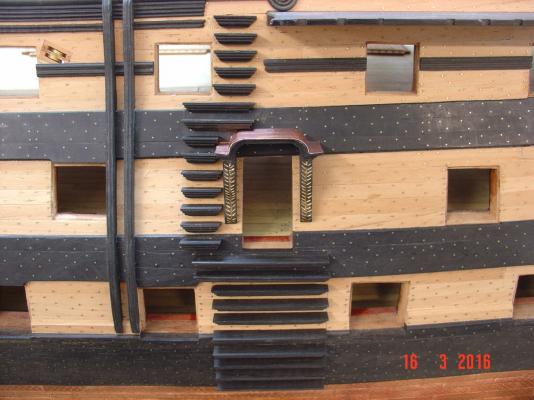
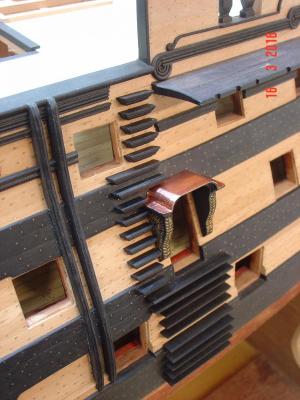
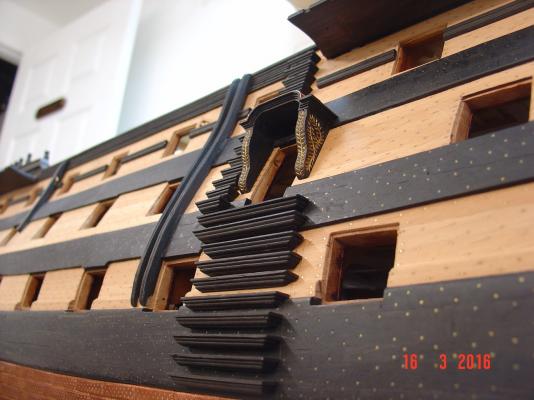
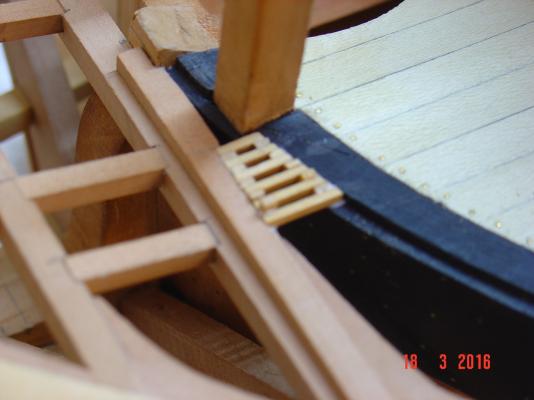
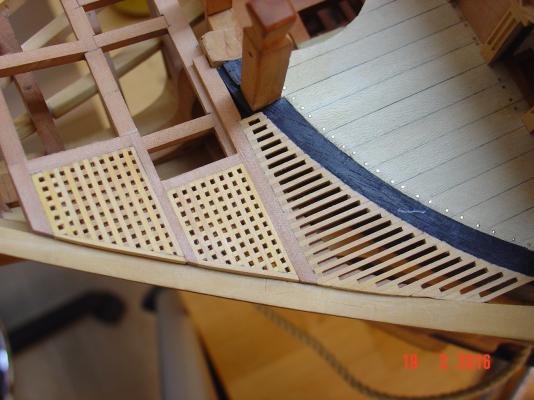
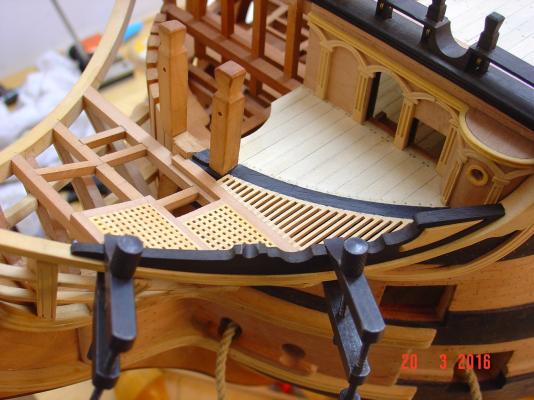
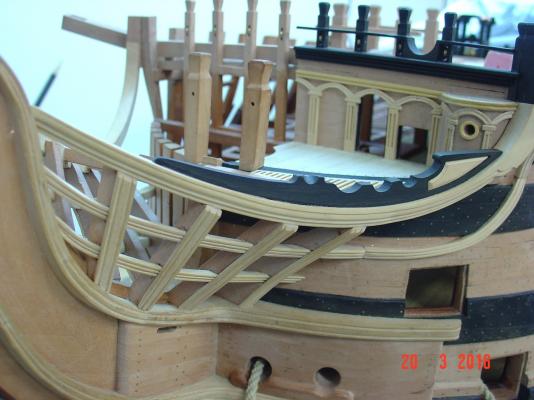
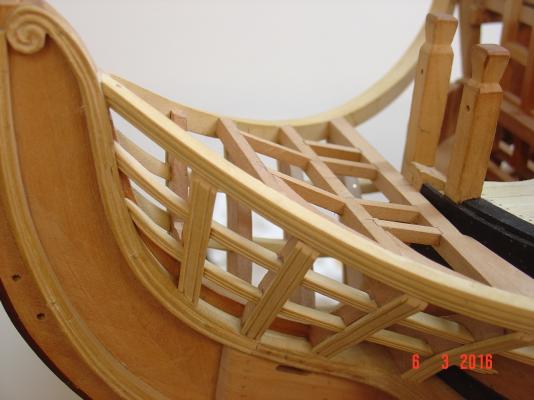
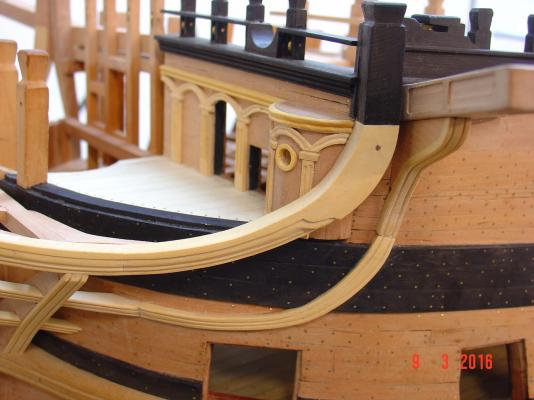
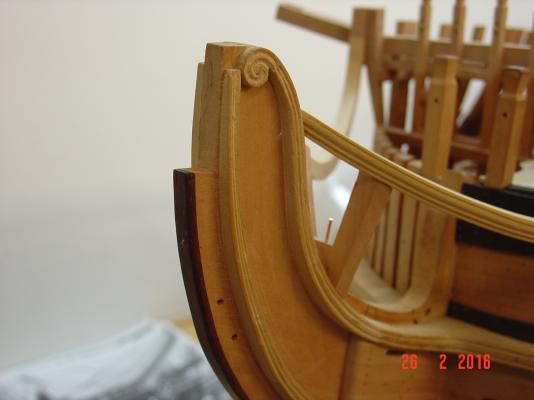
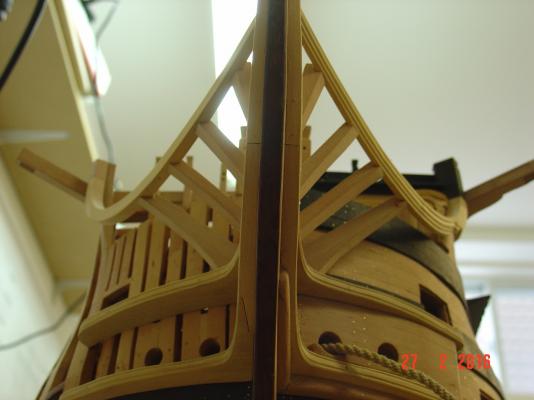
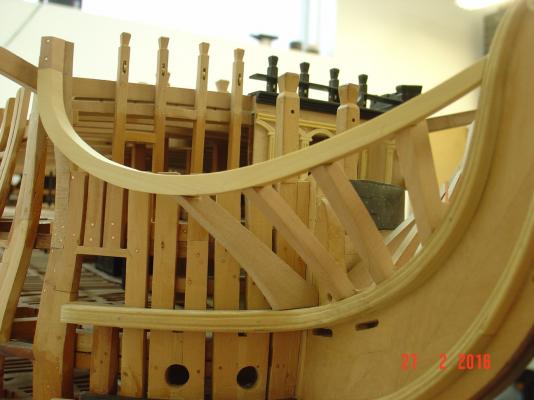
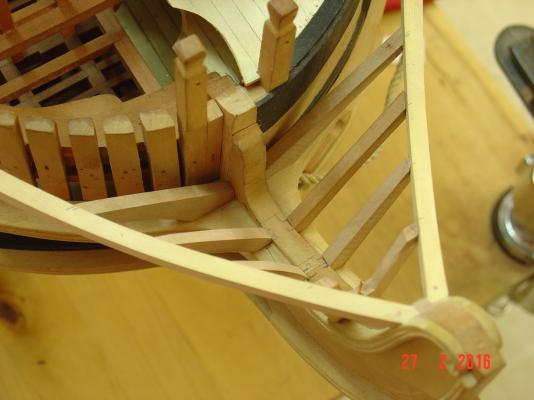
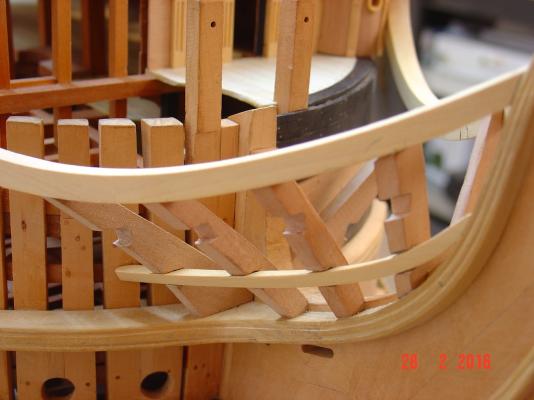
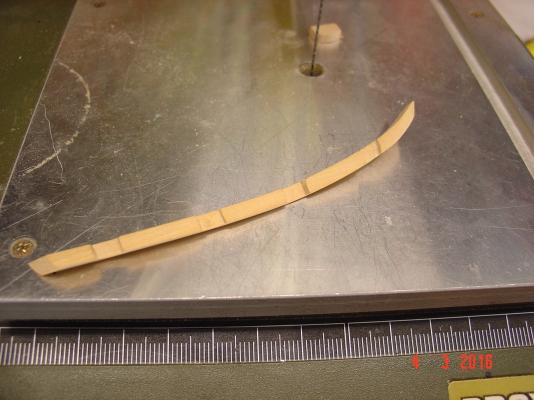
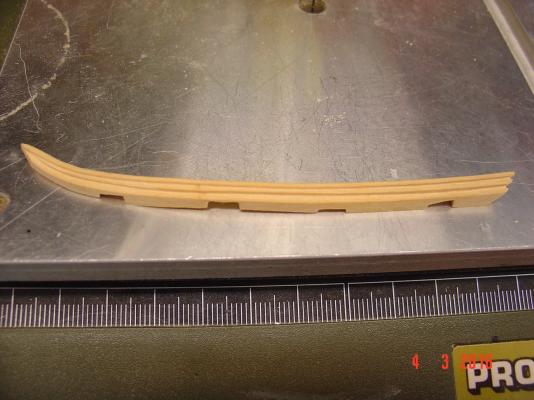
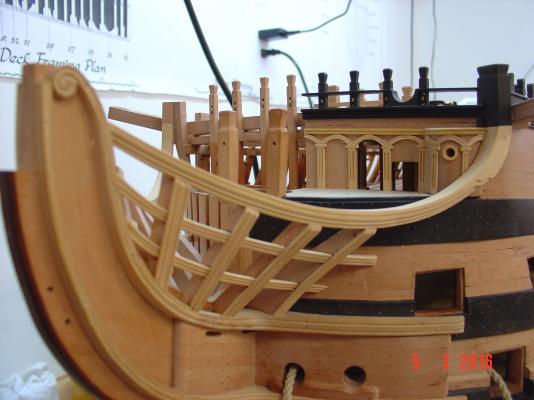
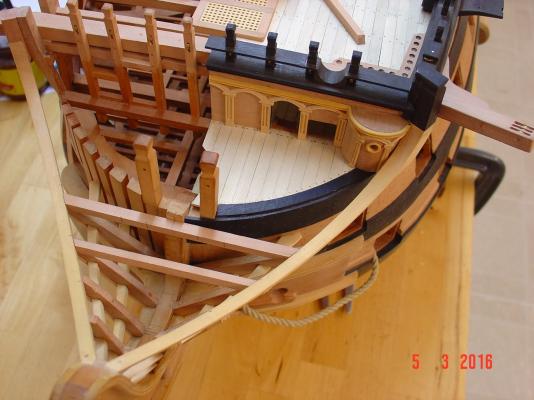
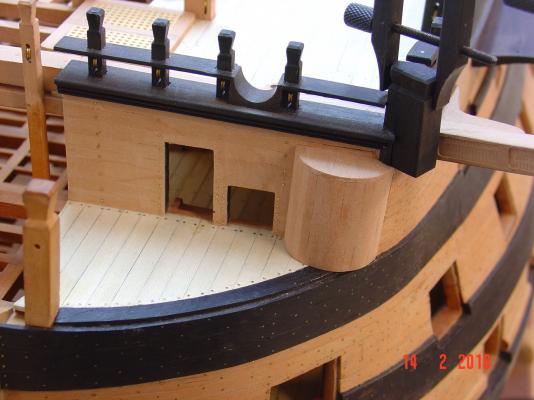
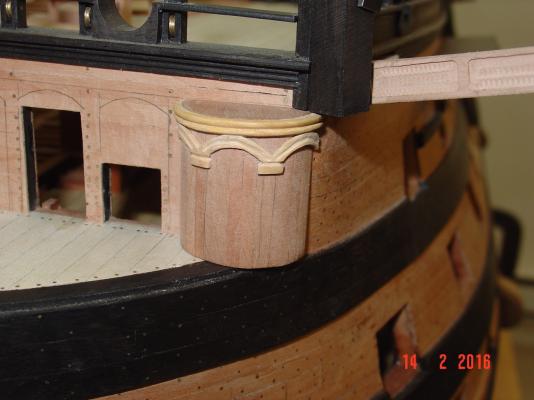
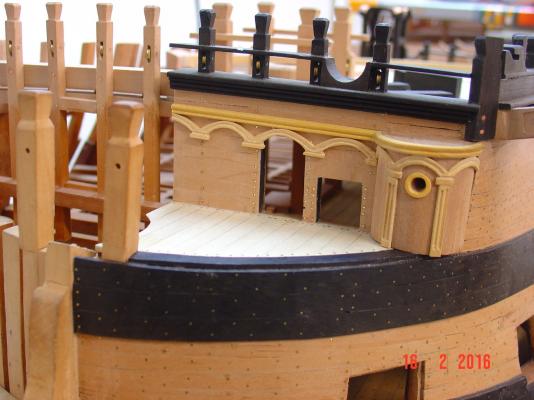
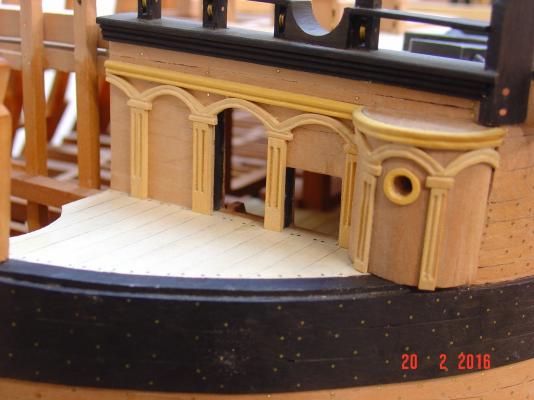
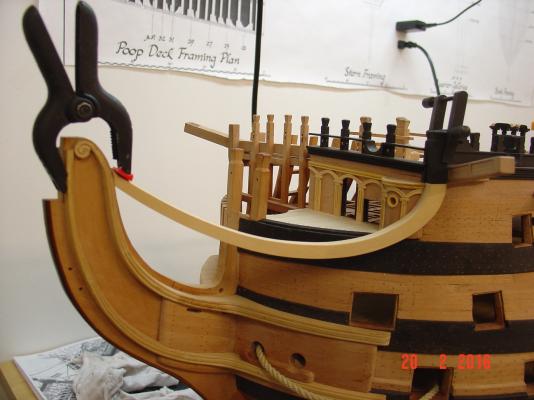
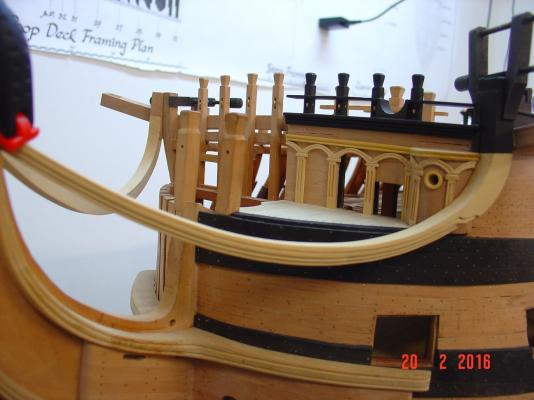
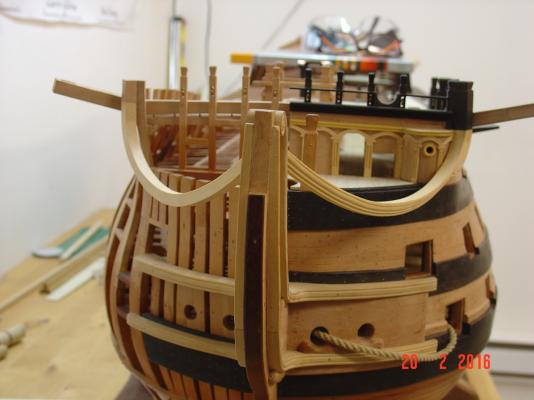
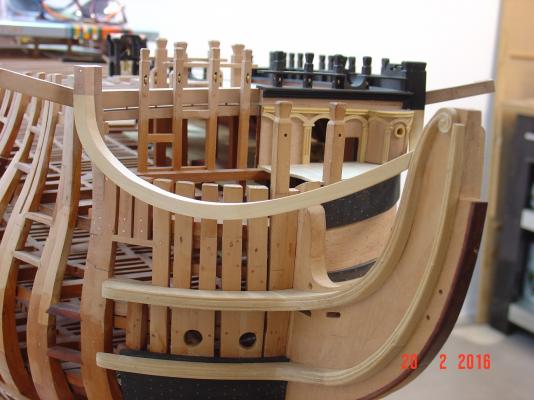
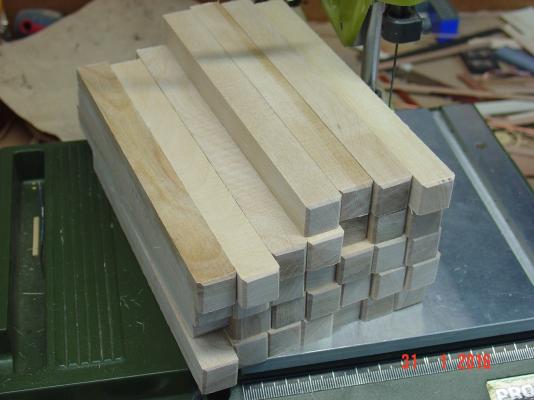
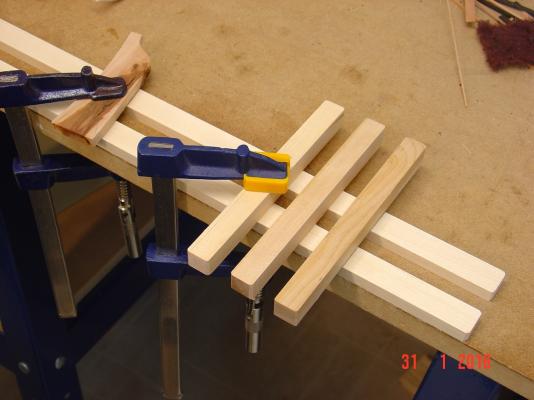
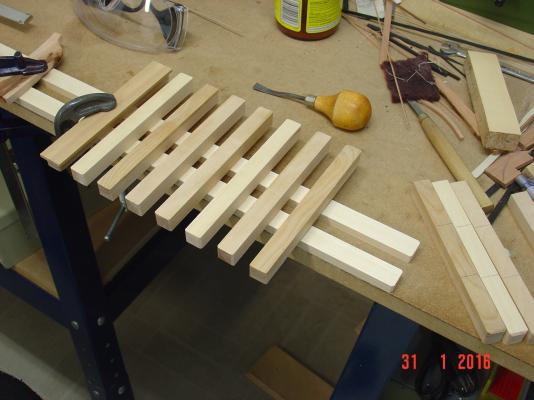
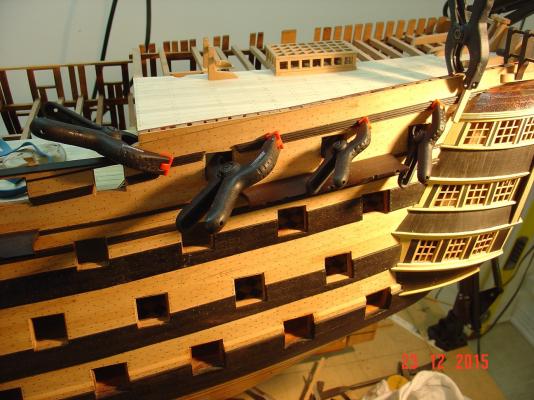
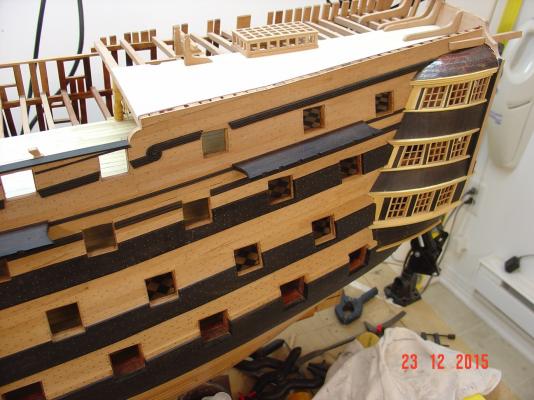
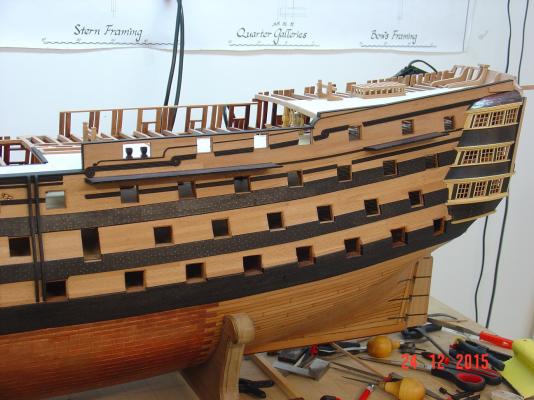
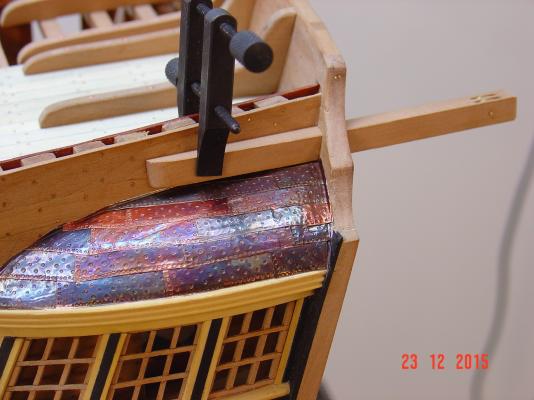
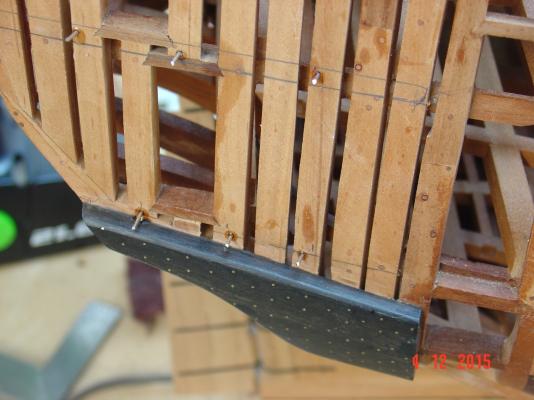
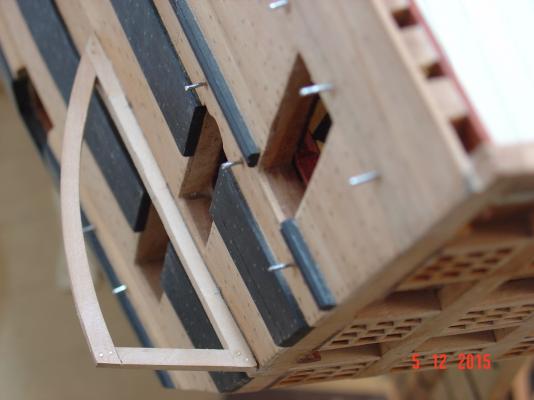
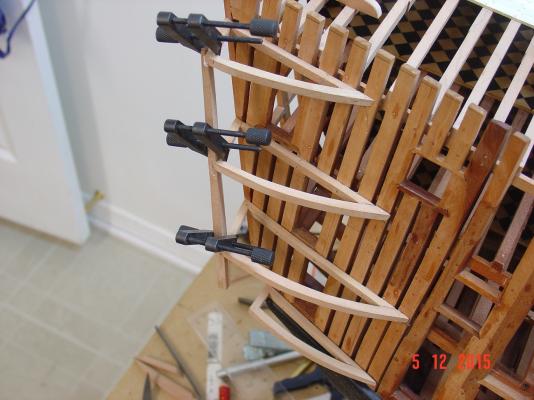
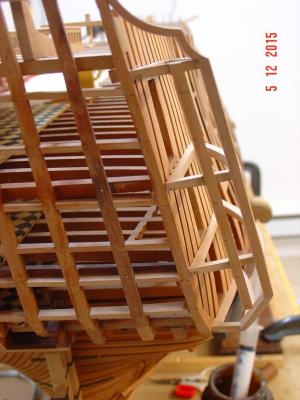
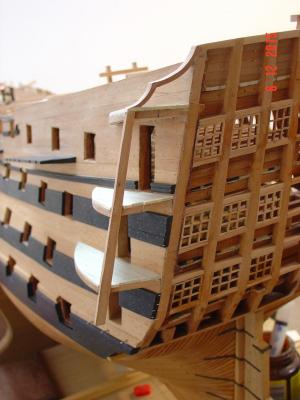
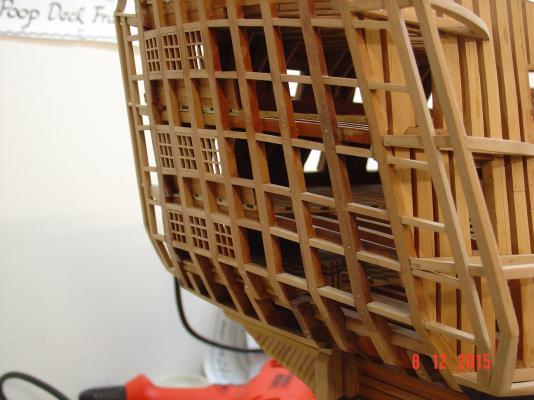
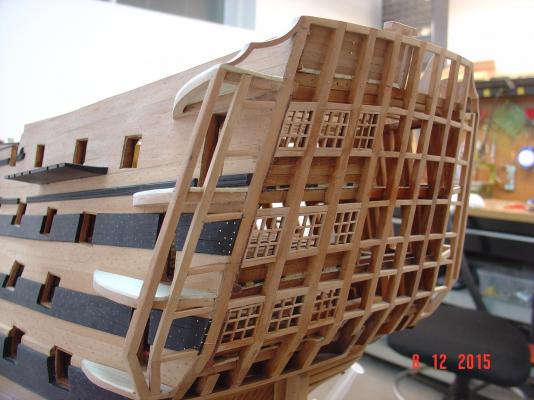
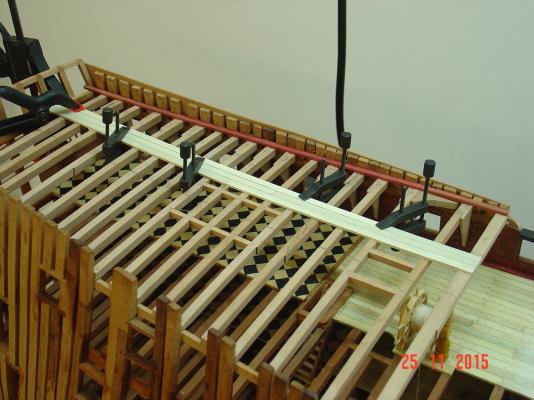
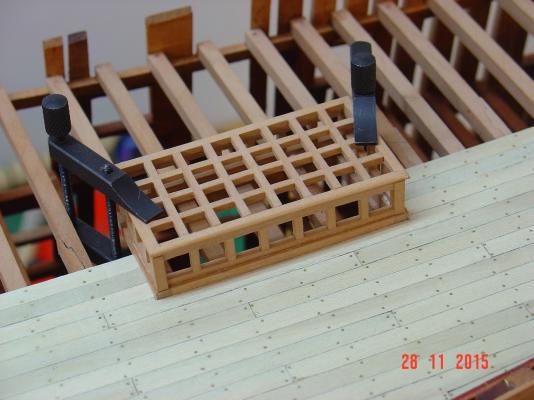
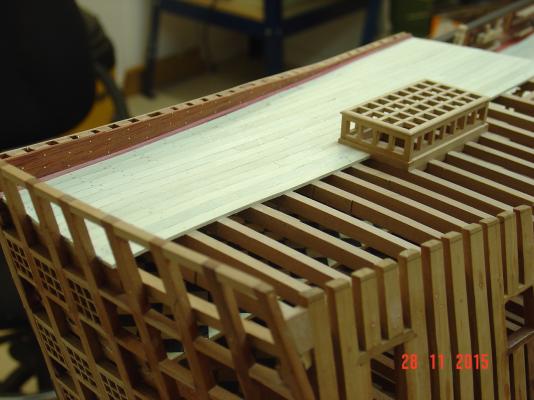
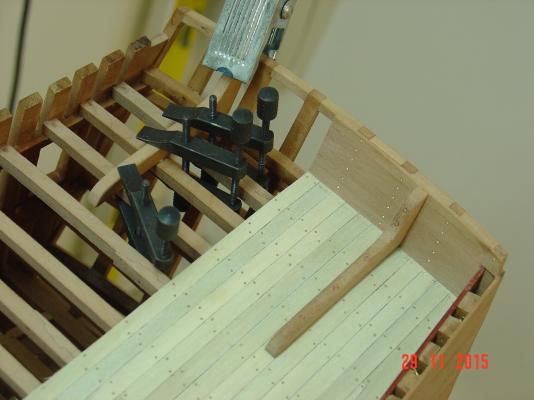
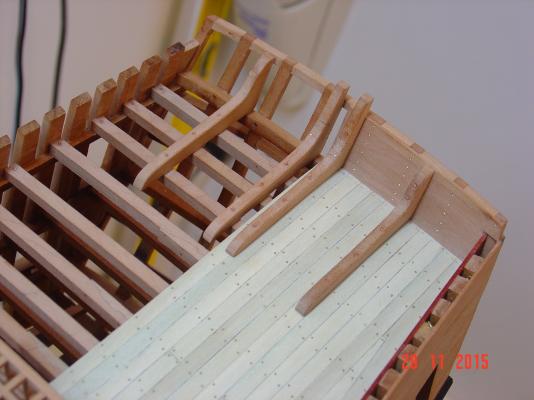
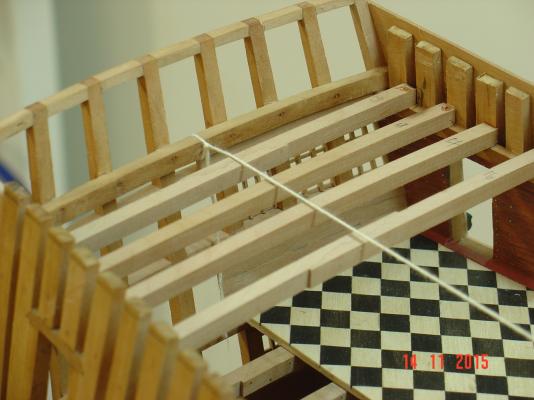
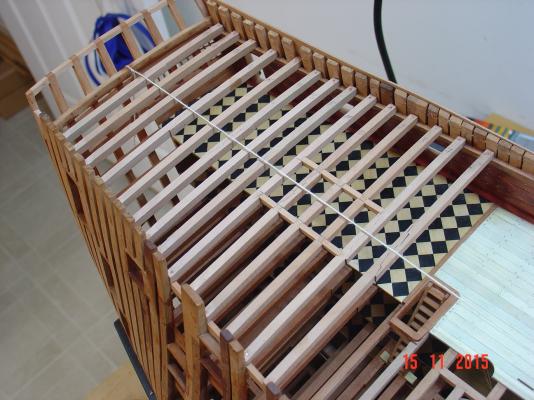
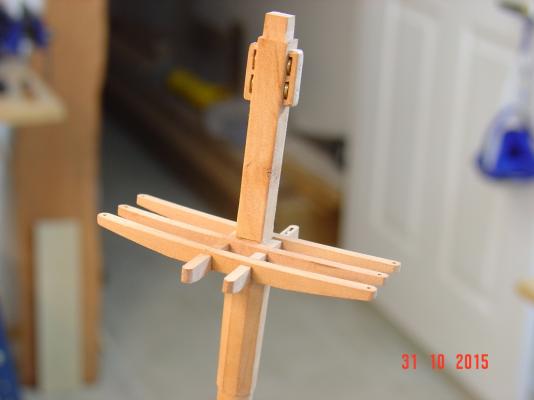
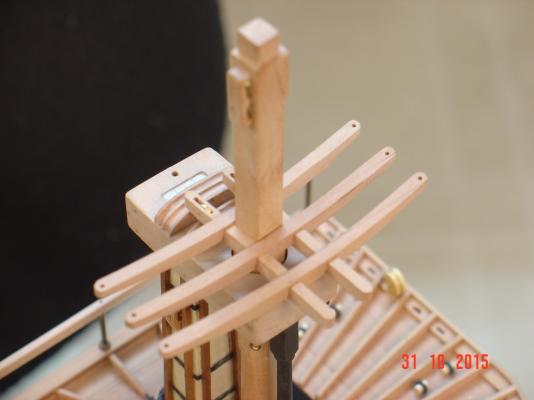
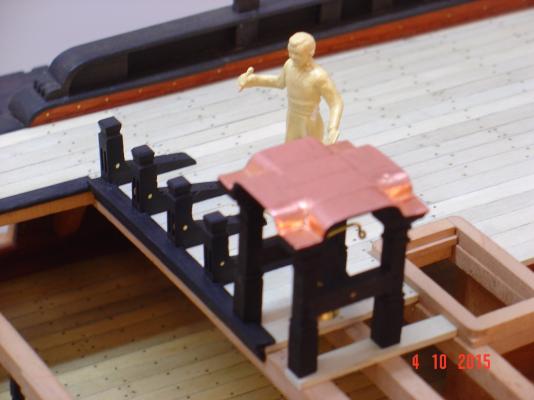
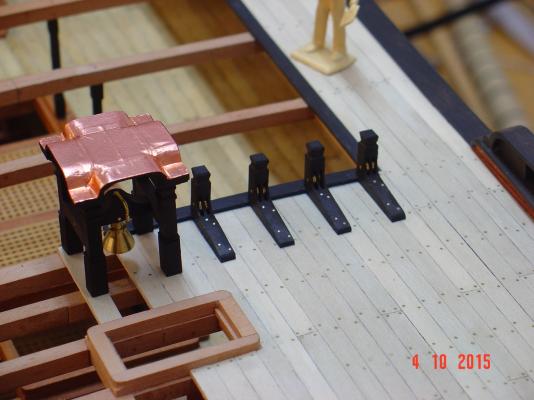
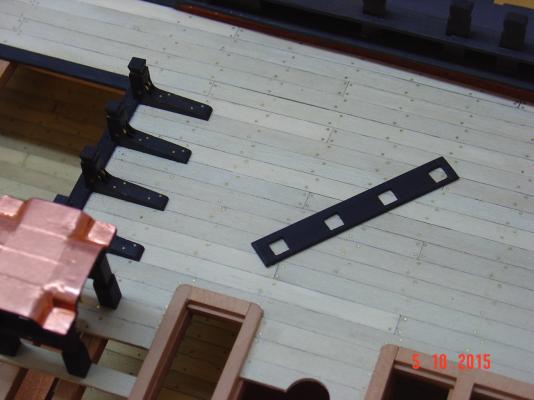
Some more progress on the beakhead. Alexandru


-
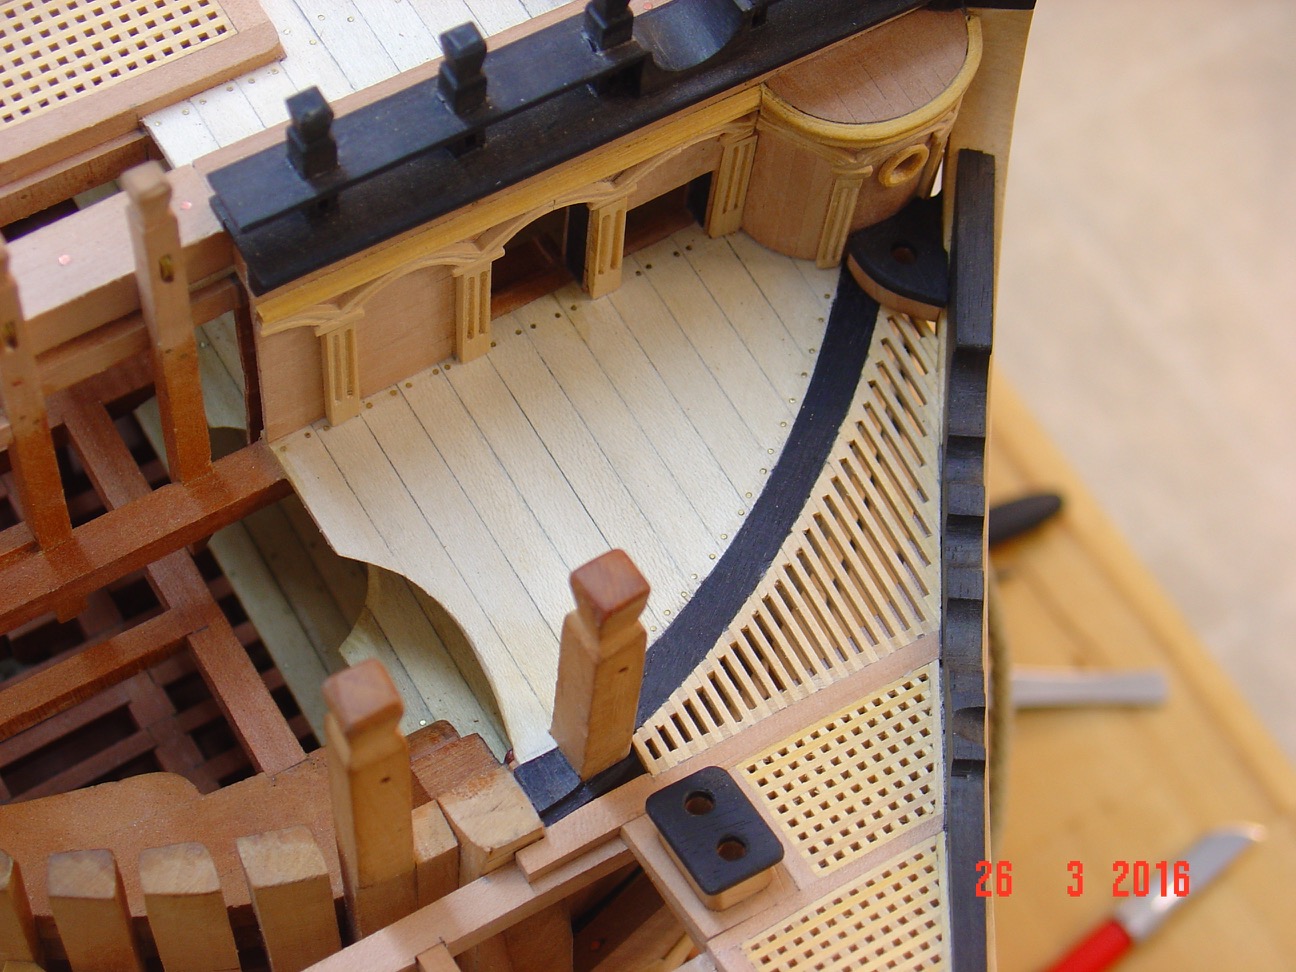
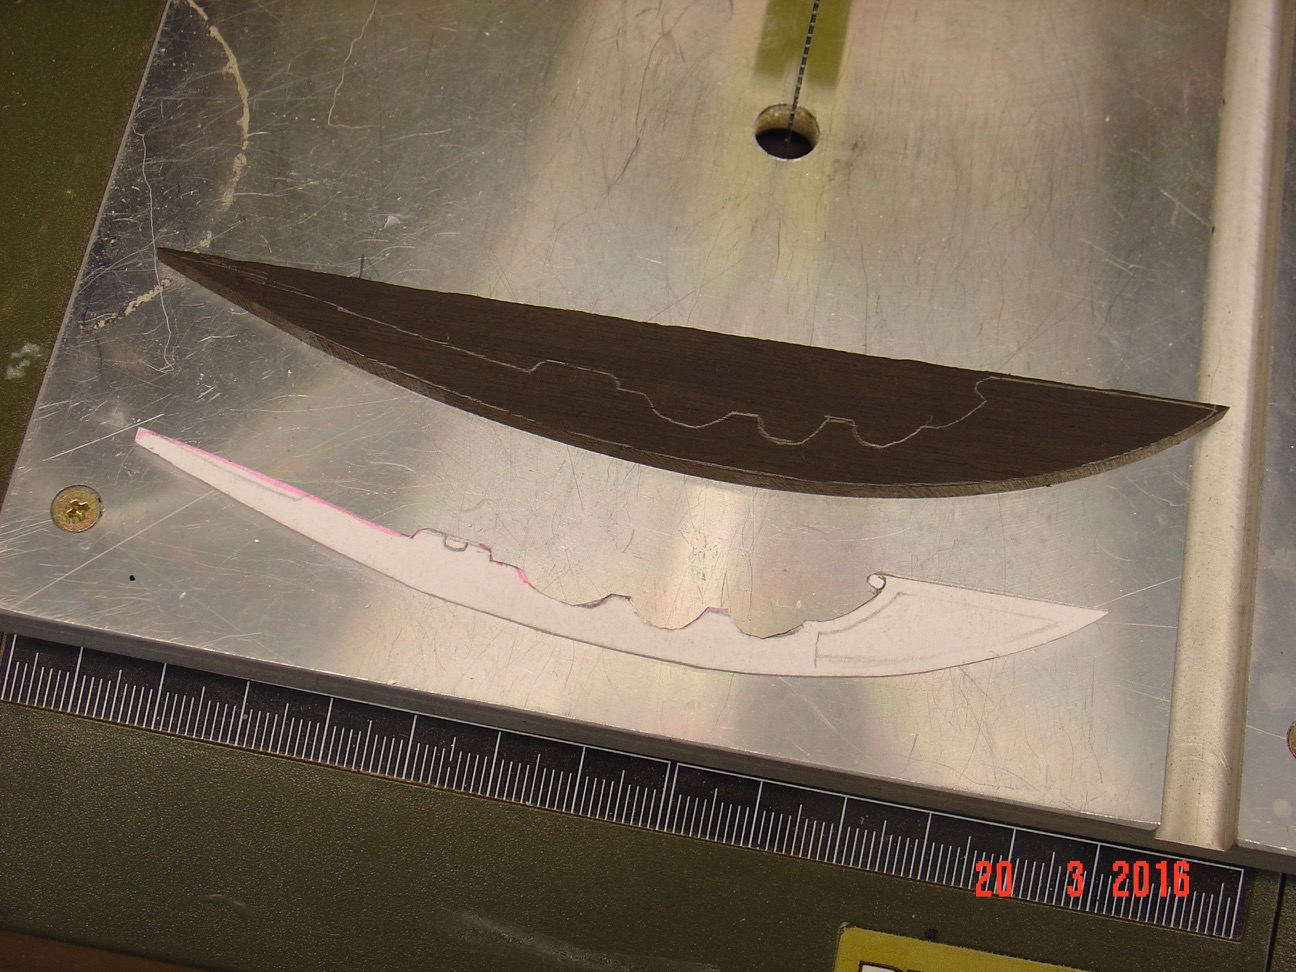
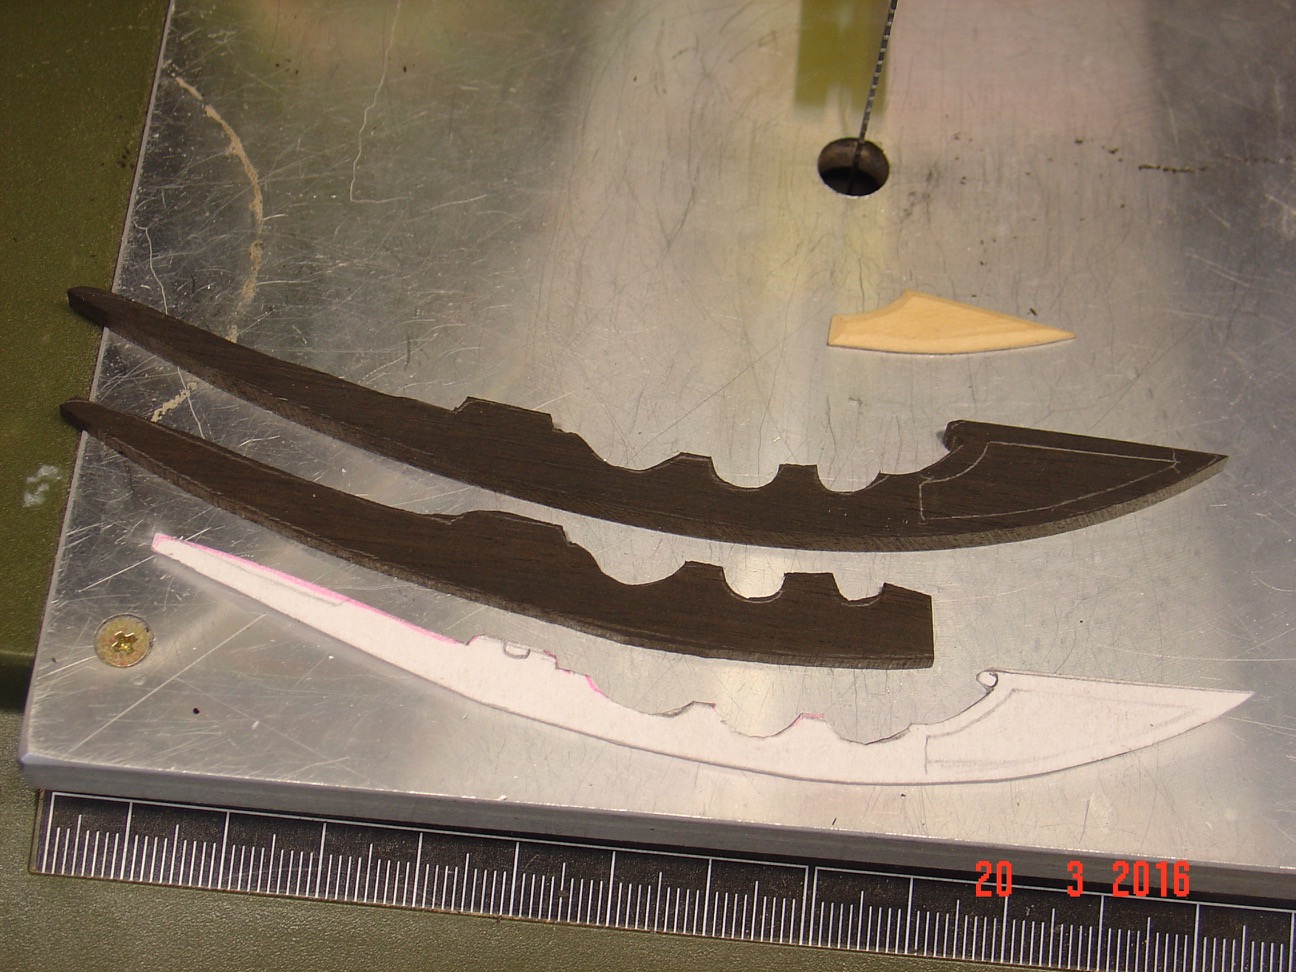
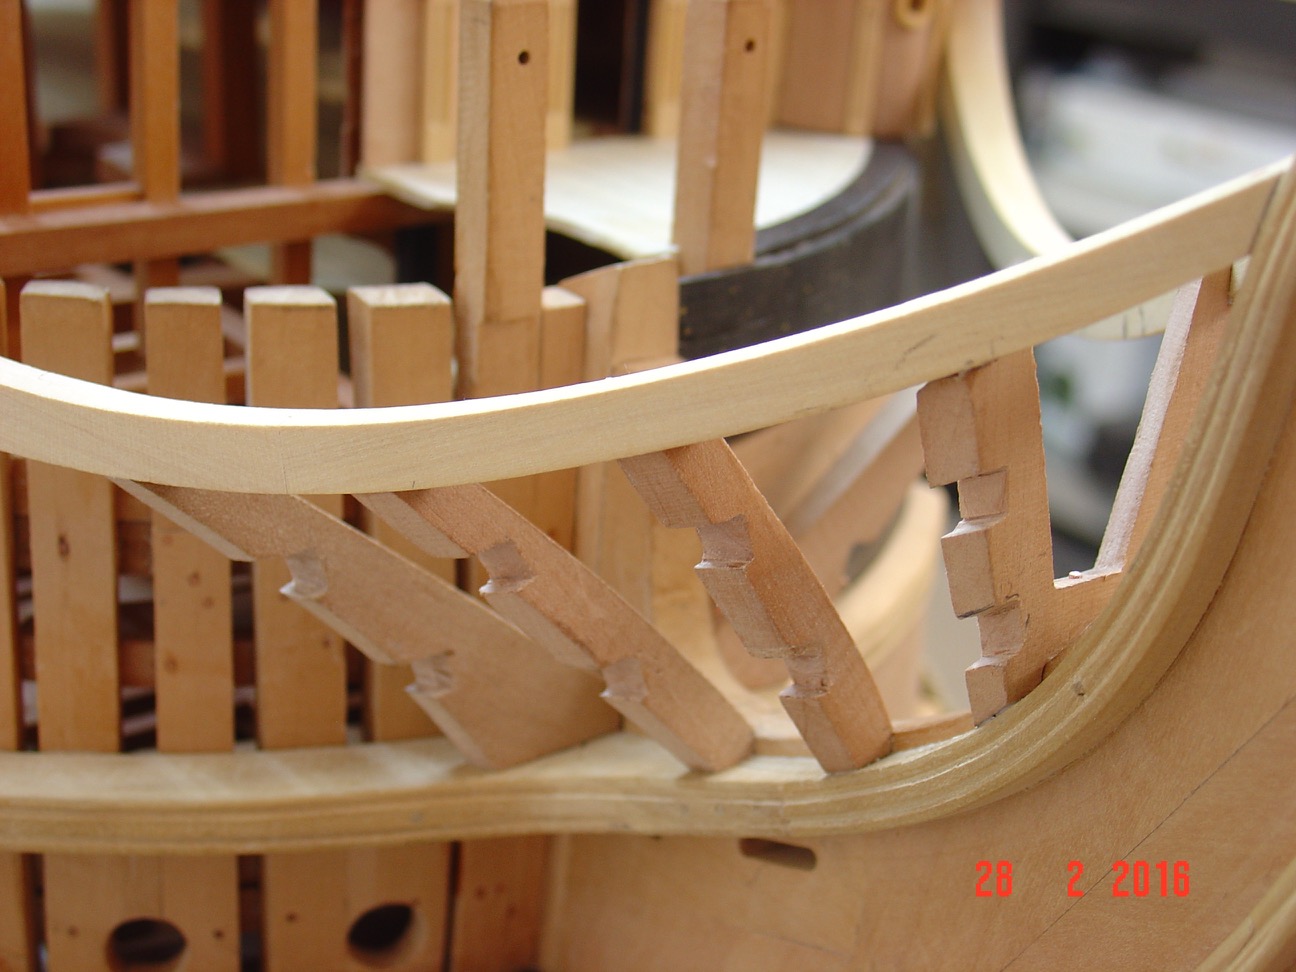
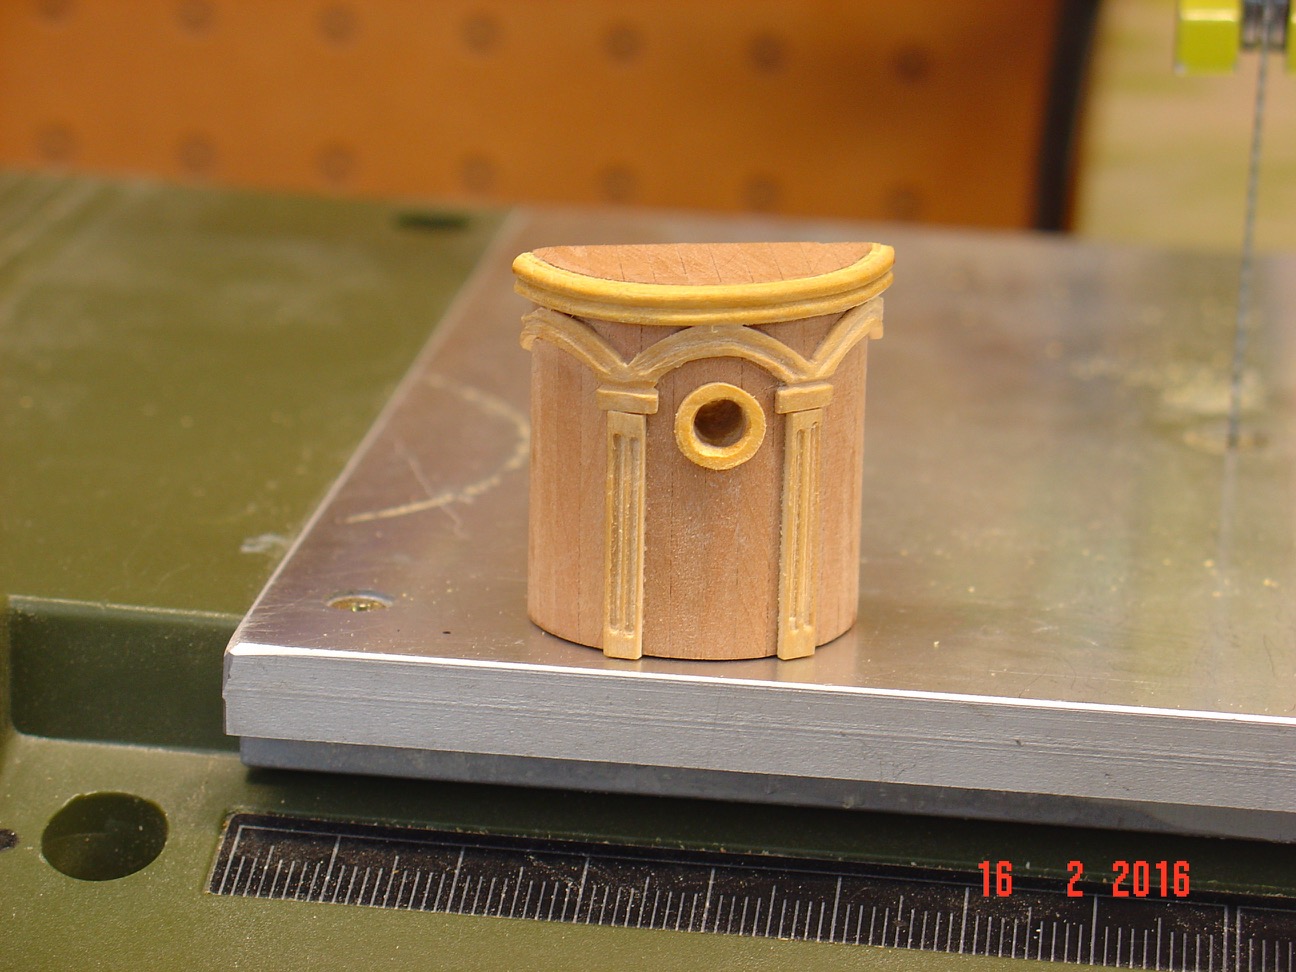
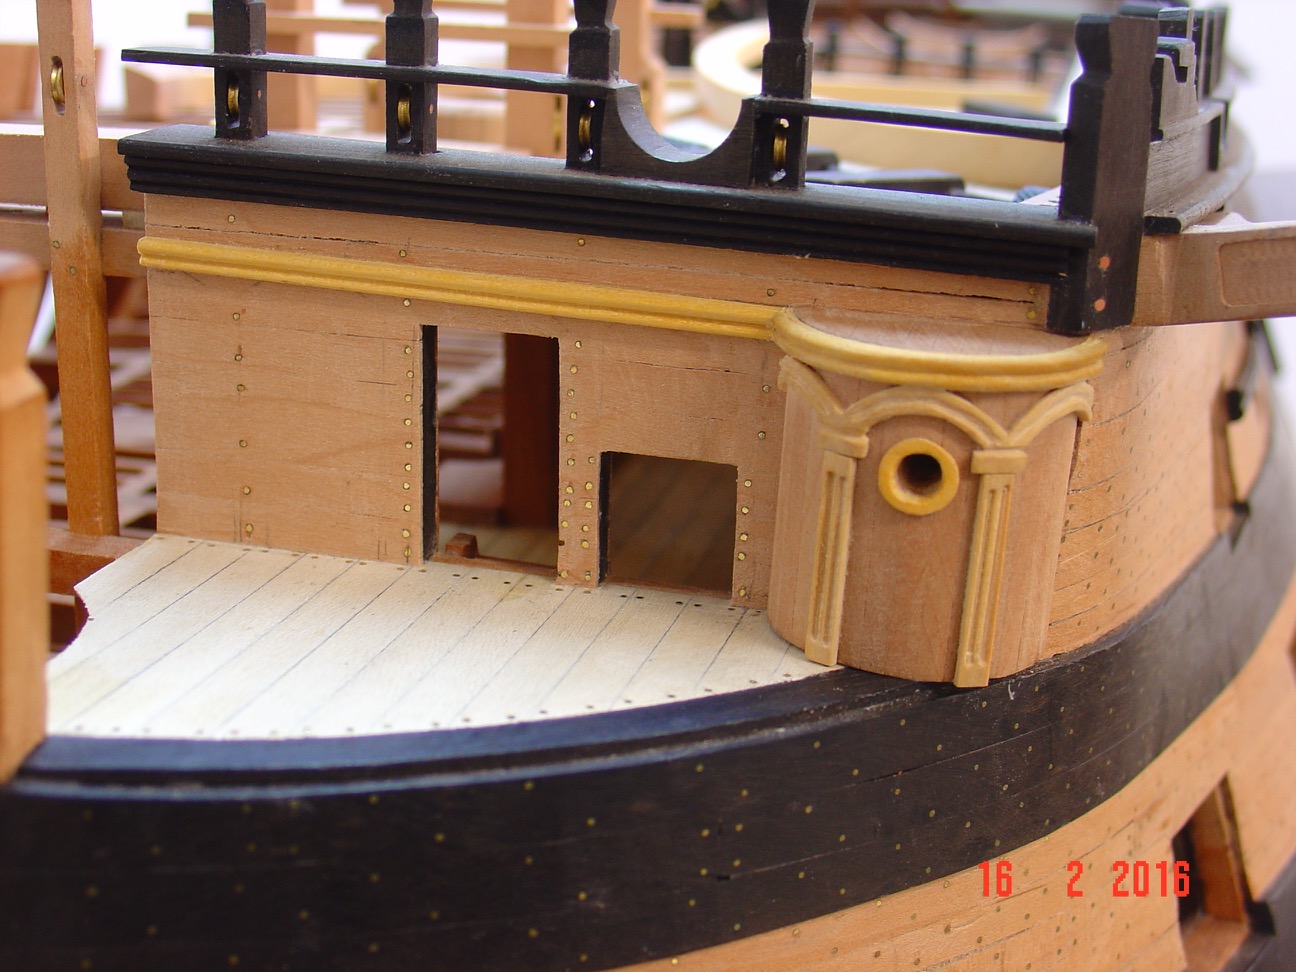
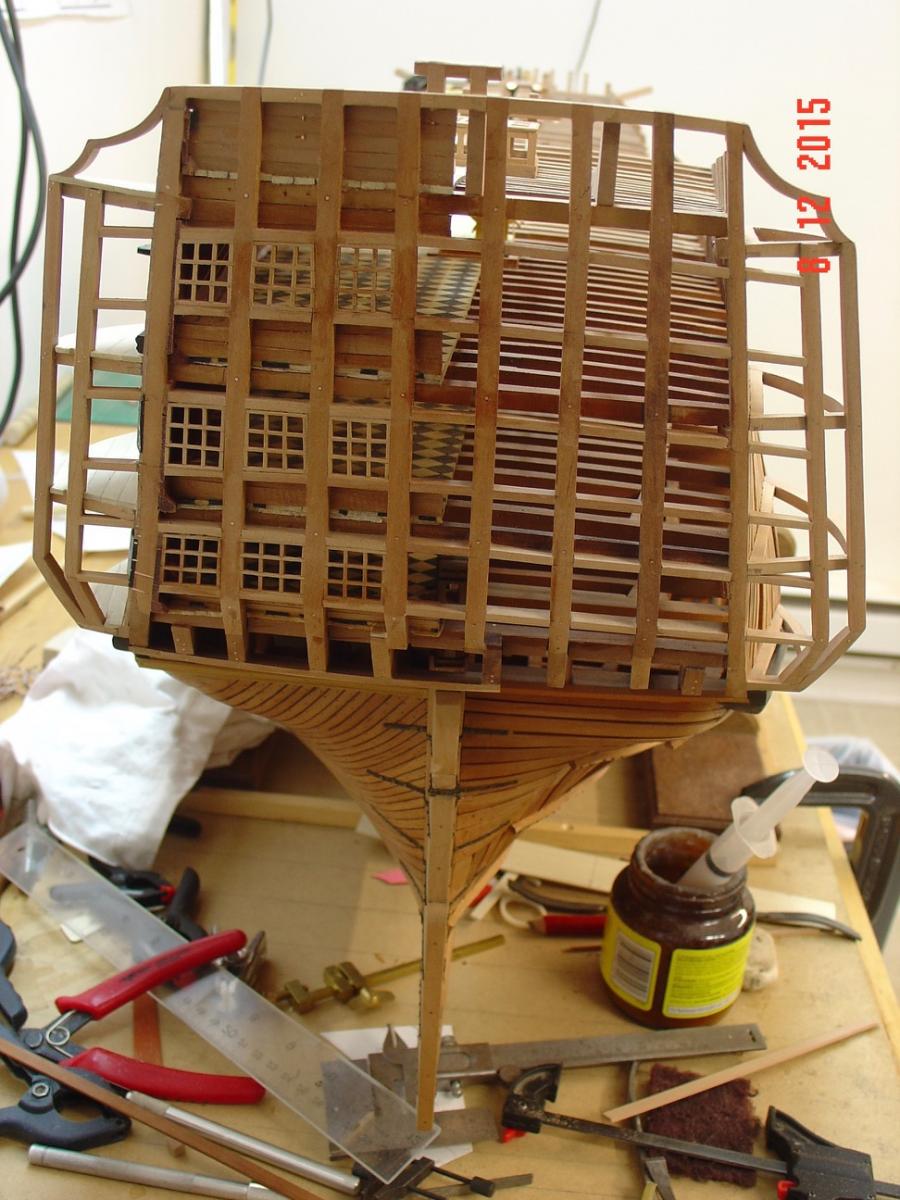
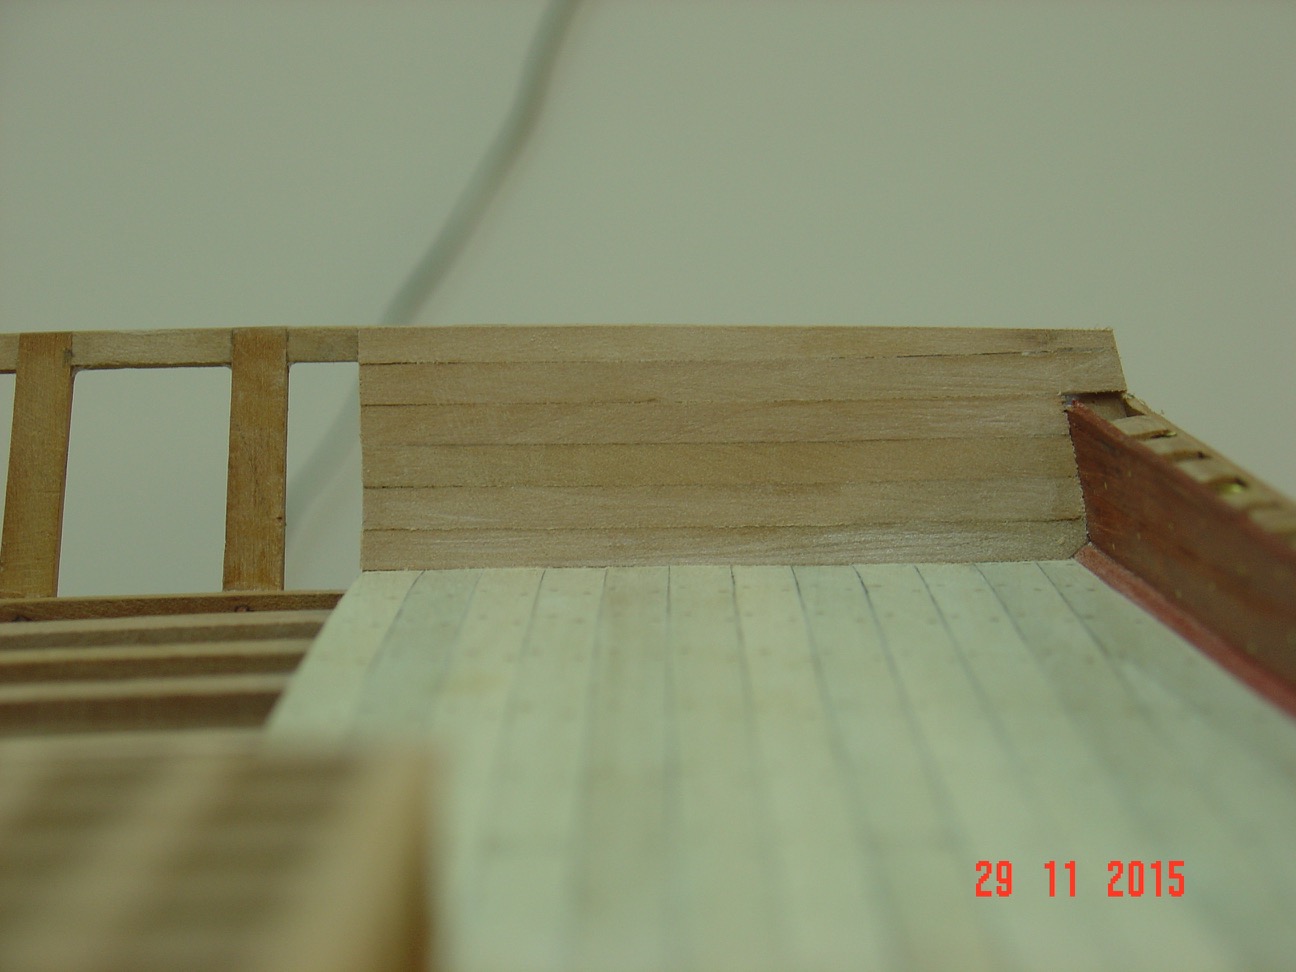
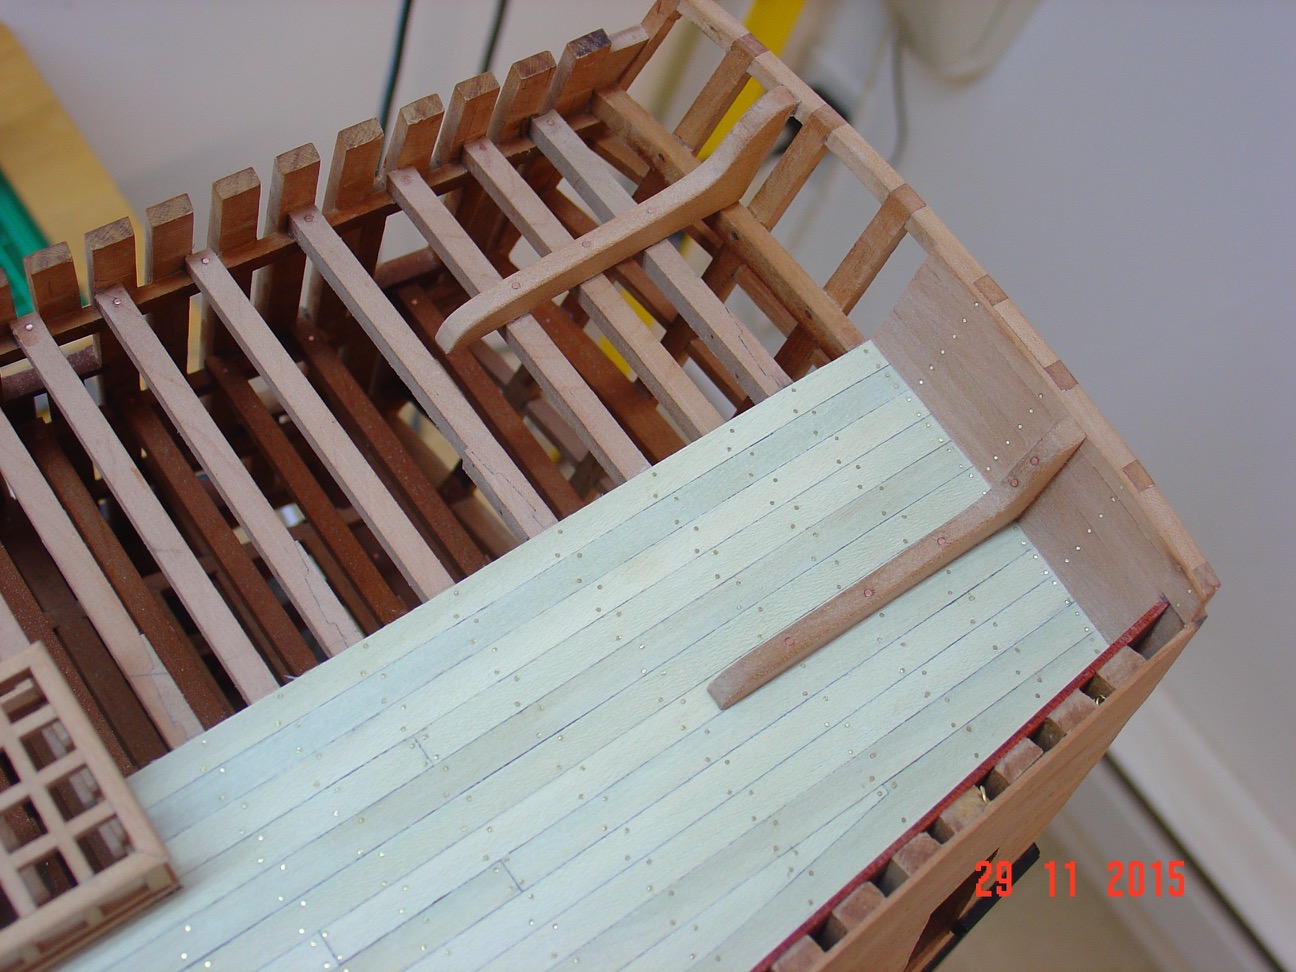
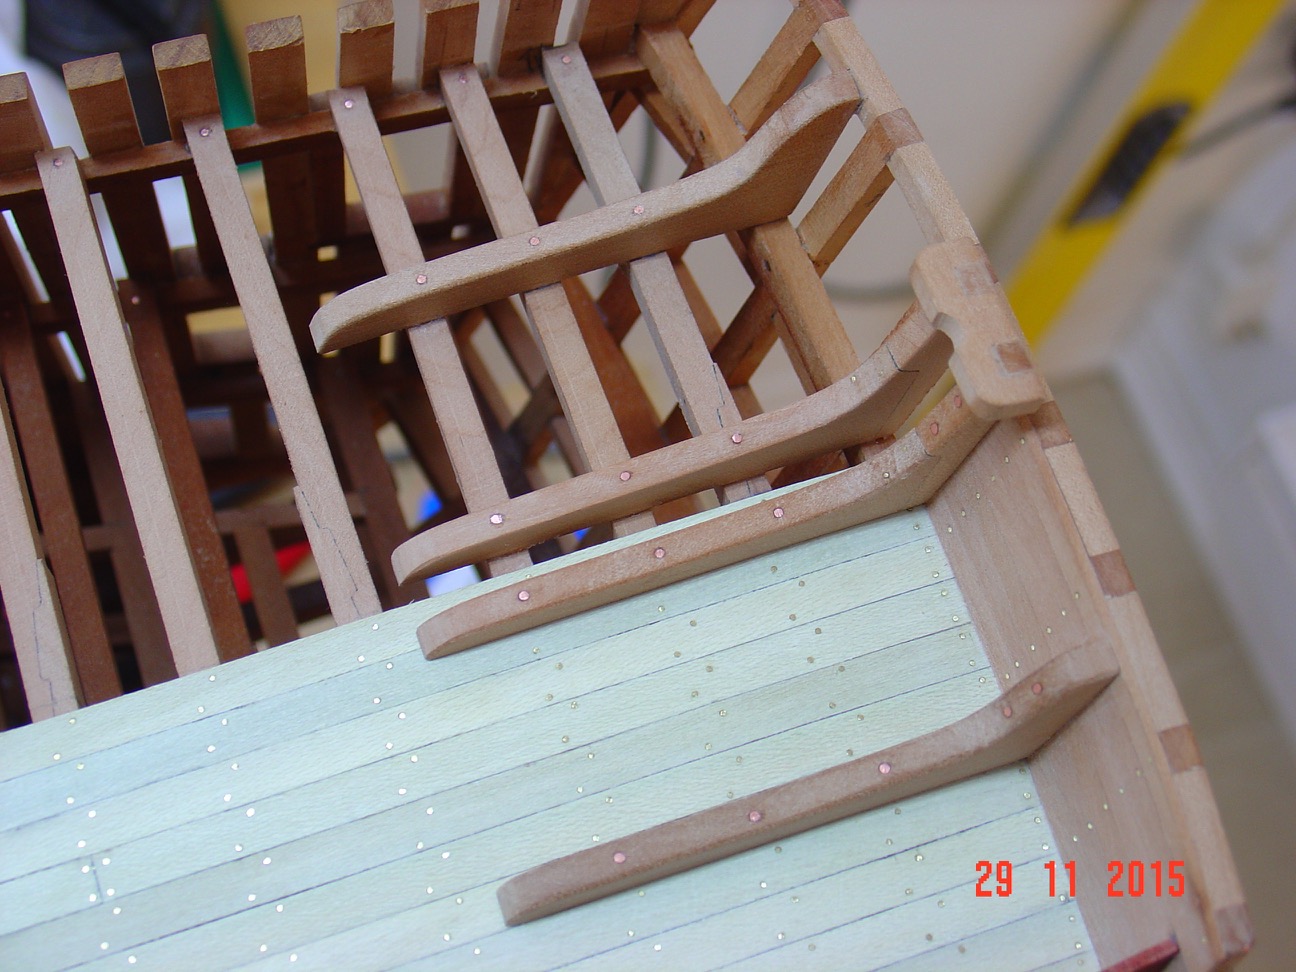
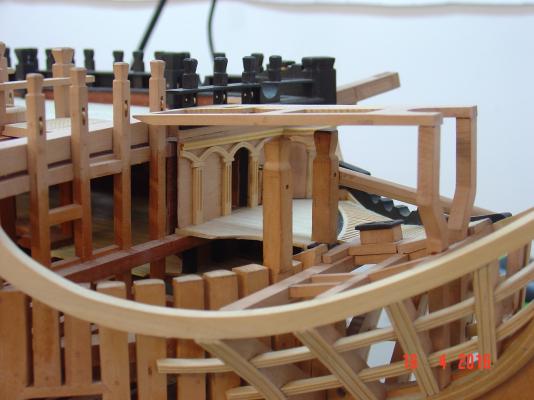
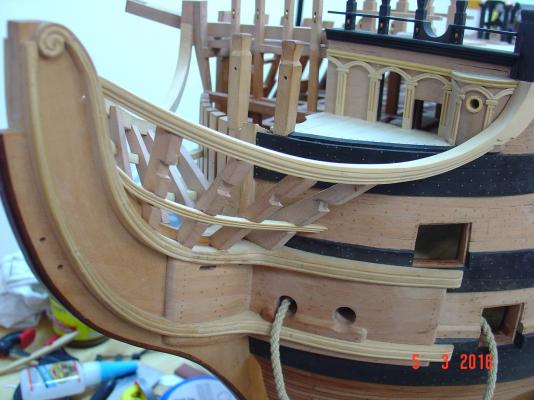
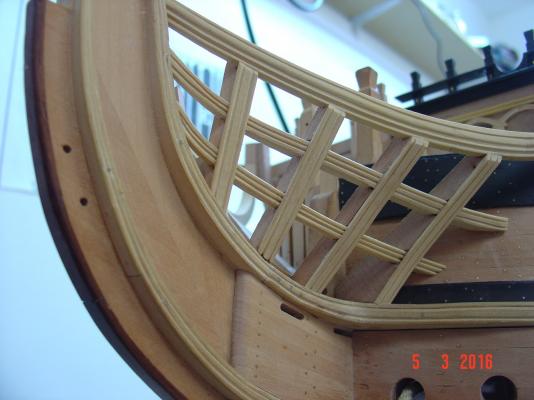
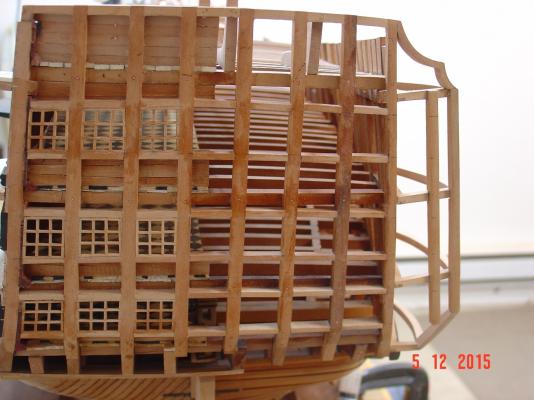
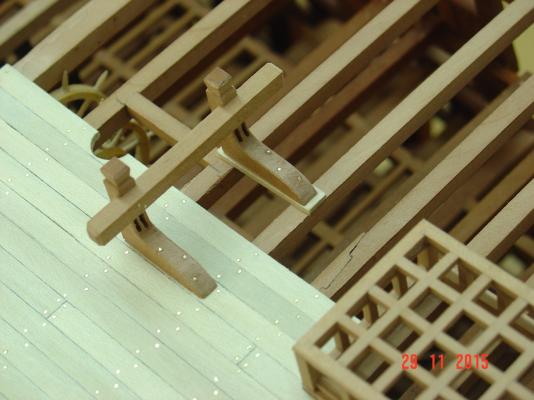
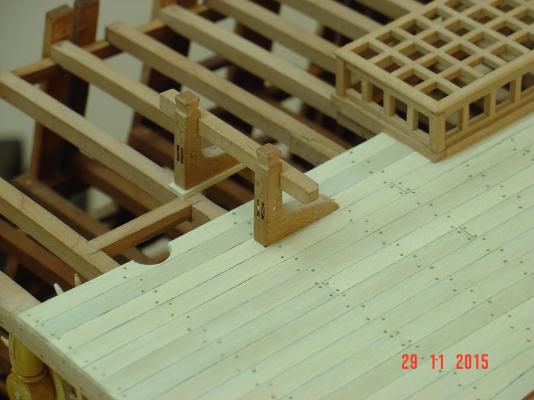
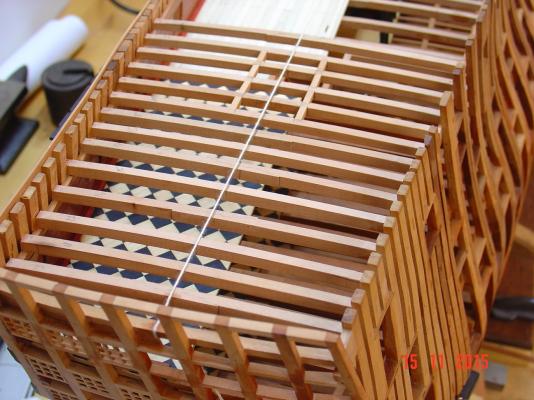
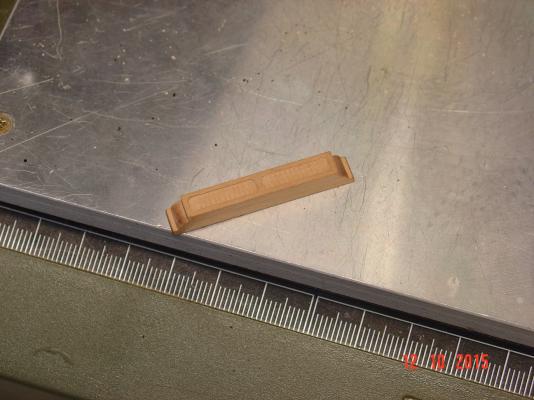
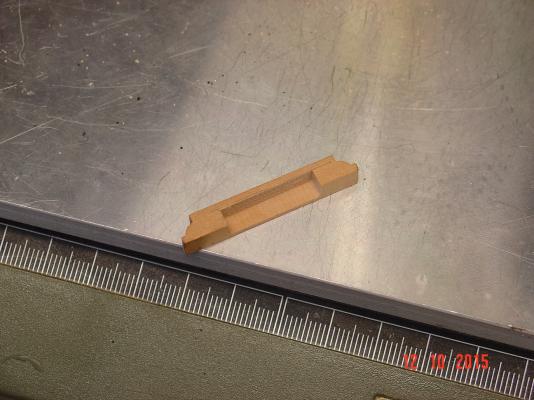
Hello all and thank you for your comments. Here is another update - work continued on the beakhead. Also for who might interest, these last days I completely rebuild my personal website: http://www.alexshipmodels.com - there is some new (old) material that was not posted before and the pictures size was greatly increased. Thank you, Regards Alexandru


-
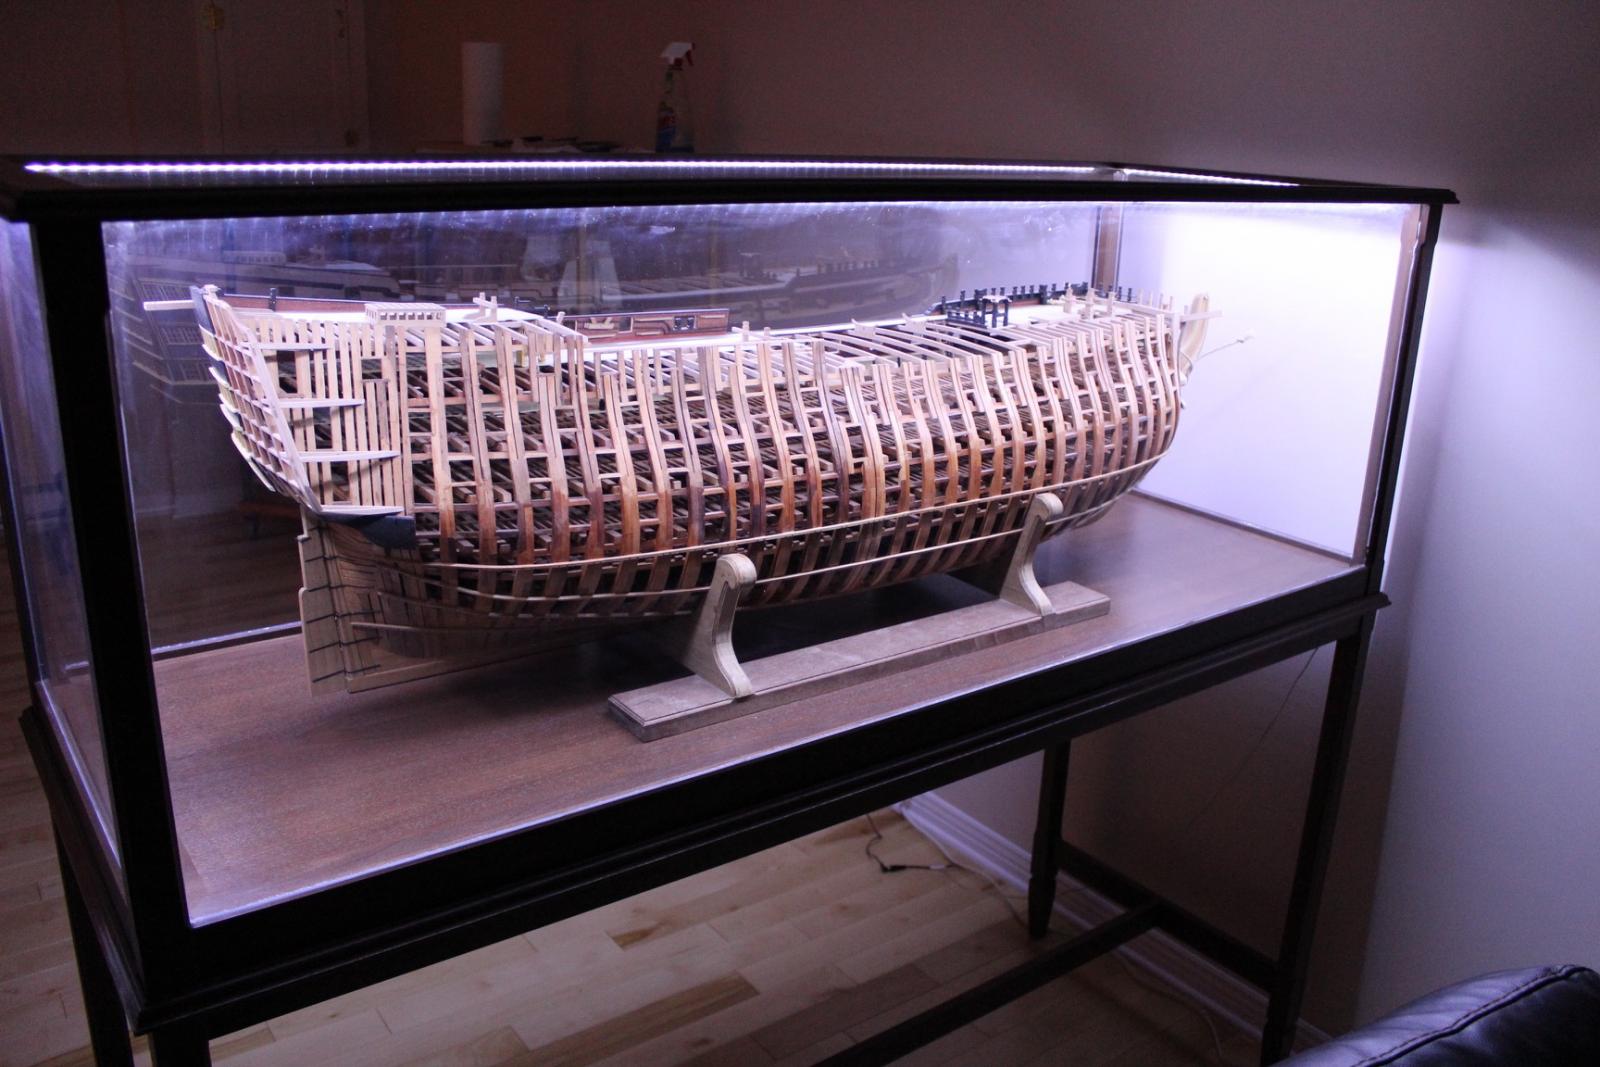
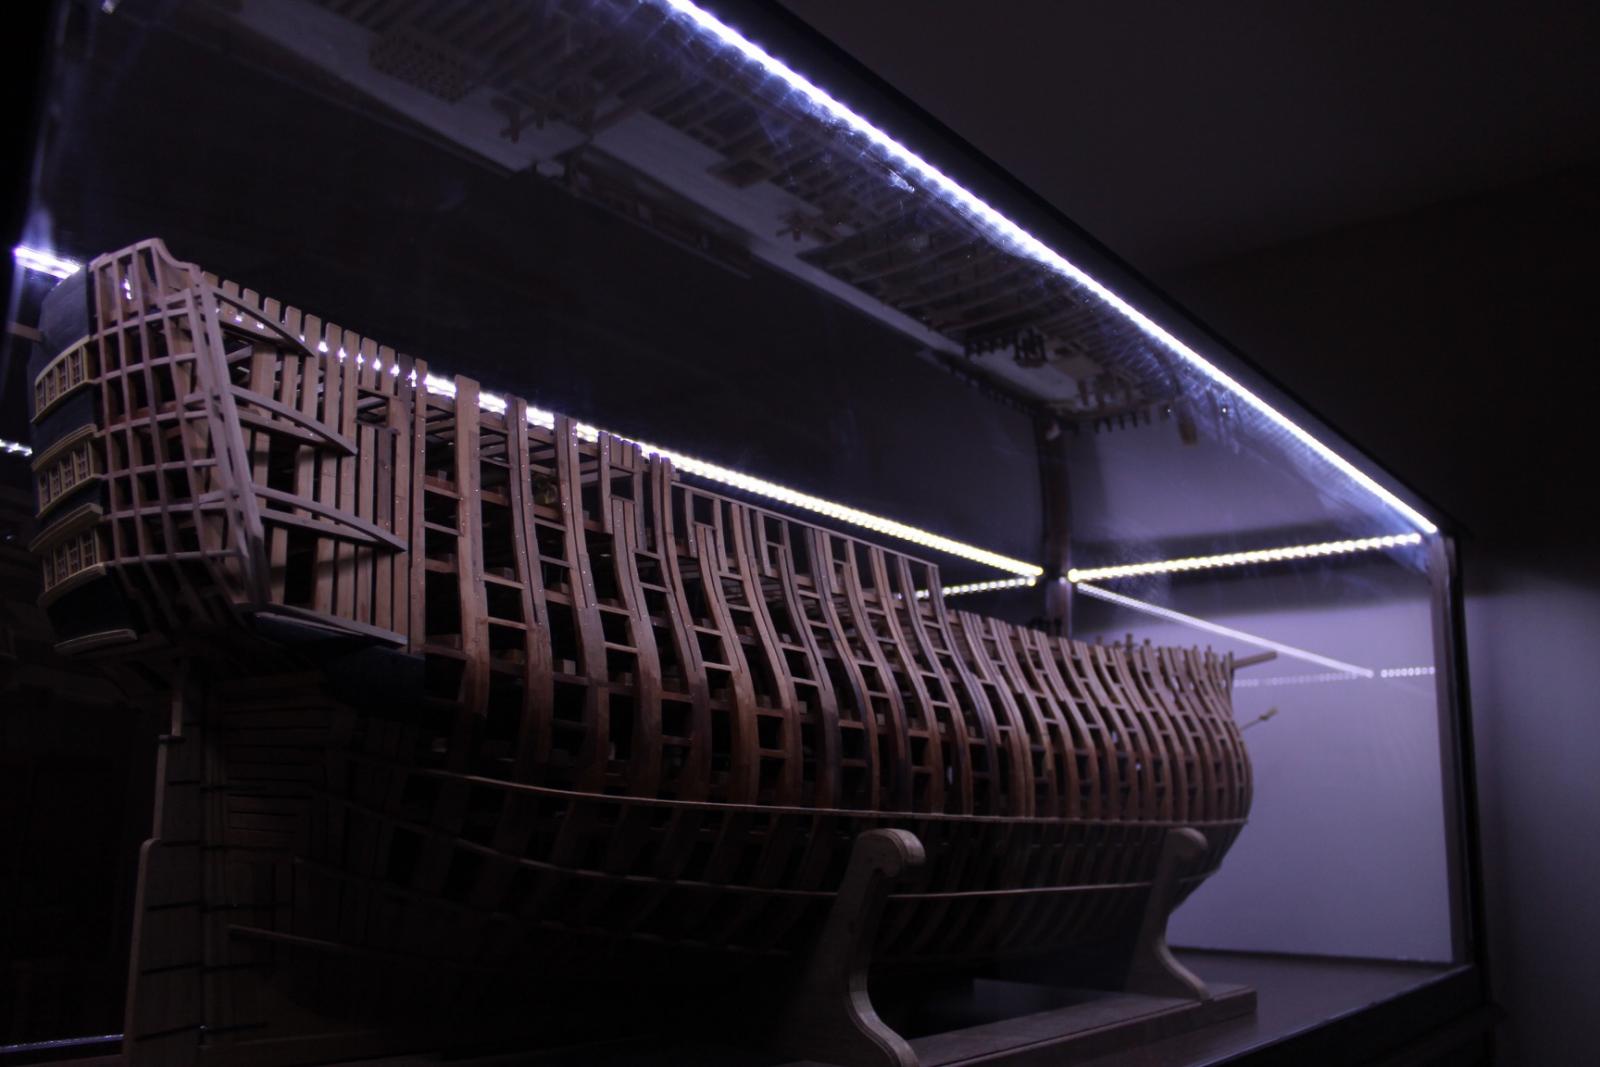
Hi Mike, So far I am very happy with the LED lighting: didn't cost much, quite easy to install and the colour seems ok to me. I bought them from Amazon and I think they were shipped from China as it took about a month to get them. Here is the link: http://www.amazon.ca/gp/product/B00HSF66JO?psc=1&redirect=true&ref_=oh_aui_detailpage_o04_s00 I payed 10$ (Canadians) for a roll of 16 feet (with free shipping) - I bought a second roll just in case after I tried out the first one. I only had to cut it to length and solder a piece of wire in between the four pieces for the four sides of the top of the box. It comes without power adaptor but uses standard 12V AC/DC adaptor and I had several lying around. So in all for the case the cost was only 10$! All the LEDs are ok on both rolls I have, the adhesive on the back worked fine (they are glued on the acrylic top not directly on the wood) and I let them on for several days without pause to see how much they heat and if they break or not. Maybe in long run they won't last 20 years but I'll only use them occasionally and for the price I payed I can replace them easily with the backup one. I bought the second exactly for this purpose as in several months or years maybe I can't find one to match the exact colour. Alexandru
-
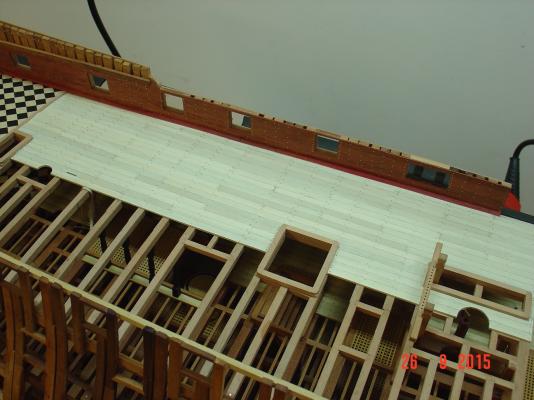
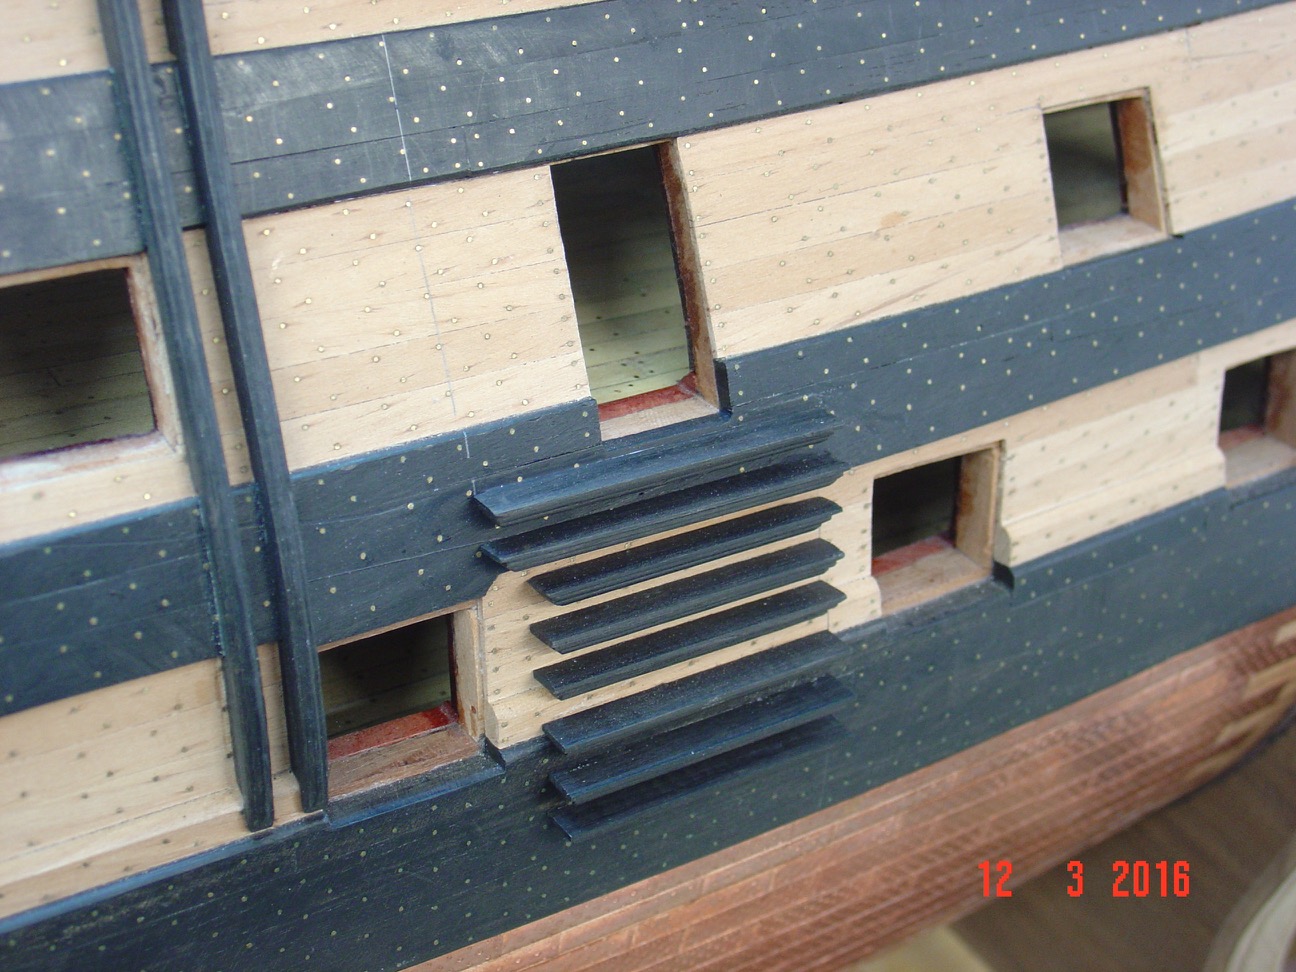
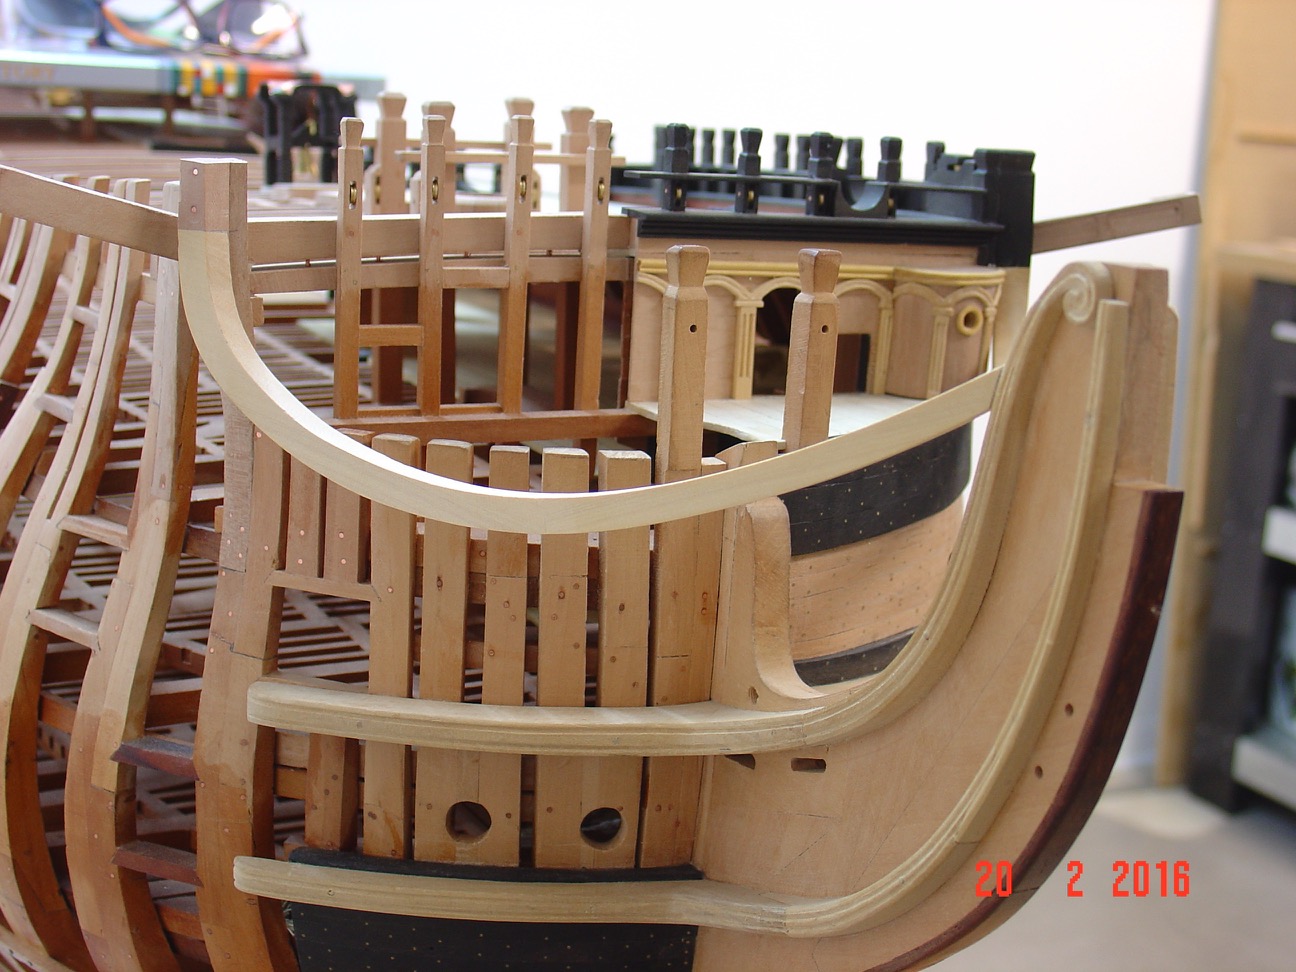
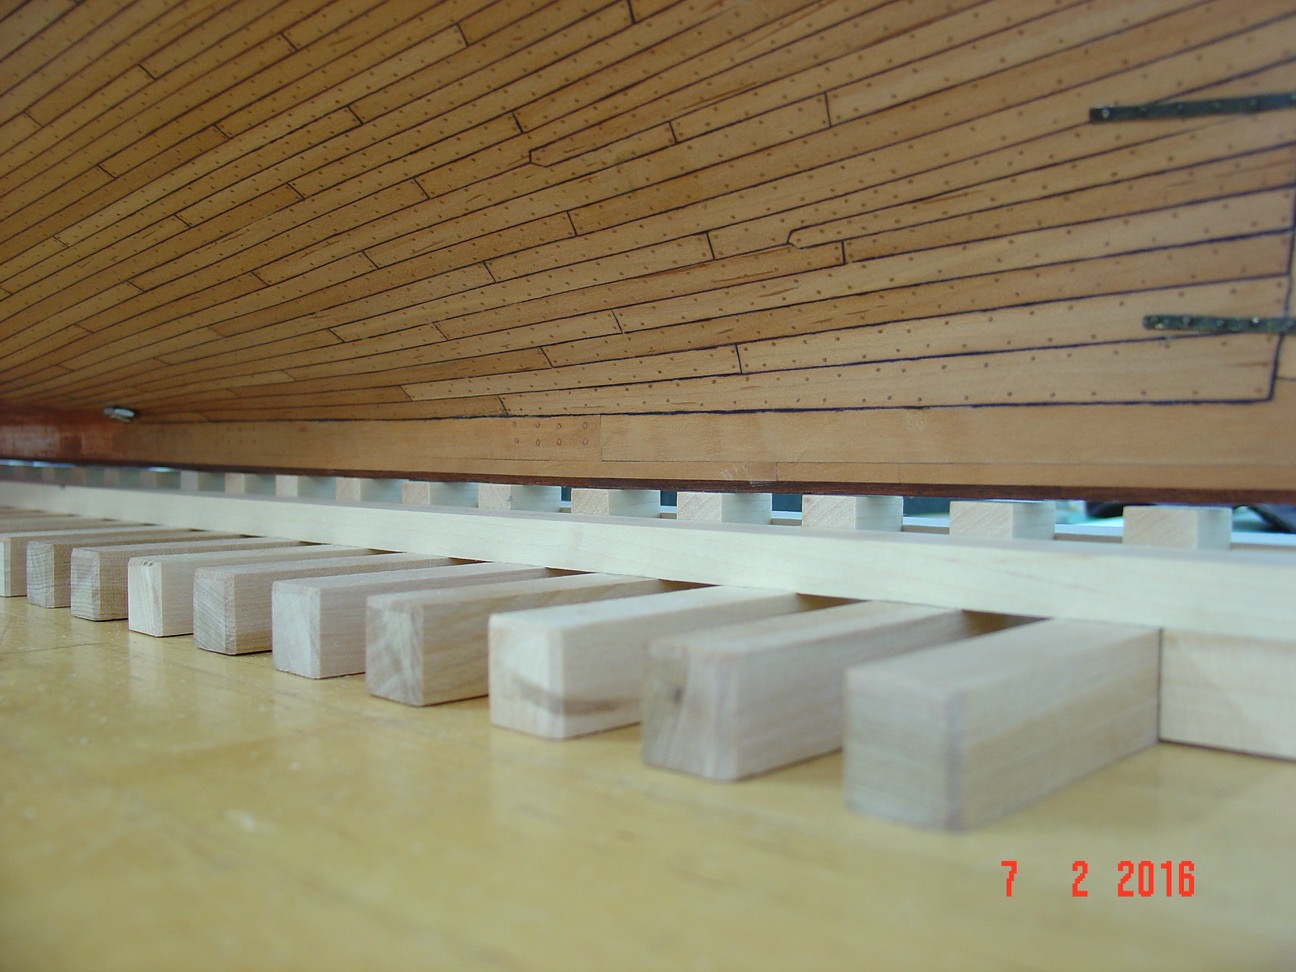
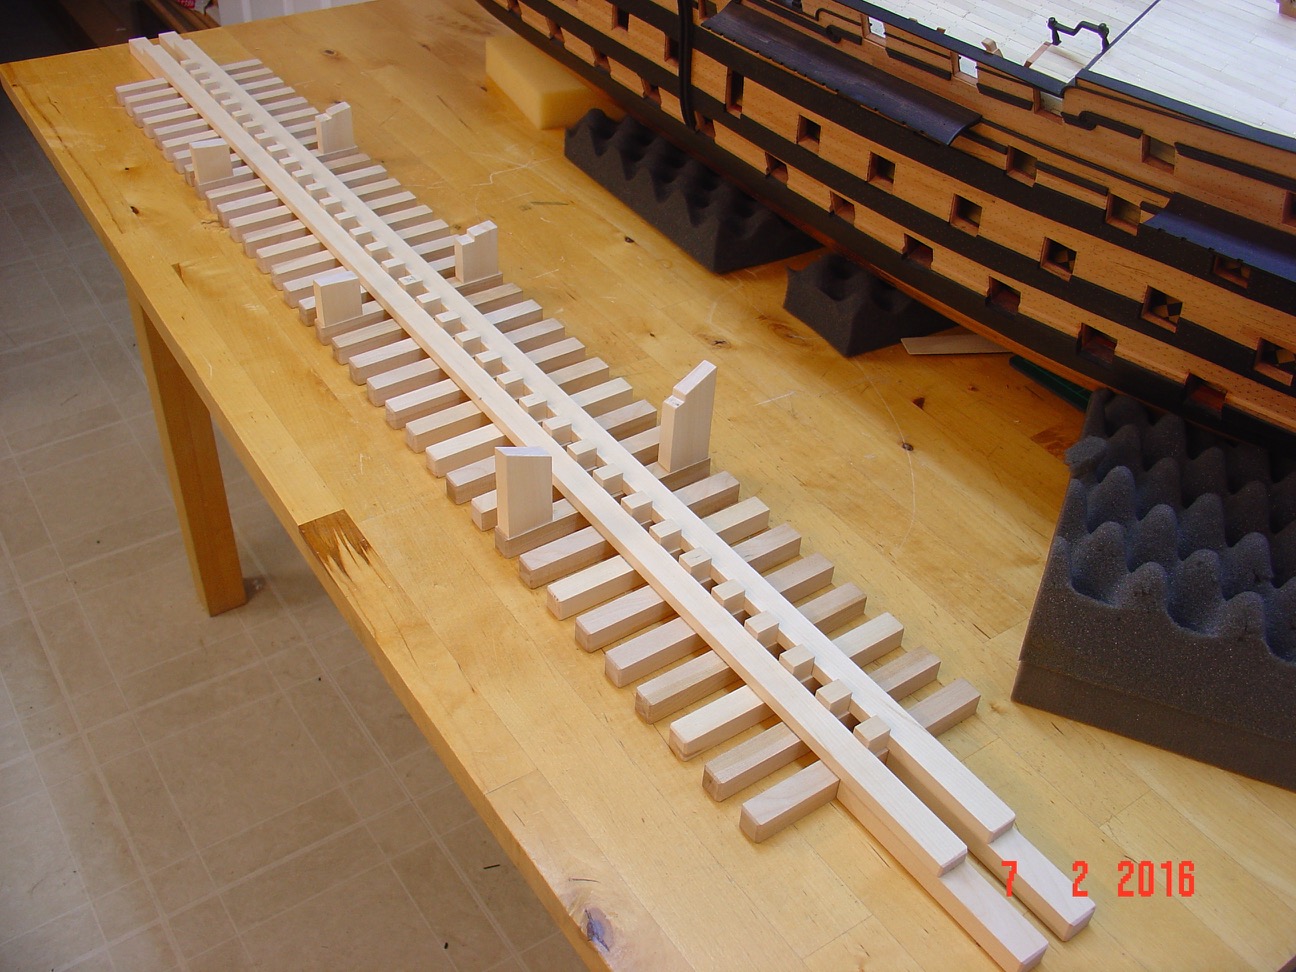
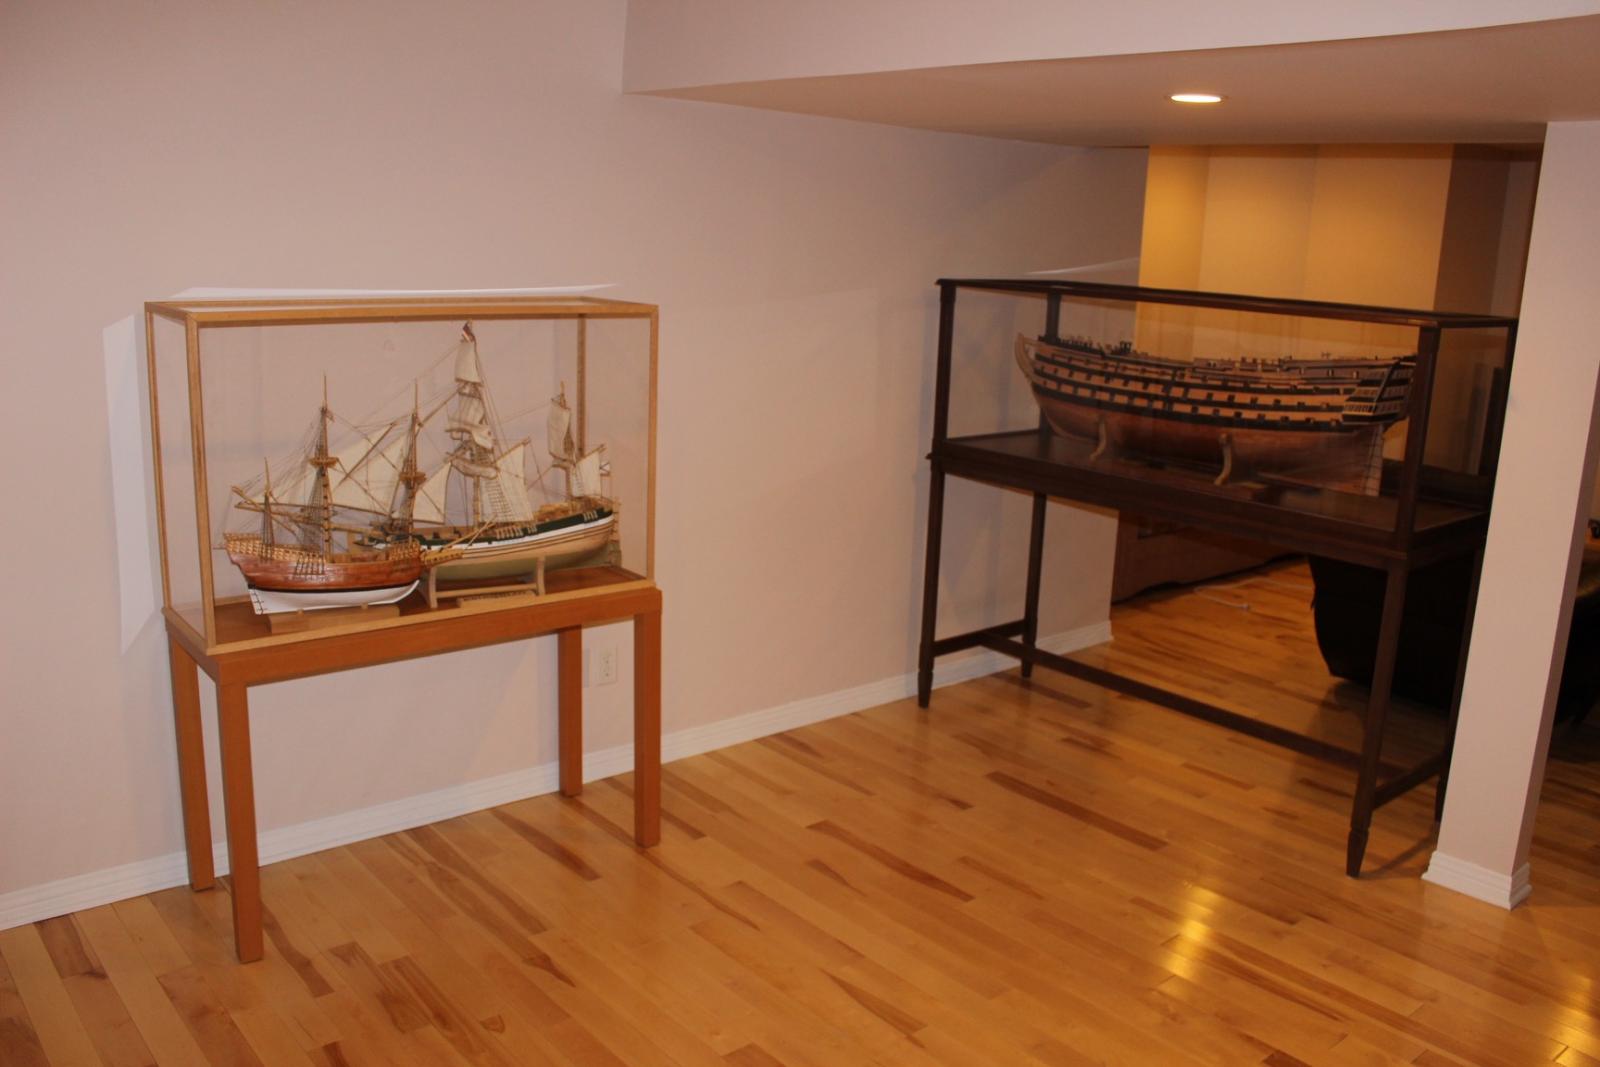
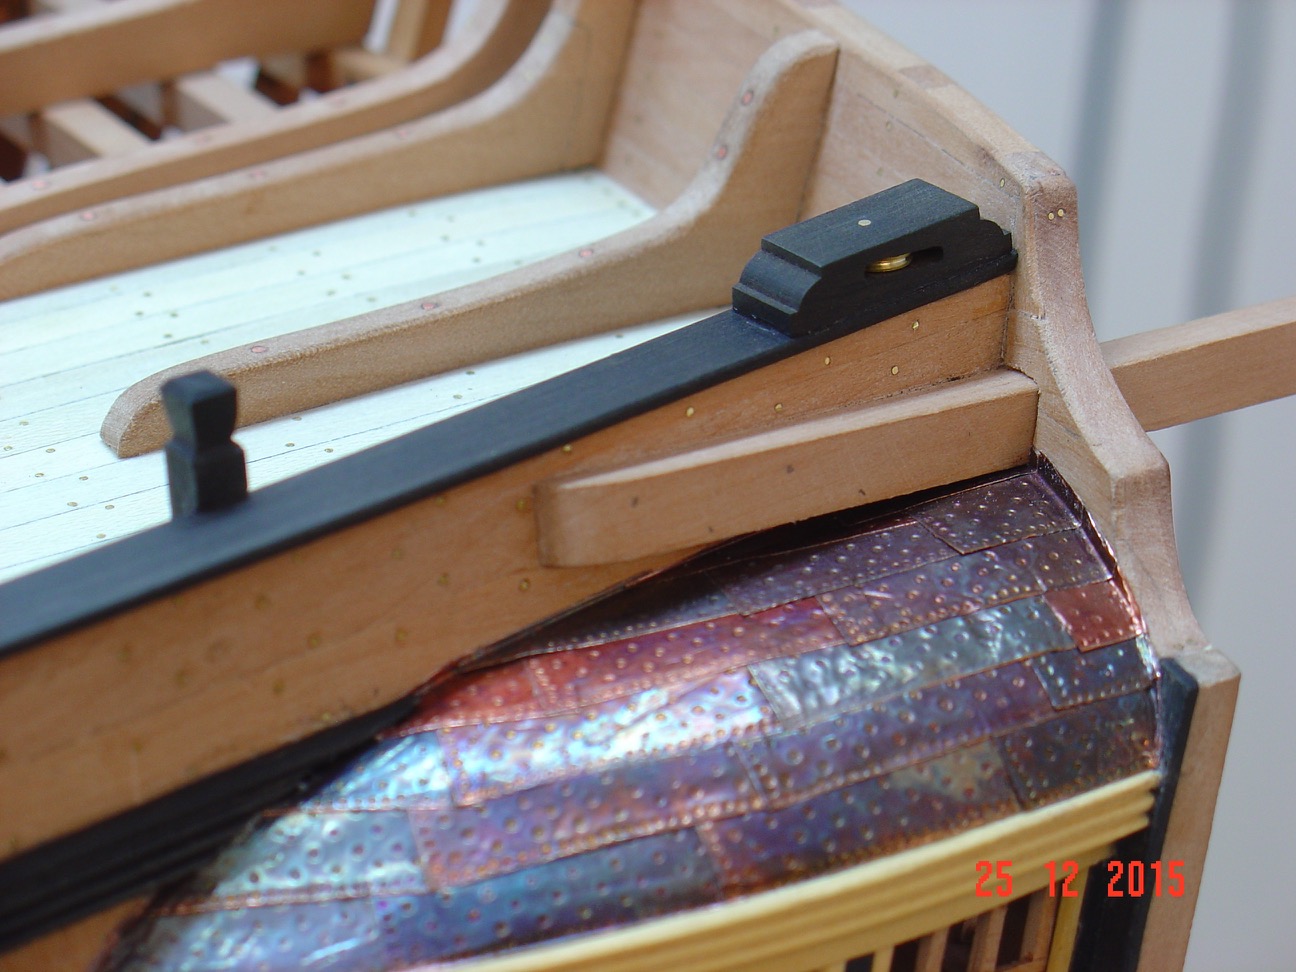
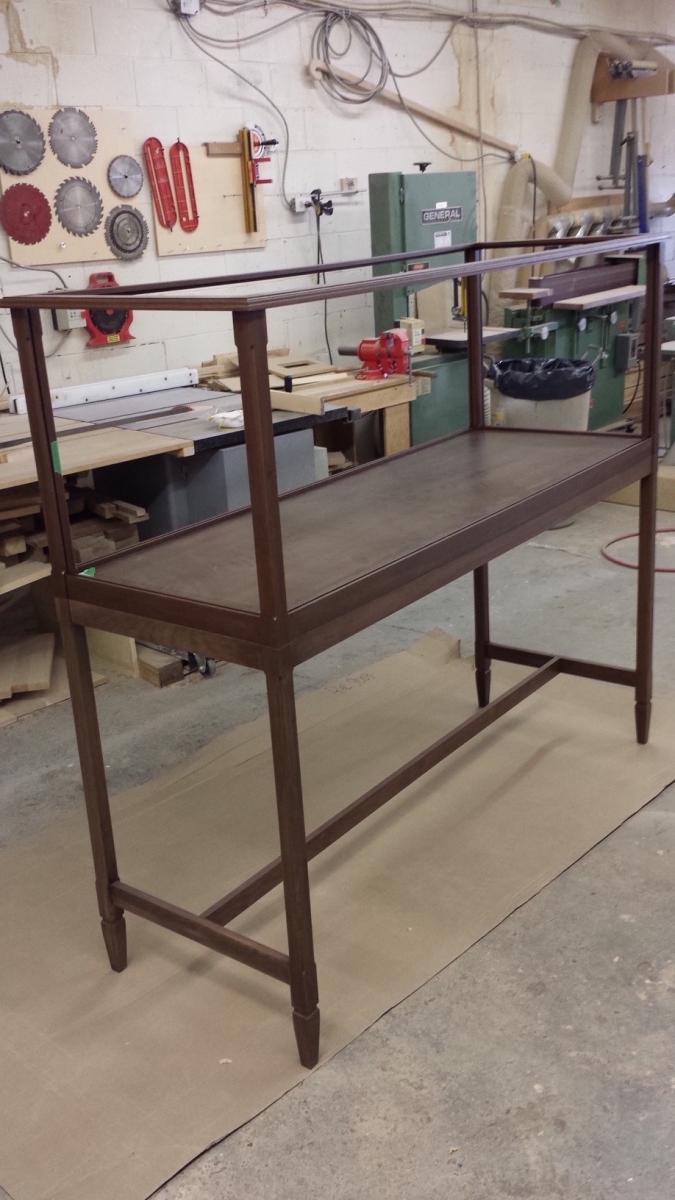
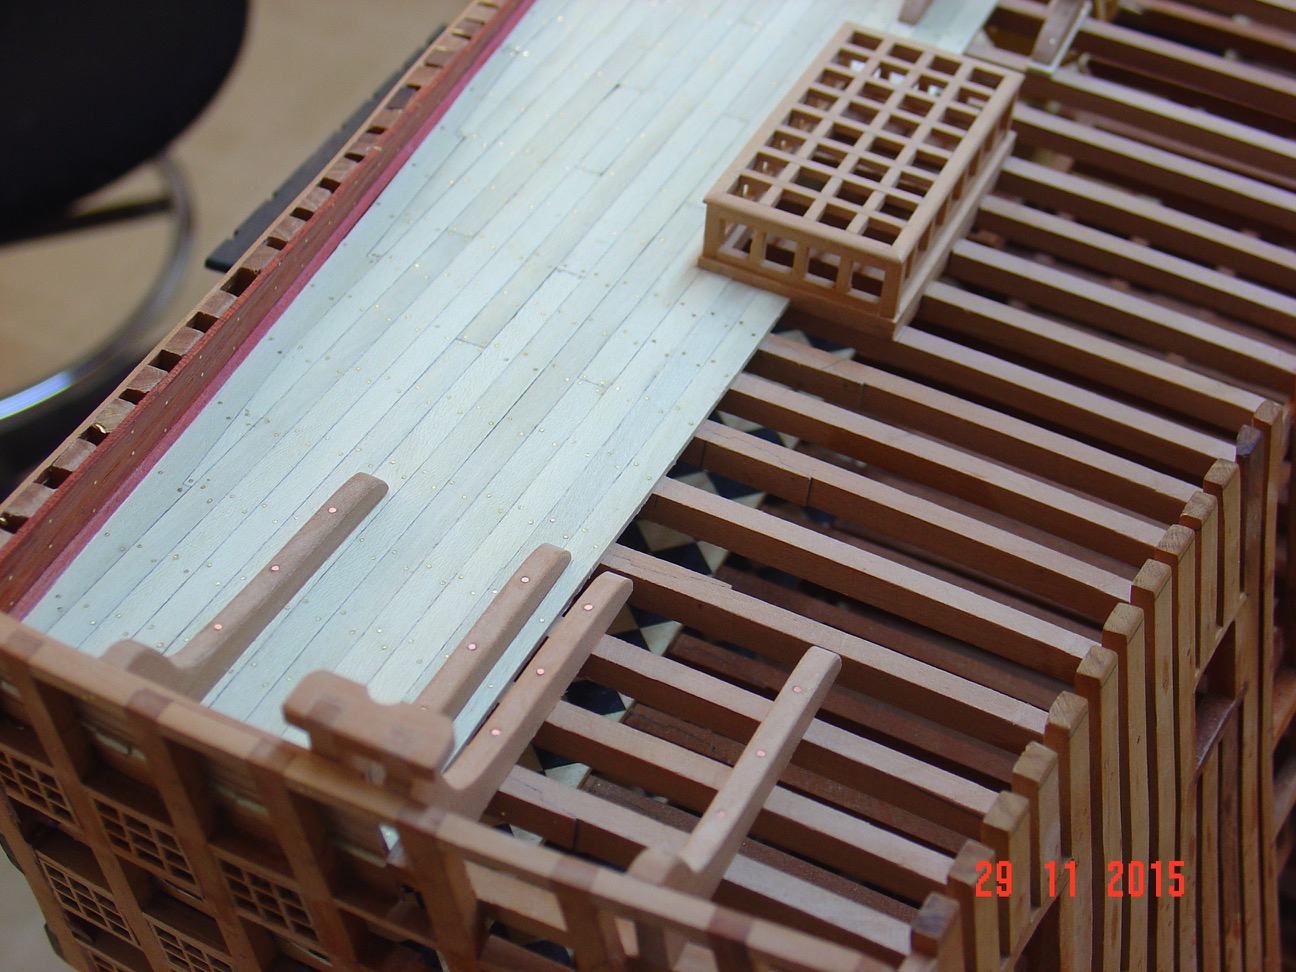
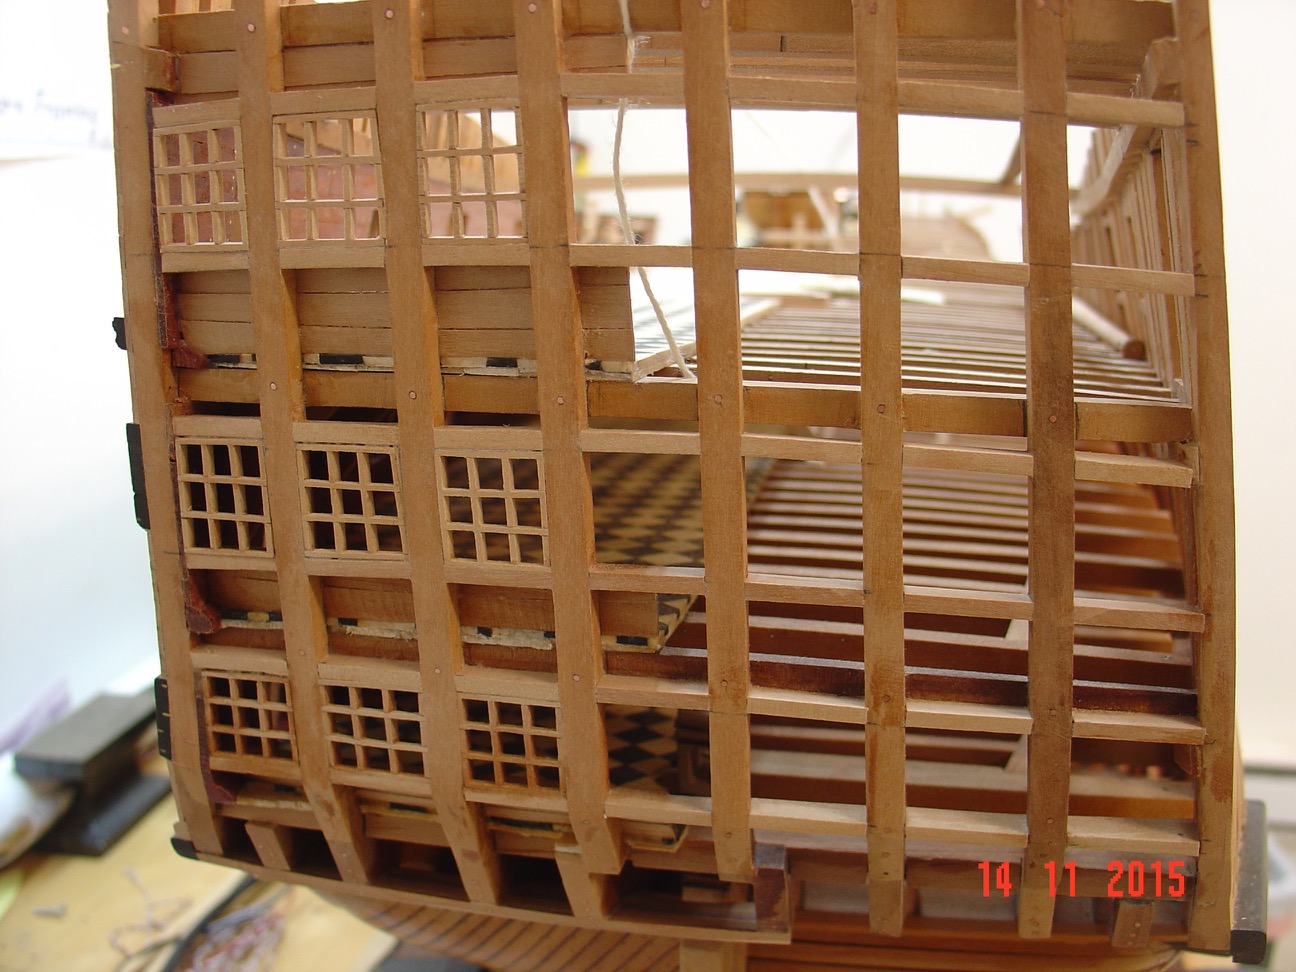
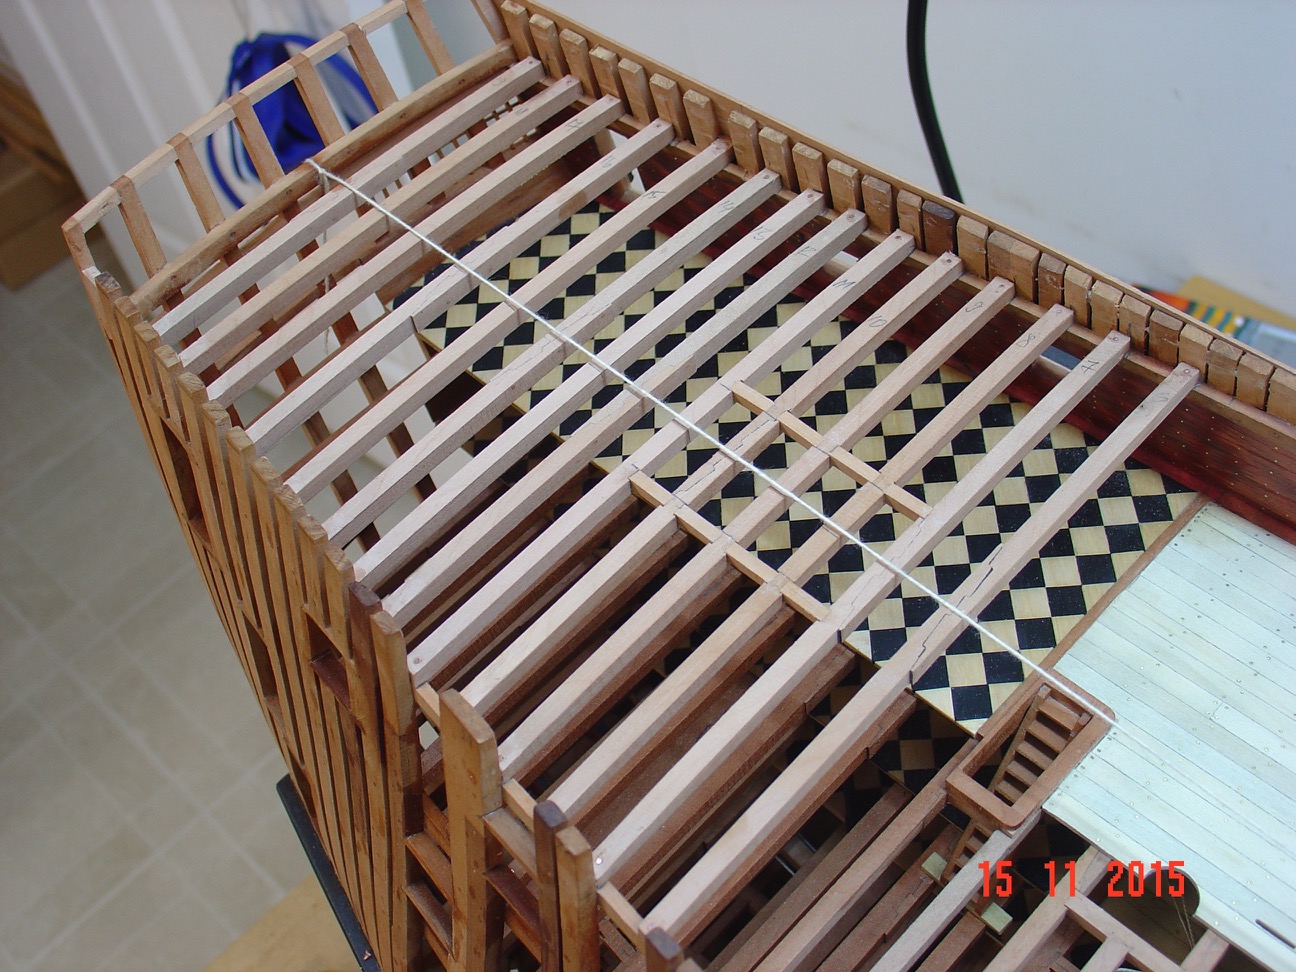
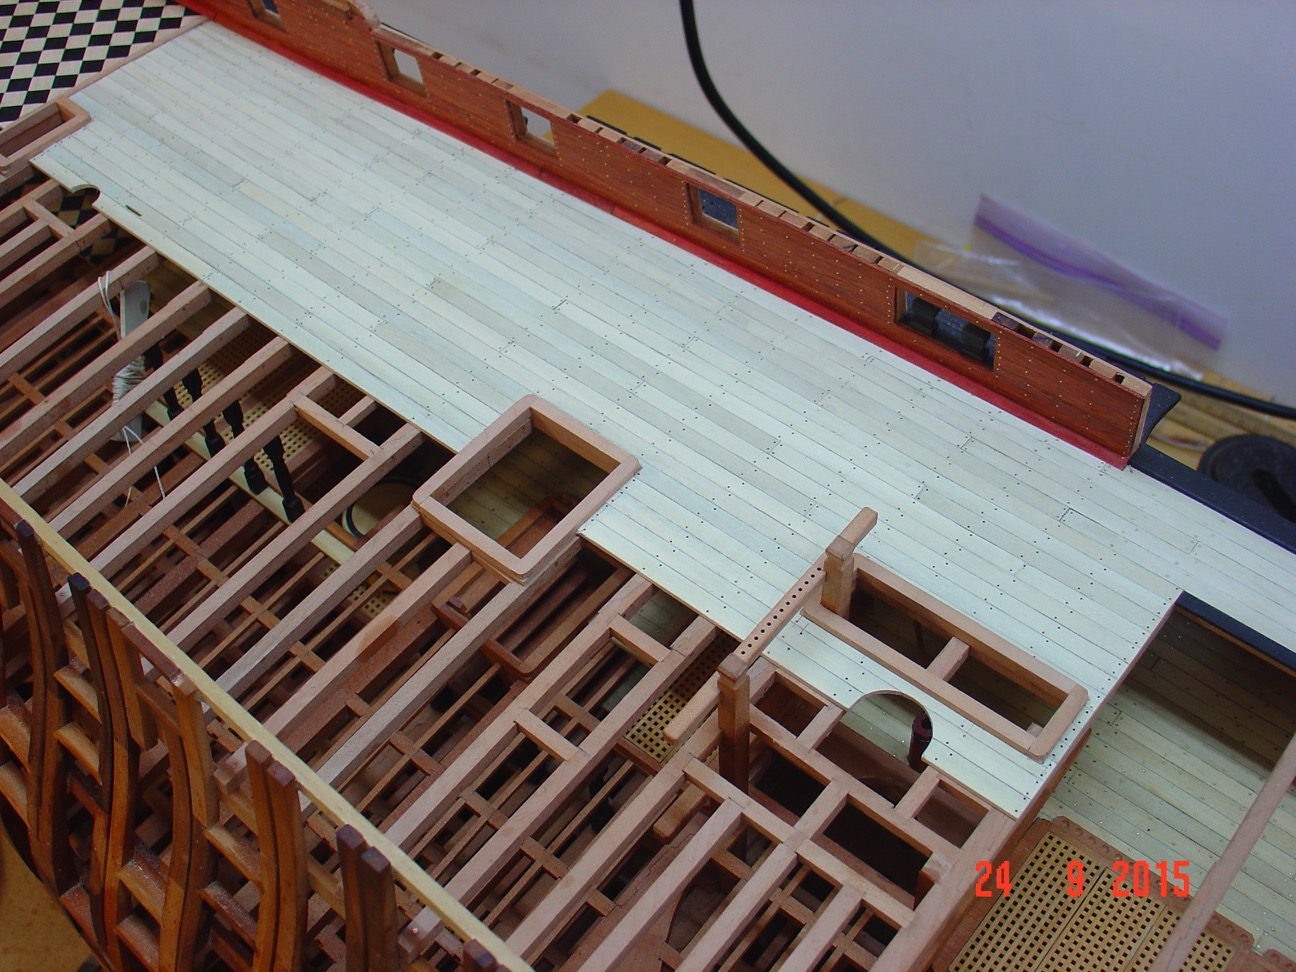
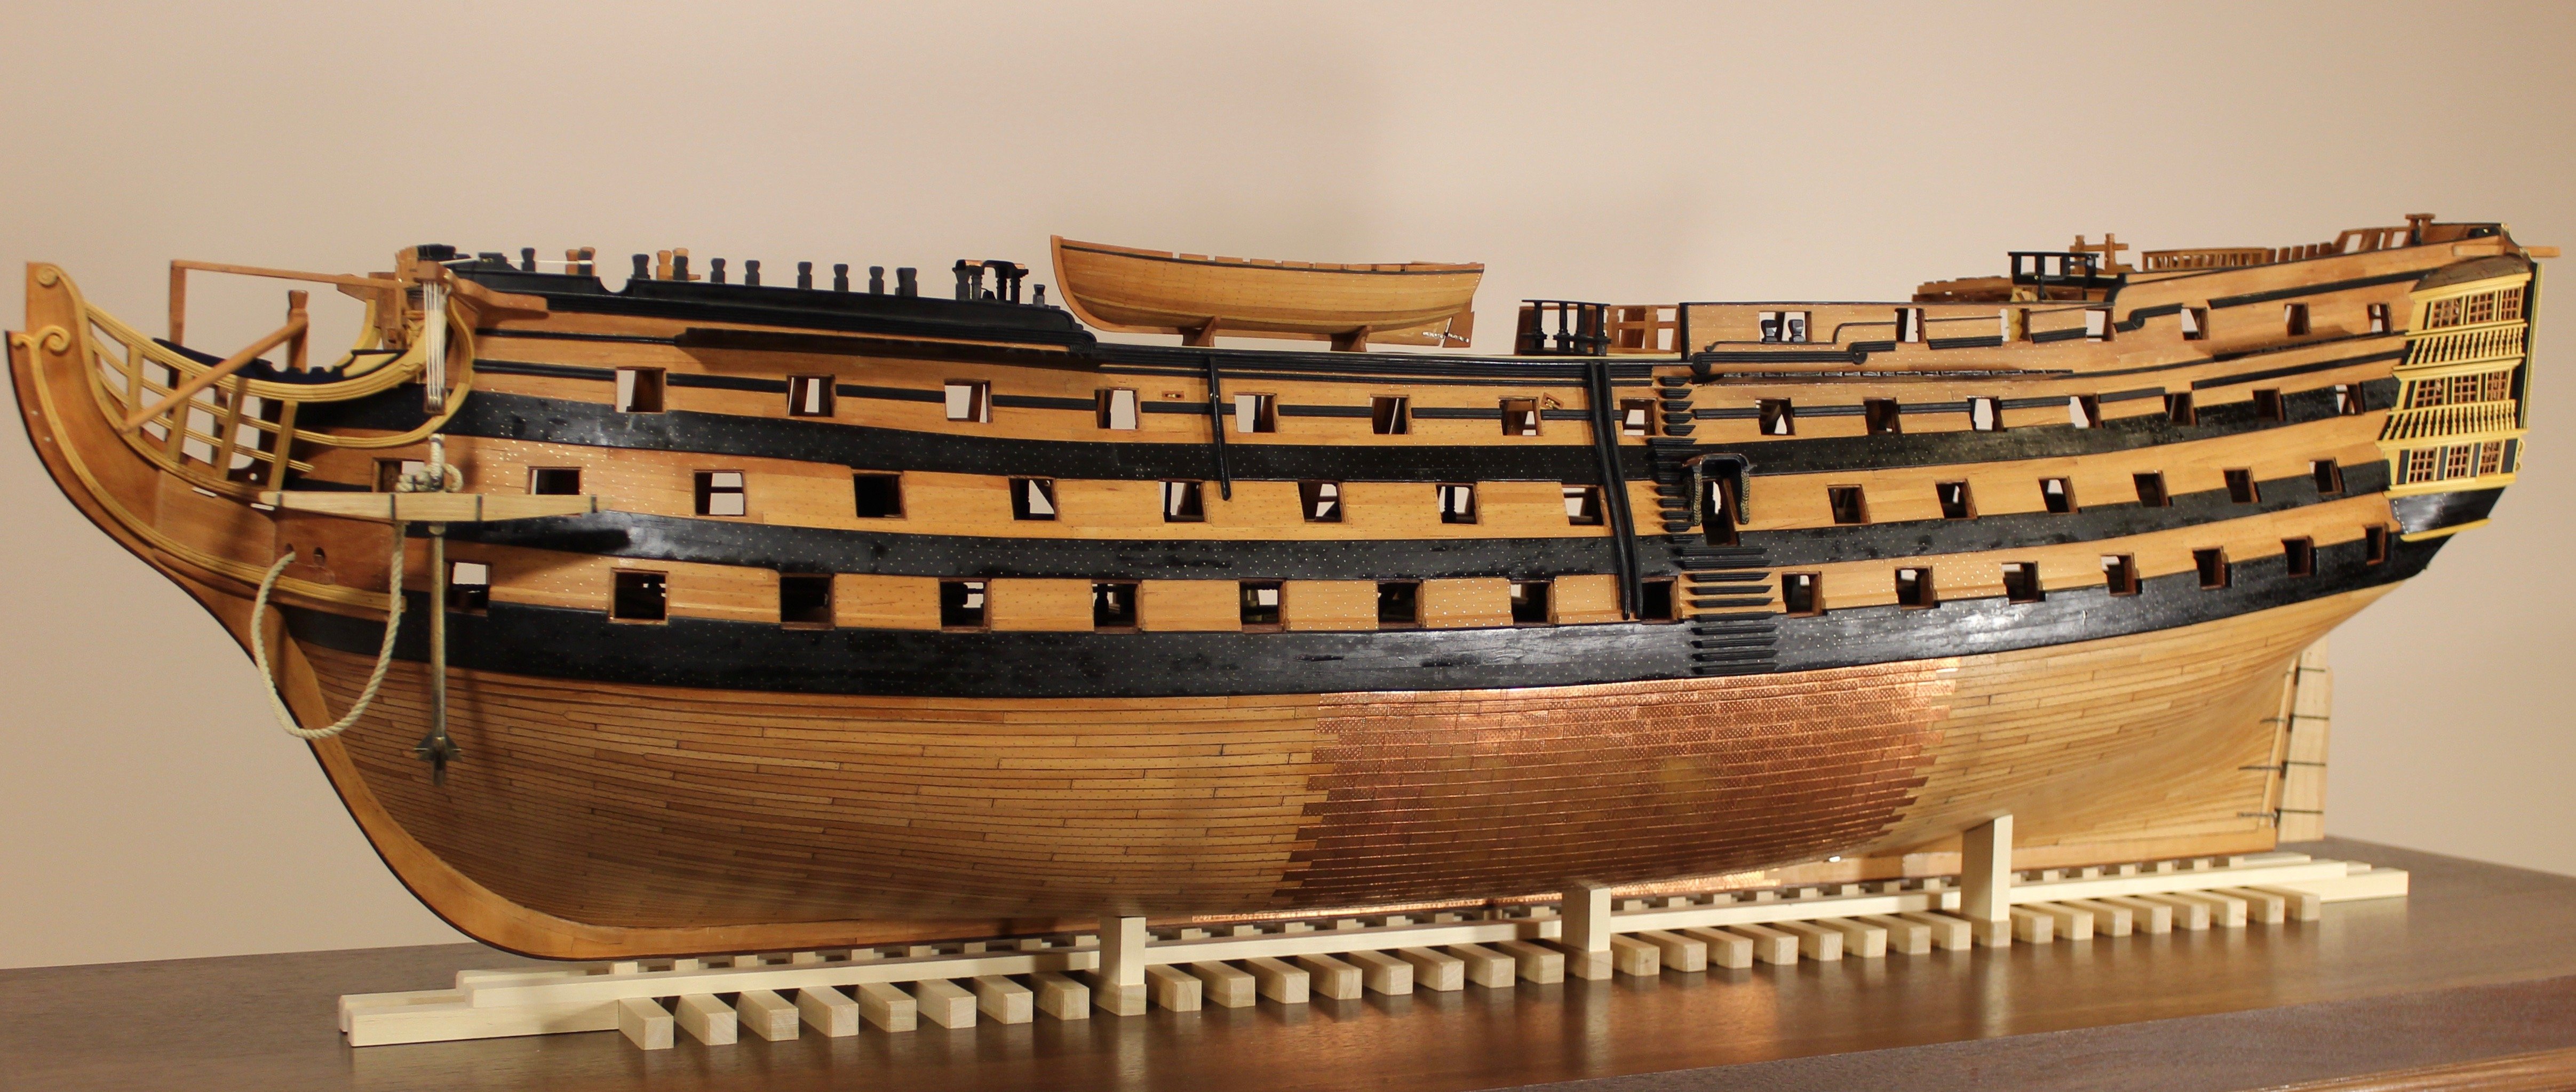
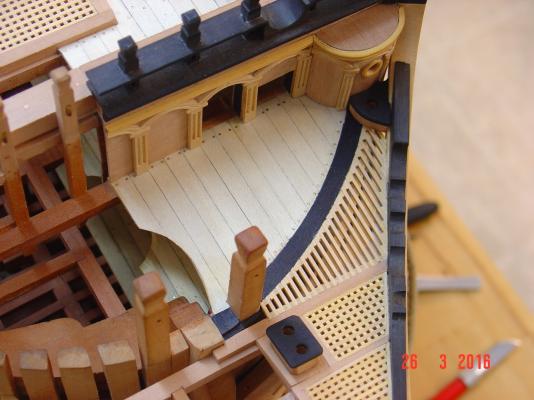
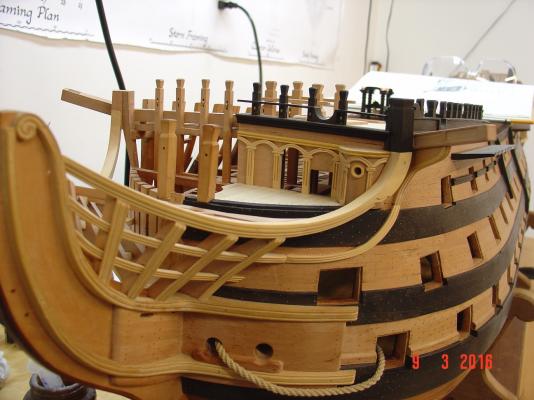
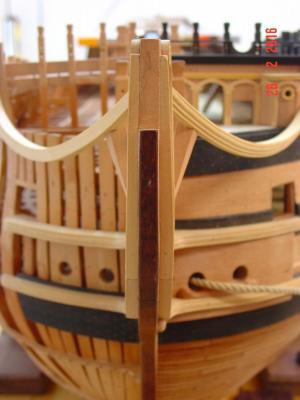
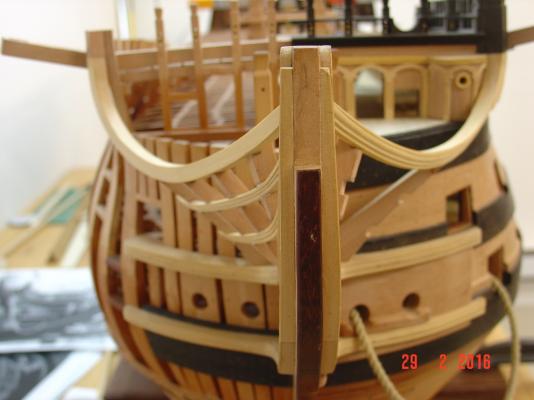
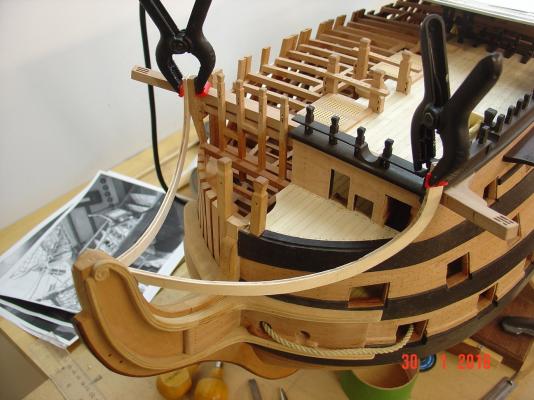
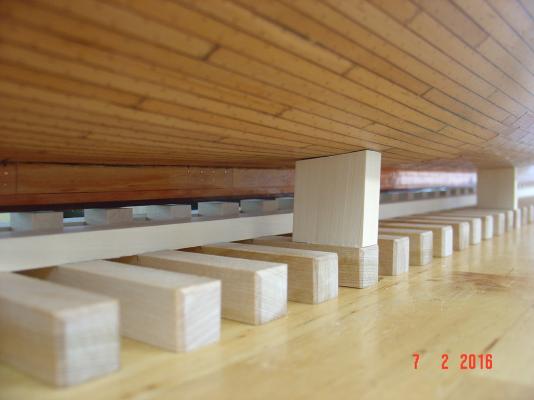
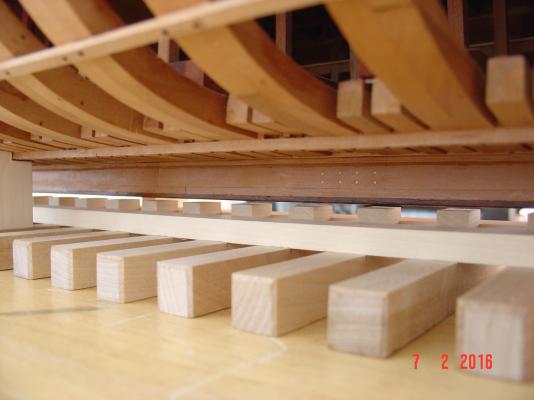
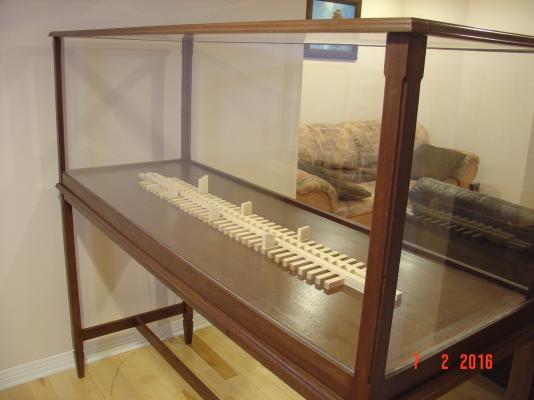
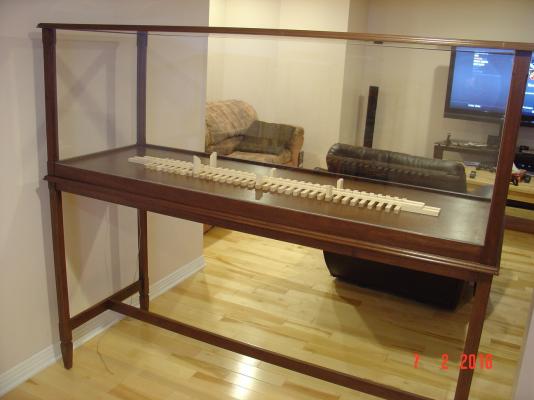
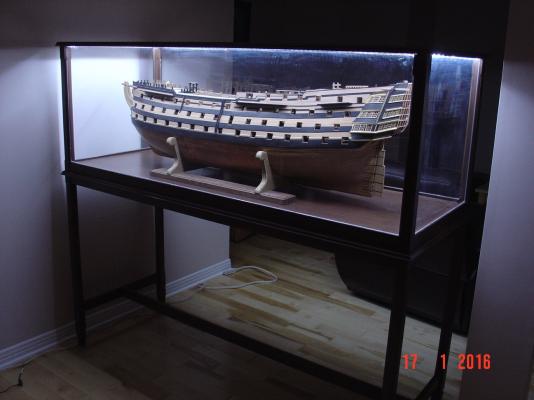
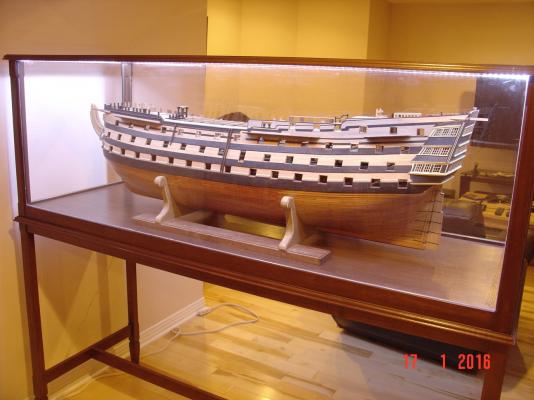
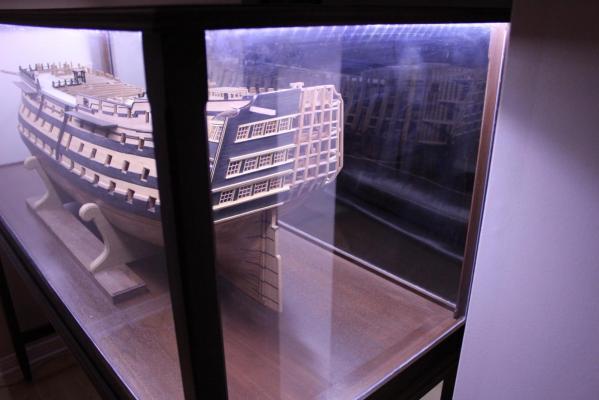
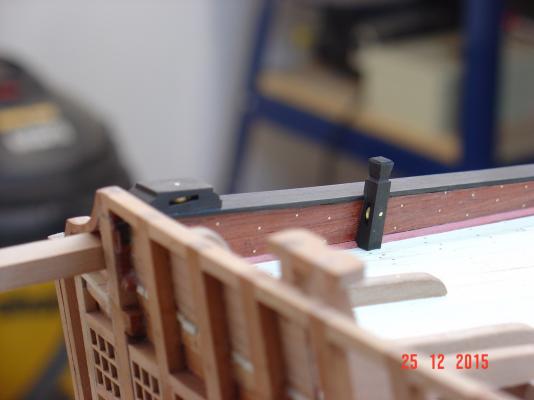
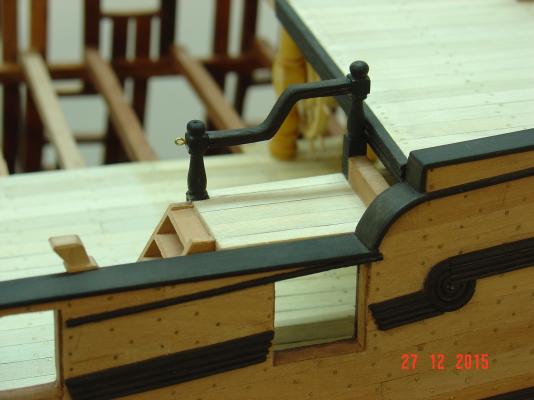
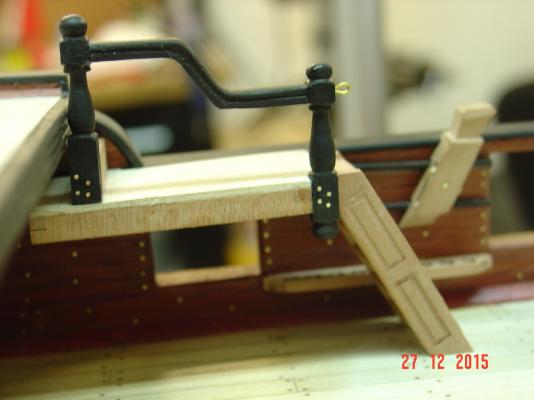
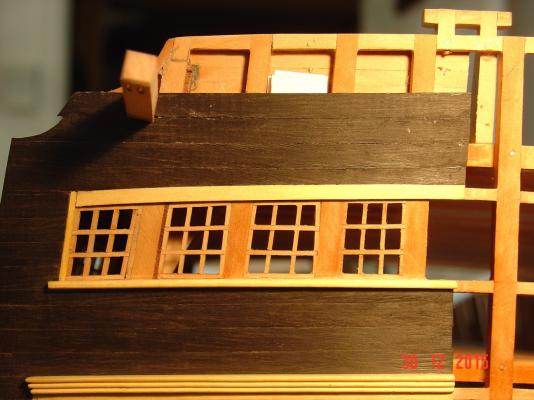
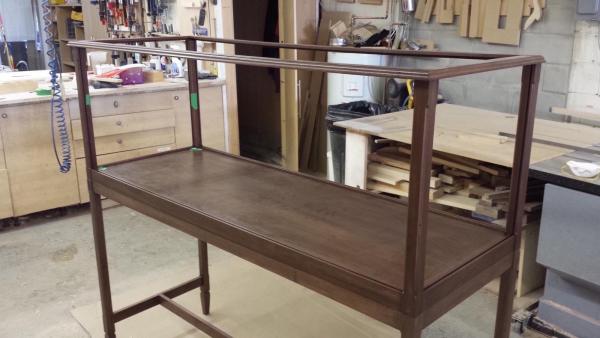
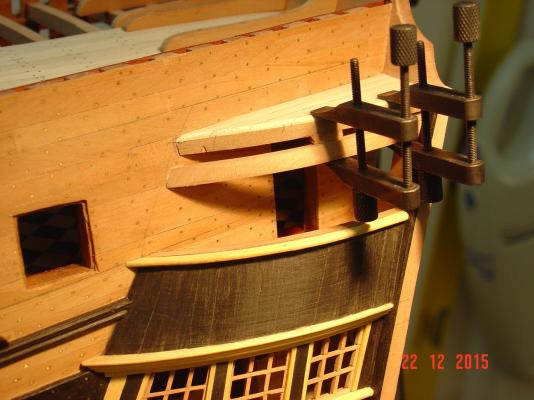
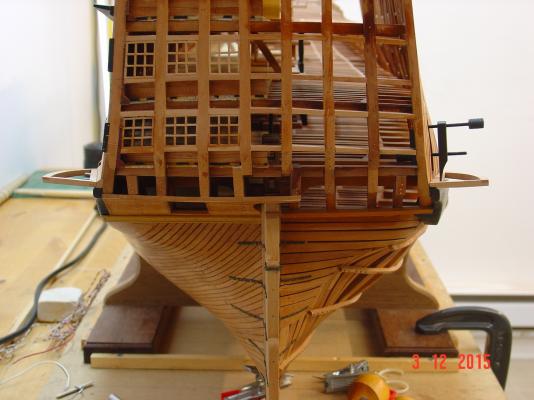
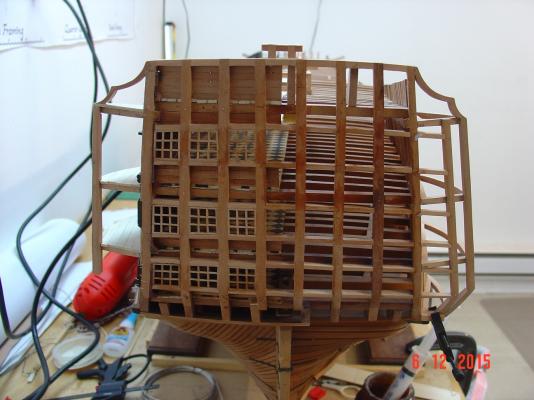
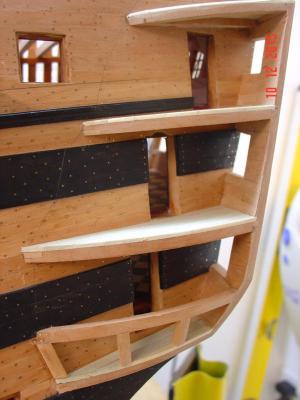
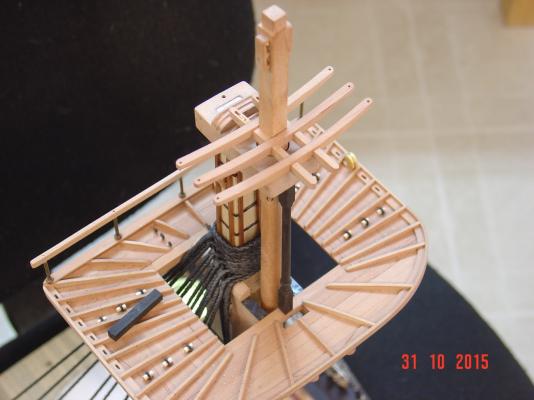
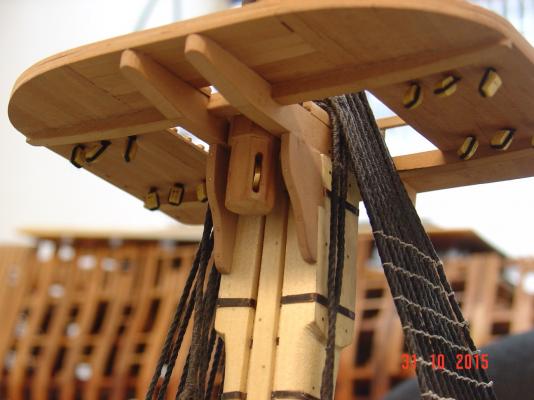
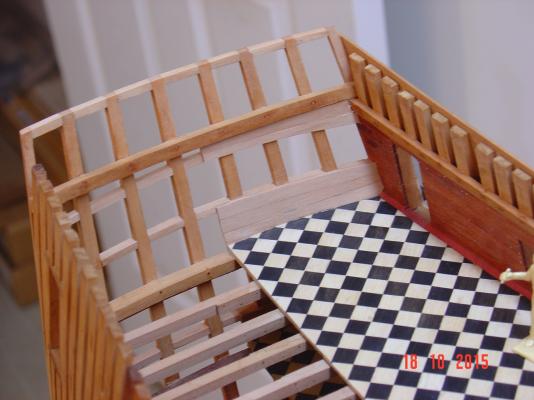
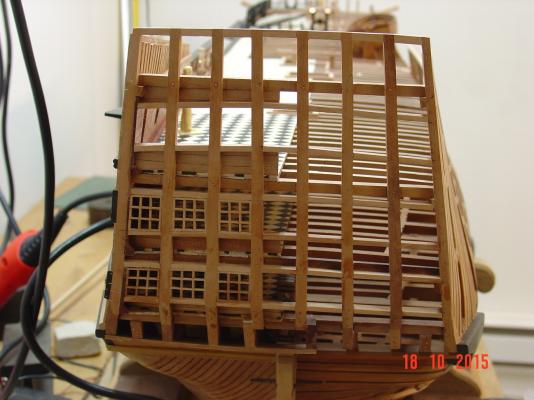
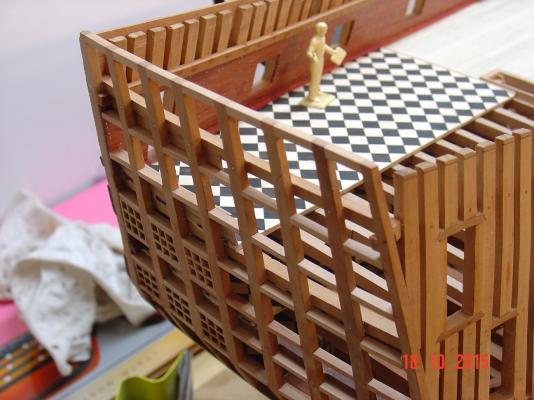
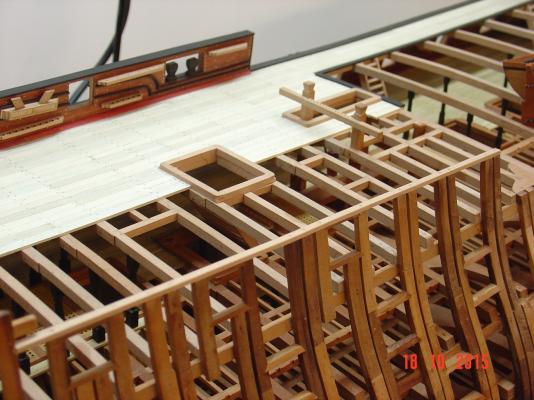
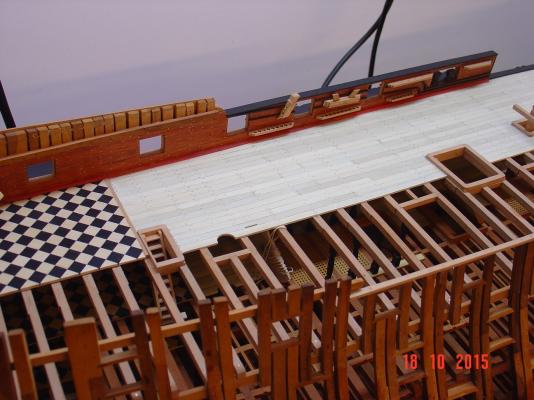
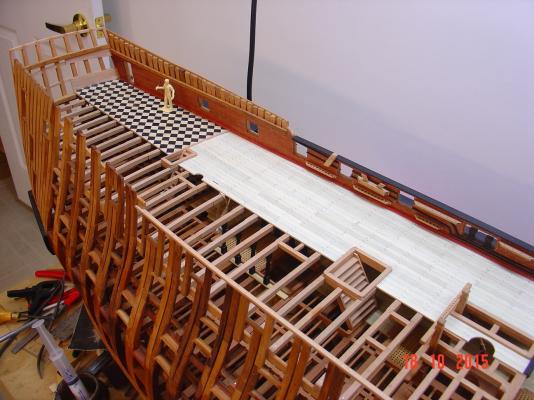
Hello, I didn't made much progress on my model as I was busy with the display case I recently received. Payed quite an amount on it to have it custom made and I added myself the lighting. Next I switched to the new stand for the ship. Here are some pictures which for some reason are all mixed up. The case still has to go through a thorough clean up but only once I am done working with it. I put the ship inside to see how it will look but it will stay empty for quite a while. Another interesting thing I discovered doing the new stand (which I will probably stain in the end) is the my model like real ships actually hogged! I've done several close ups with it and you look carefully you can see in the middle of the ship there is about 2mm of space between the keel and the blocks of wood while the front and aft of the keel rests on them. For the last 4-5 years now the model was always in the two legged cradle you can see in the first several pictures. Next I will probably work on the beakhead - I can't feel like doing the decoration on the stern galleries... yet. Regards Alexandru


-
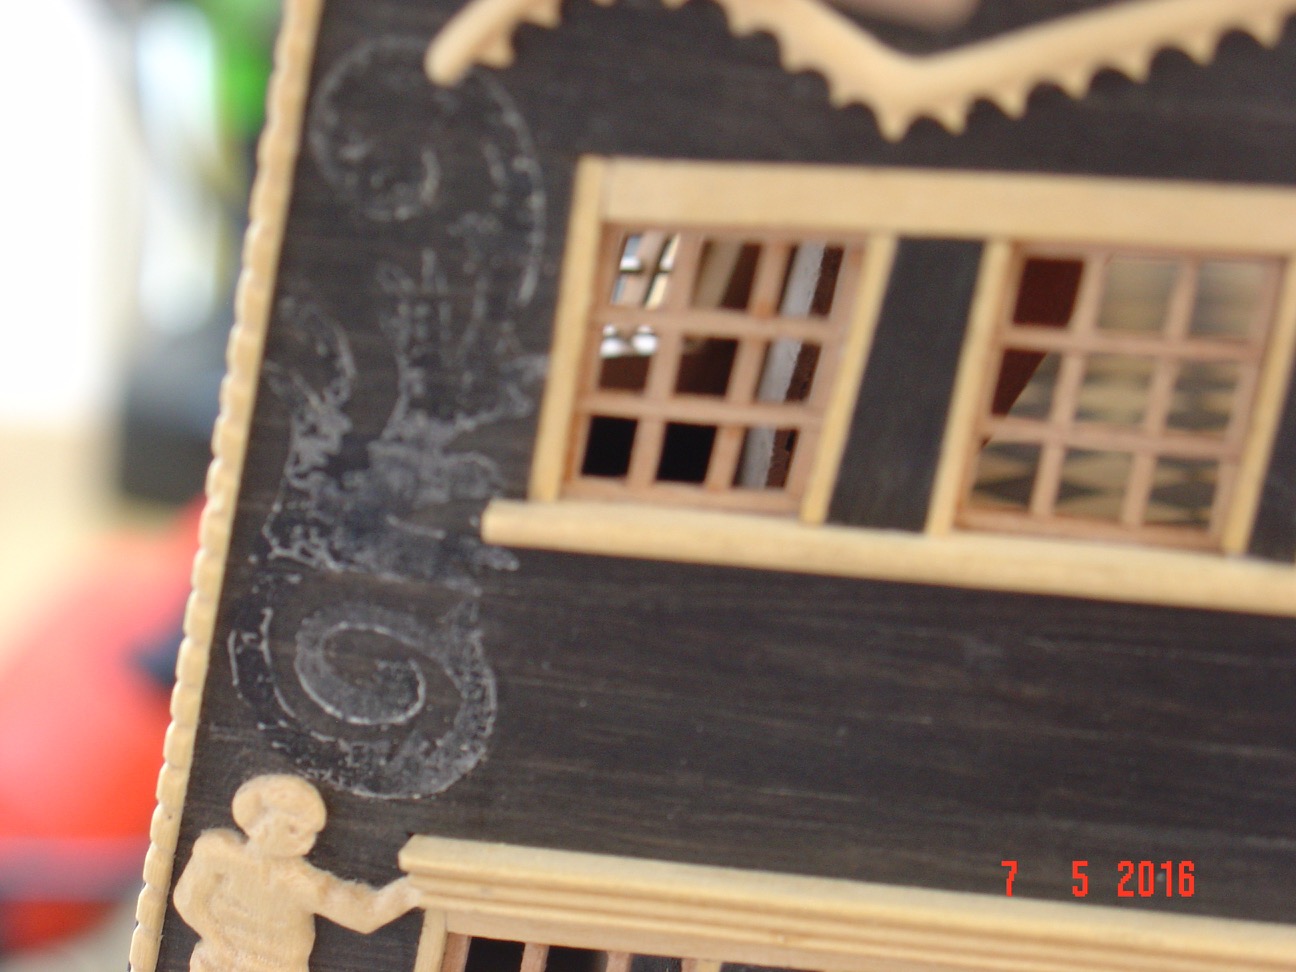
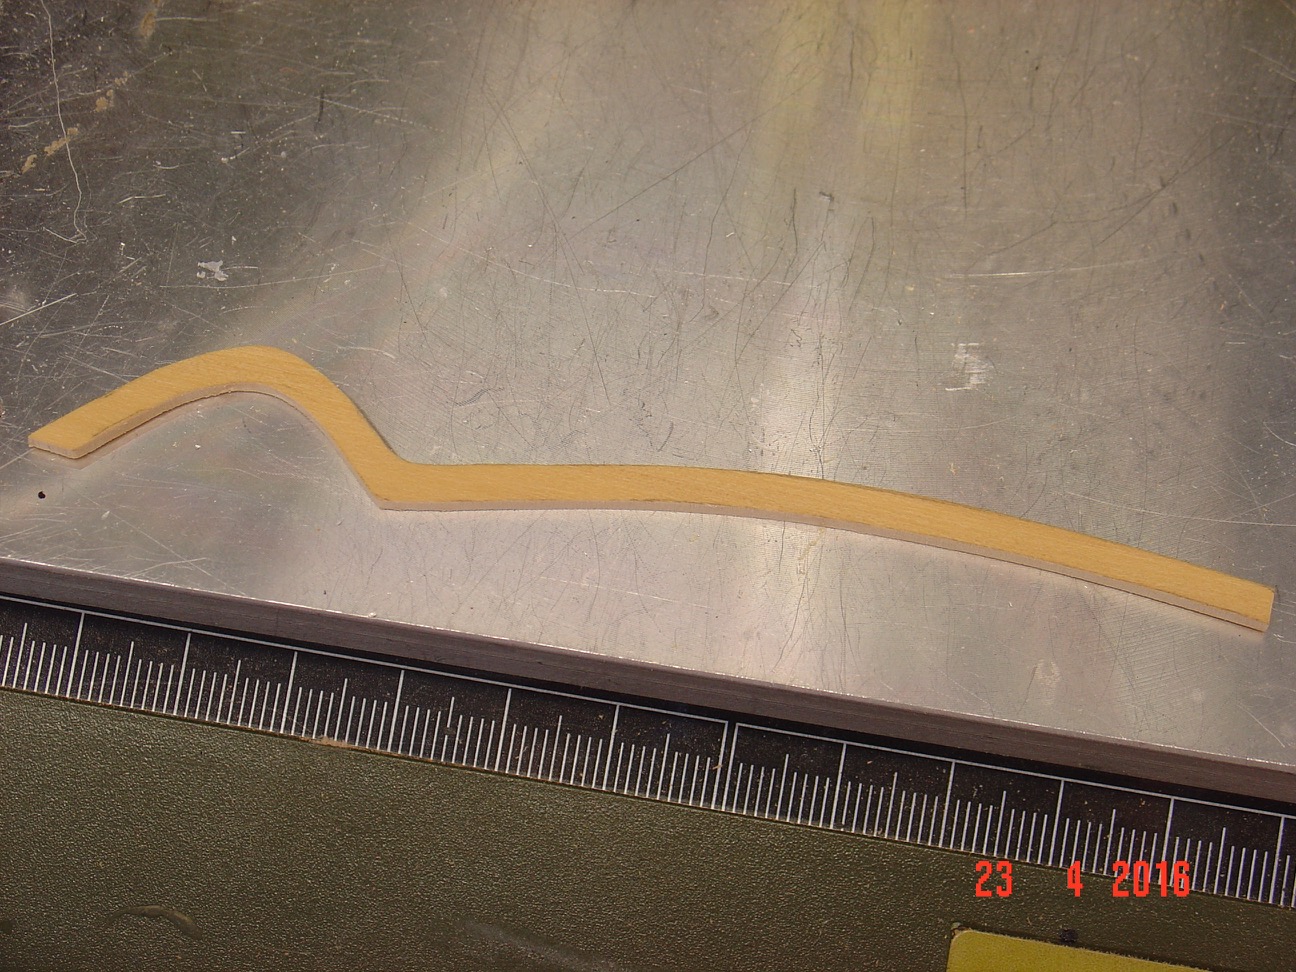
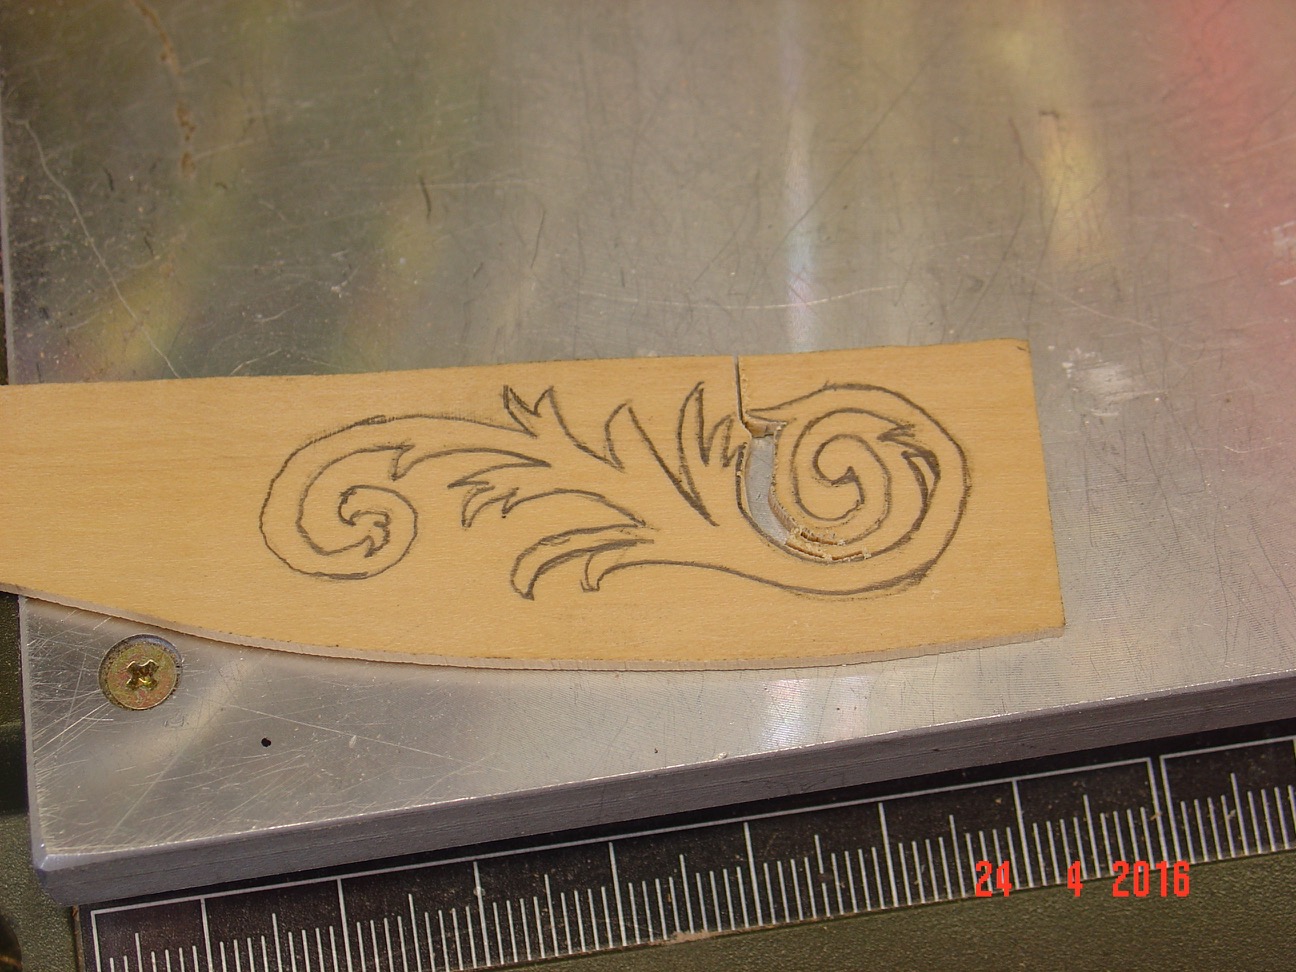
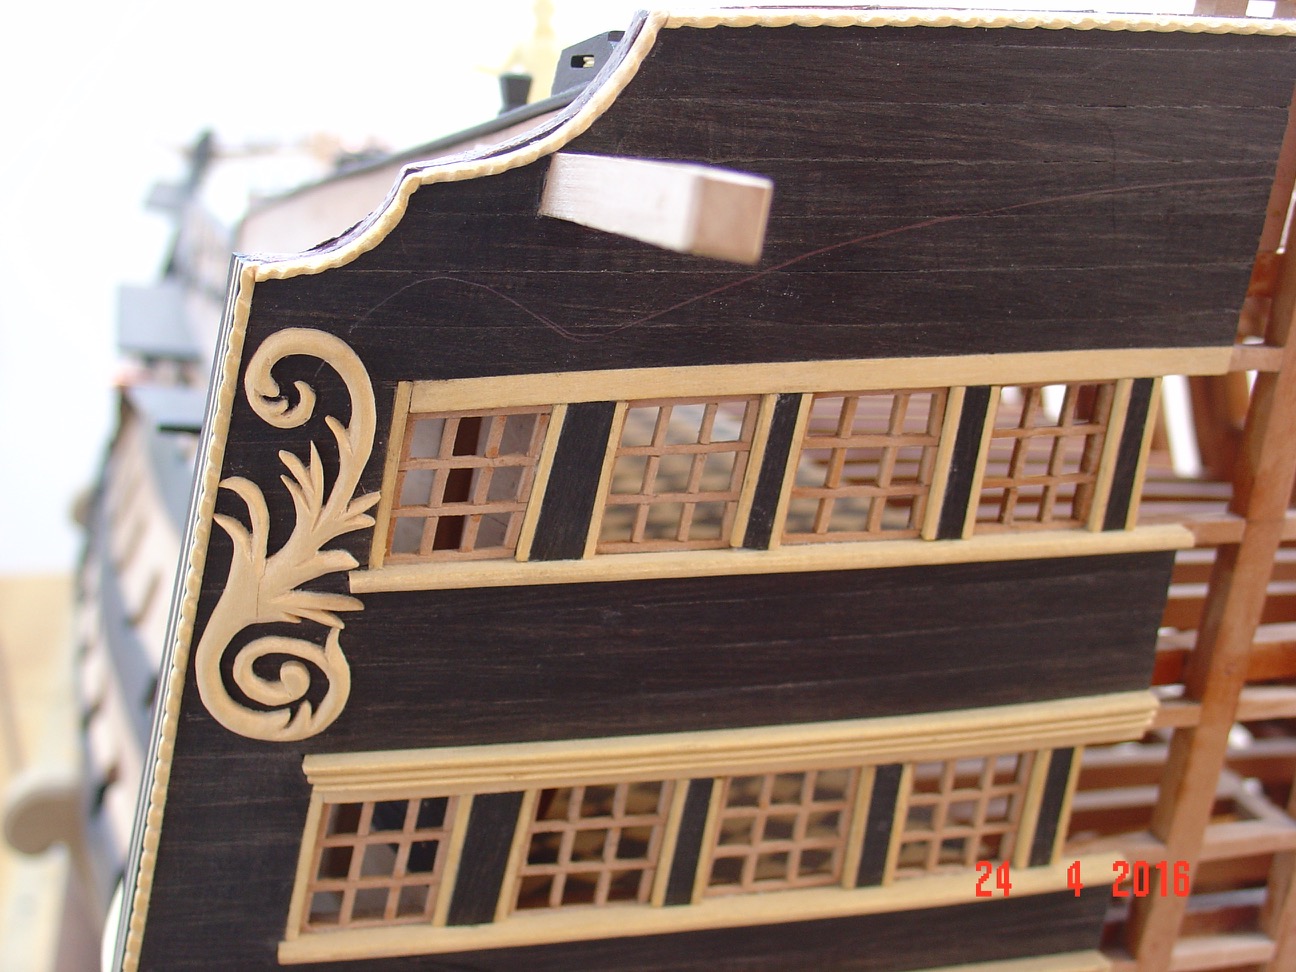
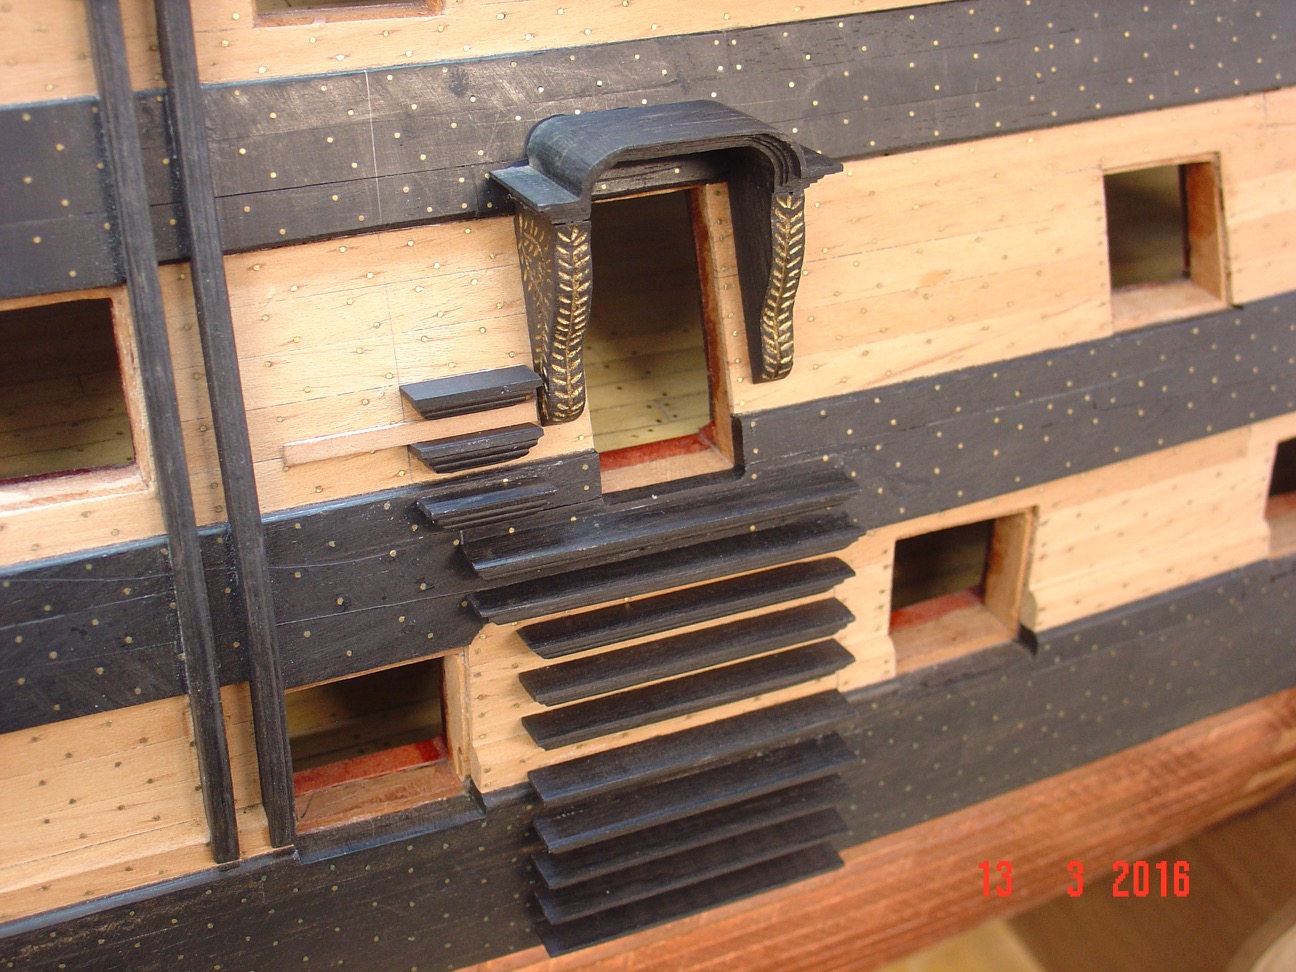
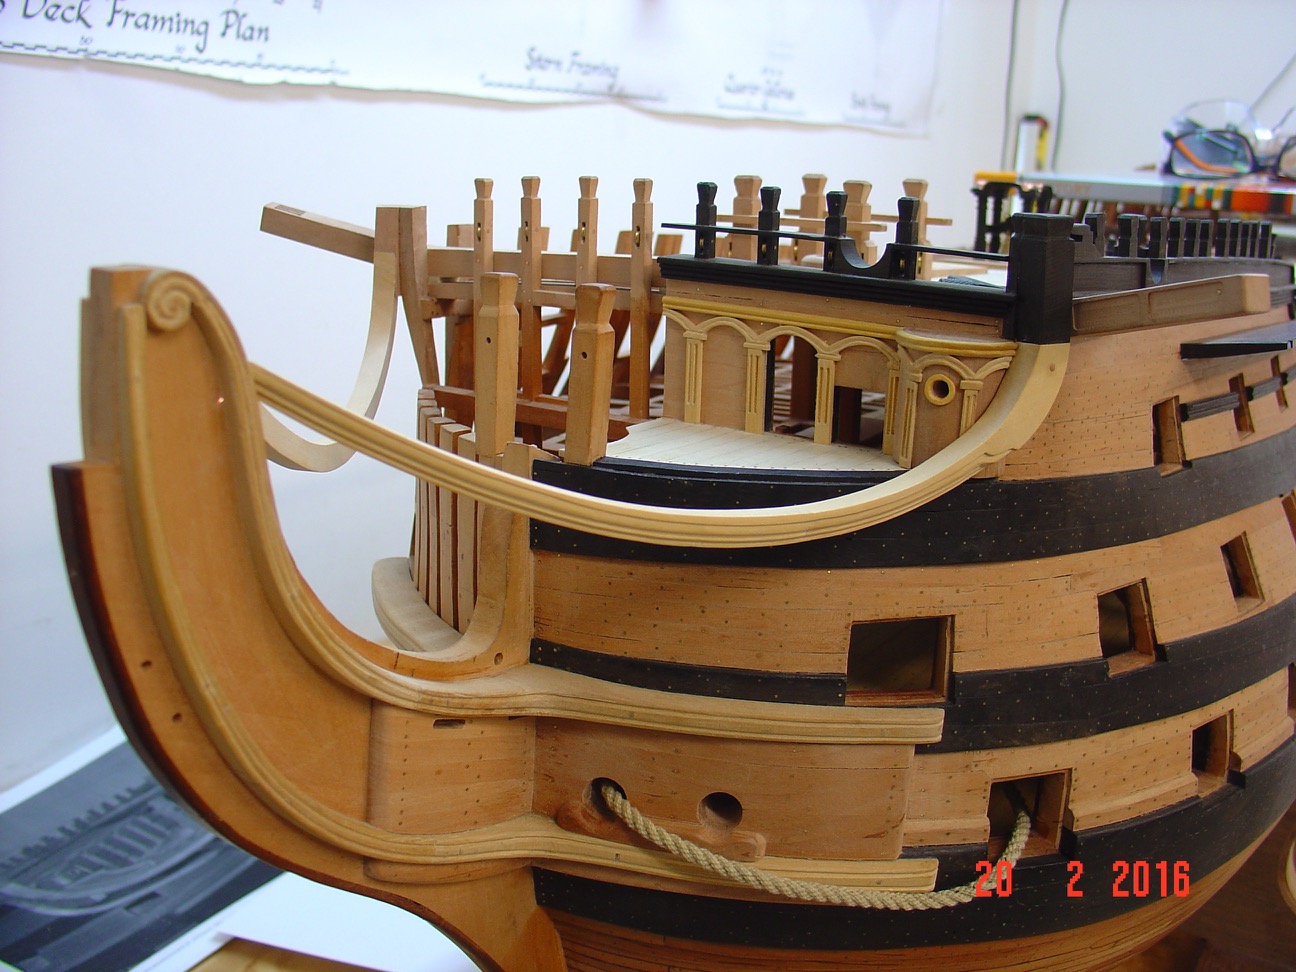
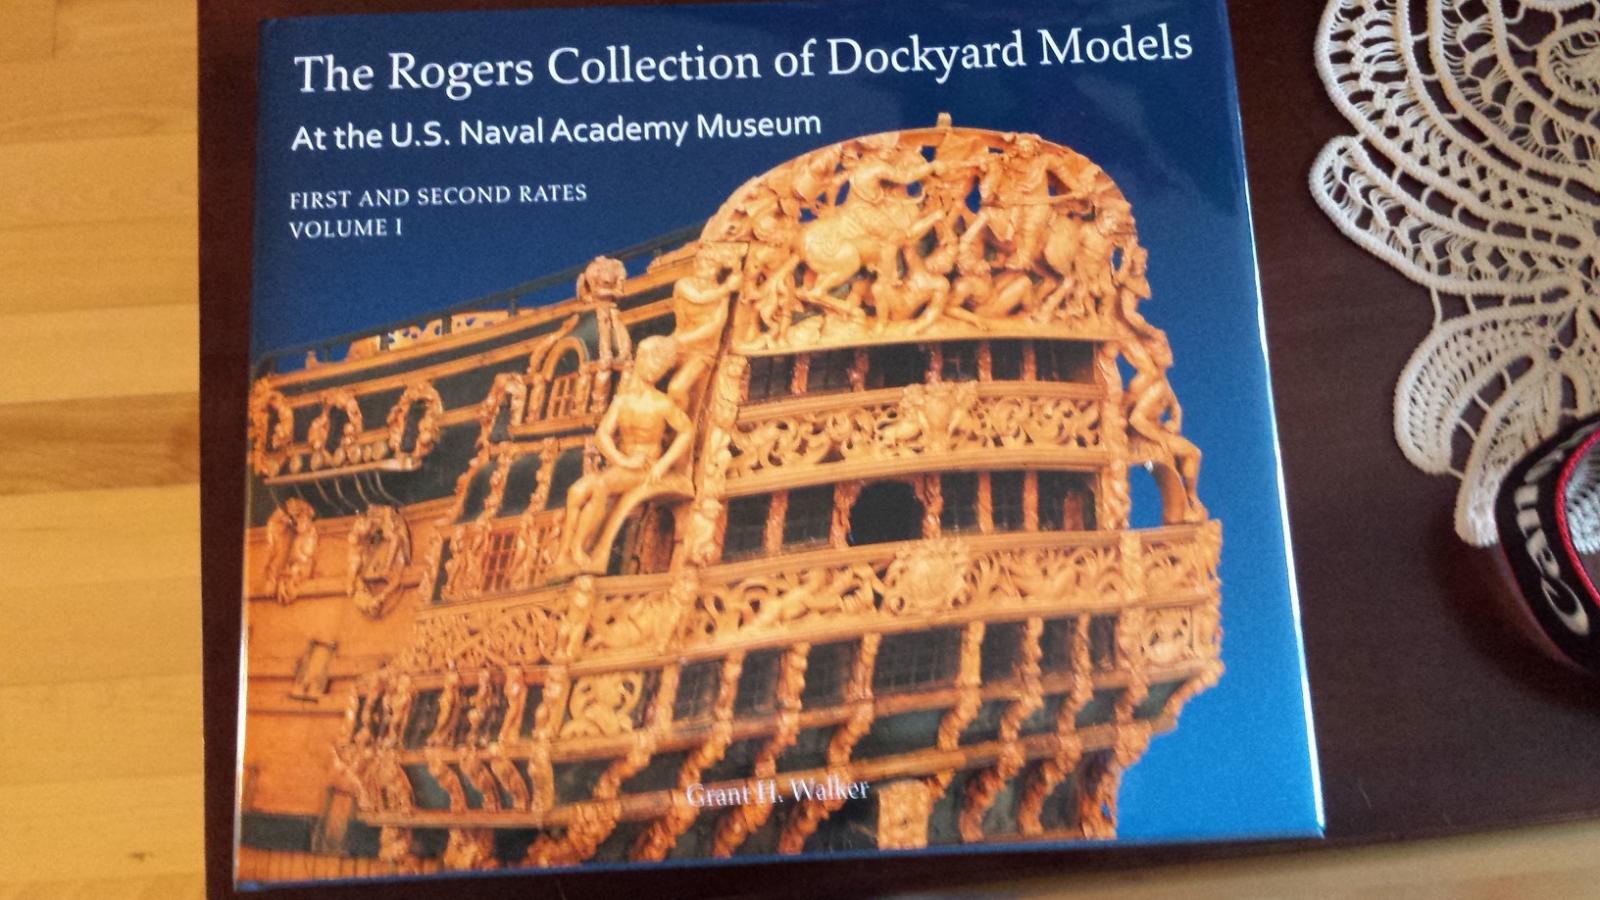
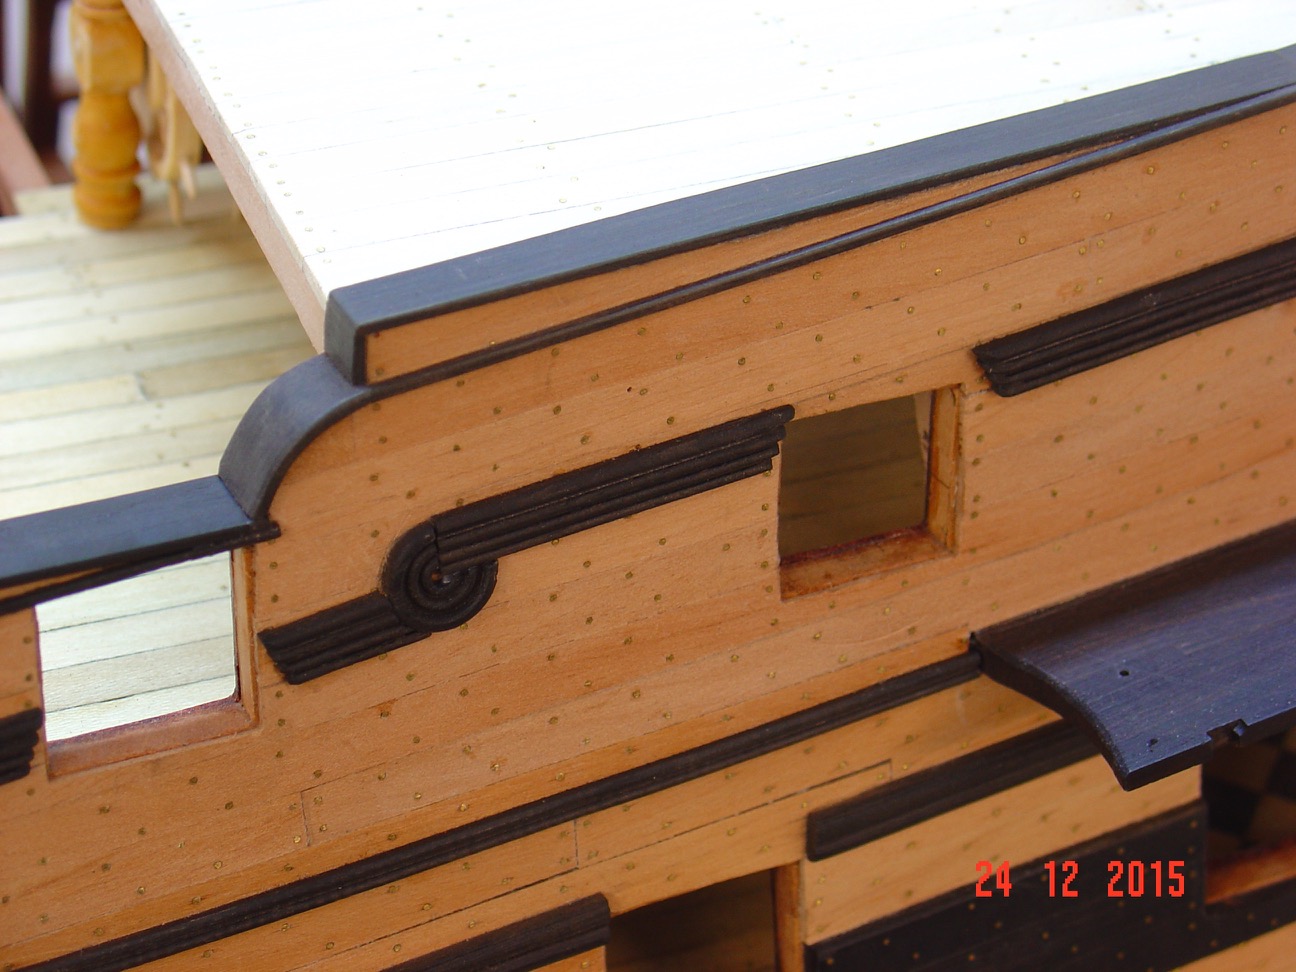
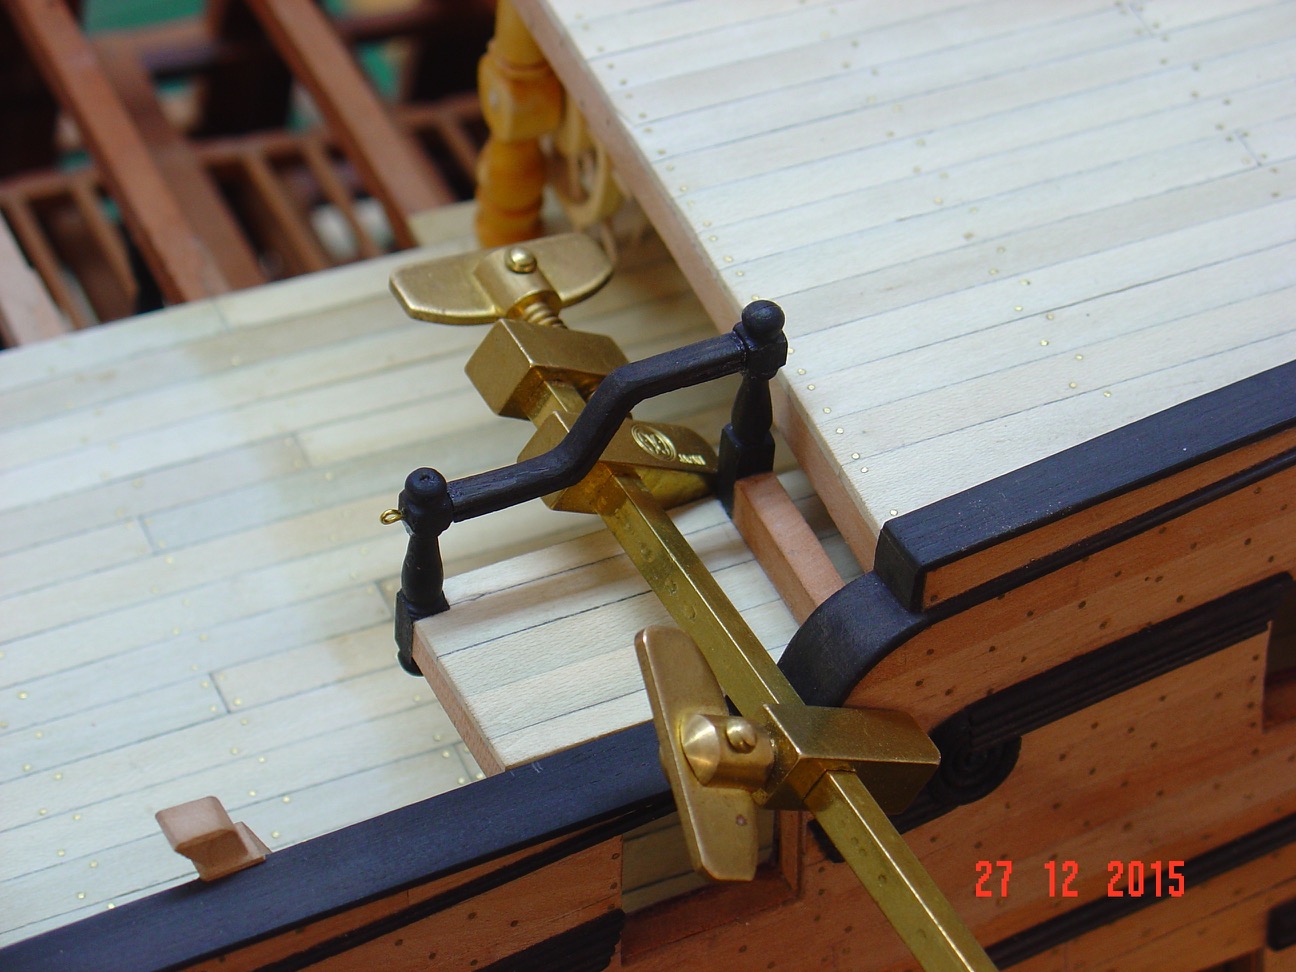
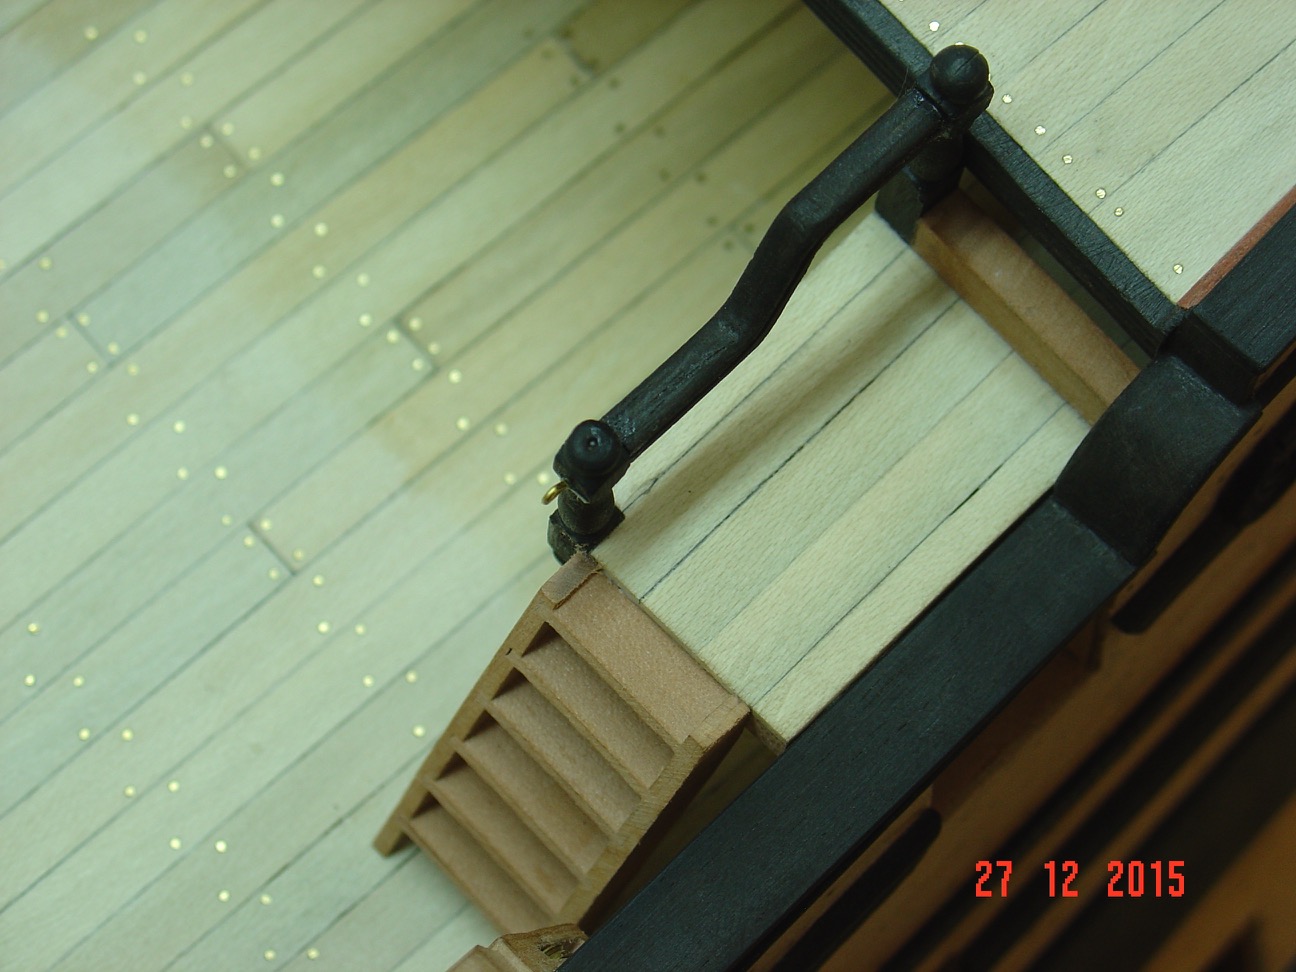
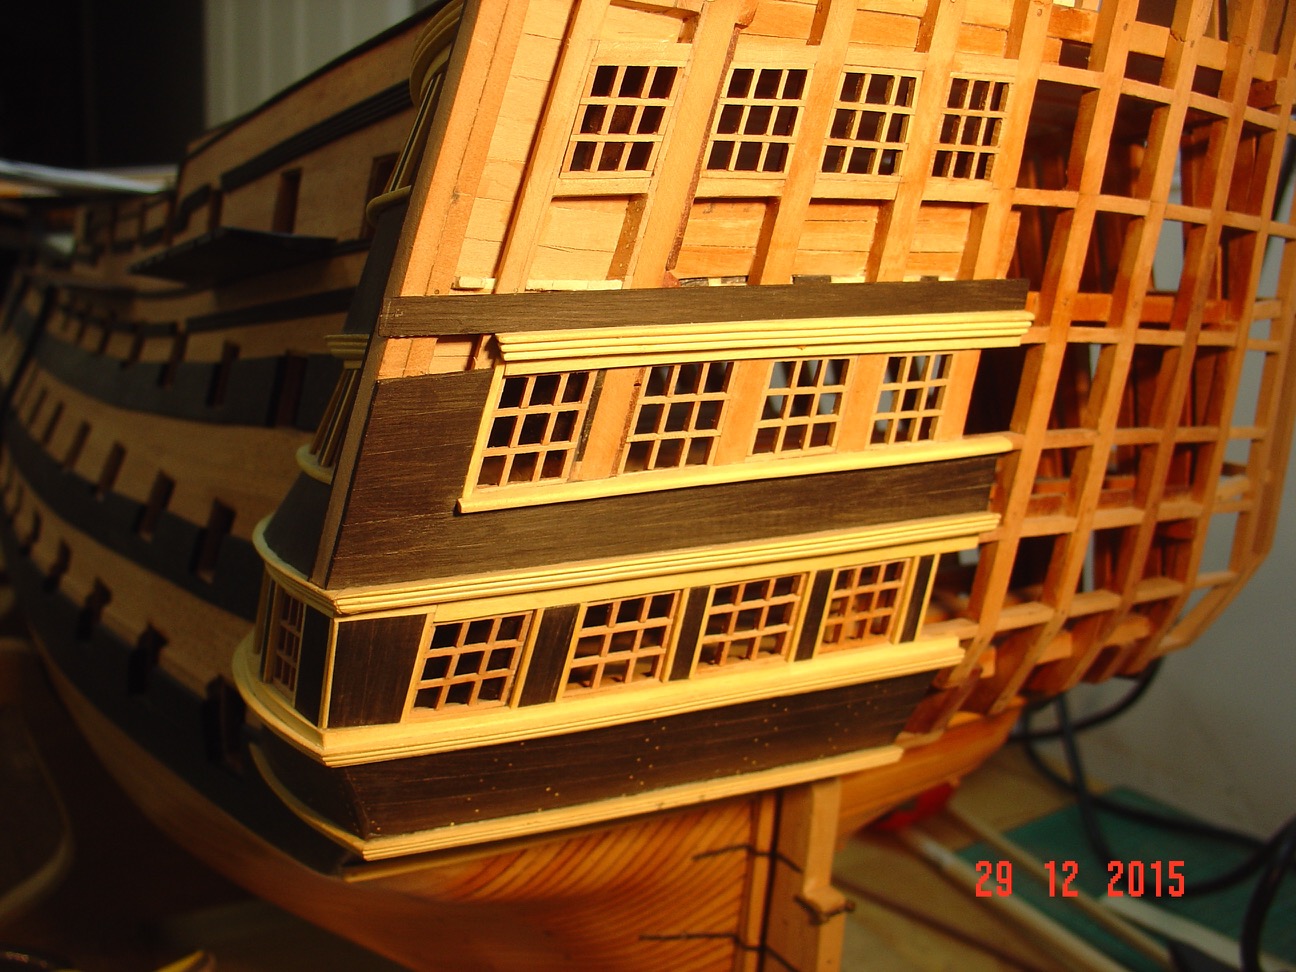
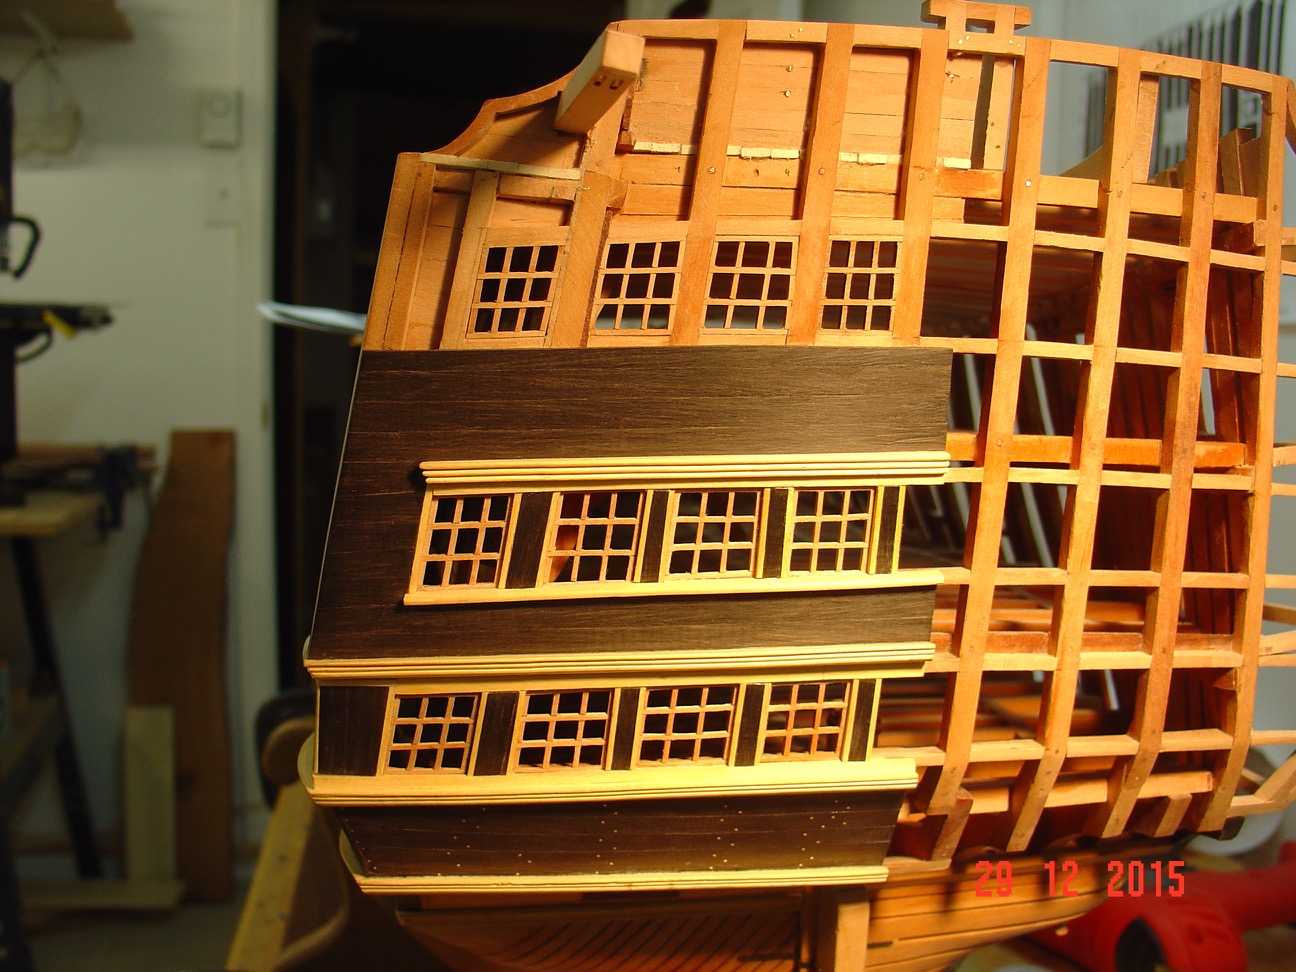
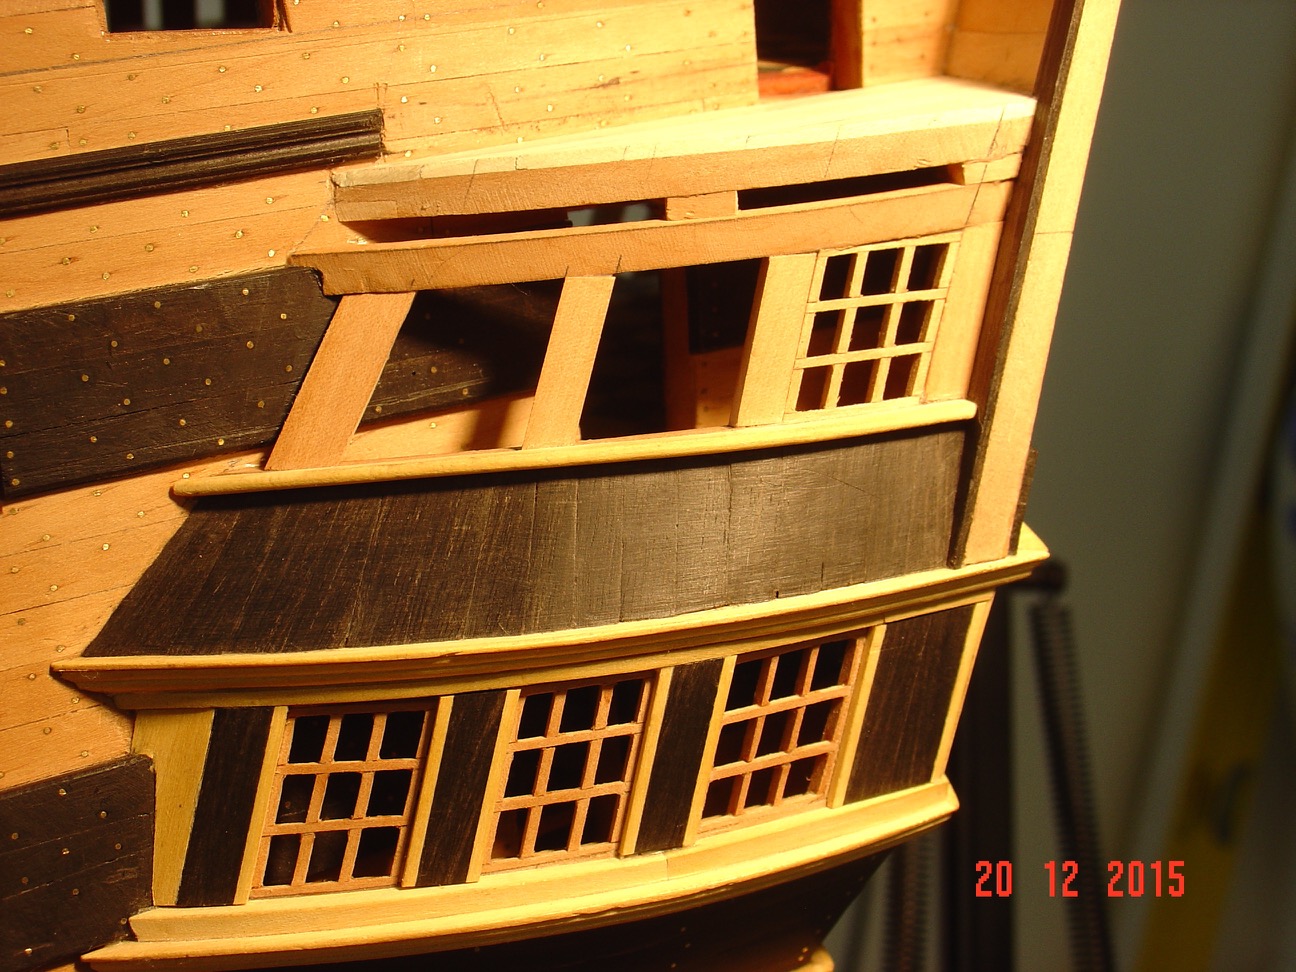
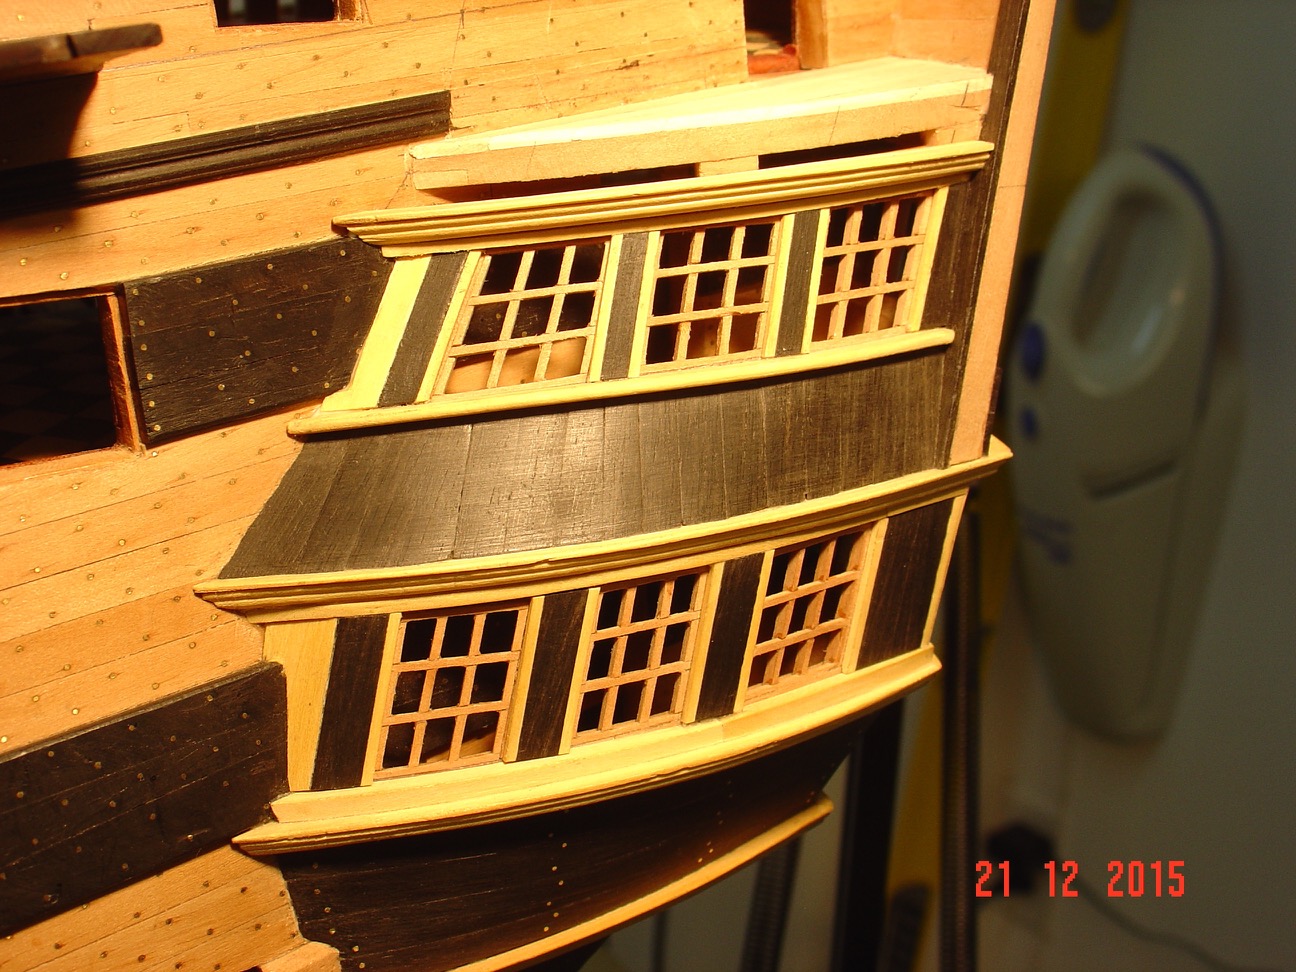
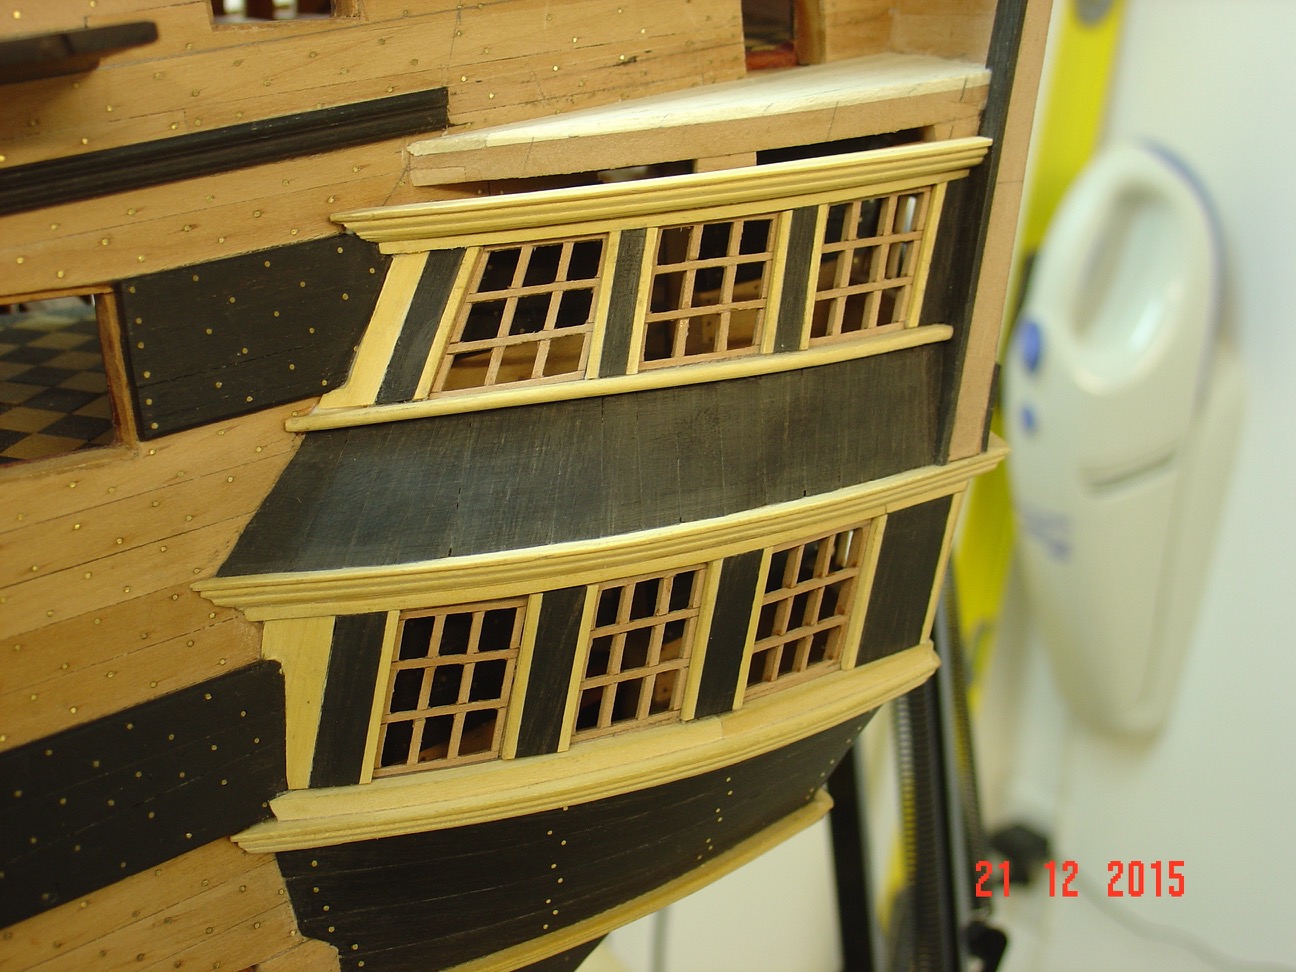
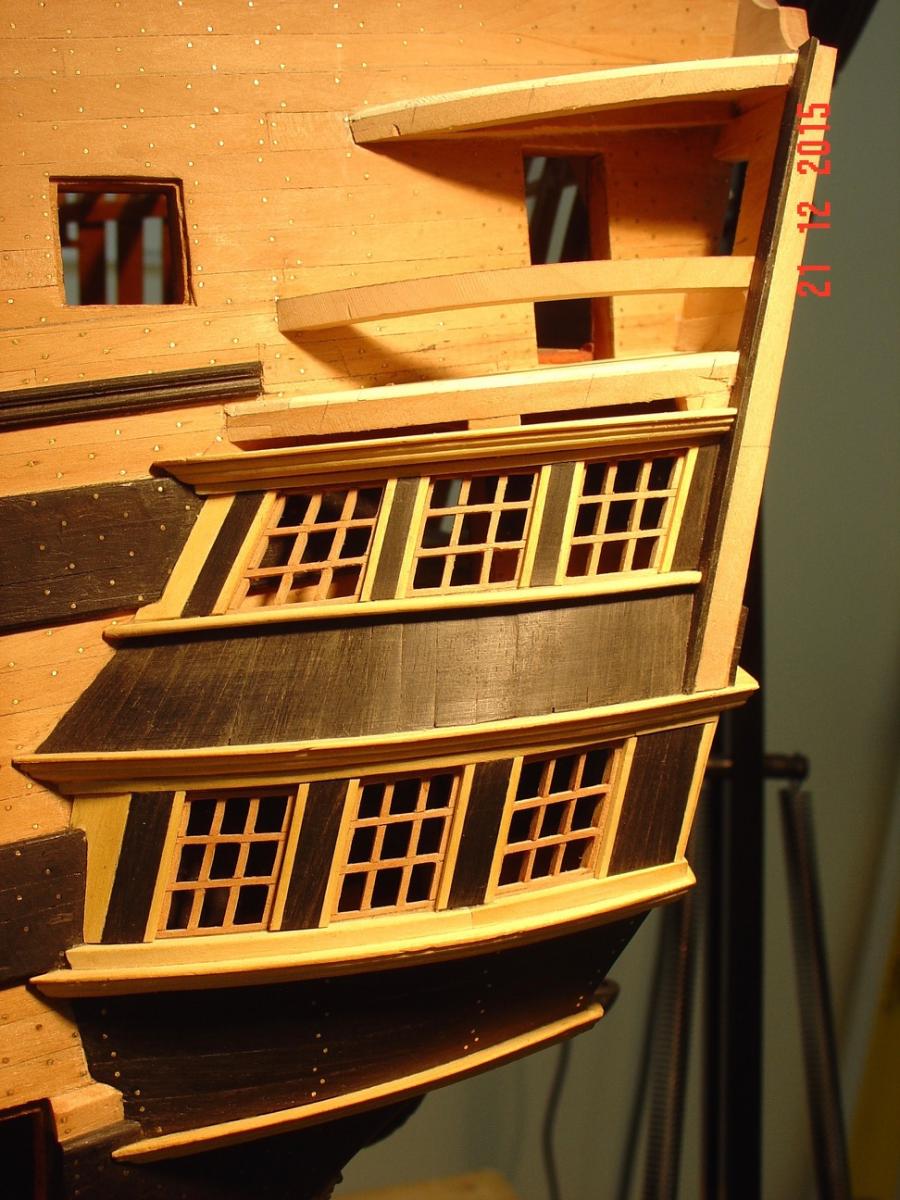
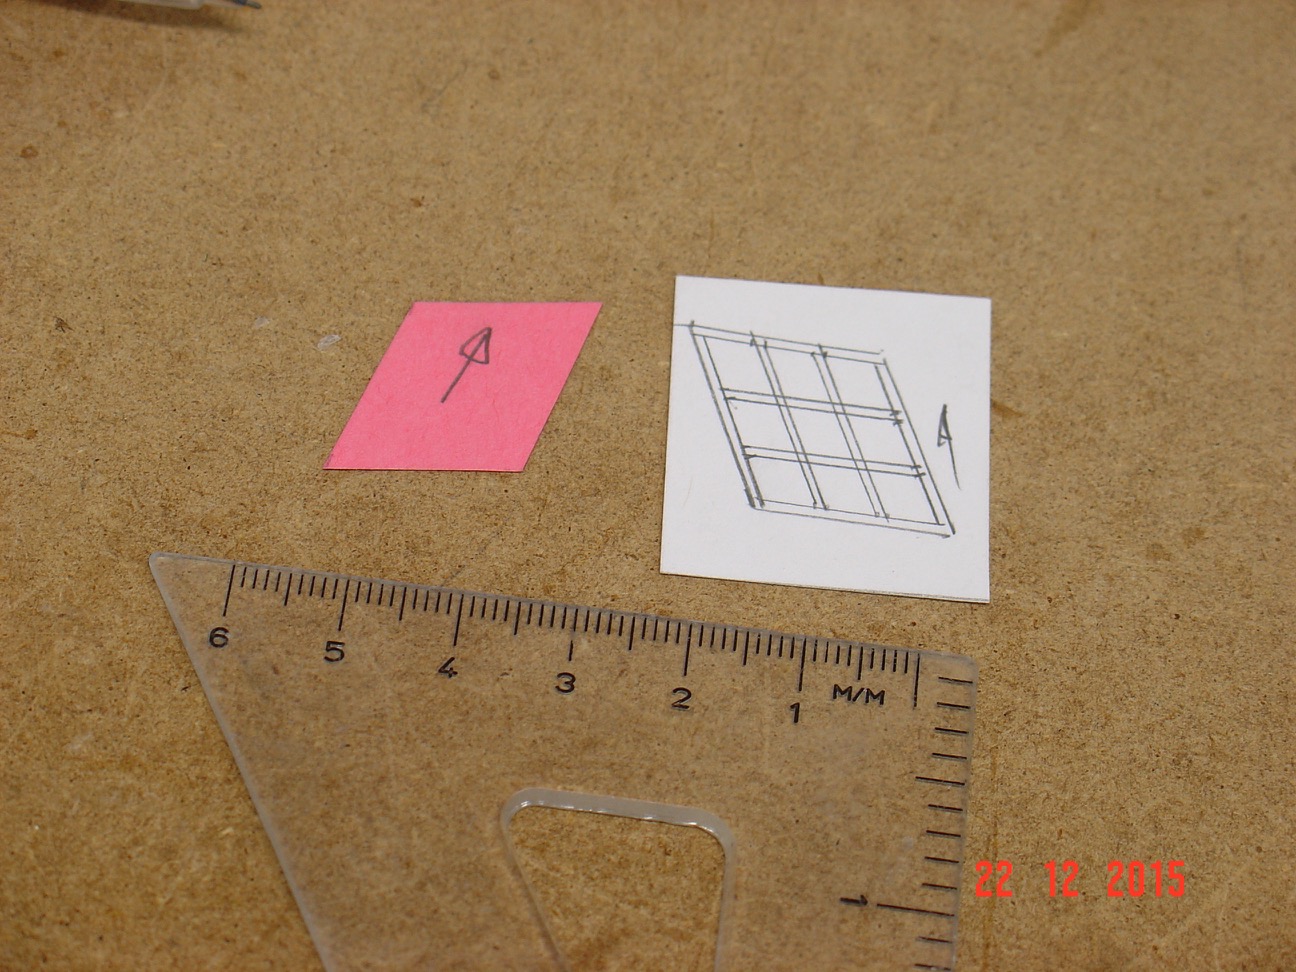
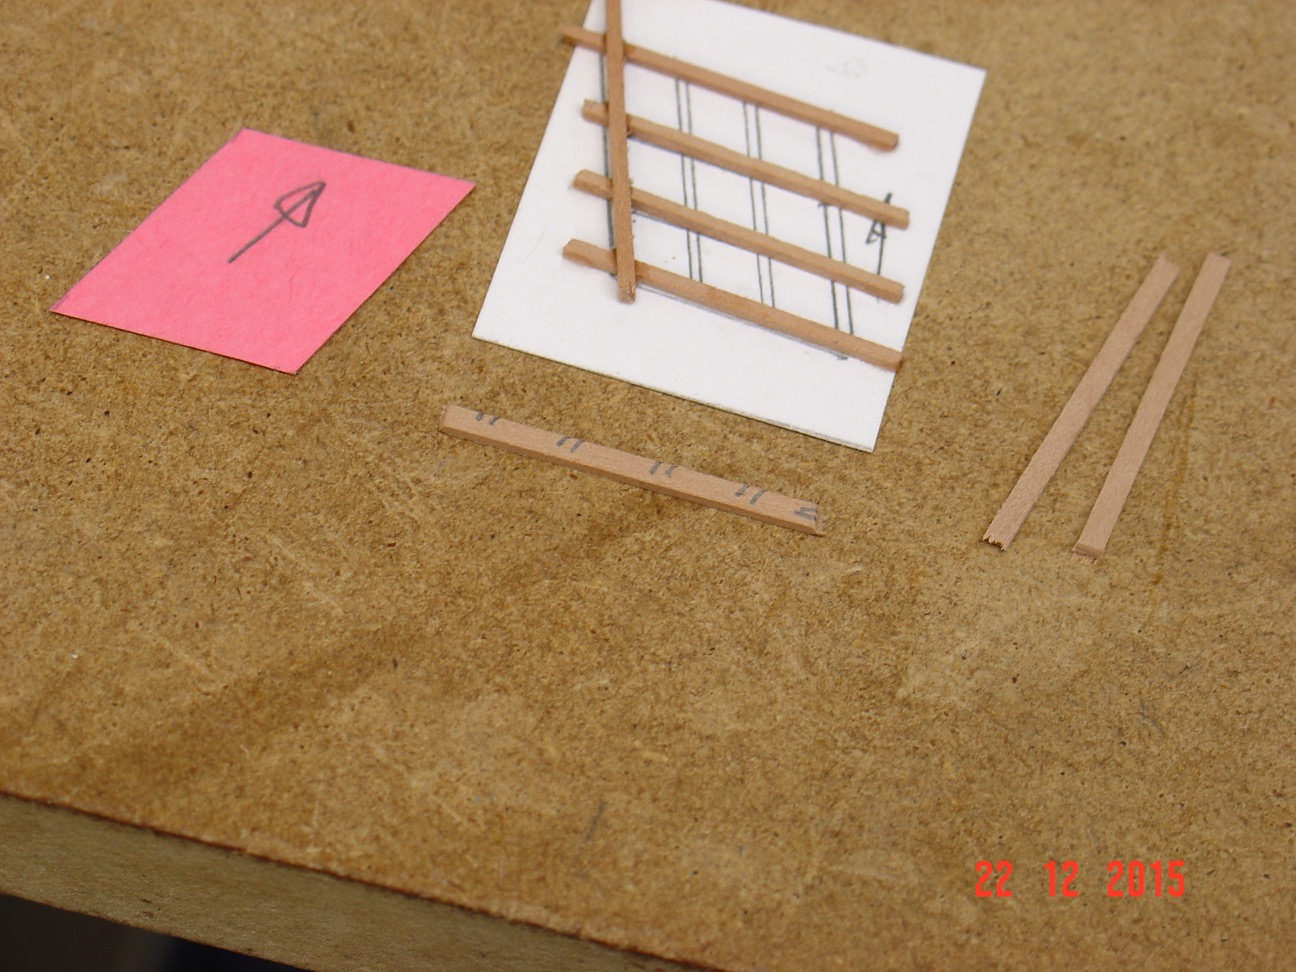
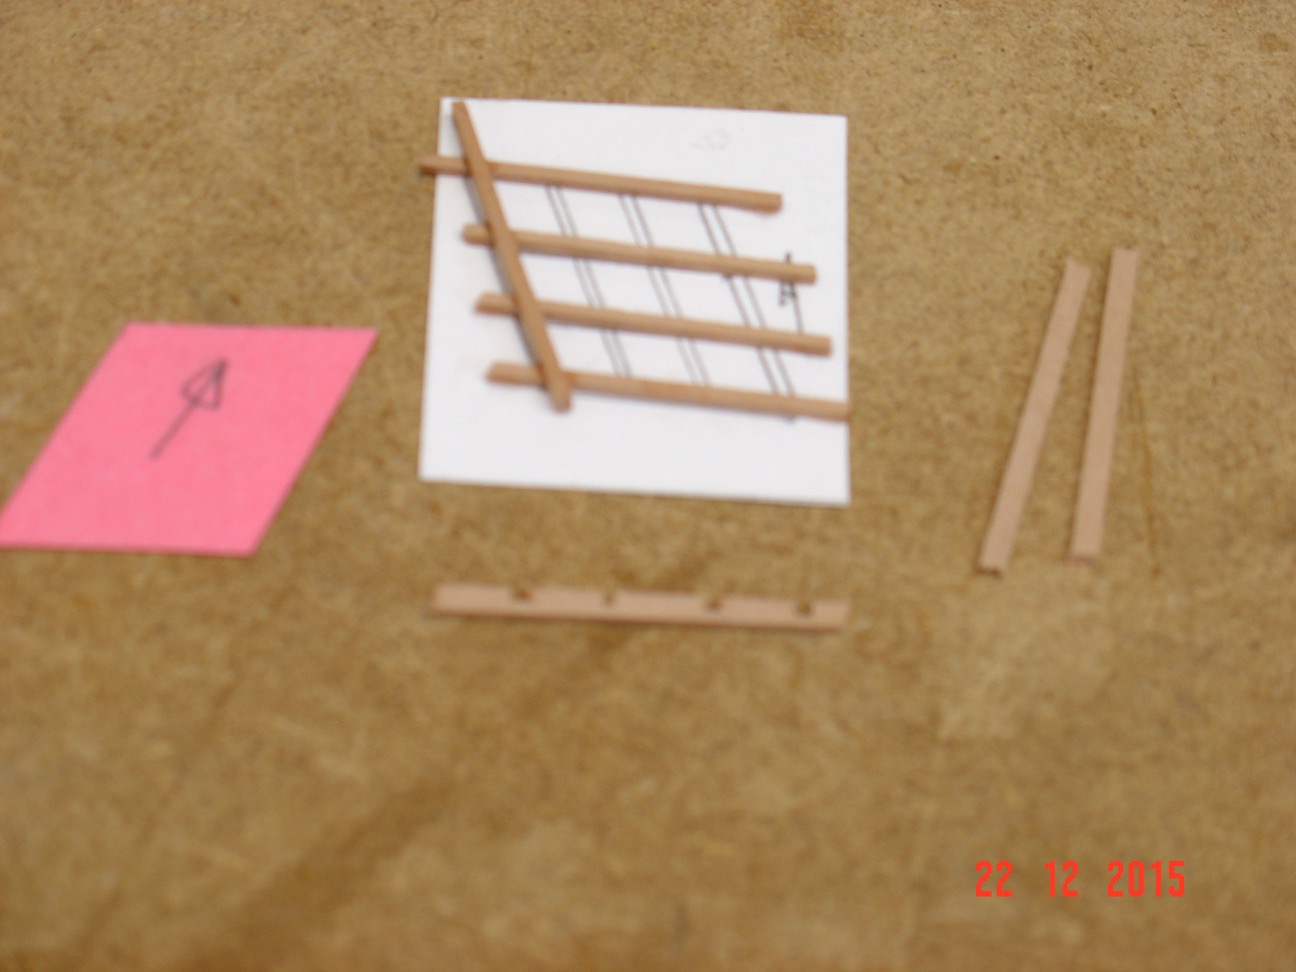
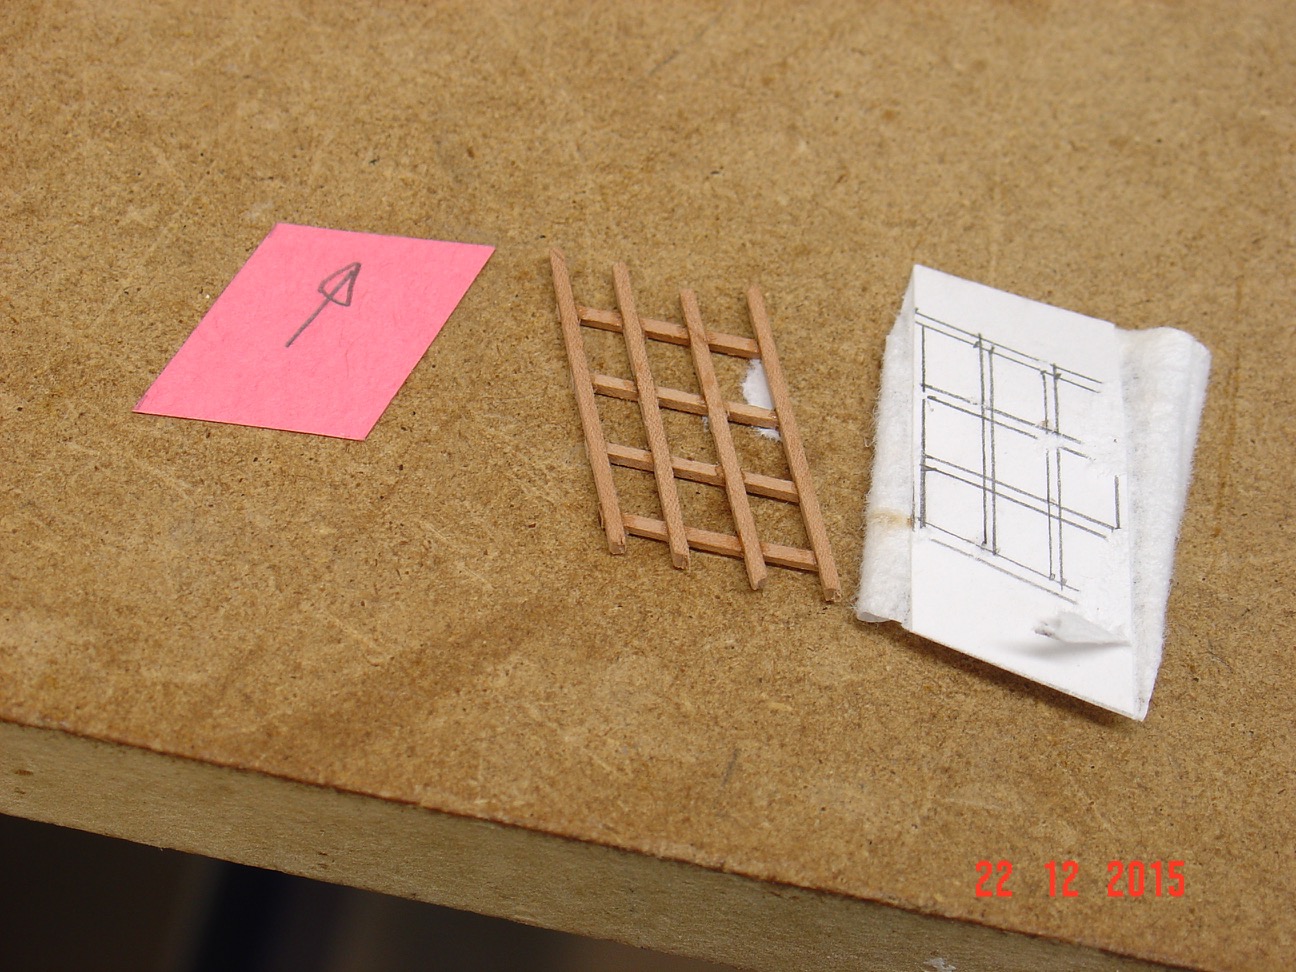
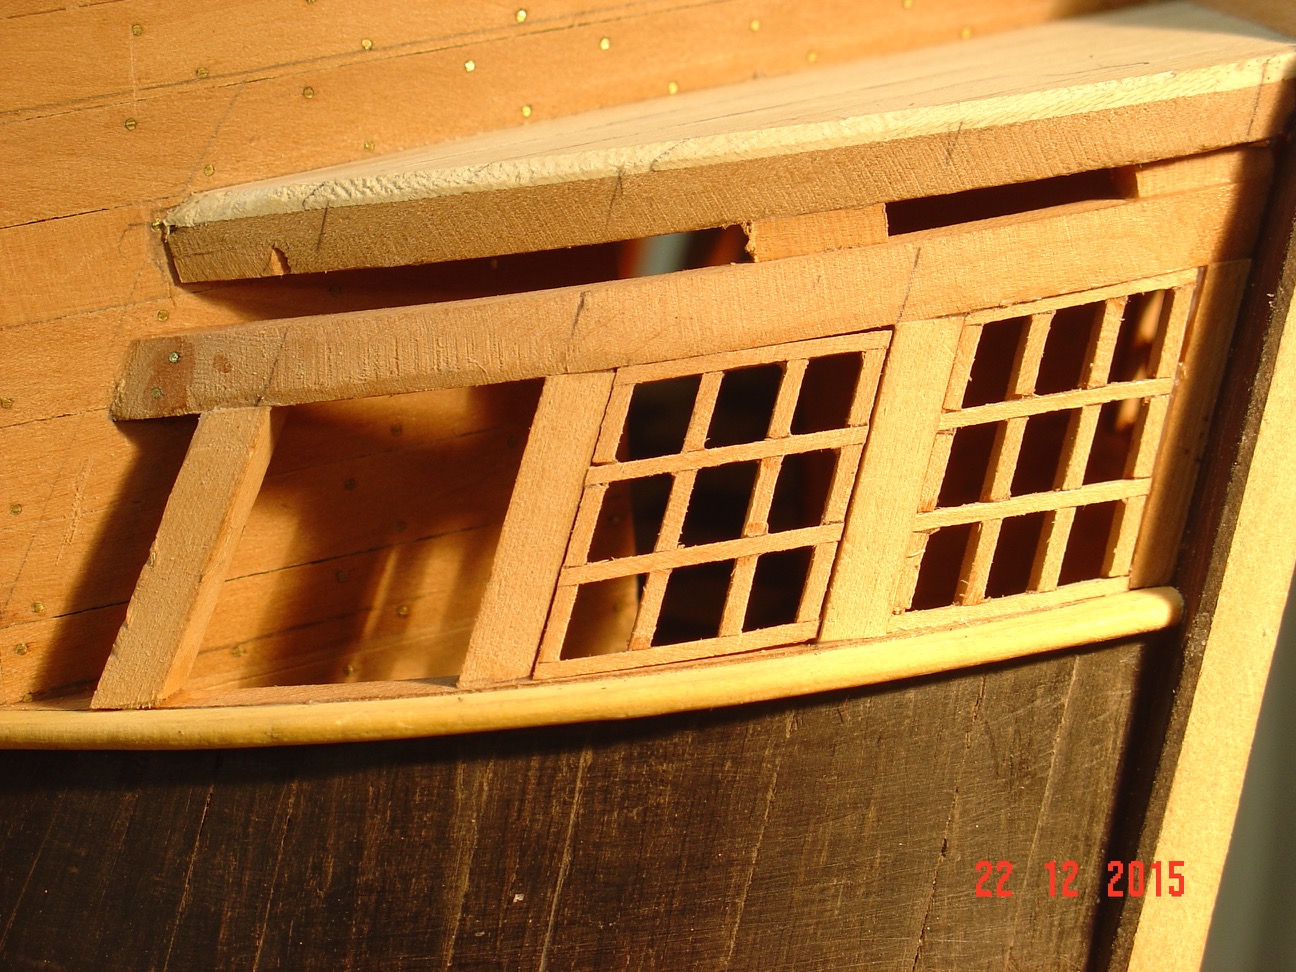
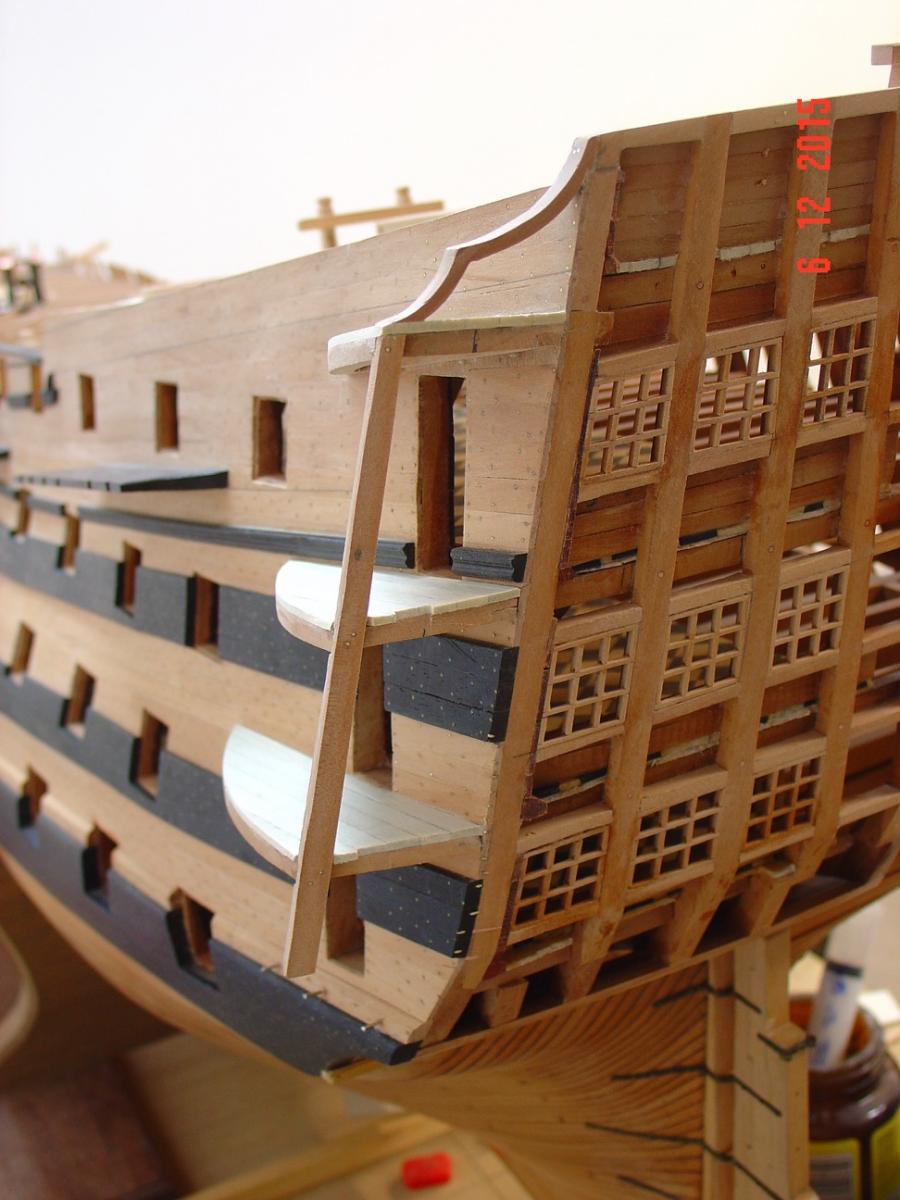
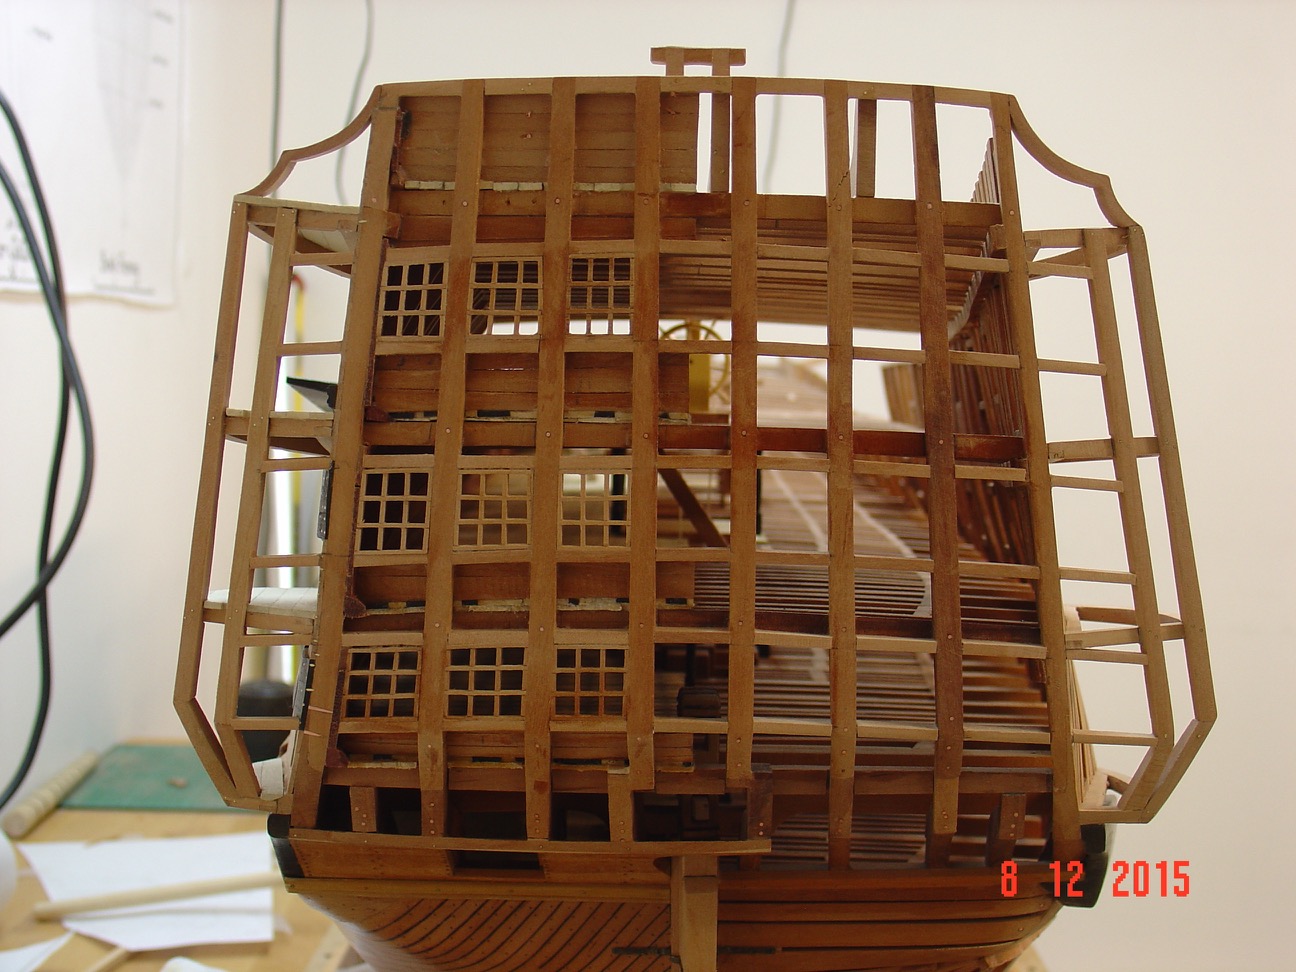
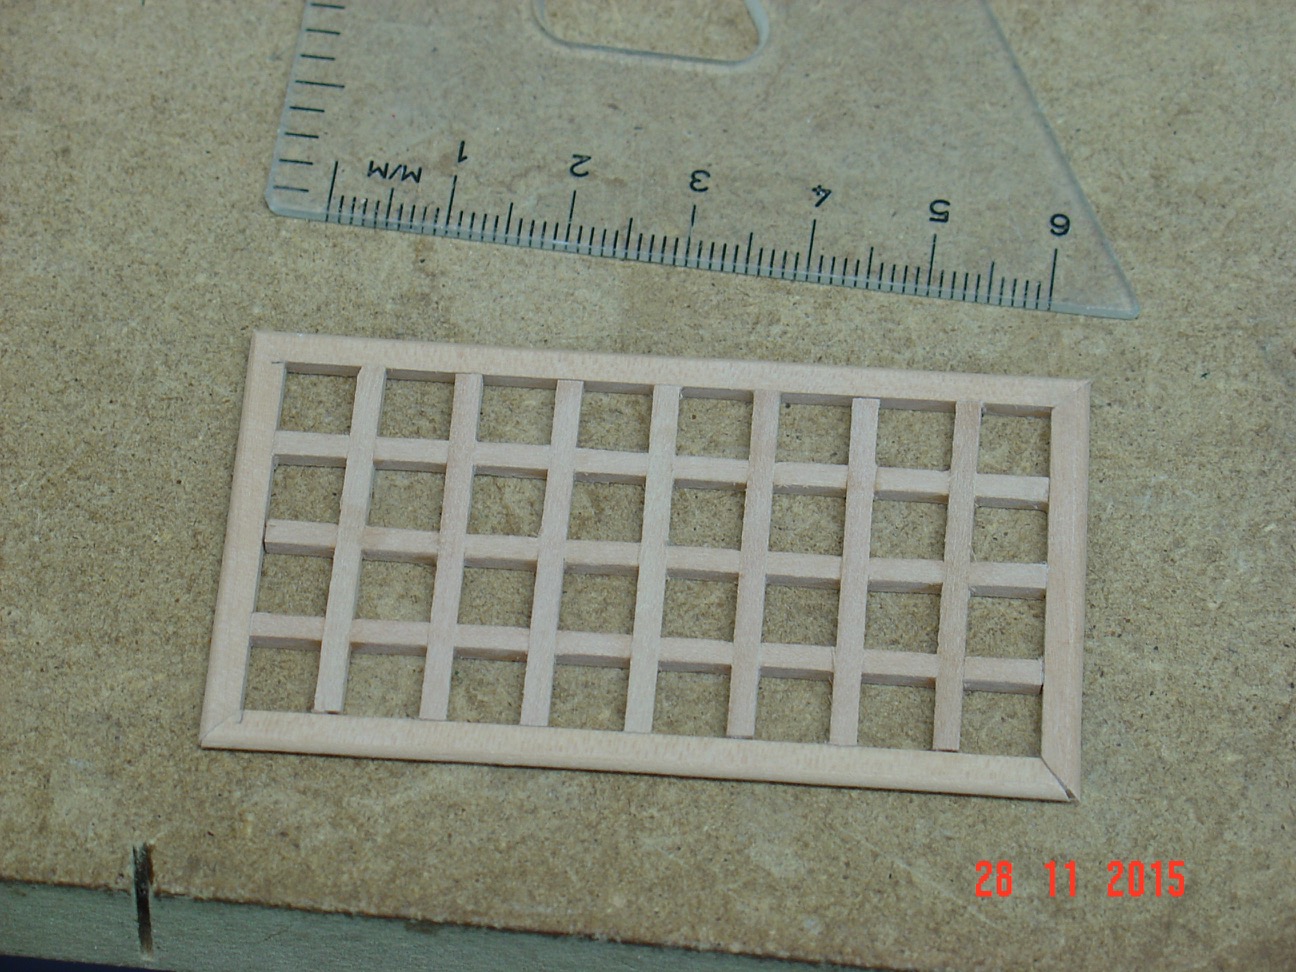
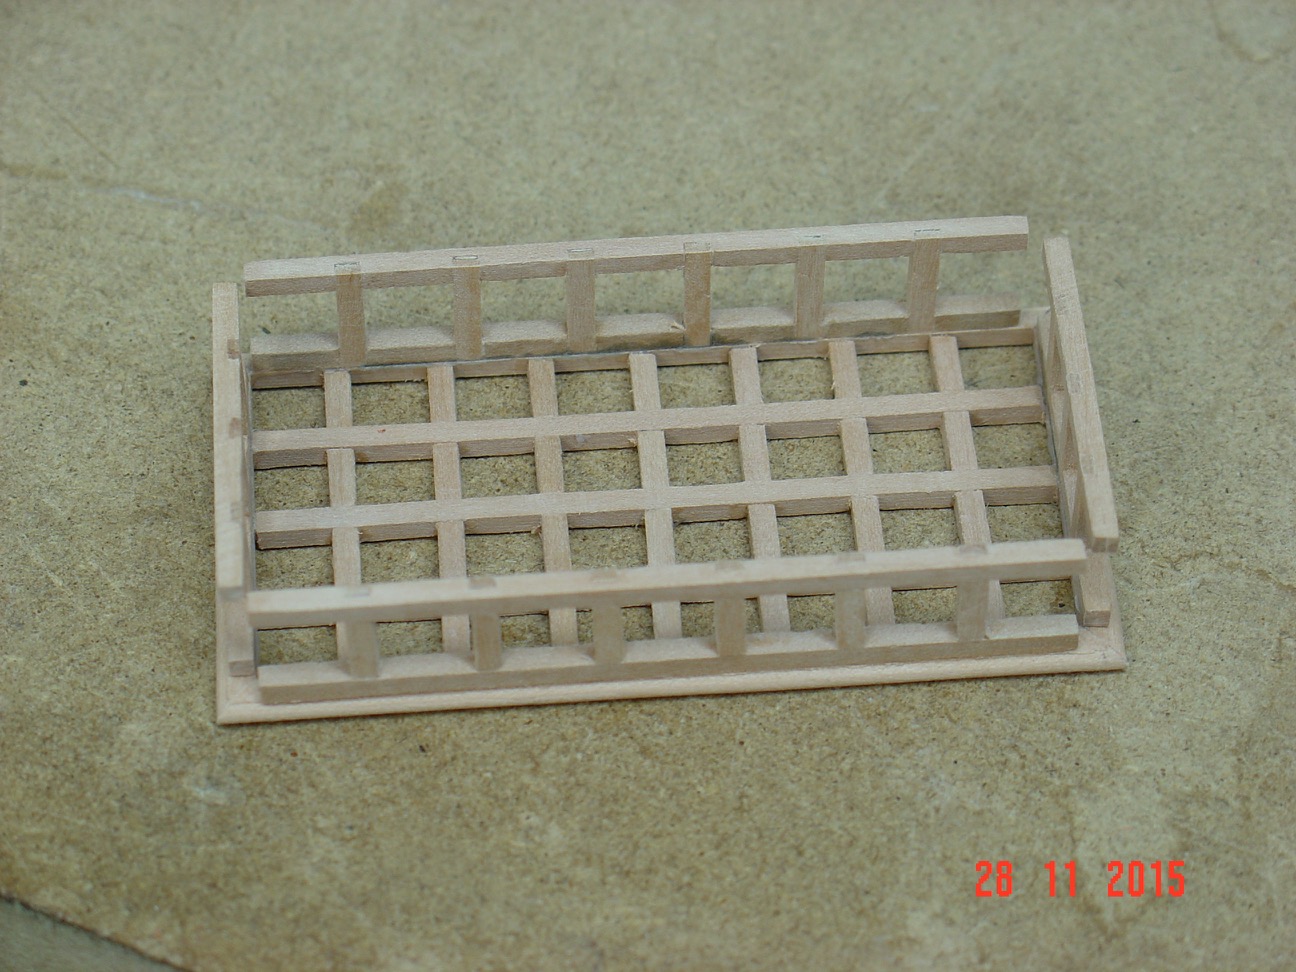
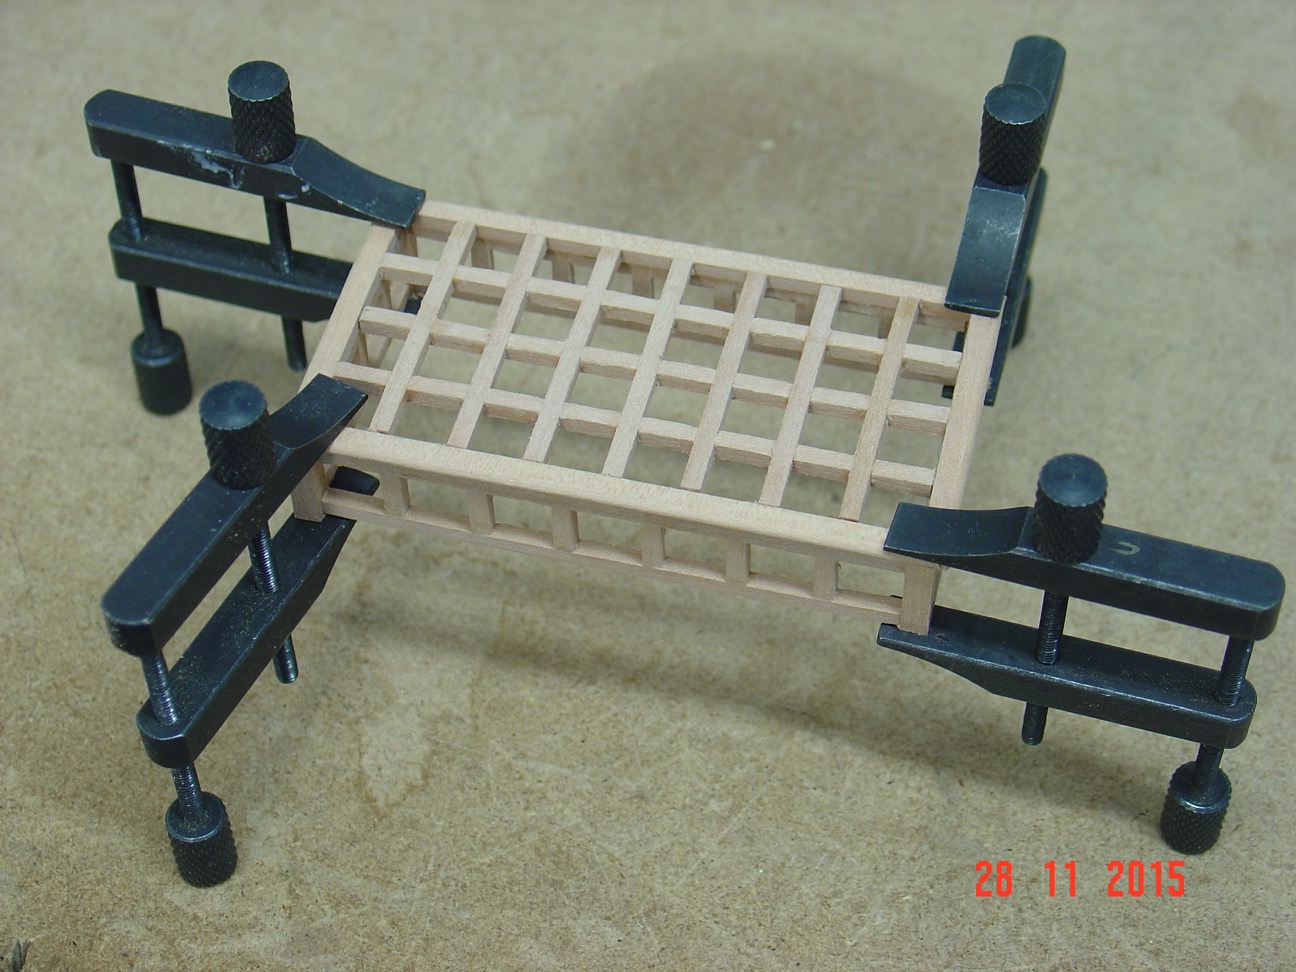
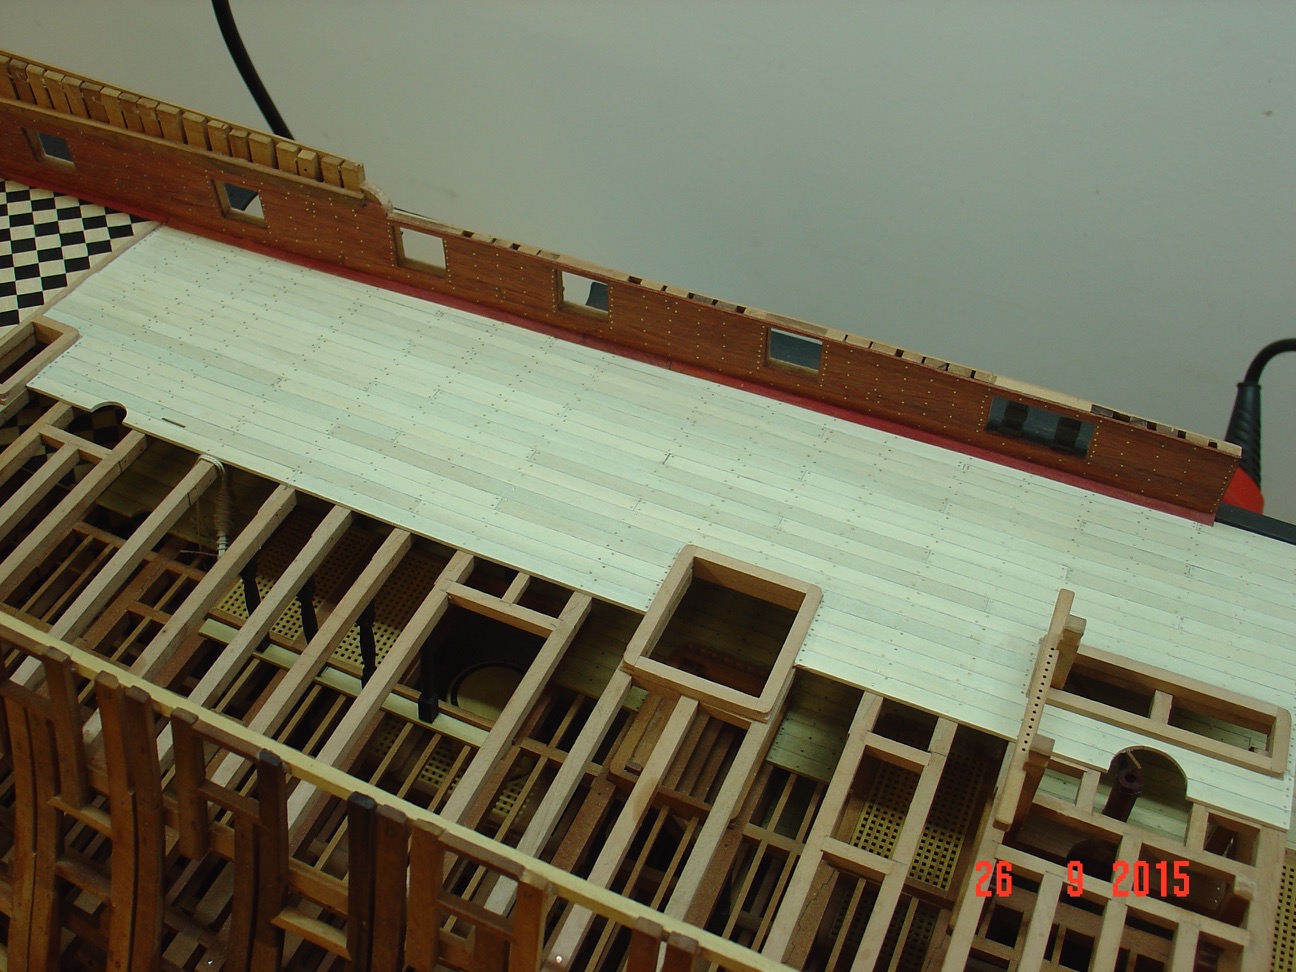
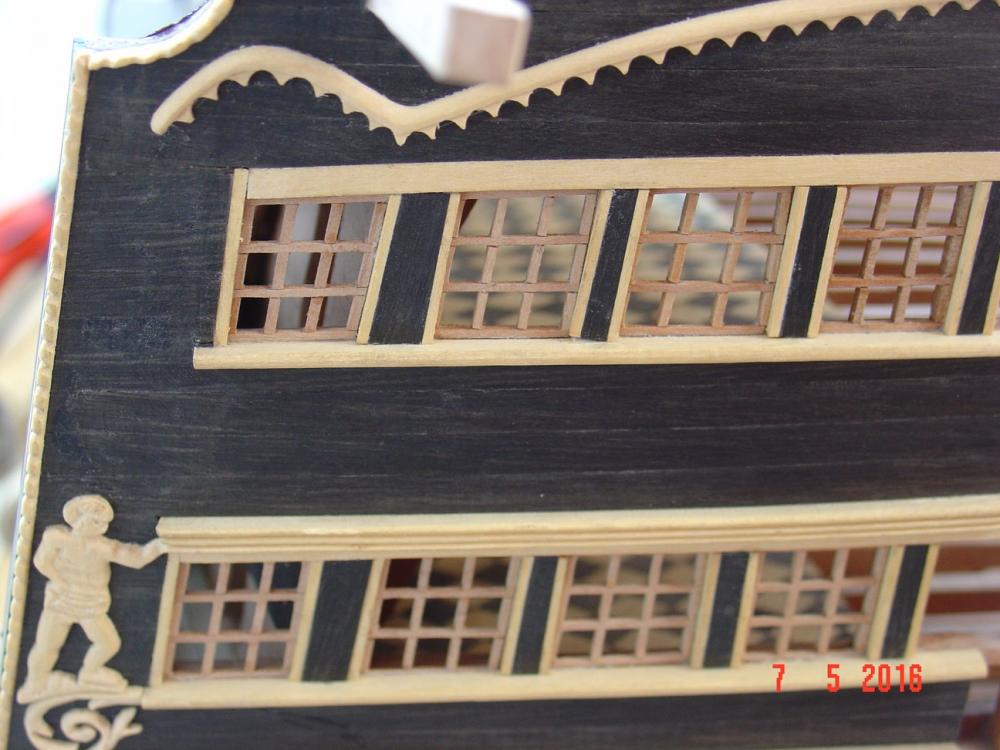
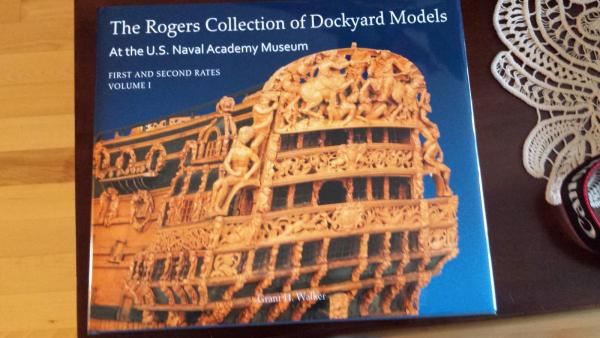
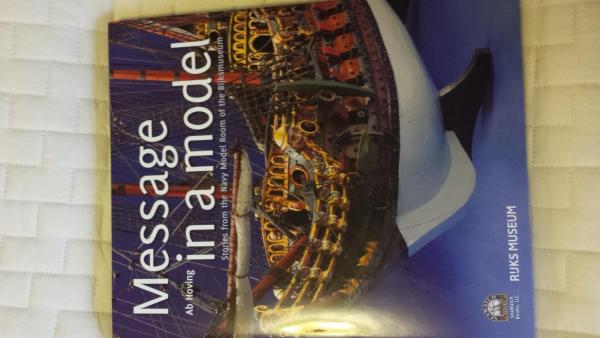
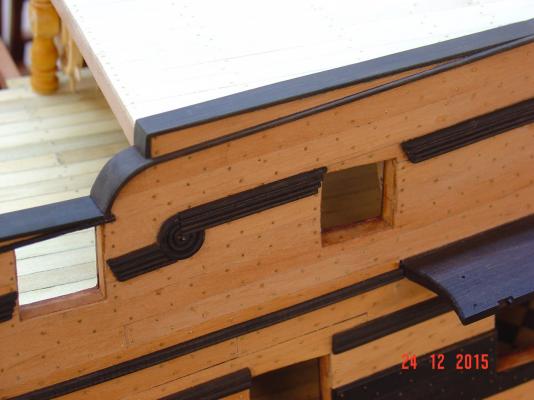
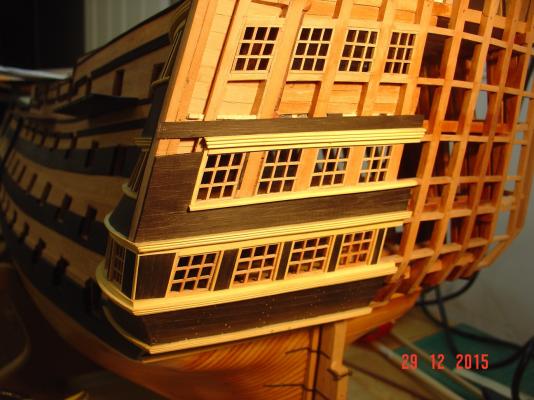
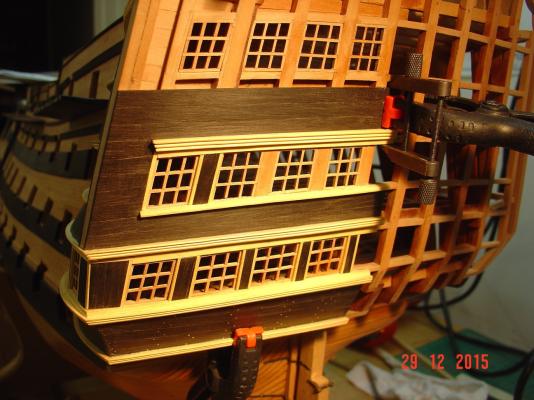
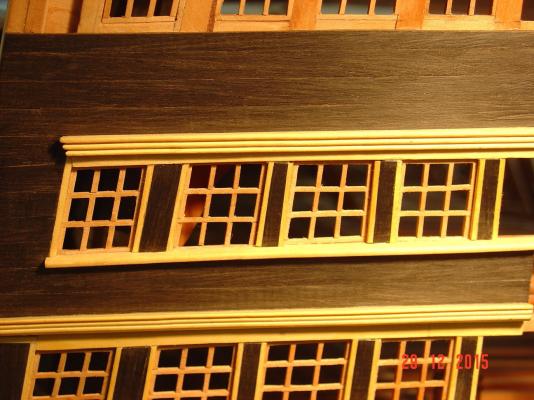
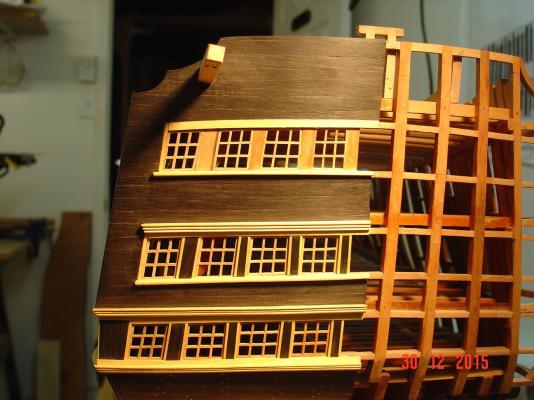
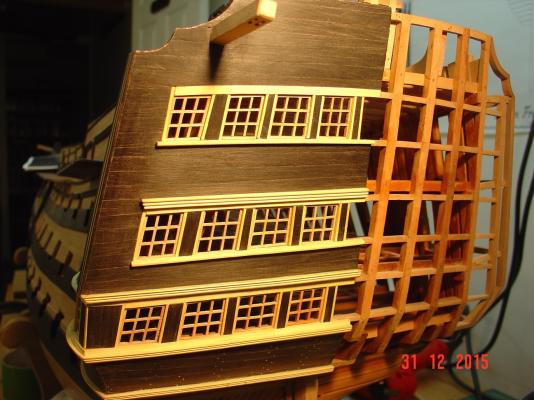
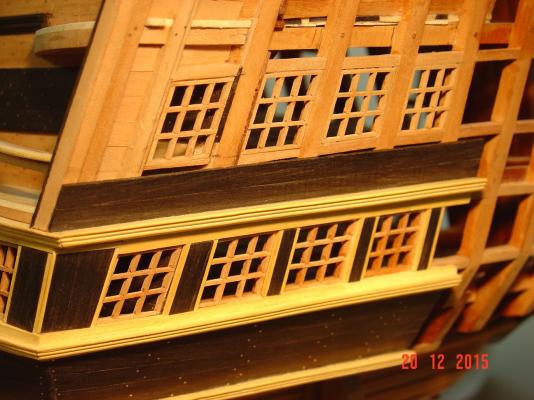
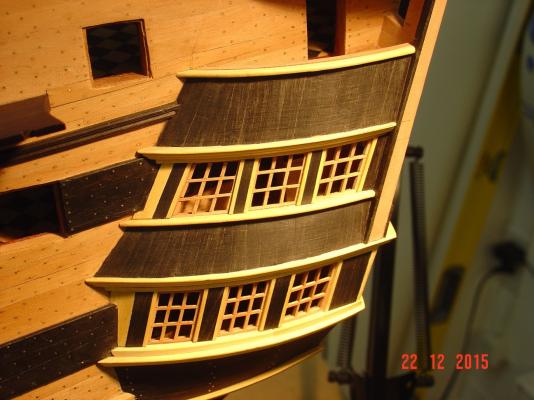
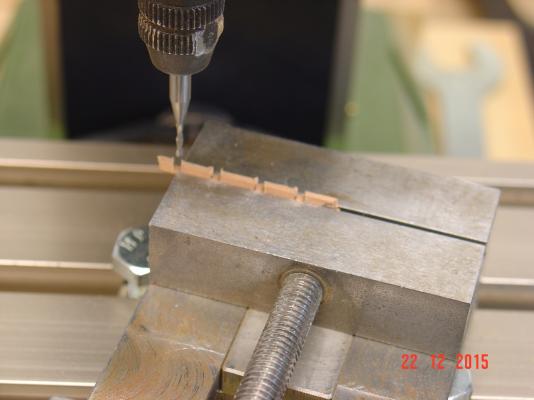
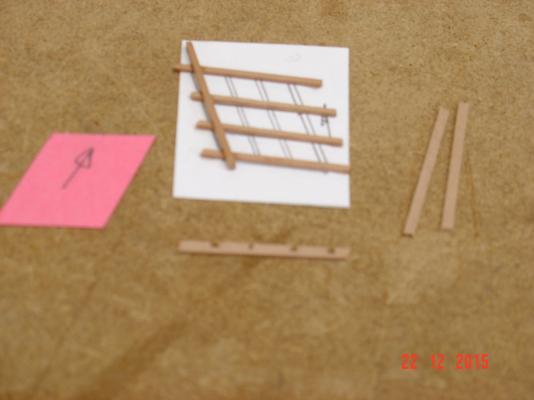
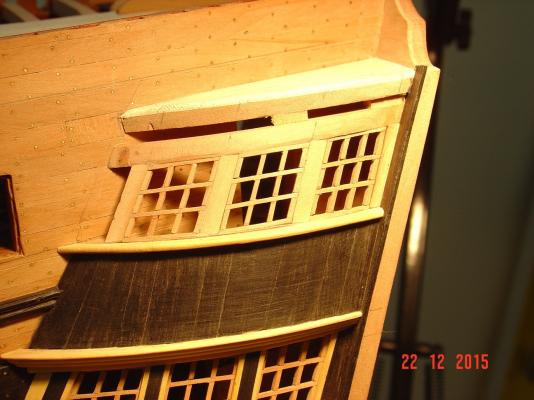
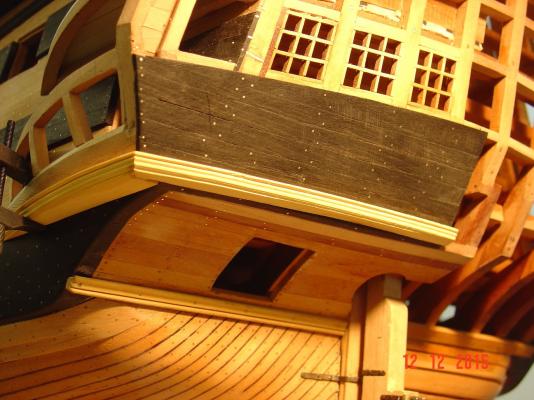
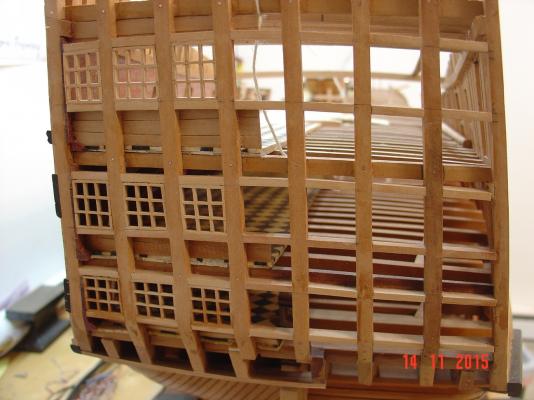
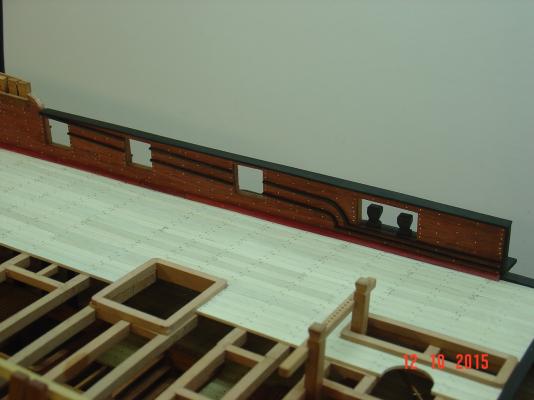
Hello all, Thank you for your comments and likes. I wish to you all a Merry Christmas and Happy New Year! Santa was generous with me this year, I've got two very lovely books (first two pictures) - and now I am taking my time reading them slowly. Here is another update for my build - last one this year. The easy part is completed, the decorative mouldings and sculptures around those windows still to be done. I will give it a try... next year. Regards, Alexandru


-
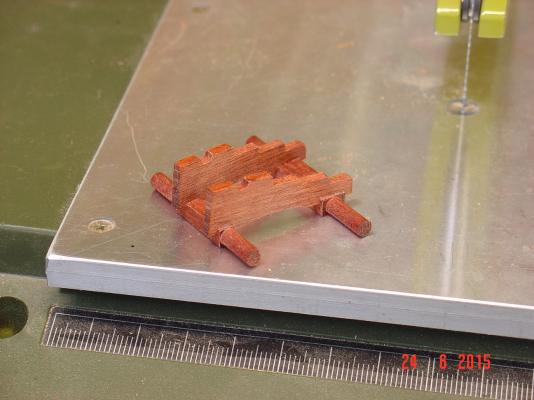
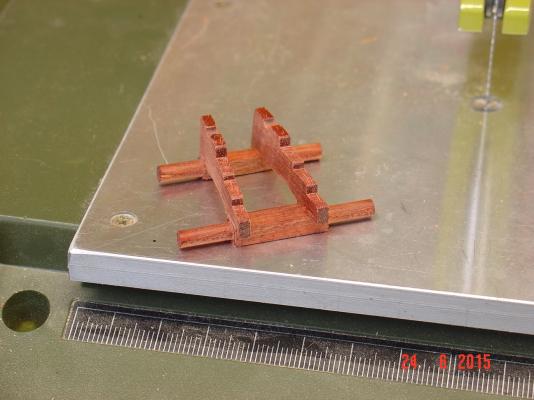
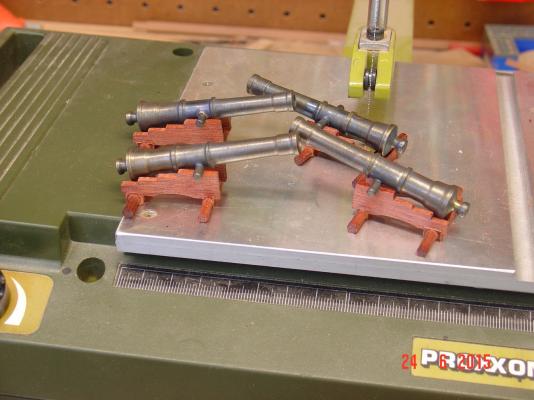
Thank you all for the great comments and for the likes. Greg, Mark, For me this really seems small progress considering I am entering the tenth year of building for this project. But I'm getting closer and closer - I can see the light at the end of the tunnel. I even ordered the display stand - it would be ready by mid January next year - see first two pictures. I also made some more progress - I won't say small or big this time. Here are the pictures. Regards, Alexandru


-
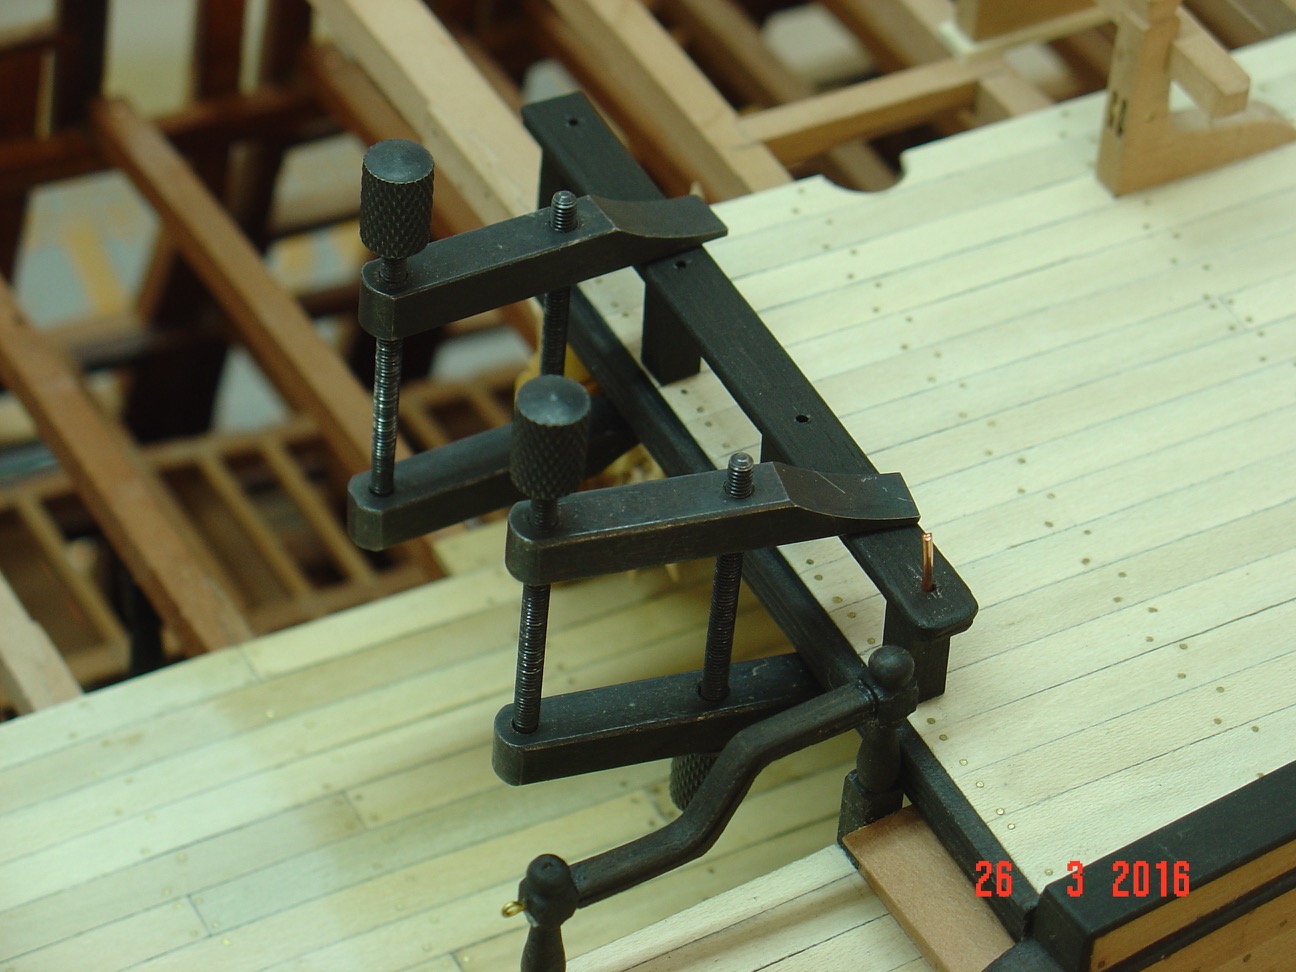
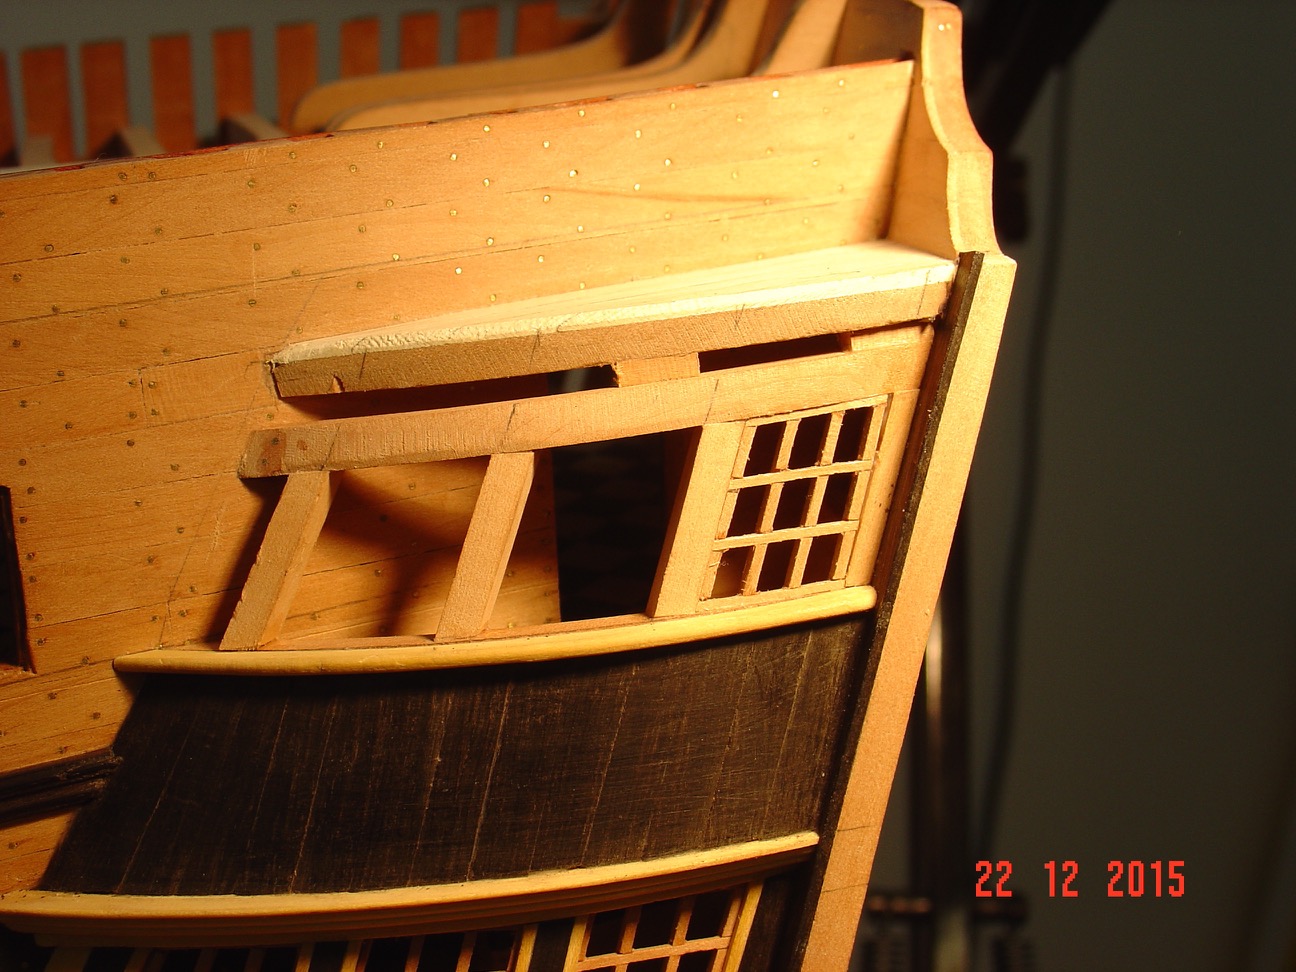
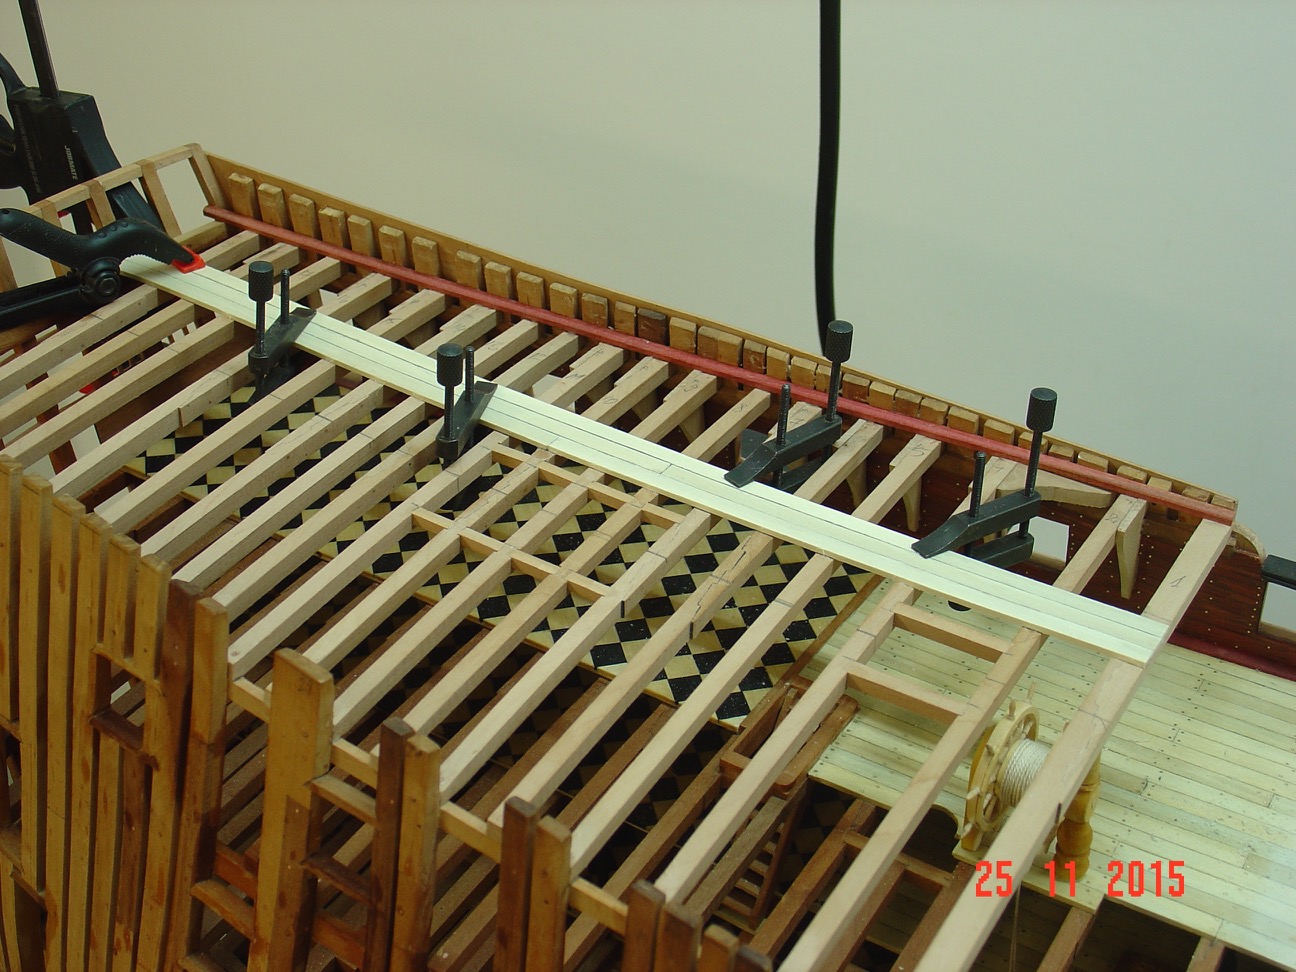
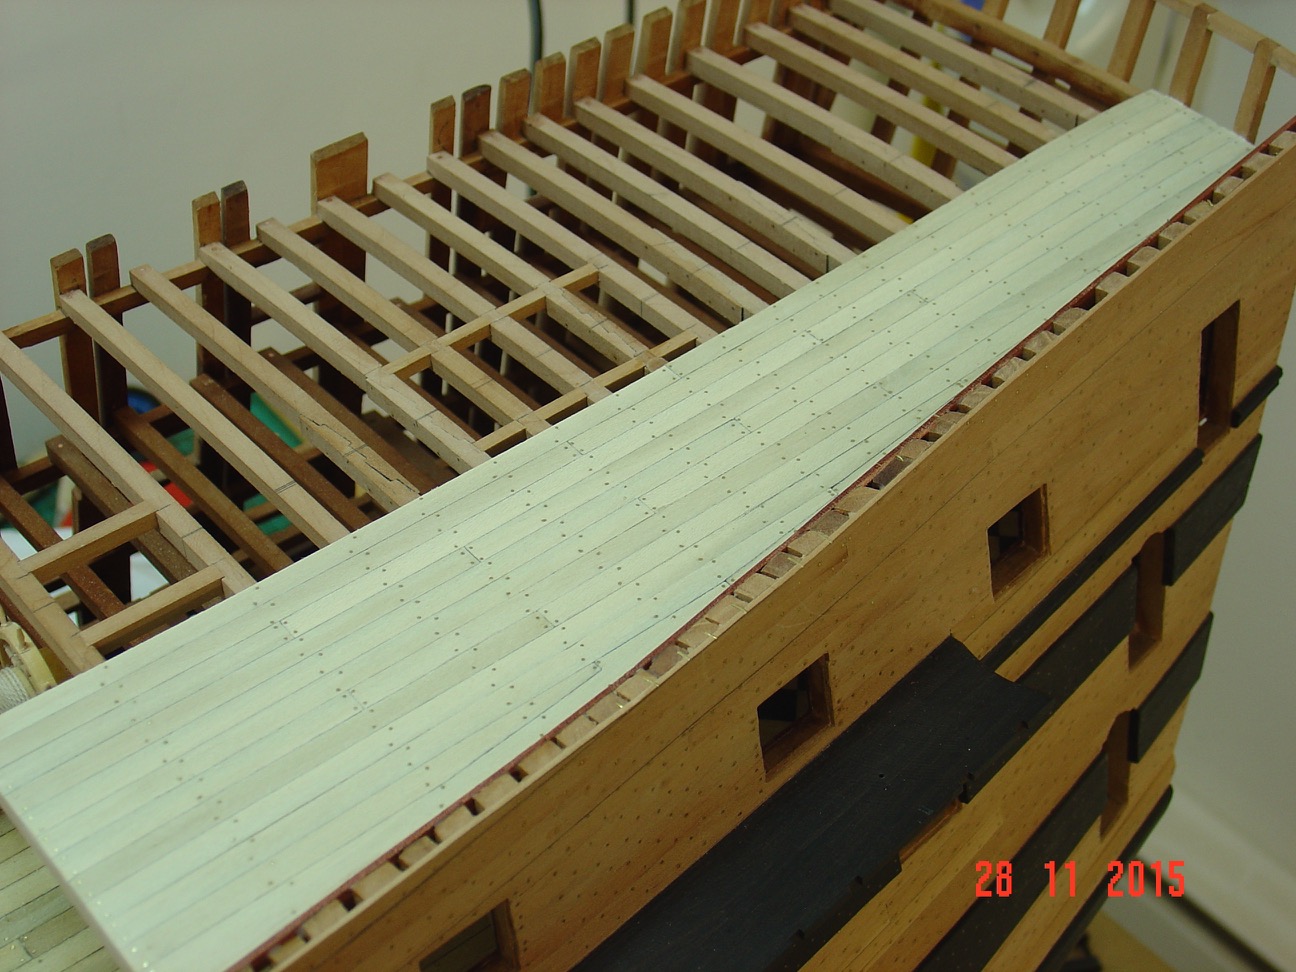
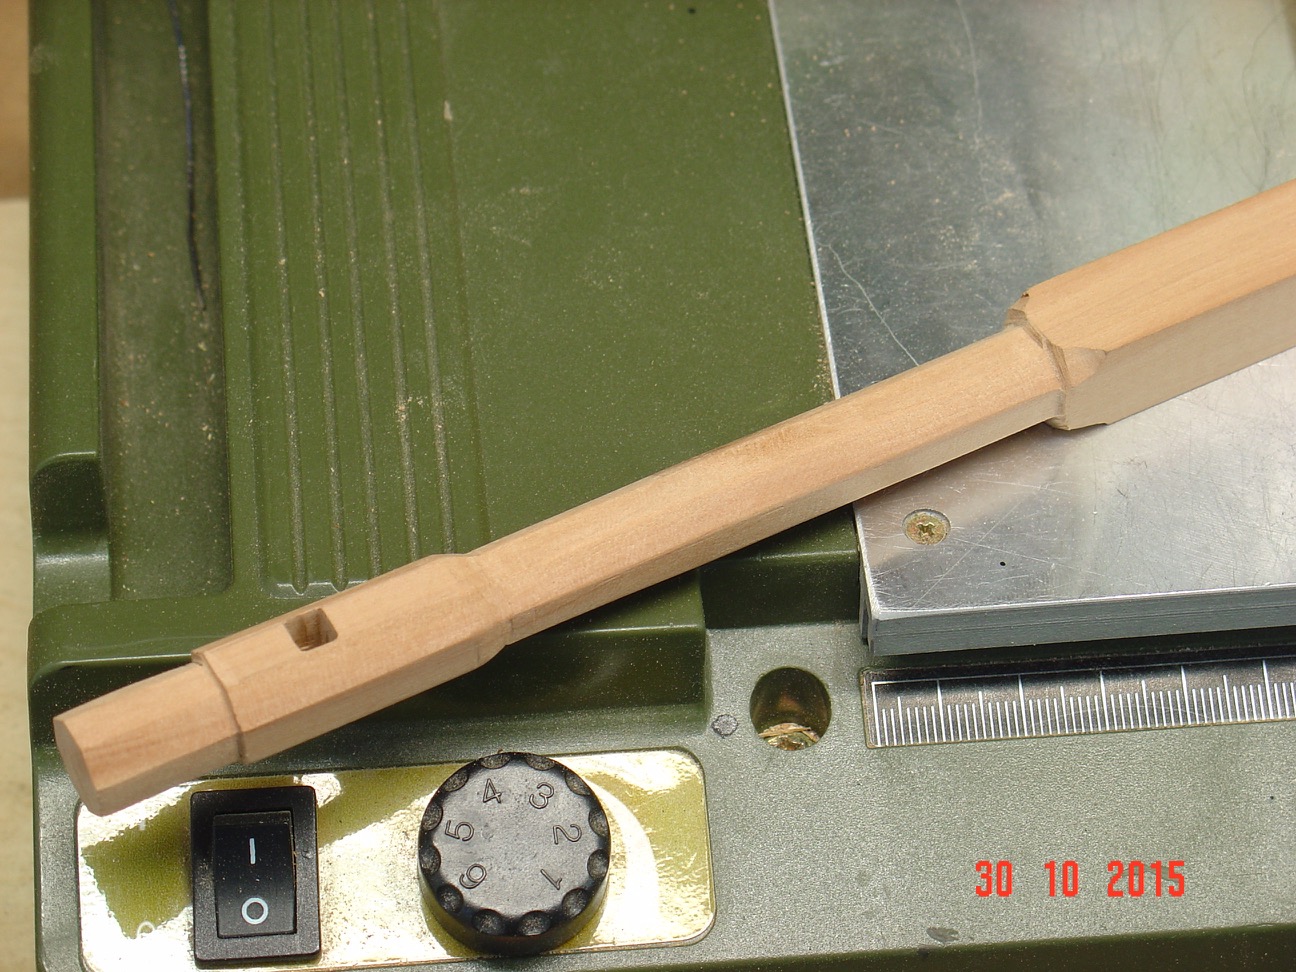
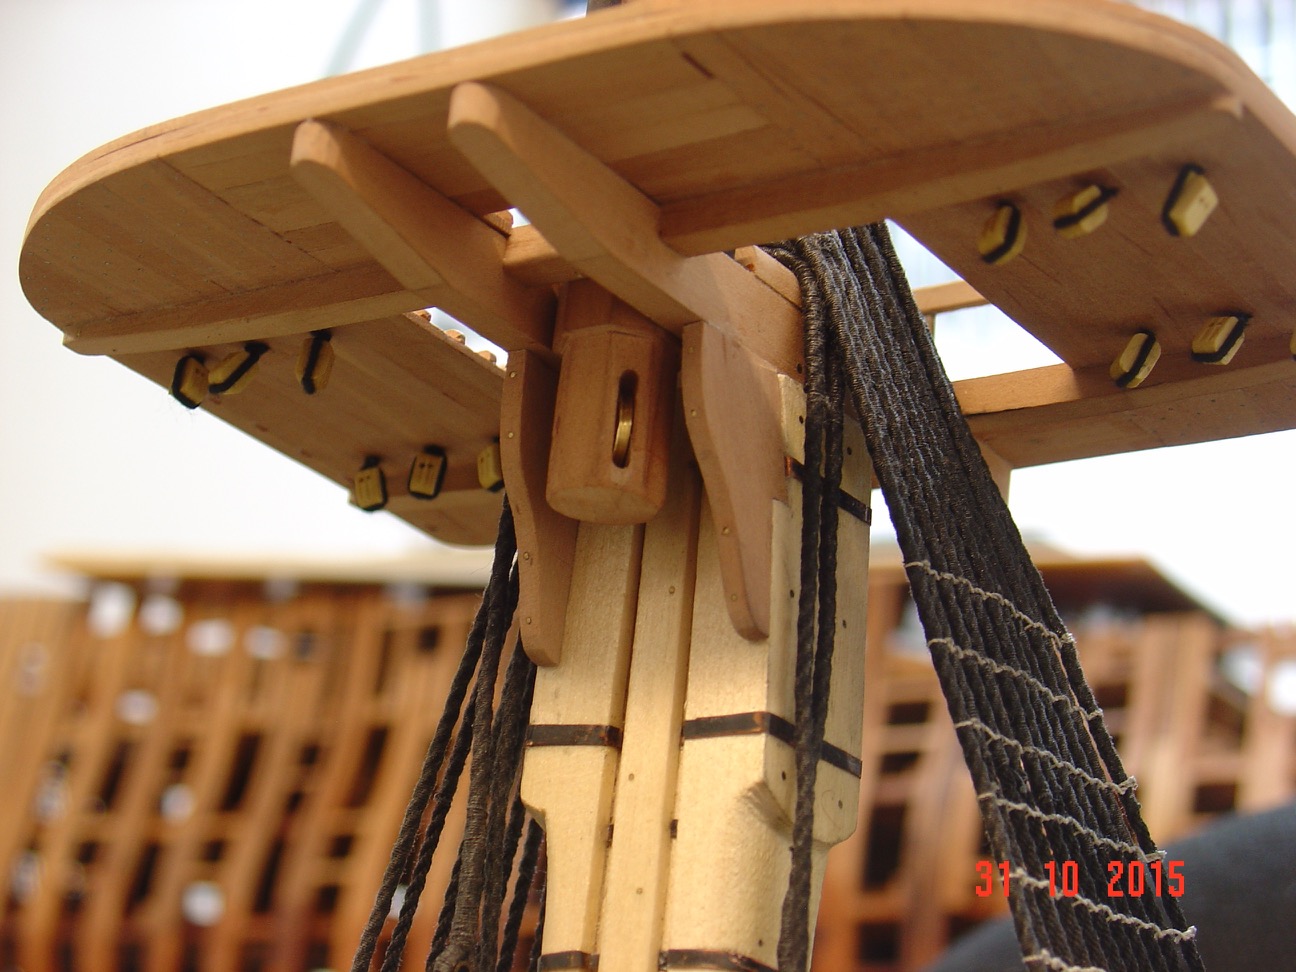
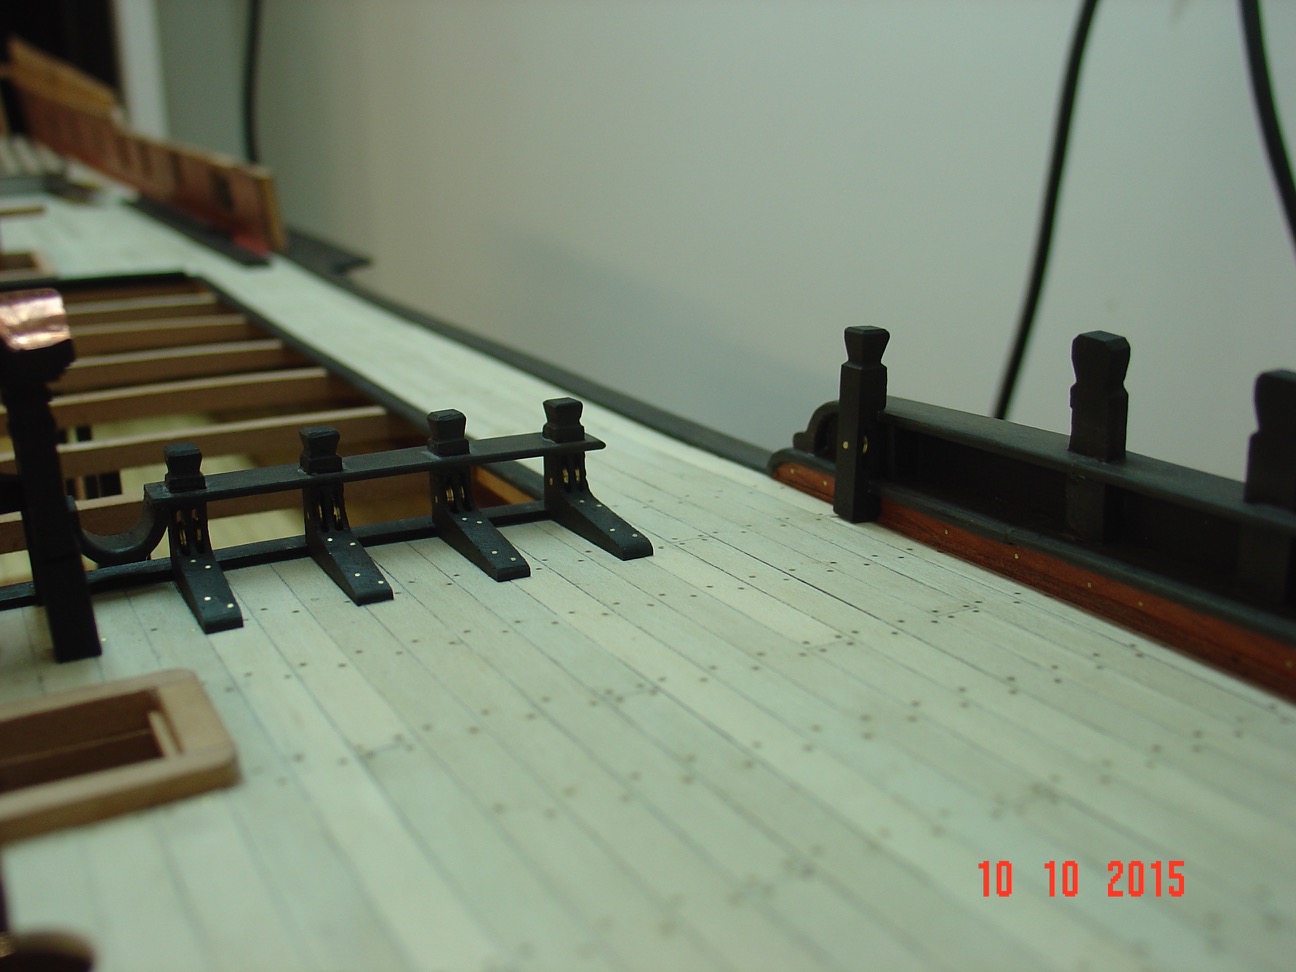
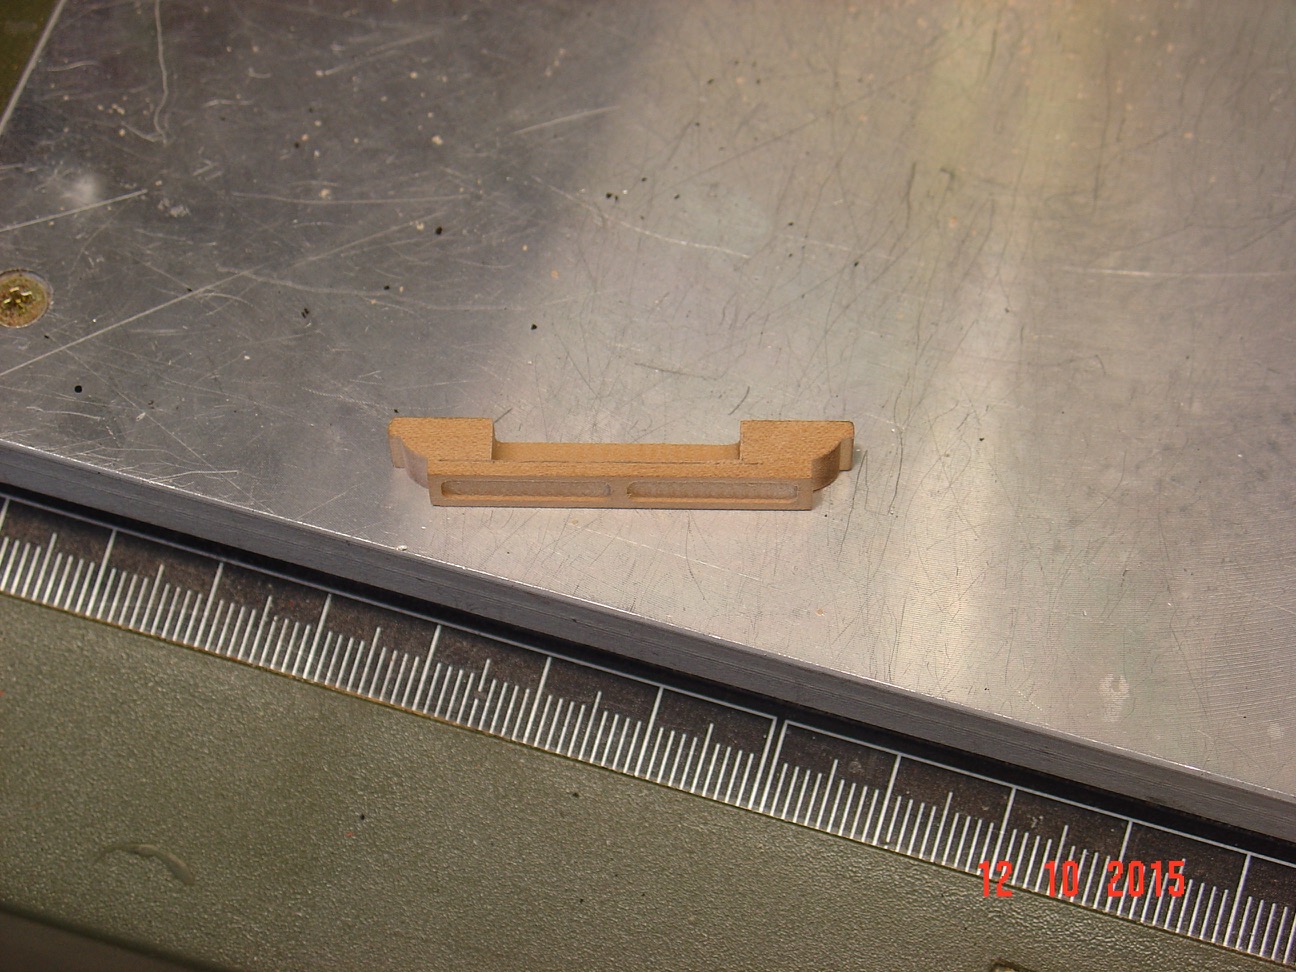
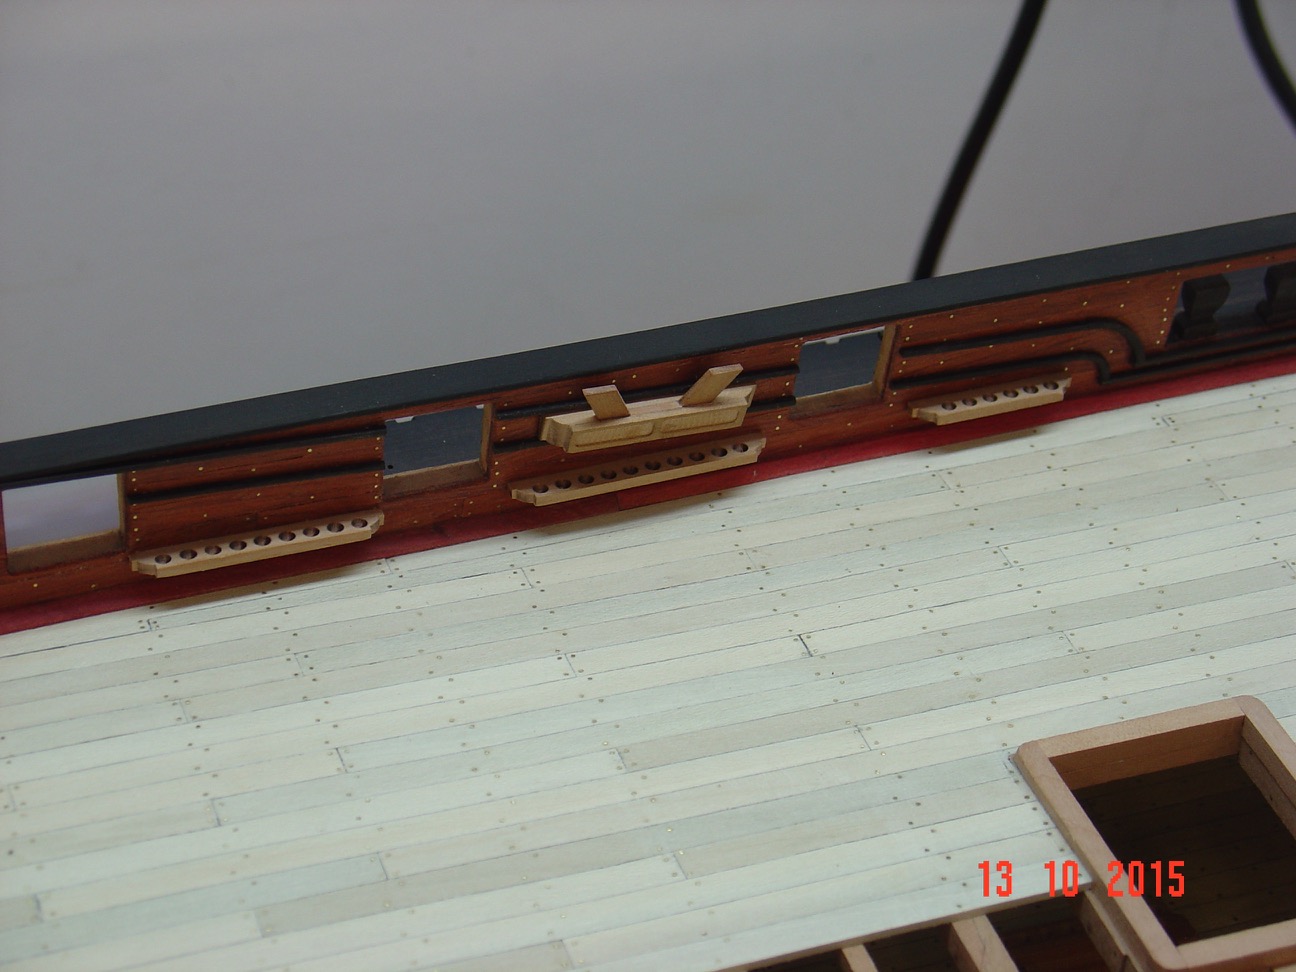
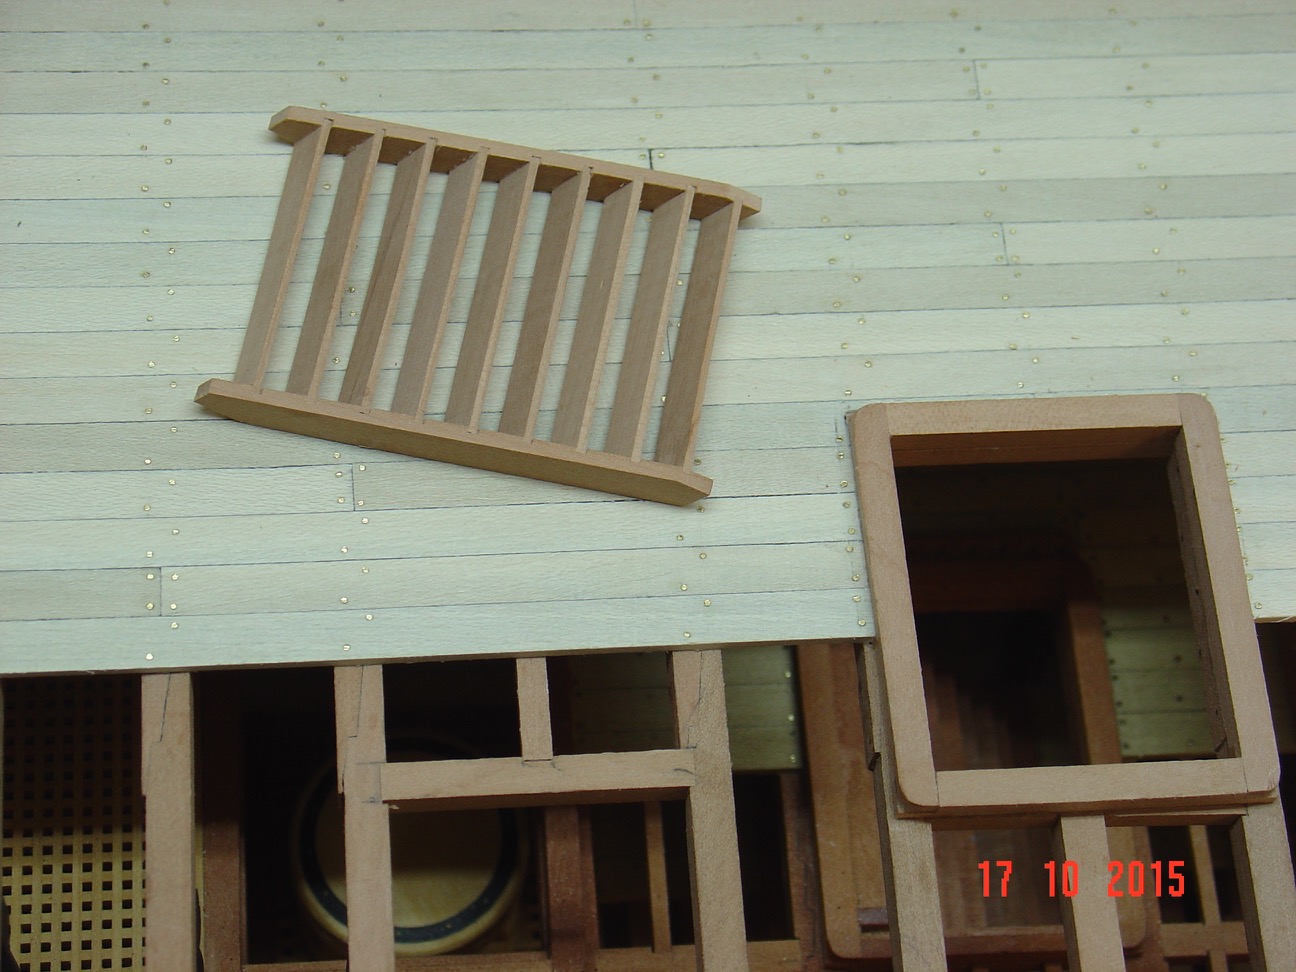
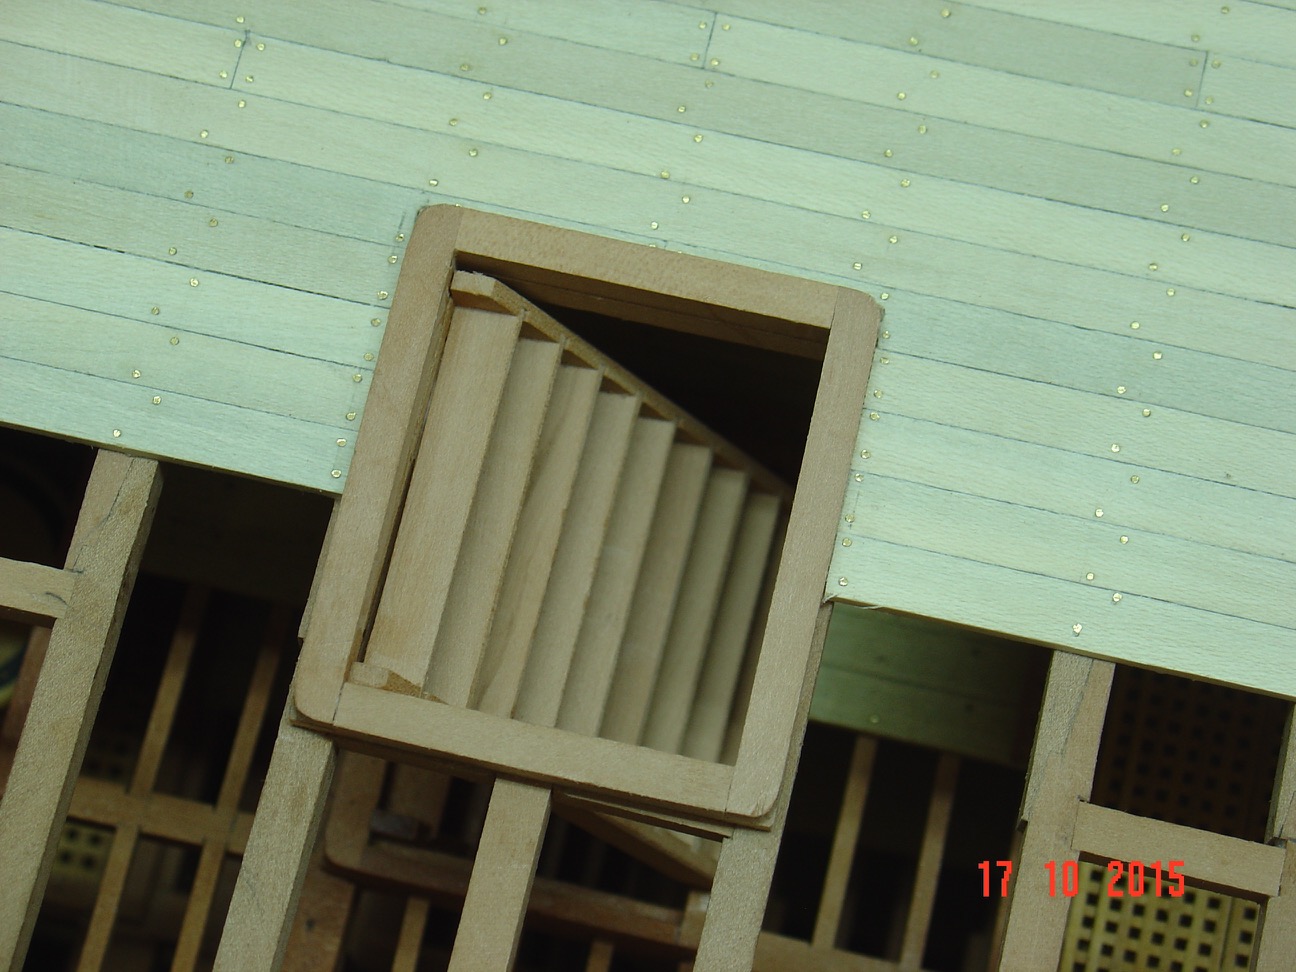
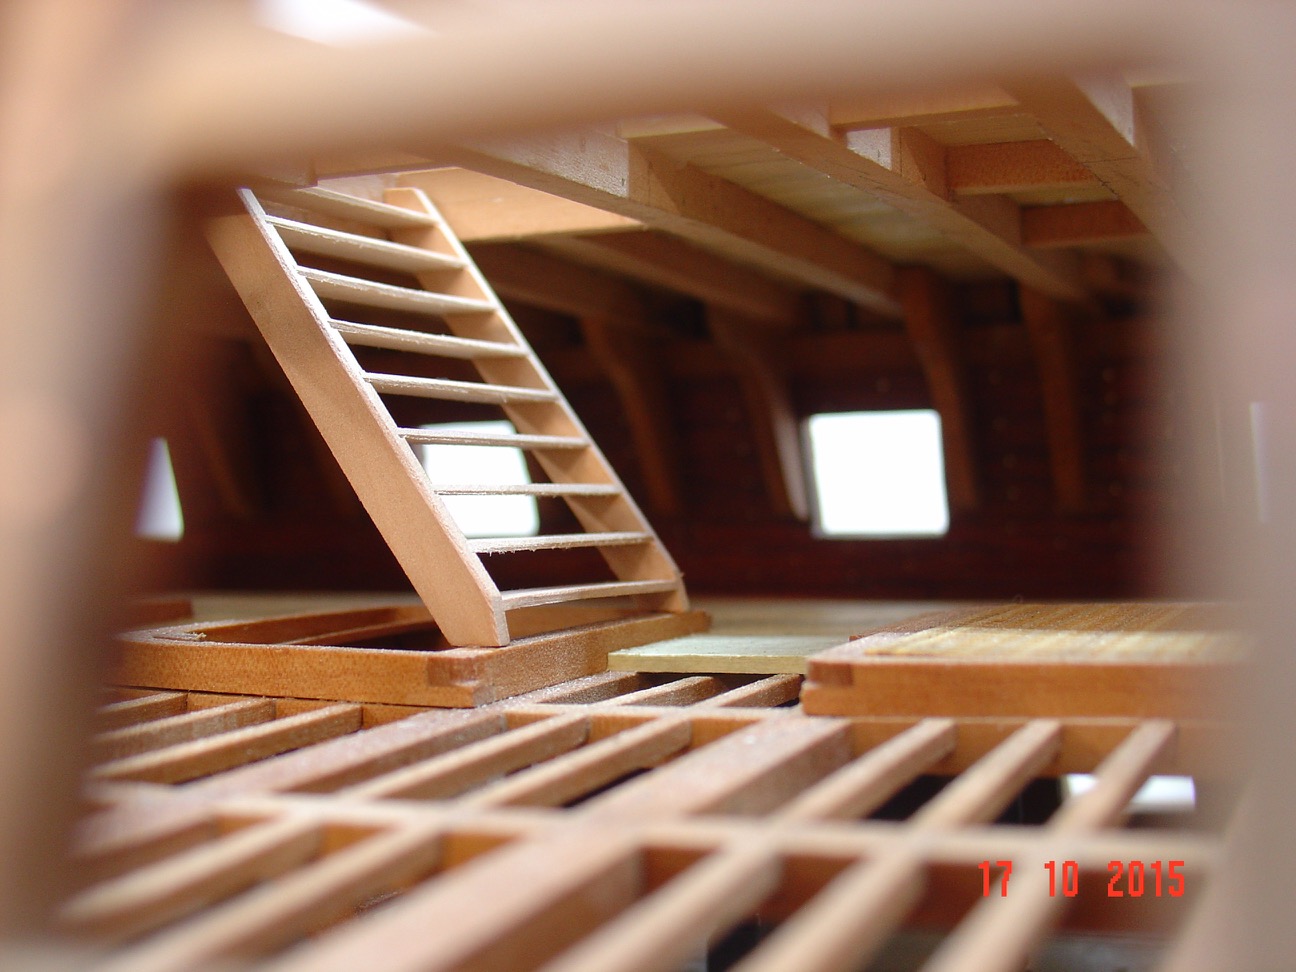
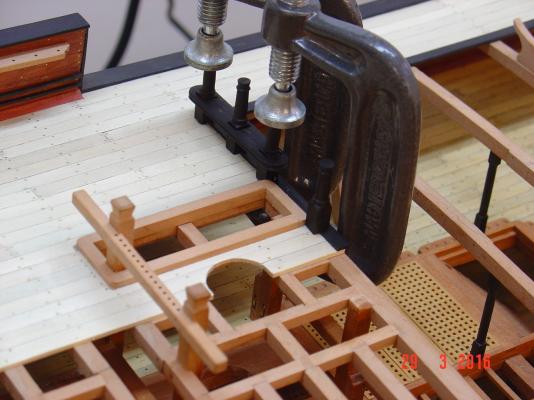
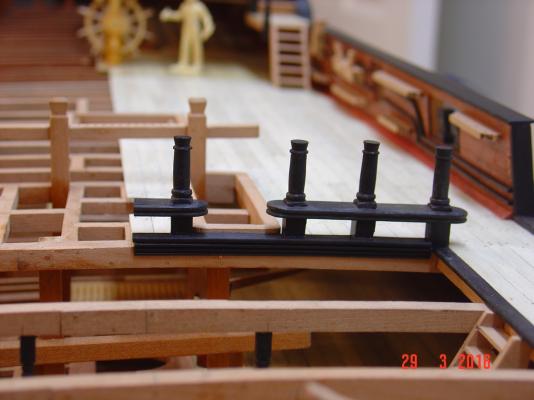
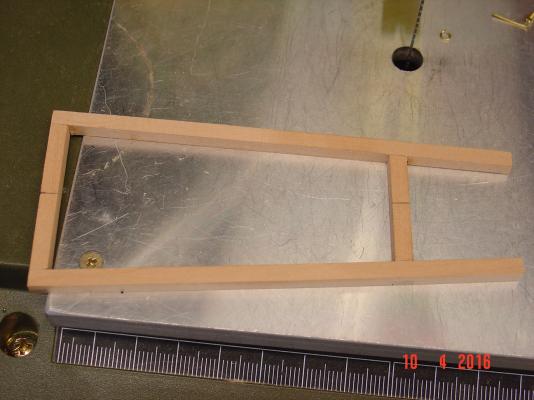
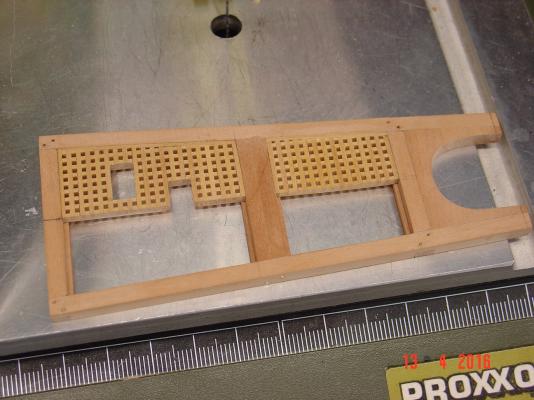
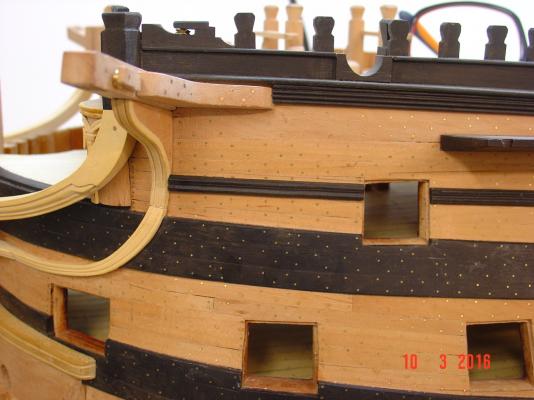
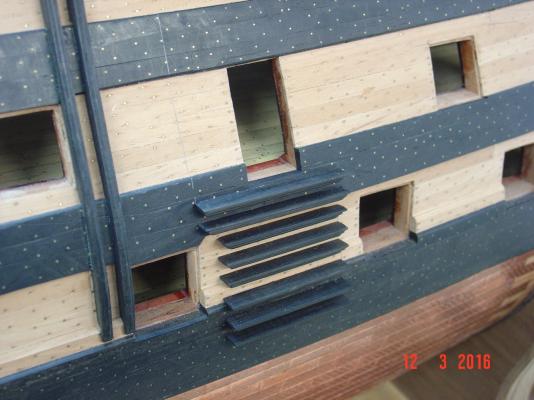
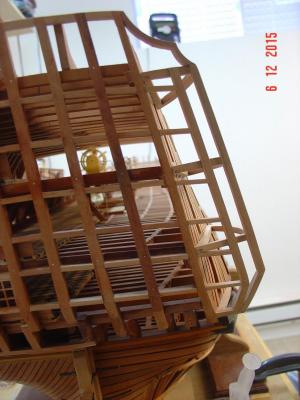
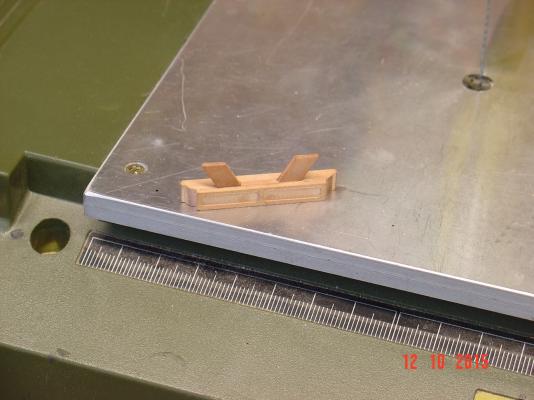
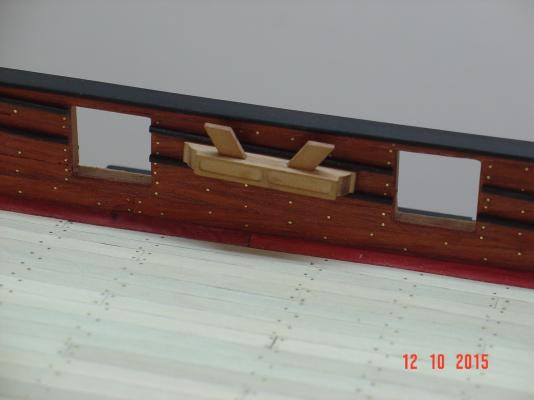
Hello, Another small progress update. Alexandru


-
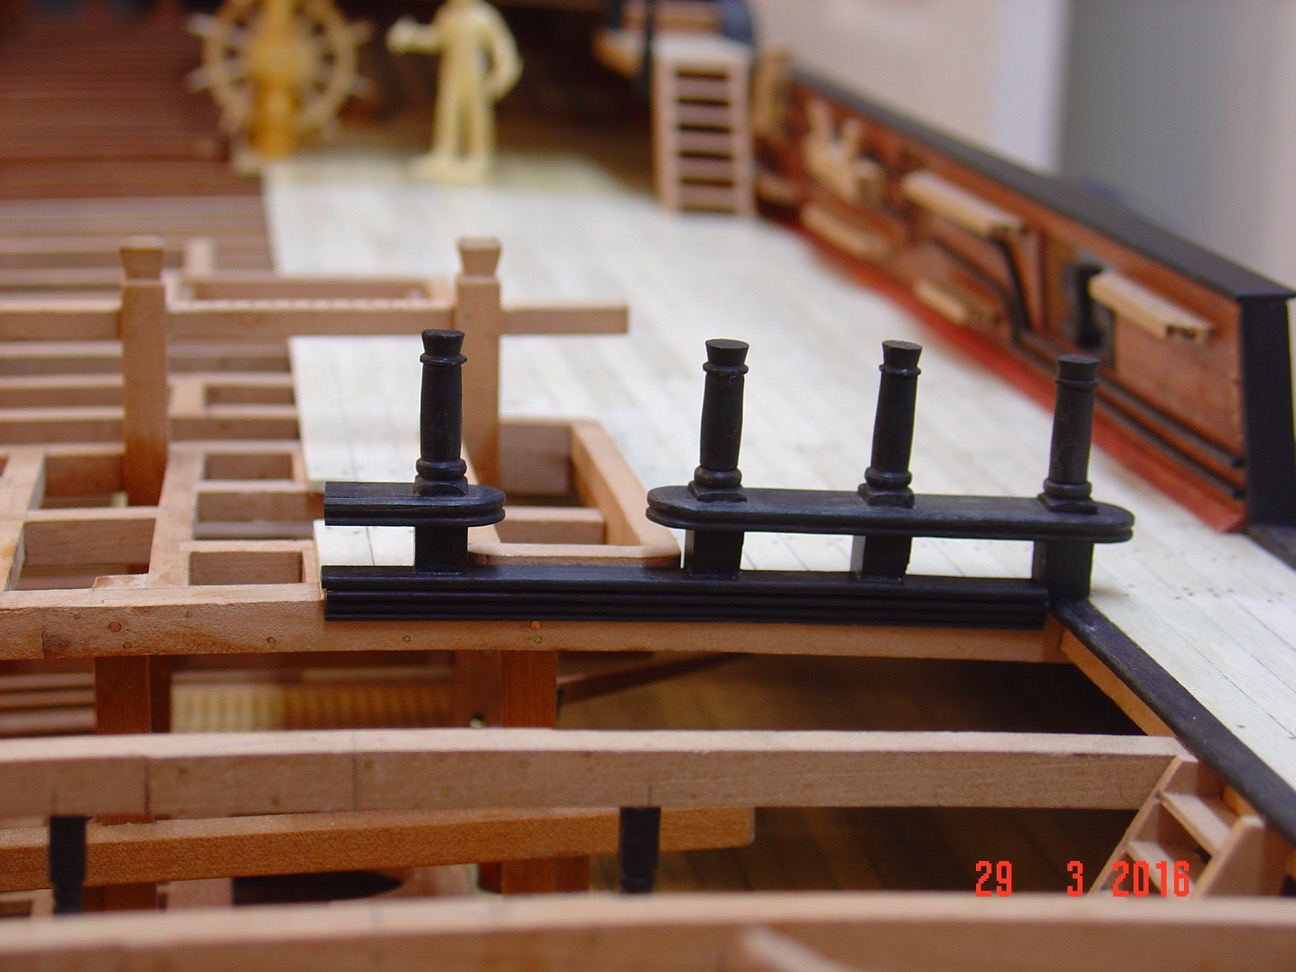
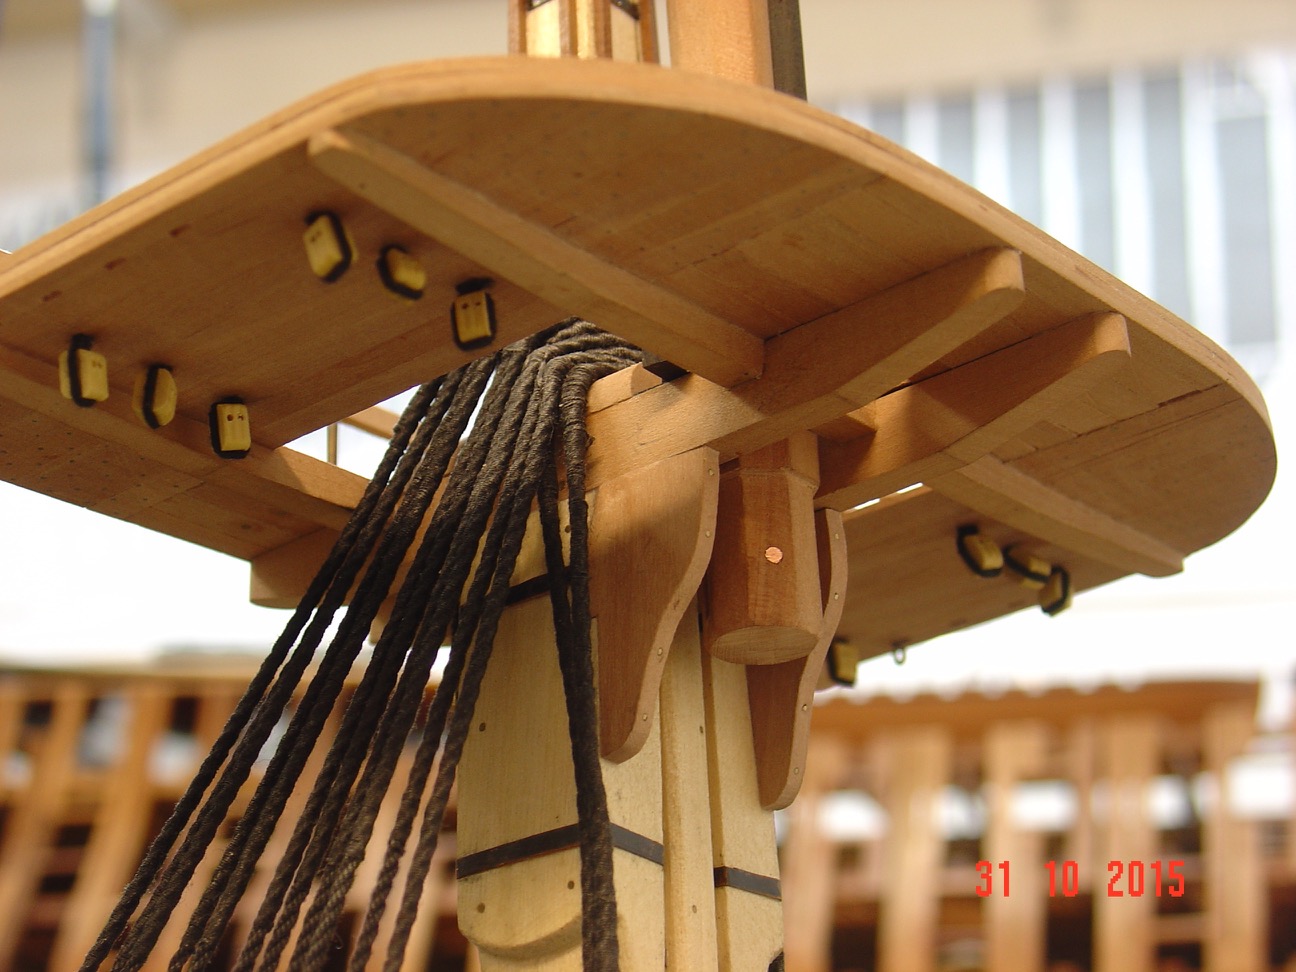
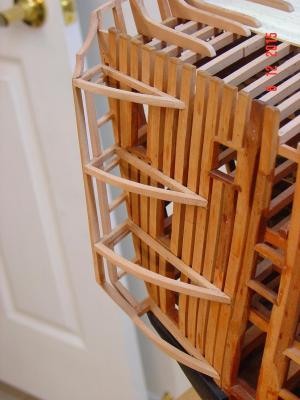
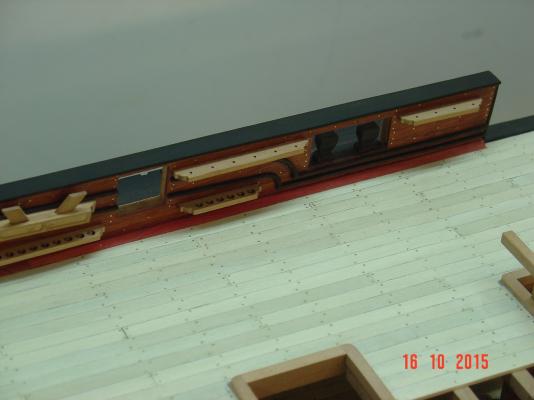
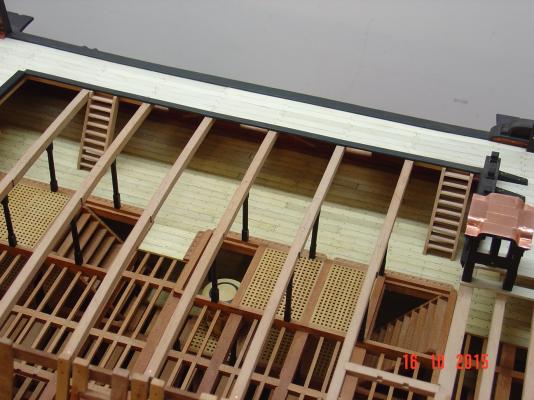
Thank you all. Here are more progress pictures. Alexandru


-
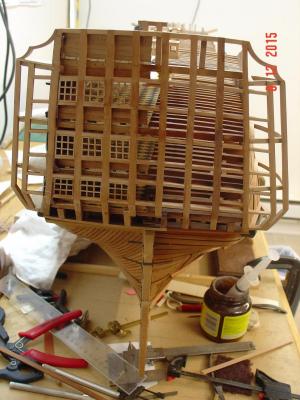
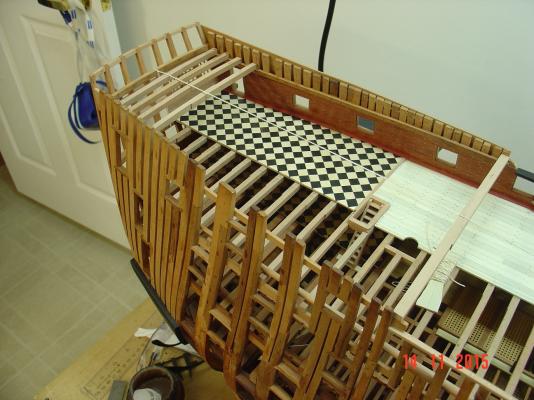
Hello, Here are some more progress pictures for the several last weeks. Regards, Alexandru


-
Some more progress pictures for this project - some older some more recent. Alexandru


-
Hi Brian, I am using McKay's plans. I bought from hime about 20 plates at 1/48 scale from his Anatomy of the ship book. Regards, Alexandru
-
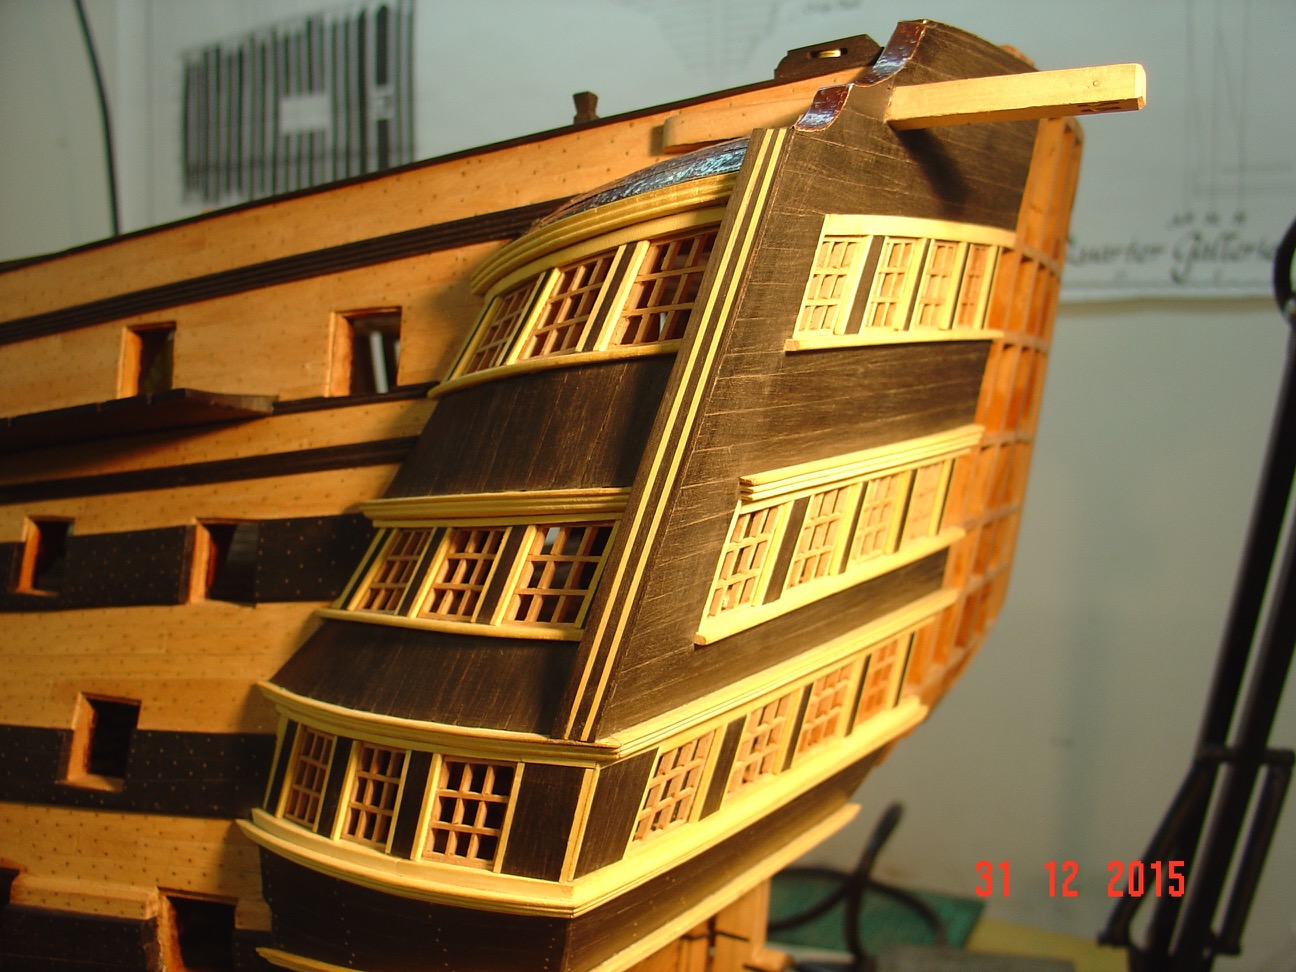
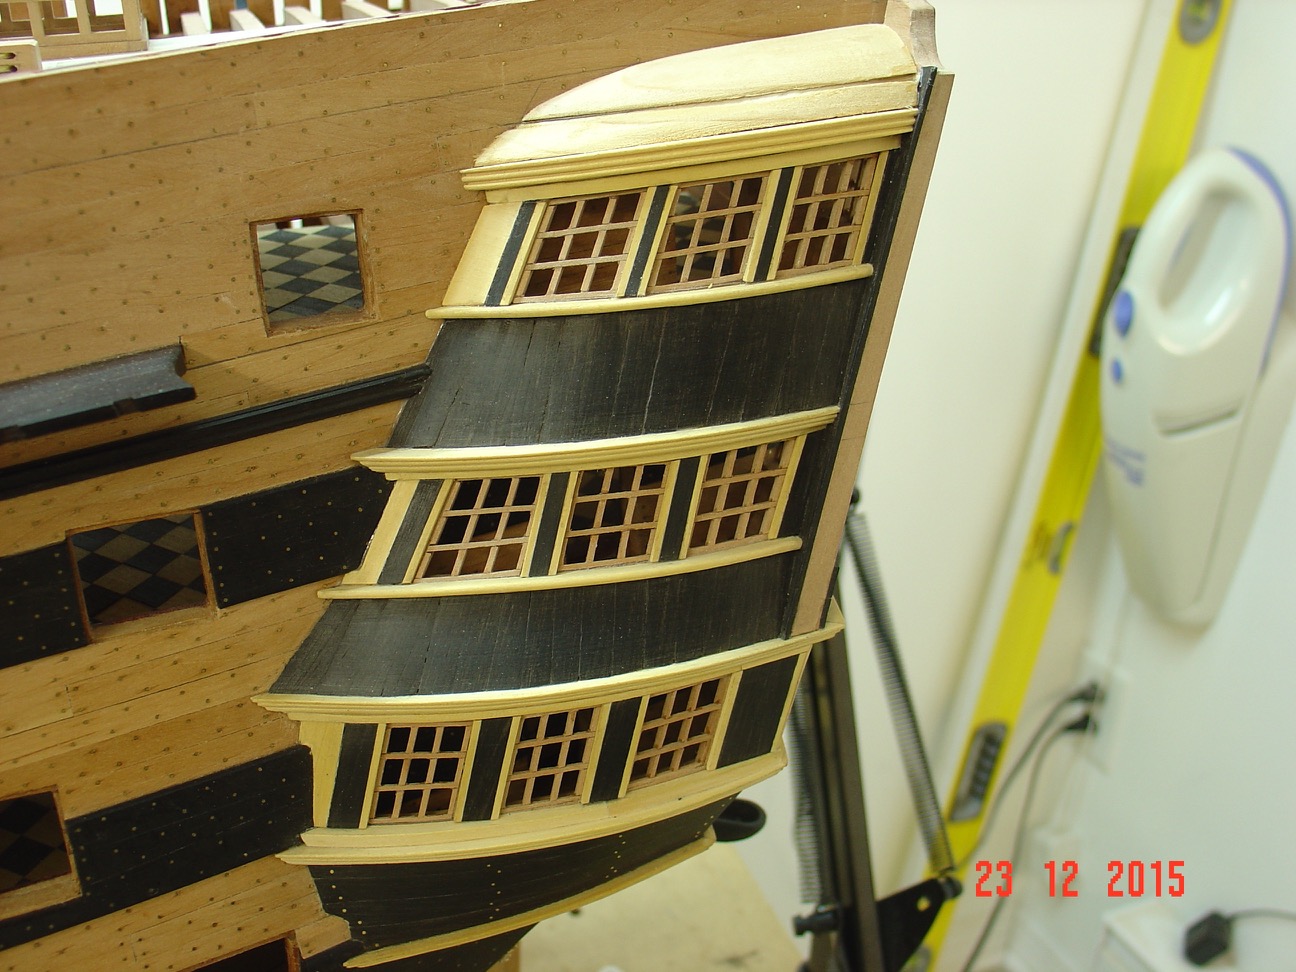
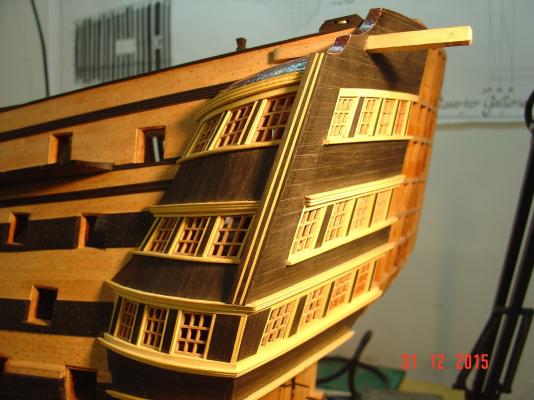
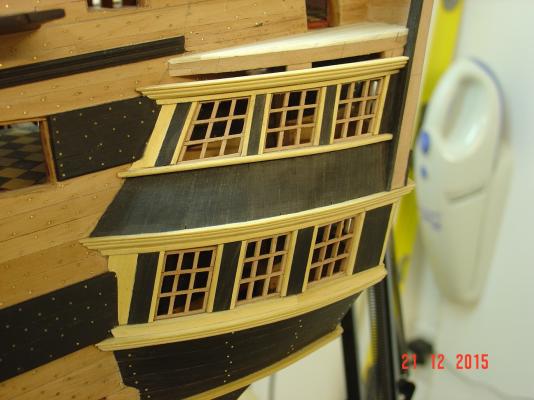
Thank you for the pictures, I do have a set from the visit I did several years ago to see it in Portsmouth. The only issue is that at that time, they were doing some kind of reparation on half of the stern gallery so I didn't have the chance to make pictures of the full ship back. Only parts of it. The thing with the last picture you posted is that there is a double curvature: one in the vertical plane upward and one in the horizontal plane backward. And I think that makes it look a lot bigger that in reality. I was facing the same problem when I did it first time so I made a bigger camber. but if you look perfectly from the back you should only see the vertical curve of the windows. Additionally I am still missing the last window on each side, which will make the cuve longer thus looking more like in the picture. Regards, Alexandru
-
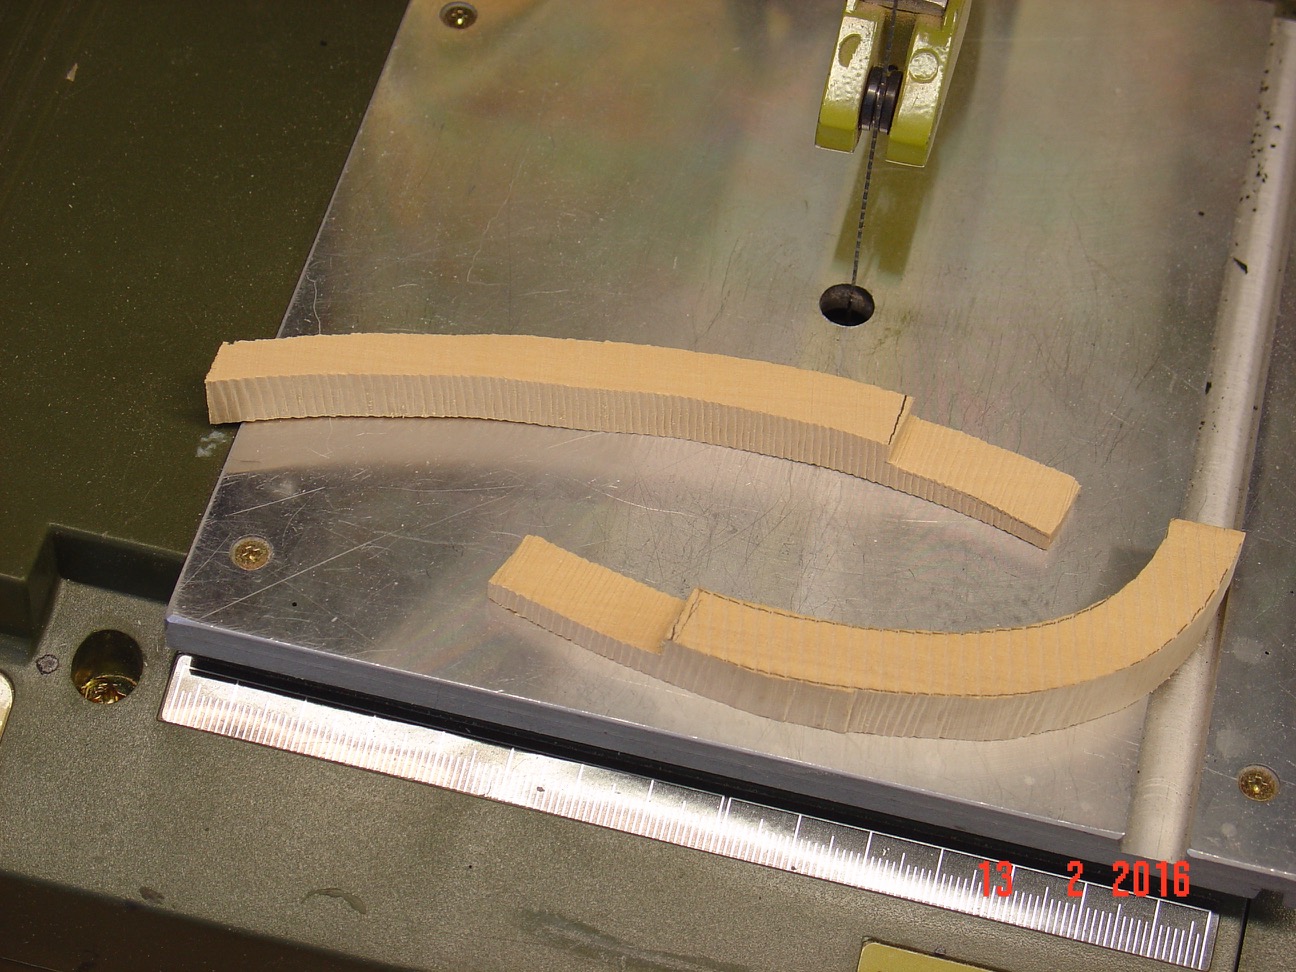
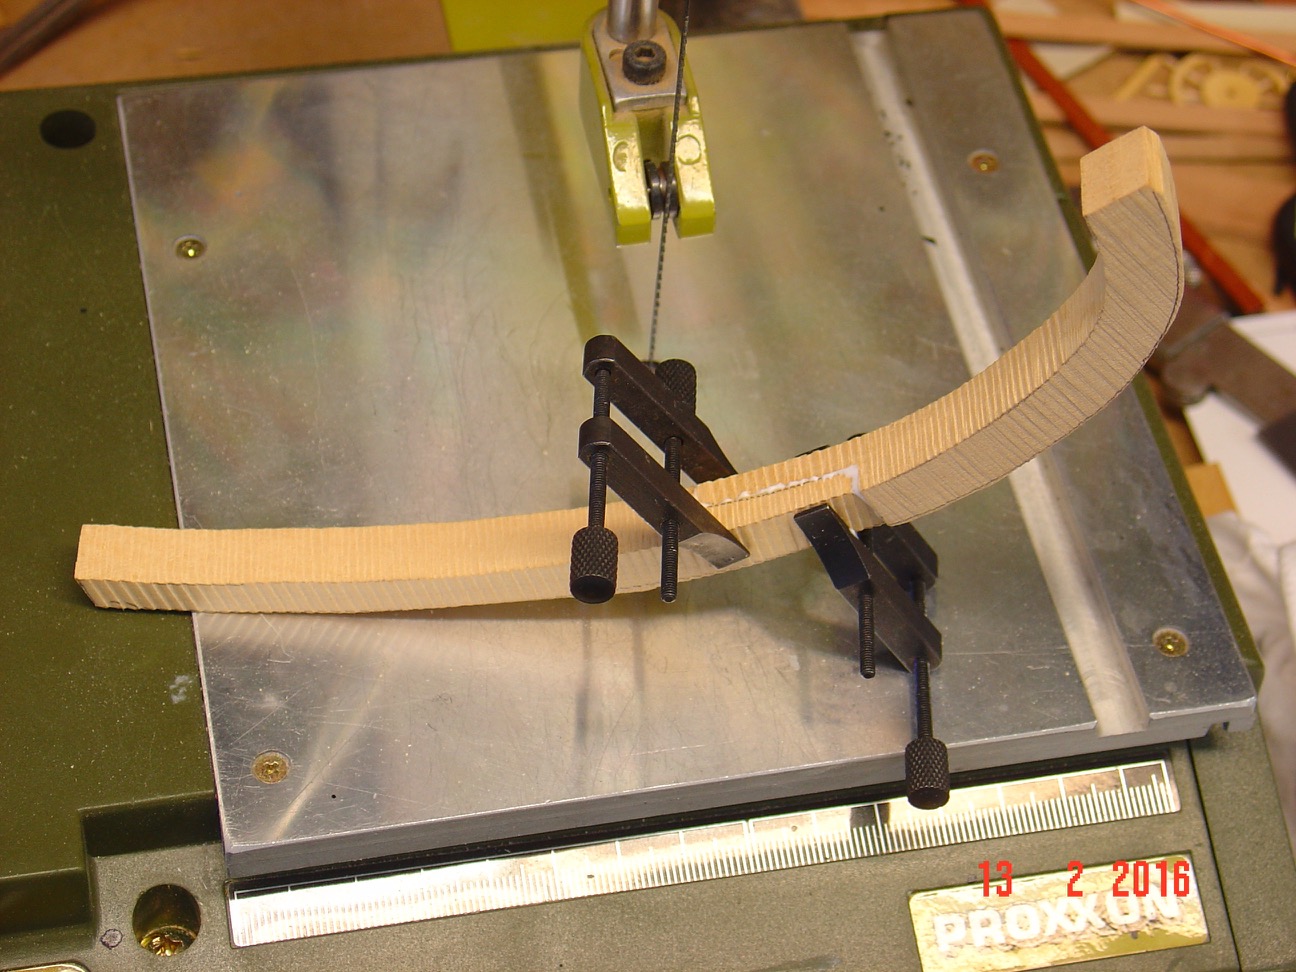
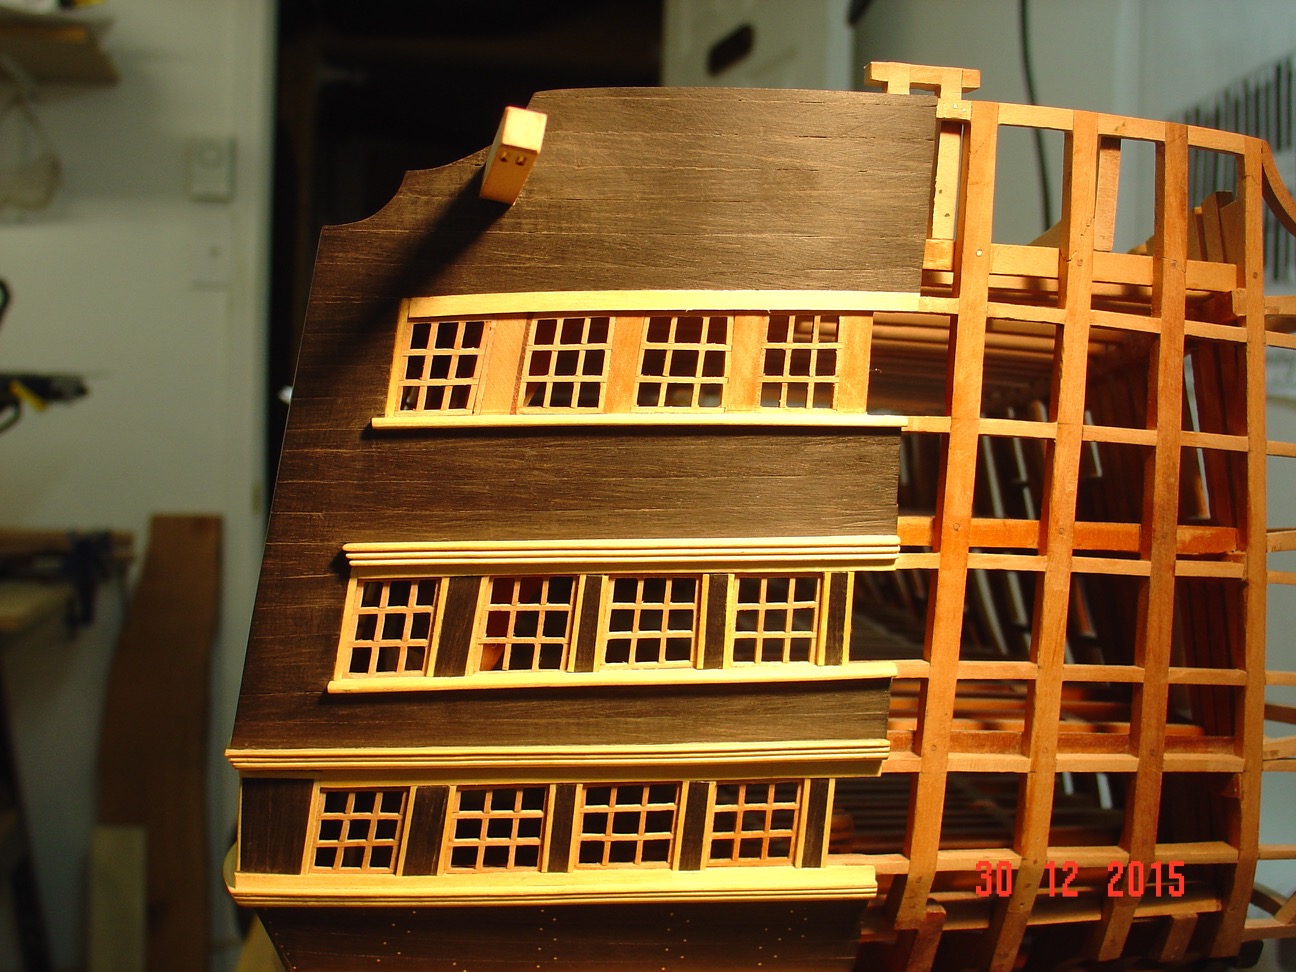
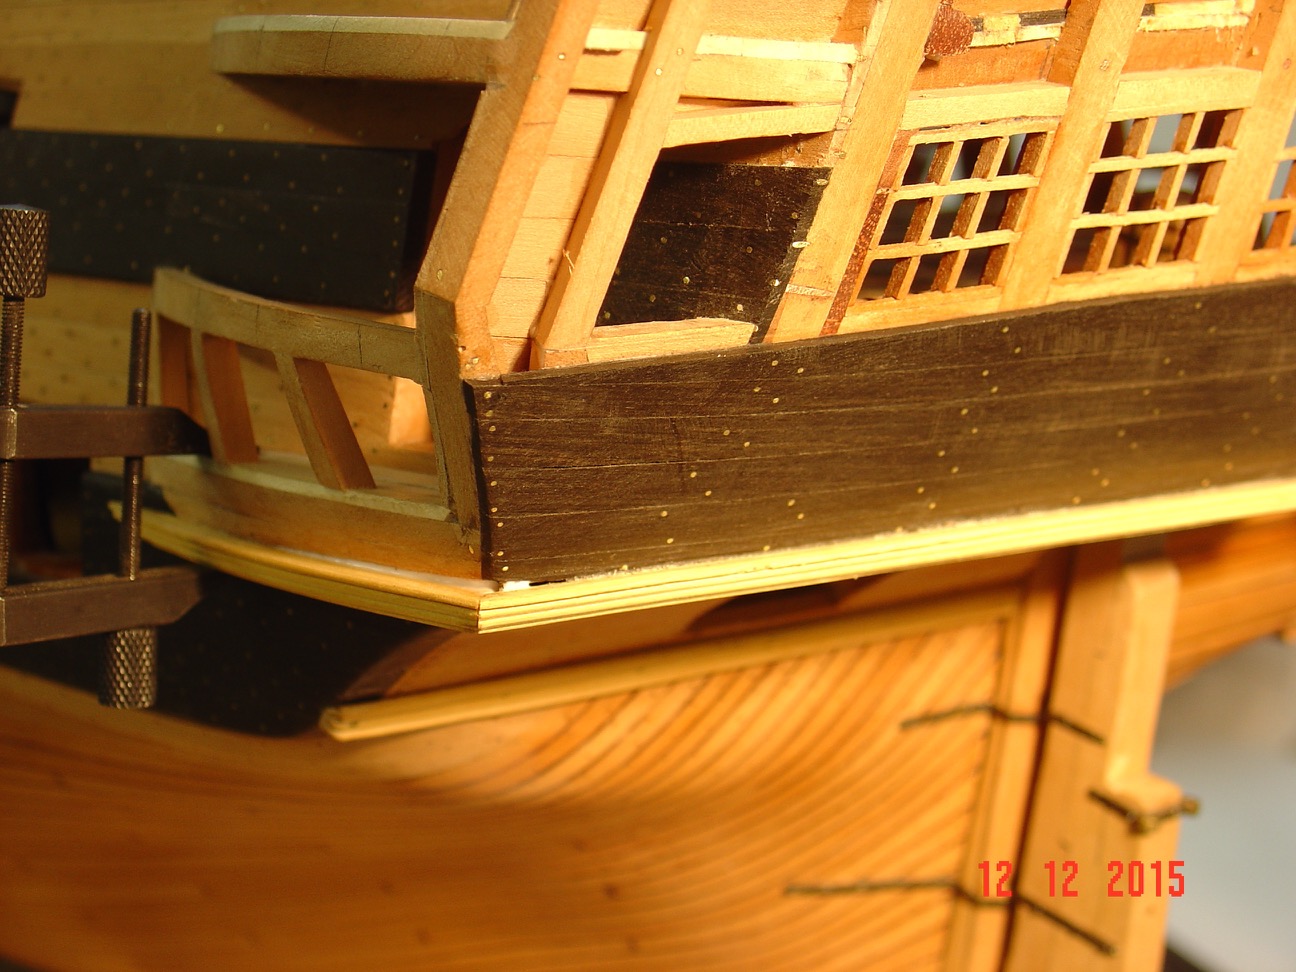
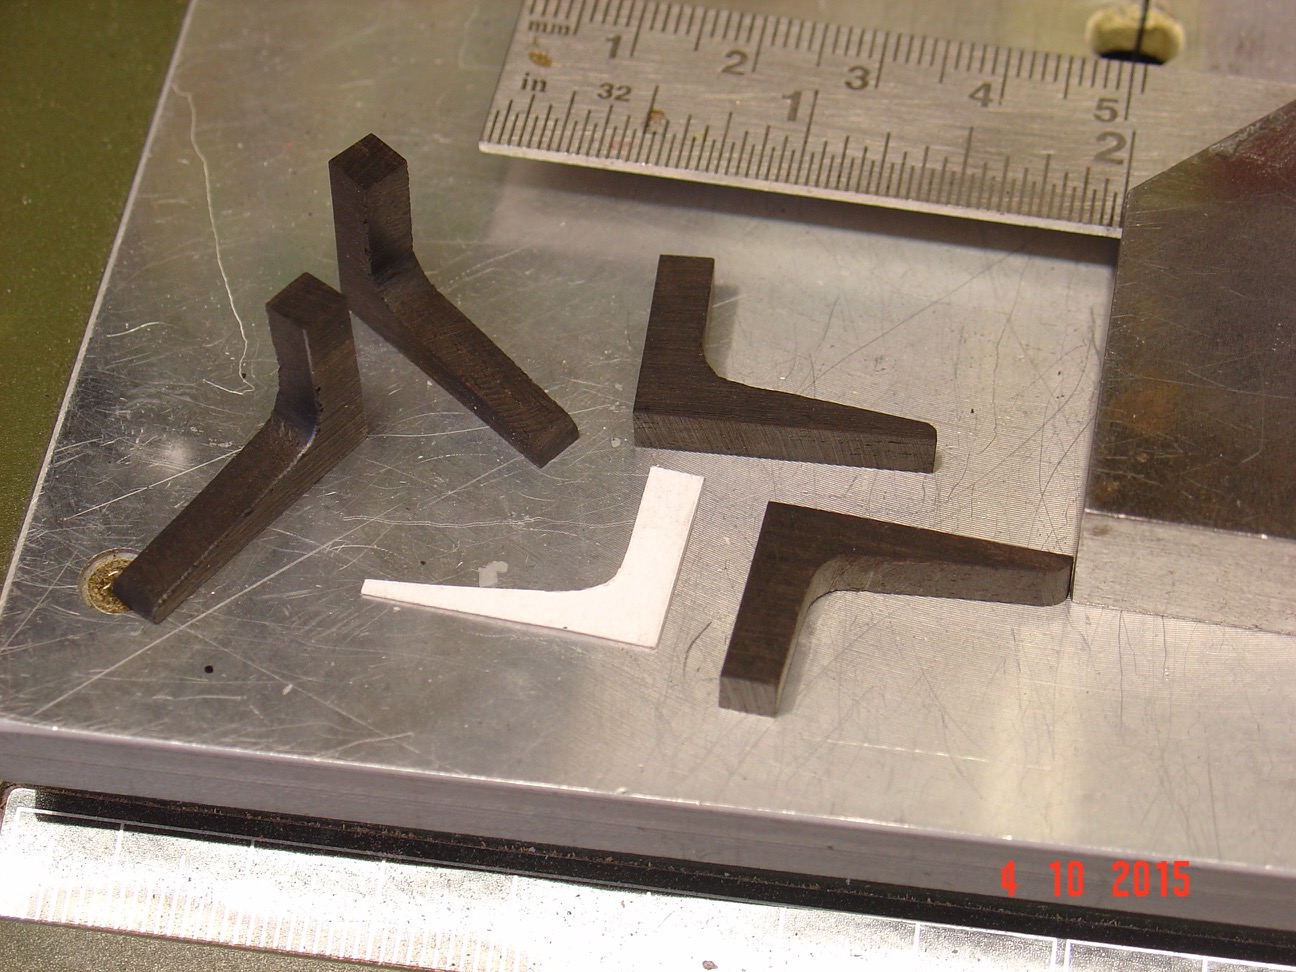
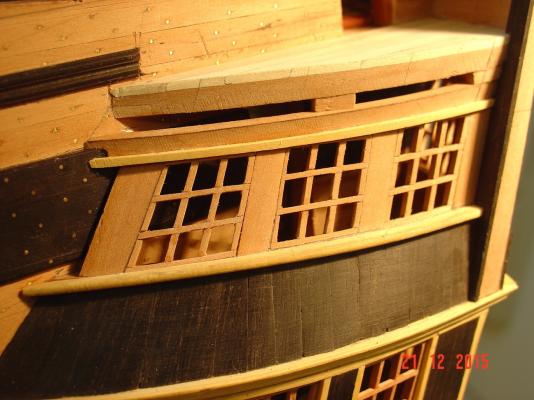
I did it the simple way: I removed the old pieces and I glued new ones instead following the new curve.
-
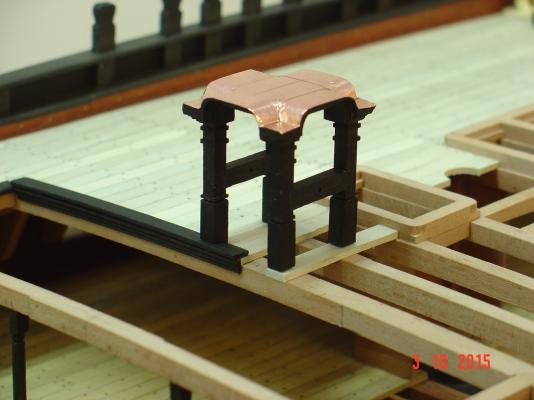
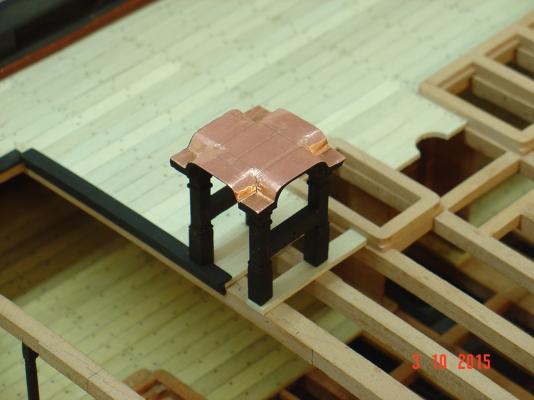
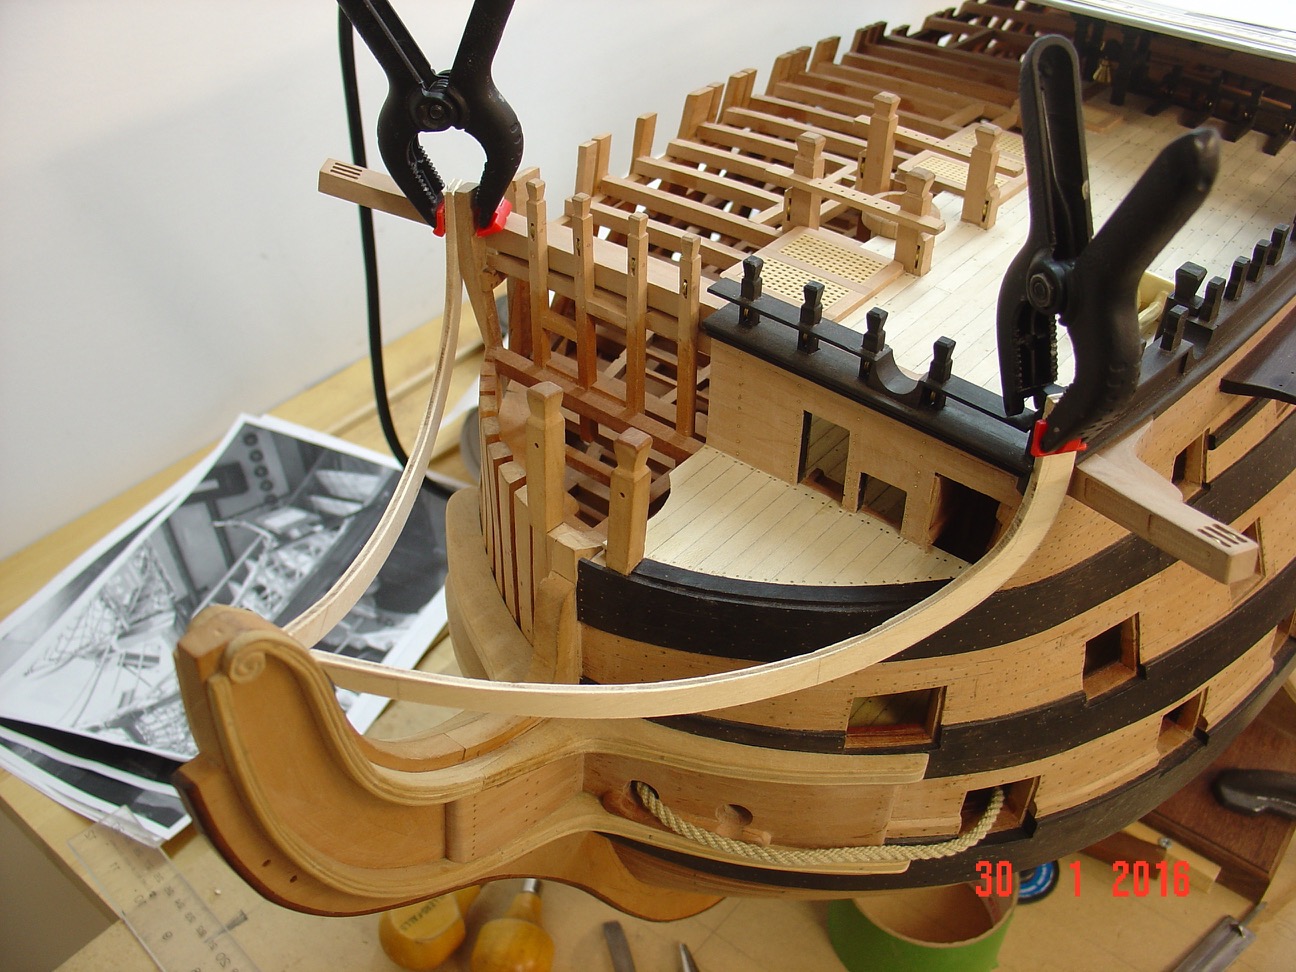
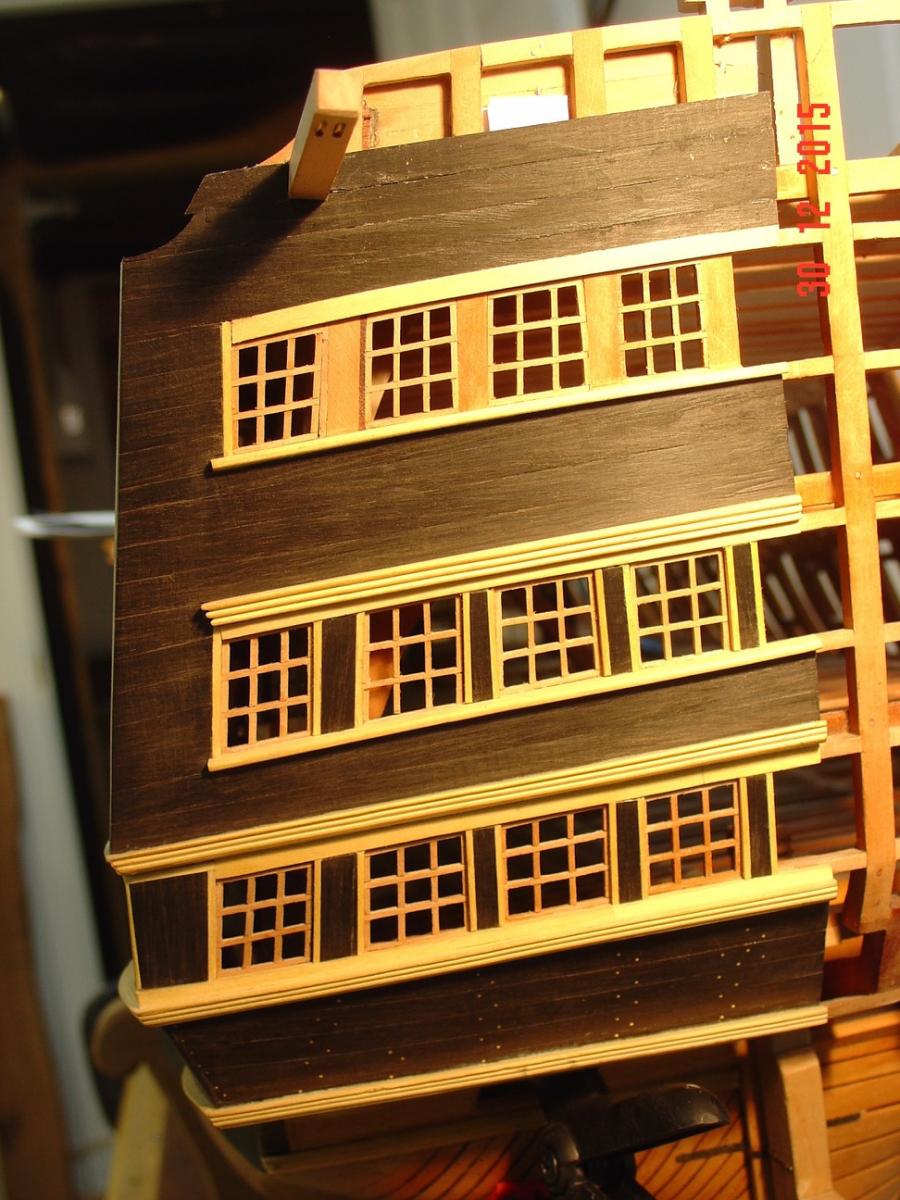
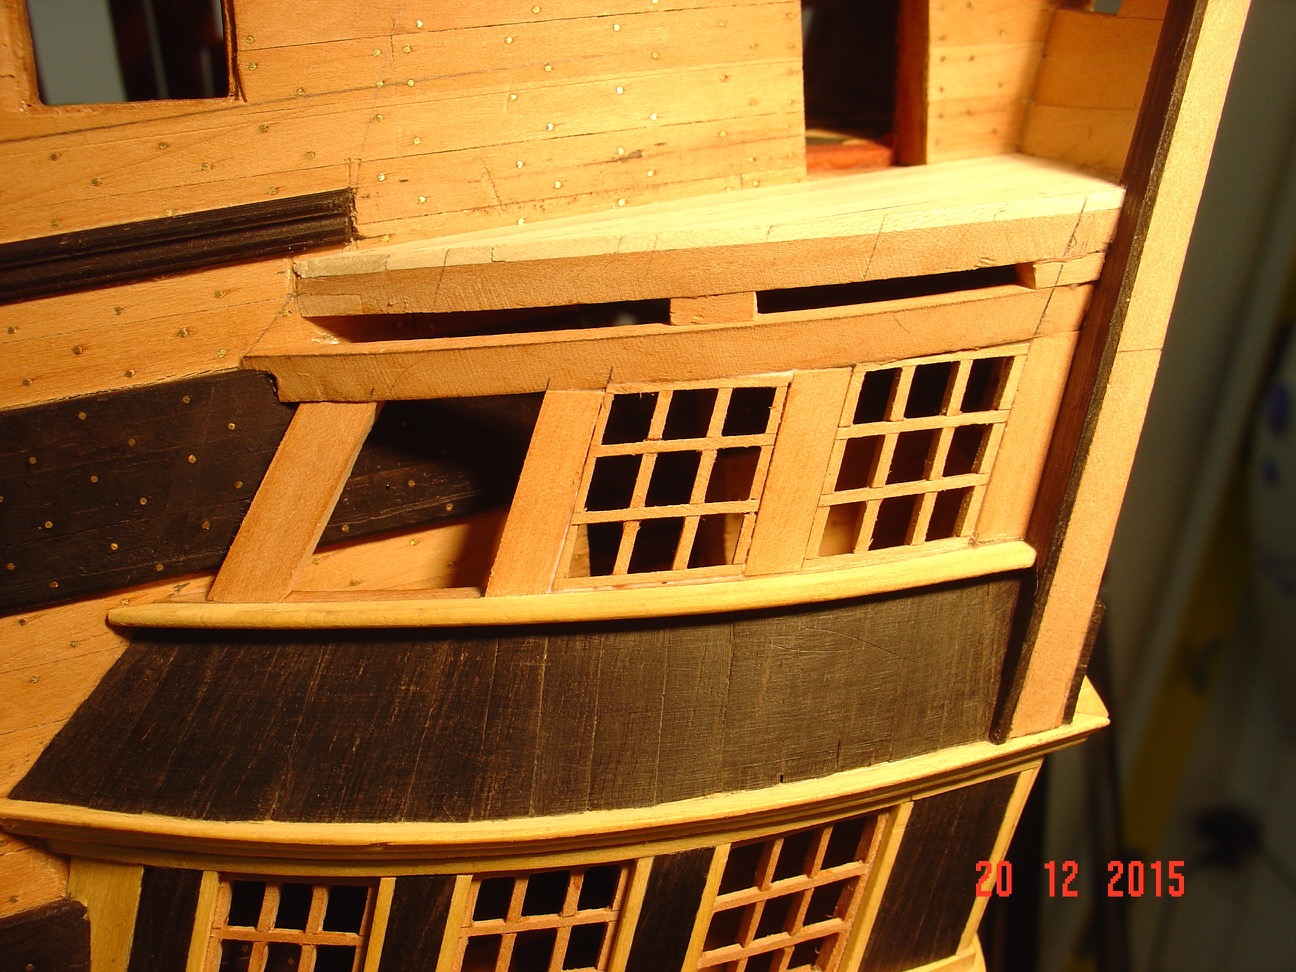
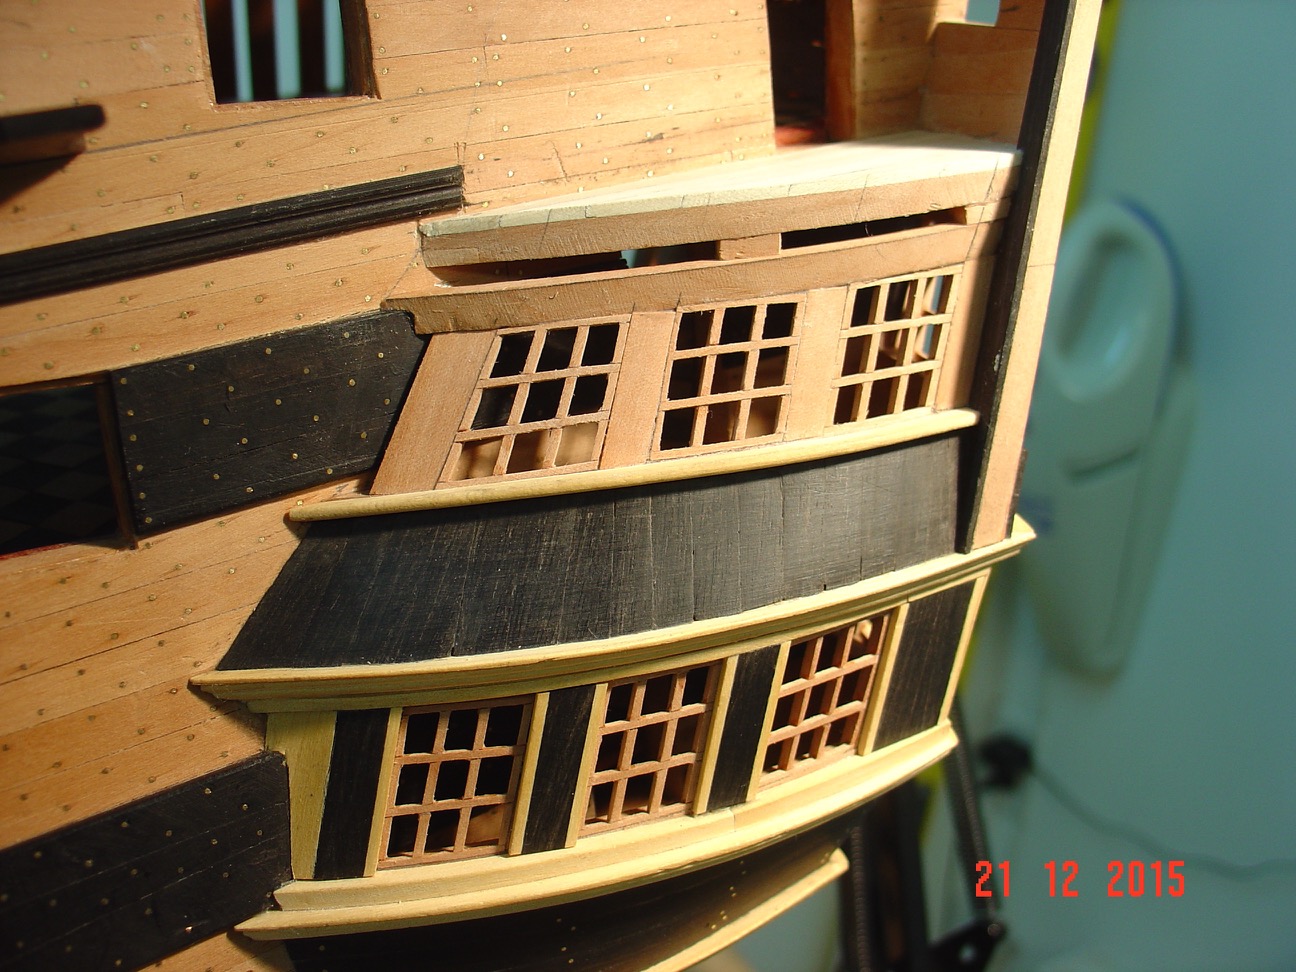
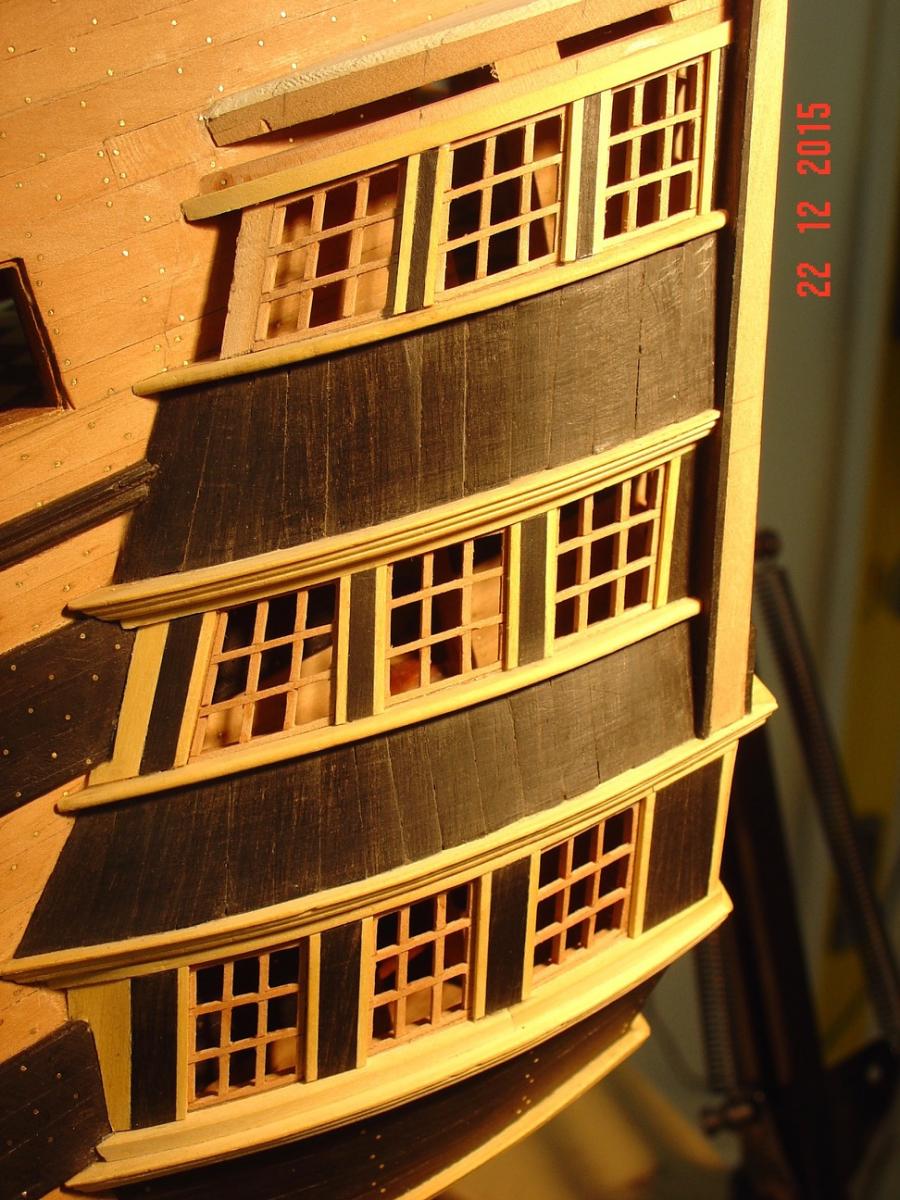
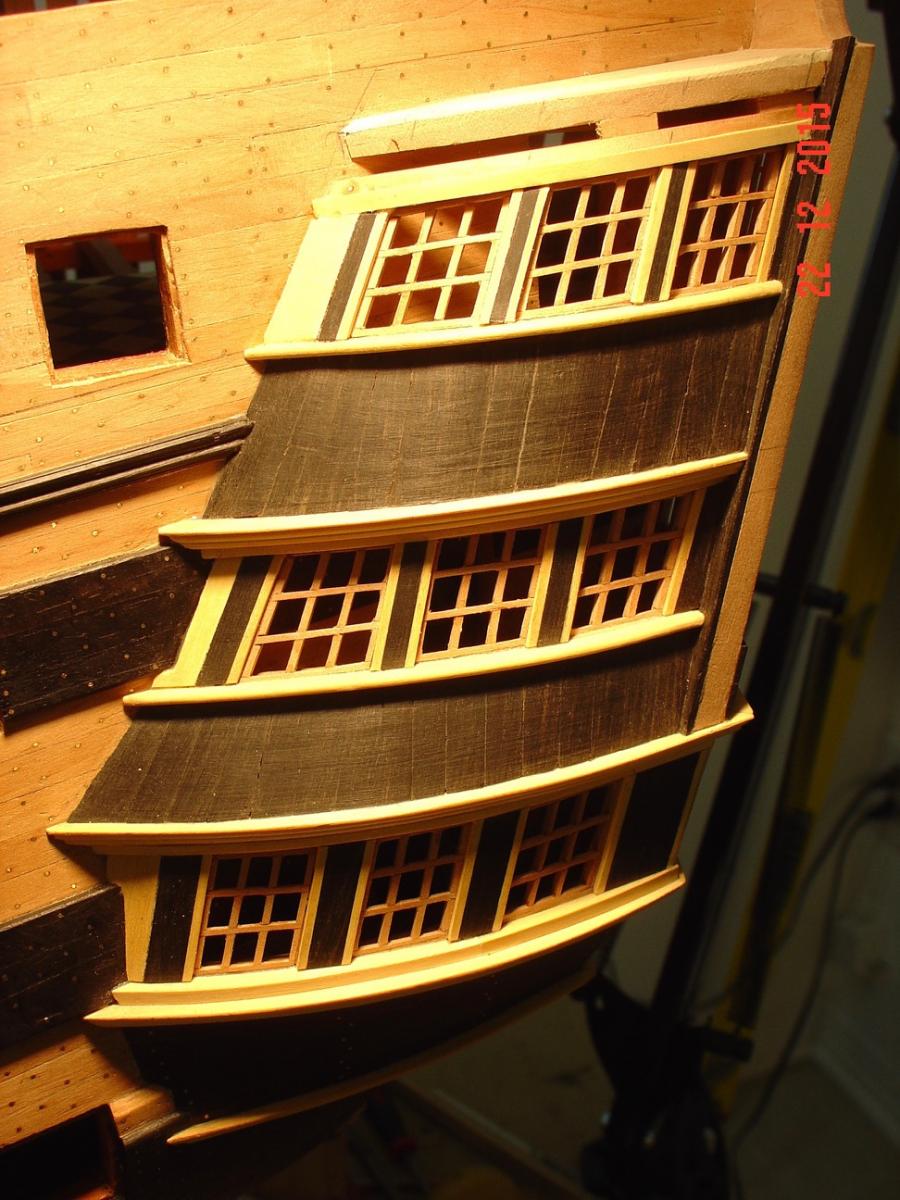
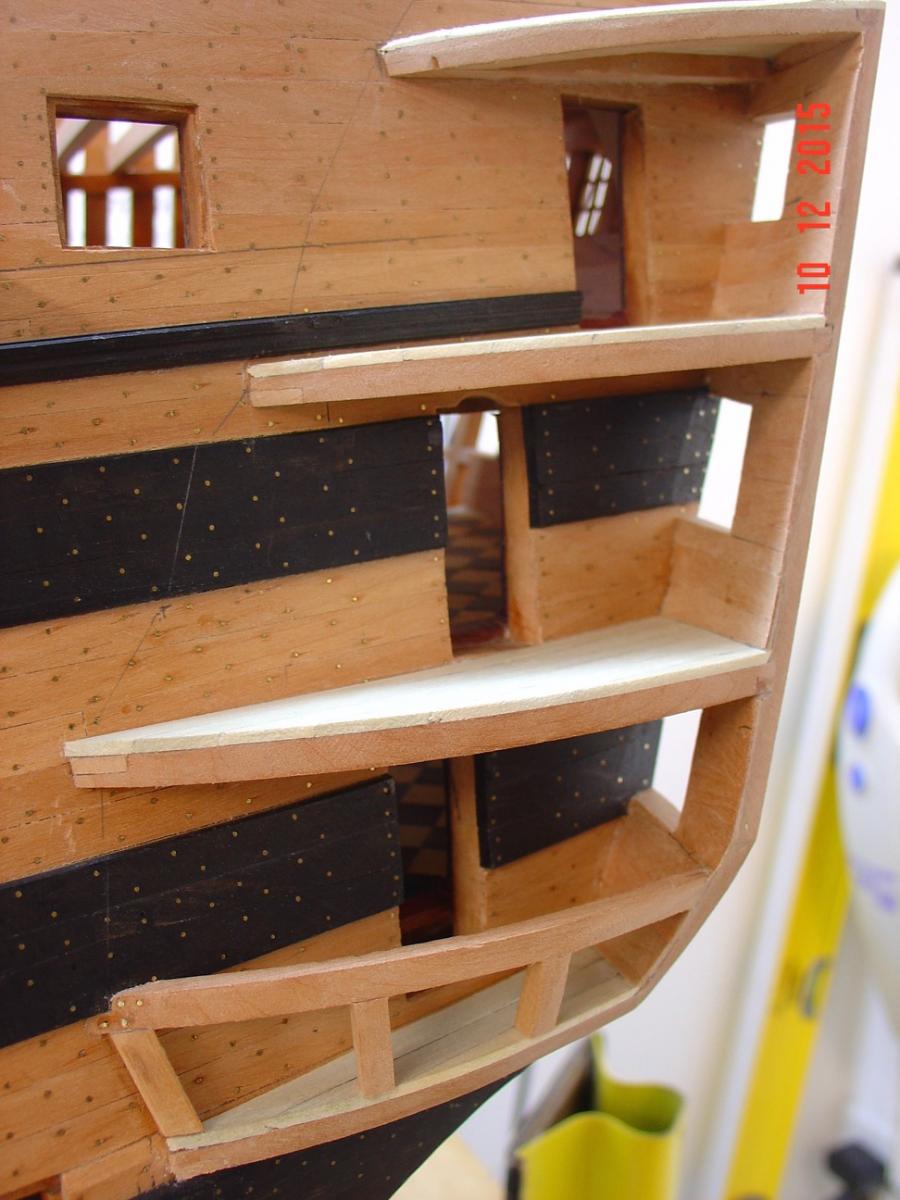
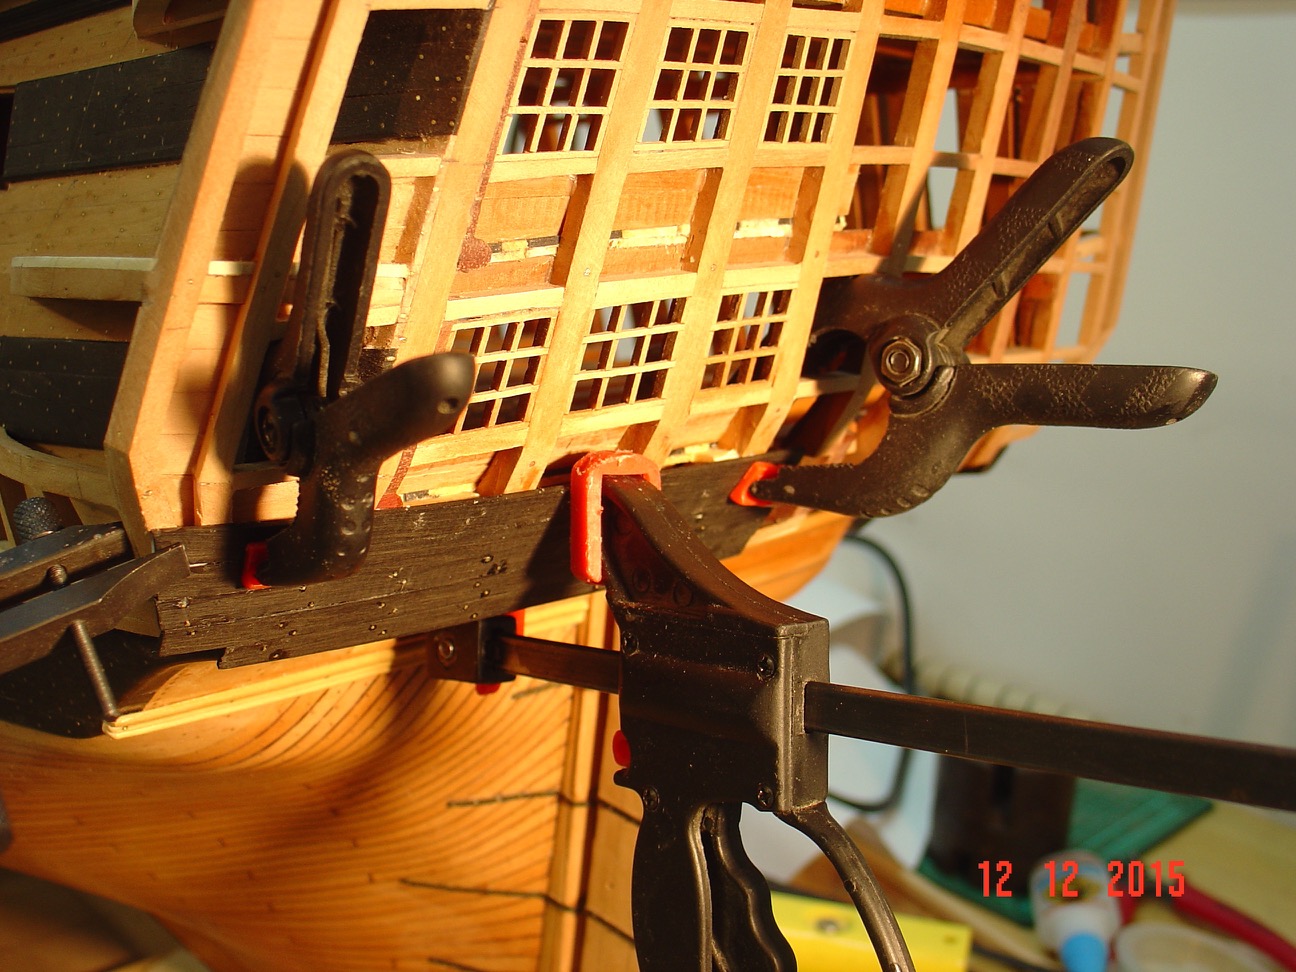
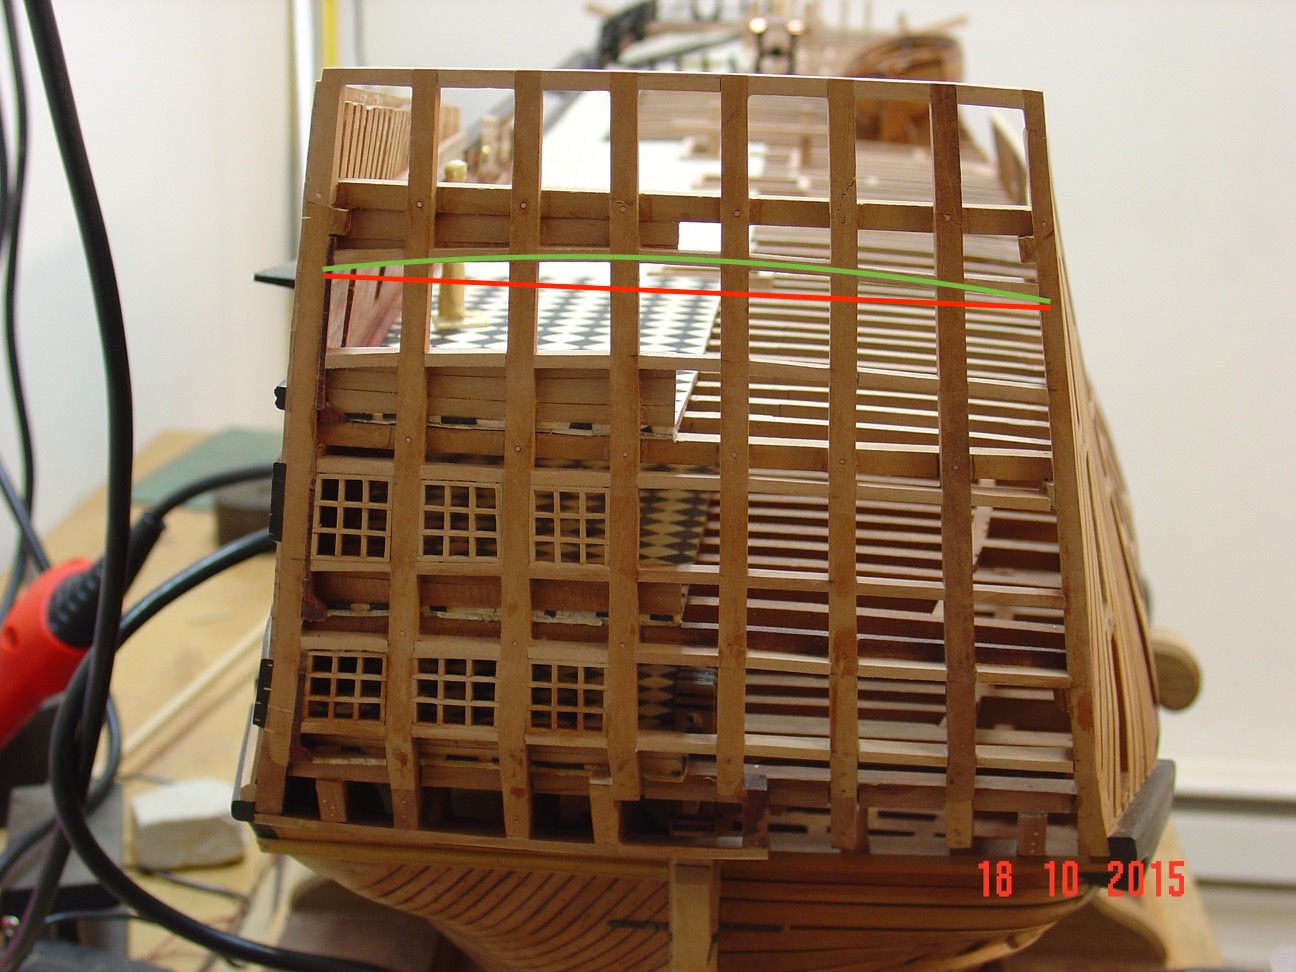
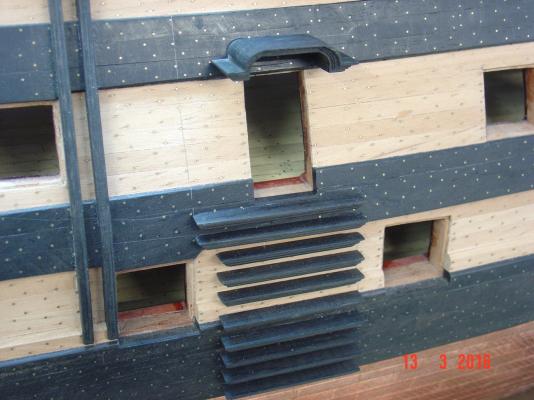
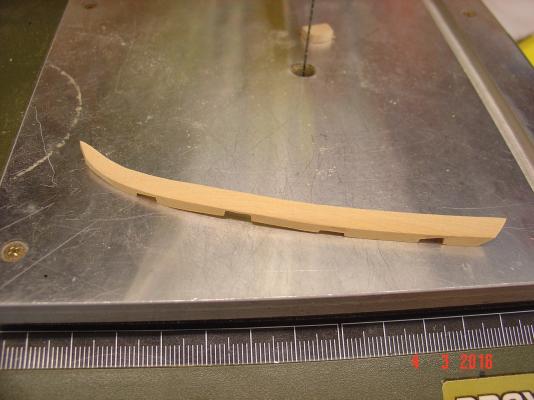
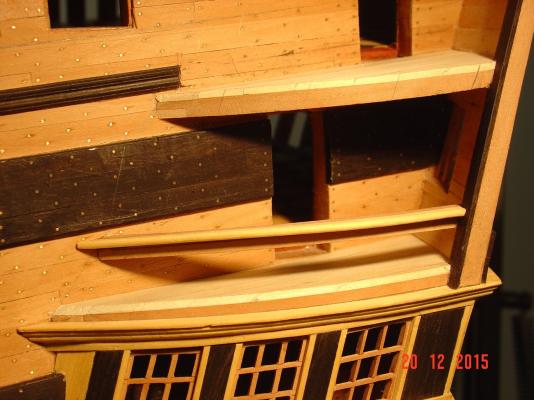
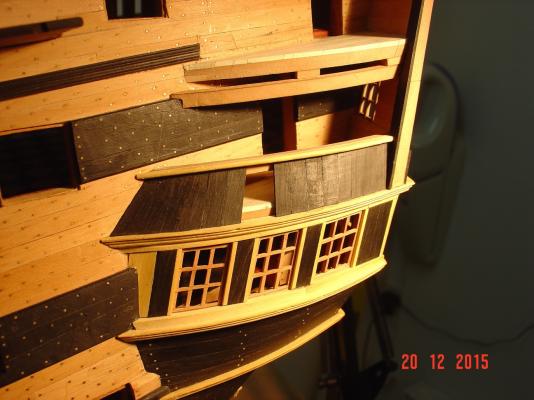
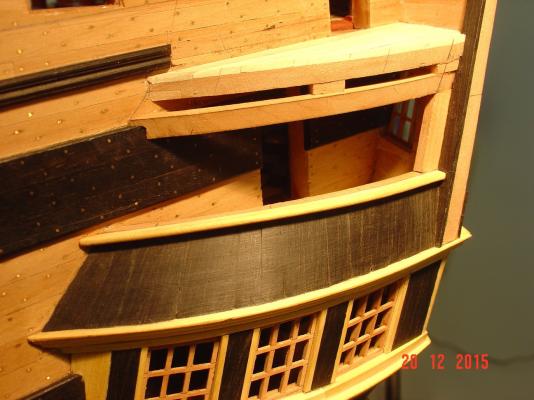
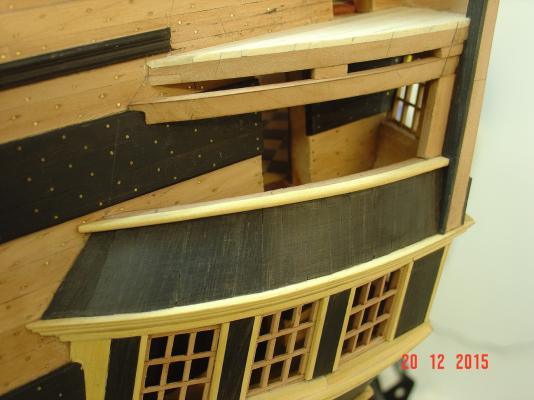
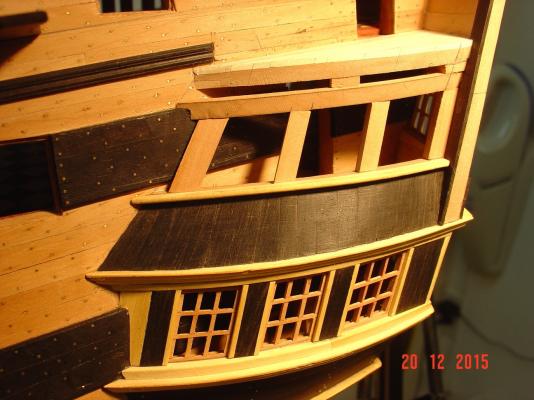
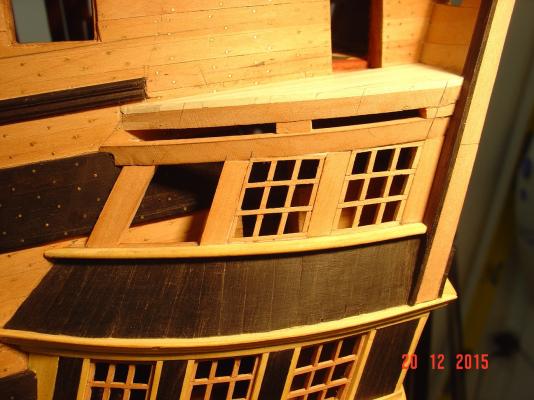
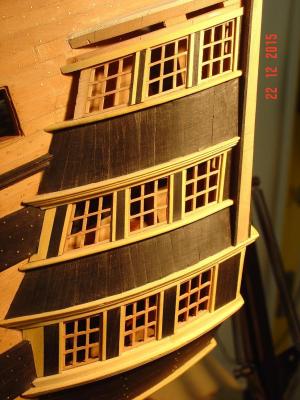
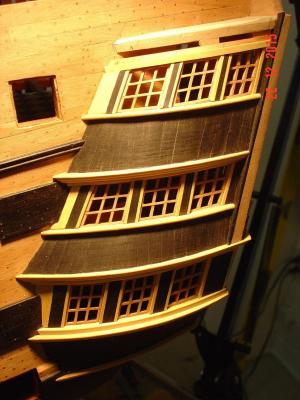
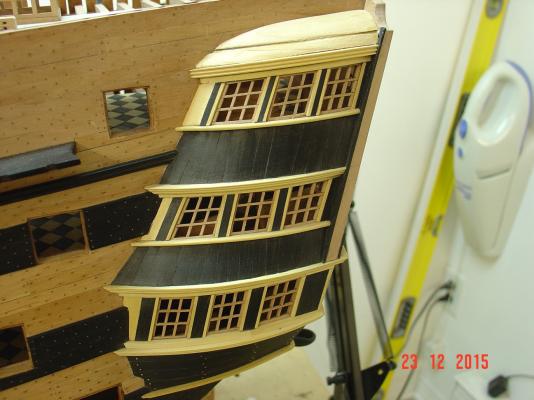
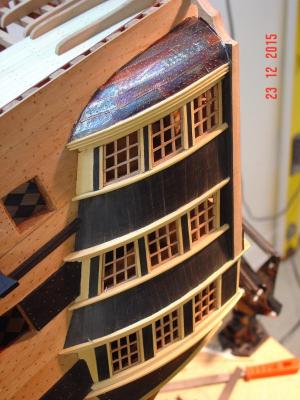
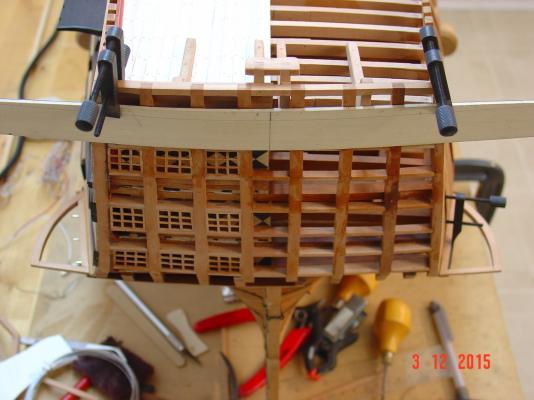
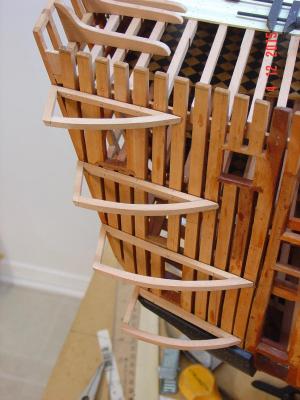
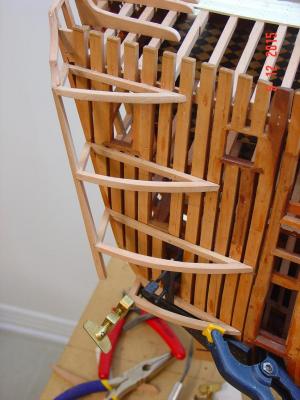
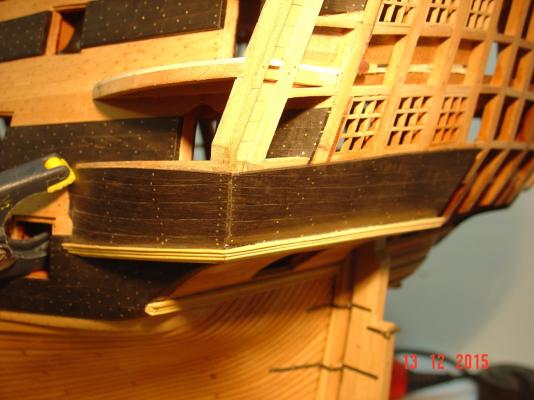
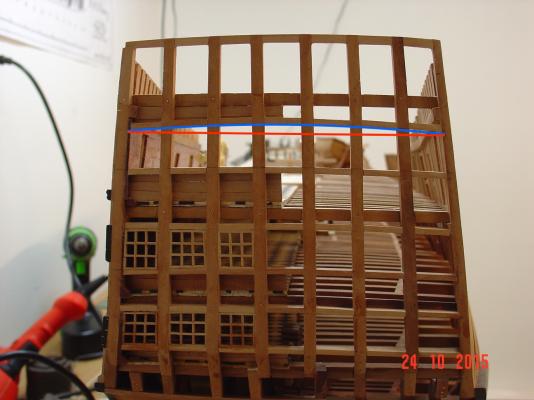
Hello, Thank you for following my build and your comments. Here is a bit of rework I have done this last week: the upper row of windows on the stern gallery was following an excessing curve. You can see it in the first picture and in the second picture is the new curve. The pictures are not quite from the same angle but the change is noticeable. Interesting fact is that I noticed this first in the pictures than on the model after I posted them here. I think it happened to me before to see in the pictures I took things that are more difficult to spot on the model at first. After I was aware of it it became obvious on the model too. Thank you, Alexandru

-
Hello all, here is another update. Regards Alexandru


-
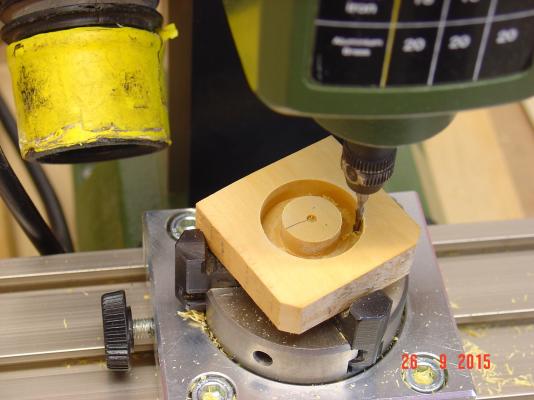
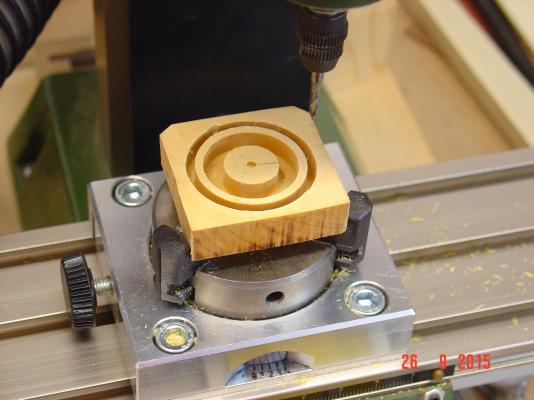
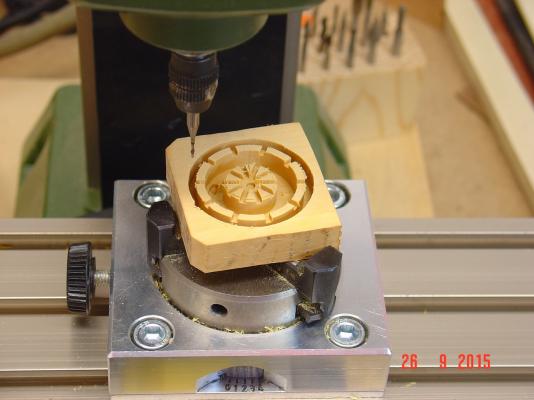
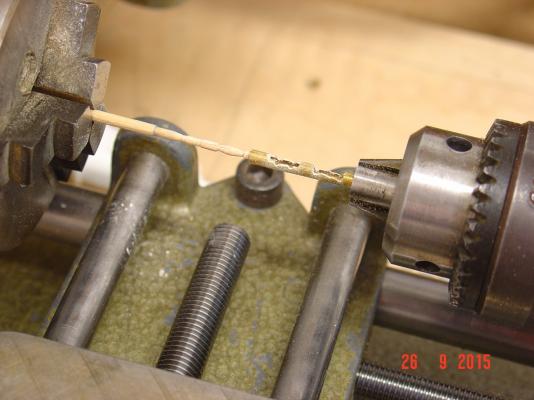
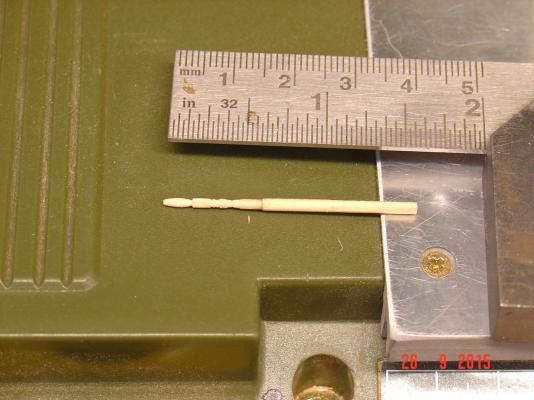
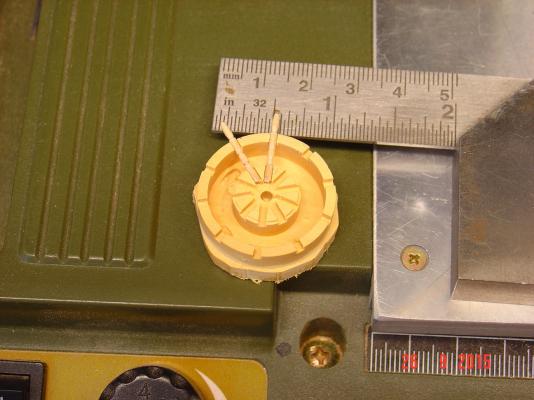
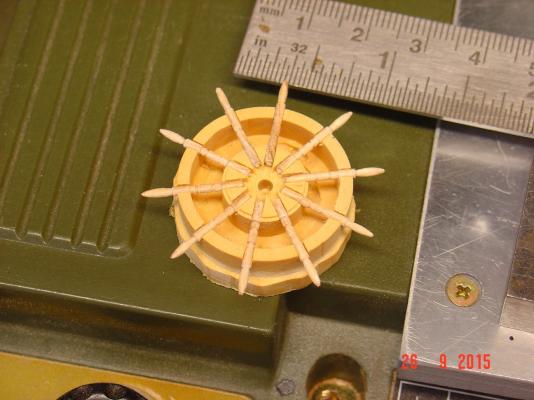
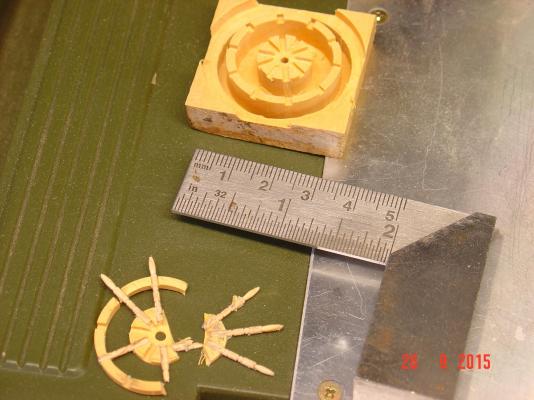
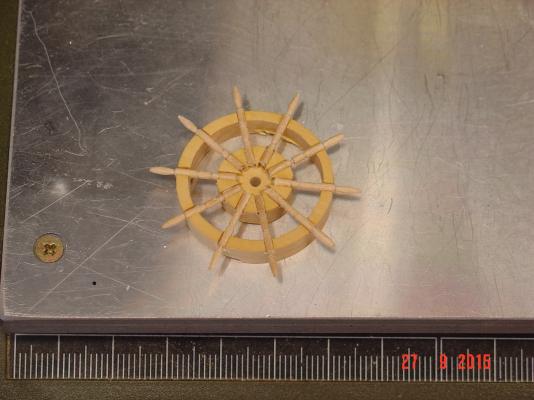
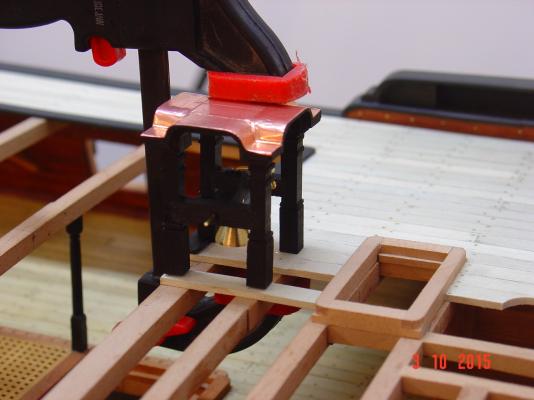
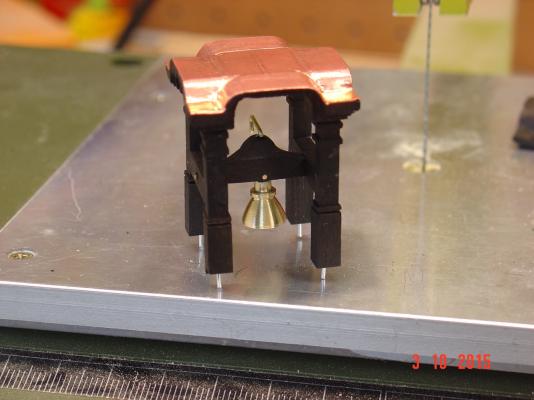
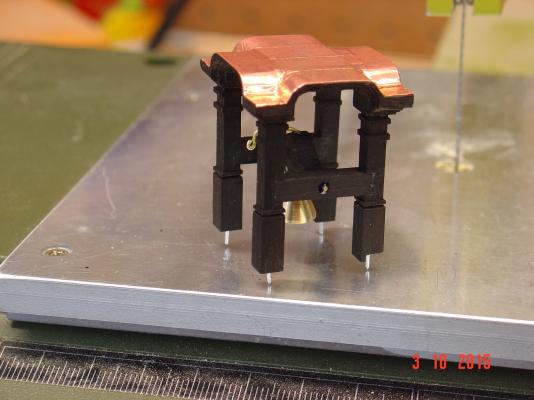
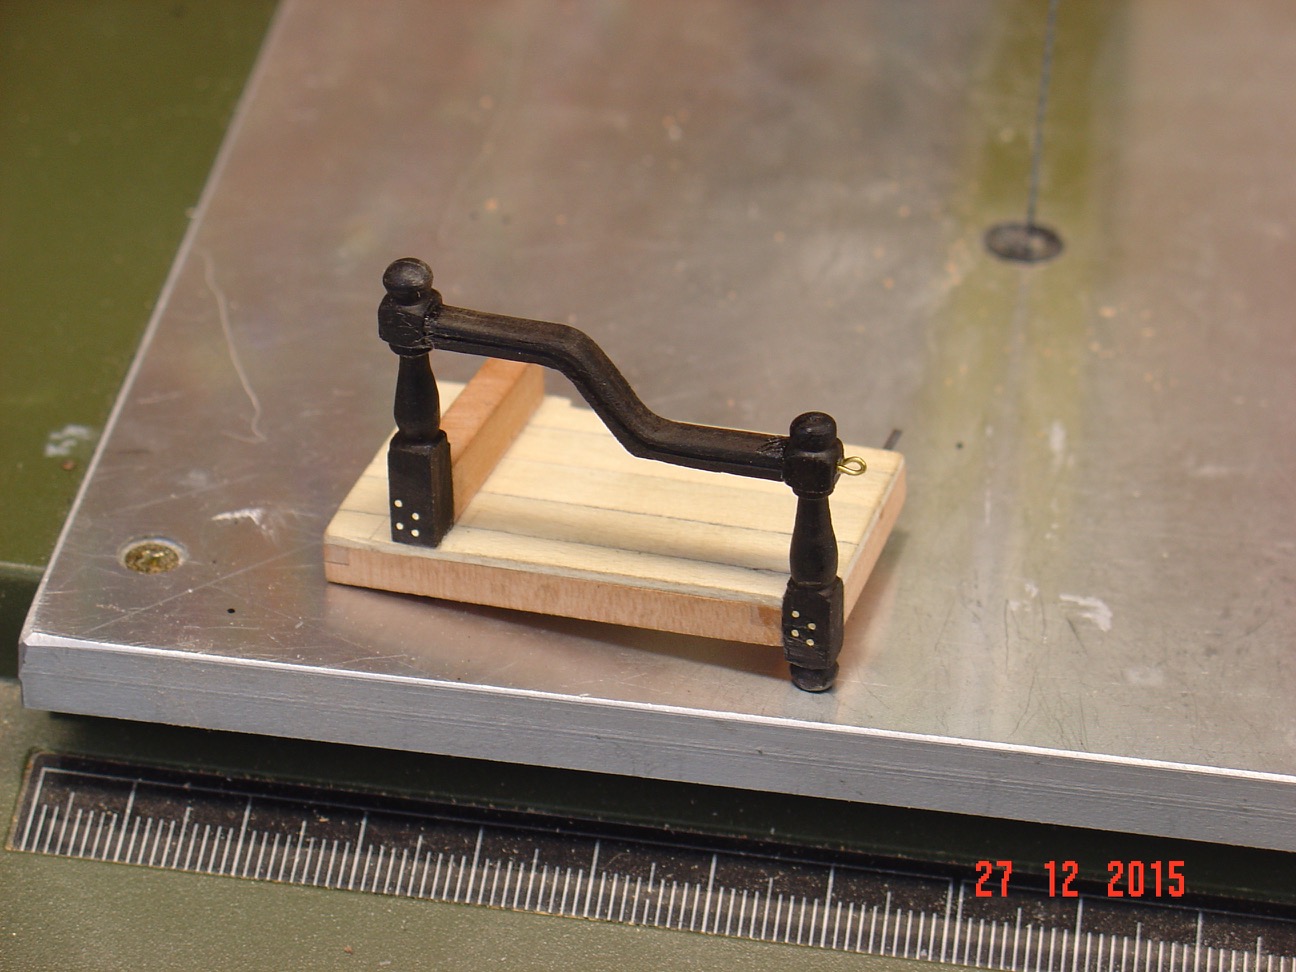
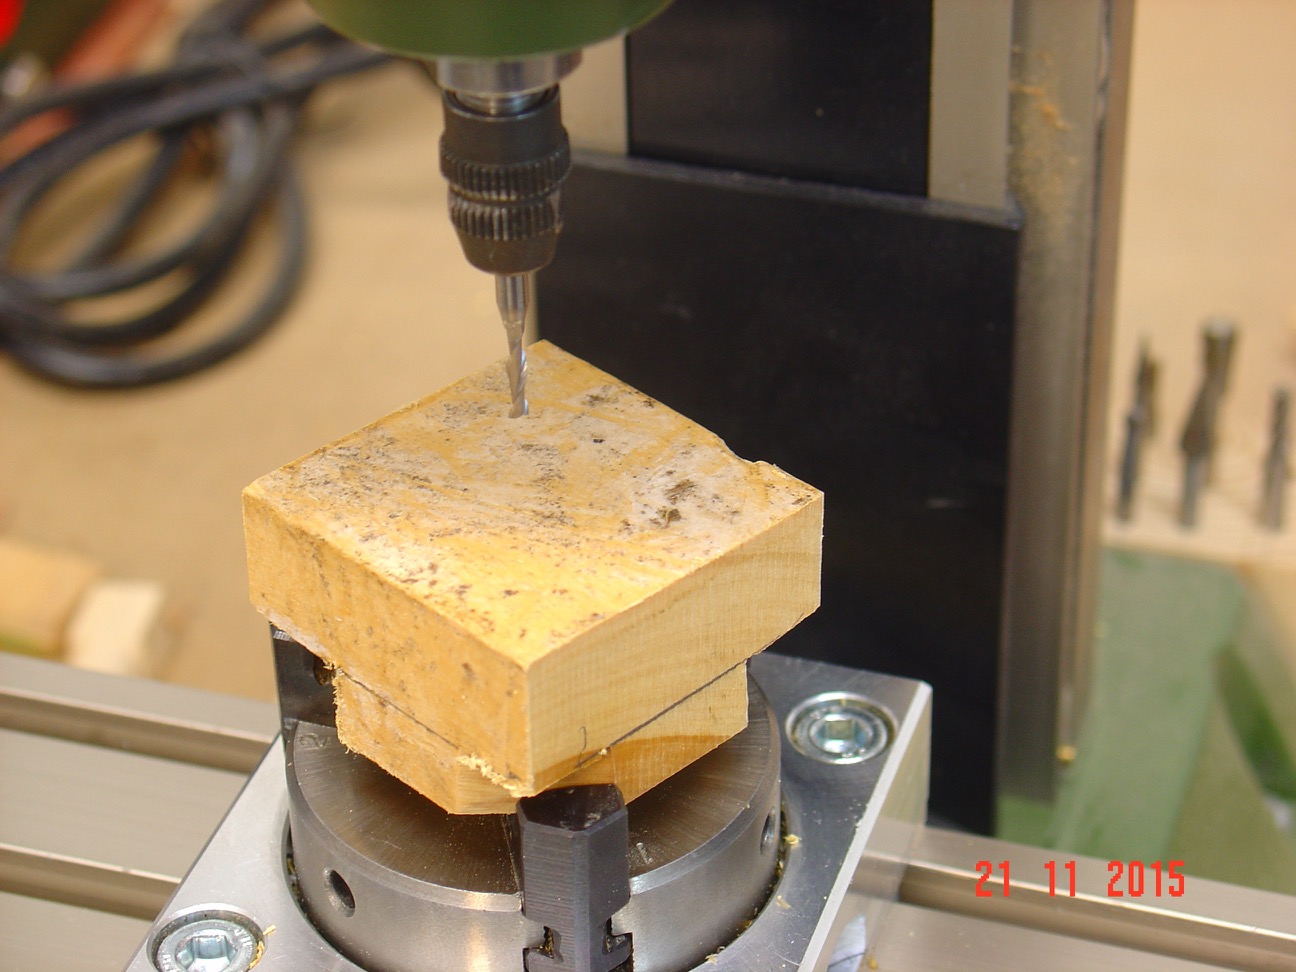
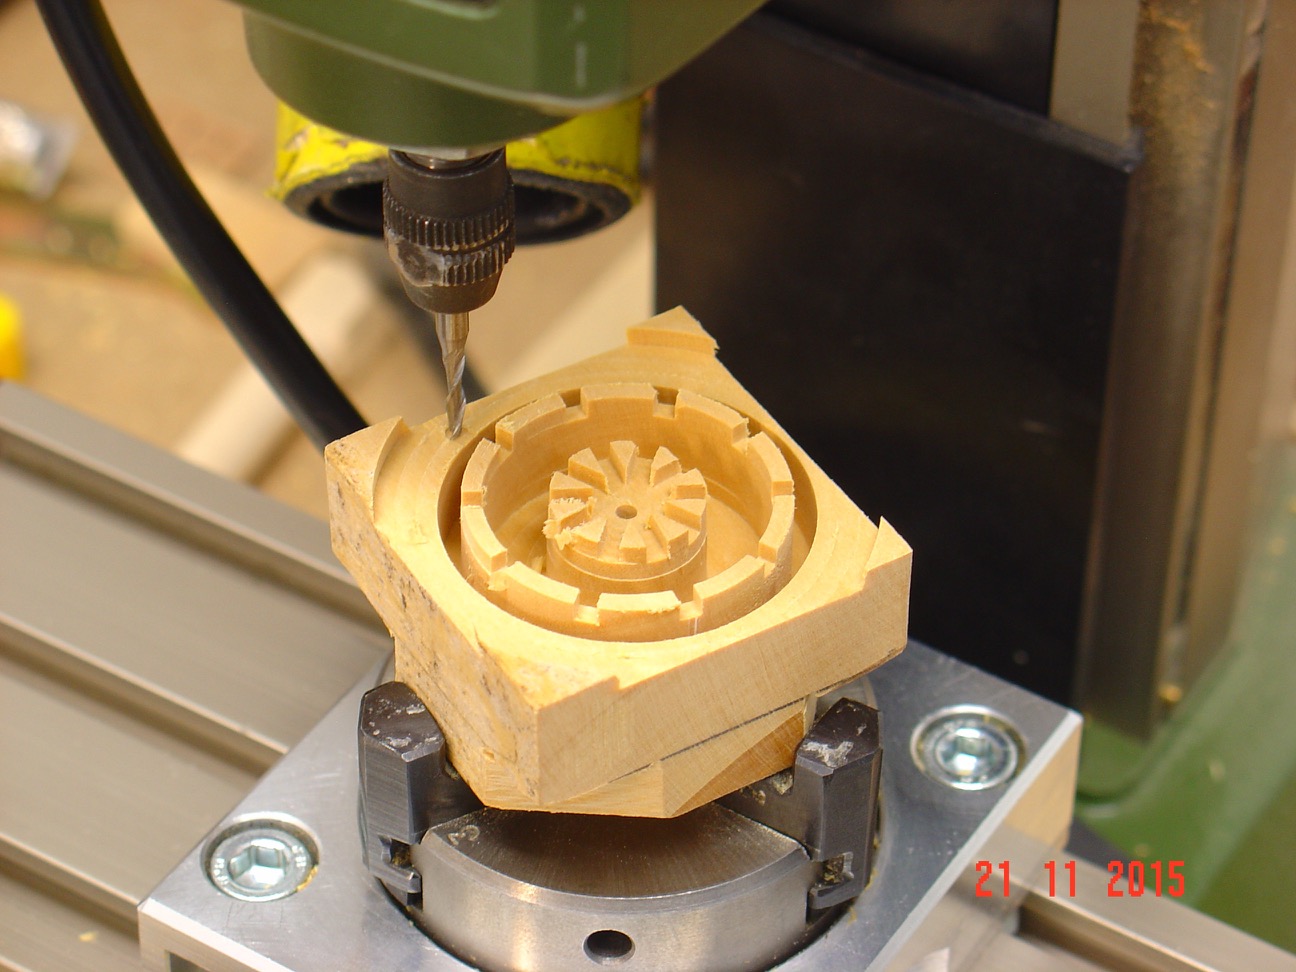
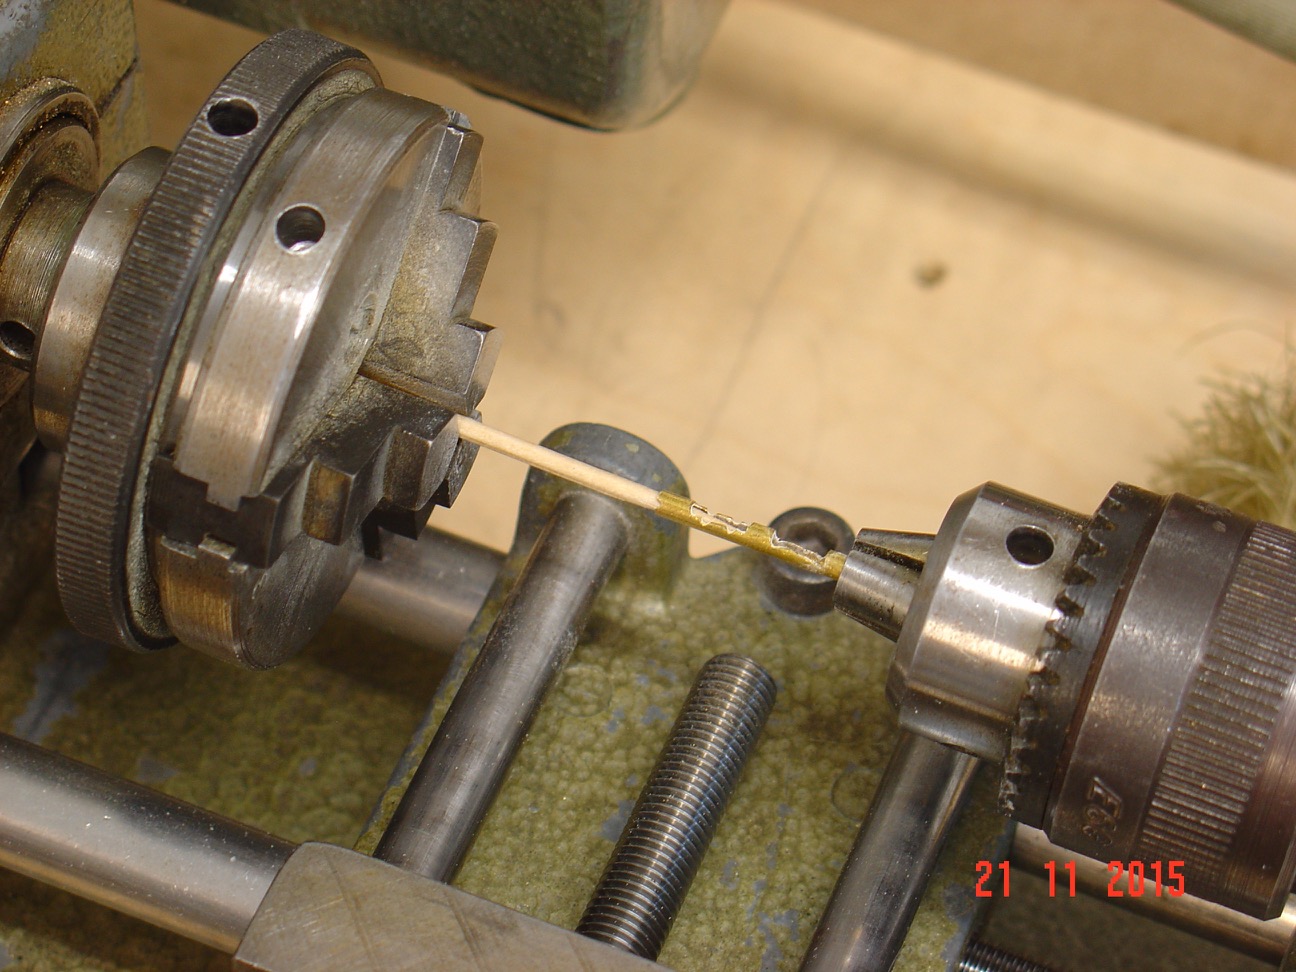
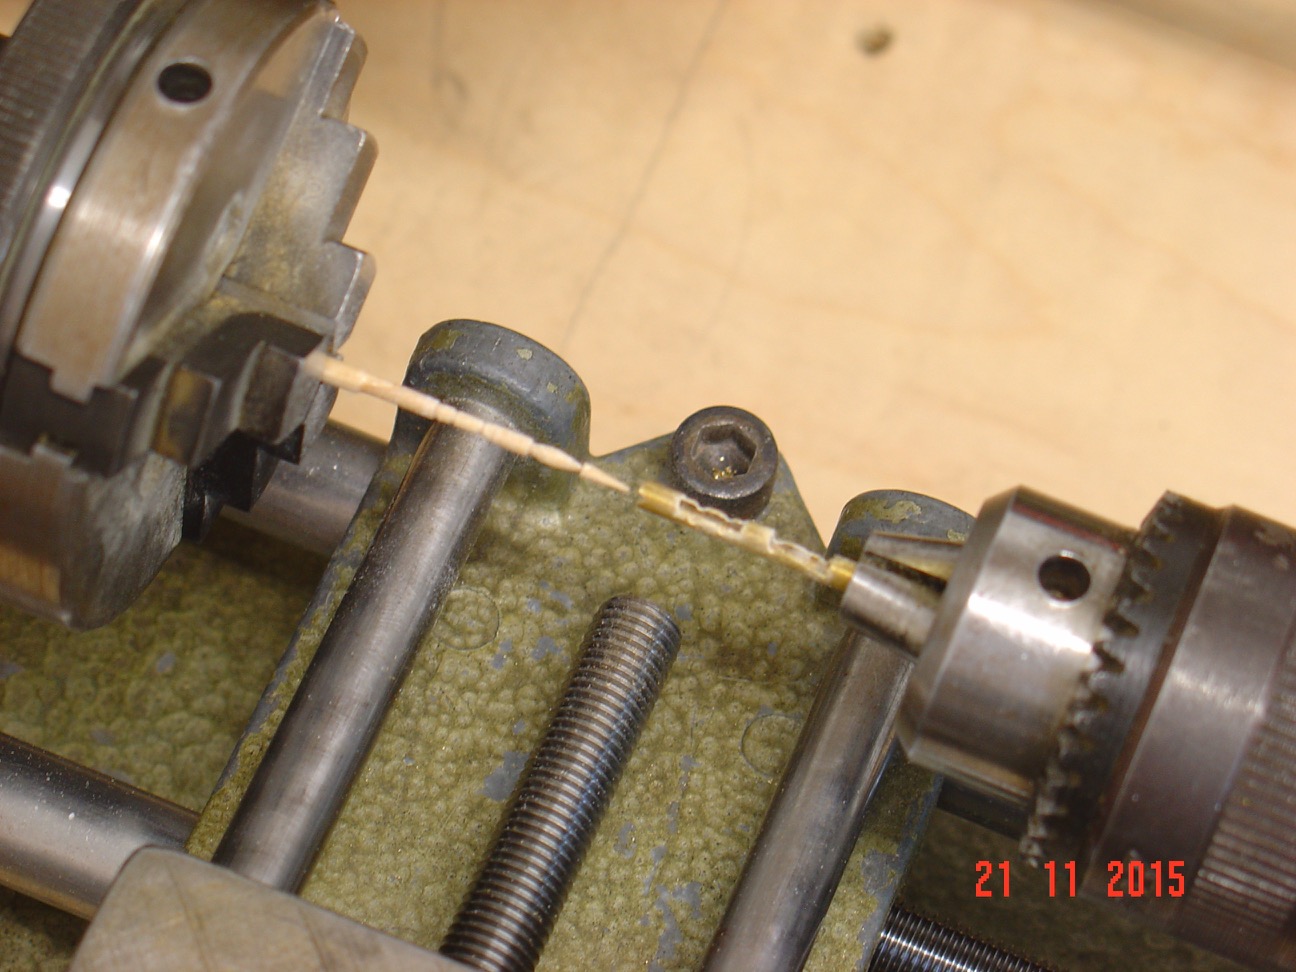
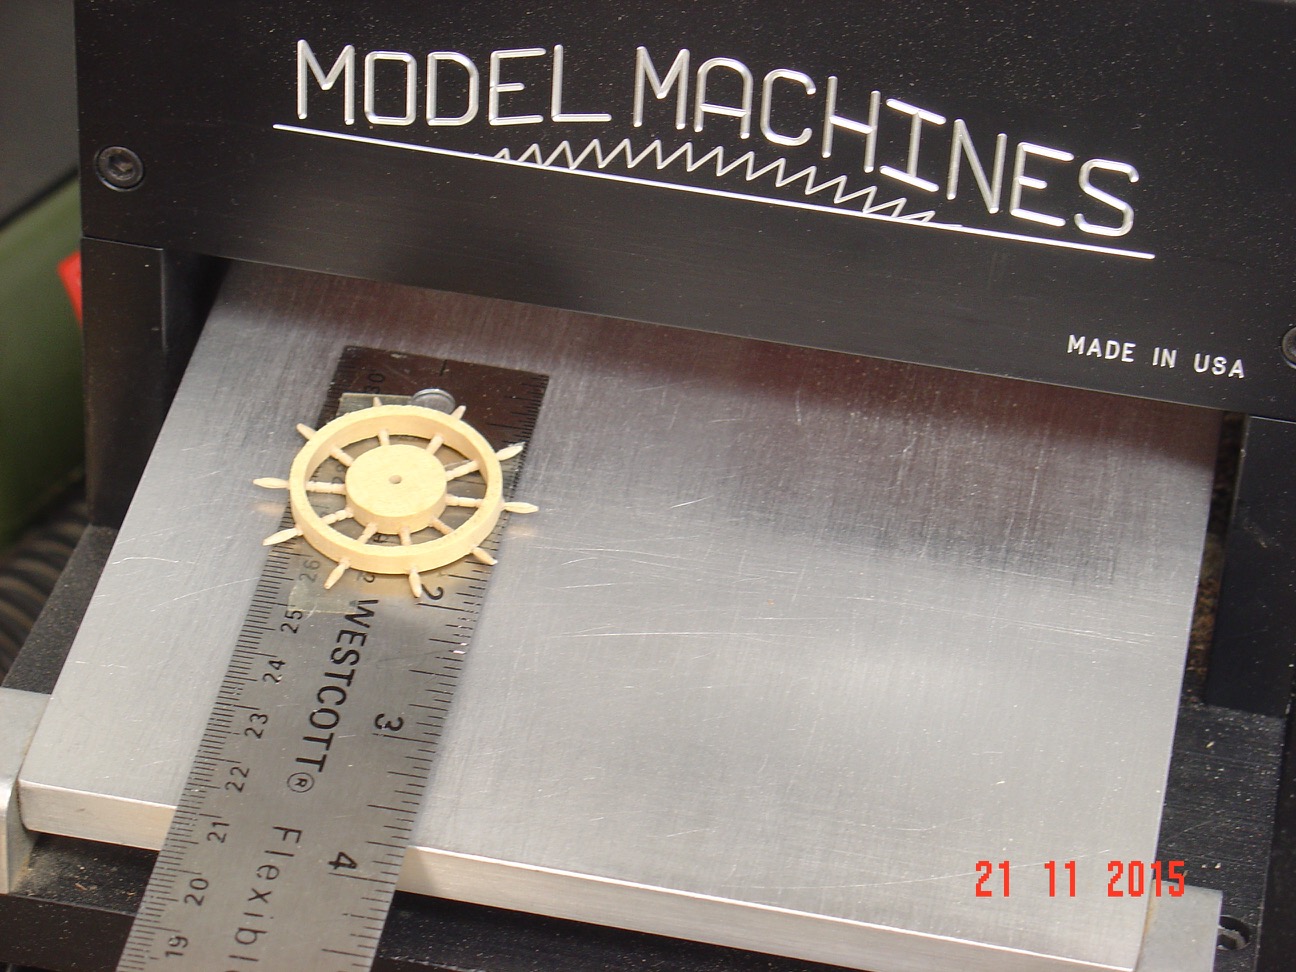
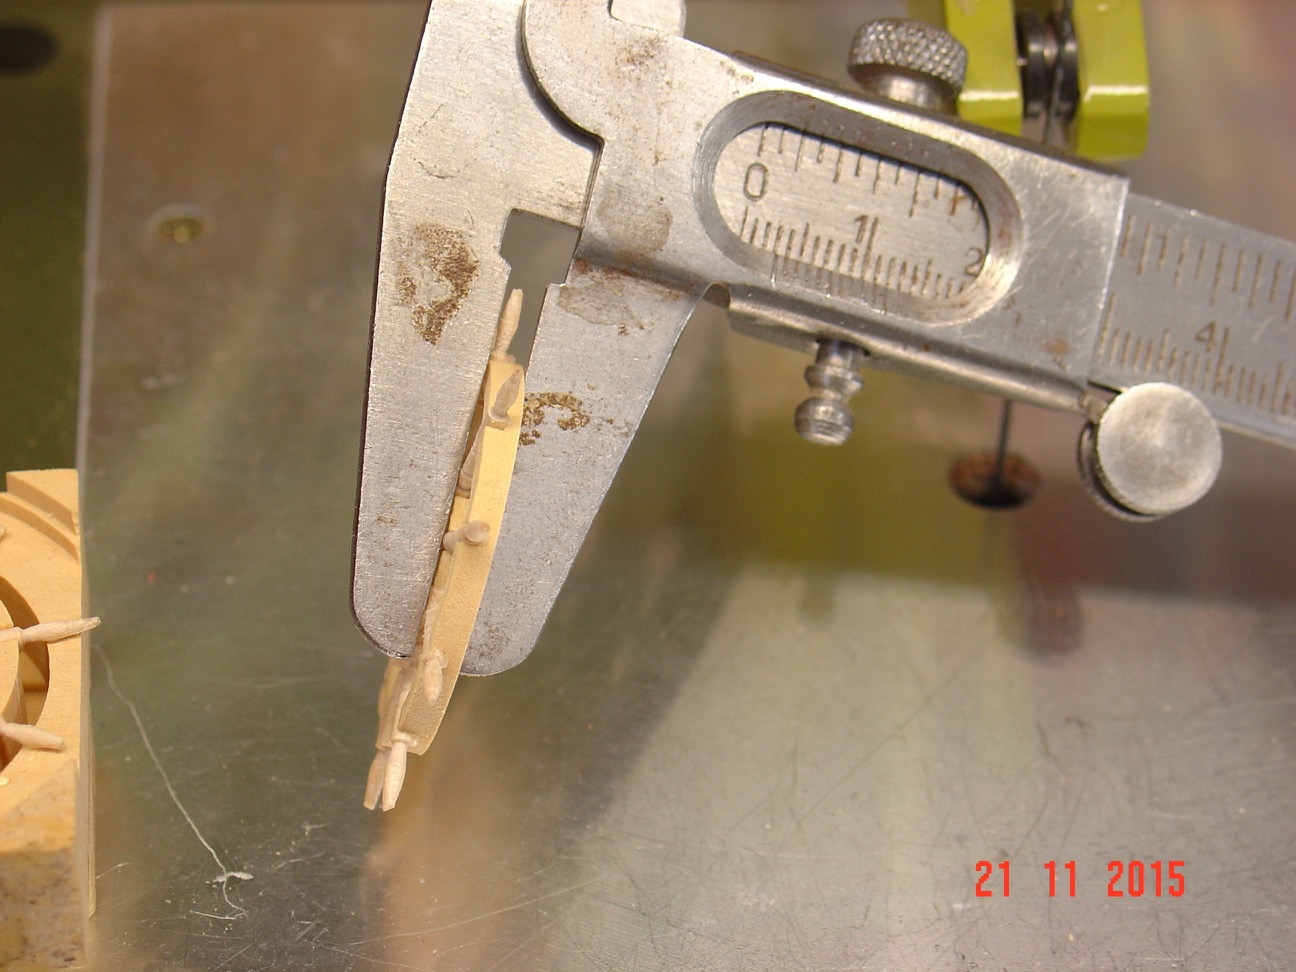
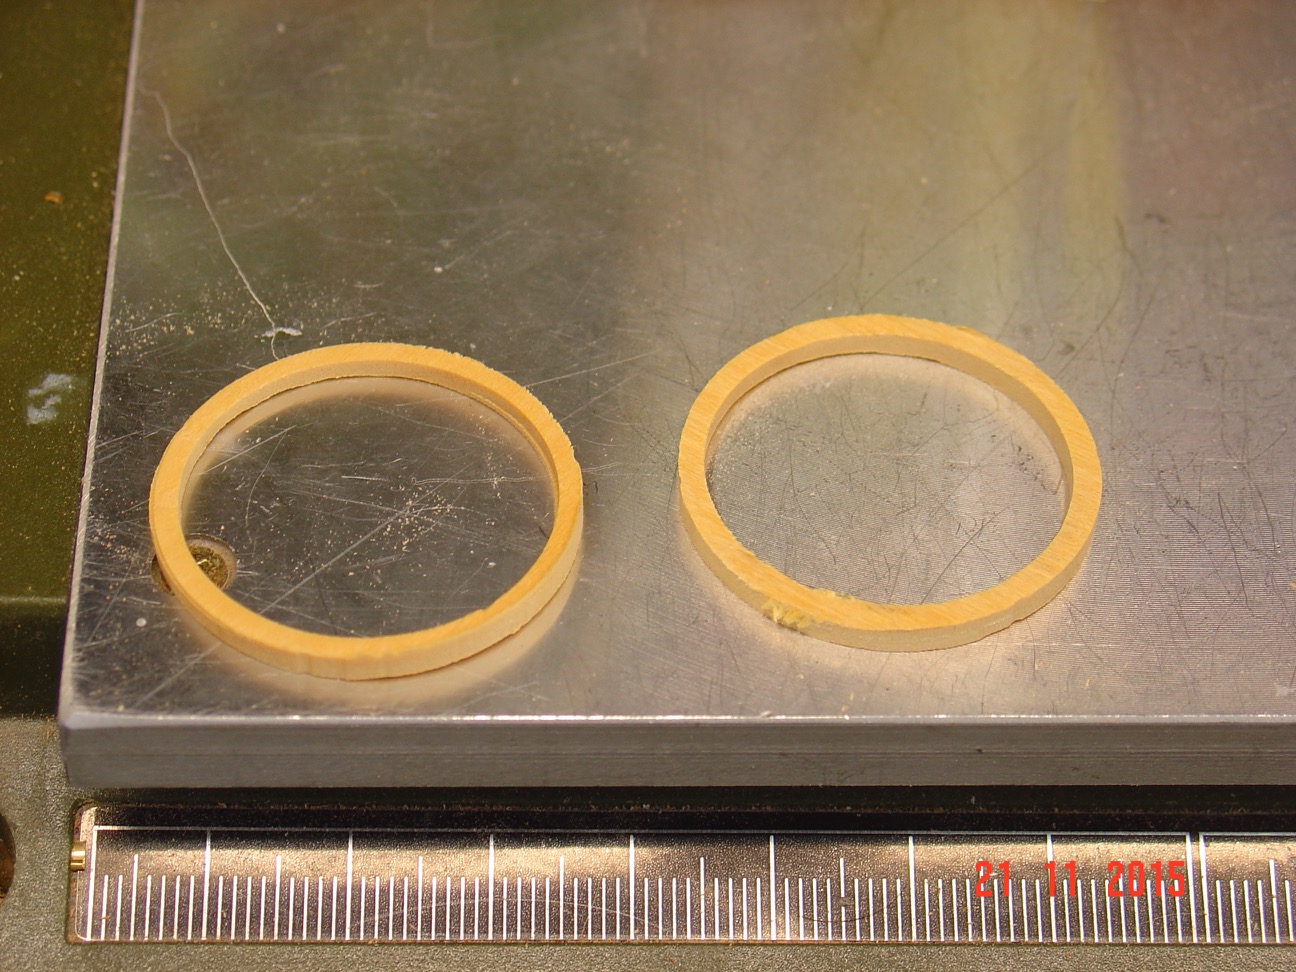
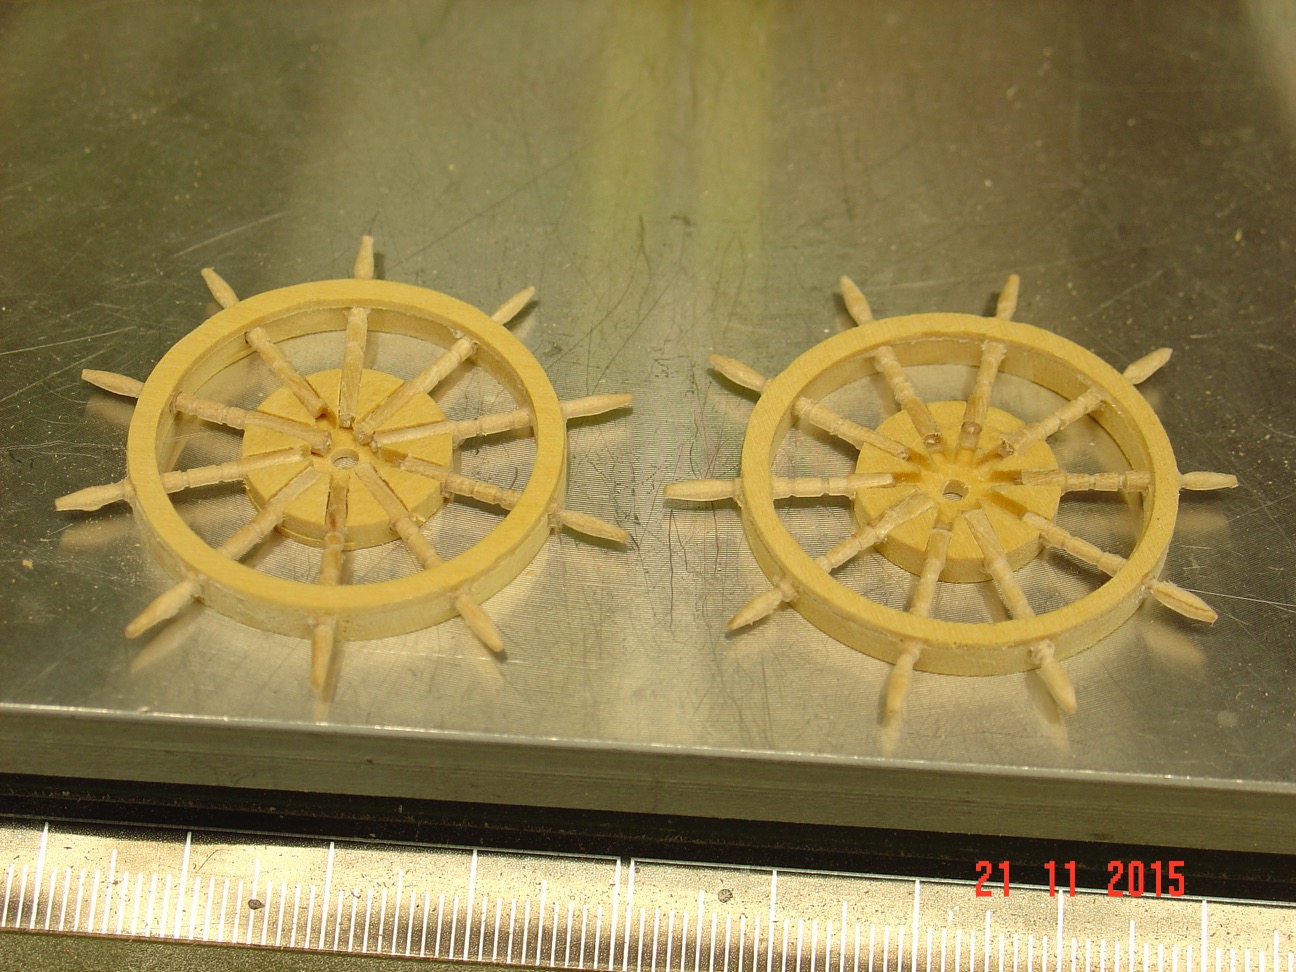
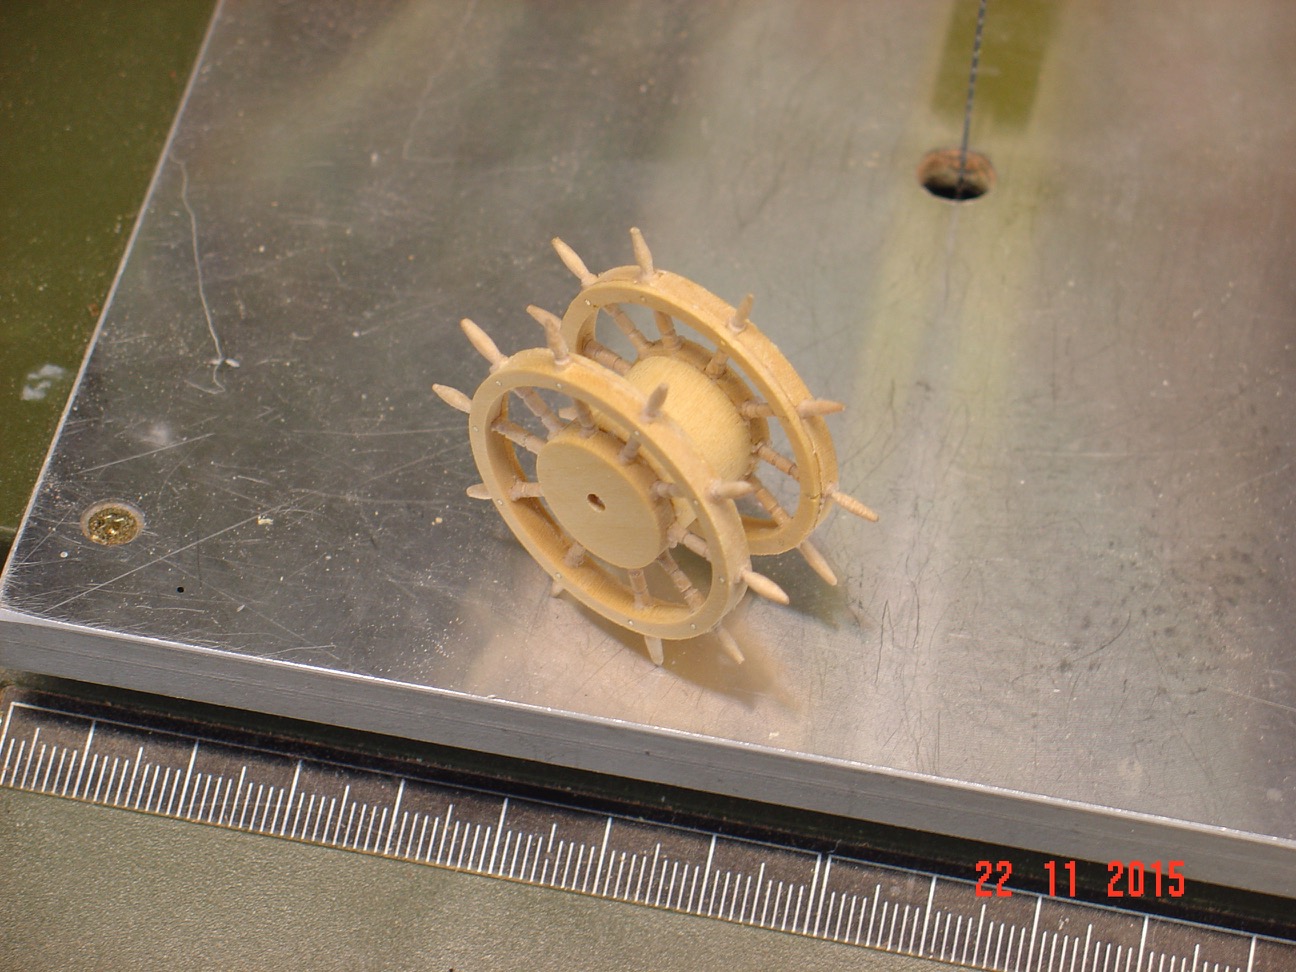
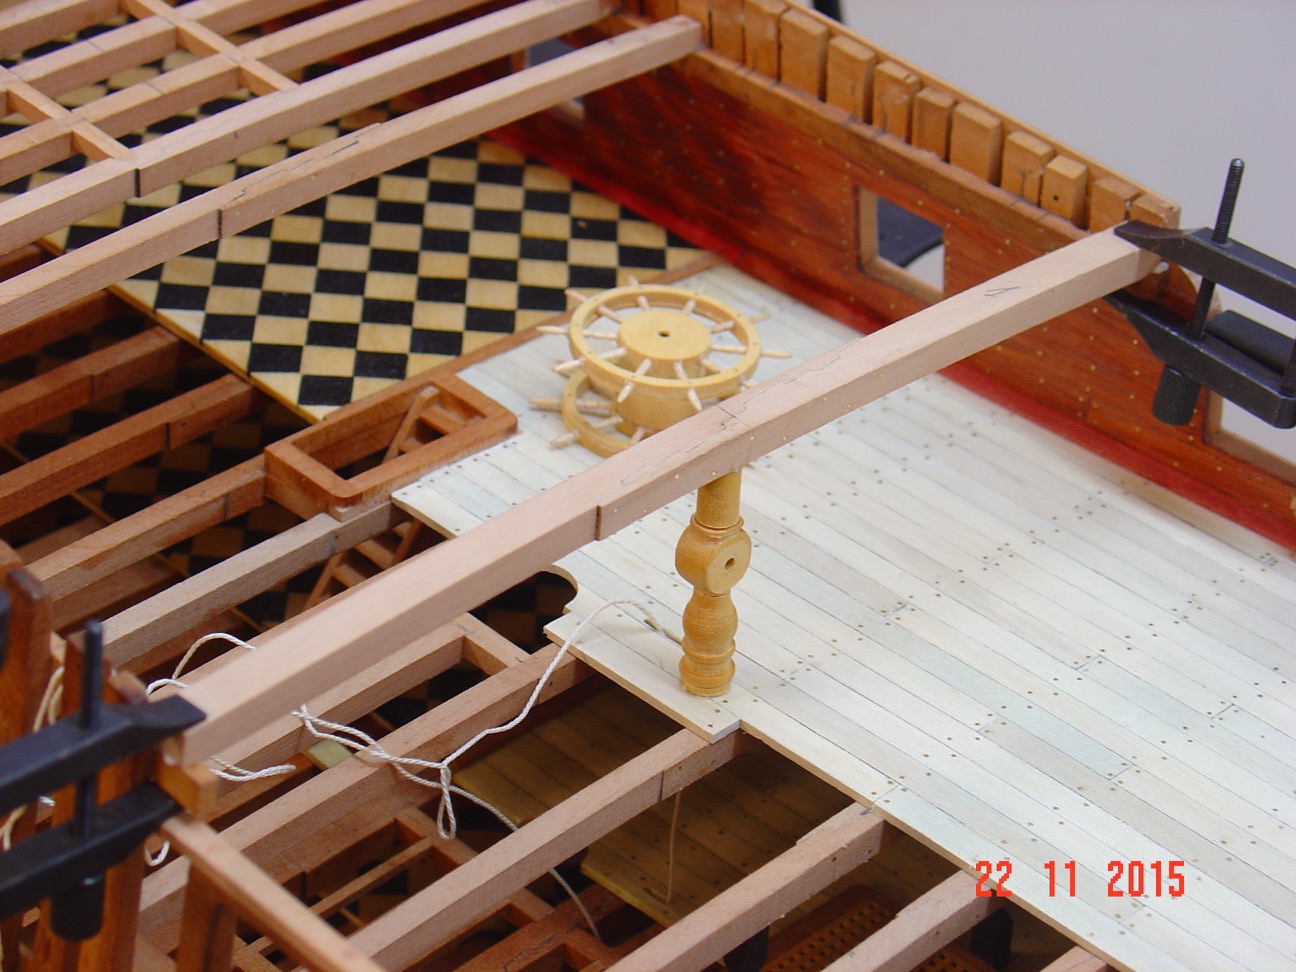
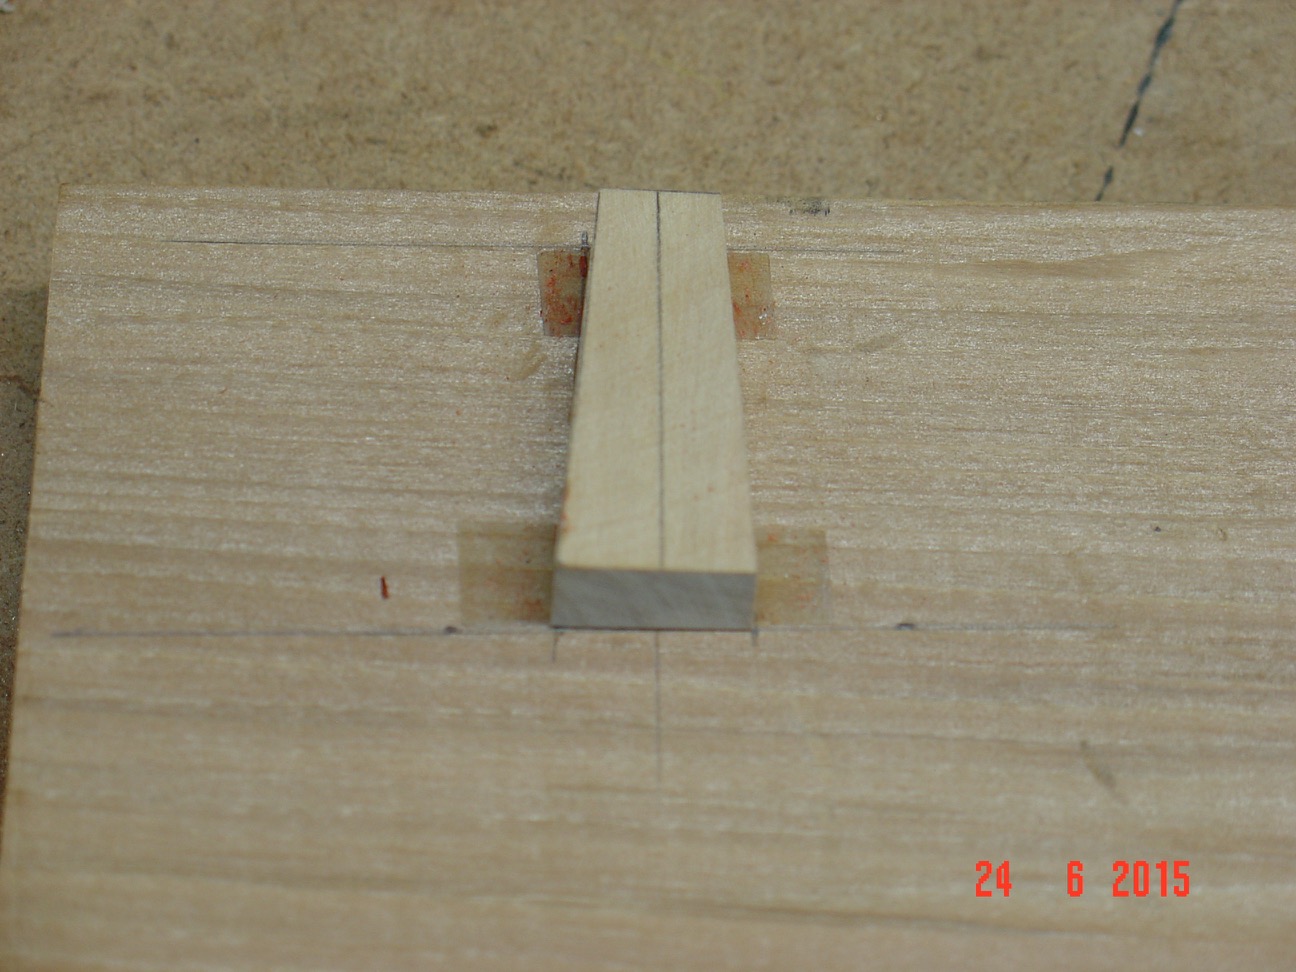
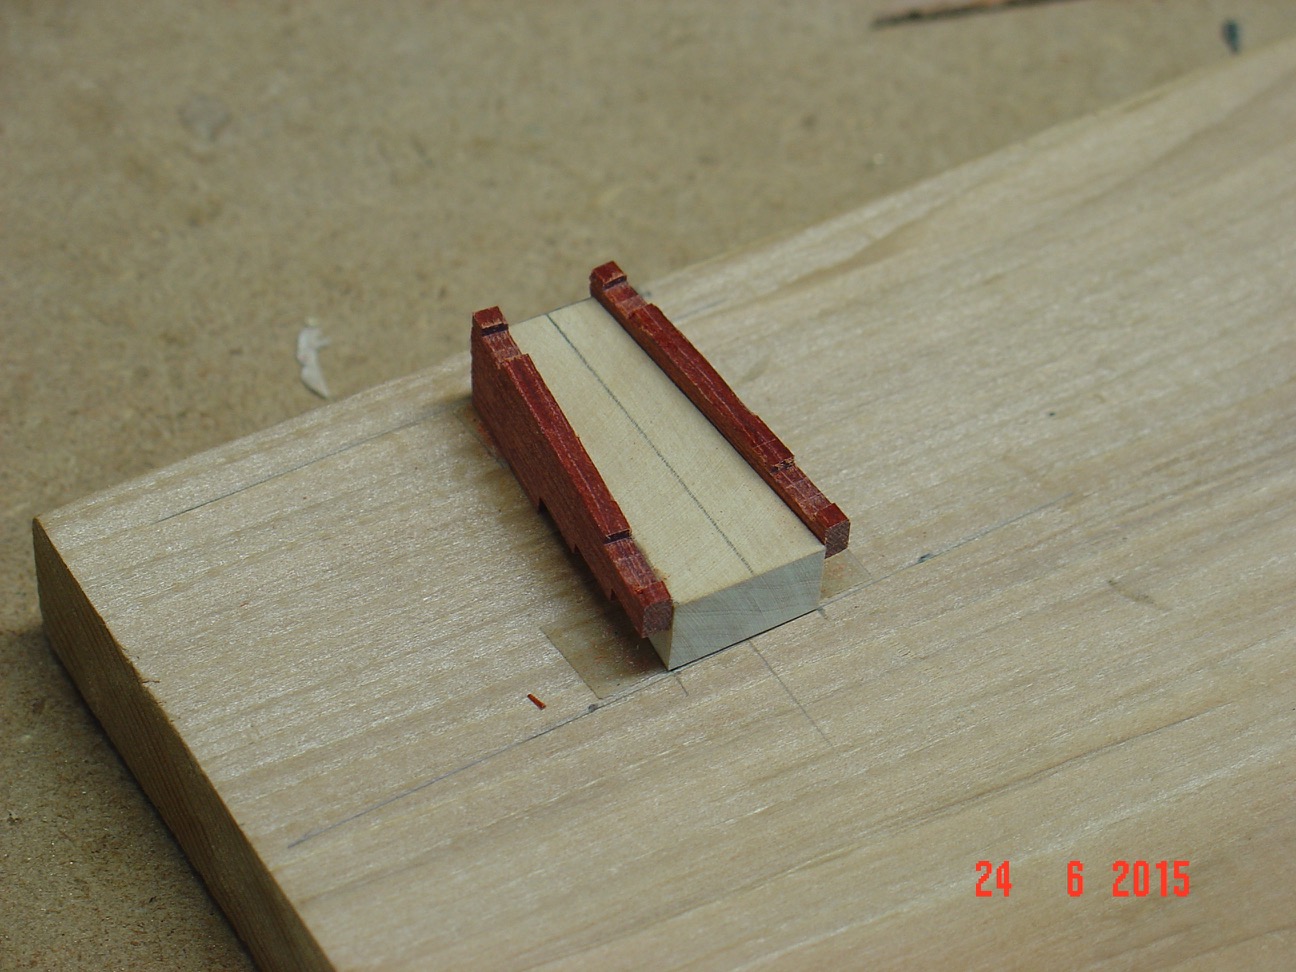
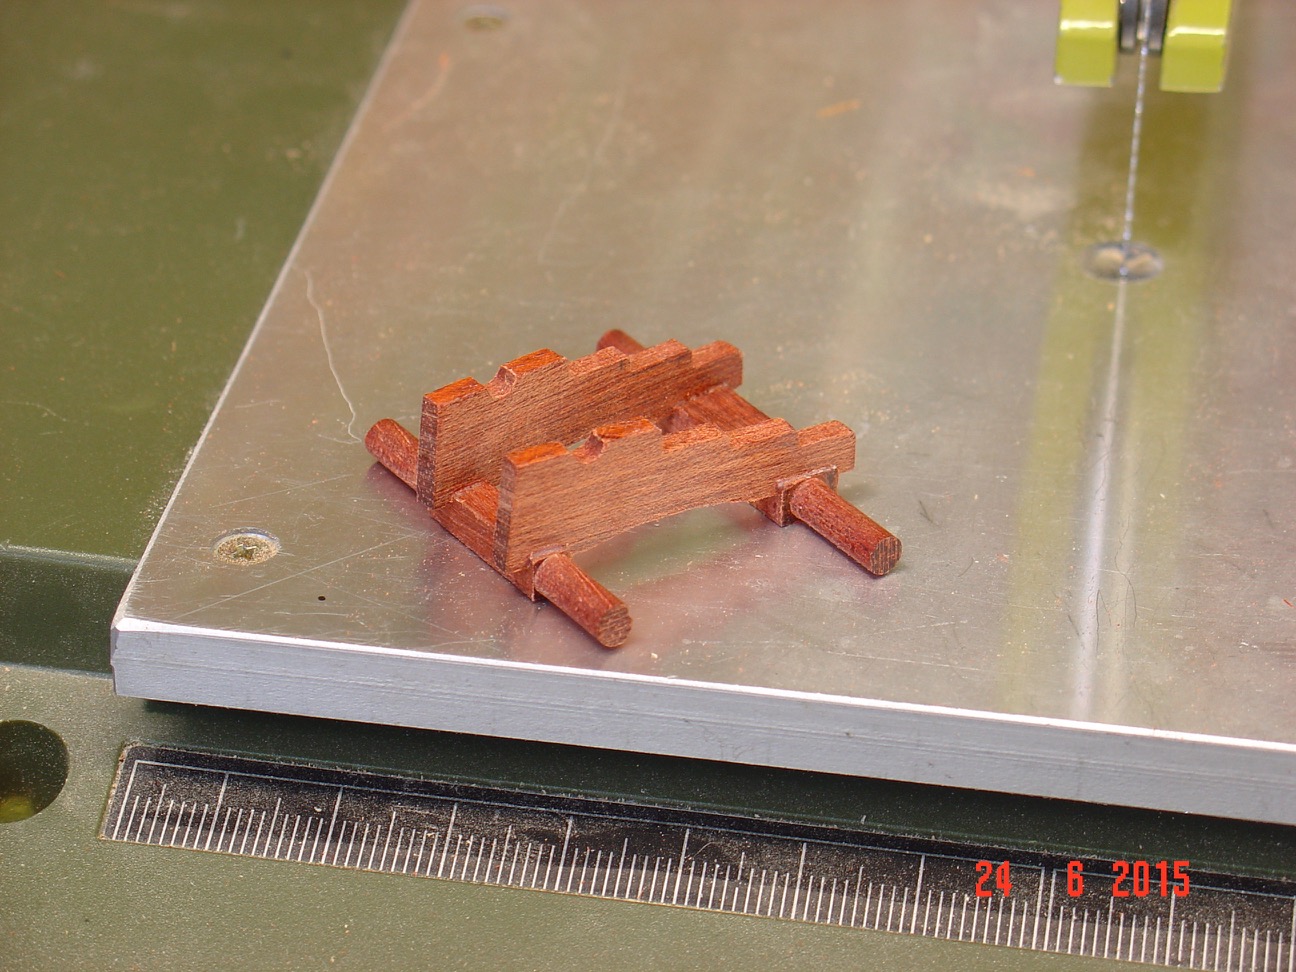
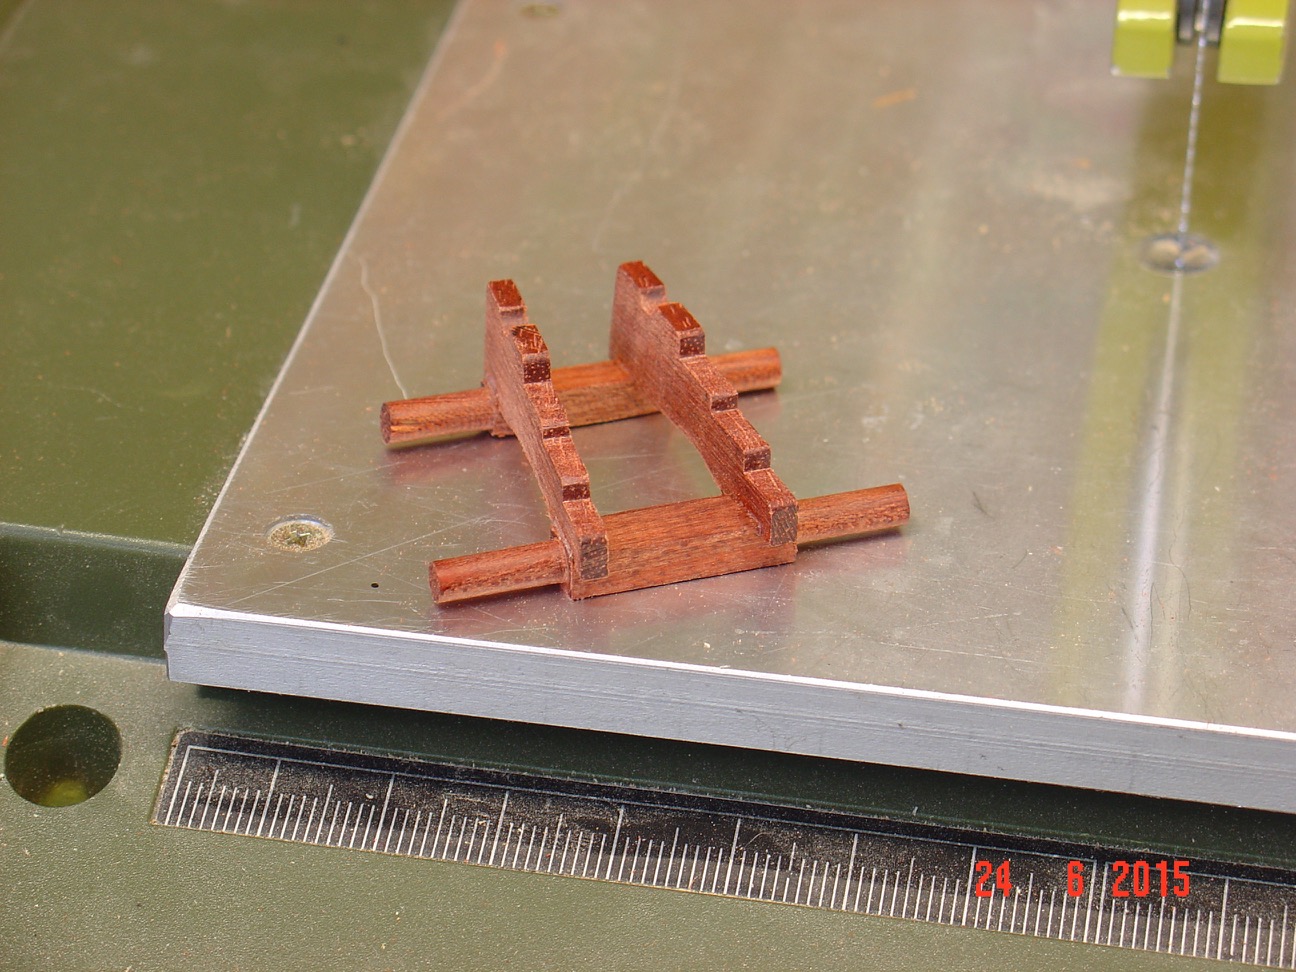
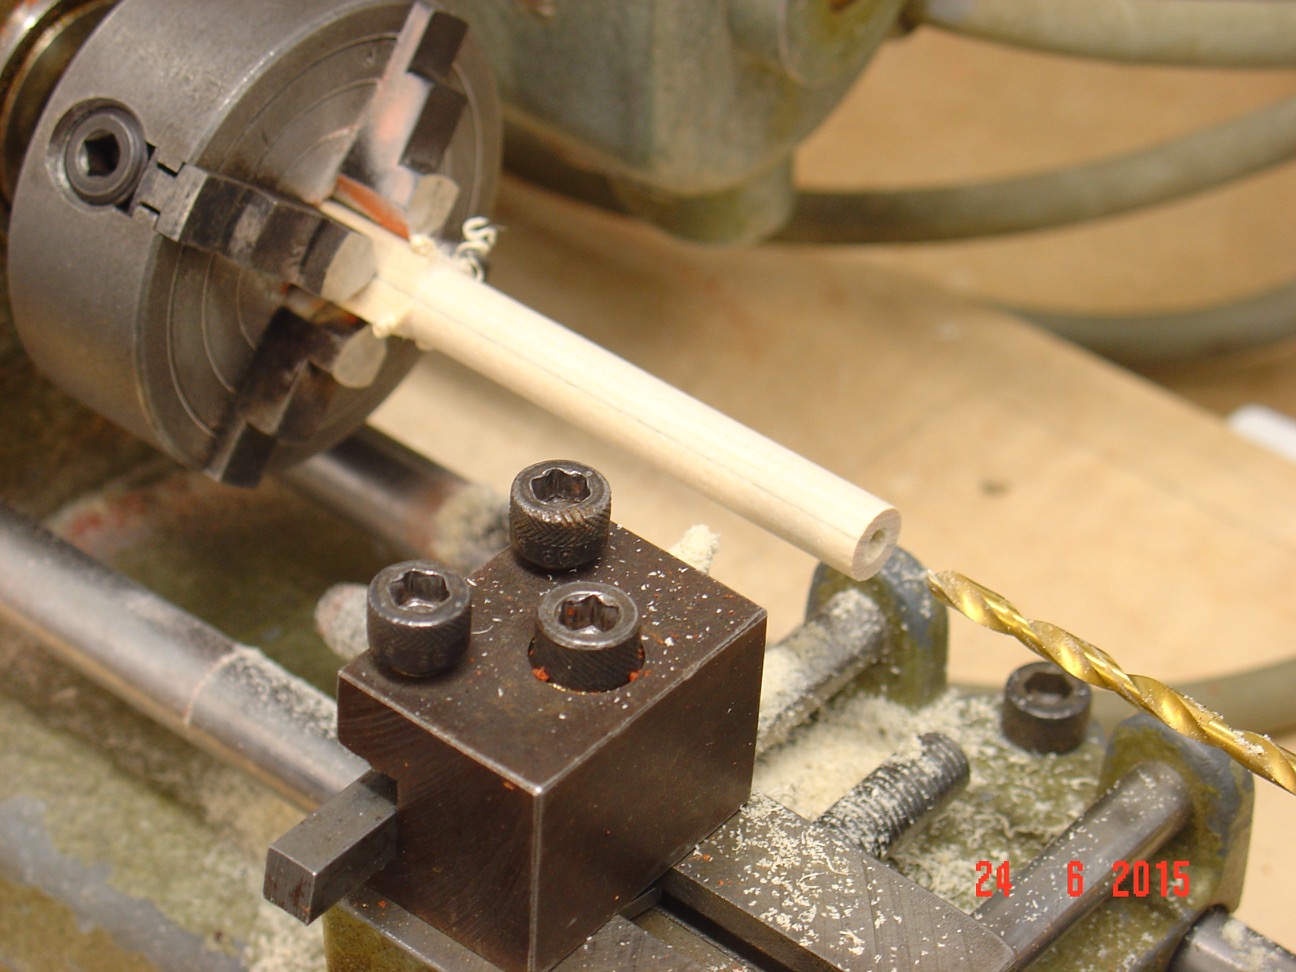
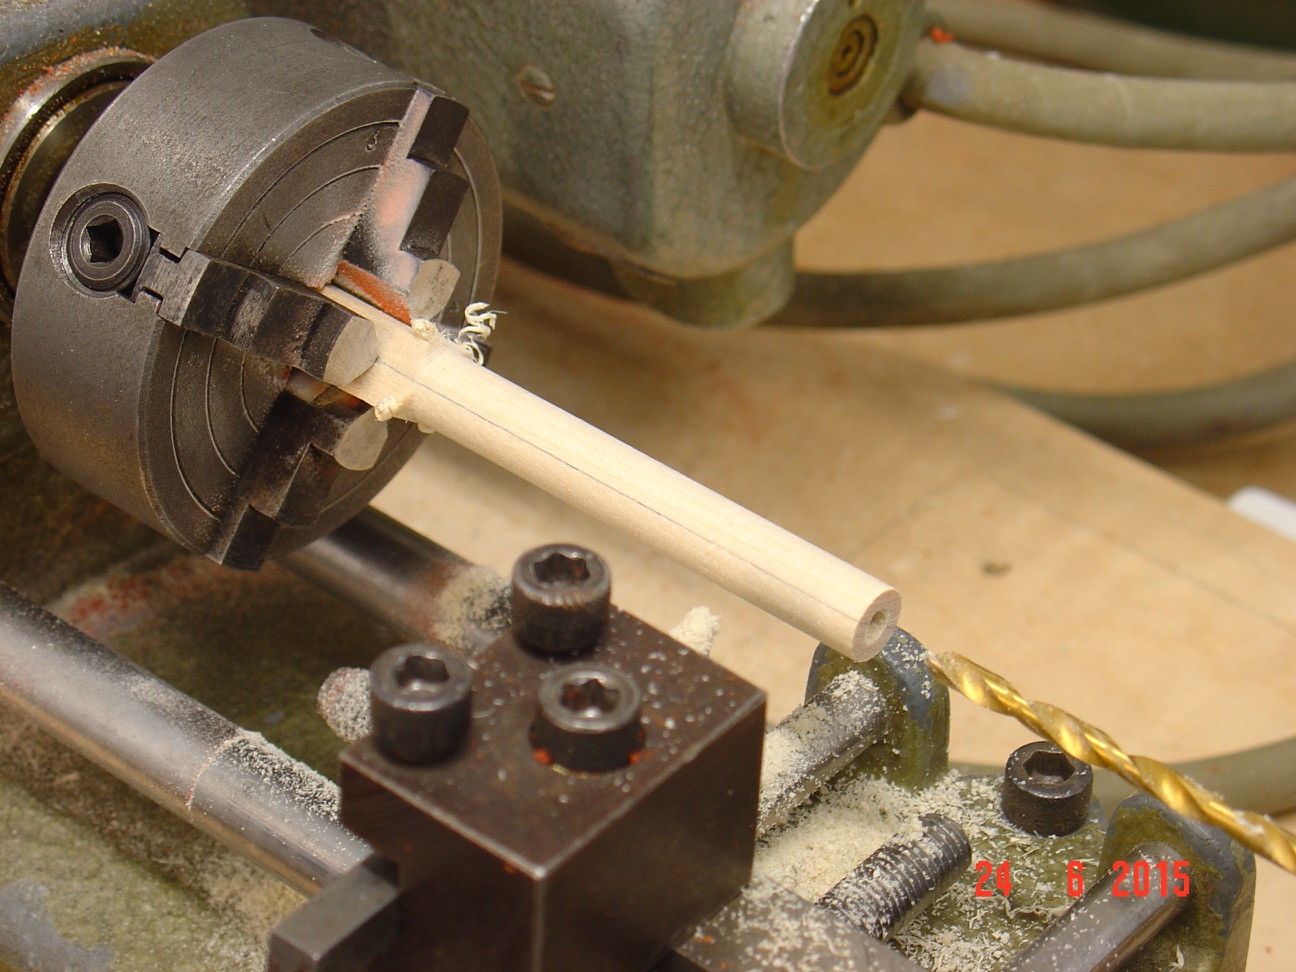
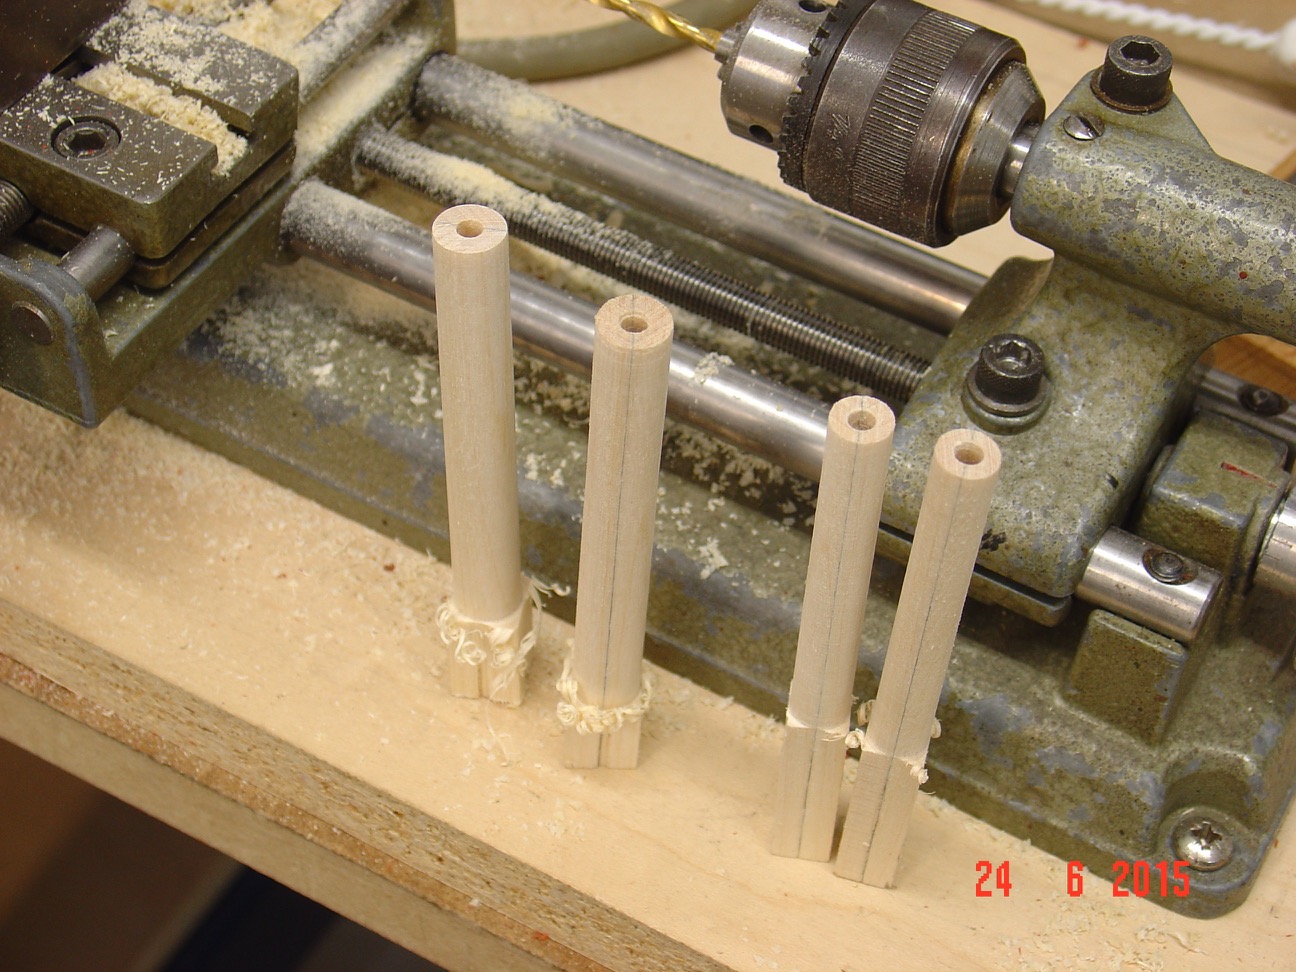
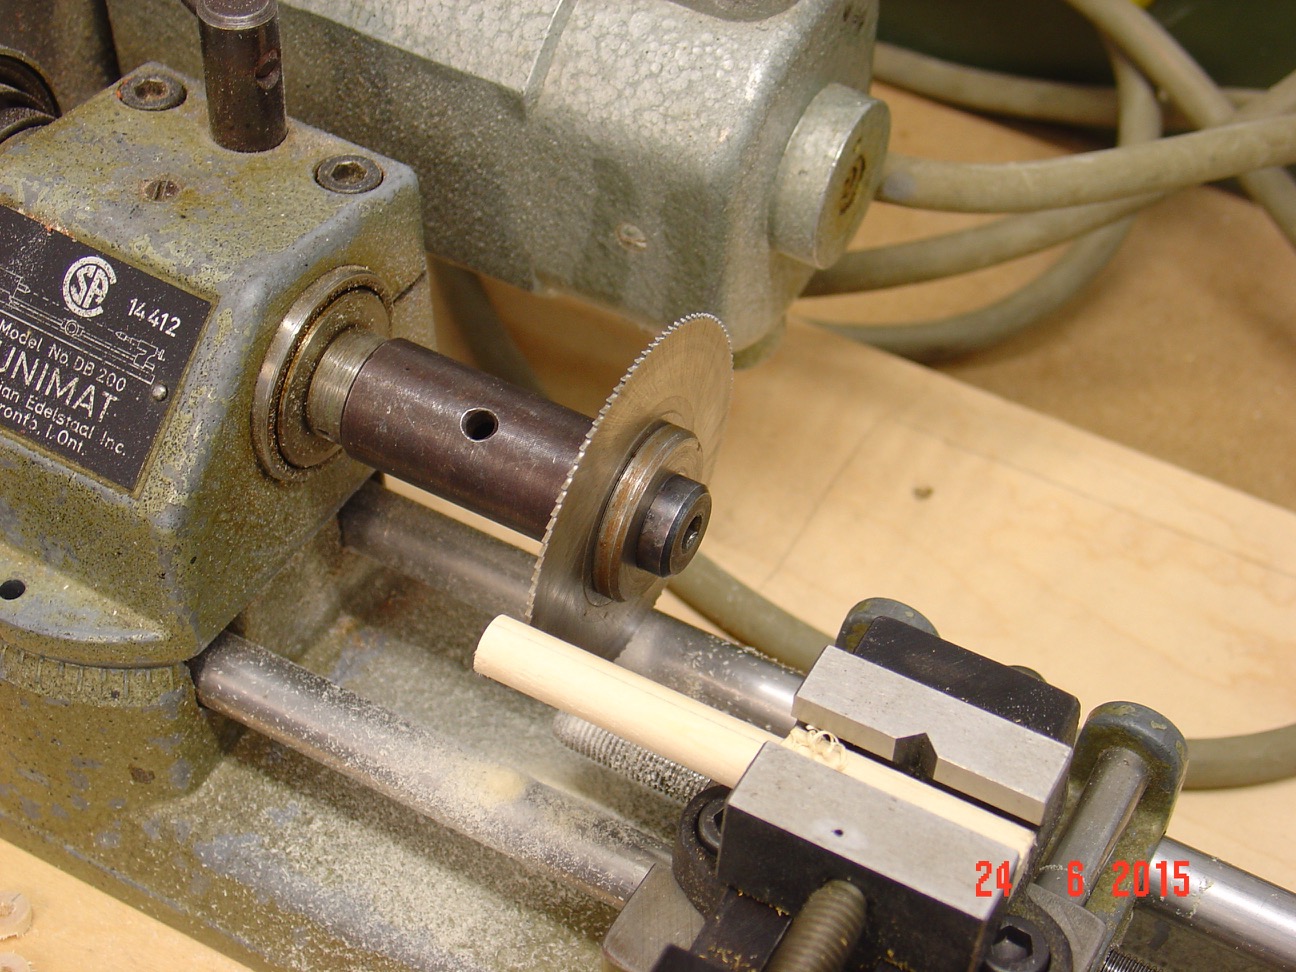
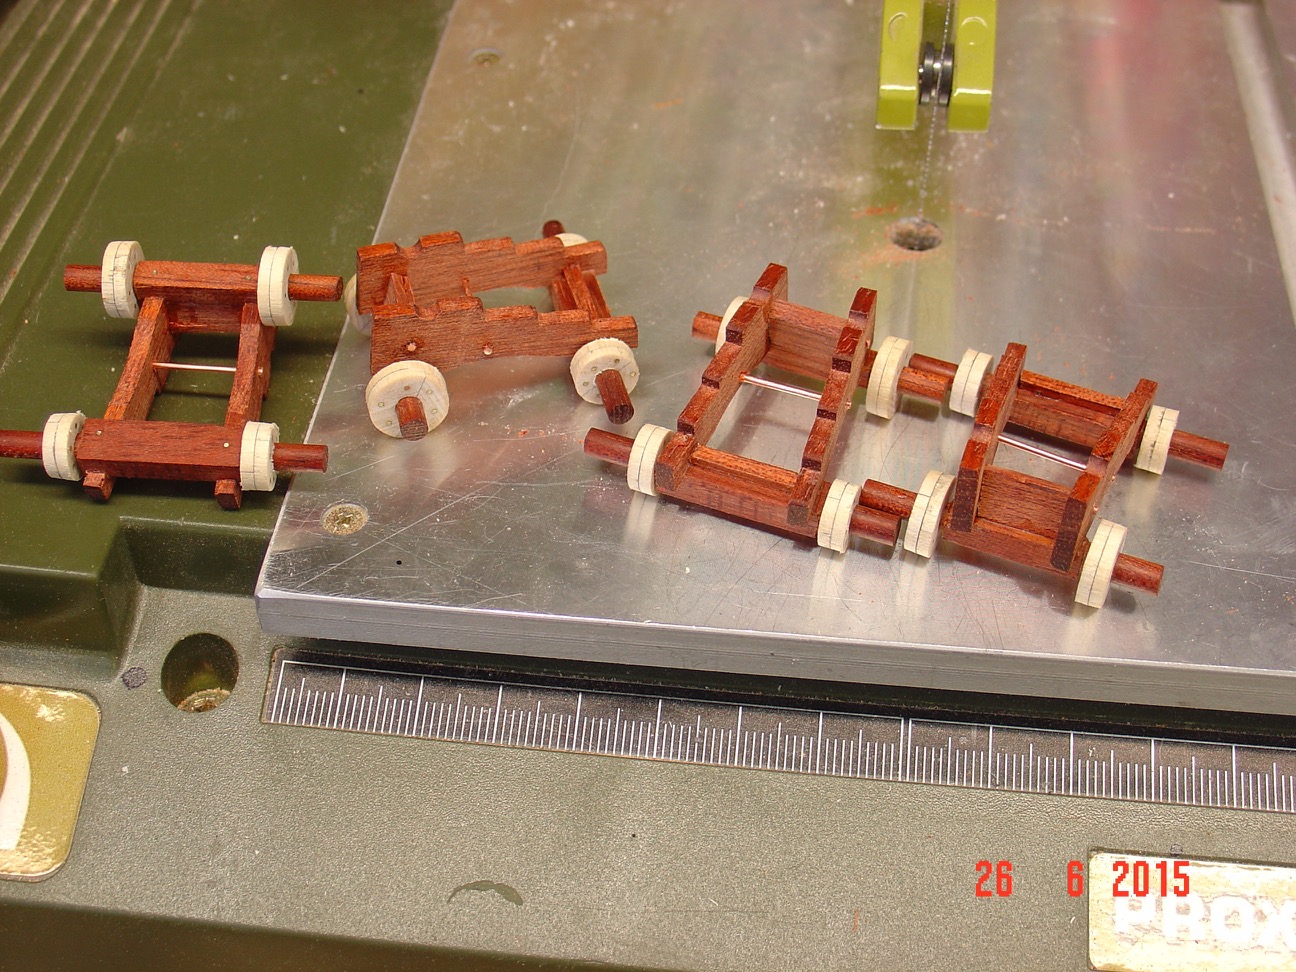
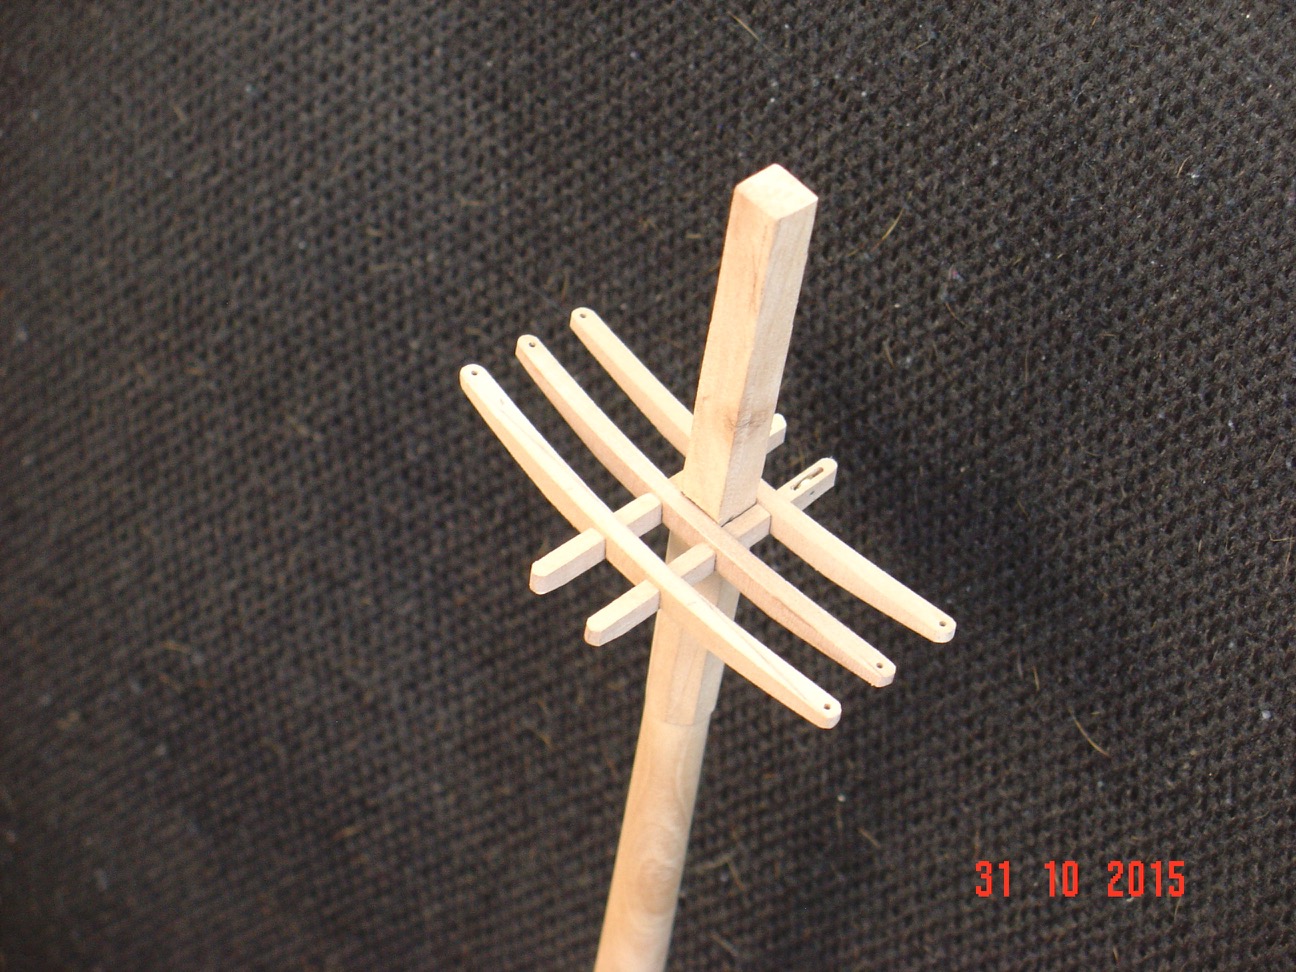
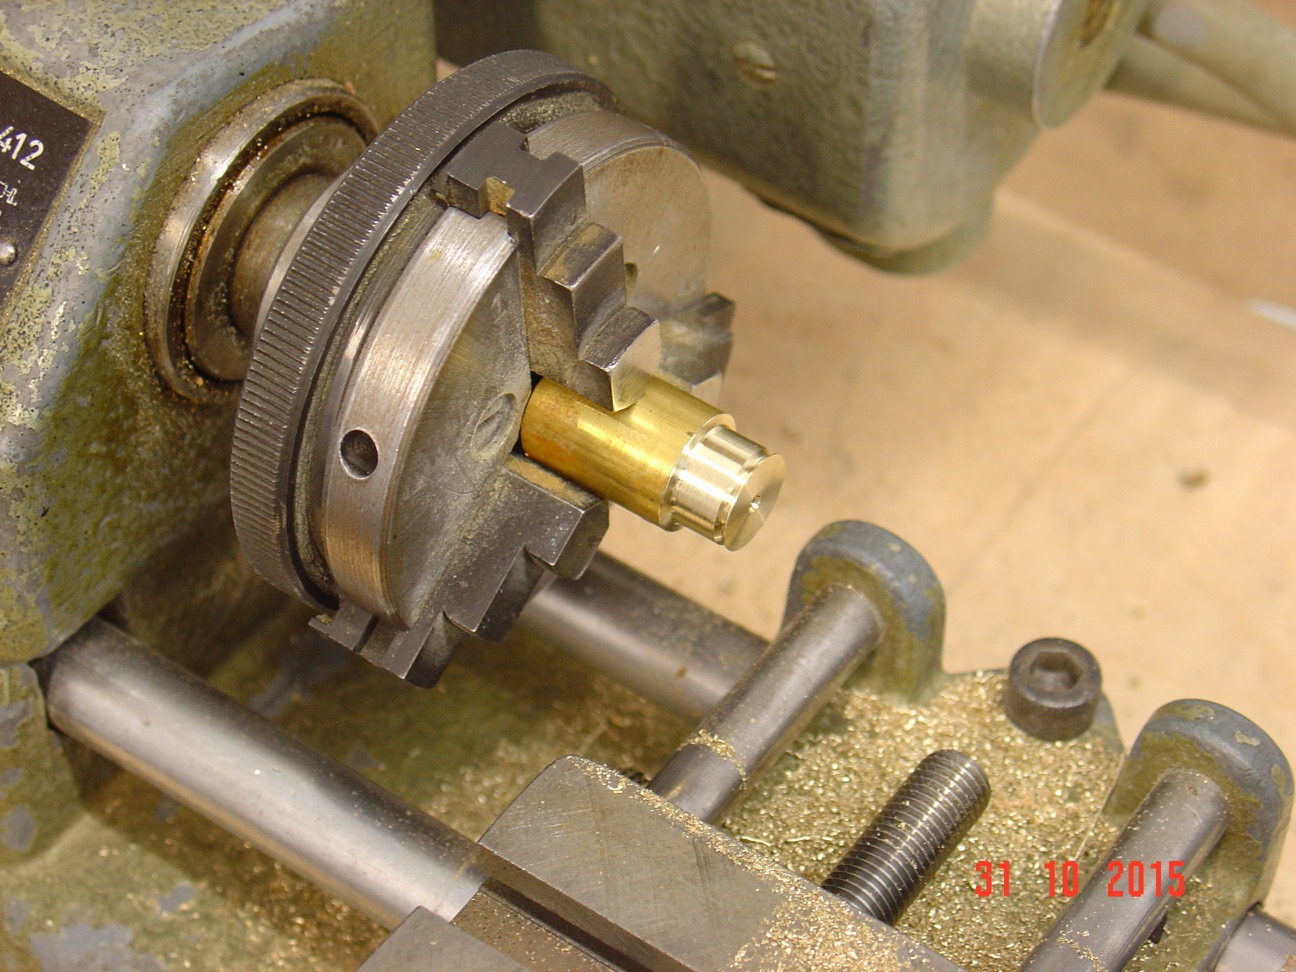
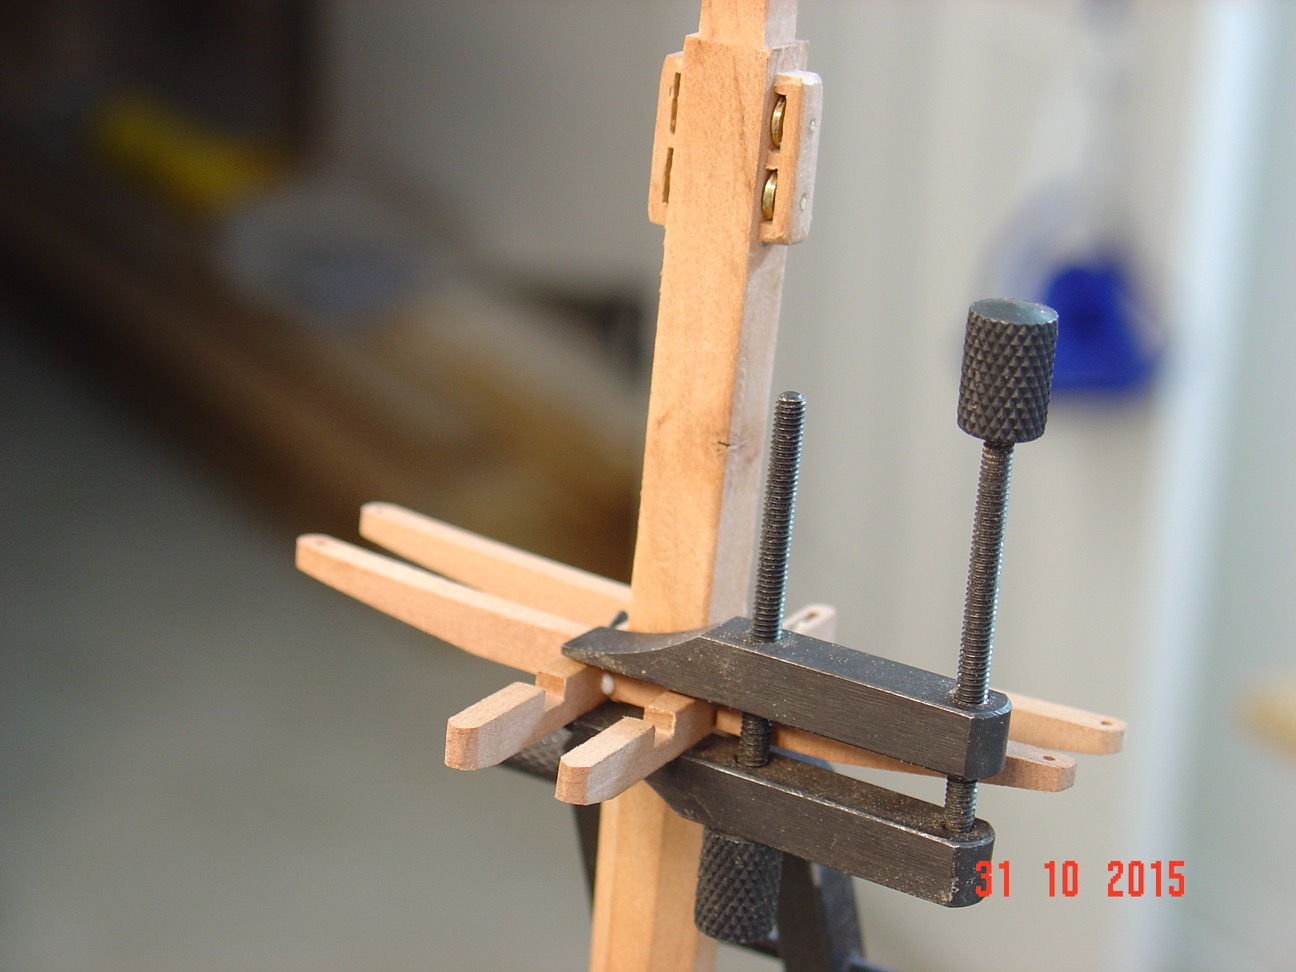
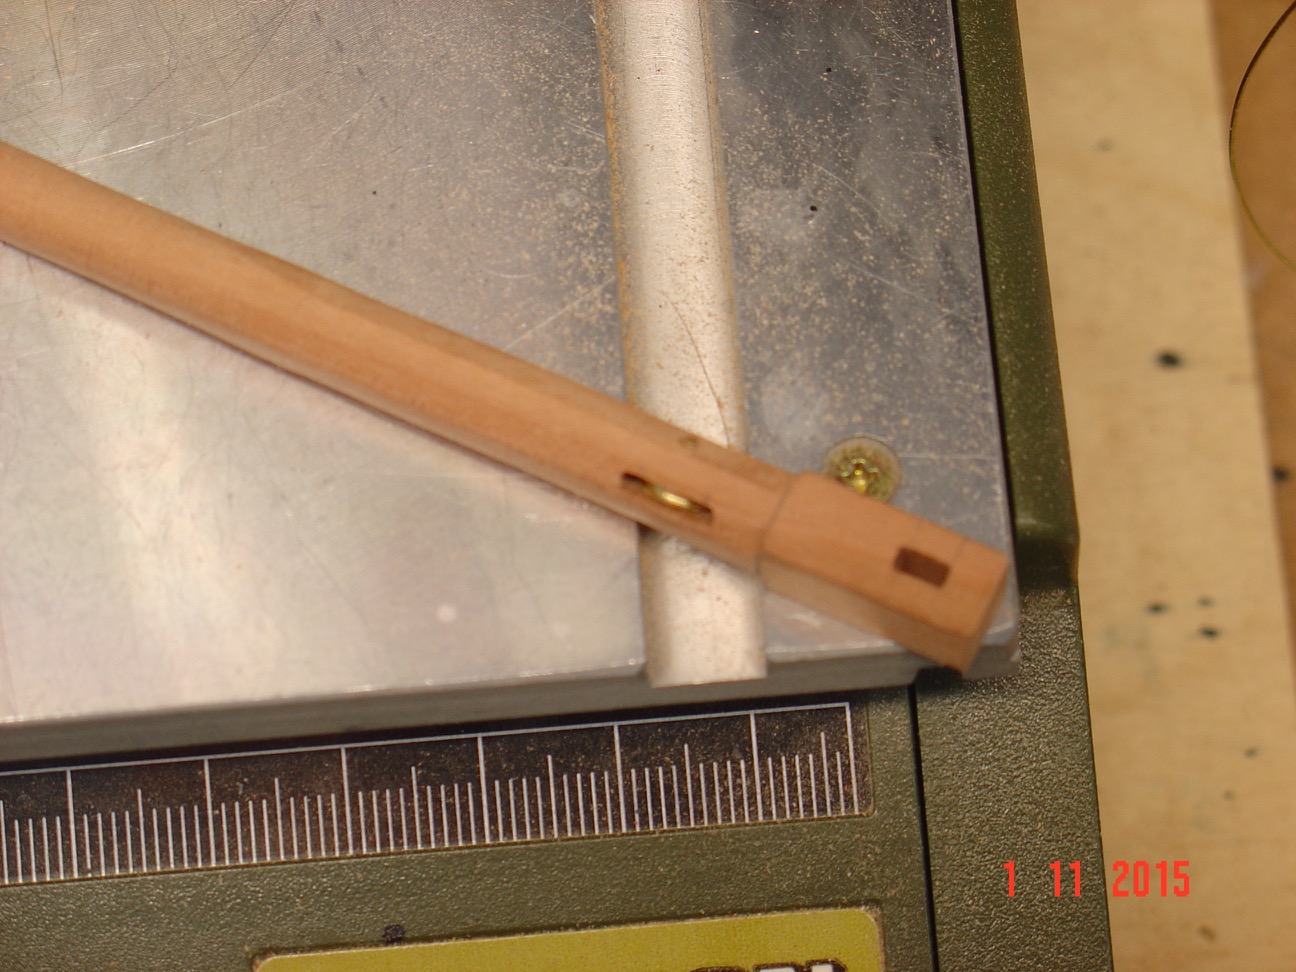
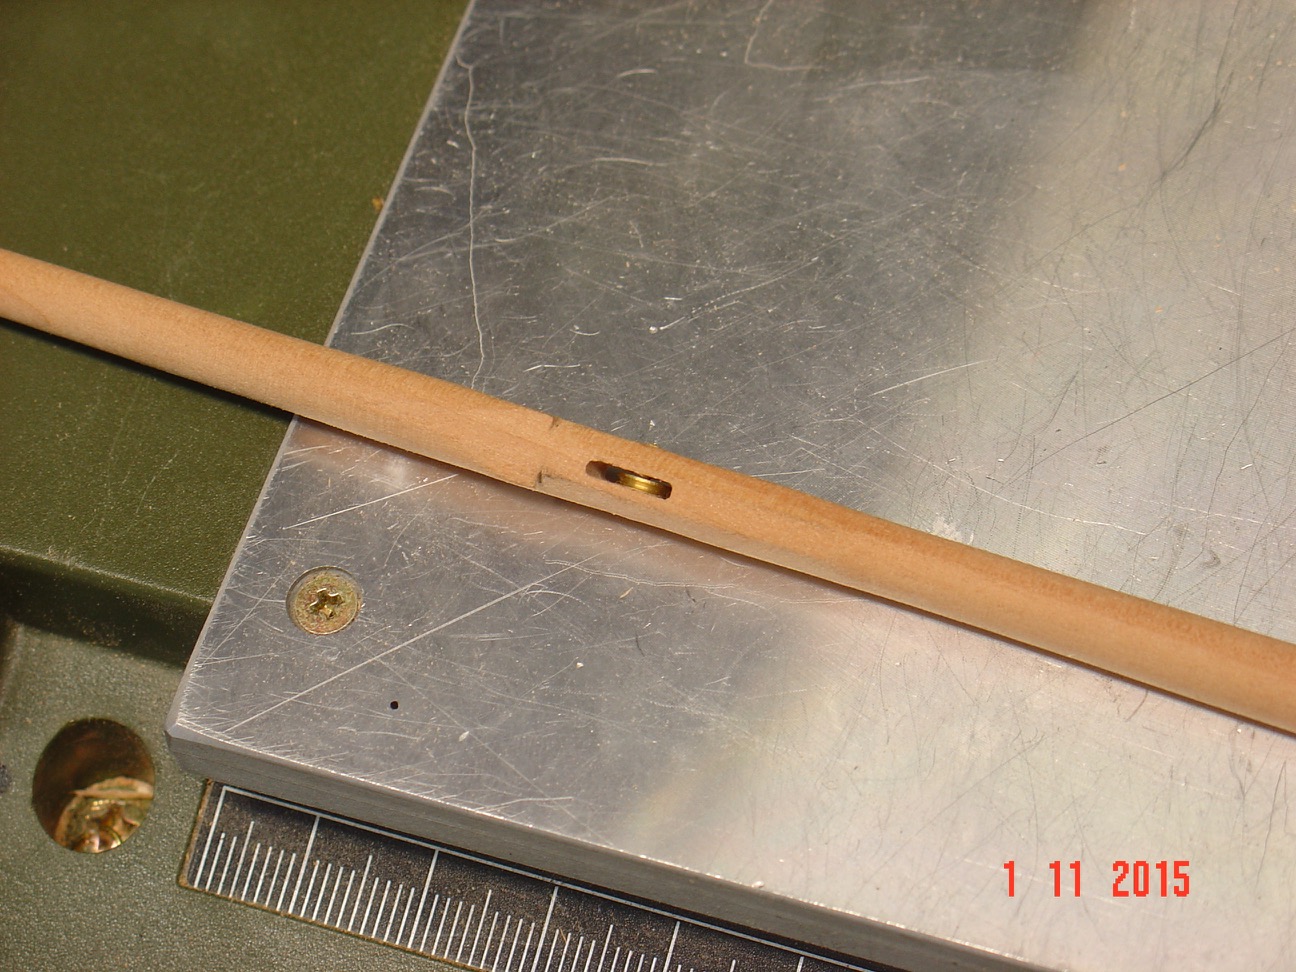
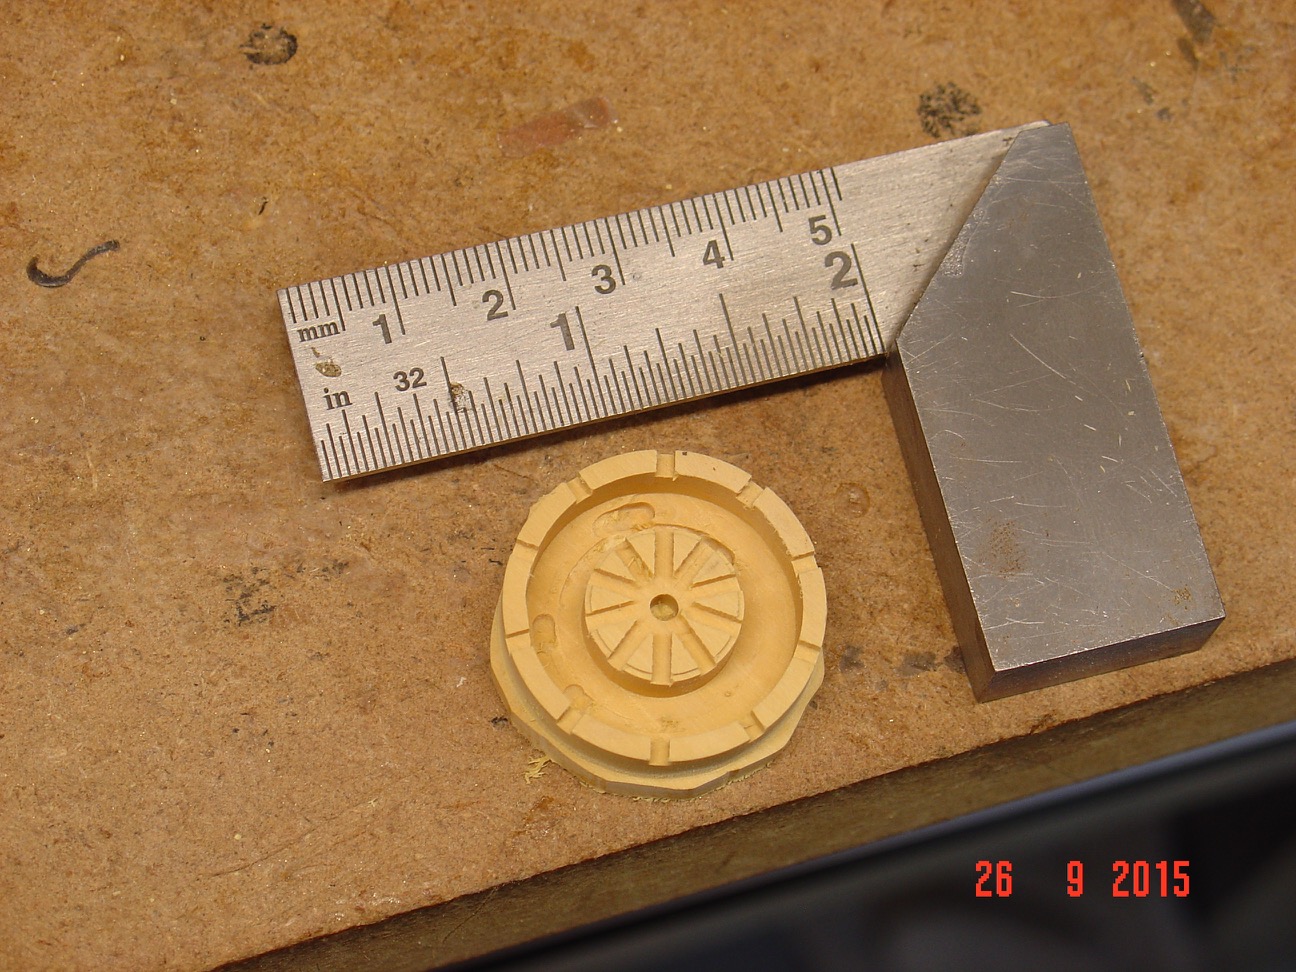
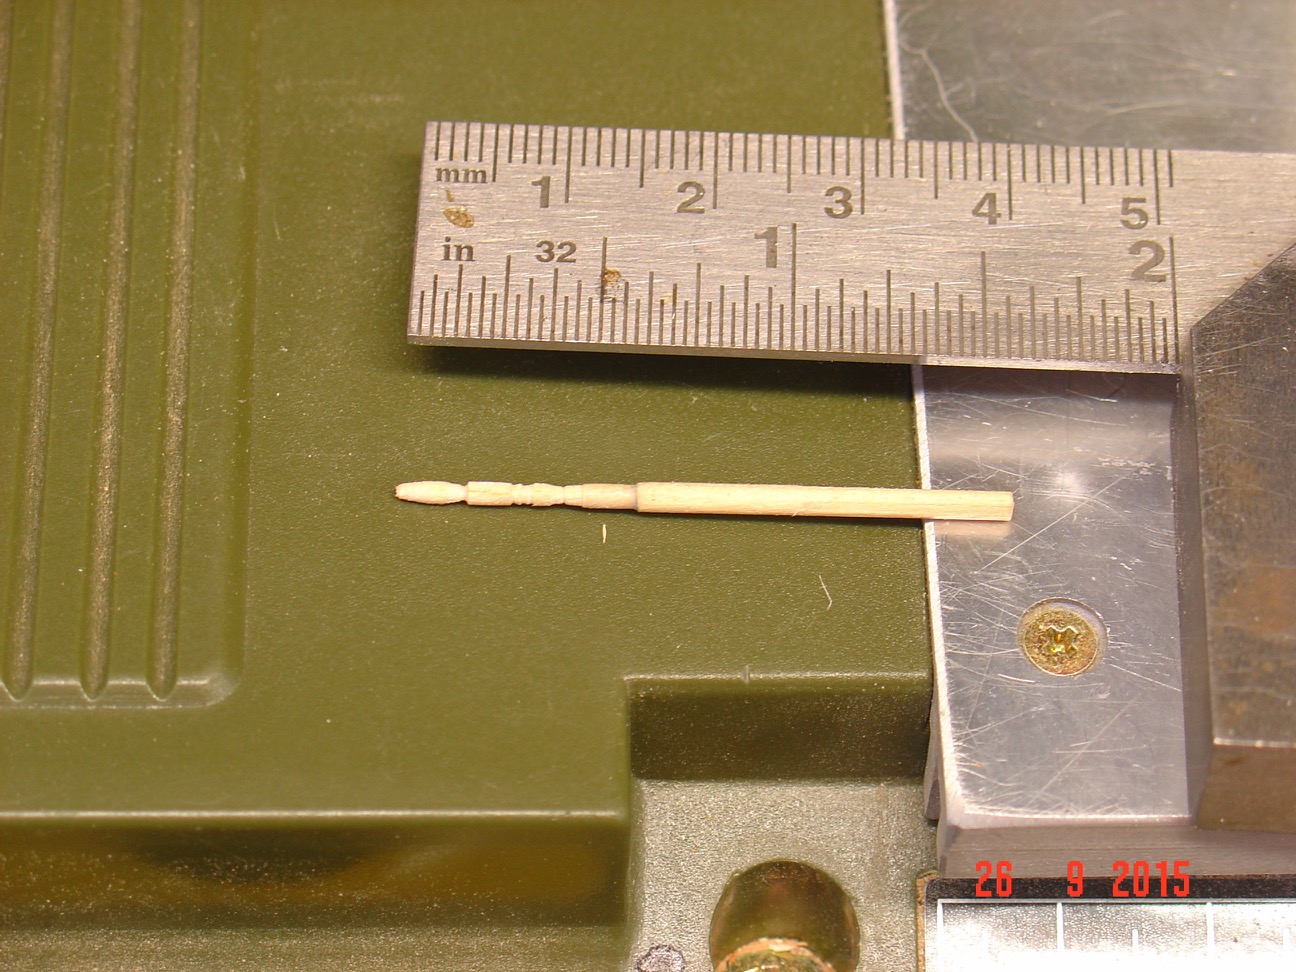
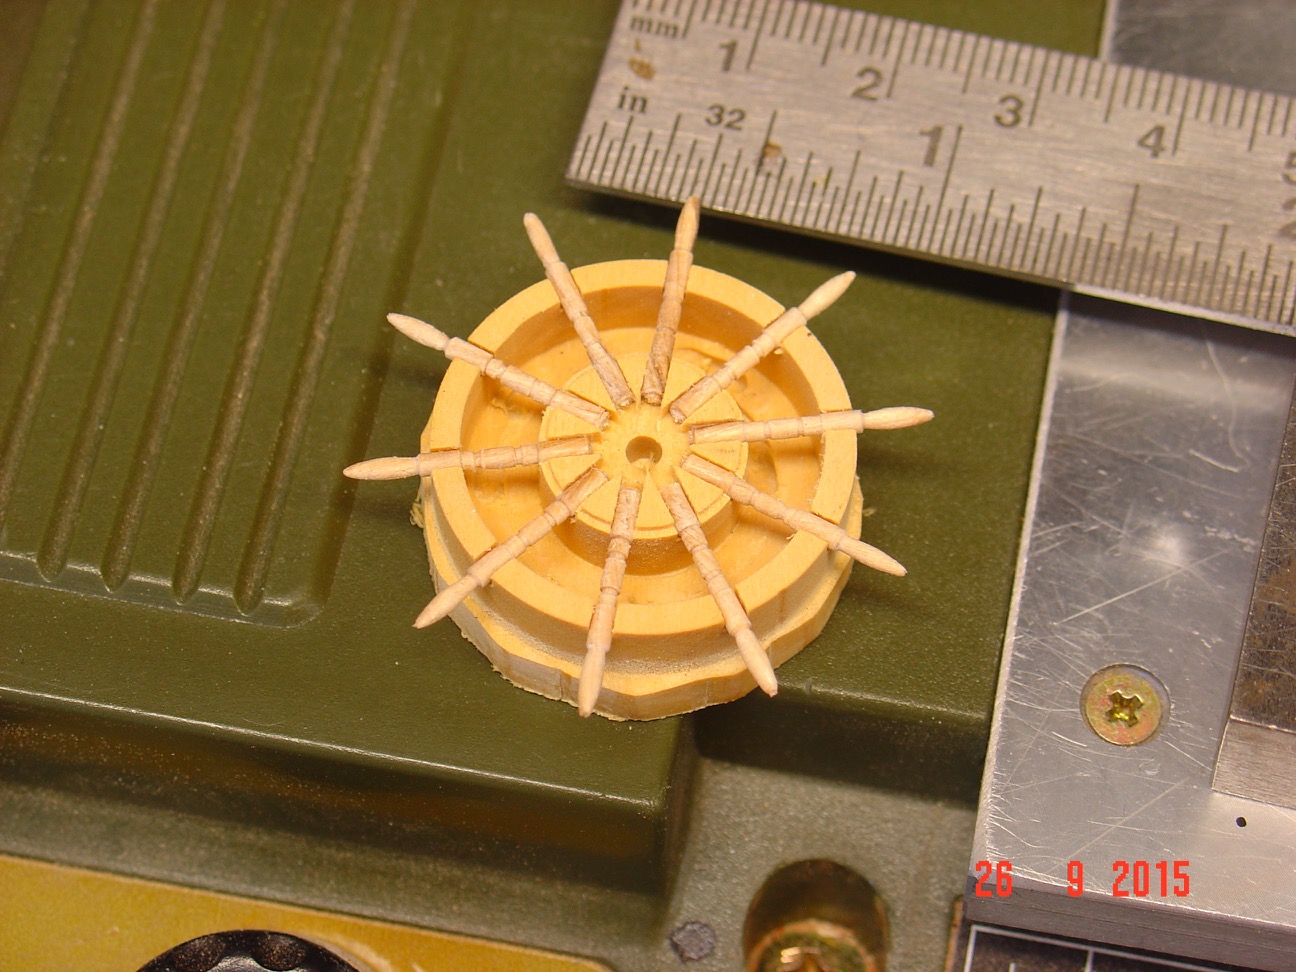
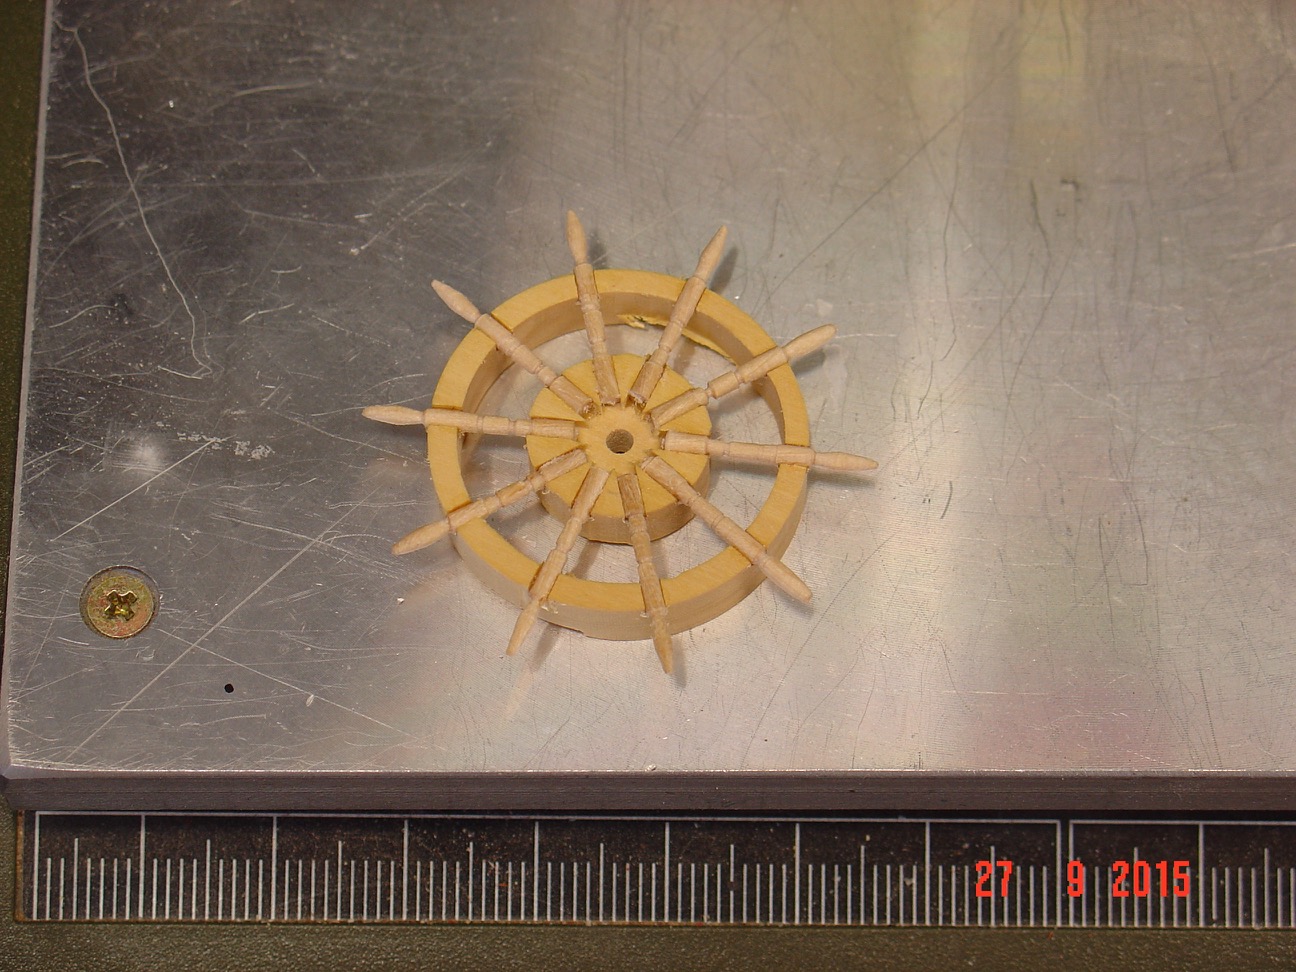
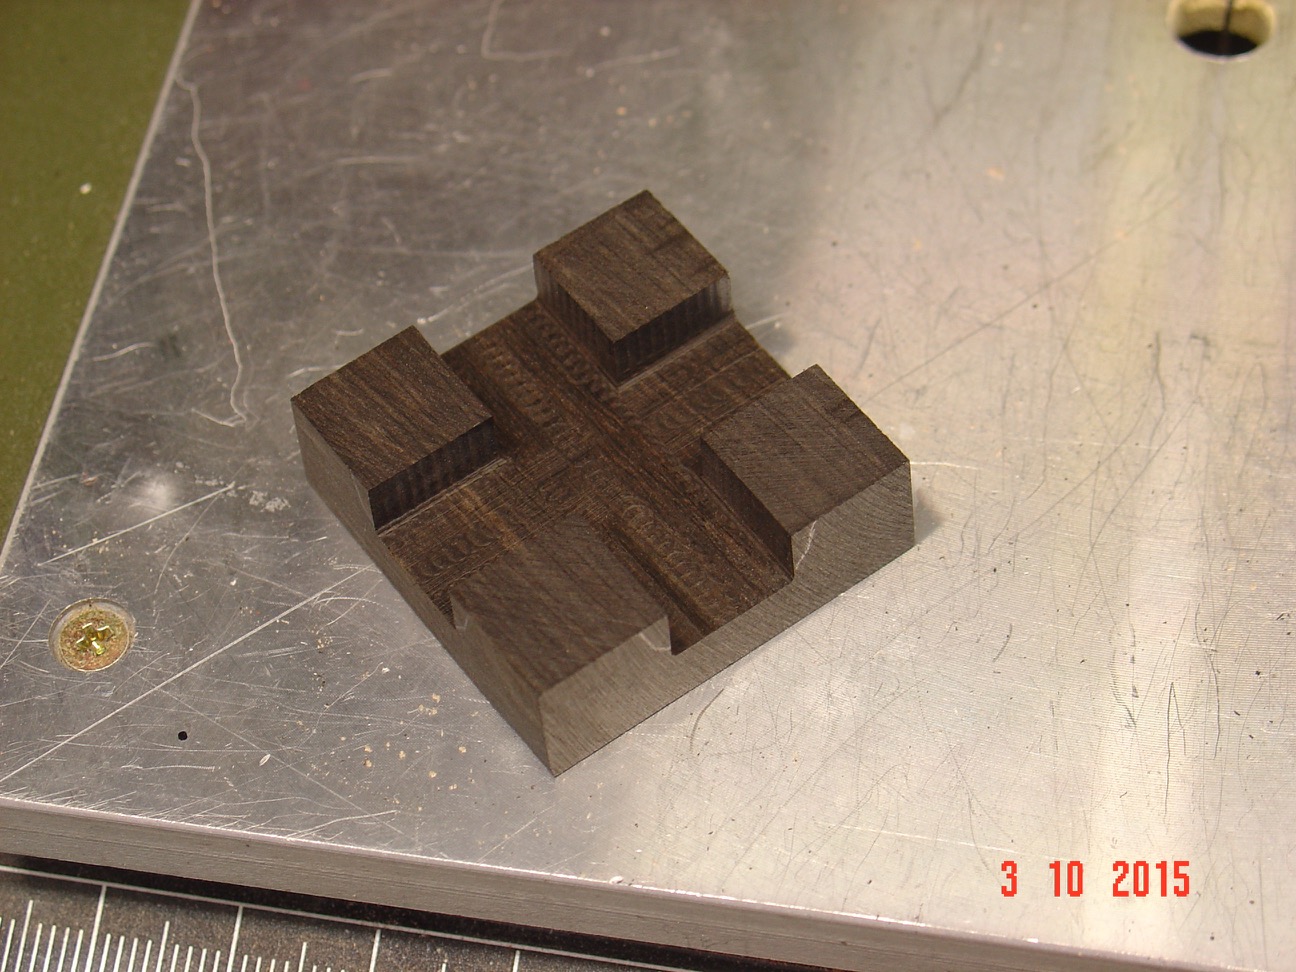
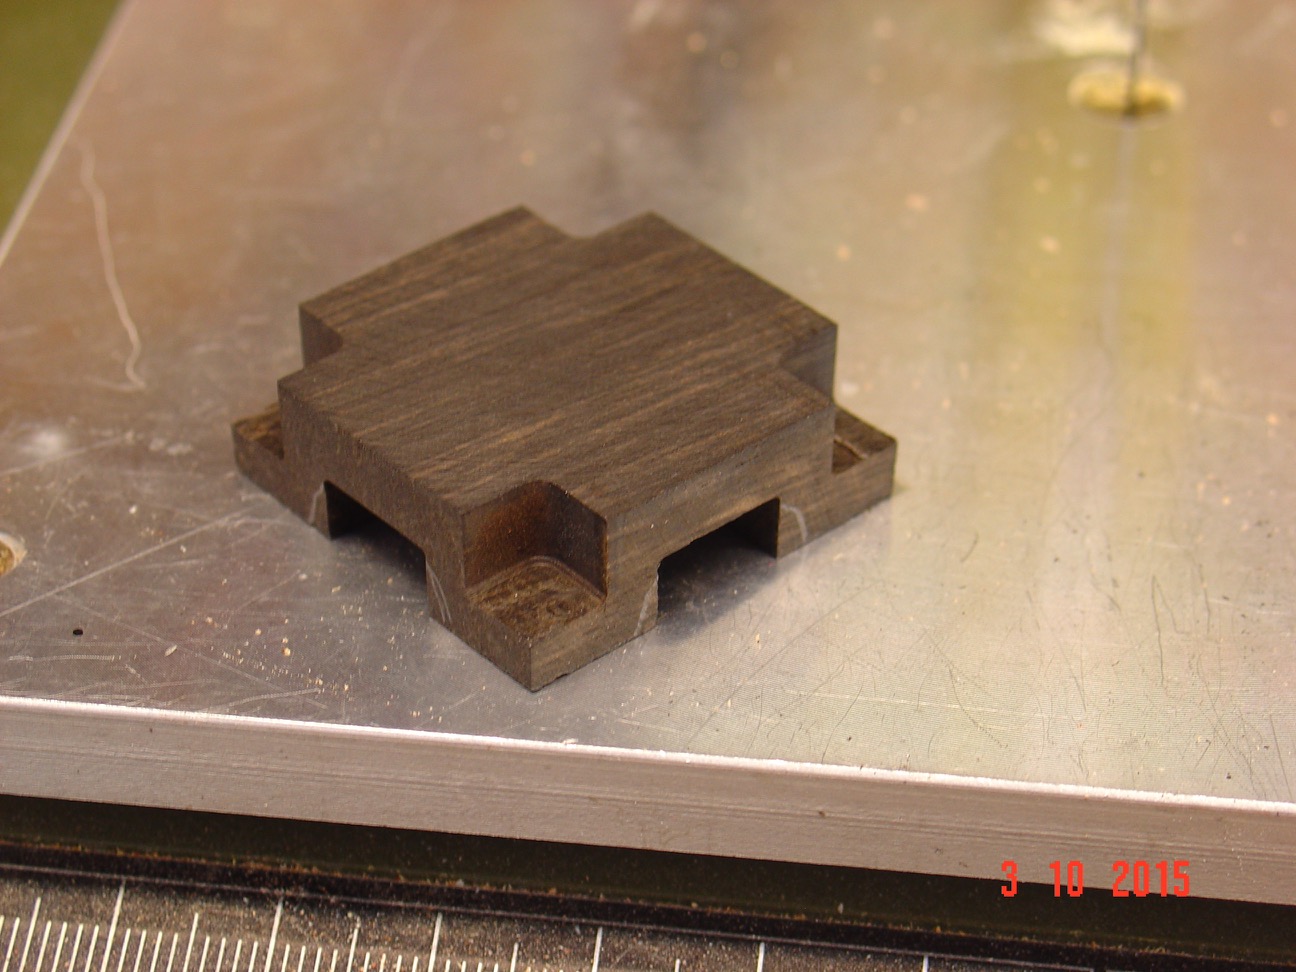
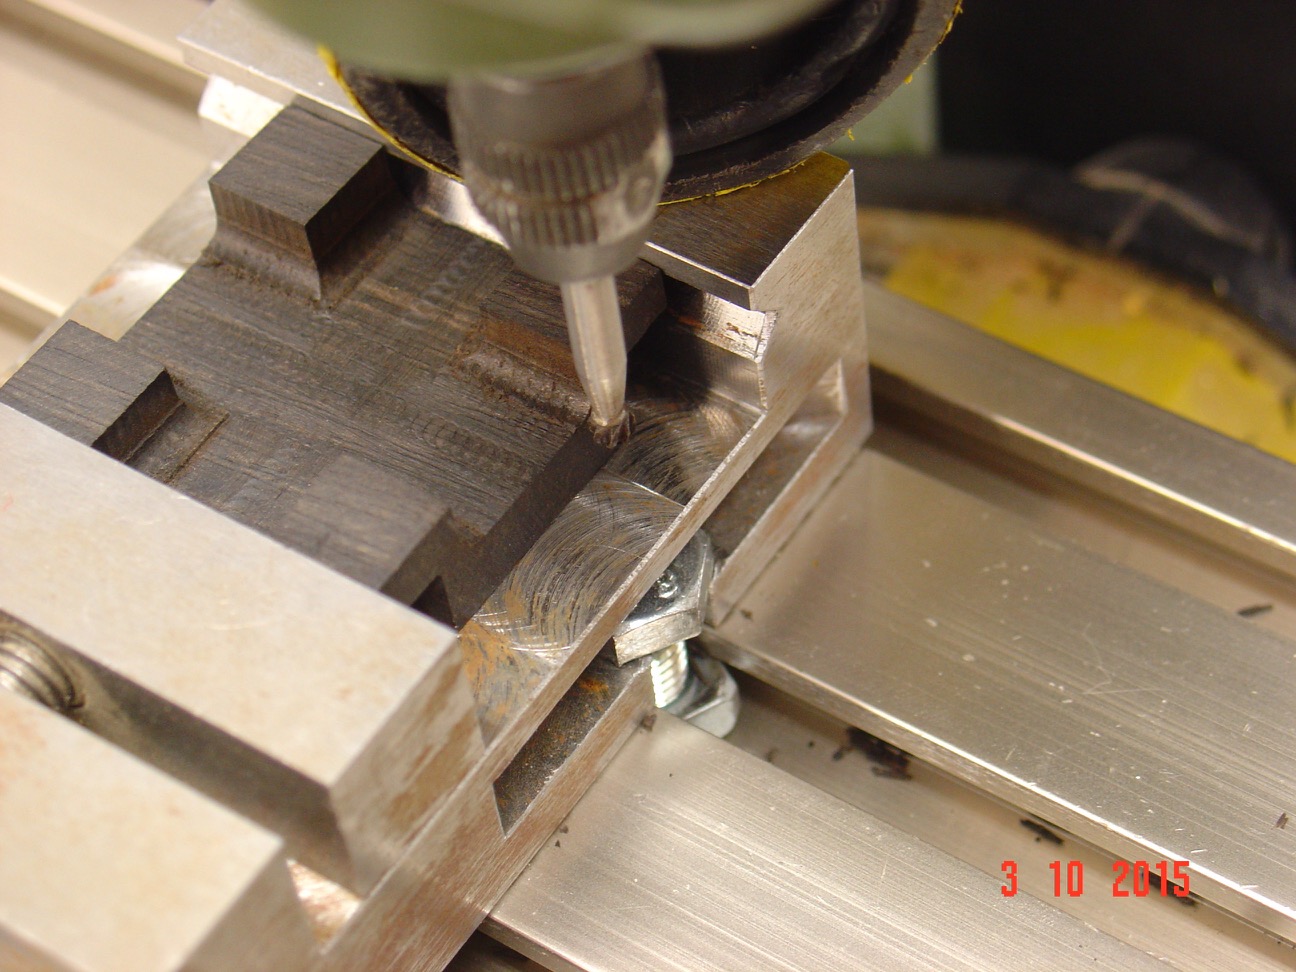
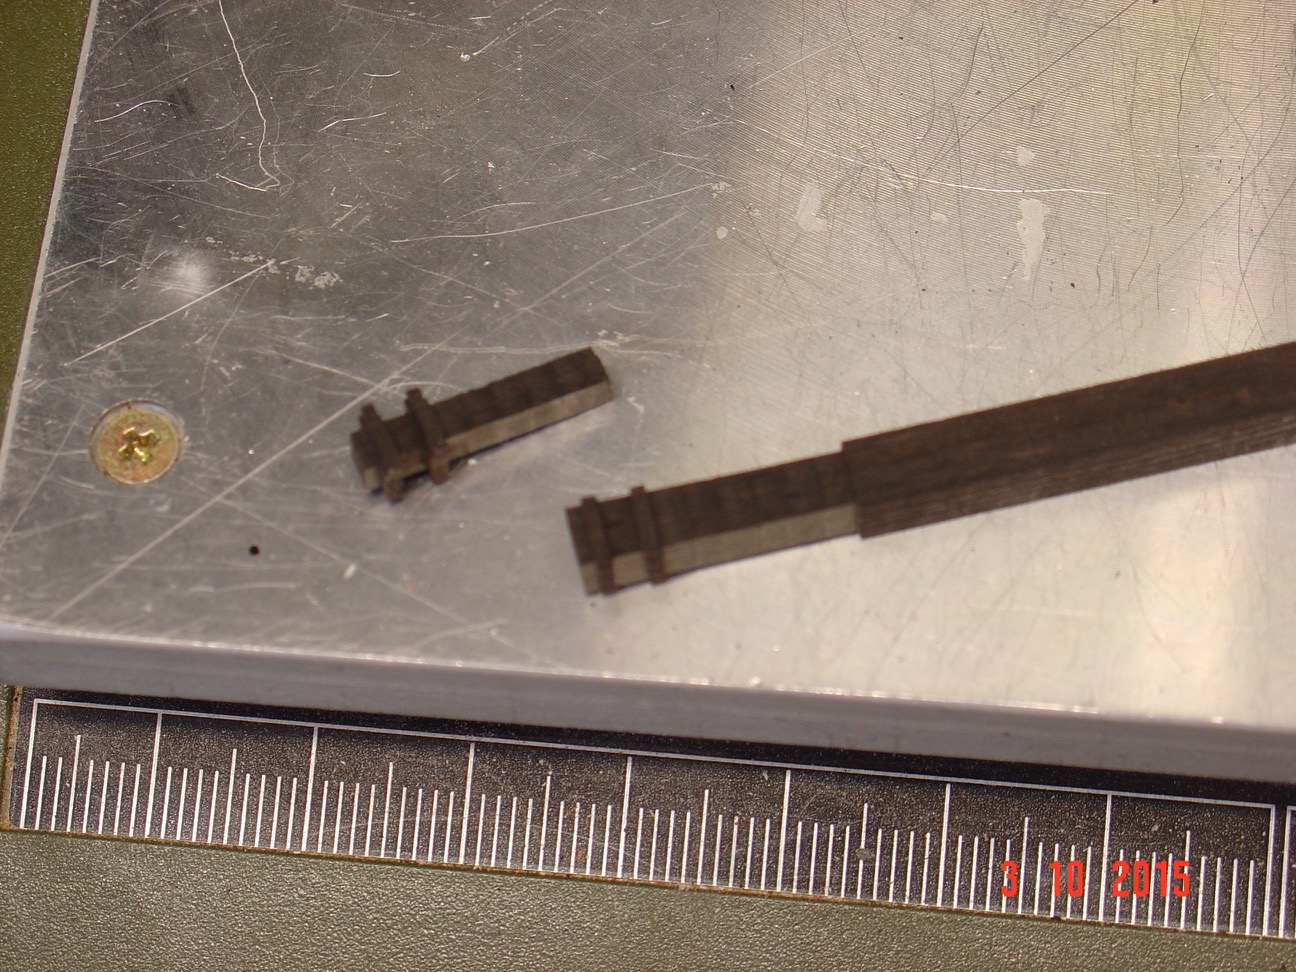
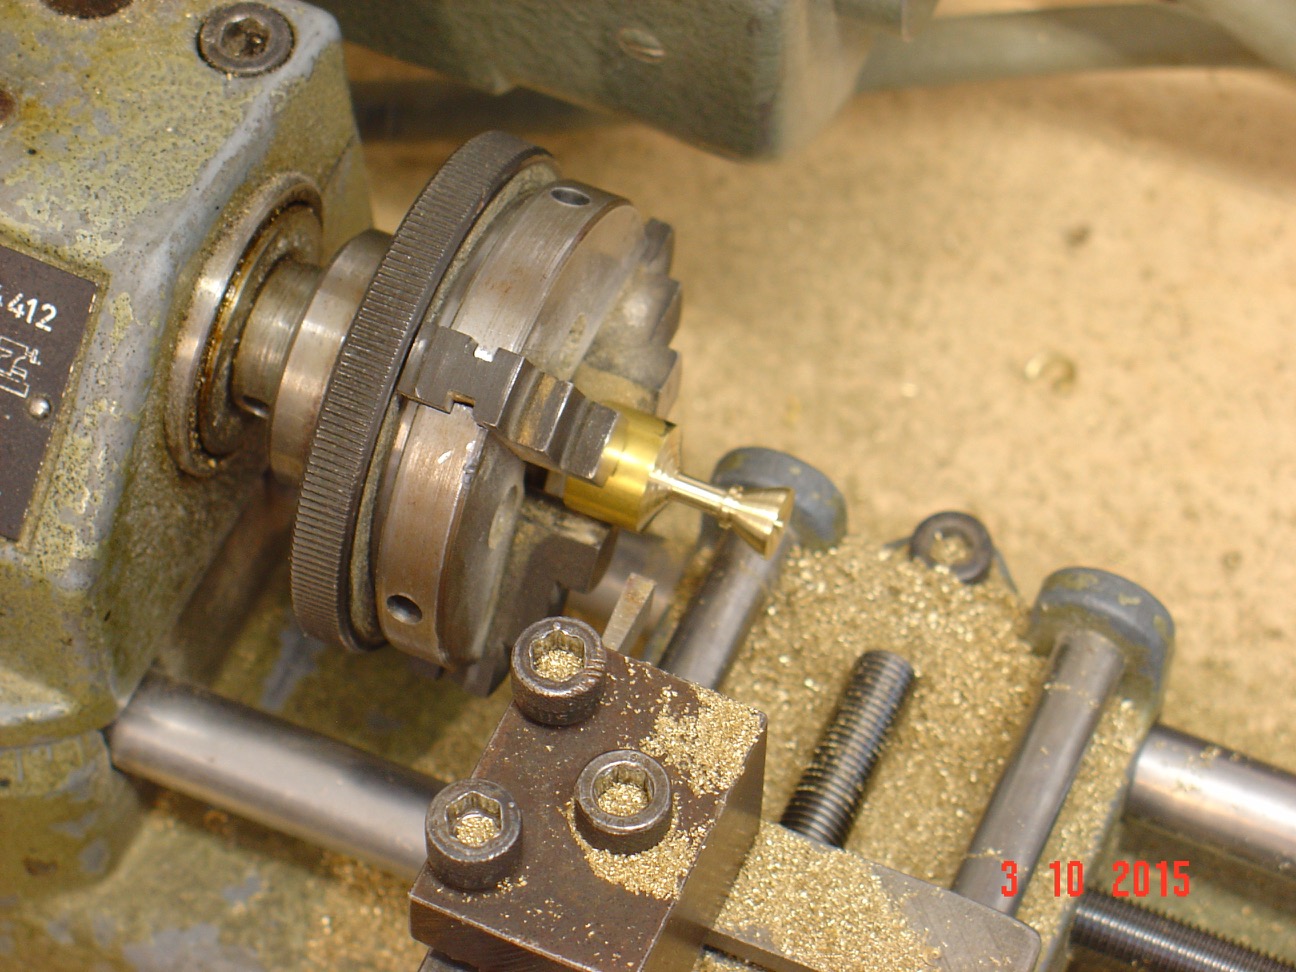
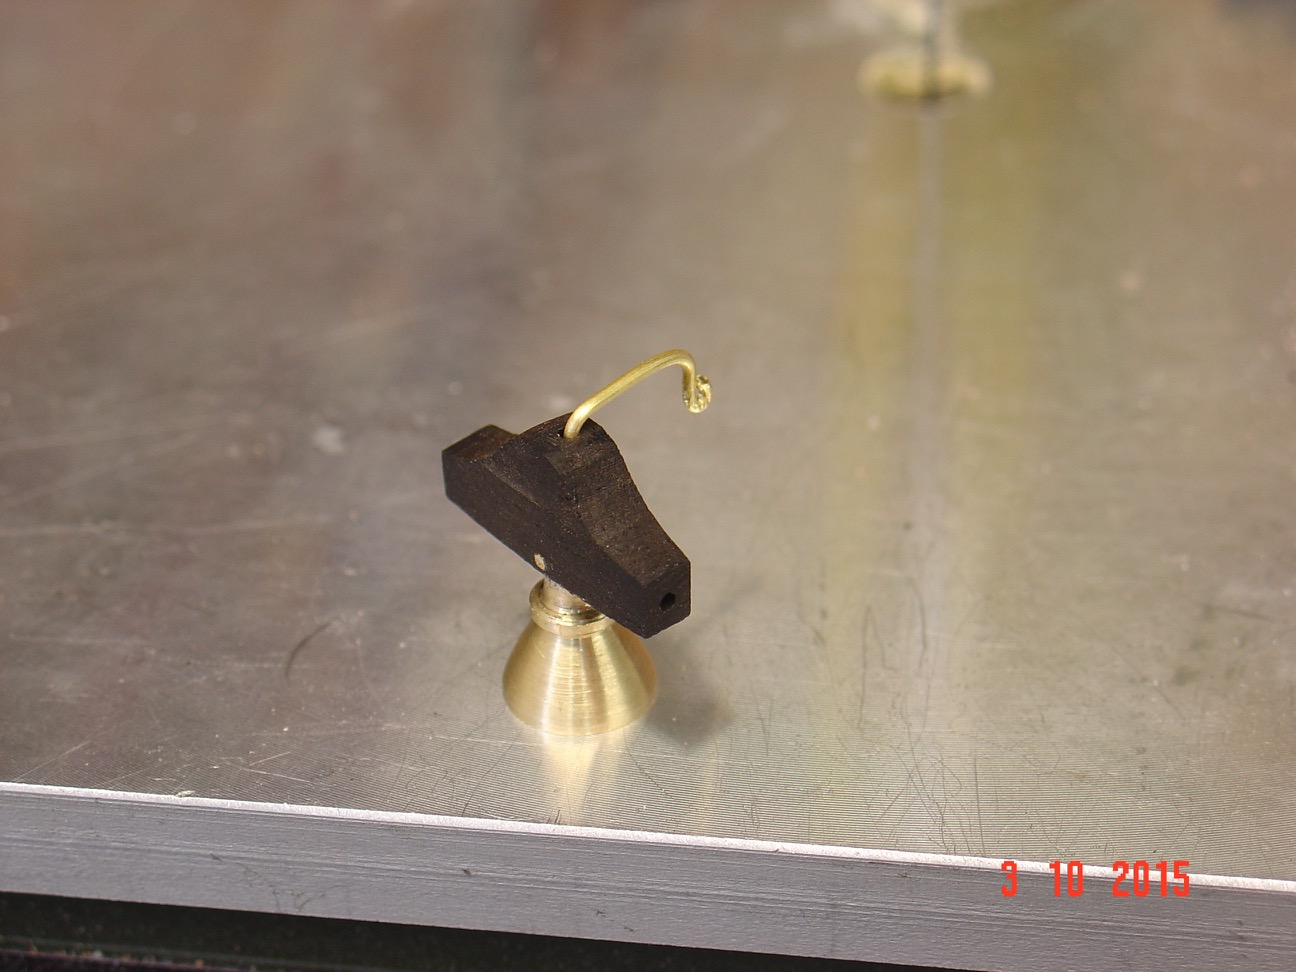
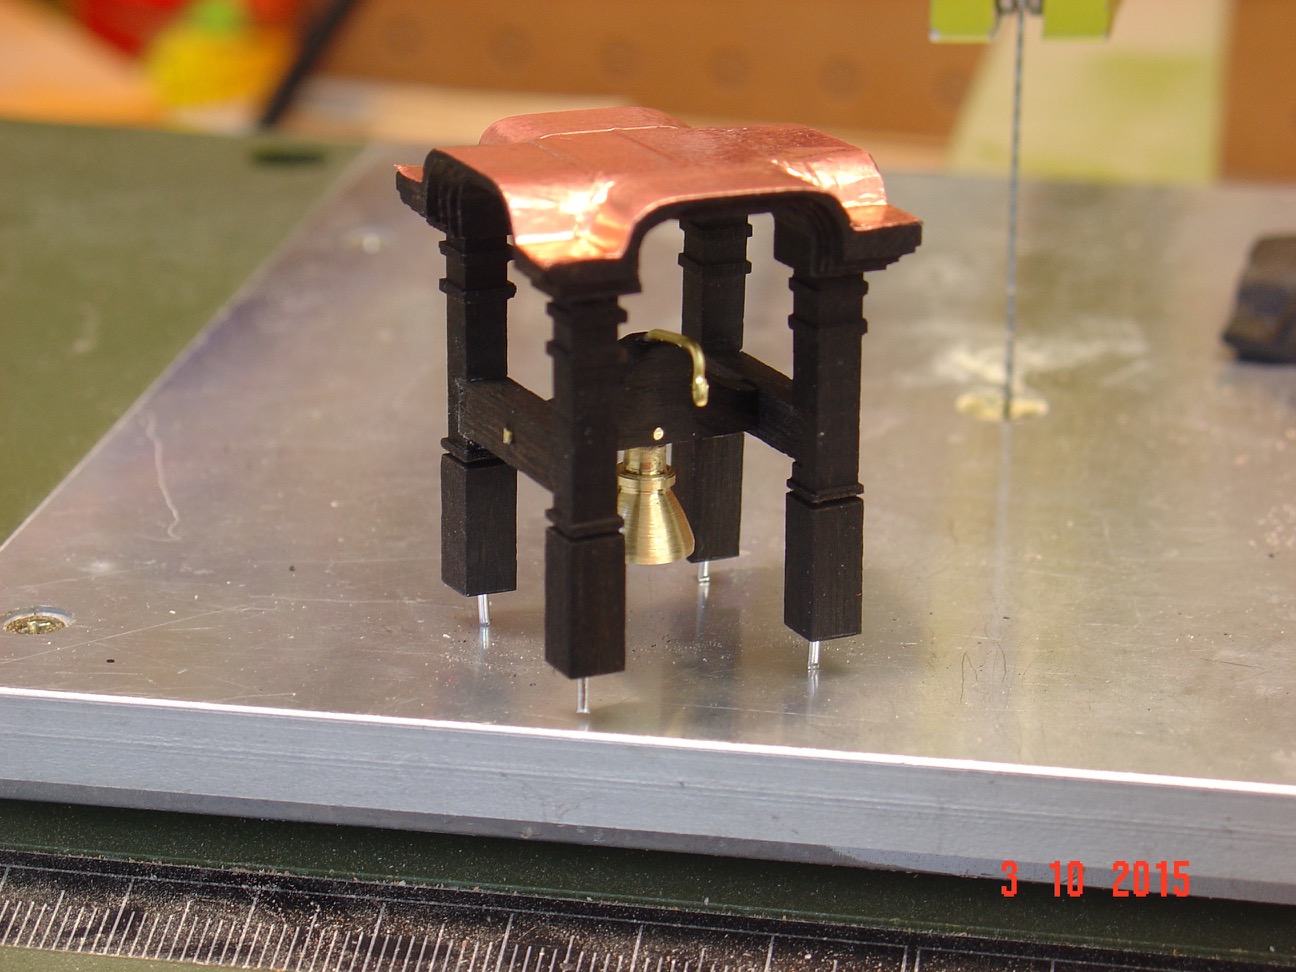
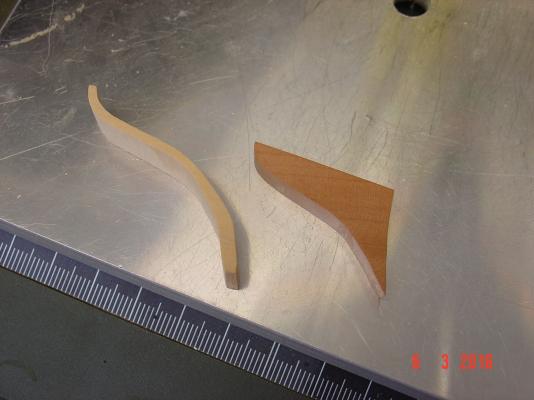
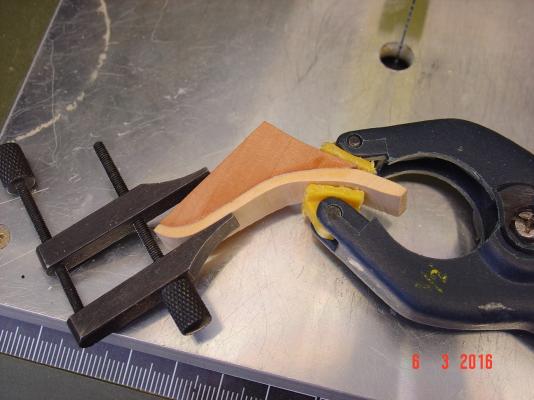
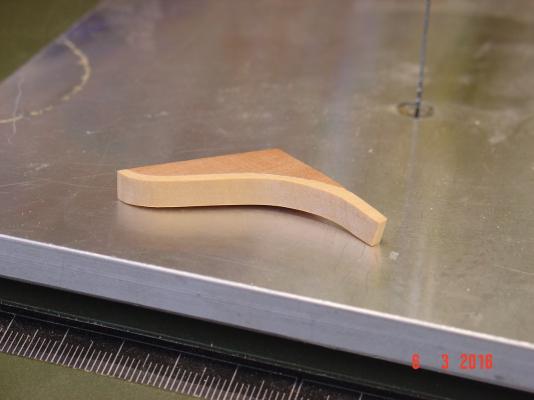
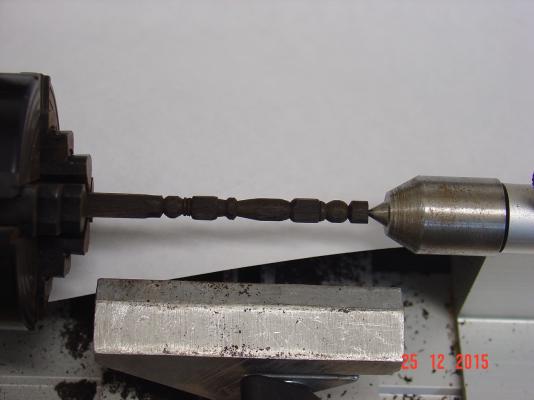
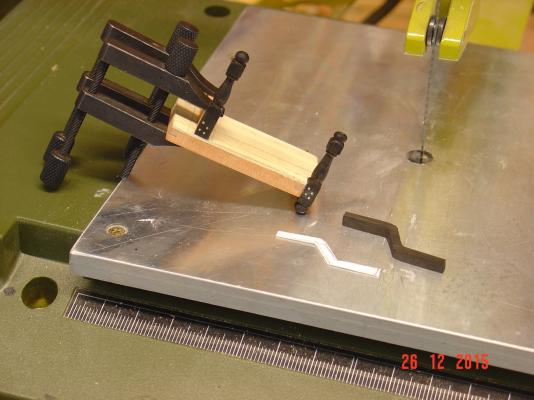
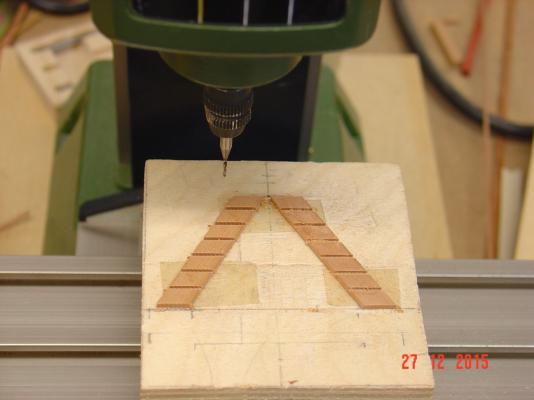
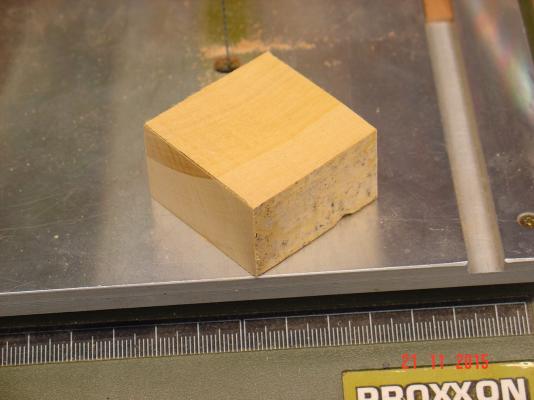
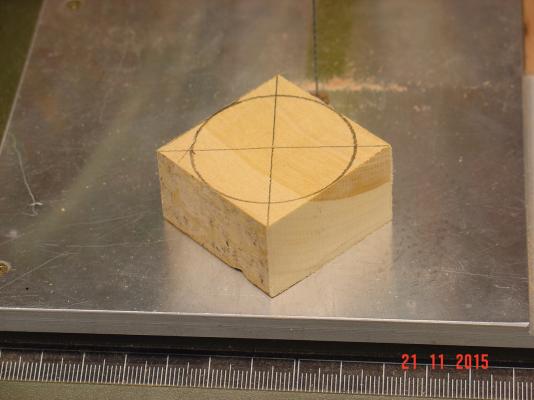
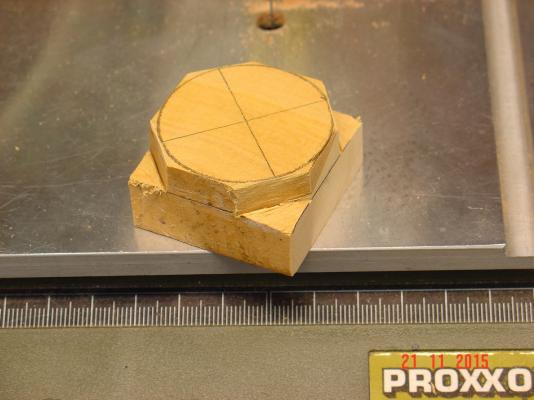
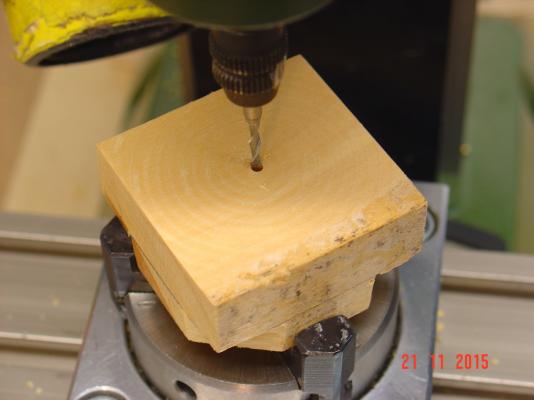
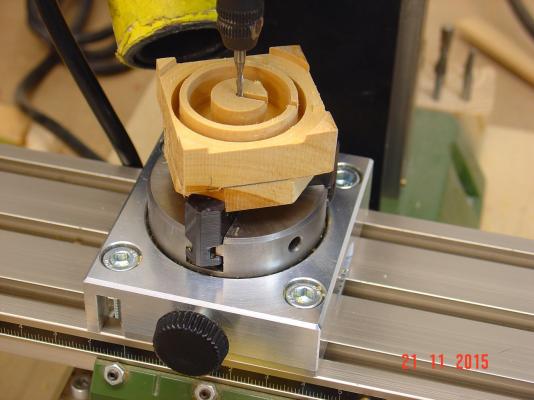
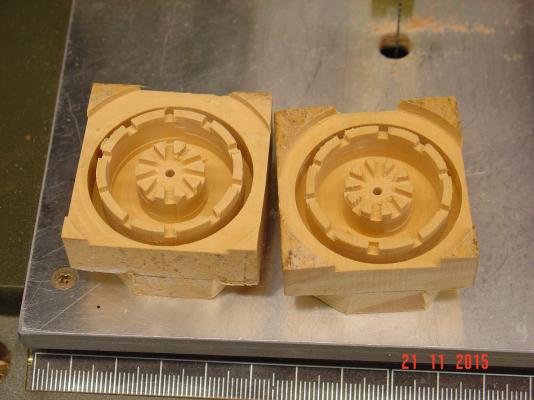
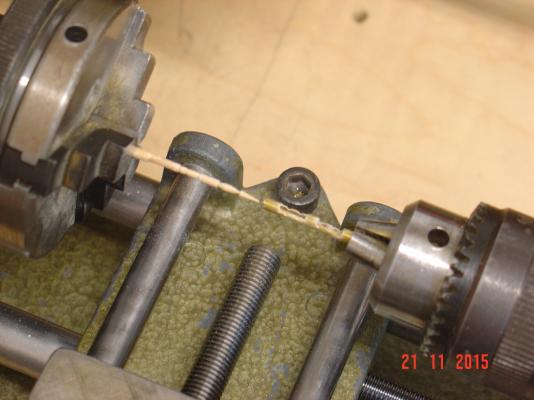
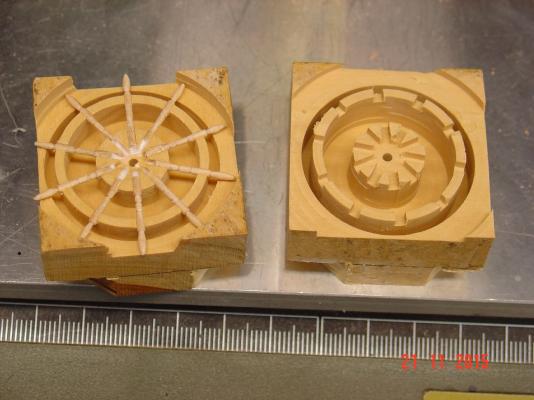
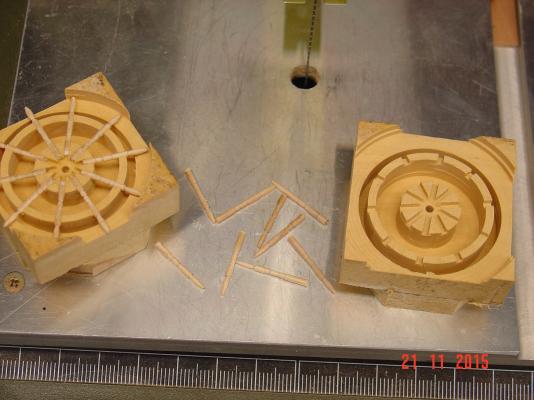
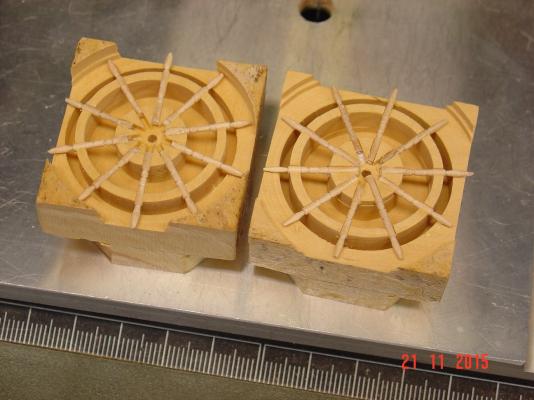
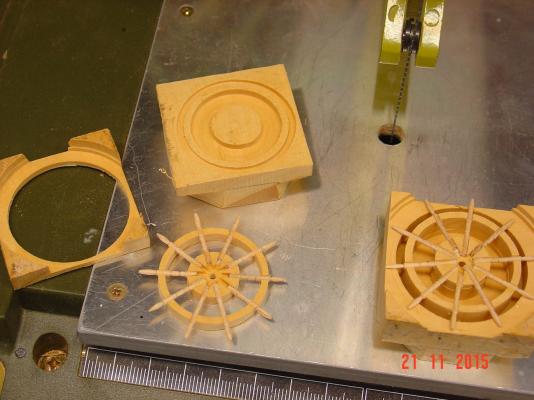
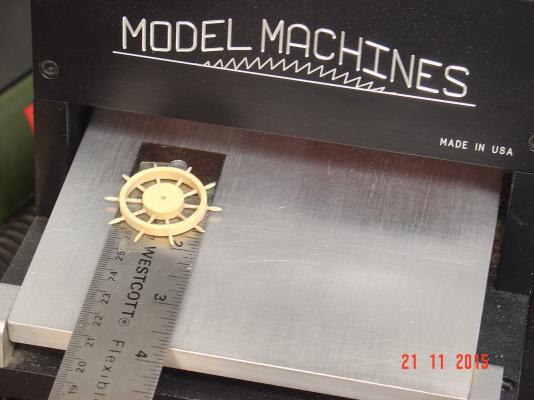
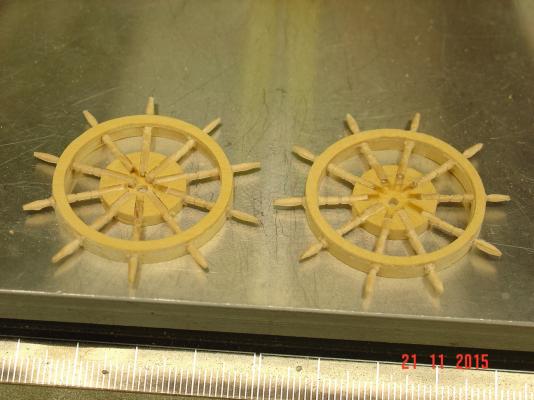
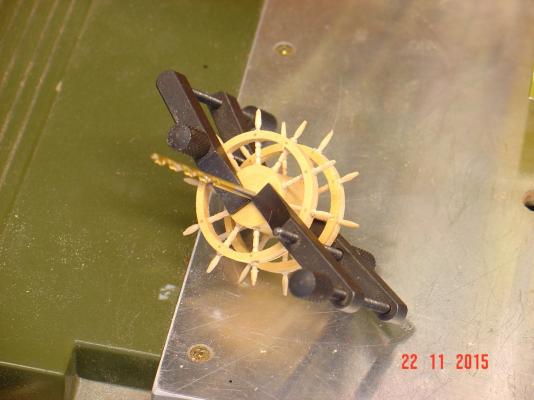
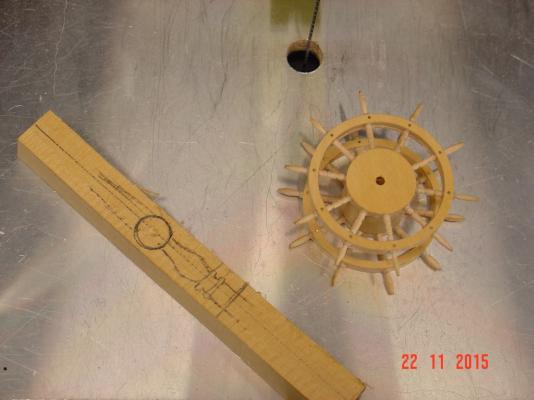
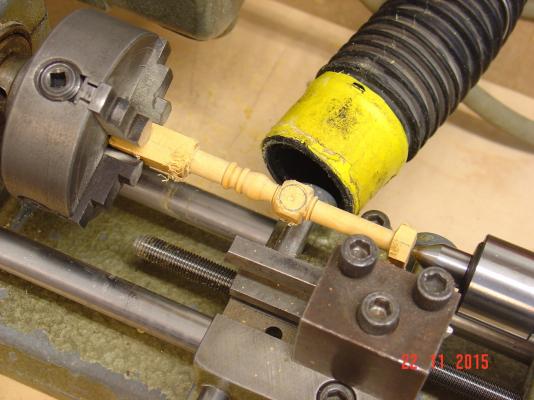
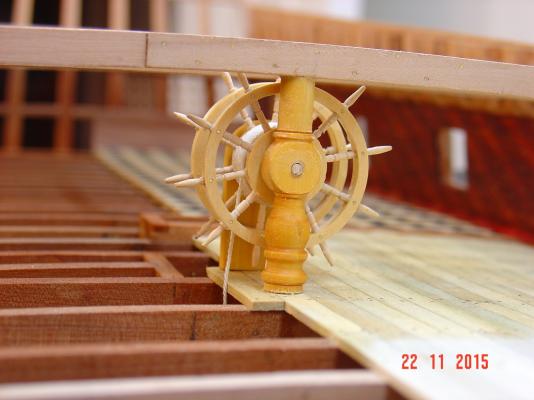
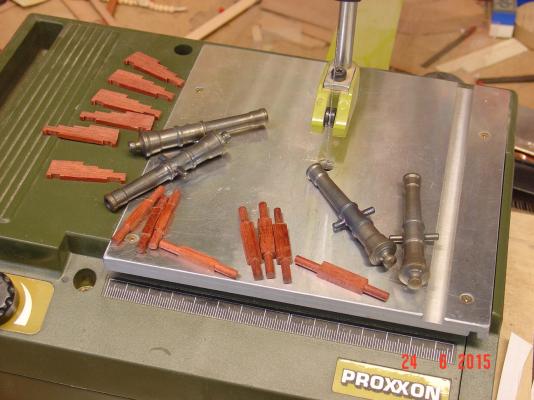
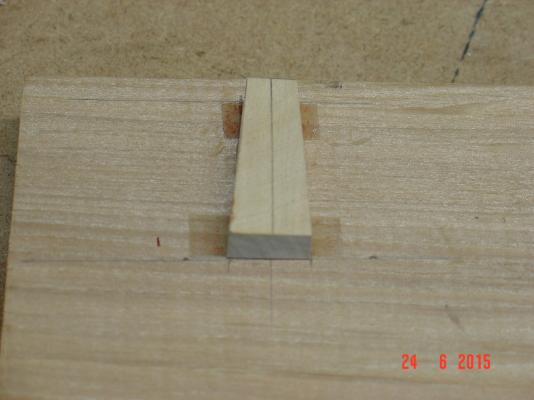
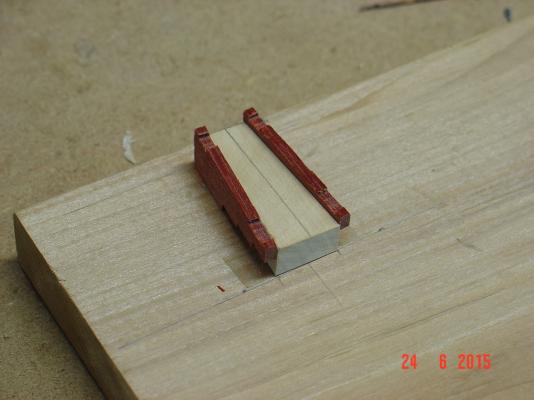
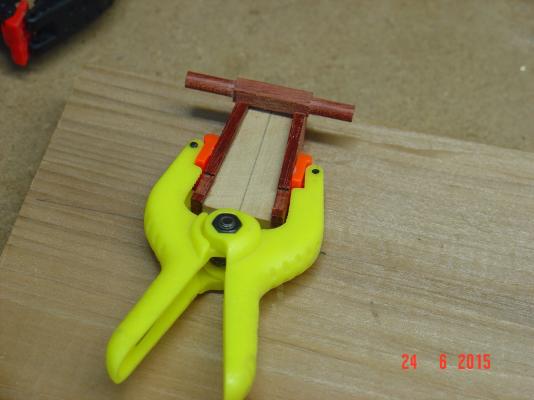
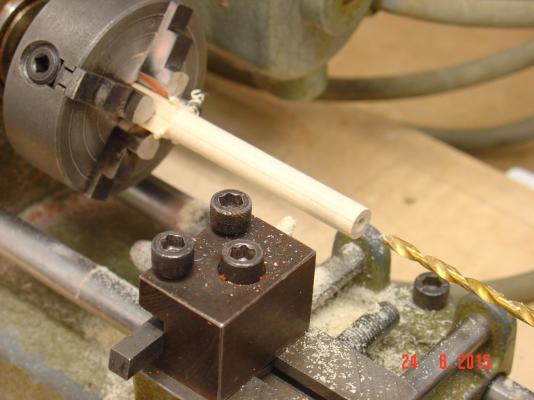
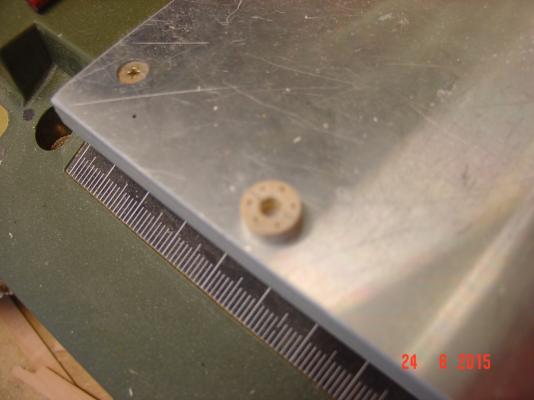
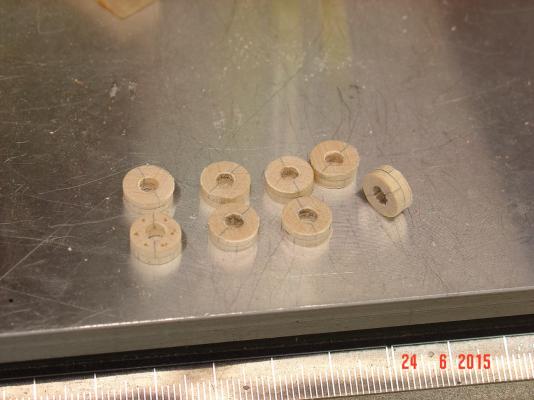
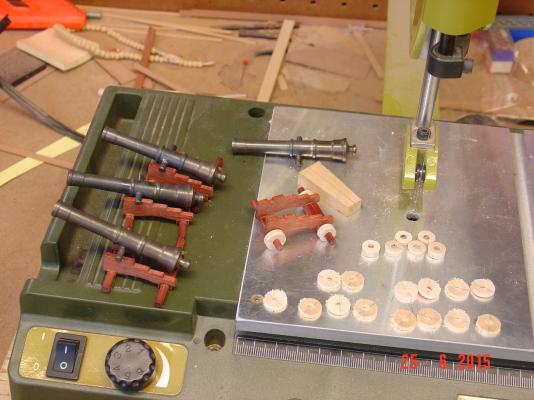
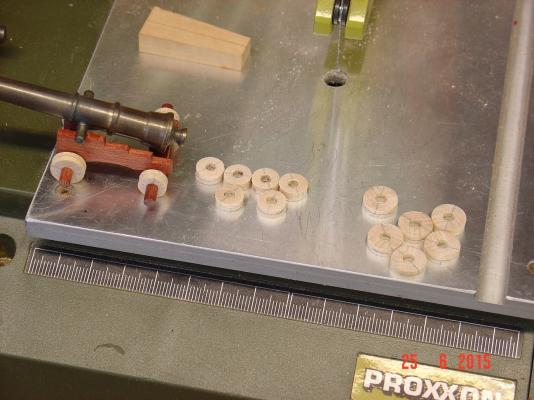
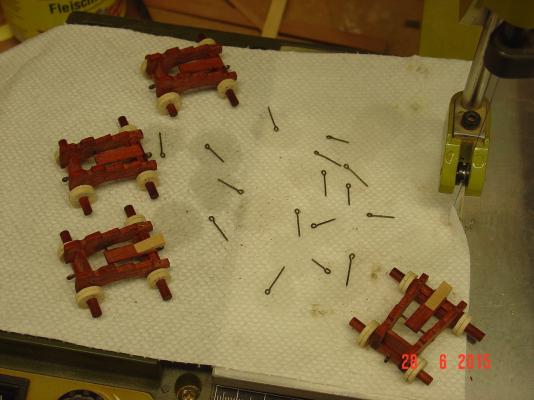
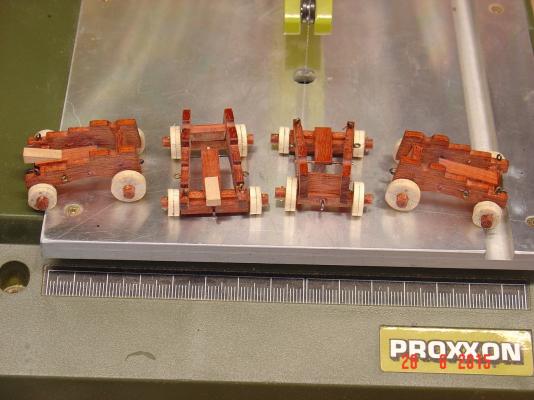
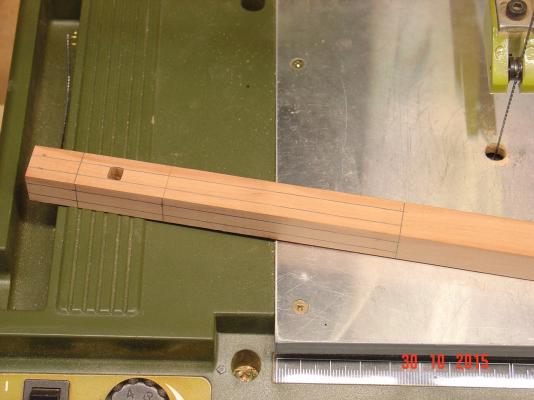
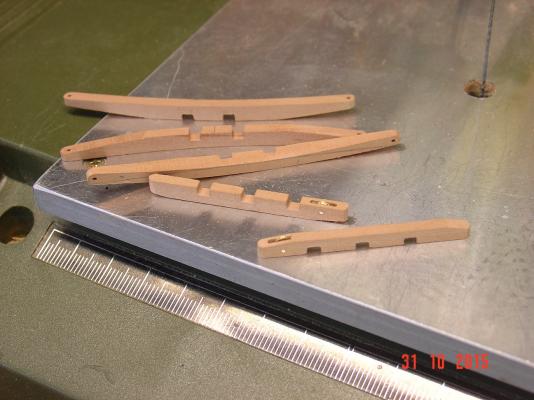
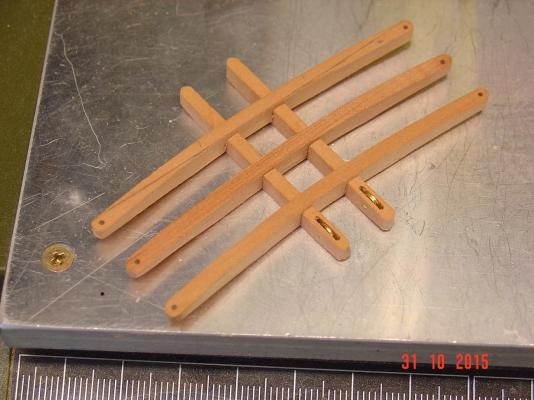
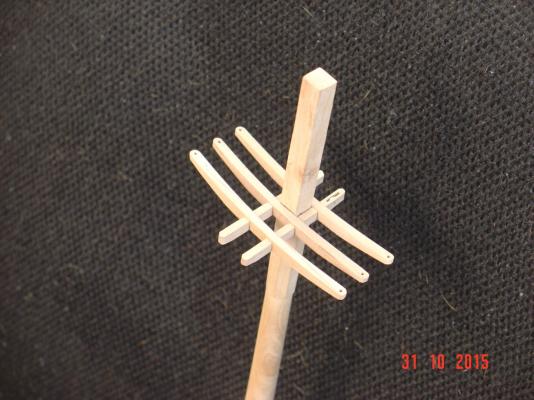
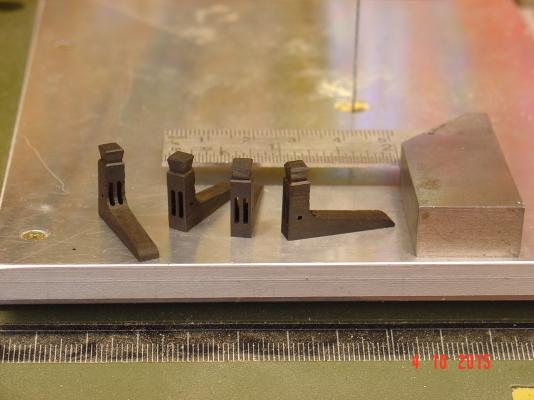
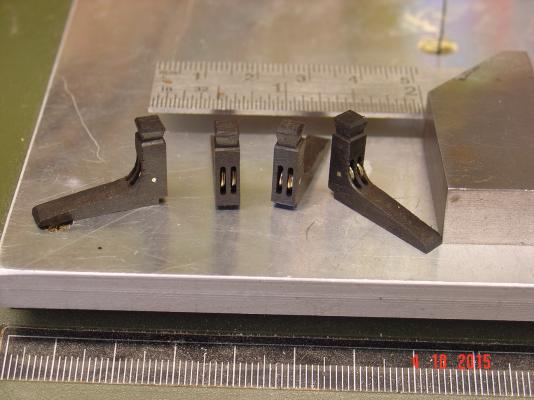
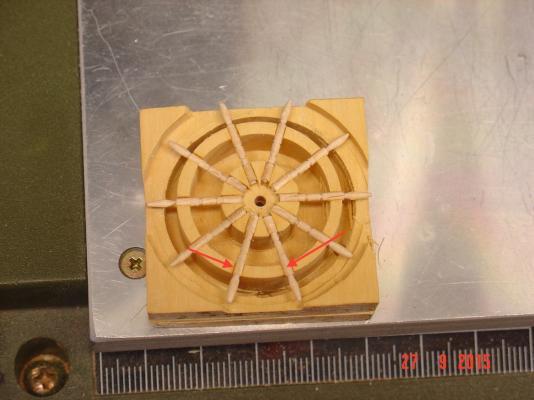
Mark, As you can see the first try for the wheel was a failure exactly because of the slicing it off problem. I fixed that in the second try, as you can see in the second picture below: I kept it in the square piece of wood from which it was cut instead of cutting the round off first (first picture). Being square allowed me to cut the back off easily with the band saw and without damaging the spokes. This is the way to go for the try 3 and 4 as I need two wheels and the second one has a different issue so I still can't use it: when I milled the radial notches for the spokes the piece moved slightly up on one side so the notches are not deep enough on one side so I won't be able to glue the ring that will cover them and keep them in place. This issue is visible in the second picture for the bottom two spokes - see red arrows. Regards Alexandru

-
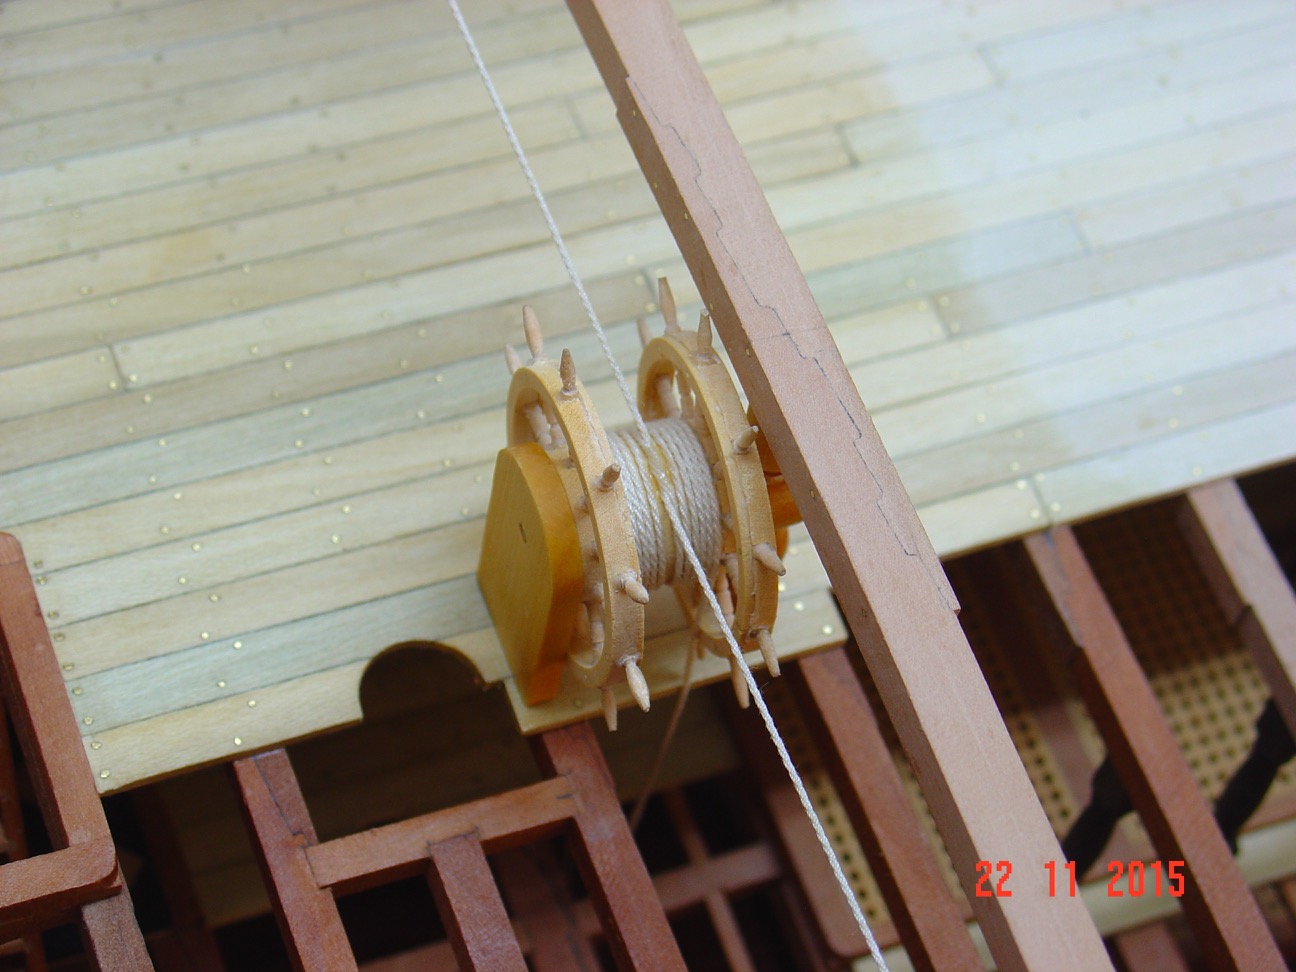
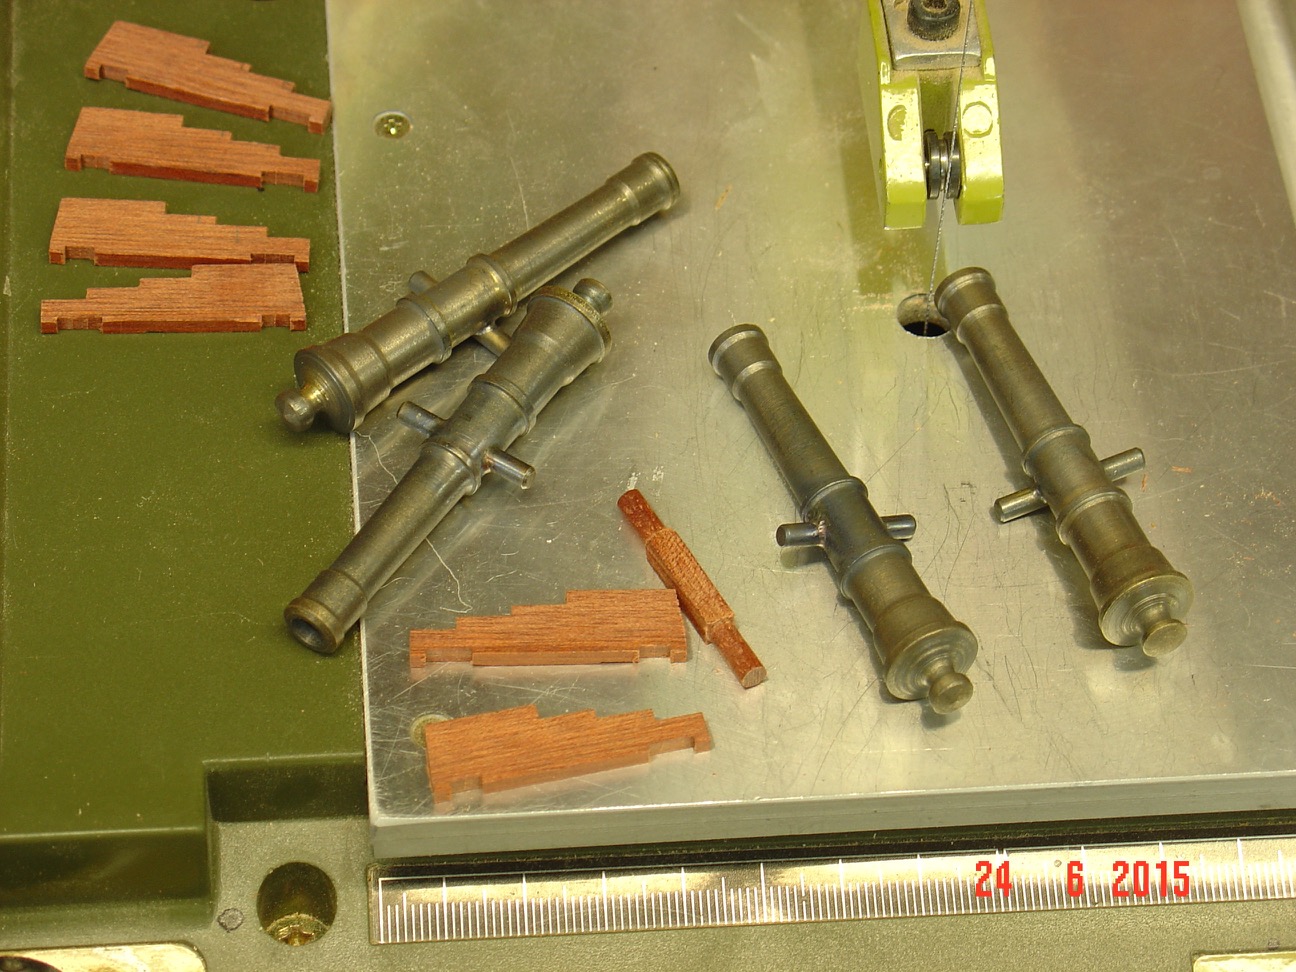
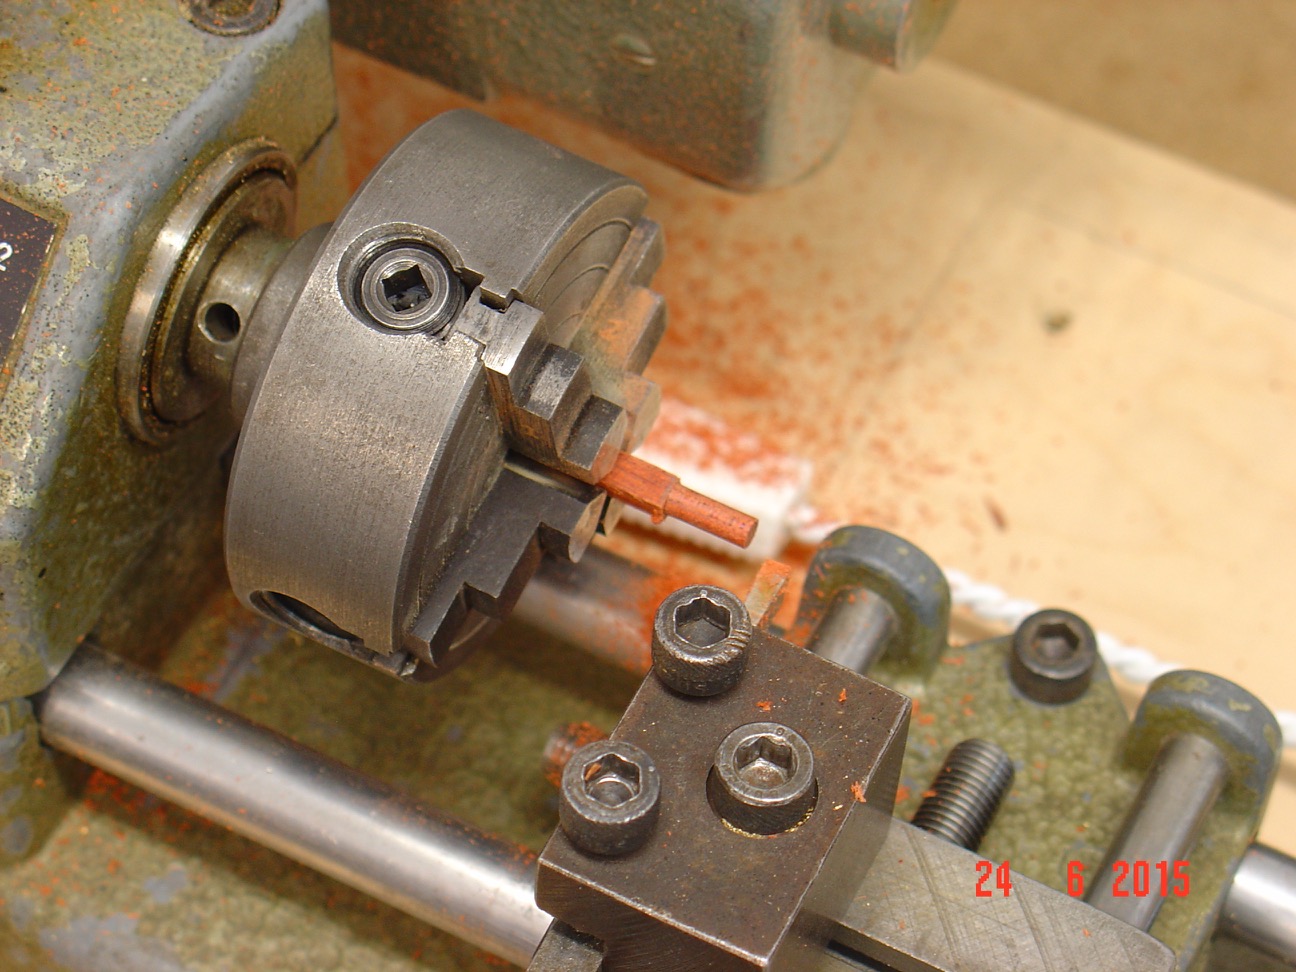
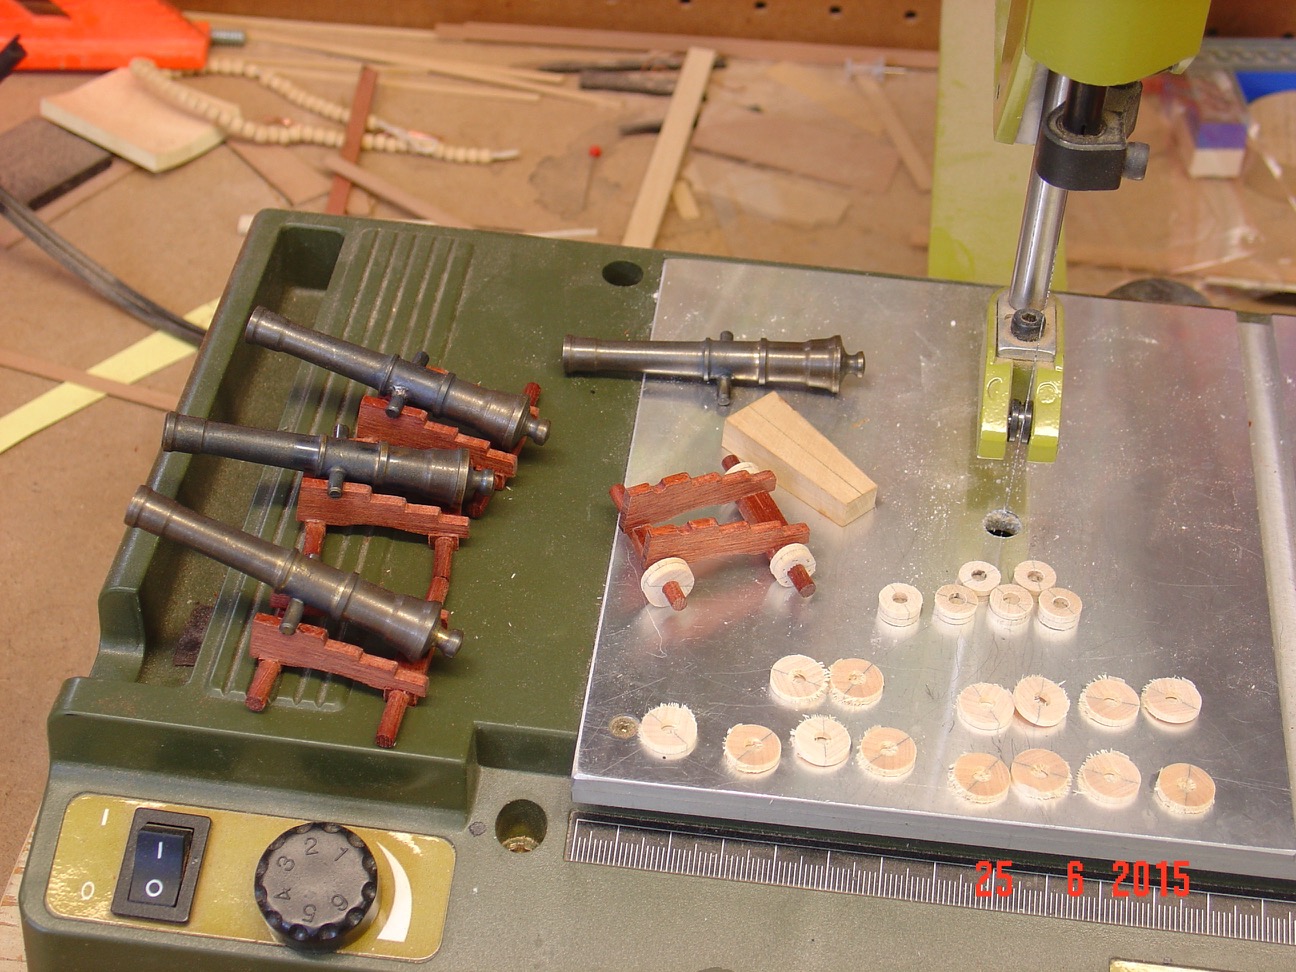
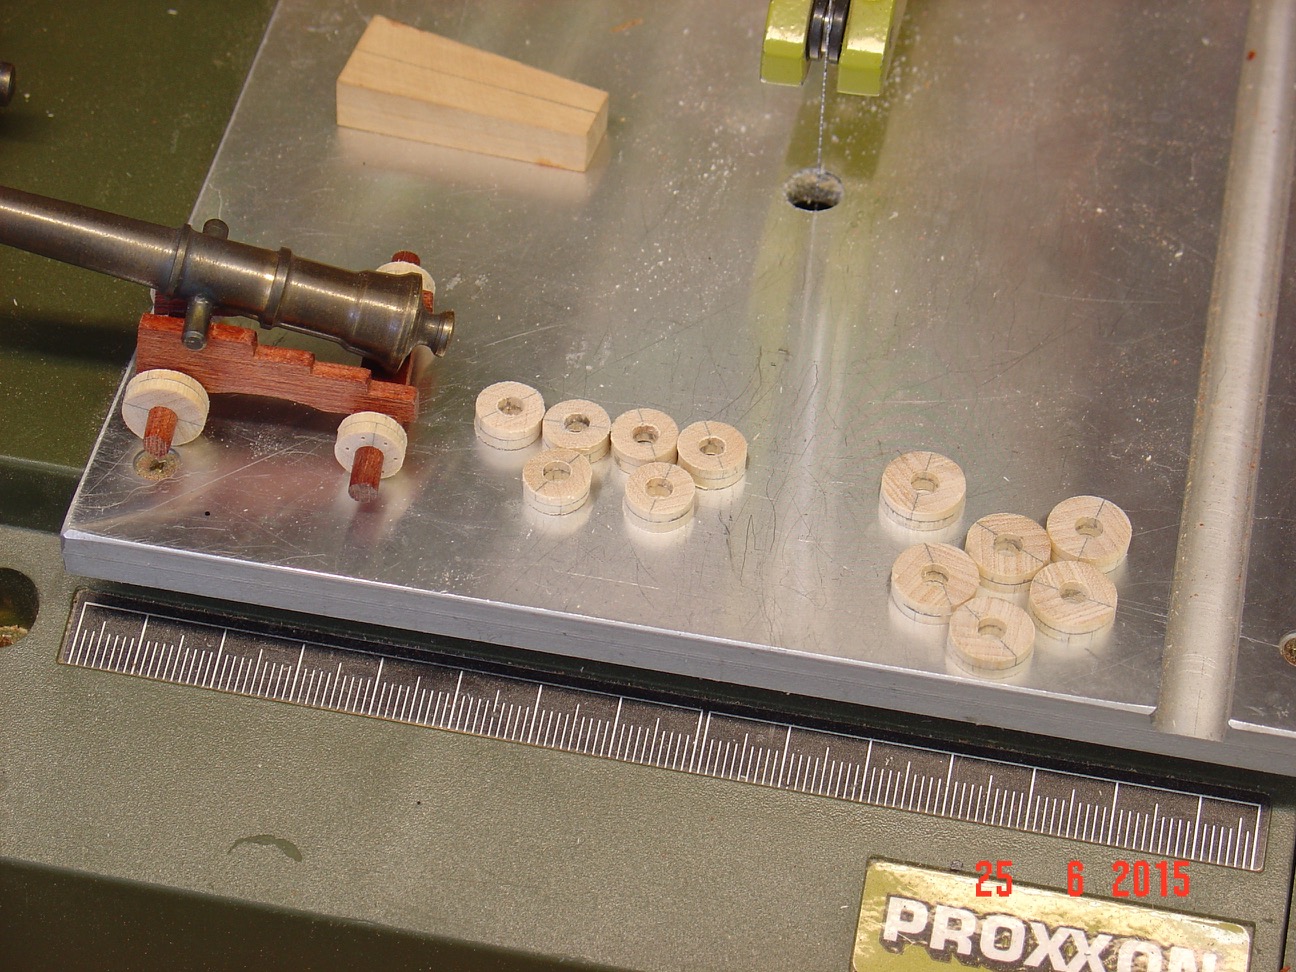
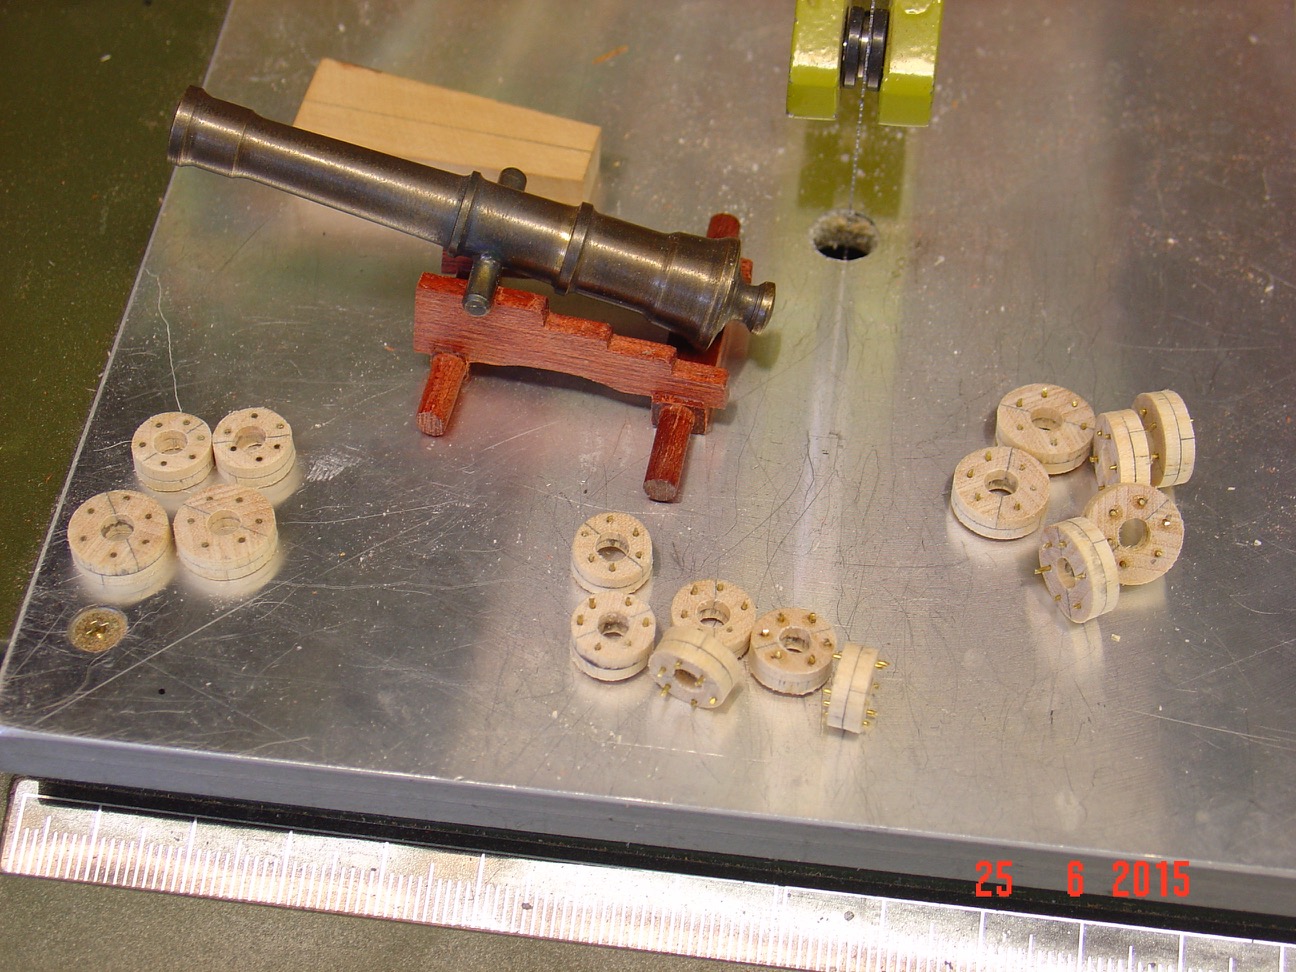
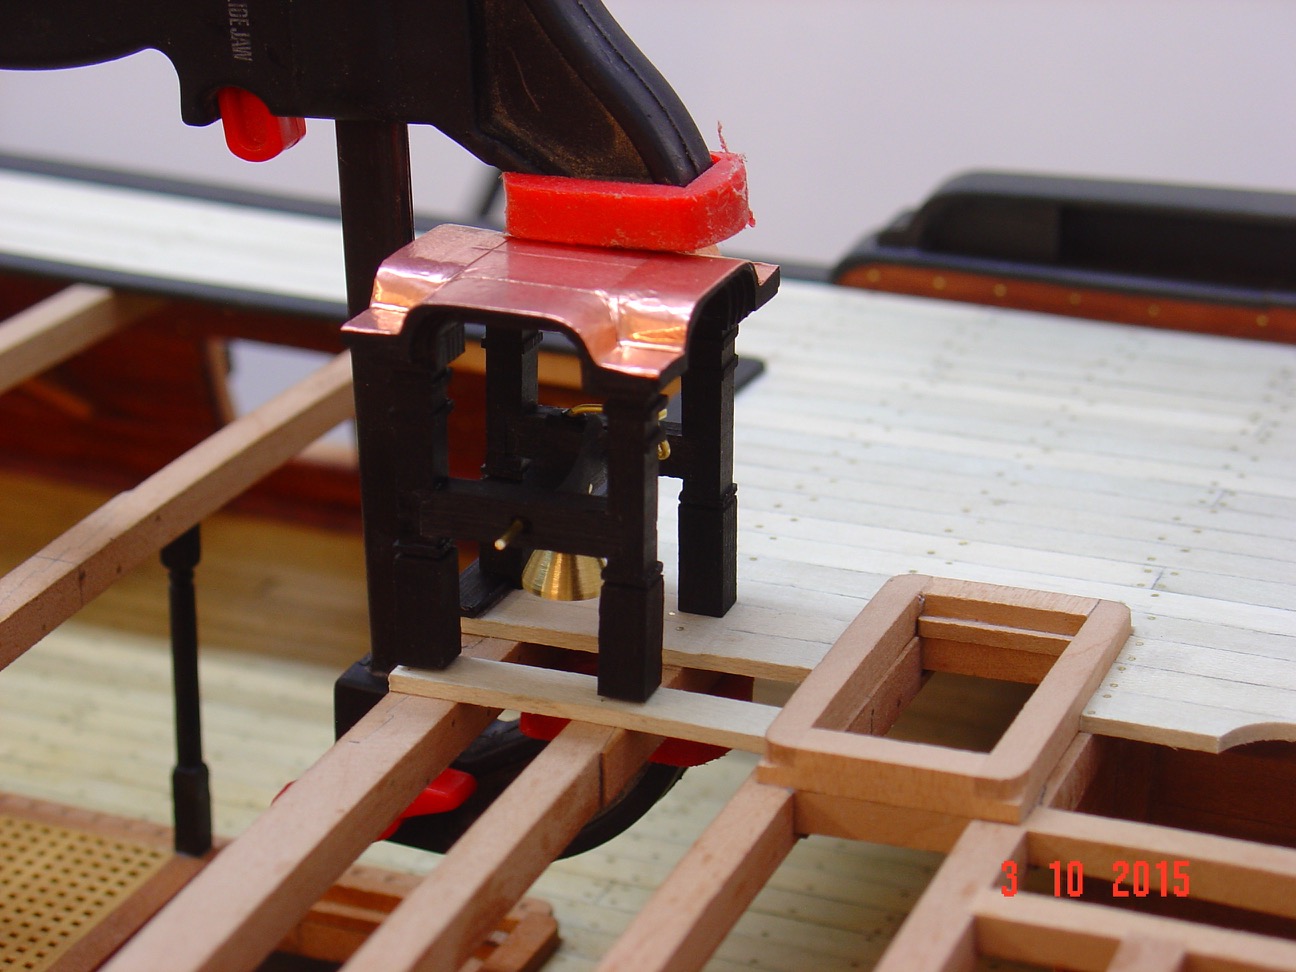
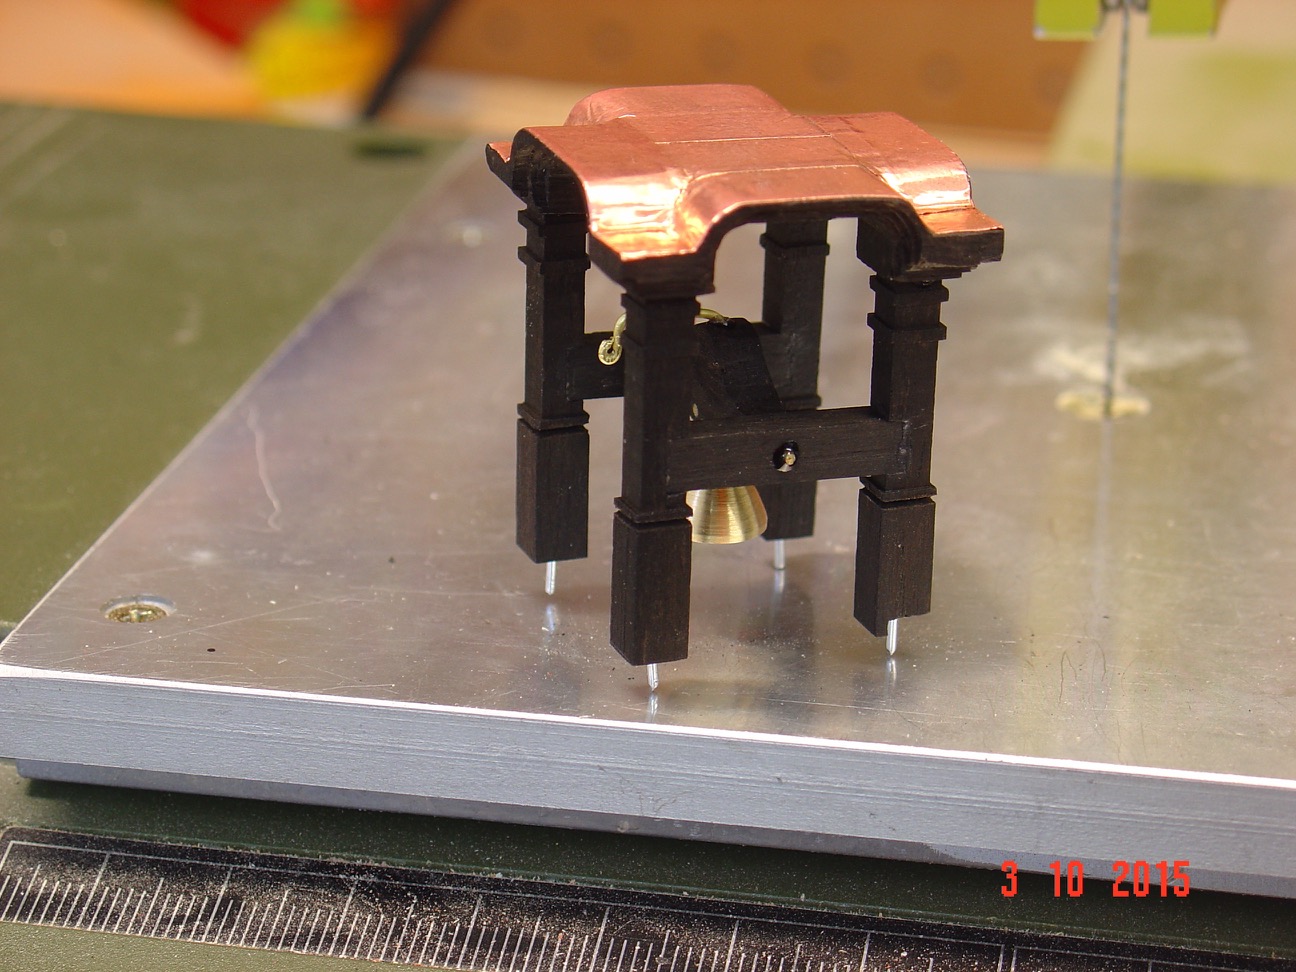
Thank you all for your feedback. Here is another update.