


Mayohoo
-
Posts
189 -
Joined
-
Last visited
Content Type
Profiles
Forums
Gallery
Events
Posts posted by Mayohoo
-
-
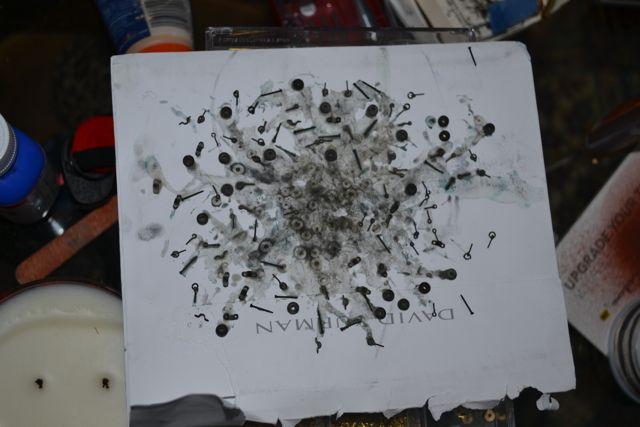
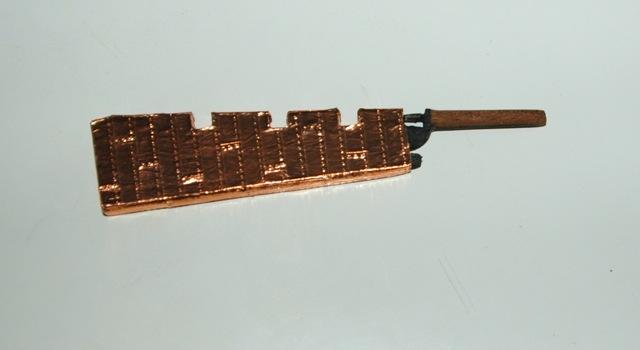
So named the cannon as per O'Brian (Reverse of the Medal, Nutmeg of Consolation, Letter of Marque, The Truelove) per the starboard side. 22 12 pounders on her main gundeck ( I put 24 there or 12 a side since I didn't want an empty gunport)
#2 Viper
#4 Wiful Murderer
#6 Towser
#22 Jumping Billy
#24 True Blue
Added #8 Mad Anthony, #10 Bulldog, #12 Nancy's Fancy, #14 Belcher, #16 Sudden Death, #18 Spitfire (next to Sudden Death), #20 Tom Crib. There is a Fumping Billy listed, but I think it is a typo for Jumping Billy.
Two more names were listed in the books: Revenge and Nancy Dawson so I placed them on the port side as #1 and # 3. Added my son's high school friends (and his sister) for the rest of the port side.
#5 Pedantic Keith
#7 Kitty's Snarl
#9 Garret's Garrotte
#11 The Bear's Claw
#13 Hammering Hank
#15 Thumpin' Ella
#17 Hebrew Hammer
#19 Mmonster
#21 Peaches Pitot
#23 Lukes Schnoz
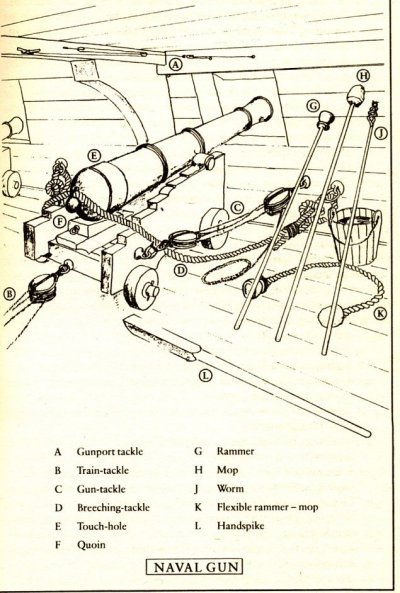
Began the cannon tackle as per this illustration...
-
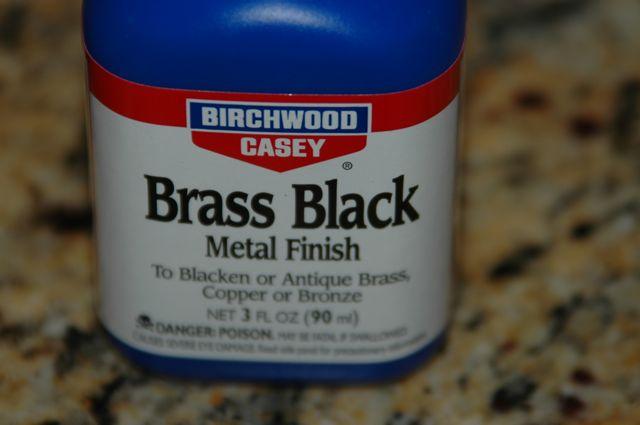
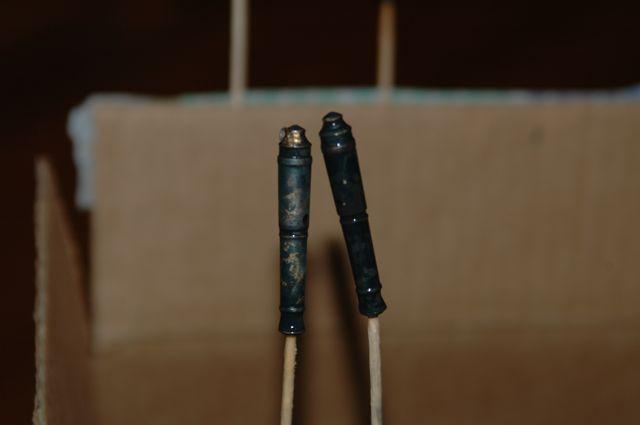
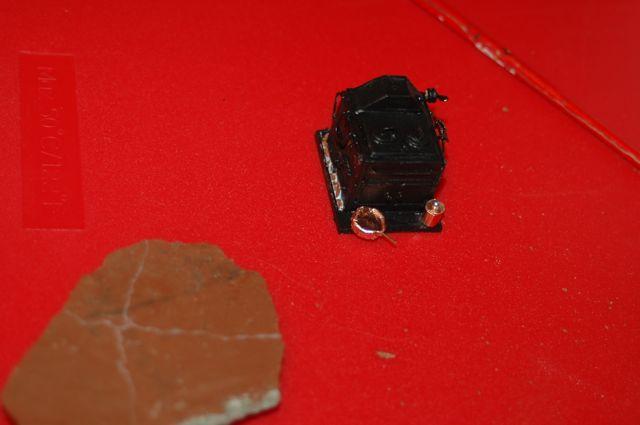
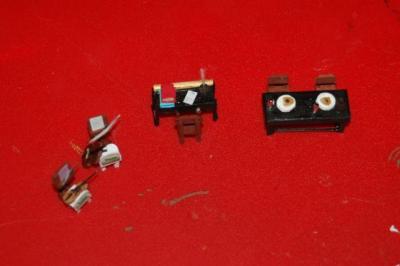
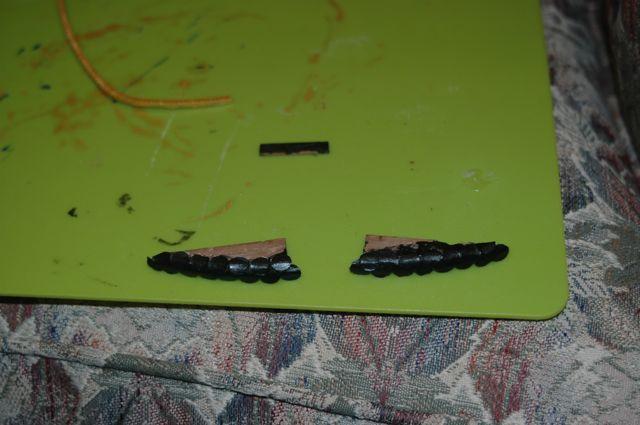
Cannons: Or how best to make them black. Used superglue to add rings to the cannon for the tackle, then decided to trial using Brass black after acetone and vinegar. Blotchy and uneven. So added a coat of acrylic paint from Caldecraft and was pleased overall. Got free Brass Black from the company cuz there was no retailer within 50 miles. Tried it at 1:5 dilution per krt, then 1:2 and it was still blotchy even after leaving overnight.
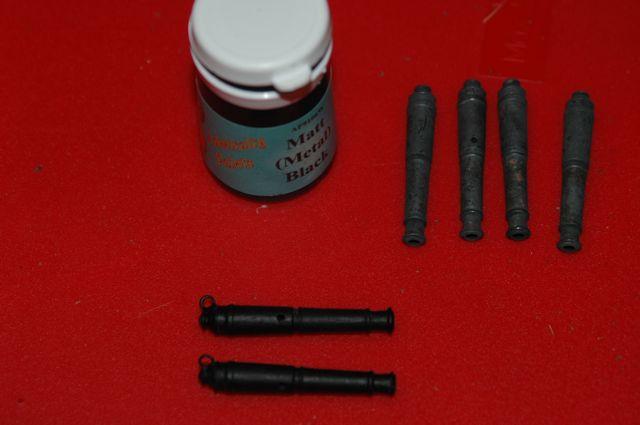
Brass black upper four, brass black plus paint lower two.
Worked better on the small pieces like pins and eyebolts.

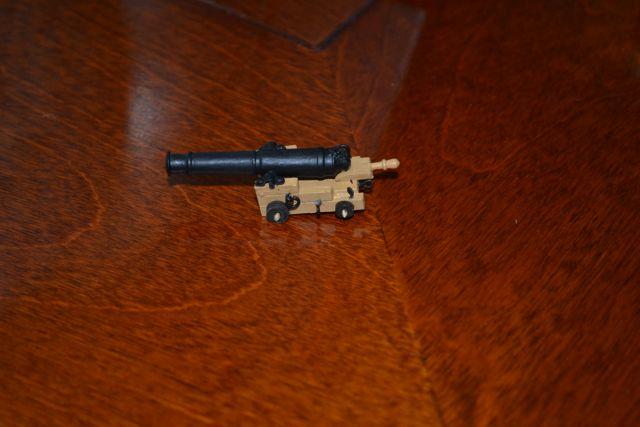
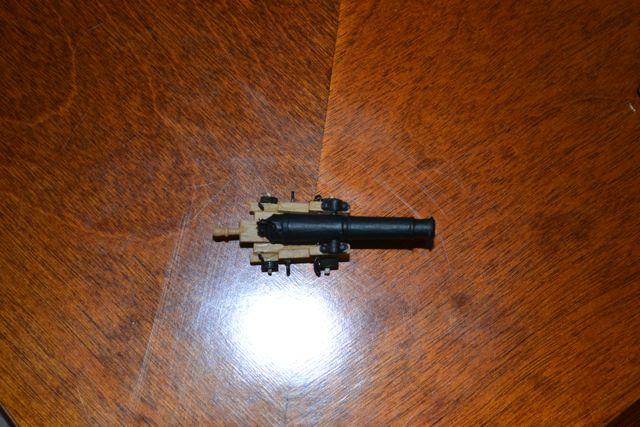

Used bamboo trenails/dowels for the axles and the cannon trunnions? Can customize the diameter with the machine plate.
-
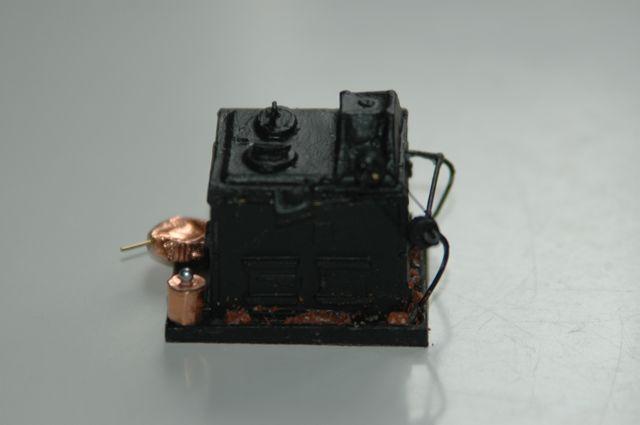
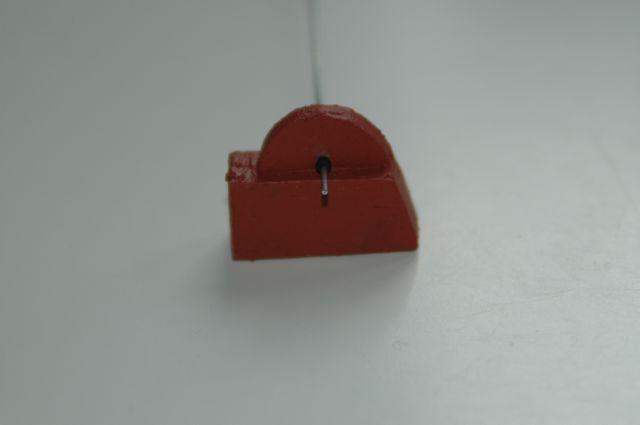
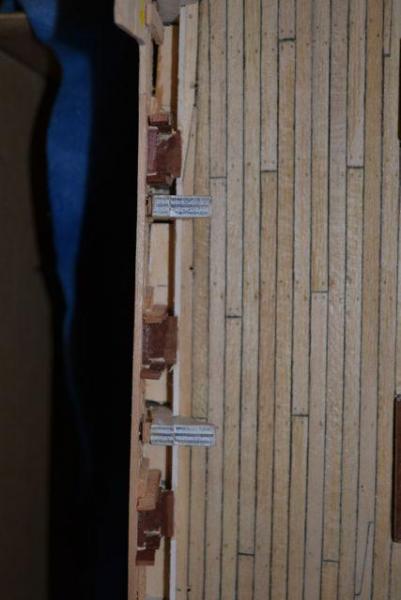
Brodie oven modified from Caldecraft. Added pulley system and copper pot and pan and lid handles. Also brick shards at base to mimic fire protection.
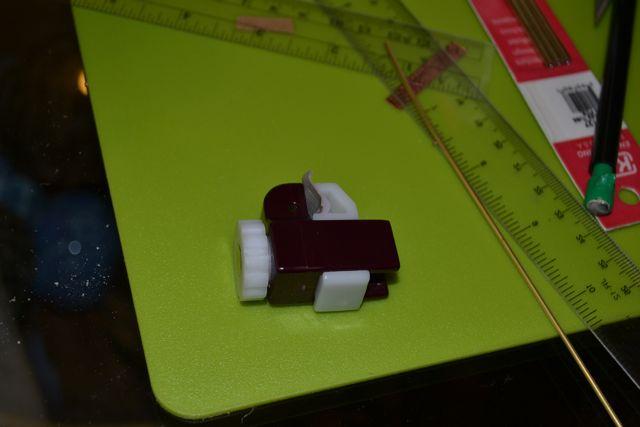
Then made chain pumps from balsa. Added wire for pump handles and little beads to reinforce the balsa. Needs to be bent... Taken from the Jotika model pages.
Then went for the hat with a chelenkh using a swarovski crystal from my daughters old bead set.

Added a "ruby"for color...

Added elm tree pumps too but need to take a picture of them.
- Jason and billocrates
-
 2
2
-
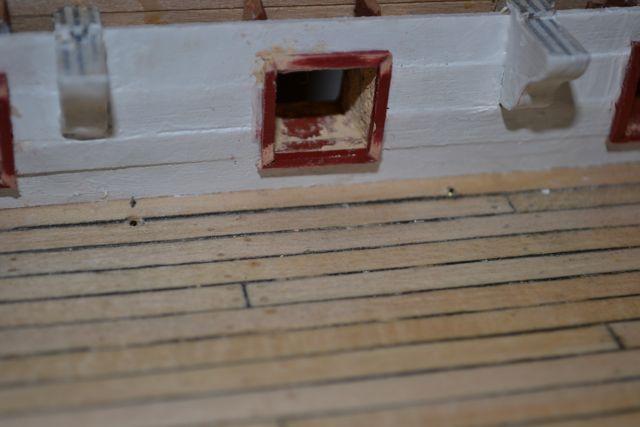
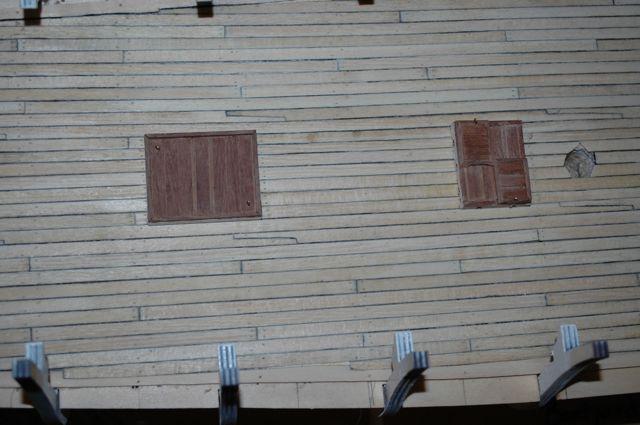
And added scuppers at scale size to the locations seen on the HMS Rose. Used the right size as per the Bible using brass tubing...
Used the smallest tube cutter I could find and still had to finagle it with tape to get it to cut straight...
-
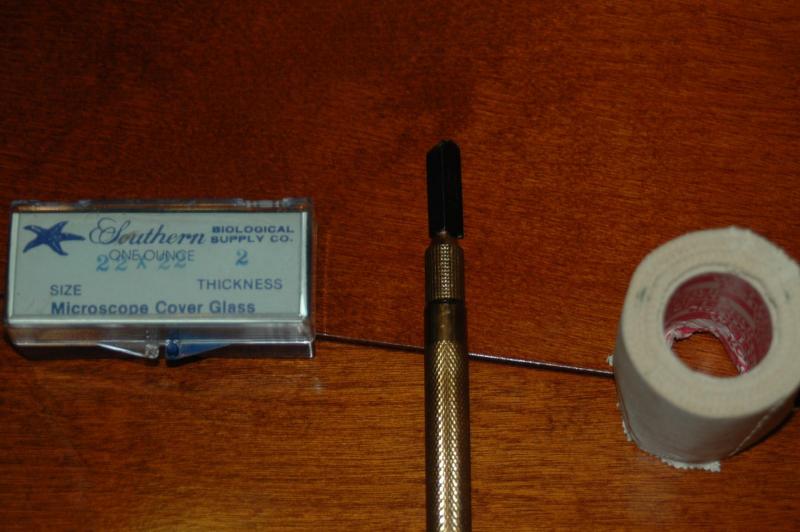
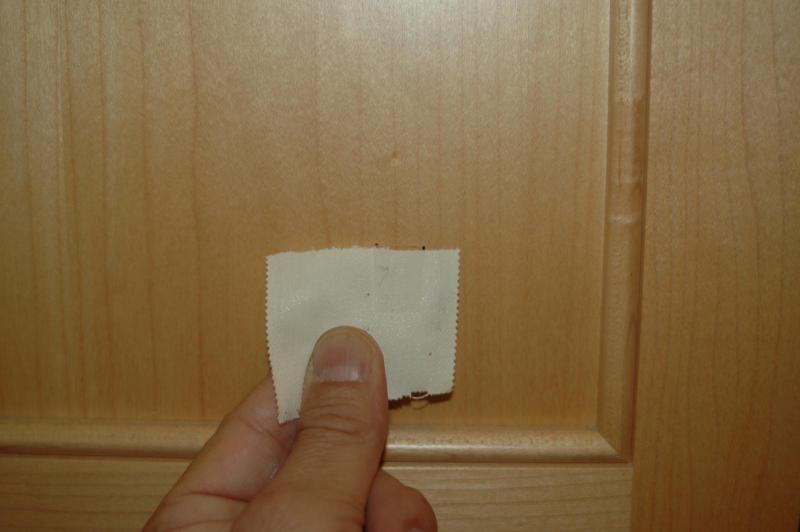
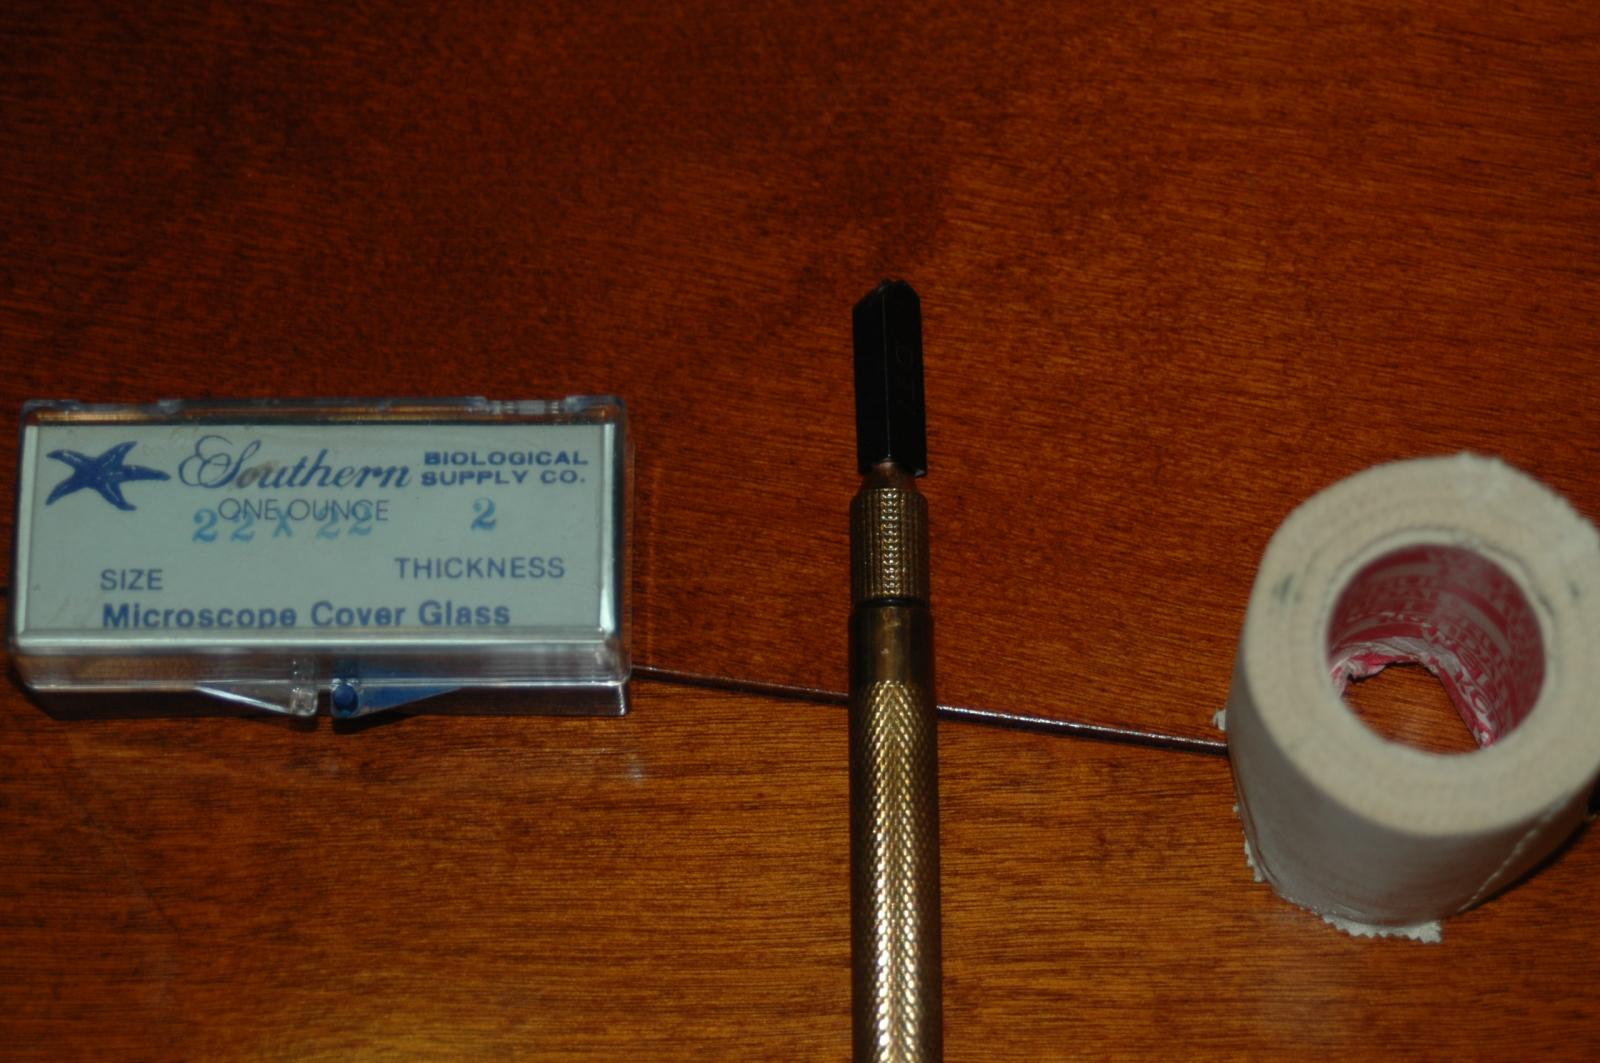
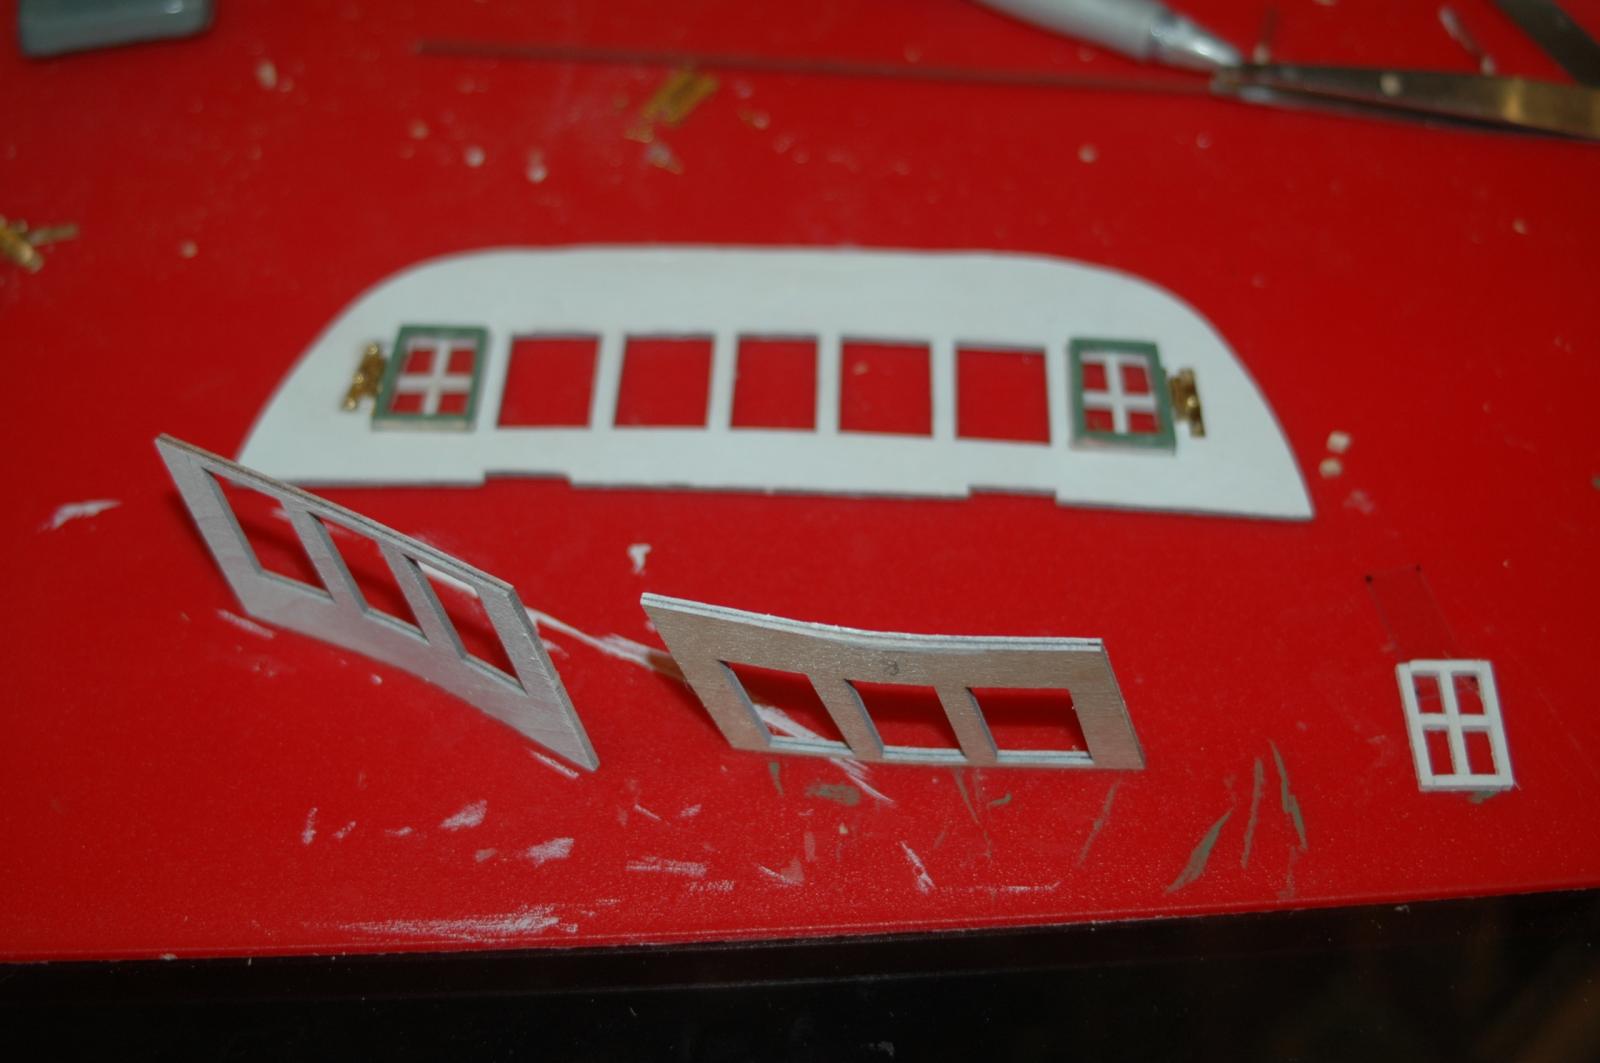
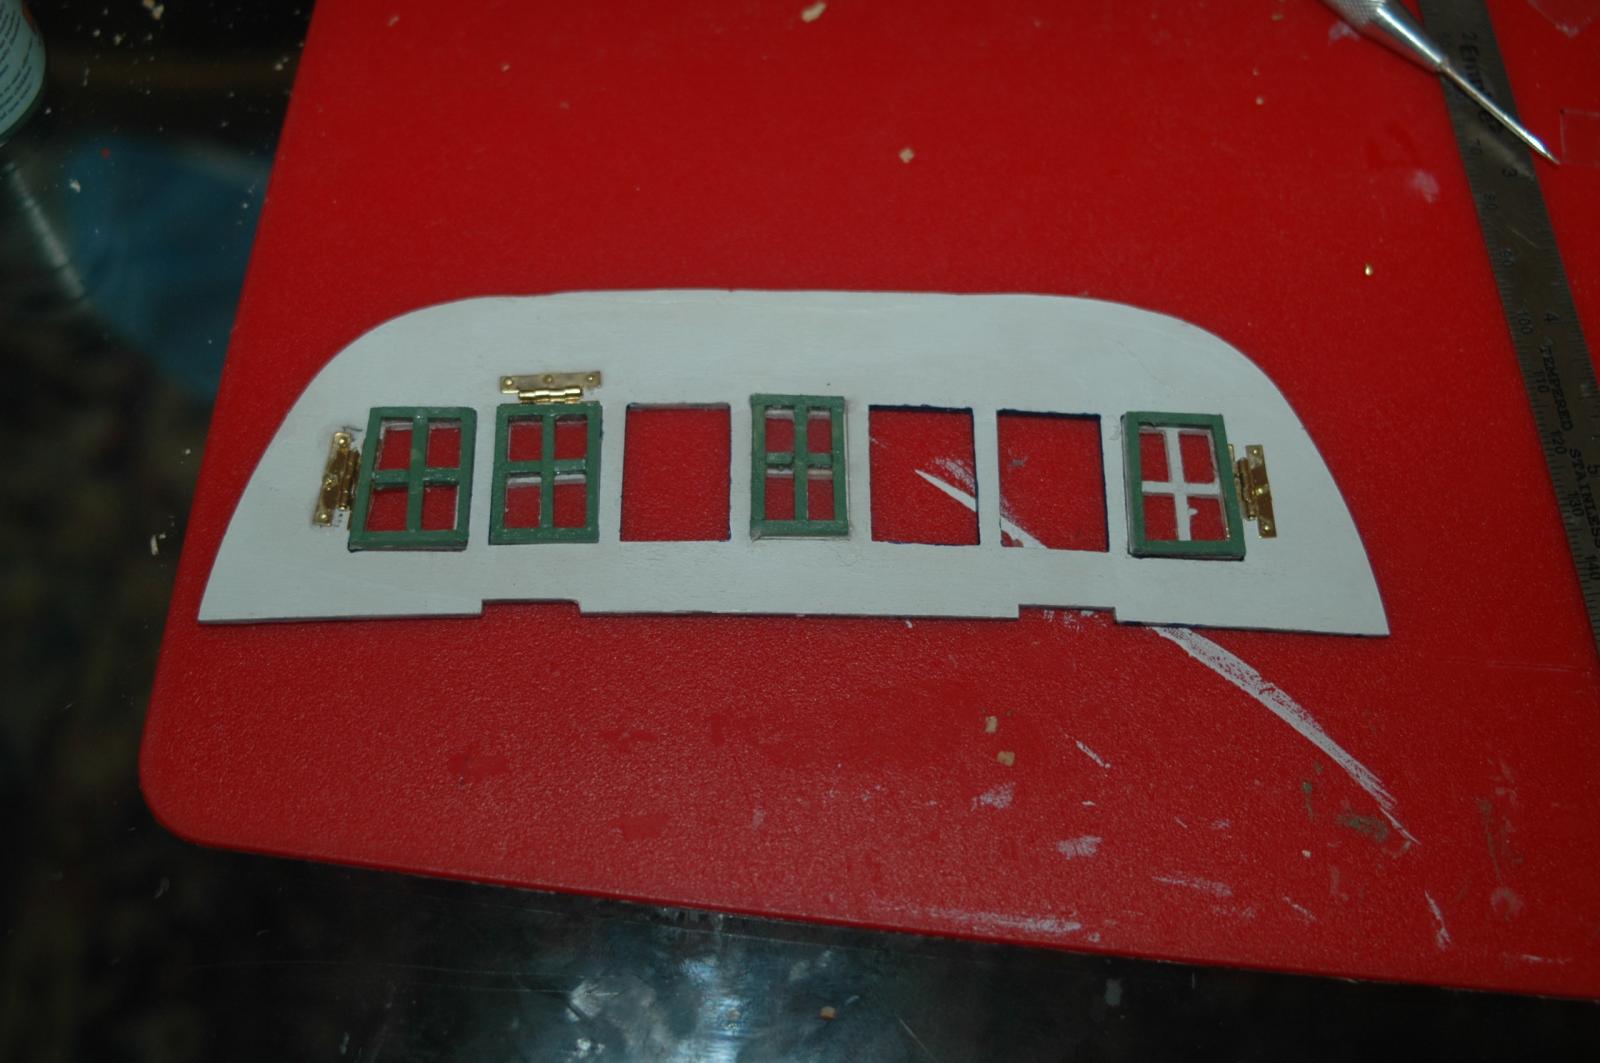
Used a glass cutter with athletic tape to cut microscope coverslips to the right size and shape. Got 1 of 3 to not snap, took awhile to figure it out.
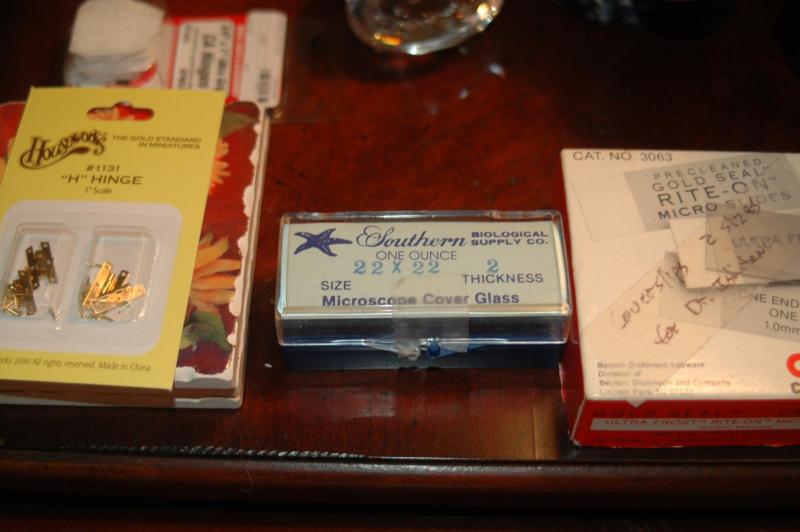
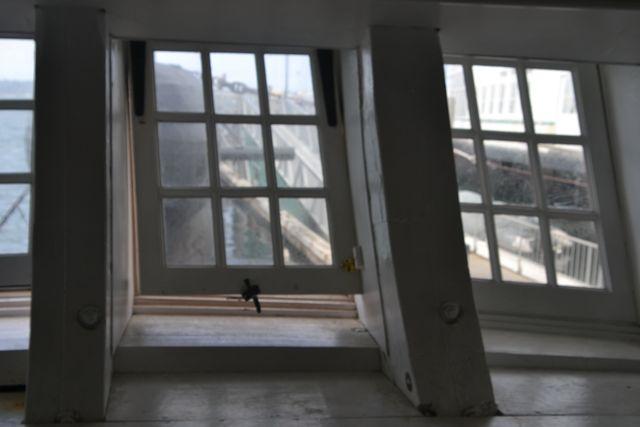
Added hinges so windows would open up to see inside cabin a little better.
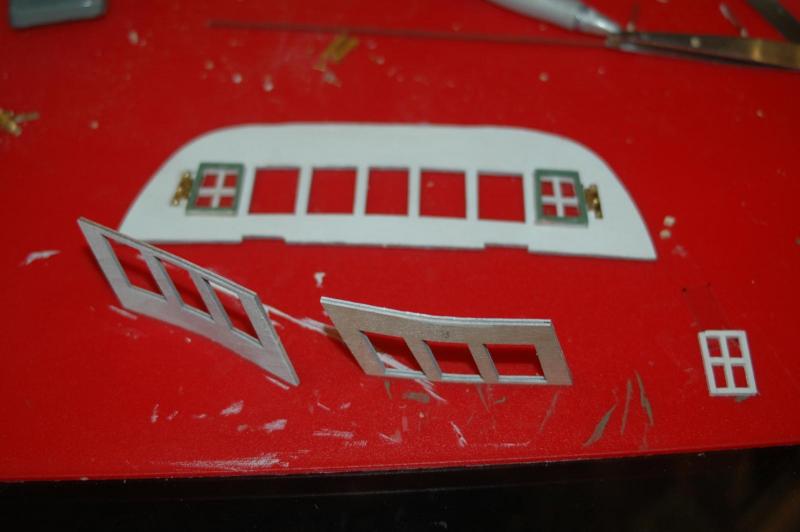


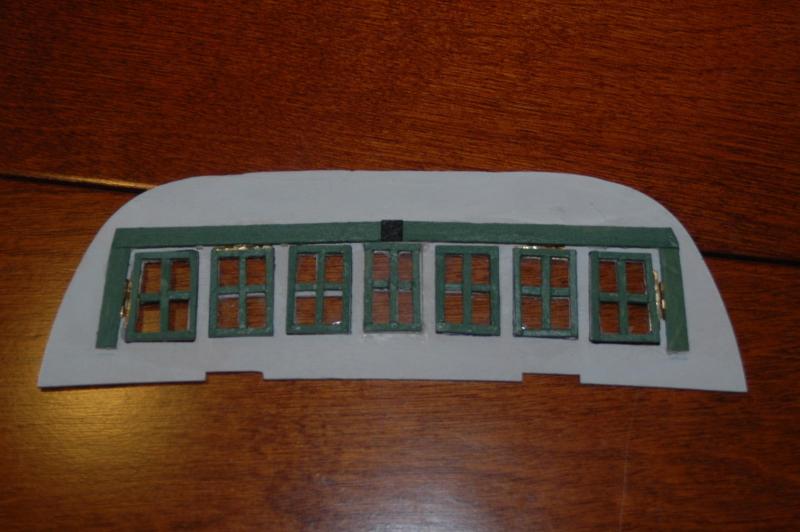
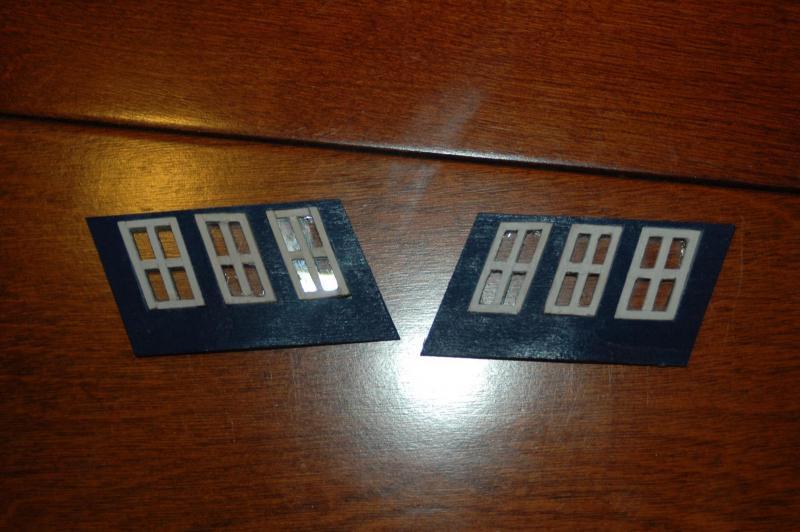
Side gallery windows had to be bent slightly to fit.
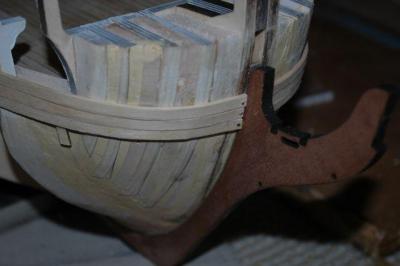
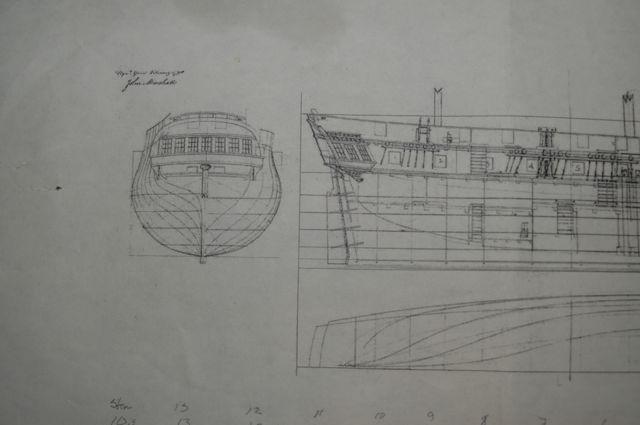
Note stern cut to mimic original plans so as not to have the big central peak in the AL model plans.
- billocrates and Jaxboat
-
2
-
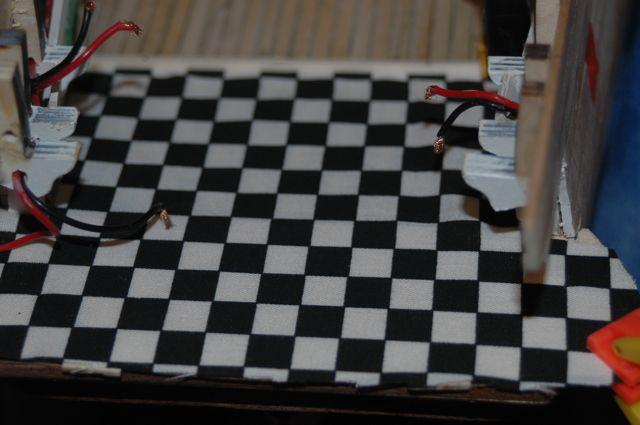
So all the little elements that were made are her now attached to the carpet.

And along the wall
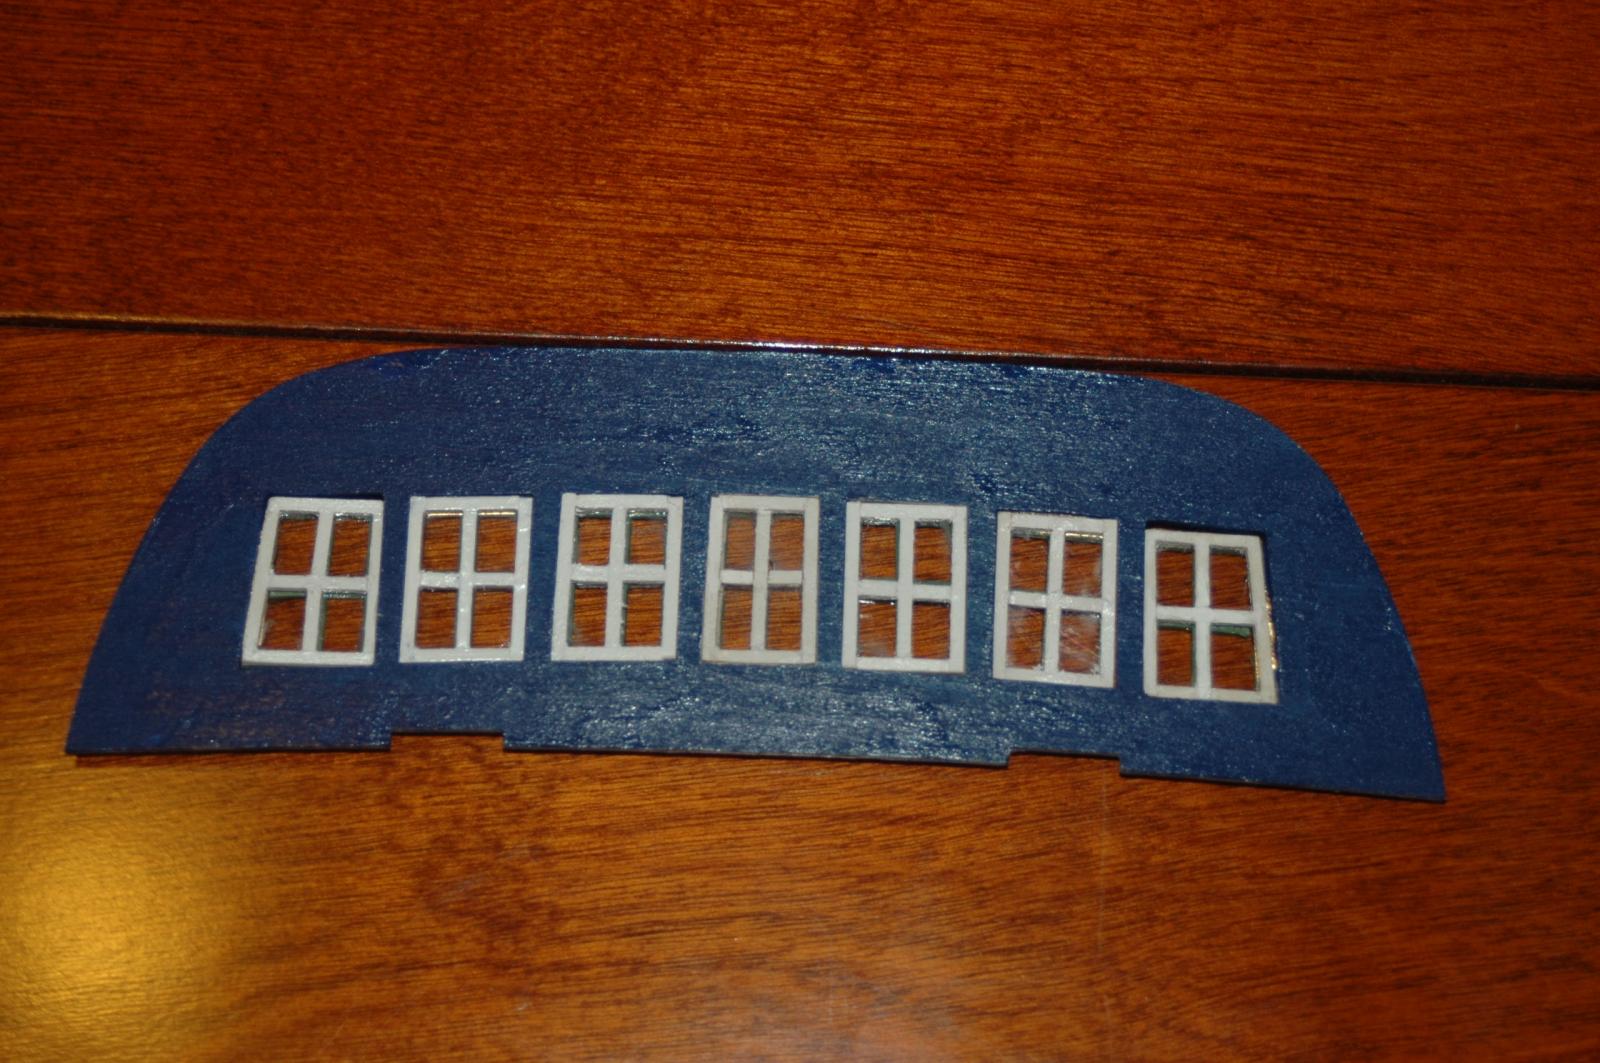
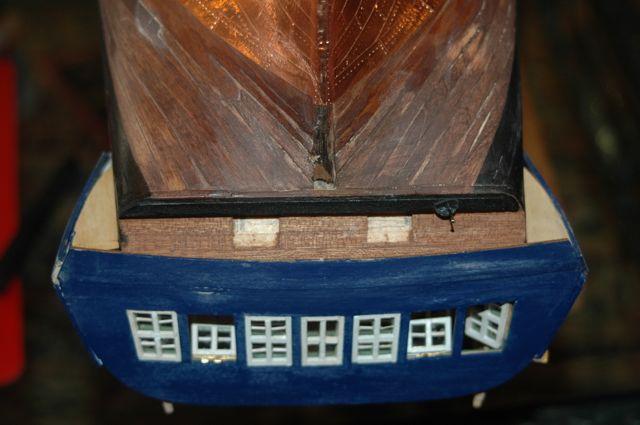
And the finished stern with windows and painted brass pieces

- Jason and billocrates
-
2
-
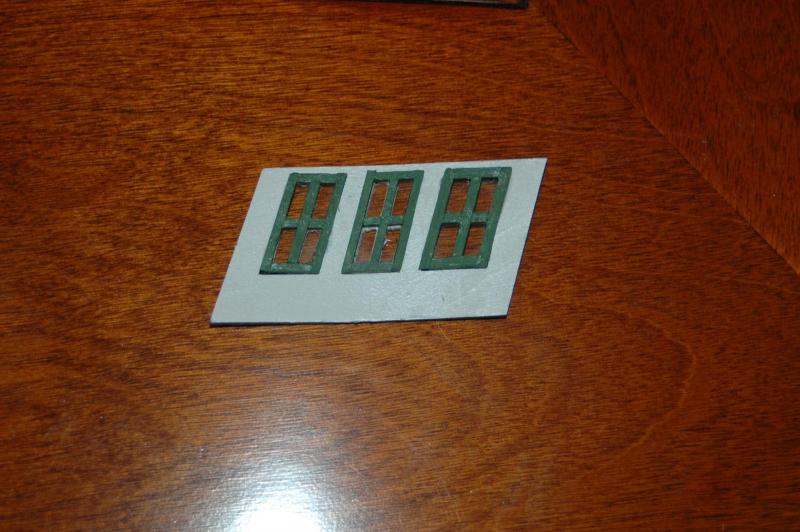
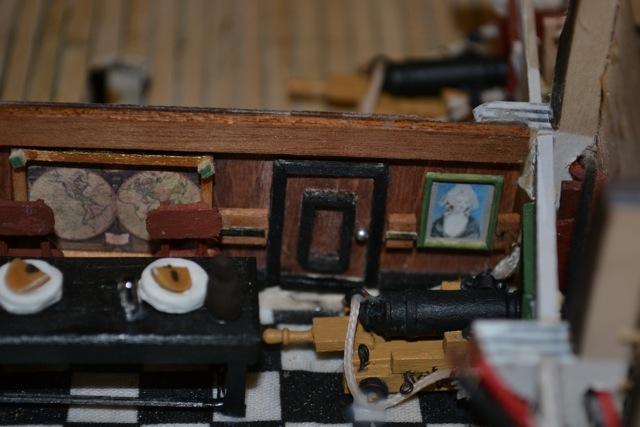
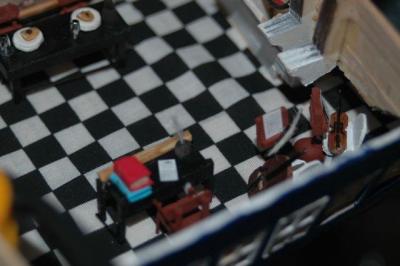
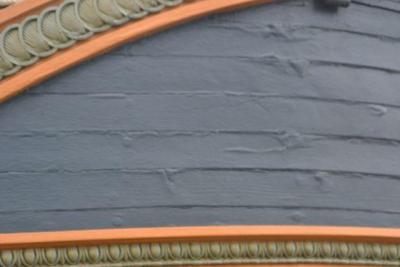
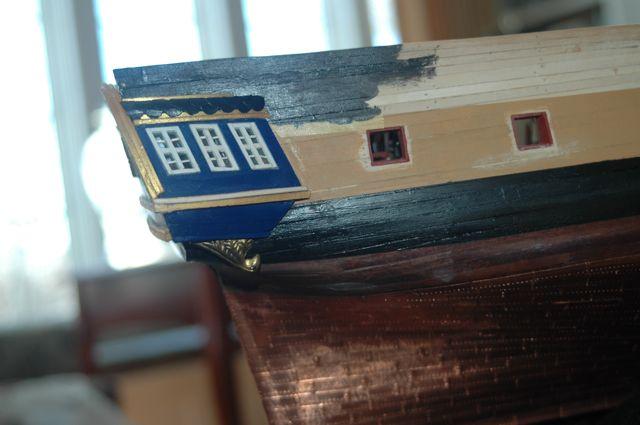
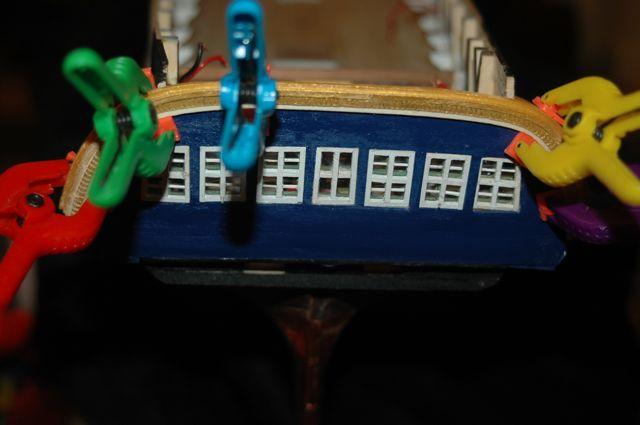
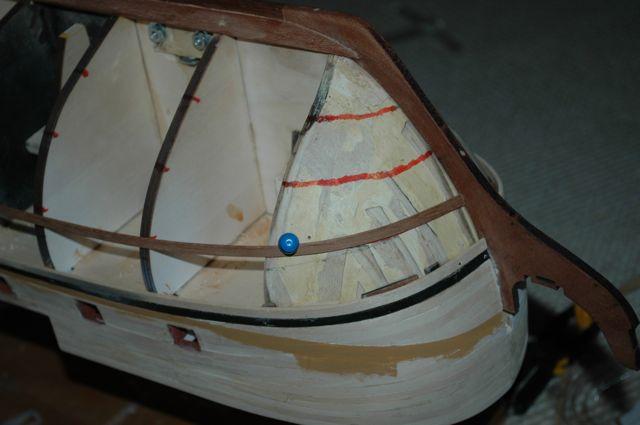
In the Captains cabin decided to paint the trim green so the gun port reflects that.

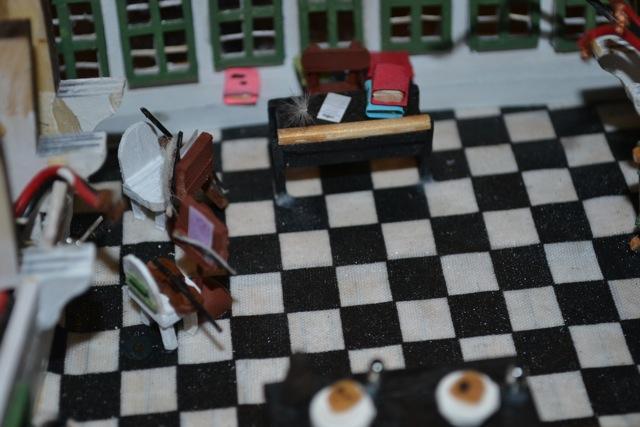
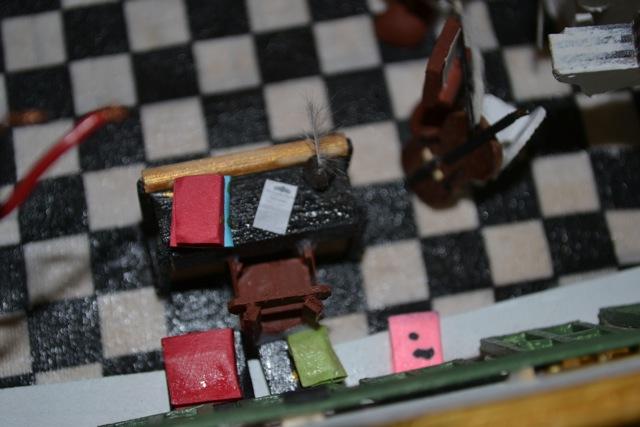
Found a race car victory flag and did the floor in cloth ala Nelson black and white squares at 18 inch to scale. Then used ModPodge to attach it to the flooring and stiffen it. Added the walls as per the Lavery book and the doors using the same measurements. Note doors with pin head door handle.

Made the captains table with plates, spotted dog, and cups.
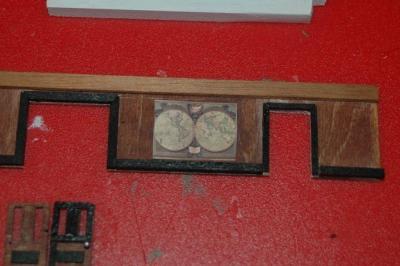
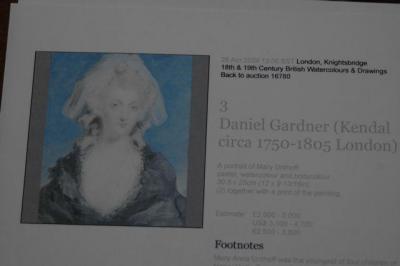
Added a world map 1805 reduced to 10% size, then added a blonde woman who could look like Sophie and framed that.

A bookshelf, couple bottles of wine, a writing desk, ink well with feather were next. Found a copy of the London Gazette online with the Battle of Trafalgar report and reduced that to 5% and printed it and put it on the desk.
Added a cello, violin, Locatellis Violin Sonata in G (reduced to 8%), bows (strings made of dog hair), Ceremonial sword, and chairs.
Will add final picture later as I am missing some pics.
- kmart, billocrates and Jason
-
3
-
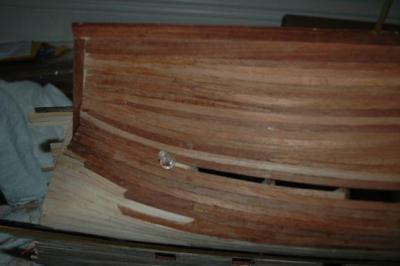
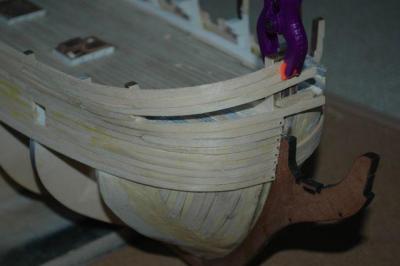
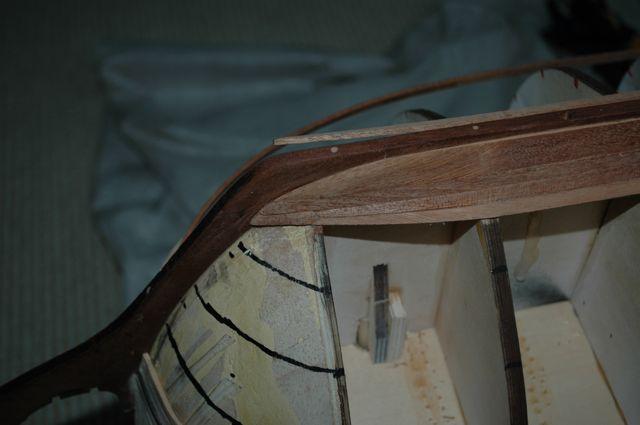
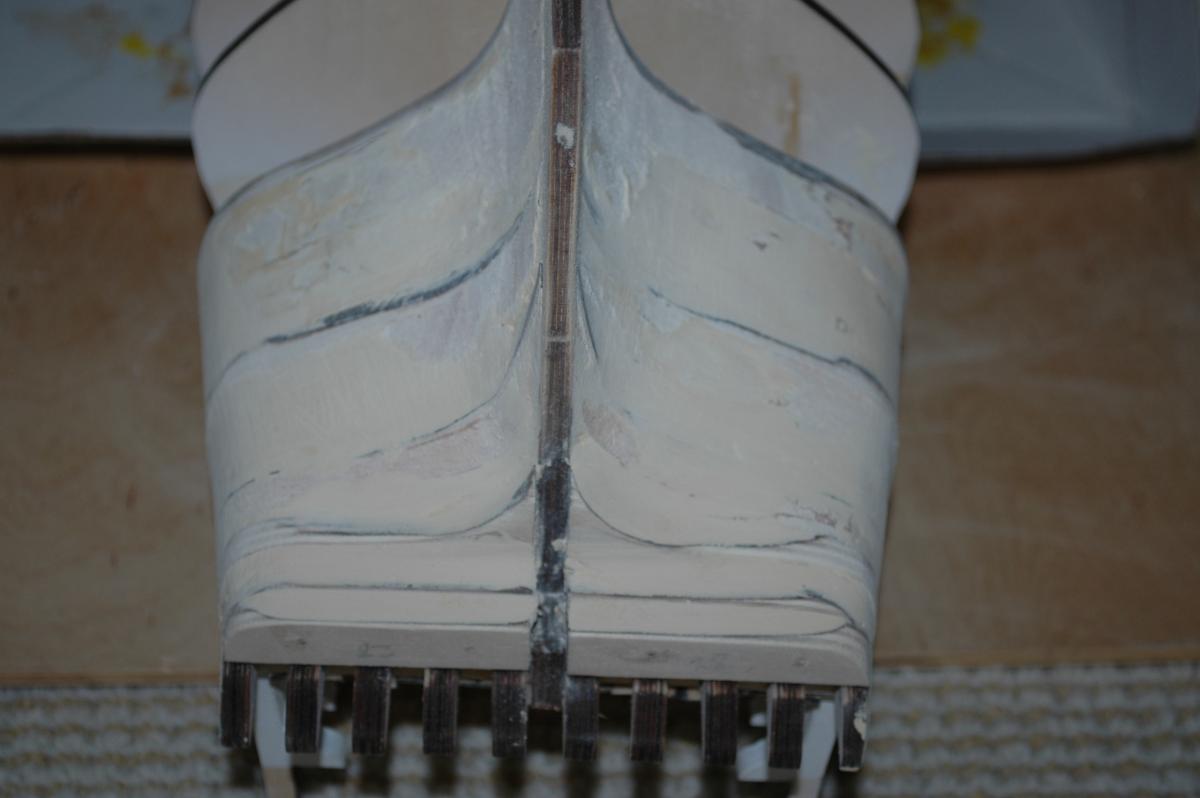
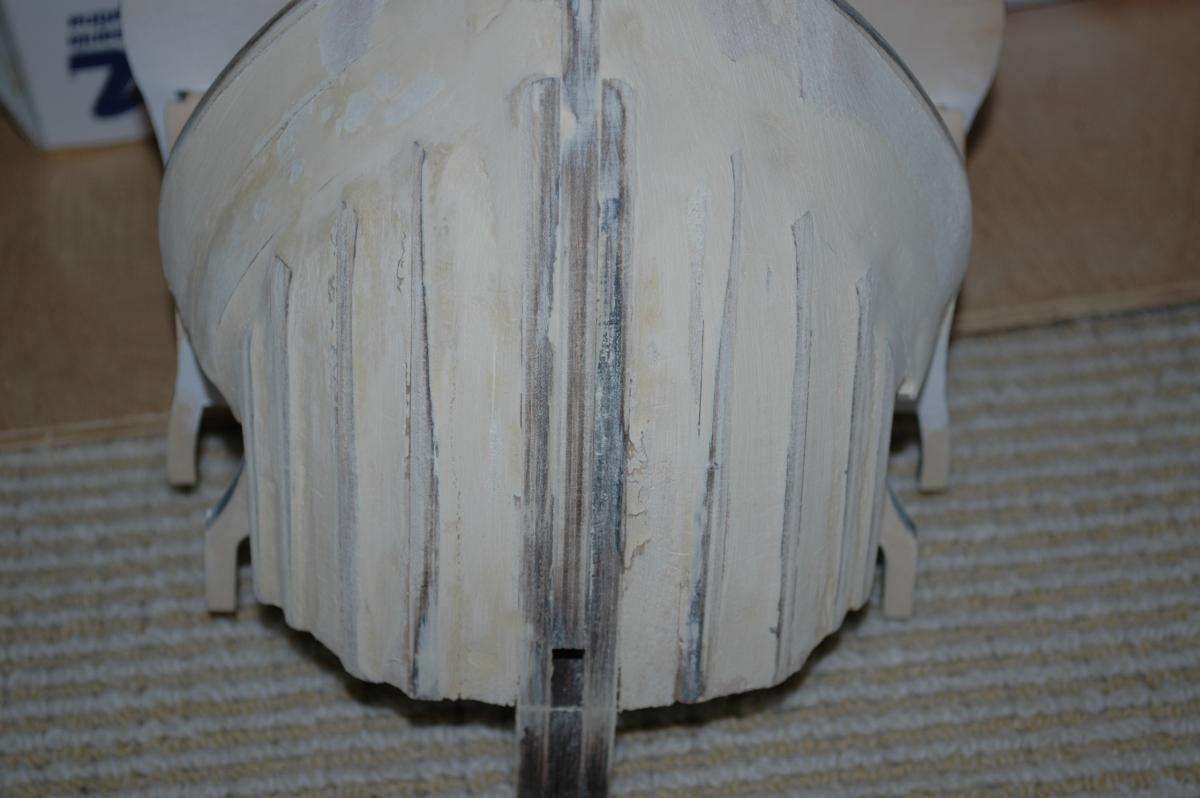
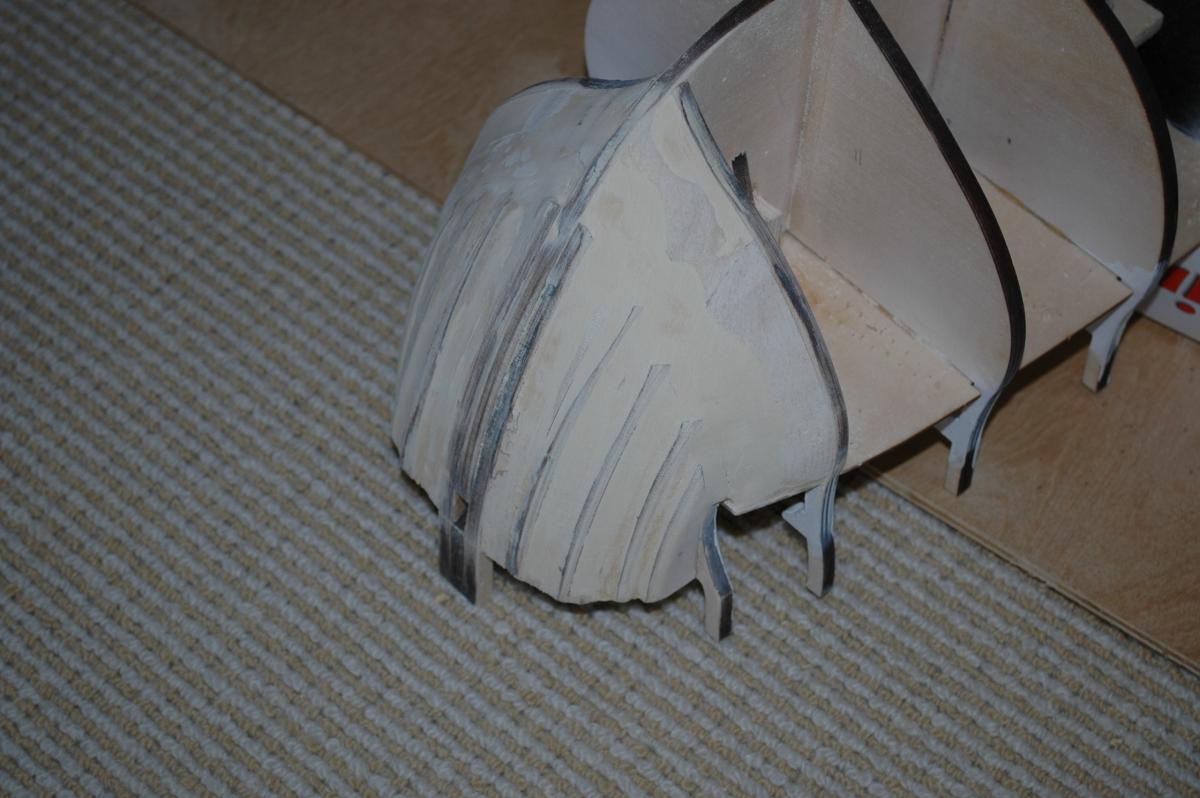
Finished rudder
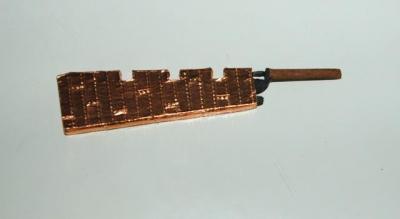
Note trenail reinforcement and the planking is gone.
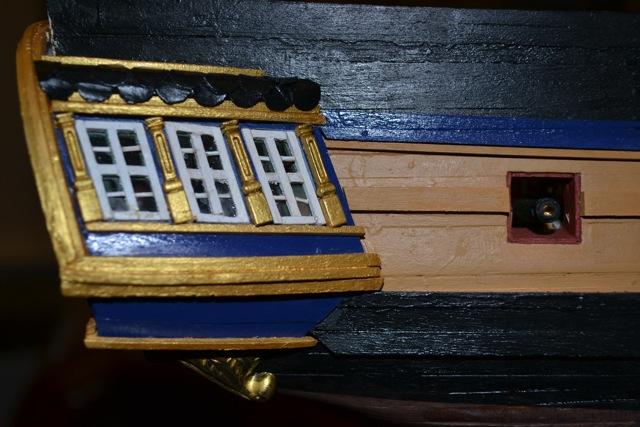
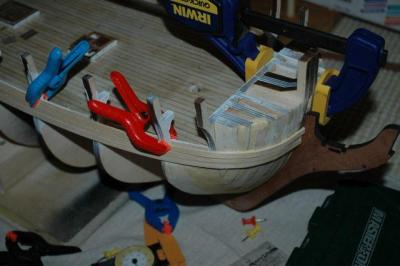
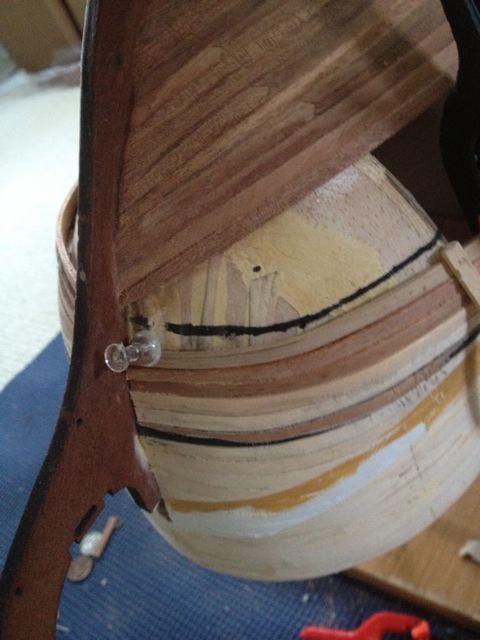
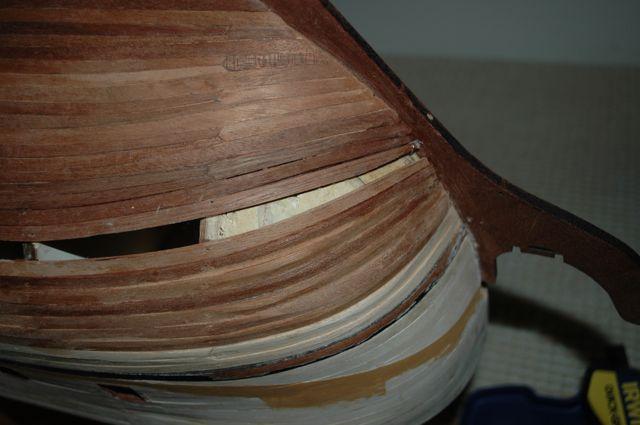
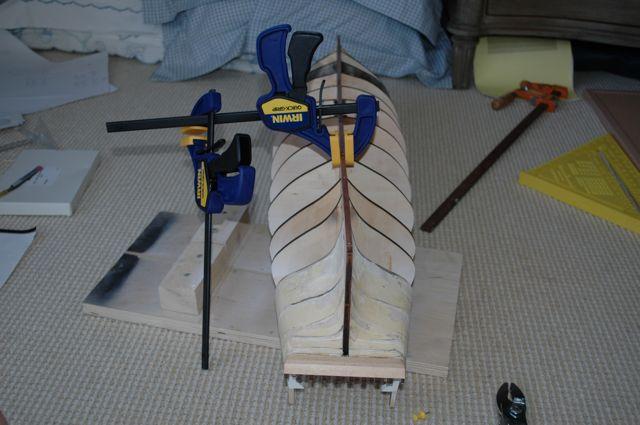
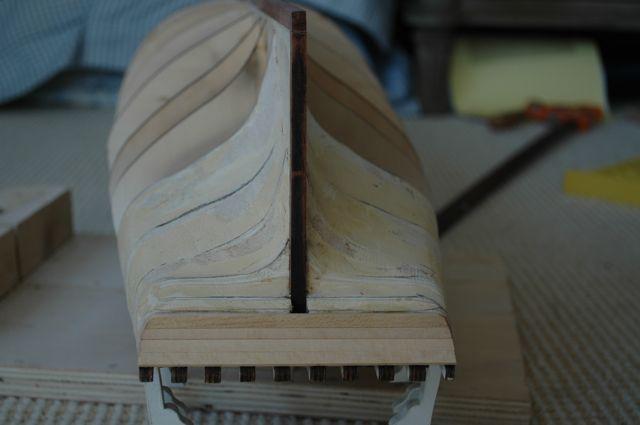
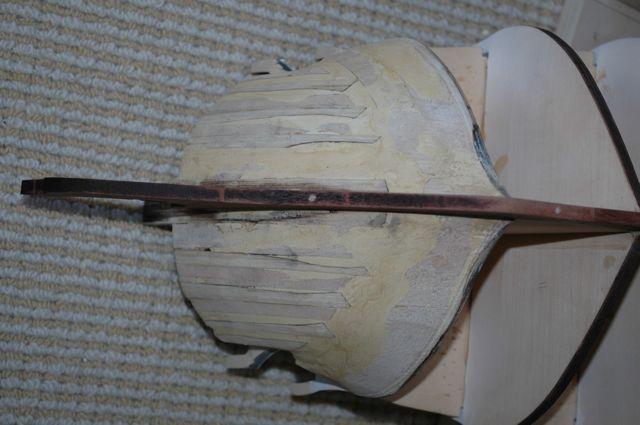
On to the Stern and the Captains cabin. This was a lot of fun with details and little things to try and figure out. First the stern, decided to make windows that opened in as per the moderator and the HMS Rose. Also, decided to use slide coverslips to make real glass windows as opposed to the acetate fake things that come with the kit. Used bamboo from the trenails to make tru divided light windows...

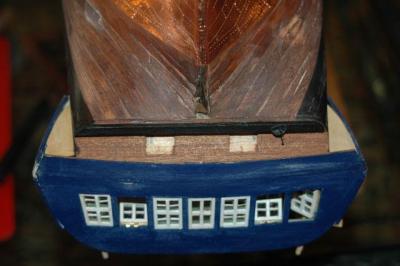

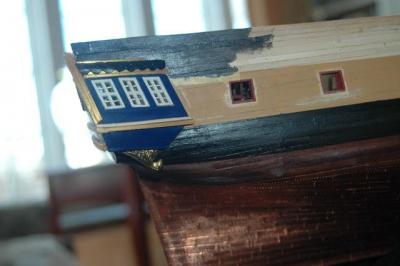
For the roof of the captains galleries I used thick paper cut to look like round shingles then painted with black acrylic. Looks like the Geoff Hunt paintings as close as I could get.
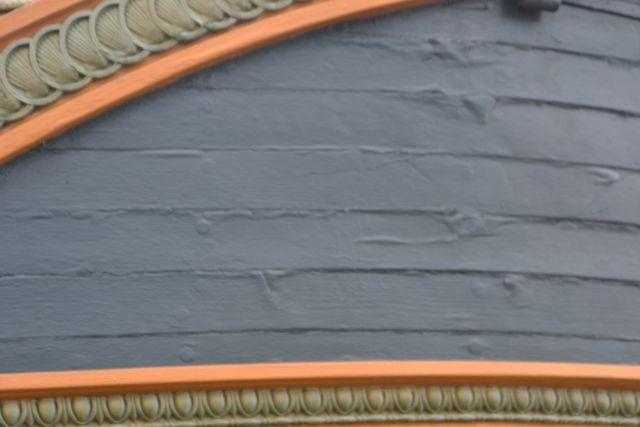
Also, did a fair amount of the painting of the sides to try and make it as clean as possible. The Tamiya paint tape works really well.
Tried to follow the reference book and paint the sides black with a single blue strake in the stern and the yellow ocher checkered strip along the gunports. Paint was from Caldercraft which is based on chips from HMS Victory (or so they say). The red is close to the HMS Rose in San Diego.
Am missing some pics from my files so will retake tonight of the completed stern.

-
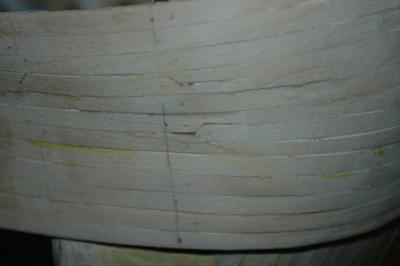
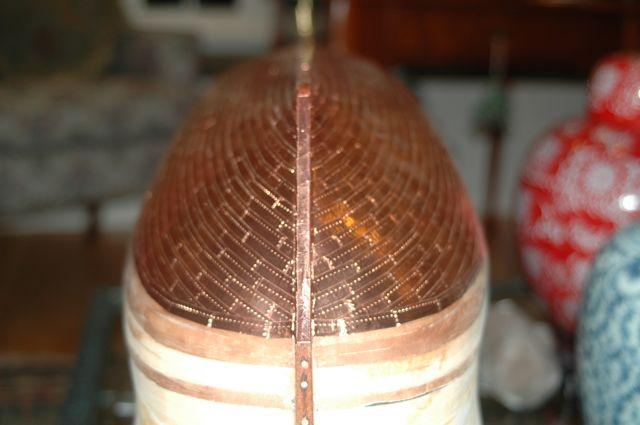
The rudder was interesting. I initially followed the AL plans, didn't like it and then determined that they were somewhat inaccurate compared to the Admiralty plans, so I redid the rudder after doing it once (I seem to do that a lot). Being OCD about stuff must be a requirement of this hobby... Note the number/position of rudder braces differs between the AL and Original plans. The rudder ended up being fragile and broke, so I had to jury rig it and reinforce with a trenail. The I recoppered it after filling in the vertical plank lines which looked crummy to me
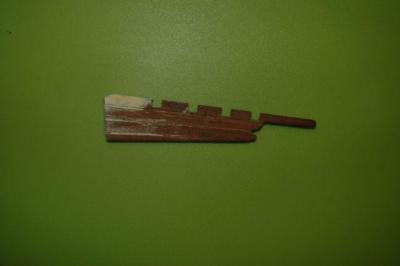
The AL rudder
Fixed rudder to follow.
-
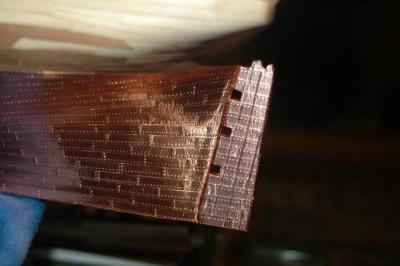
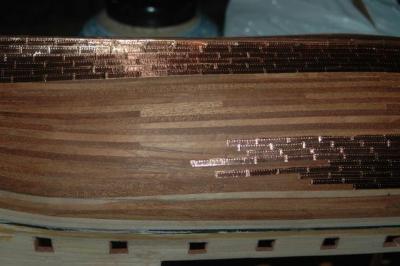
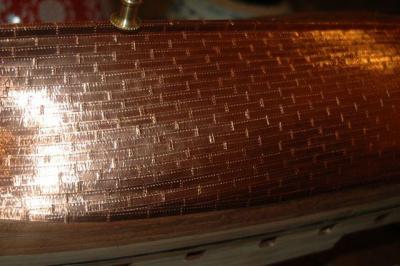
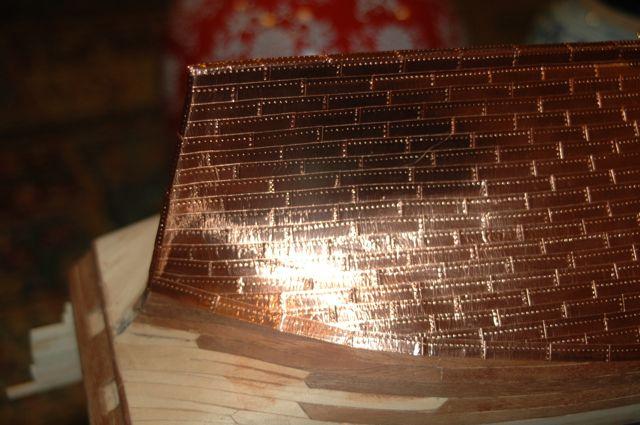
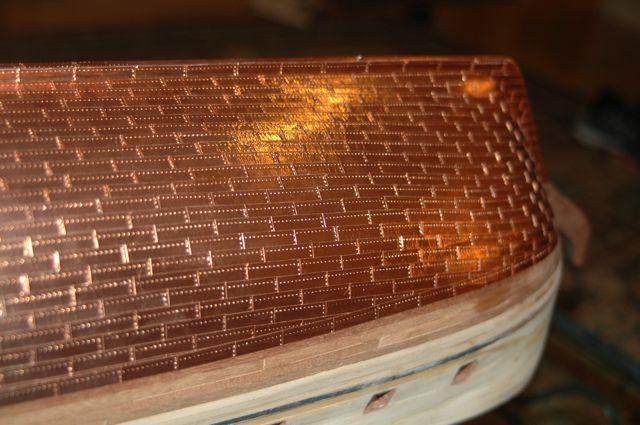
Coppering using copper tape from Hobby Lobby for Tiffany glass windows. Unfortunately, used the wrong size tape for the first 40 hours...then realized a 1:48 scale should be 1/4 inch tape for 1ft x 4 ft copper sheets (reference book). Used a wheel to imitate the rivets.


- billocrates, Geoffrey and Mirabell61
-
3
-
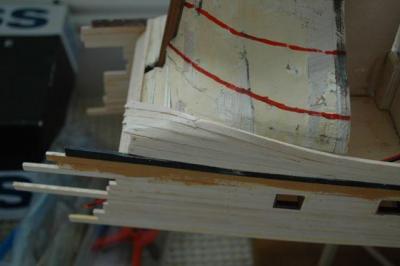
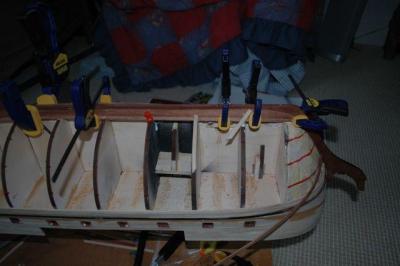
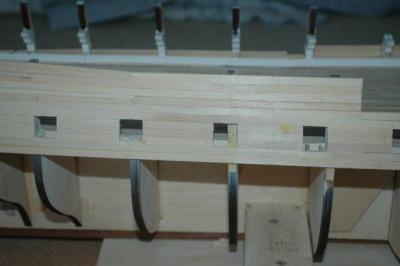
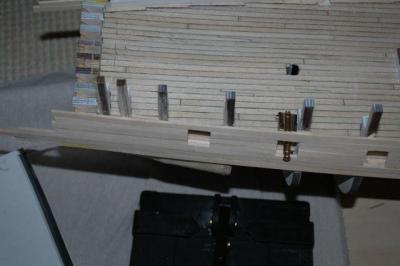
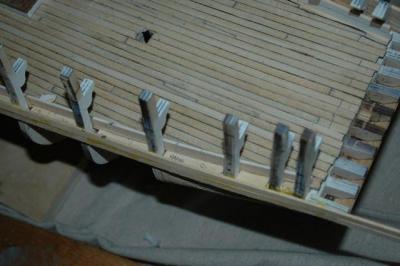
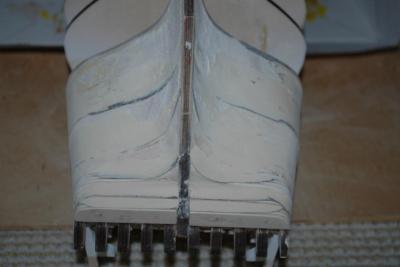
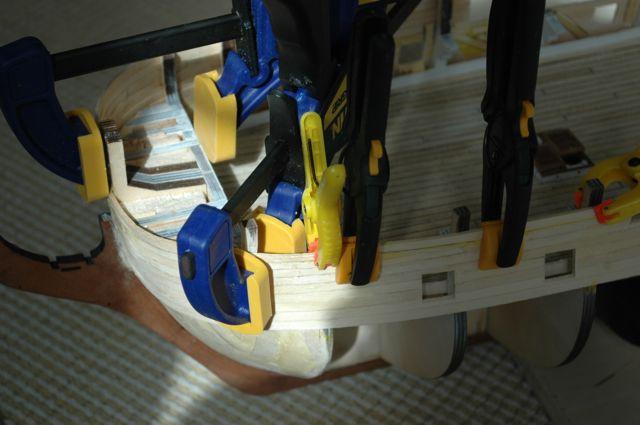
Last little bit before finishing planking. Whew!
Then a long good vigorous sand and detail for tiny defects using wood putty to prepare for coppering and painting. Had only two small sprung boards that required removal and fixing/sanding and repair. A tight seaworthy hull Captain!

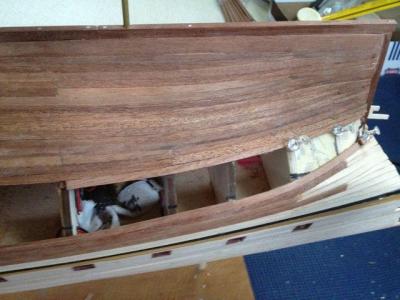

Had a moderate amount of clapboarding forward, but it all sanded out nicely in the end. The boards would not bend in three directions at a time...
-
Planking...an exercise in patience. Learned a lot, but it took a long time to get it pretty close to right. Perhaps choosing a single planked hull for my first project was not a terribly good idea, but I got there. Divided the hull into quarters and then worked to even the strakes out within each quarter. I initially thought to do it with calculations, but then it evolved to more cut to approximate width followed by filing with a good wood file my Dad left me to get it real close, then sanding with emery fingernail boards to get it perfect. Lot of soaking and then clamping/pinning in place overnight to get things bent into correct positions.


-
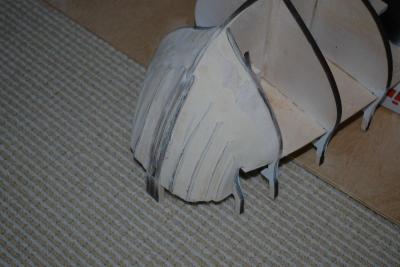
On to the lower hull planking. This required some help from krt and the moderators. I was not to sure what a garboard plank was so they helped me along. I chose not to cut it into the keel because the keel was already thinned by the wiring and I thought it would splinter if I cut into it any more.

Required presoaking and clamping overnight to get the full twist of the wood.
-
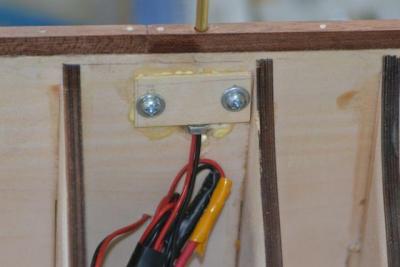
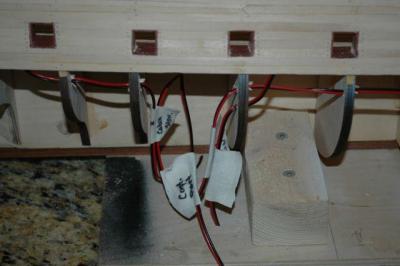
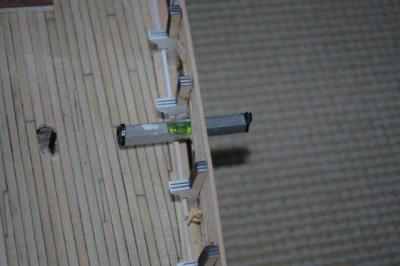
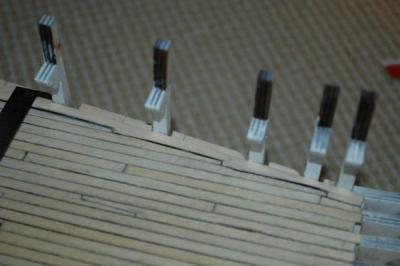
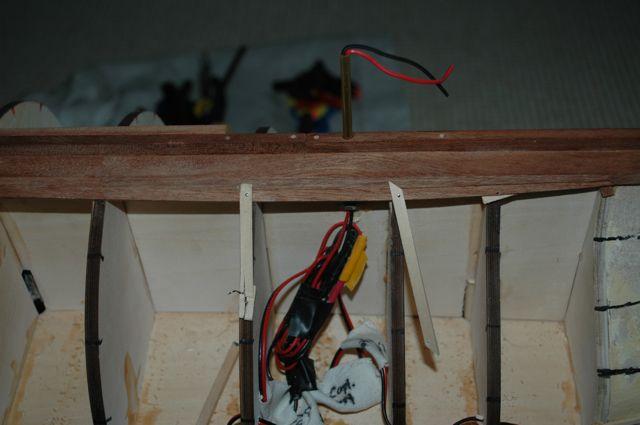
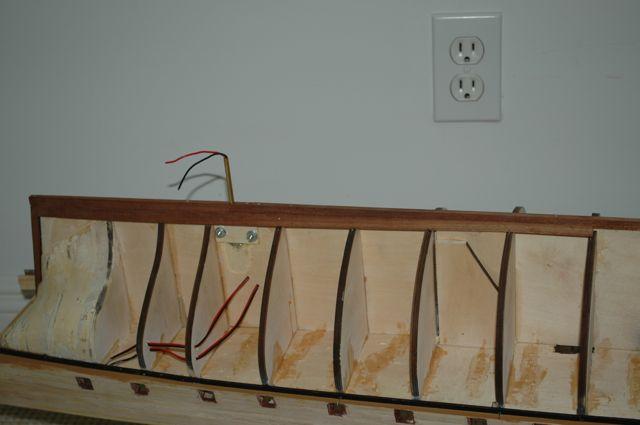
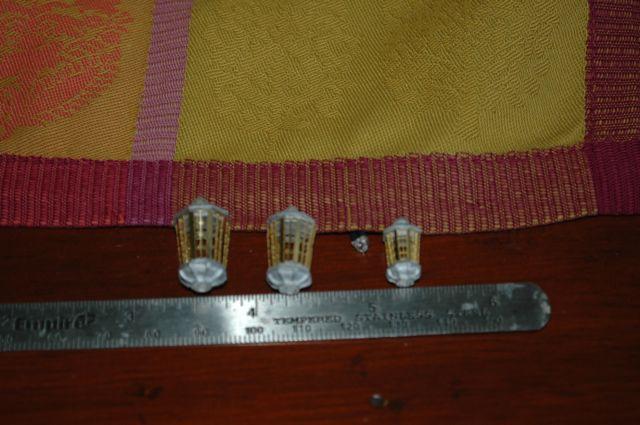
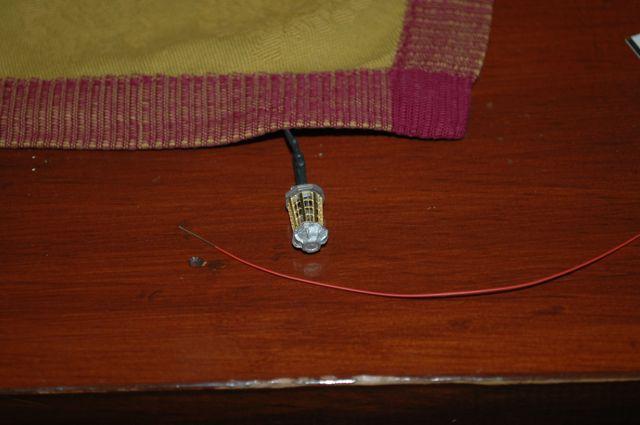
The lites were 1.8mm bulbs so fit into the smallest lanterns that Jotika makes. Drilled a hole and then was able to finagle them into position. I know they are not exactly like the real thing but they were nice looking and I went with them...


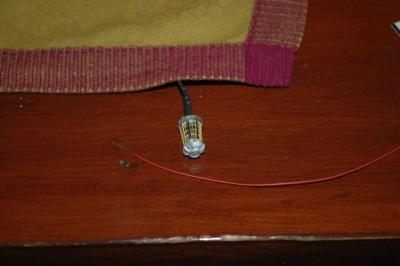
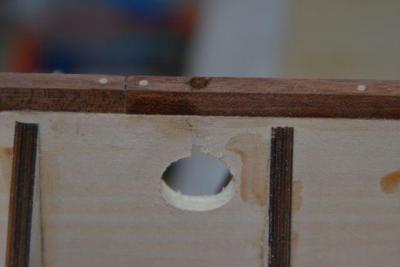
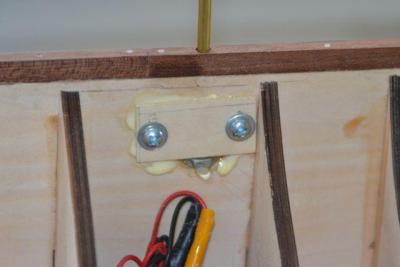
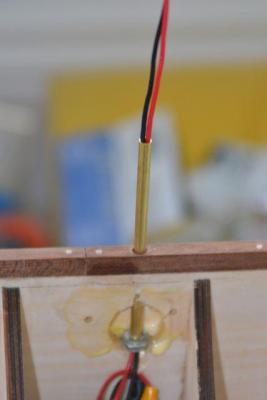
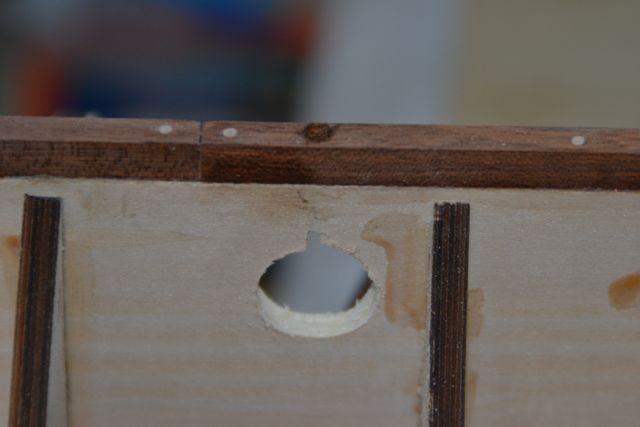
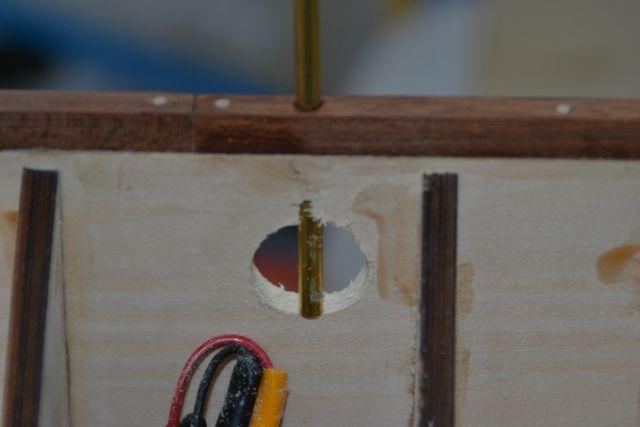
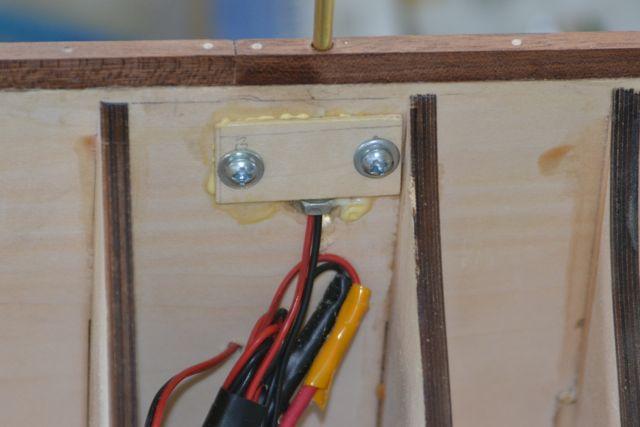
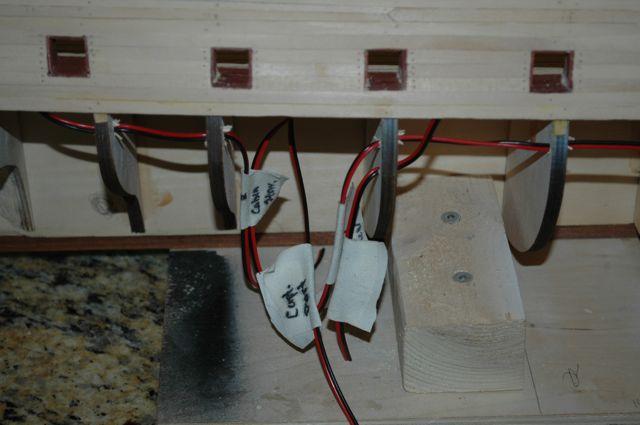
Running the wiring out the keel required reinforcing the keel. I made one error and had to redo one of them because I forgot to run the wire through before I glued it. Grrr... Liked the brass base for their ornateness, was like $2 apiece.

-
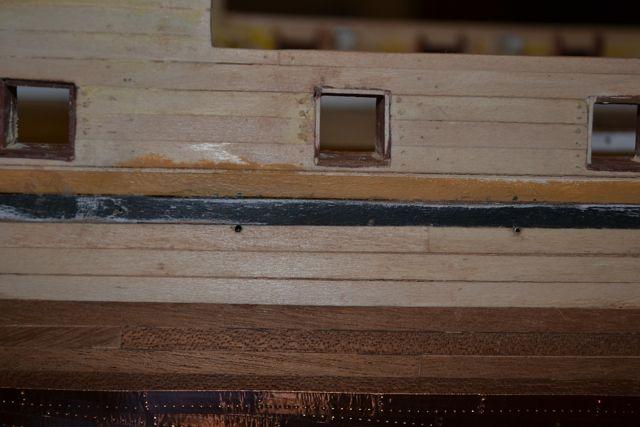
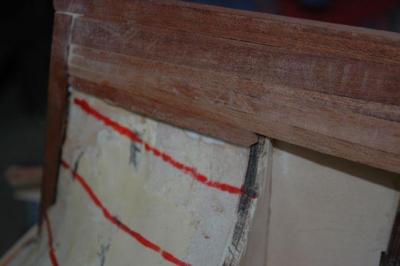
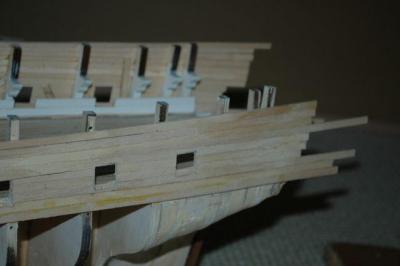
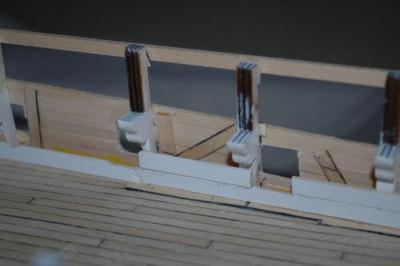
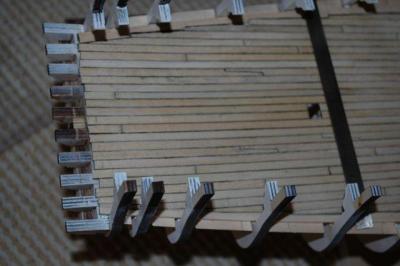
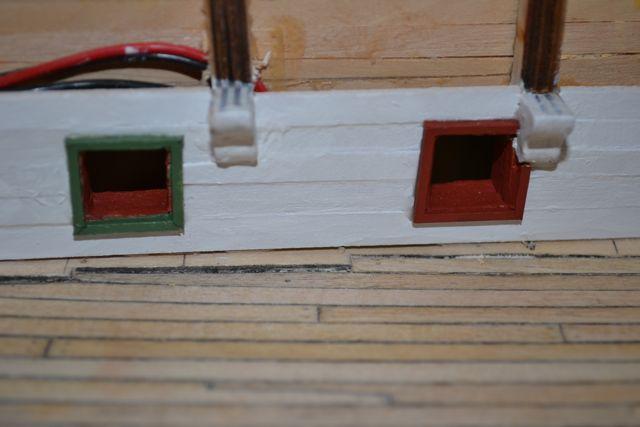
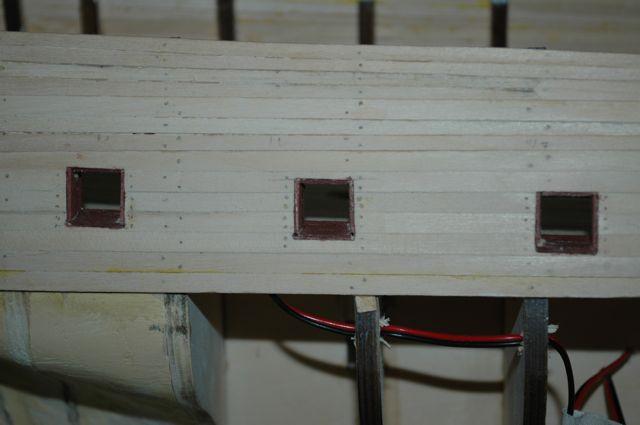
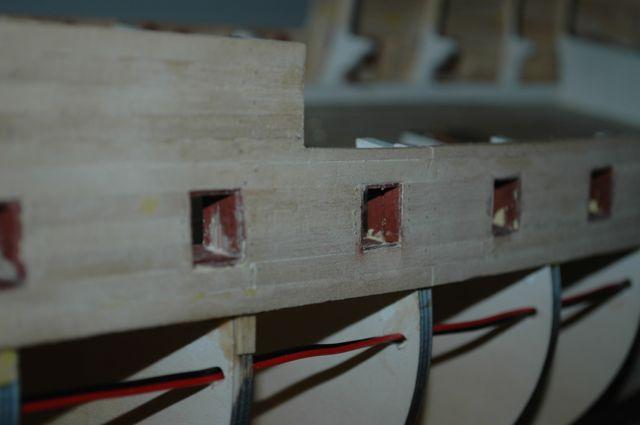
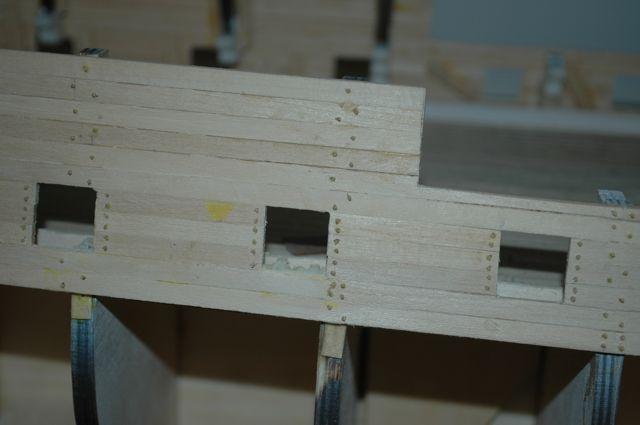
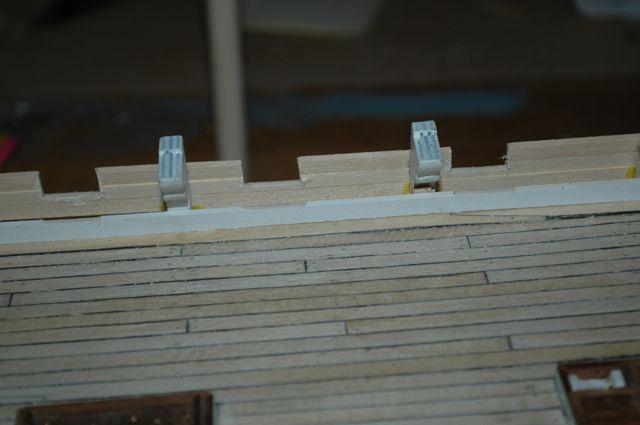
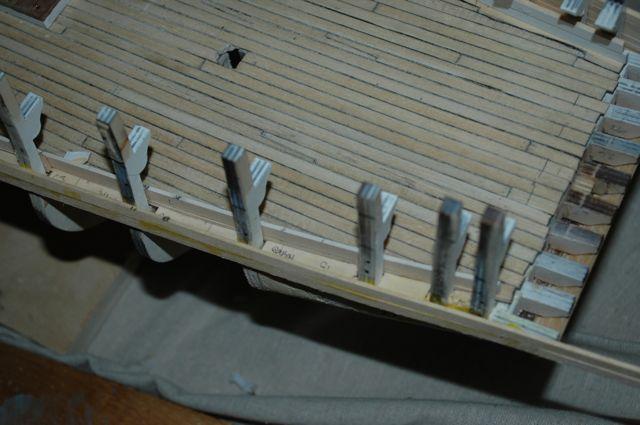
Proceeded on to gunports. Getting them flat and even was time consuming, but it turned out ok. I can see tiny flaws but hope that the other details (port lids) will mask them to some extent.
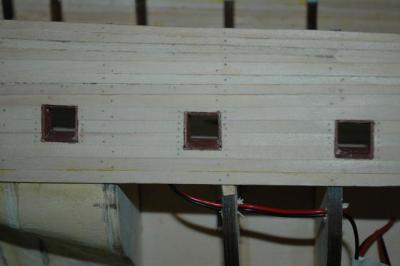
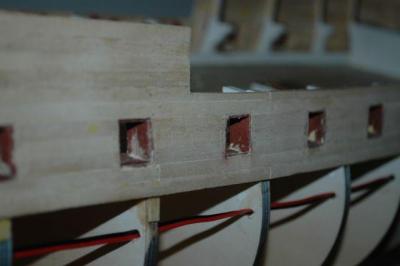
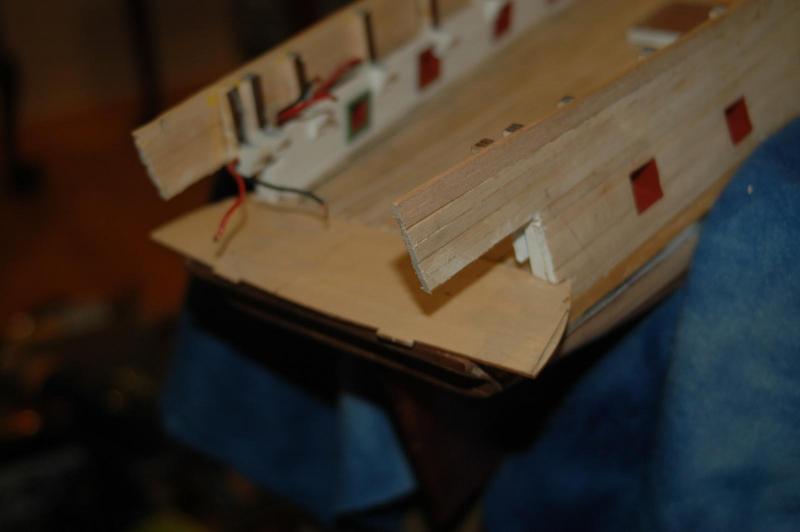
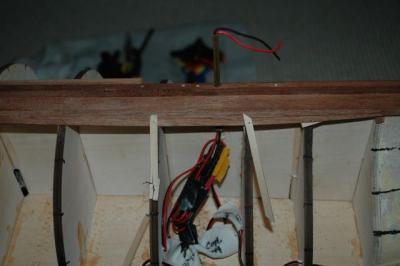
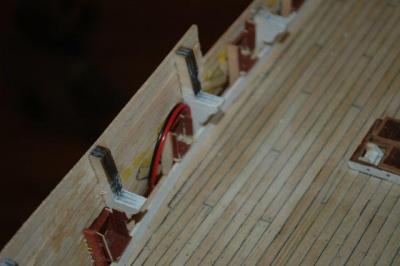
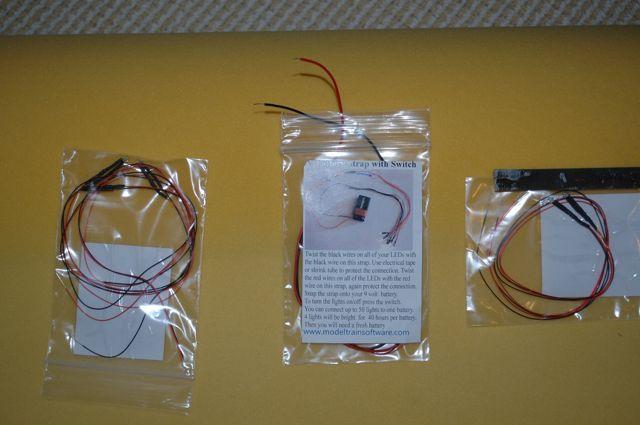
Also wired the ship for flickering LED yellow lights that should mimic oil lanterns. They are a random flicker and looked pretty nice when I tested them. The wiring will run out the base. Plan two lamps in the captains cabin, one in the gun deck aft, one in the gun deck forward, and one stern light
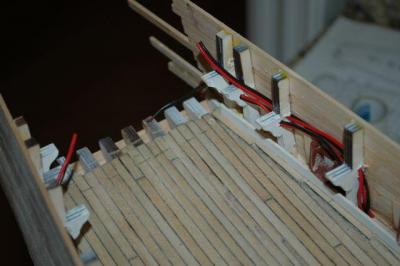

The electrical inspector!
-
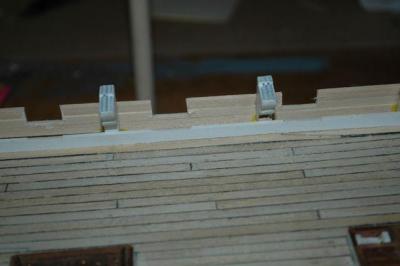
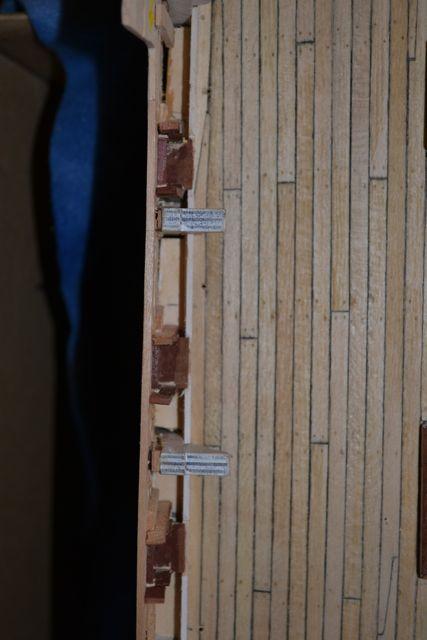
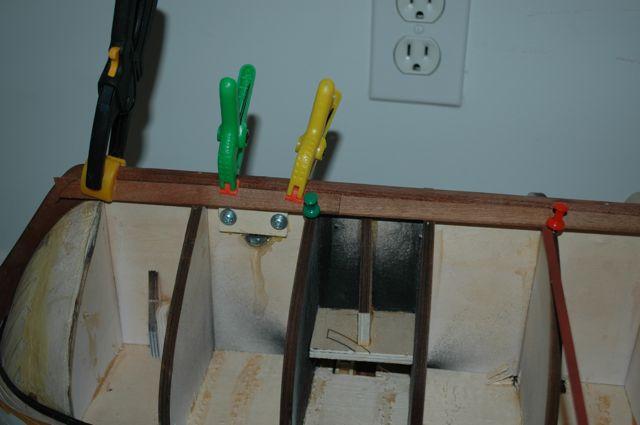
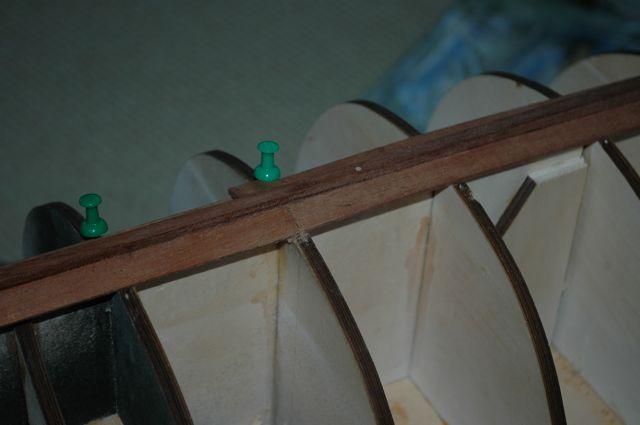
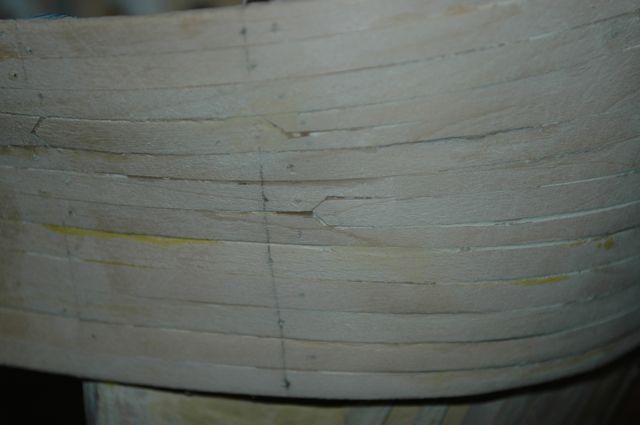
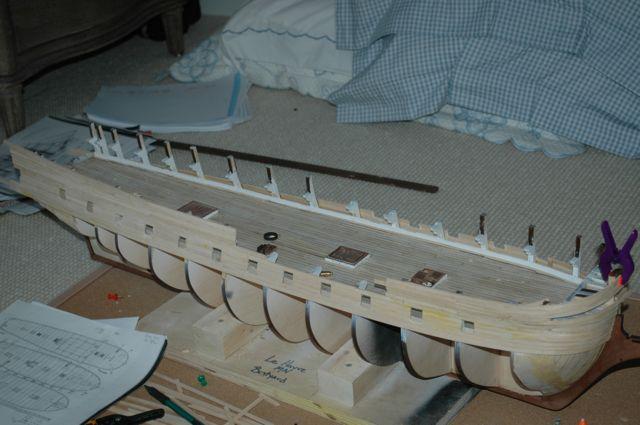
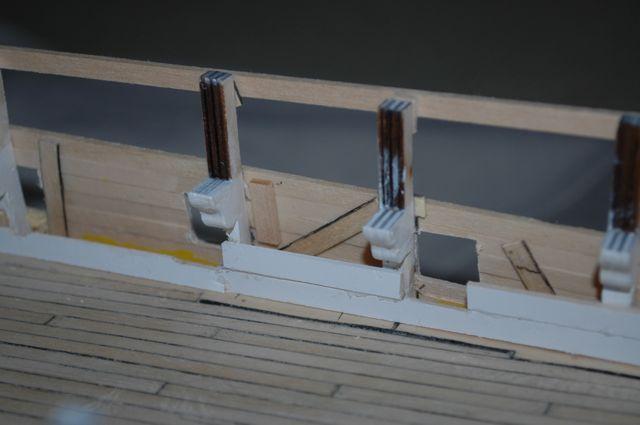
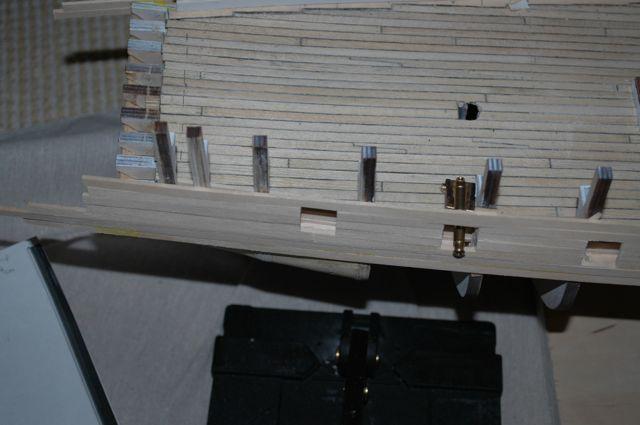
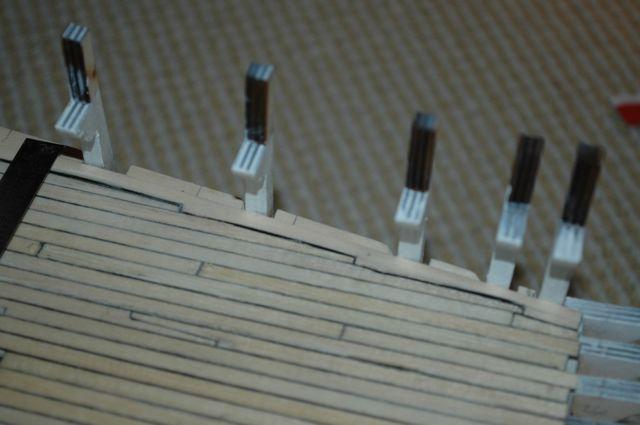
A few more upper bulwark pictures then trenails...


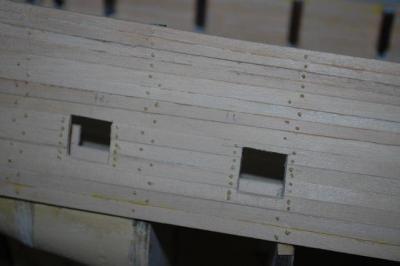
Here is a photo of the HMS Rose showing the trenails in the stern
-
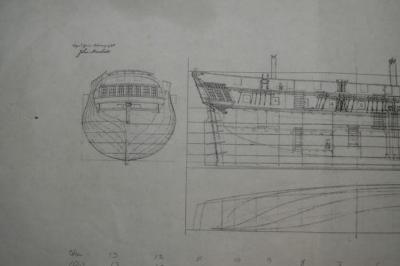
British 9 pounders for HMS Surprise O'Brian version. Later carronades (but that is a couple months off) ;0)
Thank you gentlemen.
-
Tools and references that were helpful.
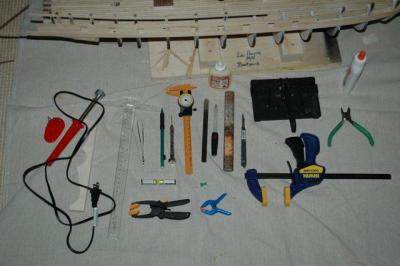
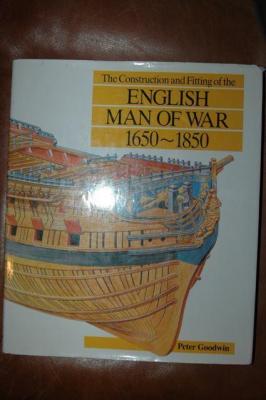
The Bible...
The kit did not place the frames in the correct position so had to modify as I went through the ship.

 In retrospect, again, I would have completed the bulwarks and cut the gun ports in rather than custom building each one
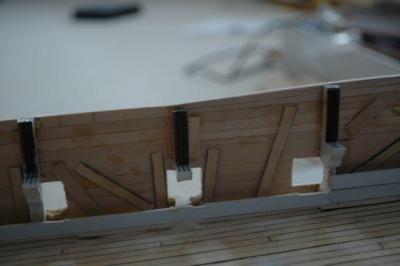
-
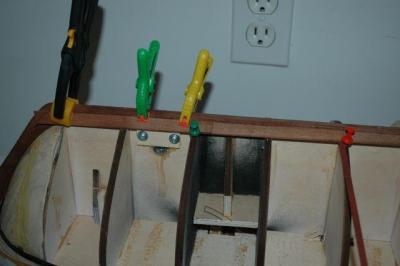
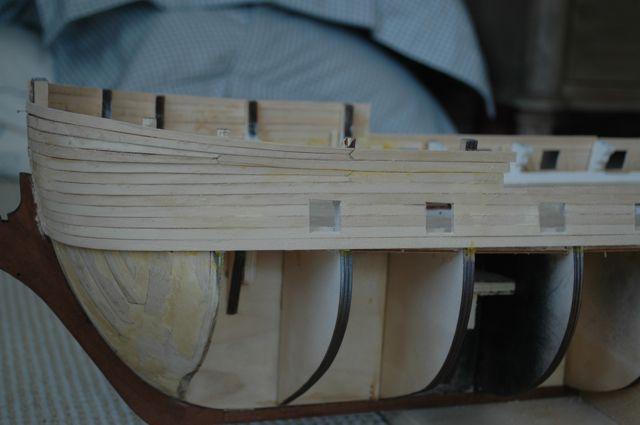
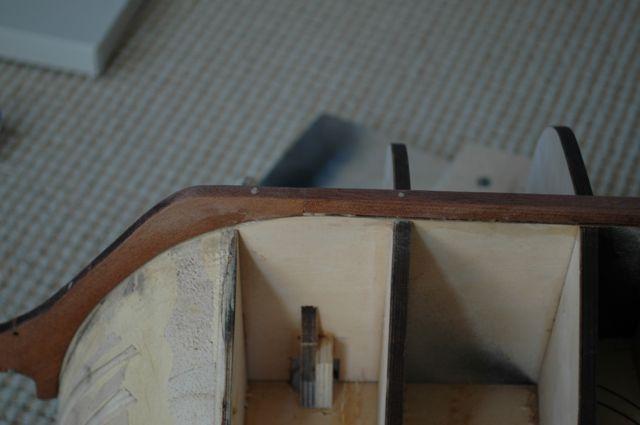
So began building the upper bulwarks stern to bow beginning at the gun deck. Learned about stealers and how to compensate fro differences in height from stern to midships to bow.
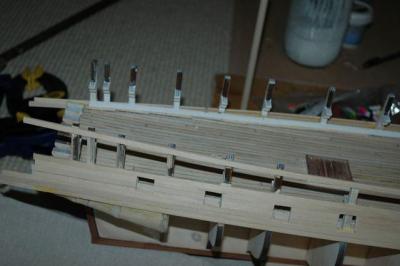
Instead of cutting out gun ports I tried to build them using cut pieces of wood. In retrospect, I would have completed the walls and then cut the gunports out.
-
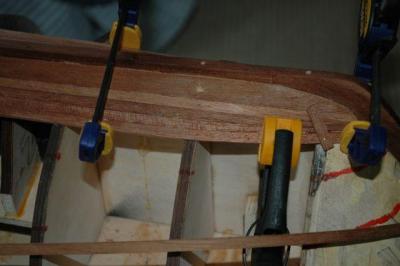
Planking the hull. This took like 3 months to do and was a learning experience. I refer you to the excellent tutorial here on the website called (I think) Planking for Beginners. I did the planking using a soldering iron (note: The entire shaft gets hot, not just the end. I have the burn scars to prove it...) and did a lot of presoaking of planks then clamping or temporary nailing in place followed by trimming and gluing into position. The rule was to never narrow a plank by more than 50% of the starting width and never place two joints adjacent to each other.
I started by dividing the width into quarters and worked to even the differences in width from bow to stern as evenly as I could.
Also, the first mate arrived too. Meet Jack Aubrey


- druxey, avsjerome2003, Jaxboat and 1 other
-
4
-
Proceeded on to the keel. It was warped coming out of the box, so soaked it overnight in the bathtub and then clamped it in place and allowed to dry. The cut it to fti and decided to add trenails to stiffen it and add strength to keep it from warping.


-
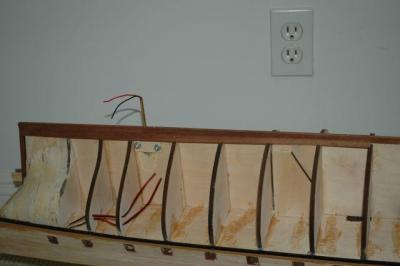
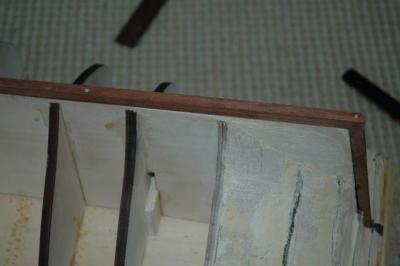
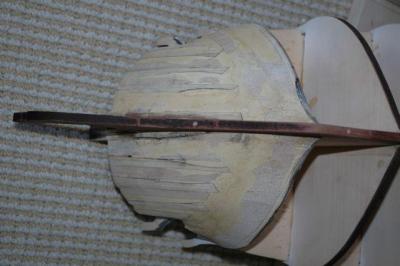
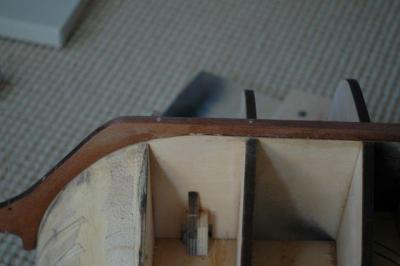
Next step was building up the bulkheads using a combination of balsa wood and wood putty. The idea is to give a larger surface area to attach the strakes along the side of the hull. Balsa was easy to shape and cheap. Unfortunately it doesn't hold nails and gluing is a little bit of an issue but can be worked around by using a thin layer to soak the wood/Elmer's glue into the balsa and allowing it to dry before permanently gluing the strakes on.
Best to sand outside or in the garage. Makes a mess...
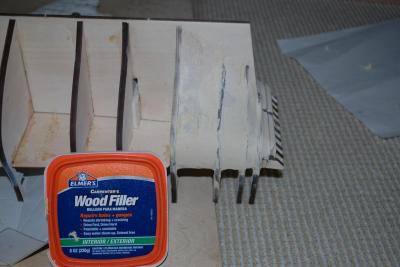

Per krt advice I added more mass to make the surface slightly higher than the frames and sanded back the frames and excess balsa/putty.
-
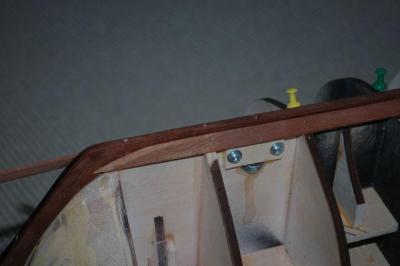
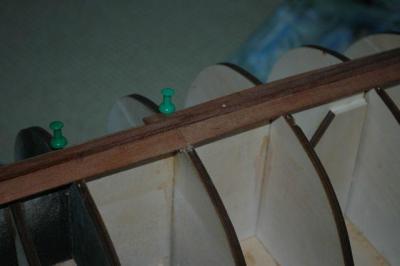
And the finished deck with nibbling and trenails.

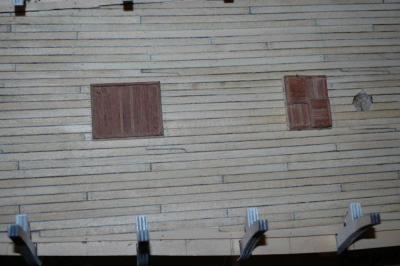
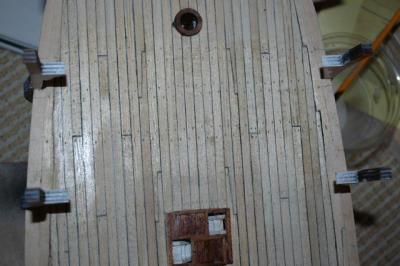
Sanded and a light coat of danish oil added. After finishing all the gun deck stuff will give a final cleanup and perhaps a bit of weathering in the midships area. The hardest part was the nibbling into the wales to make it even on both sides.
- avsjerome2003 and druxey
-
2
-
Aha! Thank you. What type of wire are you using?


HMS Surprise by Derik - Artesania
in - Kit build logs for subjects built from 1751 - 1800
Posted
Hi Derik,
Am also building the AL HMS Surprise. There is a really good primer on how to plank a hull here:
http://modelshipworldforum.com/ship-model-framing-and-planking-articles.php
by Dirk deBakker. I was able to get through it ok. It gets tricky at the bow and stern as the wood has to bend three ways and tends to break under too much stress. Single plank hull was probably a little complicated for my first model, but I managed with the help of the members here.
Mike