pirozzi
-
Posts
843 -
Joined
-
Last visited
Content Type
Profiles
Forums
Gallery
Events
Everything posted by pirozzi
-
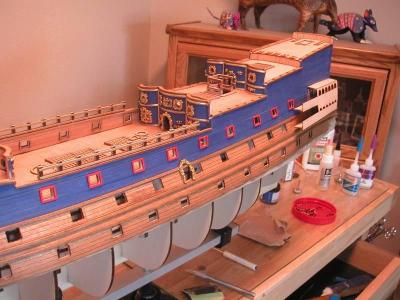
 One of the murdering guns that mounted on the upper decks. If you look at the ship, there are many guns on the upper decks that face into the ships decks and not outboard as you would think. These guns had a nasty purpose. They were loaded with anti-personnel schrapnel and fired across the ship's own decks to kill and mame boarding party personnel. I would imagine they got a few of their own sailors as well.
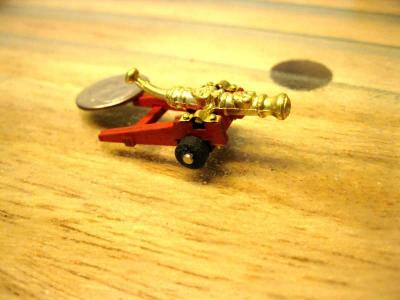
- 264 replies
-
- 1
-

-
- sovereign of the seas
- mantua
- (and 1 more)
-
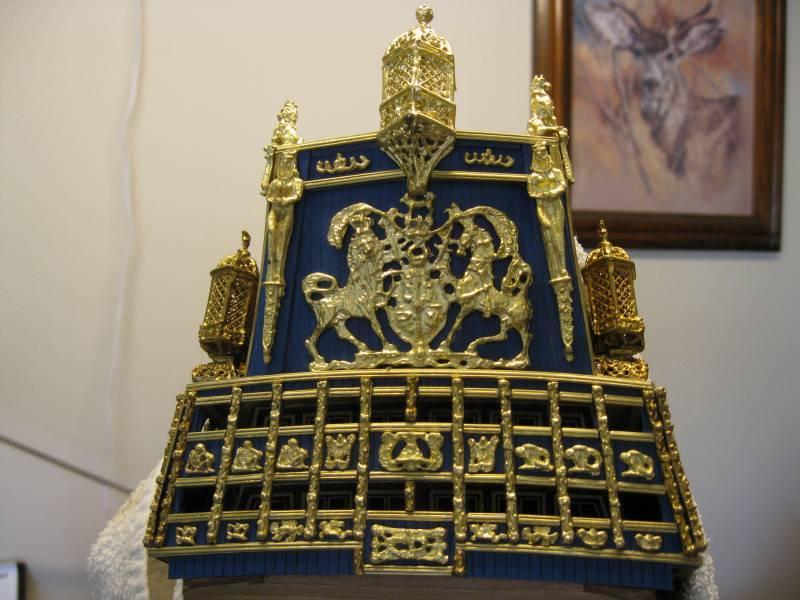
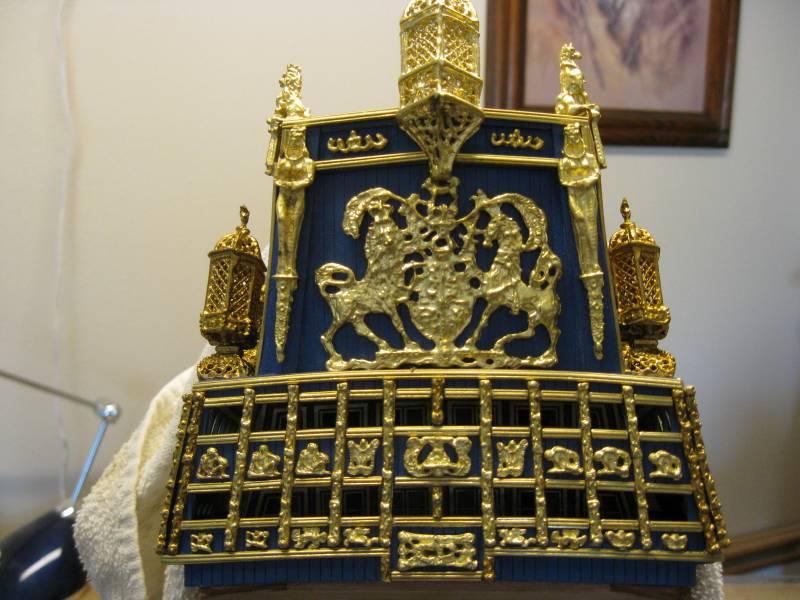
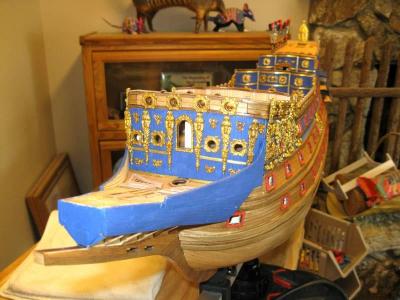
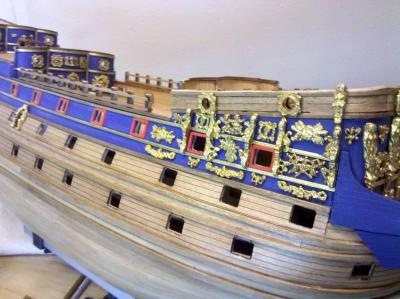
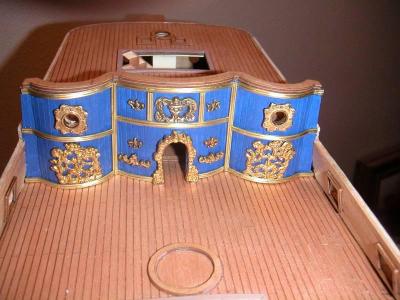
More of forward decorations. There over 600 pieces of decorations to add to the hull.

- 264 replies
-
- 1
-
-
- sovereign of the seas
- mantua
- (and 1 more)
-
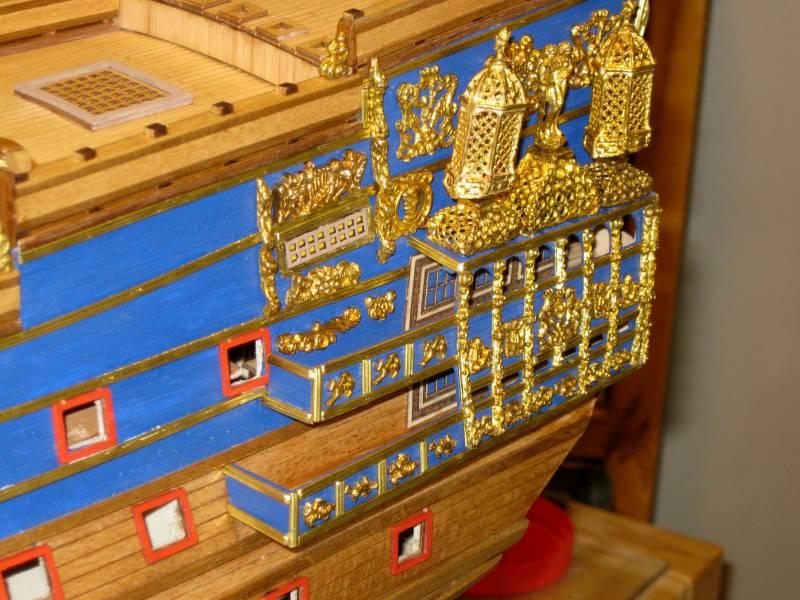
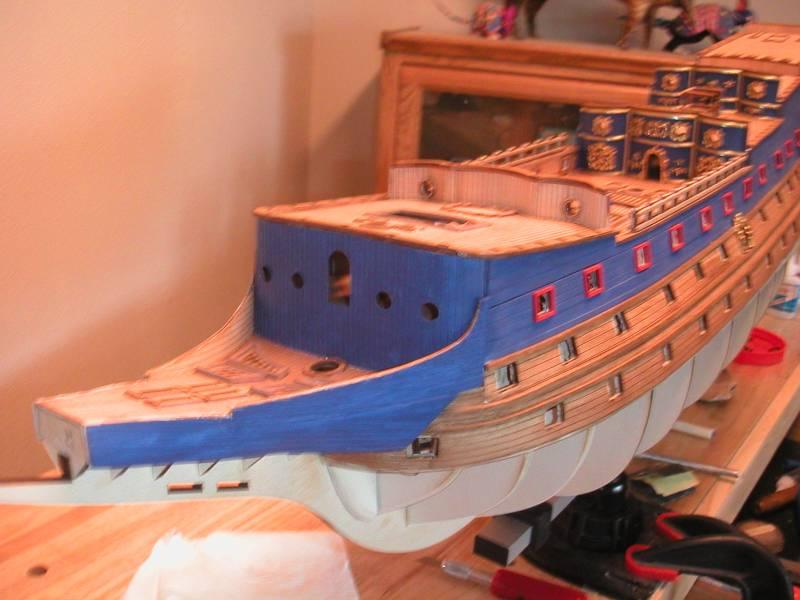
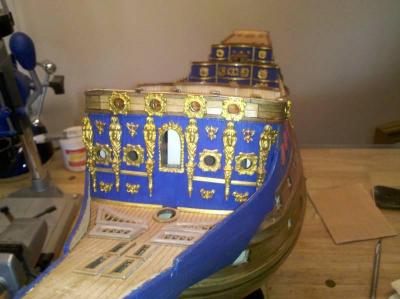
Adding trim and decorations to the bow and forward end of the hull.
- 264 replies
-
- 3
-
-
- sovereign of the seas
- mantua
- (and 1 more)
-
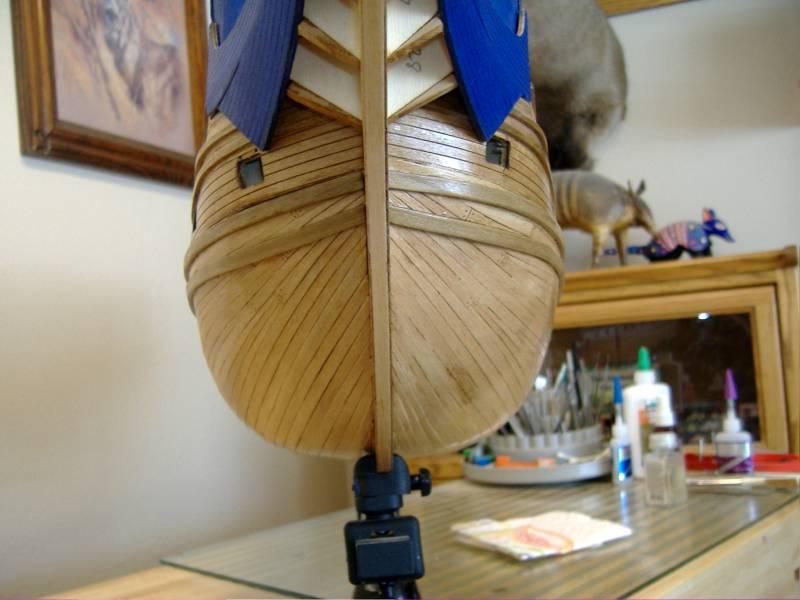
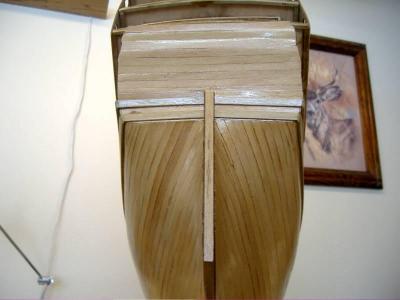
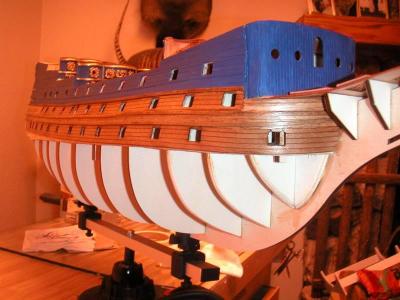
Adding the main lower wales to the hull. The plans call for ending the wales at the sides of the transom, but they should wrap around the transom to the sternpost. I looked at illustrations of other completed models of the SOS and also of drawings of the real ship and they show them wrapped, so I did mine that way. Vince


- 264 replies
-
- 2
-
-
- sovereign of the seas
- mantua
- (and 1 more)
-
You are welcome. I will keep posting until it is up to date. That is about another 150 photos. Vince P.
- 264 replies
-
- 1
-
-
- sovereign of the seas
- mantua
- (and 1 more)
-
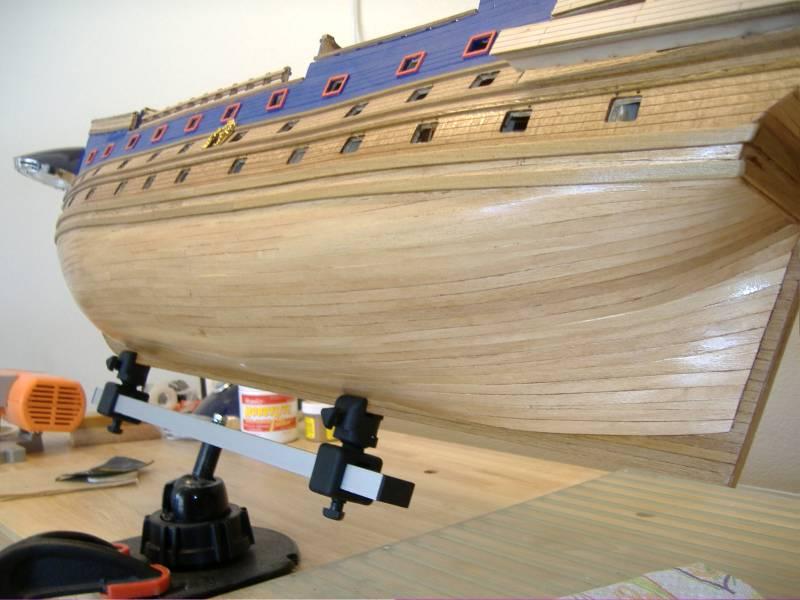
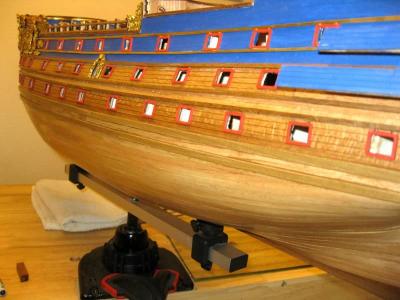
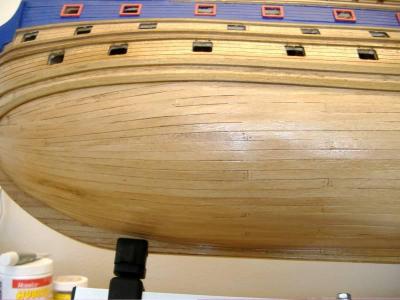
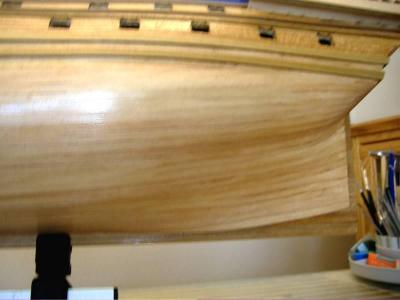
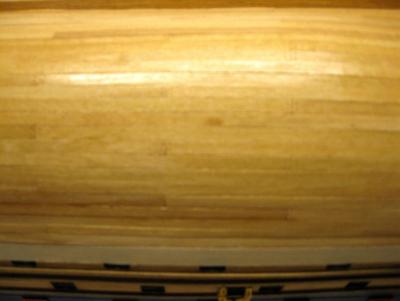
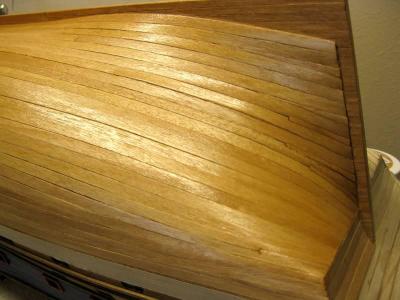
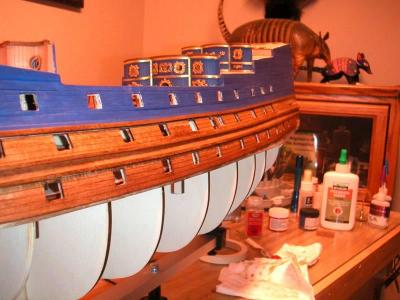
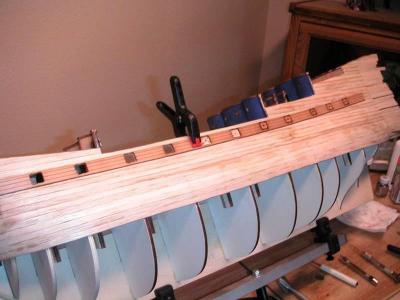
Completing the second layer of planking and applying the finish. I used 3 coats of sanding sealer with sanding with a 4800 grit fine paper bewteen each. Then applying 2 coats of a golden oak wood finish. If it comes out too shiny, which it did, I ran the 4800 grit paper over it lightly and it dulled it up just a little.

- 264 replies
-
- 2
-
-
- sovereign of the seas
- mantua
- (and 1 more)
-
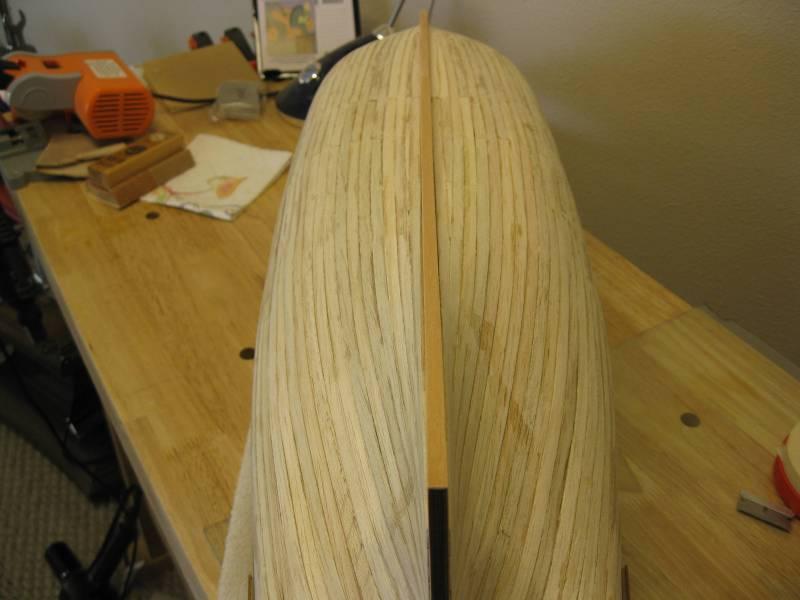
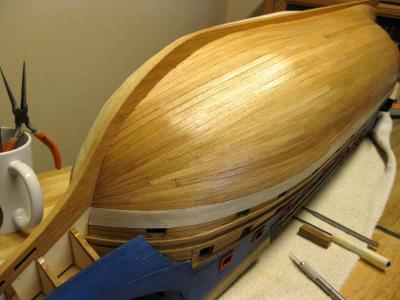
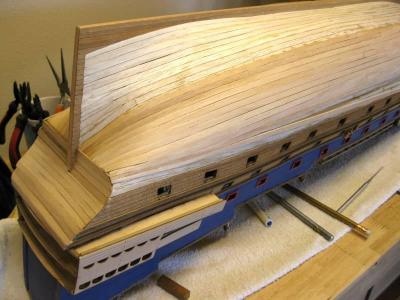
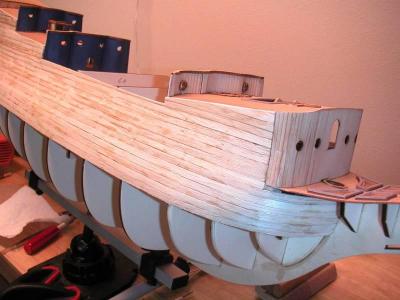
Starting the second (finish) layer of walnut planking. This needs to be precise since this layer will be the visible one on the completed ship.
- 264 replies
-
- 3
-
-
- sovereign of the seas
- mantua
- (and 1 more)
-
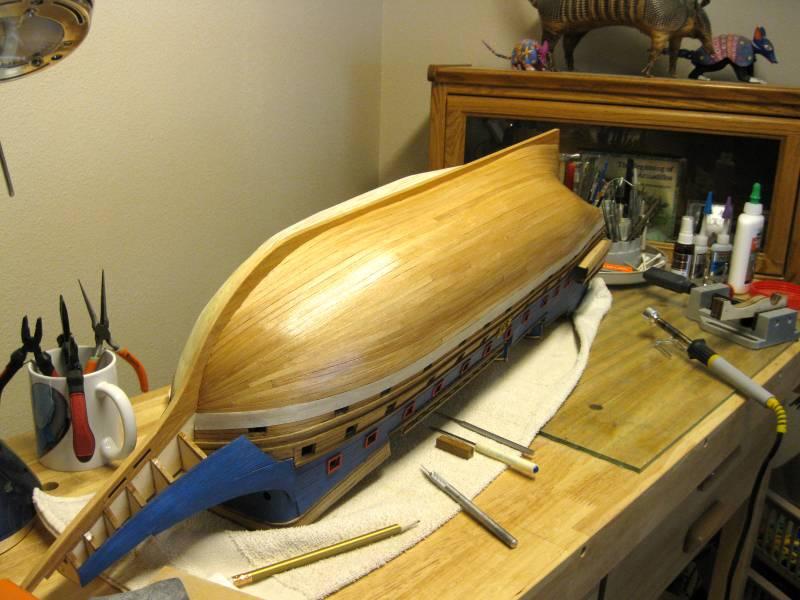
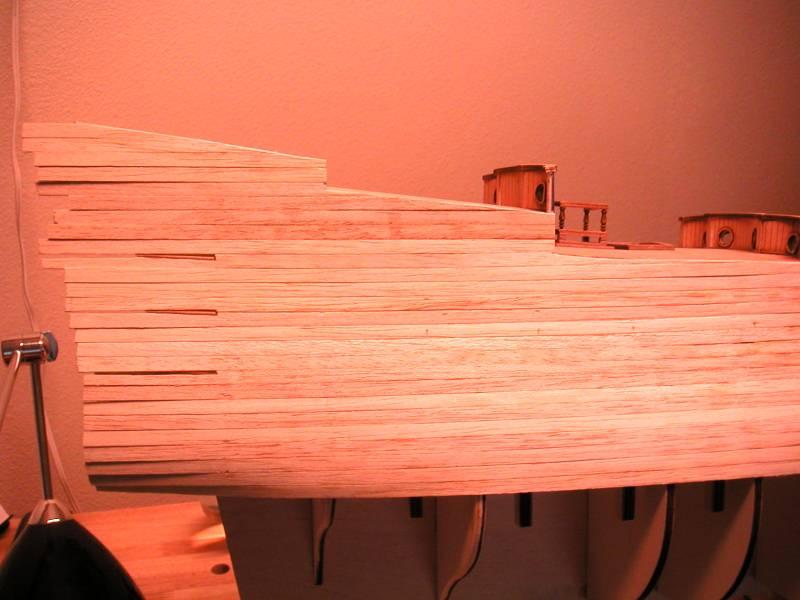
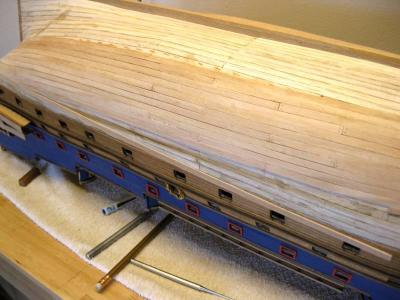
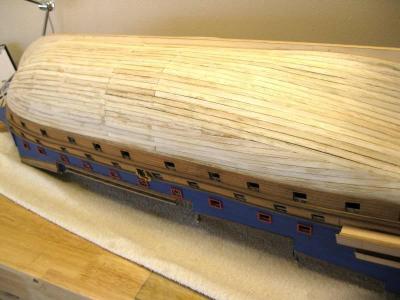
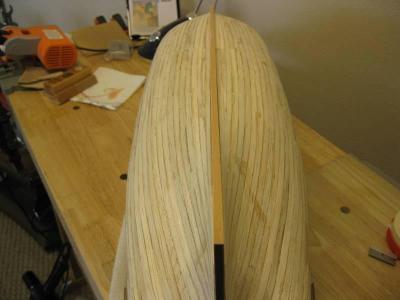
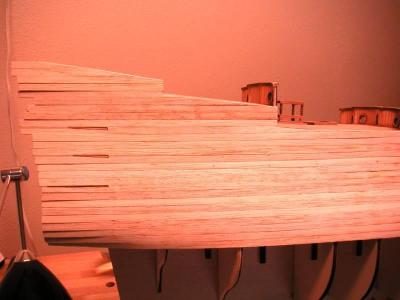
Completing the first layer of hull planking. Afterwards, sanding or filling in any low spots in important before laying the top (finish) layer in order for the hull to flow smoothly and have a symetrical shape.

- 264 replies
-
- 2
-
-
- sovereign of the seas
- mantua
- (and 1 more)
-
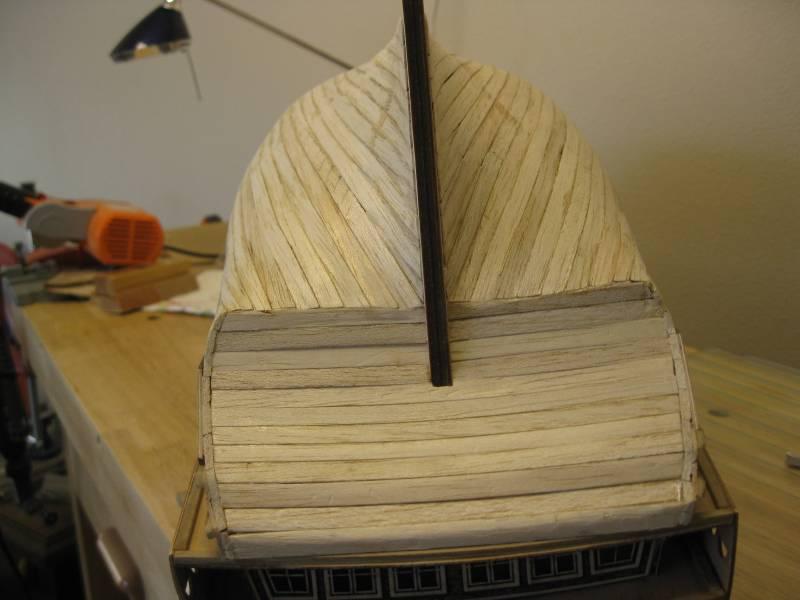
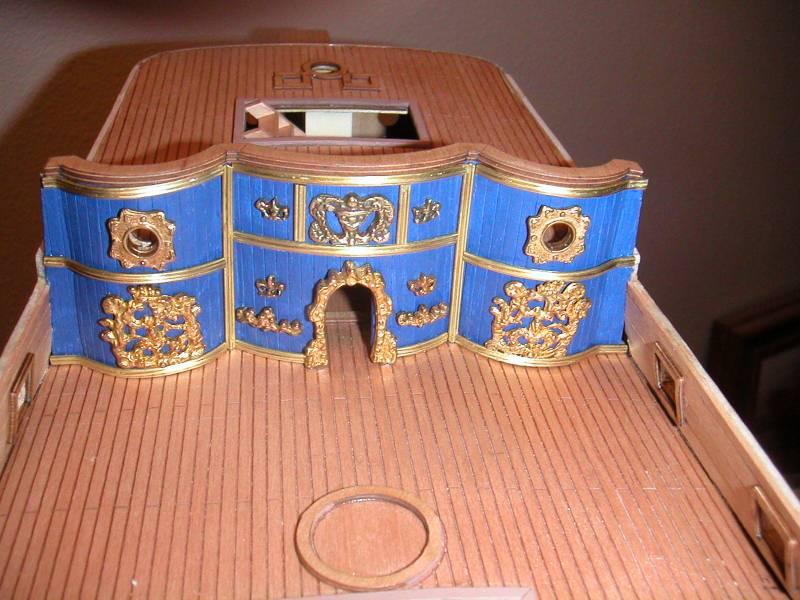
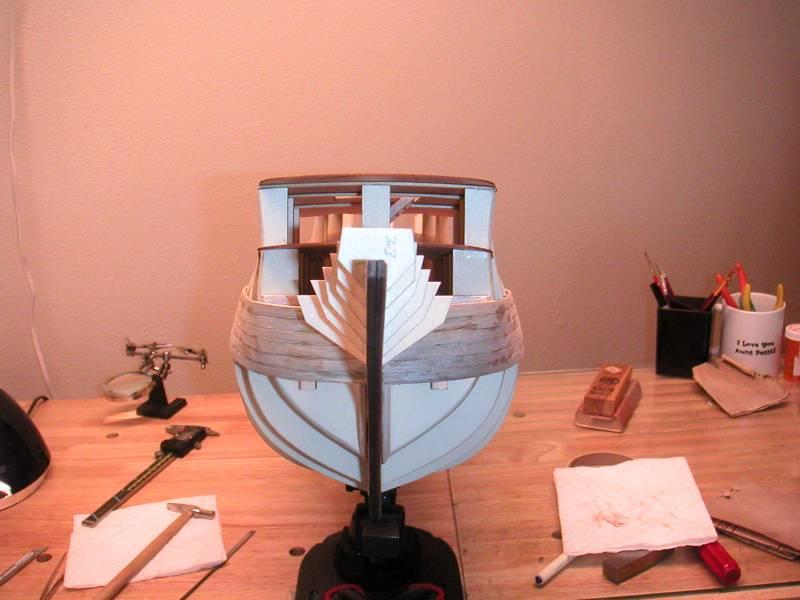
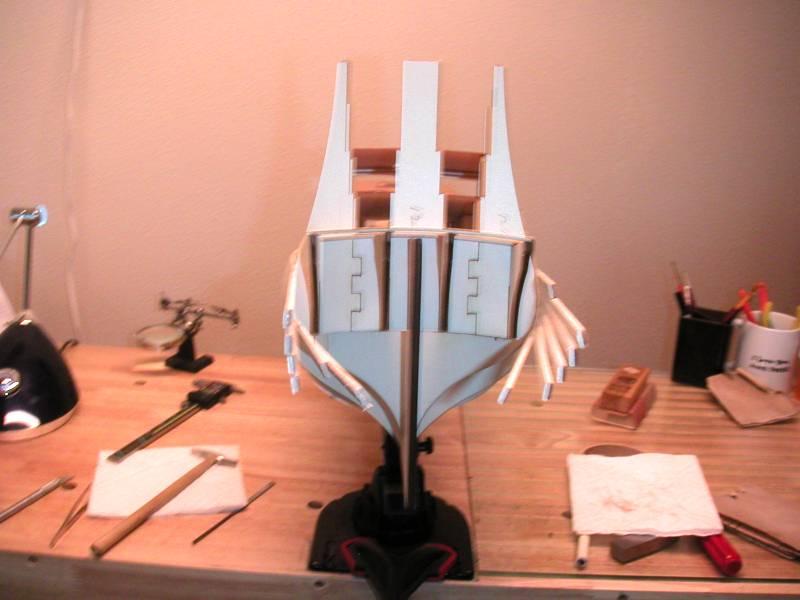
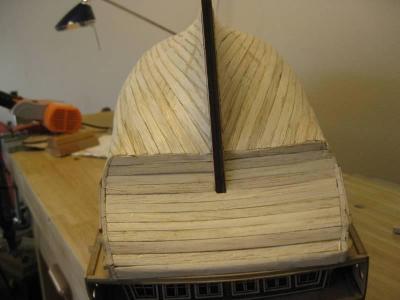
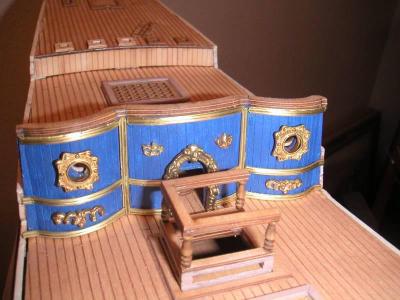
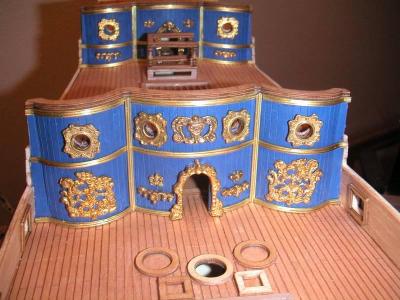
Placing the bow curved partitions and the stern gallery windows. The curved bow partitions are actually 2 pieces of plywood glued on top of each other. The instructions called for glueing the 2 pieces together first and then placing them on the bow. This is a mistake to do this because the pieces have to be bent and twisted to fit the curves and slope of the prow. If they are glued together first, they will not twist and bend as 2 plys. Placing the bottom layer first and then the top layer after it dries makes it easy to make the bends and slopes. The stern galleries went on with no problems.
- 264 replies
-
- 1
-
-
- sovereign of the seas
- mantua
- (and 1 more)
-
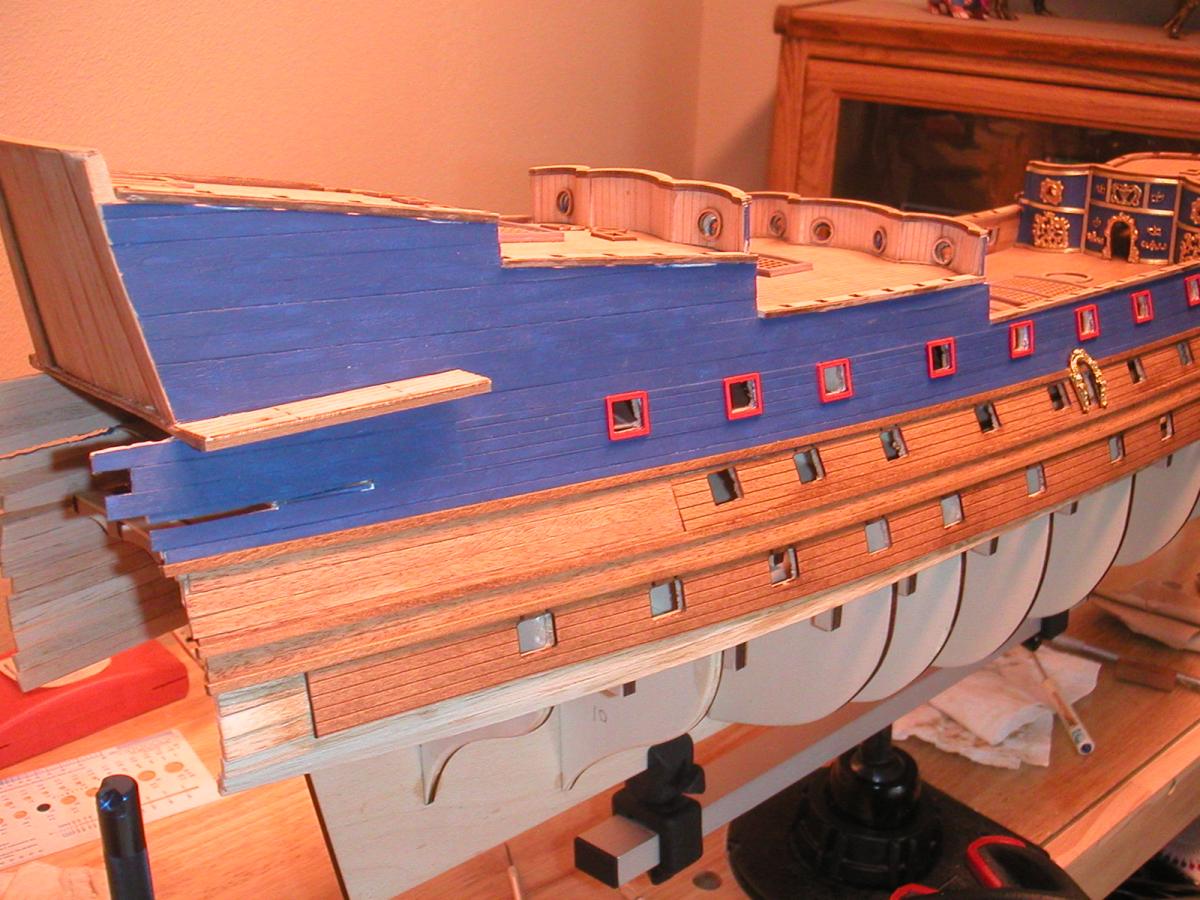
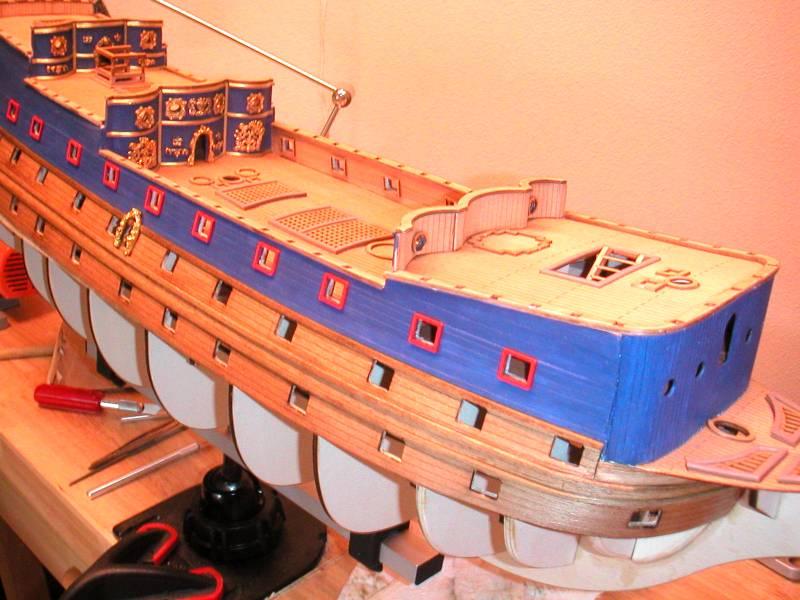
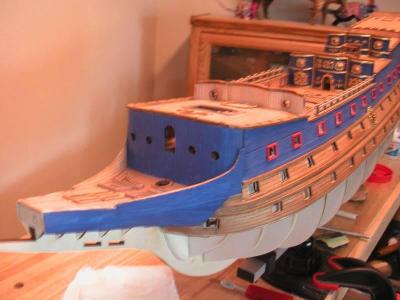
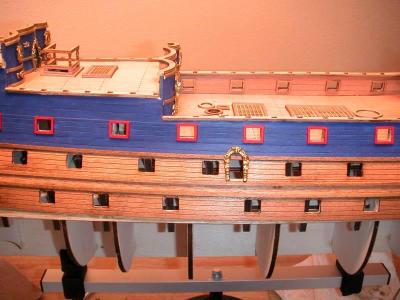
Completion of the second layer of planking of the upper hull and painting the necessary areas.


- 264 replies
-
- 3
-
-
- sovereign of the seas
- mantua
- (and 1 more)
-
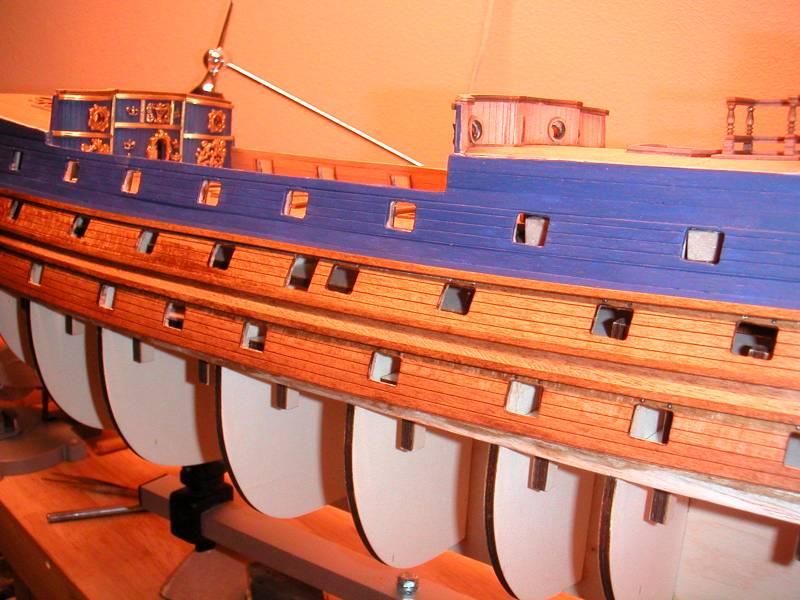
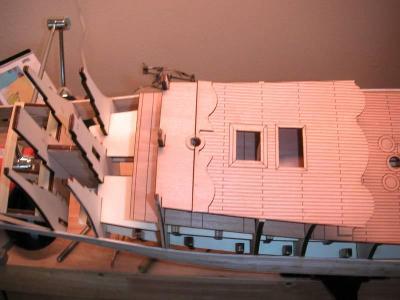
When placing the 2 lower gun port templates, you will find that they are curved in the horizontal plain to accomodate the curved line of the lower decks from aft to bow. Mine were not exactly curved correctly and tended to not rise enough as you got closer to the stern. I had to cut them somewhere to the rear of gunport 5 or 6 and splice them to make the curve more accurate to the decks. The seam was nearly invisable when sanded. Also, before starting the first layer of planking, there were little wood blocks that had to be glued to the decks at the marked locations on the plans. These were for drilling and mounting the gun barrels of the below deck guns. After placing the gun port templates and cutting out the port holes, check carefully to make sure all of the little blocks on the decks align with the centers of the gun port holes. Mine had several on each side that were considerably off and mounting the gun barrels would have been impossible. Now is the time to fix this by glueing additional wood pieces to these blocks so the gun barrels will be centered in the ports.
- 264 replies
-
- 2
-
-
- sovereign of the seas
- mantua
- (and 1 more)
-
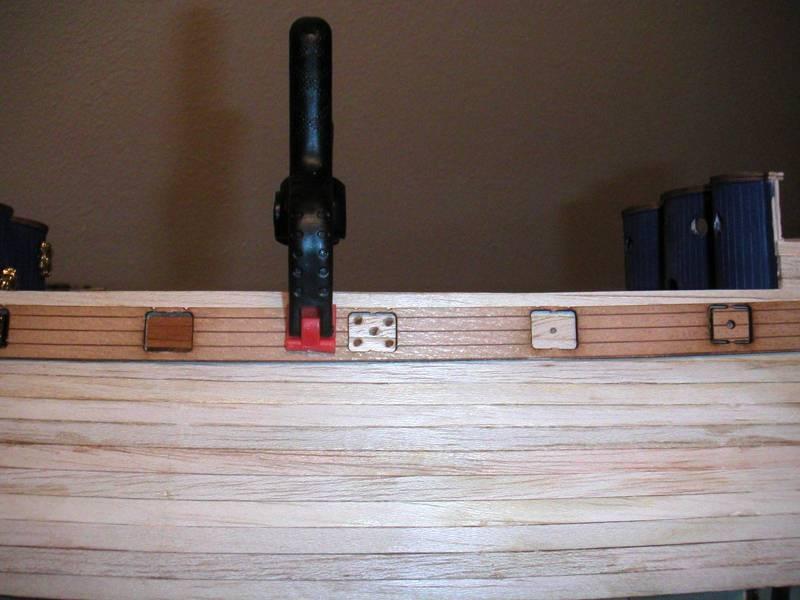
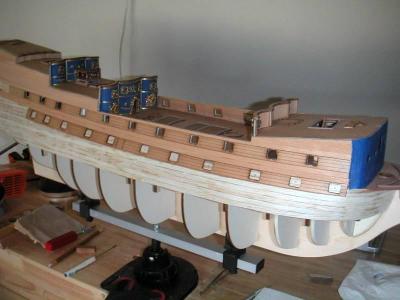
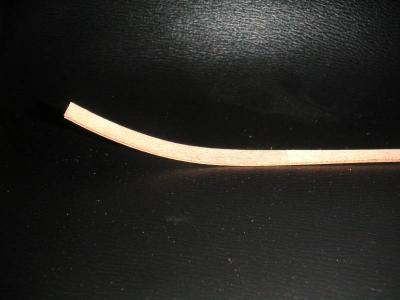
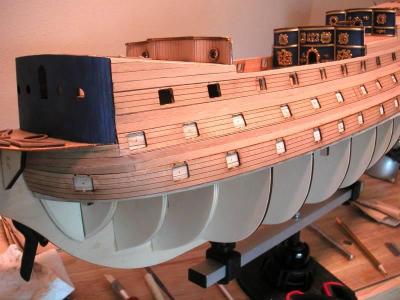
Placing the 2 lower gun port templates and adding the walnut finishing layer of planking to the upper hull. The very lowest gun port template has to wrap around the hull to the bow. Like before, this is made of plywood and will not make the bend without breaking. Soaking it like the deck walls and bending with a hot plank bender works fine. I bent a piece of scrap wood from the same stock as the templates first to see if it would work. (See photo). Vince P.
- 264 replies
-
- 2
-
-
- sovereign of the seas
- mantua
- (and 1 more)
-
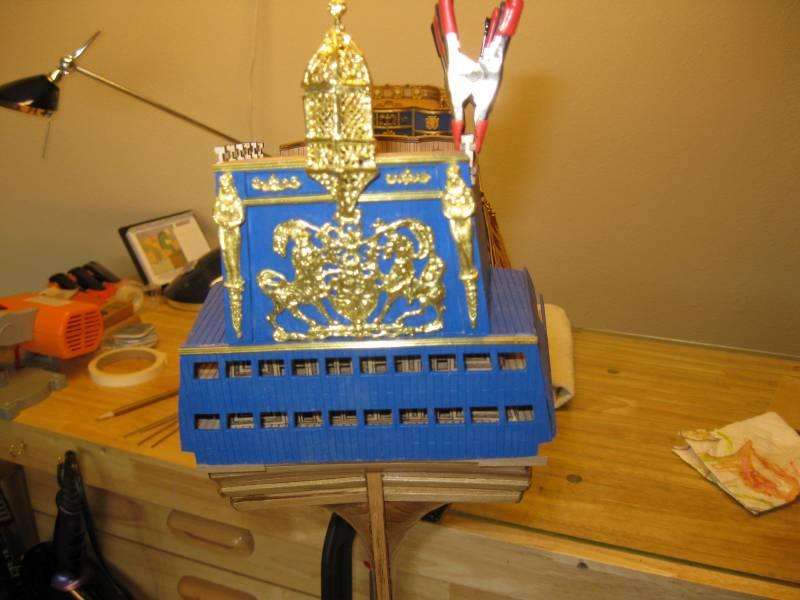
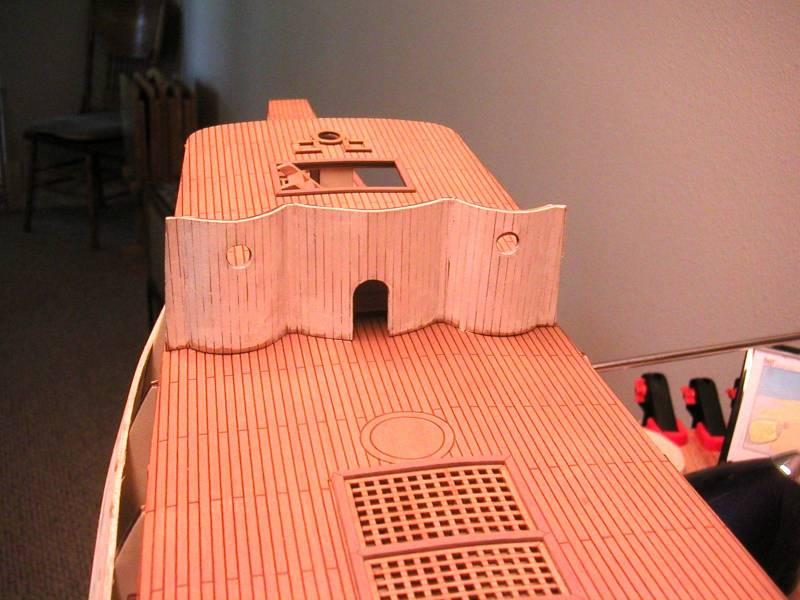
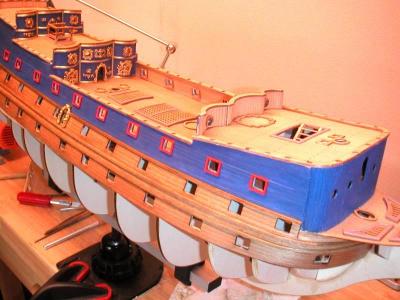
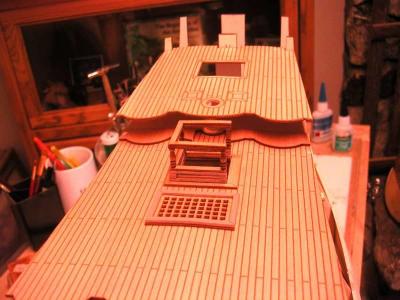
Working on the decorative trim and ornaments on the deck partitions. The instructions call for doing this now before finishing the hull planking. This really makes no sense since it will be necessary to invert the hull in order to finish the planking. I did it anyway because I was on a roll and inverting the hull would not hurt these decorations. According to the instruction manual, they don't call for finishing the planking until way after working on the deck fittings. That of course is silly. I will complete the planking of the entire hull, including the second finishing layer next. All through the build it is necessary to jump around the instructions in order to make everything fit and keep things in proper order. This is one reason why experience is necessary to build this kit correctly. Vince P.
- 264 replies
-
- 3
-
-
- sovereign of the seas
- mantua
- (and 1 more)
-
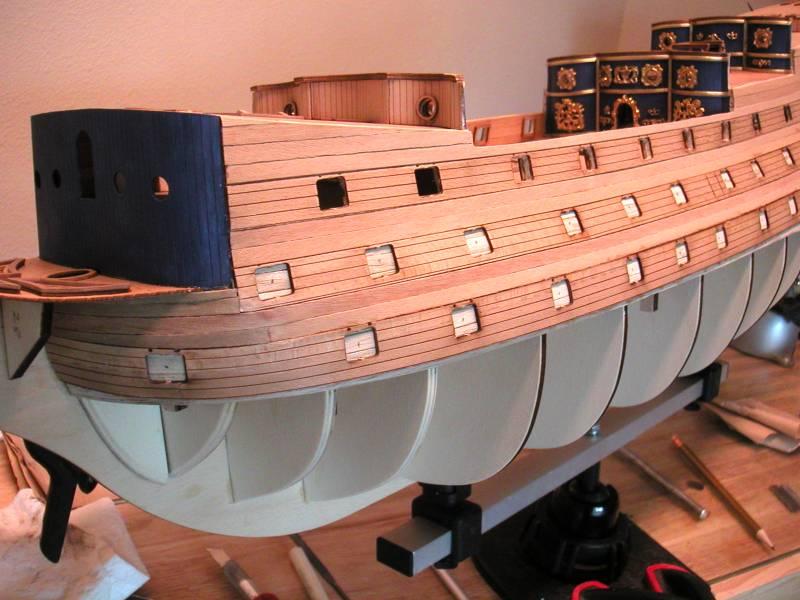
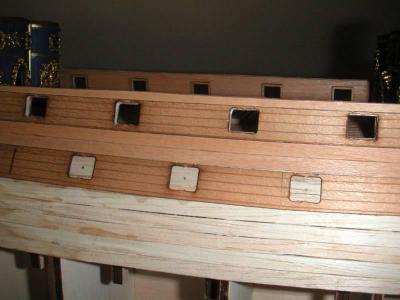
The gun port templates provided make aligning the gun port rows easier. They are actually part of the second planking layer. The instructions call for temporarily taping them in place and drawing out the square port holes on the planking and then removing them and cutting out the port holes. I found it much easier to glue them on permantely and cut out the ports with the template in place. It makes it much easier to square out the holes in the soft balsa planking ans prevents the balsa from splitting while cutting. Vince P.

- 264 replies
-
- 3
-
-
- sovereign of the seas
- mantua
- (and 1 more)
-
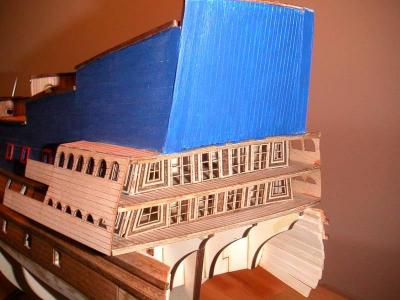
As you can see, the outer walls connecting the various decks are curved in sections and some of the curves are pretty sharp. They are also plywood and will not bend that far without breaking. I soaked them in a mixture of ammonia and water for about 2 hours and then bent them with a heated plank bender. They bent easliy and held their shape. Do not soak them for too long or the plywood layers will start to separate which makes for a real mess.
-
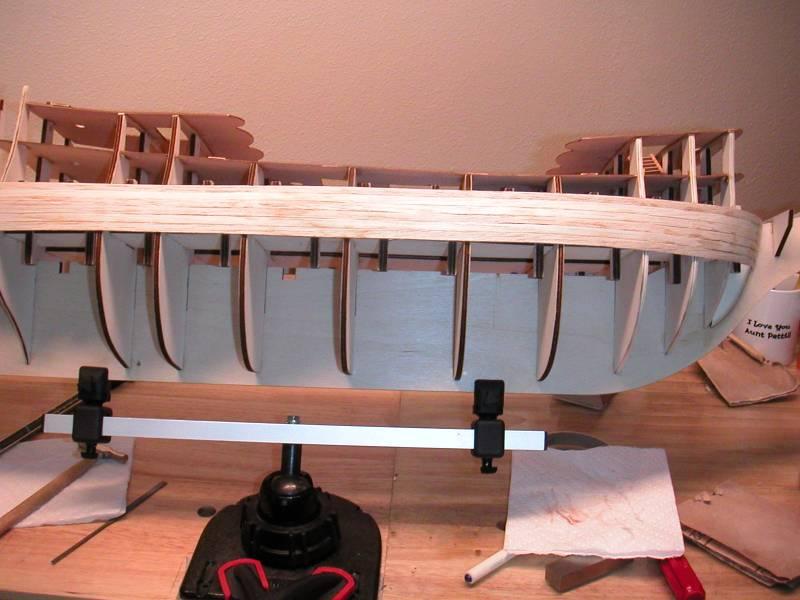
Planking the first layer to the upper hull. The lumber supplied is balsa. While it is easier to bend, it does not hold a natural curve like harder woods. When laying the planks, make sure to watch the curves and adjust if neceaasry as you attach the plank to each bulkhead. Vince P.

- 264 replies
-
- 3
-
-
- sovereign of the seas
- mantua
- (and 1 more)
-
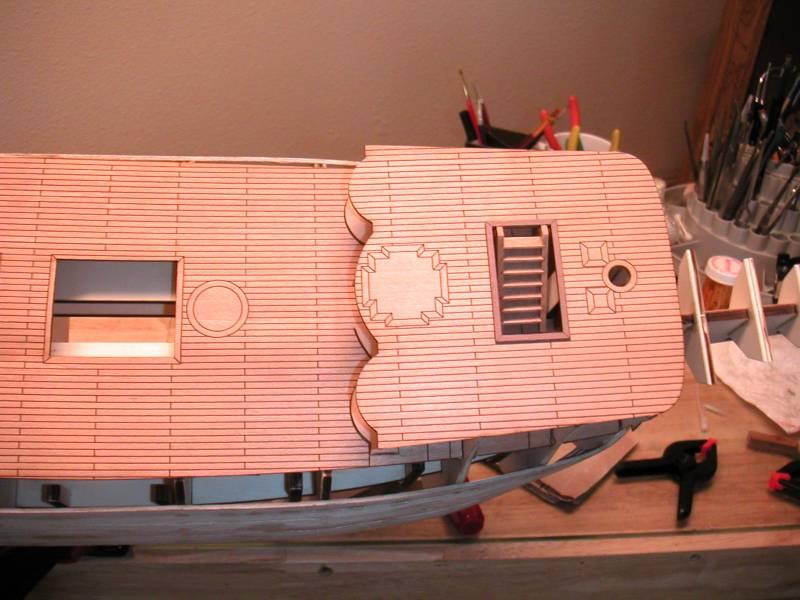
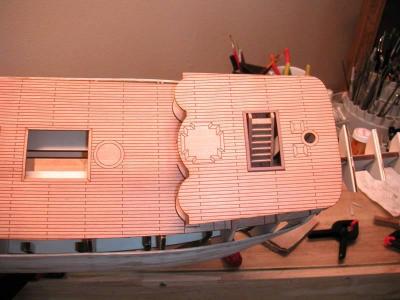
One thing about the decks. They call for painting them with a clear satin finish before placing on the ship. The paint kit which I bought extra has the satin finish, but all of the paints including this are a water based acrylic. Since the decks are plywood, if you paint them first, they will warp big time. I found this out the hard way. It is a good thing I only painted one deck before. I had to iron it out carefully to remove the warps. Install the decks to the ship frames first and then paint them. They do not warp at all. Vince
- 264 replies
-
- 2
-
-
- sovereign of the seas
- mantua
- (and 1 more)
-
Okay. Since I am reposting this entire build log, I will try and start from the beginning. This is constructing the hull frame and bulkheads. First off, this kit is not for beginners. I am not by far, an expert, but the first thing you would notice is that the instructions leave alot to be desired and assume the builder knows a considerable amount about building model ships of this type, and knowledge of real ship construction. If you haven't completed at least a couple of kits in the advanced category, I believe you should pass on this one for now. It will make a dandy model when finished and the quality of the components appears to be top notch. It is one of, if not THE most detailed model kits out there. I have already put in over a year into this project and am now working with the masts and rigging. I have encountered many errors and shortcomings in the instructions and will try to point them out as I go. Without a doubt, the plans and instructions are the weakest part of this kit. I also did alot of kit bashing by adding features and details left out, which I believe will make a better model when finished. Vince


- 264 replies
-
- 3
-
-
- sovereign of the seas
- mantua
- (and 1 more)
-
Boy, this is a real pain. Been posting a whole year with my build log including hundreds of photos and now have to start from scratch? Well, I will do it piece by piece. It will take quite a while. Vince