HOLIDAY DONATION DRIVE - SUPPORT MSW - DO YOUR PART TO KEEP THIS GREAT FORUM GOING! (Only 13 donations so far - C'mon guys!)
×


gdollow
-
Posts
62 -
Joined
-
Last visited
Content Type
Profiles
Forums
Gallery
Events
Everything posted by gdollow
-
More progress finished up to video 6. The only deviation was painting the gun ports. I was not happy with the colour provided in the painting set, so looking on line I found a video all about the colours the Victory was painted and the gun ports were a fiery red, so I mixed blood red with a little bit on the gunport read supplied by AL.


- 13 replies
-
- 2
-

-
- Victory
- Artesania Latina
- (and 1 more)
-
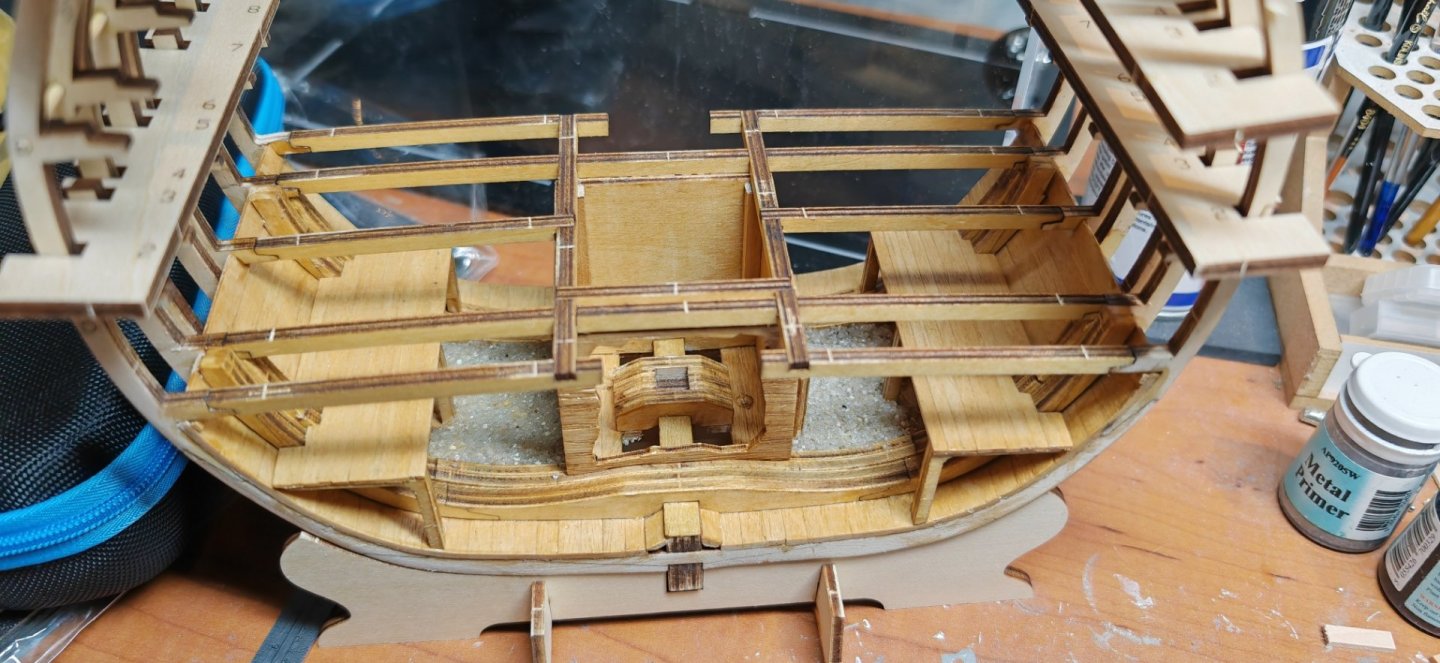
Video 4 finished along with the planking of the orlop deck. I have also installed leds for the lighting. This is a very enjoyable build so far. I have also installed the ballast as I though it would be easier to do it before the orlop deck planking was installed.
- 13 replies
-
- 2
-
-
- Victory
- Artesania Latina
- (and 1 more)
-
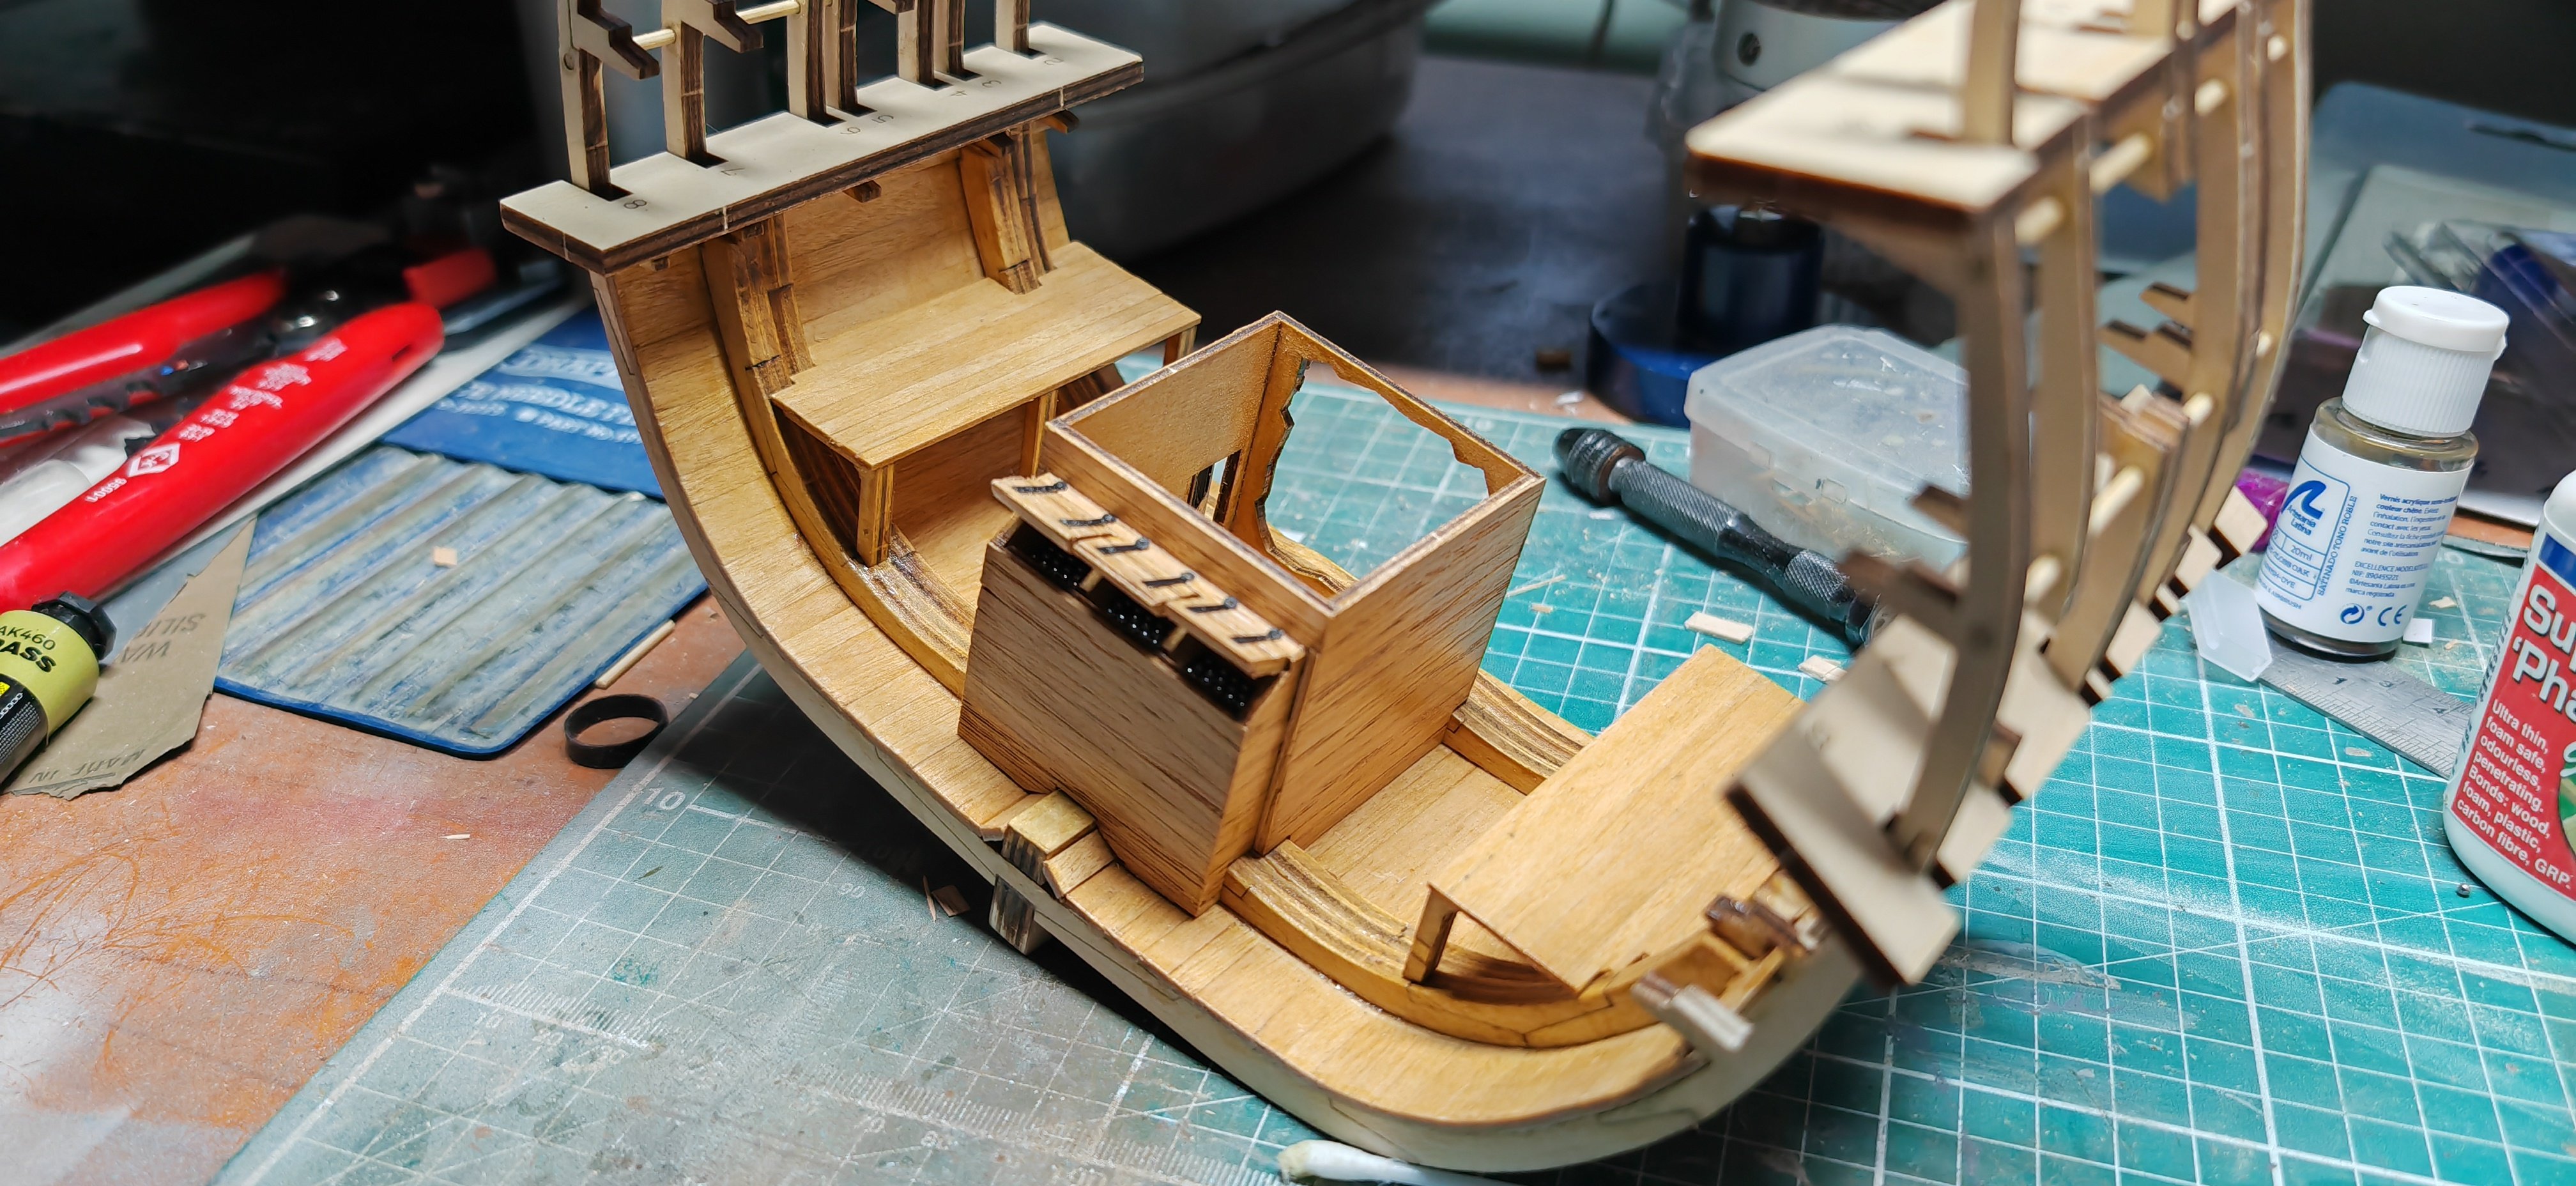
Progress at the end of construction video 3, no cock-ups this time, but there are another 21 videos to go. I will be putting in the ballast in next, as if I follow the instructions this is done in video 21 after all the decks are complete. I think it will be less fiddly to do it now than with the decks it place. I will also stick the barrels in at this point as well.


- 13 replies
-
- 2
-
-
- Victory
- Artesania Latina
- (and 1 more)
-
I have just started this kit, just finished the 2nd video, here is a picture of the channel fixed to the hull. The drawing is from HMS Victory, her construction, career and restoration by Alan McGowan. As you can see the channel is horizontal, hope this helps

-
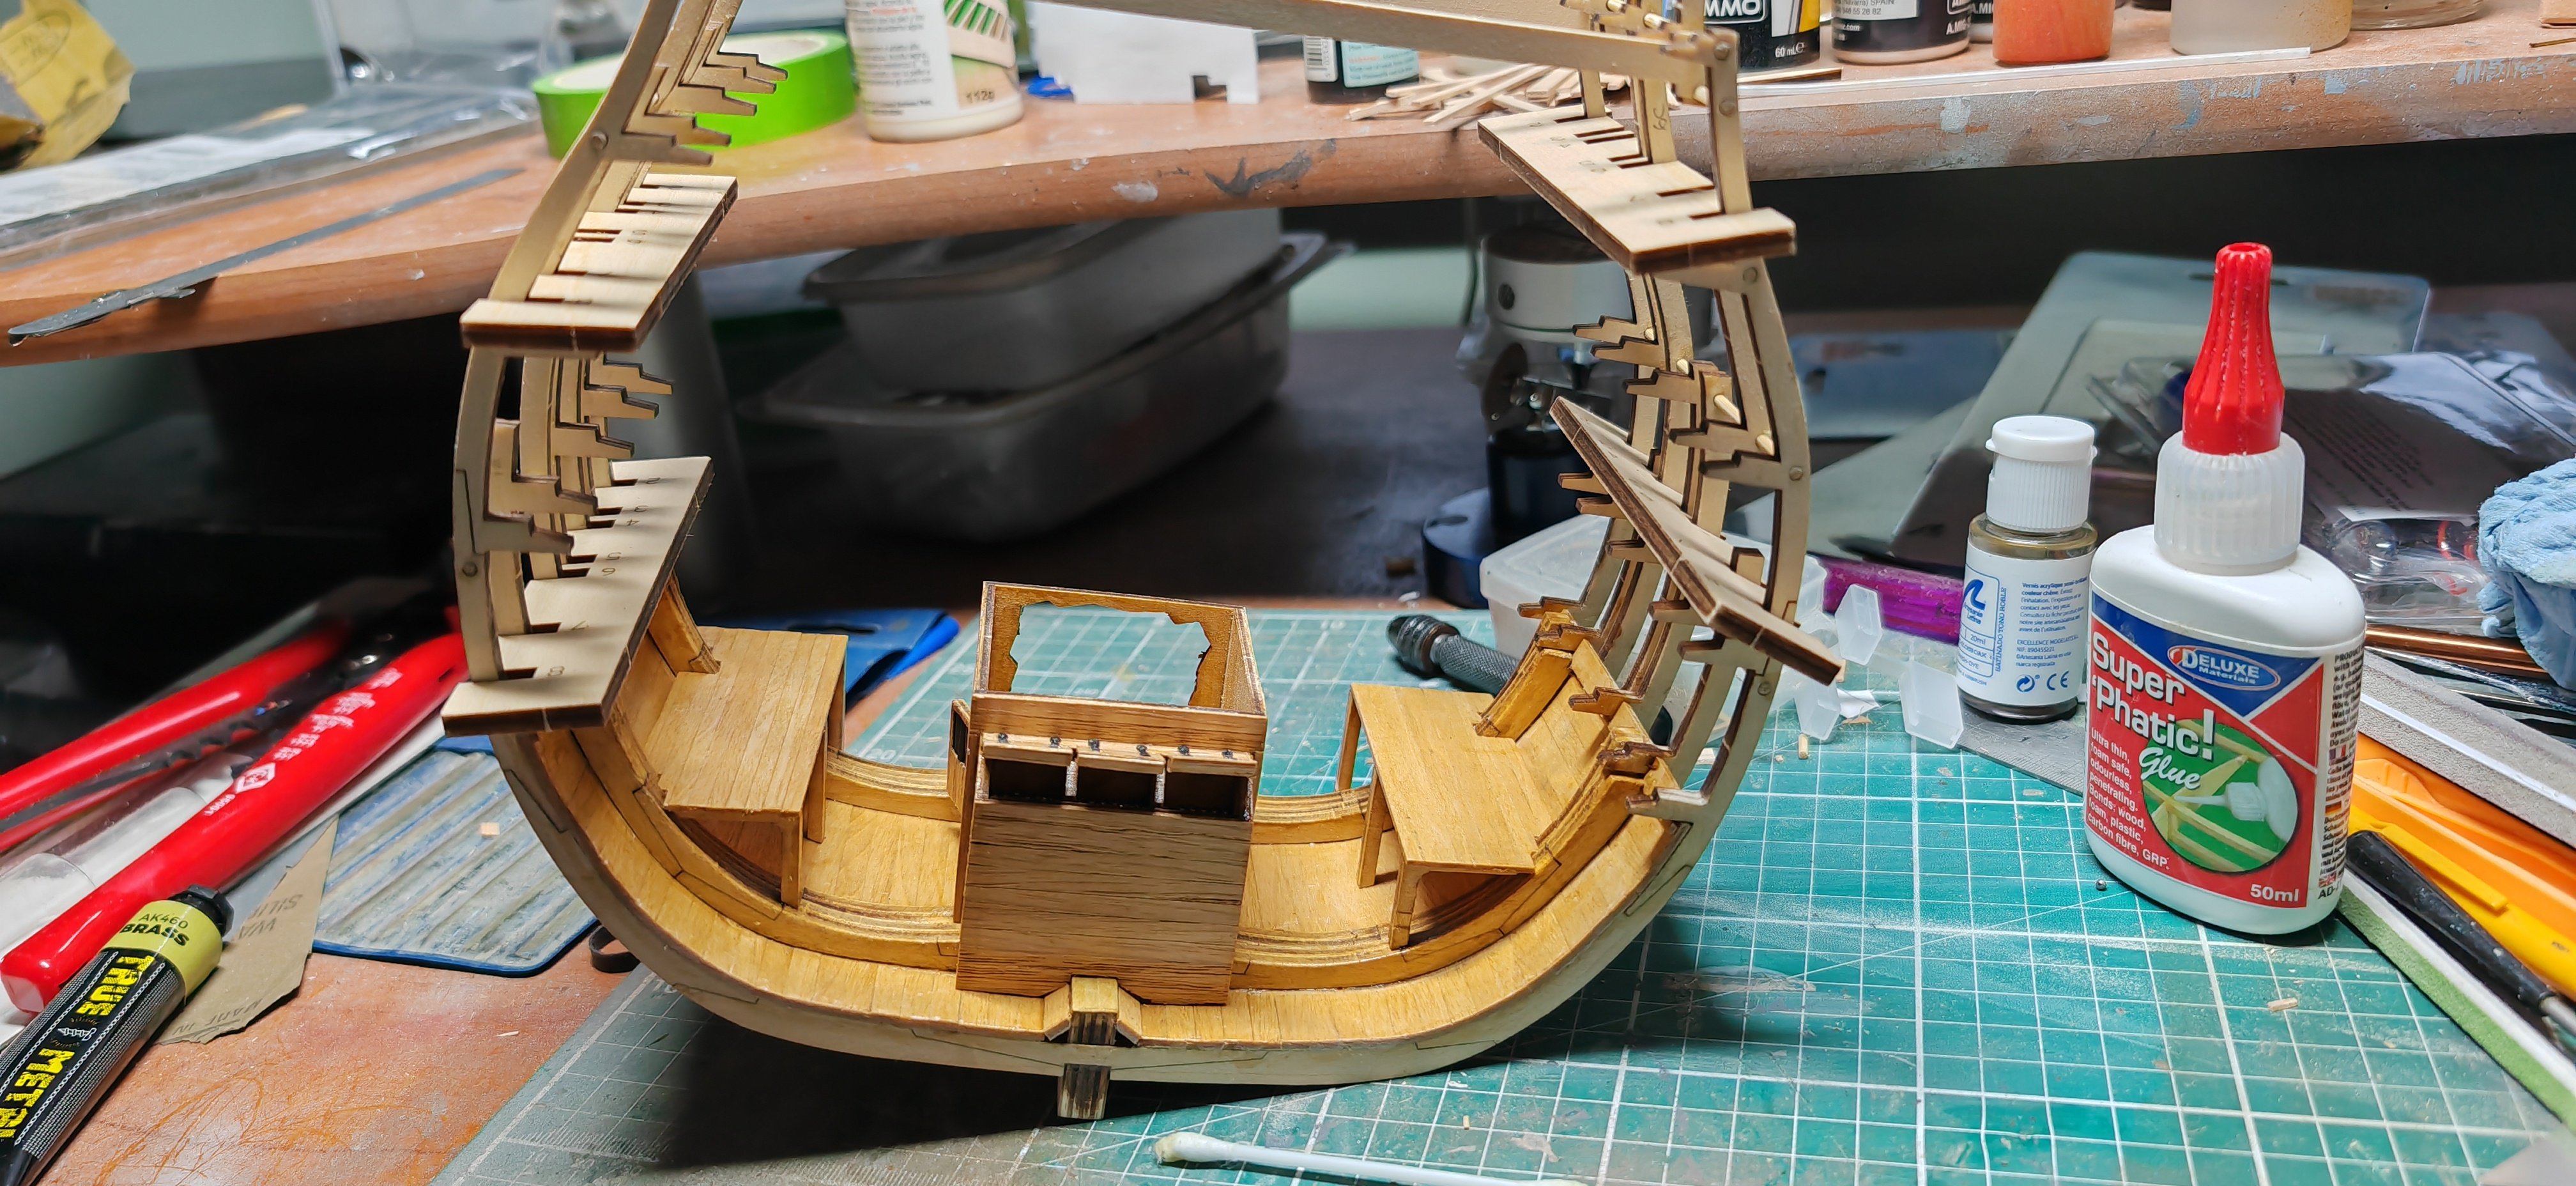
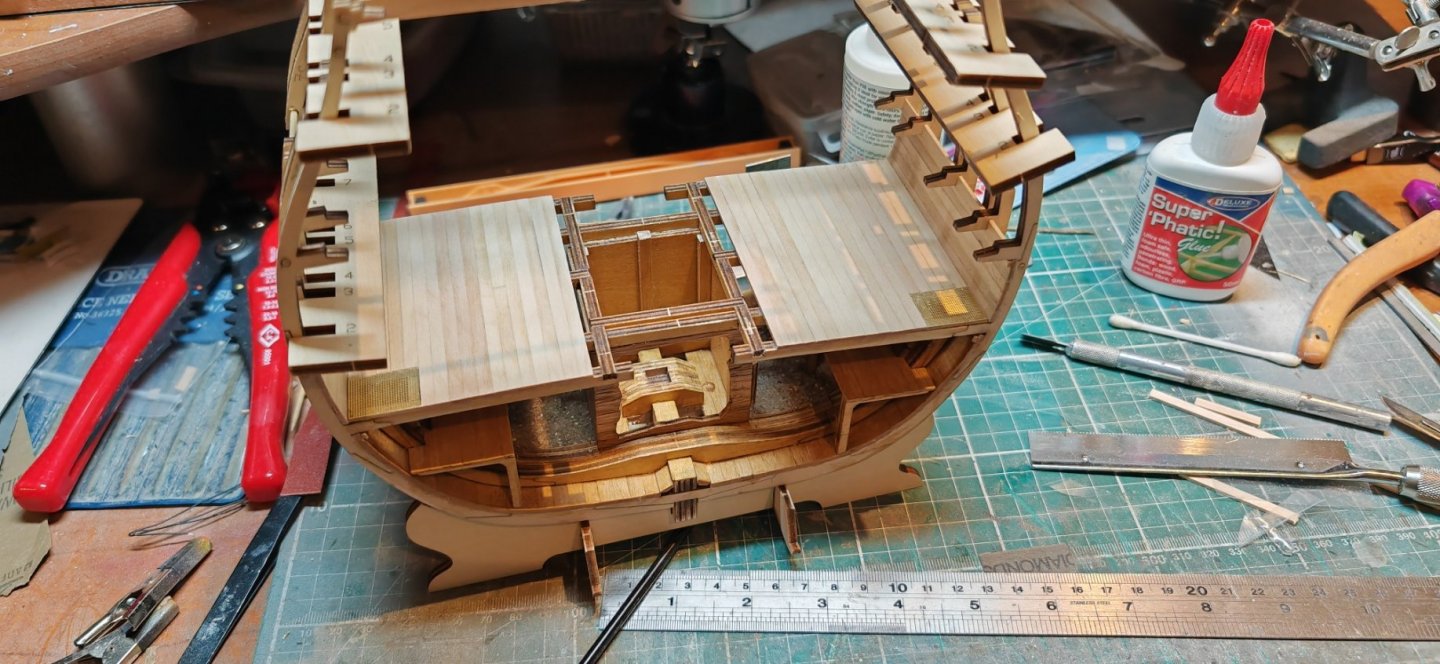
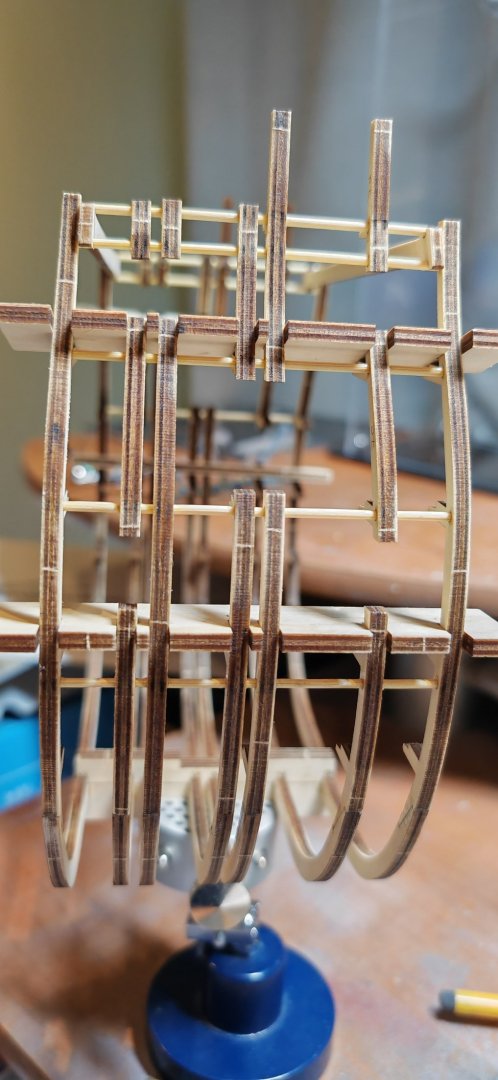
Artesania Latina HMS Victory 1/72 Cross Section: 2nd video finished, this should have been simple, but I glued one pair of frames the wrong way round. I did not discover this until the next day when the glue had cured. As I am using Super Phatic glue, I managed to soften the glue with a hair dryer to unstick them and correct the mistake. I have replaced the blocks provided with ones ordered from HiS. The picture is one of the single blocks, they are a better shape


- 13 replies
-
- 2
-
-
- Victory
- Artesania Latina
- (and 1 more)
-
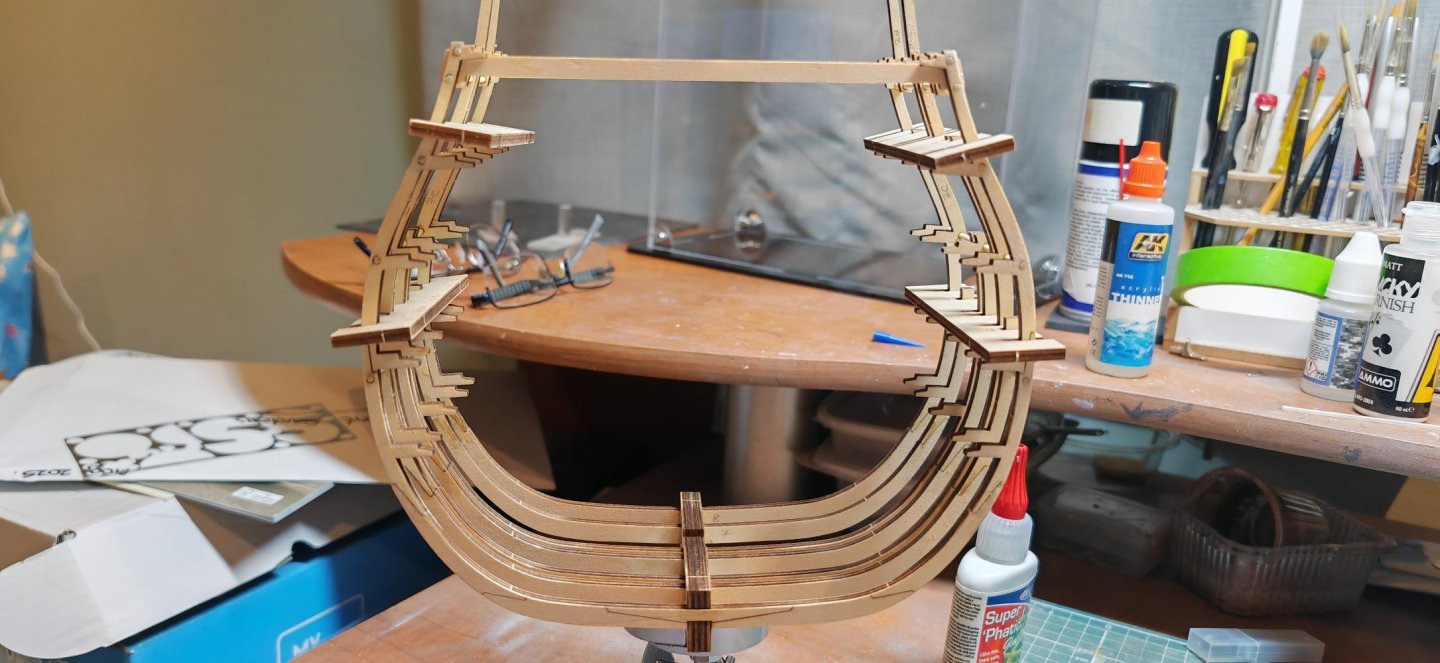
I have completed the frames from the 1st video, it it looks like a nice kit, but I have ordered better shaped blocks from HiS Models. I will probably be posting progress at the end of each video

- 13 replies
-
- 6
-
-
- Victory
- Artesania Latina
- (and 1 more)
-
Thanks for the info, what is the book you are using. I have pre-ordered HMS Terror: The Design, Fitting and Voyages of the Polar Discovery Ship: The Design Fitting and Voyages of a Polar Discovery Ship by Matthew Betts, which is due out on the 30th May. This is a description of the book from Amazon If it lives up to the description it should be very useful.
-
Hi, I have just caught up with this build, the ship is coming along nicely. I am currently build this model. I have the plans from the Royal Maritime Museum, and I have modified the belaying pin racks around the fore mast. This has altered the attachment points for the rigging. Looking at the belaying pin rack by the main mast, is totally different from the Occre plans, again altering where the rigging is tied off. Do you have a rigging diagram which shows where the ropes would be tied off using the modified belaying pin racks?
-
Thanks for the comments, mtaylor - It does look futuristic, It was at least twice a big as the RN equivalent
- 18 replies
-
- 2
-
-
- S-100
- KreigsMarine
- (and 1 more)
-
Here is an update, I've been taking pictures, but haven't had a chance to upload them


- 18 replies
-
- 7
-
-
- S-100
- KreigsMarine
- (and 1 more)
-
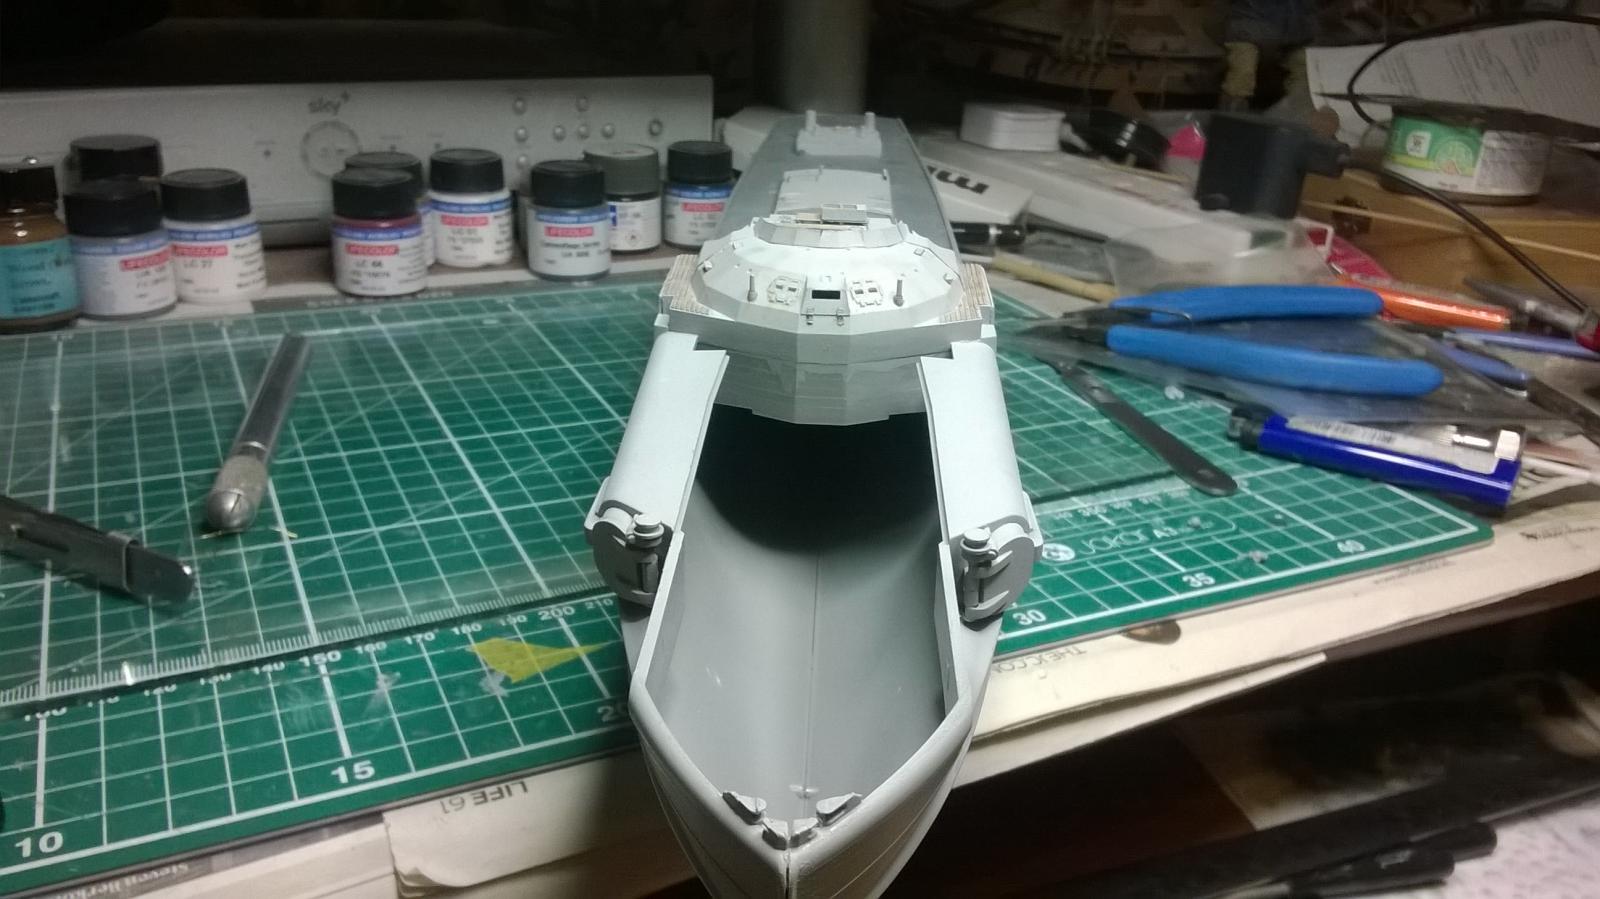
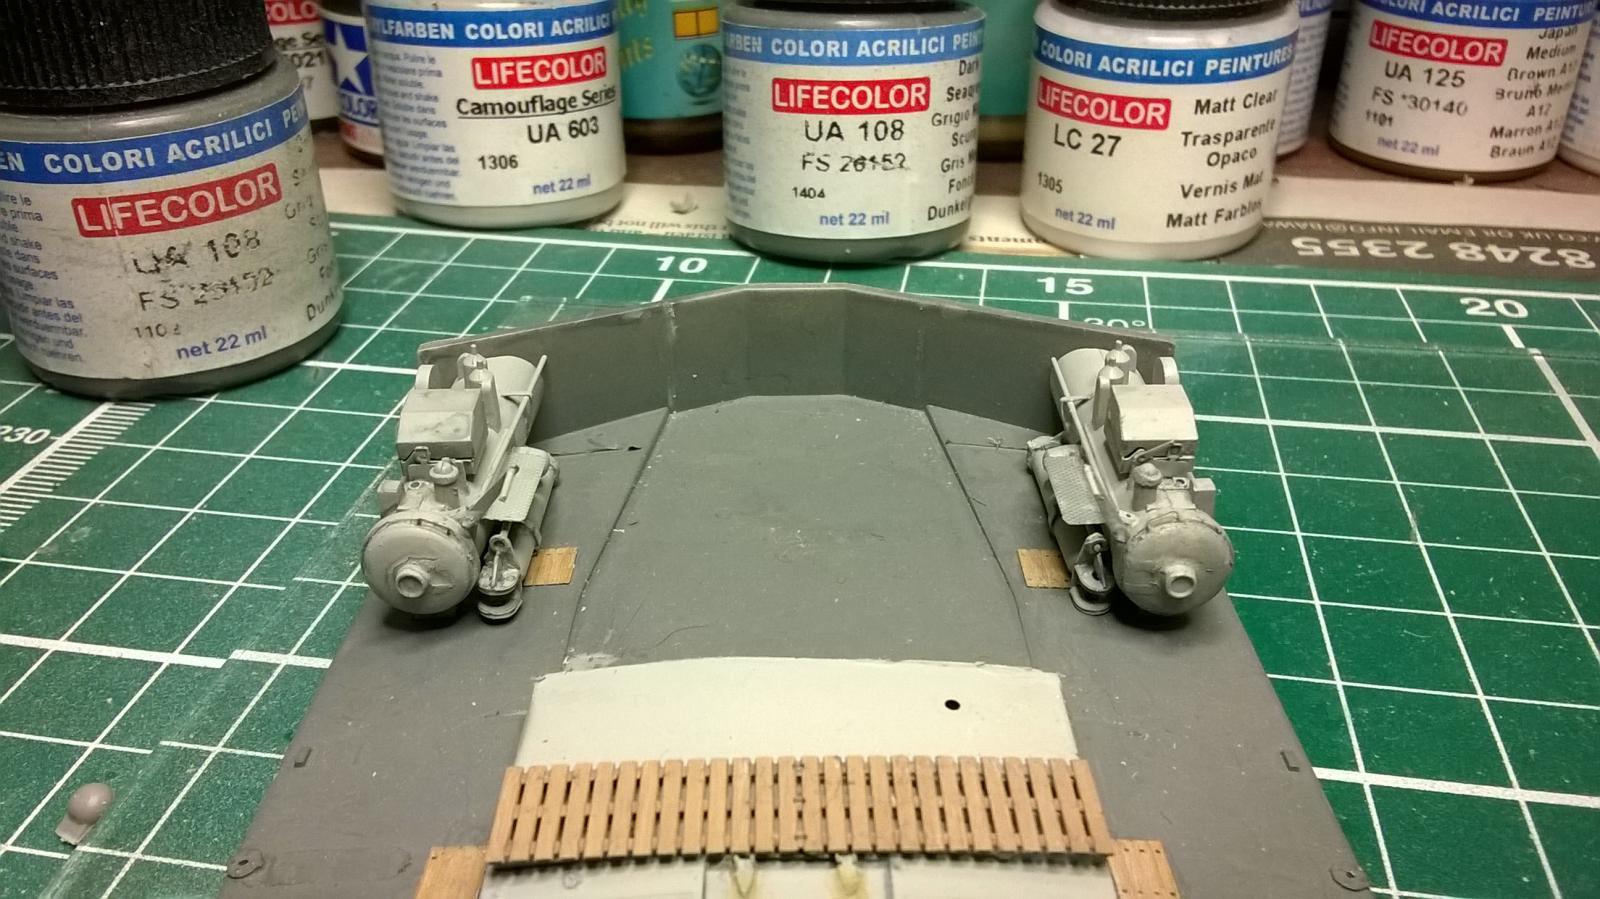
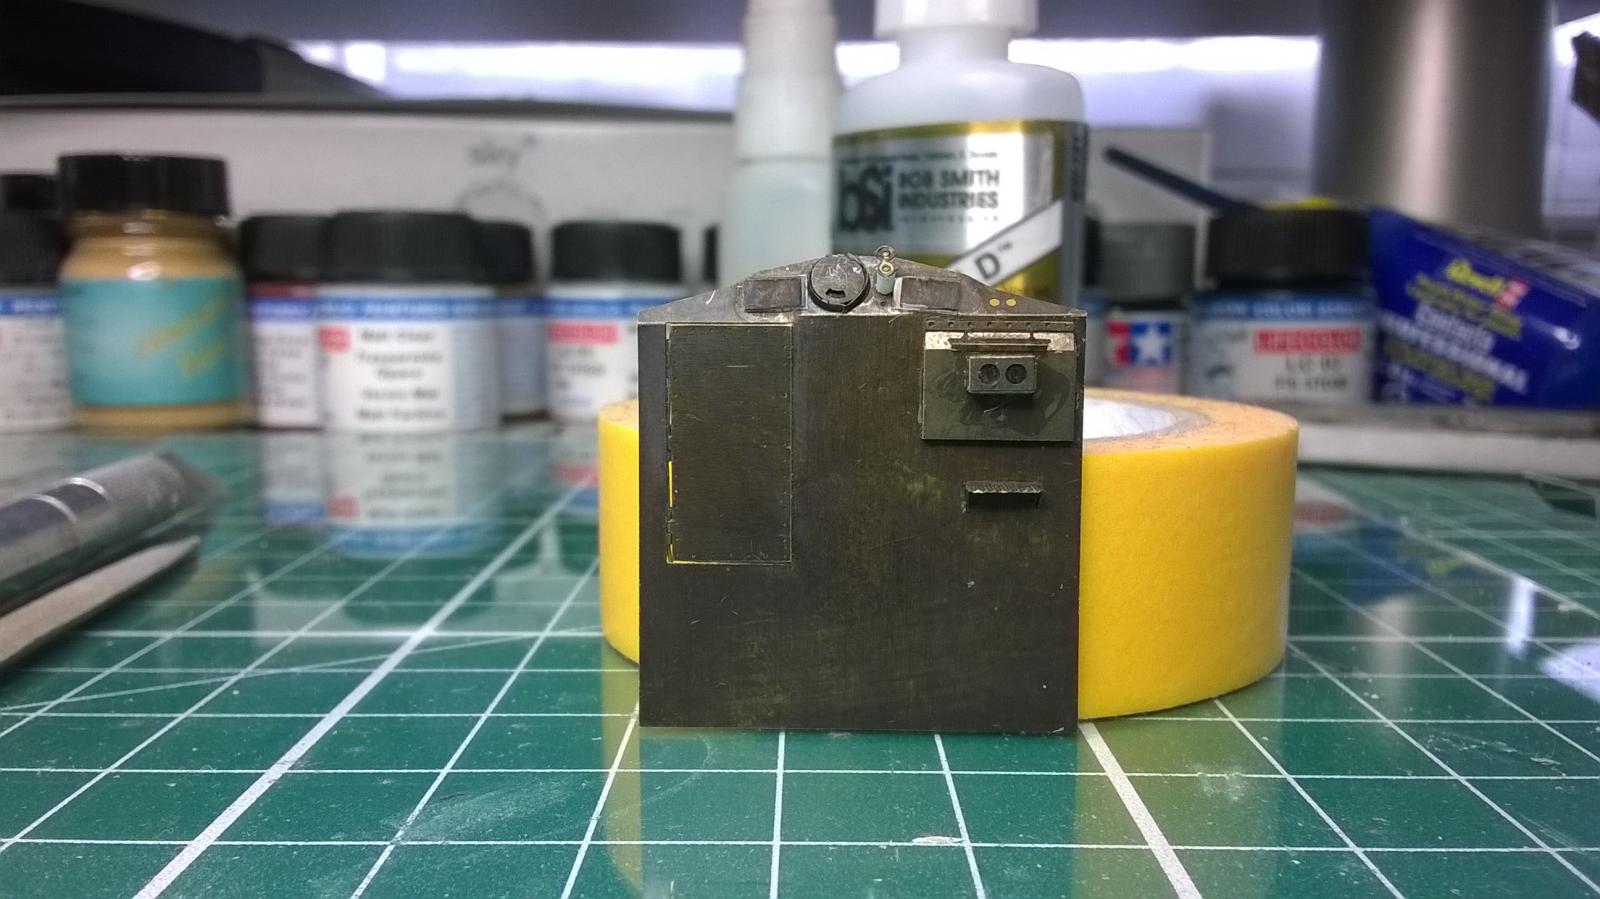
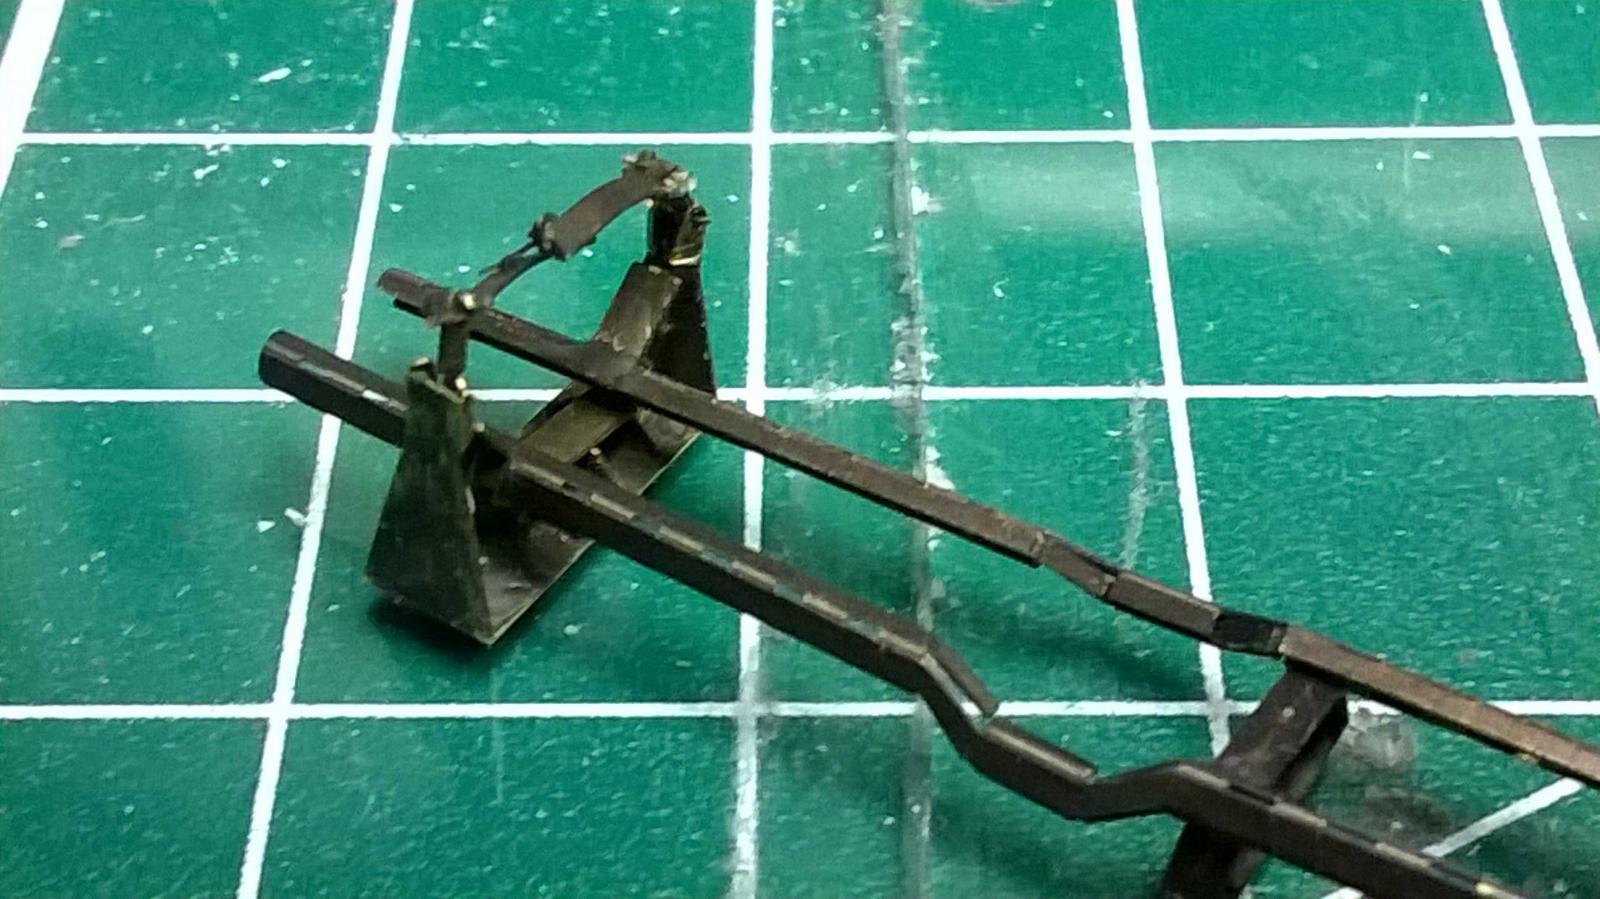
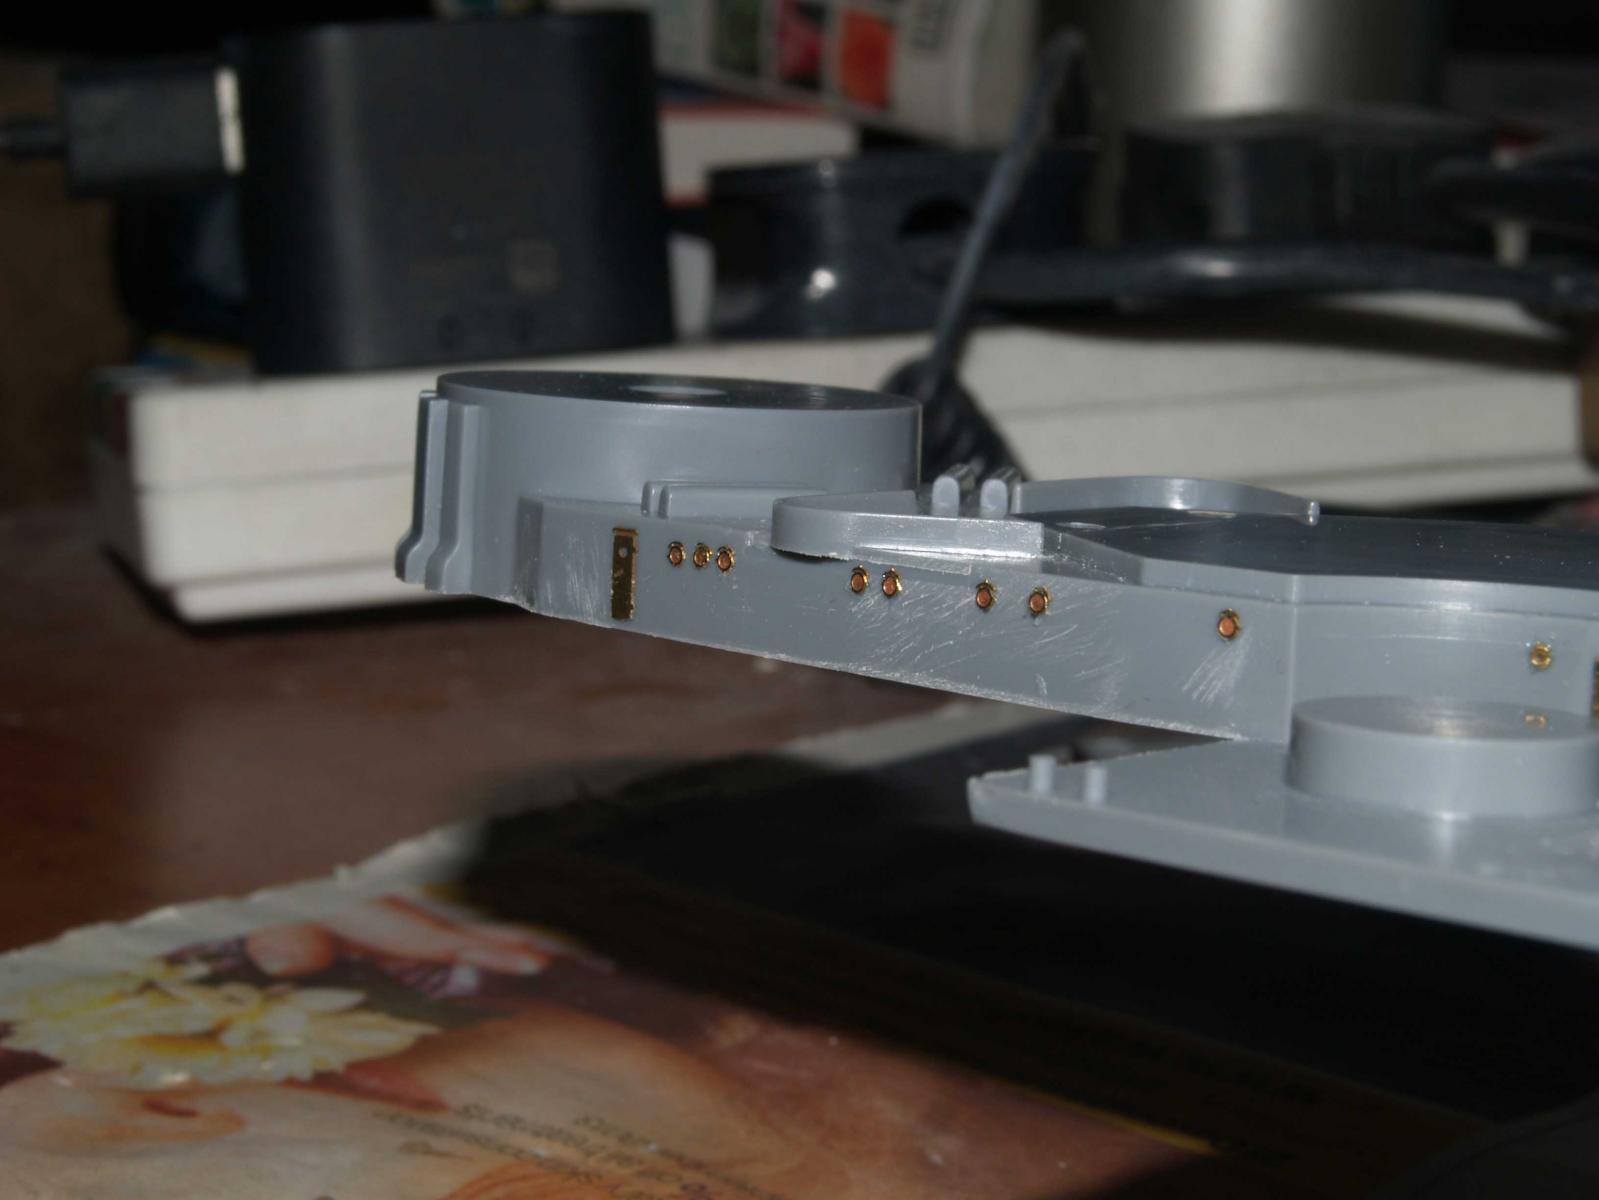
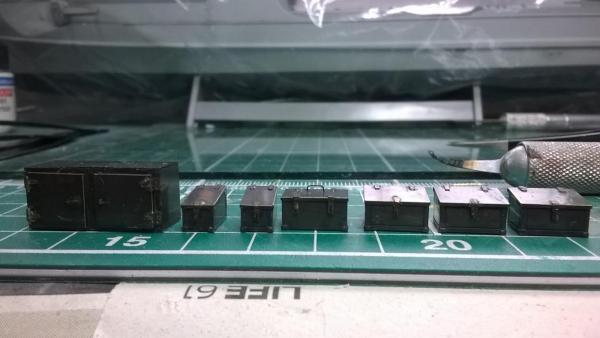
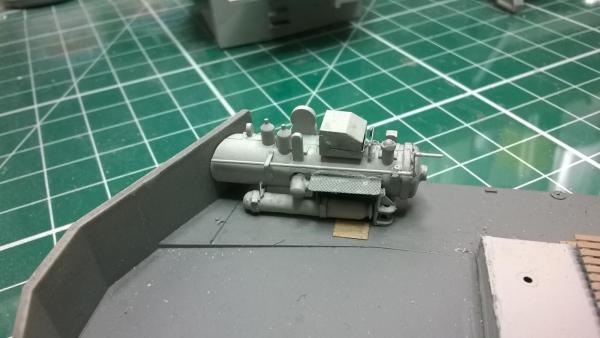
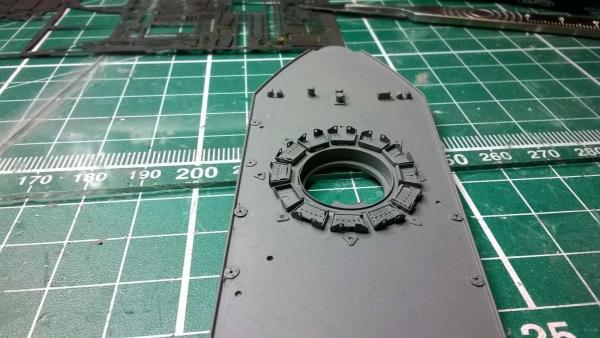
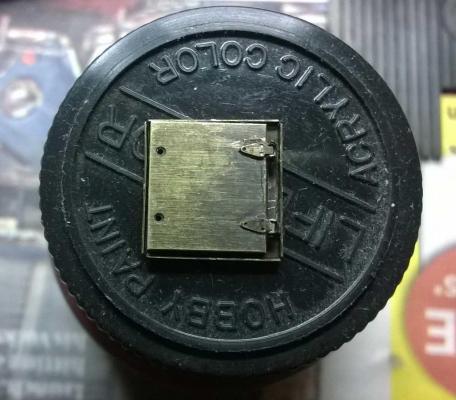
Here's an update. The breech for the torpedo tubes as done, even though most of it will be covered by the bridge armour. The hull and deck are together. still need to paint the hull to complete this section of the build

- 18 replies
-
- 9
-
-
- S-100
- KreigsMarine
- (and 1 more)
-
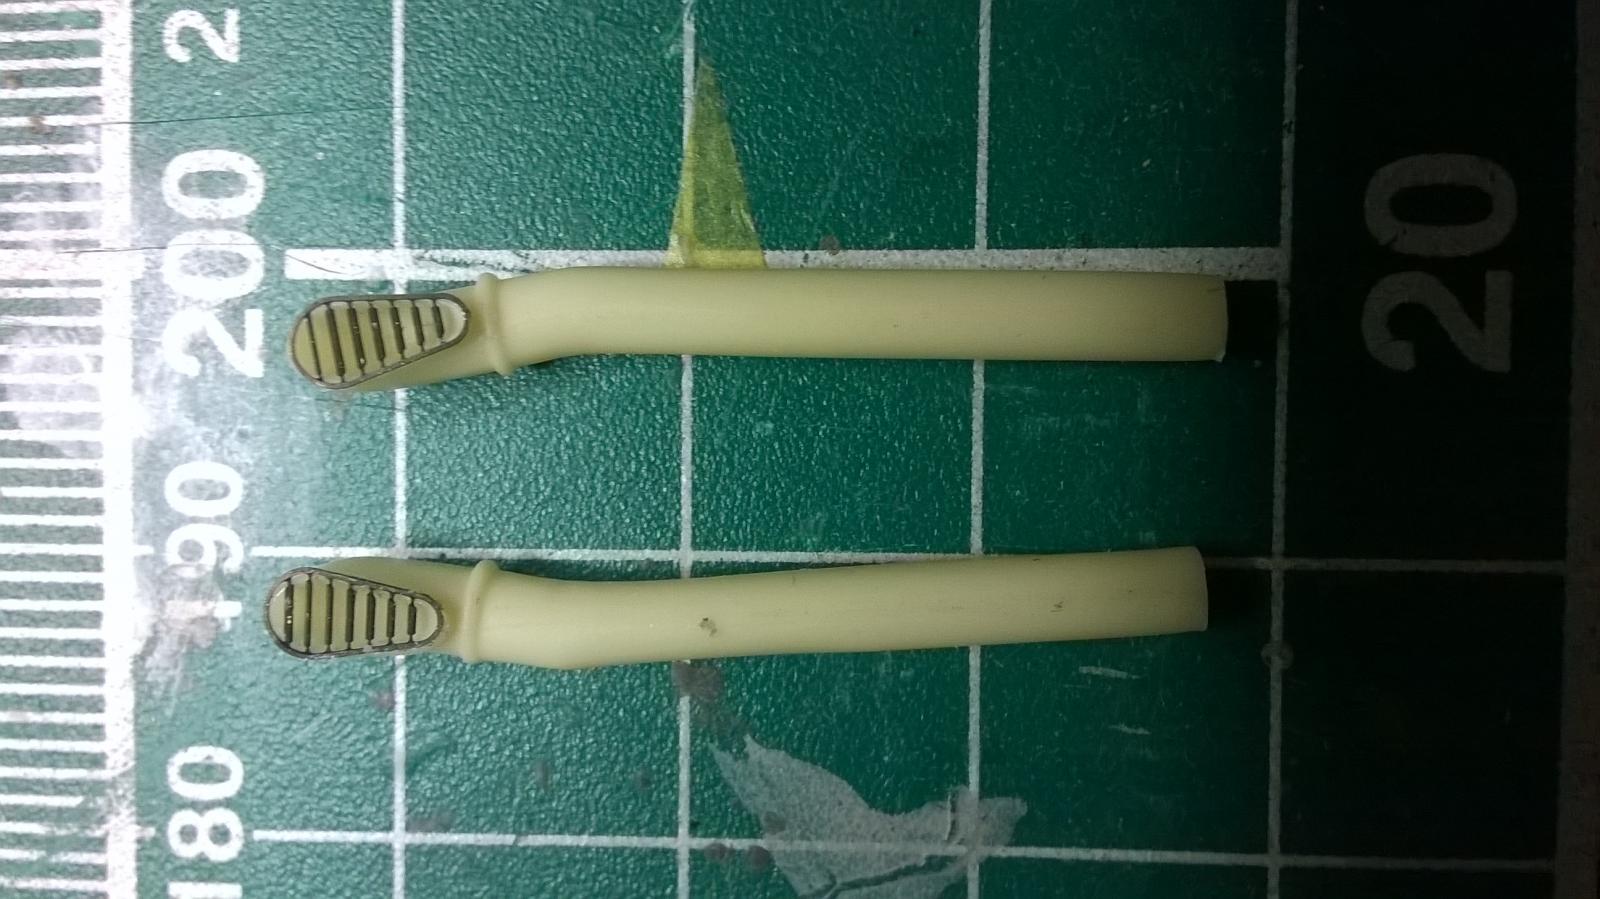
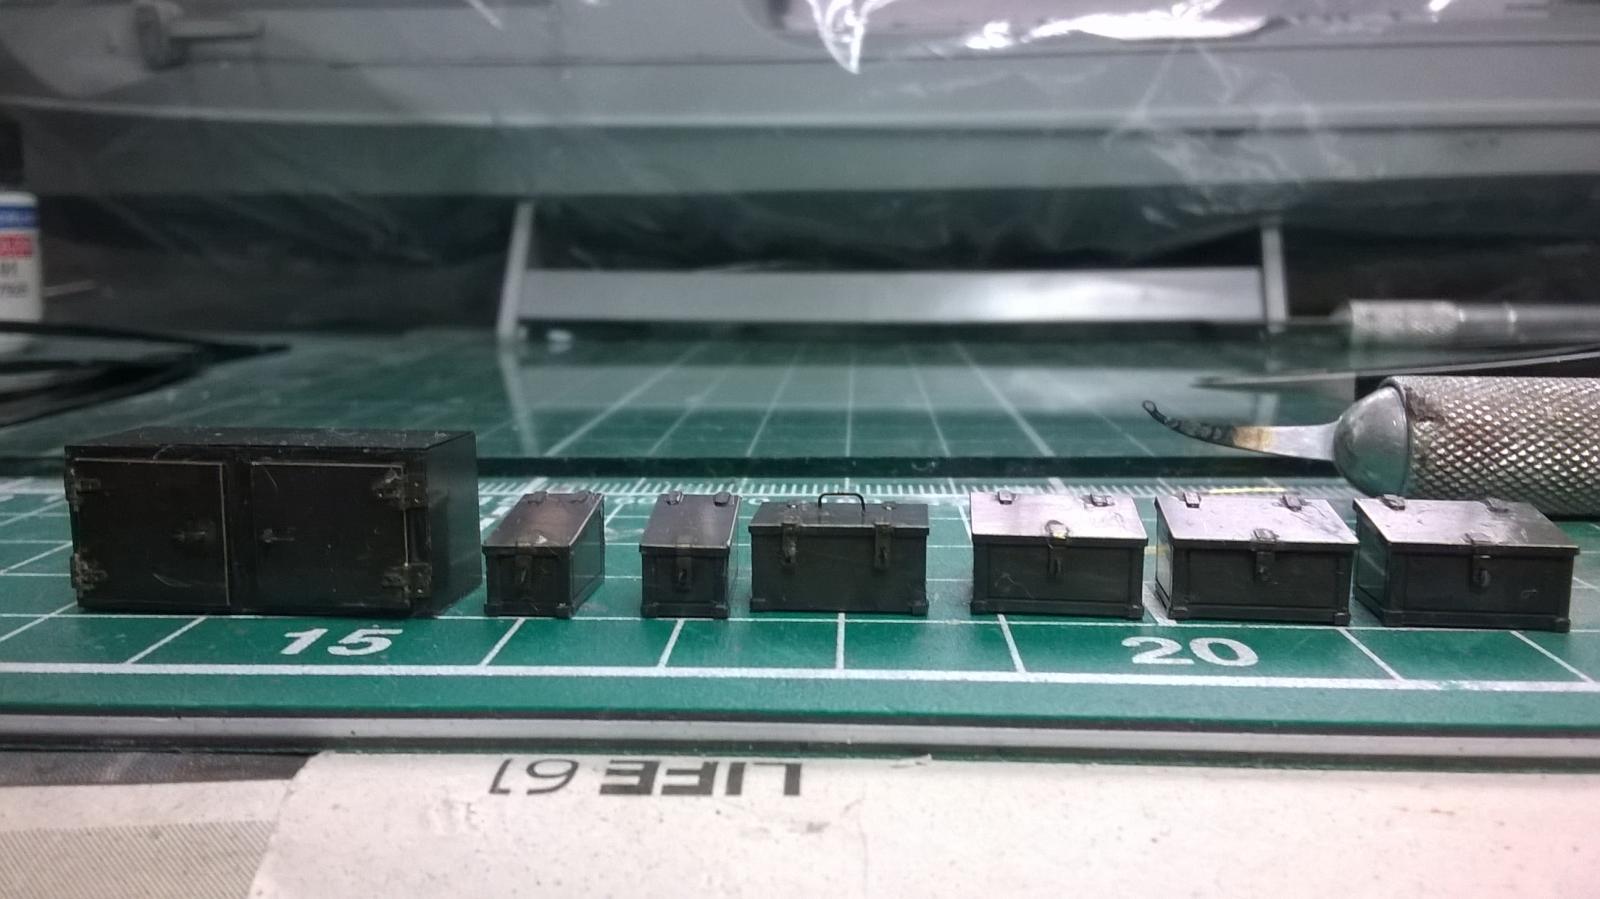
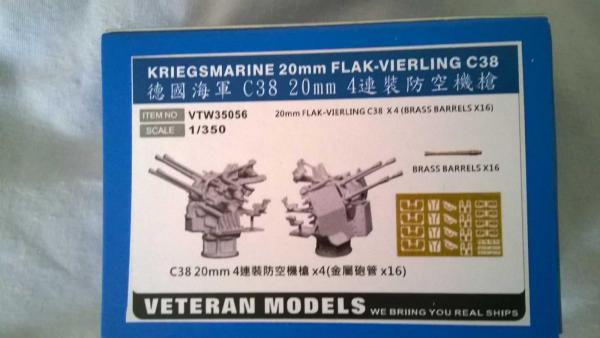
Steve I think that they are good, a mixture of brass and resin. They make a nice replacement for the Tamyia molded box with 4 barrels. I did not use it in the end, but that was because I was getting bored with the model and wanted to get the model finished as quickly as possible, not because of anything wrong with the gun kit. If you do use them you will need to invest in a 0.2mm drill bit to drill out some of the resin for the barrels.
-
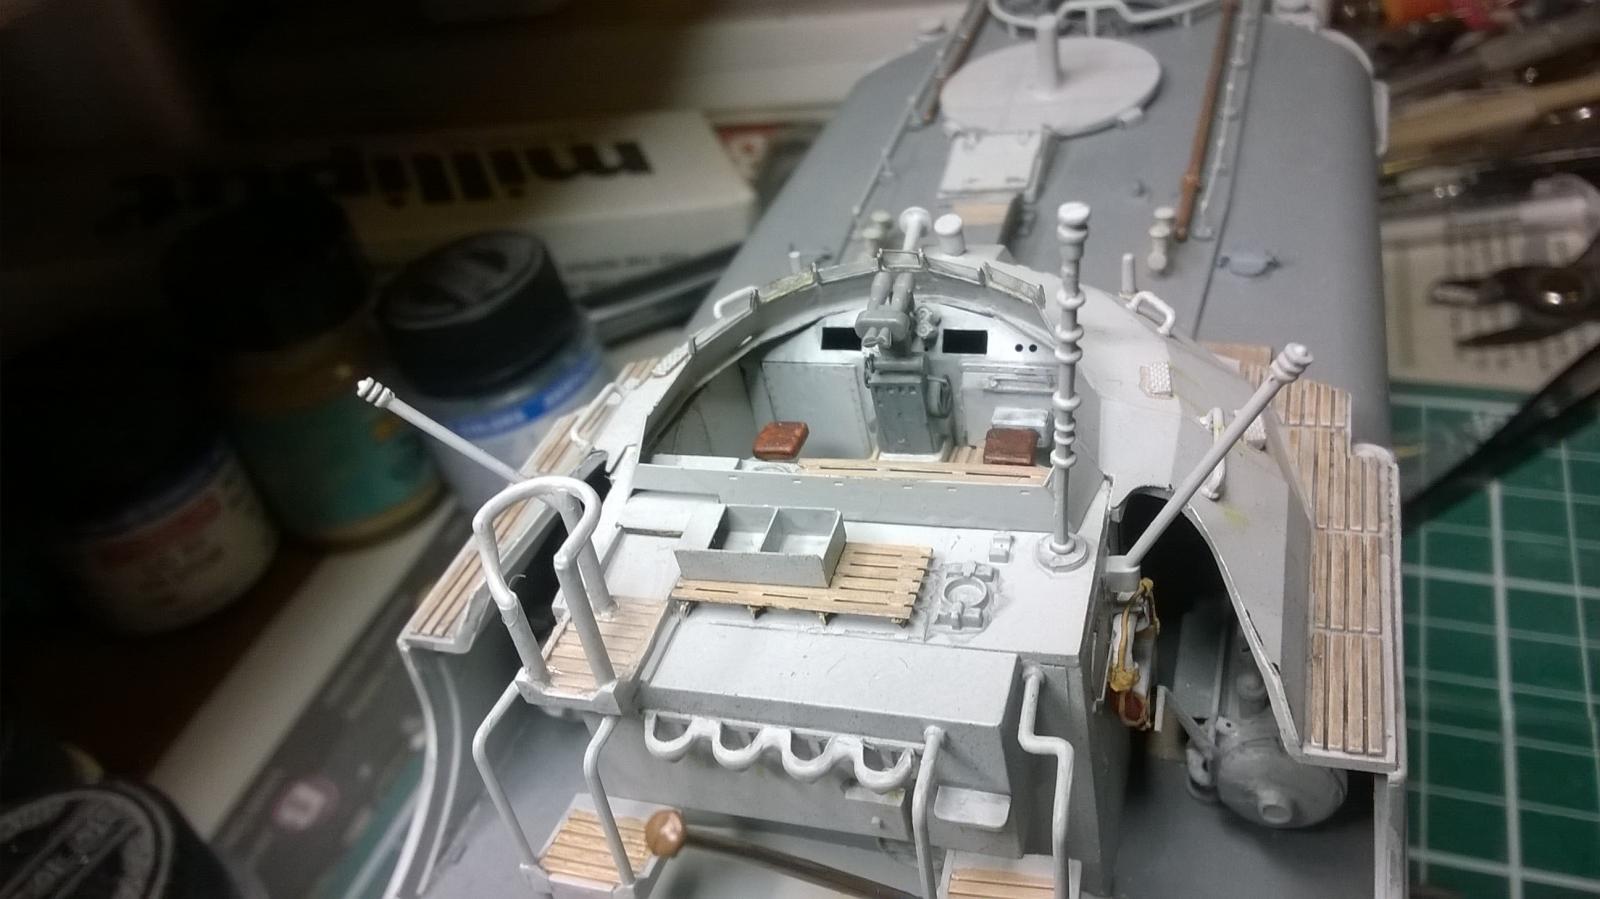
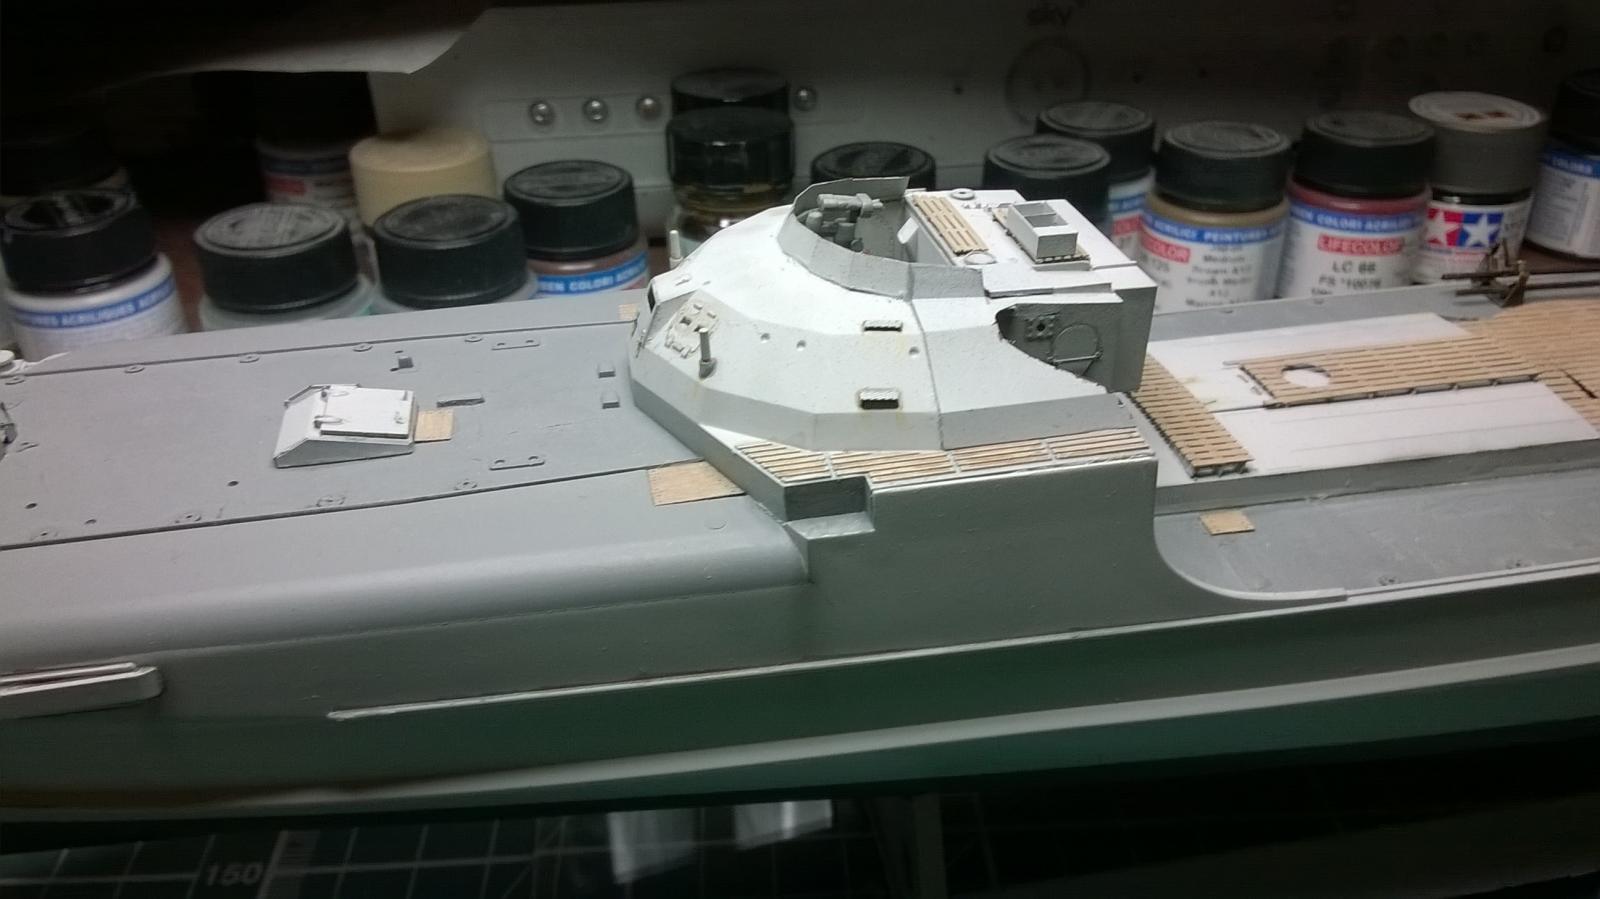
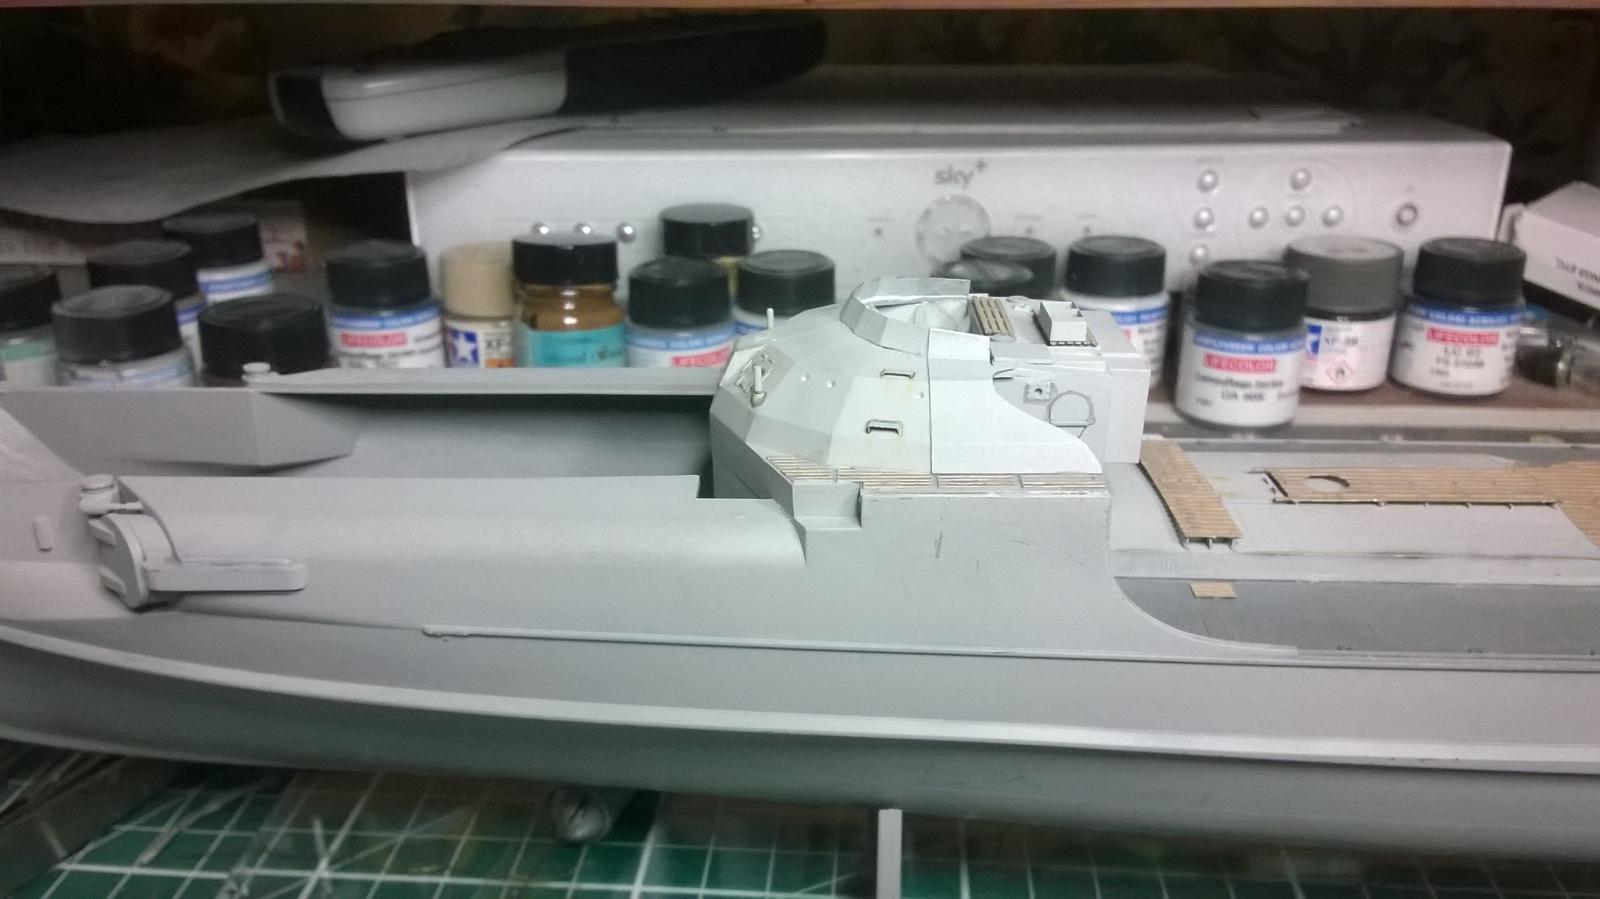
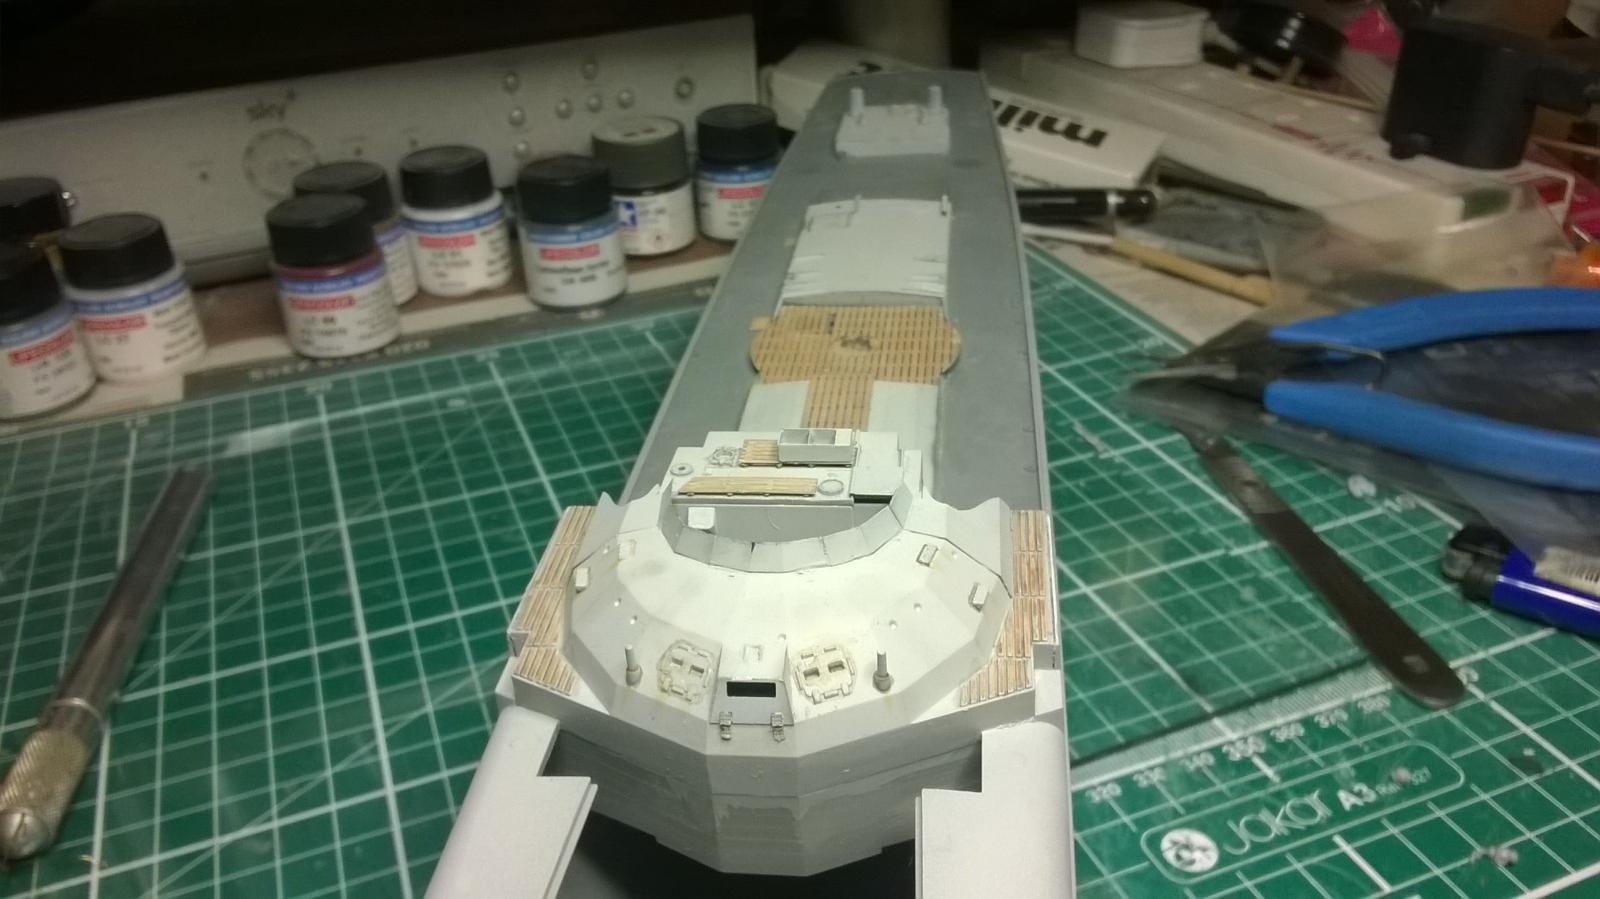
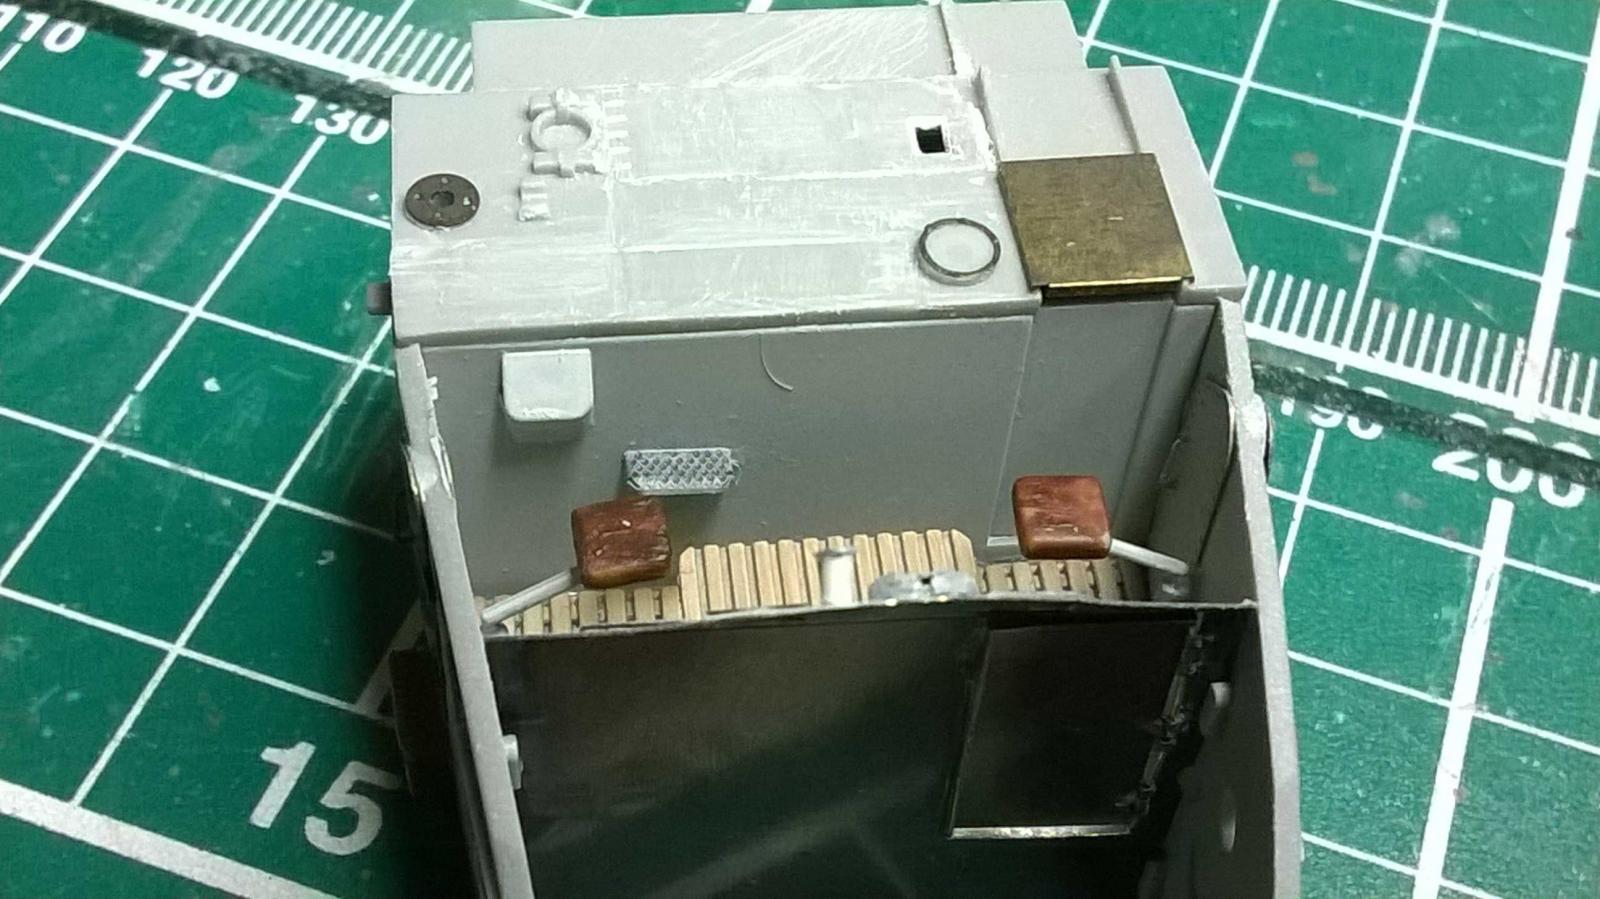
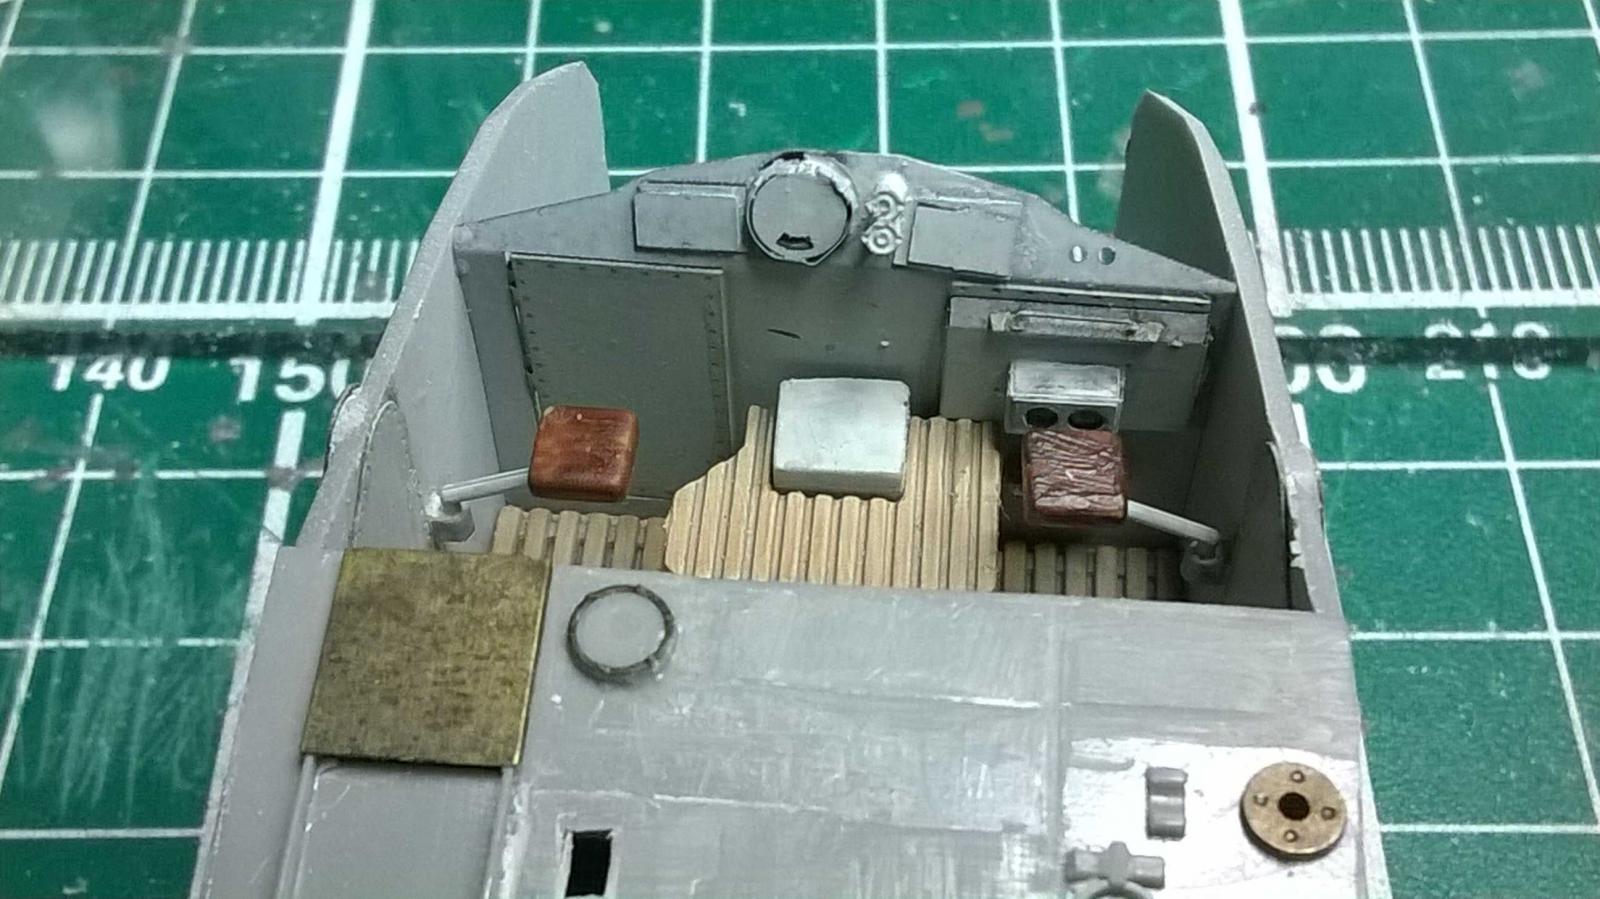
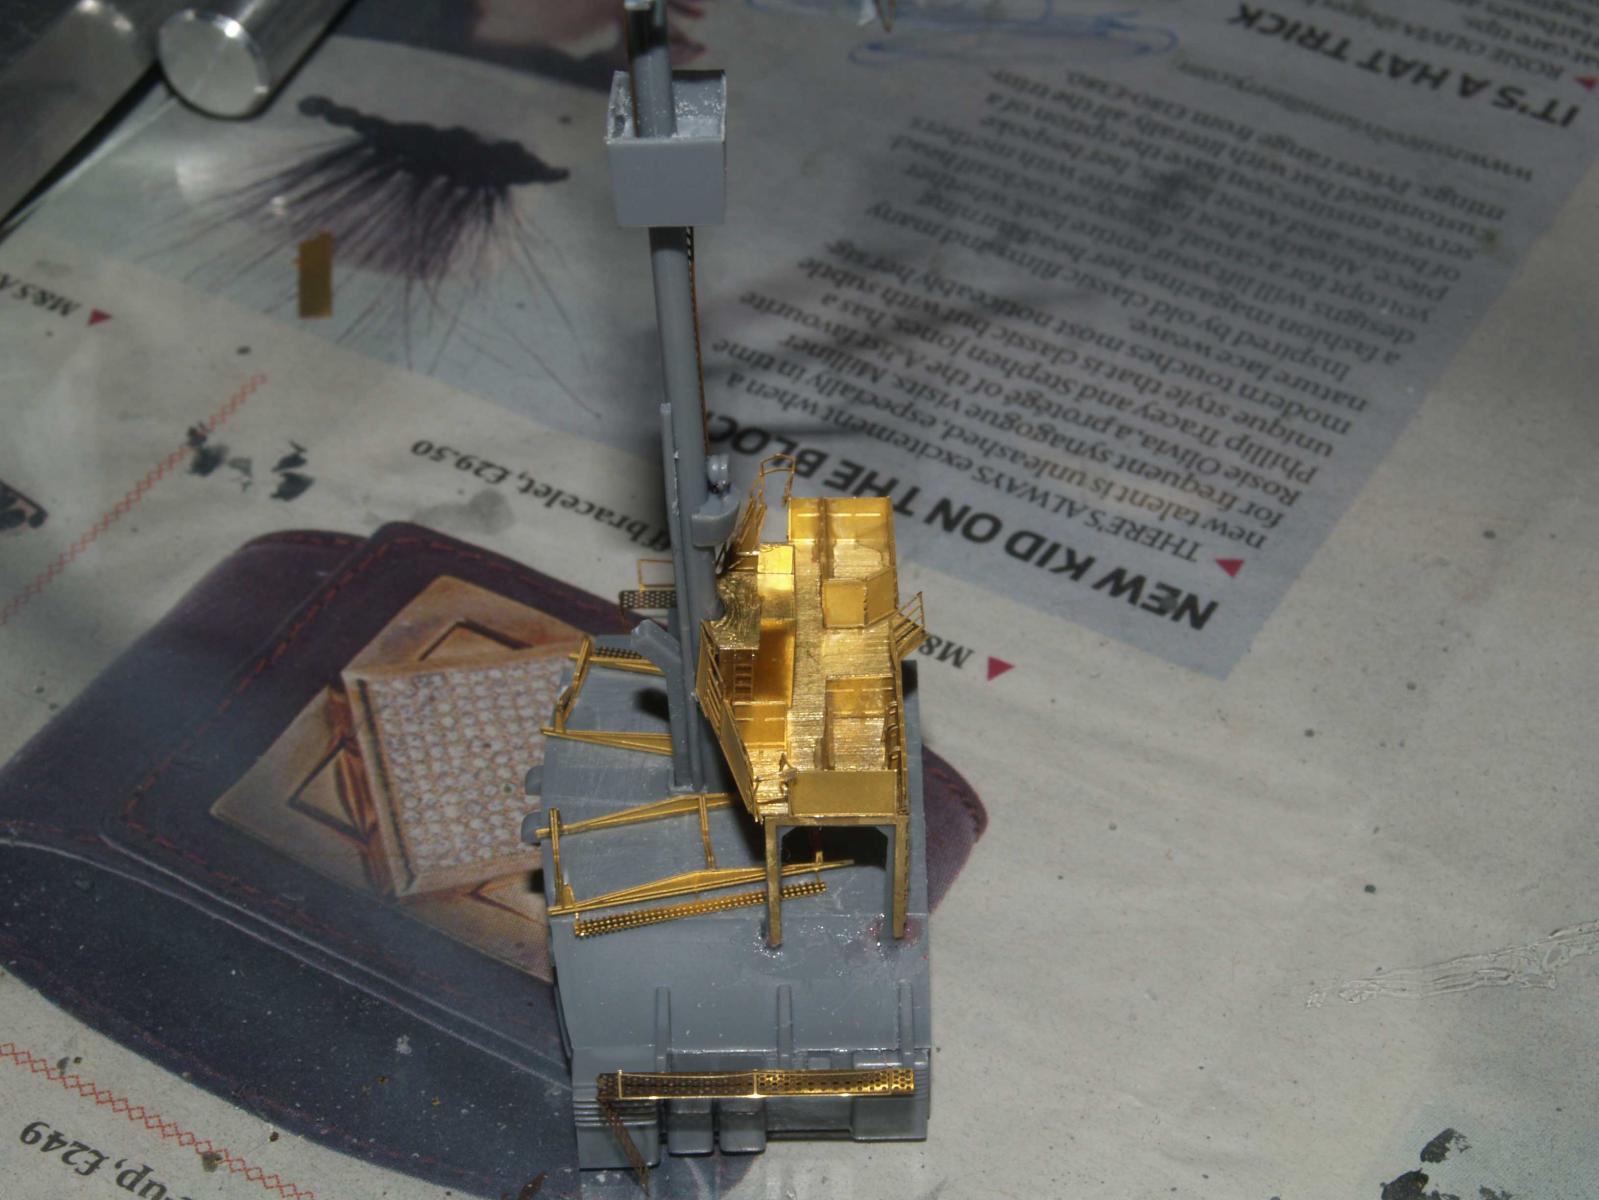
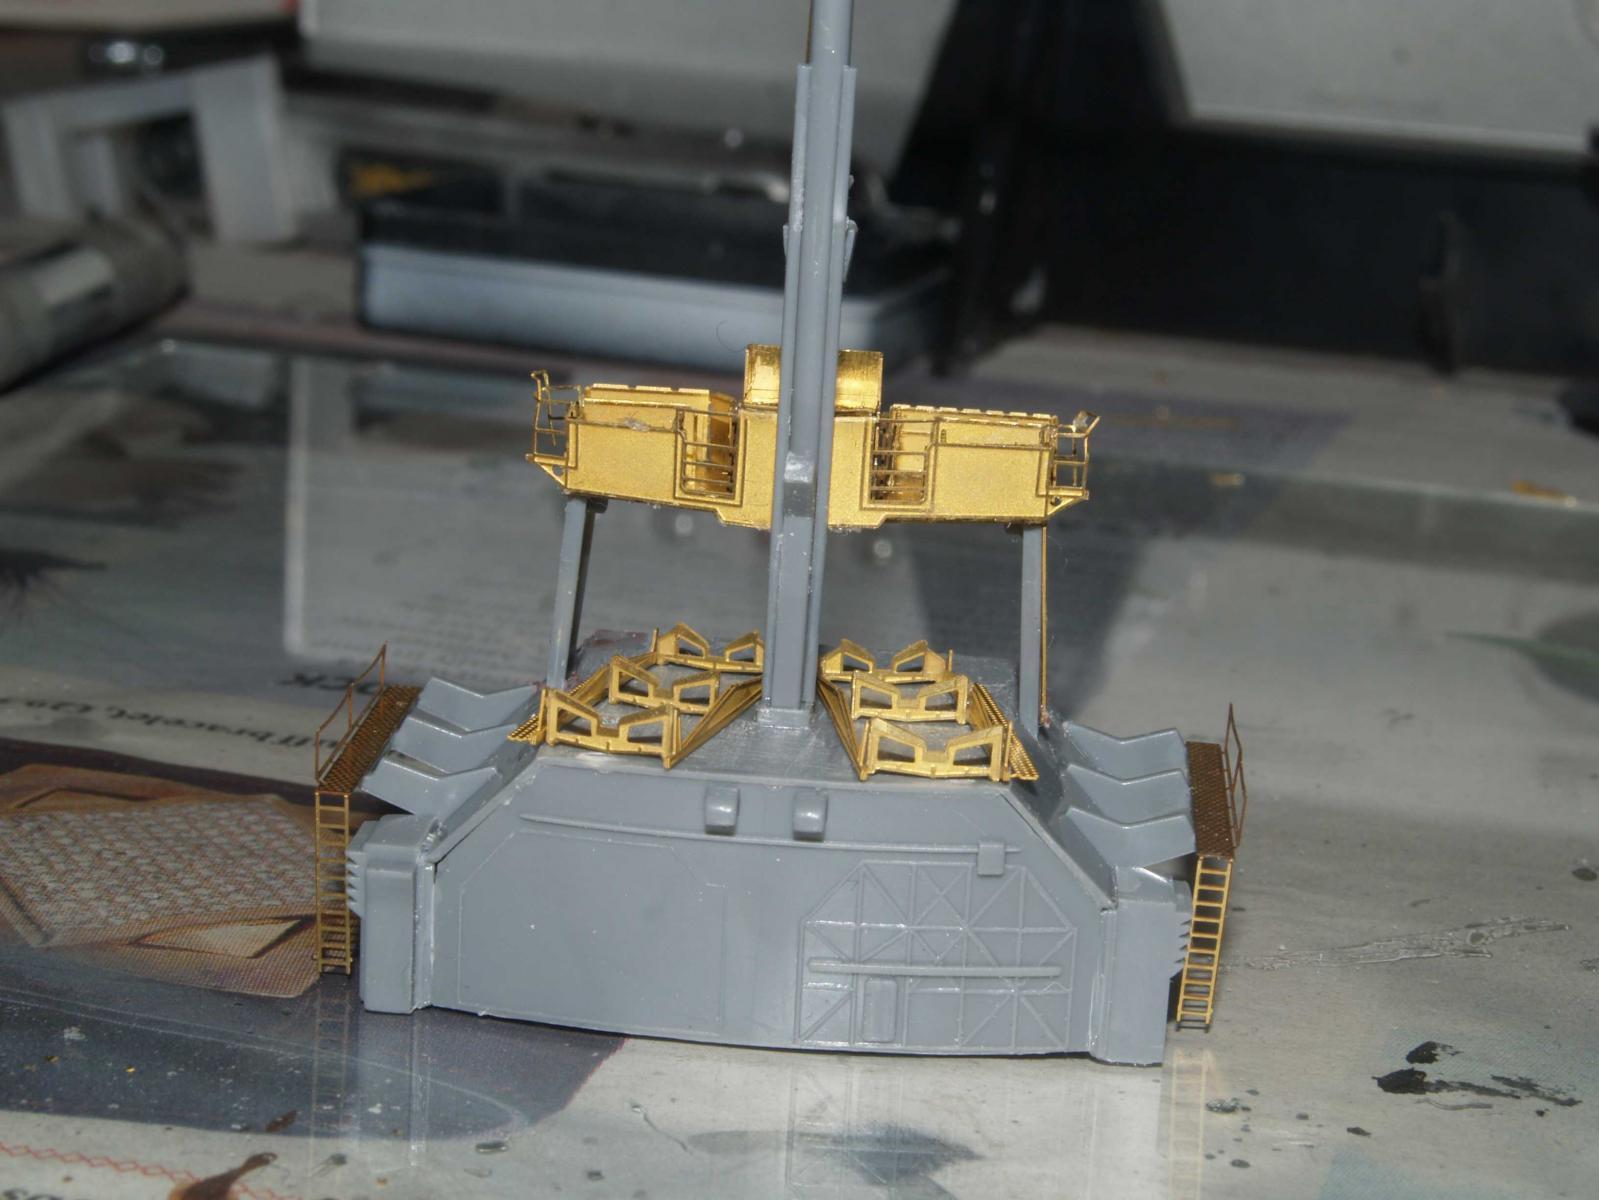
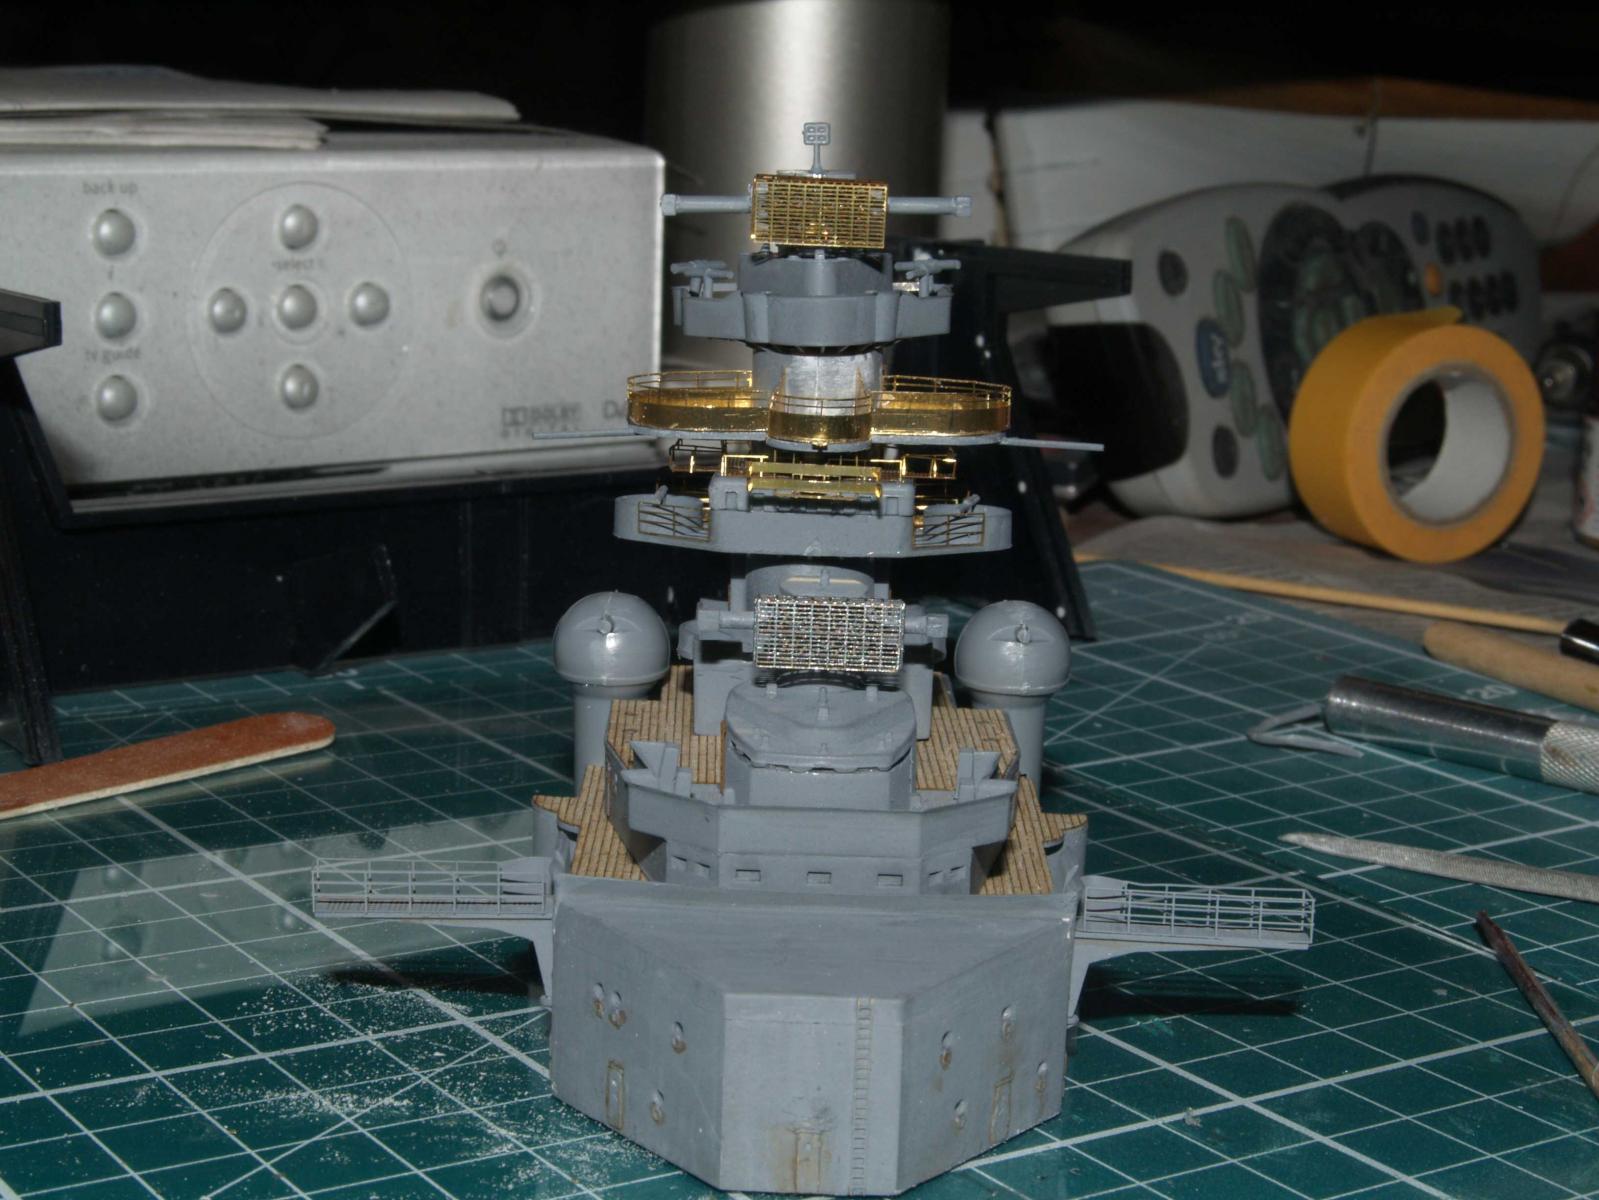
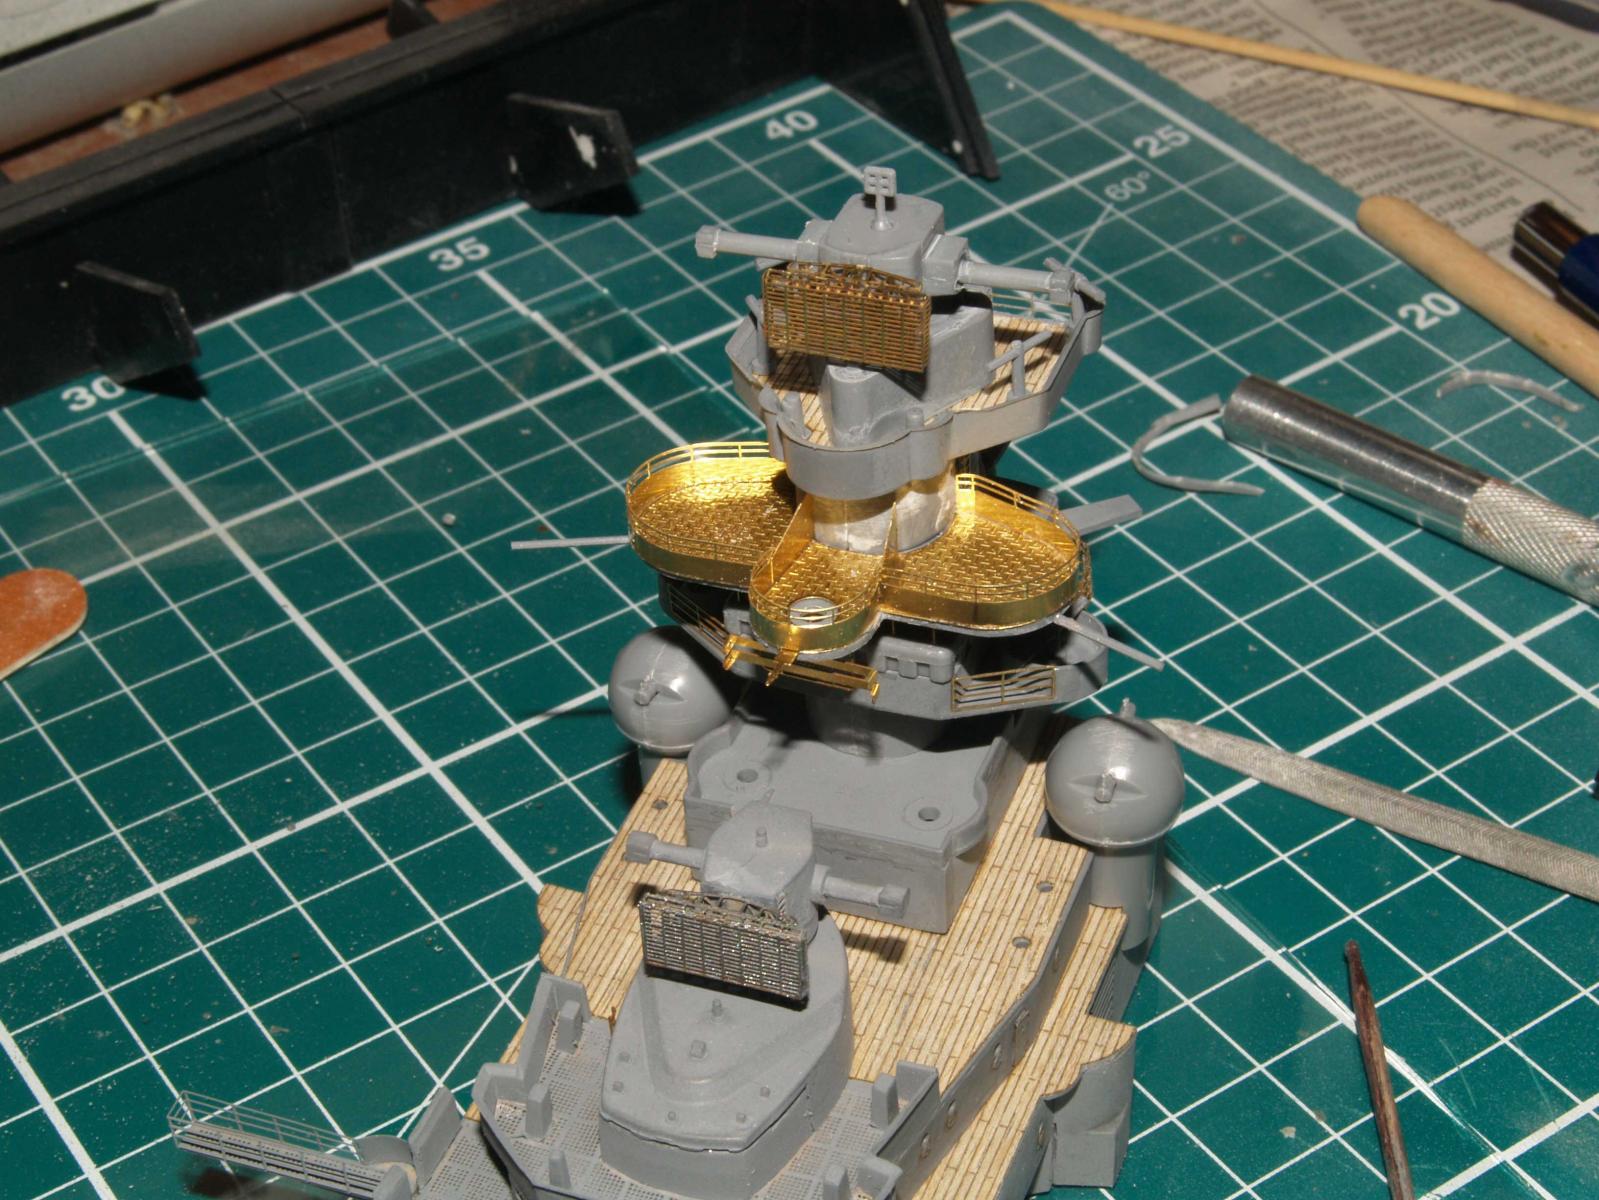
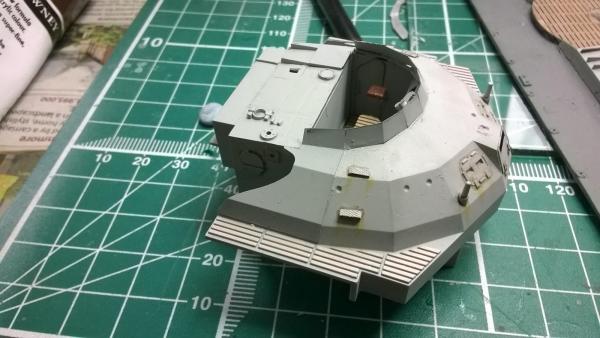
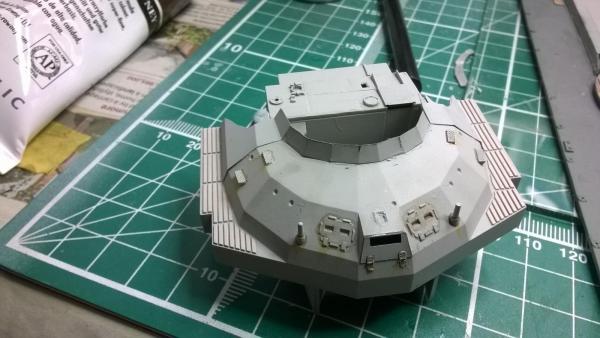
The interior of the bridge is complete. I have to put some decking on the rear of the bridge, but I need to paint it first, which will happen once I have completed the PE on the exterior of the bridge.


- 18 replies
-
- 11
-
-
- S-100
- KreigsMarine
- (and 1 more)
-
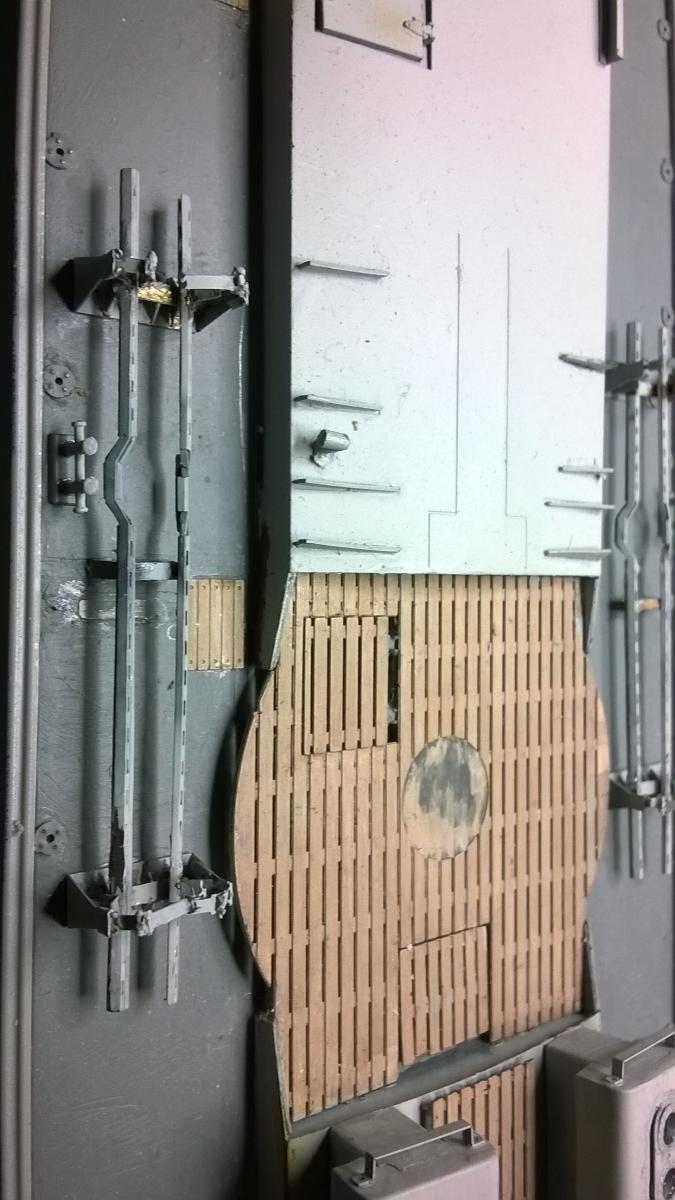
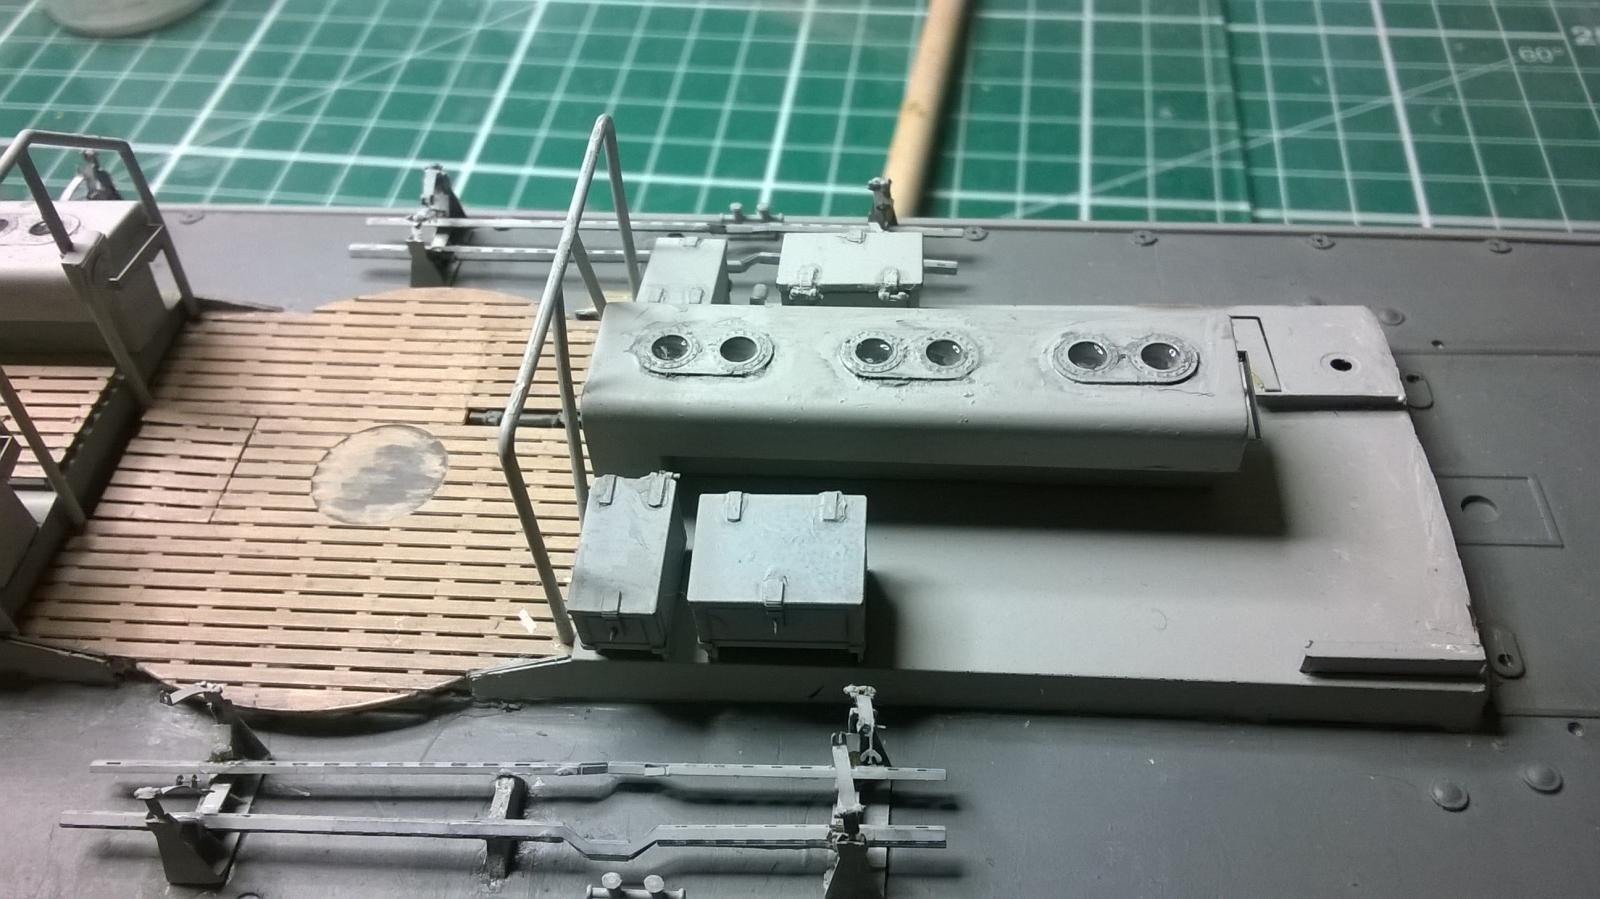
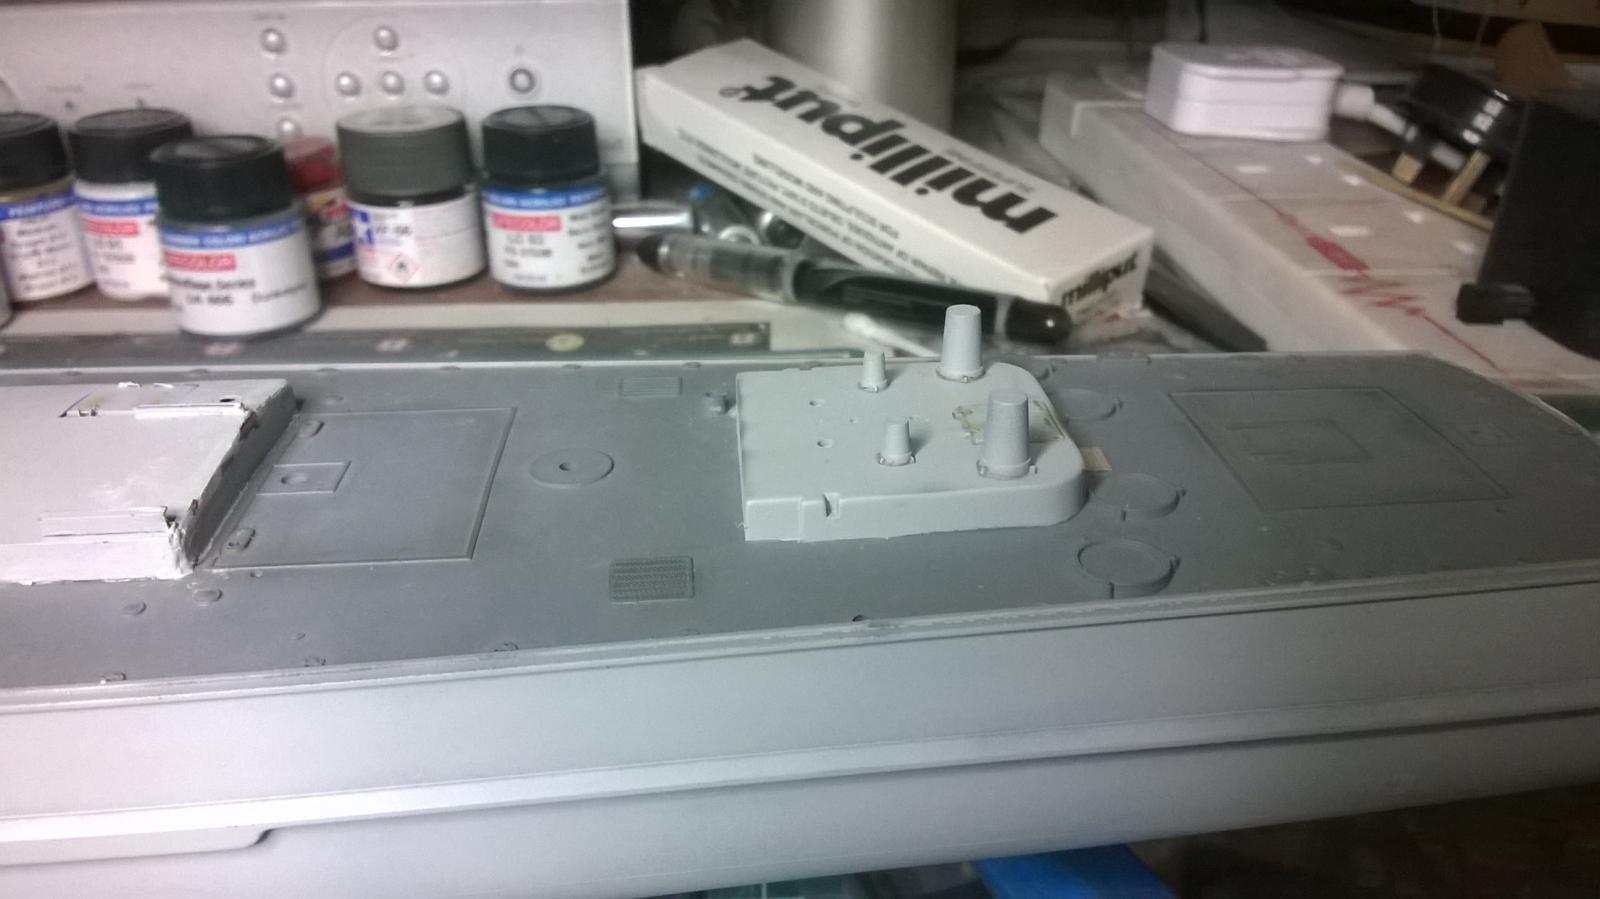
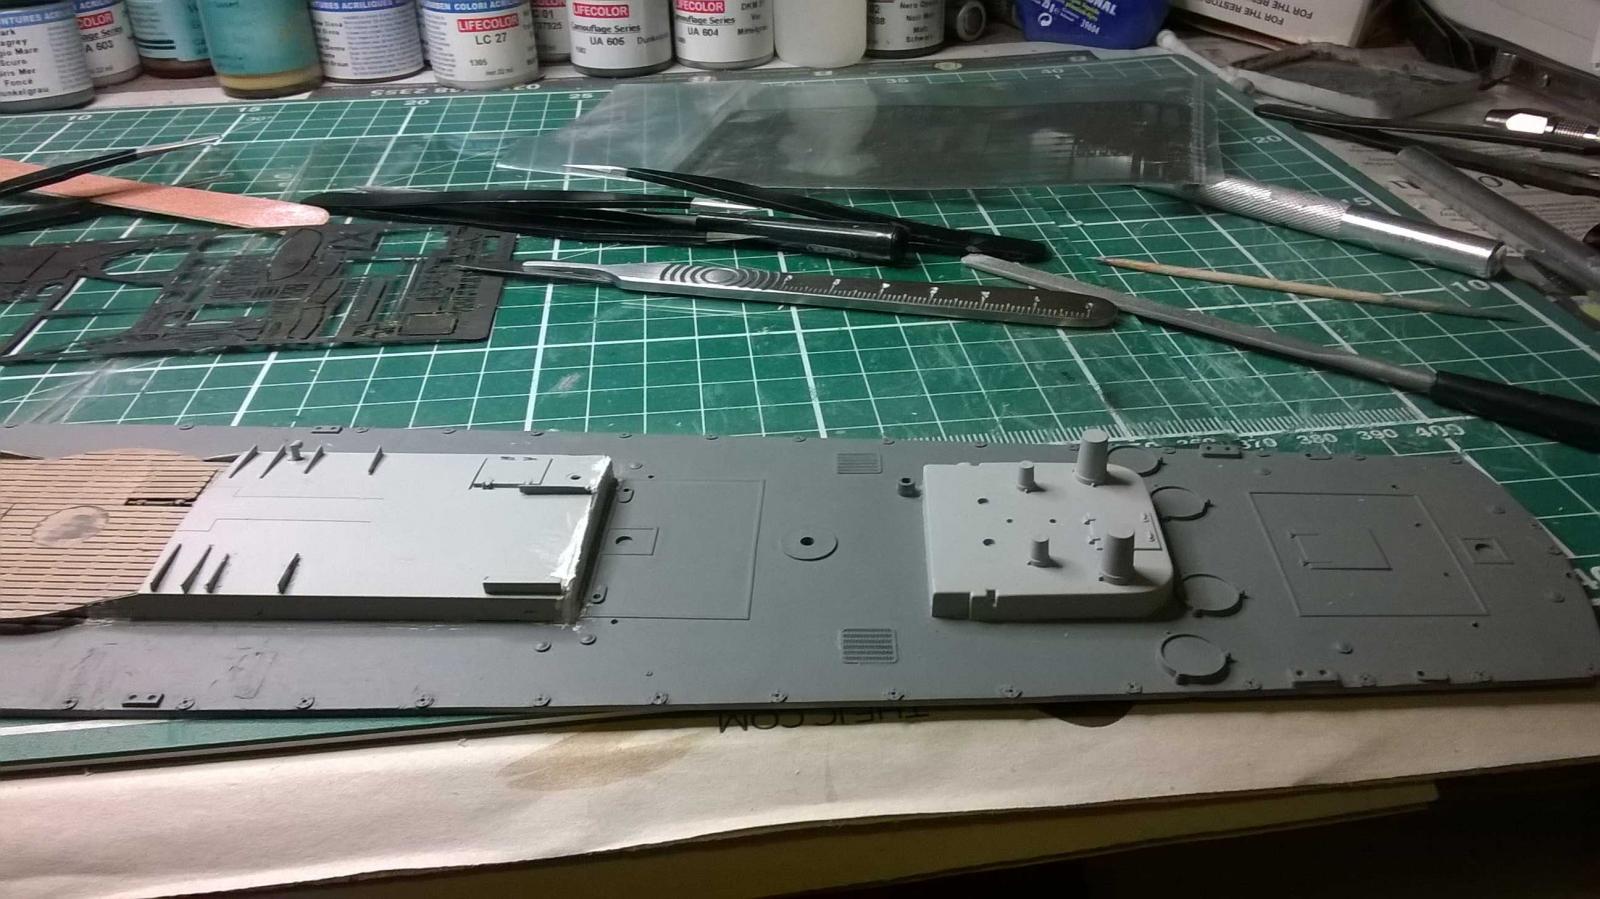
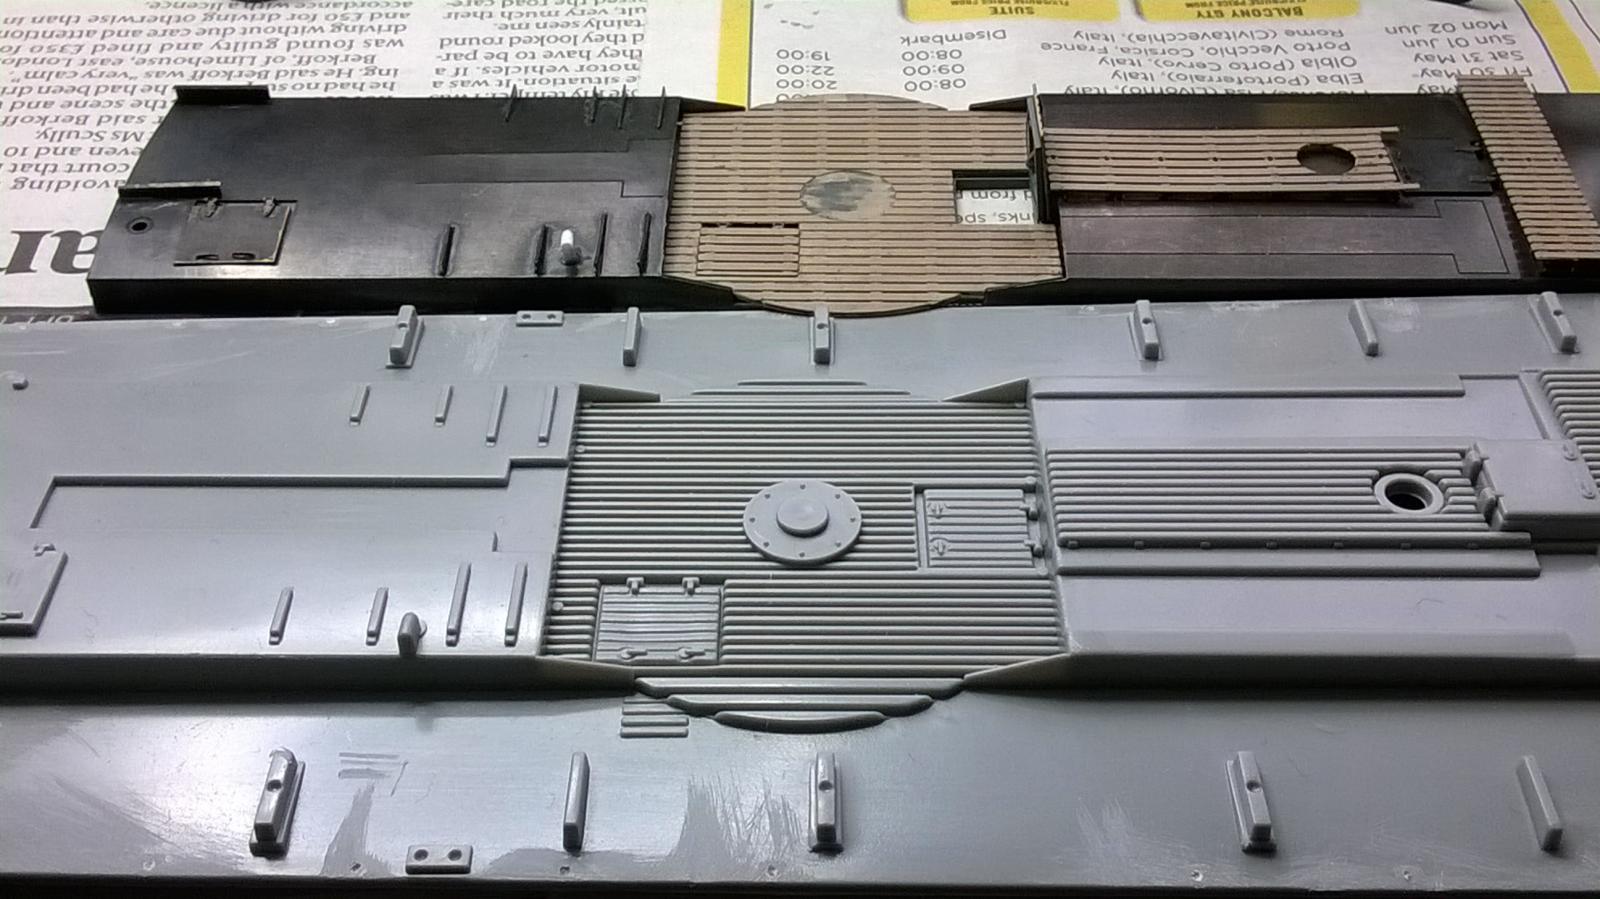
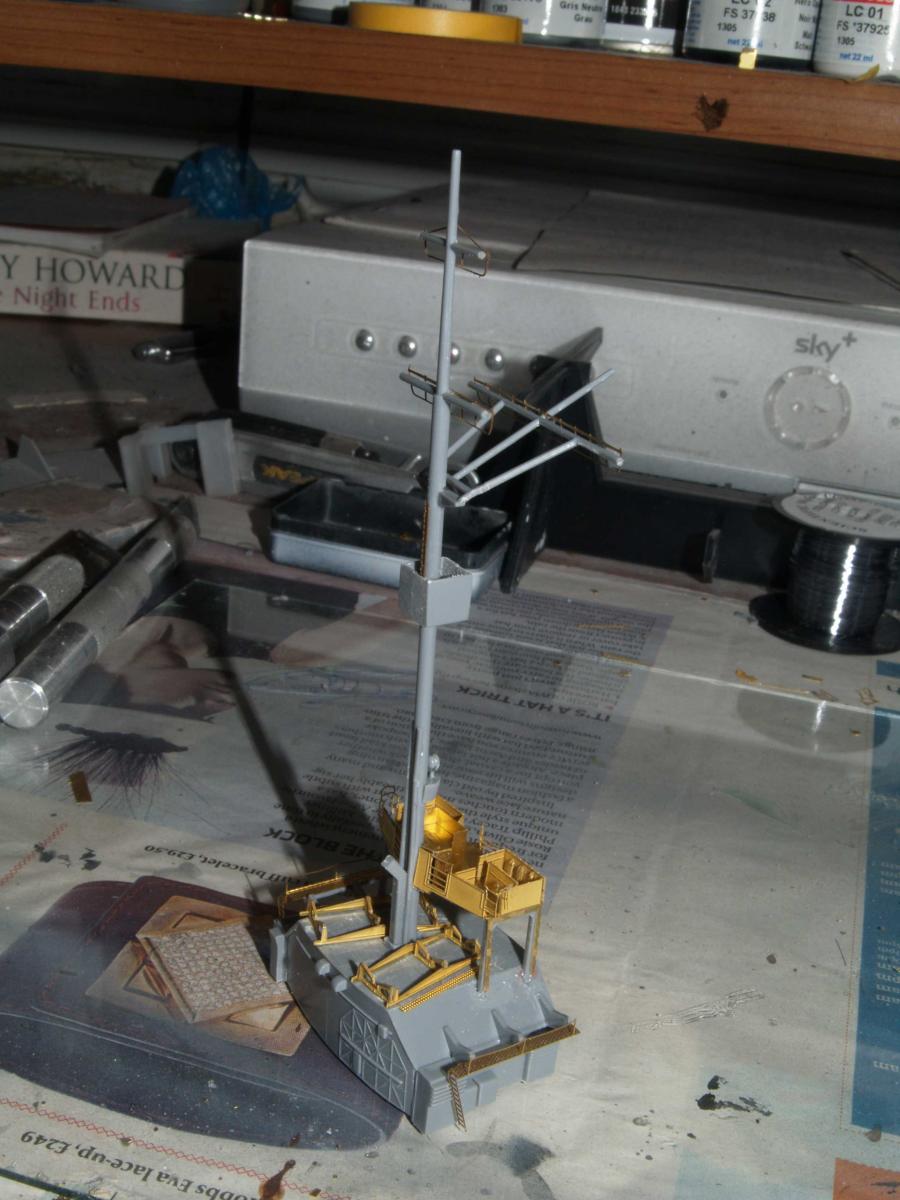
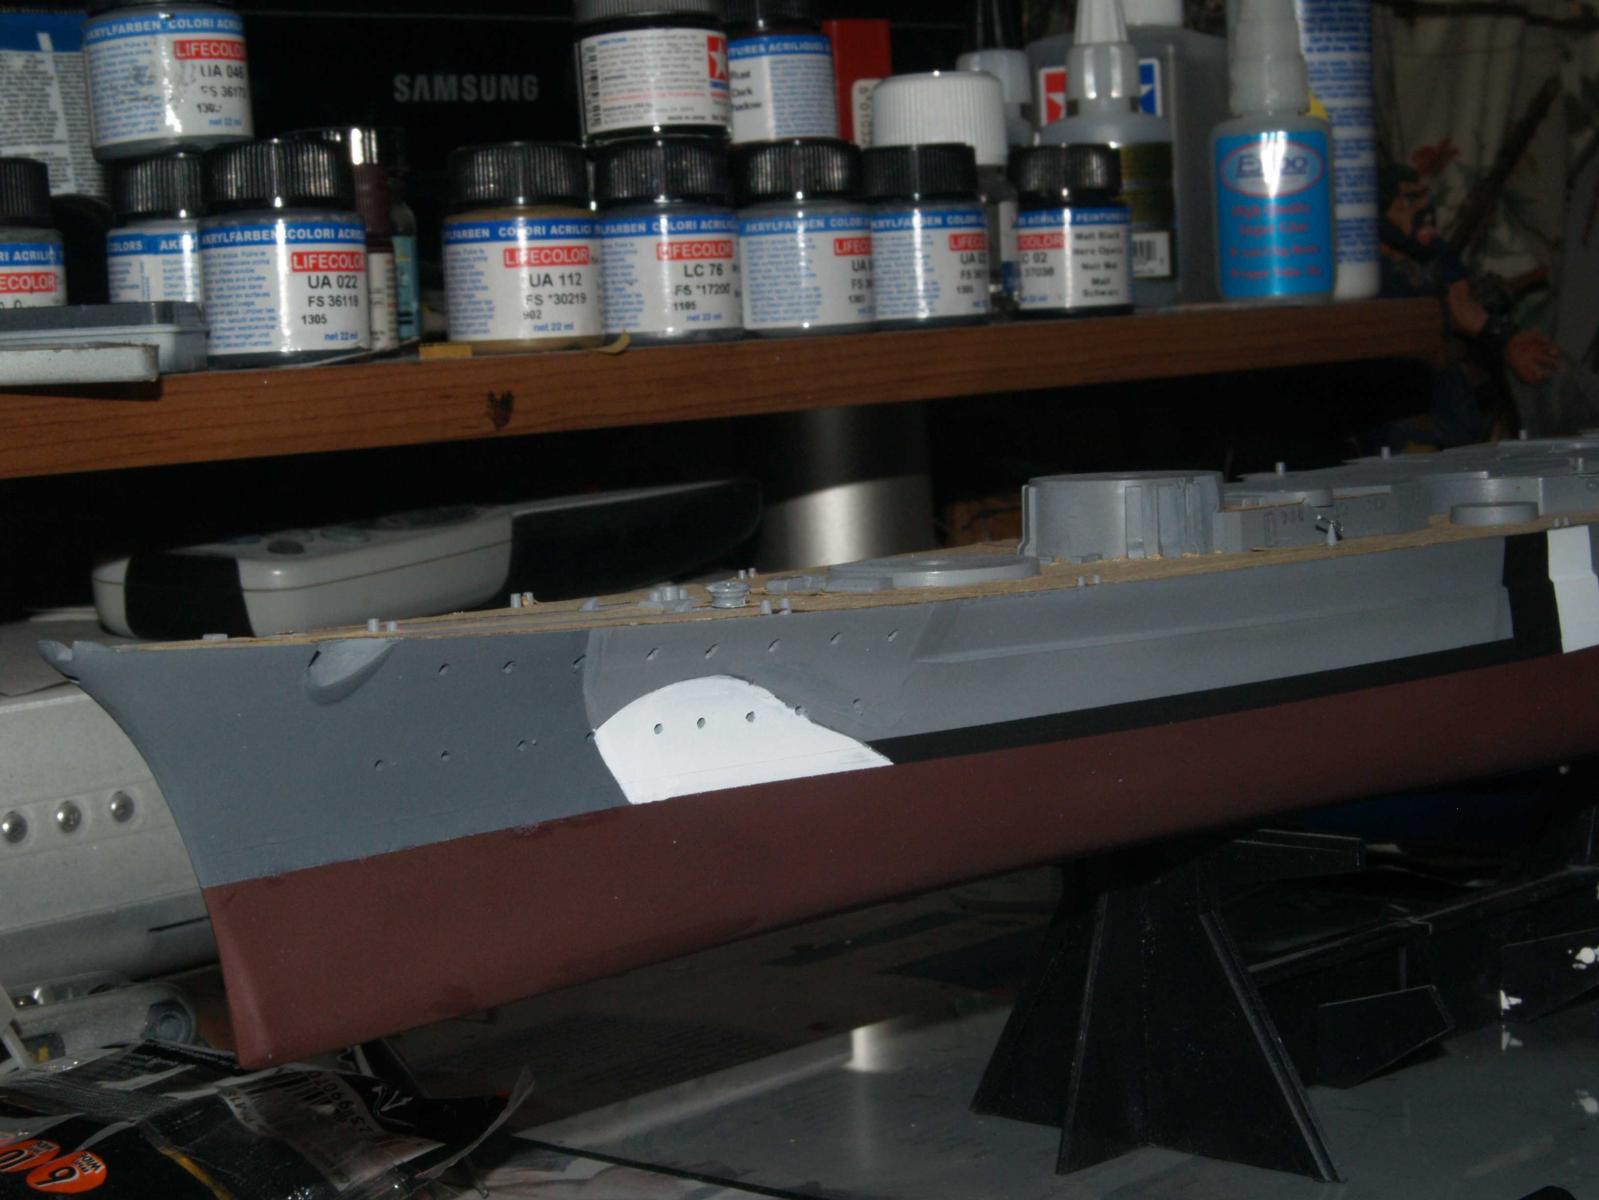
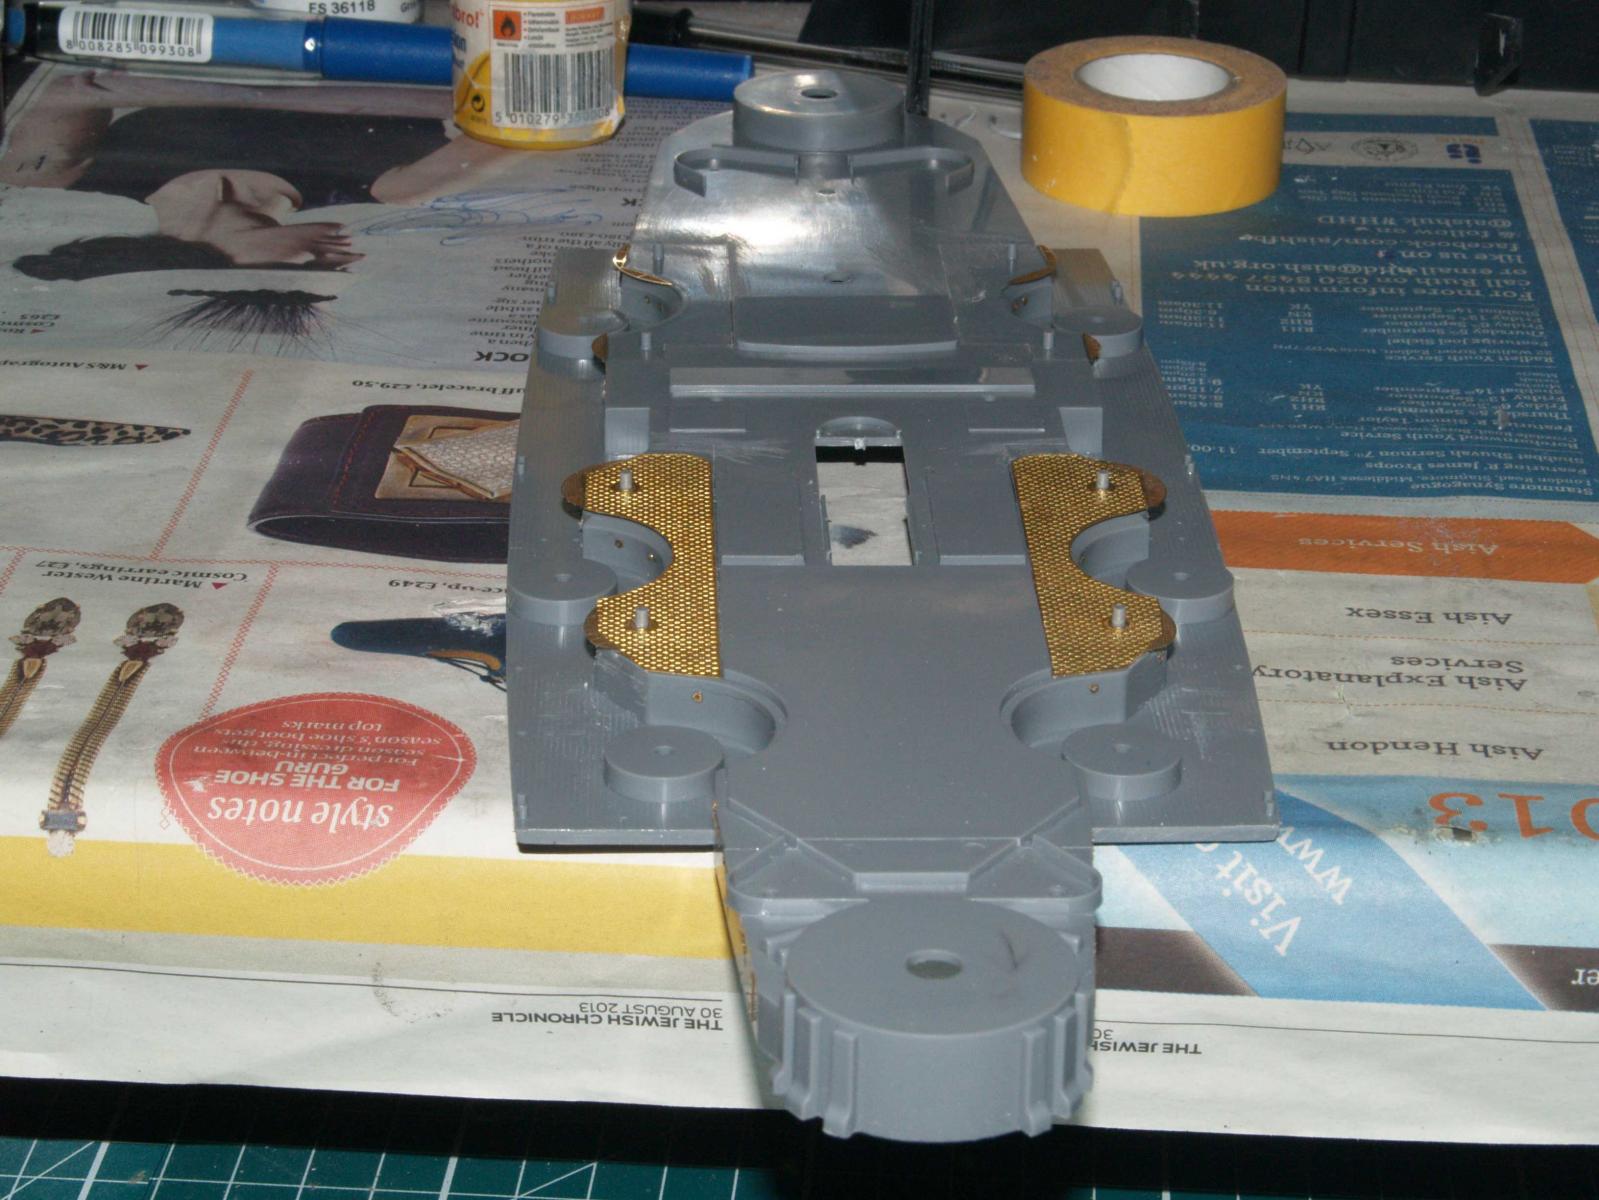
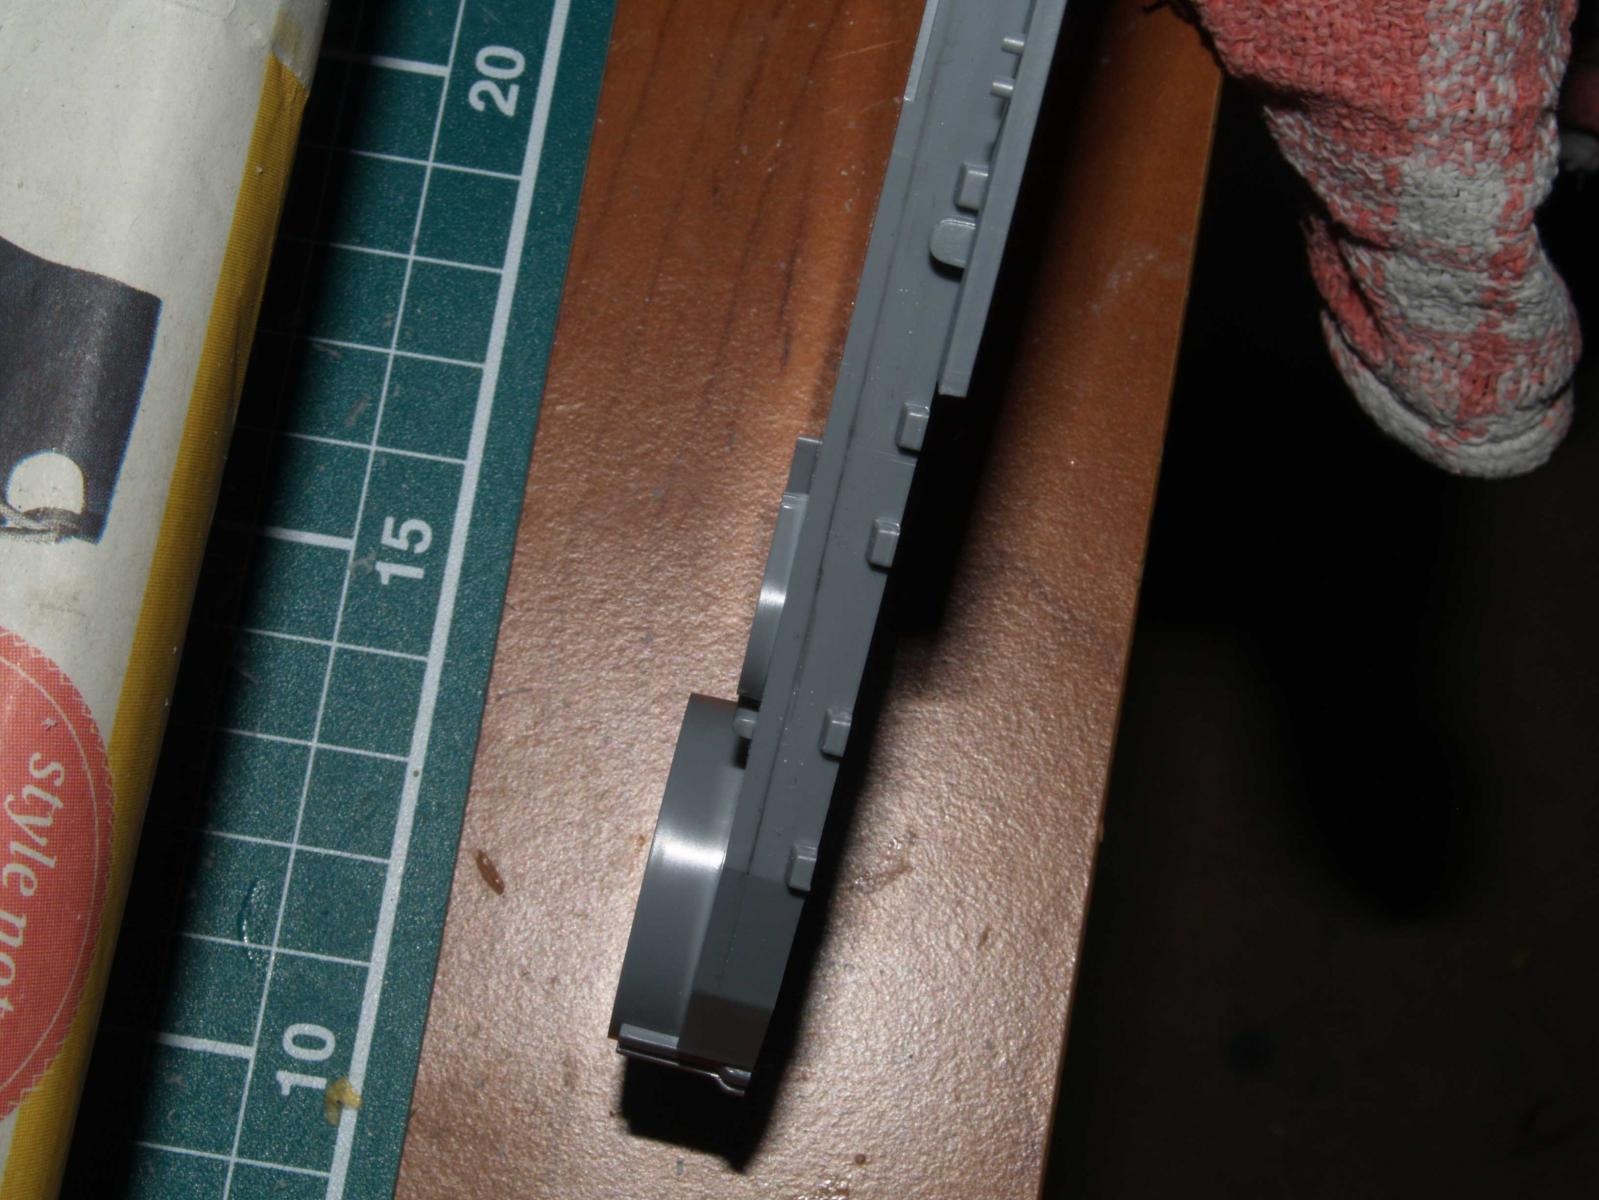
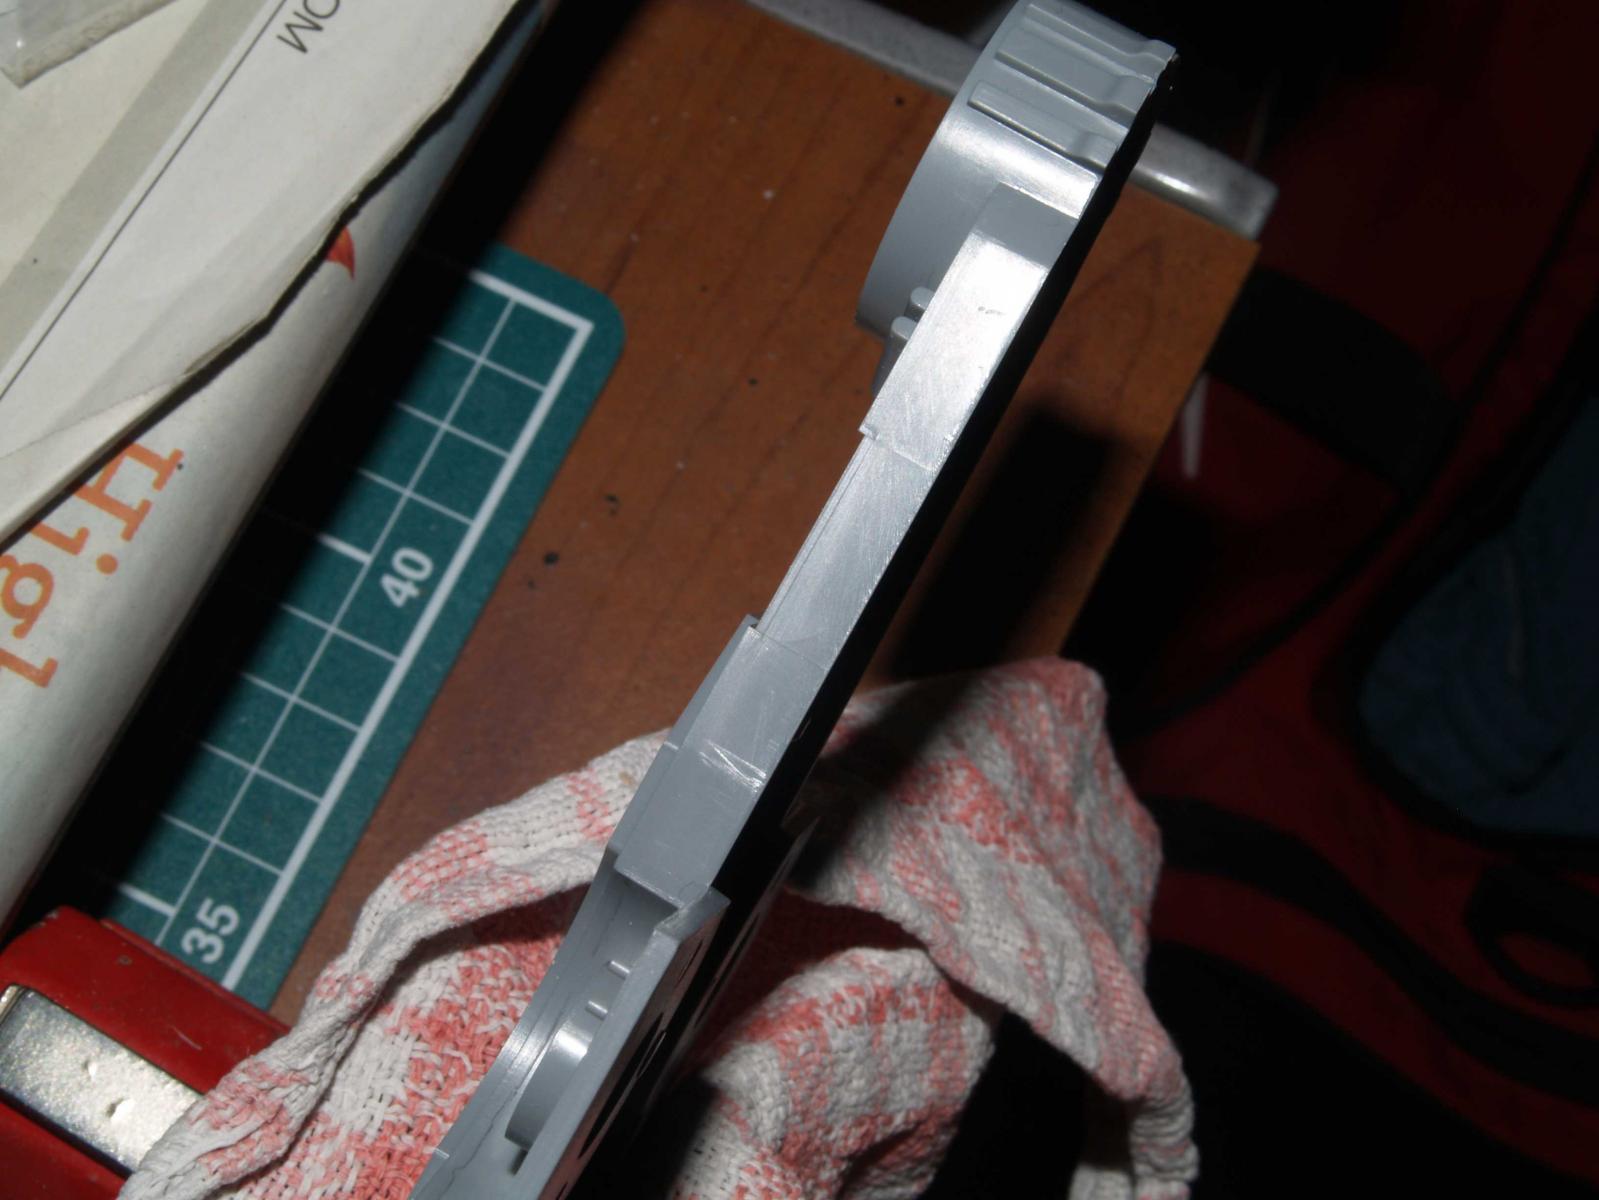
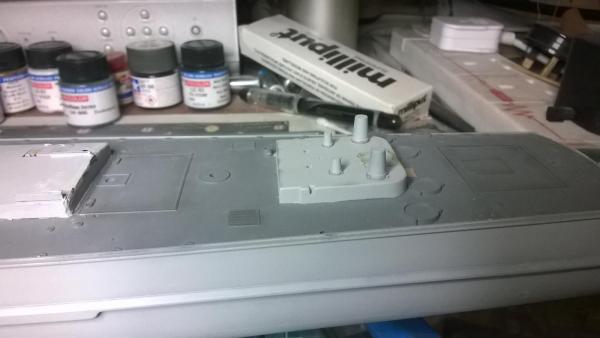
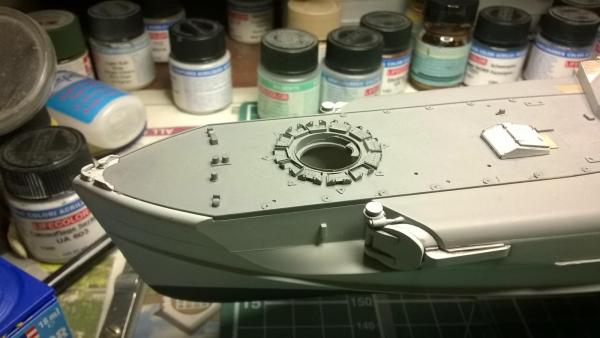
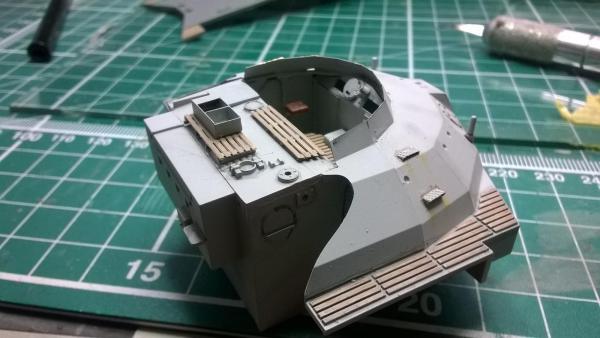
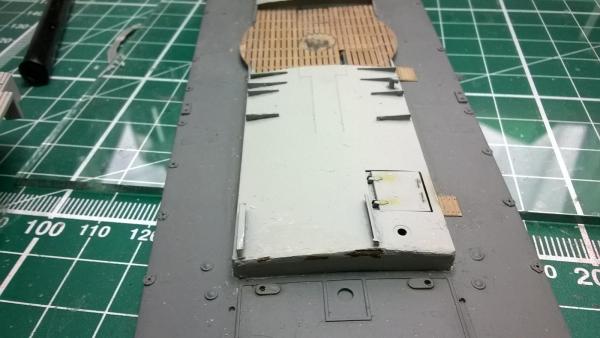
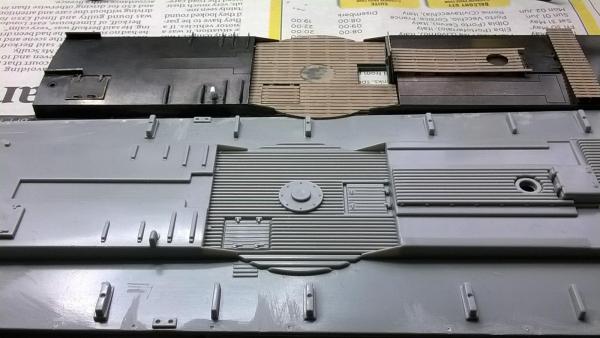
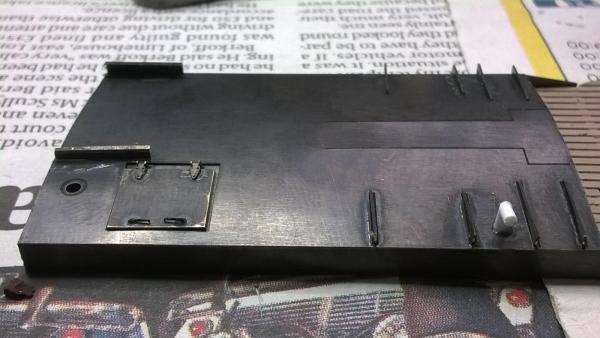
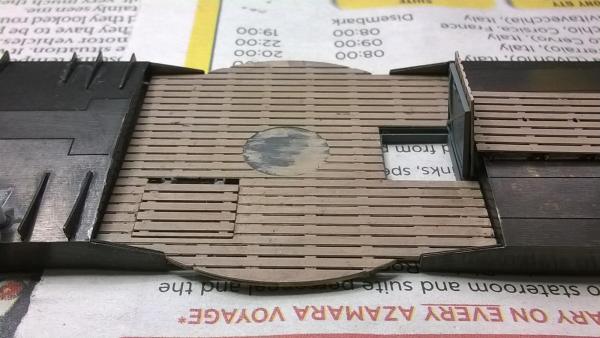
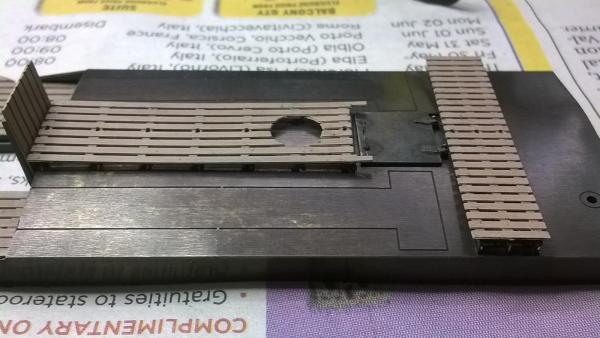
A bit of progress on the bridge and the main and fore decks. The main deck needs a bit of TLC as the raised part of the deck did not fit too well as I removed too much plastic, so there is a lot of filler.


- 18 replies
-
- 9
-
-
- S-100
- KreigsMarine
- (and 1 more)
-
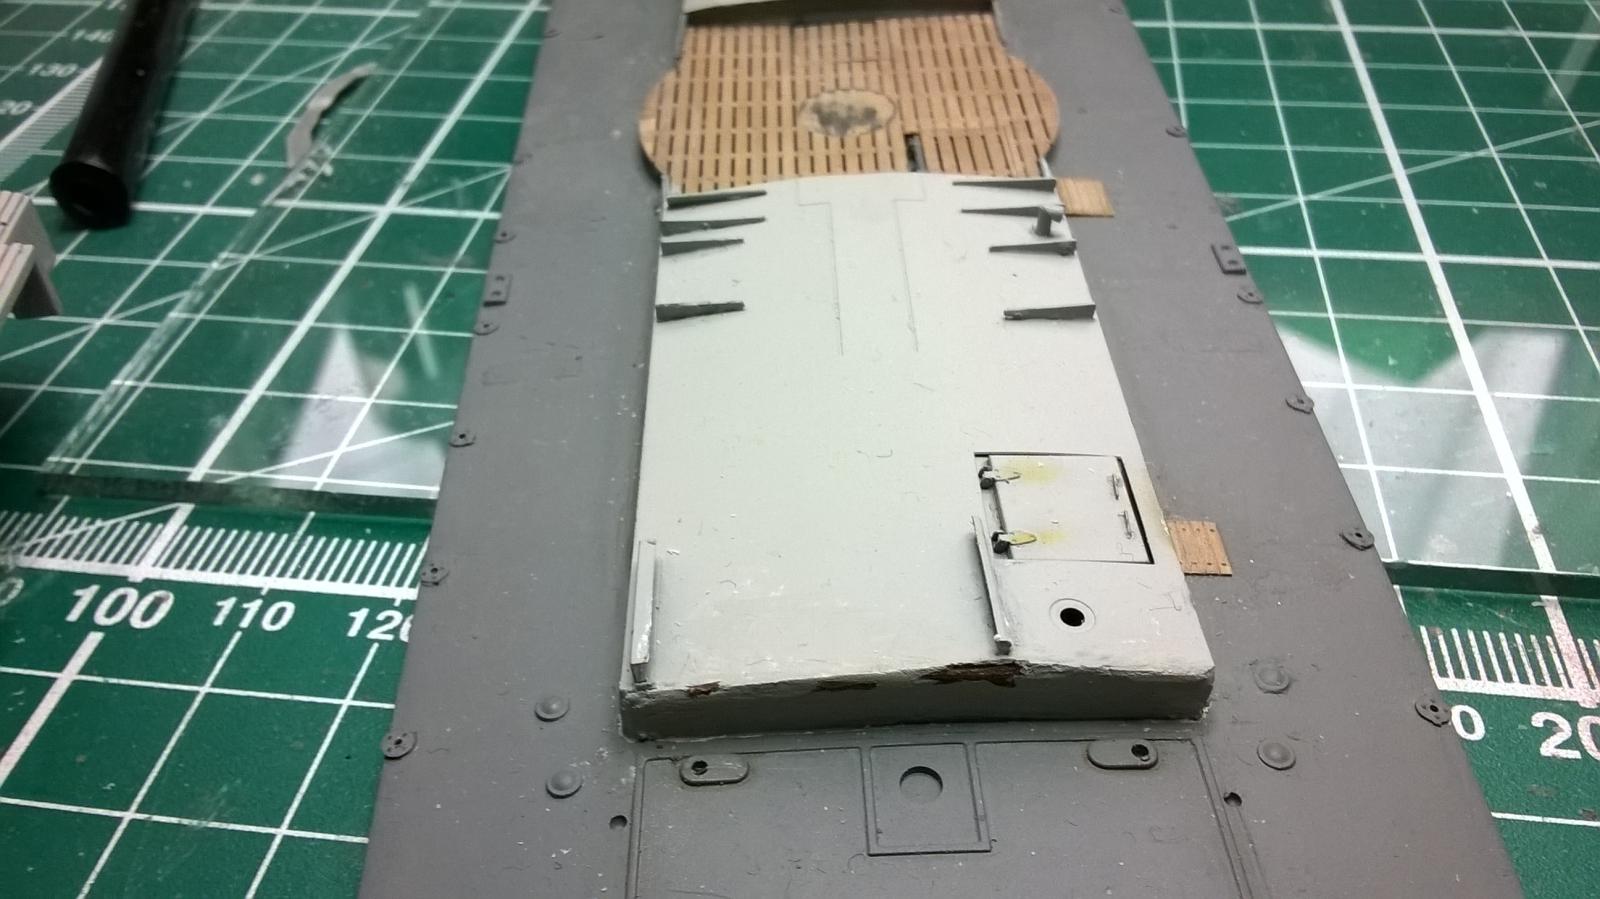
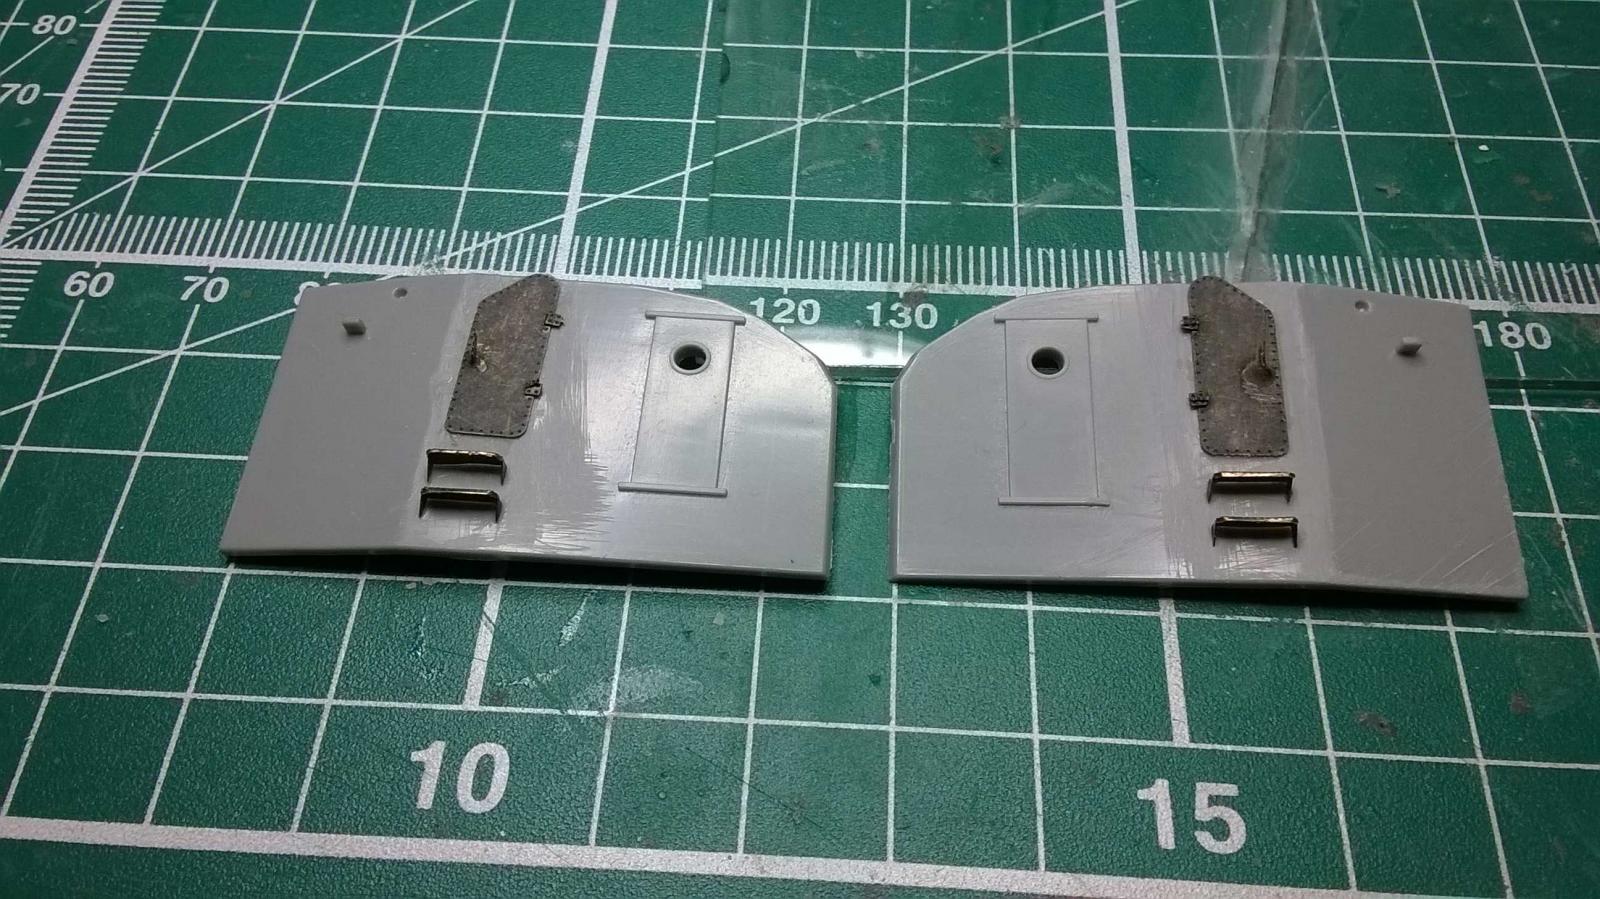
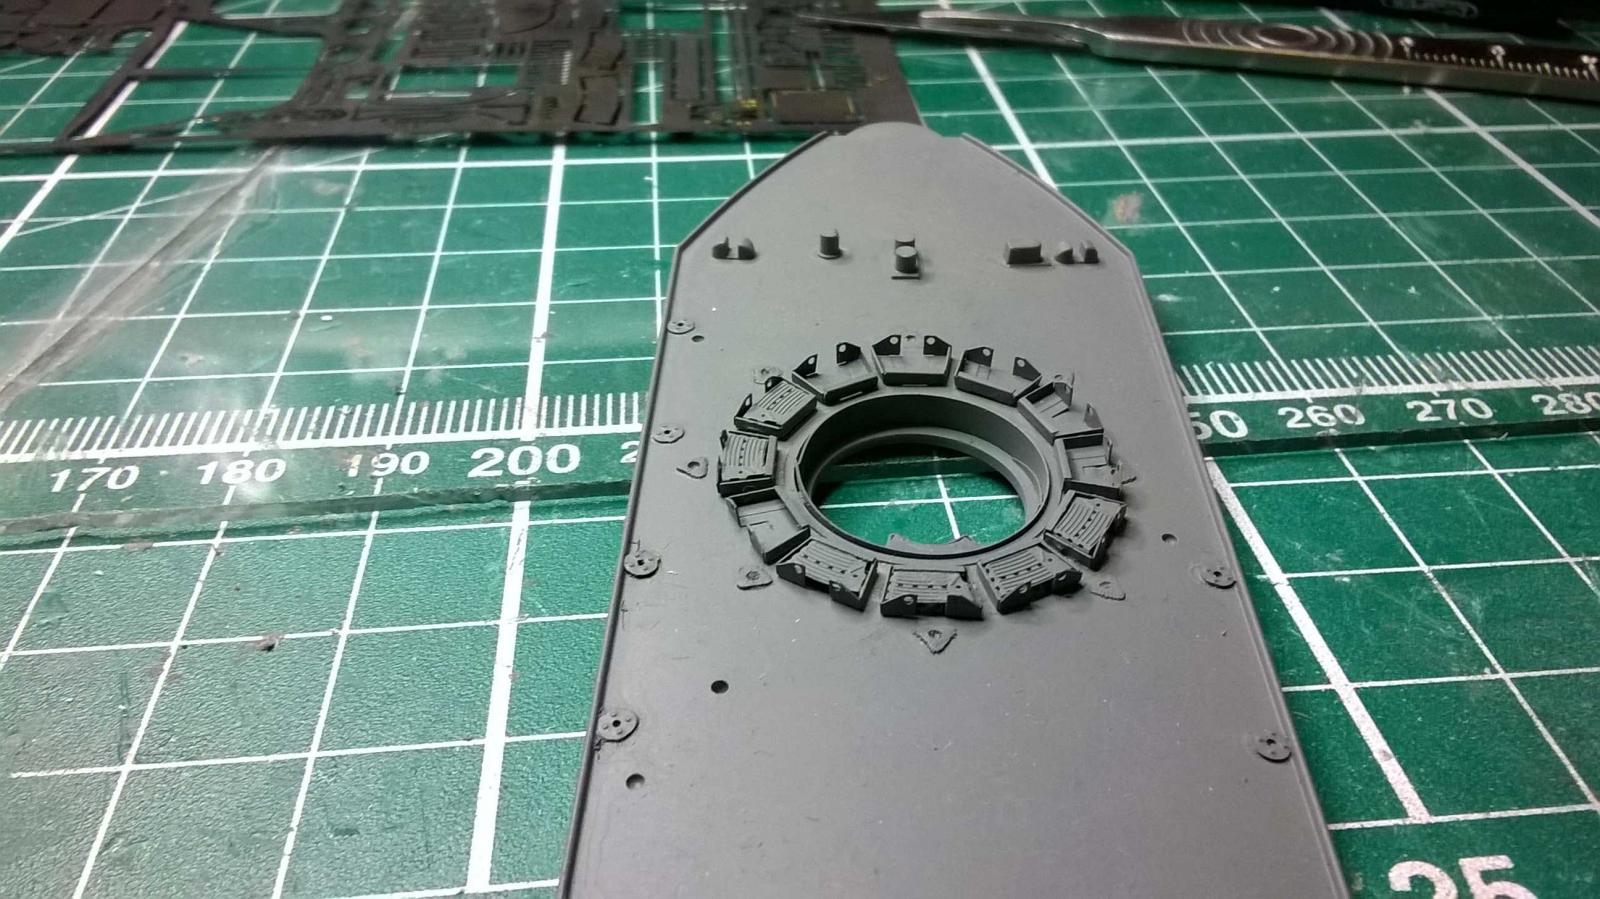
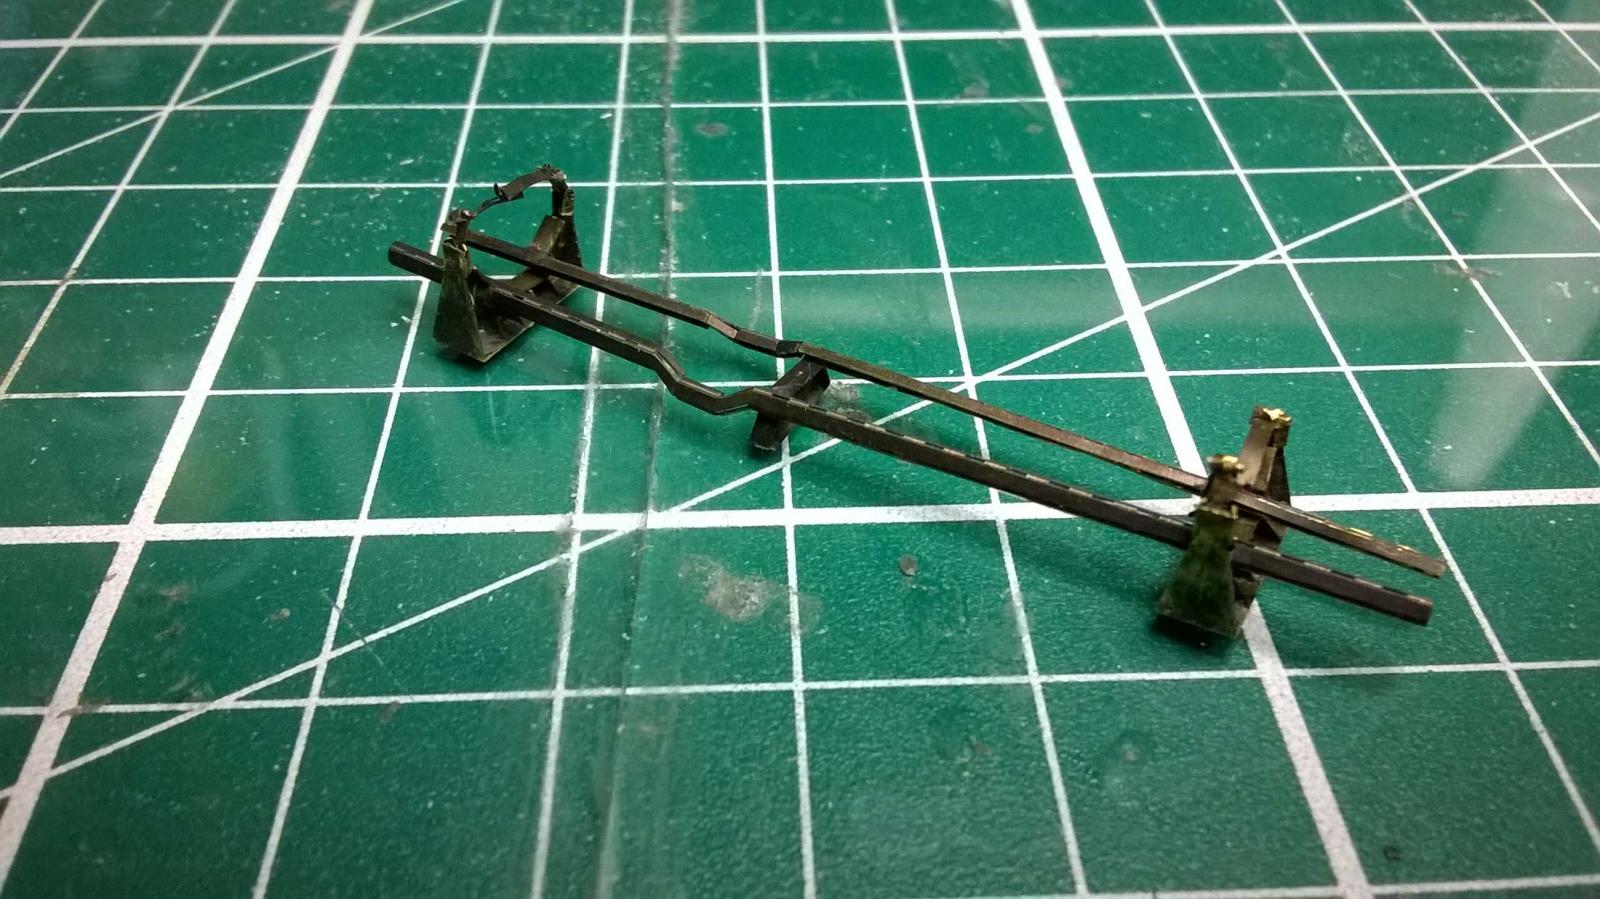
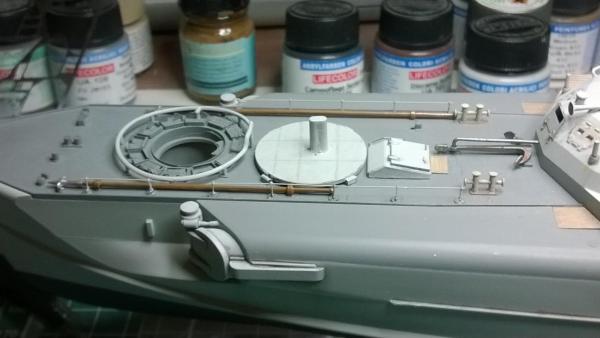
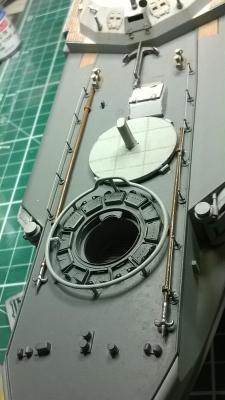
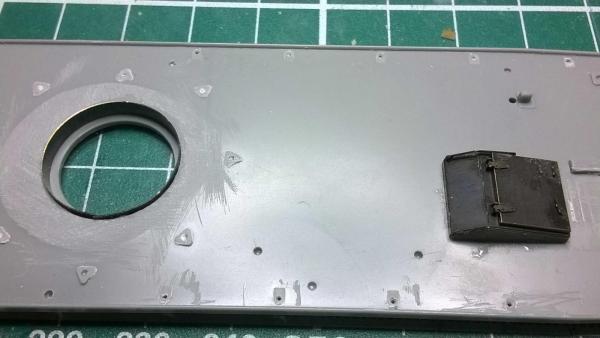
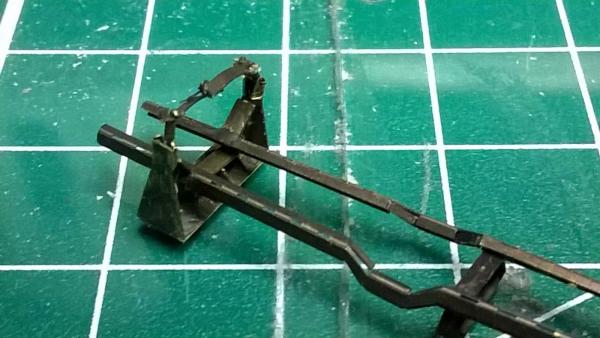
More photo etch done. The hatch has been replaced as has the ridge around the gun tub and lined with photo etch. The torpedo rails, I have made 8 brackets and 4 centre supports, and one completed torpedo rail

- 18 replies
-
- 8
-
-
- S-100
- KreigsMarine
- (and 1 more)
-
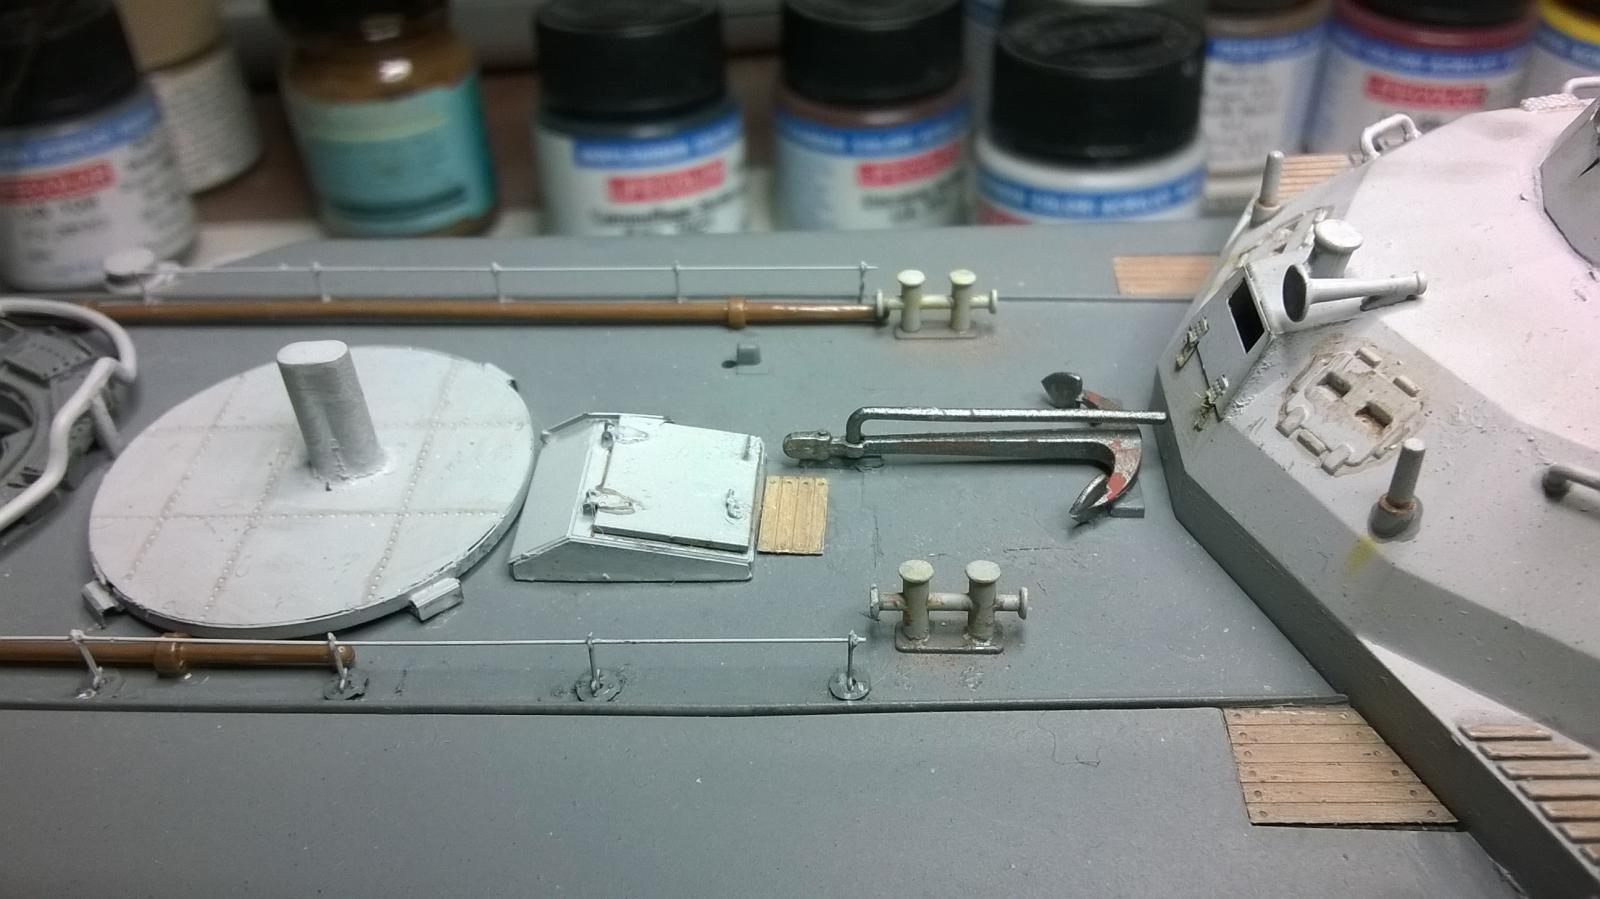
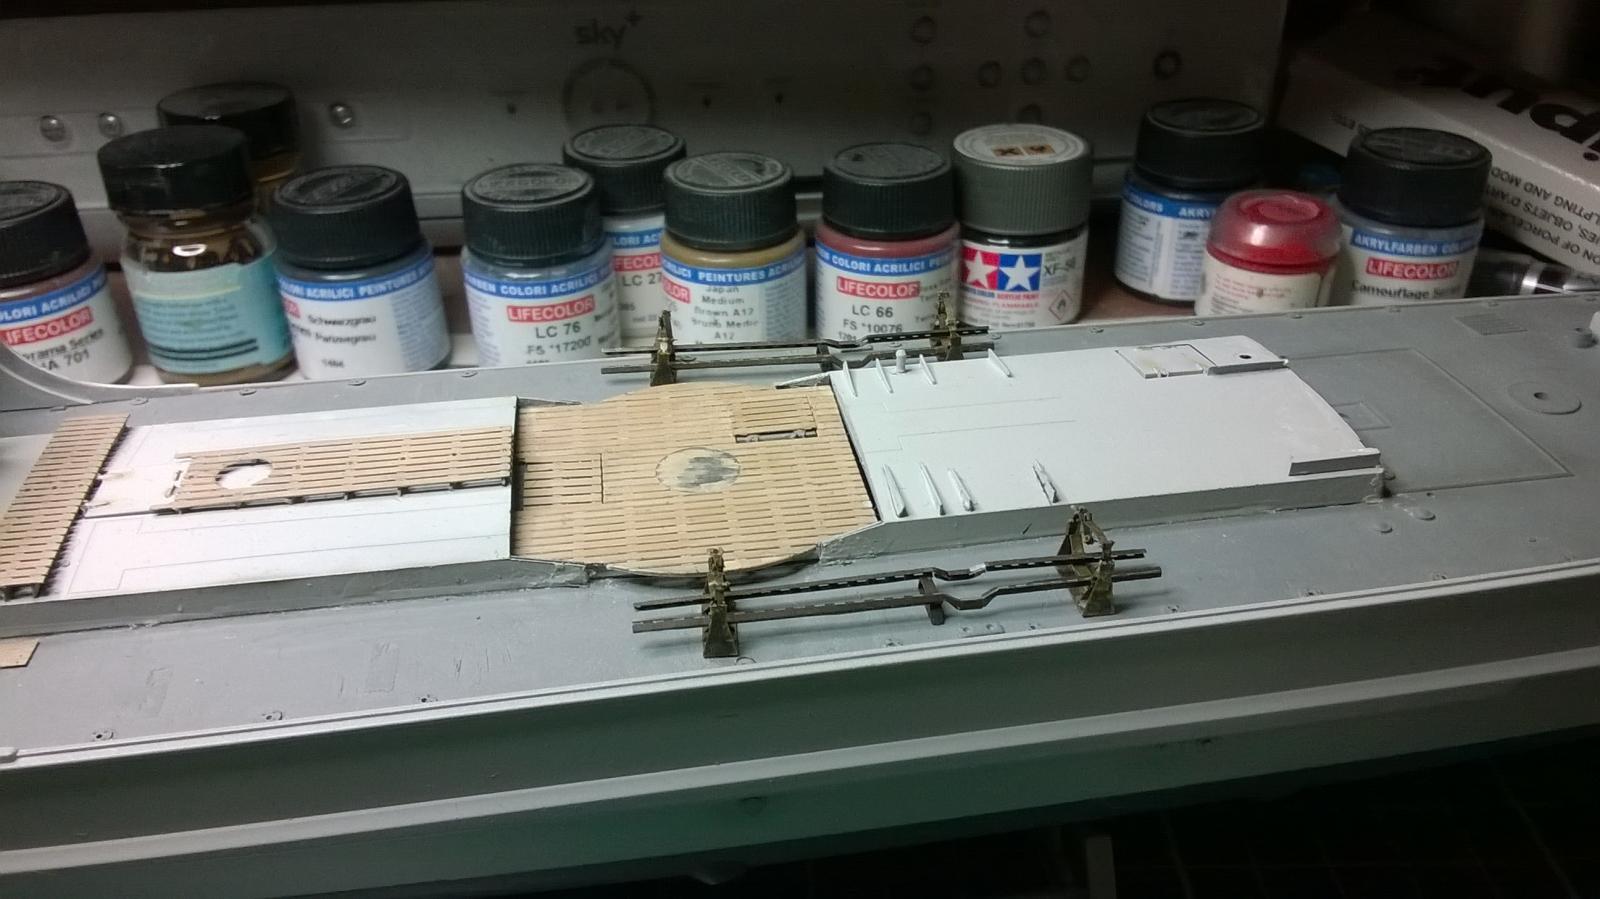
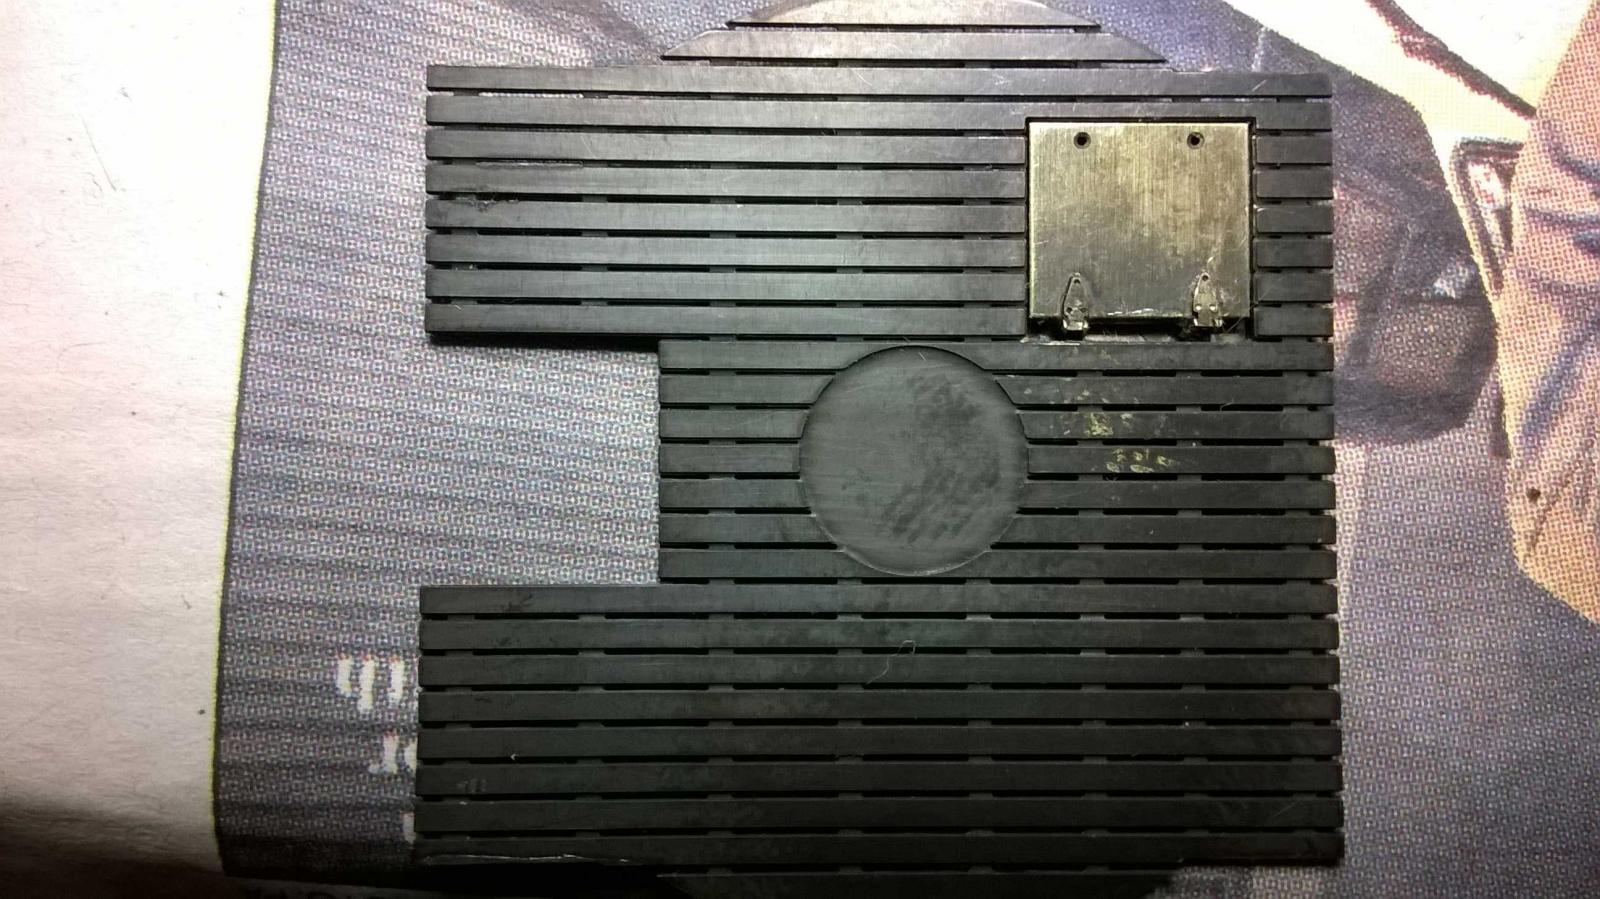
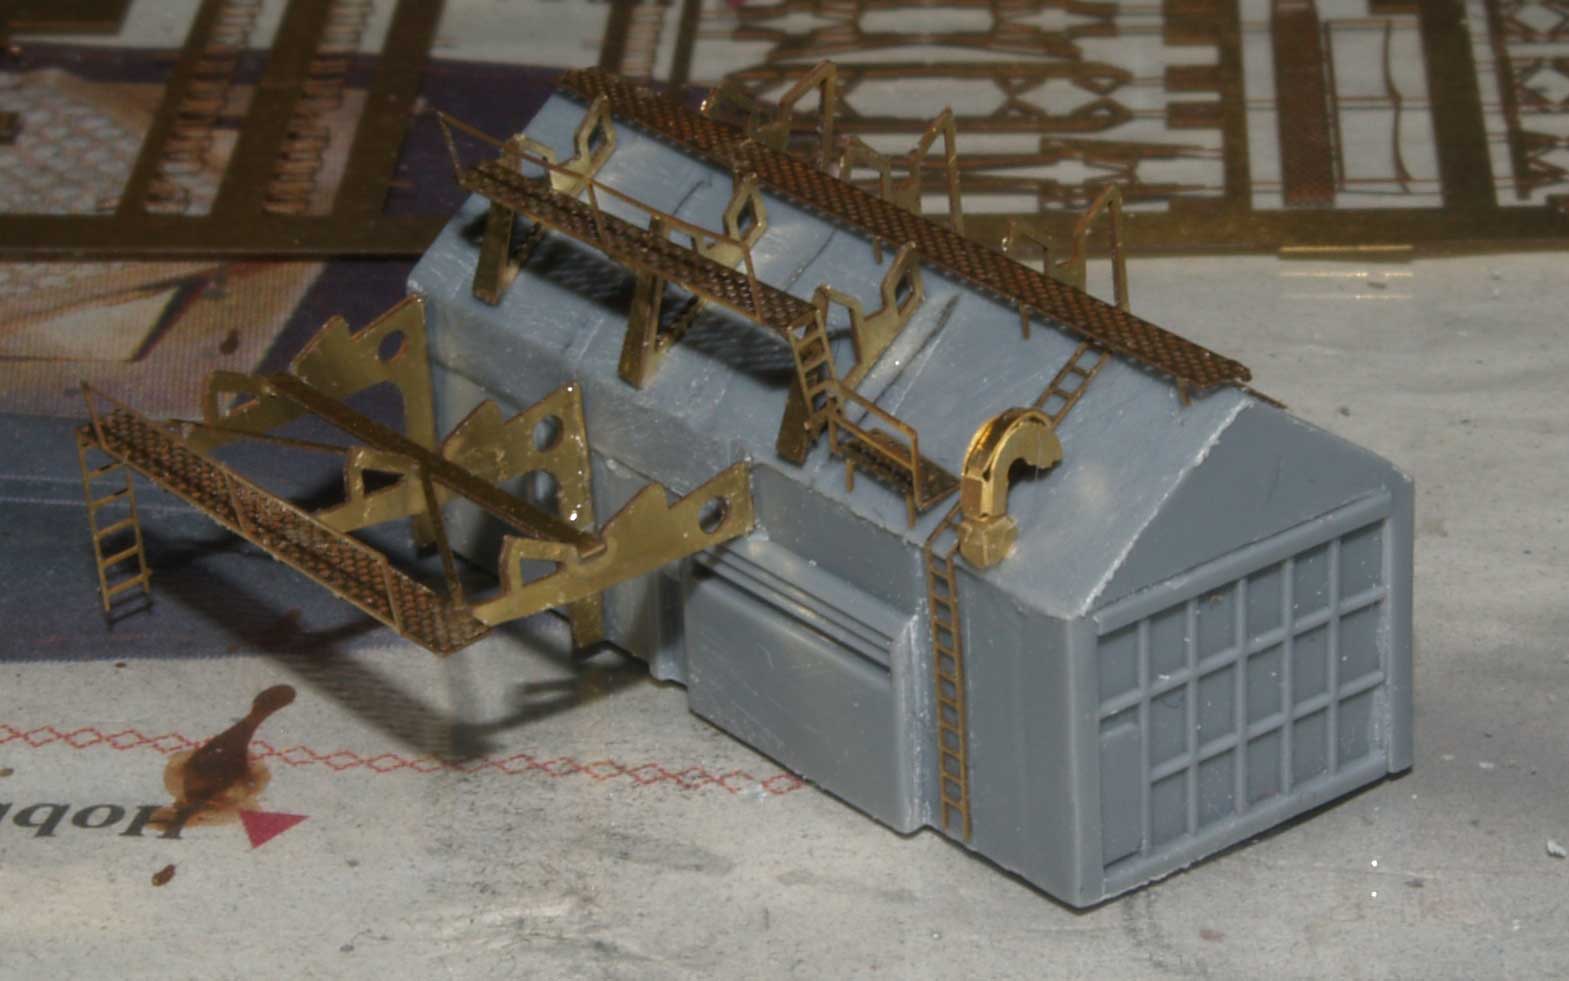
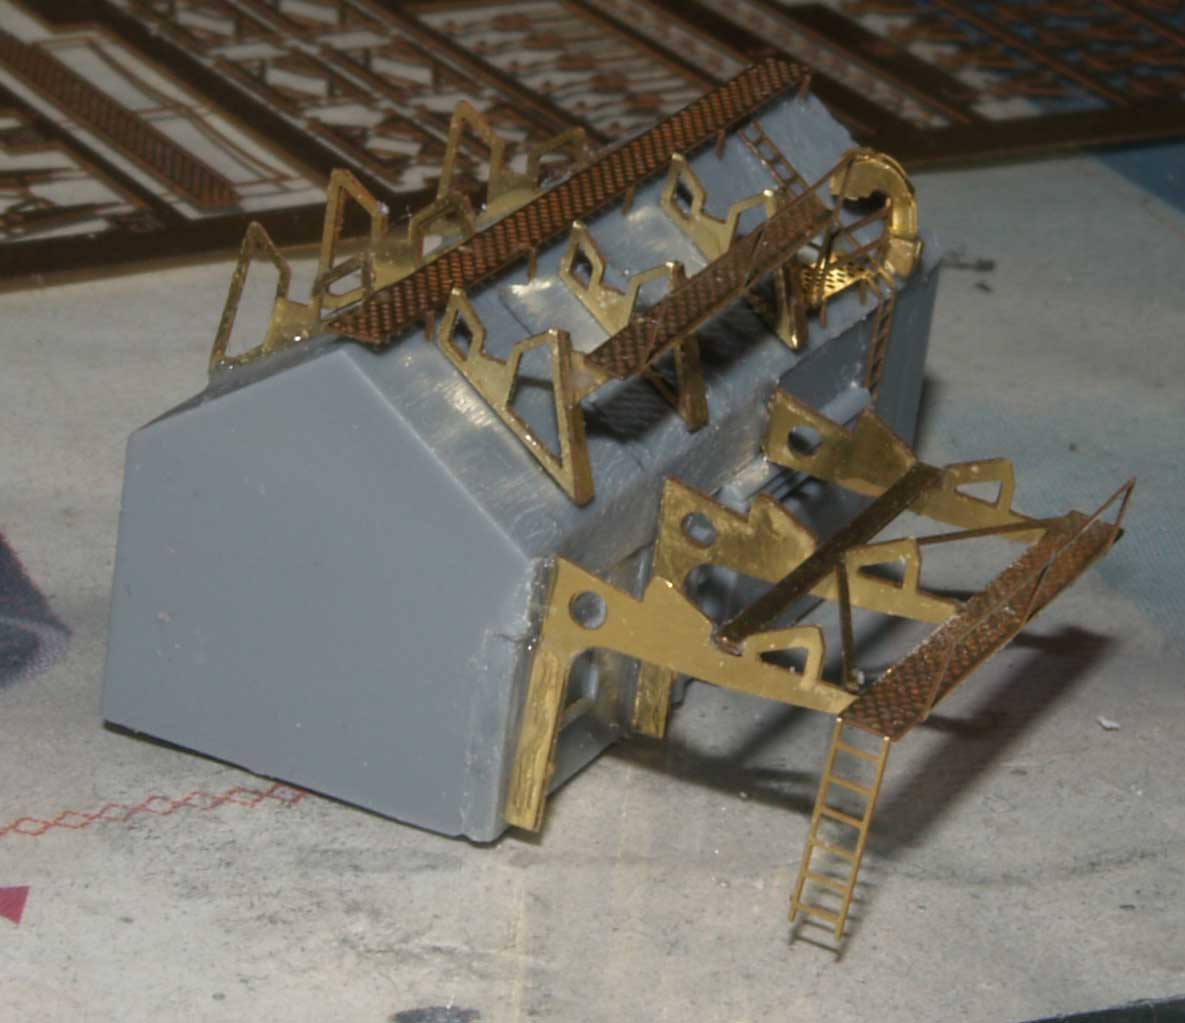
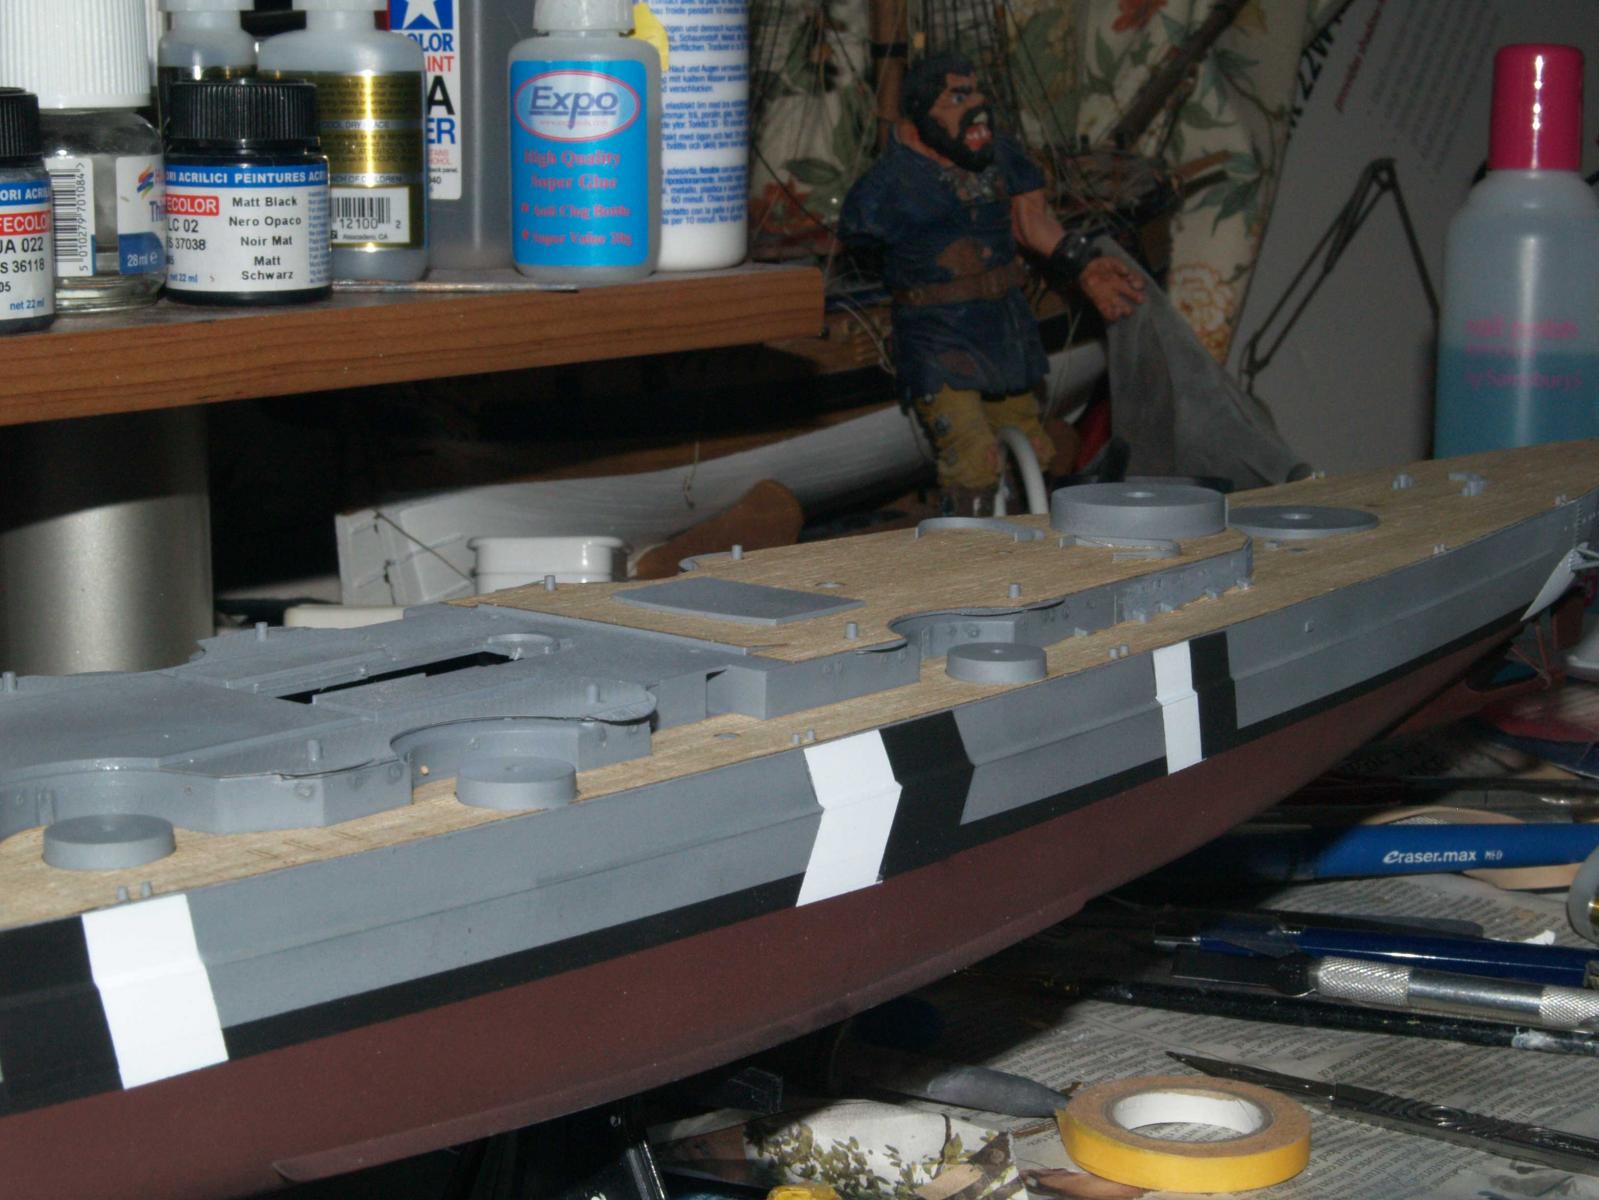
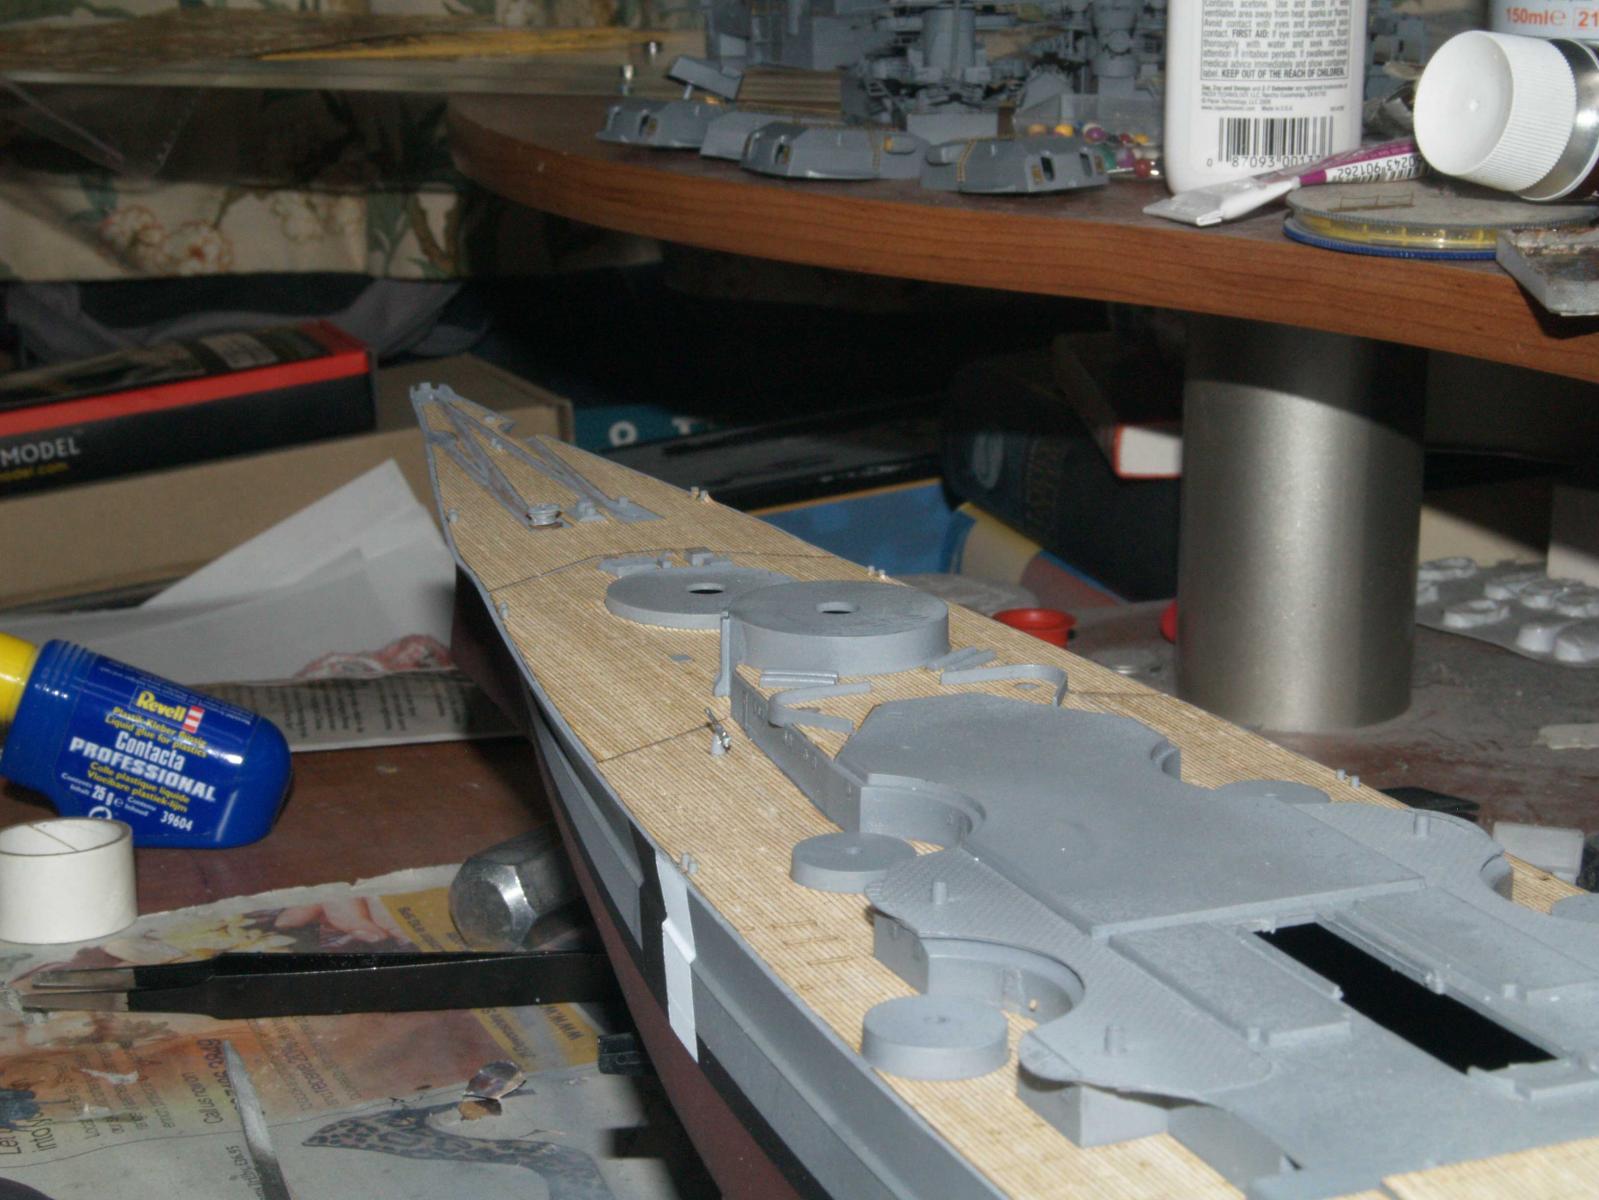
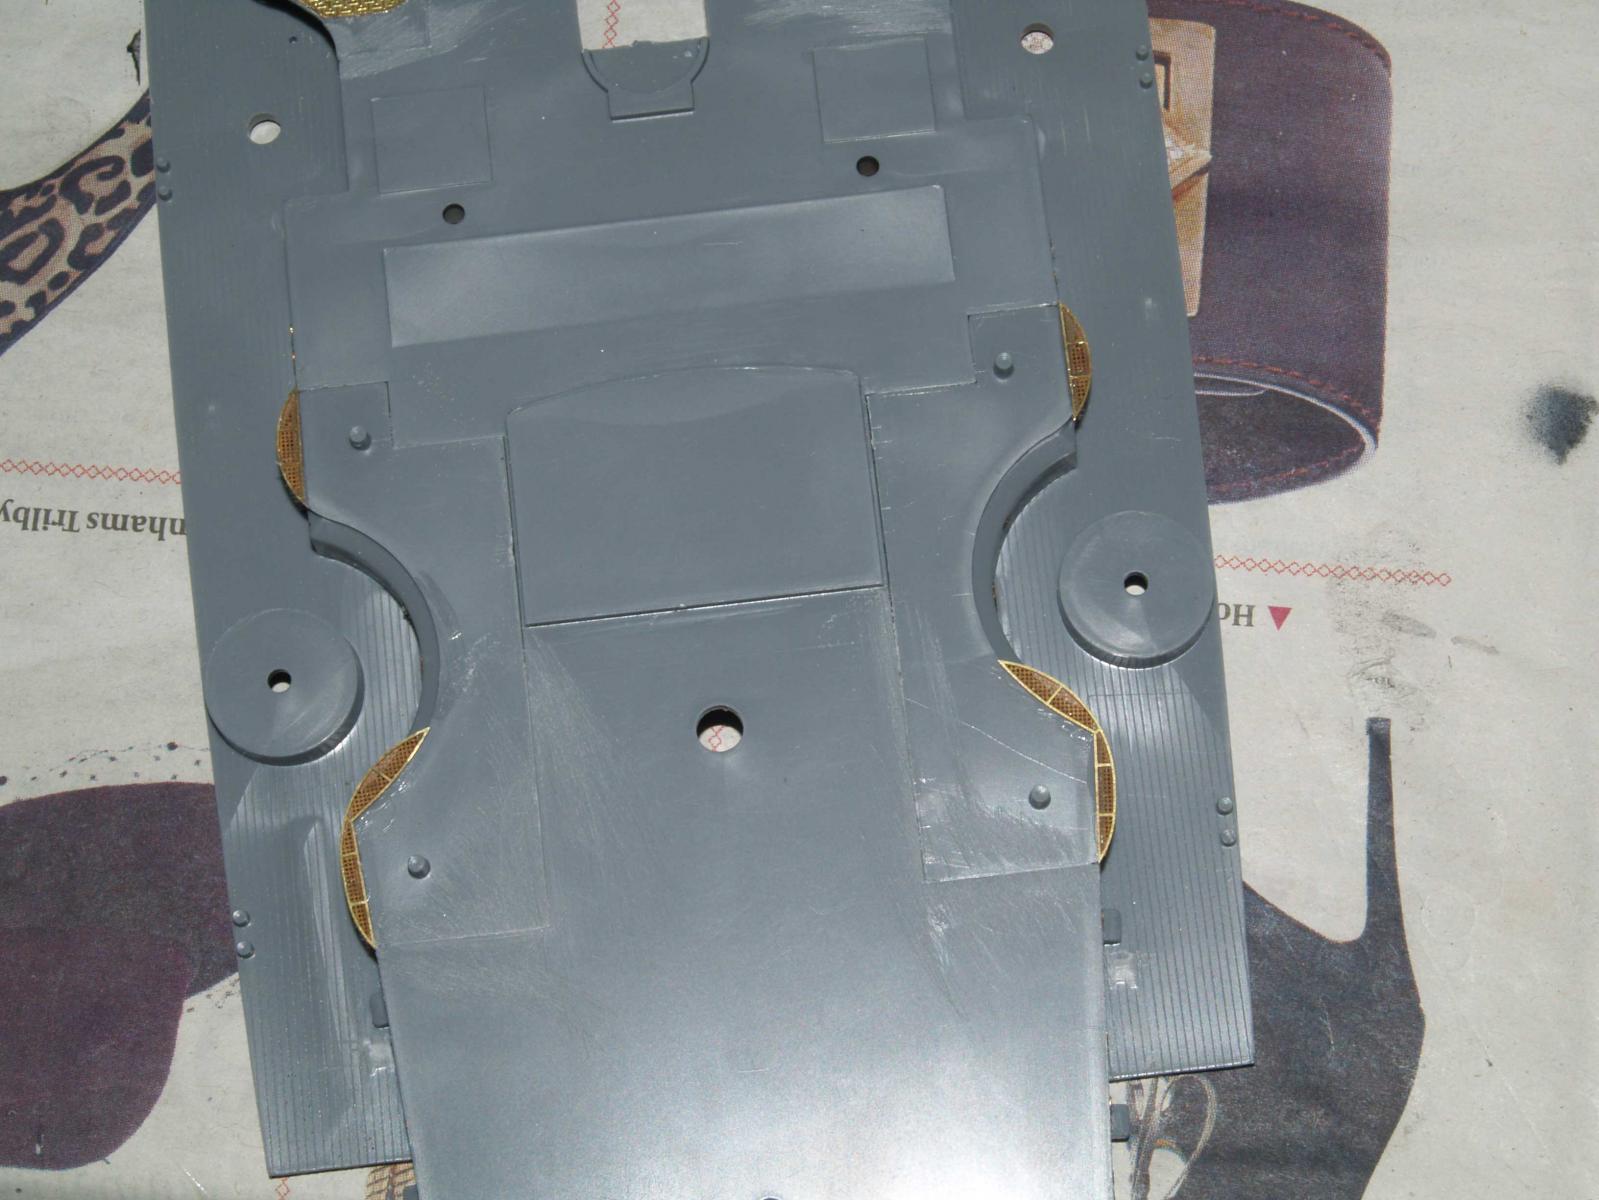
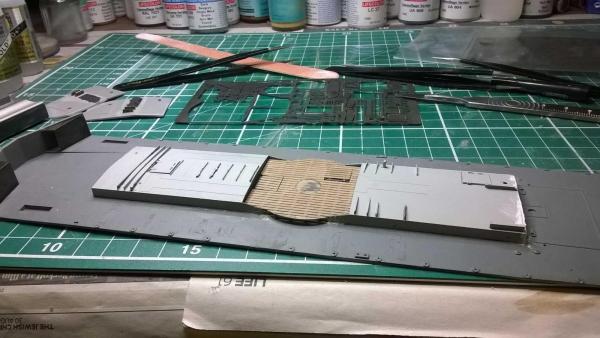
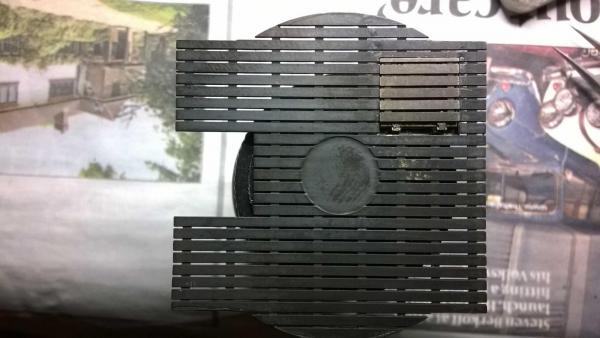
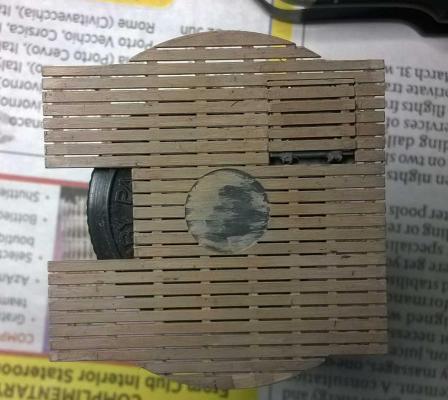
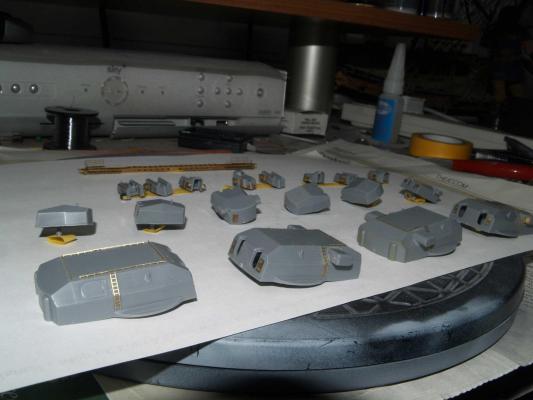
Here is some progress on the deck superstructure which is replaced totally with photo etch. I have burnished all the PE as it means you do not have to use a primer. The decking is only placed on for the photos. The colour of the deck was done by 1 coat of pale umber (artist acrylic paint), a thinned down Tamiya deck tan, then a wash of wood brown (walnut), followed by a wash of dark grey. I only let the base layer dry, before putting the rest of the layers on in quick succession.

- 18 replies
-
- 13
-
-
- S-100
- KreigsMarine
- (and 1 more)
-
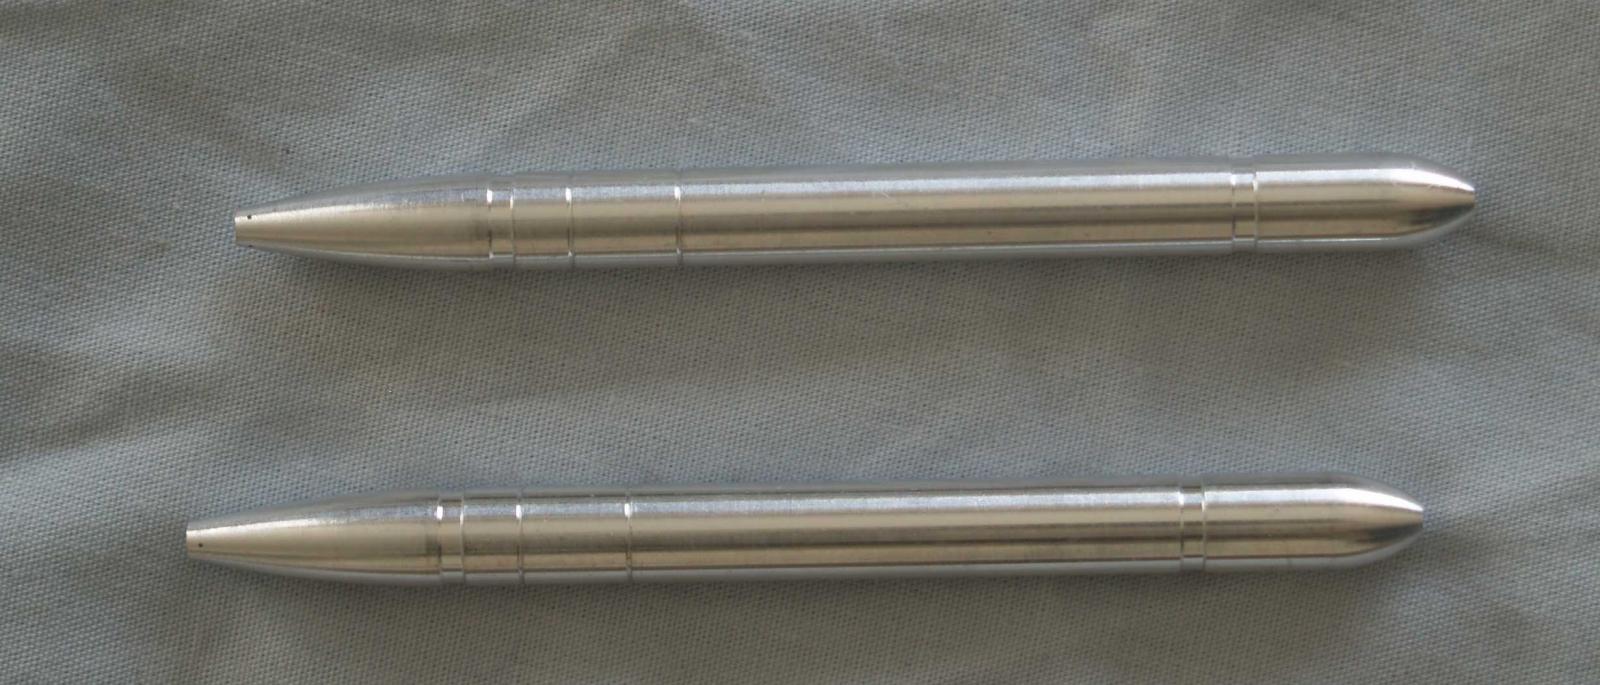
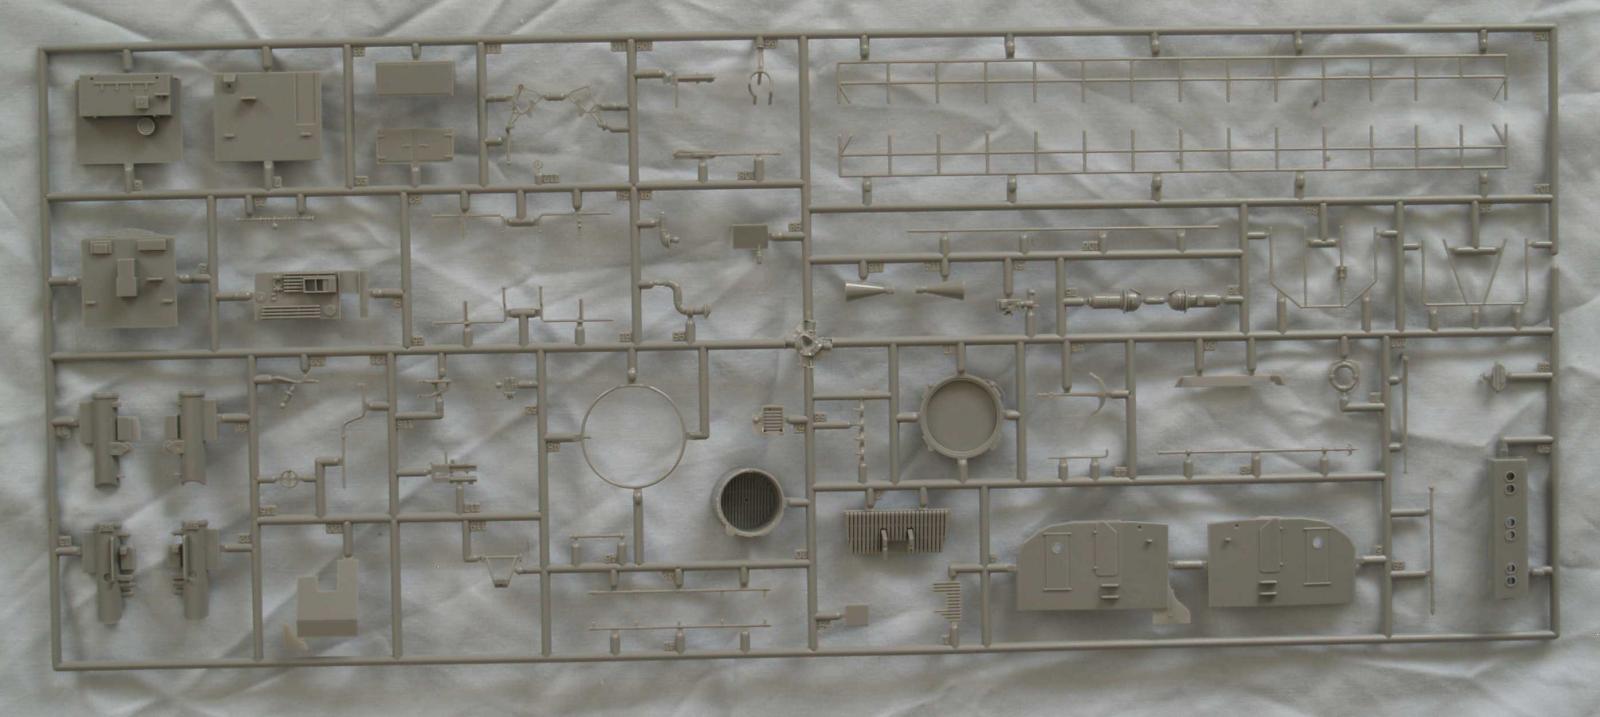
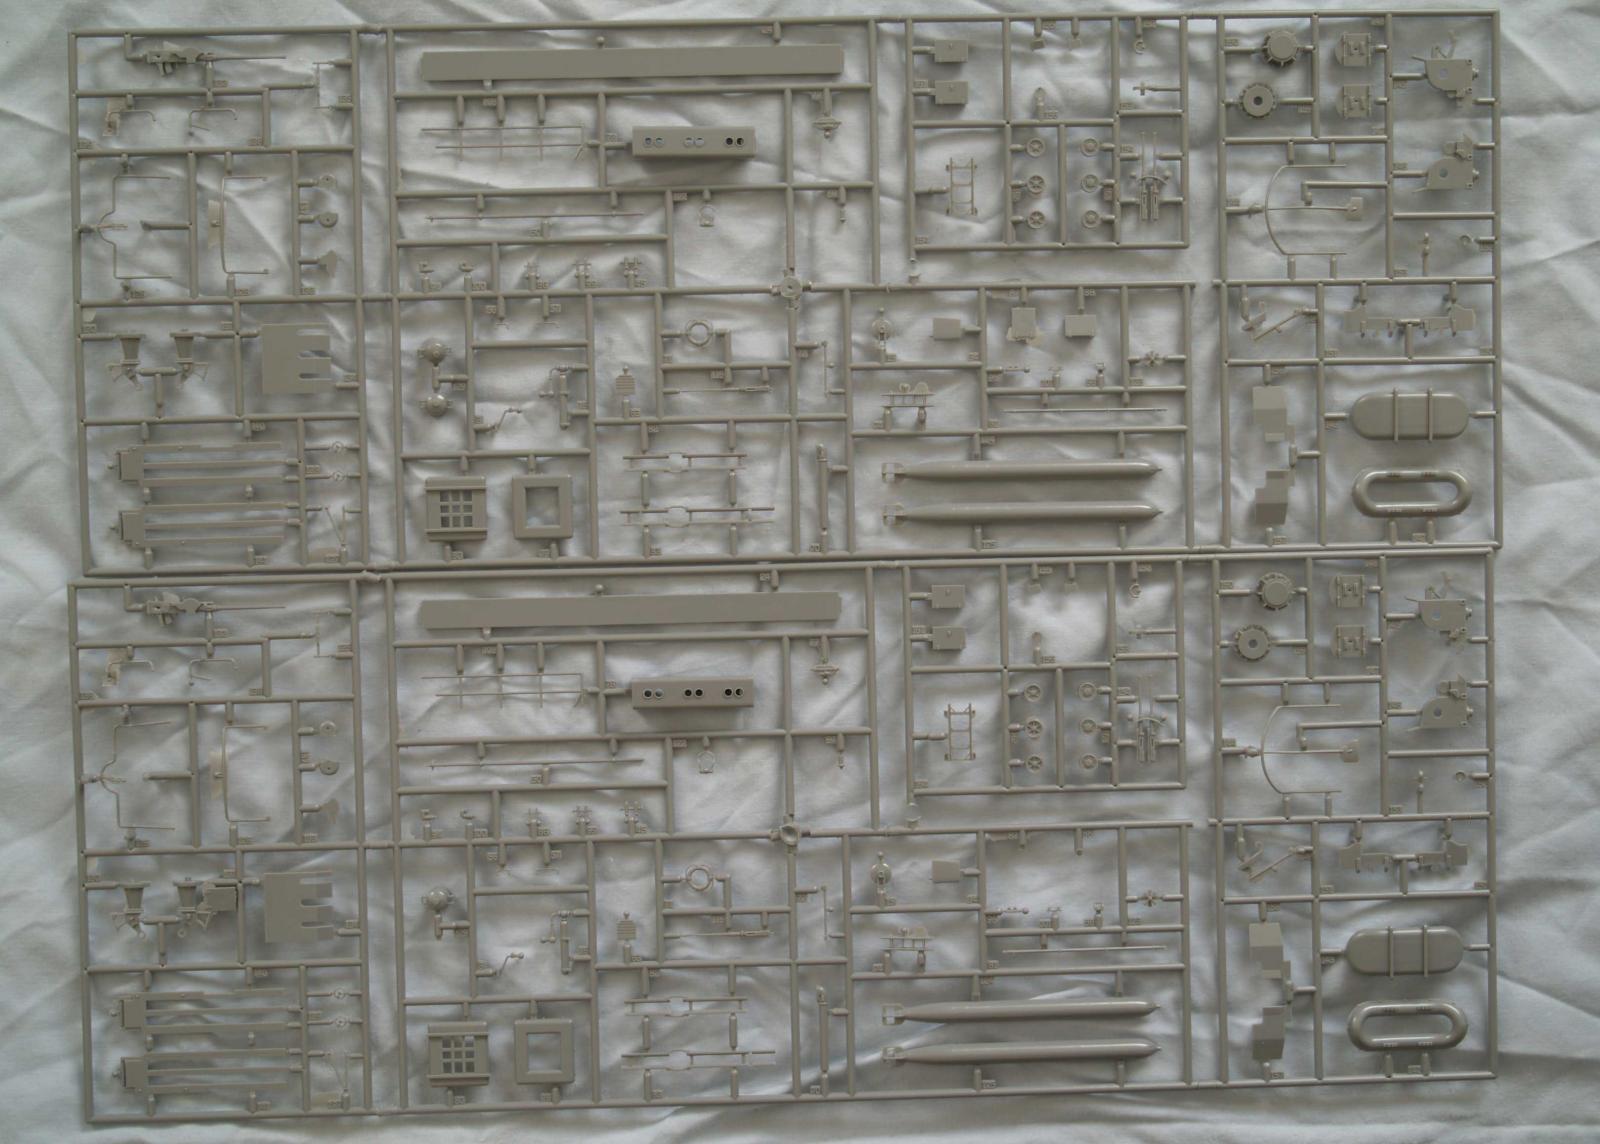
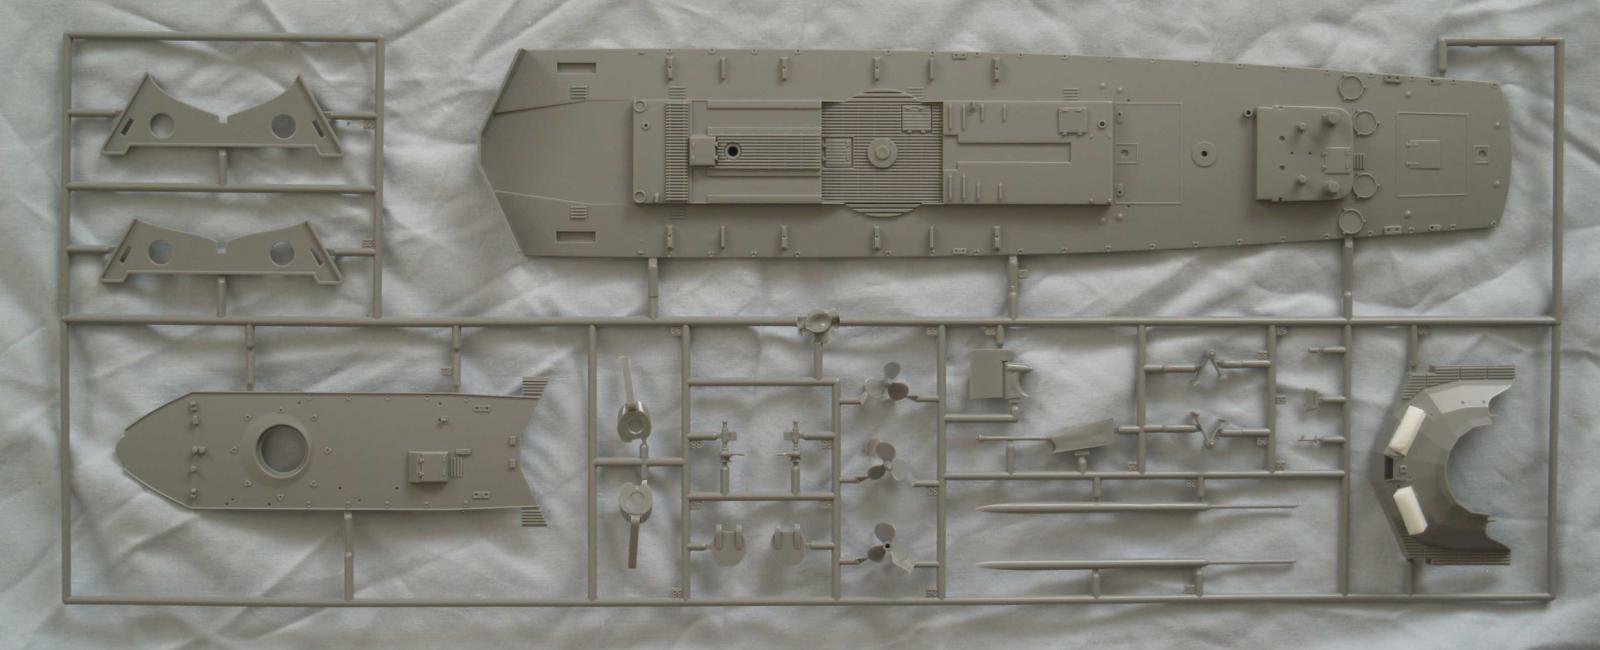
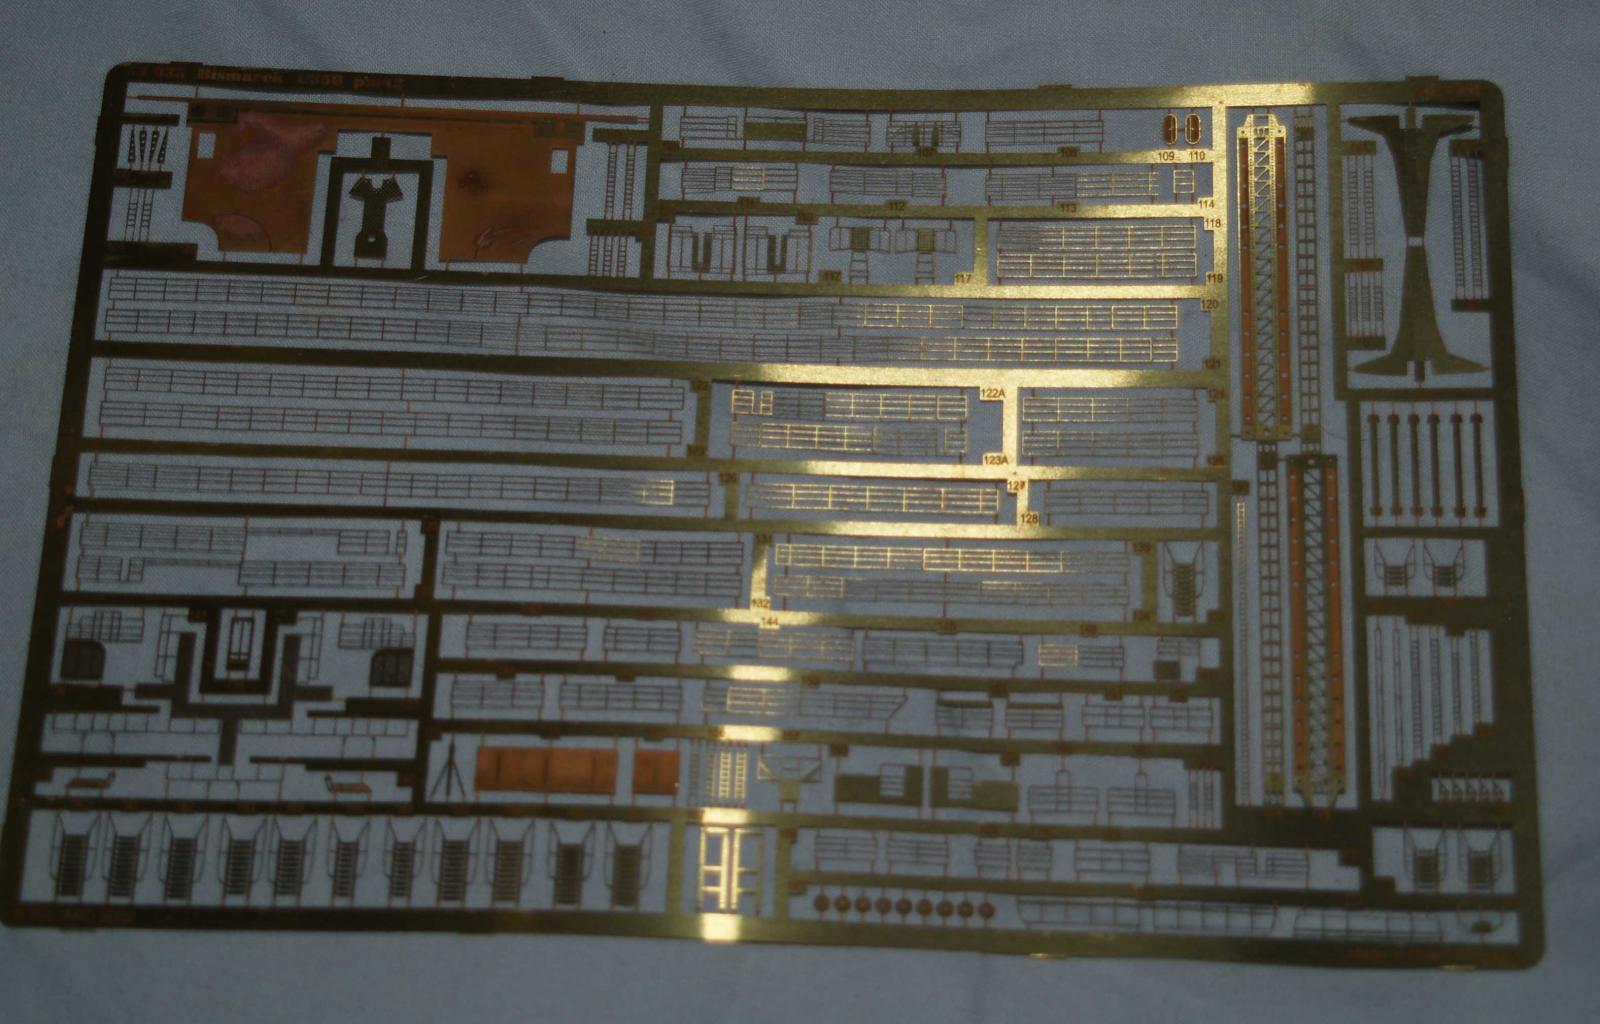
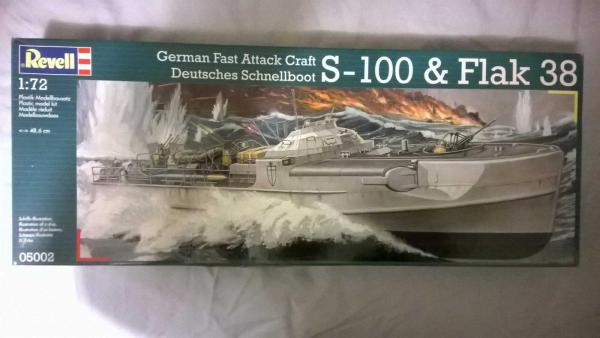
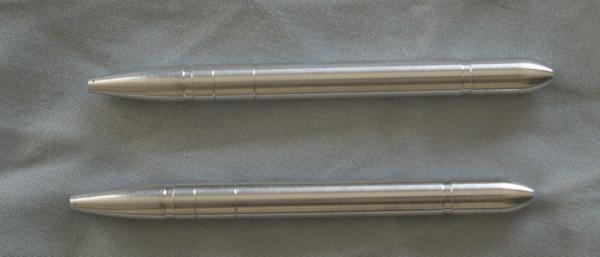
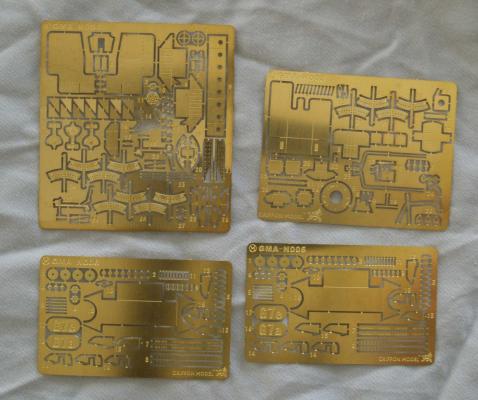
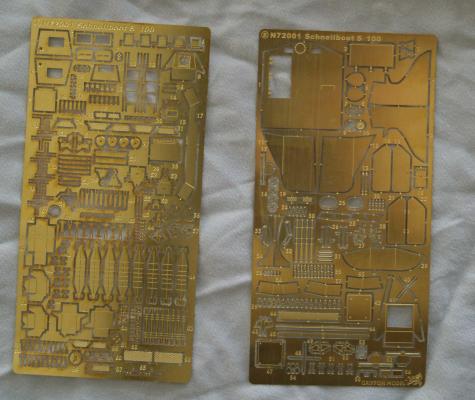
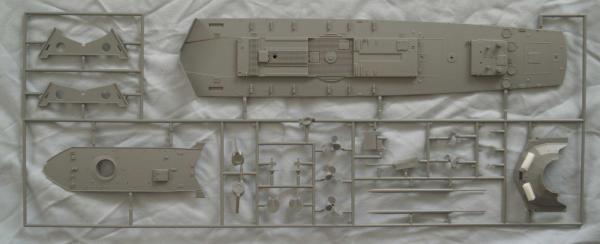
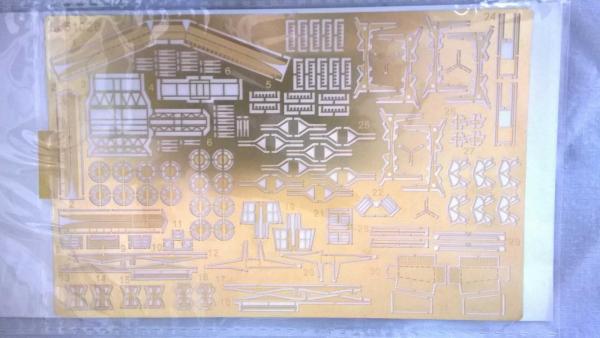
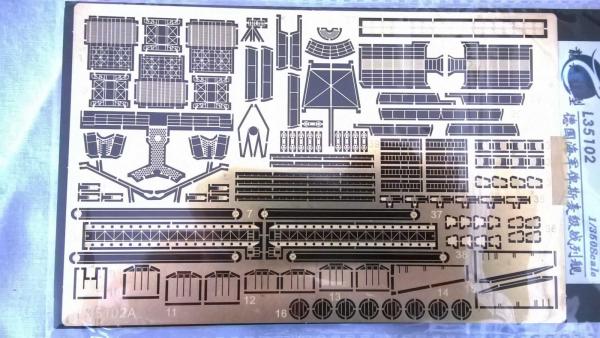
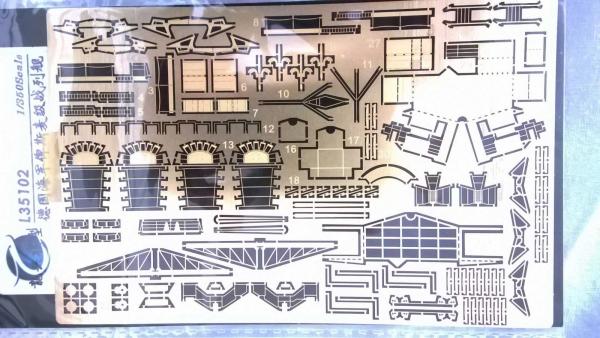
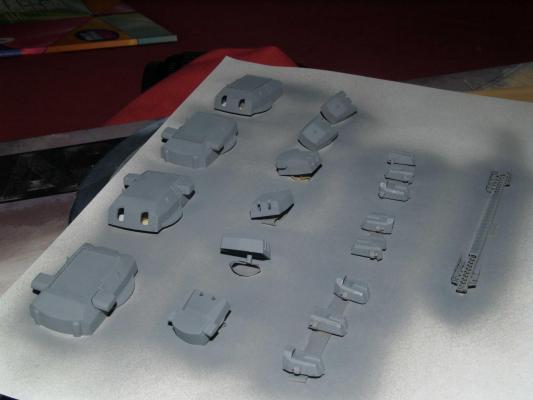
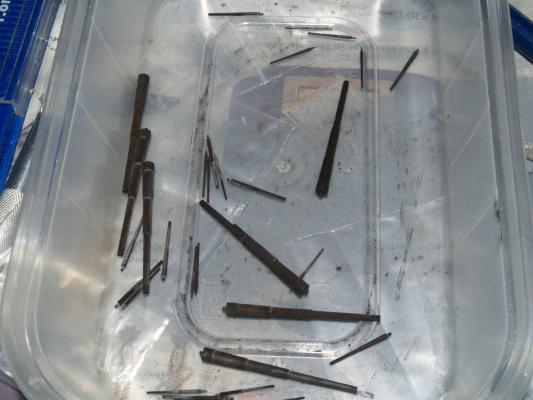
A new build for the S-100 torpedo boat. Enjoy the pictures so far. Here are the sprue and photo etch pictures. This is using the Griffin Models PE. The first picture is of the torpedoes
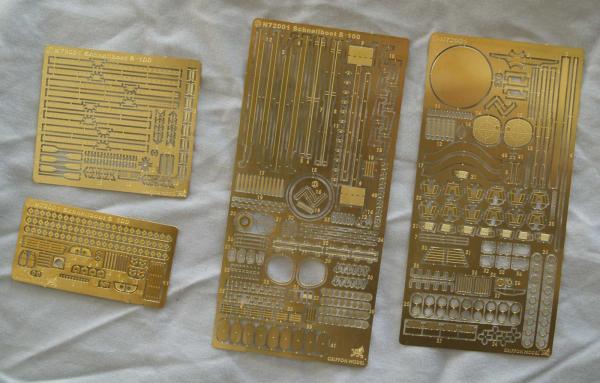
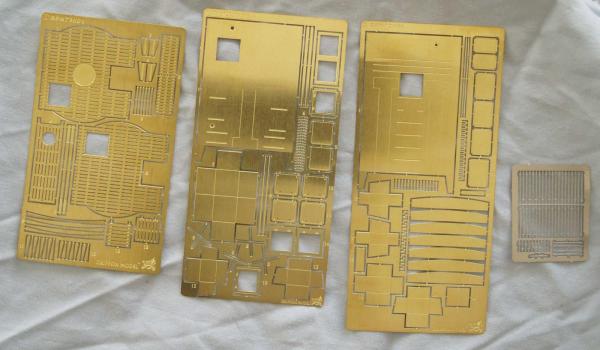
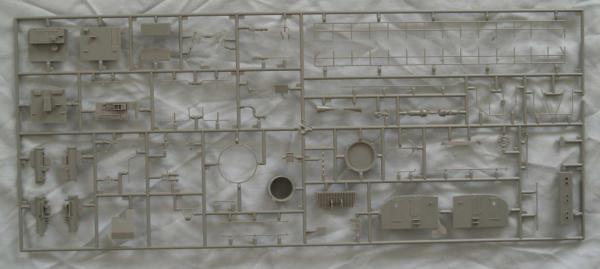

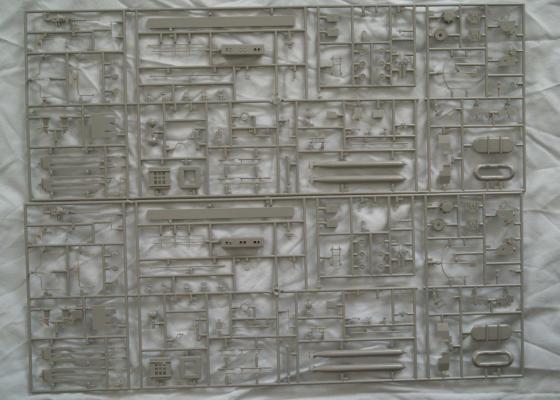
- 18 replies
-
- 14
-
-
- S-100
- KreigsMarine
- (and 1 more)
-
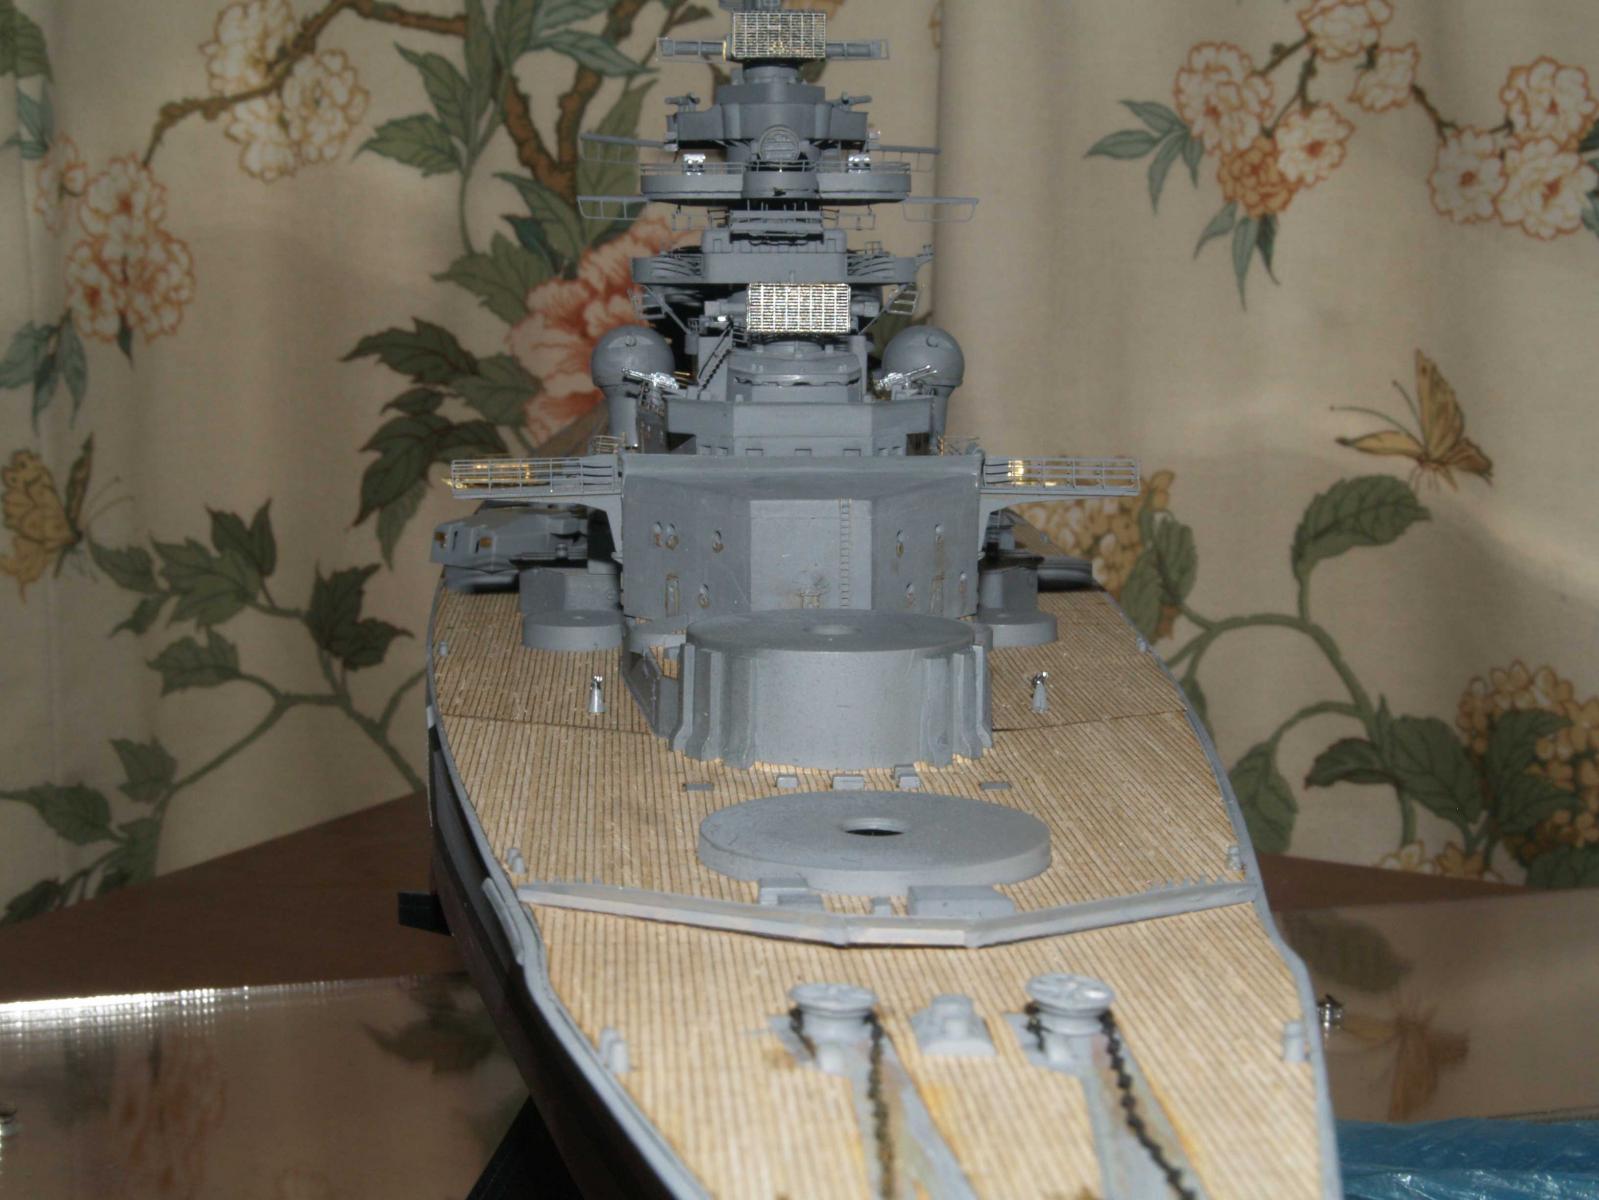
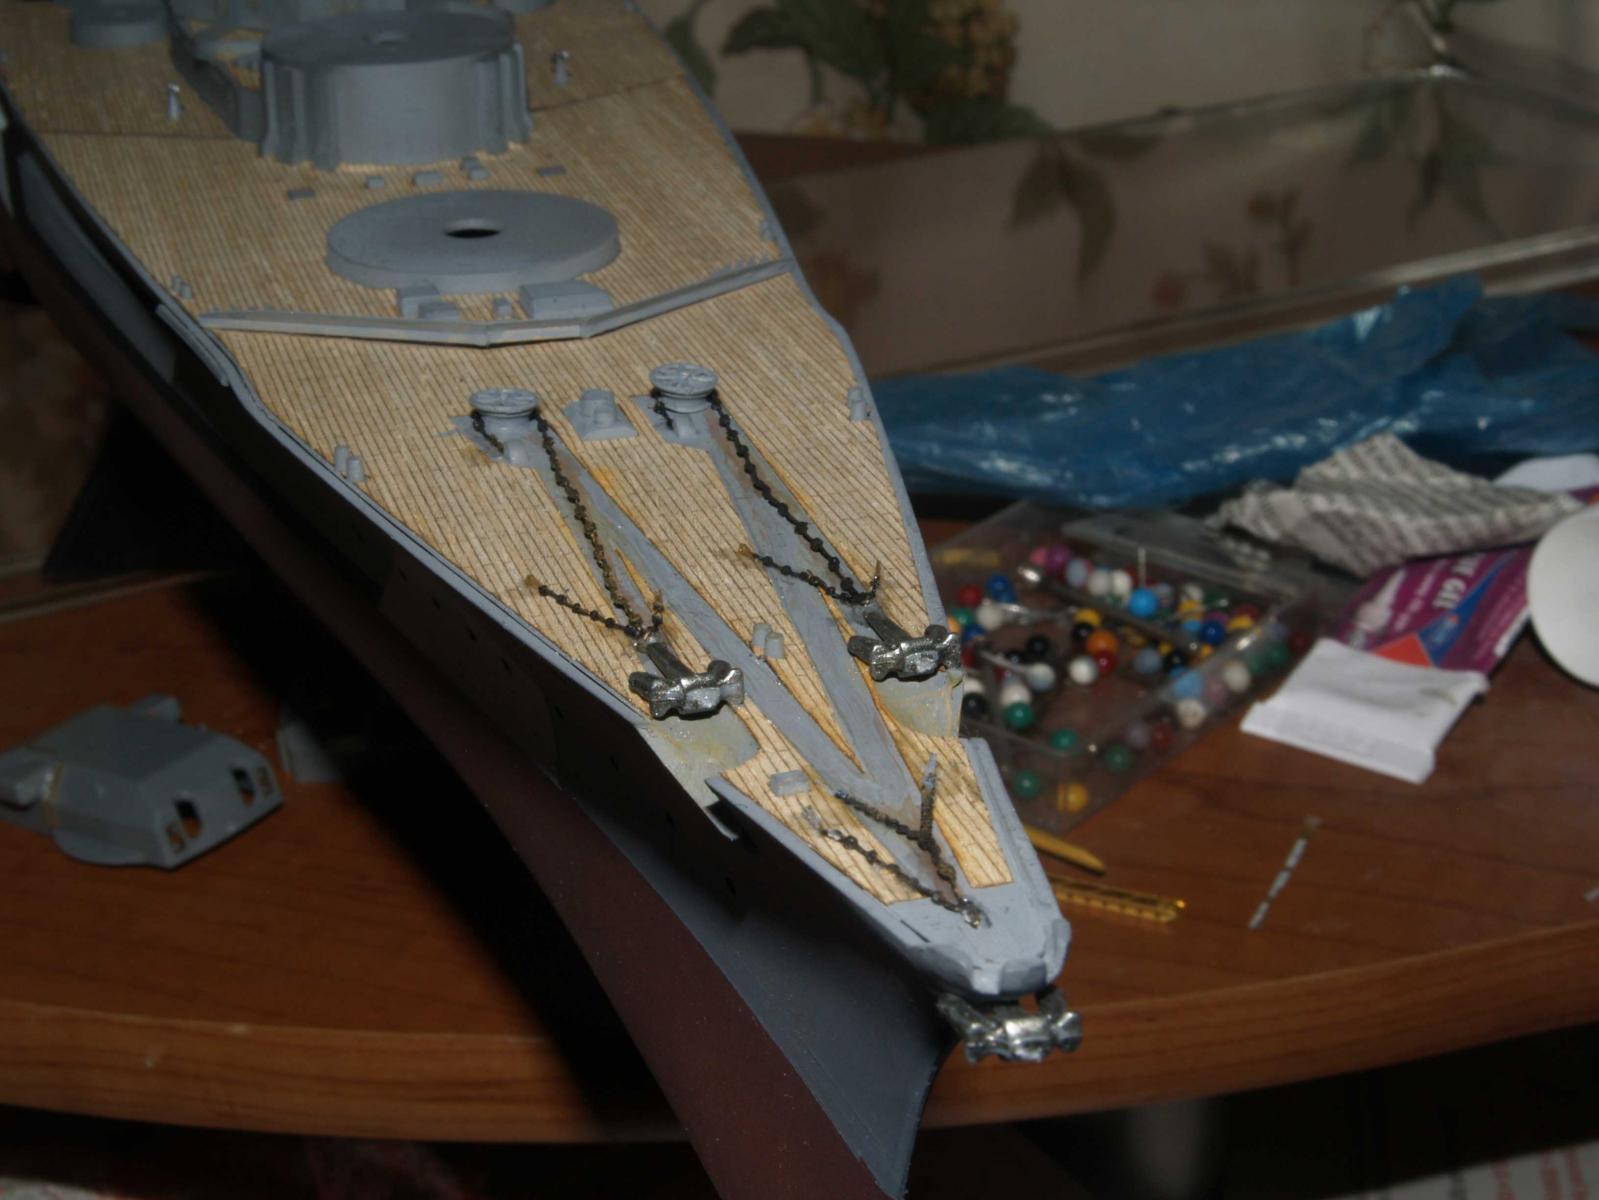
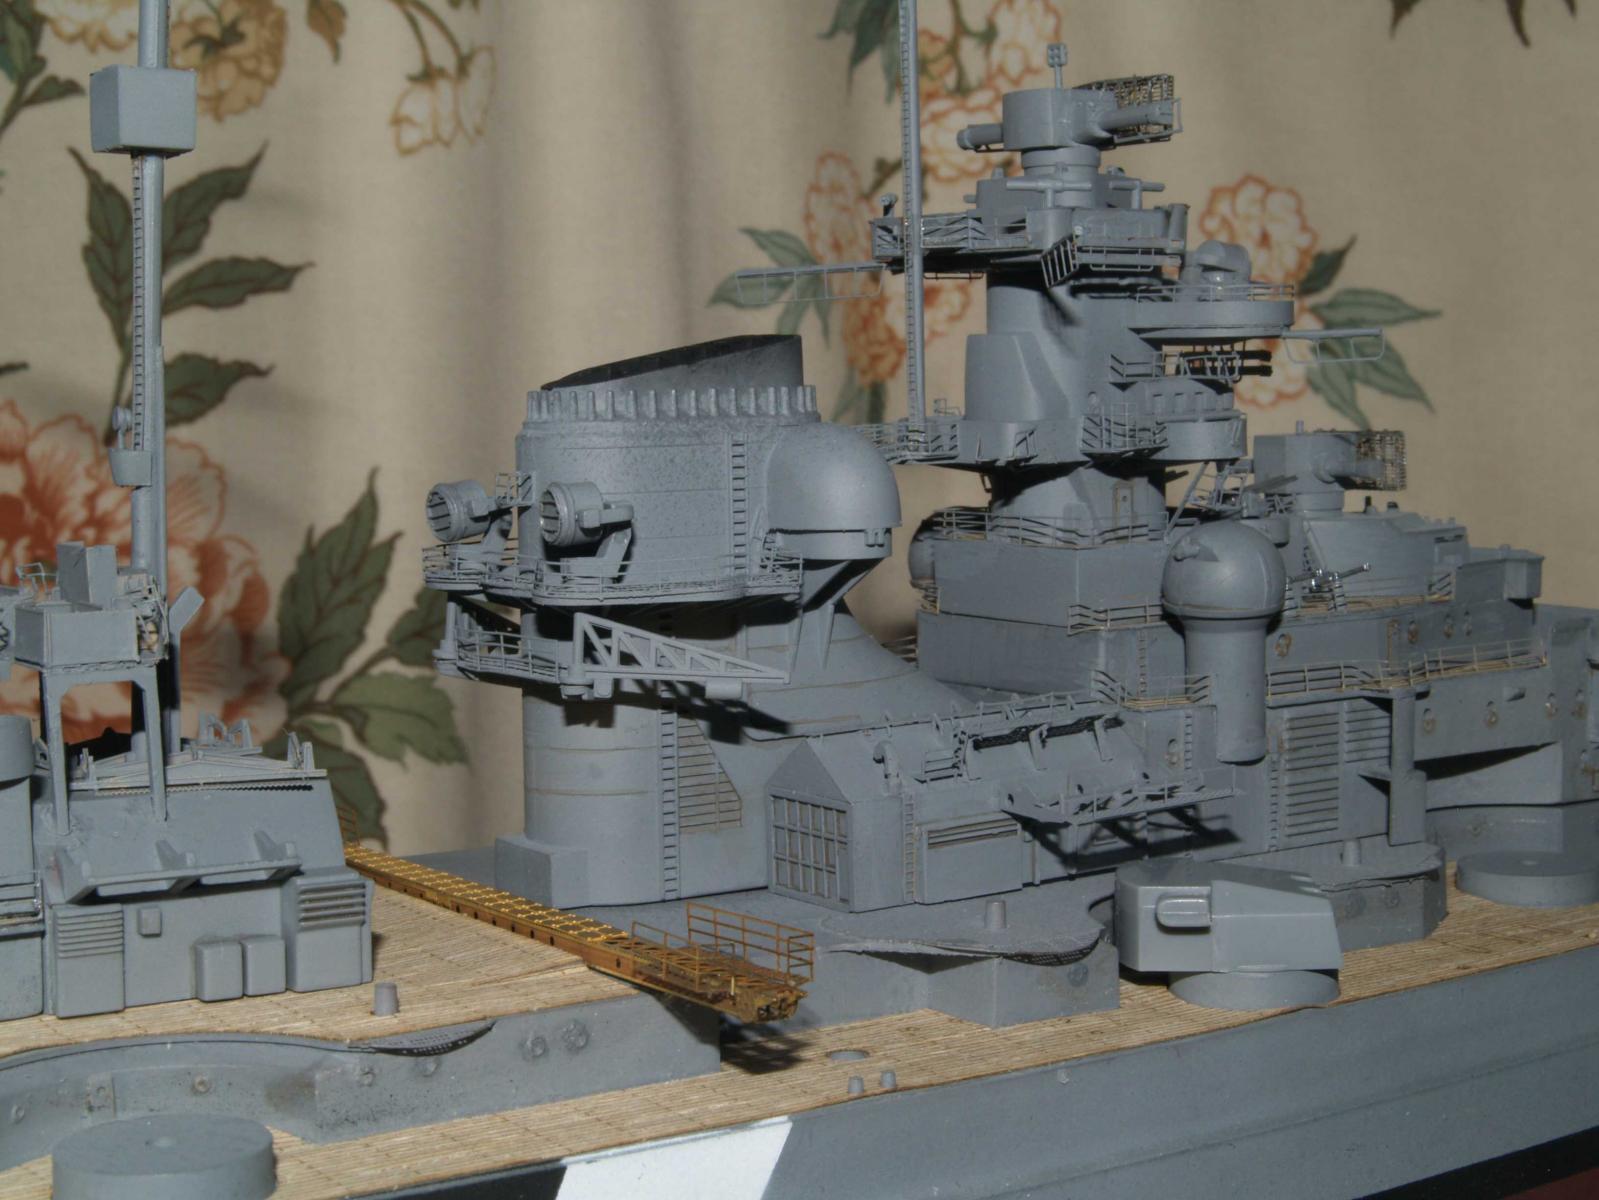
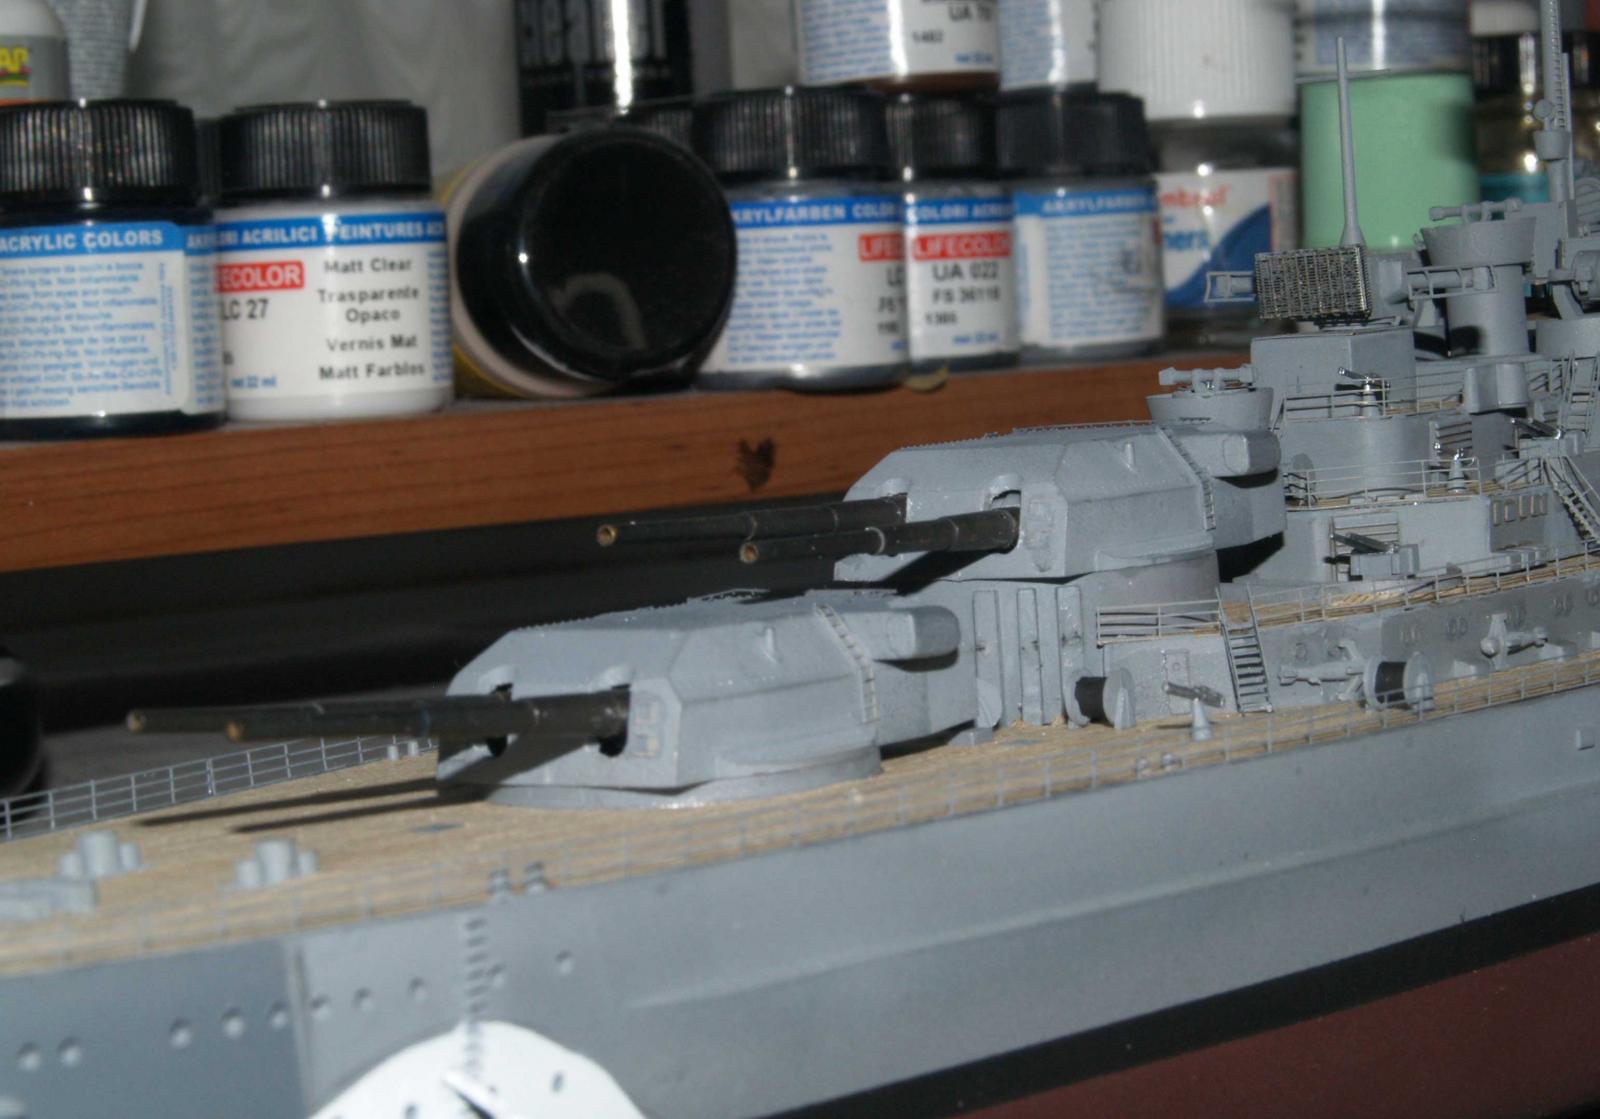
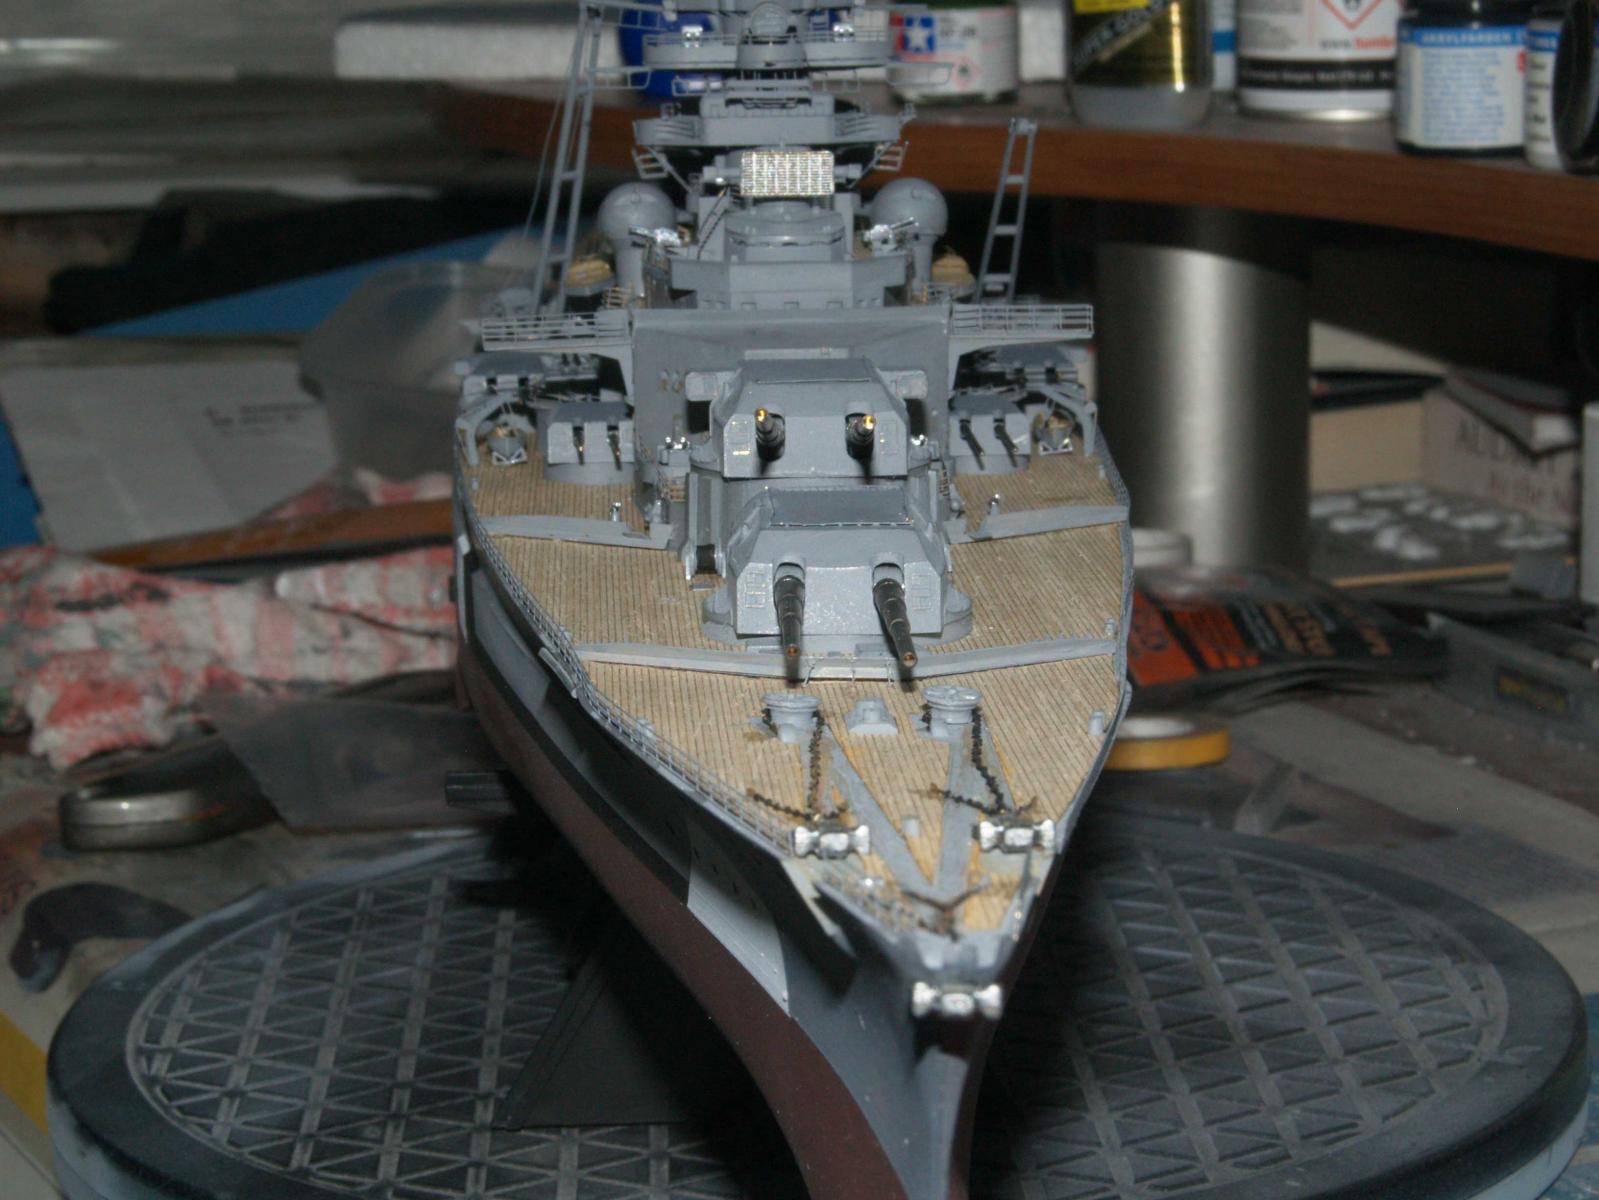
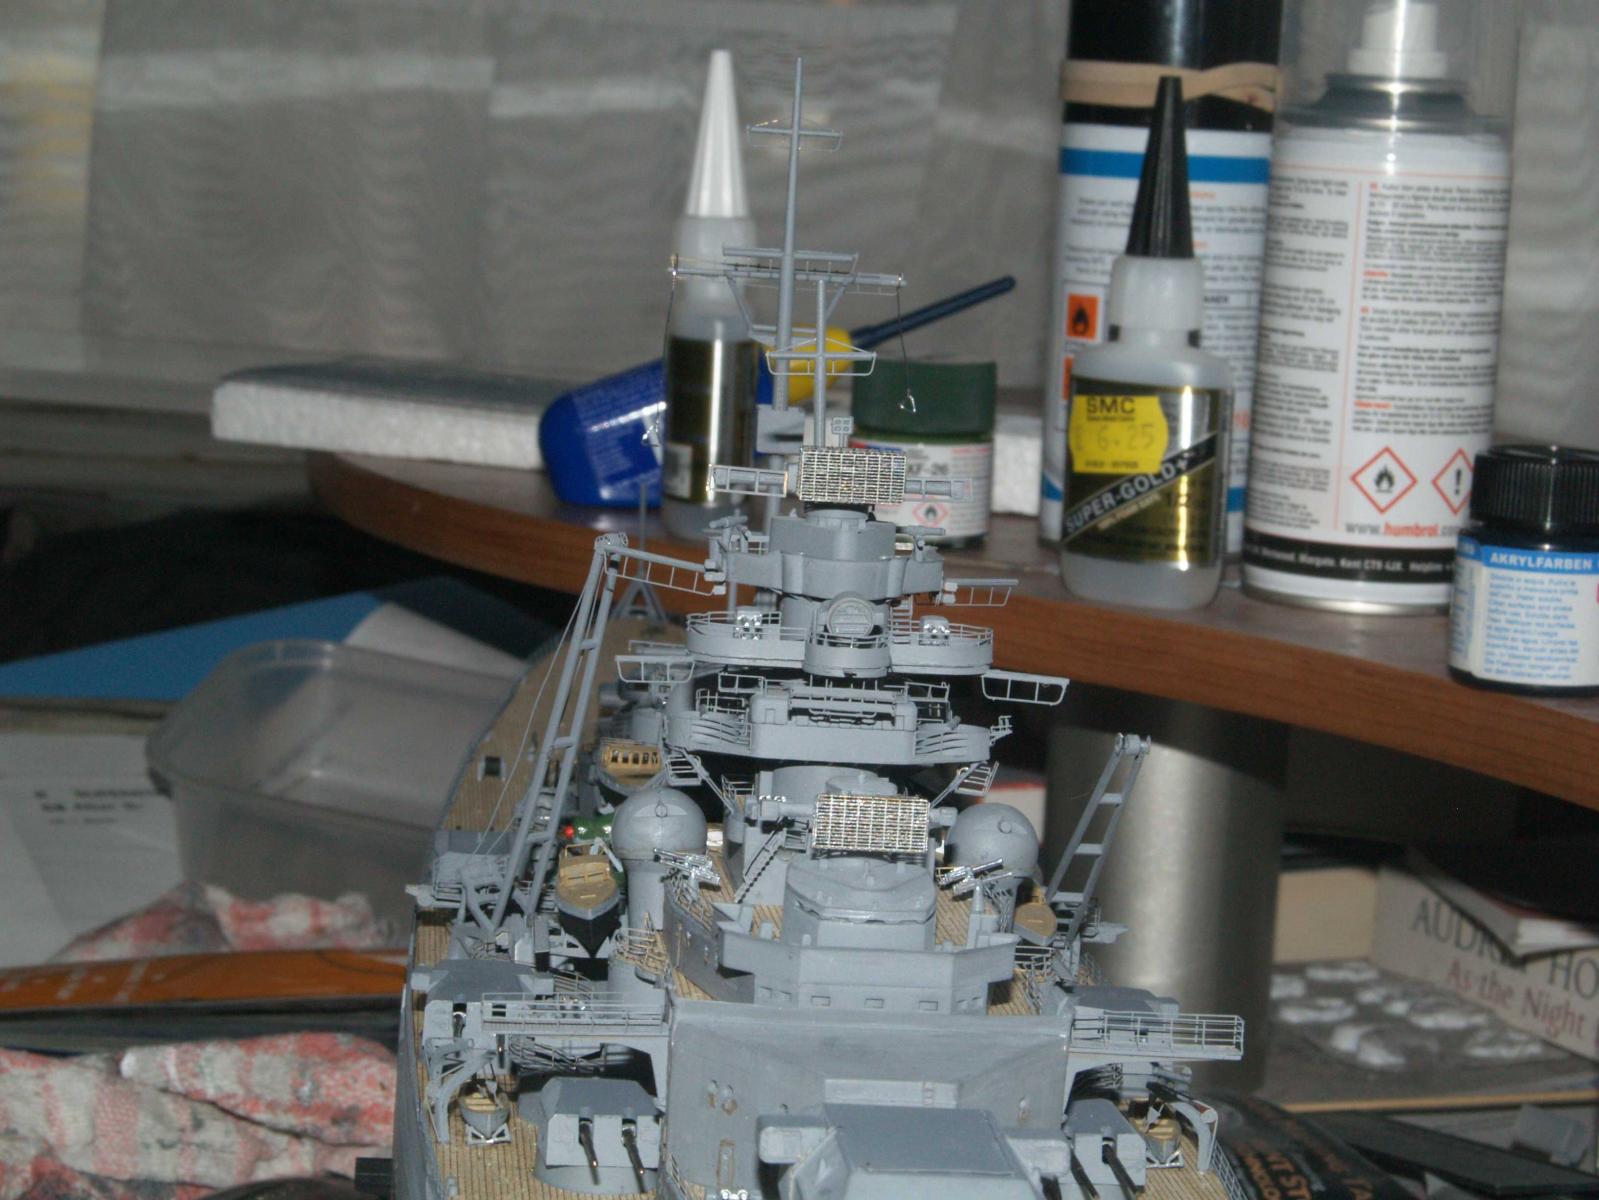
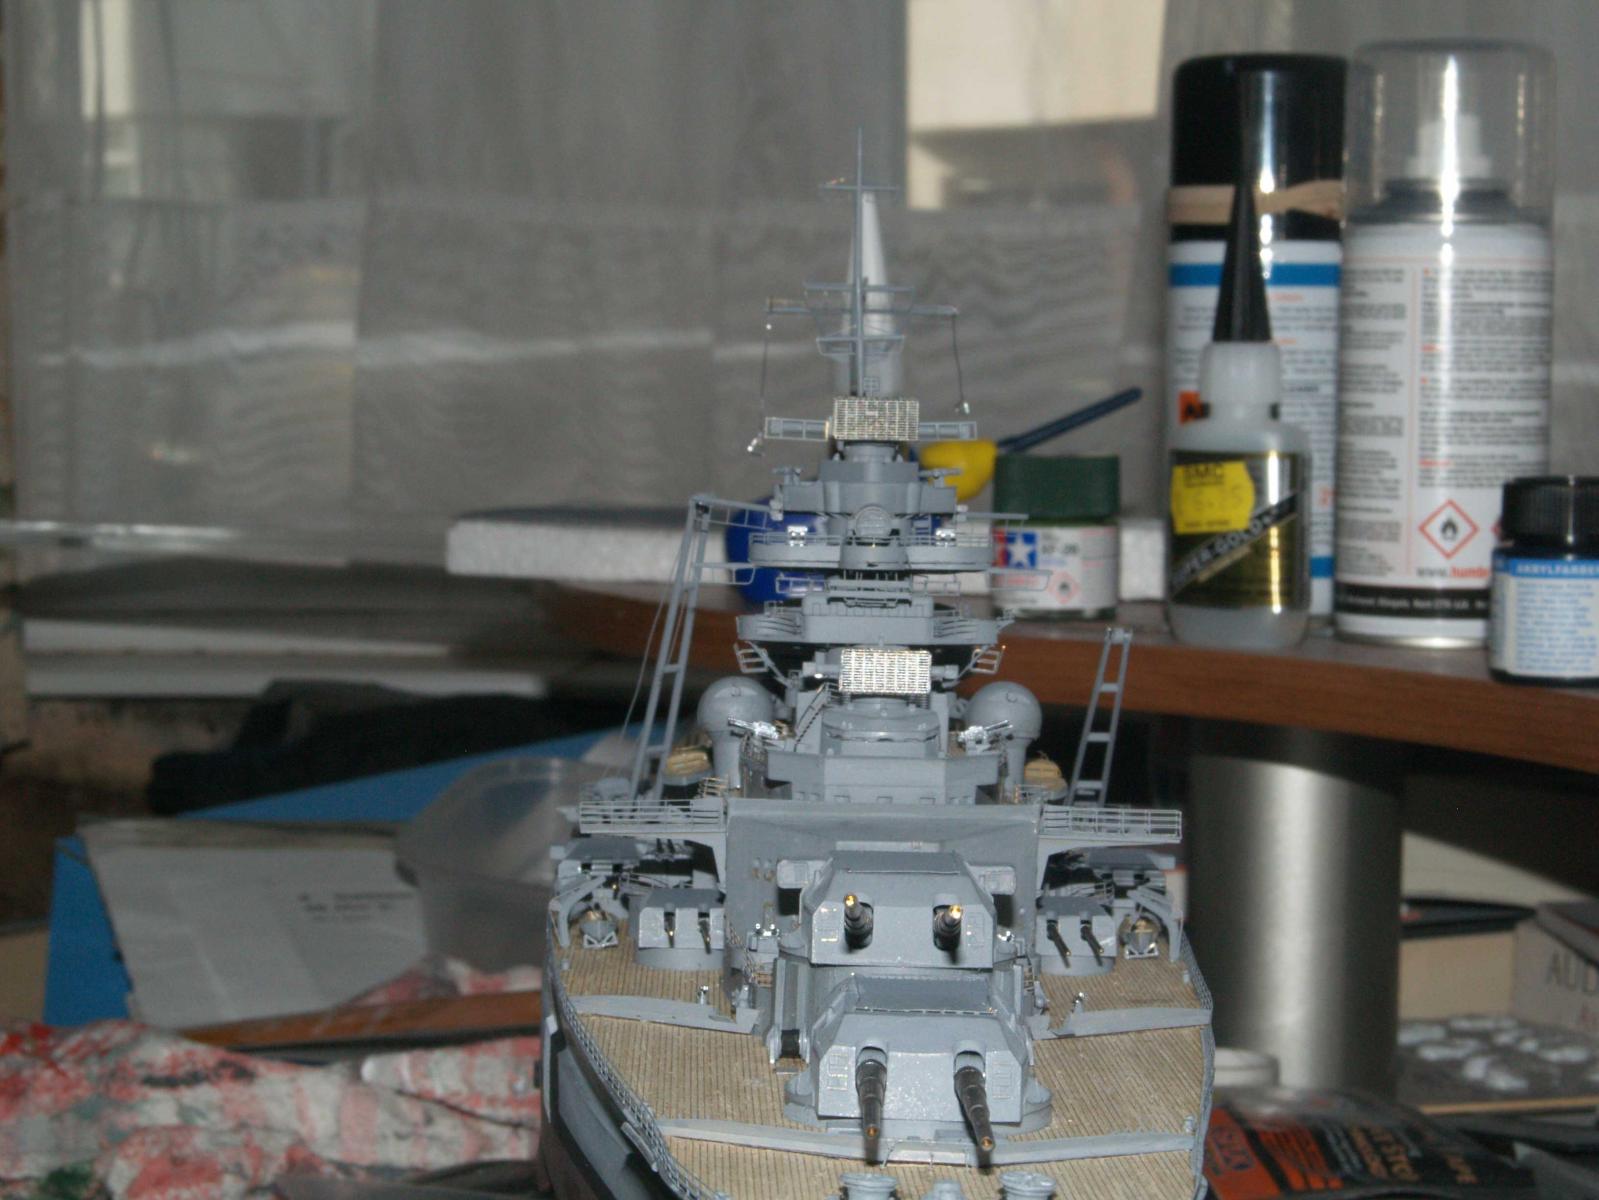
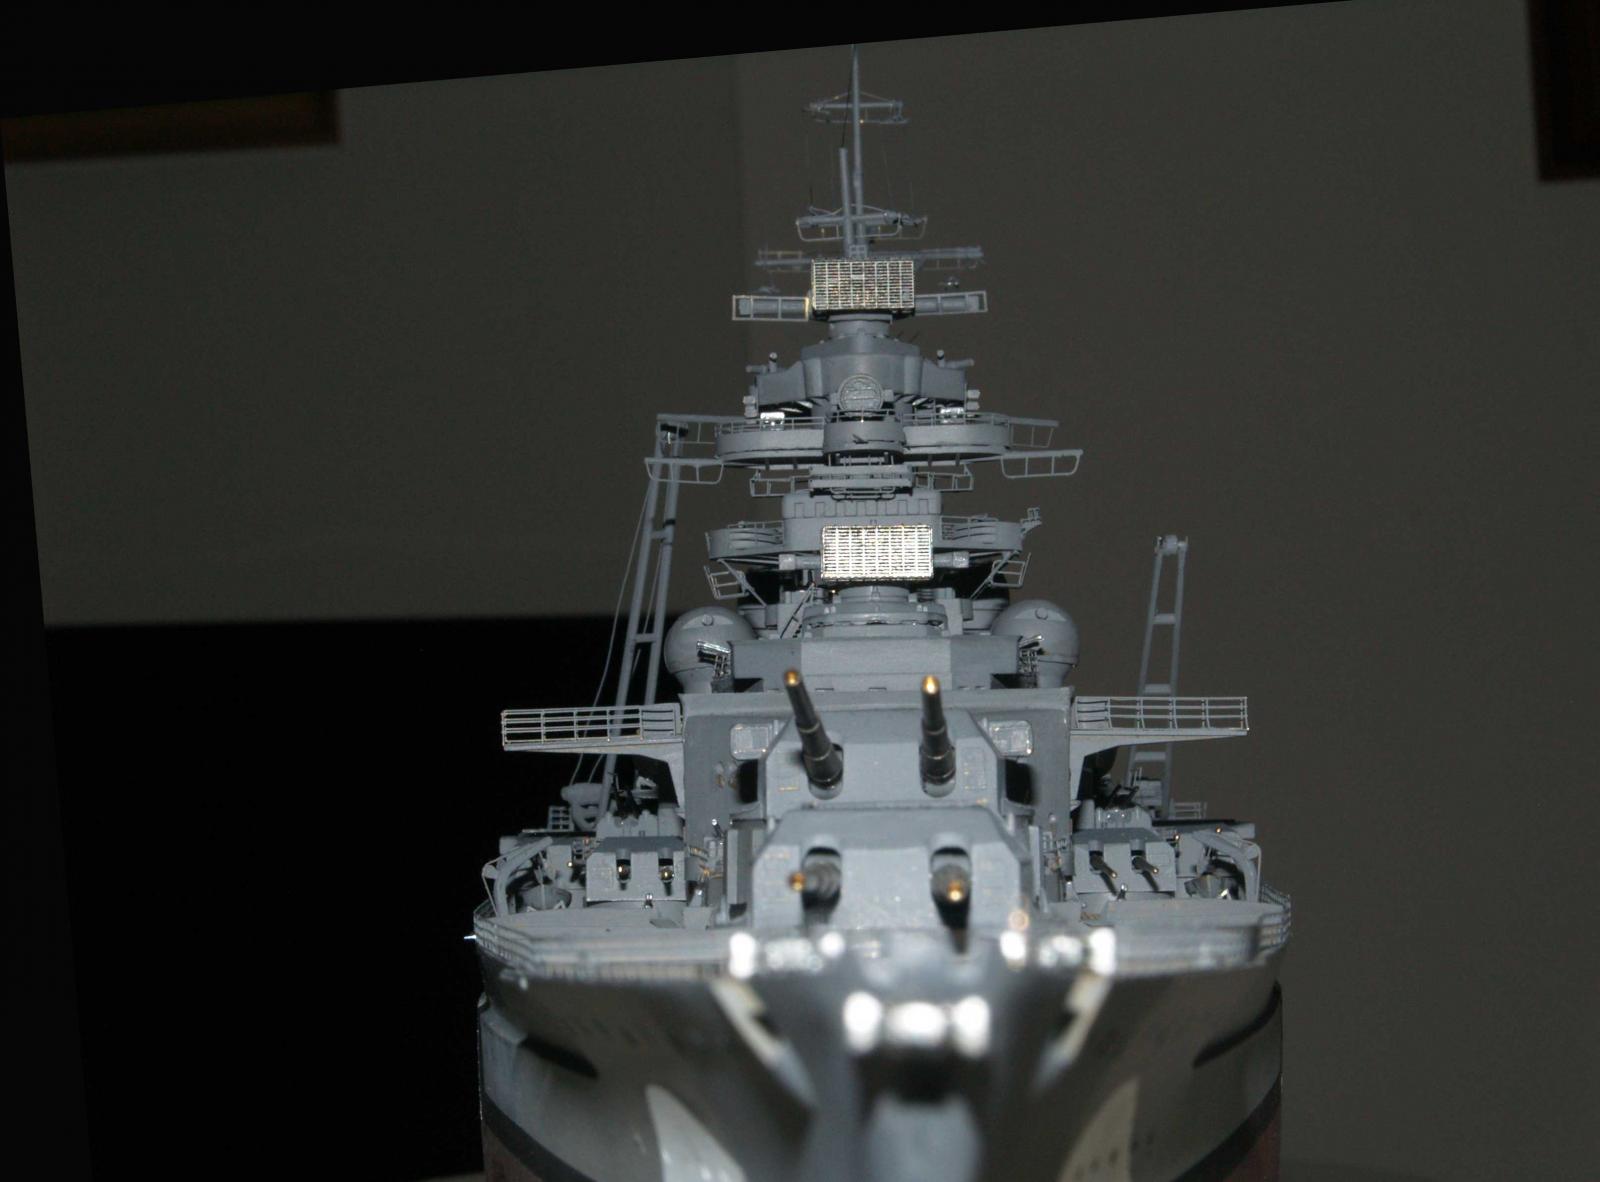
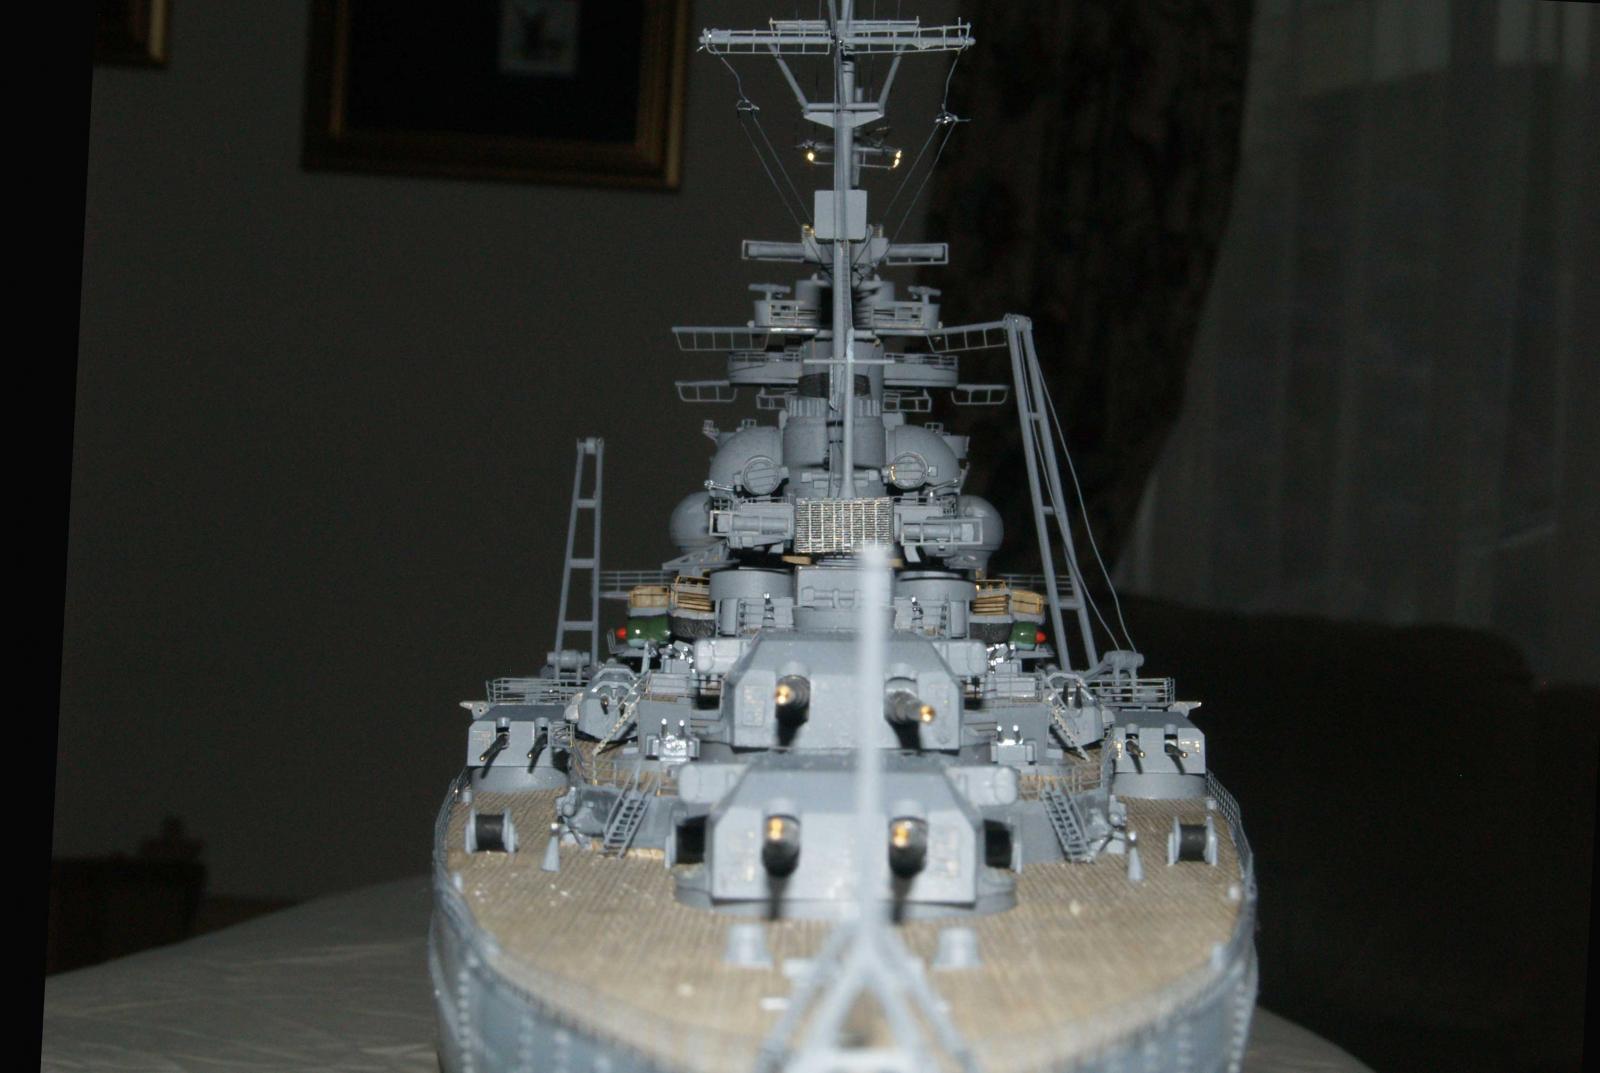
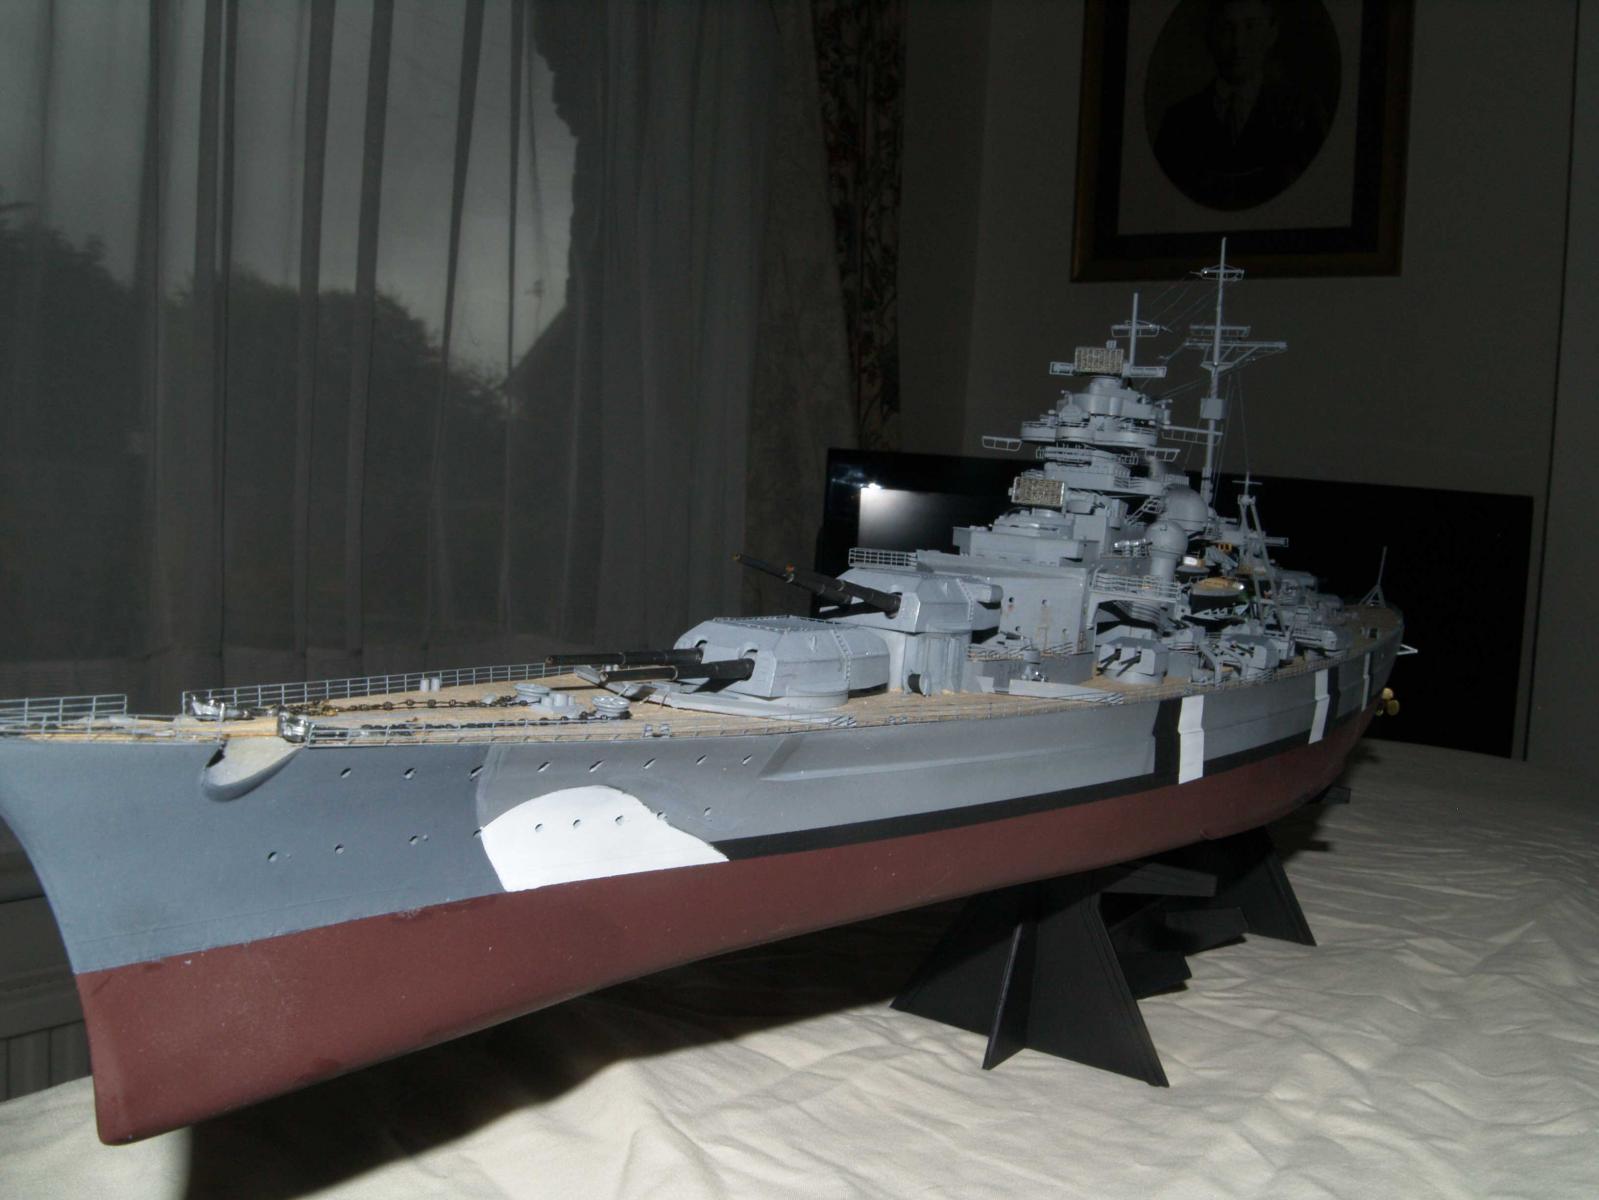
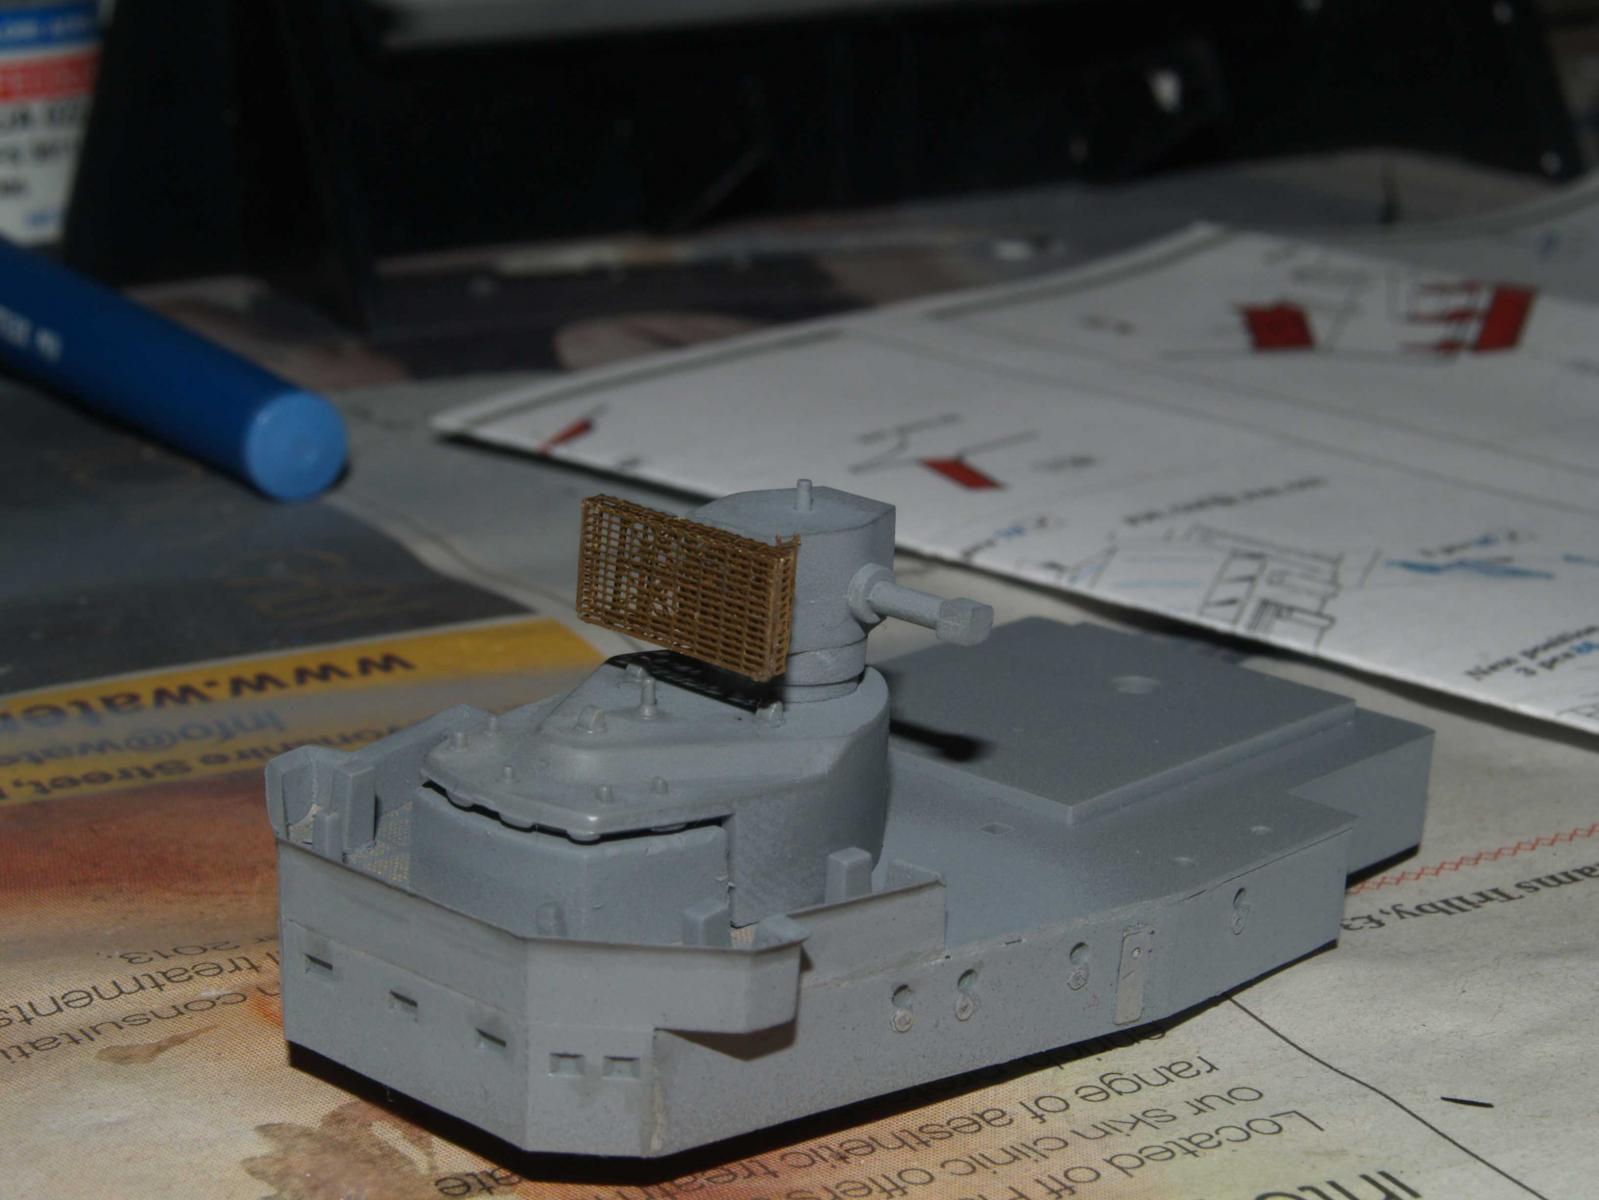
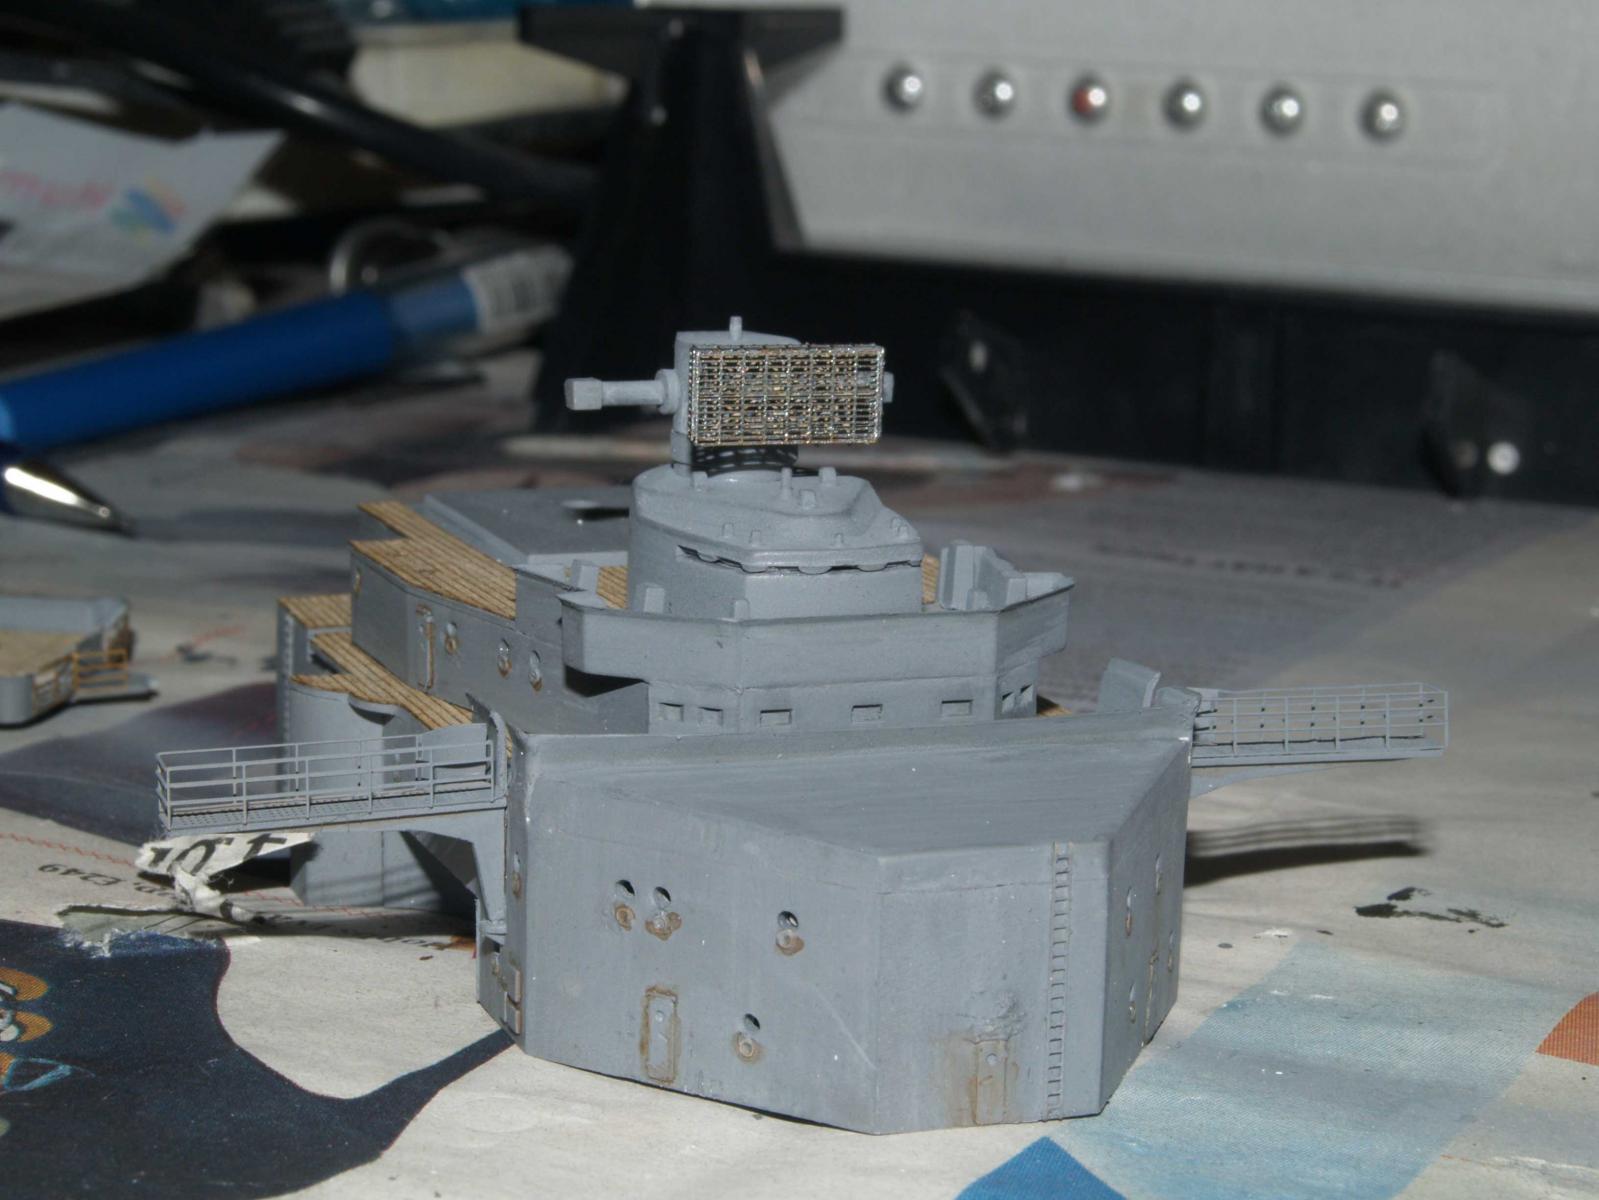
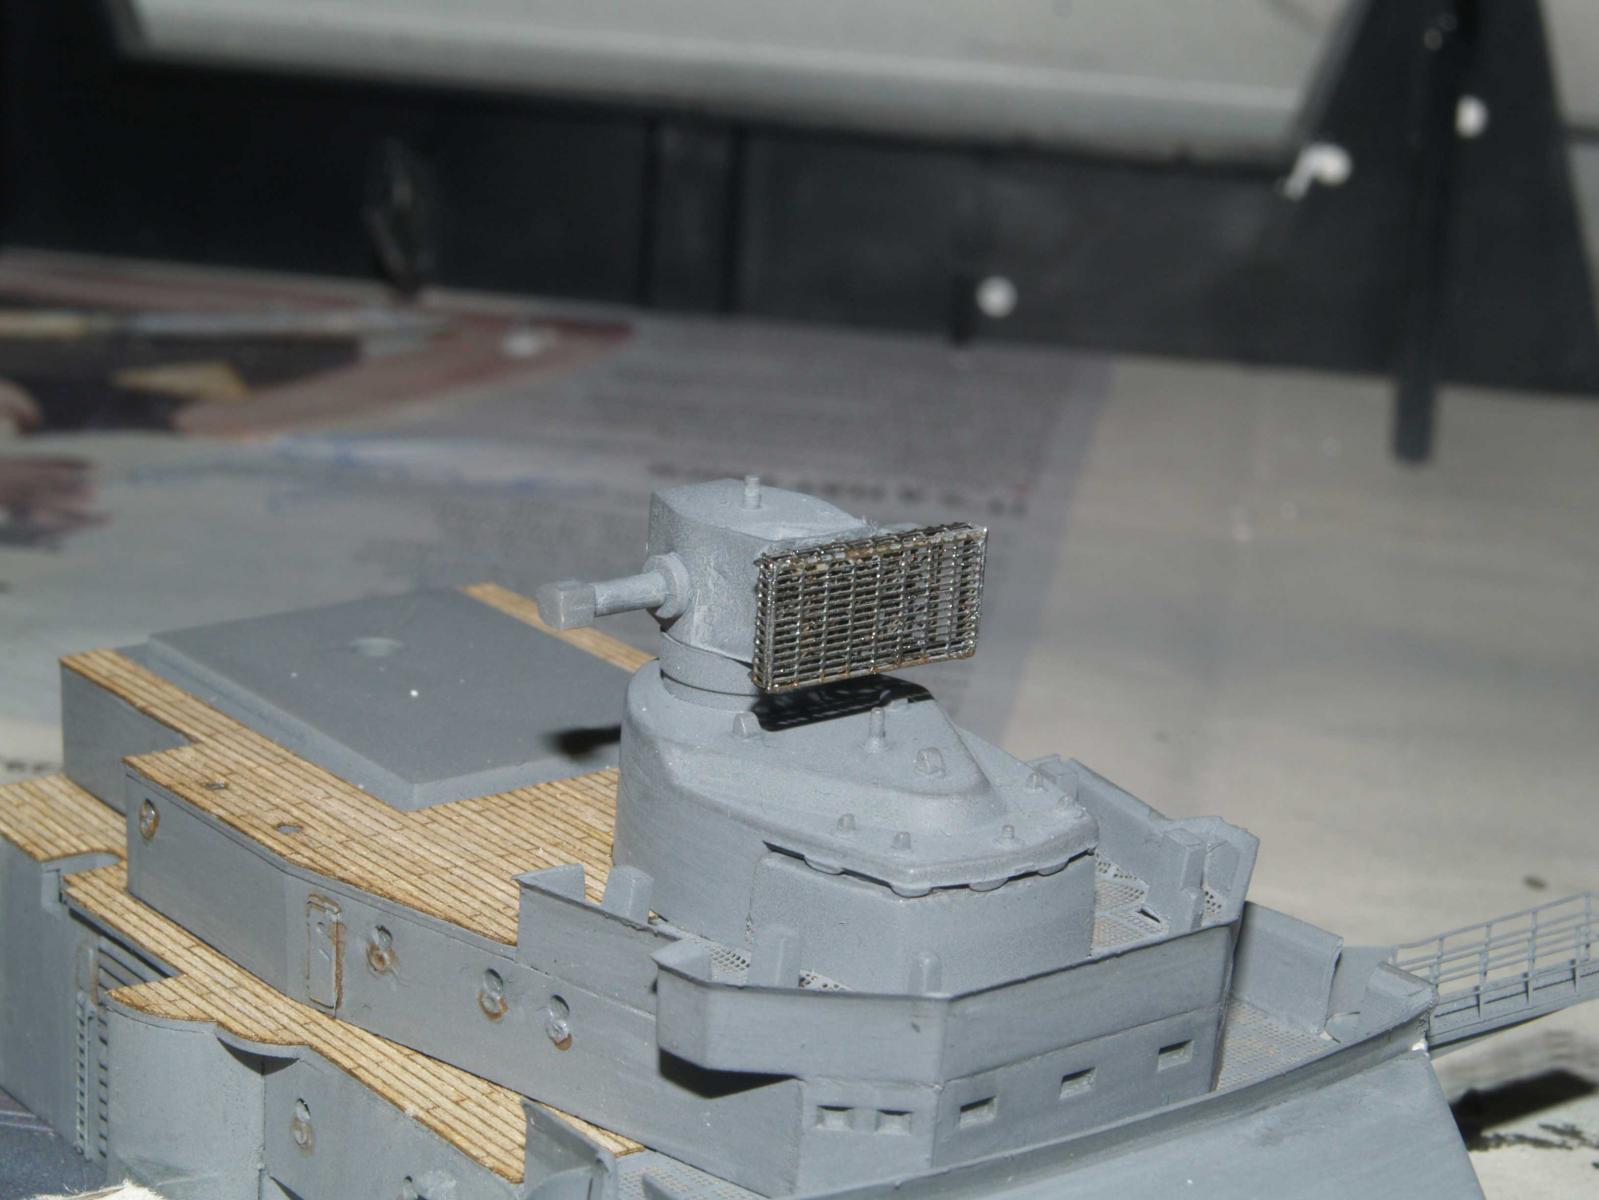
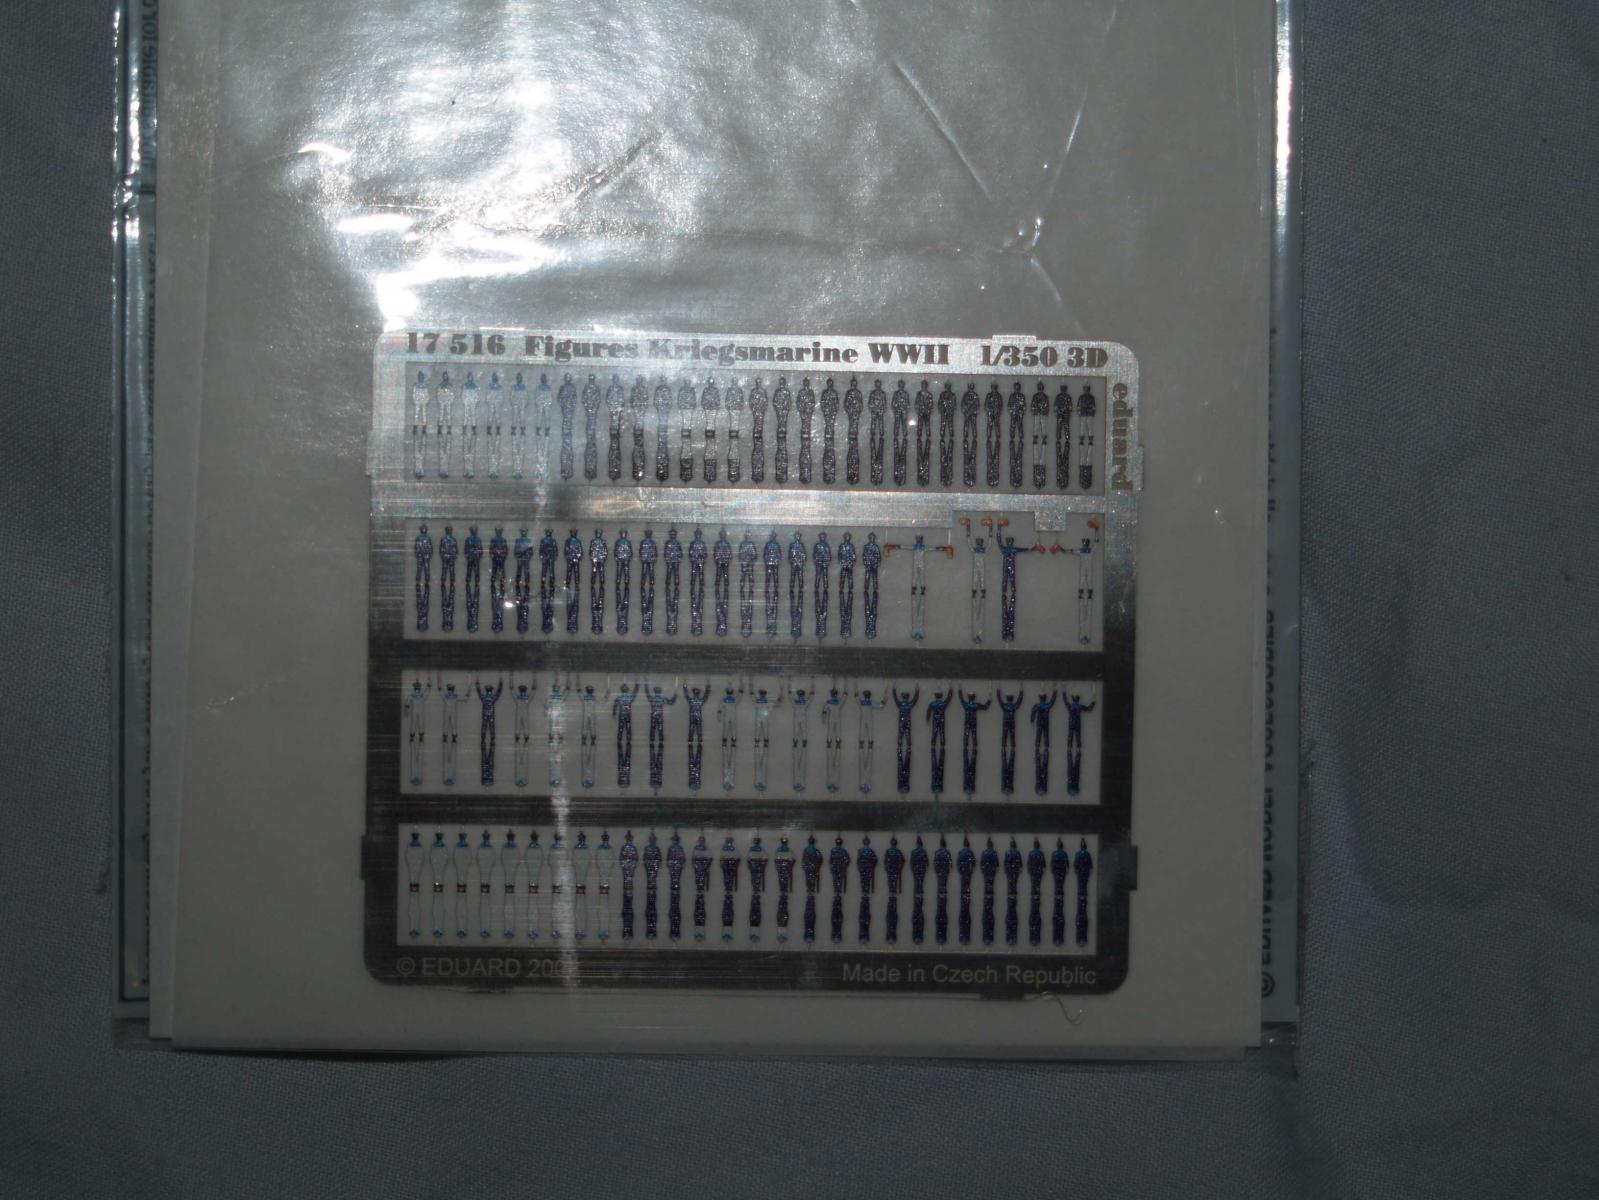
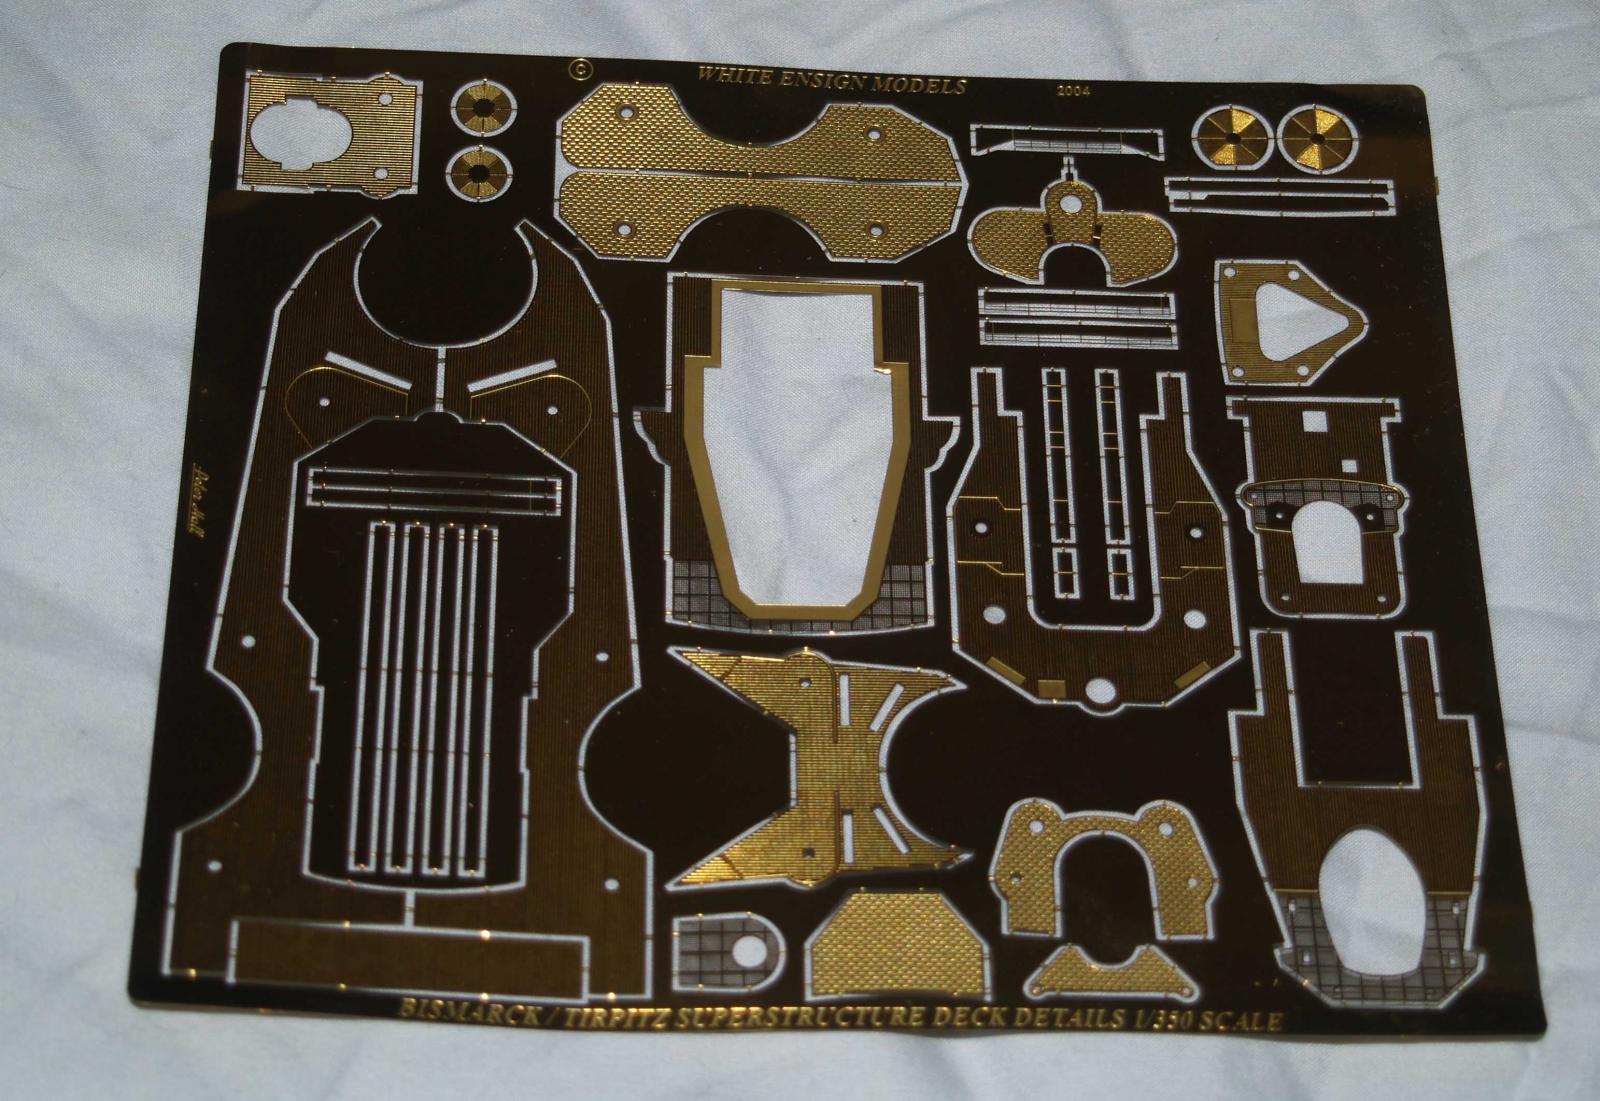
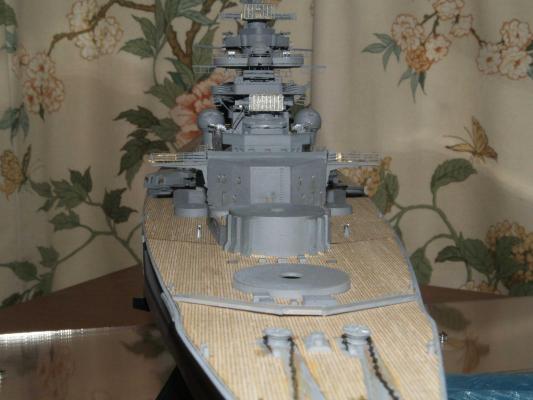
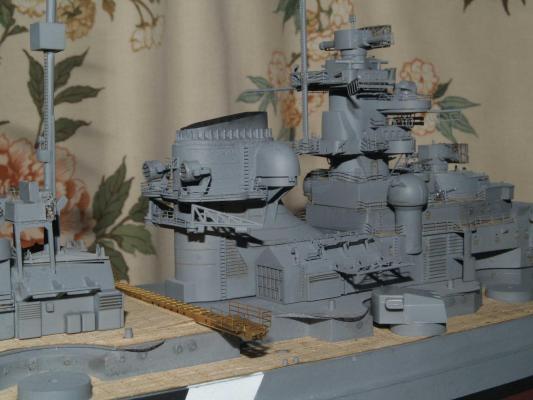
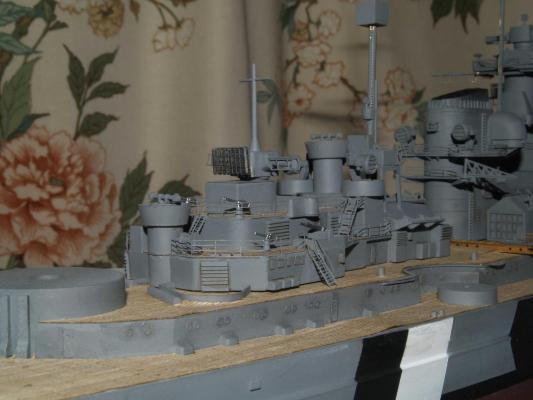
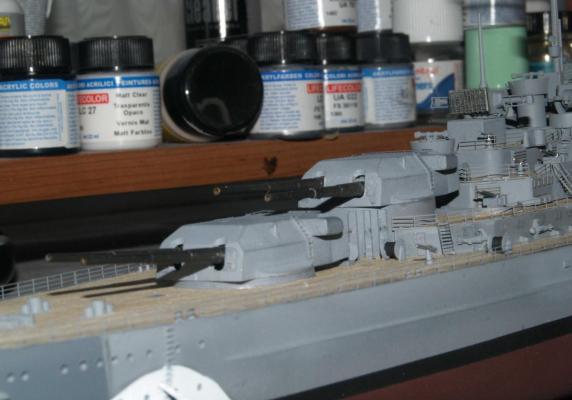
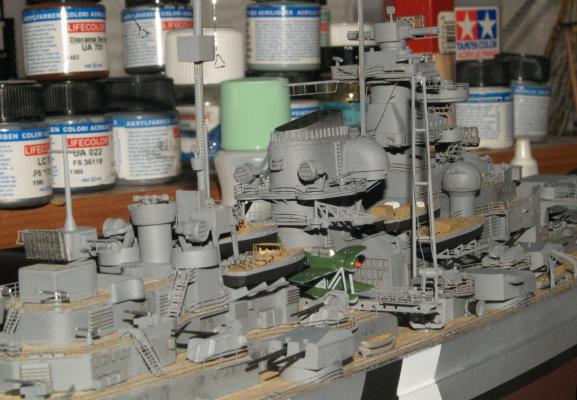
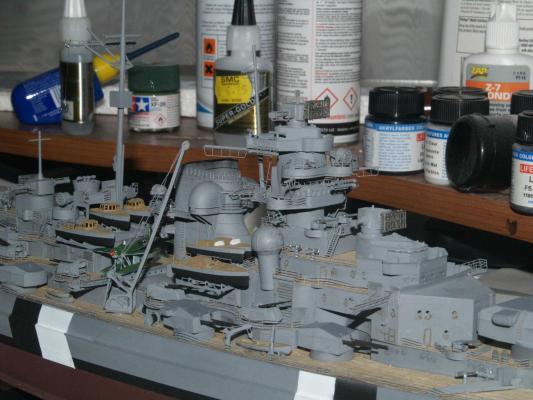
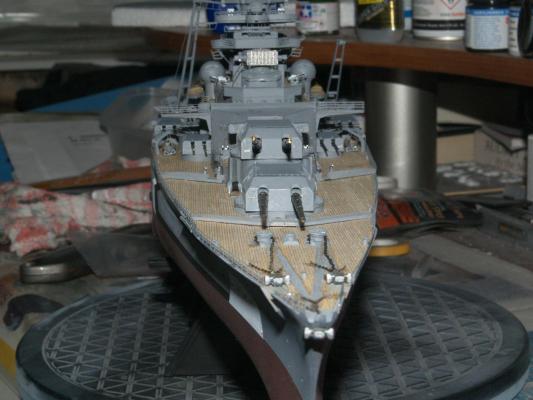
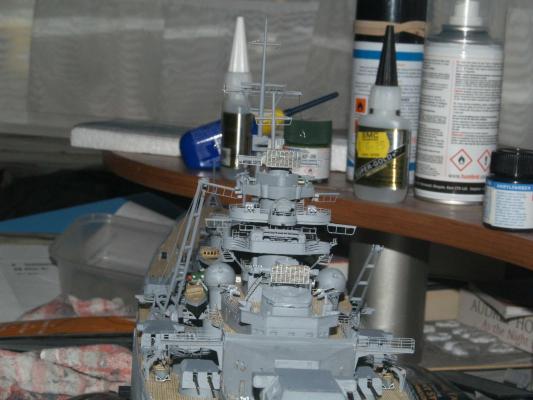
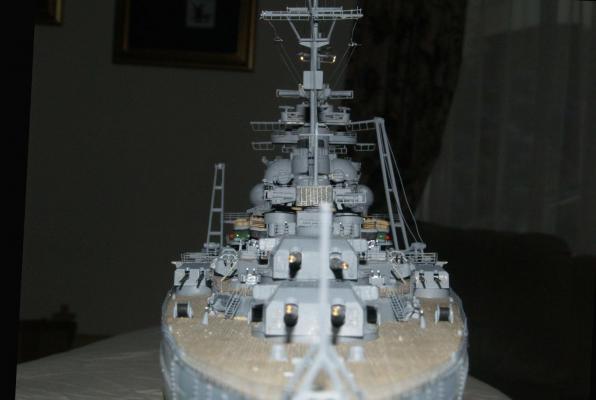
I have completed the bismarck now here are the rest of the build log. I had to buy extra PE to do the bits that were missing from the Eduard PE. All I can say is that the amount I spent on PE for this model I could have bought the Revell Bismarck and one lot of PE.


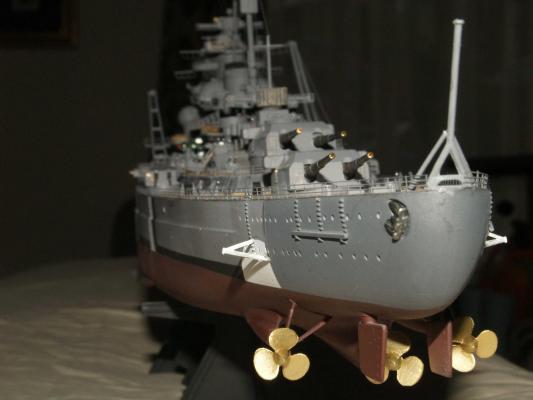
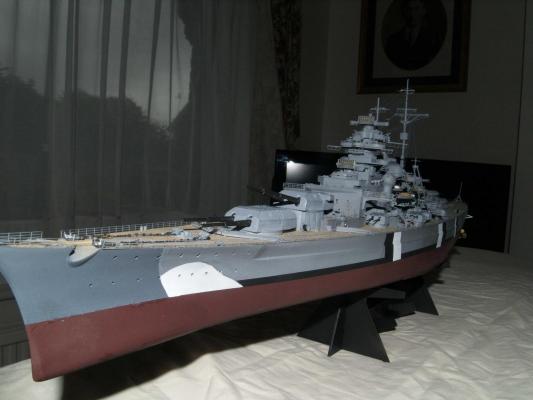
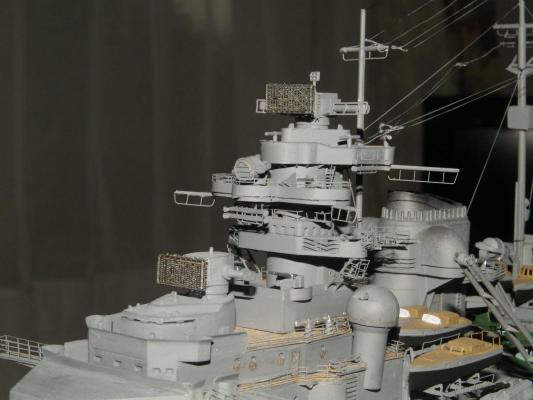
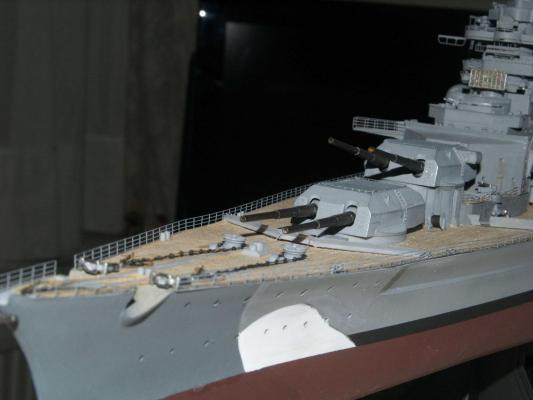
- 11 replies
-
- 12
-
-
Thanks. I'll have a look at your build. I wouldn't mind doing the 1/200th scale one, but it is a bit big for my bench!