stevenmh
-
Posts
161 -
Joined
-
Last visited
Content Type
Profiles
Forums
Gallery
Events
Everything posted by stevenmh
-
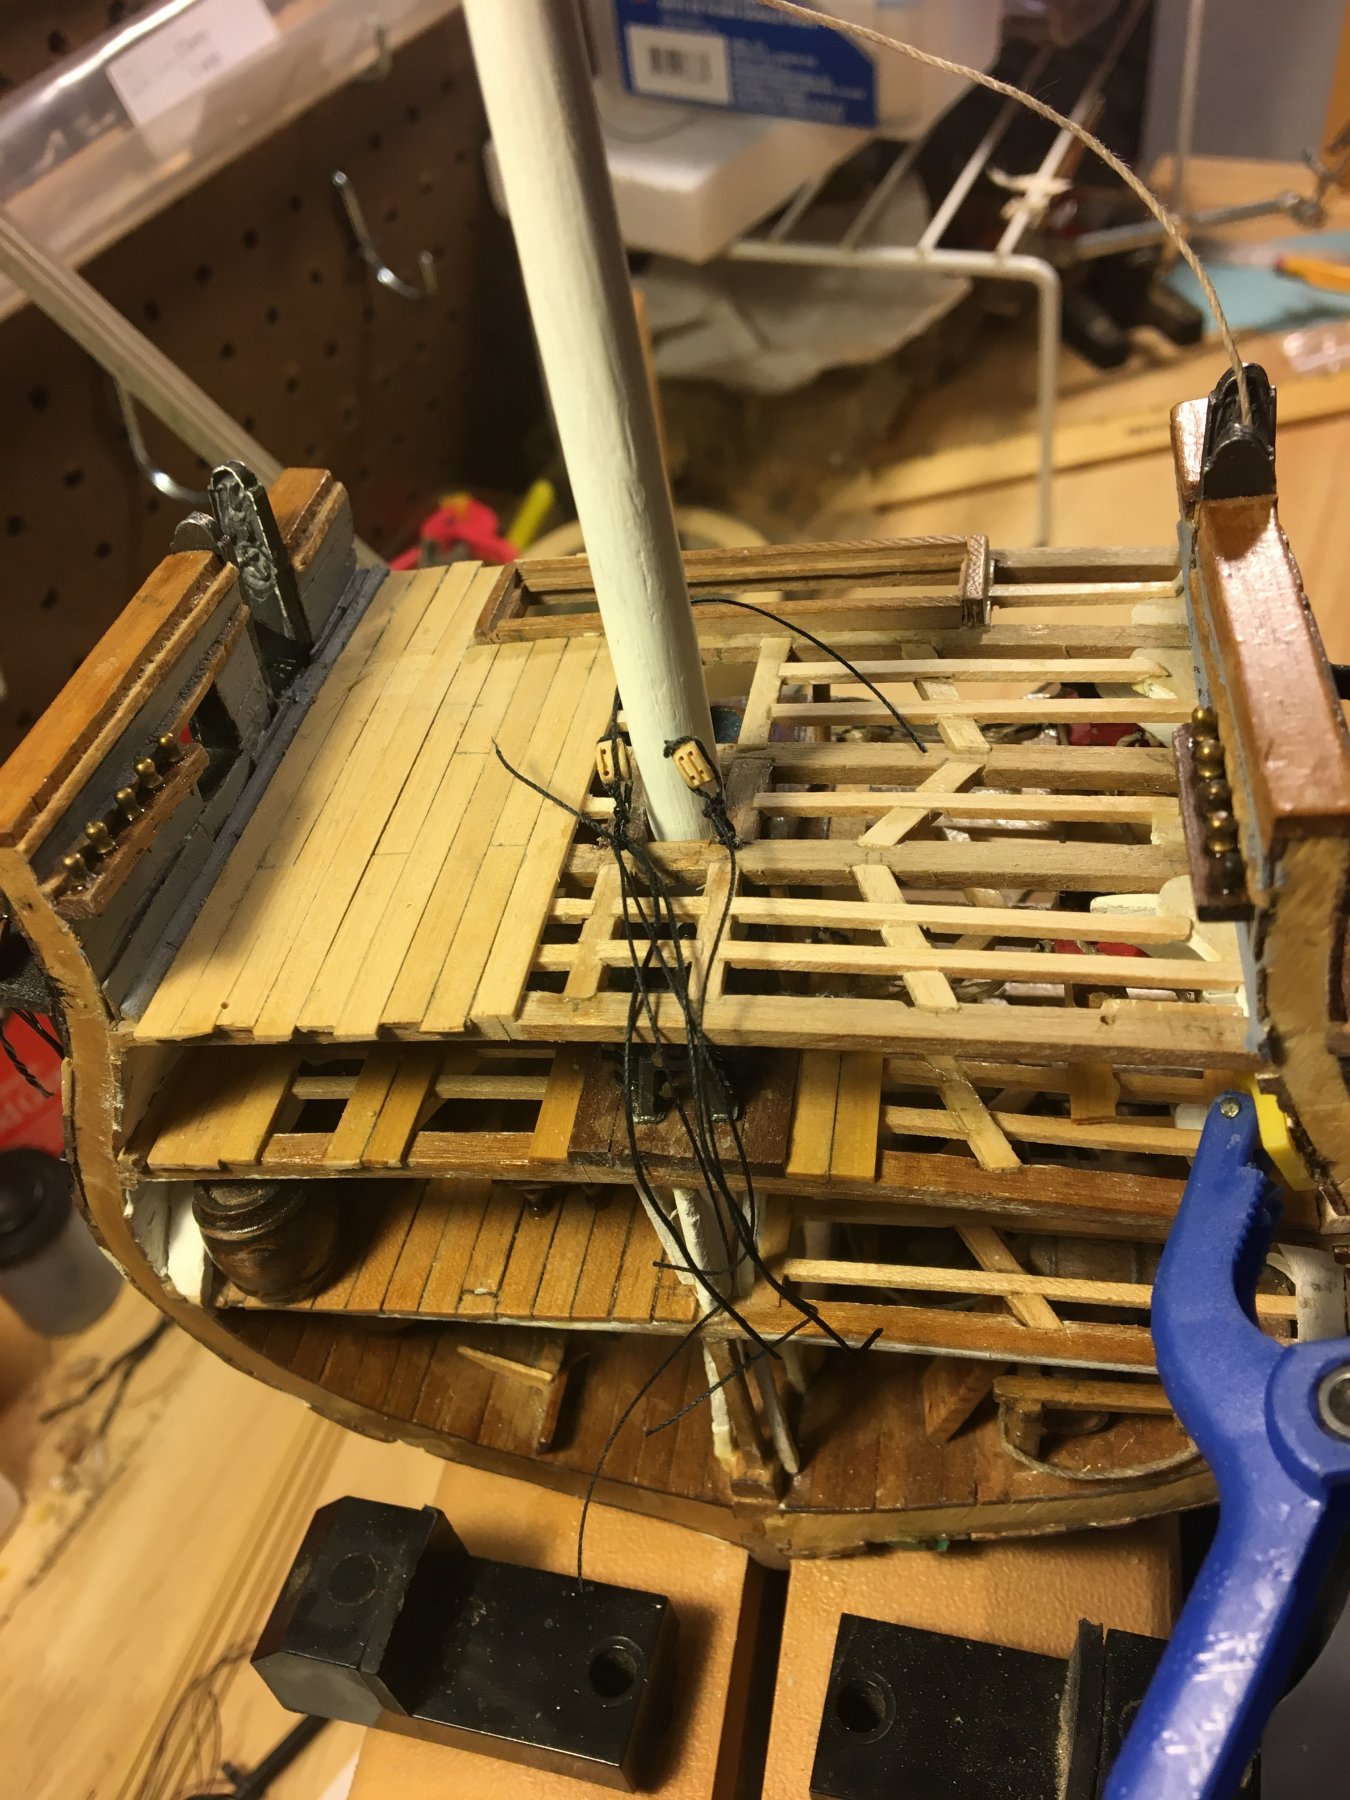
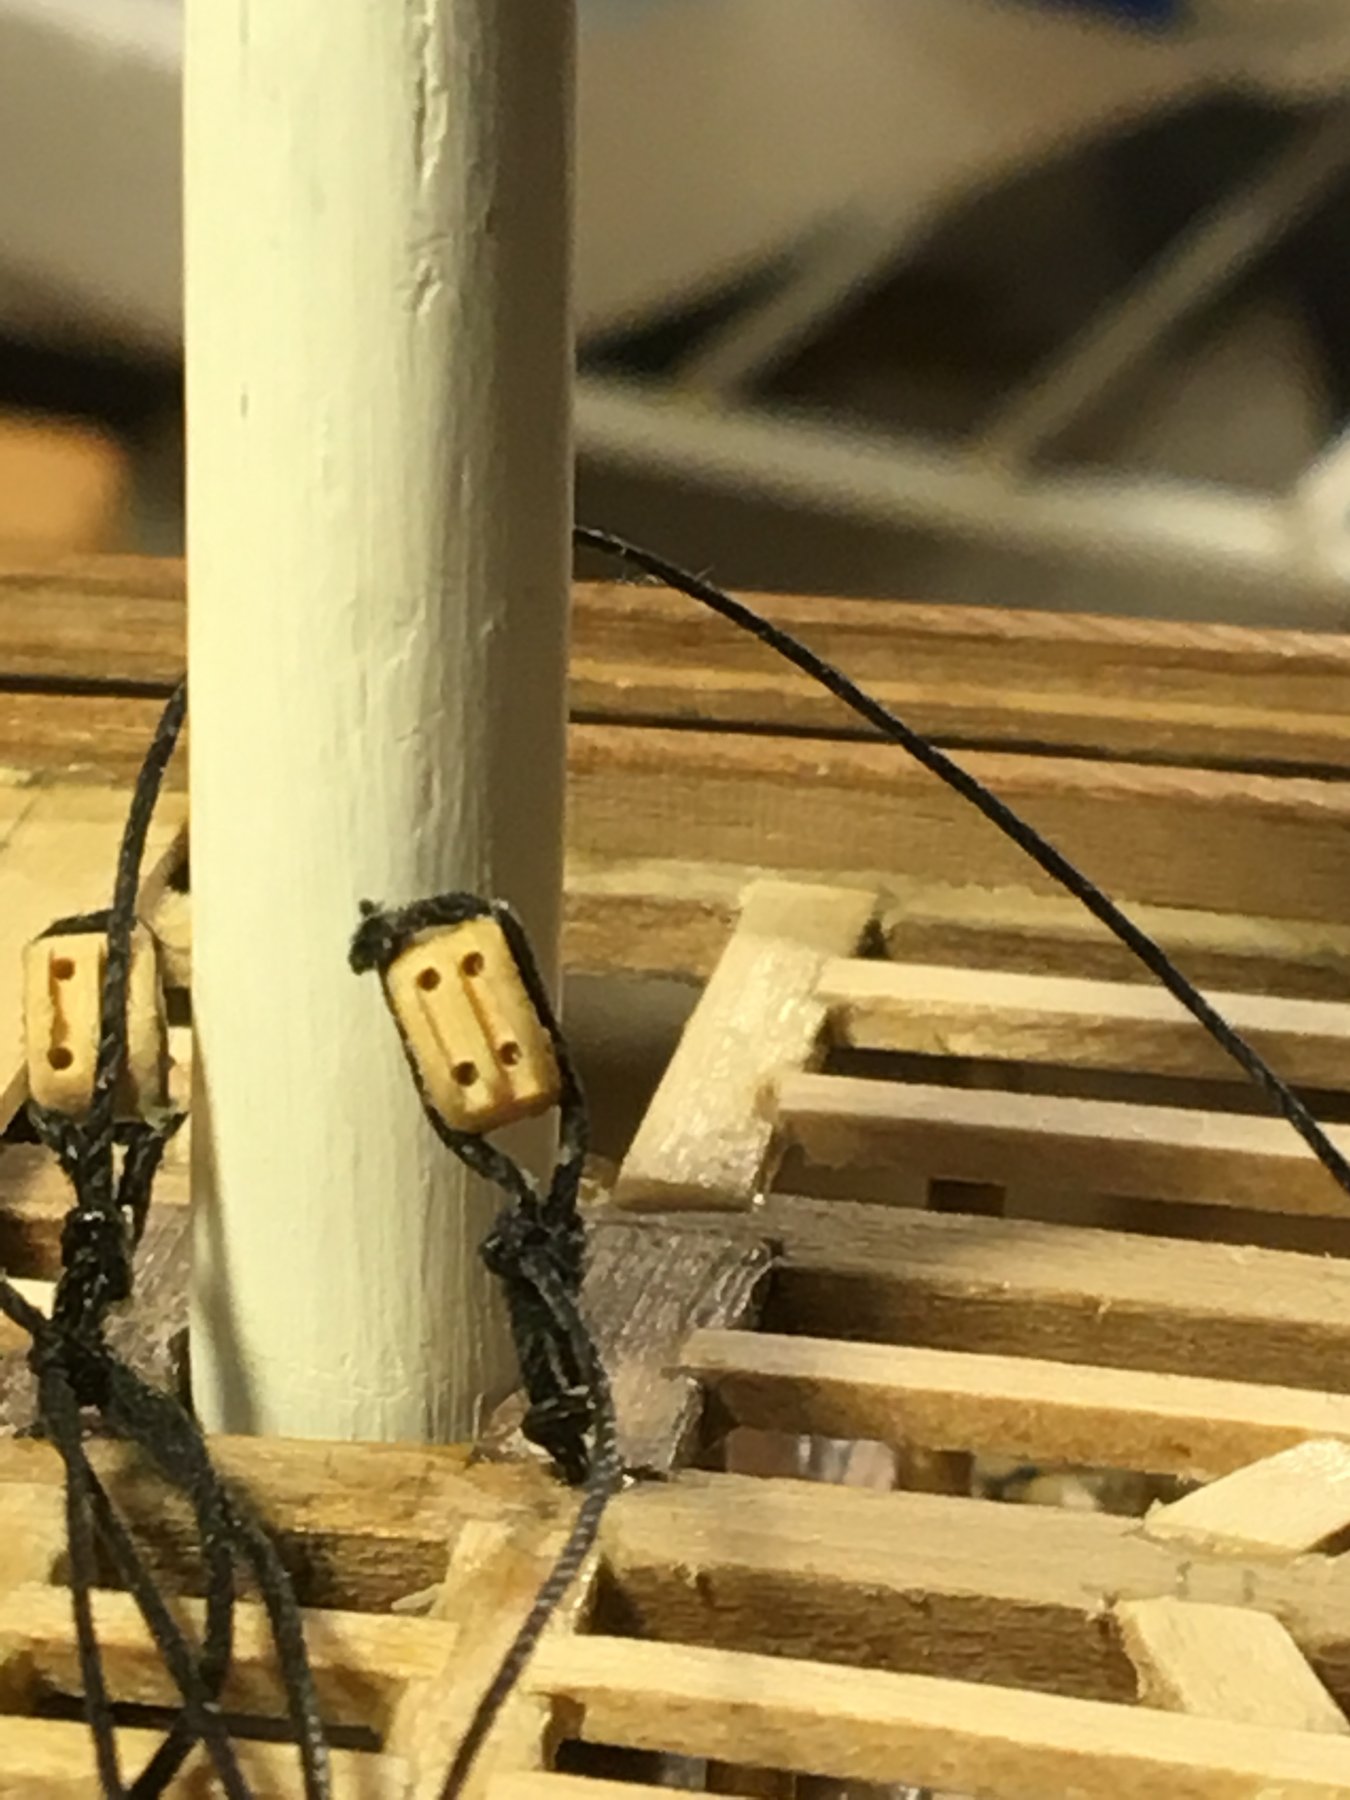
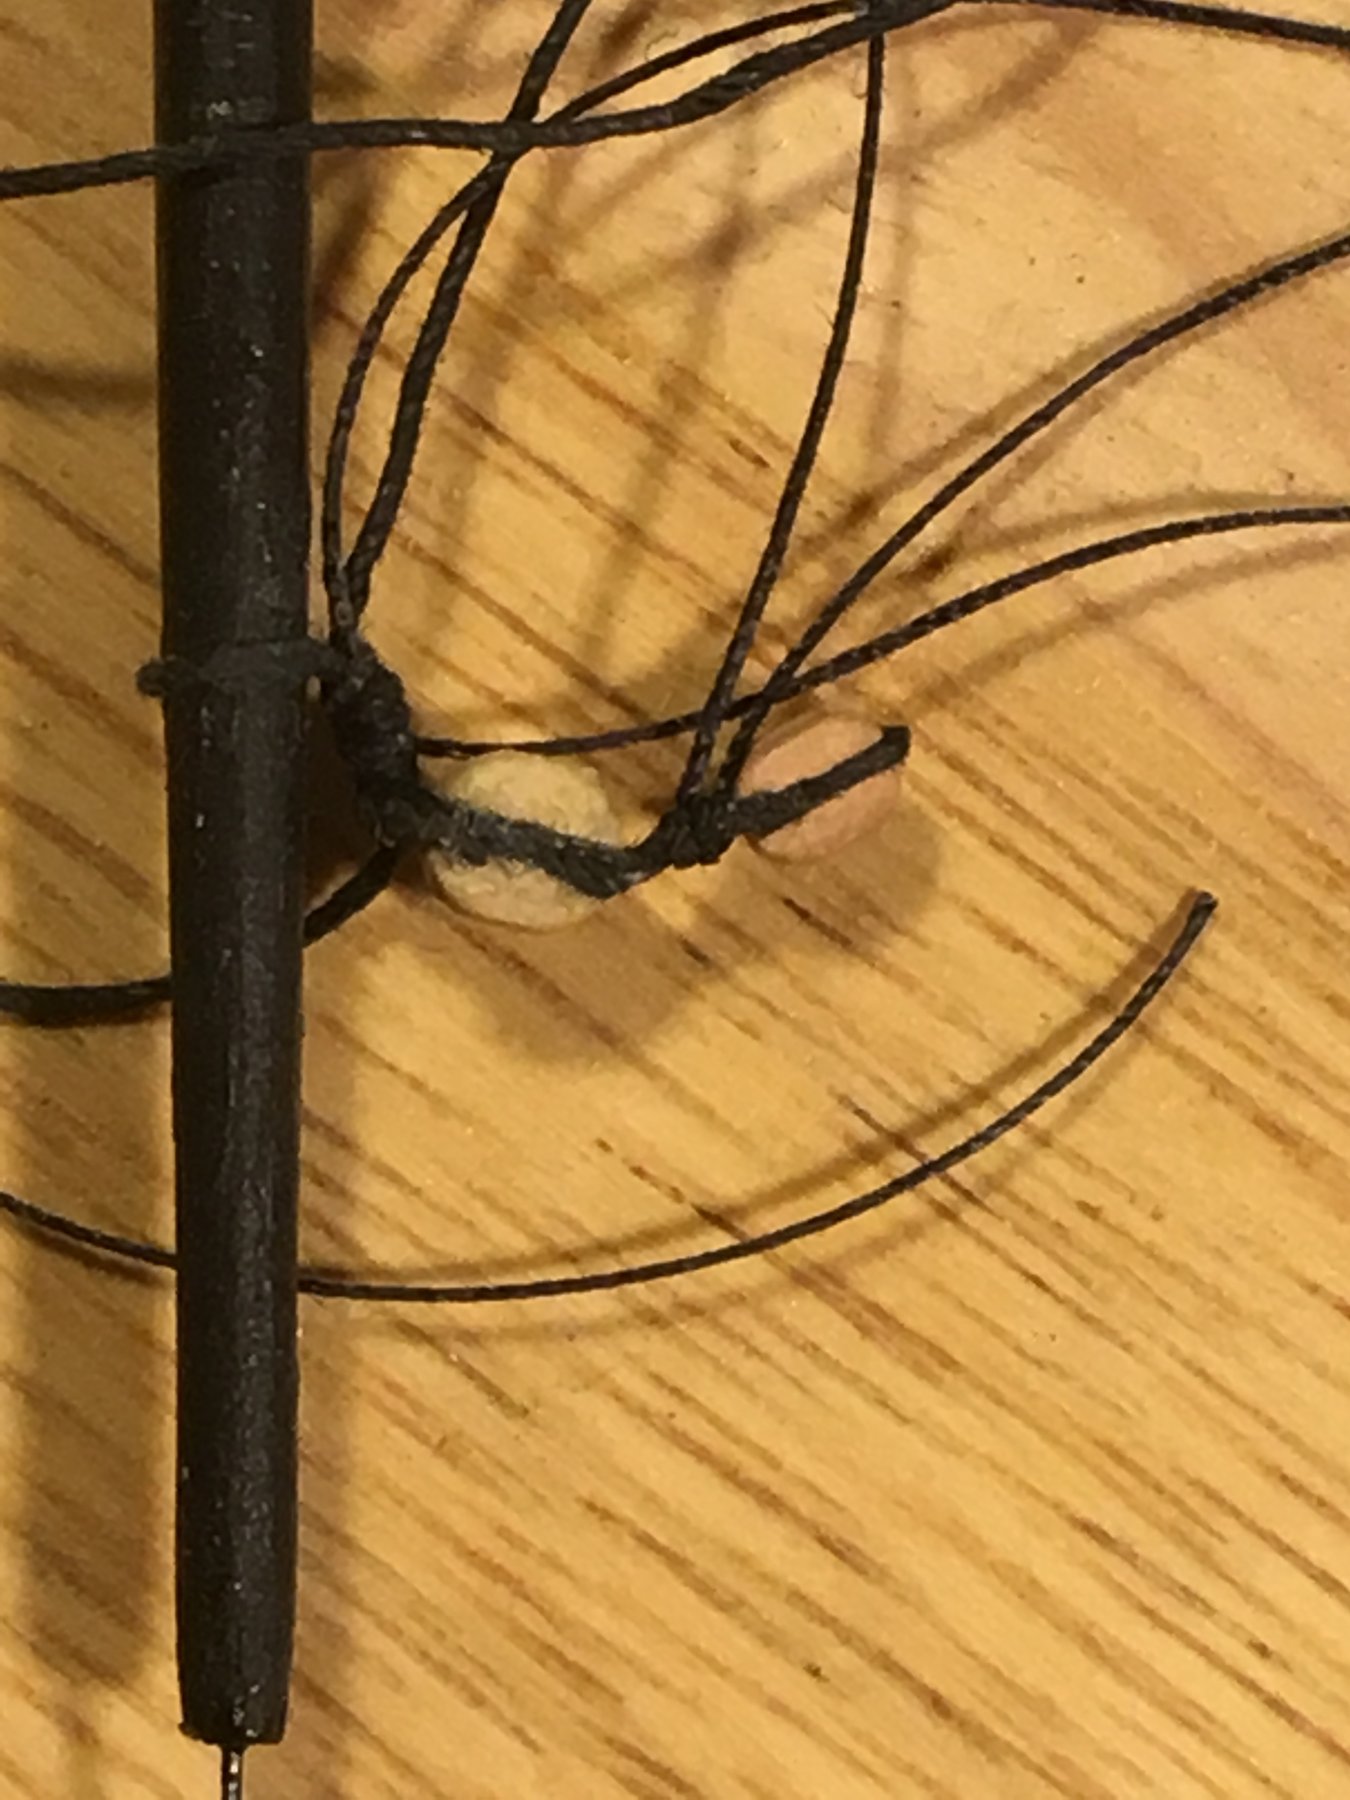
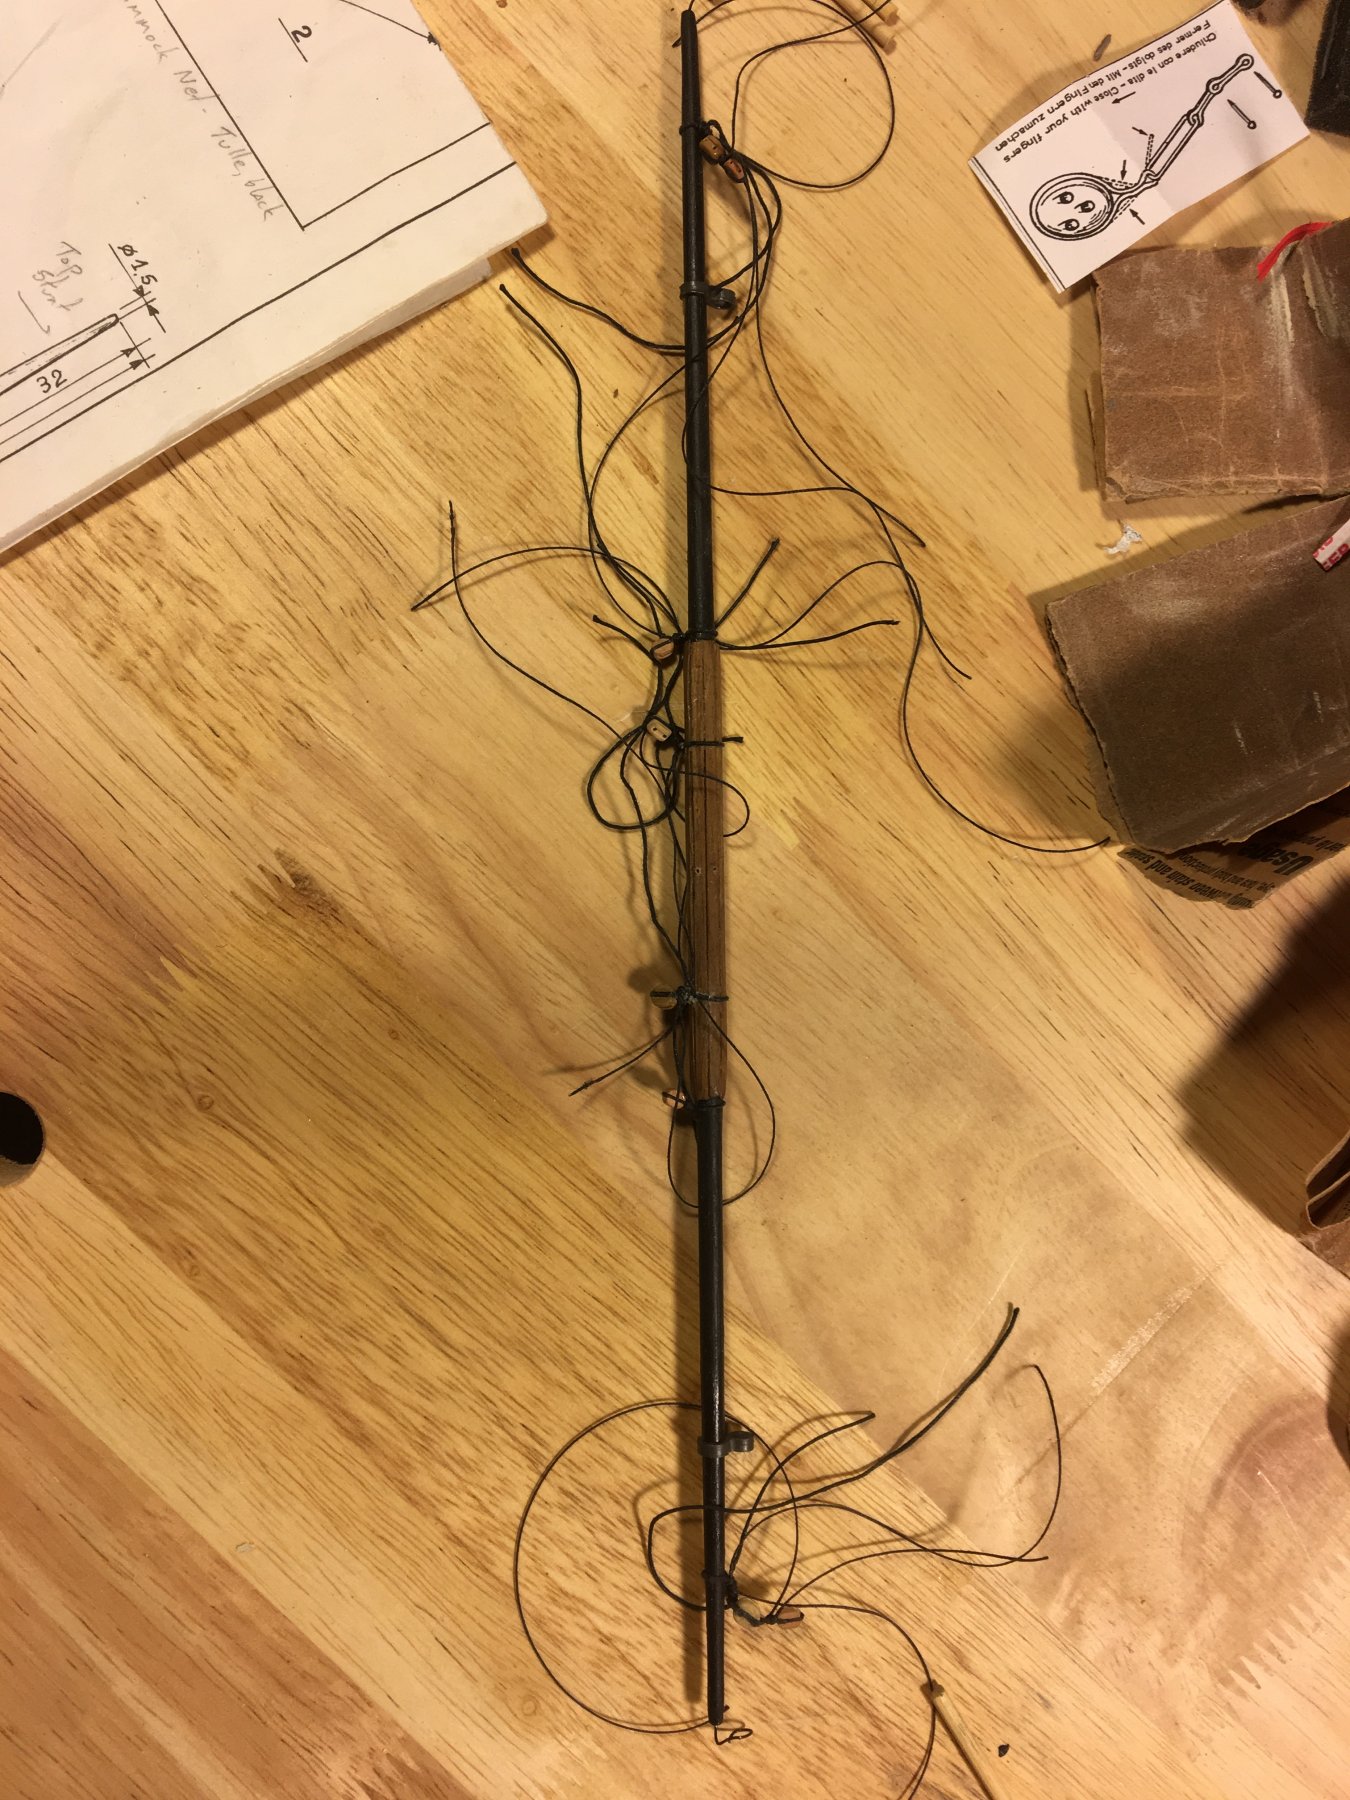
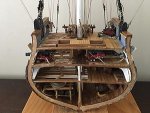
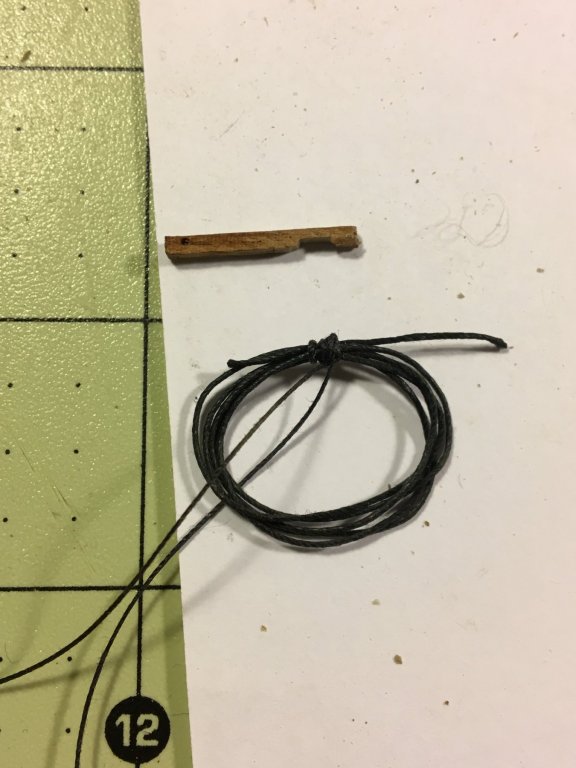
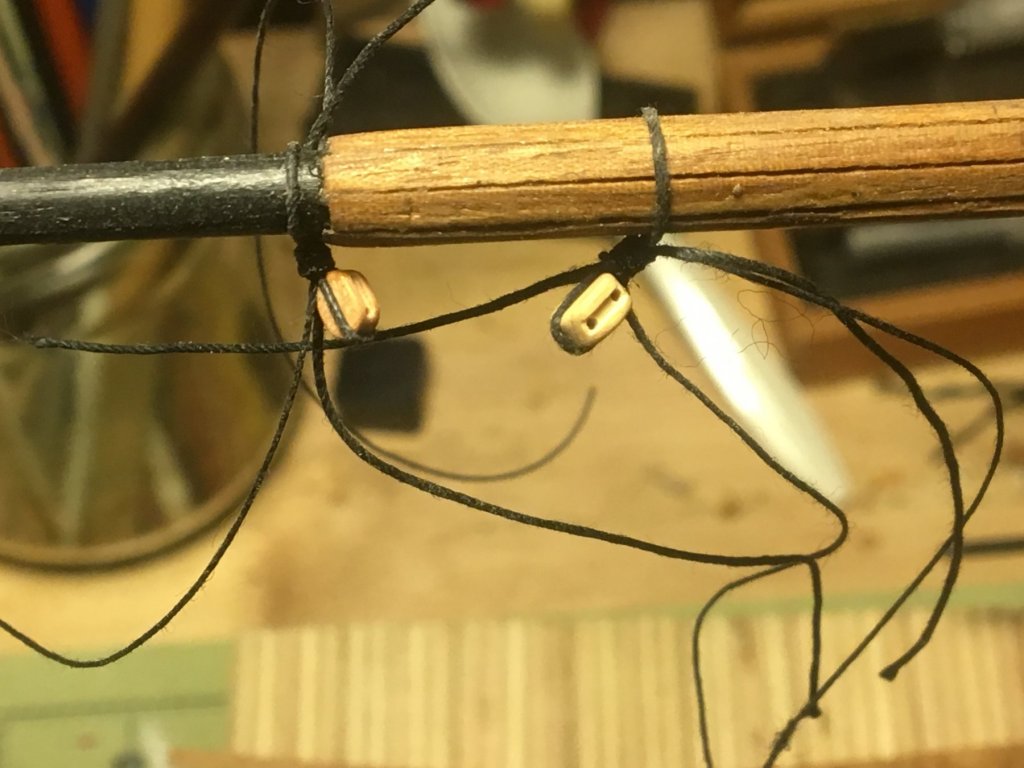
 Now that I am getting near to completing the hull, I can start on finishing the yards and starting to rig them and the ship. I've added the holly on the outside of the gun deck to simulate the white-painted strip on the hull - will need to fabricate gun ports of the same wood. You can also see the cut back channel and main chains. I've attached the blocks for the falls of the truss: And I've made the cleats and strops to go at the masthead to attach the pendants for the jeer blocks.


- 108 replies
-
- 3
-

-
- mamoli
- constitution
- (and 2 more)
-
Poor Man's Lathe disasters
stevenmh replied to stevenmh's topic in Modeling tools and Workshop Equipment
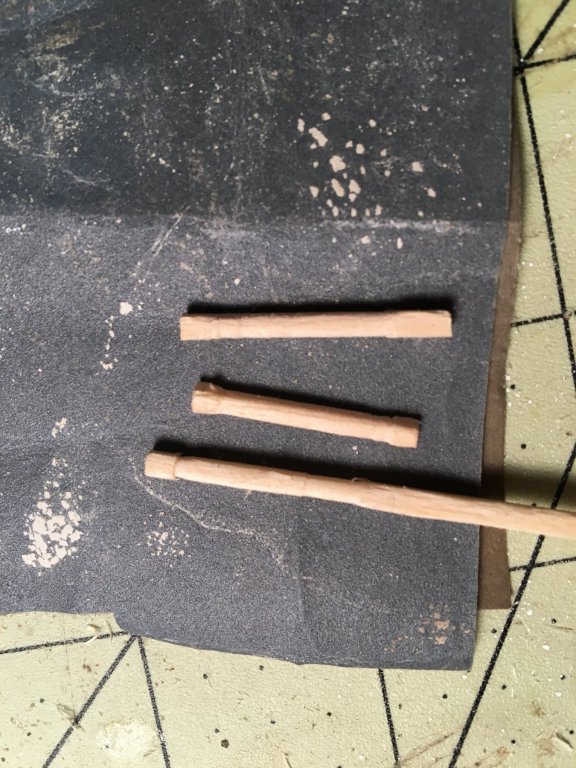
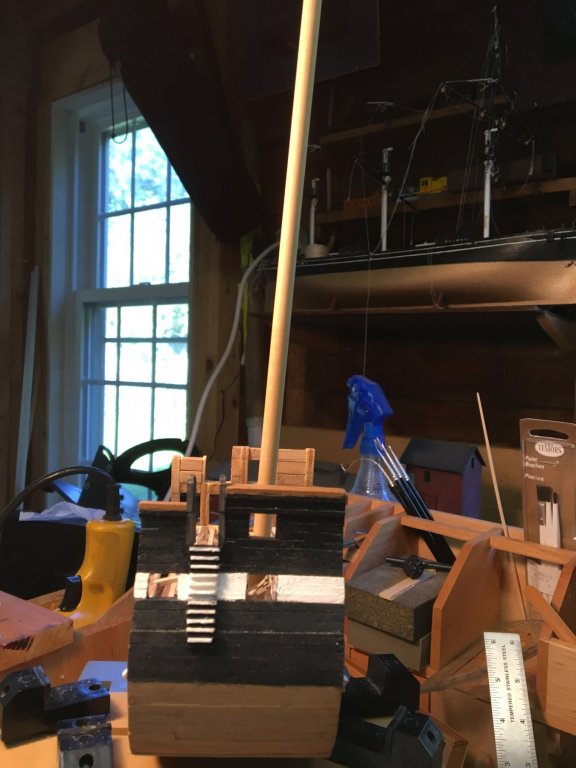
I looked up the Proxxon on ebay - they go for north of $200, which is a little steep for me at the moment. Using the "updated" setup, I have managed to finish the spars for my cross section - was particularly worried about the topgallant mast and royal yard, bit managed a reasonable product. Clearly before starting my next build I will have to rethink this - by then maybe I will have found a lathe at a reasonable price, or at the least figured out how to install a dimmer.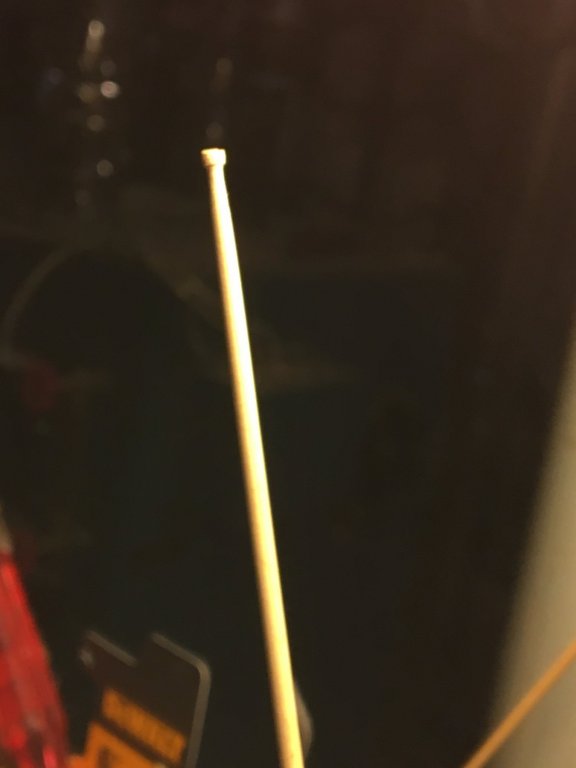
-
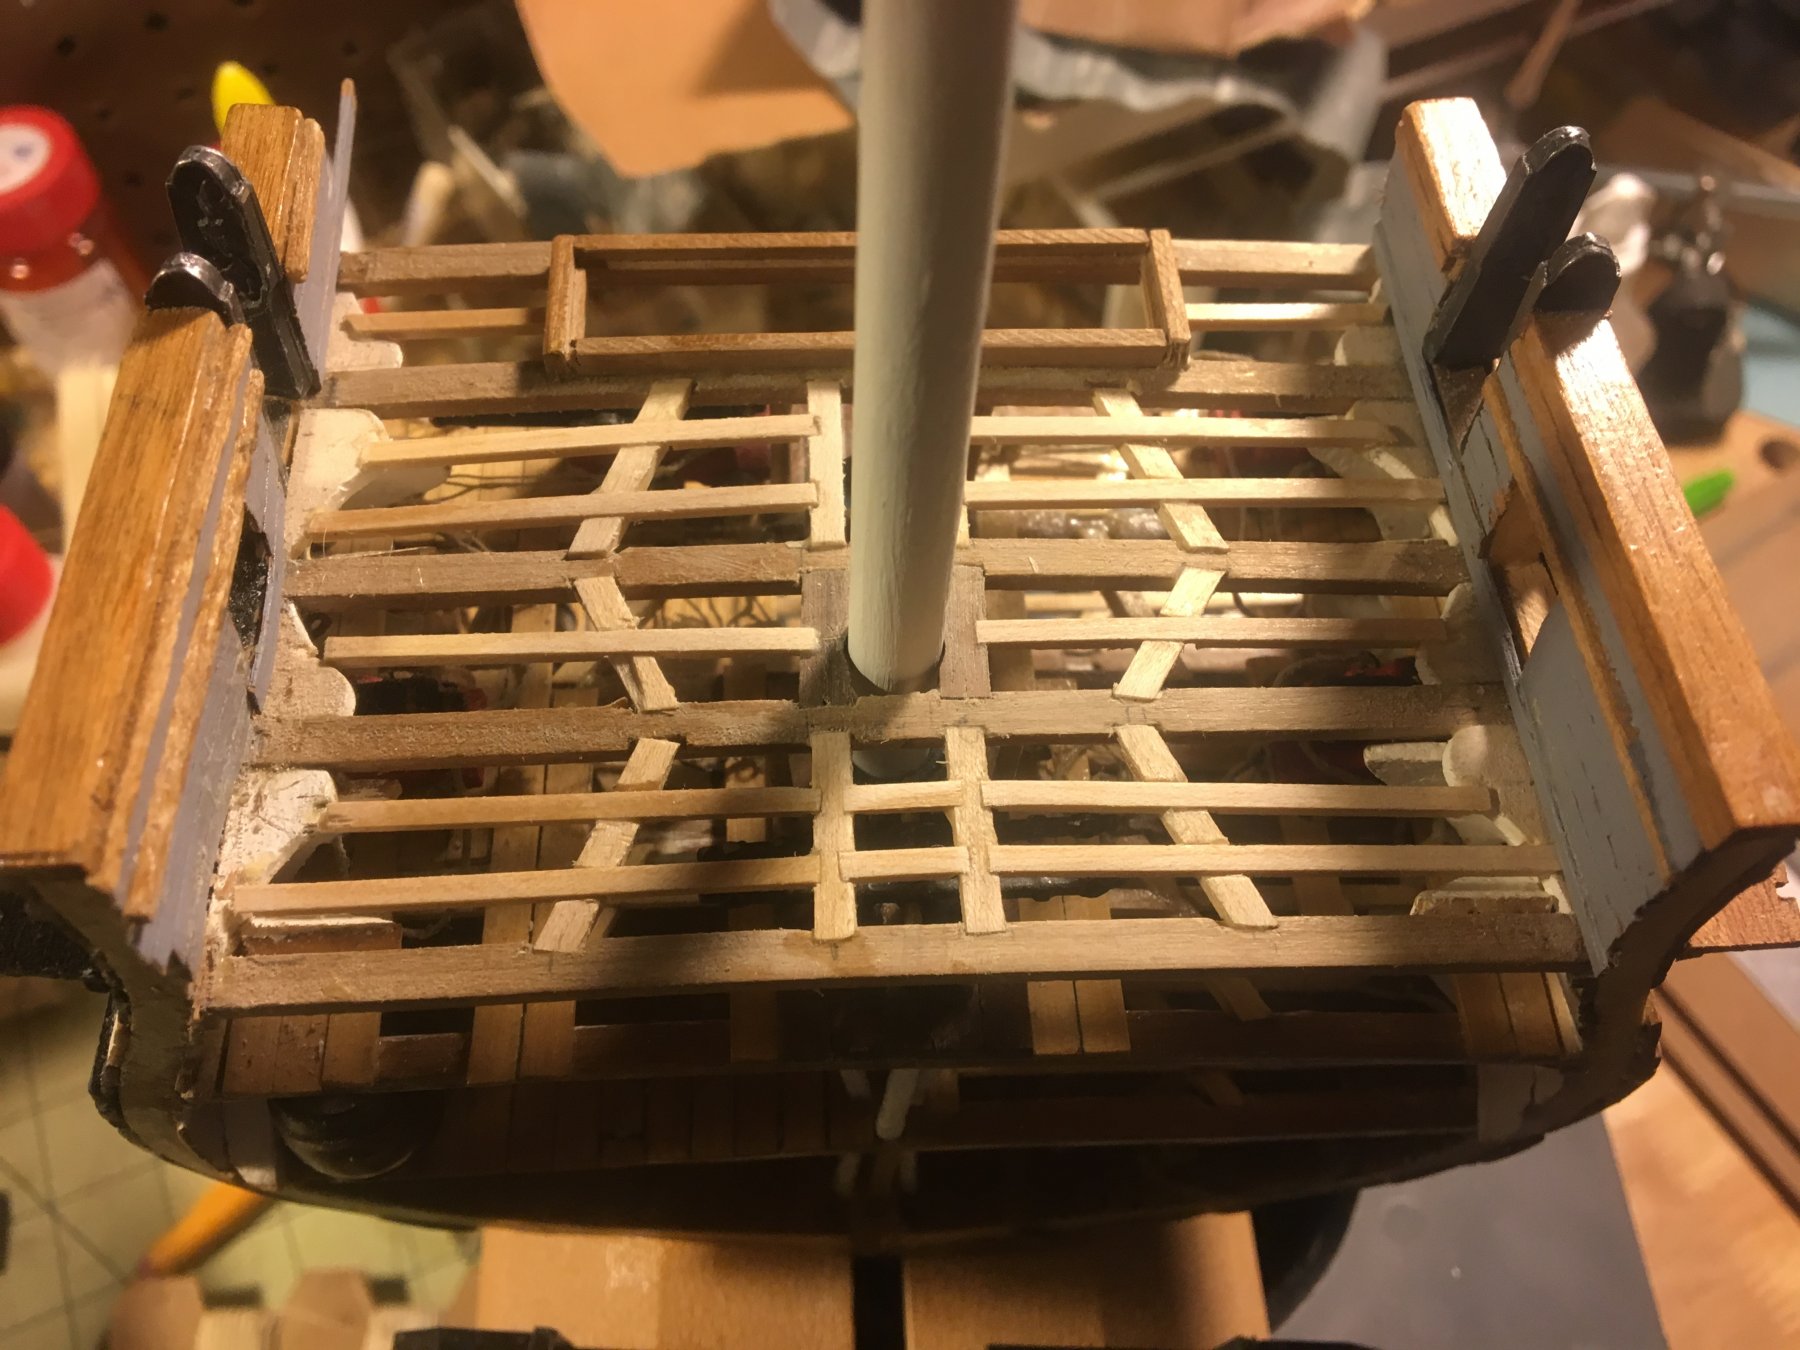
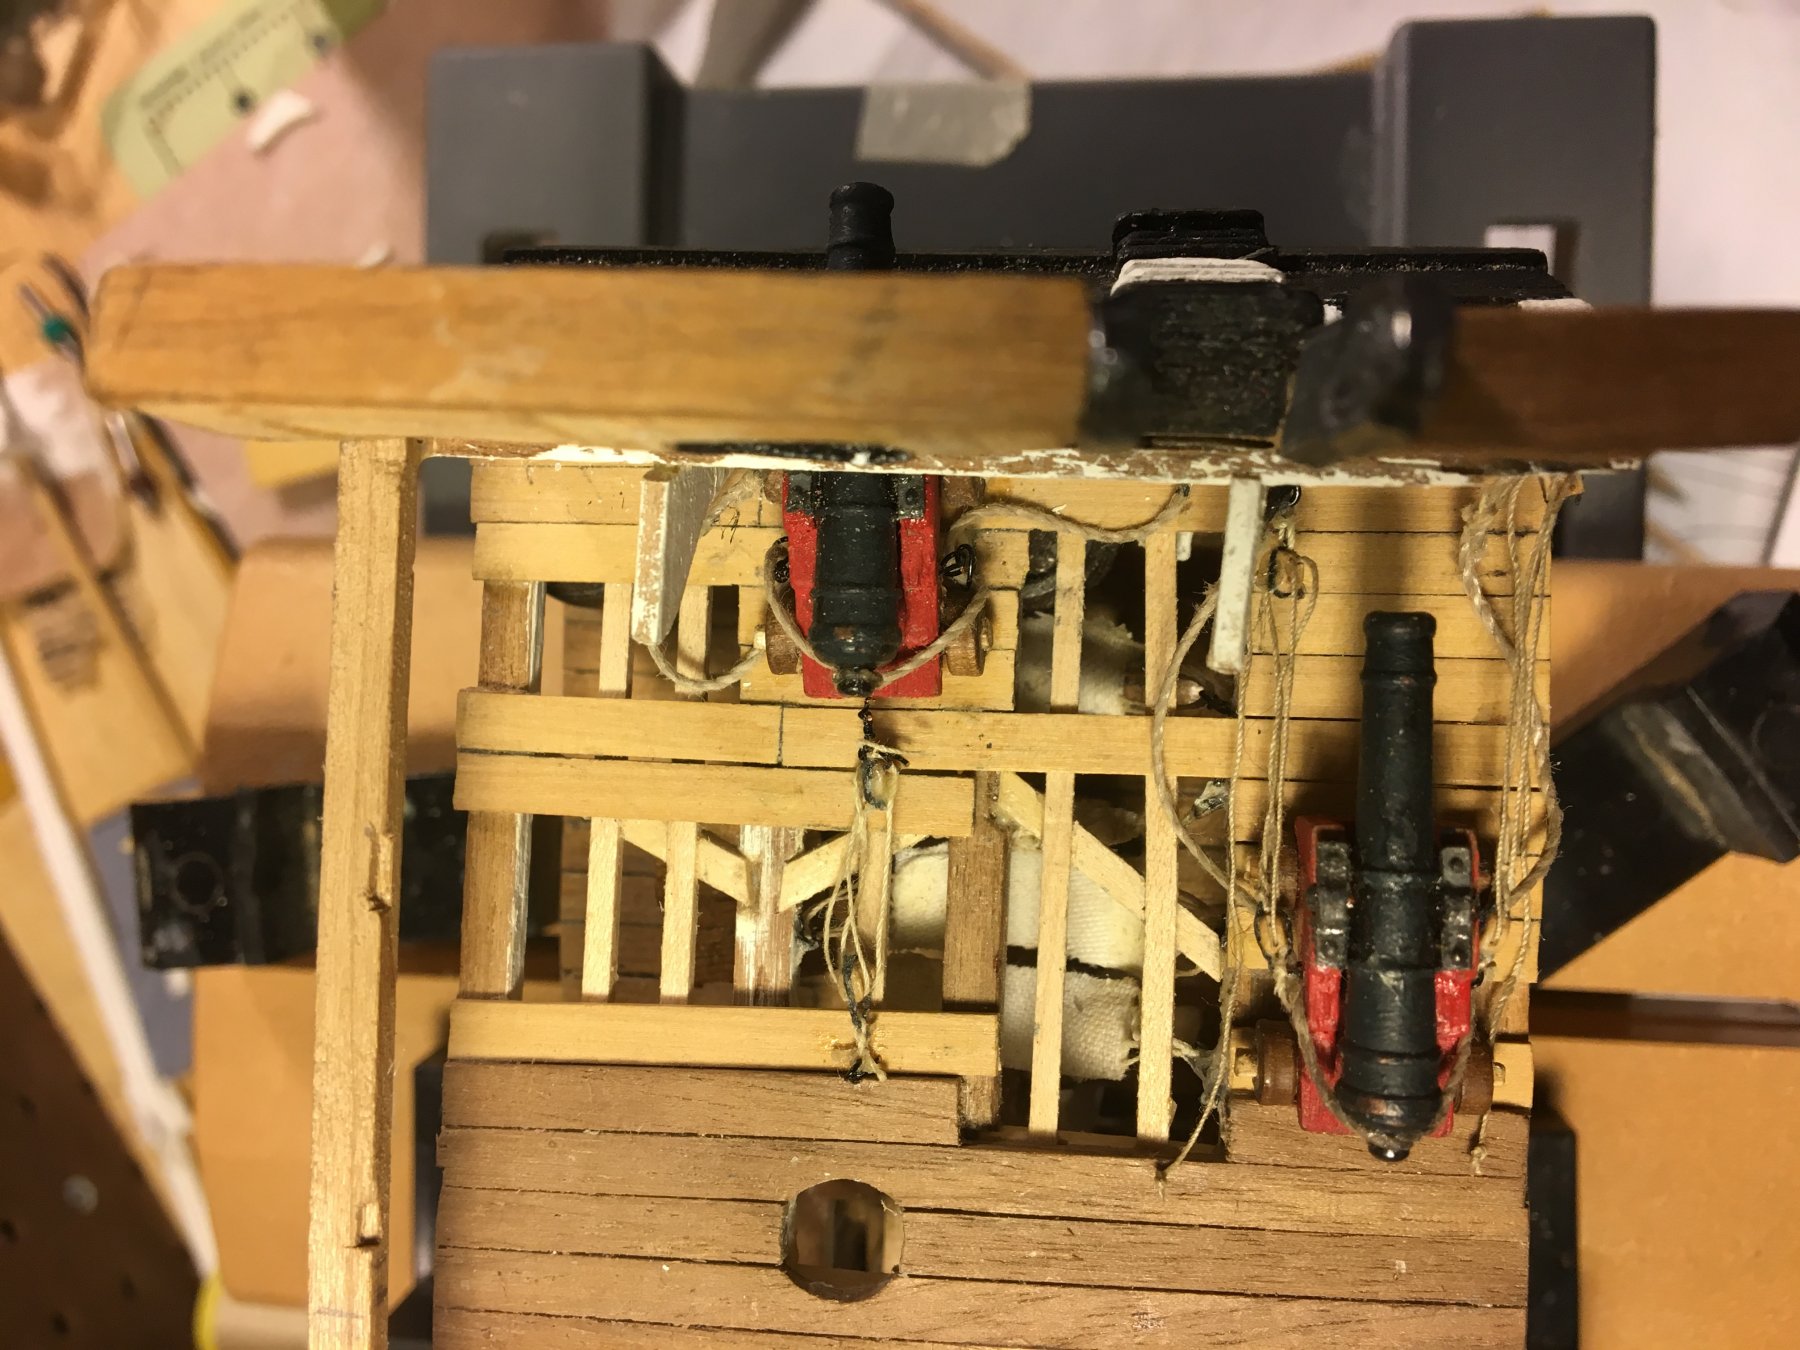
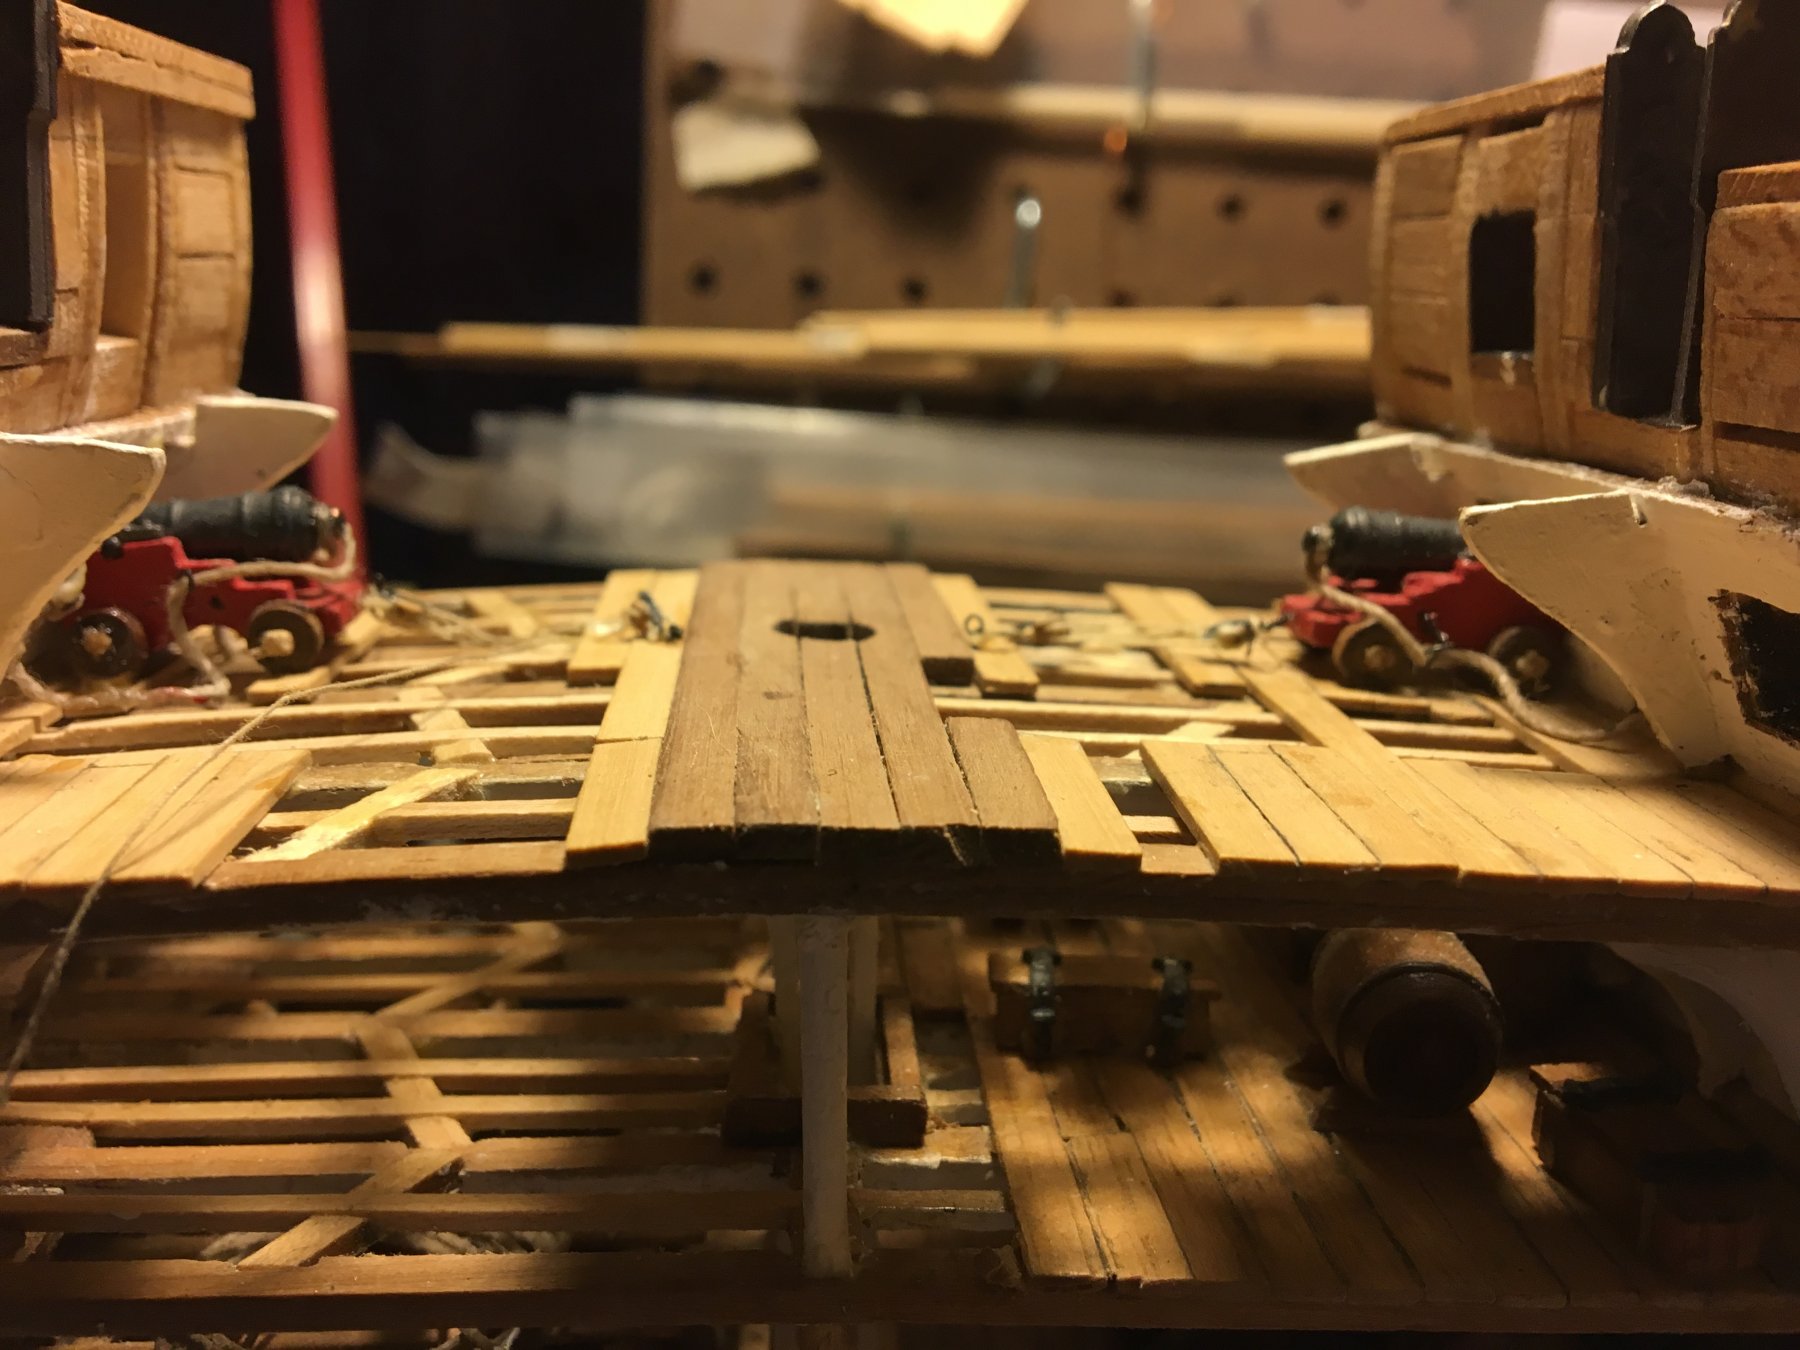
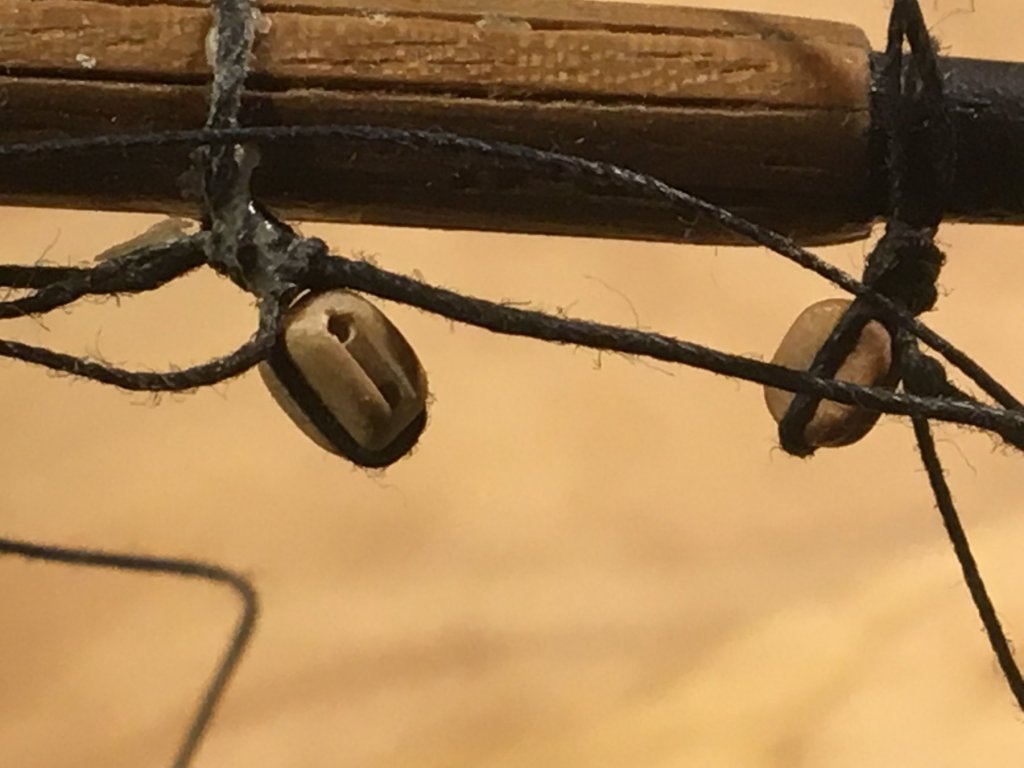
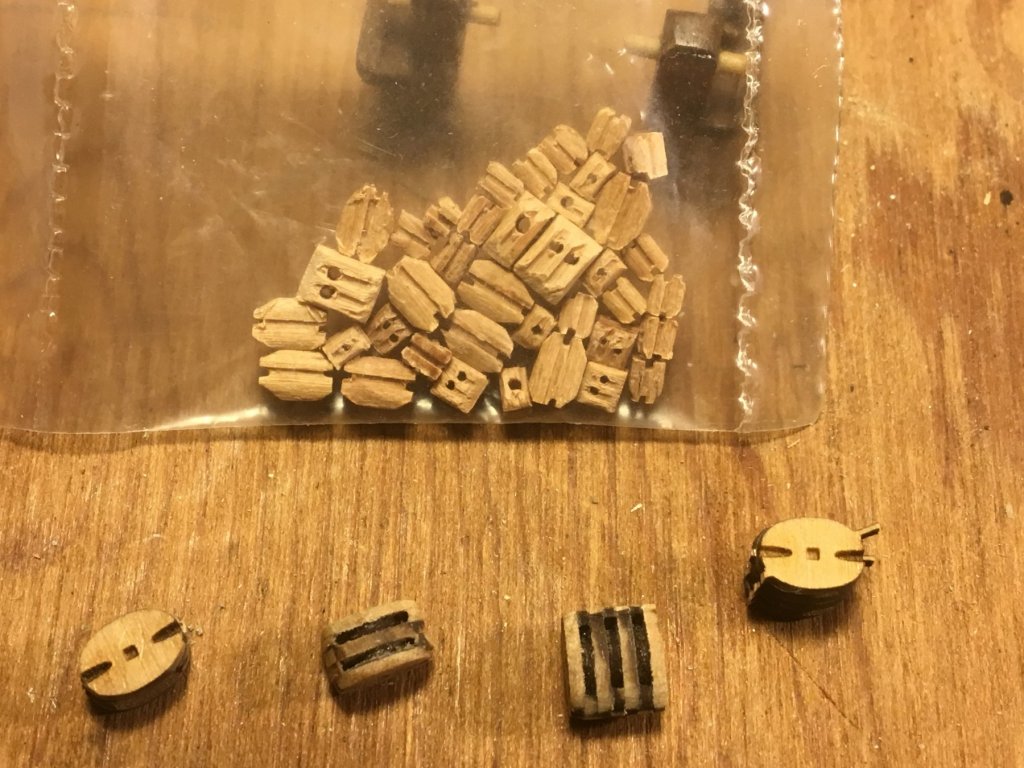
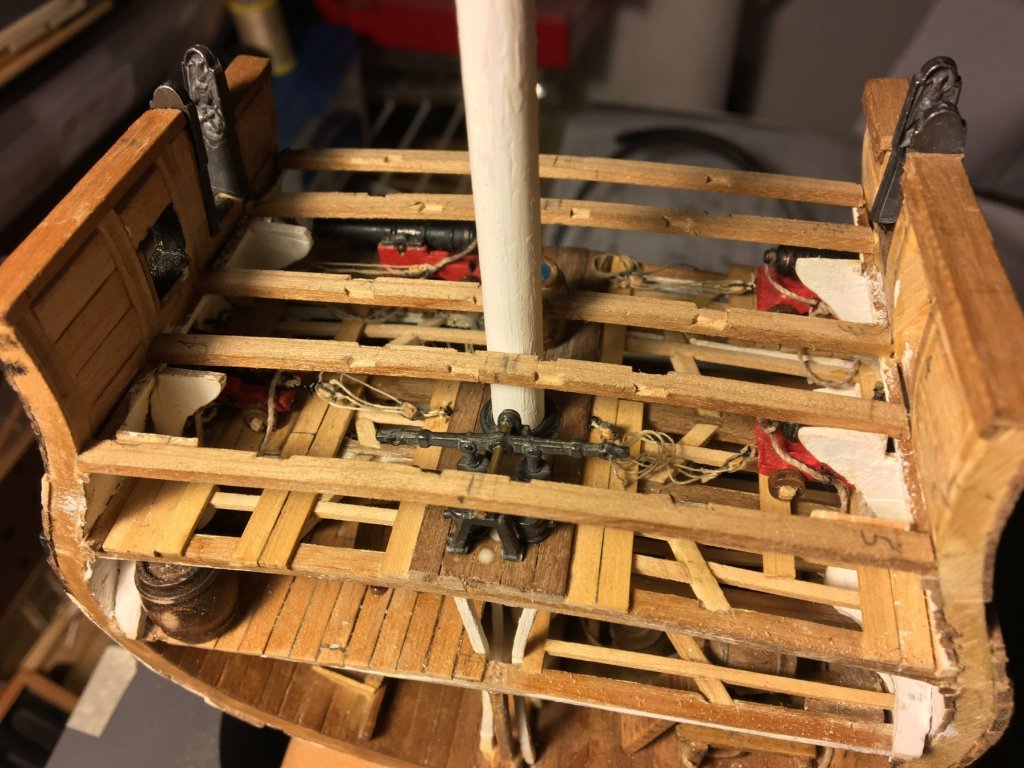
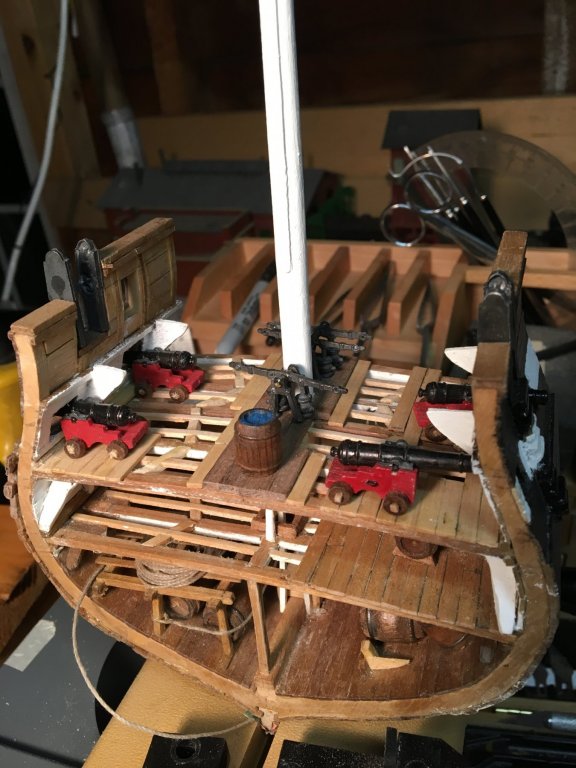
Forging on - here is the updated version of my poor-man's lathe - works better, but I'm still nervous when I get to the thinner parts - however the main and topsail yards and main studs'l booms have been successfully constructed. Spar deck is framed and now just needs the port side to be planked, then on to the masts and spars. Given the configuration of the gun deck, especially the cannon that is run in, I don't think putting in the 2 ladders will work - especially as they are in the plans, running port to starboard. Running them fore and aft probably also won't work, so I am going to try to use the materials provided, particularly the risers, to make a grating or two for the hatch. I also am thinking about changing the positions of the deadeyes - the channels that came with the kit place the fore-most deadeyes so that the lanyards cross over the carronade gunports and the chains have to take a severe turn to avoid the gun deck gunports. I'd just shift them back, but did not really realize this until after I had glued the channels onto the hull, so I will have to give this some more thought - thoughts and photos to come. I've begun to add blocks to the main yard - using some of the stuff I've seen on this sight the first 2 were a lot easier than I'd dare to hope, but that could also be because they are 4 & 5 mm blocks, not the 2.5-3mm ones I was suffering over for the gun tackles. The upper yards will tell - I'll just spend some time enjoying these victories. The footropes will be made with 28 gauge wire, so hopefully they will not take too long either. I have not had great love for the blocks that came with the kit, so as you might be able to tell from the above photo, I've gone to Chuck/Syren Ship Model Company to be rescued - I've even combined his single and double 'make-your-own' blocks to make the triple block for the main jeers. You can see the quality difference below - kit blocks still in the bag, Chuck's on the bottom - they still have to be sanded and rounded, but still...


- 108 replies
-
- 3
-
-
- mamoli
- constitution
- (and 2 more)
-
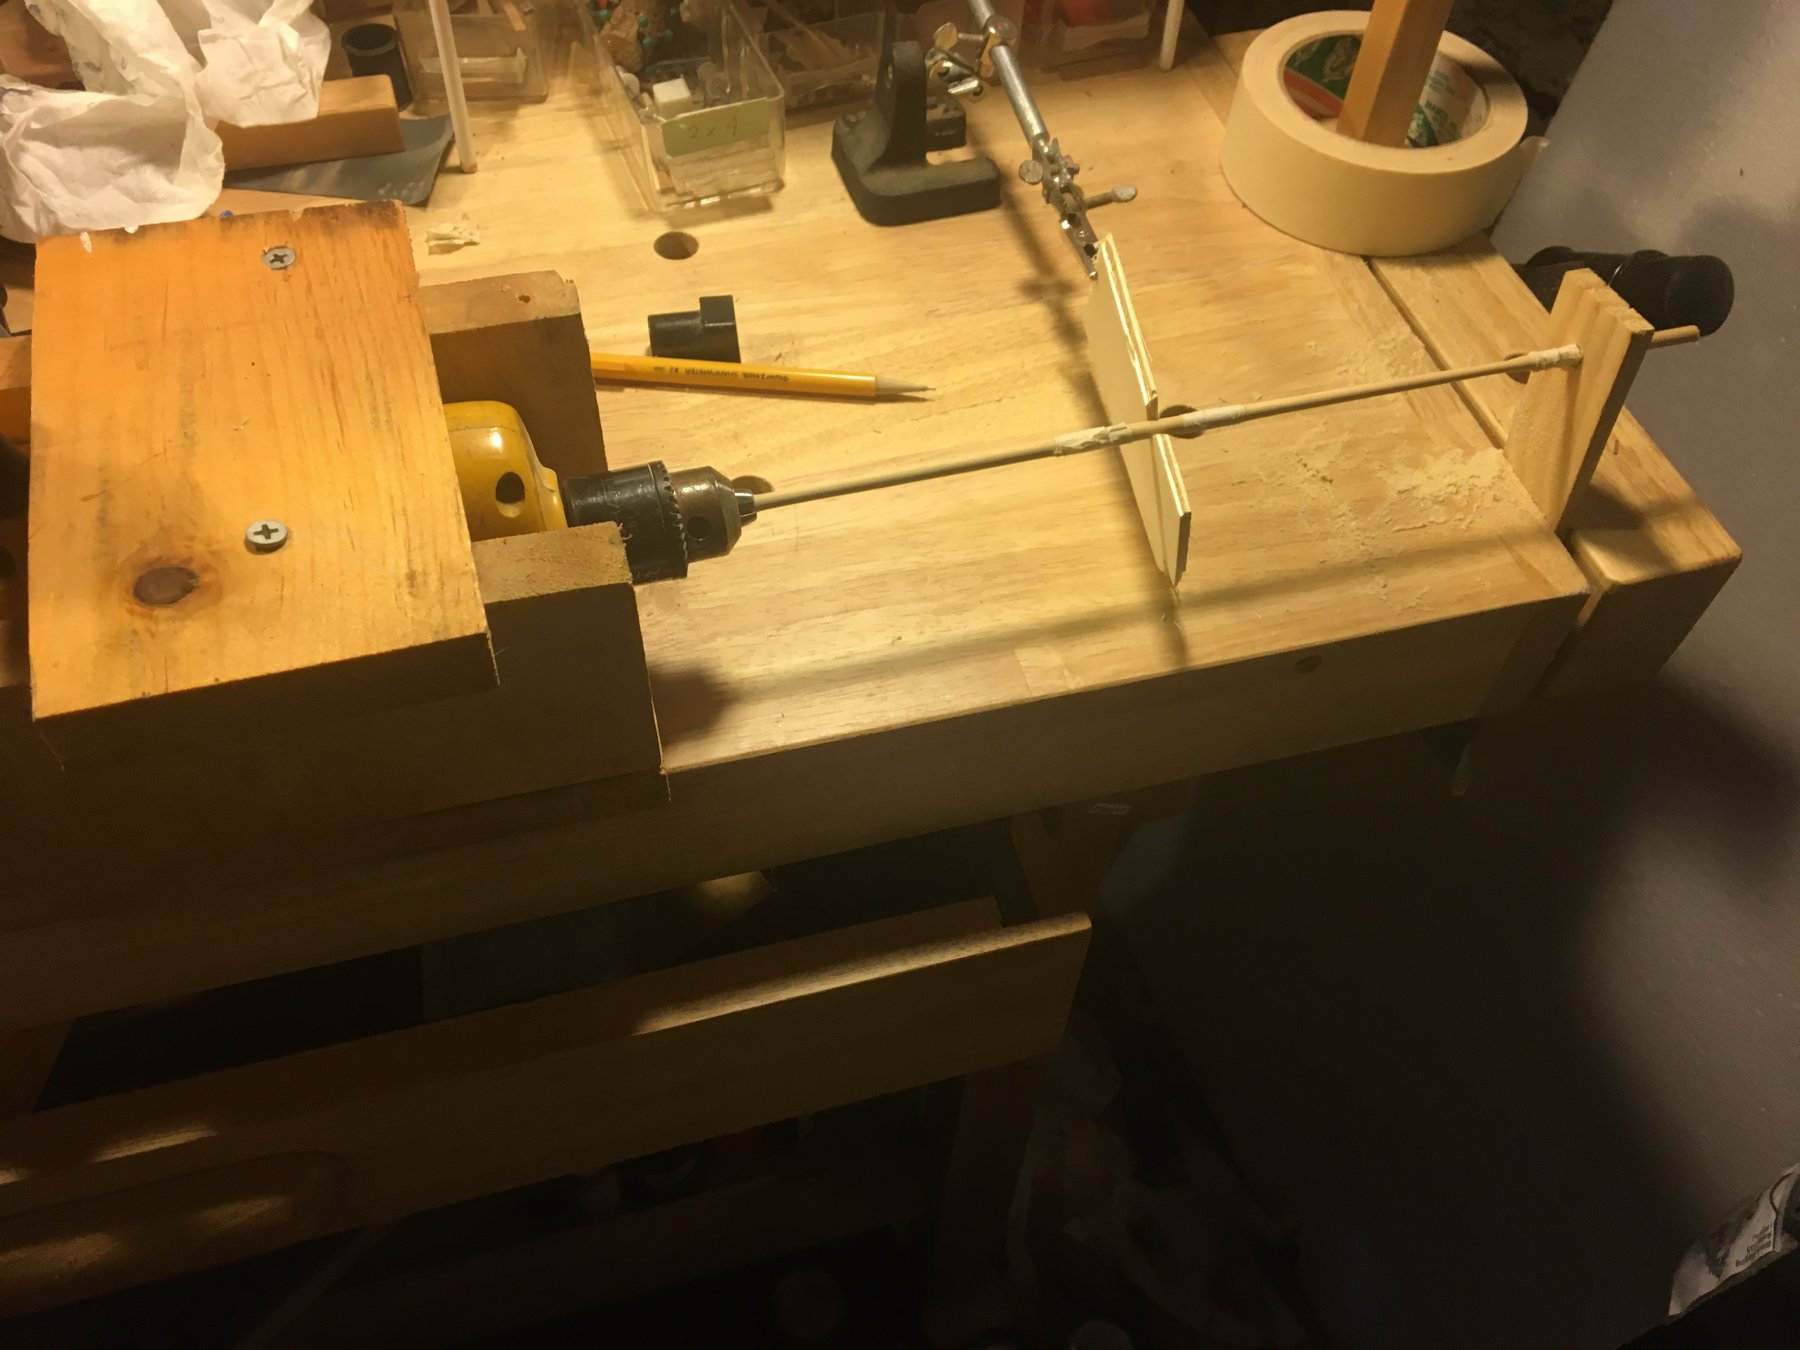
Thanks for all the advice - I may have to practice a bit before I trust my hand carving/sanding skills. Here is my new and improved set-up:

-
Poor Man's Lathe disasters
stevenmh replied to stevenmh's topic in Modeling tools and Workshop Equipment
Thanks for the link - this is my set up after have read these responses. Thanks for setting me on the right track.
-
Thanks Frankie, that's very helpful
-
Thanks all - yes, I expect the fact that the other end is free supported only by my hand might have a tad to do with the problem...
-
I've made a "lathe" using an old drill and had success with the slight tapering required for the main and top masts of my Mimoli Constitution cross-section. However, when it came to shaping the yards, disaster struck - happened on both the main and topsail yards - the diameter at the ends is supposed to be about 3mm. I'm a bit fearful of trying to shape the top-gallant mast and yard and the royal, since these all need to end up much thinner than 3mm. Is there some trick to this that I am missing? Do I need a drill with less torque? Am I making a big mistake using the dowls that came with the kit - if so, what wood would you suggest?
-
I was trying to shape it in my DYI drill-lathe - think I just squeezed too tight and gave it that spiral fracture - fortunately I had plenty of material and could start over, with a lighter touch.
- 108 replies
-
- 4
-
-
- mamoli
- constitution
- (and 2 more)
-
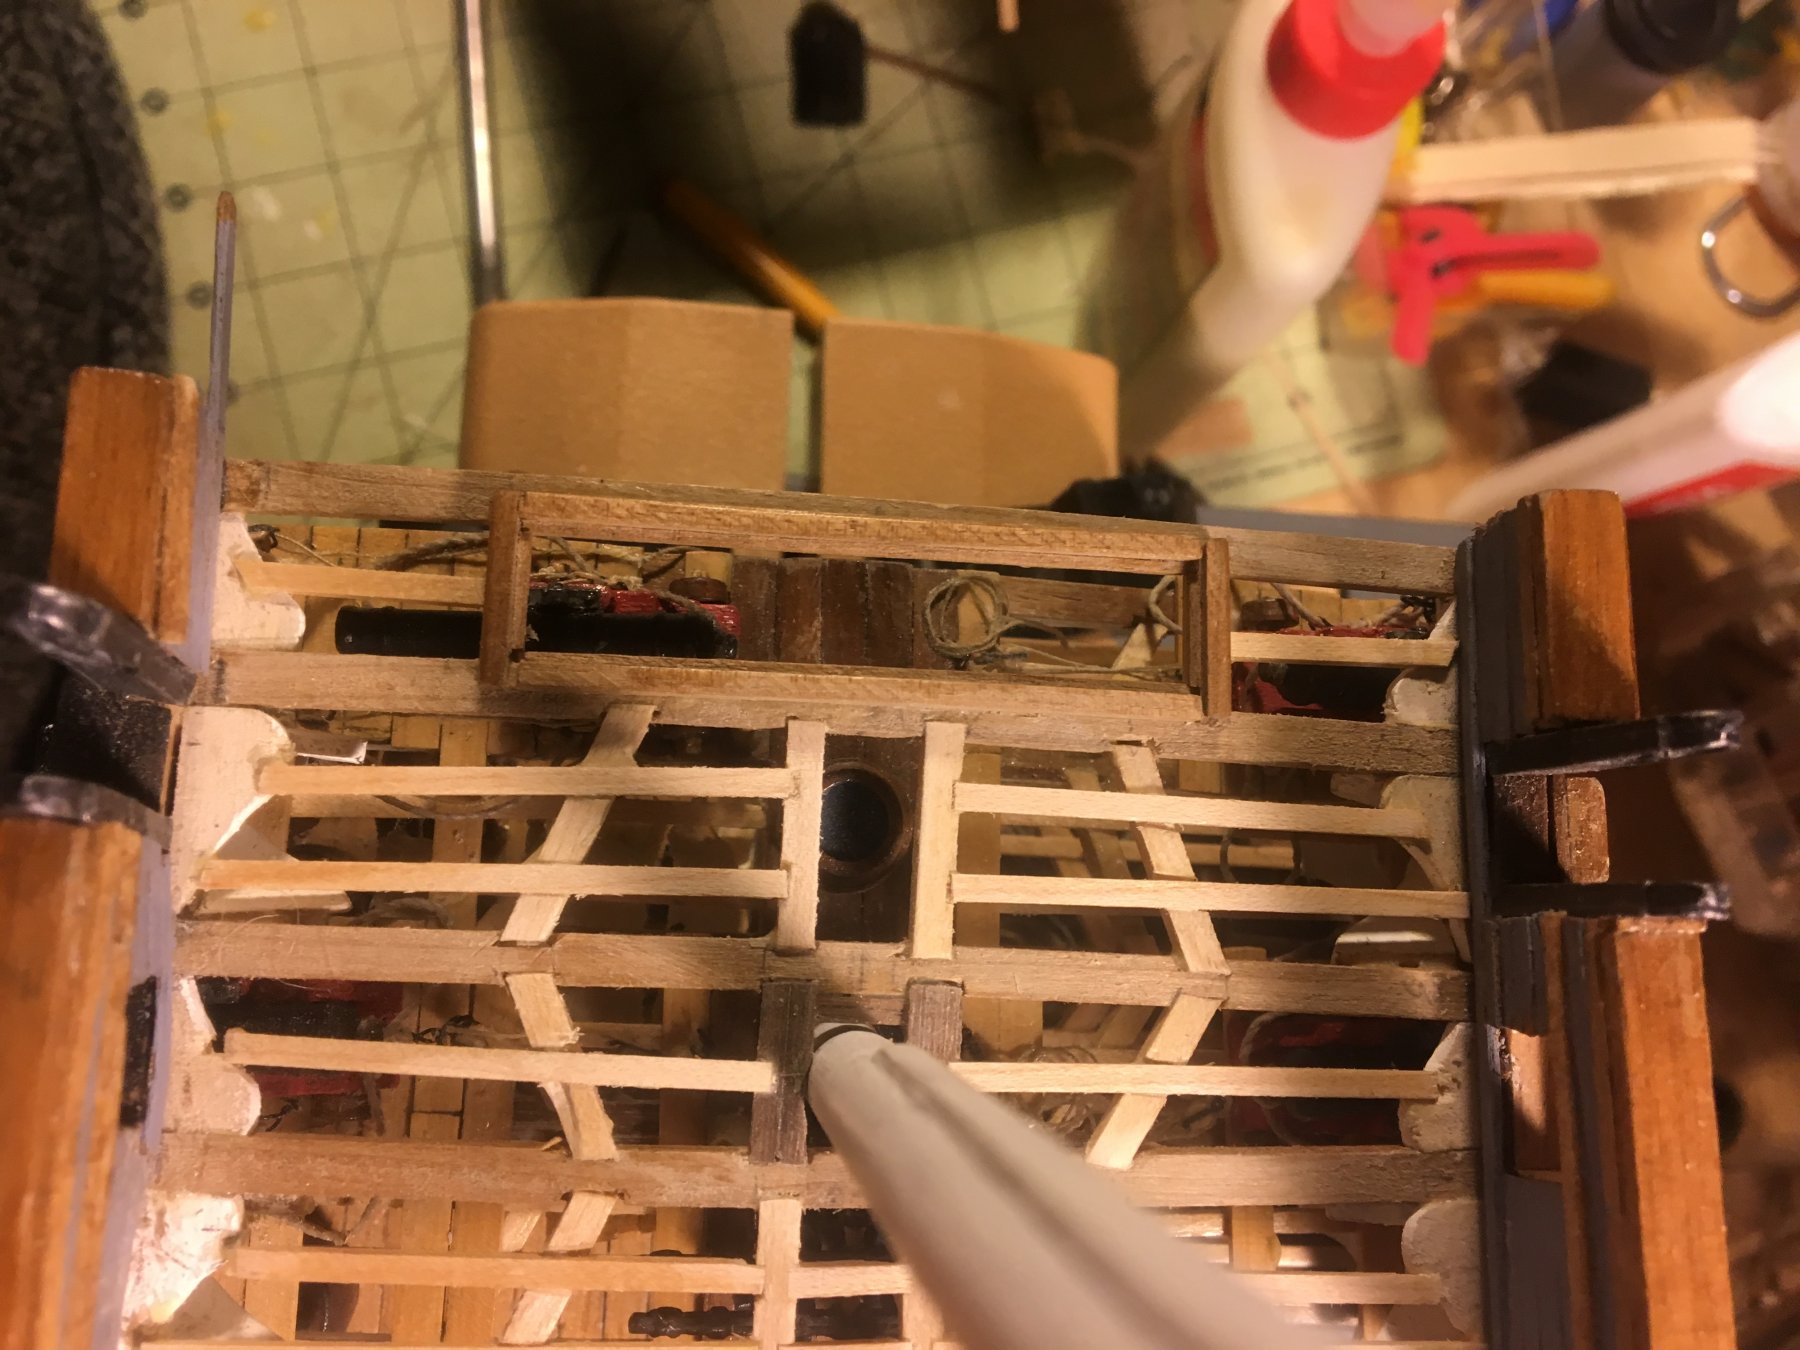
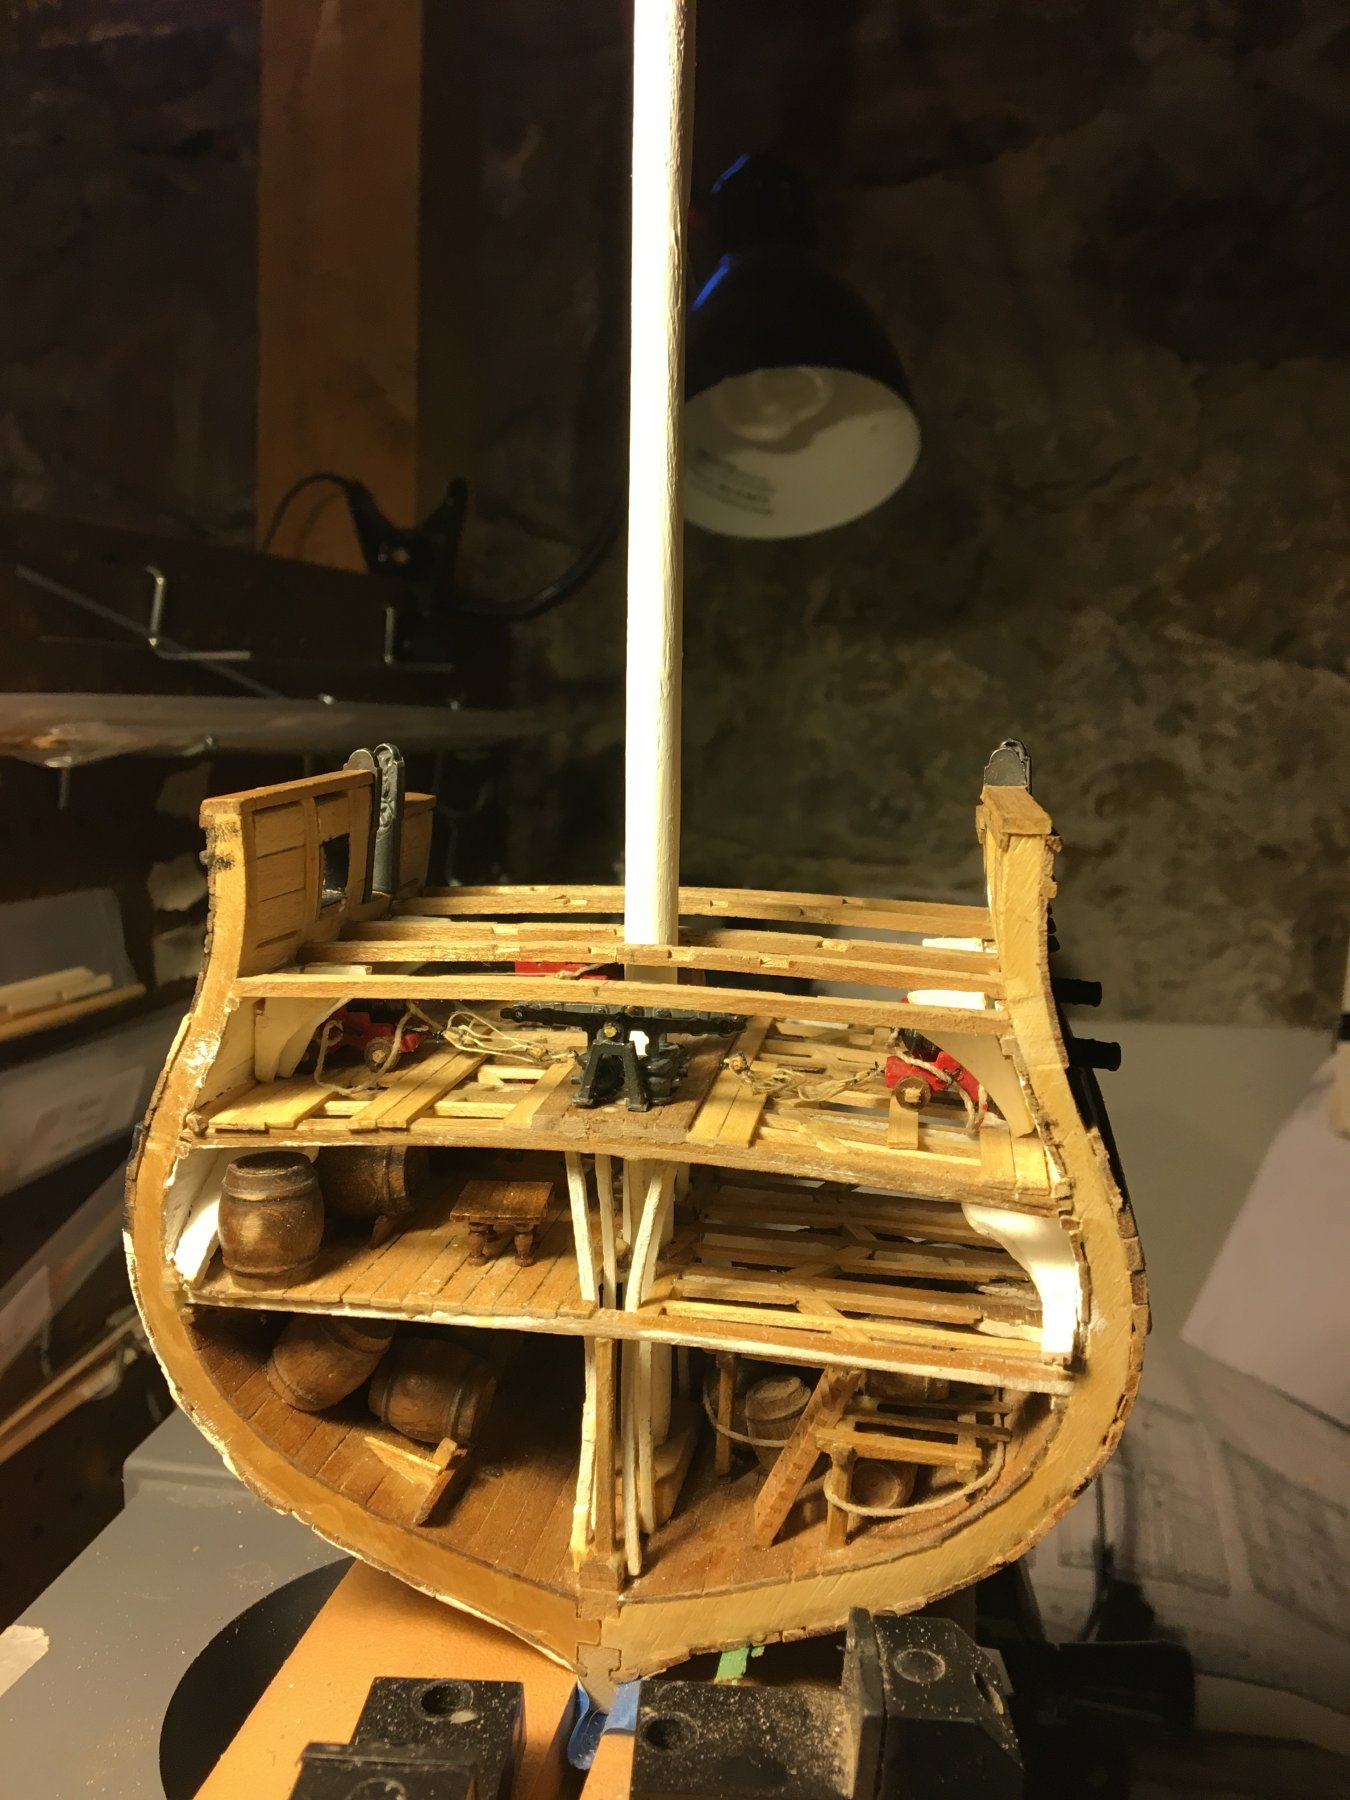
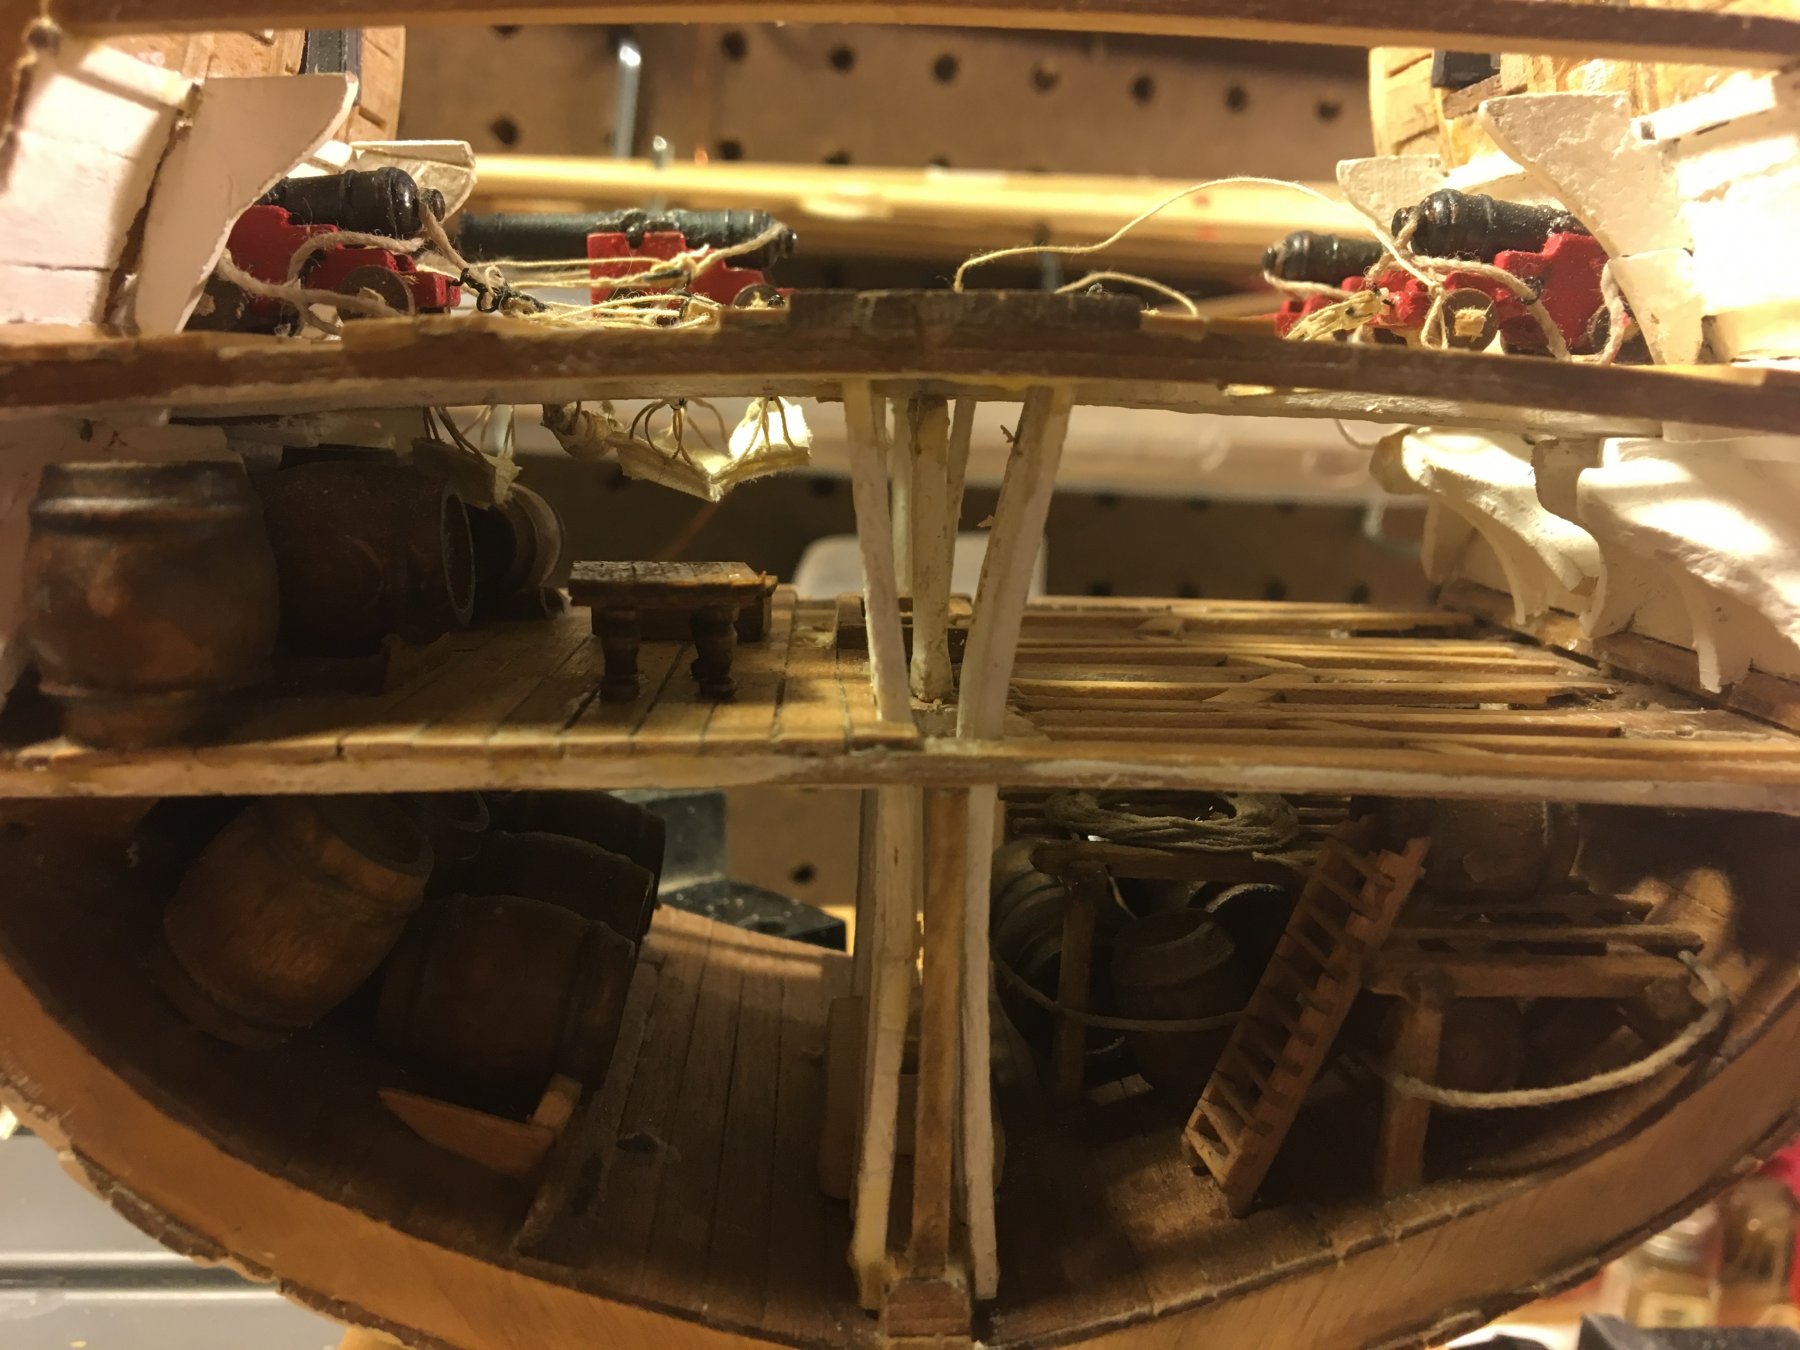
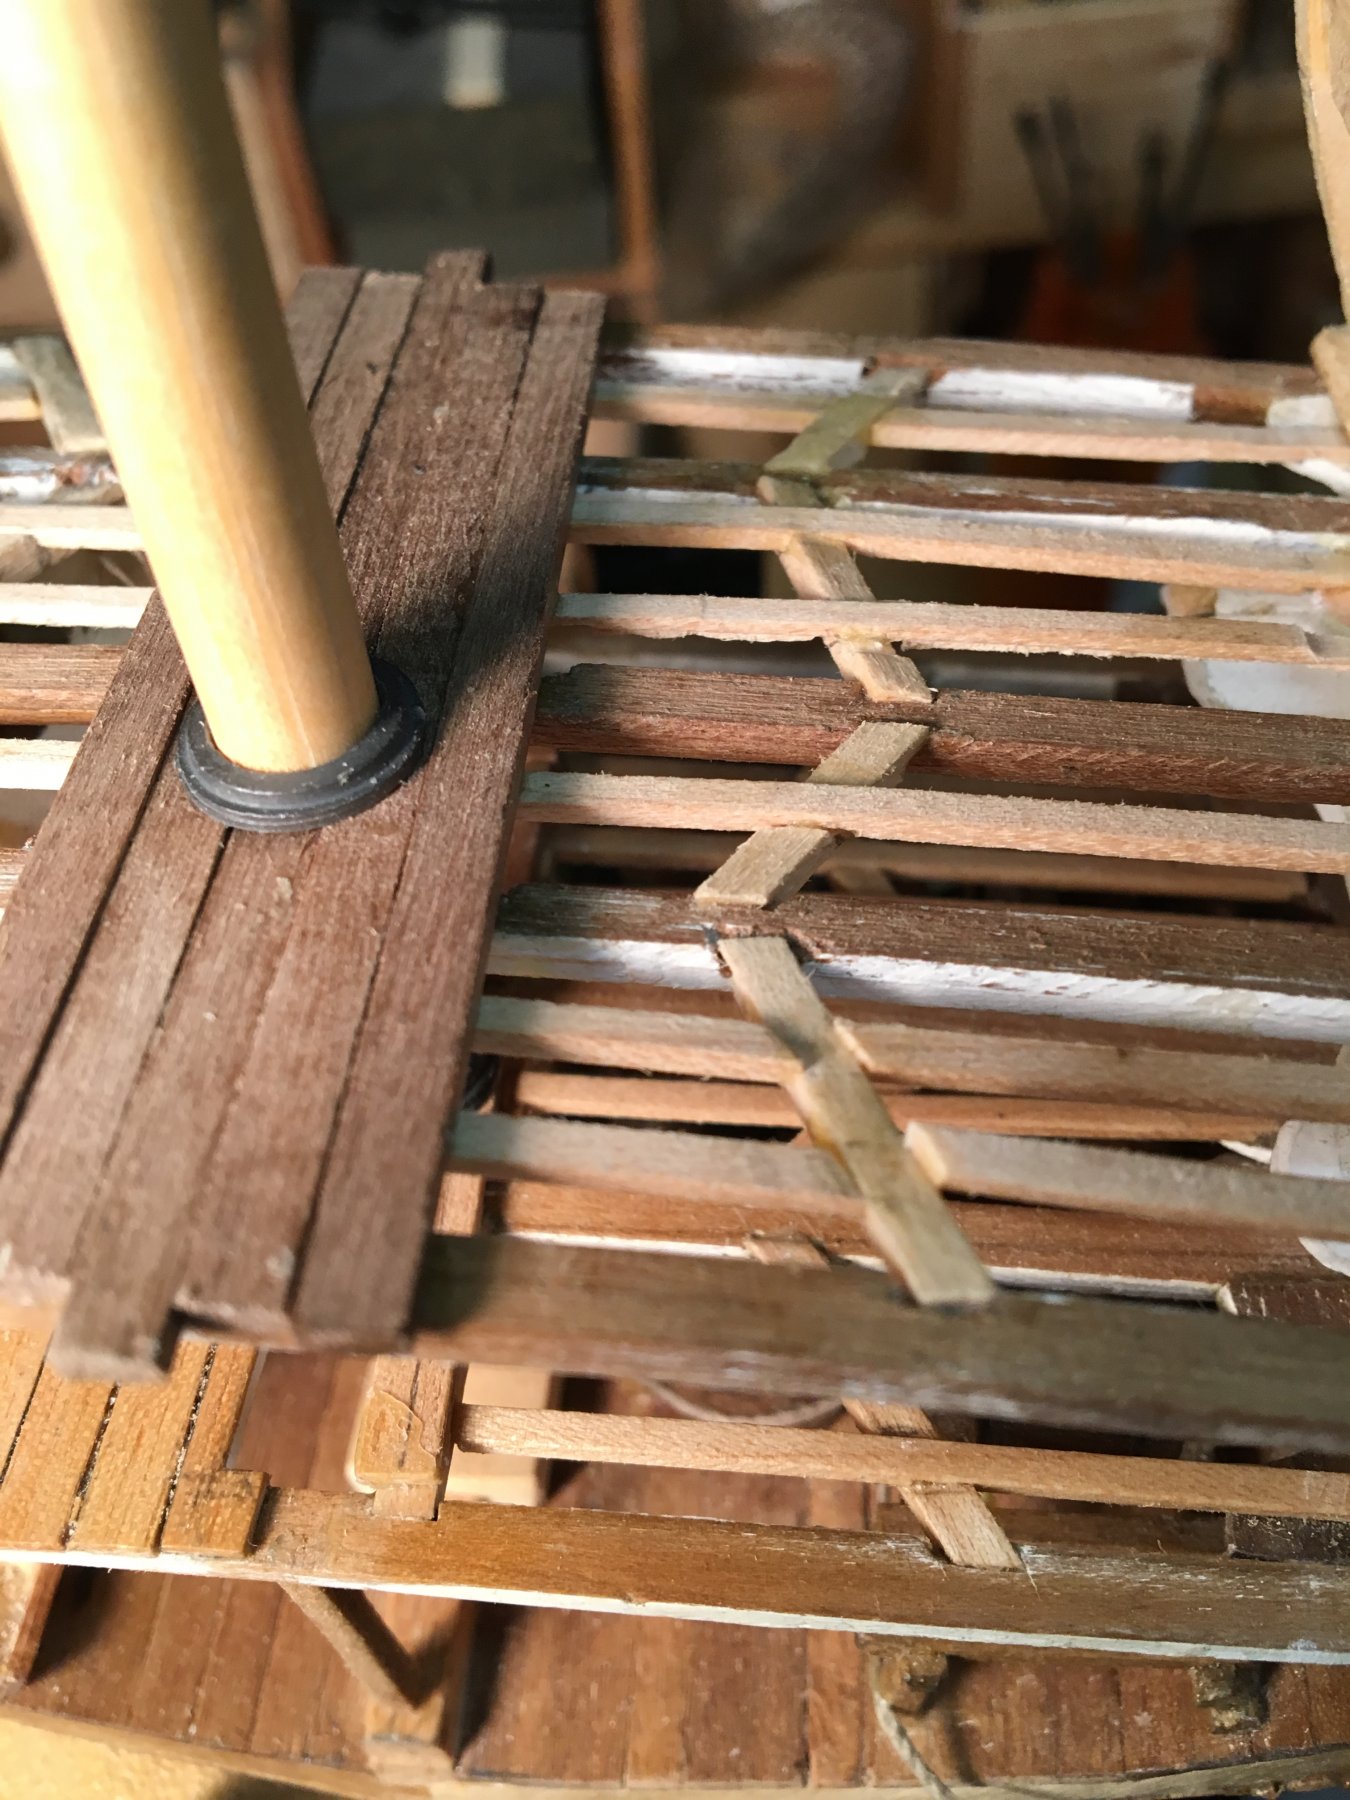
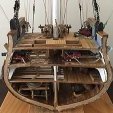
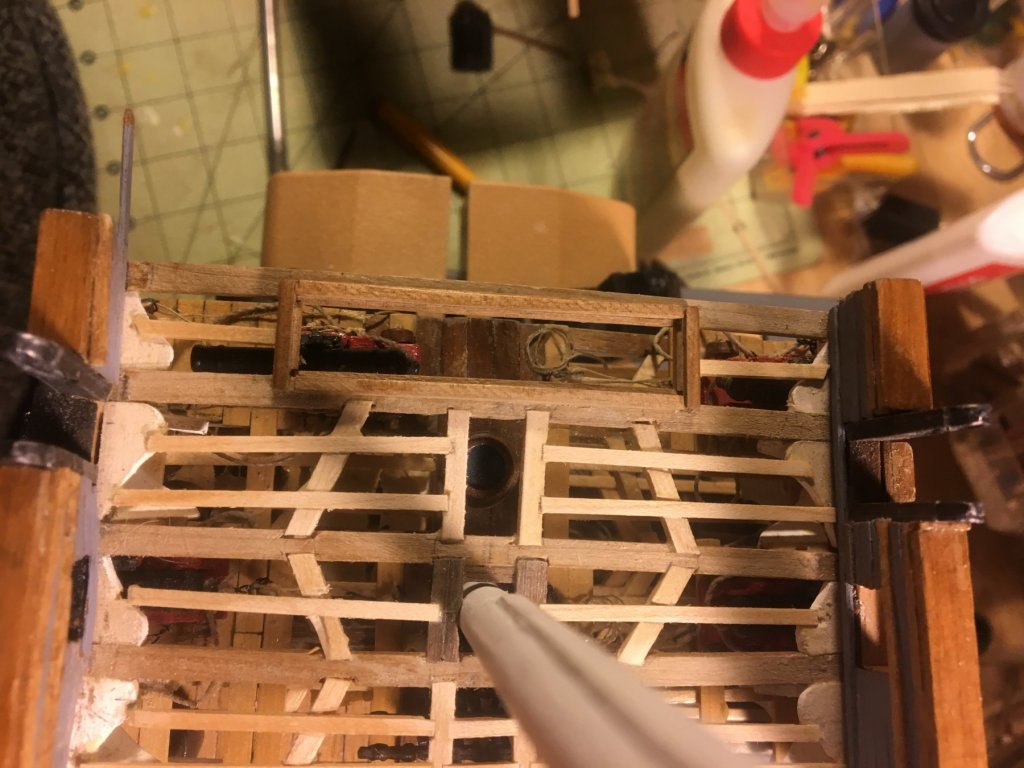
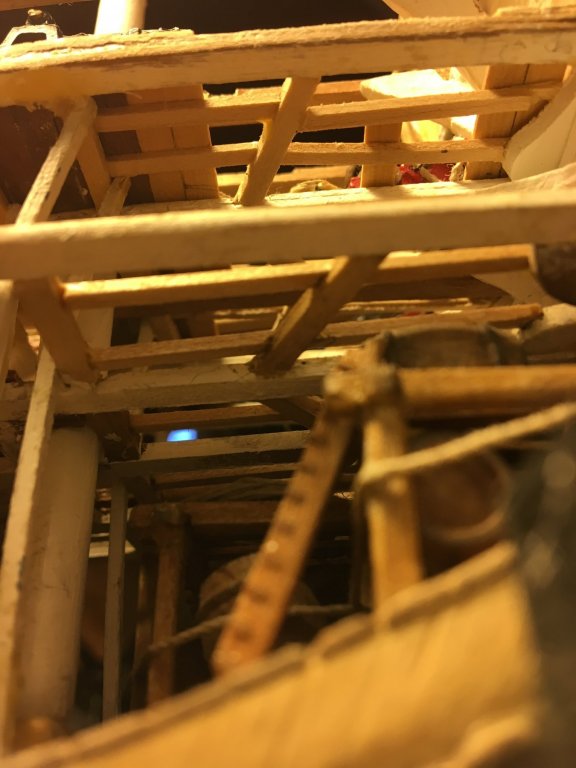
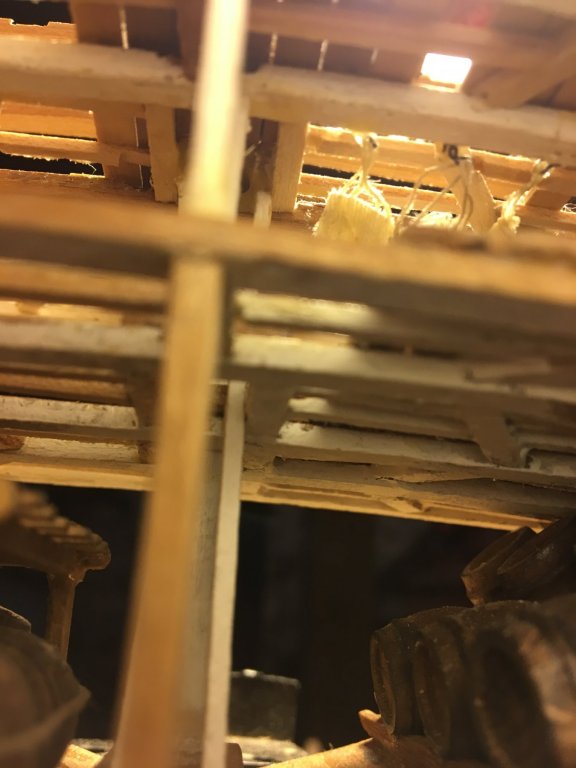
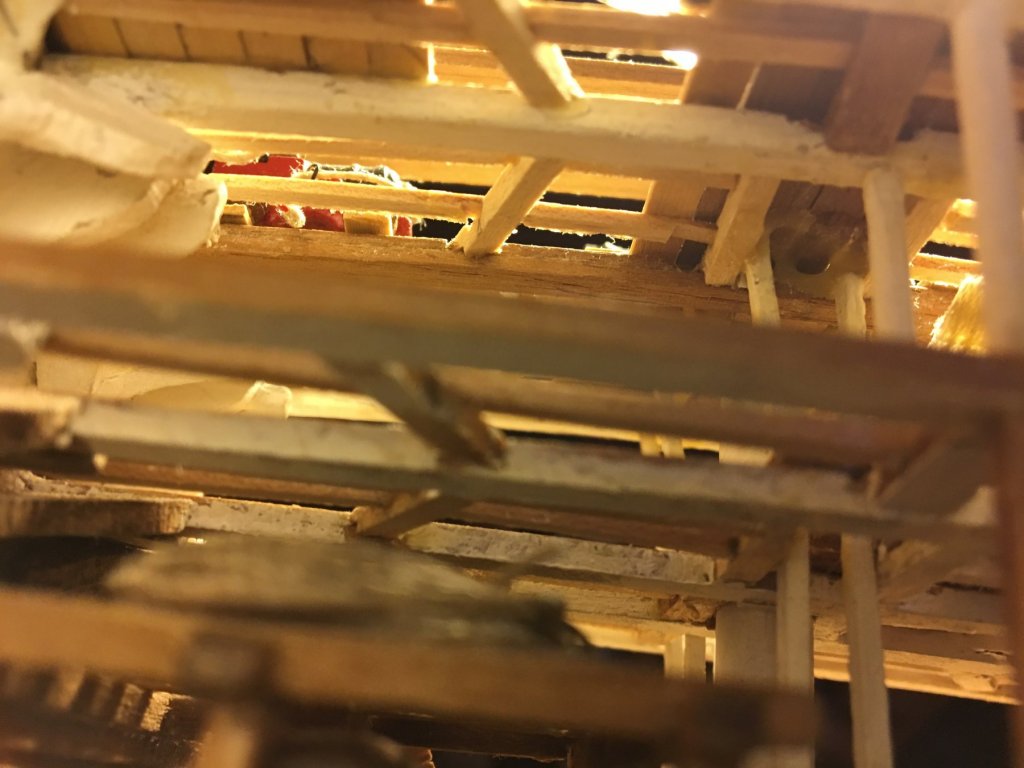
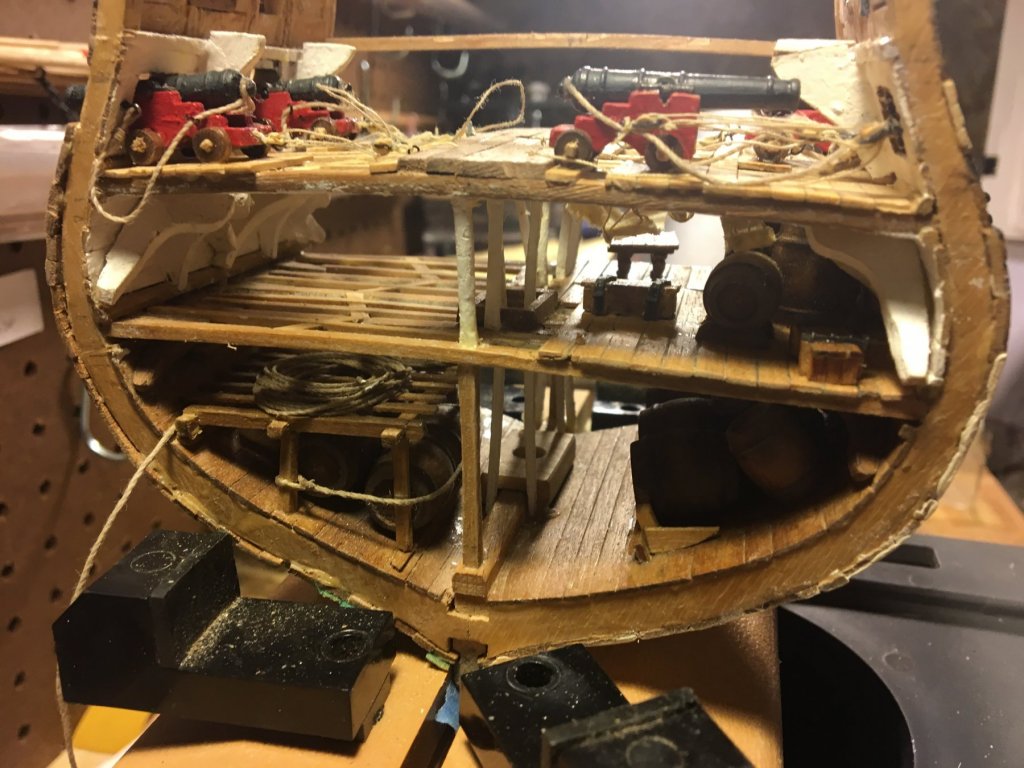
Guess if I'm framing out the decks, might as well see all that work looks like from below... And from aloft...


- 108 replies
-
- 5
-
-
- mamoli
- constitution
- (and 2 more)
-
An Egyptian cotton thread Chuck recommended, but I didn't know about the 'stretching-on-the-rack' bit.
- 108 replies
-
- 3
-
-
- mamoli
- constitution
- (and 2 more)
-
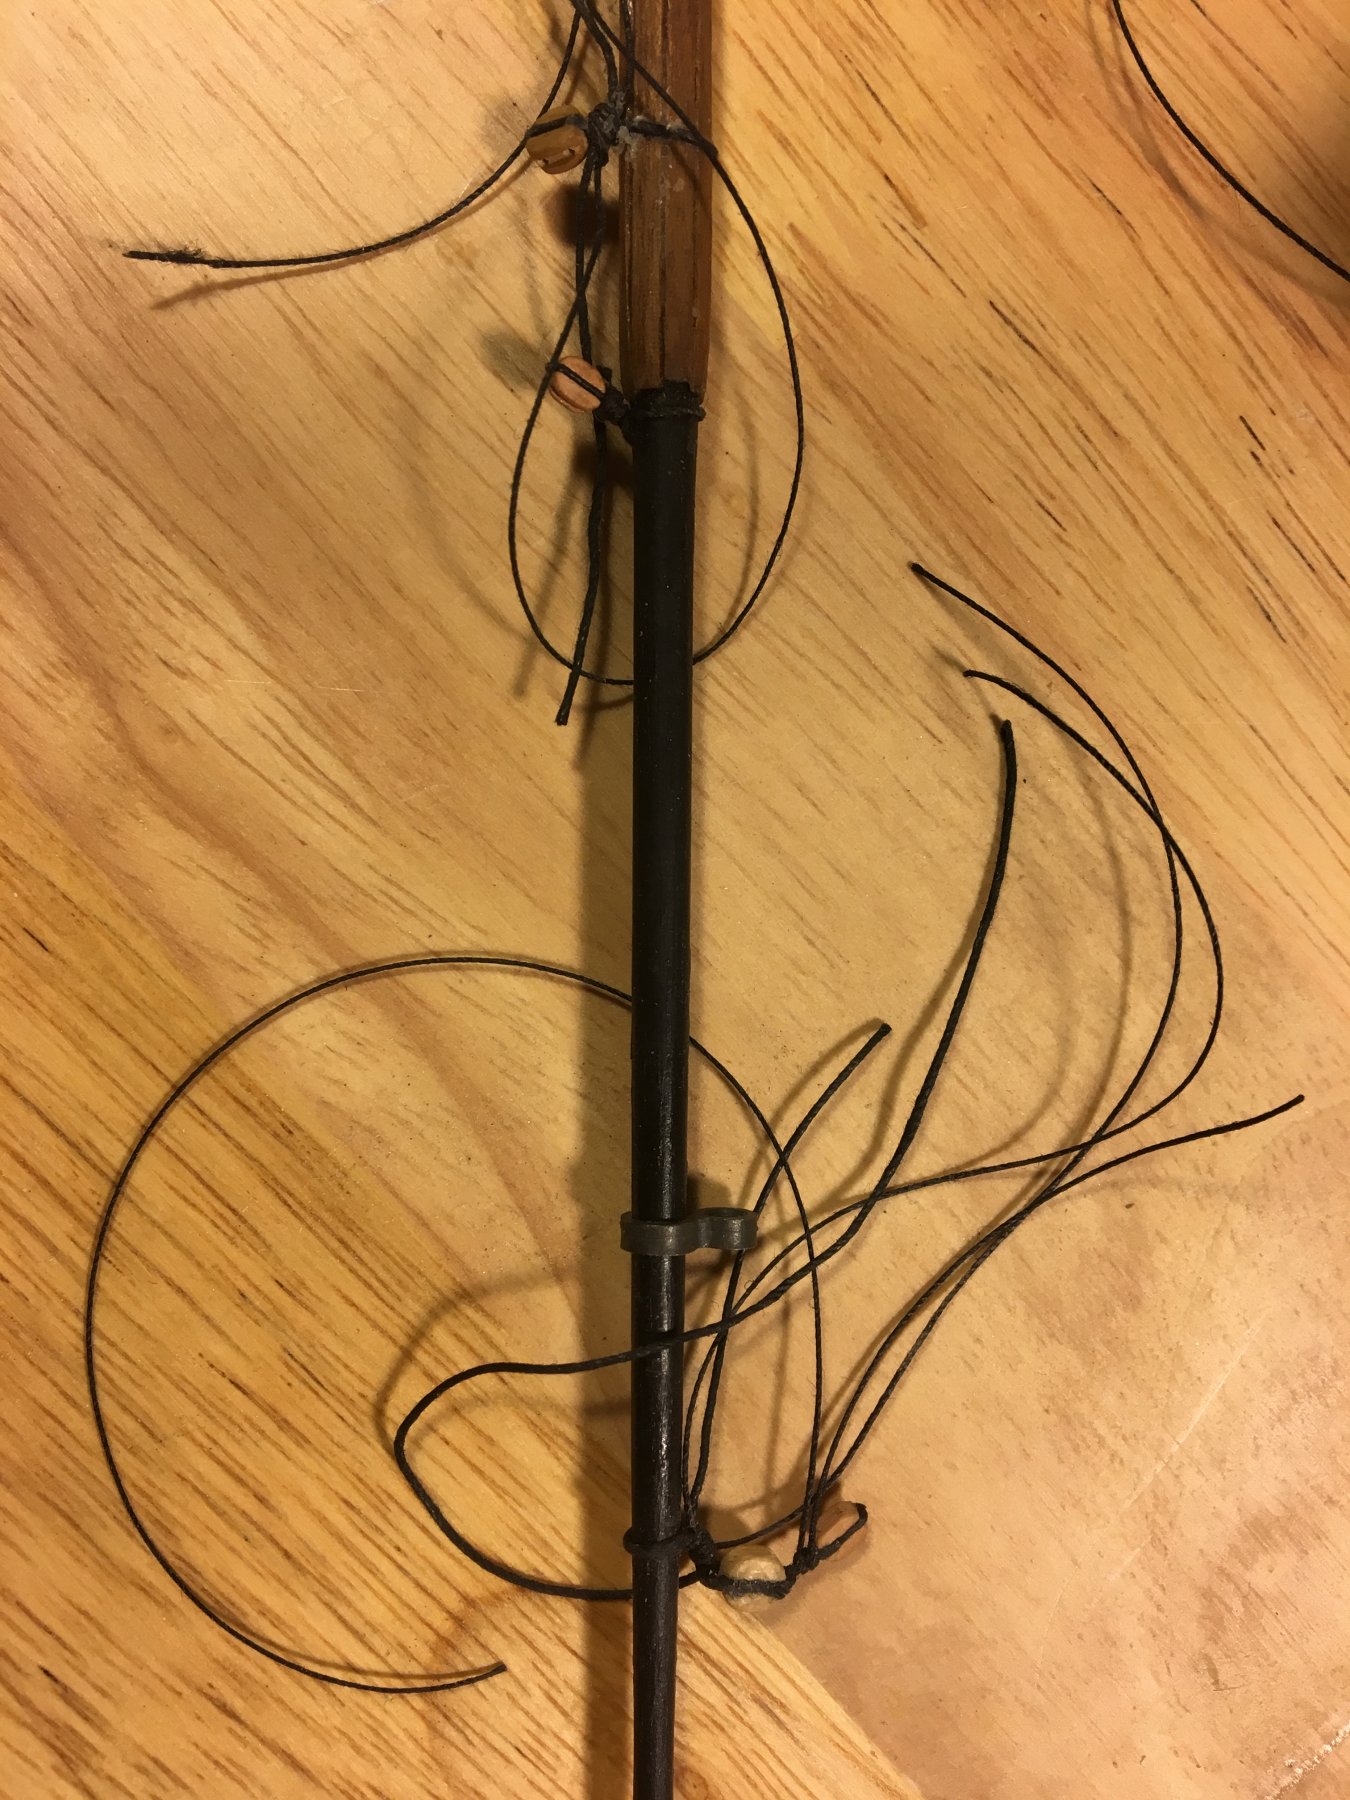
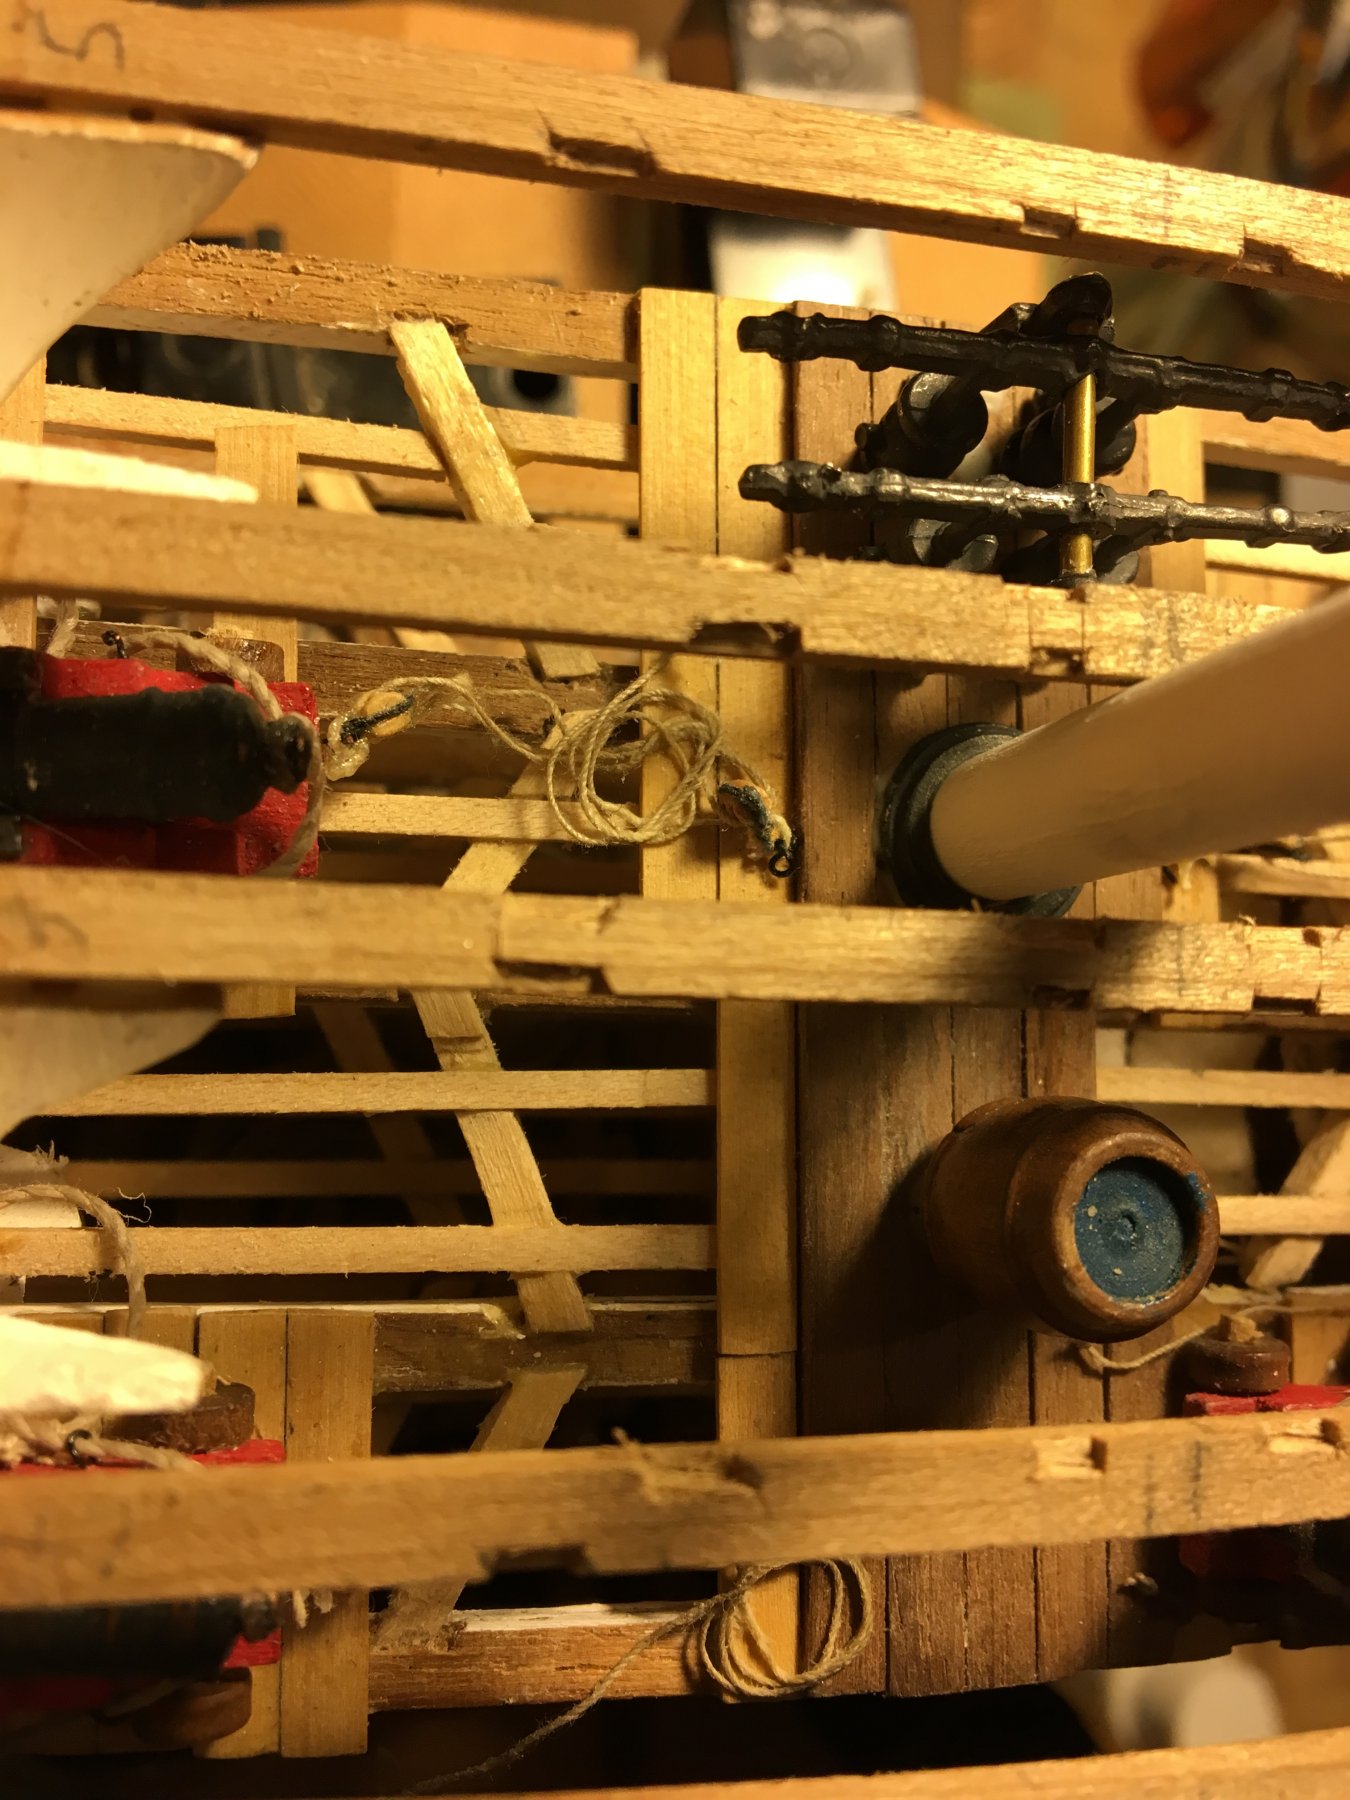
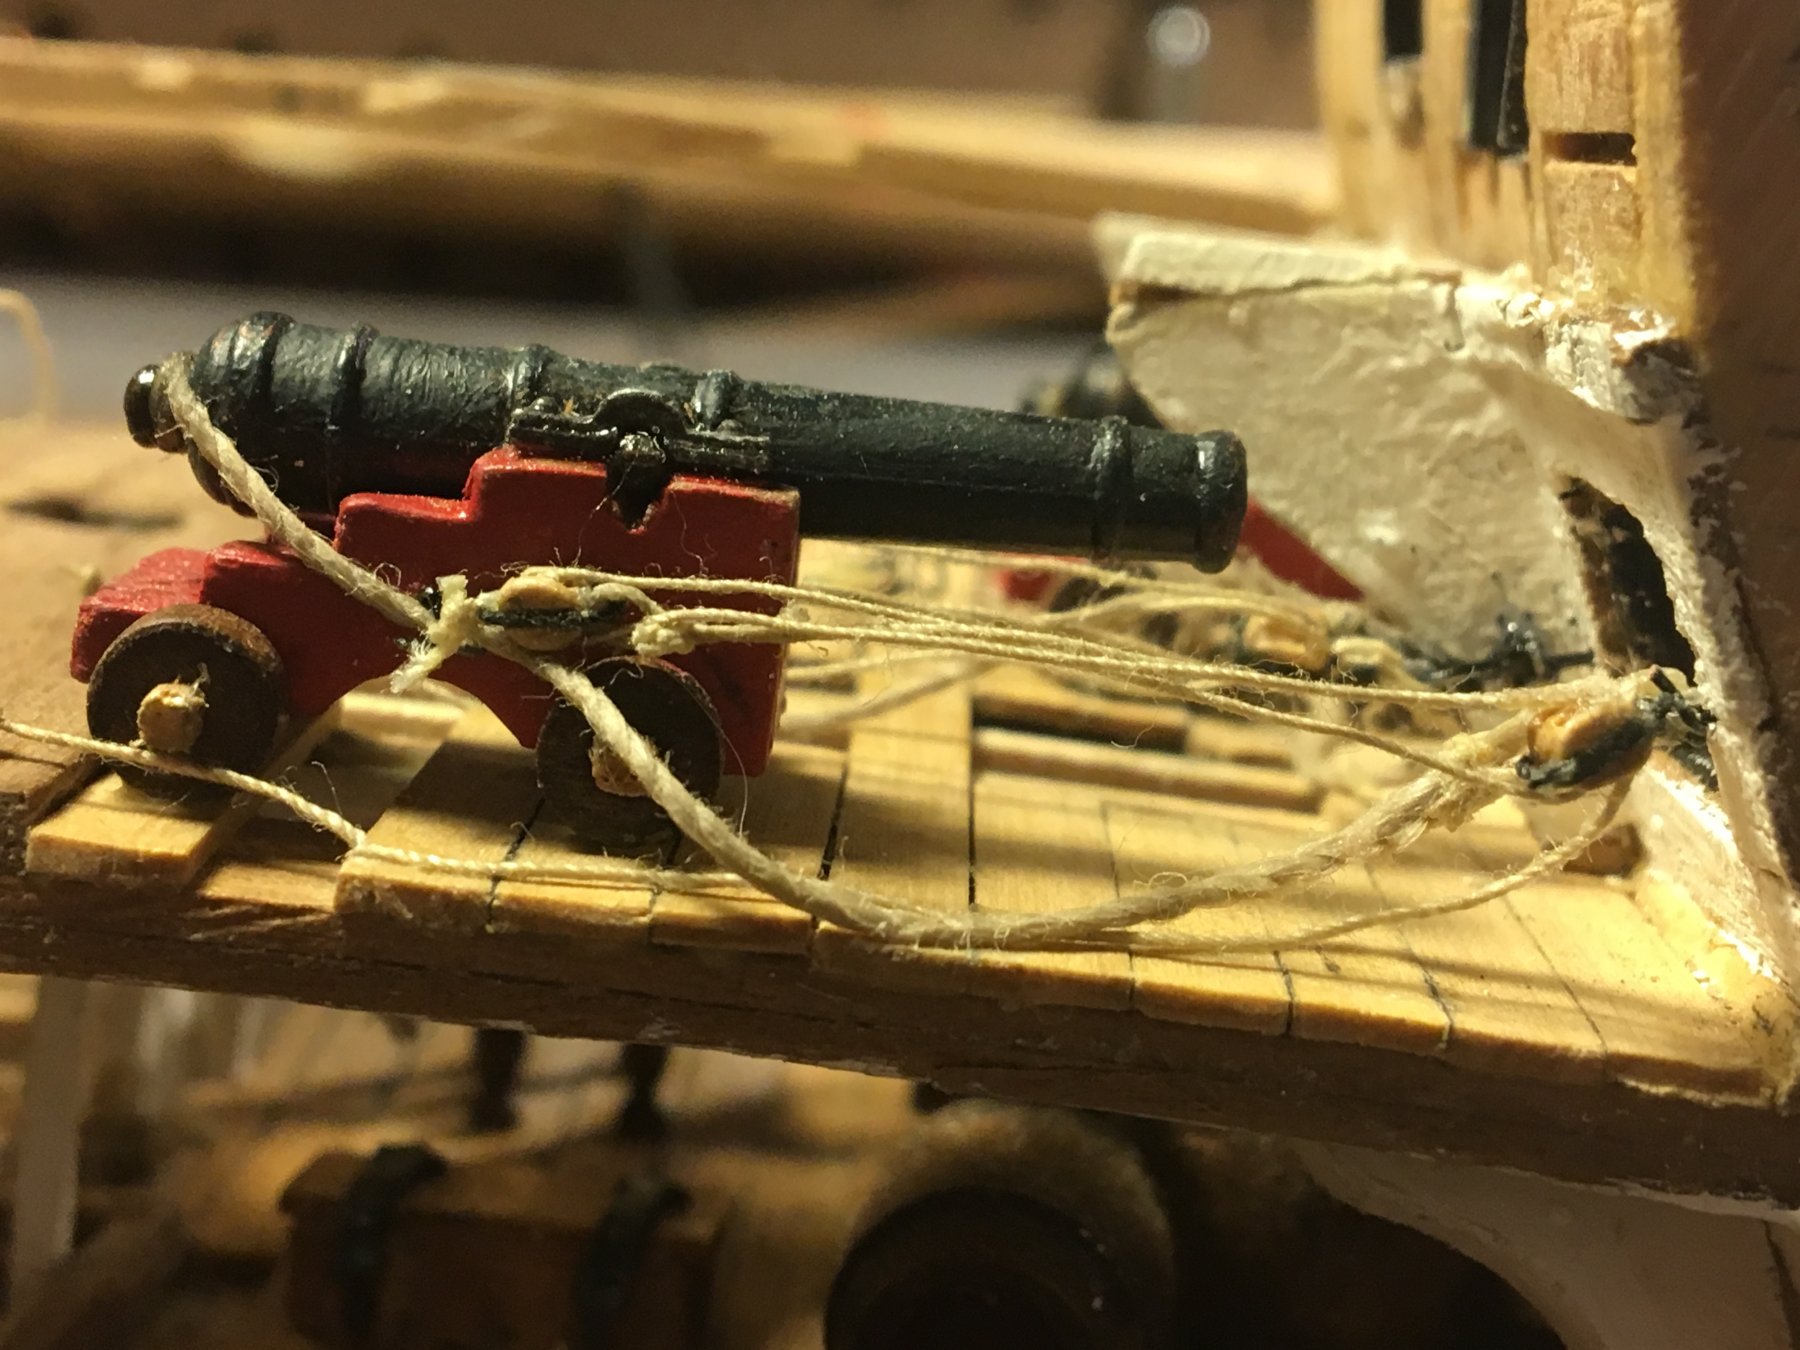
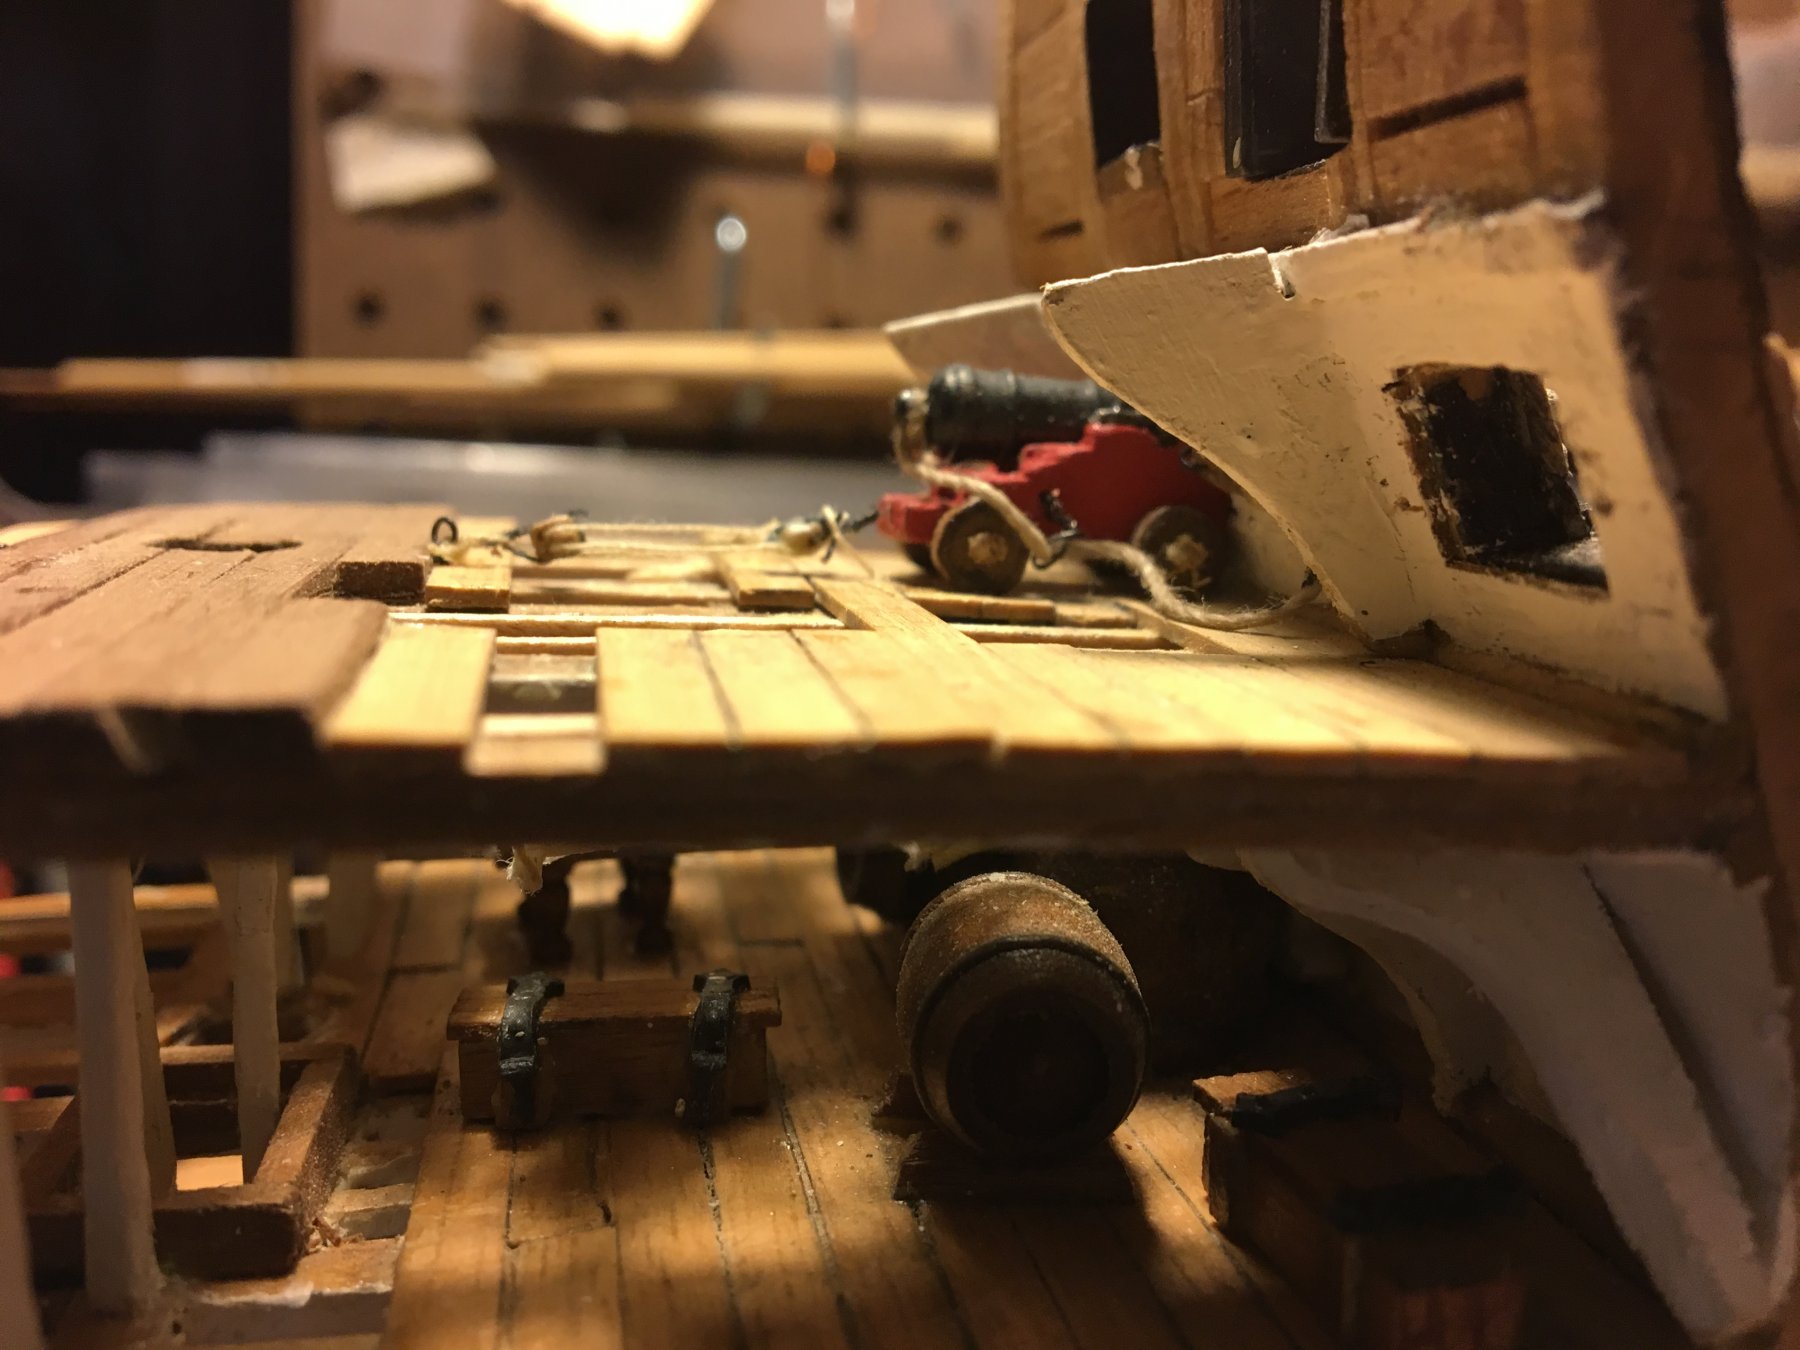
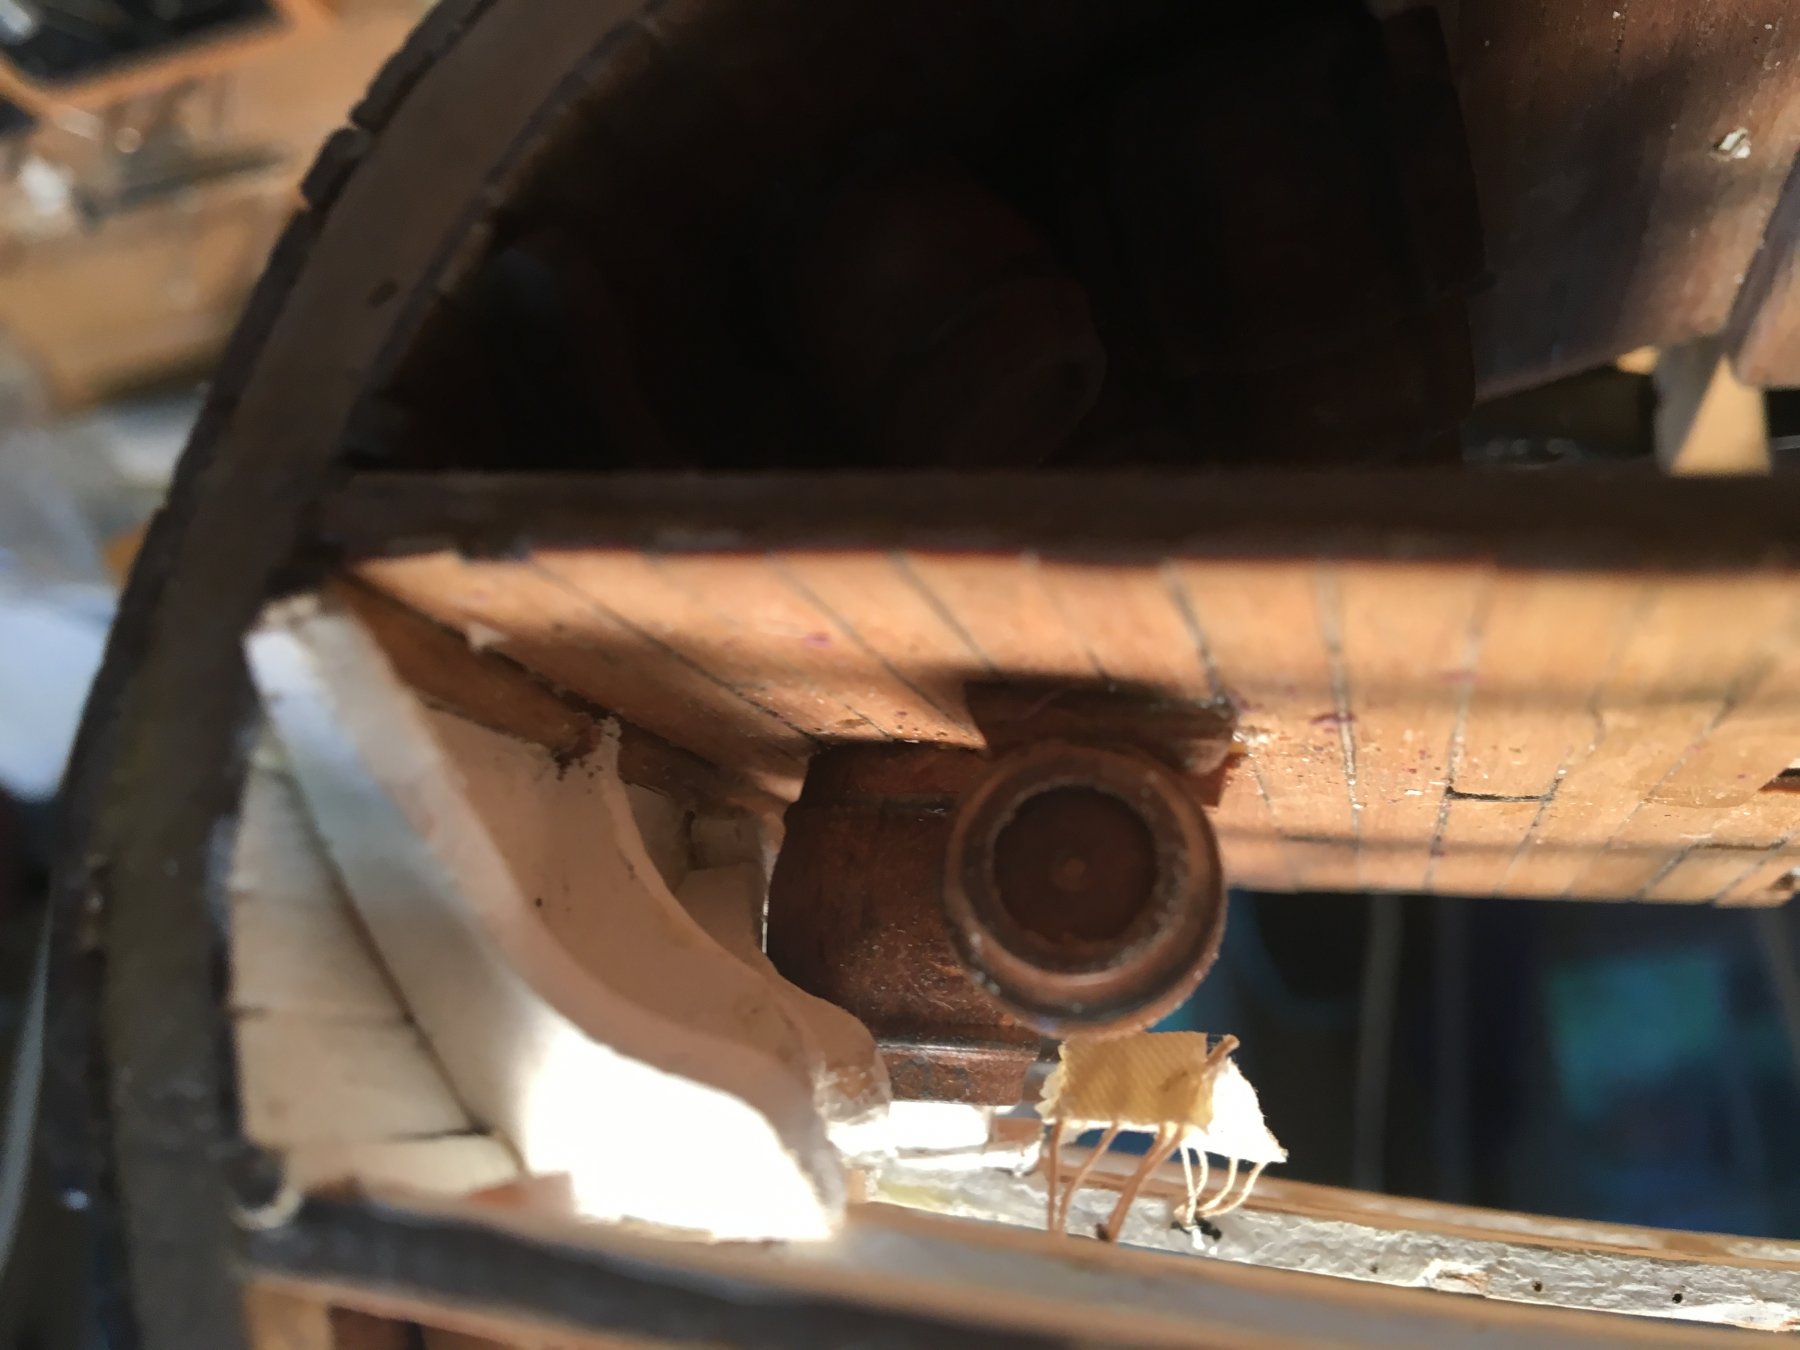
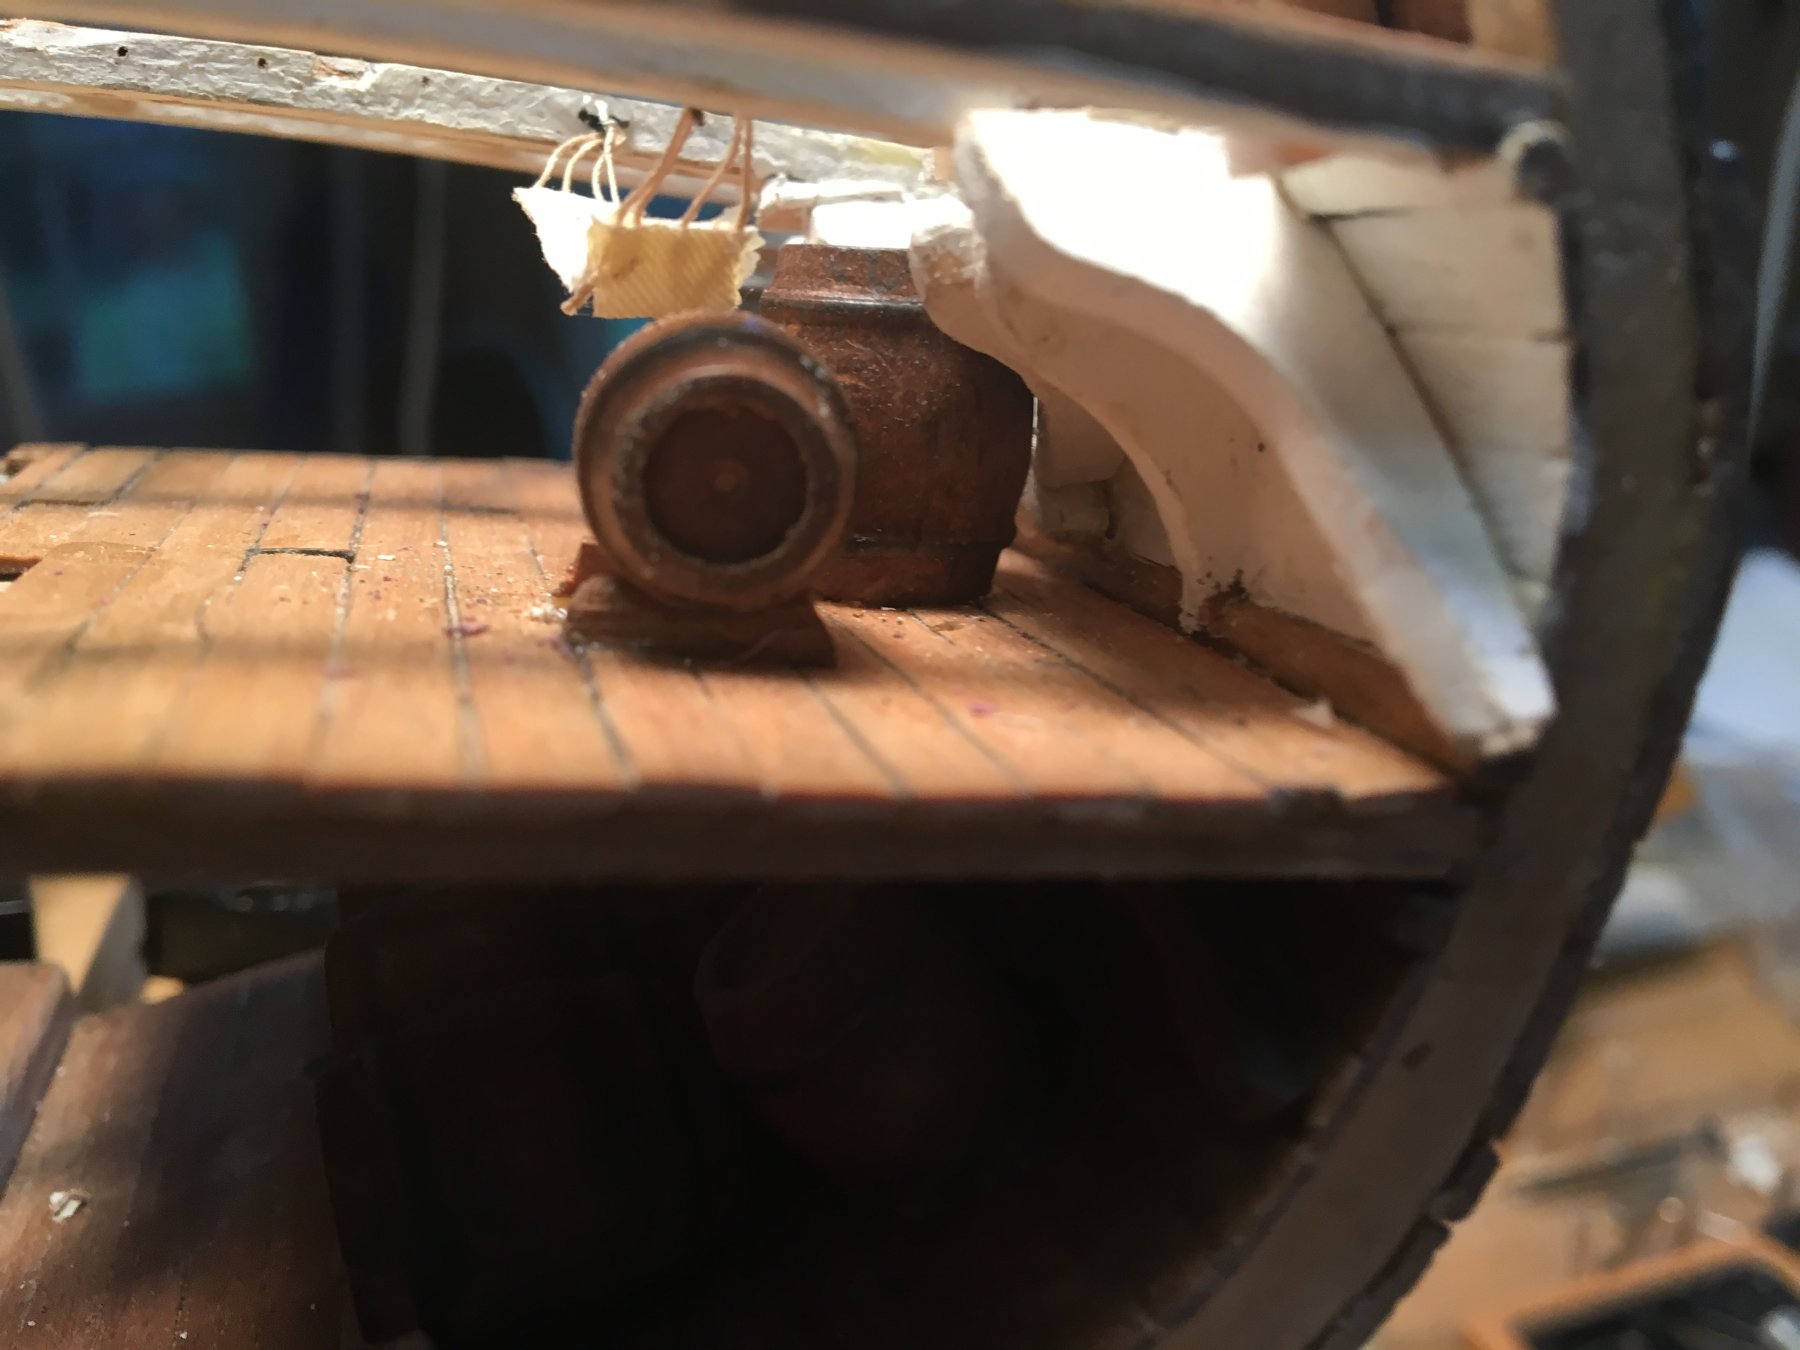
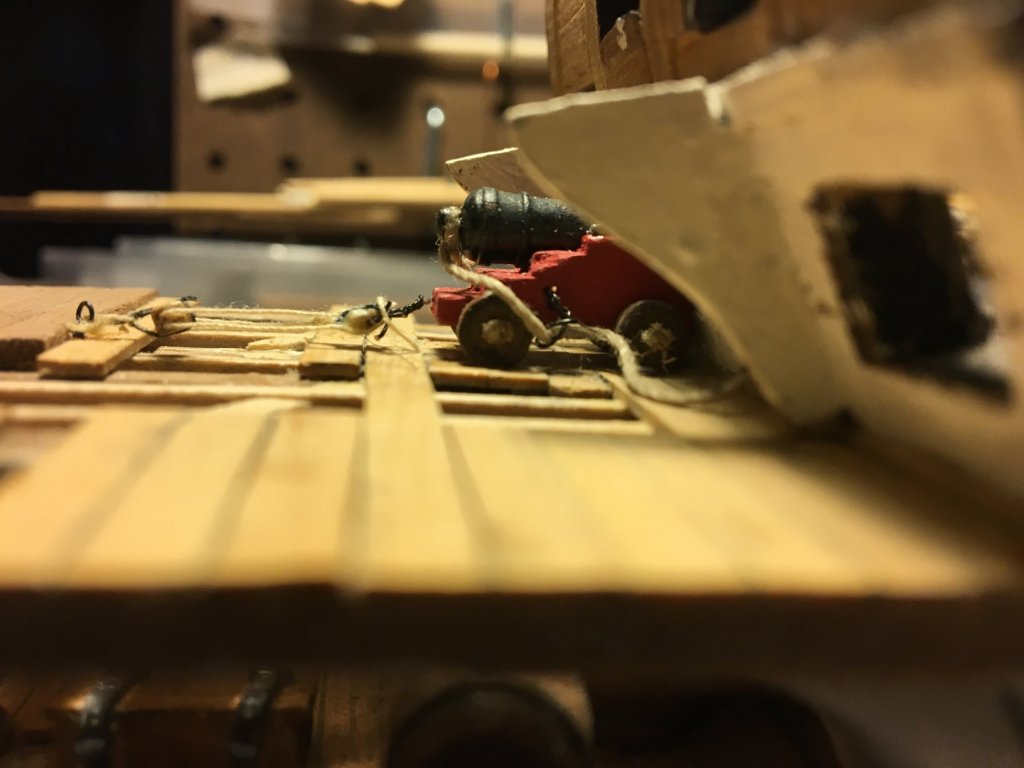
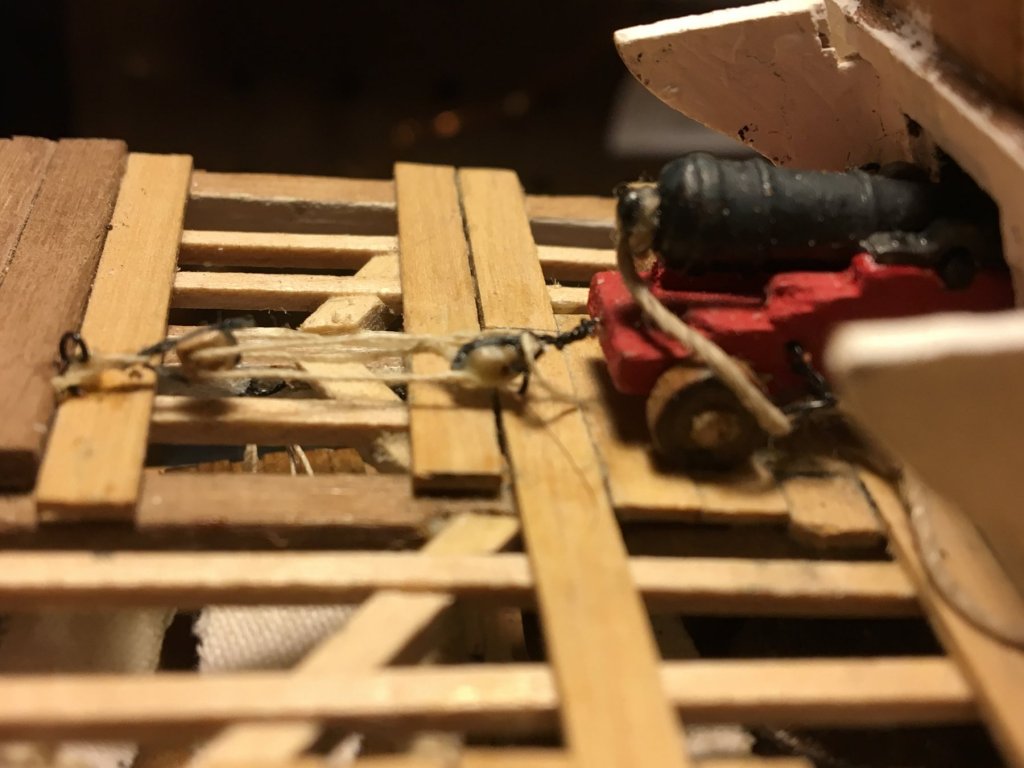
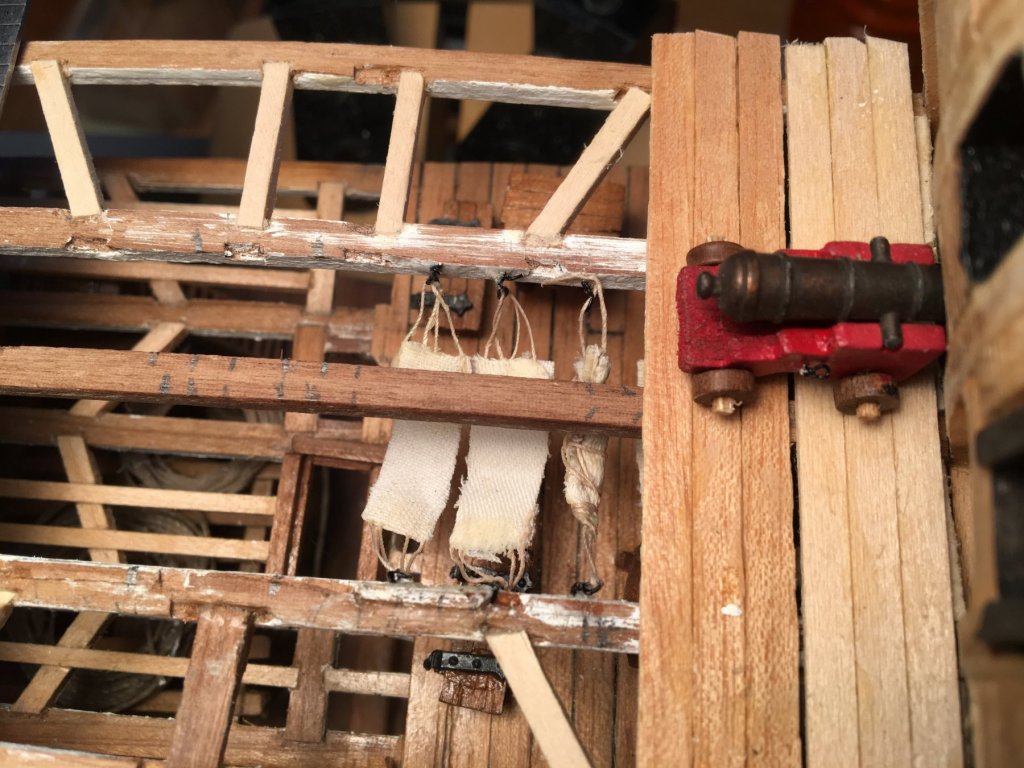
Cannon finally done; in addition to trying to rig those little tiny blocks, I also had a lot of trouble preventing the lines from twisting - any suggestions on how to prevent that from happening would be greatly valued. I've also finished trimming and notching the deck beams - I need to install the rear and the middle beam so I can fit the remaining knees into place, then it is on the gluing down the pumps, buckets and scuttlebutt, applying a bit of poly and then it will be time to frame the spar deck.


- 108 replies
-
- 3
-
-
- mamoli
- constitution
- (and 2 more)
-
My first (and so far only) attempt at wooden models is a semi-kit-bashed cross section and I find myself fascinated by it, I would love to try a cross section that would be a bit less, well, trying, a little less make it up as you go. Wasn't there talk at one point about a Viking ship, or did that morph into the barge?
-
Rigging the cannon has been such an adventure - particularly when the glue doesn't stick. First tried to use wood glue to strop the blocks and attach the home-made wire bolts to the carriages and bulkheads, didn't work on the wire and tended to swell the blocks and close up the holes; CA also often would not stick and soaked into the ropes. Will make for a real adventure when I have to strop dozens of tiny blocks for the rigging. Stay tuned.


- 108 replies
-
- 5
-
-
- mamoli
- constitution
- (and 2 more)
-
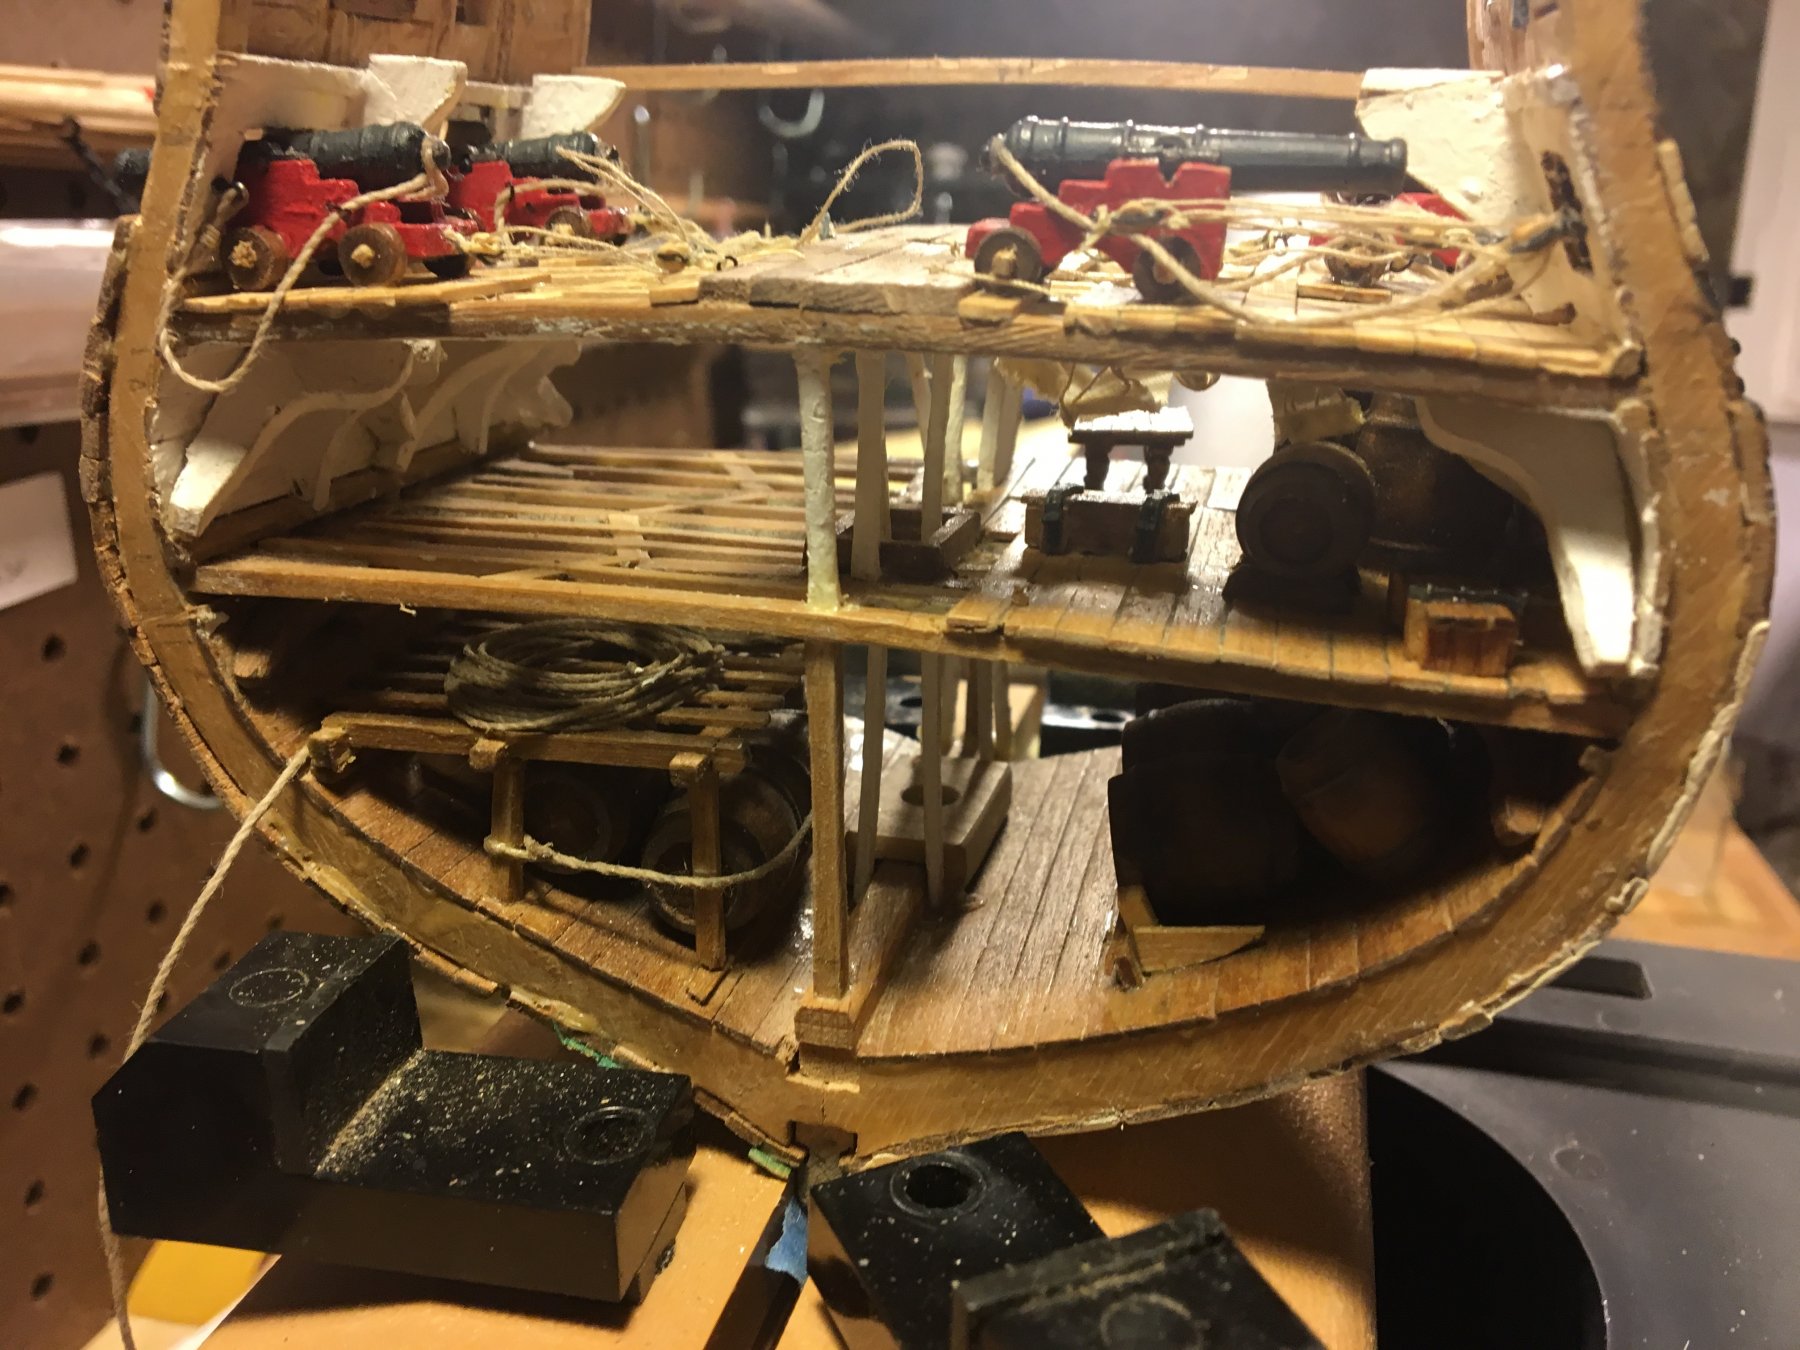
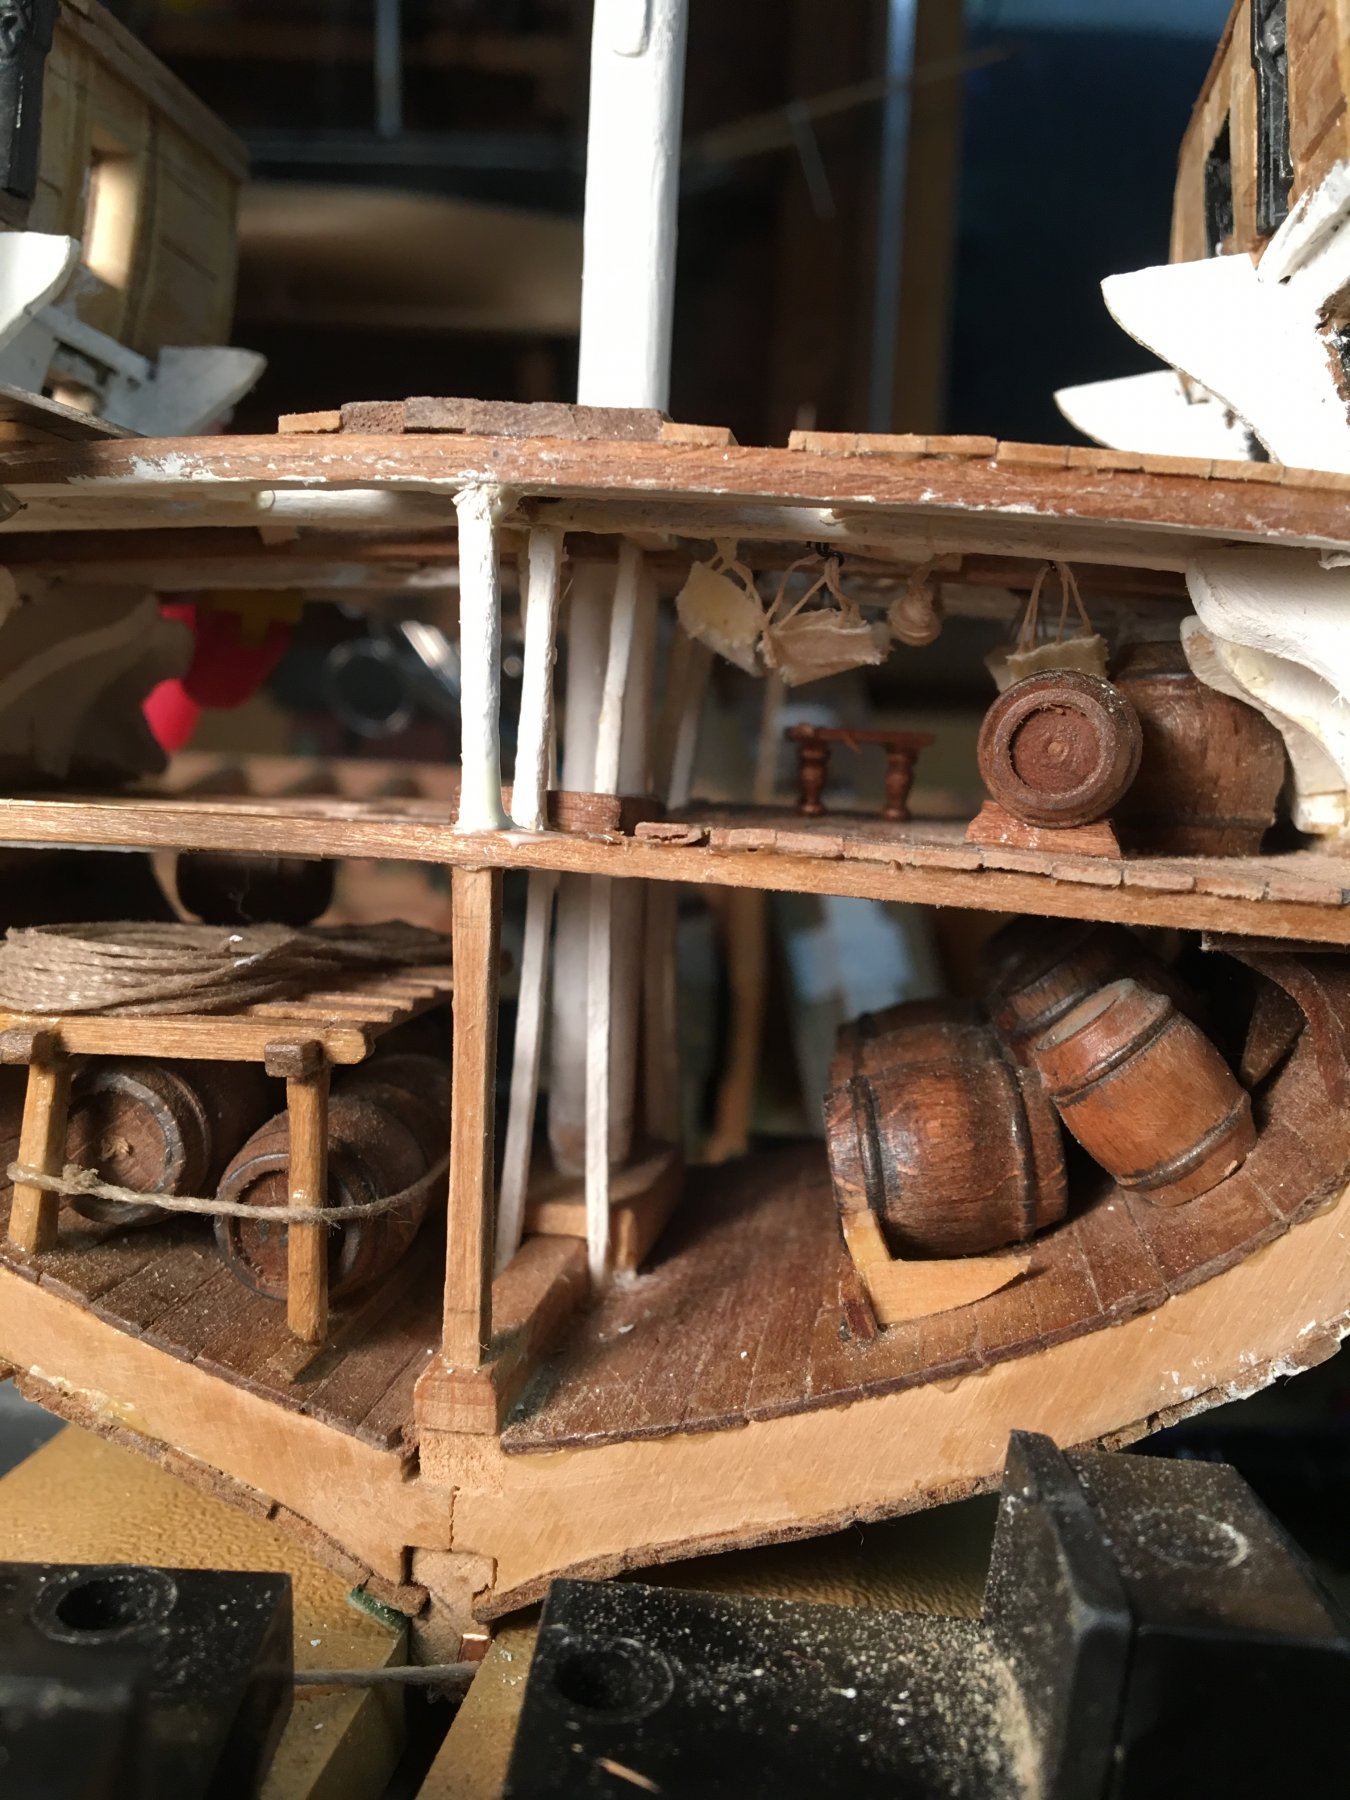
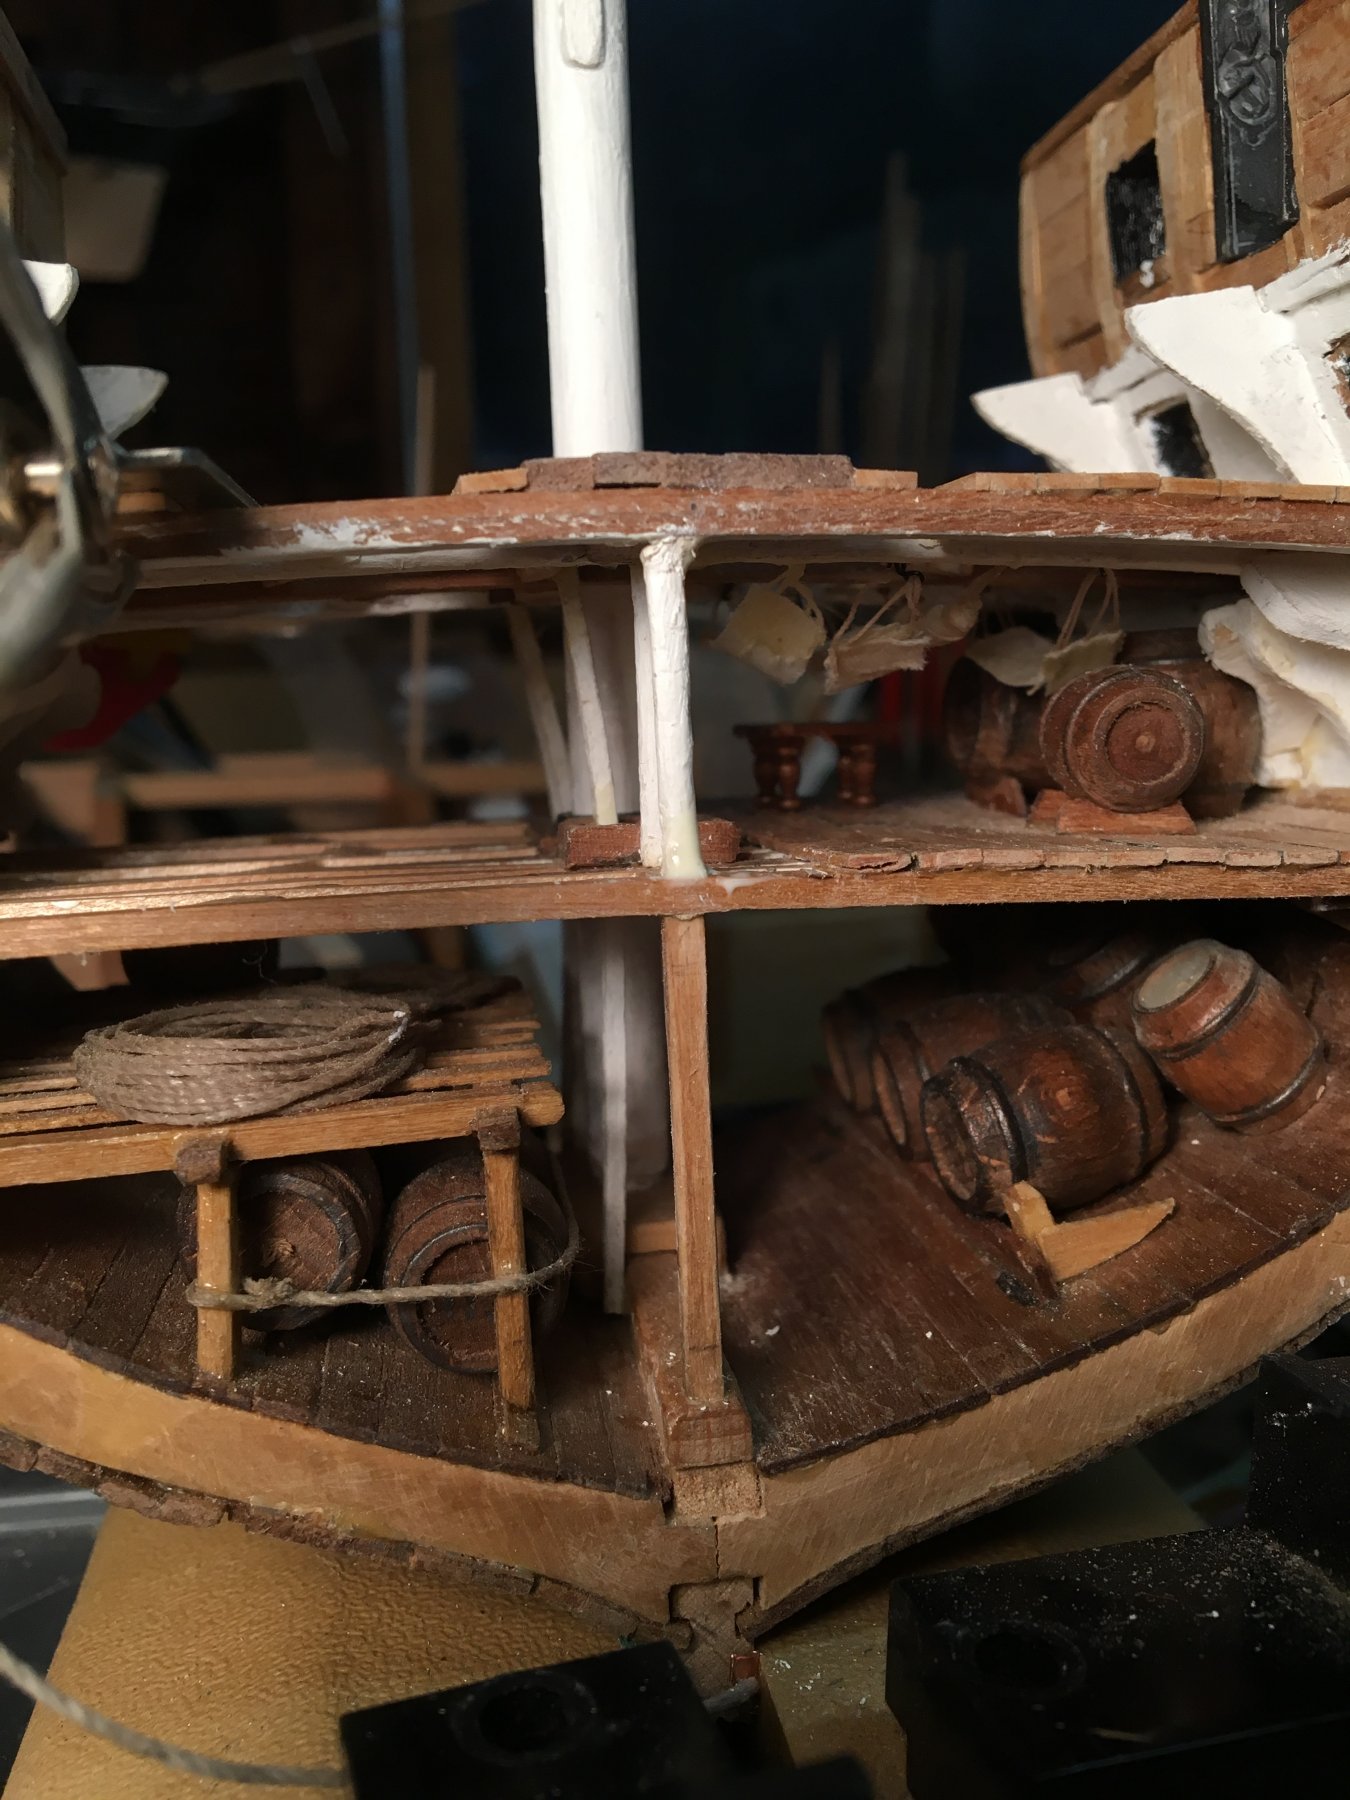
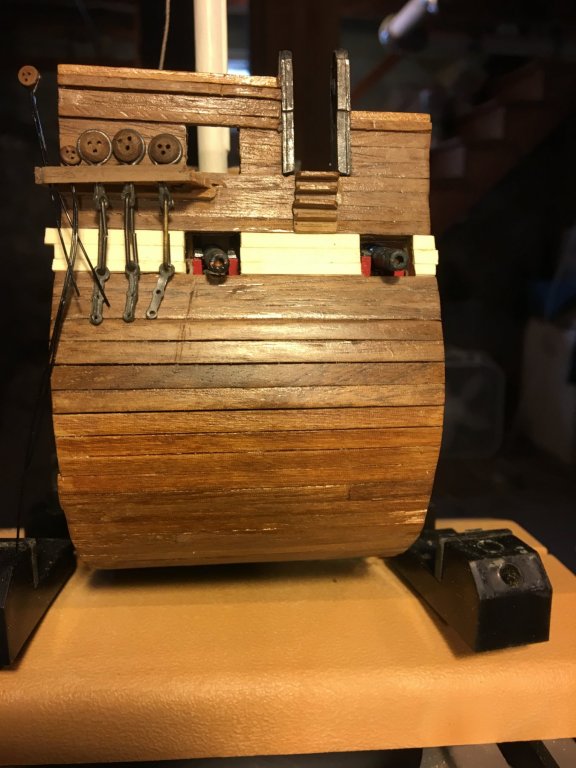
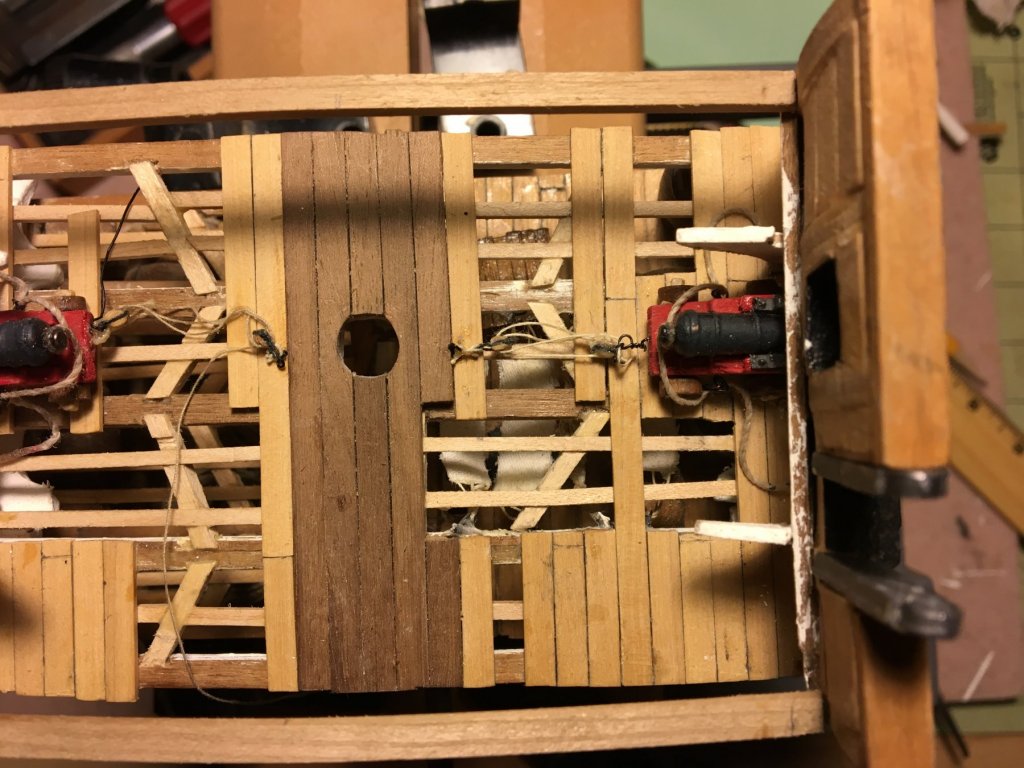
Still here, been a hectic couple of months, but getting the space in the basement set up again and should be on to rigging the guns, putting in the rest of the knees on the gun deck, and framing the spar deck. Did manage to get most of the posts in on the berth deck and some representation of the hoses for the pumps in - I made the mistake of gluing on the planking of the gun deck before putting those in, so had to work from below and bend and twist and glue them all at once - coulda used 2 or 3 more hands at that point. Guns and gun deck fittings are just dry fit at the moment. I'm also trying to decide how to handle the finish below the waterline. I don't like the look with shiny copper foil at all, and the green wood chips that came with the kit are so uneven, not to mention ugly. I may go for a bit of fantasy and paint the hull an off white to represent lead-infused paint, and may paint just the one side I have already painted the black with white stripe - I am still planning to leave the other side unpainted, I think the walnut with wipe on poly will look fairly dark, and the holly I got is very light (and hopefully will remain so once it to has been poly'd), so I may just leave the rest of the hull unpainted. D


- 108 replies
-
- 5
-
-
- mamoli
- constitution
- (and 2 more)
-
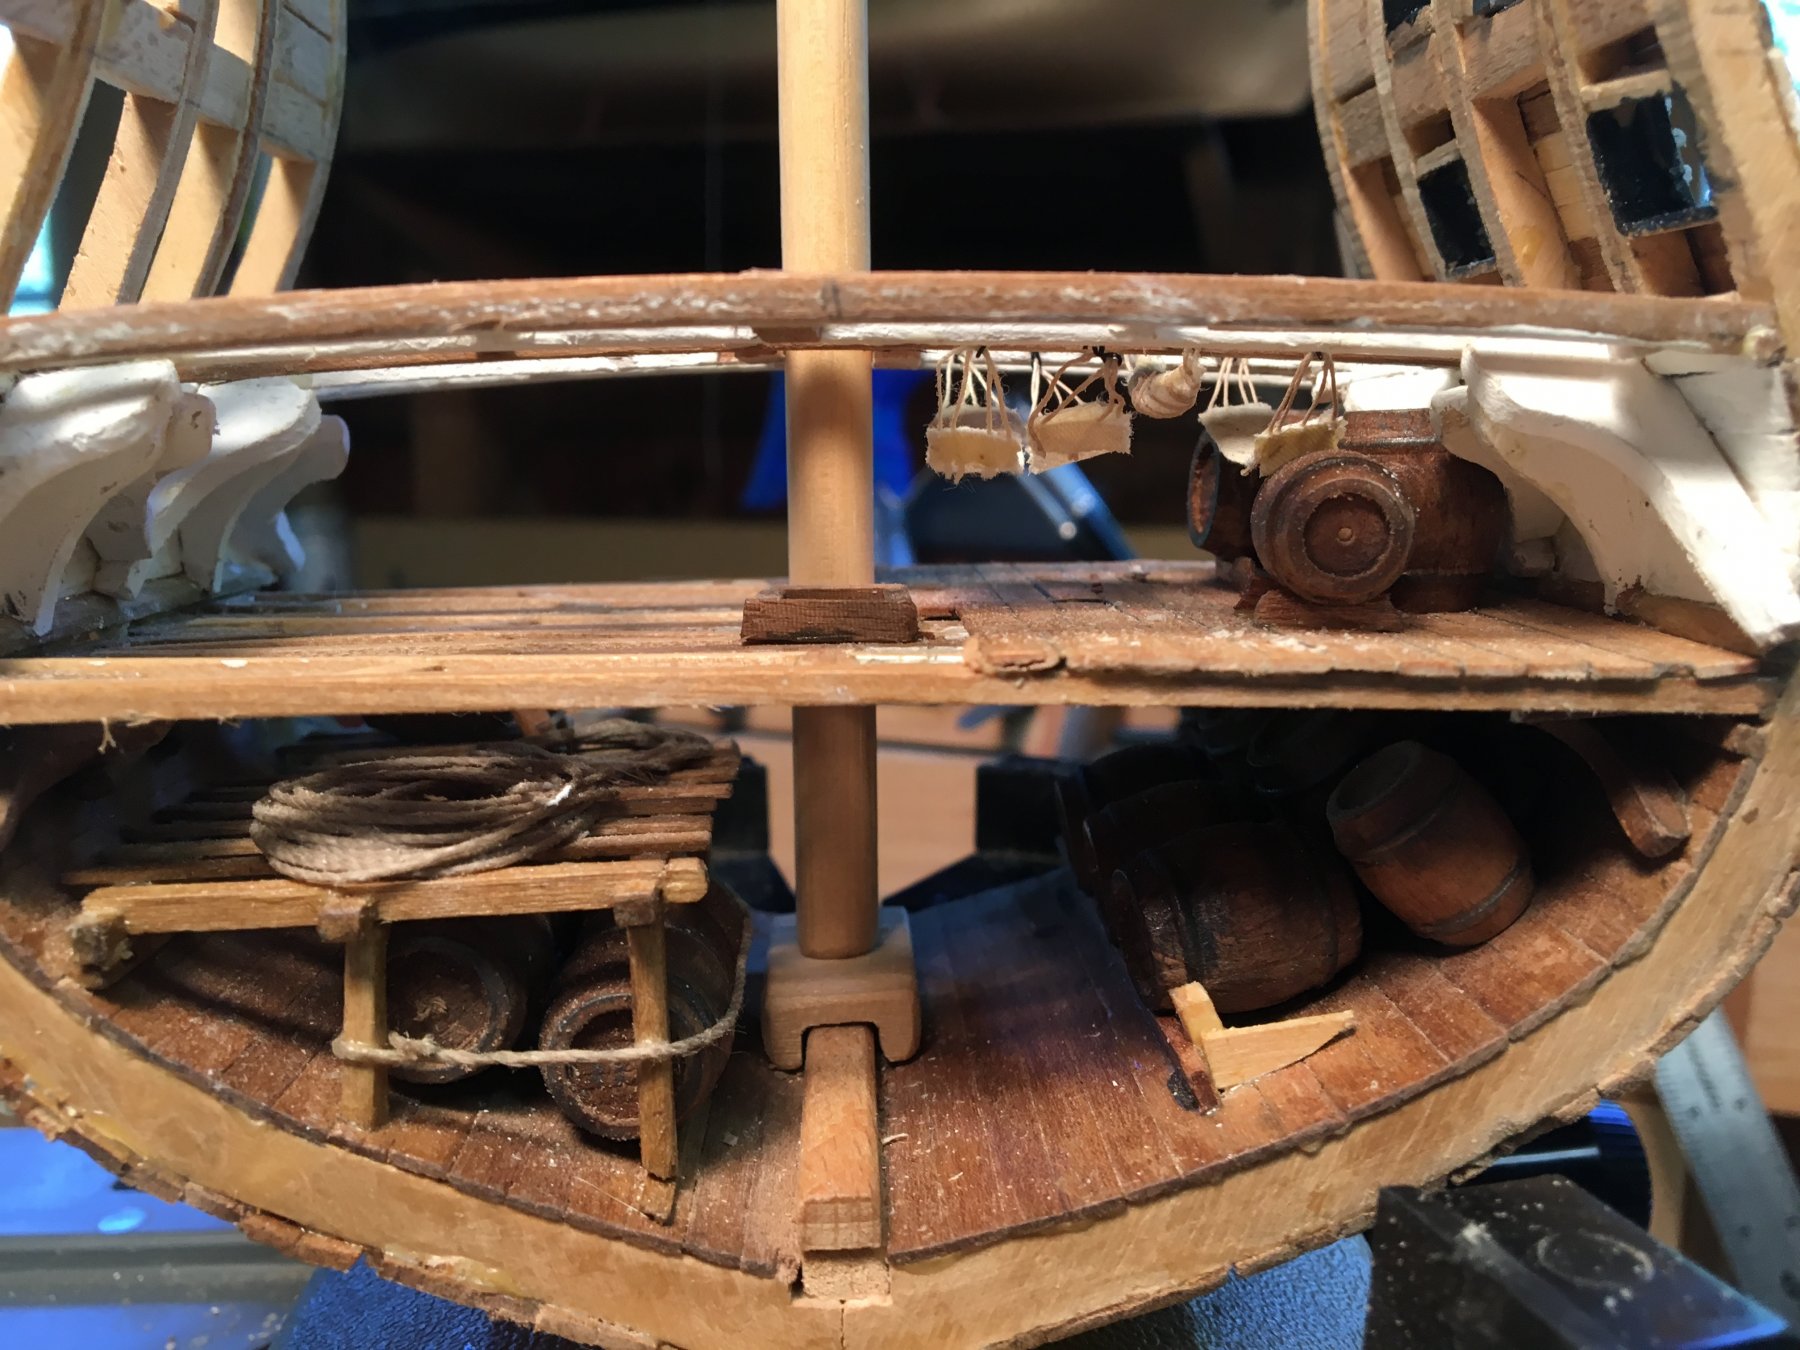
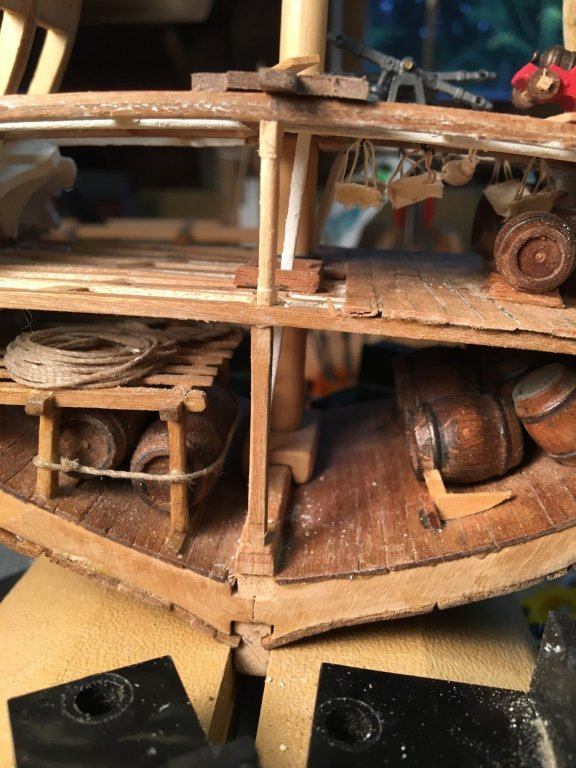
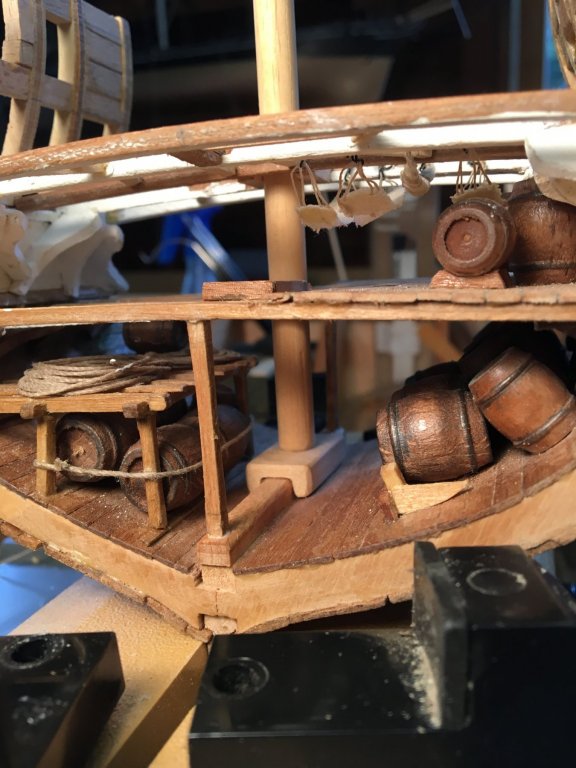
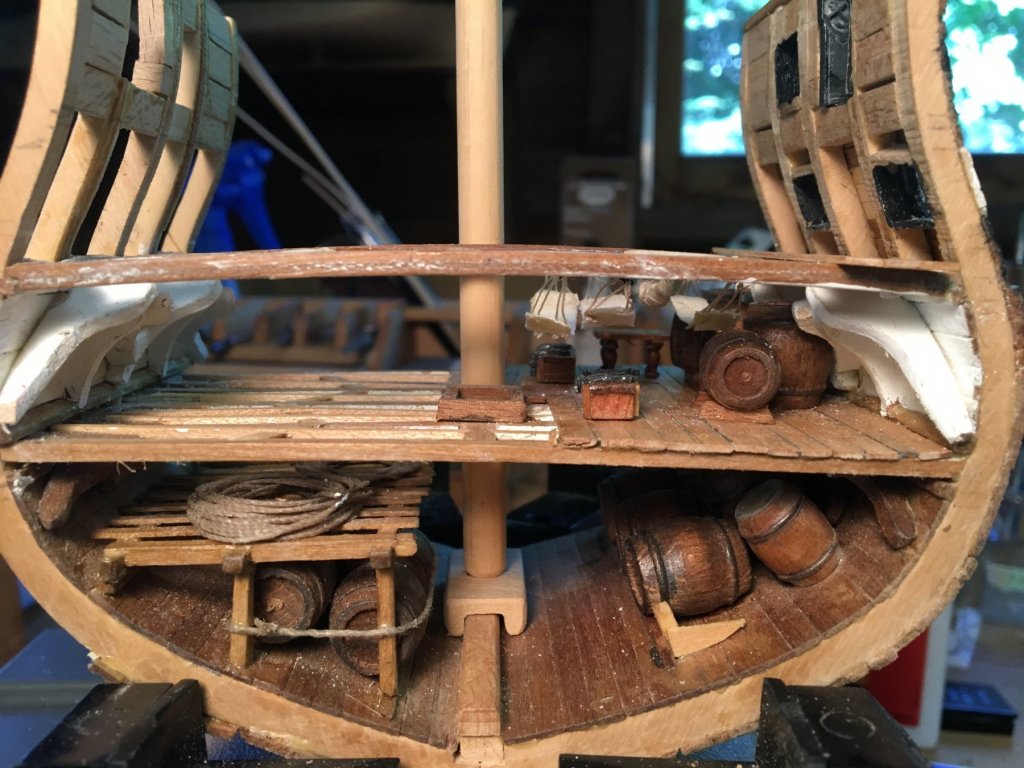
Thanks EJ - although I did see someone copper the hull while sticking the mast into his keel clamp!! Turning to turning match sticks in my home-made drill lathe. Using these for the columns between the berth and gun decks - a bit hard to see when painted white. I also wanted to have something representing the lines that drew water from the bilge into the pumps - settled for 2mm - ish square balsa sticks, painted white again, that straddle the keel, go through the berth deck openings and up to the underside of the gun deck where the suction pumps will be placed - you can see them most clearly behind the mast seat.


- 108 replies
-
- 4
-
-
- mamoli
- constitution
- (and 2 more)
-
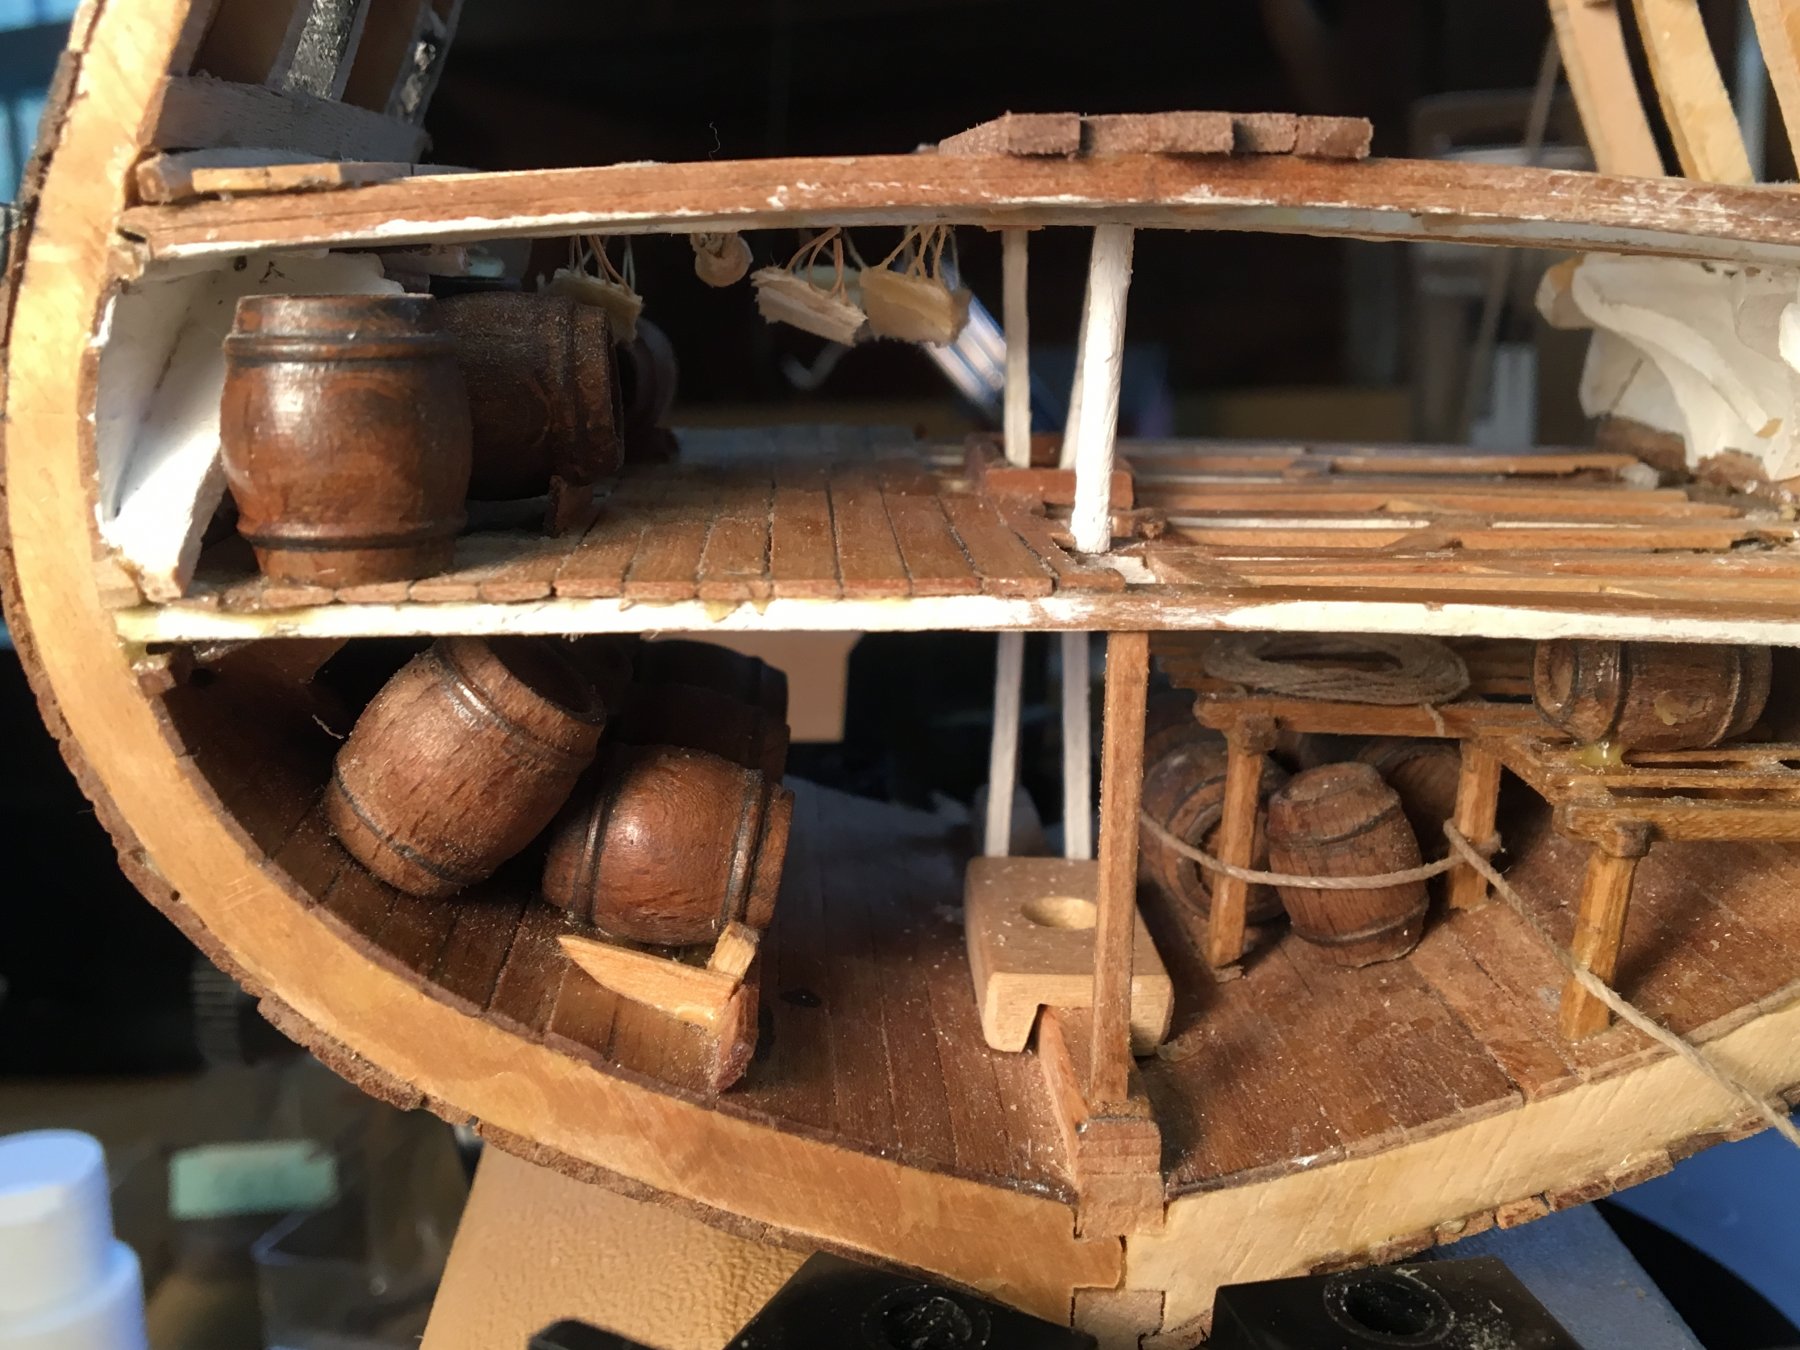
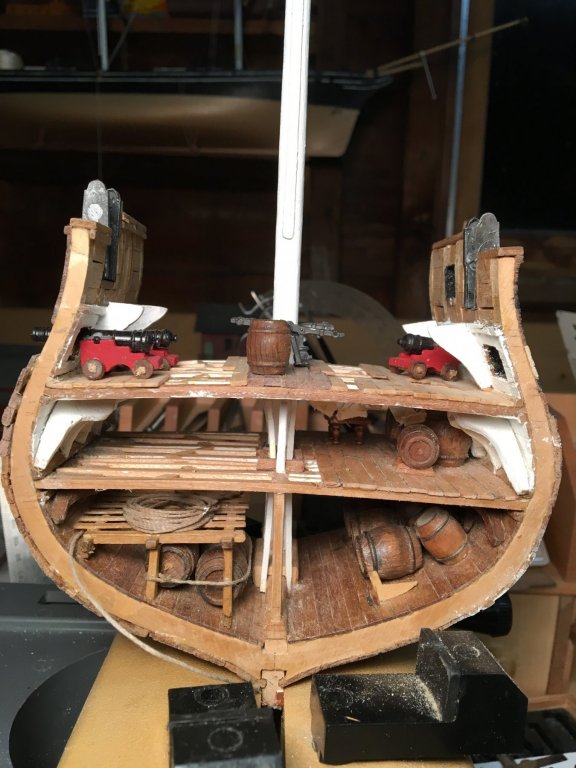
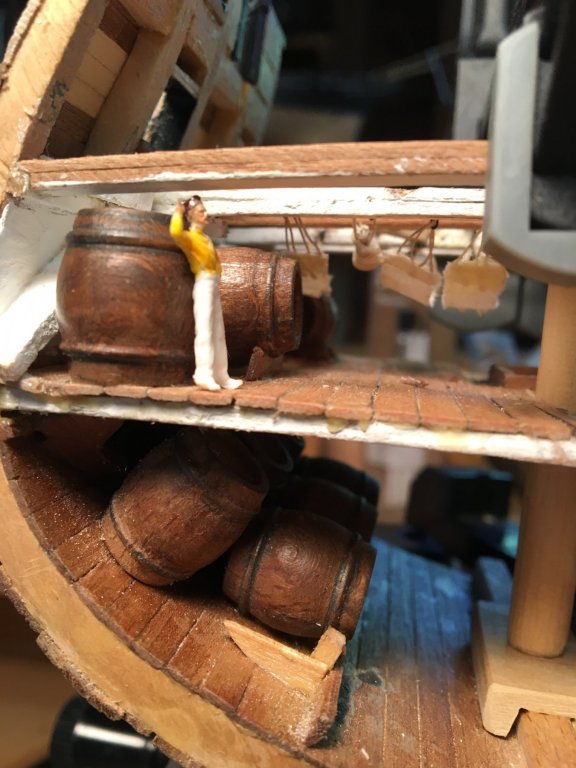
A bit more progress - dry fit the mast, added the columns in the hold, and tried out a figure from a 1:96 plastic kit on the 1:93 berth deck. Nearly finished with the deck frames and waterways, almost time for the deck planking (still haven't figured out what will be covered and what left open) and then time to mount and rig the great guns!
- 108 replies
-
- 5
-
-
- mamoli
- constitution
- (and 2 more)
-
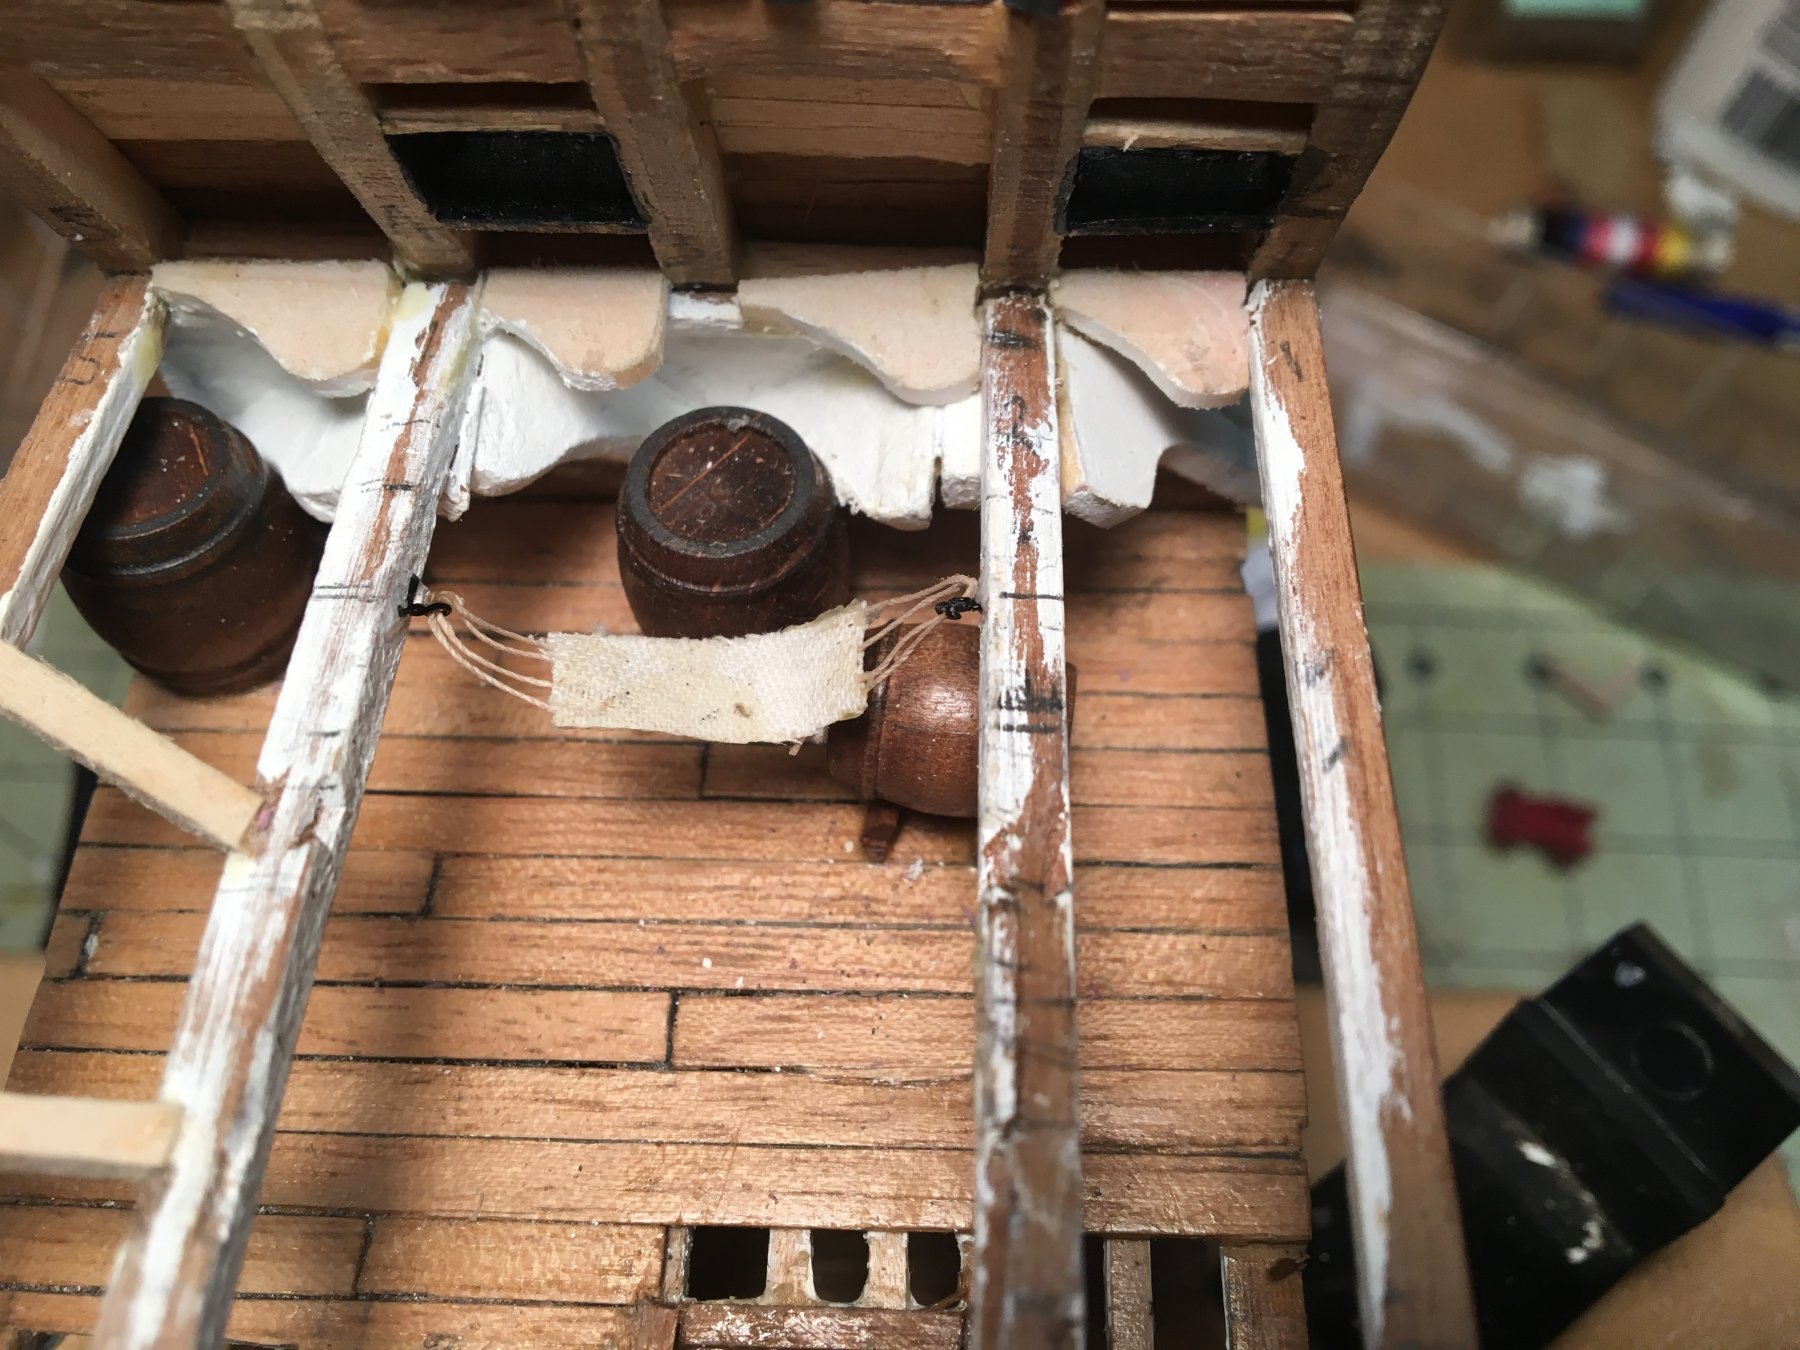
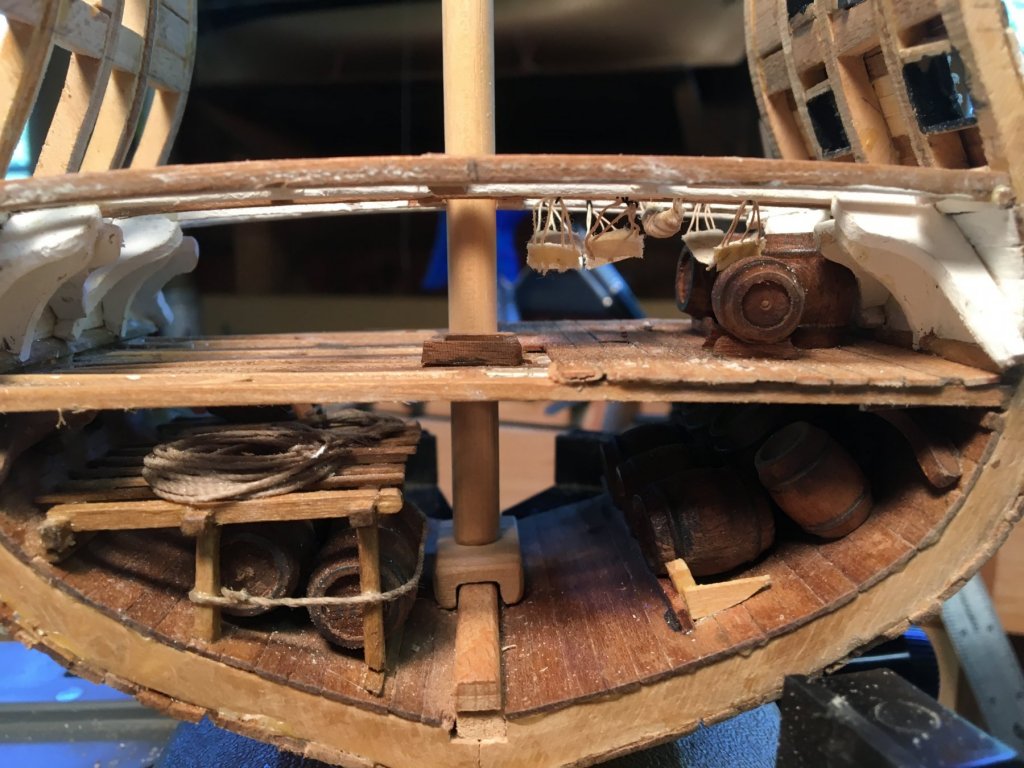
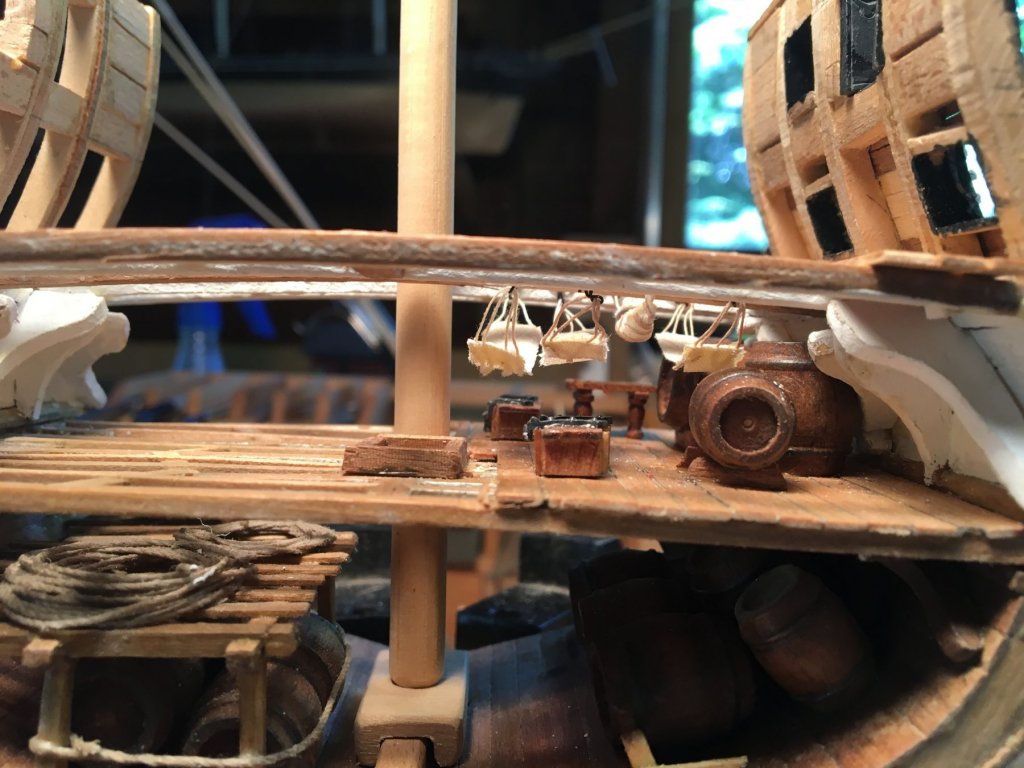
Hammocks about as good as I'm gonna get them, I think. Now to finish the deck framing for the gun deck. Originally I was intending to plank over the whole deck, but now I think I will leave a good portion of it open so the berth deck and the hold are visible from above - just need to figure out which sections to do what with. I do want to mount all 4 long guns, just to complicate things.
- 108 replies
-
- 5
-
-
- mamoli
- constitution
- (and 2 more)
-
Yeah, I couldn't figure out how to delete it once it was up there.
- 108 replies
-
- 2
-
-
- mamoli
- constitution
- (and 2 more)
-
After (somewhat unsuccessfully) chasing the total solar eclipse ten days ago, I'm back to wrestling with hammocks - this one was not a total shambles. Will probably keep it and add a couple more.


- 108 replies
-
- 4
-
-
- mamoli
- constitution
- (and 2 more)
-
Thanks Jon. Since he is working at twice my scale, that will be a challenge to duplicate.
- 108 replies
-
- 2
-
-
- mamoli
- constitution
- (and 2 more)