stevenmh
-
Posts
161 -
Joined
-
Last visited
Content Type
Profiles
Forums
Gallery
Events
Everything posted by stevenmh
-
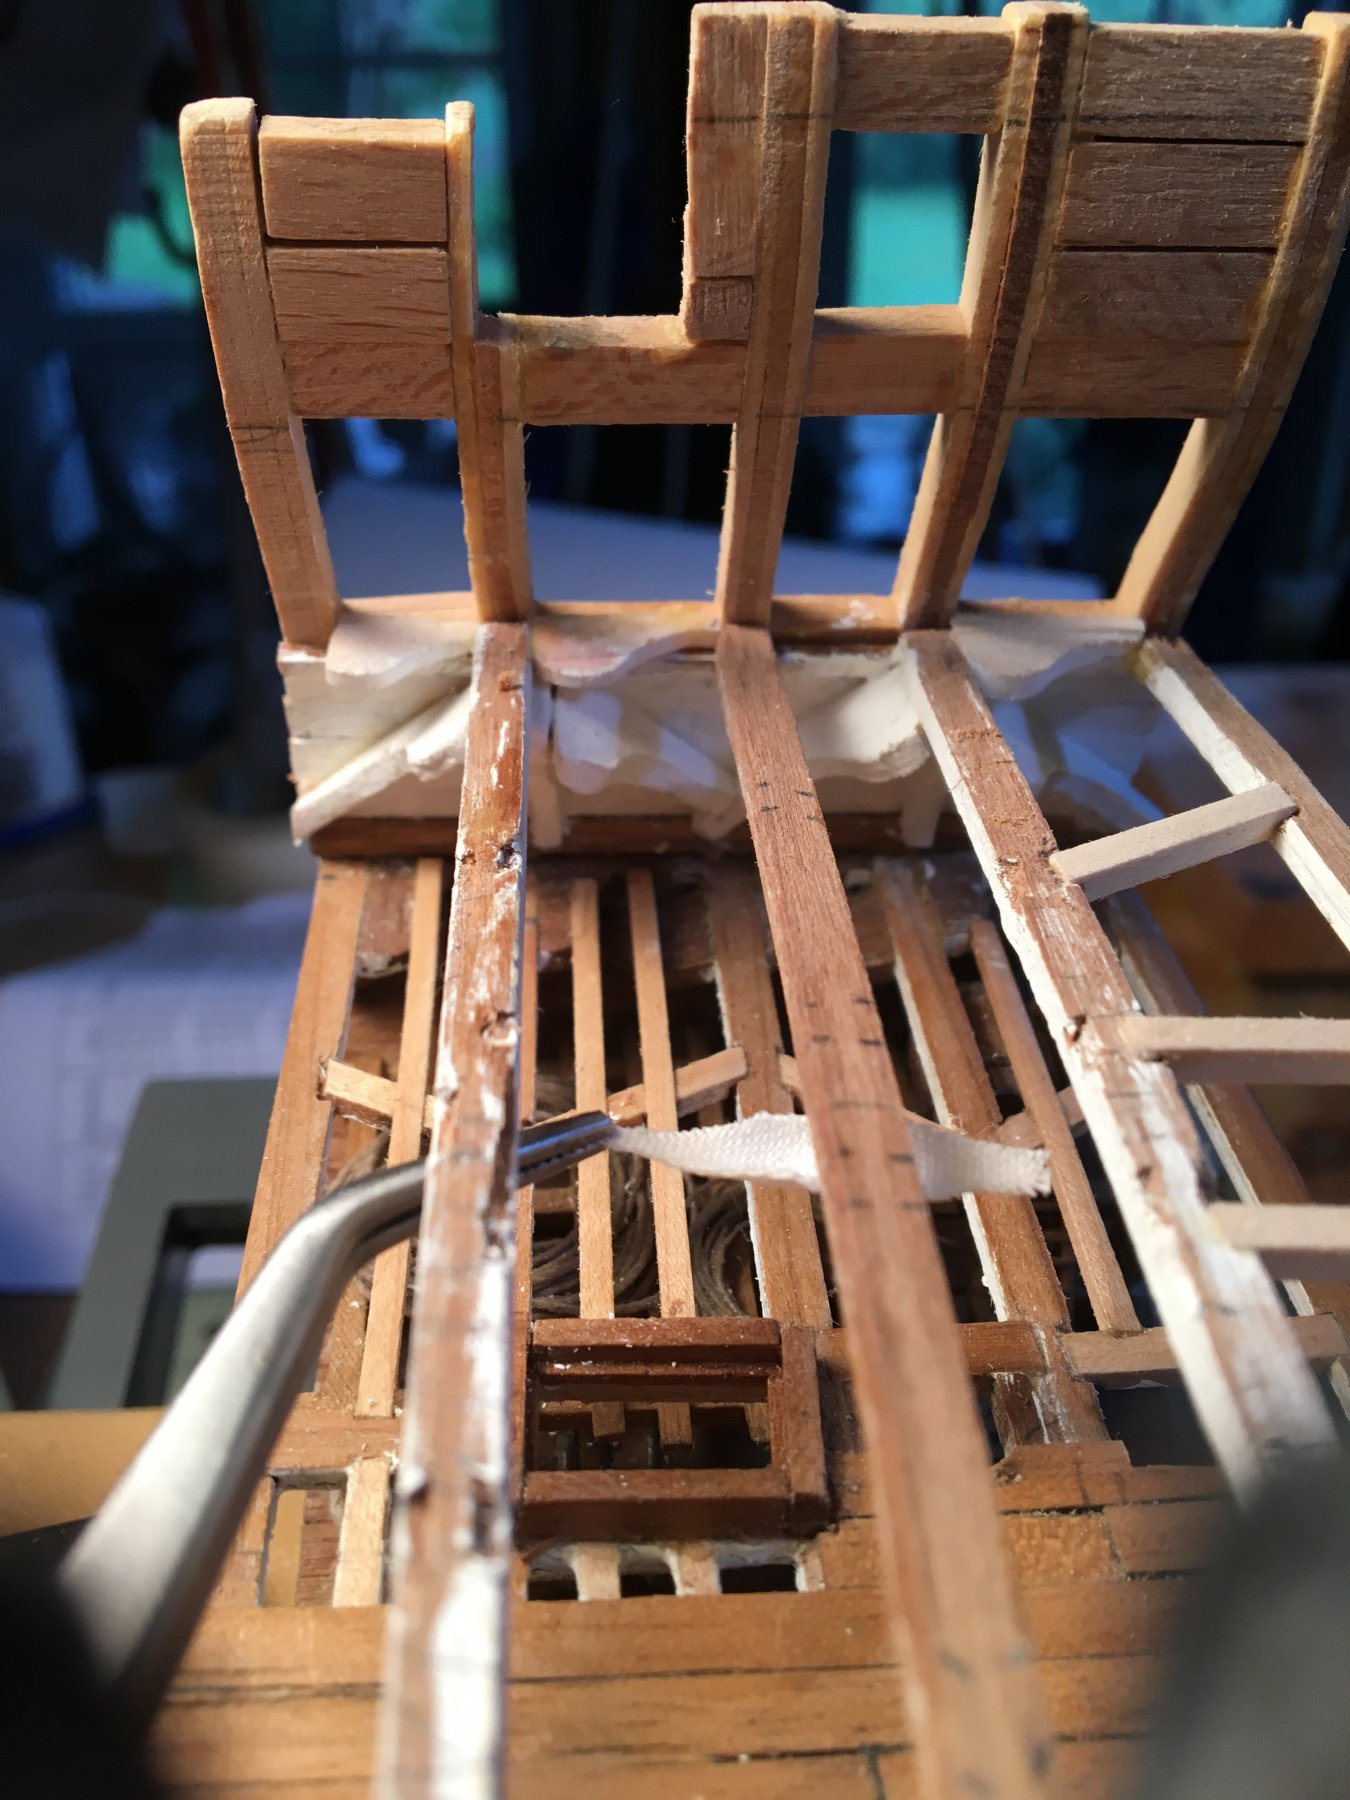
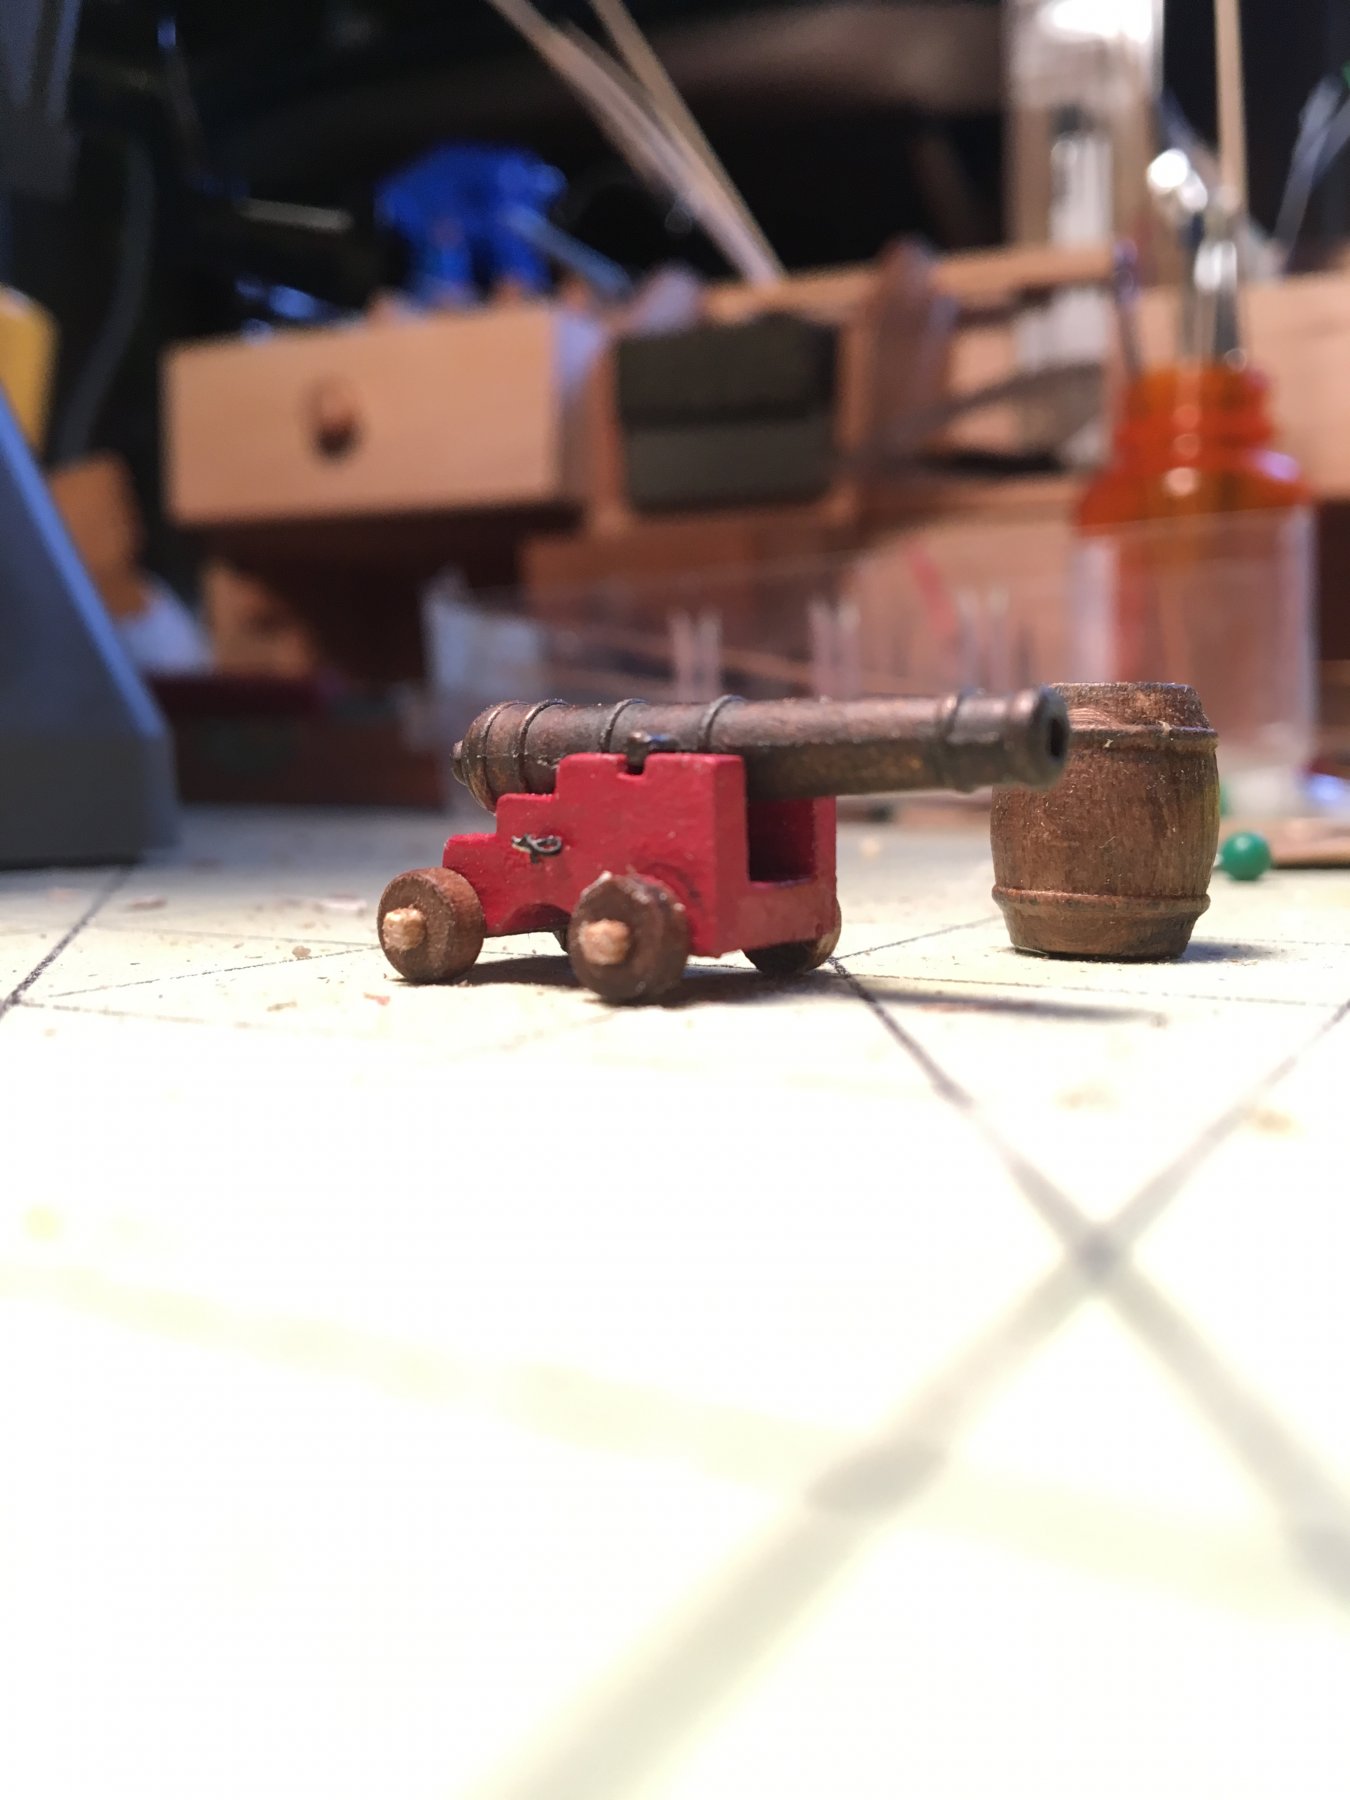
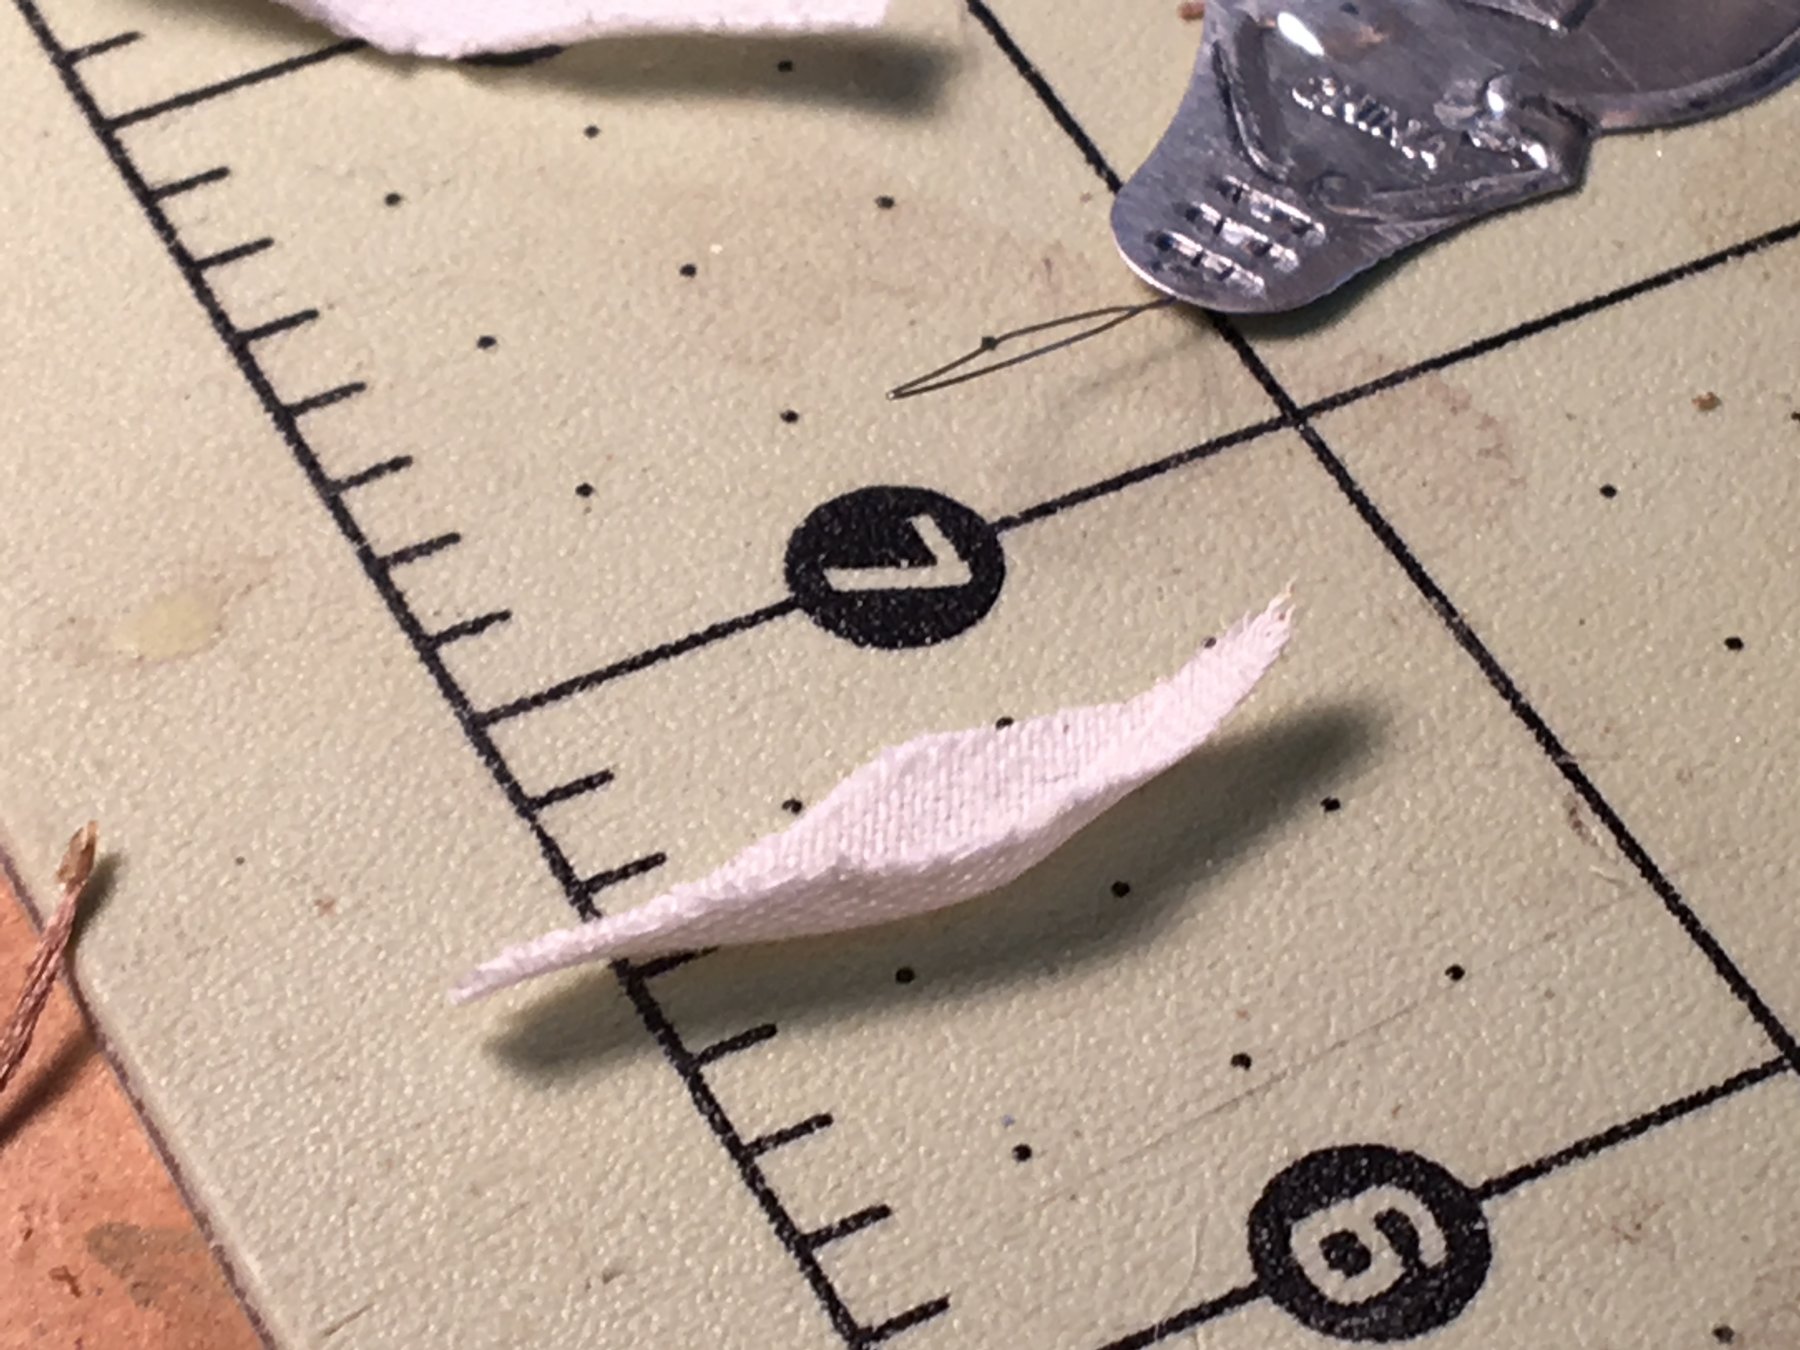
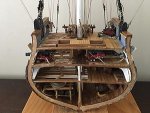
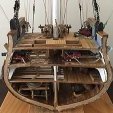 Starting to put in some of the berth deck furniture/fittings before I block my own way with the framing for the gun deck. Decided to play with making one of the guns, and trying to thread the tiny blocks for the gun tackle. Despite the best advise from several members on how to skewer those darn things, I had to be rescued by the Admiral. Eyes like a hawk, that one. Then I made the "mistake" of re-browsing some other cross-sections and decided to allow myself to be seduced by Modeler12 and his hammocks. So I'm going to place another roadblock in my quest to complete this thing by the 36th Annual Northeast Ship Model Conference and try to make a couple of hammocks. I bought some bits of cloth at Joann's, but we (meaning the Admiral) decided a scrap of old cotton sheet actually looked best. Photo shows prototype # XVII placed to see the scale. If I do manage to make something I like, I will post the method, but so far it ain't quite right.


- 108 replies
-
- 4
-

-
- mamoli
- constitution
- (and 2 more)
-
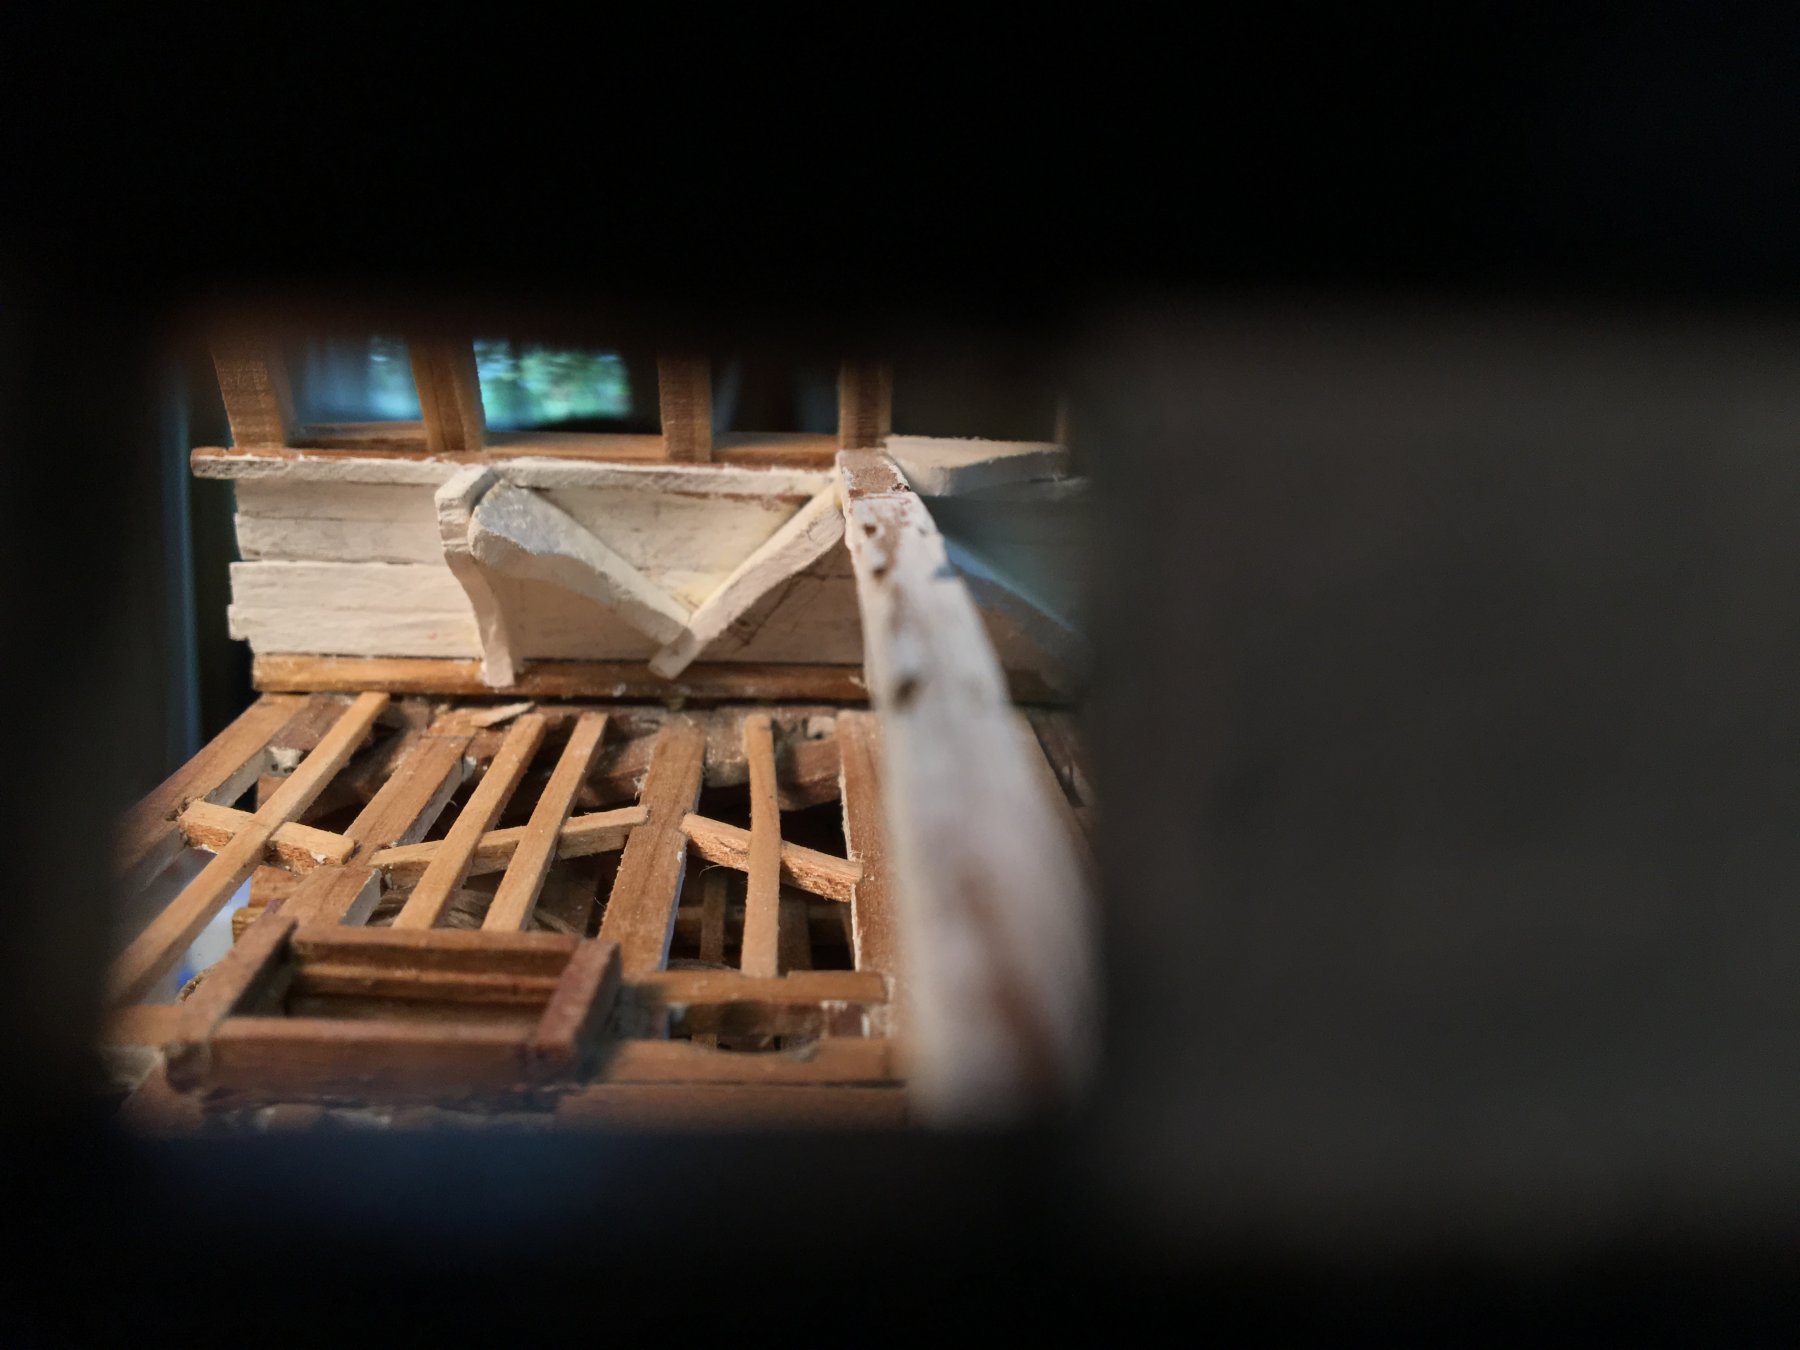
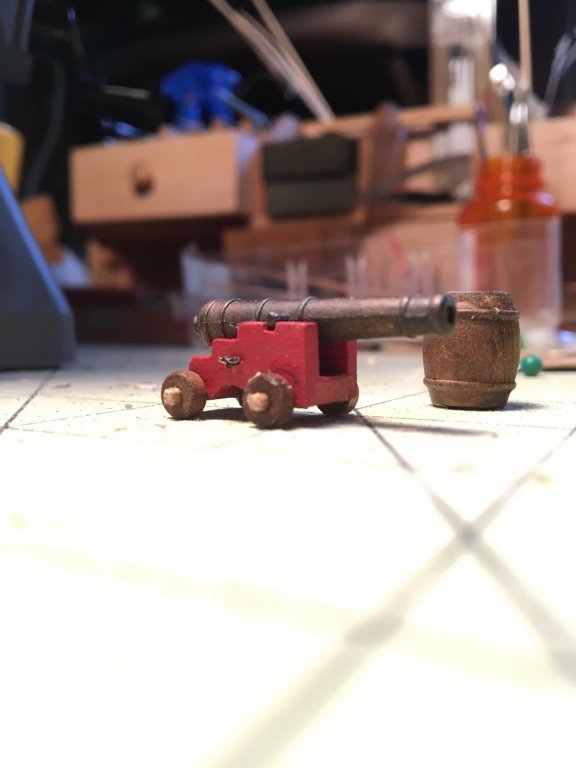
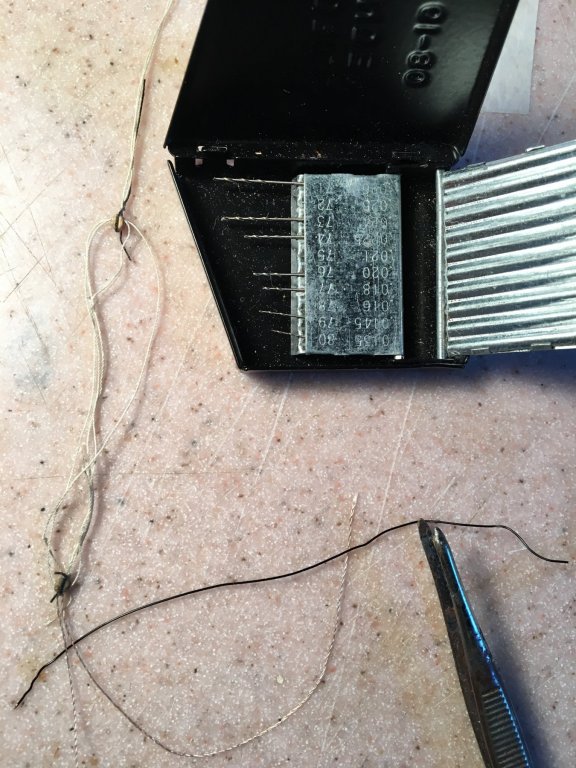
While waiting for the paint to dry I thought I'd start on the gun tackles (with 3/32" blocks), but since I was having trouble threading my miniscule line through the tiny holes, I figured I'd go back to the berth deck - more knees in place, taken through one of the gun ports. Needs to be painted - again.
- 108 replies
-
- 3
-
-
- mamoli
- constitution
- (and 2 more)
-
Thanks for all the suggestions - it looks like the sources for this are rich.
-
Wow - it is a small world! Thank you all very much.
-
Thanks EJ and Scott, and for the likes. If I cut the ring I would only have to spread it a little so I could push the foot (heel?) of the mast through as I inserted it through the decks, but it would leave a scar, so I'm still up in the air about this one. I have a while to sort it out, as I still have to finish the knees, beams, plank the deck and install the guns and gun tackle - looking forward to my first attempt to rig 3mm blocks...
- 108 replies
-
- 1
-
-
- mamoli
- constitution
- (and 2 more)
-
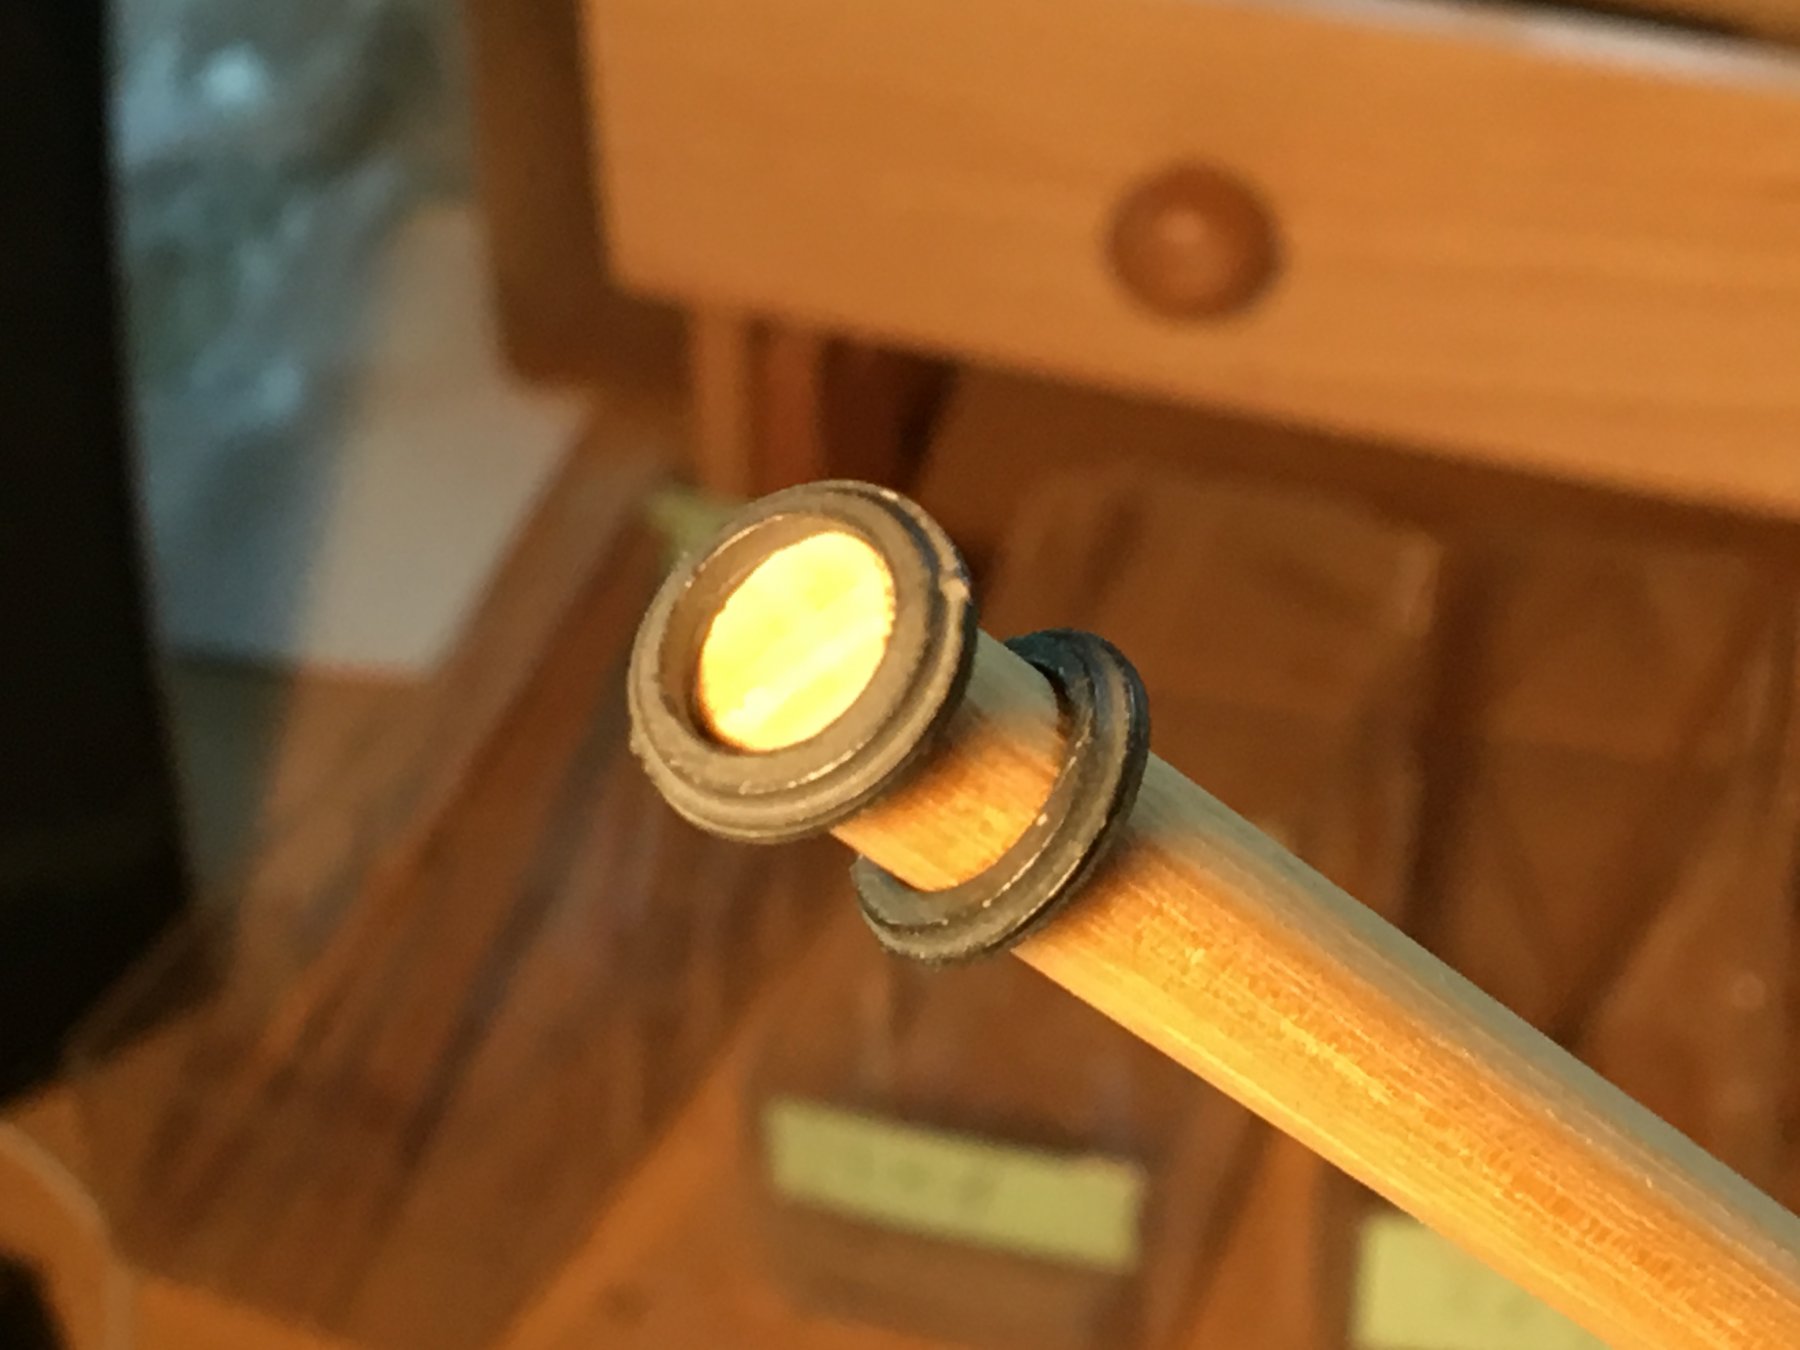
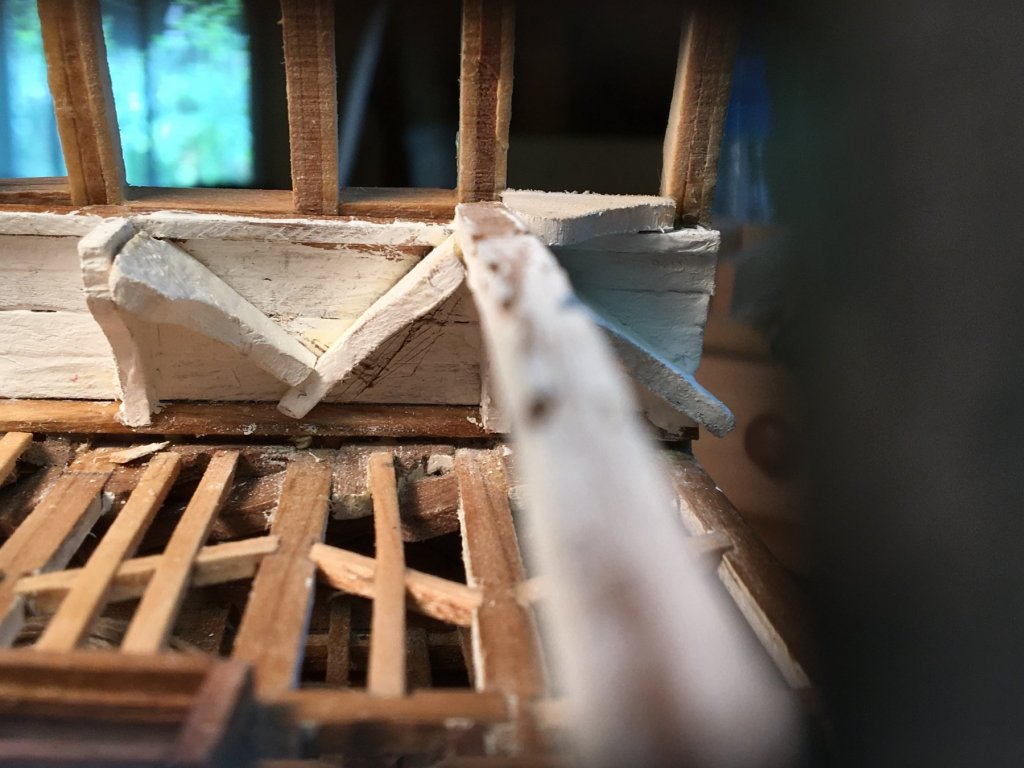
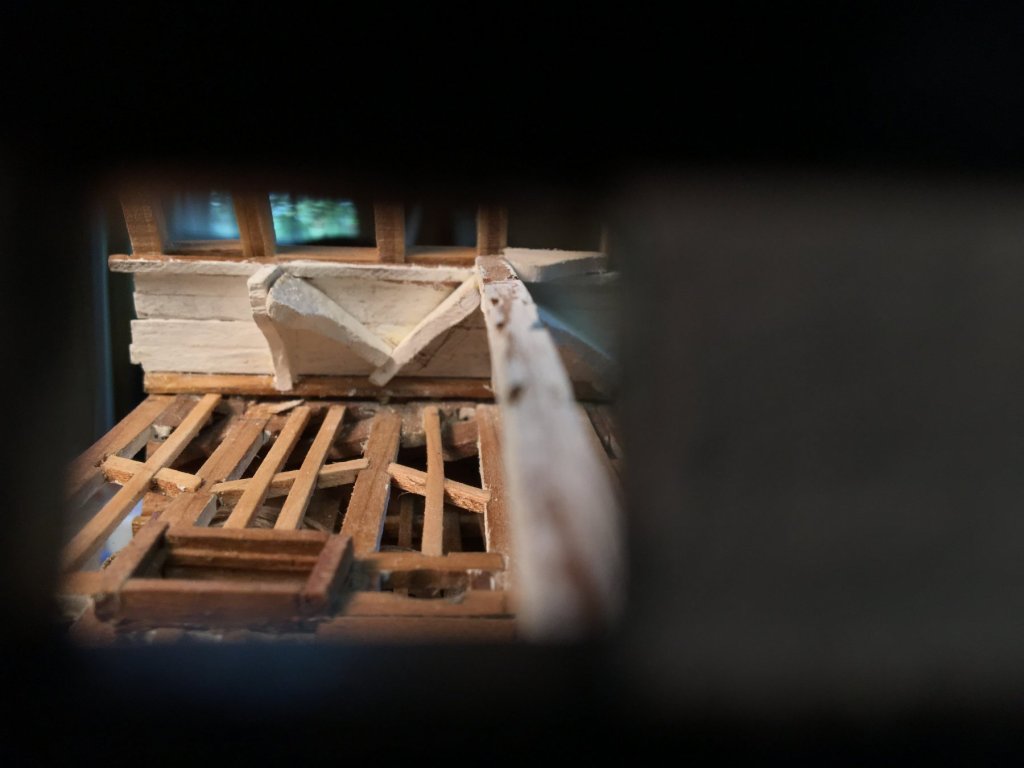
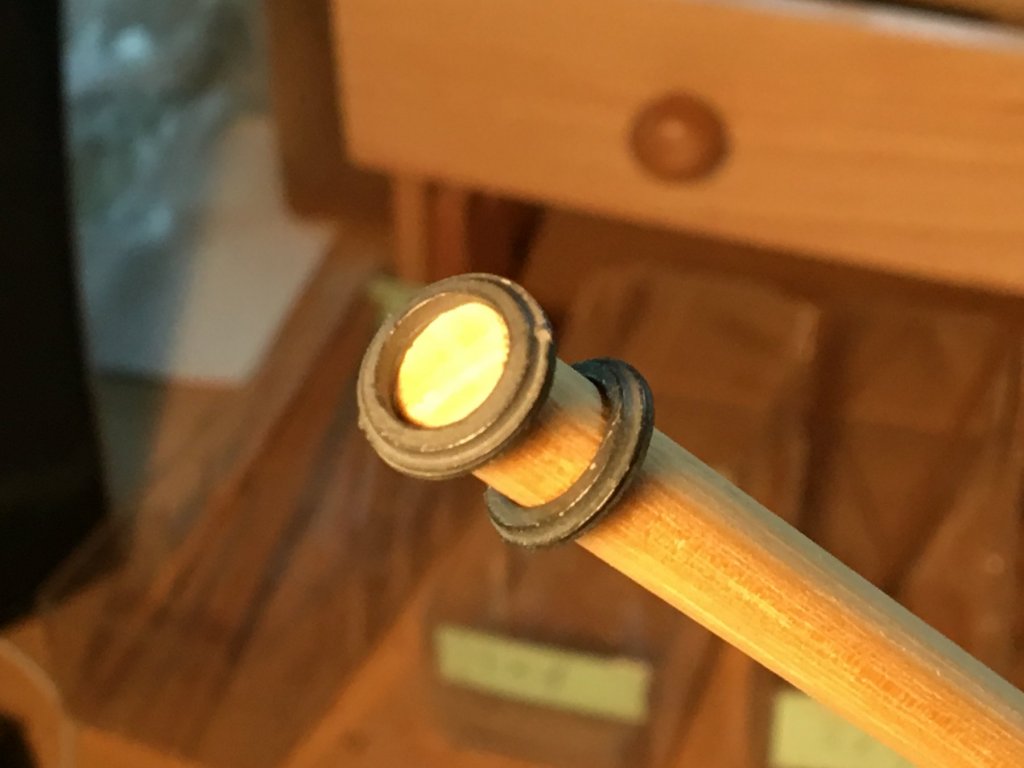
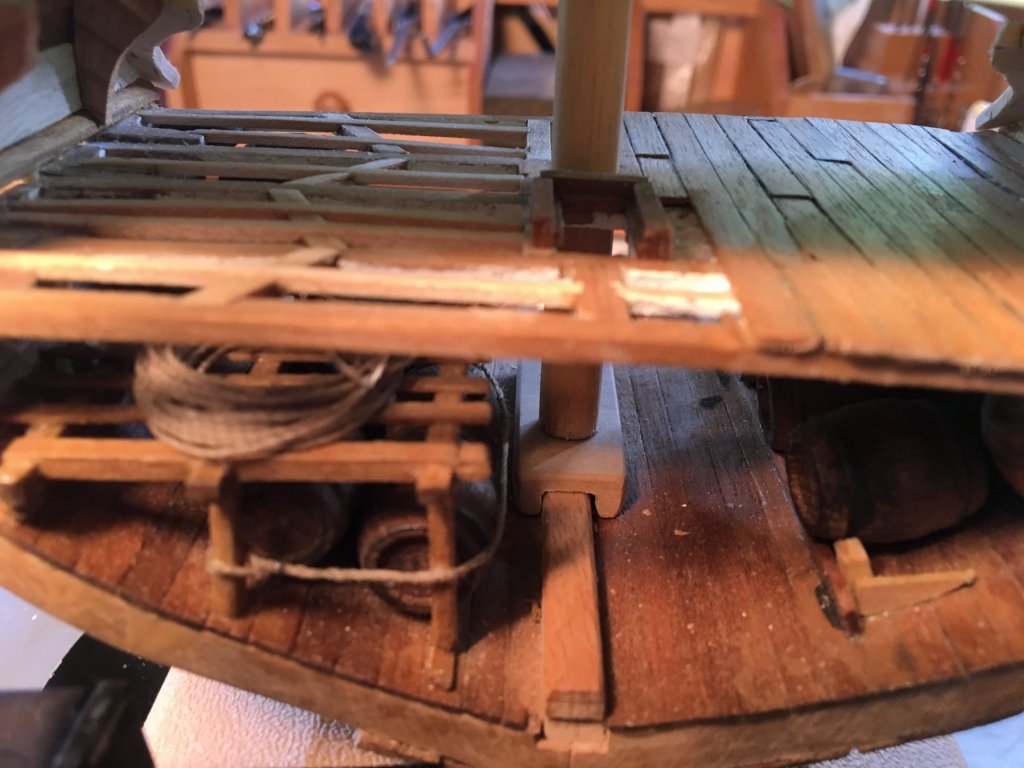
Got the hanging knees and one pair of diagonals in for the gun deck, as well as one of the beams. Added a comming for the opening for the pump hoses, painted (mostly) one side of the ship and made a template of the gun deck to test fit the location of the hole in the gun deck for the mast. Suddenly this thing looks much bigger. One issue is looming, however. As we all know, the main mast tapers slightly from the seat to where it comes through the spar deck. The kit comes with mast rings to cover my imperfections where the mast pierces the decks. The good and bad news is that the openings in these rings decrease in size to match the change in mast diameter as it tapers - largest diameter would go on the berth deck, smallest on the spar deck. Good news: makes it look more realistic; bad news: unless I step the mast before I install the spar deck and slip the smaller ring for the gun deck on (before installing the top) how do I get the ring on the mast and seated on the gun deck - file the opening larger? cut a slit into the ring and spread it over the wider foot of the mast???


- 108 replies
-
- 4
-
-
- mamoli
- constitution
- (and 2 more)
-
Thanks - especially for jumping right on this. I will track down those books.
-
I need to do a presentation on the social history of the Royal Navy circa 1775-1825 for a class I am taking on Jane Austen - don't laugh, one of her books has significant characters who are RN officers, and 2 of her brothers were in the Navy - one (Francis) rose to the rank of admiral and was known to Nelson. Can anyone suggest any resources which discuss the social classes of those who became officers, how they joined, were trained and educated, how their careers affected their social status or how their social status affected their careers? Anything that gives some incite into who these men really were; a bonus would be any discussion on how the social backgrounds of naval officers differed from those of the army. Thanks.
-
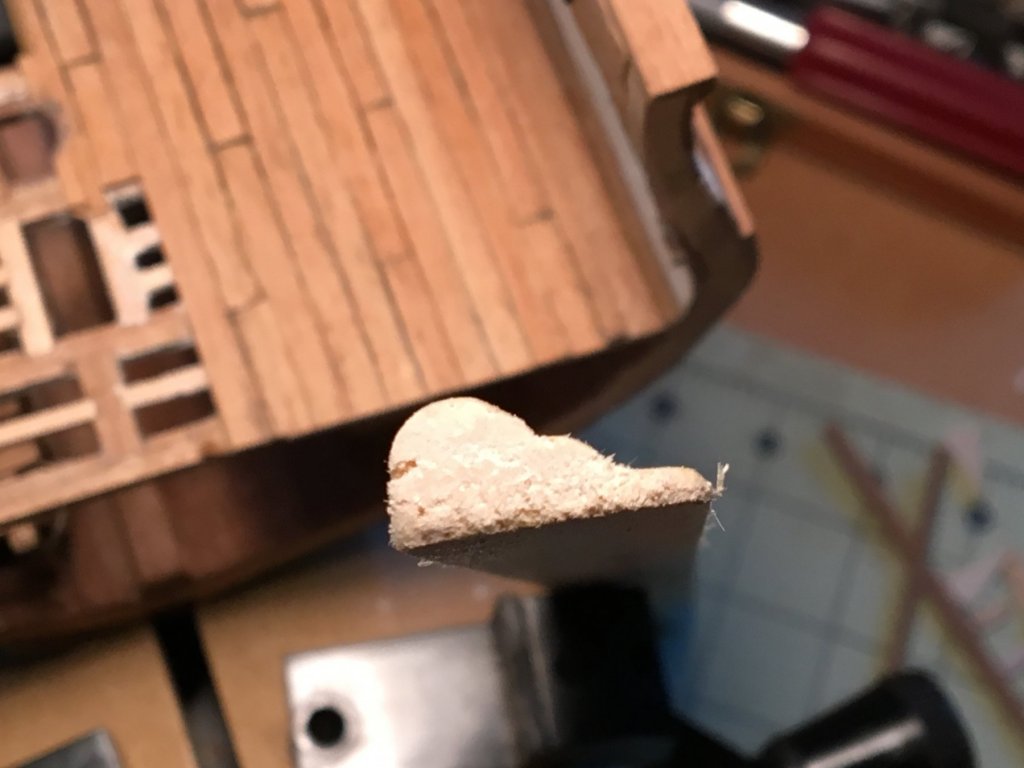
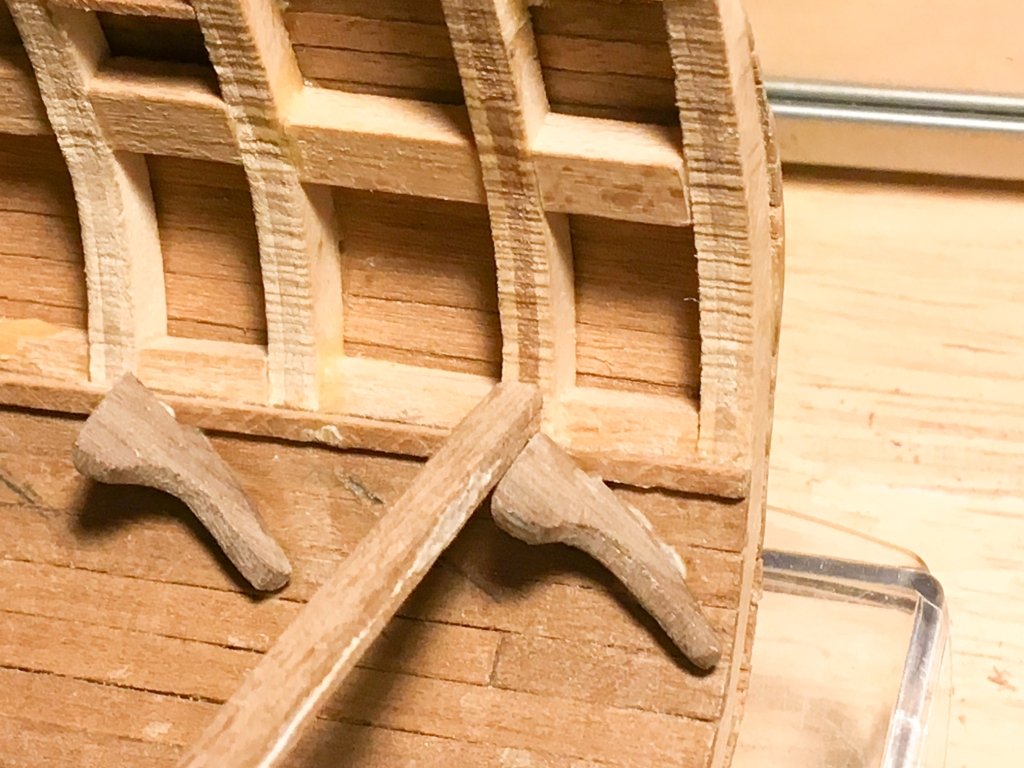
Given all the problems I had cutting out knees from sheets of wood, I'm trying a different approach: taking a piece of molding, sanding it to the proper contour, and cutting off slices. These will become lodging knees - I may need to find a bigger piece for the hanging and diagonal knees. Original contour: Work in progress: Finished product:


- 108 replies
-
- 3
-
-
- mamoli
- constitution
- (and 2 more)
-
Some more progress - first attempt at the mast seat, don't think it will be the final one. Deck planked, also not quite done, but getting there. Left side will be left with framework exposed.

- 108 replies
-
- 5
-
-
- mamoli
- constitution
- (and 2 more)
-
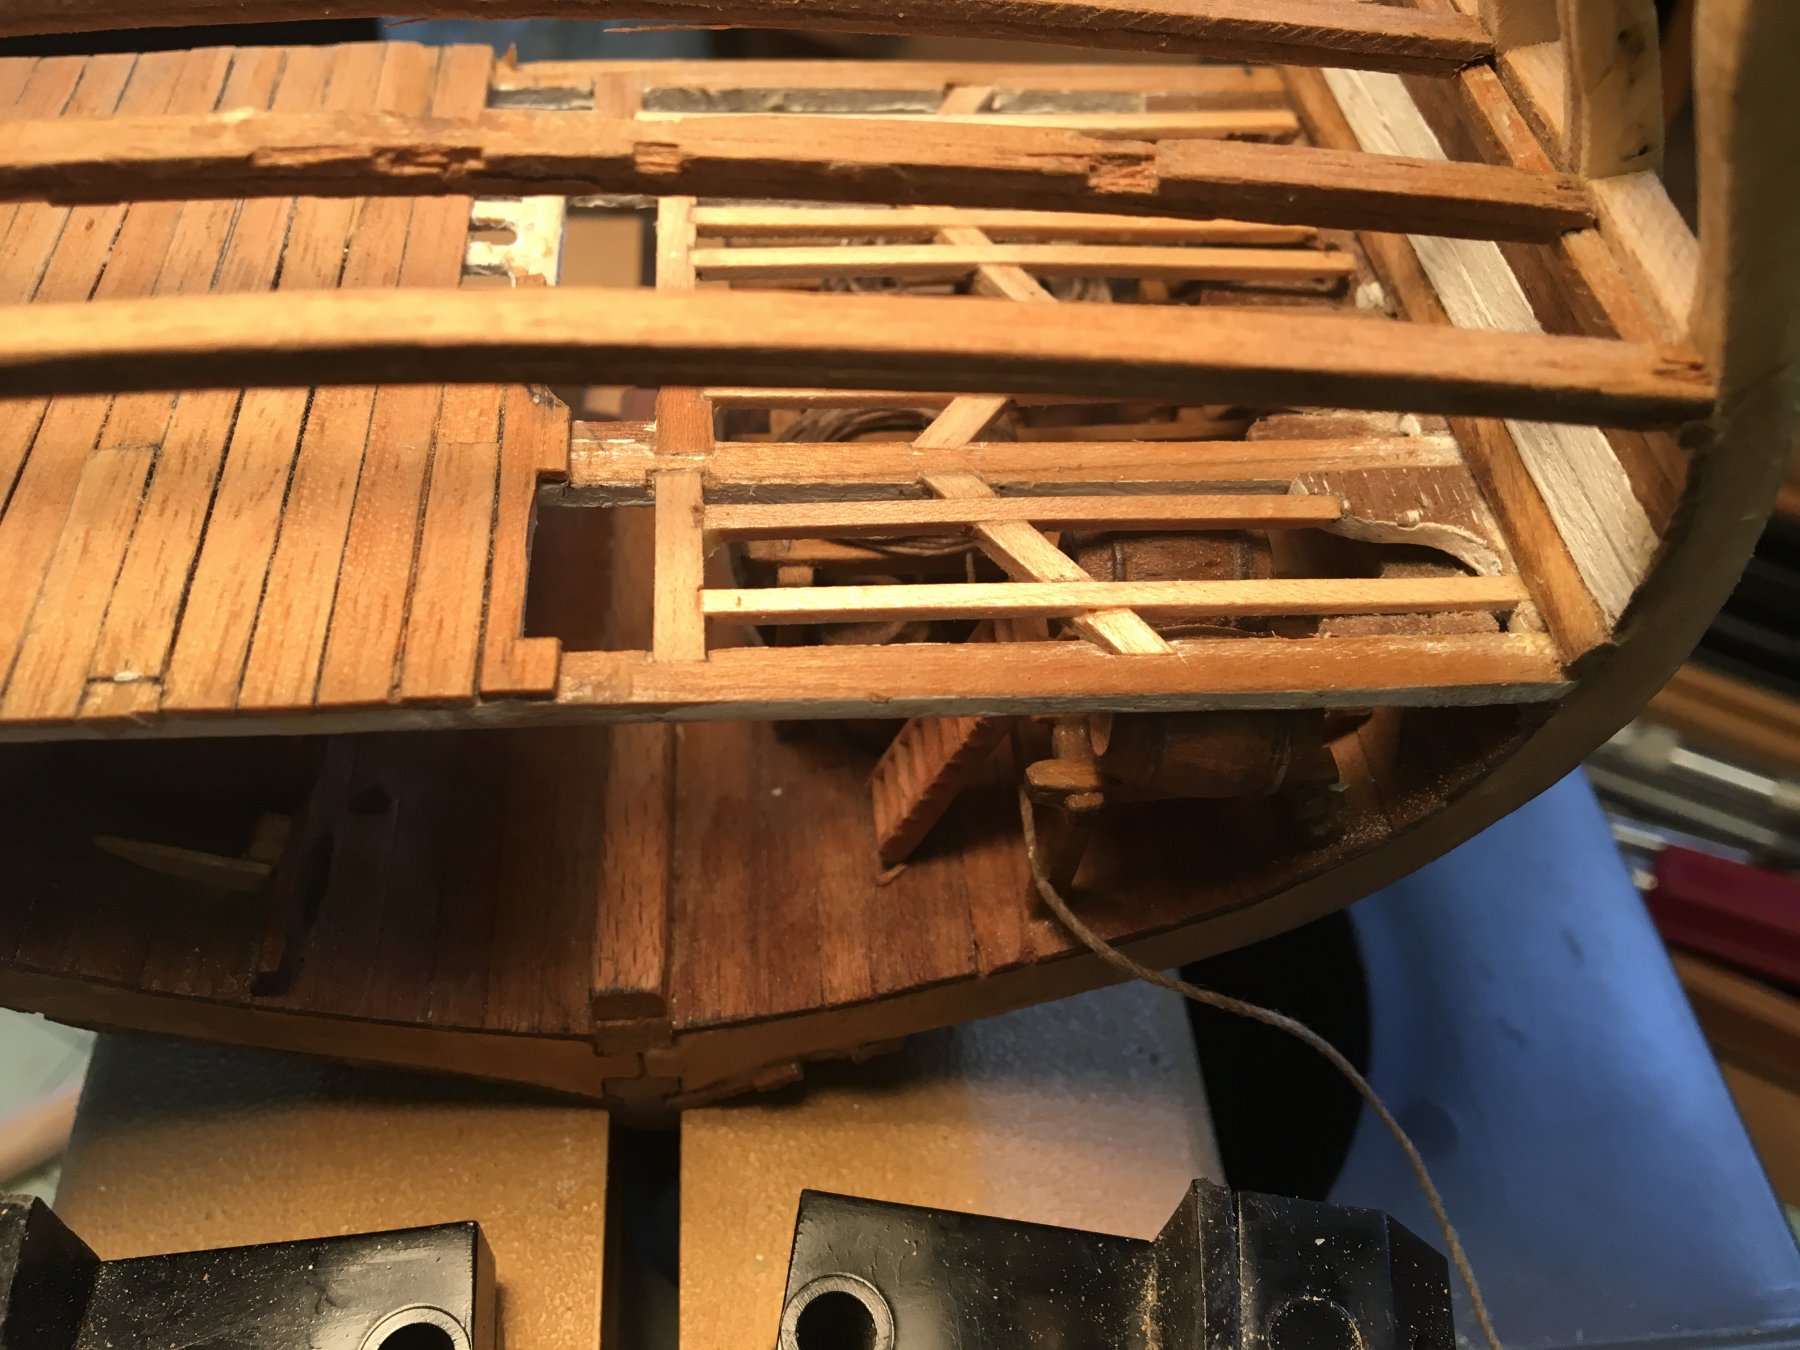
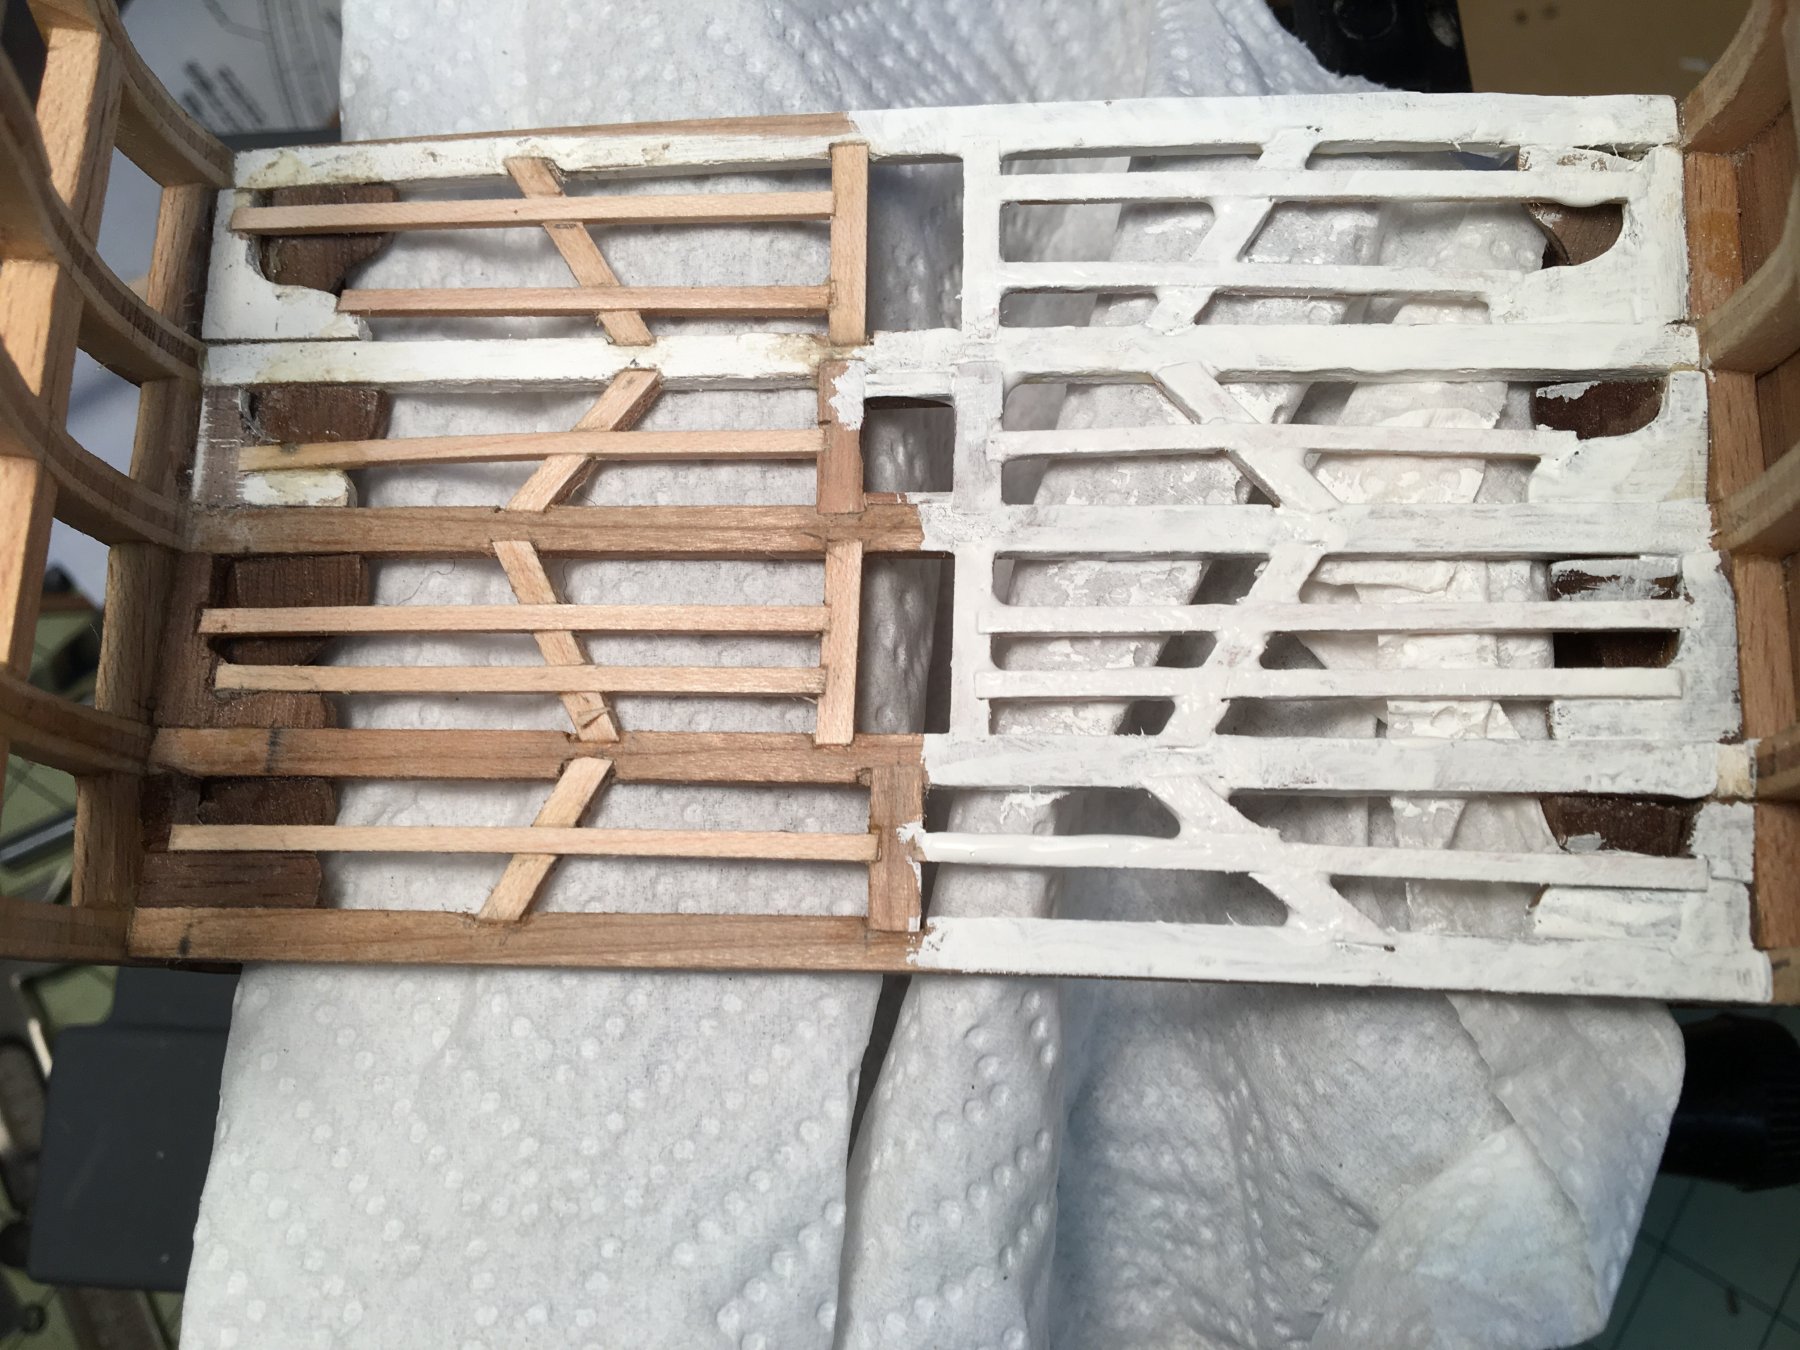
Well, some progress at last. The deck framing is done, part of it is painted (the part I am probably going to cover over with the decking - I'm thinking of leaving the exposed part natural wood. I doubt the tops of the deck beams, carlings and ledges were painted under the decking), and most of the remaining stuff for the hold is in. I have added a keelson, and need to finish decking around it for a gutter. The green card is the template for the mast seat, which I won't actually glue in place until the gun deck is done and I can insert the mast raked and know where it hits the keelson. After that is done I will install the support columns on top of the keelson. But for now, it is on to planking the deck and the inside of the hull to the cleat for the gun deck beams and adding poly - I'm not going to plank the outside of the hull yet as it turns out it is easier to fit the ledges if I can also work through the side of the ship and not just from the top. Then more knees... I'm thinking I will plank the entire gun deck and do another exposed section on the spare deck.


- 108 replies
-
- 5
-
-
- mamoli
- constitution
- (and 2 more)
-
Slow and steady - lots of sanding and filing to get the framing to fit, but half way there - on the first deck


- 108 replies
-
- 5
-
-
- mamoli
- constitution
- (and 2 more)
-
Thanks E.J. and all of you "likes". Very nice work on your Couronne - will the cross section be from a kit or scratch-built from plans (making a list for future projects, once I finish a few full models and attempt planking...)
- 108 replies
-
- 2
-
-
- mamoli
- constitution
- (and 2 more)
-
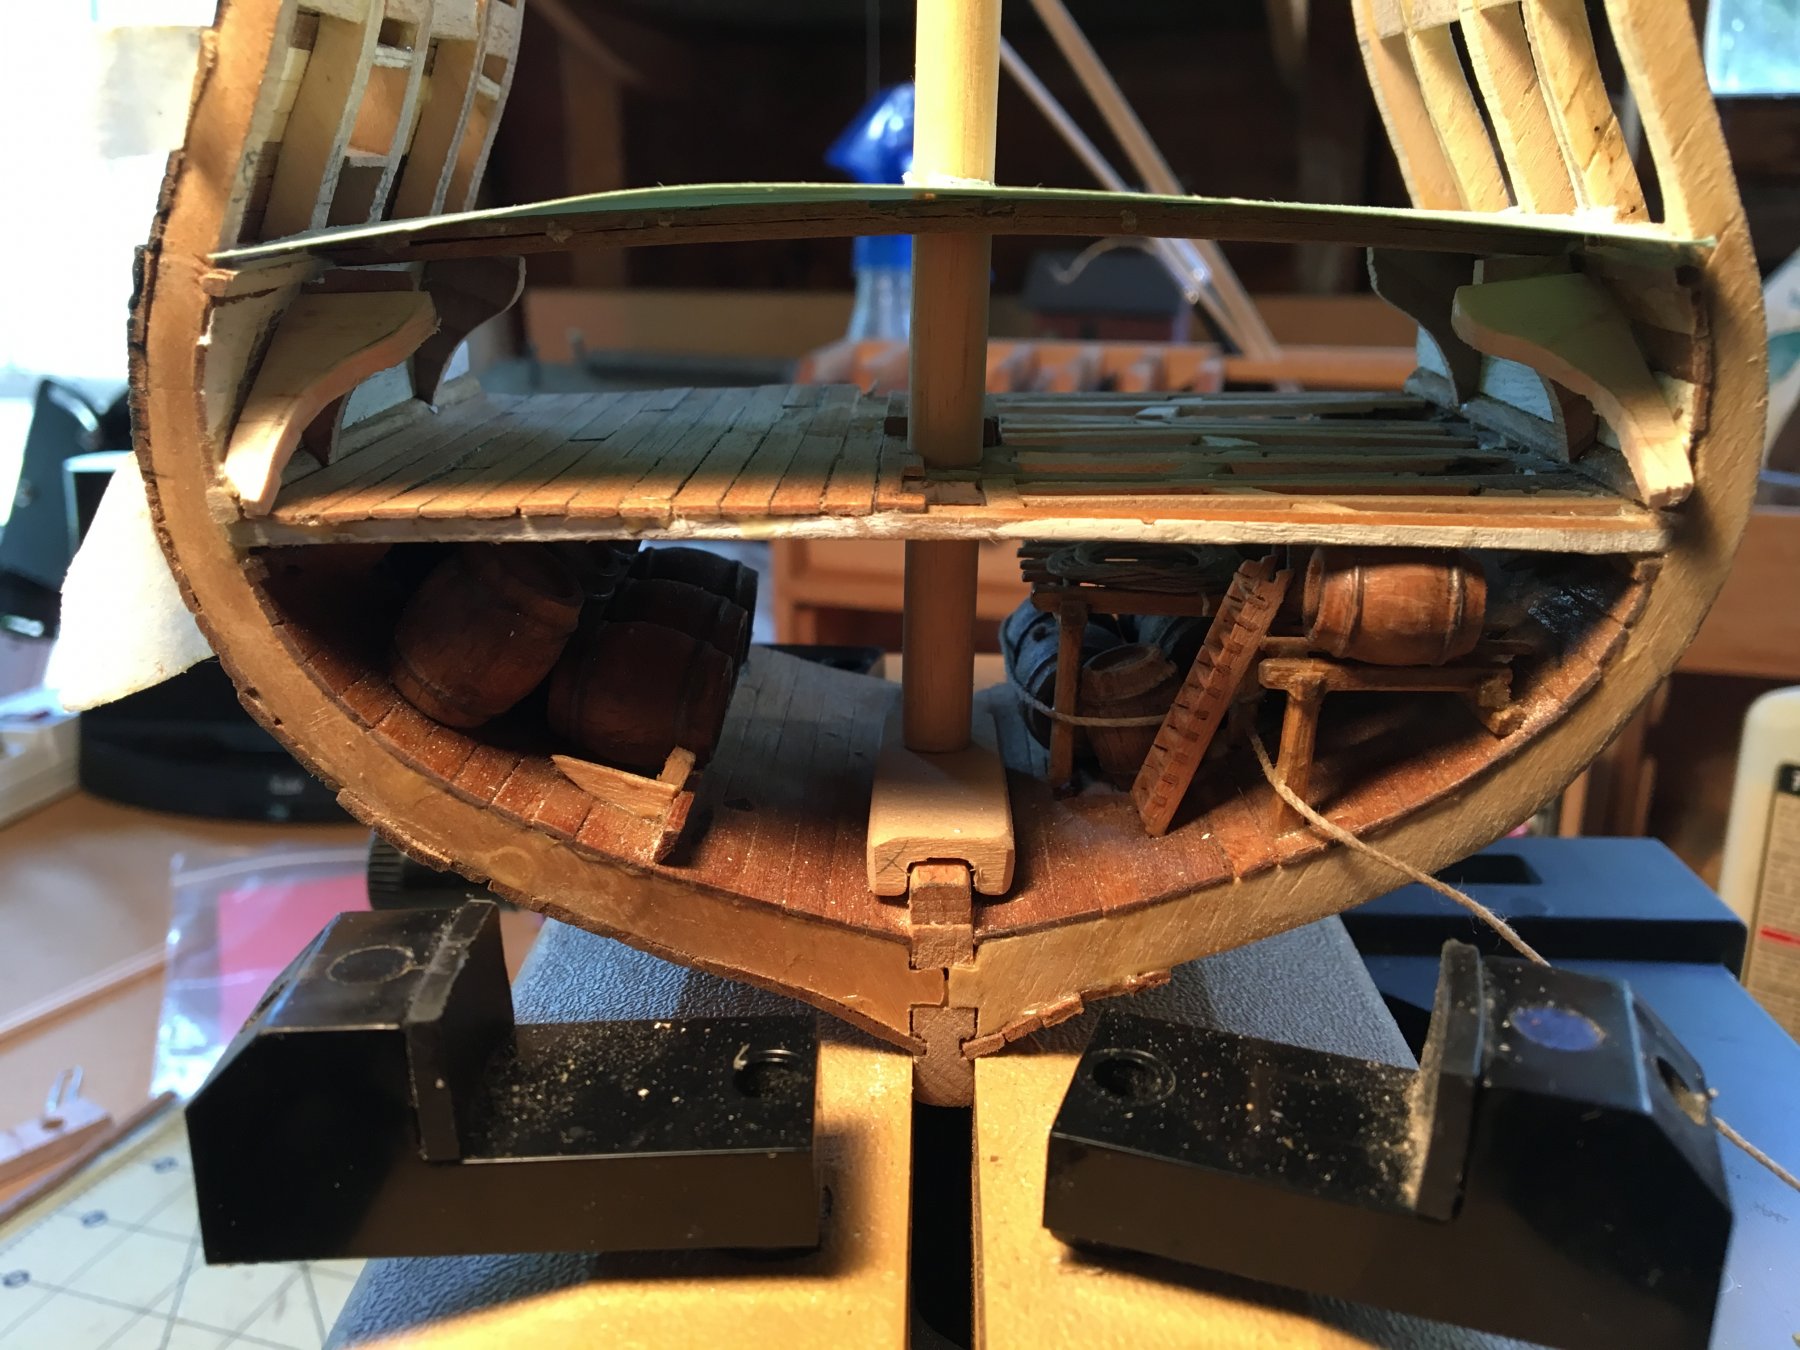
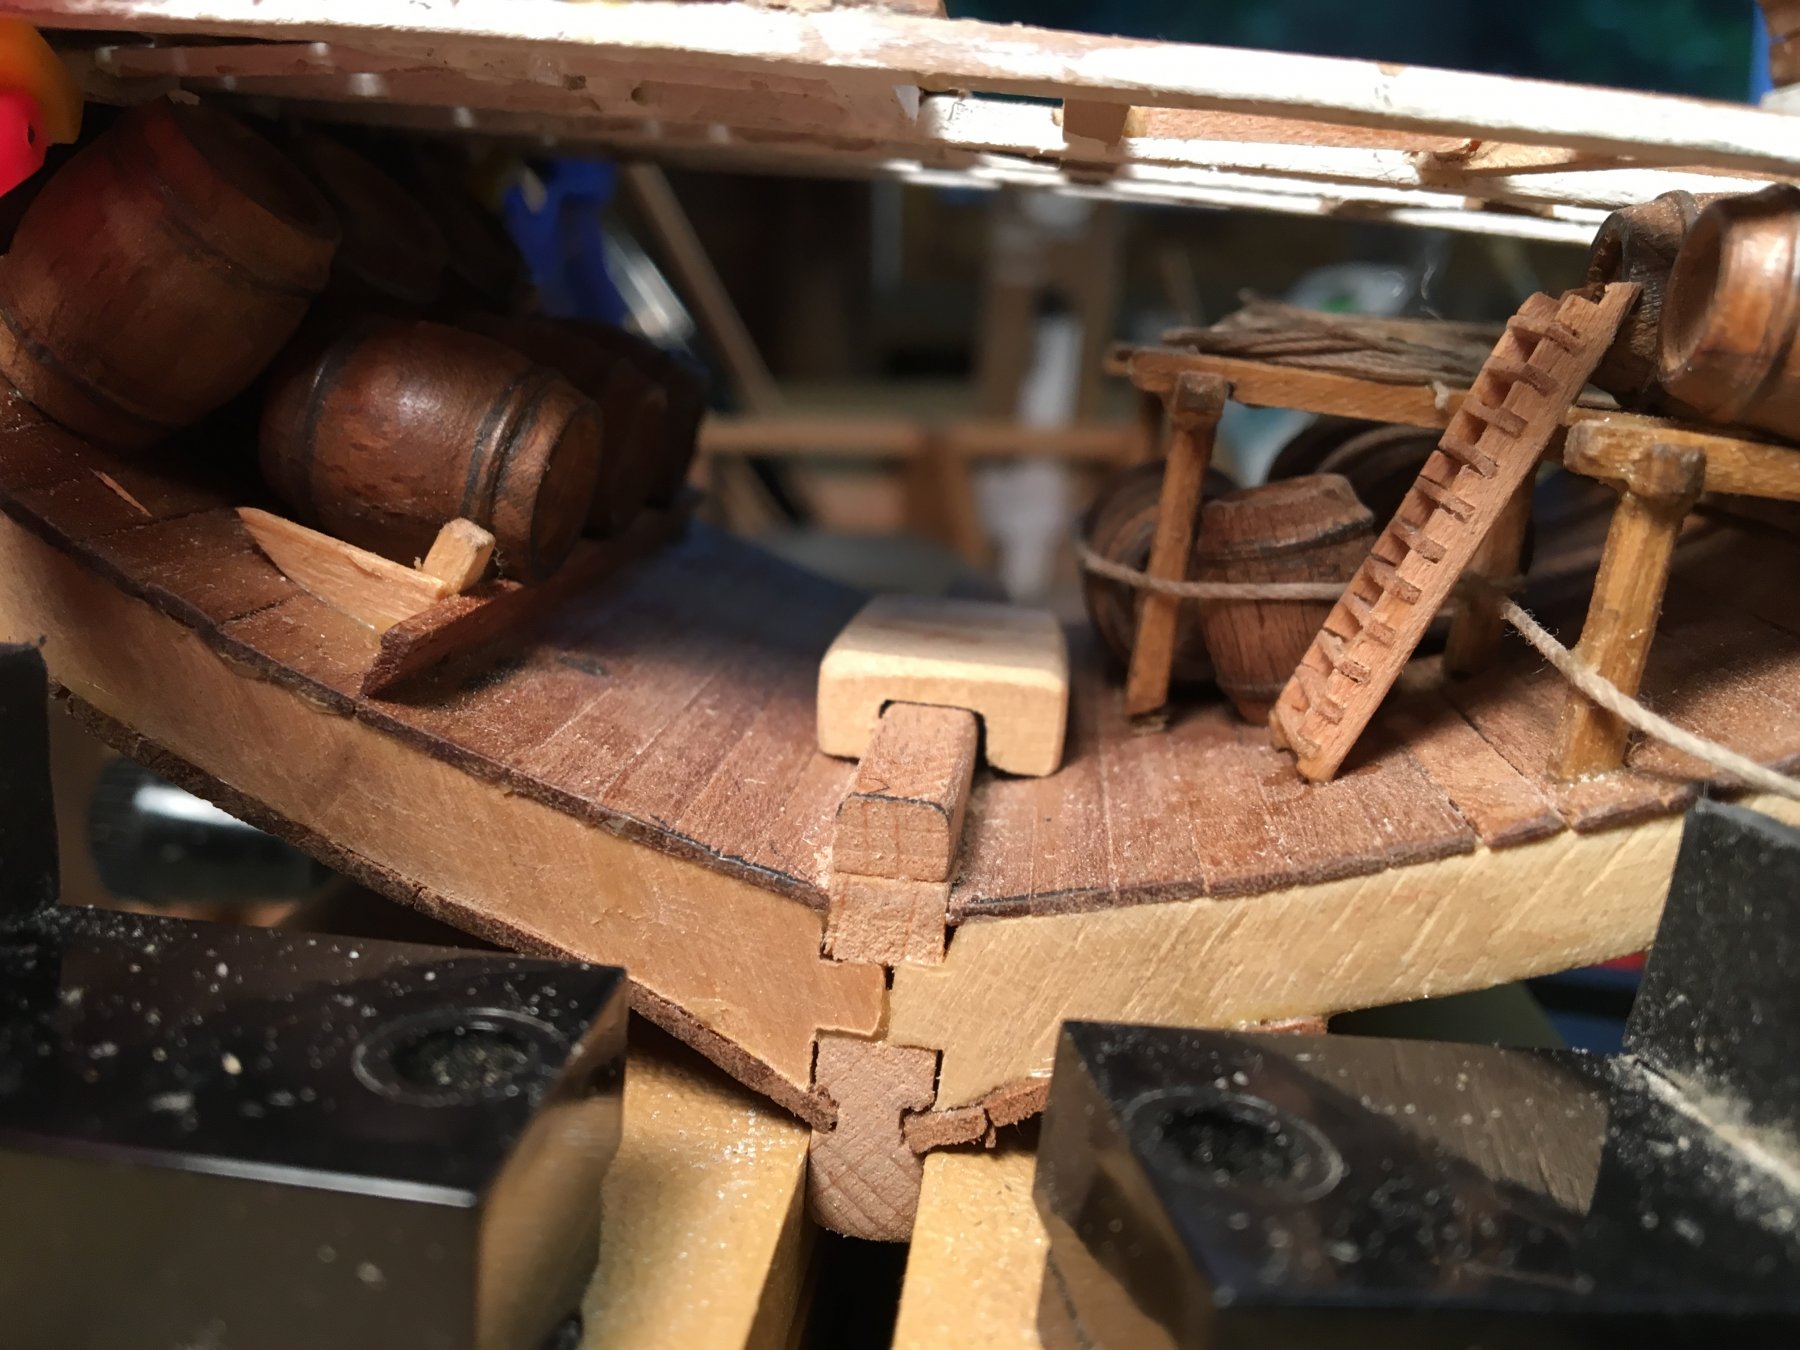
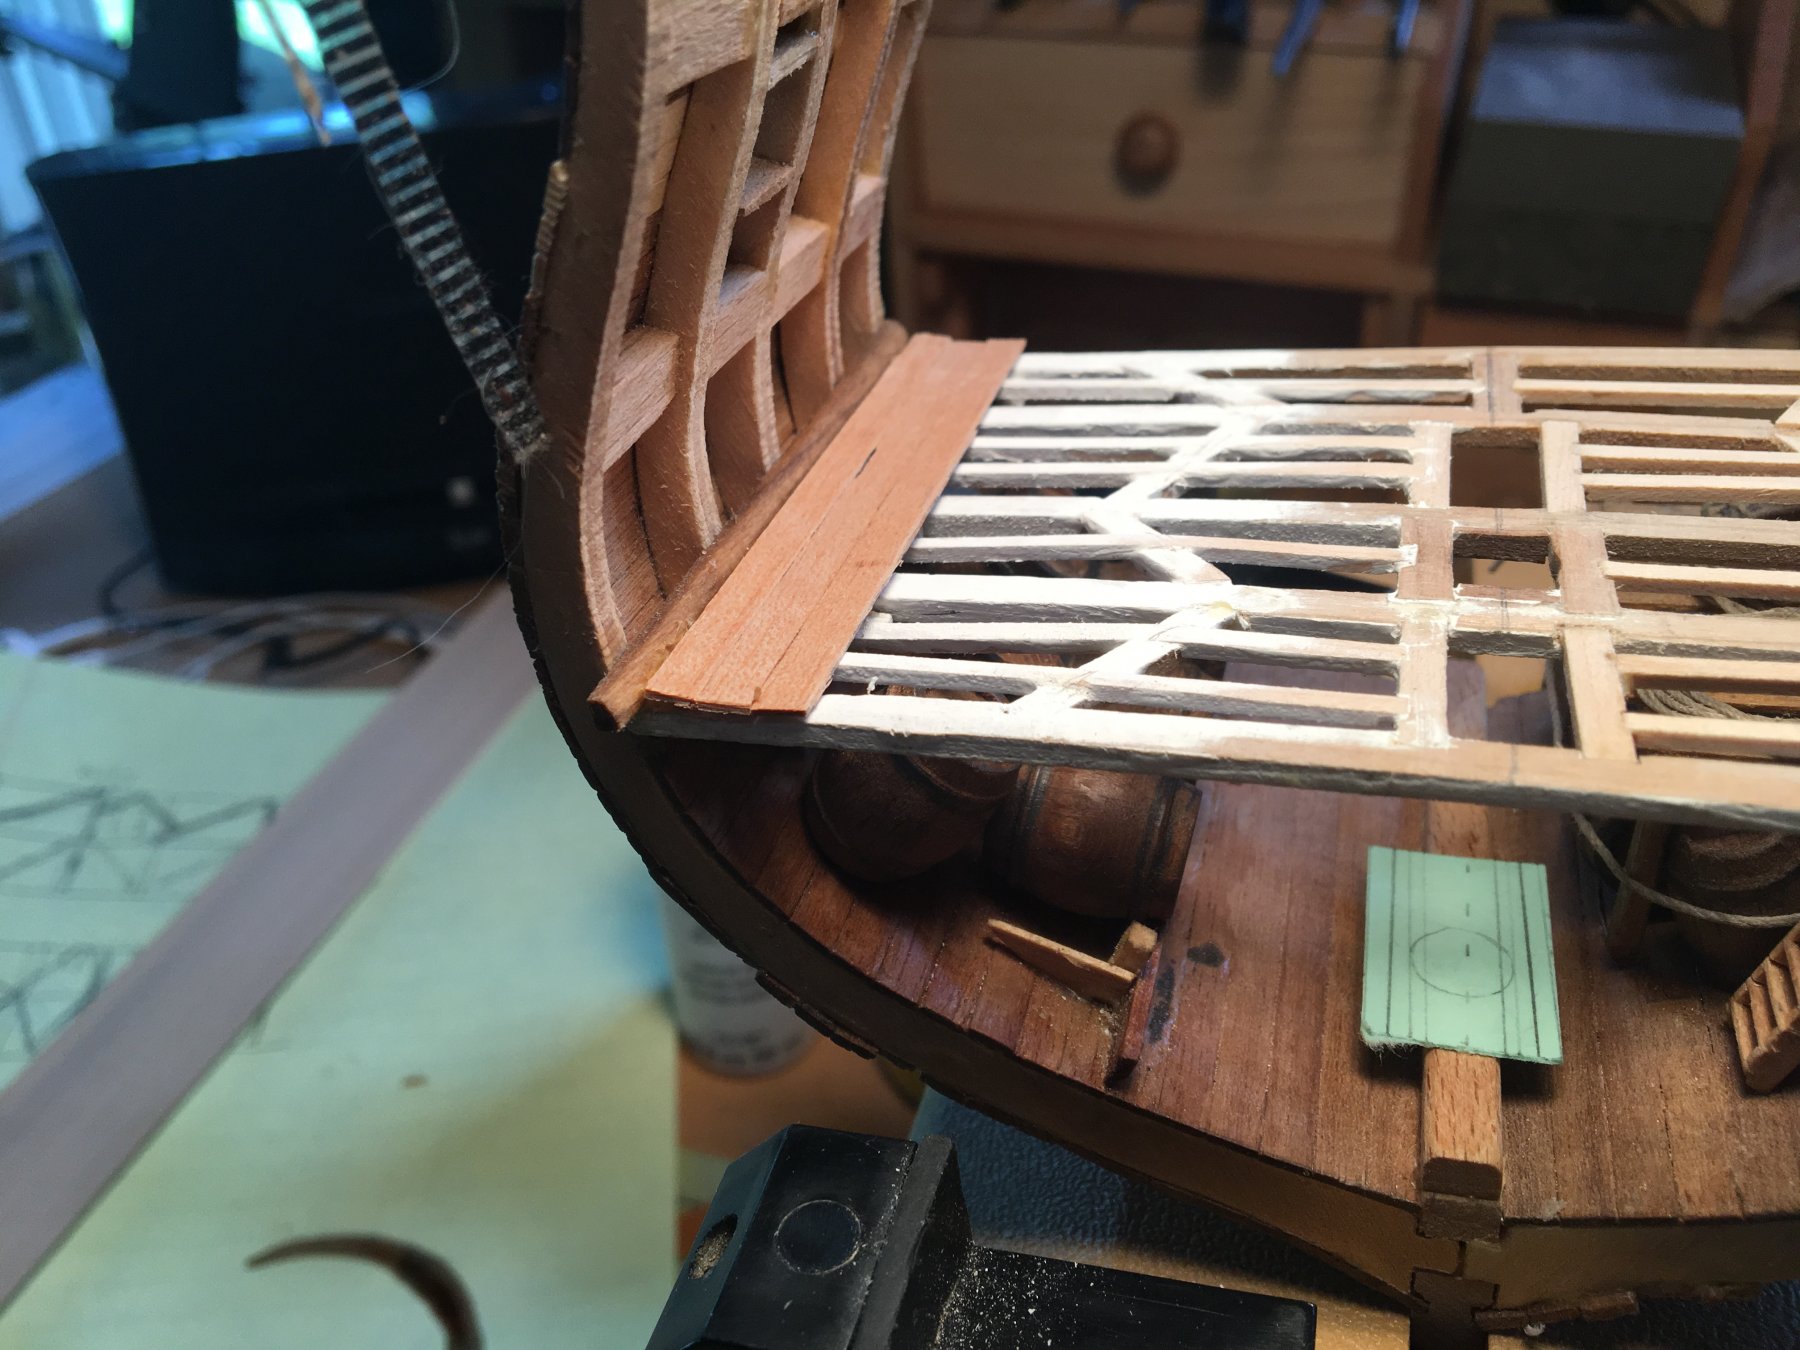
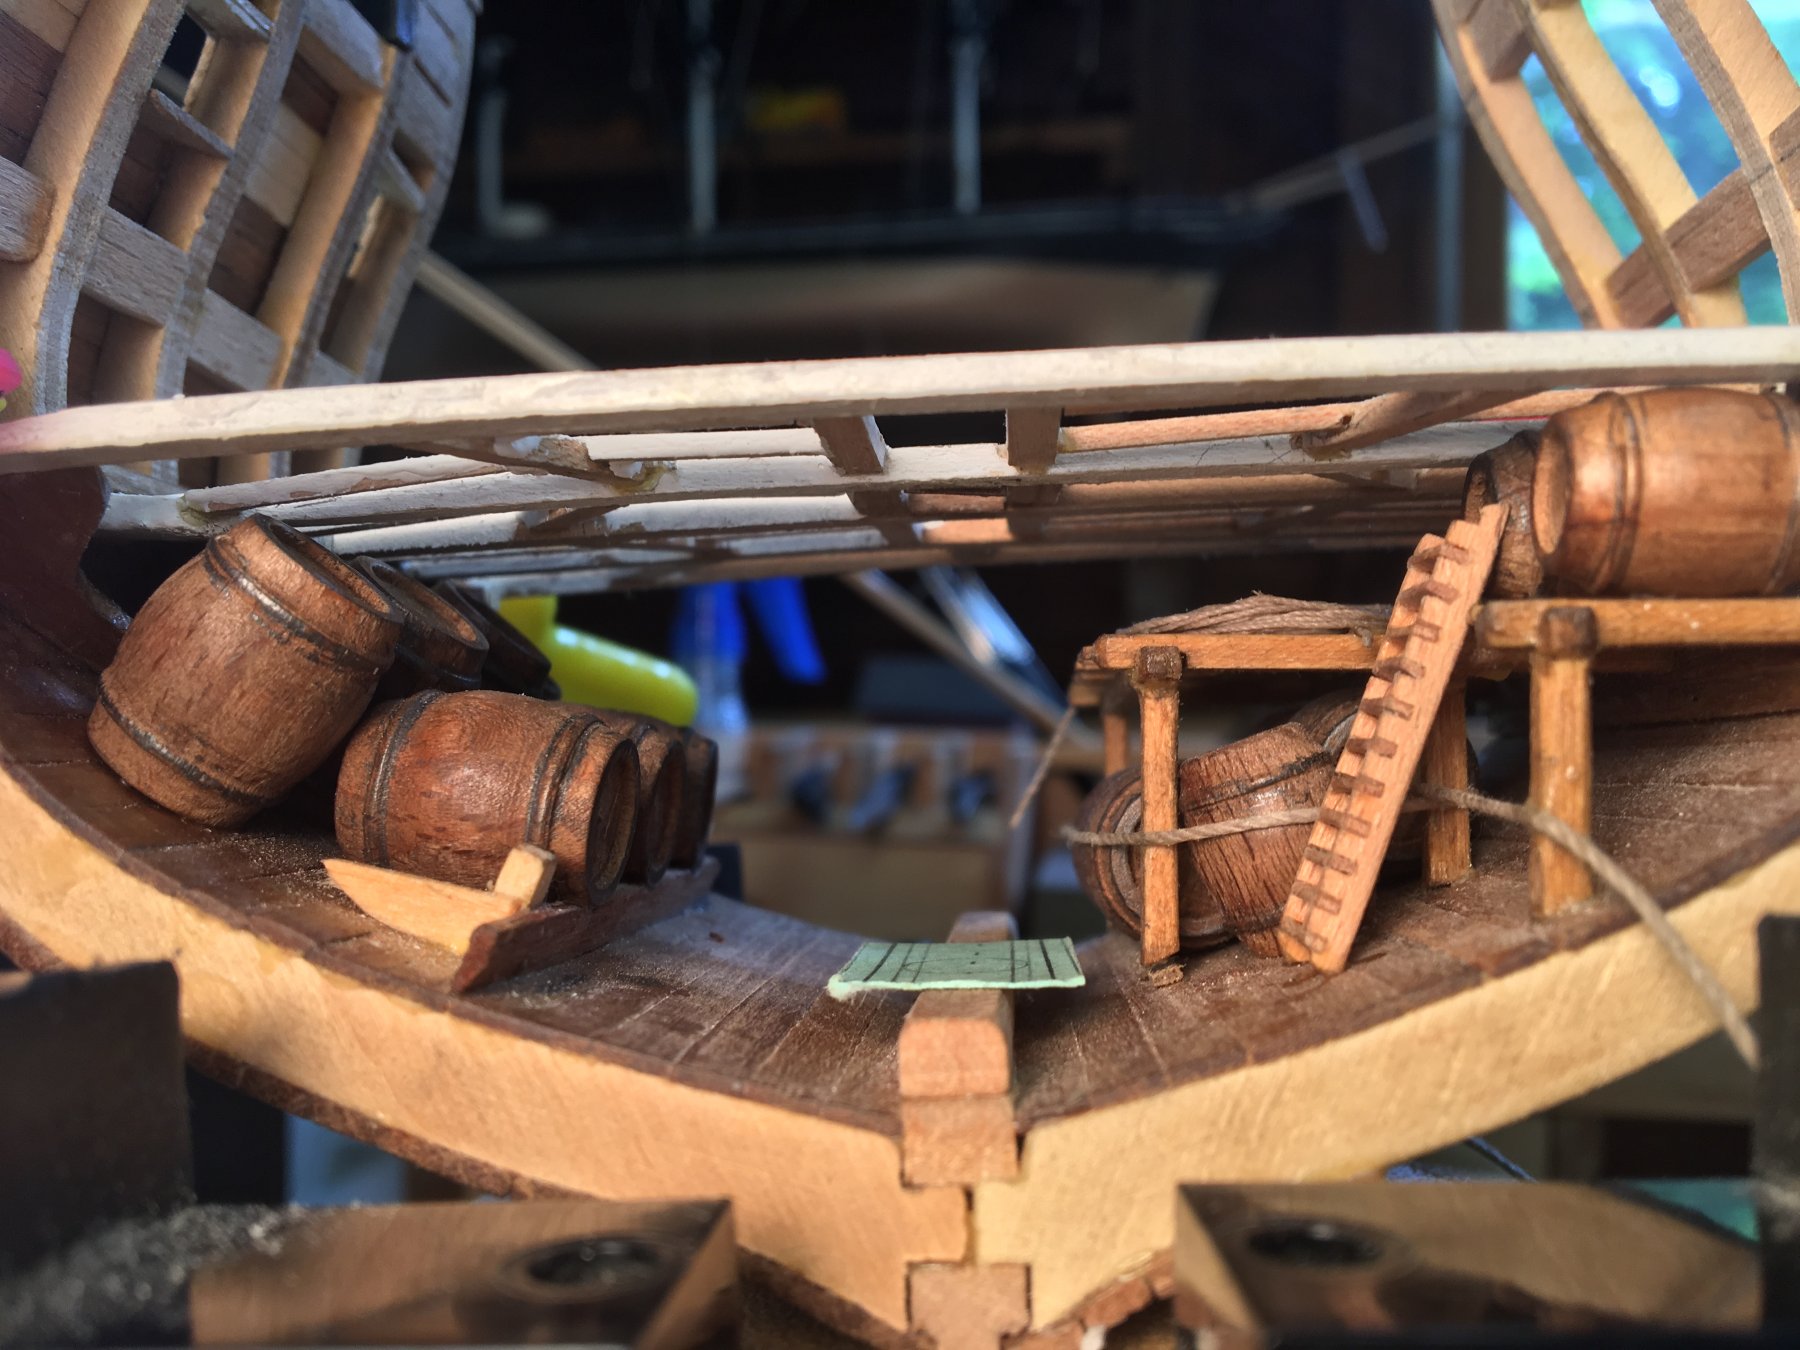
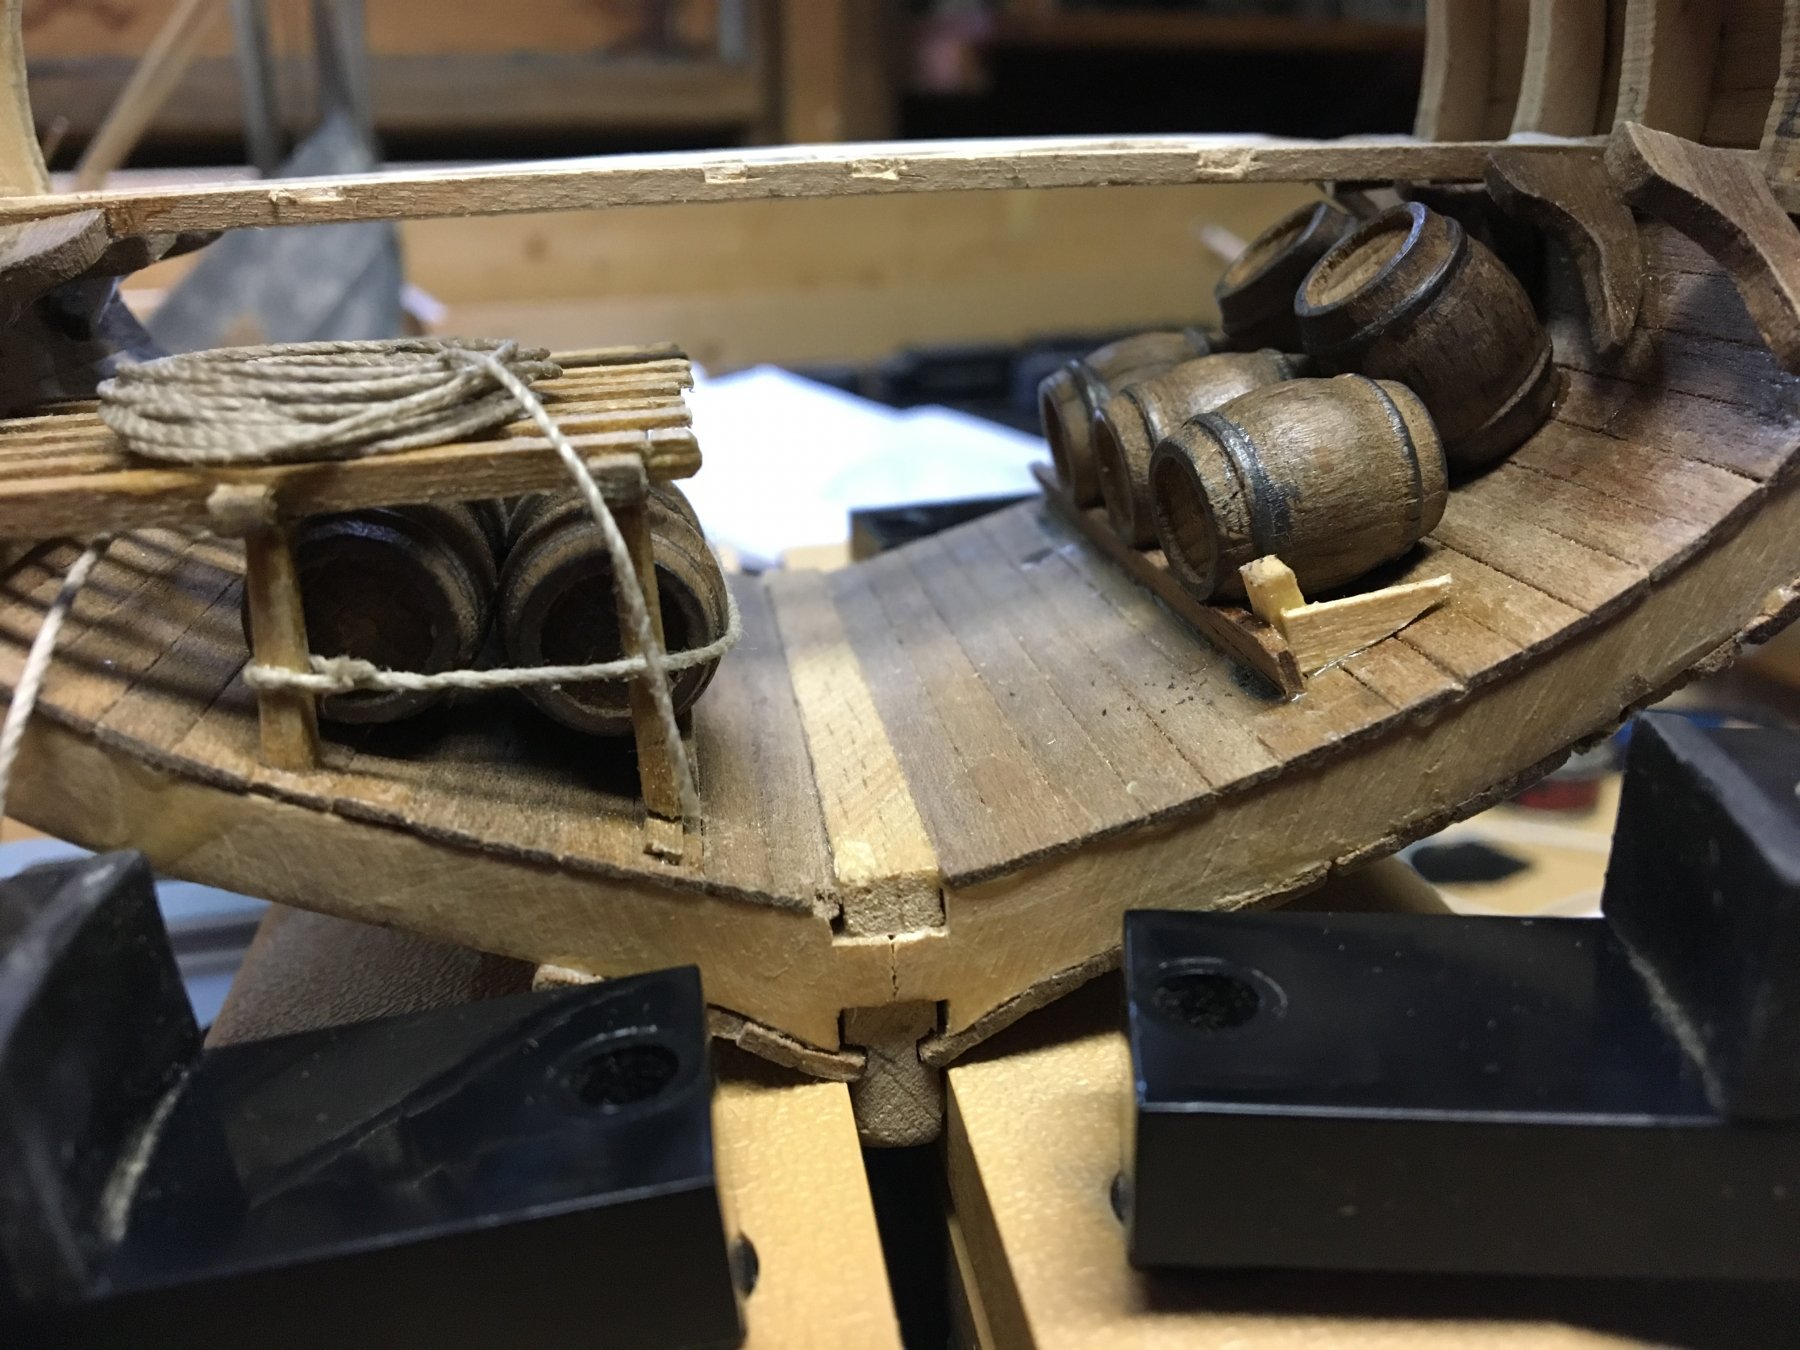
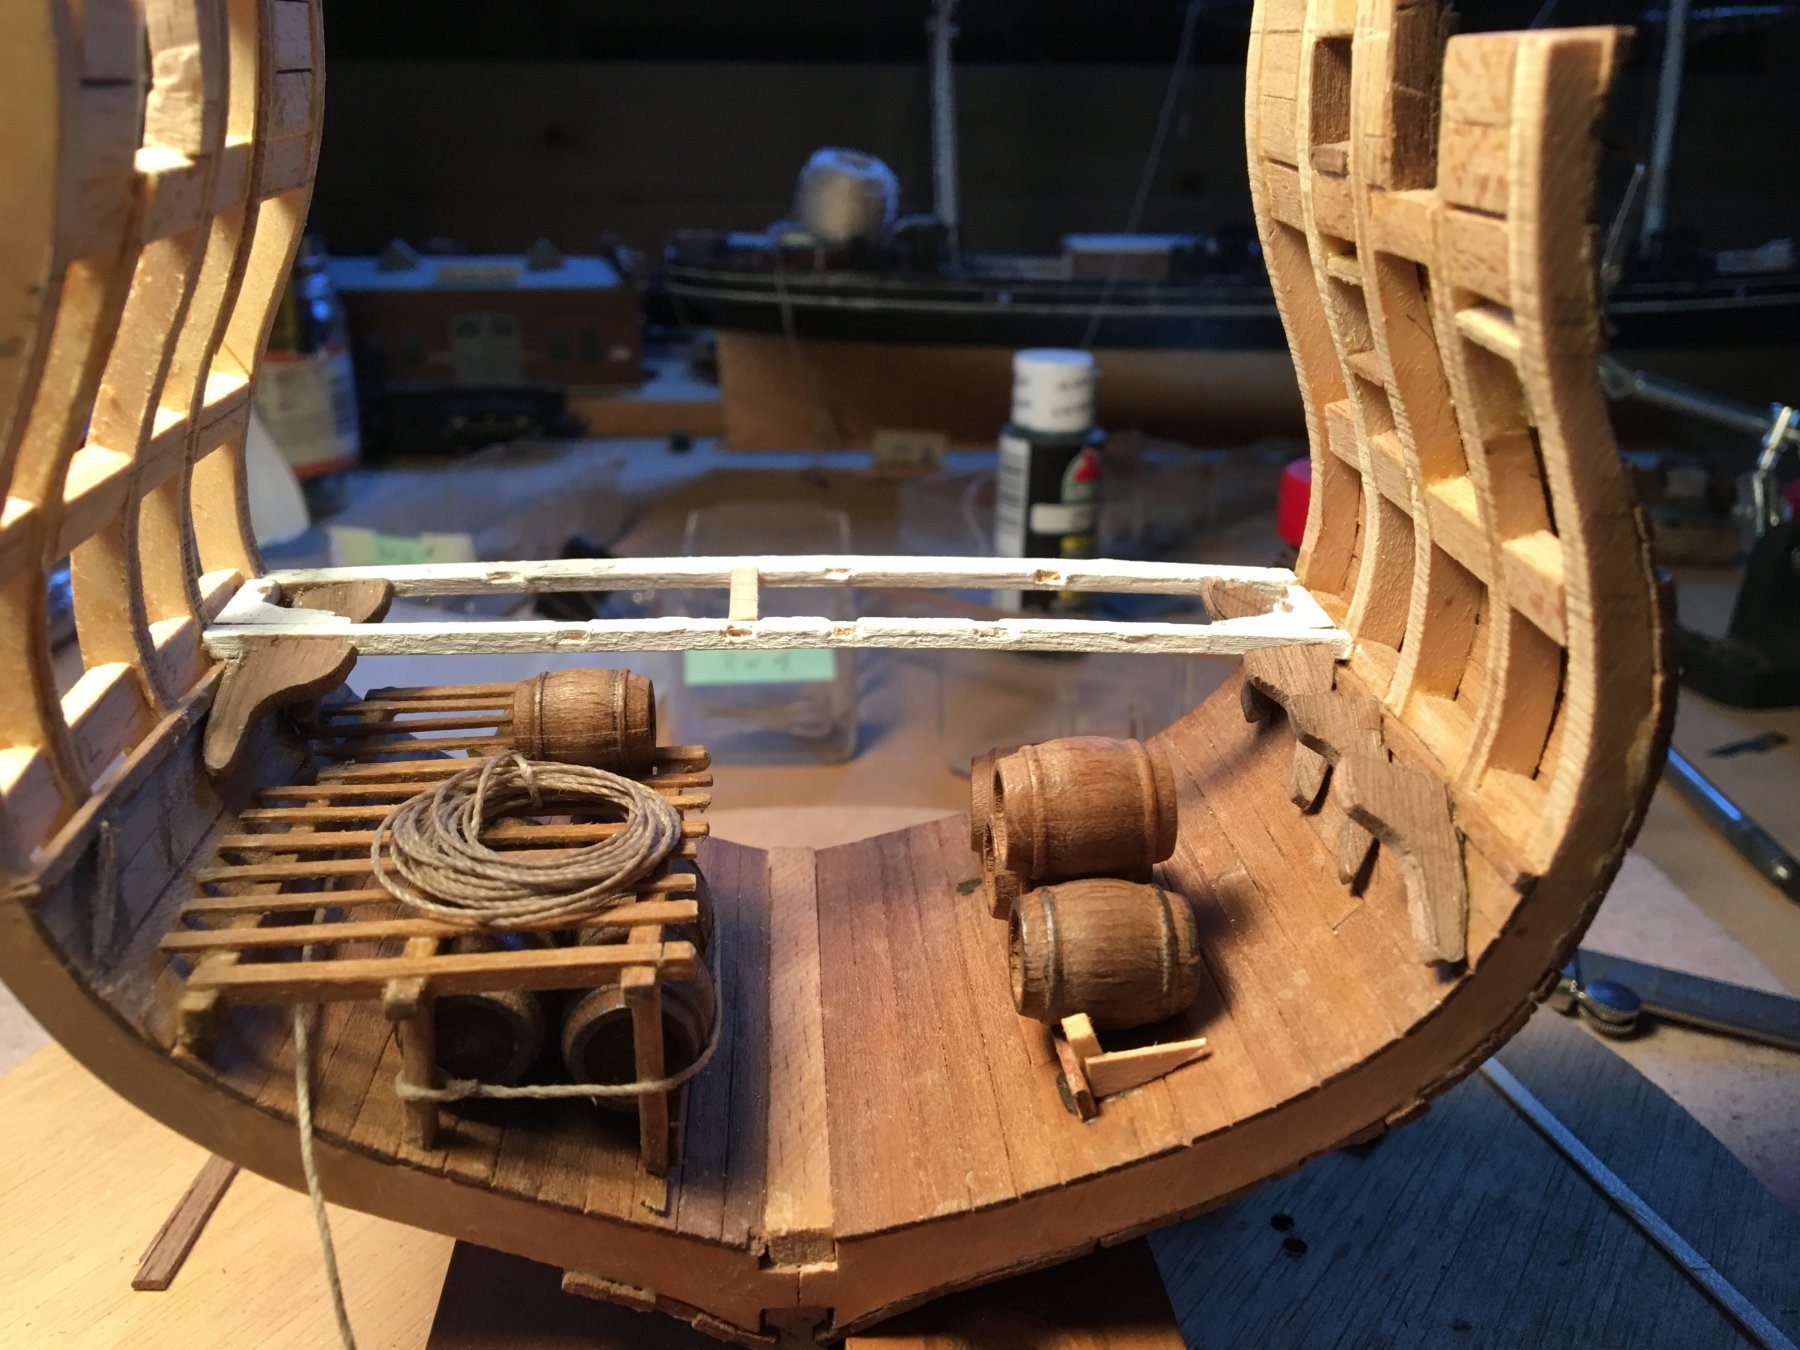
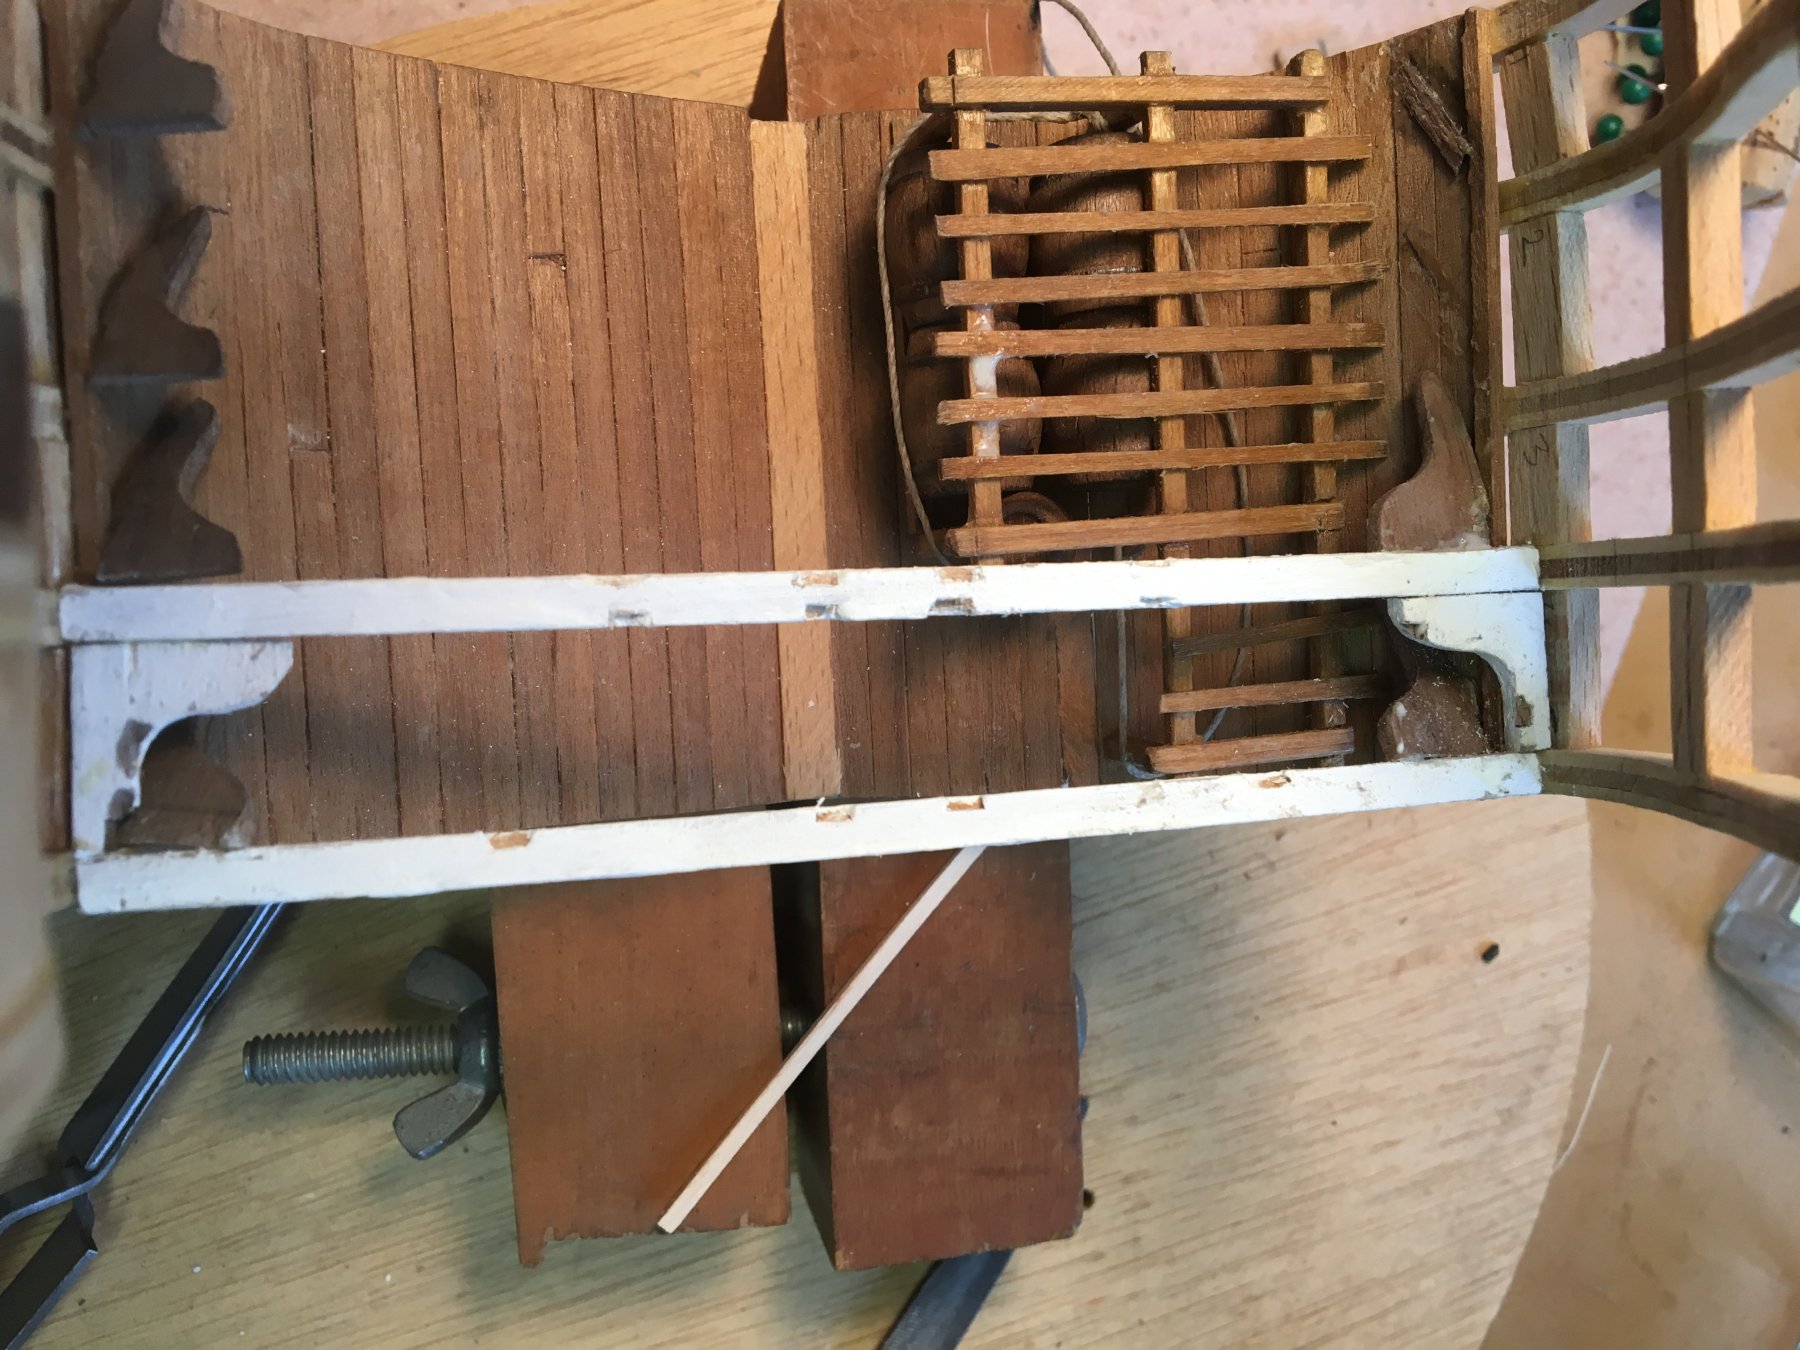
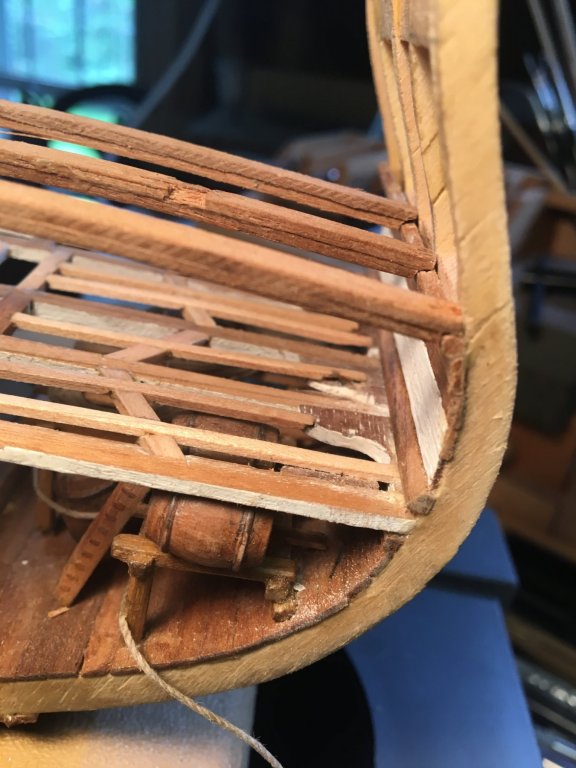
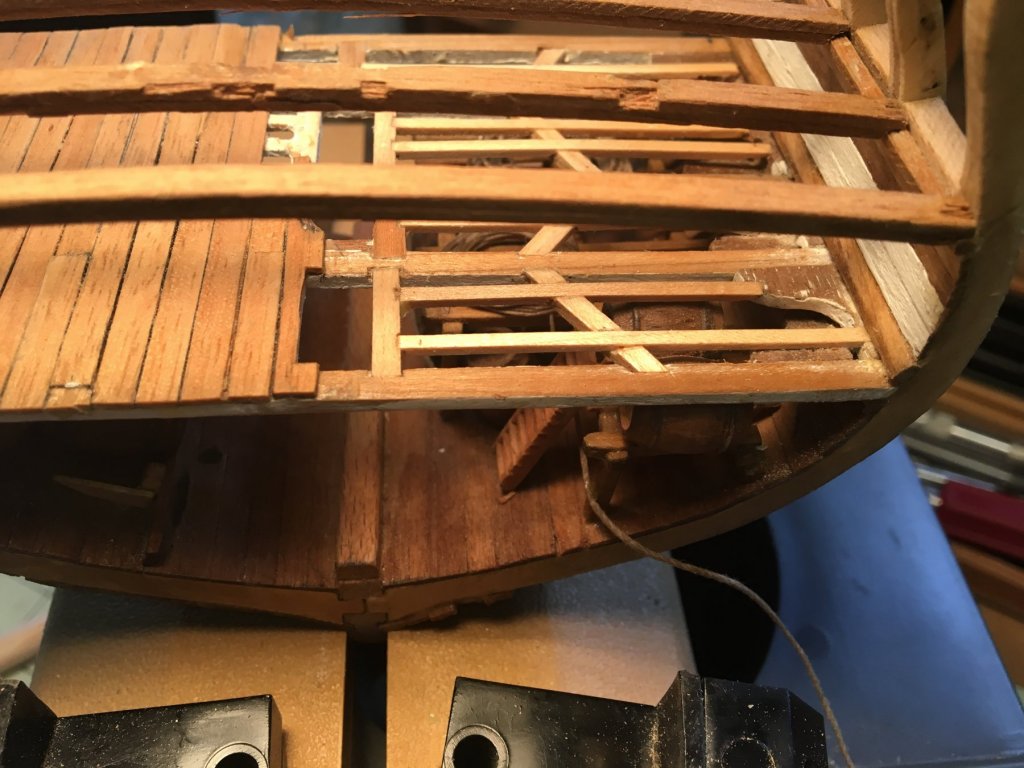
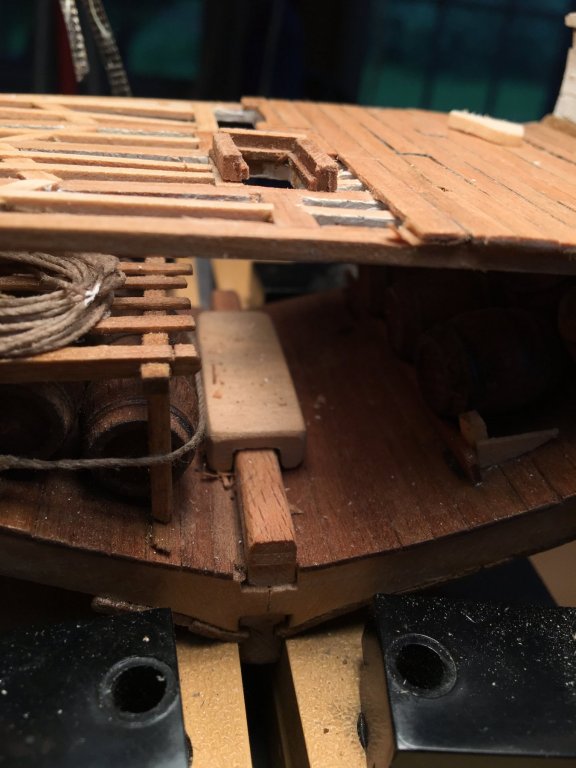
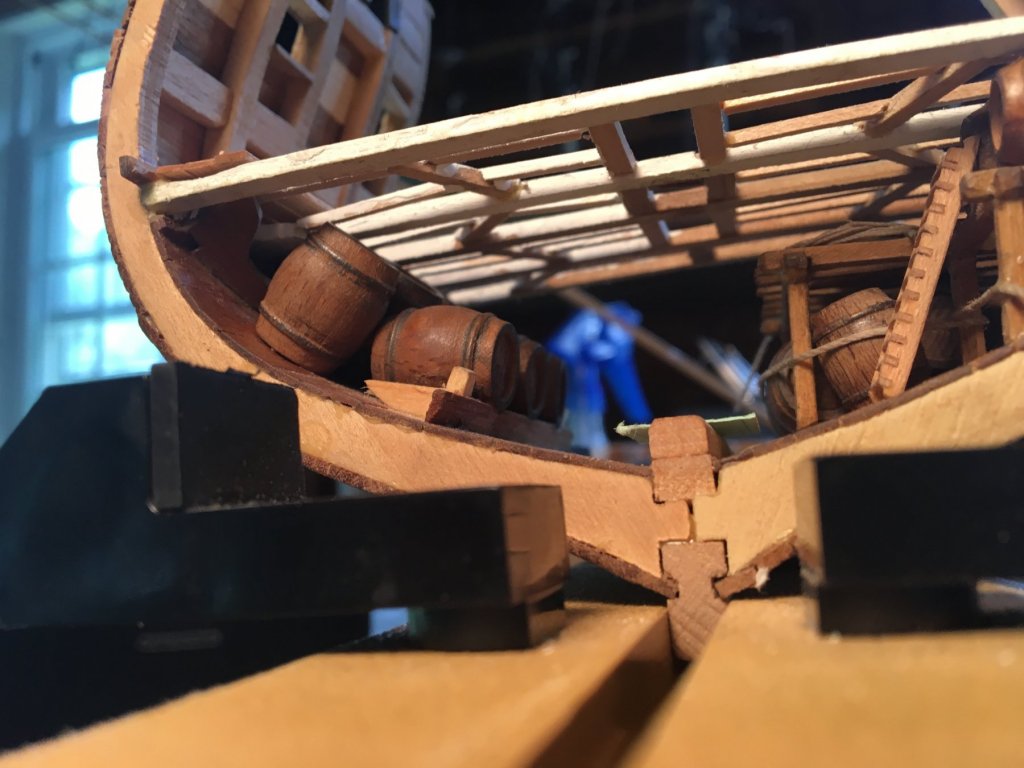
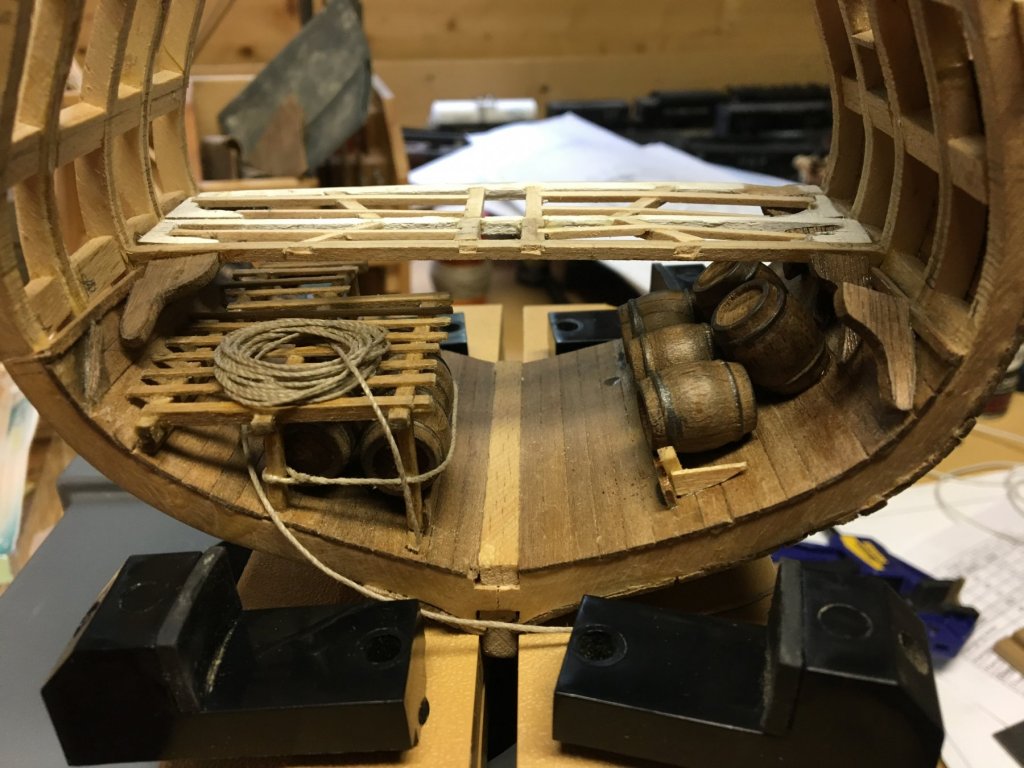
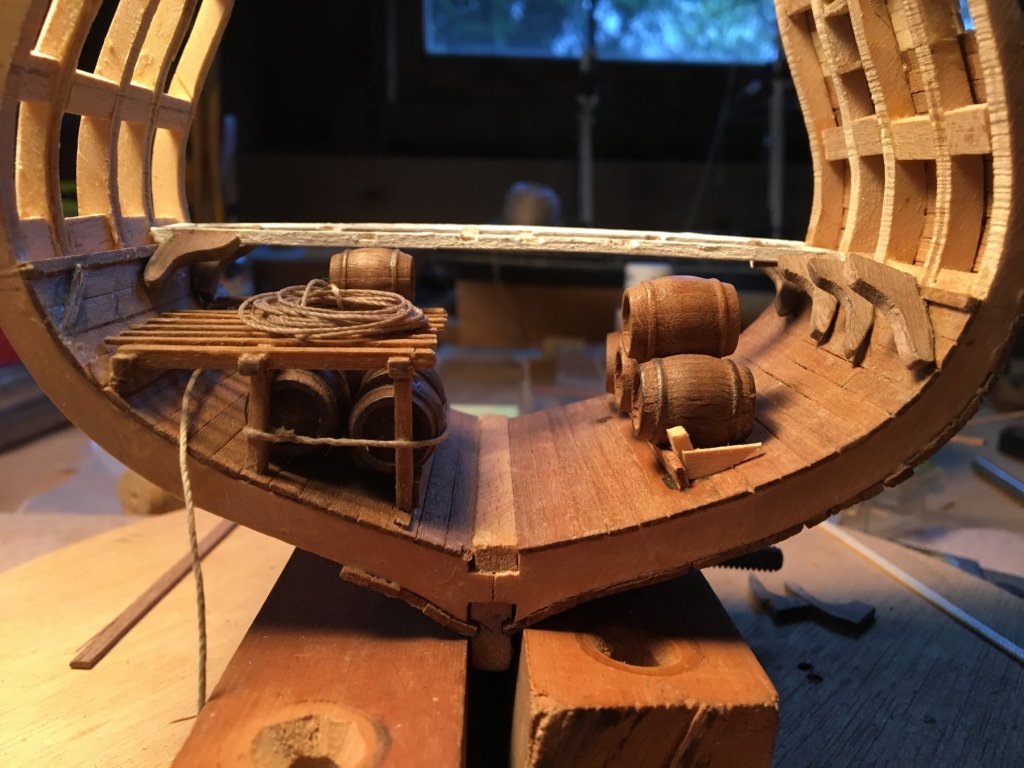
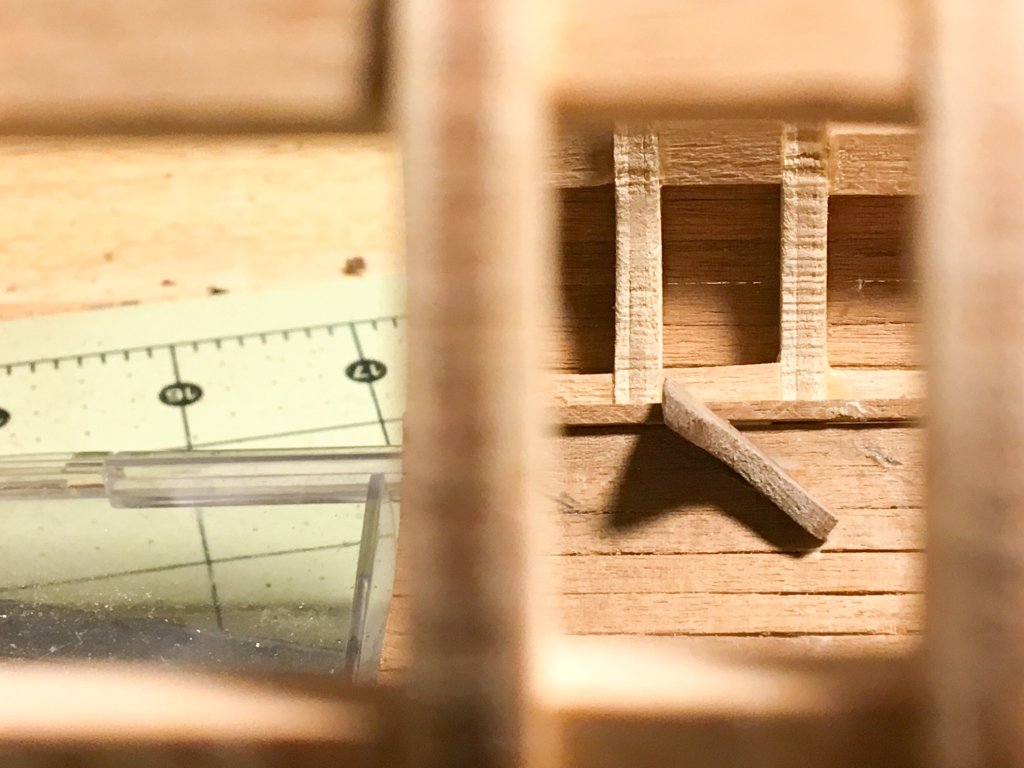
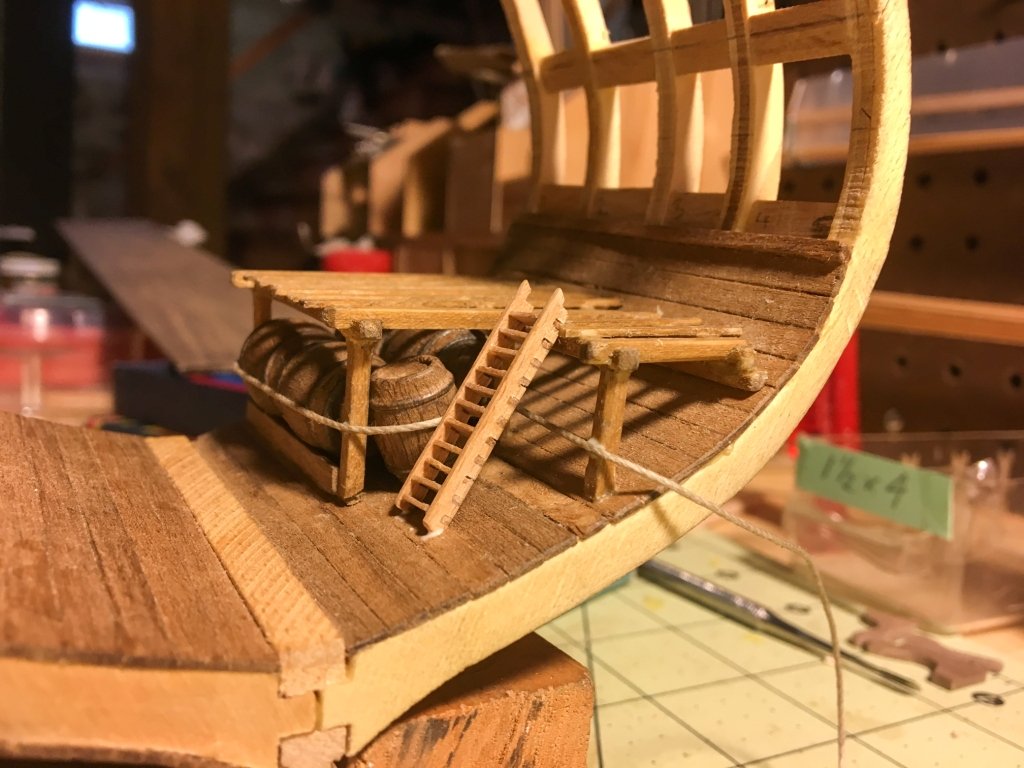
Maybe one of the reasons I'm making such painful slow progress (but progress nevertheless) is that I keep adding things that aren't in the kit and have to design and then make all the parts (like the rack for the barrels): The photo shows the half of the deck that will eventually be planked over - getting in some practice for the other half which will be left exposed.

- 108 replies
-
- 4
-
-
- mamoli
- constitution
- (and 2 more)
-
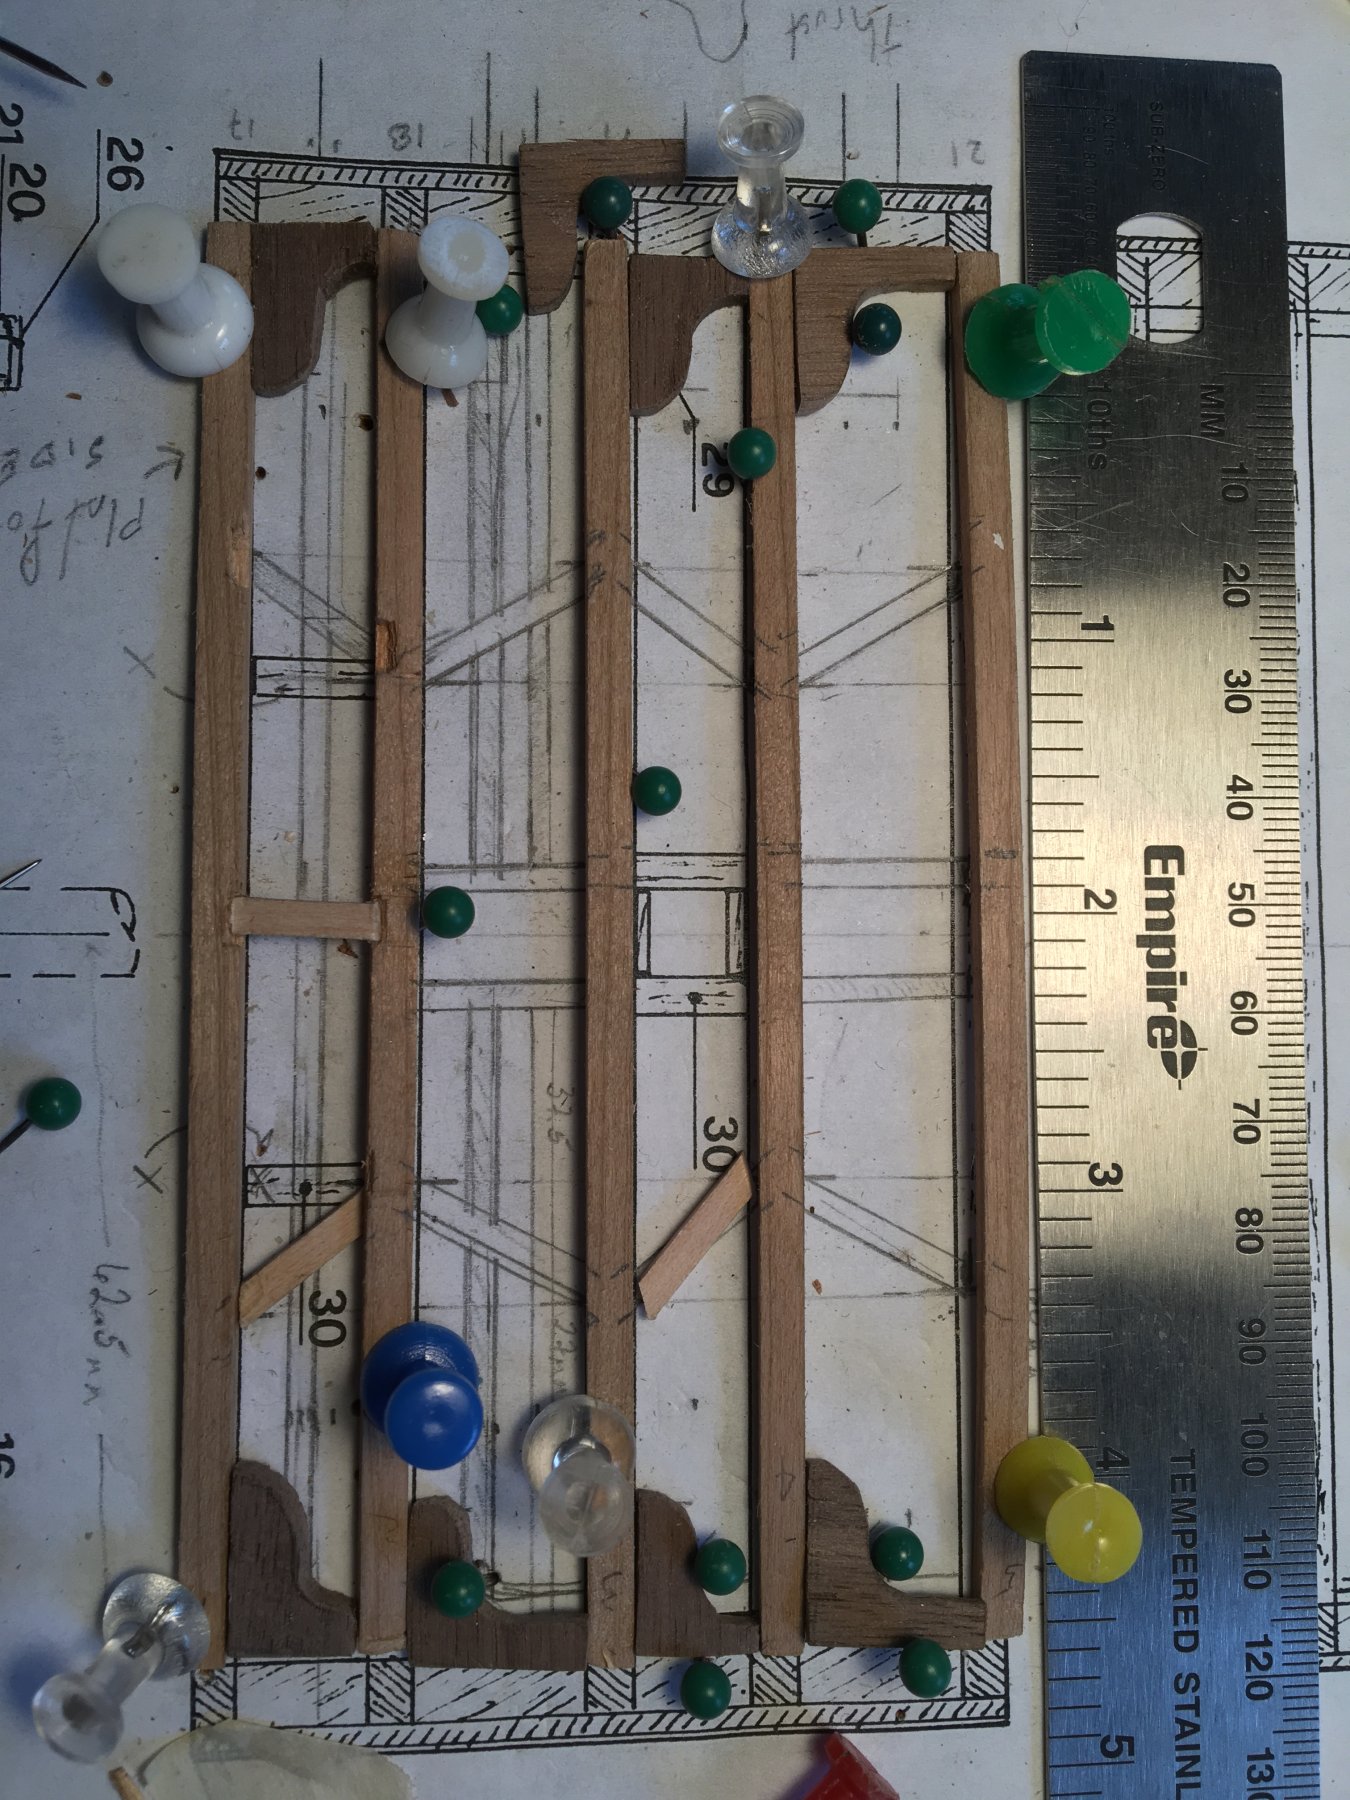
Time to fill in the pieces of the puzzle. My handmade thrust knees are done, although they will need a little tweaking. The lodging knees are almost done, and the remaining deck beams are bent and ready to cut to size. Now its just the notches, carlings and ledges to go. I was having trouble with the wood that came with the kit (the dark walnut in the photo below) - bought the kit second or third hand, and I think it is so old that the wood has dried out, since it splintered when I tried to cut the notches. Going to replace those with the cherry.

- 108 replies
-
- 3
-
-
- mamoli
- constitution
- (and 2 more)
-
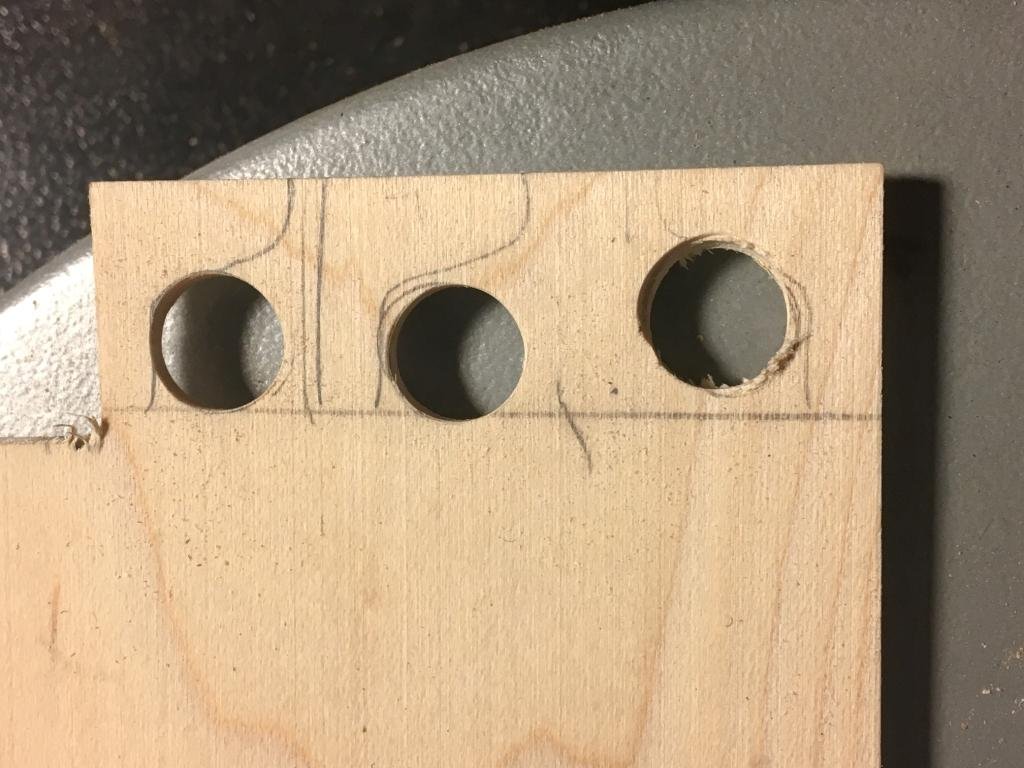
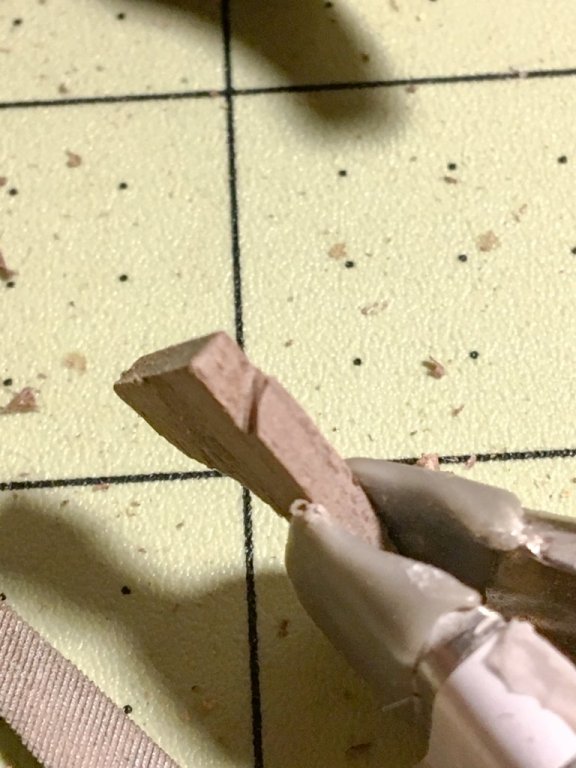
They were actually out of line on 2 axes - these fit better, I think. Now on the the lodge knees and partners - tiny pieces (10mm on a side) for which I haven't quite mastered the forstner bit/scroll saw techniques yet. May need more scrap wood to practice on
- 108 replies
-
- 6
-
-
- mamoli
- constitution
- (and 2 more)
-
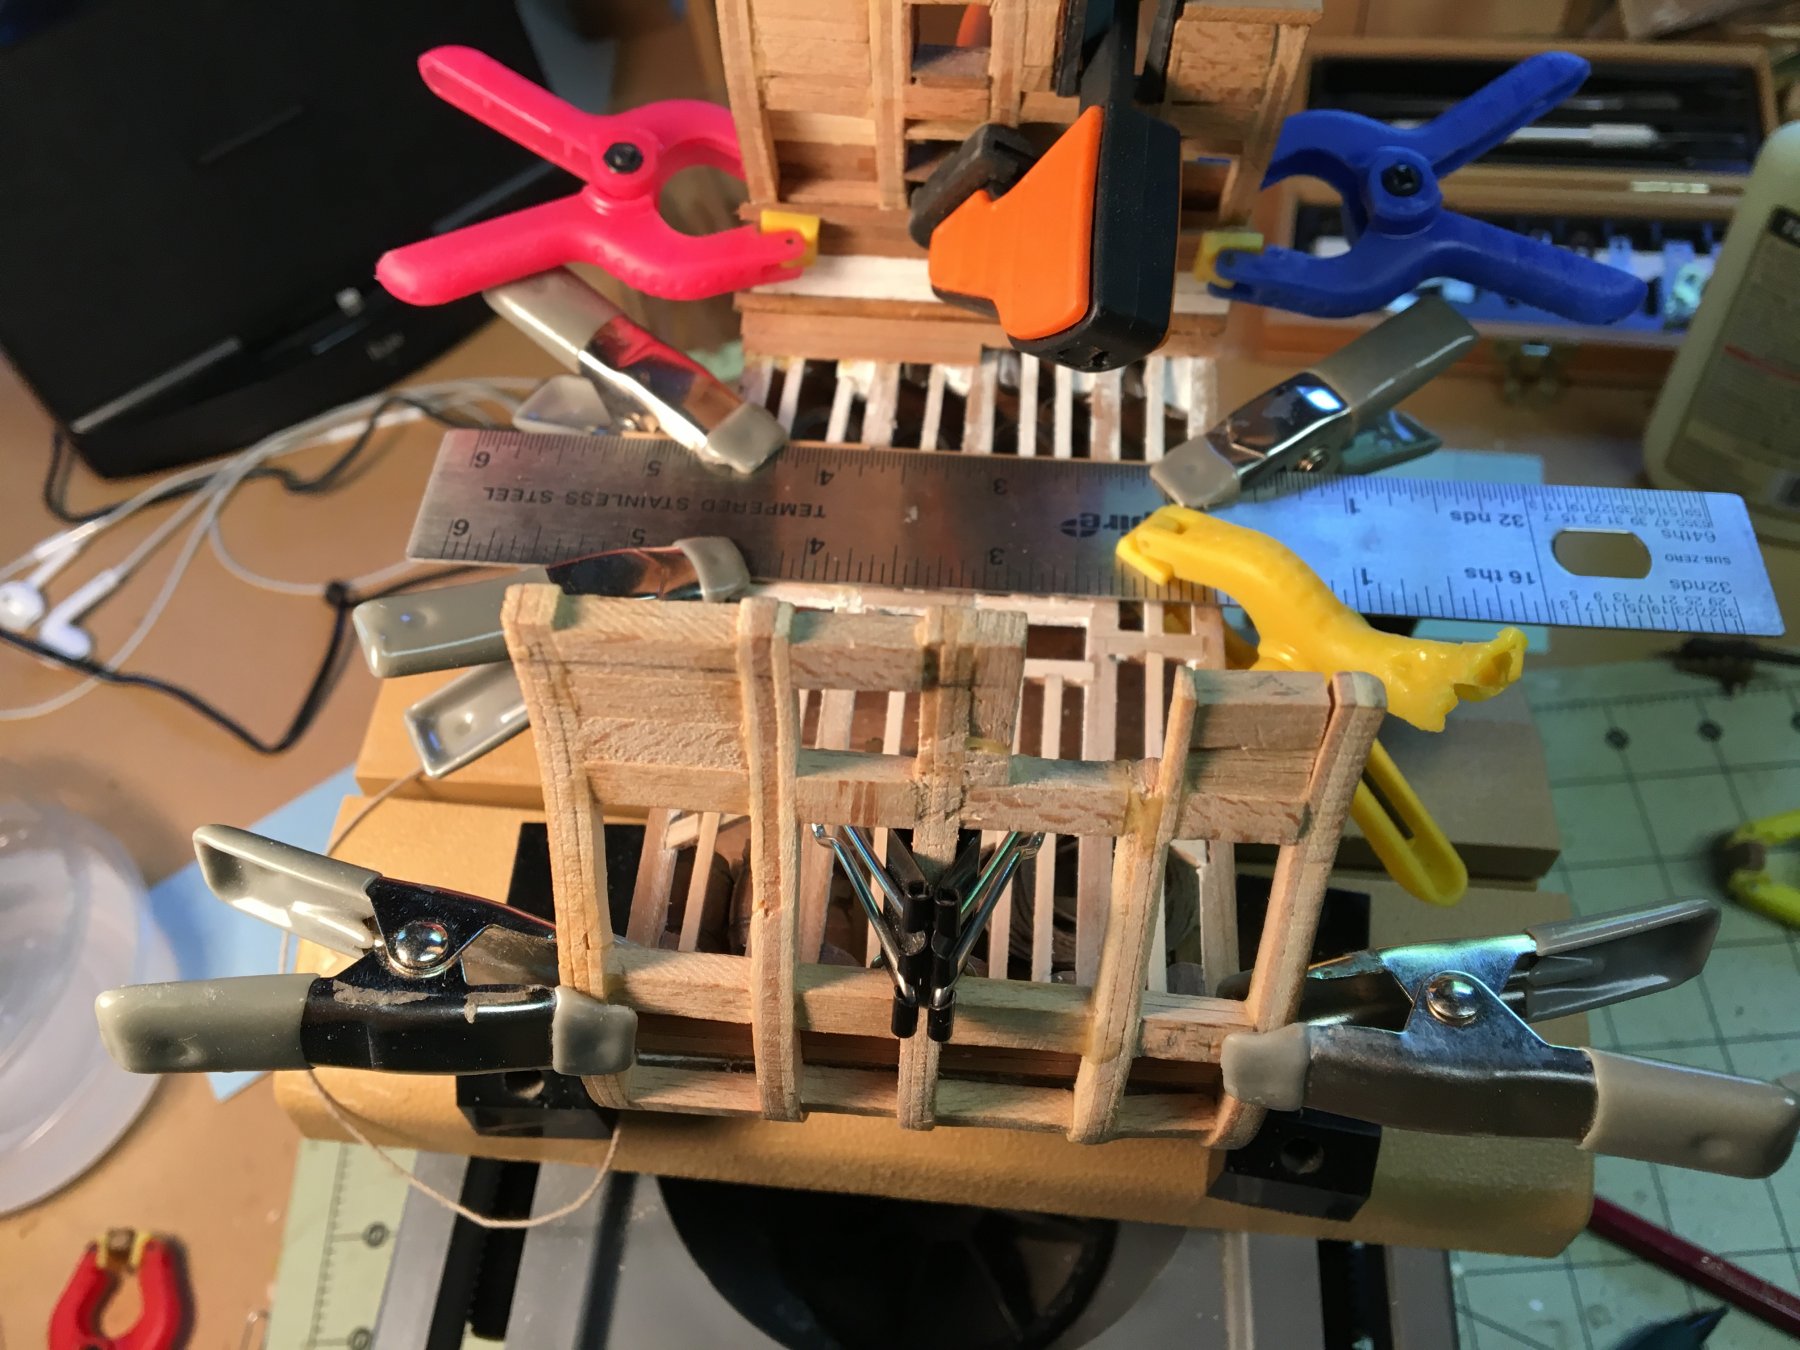
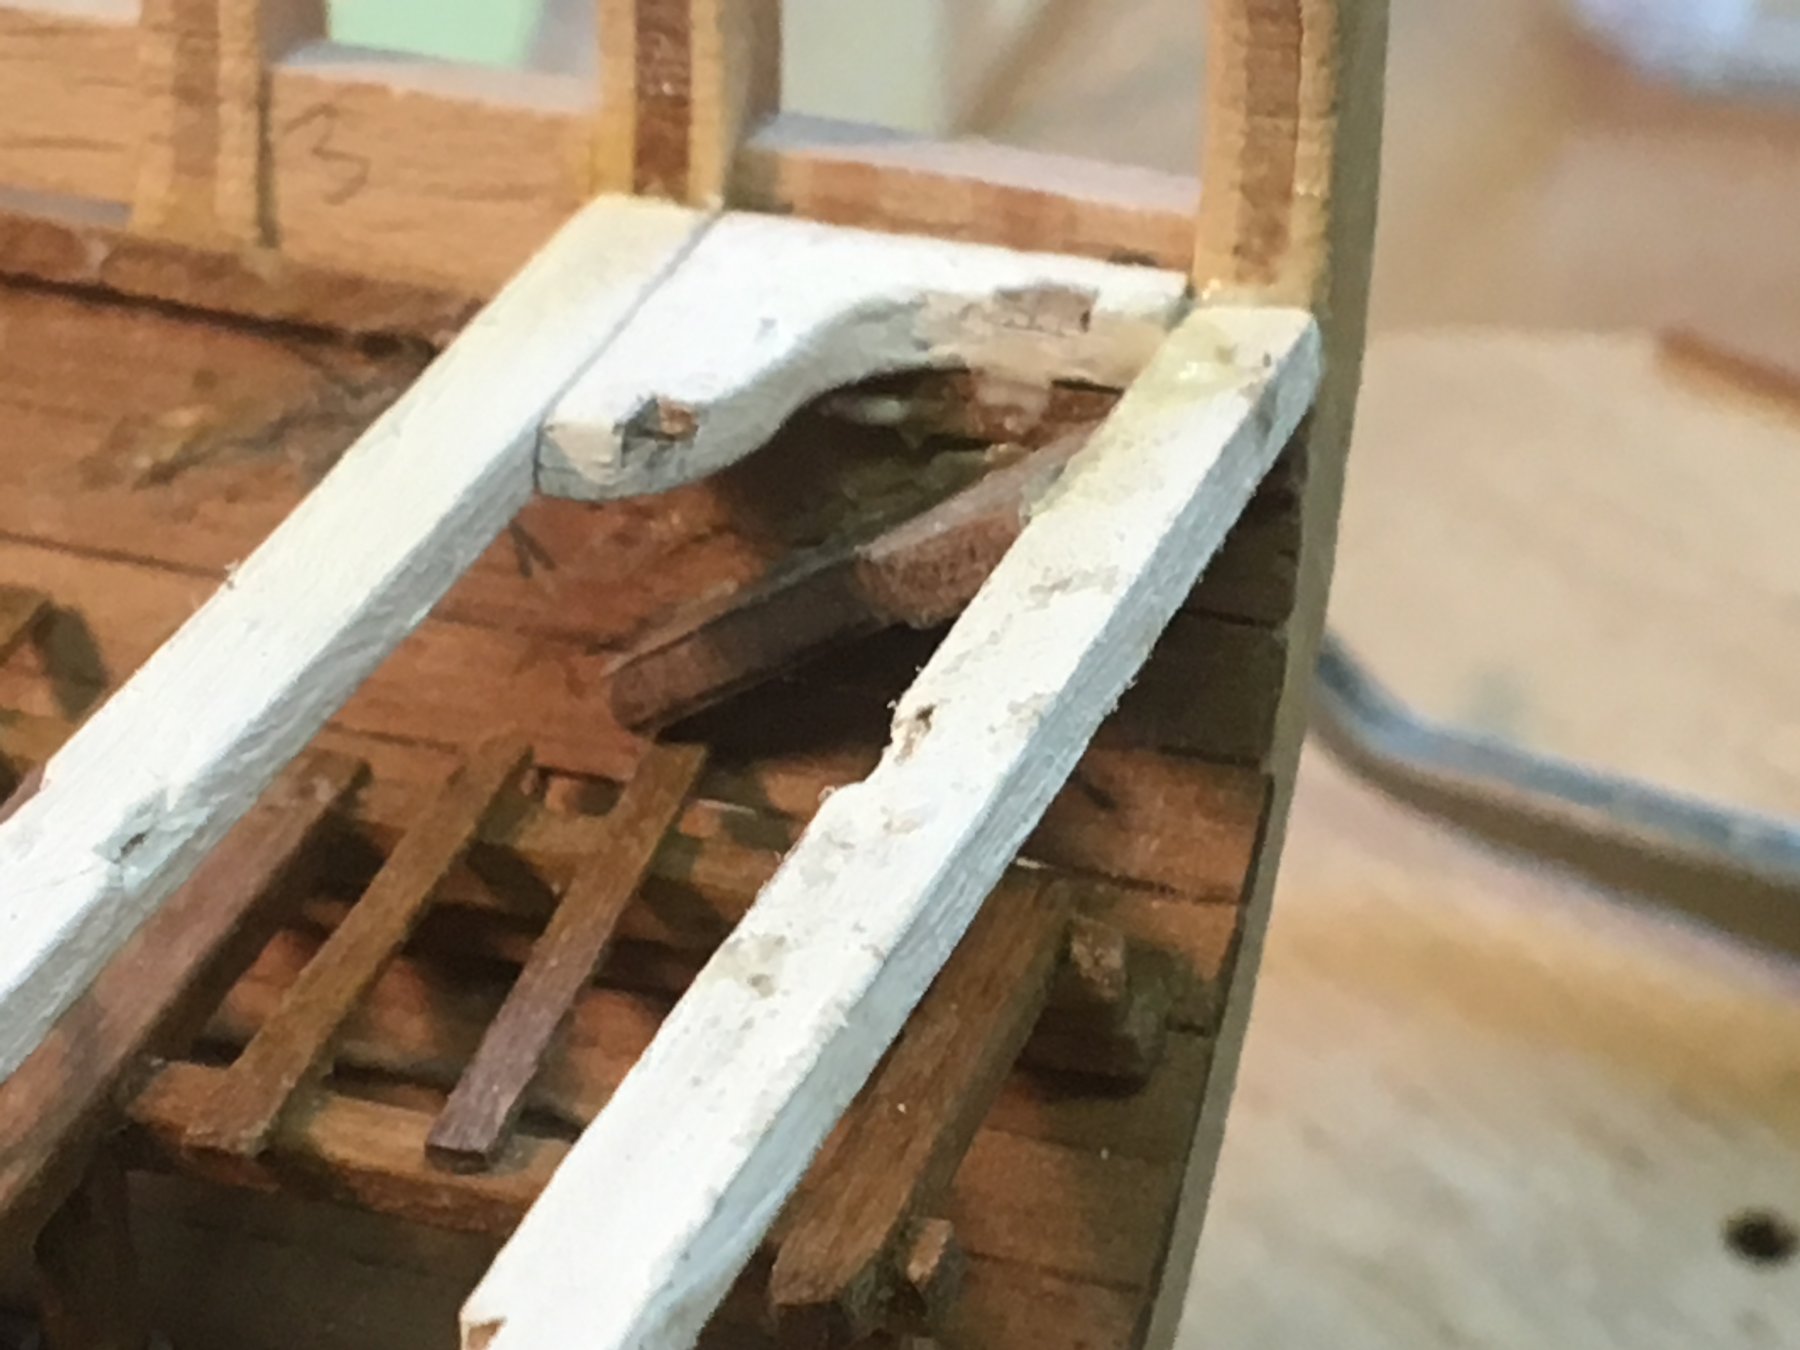
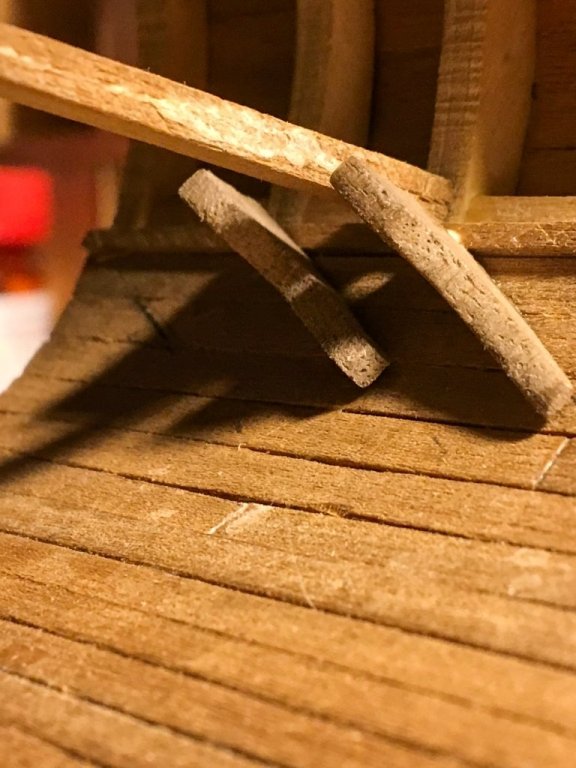
Some progress today - if you call 1 step forward 1 1/2 steps back progress. Finished cutting out the 8 thrust knees I needed. Notched them so they would sit at a 30 degree angle and fit over the ledged to support the deck beams. Then attached them to the hull - look good, but realized I had them pointing the wrong way - aft of the main hatch the "dagger" points forward, so I took them off and attached them to the other side of the hull. They looked good, until I dry fit one of the deck beams and realized the wide part of the knee was not parallel to the deck beam and would meet the beam only in one small spot. So off they will come again, but not tonight.
- 108 replies
-
- 4
-
-
- mamoli
- constitution
- (and 2 more)
-
Thanks Scott - it's my first wooden model, sometimes I think I'm biting off more than I can chew, but I am becoming fond of cross-sections.
- 108 replies
-
- 3
-
-
- mamoli
- constitution
- (and 2 more)
-
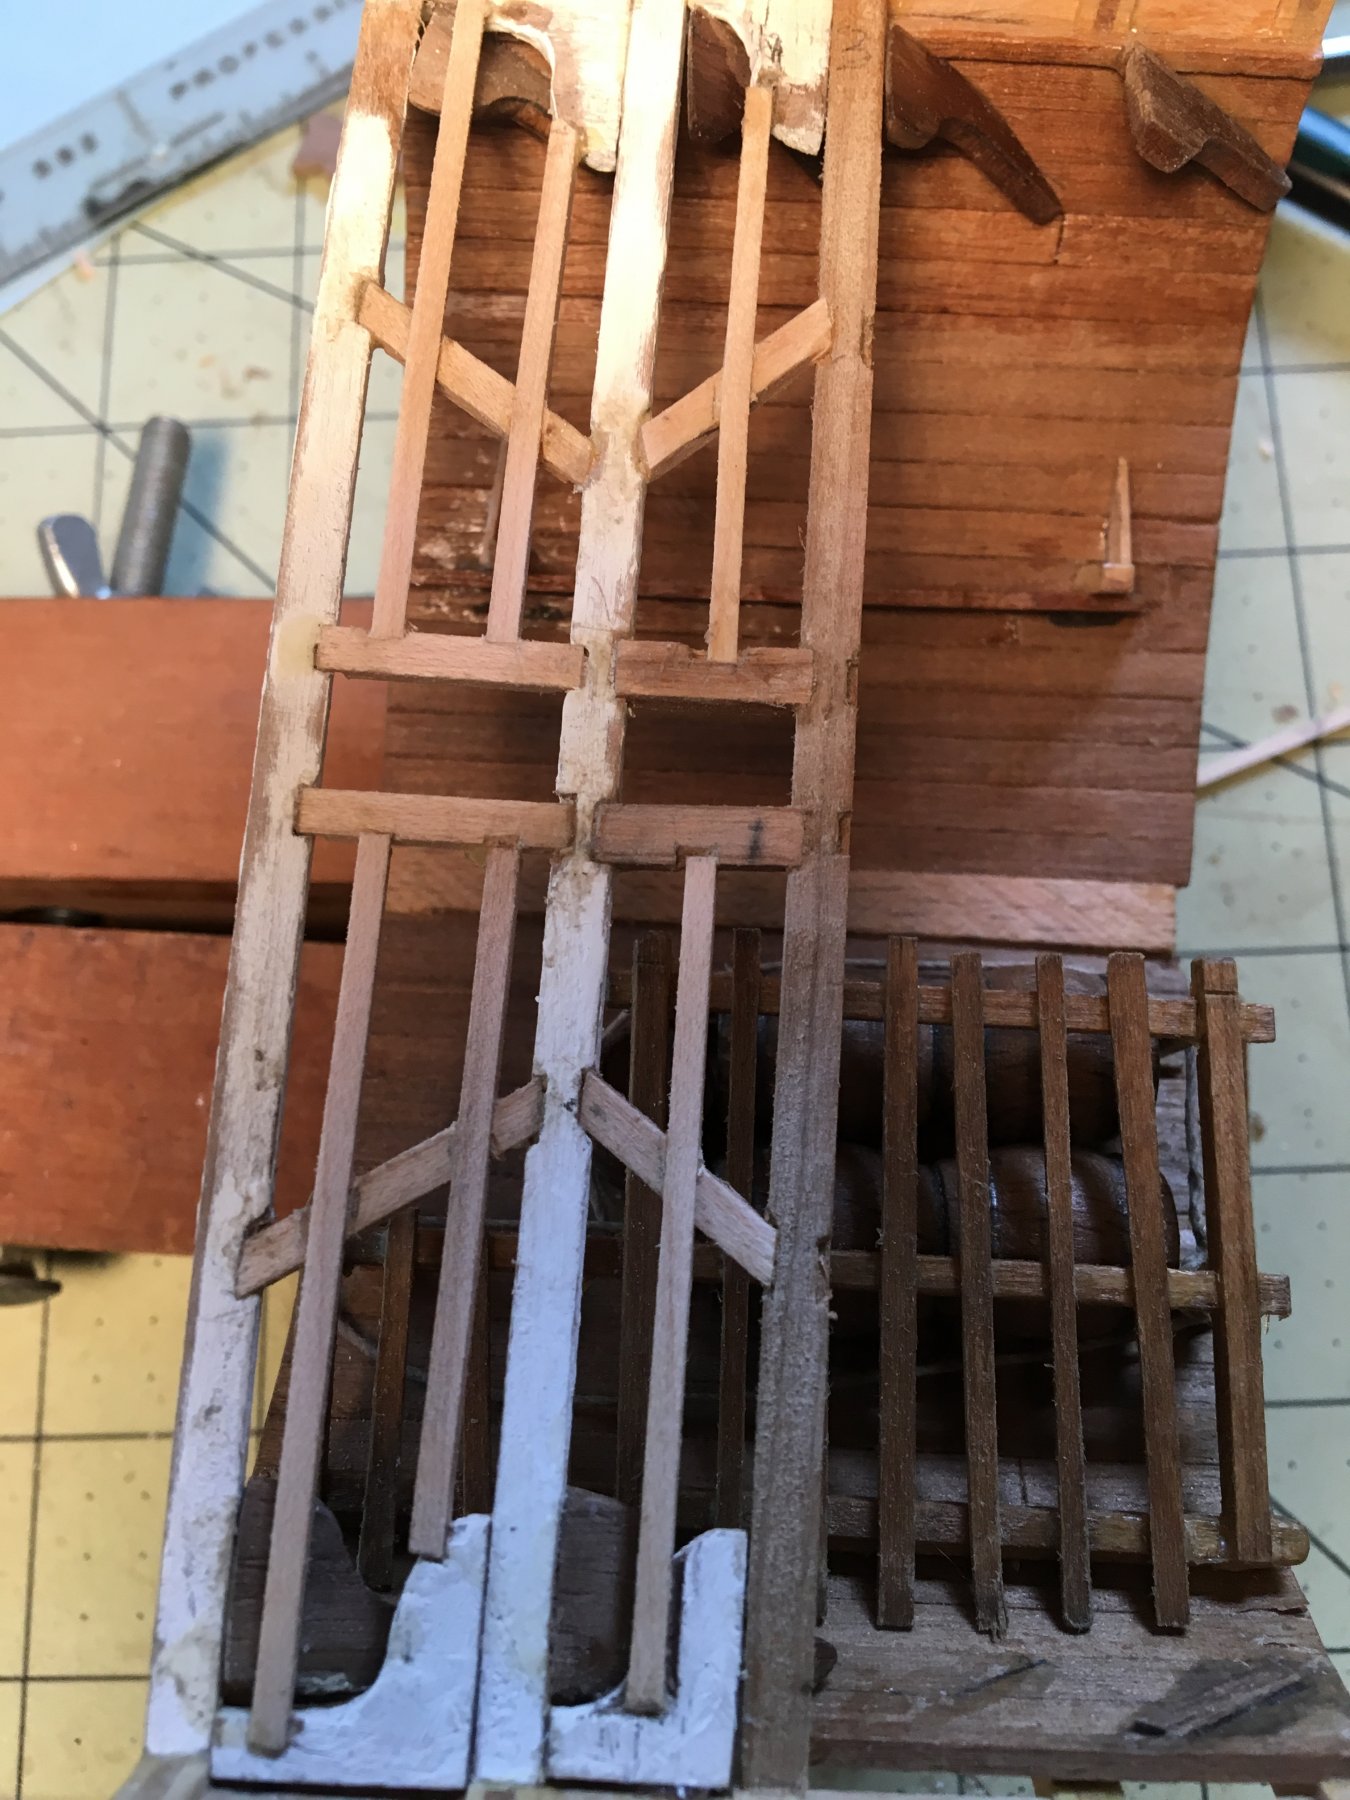
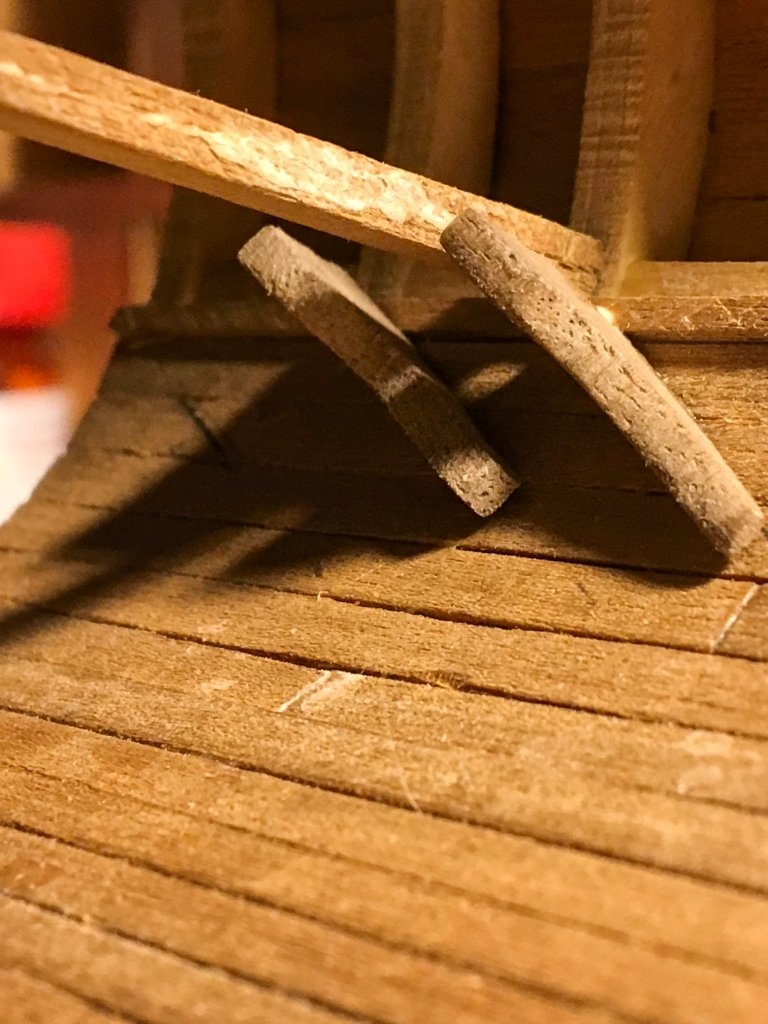
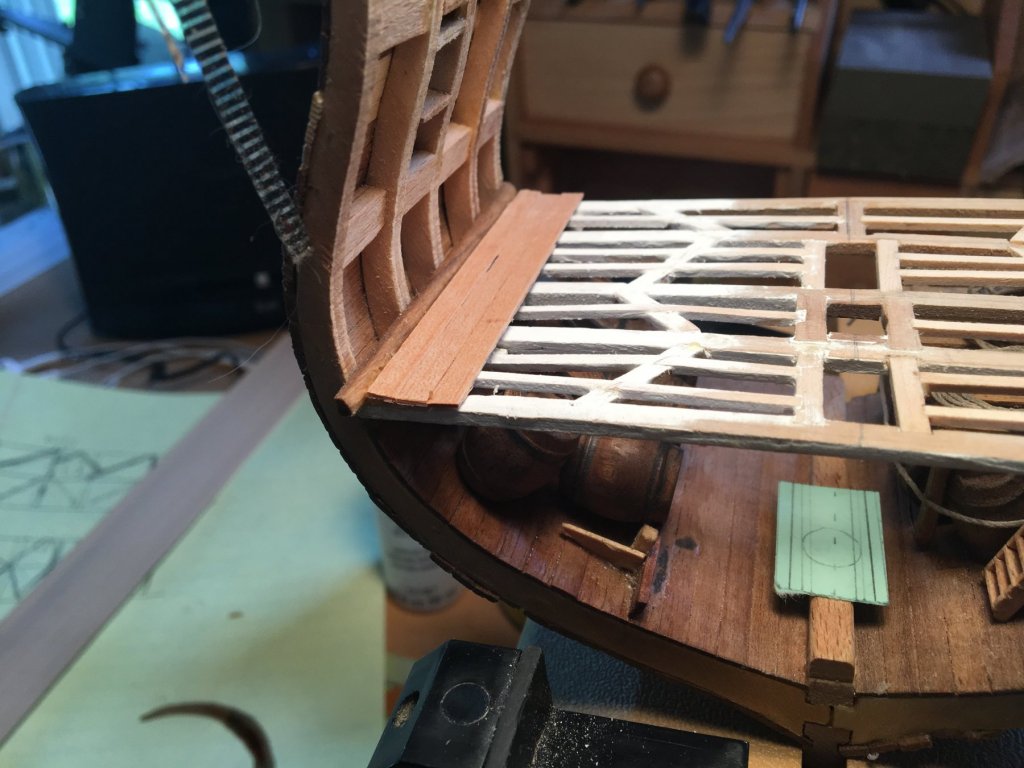
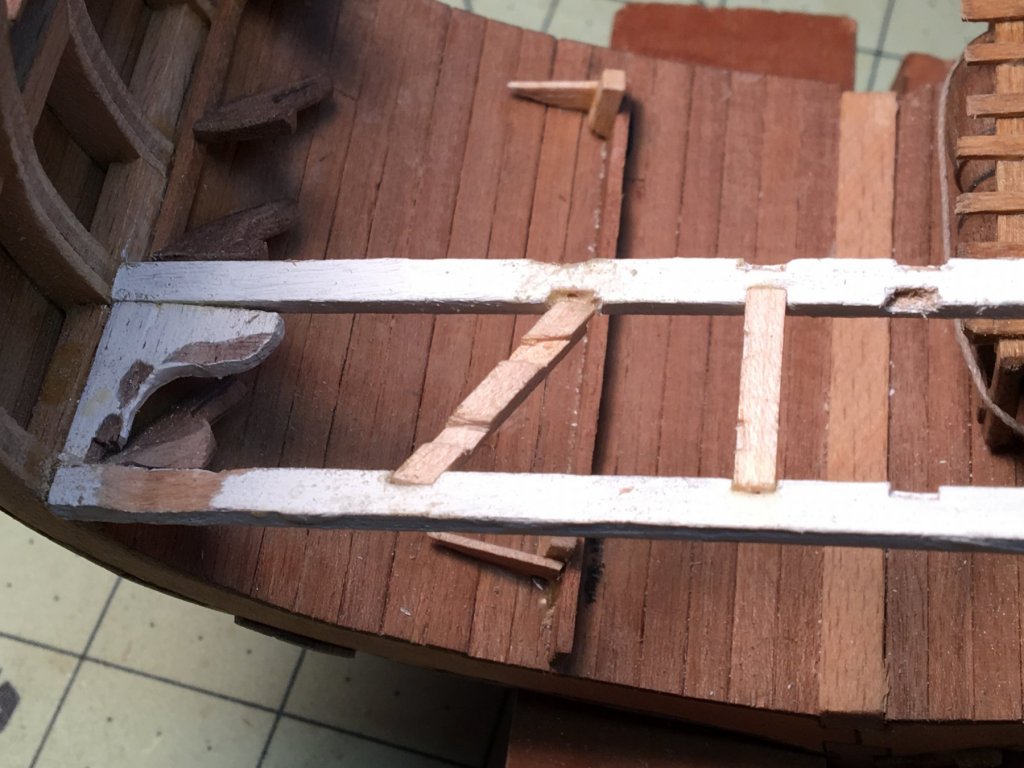
Now you're jumping the gun into the next round of changes to the kit. Stock for 3 ladders was provided. The first one was supposed to lay on a hatch from the berth deck to the hold - only in the real ship there does not appear to be any such hatch at this location, so that one is being scratched, and the ladder used as you see. The other two ladders are intended for the hatch from the spar deck to the gun deck; these are oriented across the ship - port to starboard - and are placed with the ladders facing each other and with the feet of the ladders almost touching. Creates a bit of a bottleneck if you ask me. I have seen drawings with ladders at the aft end of the main hatch, running fore and aft and that is what I plan on doing.
- 108 replies
-
- 3
-
-
- mamoli
- constitution
- (and 2 more)
-
Thanks Jon -- you caught me: the ladder actually came with the kit. I modified it slightly and I suppose I could have turned it so the notches were in front, but for some reason this way looked better.
- 108 replies
-
- 2
-
-
- mamoli
- constitution
- (and 2 more)
-
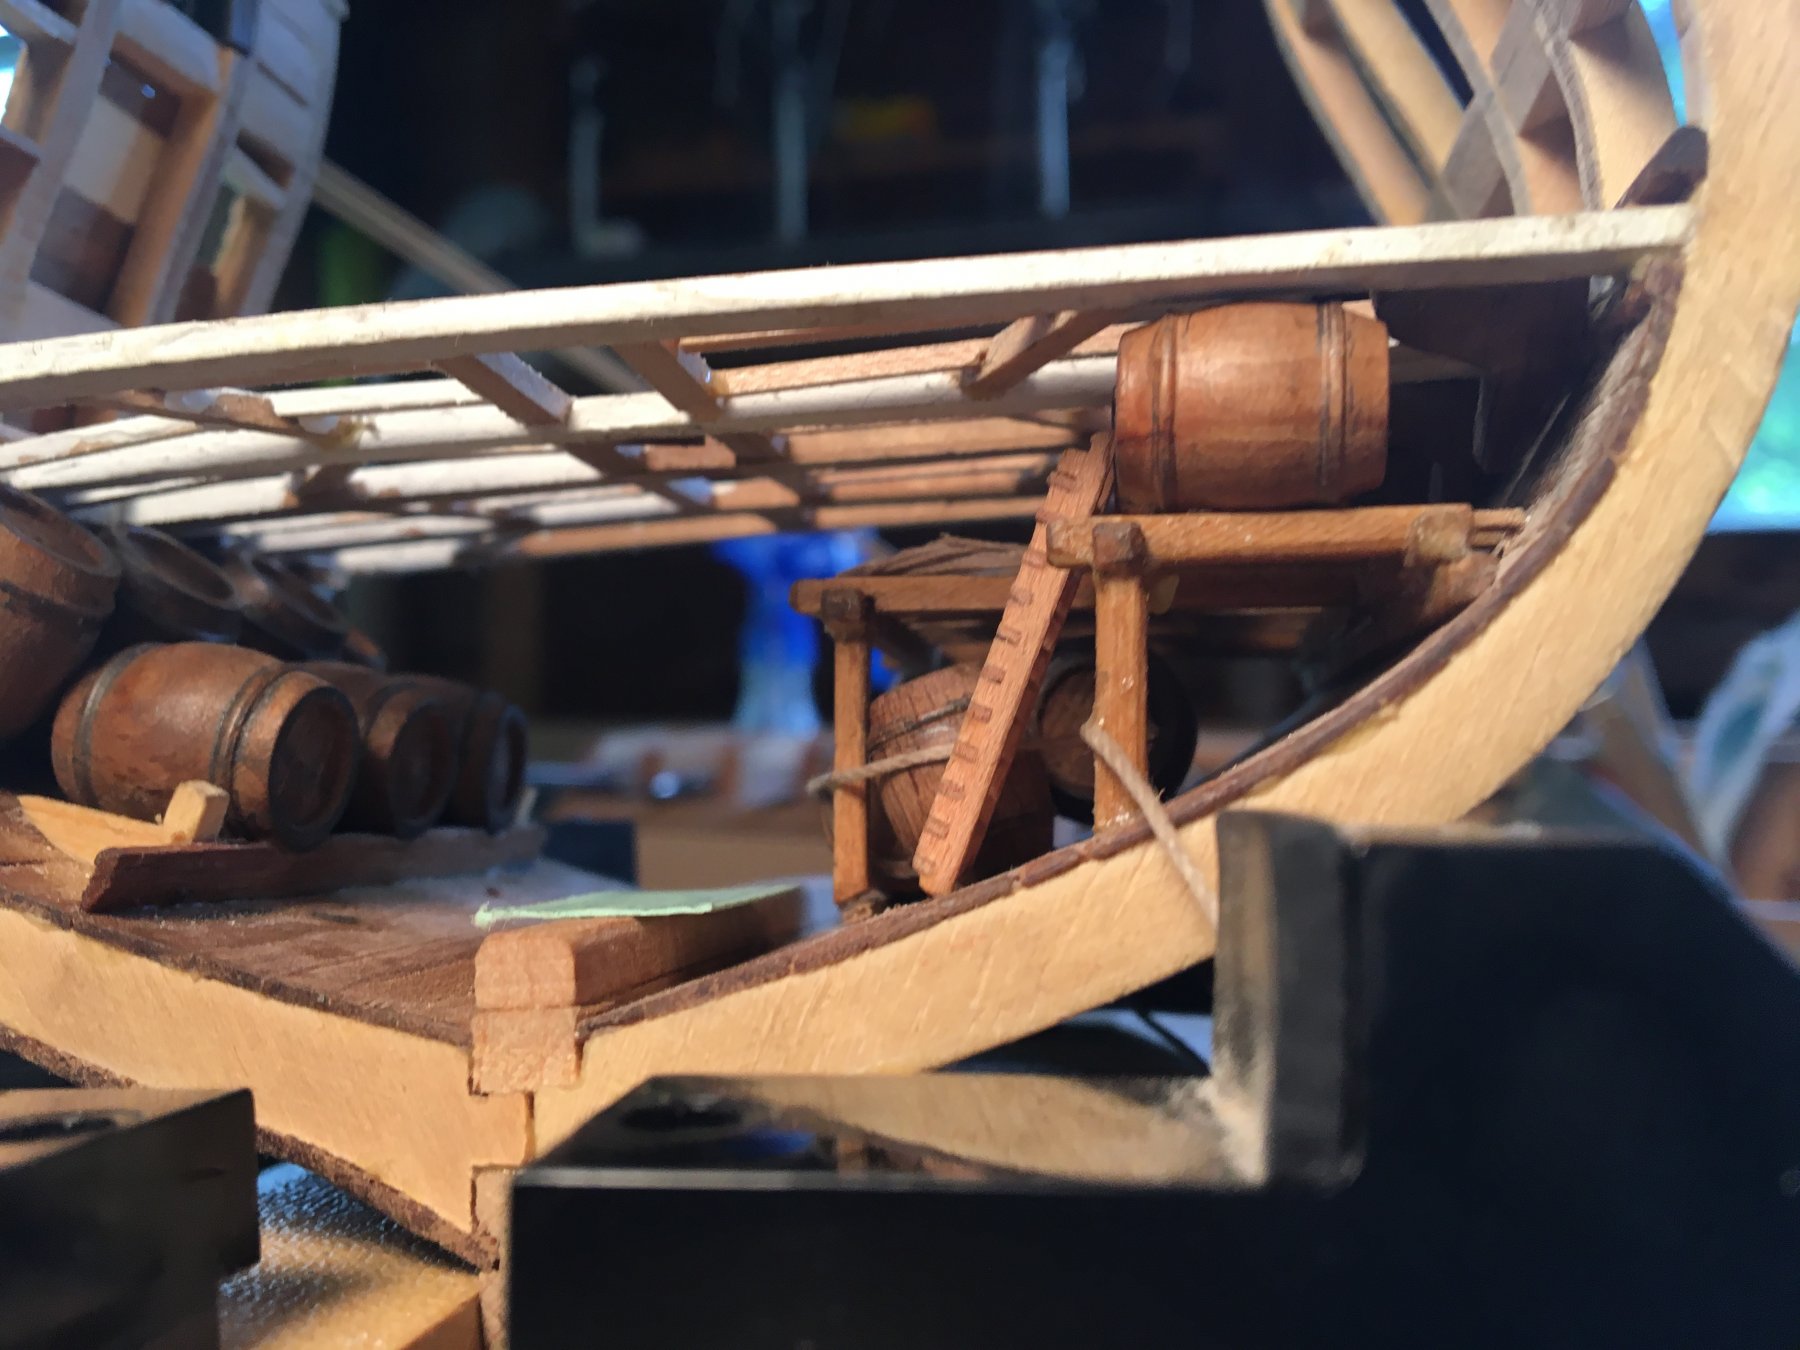
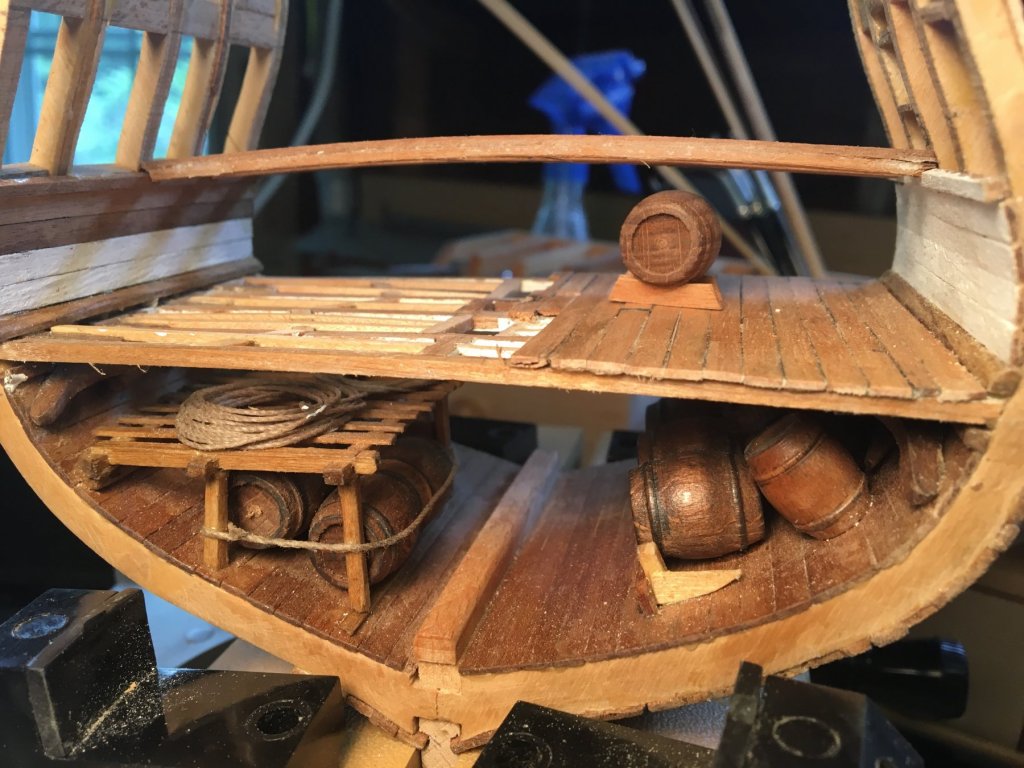
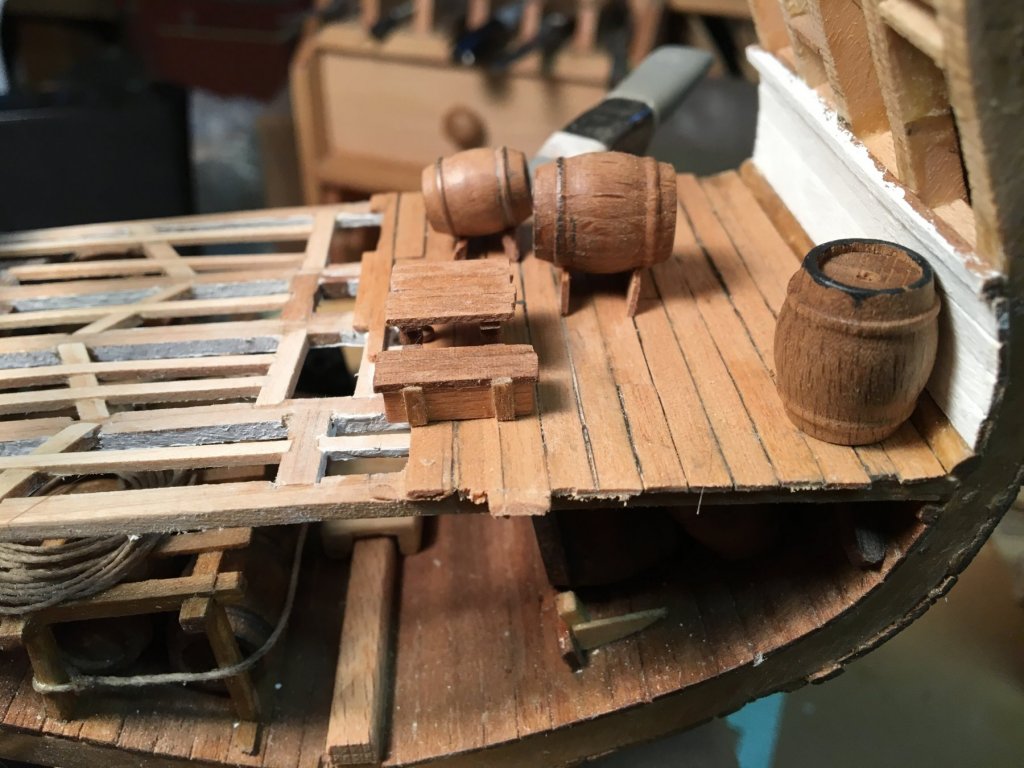
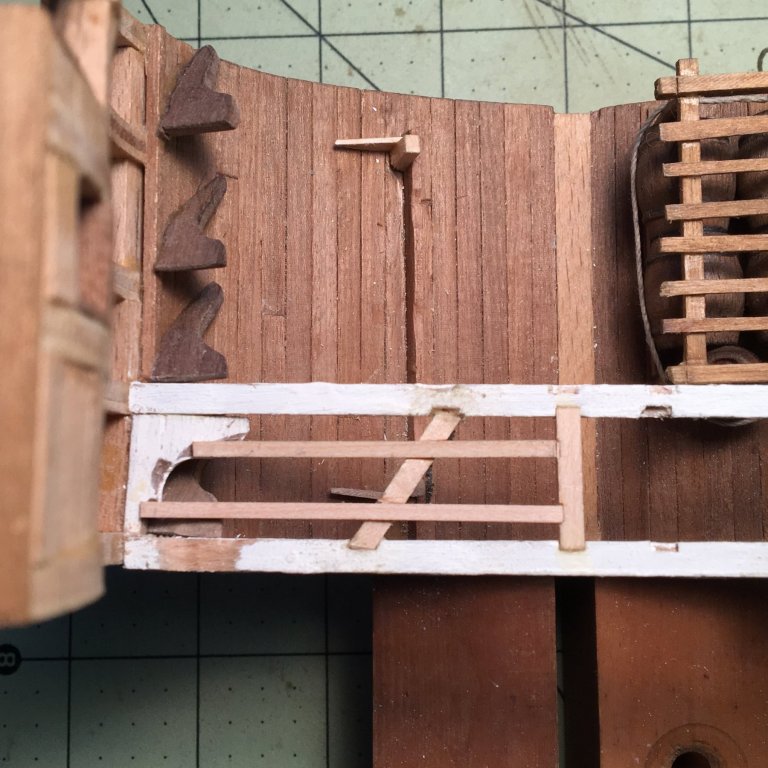
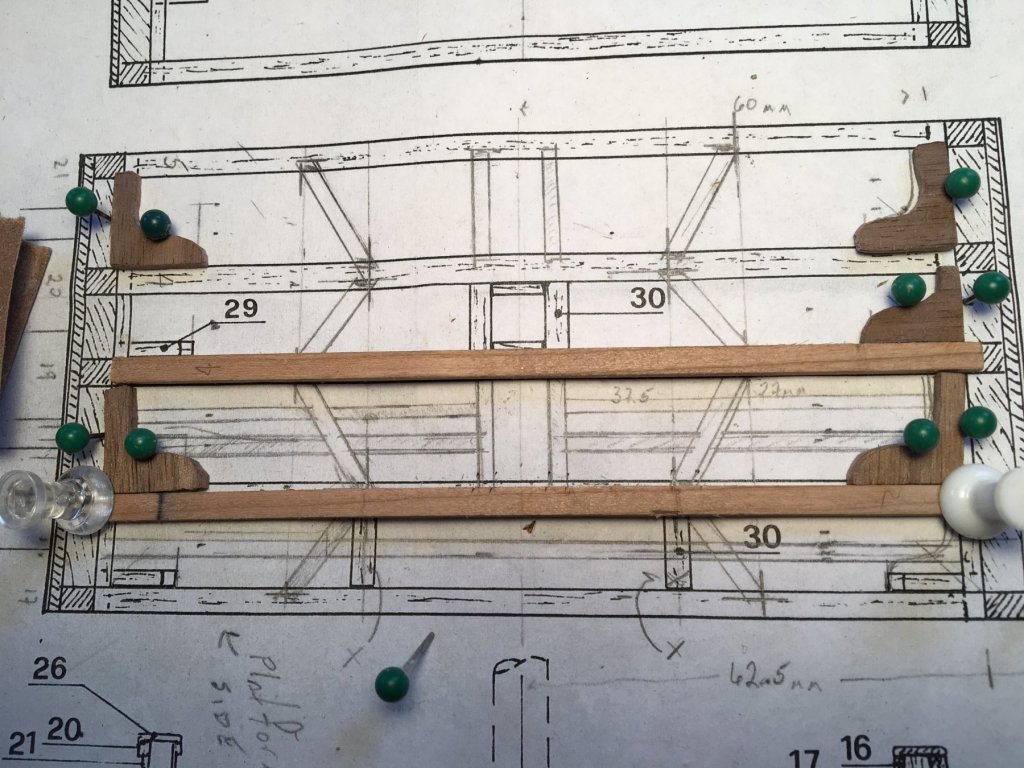
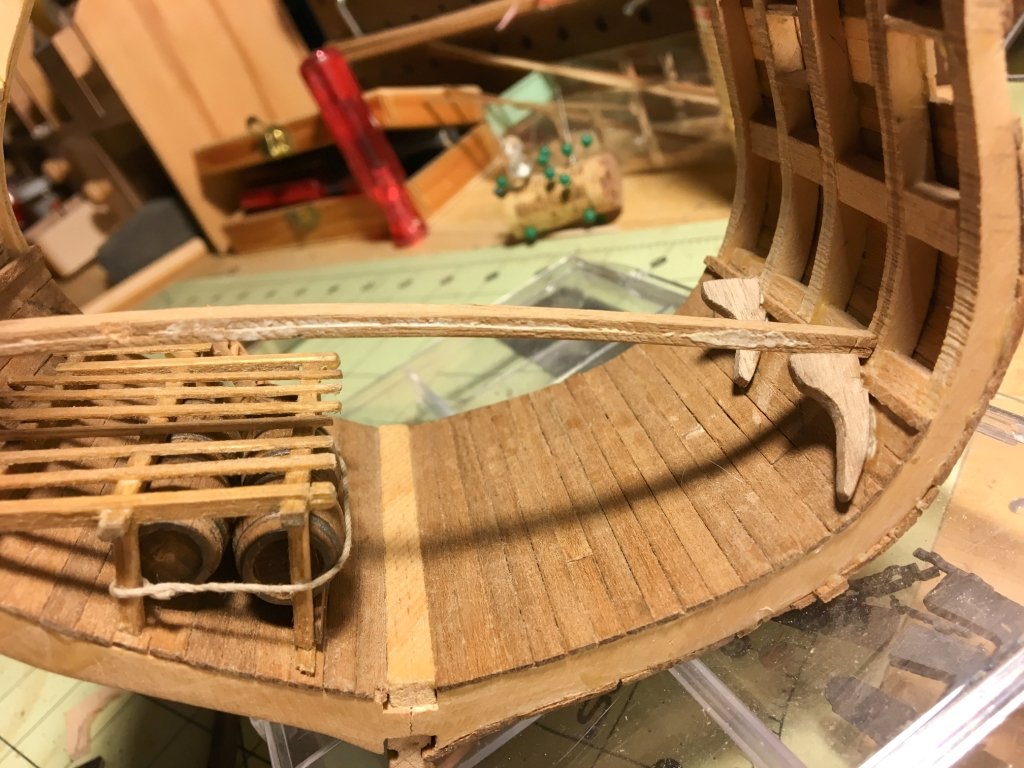
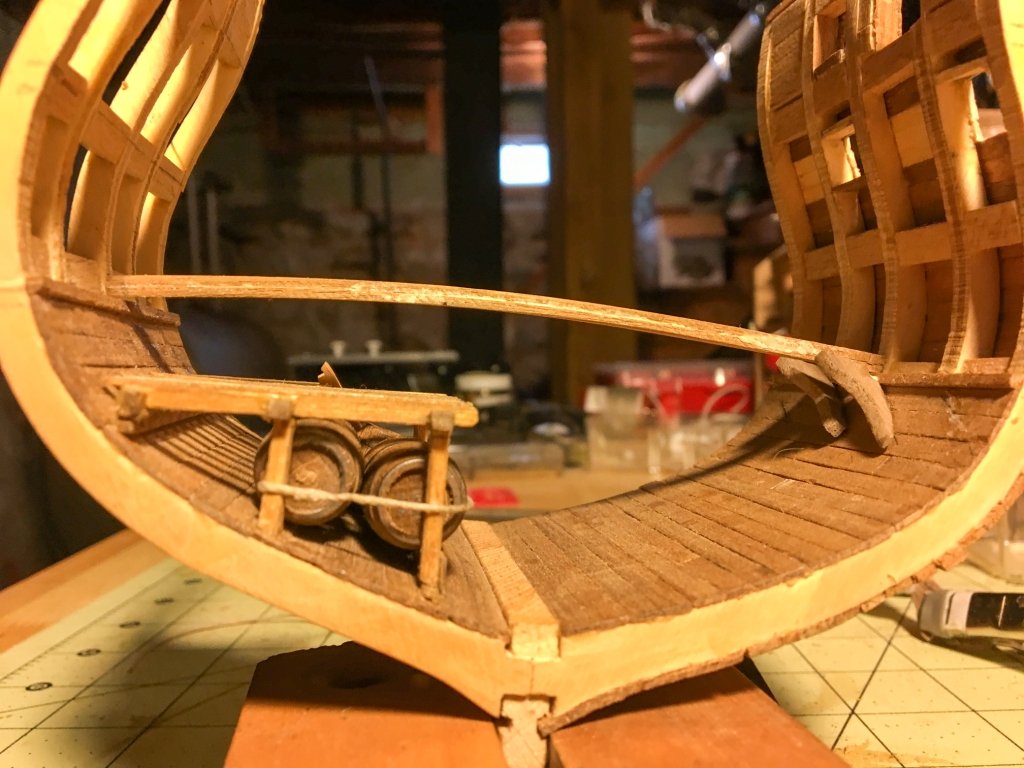
Thanks EJ. It is fun watching these pieces come together. Speaking of which, platform is complete and some barrels of rum stowed away. Now to try more knees (on my second batch of 4, only 1 or 2 are really usable - first one beginner's luck?)
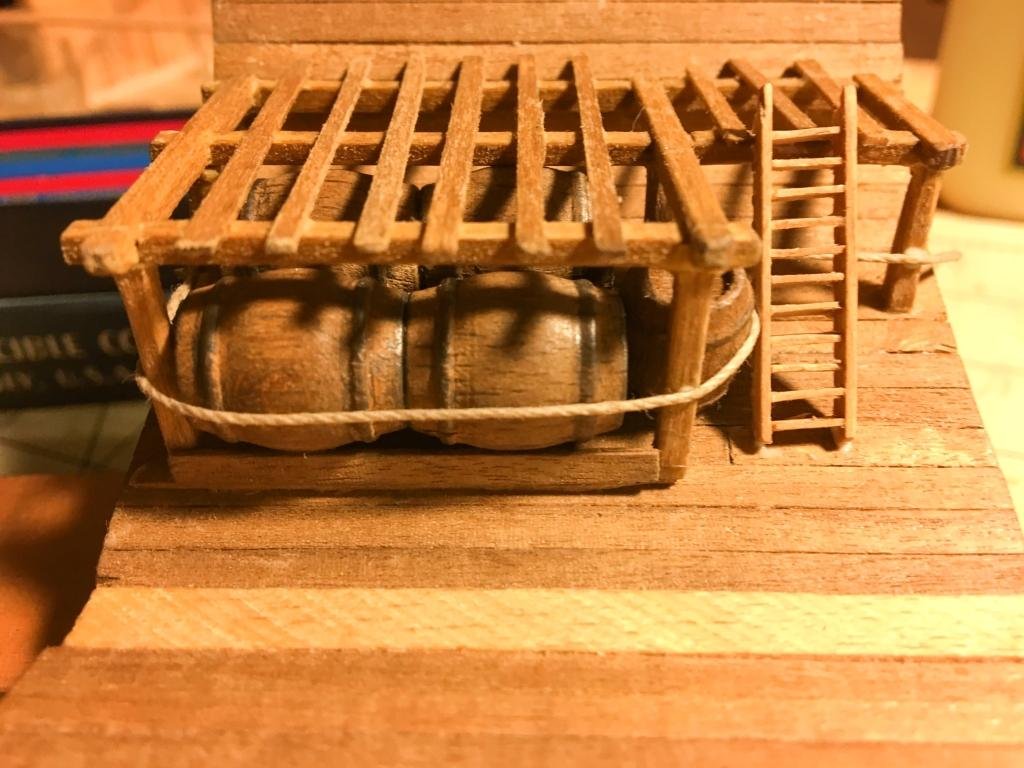
- 108 replies
-
- 6
-
-
- mamoli
- constitution
- (and 2 more)
-
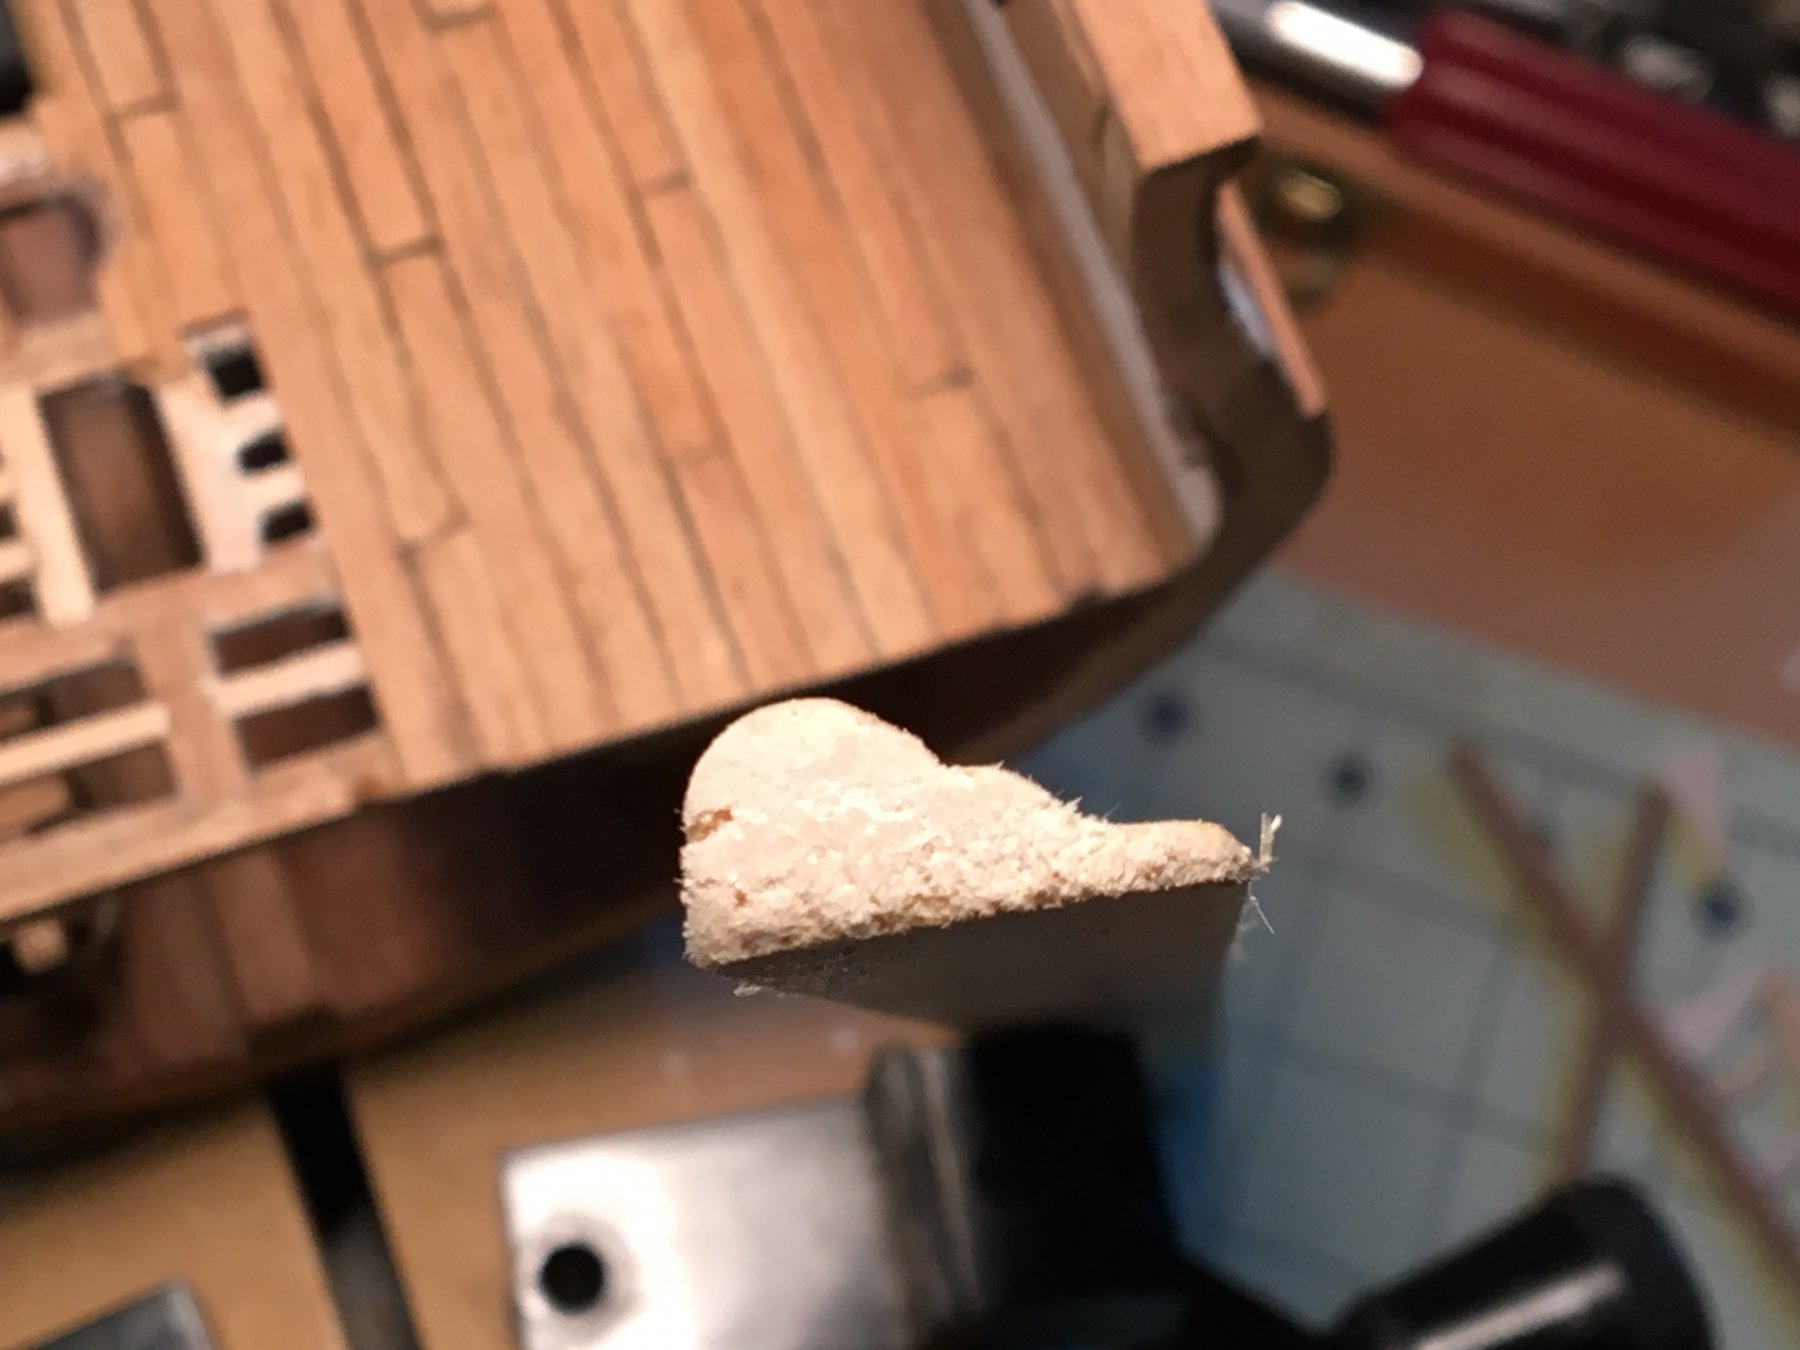
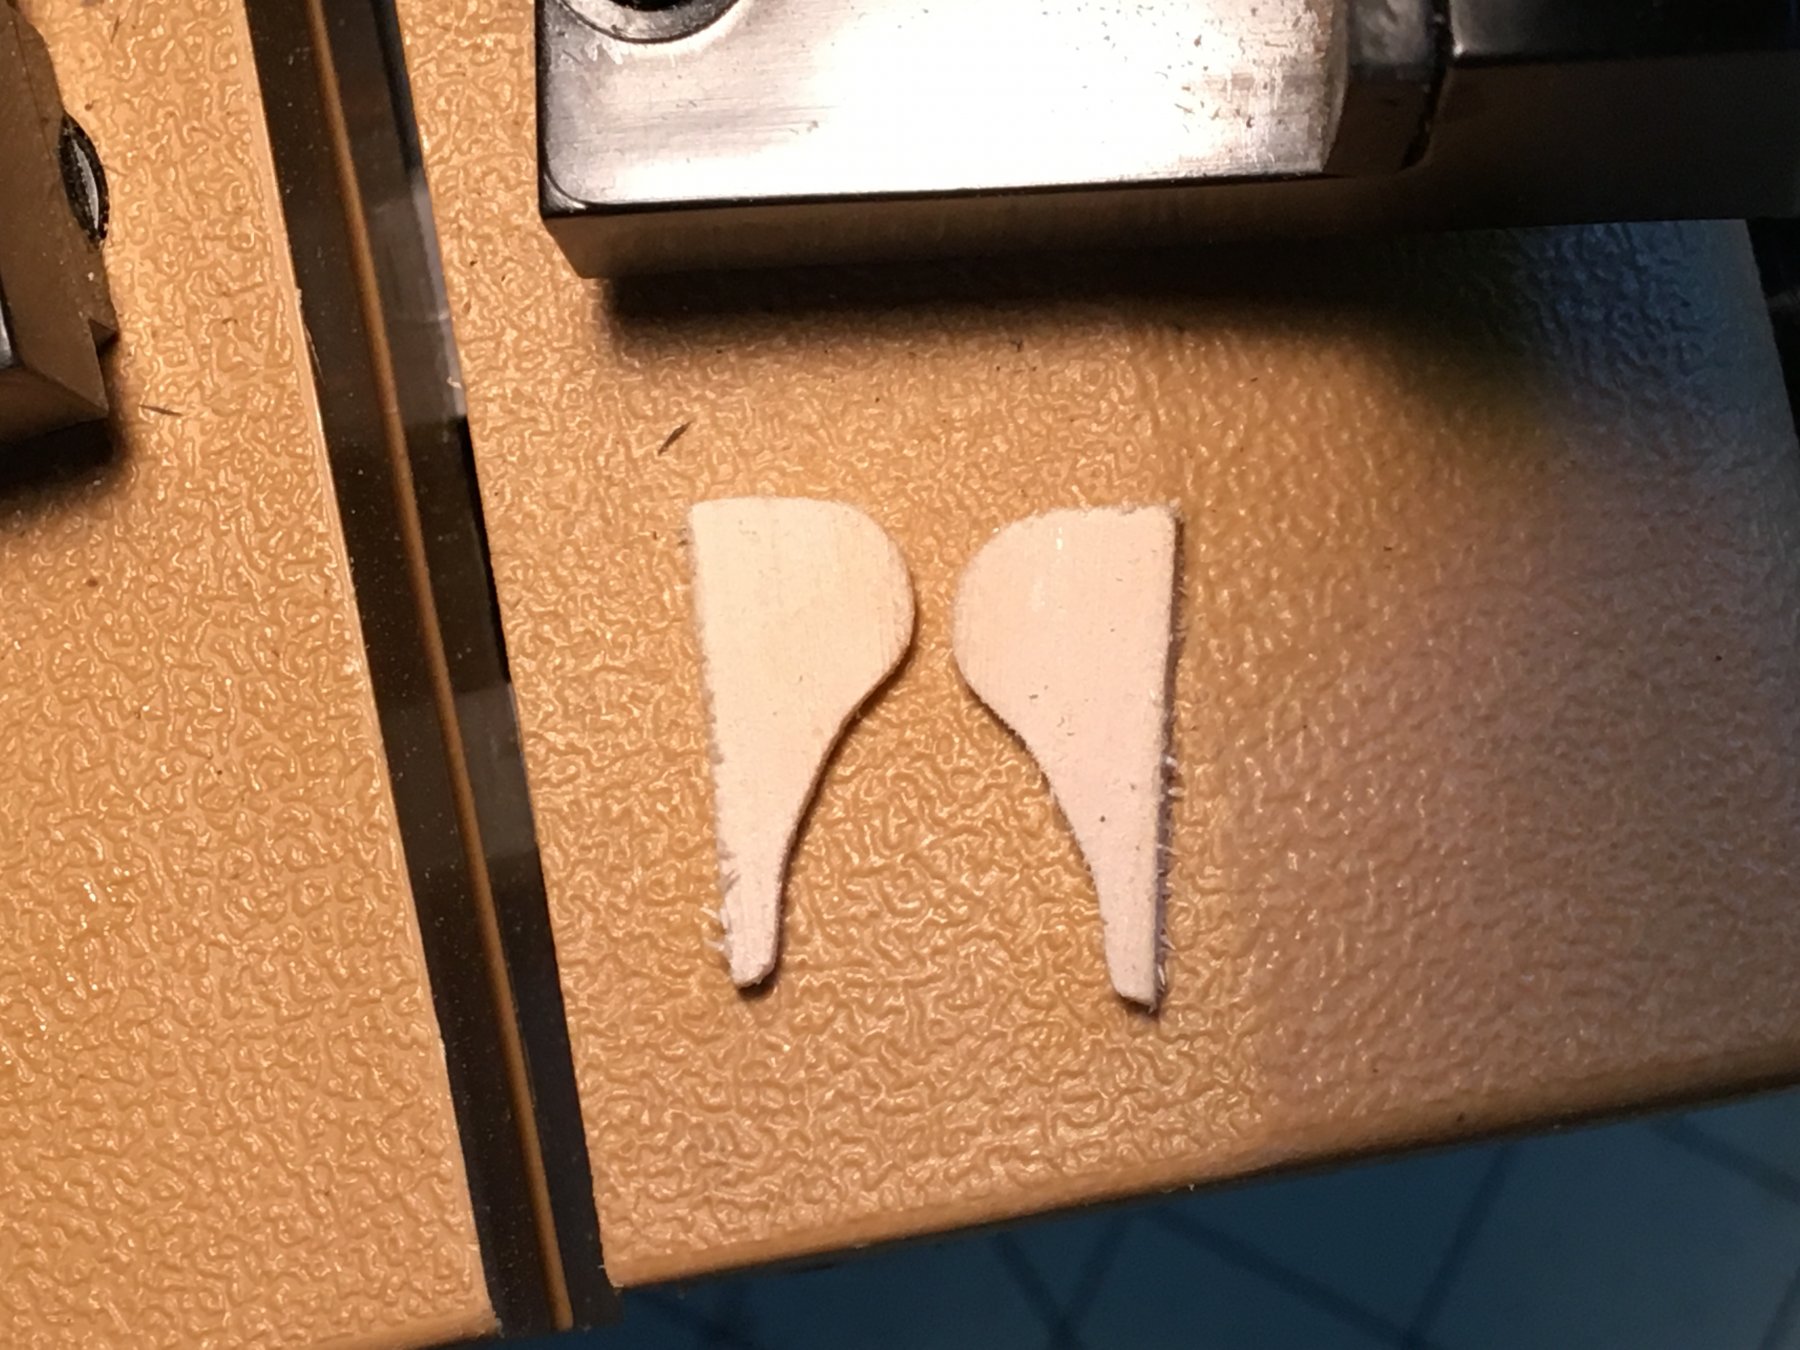
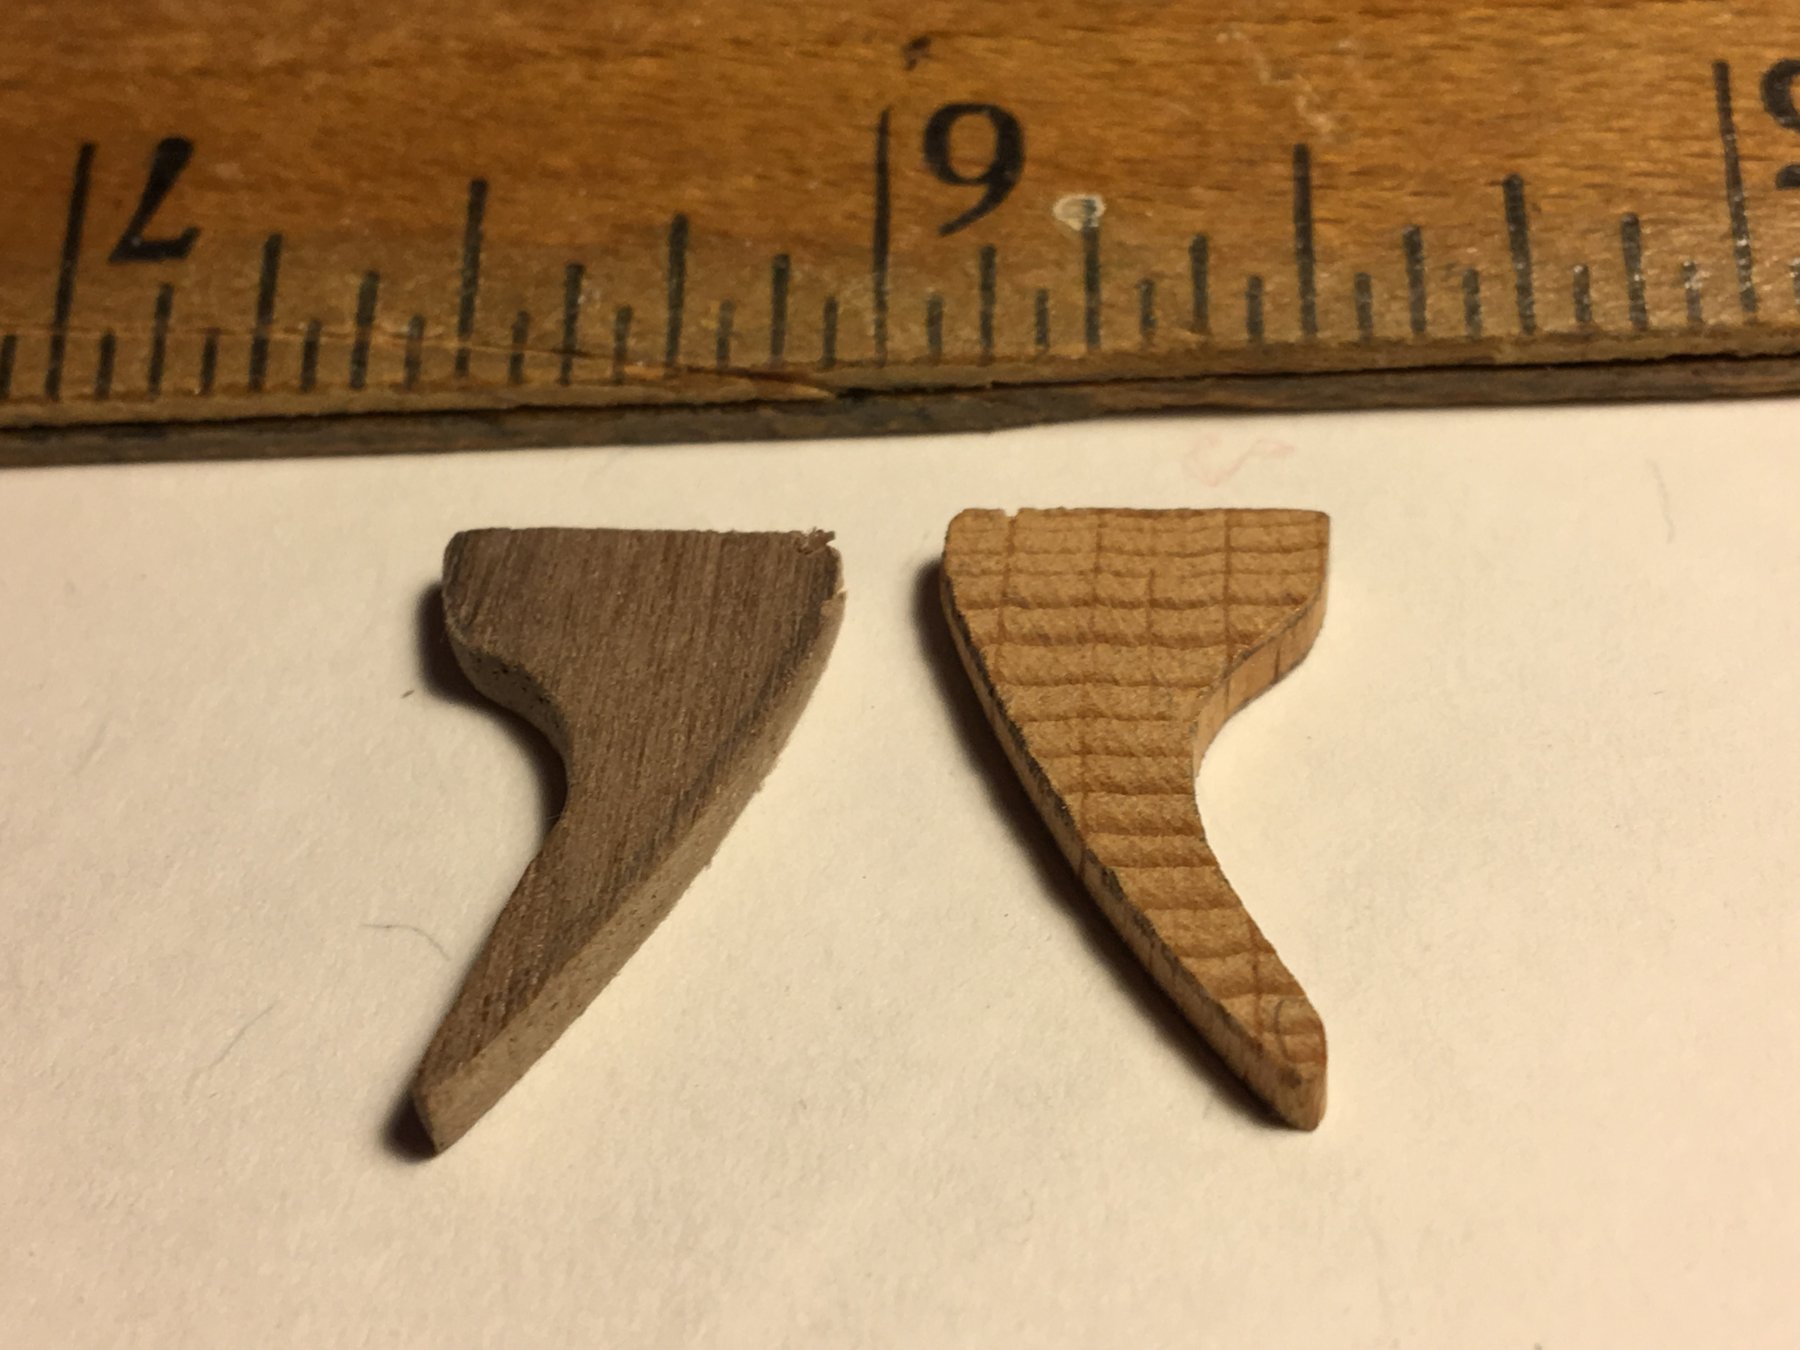
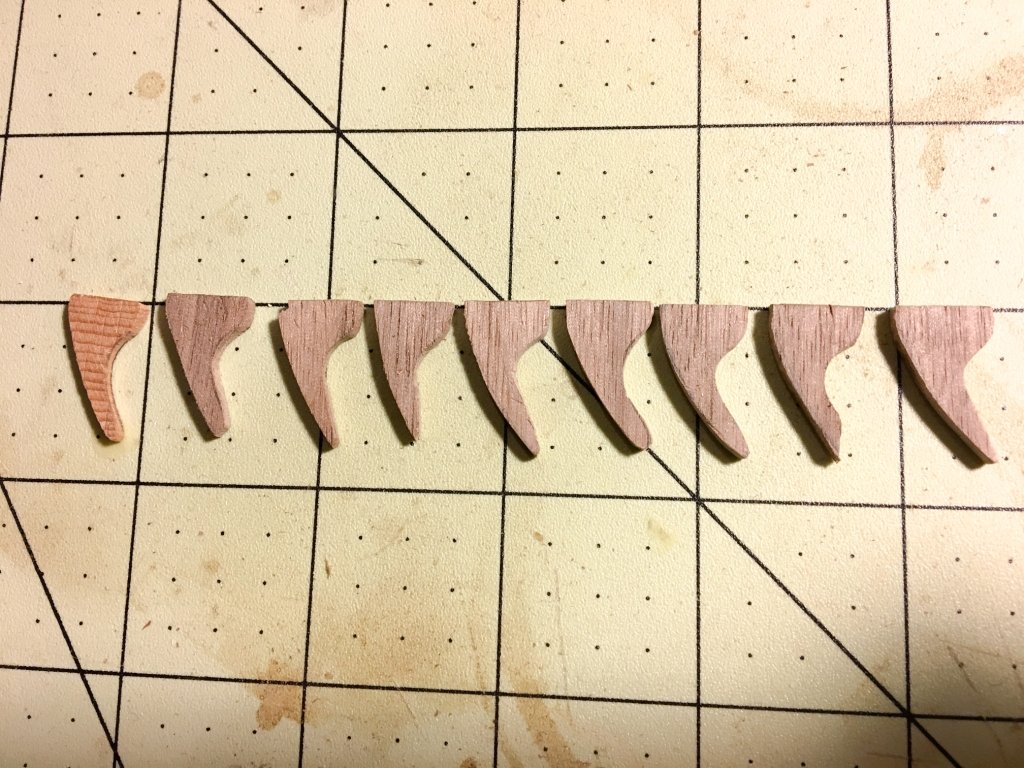
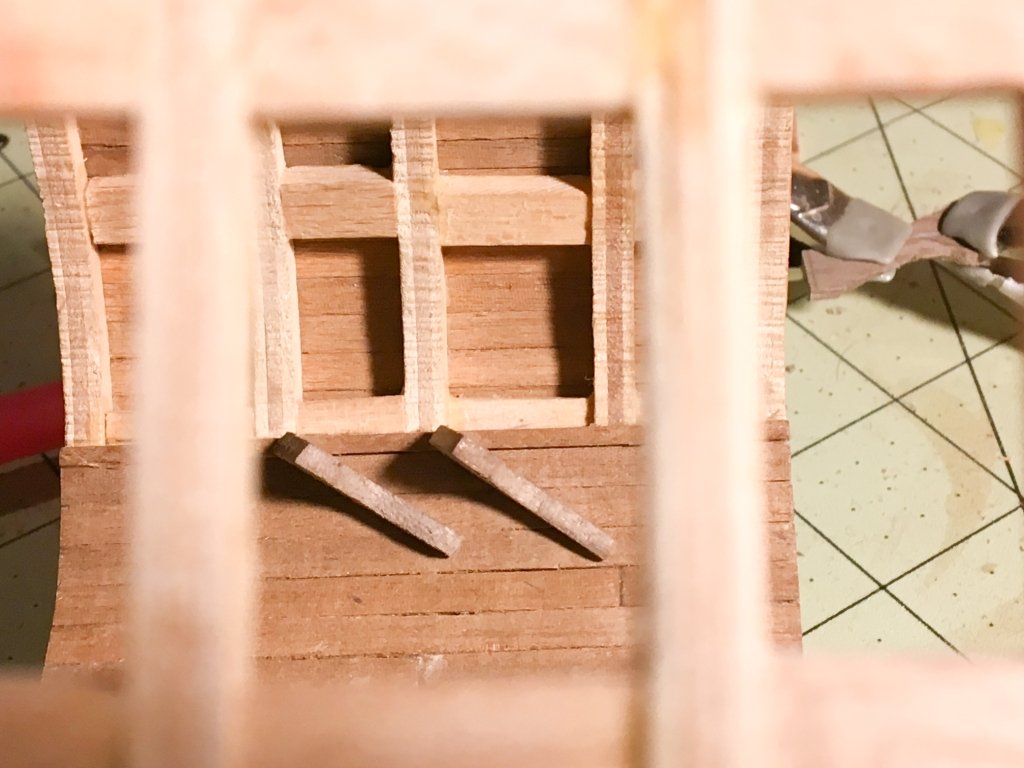
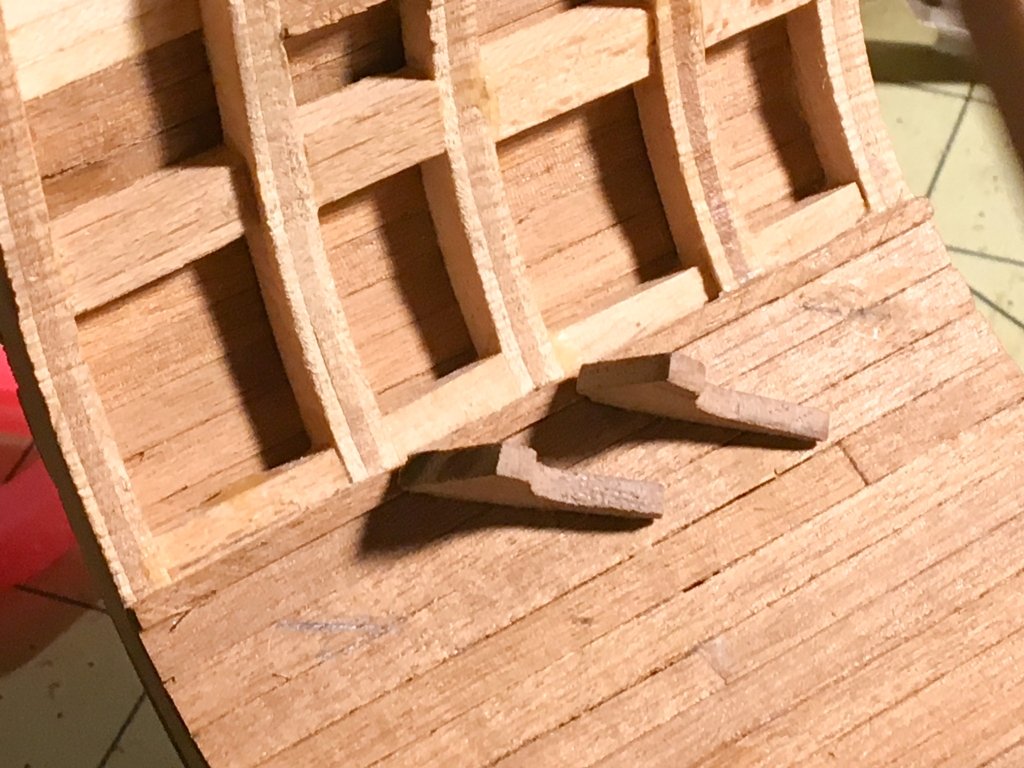
First attempt at knees (berth deck thrust knees in this case) with new wood and new scroll saw. Not the impossible task I expected - time consuming, with much laying out and sanding, but not impossible. (Original with kit on the right, home made on the left)
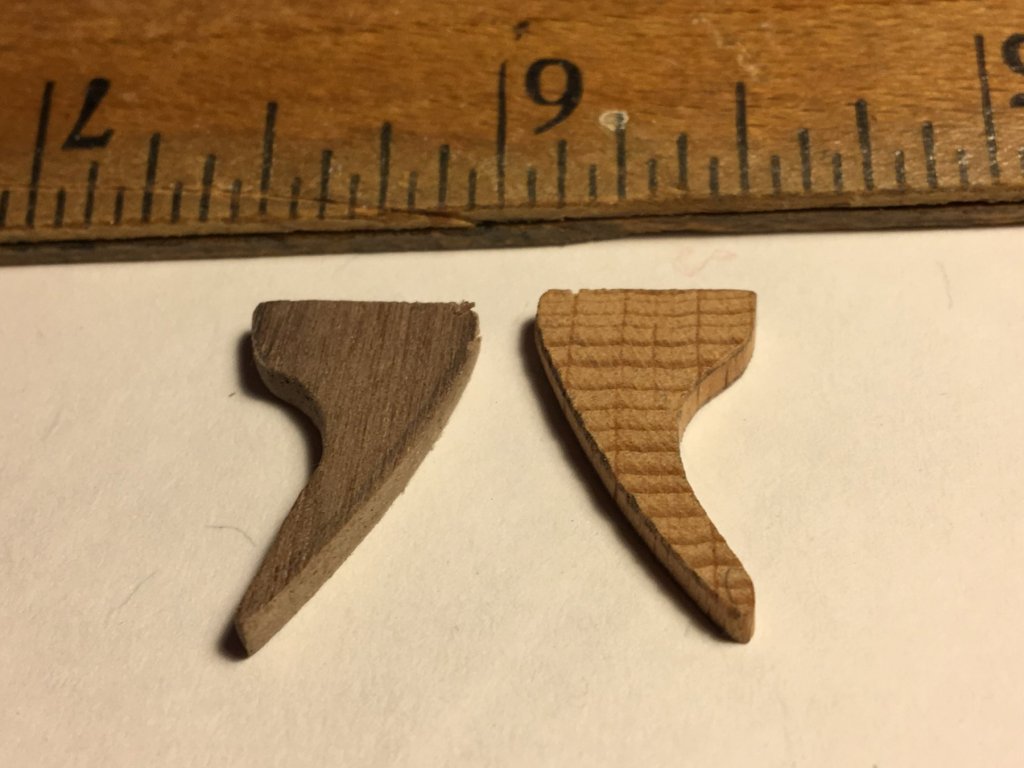
- 108 replies
-
- 5
-
-
- mamoli
- constitution
- (and 2 more)