stevenmh
-
Posts
161 -
Joined
-
Last visited
Content Type
Profiles
Forums
Gallery
Events
Everything posted by stevenmh
-
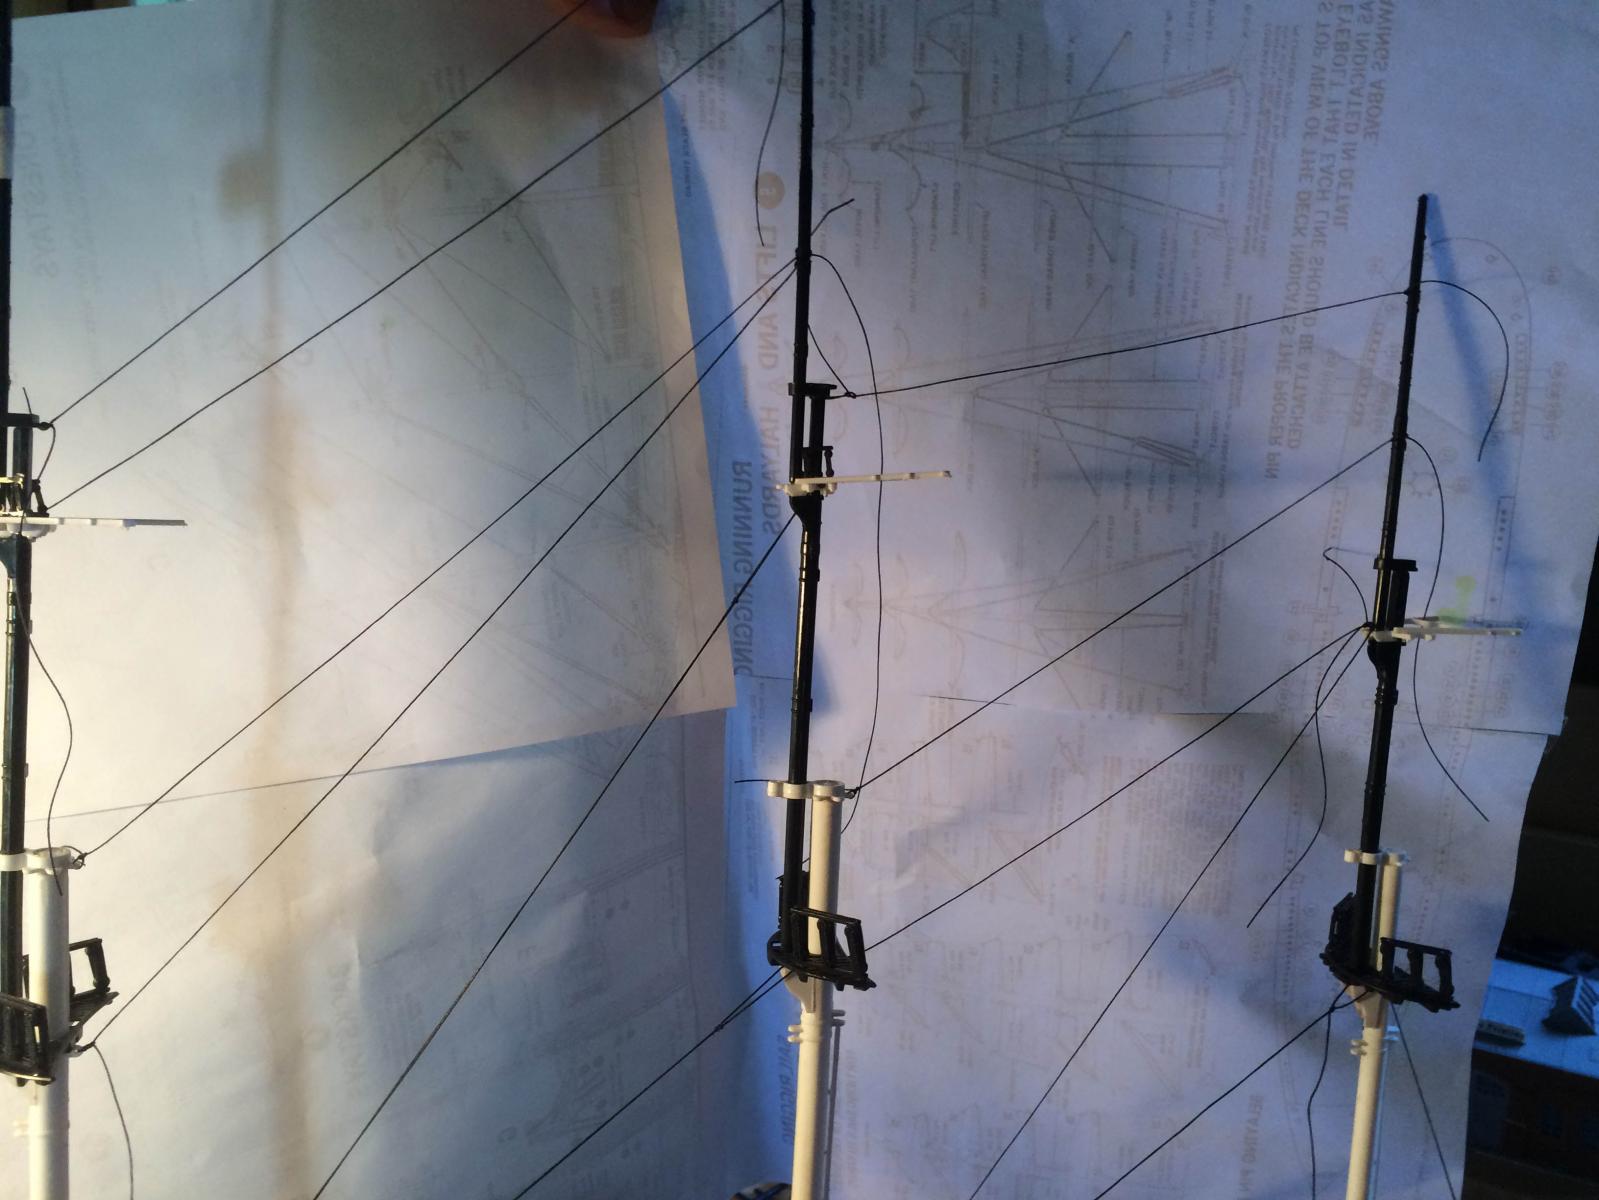
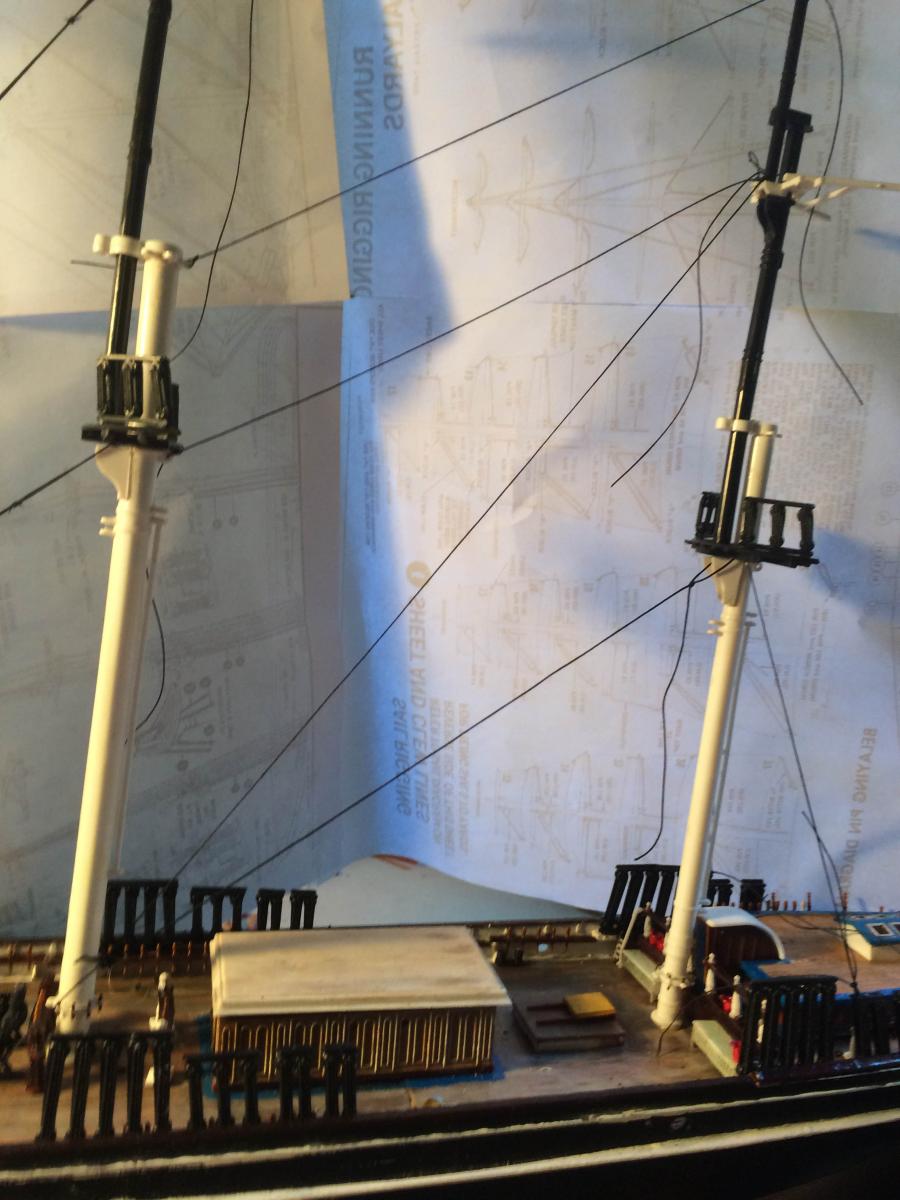
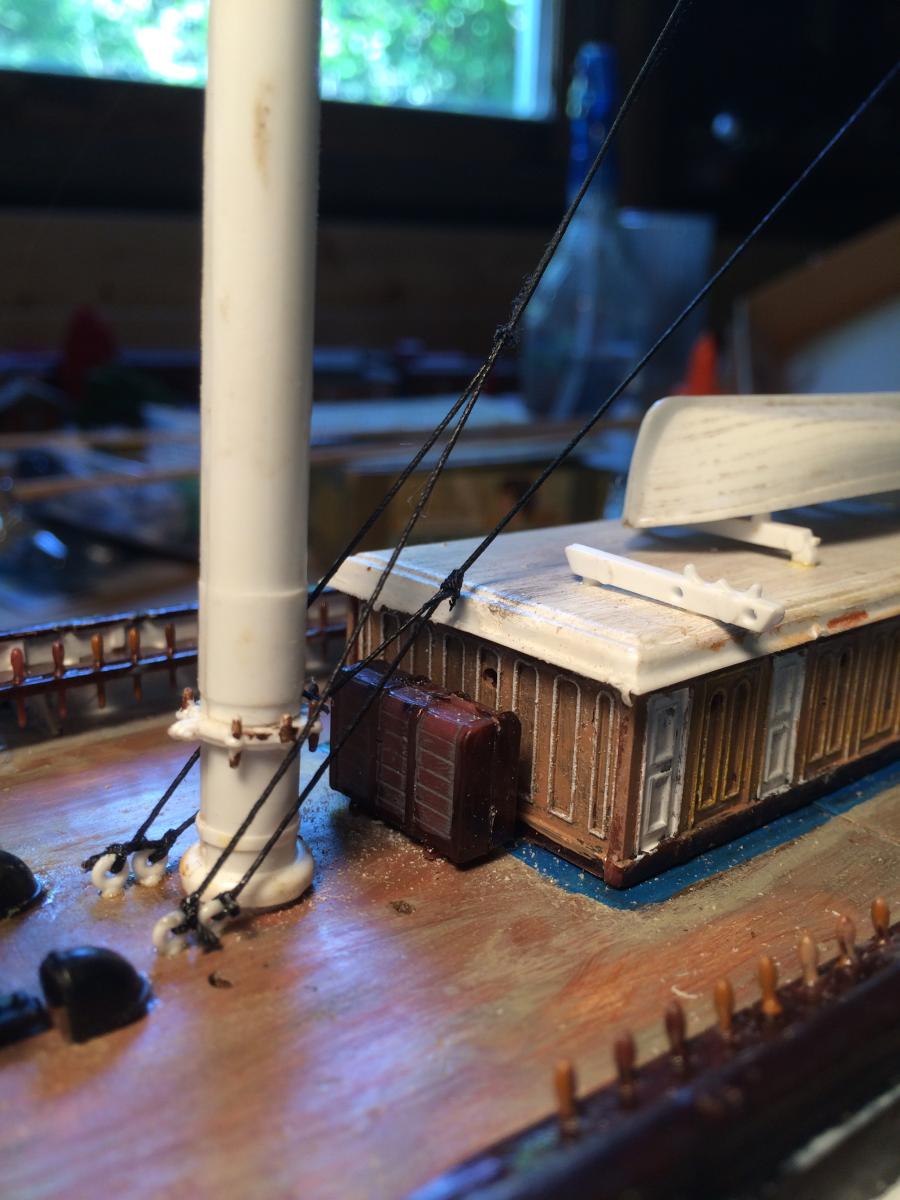
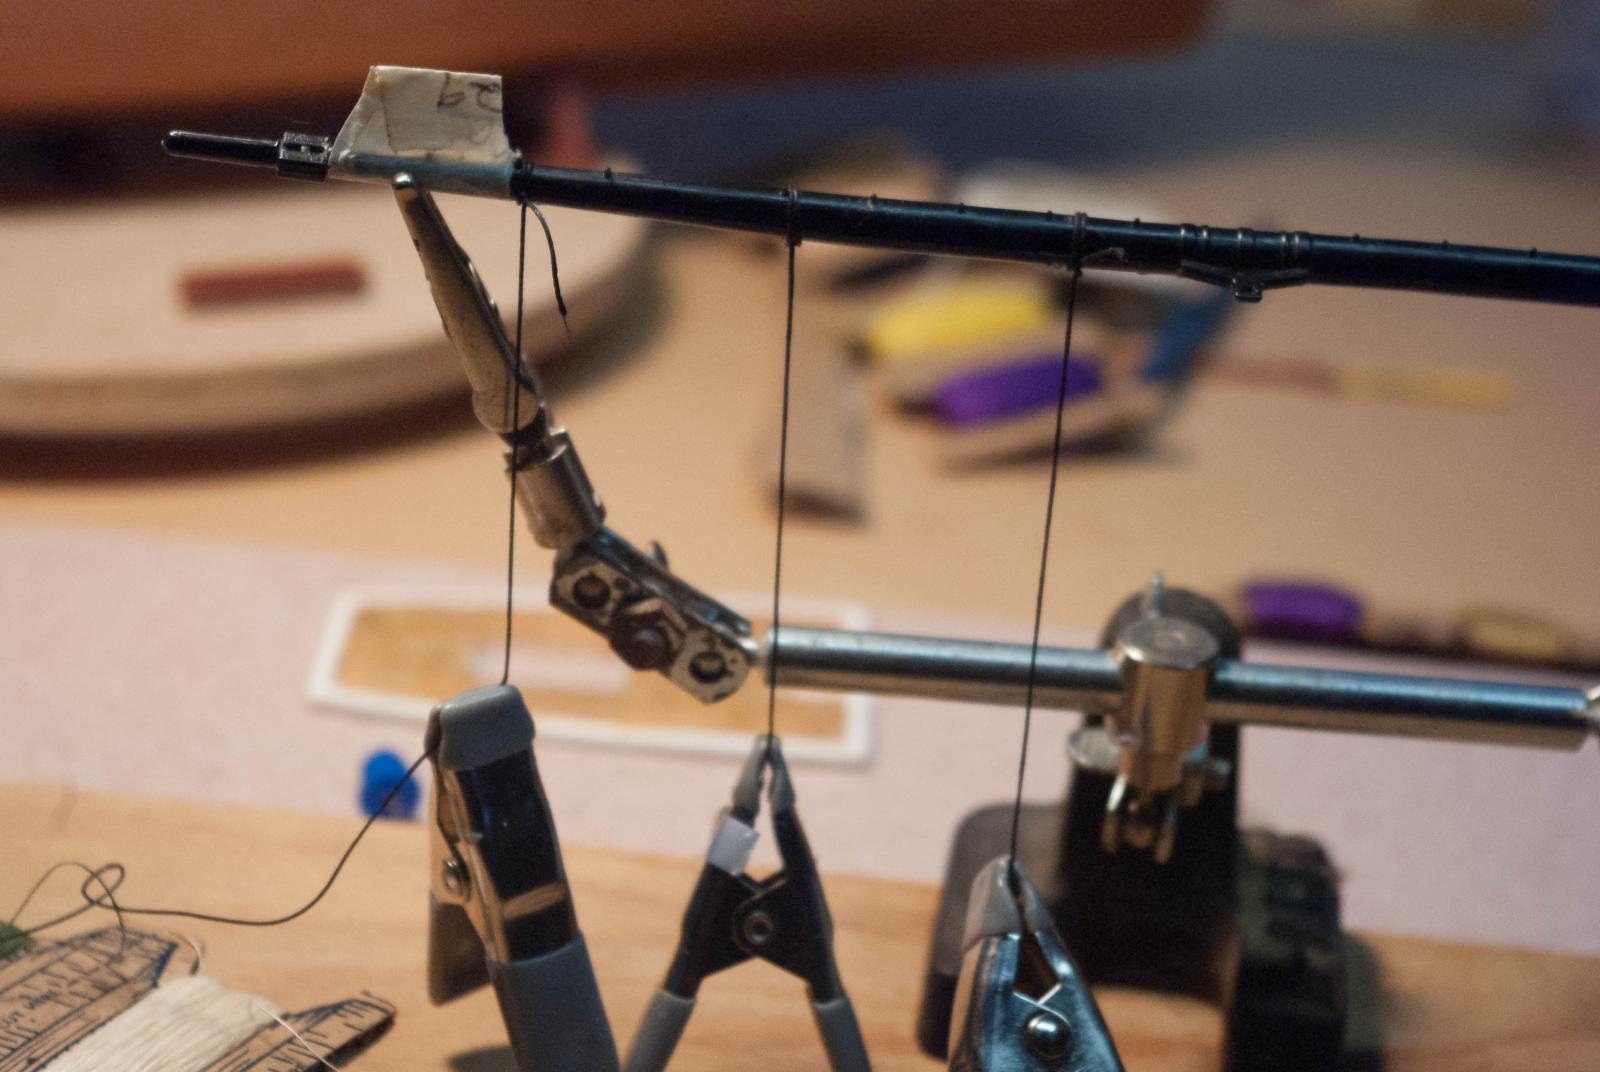
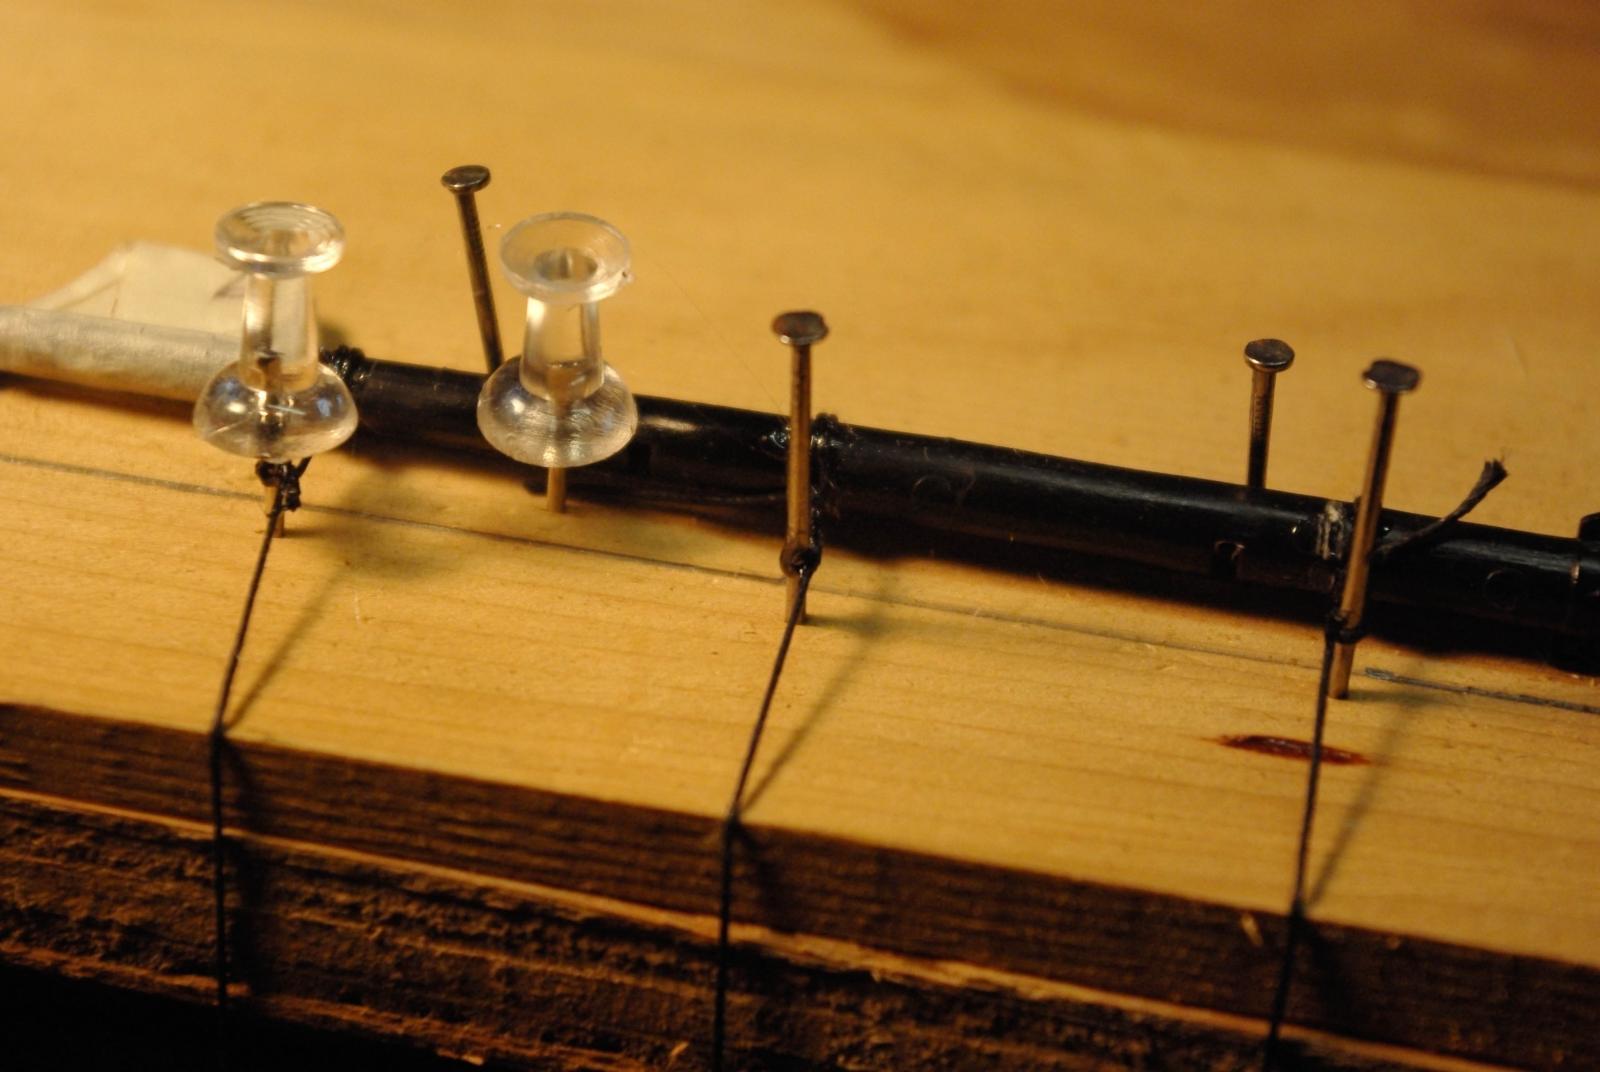
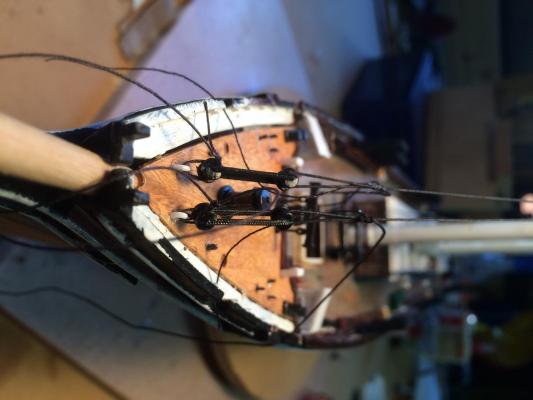
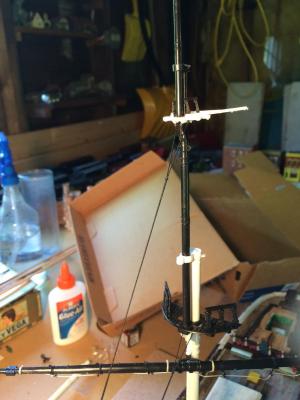
 Fore-stays leaving the ends of the threads on for the moment in case I have to re-tie anything as I rig the shrouds.
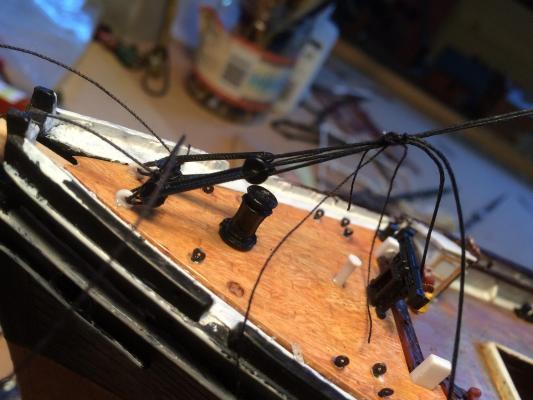
- 53 replies
-
- 3
-

-
- cutty sark
- revell
- (and 1 more)
-
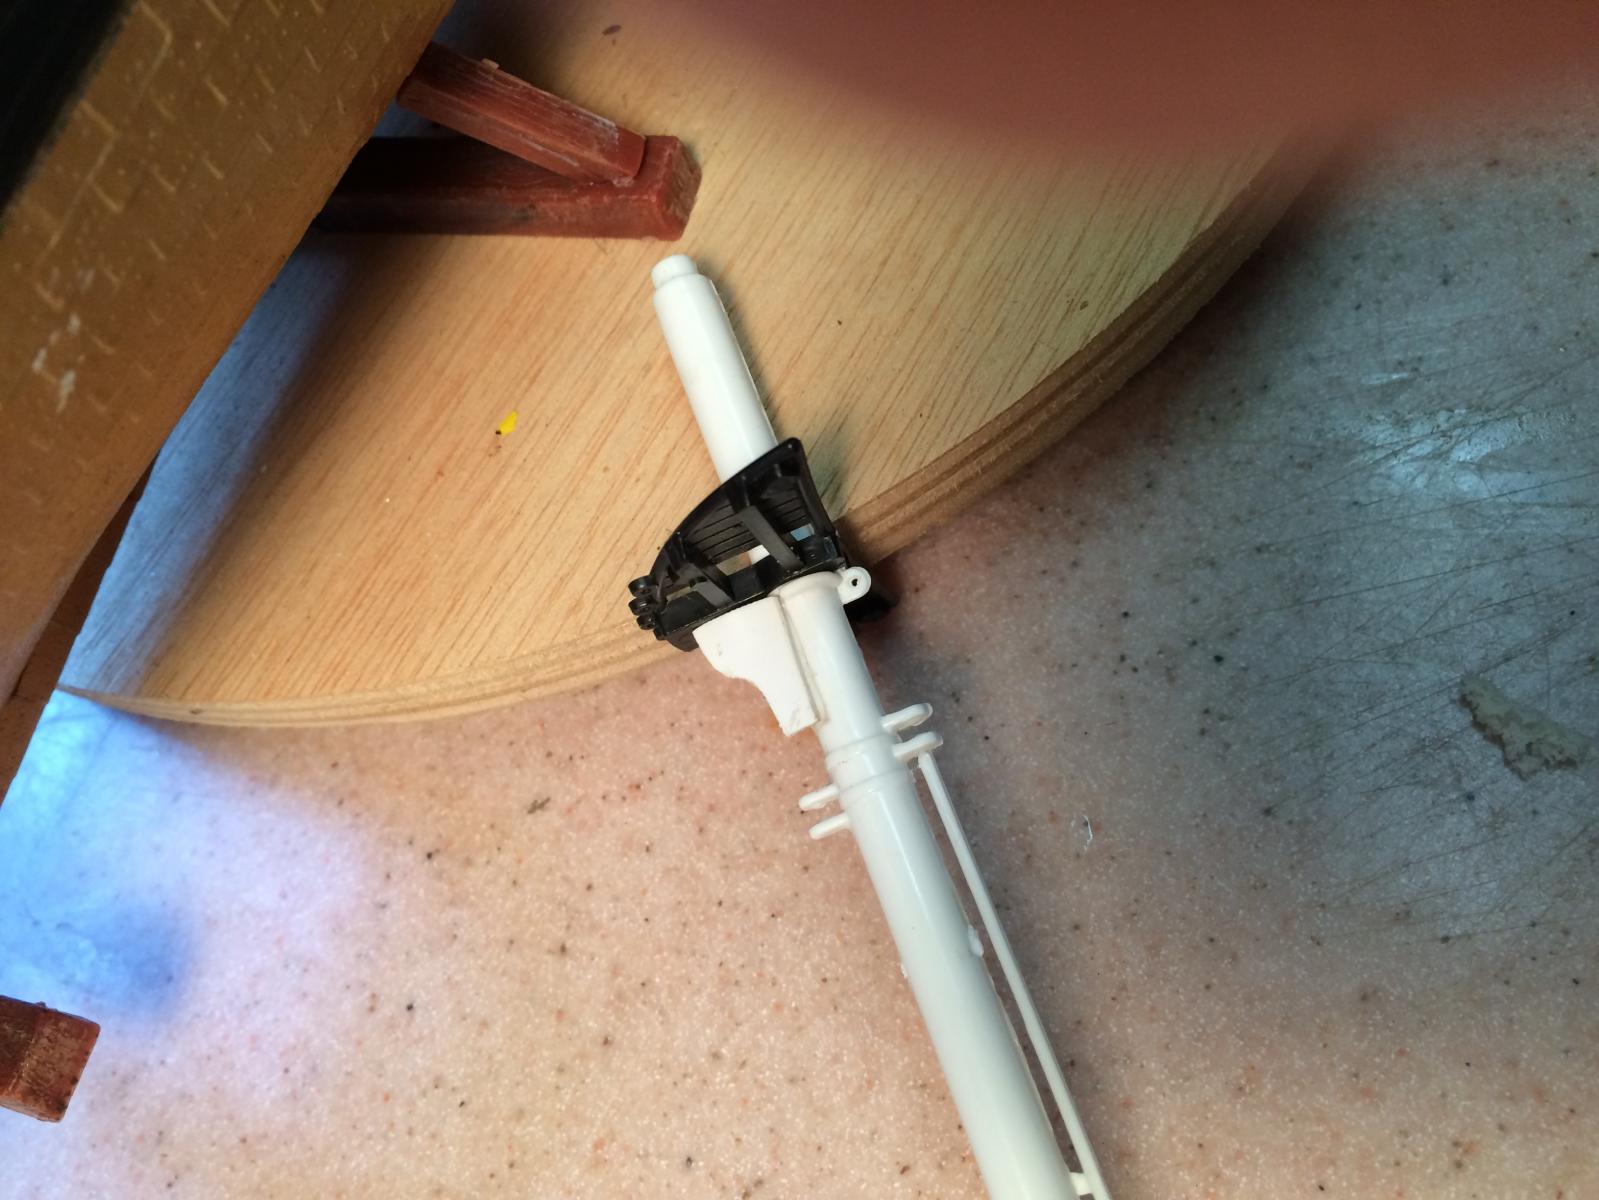
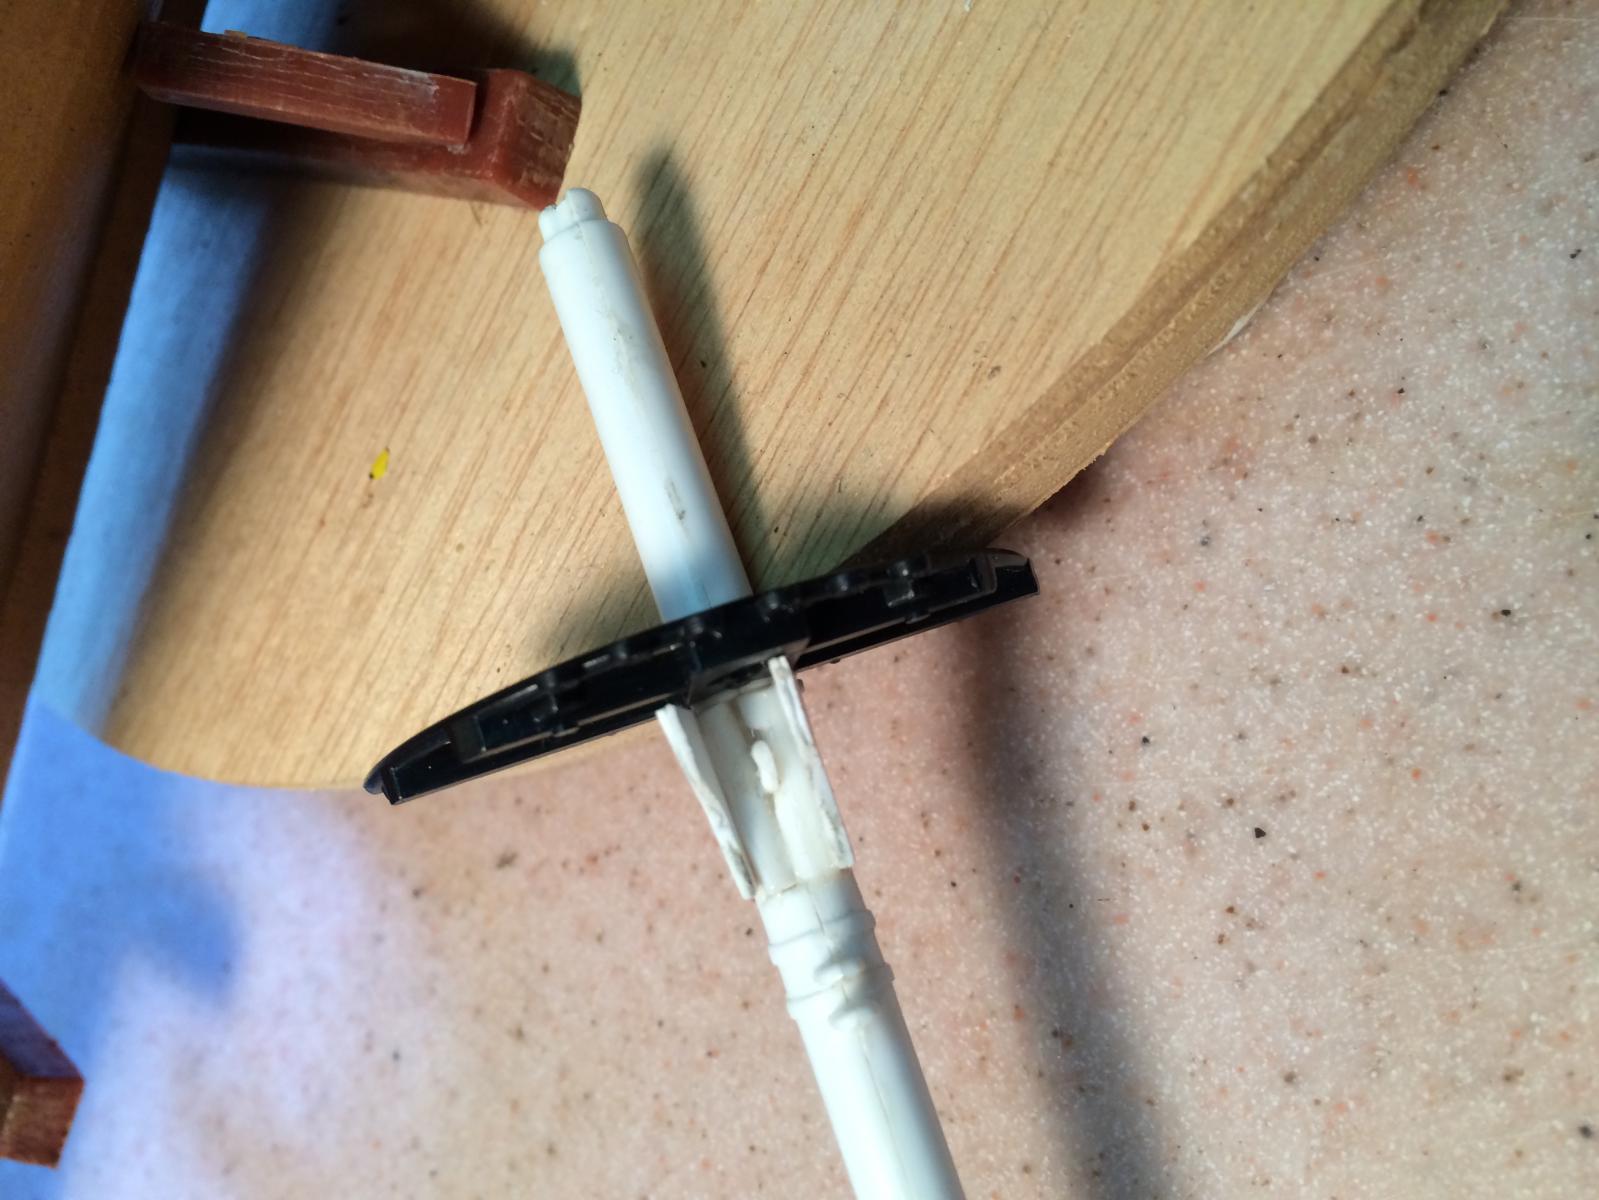
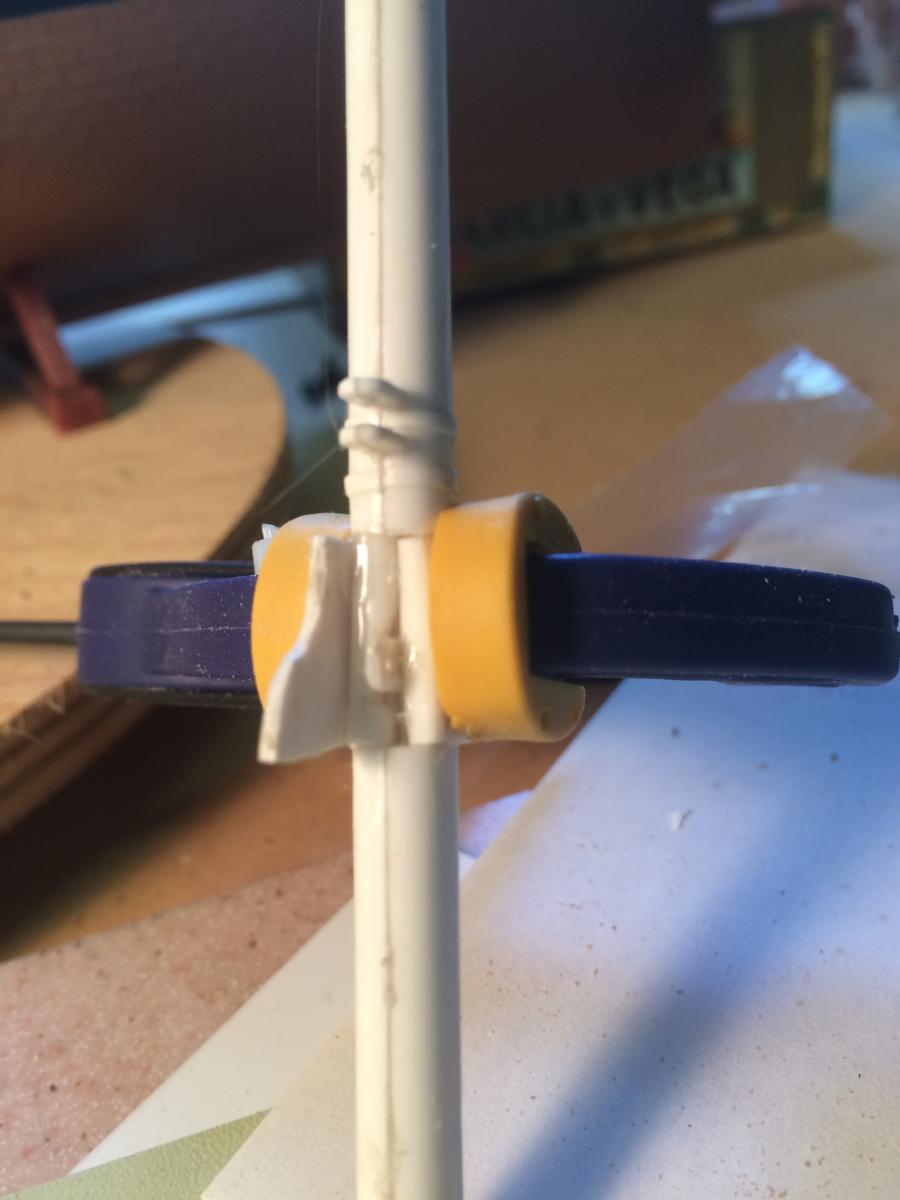
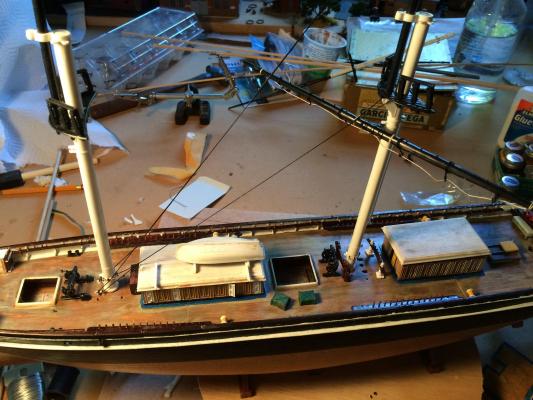
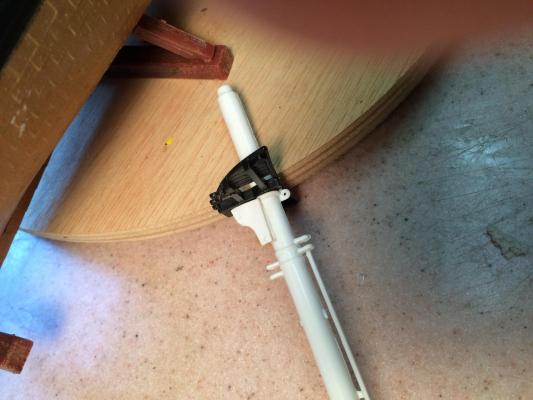
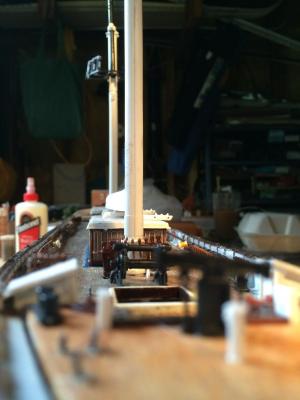
Working on the main and mizzen stays (which don't show up well in pictures), but before I move to the shrouds I figure I should do the fore stays, so I can use the shrouds (moving fore to aft) to tighten the stays a bit - or at least make them look straight. But that means fabricating the jib boom. I made a cradle for my drill (standing in as a lathe) and will likely make my first attempt sometime tomorrow, after I draw out a full-sized template.
-
Yes, even though if you stand back far enough they don't look too bad. I'm going to see if I can scrape them clean first.
-
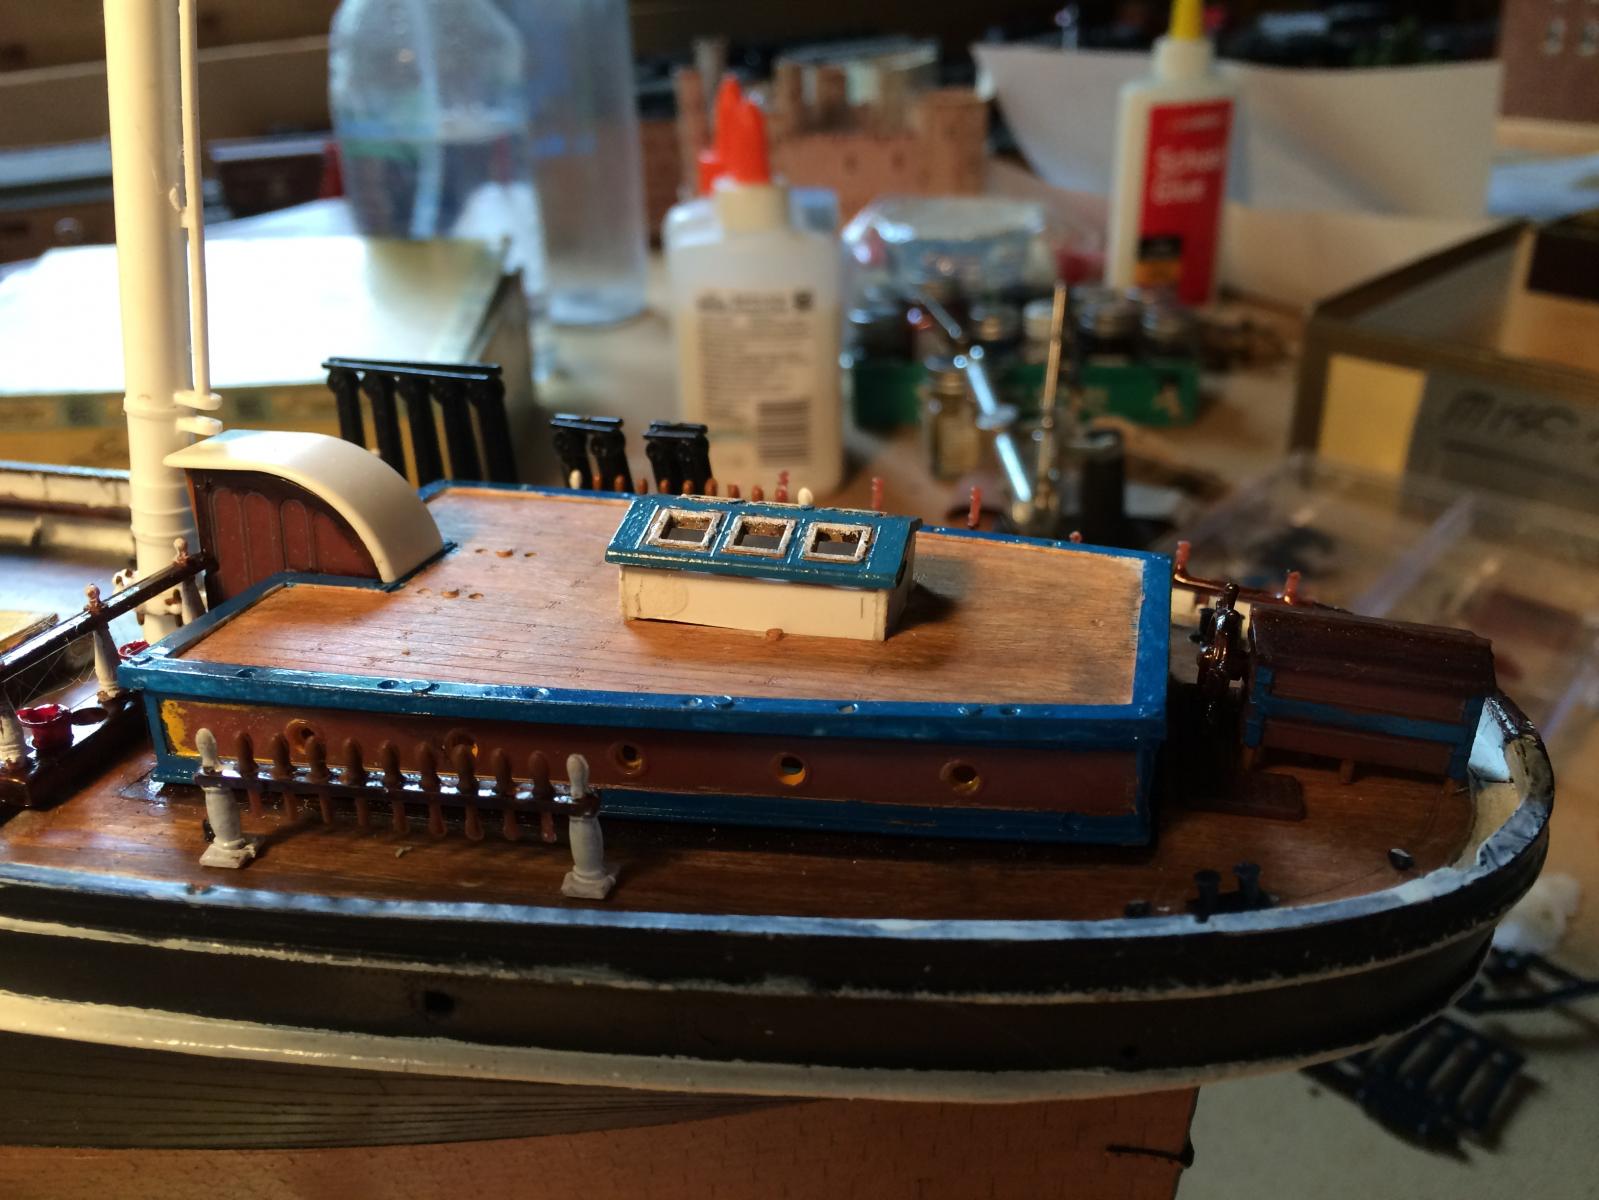
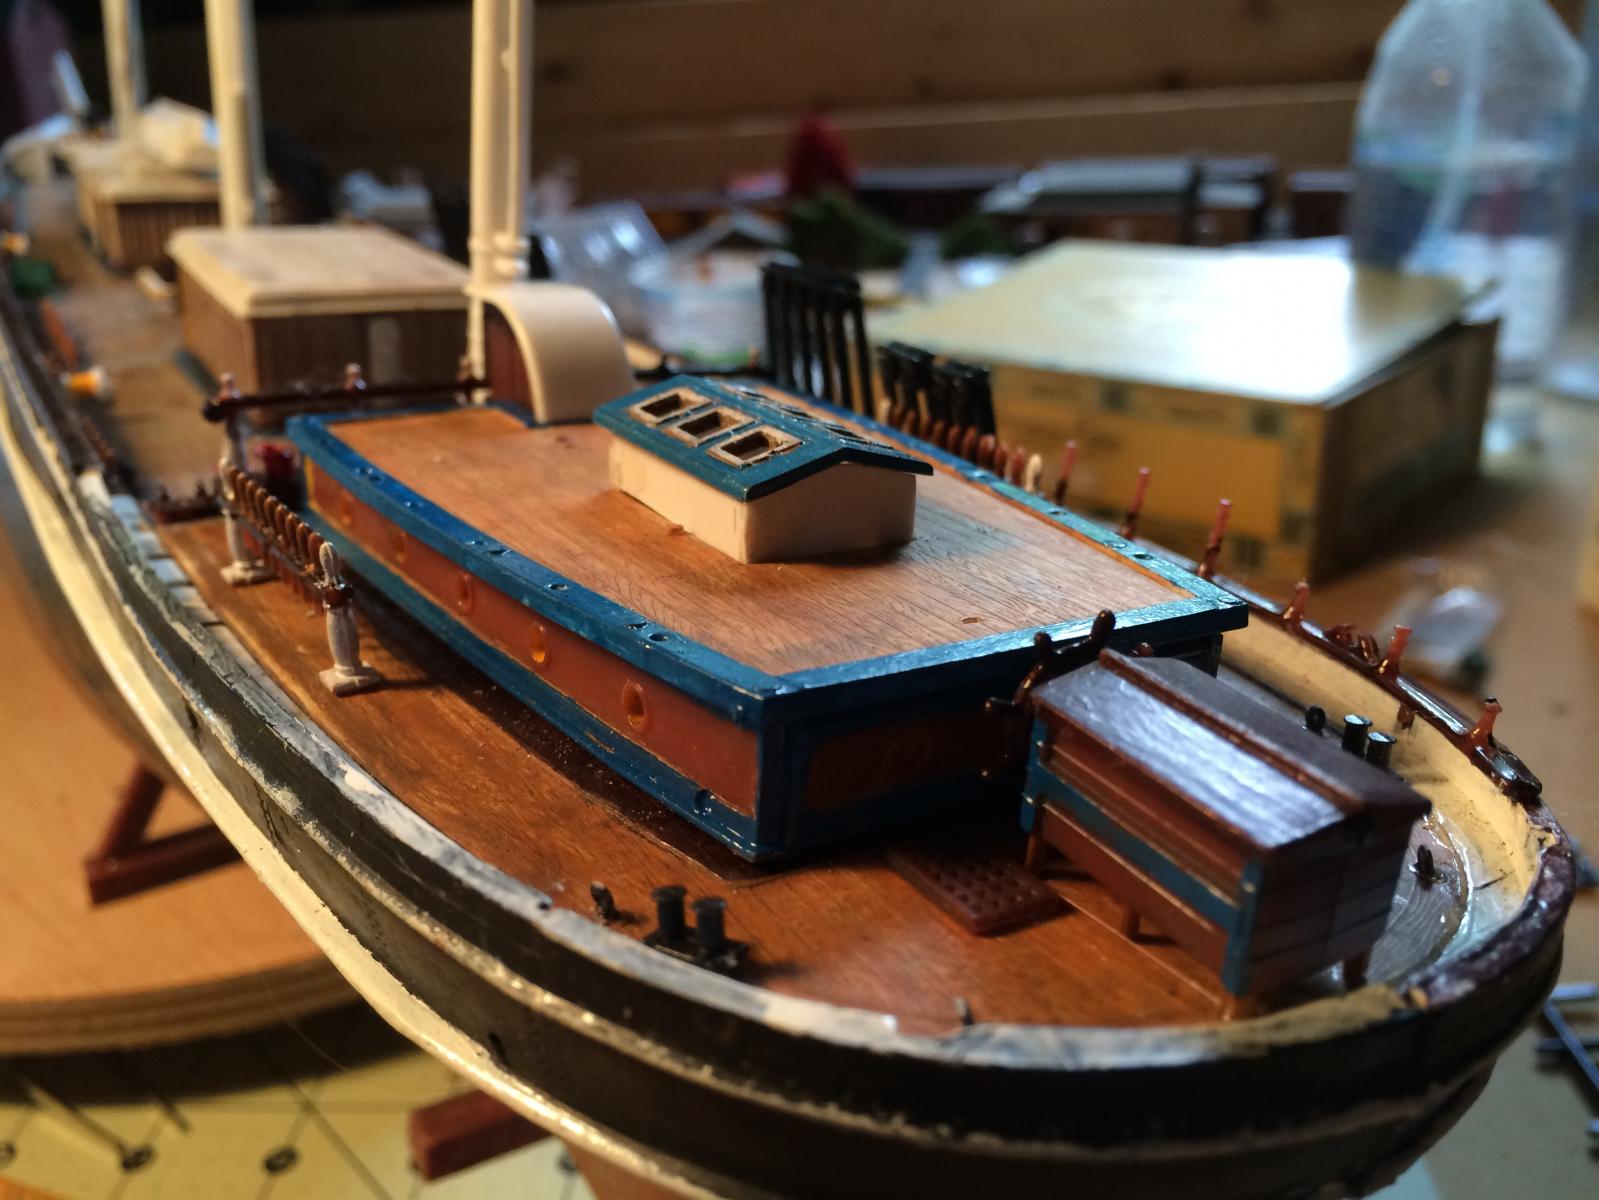
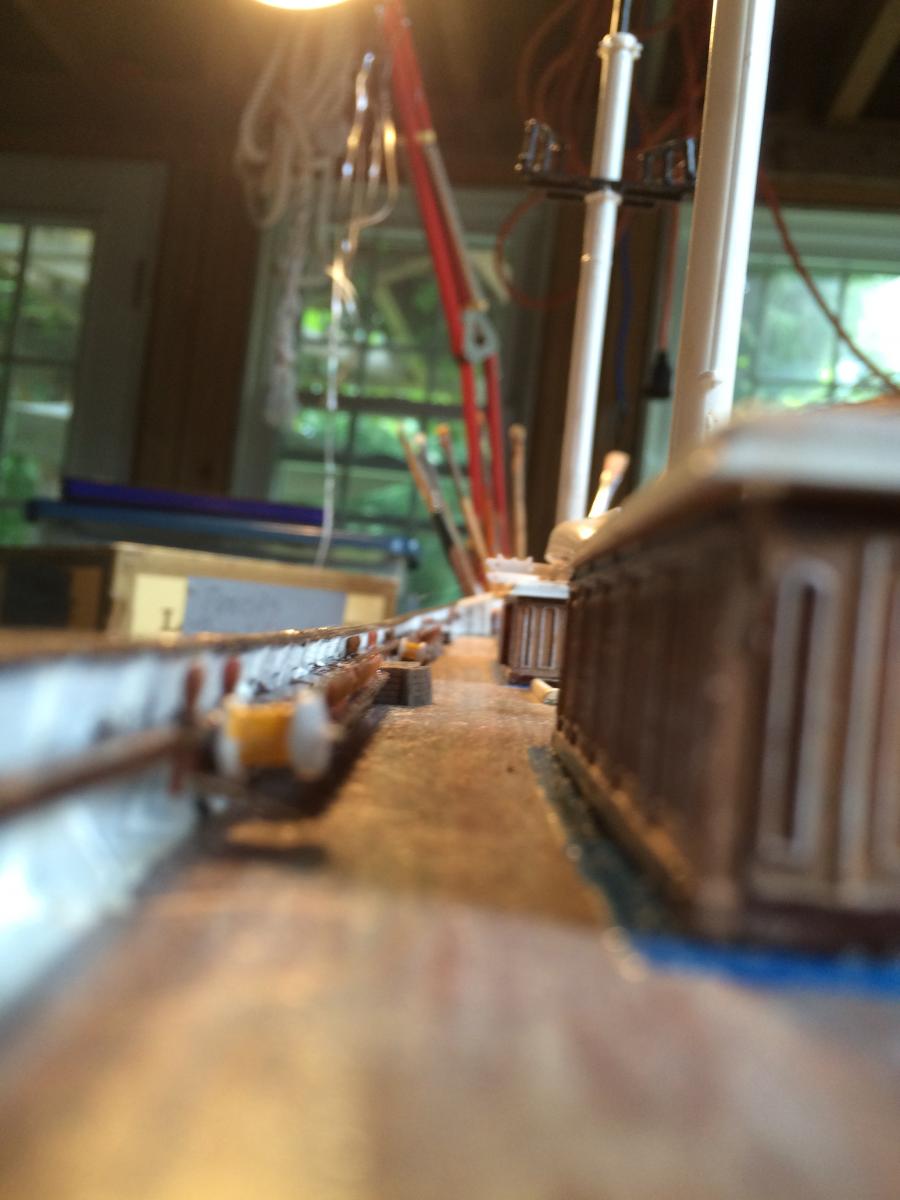
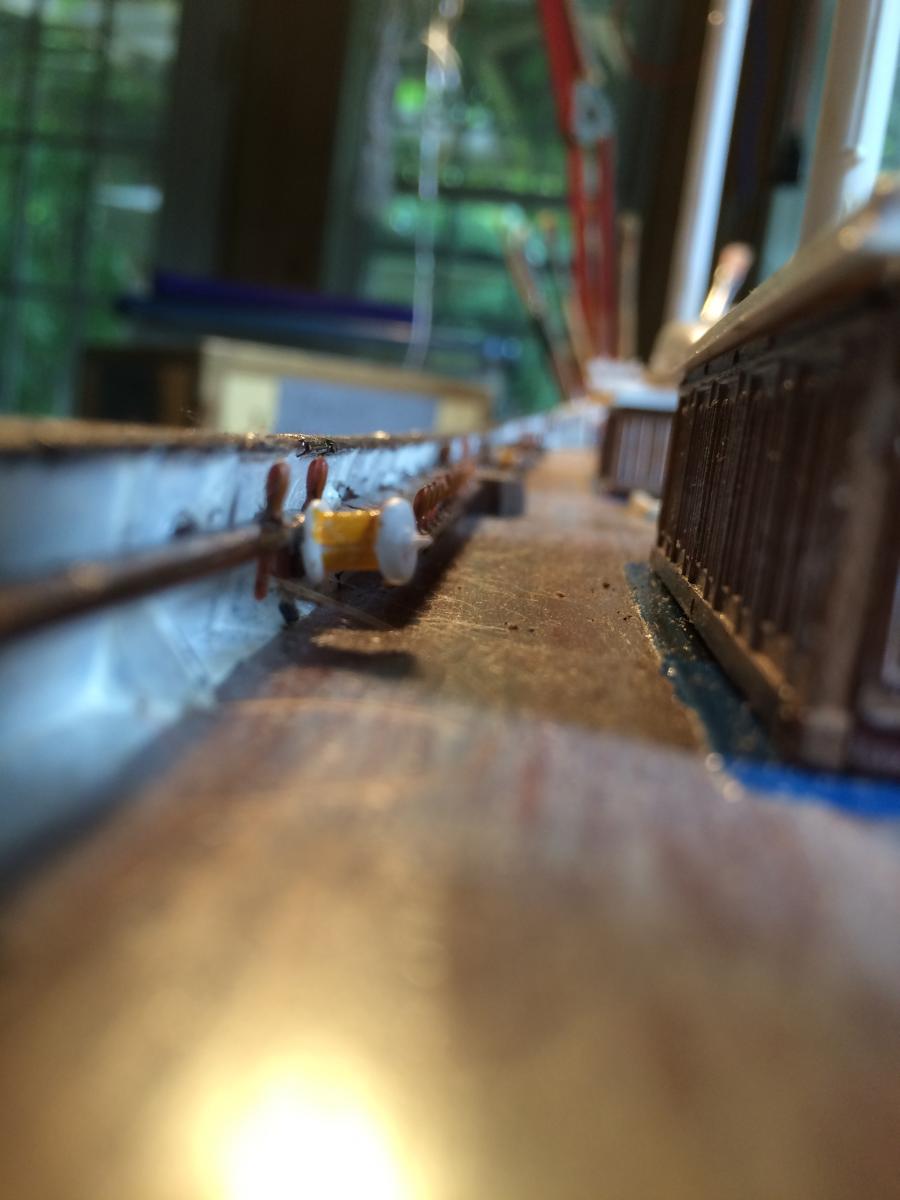
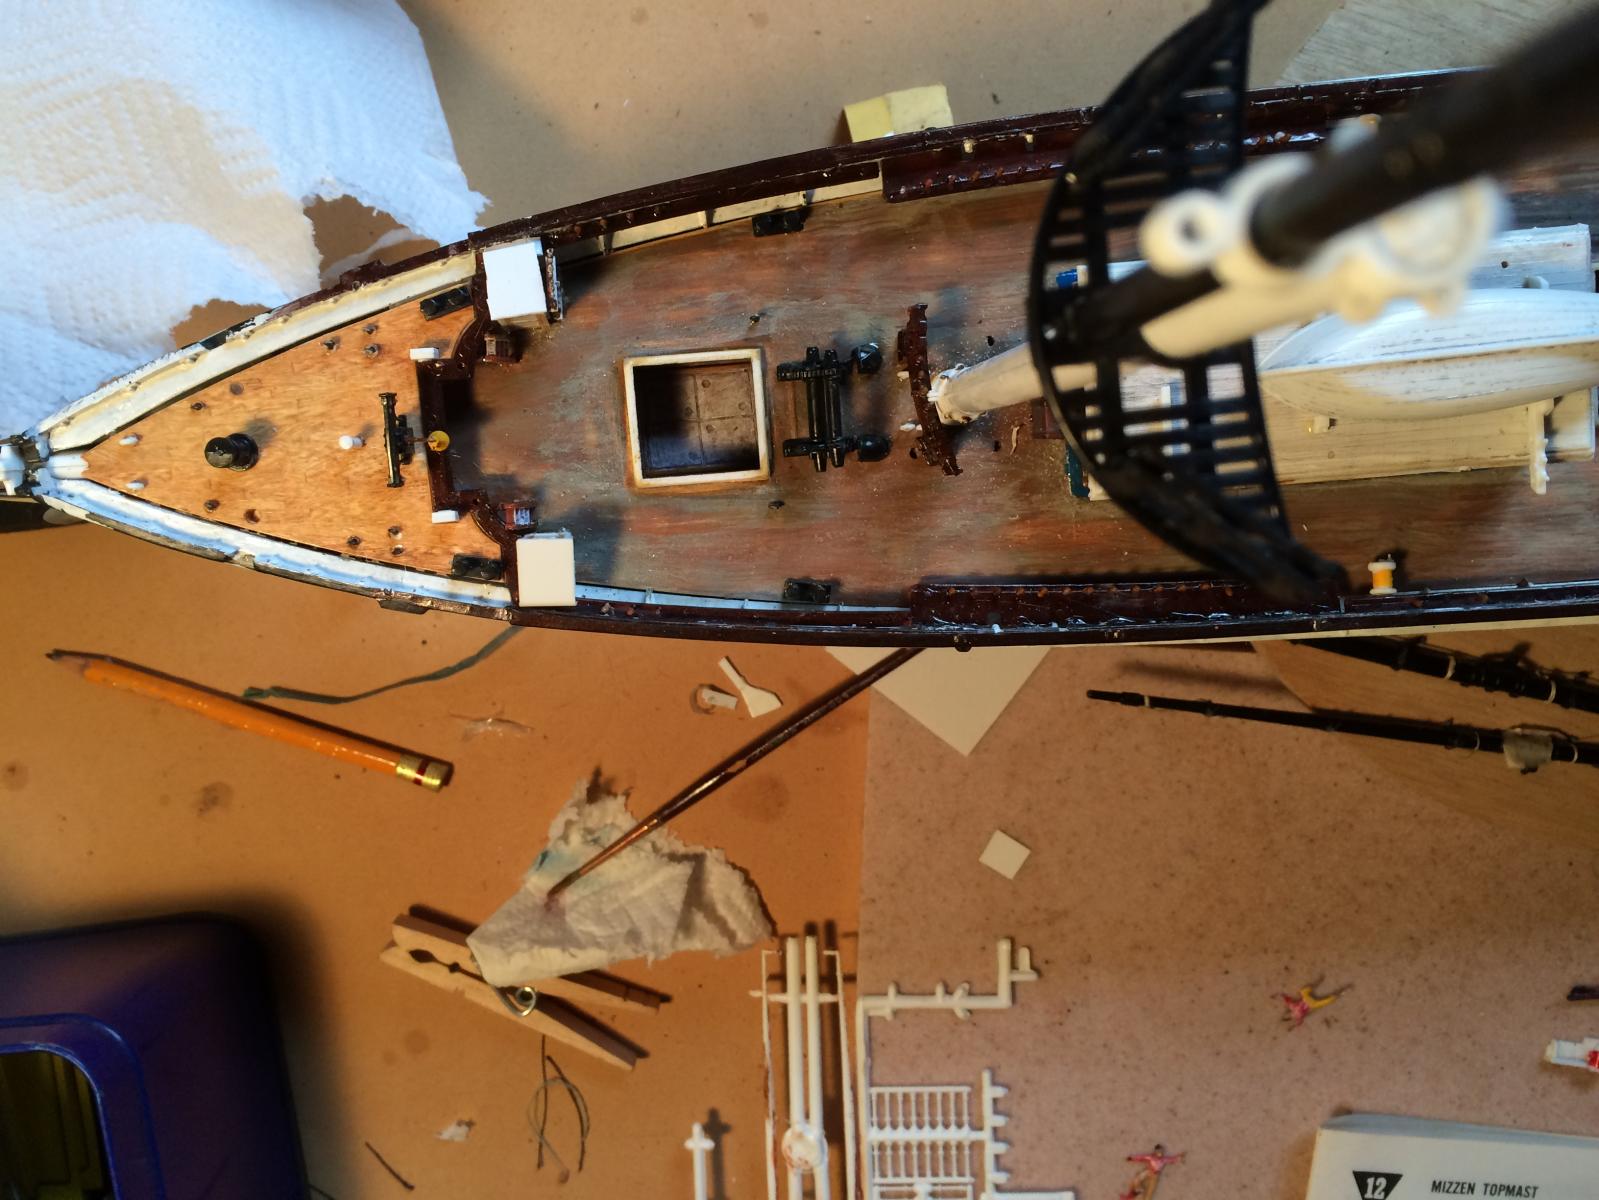
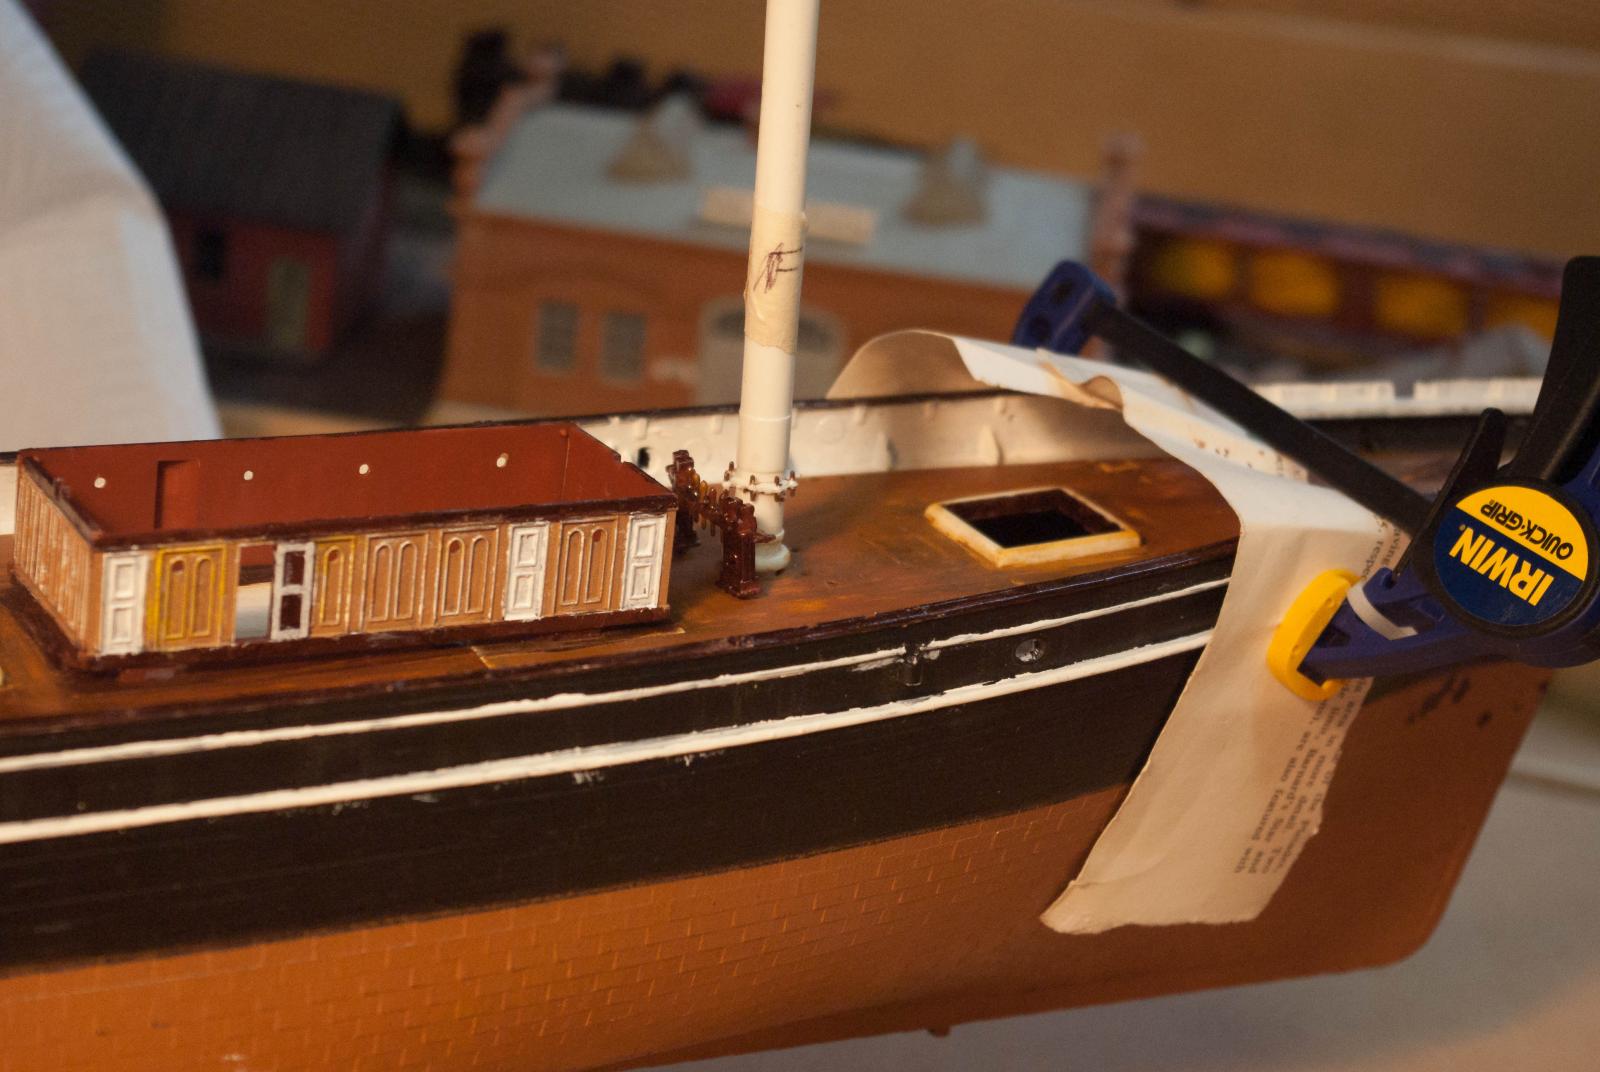
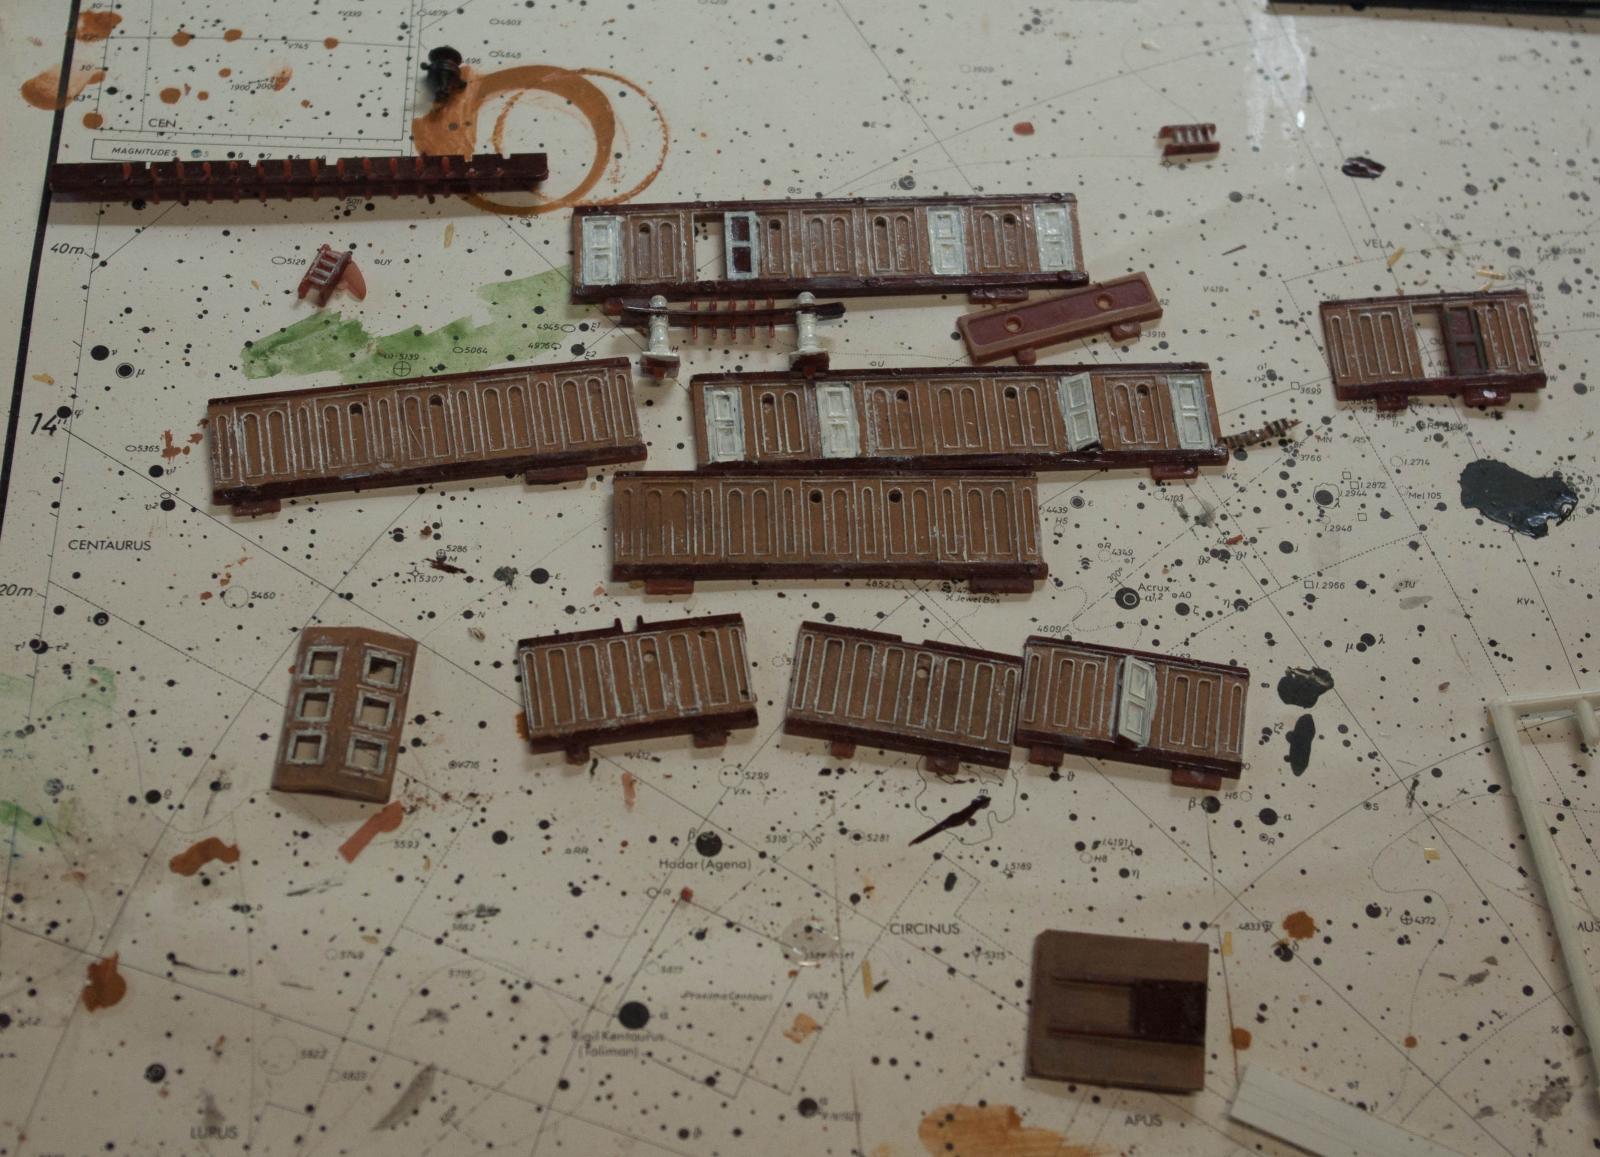
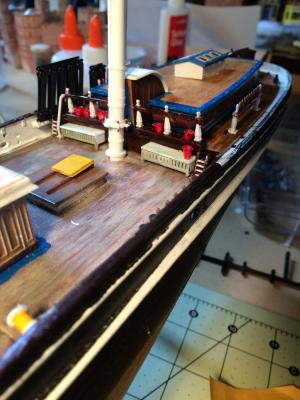
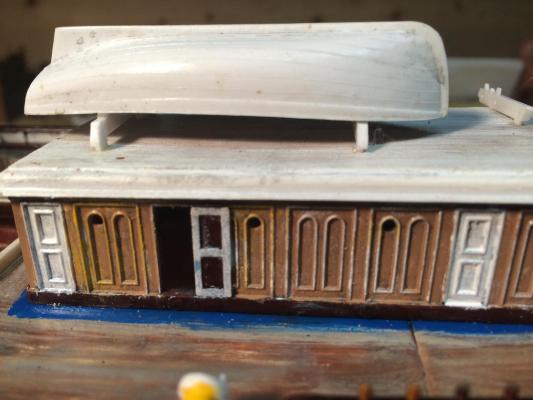
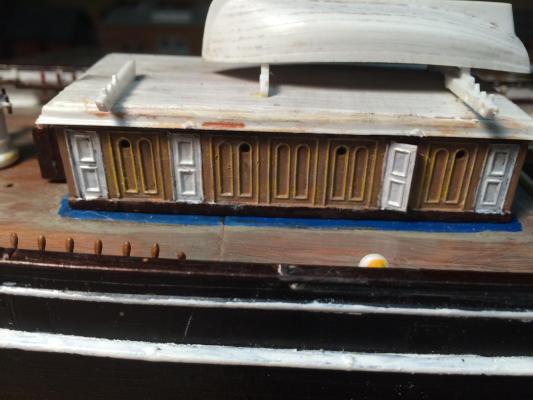
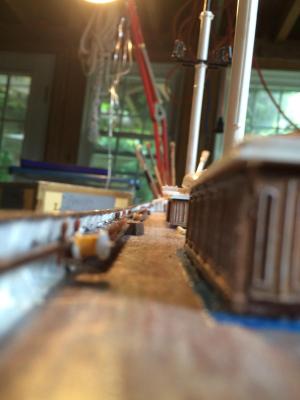
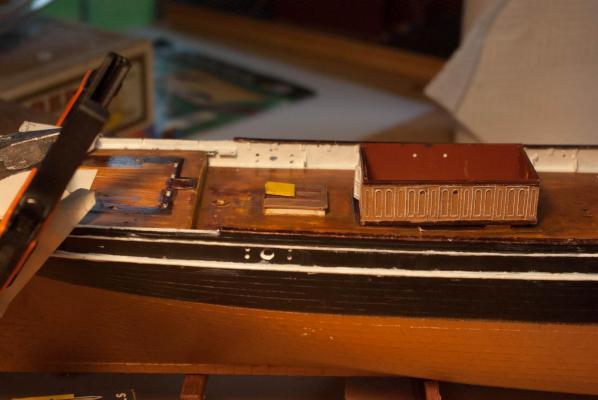
Not much progress this weekend, fitting the cabin skylight in place, putting in the port side aft bits, pinrail and eyebolts and starting to glue in the starboard side deadeyes - not quite brave enough to make my own yet, so I'll see how the kit's pre-fabs look.


- 53 replies
-
- 4
-
-
- cutty sark
- revell
- (and 1 more)
-
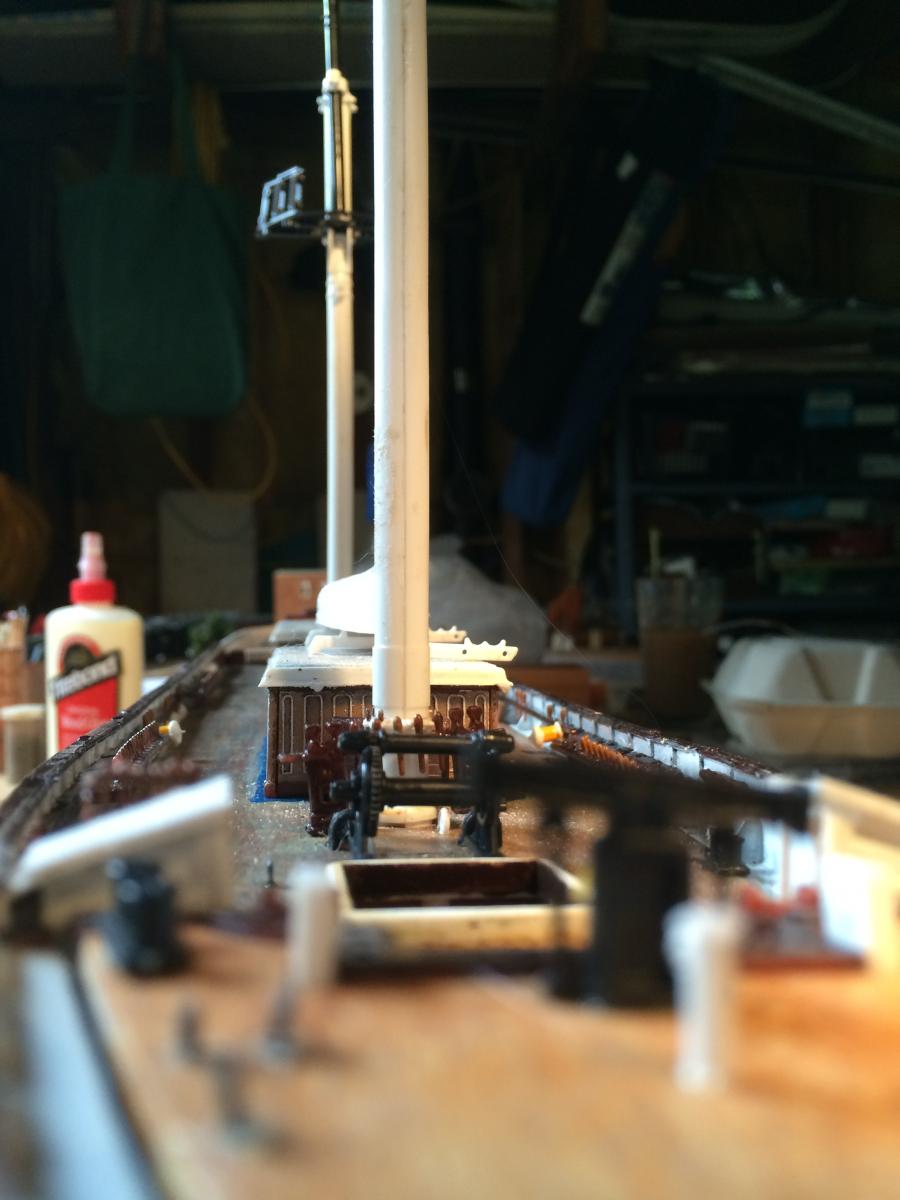
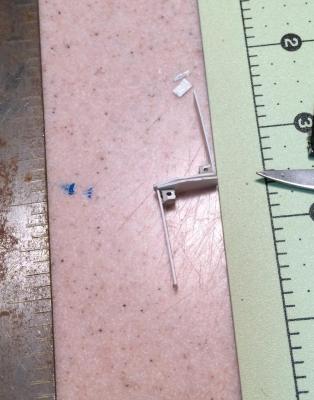
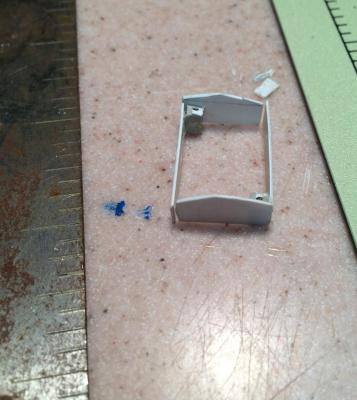
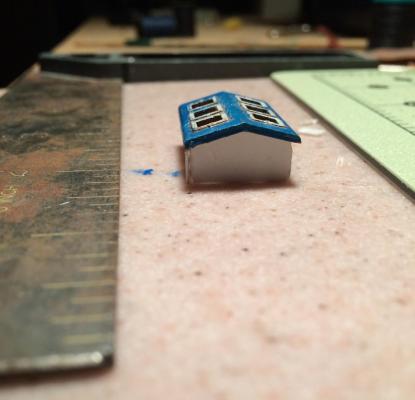
A little bit of progress so far this weekend - another missing piece was part of the after cabin skylight, so here I go trying to fabricate one myself - needs a bit more sanding and trimming.

- 53 replies
-
- 5
-
-
- cutty sark
- revell
- (and 1 more)
-
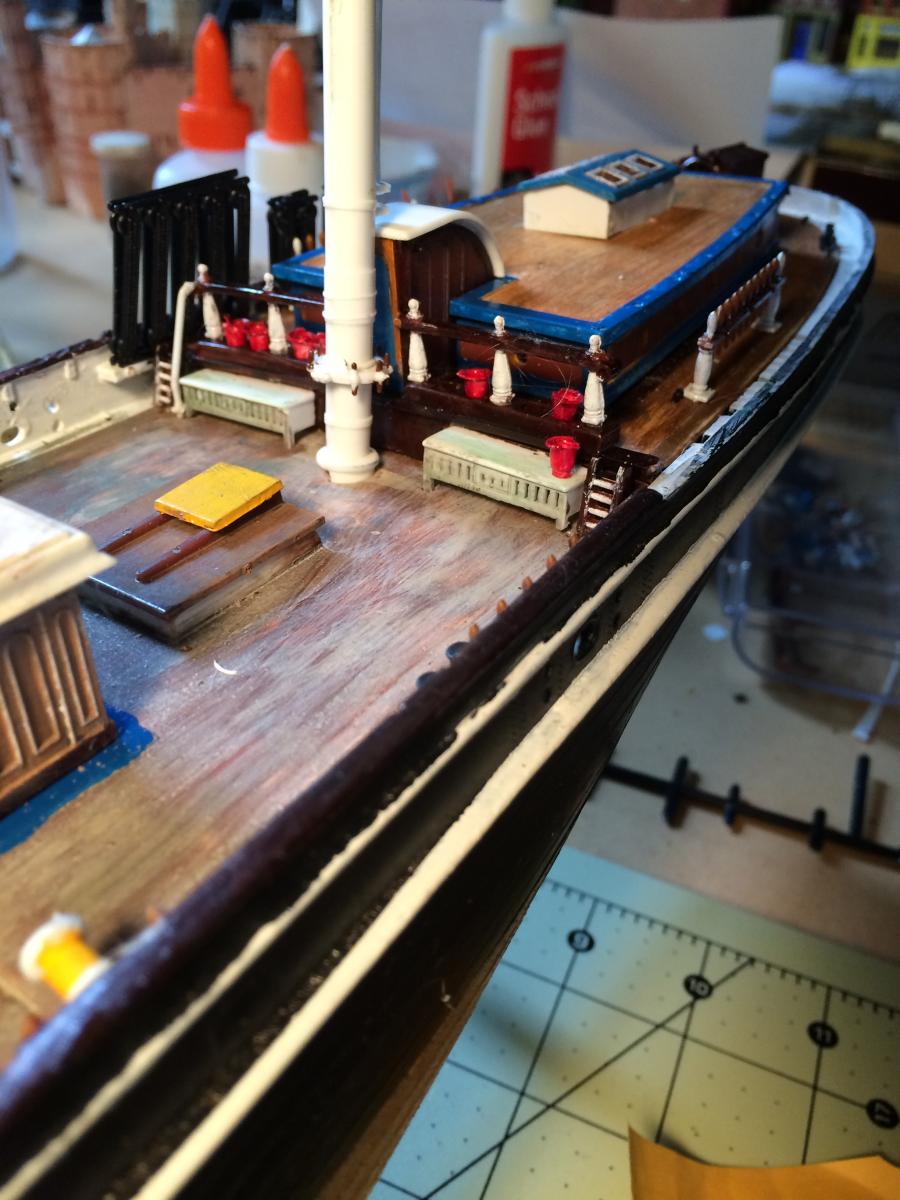
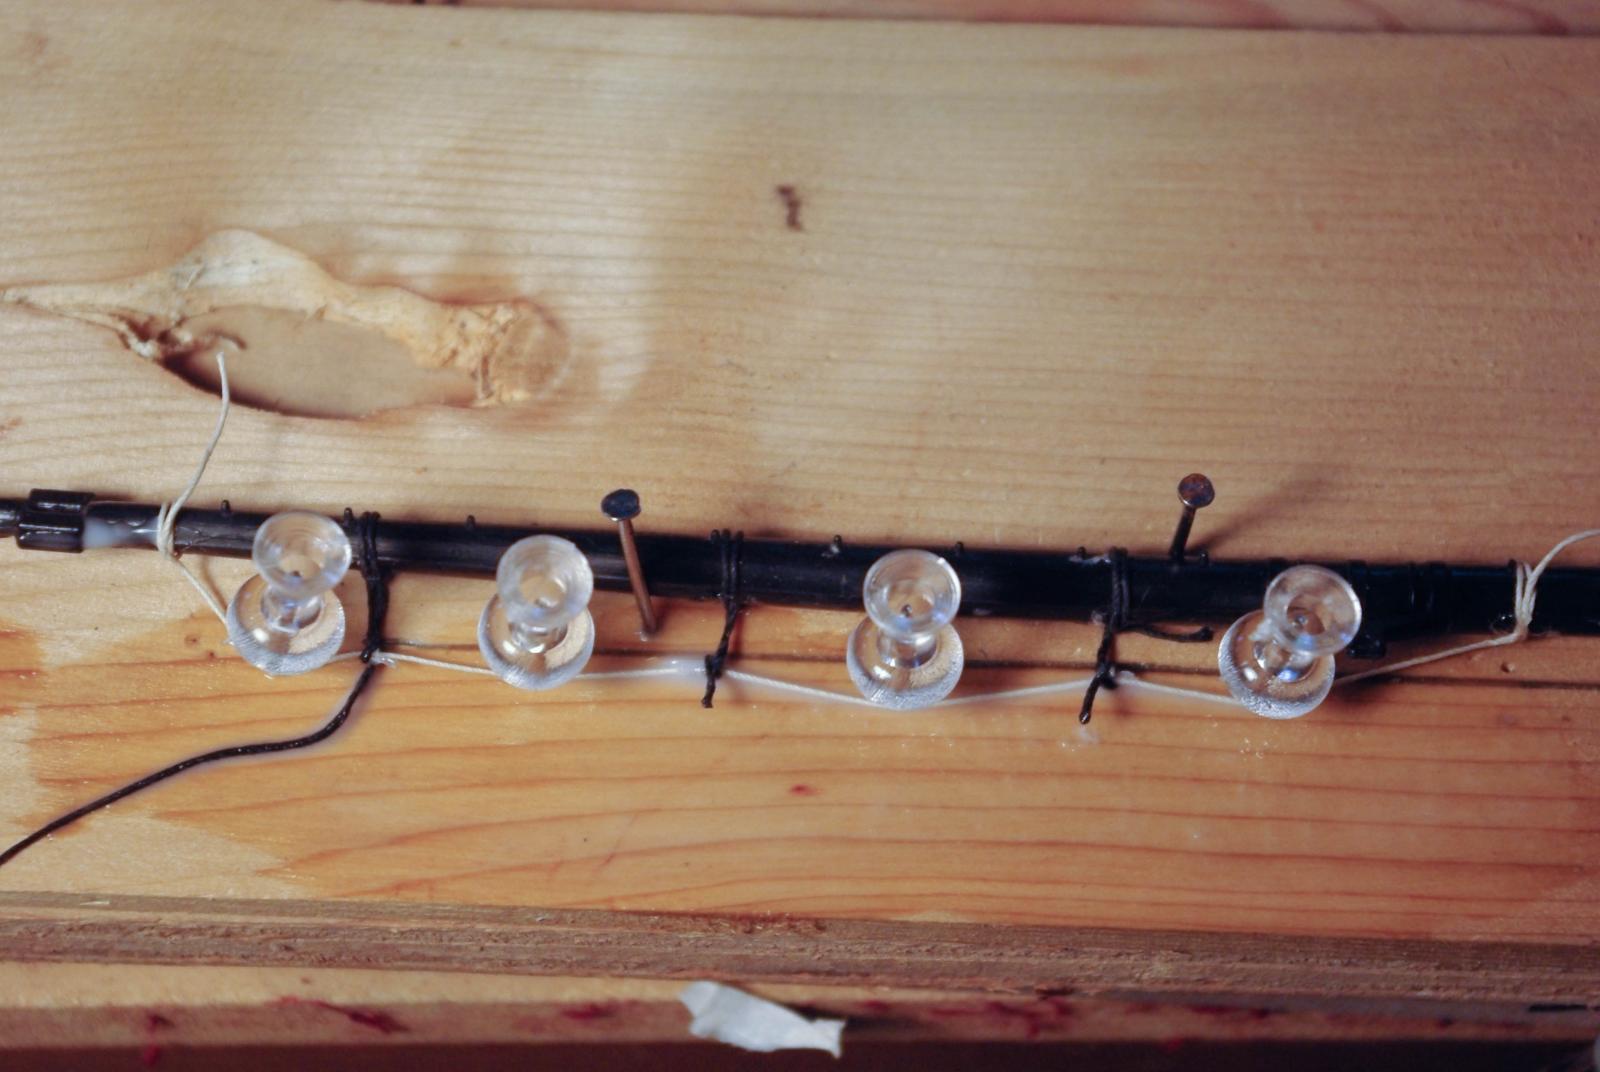
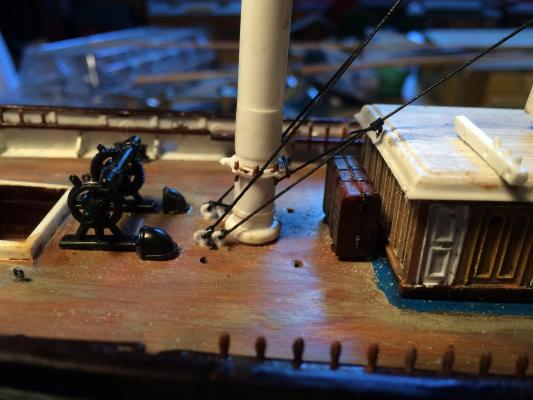
Jumping the gun a little bit, but installed my first bit of rigging.

- 53 replies
-
- 4
-
-
- cutty sark
- revell
- (and 1 more)
-
Wonderful - thank you so much! Off to the ship yard (although my first task may be to make a DIY lathe from scrap wood and an old drill)
-
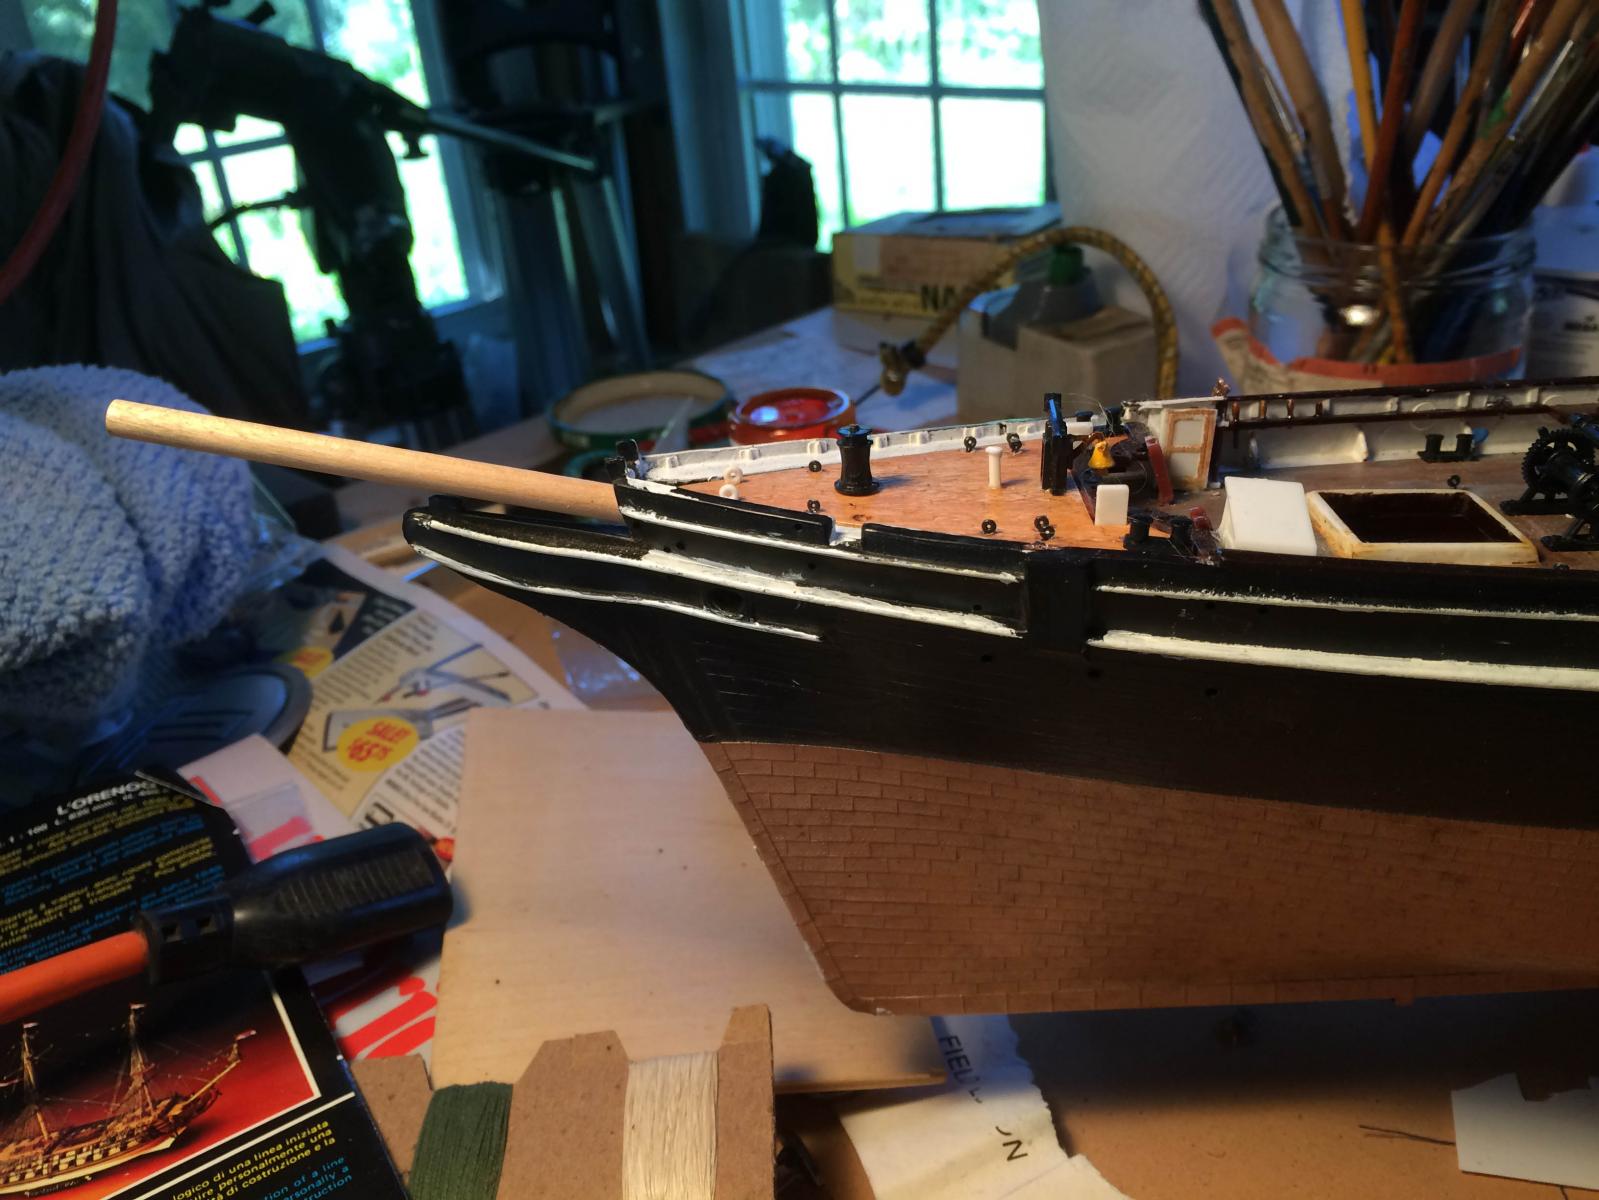
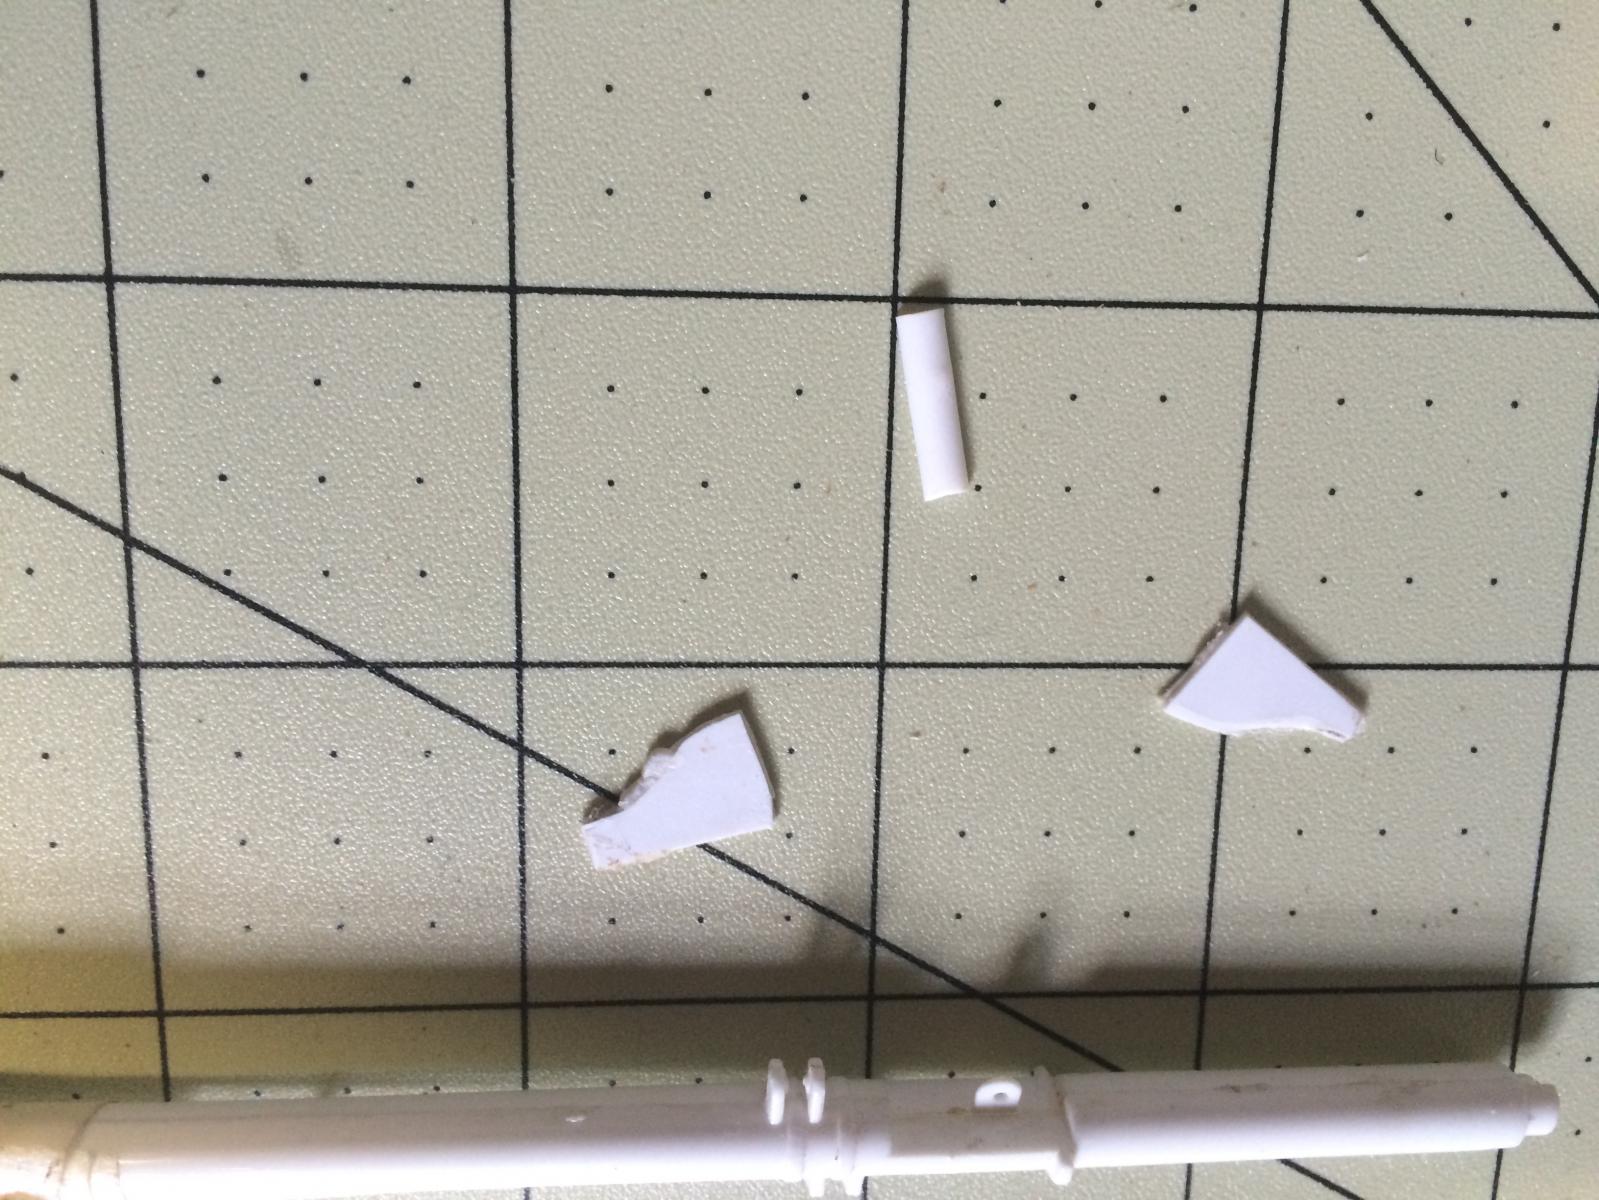
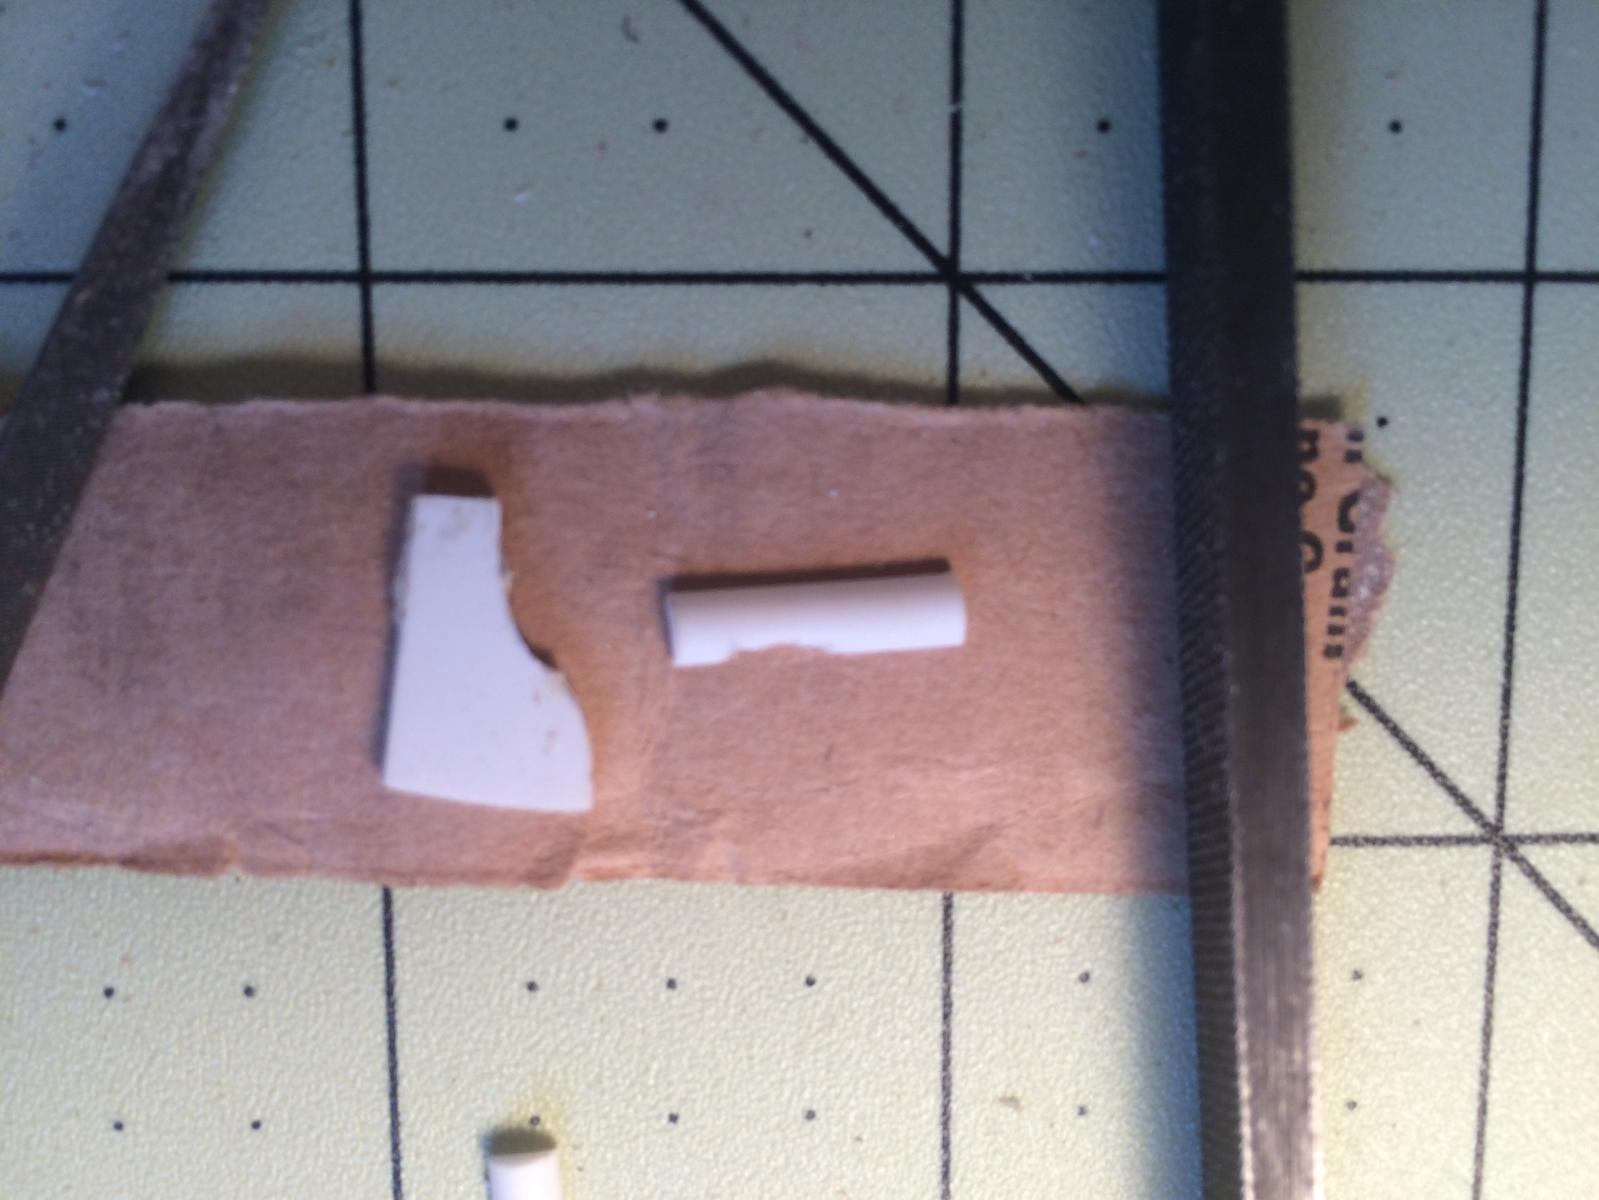
One of the parts that disappeared from the kit over the years is the jib boom - does anyone have dimensions (for the real ship or the model) that I could use to try to manufacture a replacement myself? Thanks.
-
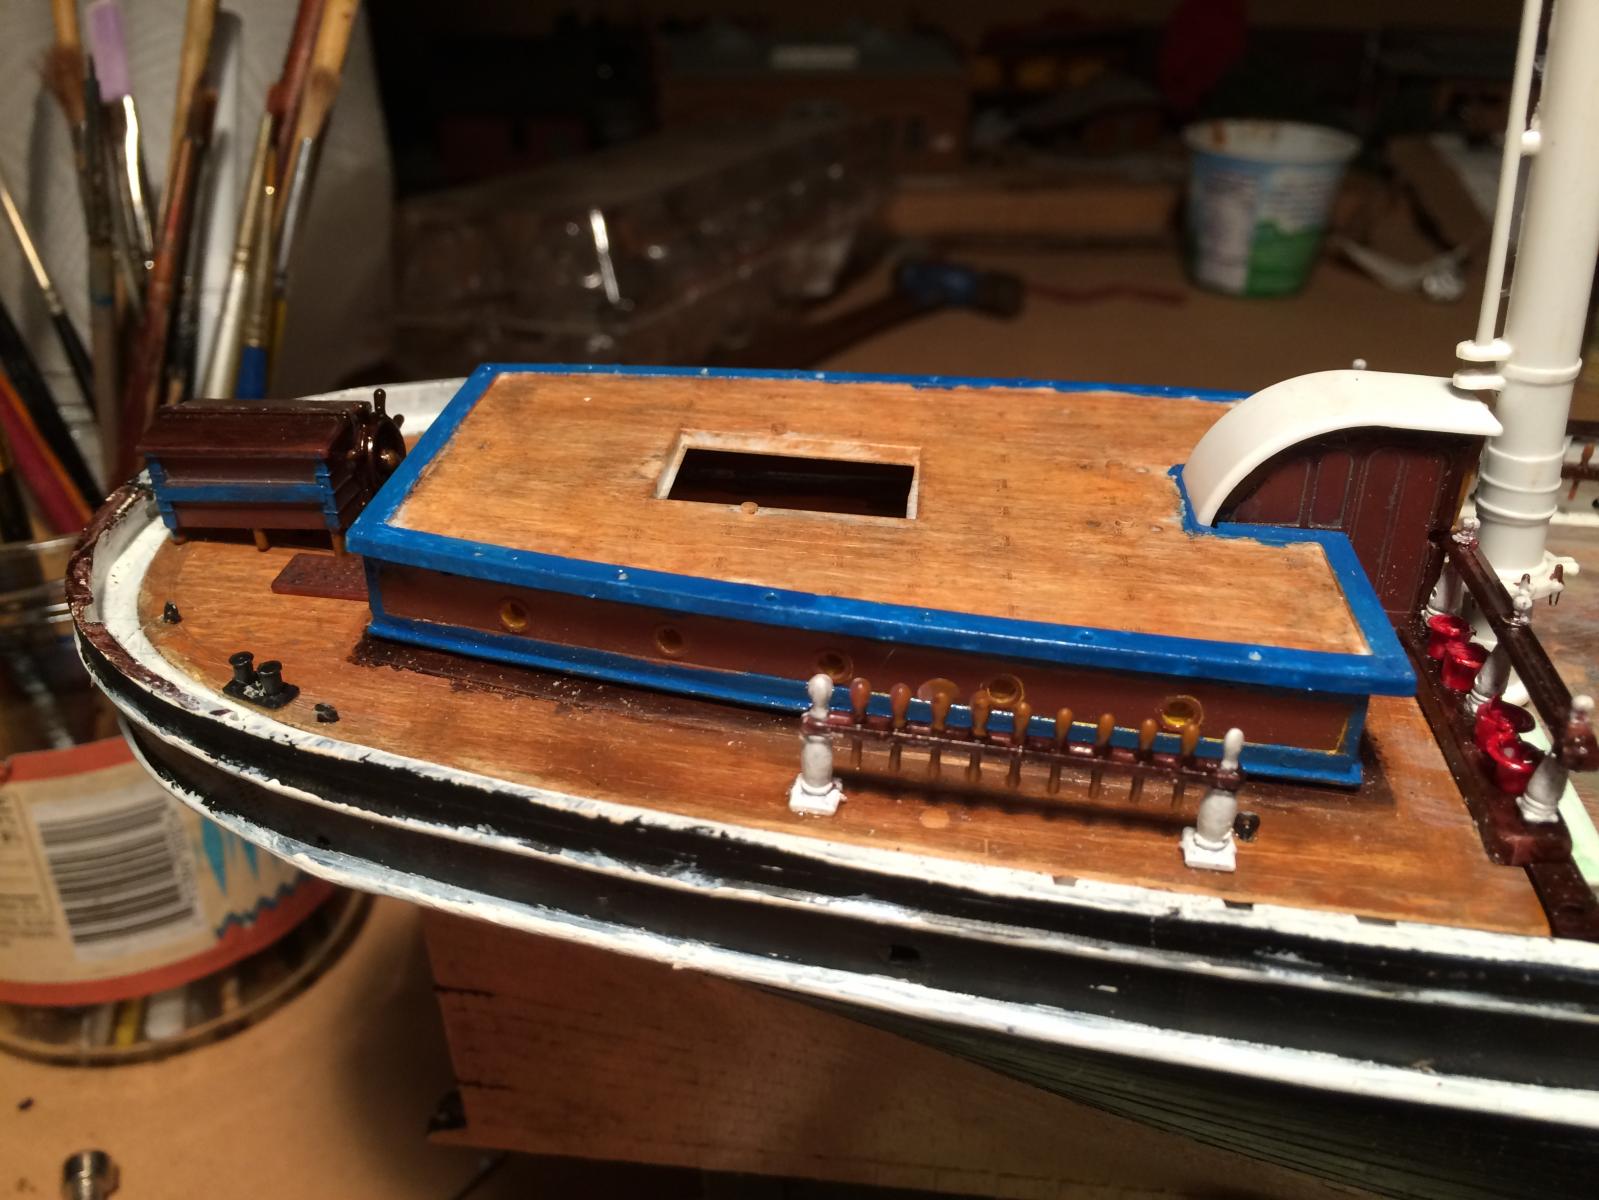
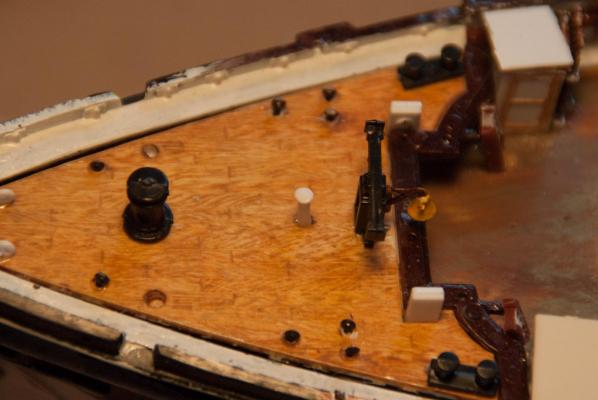
Thanks! See if I can keep the yard open this fall and winter... Here's the finished mizzen

- 53 replies
-
- 4
-
-
- cutty sark
- revell
- (and 1 more)
-
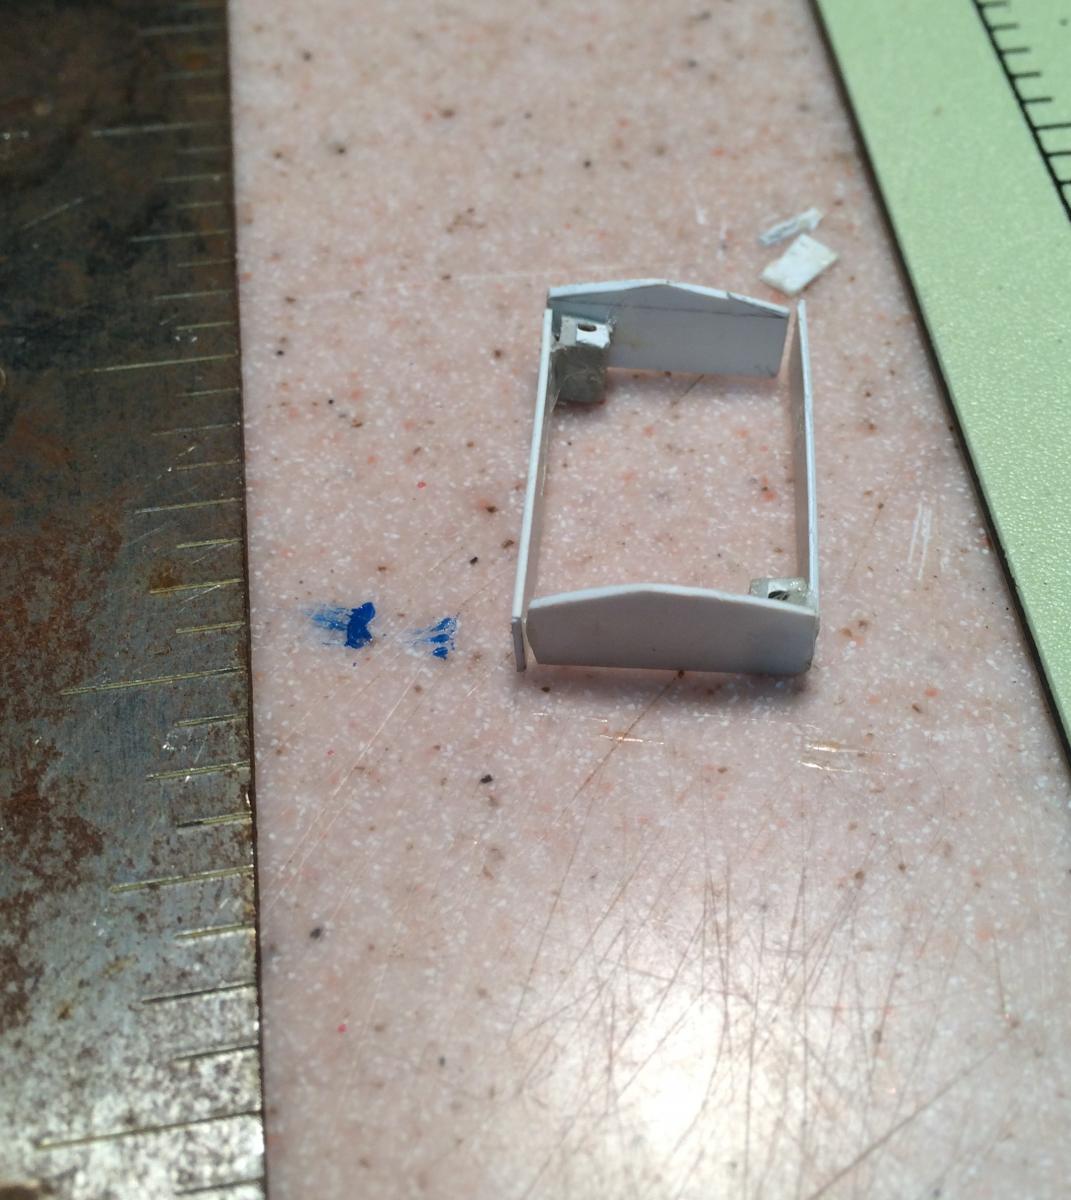
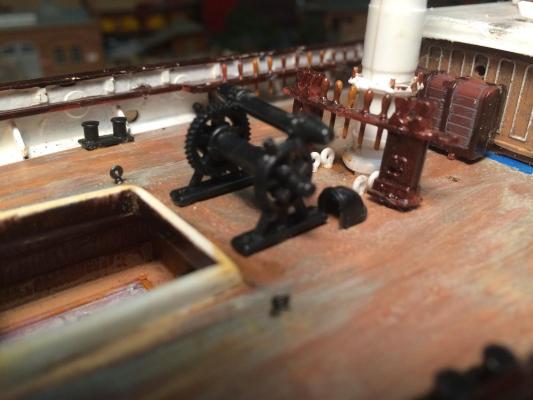
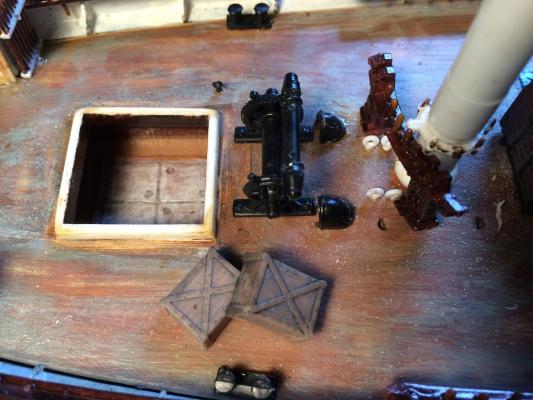
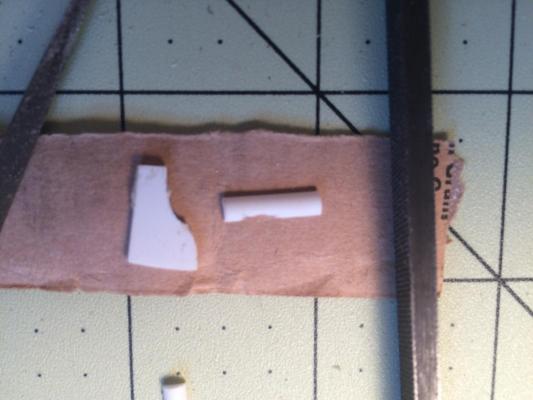
Shipyard finally re-opened, mostly for structural work at the moment, not rigging much yet. One of the things I discovered as construction went on was the mizzen cheek part was missing, so I attempted to make my own. This was my first attempt at scratch-building a part, and it came out better than I expected.


- 53 replies
-
- 4
-
-
- cutty sark
- revell
- (and 1 more)
-
Thanks Steve and Steve for your suggestions - converting all the masts and spars to wood may be a bit more difficult than I can achieve right now, given the amount of detail in the plastic (at least in the spars - I will probably try wood with the upper masts since they are warped already, without the strain of rigging. I suppose if those go well I may develop the confidence to try with the spars). The brass jackstays sound like a lifesaver.
-
Winter quarters not working out too well, and it is reflected in the work I've tried to do. Not really happy with my first attempts at foot ropes (they are uneven and don't hand straight), so I will be taking these apart and trying again. Hopefully we will stop with the record-breaking cold so I can get back into the unheated garage soon.


- 53 replies
-
- 2
-
-
- cutty sark
- revell
- (and 1 more)
-
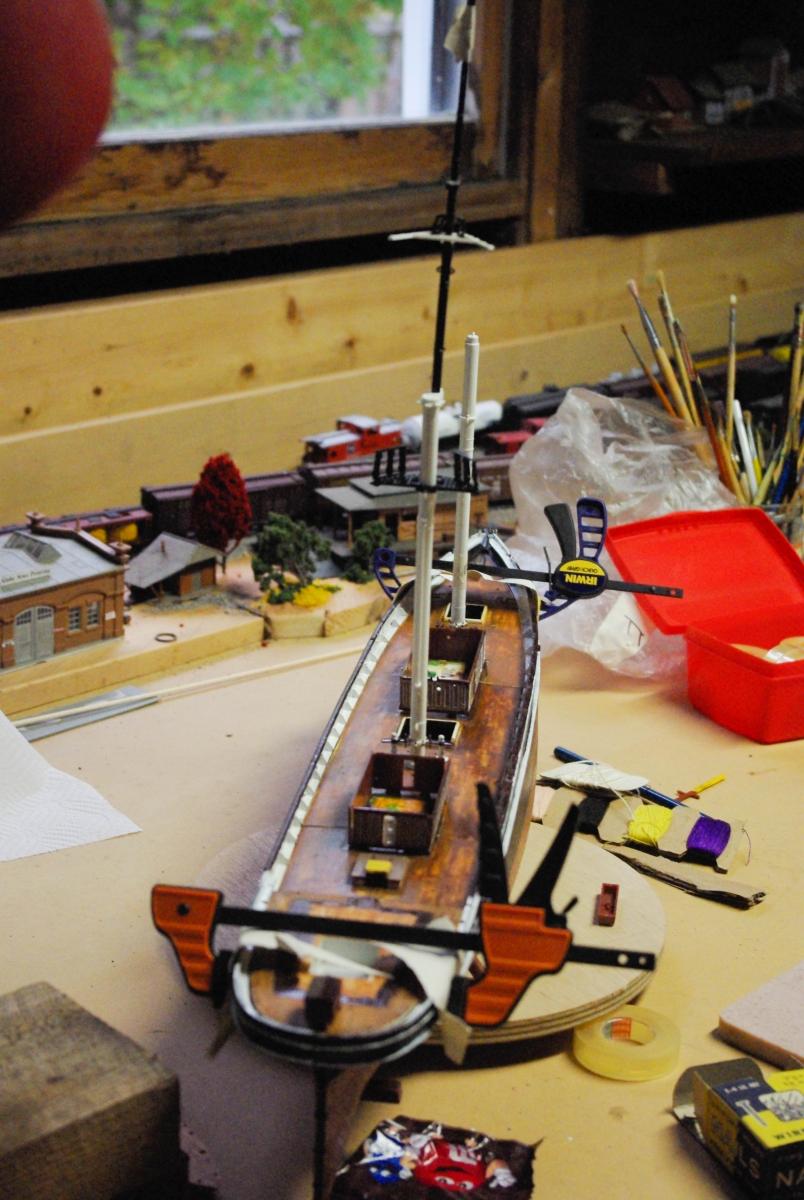
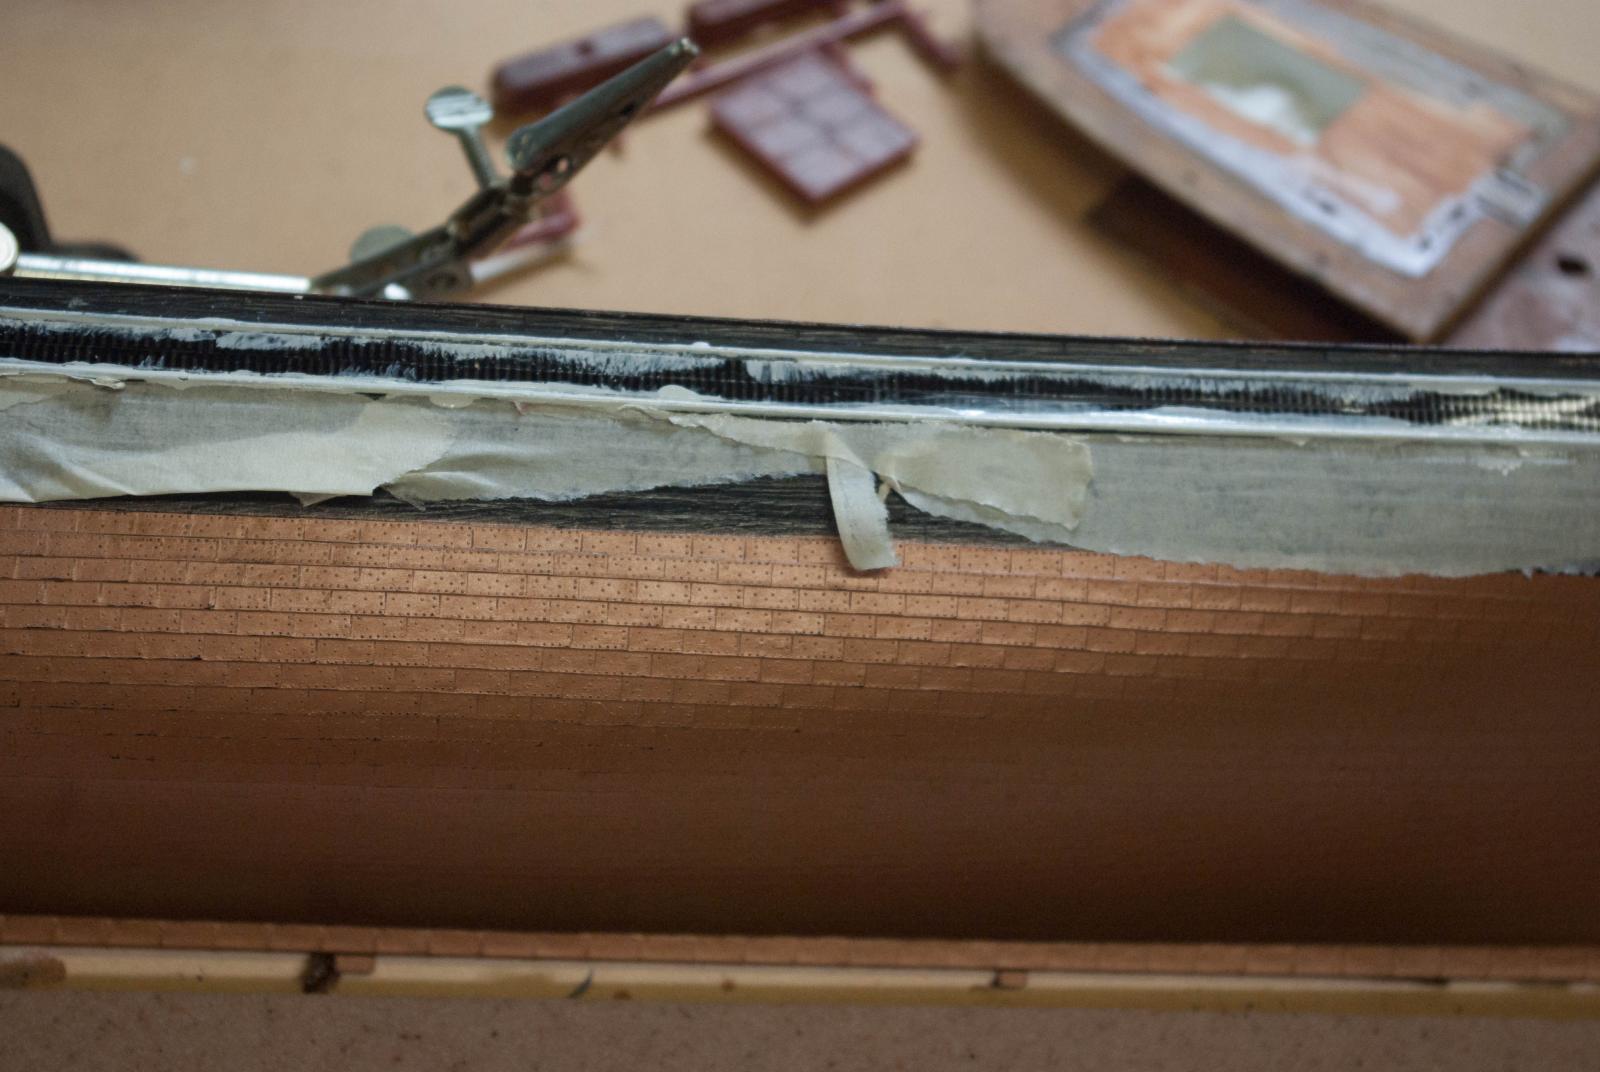
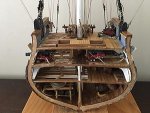
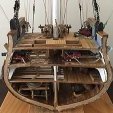
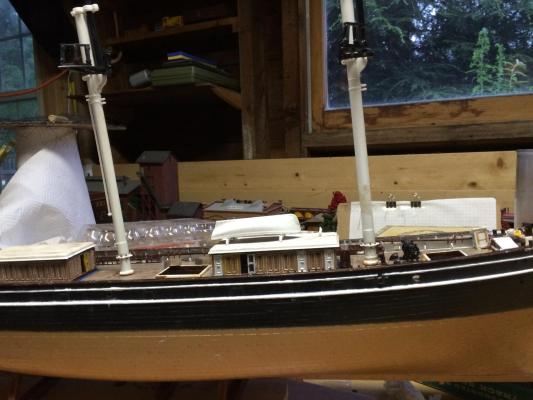
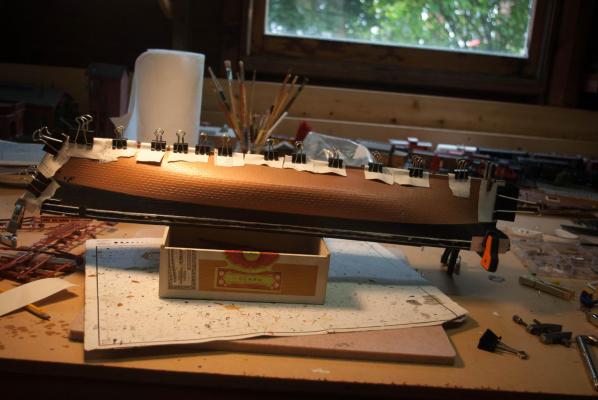
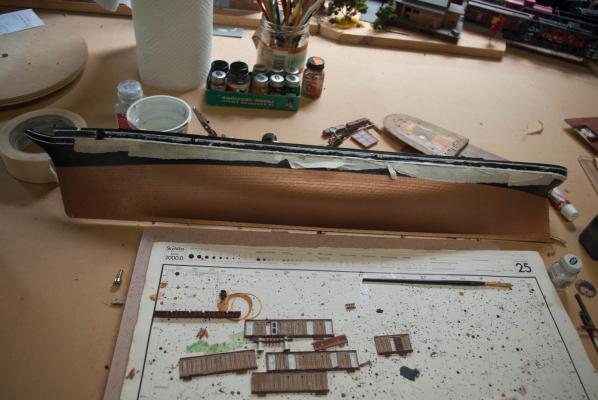
Finally took the masking tape off, and the white lines on the hull did not come out too terribly bad, some minor scraping should take care of it. Now that the hull is glued, I decided to dry-fit the deck and one complete mast, just to get a sense of scale. One of the pieces I discovered to be missing is the mizzen lower hound; I am using the foremast hound as a template and will attempt to fabricate my own. The dry-fit uncovered the fact that the 3 deck pieces did not fit properly - the hull halves had warped a bit, so back into the iron maiden she goes to try to re-warp the hull around the deck. I've also discovered the upper masts are bent - hopefully some of that will be fixed when I rig her. It's finally get too cold to sit out in the garage for long, so I'm off to establish some winter quarters!


- 53 replies
-
- 2
-
-
- cutty sark
- revell
- (and 1 more)
-
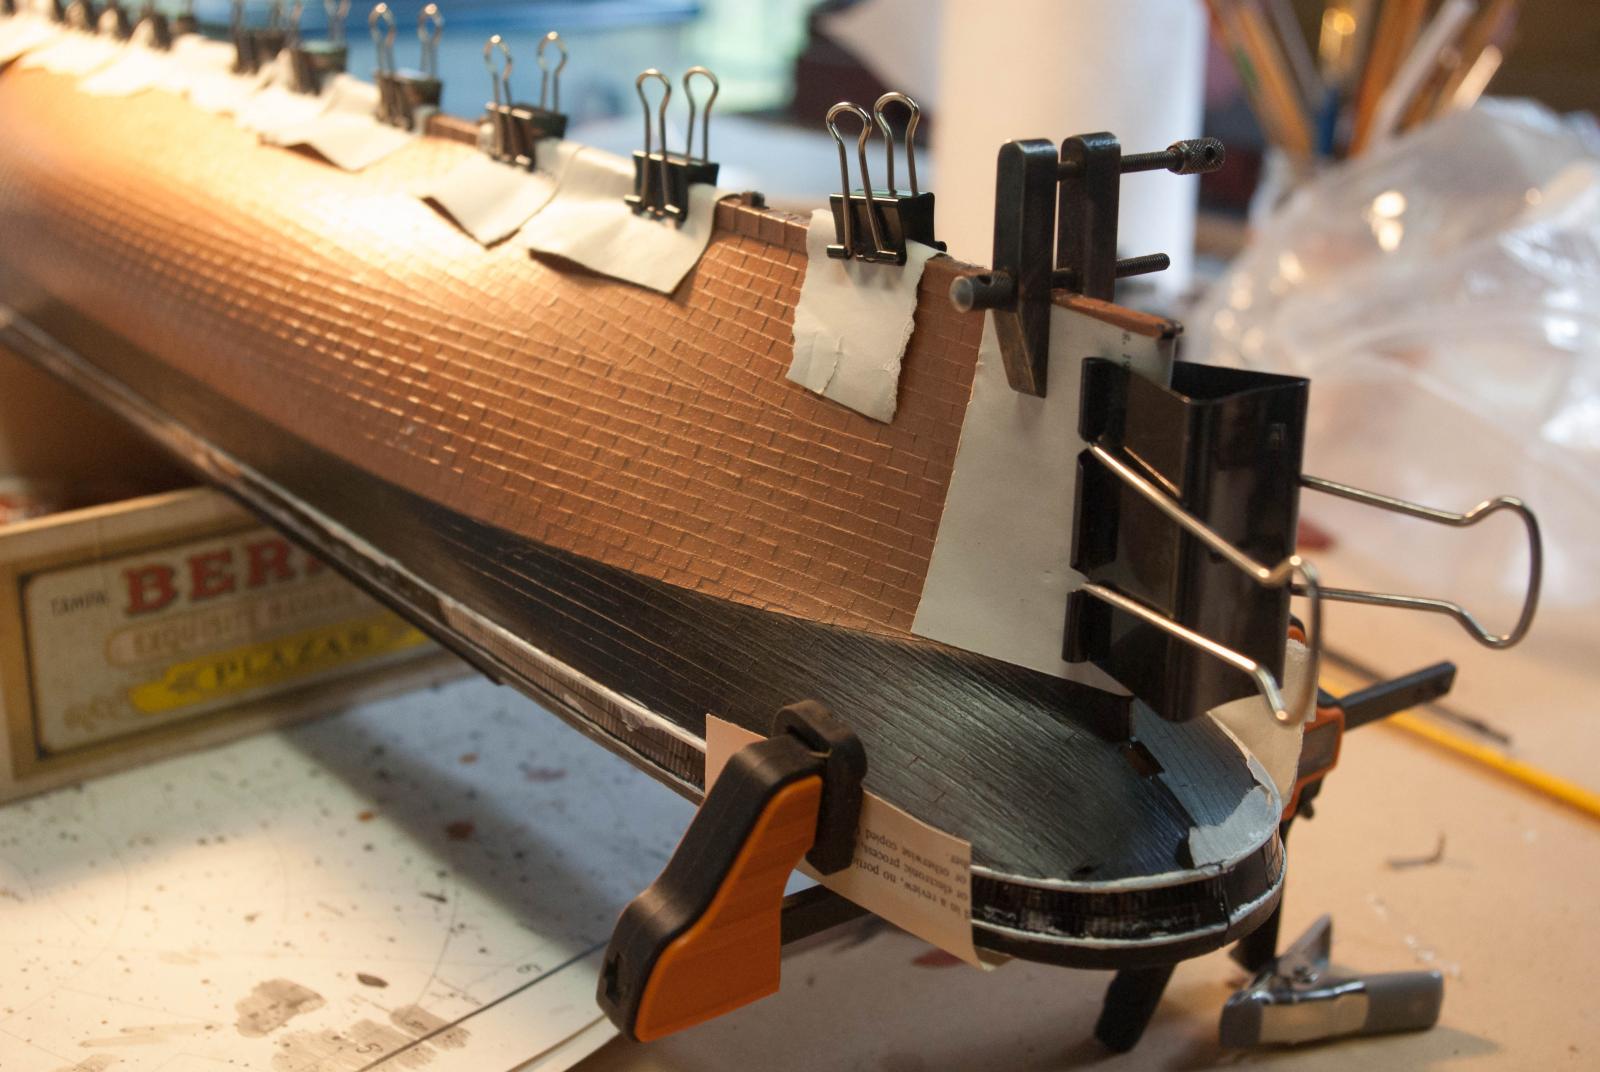
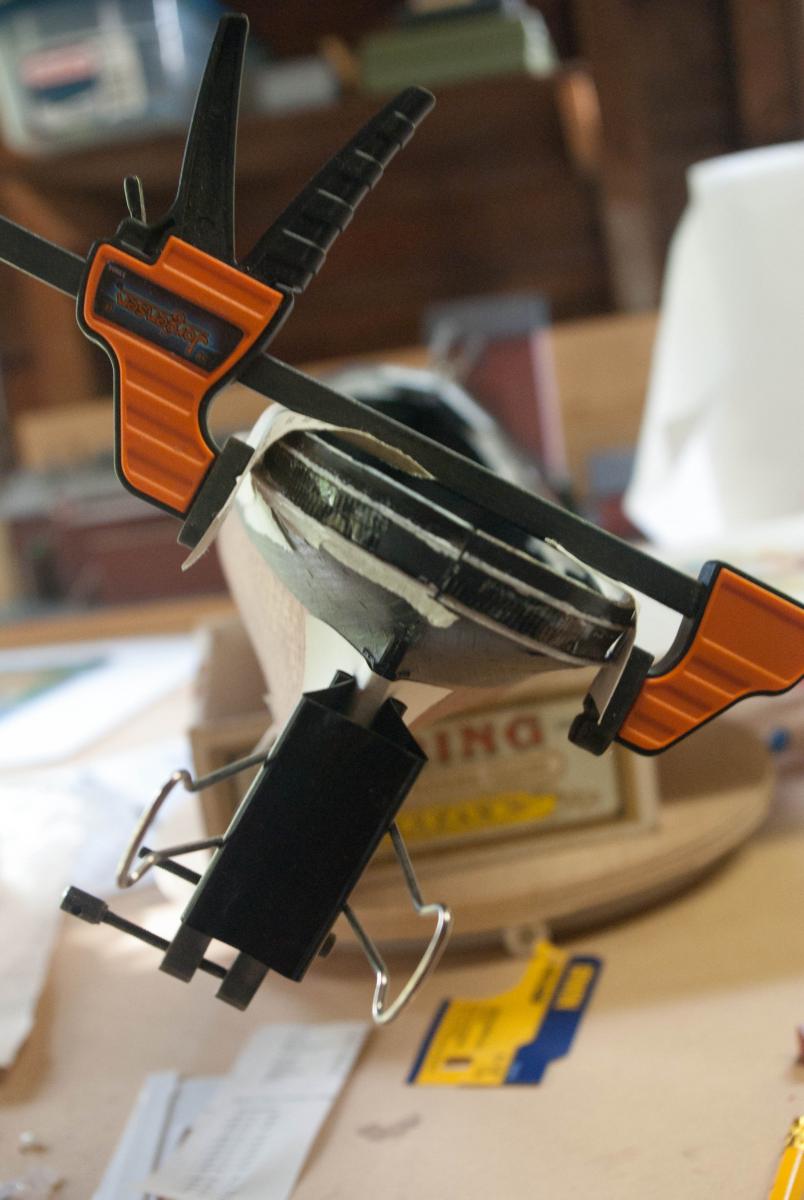
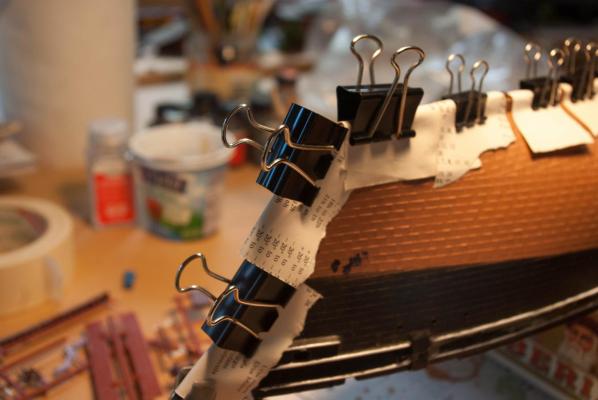
Gluing the hull together - who knew binder clips would come in handy for precision work.


- 53 replies
-
- 1
-
-
- cutty sark
- revell
- (and 1 more)
-
Yeah, I told the Admiral not to mess with the rum ration...
-
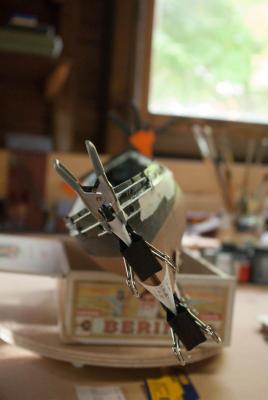
Thanks Bob, it should be fun, and perhaps a bit whimsical. John, I expect I will use acrylics when I get to my wooden ships, but nothing seems to stick to this old old plastic other than enamel. Also, and probably more importantly, it's a big ship and I don't really have a lot of space inside the house. However, my plan is to spend the winter rigging all the footropes and stroping the blocks and attaching them to the yards and tops - given my one attempt so far at stroping and seizing a 3mm block, that should keep me busy for a while. Crew's vote of no-confidence? All jumping ship?
- 53 replies
-
- 1
-
-
- cutty sark
- revell
- (and 1 more)
-
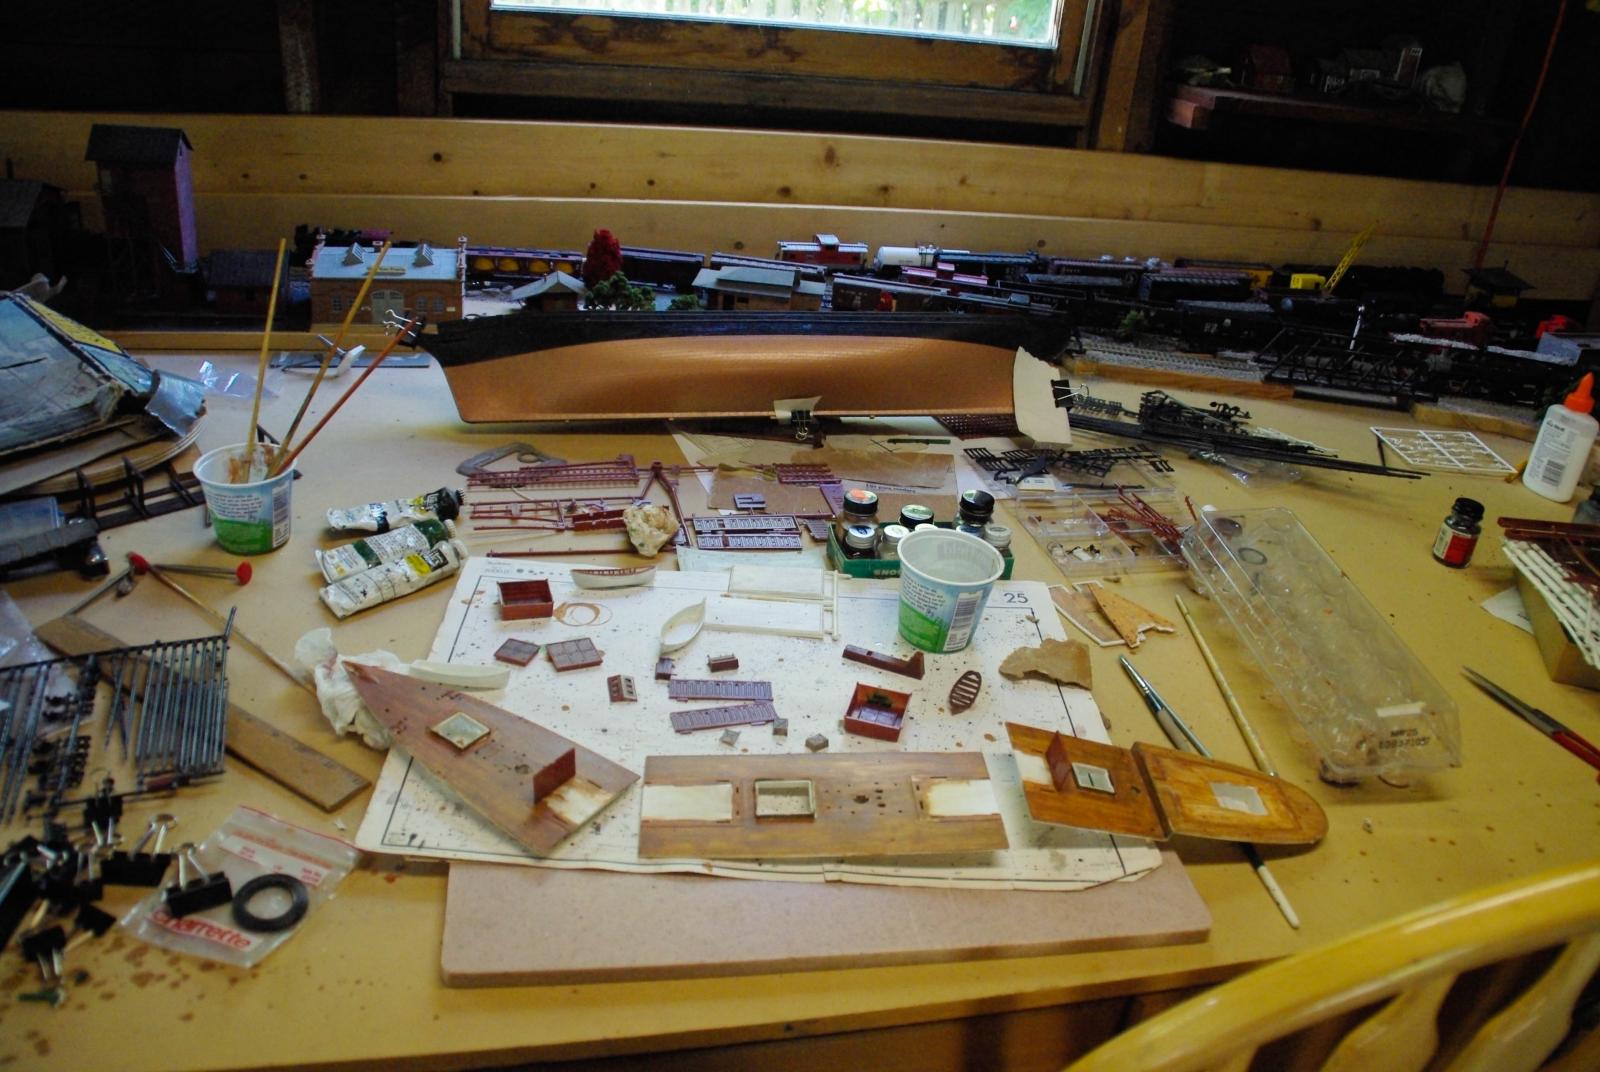
Thanks Nenad, that's what I'm hoping. Here are some experiments with paint color and technique for the deck structures, as well as painting white lines on the hull. I sure hope the masking tape really masked...

- 53 replies
-
- 2
-
-
- cutty sark
- revell
- (and 1 more)
-
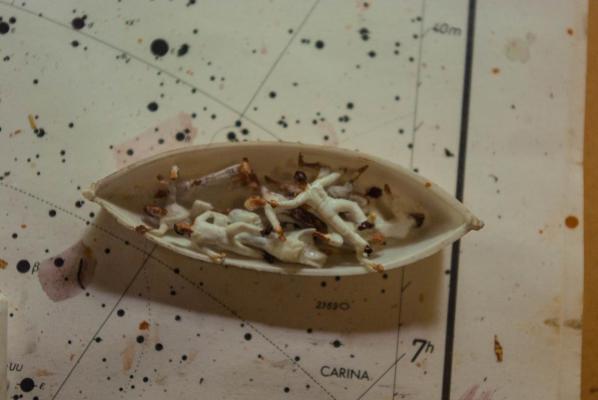
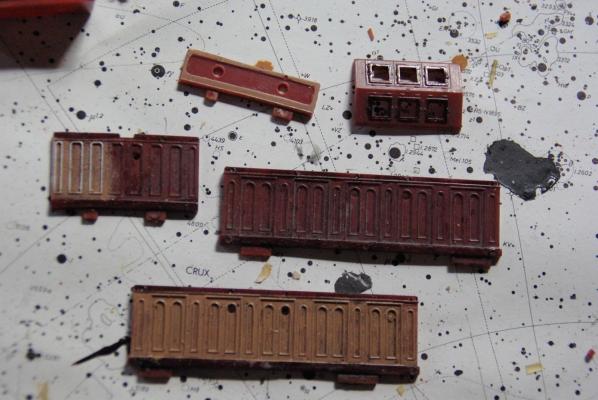
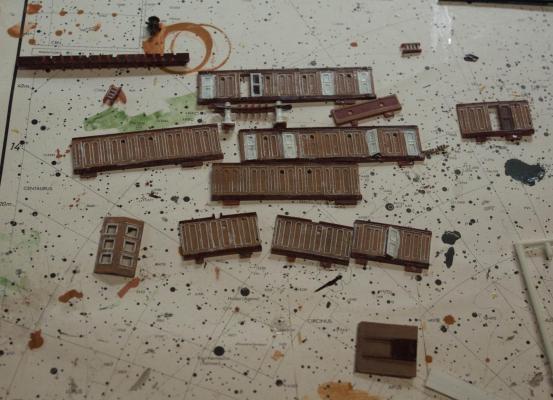
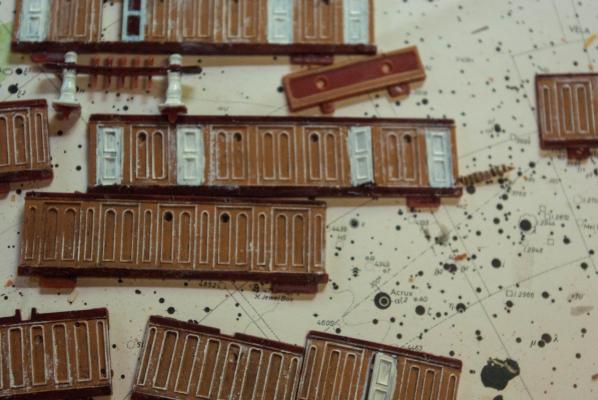
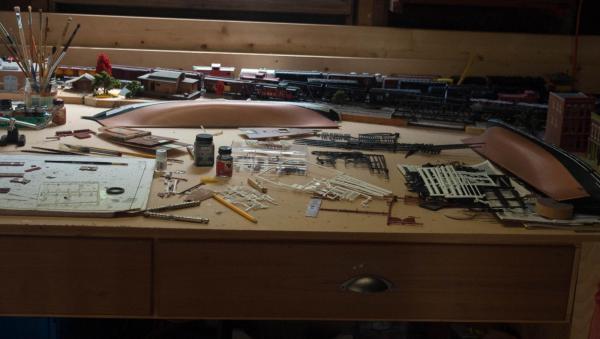
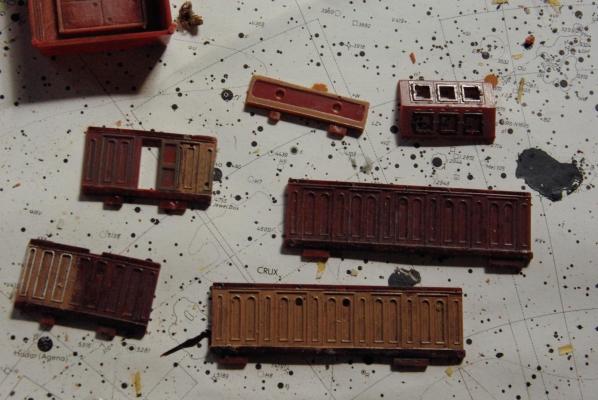
Out of the box and on to the table. Clearly I started this ship way back when, but did not get too far. I'll probably do some work repainting some of the parts - deck houses, rails and belaying pins, but I'm not sure about spending time on the deck itself; I don't have that much time left to work out in the unheated garage with the smelly paints and glue before winter wins out.

- 53 replies
-
- 2
-
-
- cutty sark
- revell
- (and 1 more)
-
Thanks, I'm looking forward to the adventure.
-
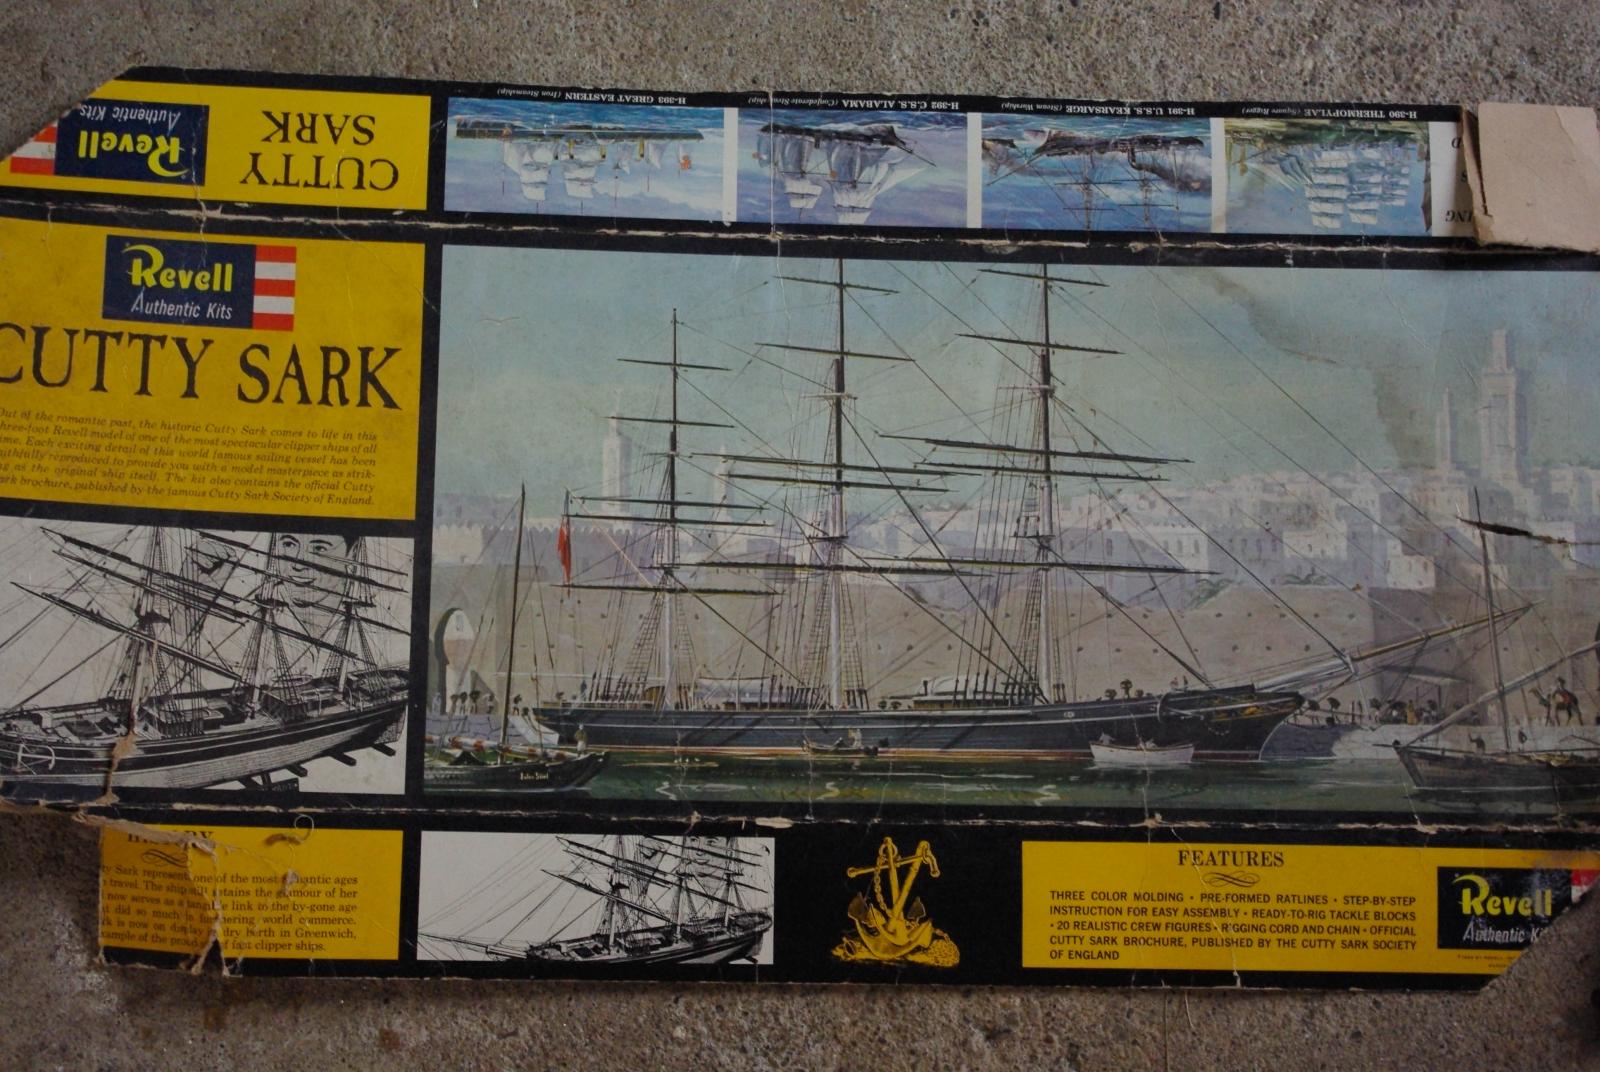
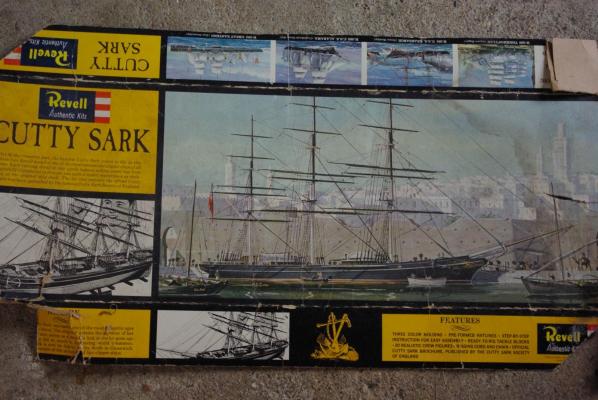
I first joined this site with the intent of building wooden models and thought I'd start with the USS Constitution cross-section, as that would give me a chance to explore rigging in more detail and not yet have to worry about bending planks. Then I got the kit and started looking both at the instructions and some of the build logs and found myself a bit intimidated - the kit seemed a bit complex, the parts very small and the work some of the other builders had done - AndyMech in particular - way past my current abilities. So I decided I should work up to the wood by practicing on some of the old old plastic models that have been sitting in the garage for 40+ years. As a teen I had done several smaller plastic models - the Victory, Charles W. Morgan, and even a Conny, but that was a long time ago, and so I thought it prudent to try to relearn those skills. The 2 models I had sitting around were the Hartford and the Cutty Sark - The biggest problem with the Hartford was that the hull sections had become so warped, I could not even dry-fit the halves without them beginning to crack. So the Cutty Sark it is - even after looking in on SailKat's equally intimidating build. I expect this build will not live up to the standards of those who love this ship - my intension is to use this model to learn basic techniques, mostly of rigging, but it has become apparent I will also need to learn how to fabricate parts out of wood and plastic, which ought to come in handy later. As you can see from the photo, this ship has spent the last 40+ years in a broken down box in an unheated garage, so parts have been lost (nothing major so far, just half the rudder and the jib boom!) and some of the plastic pieces have become very brittle - almost every time I touch a pin rail part or all of a belaying pin snaps off. So I will be asking a lot of basic, newbie, which-end-of-the-hammer-do-I-use kinds of questions; I hope you will bear with me. My ultimate goal is not only to get to the Constitution cross section, but ultimately try a plank on frame frigate or line-of-battle ship (suggestions welcome, but that is a few years off). I have seen conflicting advice in terms of using or replacing parts that came with the kit - particularly the plastic eyebolts and blocks. I expect I will try to make some new eyebolts just to try, and replace some or all of the plastic blocks with wood ones so I can learn how to strop and seize them, although seizing the becket on a 3mm block seems ambitious. Well, here goes...
- 53 replies
-
- 4
-
-
- cutty sark
- revell
- (and 1 more)
-
I have looked at the various posts, references and videos about stropping and seizing a block and am left with a really really basic newbee question (which is magnified by the fact that I am trying to learn on a 3mm block...): after I wrap a thread around the block as the strop and leave a bit of a loop to seize for a becket, I am still left with the 2 dangling ends of the tread. I expect on the real thing those ends were spliced together to form a continuous loop, but how do I handle this on the model?
-
Hi Andy - I just bought this kit and will be starting it as soon as I make myself a place to work, so I've been watching your log with great interest. Hope I can make mine look half as nice as yours. This is my first project - first wooden ship model, first model of any kind in a long long time, and first solo wood project. So if you don't mind my asking some really basic questions, what tools did you find were essential to working on this model, what glues - in other words, given that I am starting with a tool-kit containing nothing other than a X-acto knife, metal ruler and some binder clips for clamps, what tools would you suggest I stock my larder with as I test the waters of this hobby? Thanks, and I look forward to future log entries!!