HOLIDAY DONATION DRIVE - SUPPORT MSW - DO YOUR PART TO KEEP THIS GREAT FORUM GOING! (Only 69 donations so far out of 49,000 members - Can we at least get 100? C'mon guys!)
×


muzzleloader
-
Posts
127 -
Joined
-
Last visited
Content Type
Profiles
Forums
Gallery
Events
Everything posted by muzzleloader
-
CHESTNUT SPINES The outer covering of chestnuts have hundreds of tapered spines. They make great treenails. Although they are dark colored. And if you are using a soft wood they can be pushed in without drilling (sometimes). Mark
- 396 replies
-
- 2
-

-
- Idea
- Bright Idea
- (and 1 more)
-
Kurt I did mine that way. I added two rows of plank below the lower wale and tapered them to blend with the lower part of the hull which is painted. Since it is painted there are several layers of filler and sanding to get it smooth. Worked out very well. Mark
-
making chisels
muzzleloader replied to michael mott's topic in Modeling tools and Workshop Equipment
I have made small chisels using allen wrenches. No tempering needed just sharpen and stick in a handle. Of course you can't get the length but you can make very small chisels. Mark -
John I have one of those benders. I use it a LOT. I never had any trouble with it trying melt itself but I did have to return the first one (it quit after a month) Model Expo were very good about replacing it. Just call them they will replace it. Mark
-
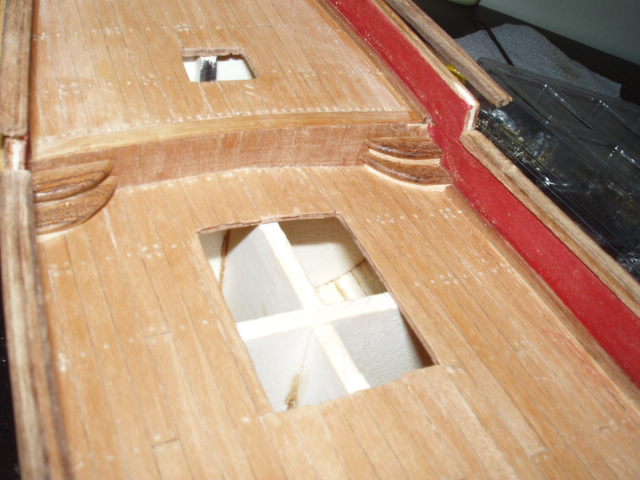
I finished the stairs (twice). The first time I assembled them then tried to install them. No good. As I sanded them to fit the curves of the hull they no longer fit. Ended up doing each riser and tread seperately and installing each one. I did the caprails as per the instructions but don't think I would do it that way again. I think they would come out better if they are clamped to the hull to shape them. That way they will follow the actual curve of the hull. We live and learn.
-
Deck planking is also finished. Added two coats of a tung oil finish (not pure tung oil). Do NOT cut the decking planking to size before starting. I had only 20 full length planks and would not have had enough if they had all been pre cut to length. Hamilton I started working on the carvings and found that the paint hides a lot of detail. Some of the paint peeled right off and some needed chemical help.
-
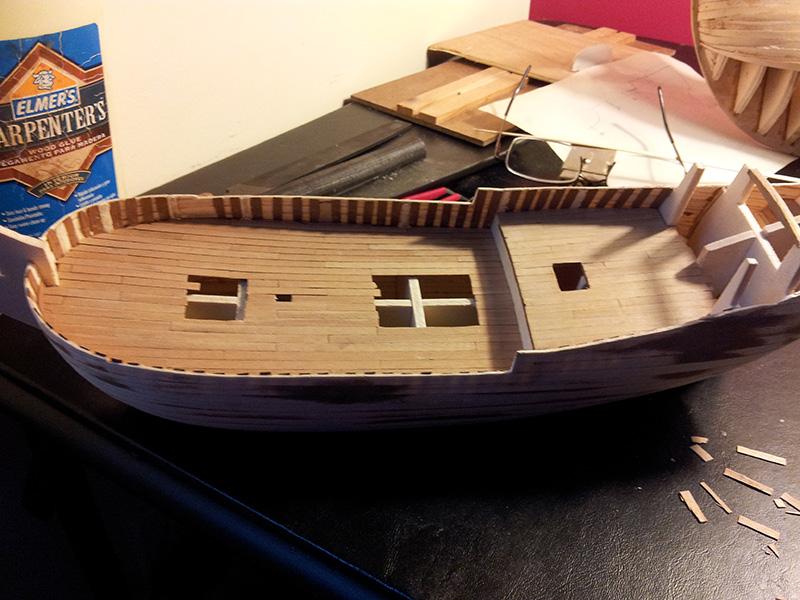
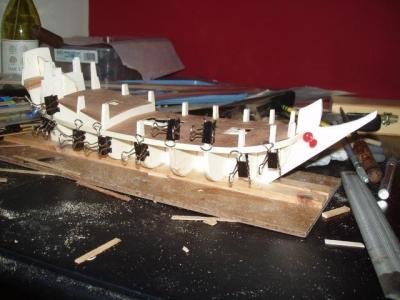
The planking is fininshed!!!!!! It didn't come out to bad. I am going to paint below the waterline so the paint will hide some of the errors.
-
Hamilton The quality is not good but Mamoli is the only kit manufacturer who have a yatch kit. Billings used to have one but it is not on their website now. The kit instructions are on the plan drawings in terrible english. It reads like they gave some sectretary an italian-english dictionary and said have at. There are no pictures other than the box and the instuctions tell you to look at the 3x2 pictures for the painting sceme. The plans are hand drawn with a couple of dimentions here and there. I had to redo the gun carriages and carvings but I'lll put more on those in the log. The kit will make a nice looking model but not for the beginner and only if you find it on sale (I paid 204.00 with shipping). Hope this helps. Mark
-
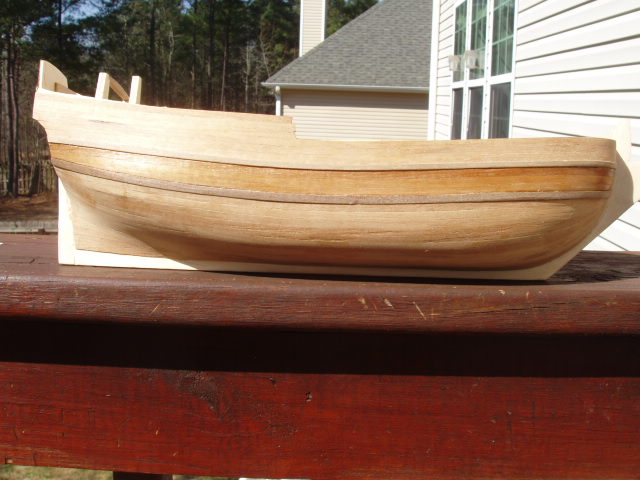
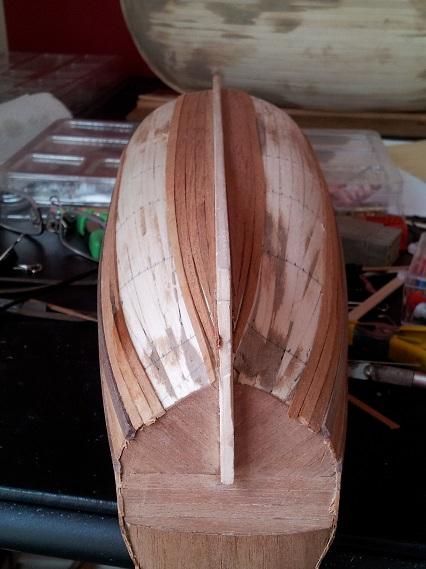
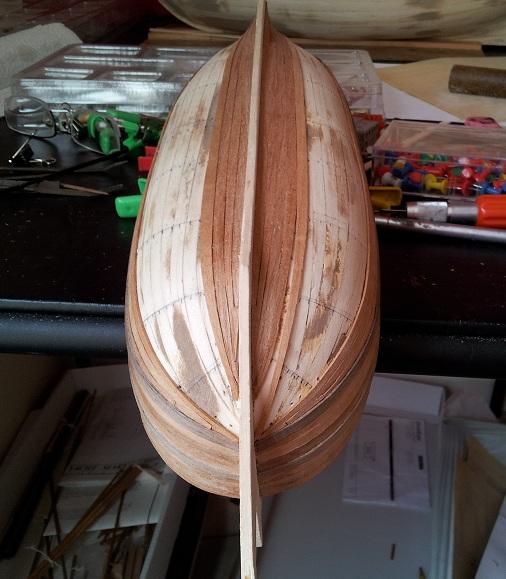
I am working on the second layer of hull stakes and it is not easy. The bow is so rounded that the garboard strake wants to go streight along the keel. I ended it lower down but it doesn't taper to the keel. The hull is marked to show the width of the strakes along the hull. Thank you to whom ever but that planking fan on the site. I am having to hook the next strakes at the top and bottom of the hull. Part of the problem is the placement of the sheer strakes. They follow the deck line and do not follow the natural curve of the hull. Any suggestions??
-
Wouter I have an OLD Craftsman. It vibrates but gets the job done. The biggest thing I have found is use good blades. I like Olsen blades. They will last much longer and out of the bag are much sharper so make cleaner cuts. I also don't use the blower that they all come with they just blow the dust around the shop. I use my vaccum. Just hook it to the arm. Mark
-
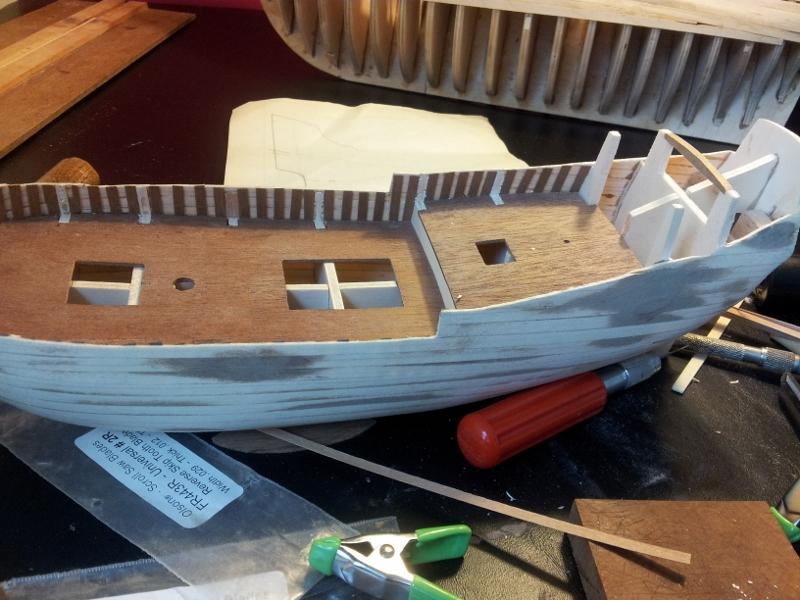
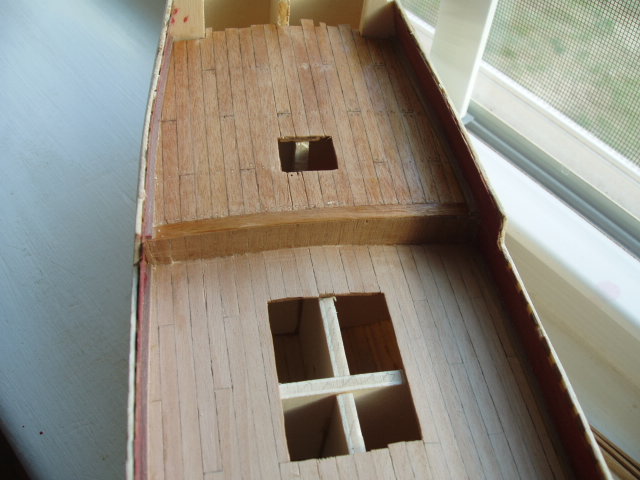
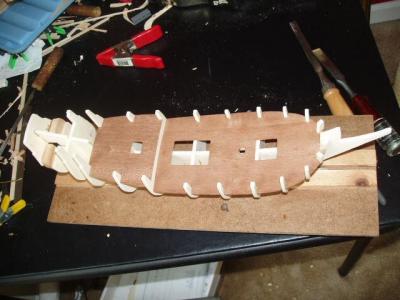
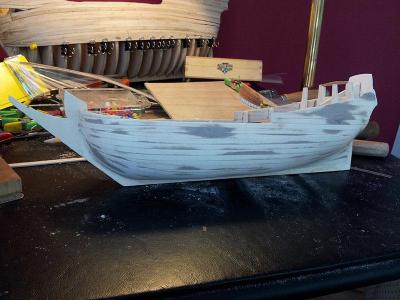
After the first layer of the hull was finished I started on the decks. The instructions show lining the inside of the bulworks with walnut lathe. Since I heard that the kit is stingy on the wood I only but half the lining in. Next the top of the frames are cut off. When installing the deck planks be careful. The small pieces of wood on the table next to the model in the picture of the deck planking are all that where left after I fininshed planking the deck. Thanks for watching Mark


-
Ian Wish my Unicorn looked as good as yours. Mine resided in various closets and such for about 20 years also. About the upper deck guns. Chapman has a drawing of the Unicorn and it looks like it shows 5 gunports per side. The two forward ones look like they could not have guns as they line up with the shrouds. MORE food for thought. Keep it up. Mark
-
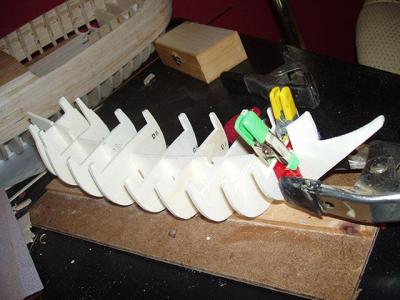
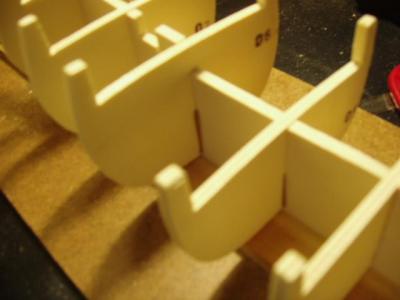
Hello I started this log on the old site so a lot has happened since I started building. So far it's pretty standard fair. All the bulkheads needed to be adjusted. They were off center and uneven. First layer of planking is installed, filled and sanded. Decking installed and treenailed. I added a strip of wood to the fore end of the upper deck, gives it a cleaner look. Stern planking is also done and I have just started the second layer of hull planking. Thats it for today more tomorrow. Mark
-
Steve Another source of wood, if you have the tools is a flooring store. My local Lumber Liquidator sells their leftovers and scrap every year. You can get mahogany, maple, cherry and other hard woods. Usually comes to a couple of dollors a board foot. Inconsistant but you can find some really good stuff. Mark