HOLIDAY DONATION DRIVE - SUPPORT MSW - DO YOUR PART TO KEEP THIS GREAT FORUM GOING! (Only 51 donations so far out of 49,000 members - C'mon guys!)
×
.jpg.d48db35f74616289e21aa1b7f7668853.jpg)

milw
-
Posts
37 -
Joined
-
Last visited
About milw

- Birthday 11/29/1960
Recent Profile Visitors
895 profile views


-
 FrankWouts reacted to a post in a topic:
Ordering CNC milled carving sets for the Winnie or resin cast sets
FrankWouts reacted to a post in a topic:
Ordering CNC milled carving sets for the Winnie or resin cast sets
-
FrankWouts reacted to a post in a topic:
HMS Winchelsea 1764 by Milw - Scale 1:48
-
FrankWouts reacted to a post in a topic:
HMS Winchelsea 1764 by Milw - Scale 1:48
-
milw reacted to a post in a topic:
18th century crew figures
-
milw reacted to a post in a topic:
Figureheads of sailing ships.
-
 Todd, have you tried printing any yet?
 -
Thanks Frank, that gives me some hope! I won’t lose anything by trying repair, right? Now i need to make a pattern to remake that stern frame
-
milw reacted to a post in a topic:
HMS Winchelsea 1764 by Milw - Scale 1:48
-
 FrankWouts reacted to a post in a topic:
HMS Winchelsea 1764 by Milw - Scale 1:48
FrankWouts reacted to a post in a topic:
HMS Winchelsea 1764 by Milw - Scale 1:48
-
FrankWouts reacted to a post in a topic:
HMS Winchelsea 1764 by Milw - Scale 1:48
-
FrankWouts reacted to a post in a topic:
HMS Winchelsea 1764 by Milw - Scale 1:48
-
FrankWouts reacted to a post in a topic:
HMS Winchelsea 1764 by Milw - Scale 1:48
-
FrankWouts reacted to a post in a topic:
HMS Winchelsea 1764 by Milw - Scale 1:48
-
FrankWouts reacted to a post in a topic:
HMS Winchelsea 1764 by Milw - Scale 1:48
-
FrankWouts reacted to a post in a topic:
HMS Winchelsea 1764 by Milw - Scale 1:48
-
Well, it’s been over 4 years on the shelf, after a couple of disasterous falls onto the floor. The first one took out one of the stern posts, and I never found the lost piece. The second one, in the pandemic years, took out most of the fore frames and the stem. I find myself in need of advice- the damage seems too extensive to hope to repair… and I was barely beginnning Chapter 2, although I bought parts thru Ch. 4 or 5. Question is, start over from scratch, ordering new frames and Ch 1 parts? If I go this route, I am thinking to use cherry as the yellow cedar does not do it for me. Great to see so many of you have finished!! cheers- Scott

-
milw reacted to a post in a topic:
Kate Cory by Capt. Kelso (Quint) - Model Shipways - 3/16" scale - Whaling Brig
-
Apologies for resurrecting this thread, but I’m now in this exact position and wondering if your email enquiry turned anything up, or if you found a suitable substitution? From the drawings in the plan (&your photo) it looks like the harpoons used similar weight line to the whaleline, and the lances a bit lighter weight?
-
milw reacted to a post in a topic:
HMS Winchelsea by Greg M - 1/48 scale
-
Ok, this does seem much better!
-
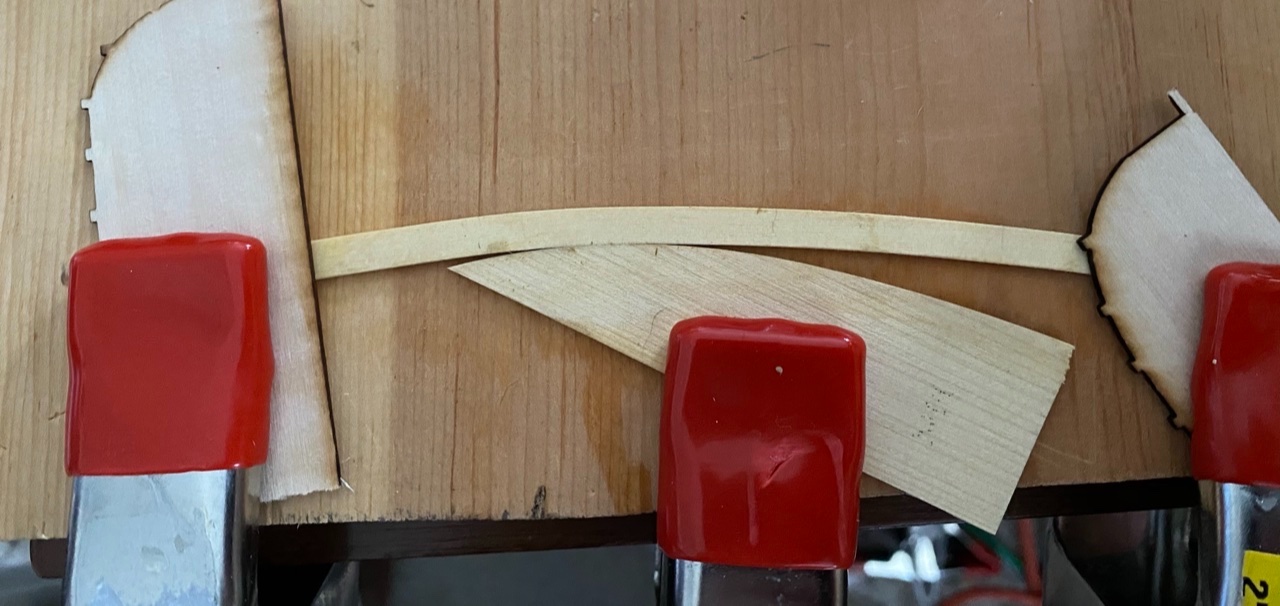
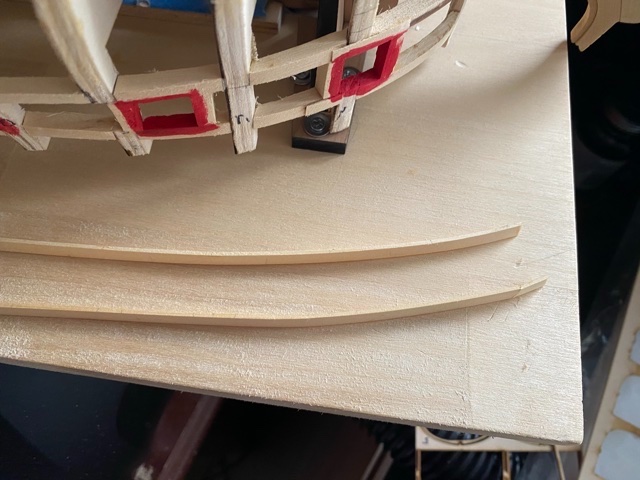
Thanks Chuck, I watched your videos and this is the first time I’ve tried ironing in the plane of the plank. Here’s the pictured plank after I took it off, and its predecessor with the snapped end. So more bend in the plane? Plus I’ve adjusted the filler angle now.

-
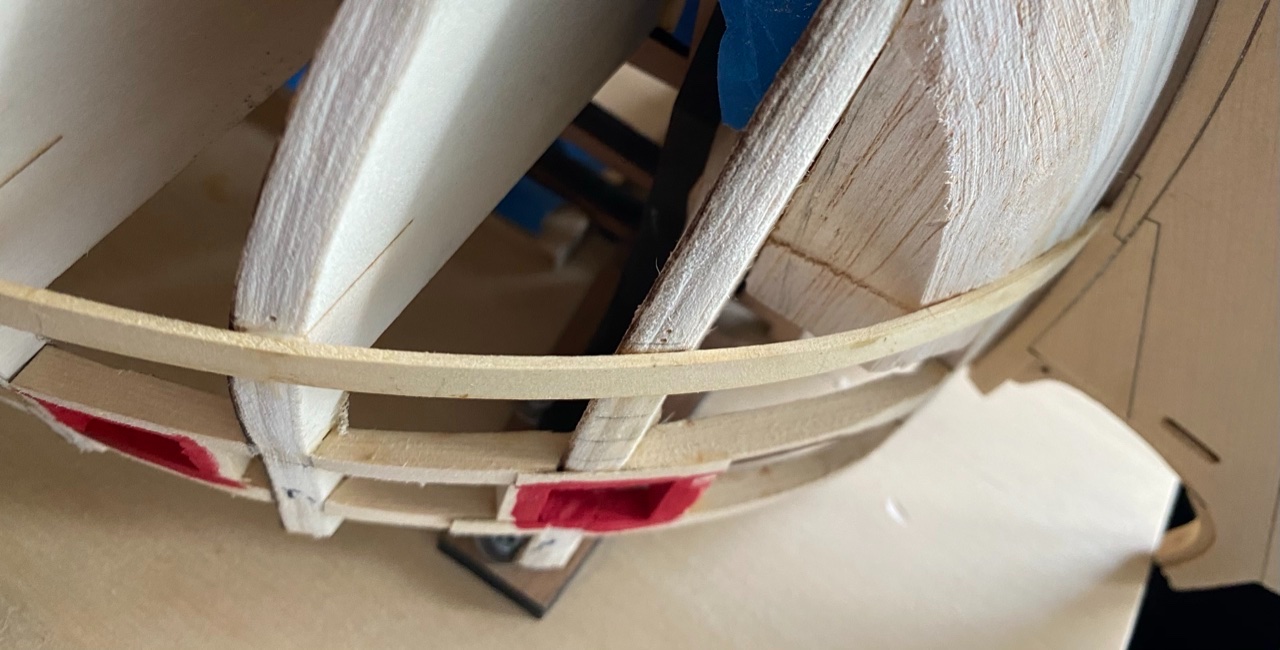
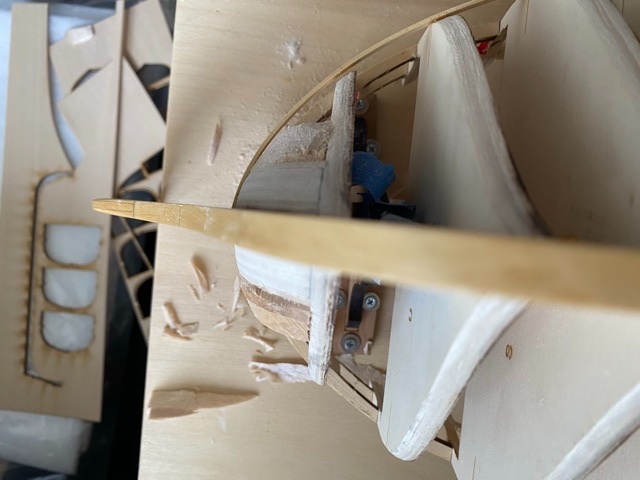
Fairing problem at the bow. The very bow end of the first plank keeps breaking about 1/4 inch out from the rabbet. This is about as close as I can get the plank to the first frame without it snapping. Does that mean I should try to make the bow formers a bit more acute, so the plank comes into the rabbet at a slight angle? (not at 90 degrees to the keel).
-
milw reacted to a post in a topic:
Discussions about chapter two - External hull planking for Winchelsea
-
milw reacted to a post in a topic:
HMS Winchelsea 1764 by CaptMorgan (Steve) - FINISHED - 1:48
-
And Chapter 1 nearly completed! Just need to angle the bollard opening and finish fairing the inner bulkheads. Mainly aft in the qdeck section. Time to start ripping some planks methinks!
-
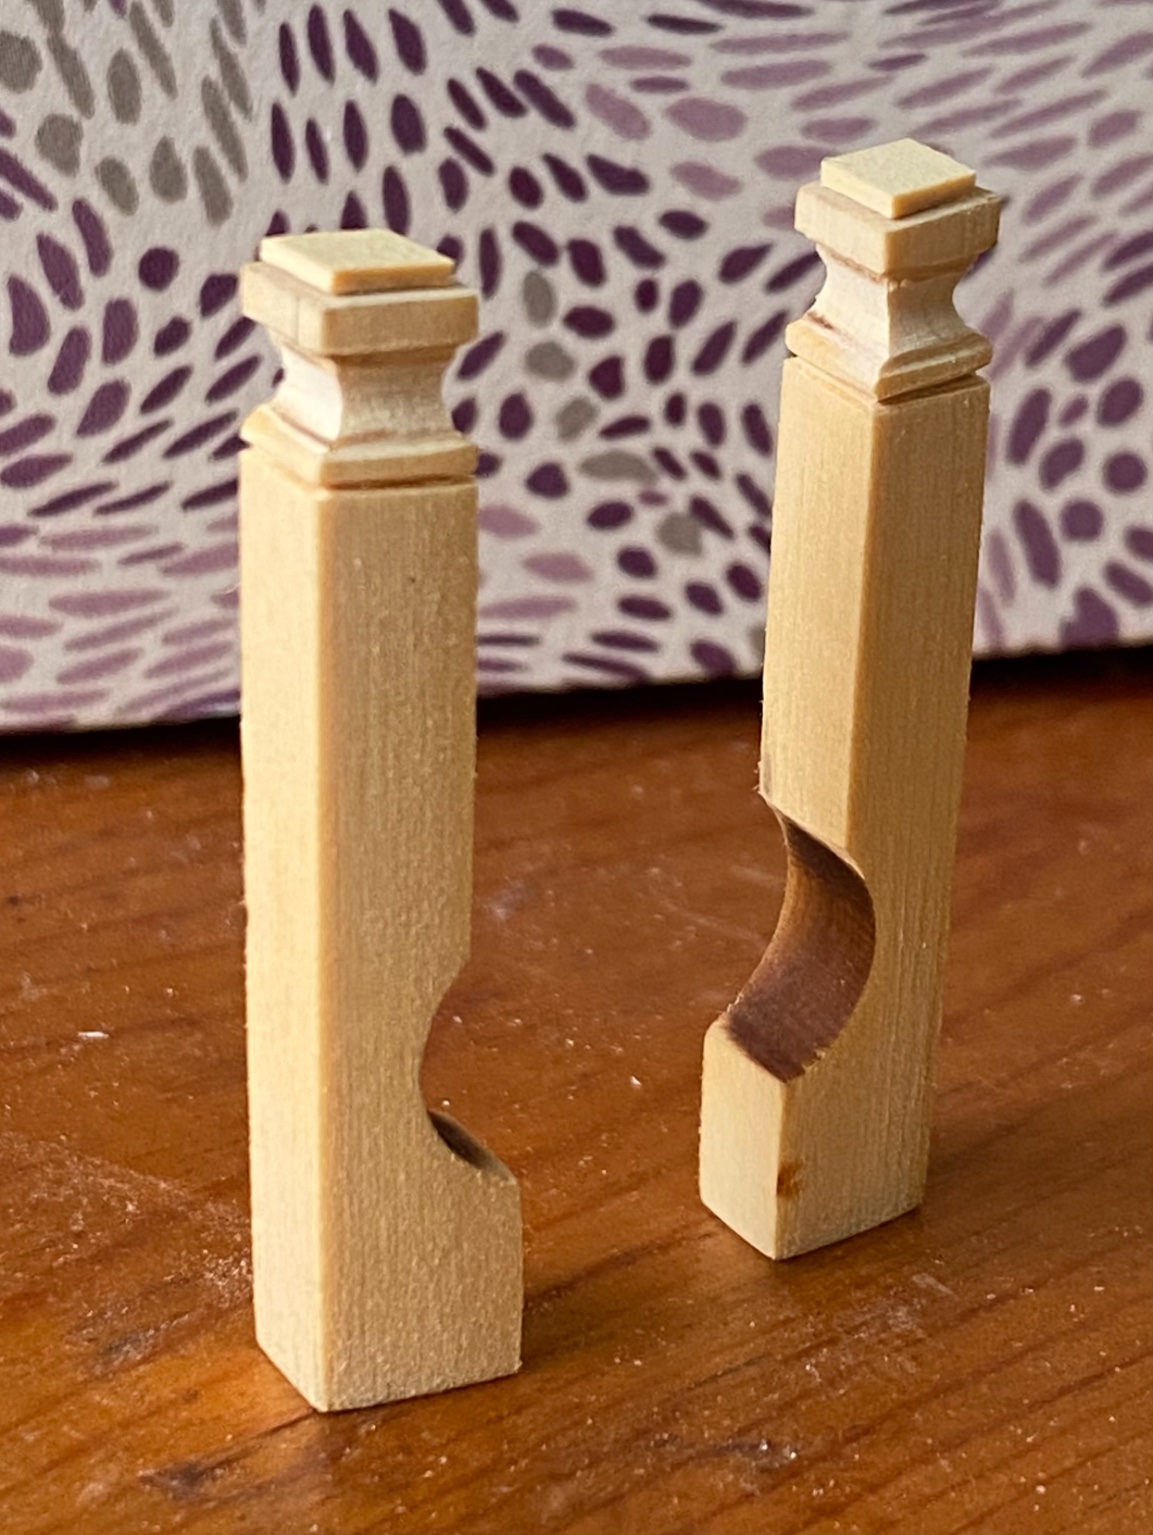
Bollards shaping, not quite complete yet, still some traces of laser char, and the caps haven’t been sanded down yet. First try and I’m 99% happy with them!

-
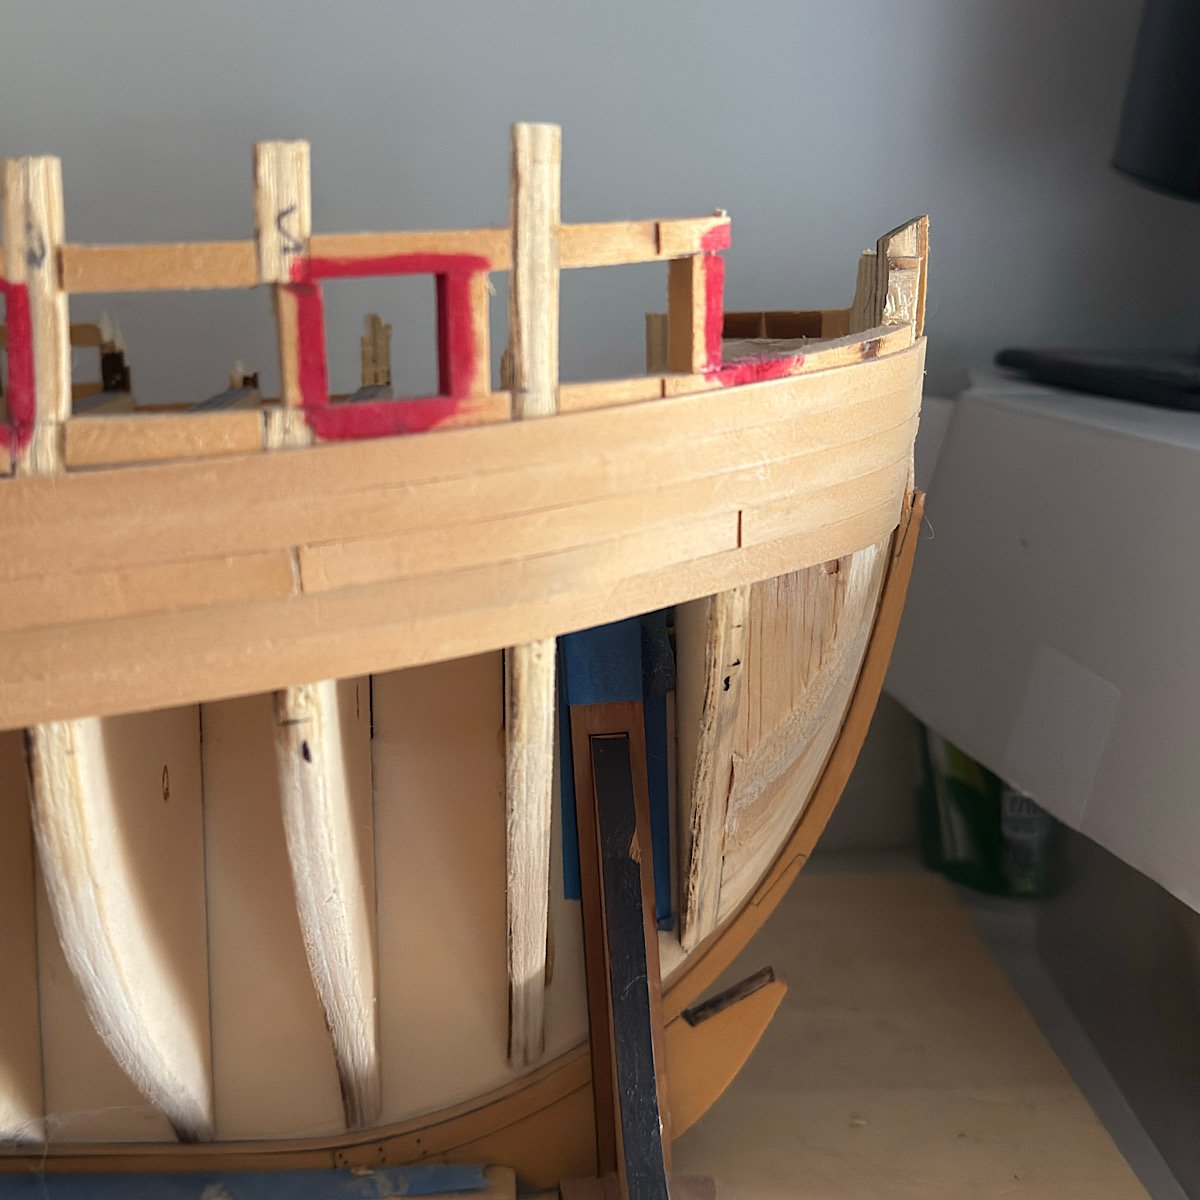
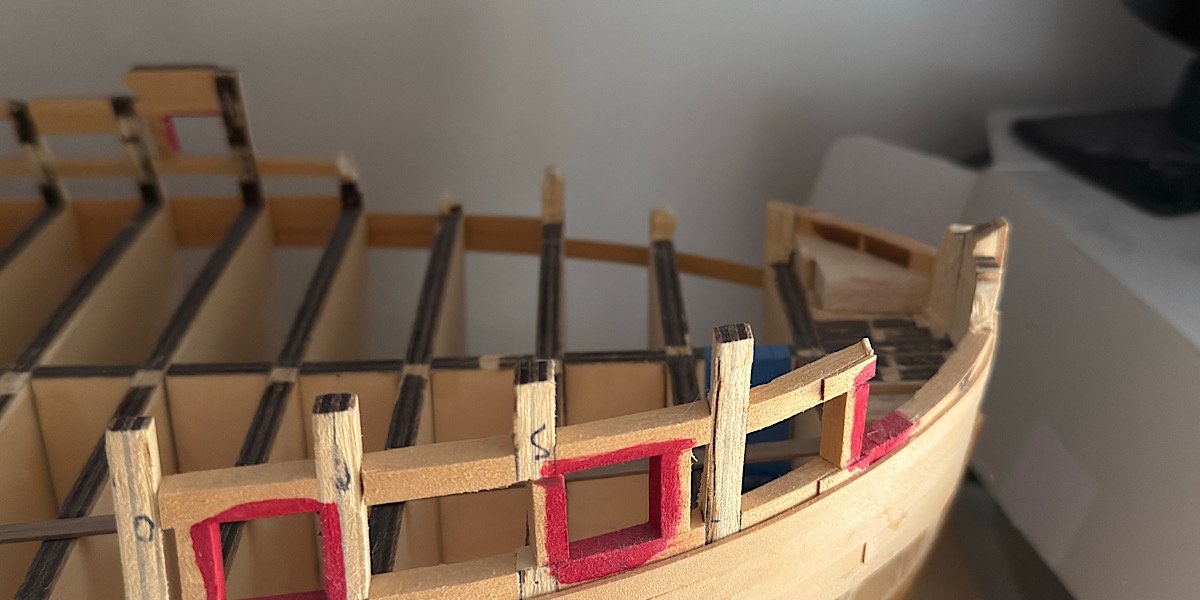
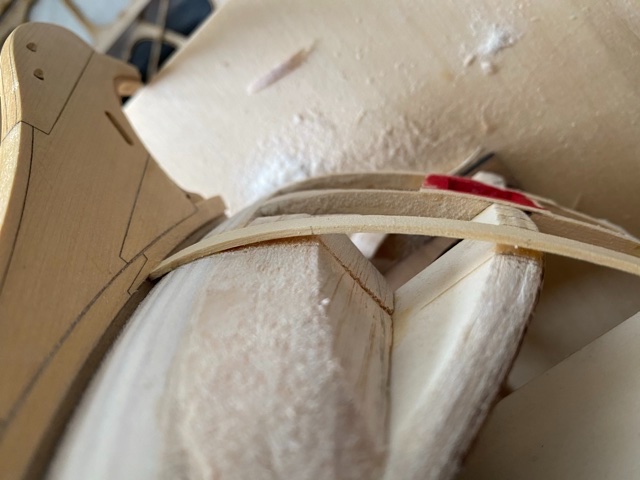
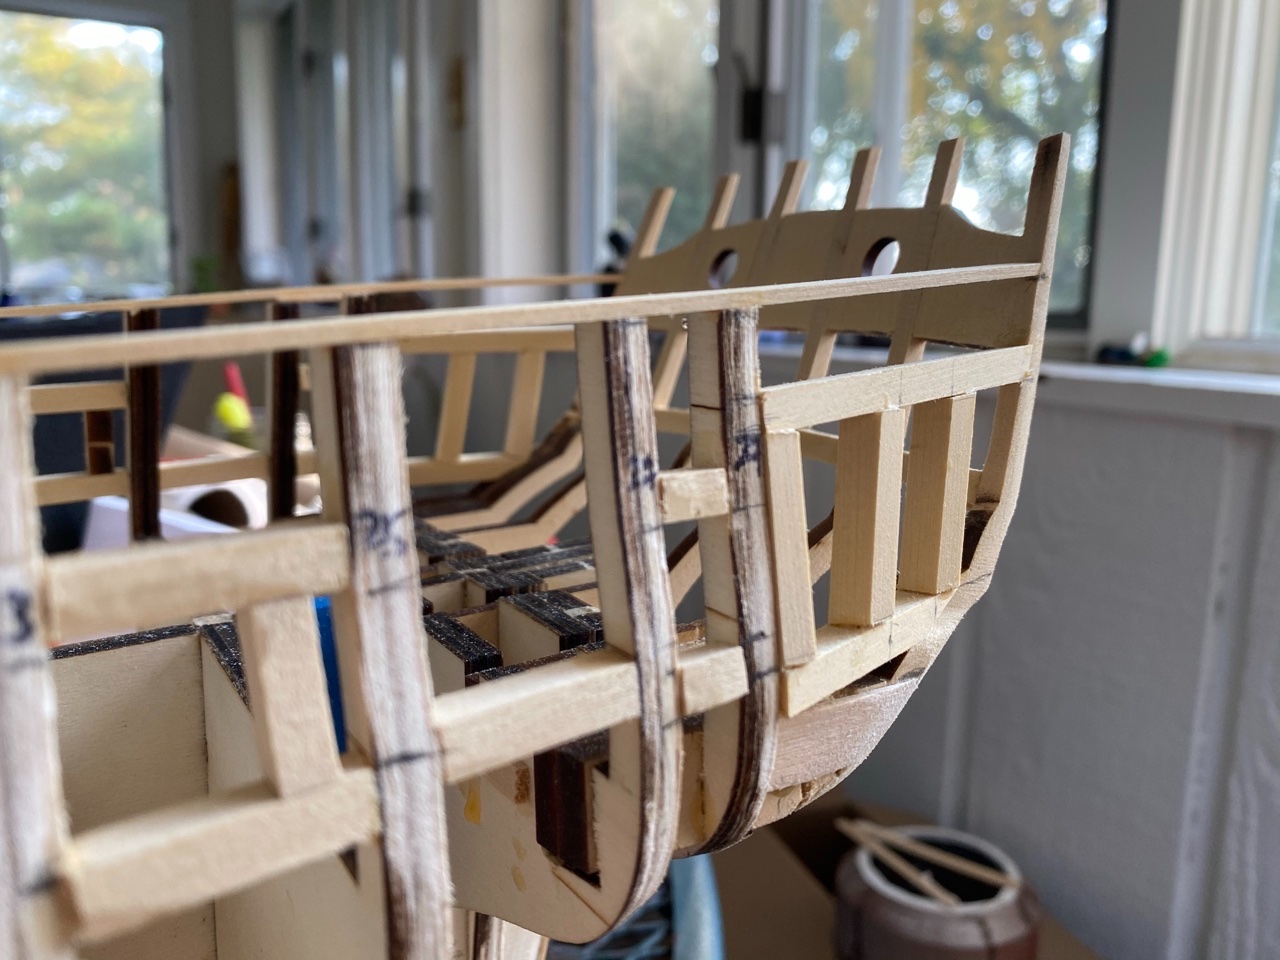
Second attempt at framing port side, I think I have a nice run of the cap rail now. I had to lower the last three gunport sills by a couple of mm to make it work. Still needs to faired in, and I’m going to redo the framing on the other side to make the angles consistent (the last frame is still too high and causes a bump on the cap rail run ). Thanks for the kind words and encouragement!
-
I’m feeling much happier now!

-
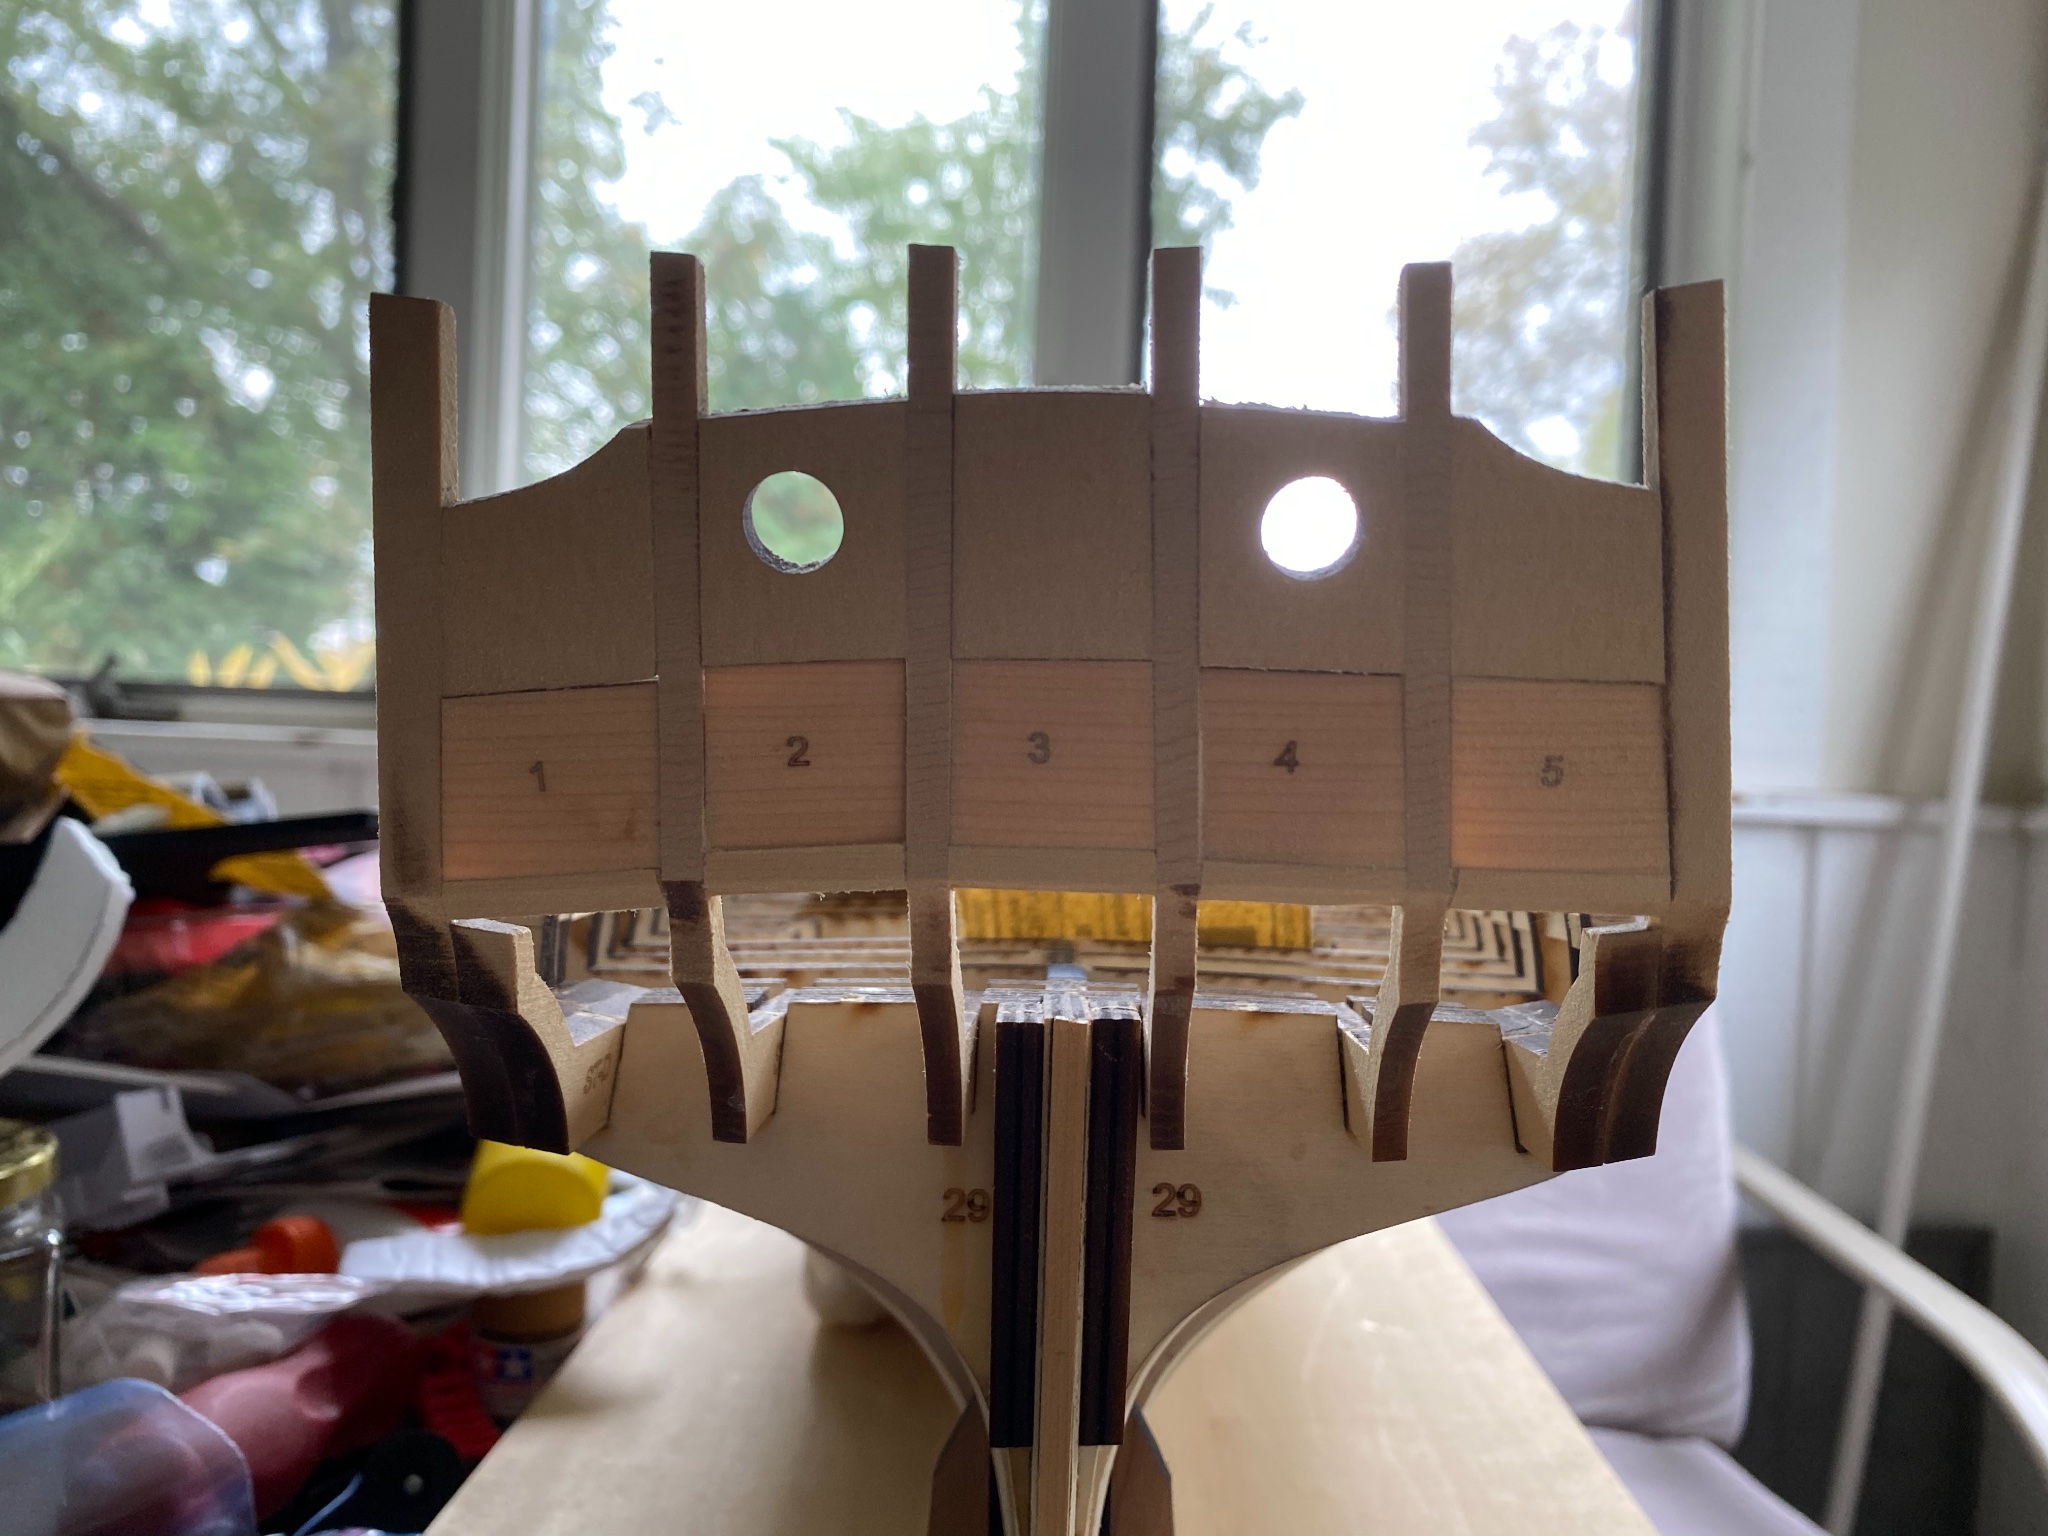
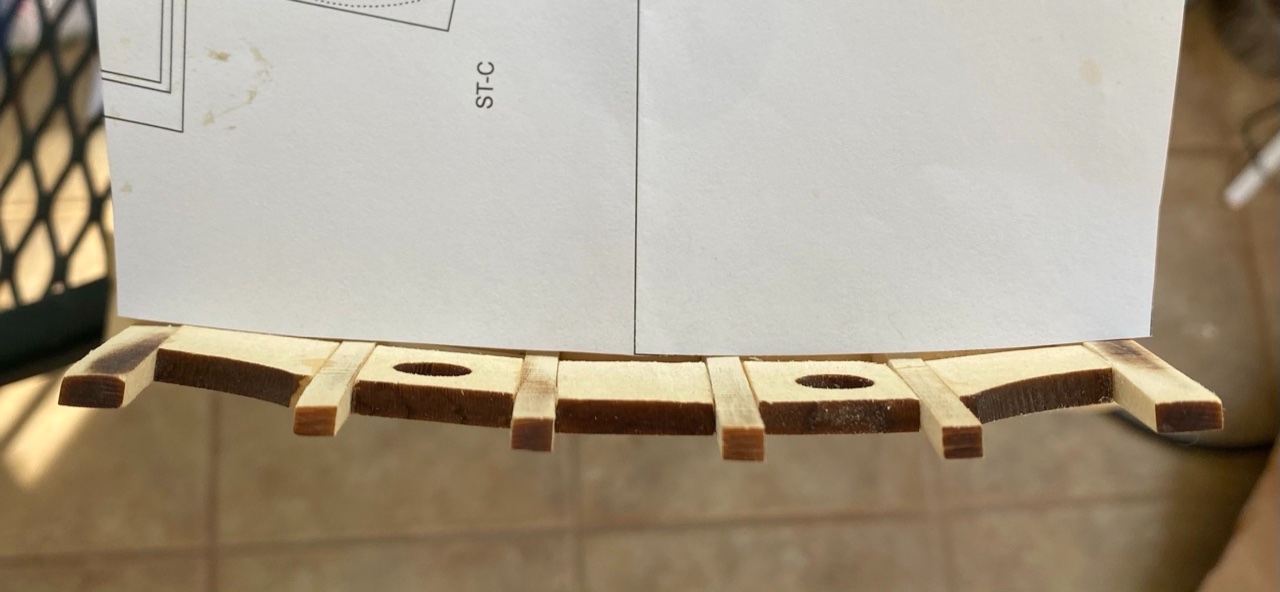
Ok, the sills and fillers are out without significant damage but it appears the frames themselves need adjustment. I’m surprised that the wood glue seems to pop off of the yellow cedar quite cleanly.
-
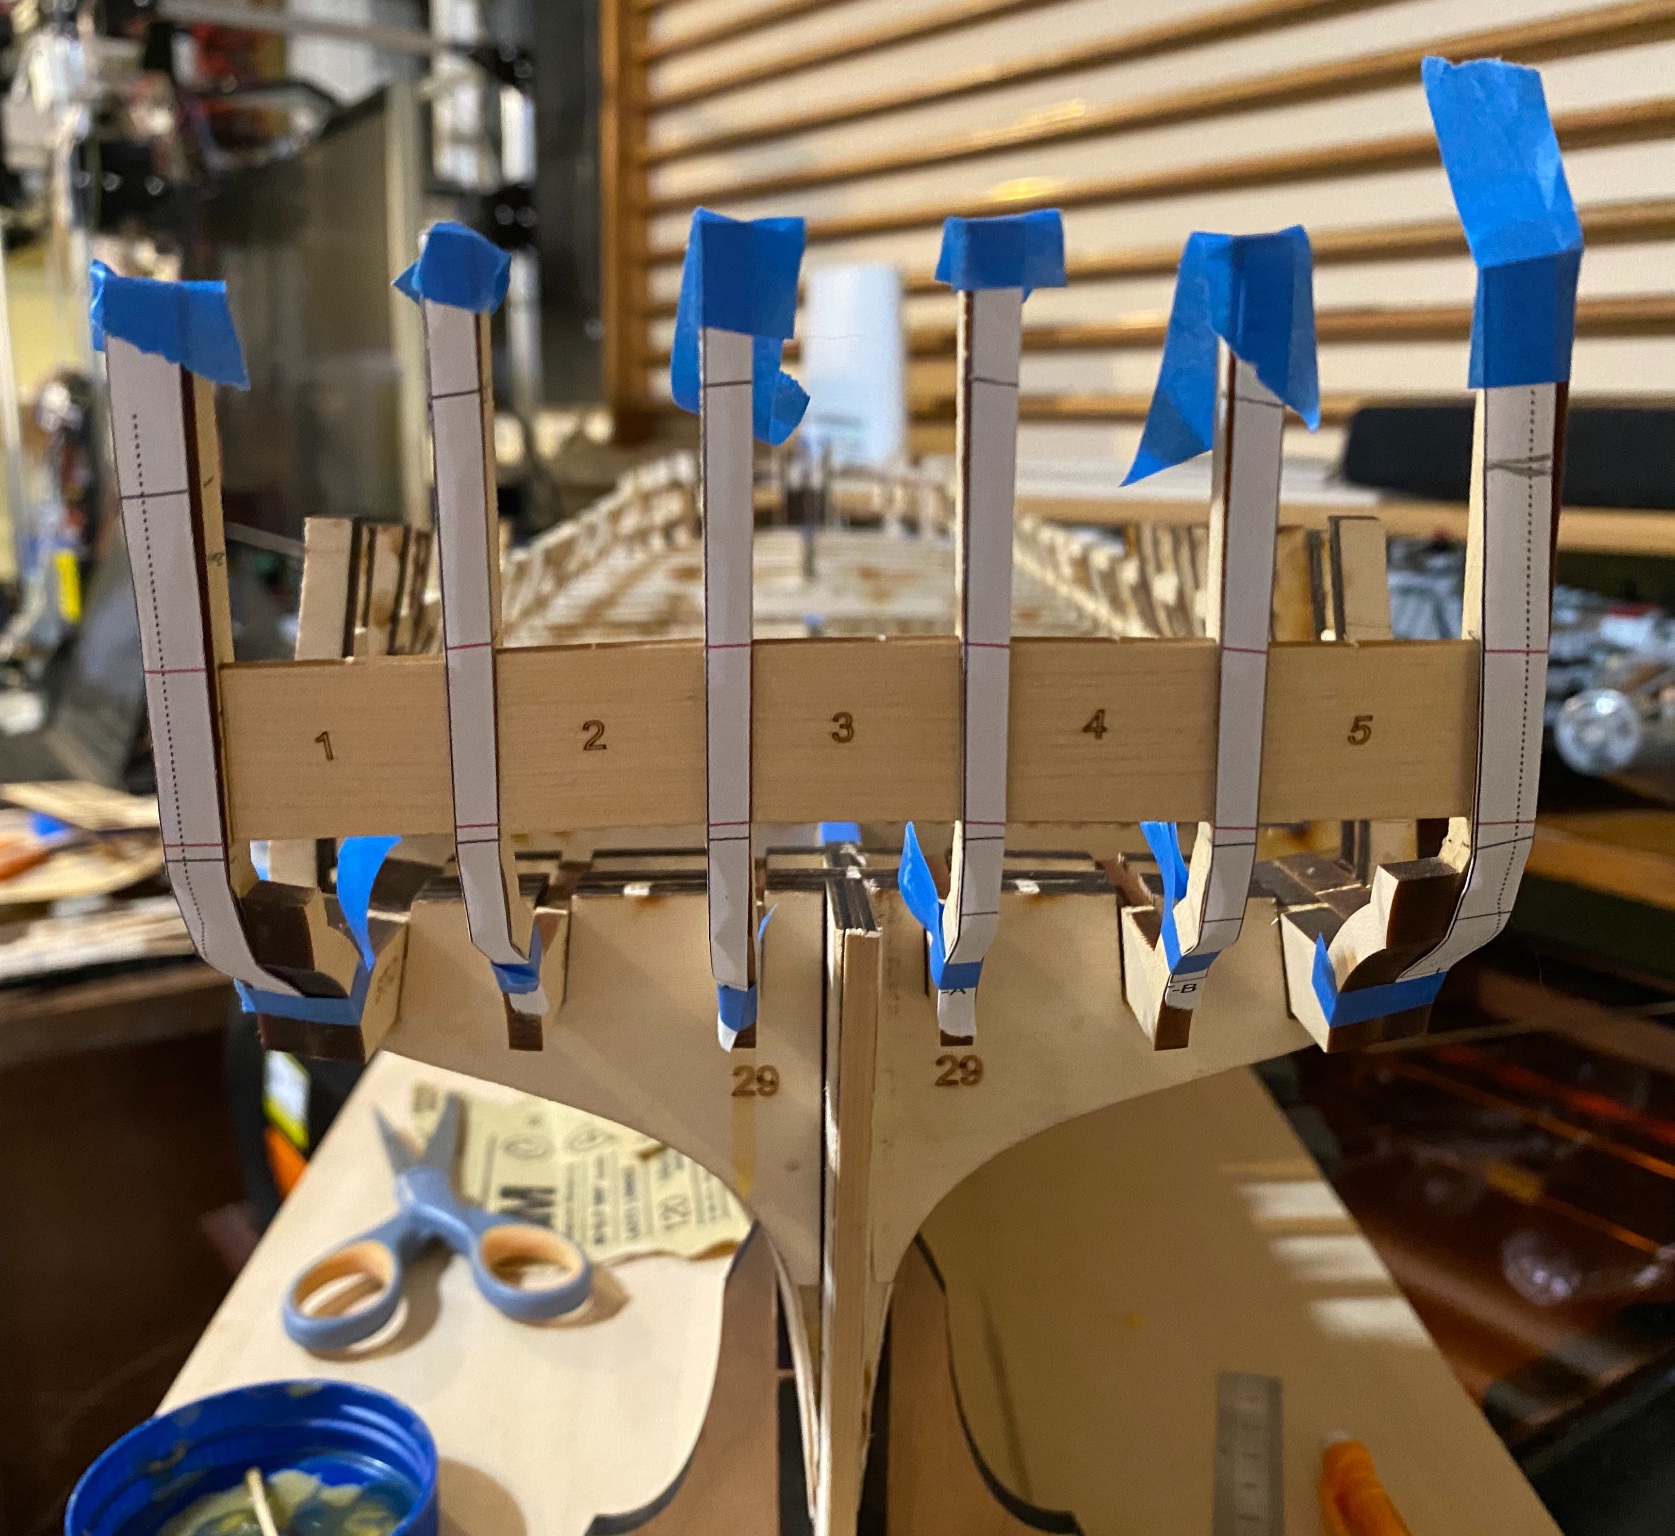
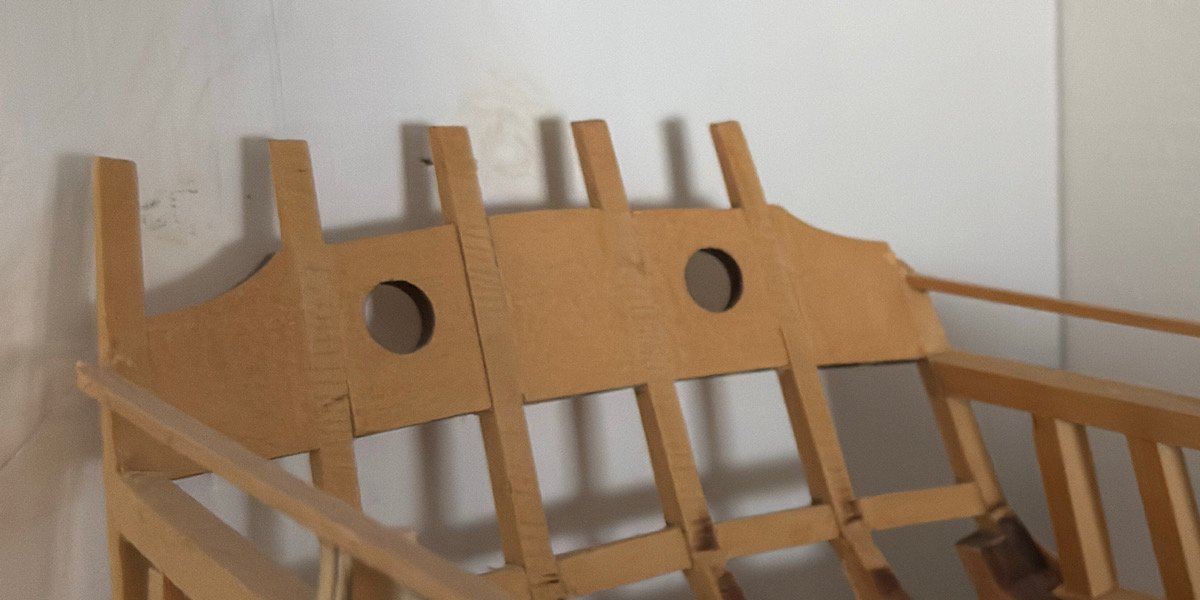
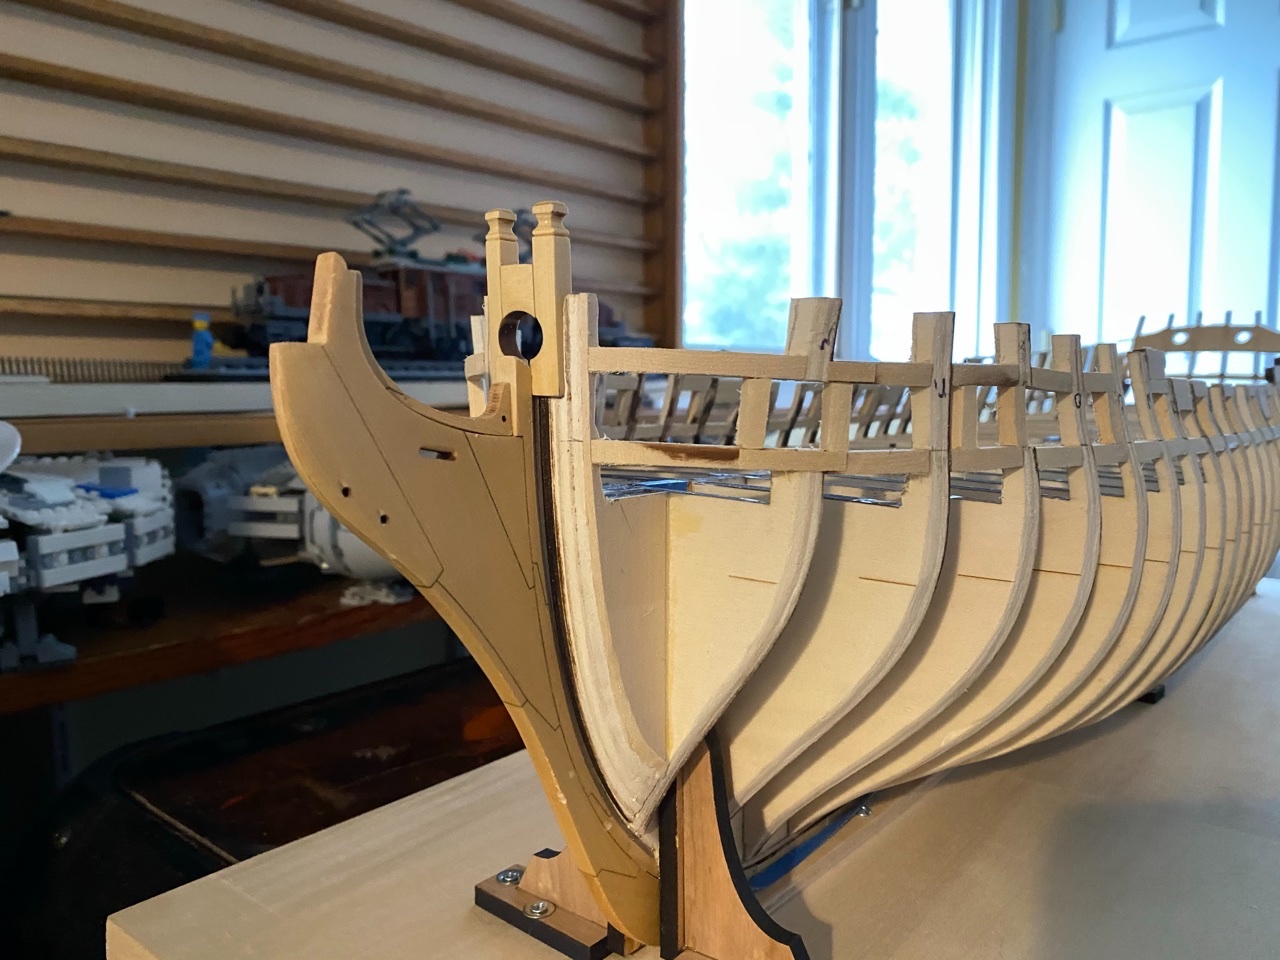
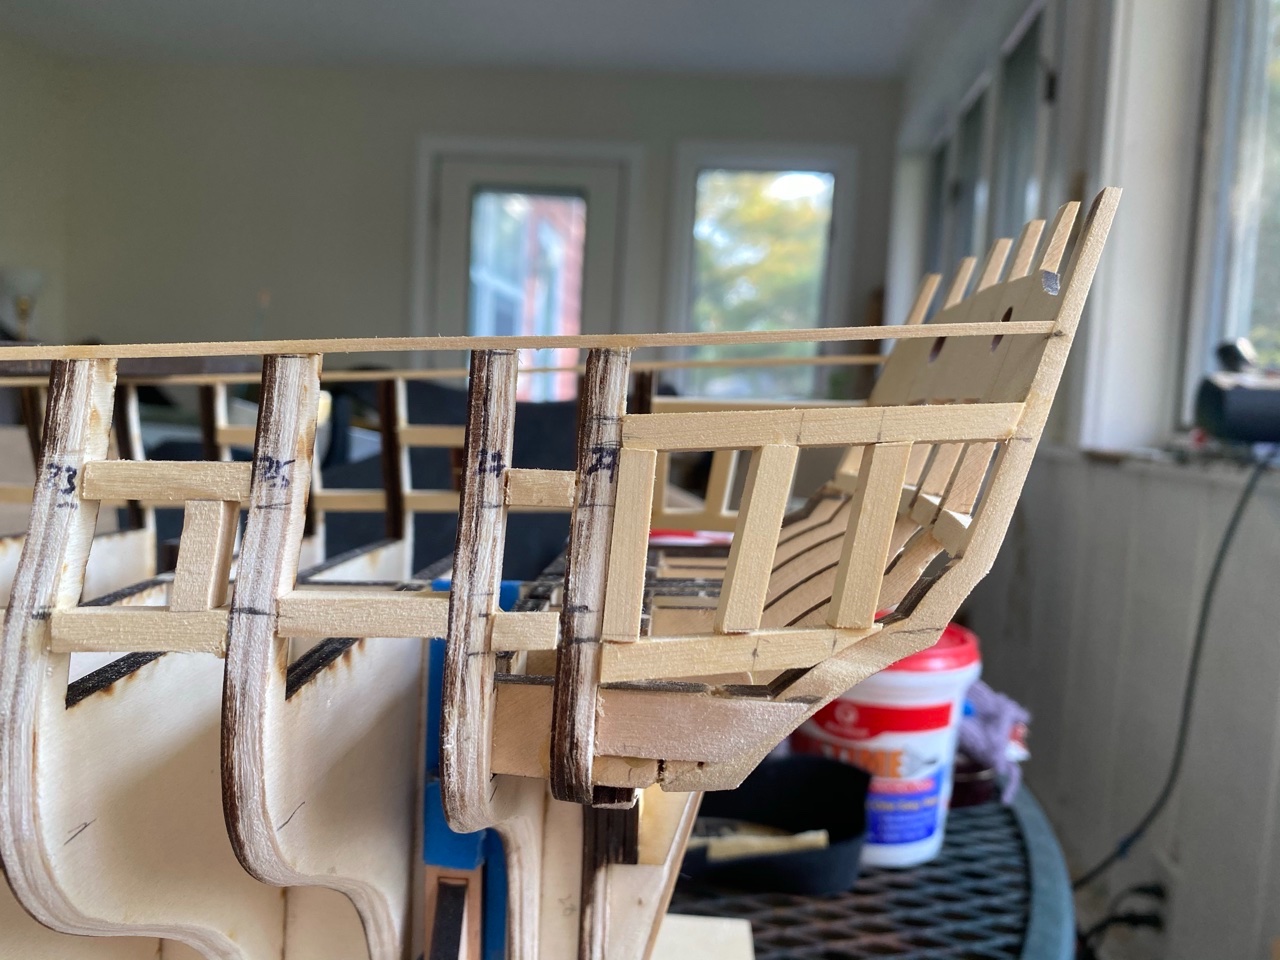
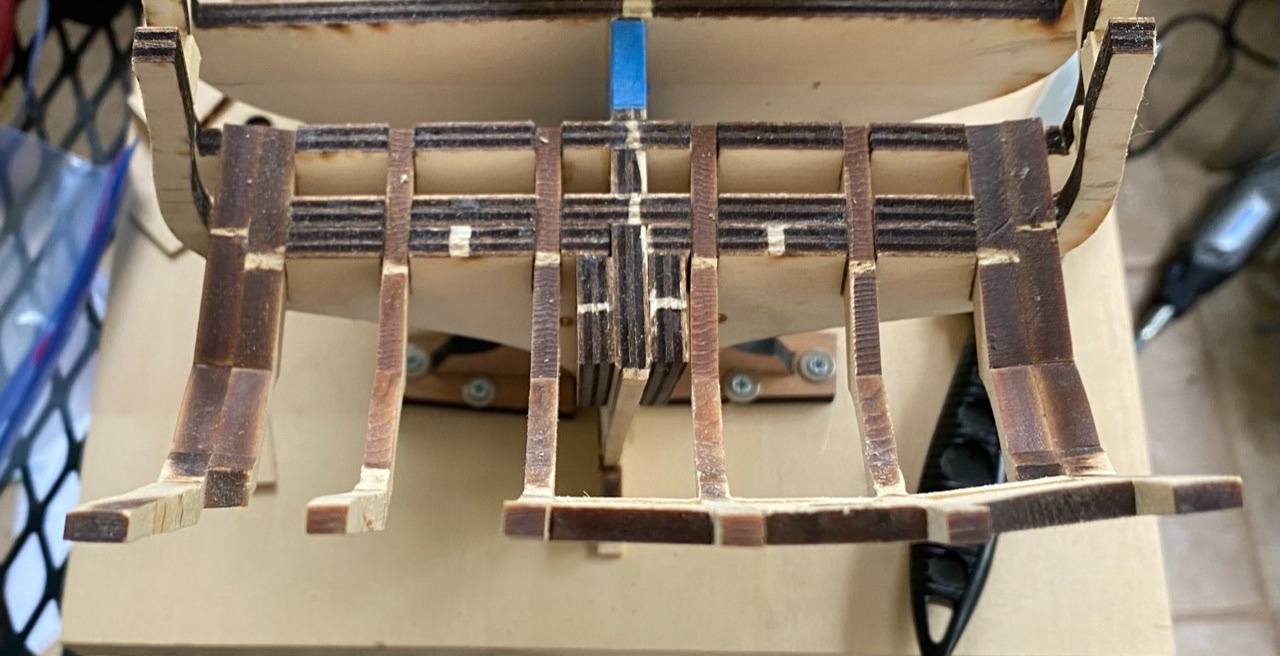
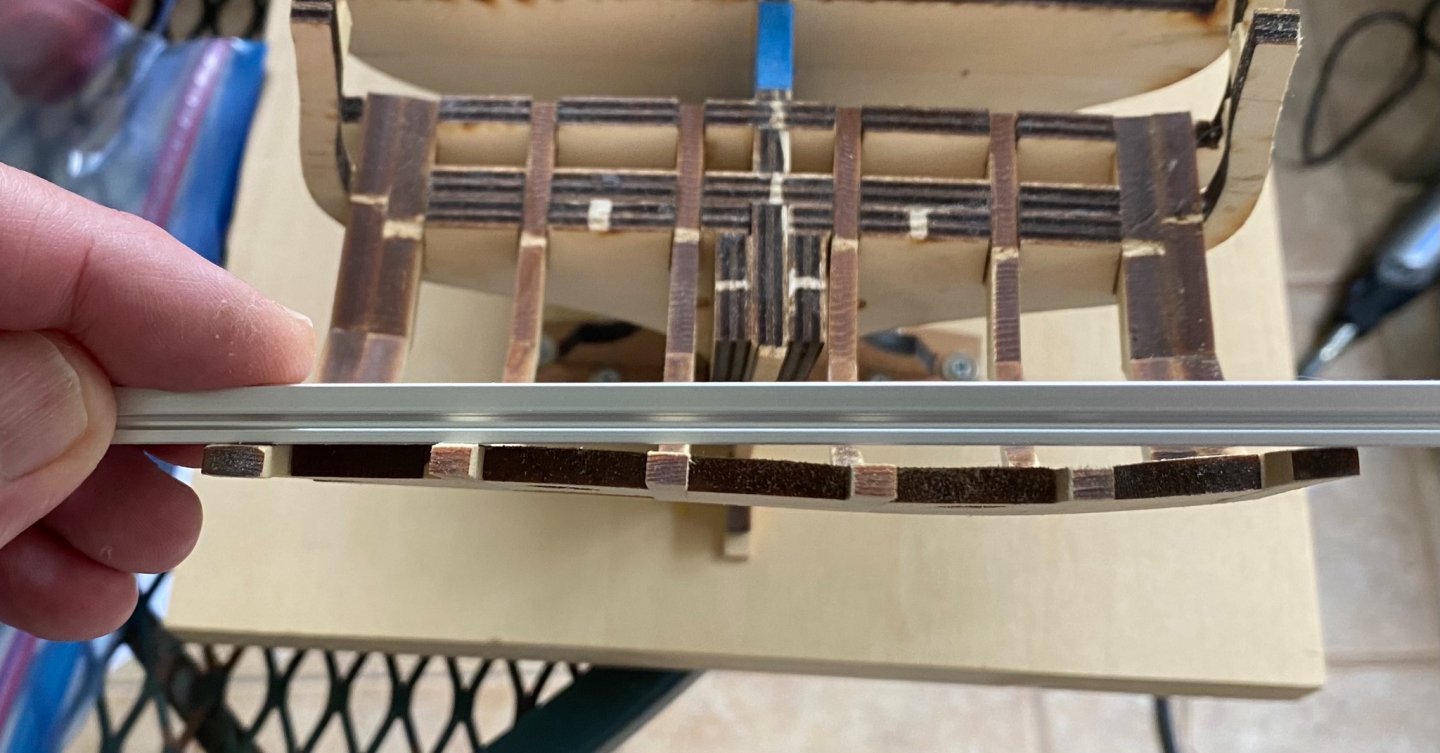
Stern framing-I thought it was going ok at this stage but a top view says otherwise. I think it will be hard to force the curve now, I guess my angling of the filler edges was off. Support for taking the frames out and trying again?


-
Hi all, just starting on the POB kit by Dumas- City of Buffalo lake steamer of 1890. Will post pics shortly- the kit is really intended for R/C and is a bit light on detailing, so there's lots of room for additions at this scale! Cheers- Scott
-
Sounds good, thanks Mike and Rusty, on to the stern framing!