HOLIDAY DONATION DRIVE - SUPPORT MSW - DO YOUR PART TO KEEP THIS GREAT FORUM GOING! (89 donations so far out of 49,000 members - C'mon guys!)
×


ModelBoatMaker
-
Posts
39 -
Joined
-
Last visited
Content Type
Profiles
Forums
Gallery
Events
Everything posted by ModelBoatMaker
-
 Oh yes, there are quite a lot, what one of the bases did you go for specifically and did you apply your own varnish to it? Cheers, Pete
 -
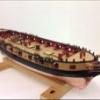
Hi Jim, she's looking great! Where did you order the base and mounting pillars from? Cheers, Pete
-
Yes wood filler would allow you to blend it into the wood better and make the hole unnoticeable, why did you want to use glue as a filler? Pete
- 1,144 replies
-
- 1
-

-
- snake
- caldercraft
- (and 1 more)
-
I used 0.25mm rope, I also recommend winding the rope round the wheel and sealing with watered pva before anything is fixed in position. Cheers, Pete
-
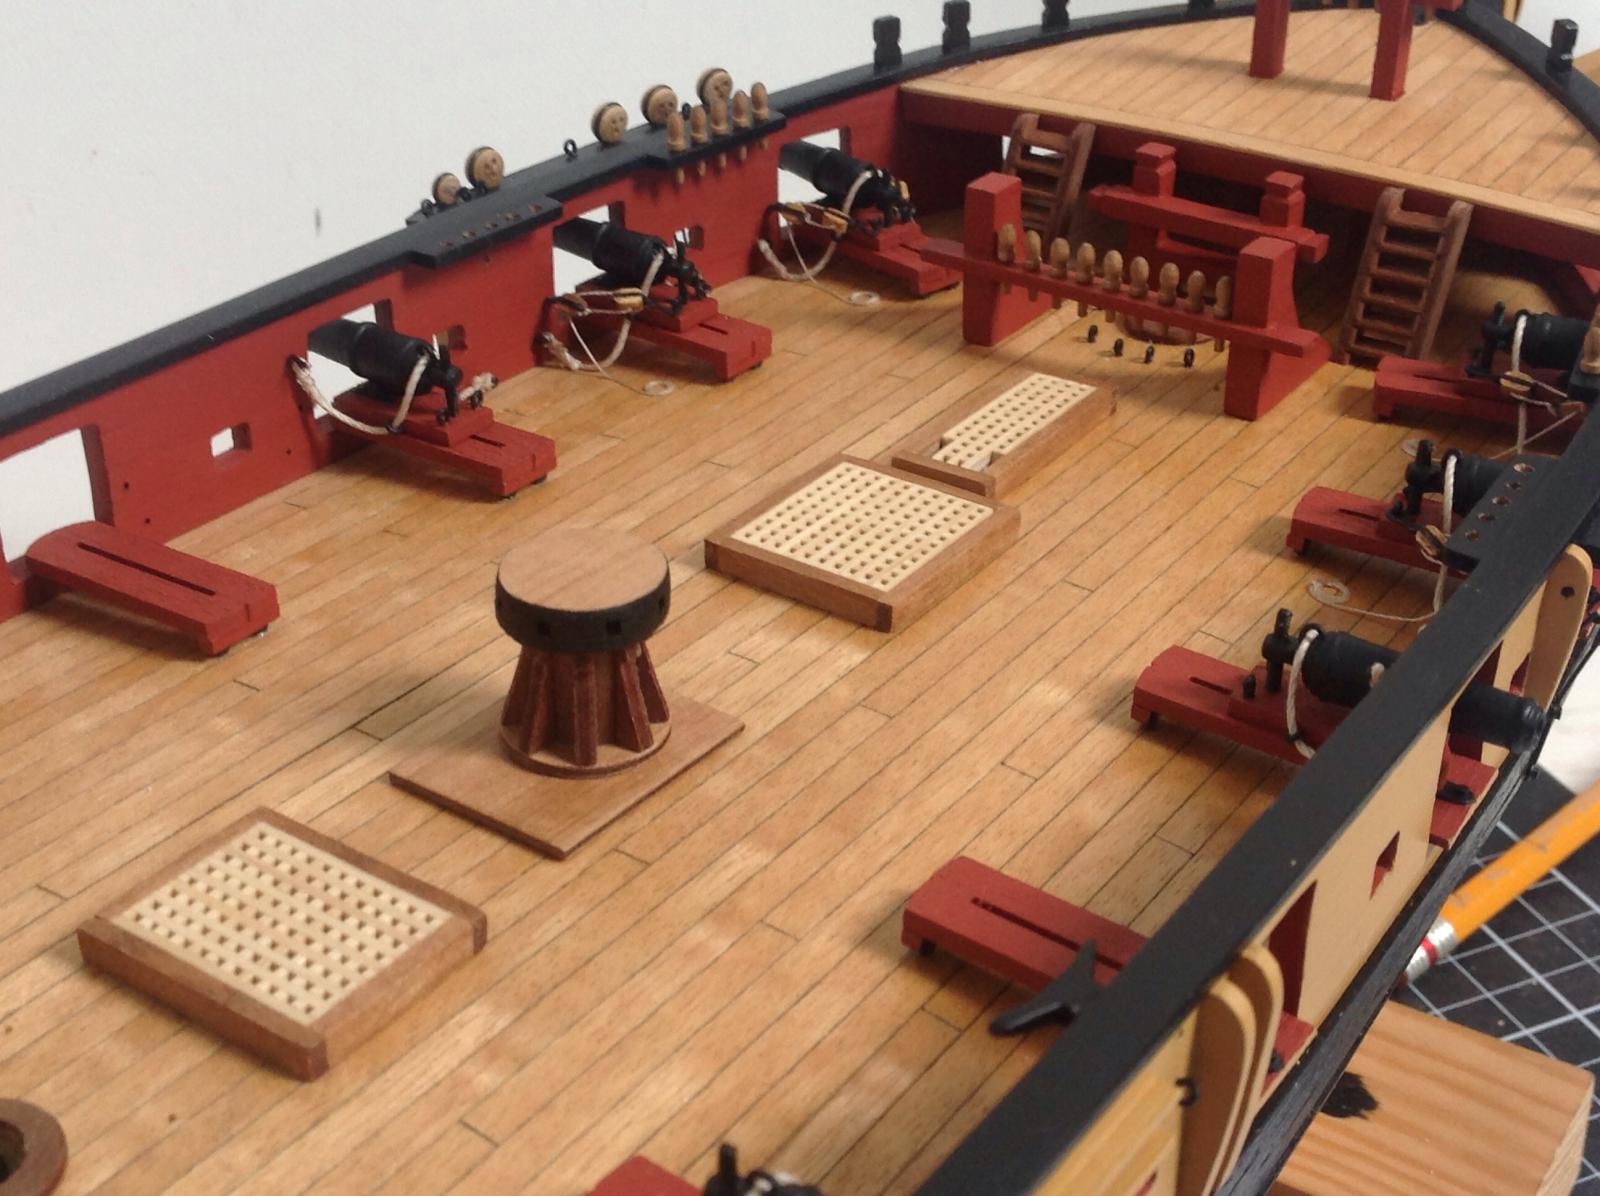
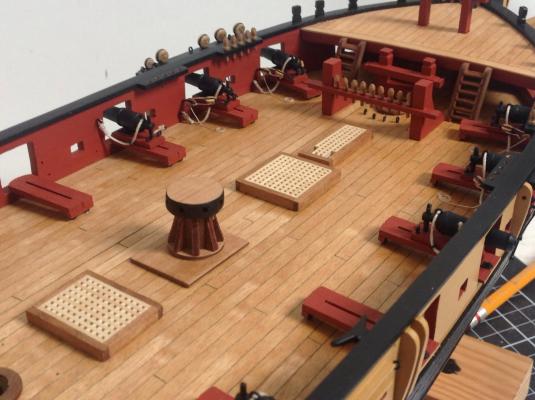
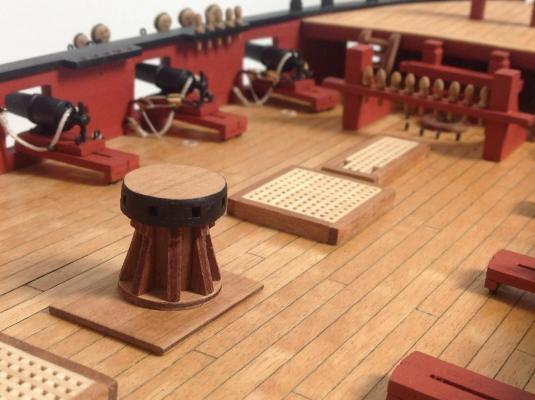
Great job on the cathead Jason. I was just wondering why you painted the capstan red, are there any examples of this throughout history? Or simply to hide the walnut ply? I was looking at mine and didn't like the look of the ply layers so I painted the top part black (this part looked the worst) , what do you think?
- 800 replies
-
- 1
-
-
- snake
- caldercraft
- (and 1 more)
-
Do I detect sarcasm there Jim.... Sorry I should have asked more politely. But Thankyou very much anyway, to be honest i wasn't even 100% sure that those were eyelets around the masts from looking at the plans, do you recommend putting them in sooner rather than later? Cheers, Pete Oh and btw, good progress on the rigging, I remember the shrouds and ratlines taking me AGES on my pickle!...
-
Please could I see a close up photo of the deck eyelets around the masts? Cheers, Pete
-
I'm not sure about cannon rigging, looks great to me though. Could I just ask did you apply oil/varnish to those belaying pins? The colour looks different to the ones of my pickle Cheers, Pete
-
Very good technique for ensuring the correct length of breaching rope, I shall adopt that for the rest of my 16 carronades!! Cheers, Pete
-
Mantua/Panarts Amerigo Vespucci Help!
ModelBoatMaker replied to ModelBoatMaker's topic in Wood ship model kits
Wow, thanks for such a quick reply. Do you mean the panart kit includes more fittings or just the same fittings in a better quality? I know the scale is bigger, but it just seems too big a price difference considering its only 25cm longer? -
Hi I'm looking around now at models for a potential future build. I like the look of the Amerigo Vespucci, however the pricing has confused me somewhat. If you take a look at Panarts version it costs £670 (not including the £80 sail kit) @1:84 scale http://www.cornwallmodelboats.co.uk/acatalog/amerigo_vespucci_741.html Now at Mantuas kit, it only costs £295 ( not including the £80 sail kit) @1:100 scale http://www.cornwallmodelboats.co.uk/acatalog/amerigo_vespucci_799.html I don't understand why there is such a huge price difference considering the scales are only slightly different, and Panart kits are a brand of Mantua models, so I guess they are similar in quality? If anyone could explain this to me that would be great!! Cheers, Pete
-
1- I prefer to paint metal parts black after a first coat of metal primer. 2. I use metal pliers to cut the rod the a rough size ( sometime a hack saw if the rod is too big), then I use an English pattern pin vice to clamp it, and use a dremel type tool to sand/grind down each end flat and to a more accurate length. Cheers, Pete
-
Yes that helps Thankyou, I will try using a different weaker glue and hopefully it won't change colour, also when you glue the rope coil down to the deck do you water it down or not? And one last thing, over on my log I have asked about the side fenders, if possible could you try and help me? Thanks! Pete
-
Jim, do you glue the rope tackle to the deck first, and then separately glue the rope coil on top? Also do you find that the watered pva changes the colour of the rope? Cheers, Pete
-
Looking good Richard, good idea to paint the masts yellow, wish I did the same on my pickle rather than the walnut stain they reccomend. Same with painting the carronades red. looks neater and more even Cheers, Pete
-
I always use a metal primer on all brass and copper parts that need painting, try that if you want to paint parts before fitting them. I then don't have any problems with paint rubbing off...
-
Nice, have you decided on the carronades yet...?
-
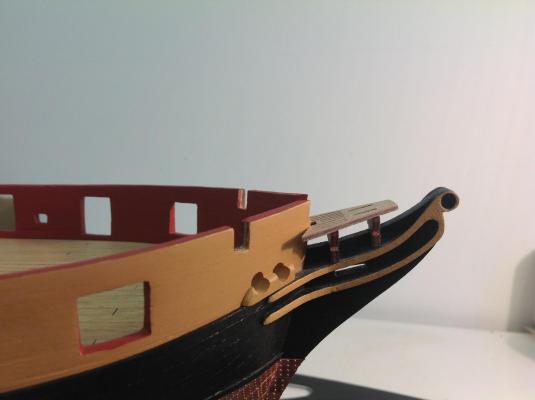
Did you not trim the aft of the bow grating (60) , as you can see in my photos below the gammoning slots in the grating do not match with the stem in the slightest ( unlike yours which is only 1-2mm out), and the forward head rail frame blocks the front of the gammoning slot in the bow grating. Although you might not have adjusted any other parts on you snake, do you think I need to adjust mine so that the bow grating sits further back?? Thanks for you help!! Pete

-
Hi Jason , please could you explain the adjustment you talk about above. Is it simply a matter of enlarging the slots or do you have the trim the vertical supporting parts to allow the bowsprit to fit?
-
Thanks very much for all your help Jason, I should be able to complete the rudder after the rest of the coppering is complete! Pete
-
Ok thank you very much Jason. I have just been looking at my components for the rudder and they look slightly different to yours. Did you widen the recesses in the rudder and if so why ? Pete
-
Hi Jason, I know that when you attached the straps to the rudder, you did not file down the rivets in on the tiles underneath the straps, however would you recommend doing that so that the straps lie more flush? I was also wondering if you painted all of the ships wheel brown including the stand, and was that in walnut brown from caldercraft? Thanks very much, Pete
-
Thanks Jim !
-
Hi Jim, your build is looking great, please could you tell me the thickness of the two ropes that you used for the carronades. Cheers, Pete
-
I might be mistaken, but I am sure that would only alter the angle of the carronade and wouldn't make any difference to the gap that is left. Because the reason it does not fit is because of the distance between the gunport sill and the top of the gunport not being big enough? Pete