Glenn-UK
-
Posts
3,169 -
Joined
-
Last visited
Content Type
Profiles
Forums
Gallery
Events
Everything posted by Glenn-UK
-
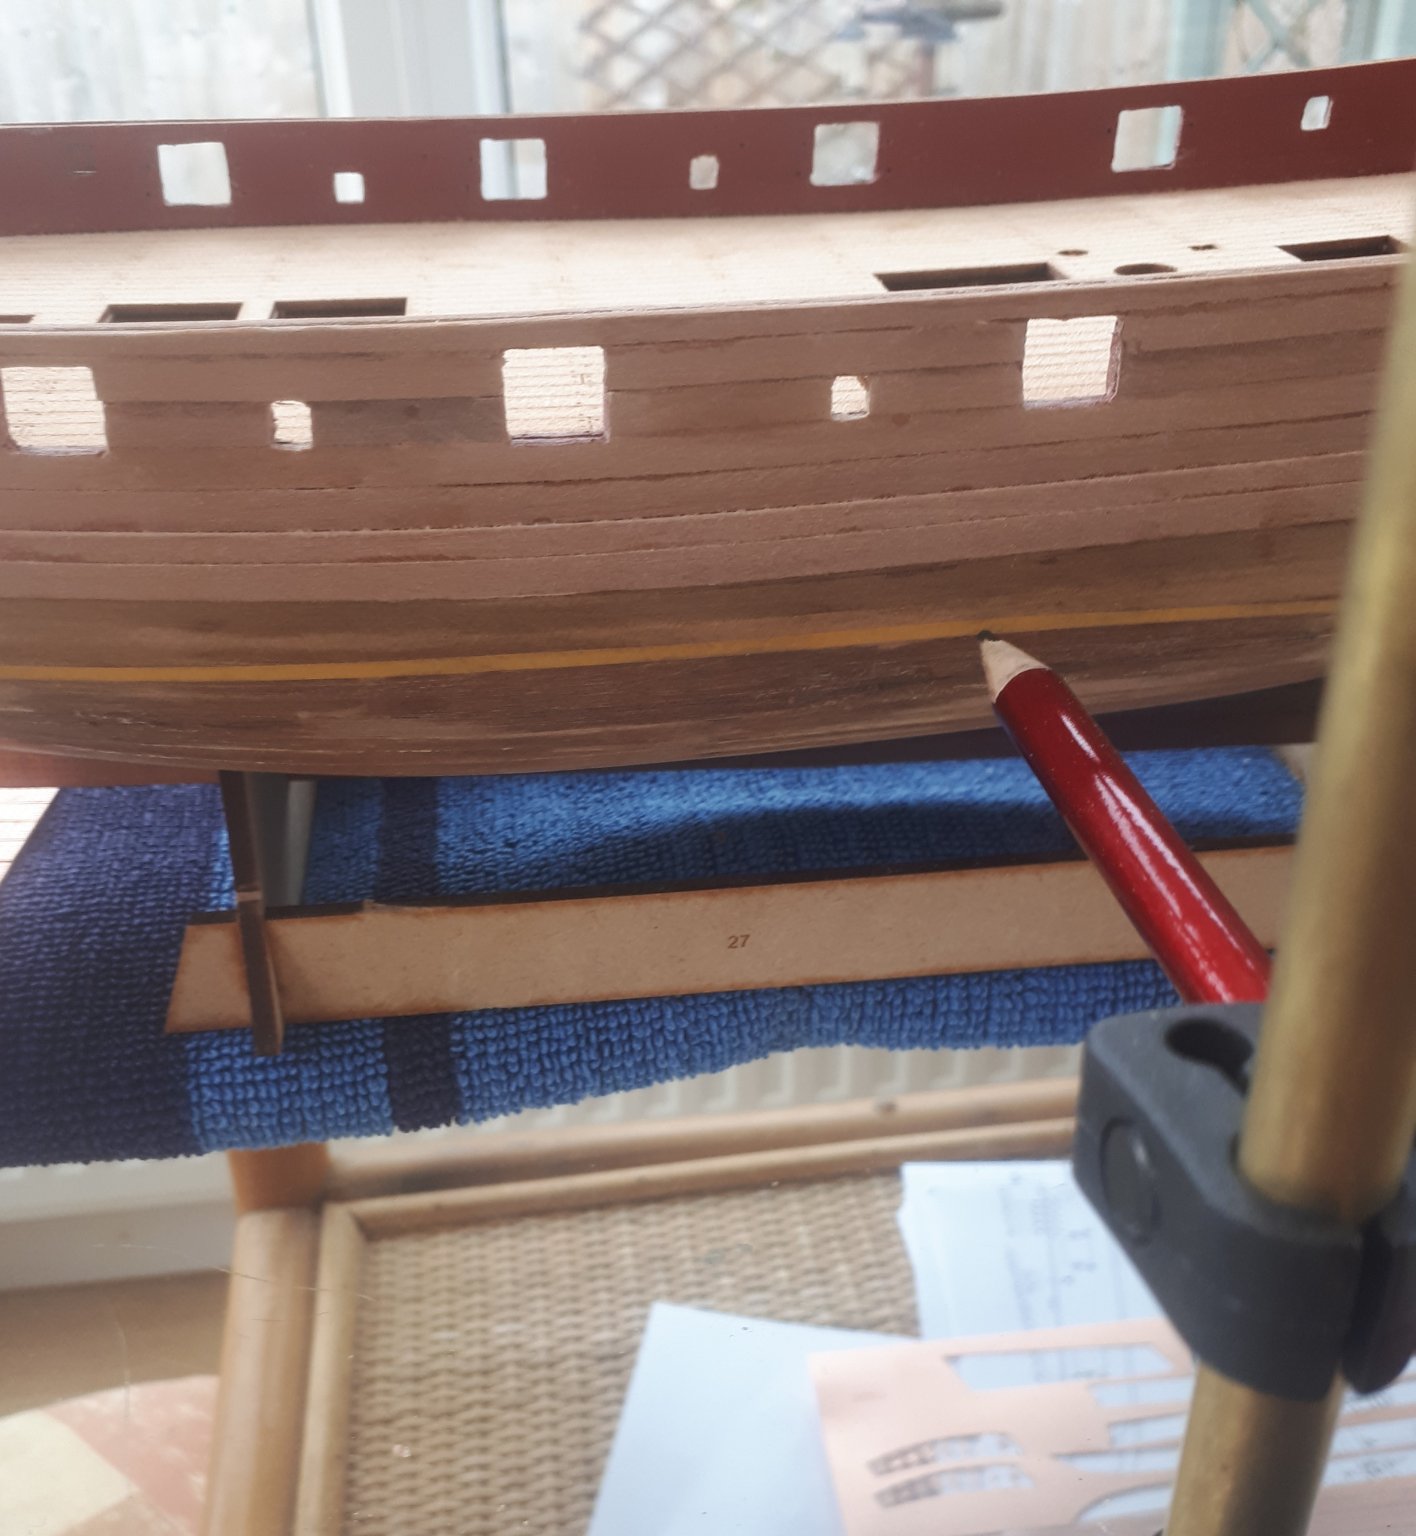
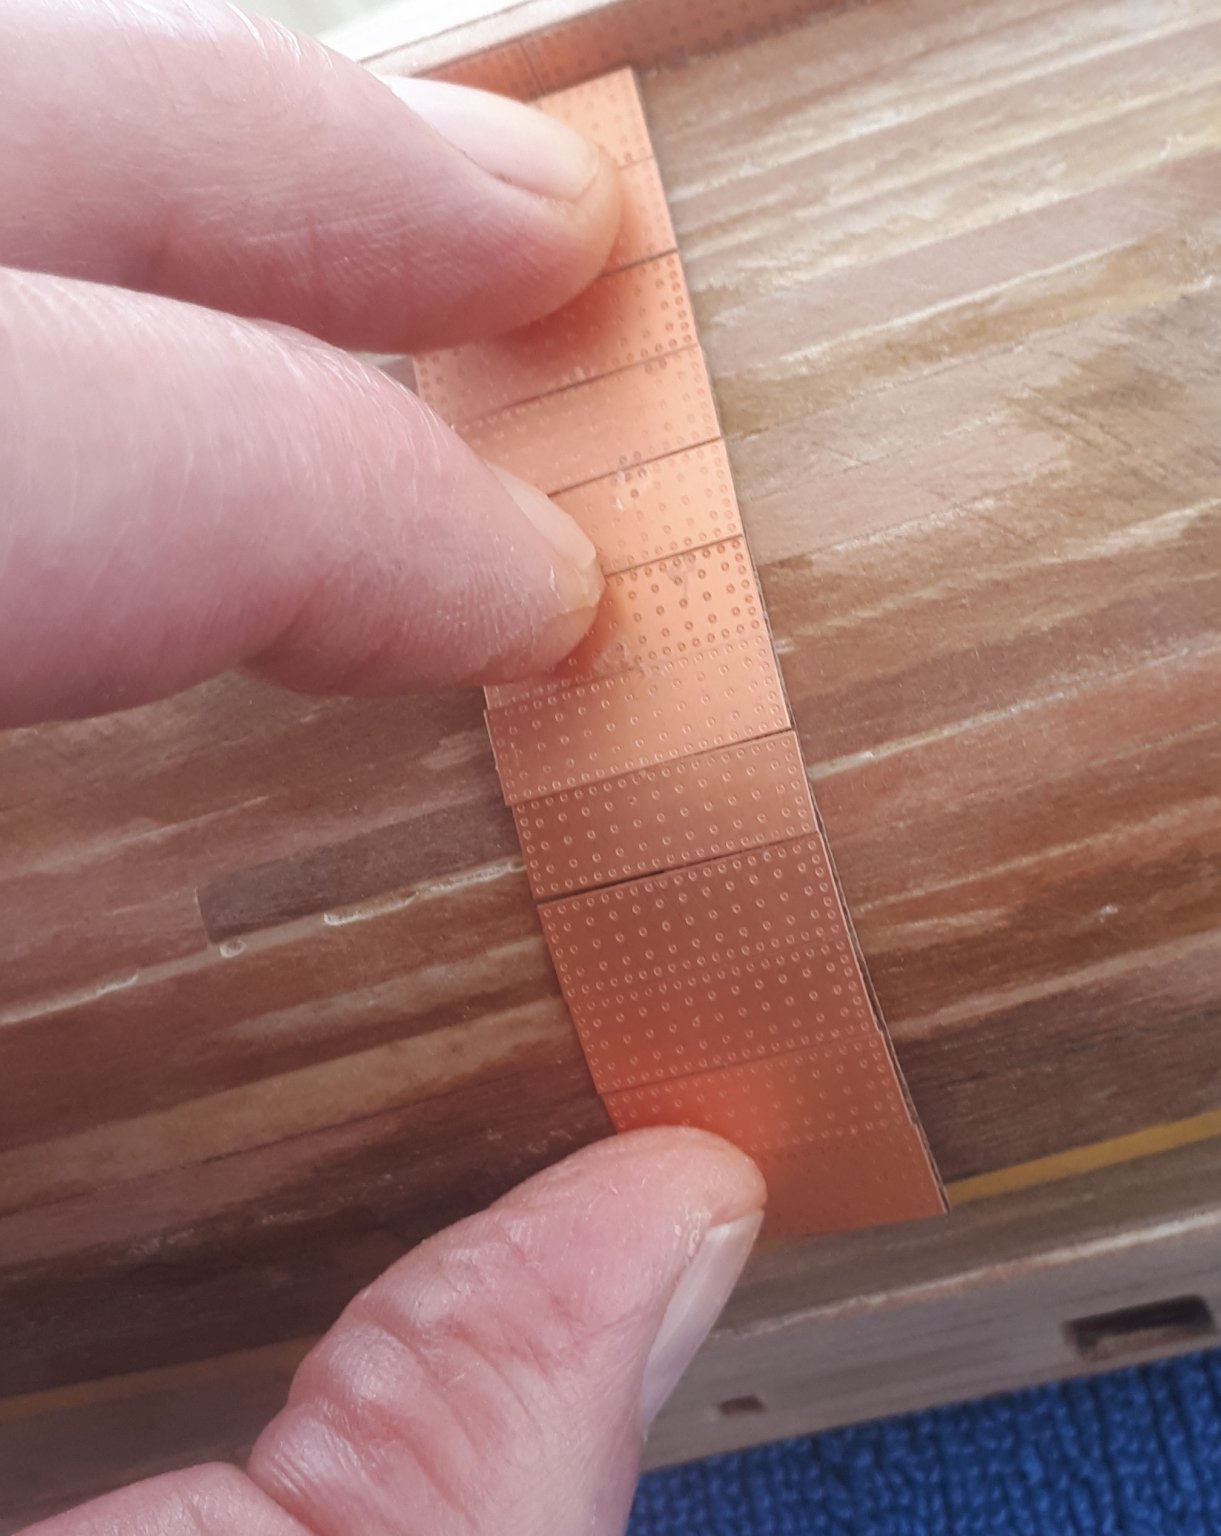
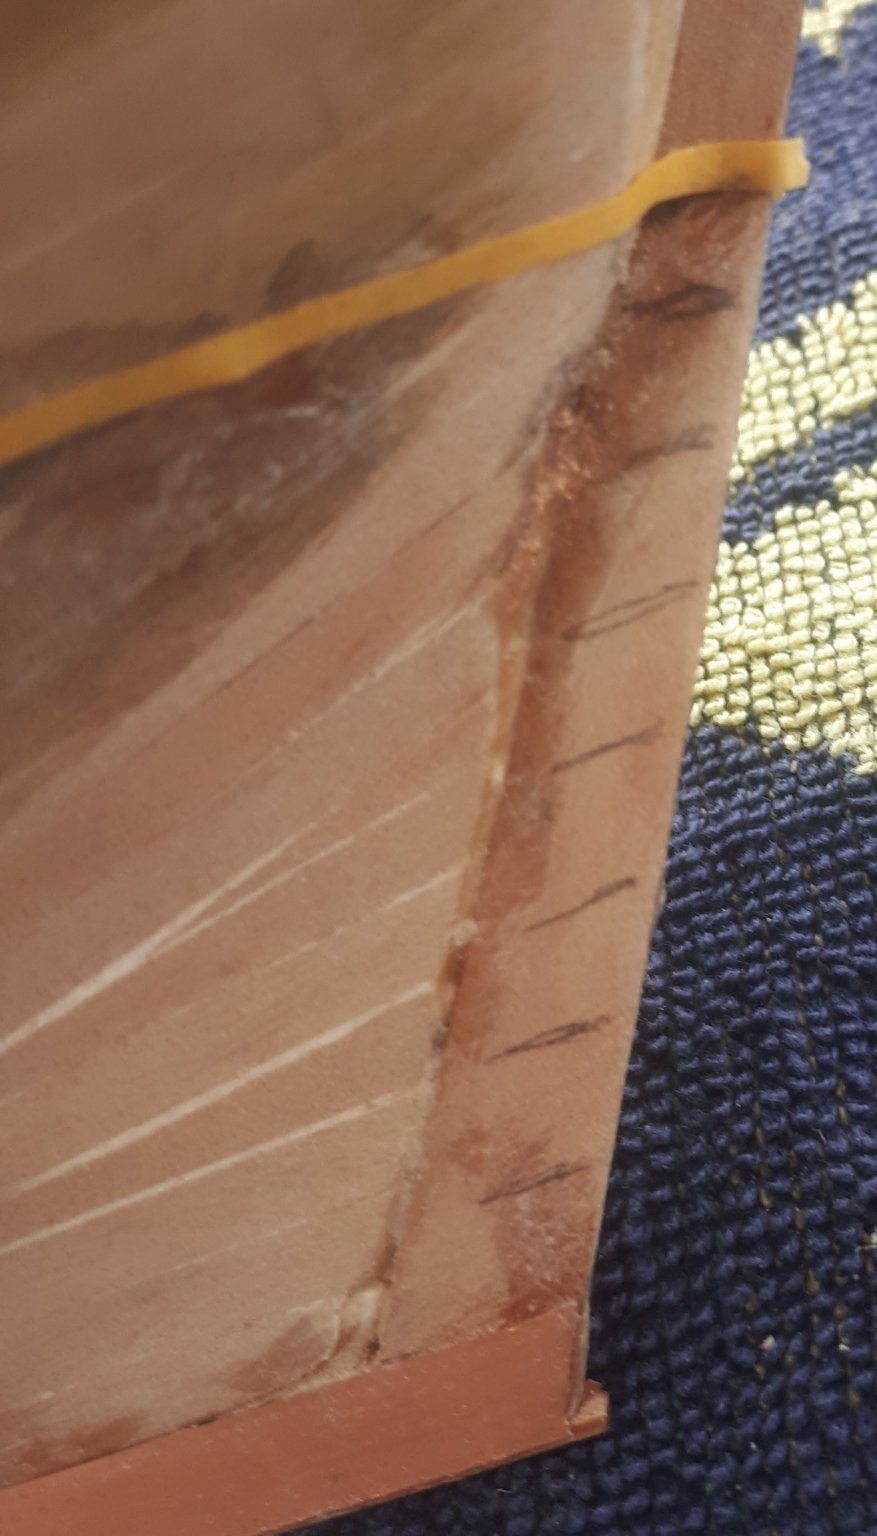
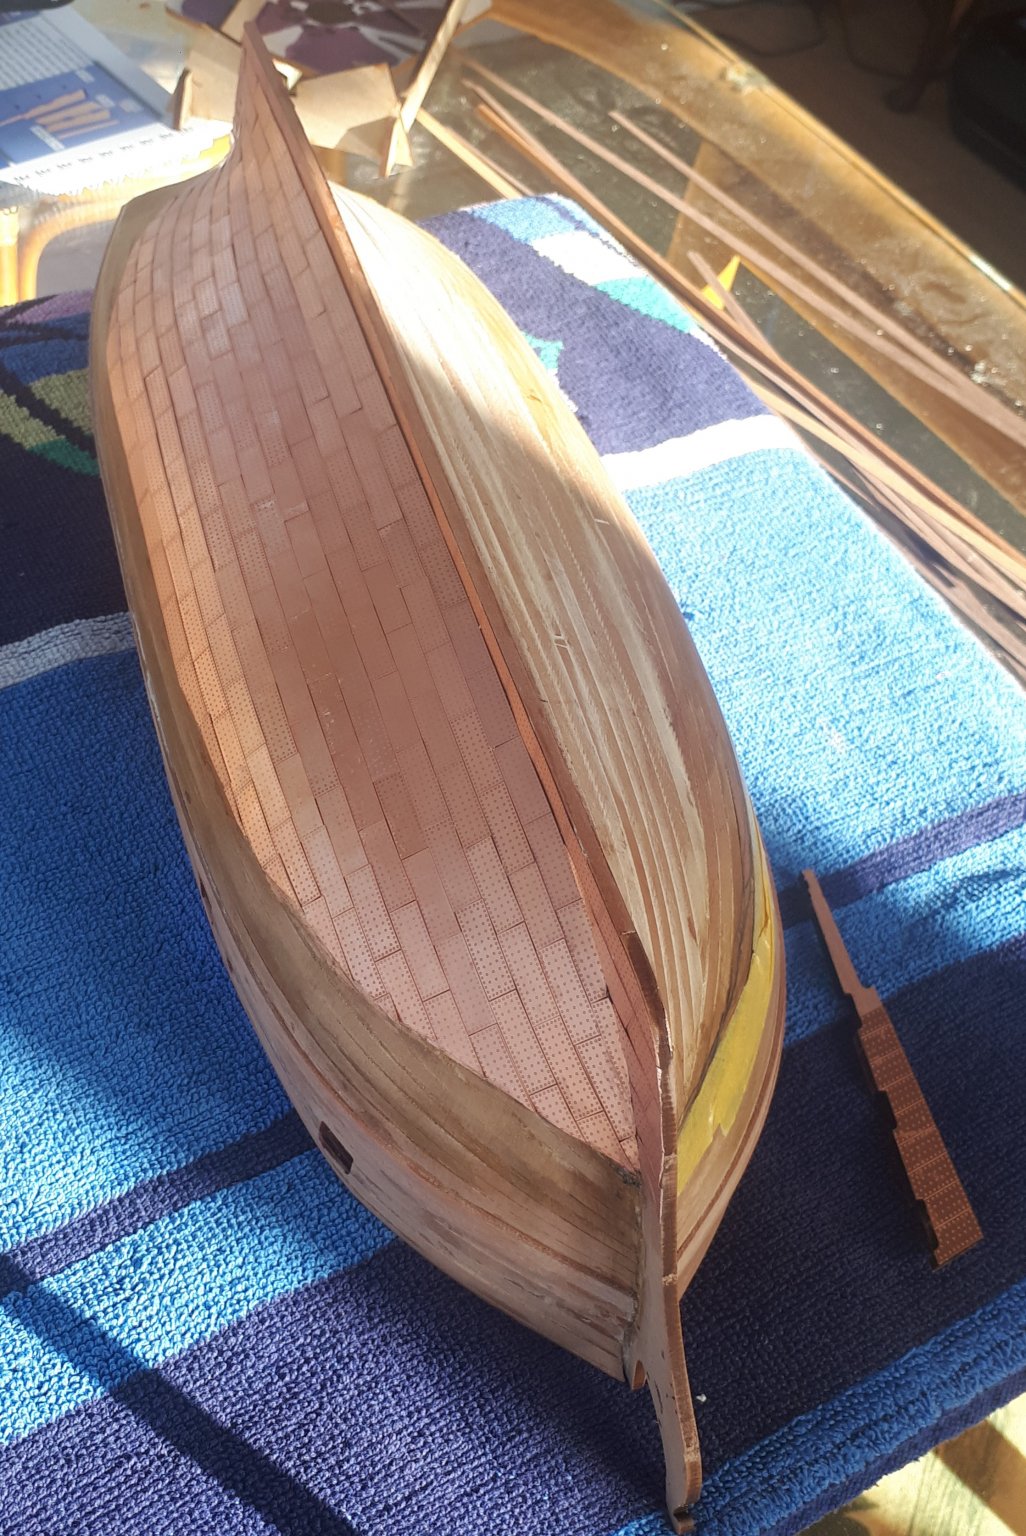
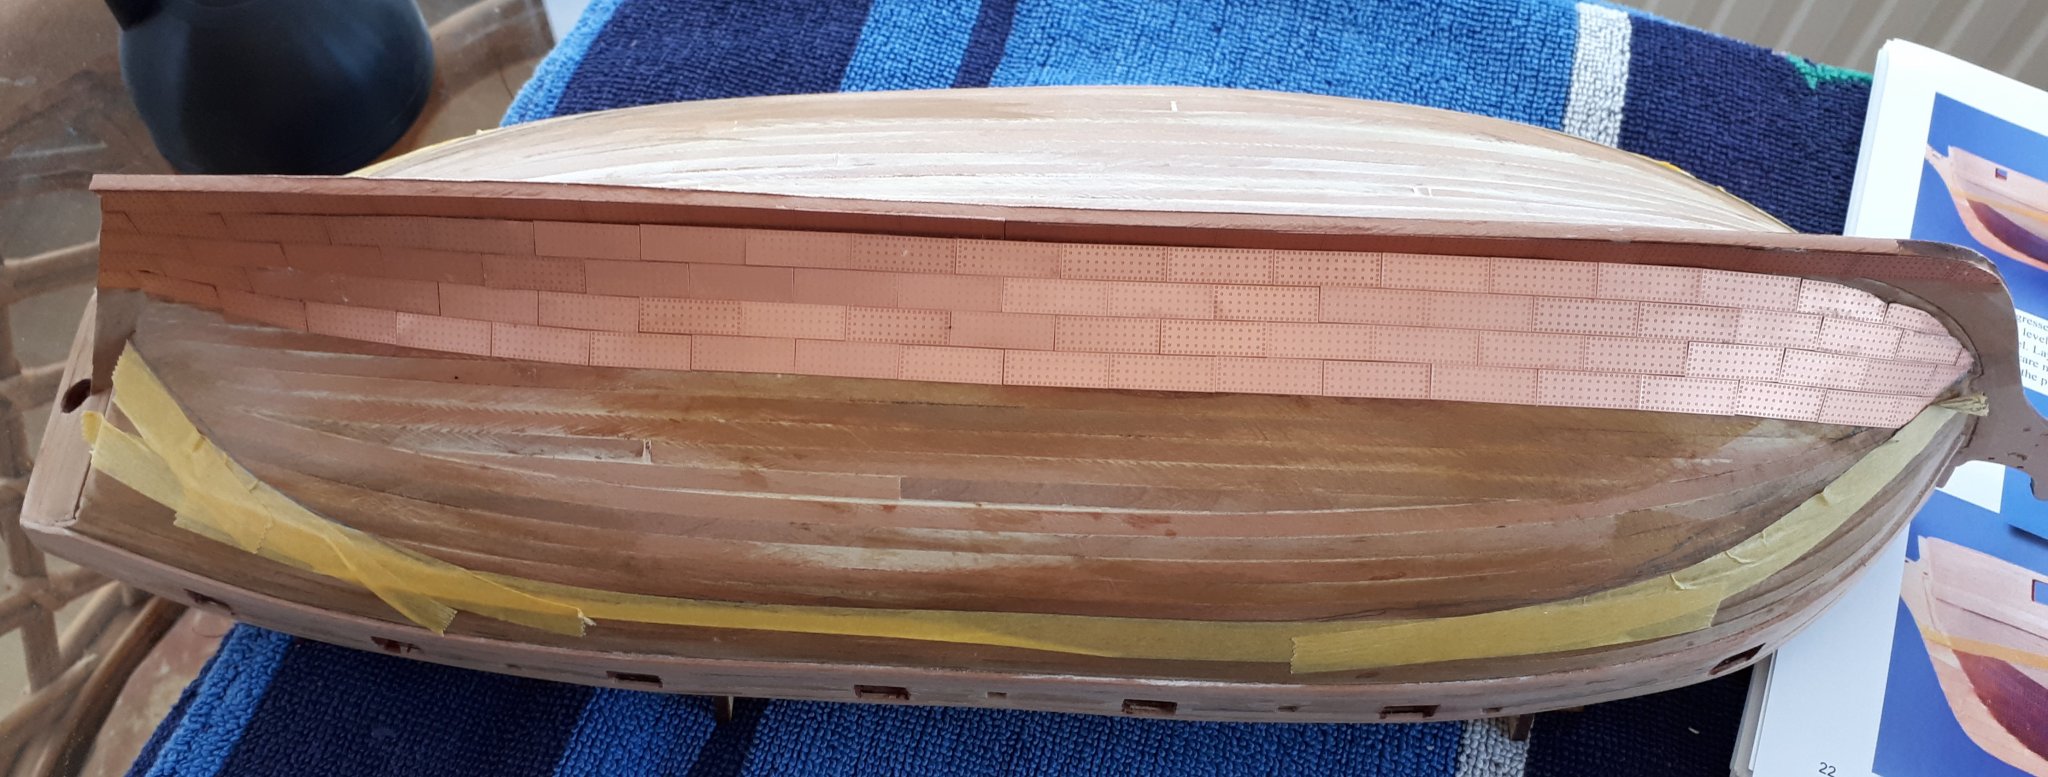
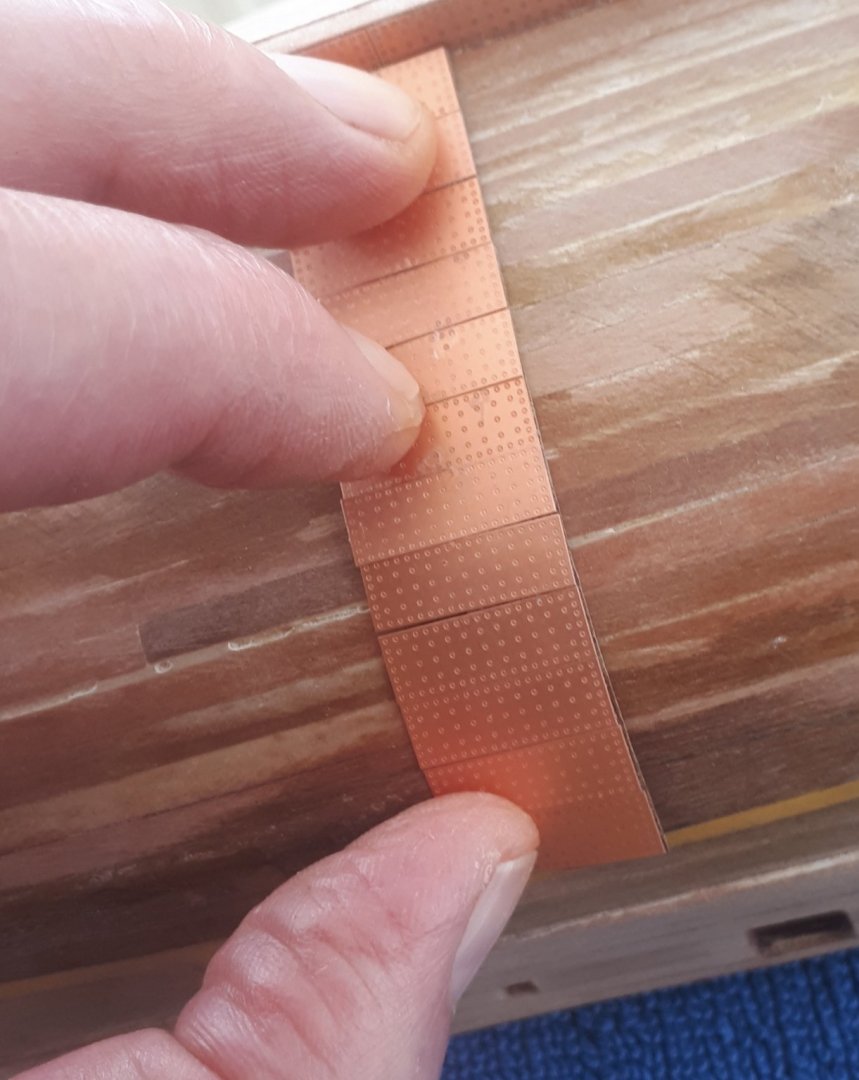
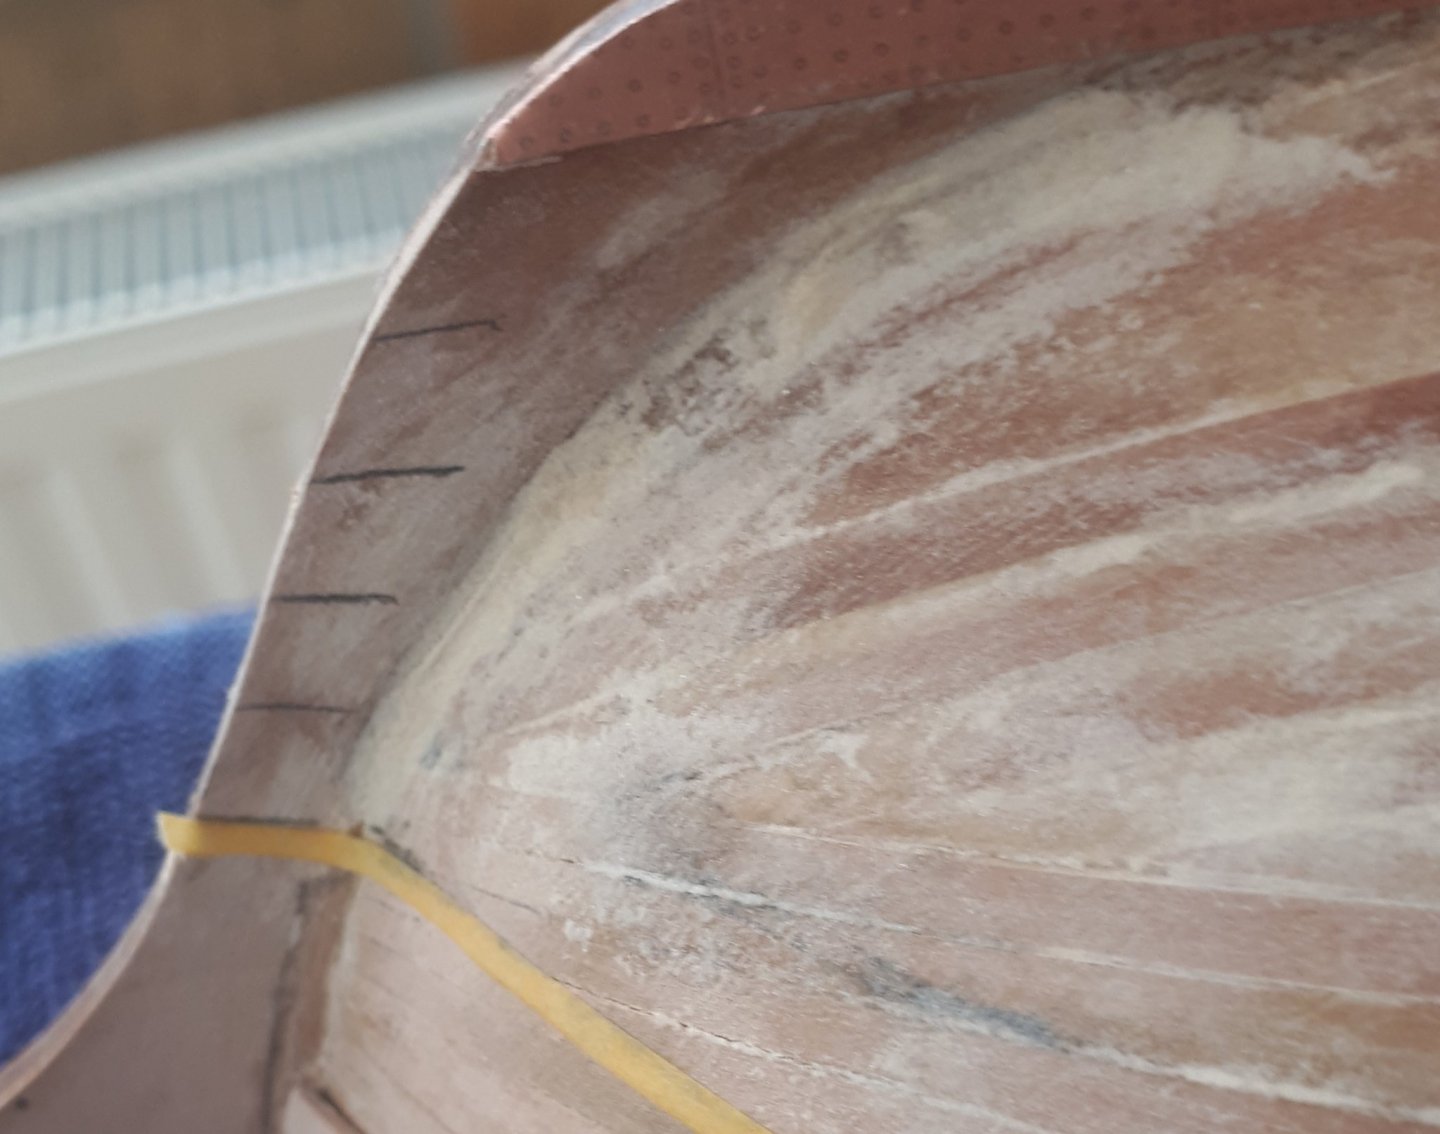
 After removing the copper plates yesterday I took time to study the build photos in the manual and information on plan sheet 4. At the widest point it will require 12 rows of copper plates, ignoring the small slithers on top of the 12th row. At the bow end there are 5 rows of copper plates and at the stern there are 8 rows of copper plates. I decided to make a small jig comprising 12 copper plates on a flexible Vernier backing to mark the position of the water line at the widest point, as shown in the photo below. Noting there were 5 rows copper plates at the bow, I marked them off. The incorrect water line position from my first coppering is still visible in the photo below. coming in after 4 rows of copper plates. Using the copper plated rudder part as a guide I then marked off the 8 rows of copper plates at the stern. Again the incorrect water line is still visible on the photo below, coming in after 7 rows of copper plates. . Using a 1mm by 1mm strip of wood taped to the hull I was then able to indicate the correct position for the waterline. I verified the position at different points along the hull using the photos in the manual as a point of reference. I was then able to draw the waterline using the 1mm x 1mm strip as the guide. I then removed the wood strip and used some 2mm masking tape to highlight the position of the waterline. As a final check I used my water line marking tool to double check the water line position indicated by the tape. I am now very happy the water line is correctly marked. I will redo the copper plating early next week when I get the replacement copper plates from Cornwall Model Boats (probably on Tuesday). As the copper plating progresses I will glue a strip of 1mm x 1mm along the water line so that I get a really neat looking finish to top of the copper plating.

-
I just used my craft knife to pick at a corner of a copper plate and once I had lifted an edge it was easy to pull the plate away. They all came off without too much effort and it took about 60 mins in total to remove approx. 460 copper plates. I could tell the difference between the plates I had secured using thin ca glue and medium ca glue. I have now sanded the hull to remove the residual ca glue and I will be good to go again once the new copper plates have arrived.
-
I have not been totally happy with some of my copper plating. As I progressed with this this task I did find the best method that worked to get the plates to fit neatly. I did rip off some copper plates that could have been fitted better and replaced them. However when I checked the copper plating on the rudder with the copper plating on the hull I noticed my water line was too low, by 1 row of tiles. It would be possible to leave the existing copper plates and add the additional plates but I have now decided to rip off all the copper plates fitted and start again. I have ordered some new 1:64 scale copper plates from Cornwall Model Boats (which were the same size as the kit supplied plates, i.e. 19 x 6mm) I might revert to using the evo stick impact glue as well and I will add the 1mm x 1 mm strip along the water line before I start the copper plating. Based on the time taken so far I would expect it will take approx. 2 day per hull side to plate the hull.
-
I was referring to my Speedy build, sorry for any confusion.
-
Looks can be very deceptive. Not so neat in some places when you are up close to my Speedy build
-
It worked really well on my Victory build, a 1mm by 1mm strip is very bendy and not very visual.
-
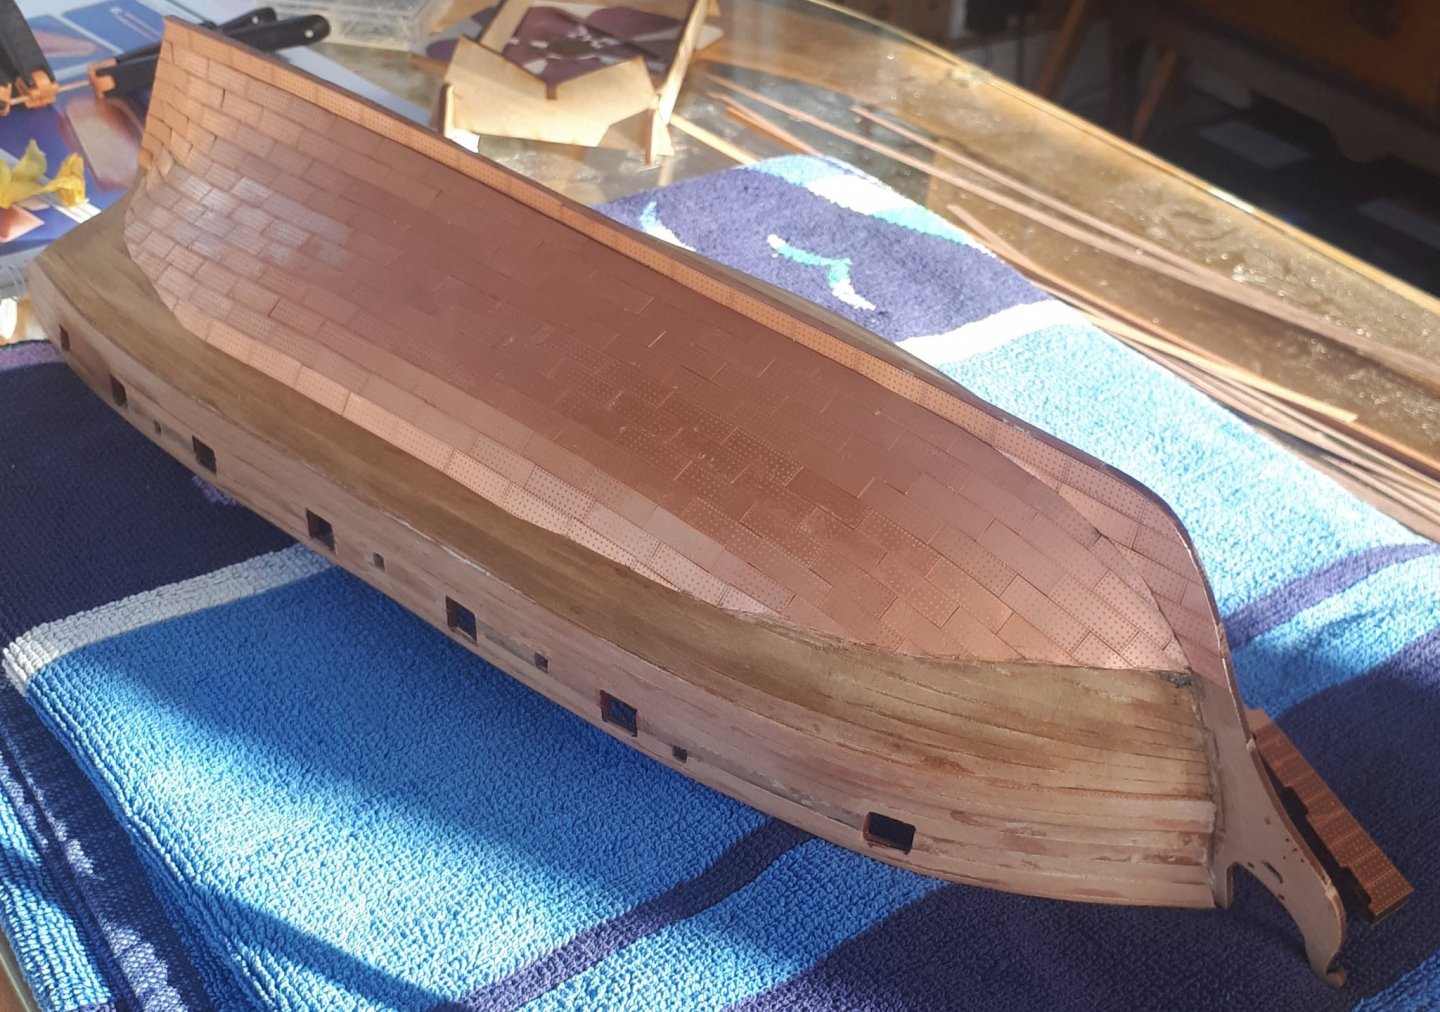
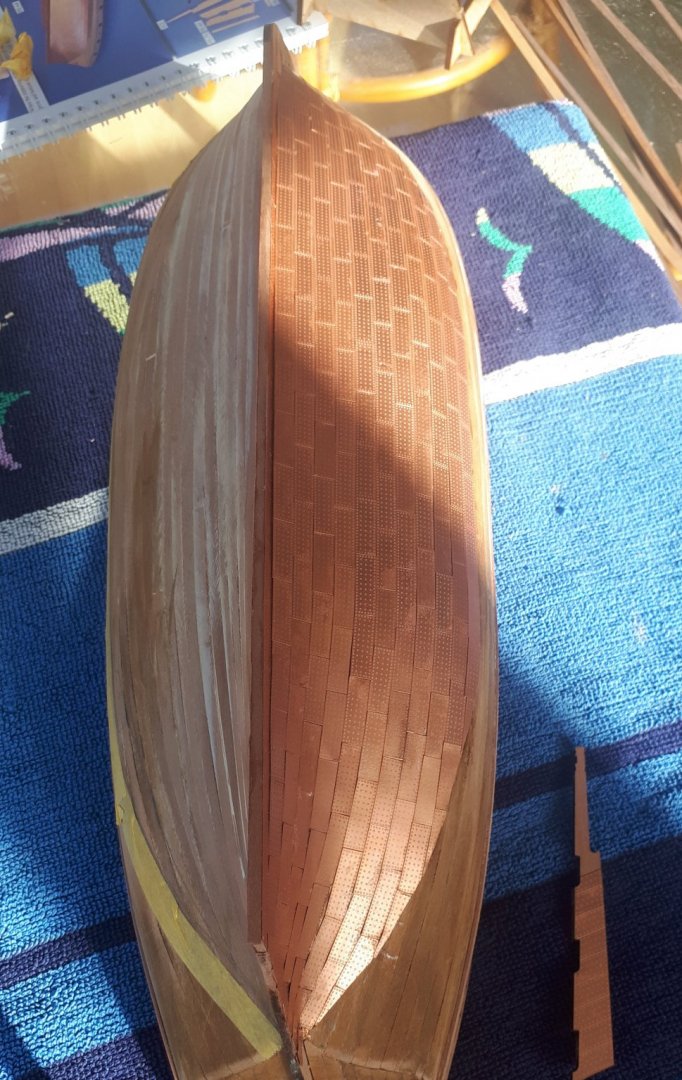
I have now completed the copper tiling of port side of the hull. It is not my best work by a long way but it looks OK (from a distance!!!!). I am planning to add a small 1mm strip along the upper edge to make it look a bit neater. I have just remembered, when I copper plating the HMS Victory I added a 1mm strip along the water line before I started the copper tiling which made getting a neat edge much easier. I should have done this for this build, as it can always be removed without to much effort afterwards if required. I have also added the copper tiles to the rudder.

-
I think eco stick instant impact is the best glue. I used that when adding the 3000 tiles on HMS Victory. The super phatic may be ok, but I would think you might need to wait a few mins so it gets tacky before appling the tiles. I did start by appling a small dollop of ca to the centre of the tile, and positioning using my twezzers. That method didn't really work for me so I opted for a small thin layer of ca on the hull and postioning using my metal pointer tool. I found I could move along at a reasonable pace and most copper tiles could be positioned a bit before the glue set. I did have to rip off and discard some really badly positioned tiles. If I had been more patient I should have gone to the local shop to get the evo stick glue before starting.
-
I have nave now added the wales and marked the waterline. I then placed some tape above the waterline. I then started adding the copper tiles. I'm not very at the coppering but I know it will look OK once completed. Last time I used Evo stick instant impact which allowed time for the tile to be moved around and position correctly. I started this task using ca clue and some of the tiles became stuck fast before I was really happy with the position. I have found the best method (for me) was to apply a thin coat of ca for approx. 3 tiles on the hull and then to position the tiles one by one.


-
My local hobby shop recommended the super phatic glue to me and I have found it to be a very useful glue.
-
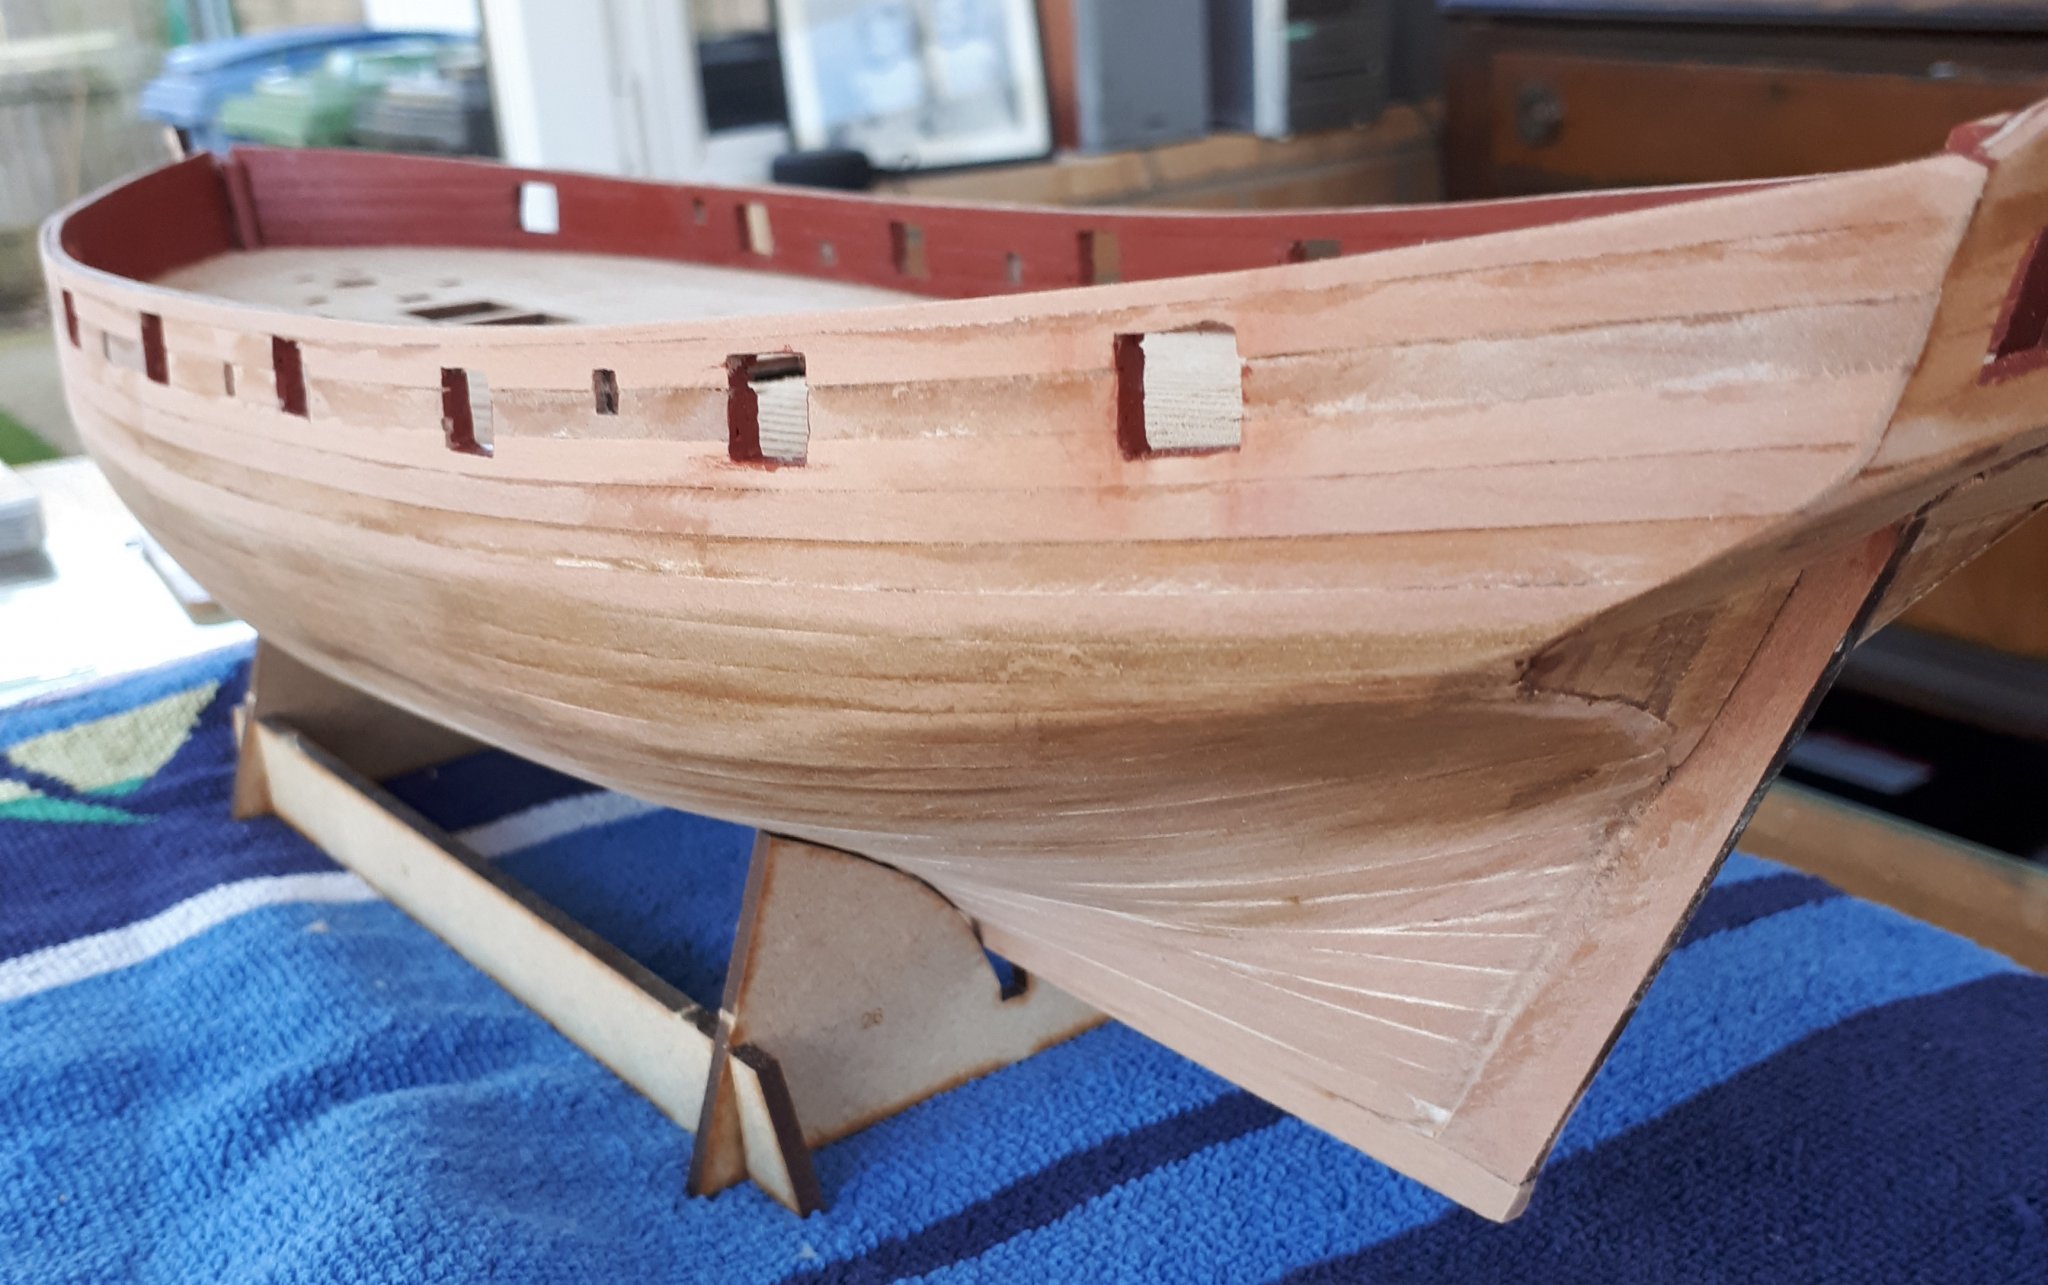
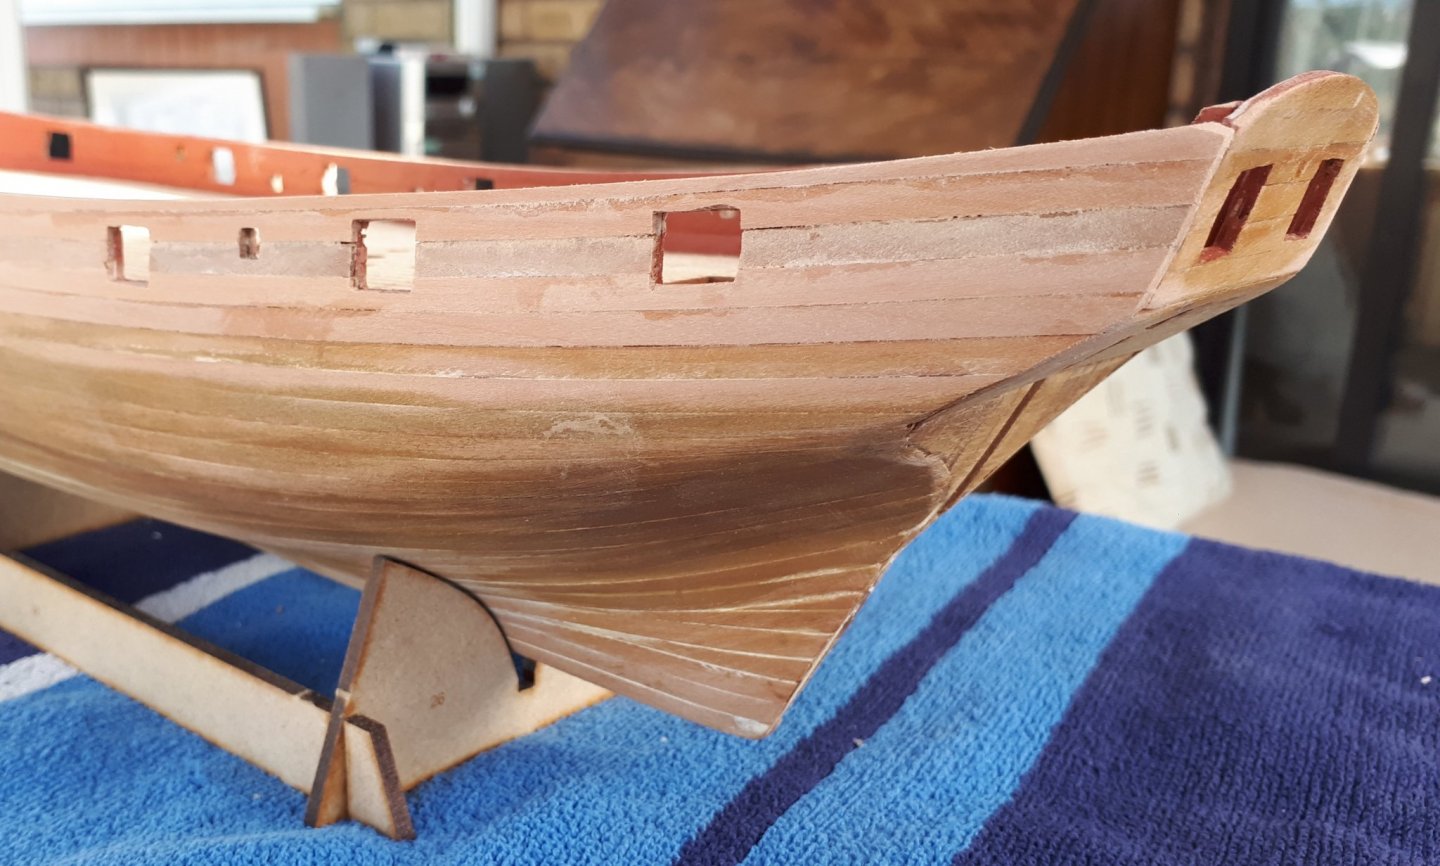
This morning I completed the sanding of the hull. I applied a small drop of my super phatic glue where there were some very minor gaps and then sanded over so the sawdust could bind with the glue. It seemed to work out very nicely. I also painted the gun port openings red. I may still line the gun ports at a later stage, but this will be after I have assembled the gun carriages and after I have checked to see if there is any alignment issues with adding linings. I have also fitted the prow, keel and rudder posts as well.


-
I was planning to check ports with an assembled cannon before fitting linings. I have painted the openings red already.
-
I have had a scan through Chris's Speedy build notes. The only reference I can find relates to the design of the gun port strips. I think it would be ok with thin 3mm strips.
-
Hi Derek I only used a couple of filler pieces below the water line, where I had cocked up the shaping of the plank to be fitted. I have done a bit of testing and 3mm strips will be good for the lining of the gun ports. I will probably do that much later down the line.
-
After completing planking the inner bulwarks, I used the laser marked points on the gun port strips and drilled through using a 0.8mm drill. It is a great innovation for this design to provide the guide points for these holes. I then moved on to the outstanding 2nd planking which did not take me too much time to complete and I do have a few planking strips left over. I have given the new planks a preliminary sanding. The entire hull will require one a final sanding before moving on to the next phase of the build which is adding the wales, stern post and keel items. I have not checked the build instructions but I am thinking about adding some linings to the gun port openings later on.
-
I have plenty of 2nd planking strips left. I have been using off cuts to fill in between the gun port gaps when appropriate to do so. I have now completed all the 2nd planking except for the port side final stage.
-
I did the same with the gun port openings, i.e. clearing the opening after each plank was added. The oar port openings were quite small and I did find it easier to clear the opening in one go.
-
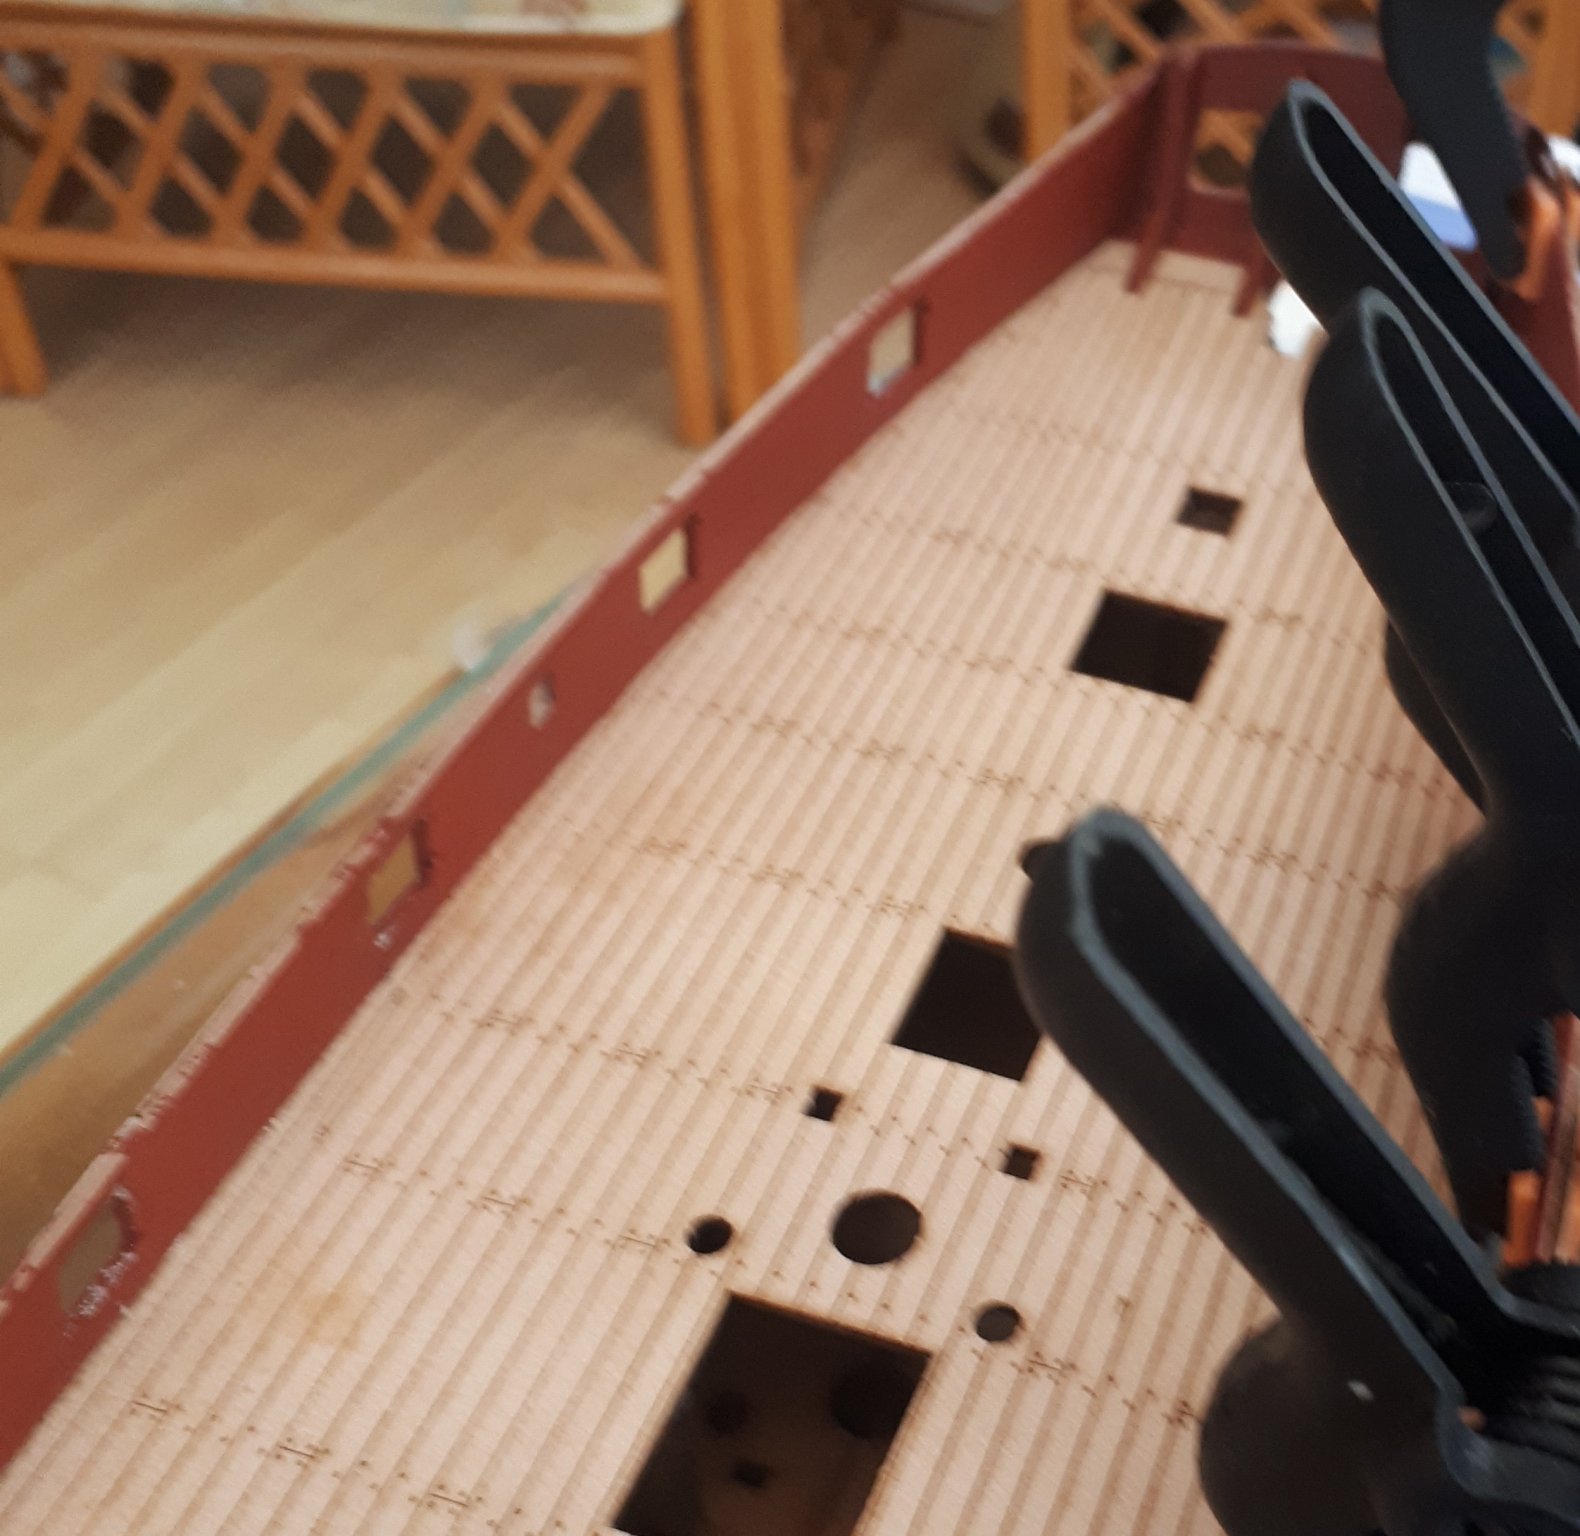
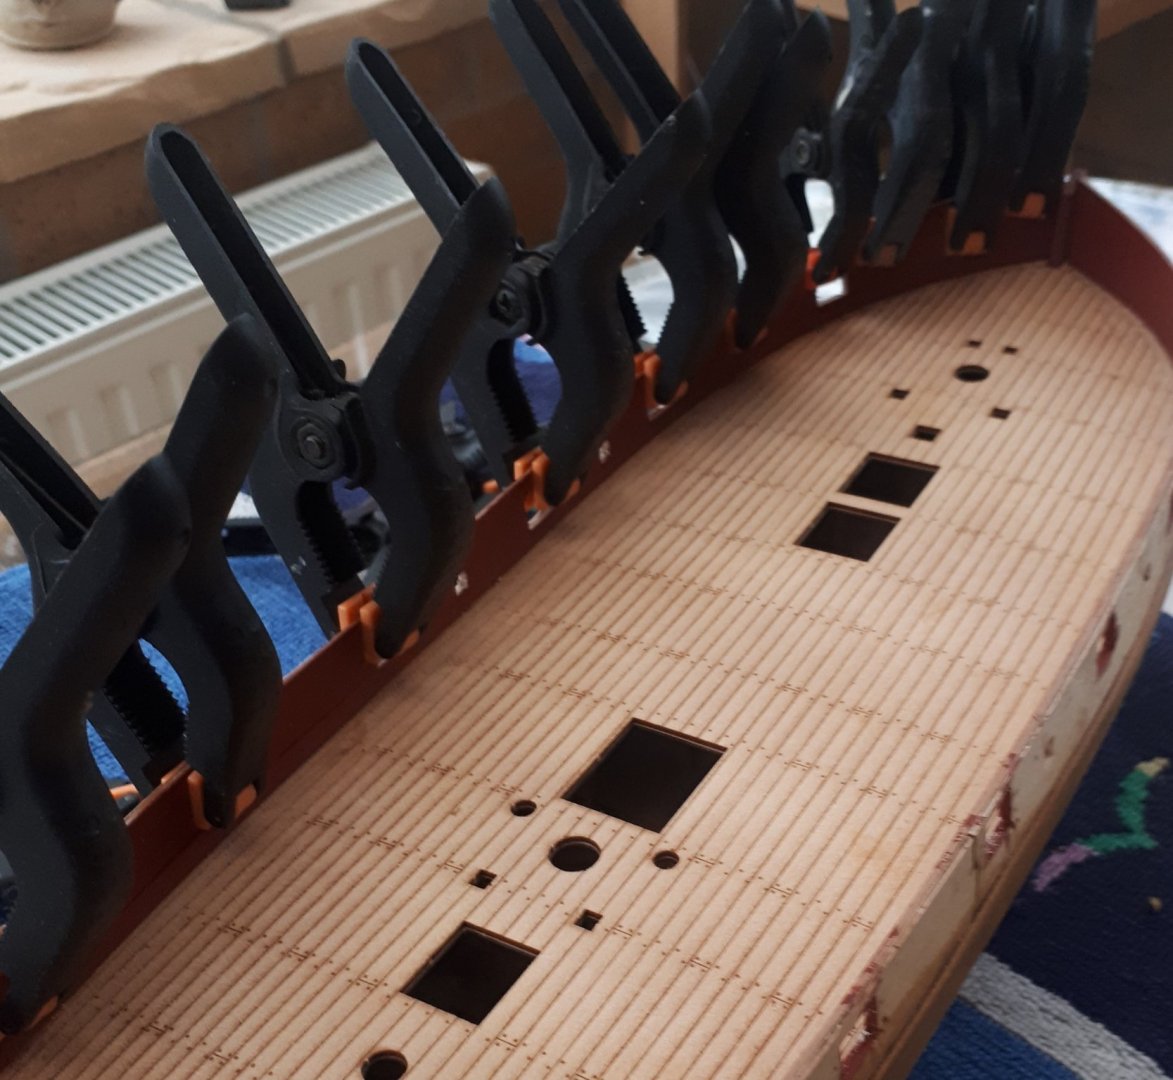
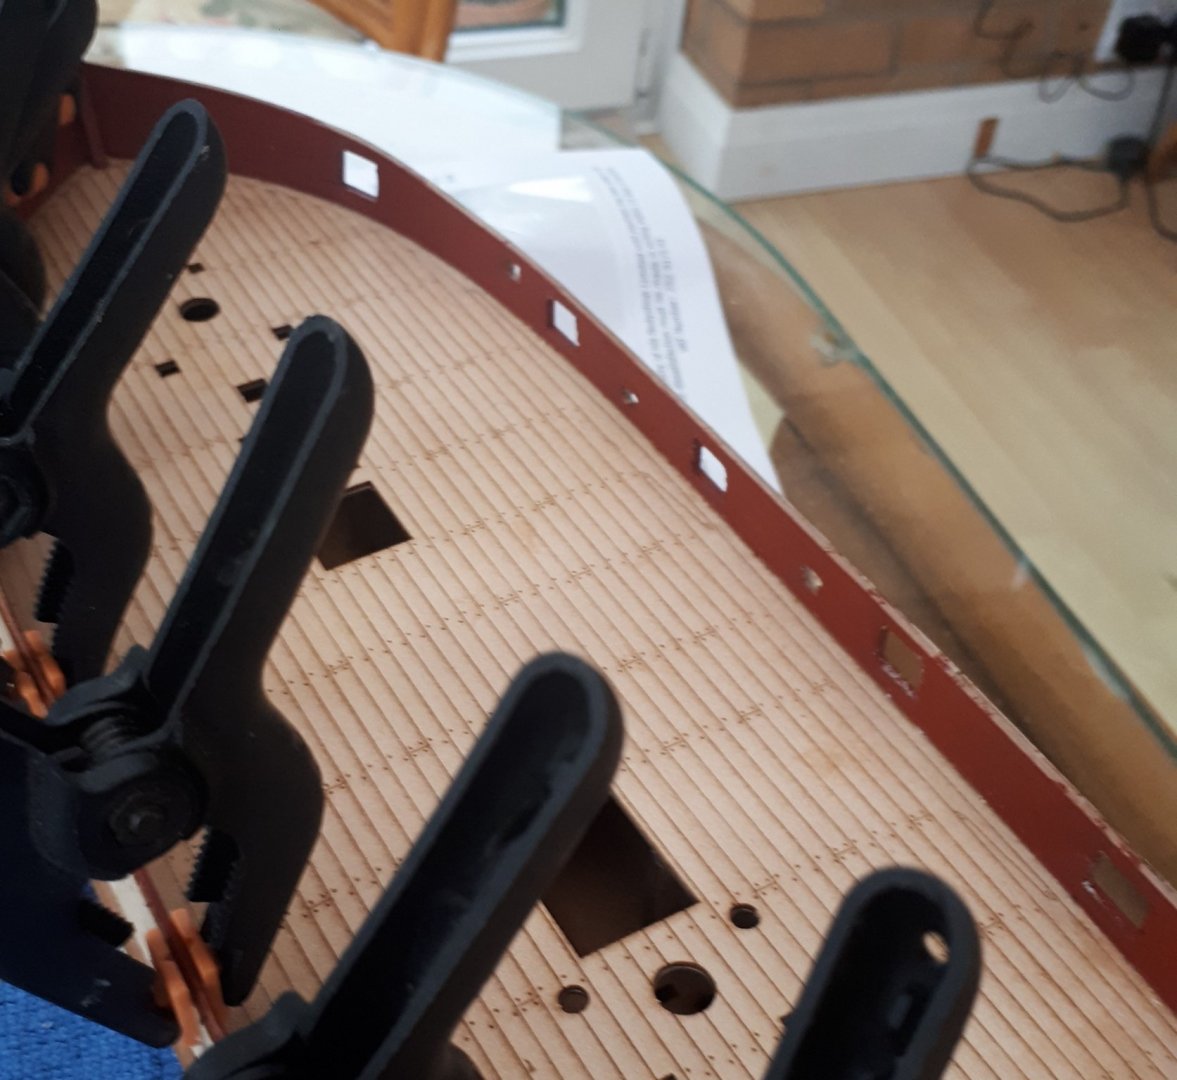
I've been away for a few days but I've now returned so I can continue on with my build. I am currently planking the inner bulwarks. I completed the starboard side before I went away, but require a little bit of tinkering around the gun port and oar port openings, sorry about the quality of the photo's. I then moved on to complete the port side bulwark planking. I used my super phatic glue and clamped each plank and allowed the glue to cure for at least 30 mins before moving on to the next plank. As seen in the pictures below I have completed the planking and I'm just waiting for the final plank's glue to cure before removing the clamps. I decided to clamp around the gun port and oar port openings to ensure a good bond. I have found this made the removal of the excess wood a bit easier. For the oar port openings I found it easier to use a small drill to make a series of holes which I then joined up with my craft knife to clear the opening. The ports were then tidied up using my needle files.


-
I use Super Phatic glue by Deluxe materials (50ml) which comes with its own plastic applicator tube for accurate positioning of the glue. This glue is a thin, non-fuming cyano alternative which dries in 10 -20 minutes (or quicker with finger pressure) It has a low odour, with water clean up. It penetrates much further than other glues. Waterproof when dry. Some of the many uses: Pin & glue balsa & hardwood. Bonds plastic hinges.
- 725 replies
-
- 1
-

-
- vanguard models
- speedy
- (and 1 more)
-
I went with the laser cut deck. Looks good to me. It is not the main focus of the build in my opinion, once all the deck fitting, masts and rigging have been installed.
-
Looks very nice. I had never tried edge bending before but made the planking job so much easier. I was not too bothered about the standard of the planking once I got below the waterline, but actually I was pleased with my end result.
-
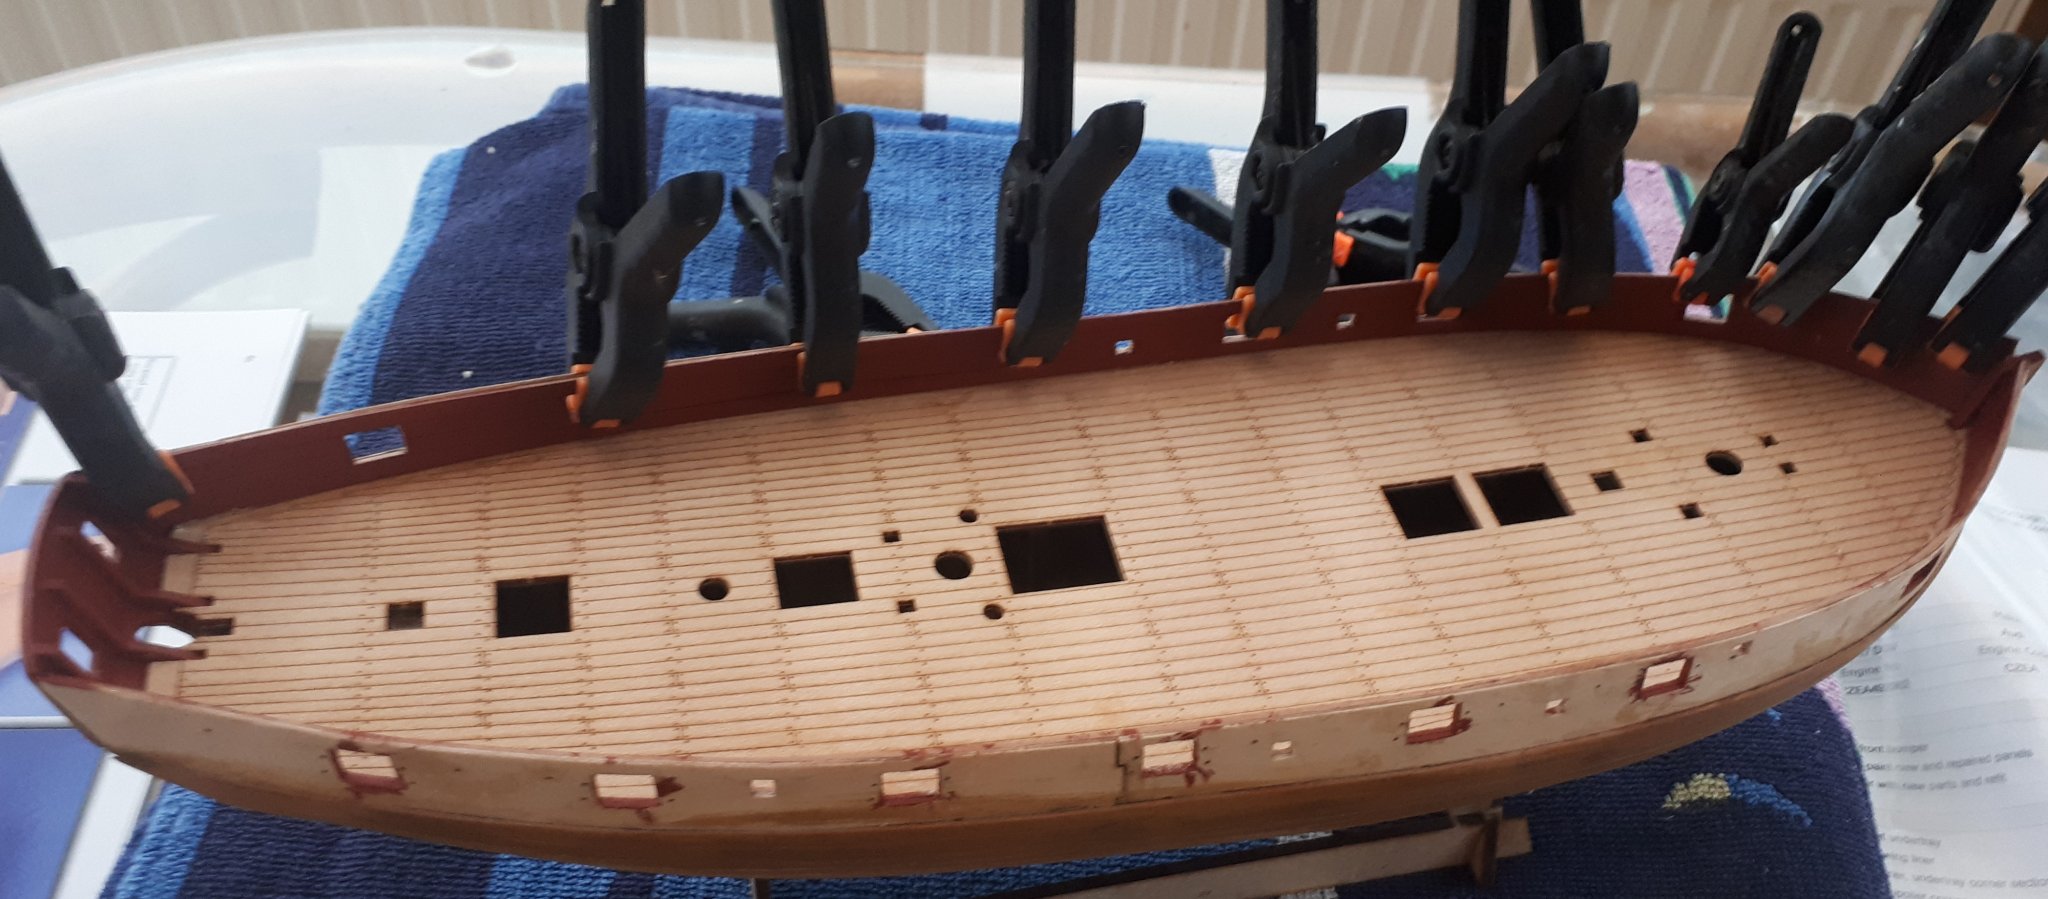
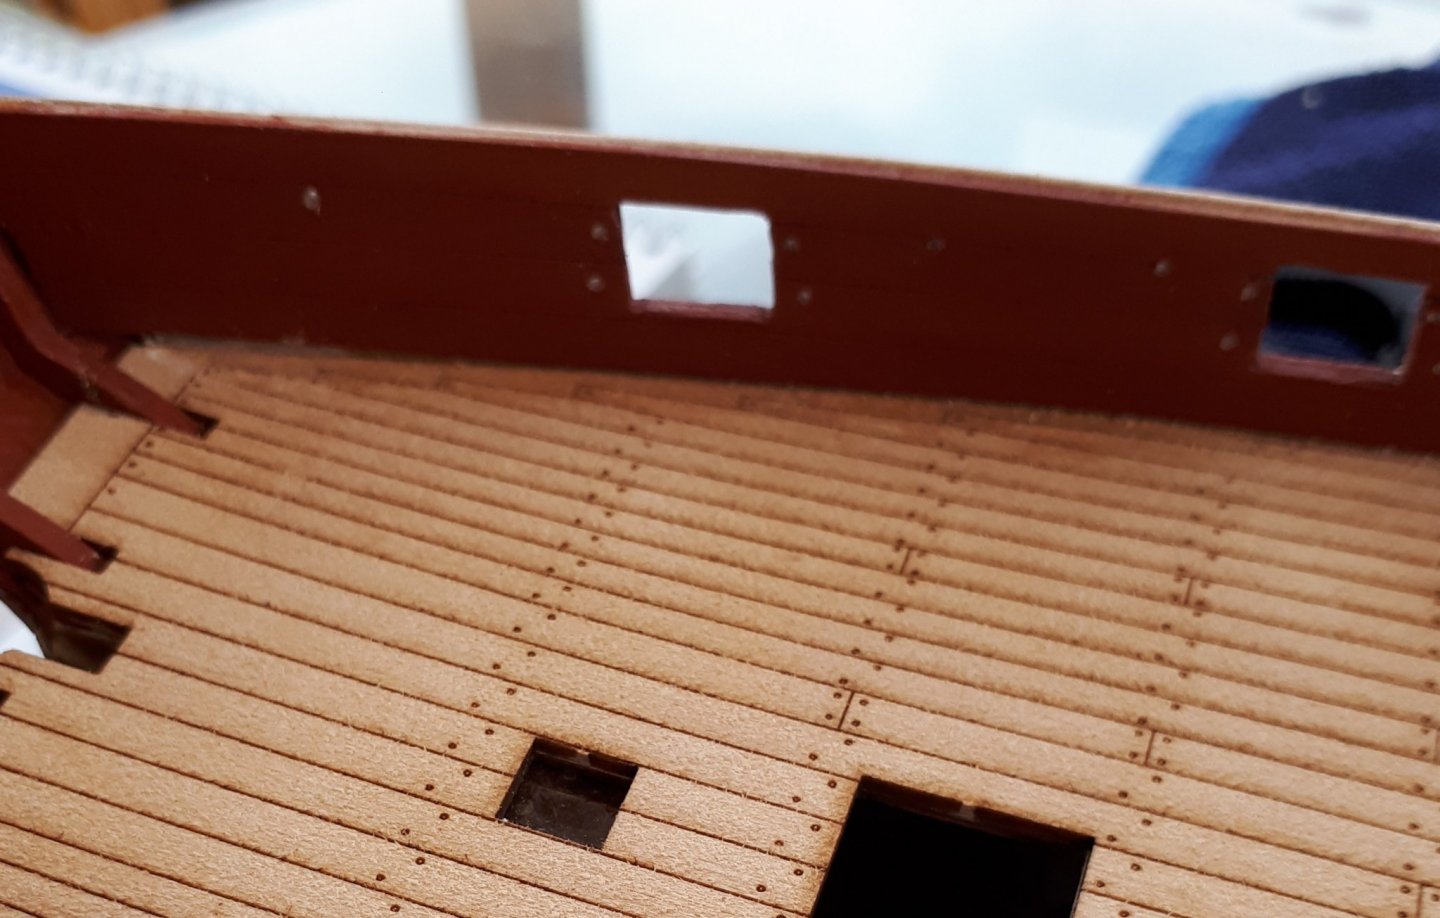
I had a bit more free time so I went ahead and fitted the laser cut deck. It was a very good fit and all the cuts outs lined up perfectly. There were no problems with the installation. I used my super phatic glue for this task which is a nice mix between wood glue and ca. The deck edges gripped very quickly with this glue and there was no need to use any pins or weights to keep the deck in place. Tomorrow I hope to start the planking of the inner bulwarks. In the manual Chris used 1 strip which he is cut in to 2 planks for each row. I have noted the laser cut deck plank lengths are 3.5 inches (89mm). I am tempted to use the same length for each inner bulwark plank. Thoughts anyone?
-
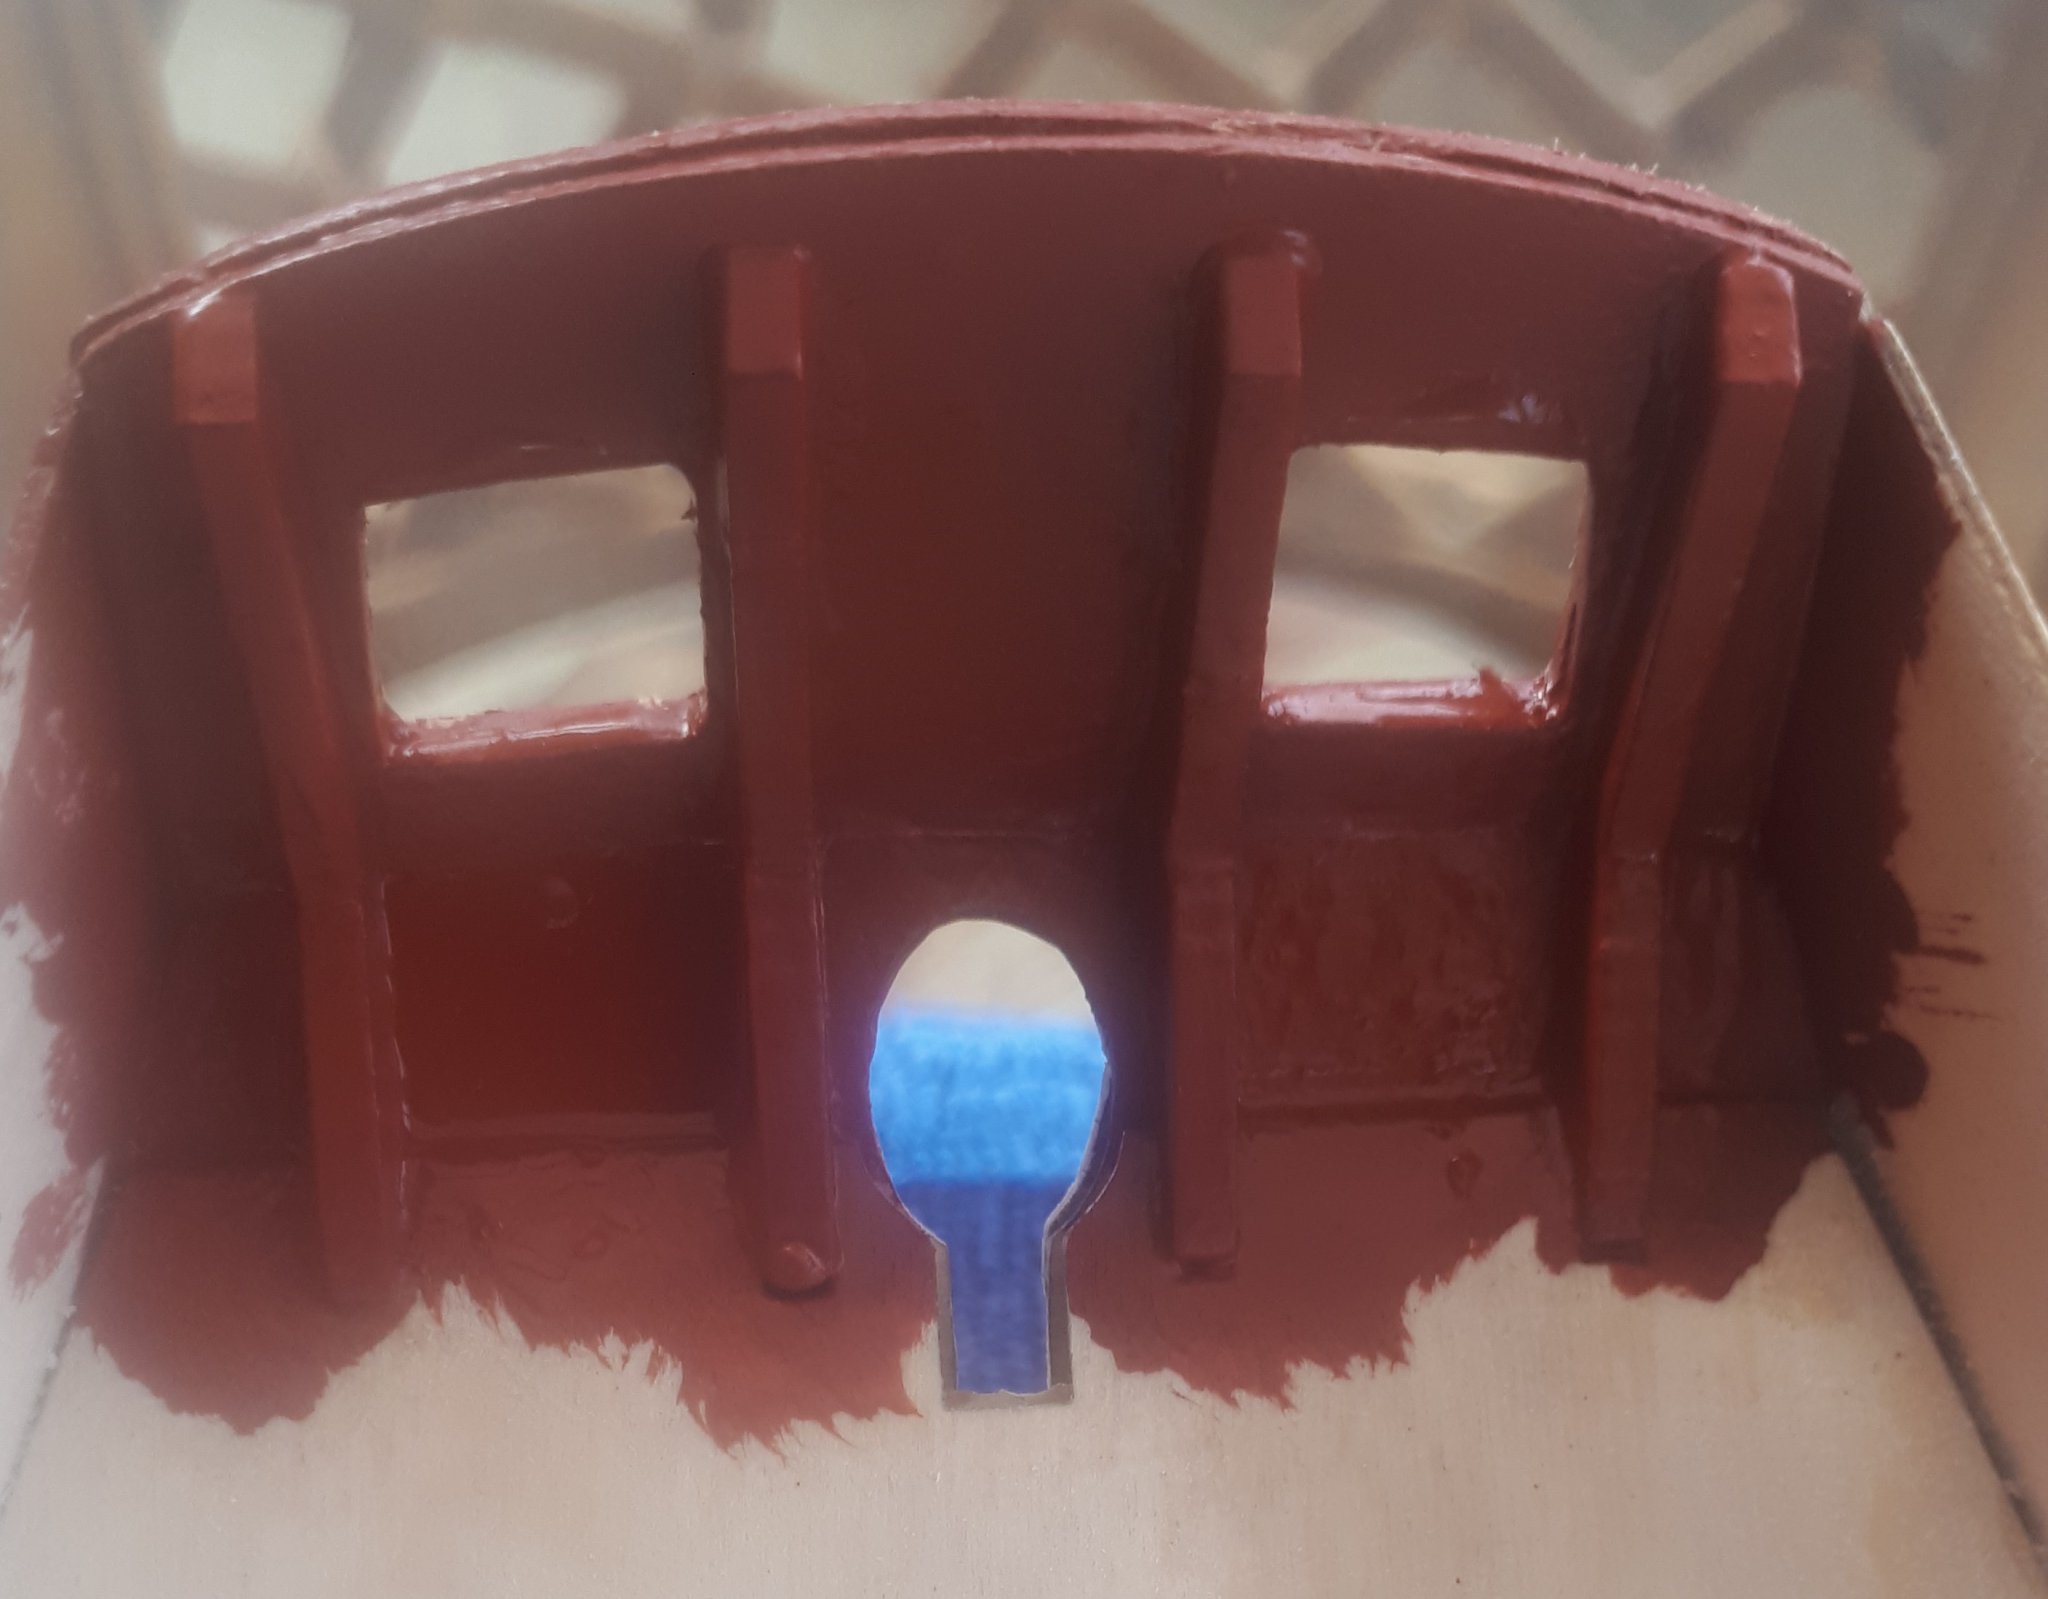
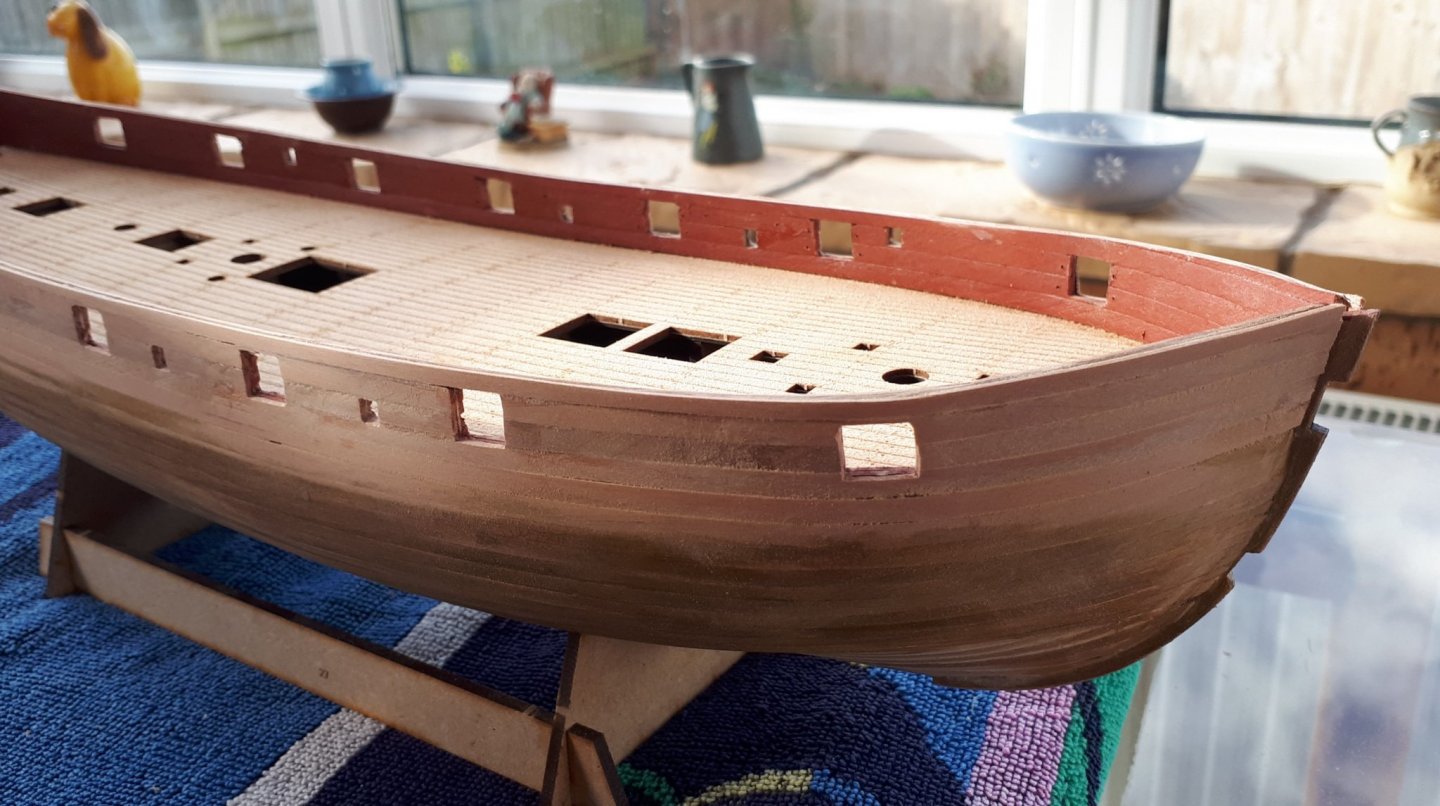
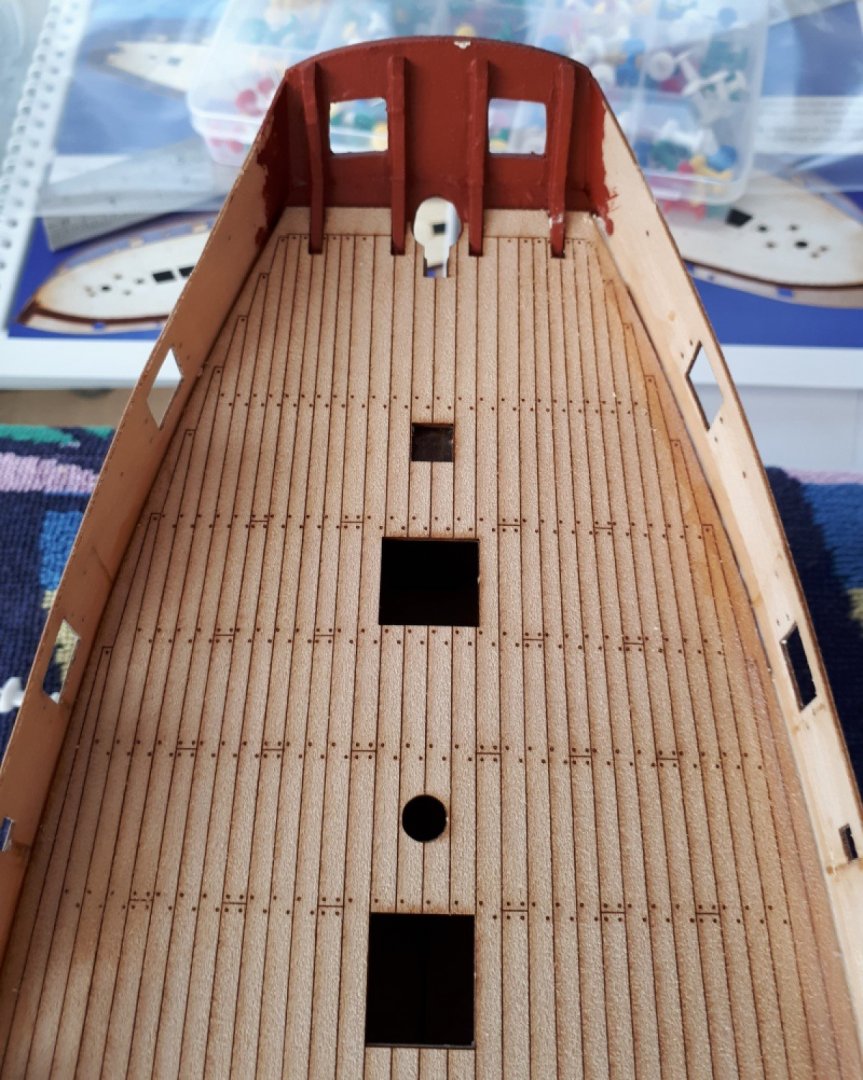
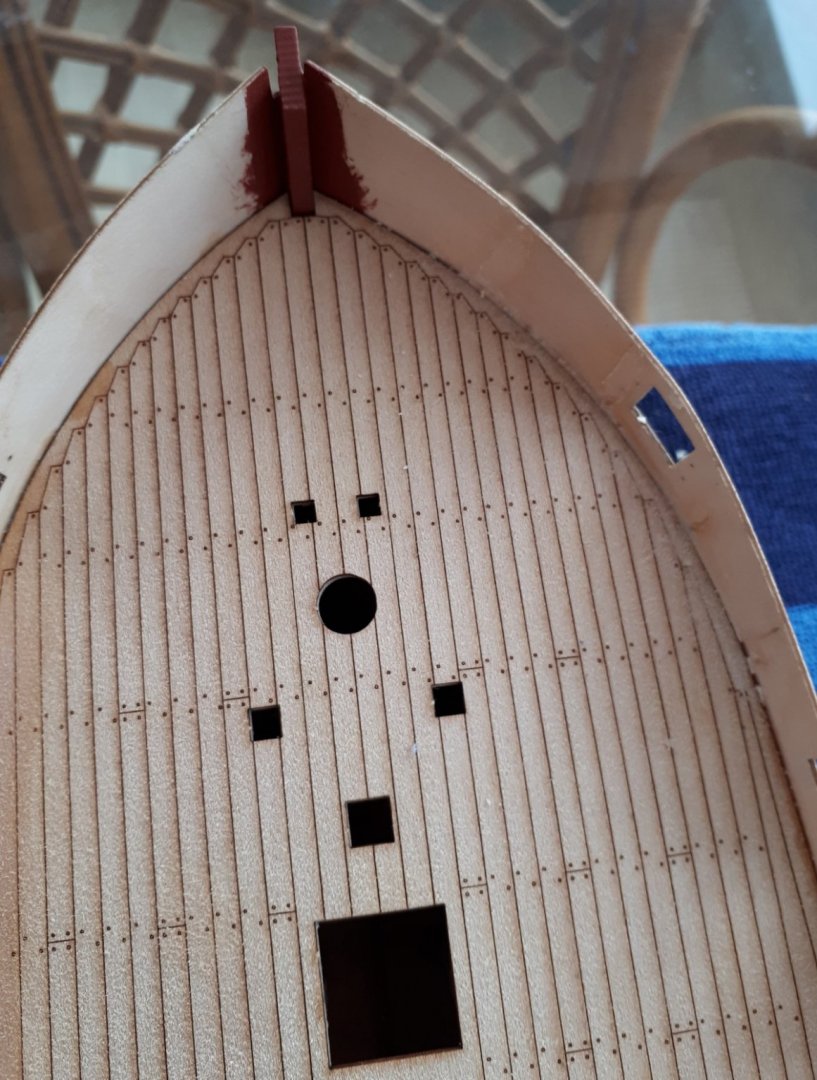
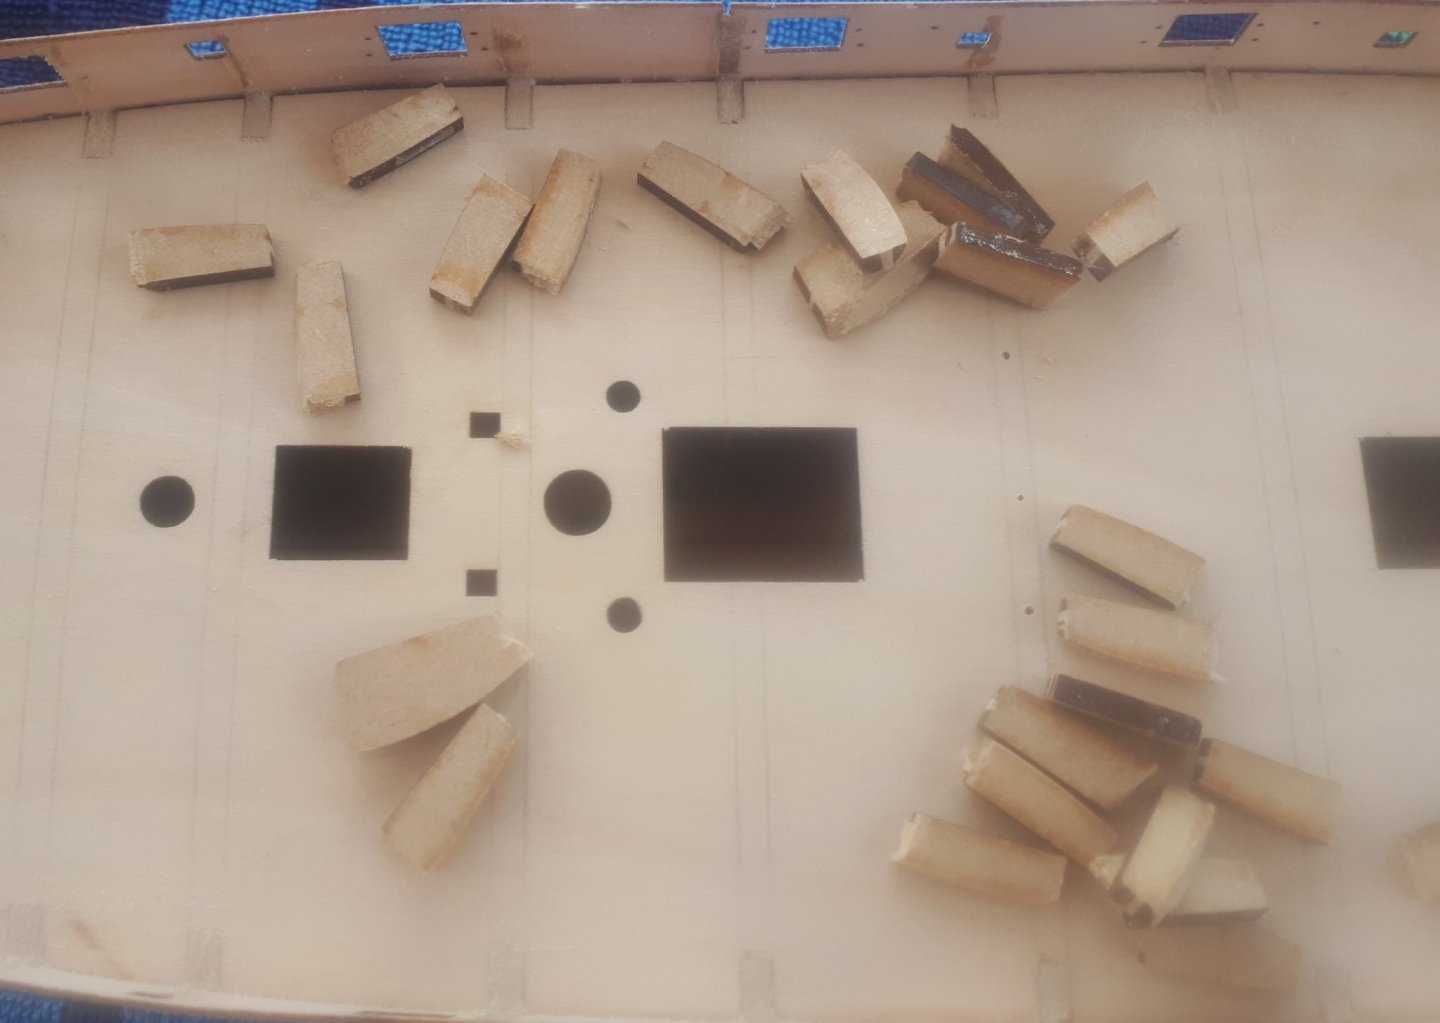
Today I removed the excess bulkhead tabs from the inner bulwark's. This turned out to be a very easy task, the tabs came away without too much effort and the deck required very little sanding to get the surface smooth. I then went ahead and painted the inner stern and inner prow area's red. I can see from this photo beneath that the top edge of the stern panel requires a little bit more attention which is strange as it actually looked OK to the naked eye. After the laser cut main deck has been fitted the inner bulwark's can be planked. I have estimated that each side will require approx. 4 planking strips. I have therefore painted 8 strips, using the red paint in preparation for this task.

-
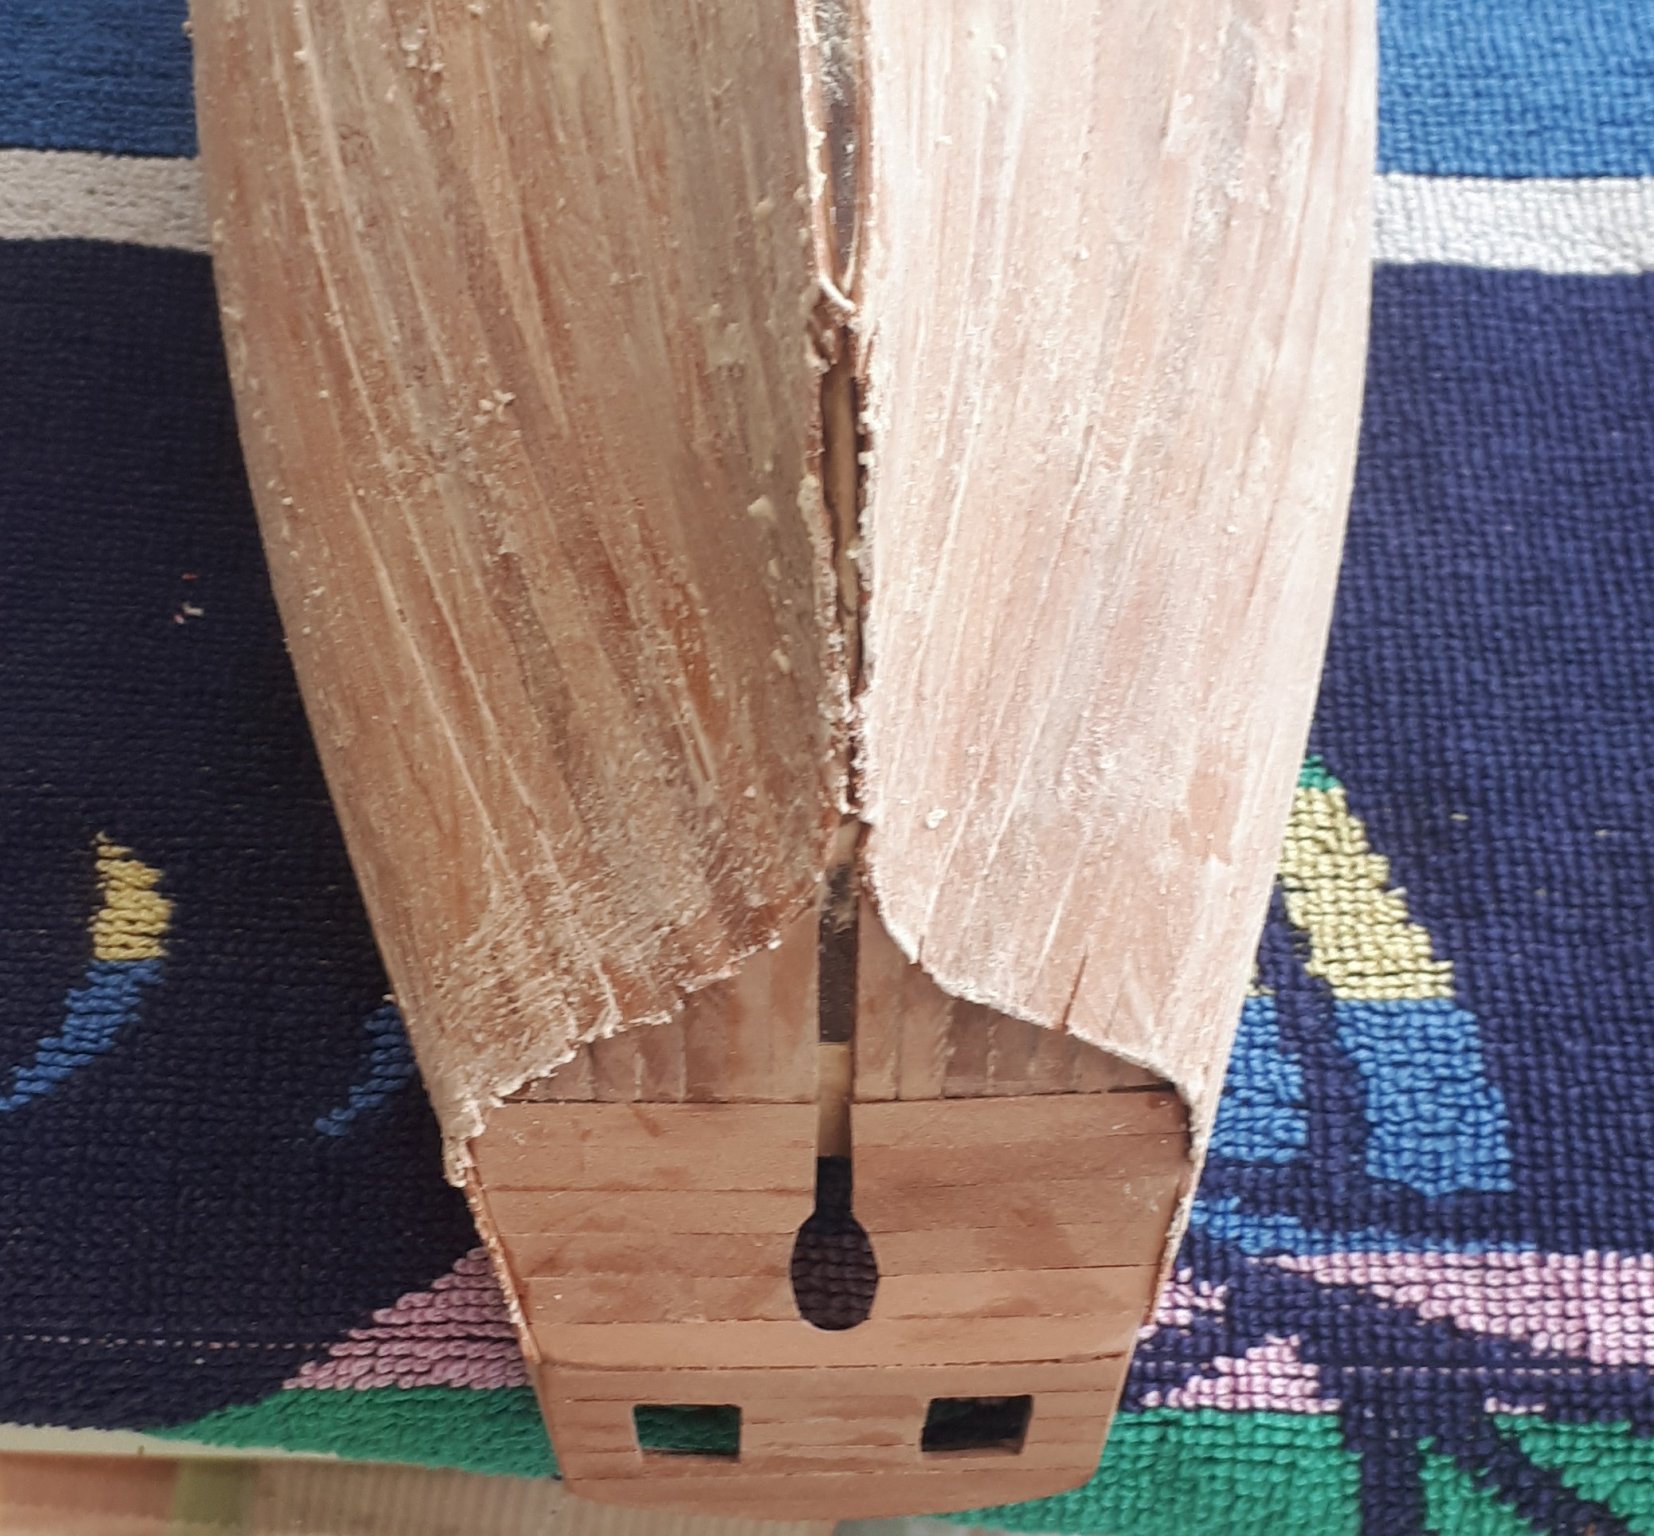
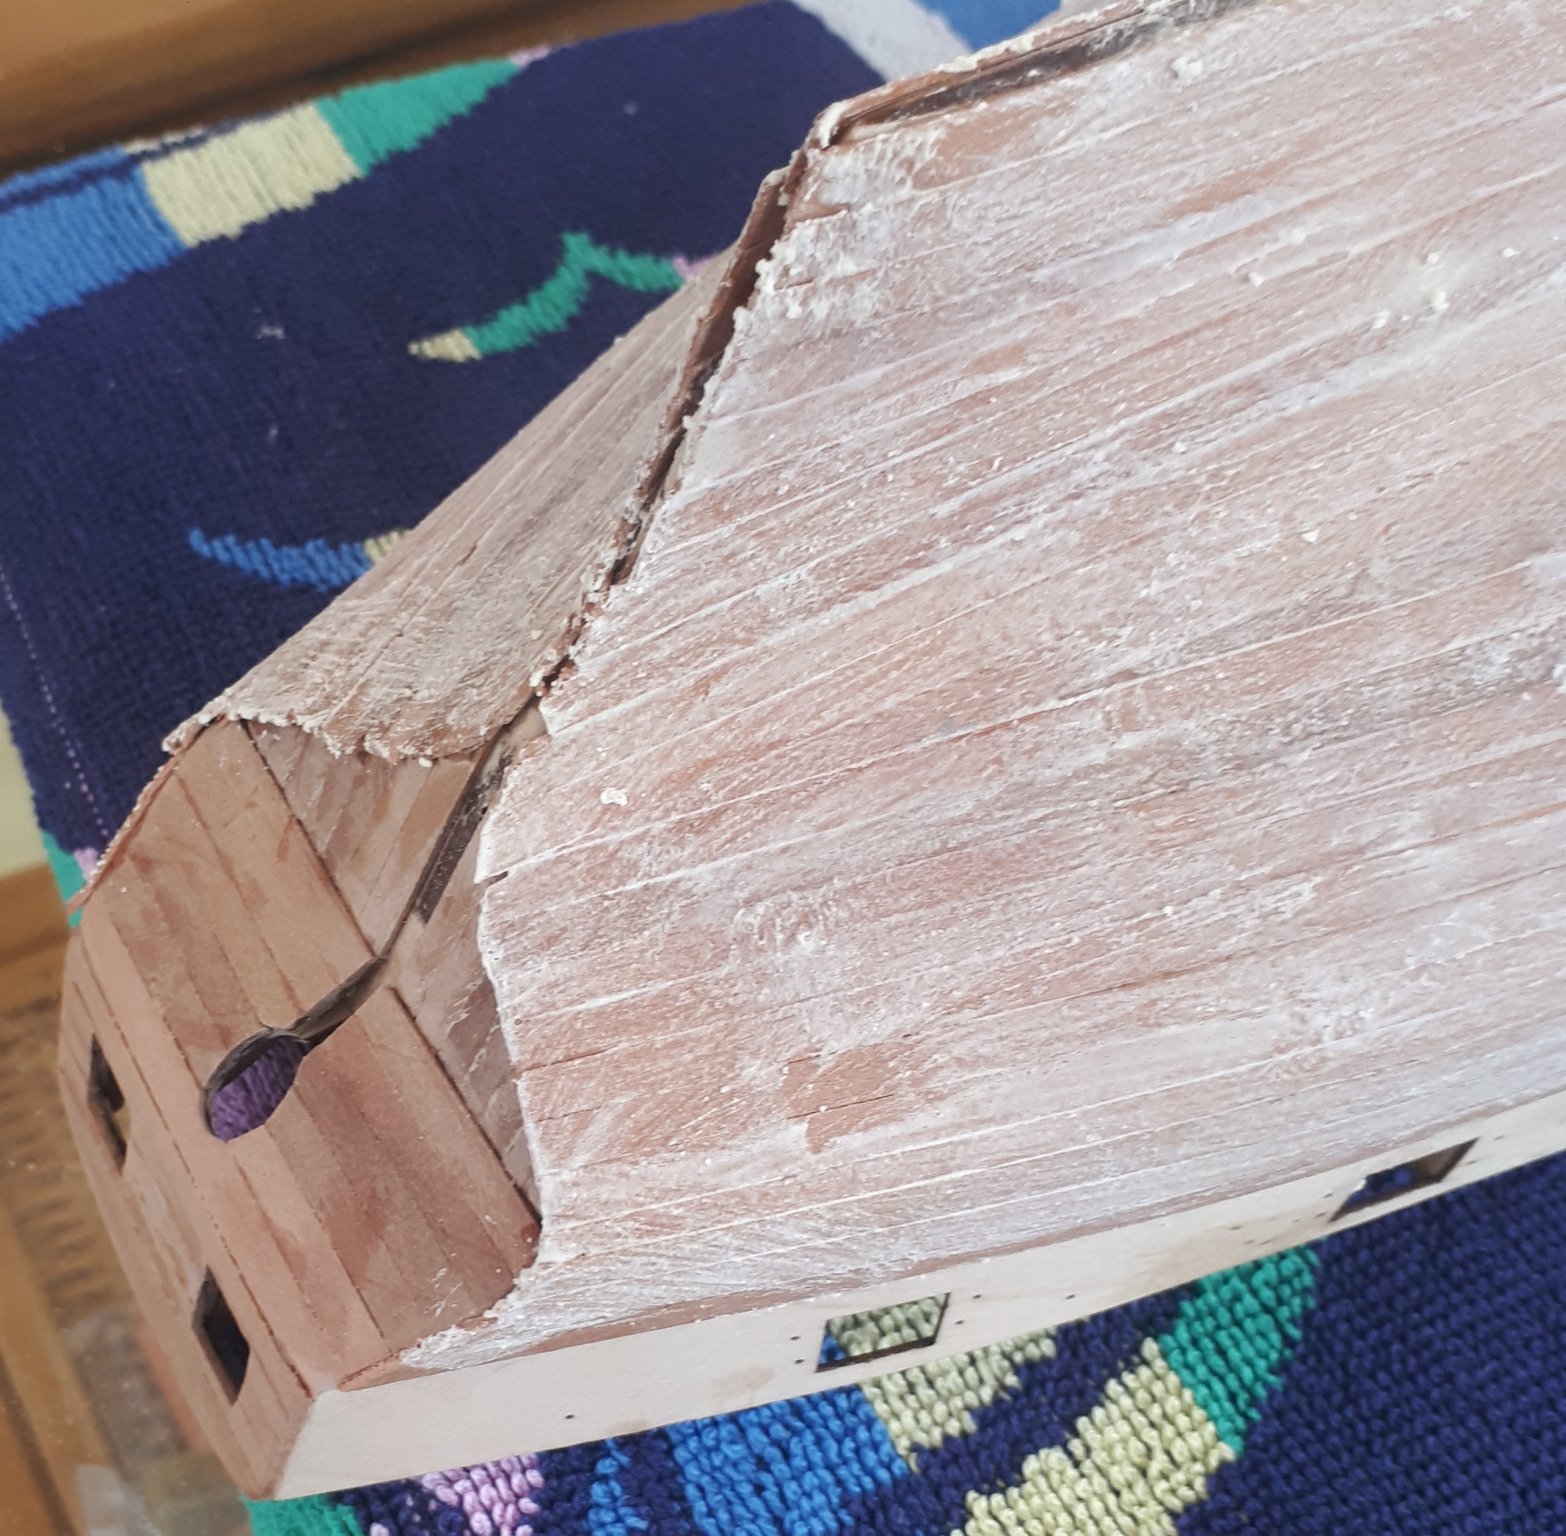
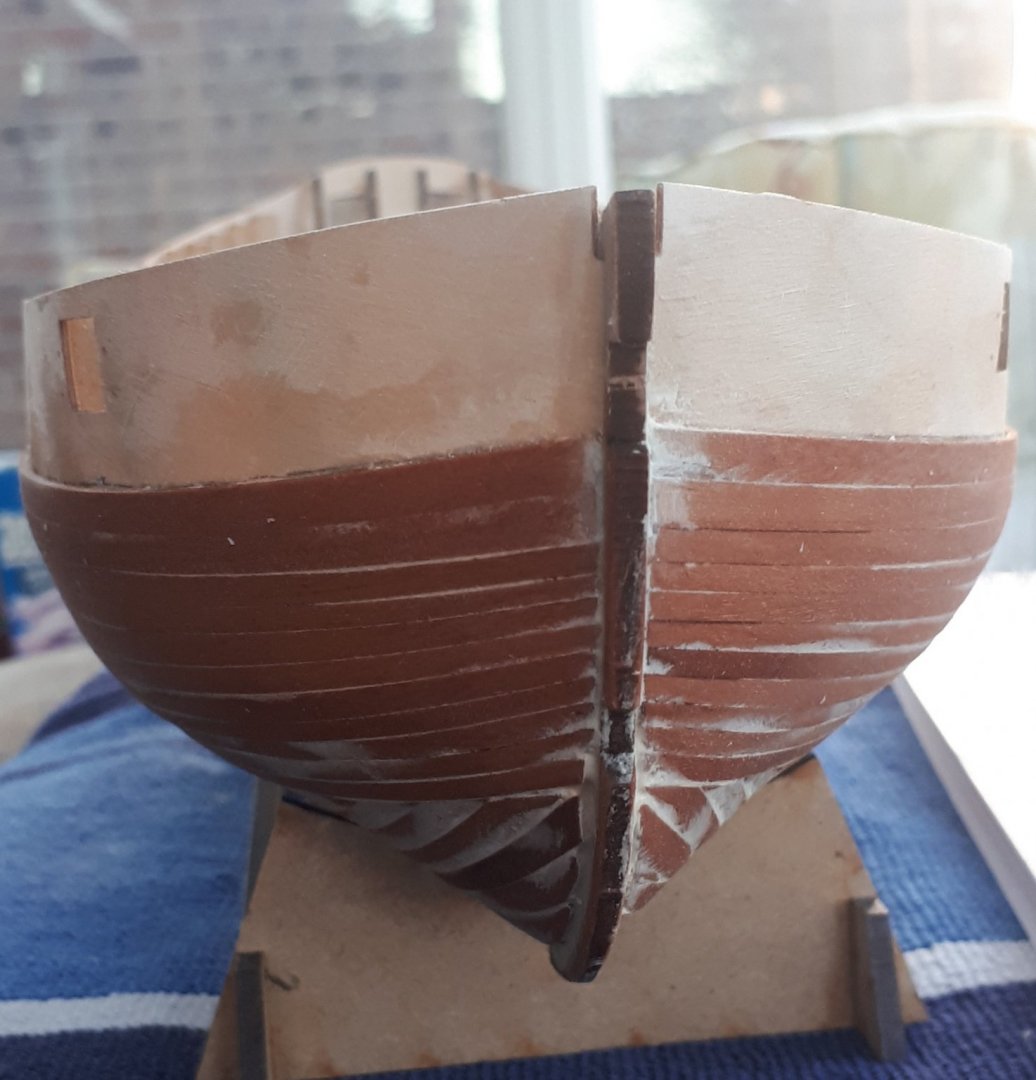
Hello DelF I have attached a picture after 5 minutes of gentle sanding. You can clearly see the imperfections where the filler has not been removed. I'm not that concerned for the areas under the wales and beneath the waterline. I know the visible planking will look good once the sanding task has been completed.
-
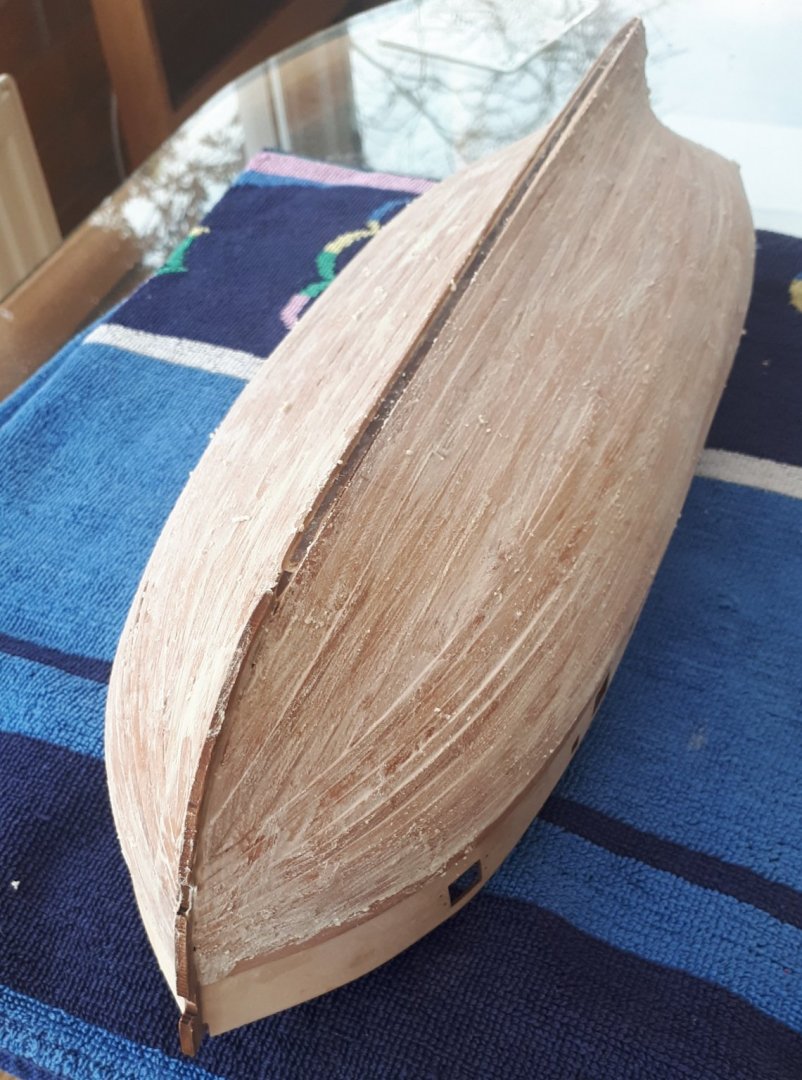
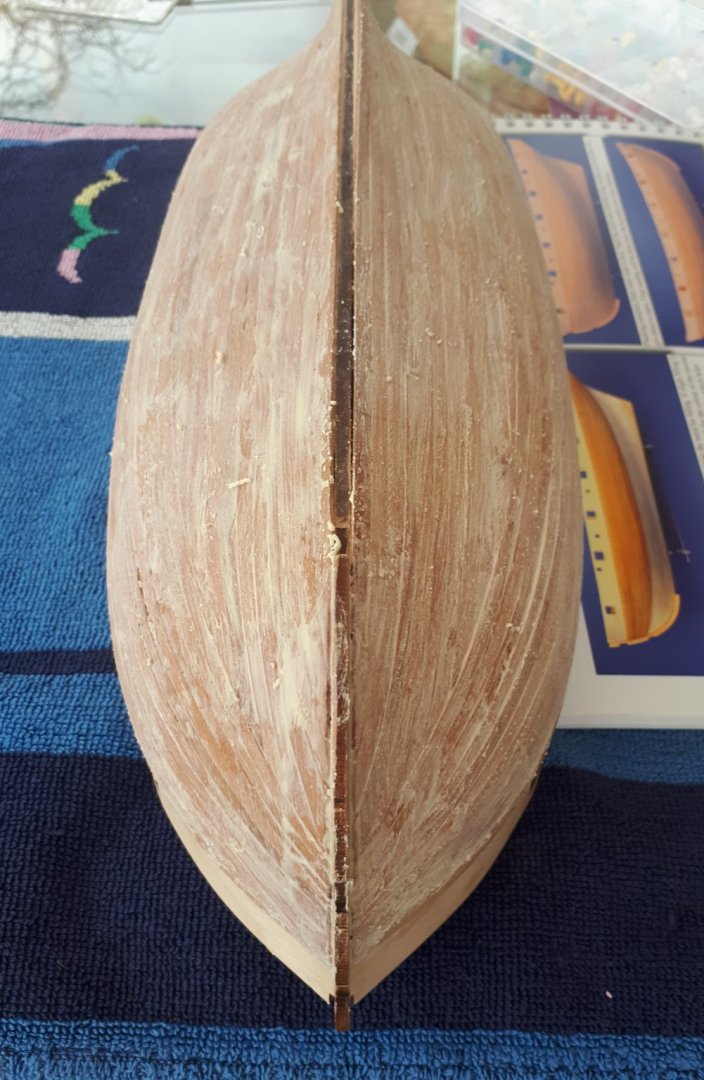
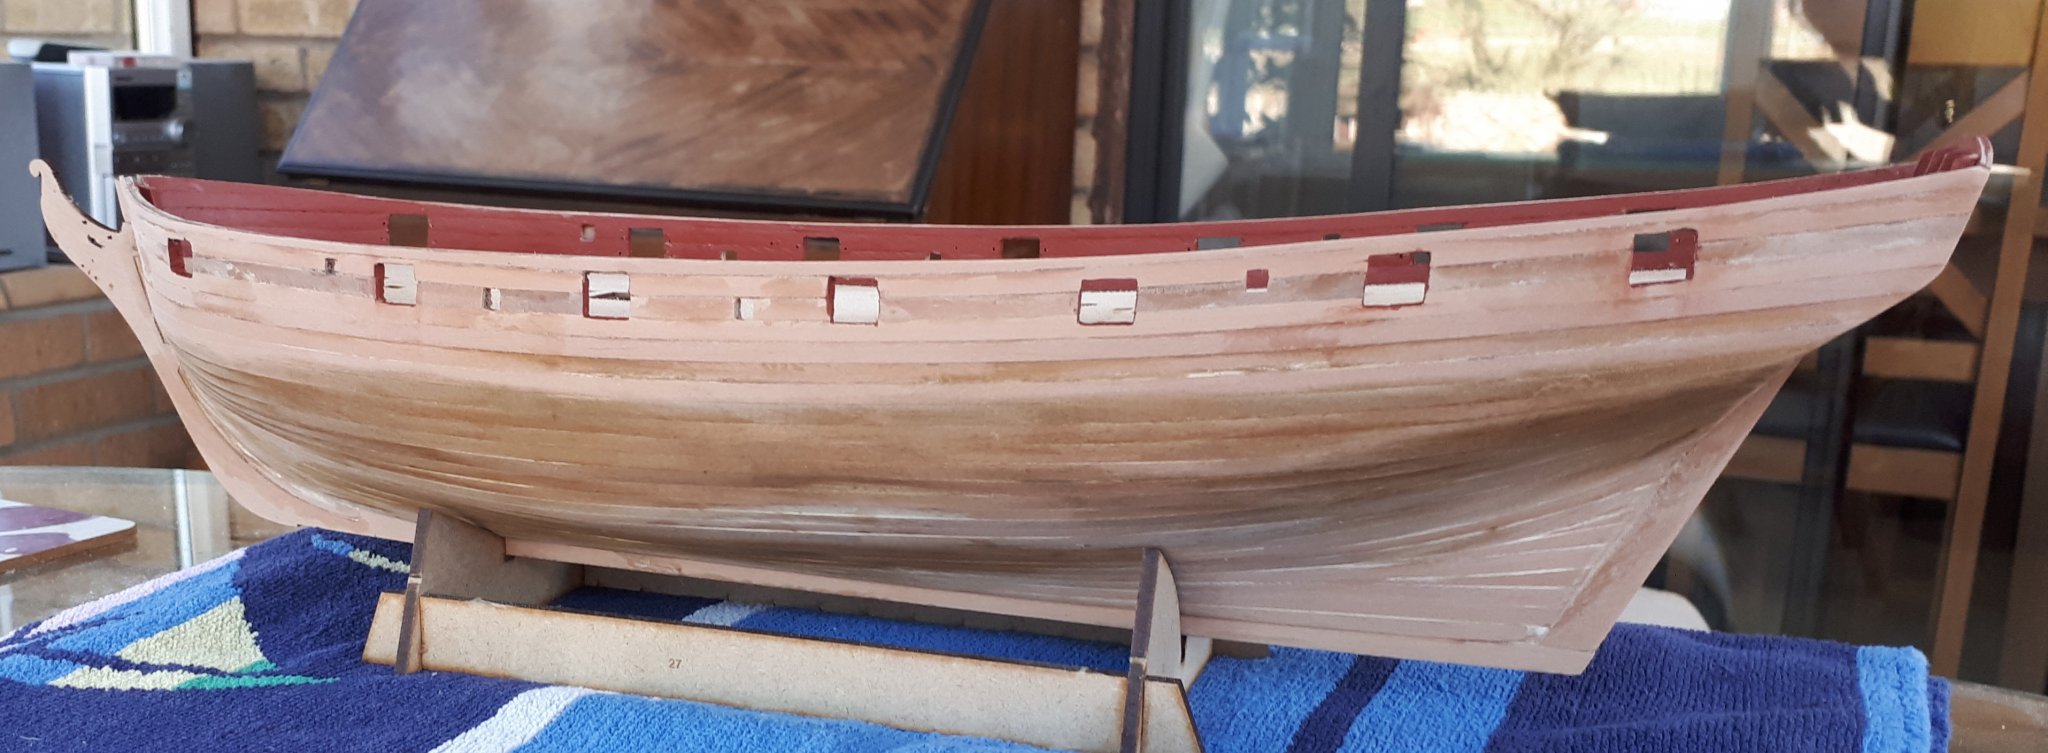
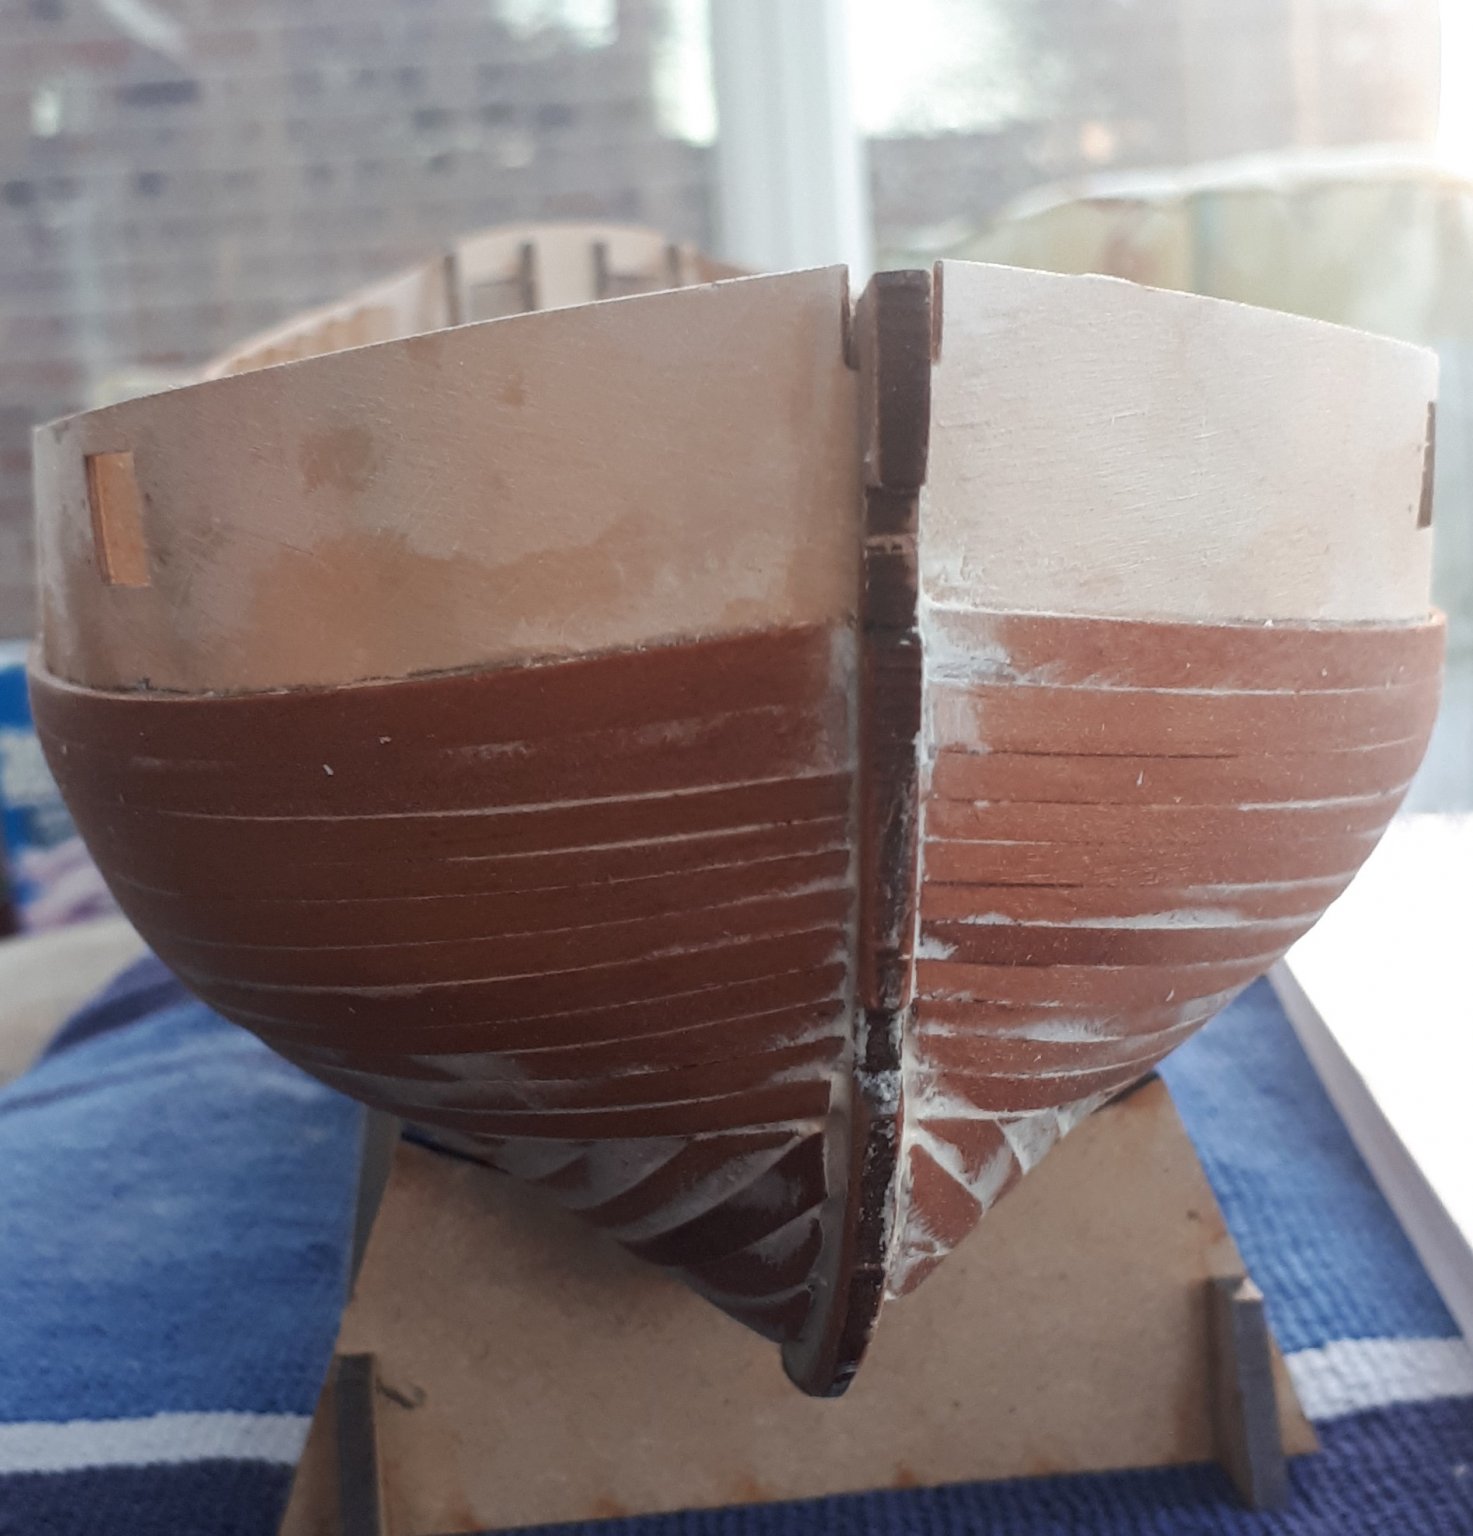
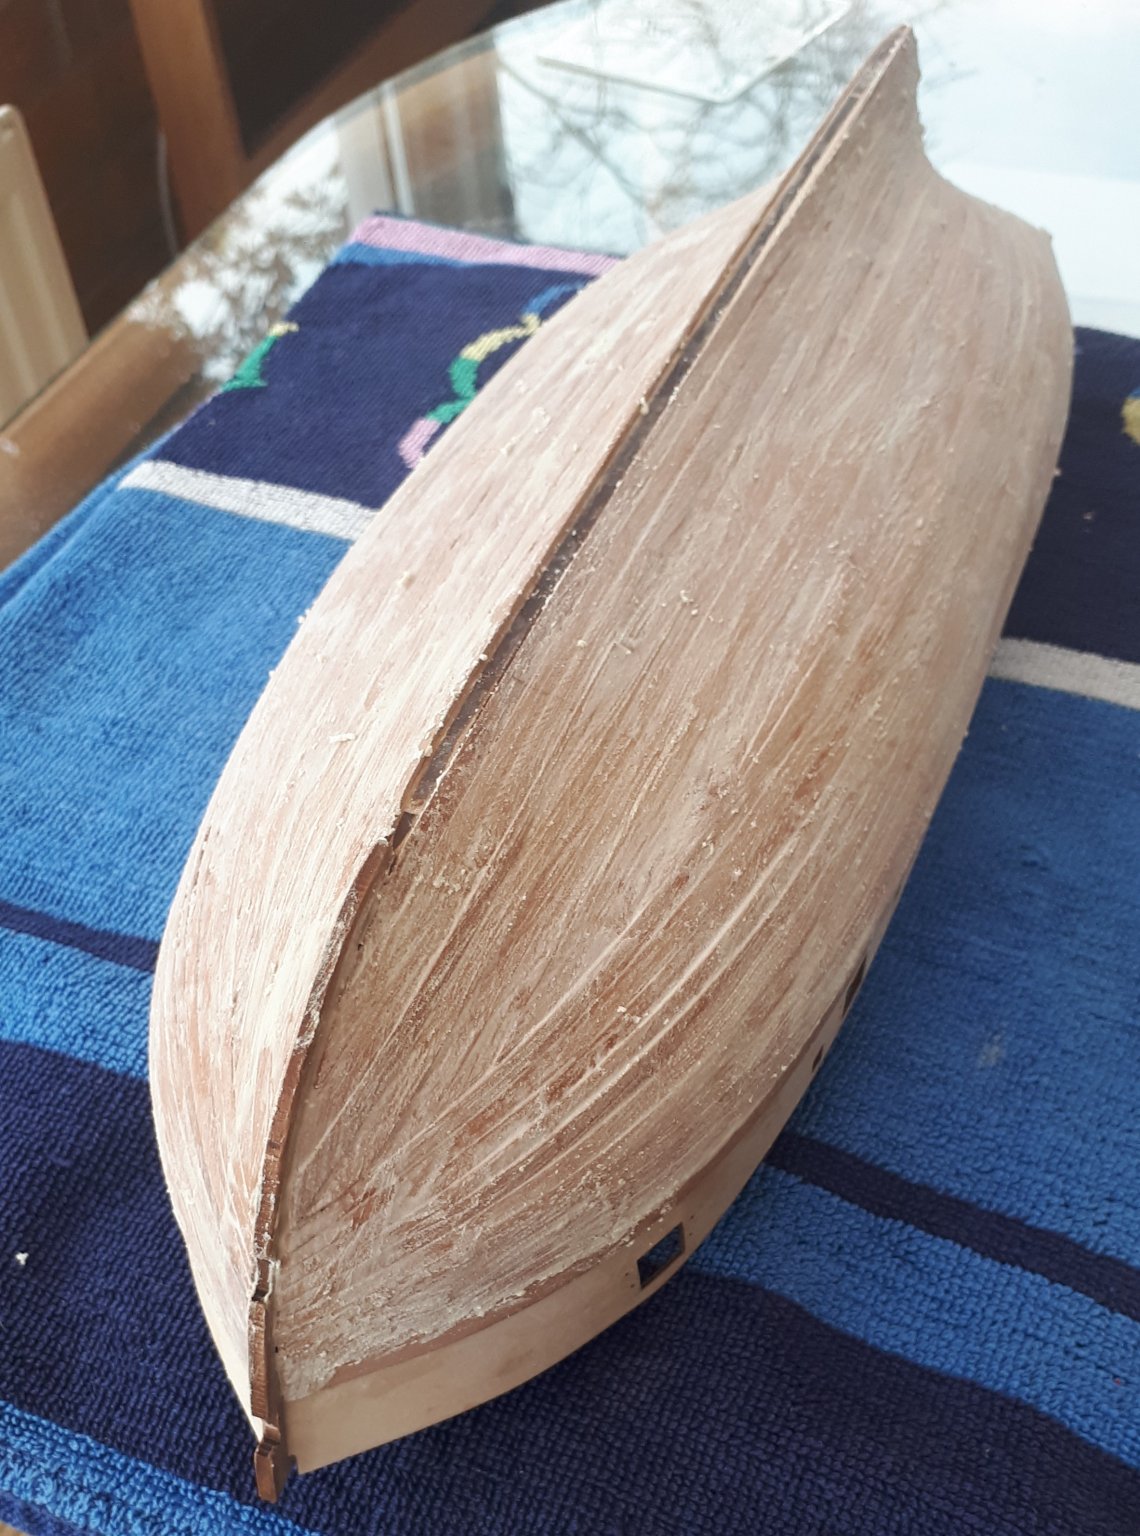
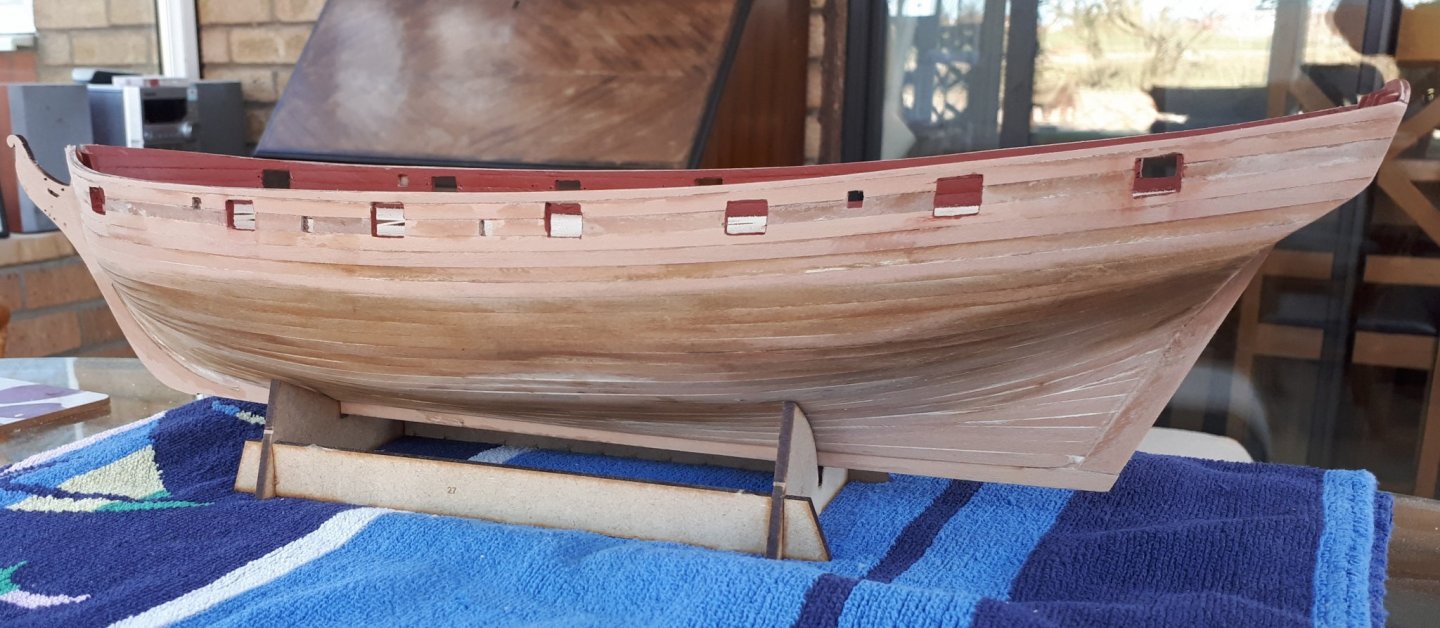
Latest Build Update. I have now completed the 2nd planking and it didn't take as long as I was expecting. I used Chucks' edge bending for all the planks above the waterline. For some of the planking below the water line I used some of the plank off-cut, thus saving a few planks (which could be used elsewhere if necessary or can be added to my general stock of materials). I used a medium ca glue for this task, gluing each plank a bit at a time. It seemed to work really well and I didn't end up with too much ca glue on my fingers!!!! Once the planking was complete I then applied a wash of water mixed with neutral (Ronseal) wood filler. This serves 3 main purposes for my build; a) The mix of water and filler easily fills any gaps between the planks. b) As the wash dries it helps to highlight any uneven surfaces (below the water line) which may need further attention during the sanding process. c) Provides an additional level of adhesion between the planks. Once the wood filler wash has had time to dry I will sand the hull. The pictures below show the completed hull with the wood filler wash applied prior to the sanding.