giampieroricci
-
Posts
911 -
Joined
-
Last visited
Content Type
Profiles
Forums
Gallery
Events
Everything posted by giampieroricci
-
Wonderful!!!!!!
-
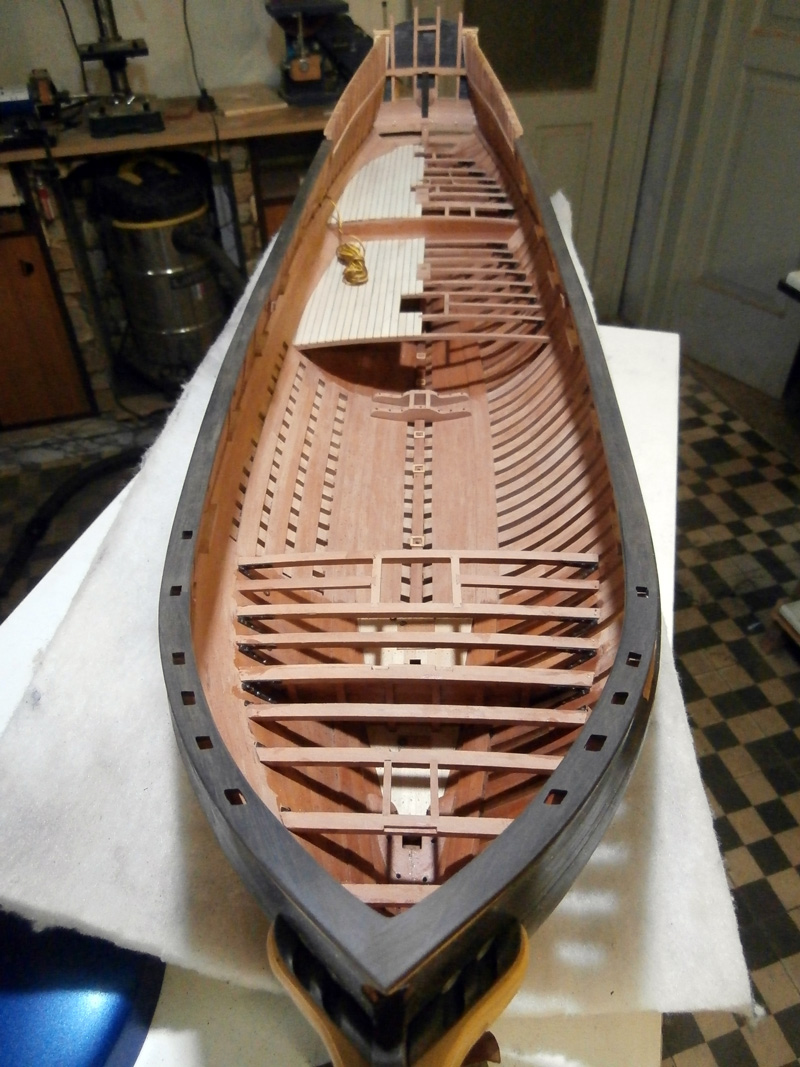
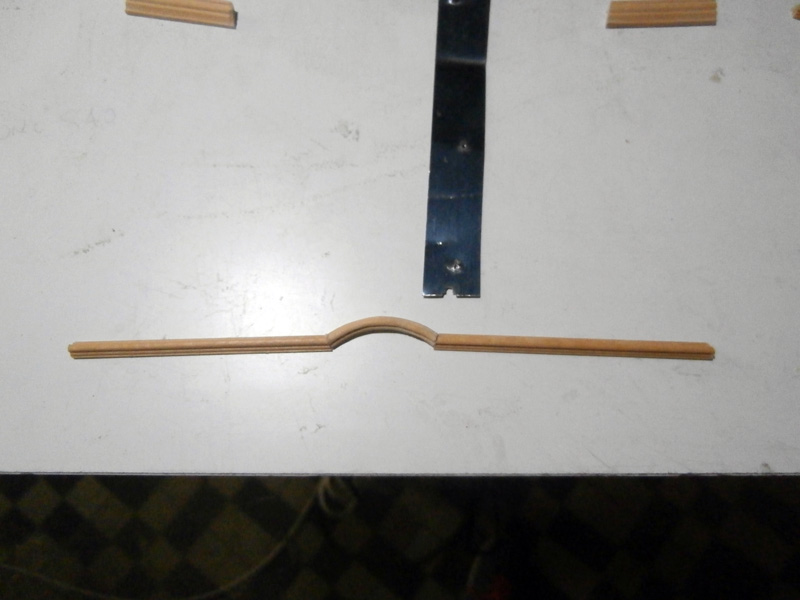
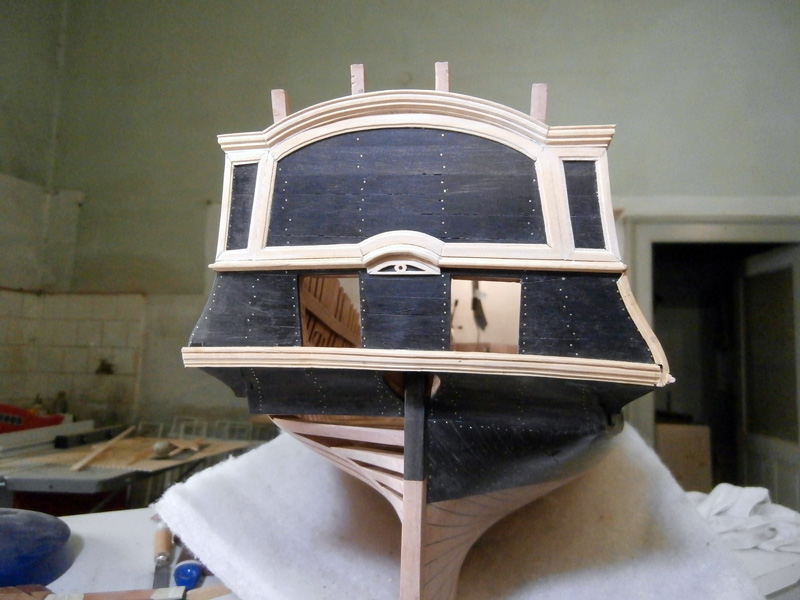
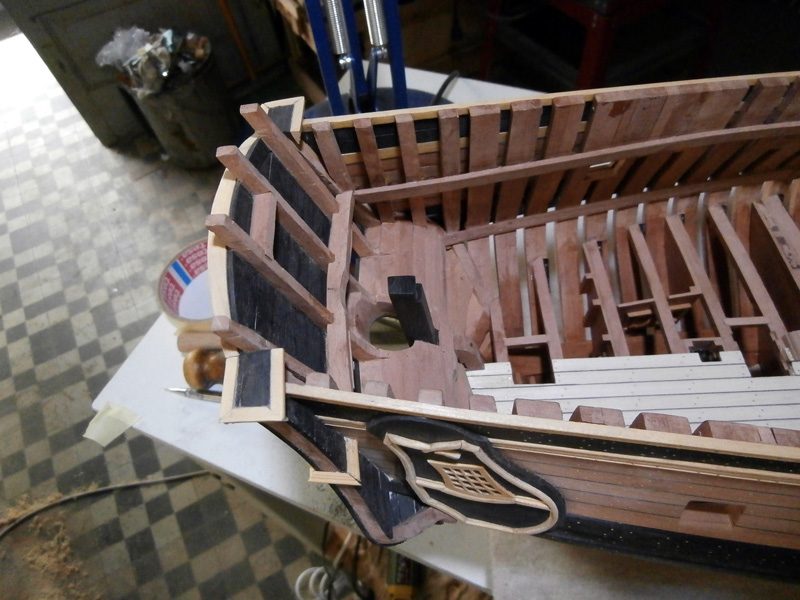
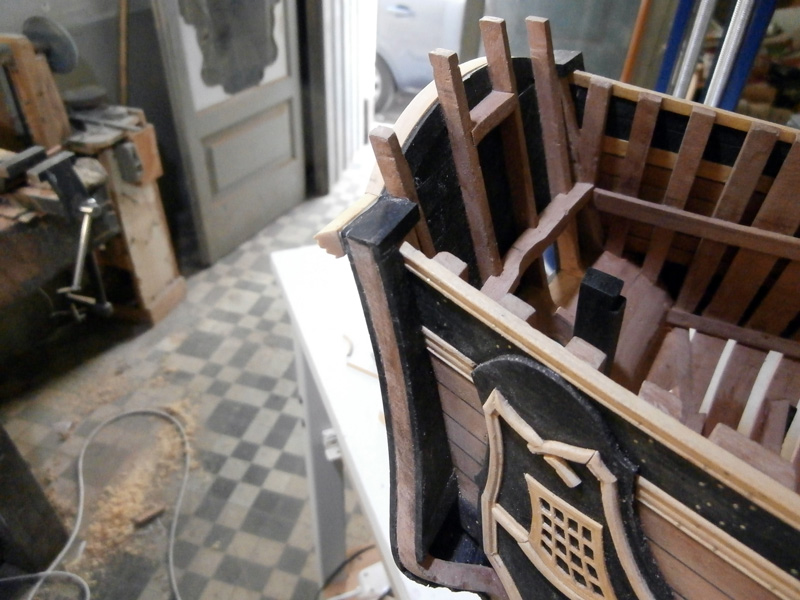
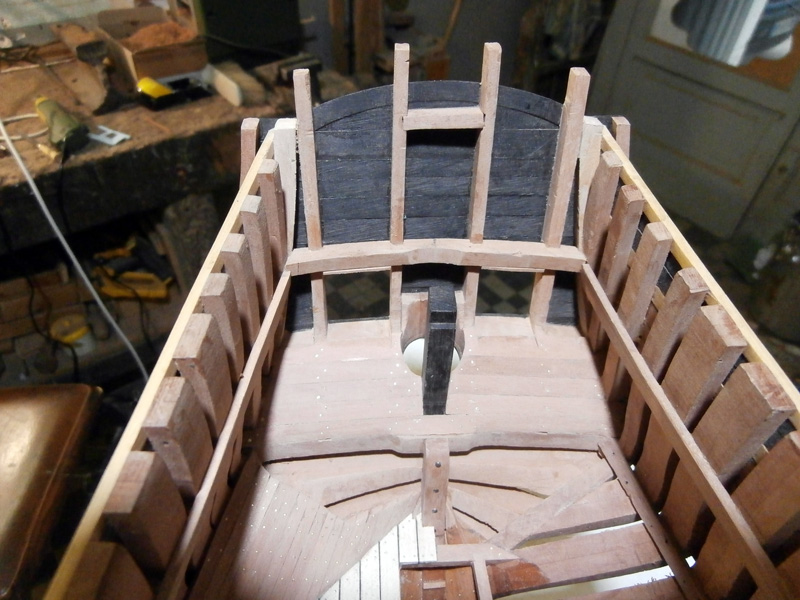
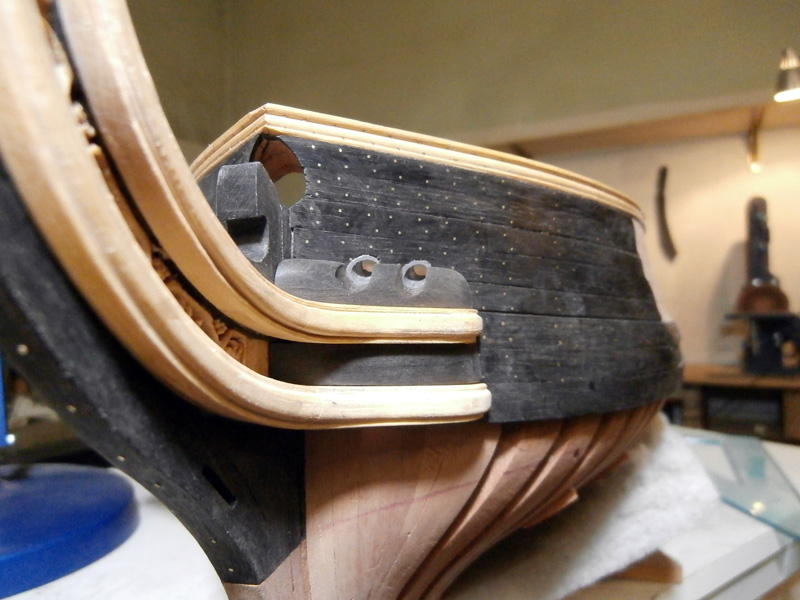
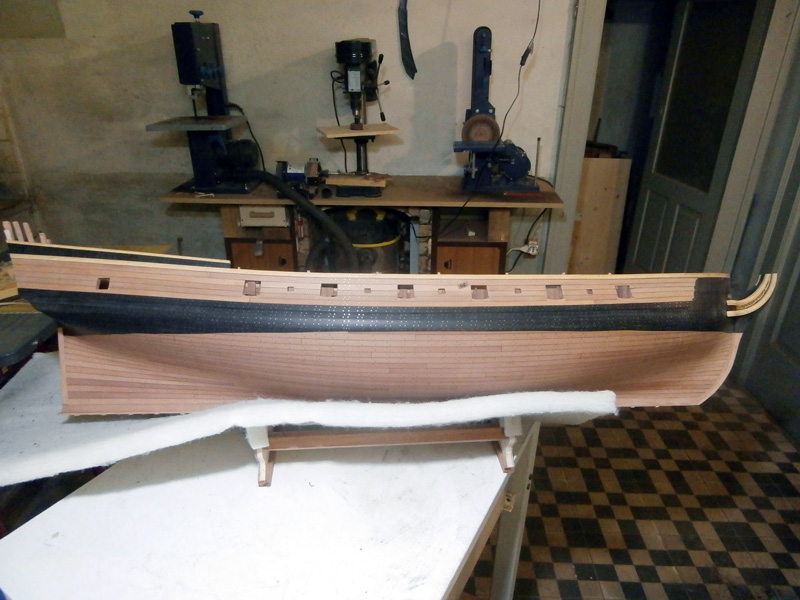
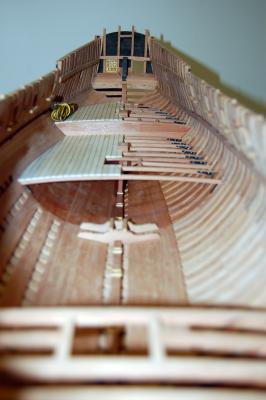
I started the construction of the gunwale, starting from the bow where must engage in the oarlocks. Everything is only hinted at plenty fat: it will be finished later

-
Oh! Sorry!!! With this: Synthaglass http://www.drtoffano.com/toffano_prodotti/pg_prodotti.htm
-
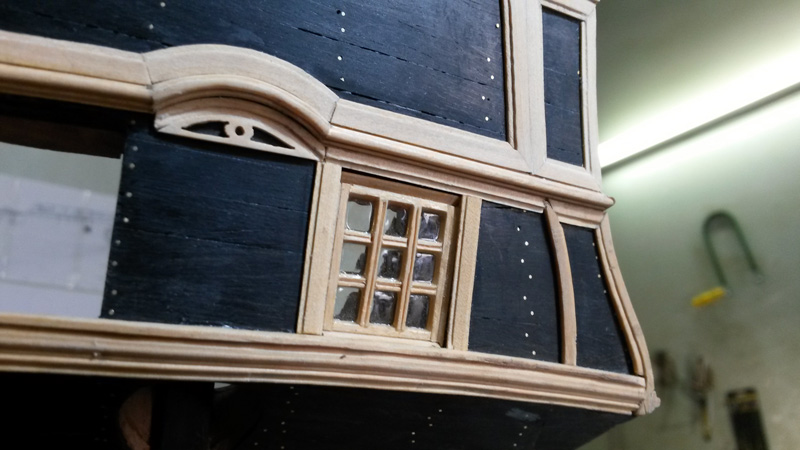
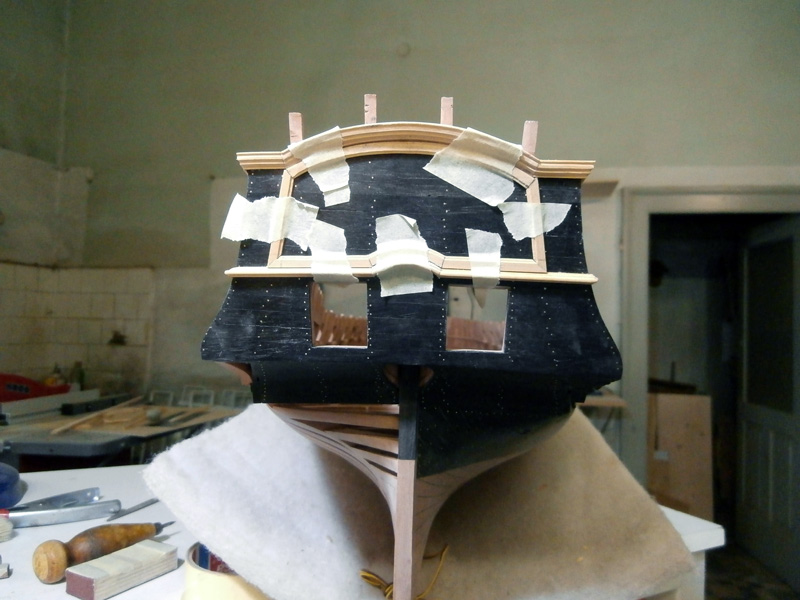
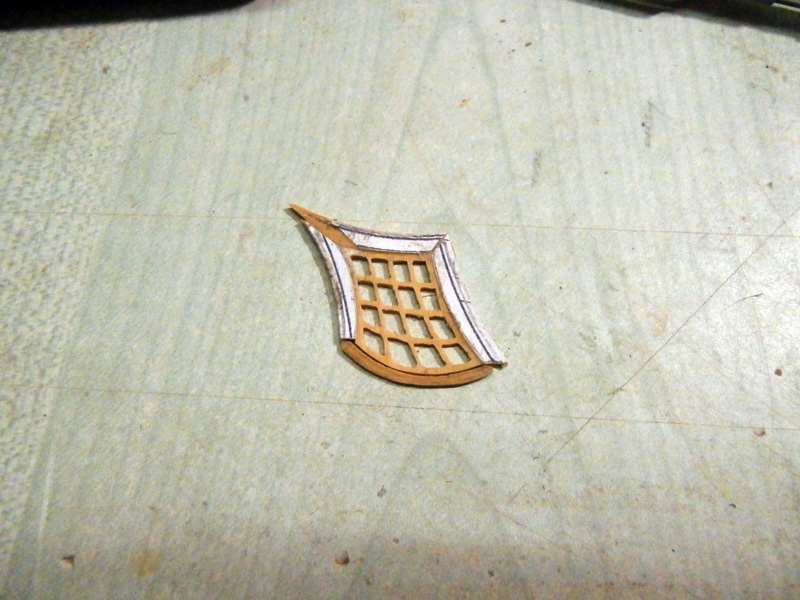
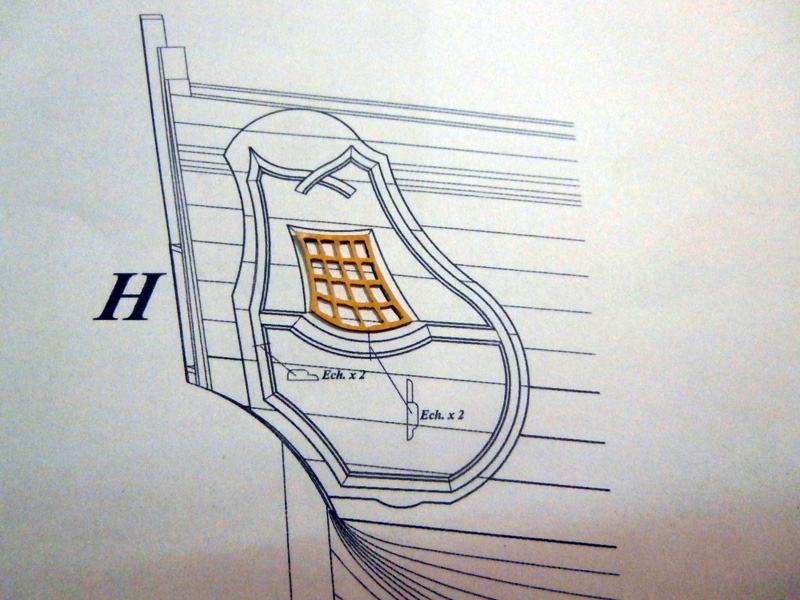
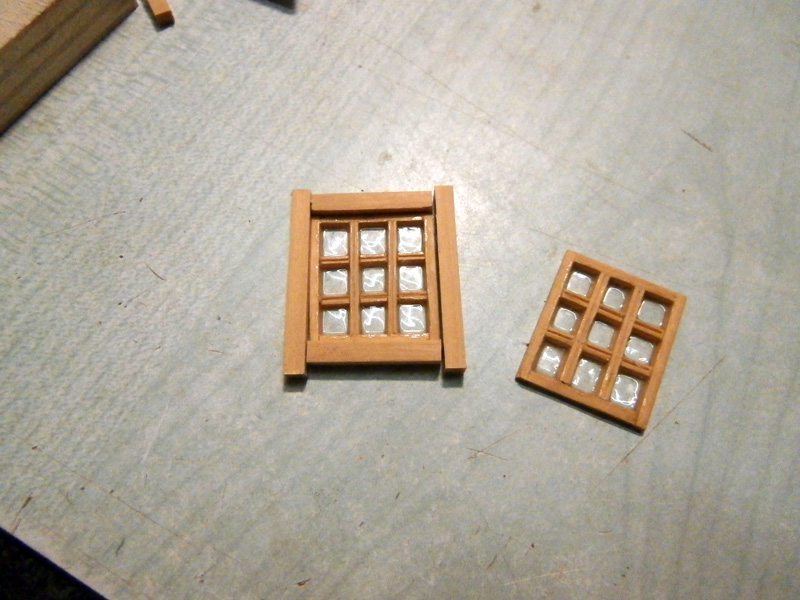
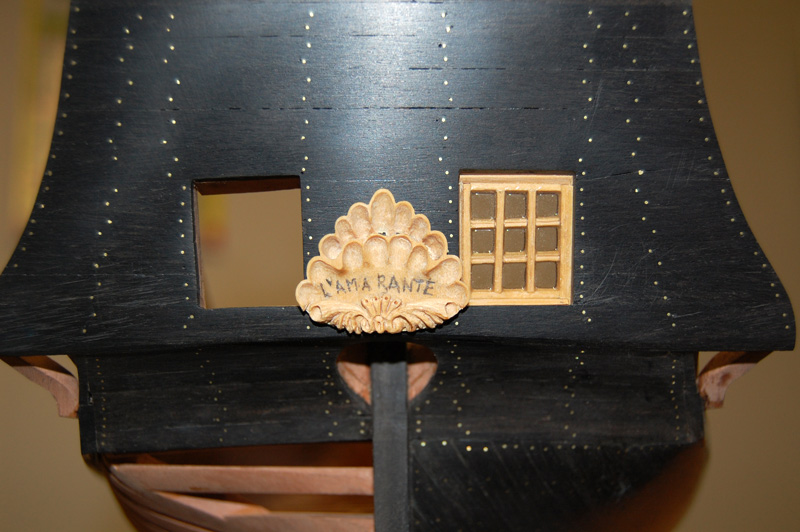
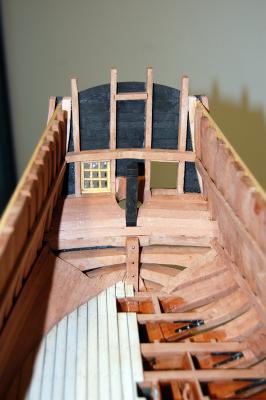
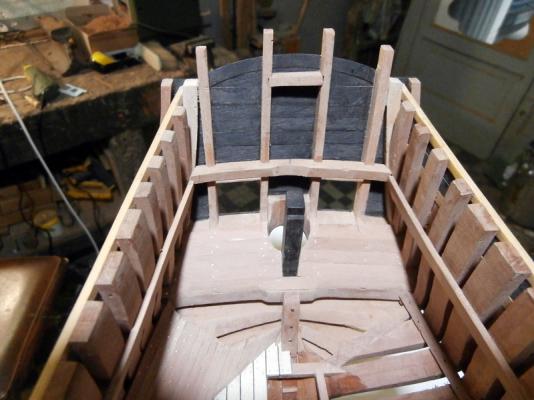
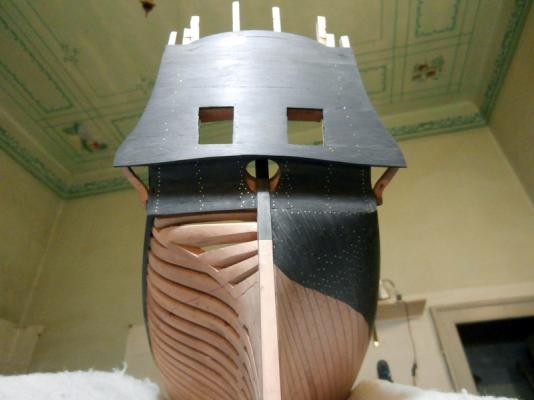
After several attempts came bad, I managed to make a window more acceptable; I do not know if I can, but I want to try to fix the two hinges to be able to open; will be very difficult to fix the hinges to the threshold ......... In the photos the window is stuck


-
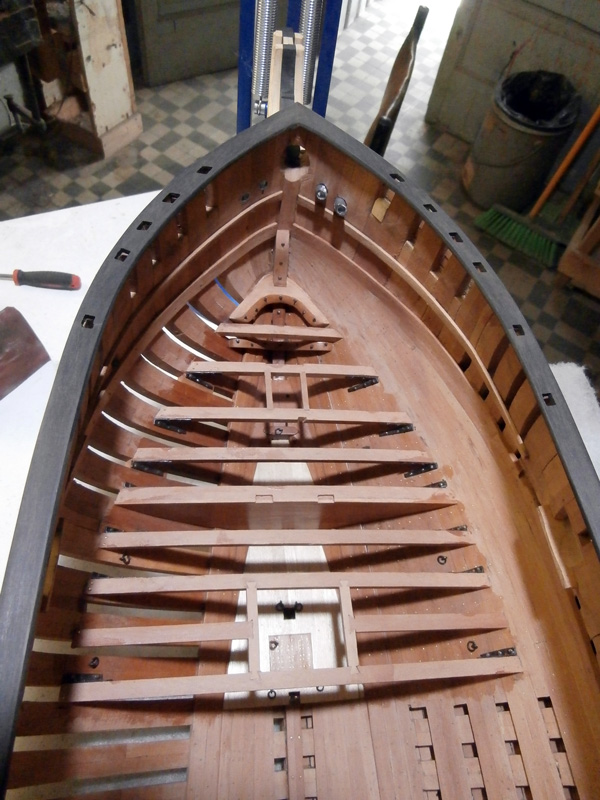
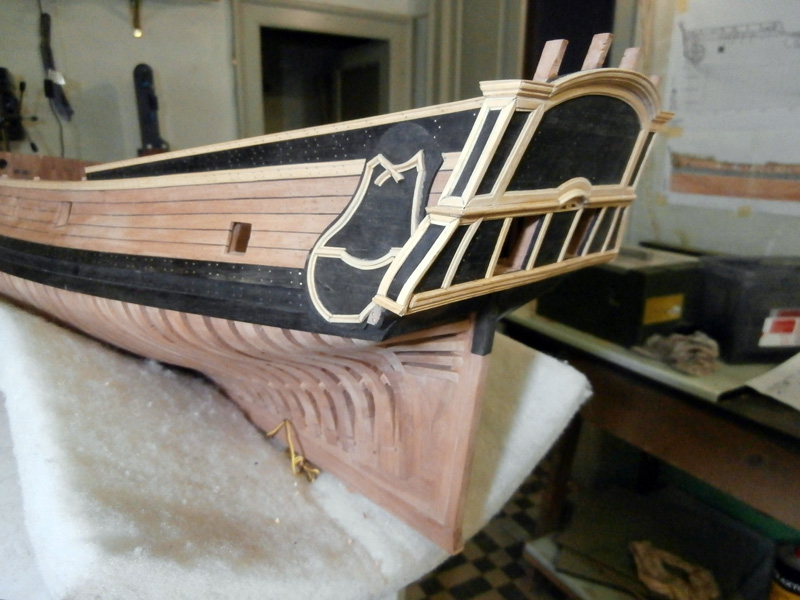
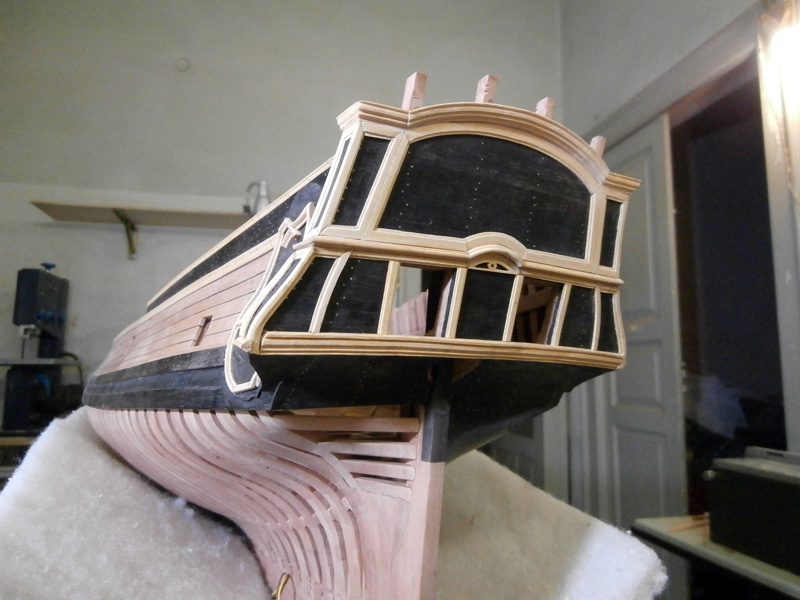
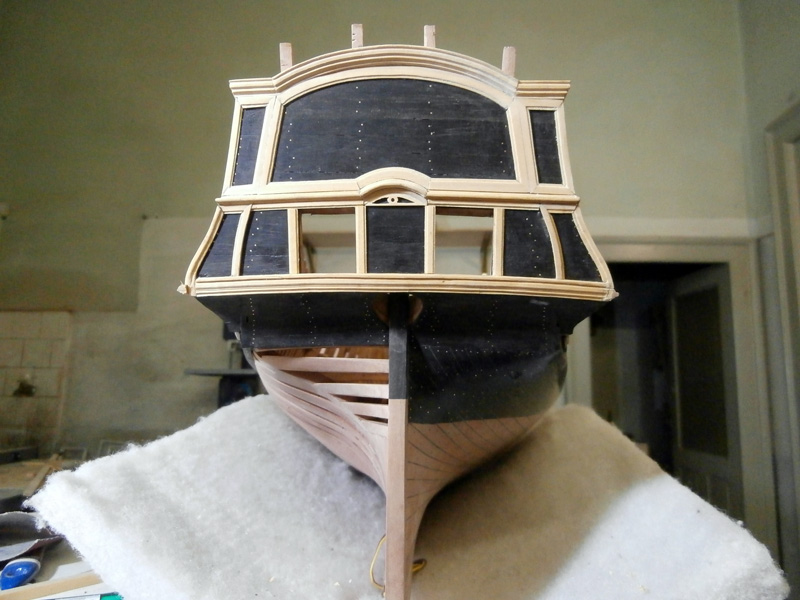
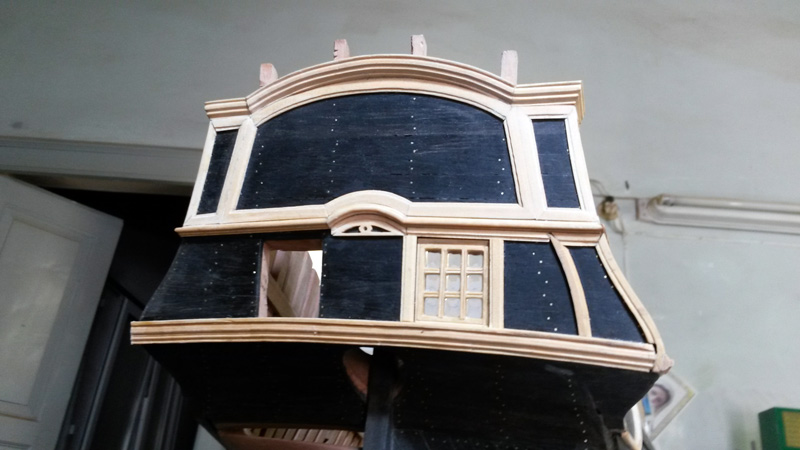
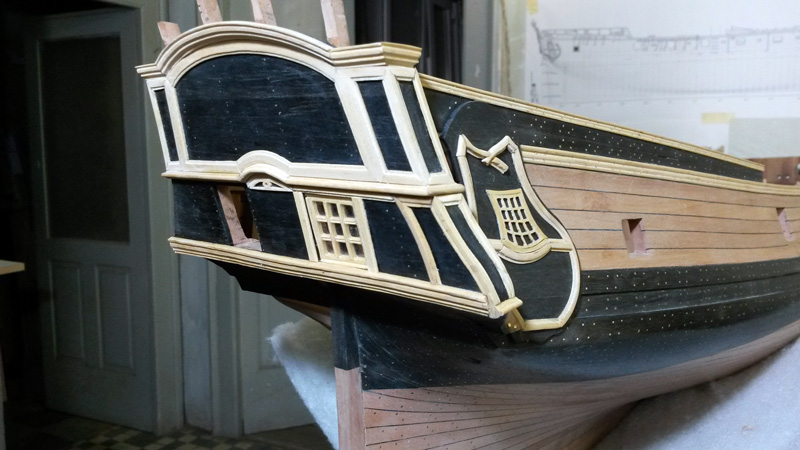
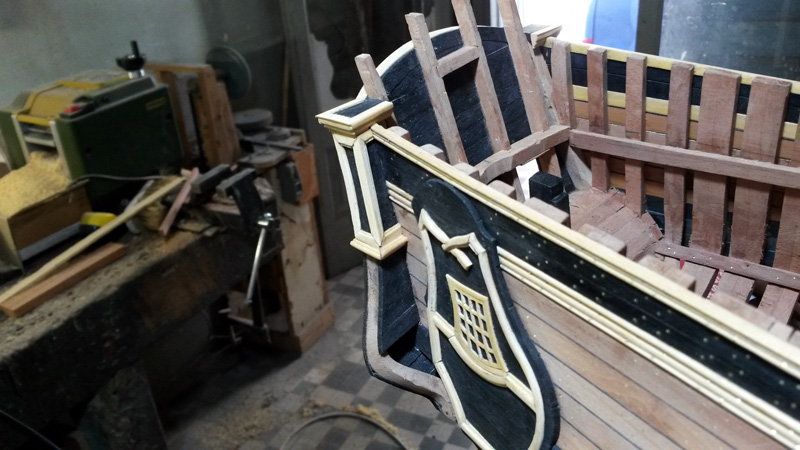
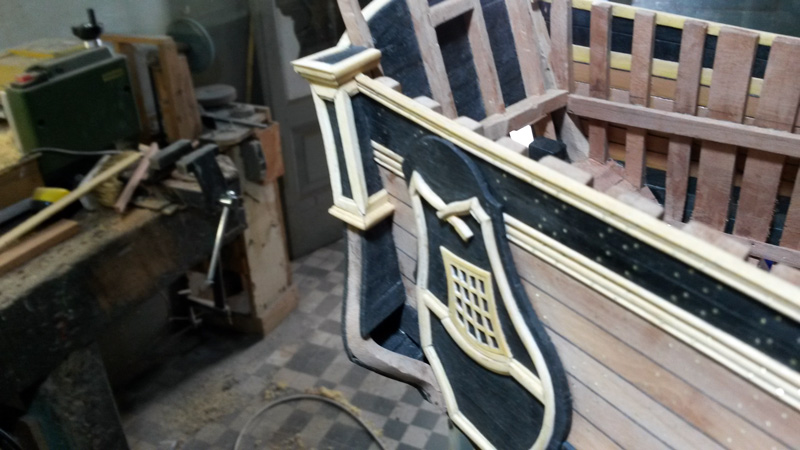
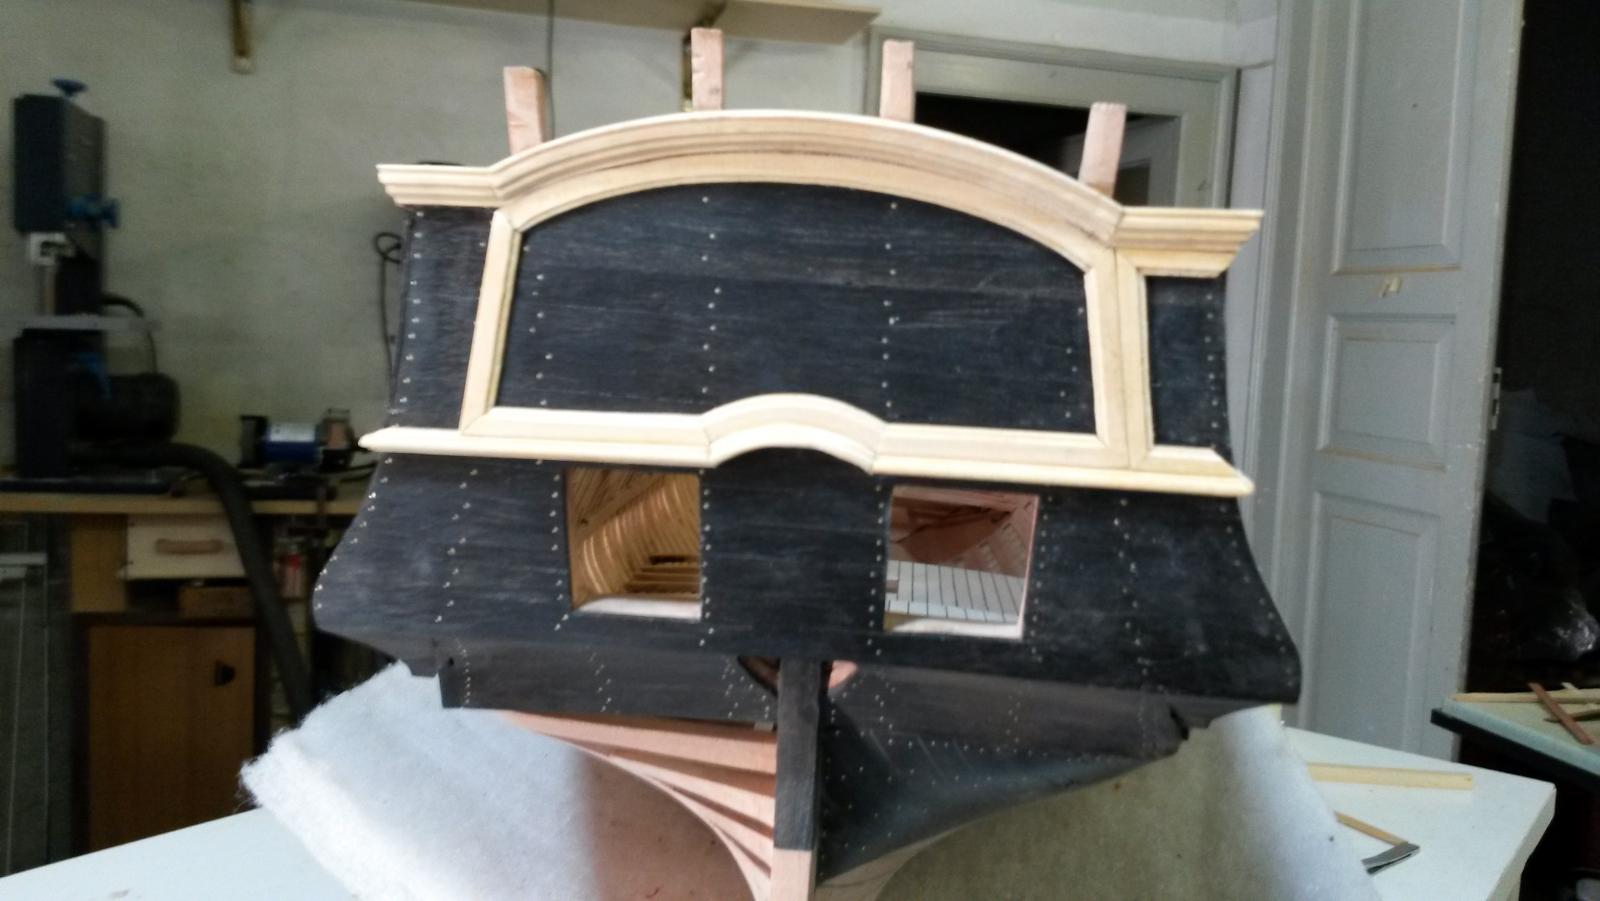
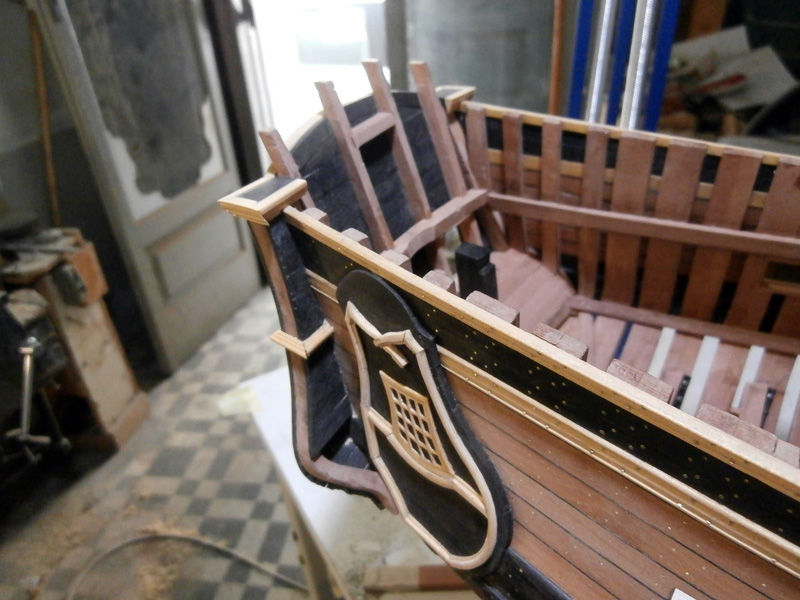
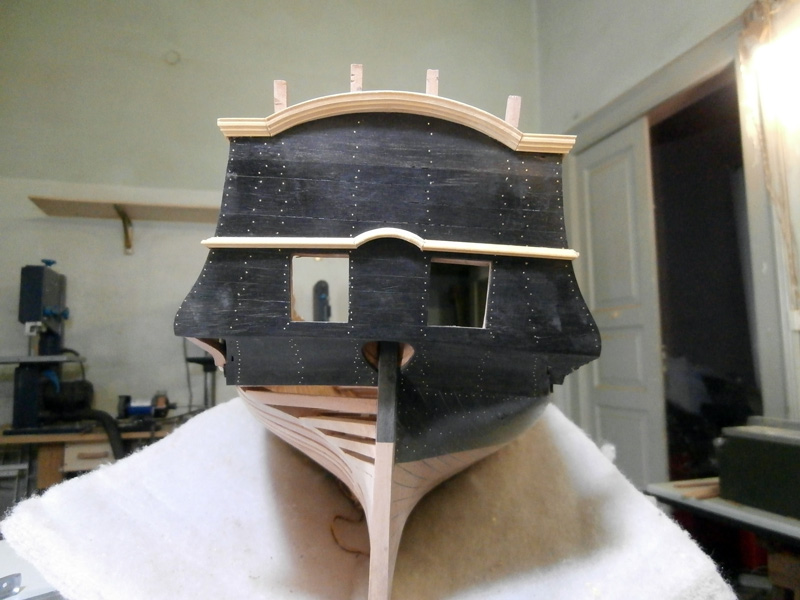
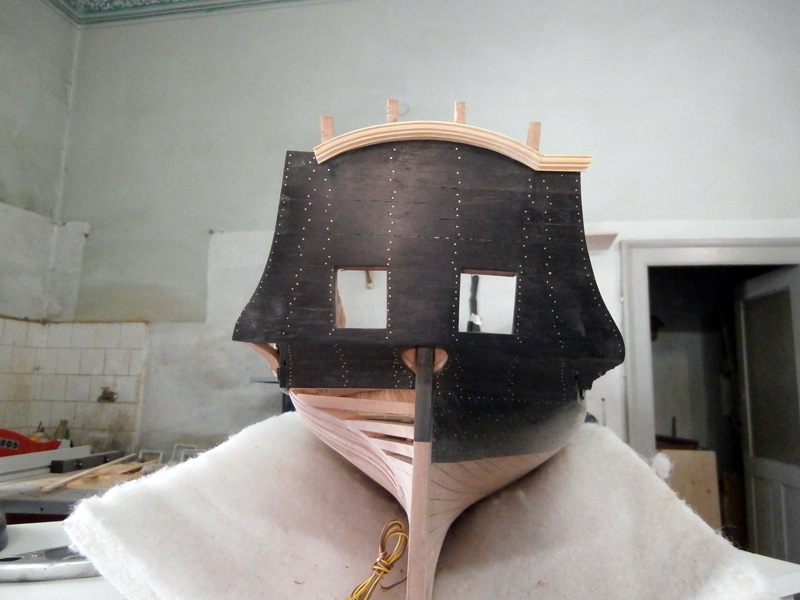
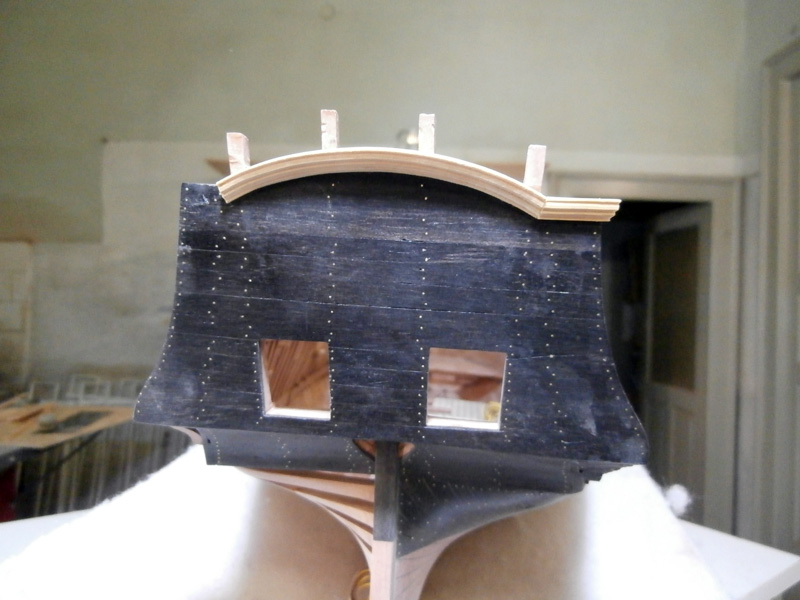
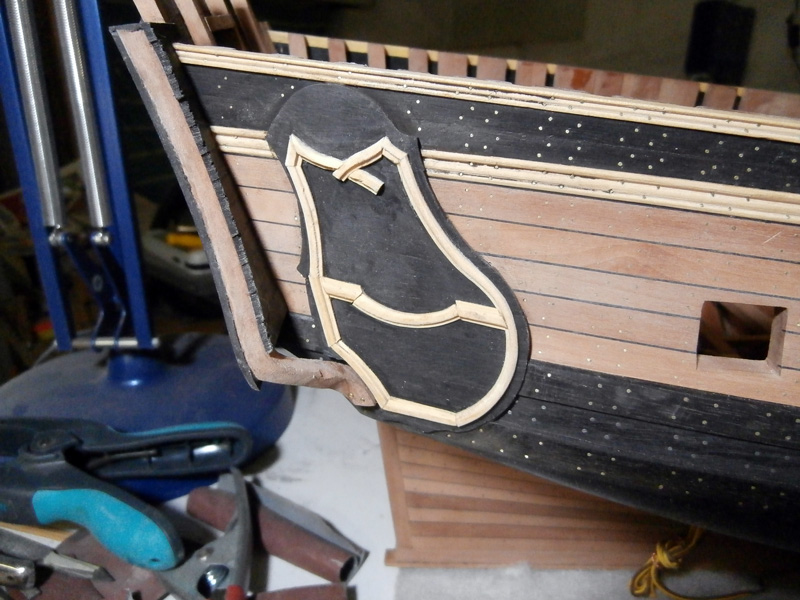
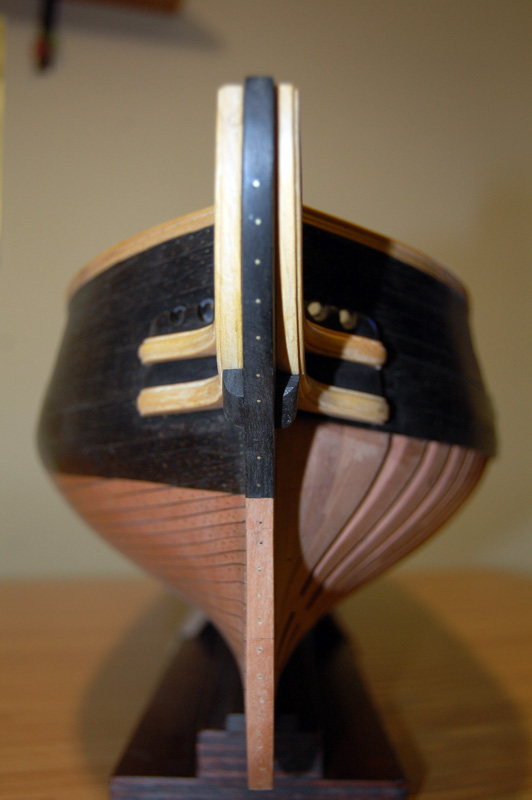
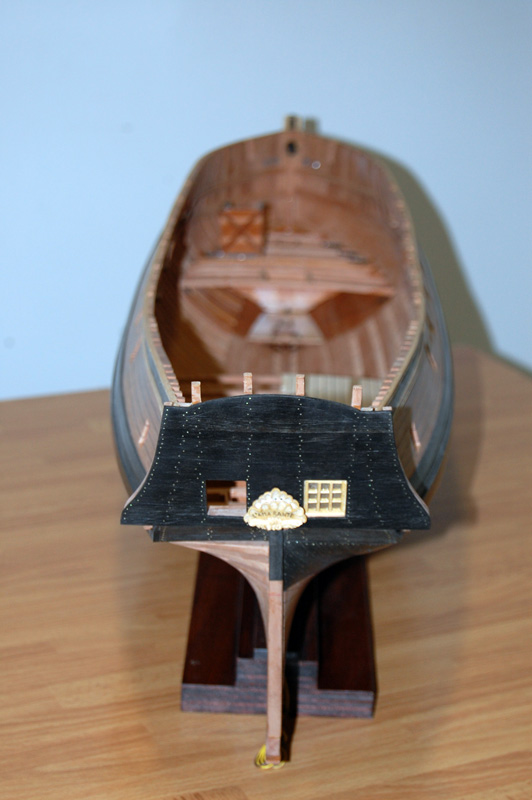
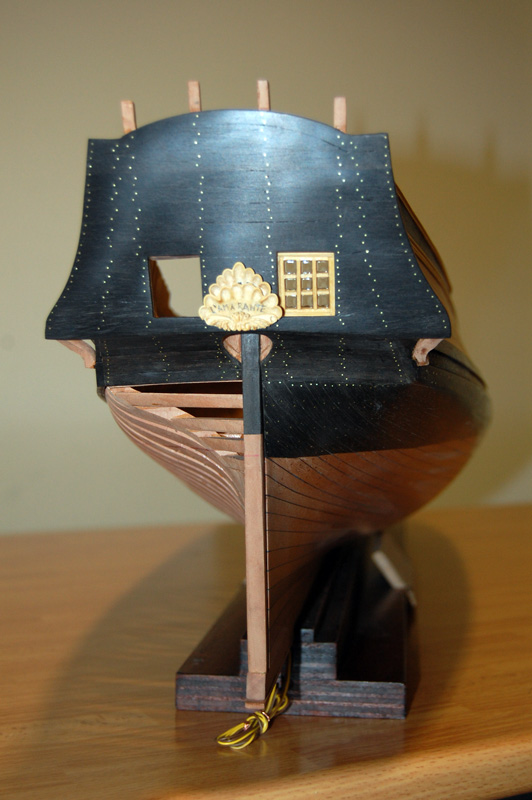
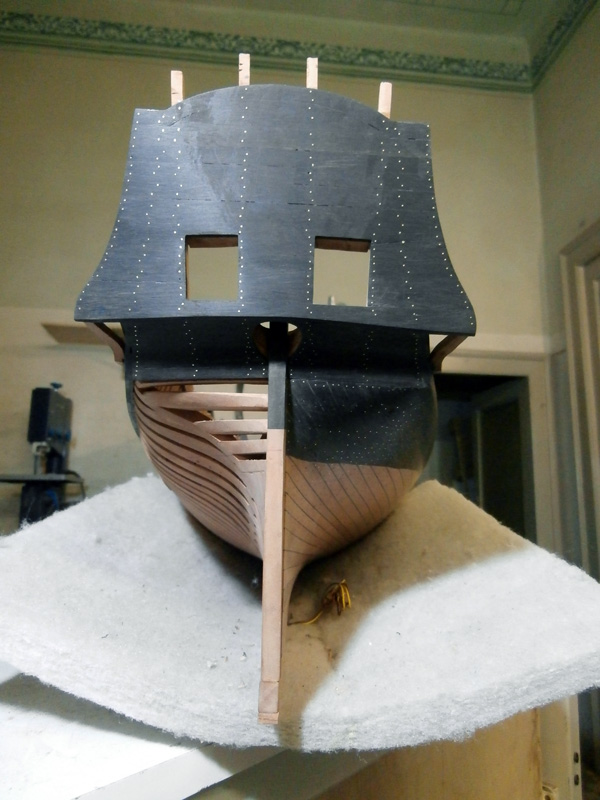
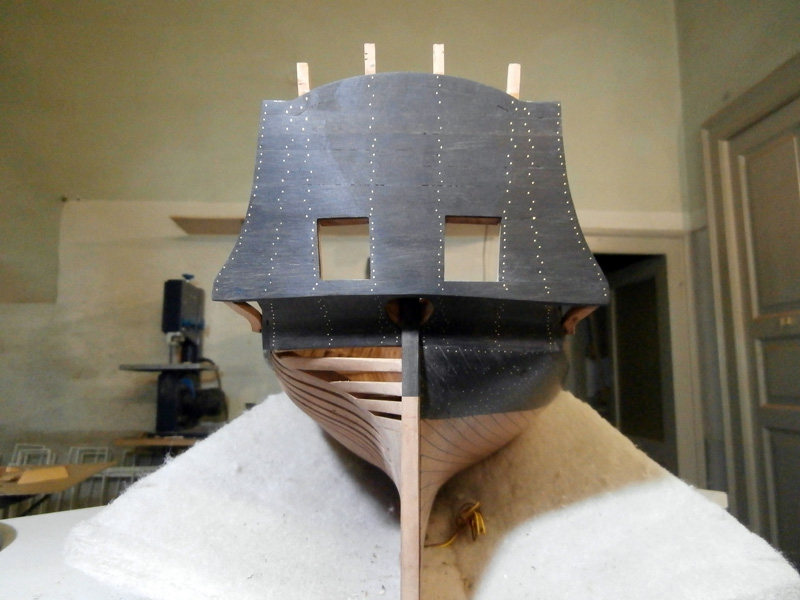
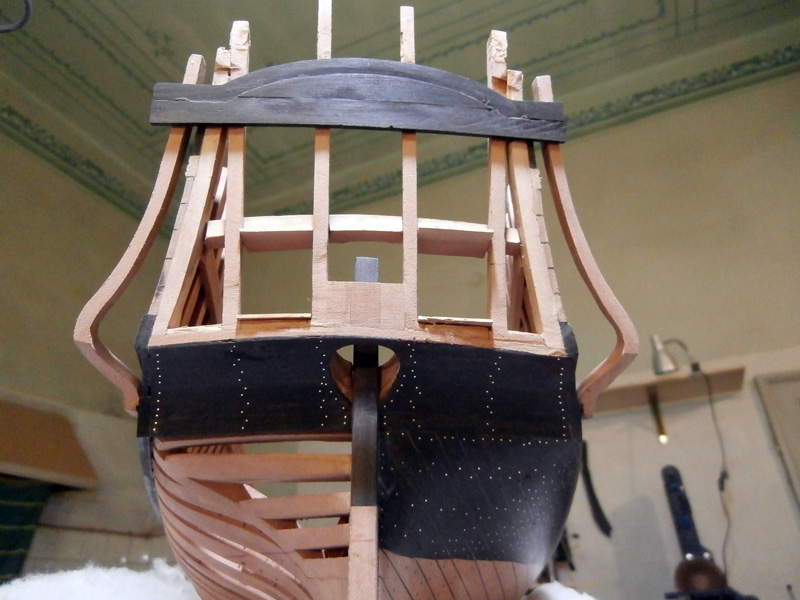
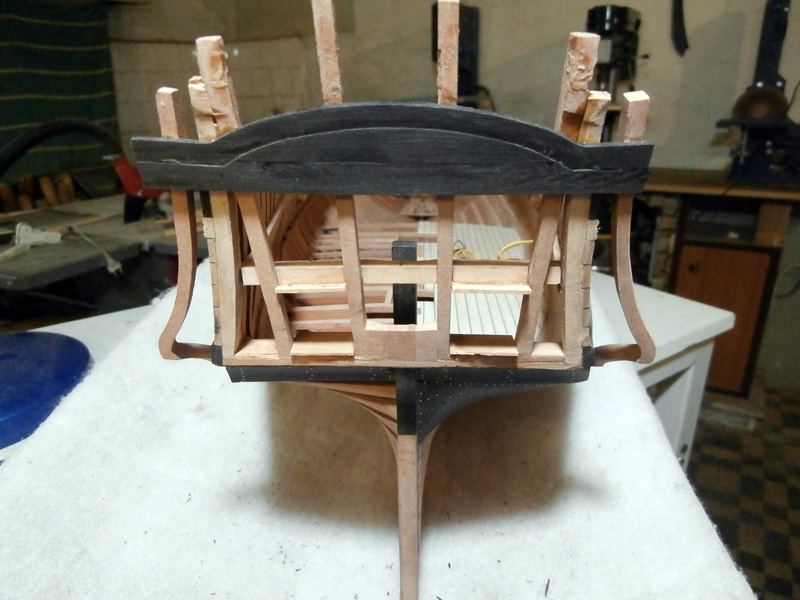
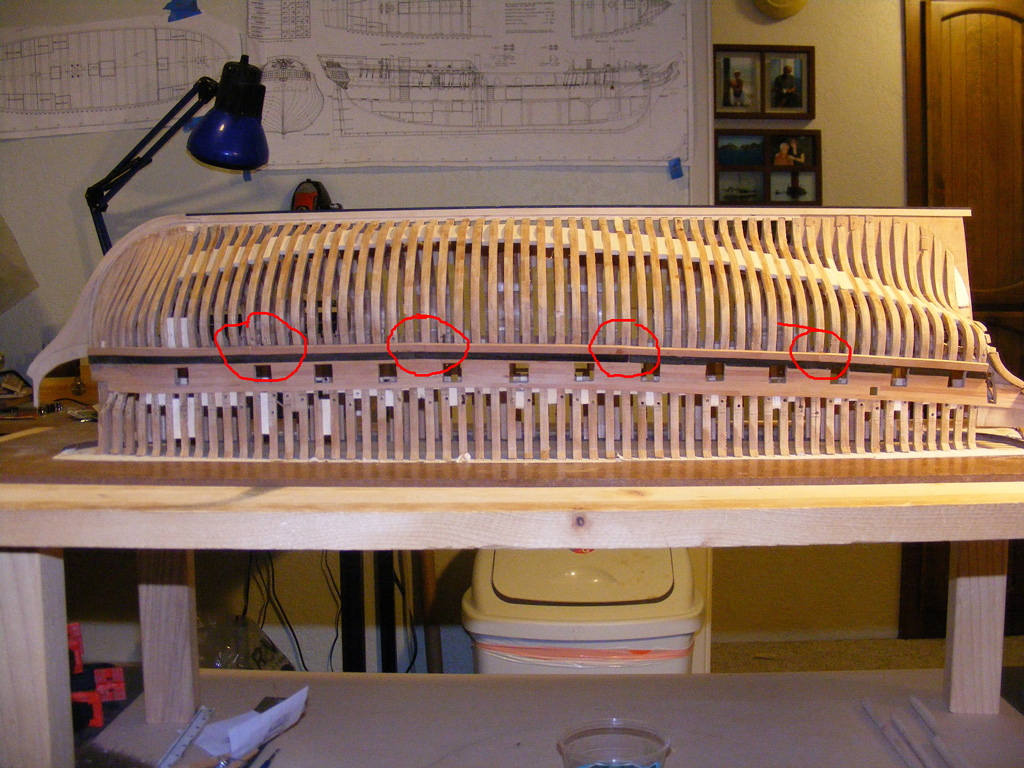
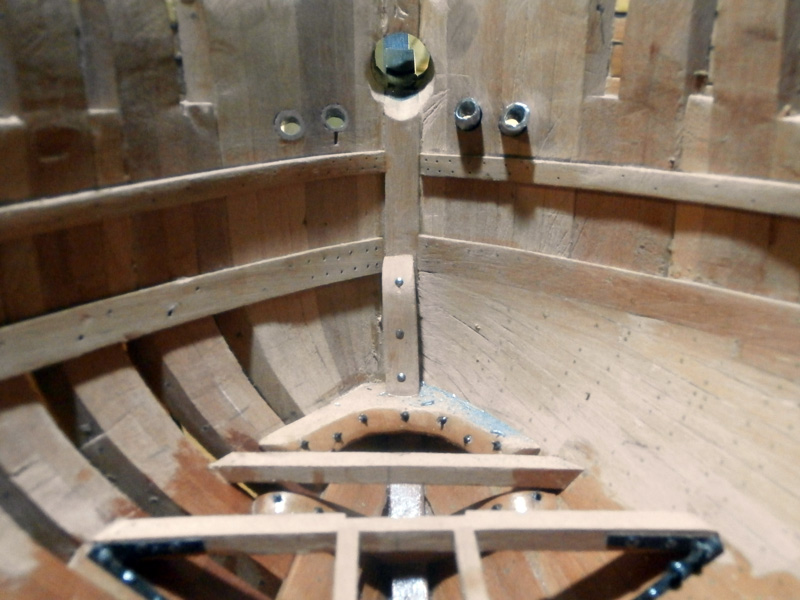
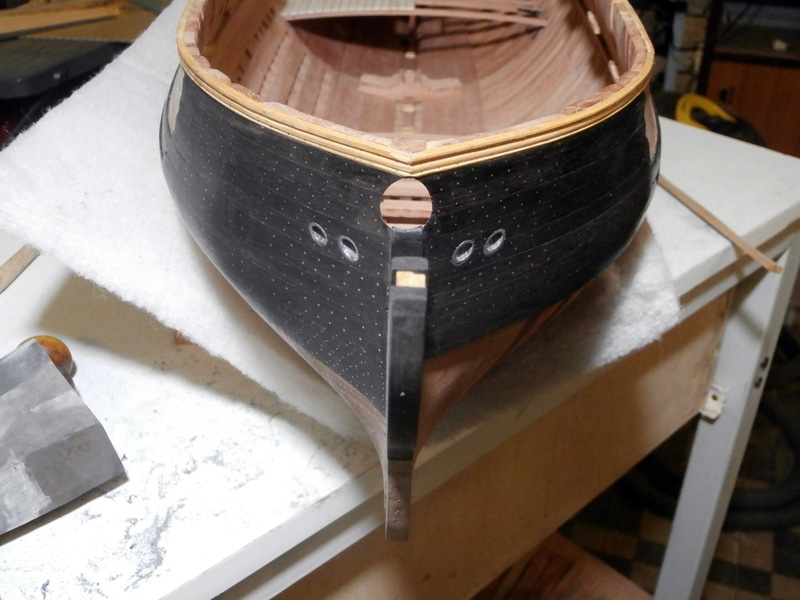
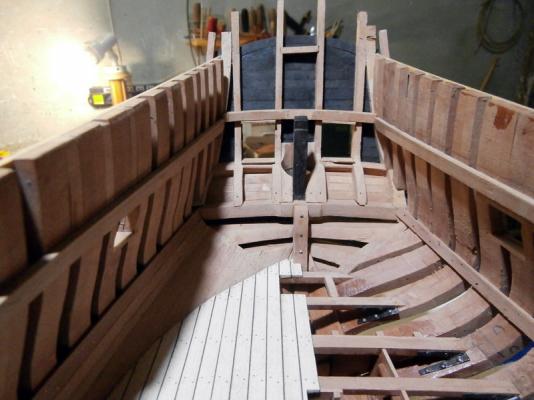
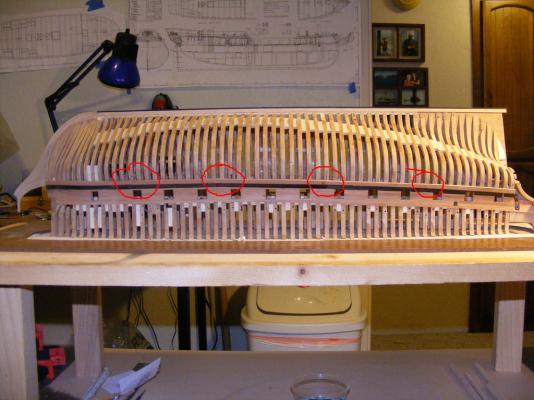
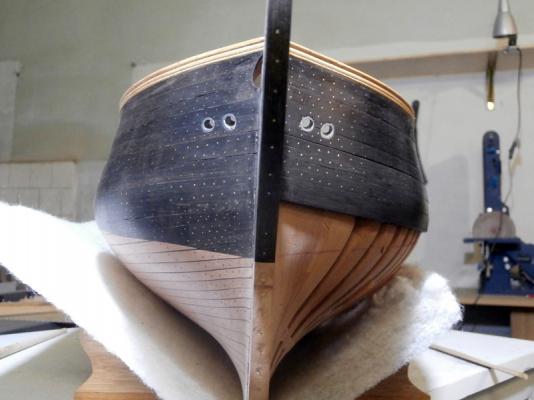
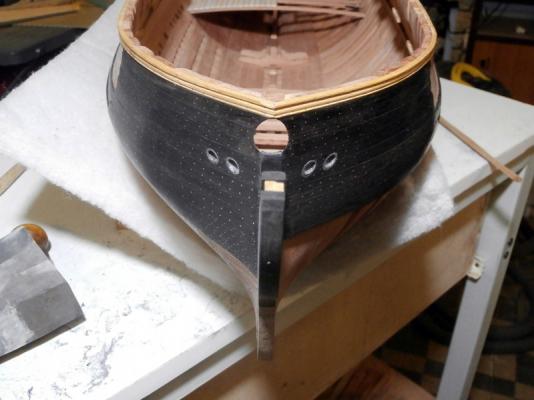
I have finished the nailing of the transom and I banded the inner part of the time of transom


-
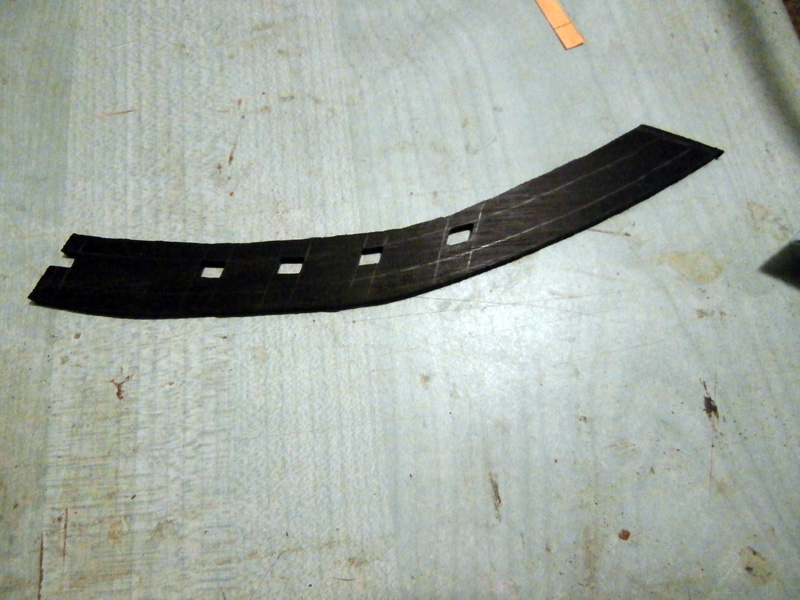
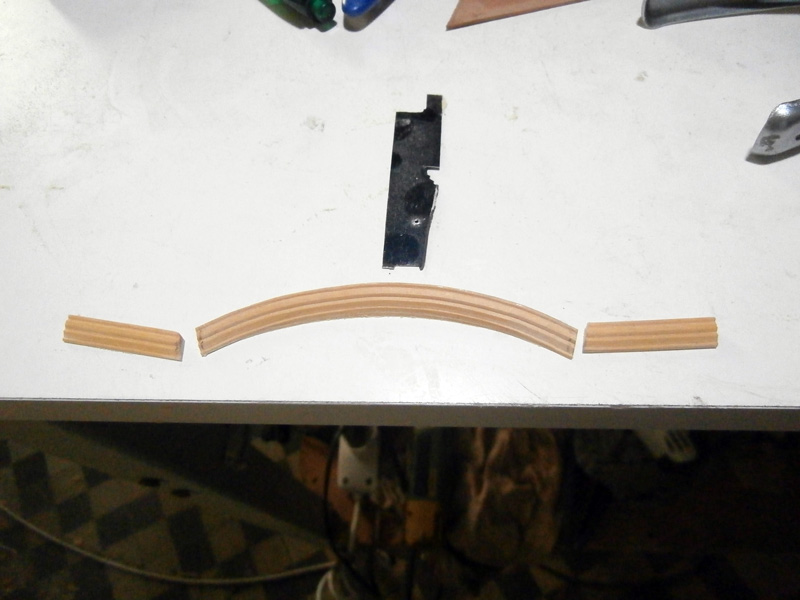
Little progress; I completed the bandage transom: I have yet rifinirne contours which are abundant:


- 738 replies
-
- 10
-

-
Wonderful job!
-
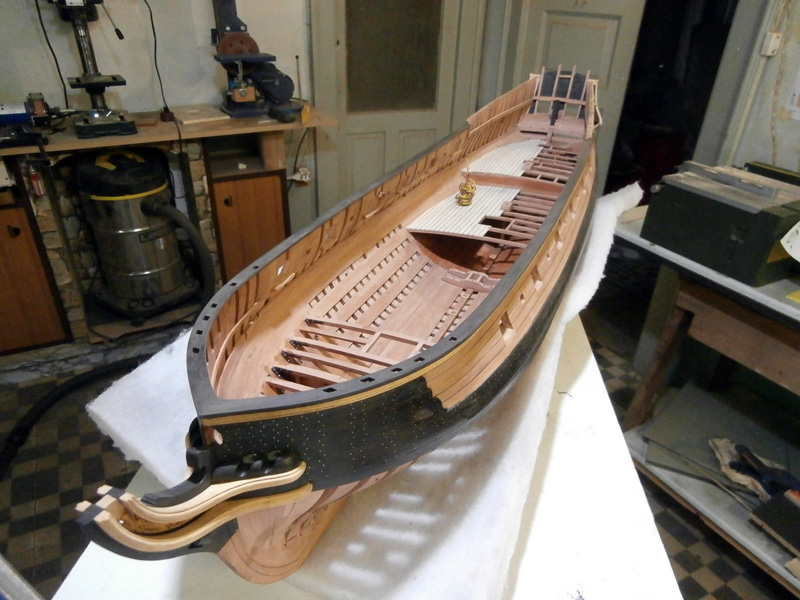
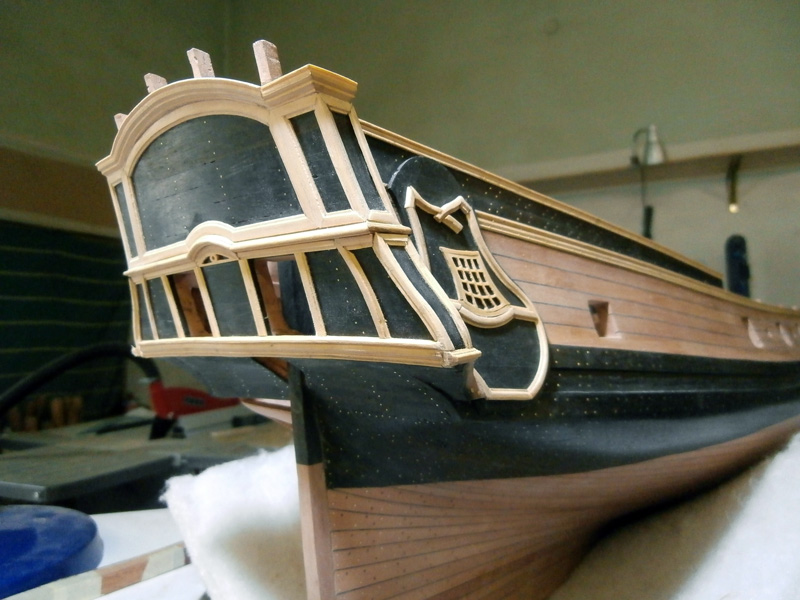
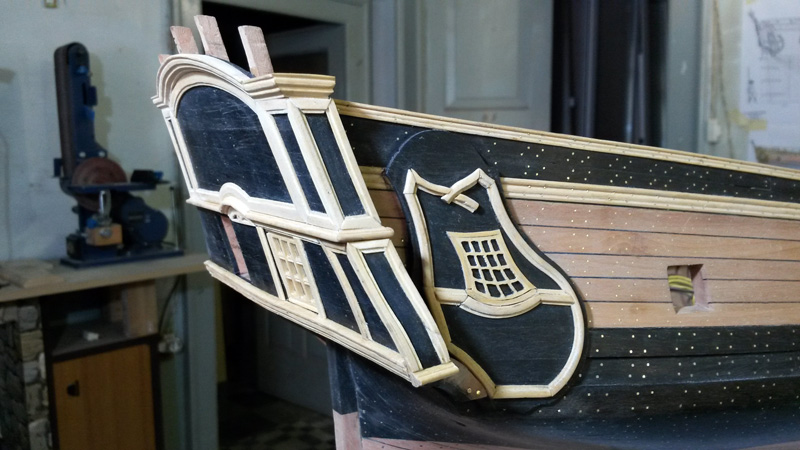
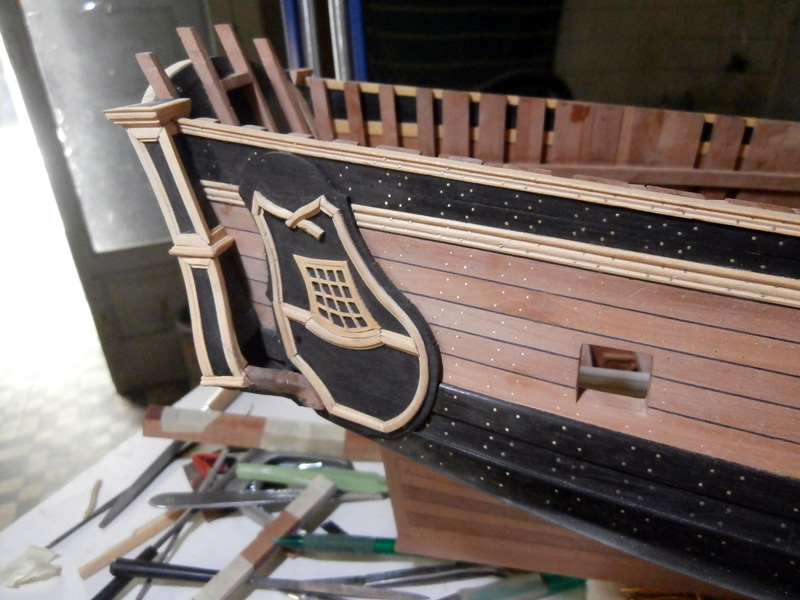
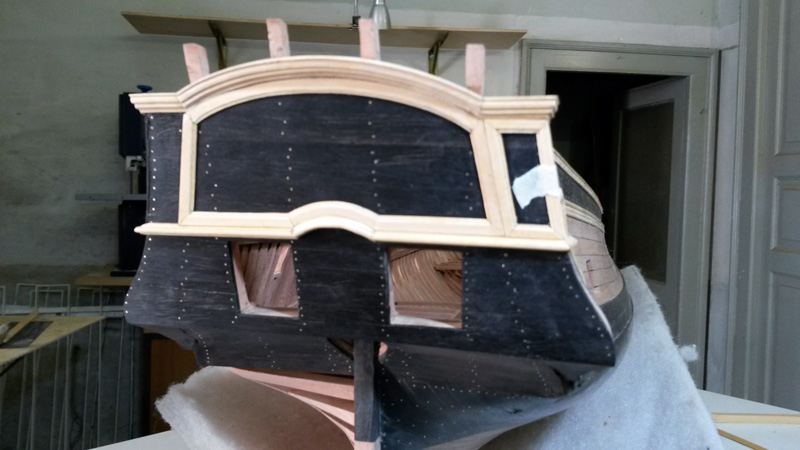
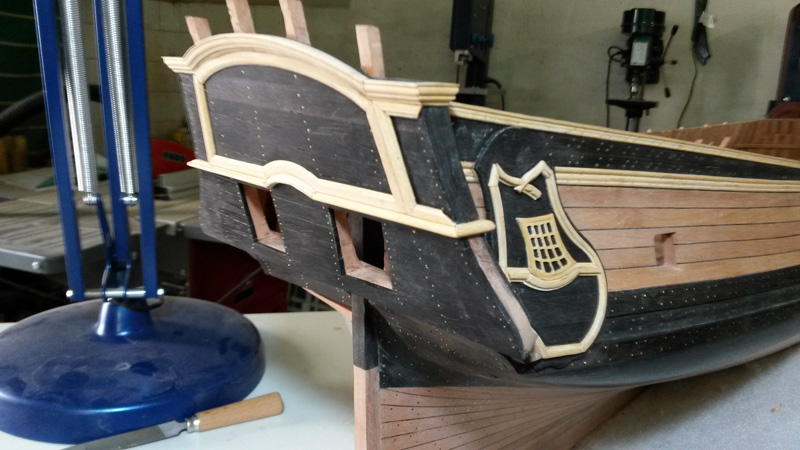
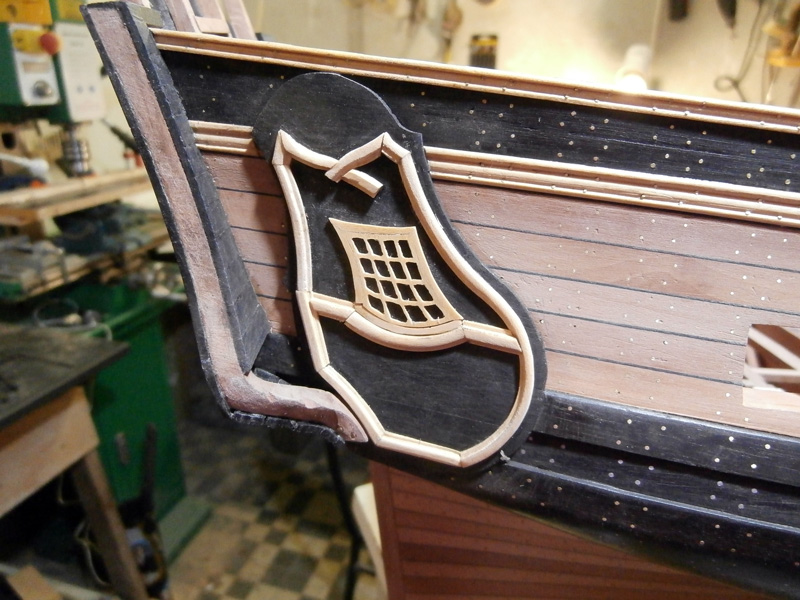
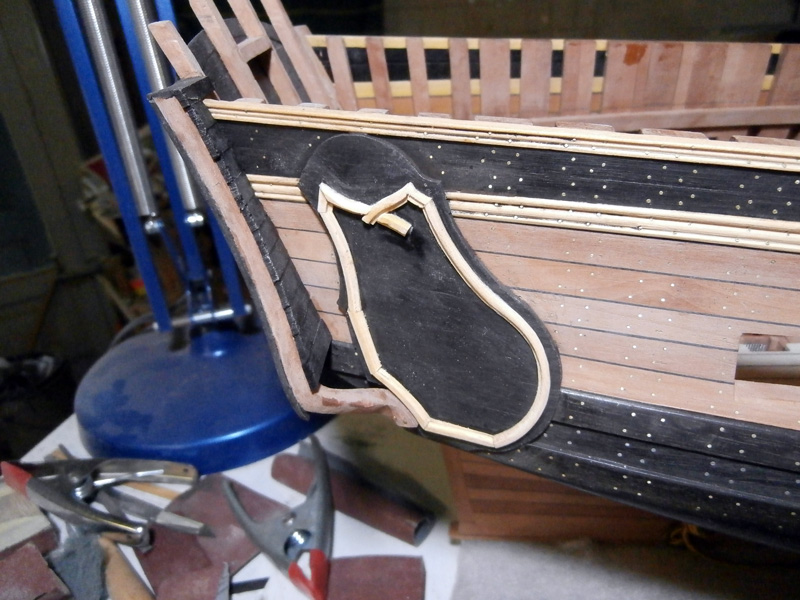
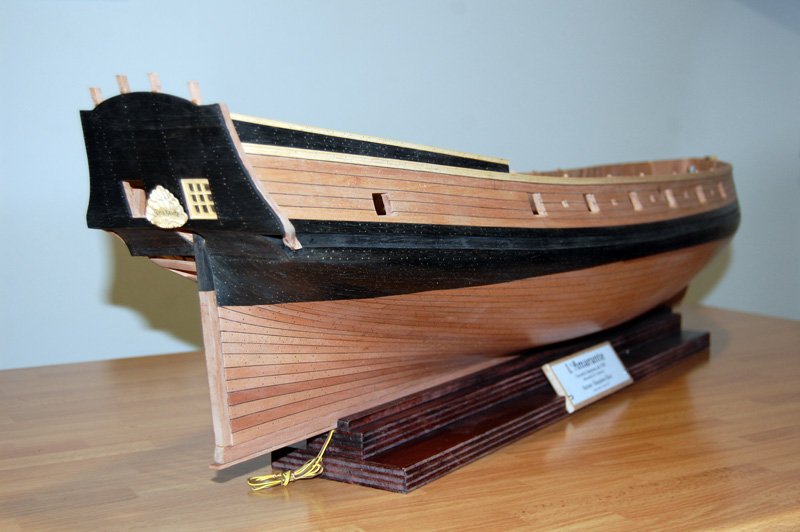
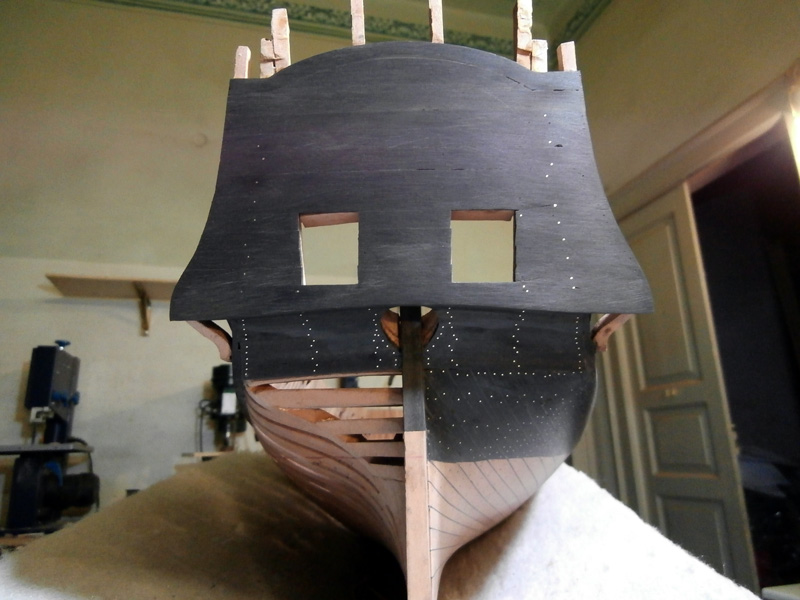
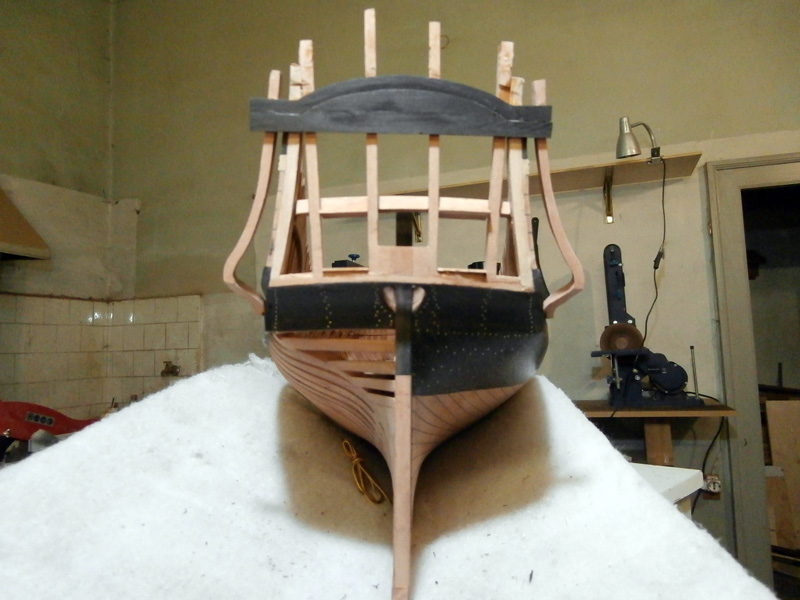
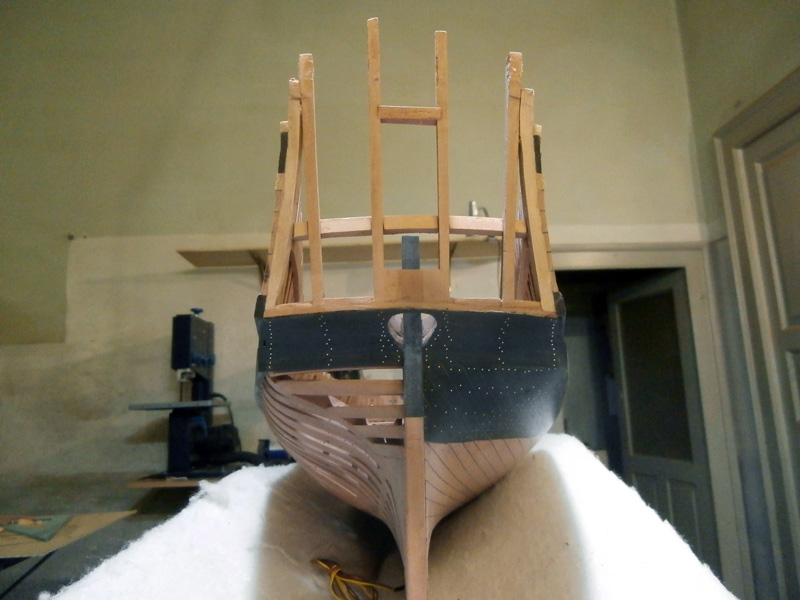
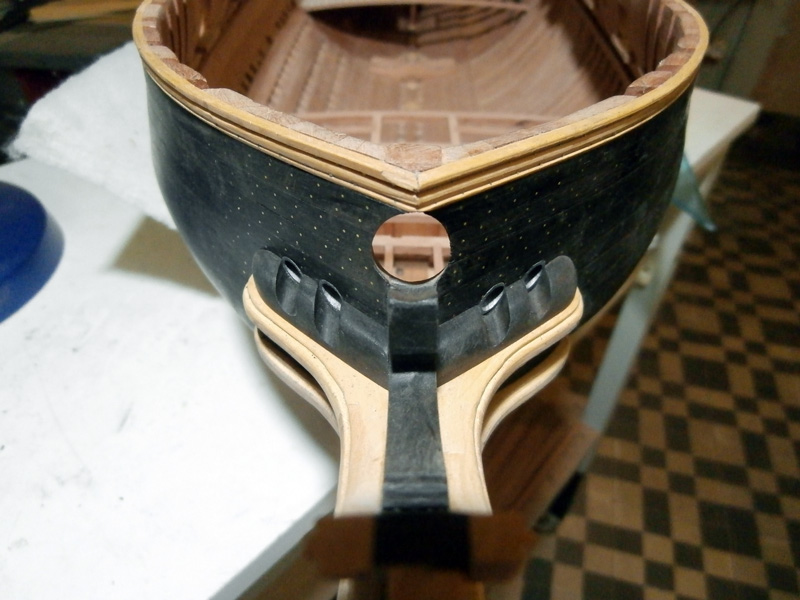
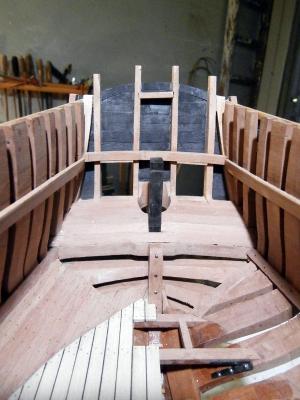
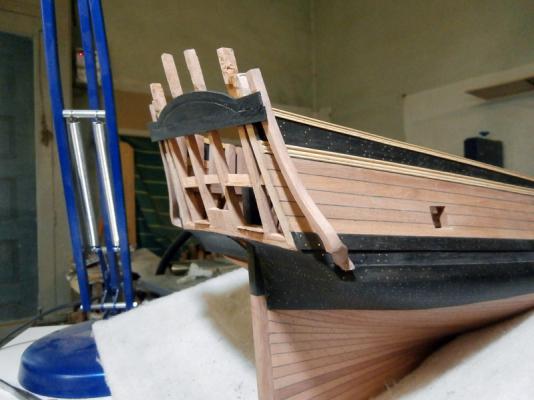
I started working on the transom, probably the less successful because of some asymmetry that I hope, completing the work, it is not too obvious. Meanwhile, I trimmed the excesses of strakes: I built the two stretchers of the transom: And the crowning that supports these stretchers: From this picture I get the impression that the courses tend to rise slightly to the left, although it seems not live; mah!


- 738 replies
-
- 10
-
-
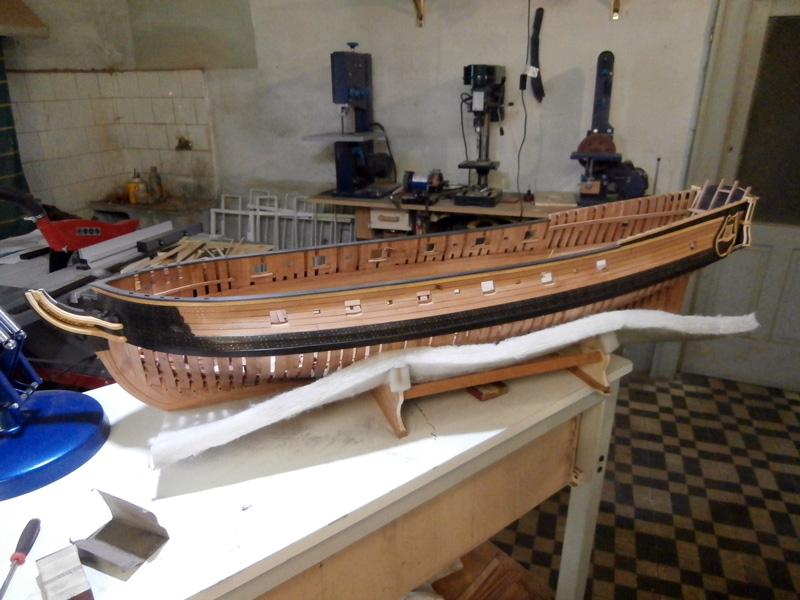
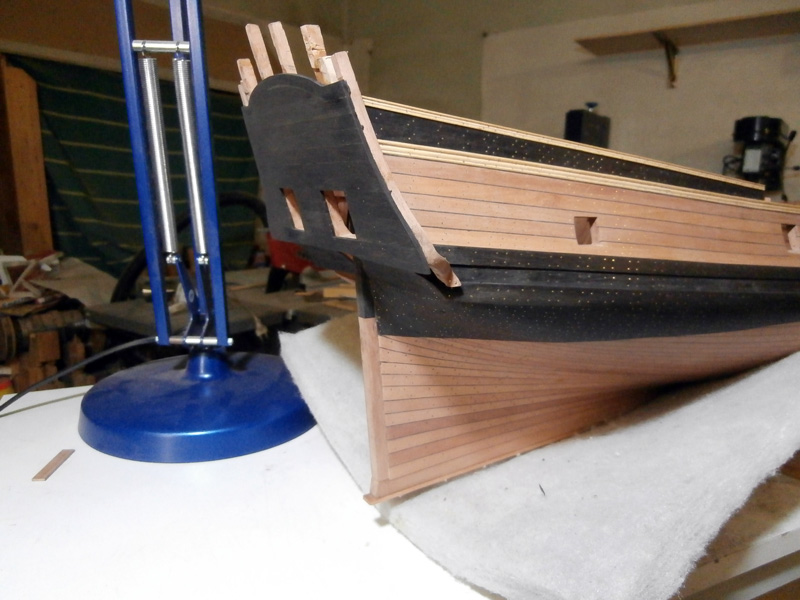
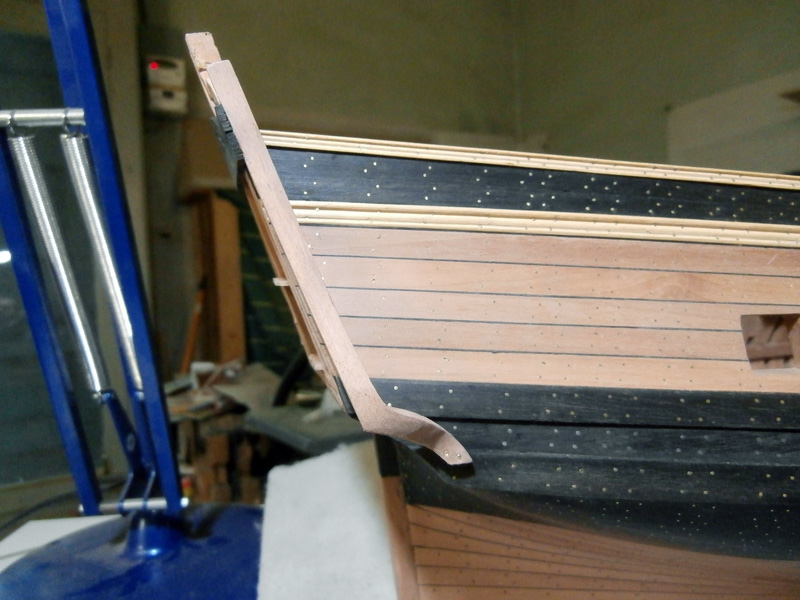
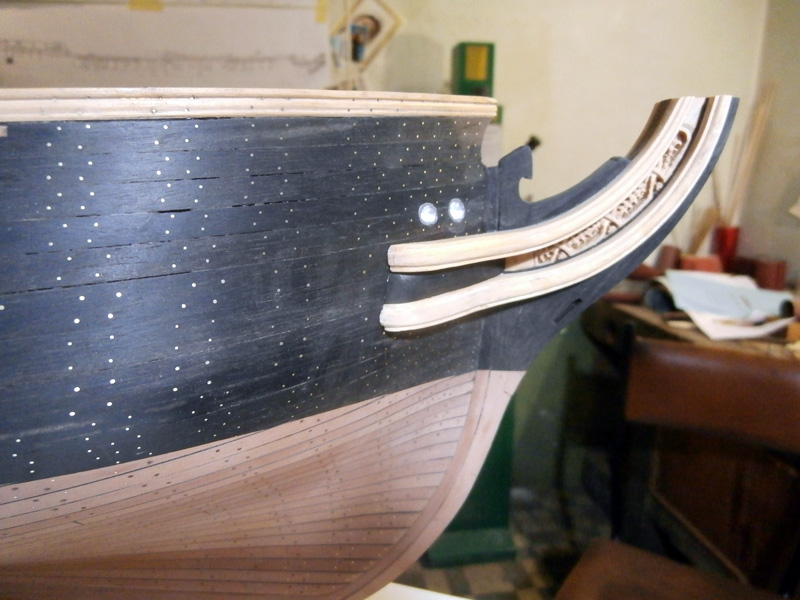
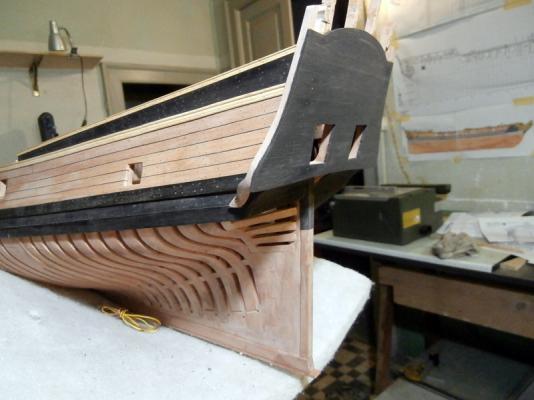
Exscuse me, Mark.... From the first picture I see that the plank of ebony has not a curvature harmonious but has edges a bit 'too accentuated. This could affect the lines and the beauty of the model! You still have time to correct this error!
-
Druxey you're right! Soon I'll have to paint the entire hull with matte varnish
-
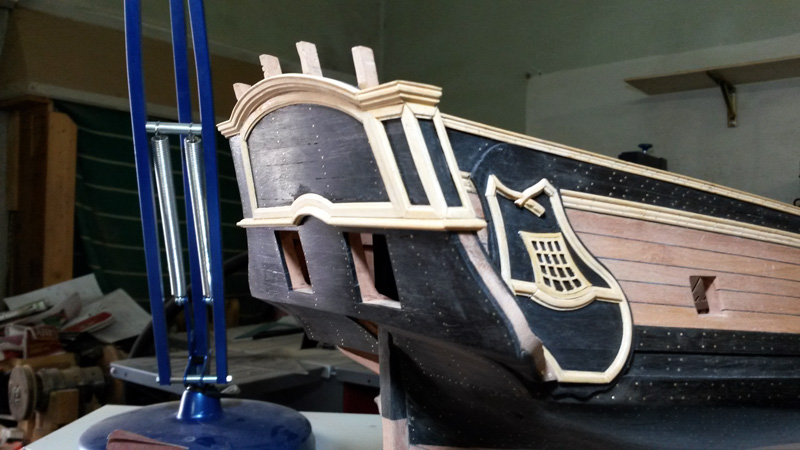
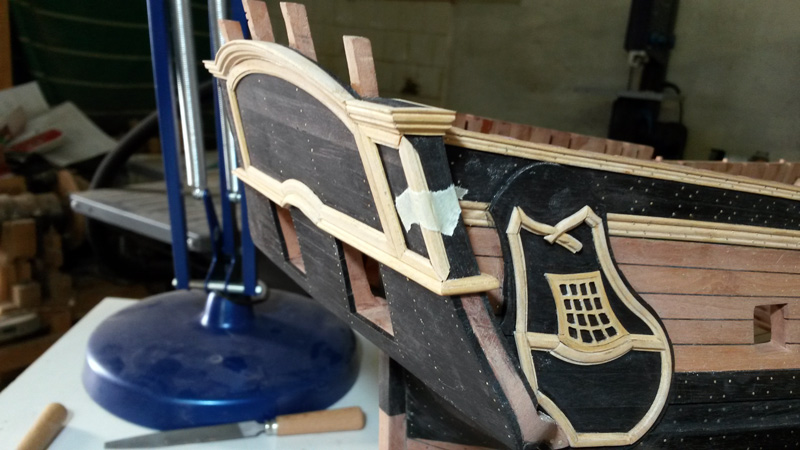
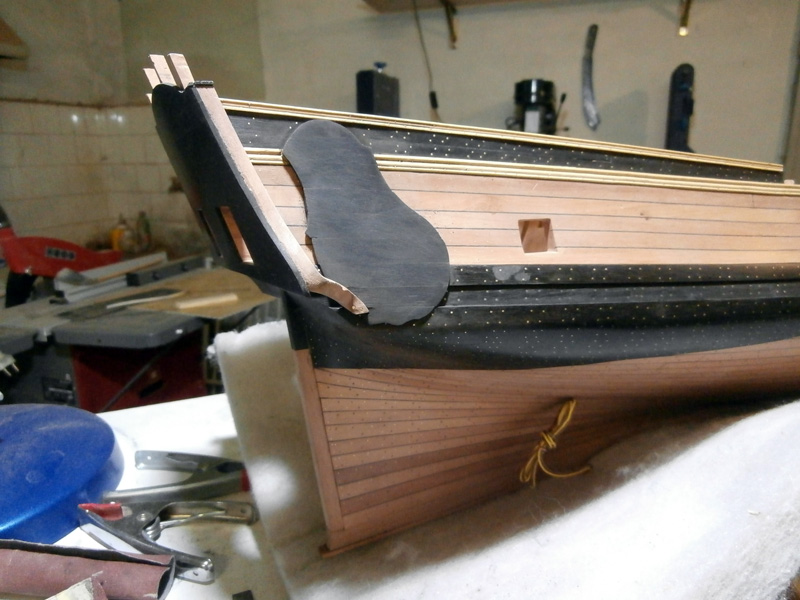
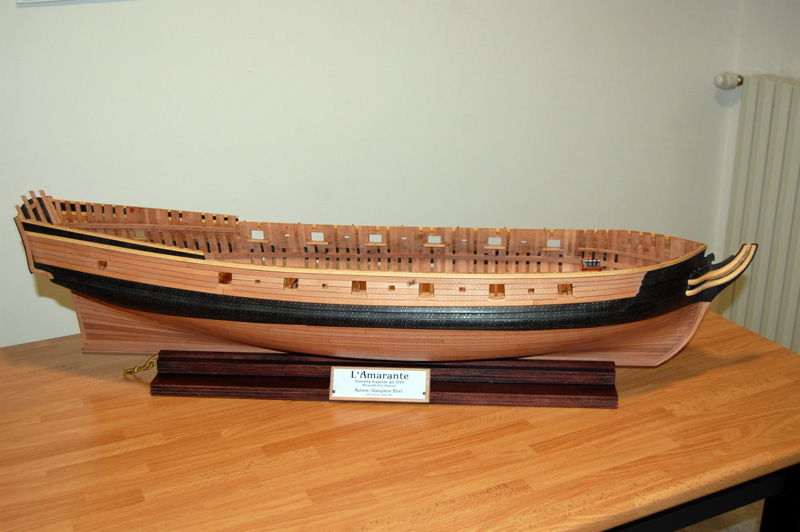
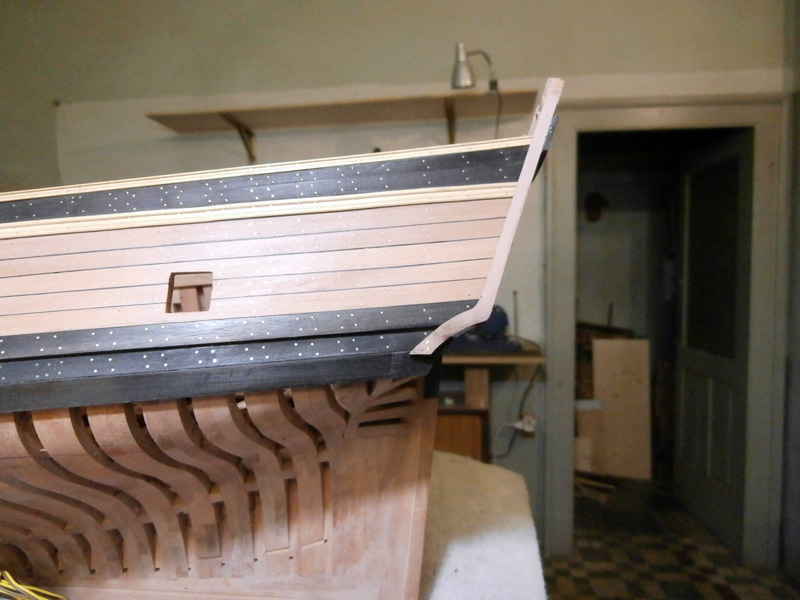
I cut the excess The final result; I'll probably still reduce thickness because it seems a bit 'too much, but I'll do it later, when I finish the walled inside starboard and adjusted the length of the lead lining.


- 738 replies
-
- 13
-
-
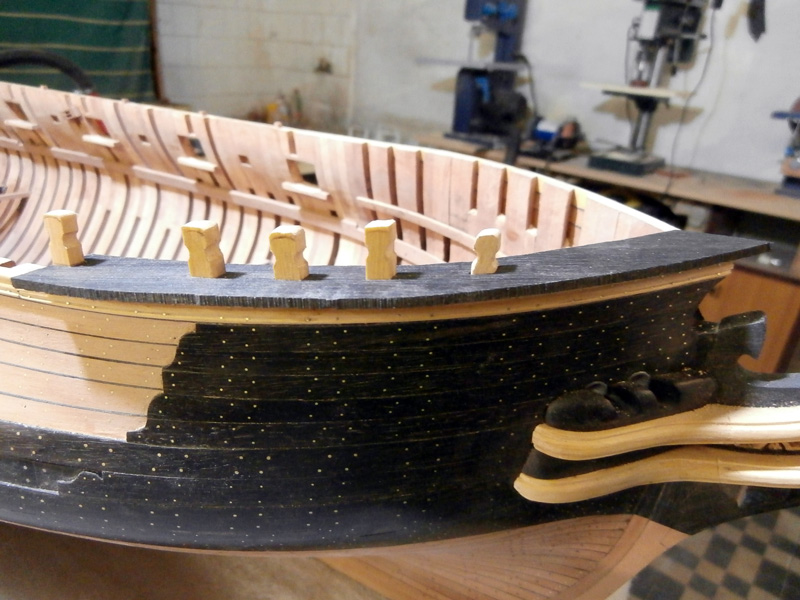
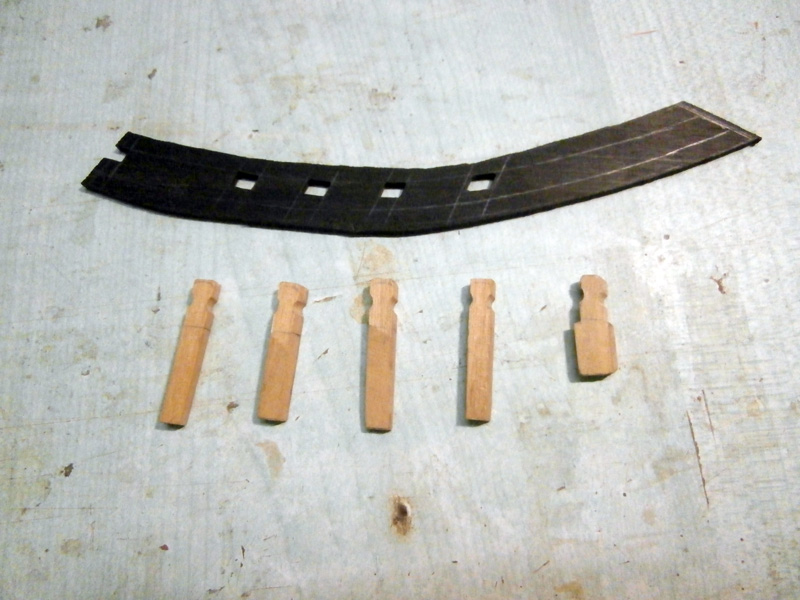
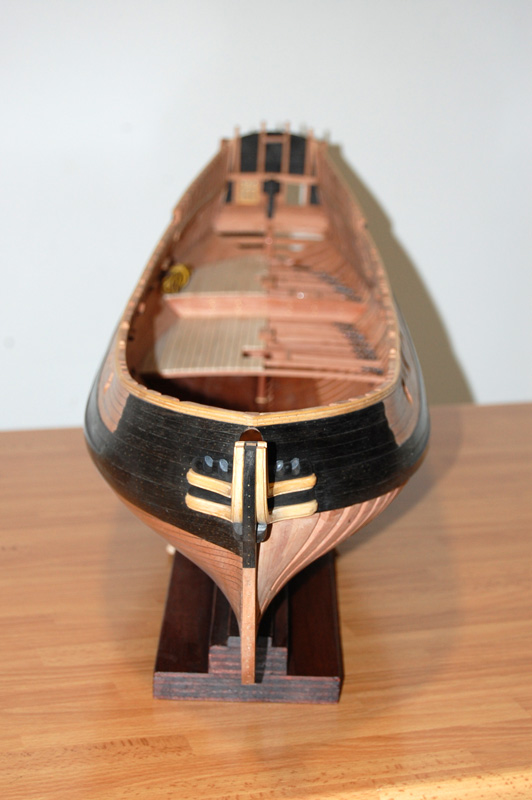
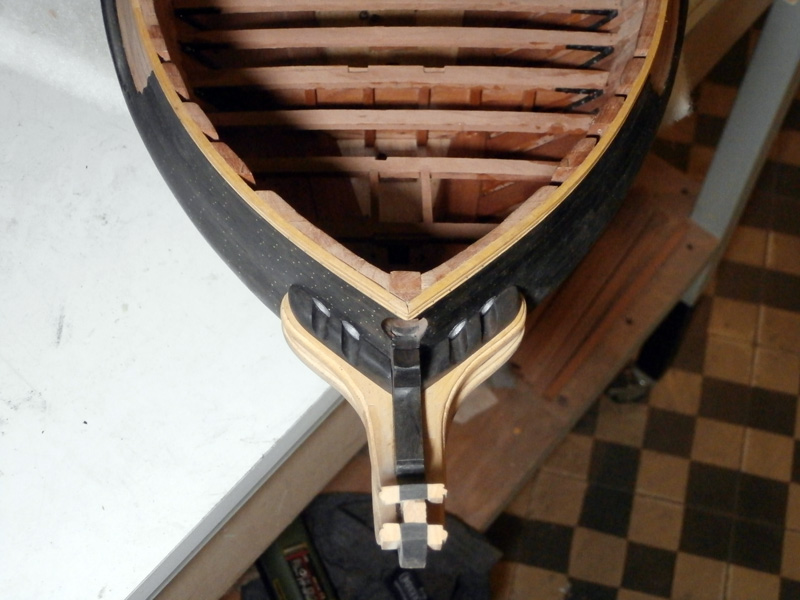
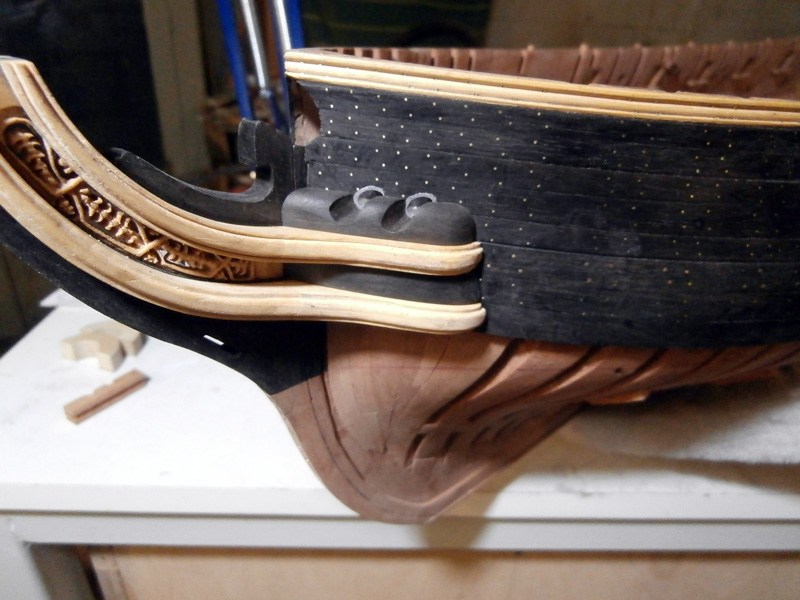
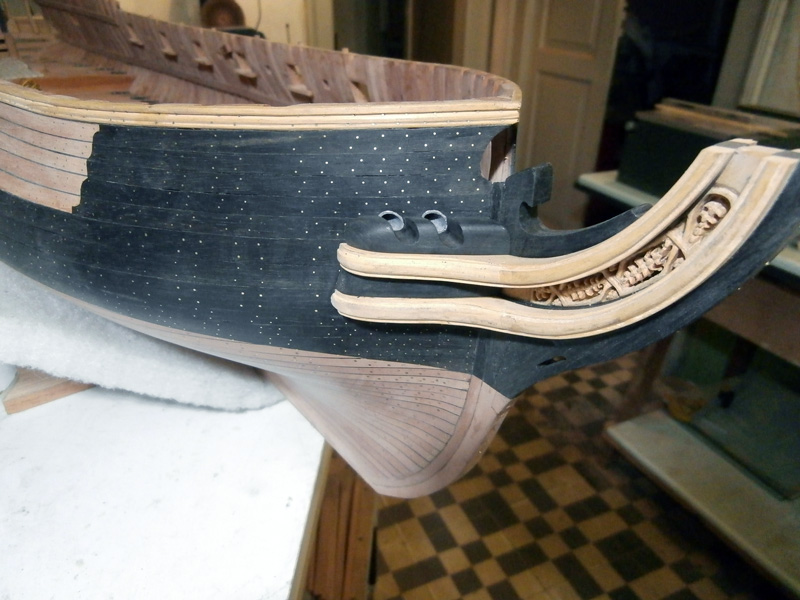
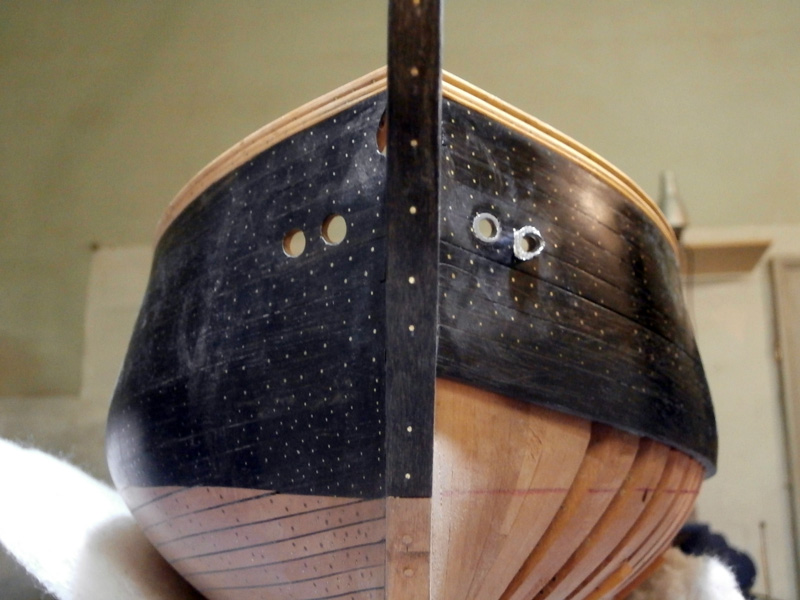
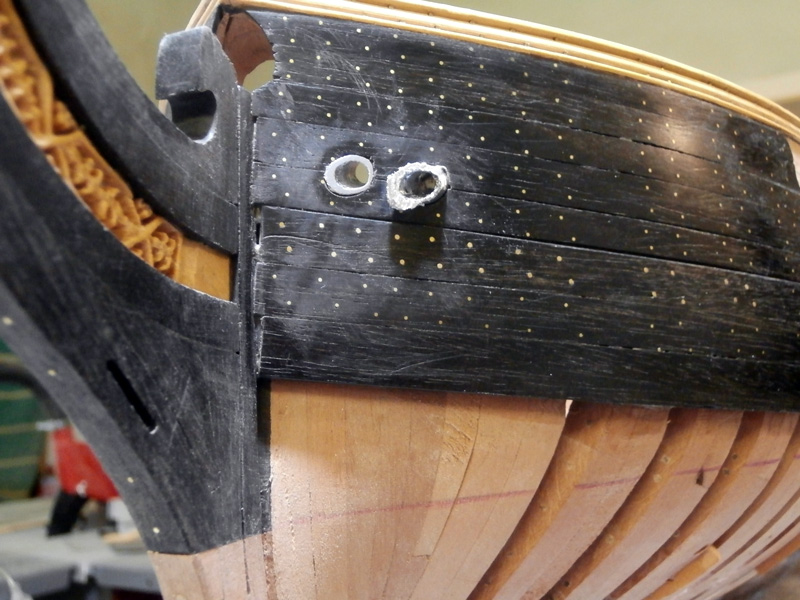
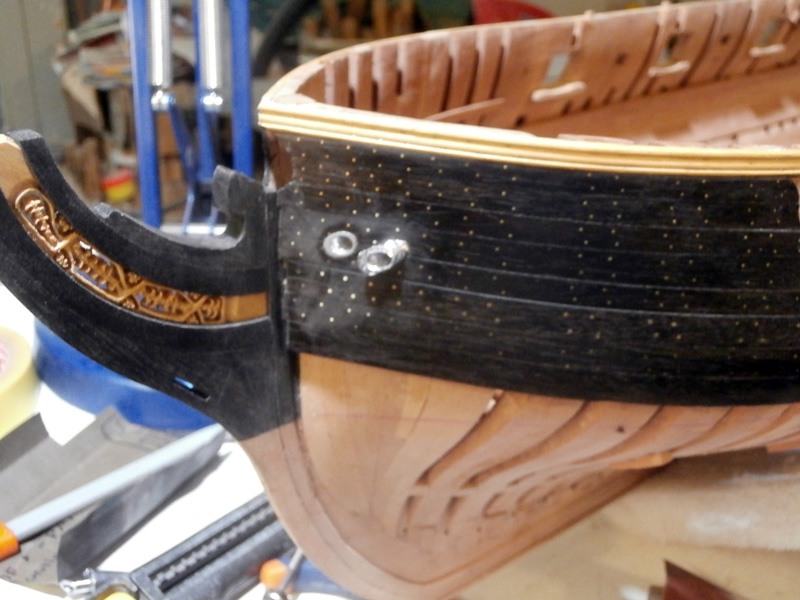
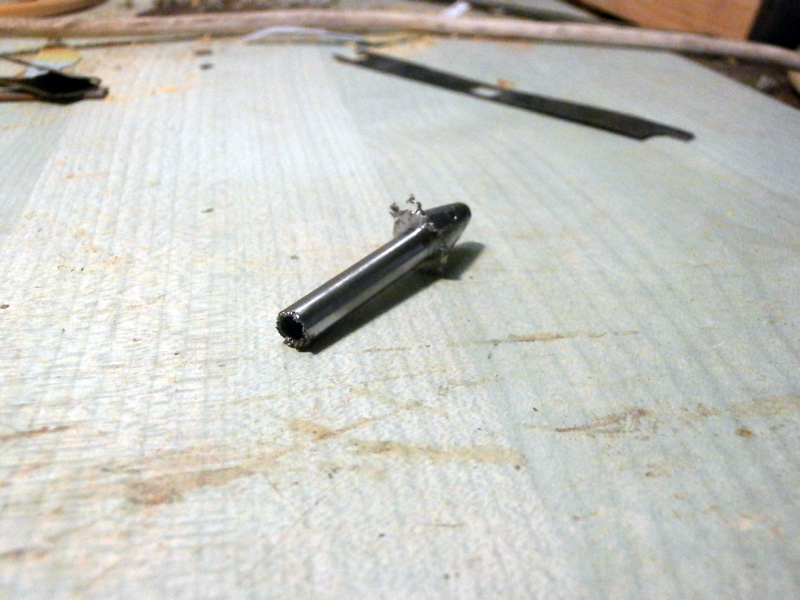
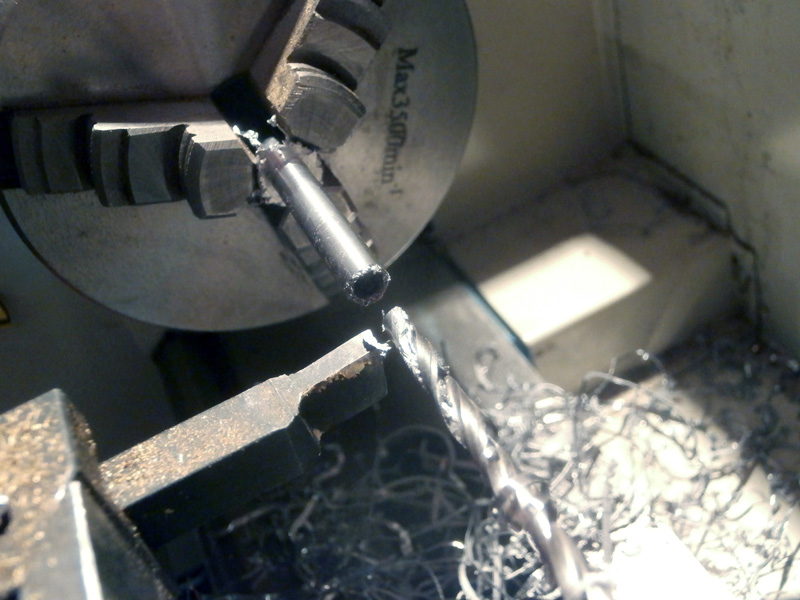
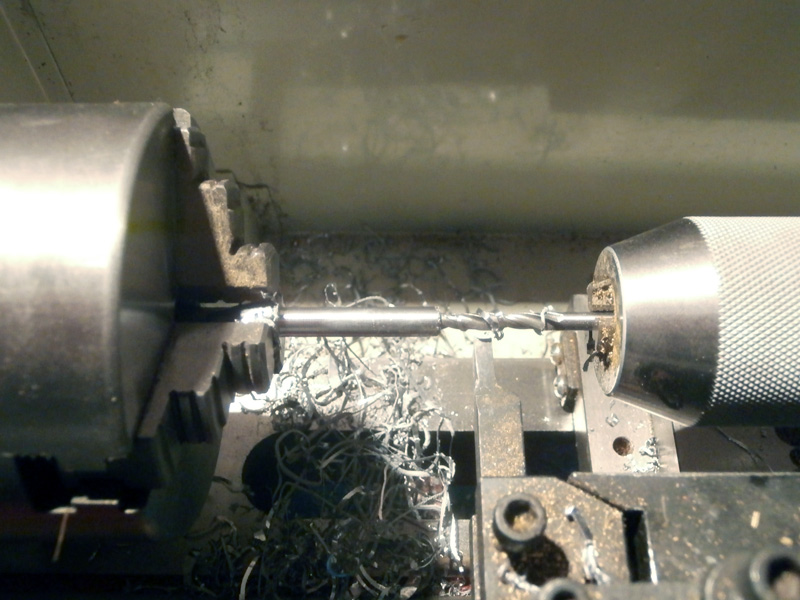
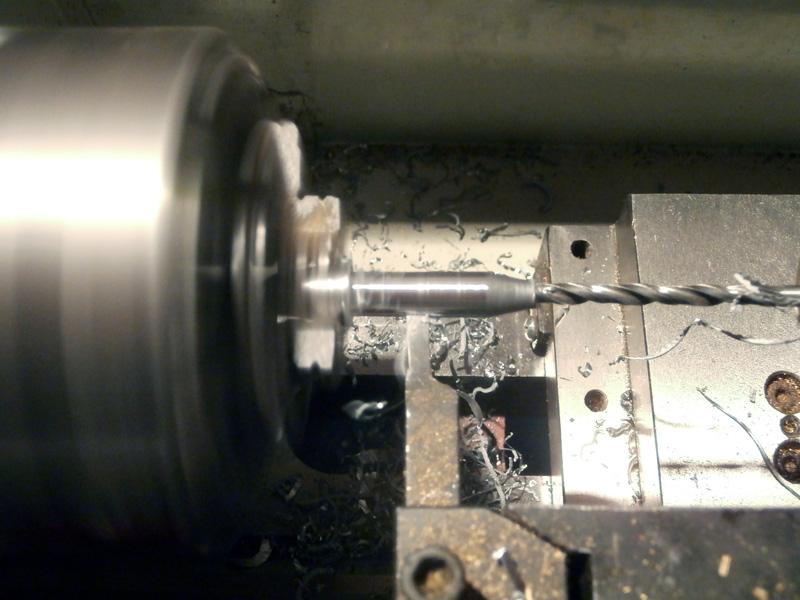
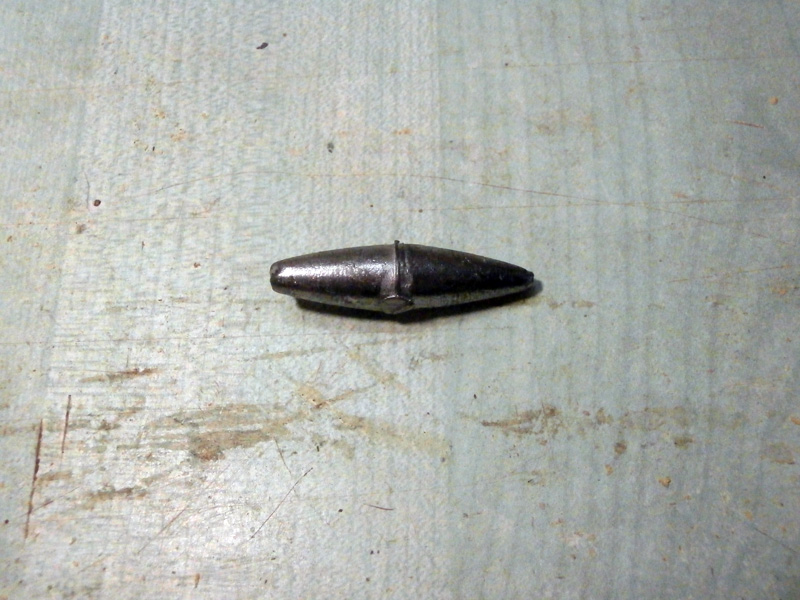
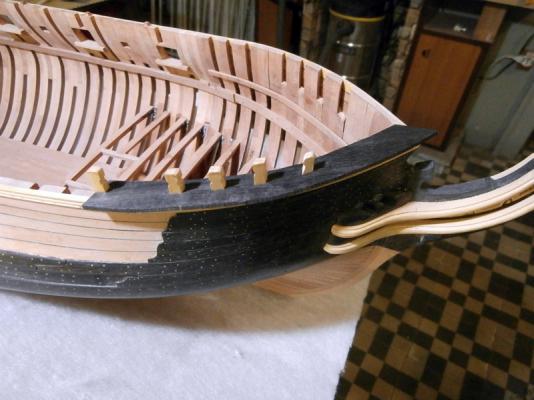
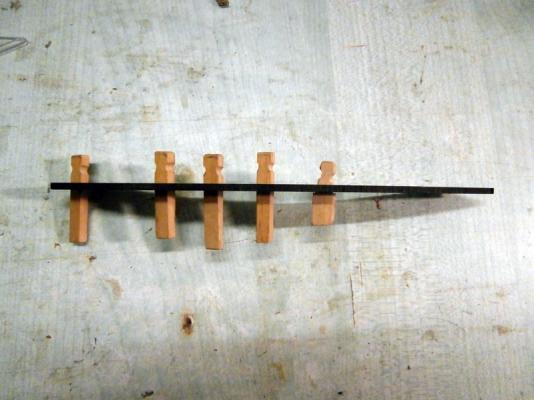
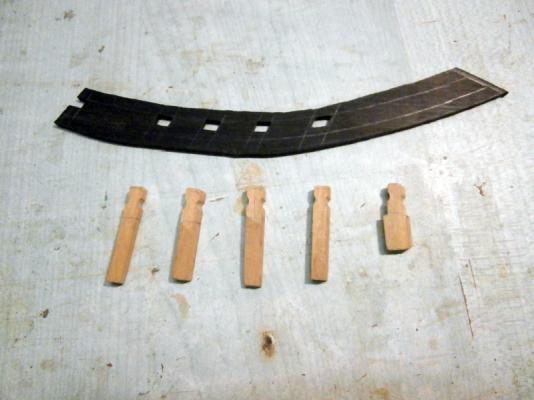
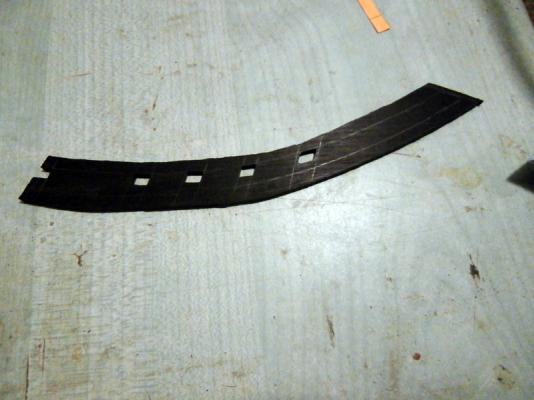
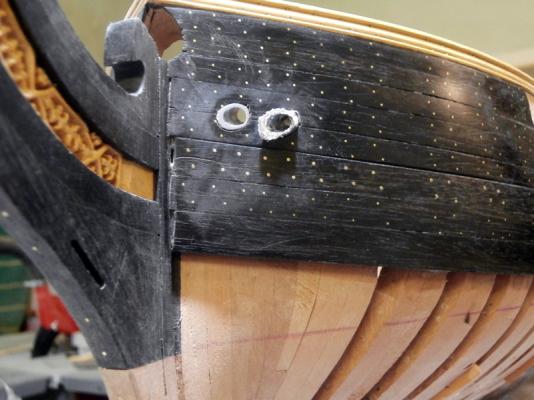
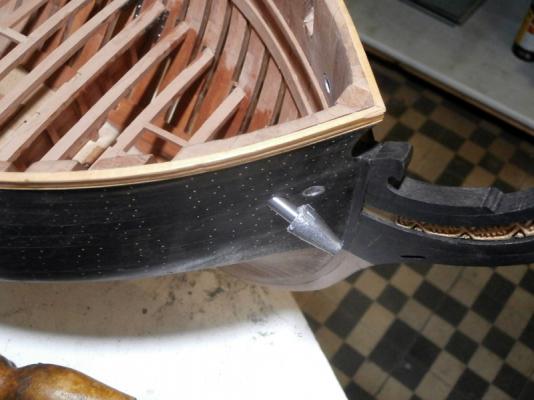
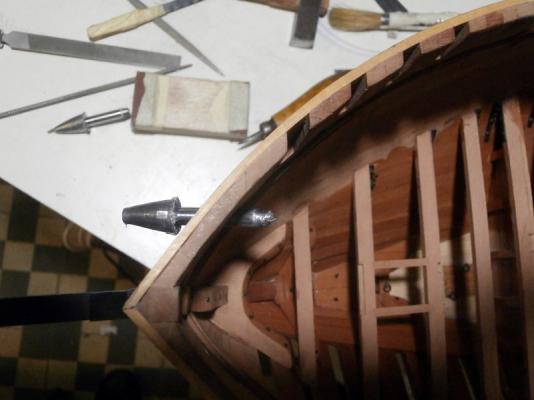
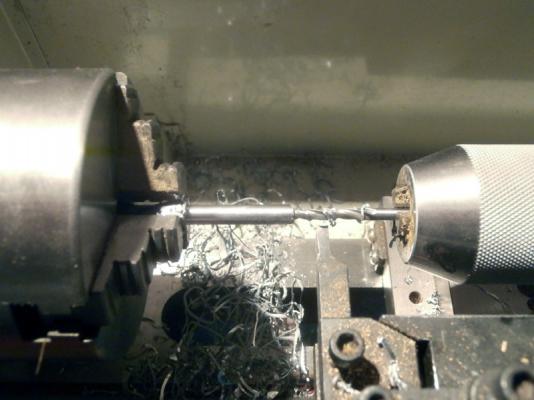
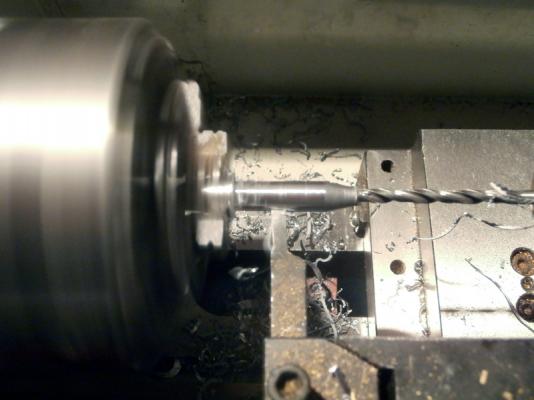
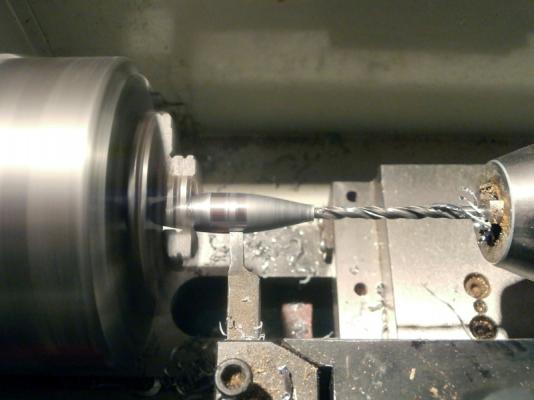
Before fixing the dolphins I believe I must cover the hawse pipes with lead foil. For this, I thought of using the commonest fishing sinkers, long enough and suitably machined on a lathe to obtain a kind of tube: Reached the diameter must have stuck in power, tapping it with a hammer. the tube in hawses


-
I am happy that my work can serve to help you! Thank you!