HOLIDAY DONATION DRIVE - SUPPORT MSW - DO YOUR PART TO KEEP THIS GREAT FORUM GOING! (Only 13 donations so far - C'mon guys!)
×


giampieroricci
-
Posts
902 -
Joined
-
Last visited
Content Type
Profiles
Forums
Gallery
Events
Everything posted by giampieroricci
-
thank you very much, Nils! :)
-
Thank you , friends! This is my first building of admirality model ship..... I'm trying to do my best! @Lee: where I find your log? Can you send me your link?
-
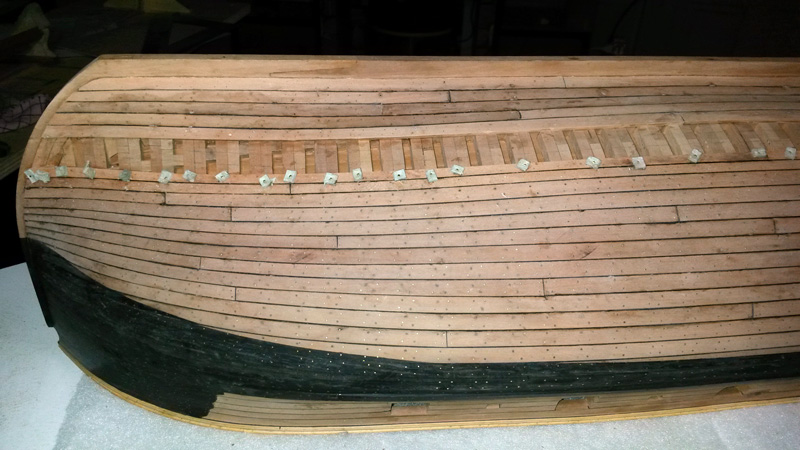
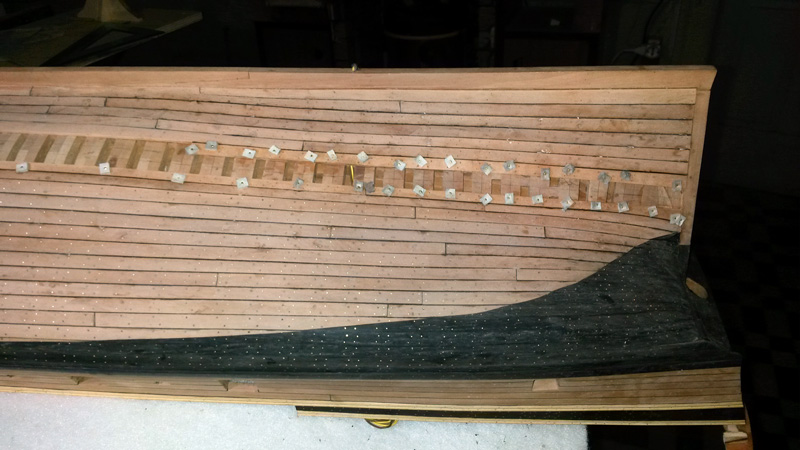
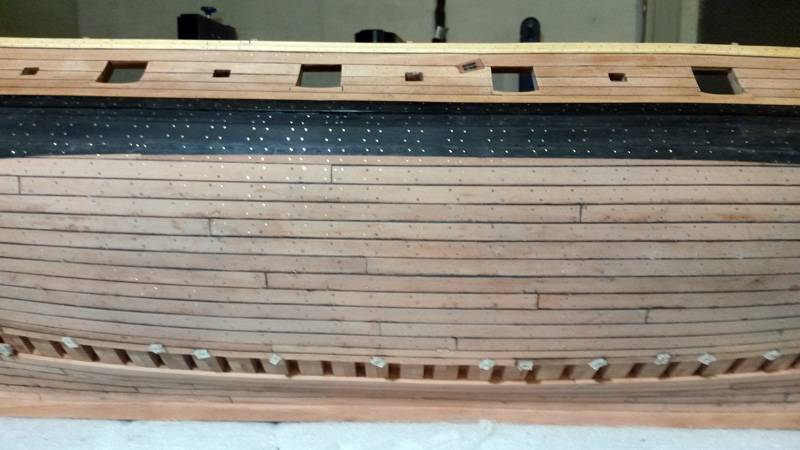
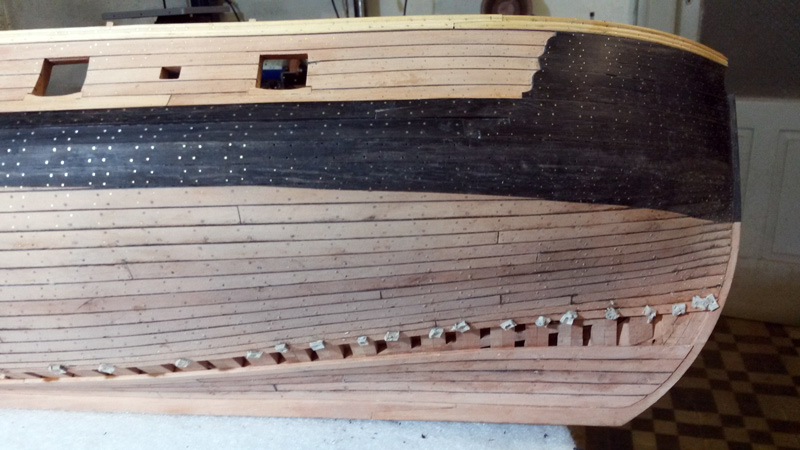
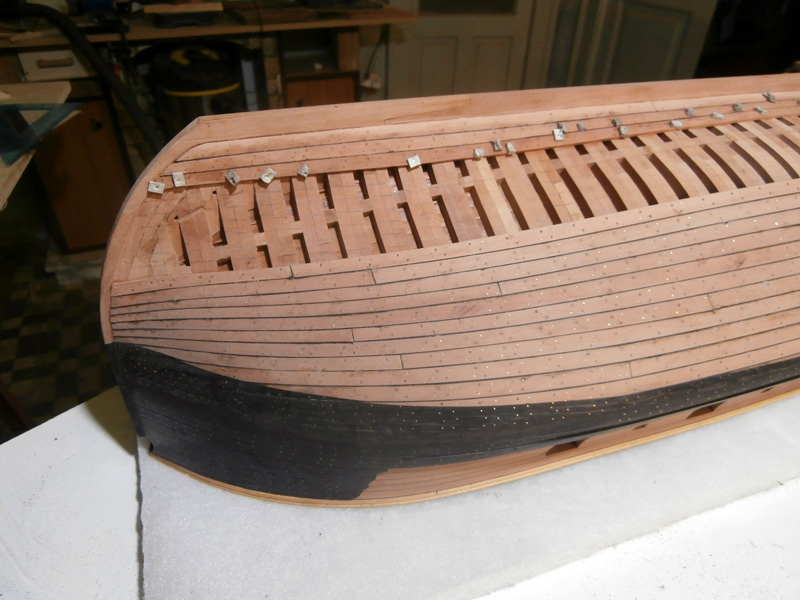
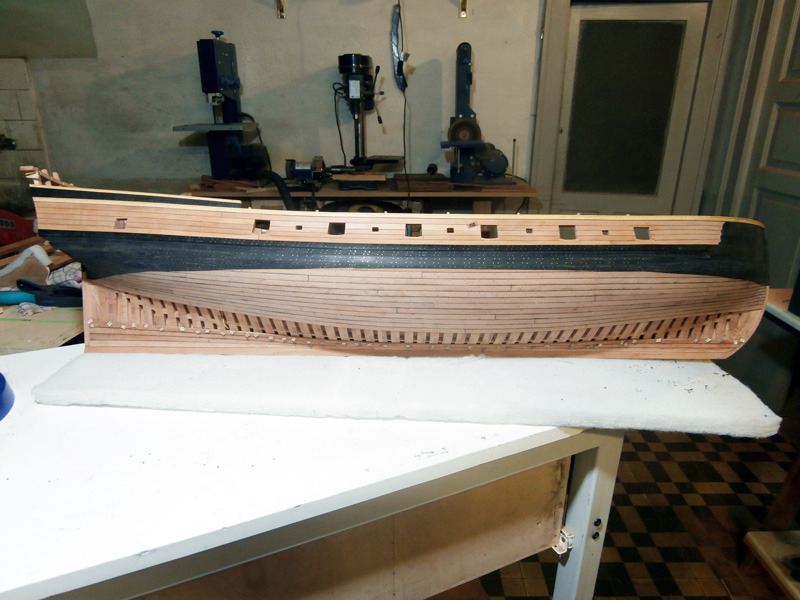
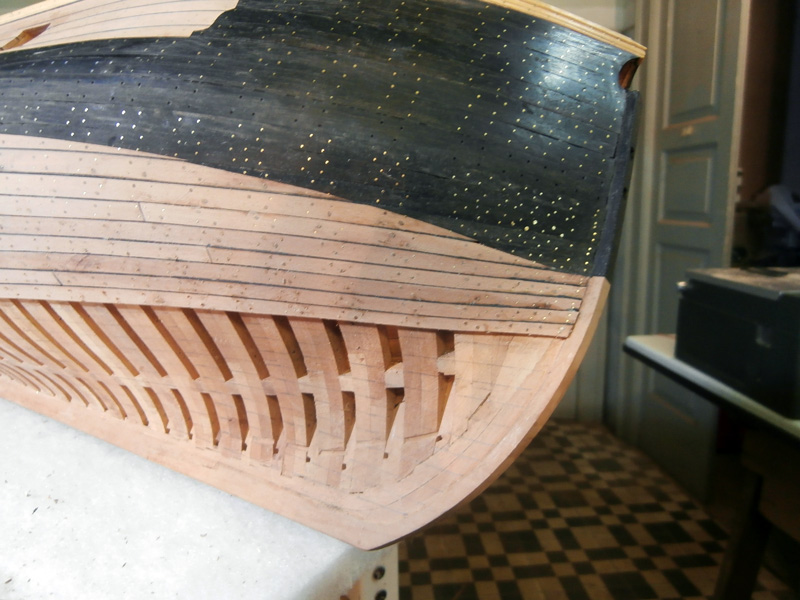
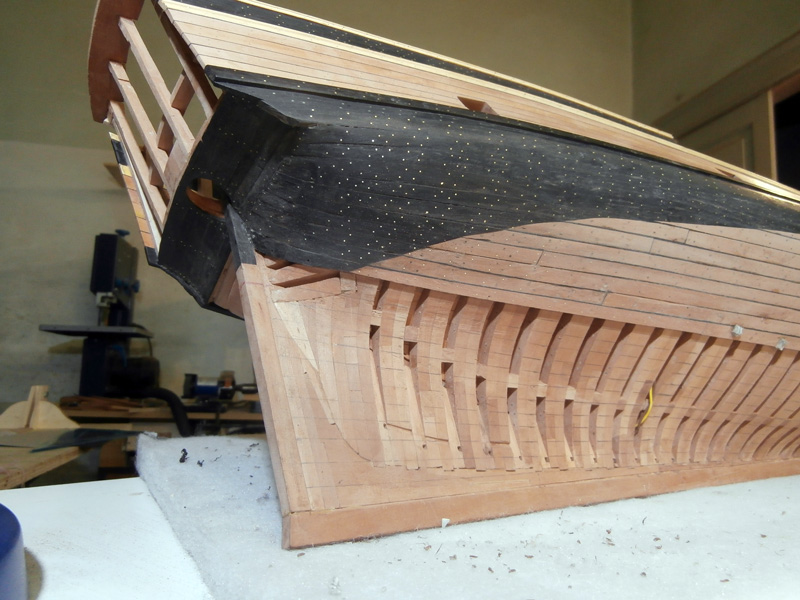
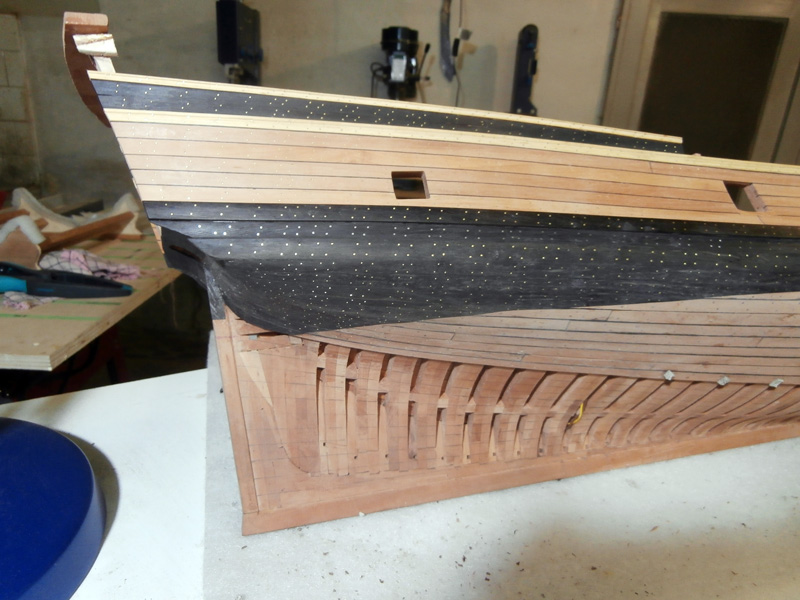
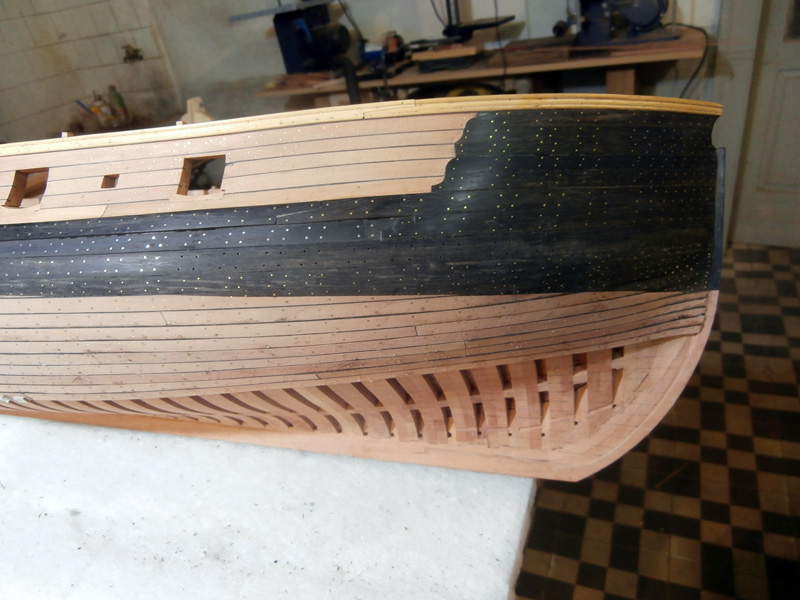
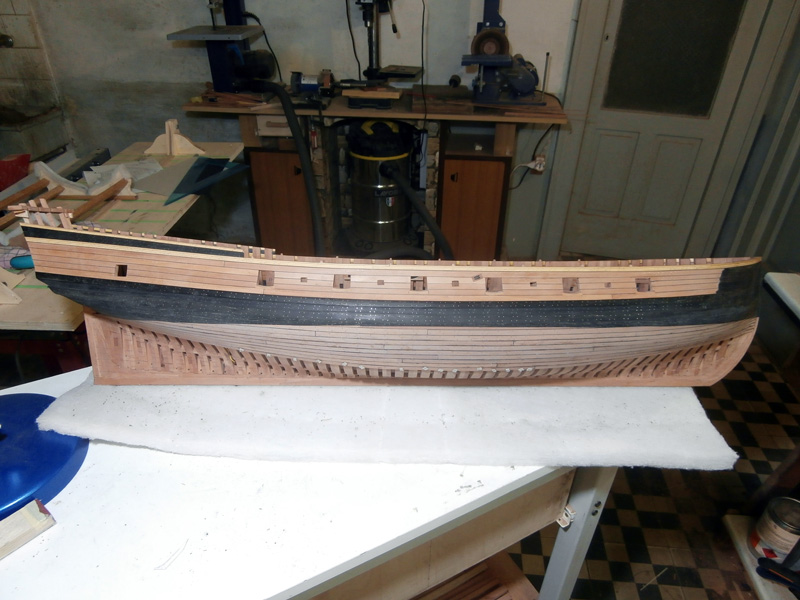
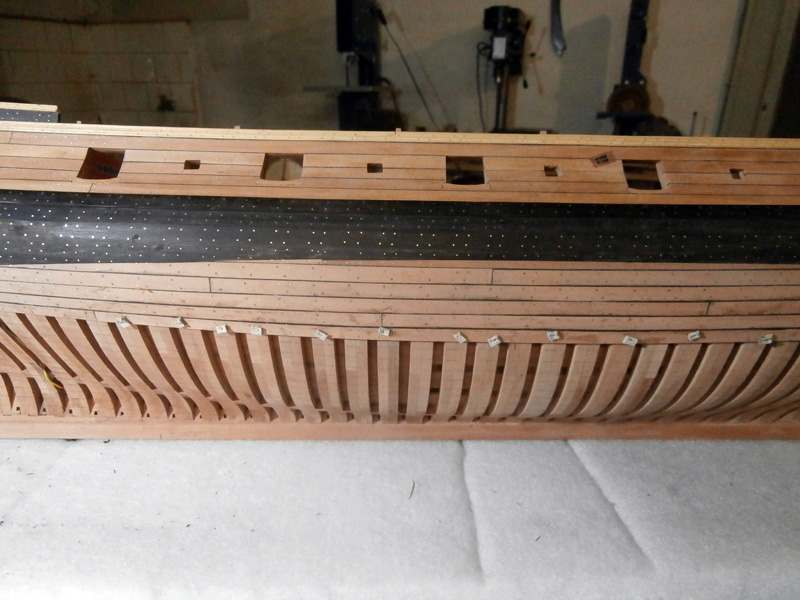
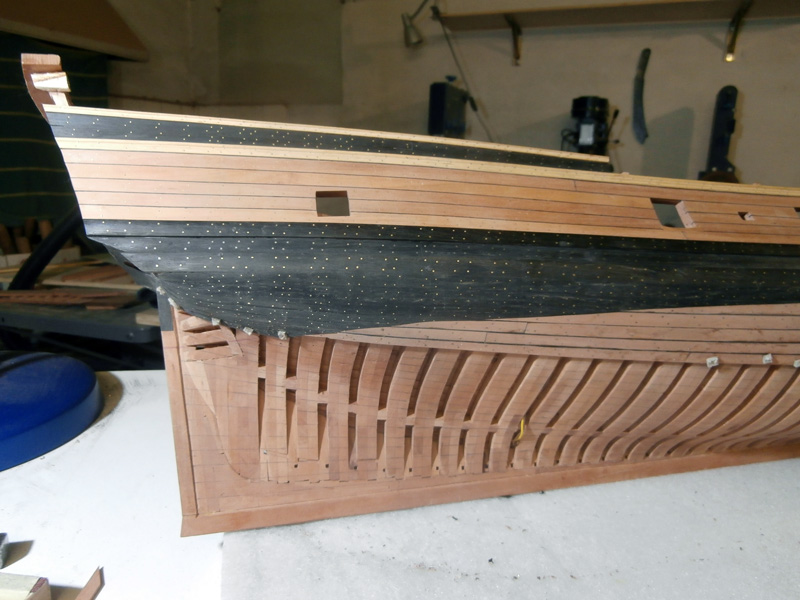
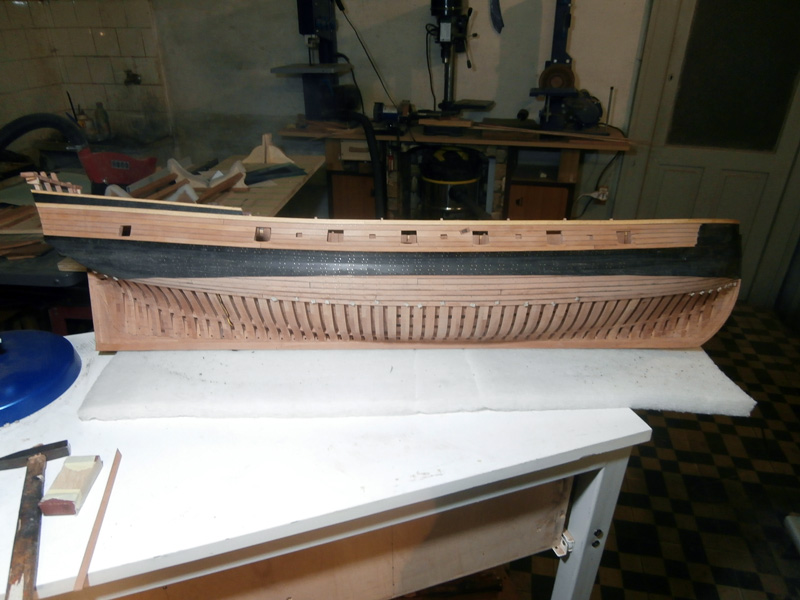
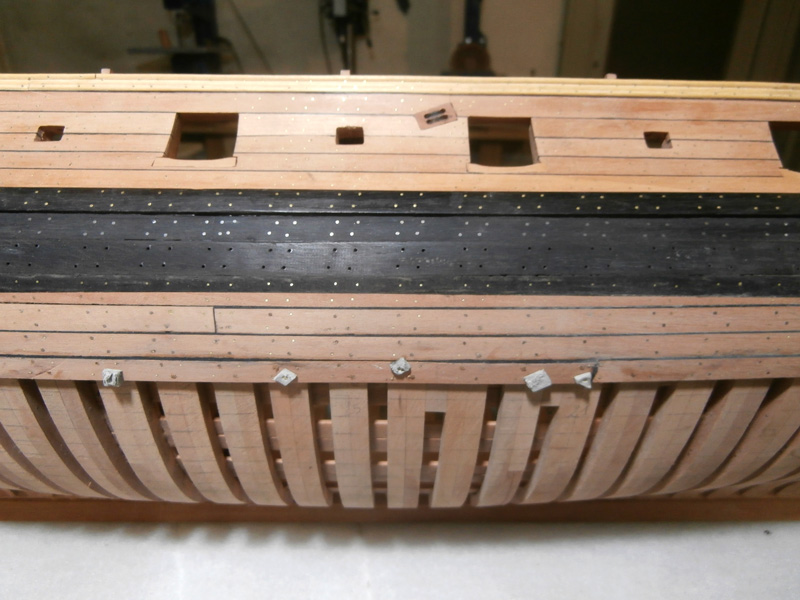
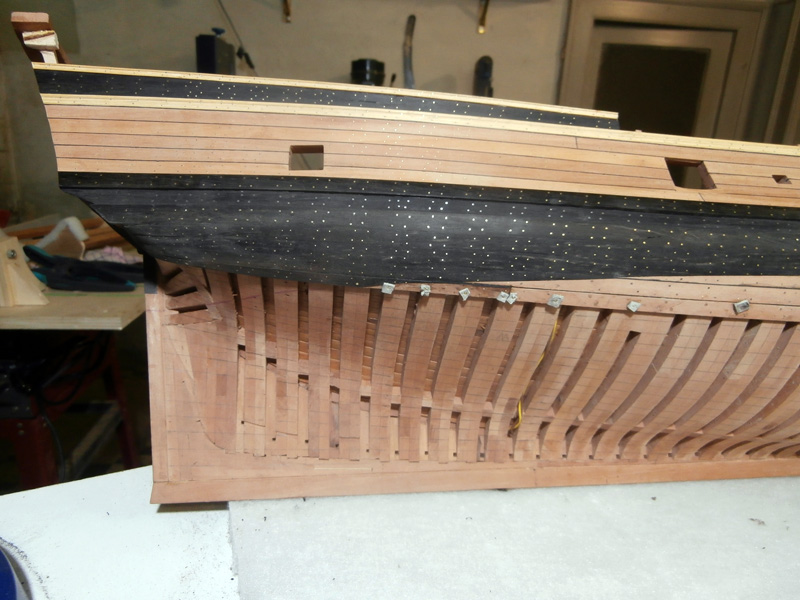
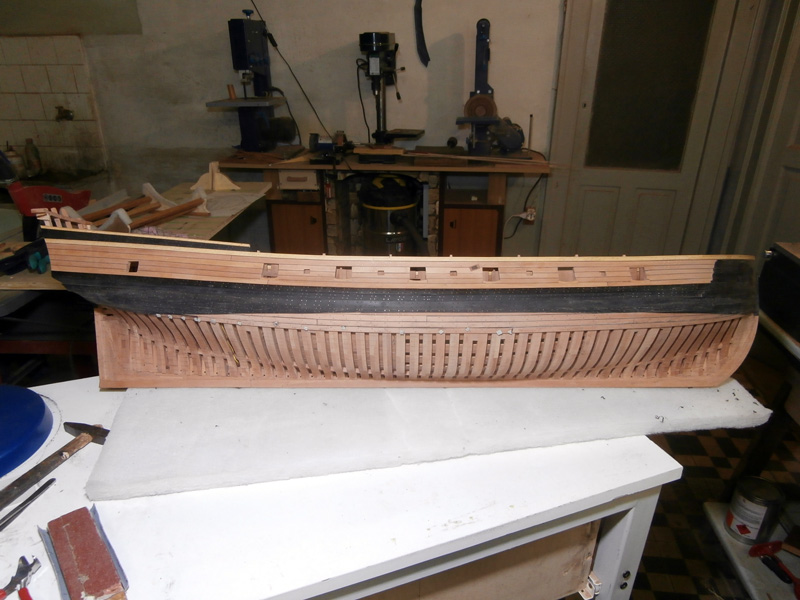
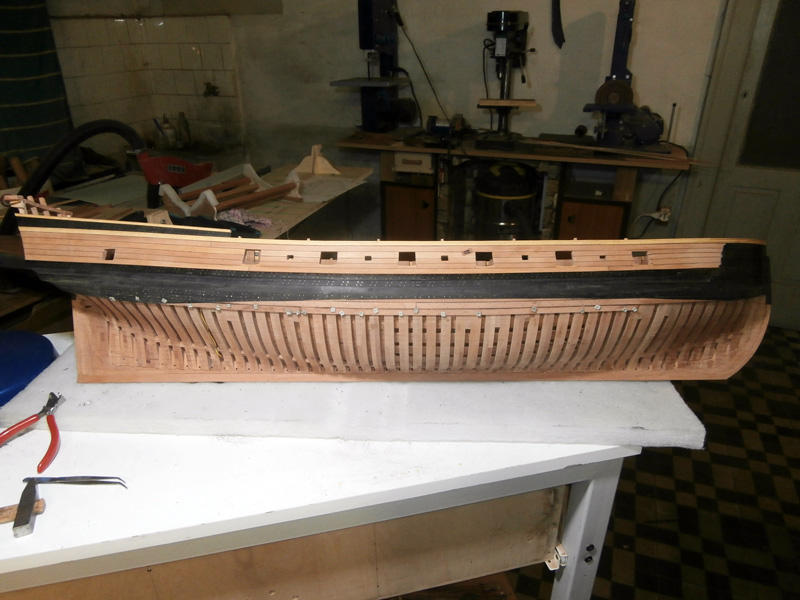
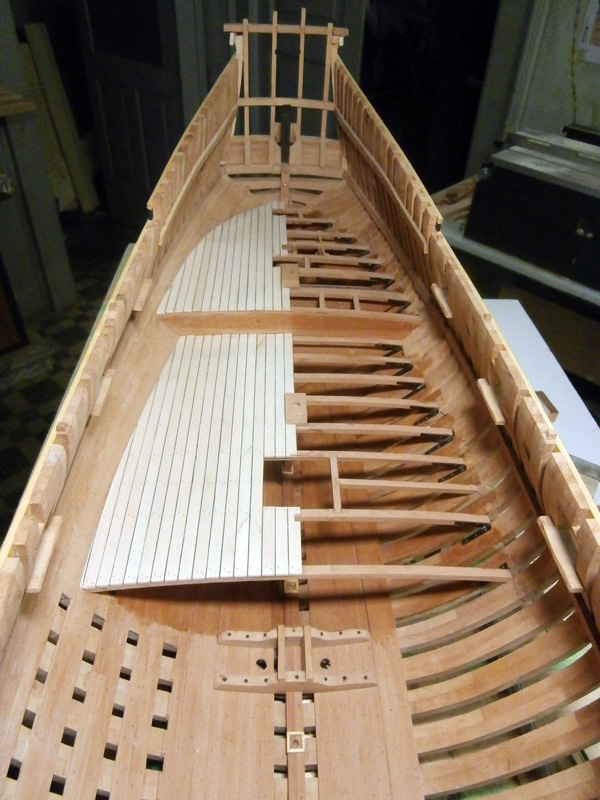
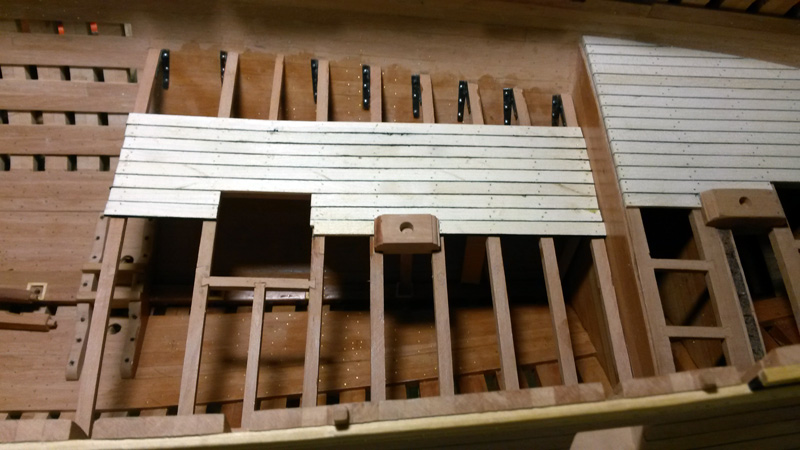
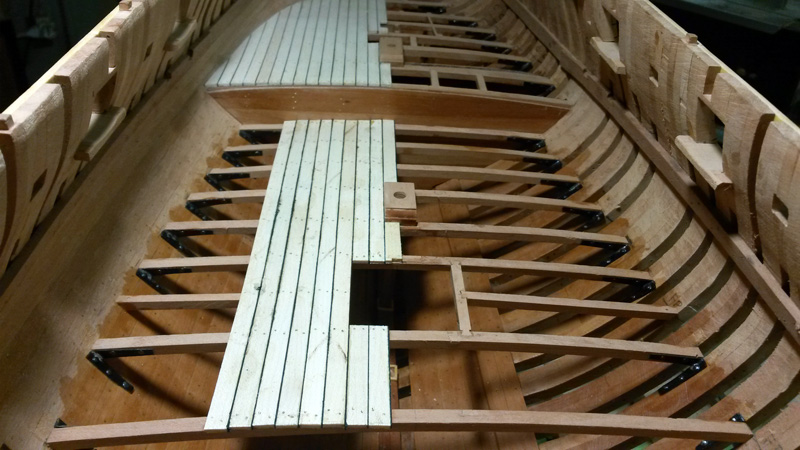
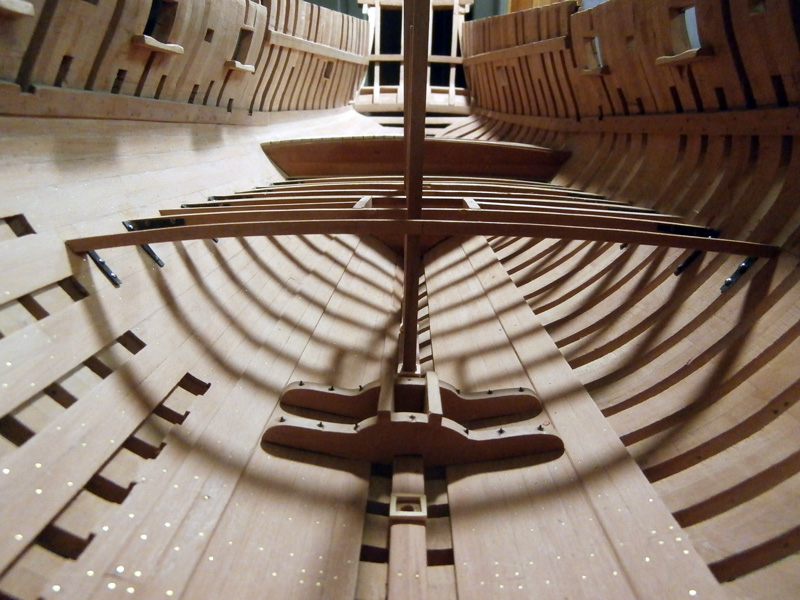
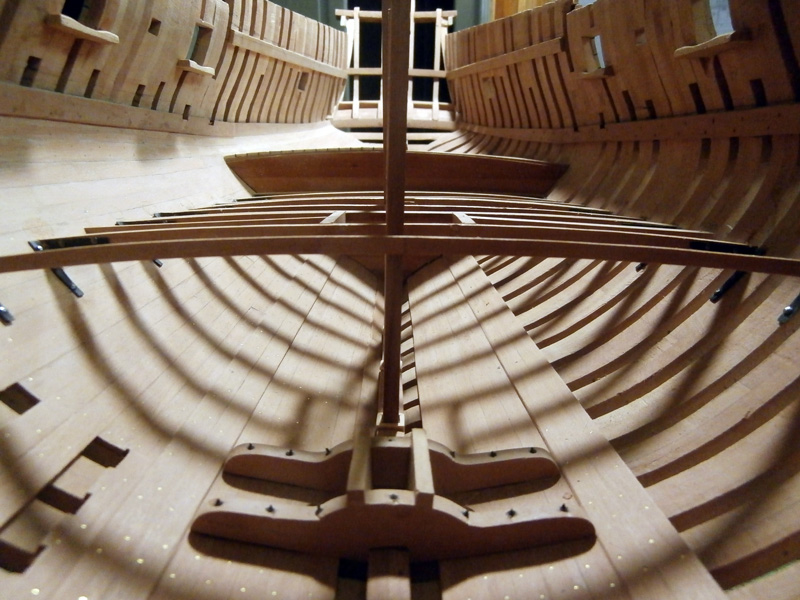
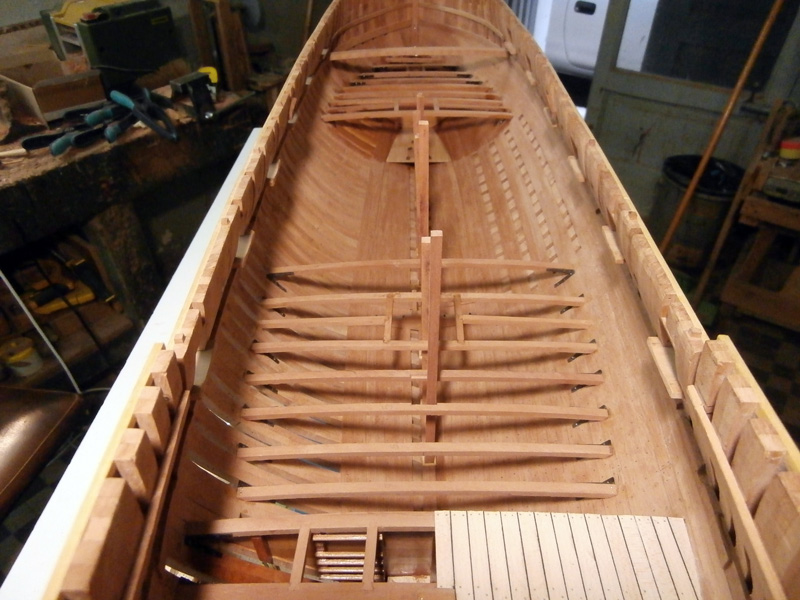
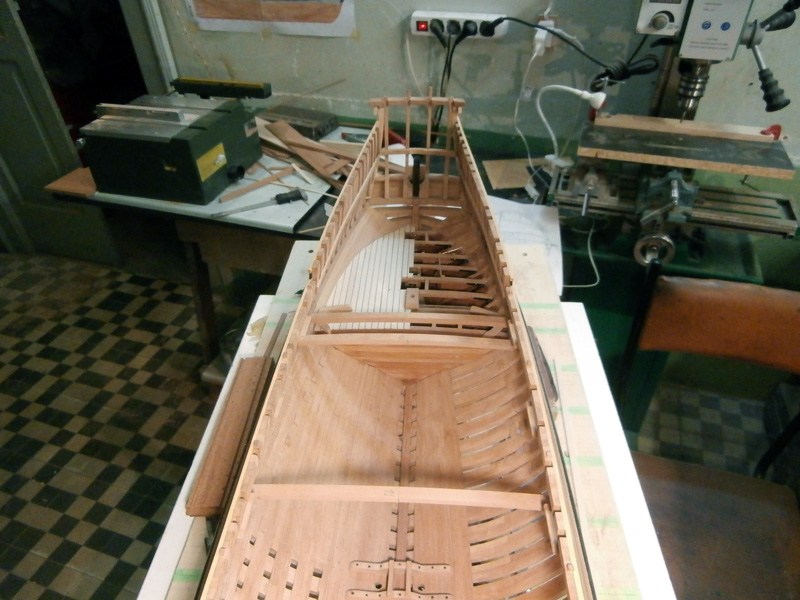
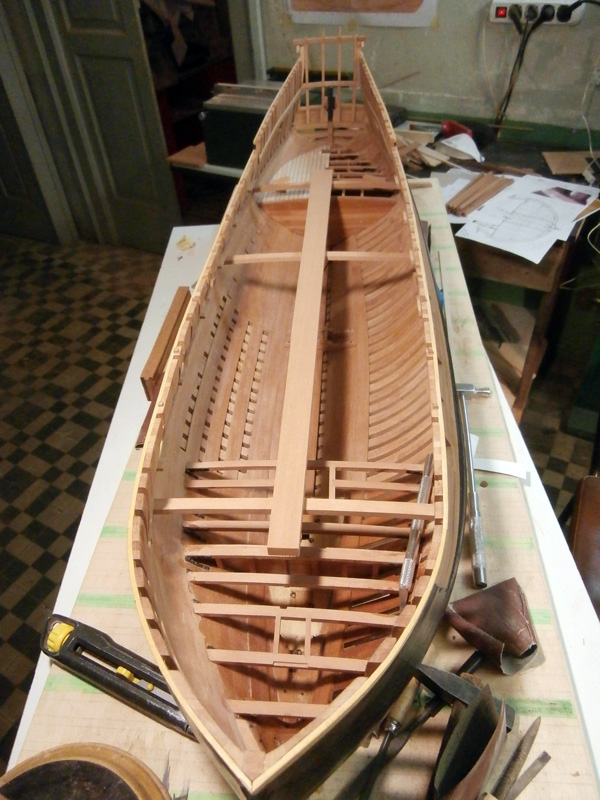
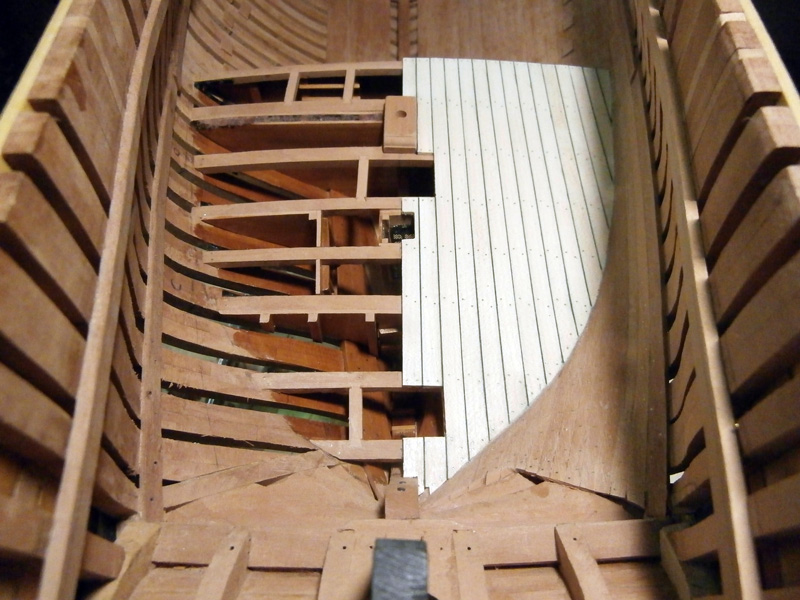
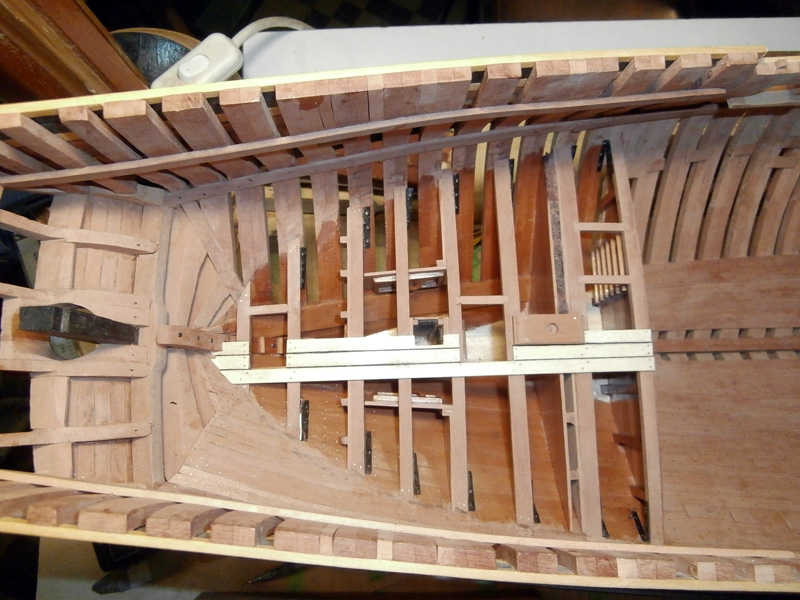
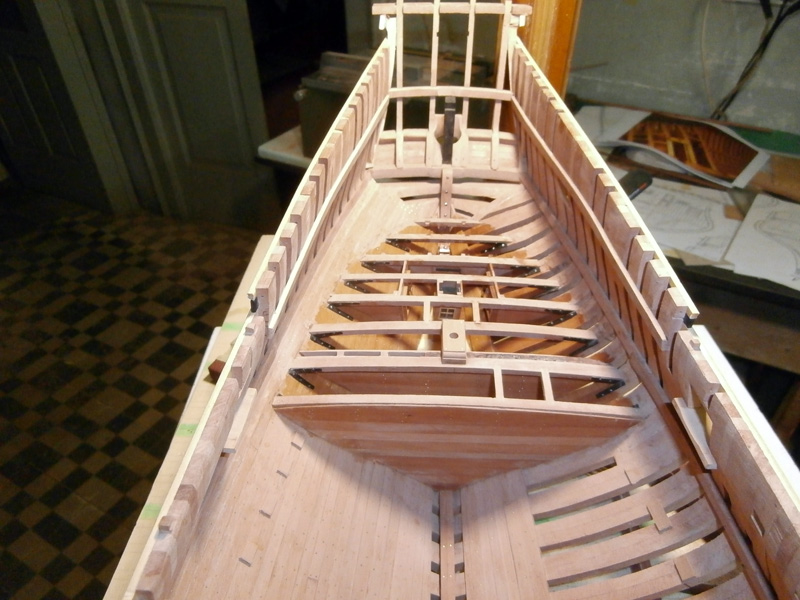
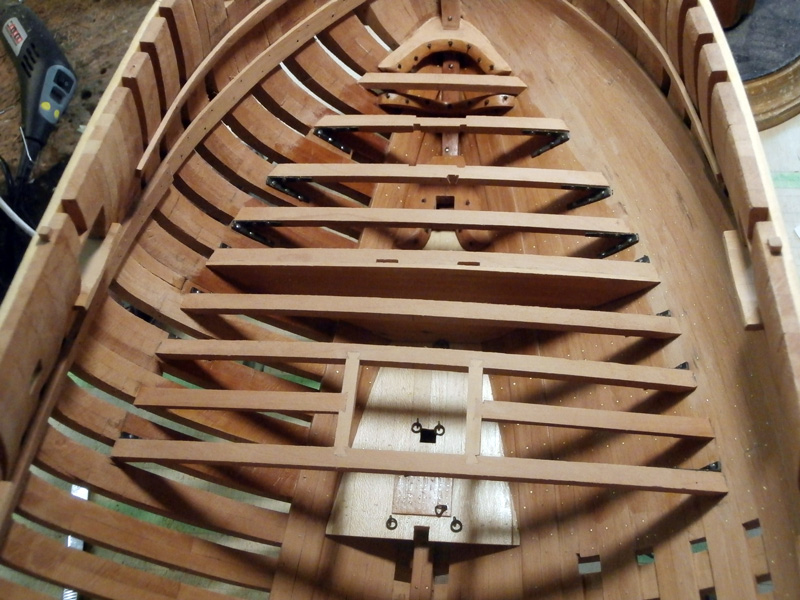
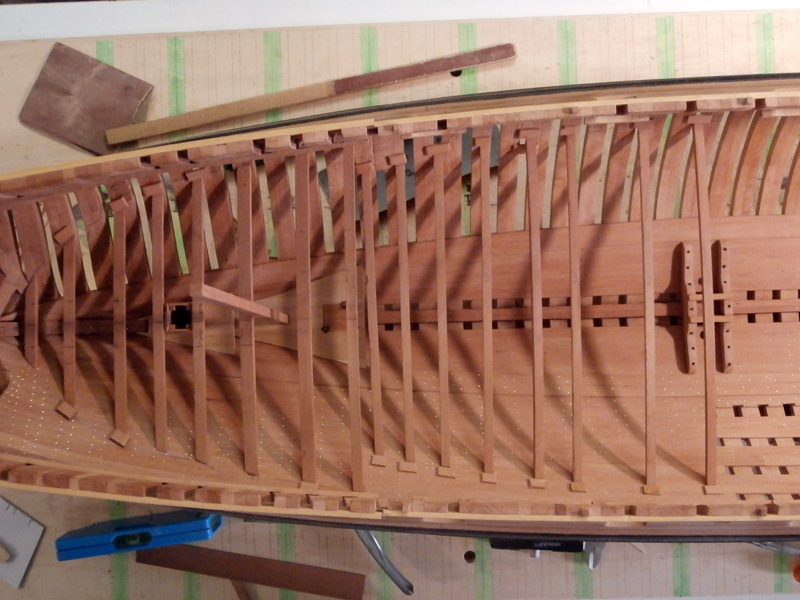
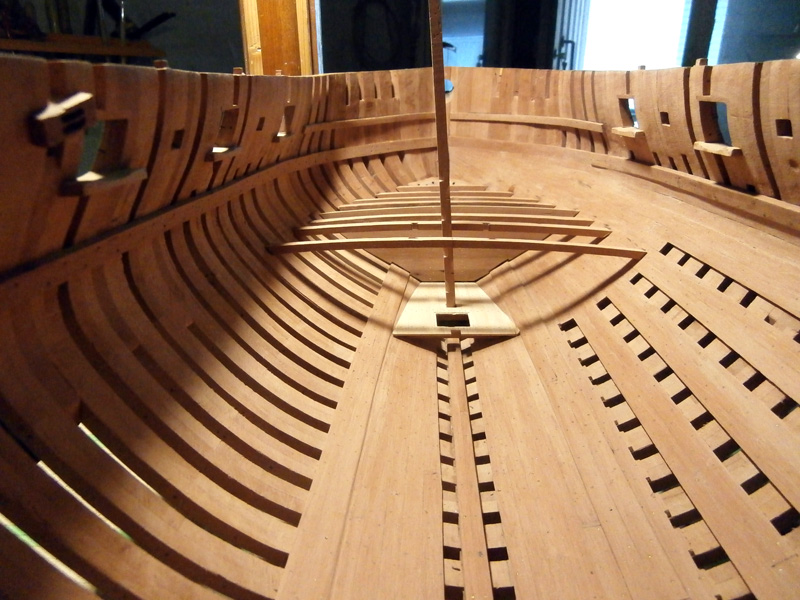
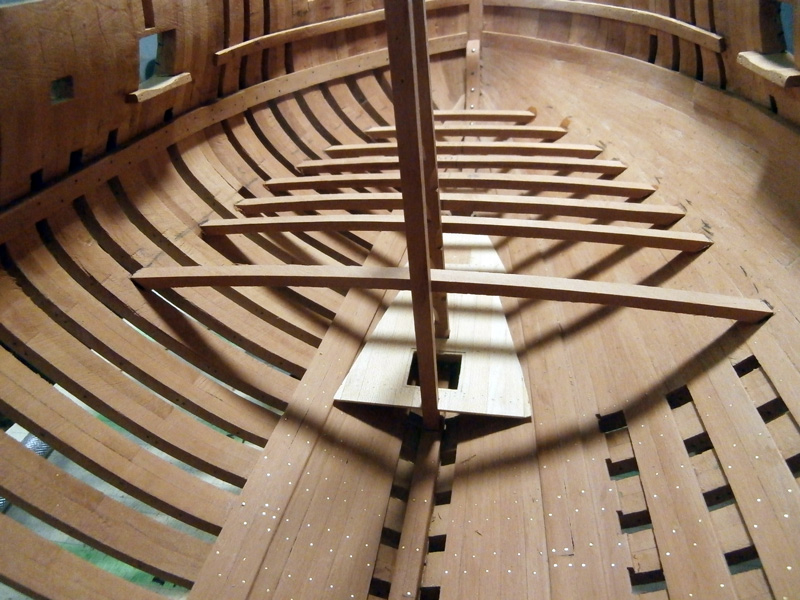
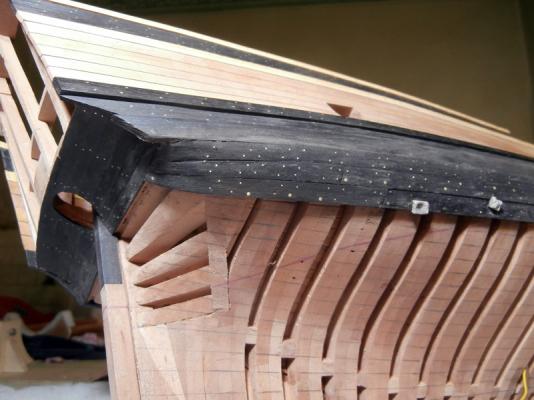
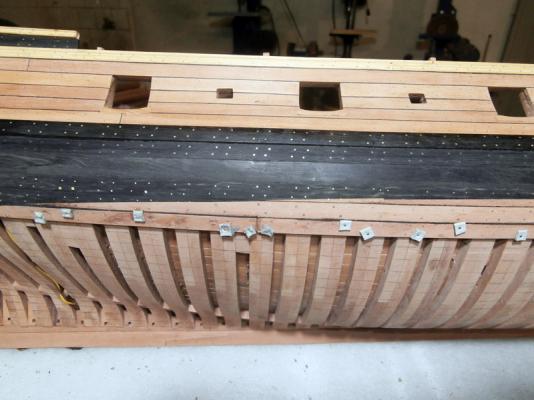
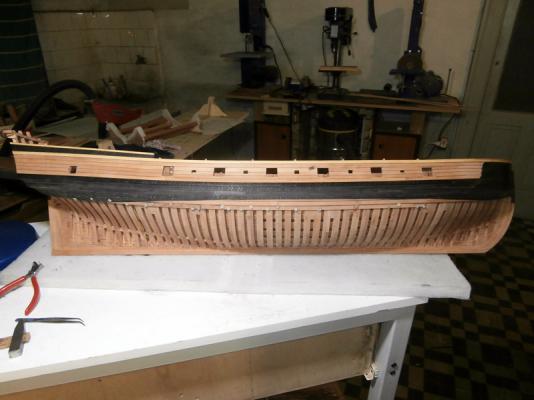
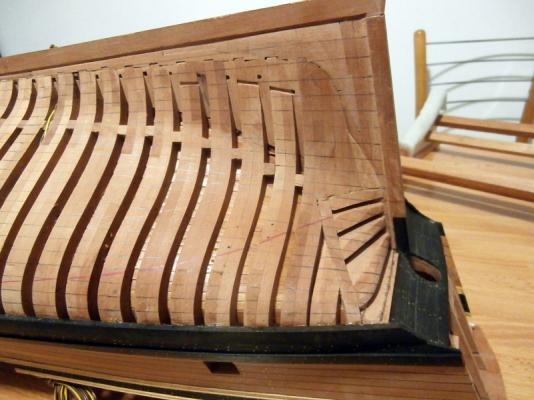
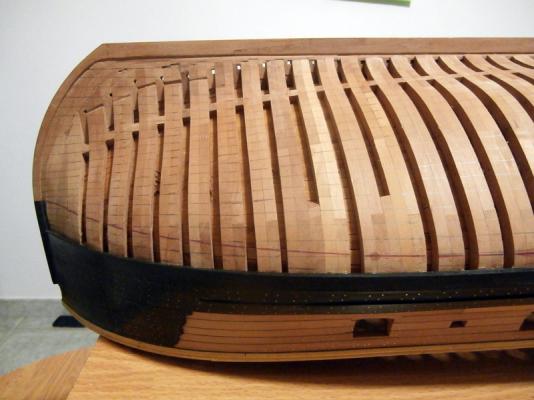
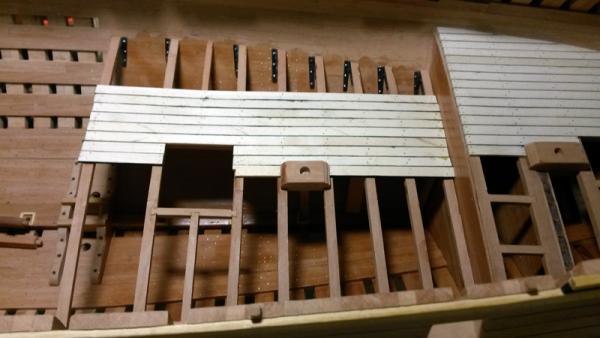
before continuing with the construction of the interior I thought it would be better to complete the planking of the hull of the starboard side: the side of the left will leave in carpentry. I drew with a pencil the locations of the strakes I started the laying of the first strips


- 738 replies
-
- 17
-

-
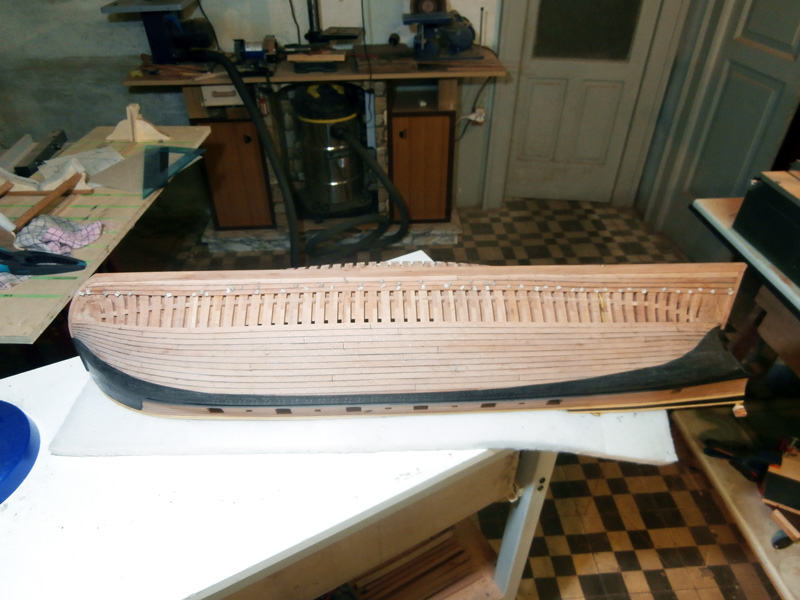
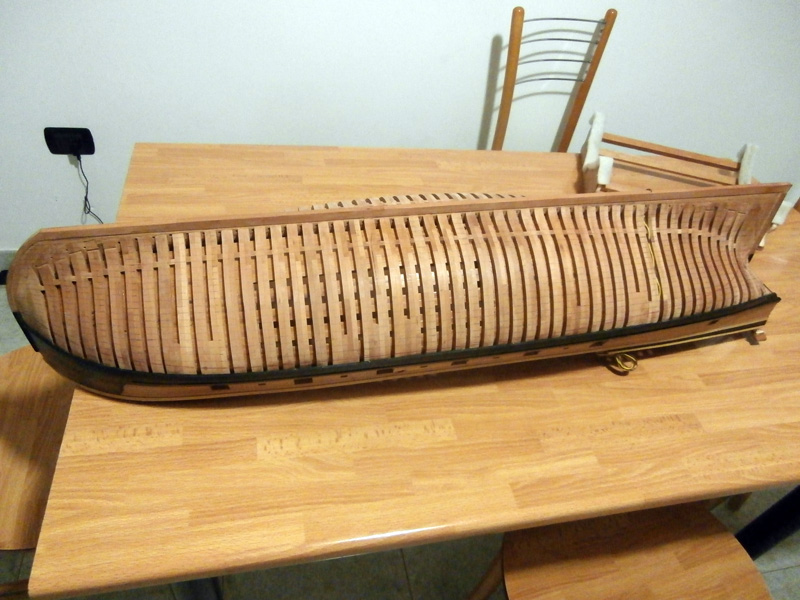
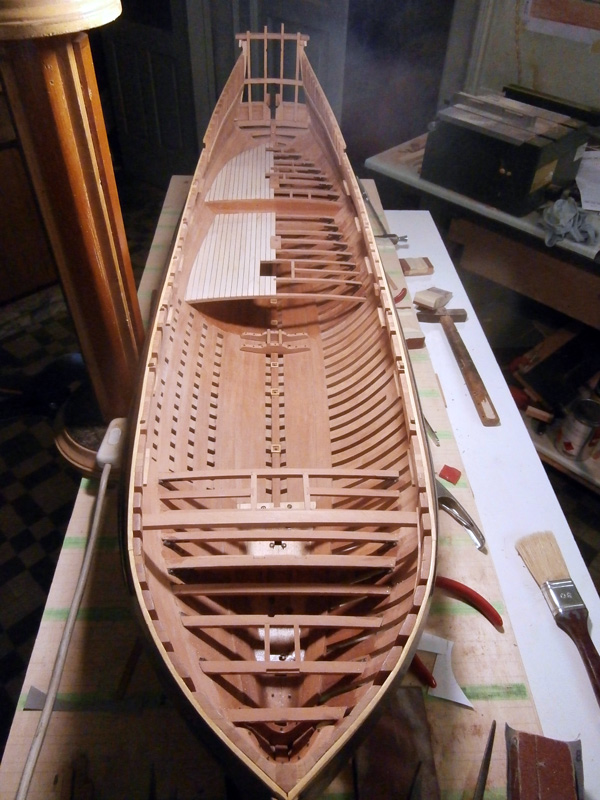
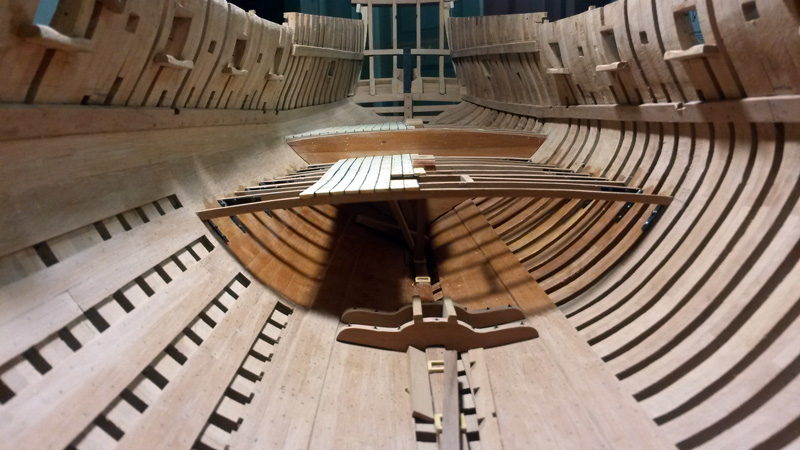
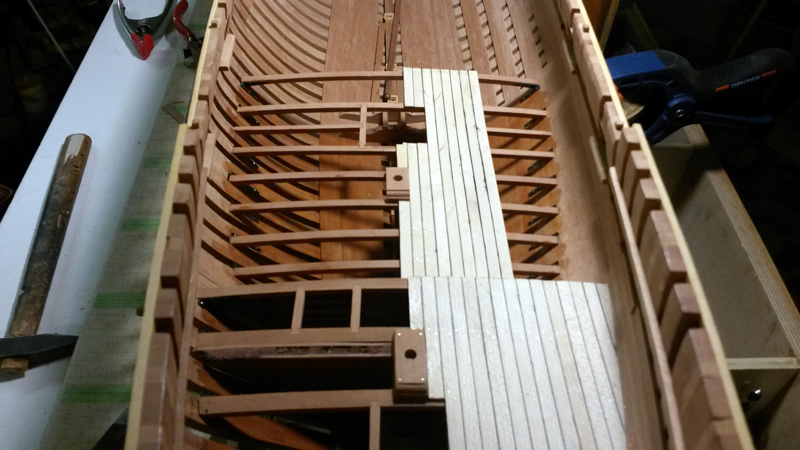
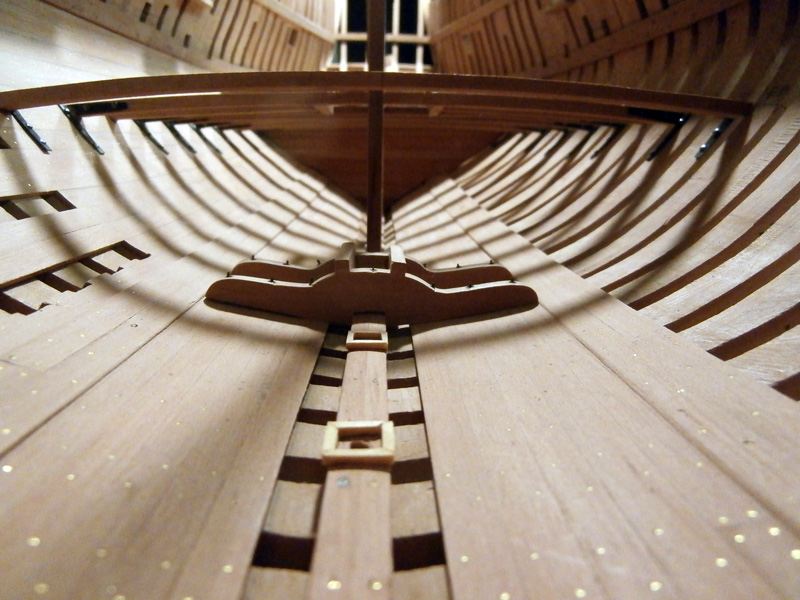
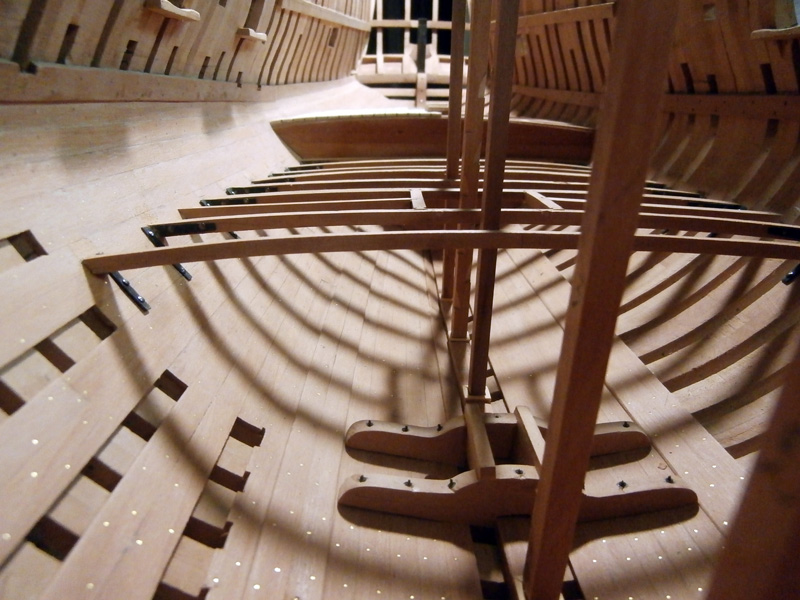
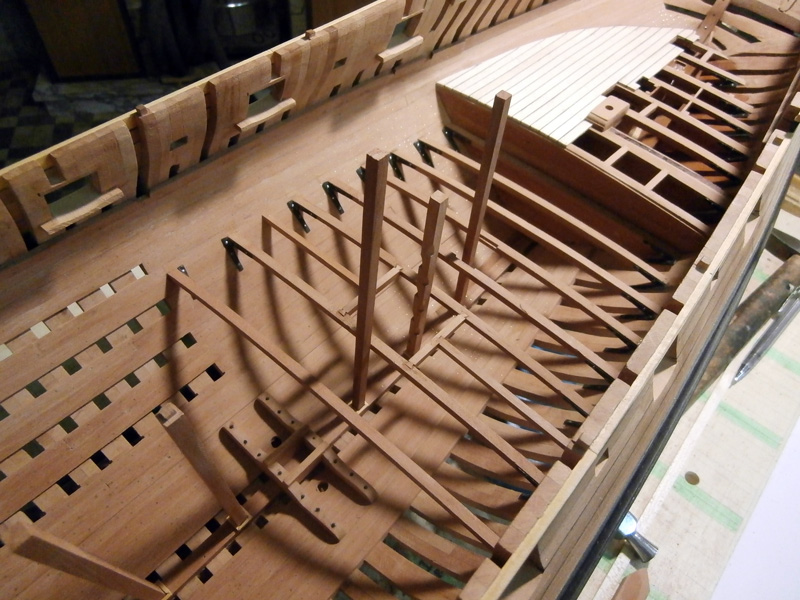
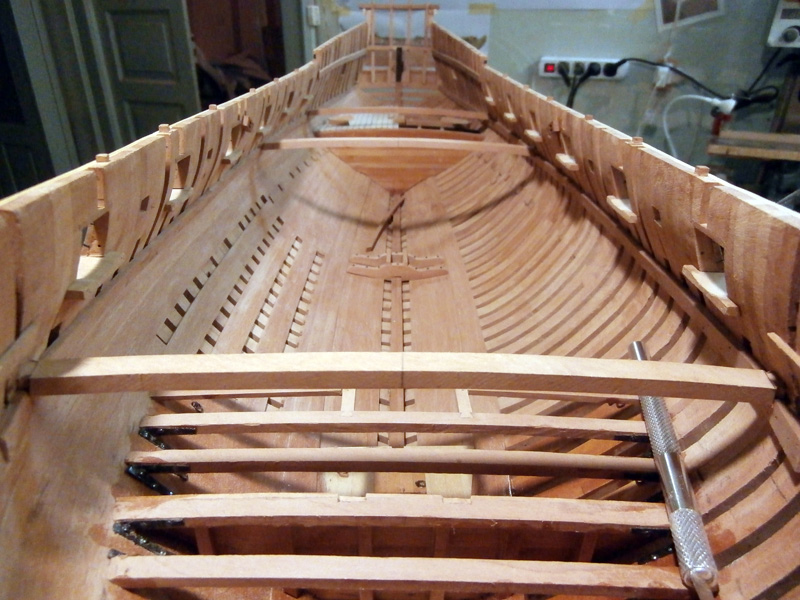
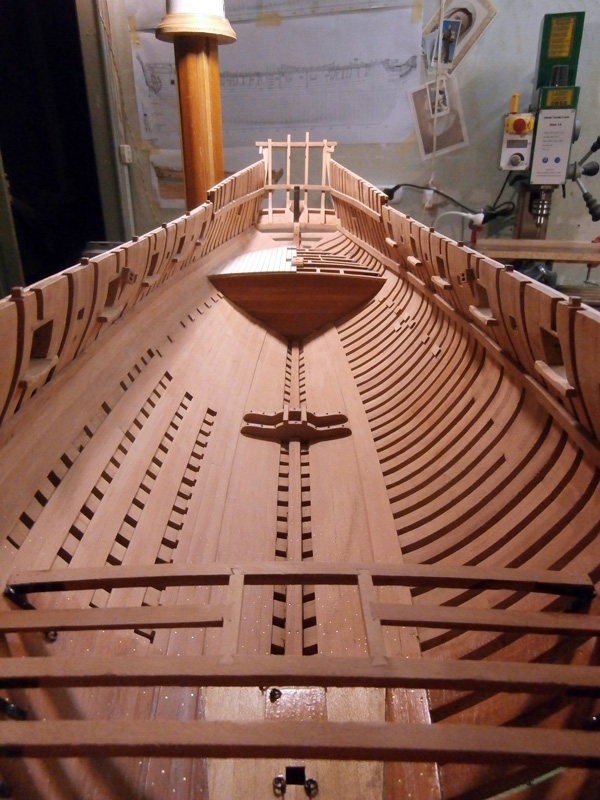
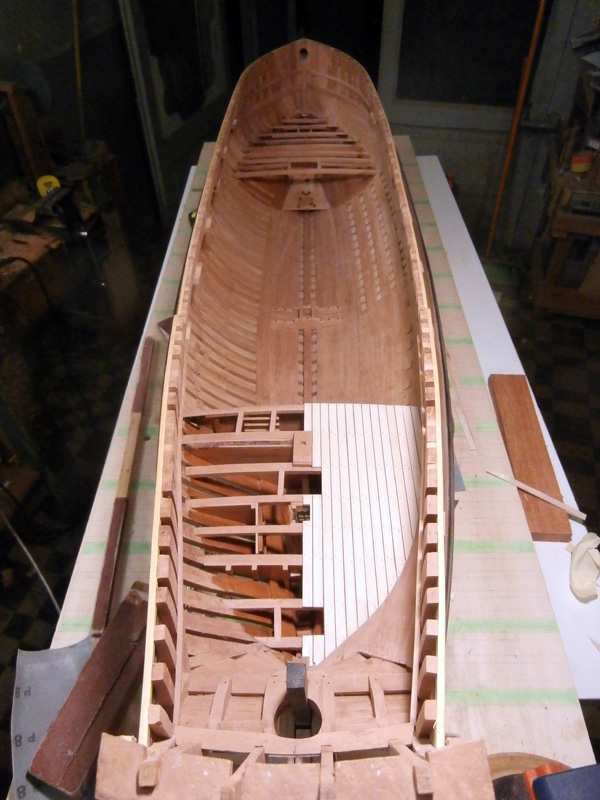
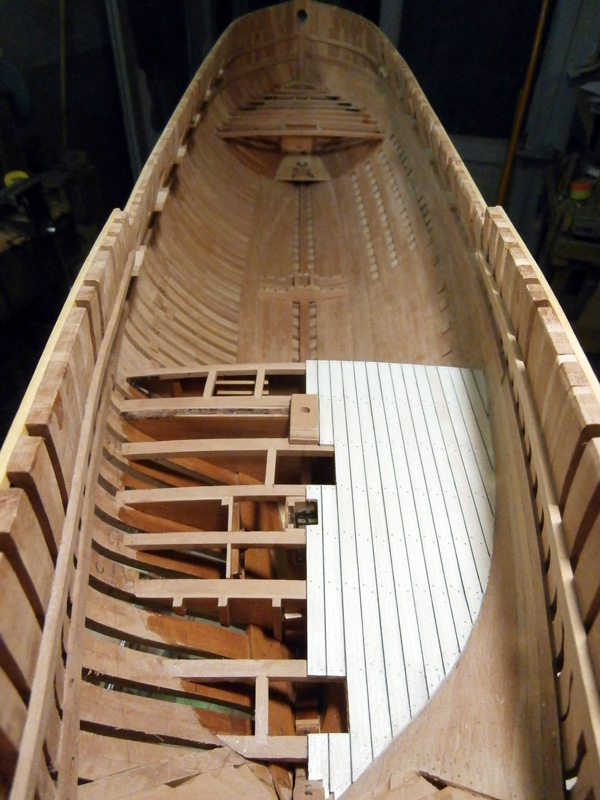
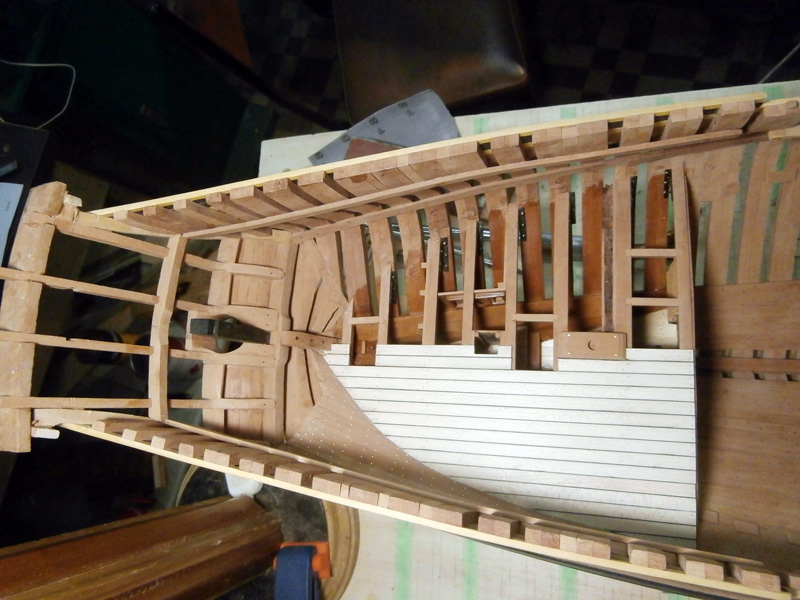
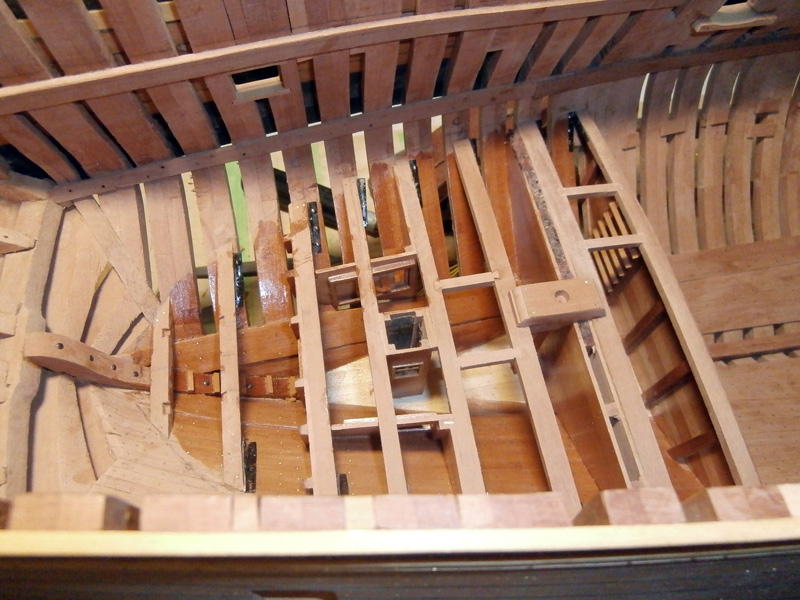
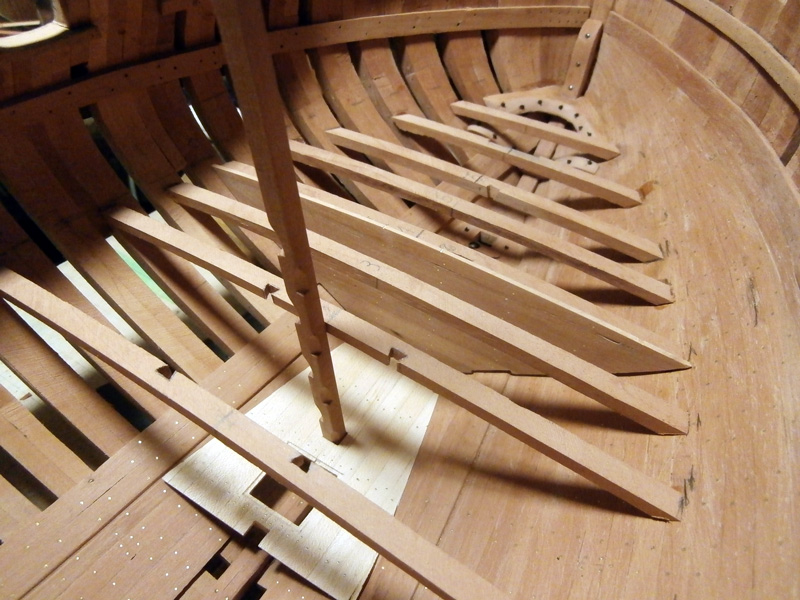
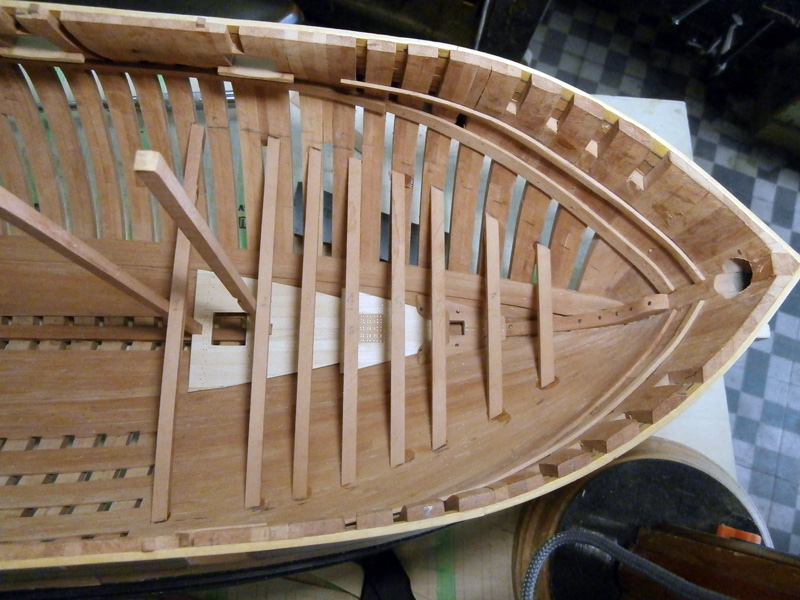
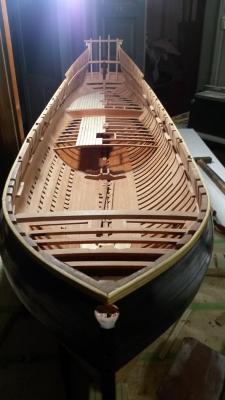
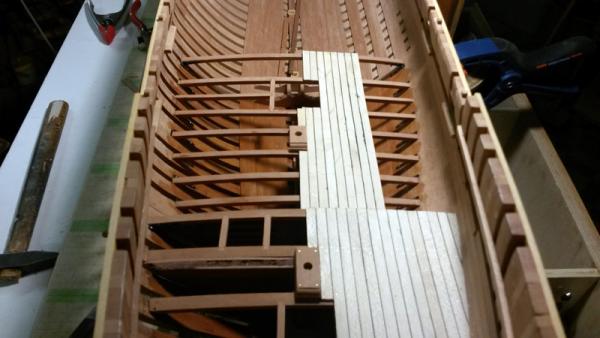
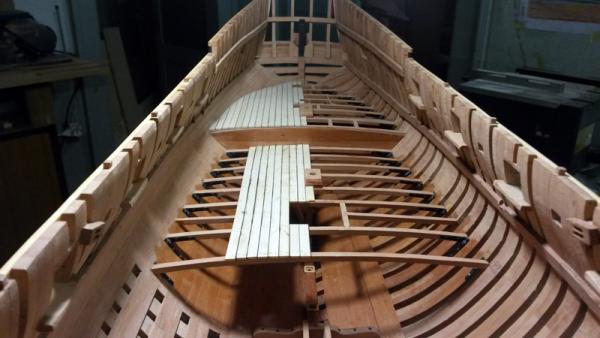
Thank you Giorgio!! But what you're doing is really wonderful!!!! I started laying the planks of the false bridge:


- 738 replies
-
- 12
-
-
ancre La Salamandre by tadheus - 1:24
giampieroricci replied to tadheus's topic in - Build logs for subjects built 1751 - 1800
wonderful work!!! -
Wonderful!!!
-
ancre La Salamandre by tadheus - 1:24
giampieroricci replied to tadheus's topic in - Build logs for subjects built 1751 - 1800
Beautiful work!!!!! Why you used the iron nails? The iron oxidizes over time....... -
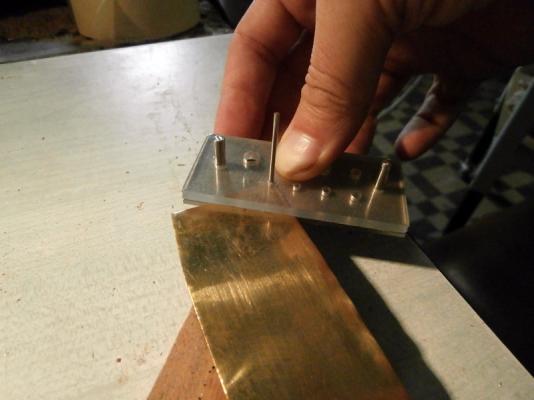
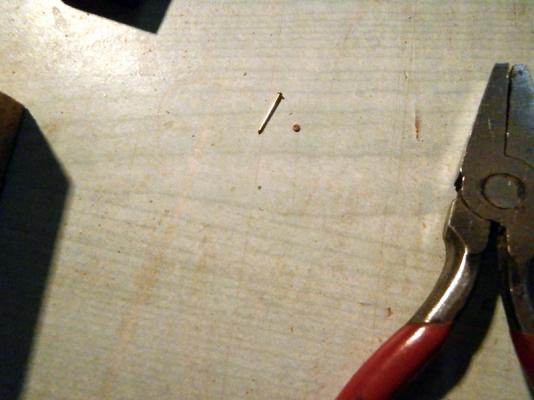
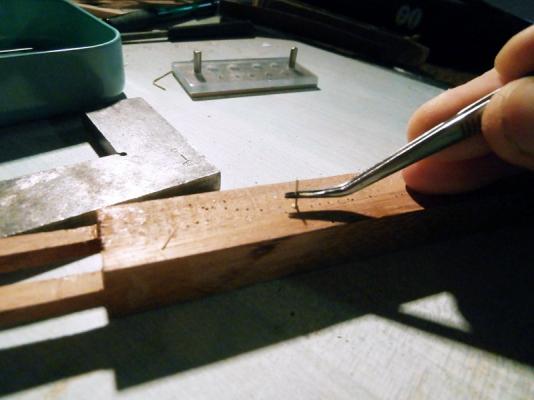
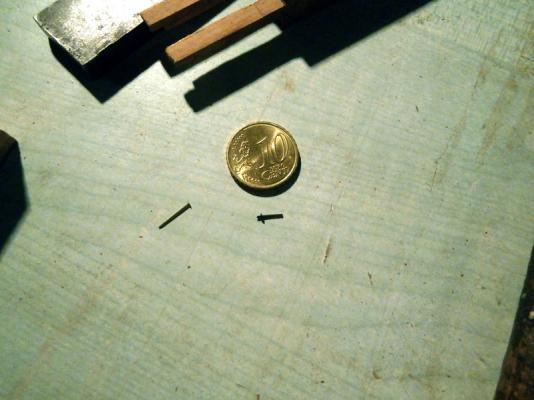
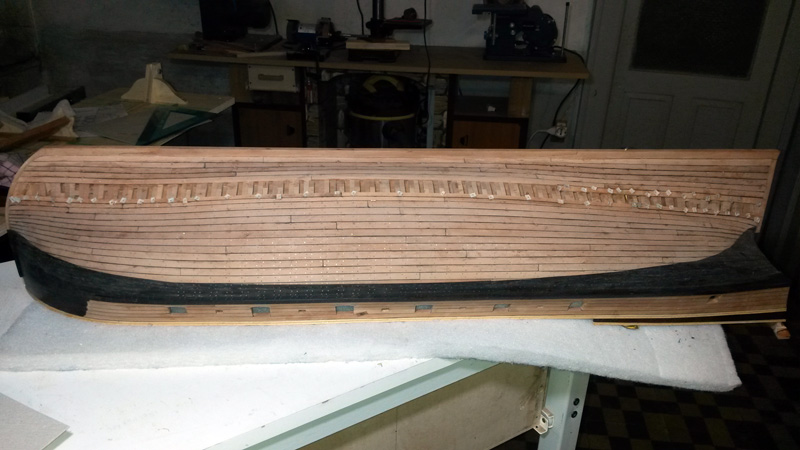
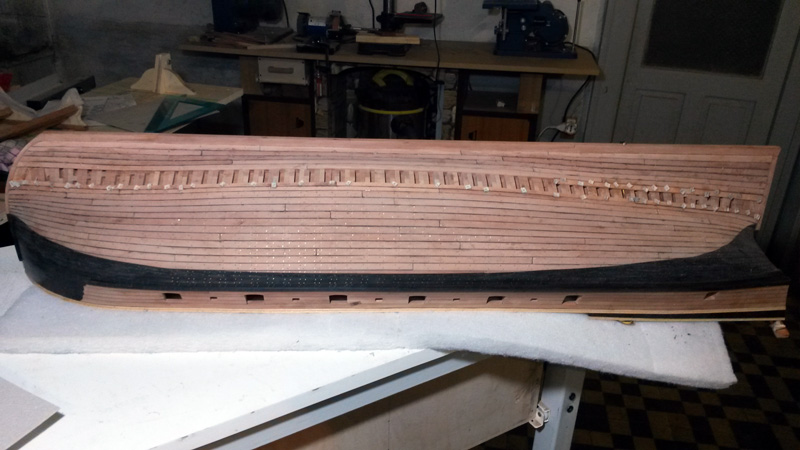
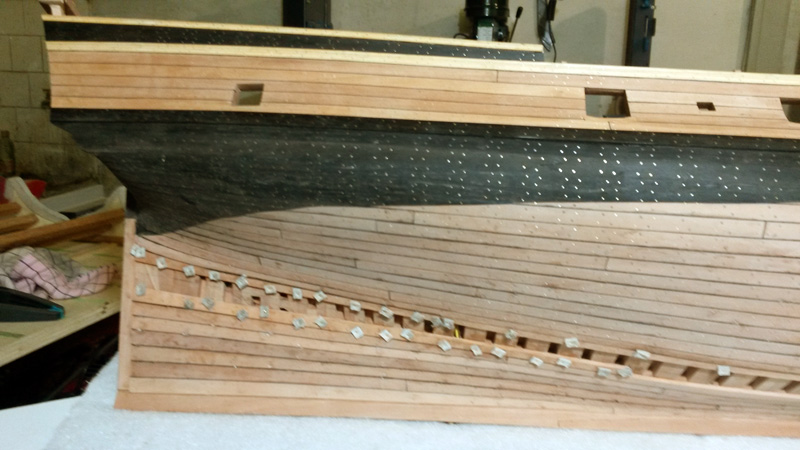
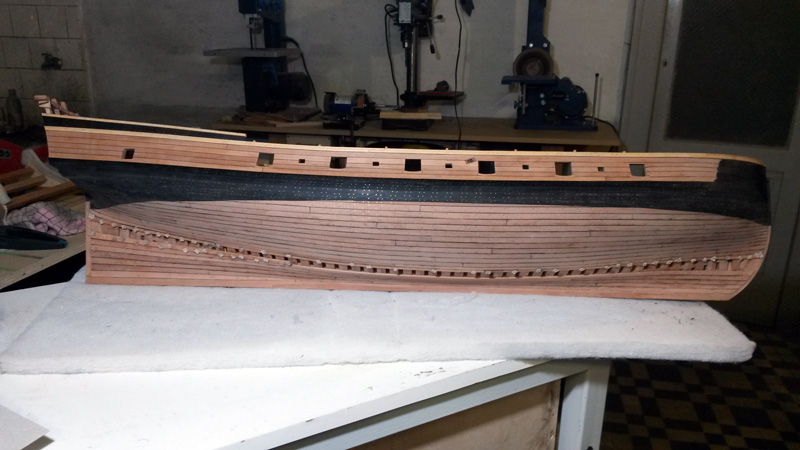
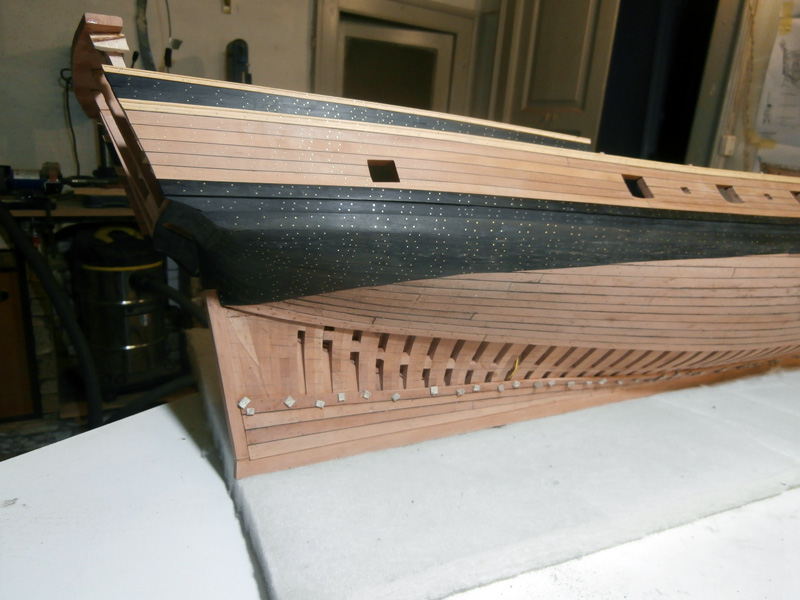
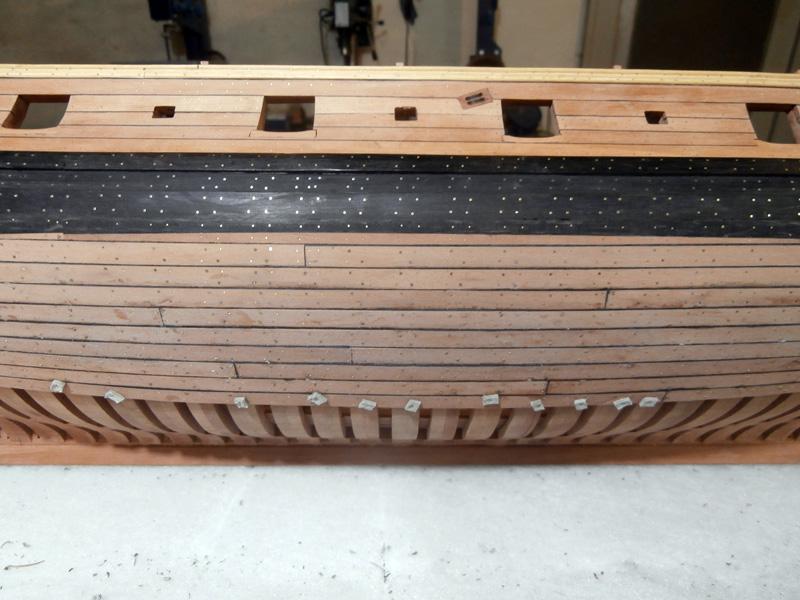
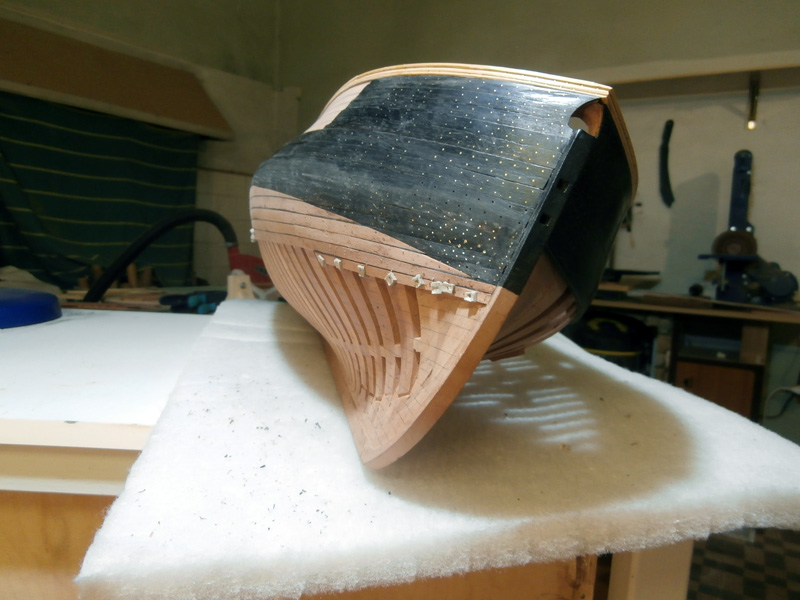
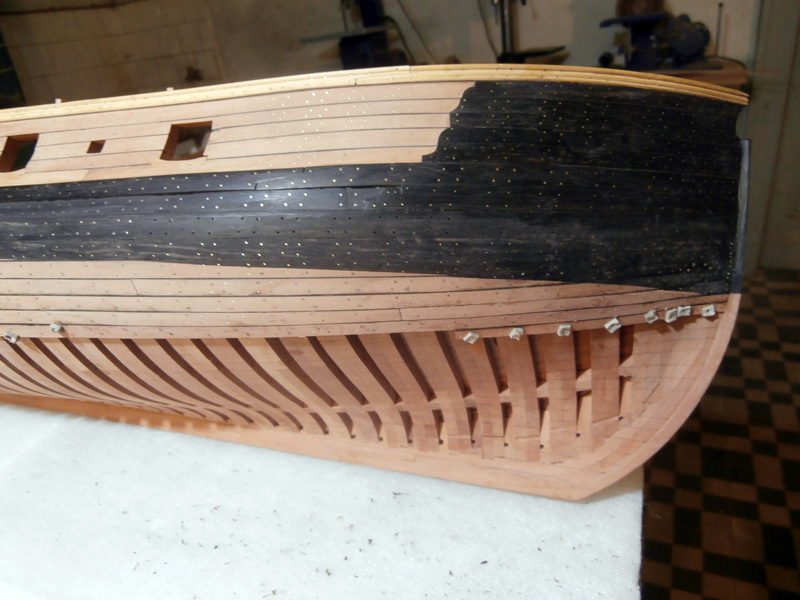
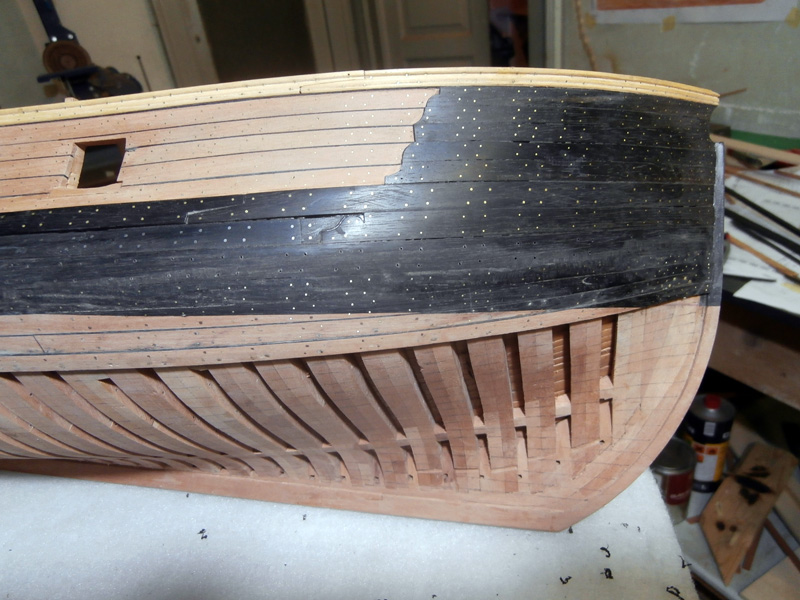
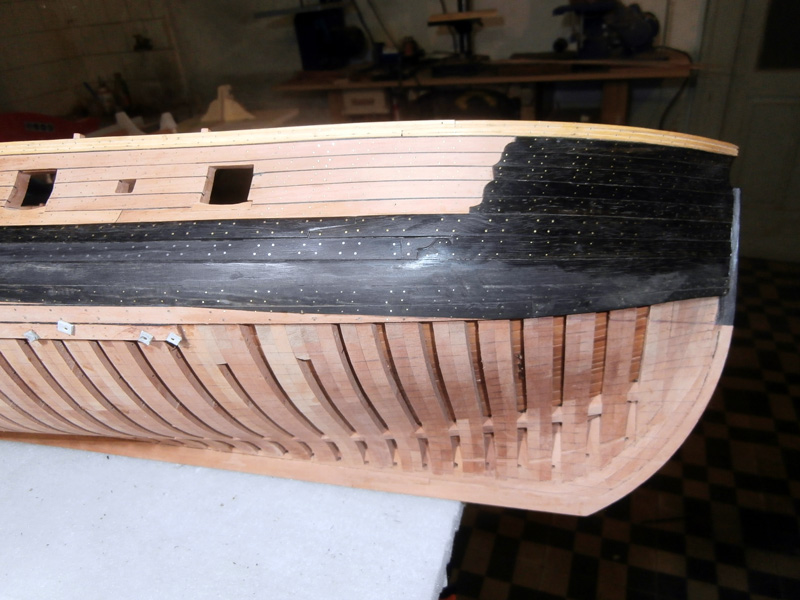
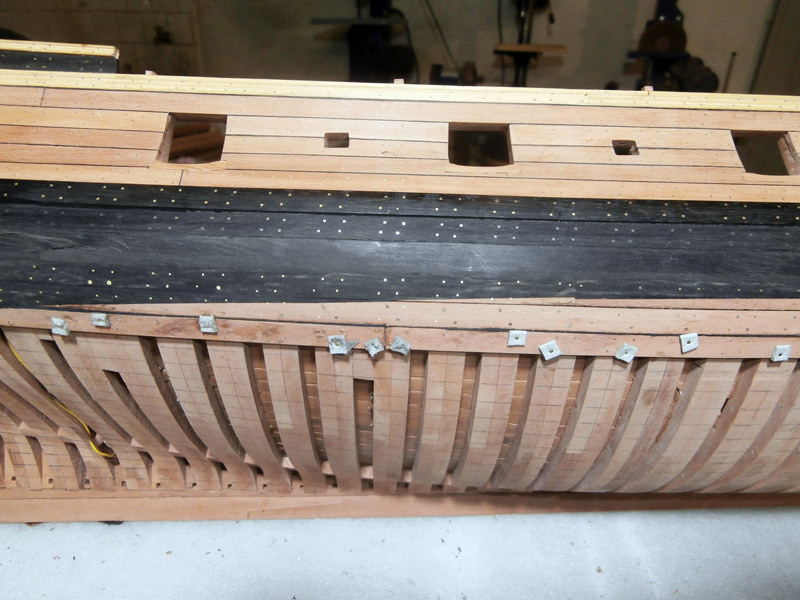
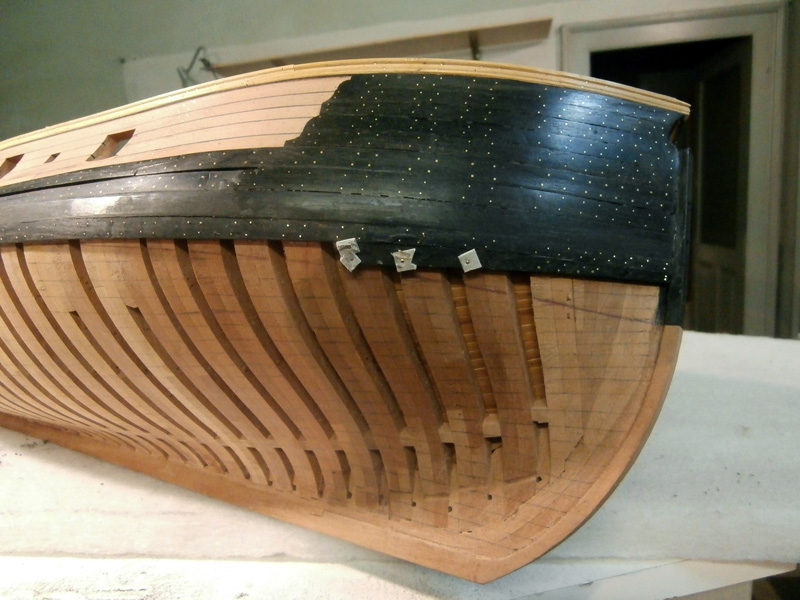
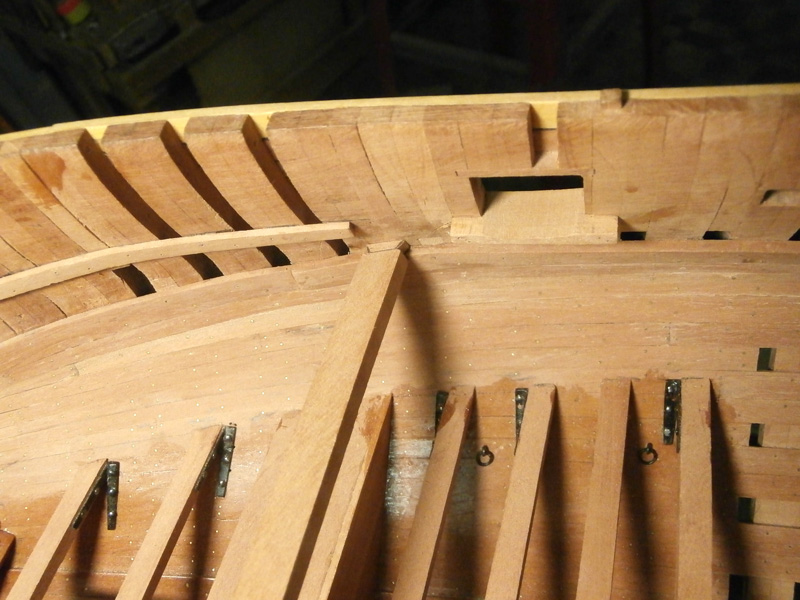
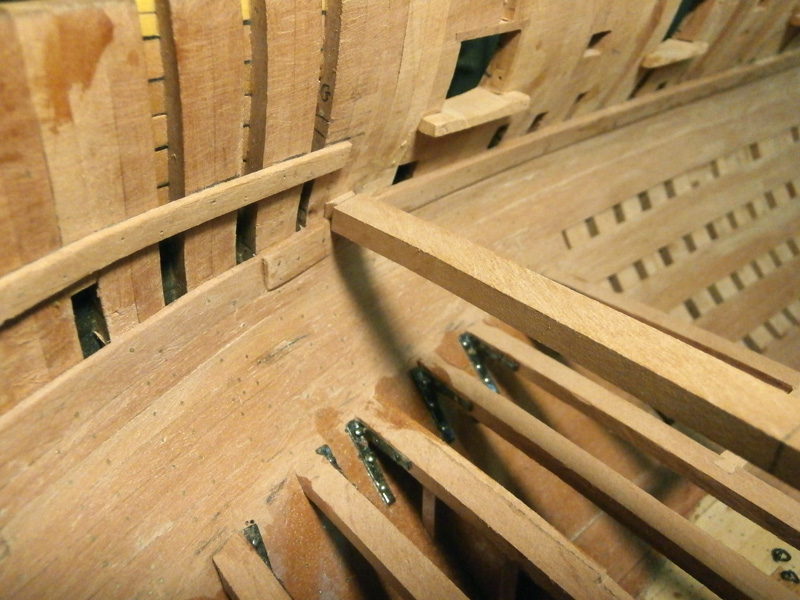
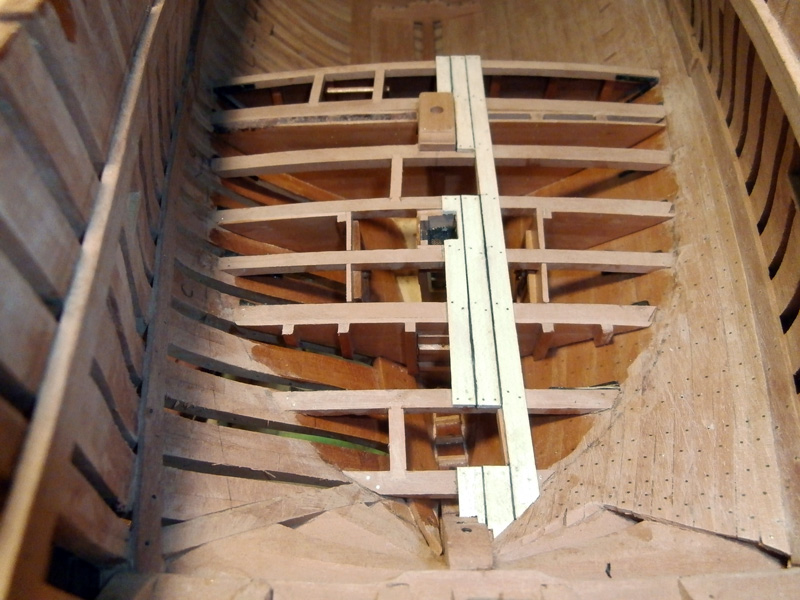
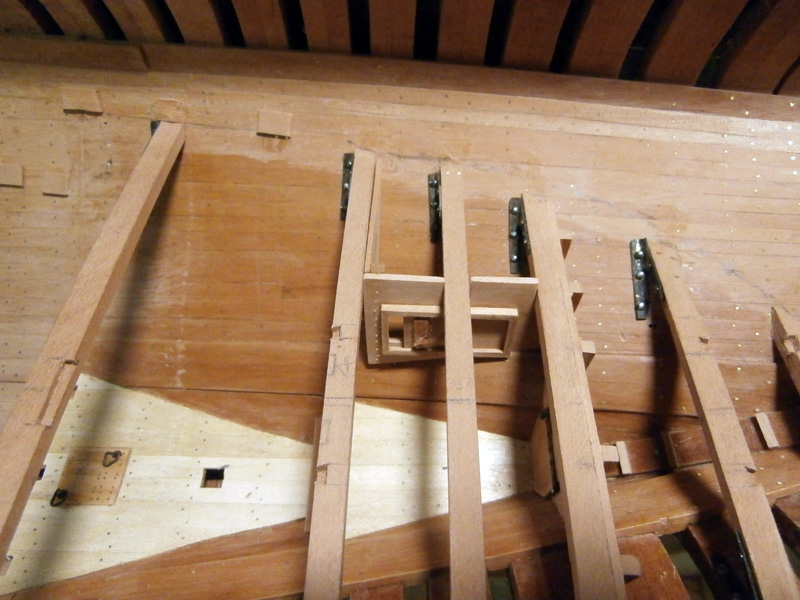
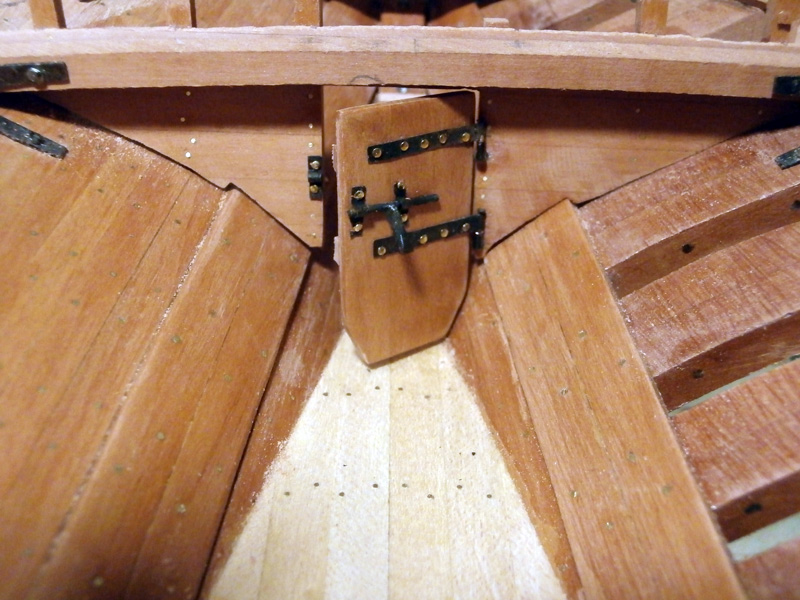
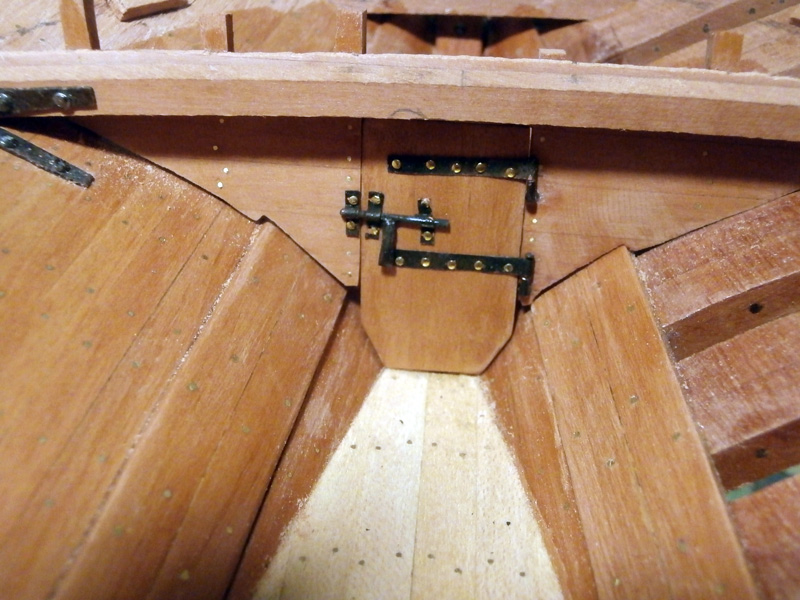
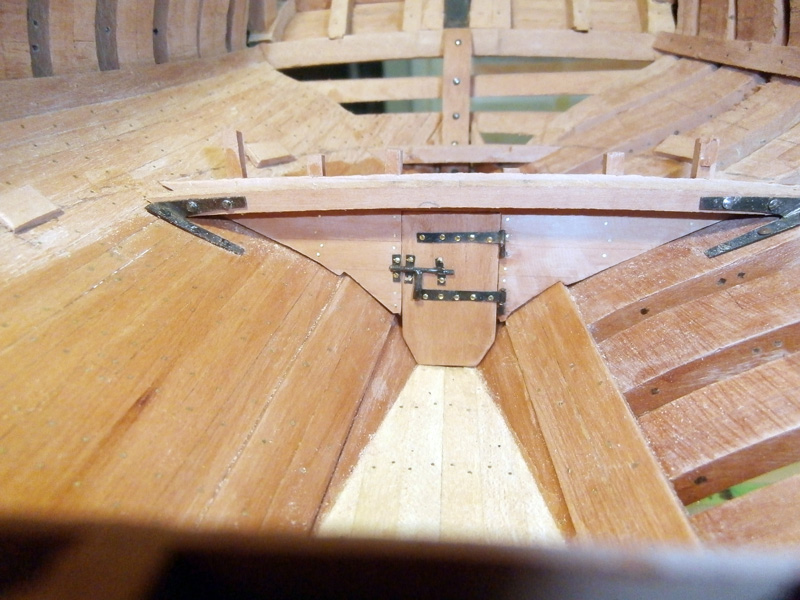
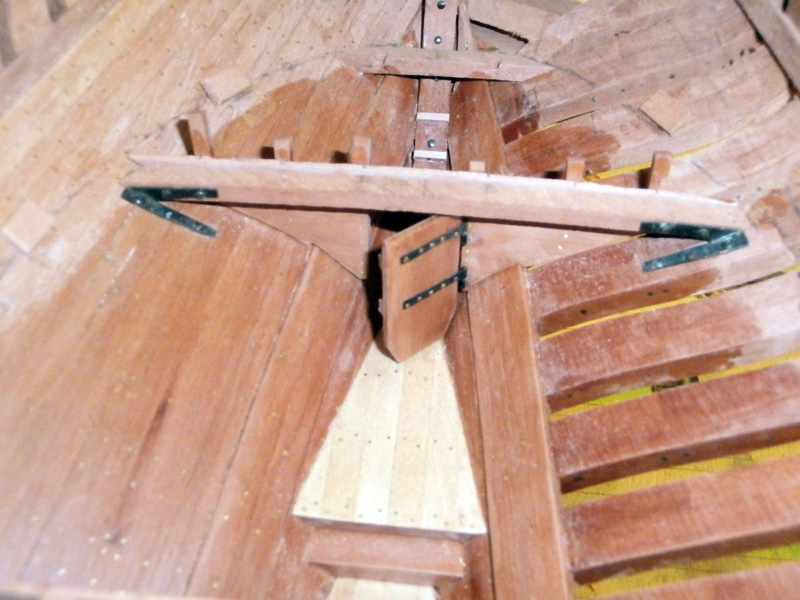
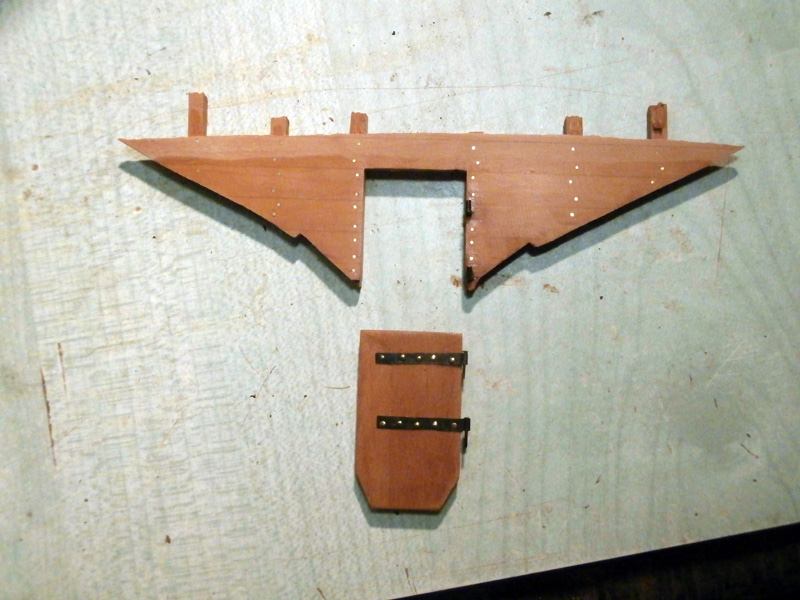
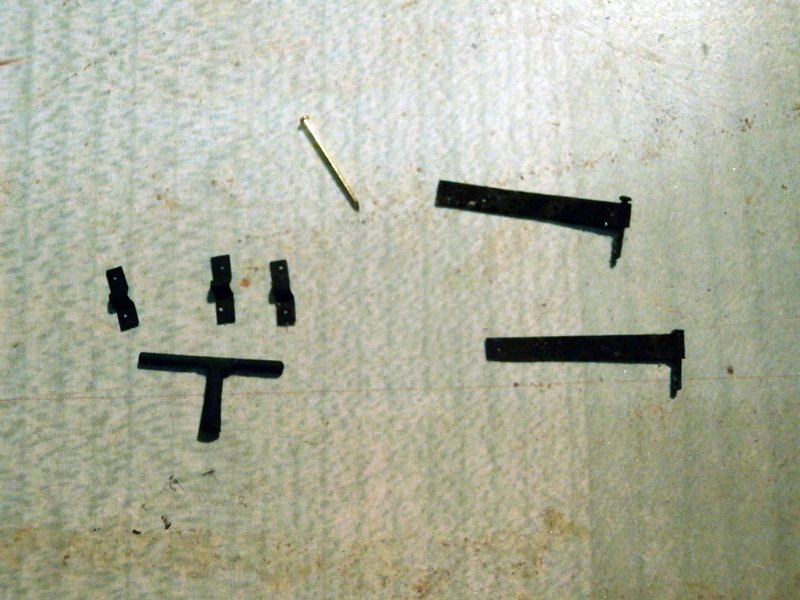
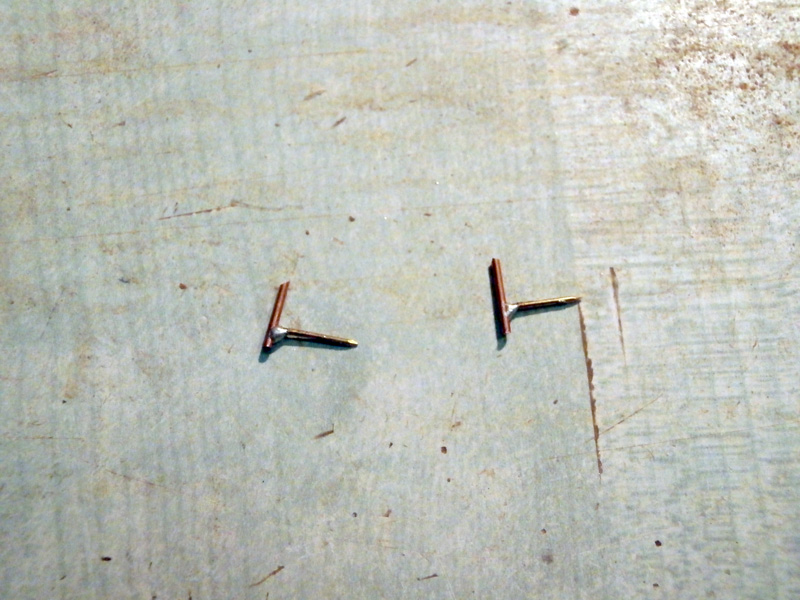
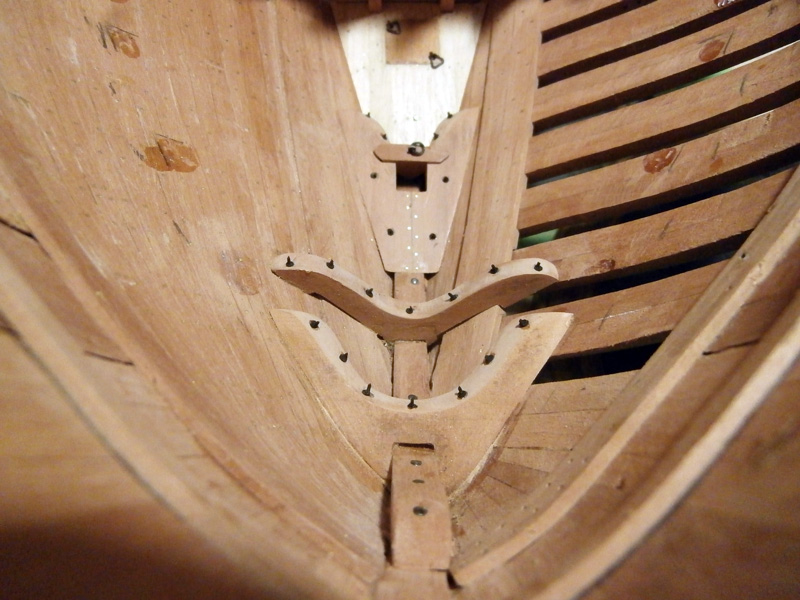
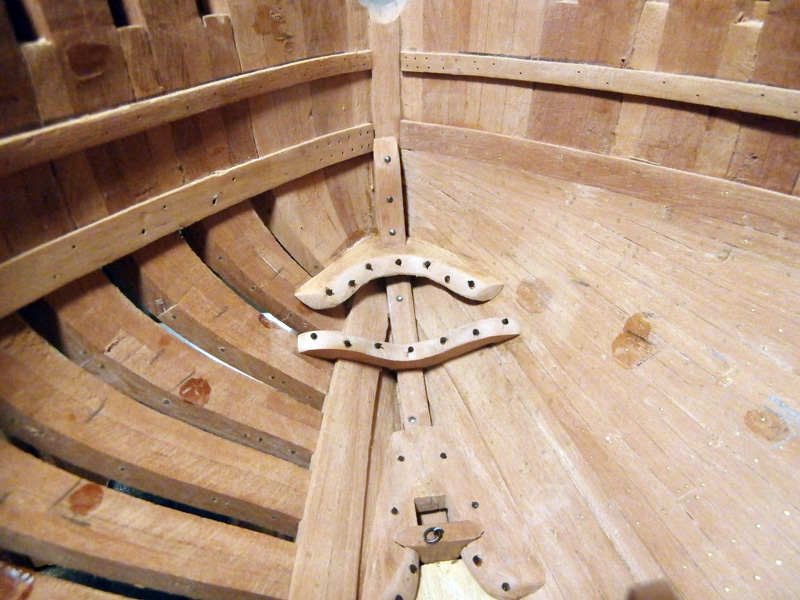
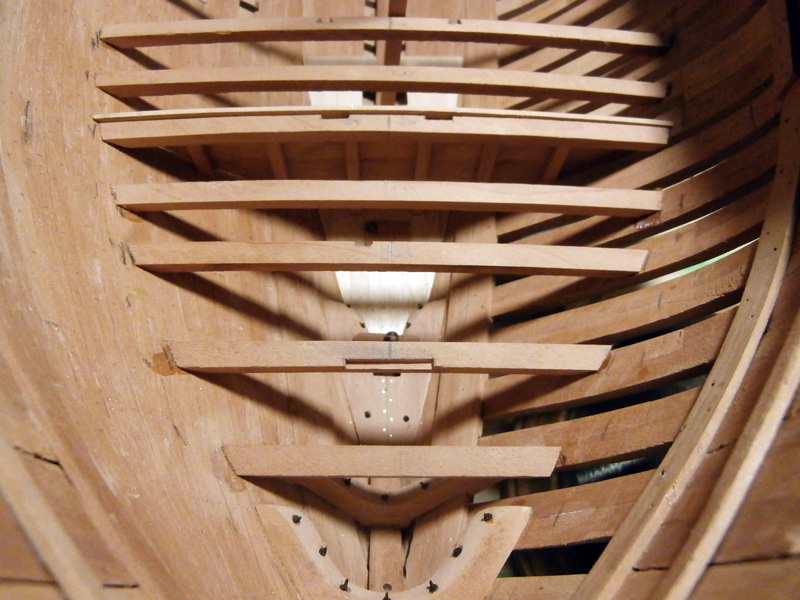
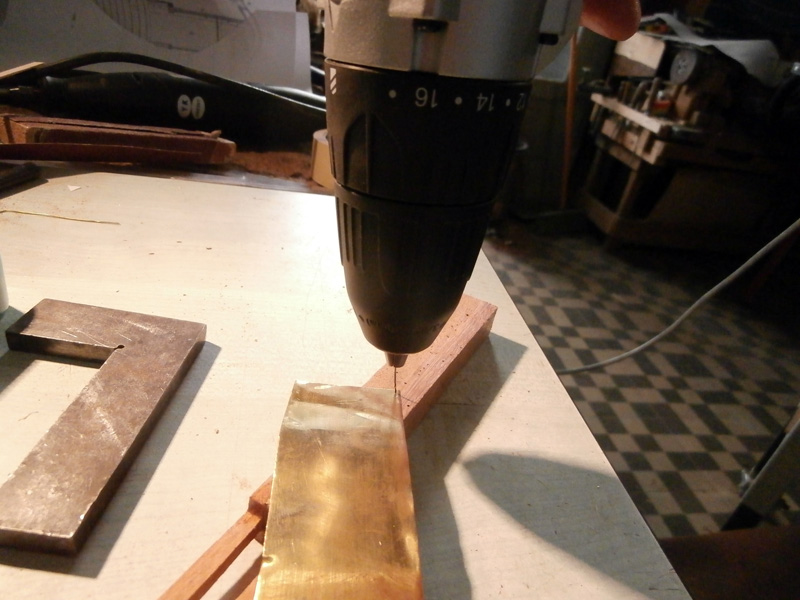
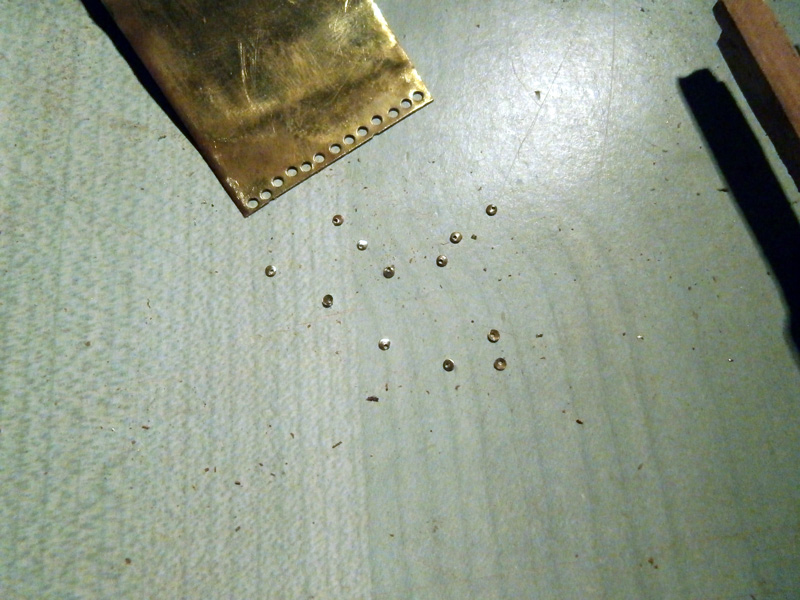
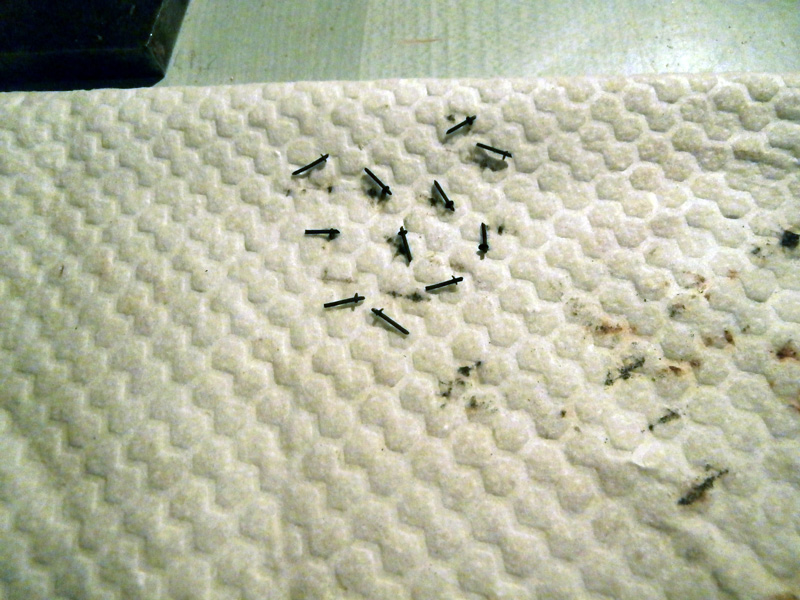
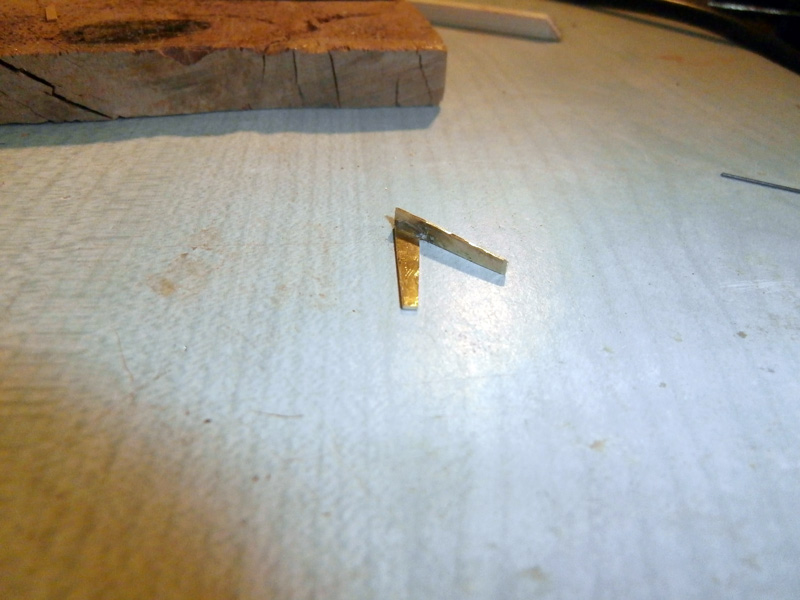
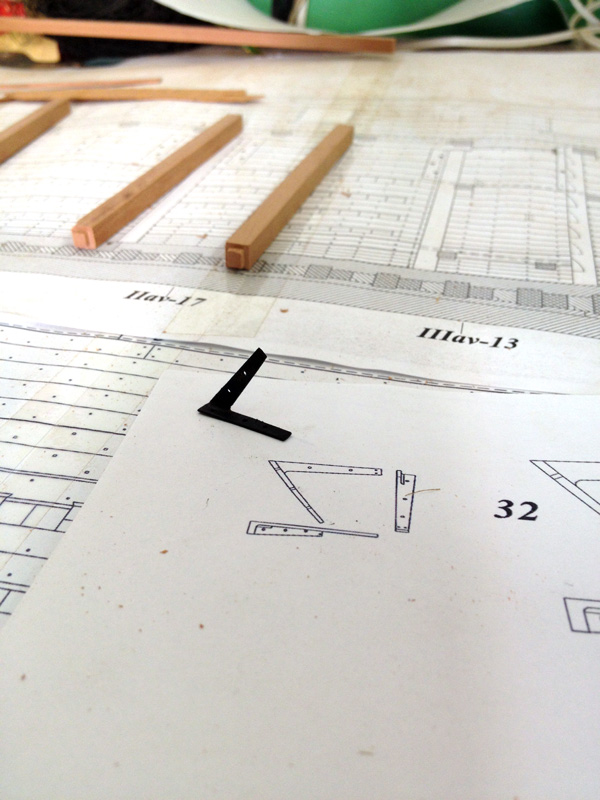
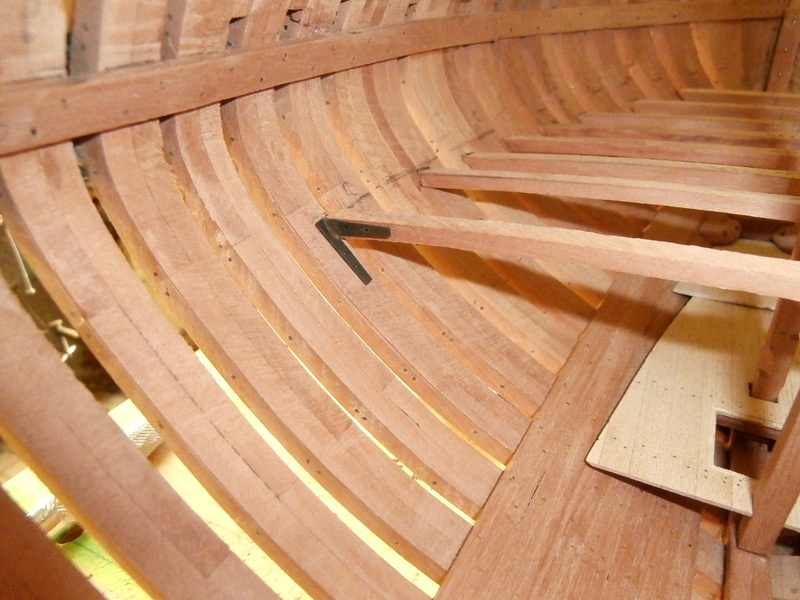
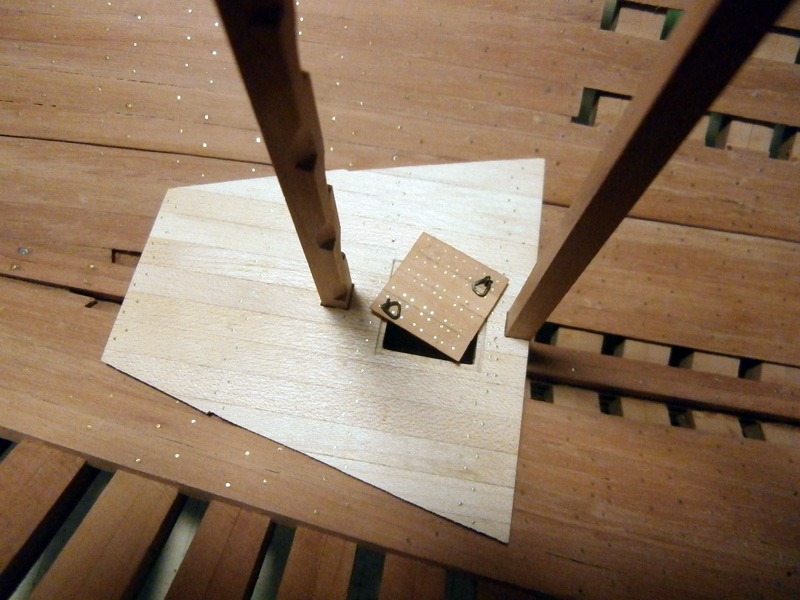
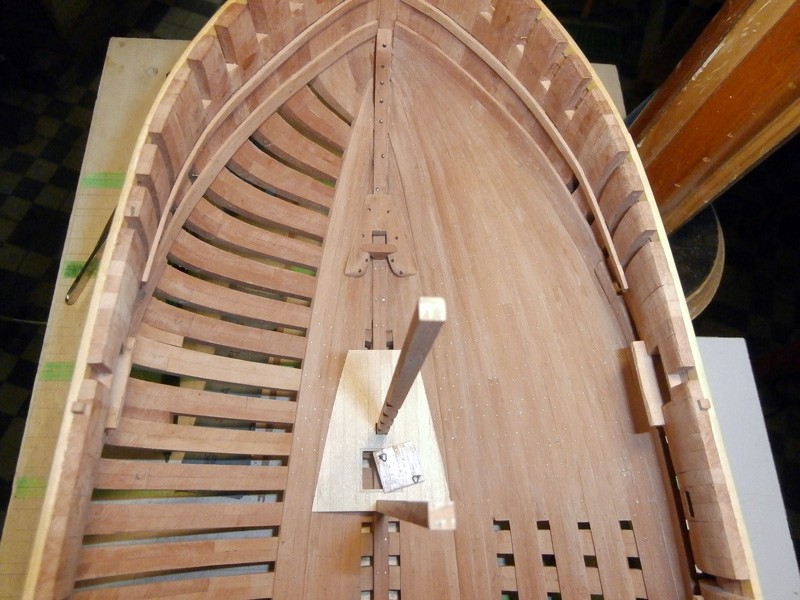
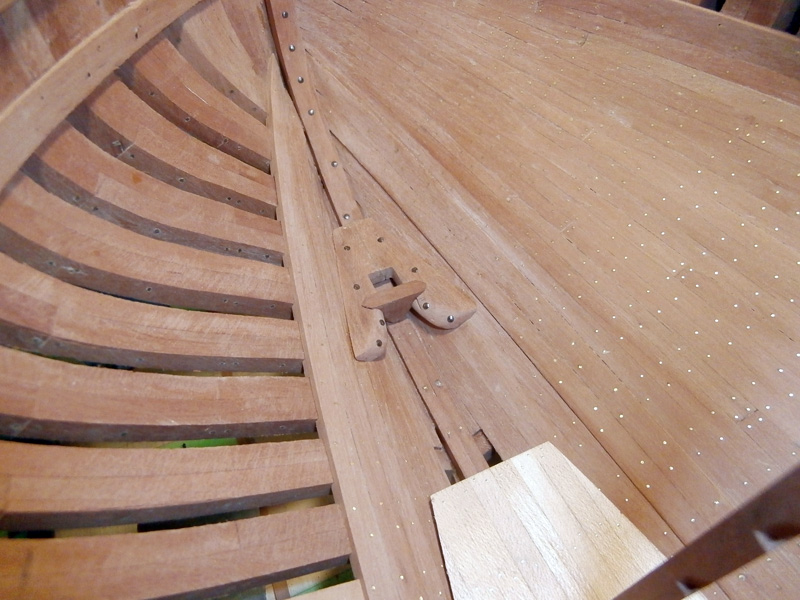
I tried an idea to remedy the problem of nailing garlands that does not conform to the drawings of the monograph, which some friends I have pointed out: Then I had a strange idea that in the end I think it has given the desired results: I tried to build the pins with washer using brass wire of 0.6 mm and thin brass sheet from which I got the tiny washers