


robdurant
-
Posts
792 -
Joined
-
Last visited
Content Type
Profiles
Forums
Gallery
Events
Posts posted by robdurant
-
-
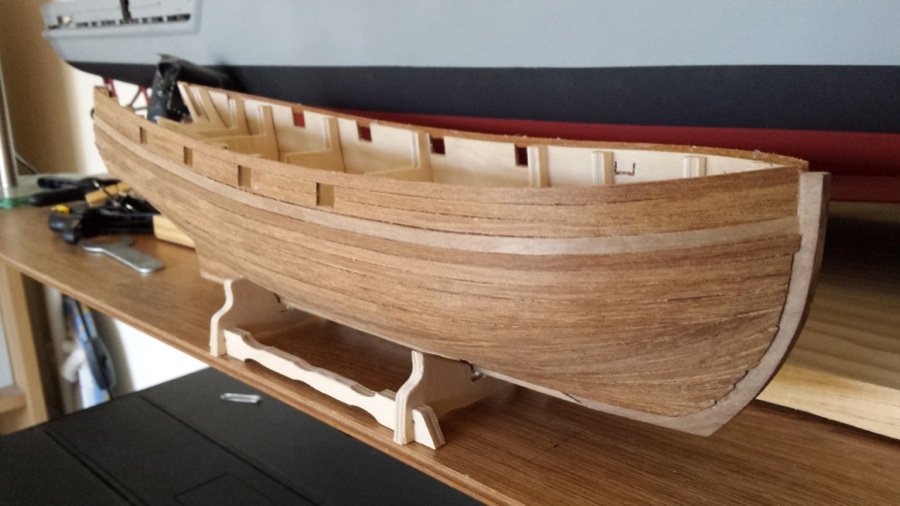
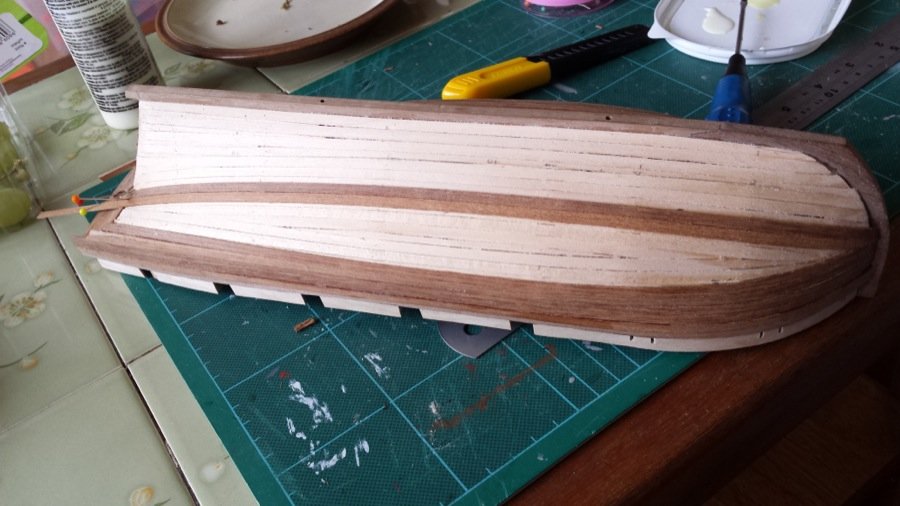
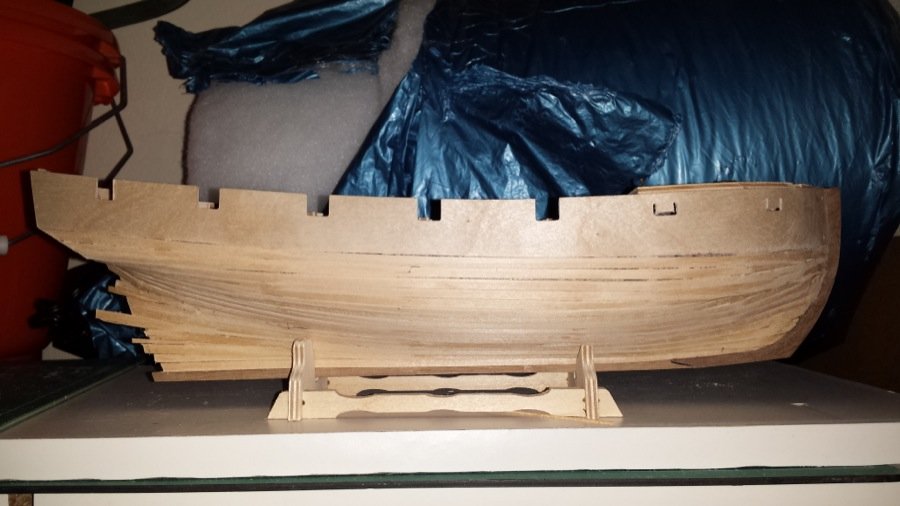
Well, I've finished the second planking

Cut out the bulkhead stubs...

Planked the false deck...
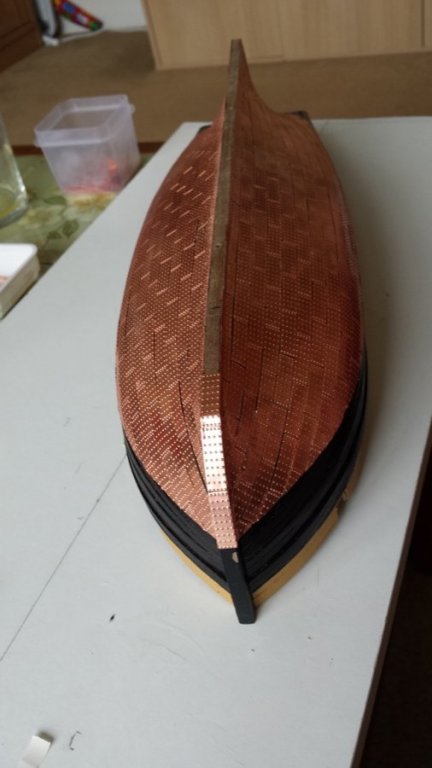
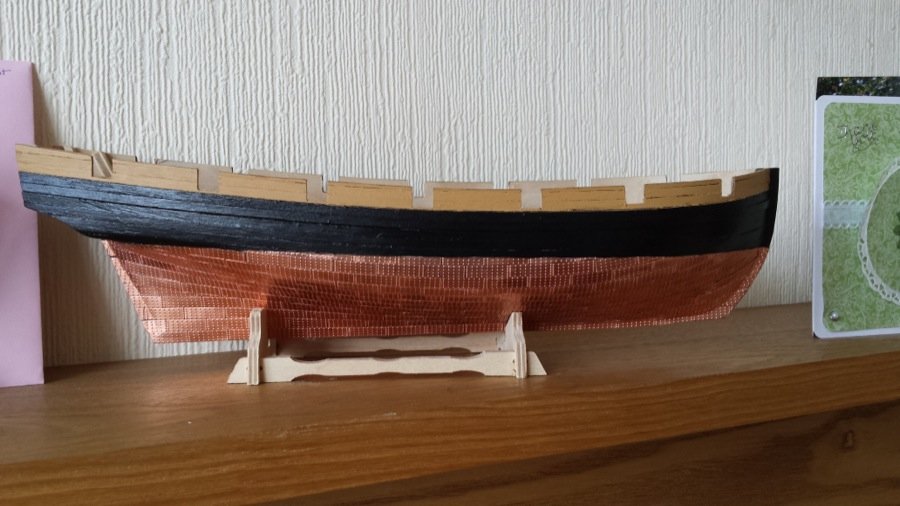
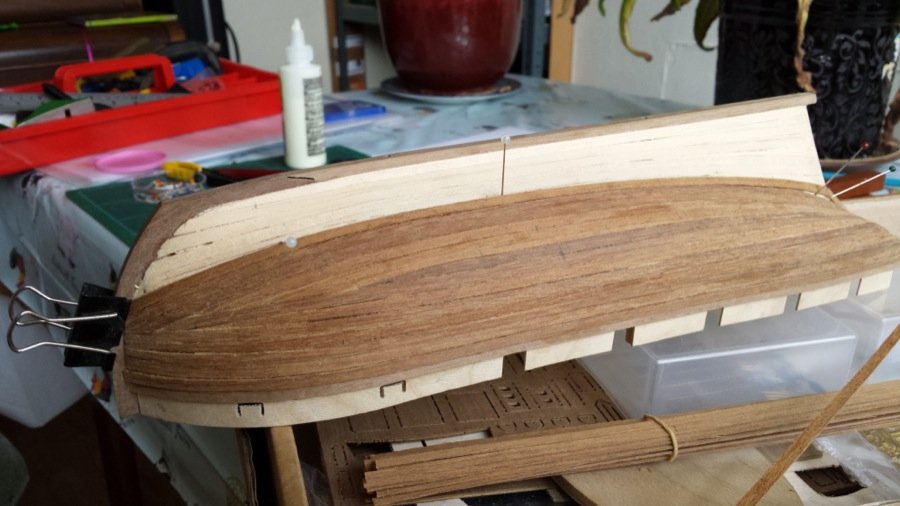
And then broken with the order of the instructions, because I wanted at least one coat of paint on before I started the coppering... I figured it might help me to end up with a neat line at the waterline... as it turns out, it just makes marking the waterline on a nightmare (pencil won't work on black paint!)... and all I had was a huge silver marker... anyway... it's done now. Waterline marked, and coppering complete:
I'm really quite pleased with it... the planking isn't completely smooth, but I like the way it allows you to see the planking underneath.
- The Sailor, Littlebob and egkb
-
 3
3
-
Another little update.
I've almost finished the stealers in the starboard side, now...
And I'm working my way down the port side... (trying to get something vaguely like symmetry as I go...)
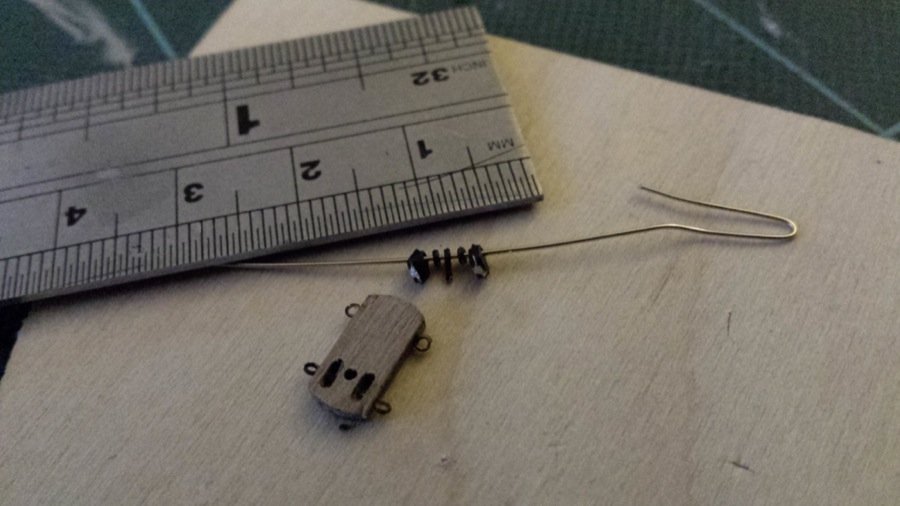
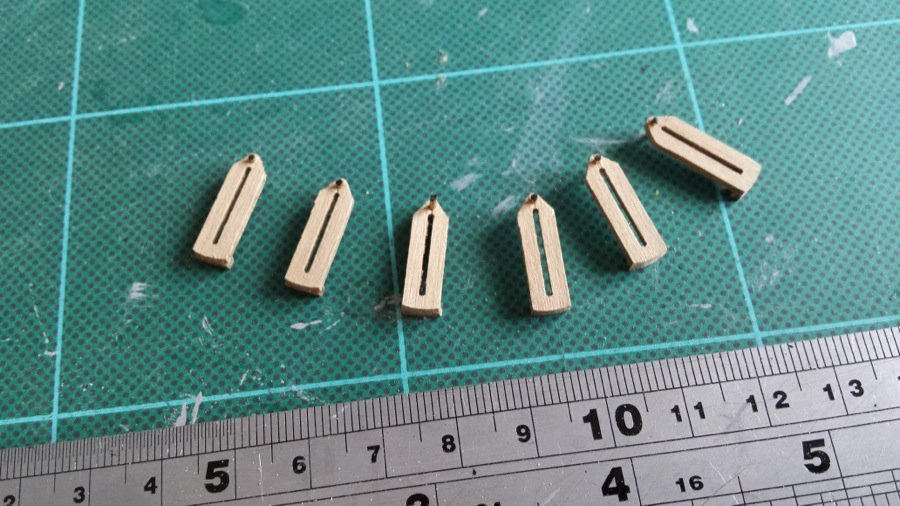
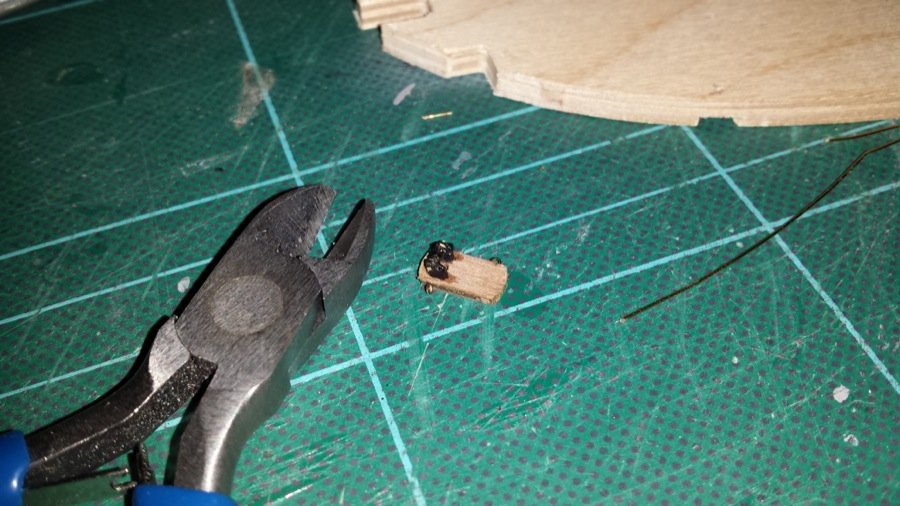
Slow and steady, but getting there, now. Thanks for all the encouragement. It really helps spur me on. And, yes, I'm dreading those little brass eyelets on the carronades... :S I'd forgotten how brass learns to fly when it's cut into tiny bits!
Happy building and thanks for reading...
Rob
-
It's been a while since I put up an update... mainly because the progress is slow, but I'm trying not to rush, and get it right. For a first attempt I'm really quite pleased. Beginning to feel like a crying shame to cover all the wood up with copper and paint


This is the starboard side so far...
I've also started the carronades as a project to get on with while the glues setting on the planking...
This is the progress as of yesterday evening...
There are lots more photos of progress here:
https://www.flickr.com/photos/150573193@N04/albums/72157680568137234
... but it's mainly a record of the planking, so I thought I'd spare you
Thanks for reading.
Rob
- The Sailor, egkb and Beef Wellington
-
3
-
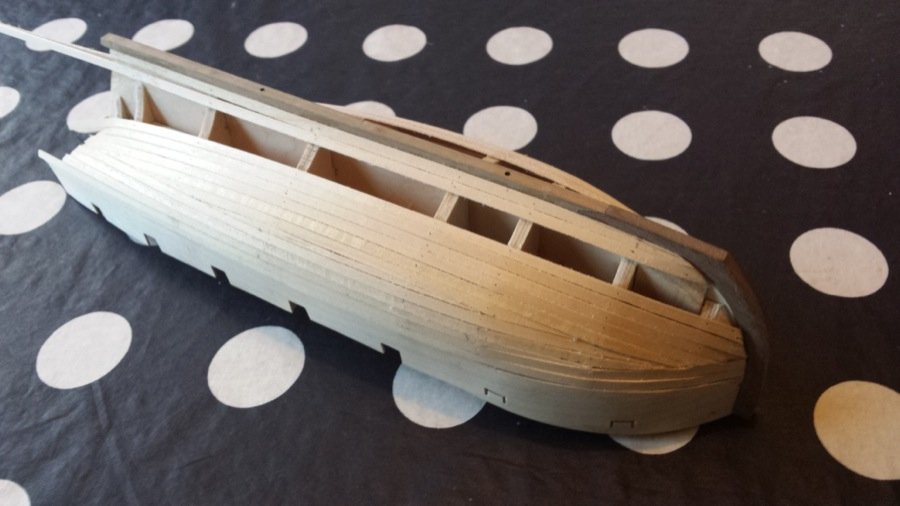
Time for an update...
I filed down the frames at the back to help the run of planking towards the bearding line... in retrospect, now I'm thinking I didn't file it down quite enough - but I'll know for next time.
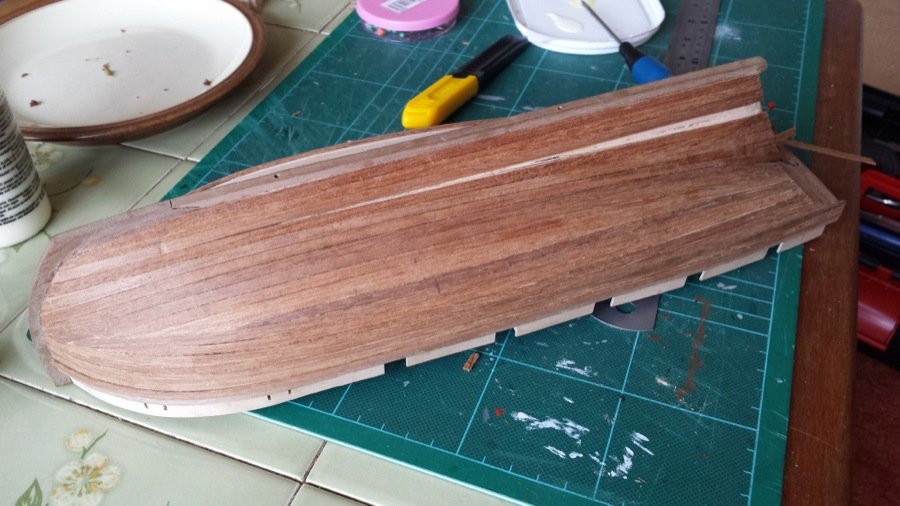
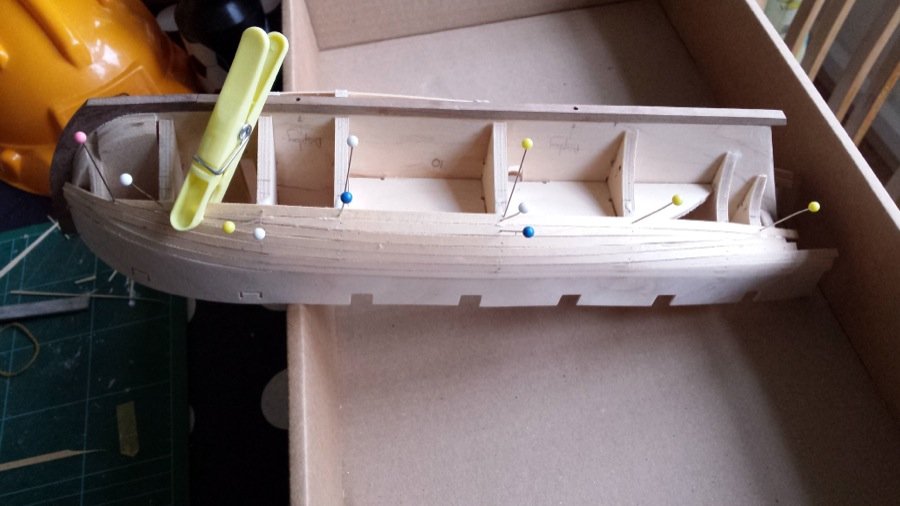
I've completed the first layer of planking on the starboard side.
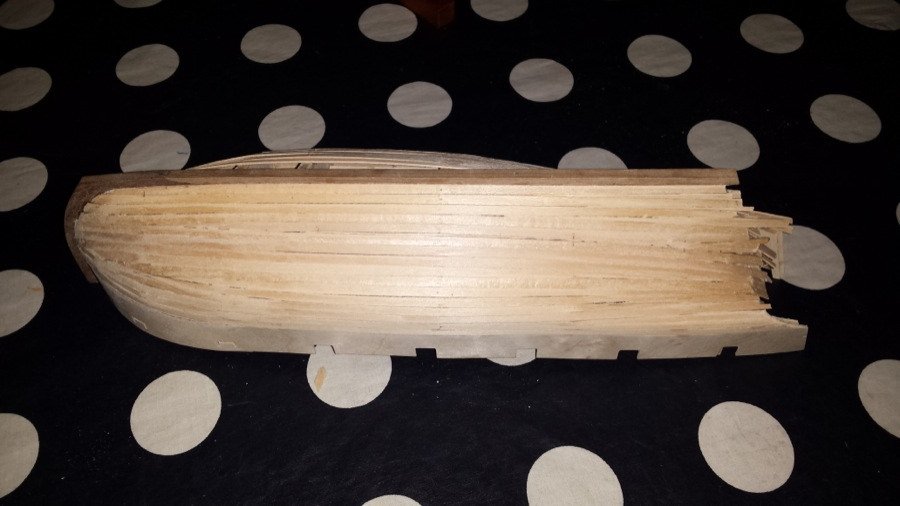
This is definitely the 'messier' side... I'm happier with the results on the other side. But it looks like with a little sanding, it should tidy up okay. Not _too_ much clinkering... and I'm reasonably happy with the line the planks take up to the bow.
I'd be interested to hear what people use for wood filler? Brands, etc...? I want to make sure this layer is absolutely right before I start the second planking, so I give myself a fighting chance
Here's a shot of the other side, so far...
Thanks for looking, and thanks for all your kinds comments and advice. It's all very welcome.
Rob -
Good going Rob.
I enjoyed building the Pickle. Have you read up on her voyage back from Trafalgar?
Looking forward to the completed vessel.
Mike.
Thanks Mike.
I've read a few books on Trafalgar, and the brief account of Pickle's race back to England, but nothing very detailed... fascinating story, though. It really captures the imagination - I think that's what drew me to this boat in the first place (coupled with the manageable size
)Rob
-
Lookin good Rob, you'll be finished 1st planking in no time ! .. but have a quick look at fairing those 2 aftermost bulkheads where they meet the bearding/rabbet (see Post # 6 in Richards (The Sailor) Pickle Log) as I'm sure it will help you get a better plank run when you get there! Or are you happy as it stands, what do you think ?
Best of Luck
Eamonn
That's really helpful... I'll definitely take another look at that area. Thanks Eamonn
-
Rob - very nice start on Pickle. Did want to ask you about your HMS Cottesmore model, would love to see pictures - was that from a kit or scratchbuild? Wondering if you've ever come across any kits of their replacement the River Class?
Hi - thanks for the encouragement.
Cottesmore was a hull from Fleetscale, and fittings from Sirmar - the rest was scratch built from lots and lots of plasticard and brass rod, etc... You can see the whole build come together here:
Barry at Sirmar does a River class fibreglass hull, and lots of the fittings for it. But be prepared to wait a while - he works full time, and only does this as a side job, so it can take him a while to fulfil orders - they're excellent when they arrive though. Take a look here...
-
Wow, you guys make planking look easy... I've decided to follow the instructions that come in the kit for the first planking... being my first attempt.
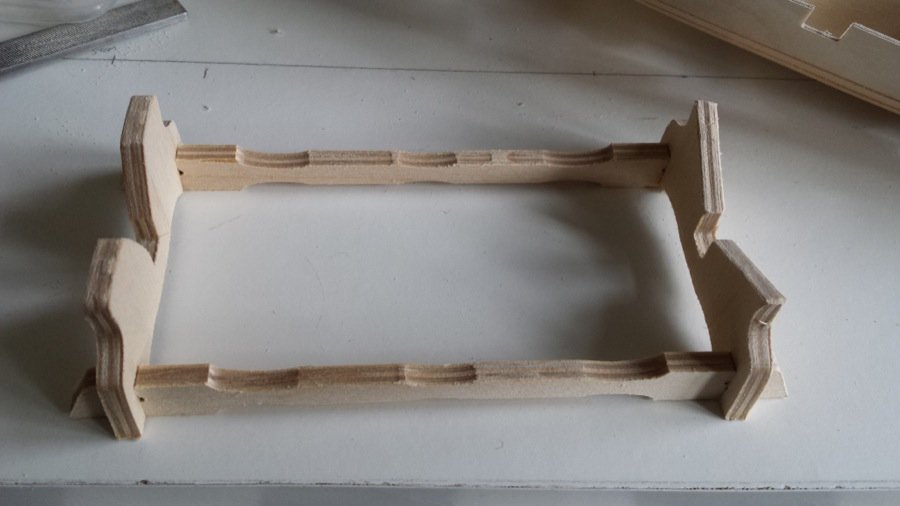
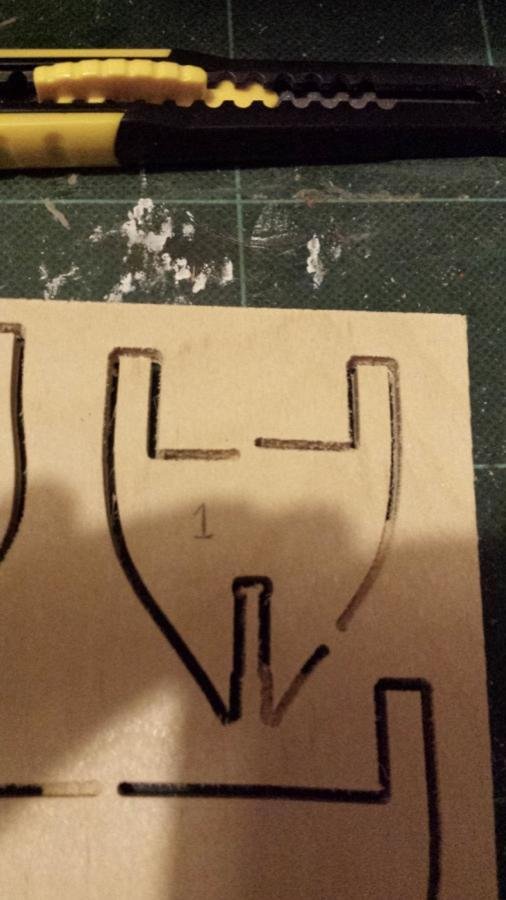
I've finished bevelling the frames... Frames 1 and 9 are in place, and the stand's put together, and the gunport patterns are in place.
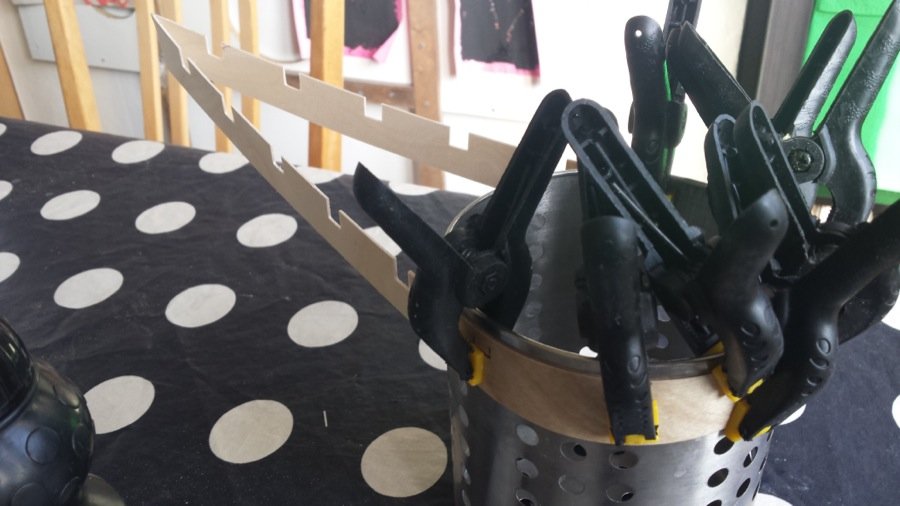
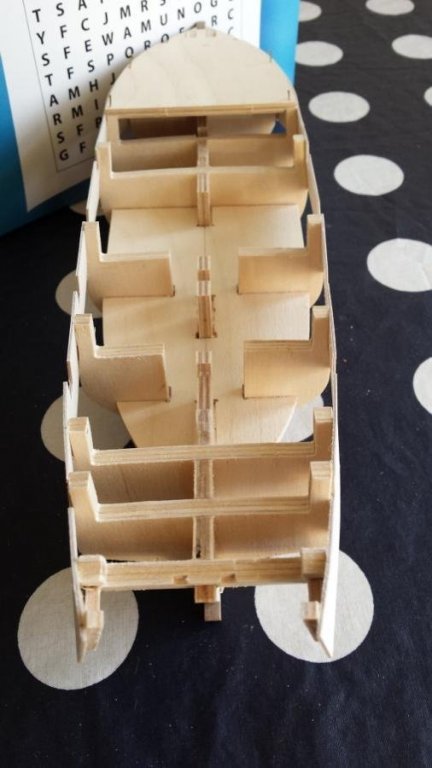
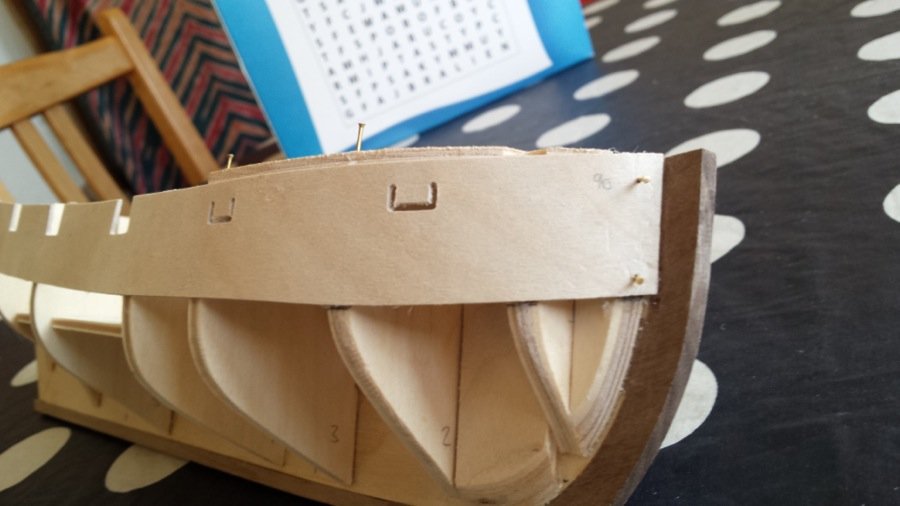
Then I sanded the bearding lines, and wished I'd done it earlier!!
Anyway - the first planking is underway - 6 strakes on one side, and 4 on the other...
I've had to take a couple of planks off and redo them, but I think it's going okay now... time will tell. Thankfully, it's all going to be under paint or copper by the time the boat's finished. And hopefully the second planking will be a bit neater
- I feel like I've learned a lot already: Not least, that it's tough to resist that urge to push the planks sideways.
Happy building!
Rob
- egkb, The Sailor and Aussie048
-
3
-
Hi Eamonn, "loblolly" - thanks for the kind words... it's an encouragement as I set out.
Time to get on with the build... Something a bit different after HMS Cottesmore
I'll be posting all the photos of the build up here: https://www.flickr.com/photos/150573193@N04/albums/72157680568137234And here's an overview.
Something a bit different after HMS Cottesmore
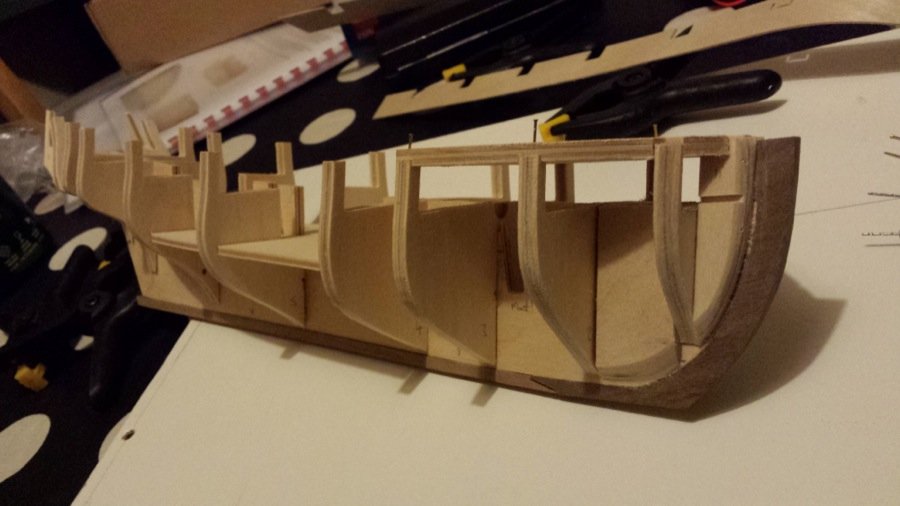
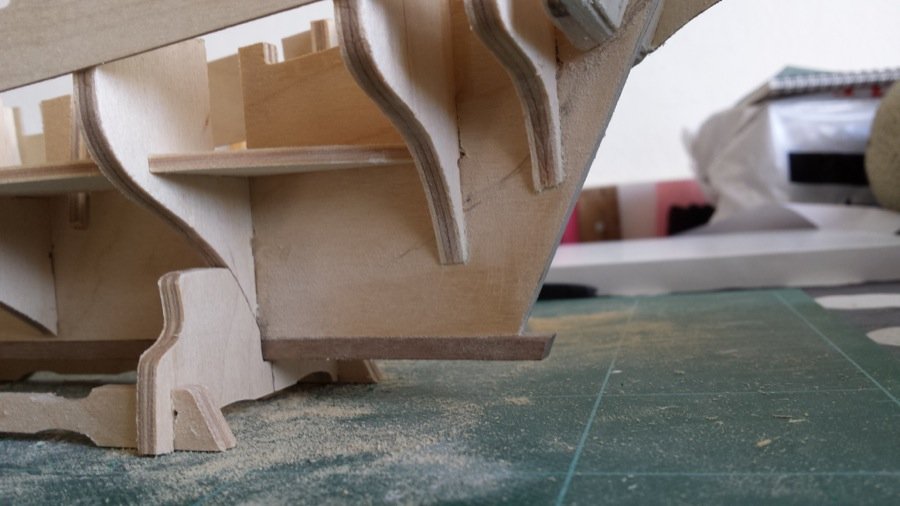
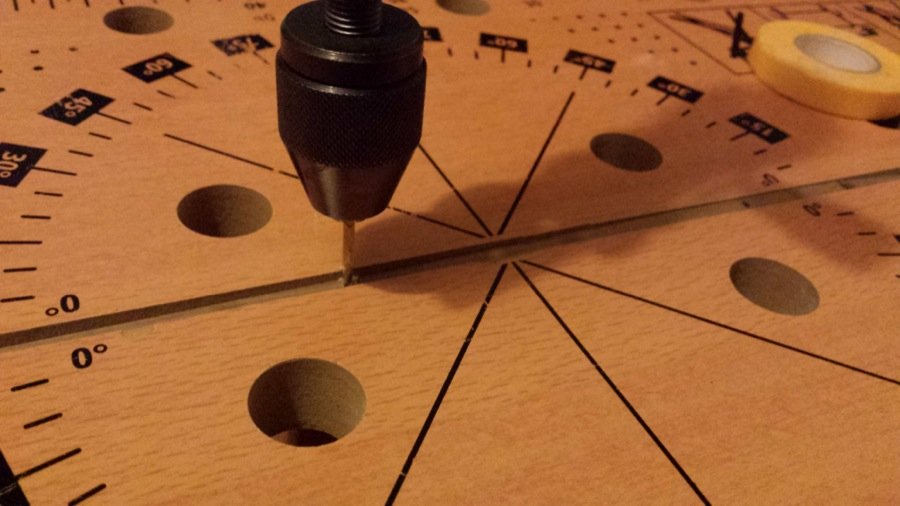
I'll be posting all the photos of the build up here: https://www.flickr.com/photos/150573193@N04/albums/72157680568137234And here's an overview. So far, I've made a building board, fitted the false keel and stem, and drilled mounting holes into the bottom of the keel. Then I fitted all but two of the frames.
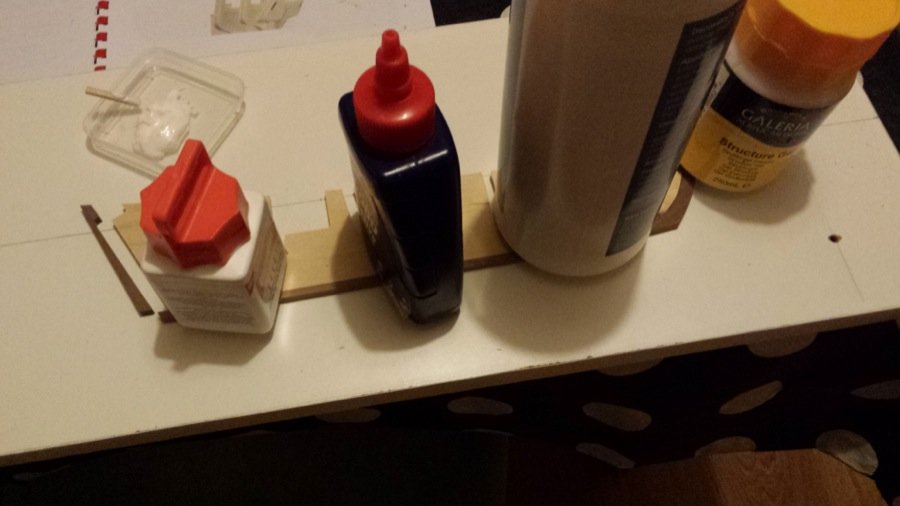
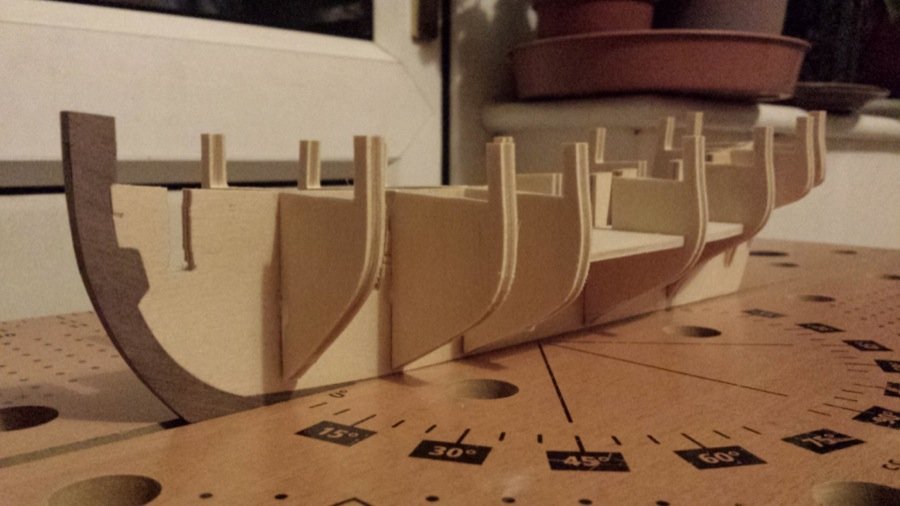 The ninth frame is supposed to be left off, but the first frame had been cut somewhat unevenly. JoTiKa are sending a new one through as we speak...
 A small amount of adjustment was needed on part 32, so that it could fit over the keel, but it was only about 2mm, and easily done with a file.
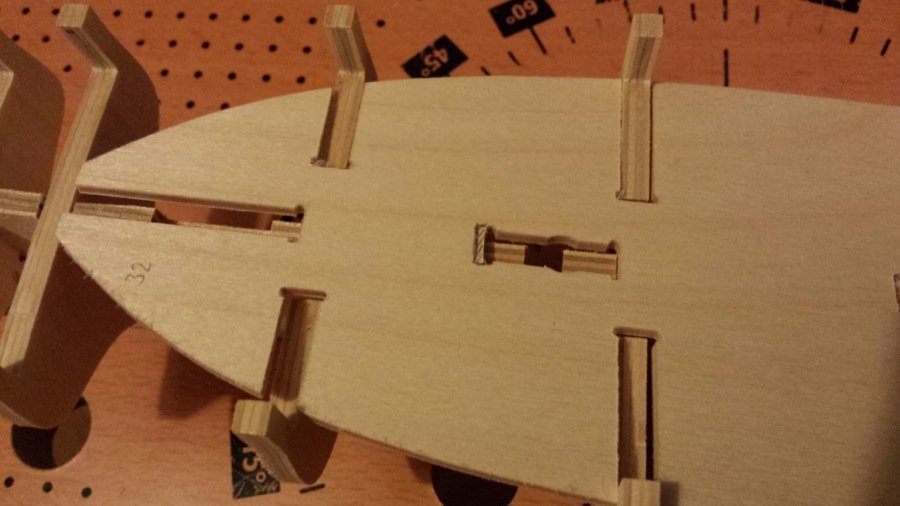 Pleased with how it's going so far
Take careRob
Pleased with how it's going so far
Take careRob -
Hi,
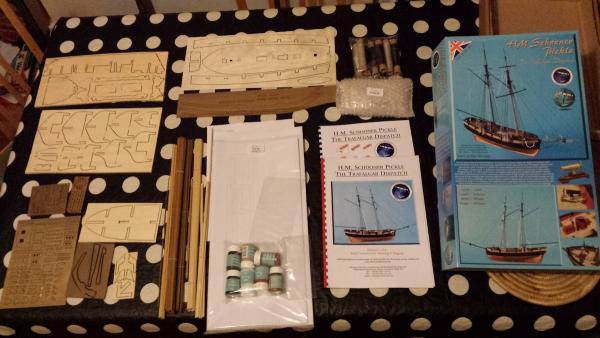
I'm just in the process of finishing up my previous build - a 1:48 model of a Hunt class Mine Counter-Measure Vessel, HMS Cottesmore, and I've got this kit in ready to build next. The hope is that it will give me the skills to finish off a Panart Royal Yacht Caroline that my late father started. Also, it looks like a really lovely kit. I'm not expecting to match the efforts of some of the other superb models of Pickle I've seen on this site, but hopefully I'll end up with something I can look at and enjoy
I've received the kit, so watch this space for updates. And thanks for reading.
A couple of 'what's in the box' shots attached.
Rob
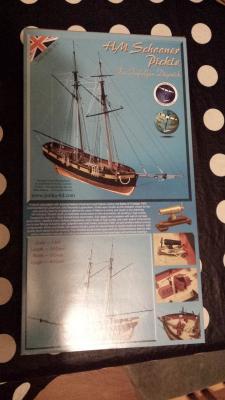


HM Schooner Pickle by robdurant - FINISHED - Caldercraft - Scale 1:64
in - Kit build logs for subjects built from 1751 - 1800
Posted · Edited by robdurant
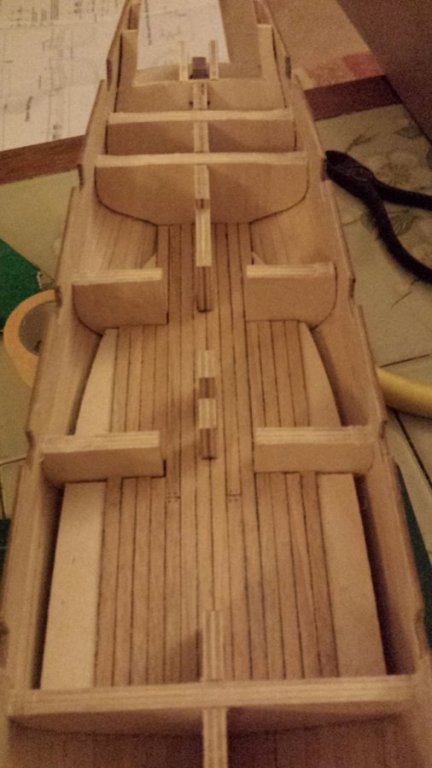
Time for another update. Since last time, I've fitted the deck, added margin planks, (thanks to Blue Ensign for the inspiration for these), started planking the deck, and started putting together the smaller skylight.
I used the kit Tanganyika for the decks, and marked one side with a Black Sharpie marker. I need to remember to let the deck overhang the back so that it can be trimmed to fit the stern fascia. I really like what Blue Ensign did with the stern, but not sure whether I'm quite ready to break from the kit... looks like a place I could cause things to go very very wrong :S... But before then I need to plank the insides of the bulwarks, too, so I have a little time to think about it as I go.
Thanks for the likes and encouragement.
Rob